Patterns for Pirates

P4P stylish, modern, wearable patterns

  • Home
  • Blog
    • Frequently Asked Questions
    • Pattern Releases
      • Free Patterns
    • P4P University
      • Fitting
      • Sewing with Stretch, Knit Fabrics
      • Sewing with Woven Fabrics
      • Sewing Machines
    • Sew-A-Longs
    • Fabric for Pirates
    • Pattern Hacks
    • Announcement
      • Blog Tours
      • Contest/Giveaway
  • Shop
  • Bundle Discounts
  • Flash Friday
  • Gift Cards
  • My Account
  • Cart

Fierce Bra and Undies – Easy Hacks

November 1, 2019

Ahoy, pirates! In true P4P fashion we could not let the DOUBLE release happen without showing you some simple hacks for your new Fierce Undies and Bra. All these simple mods can be applied to both our adult and youth pattern.

…..

Undies with bands
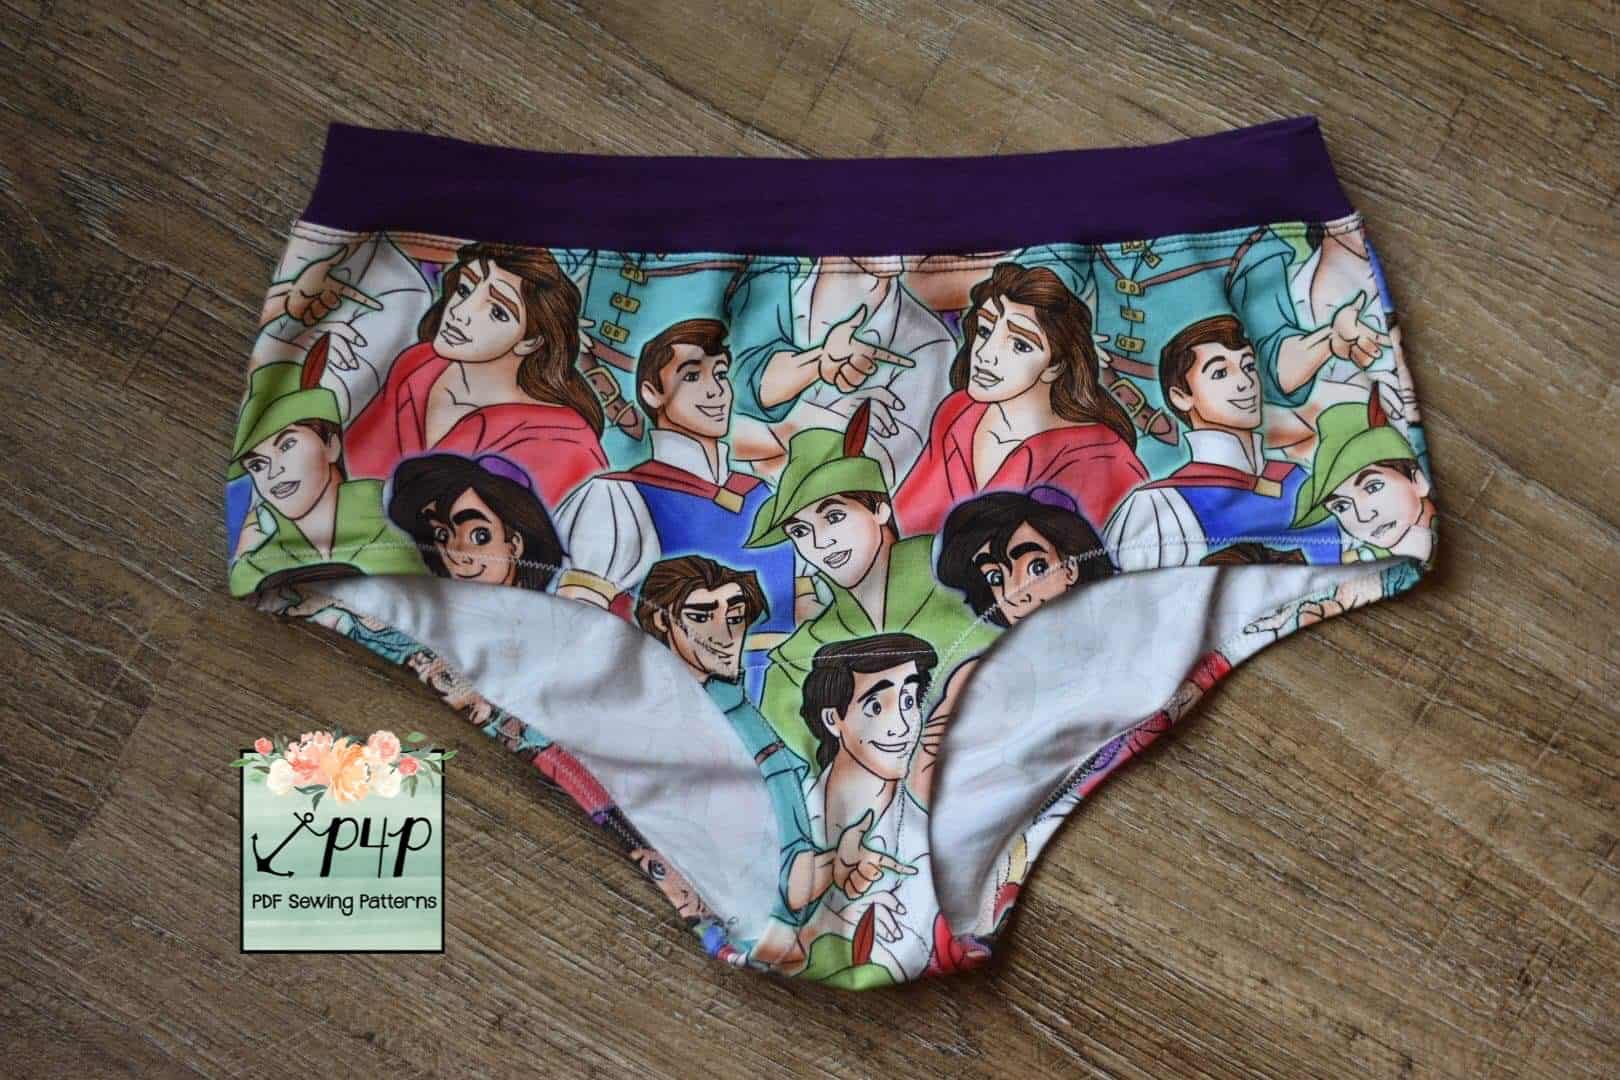
   

I love the new Fierce Undies. They feel so amazing! But I know sometimes I prefer a knit waistband instead of elastic. So today I will be showing you how to hack a knit waistband on the Fierce Undies.


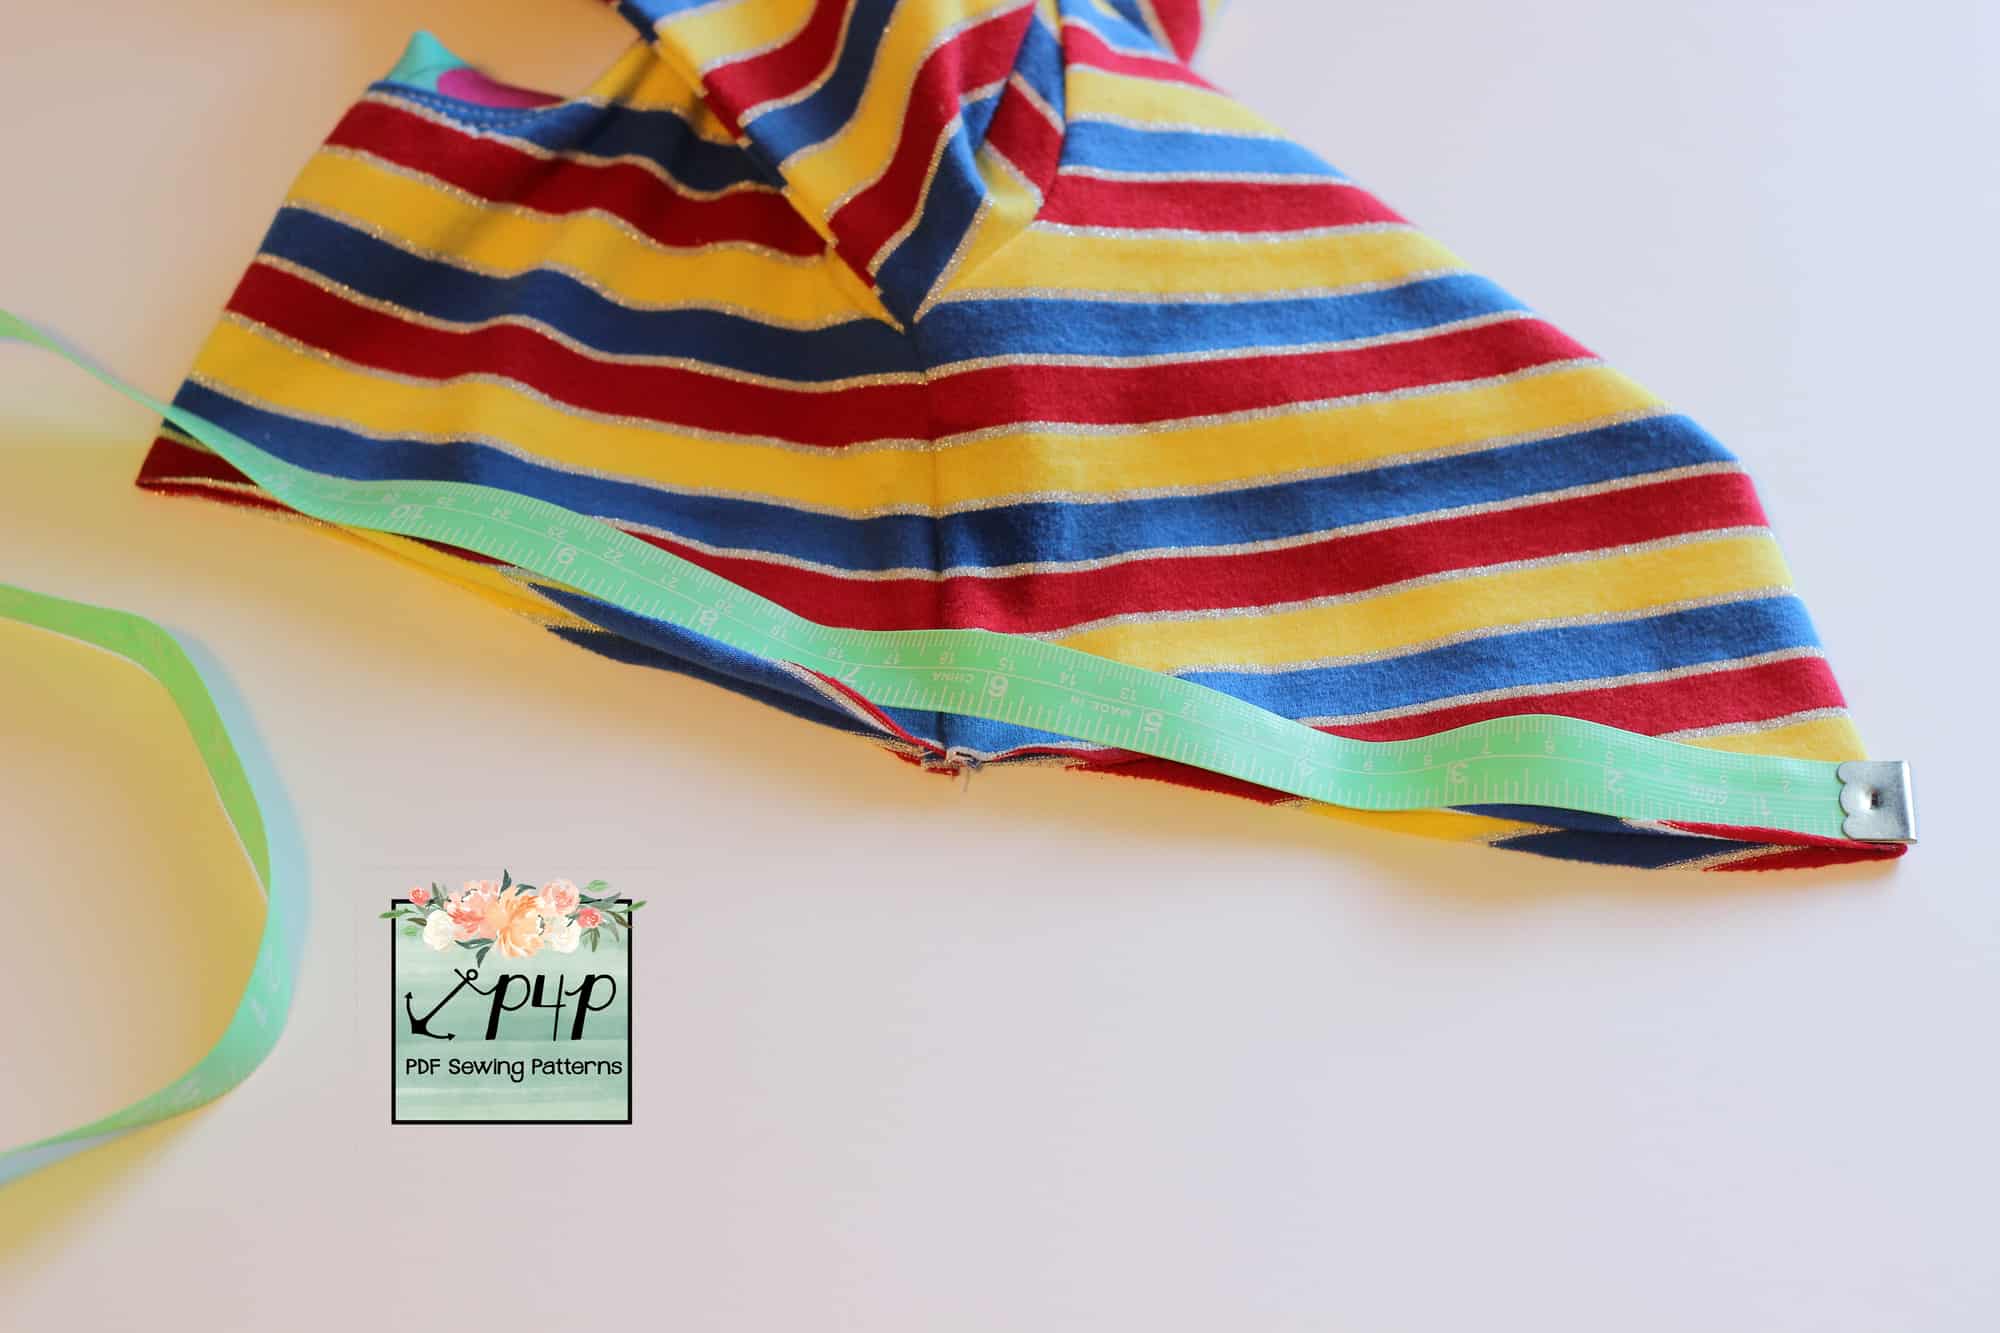
The first thing I did was cut and assemble the pattern according to the pattern. Then I measured the top of the undies to see how wide it is.
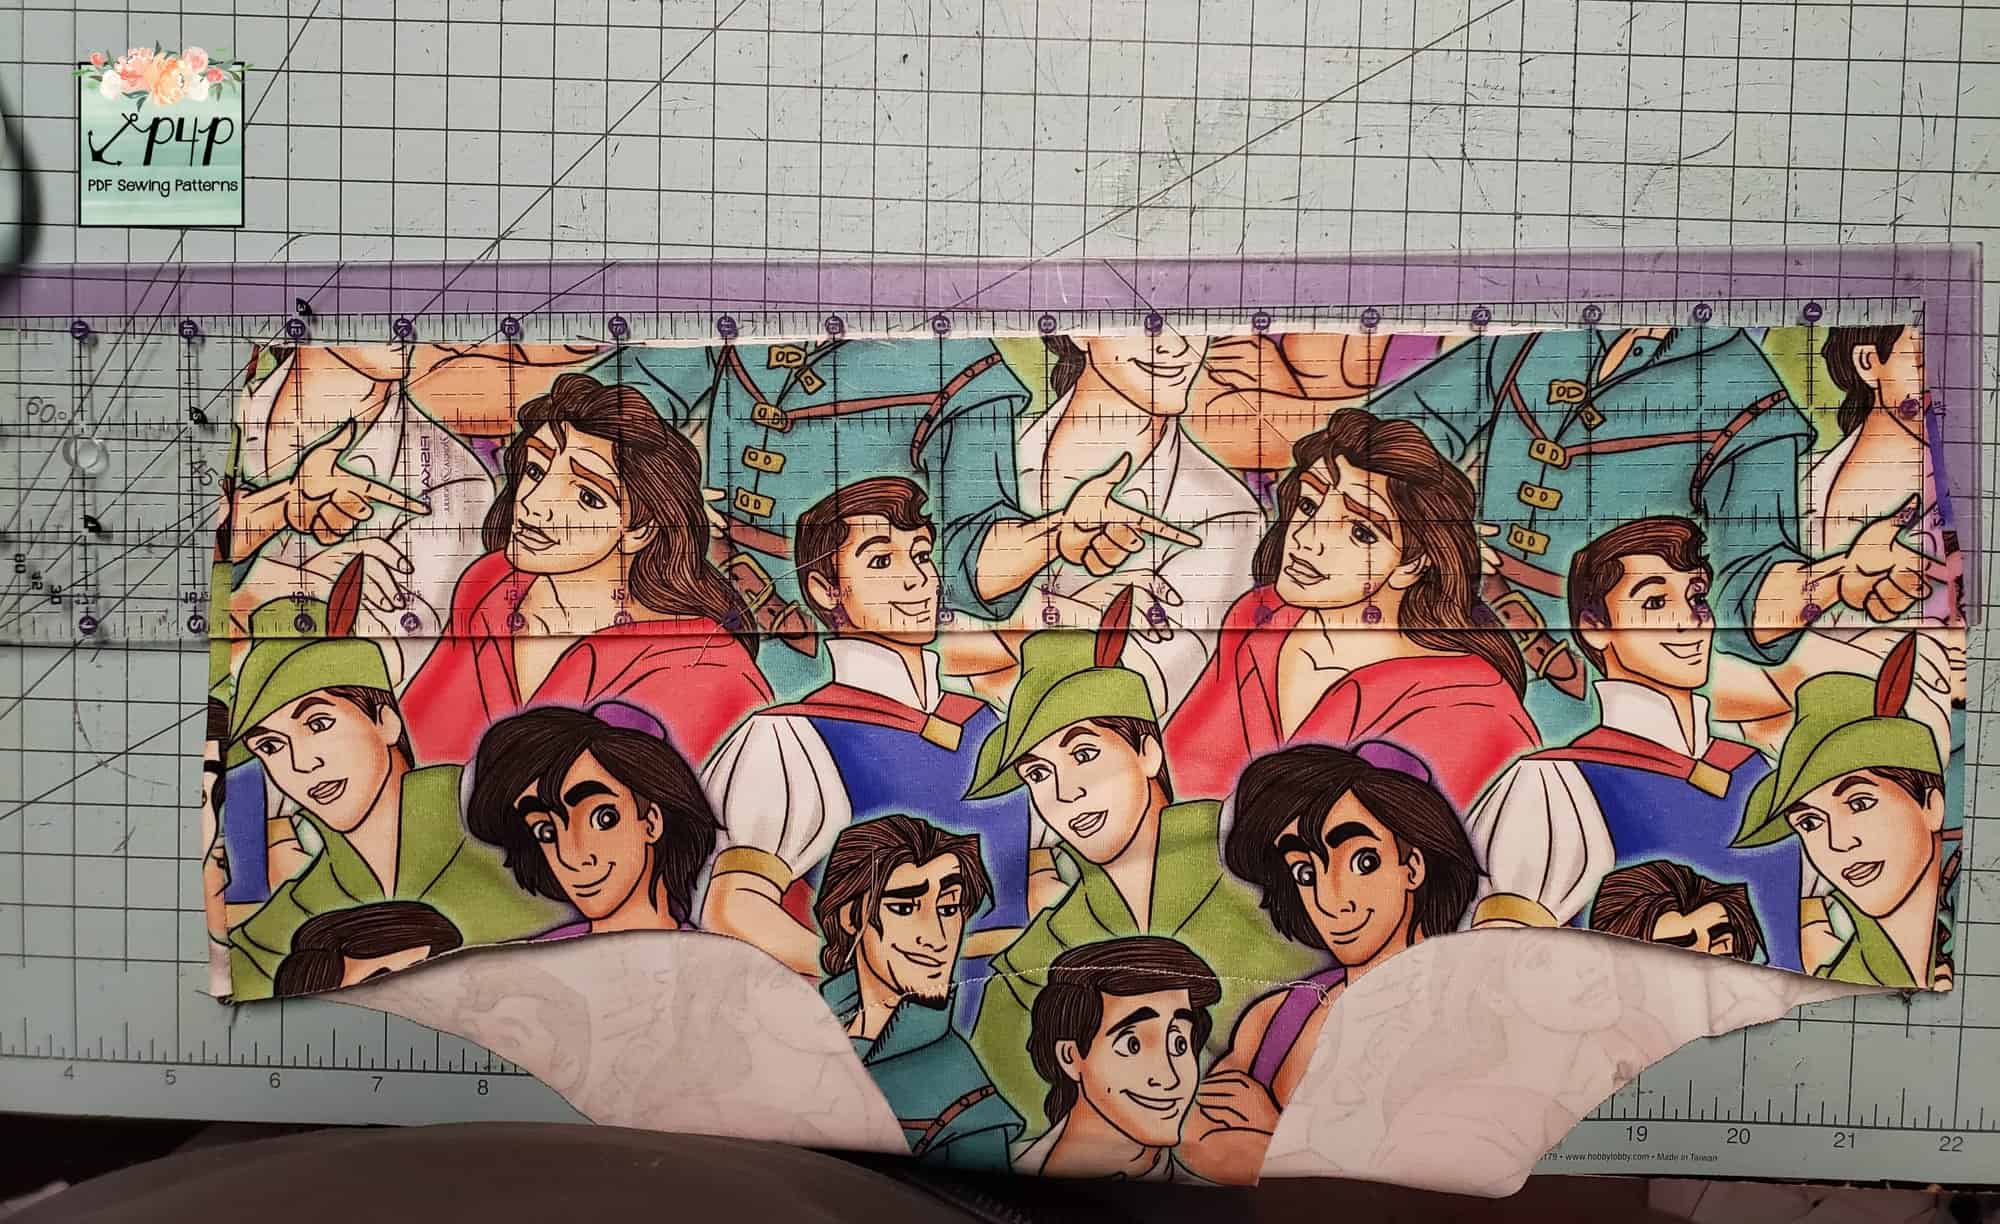
Now here is the formula I used to the band width: (undies width X 2)+1 X 80%. I like to use 80% because I like my band a little smaller but not too tight. Here is a picture of my measurements. 
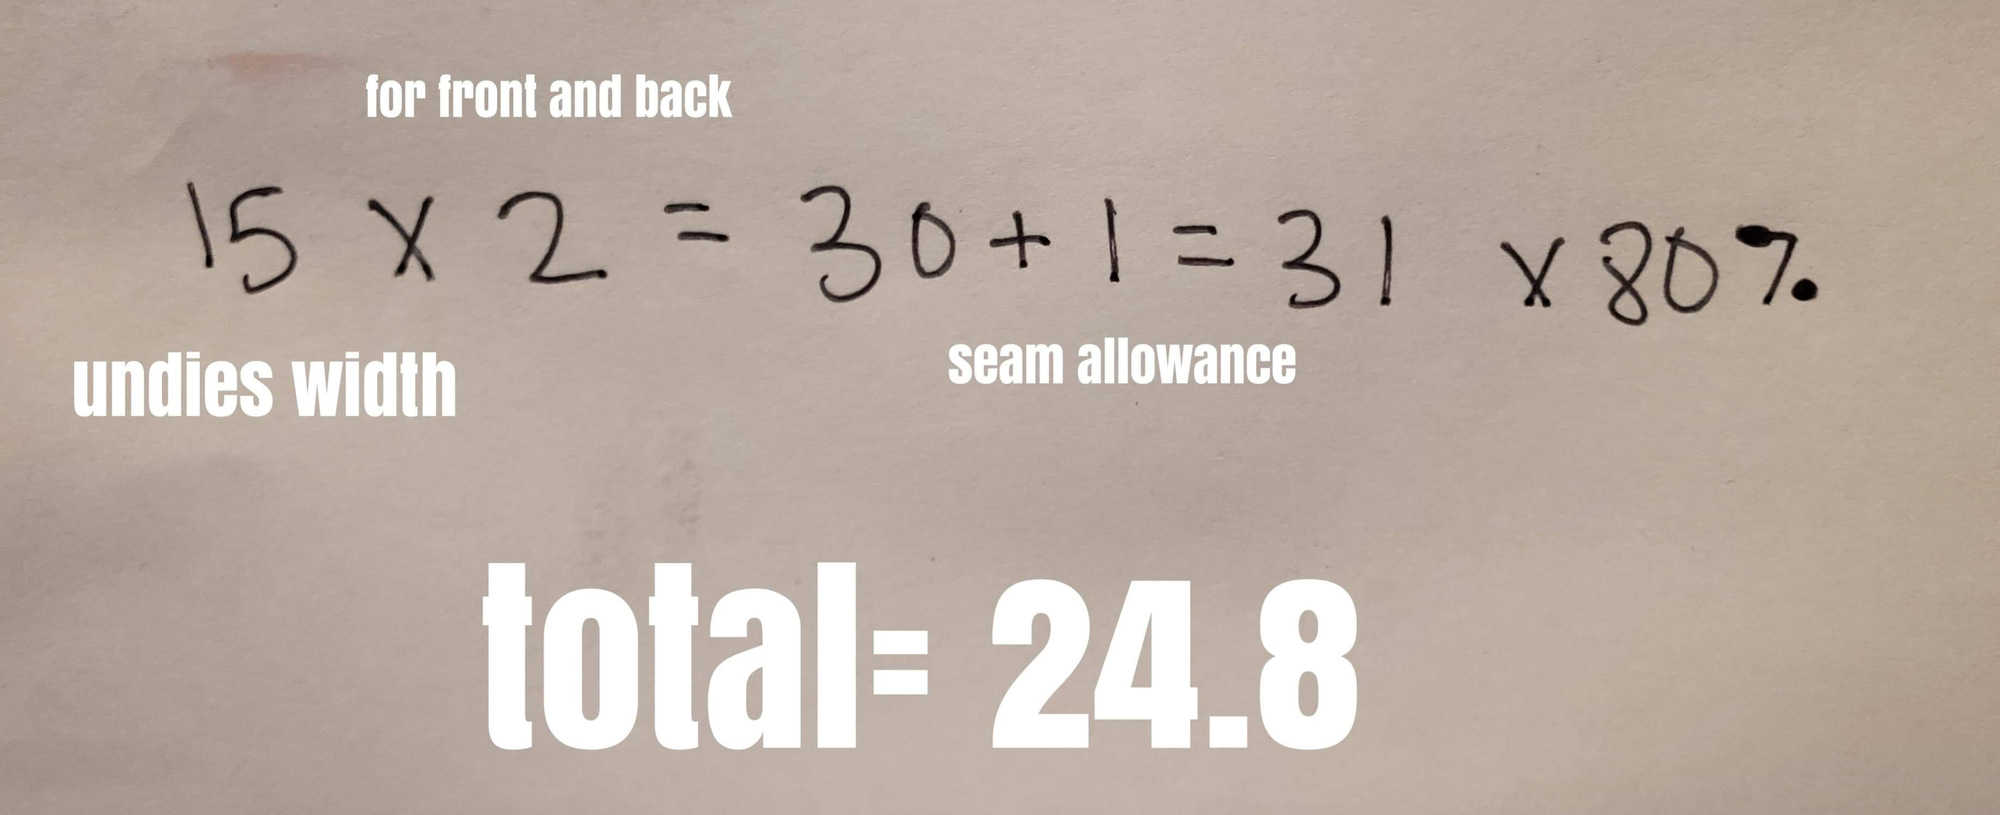
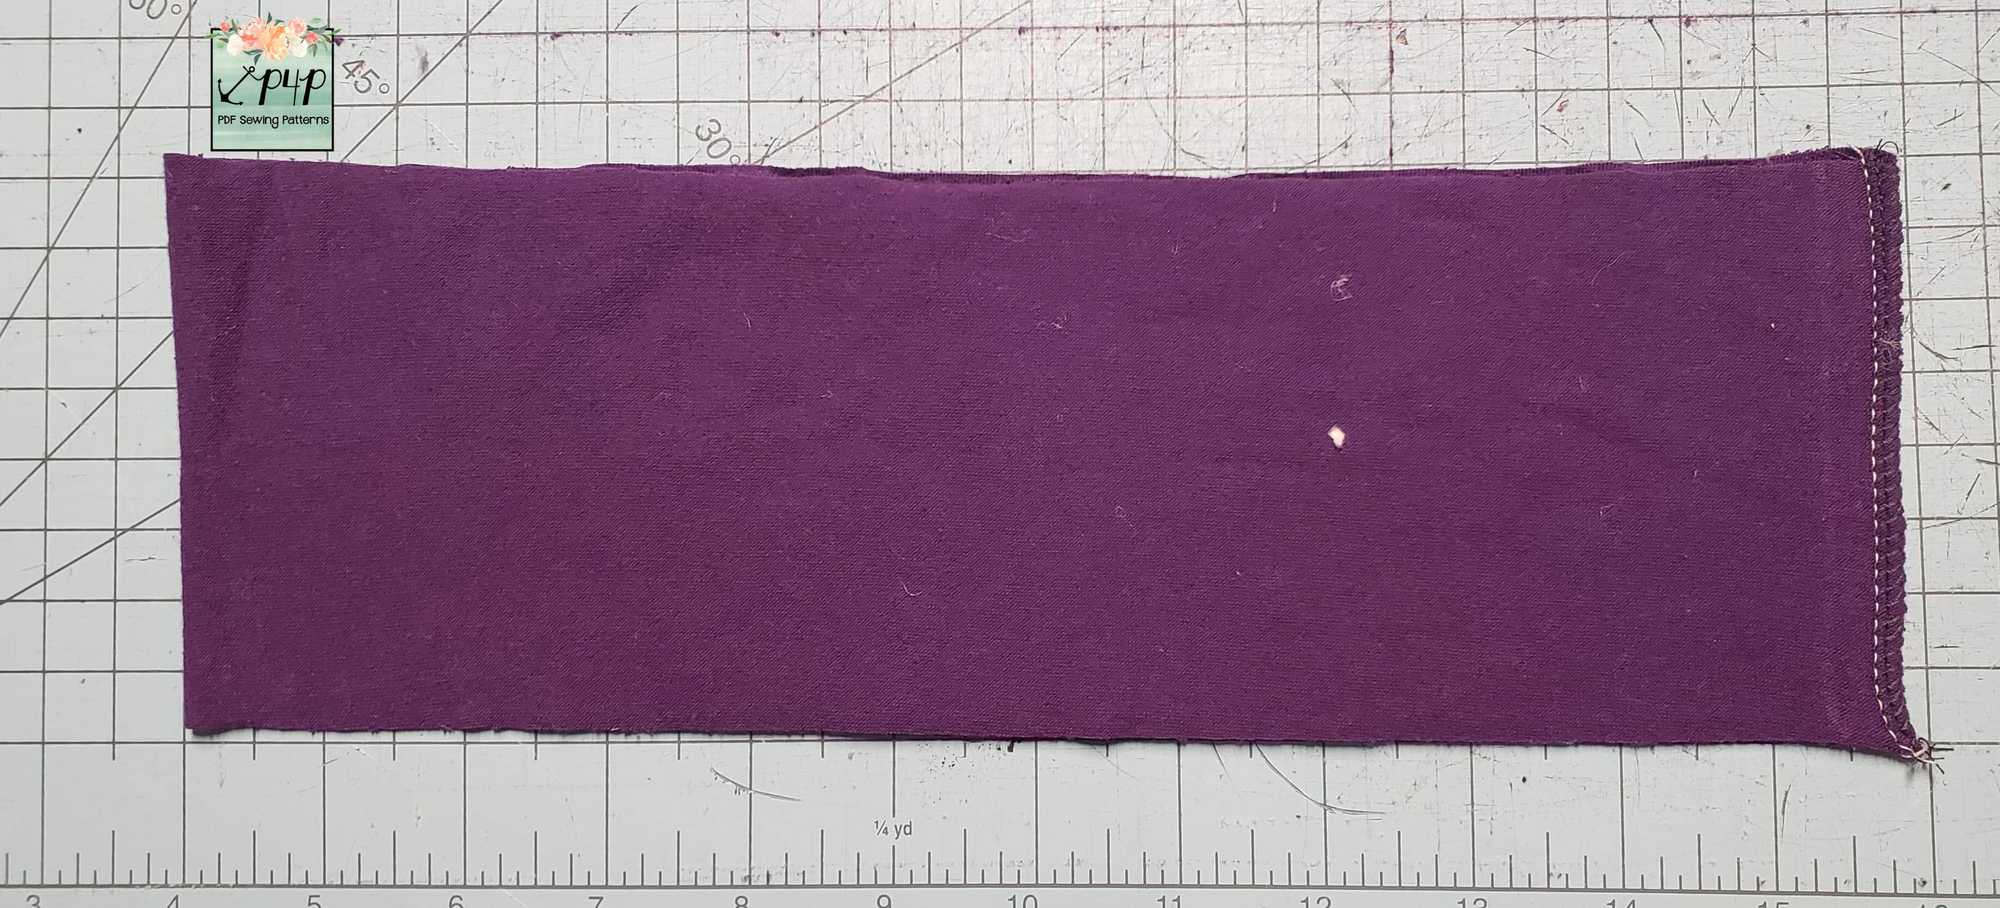
So my finished number is 24.8. So I cut my band at 4” tall and 24.8 wide. I cut my band 4” high because I like the 2” thickness. I fold my band short ends together and sew.
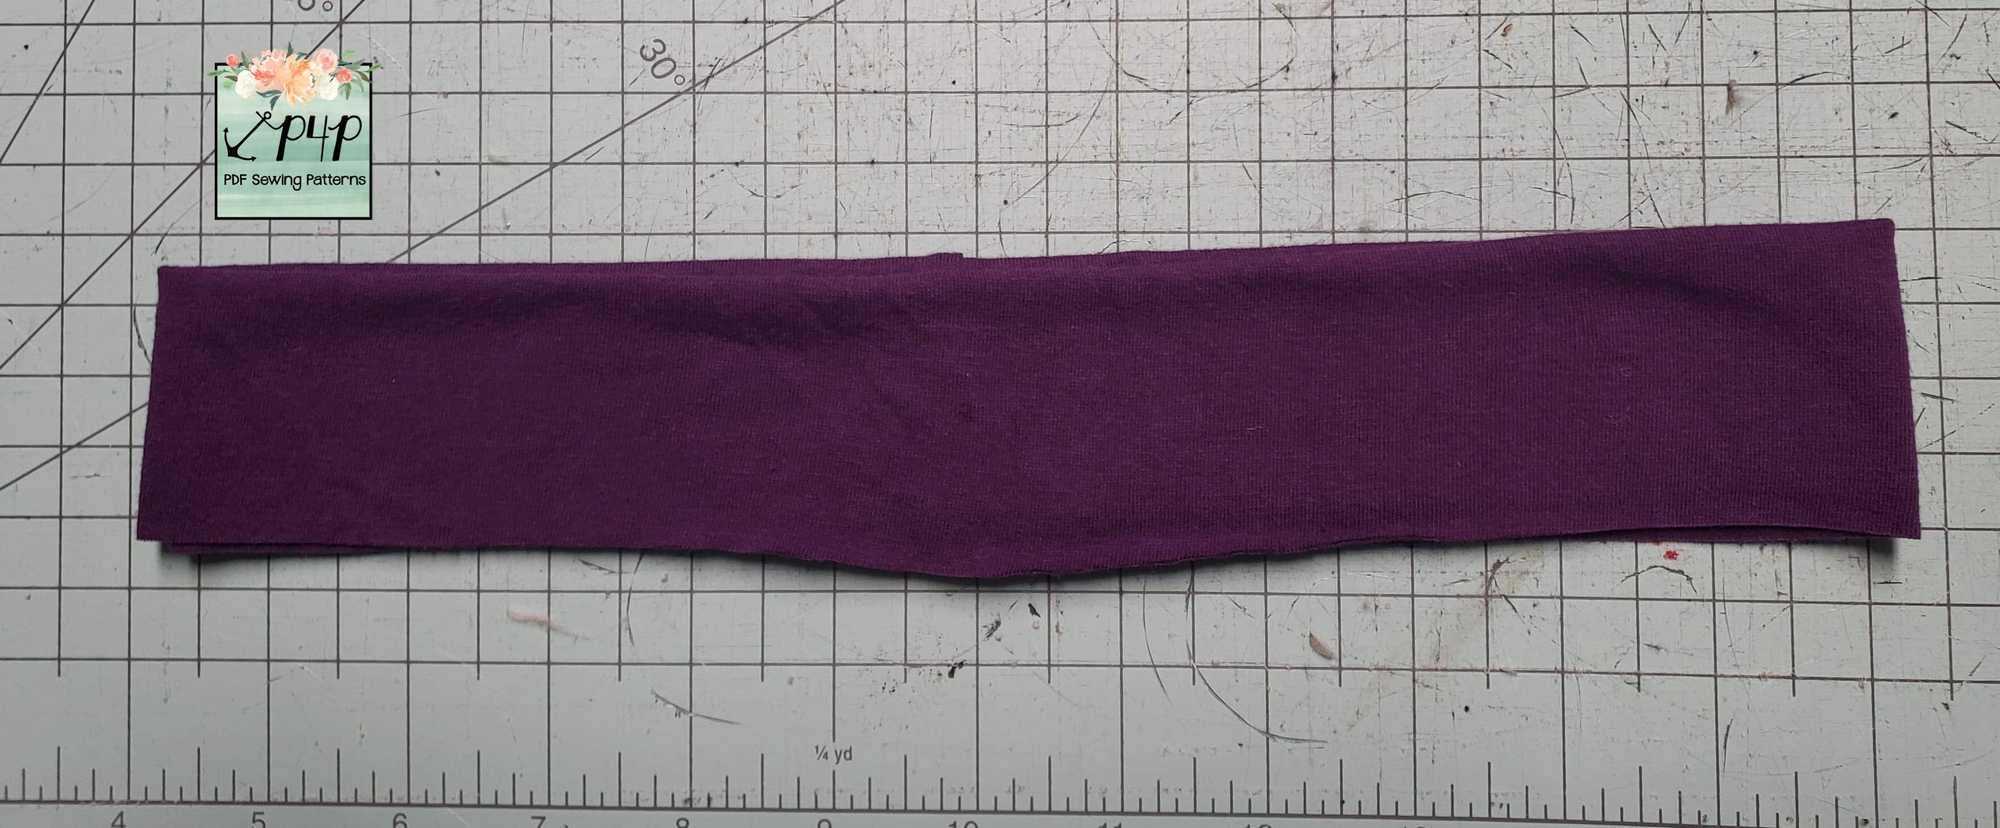
Then I fold it again raw edges together.
 

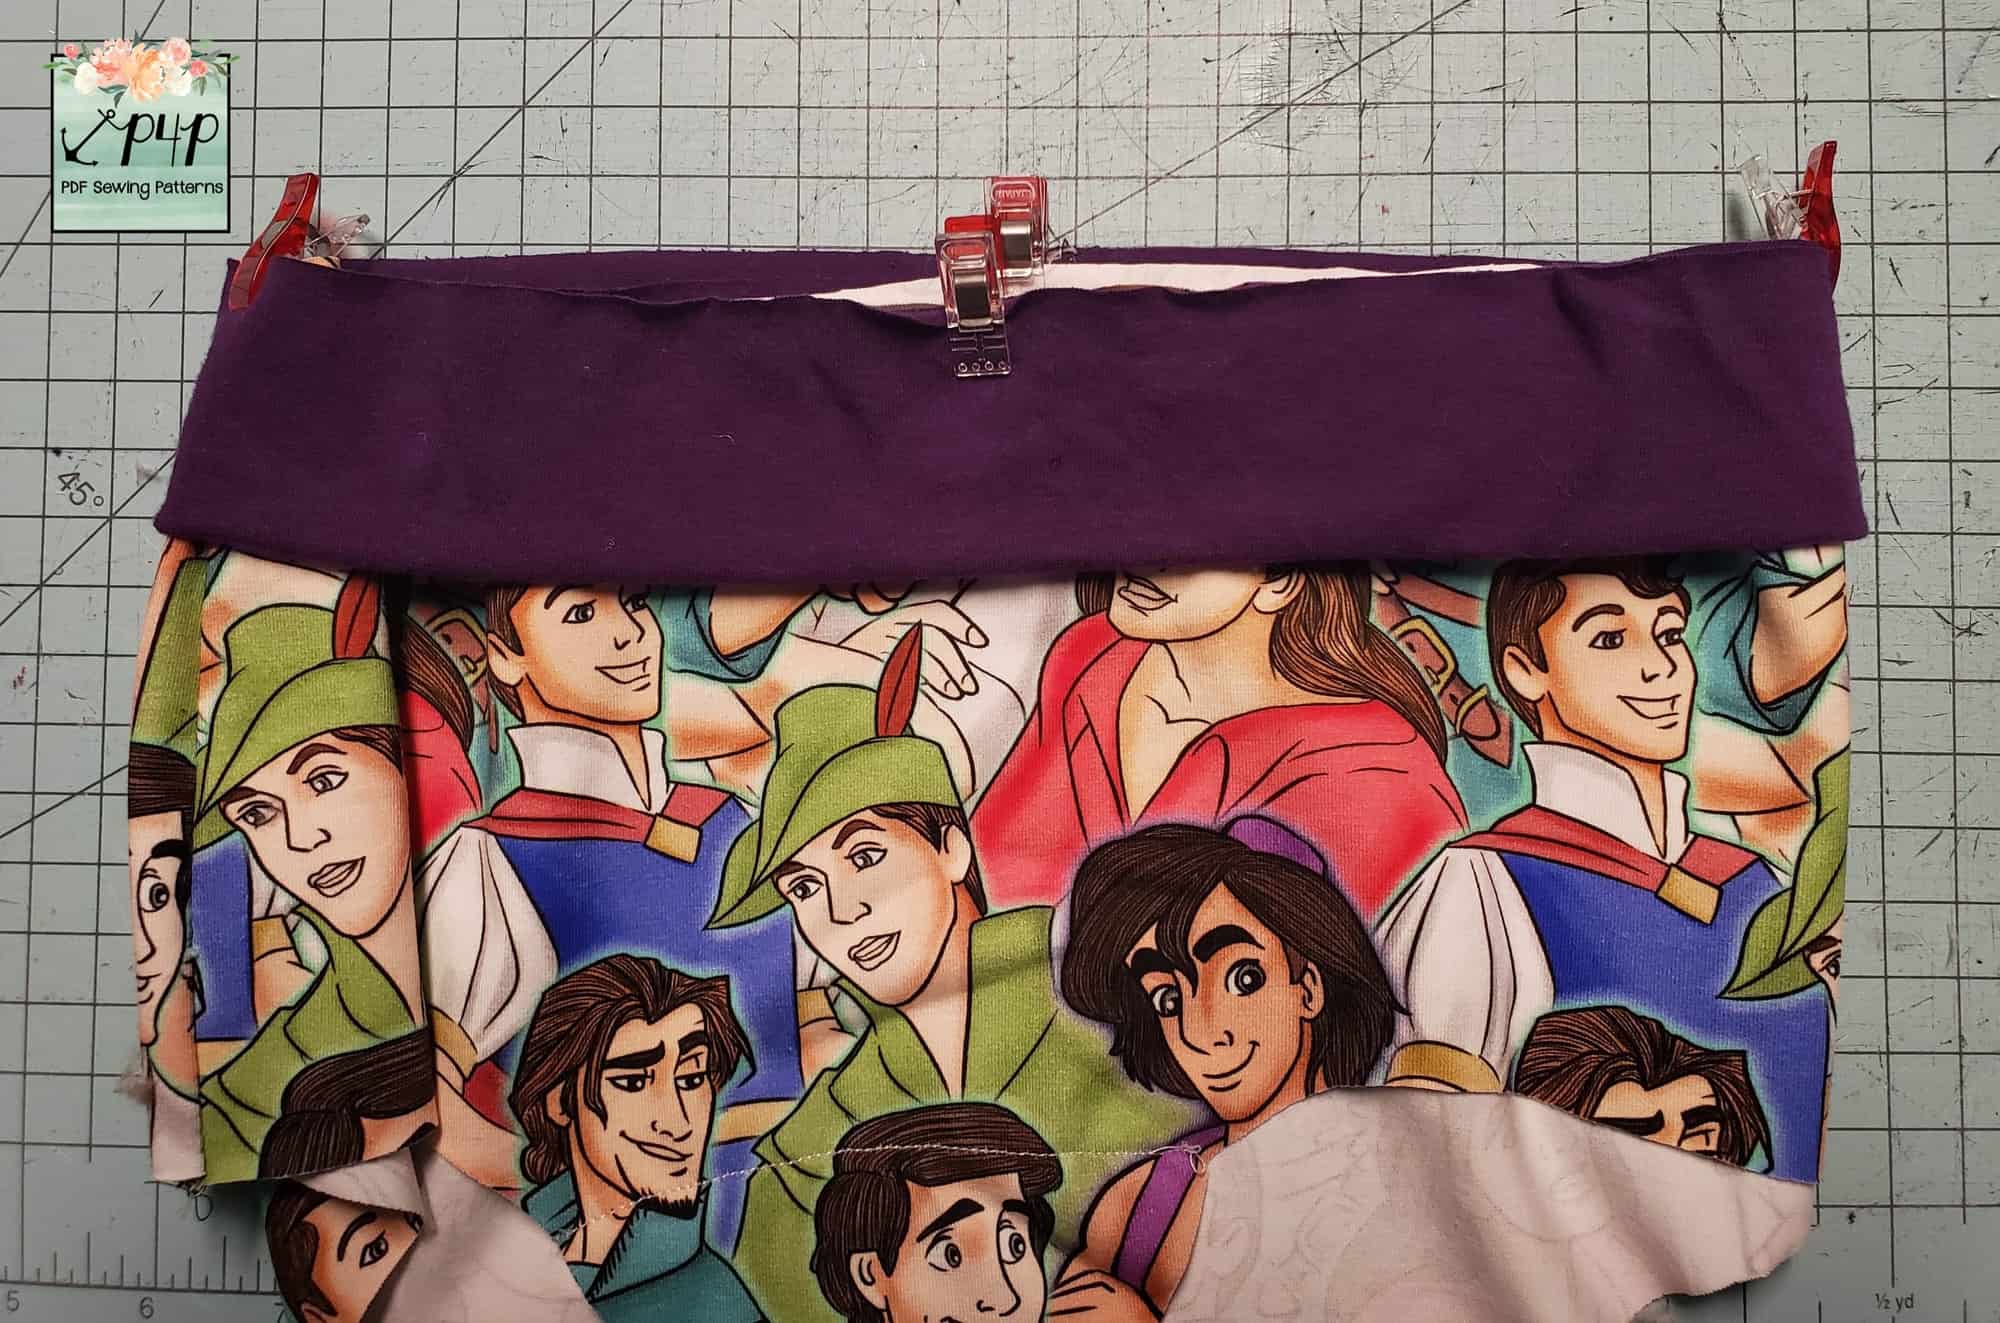
Now I quarter the band and undies, then I put the band over the undies with right sides together matching the quarter marks.
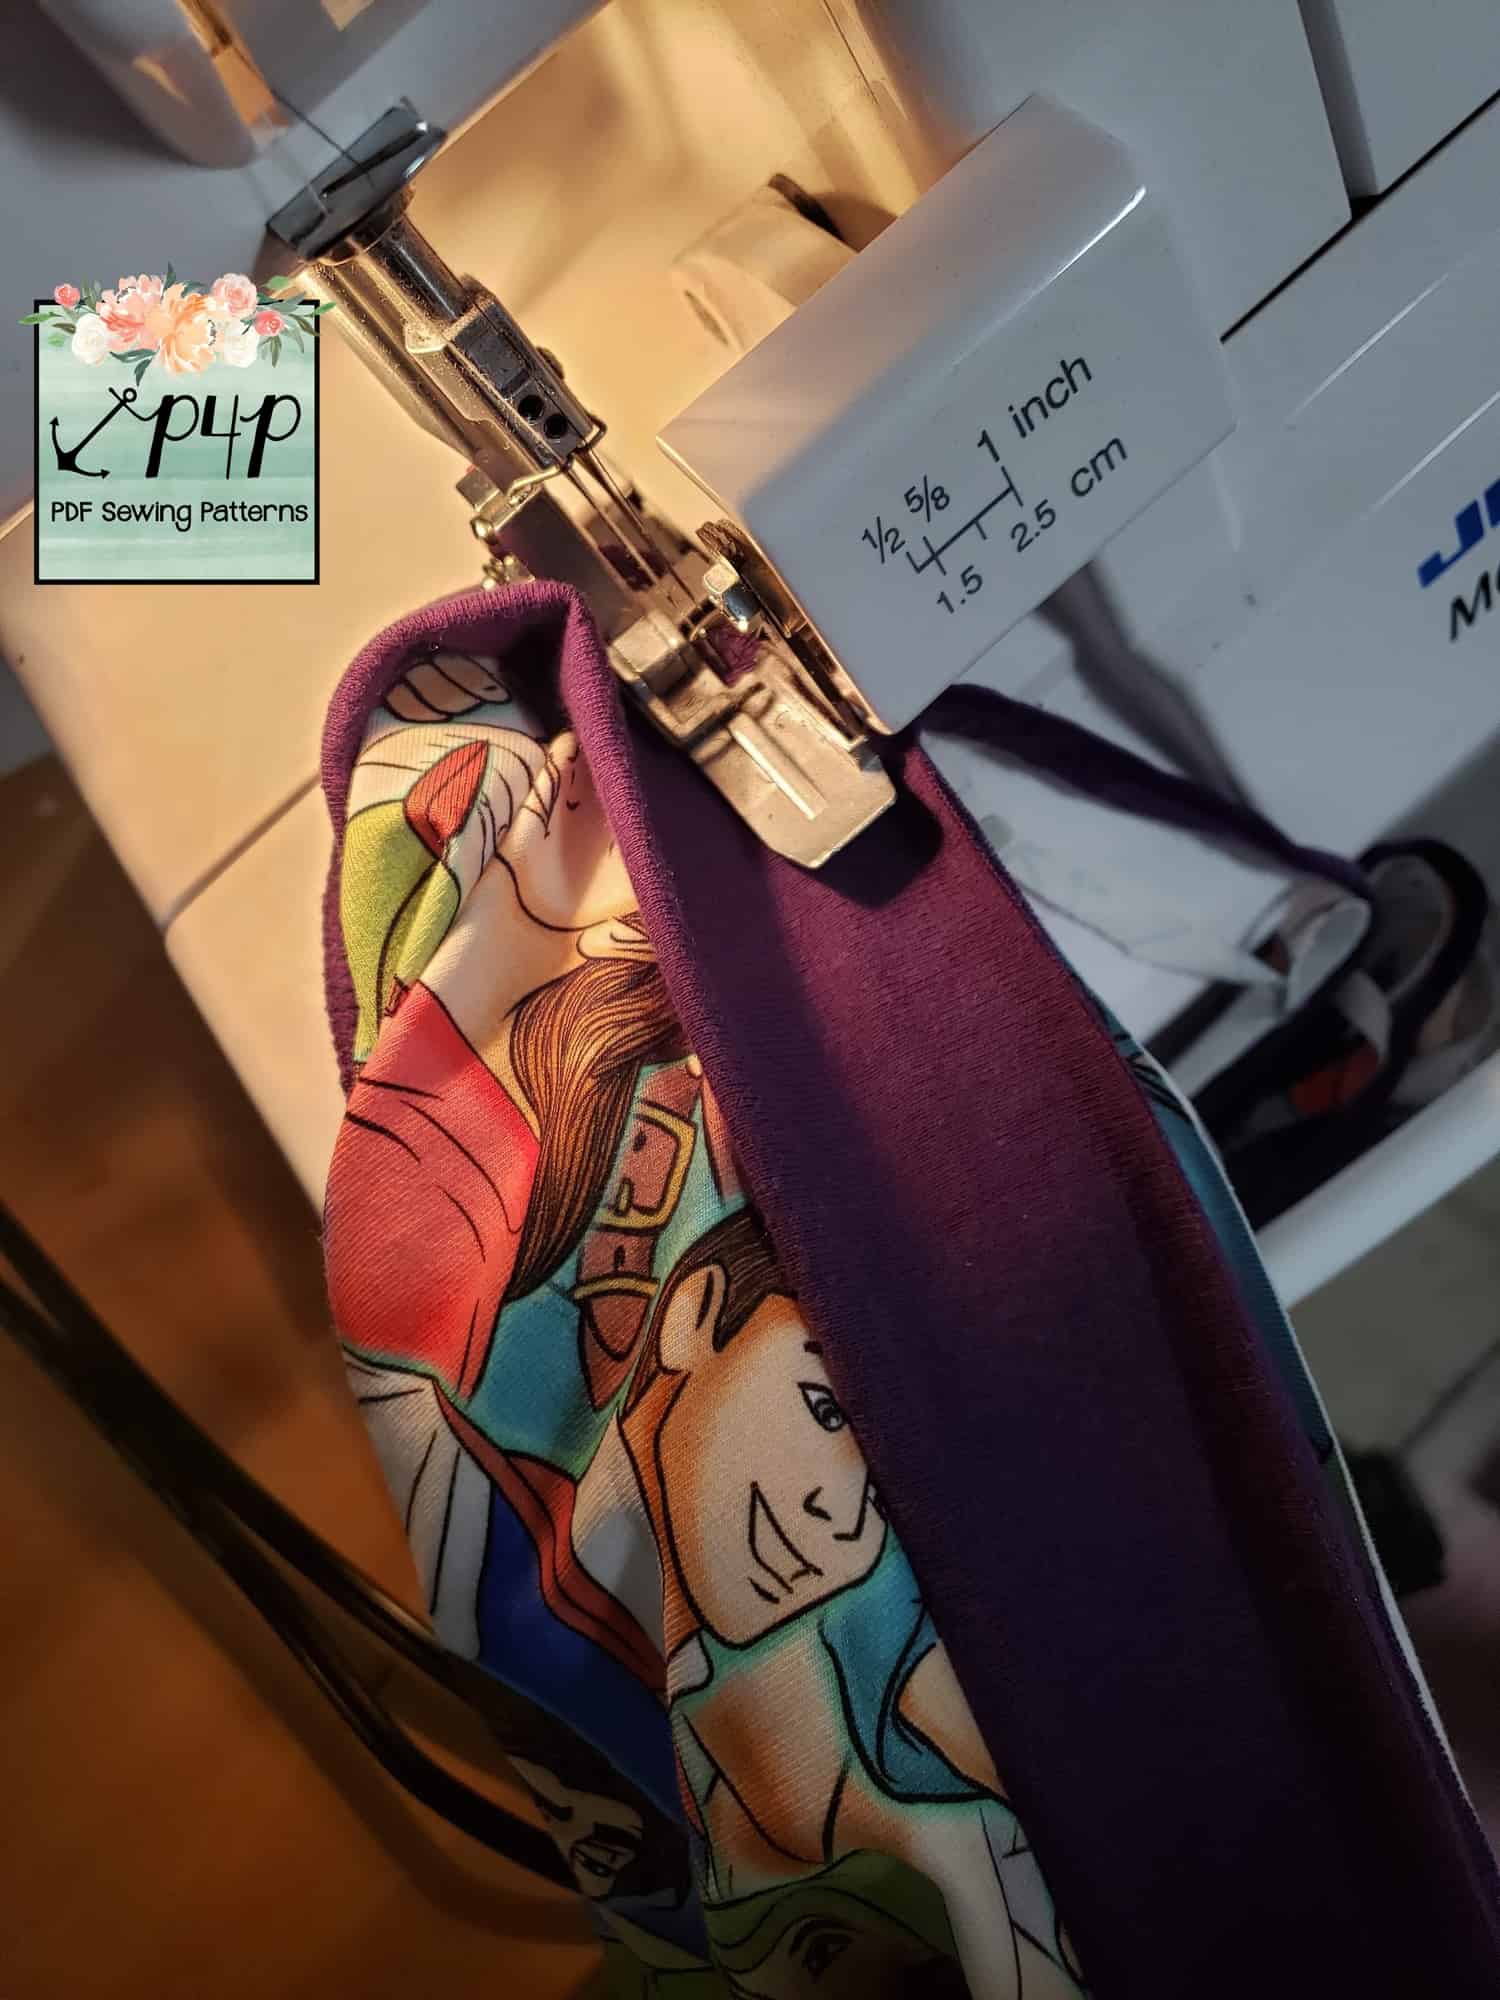
Sew the band on, top stitch if desired.
Now you have a knit and Fierce undies! 


…..

Undies with picot lace

Nicole will show us how to add picot trim to the leg opening soon!

…..

Bra with knit biding
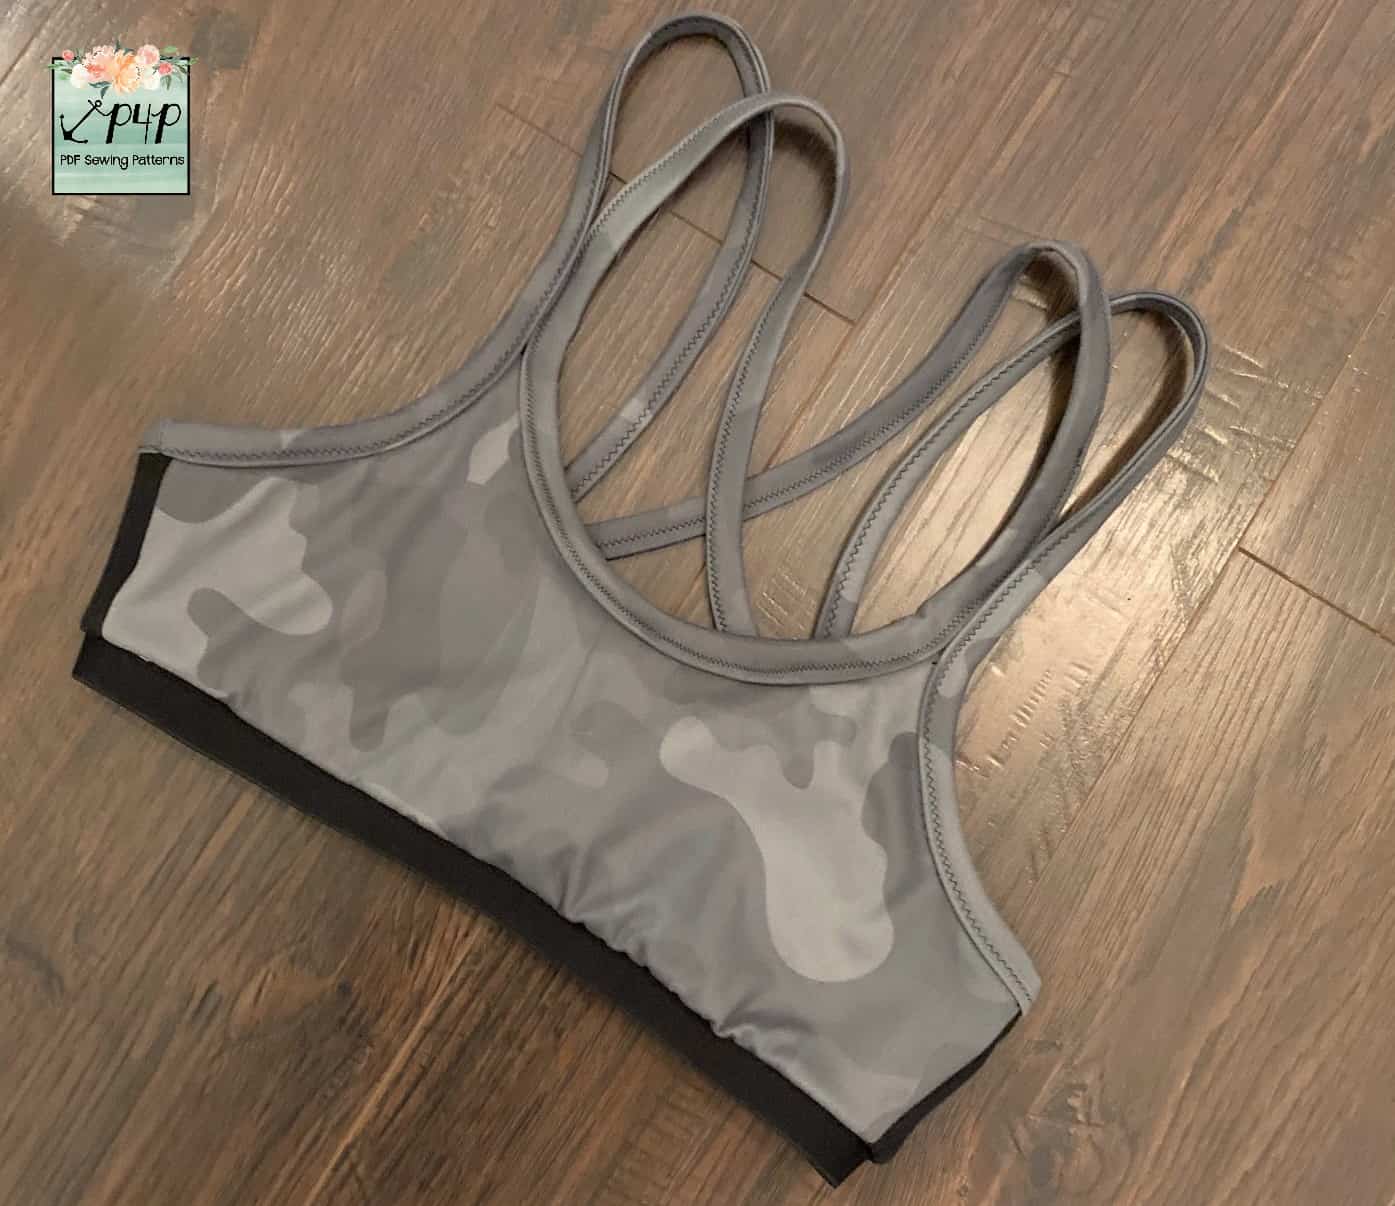
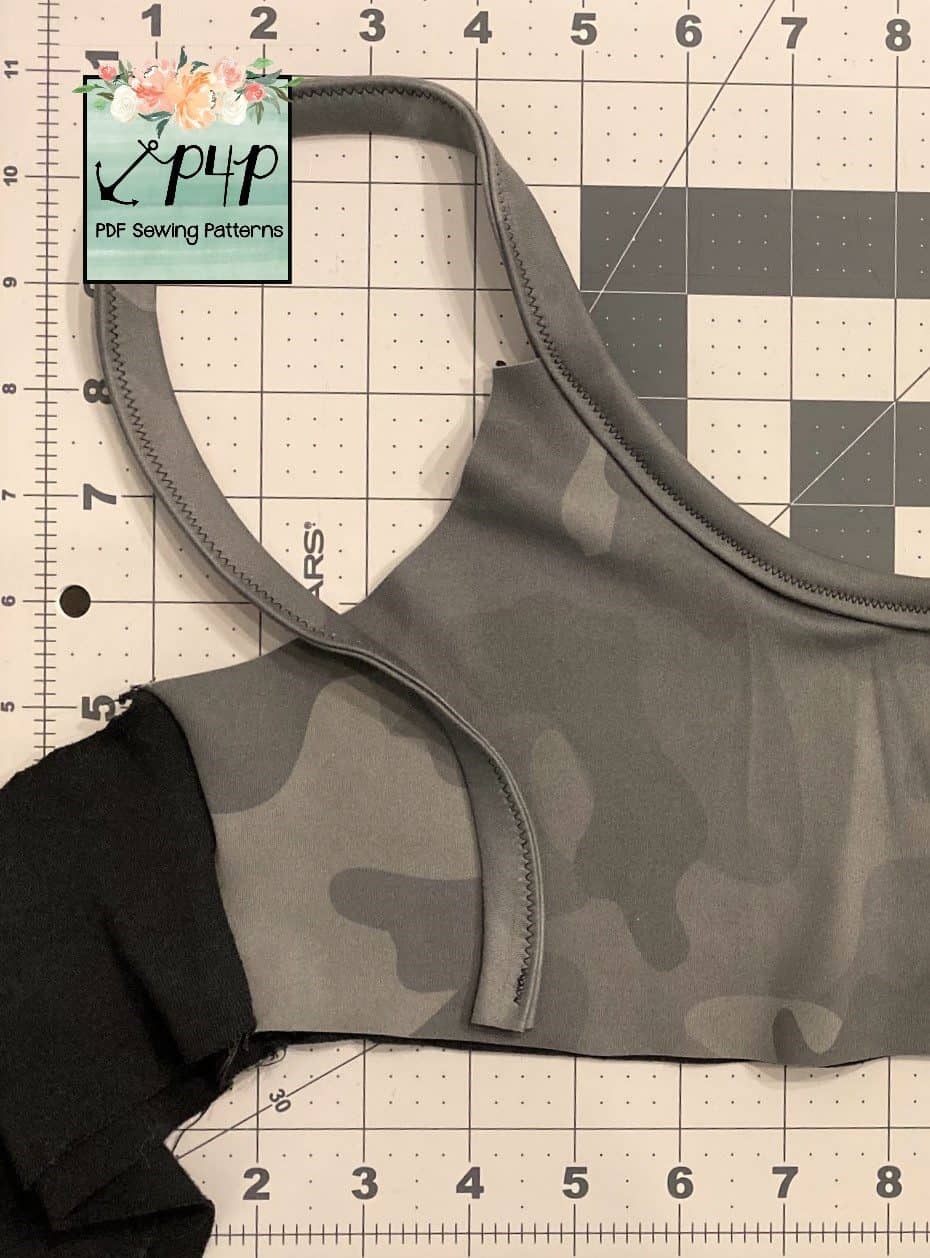
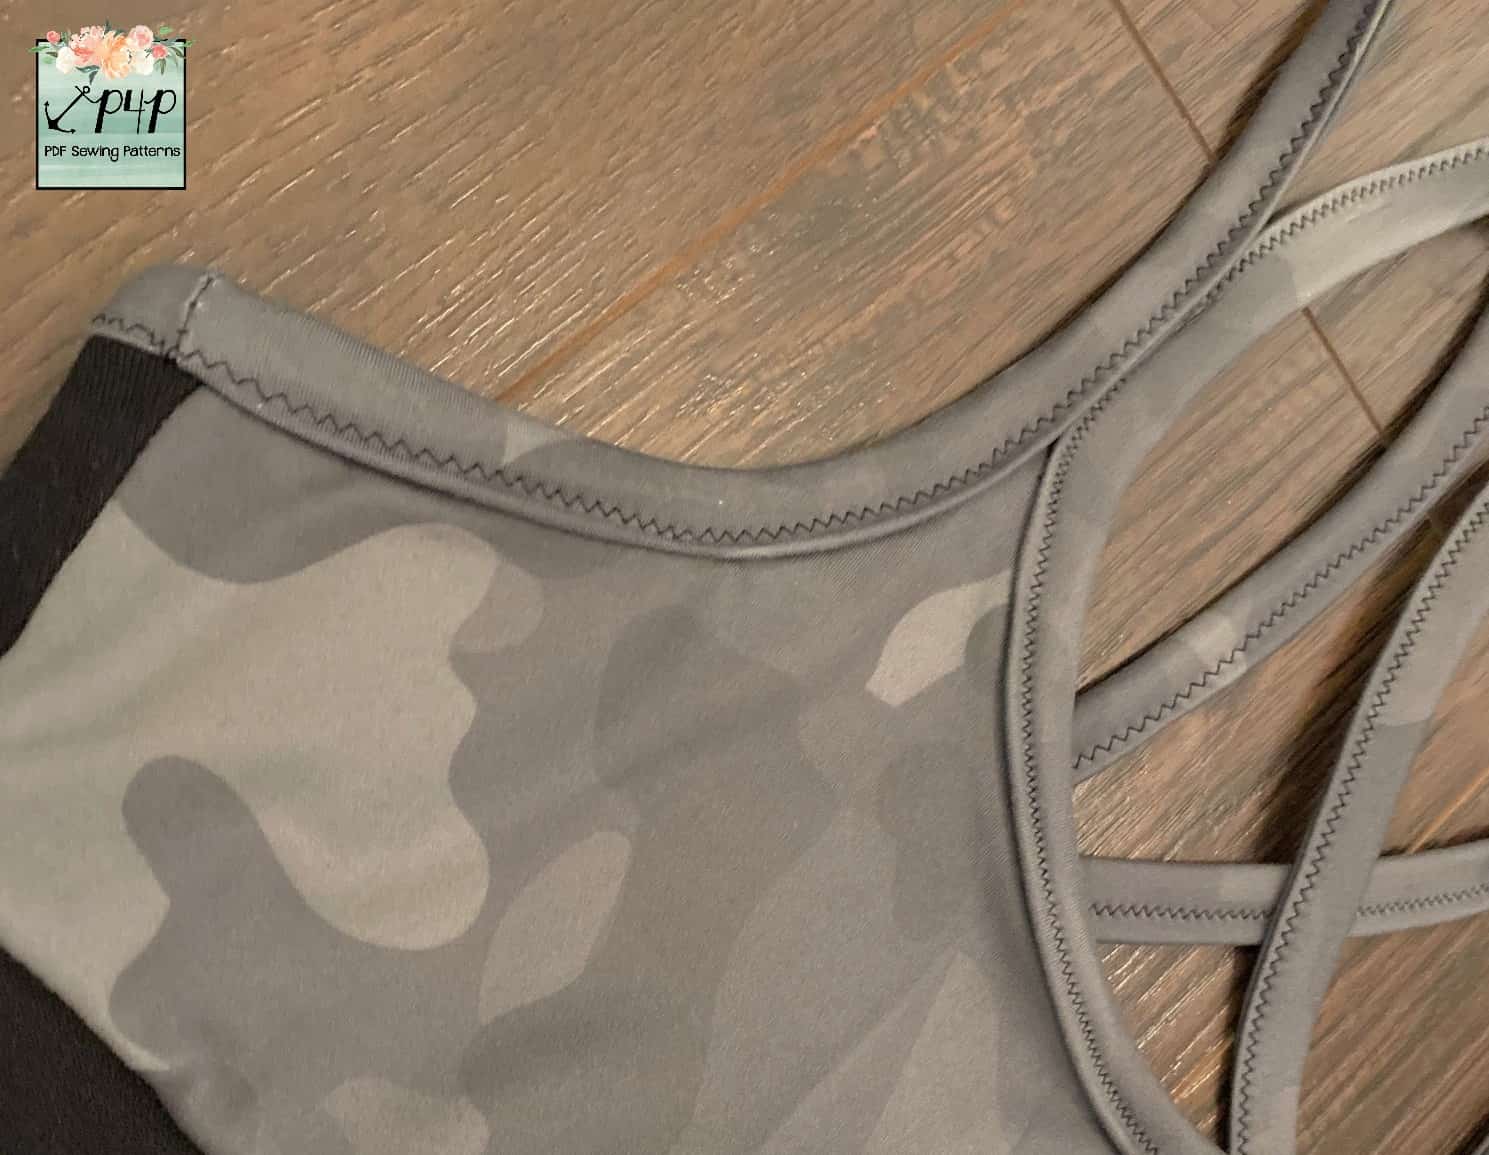
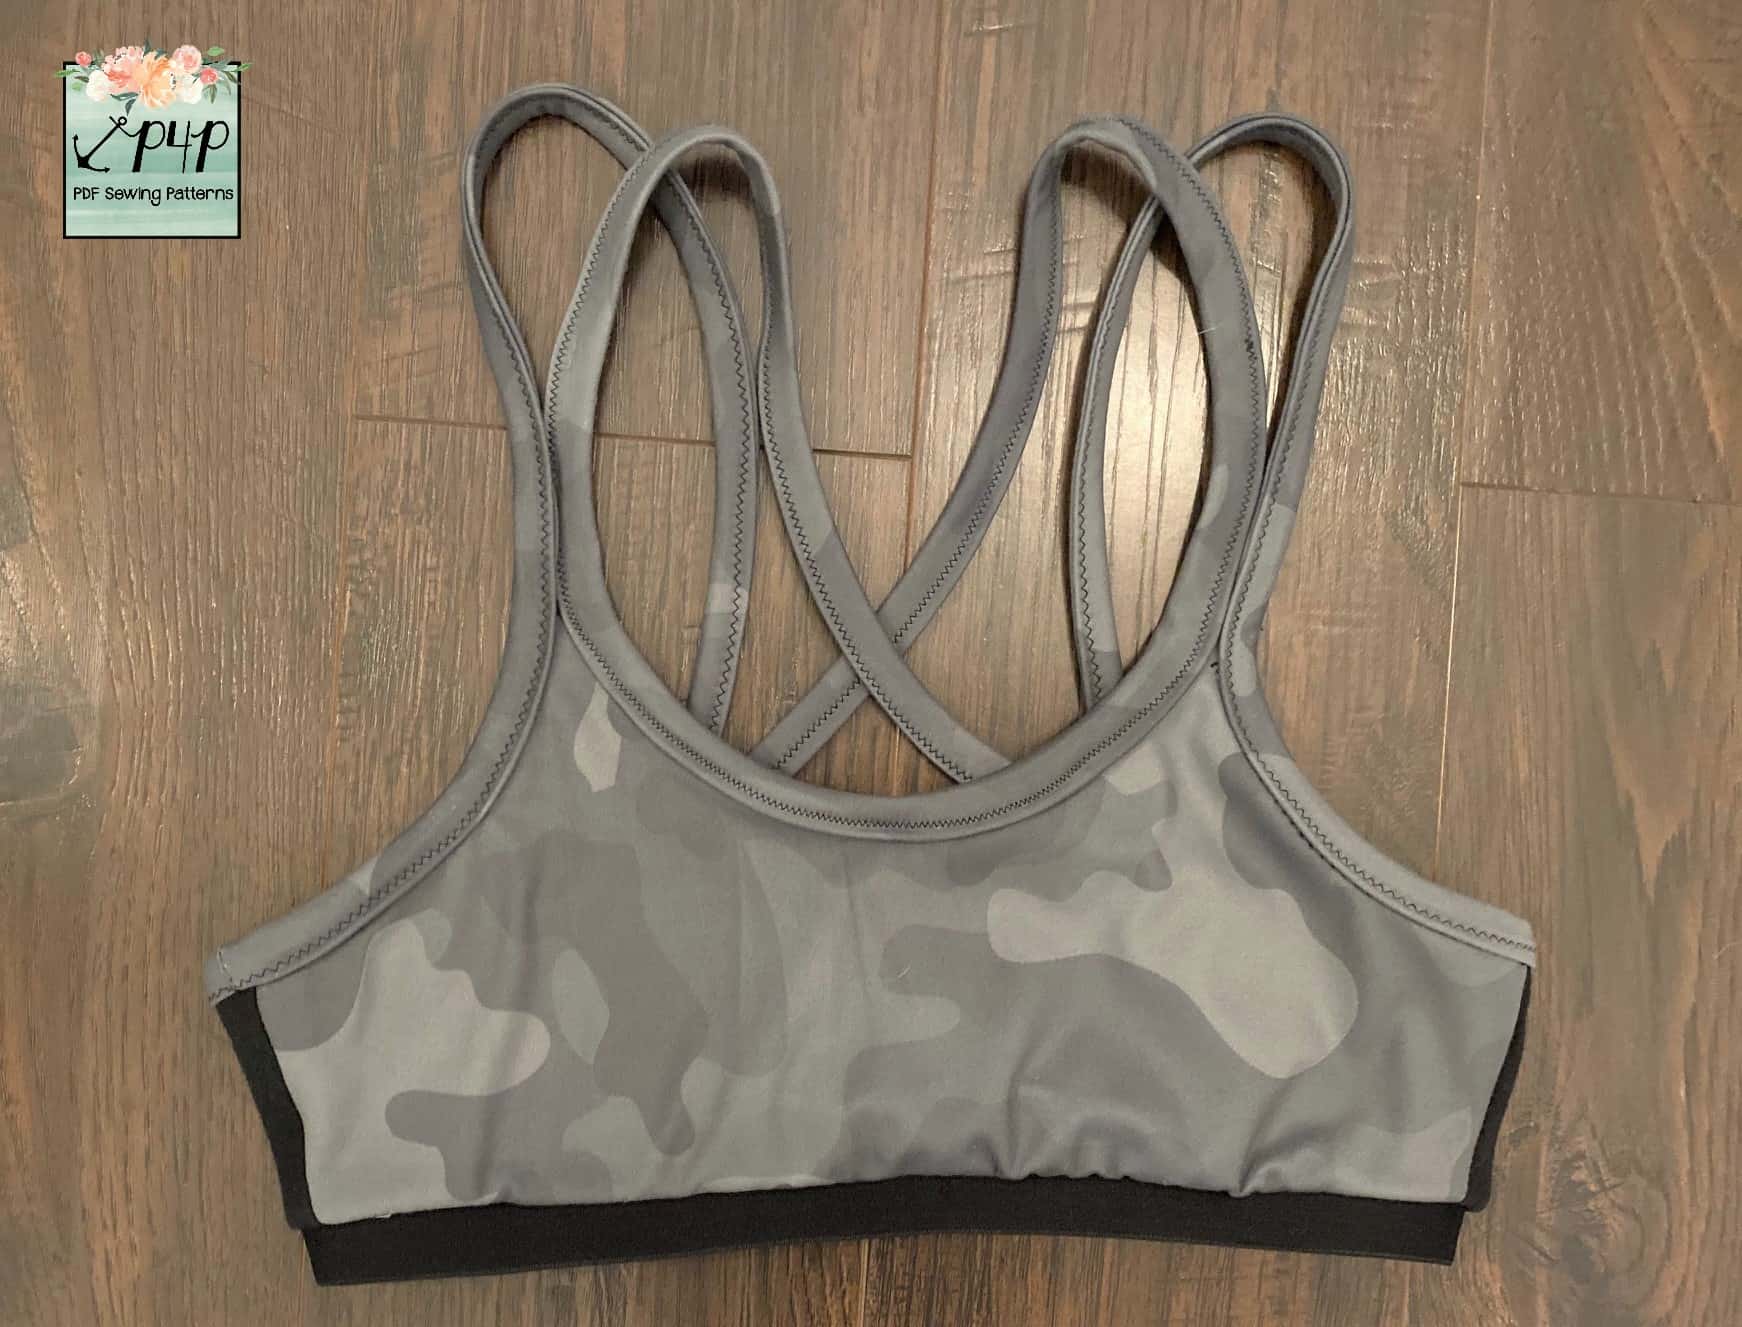
For this hack, we will be using knit to create a binding instead of fold over elastic (FOE). This is a a great hack to use if you don’t have any FOE on hand or if you want your binding to be a cute print or exact match of one of your fabrics.
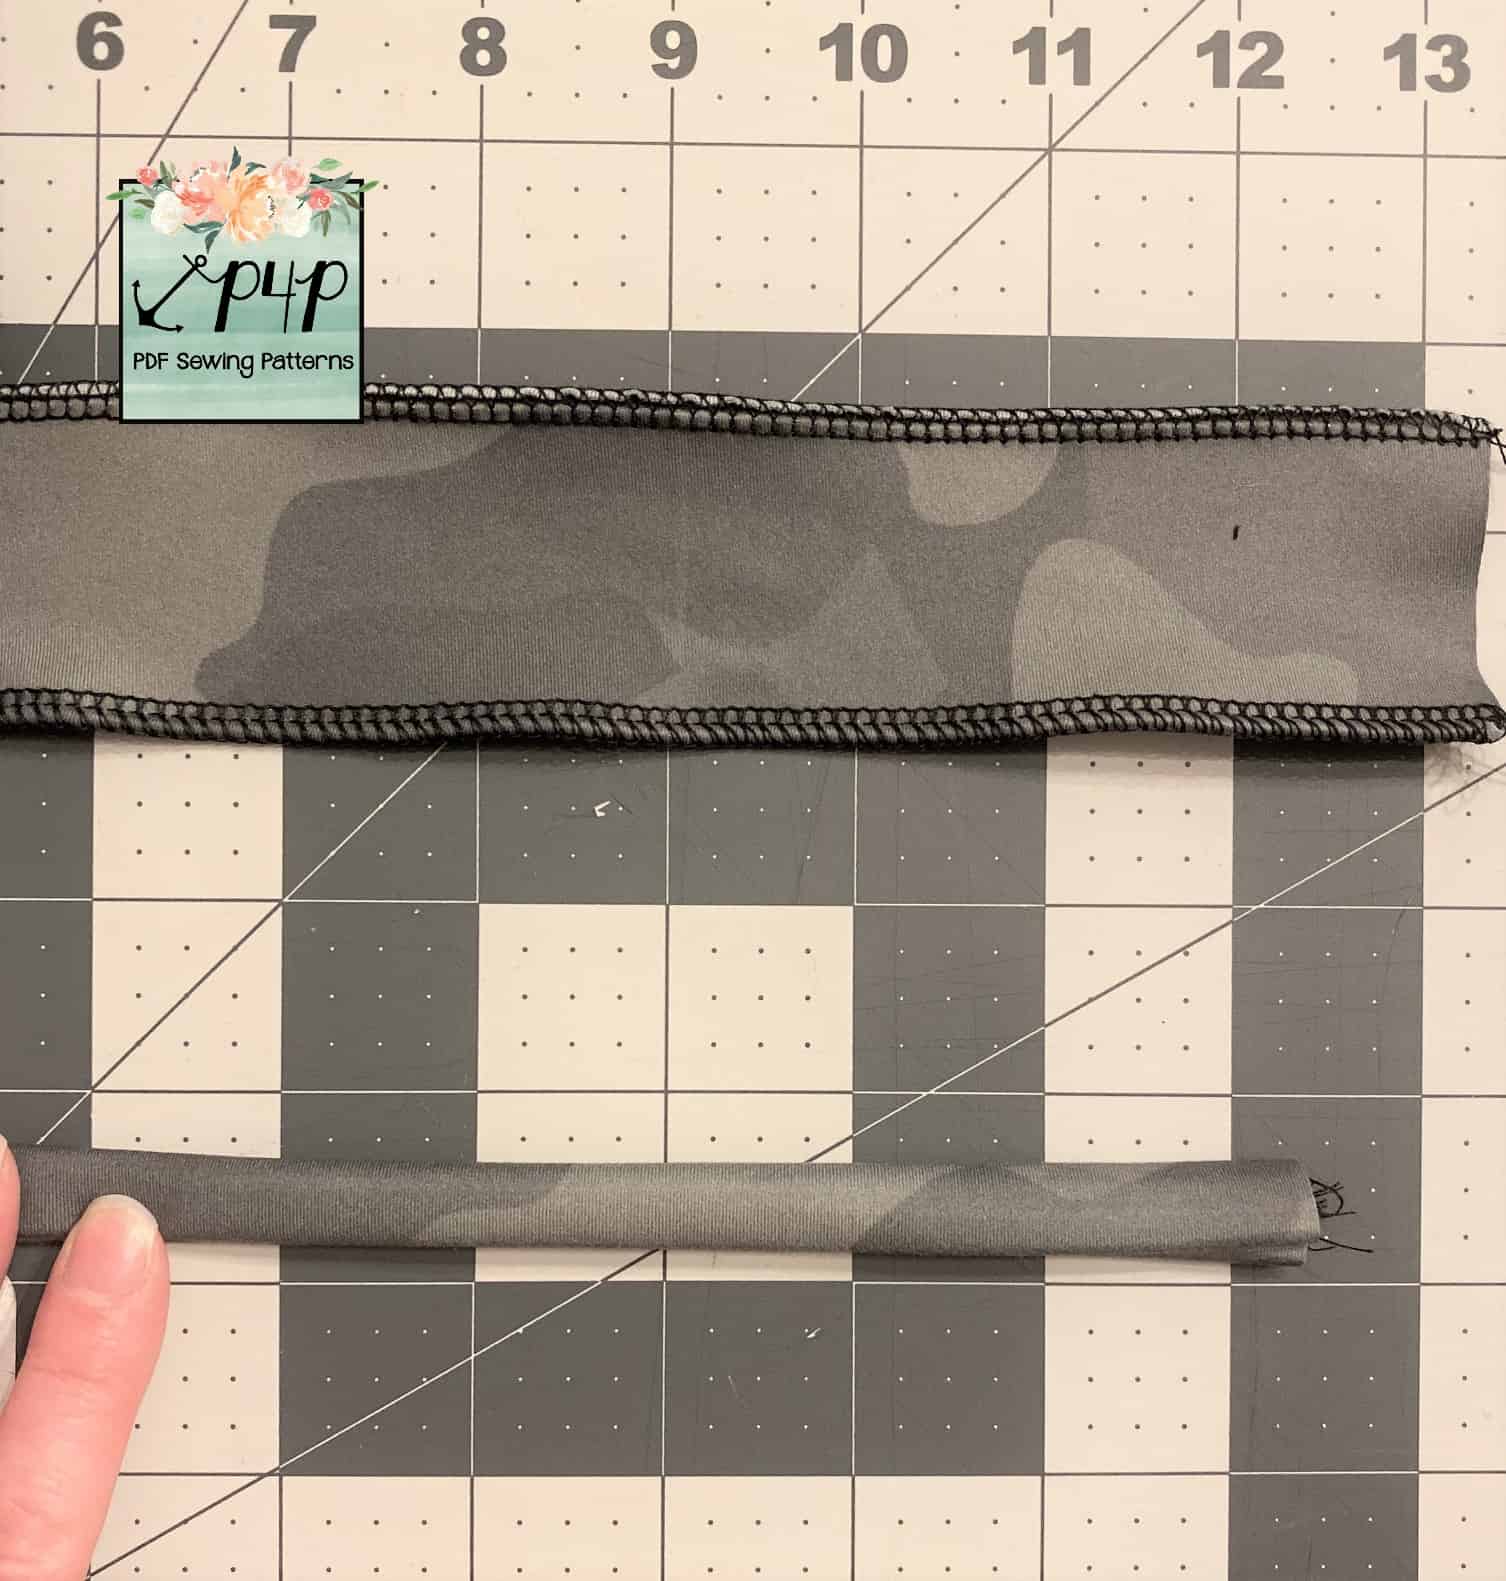
To get started, cut out the three 2” strap pieces using the width measurements as indicated in the elastic cut chart according to your size. Optional: serge along the long edges for additional stability. Then, press all three binding pieces into 1/2” strips: Fold pieces in half, press, open back up, then bring raw edges to meet at the center crease, press, fold in half, press.
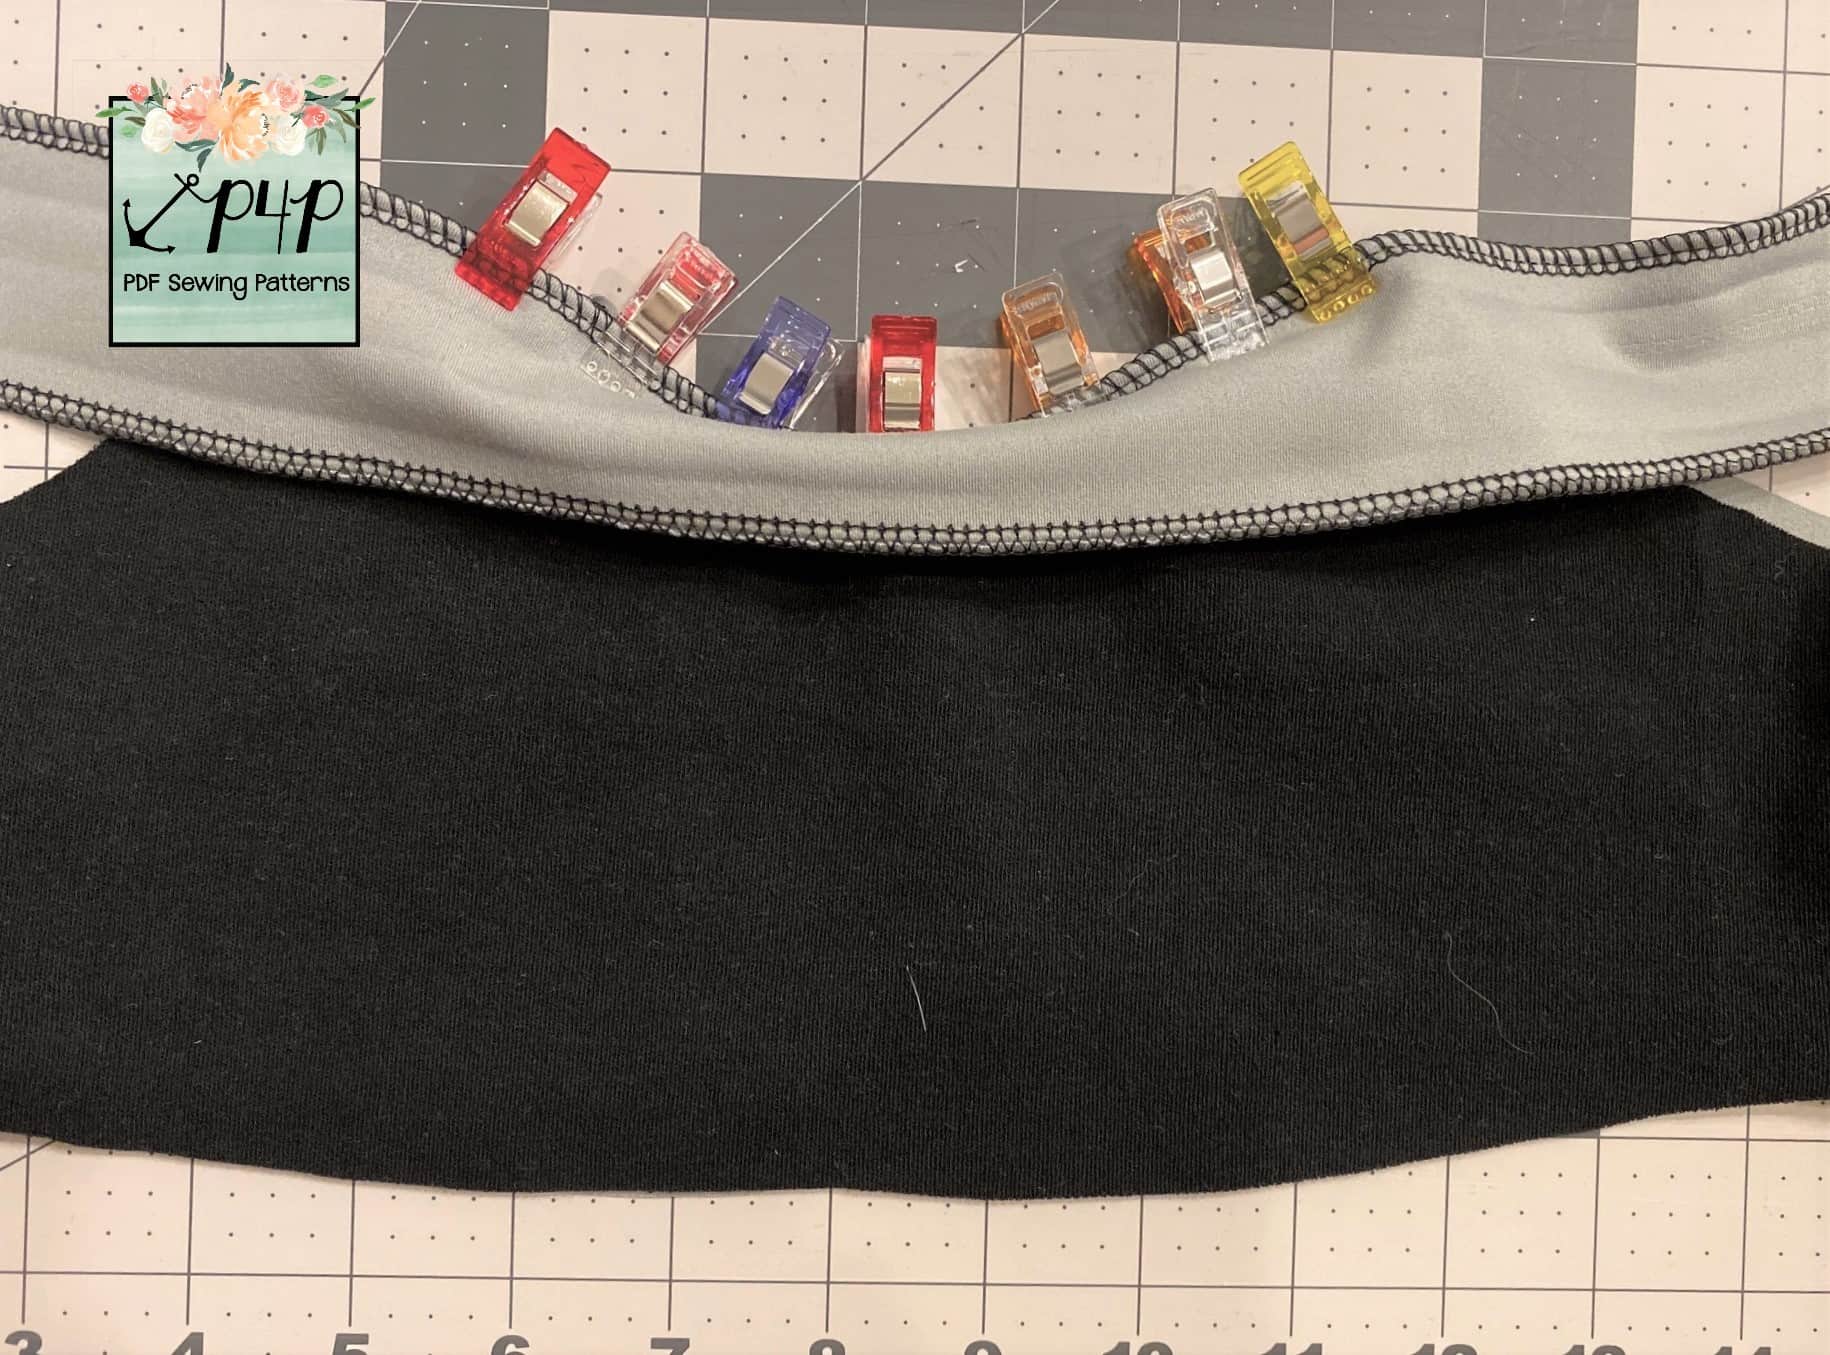
Open up your binding neckline piece, match the center point of binding (right side) to the center point of the neckline (lining side). Stretching slightly, stitch along the neckline using a stretch stitch and a 1/2” seam allowance (along the first crease).
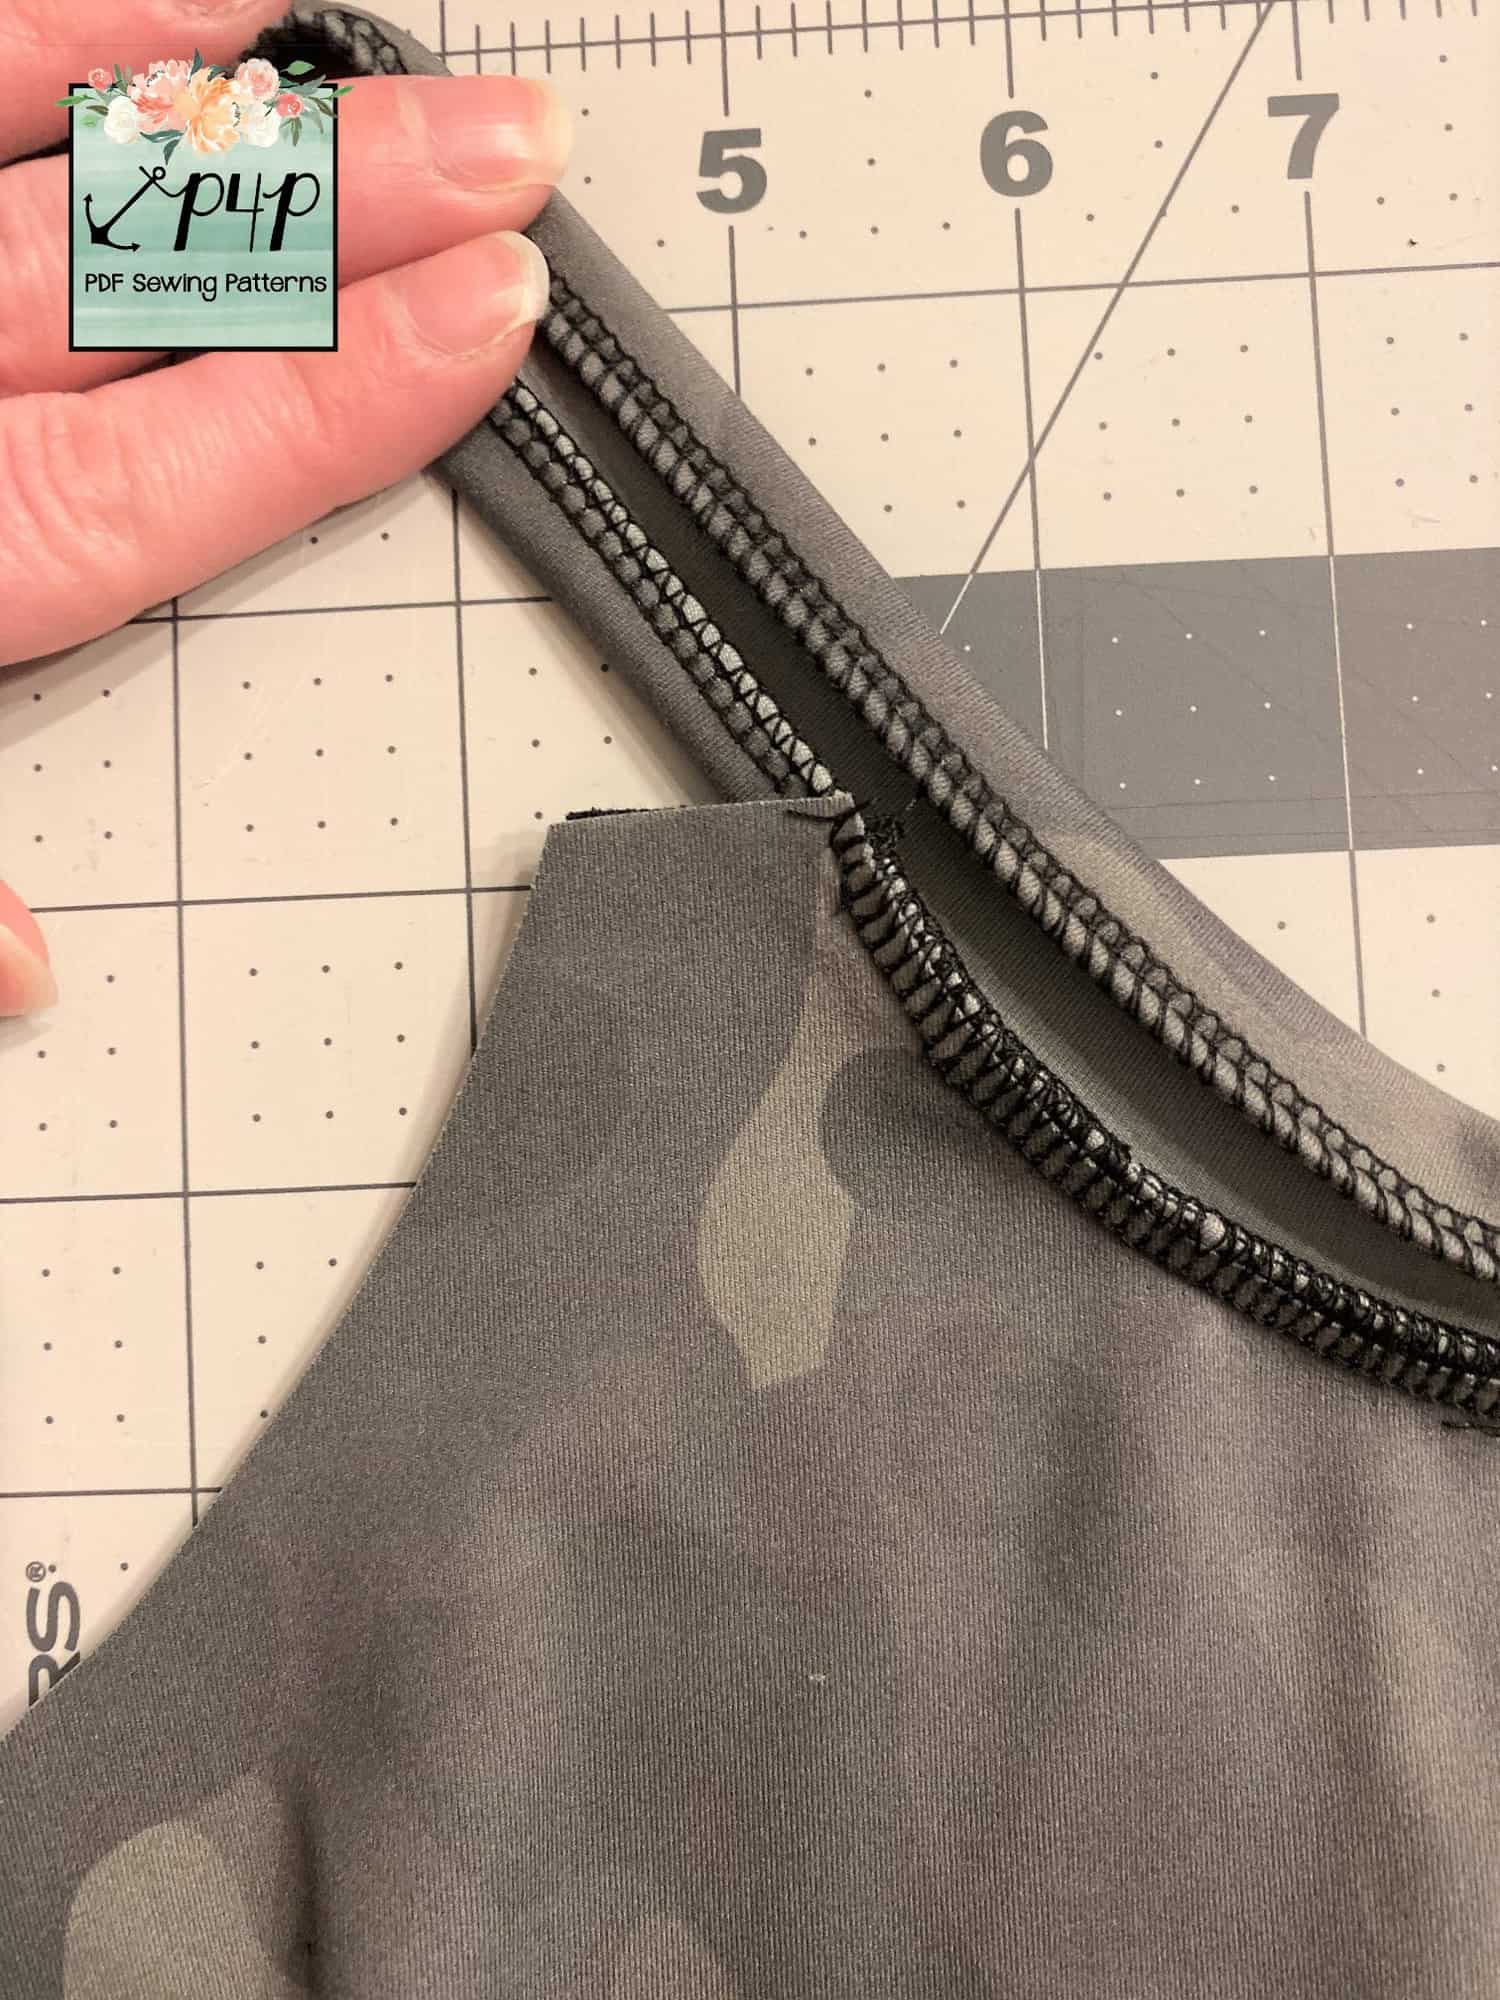
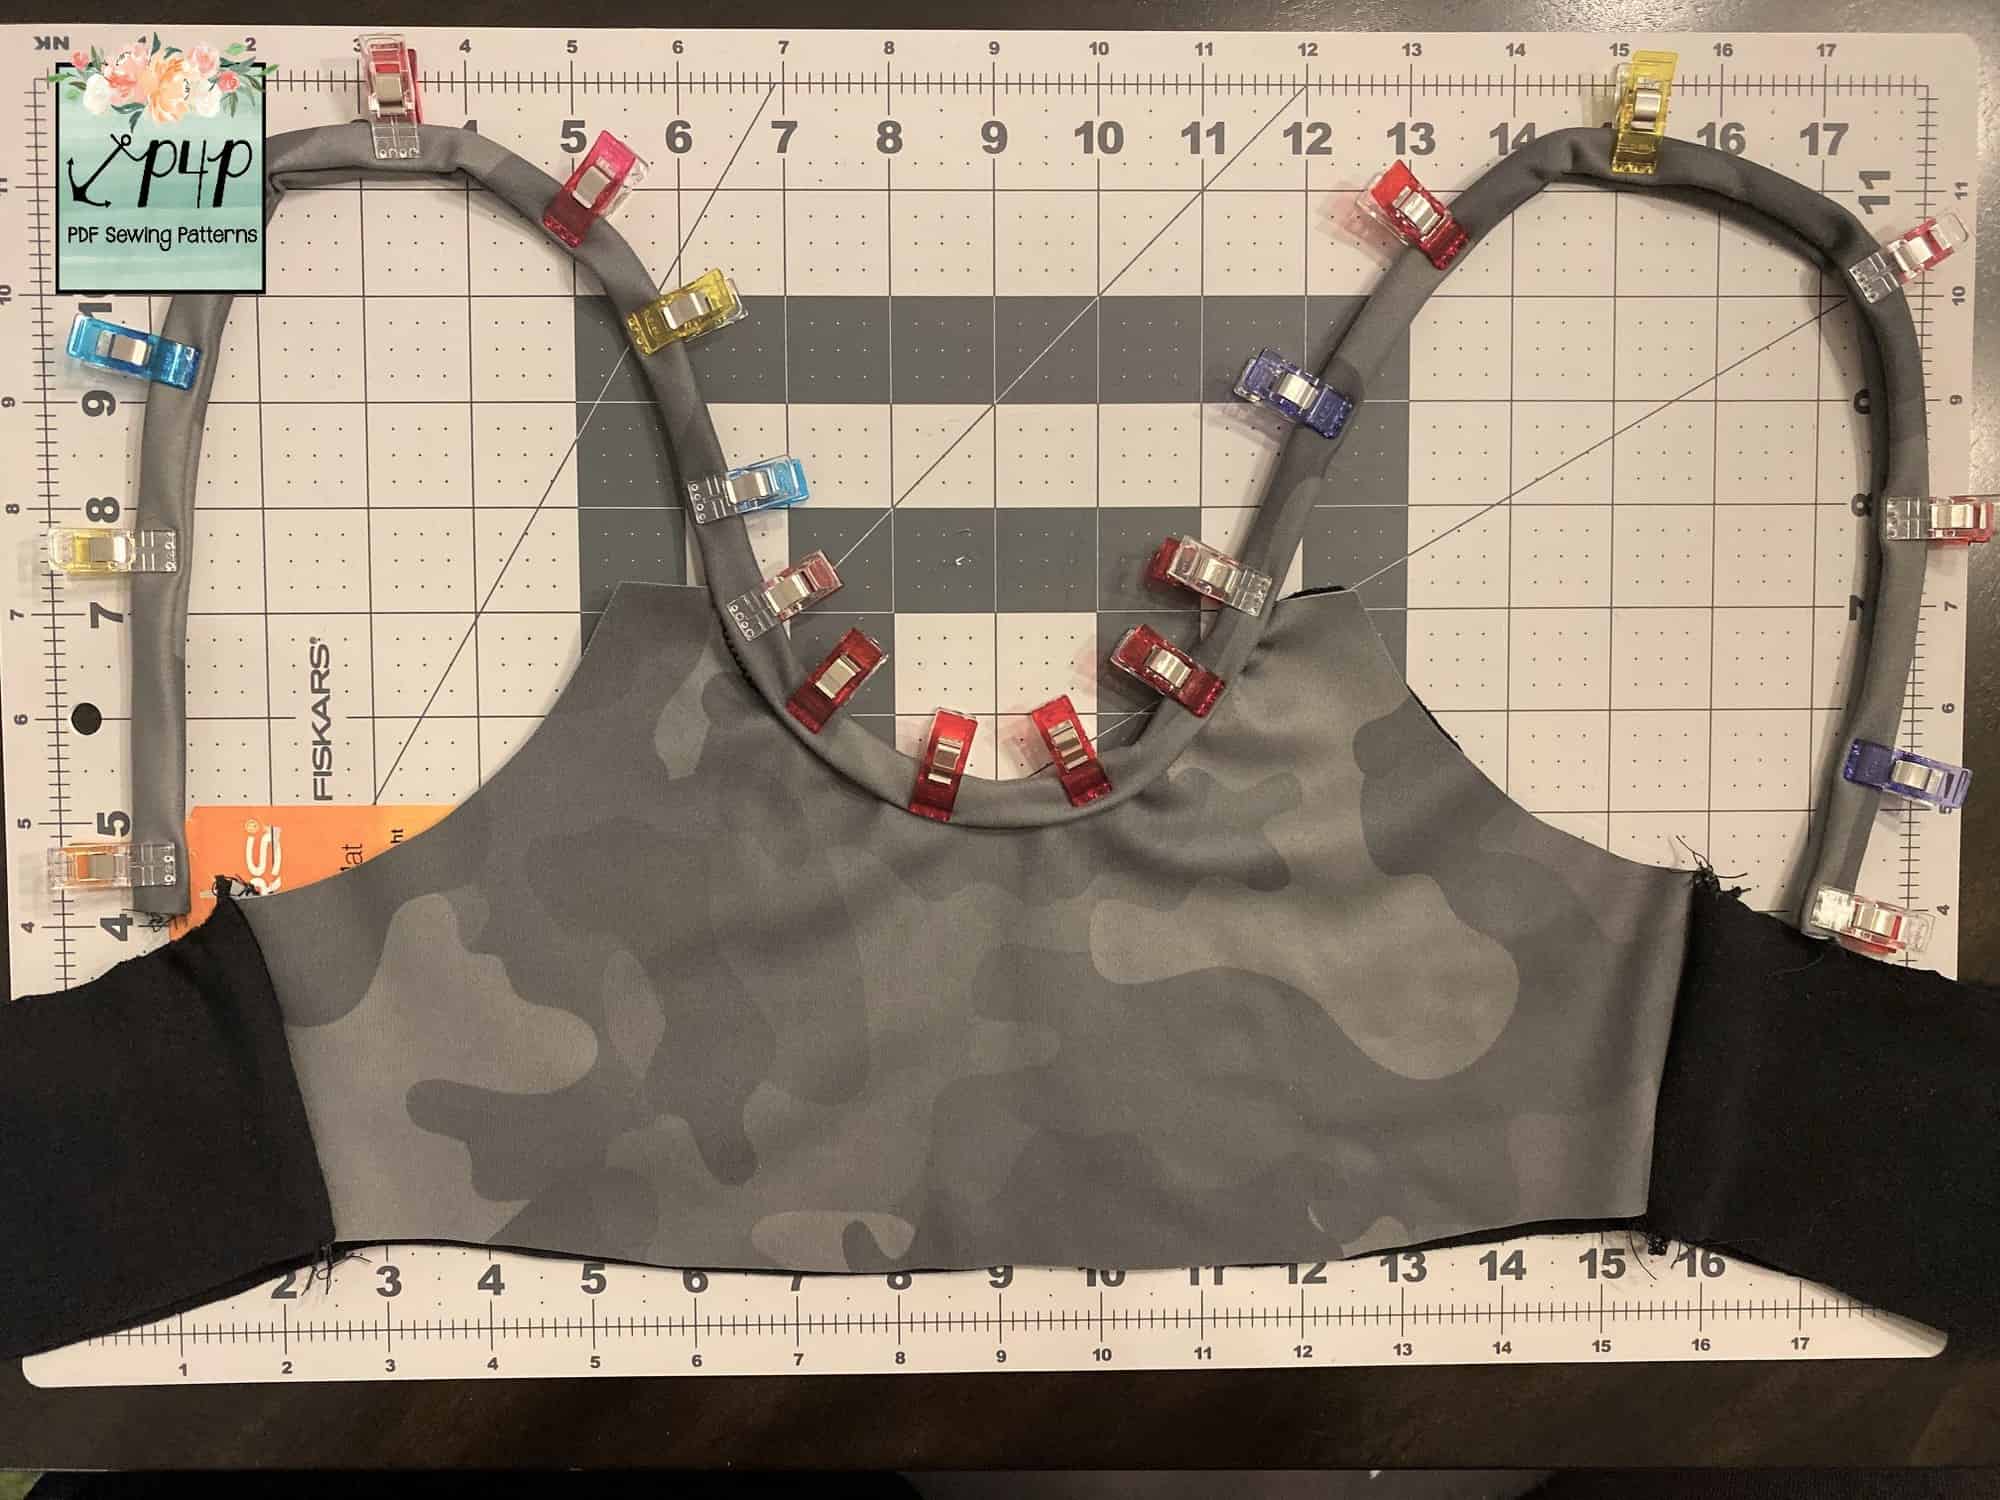
Finger press binding and seam allowance up, then re-fold the binding in the same manner as done previously to get a 1/2″ strip. Re-fold the entire strip to form your straps and pin/clip in place. Stitch using a stretch stitch along the entire binding to close and finish the binding/straps.
     
Continue with pattern instructions for construction. Repeat binding steps with outside straps: be sure your binding pieces are open before stitching the ends together when getting started on the outside straps.
 
and now you have your own custom knit binding! <3
(bra pictured has elastic band attached differently than pattern)
Lacy

…..

Youth bra with cups

My daughter is getting to be that age that she wants just a bit more coverage and loves all her ready to wear sports bras that come with padded cups. The first thing that she asked me about the new fierce bra is if it had cups and I said no but not to worry I could add them for her.  This hack is super easy and the construction does not change at all!  Let’s get started!

First we are going to trace off our front piece, next we need to create an opening for our cups to slide into.  I used my french curve but you can certainly free hand a curve similar to what I have shown here.  I just estimated how big to make it, it does not need to be to big, you want to be able to easily slide a cup in and out of it.  Next cut away the line you drew on your piece, this will now be your lining piece. You will cut one main front and one lining from your newly created piece.
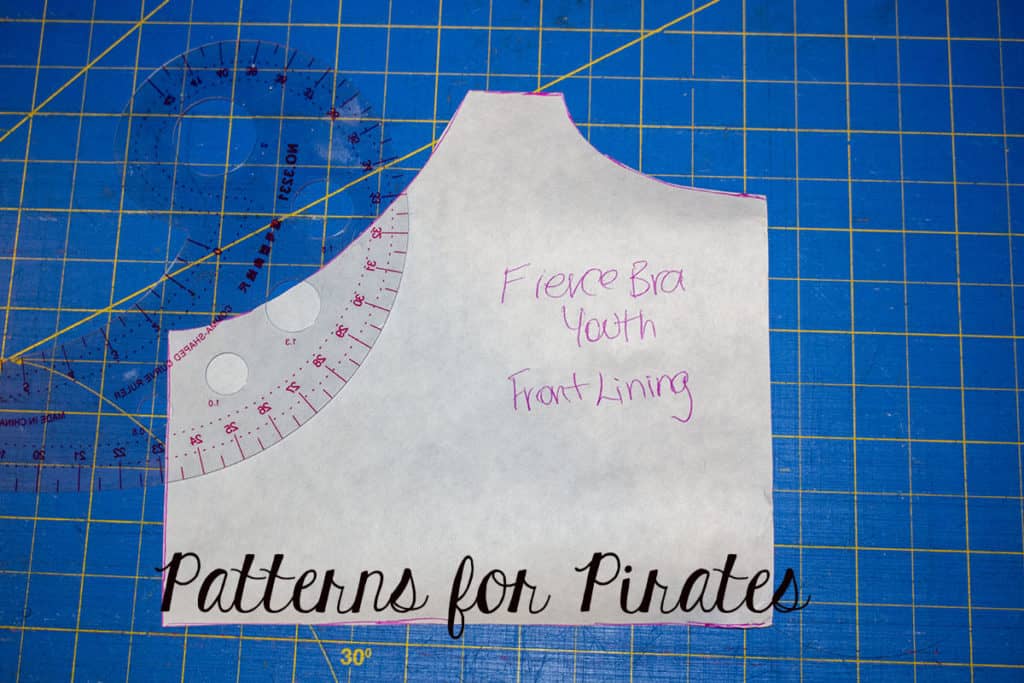
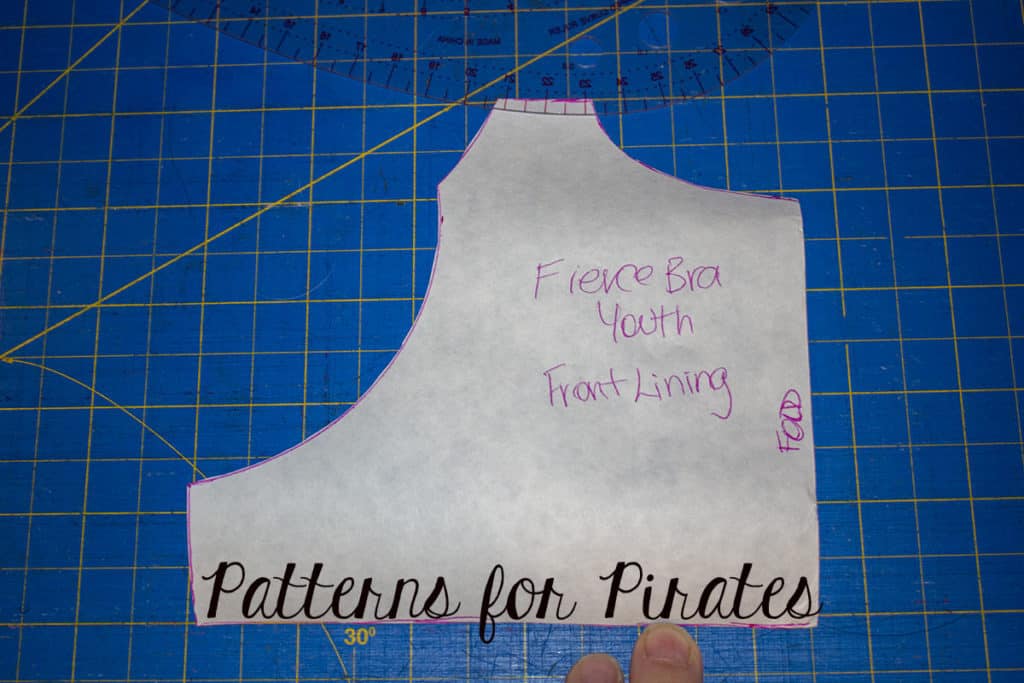
Your construction will stay exactly the same, you will just have the curves in your lining piece.  I choose not to finish the edges of my curves as I was using a really nice quality athletic fabric but you can always finish that edge with your serger or with a narrow hem on your sewing machine.  Once finished you will be able to slide in cups, I just grabbed a set from my daughters ready to wear bras but you can also buy bra cups and cut them down to fit.  My daughter is only 10 and really doesn’t need them to add any type of support she just likes the extra coverage so really any cheap cups from Amazon will do the trick and are easy to cut to size.
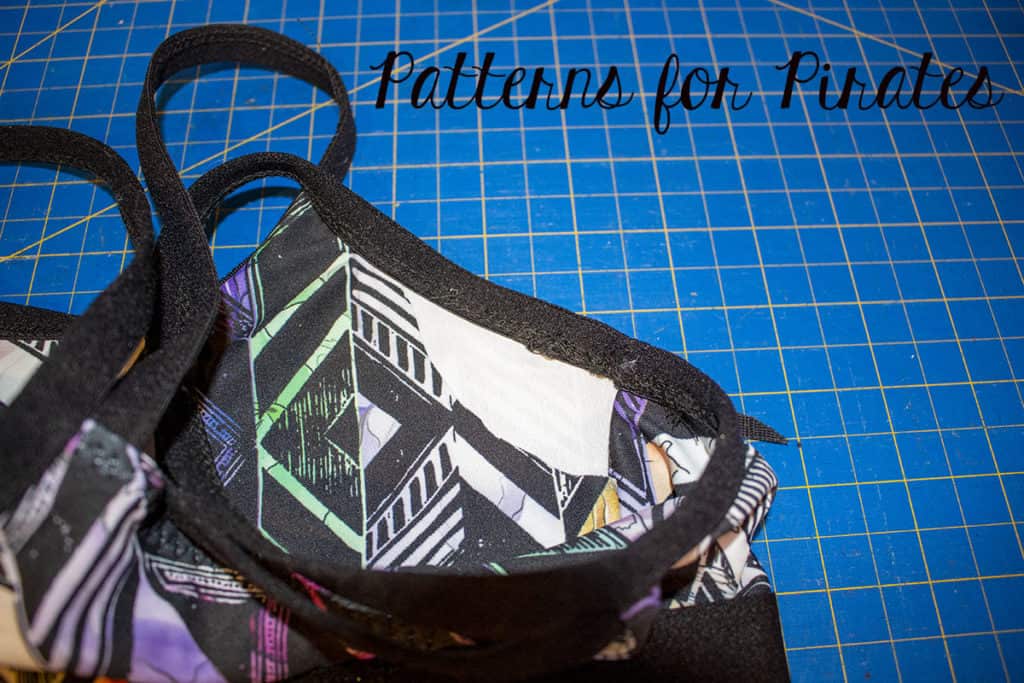
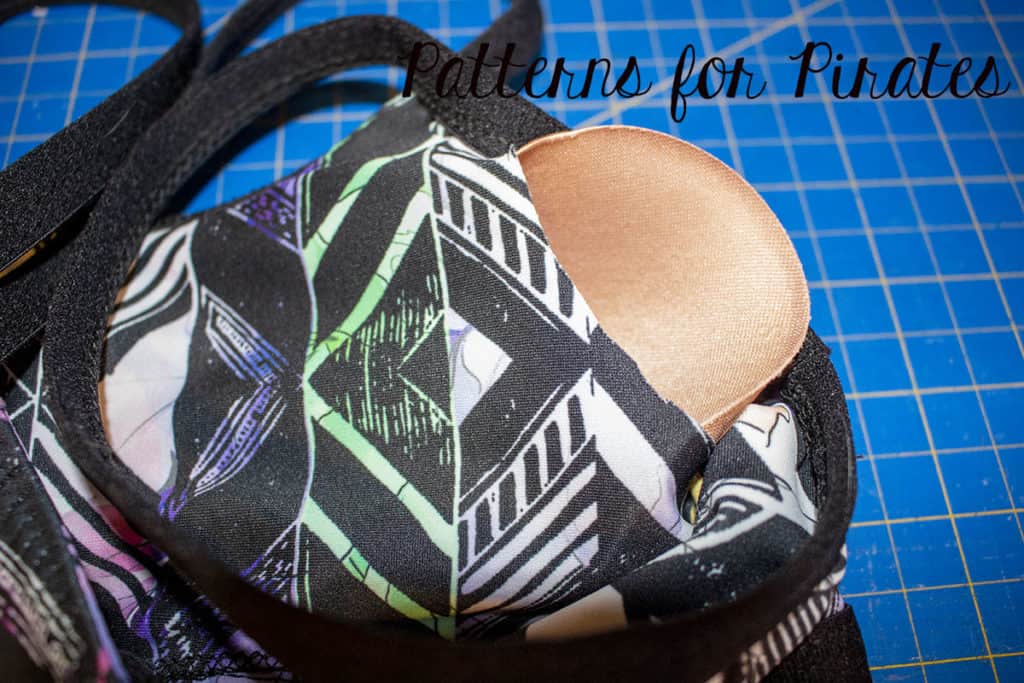
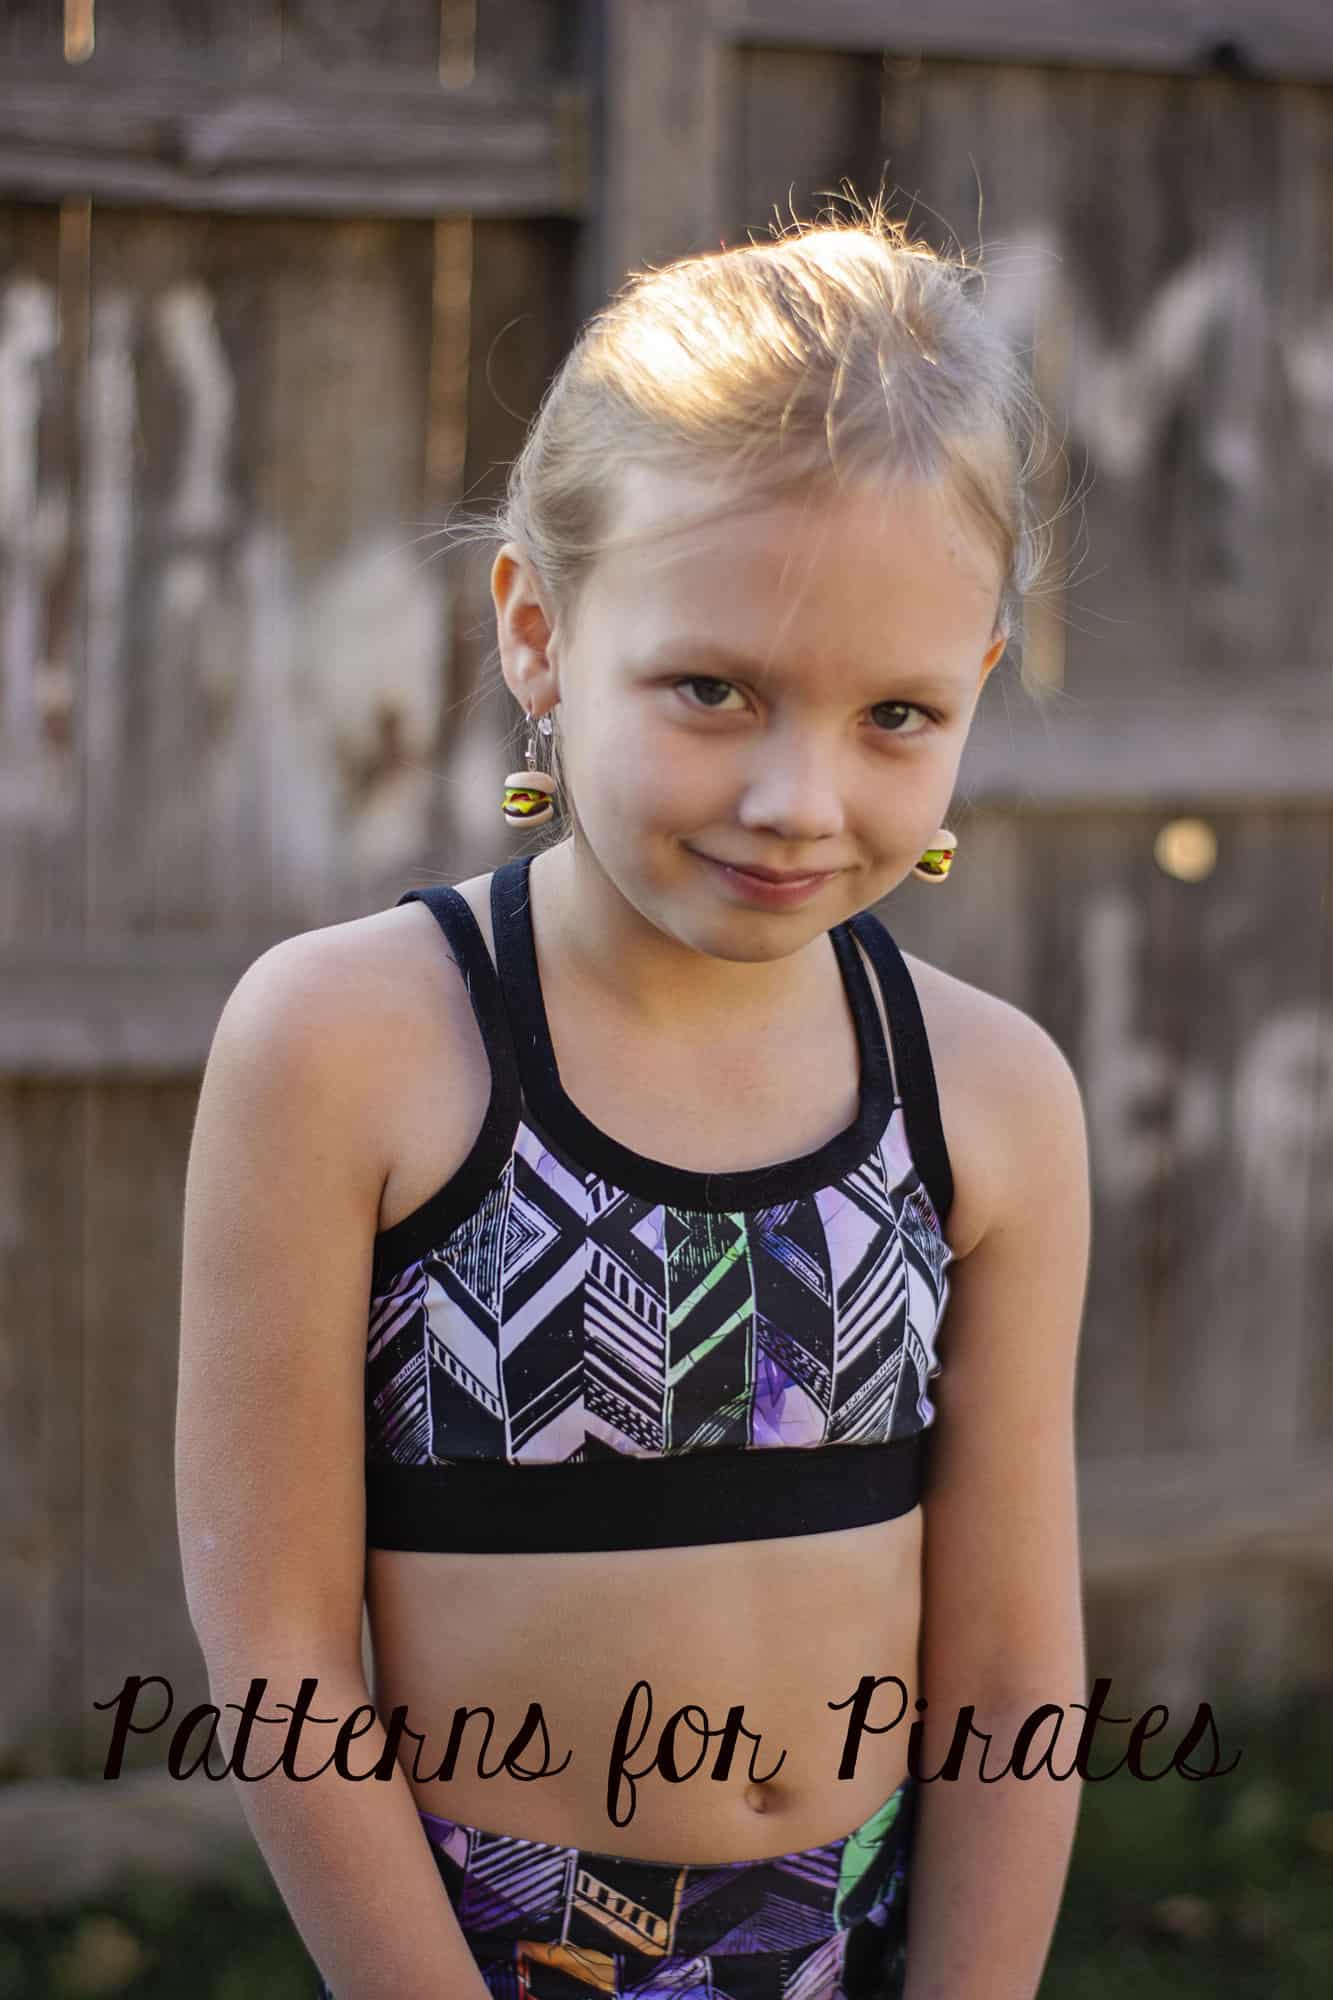
All done and my girl is happy to have a bra made to fit her perfectly

Angela

…..

Undies with lace band
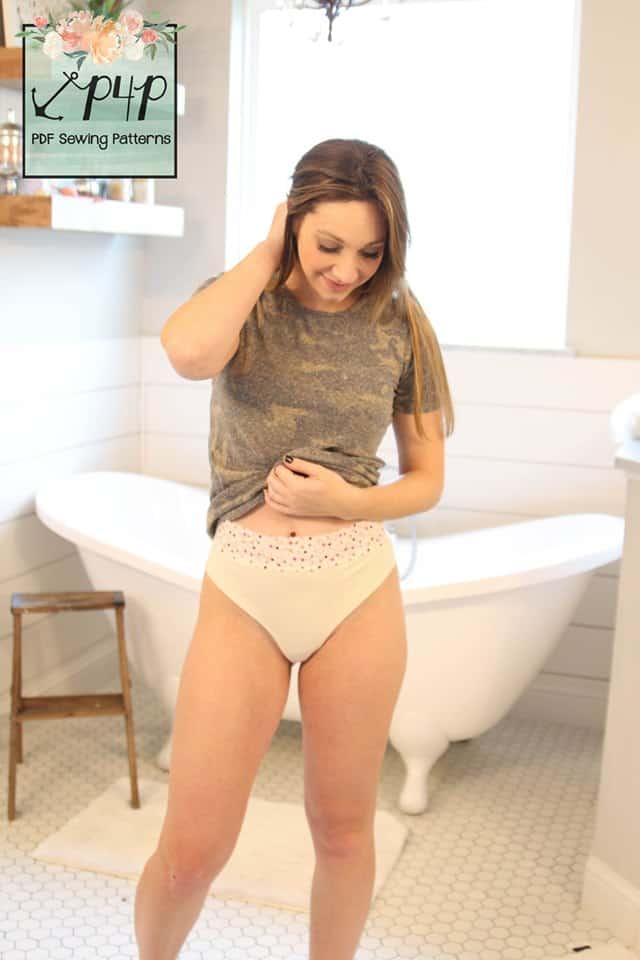
Up next I wanted to show you another way to add a waistband to the Fierce Undies. Instead of the 3/4″-1.5″ waistband elastic you can use stretch lace. I used 1″ for my example but 1.5″ would work beautifully as well. Start by cutting your pattern as instructed but cut stretch lace instead of elastic.
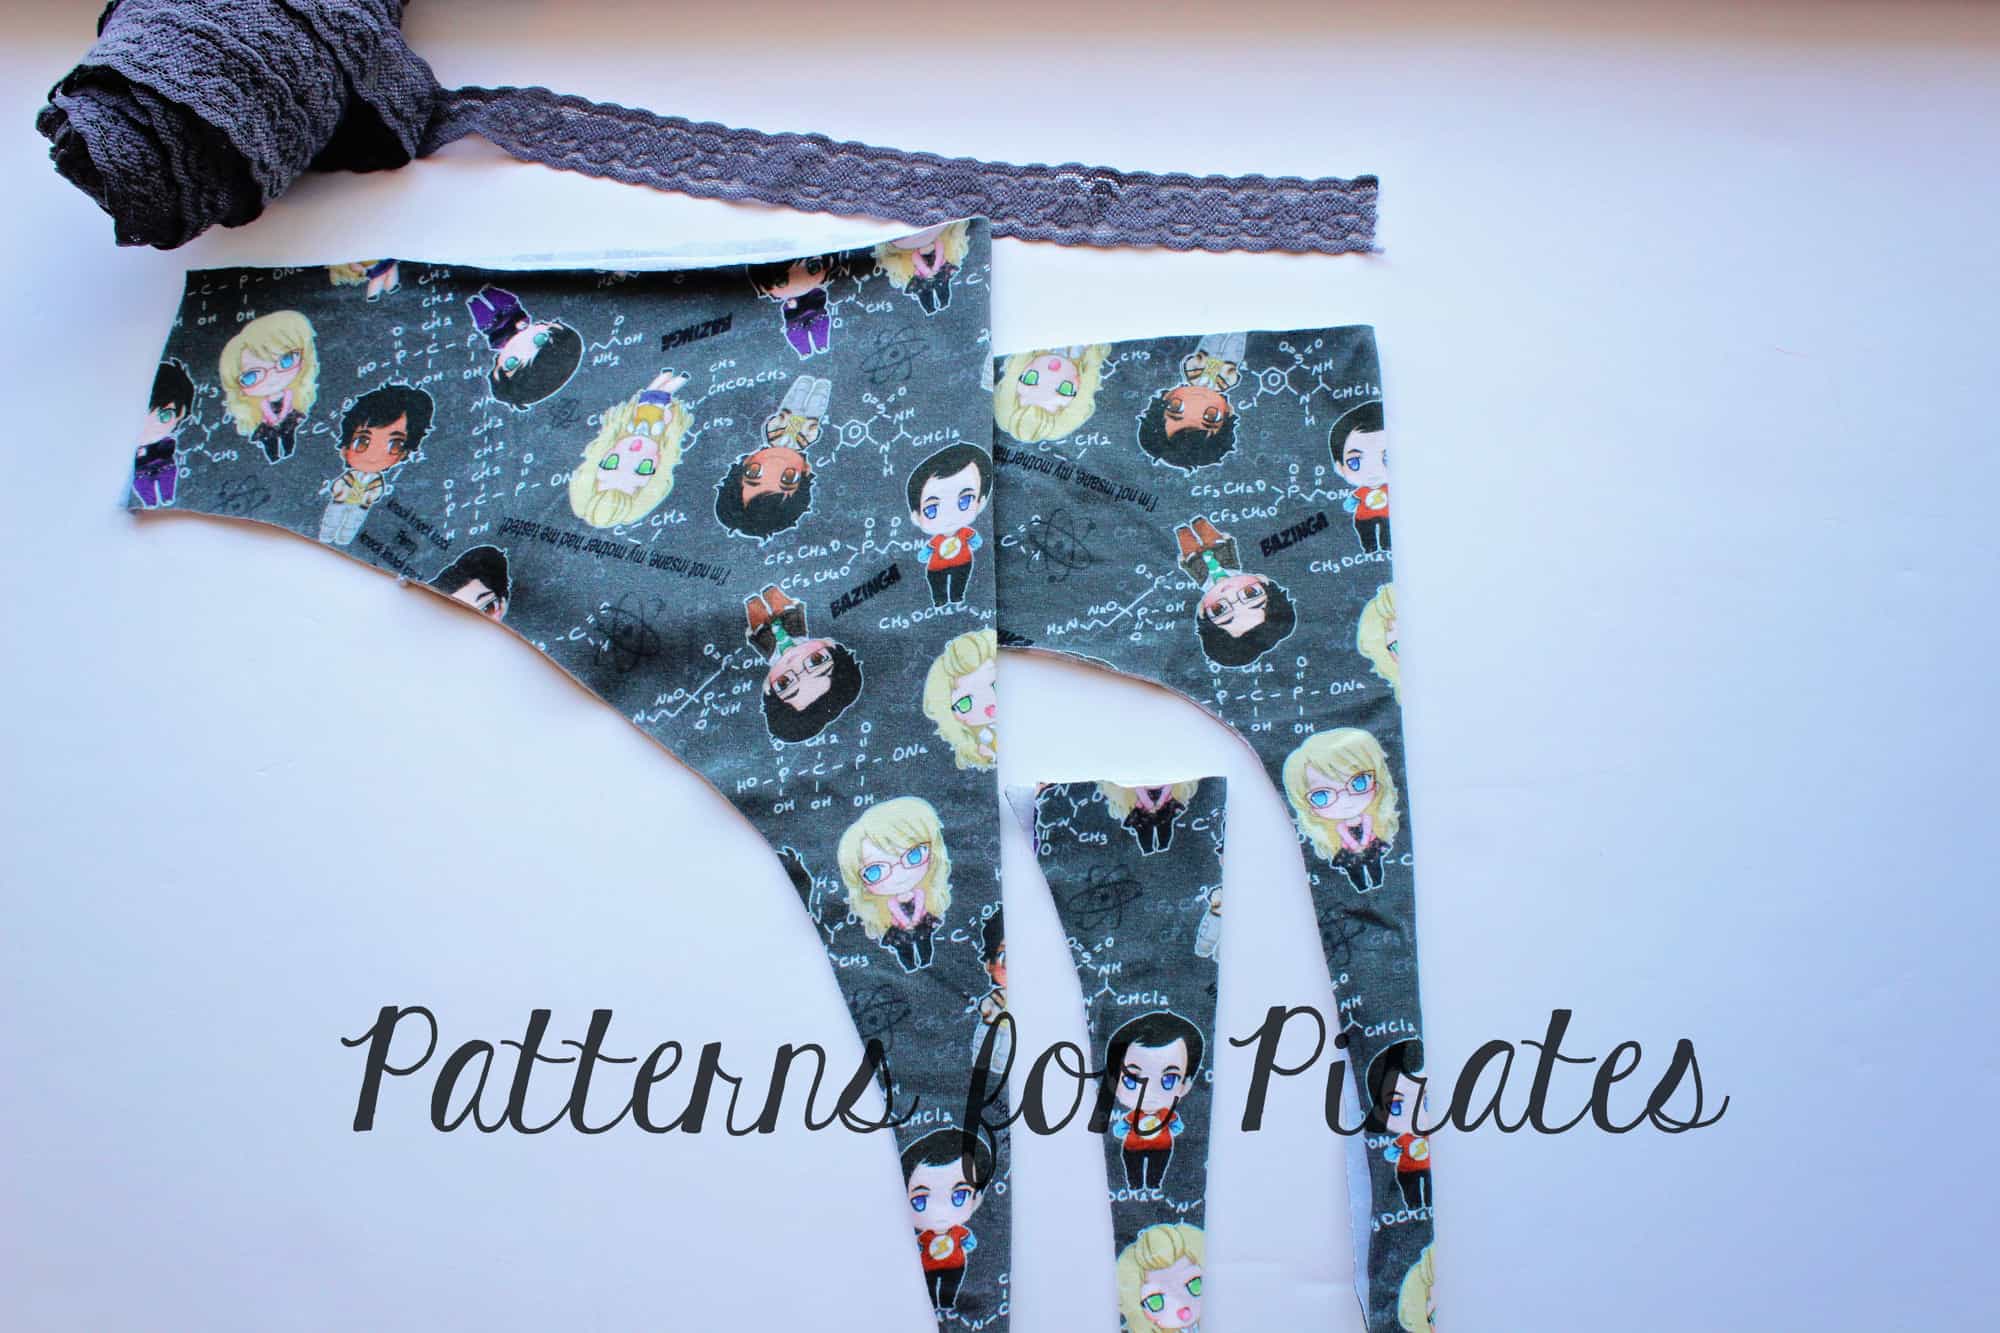
Sew the short ends of the lace to form a loop. You may find it easier to use a piece of water soluble stabilizer between the machine’s feed dogs and the lace so as to deter your machine from trying to “eat” your fabric.
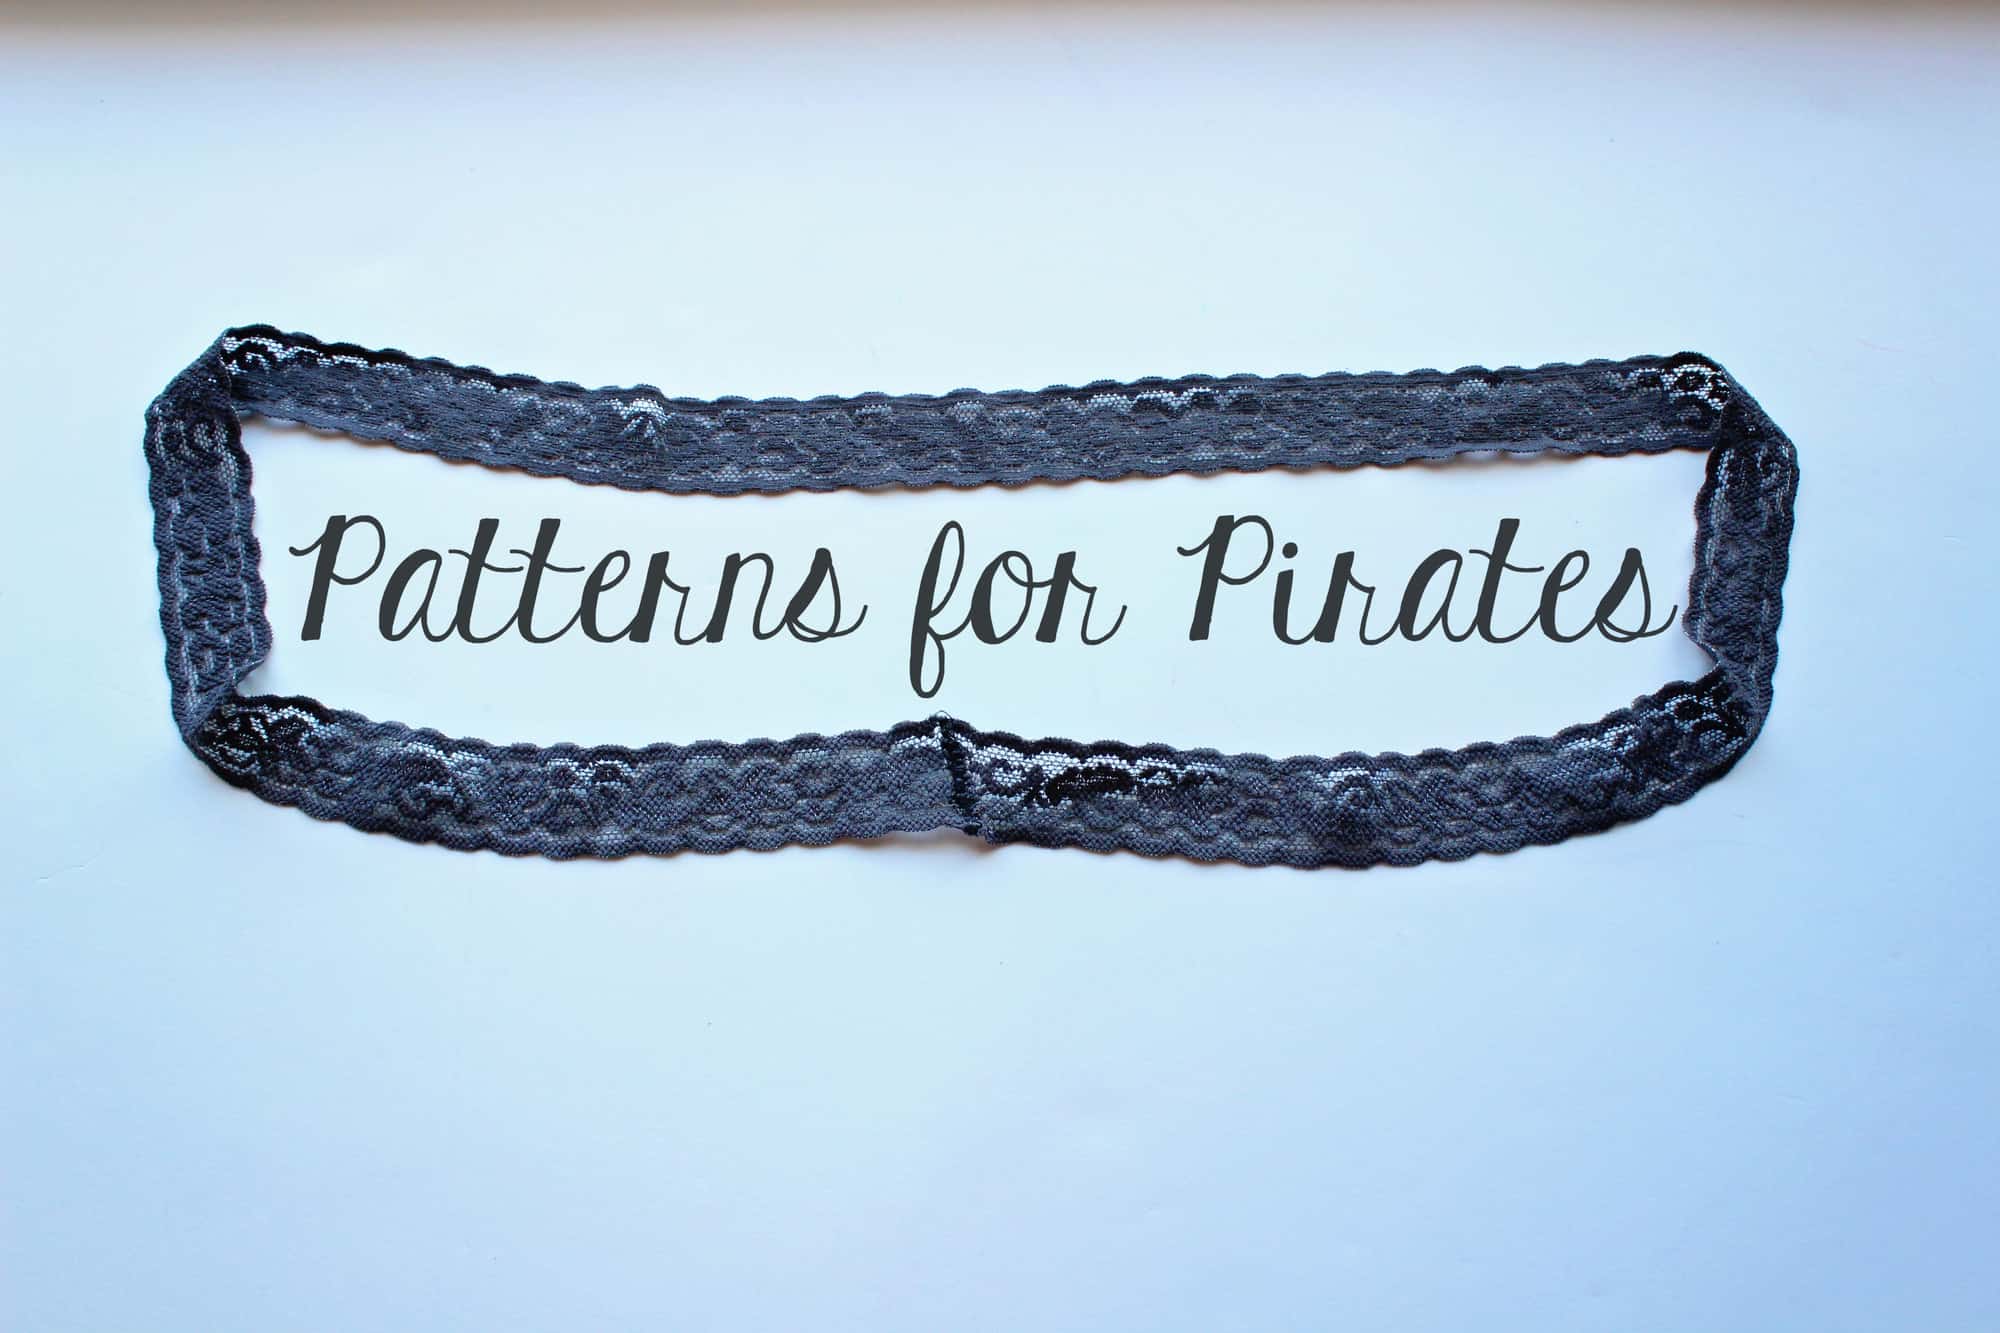
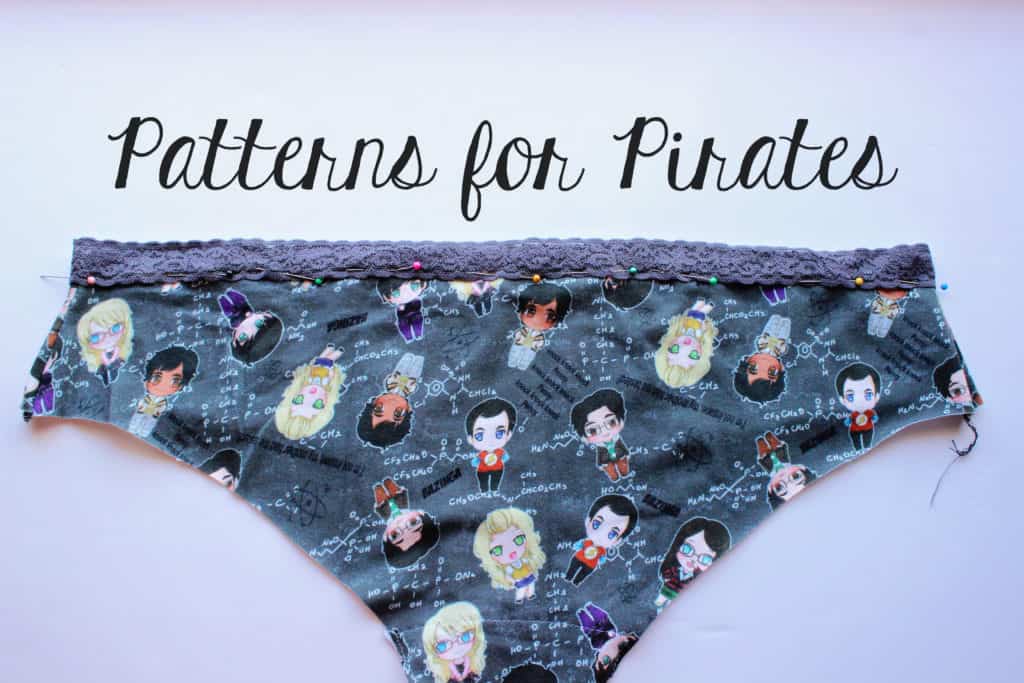
Sew the undies as instructed in the tutorial. Pin the lace at the top, overlapping 3/8″. The wrong side of the lace will be against the right side of the undies. Sew in place using a zig zag stitch of a coverstitch.
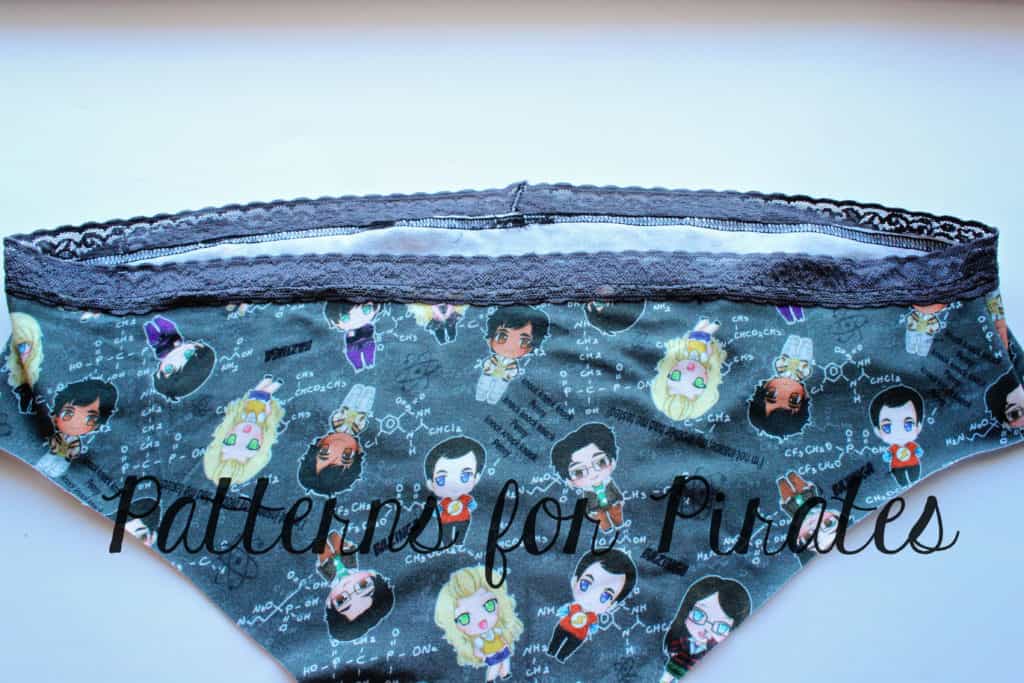
Tadah!  Done! You just added one more option to the Fierce Undies.
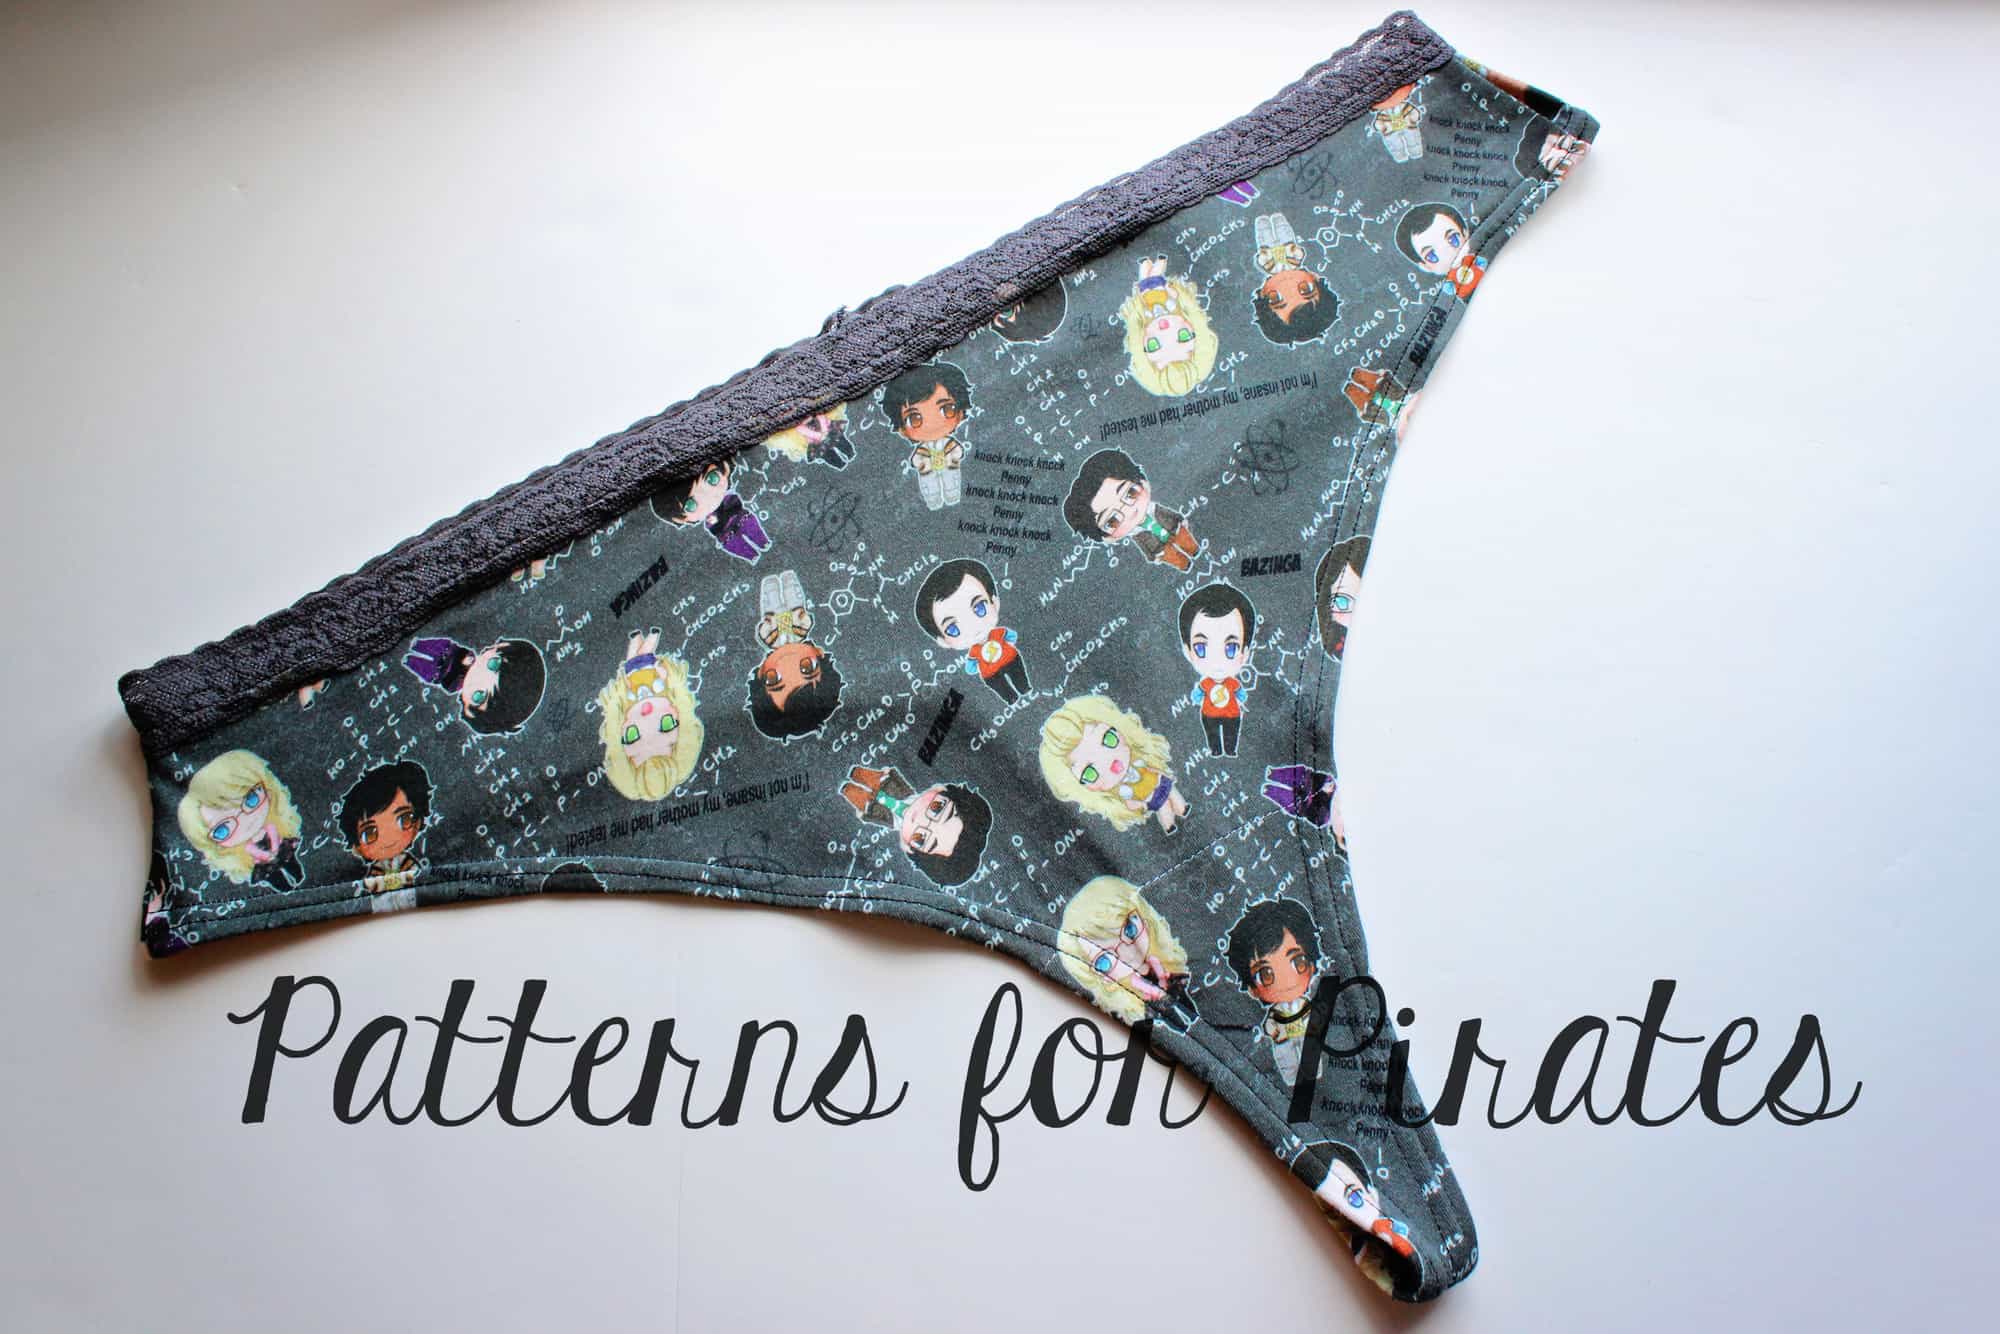
Judy is rocking a pair of Fierce Undies with a 2″ lace band.

…..

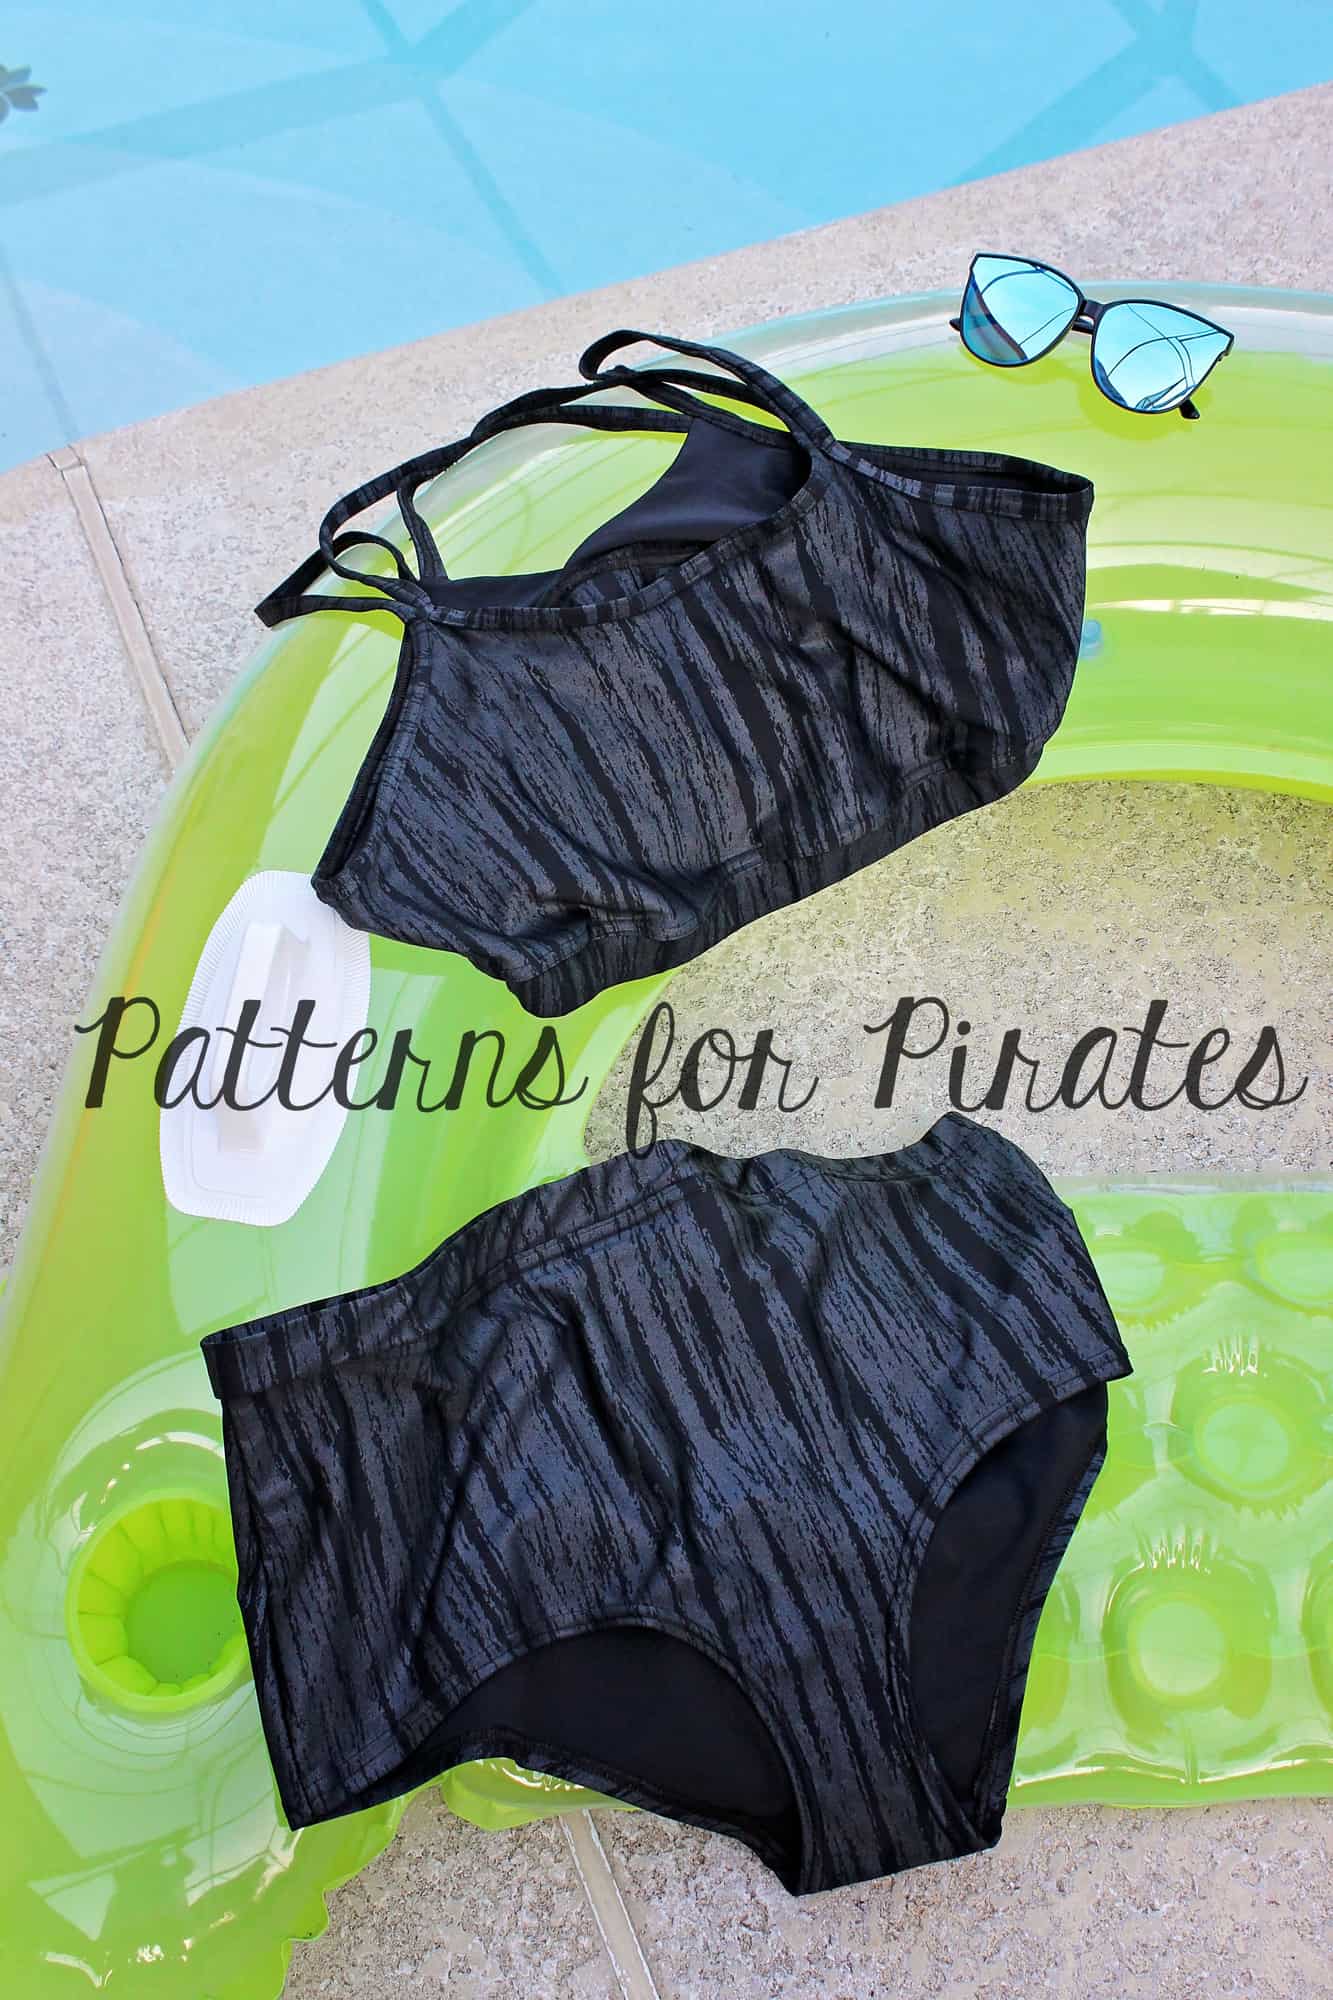
Swim suit
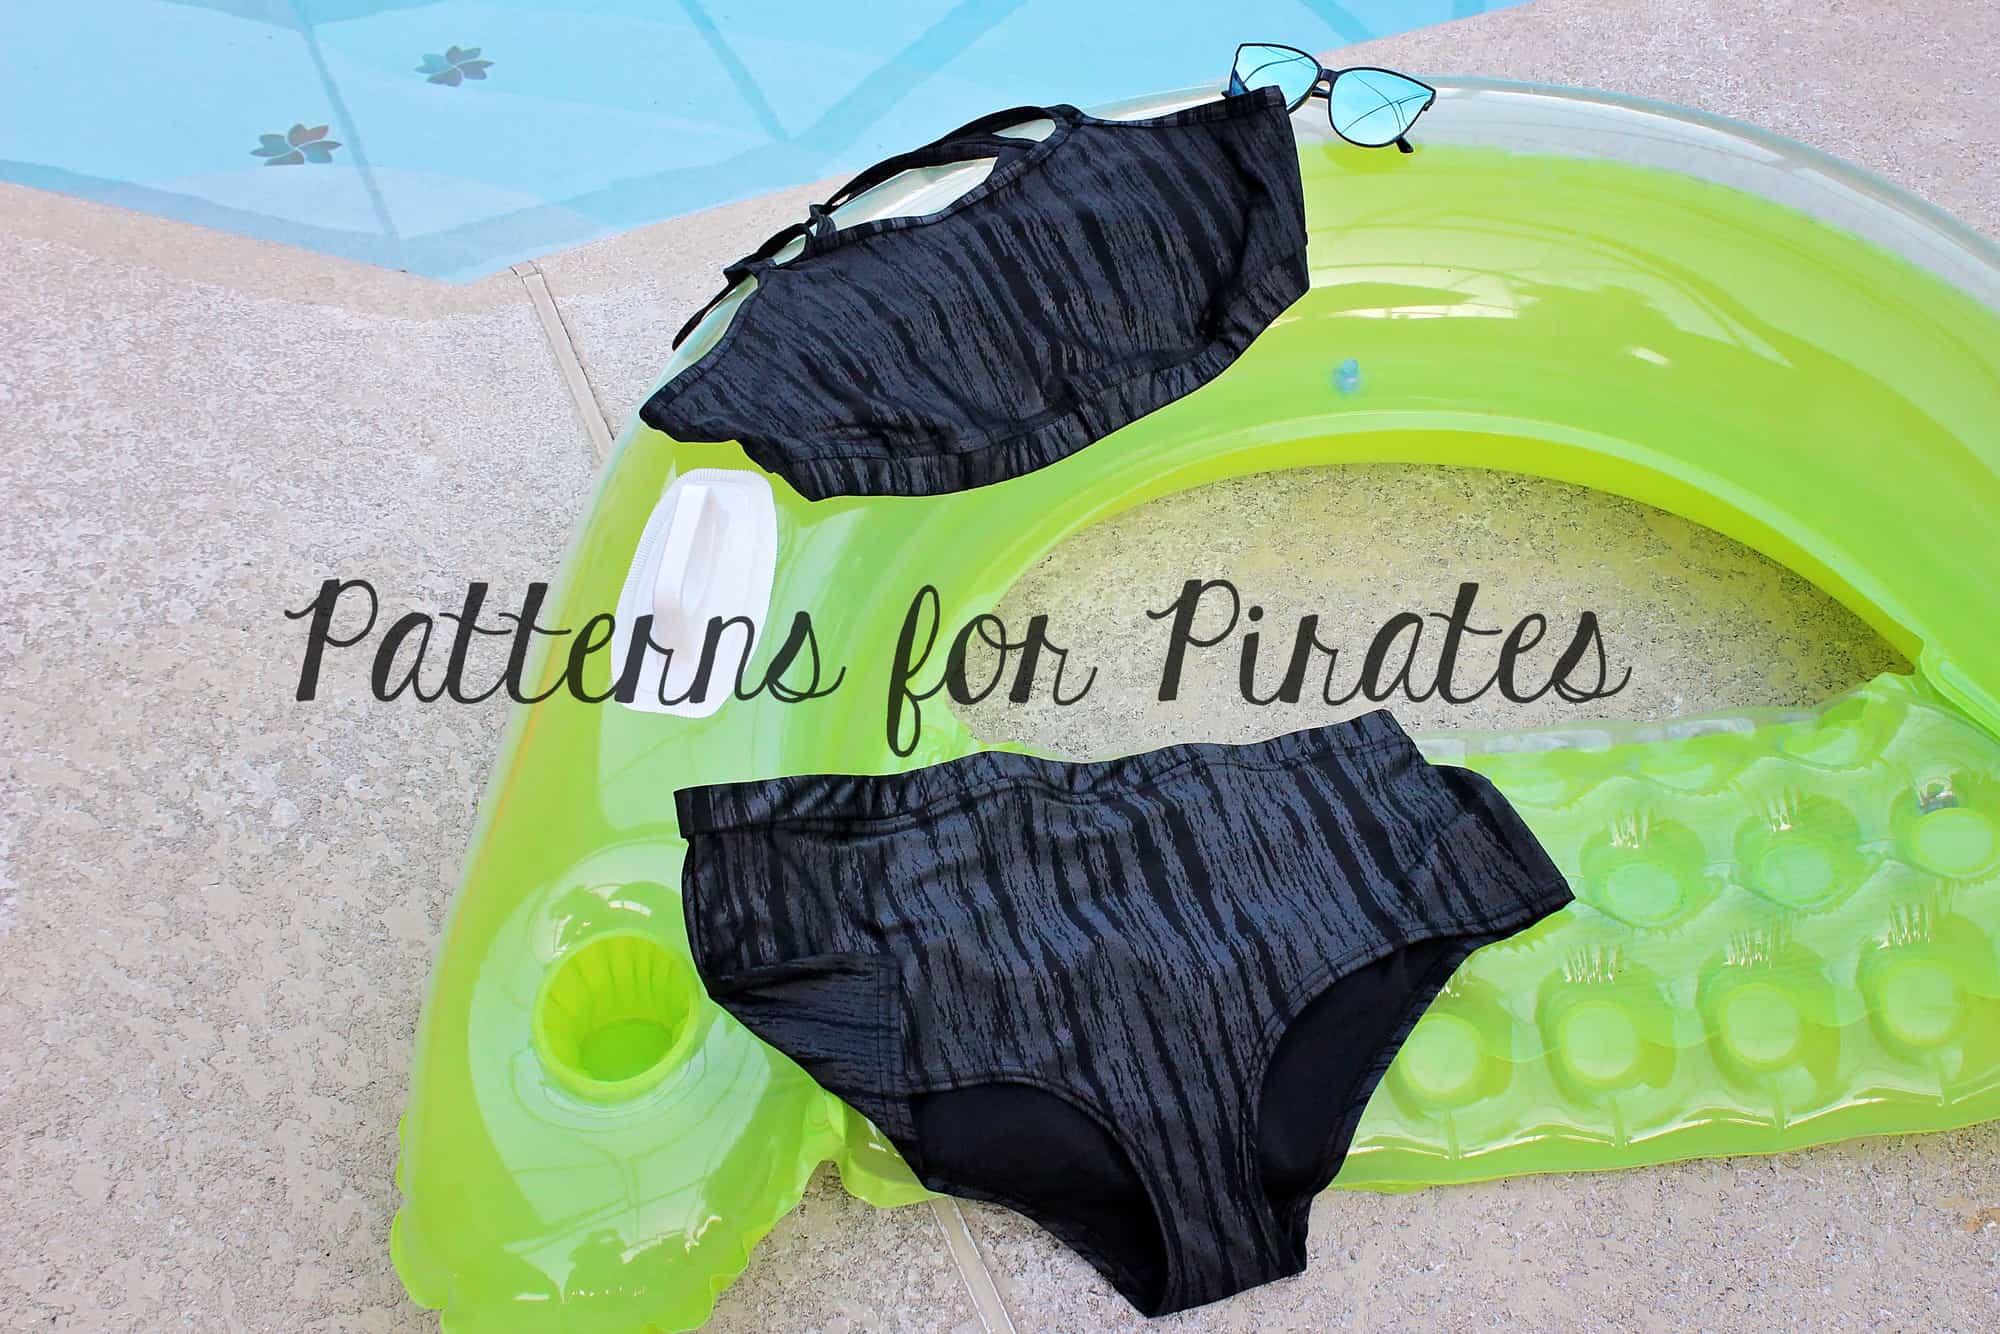
Last but certainly not least we want it to show you how easy it is to make  Fierce Swimsuit. You will need:

  • swim suit fabric
  • swim lining (or solid swim like I used)
  • 1″ swim elastic for the waistband and under bust band
  • 3/8″ swim elastic for the leg openings and bra straps
  • optionally power mesh and cups (I have not used them on mine)

Start by cutting you undies front and back pieces from swim, the liner from solid swim or lining. Cut the waistband 3″ by the length of the waistband elastic (from the cutting chart) plus 1″ for the seam allowance. Cut the 1″ swim elastic the length of the waistband elastic from the chart. Now cut the bra pieces, making sure that the under bust band is 3″ wide by the length of the elastic plus 1″ seam allowance. You will also need to enclose swim elastic in the bra straps so you will but binding strips that are 1.5″ wide by the length of the pattern straps pieces.
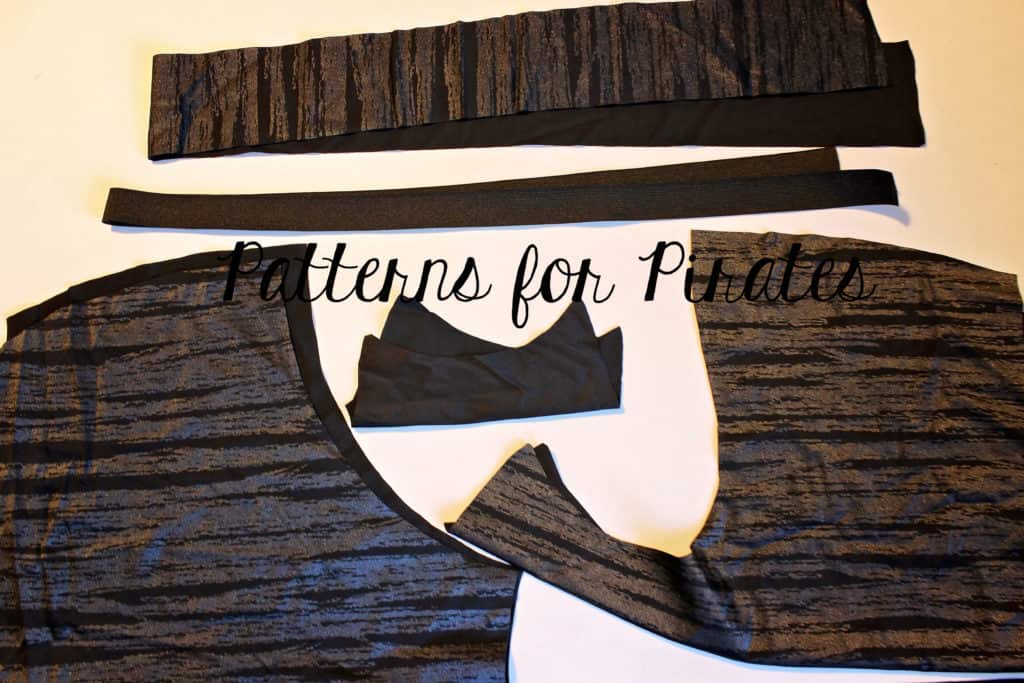
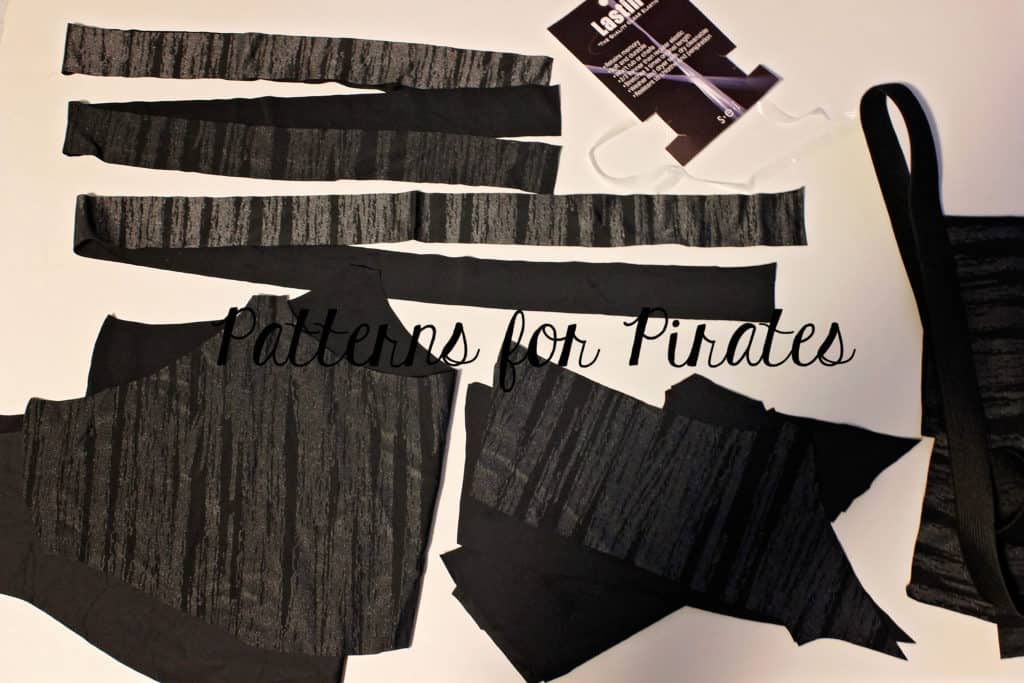
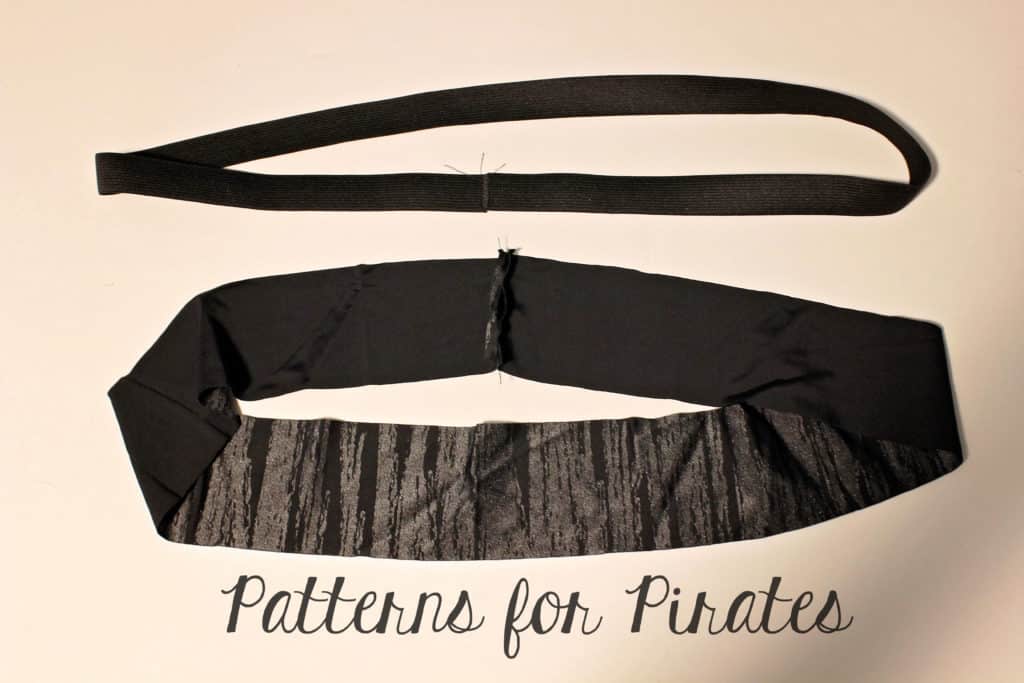
Sew the undies and side of the bra (and lining) as instructed in the tutorial. Now let’s make the waistband and the bra under bust band. Same technique…butt the ends of the elastic together and sew with a wide zig zag stitch. Overlap the band with the right sides together and sew it in a loop using 1/2″ seam allowance. Insert the elastic inside and put pins or clips at the quarter mark. Put the bands aside for now.
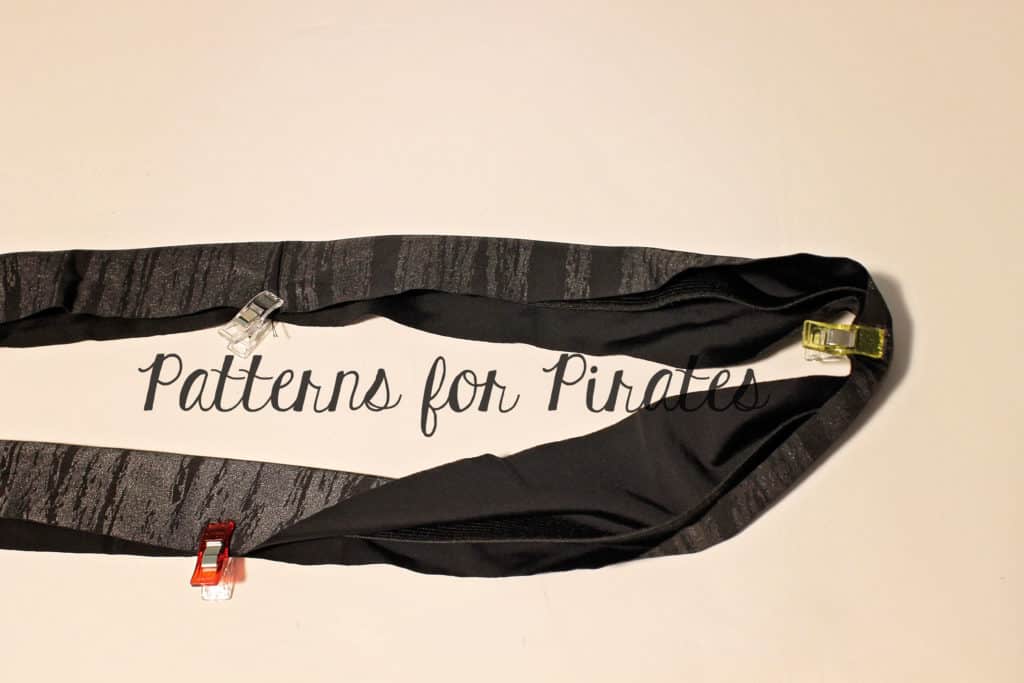
Hem the legs of the undies as in the pattern. The only difference will be that you will be using swim elastic for the briefs and thong, no elastic for the cheekies. Take your swim elastic and baste it to one edge of each of the bra straps.
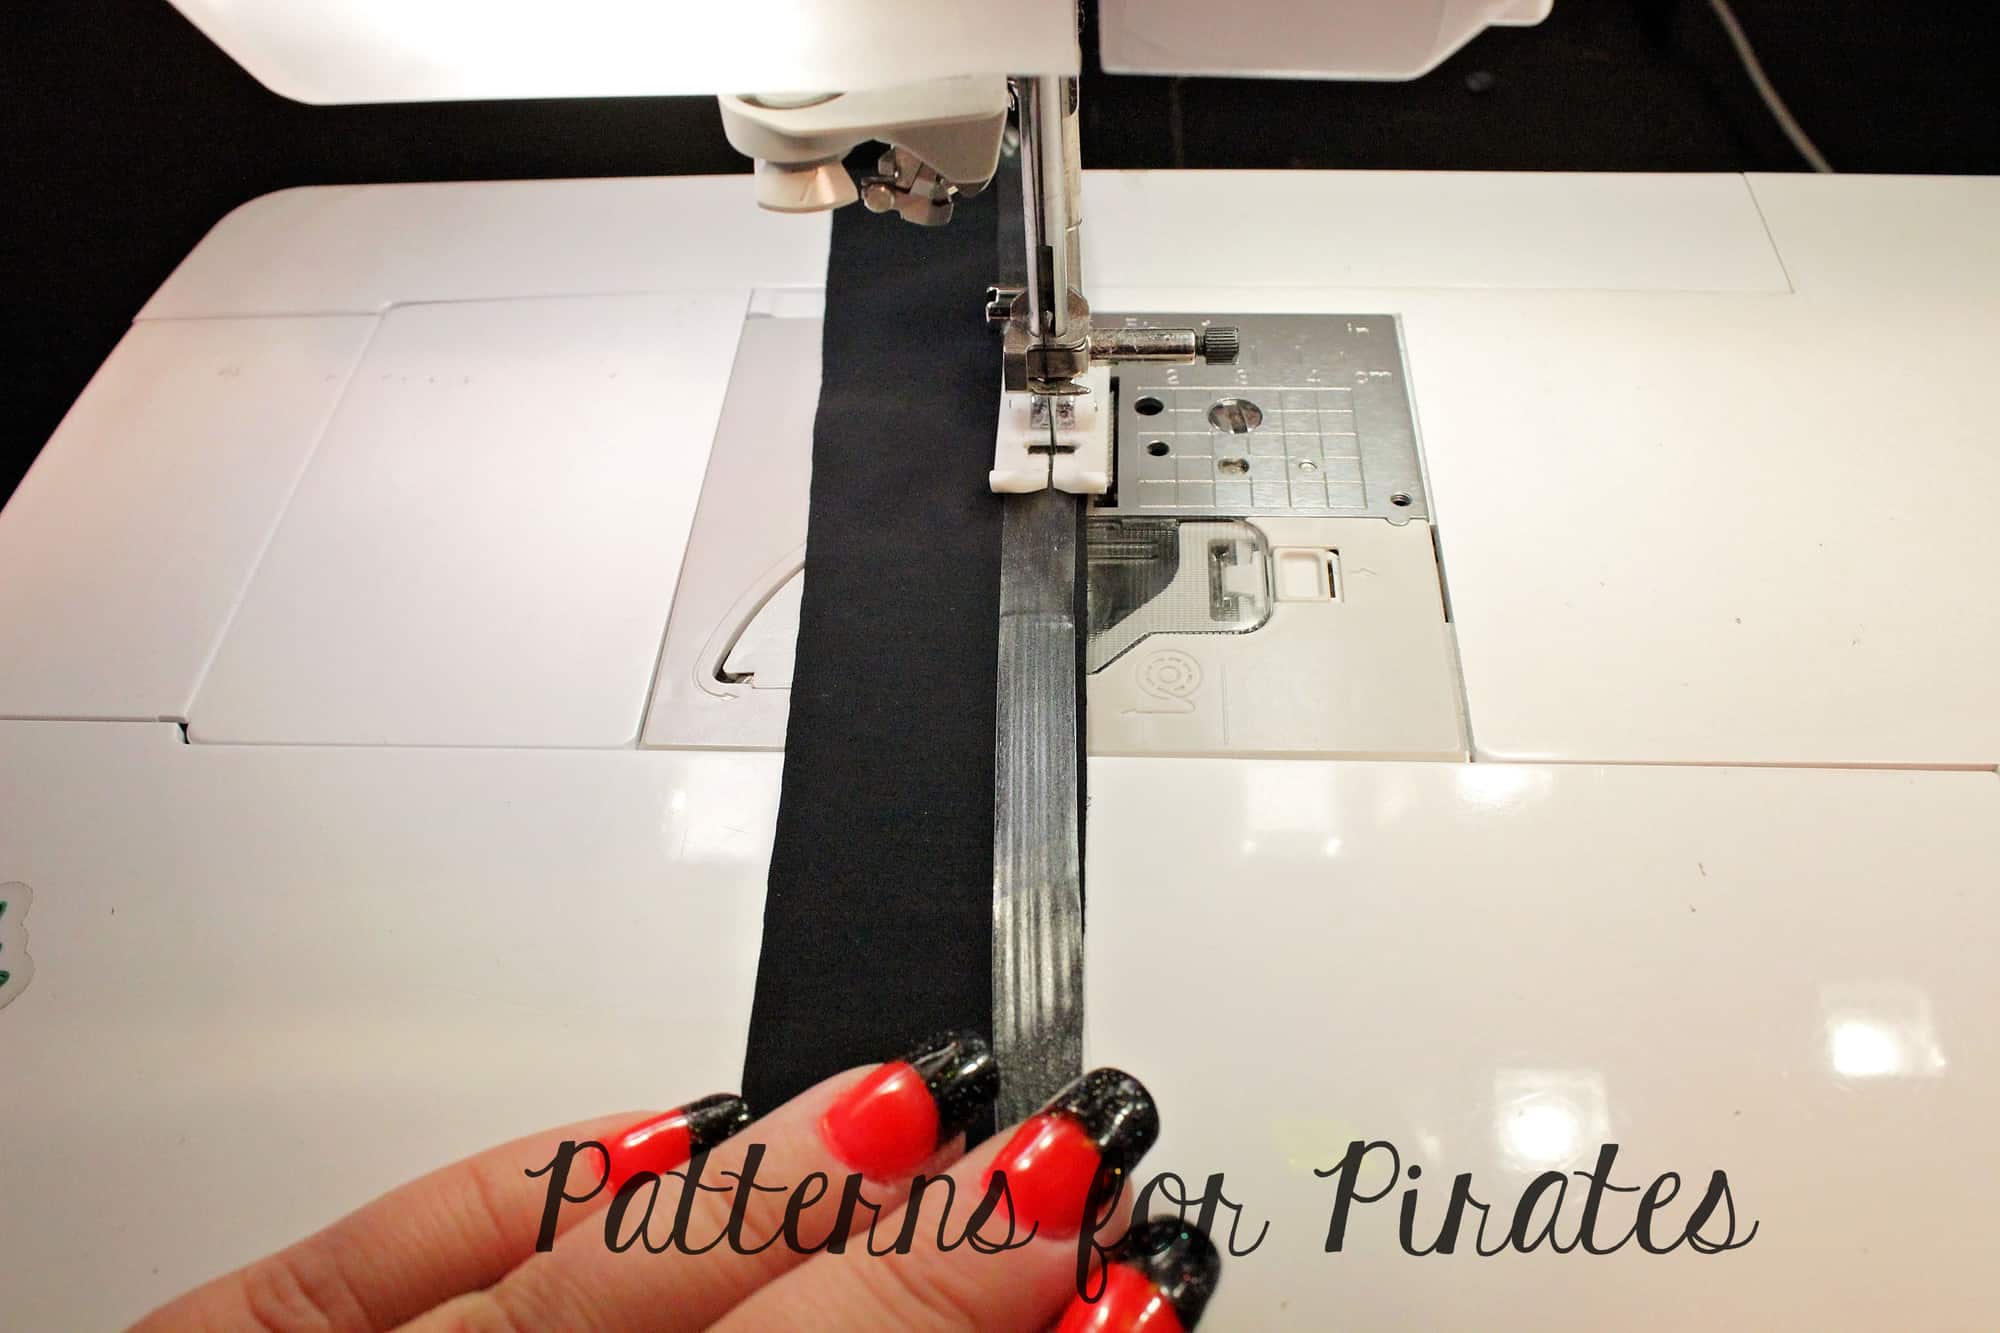
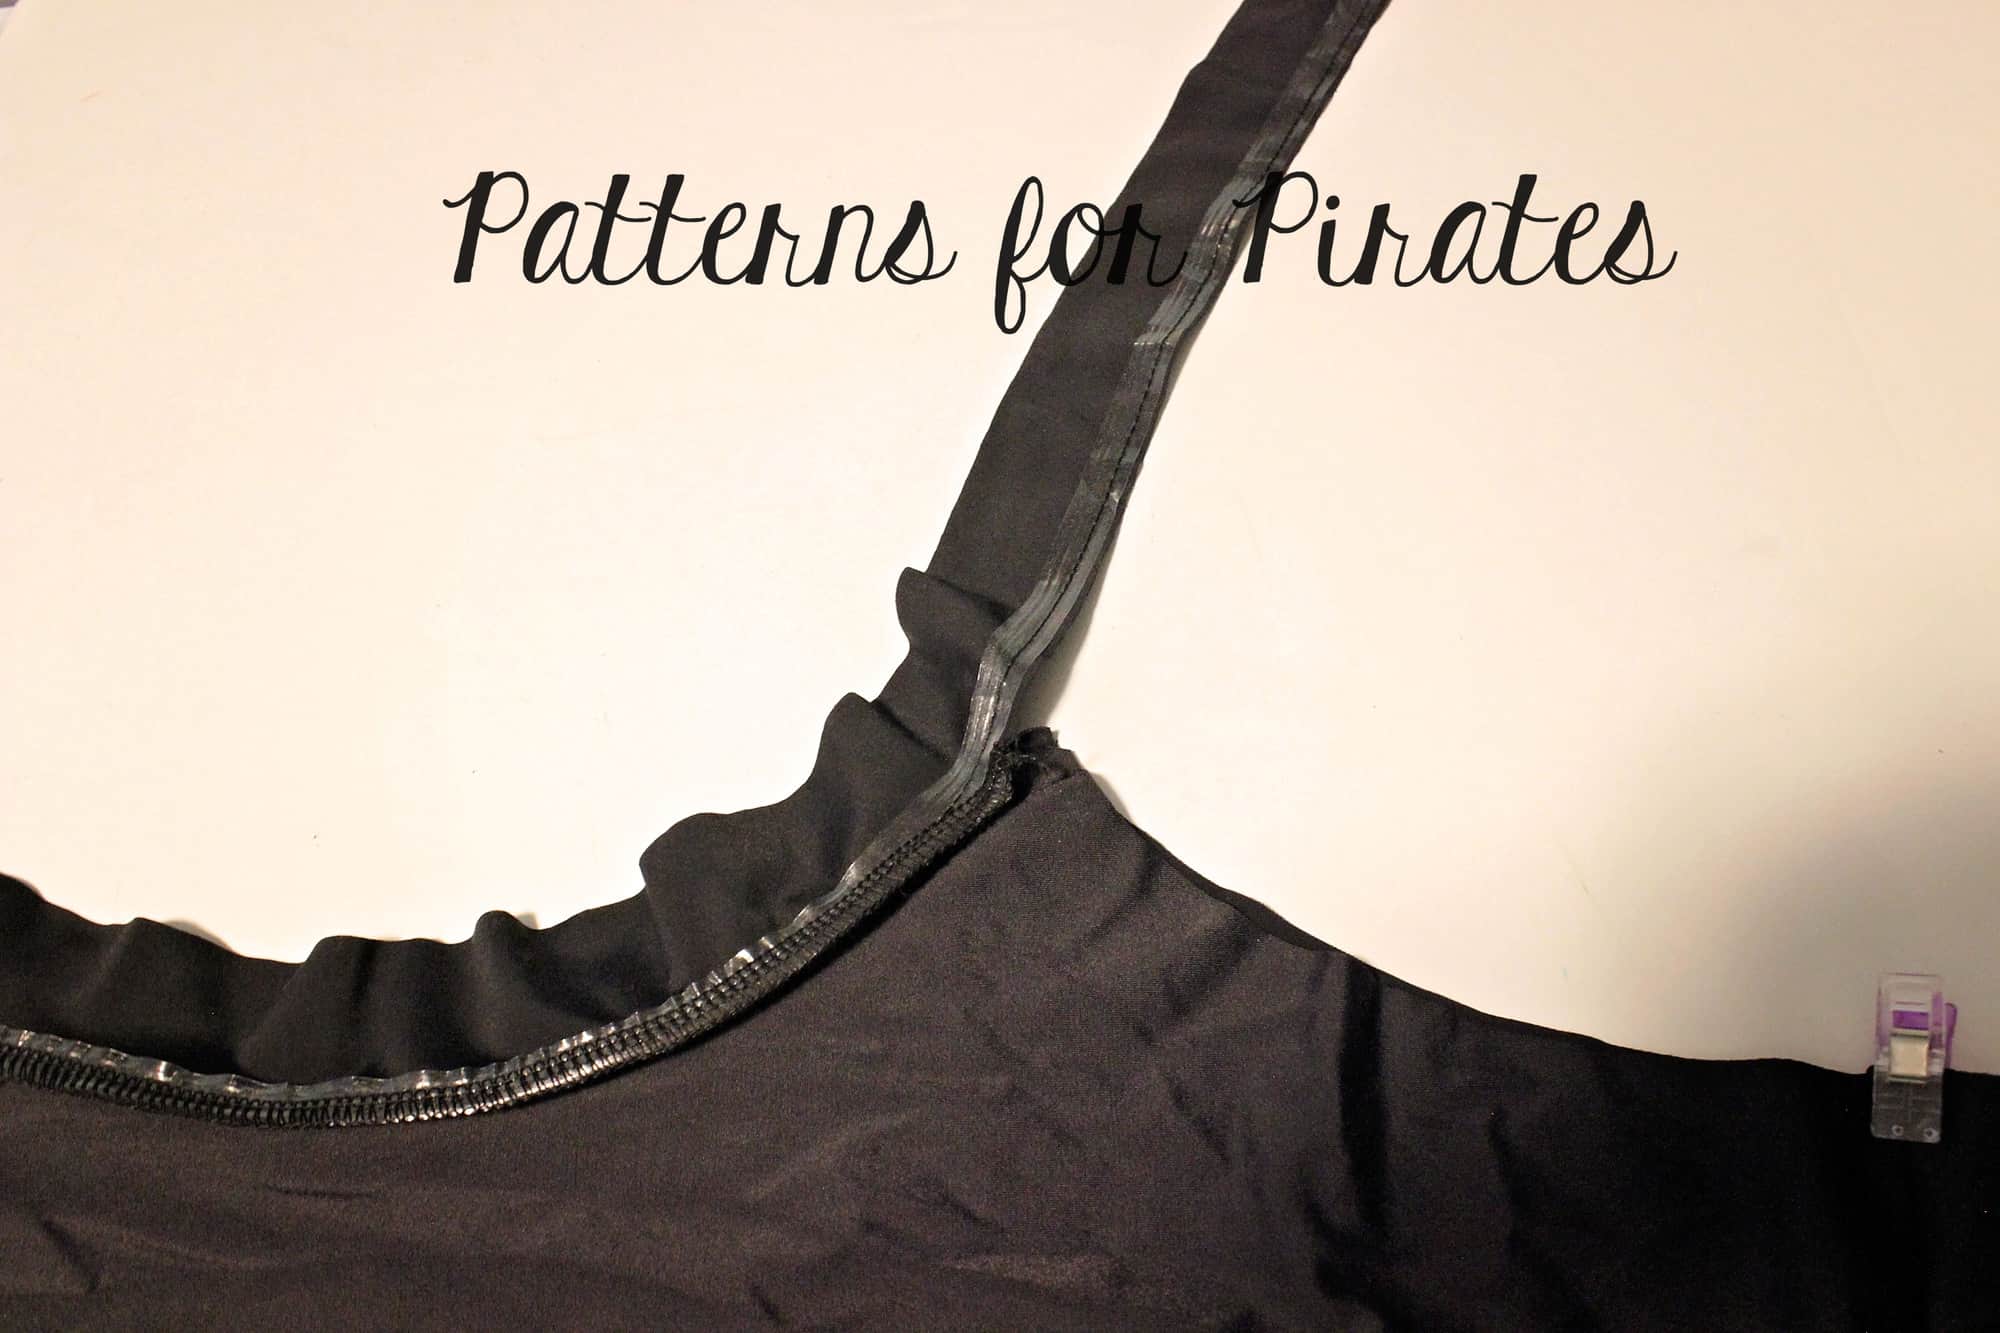
Attach the bra straps binding as Lacy is showing you in the hack above.
All you have left to do is add the waistband and under bust band that you prepared earlier. Mark the 4 quarters of the undies waist and under bust opening. Add the respective band matching the quarter points. Sew them with your serger or a triple stretch stitch. Optionally, top stitch.
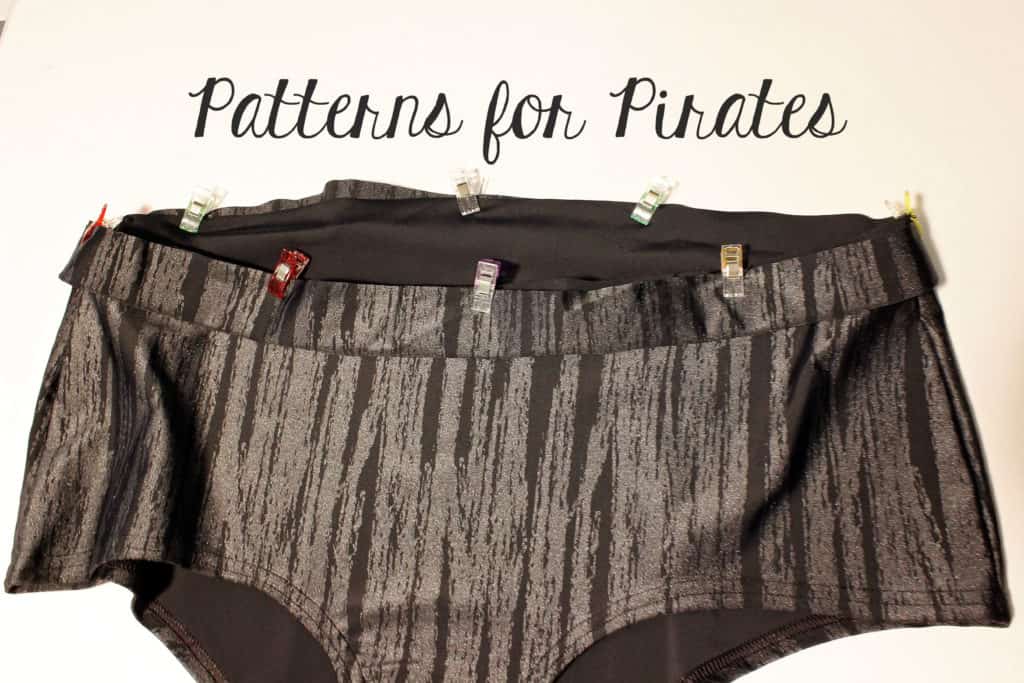
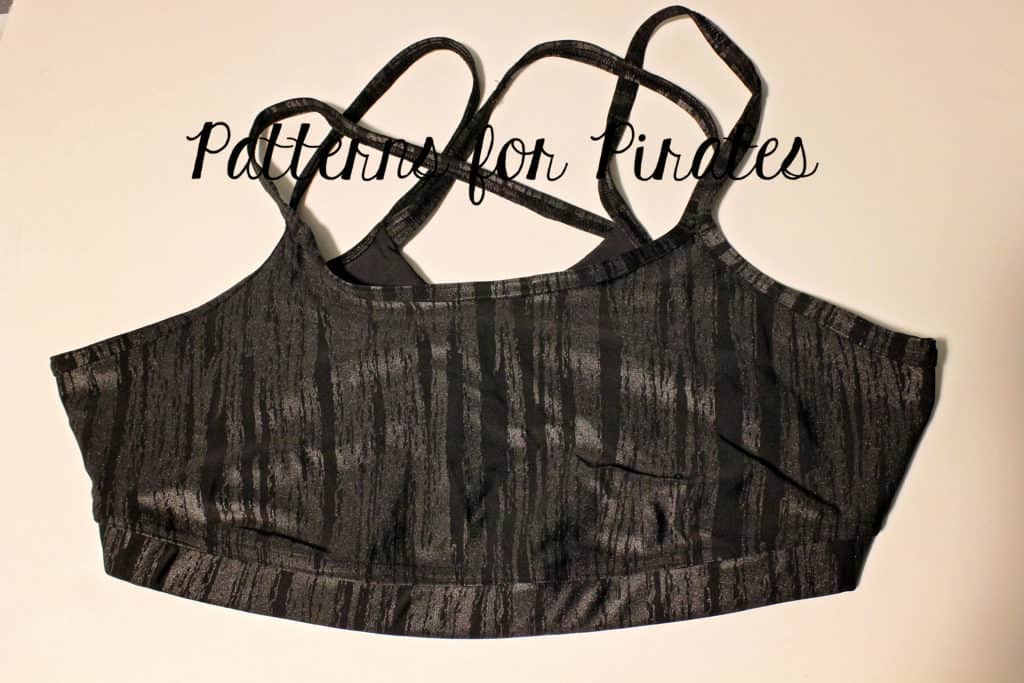
All done! You just added one more swim suit to your collection. You can use the same tips for both the youth and the adult pattern.

We hope you enjoyed these spins on the new Fierce Undies and Fierce Bra pattern. Don’t forget to share your creations in the Patterns for Pirates Facebook group or tag us on Instagram @patternsforpirates.
 

Filed Under: Pattern Hacks, Pattern Release, Uncategorized 4 Comments

SOS sal day 6 (waistband)

May 20, 2019

Woo hoo! We made it to the last sewing day. Today we are adding the waistband and bragging 😉 The SOS knit pants feature a mid rise (they will hit just under the belly button) with an elastic enclosed waistband. My main tip for today is to try the elastic on once you sew the loop. Not all elastics are the same, some will stretch more some will stretch less. When possible it’s always advisable to try the elastic to make sure you love the fit before you add the waistband.

If you are a fan of the Peg Legs contour waistband you can certainly replace the waistband with the contour one. I talk about how here, in the hacks blog.

Be sure to watch Day 6’s video below and post your finished SOS pants  (modeled or not) in the comments of the day 6 photo of this sew along’s album. Reminder, only photos posted in the comments of DAY 6 photo will qualify for the prize. You are most definitely welcome to share on the wall as well (the SAL group and P4P group). Good luck!

SOS sew along | Day 1 – Print and cut pattern

SOS sew along | Day 2 – Cut fabric

SOS sew along | Day 3 – Back: pocket, yoke, inseam

SOS sew along | Day 4 – Front: pocket, inseam

SOS sew along | Day 5 – Leg inseam, side seam, hem

SOS sew along | Day 6 – Waistband

SOS sew along | Day 7 – Winners announcement

Filed Under: Frequently Asked Questions, Sew-A-Long Leave a Comment

Sporty Piko – easy hacks

March 29, 2019

Ahoy, matey! As with most of our new releases, the P4P blog team has some easy hacks ready for you to help achieve even more looks. First stop by the shop and grab the Sporty Piko and Youth Sporty Piko, then let’s get started.

….

Solid Back

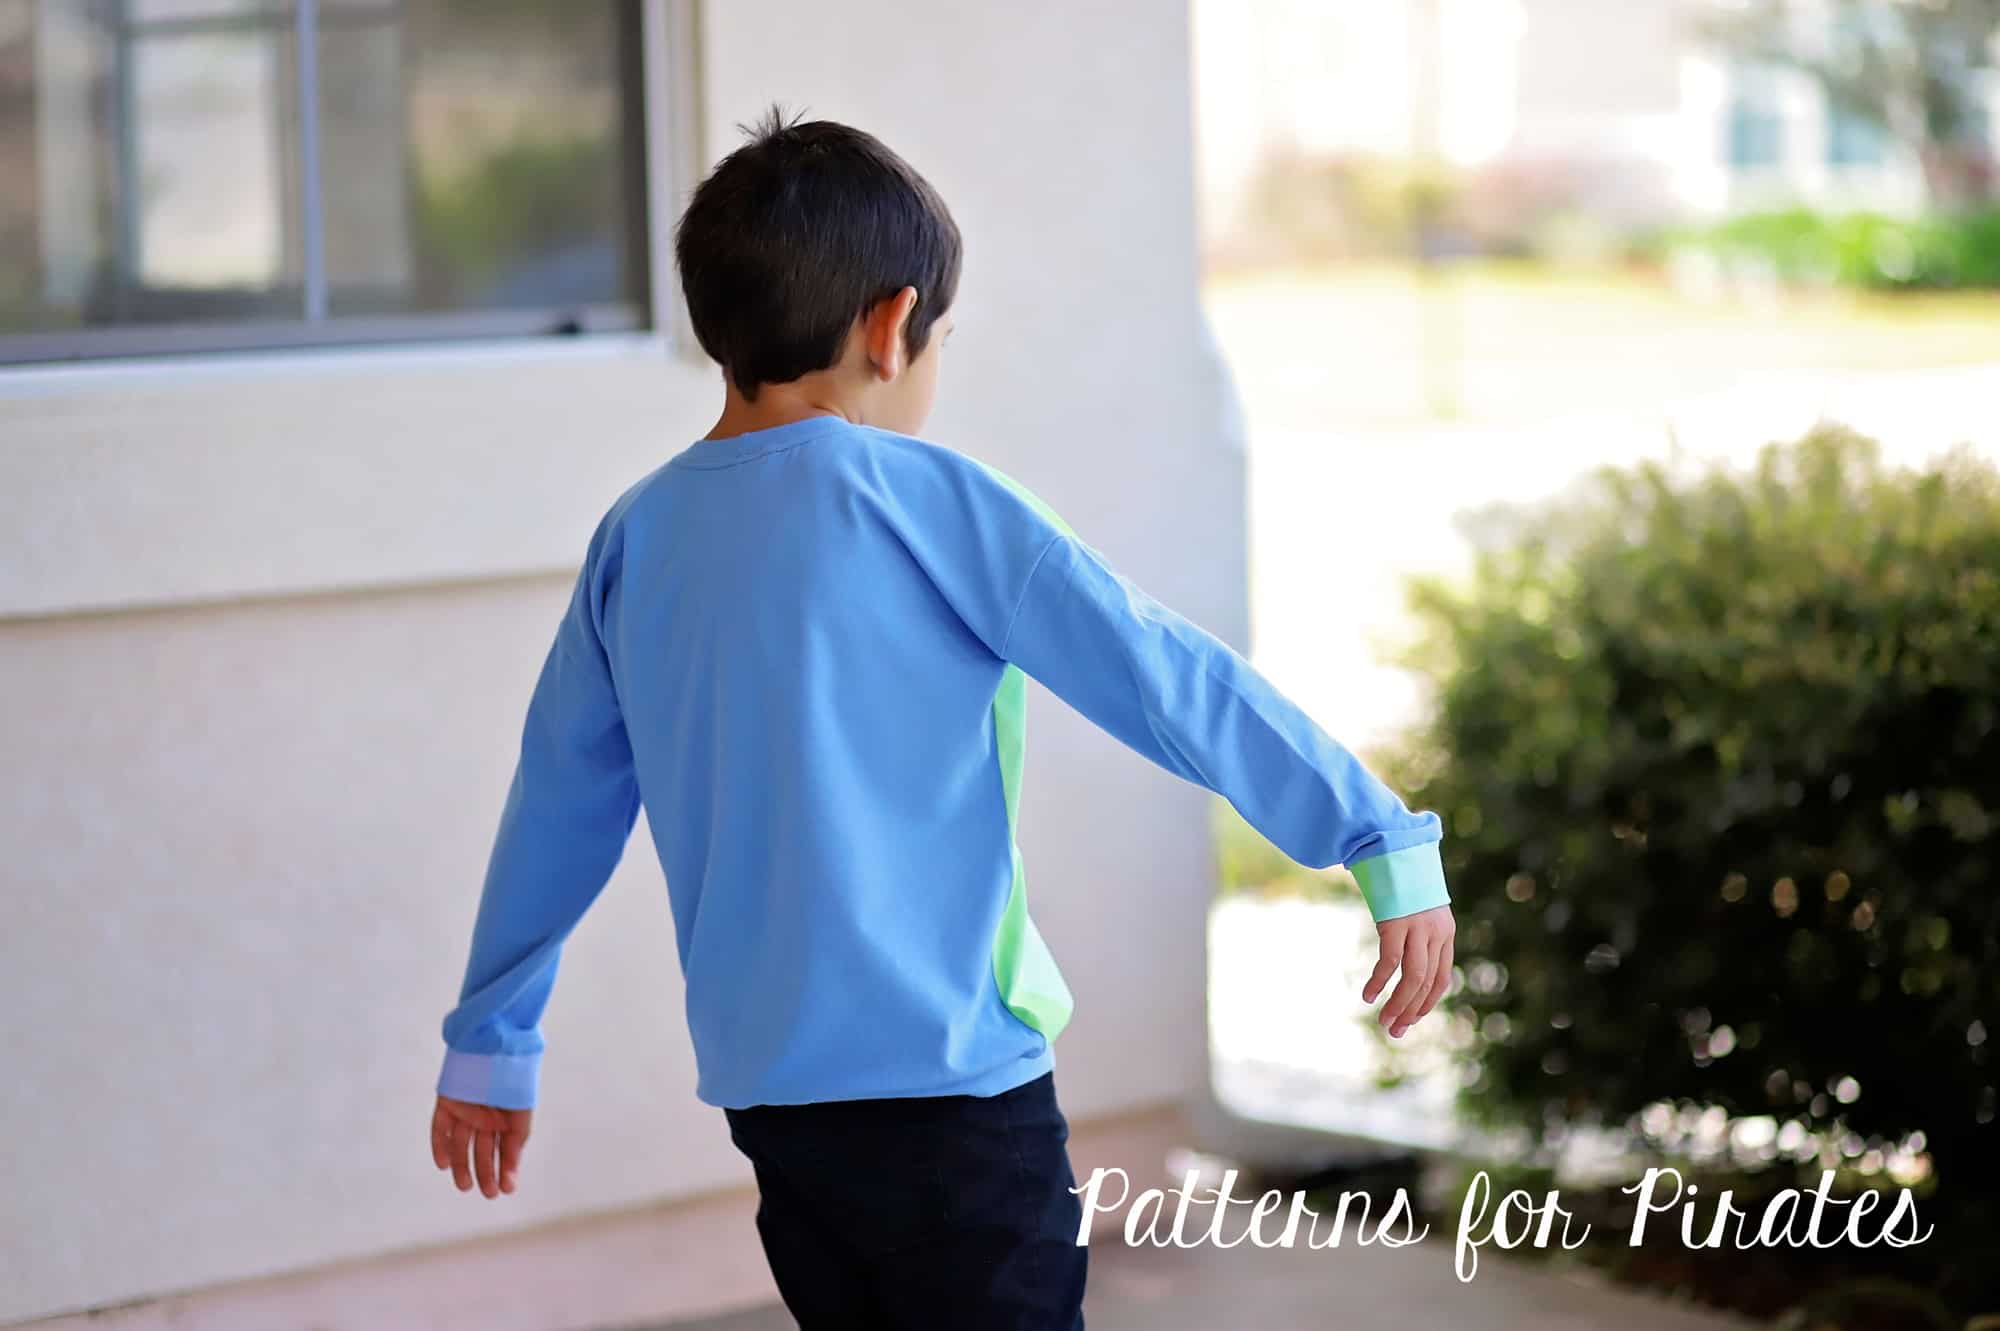
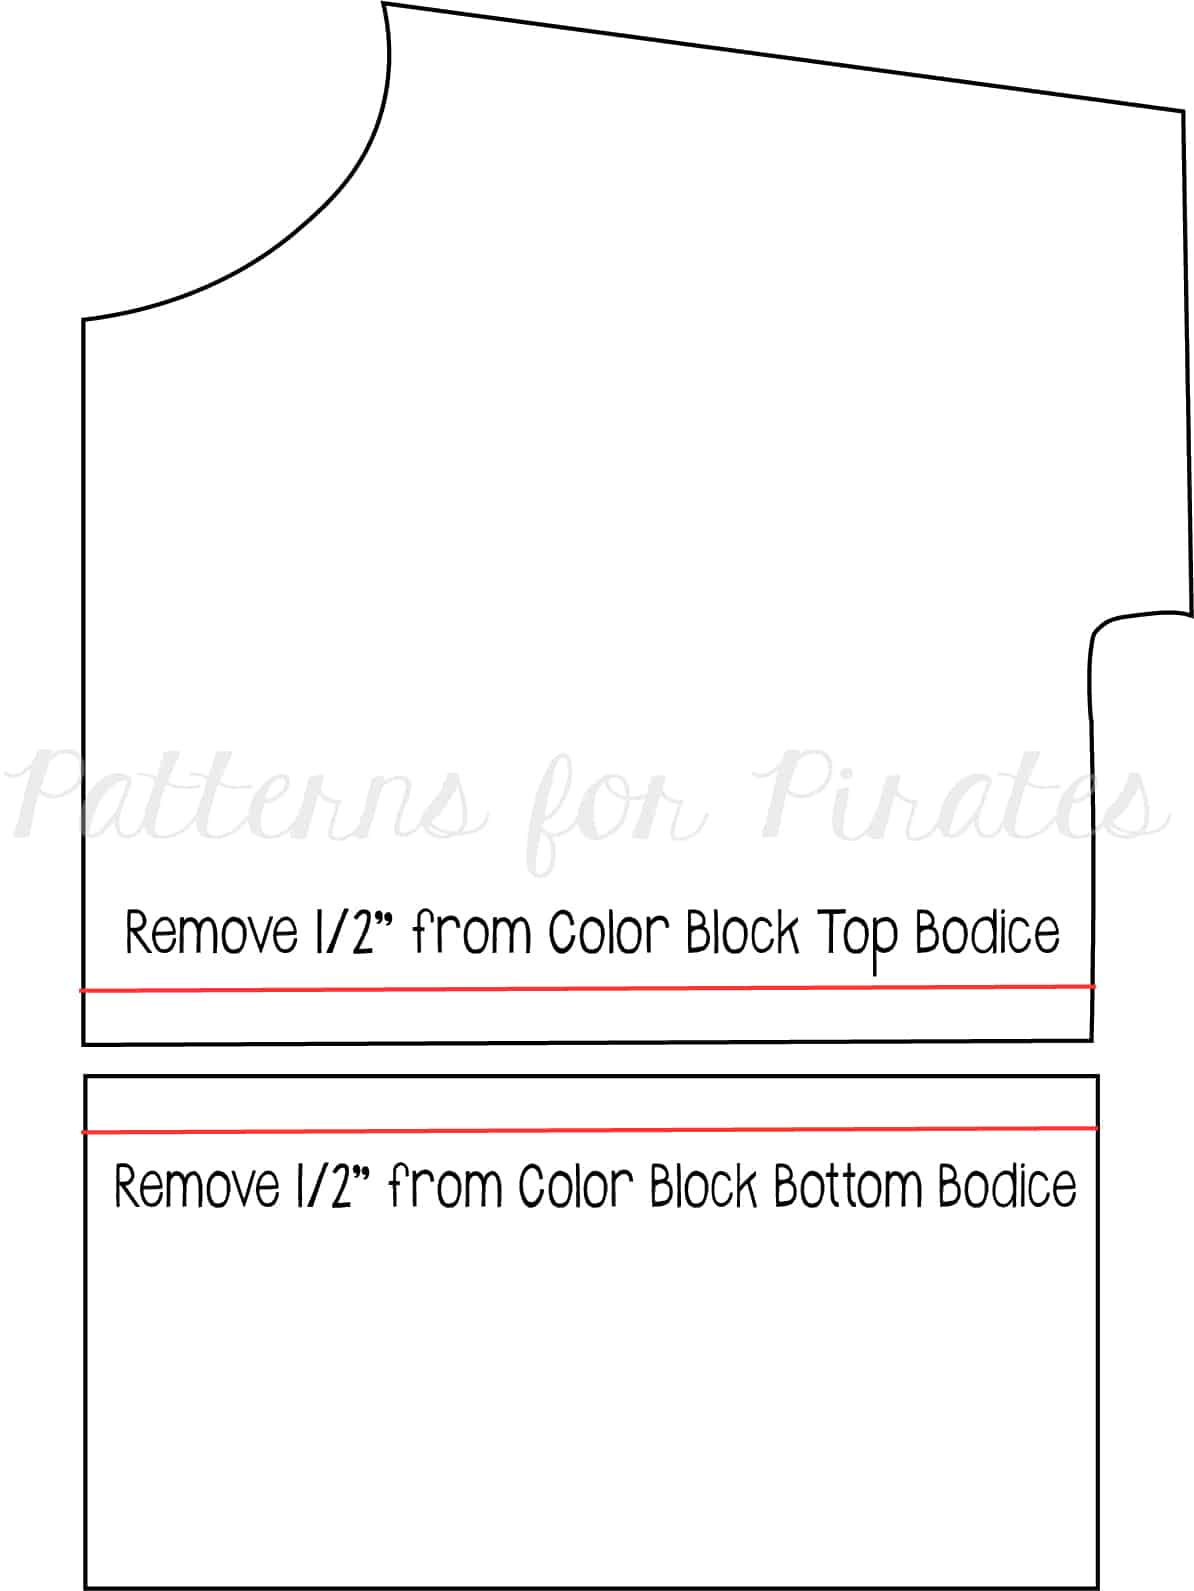
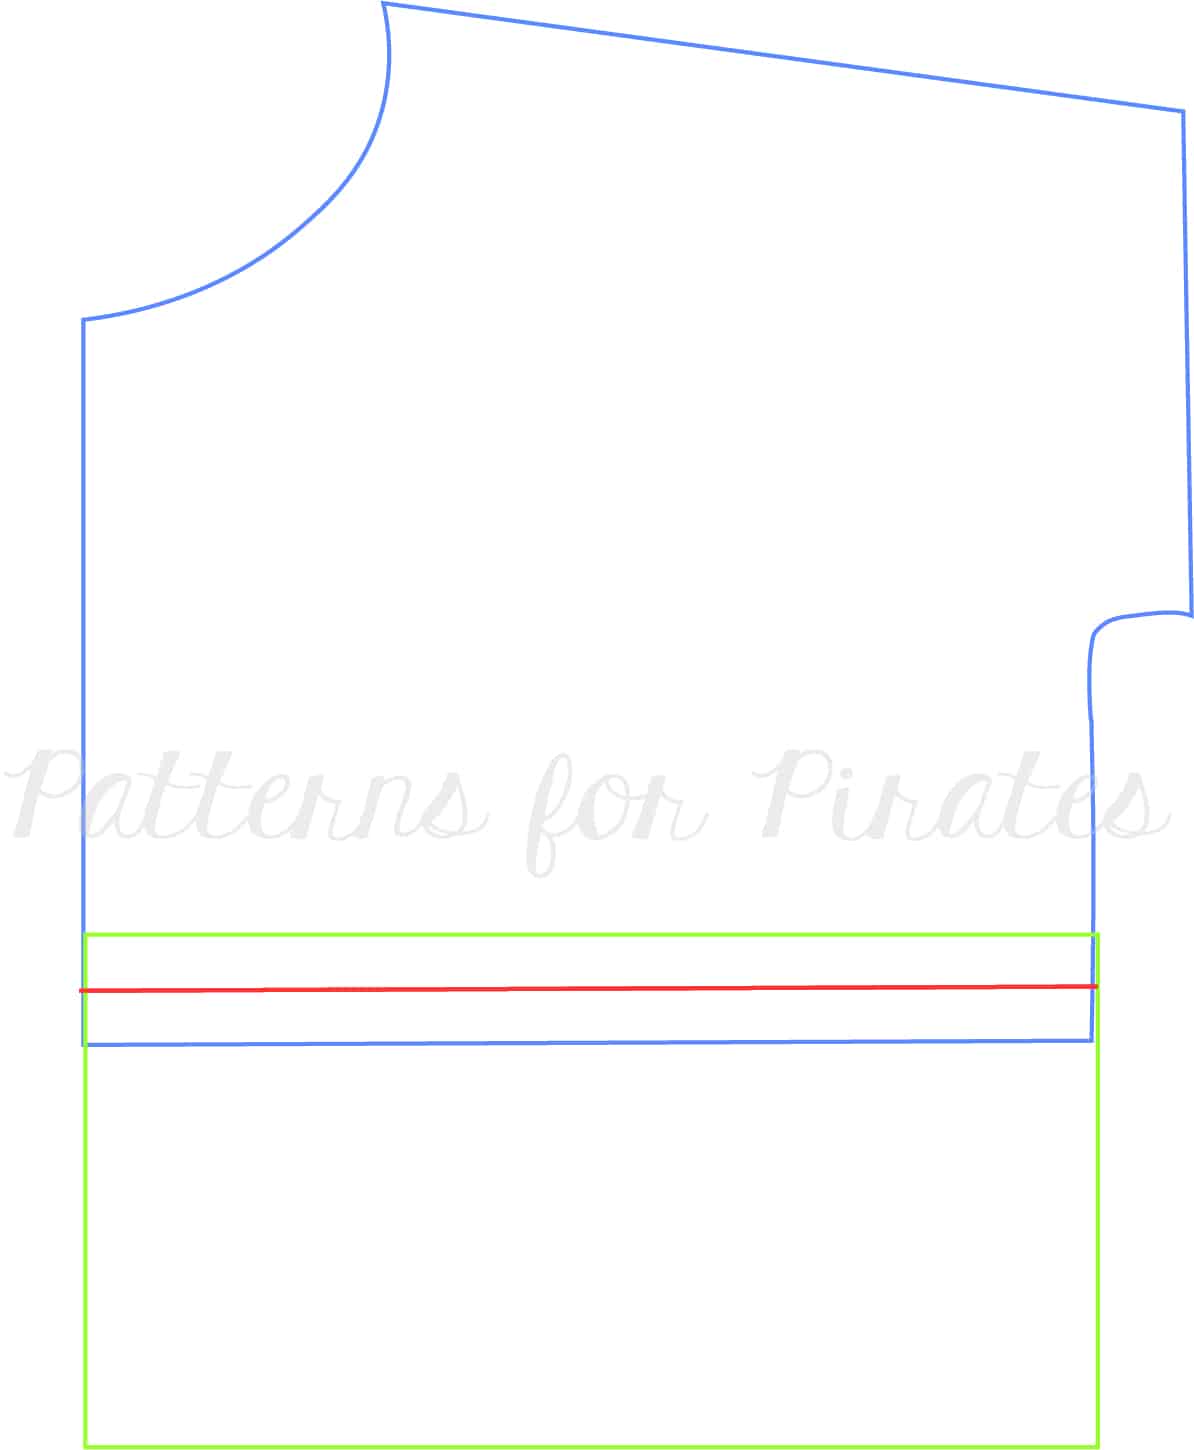
You might have noticed that both the Sporty Piko and the Youth SP feature a color blocked back to allow for multiple prints or color fabric to be showcased. Well, what if you want a solid back without the horizontal seam? Super easy hack!

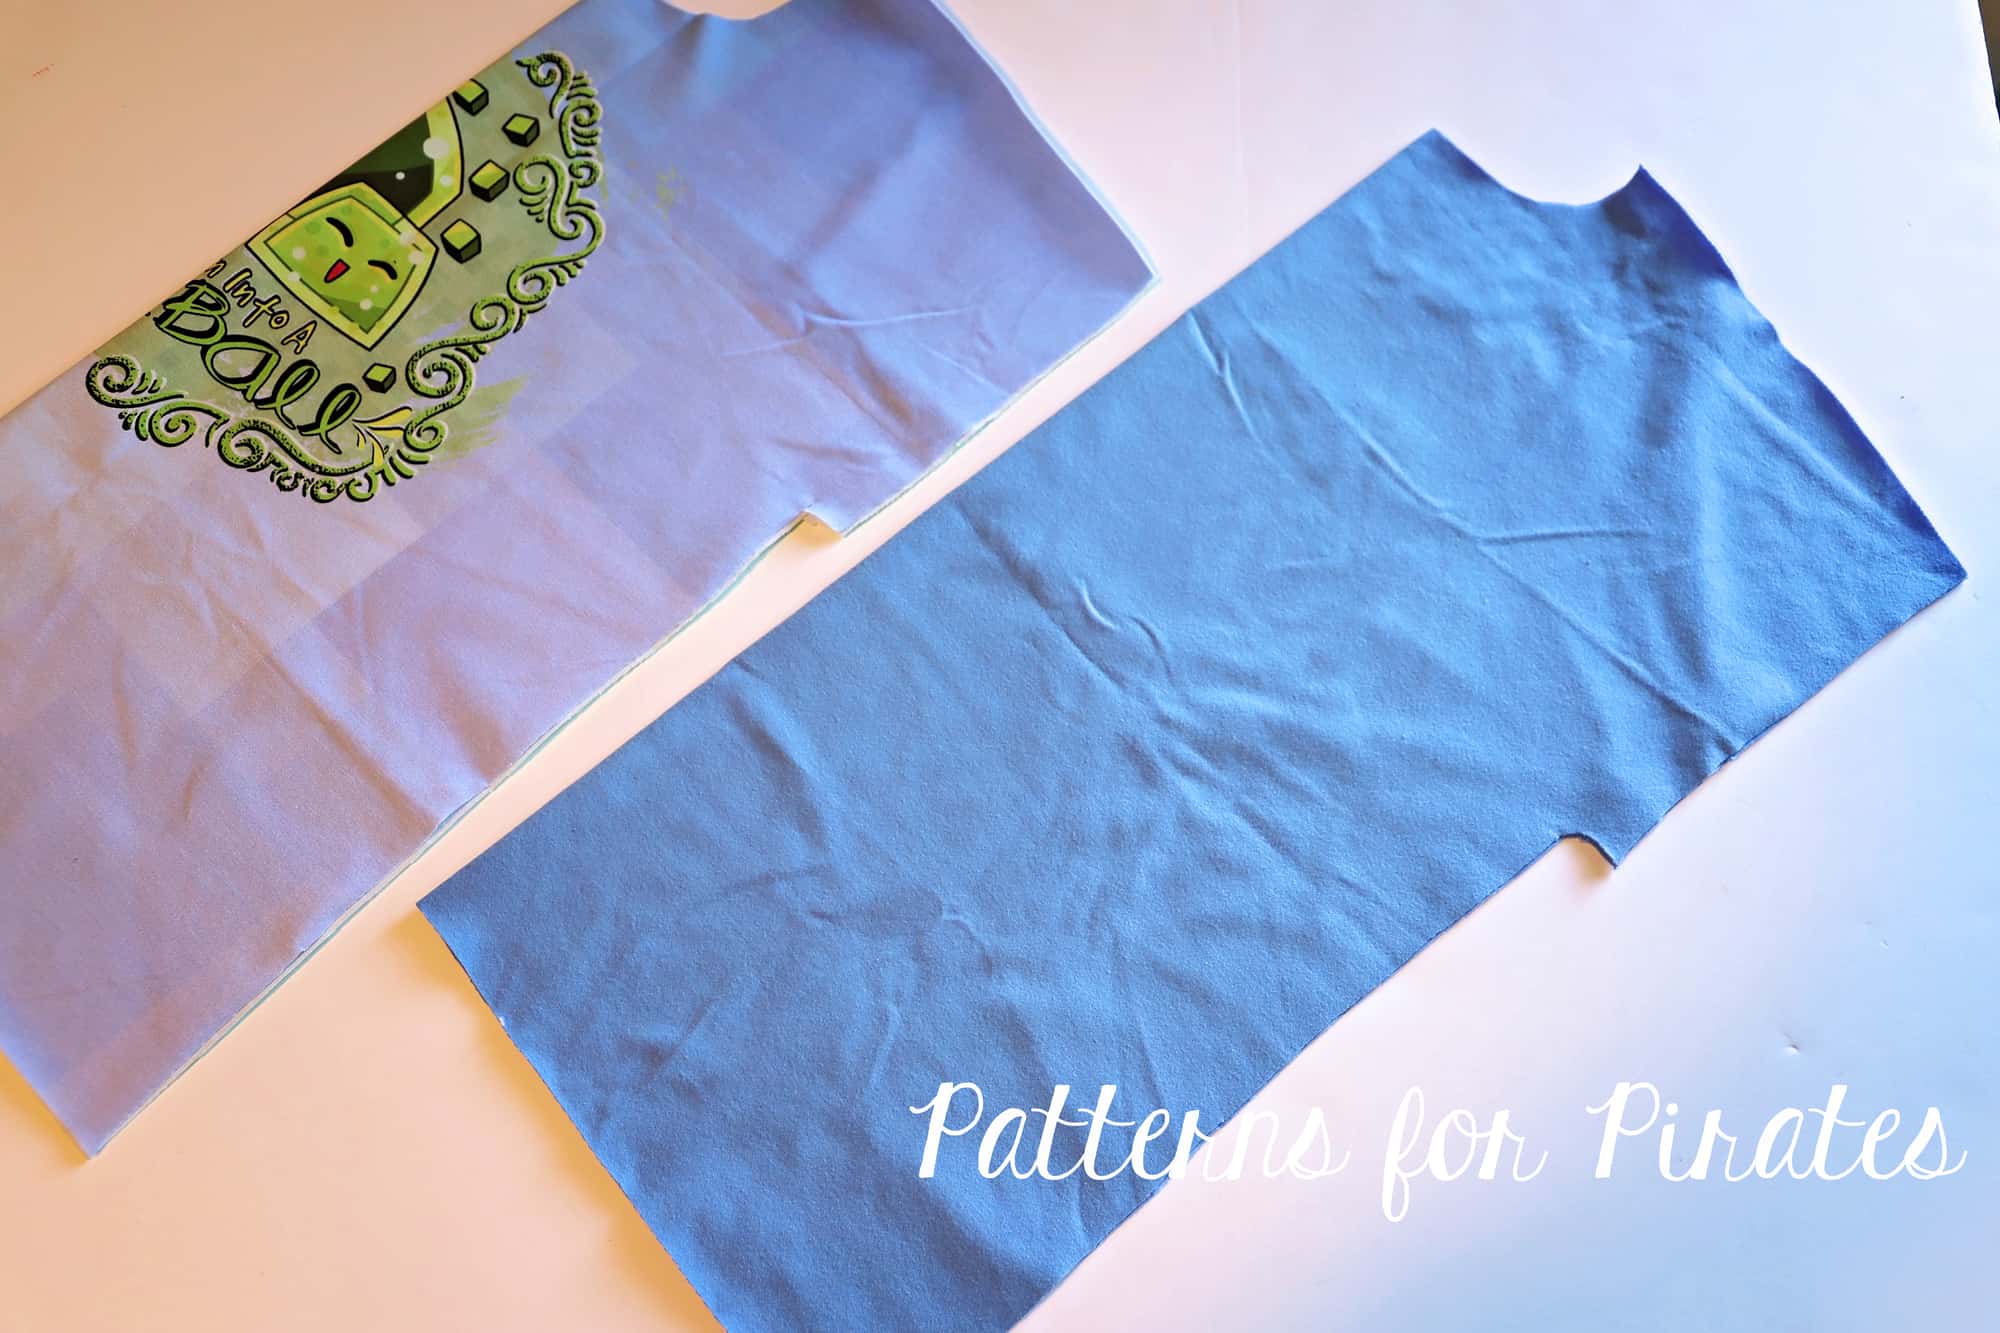
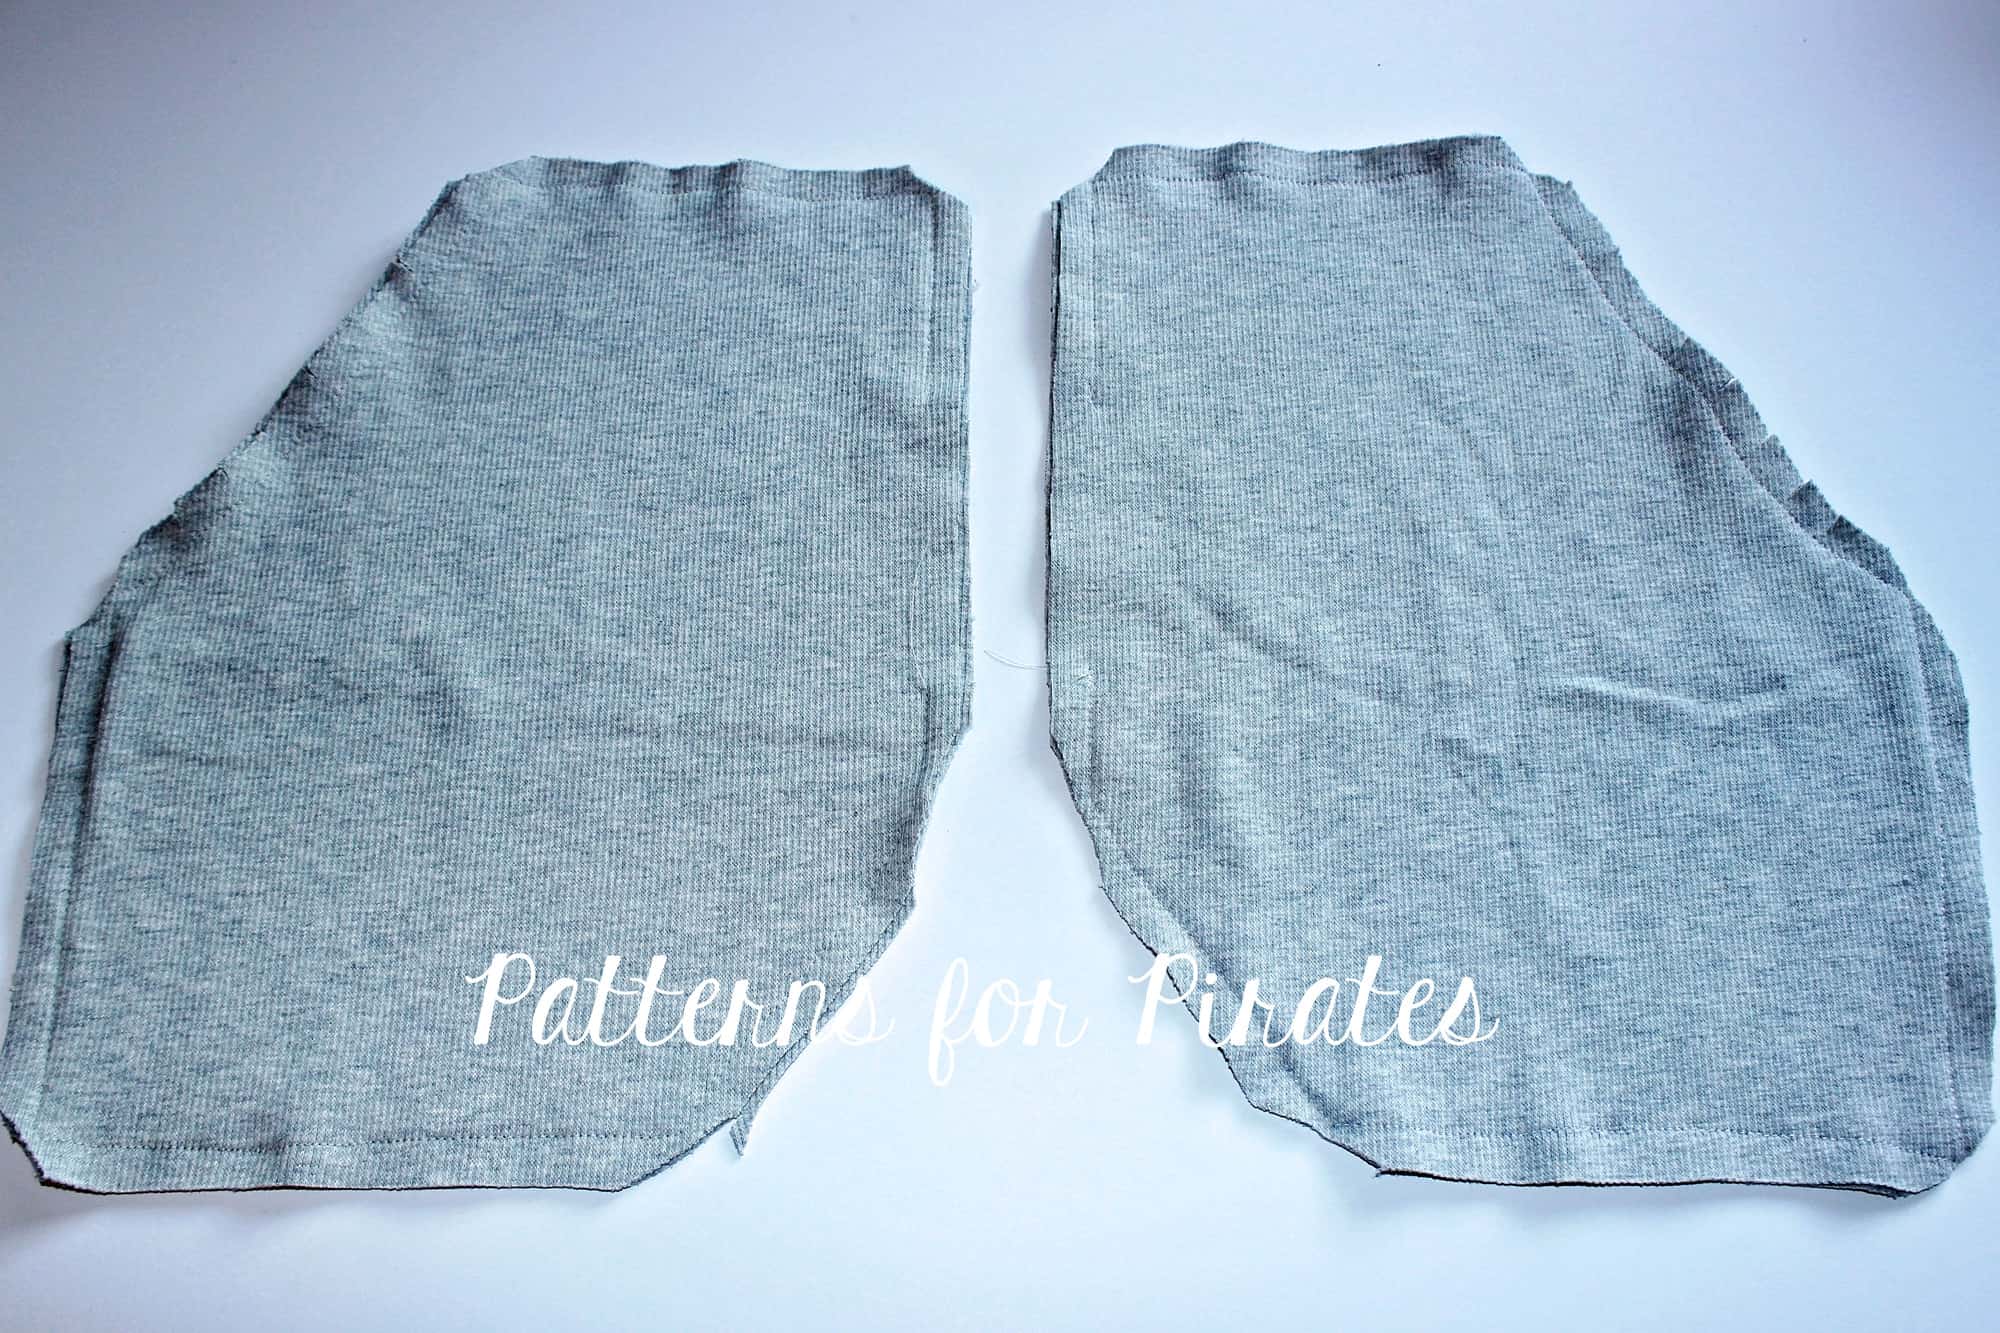
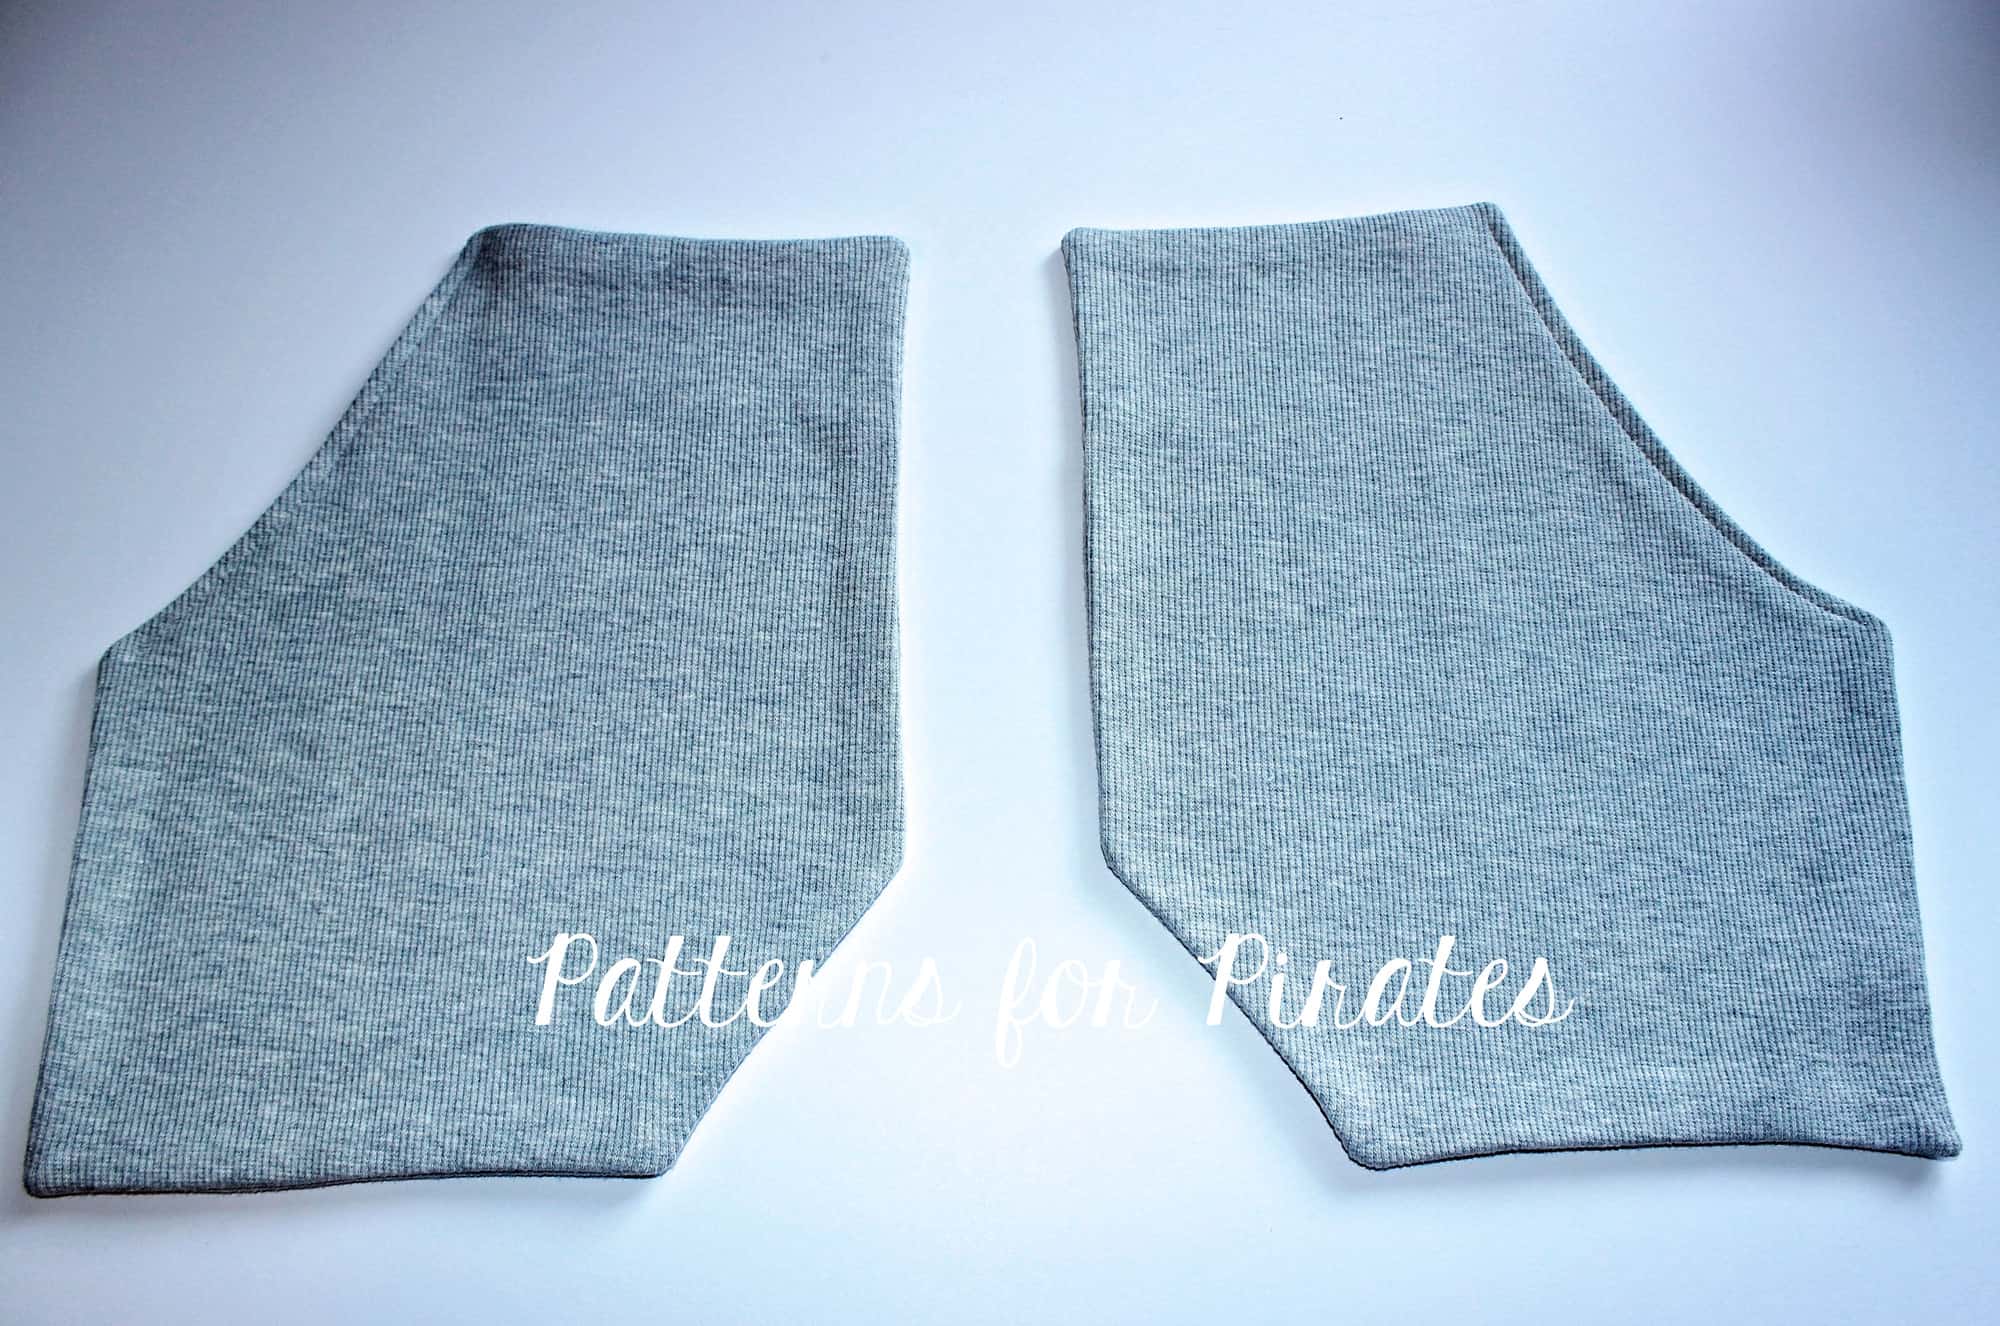
Start by printing your preferred style. Now grab the two back pieces. At this point you can do one of two things- remove the 1/2″ seam allowance from each piece and tape together (shown in first picture). Shown in the second picture, you could also fold each piece up 1/2″ and butt the two pieces together, matching the FOLD line and the side seam and …boom! There you have your new back pattern piece.
 

Cut your pattern pieces and sew the shirt as per the tutorial. Simply skip the steps that show you how to sew the two back pieces.
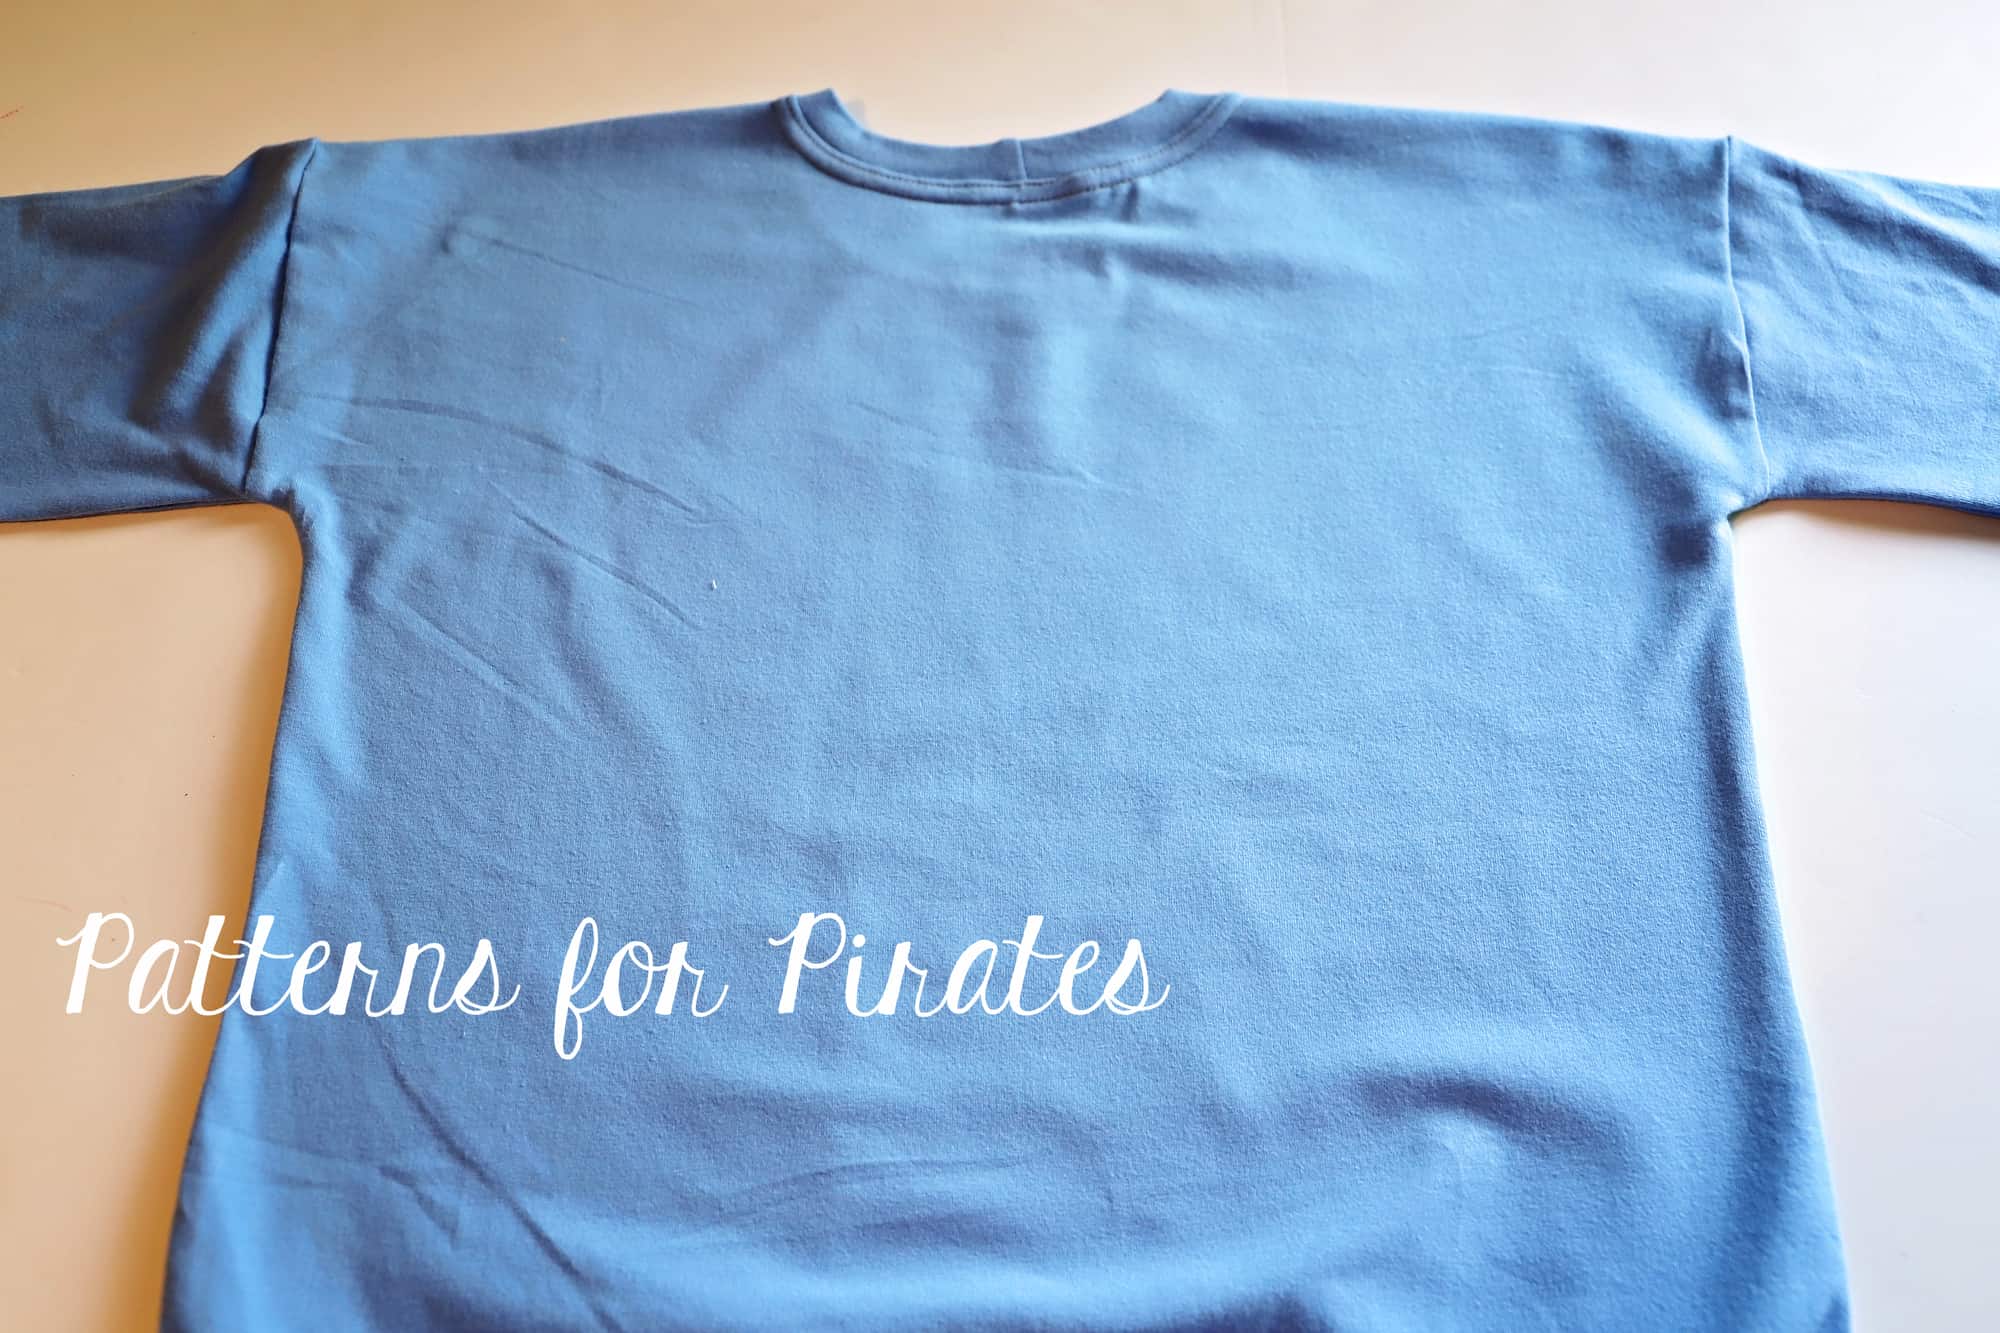
Tadah! All done! One more option to add to the Sporty Piko styles.
My little man absolutely loves his new shirt but if you want to treat yourself to an adult Sporty Piko with a solid back, simply follow the same steps and enjoy!


P4P Sporty Piko- solid back hack

…..

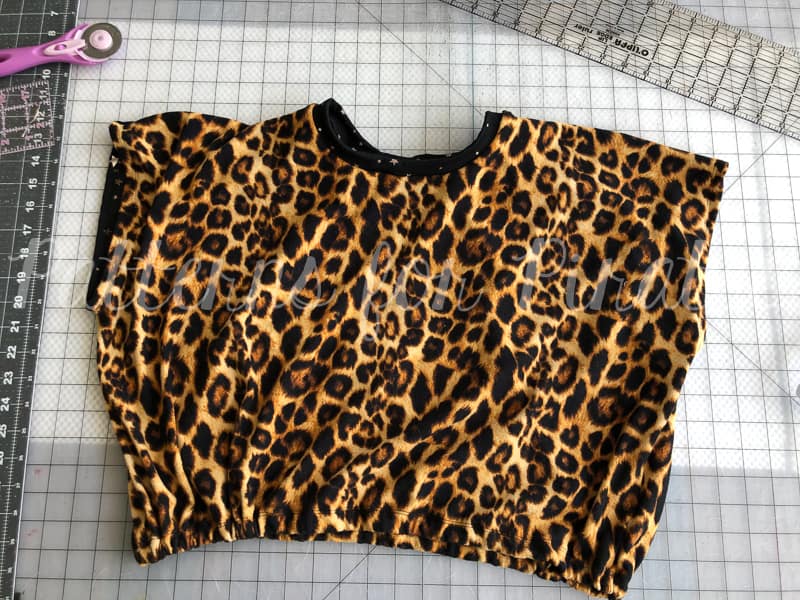
Elastic crop top

Maybe you want a cute crop but aren’t interested in fussing with the drawstring option?  I’ve got you covered!

Follow all of the instructions for the crop option, including the 1″ hem.

Top stitch around the entire folded edge, leaving around a 3″ opening to thread the elastic through.  (I like to position my opening on the back portion of my items, but it’s really a personal preference.

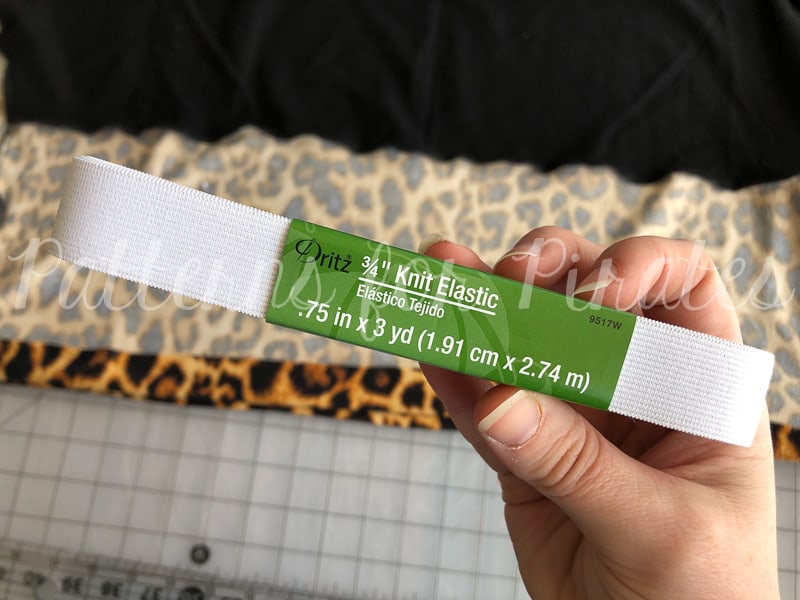
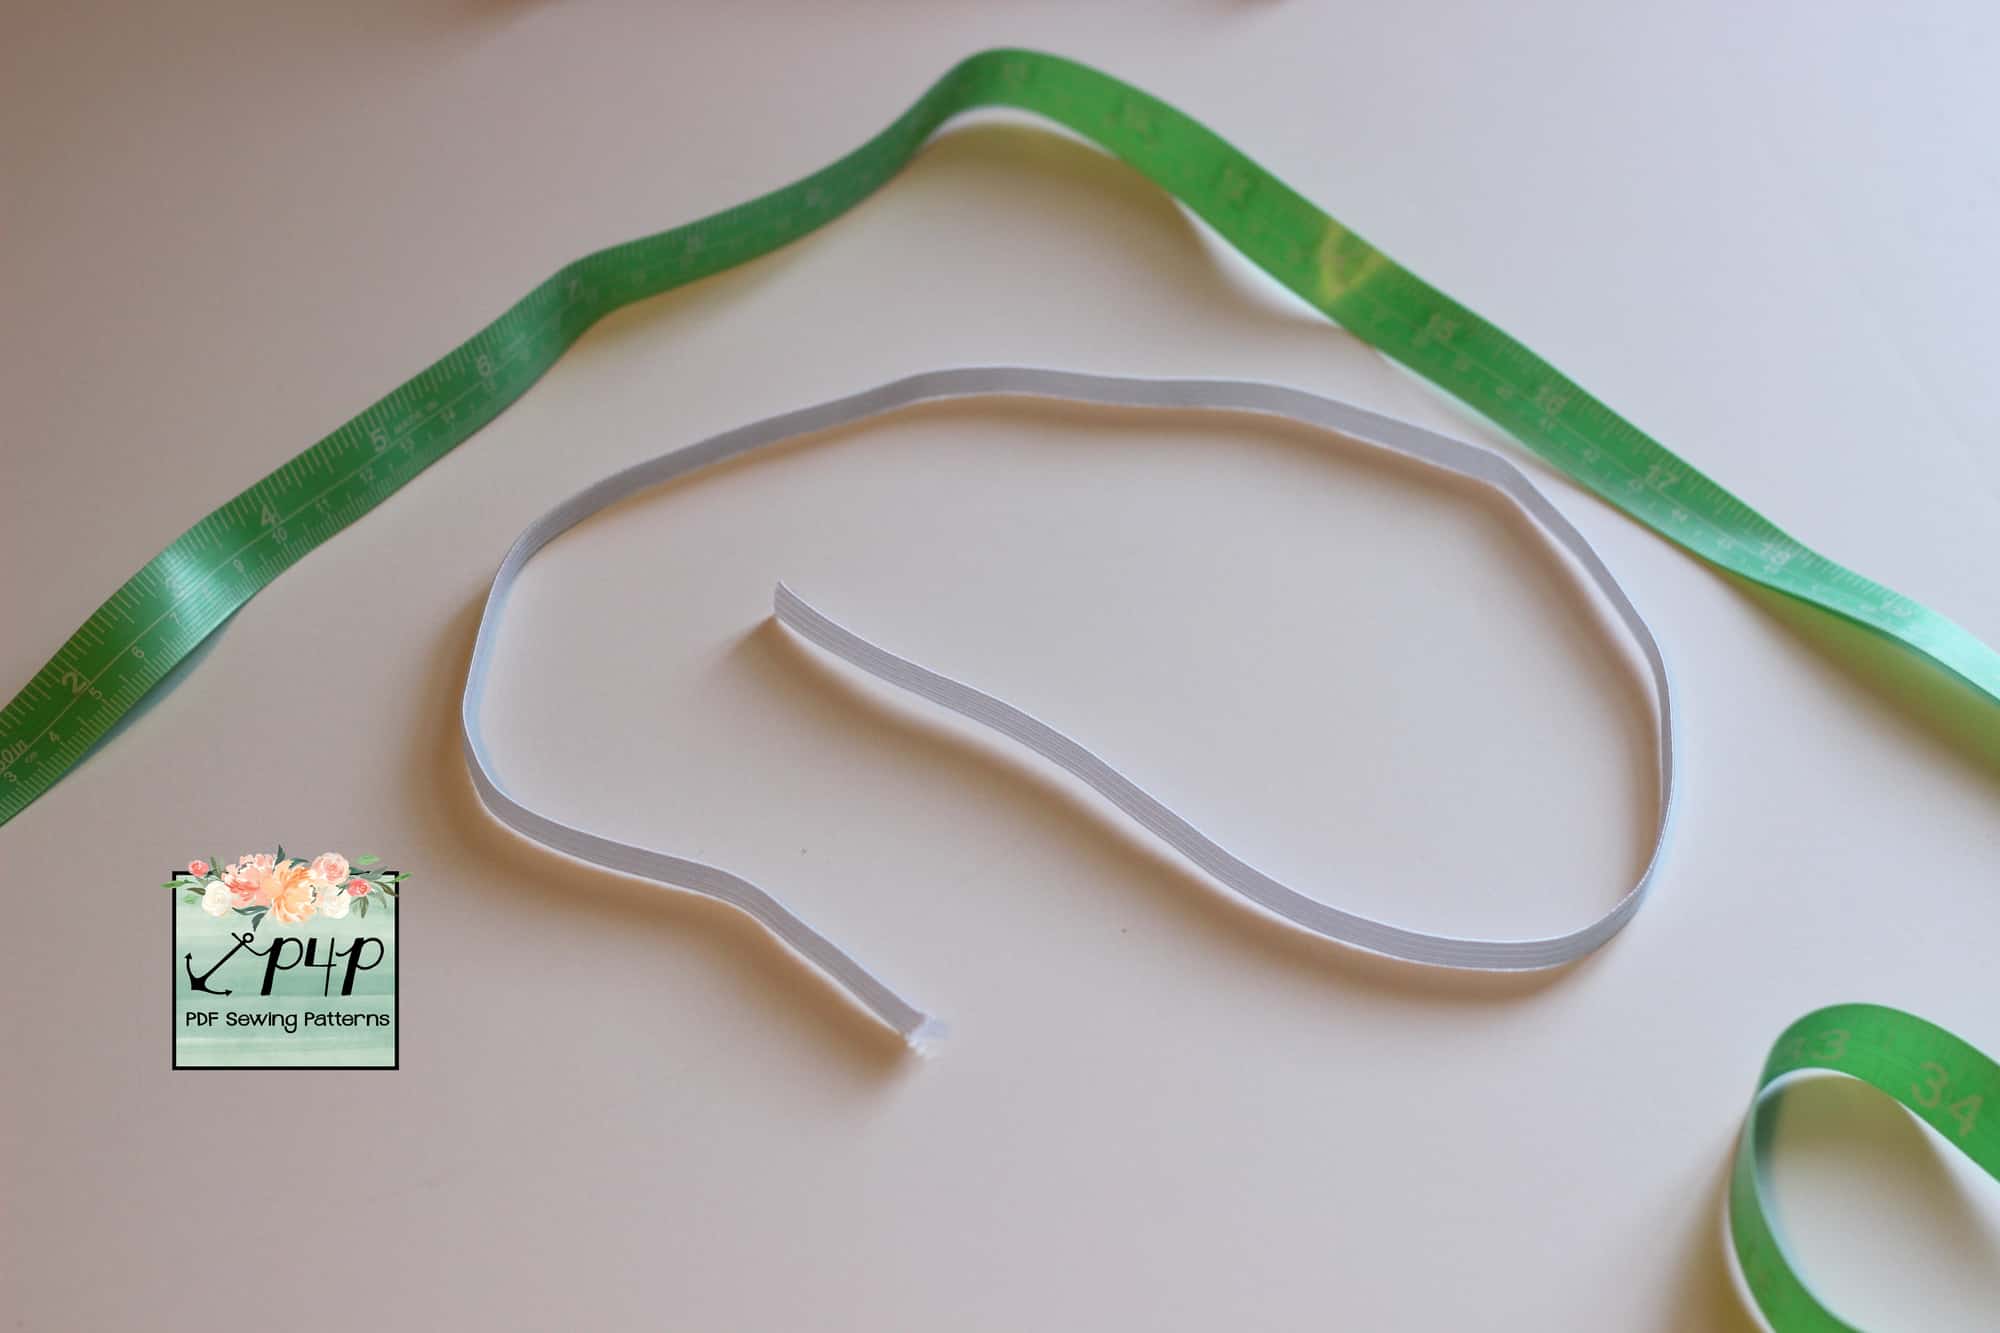
Using 3/4″ knit elastic, cut a length that is your waist measurement, minus 2″.

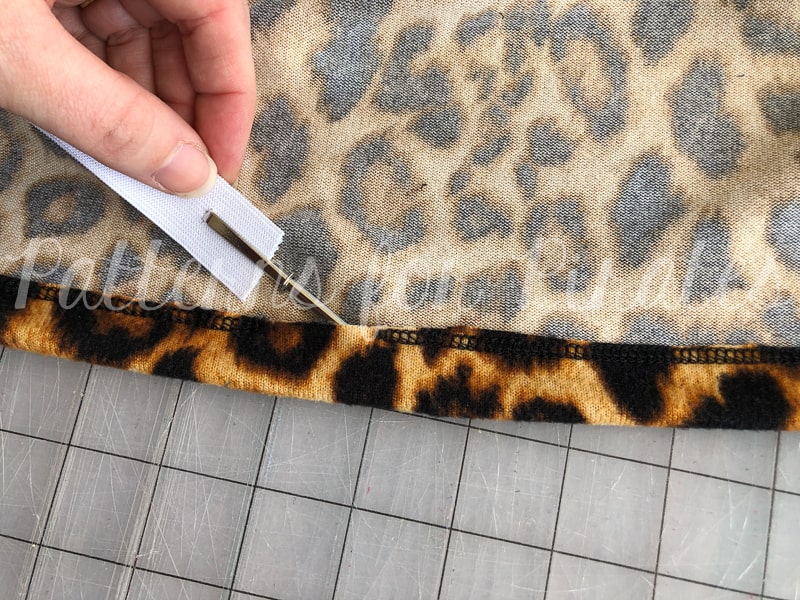
Feed the elastic through the opening.

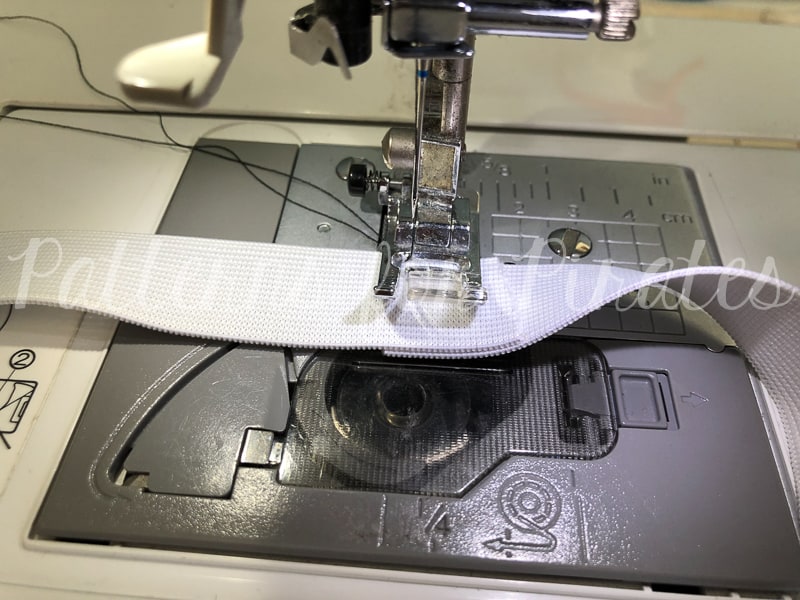
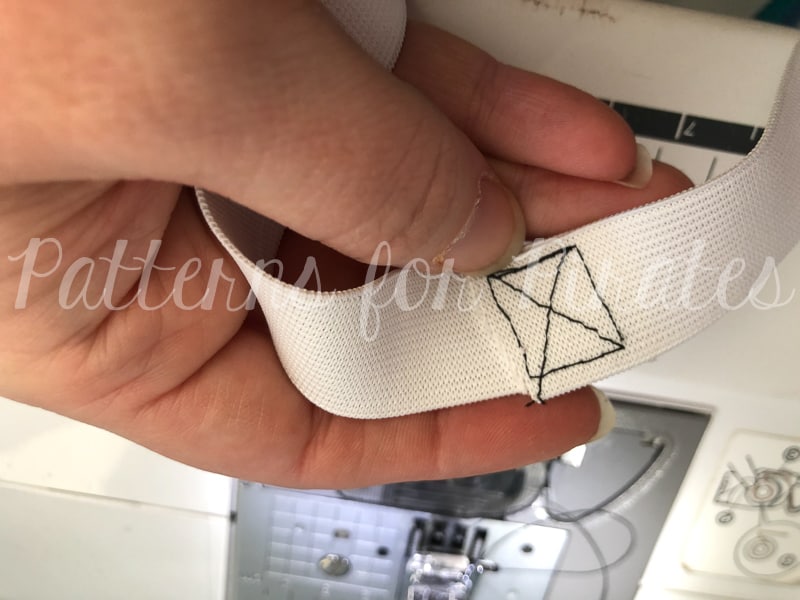
Overlap the raw edges of the elastic, being careful not to twist it, by 1″.  Sew the overlapped pieces together, using a stretch stitch.

Close up the opening of the bottom hem, and enjoy your new crop!


…..

Banded crop top

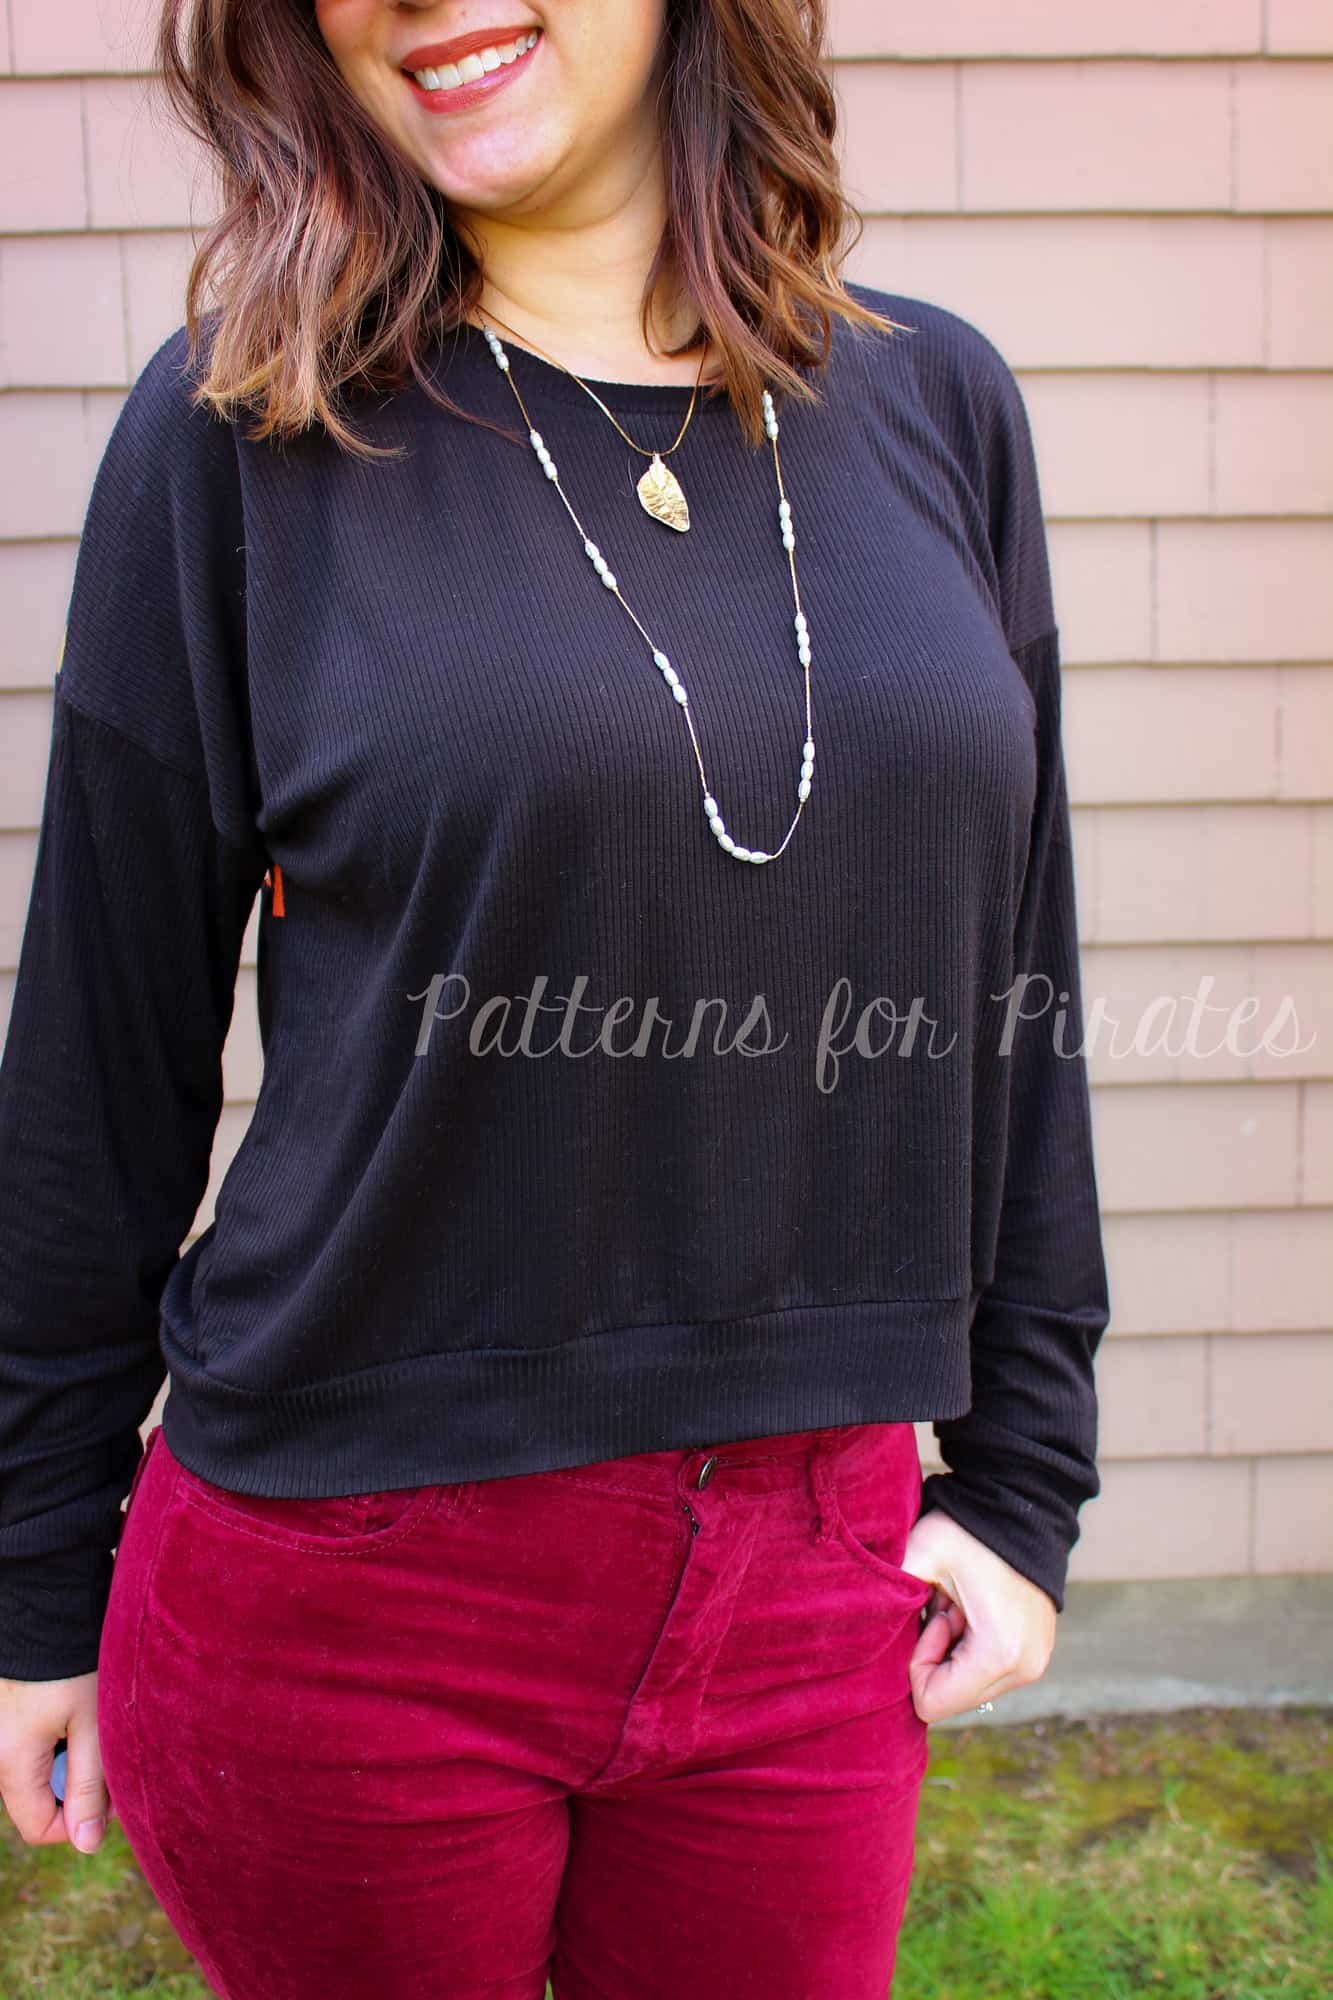
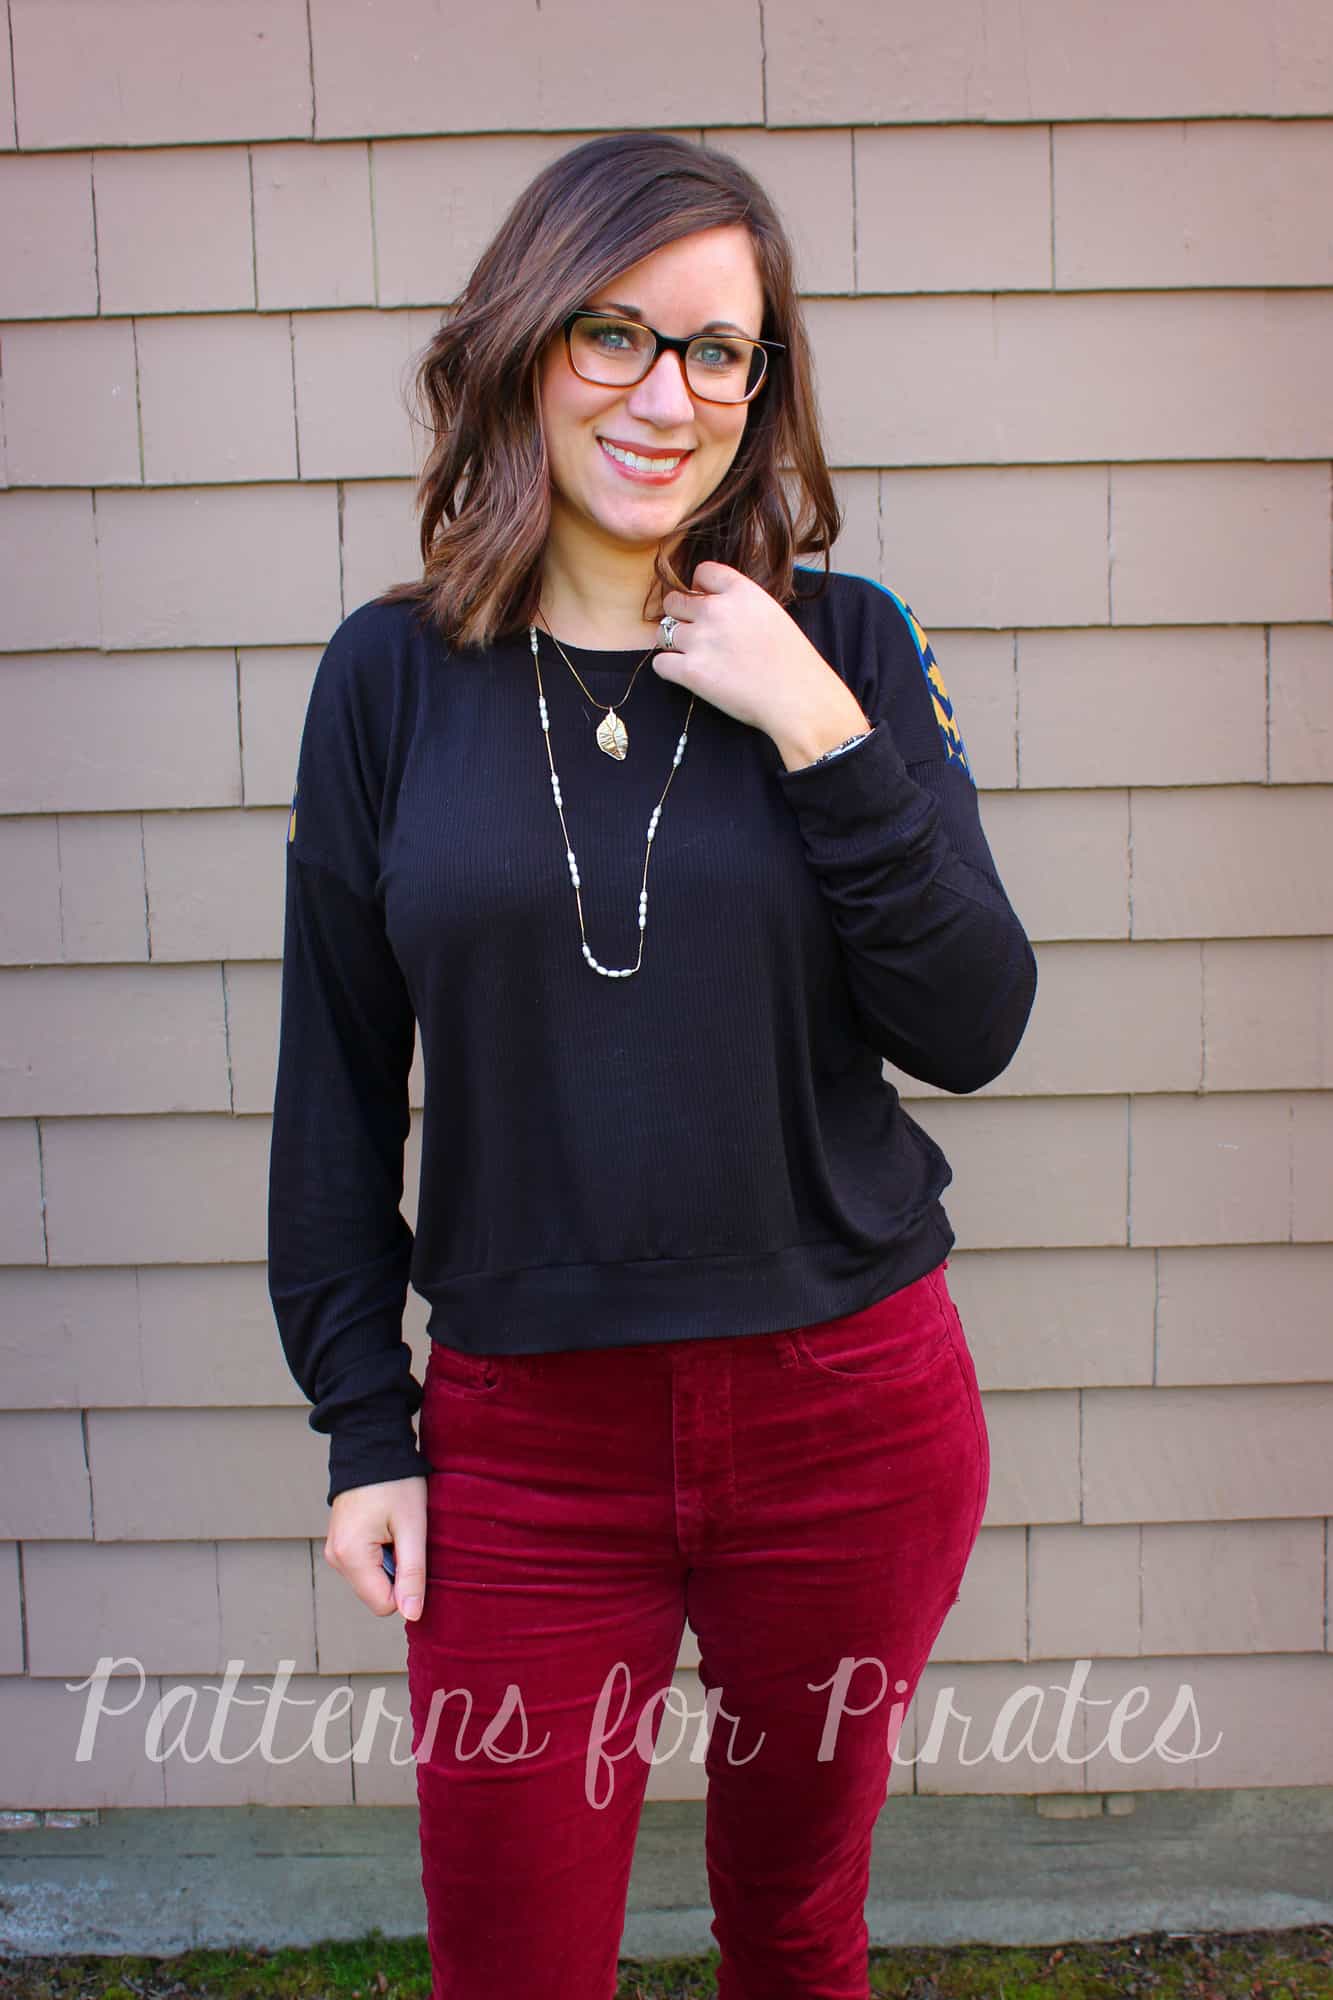
Elastic… draw string… and now we’re bringing to you a third option to finish off your crop top versions- a banded option. This is a quick and easy way to finish off your top, especially for those of us who are opposed to the dreaded finishing hem! 🙂

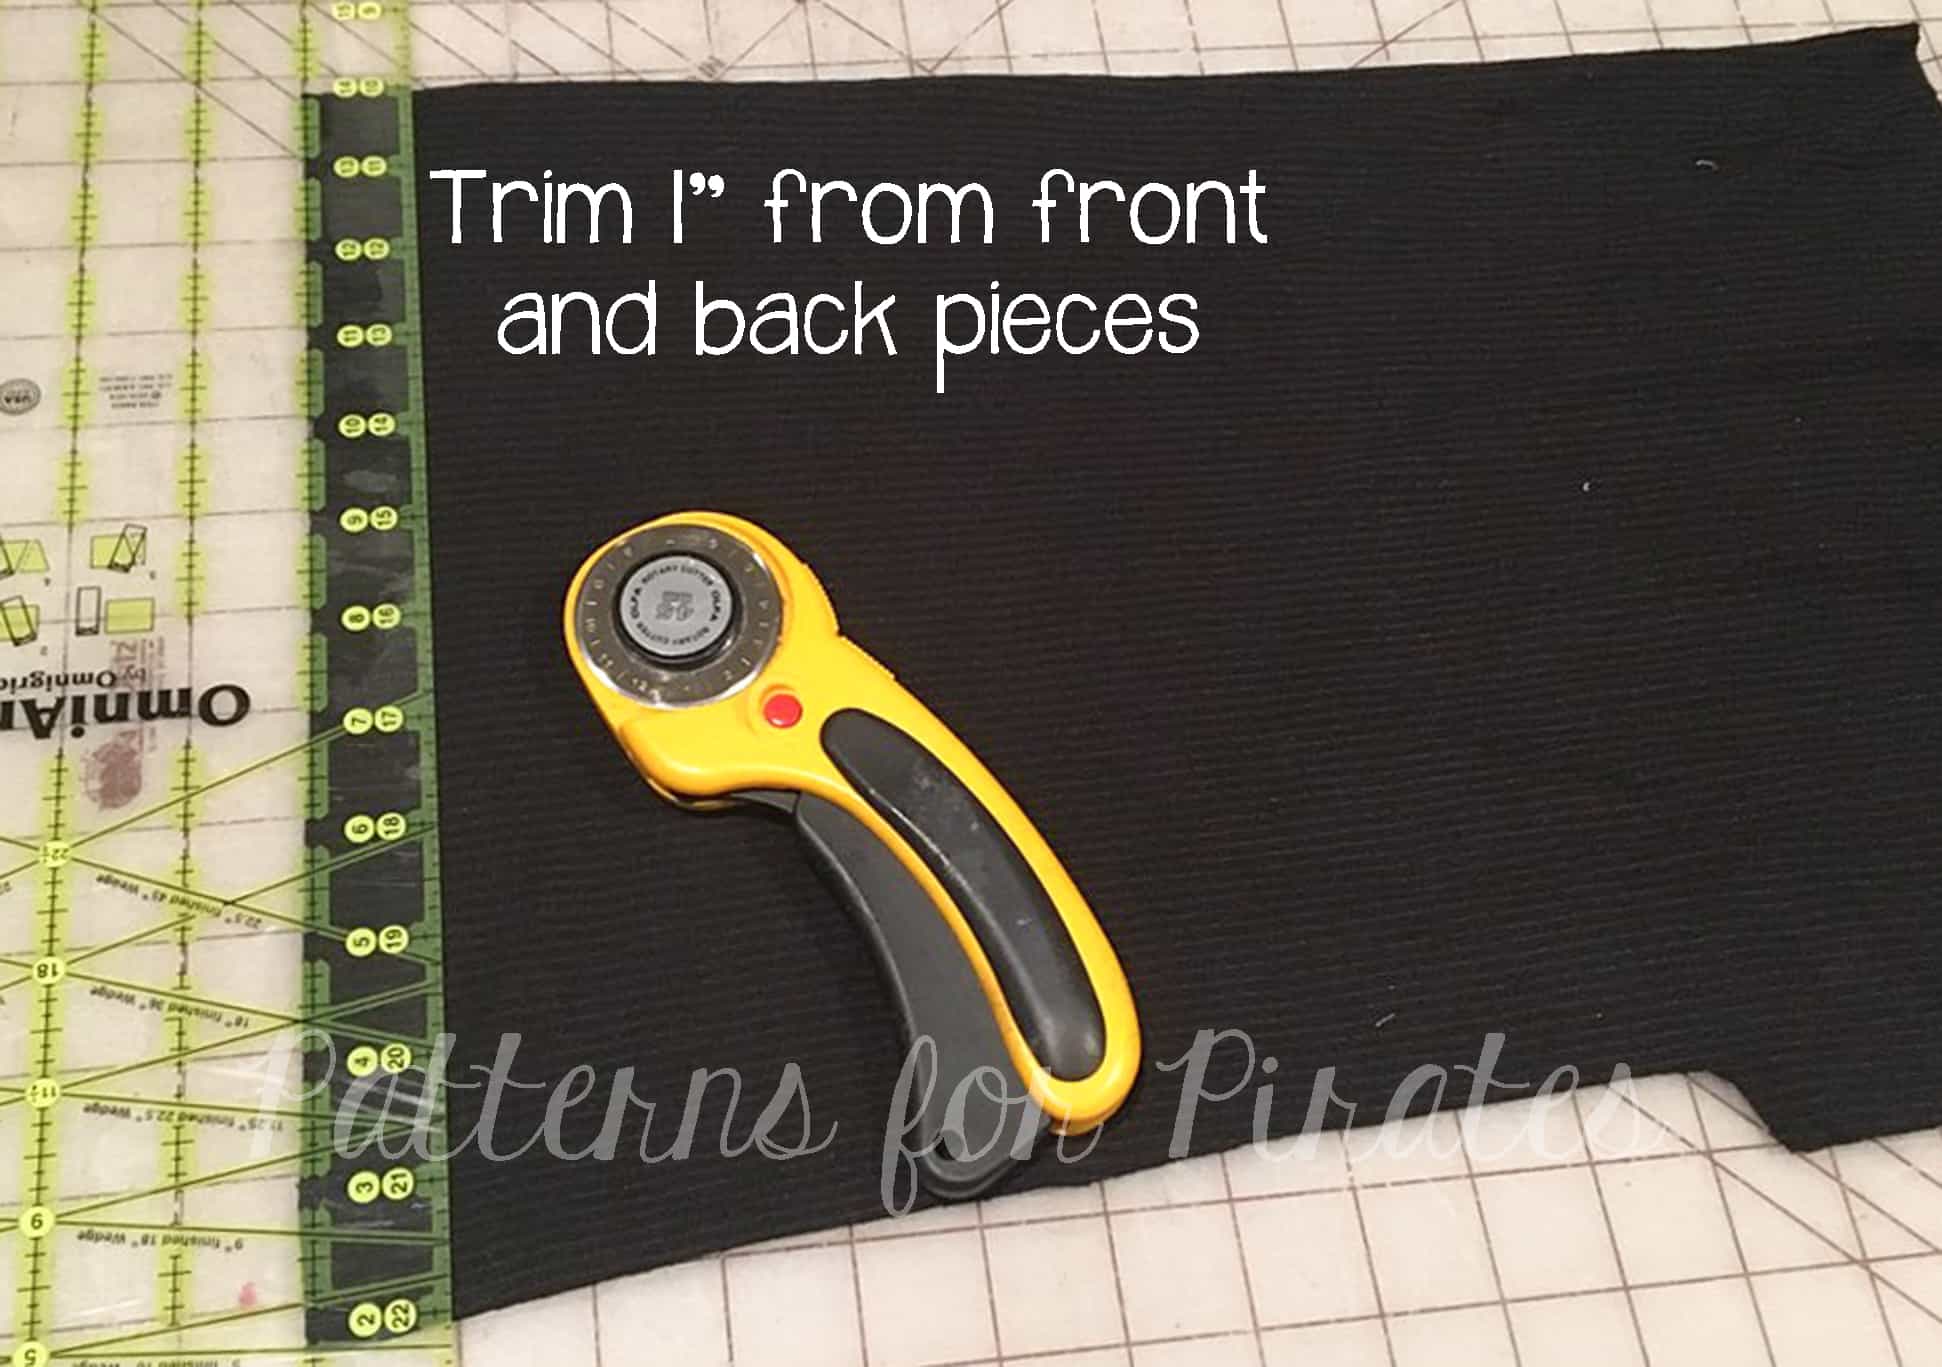
To create this look, you will need to cut out all of your pieces needed for the cropped version, as well as a band (discussed later). Once you’ve cut out your pieces, you will want to trim 1″ off of both the front and back pieces (everything else will remain the same).

Assemble your shirt as per the pattern directions. Once you’ve completed your shirt, it is now time to attach the band. You will want to measure the total bottom hem of your shirt. To calculate the final width of your band, you will take your total measurement x 90%. Then add 1″ for the seam allowance. For the women’s version, I recommend a length of 4″ and for the youth, a length of 3-4″, depending on where you would like the finished length to be.

Using the instructions for the banded version in the tutorial, attach your bad. That’s it! Go off and enjoy that new shirt you’ve just finished up using one of our three finishing options.

~Erinn and Nicole


Now that you got your patterns and looked over our easy hacks, time to sew! Remember to share your creations in the P4P Facebook group so we can all admire them.

Filed Under: Frequently Asked Questions, Pattern Hacks, Pattern Release, Uncategorized 4 Comments

P4P University – Easy gathering methods

April 3, 2018

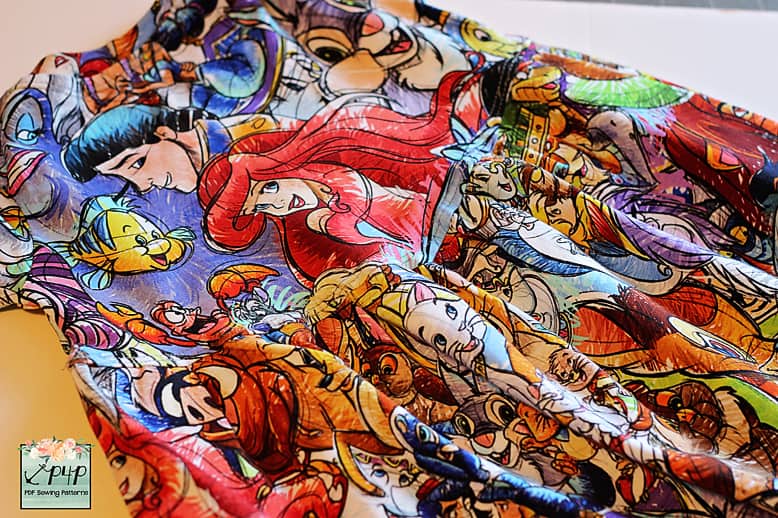
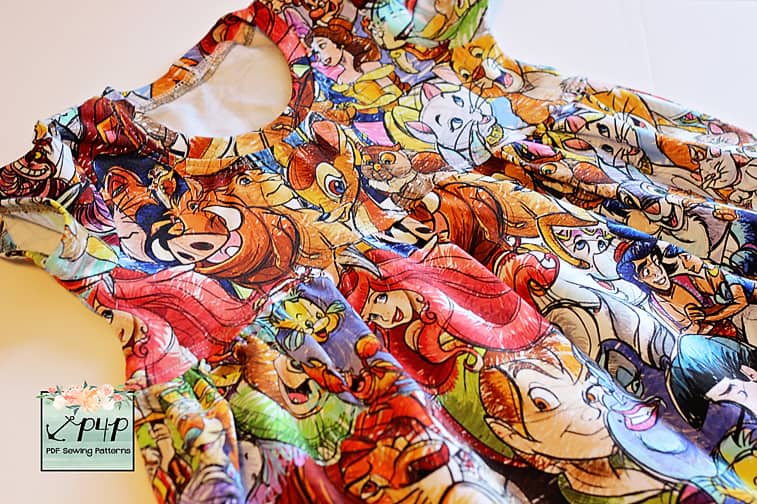
Hello, pirates! Today I wanted to talk to you about gathering and show you 4 of the easiest gathering methods that do not require investing in new gadgets or feet for your machines. All the methods I’m showing are applicable to both woven and knits.

Gathering with your serger

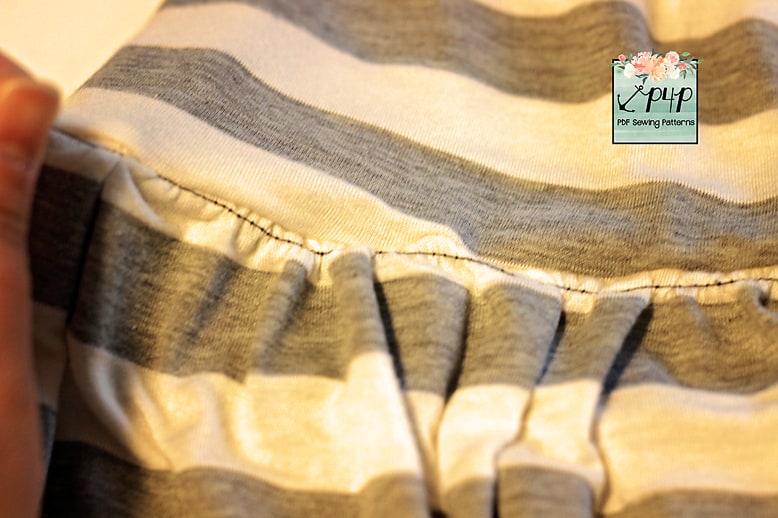
My favorite method of gathering is using my serger and its deferential feed. You will be switching your differential feed to the highest setting possible (in my case 2.0) and tightening the tension of your left needle. It is very important to test your new settings on a piece of fabric that is the same as the fabric you intend to gather. You will be able to see if you need to loosen the needle tension, tighten it or fidget with the right needle too.

For more tips and details watch the video below.


Gathering with two rows of basting stitches

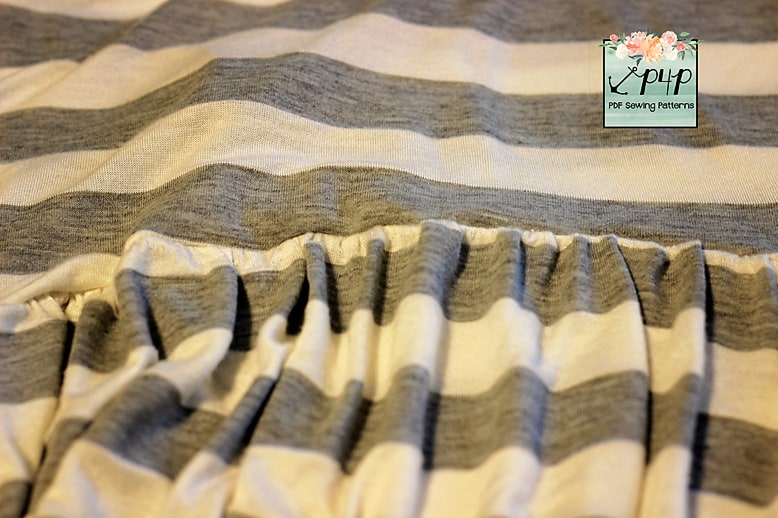
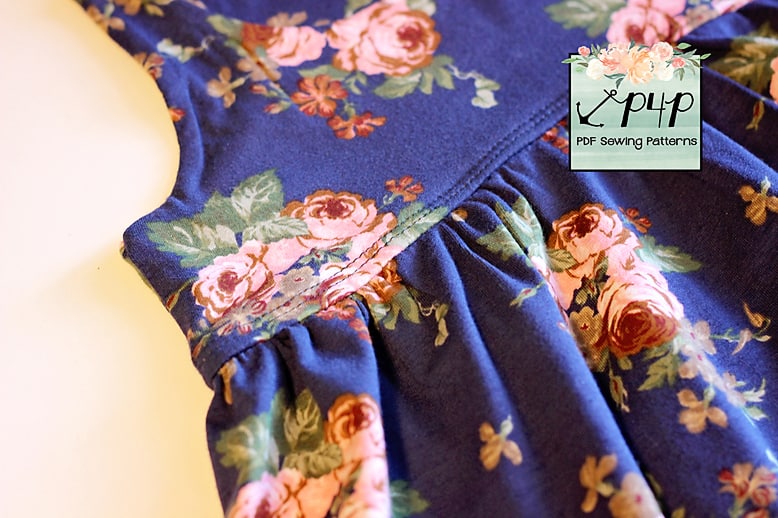
The most popular method of gathering, and the one most often used in our patterns (Judy’s favorite) is gathering with two parallel rows of stitching. This method uses your sewing machine.

Note: your first row of gathering stitches should be about 1/4″ away from the edge and your second one 5/8″ away.


Tip: For the basting stitches, use a different color thread than the fabric do you can remove it easily.

Gathering with elastic

The next gathering method I wanted to show you is one that uses elastic, clear elastic or knit elastic. Avoid using no roll elastic!  Also, make sure to exercise (stretching it a few times) before cutting.

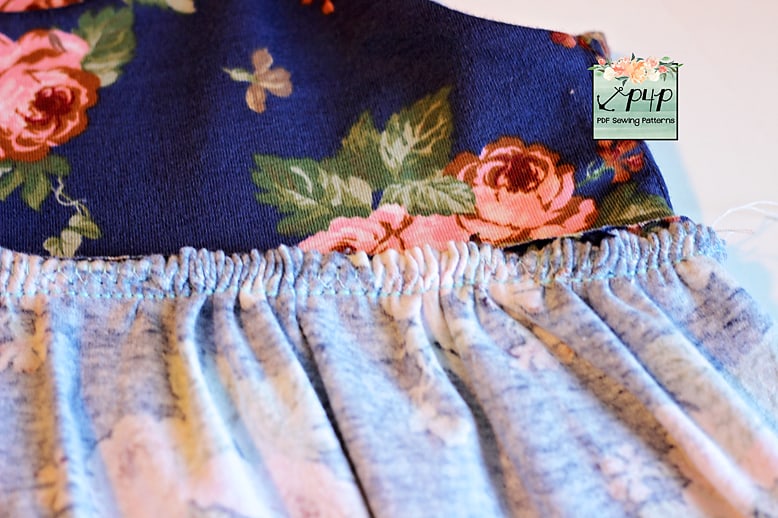
Start by measuring the opening of the bodice and cut a pieces of elastic that matches the opening. Don’t forget to add seam allowance.

Note: I used 1/4″ knit elastic. This method works beautifully with clear elastic.

Sew the elastic in a loop and mark its quarters. Follow the method as in the video below.


Gathering with yarn or floss

The last method I wanted to show you is commonly known as gathering with floss. You will simply sew a wide zig zag stitch over a floss or yarn and simply pull the ends to gather. Super easy!


Tip: if you’re using yarn, use thin yarn and preferably a color different than the fabric you’re gathering so you can easily pull it out.

There you have it, 4 easy gathering methods that will help you achieve beautiful, even gathers for your skirts and ruffles. No matter which method you use it’s important to hit the seam with a nice hot iron and steam (as much as your fabric type will handle), this will help if you accidentally stretched the bodice at all while attaching as well as set those gathers nicely.  Now go sew a Boundless or a Sunshine dress and show off your new gathering skills.

Filed Under: Frequently Asked Questions, Uncategorized 1 Comment

Walk the Plank – easy hacks

September 27, 2017

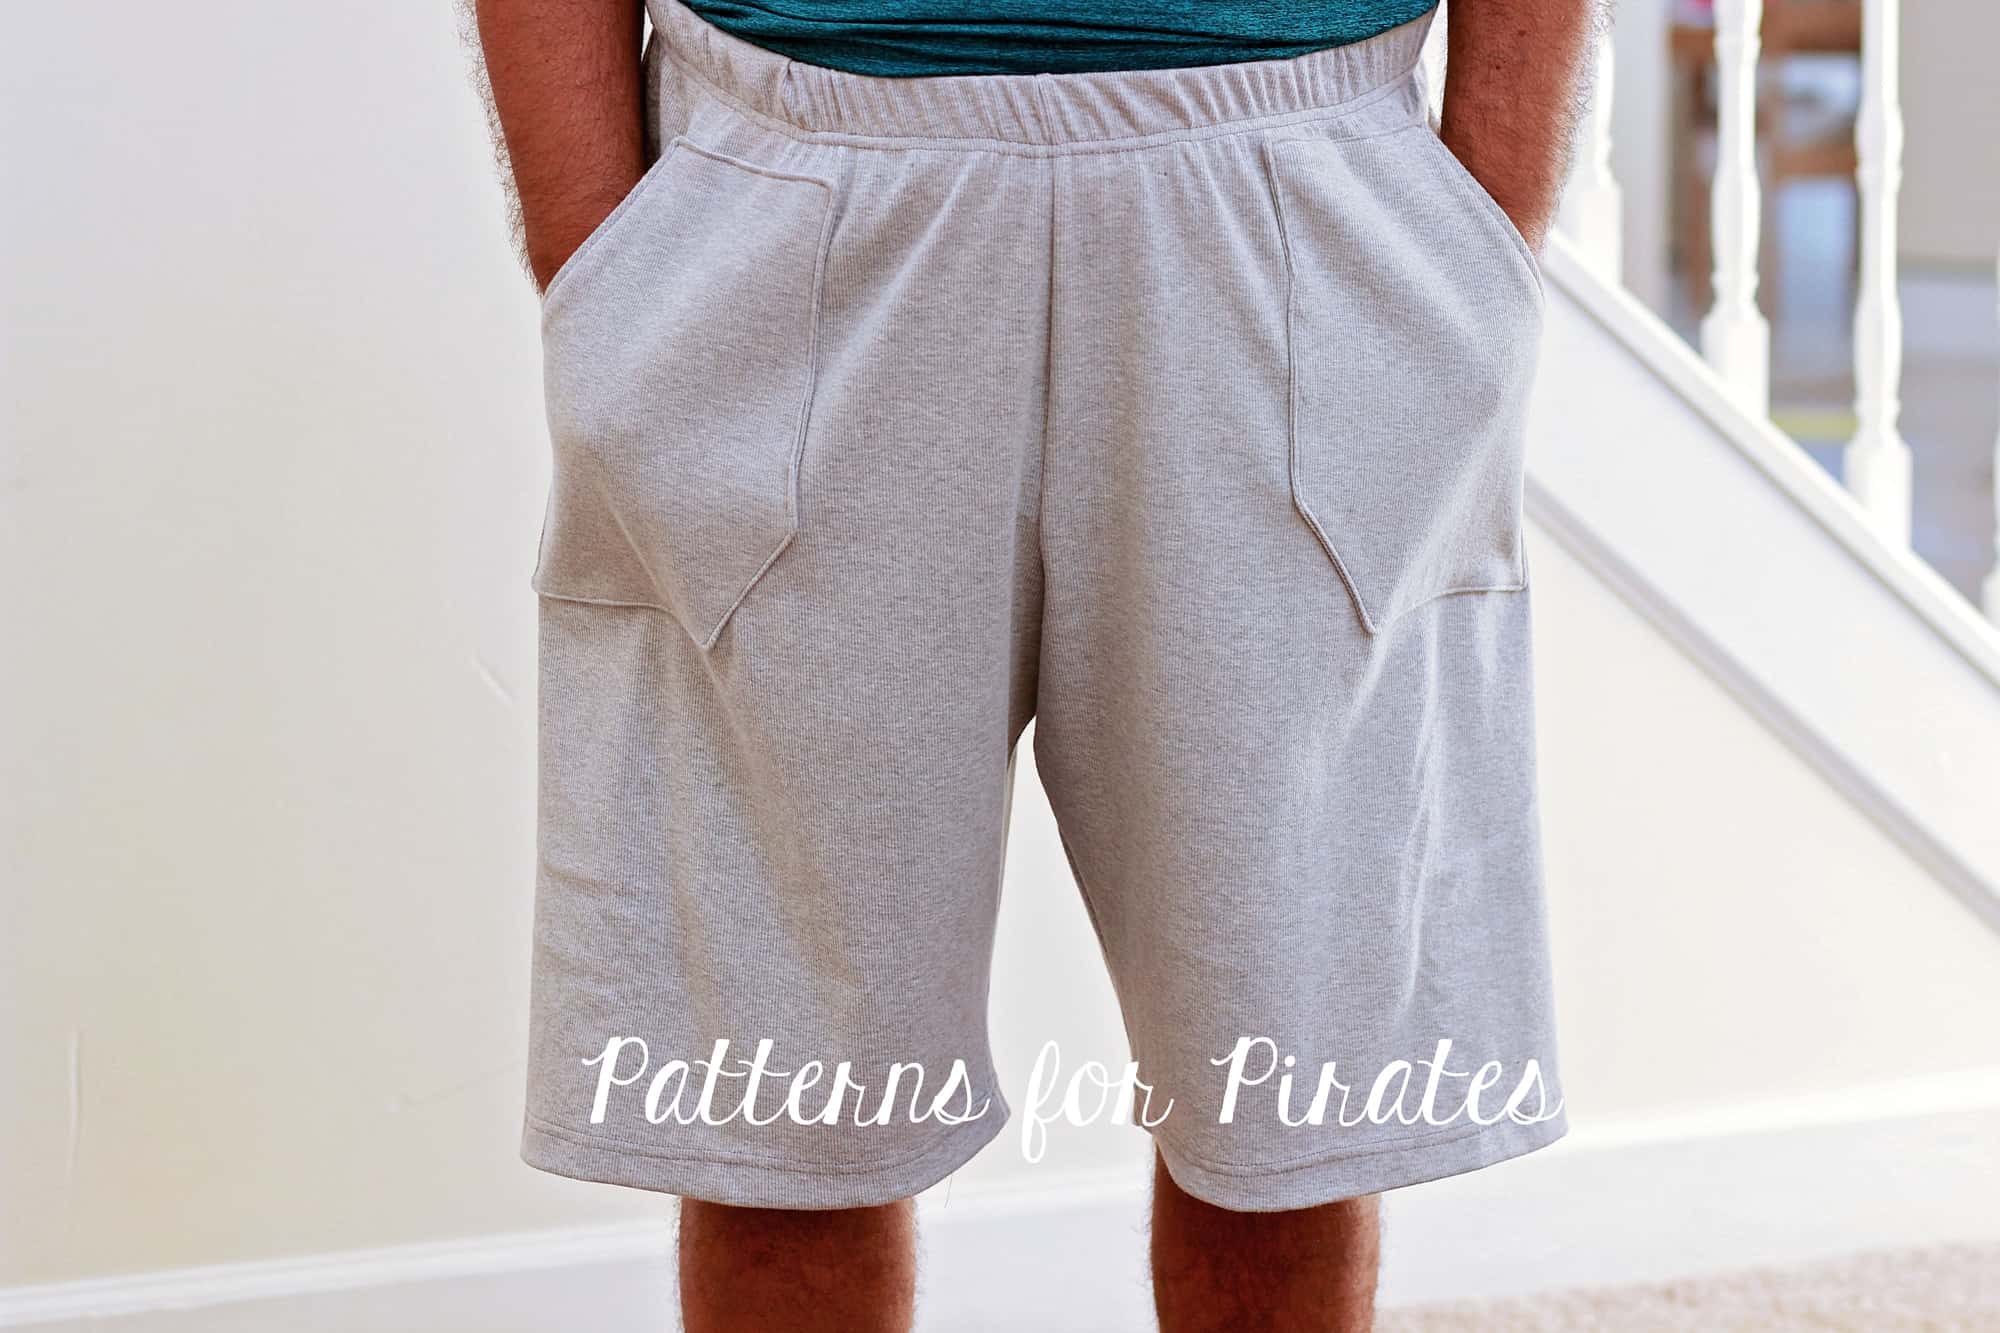
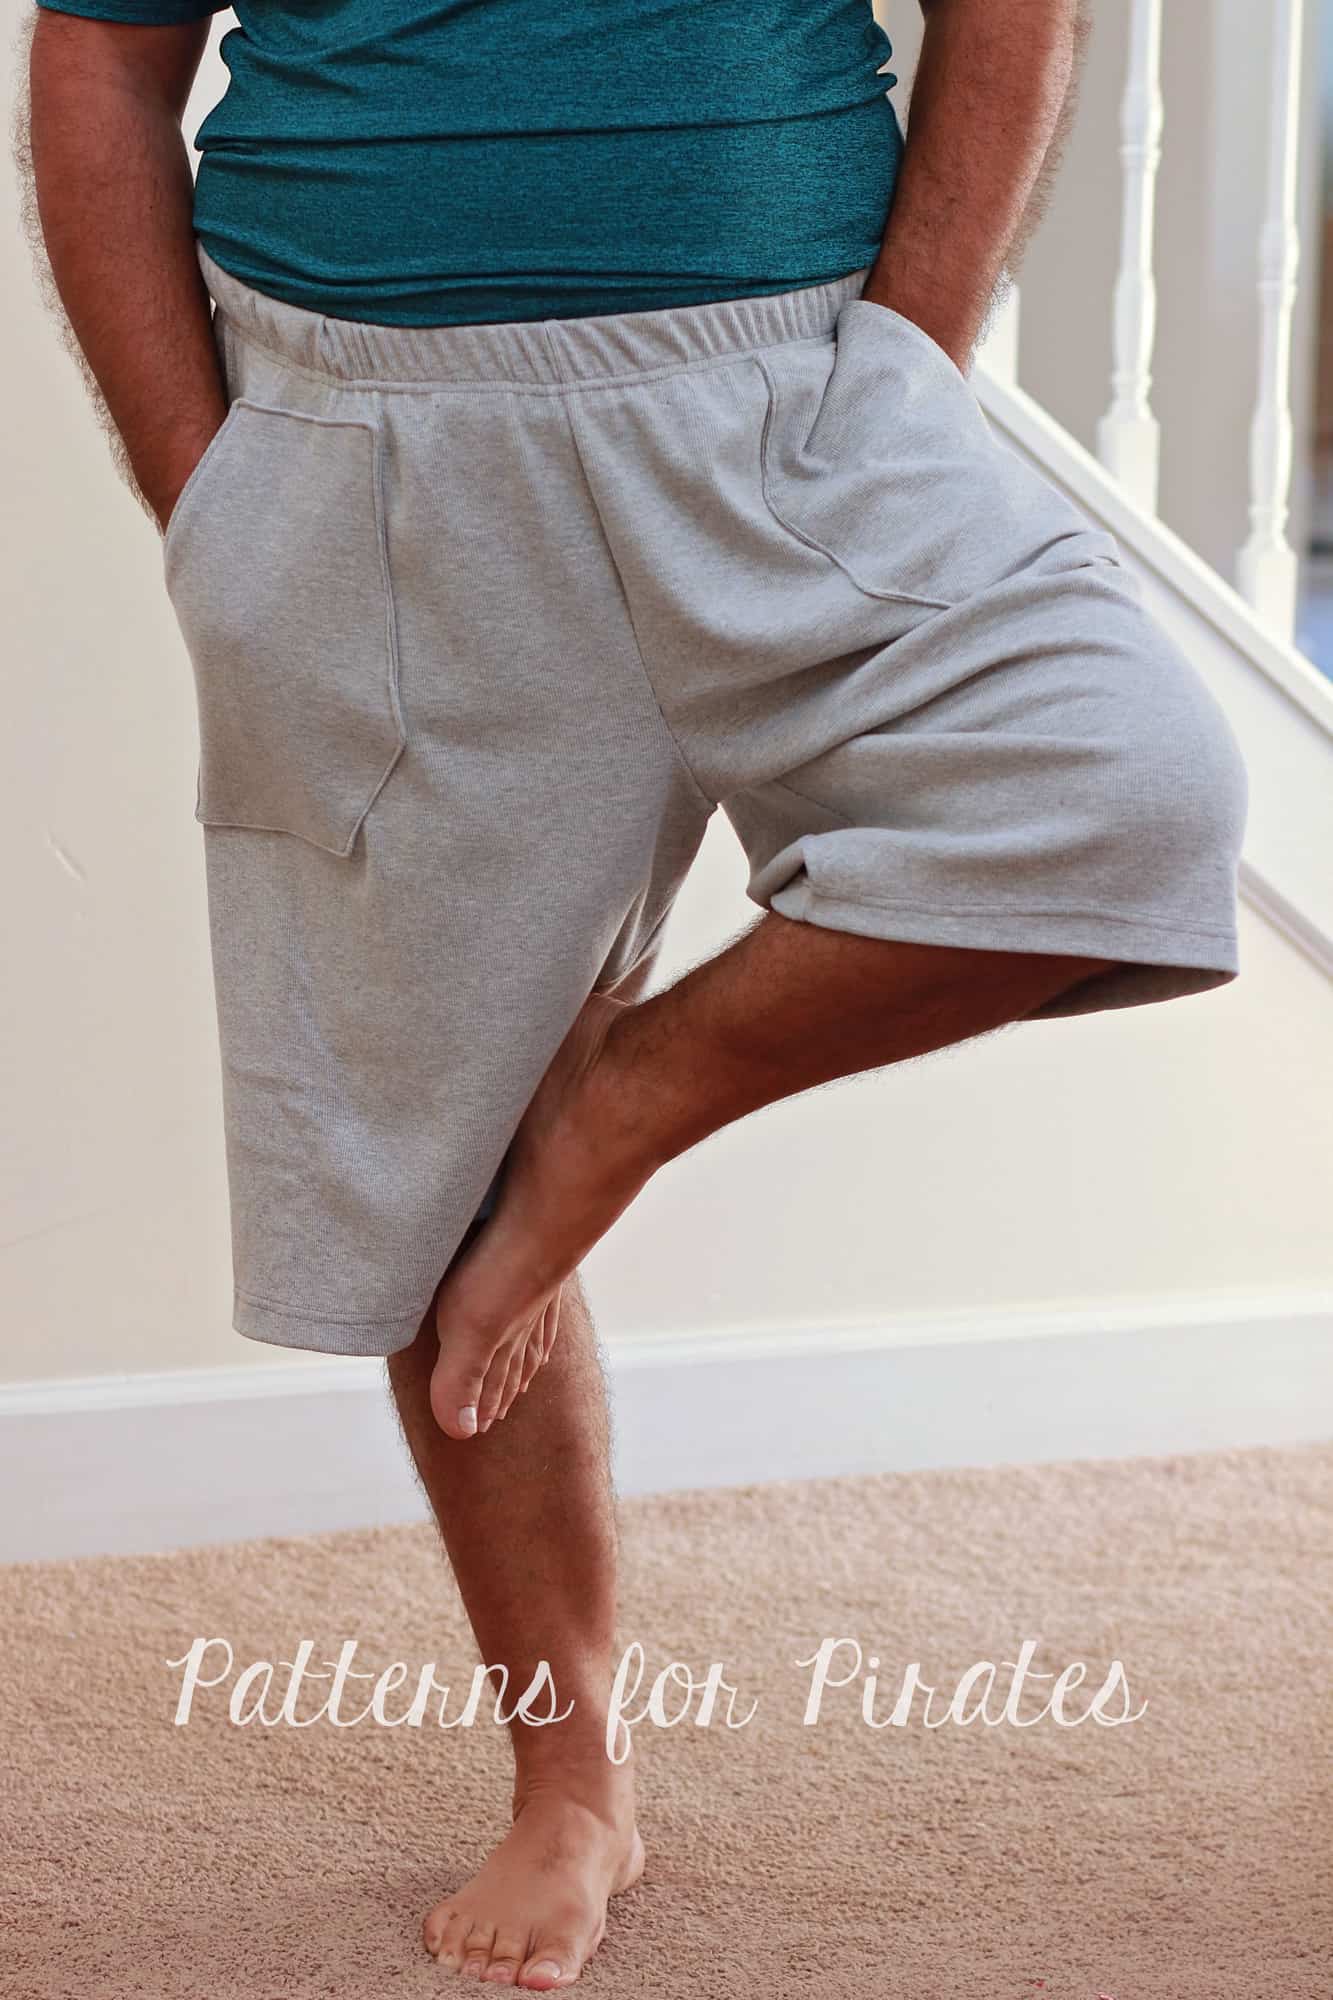
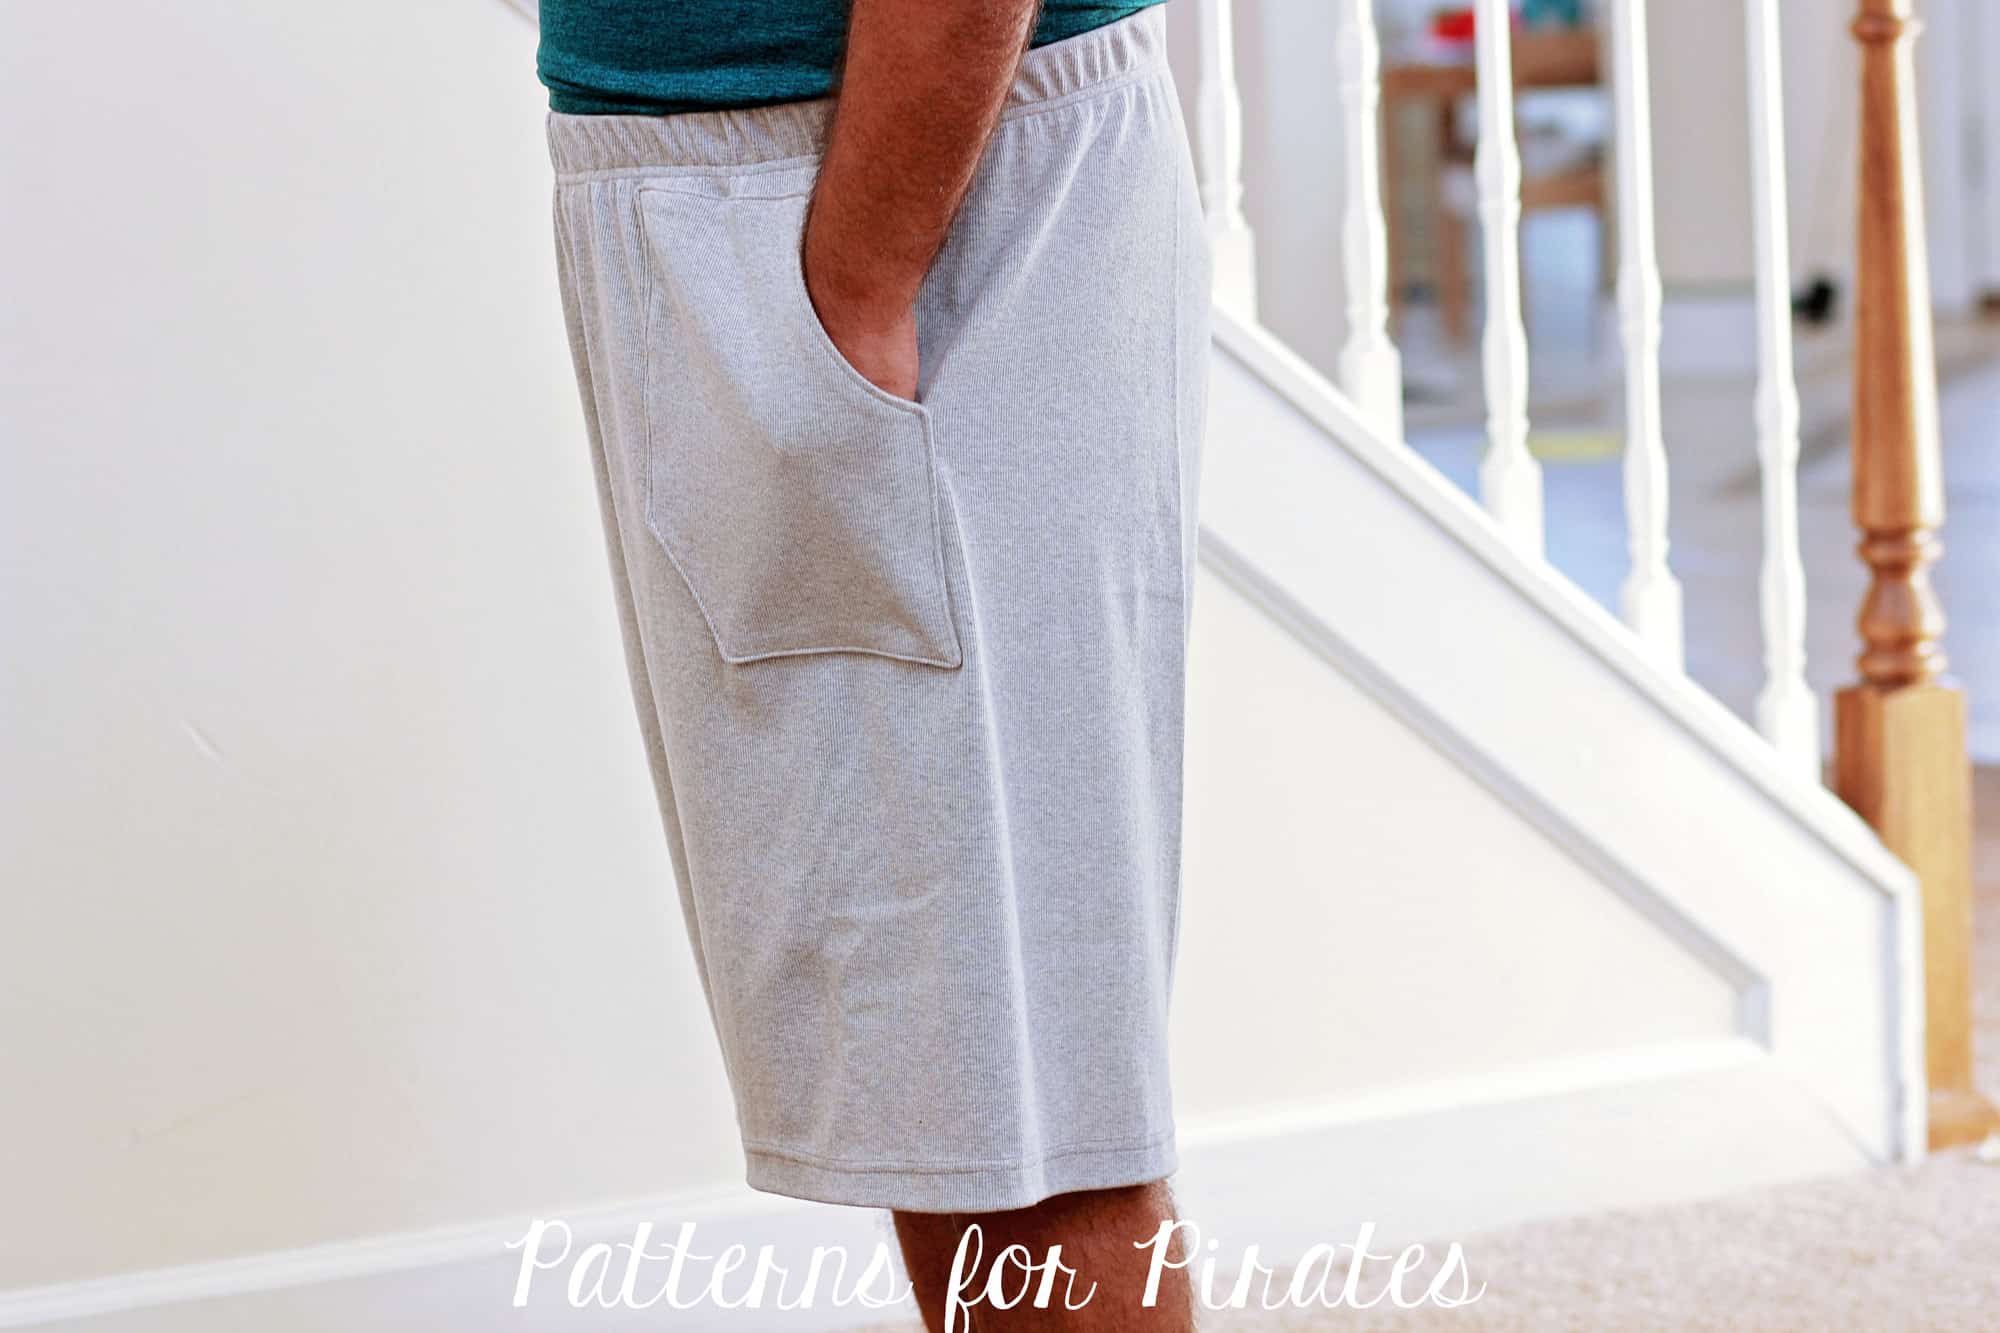
Ahoy, pirates! Hope you grabbed your FREE Walk the Plank pajama pants patterns by now. If not you can get them here. Today I wanted to show you how easy it is to add patch pockets to the pattern so all those husbands, boyfriends and sons of ours will be even happier with their new PJ pants. I’ll also show you how to enclose the the elastic in the seam.

. . . . .

Front patch pockets

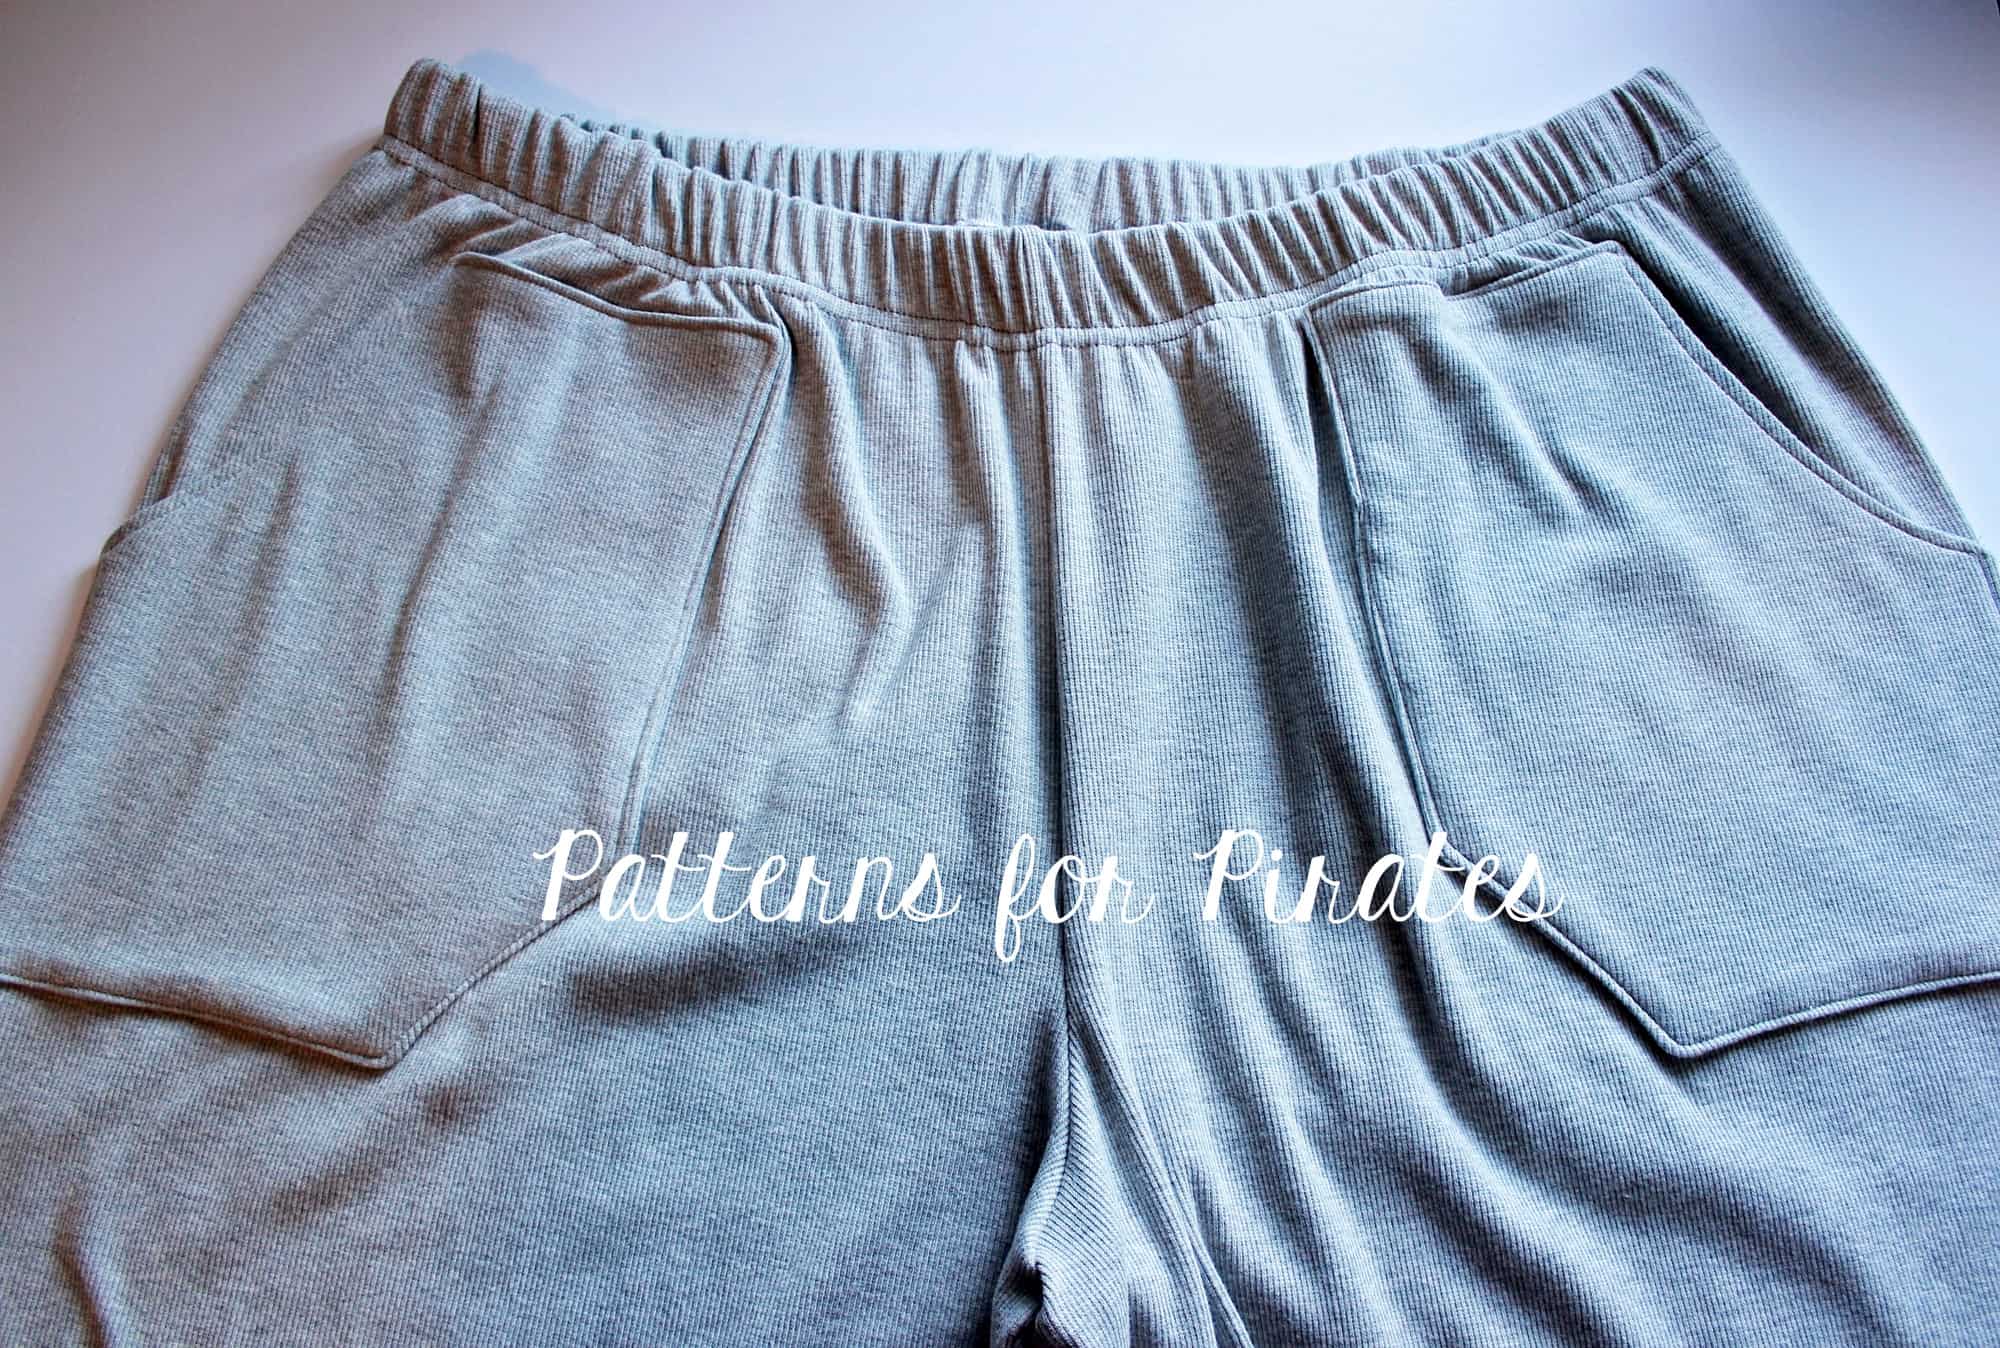
Start by printing the WTP pattern piece in the size needed. Now grab your Papa Bear Joggers (Mama Bear or Baby Bear) pants pattern and print only the page(s) that include the Patch Pocket. You now have two pattern pieces, the pants and the pocket. Cut the leg fabric (two mirrored images) and 4 pocket pieces (2 mirrored images for the main and 2 for the lining). The PJ pants pattern is drafted for woven fabric. I did use knit instead…you can do that too if you want!

Take your pockets and place them right side together. Sew around the edge with a 1/2″ seam allowance, leaving 2-3″ opening so we can turn the pocket.

Clip the corners and snip the curve of the pocket as close to the seam as possible (without clipping the stitch). Turn your pocket inside out a press very well. Repeat with the other pocket.

Top stitch only the pocket curve opening.

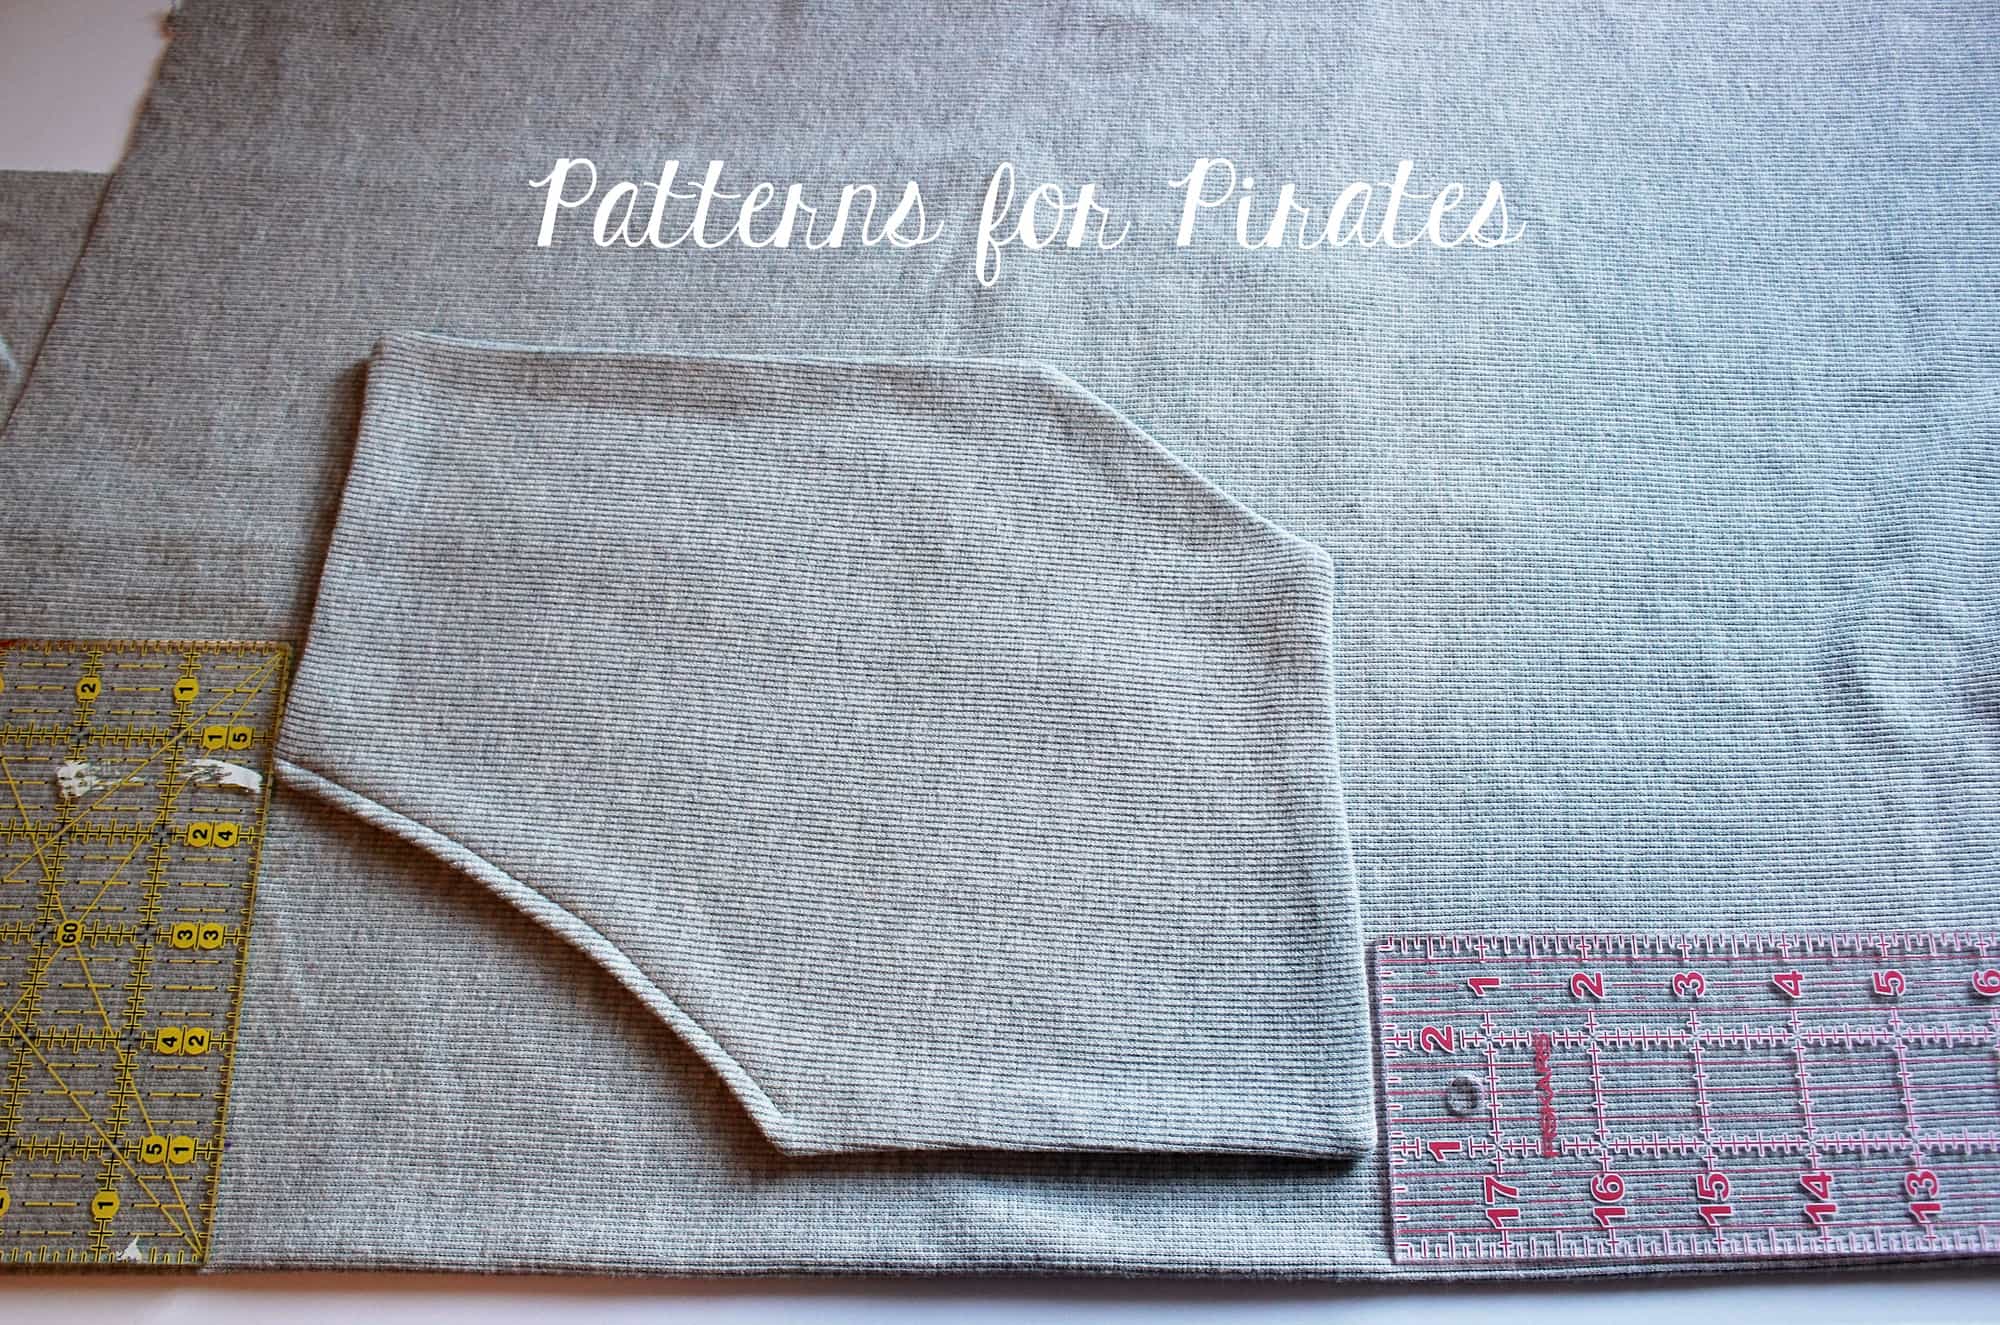
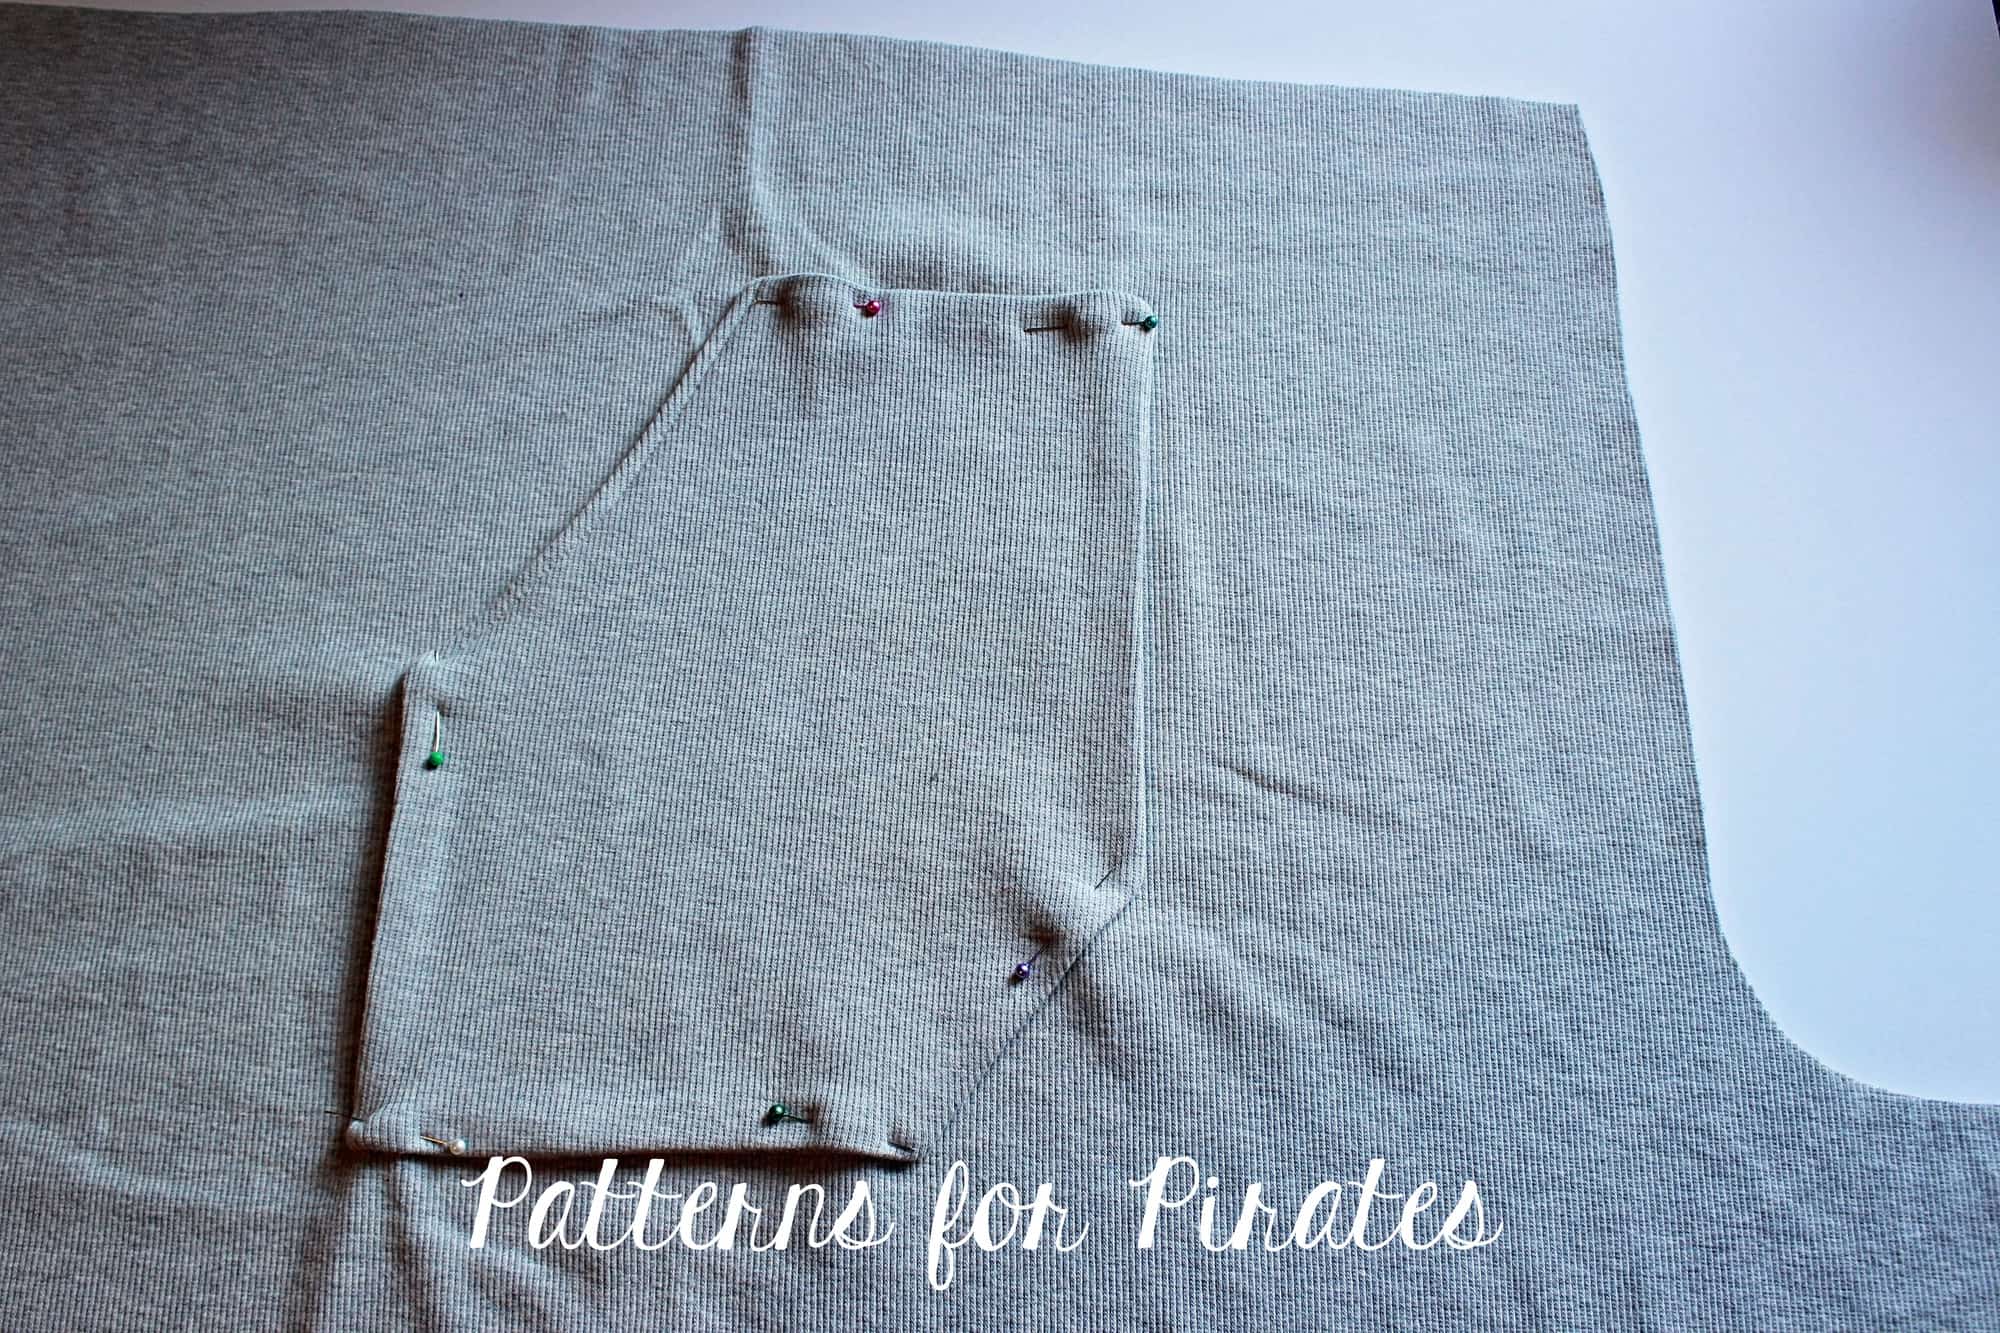
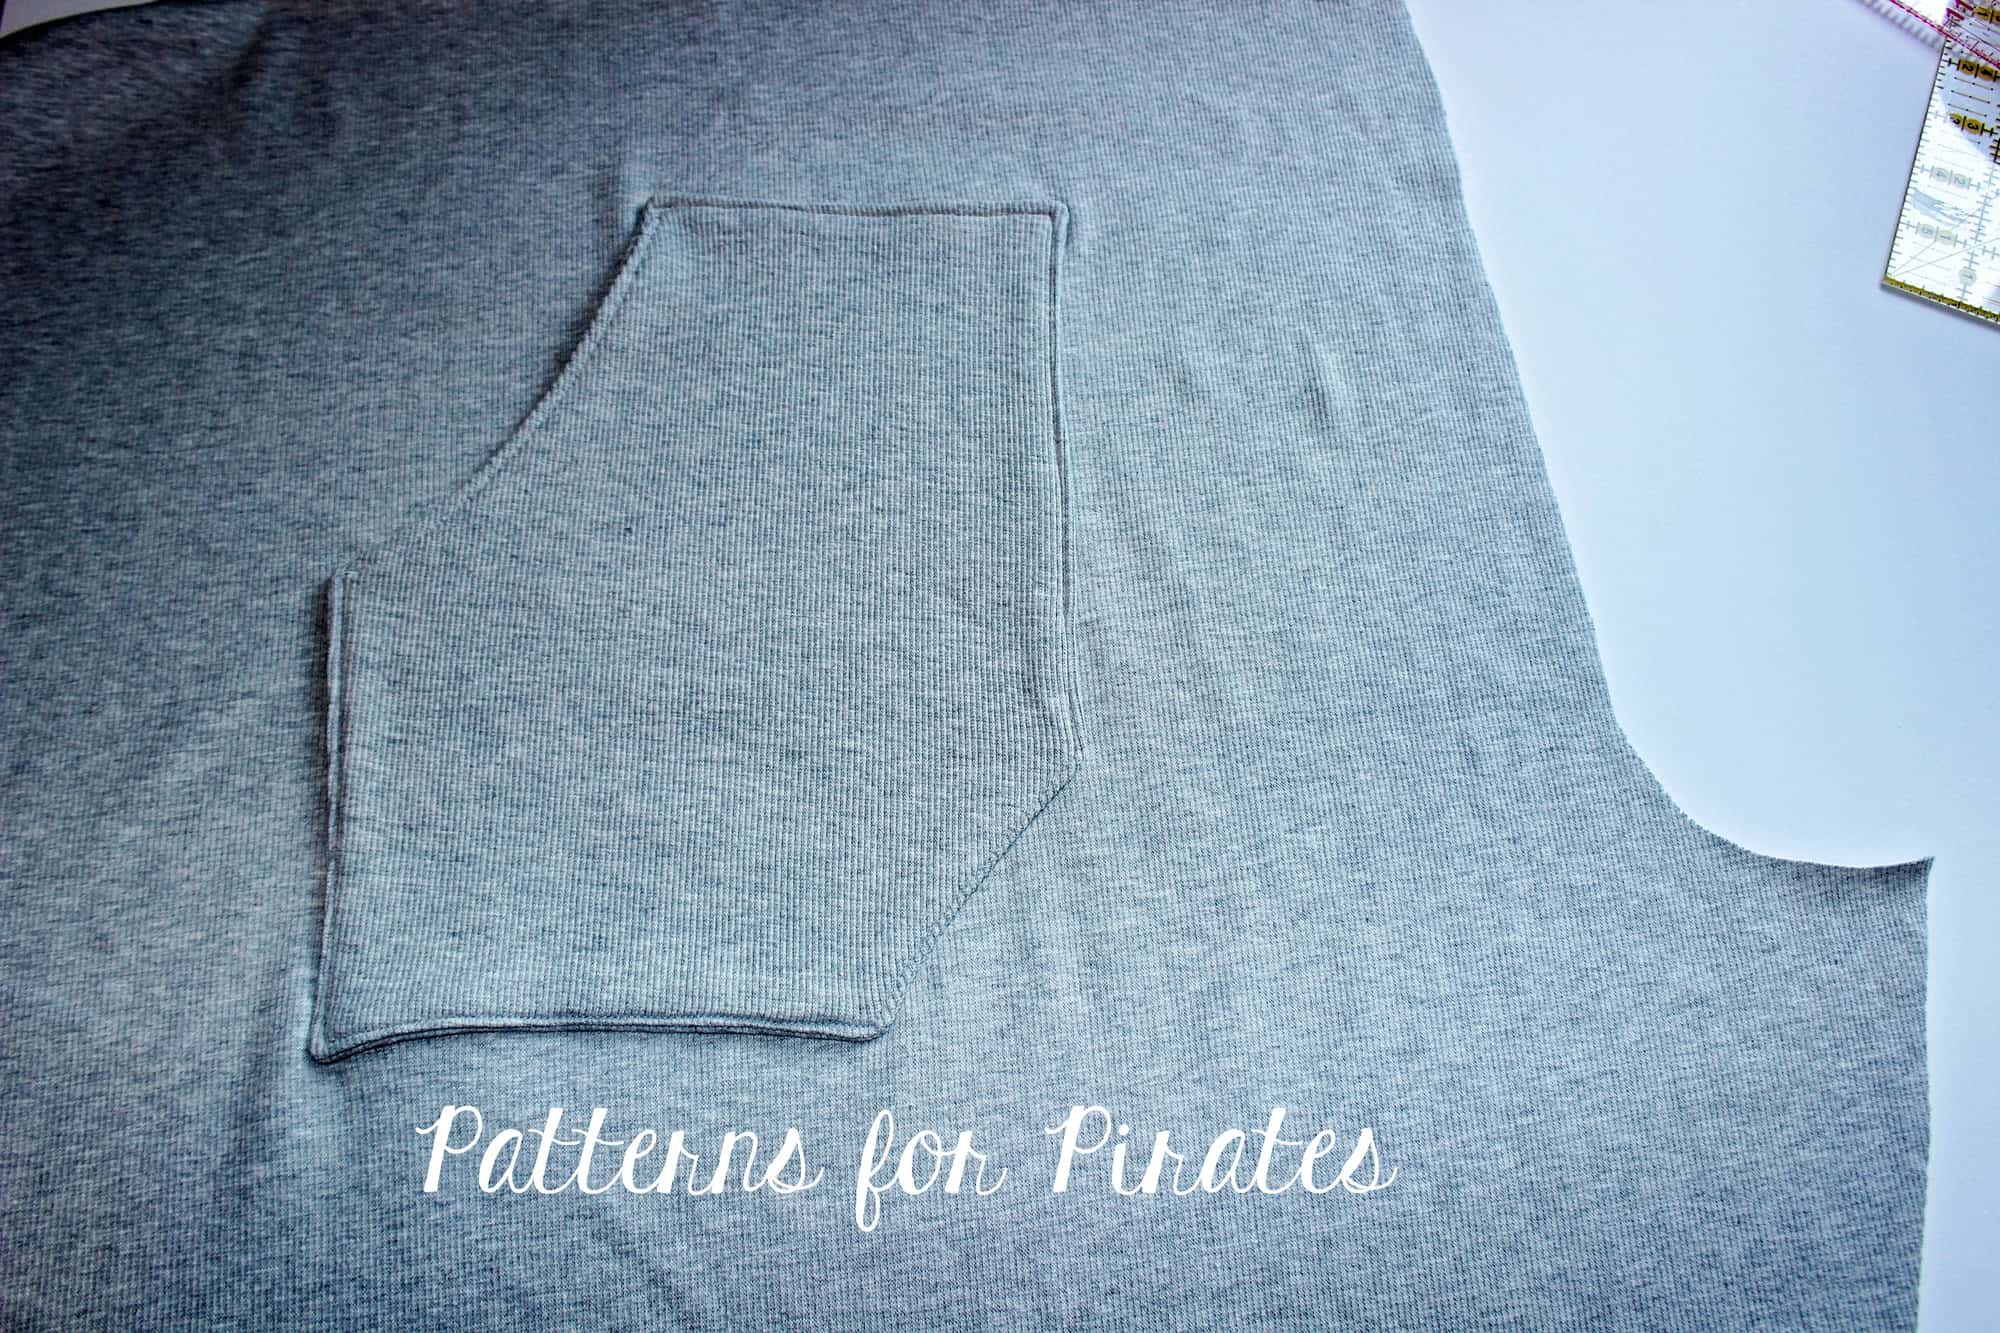
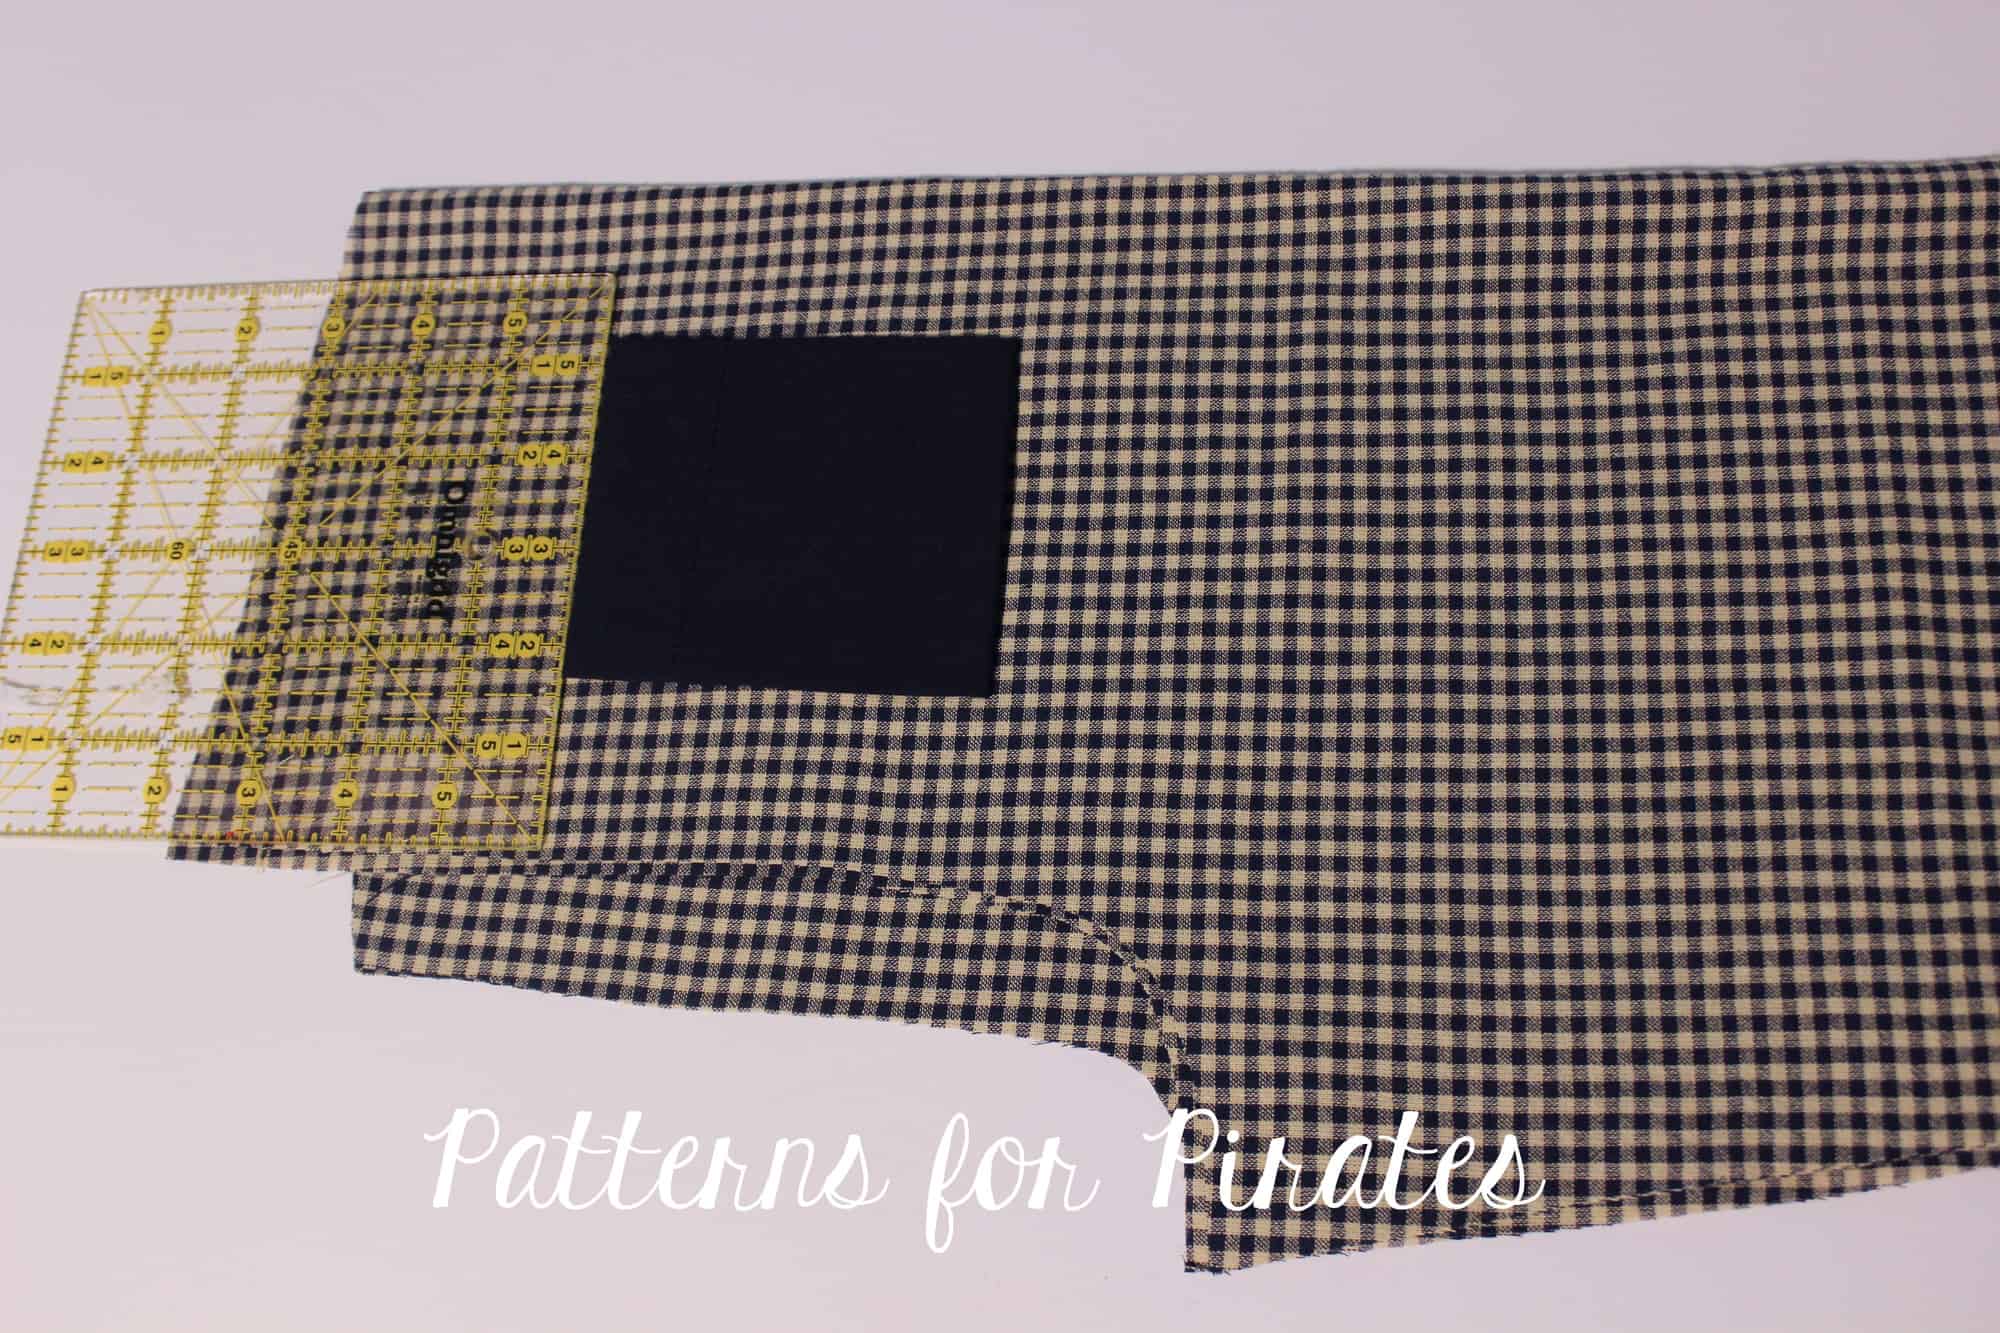
Take the pants pattern piece and place it right side up. Fold the pants so the inseam matches making sure the front is on top. Measure 4″ down from the waist edge and 1 inch away from the side fold. Place the pocket as in the picture below and pin in place.

Note: you will need to adjust these measurements if you are making the kids Walk the Plank pj pants.

Sew the pocket to the pants making sure you leave the pocket curve open. You will only be sewing around the 5 straight edges. Repeat for the other leg.

That’s it! You added patch pockets to the pajama pants. Simply continue to construct the pattern as per the tutorial and enjoy a new pair of PJs WITH POCKETS!


. . . . .

Back patch pocket

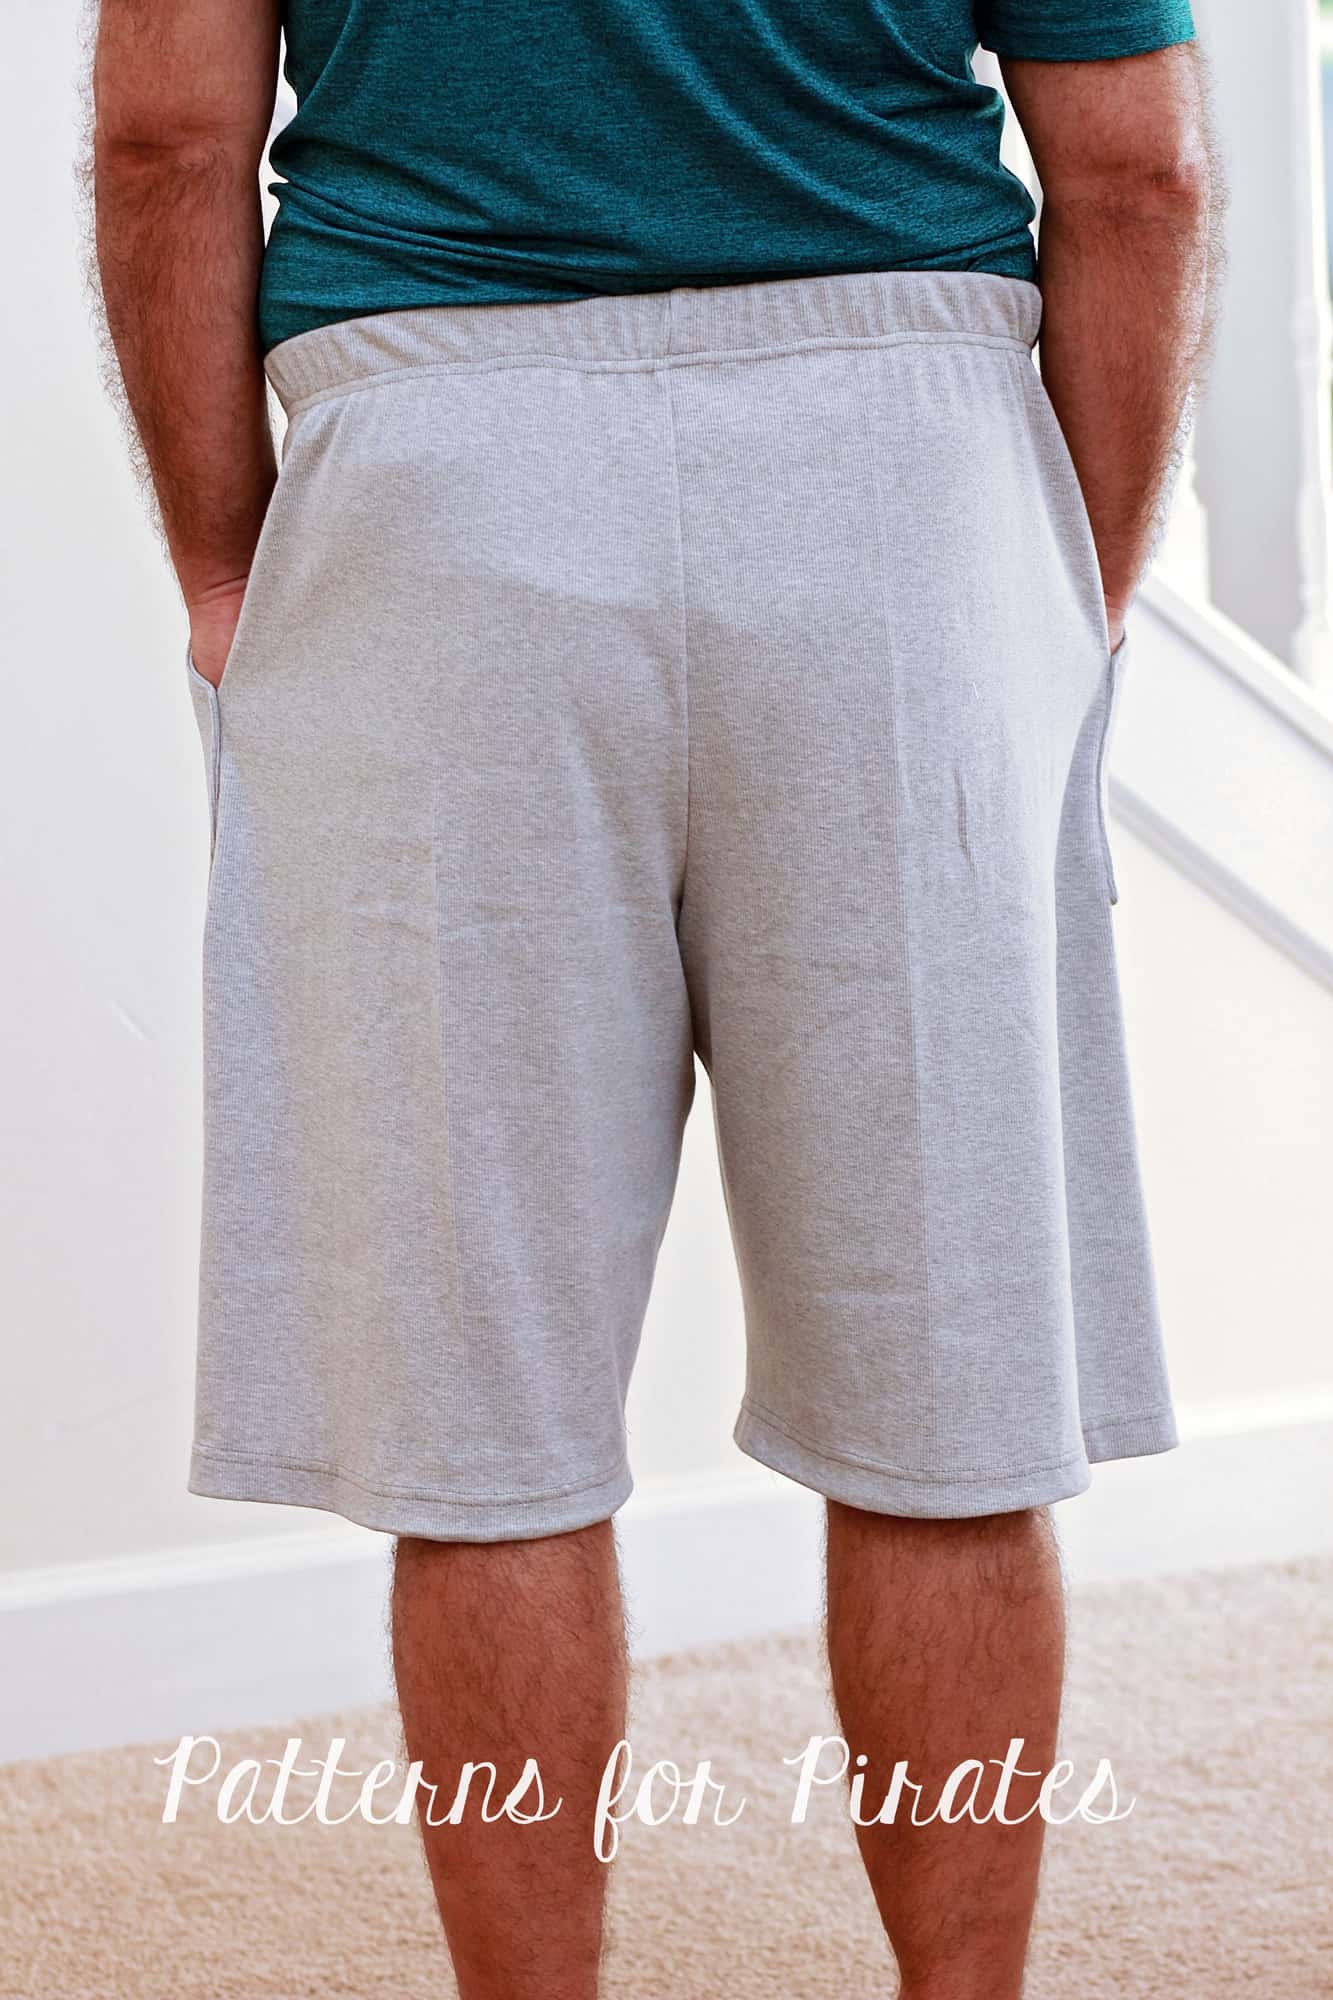
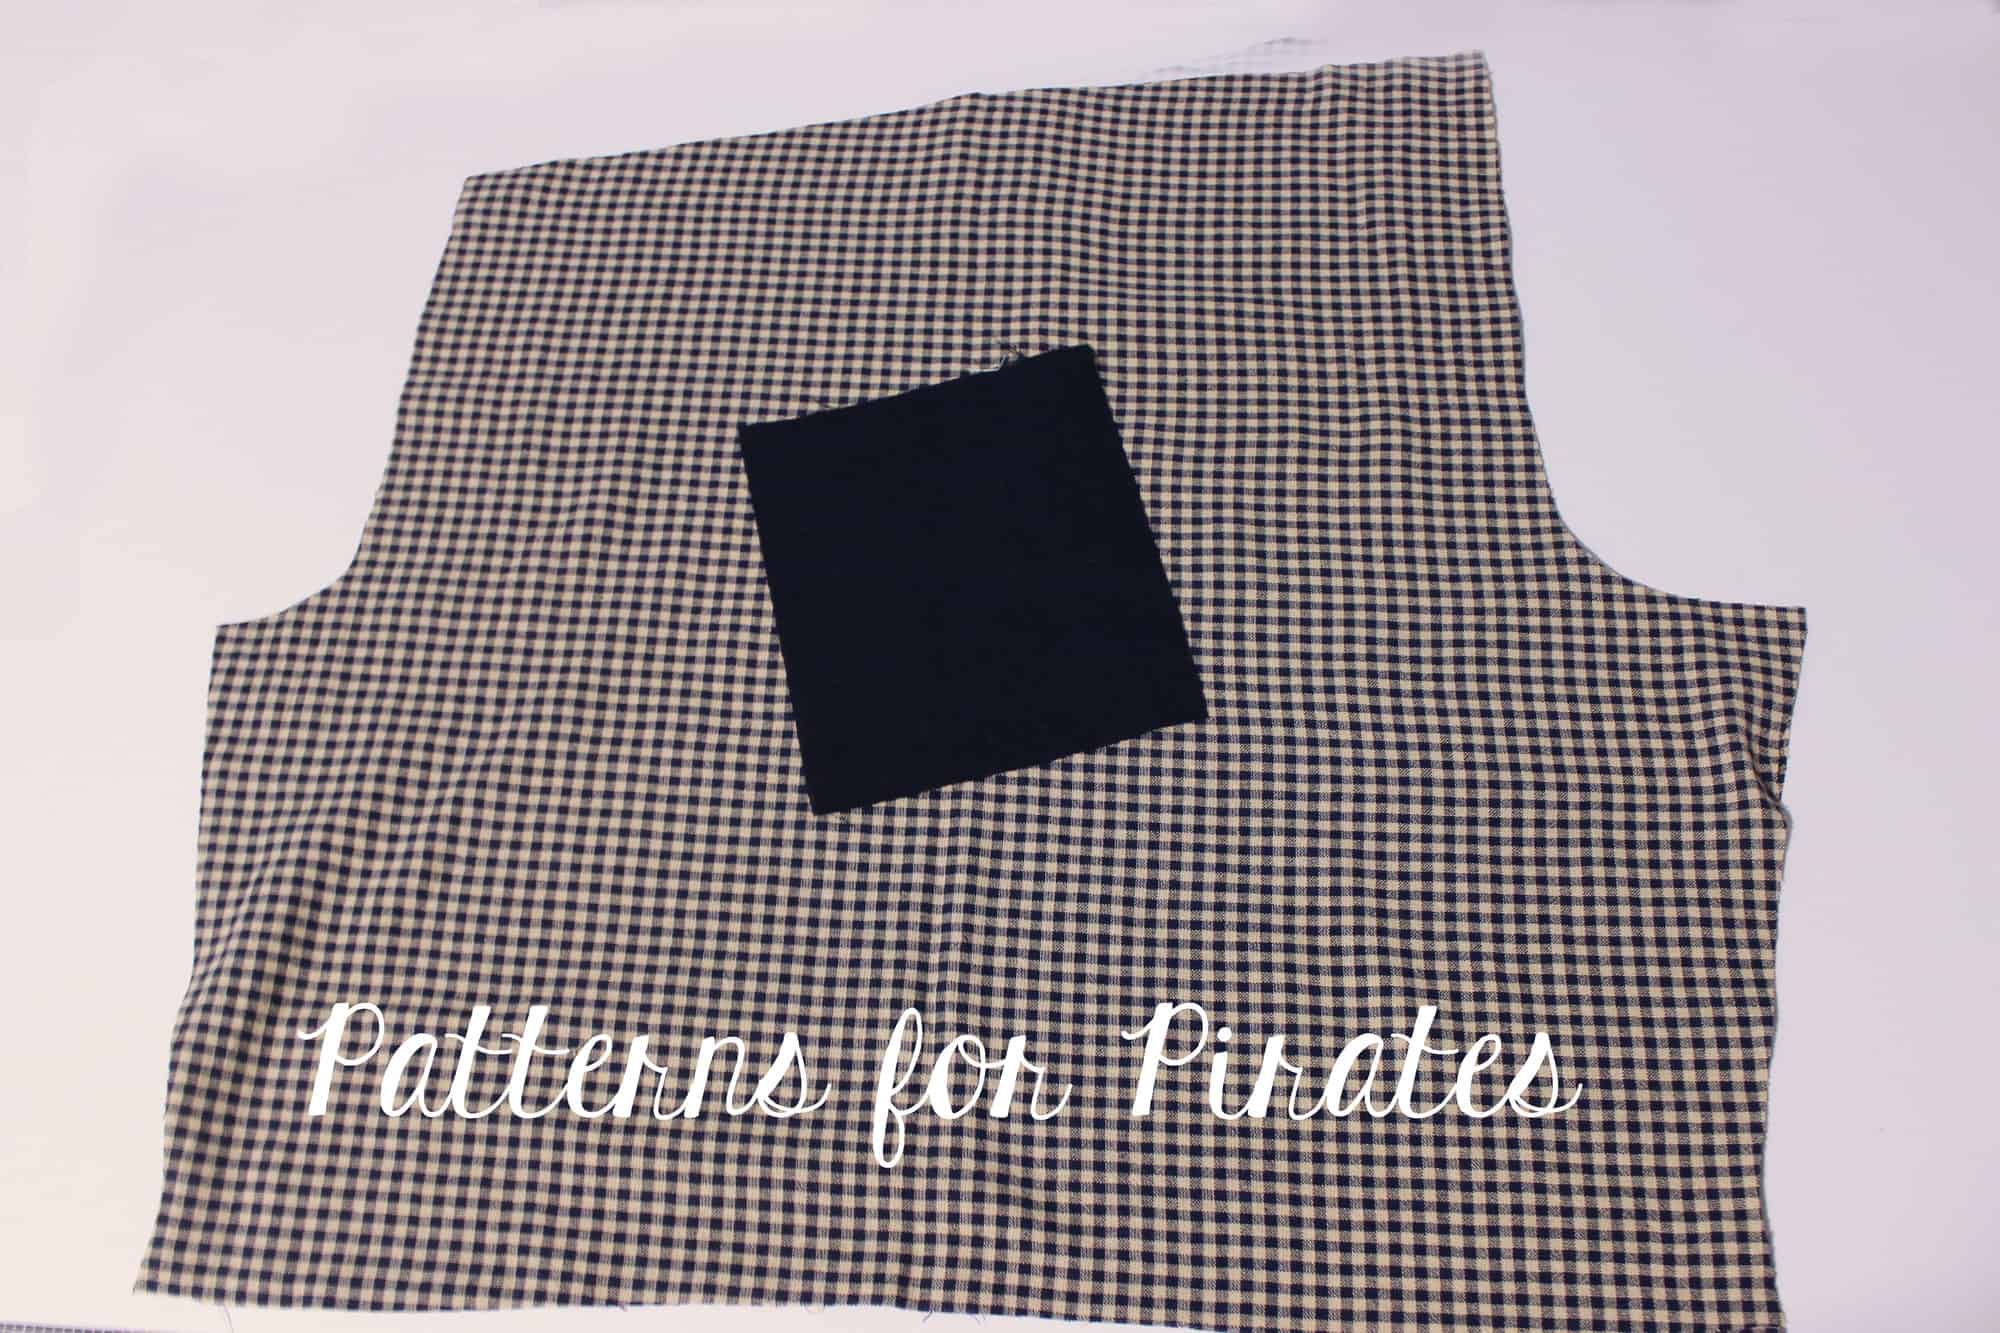
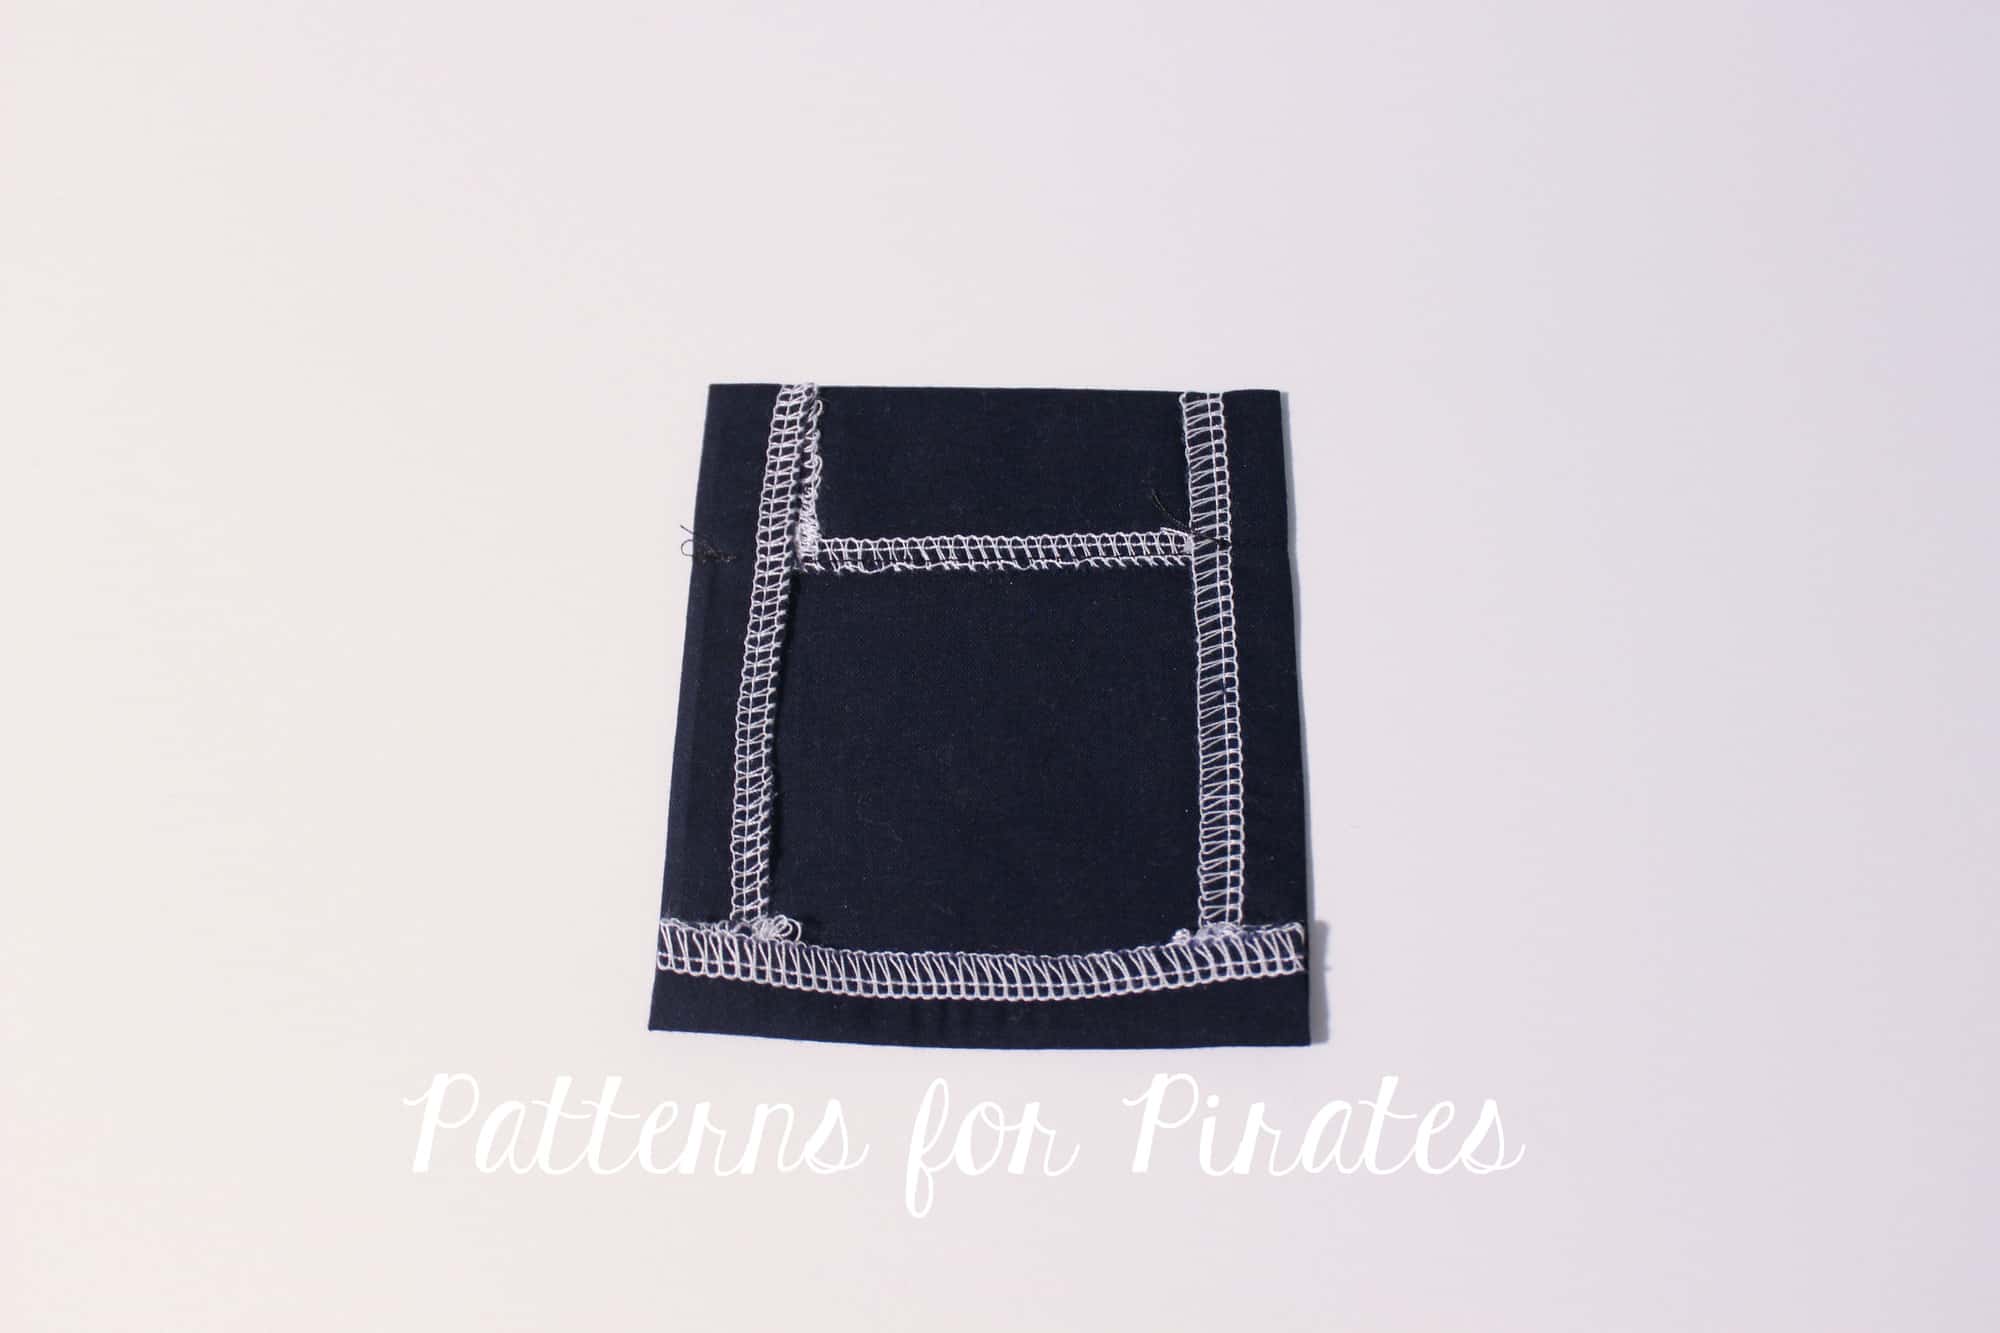
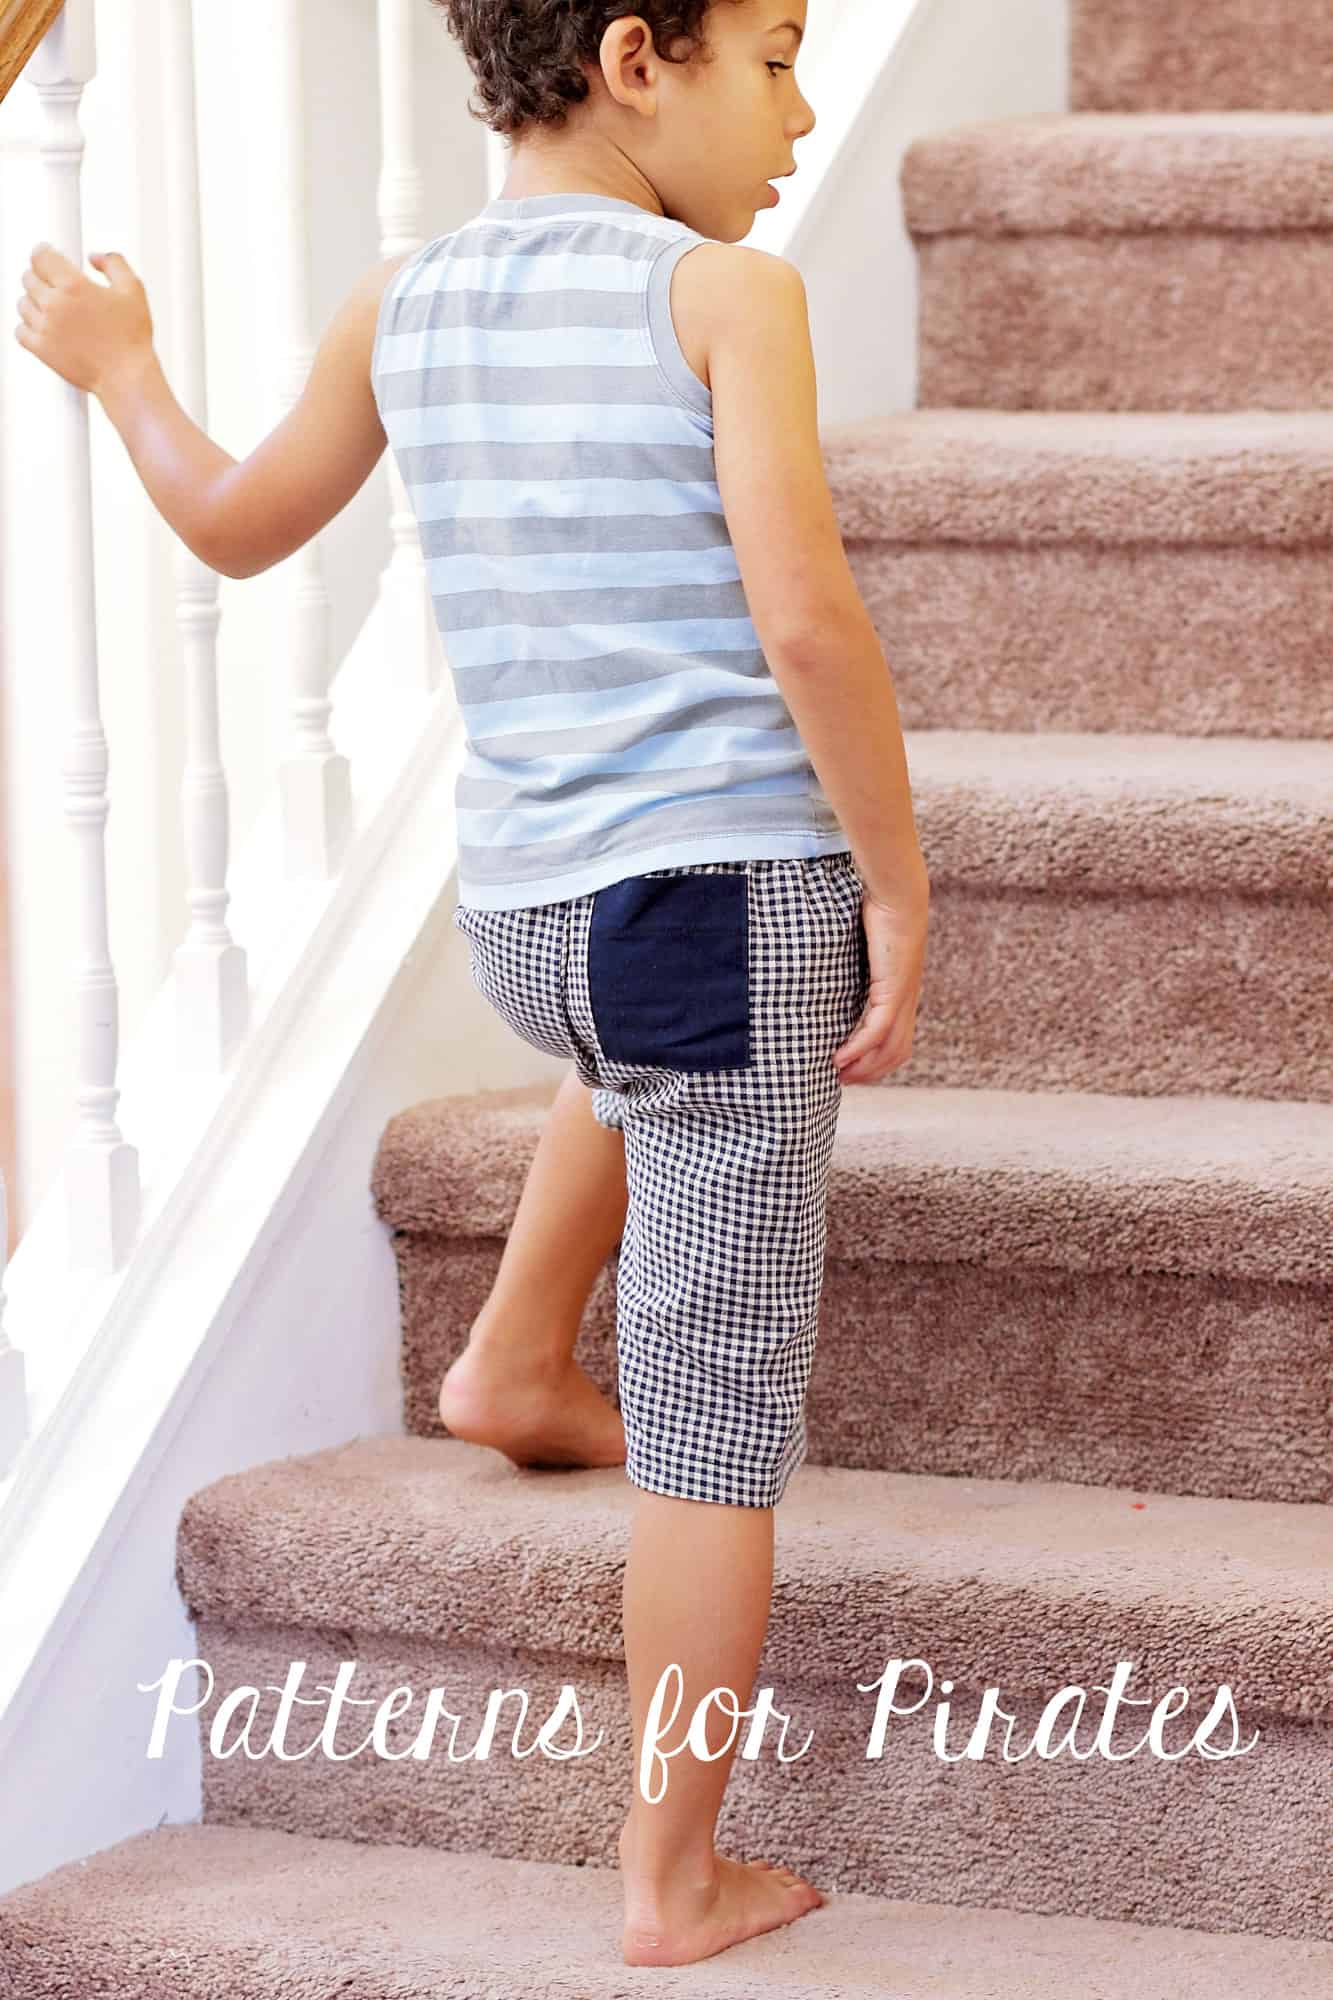
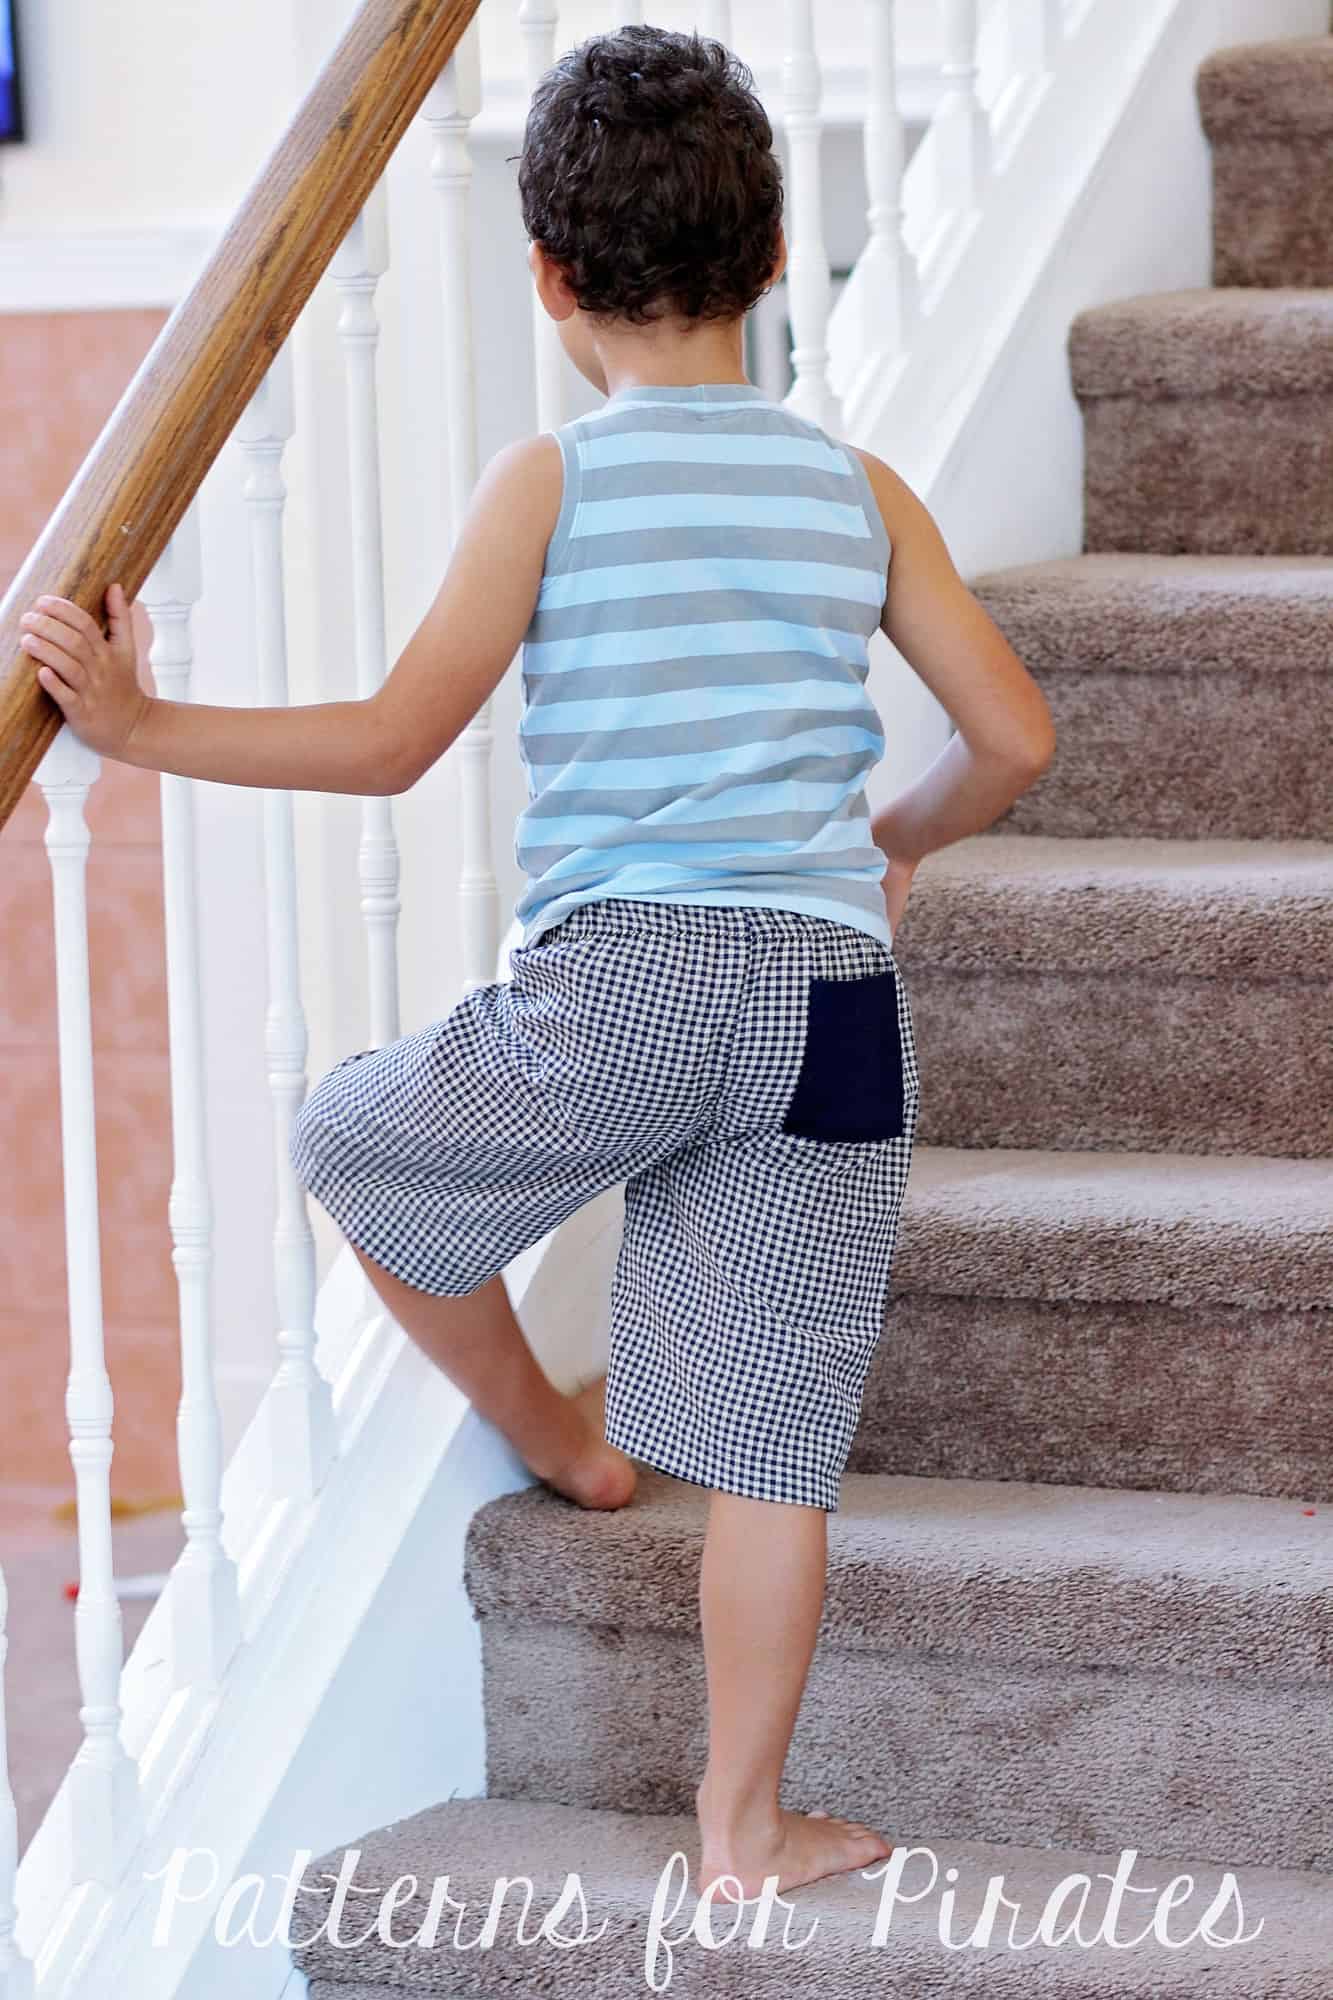
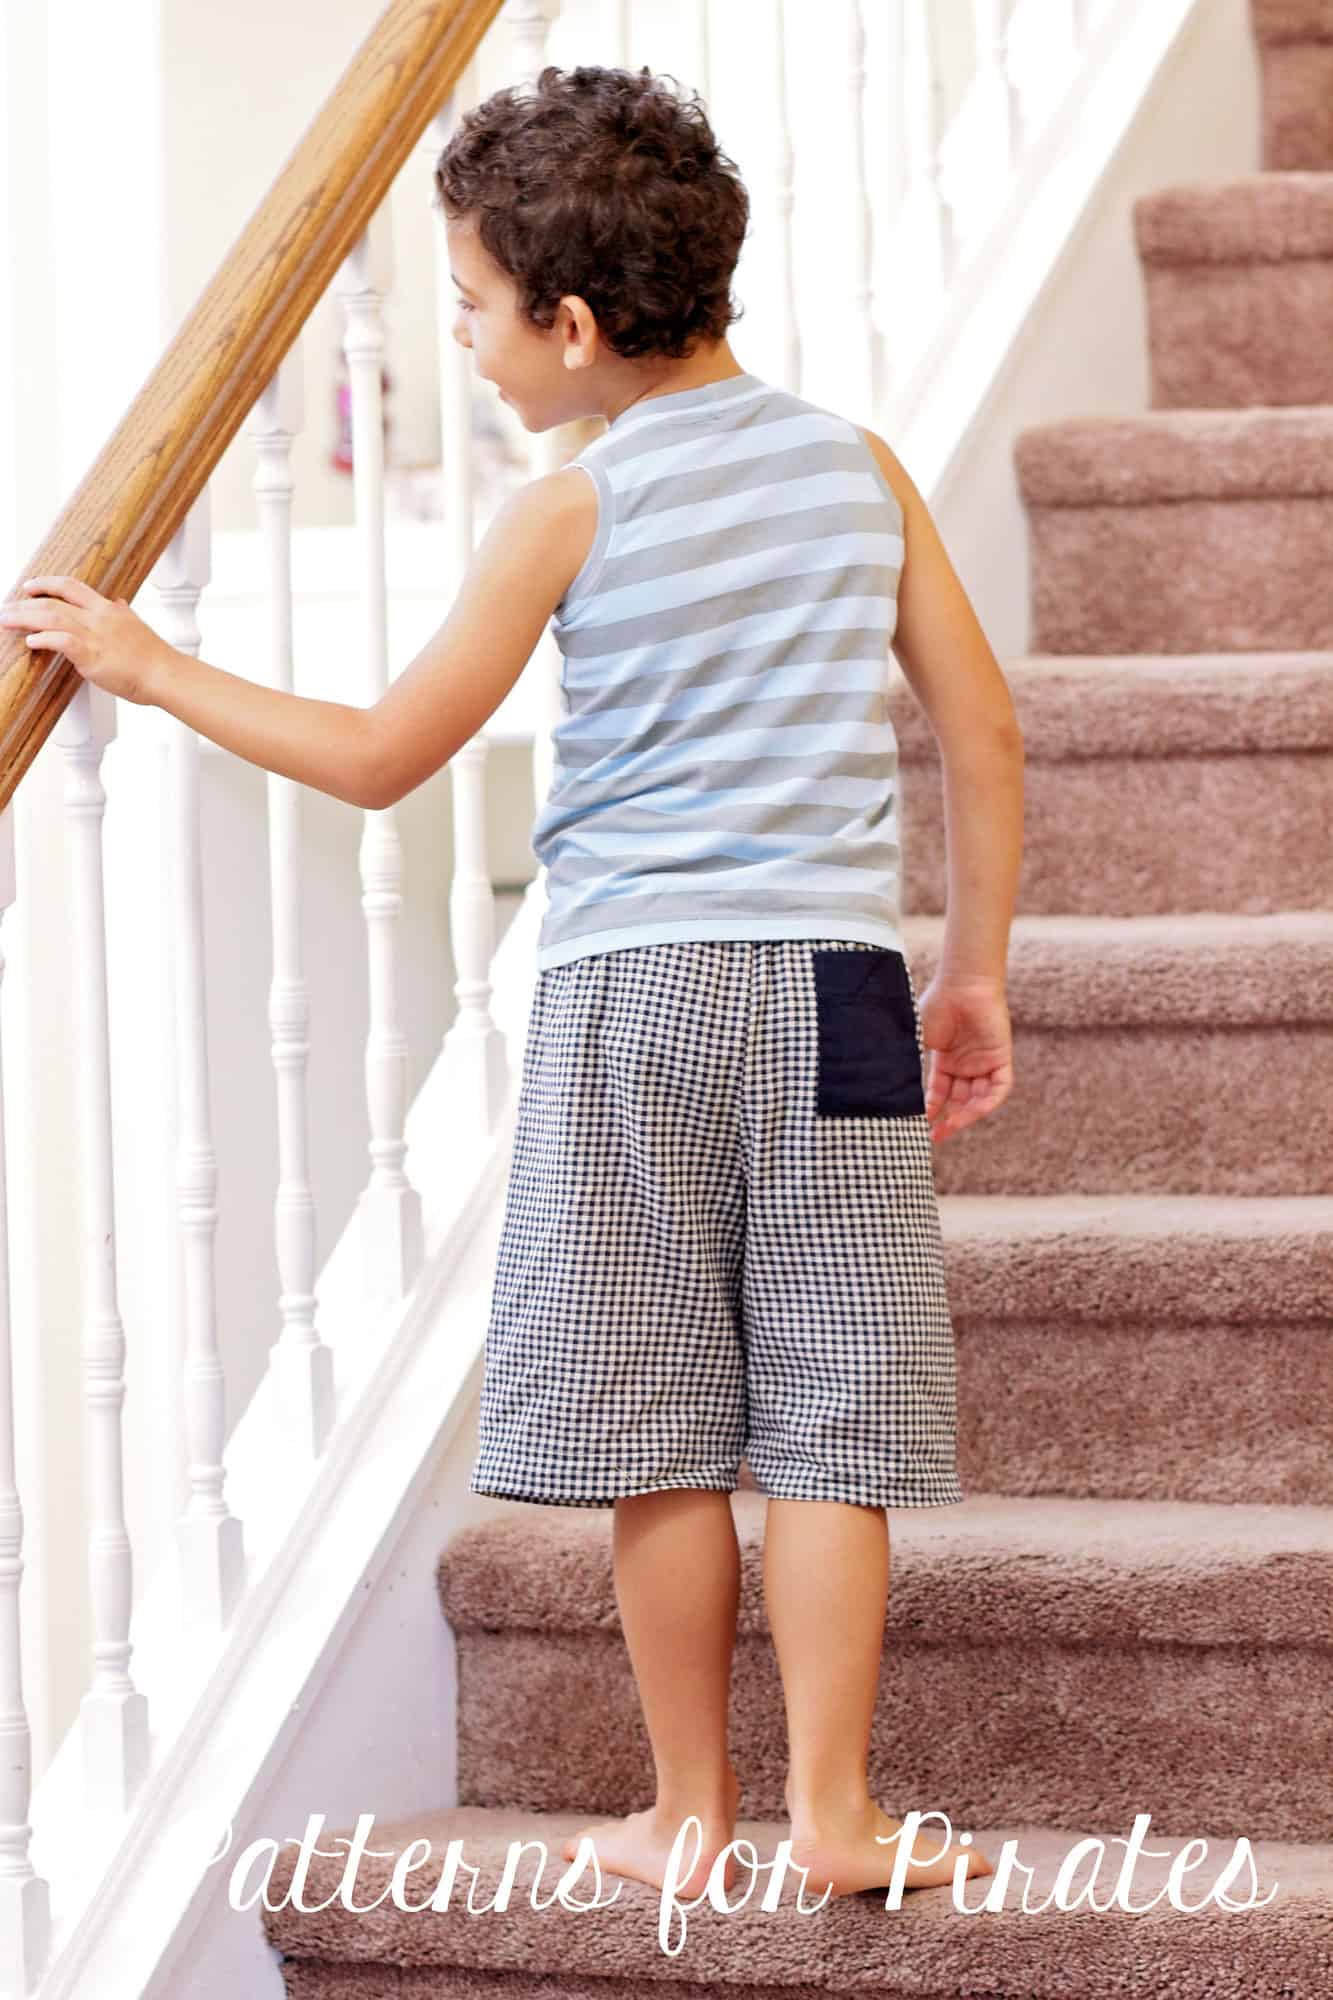
Next I want to show you how to add a back pocket to your Walk the Plank PJ pants. This hack is even easier and it does not require any additional P4P patterns. Simply cut one rectangular piece of the same fabric or a coordinating one. The size of the rectangle will vary depending on how big you would like the pocket. I cut my piece 5″ wide by 6″ tall and I am making a size 6 PJ pants.

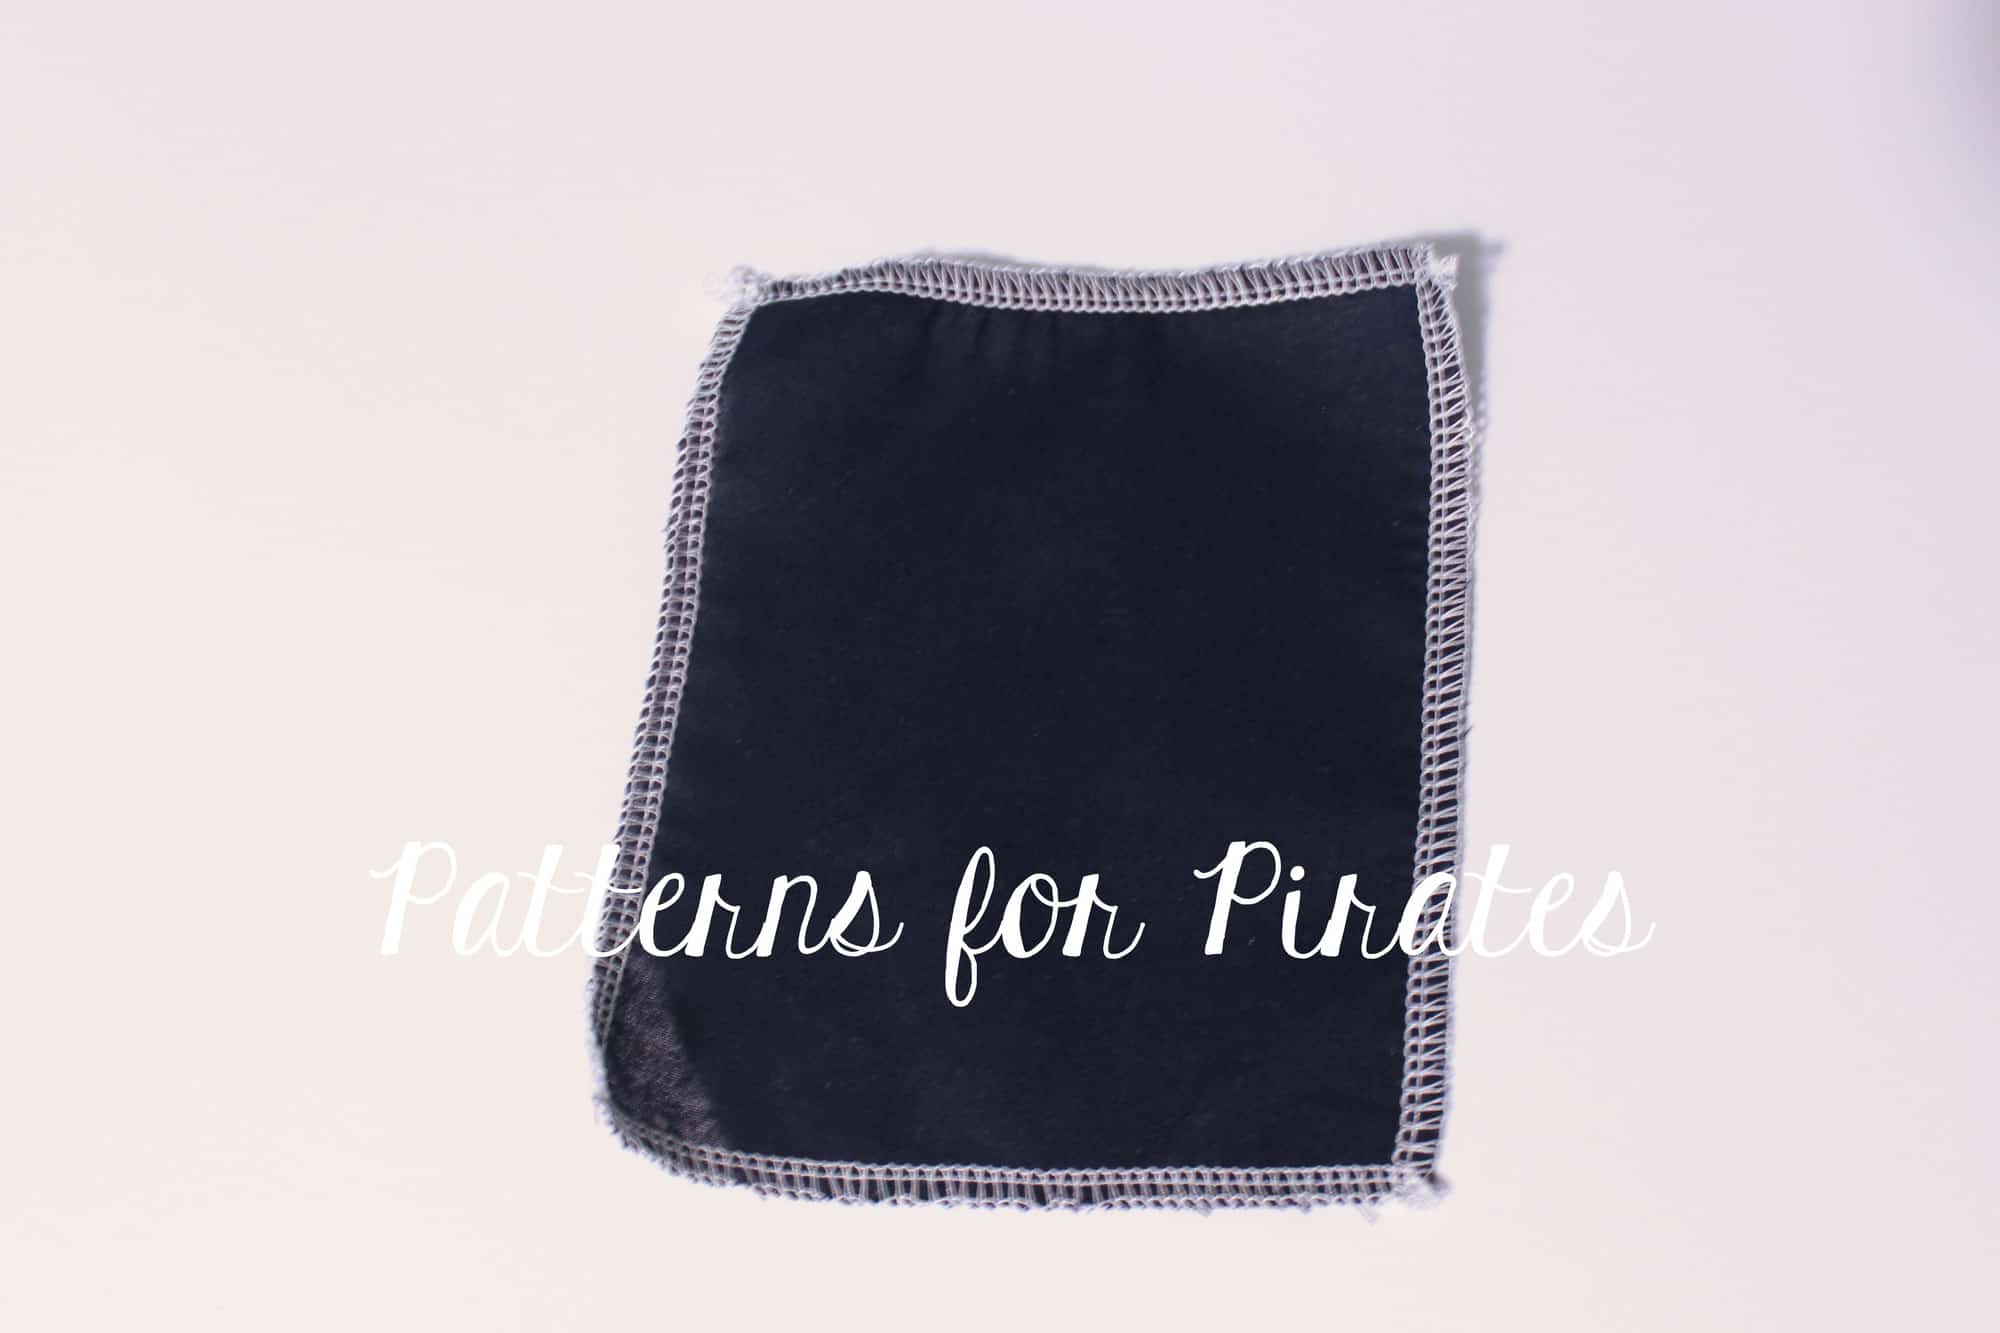
Optionally, you can serge around the edges to prevent fraying in the wash.

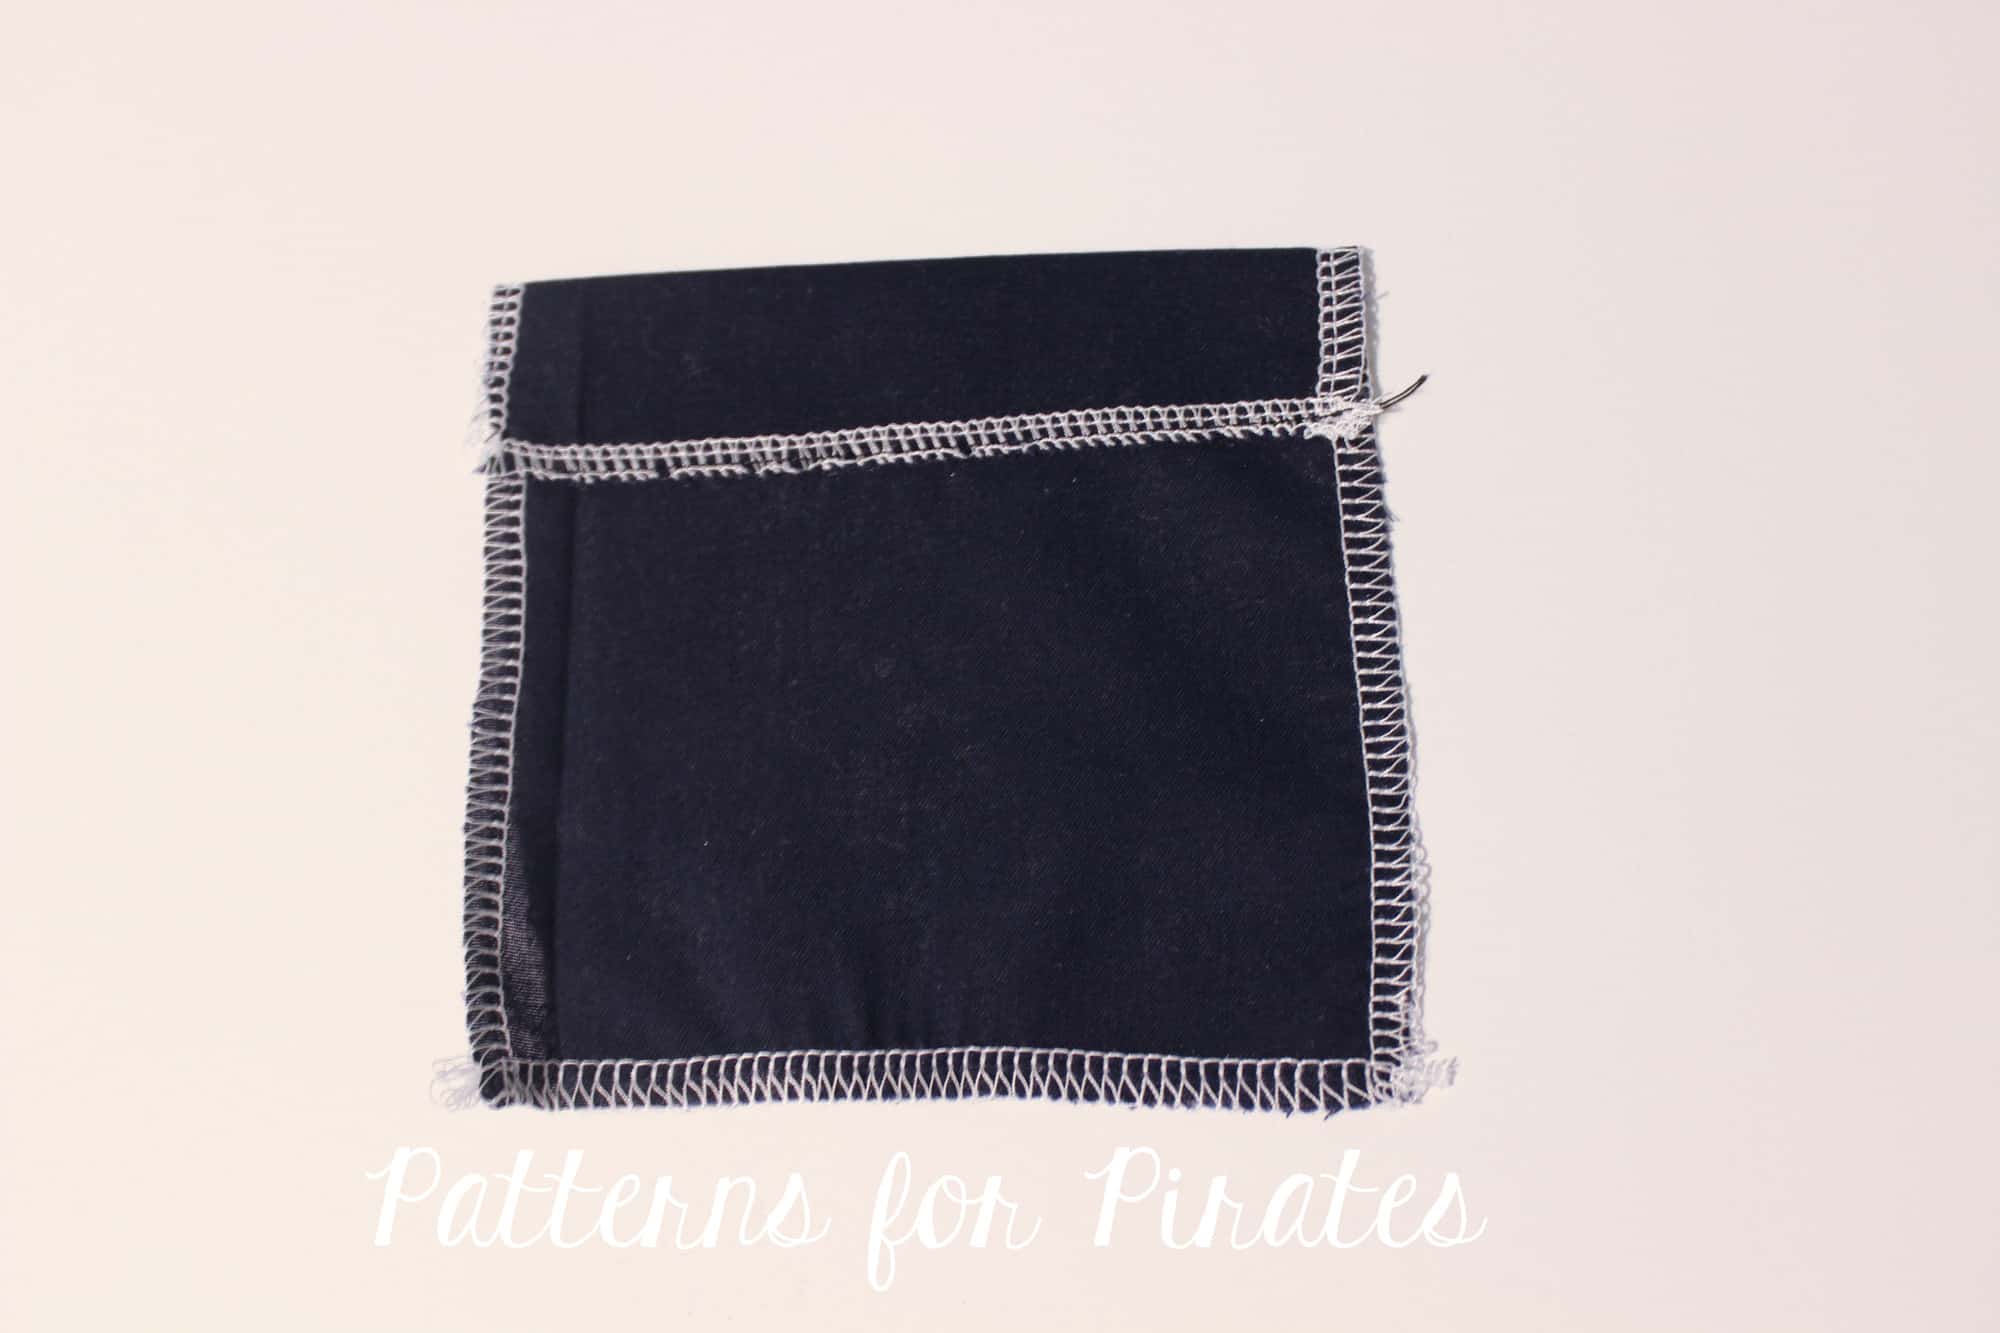
Fold the top of the pocket 1″ down, press and sew in place.

Now fold the other three sides 1/2″ and give it a good press. Do not sew them just yet.

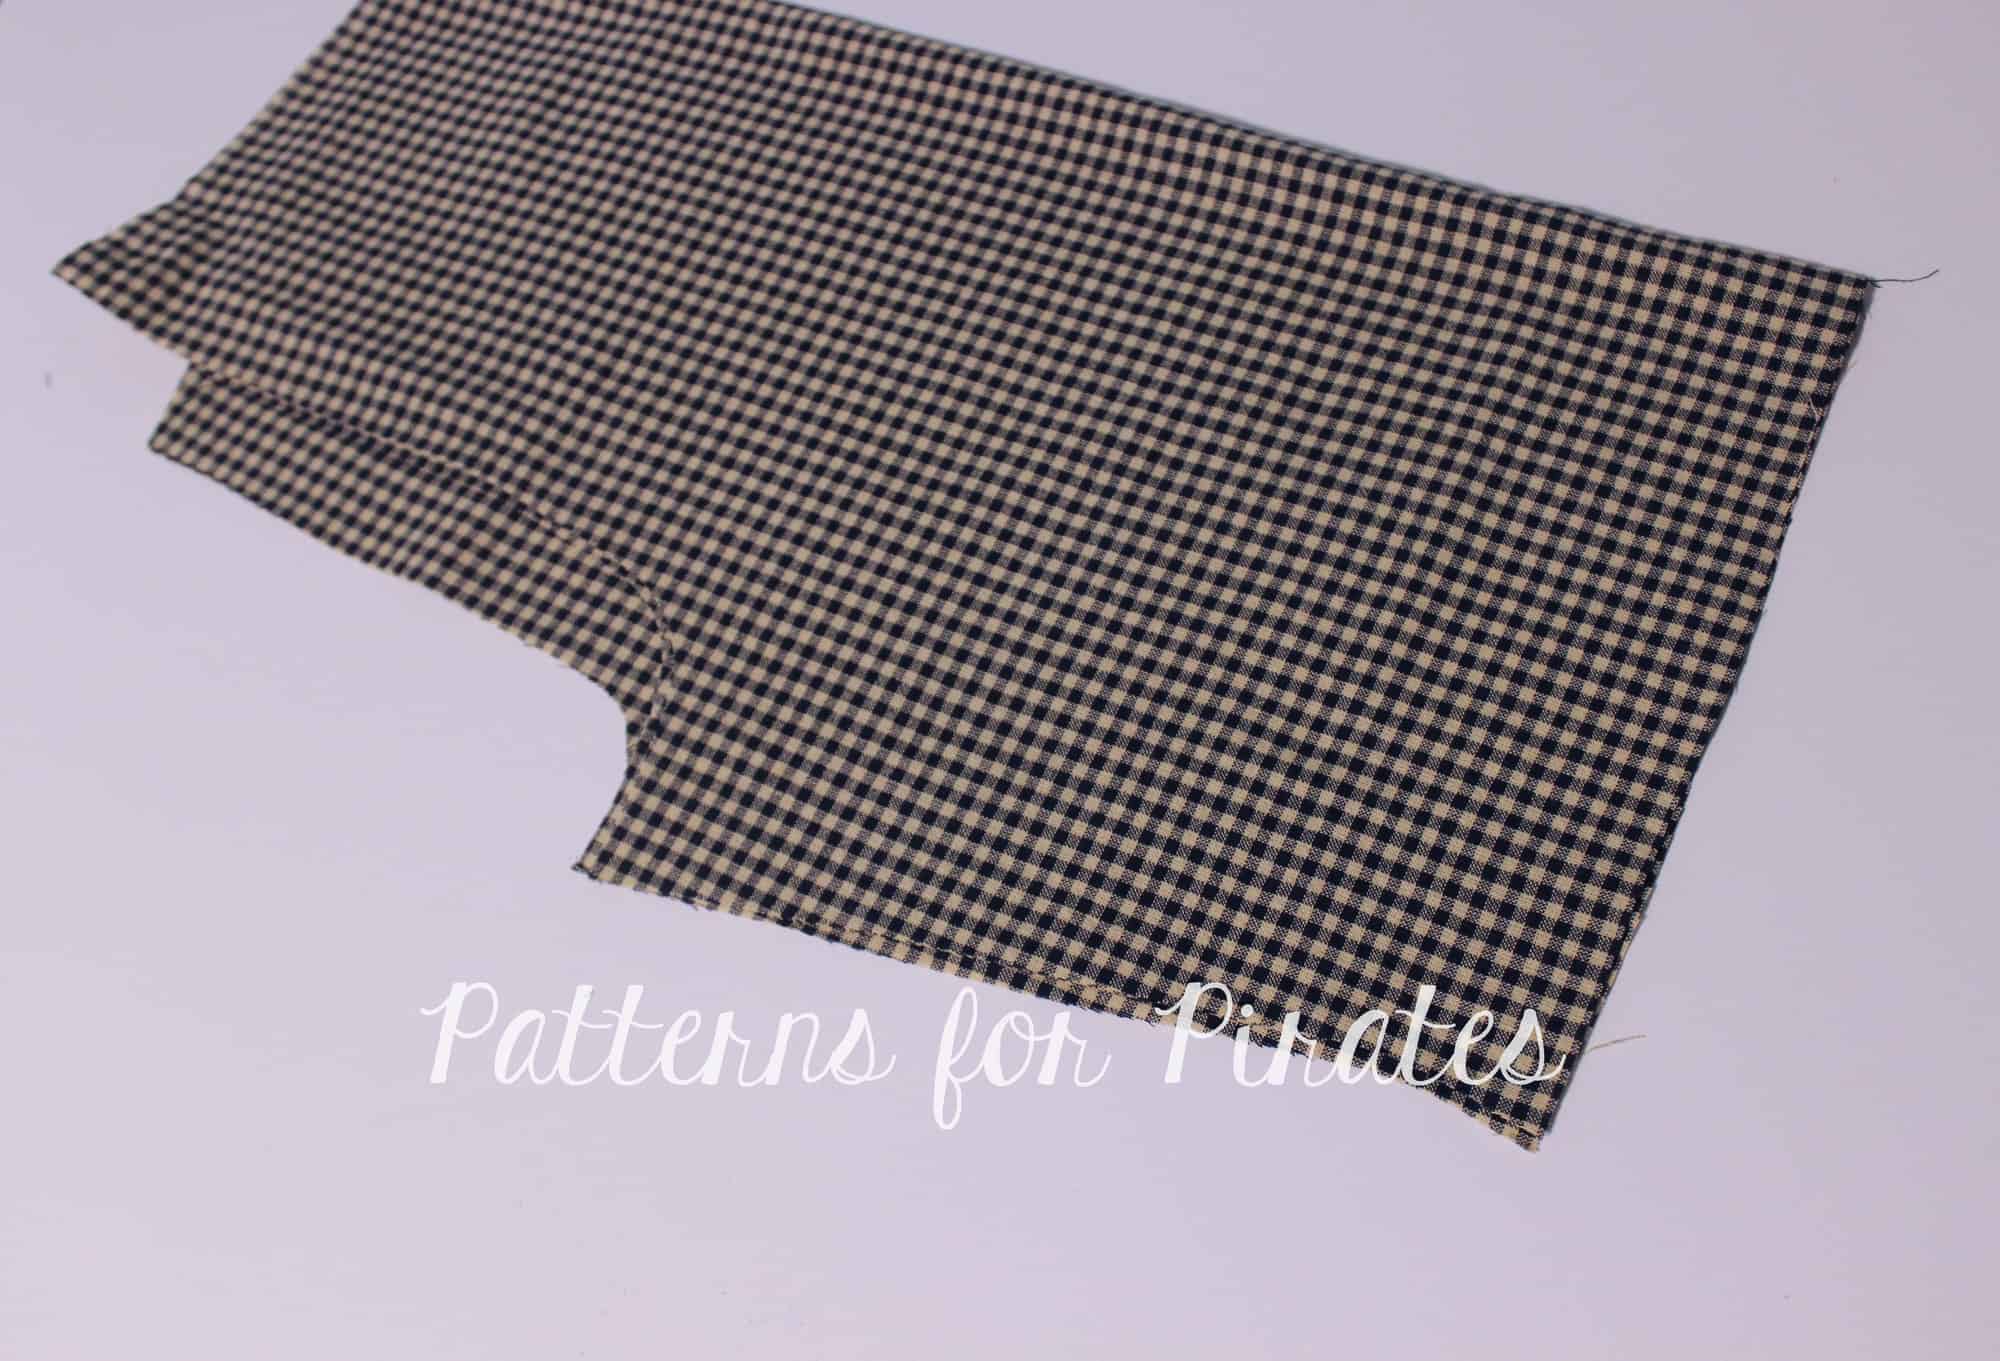
Take your pants pattern piece and with the right side out, match the inseam. Place it on the table with the back facing up. The back part of the pants is the one with the higher rise.

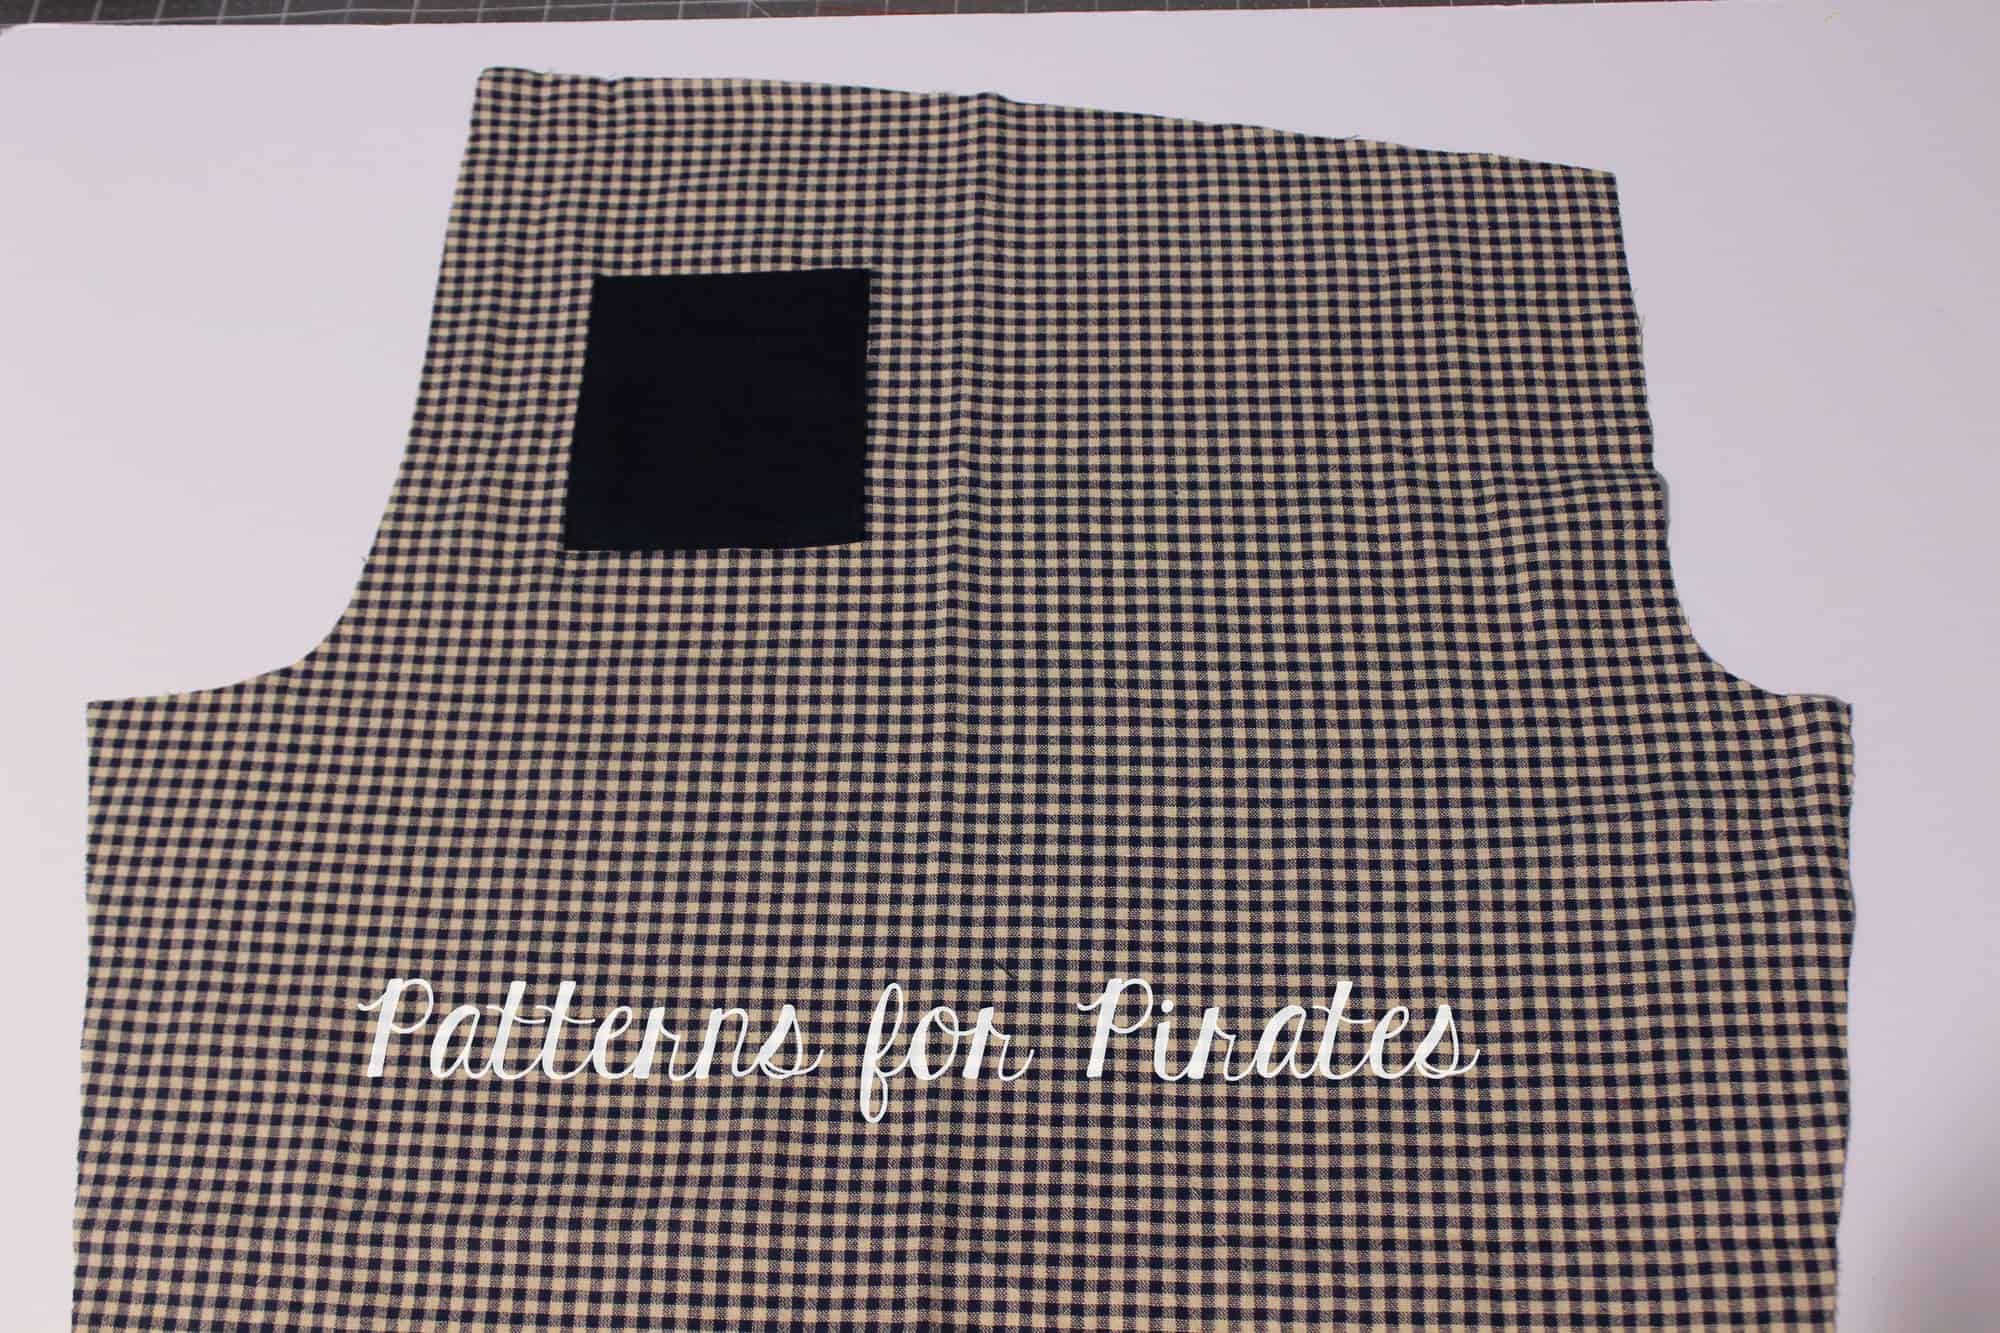
Place the pocket approximately 3″ down from the rise. Note that this placement will vary from size to size so I encourage you to baste in place insead of sewing in place if you are not sure if you’ll like where the pocket sits.

Edge sew the pocket to the pants (or baste) making sure you do not sew the top but only the bottom and the sides of the pocket.

Continue sewing the PJ pants as per the pattern tutorial and enjoy you new pair of back pocket Walk the Plank pants. 🙂

NOTE: If you basted the pocket, try the pants on! If you like where the pocket sits, stitch it in place. IF you don’t, you can easily remove the pasting stitches and relocate the pocket before you sew it in place.

. . . . .

Enclosed elastic waistband

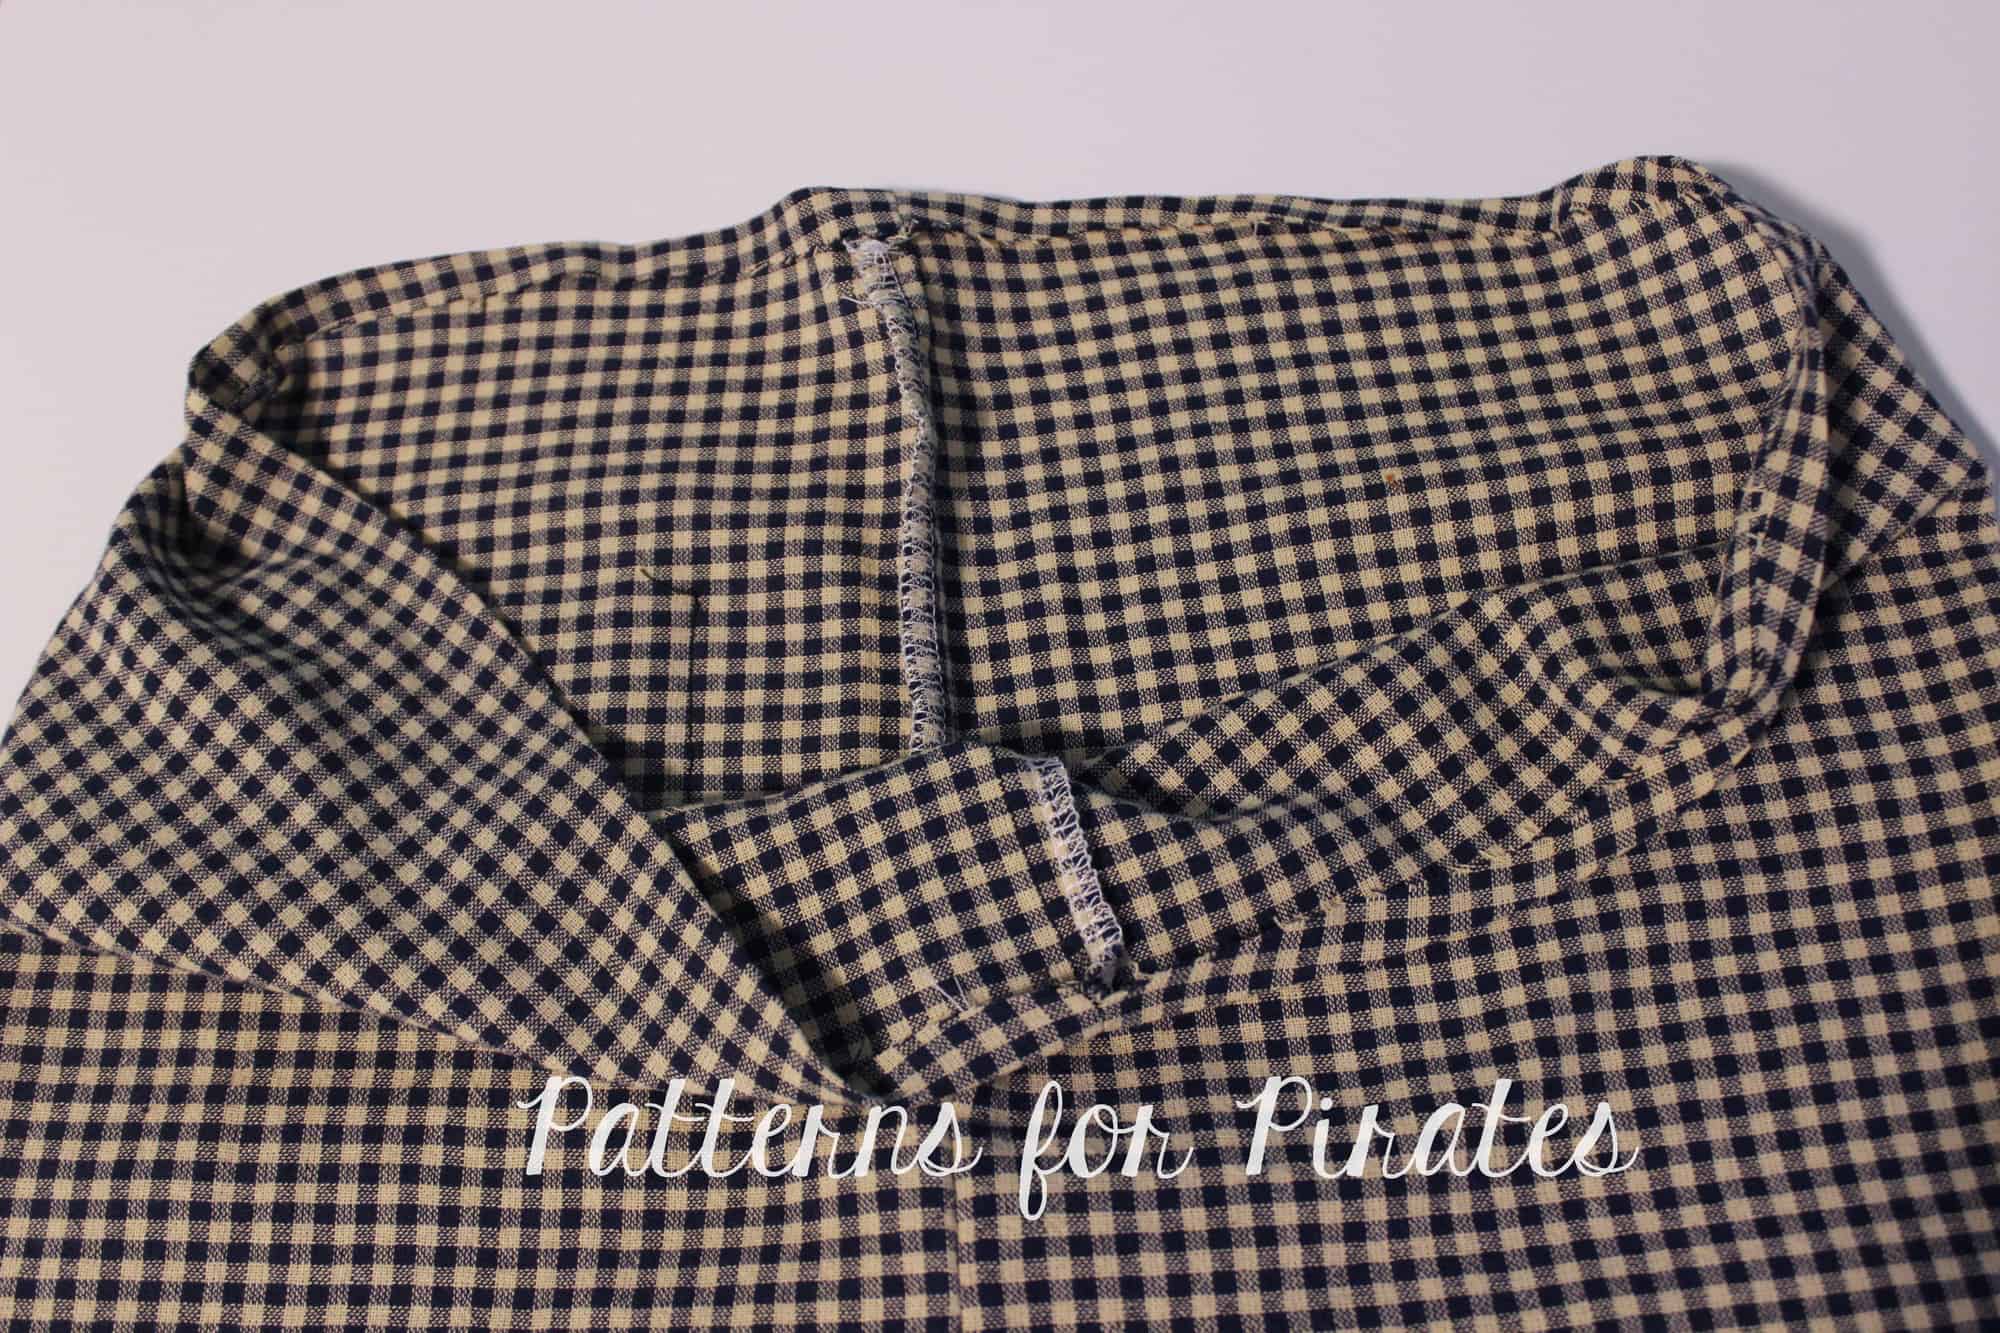
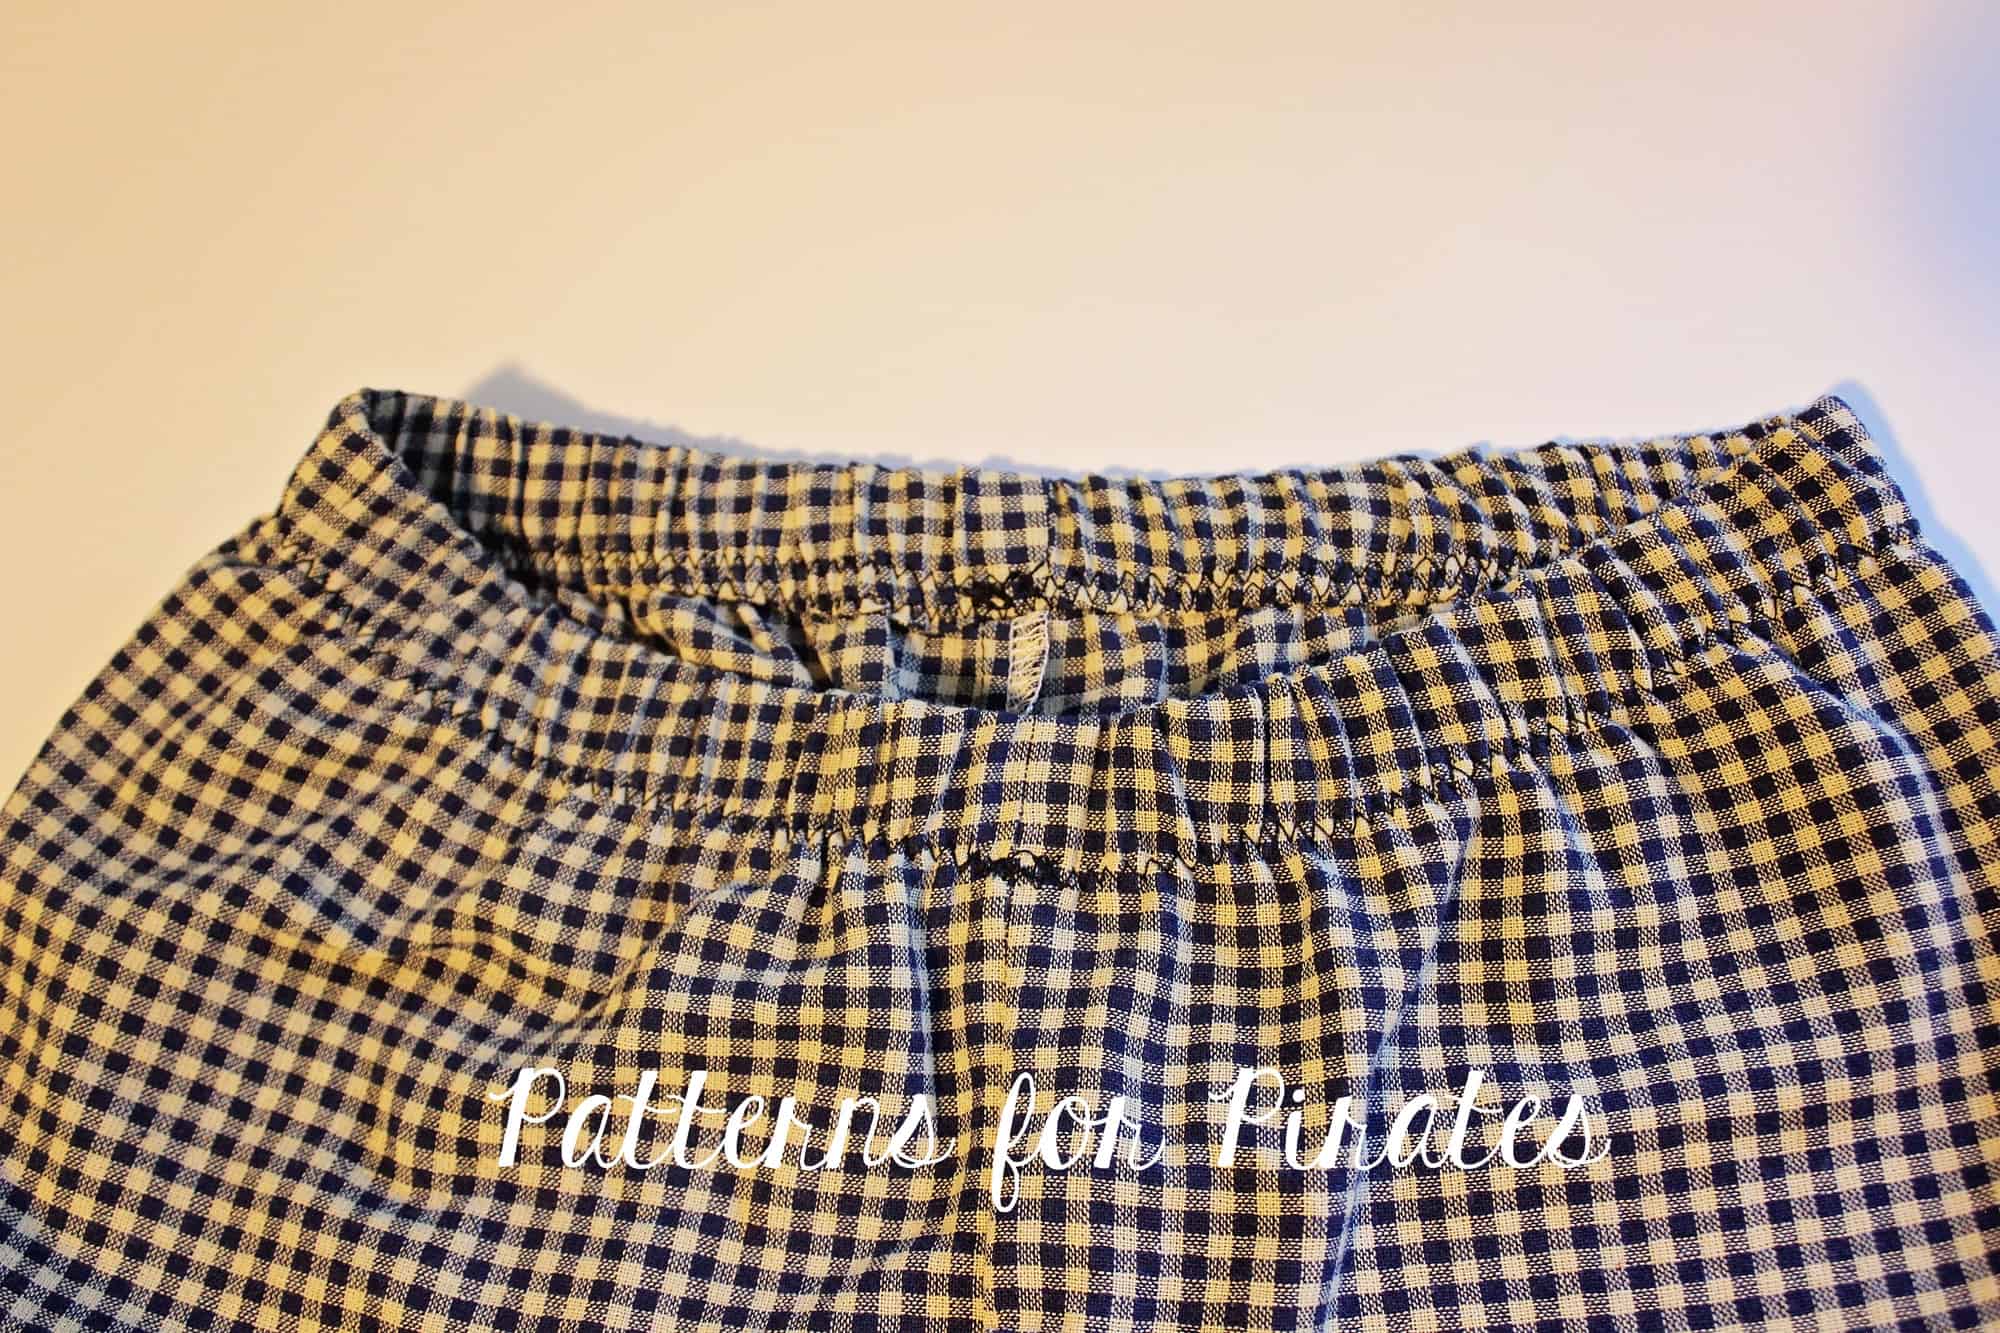
Next up I would like to show you how to enclose the elastic in the waist so you do not have any visible serged edges. Sew your PJ pants as indicated in the tutorial. Press the top of the pants 1/4″ down in order to create a memory hem.

NOTE: this method will yield a rise that will be 1/4″ lower than the original pattern.

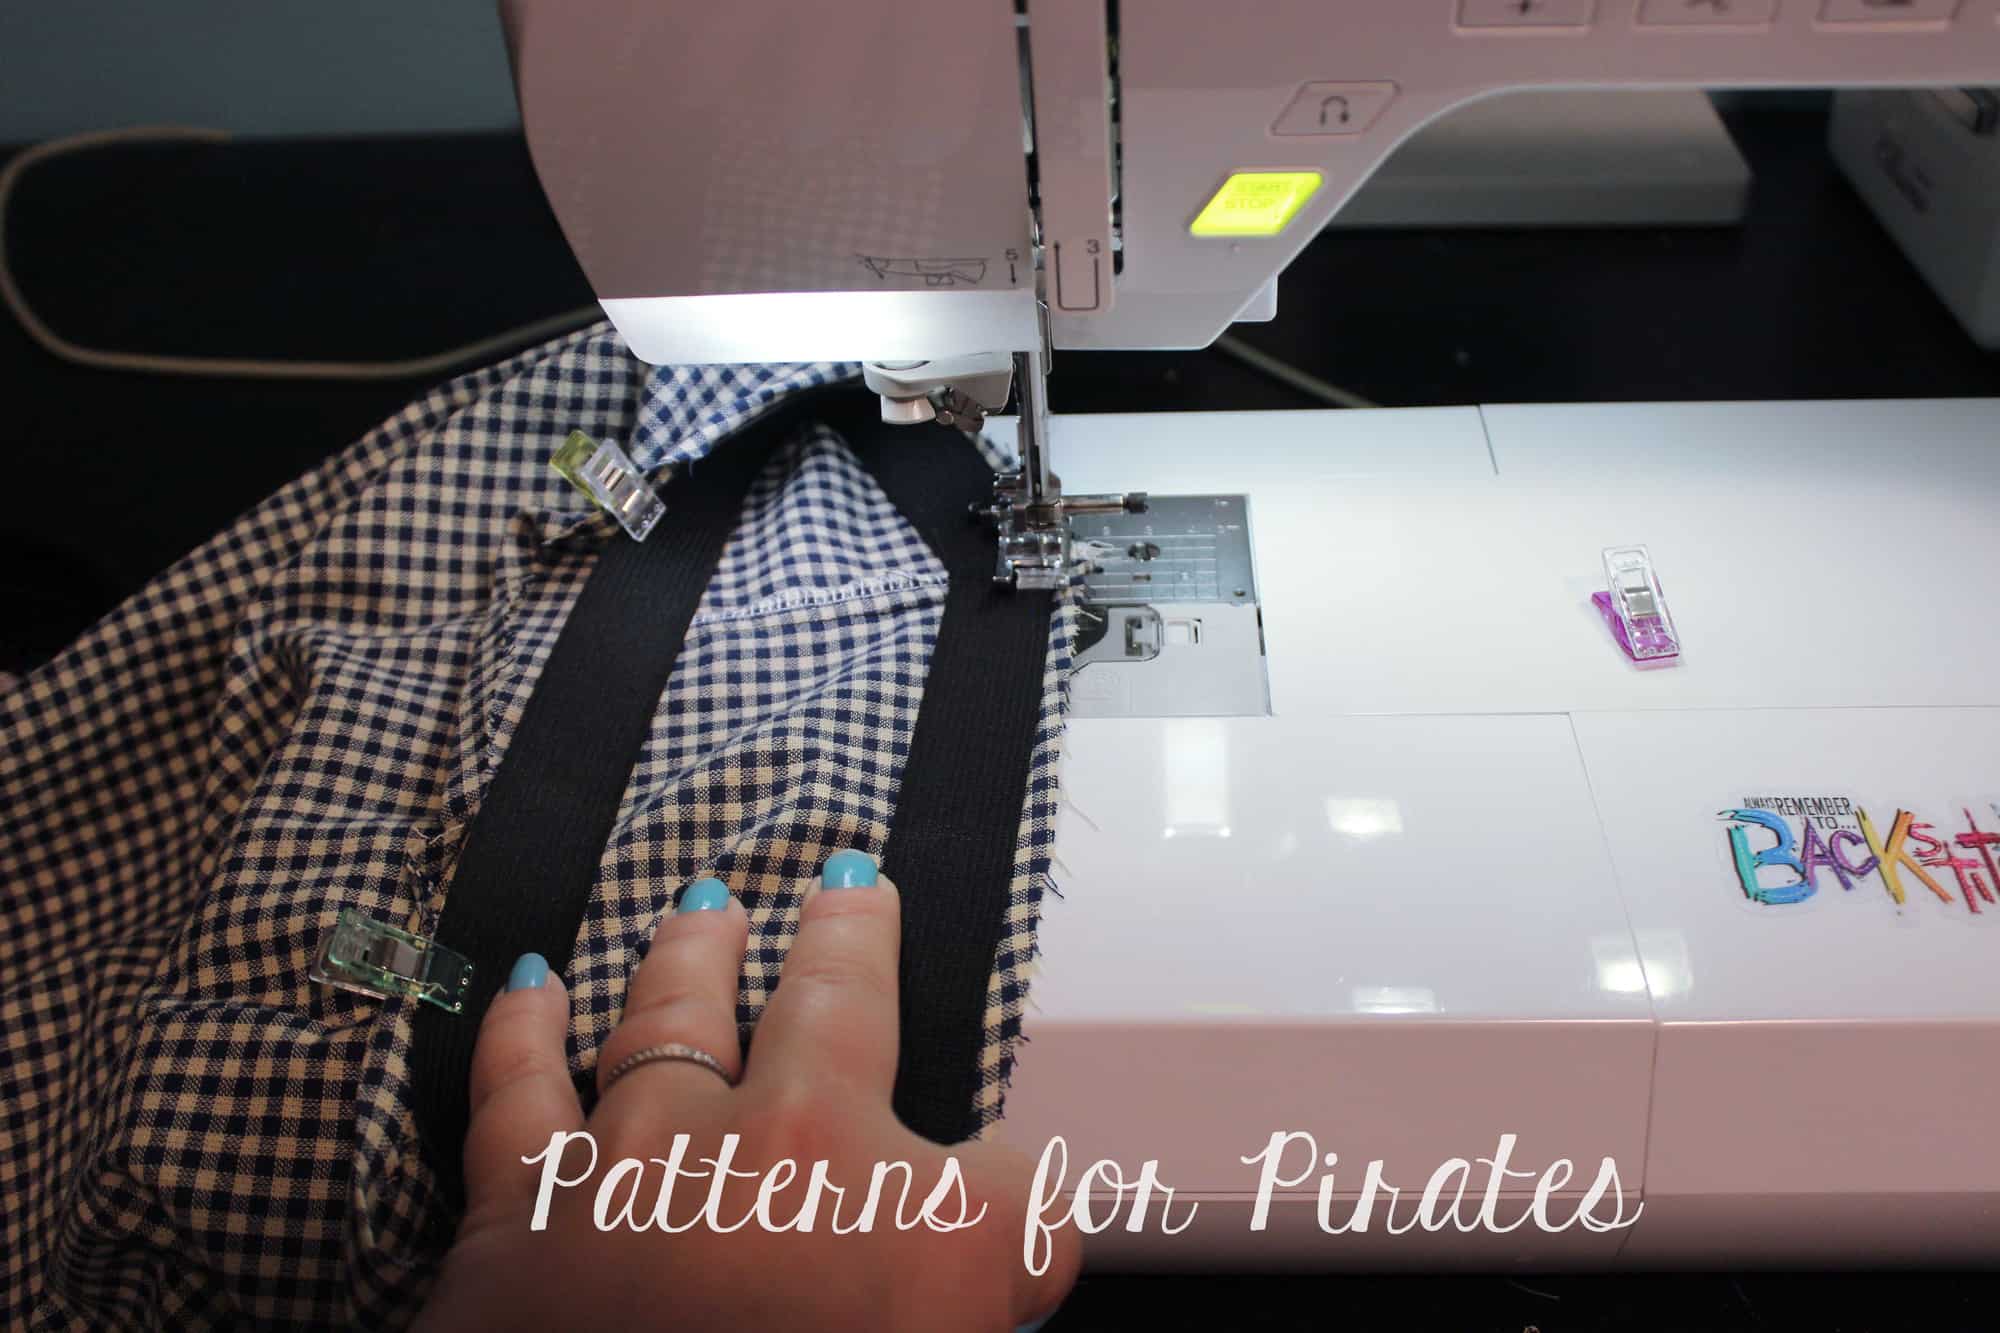
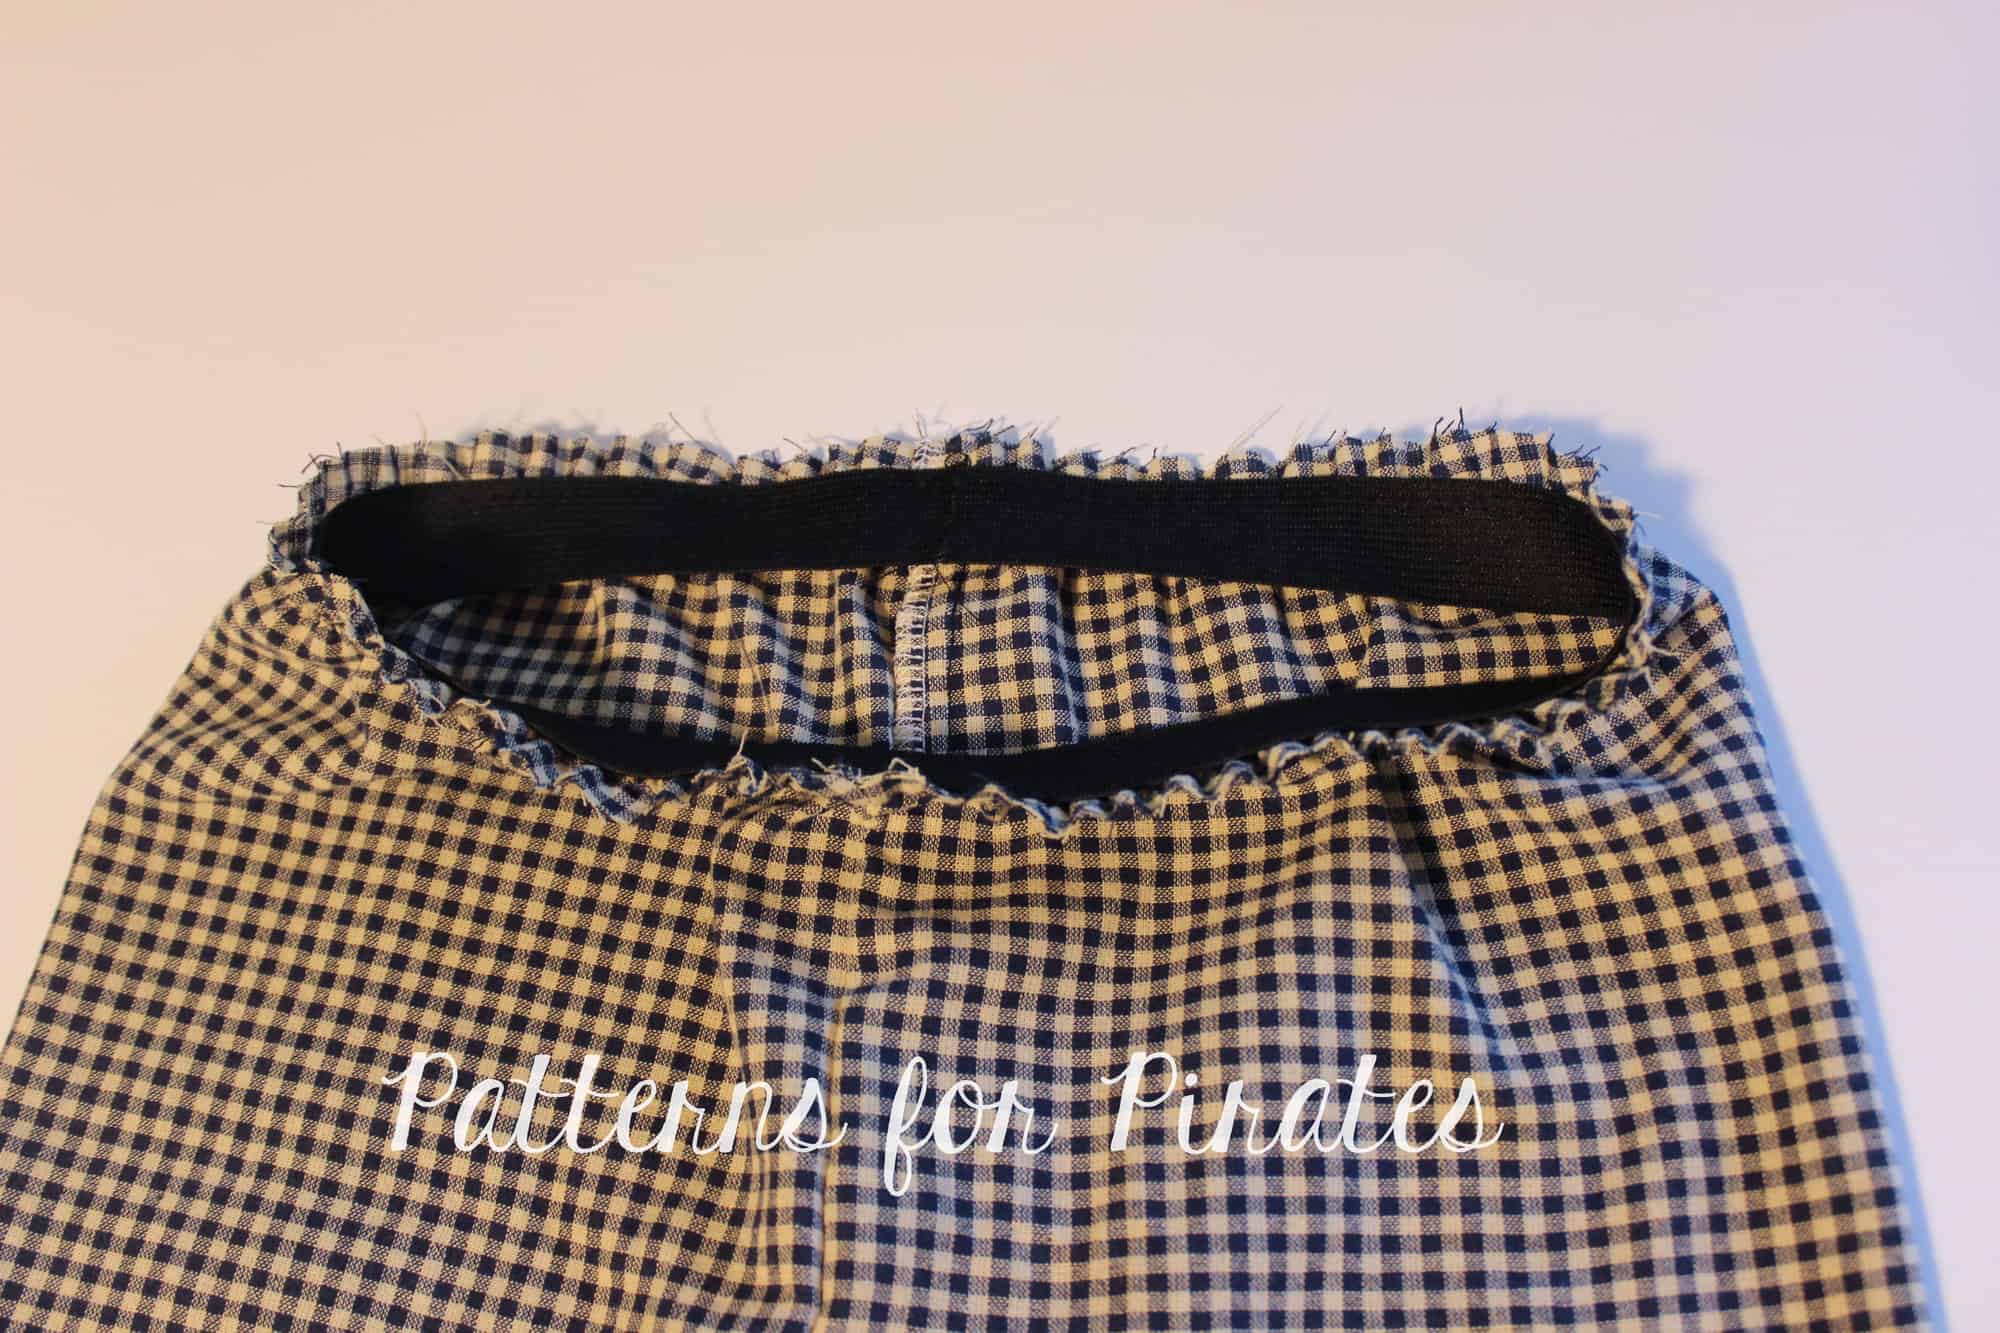
Sew the elastic in a loop (as per the pattern) and mark the quarters with pins or clips. Find the quarters of the waist opening and match the elastic quarter points to them, placing the top of the elastic 1/4″ of an inch down from the top of the pants. Use the memory crease mark as a guide.

Sew the elastic with a a zig zag stitch.

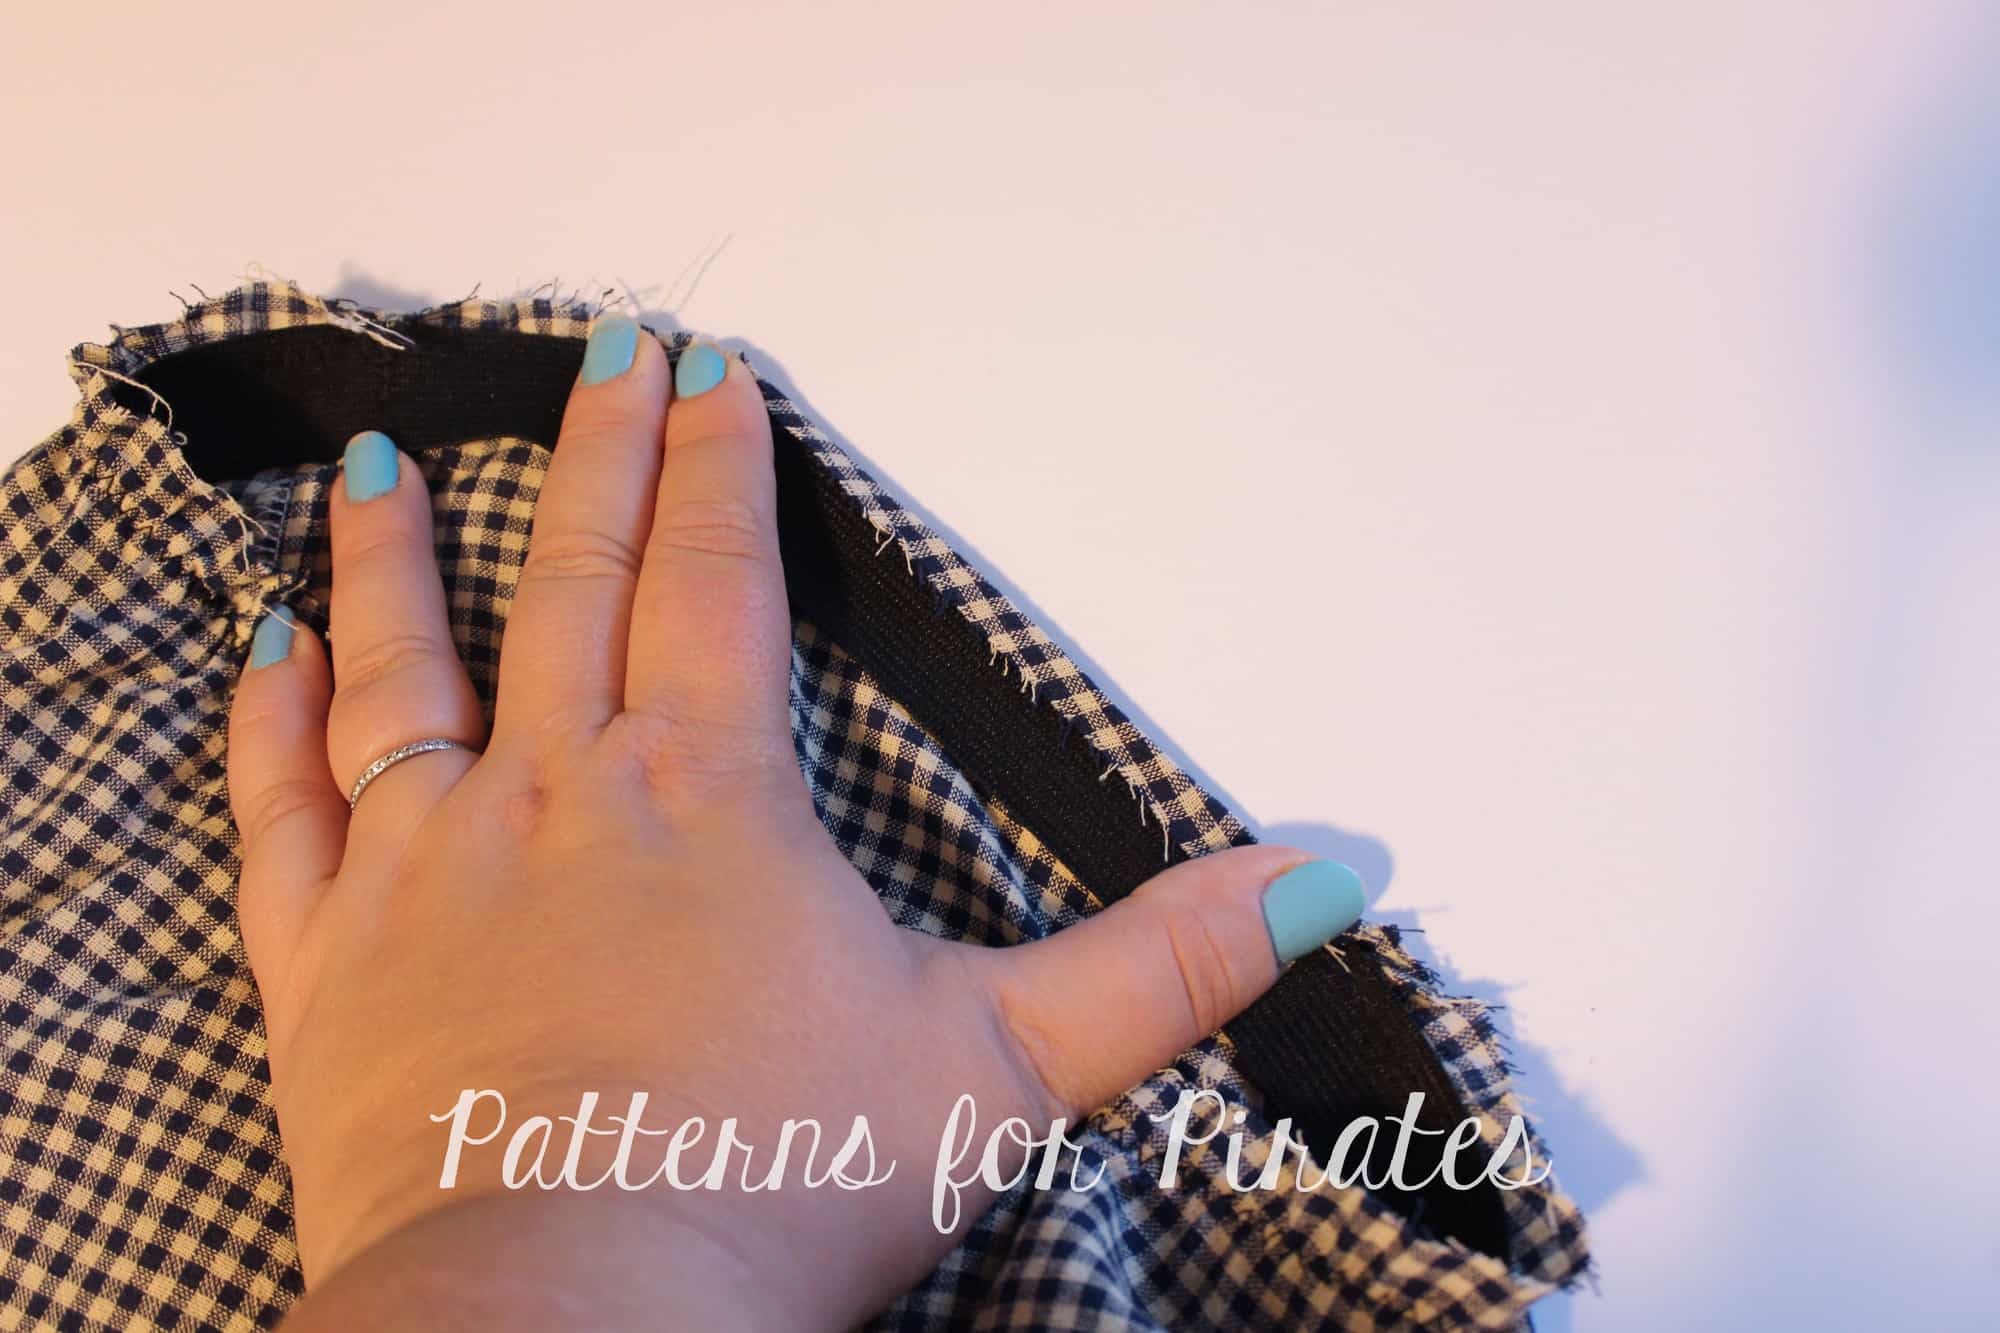
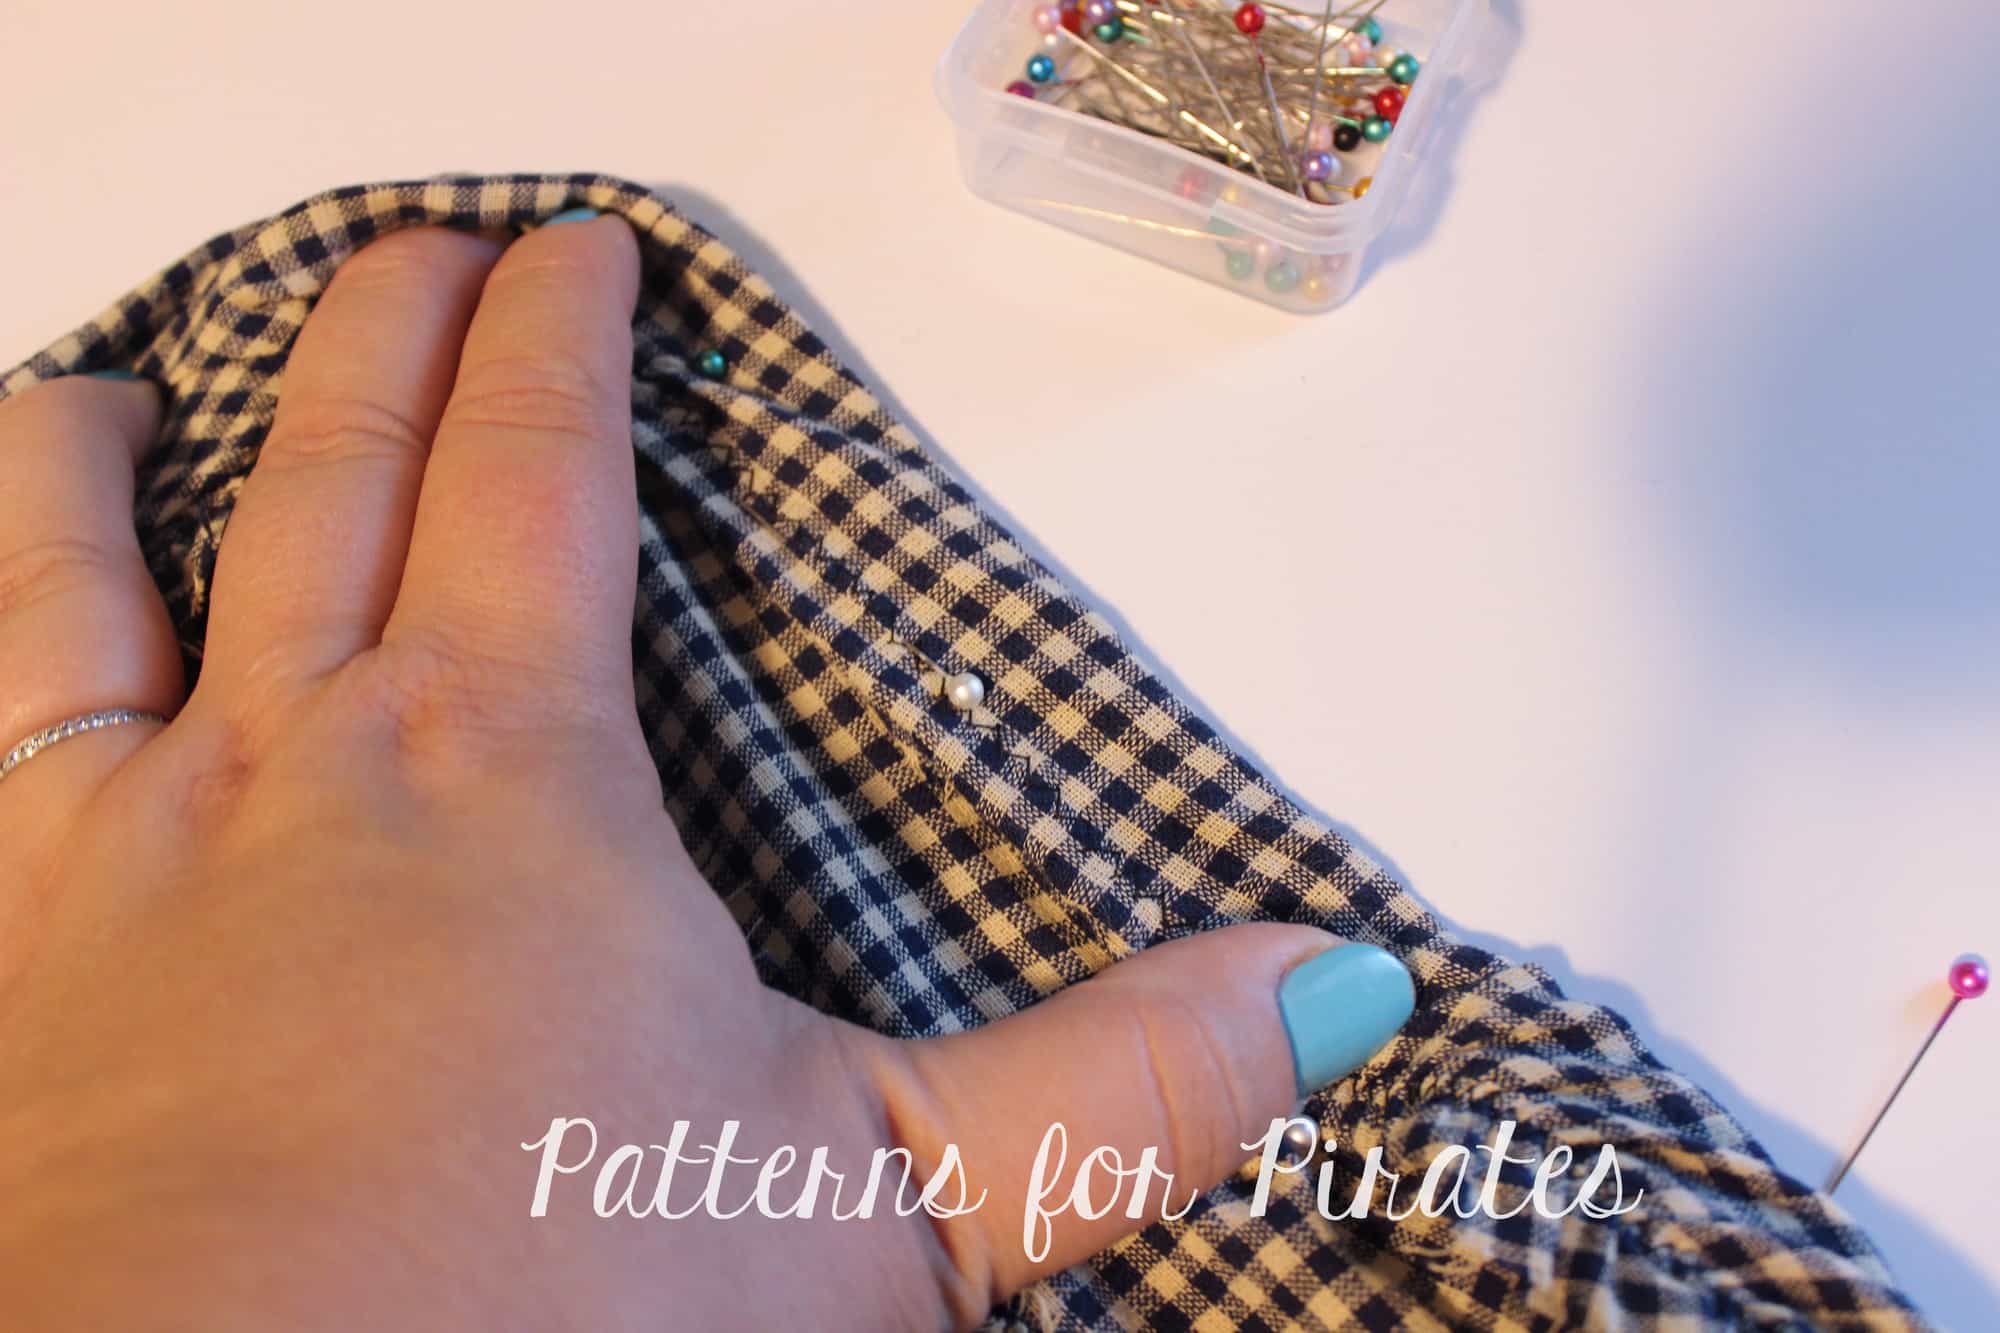
Fold the top top of pants down. This may be a tricky process since you will have to stretch the elastic as you go. Take it slowly and press!

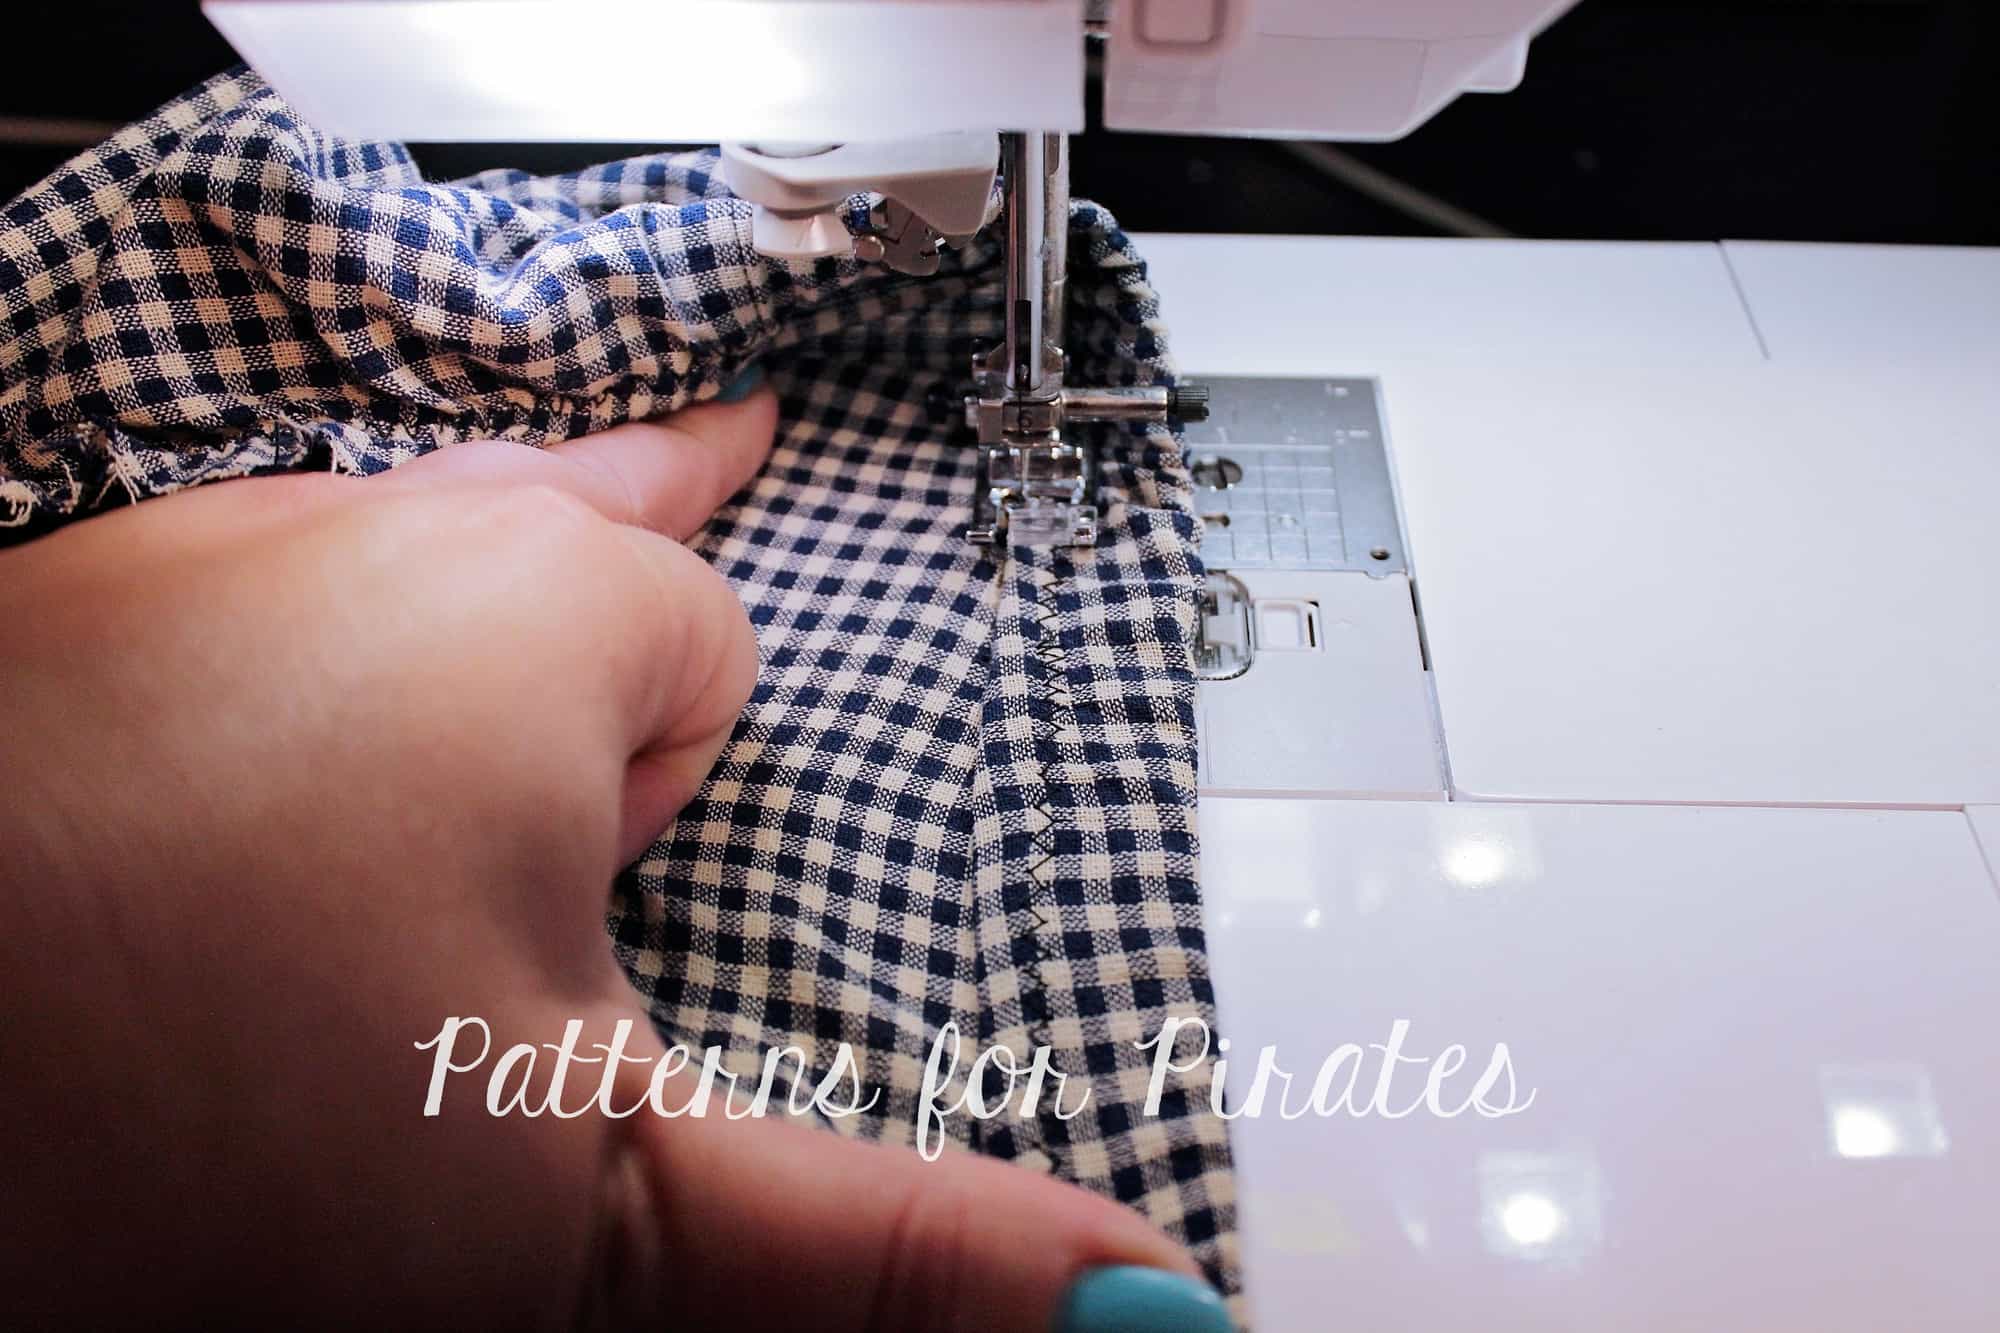
Fold the elastic down and pin in place. You will again need to stretch the elastic so you might find it easier to skip pinning and just use your hand to hold it in place when you sew.

Sew as close to the edge as you can, stretching the elastic  to make sure the fabric lays flat when you stitch it.

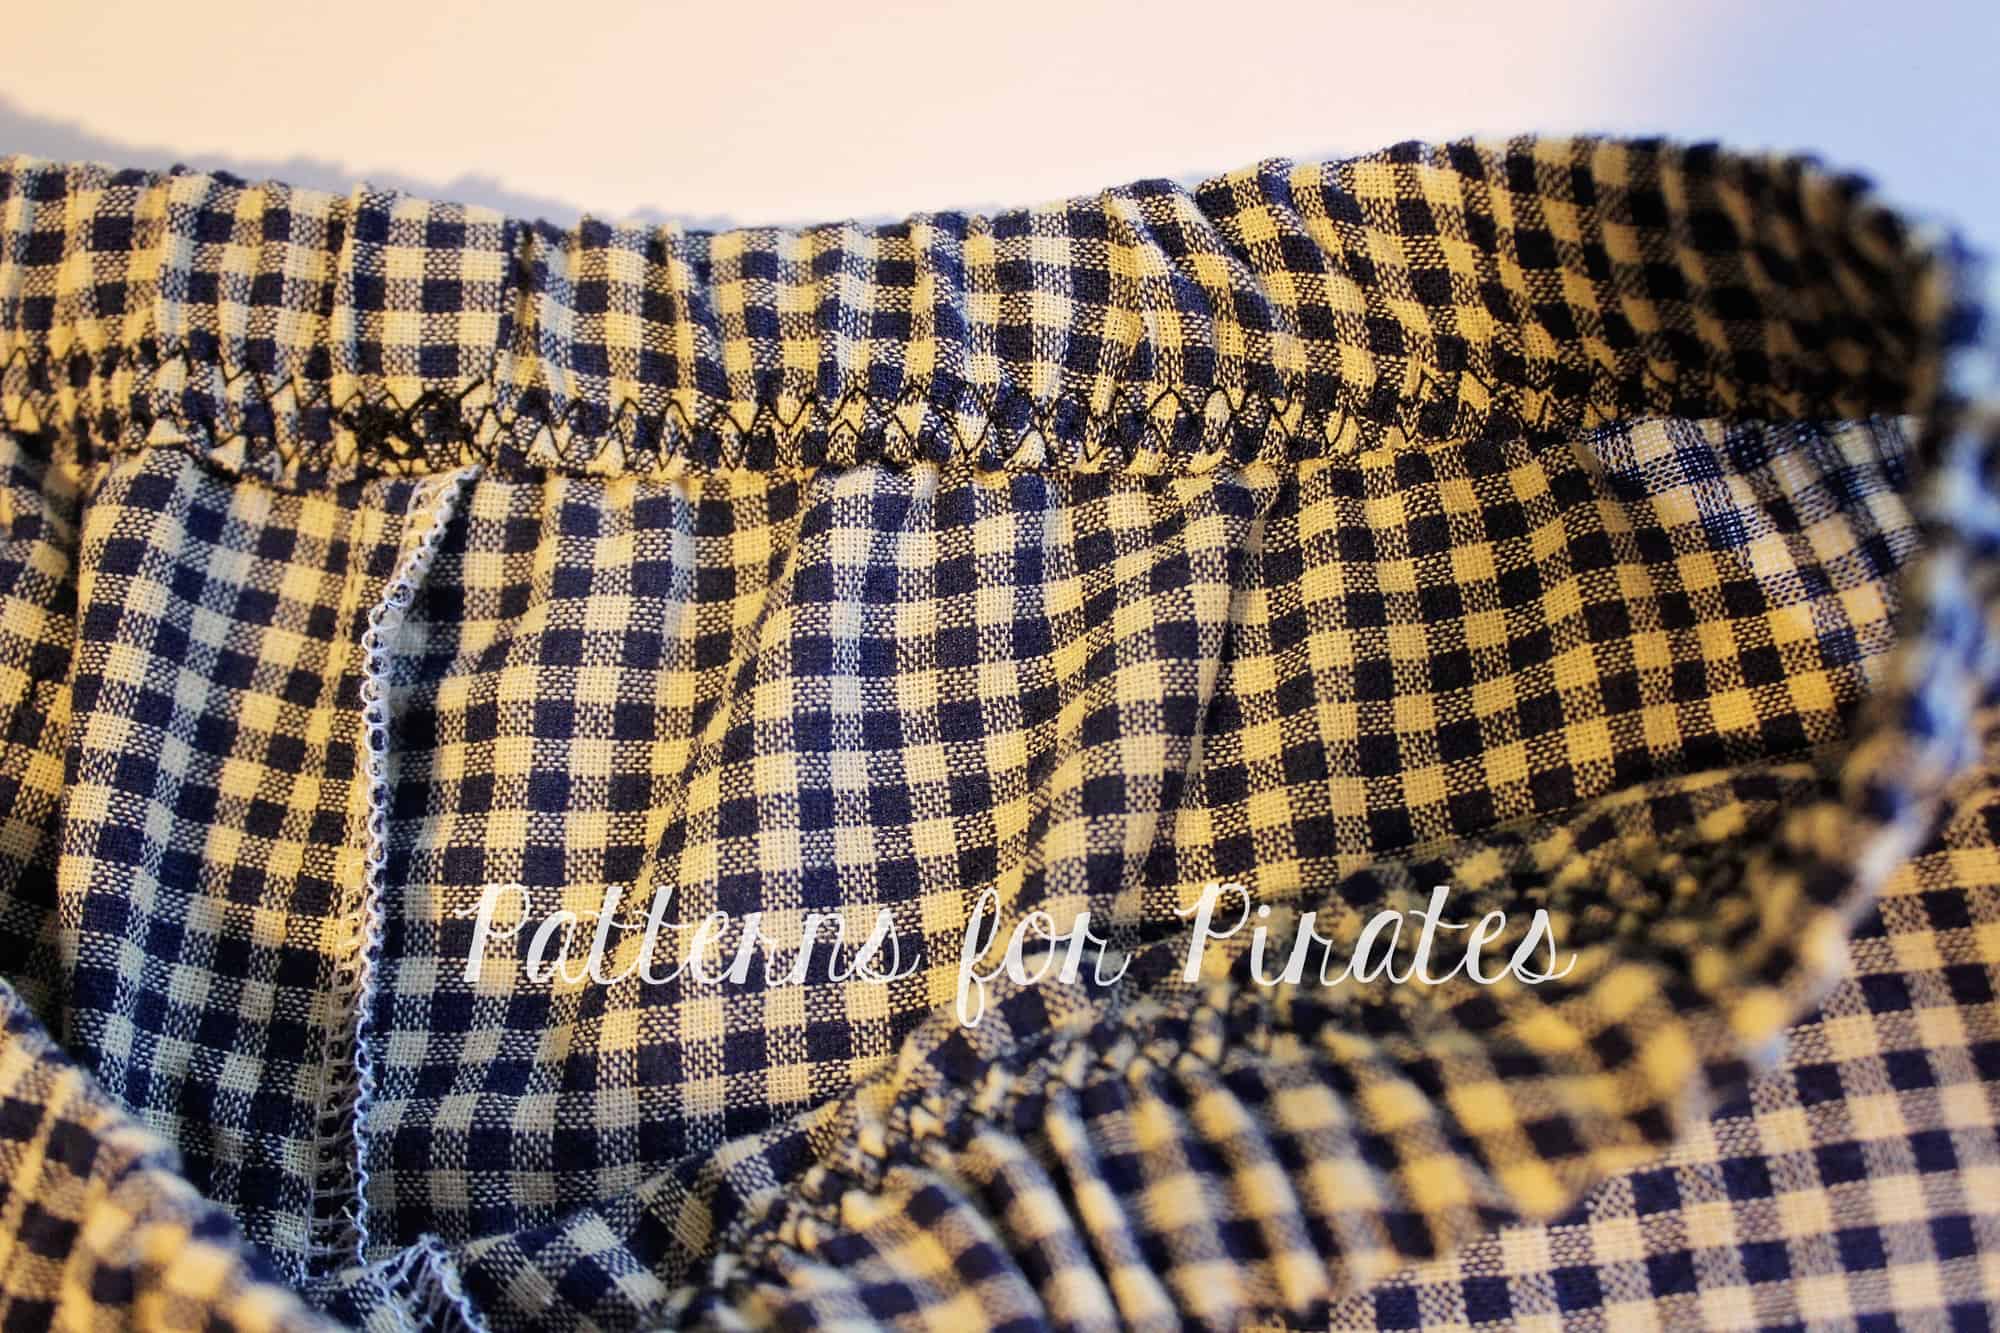
There you have it…. an enclosed elastic for your new PJ pants!

Hope you found these easy hacks helpful. Don’t forget to show your creations in the P4P group! We love to see what you make for you and your loved one.

Filed Under: Free Pattern, Pattern Hacks, Pattern Release, Uncategorized 12 Comments

  • « Previous Page
  • 1
  • 2

connect with me

  • Email
  • Facebook
  • Instagram
  • Pinterest
  • YouTube
Privacy & Cookies: This site uses cookies. By continuing to use this website, you agree to their use.

To find out more, including how to control cookies, see here: Cookie Policy
  • Privacy Policy
  • Refund Policy
  • Contact Us
  • About

Copyright © 2026 Patterns for Pirates

Copyright © 2026 · Genesis Framework · WordPress · Log in