Happy Holidays, Pirate Friends! We are excitedly back for another year and another round of holiday freebies to share with you! Over the years, we’ve compiled different tutorials and patterns that we think would make *perfect* gifts for your friends and family. Curious about what we’ve already released in the way of holiday freebies? Head right here to see all of them: Holiday Freebies Roundup.
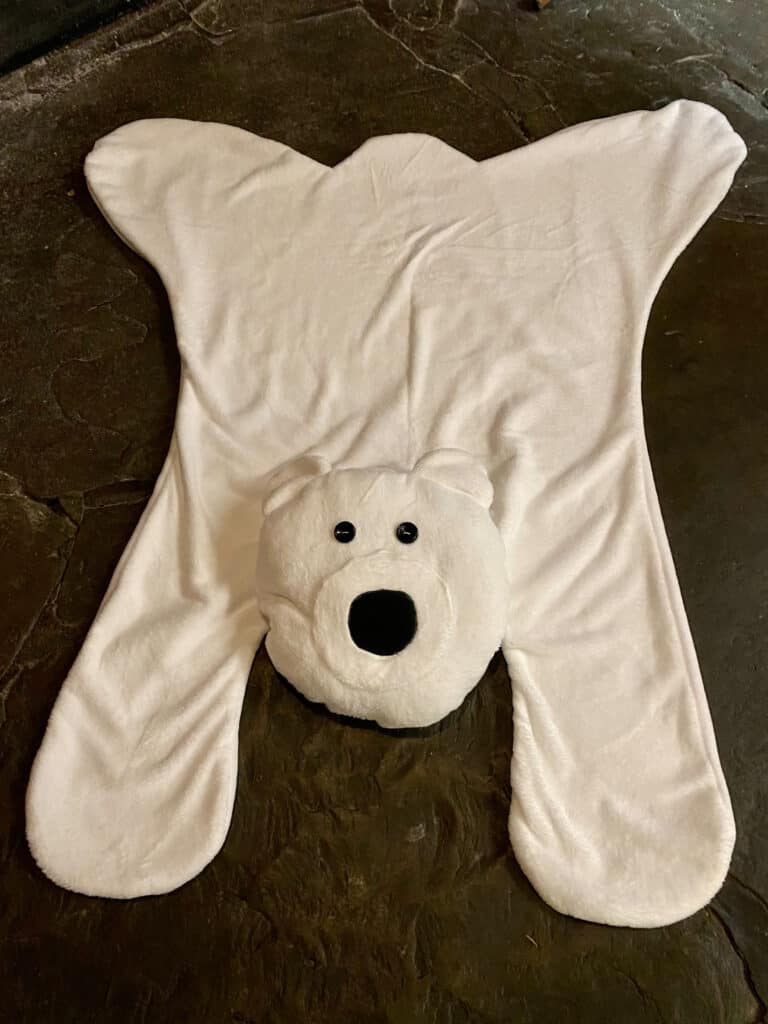
Today, we are bringing you the: Bear Hug Rug!
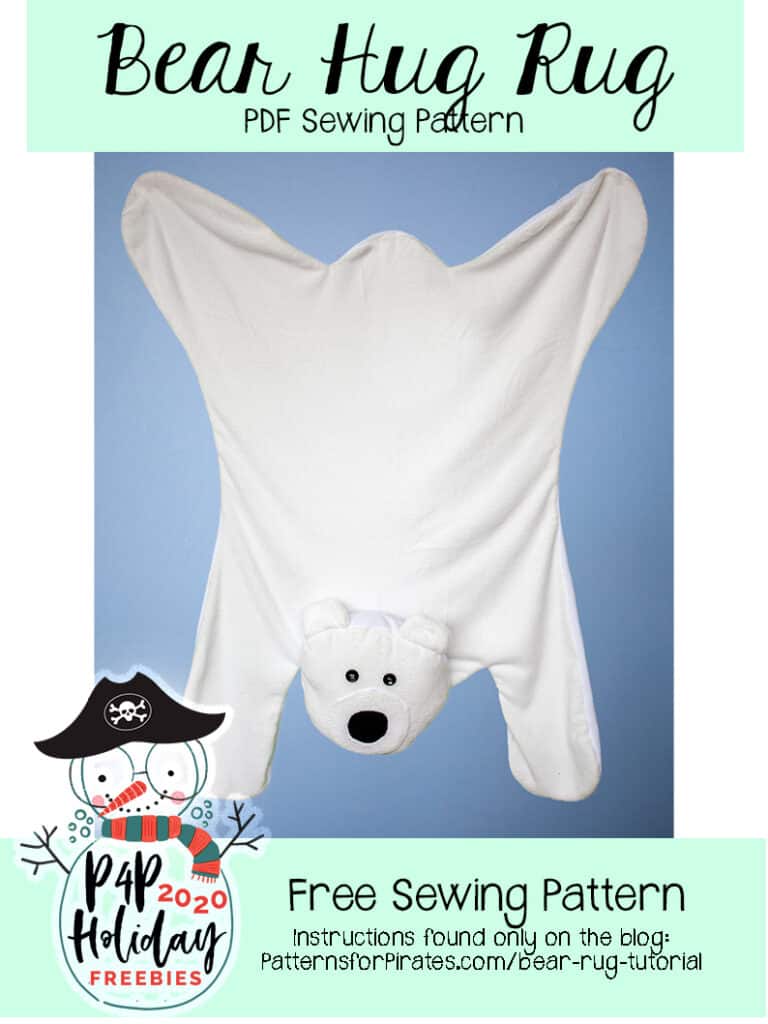
The Bear Hug Rug is pretty much a giant stuffed animal, with function. It can be used as a rug on the floor, while relaxing or reading a book. It can be used as a blanket with a big ole’ head for cuddling up with. Or it can be used as a giant stuffed animal, ready to be loved.
The pattern construction is super simple and the results are so fun. We hope you love it!
Supplies Needed:
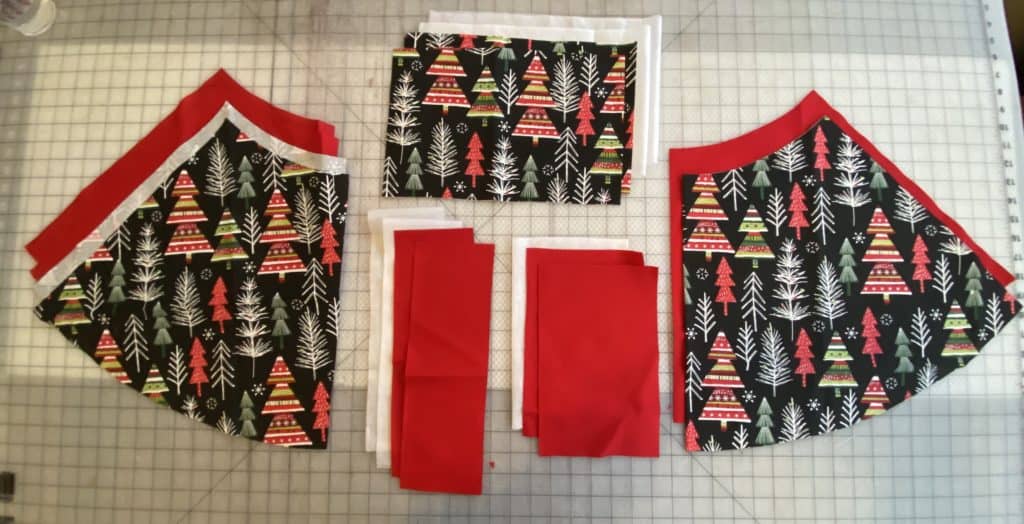
- Bear Hug Rug pattern pieces
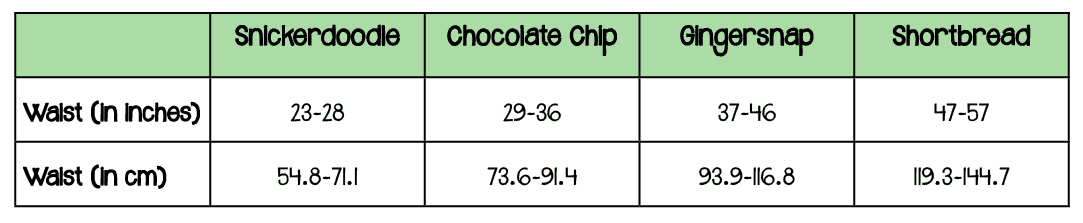
- Fabric Requirements: Fleece / Minky / Faux Fur, etc, 54″ wide
- 2 Yards Main
- 2 Yards Lining
- Fiberfill (for head)
- Scraps of fabric for facial features
- Buttons / Embroidery Thread for Eyes
TUTORIAL
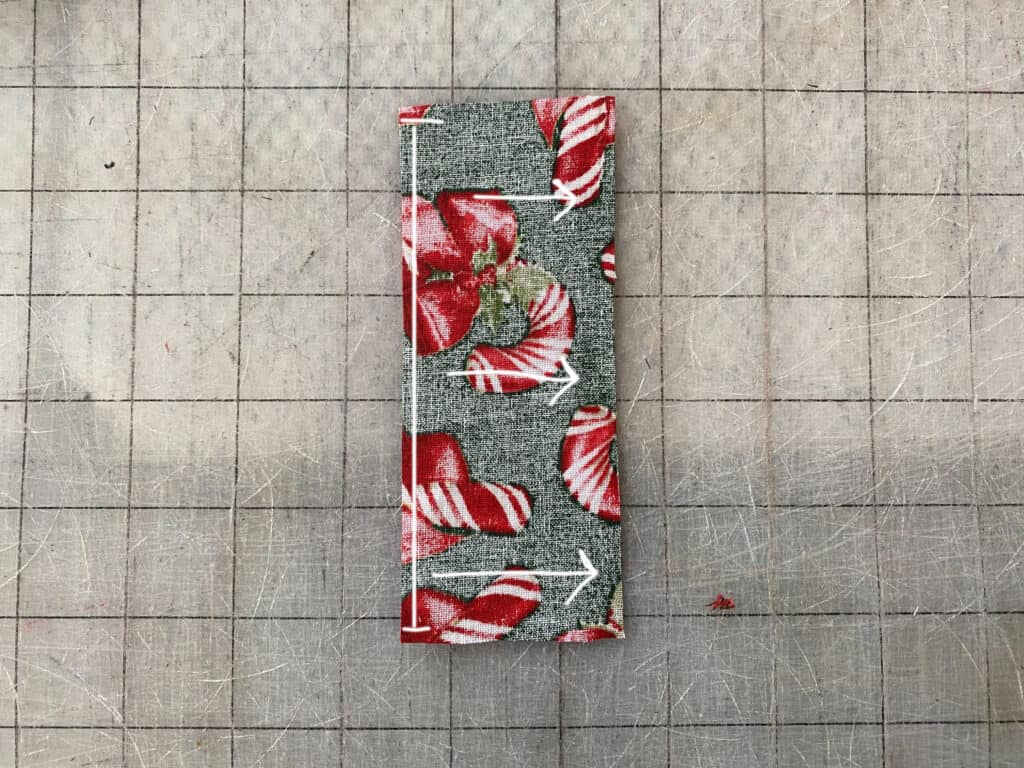
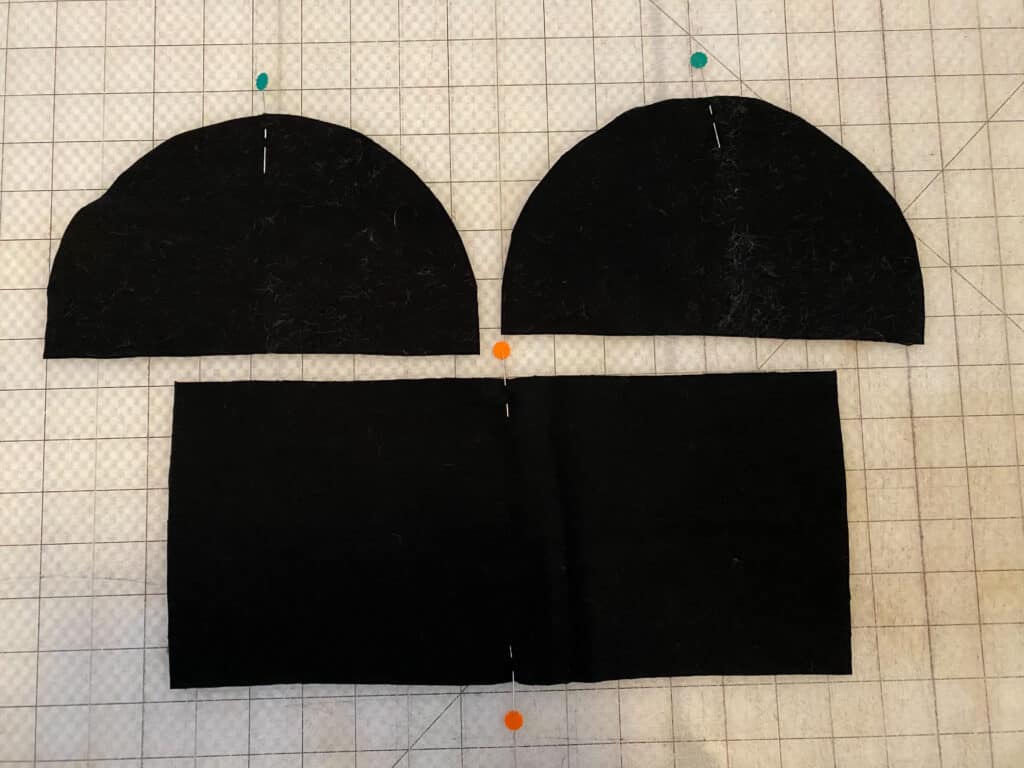
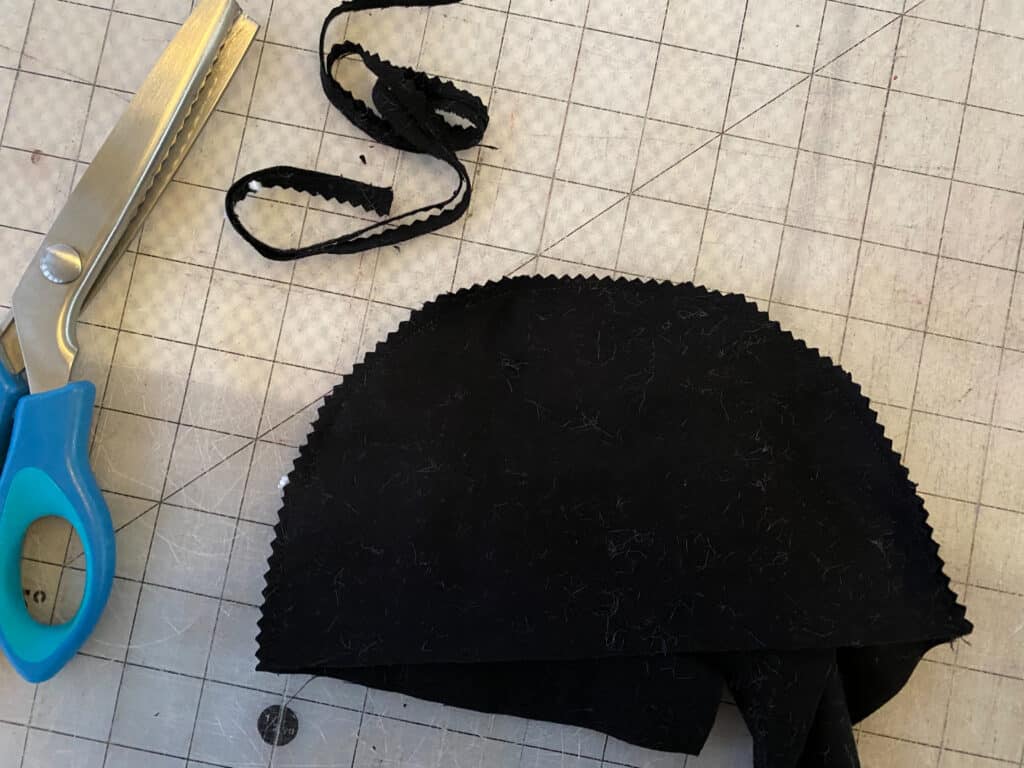
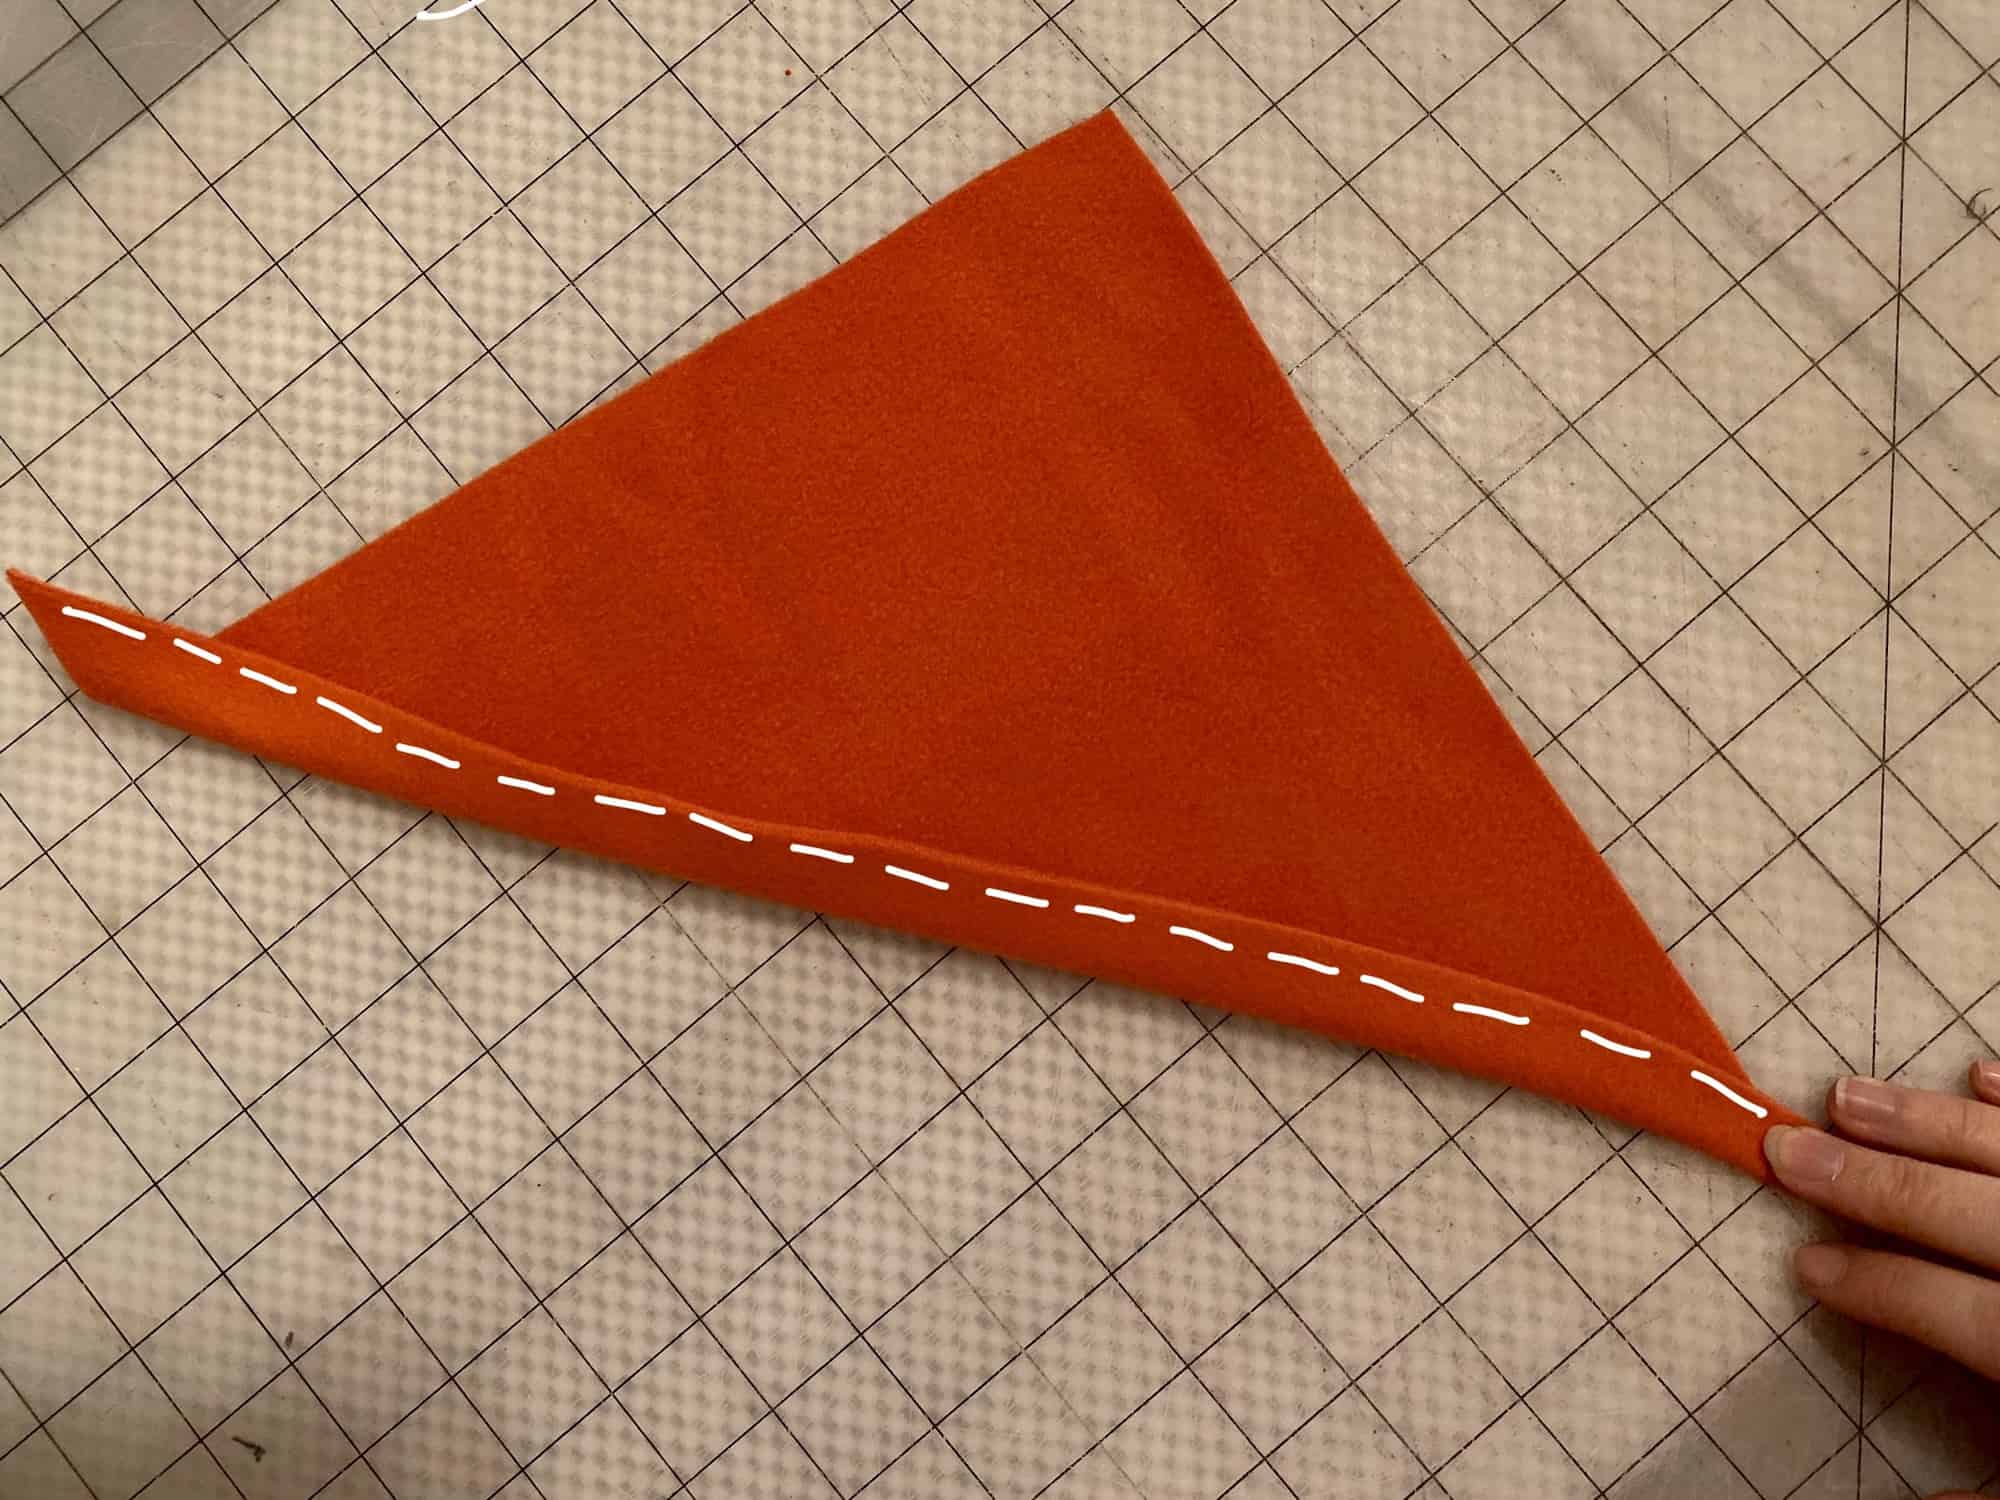
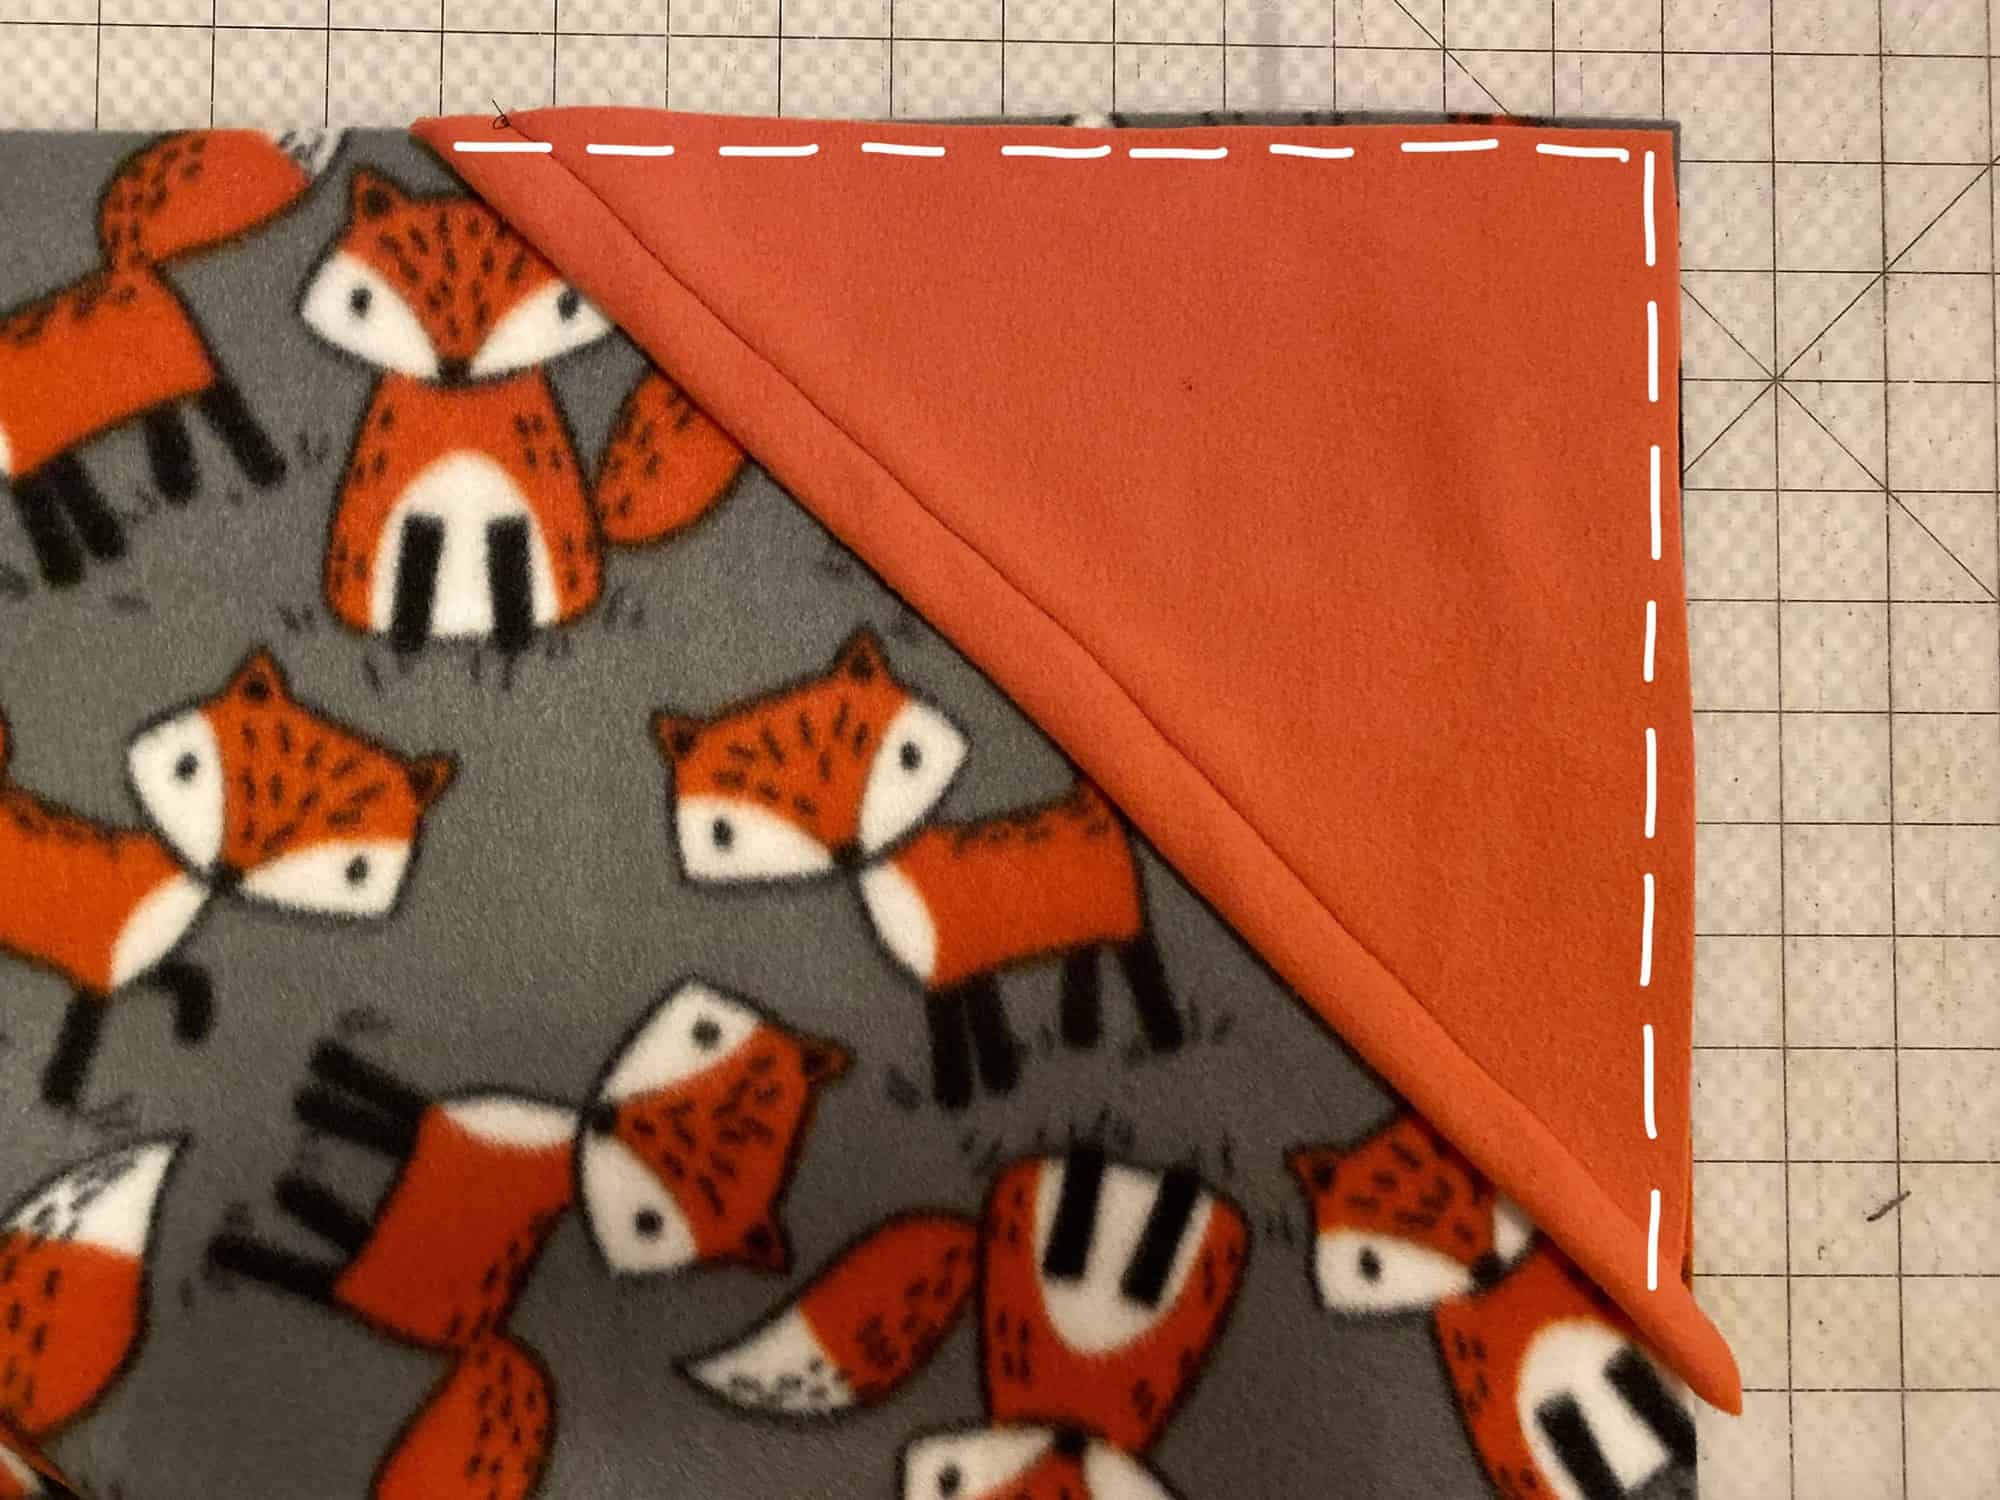
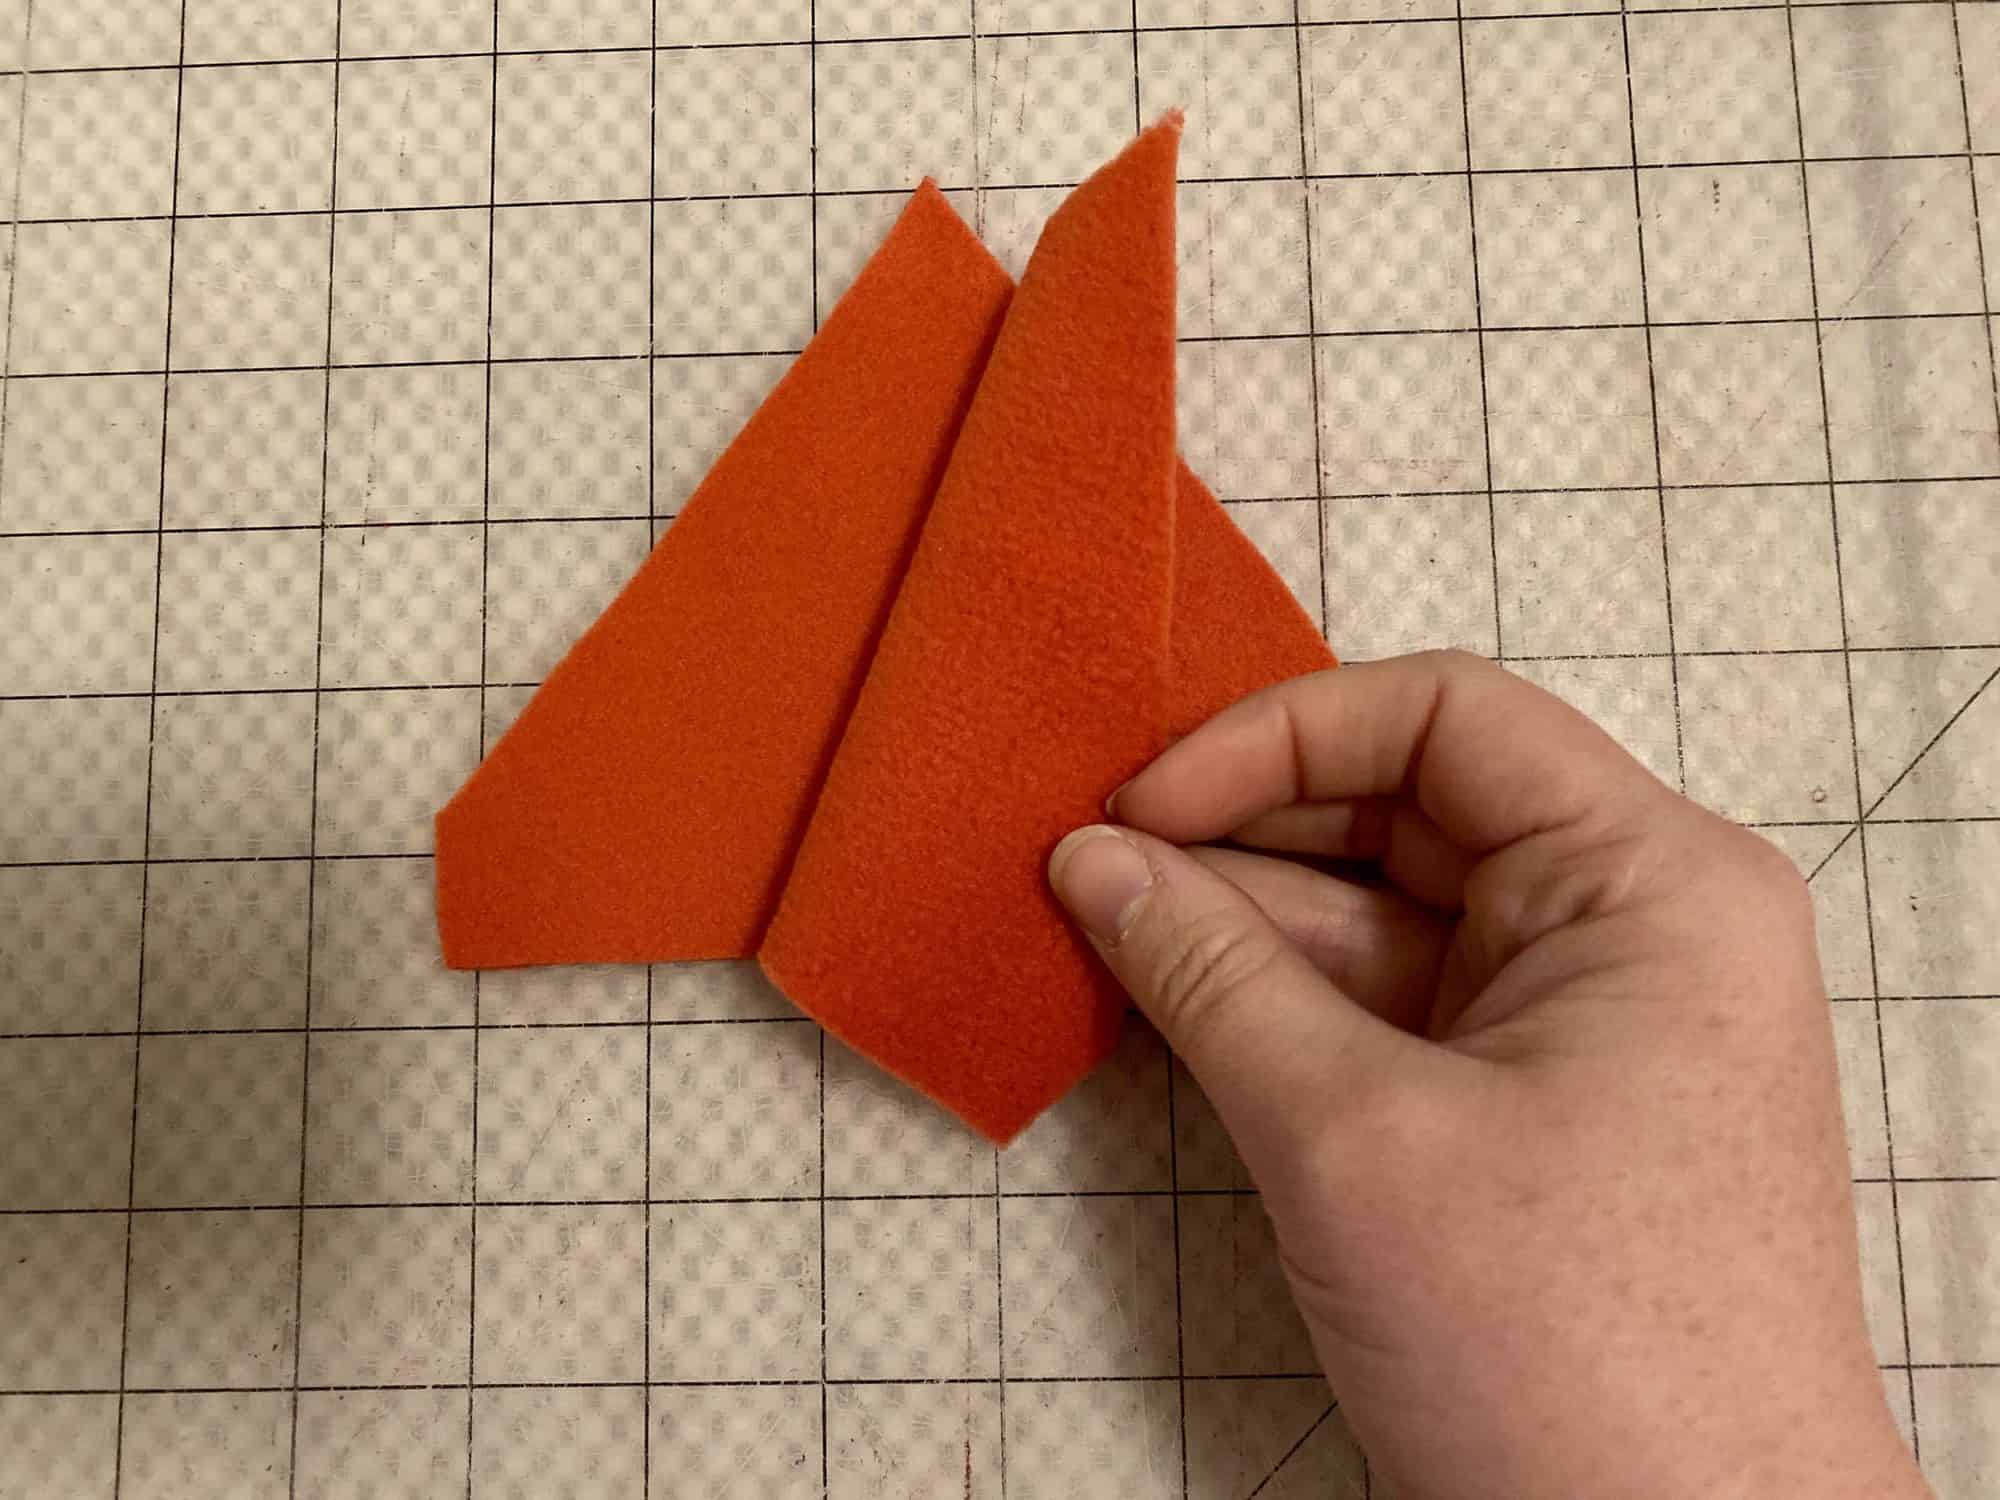
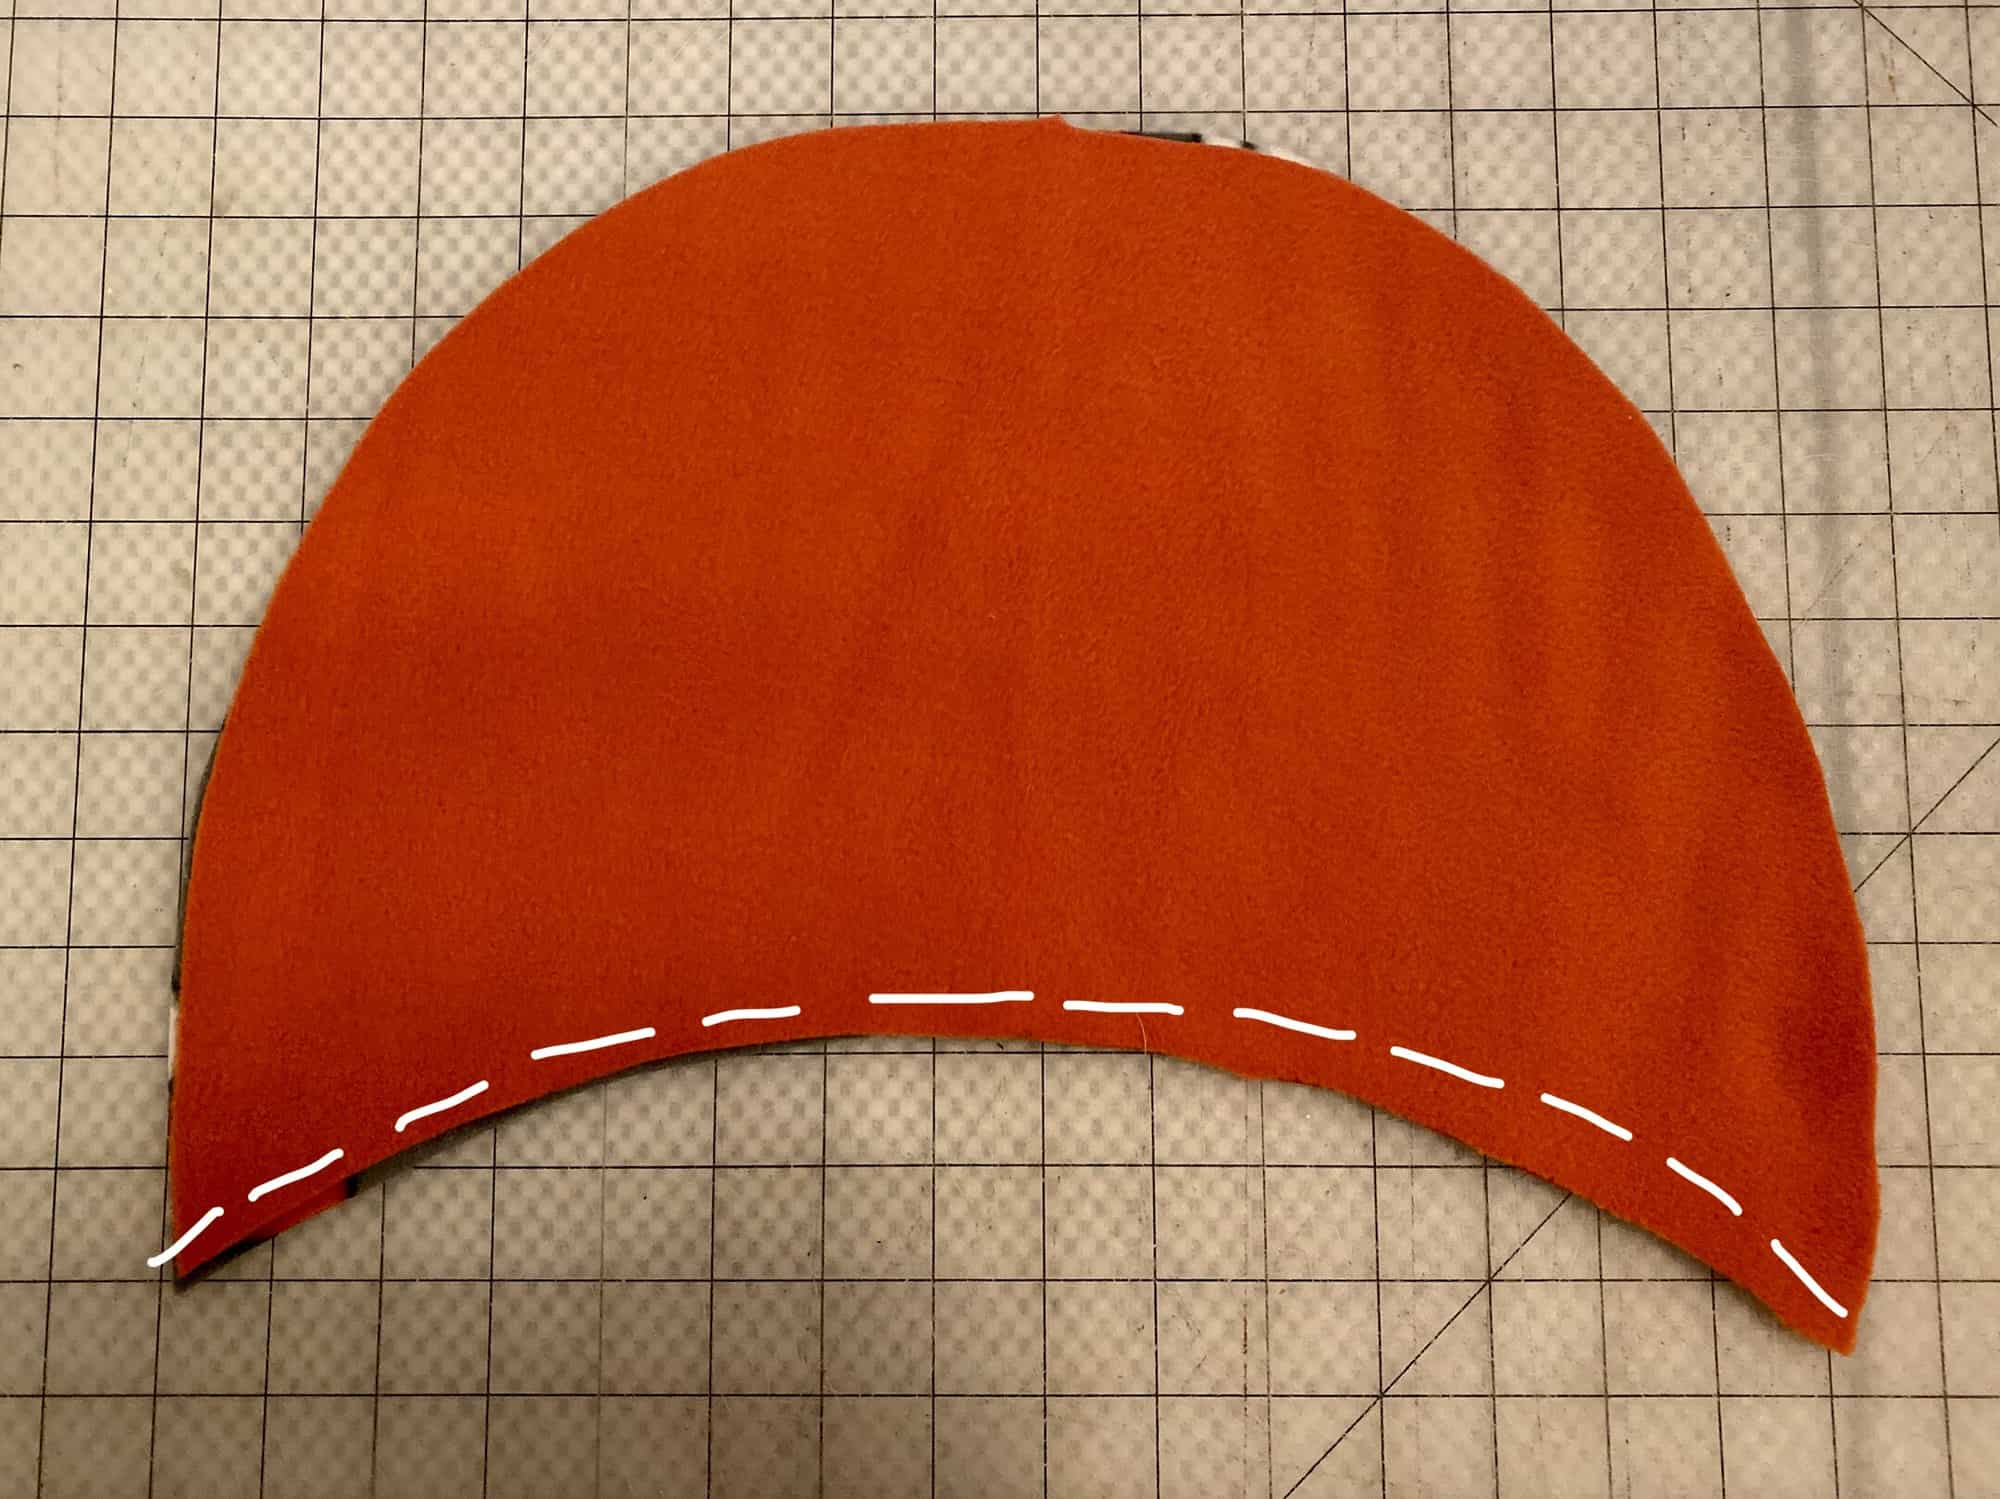
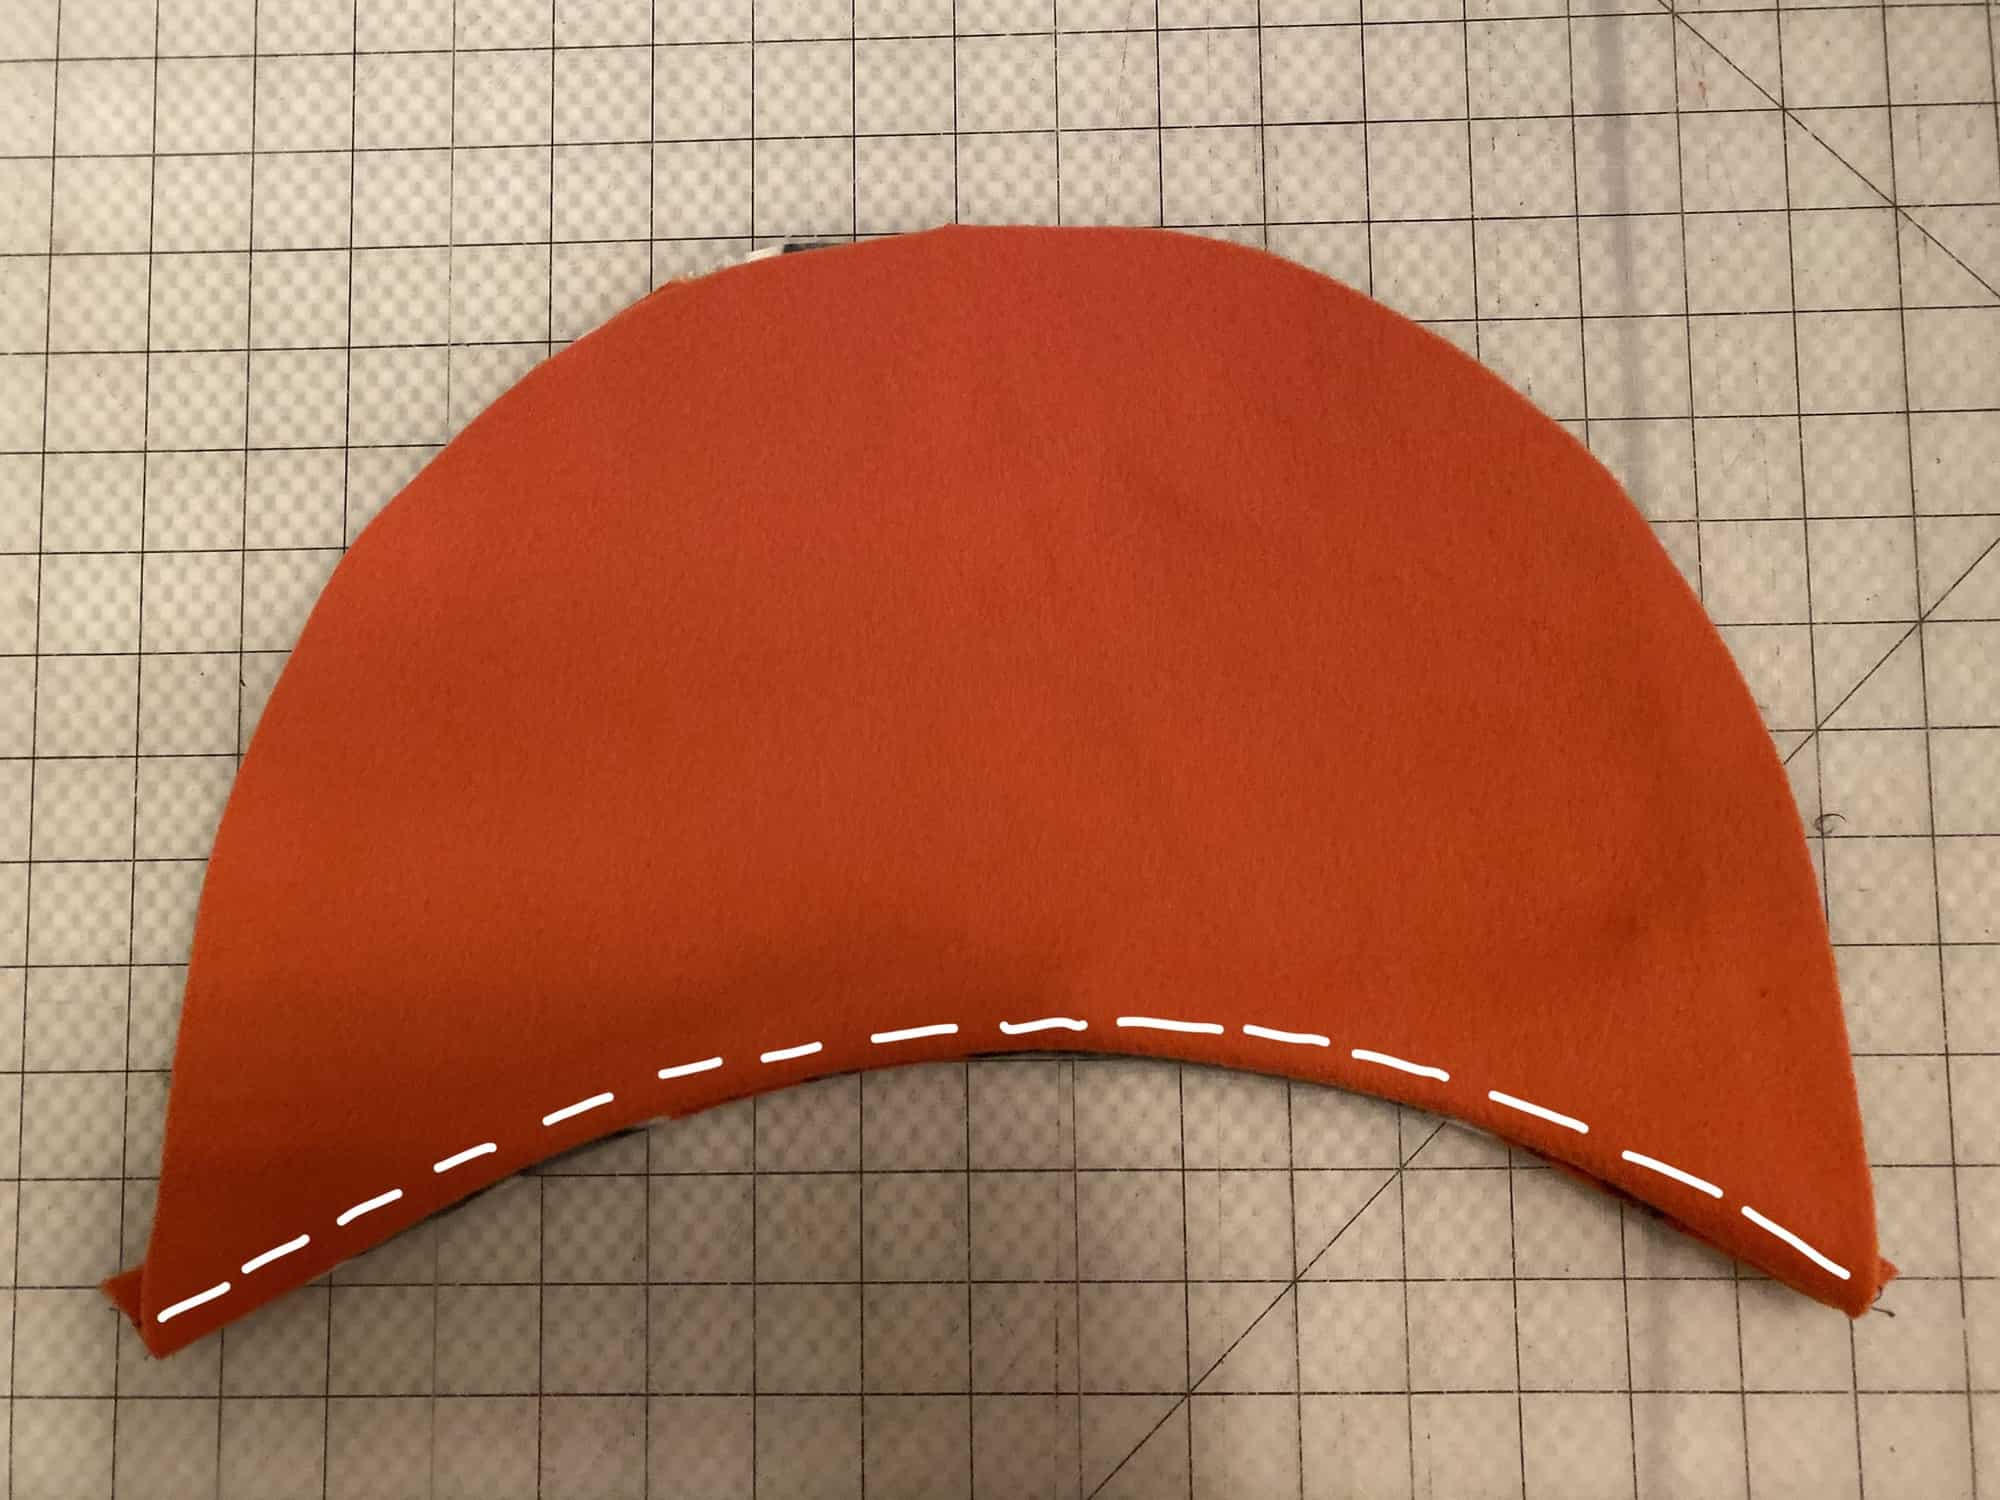
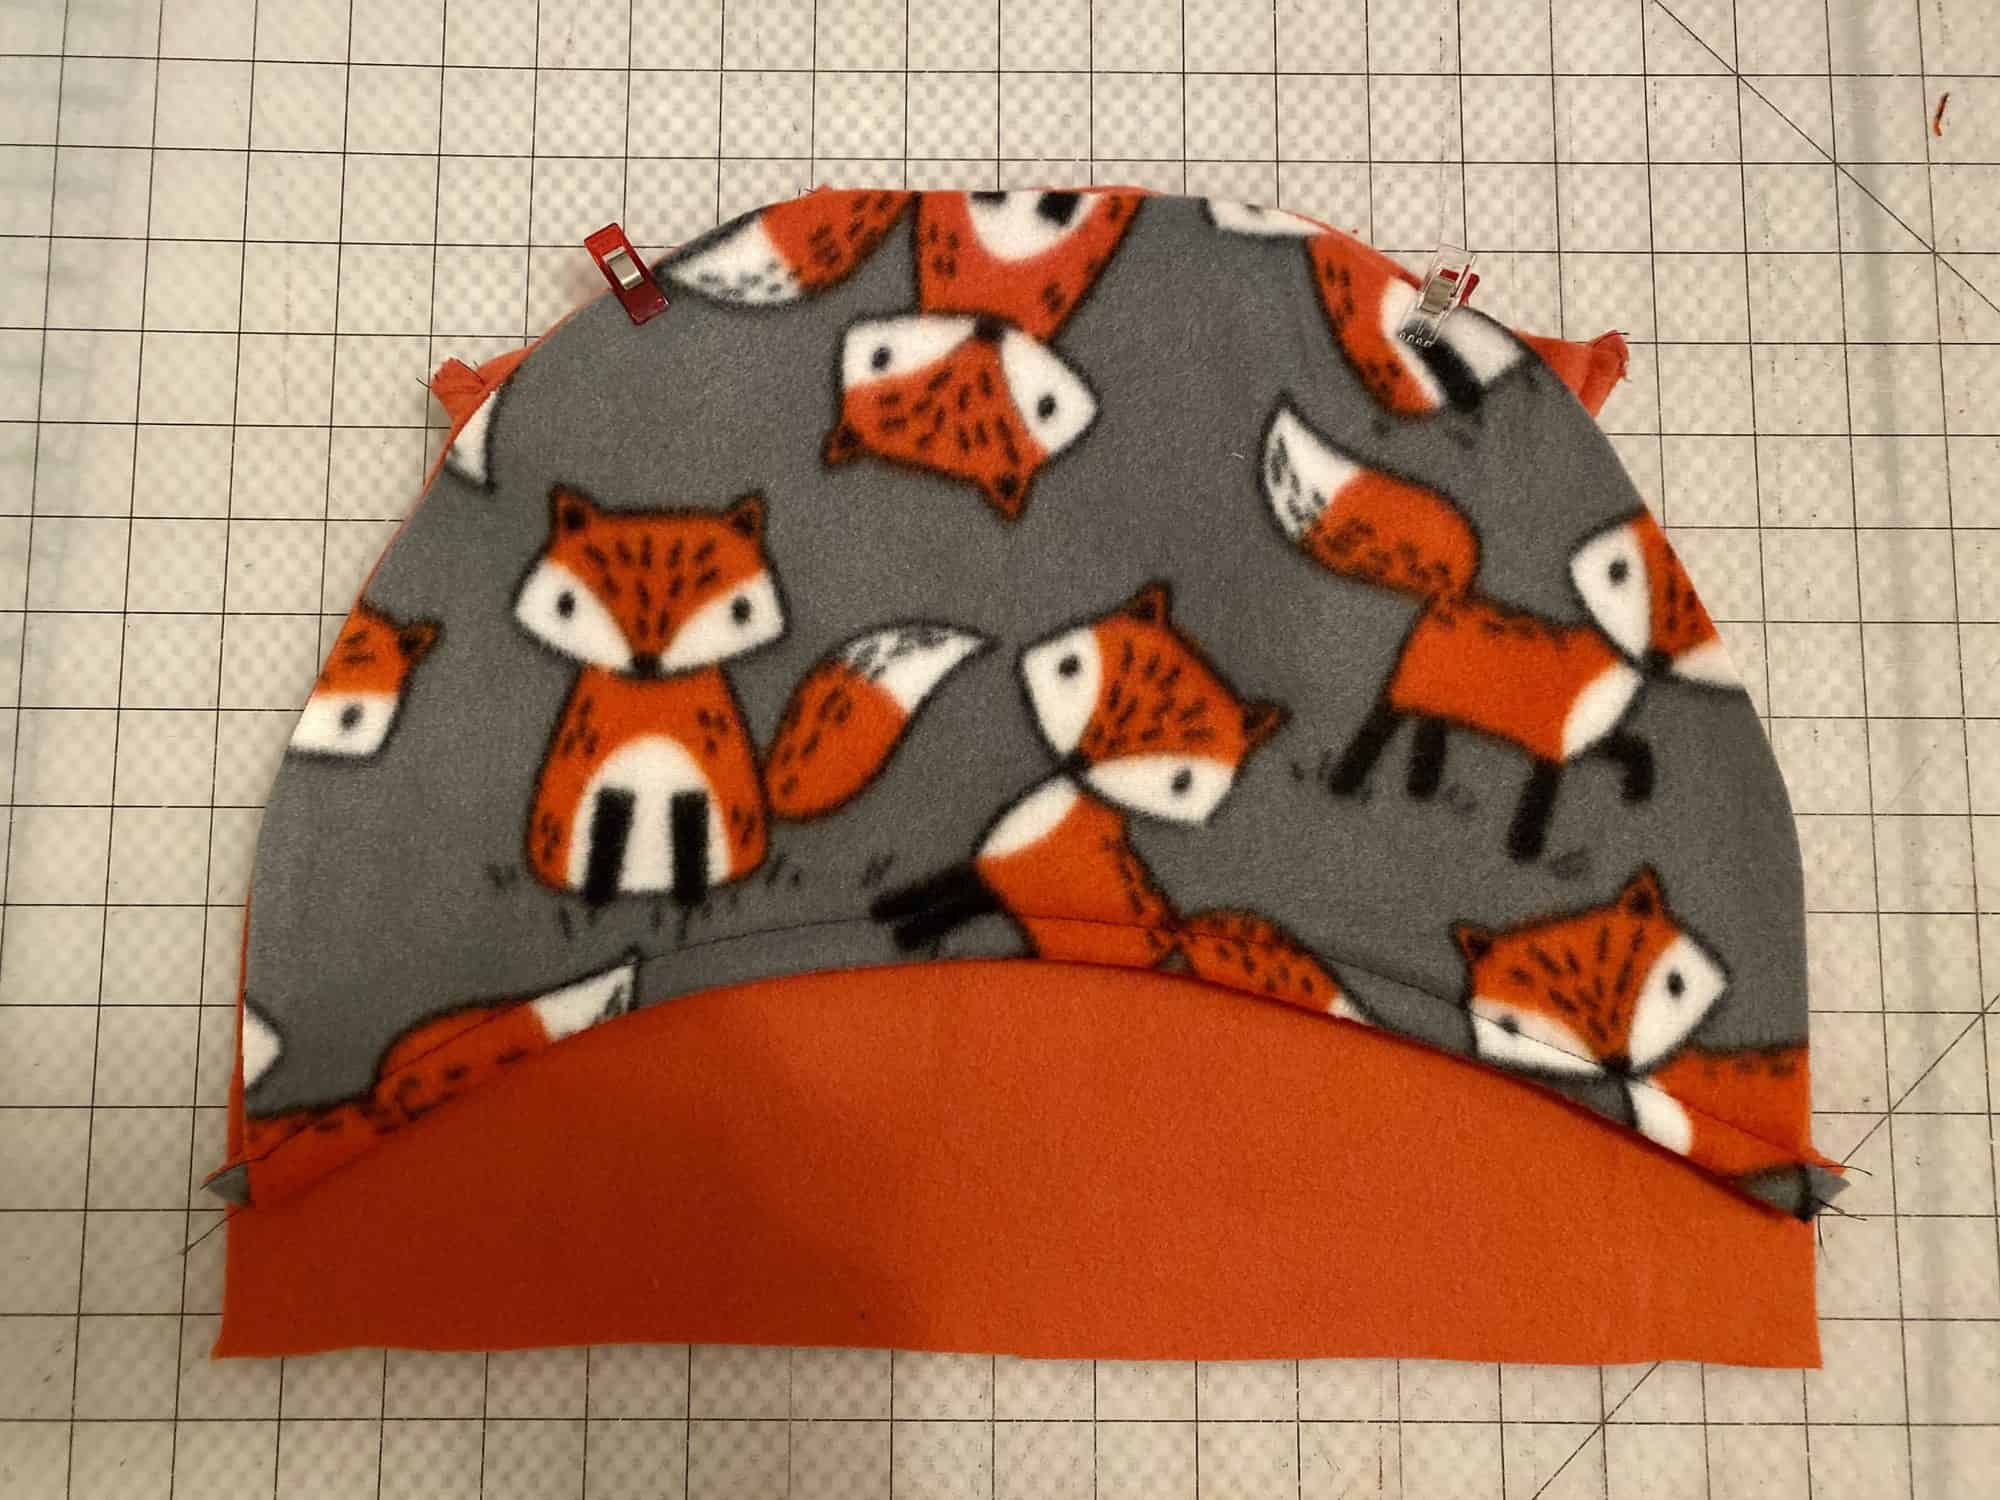
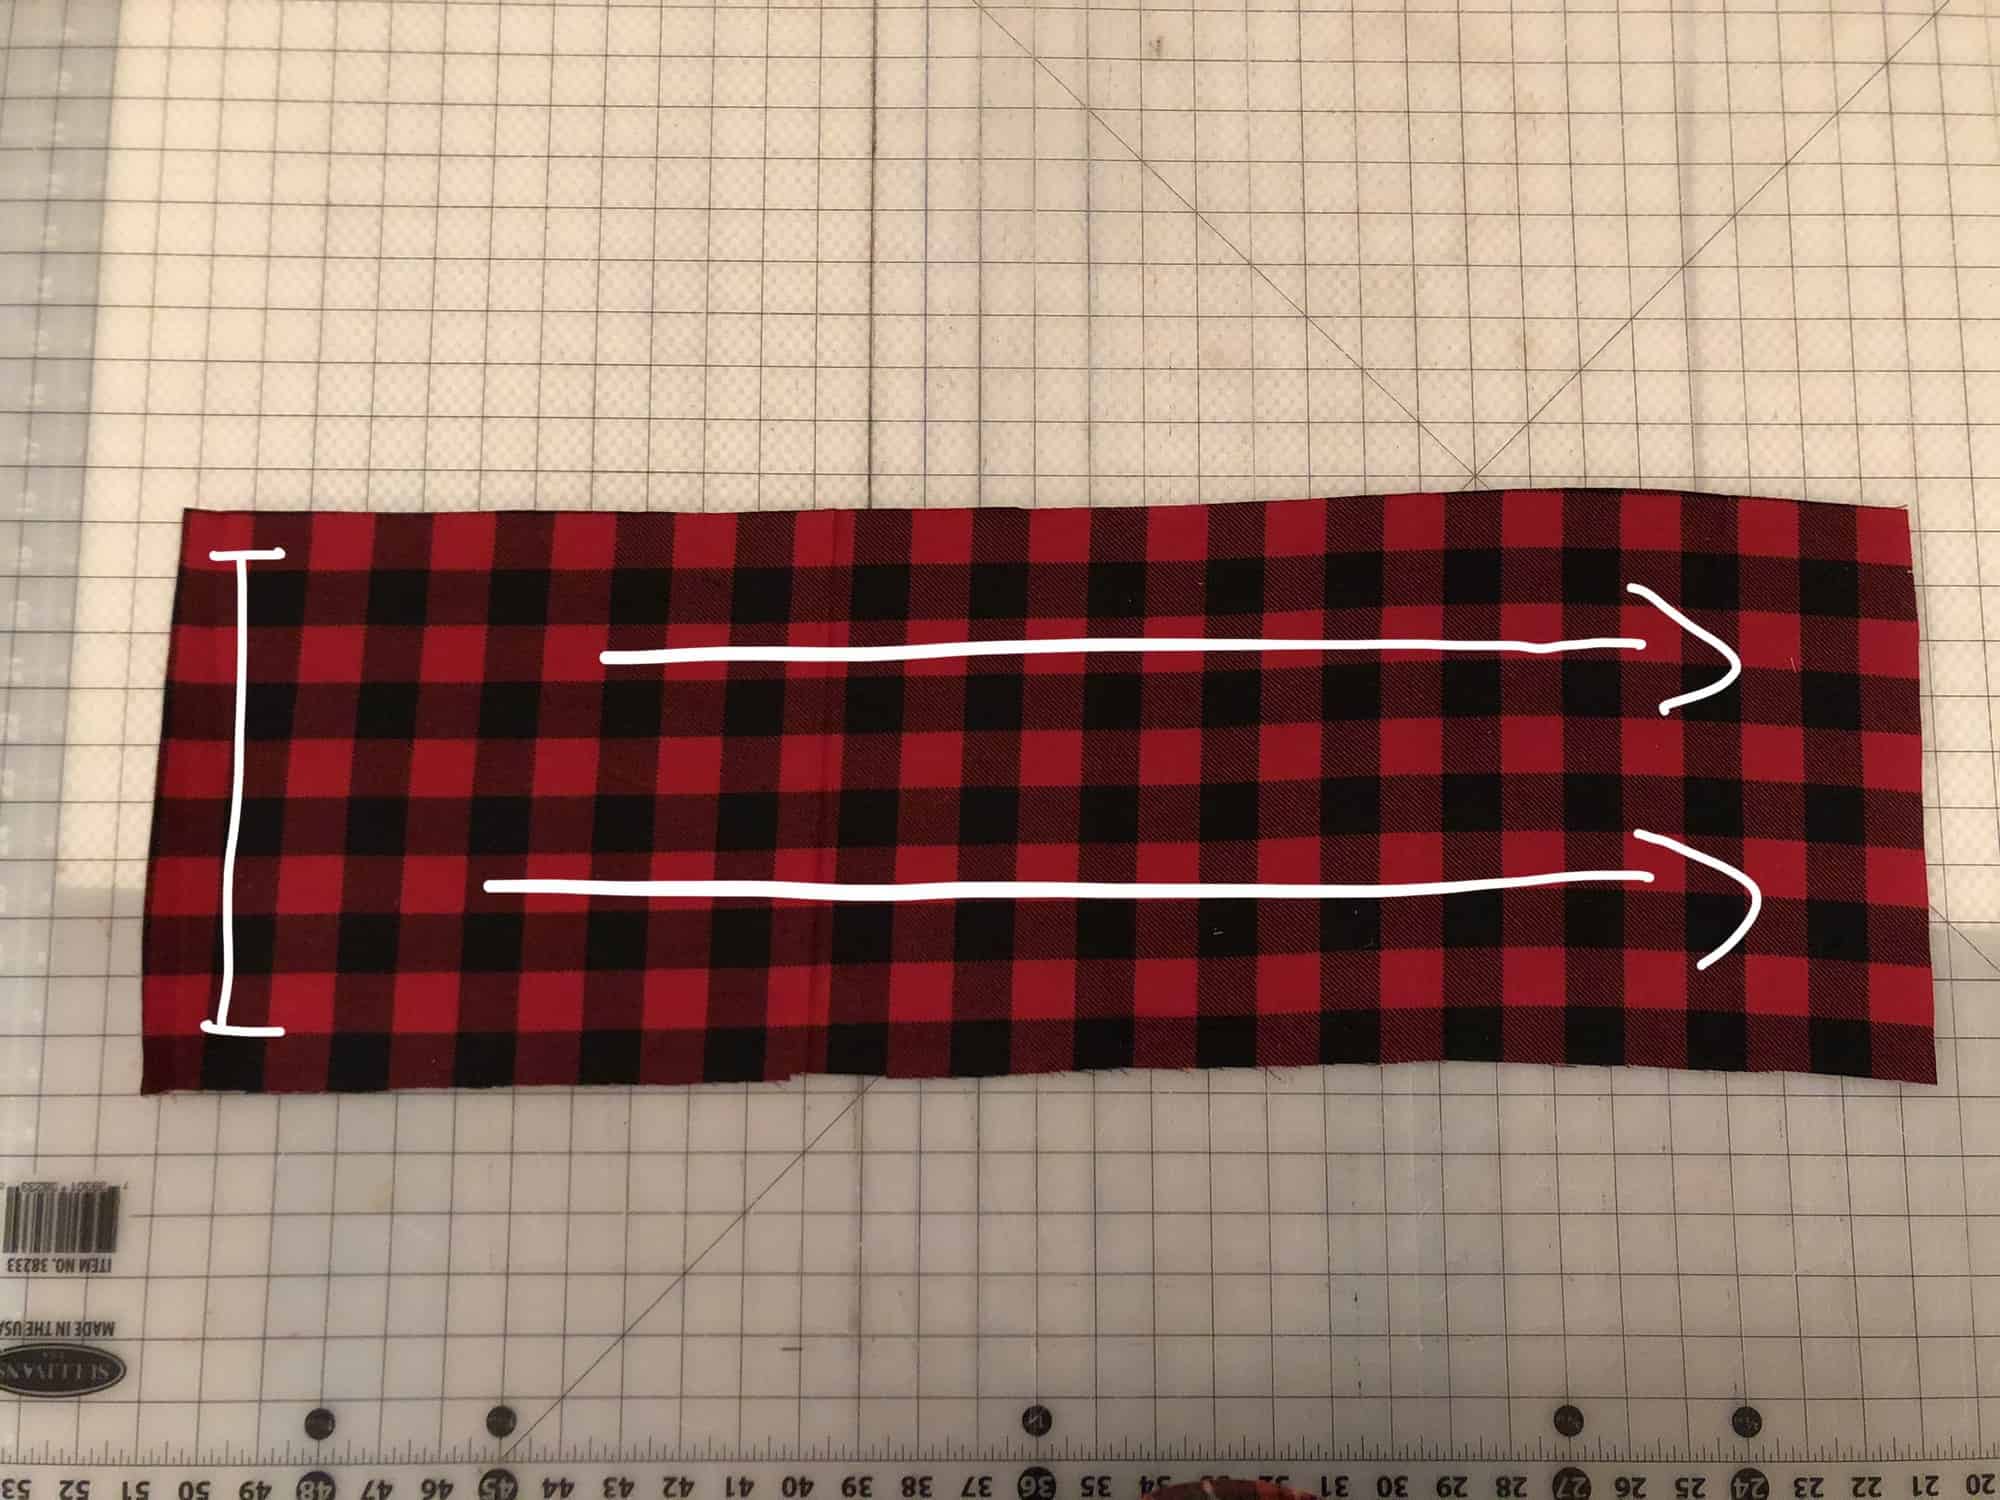
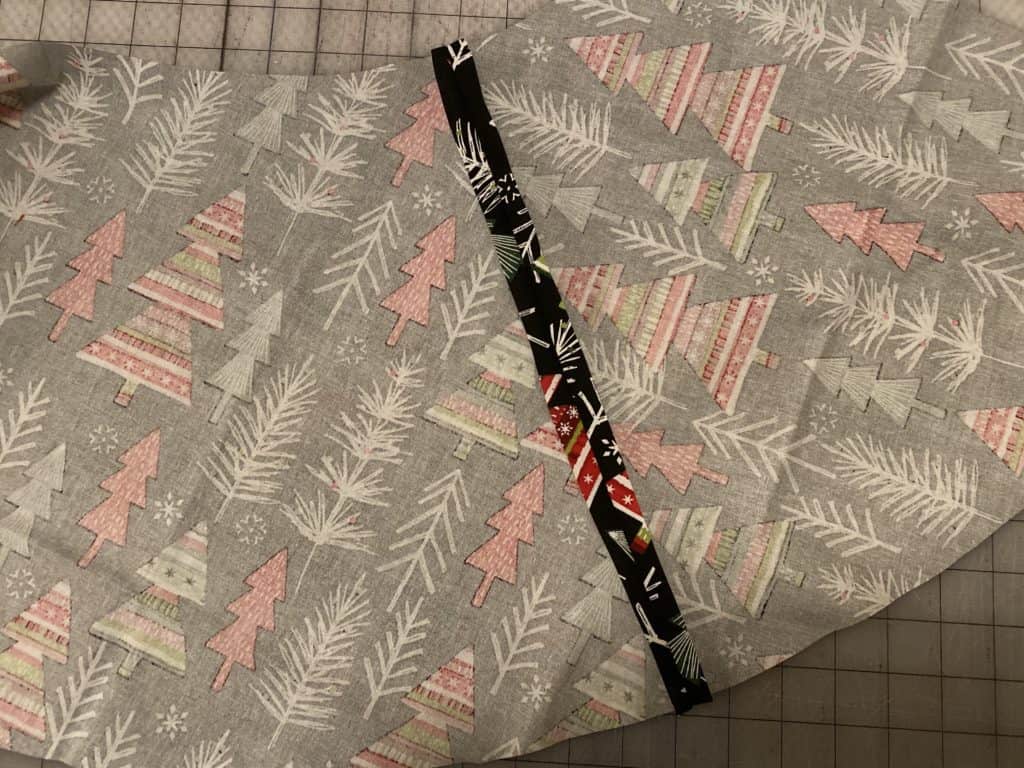
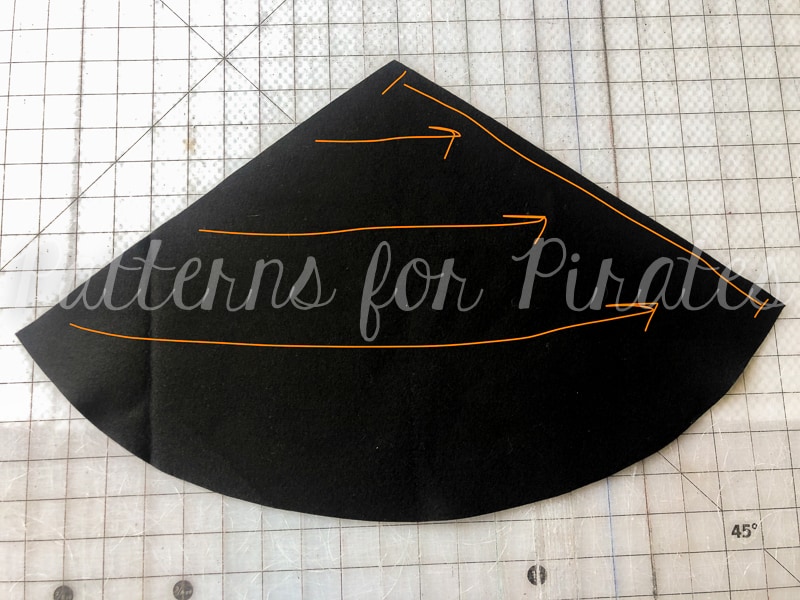
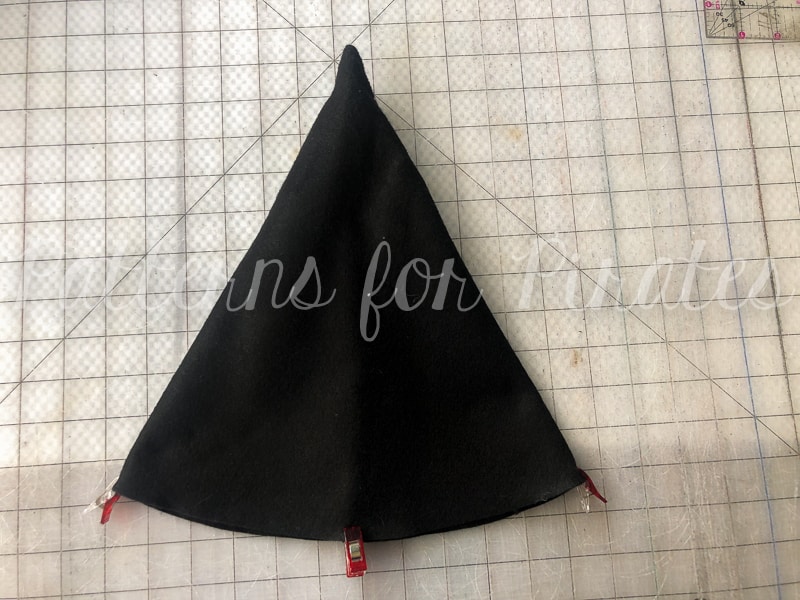
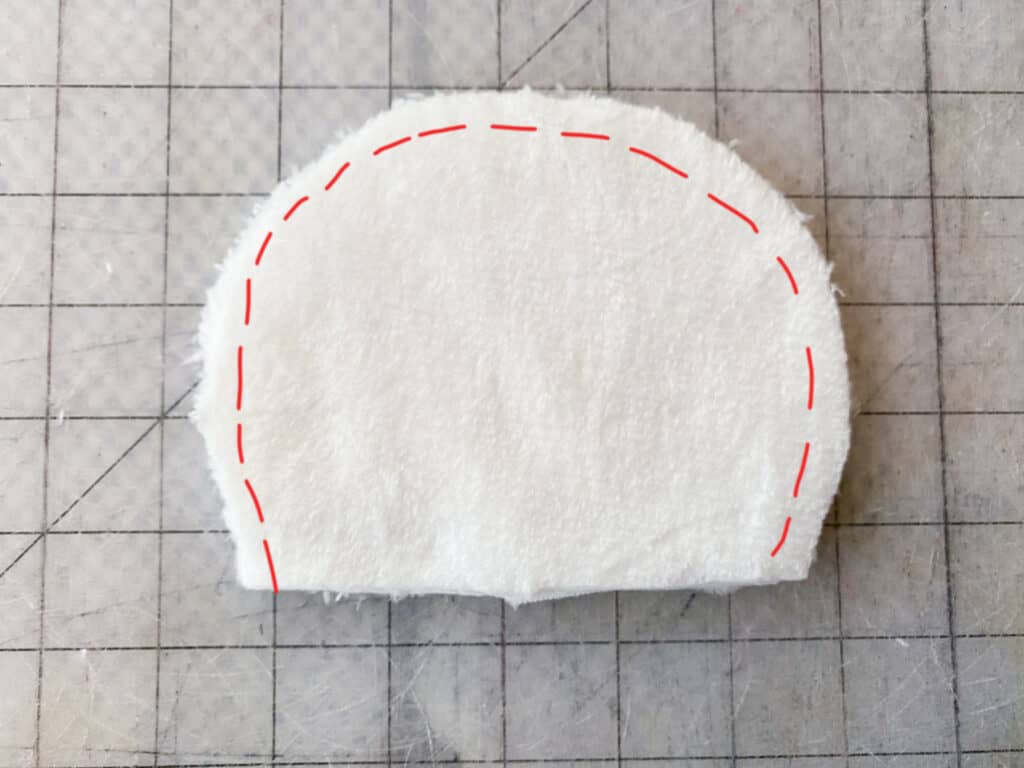
Place 2 ear pieces, right sides together.
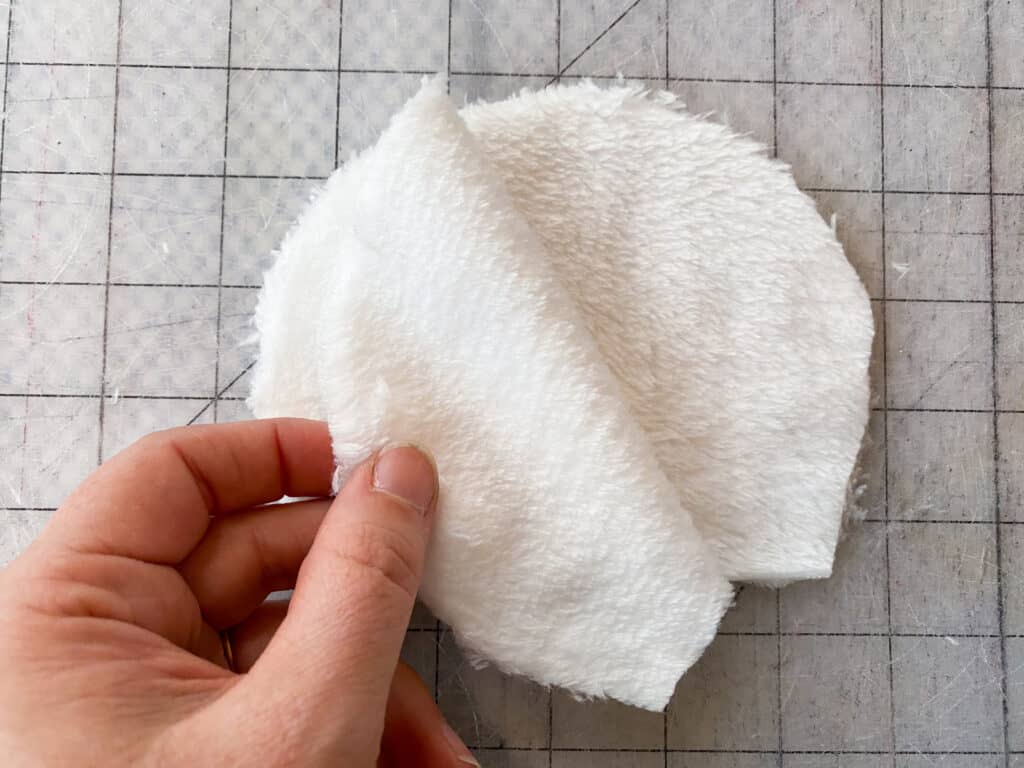
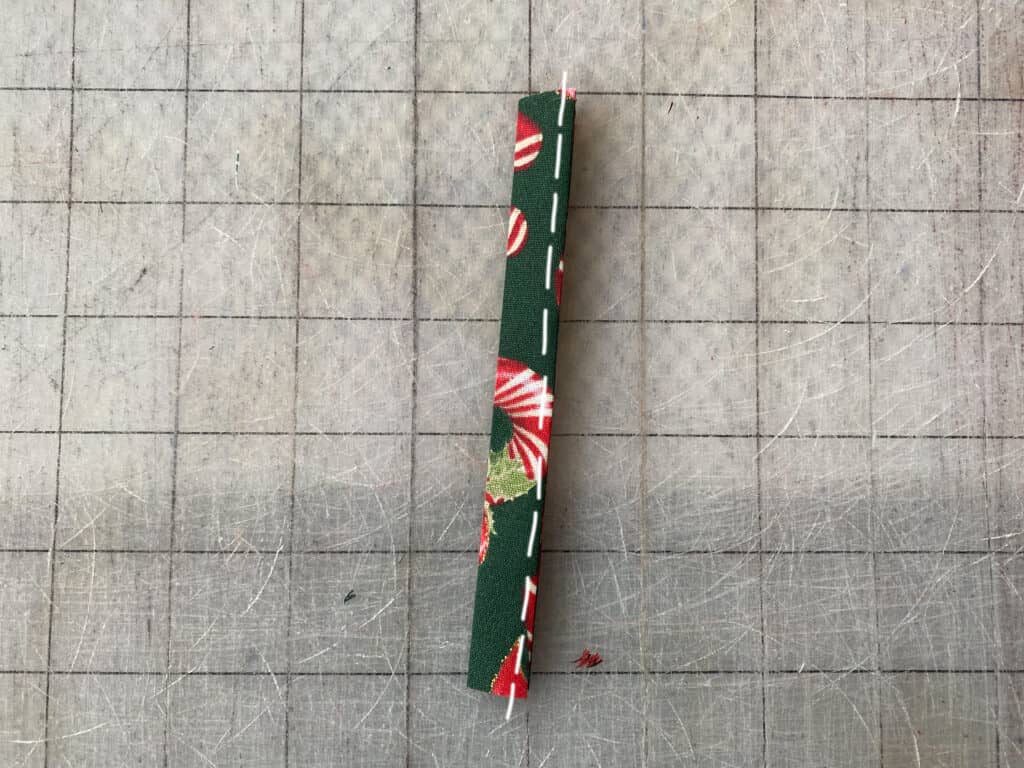
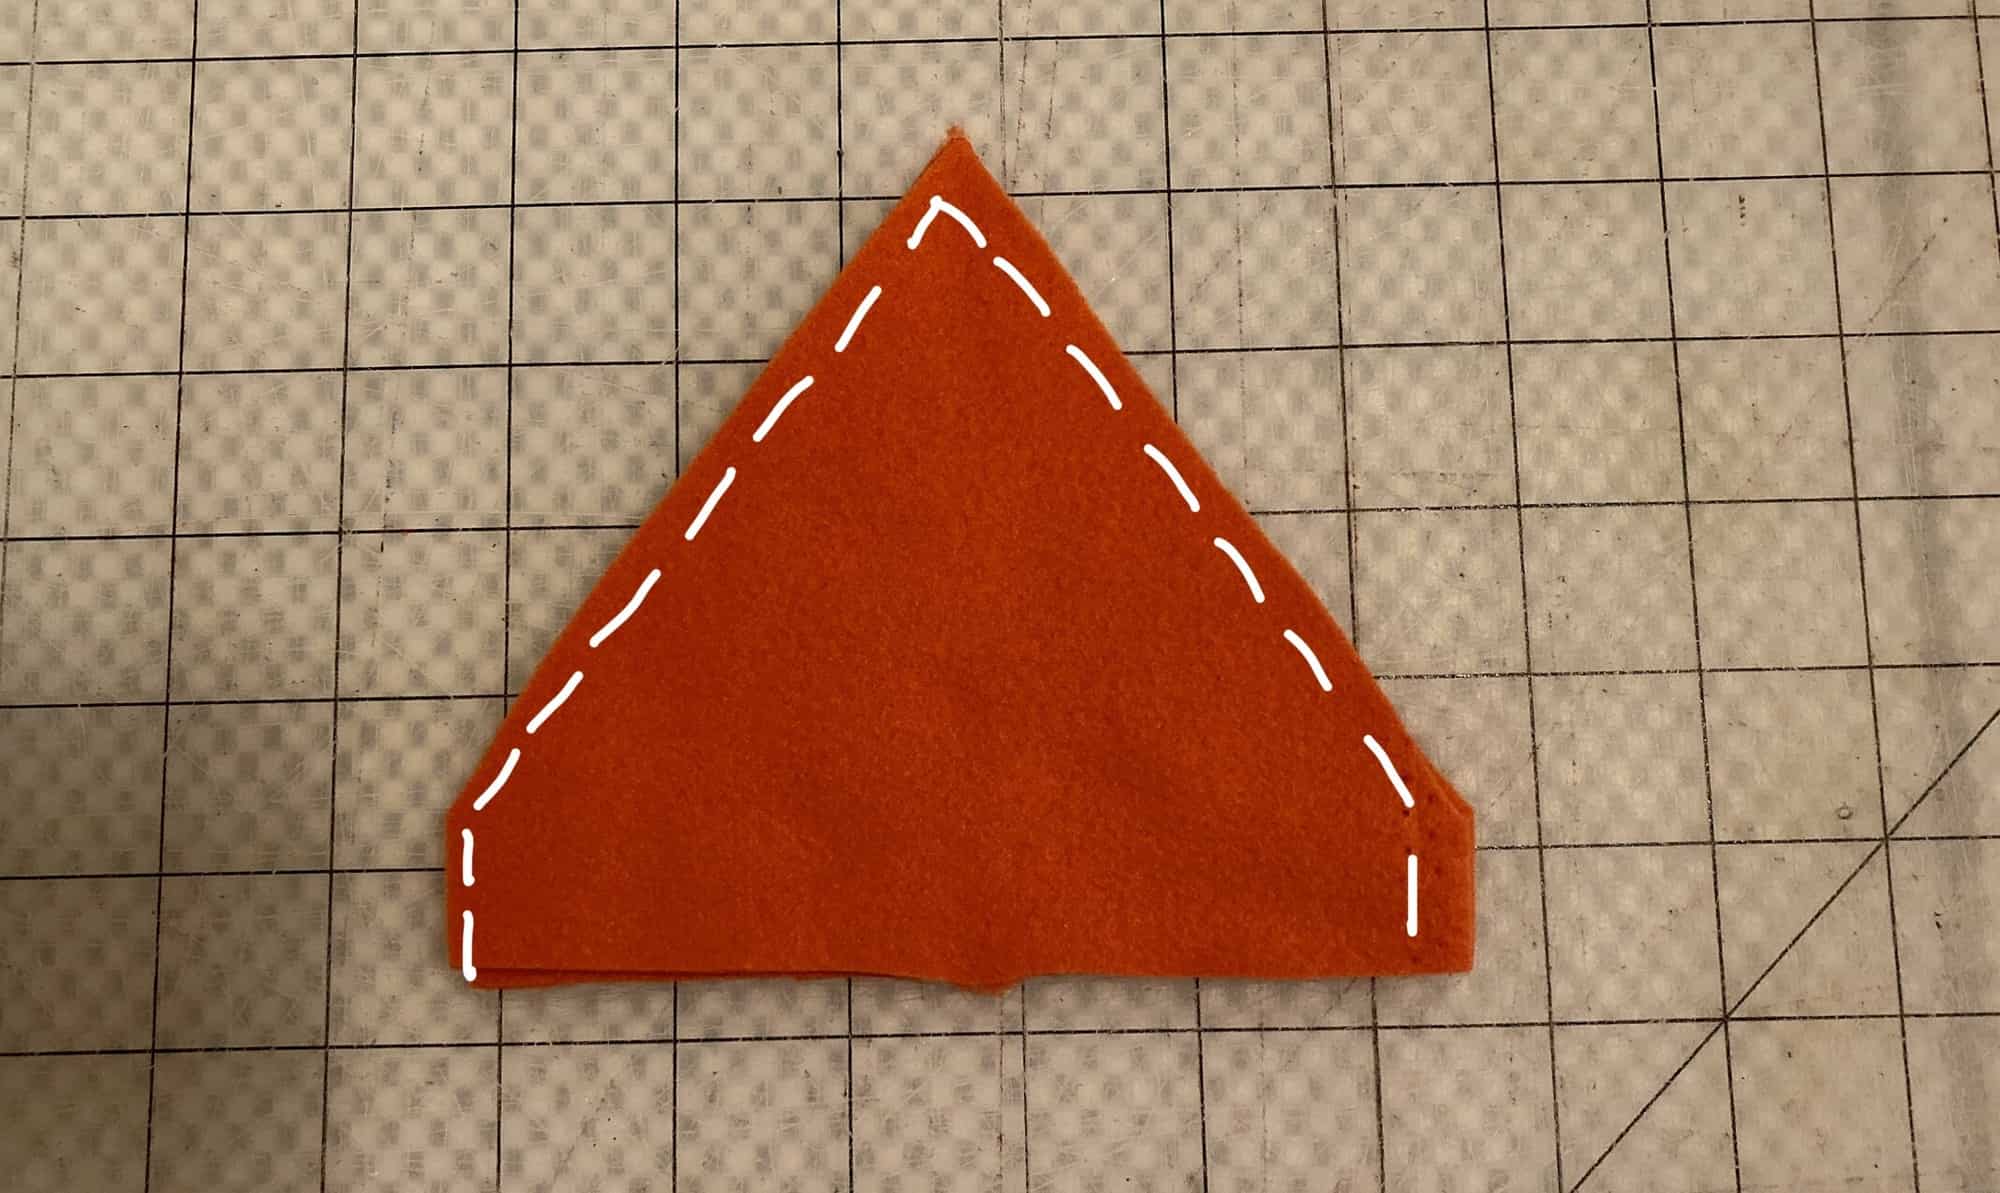
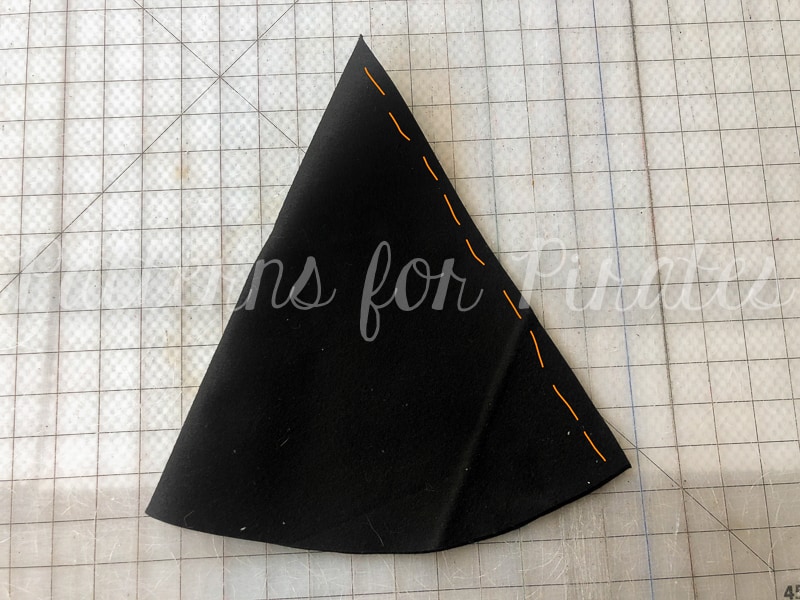
Using 1/2″ seam allowance, sew around entire round edge.
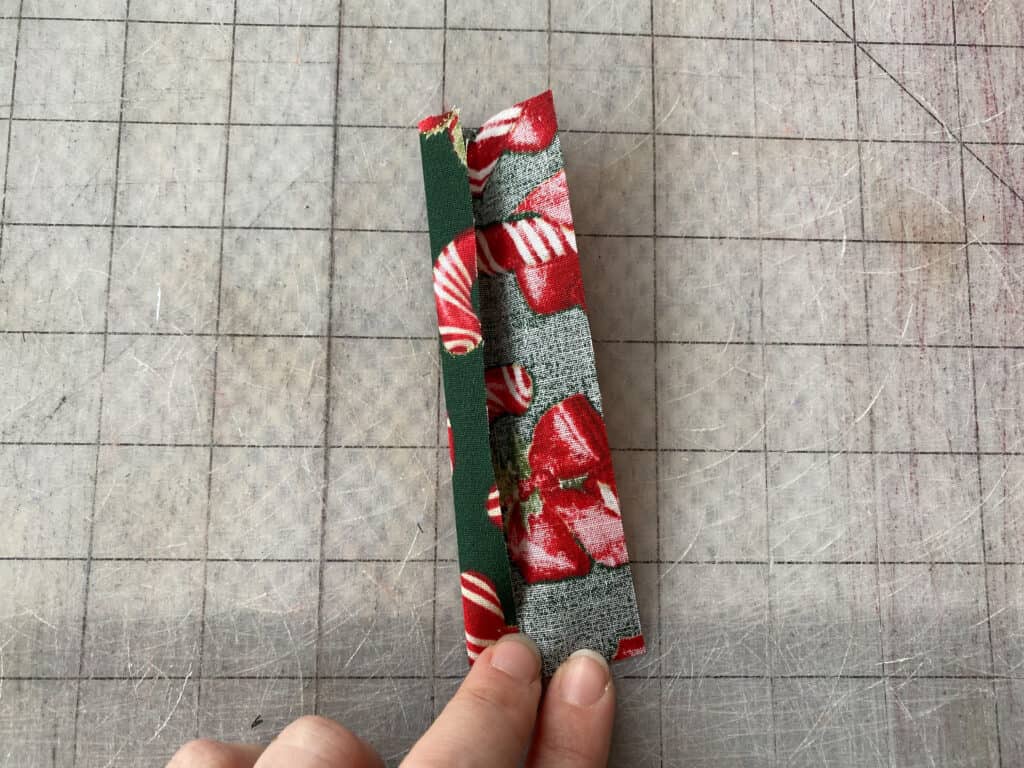
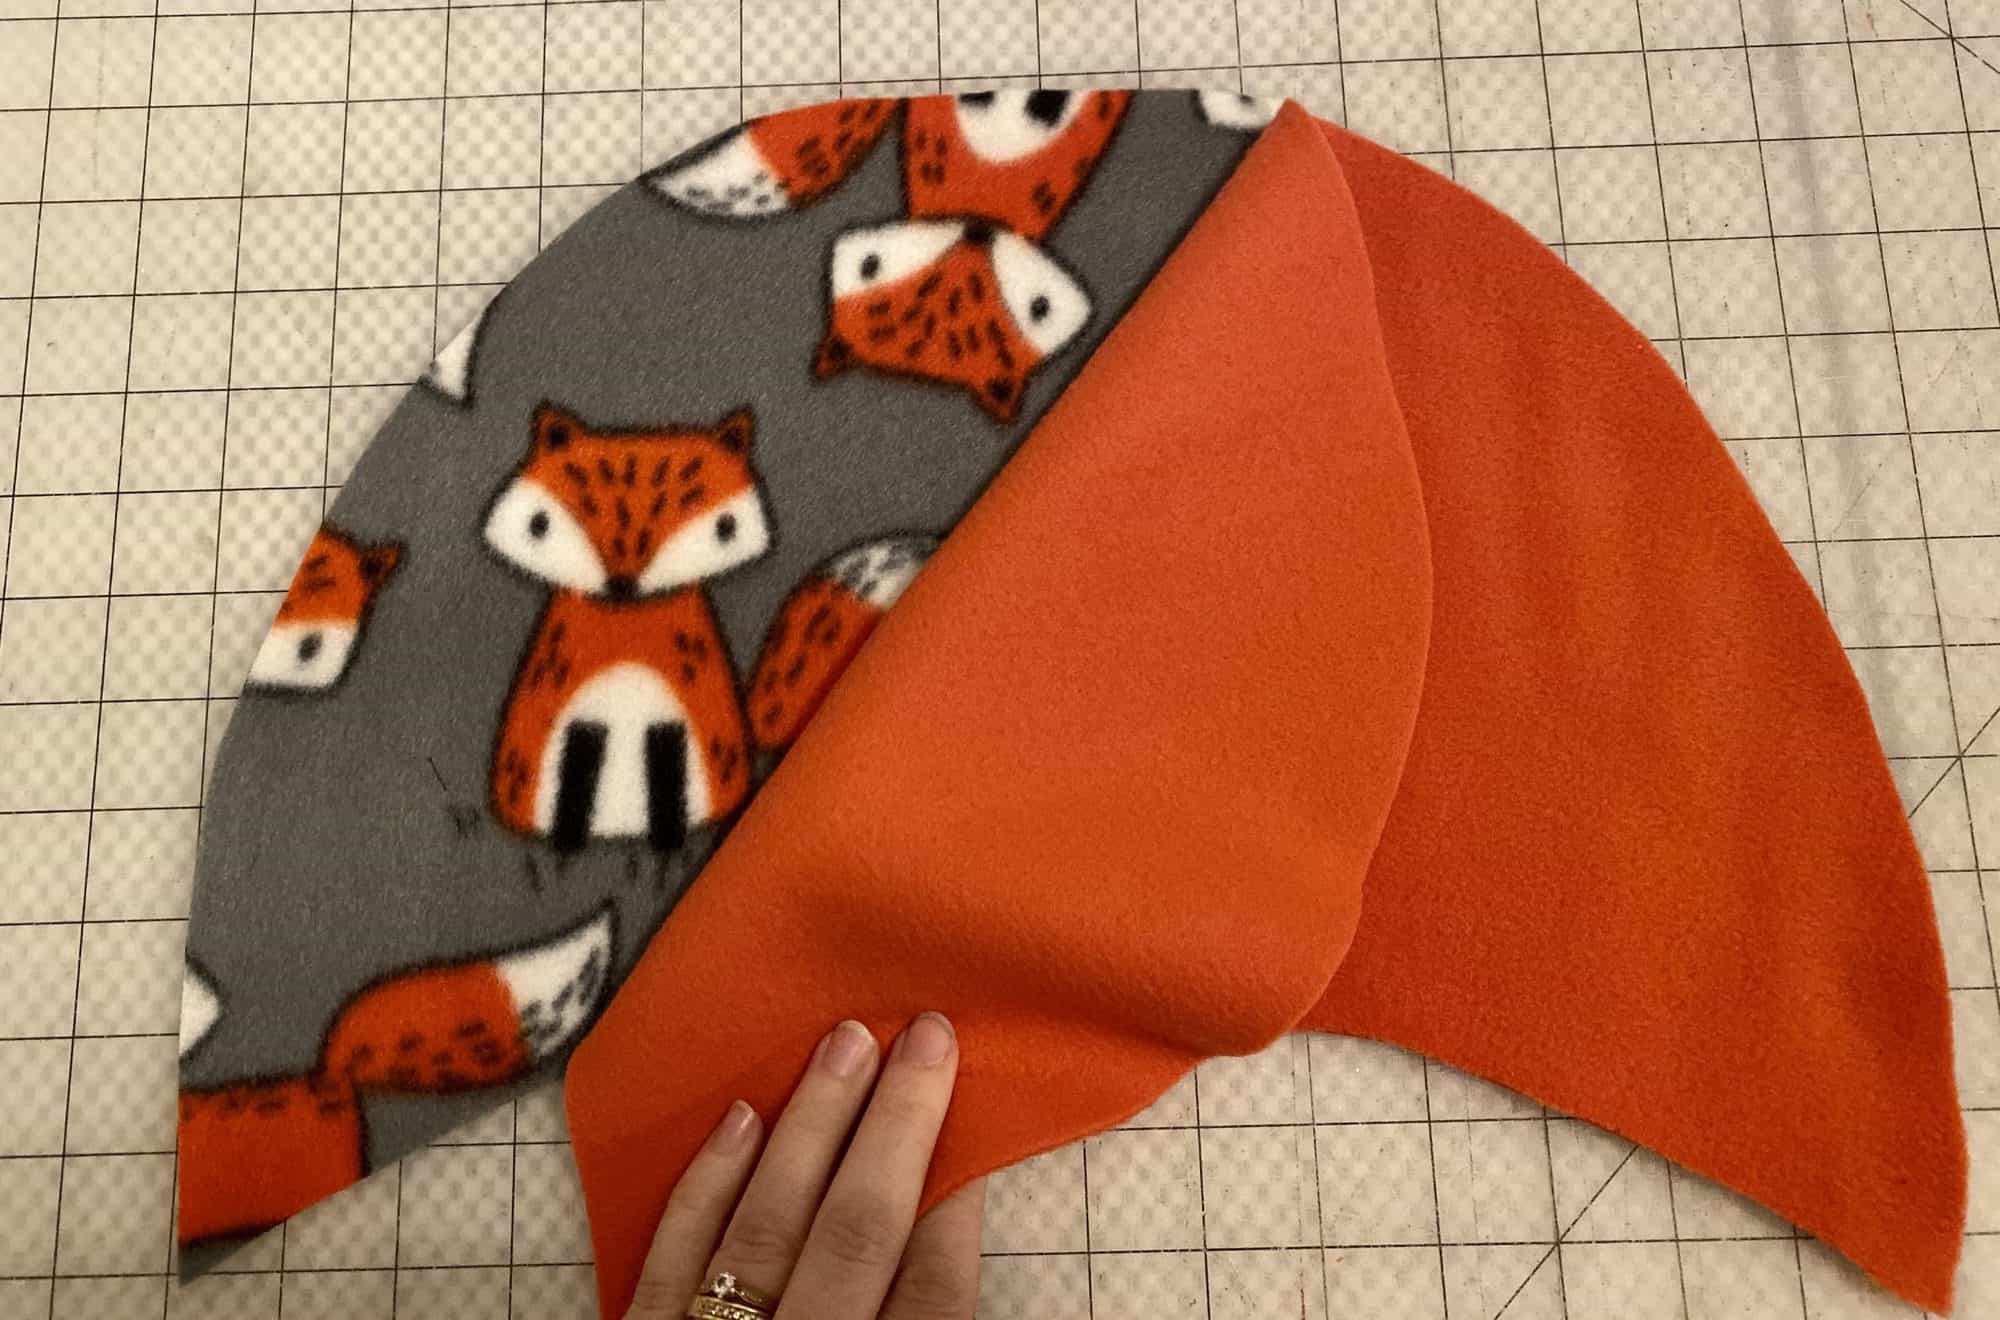
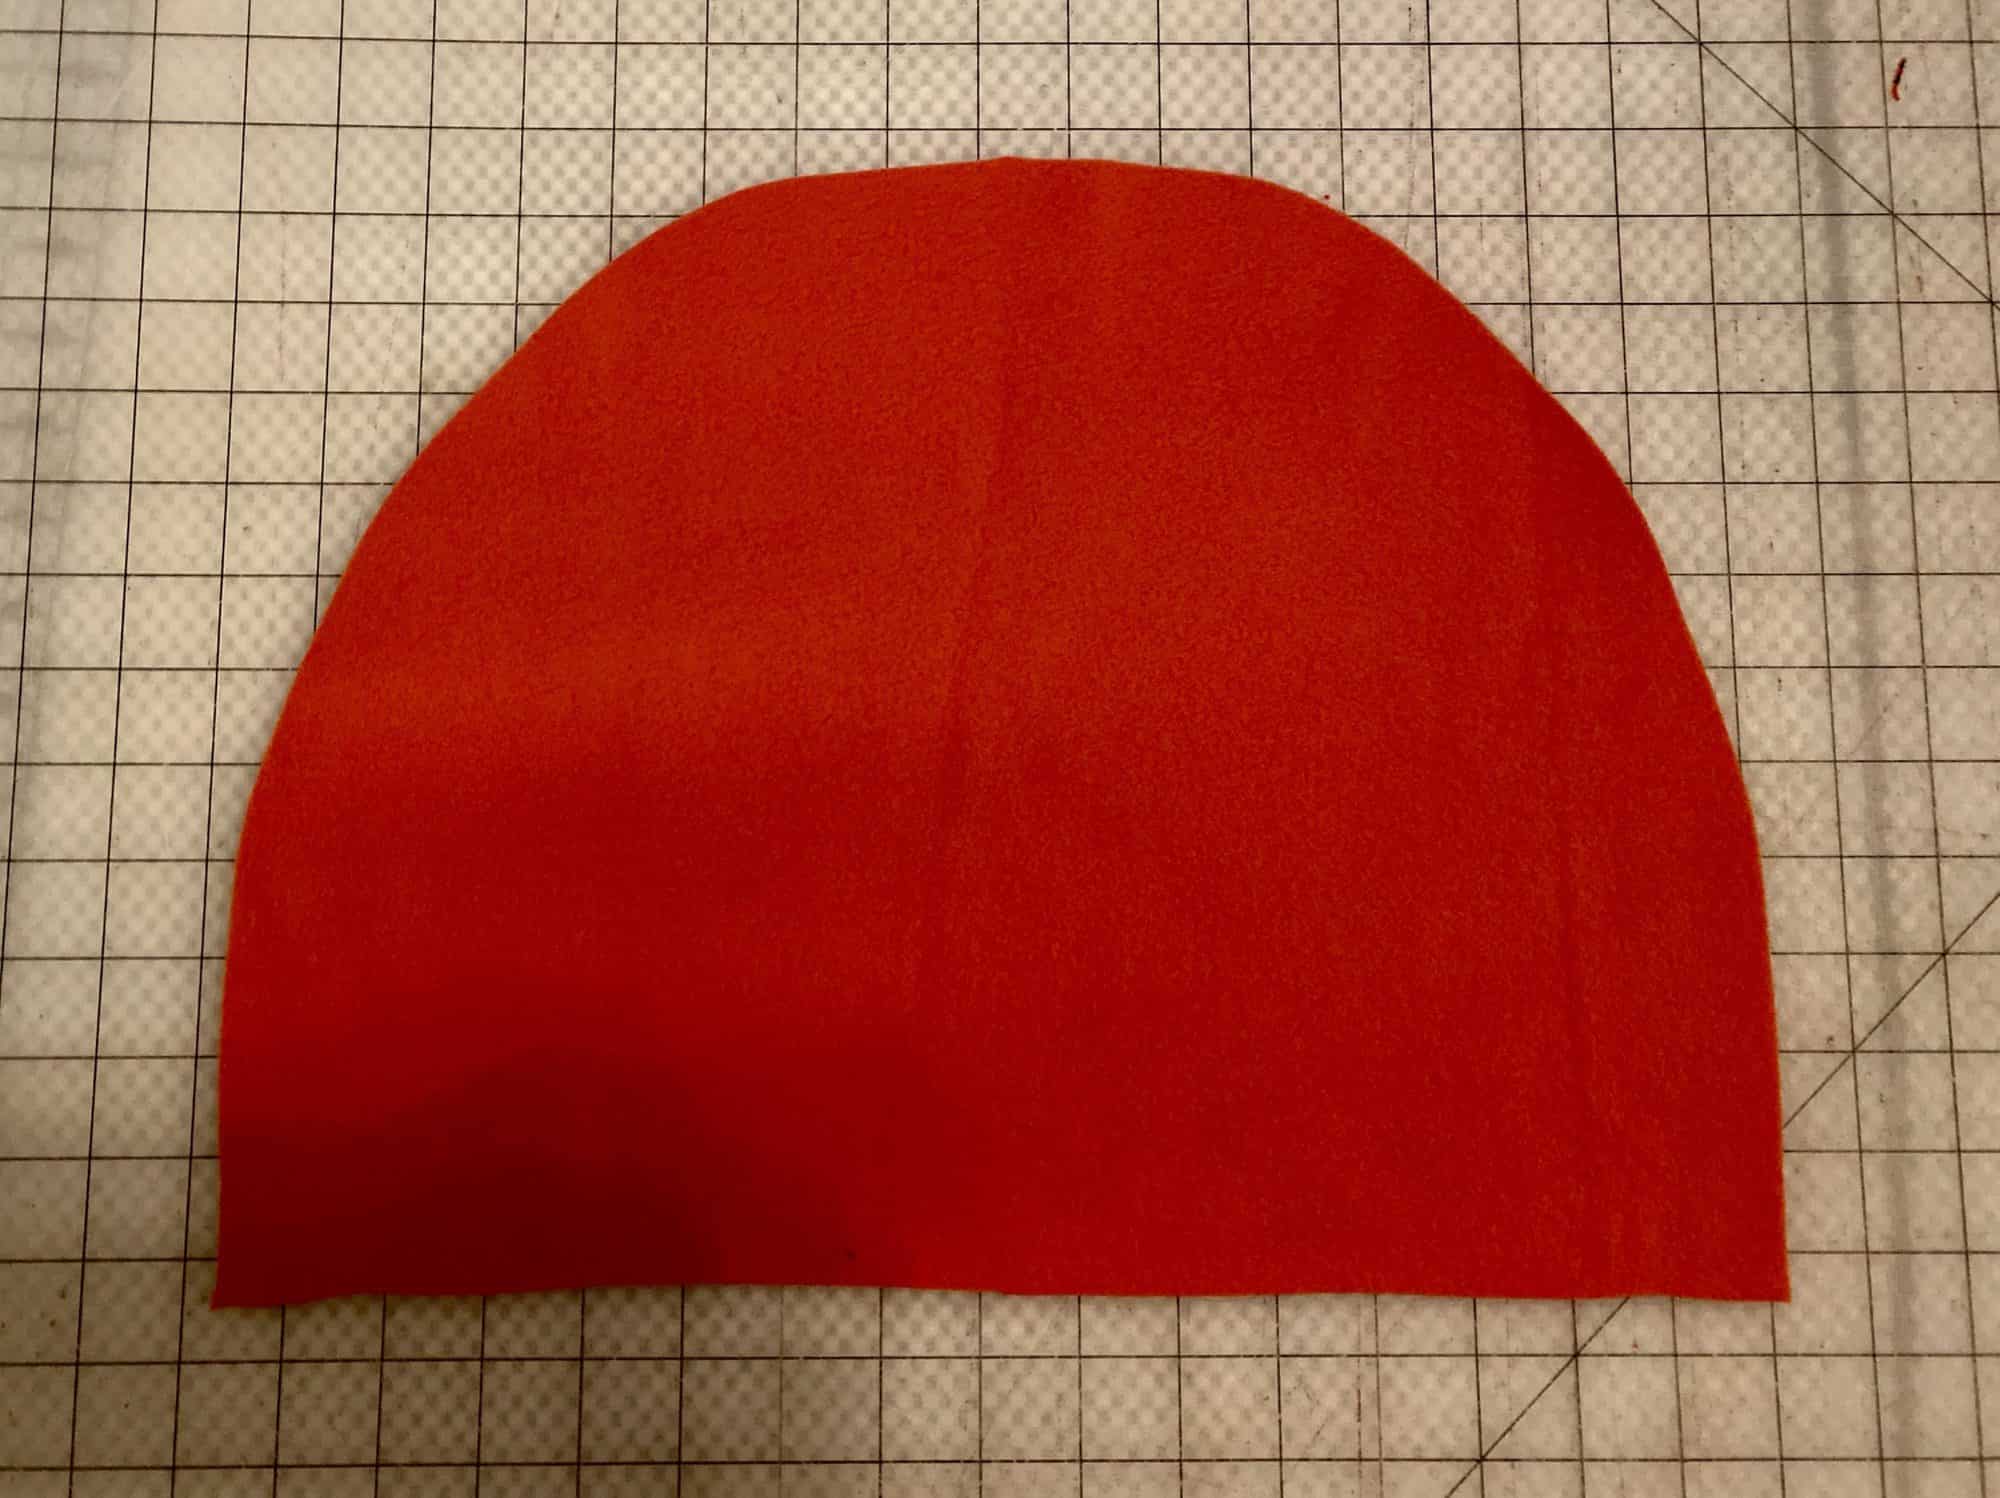
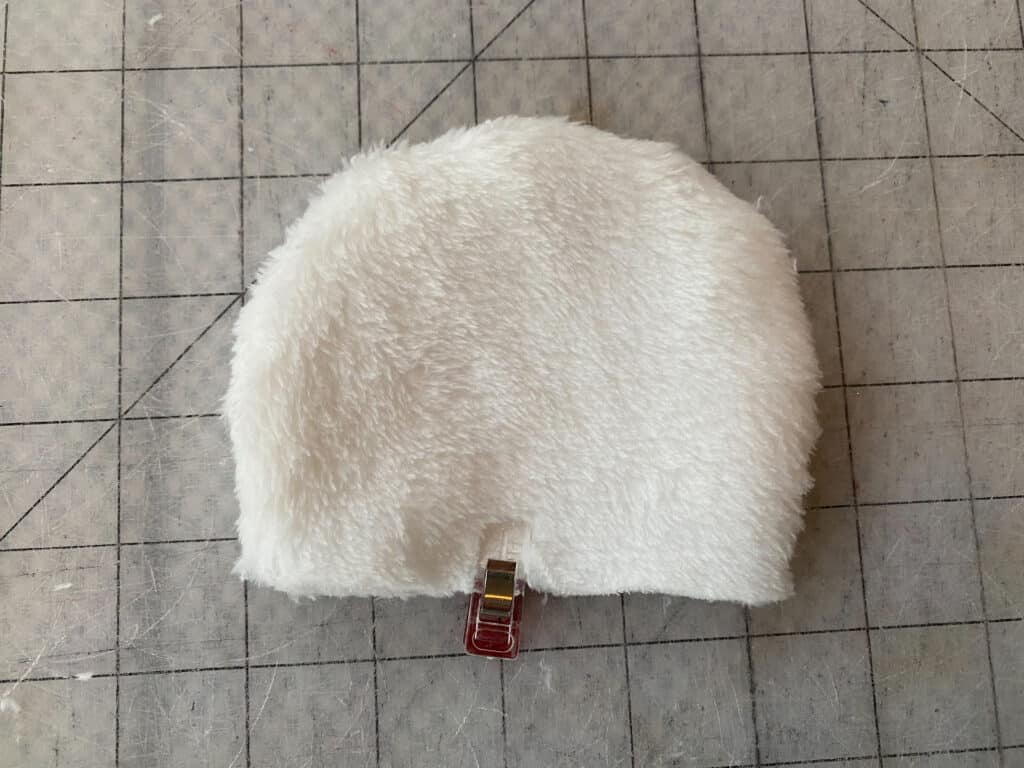
Turn right side out and place pin/clip at the middle, bottom edge. Repeat for second ear.
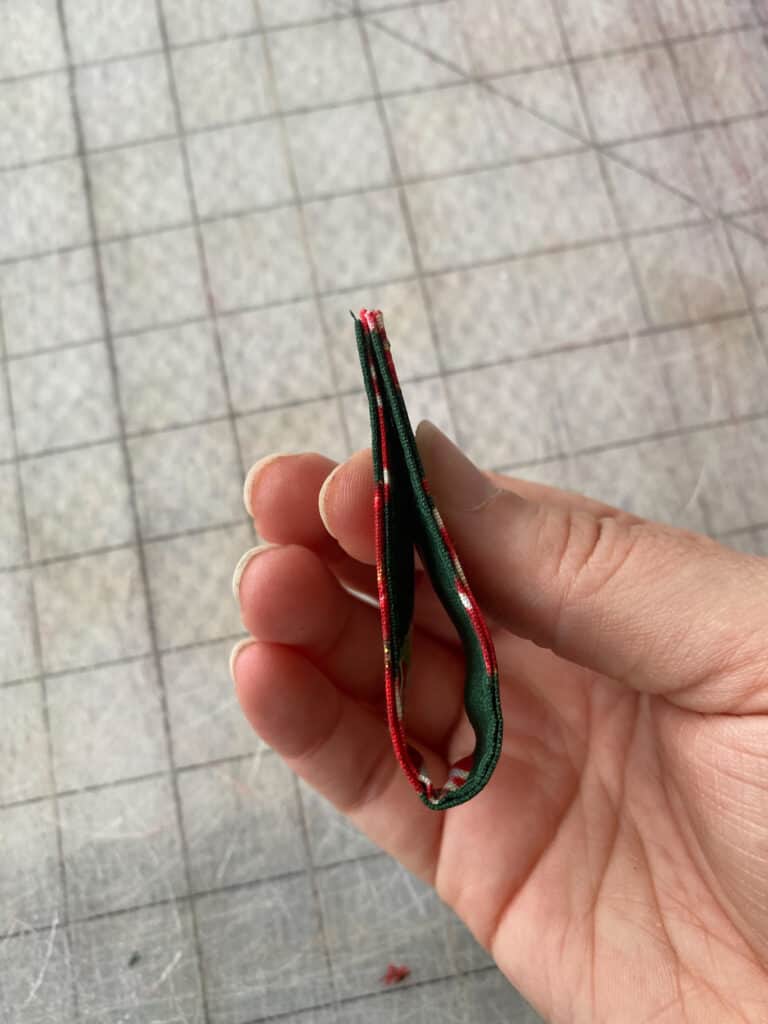
**Tip from our testers: if your ears are on the floppy side, you might want to add a little polyfil to them to help them stand up.
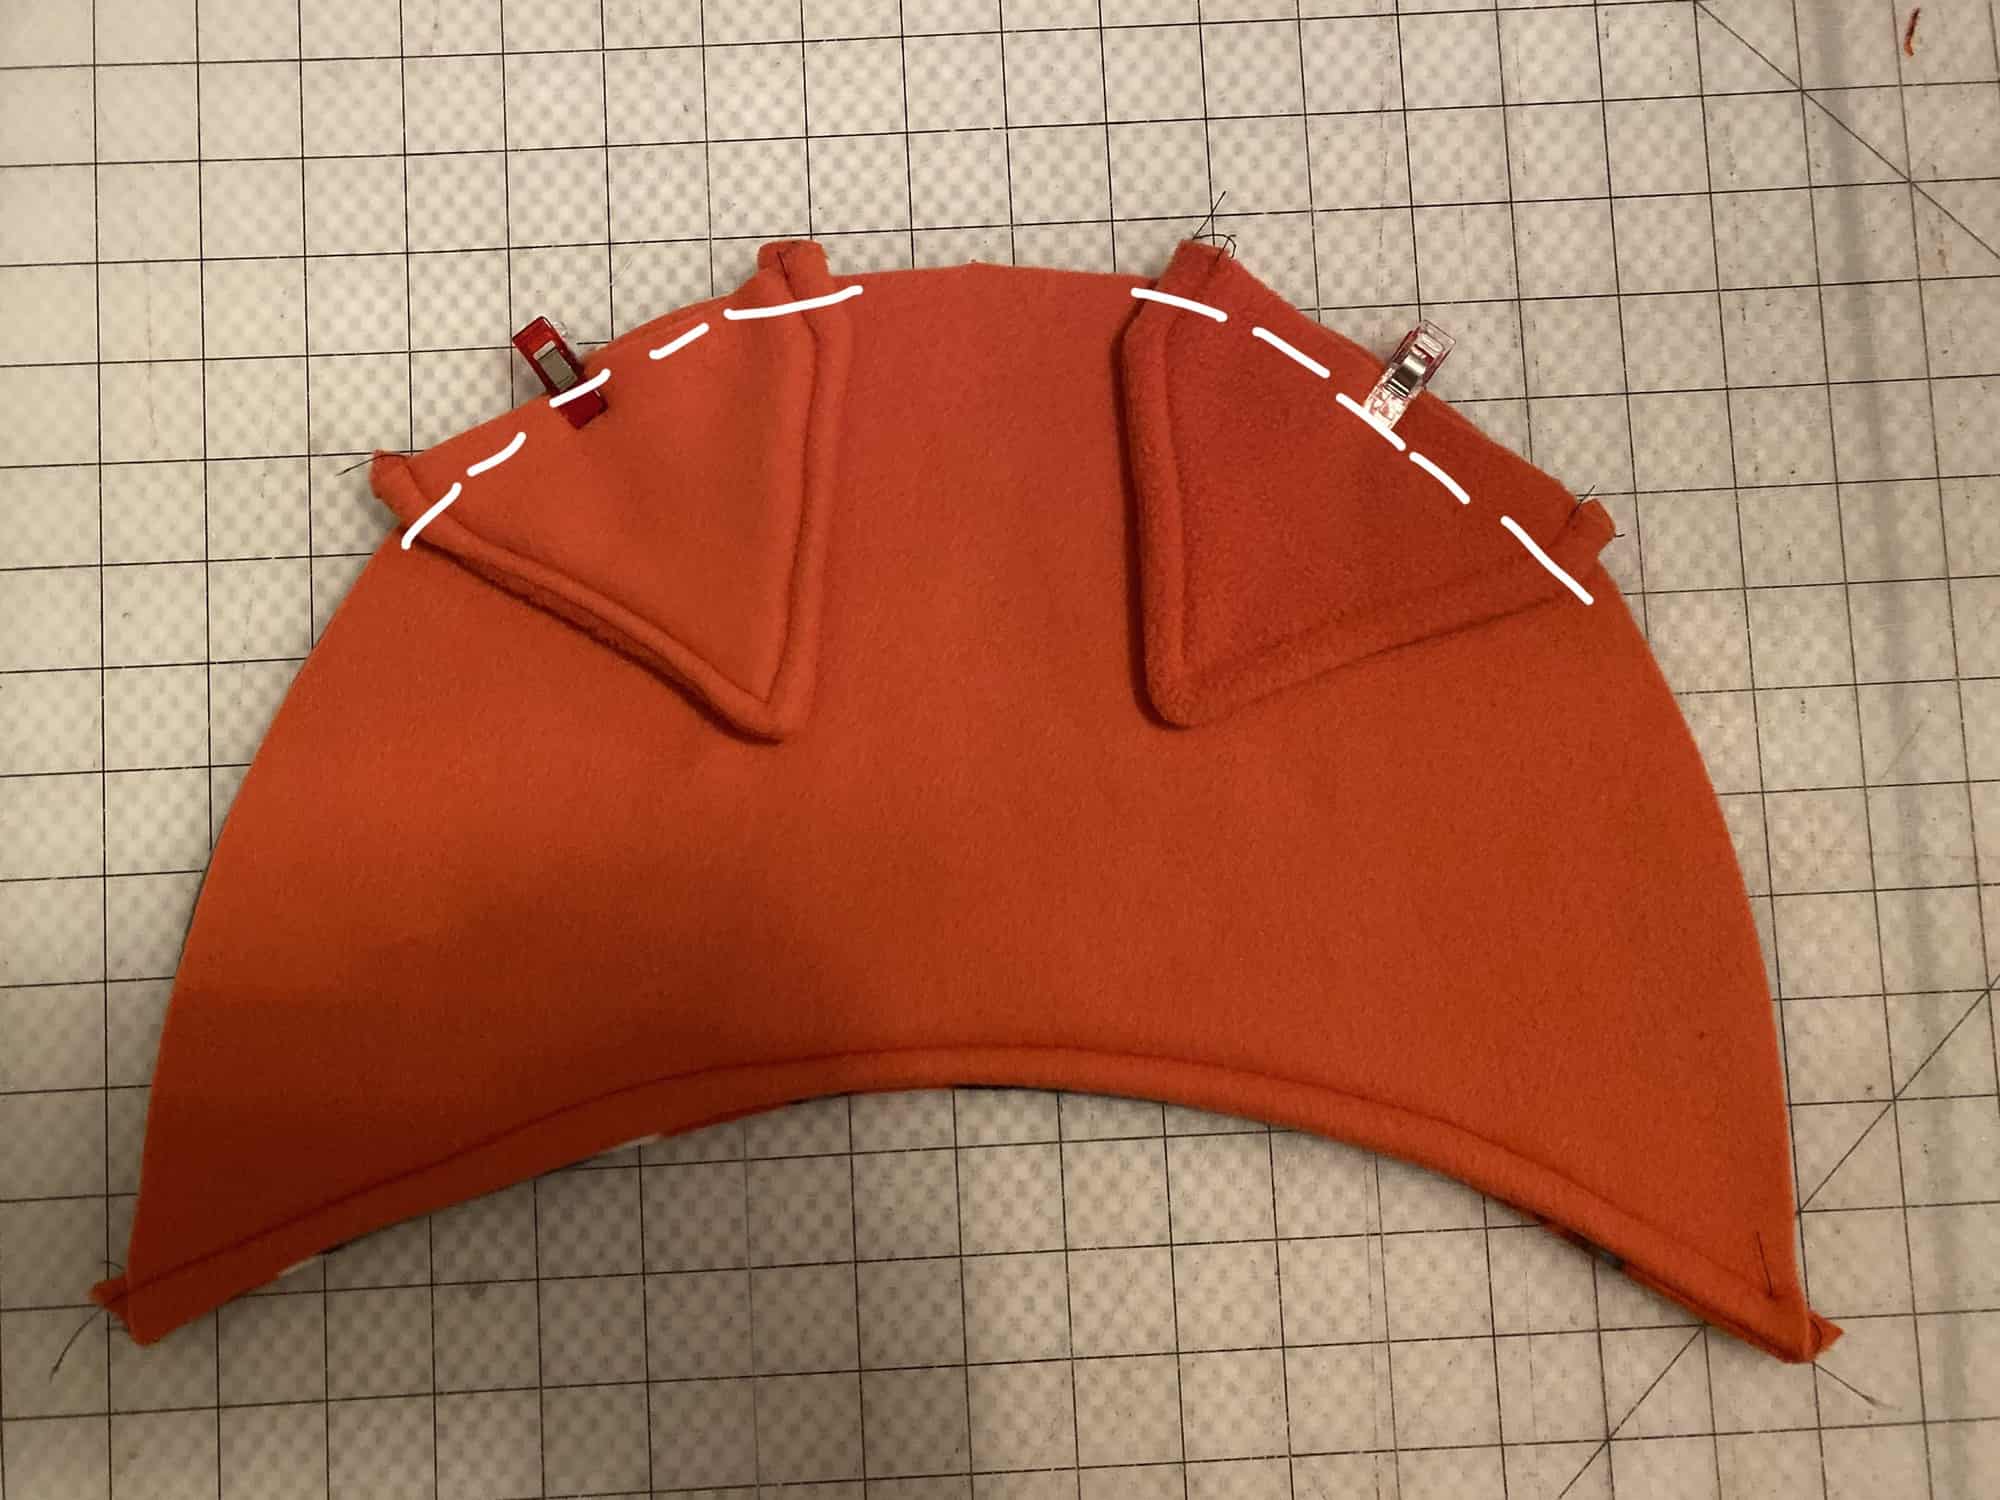
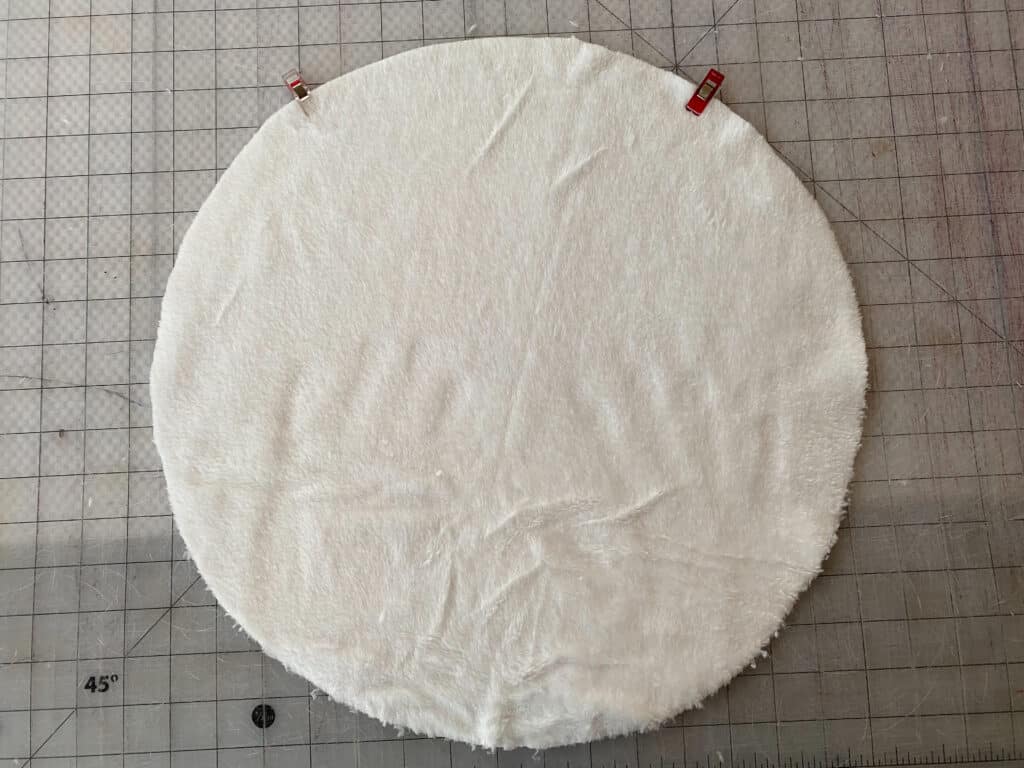
On head piece, use the pattern piece to place pin/clip for ear markings.
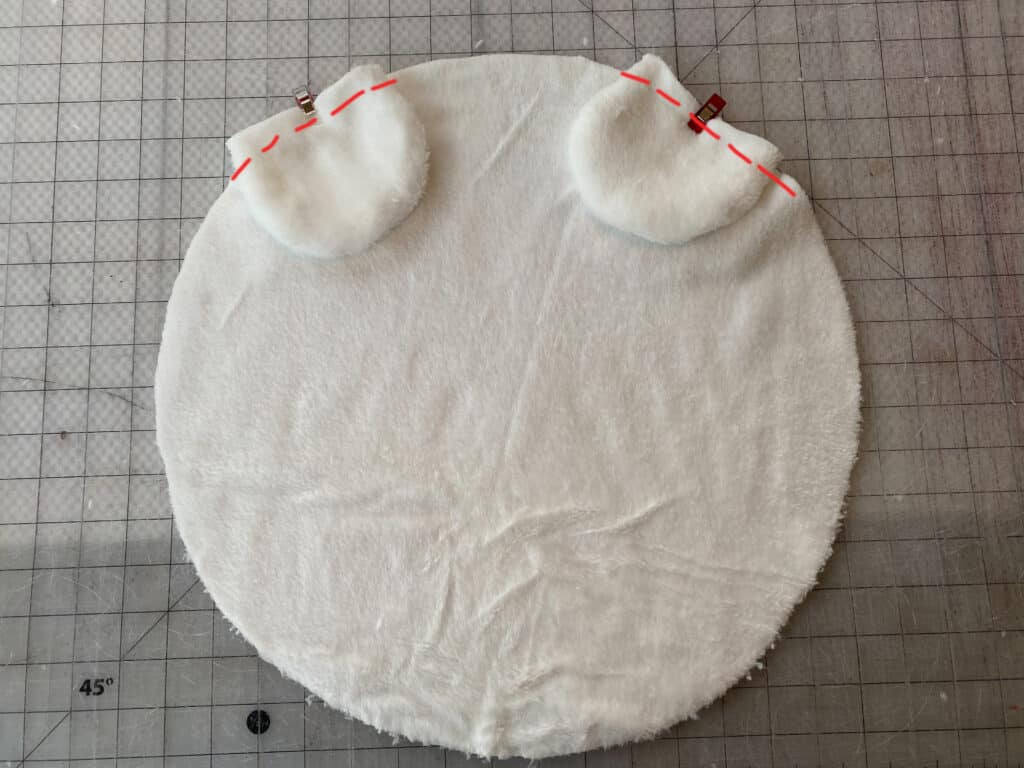
With right sides together, match ear pieces to markings on the main head piece. Baste ears in place.
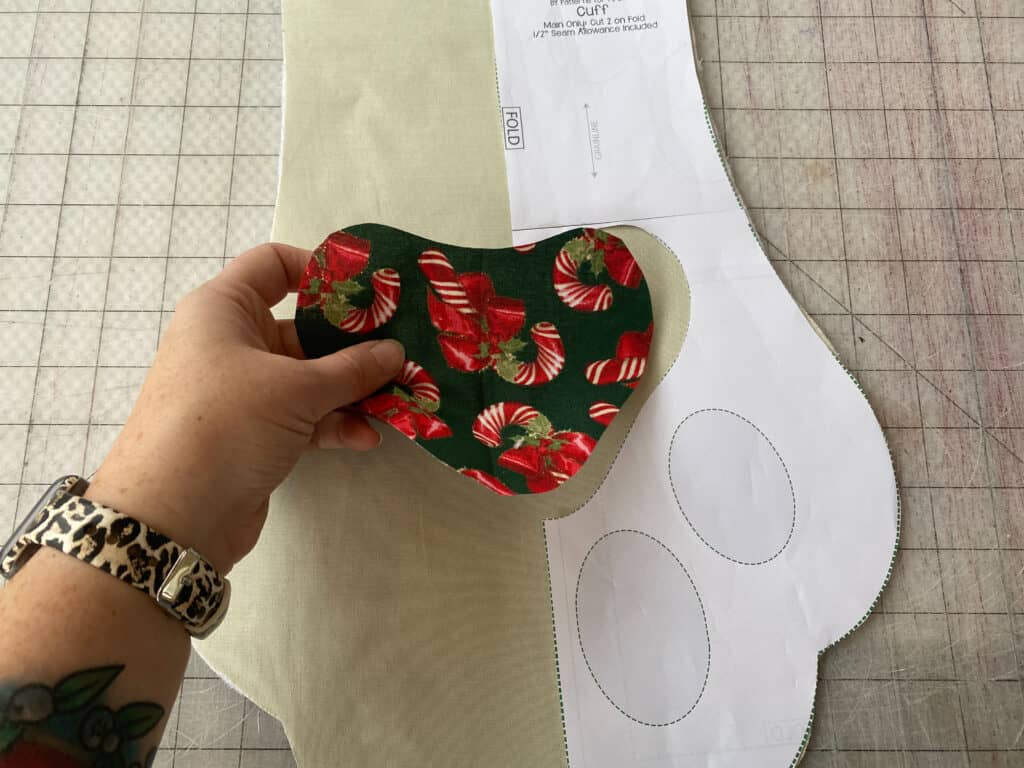
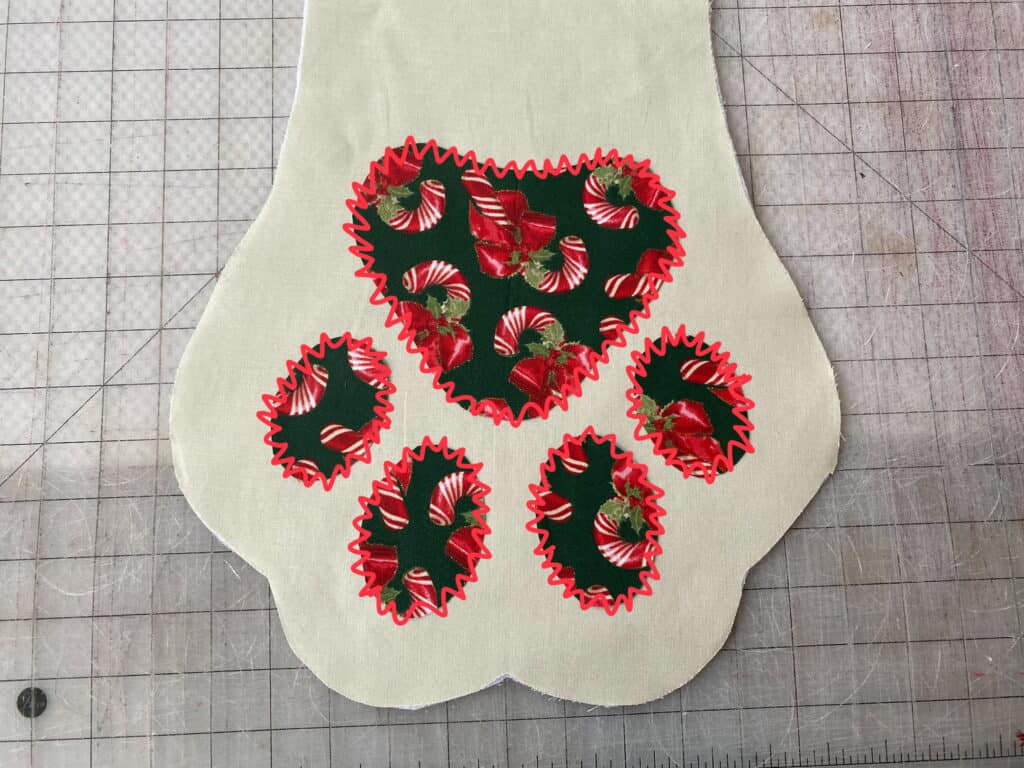
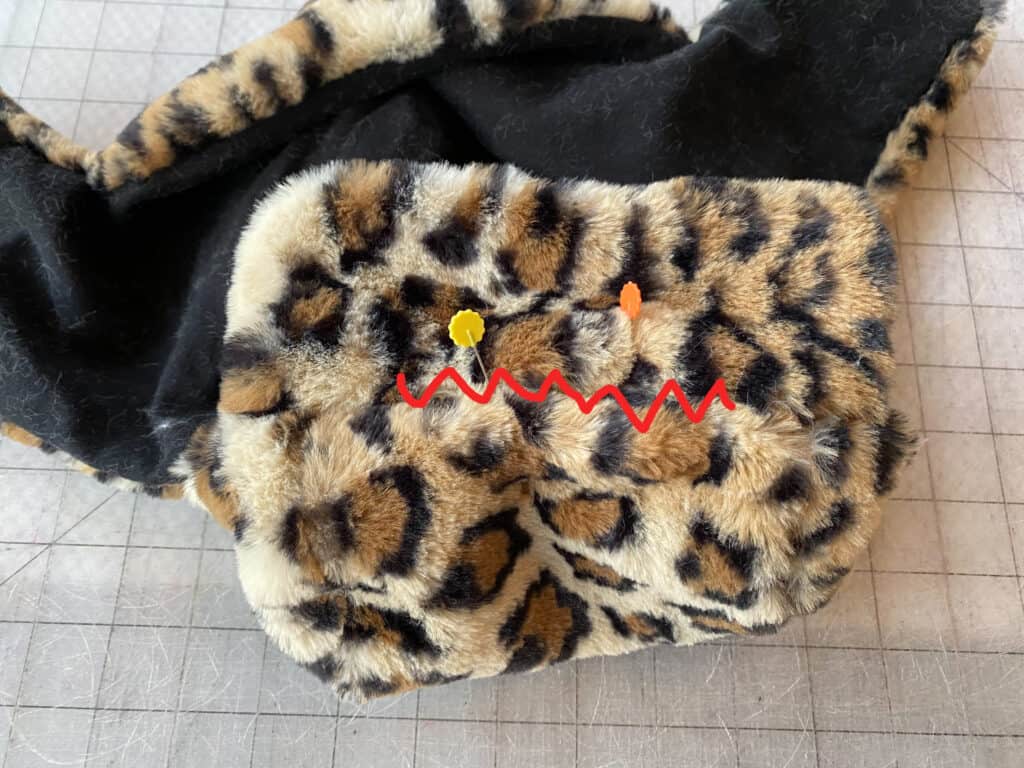
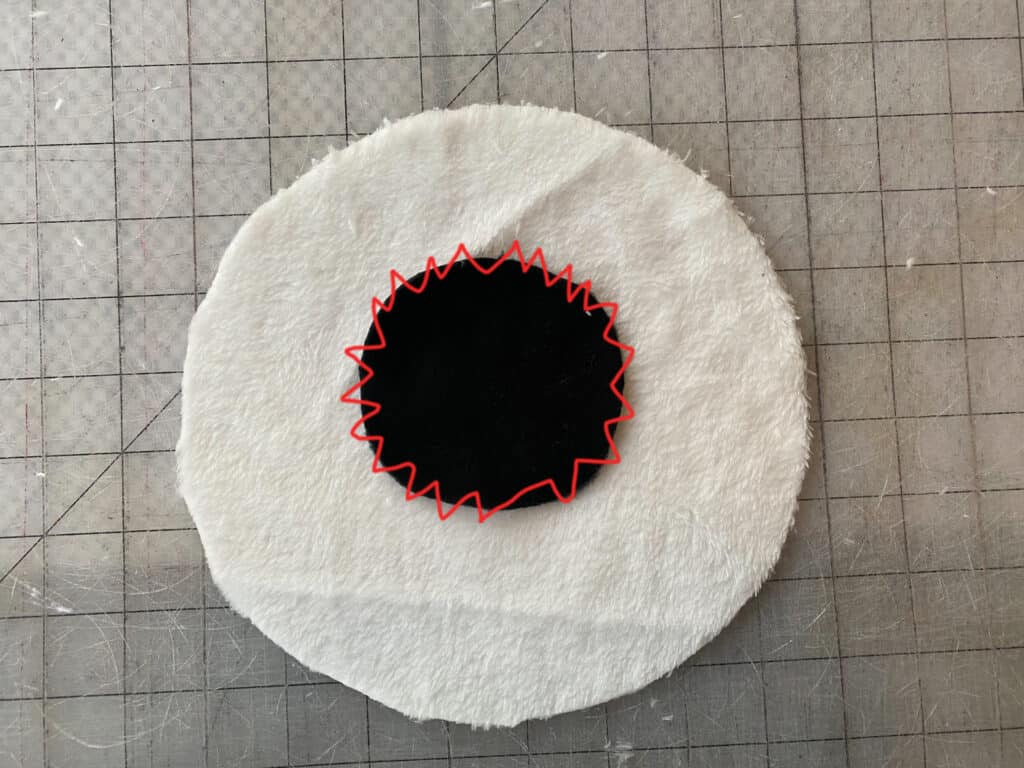
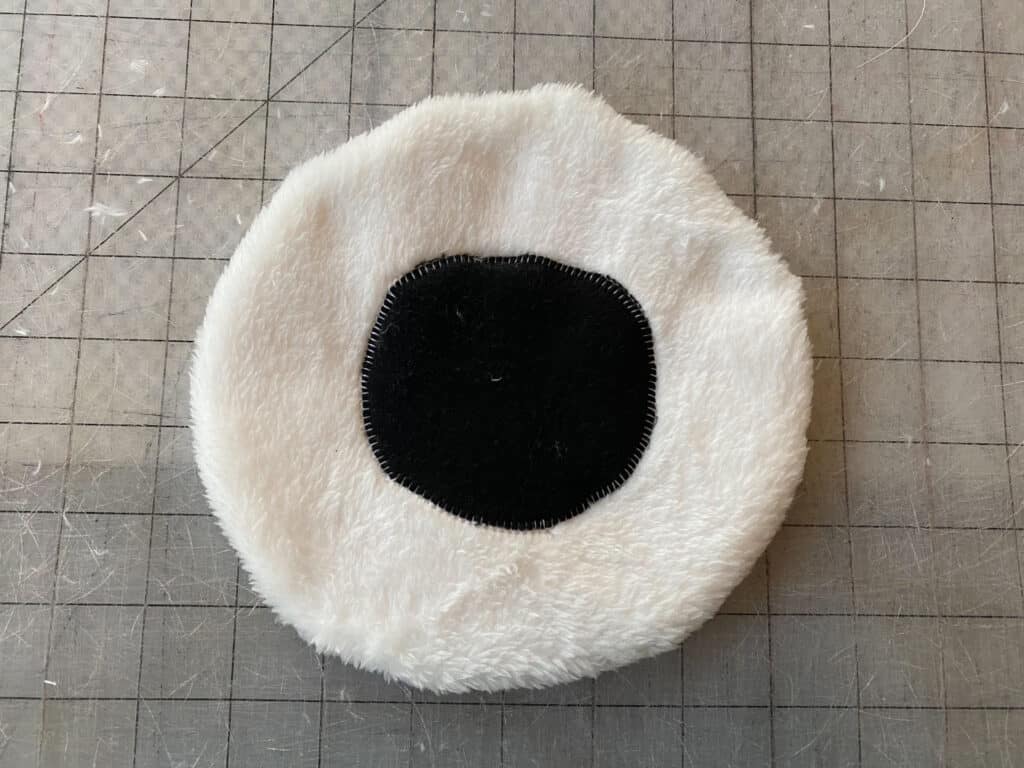
On main snout piece, center the nose piece and attach using your favorite applique stitch.
Note: If nose fabric is woven / can fray, be sure to use an interfacing before fixing it to the snout to avoid future issues with fraying.
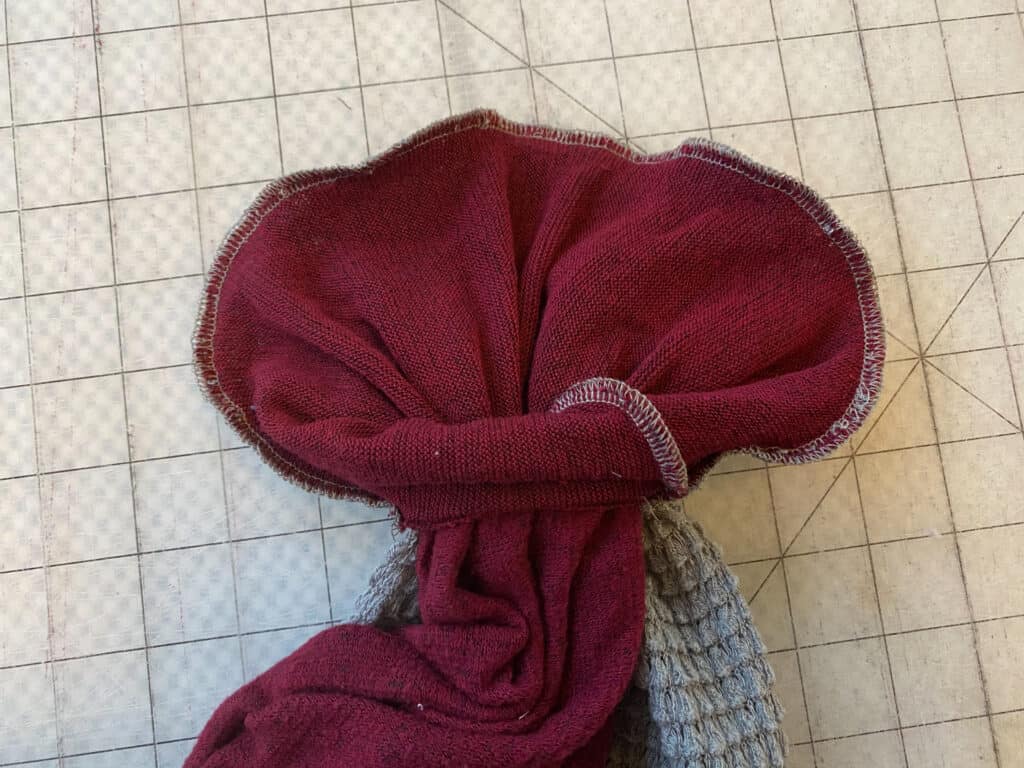
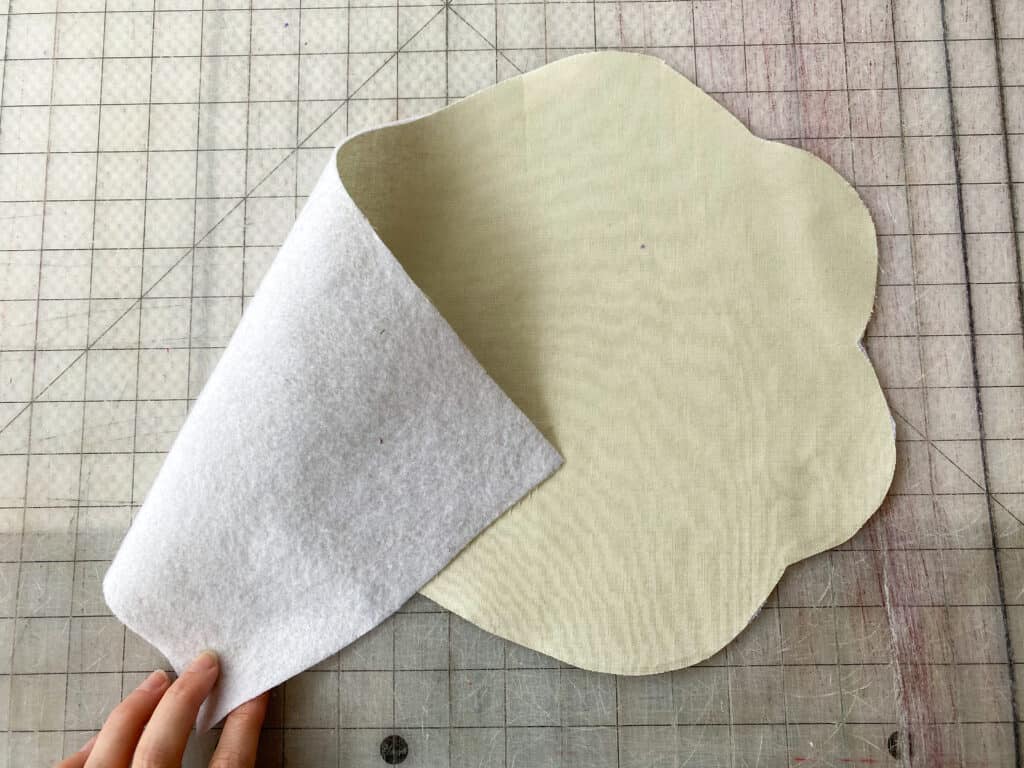
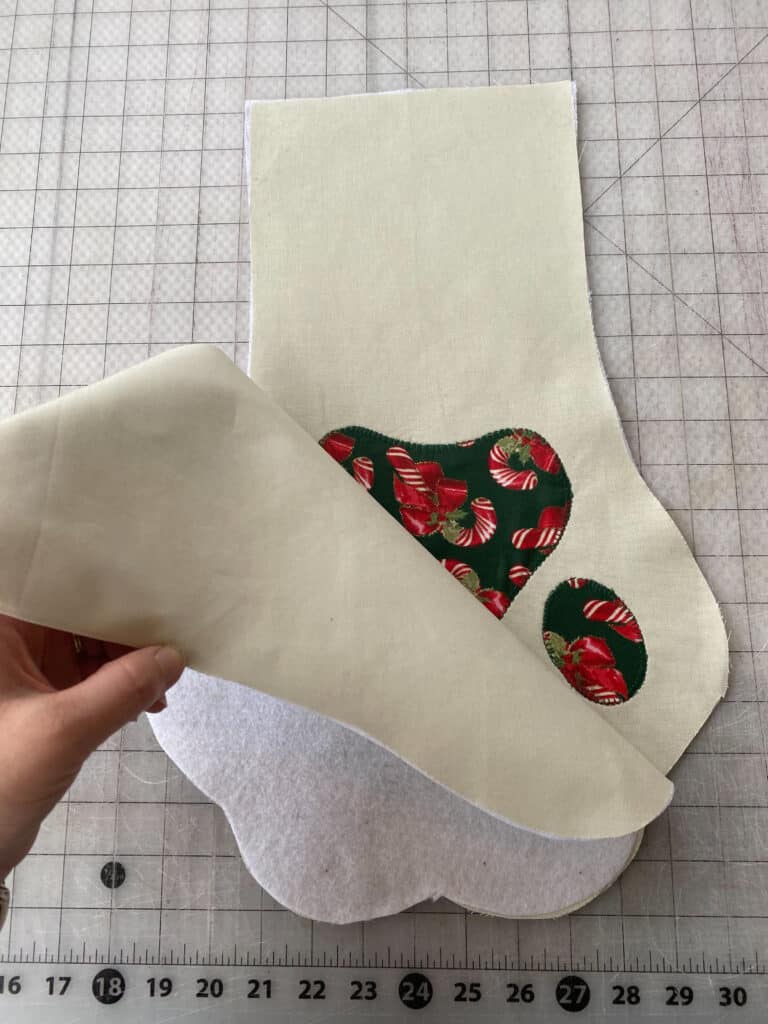
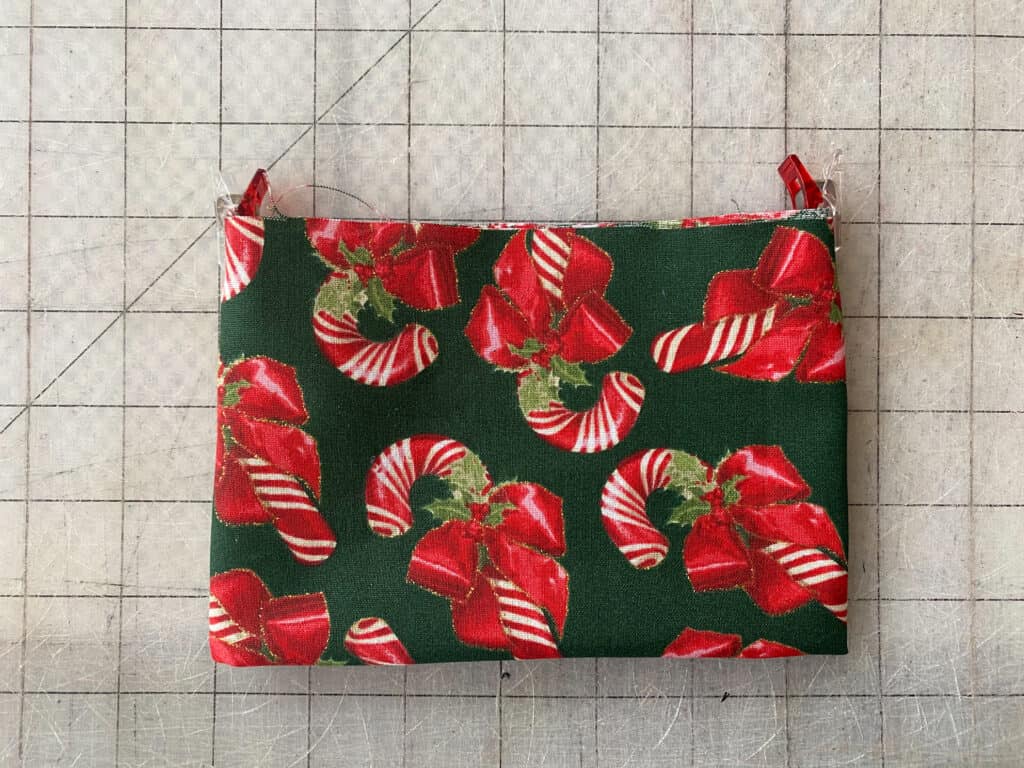
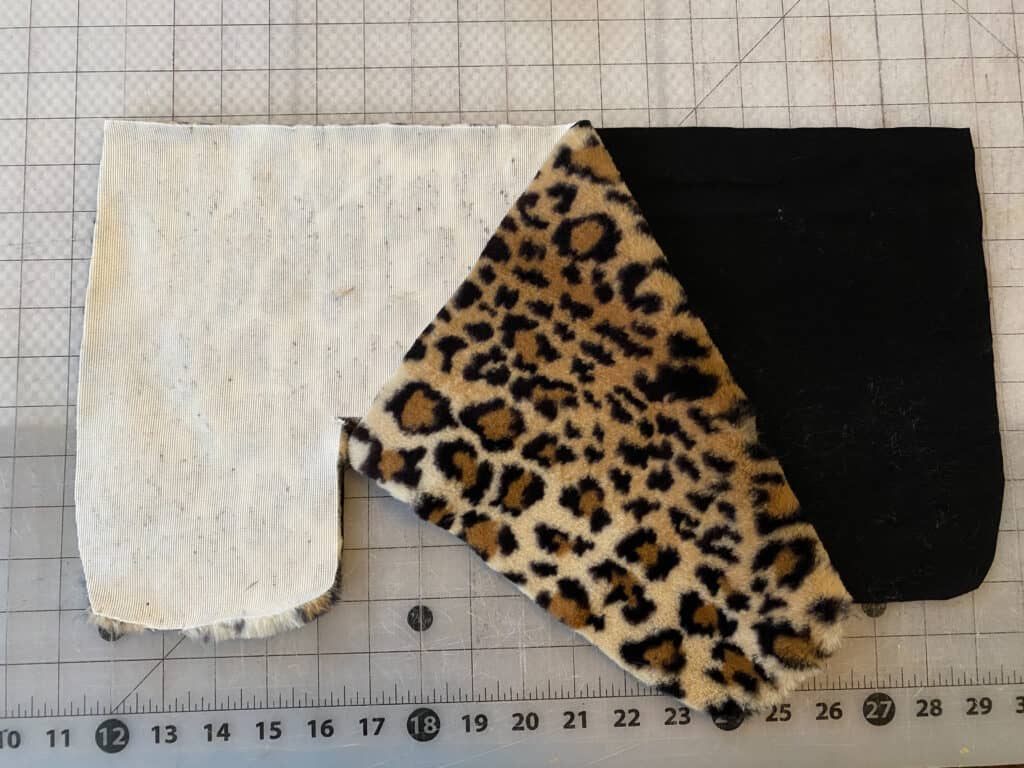
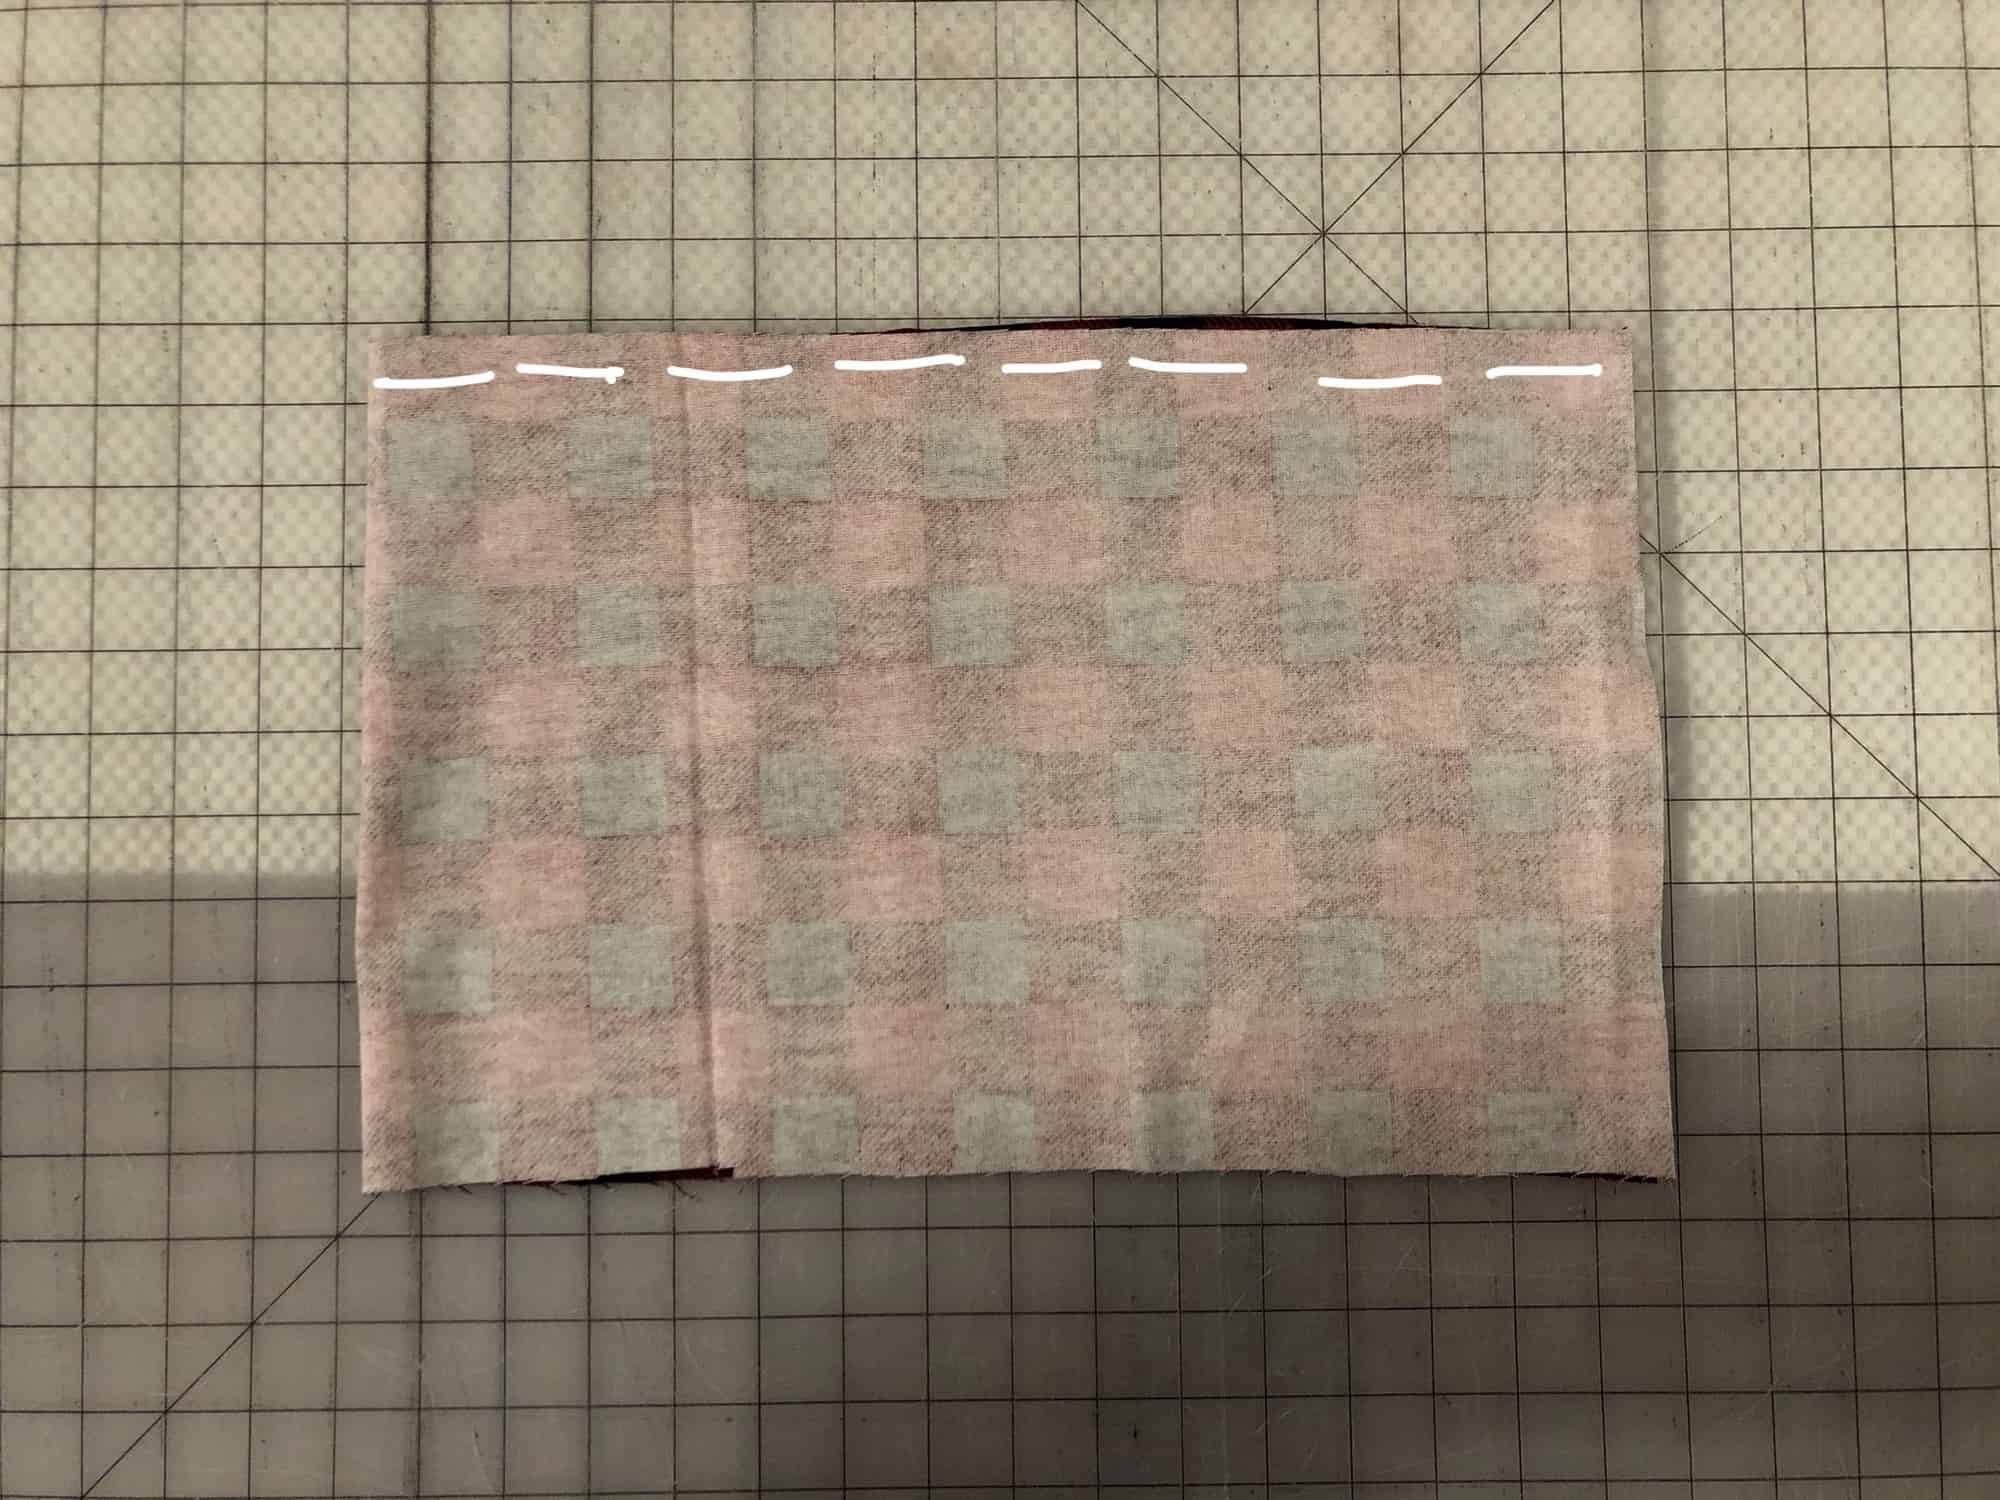
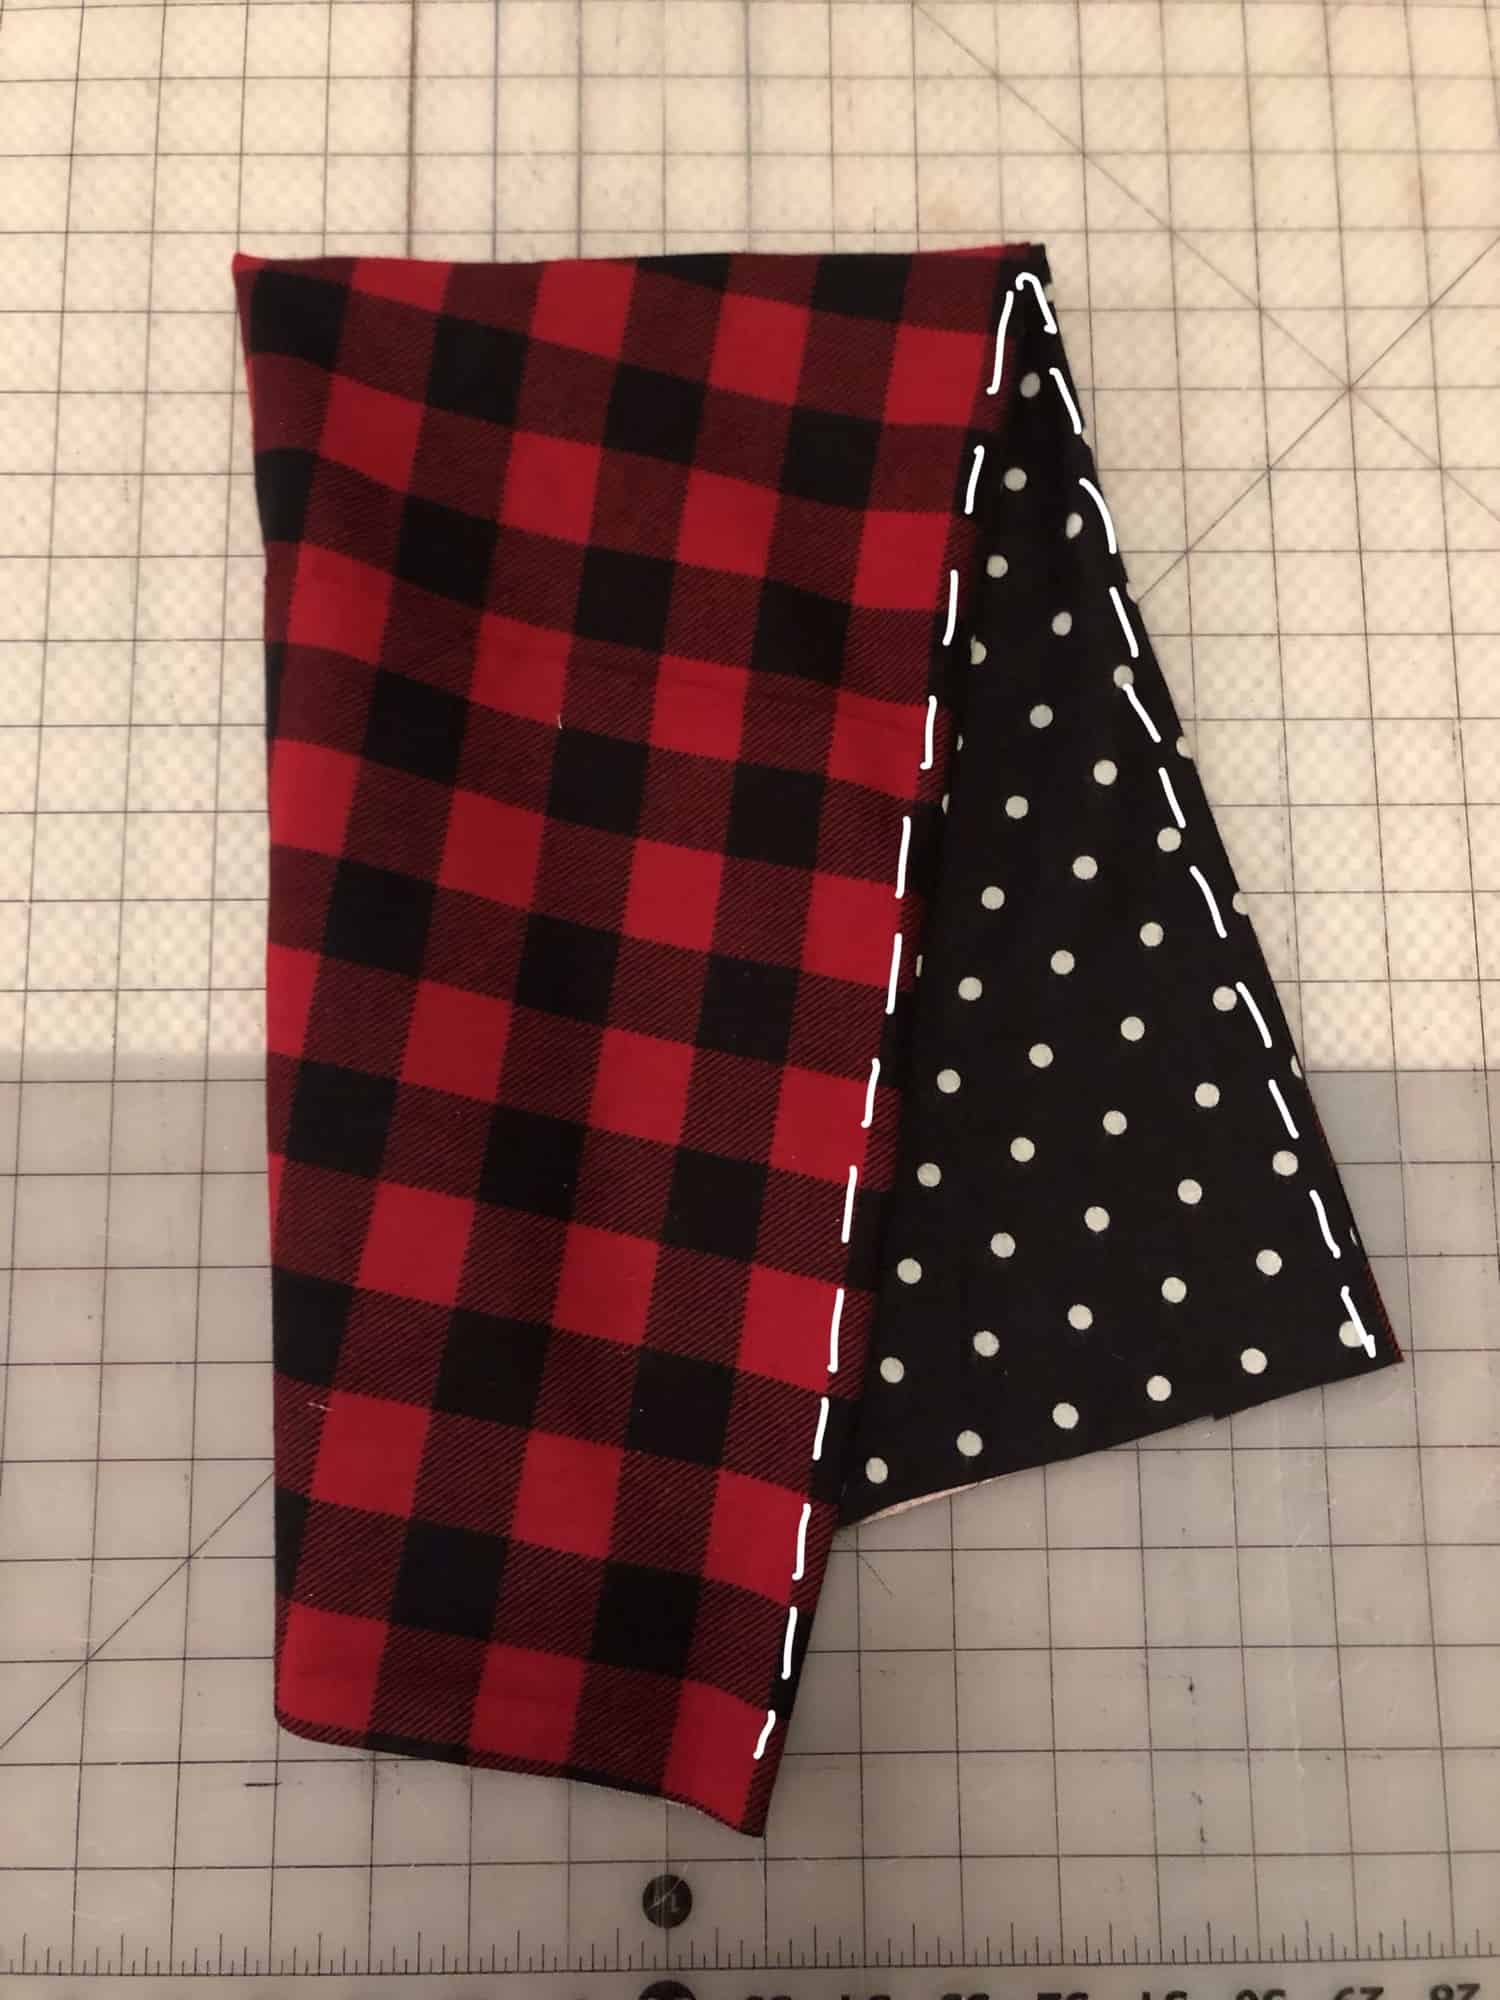
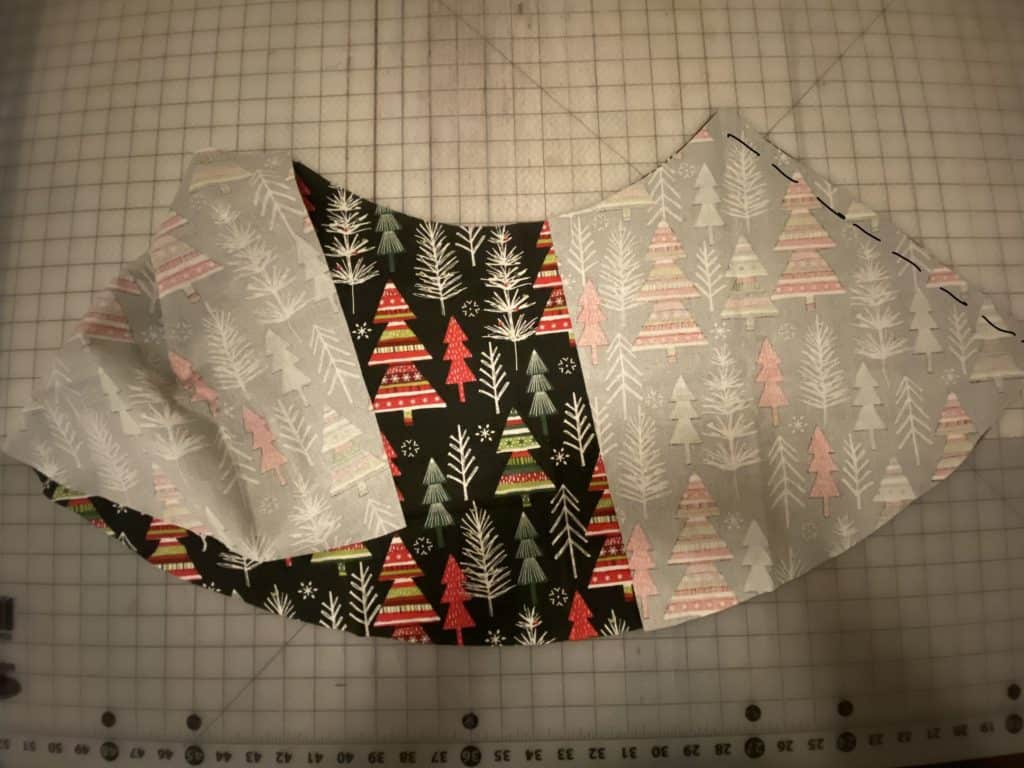
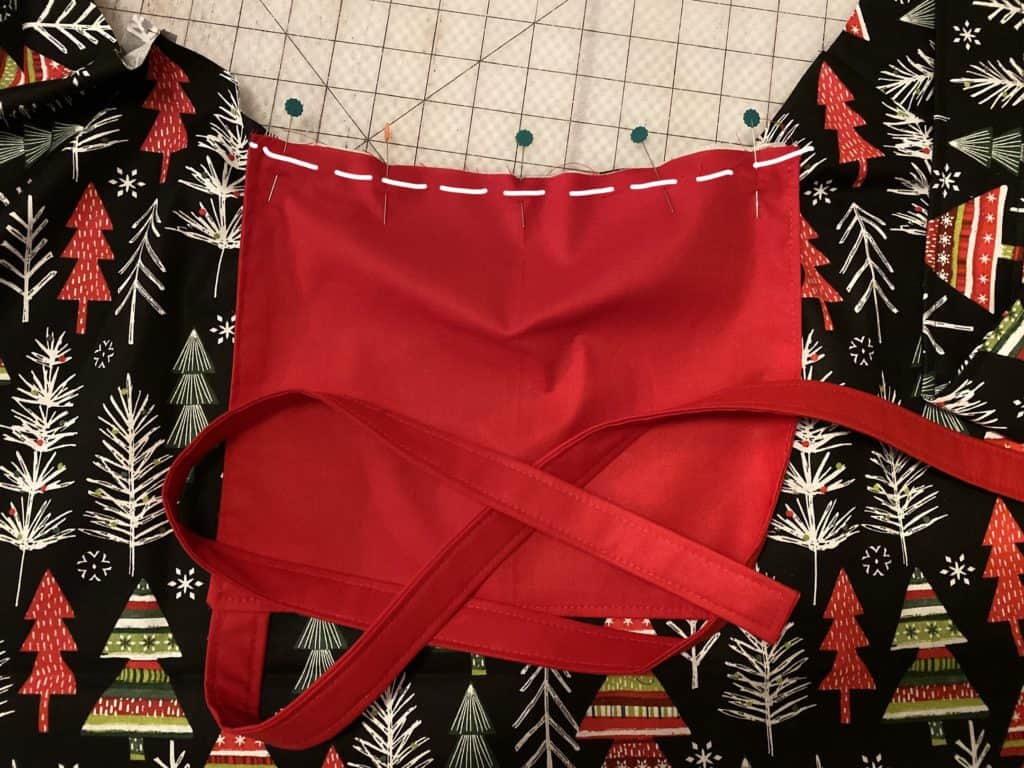
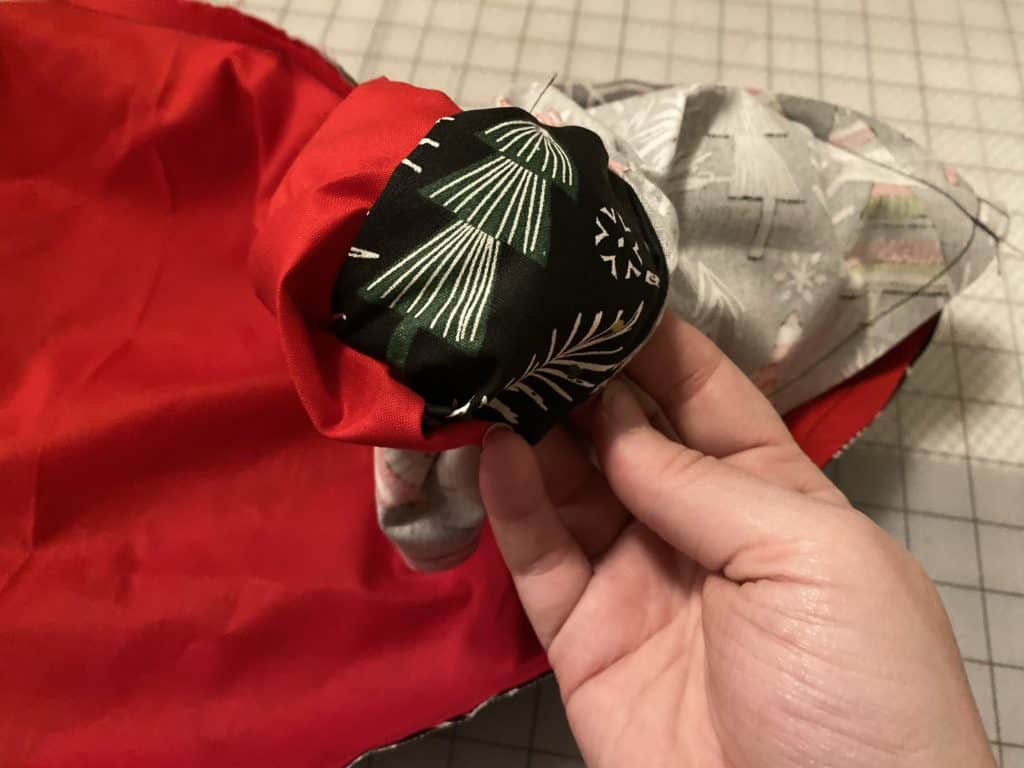
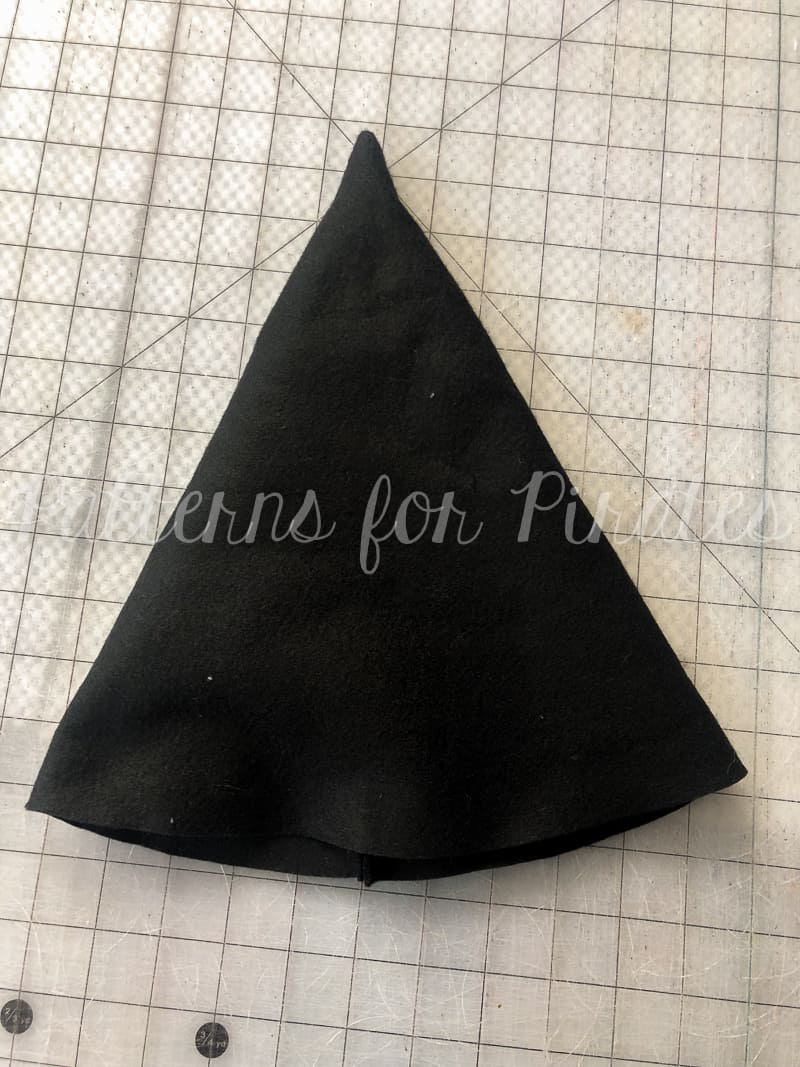
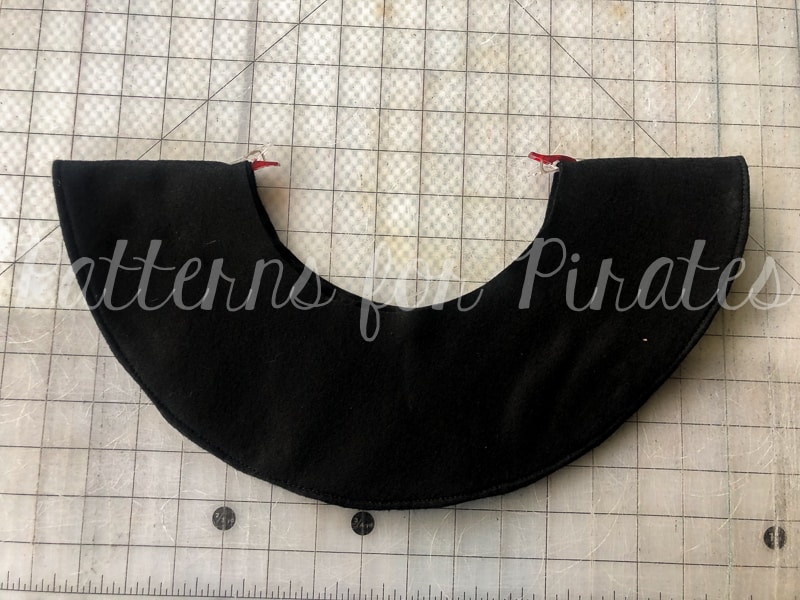
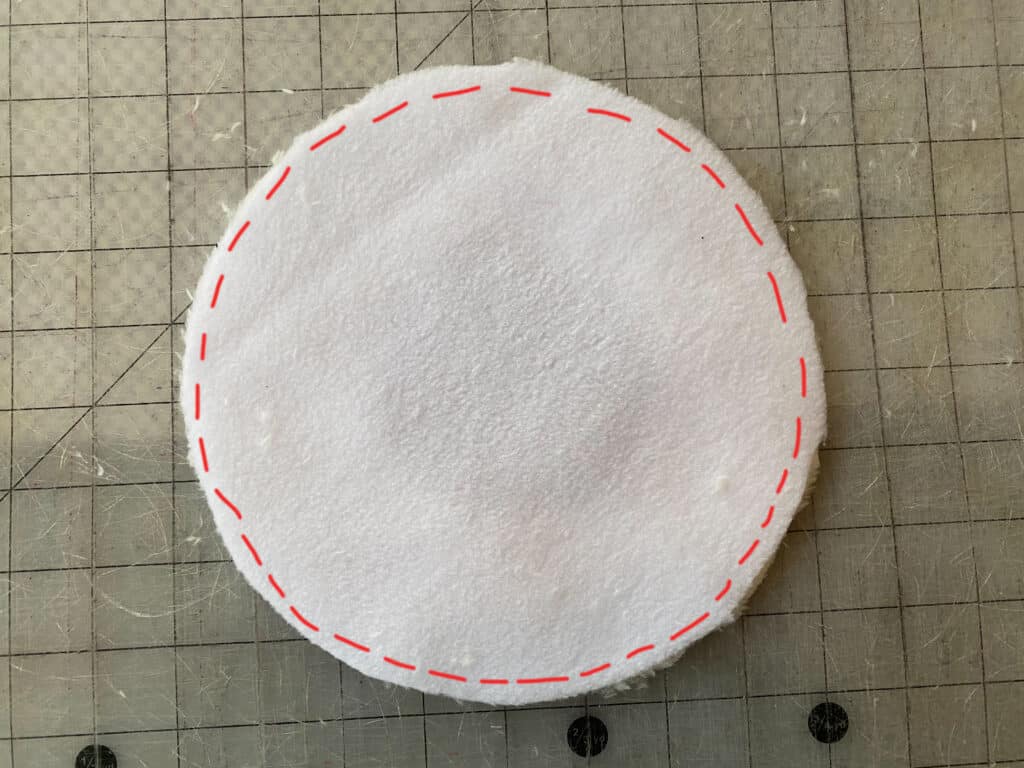
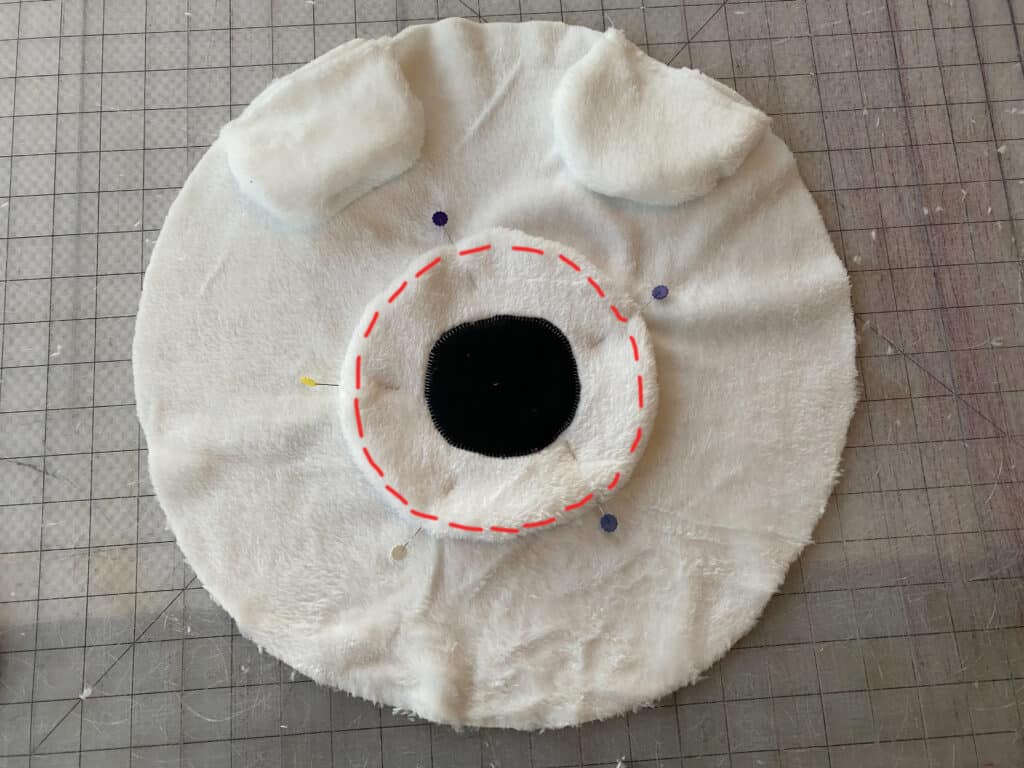
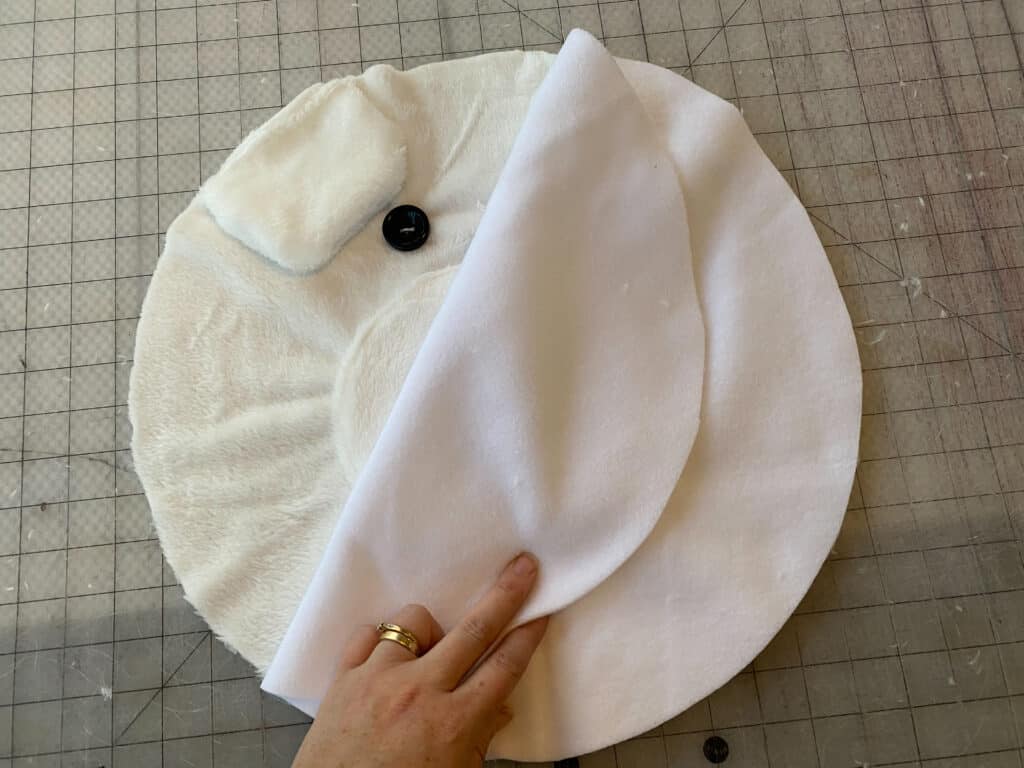
With main snout facing up, place lining fabric on top, right sides together.
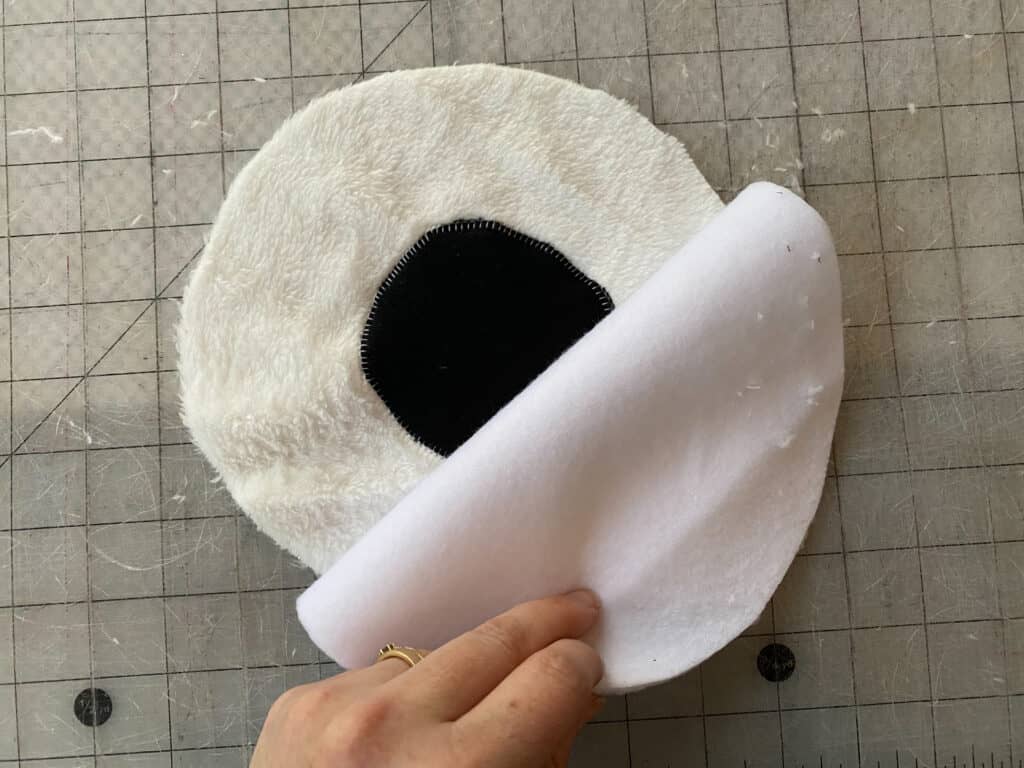
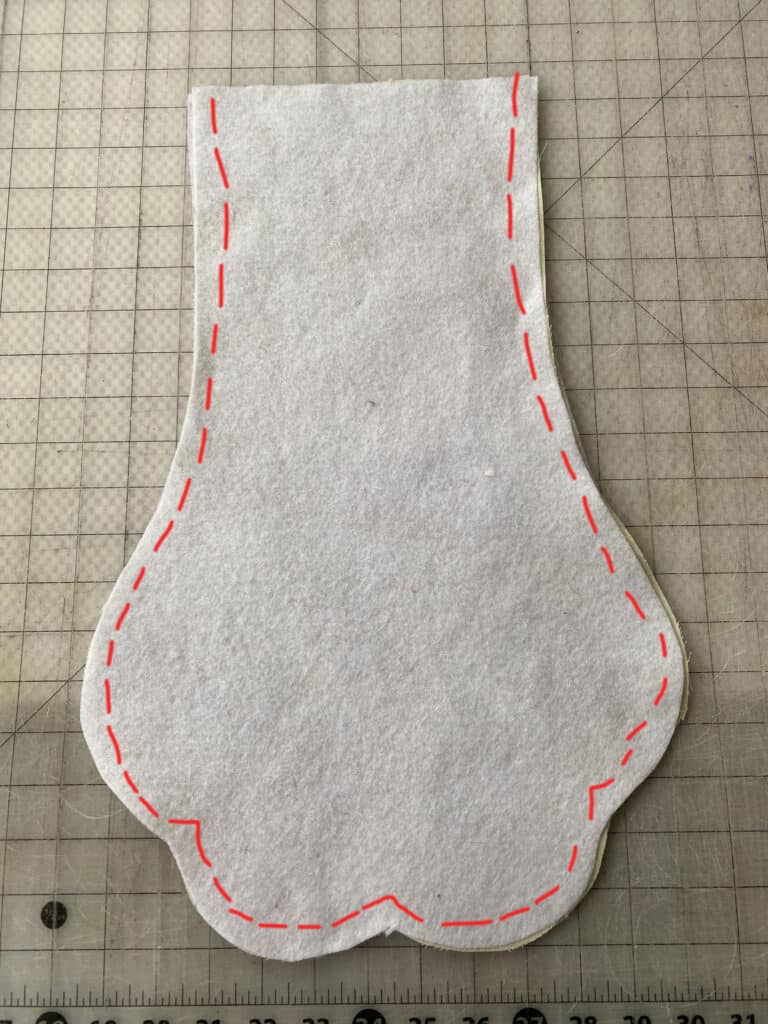
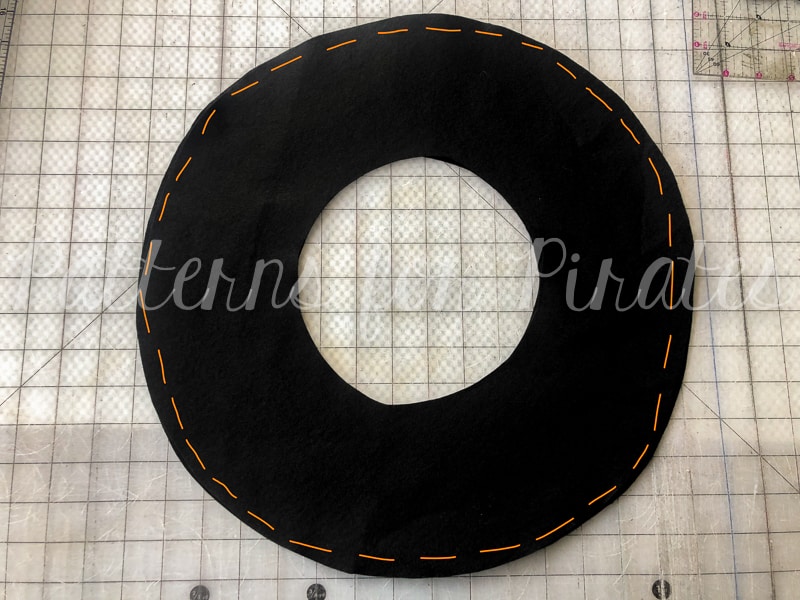
Sew around entire outer edge, using 1/2″ seam allowance.
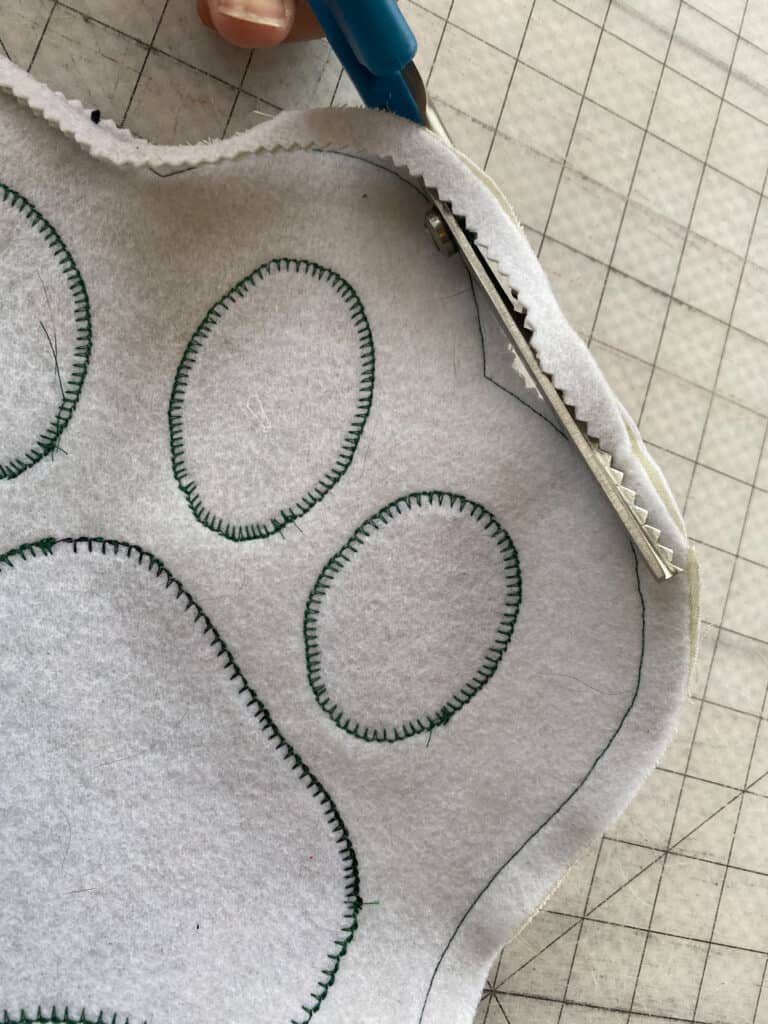
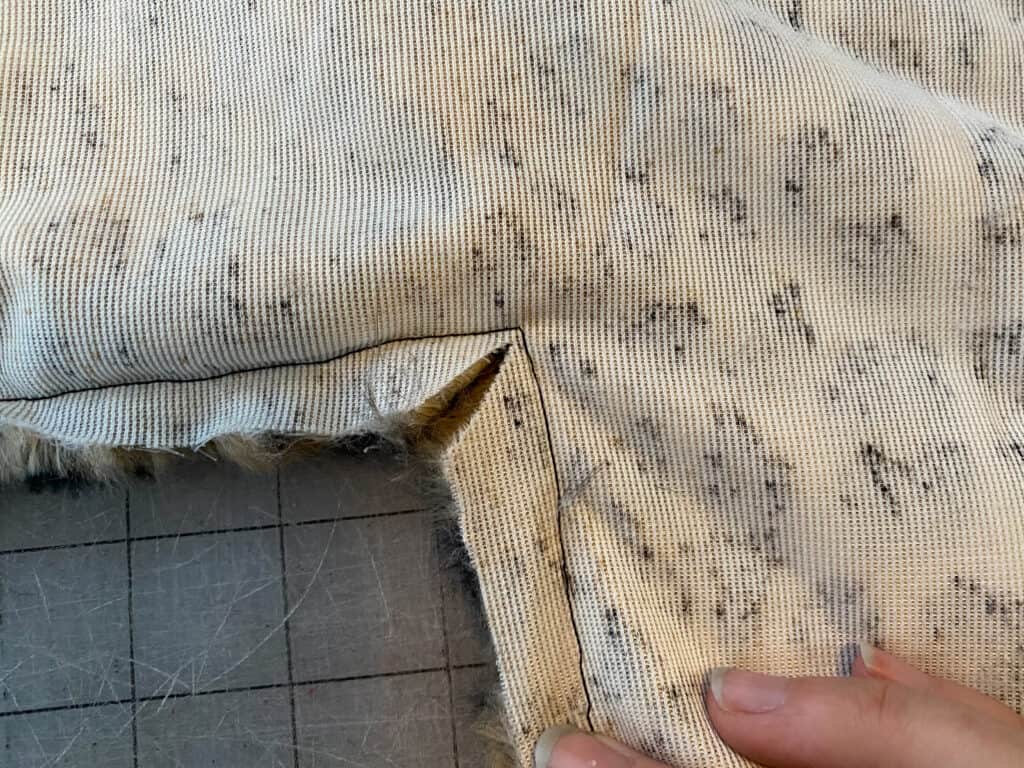
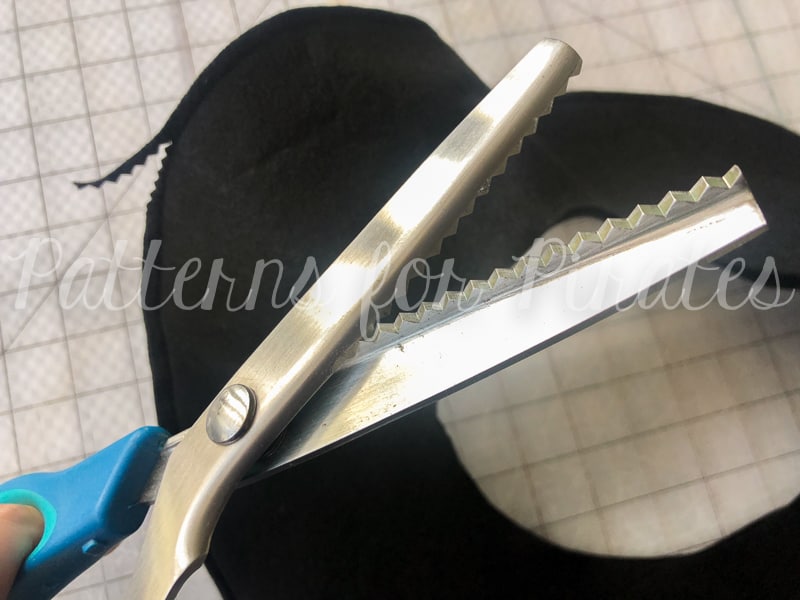
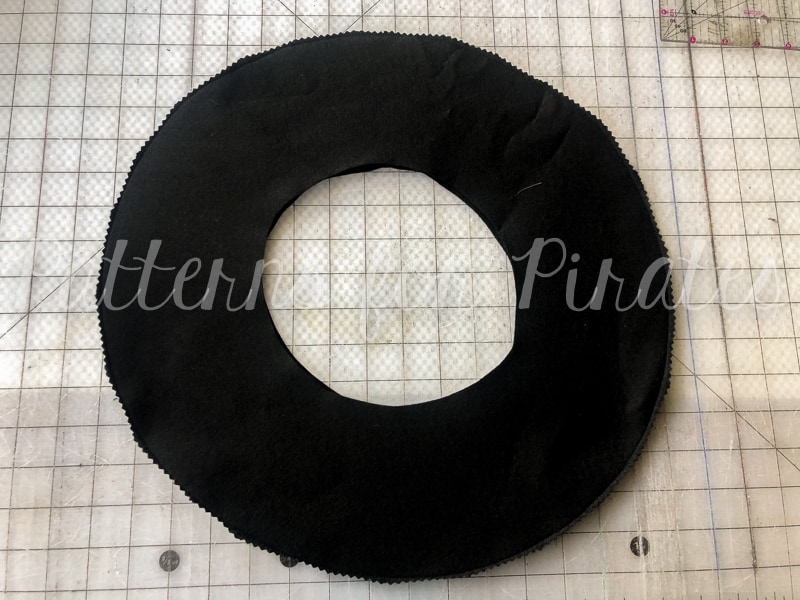
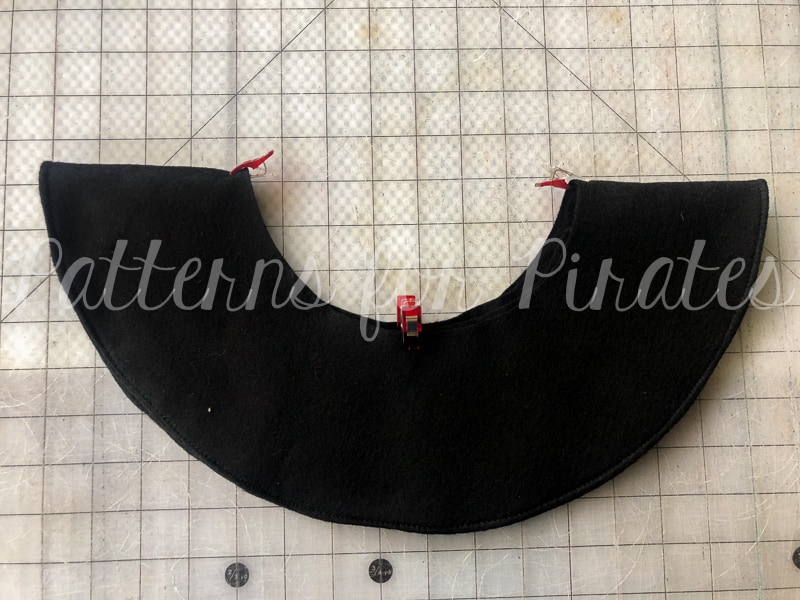
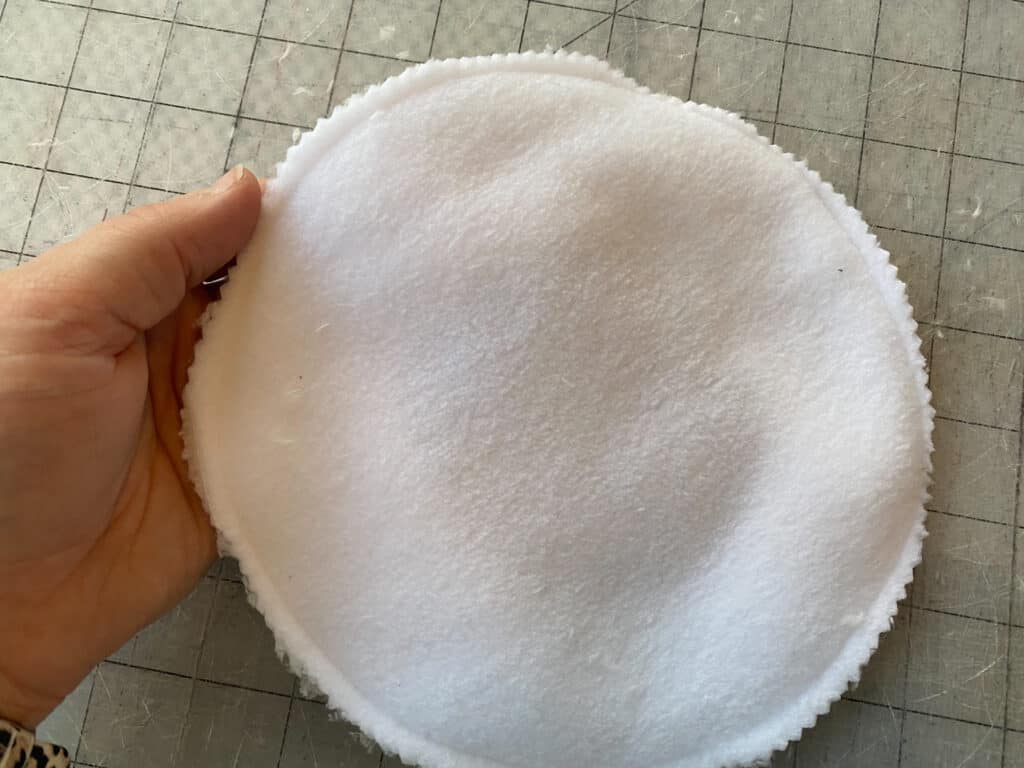
Clip curved edges, using pinking shears / “v” pattern to help with a smoother turned edge.
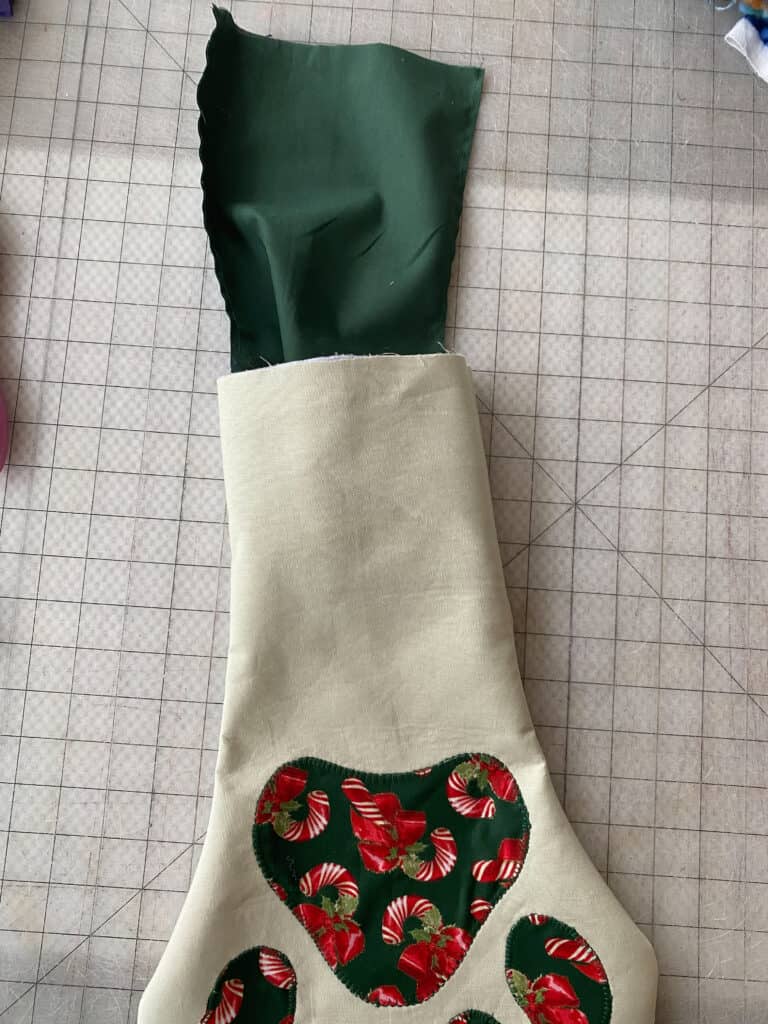
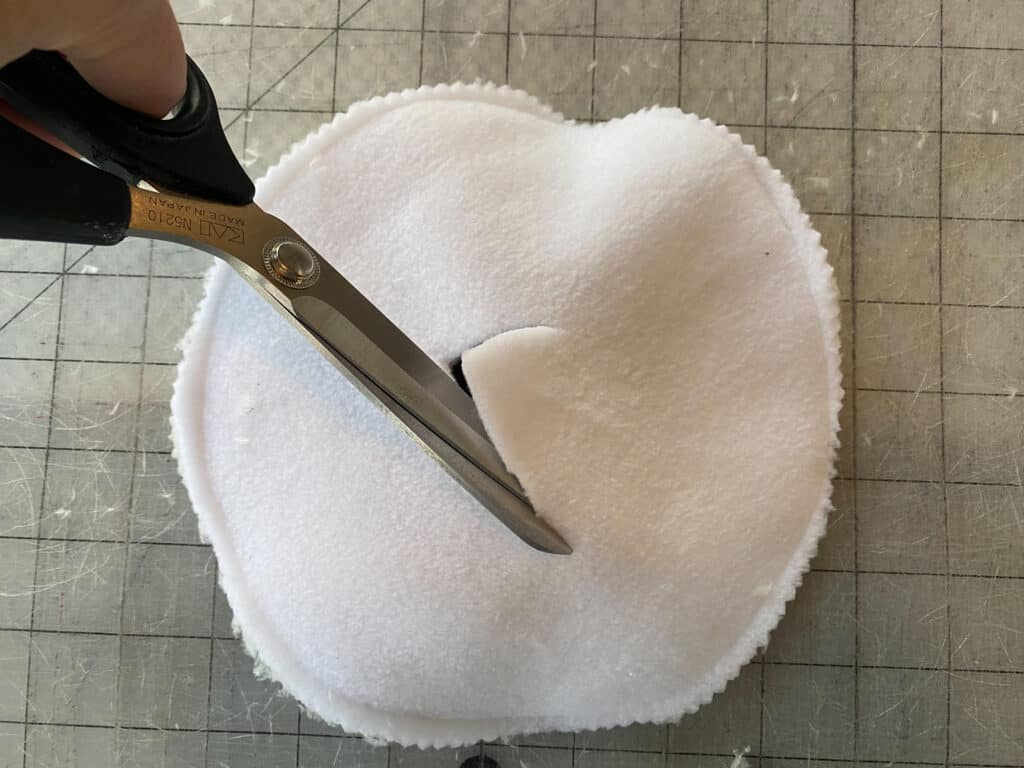
Careful not to cut through the main fabric, clip a hole through the middle of your lining fabric piece.
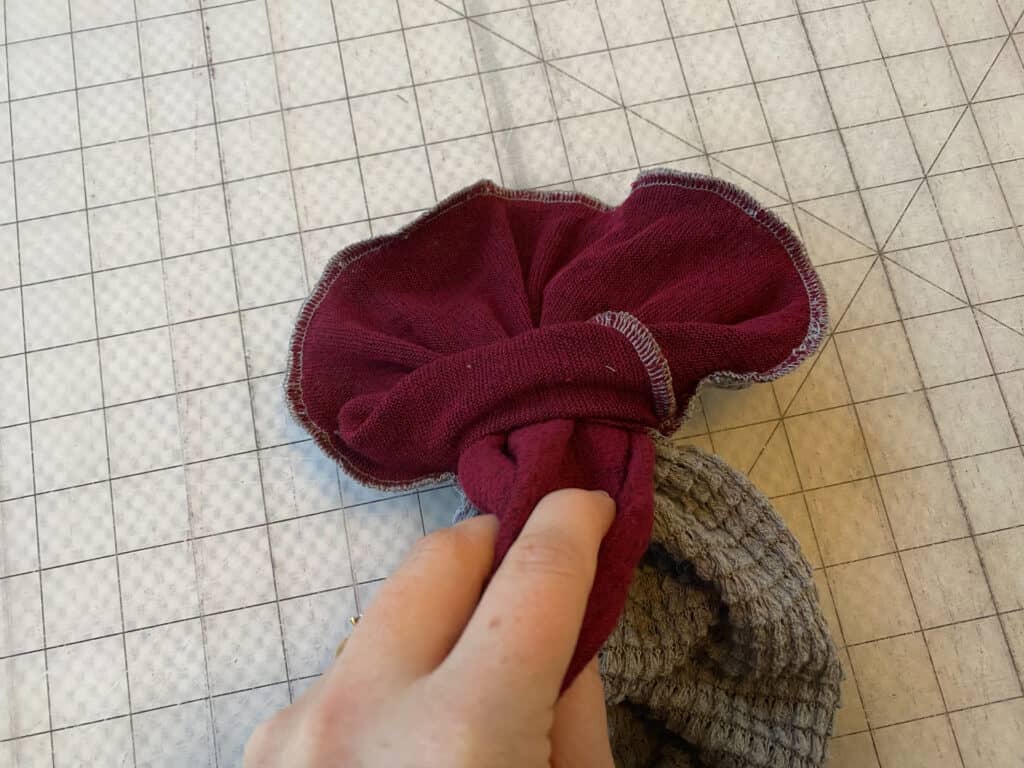
Turn the snout right sides out, through the hole you just cut.
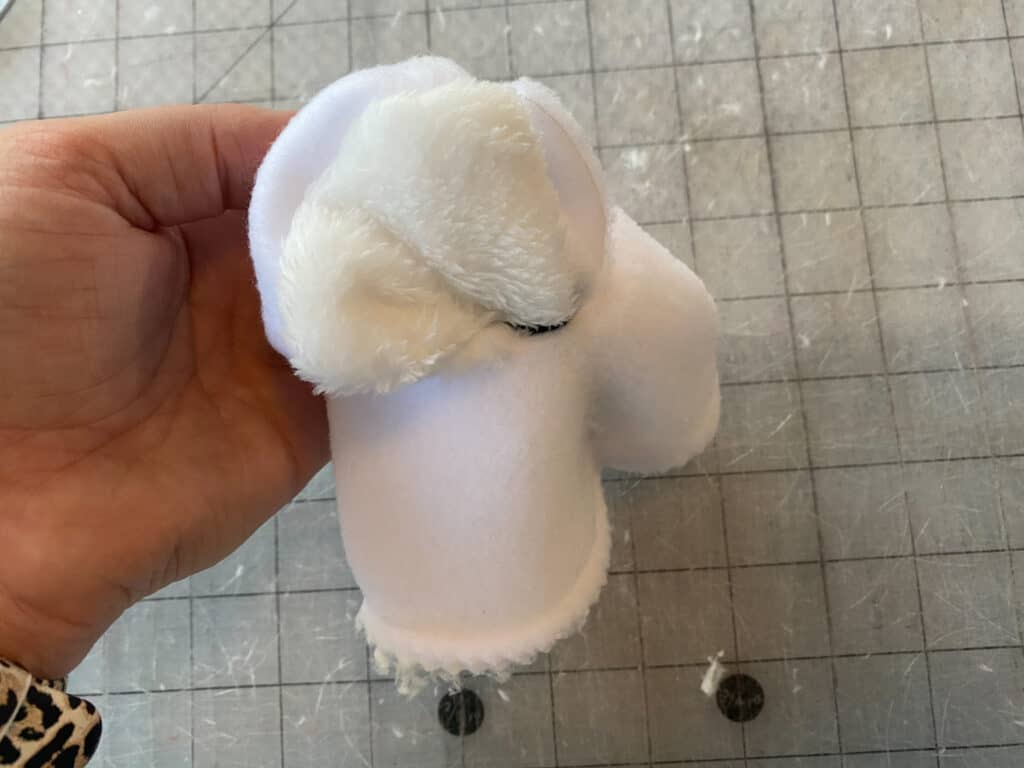
Press out all of your seams.
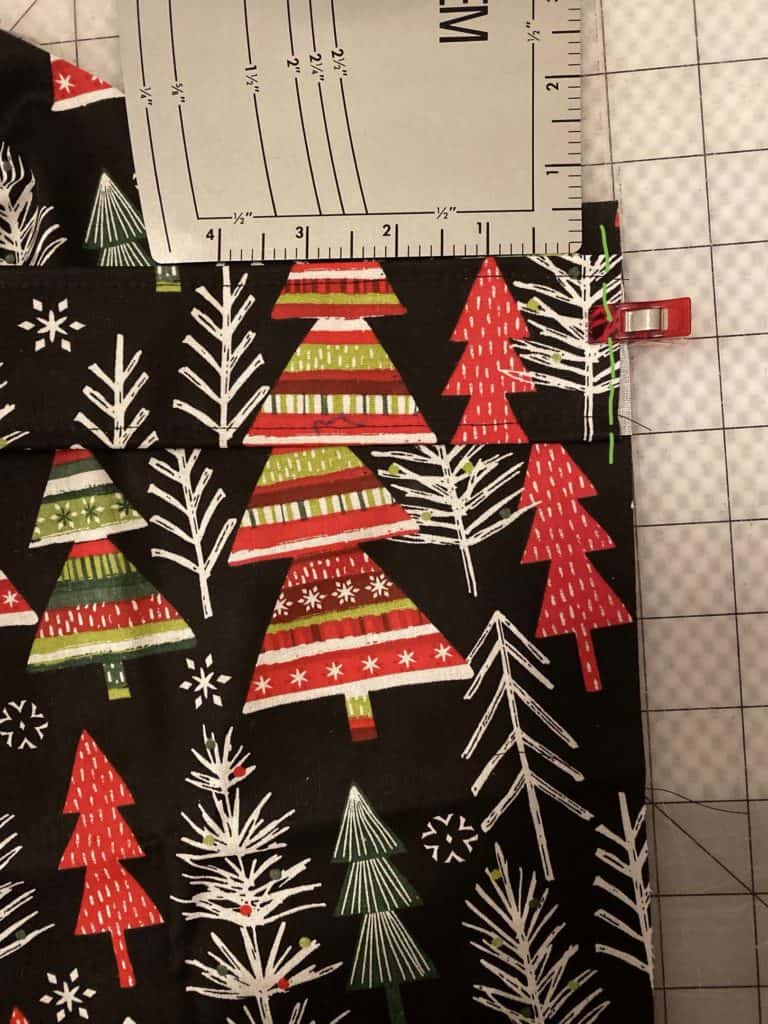
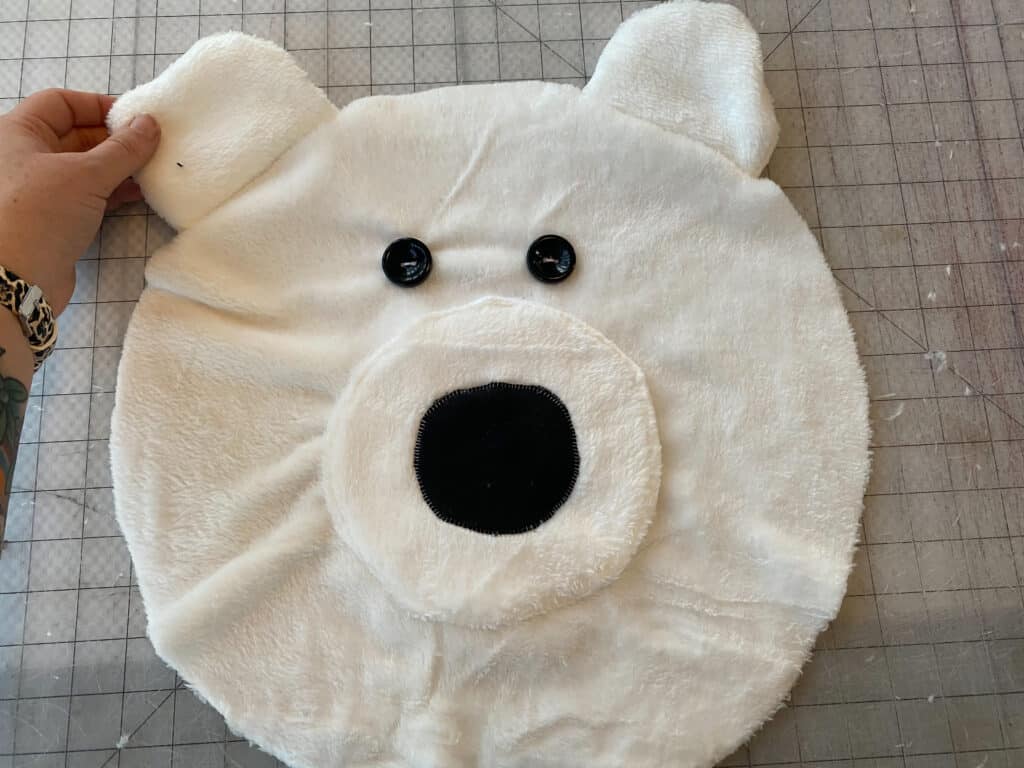
Place the snout piece, centered on the main head piece. Edge or applique stitch snout to attach it.
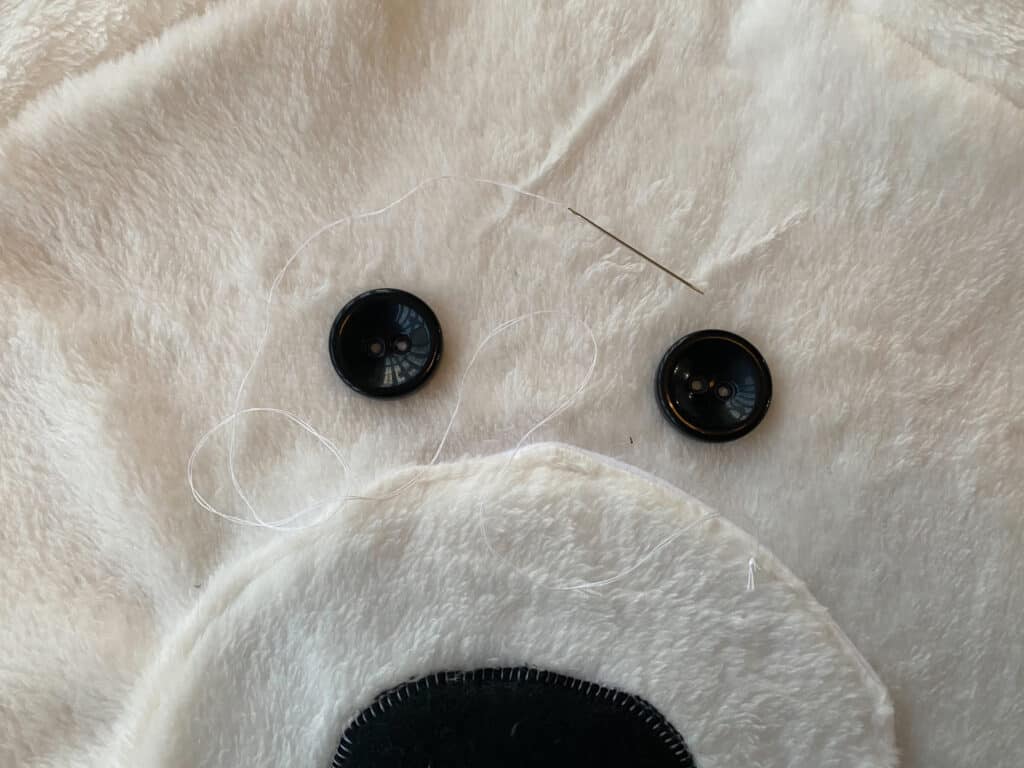
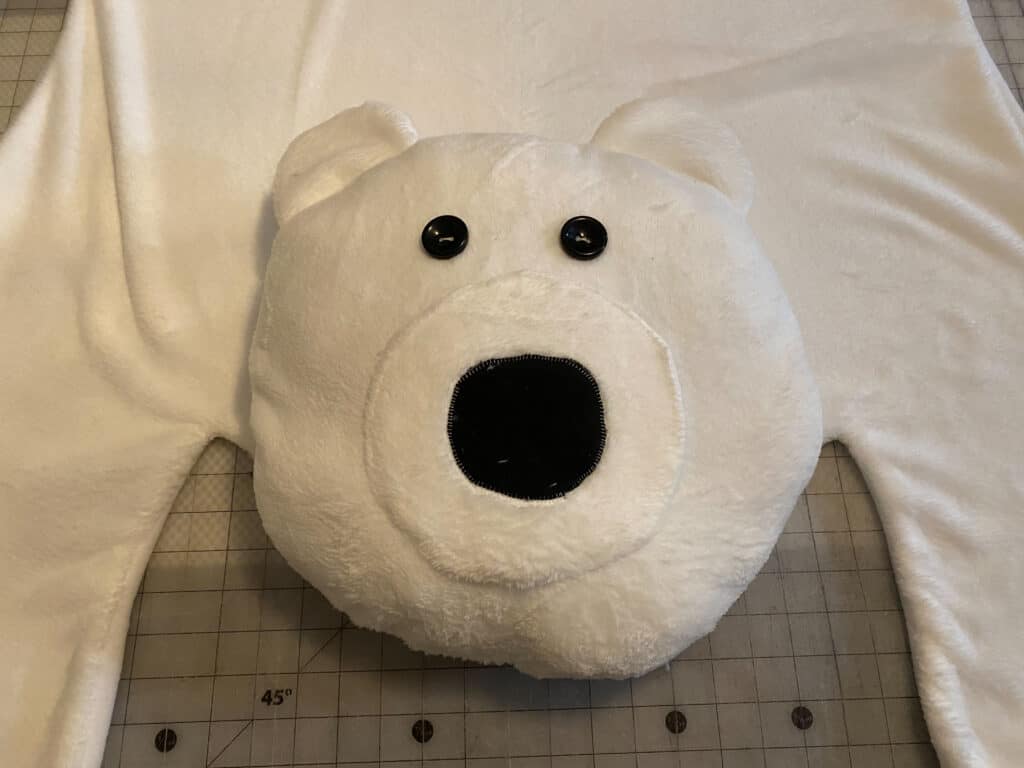
Add your eyes.
**I used these large buttons and hand stitched them on. You can also choose to embroider this detail, or add fleece circles. Whatever your preference is!
Your bear’s face should be nearly complete!
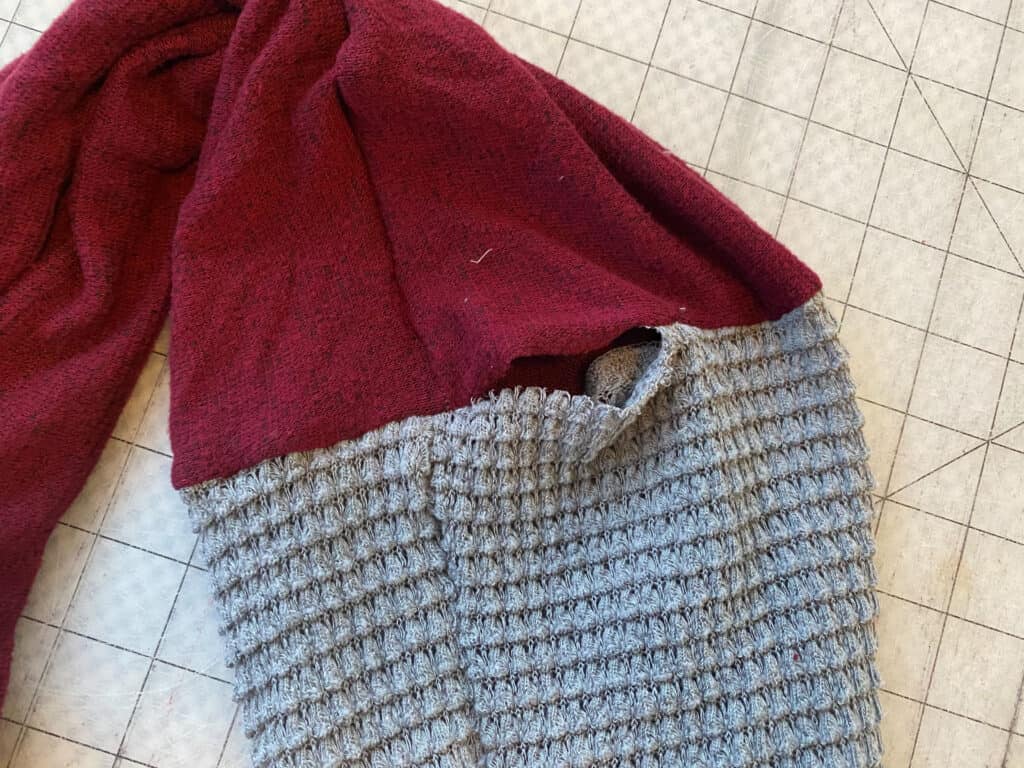
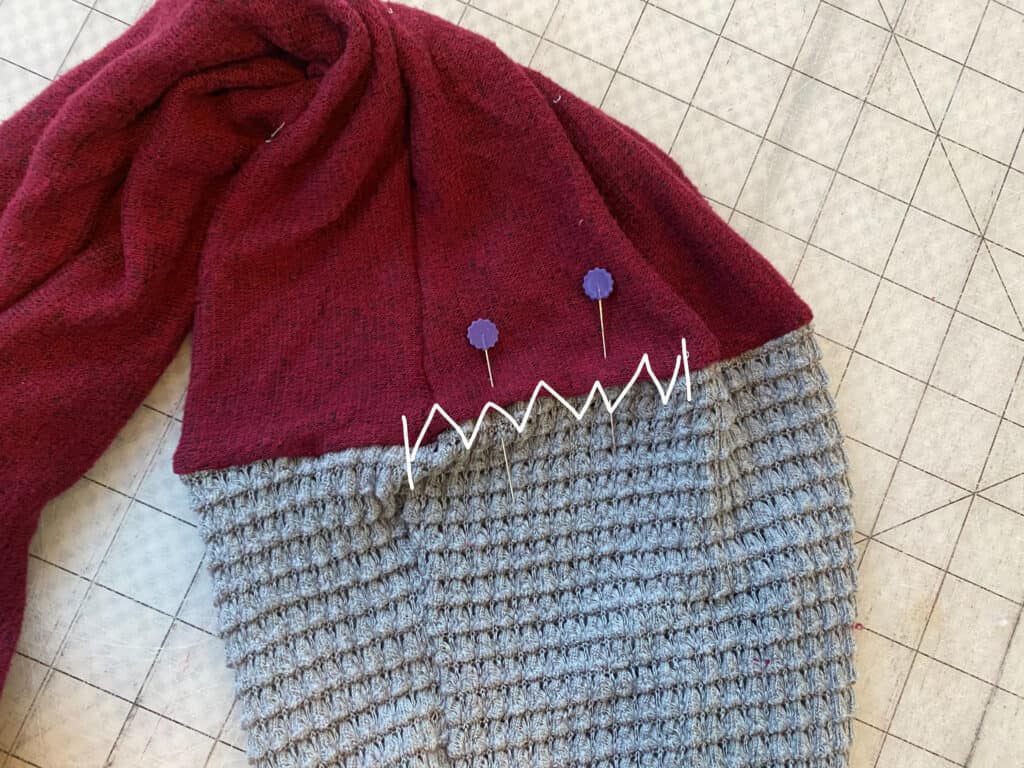
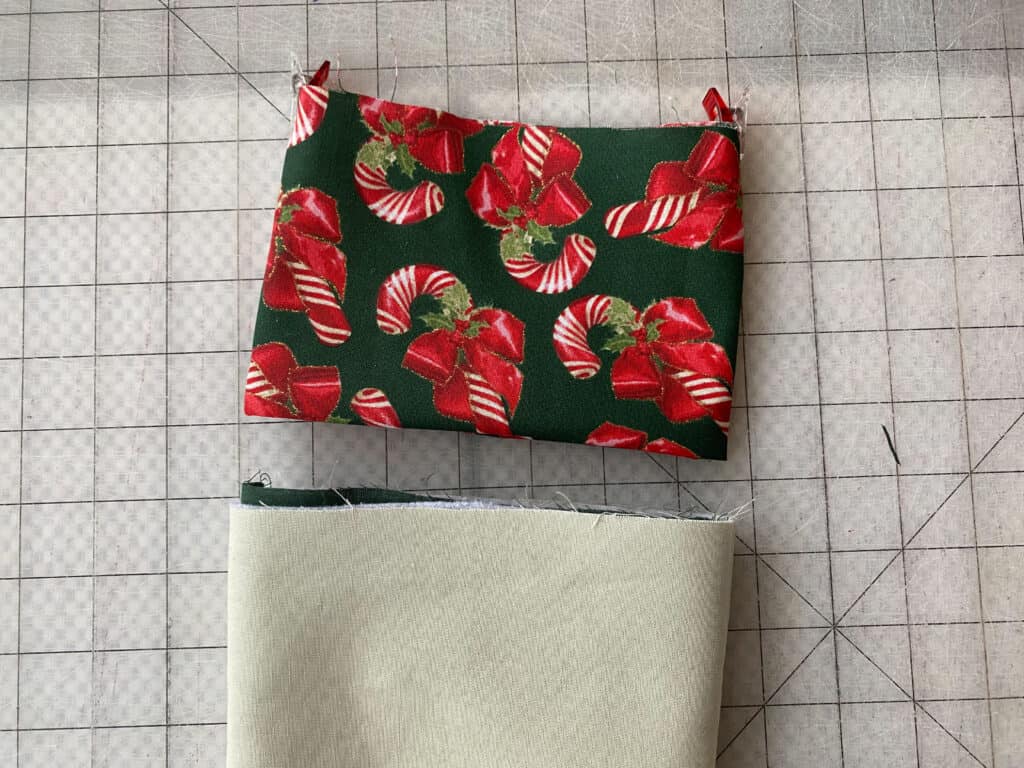
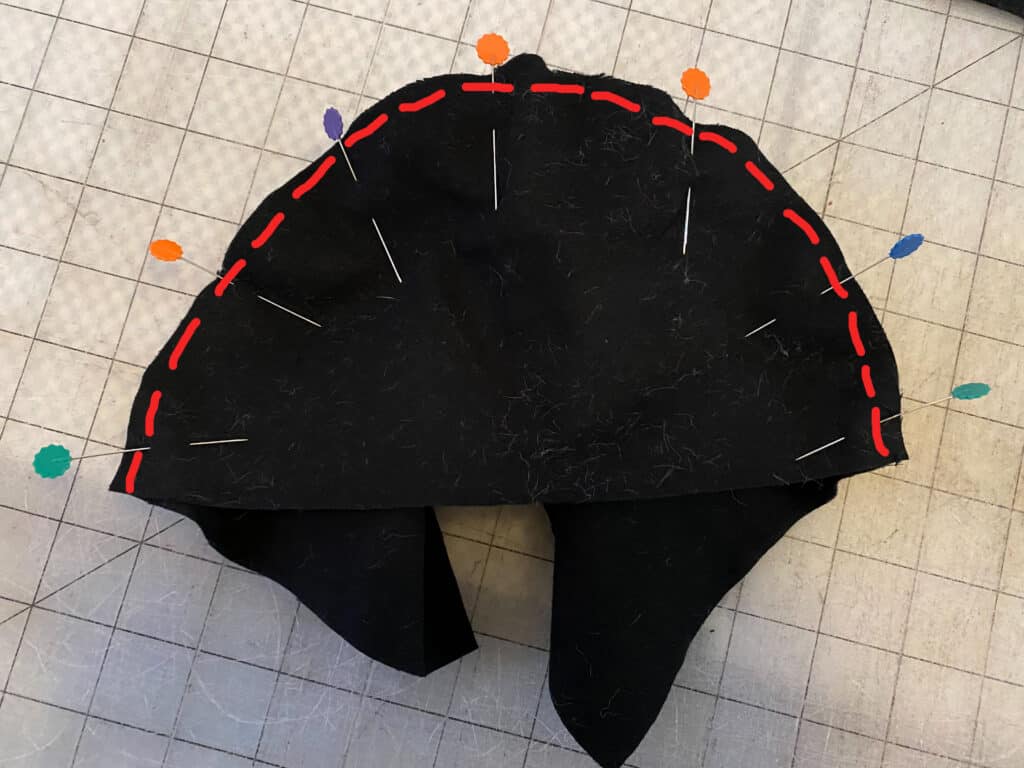
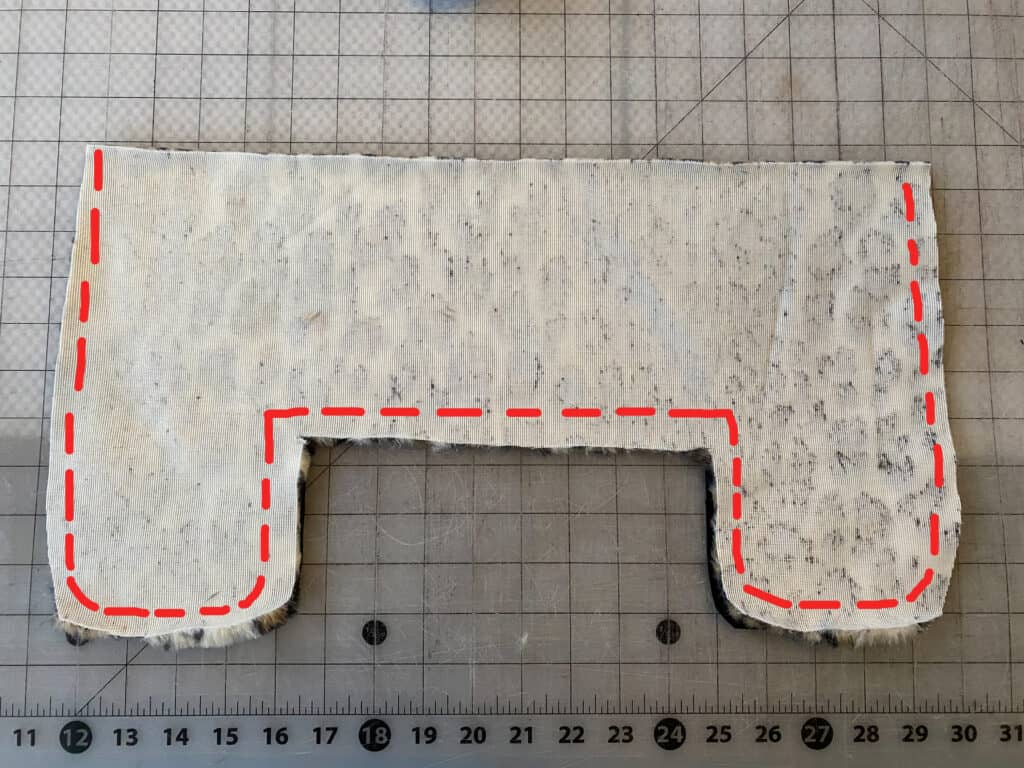
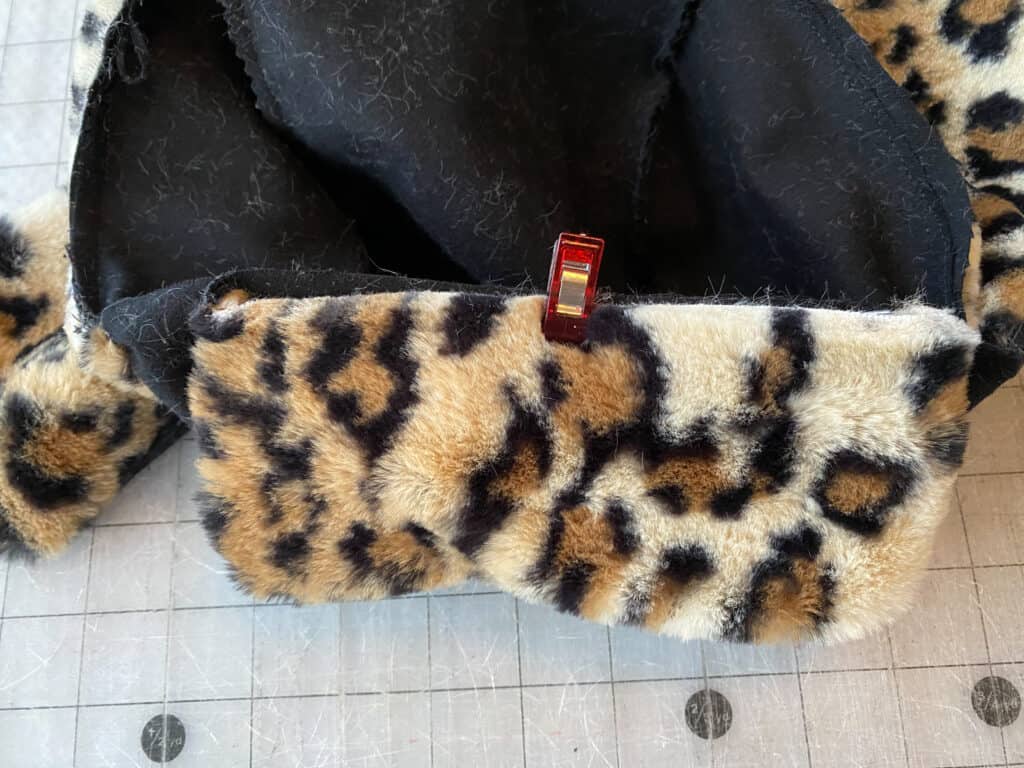
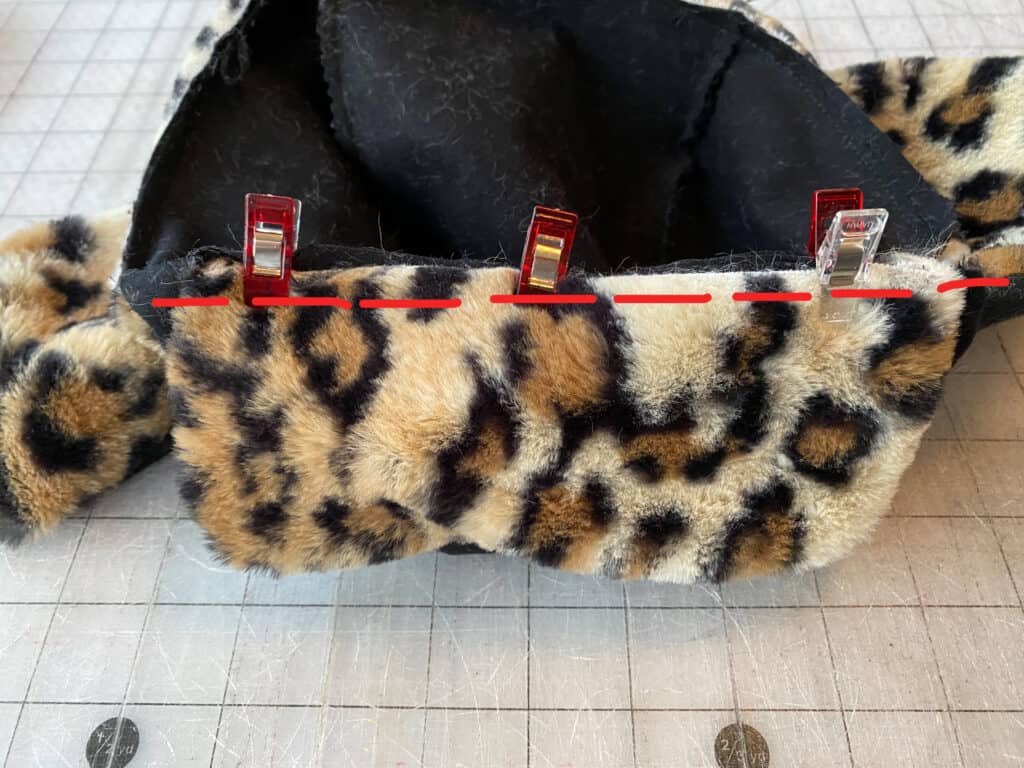
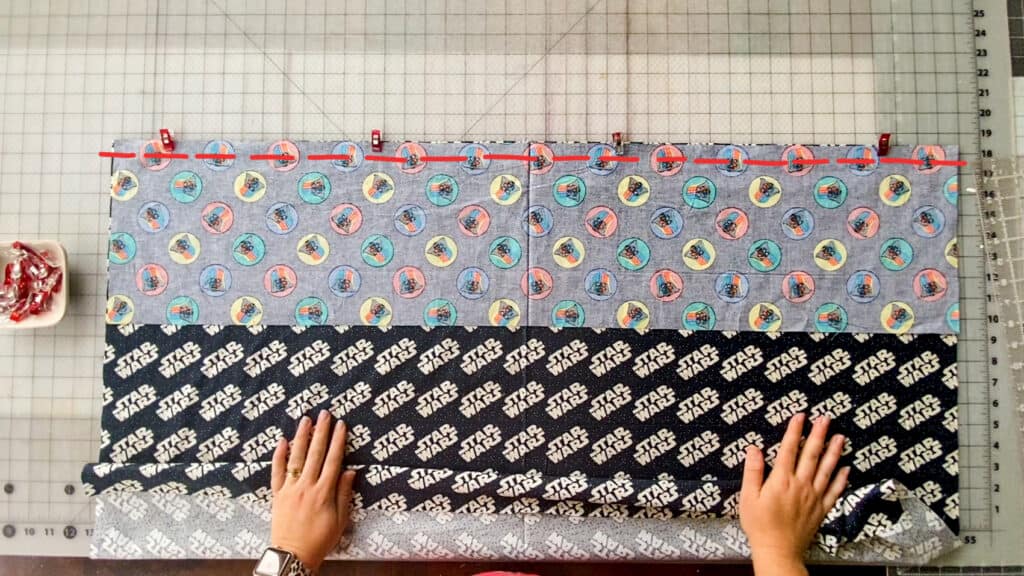
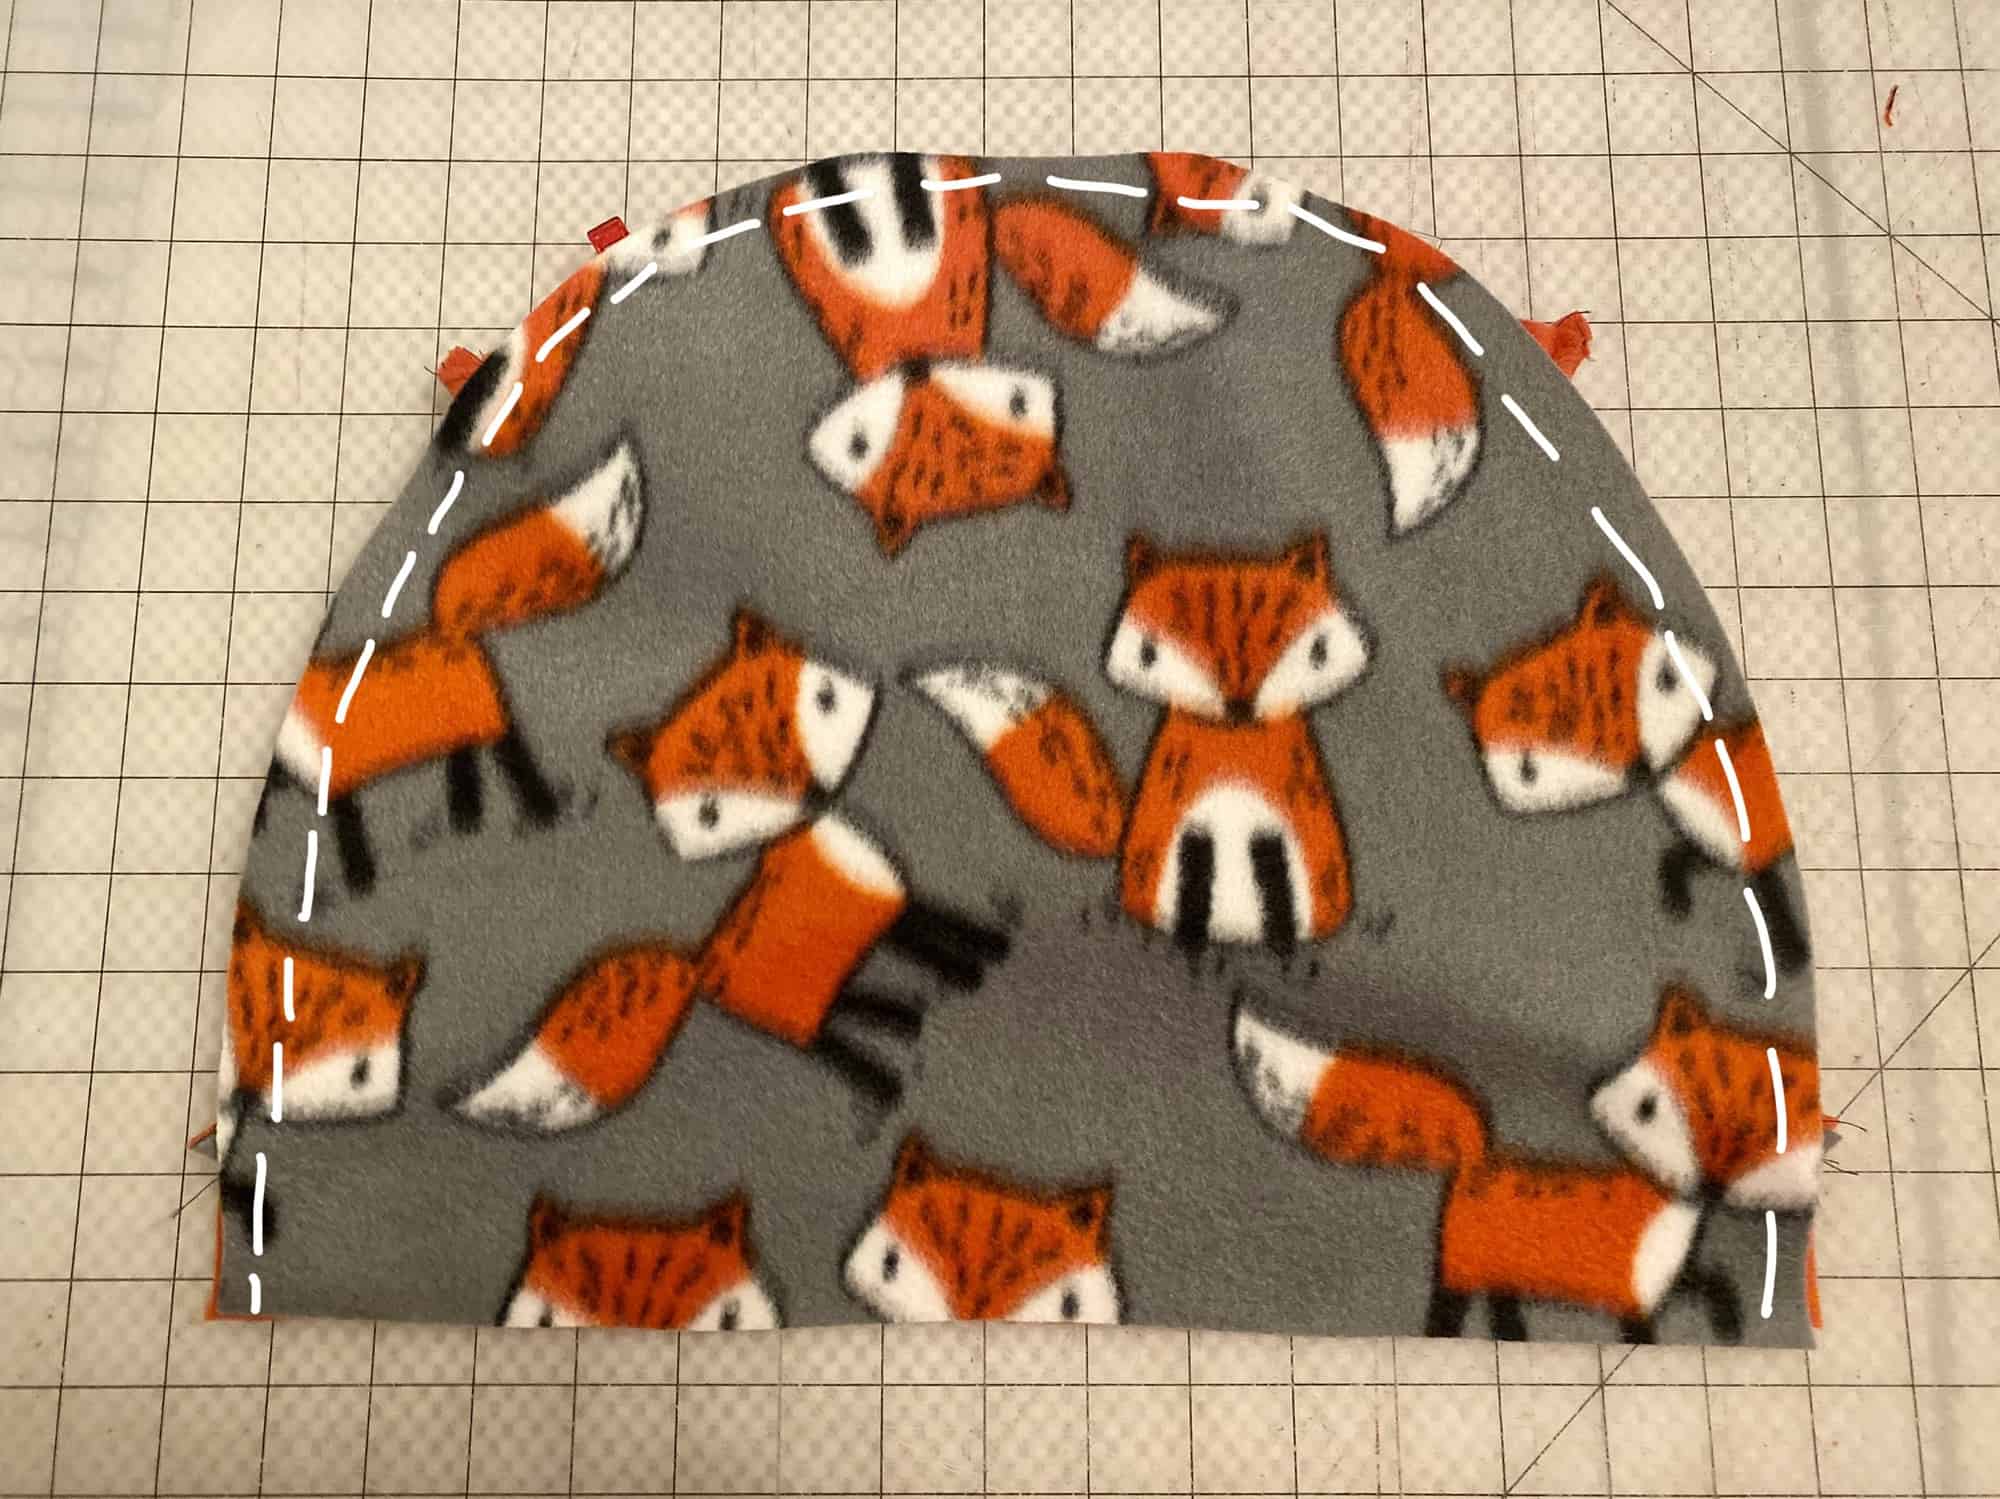
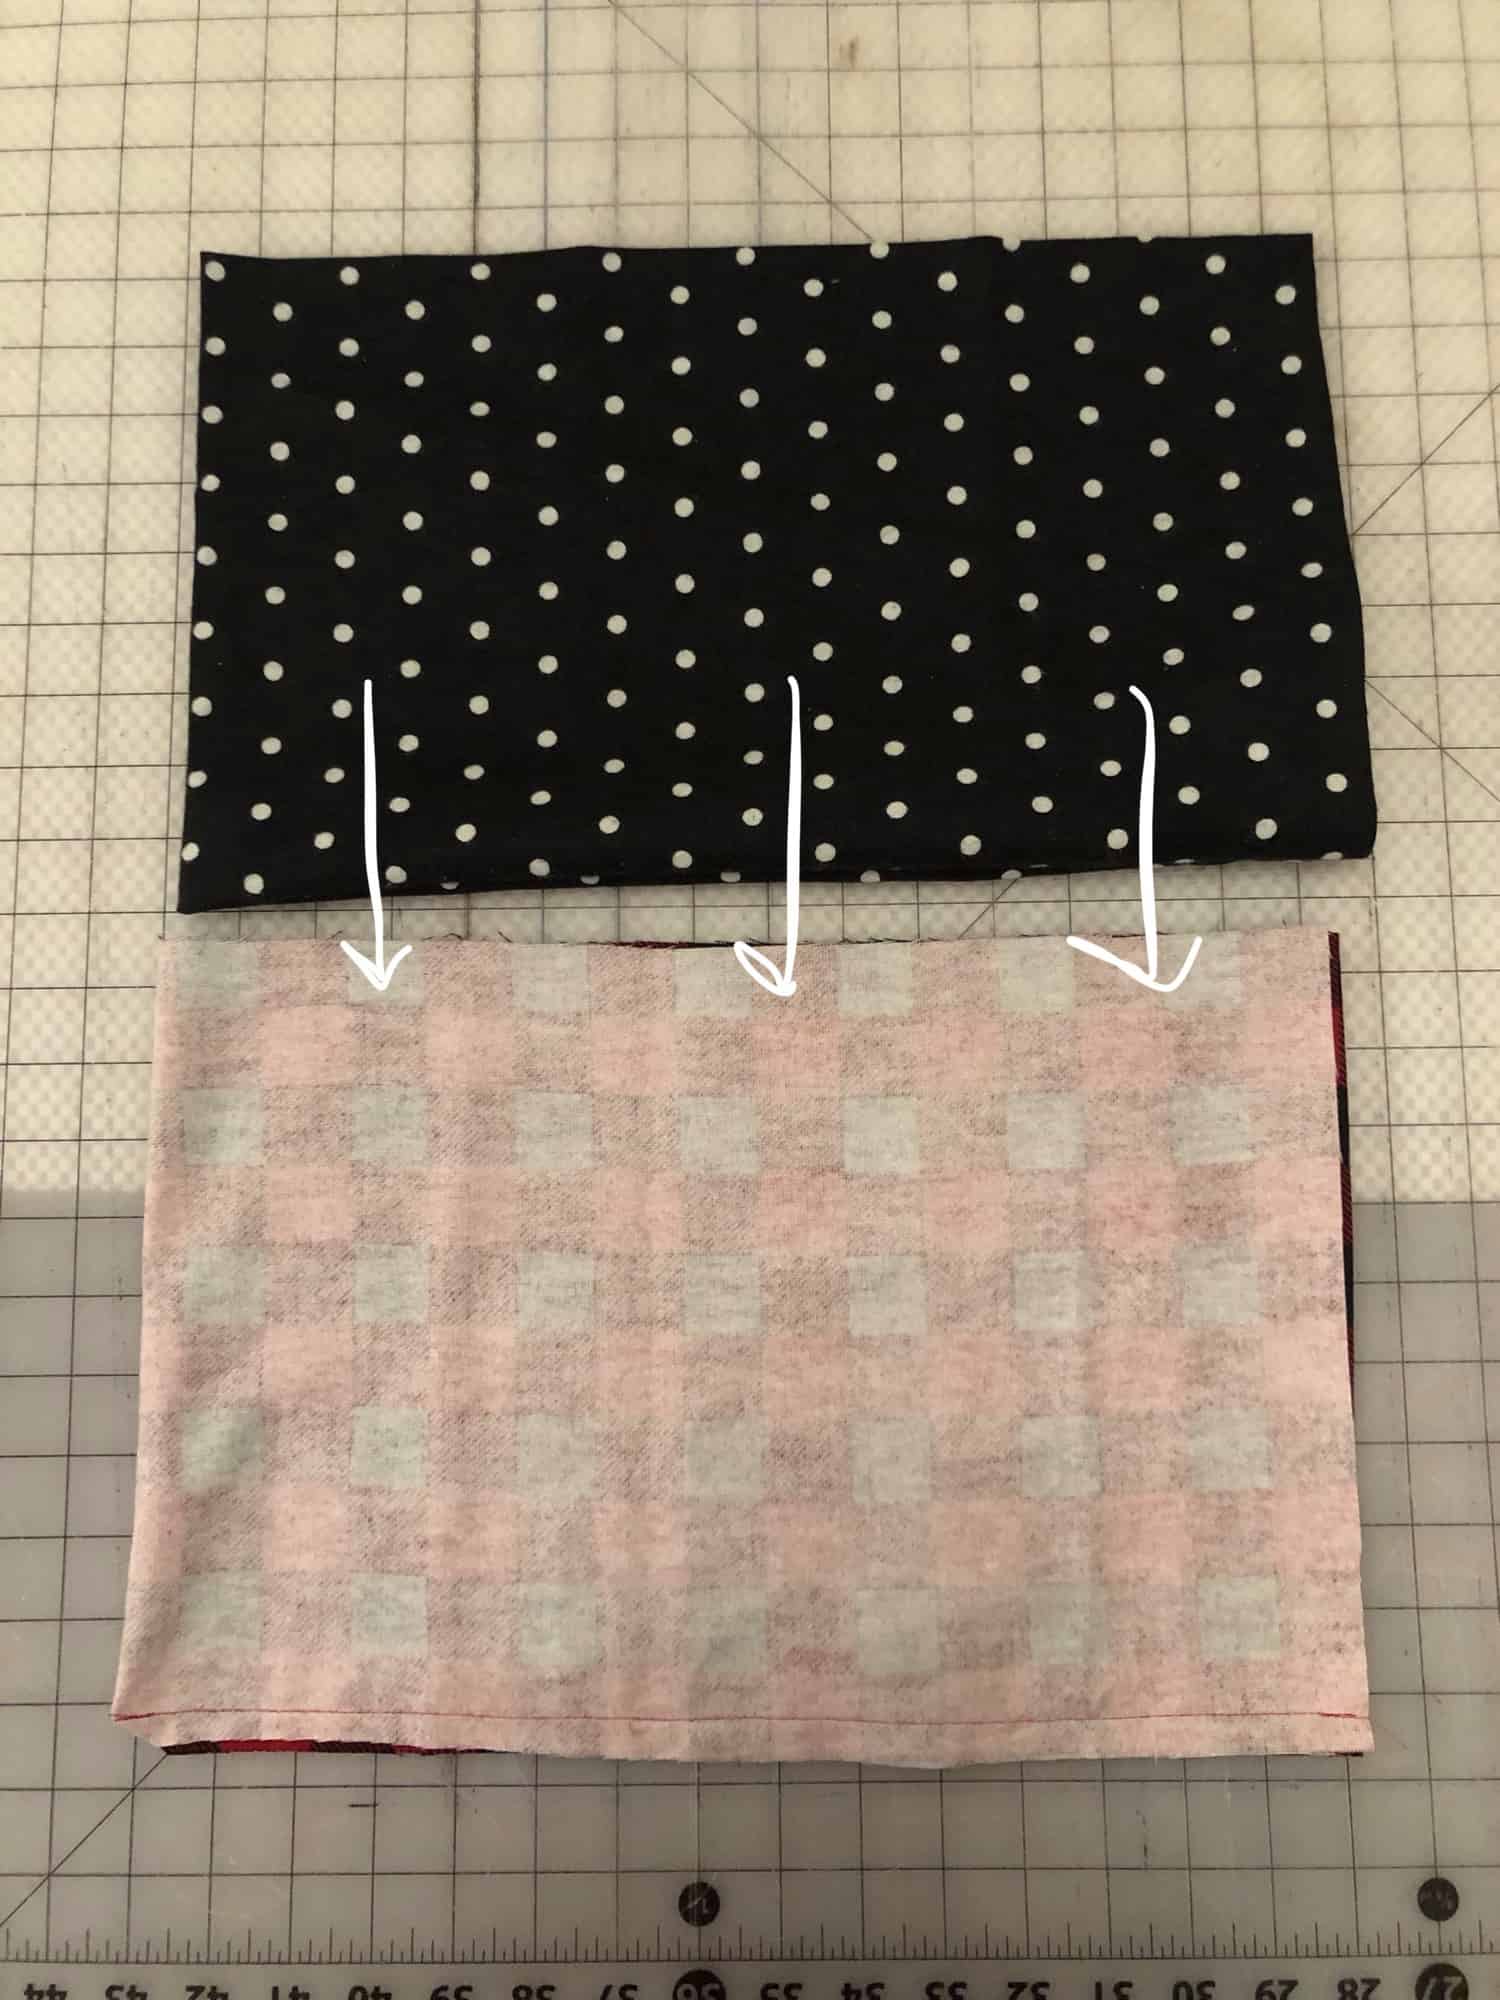
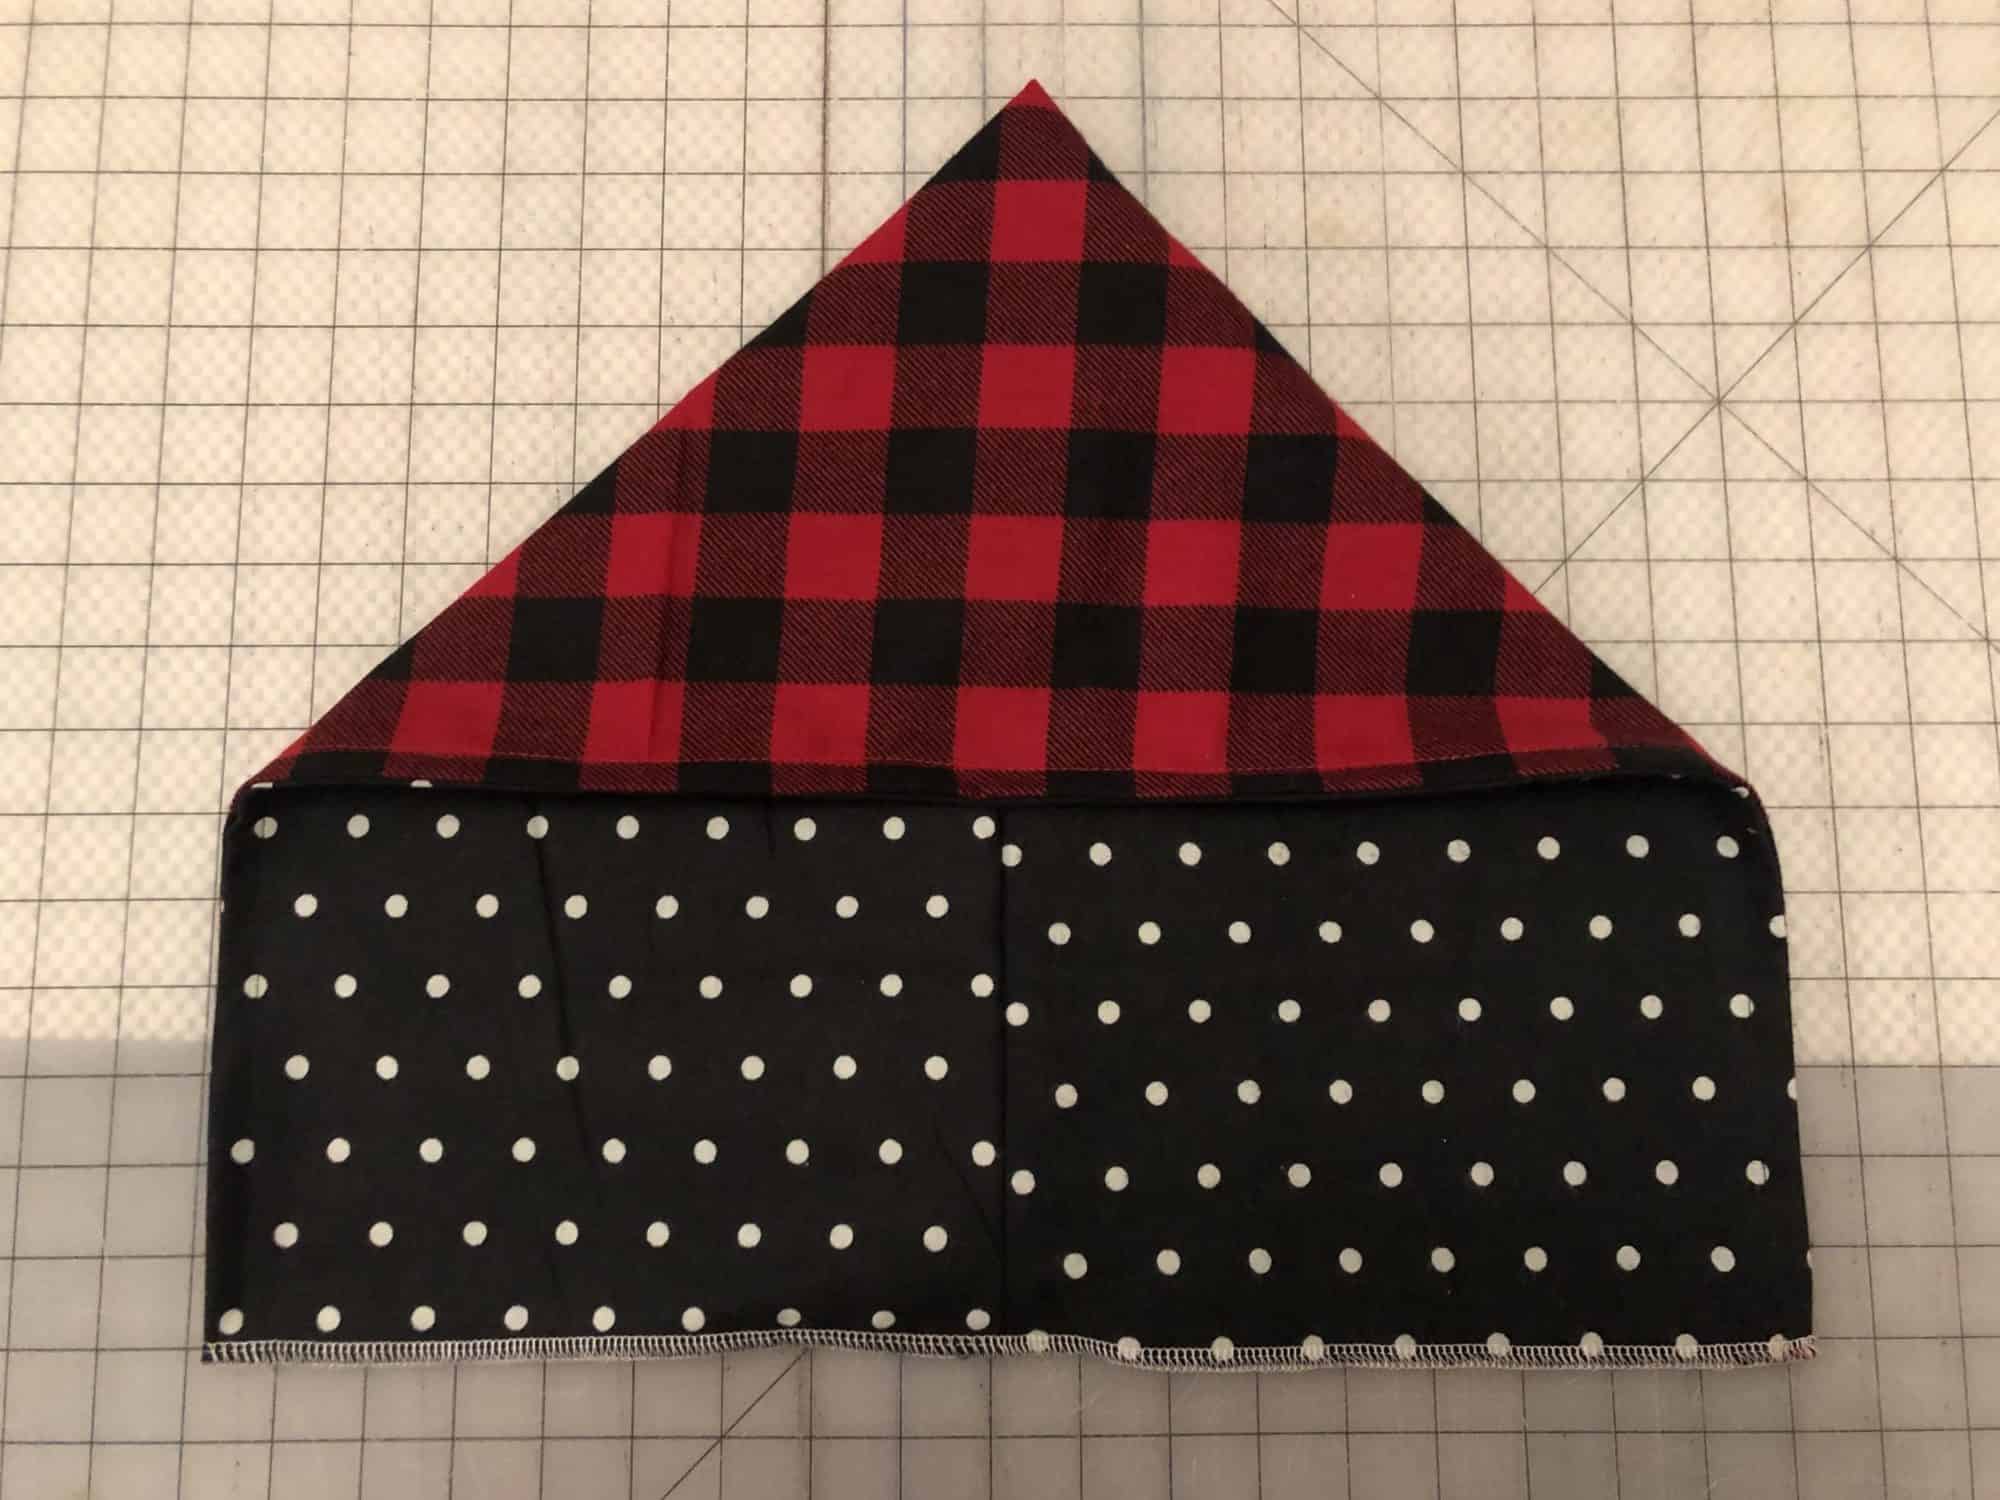
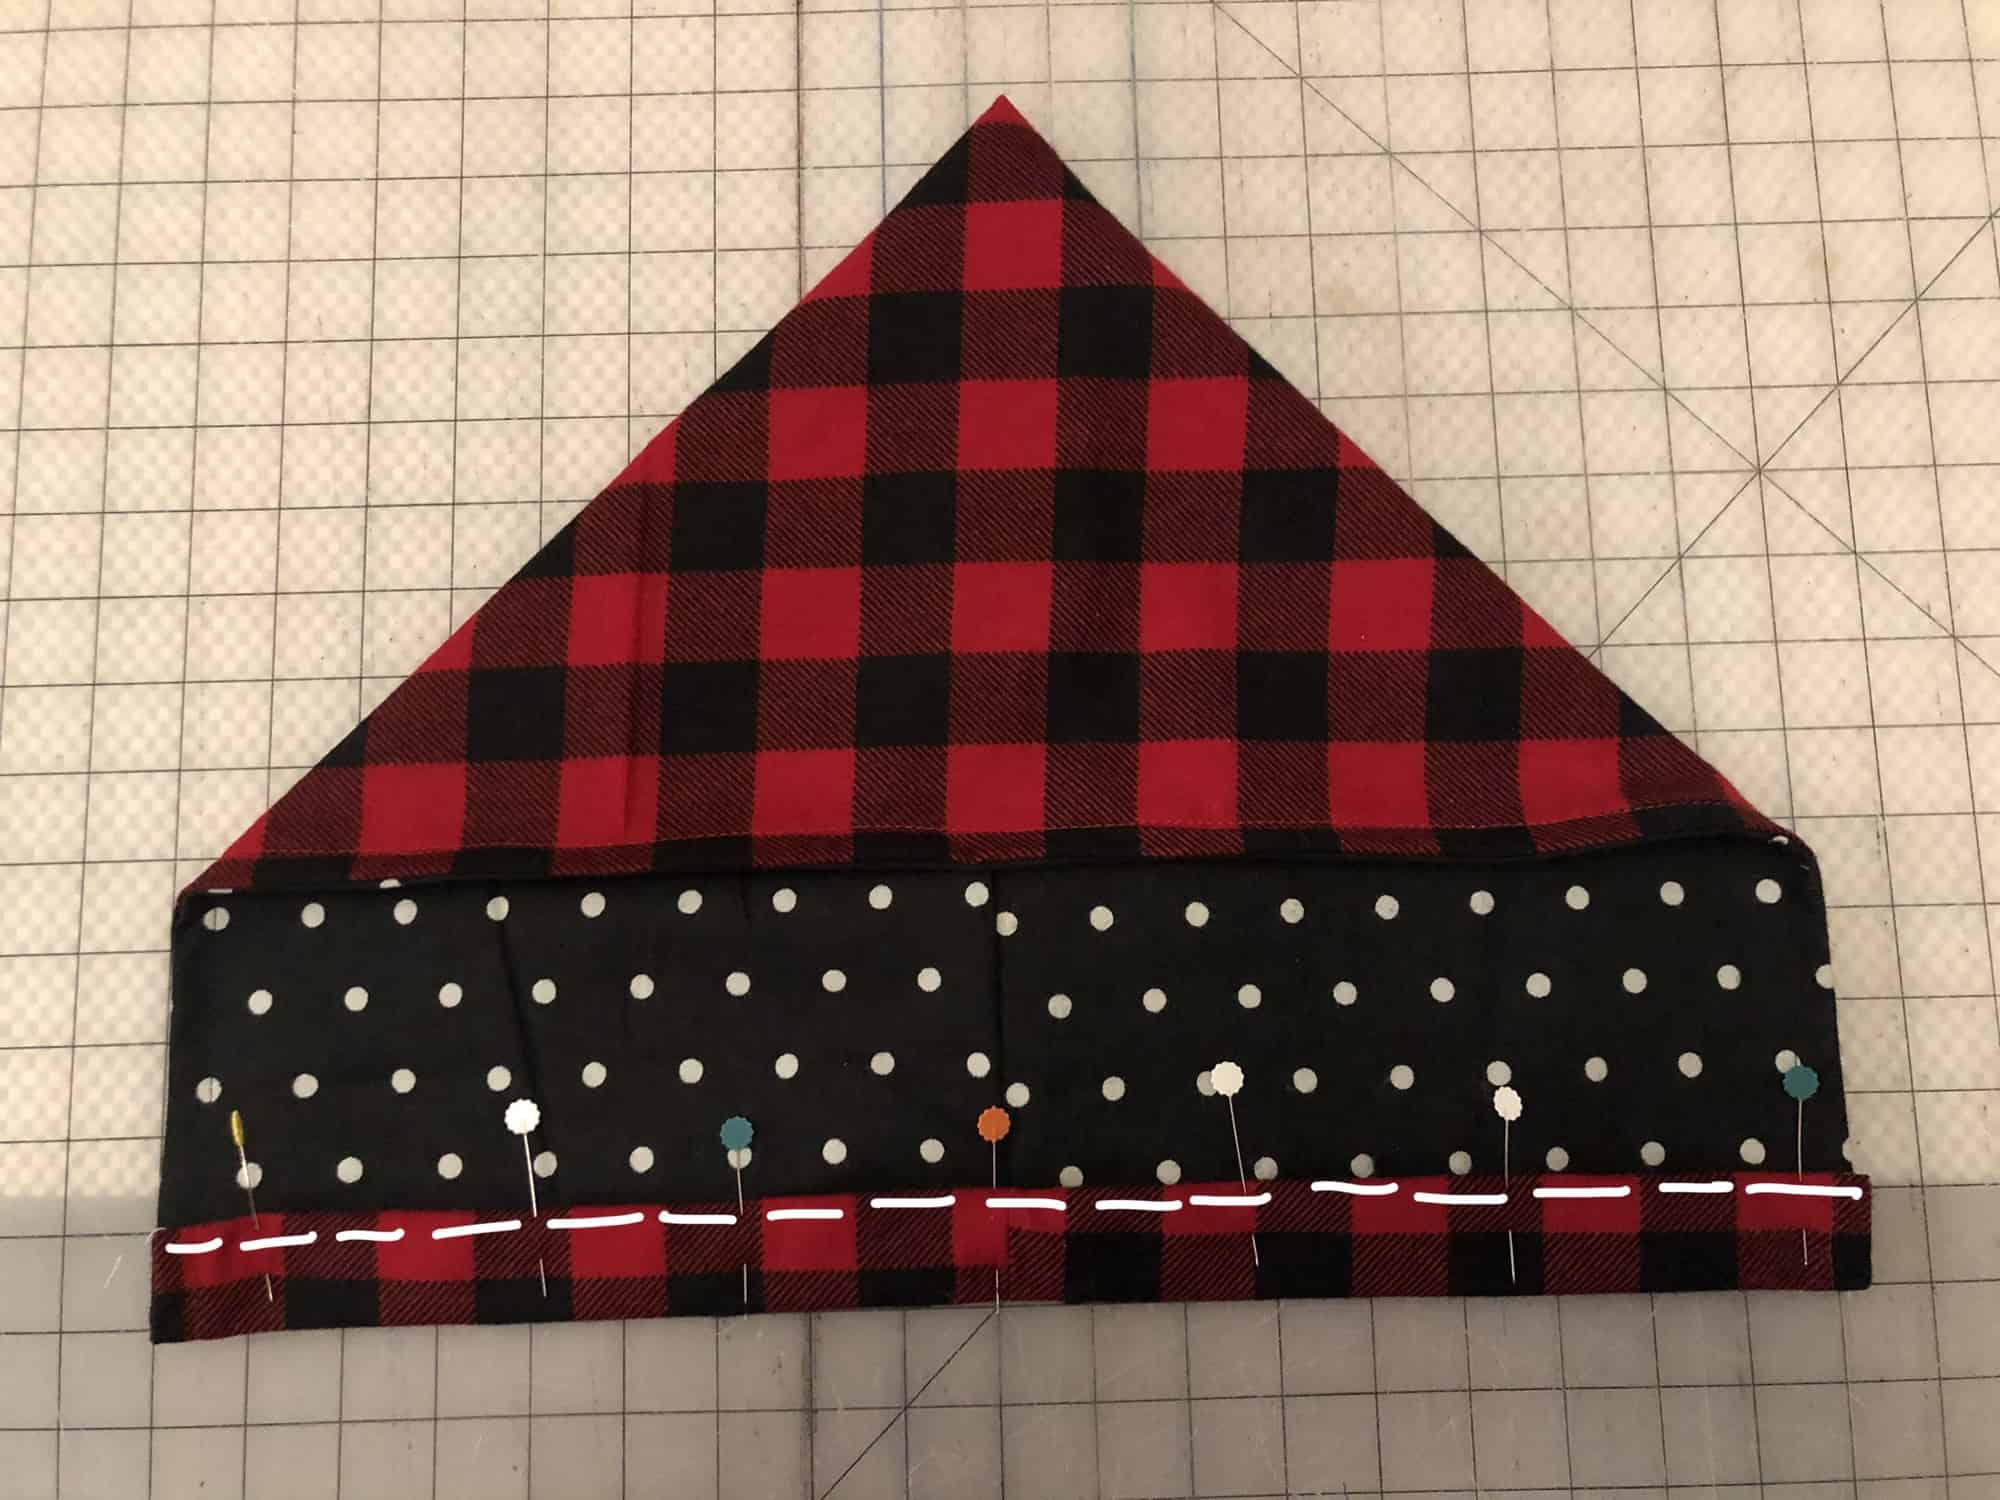
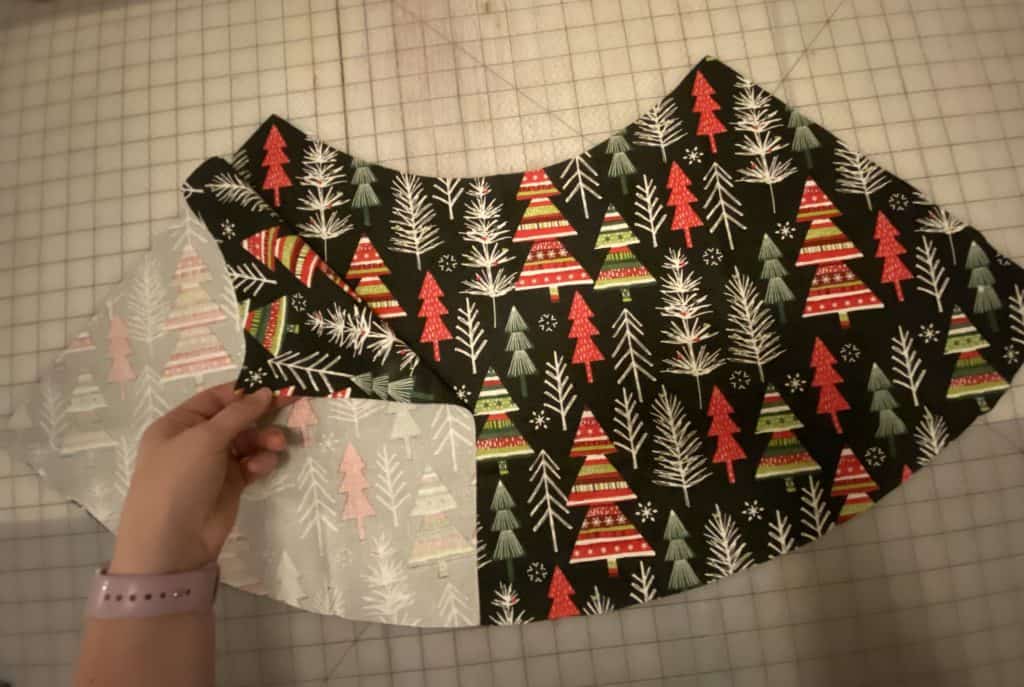
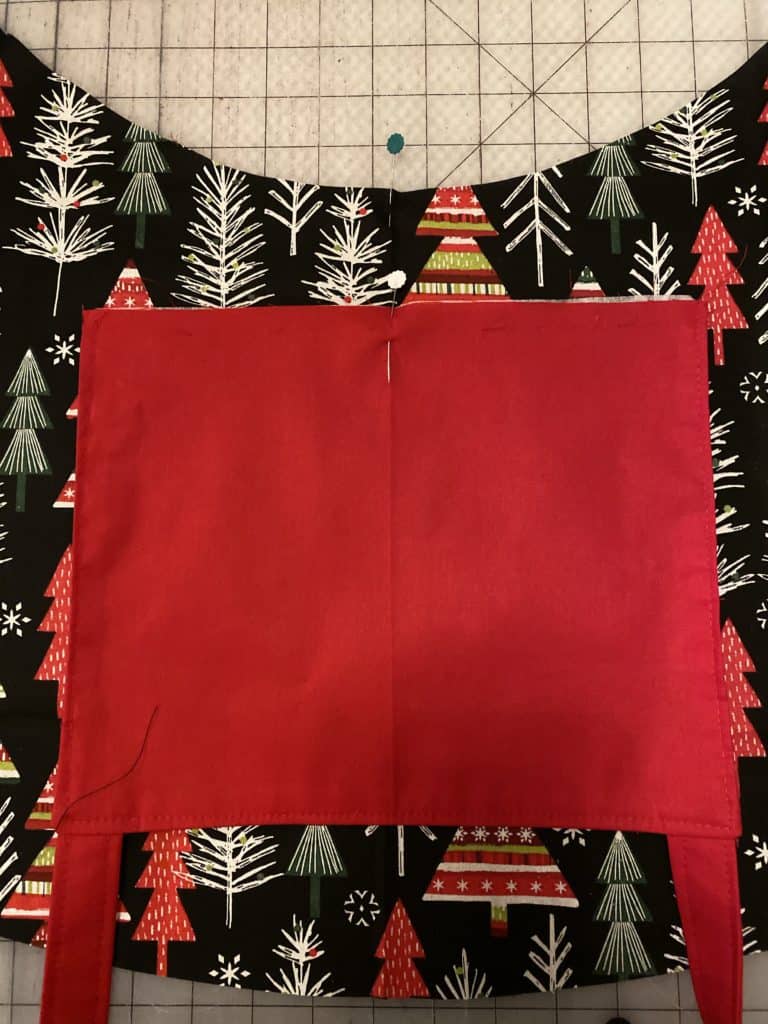
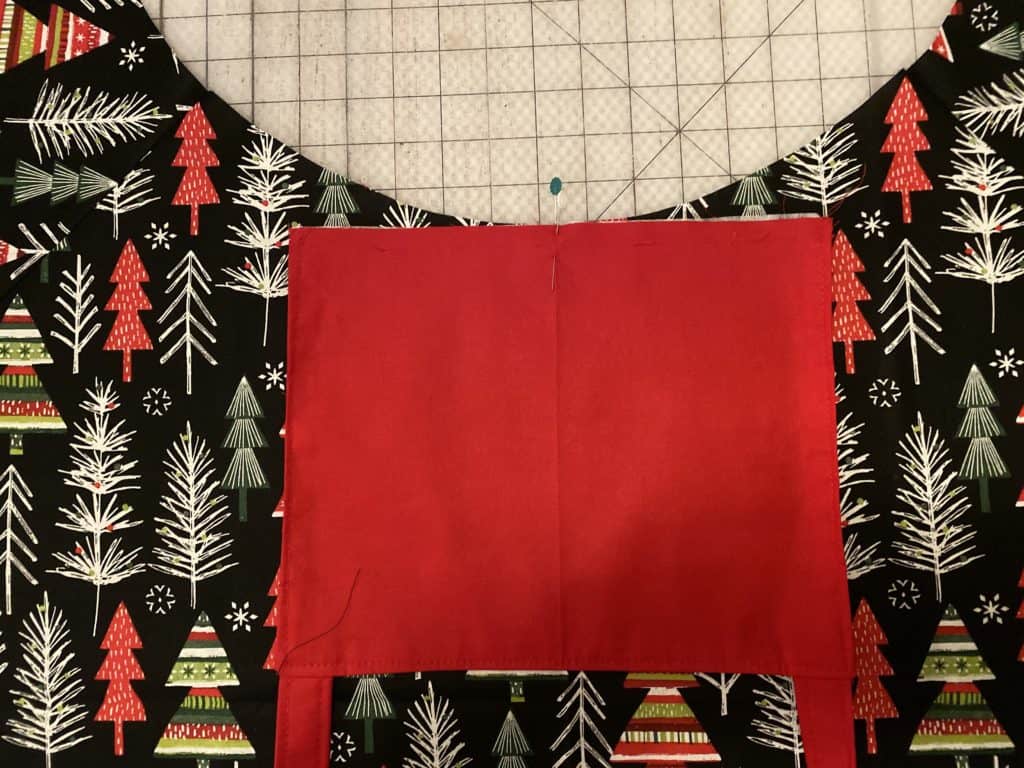
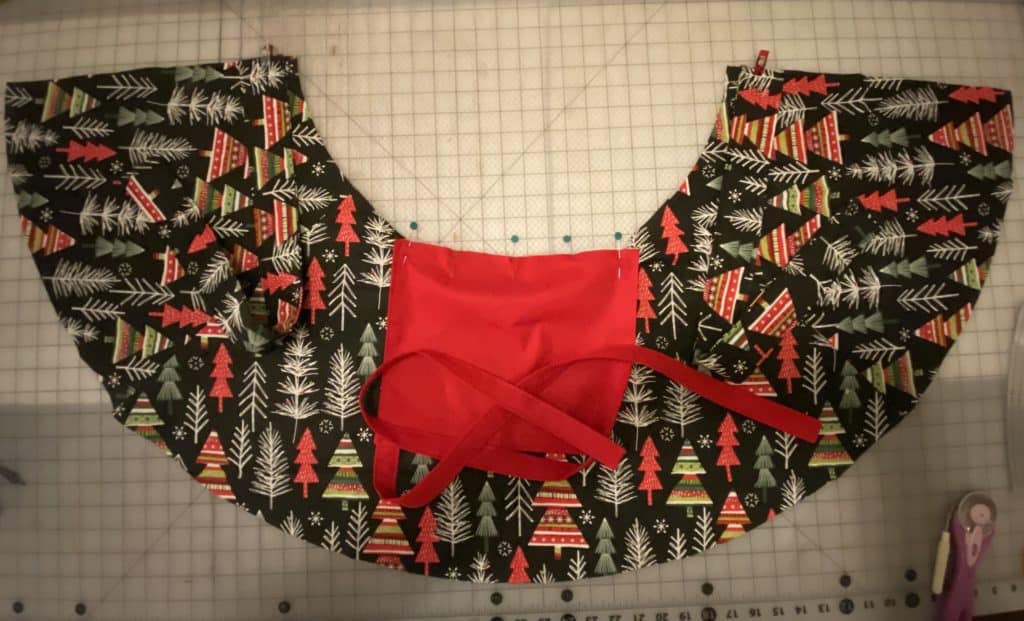
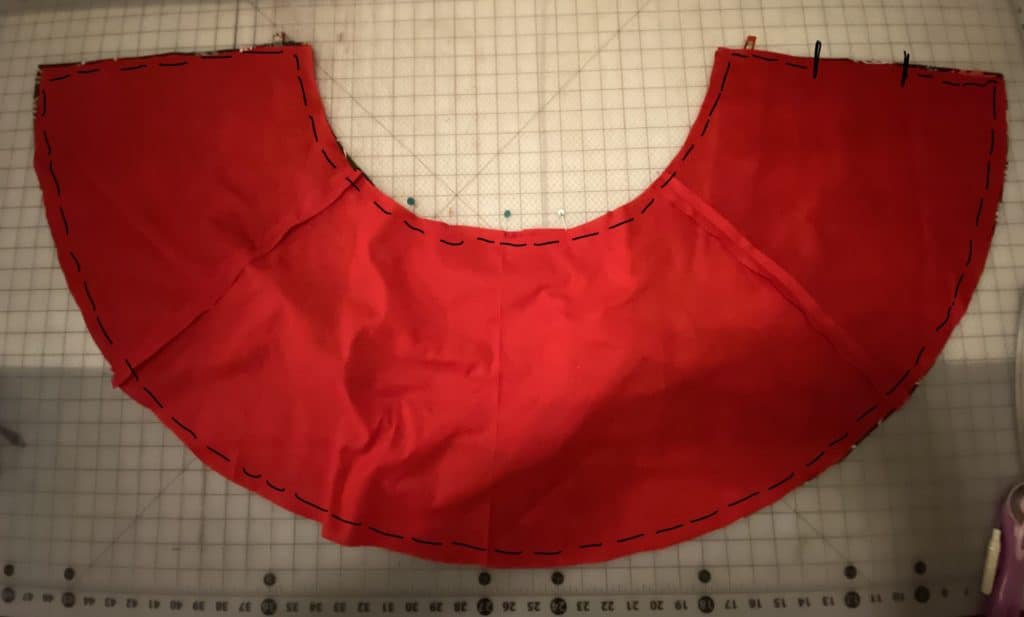
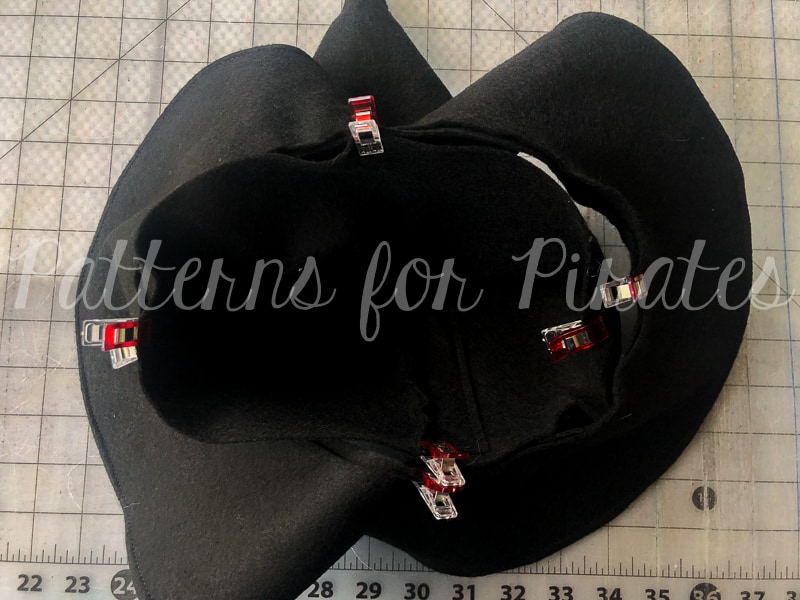
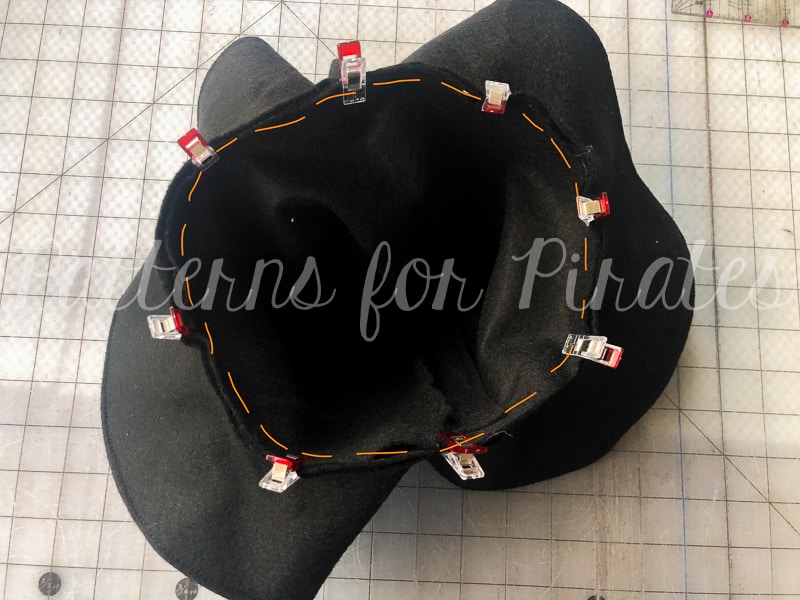
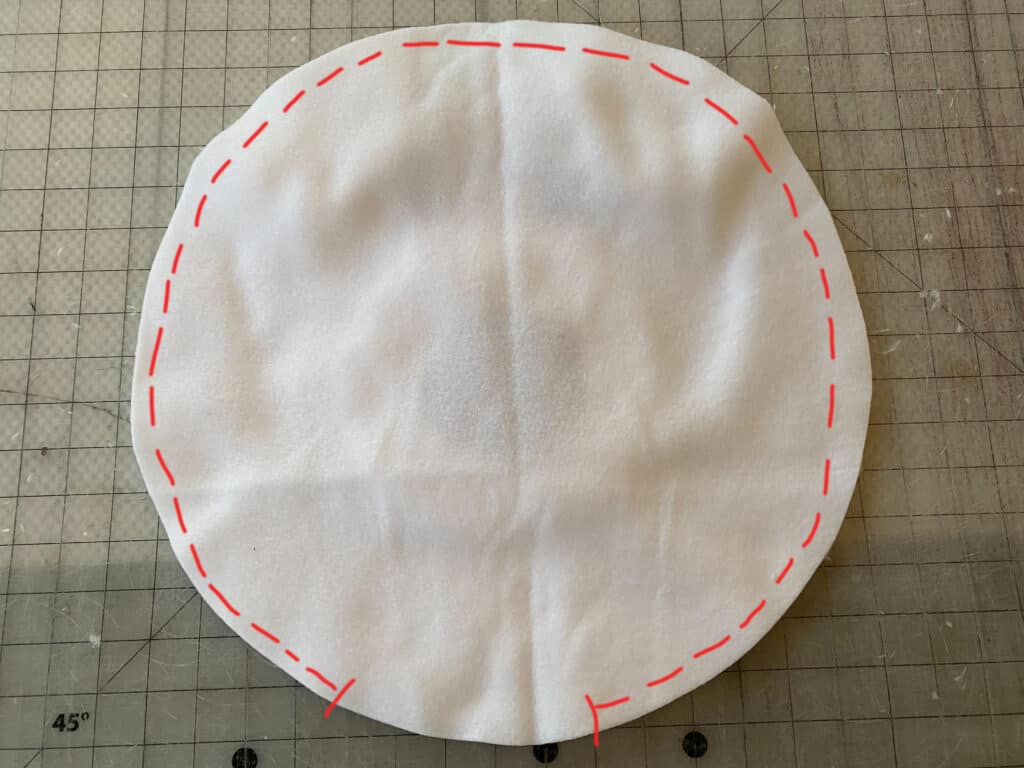
With the head right side up, place the lining fabric on top, right sides together.
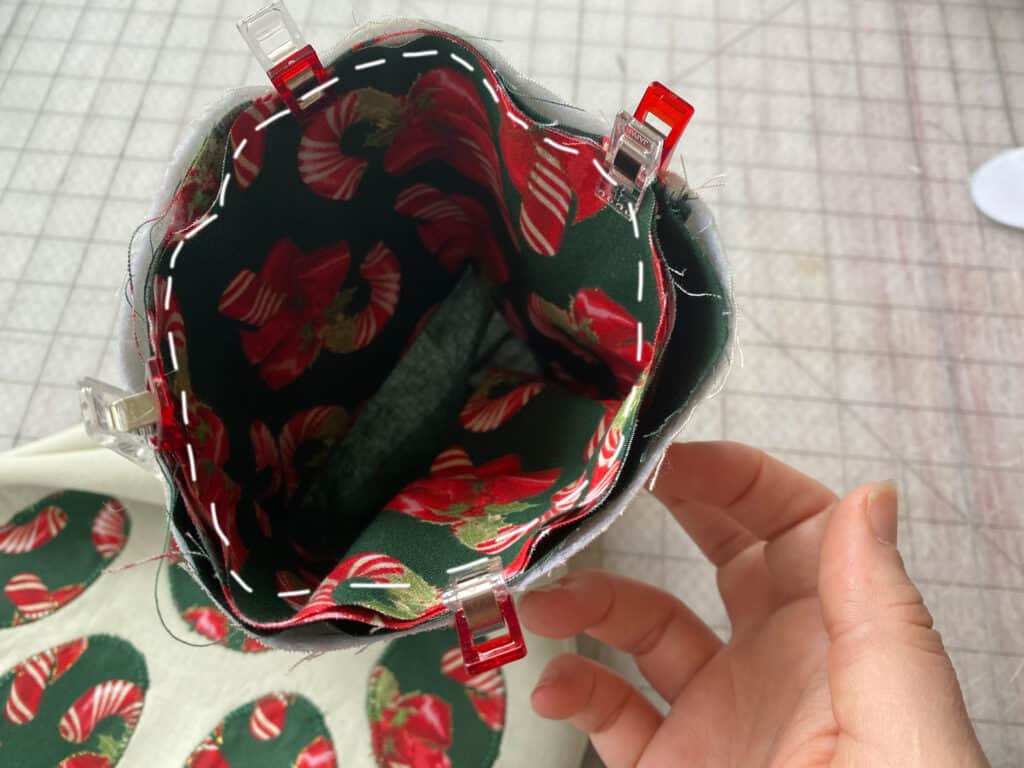
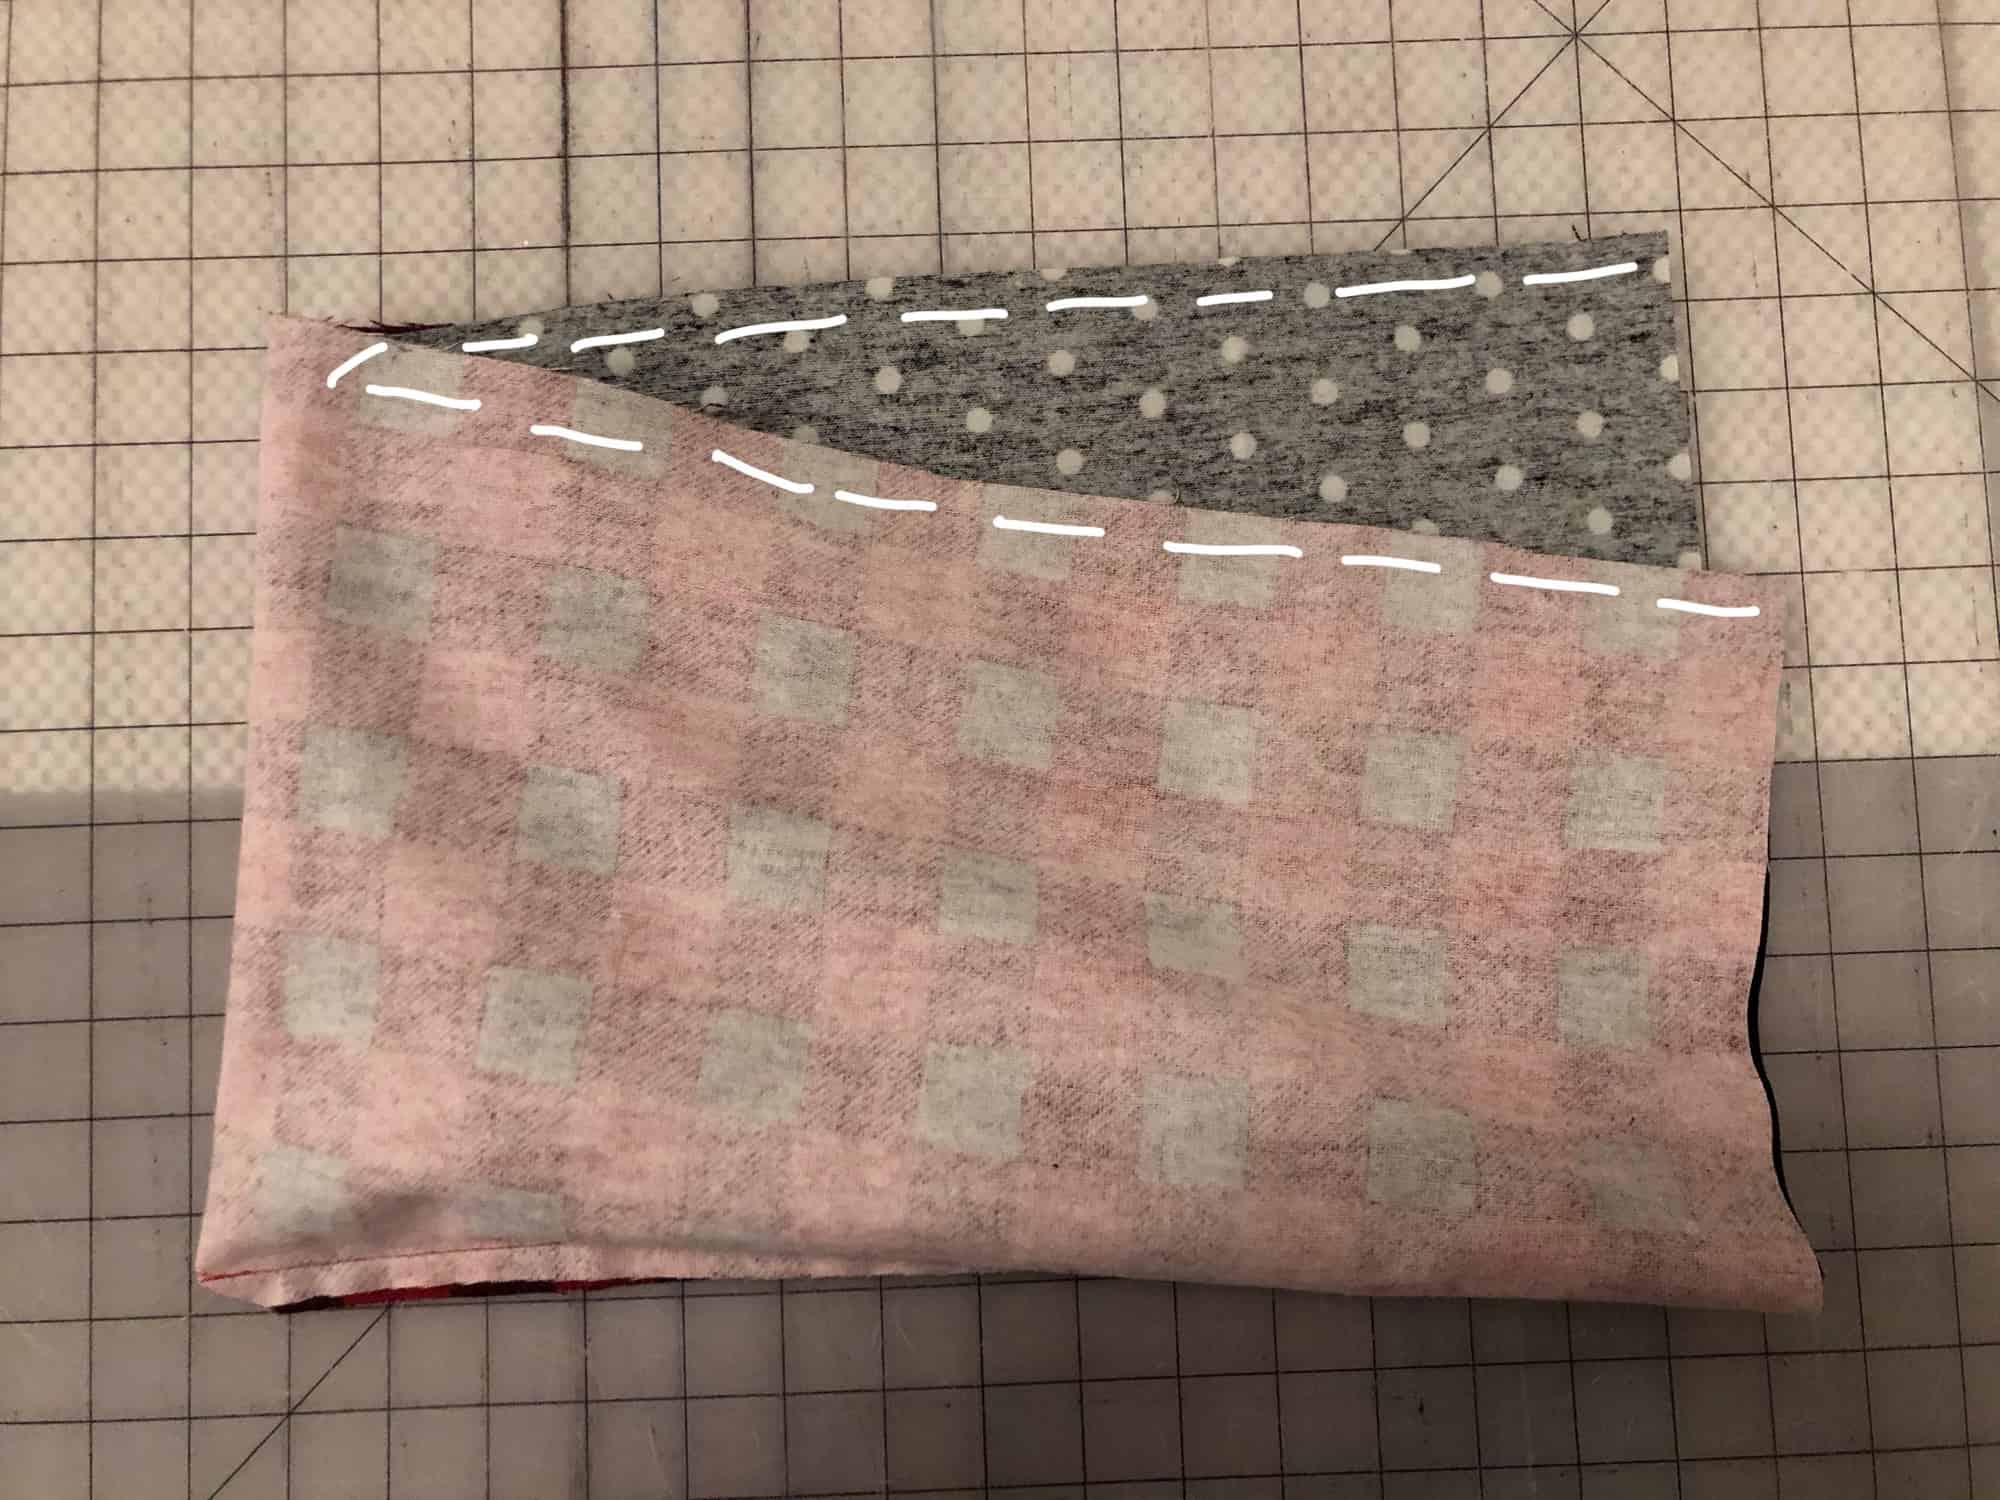
Using 1/2″ seam allowance, sew around the outer curved edge, leaving about 5″ open at the bottom for turning.
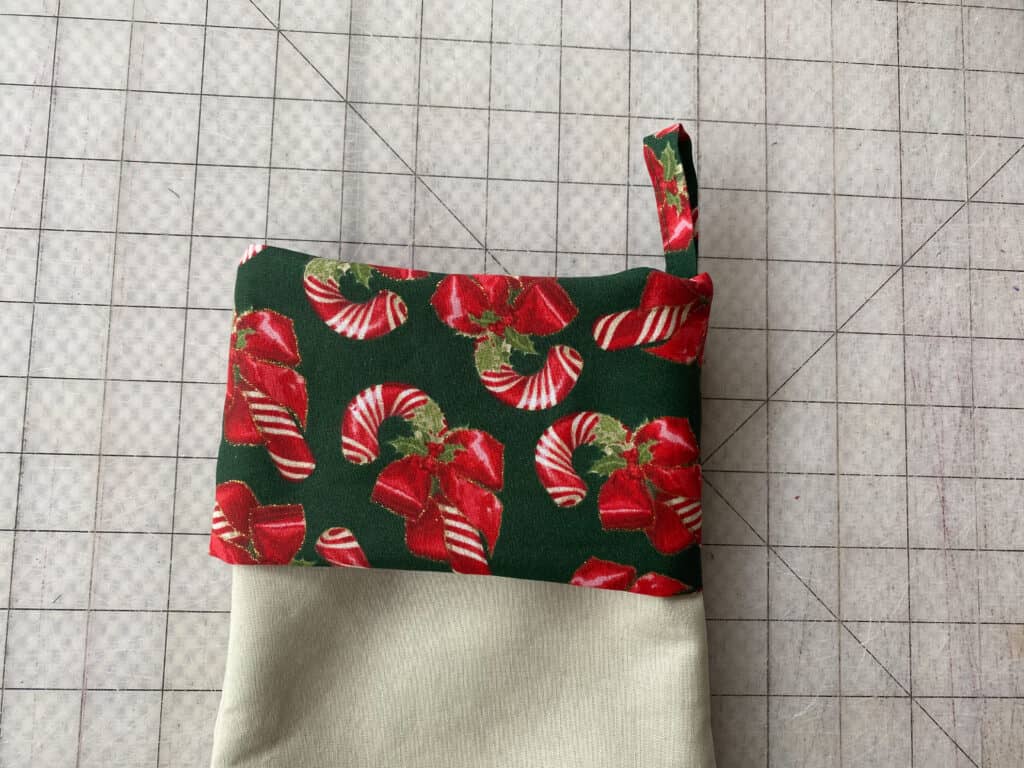
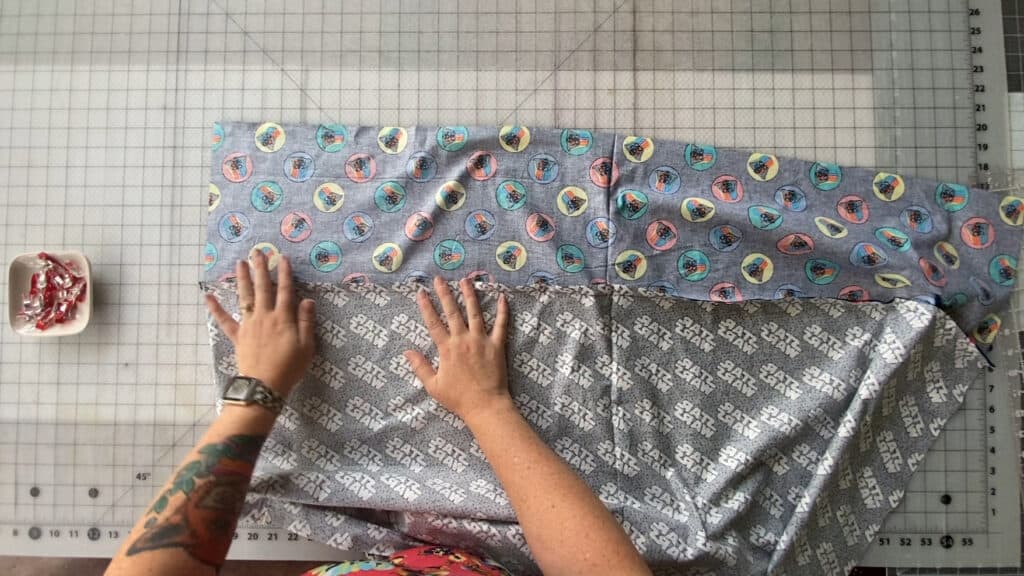
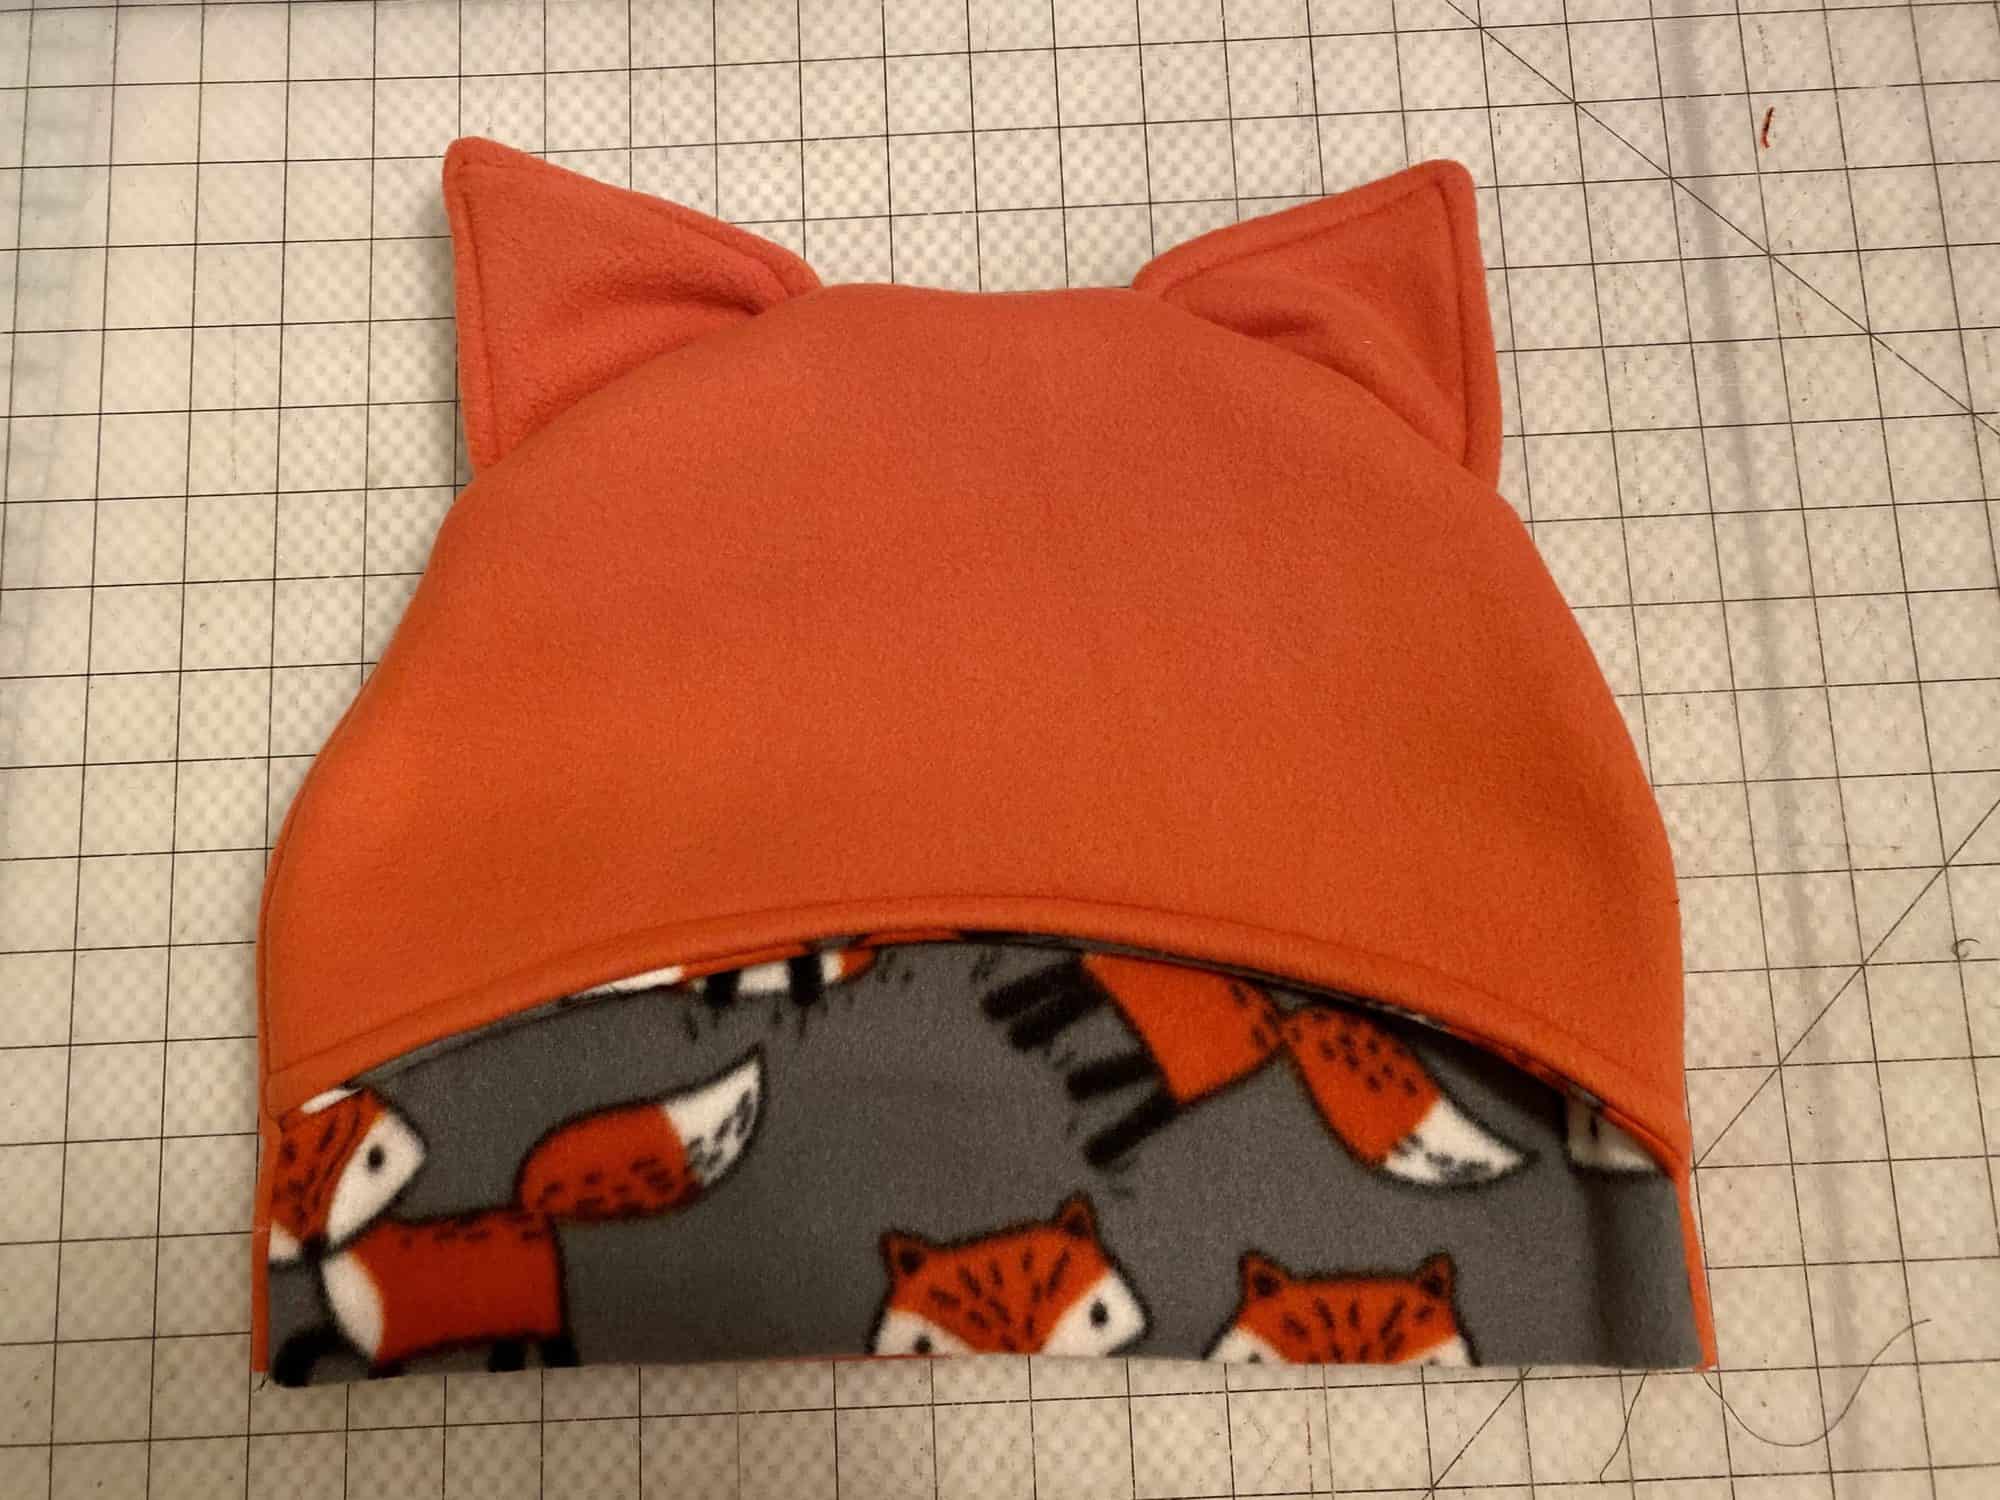
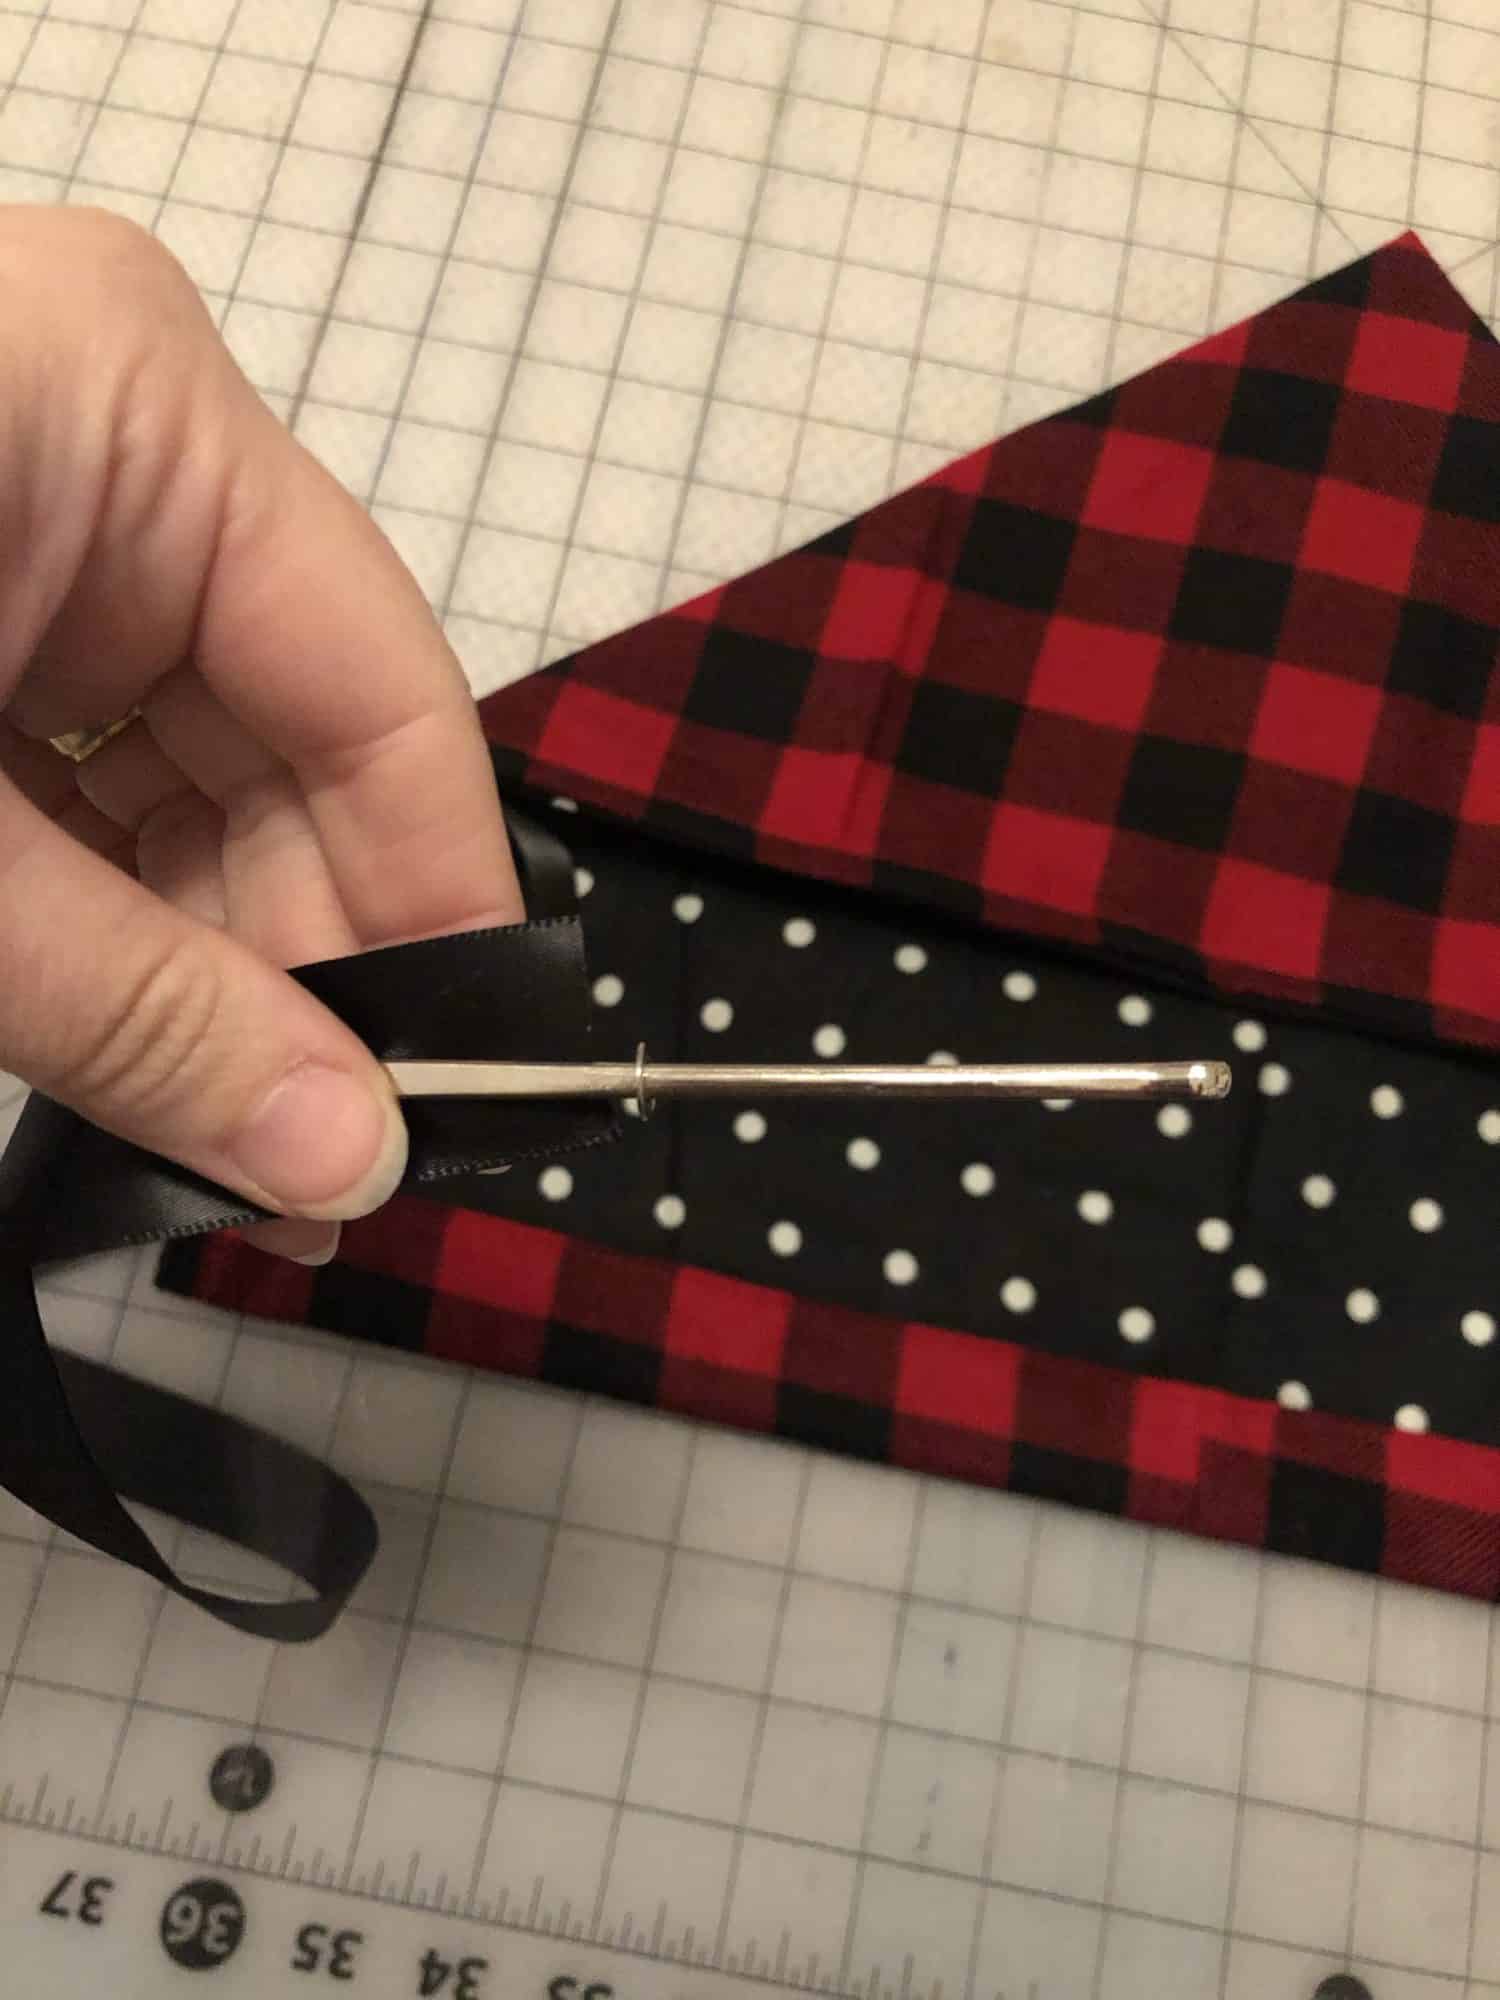
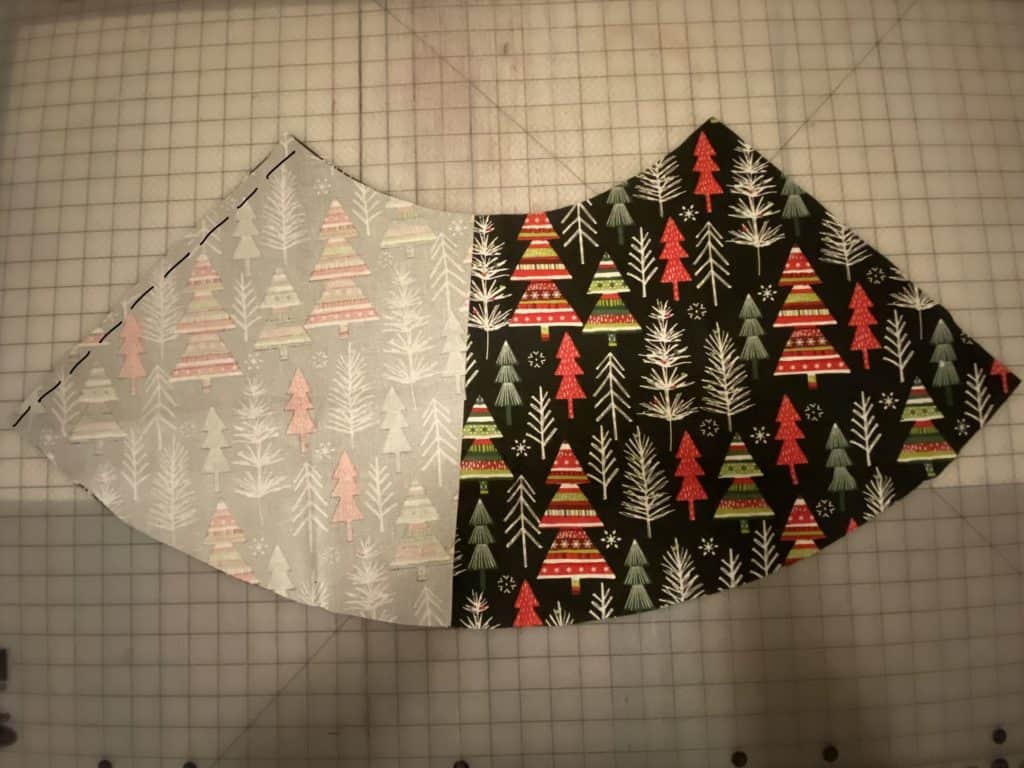
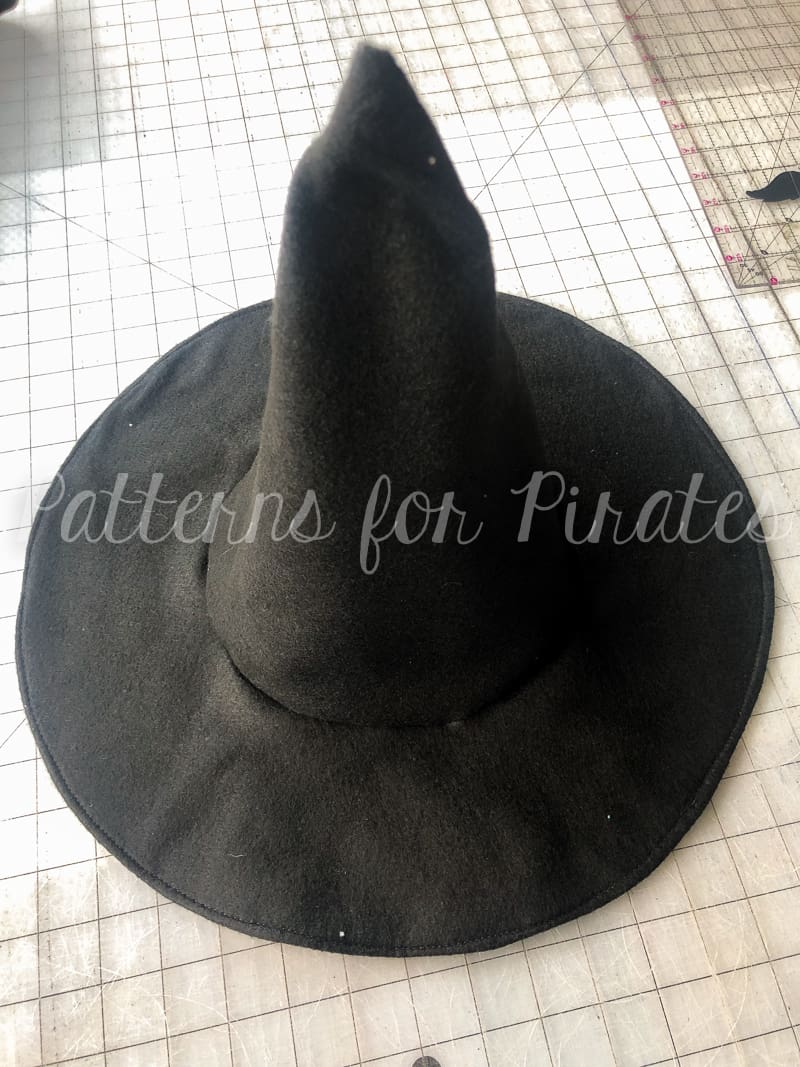
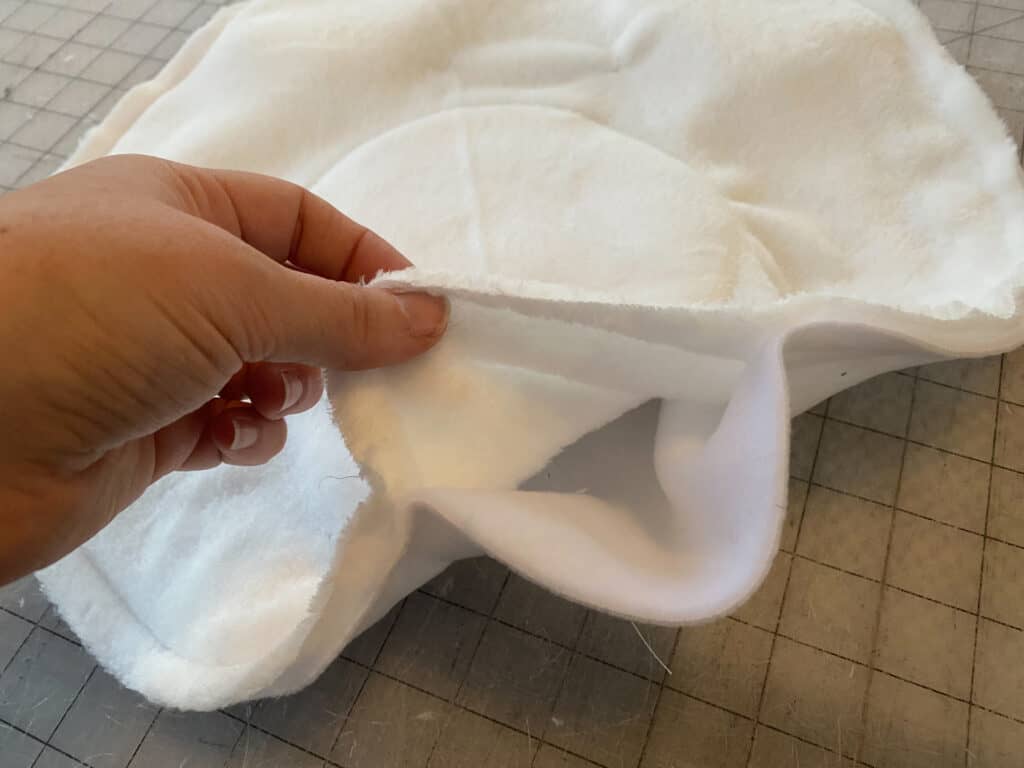
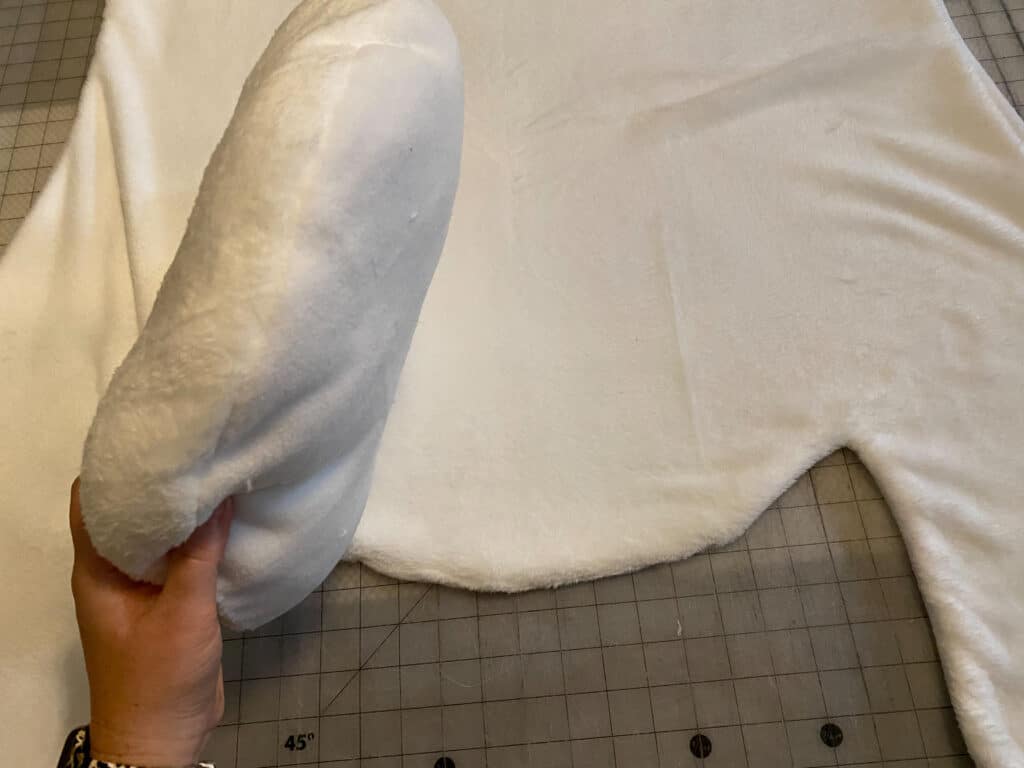
Turn the head right sides out, through the opening.
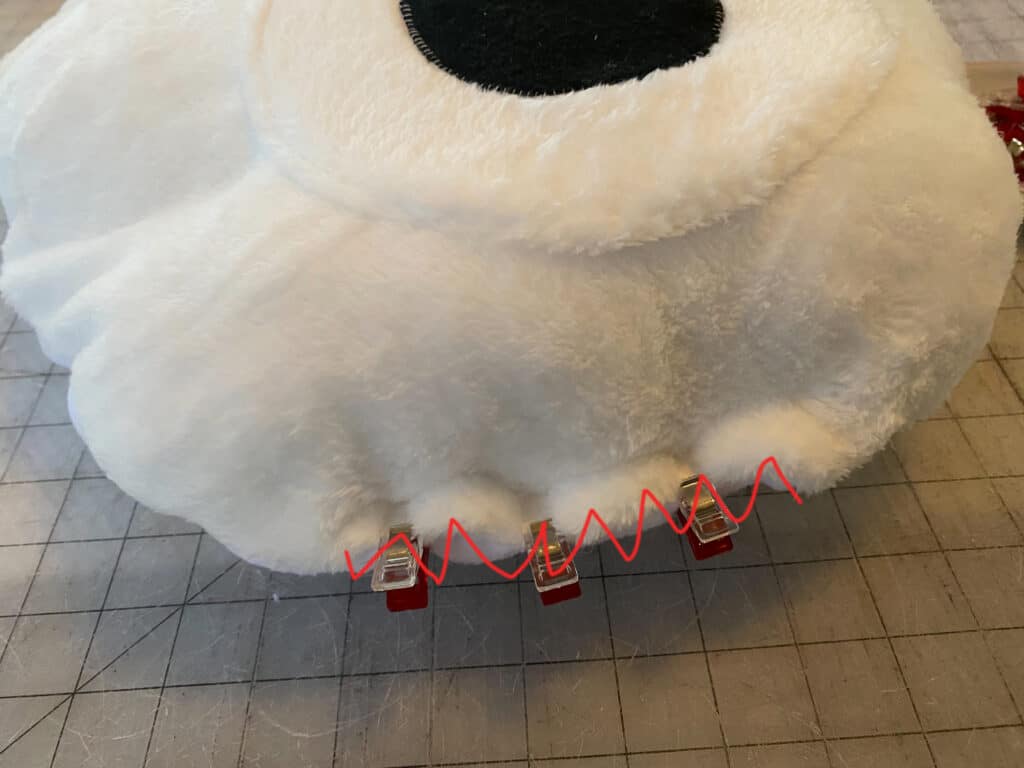
Being sure not to overstuff the head, fill it with fiberfill.

Using a blind stitch, close the opening on the head piece.
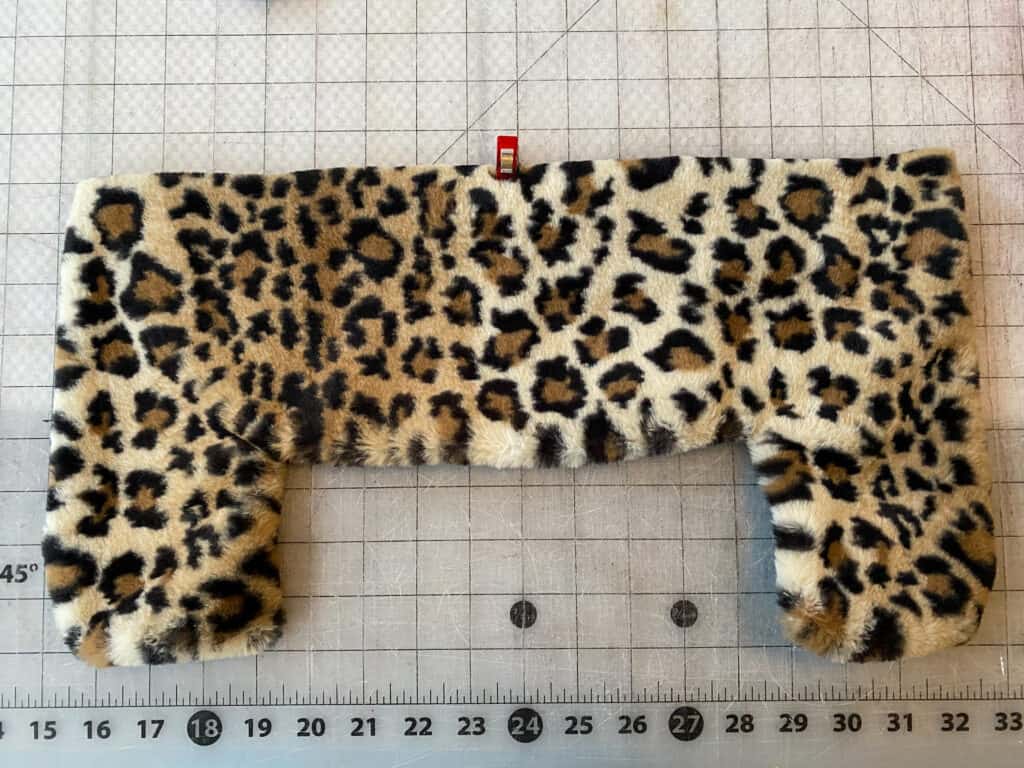
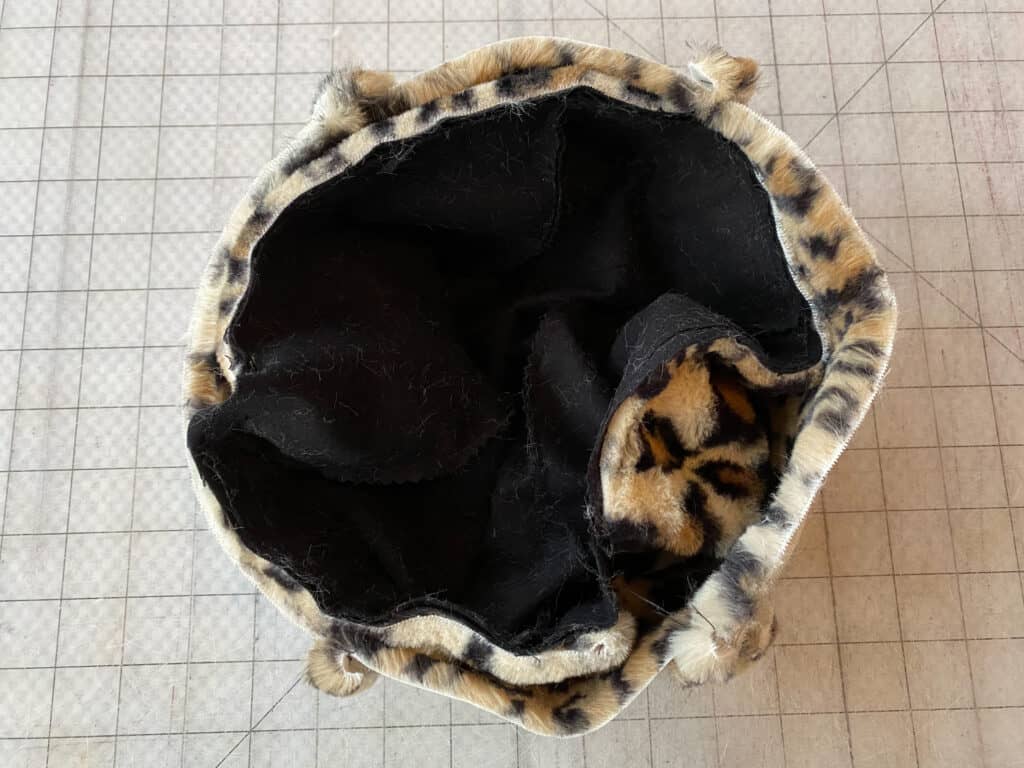
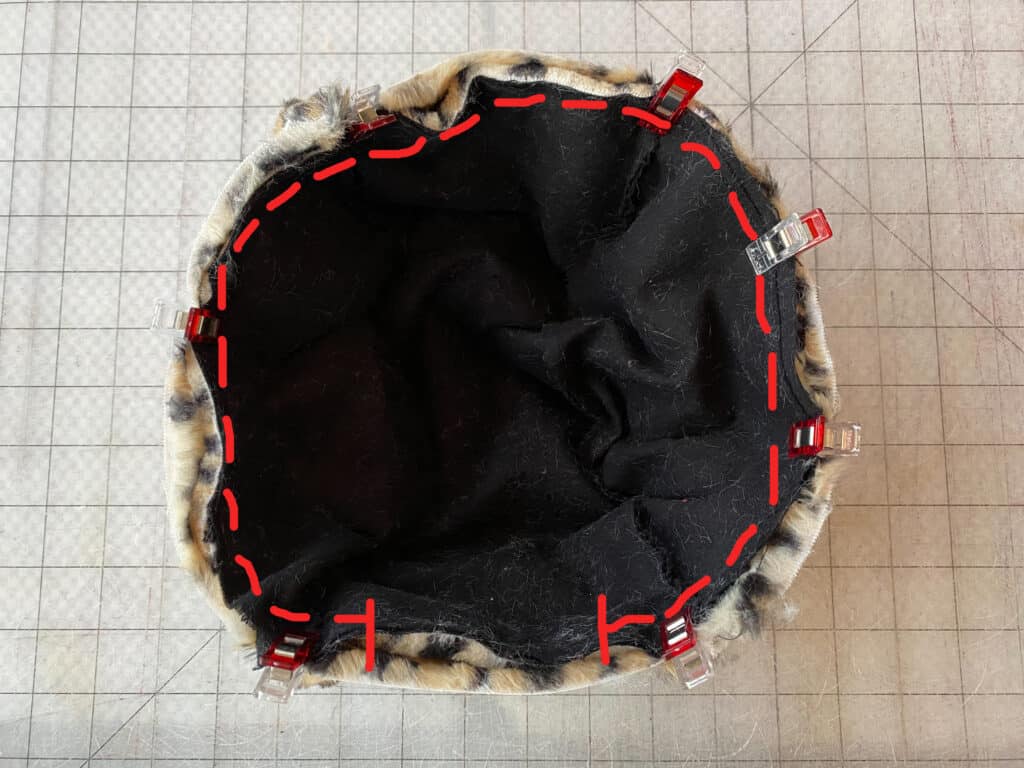
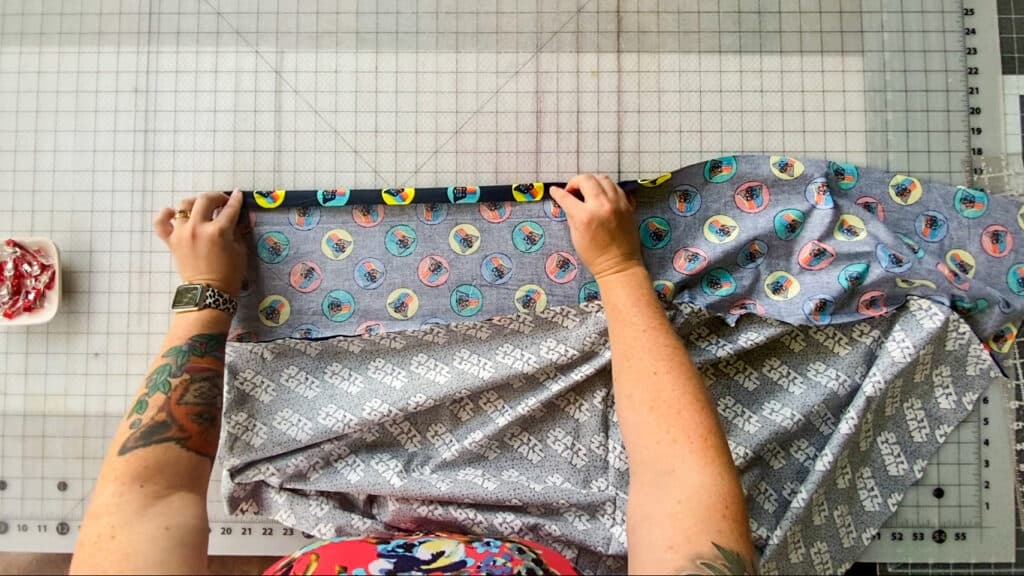
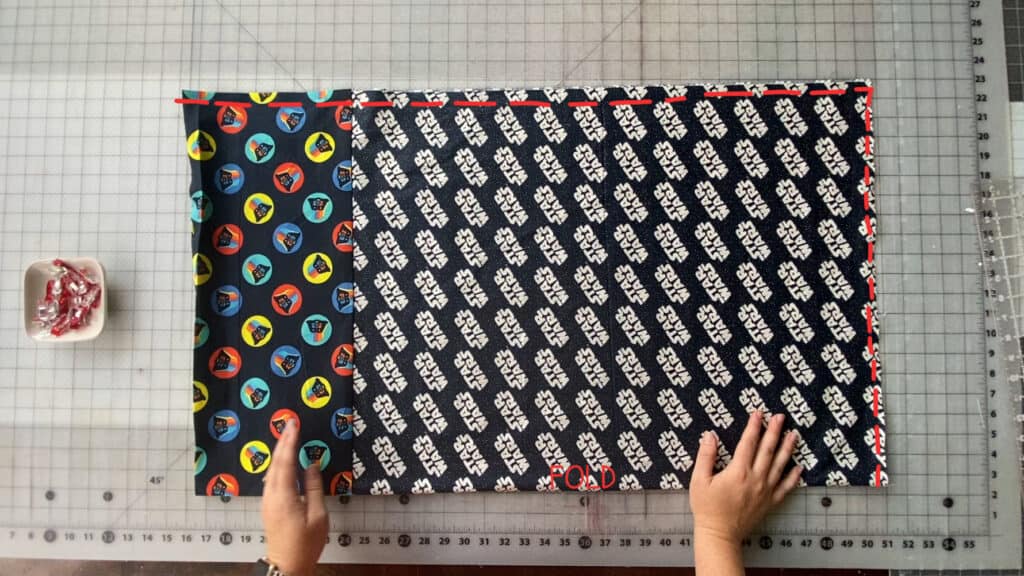
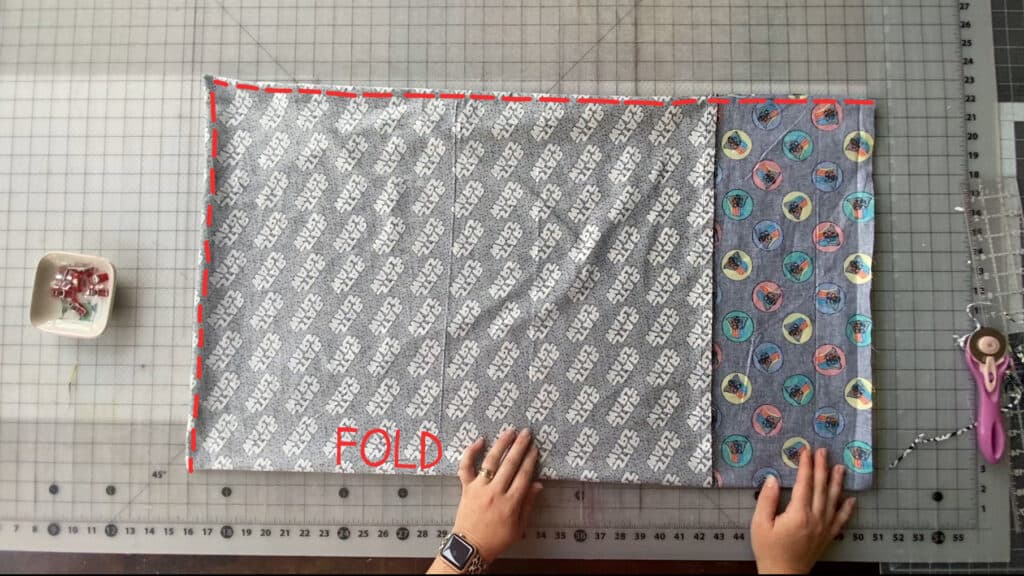
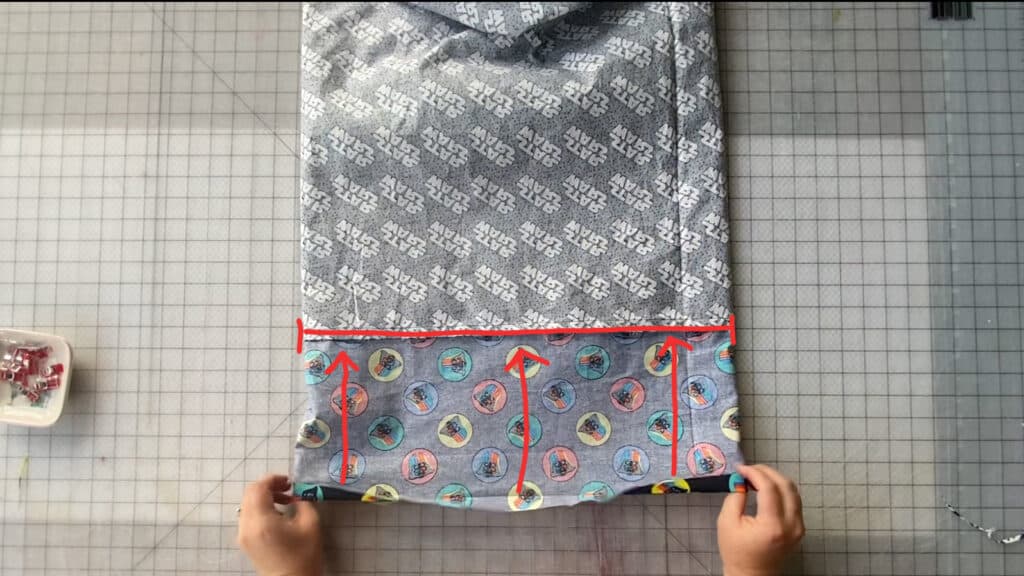
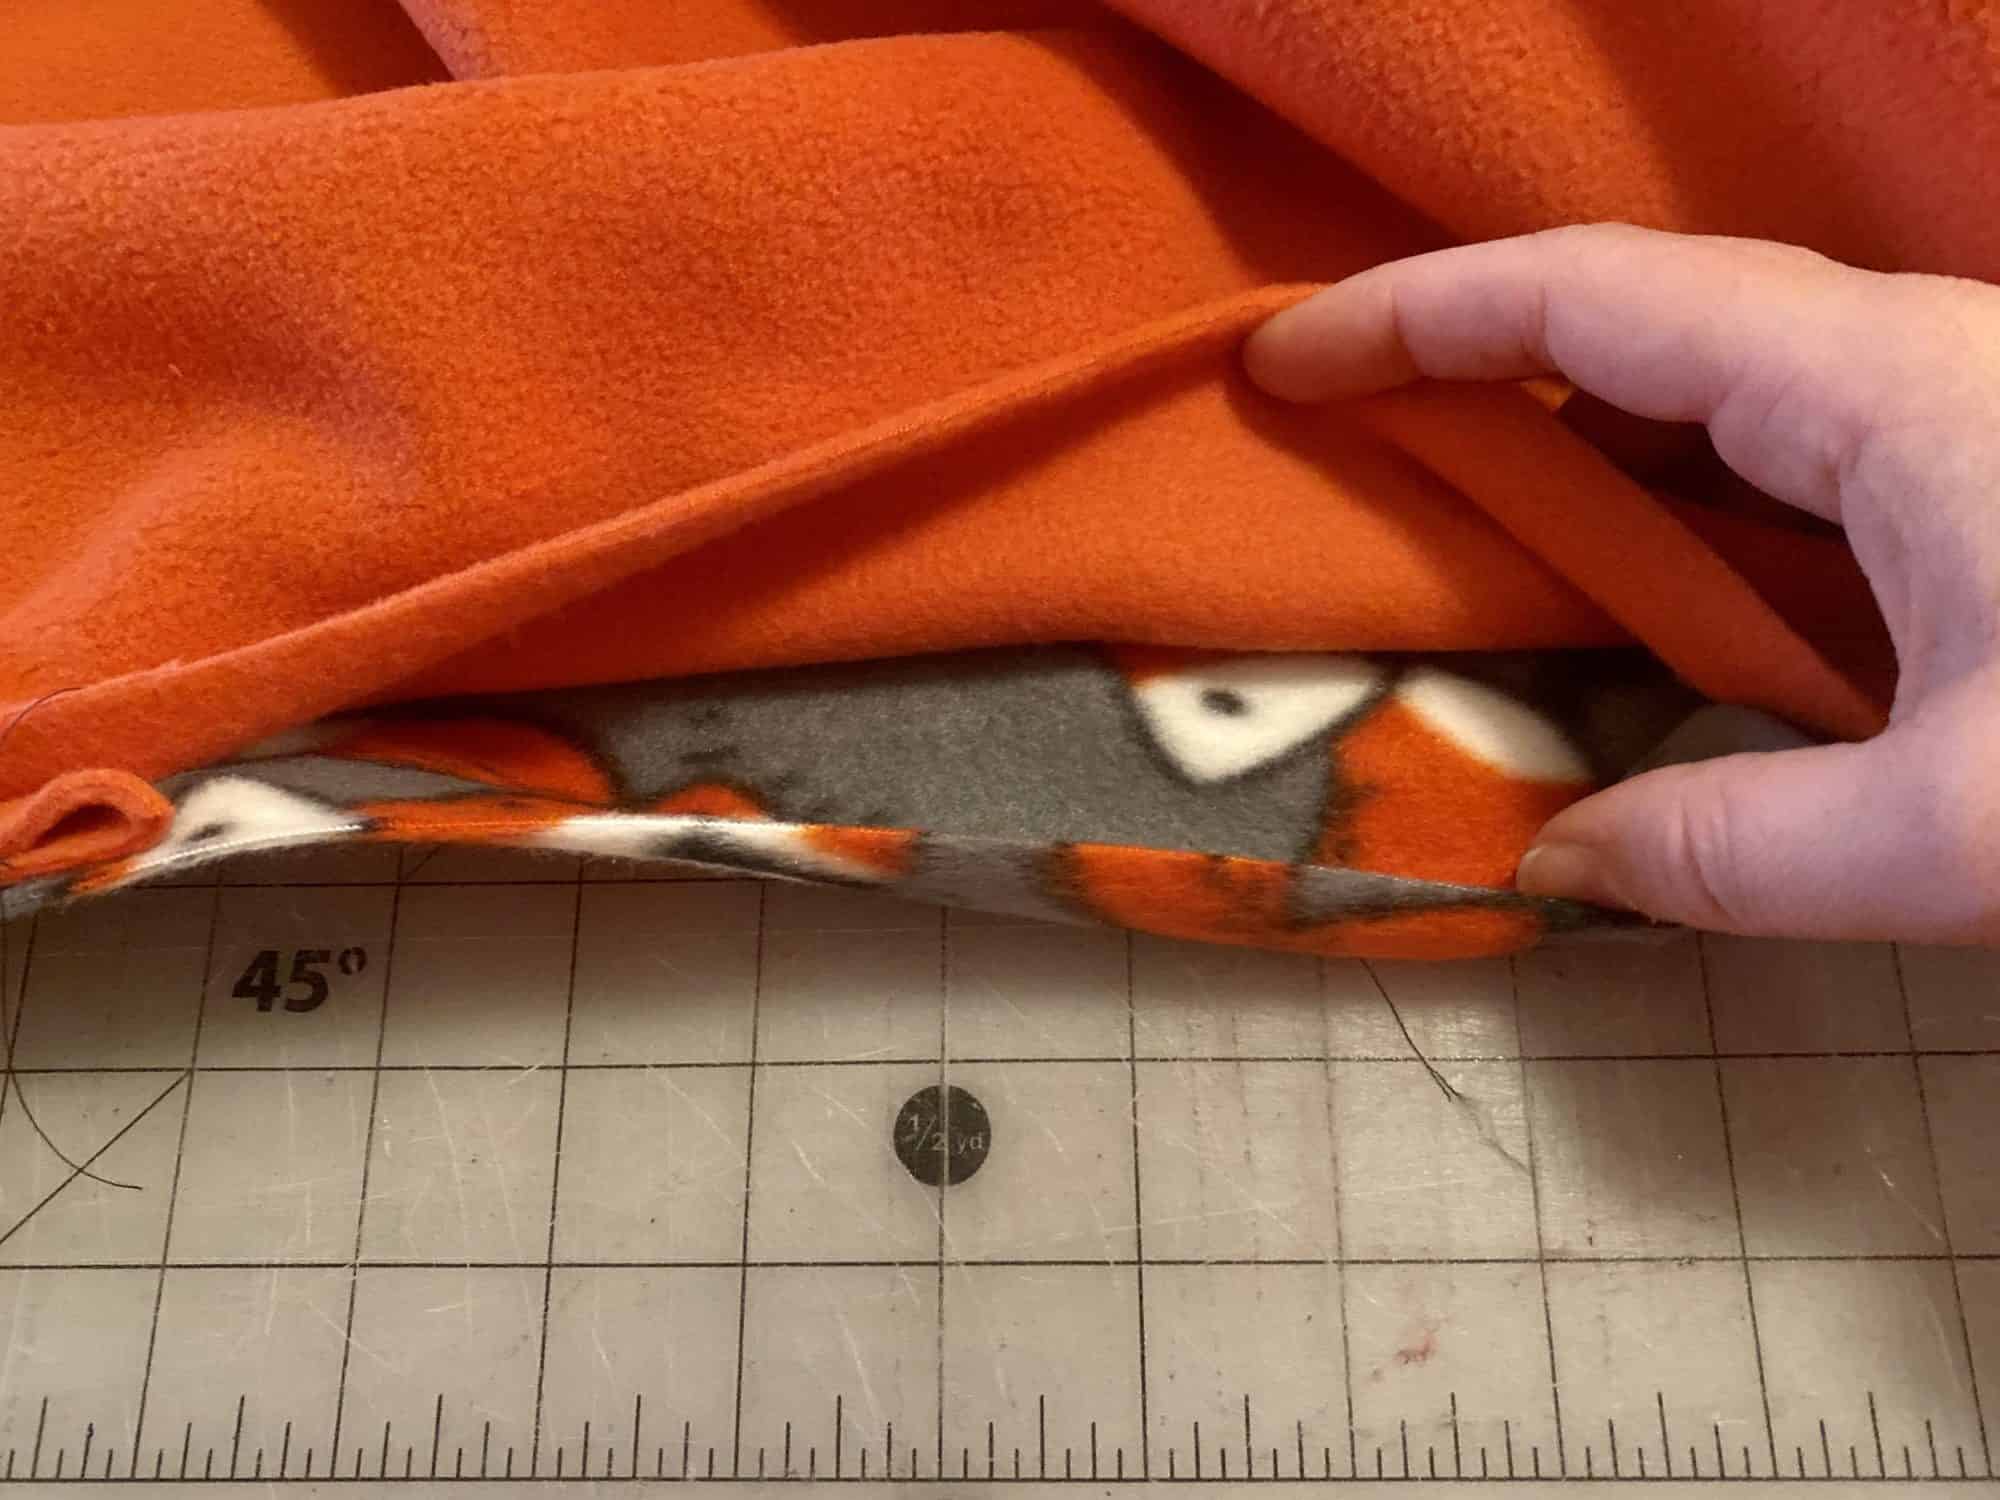
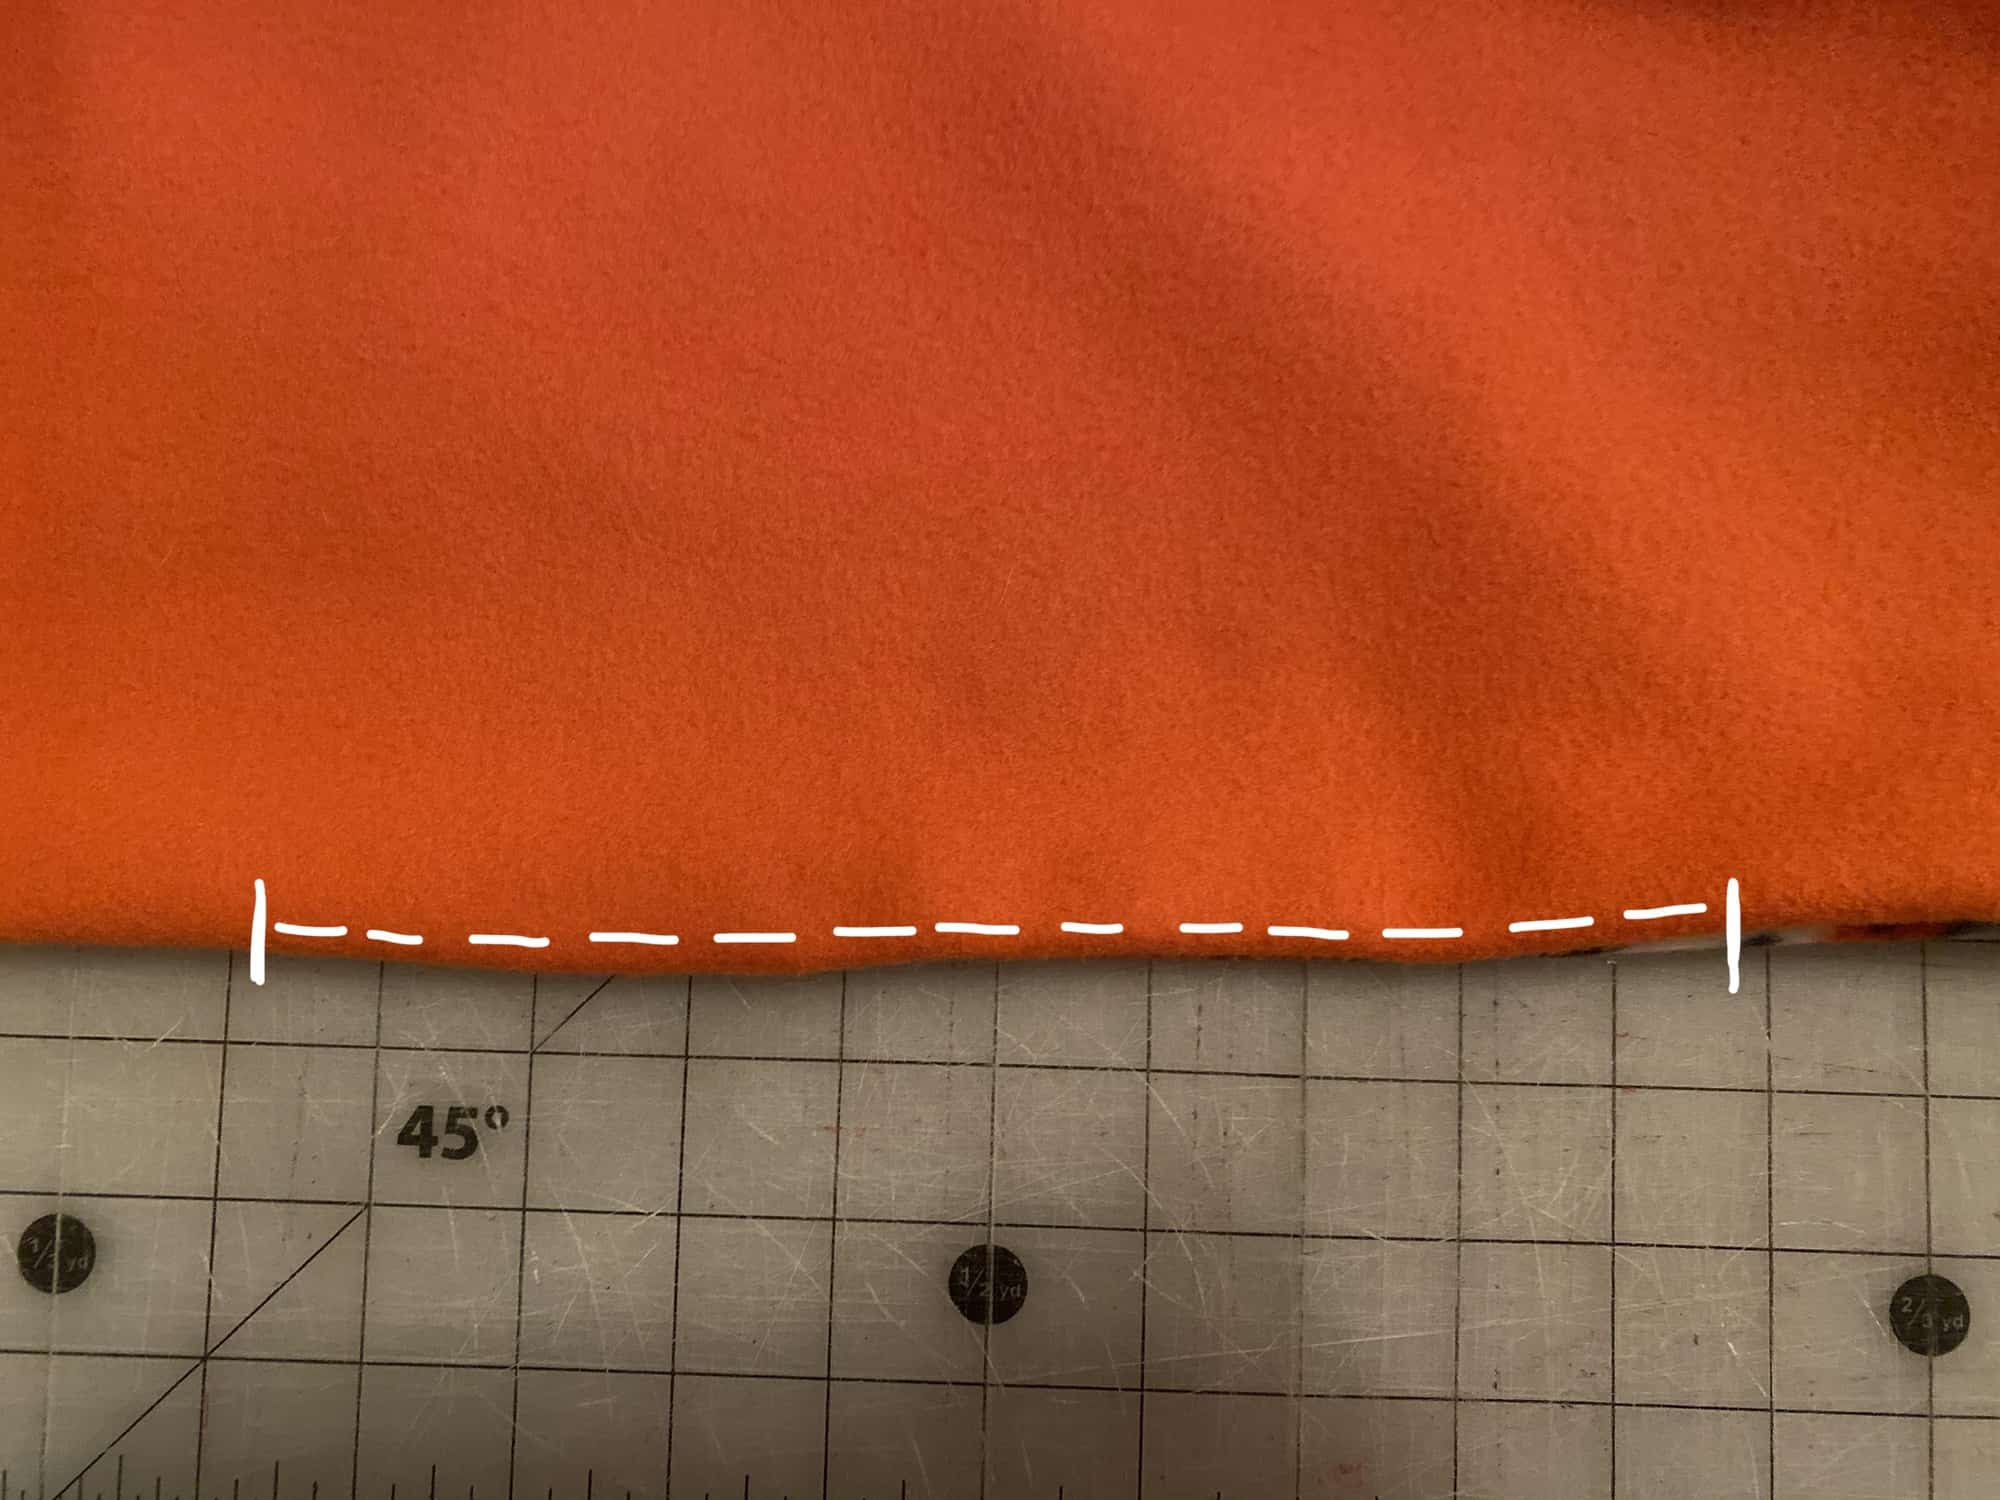
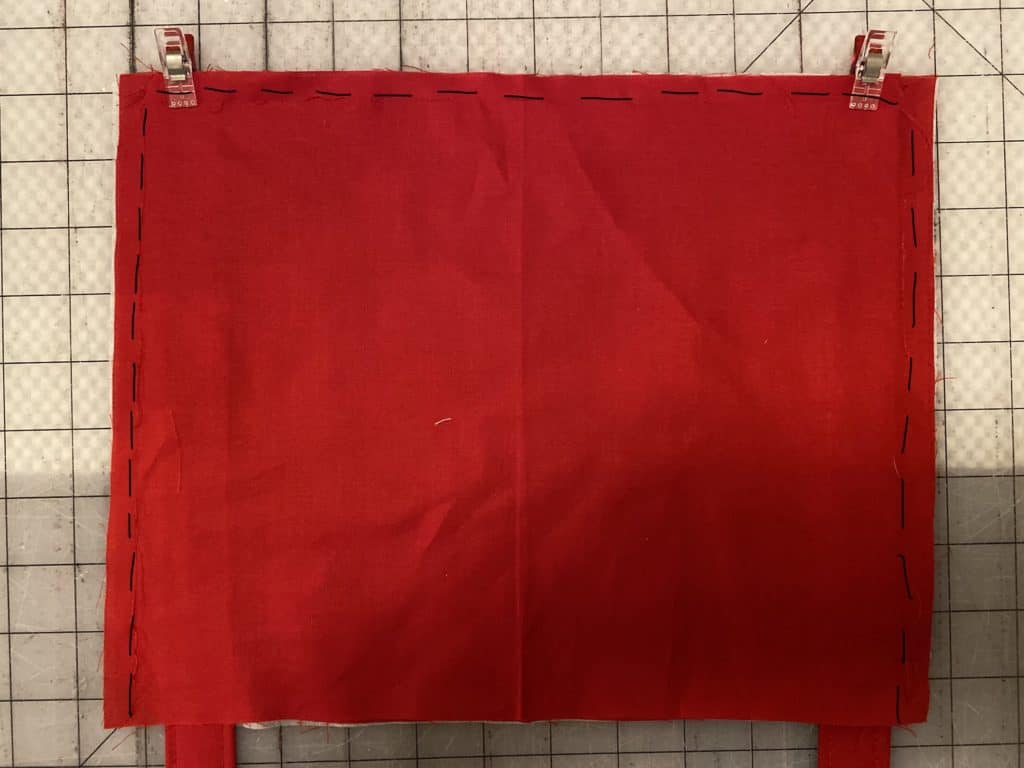
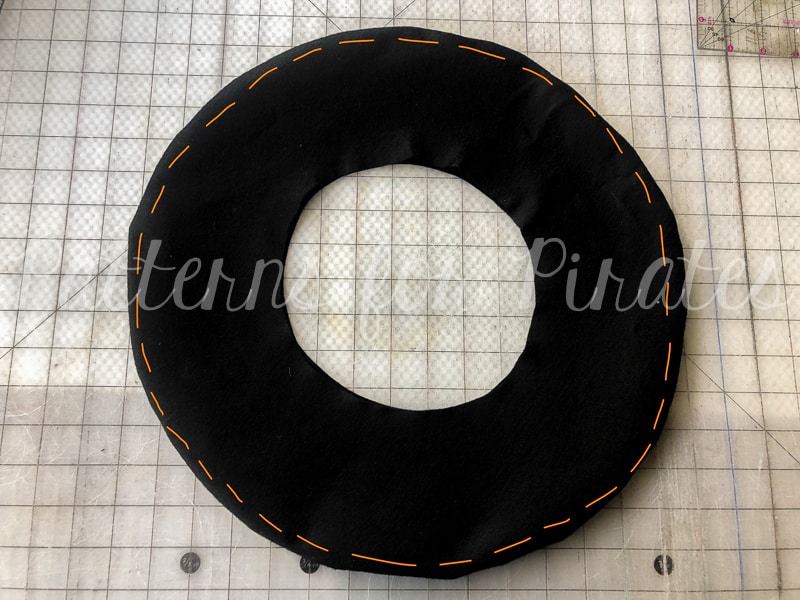
With the body pieces right sides together, sew around entire outer edge, leaving a 5″ opening for turning.
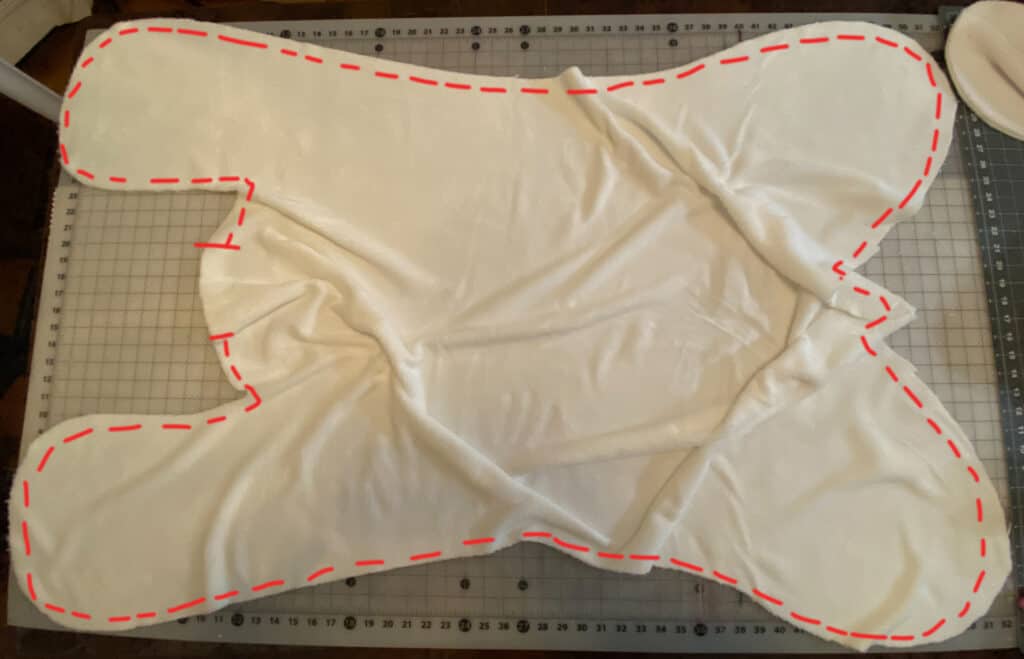
Clip all of your extra seam allowance for easier turning.
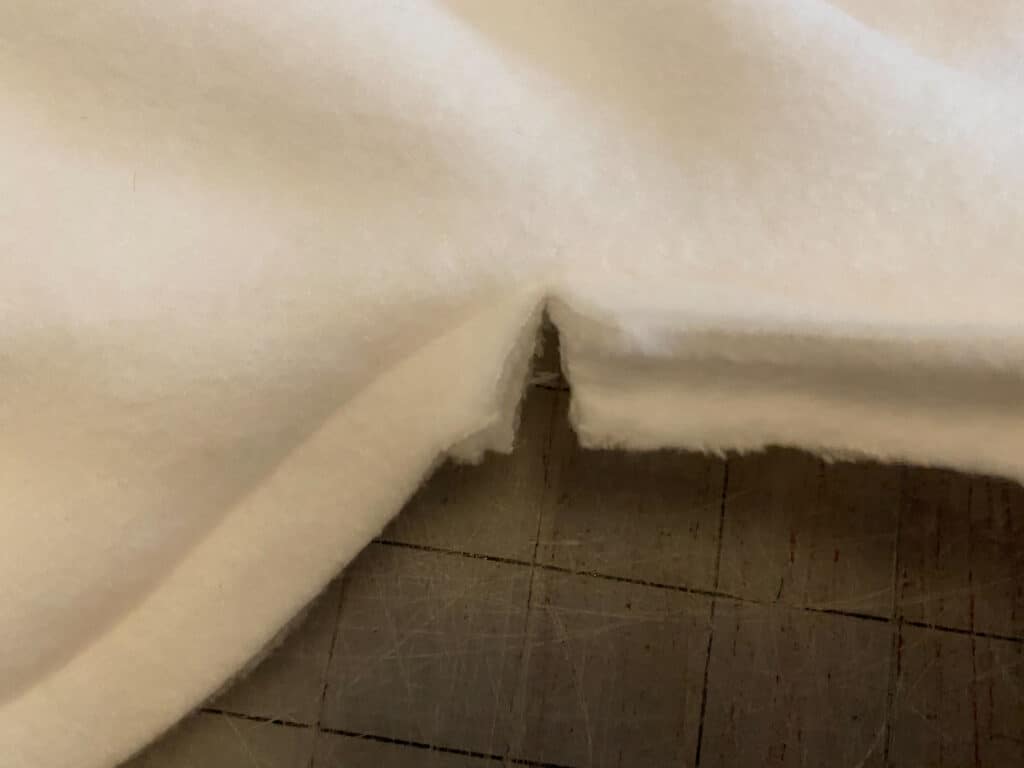
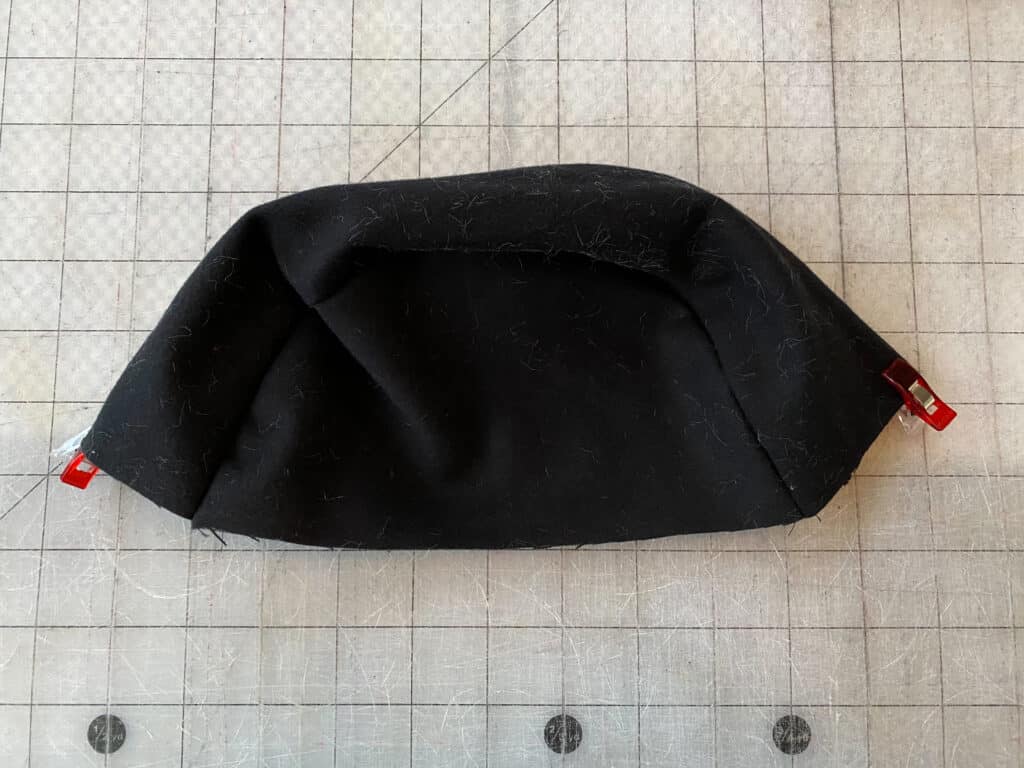
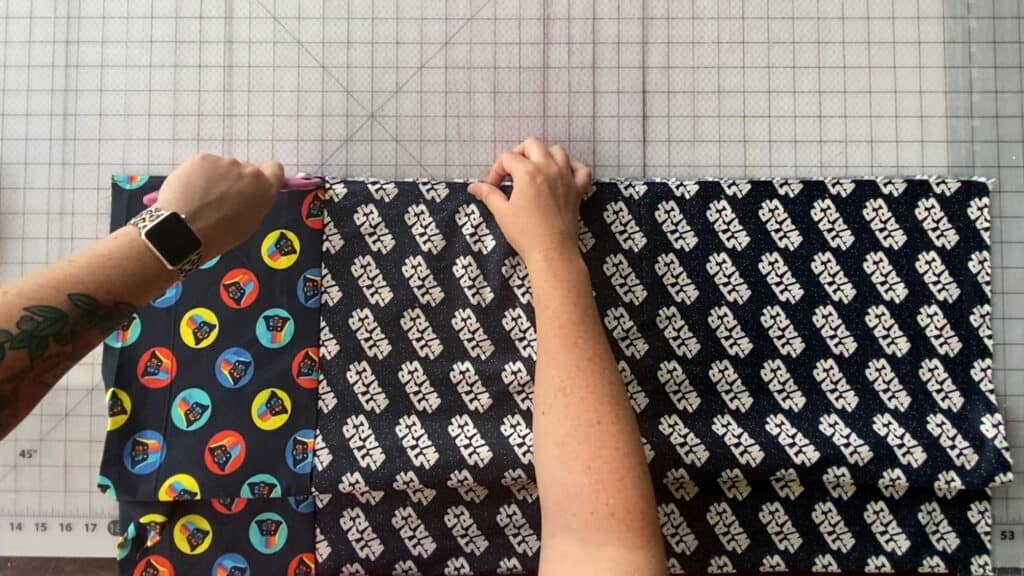
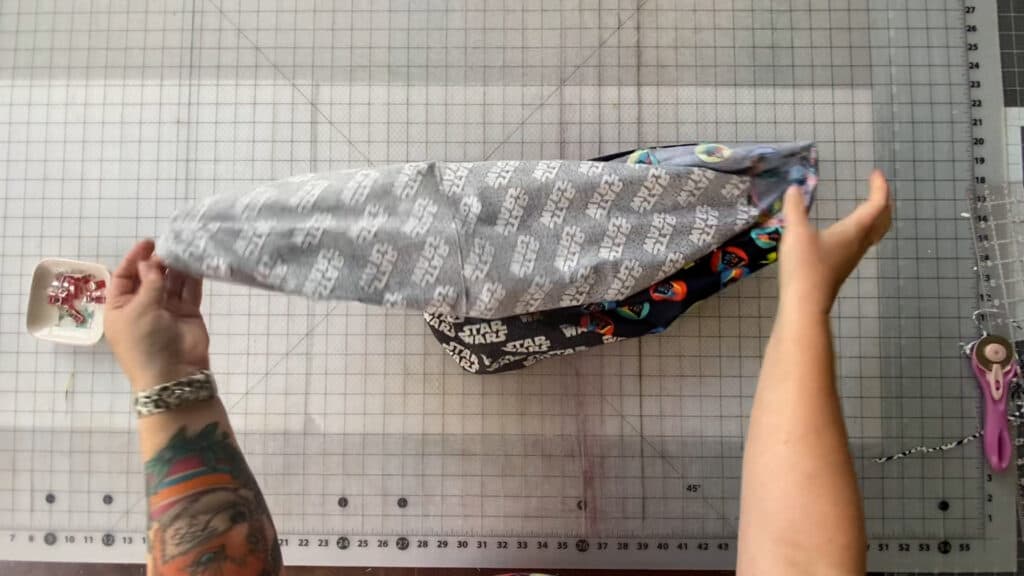
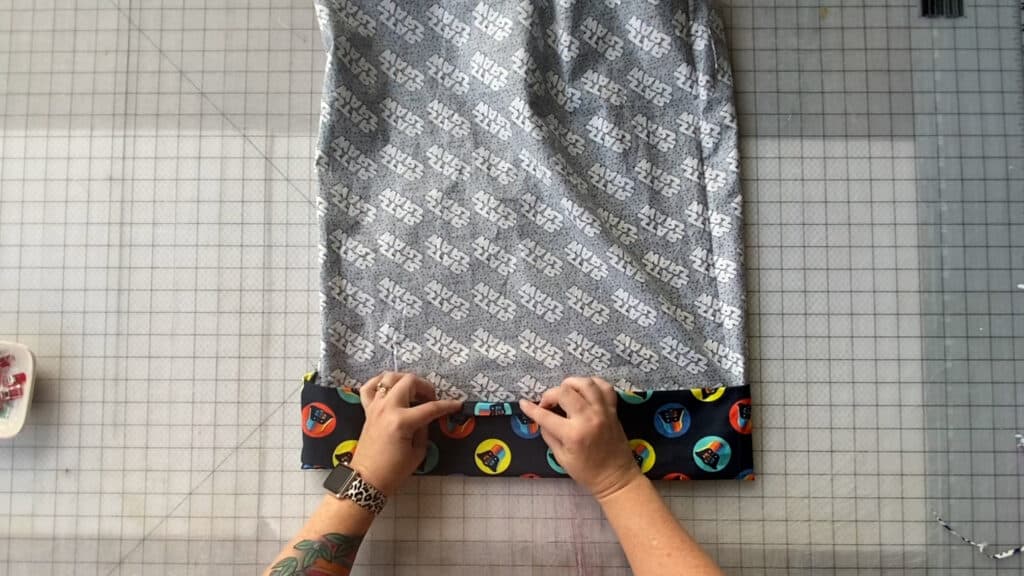
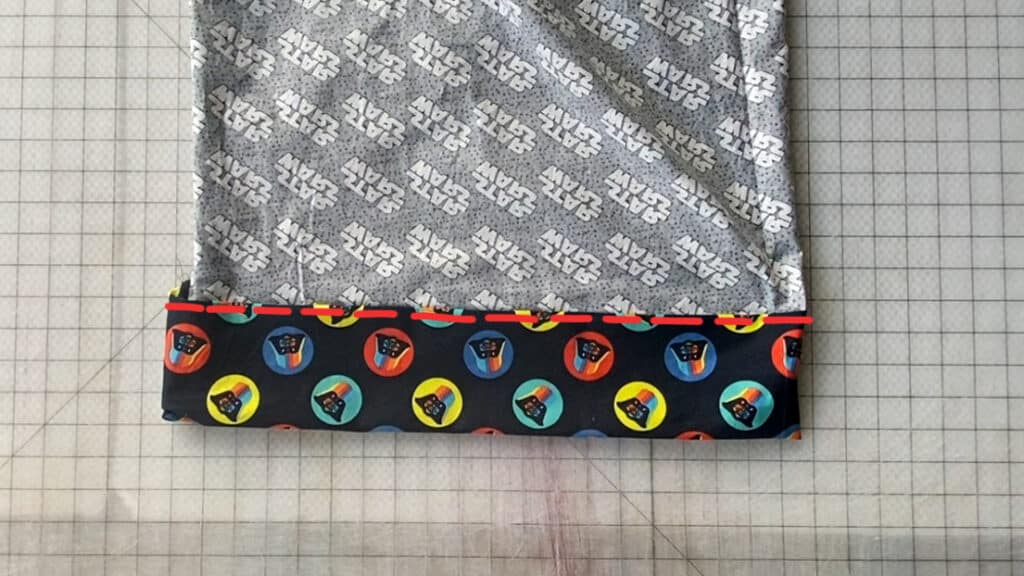
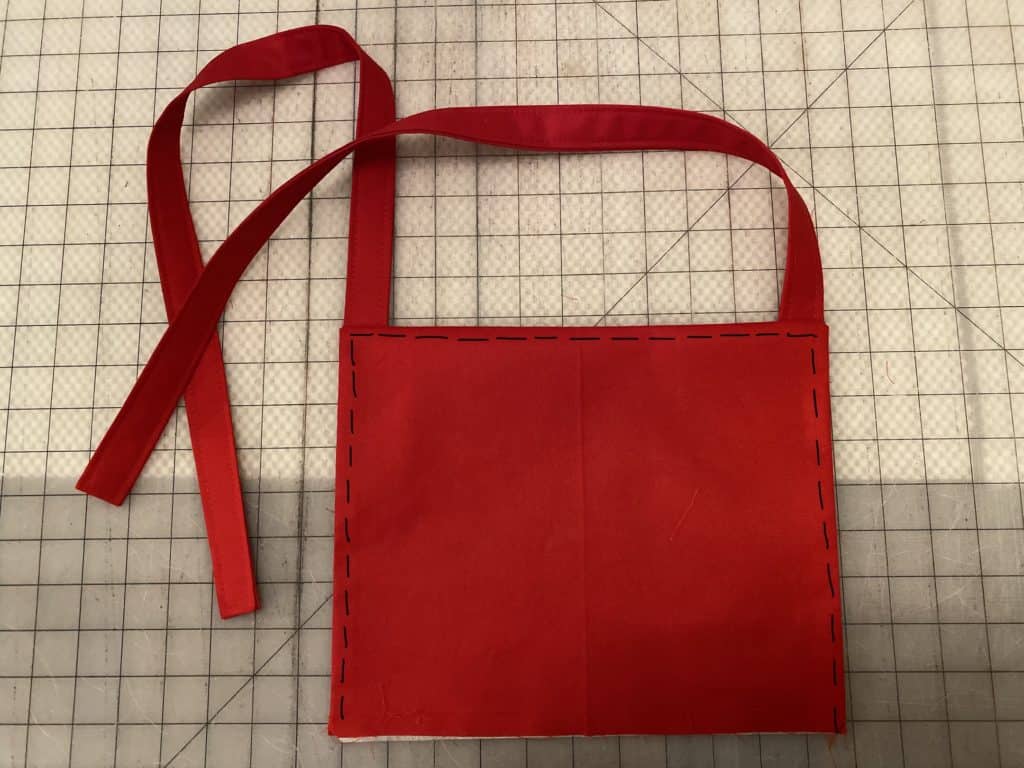
Turn through the opening.
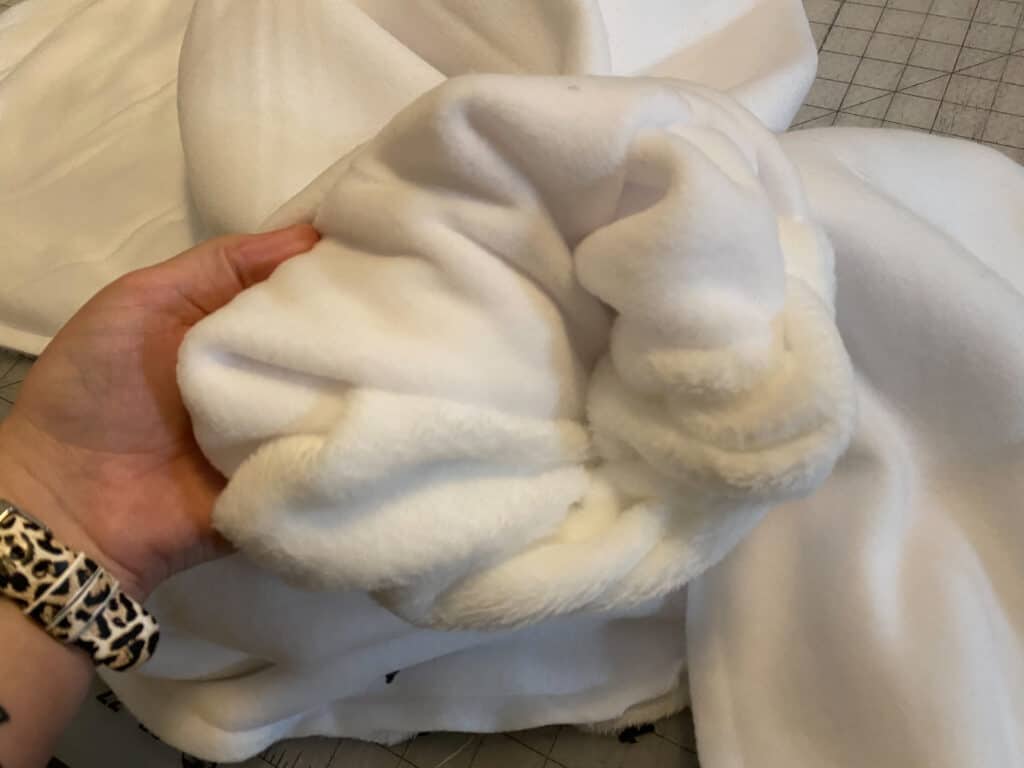
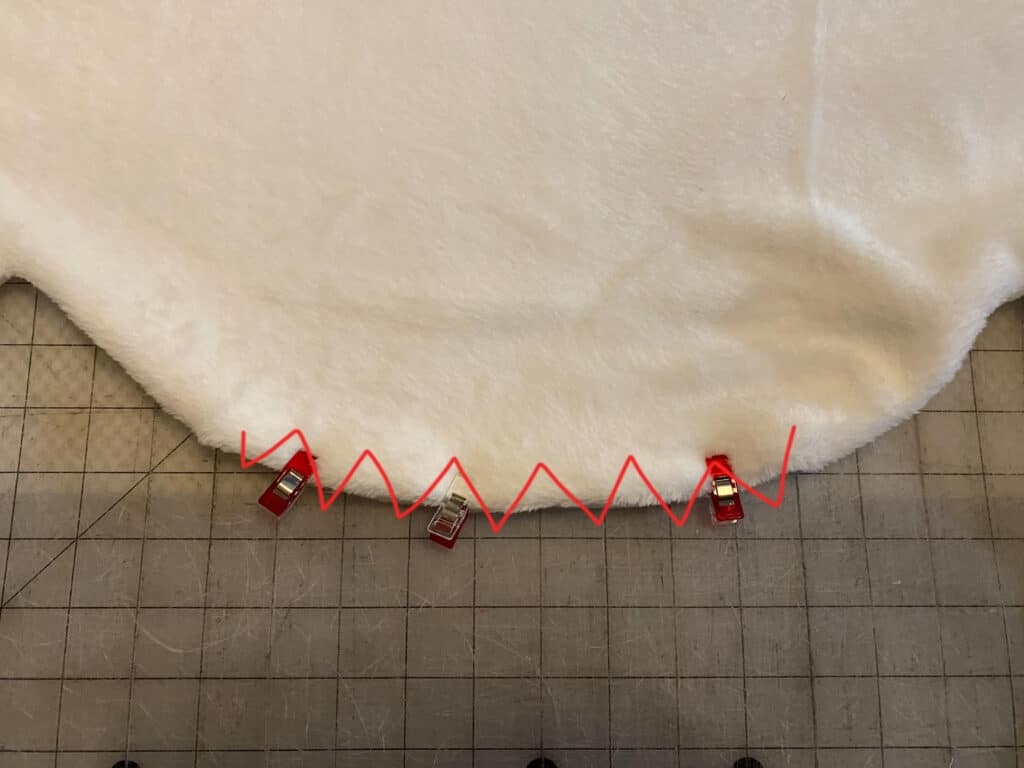
Tuck your seam allowances into the opening and blind stitch closed.
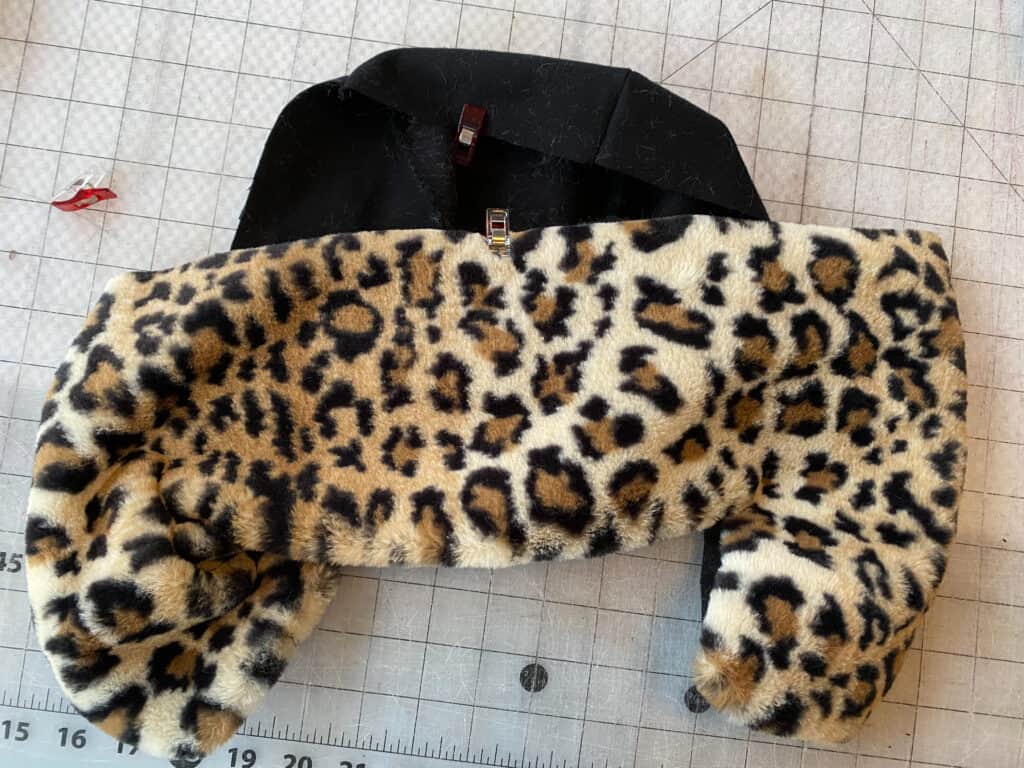
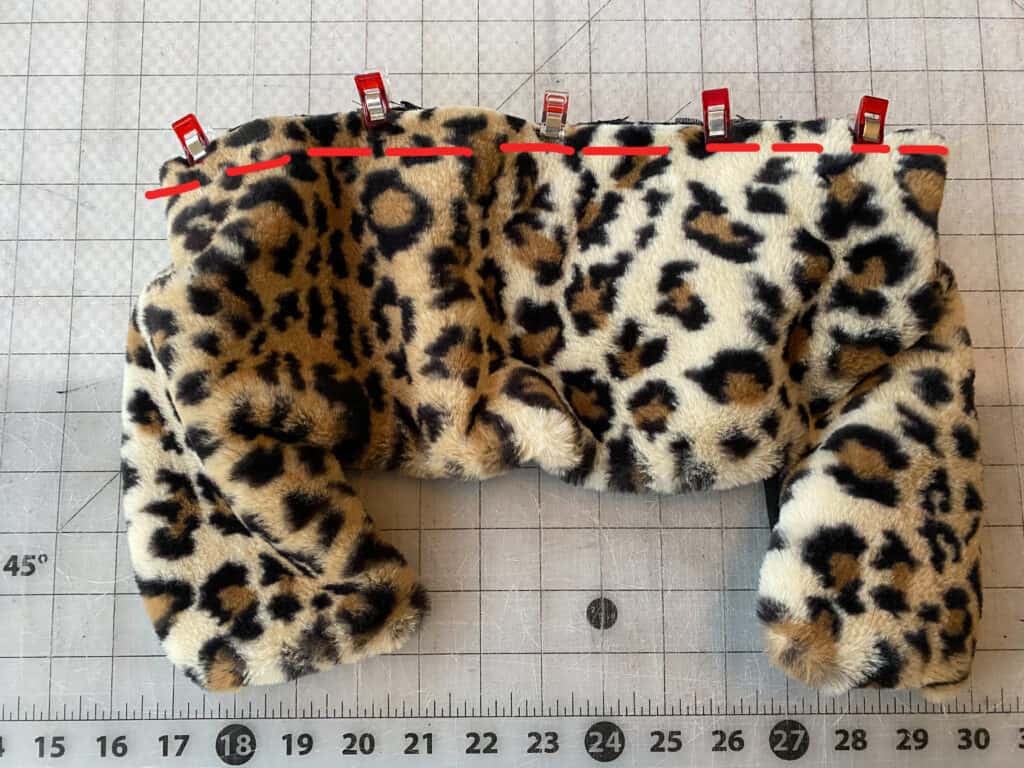
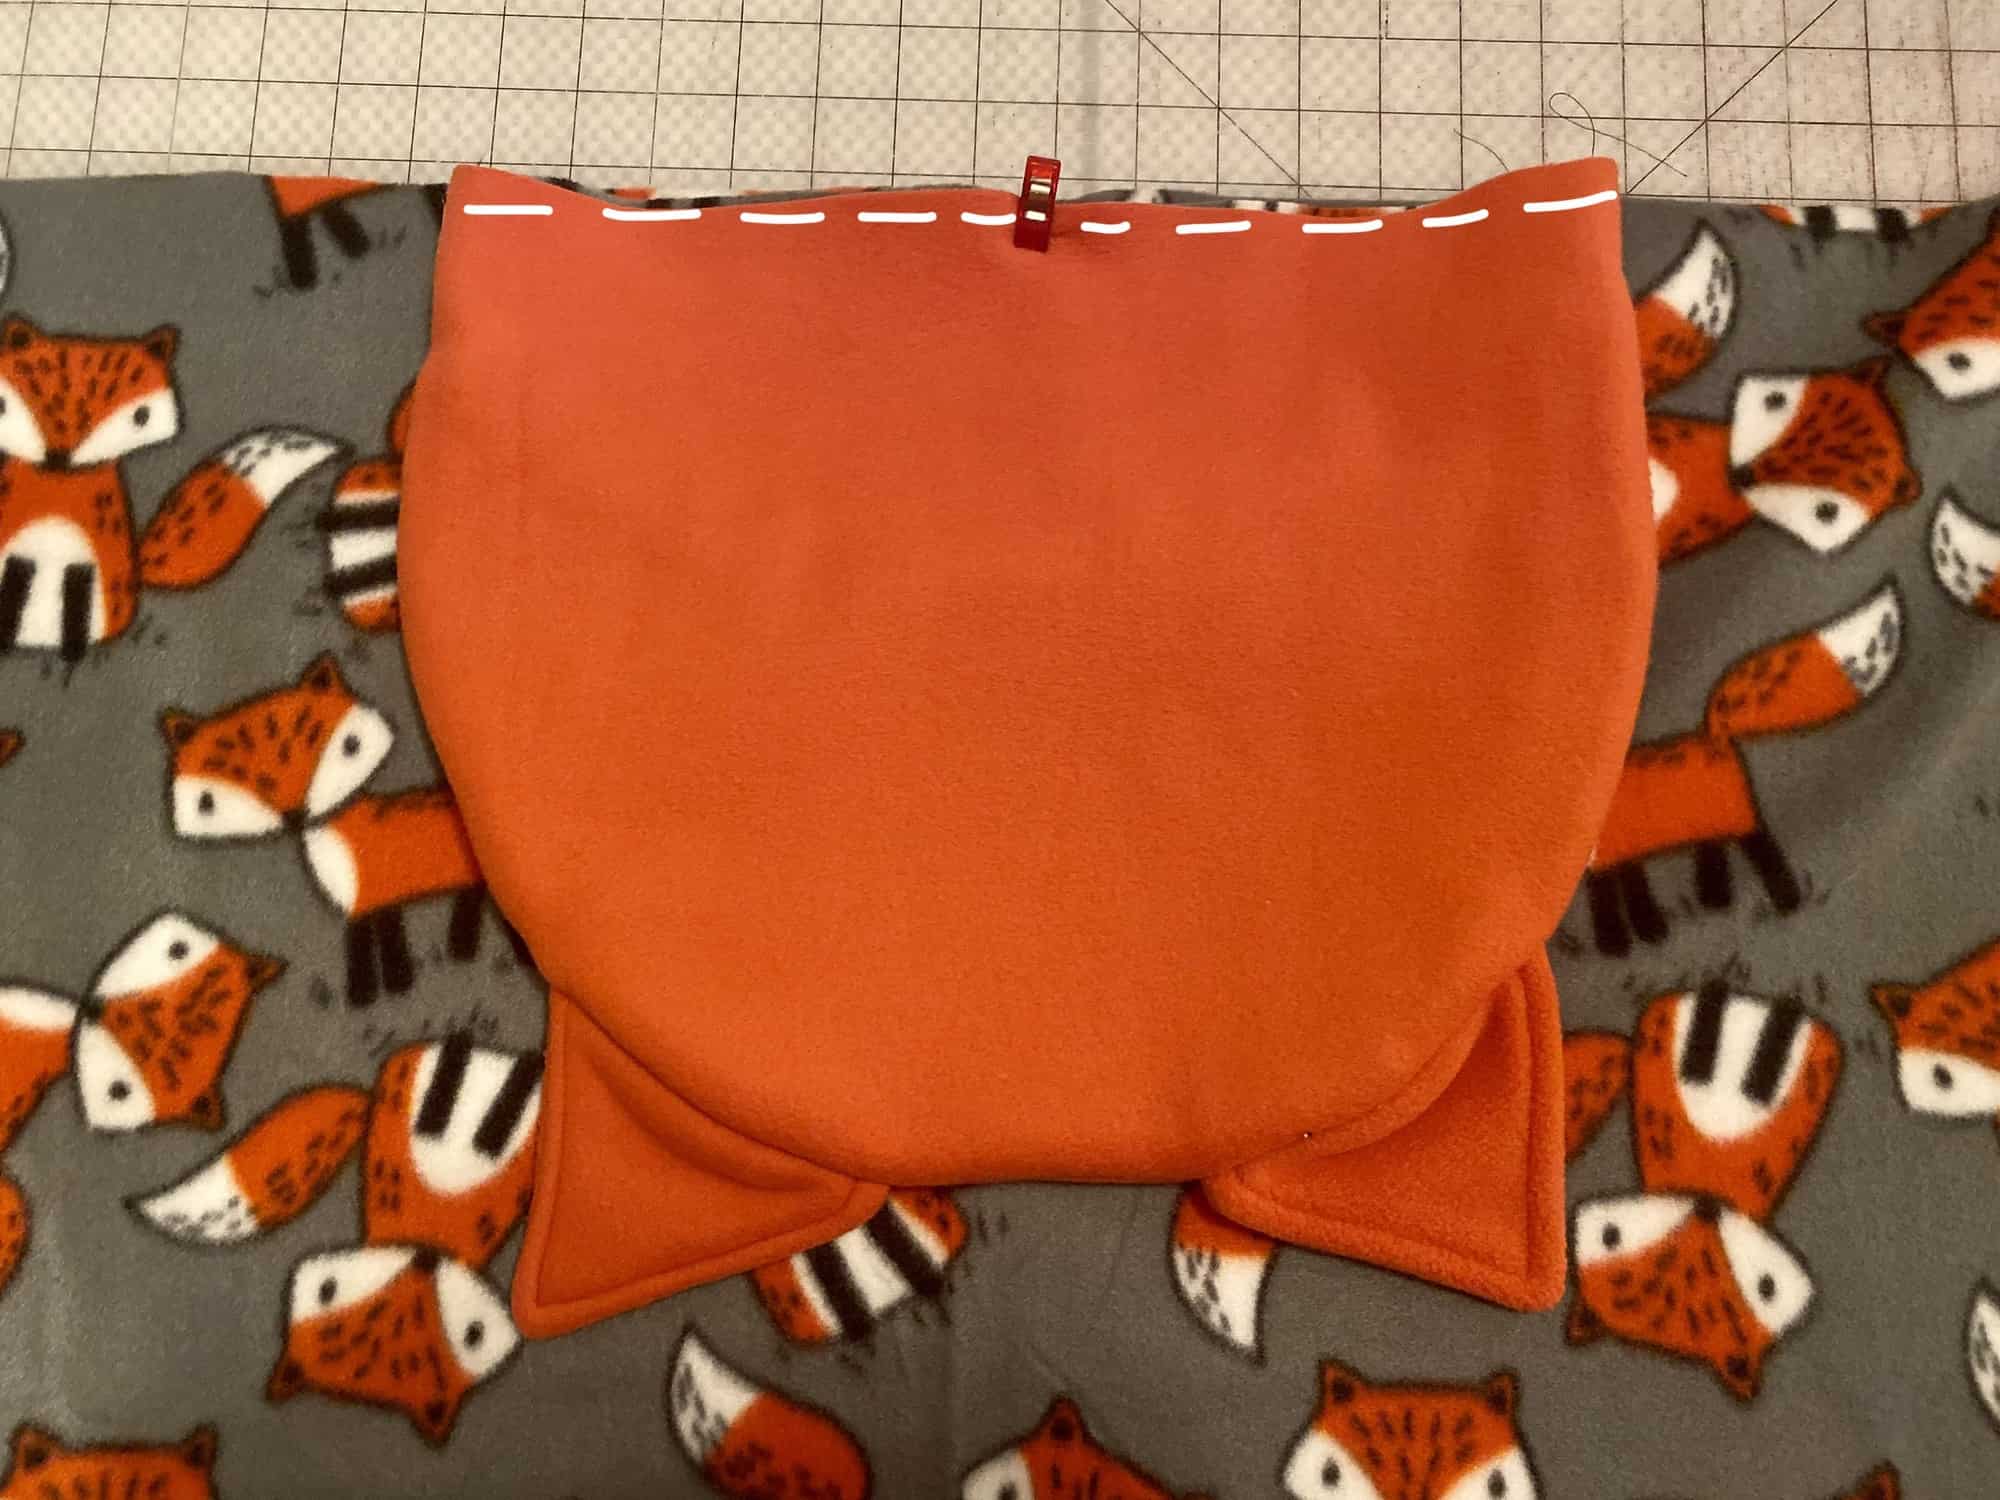
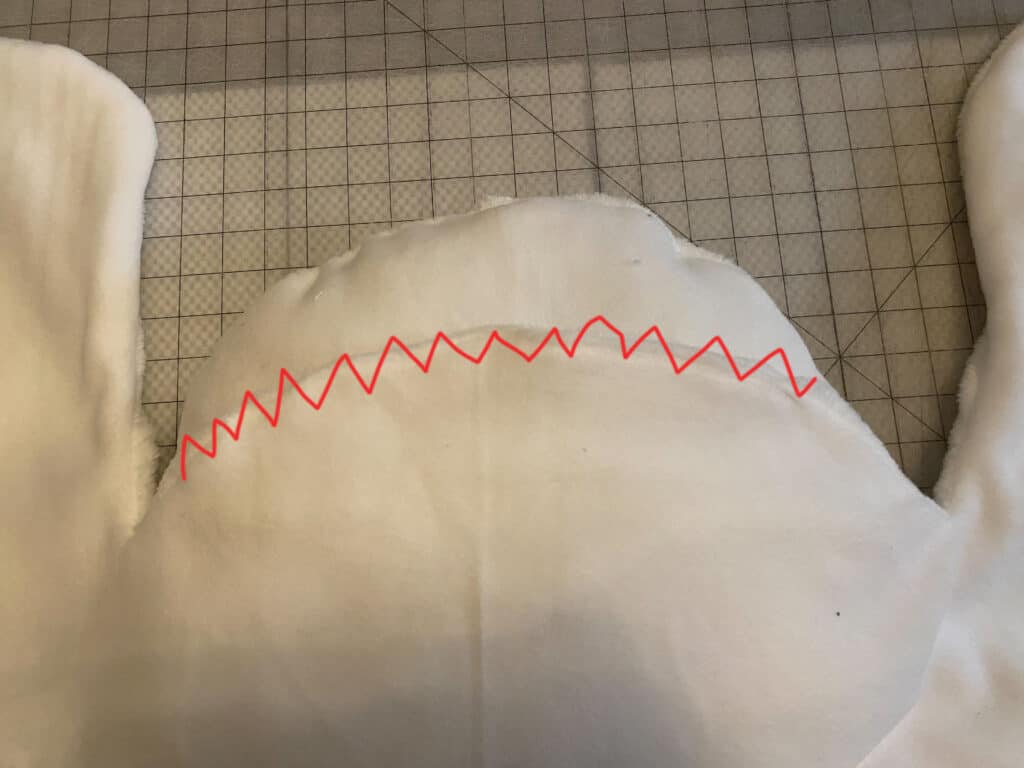
Align the head between the front legs.
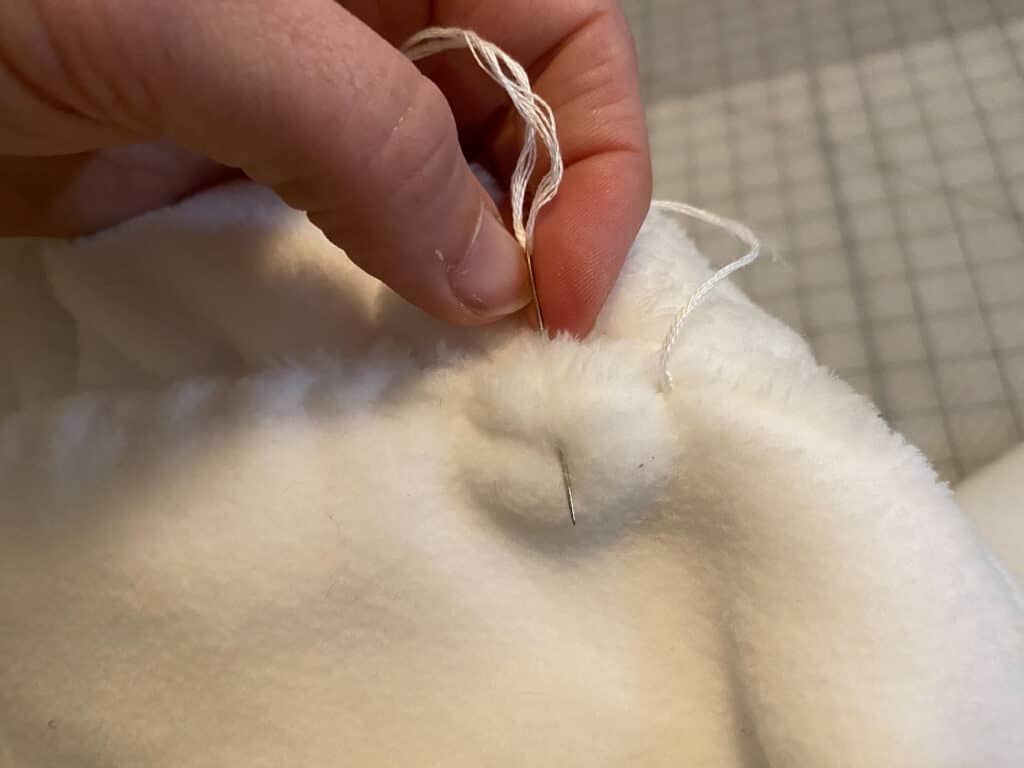
Hold head in place and flip both the body and head over. By hand, use a whip stitch to secure the head to the body piece.
I like to use a wider-eyed needle, with embroidery floss, for some extra hold.
You’re finished!
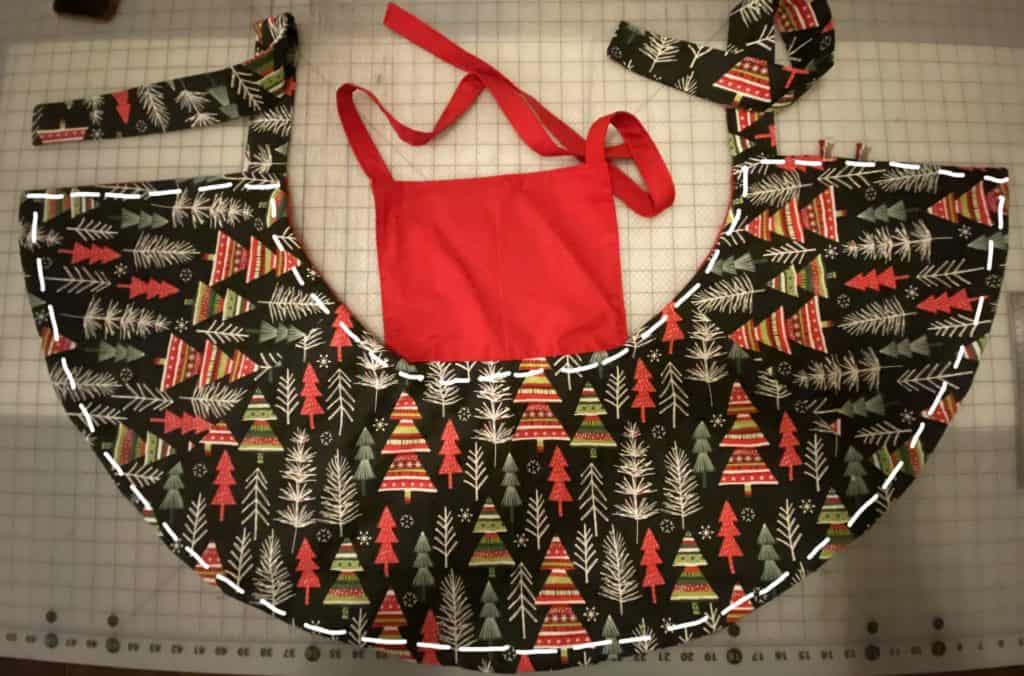
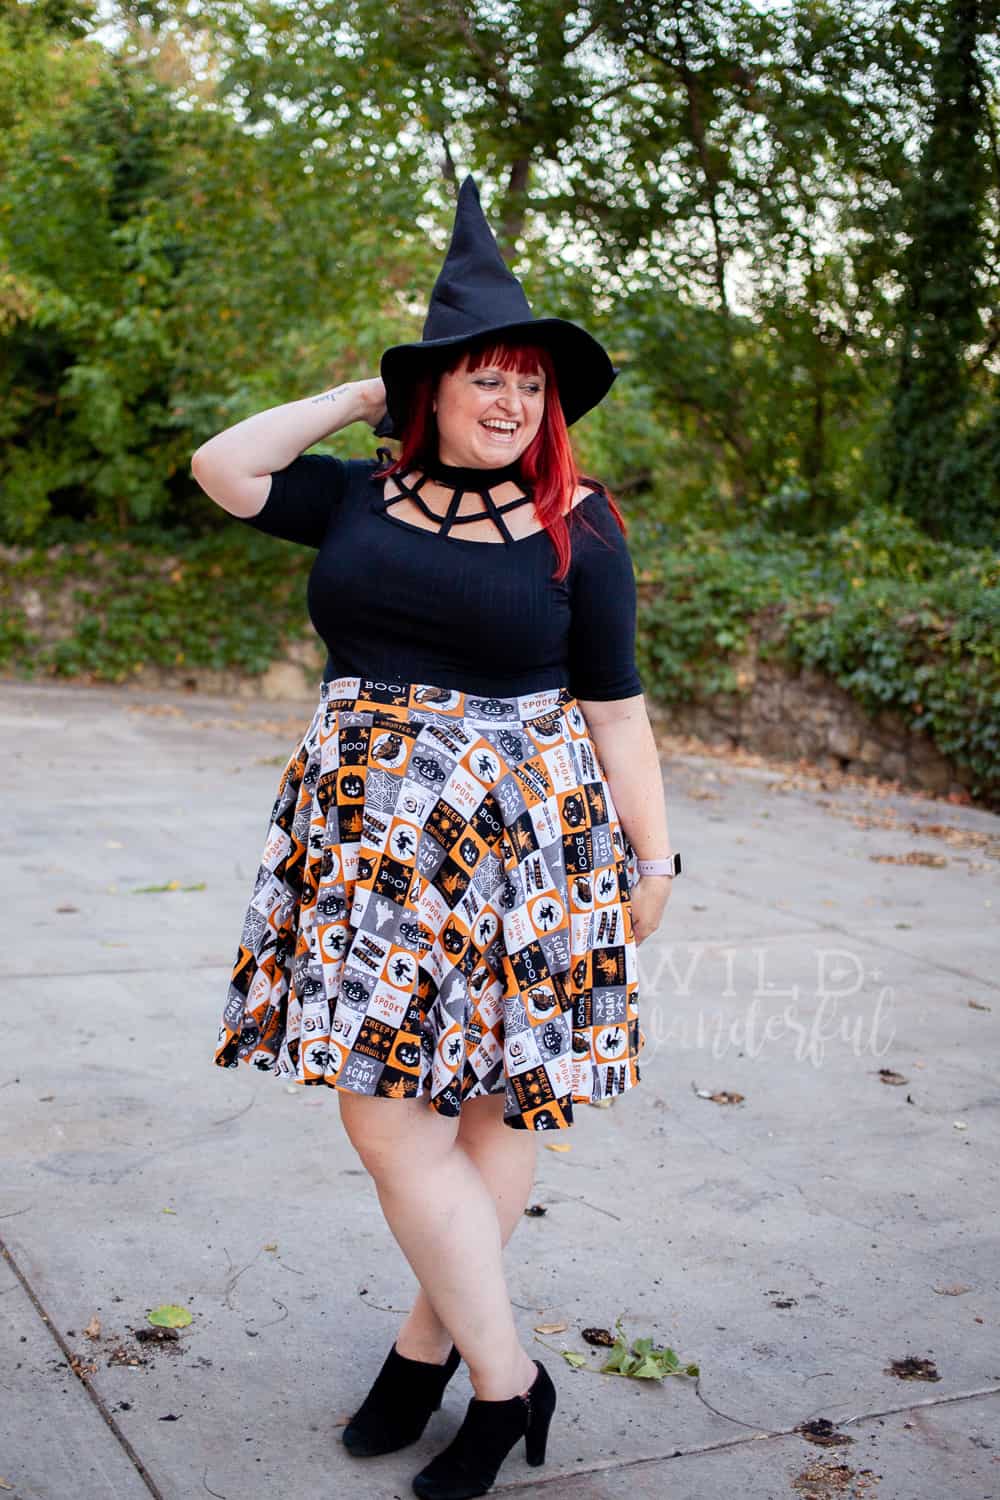
Check out what our fabulous testers were able to create with this very same tutorial!


I la-la-love when you share your photos with me! Head over to the Patterns for Pirates Facebook Group and show us what you’ve made!
Happy Holidays, Pirates!