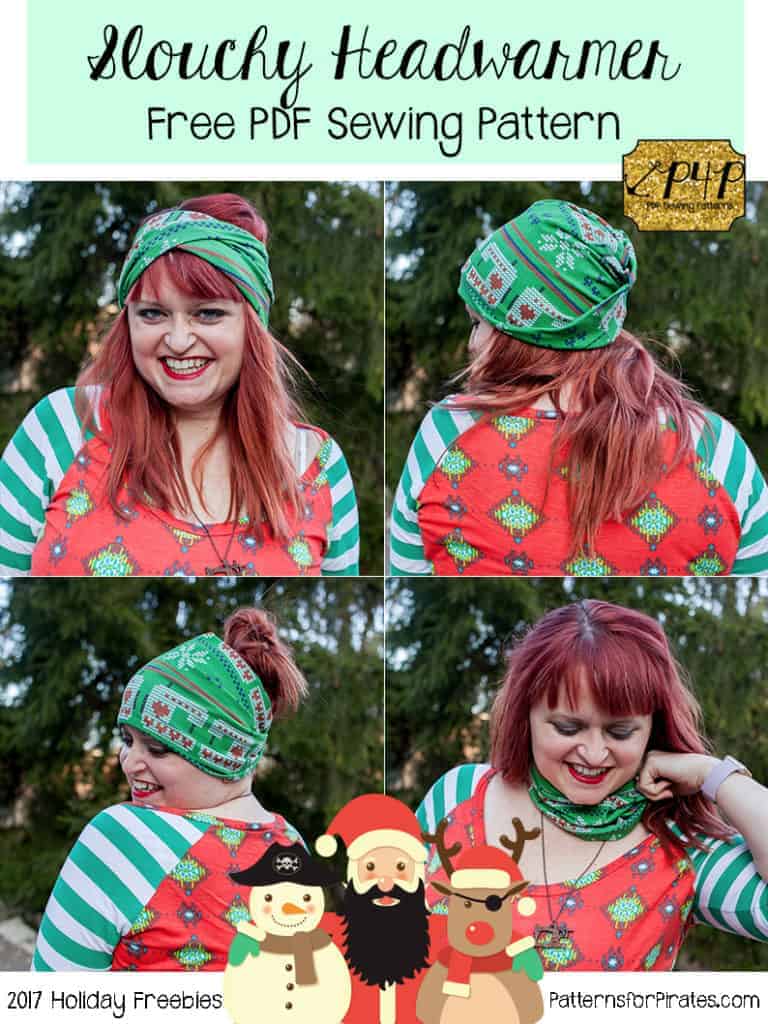
We are back for Day 2 of our 2017 Holiday Freebies! (In case you missed yesterday’s, head here to learn how to make this awesome Slouchy Headwarmer!)
I don’t think you’ve braced yourselves enough for today’s freebie, though. If you’ve got a kiddo (or a kid at heart!) on your holiday gift list, we just might have the perfect solution for you: EMOJI PILLOWS!

These pillows come out to be 12″ tall.
You will need:
— Emoji Pillow pattern pieces (found HERE)
— small amounts of yellow, red, black, and/or brown fabrics.
— fiberfill (aff link)
Recommended fabrics: flannel, fleece, sweatshirt fleece, kona cotton, quilting cotton, etc.
**Optional, but highly recommended for woven fabrics that can fray (affiliate links):
— If you plan on finishing your face pieces with stitching: Wonder Under Sewable or Heat n Bond Iron-On Sewable Adhesive, etc. are great because they are machine safe and won’t gunk up your needles.
— If you don’t plan on stitching the face pieces to the pillows: Heat ‘N Bond Ultra Hold Iron-On Adhesive, etc. are better since they tend to have a stronger hold. You just don’t want to stitch through those!
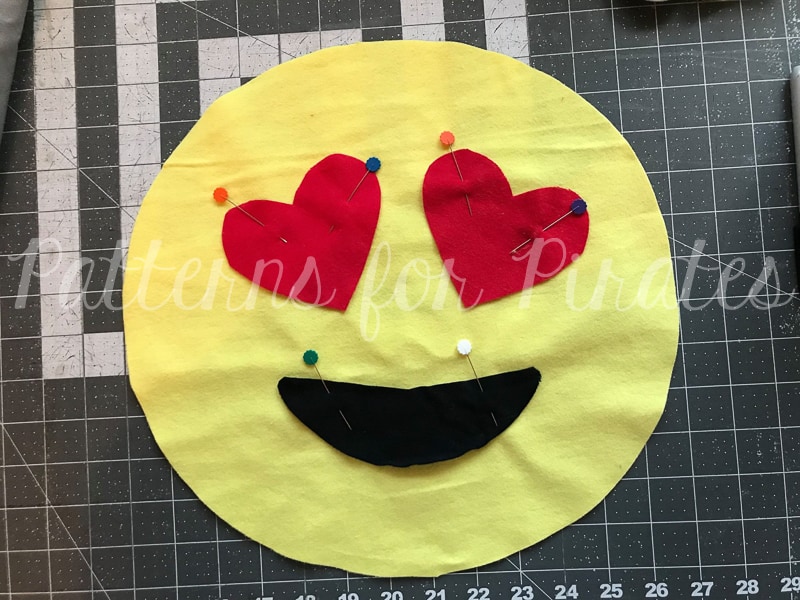
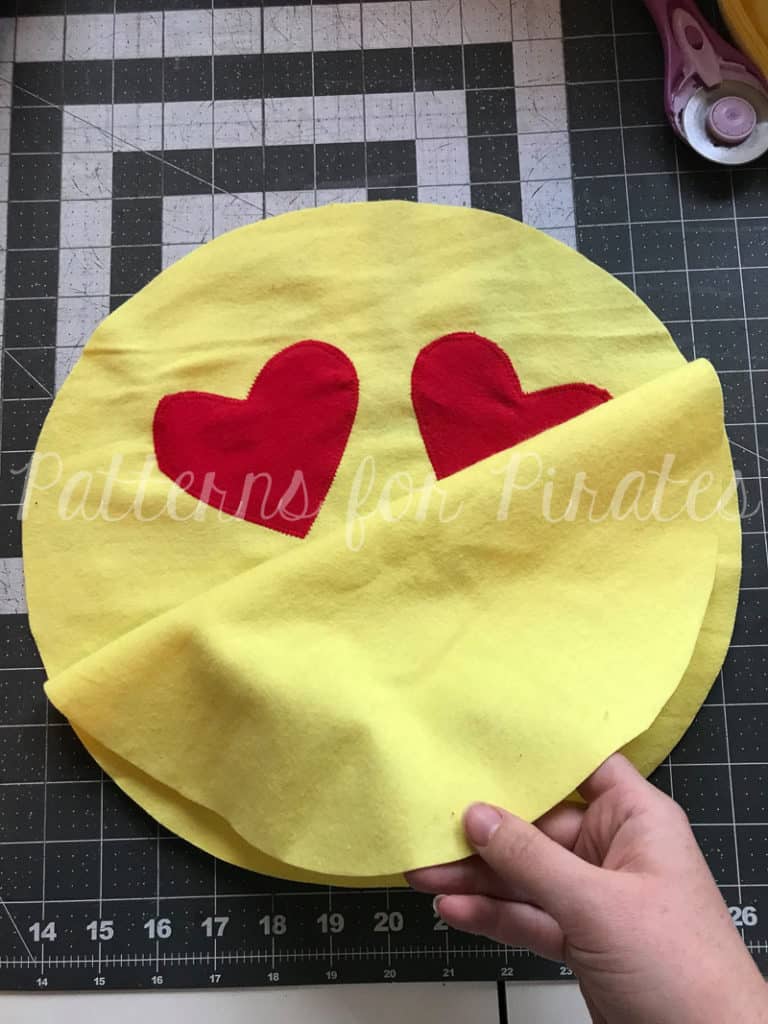
Heart Eye Emoji Pillow:
- Cut 2 Heart Eyes
- Cut 1 Mouth
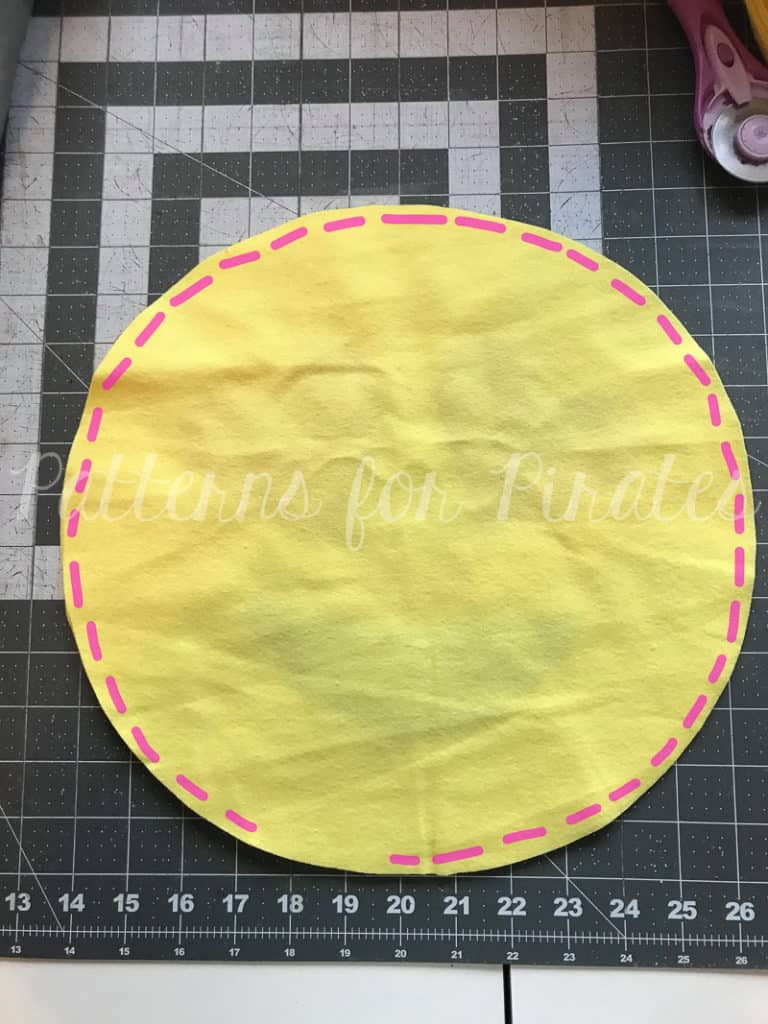
- Cut 2 Main Pillow Pieces
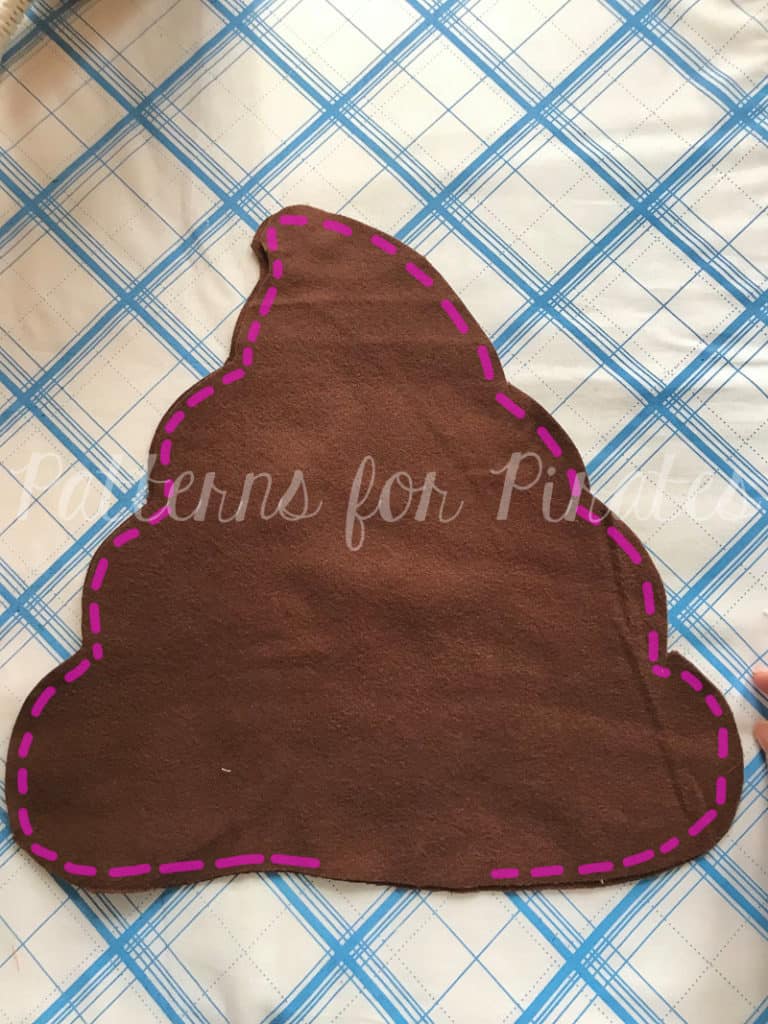
Poop Emoji Pillow:
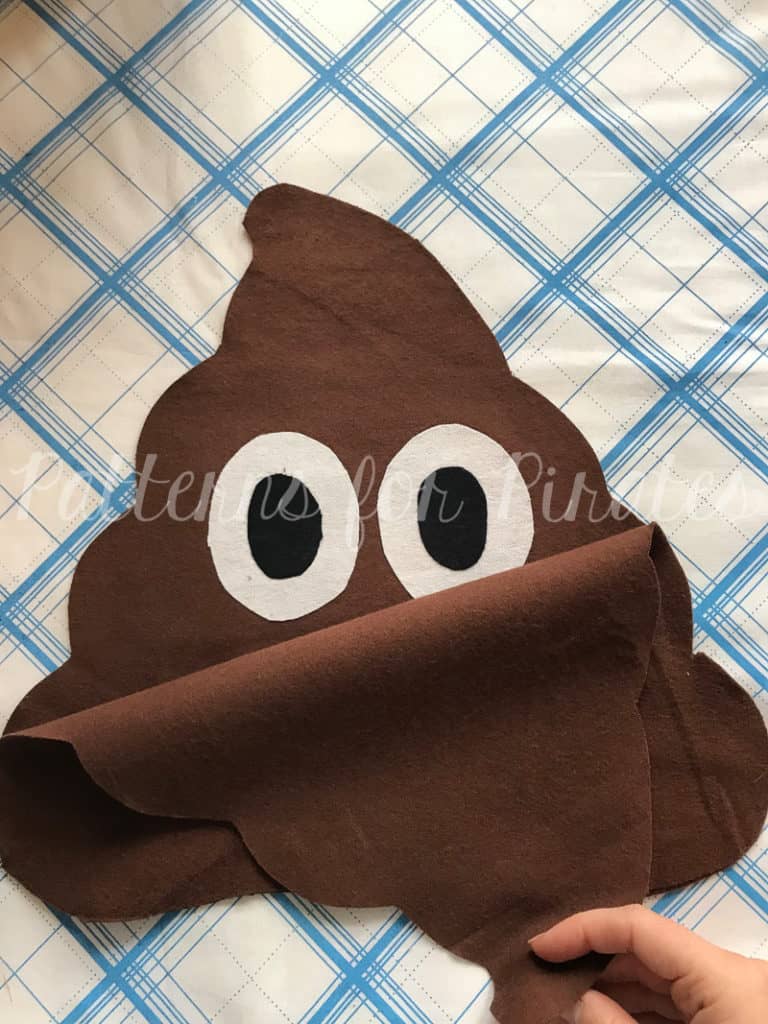
- Cut 2 Outer Eyes
- Cut 2 Inner Eyes
- Cut 1 Mouth
- Cut 2 Main Pillow Pieces
Sleepy Emoji Pillow:
- Cut 2 Sleepy Eyes
- Cut 1 Mouth
- Cut 3 Z’s
- Cut 2 Main Pillow Pieces
Sunglasses Emoji Pillow
- Cut 1 Sunglasses
- Cut 1 Mouth
- Cut 2 Main Pillow Pieces
ALL MAIN PILLOW PIECES HAVE 1/4″ SEAM ALLOWANCE.
**THERE ARE NO SEAM ALLOWANCES ON THE FACE PIECES, AS THOSE ARE ALL APPLIQUED OR IRONED ON.
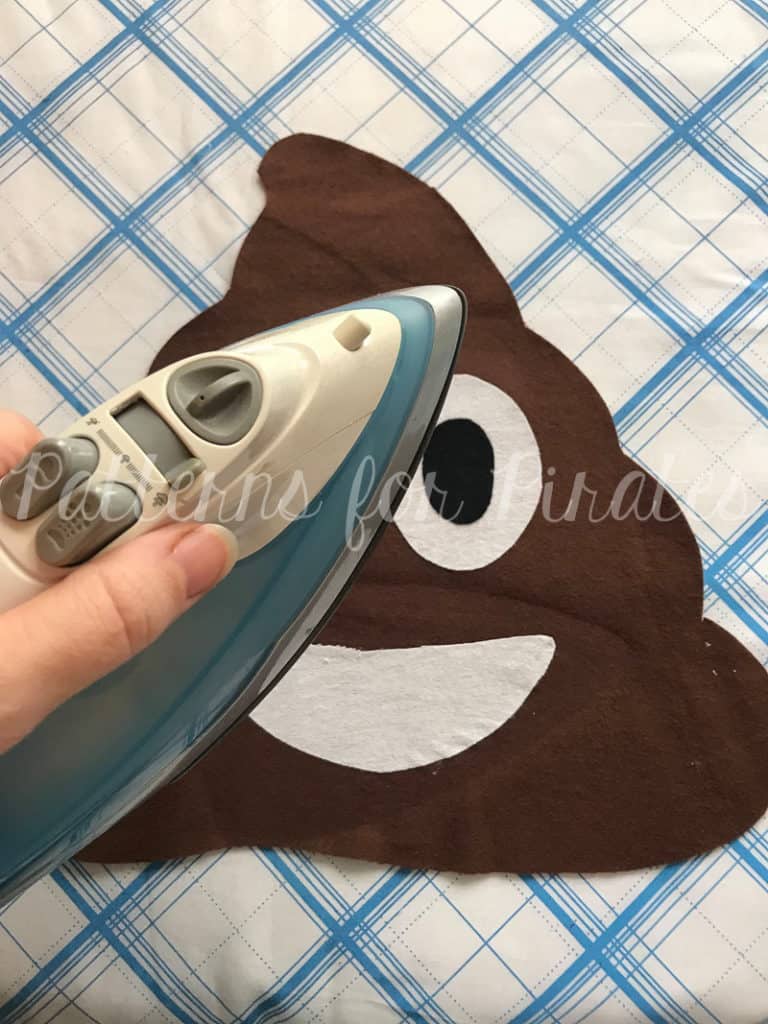
Iron pieces to interfacing according to instructions. If using an iron-on method only, apply your face pieces directly to one main pillow piece.
If using the applique method, pin your face pieces into place and zig zag stitch around pieces, securing them to the pillow piece.
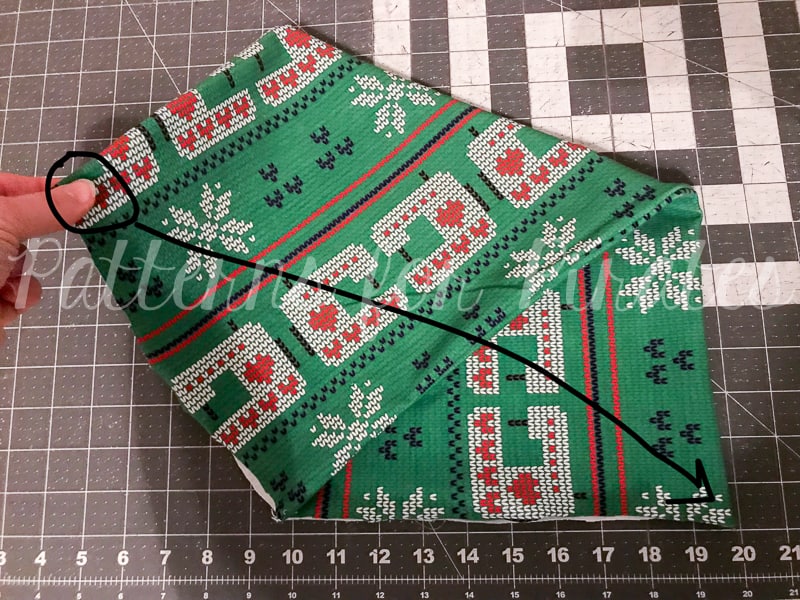
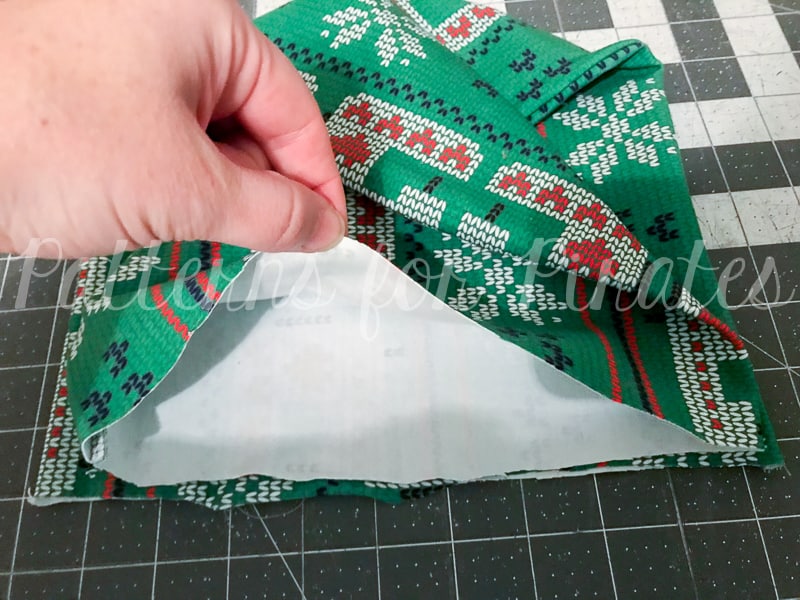
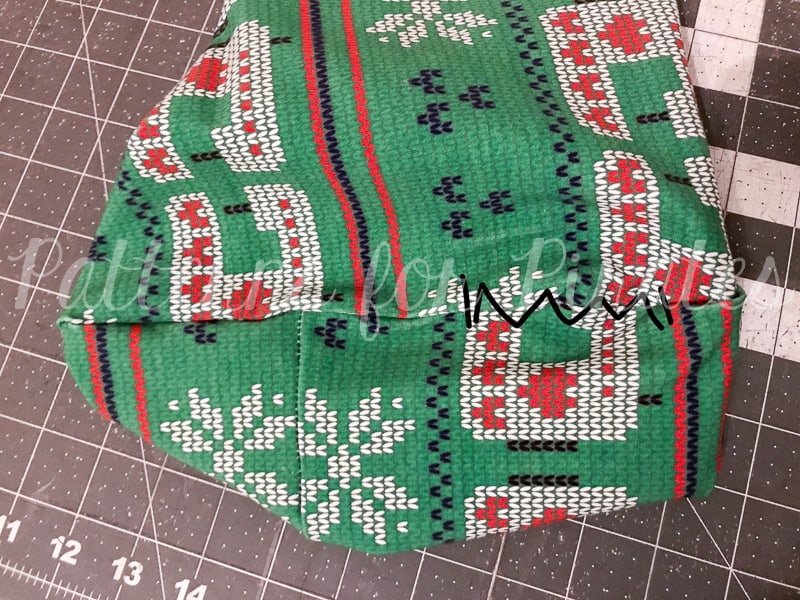
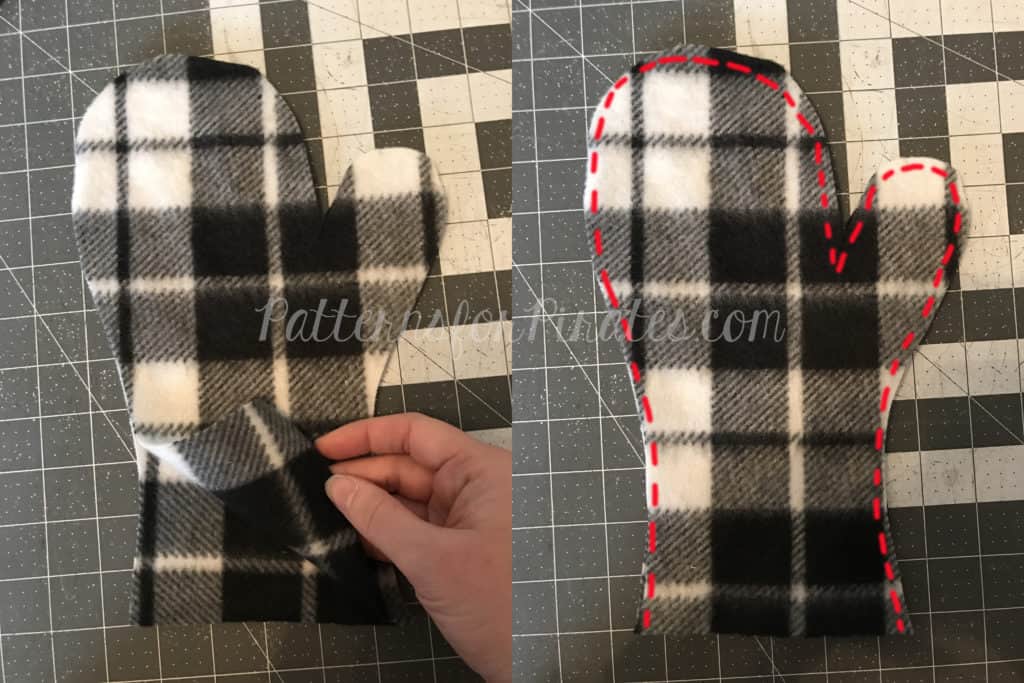
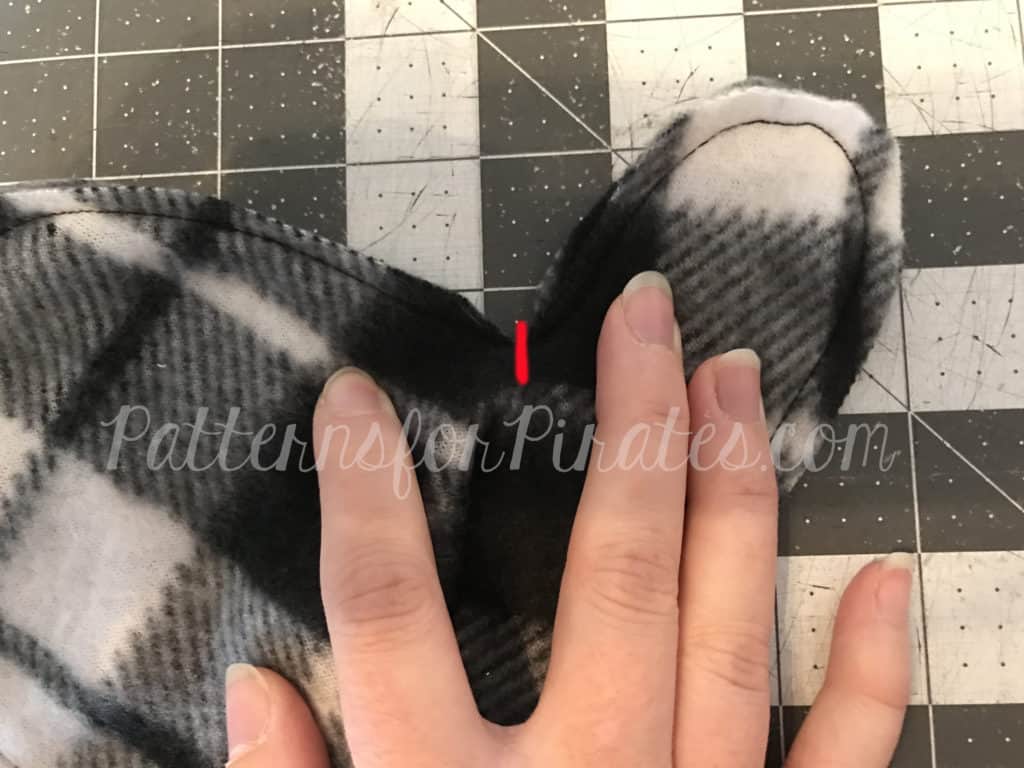
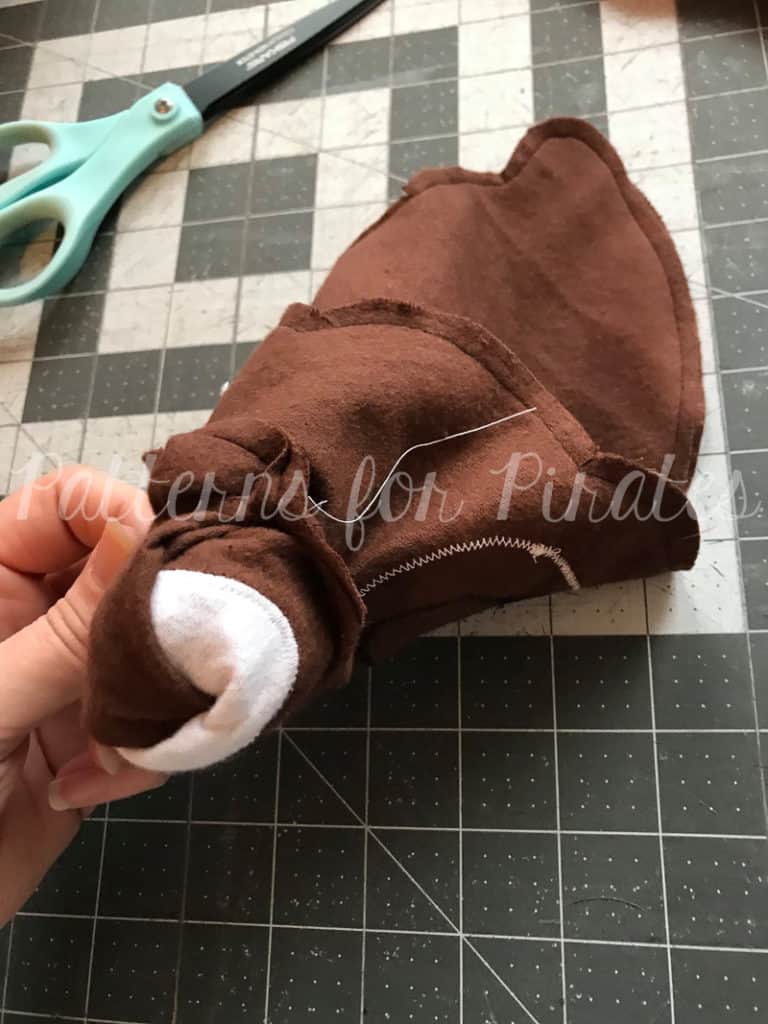
Lay your main pillow body right sides together.
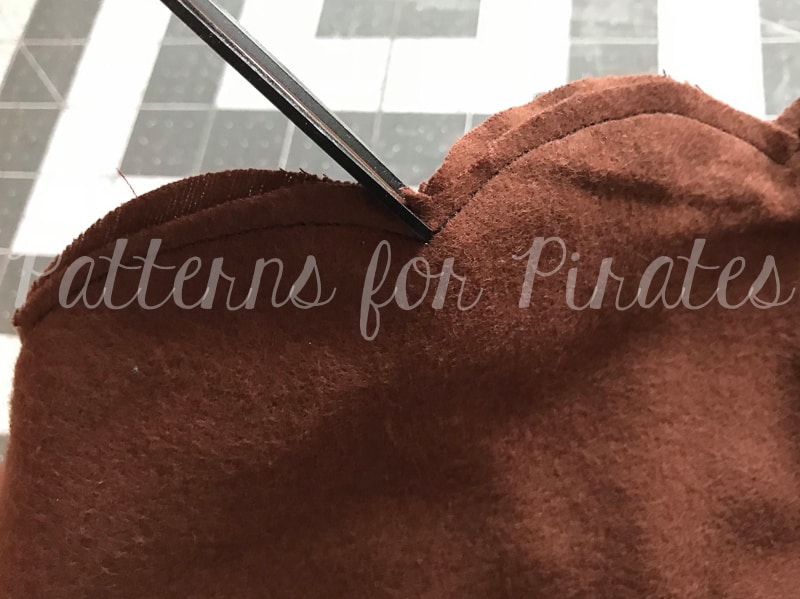
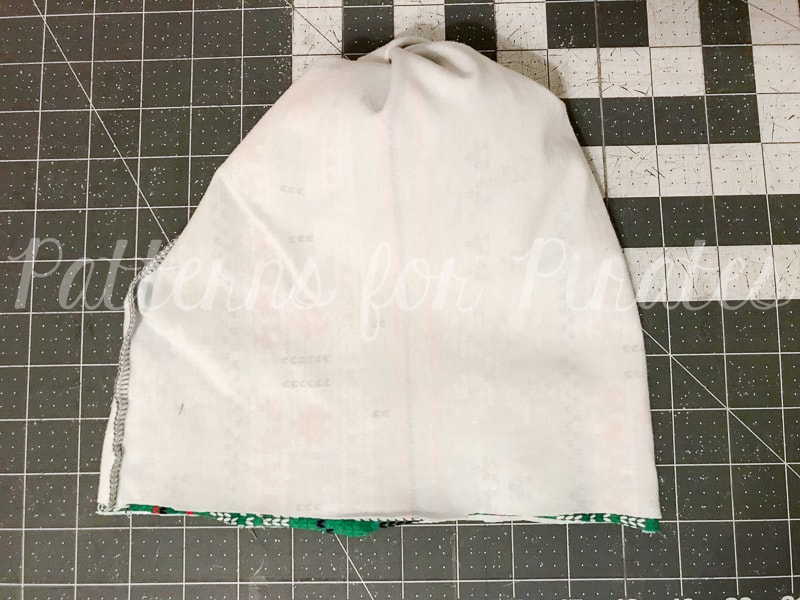
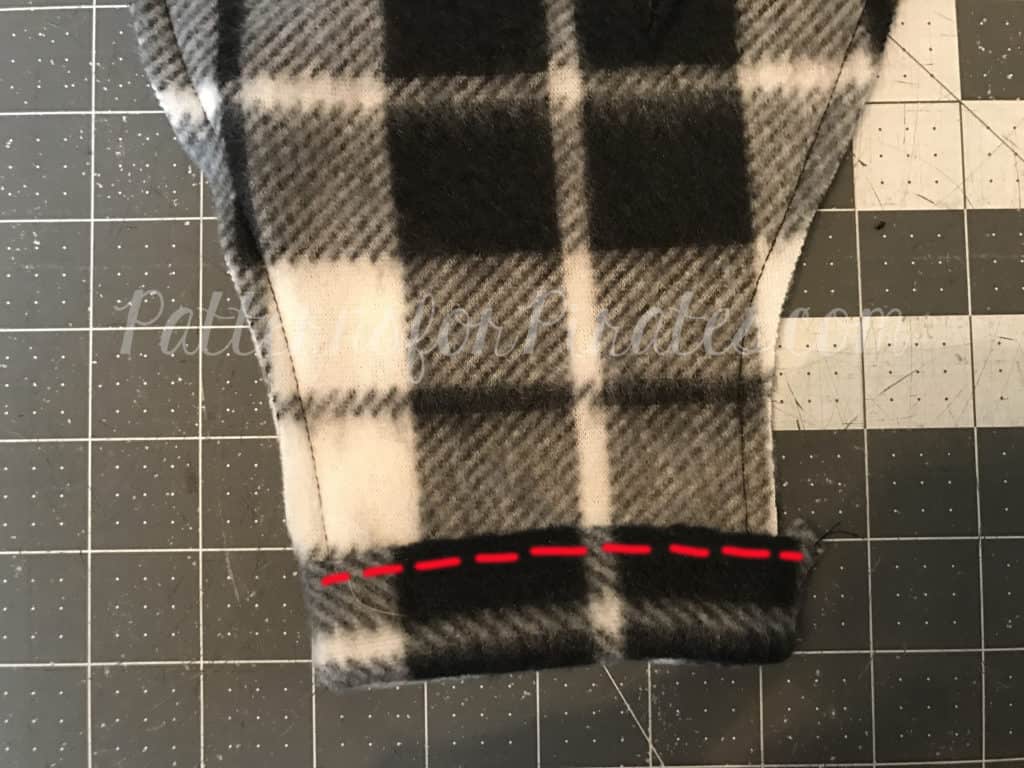
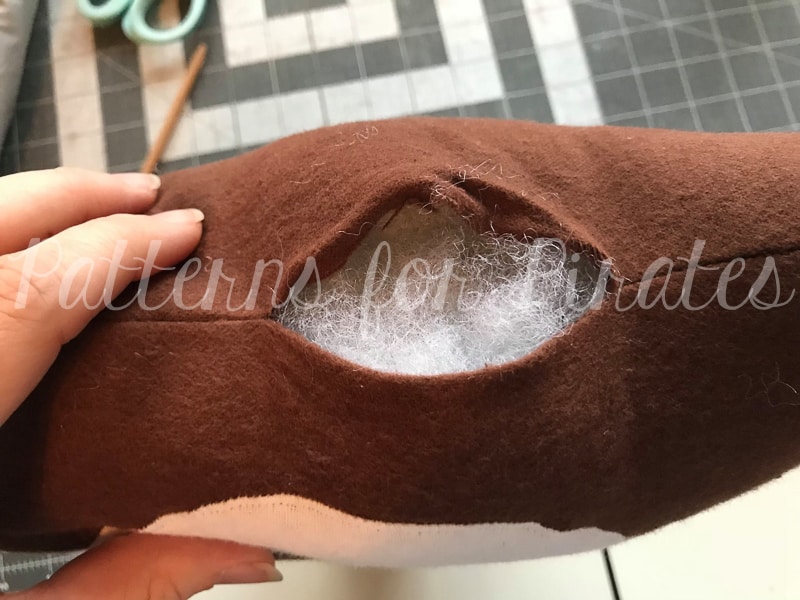
Turn pillow right-side-out, through opening you’d left in the bottom edge.
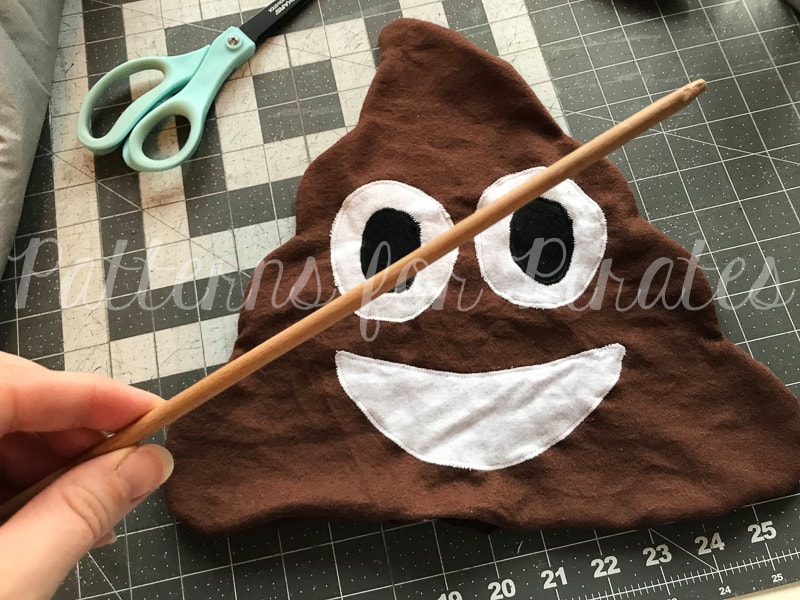
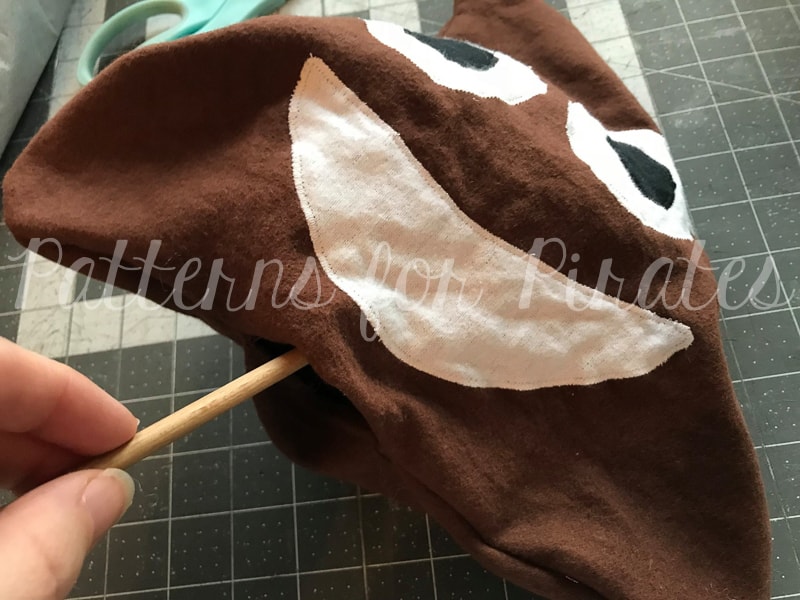
I like to use a wooden dowel to push out edges and make sure everything is turned properly.
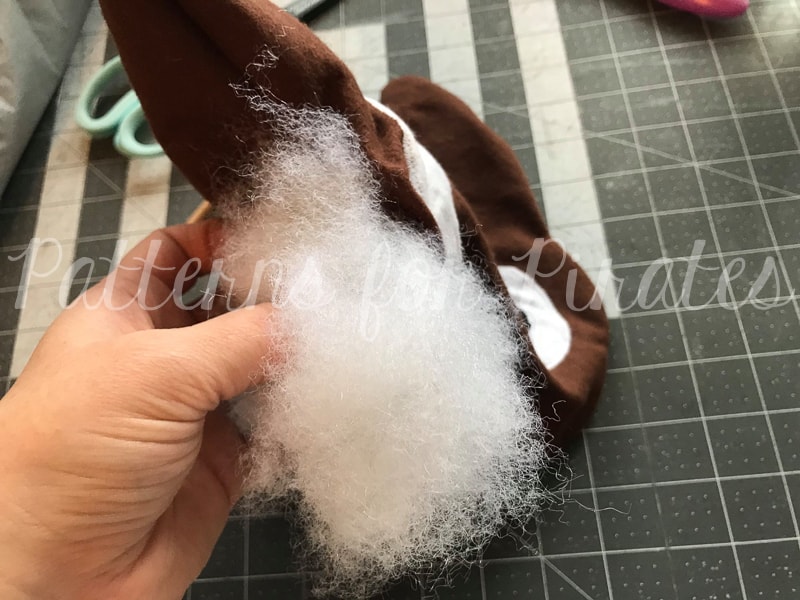
Grab your fiber fill.
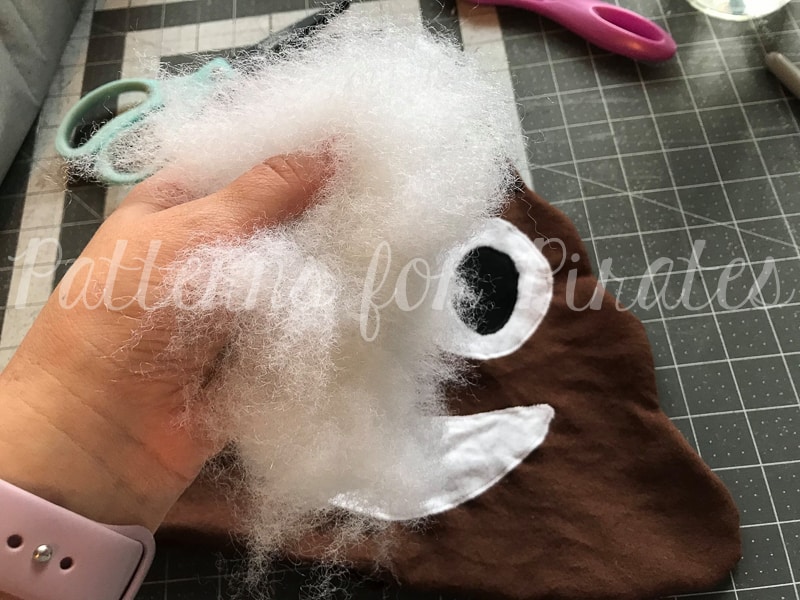
Start filling your pillow, through the opening at the bottom. I also like to use the wooden dowel to help move the fiber fill around.
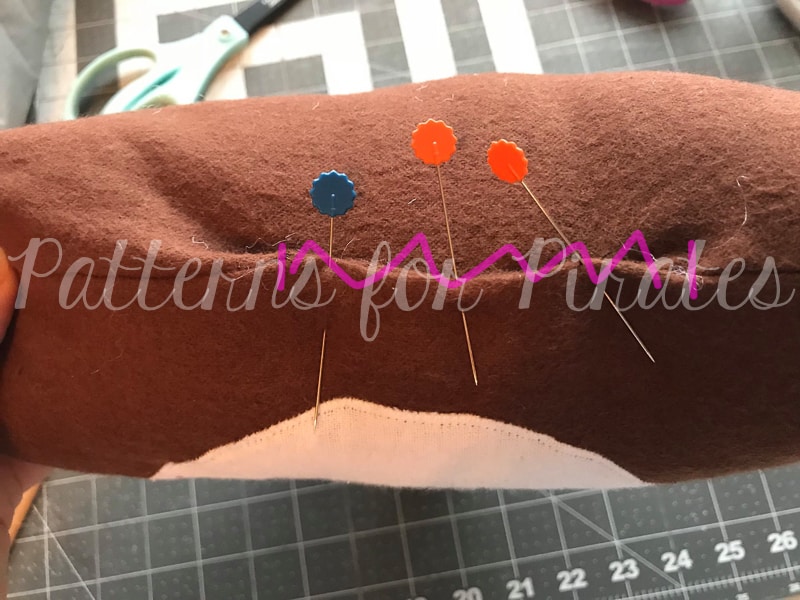
Pin and hand stitch the opening shut, using your favorite method.
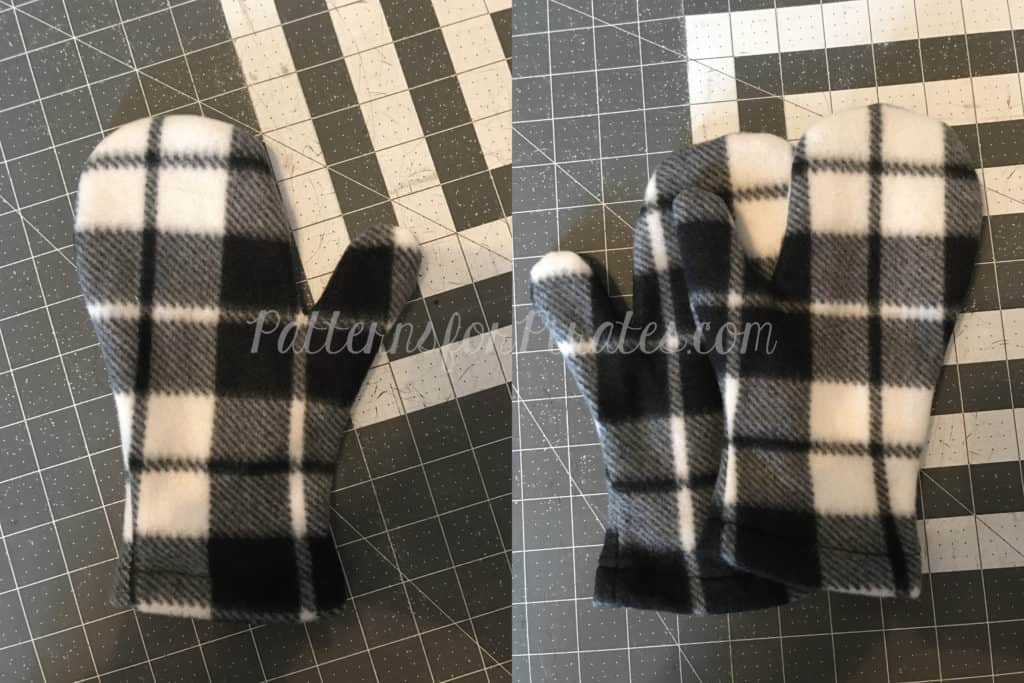
You’re all done! I cannot wait to see your versions of the Emoji Pillows! Don’t forget to share your finished projects in the Patterns for Pirates Facebook Group! (I have this strange feeling that my feed is going to be FULL of poop emojis soon, haha!) Happy Holidays, friends!