Patterns for Pirates

P4P stylish, modern, wearable patterns

  • Home
  • Blog
    • Frequently Asked Questions
    • Pattern Releases
      • Free Patterns
    • P4P University
      • Fitting
      • Sewing with Stretch, Knit Fabrics
      • Sewing with Woven Fabrics
      • Sewing Machines
    • Sew-A-Longs
    • Fabric for Pirates
    • Pattern Hacks
    • Announcement
      • Blog Tours
      • Contest/Giveaway
  • Shop
  • Bundle Discounts
  • Gift Cards
  • My Account
  • Cart

Walk the Plank – easy hacks

September 27, 2017

Ahoy, pirates! Hope you grabbed your FREE Walk the Plank pajama pants patterns by now. If not you can get them here. Today I wanted to show you how easy it is to add patch pockets to the pattern so all those husbands, boyfriends and sons of ours will be even happier with their new PJ pants. I’ll also show you how to enclose the the elastic in the seam.

. . . . .

Front patch pockets

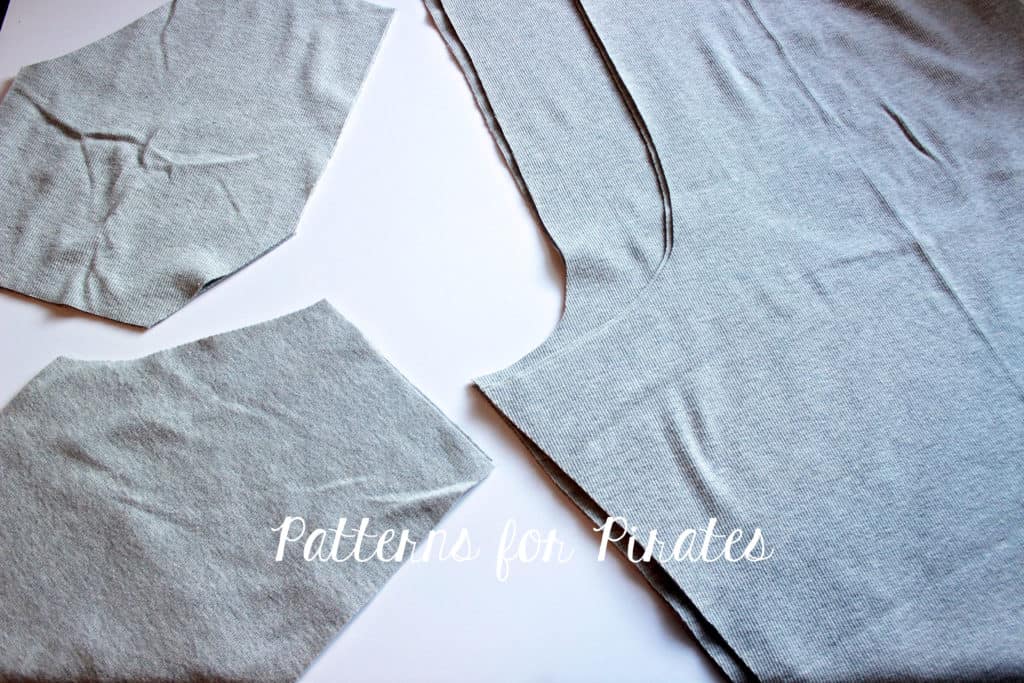
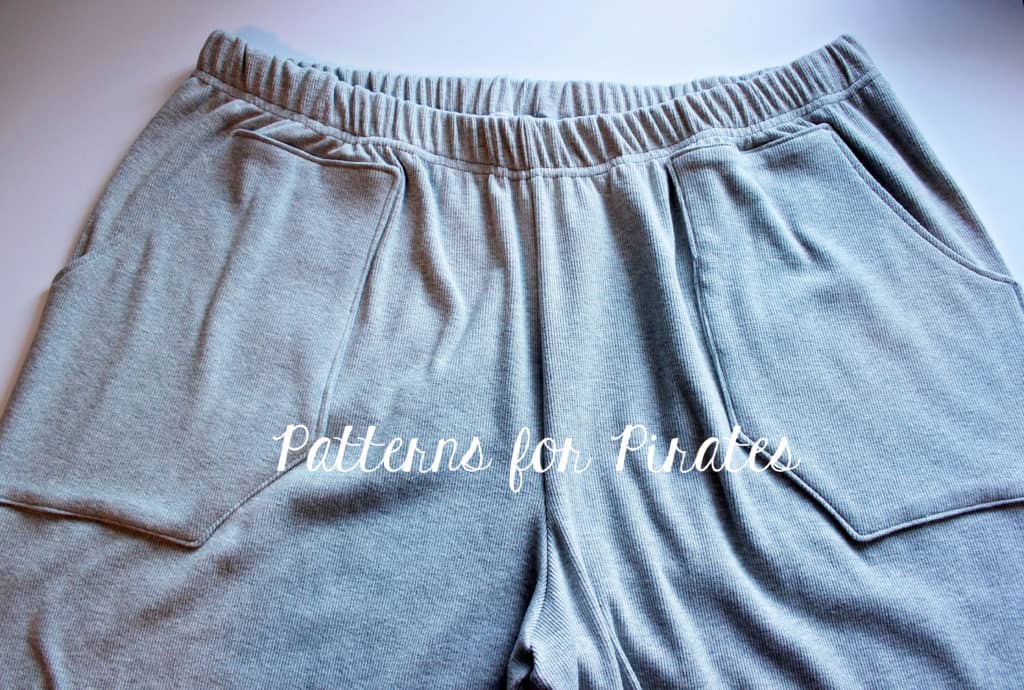
Start by printing the WTP pattern piece in the size needed. Now grab your Papa Bear Joggers (Mama Bear or Baby Bear) pants pattern and print only the page(s) that include the Patch Pocket. You now have two pattern pieces, the pants and the pocket. Cut the leg fabric (two mirrored images) and 4 pocket pieces (2 mirrored images for the main and 2 for the lining). The PJ pants pattern is drafted for woven fabric. I did use knit instead…you can do that too if you want!

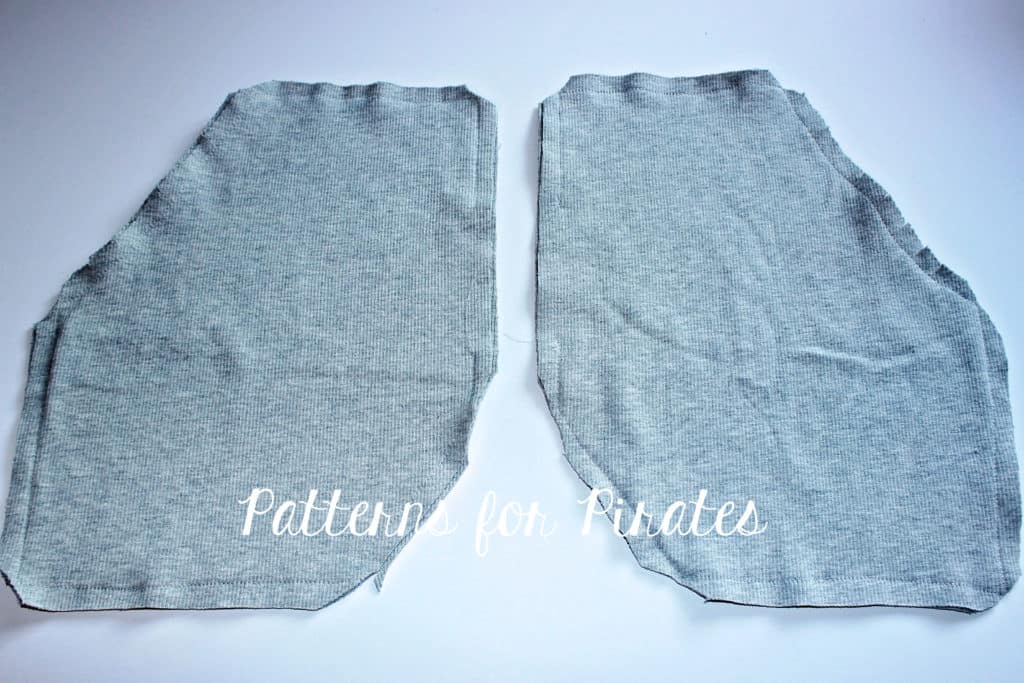
Take your pockets and place them right side together. Sew around the edge with a 1/2″ seam allowance, leaving 2-3″ opening so we can turn the pocket.

Clip the corners and snip the curve of the pocket as close to the seam as possible (without clipping the stitch). Turn your pocket inside out a press very well. Repeat with the other pocket.

Top stitch only the pocket curve opening.

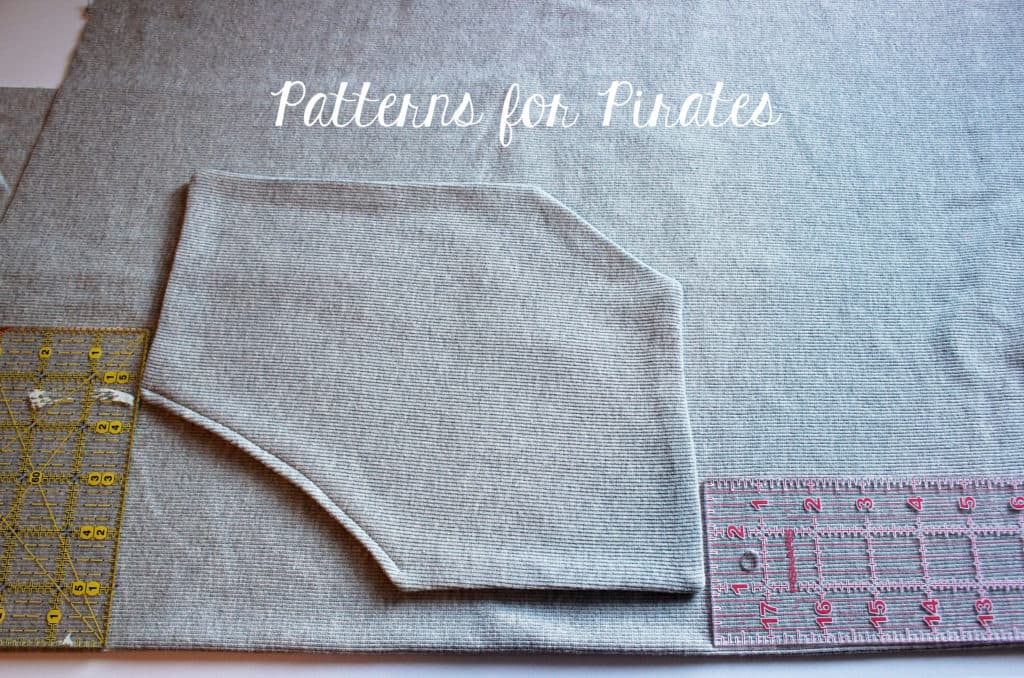
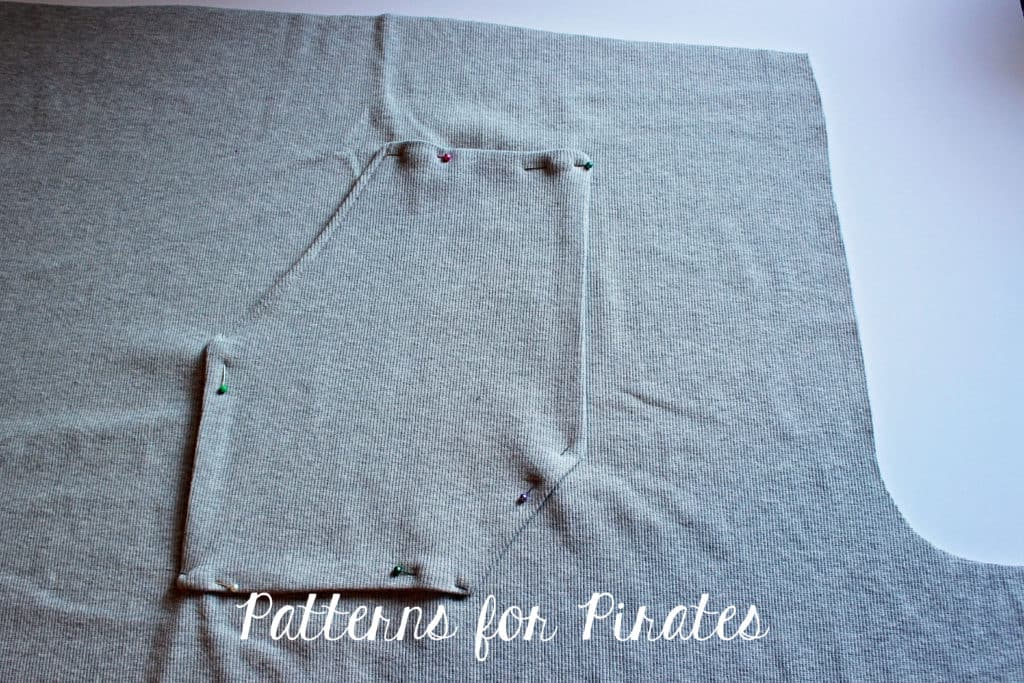
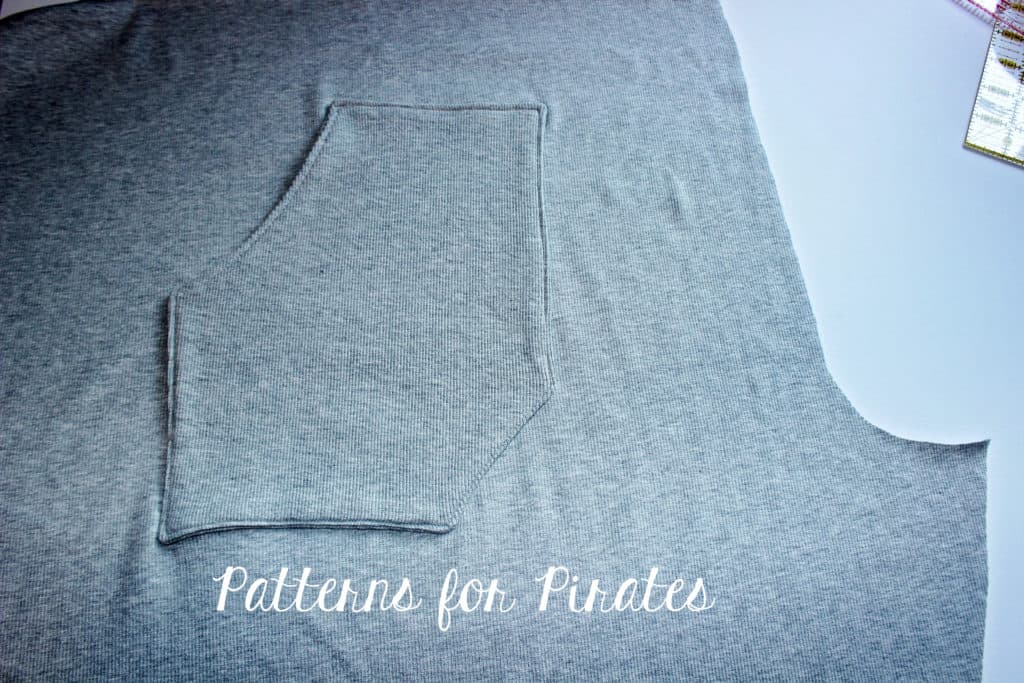
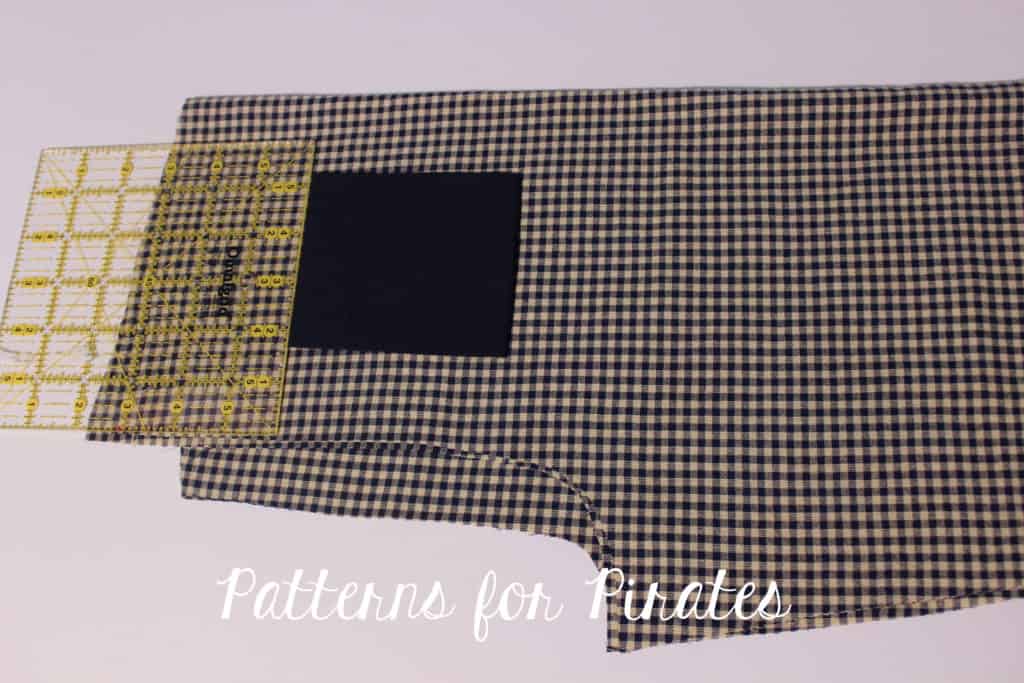
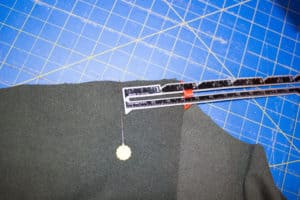
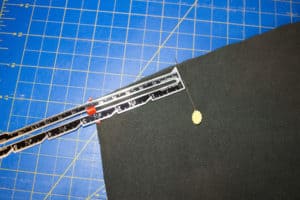
Take the pants pattern piece and place it right side up. Fold the pants so the inseam matches making sure the front is on top. Measure 4″ down from the waist edge and 1 inch away from the side fold. Place the pocket as in the picture below and pin in place.

Note: you will need to adjust these measurements if you are making the kids Walk the Plank pj pants.

Sew the pocket to the pants making sure you leave the pocket curve open. You will only be sewing around the 5 straight edges. Repeat for the other leg.

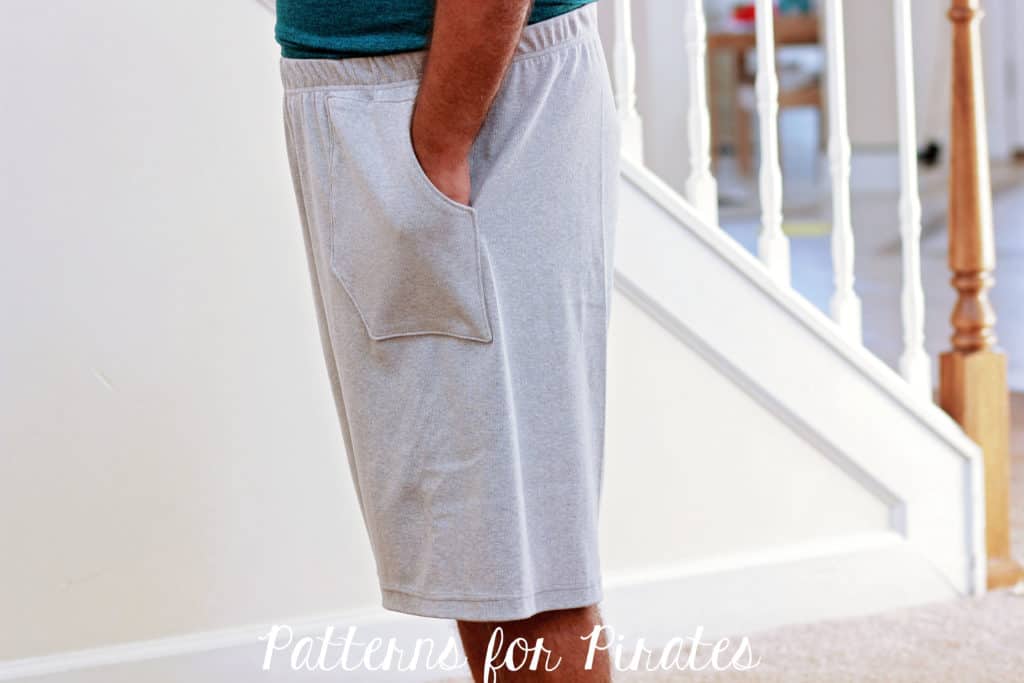
That’s it! You added patch pockets to the pajama pants. Simply continue to construct the pattern as per the tutorial and enjoy a new pair of PJs WITH POCKETS!


. . . . .

Back patch pocket

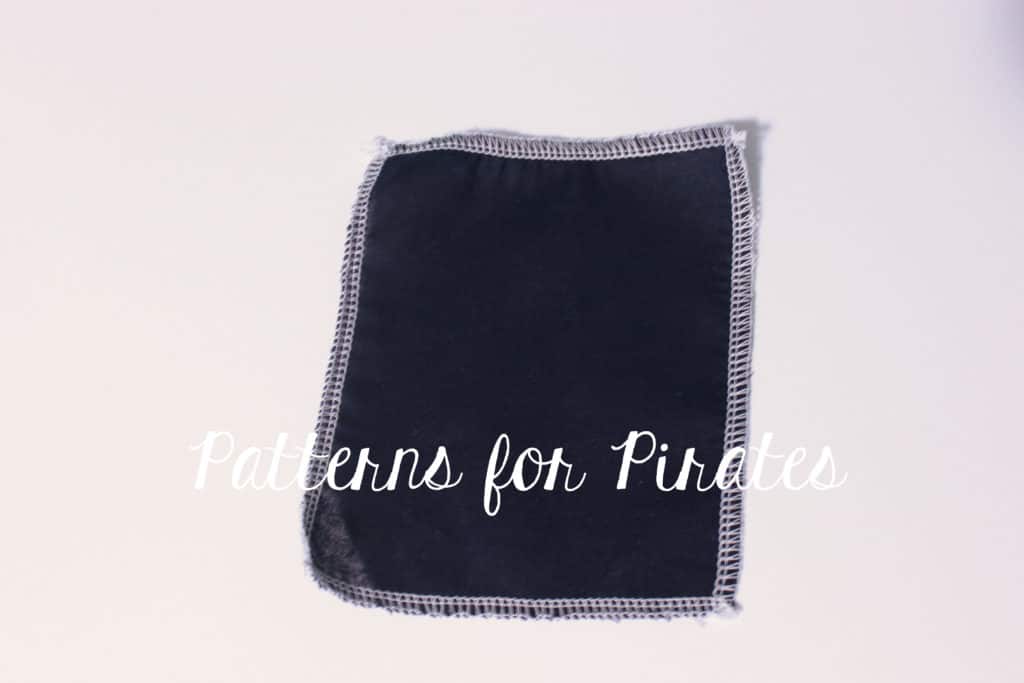
Next I want to show you how to add a back pocket to your Walk the Plank PJ pants. This hack is even easier and it does not require any additional P4P patterns. Simply cut one rectangular piece of the same fabric or a coordinating one. The size of the rectangle will vary depending on how big you would like the pocket. I cut my piece 5″ wide by 6″ tall and I am making a size 6 PJ pants.

Optionally, you can serge around the edges to prevent fraying in the wash.

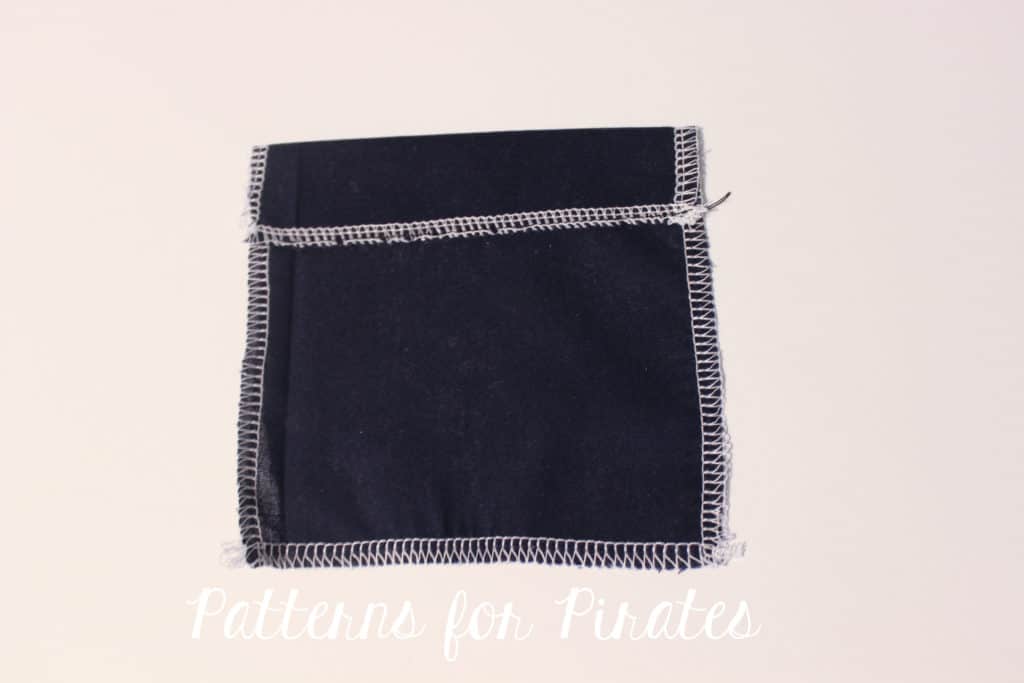
Fold the top of the pocket 1″ down, press and sew in place.

Now fold the other three sides 1/2″ and give it a good press. Do not sew them just yet.

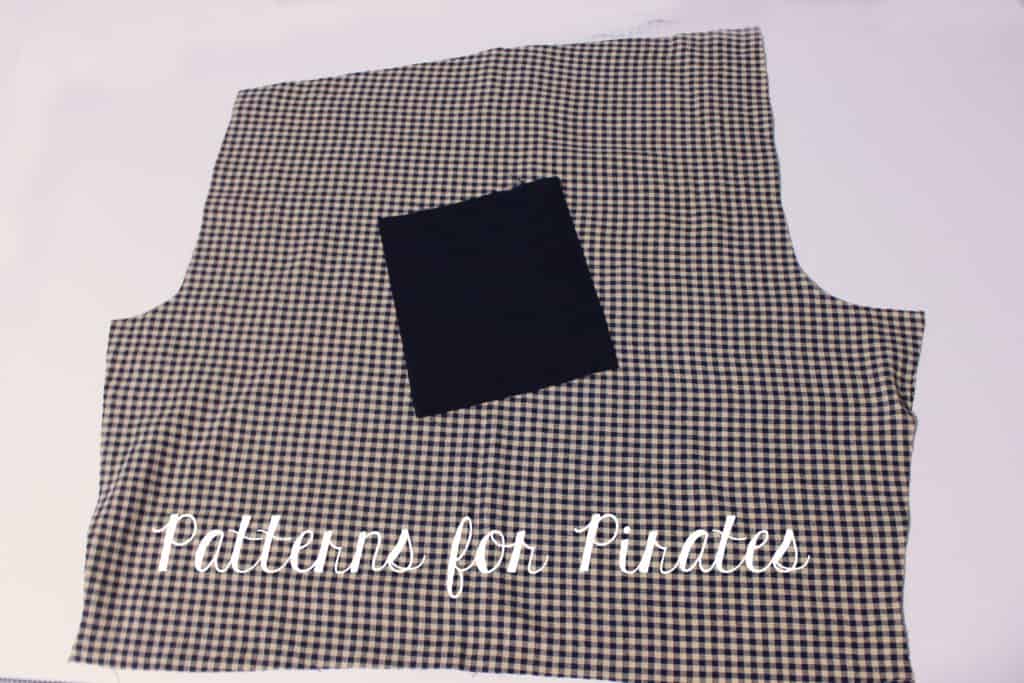
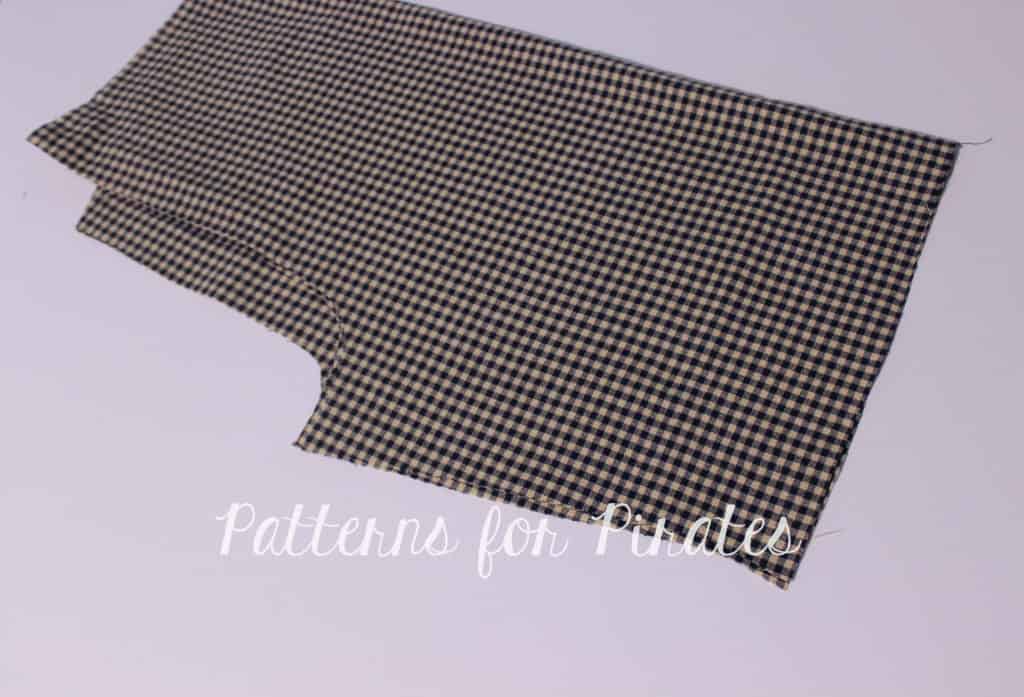
Take your pants pattern piece and with the right side out, match the inseam. Place it on the table with the back facing up. The back part of the pants is the one with the higher rise.

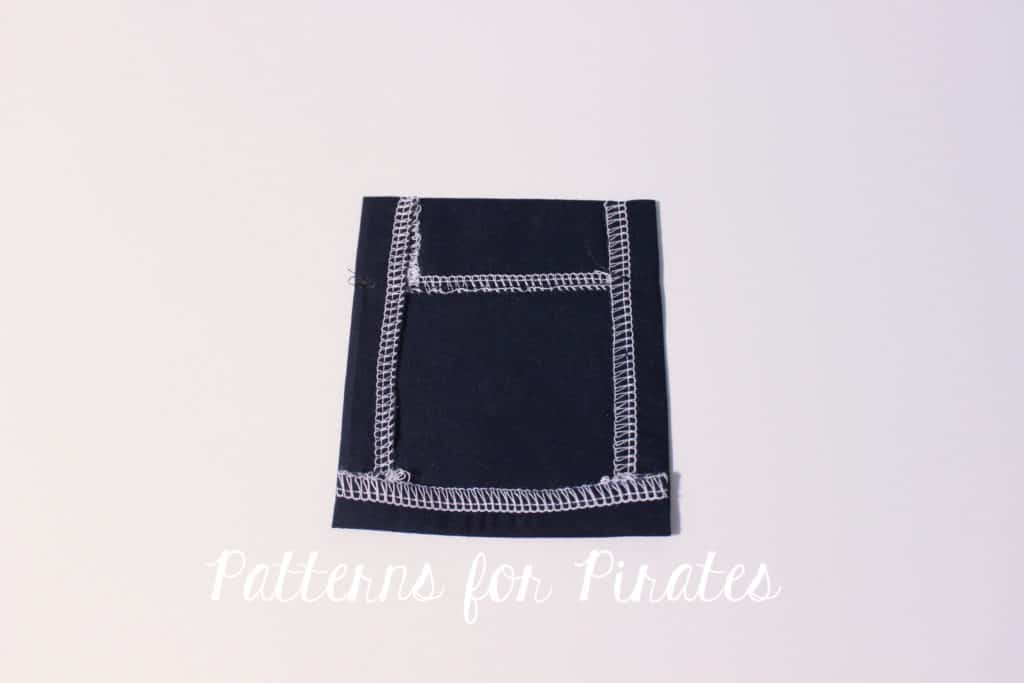
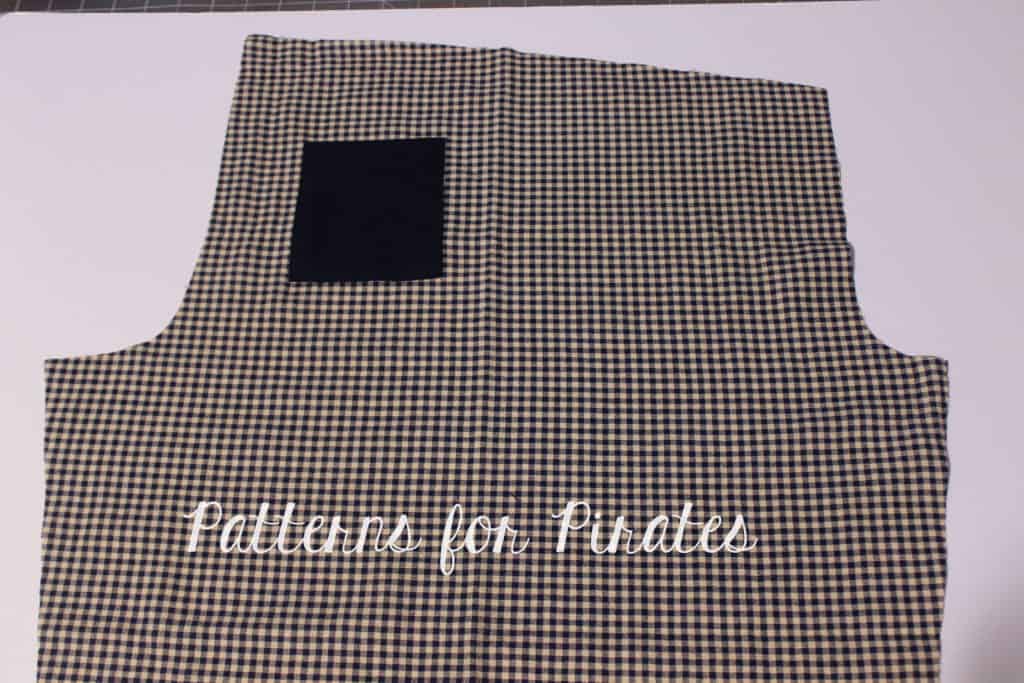
Place the pocket approximately 3″ down from the rise. Note that this placement will vary from size to size so I encourage you to baste in place insead of sewing in place if you are not sure if you’ll like where the pocket sits.

Edge sew the pocket to the pants (or baste) making sure you do not sew the top but only the bottom and the sides of the pocket.

Continue sewing the PJ pants as per the pattern tutorial and enjoy you new pair of back pocket Walk the Plank pants. 🙂

NOTE: If you basted the pocket, try the pants on! If you like where the pocket sits, stitch it in place. IF you don’t, you can easily remove the pasting stitches and relocate the pocket before you sew it in place.

. . . . .

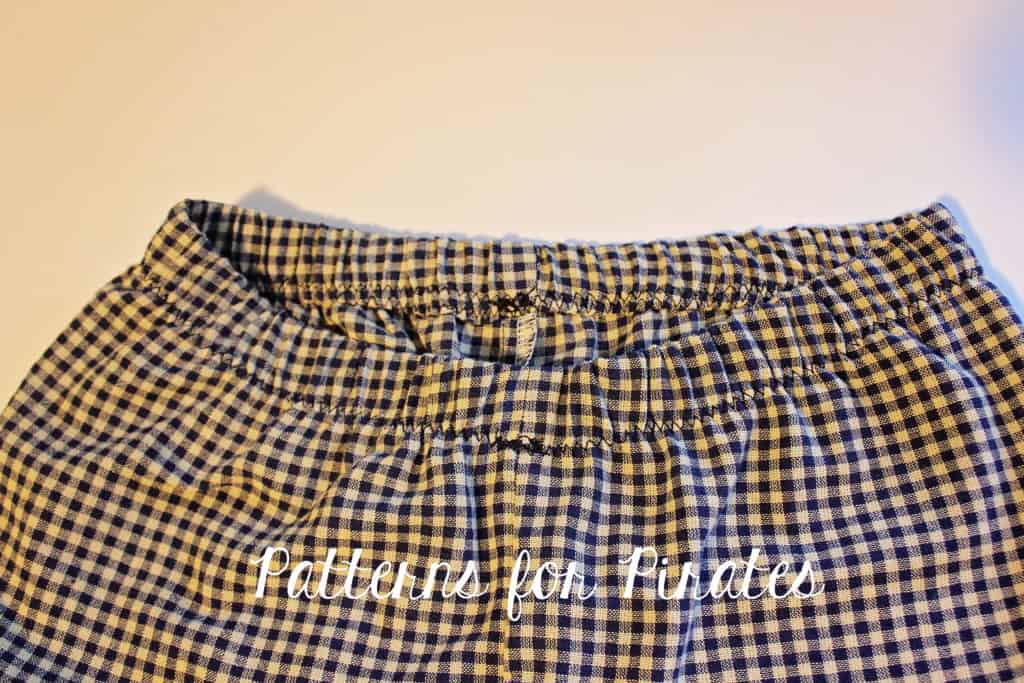
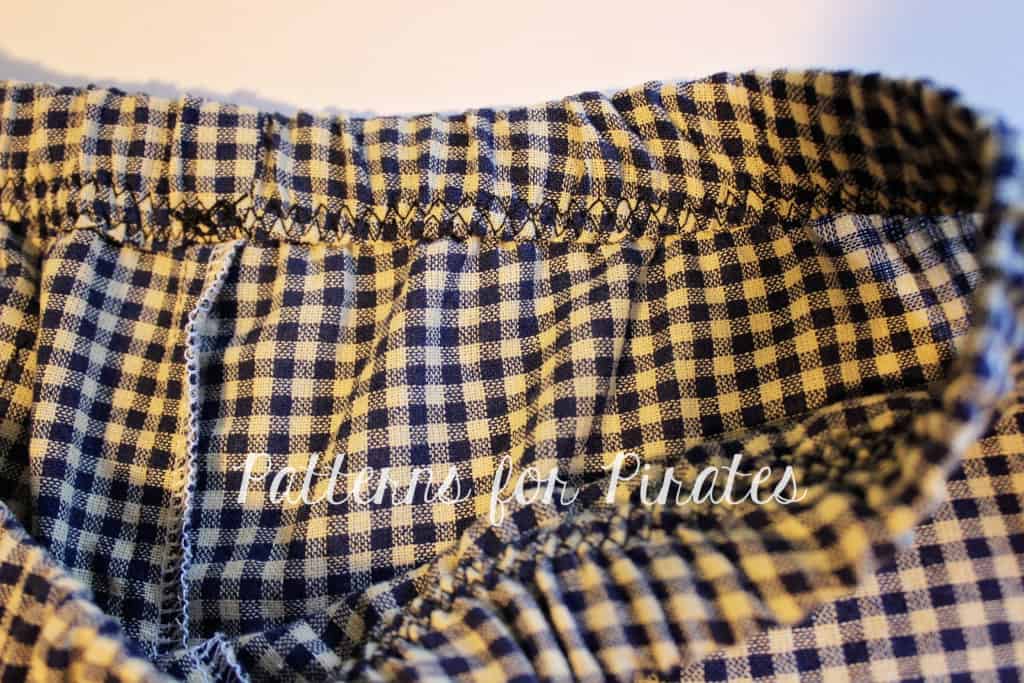
Enclosed elastic waistband

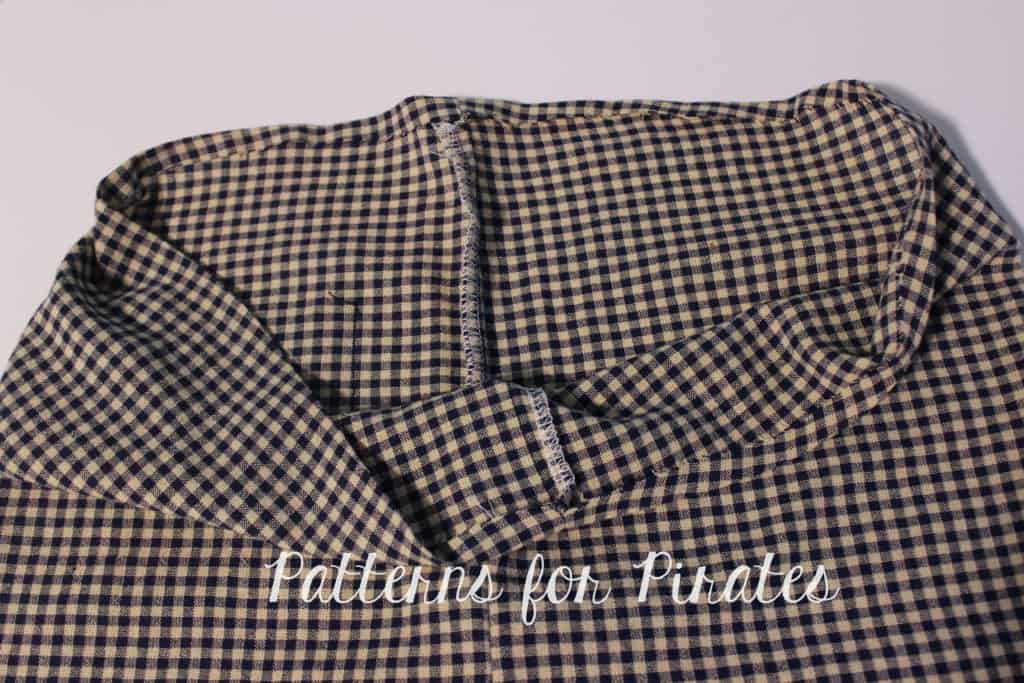
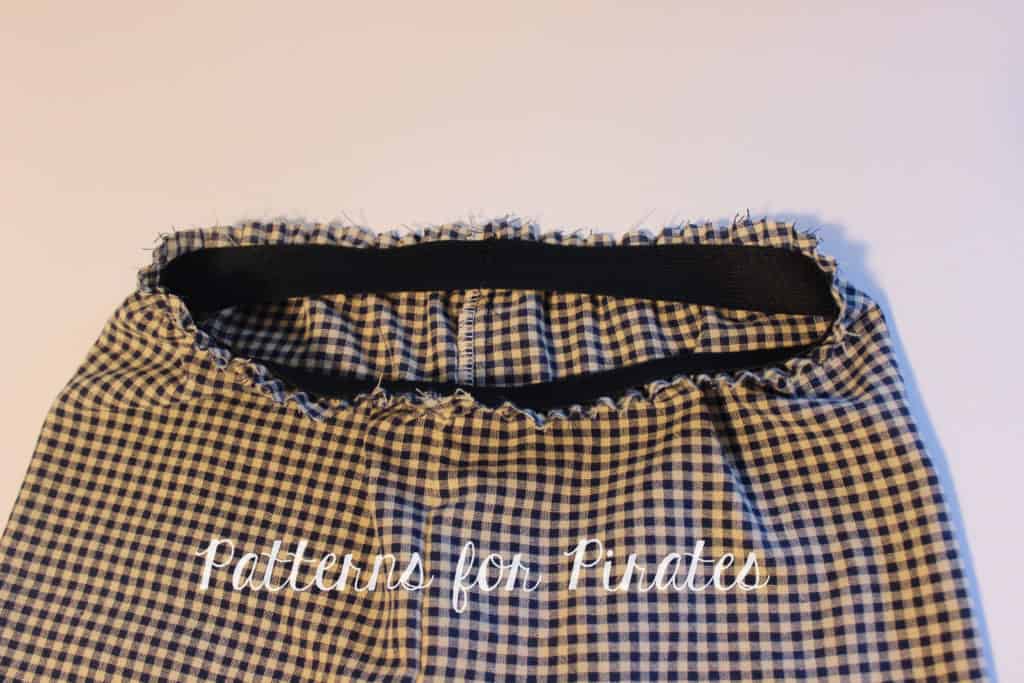
Next up I would like to show you how to enclose the elastic in the waist so you do not have any visible serged edges. Sew your PJ pants as indicated in the tutorial. Press the top of the pants 1/4″ down in order to create a memory hem.

NOTE: this method will yield a rise that will be 1/4″ lower than the original pattern.

Sew the elastic in a loop (as per the pattern) and mark the quarters with pins or clips. Find the quarters of the waist opening and match the elastic quarter points to them, placing the top of the elastic 1/4″ of an inch down from the top of the pants. Use the memory crease mark as a guide.

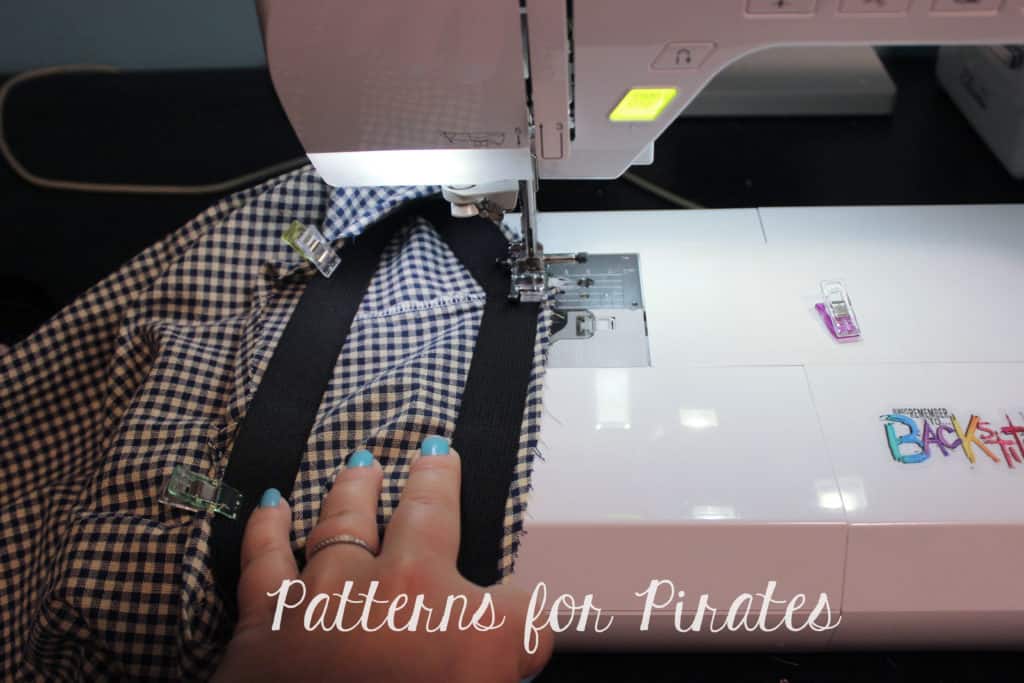
Sew the elastic with a a zig zag stitch.

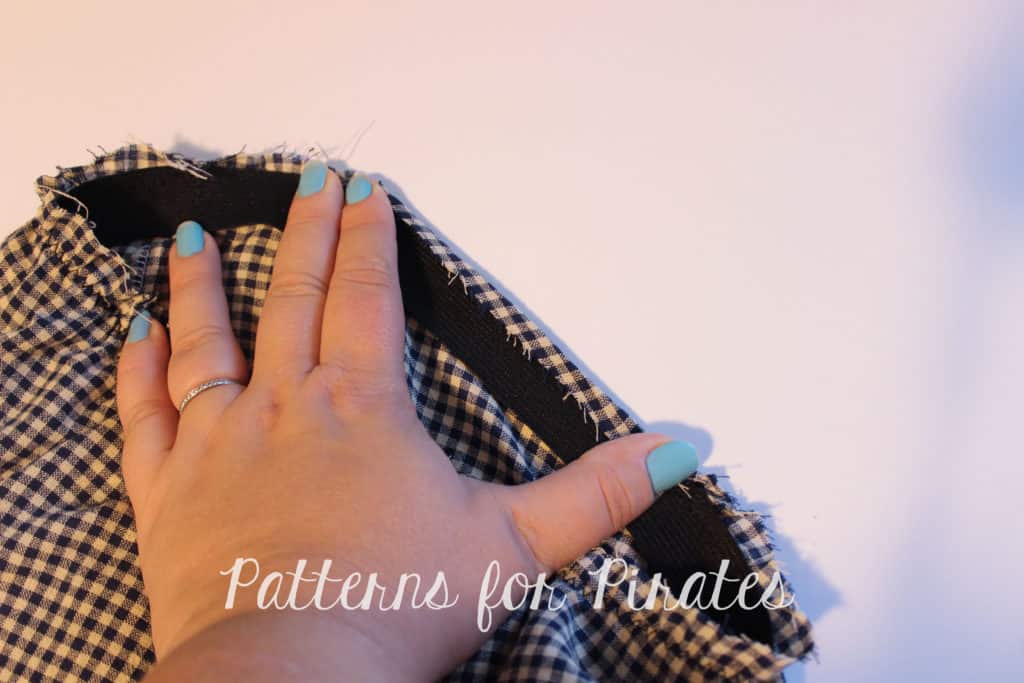
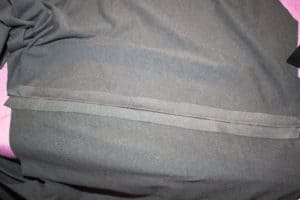
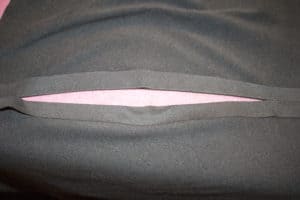
Fold the top top of pants down. This may be a tricky process since you will have to stretch the elastic as you go. Take it slowly and press!

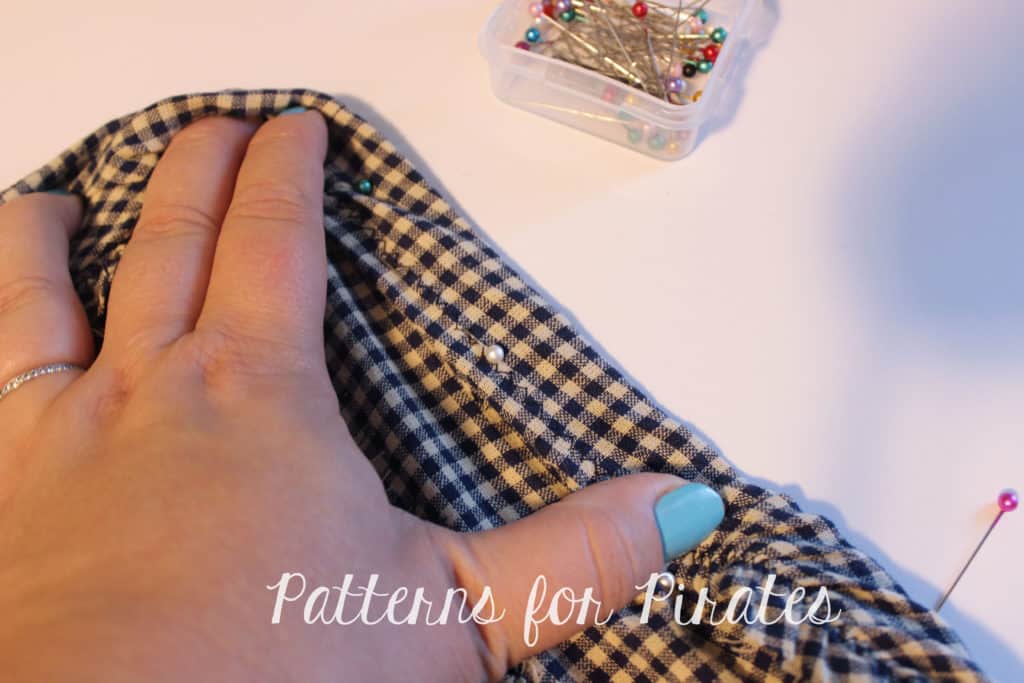
Fold the elastic down and pin in place. You will again need to stretch the elastic so you might find it easier to skip pinning and just use your hand to hold it in place when you sew.

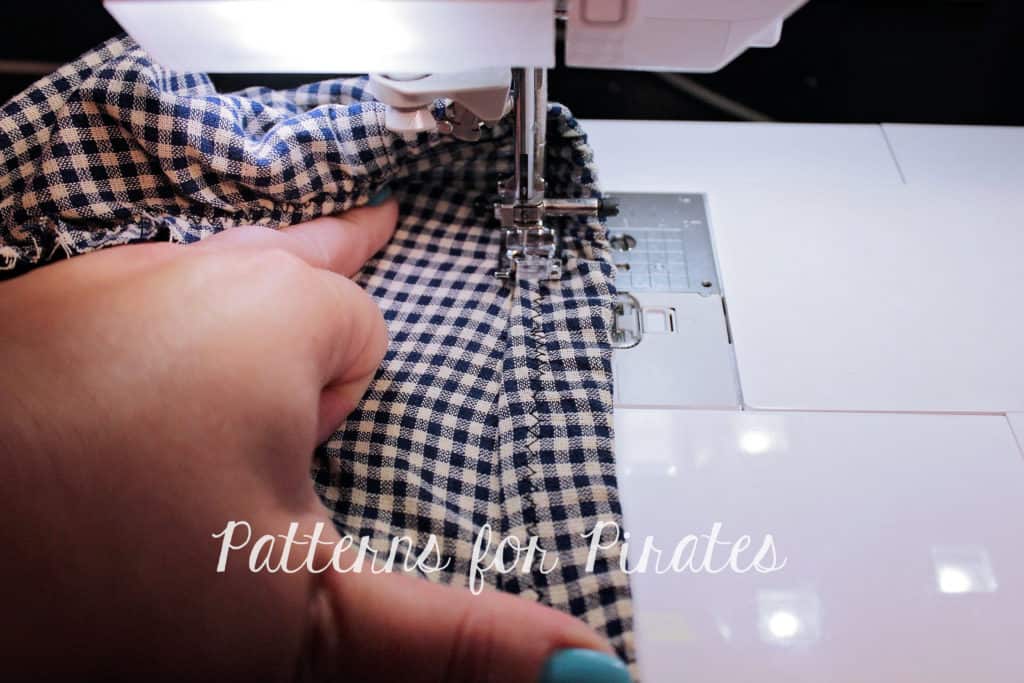
Sew as close to the edge as you can, stretching the elastic  to make sure the fabric lays flat when you stitch it.

There you have it…. an enclosed elastic for your new PJ pants!

Hope you found these easy hacks helpful. Don’t forget to show your creations in the P4P group! We love to see what you make for you and your loved one.

Filed Under: Free Pattern, Pattern Hacks, Pattern Release, Uncategorized 11 Comments

Take the Plunge Swim :: Easy Hacks

June 15, 2017

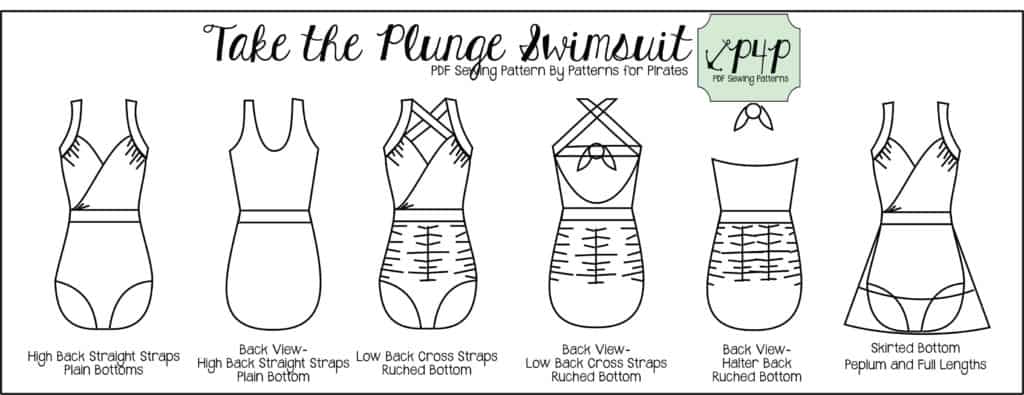
The ultimate one piece swimsuit is here and it’s packed with so many options. Mix and match the halter, low back or high back with any of the bottoms styles for a unique look every time but in true P4P fashion we could not have released this pattern without some easy hacks to get you even more looks out of your Take the Plunge Swimsuit.

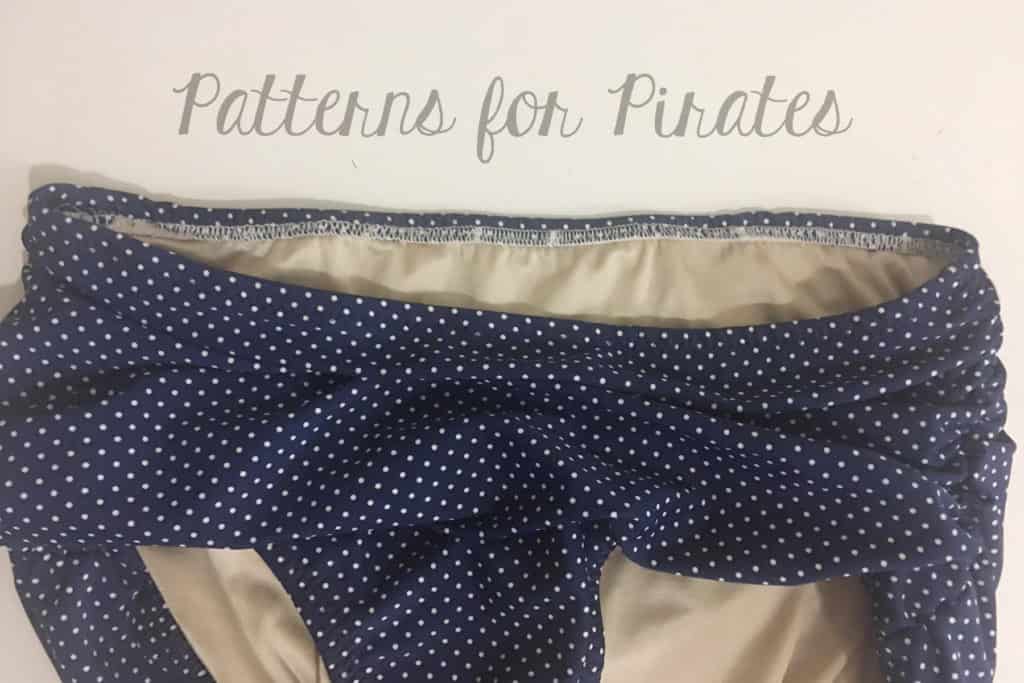
First on the hack line up is a super easy swicharoo! 🙂 Simply switch the half circle skirt included in the Take the Plunge swimsuit with the rushed skirt of the Hello Sailor  Swim Bottoms.

This “retro” look is so easy to achieve when using the ties option of the Hello Sailor Swim Bottoms. If you prefer to use the elastic rushing option included in the tutorial  you can certainly do that too.

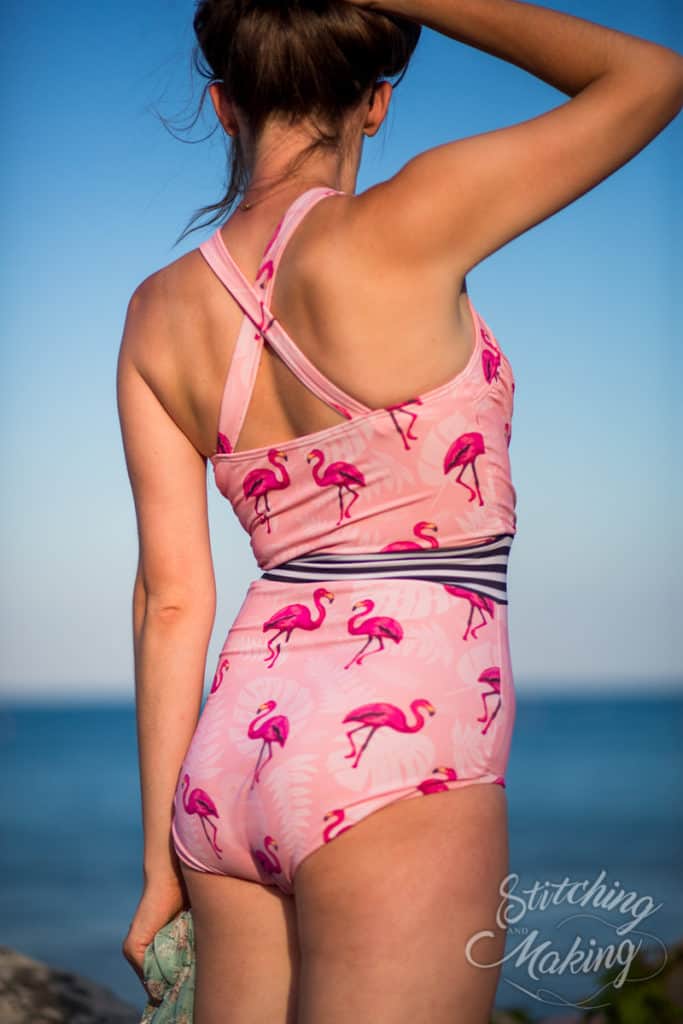
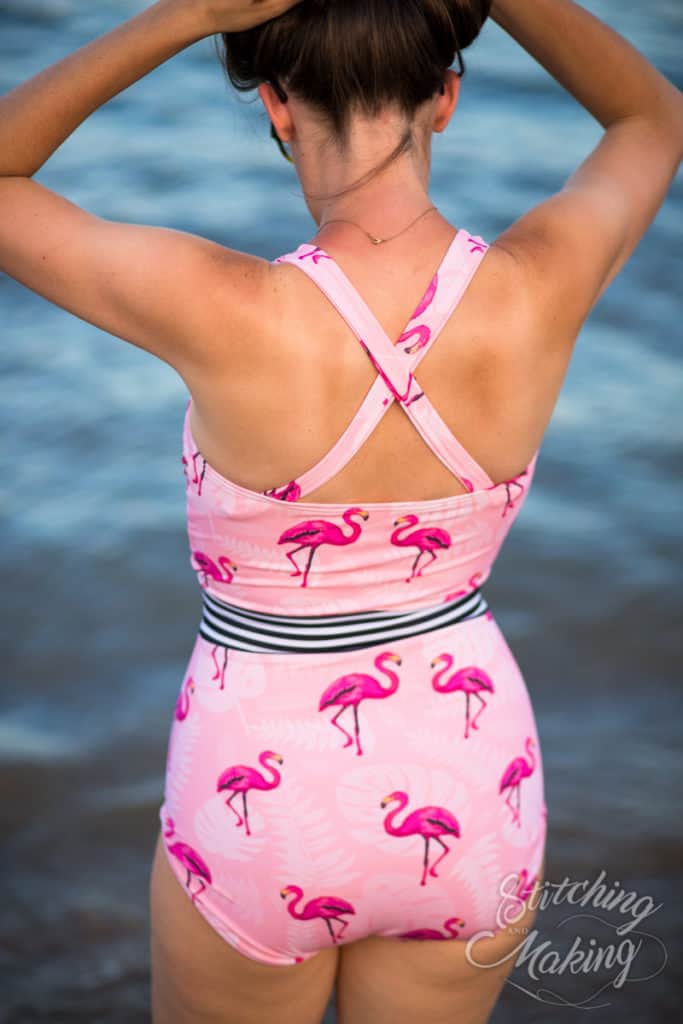
I used the low back option of the Take the Plunge swimsuit but either one of the other tops would look amazing with the skirted bottoms. Make yourself a high back option and you’ll be ready to chase your little ones at the beach this summer. 🙂

There was no alteration needed to make to the pattern.  Follow the tutorial for the Take the Plunge swimsuit and replace the skirt included with the Hello Sailor Swim Bottoms skirt. Easy peasy!

Alex

—

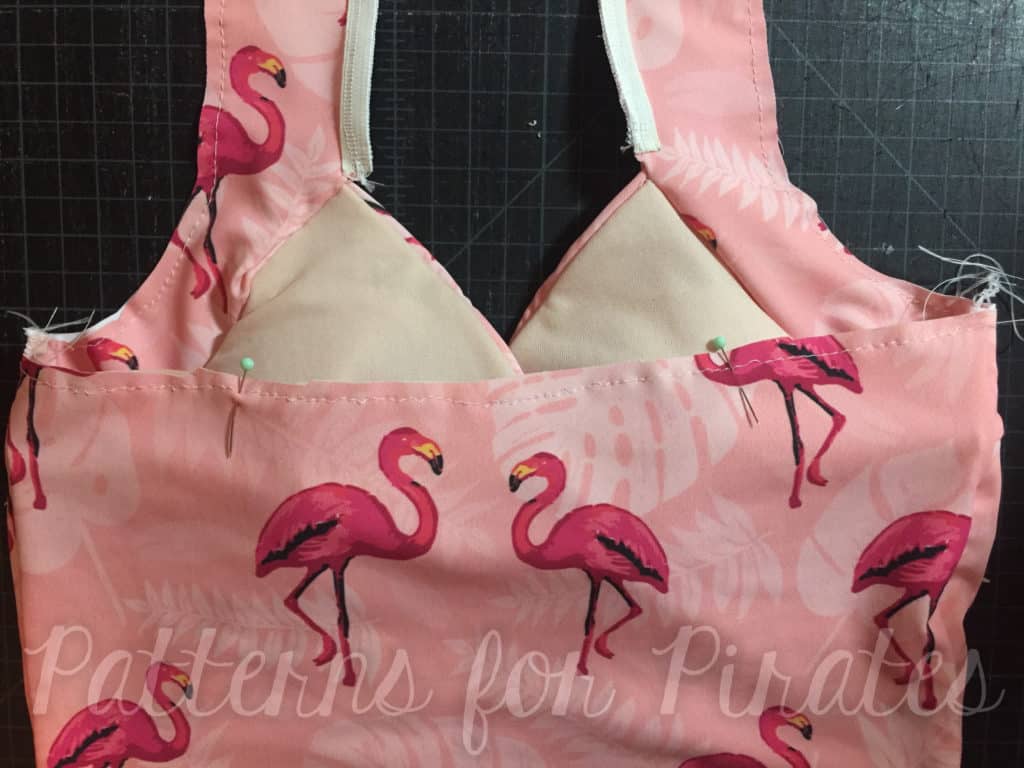
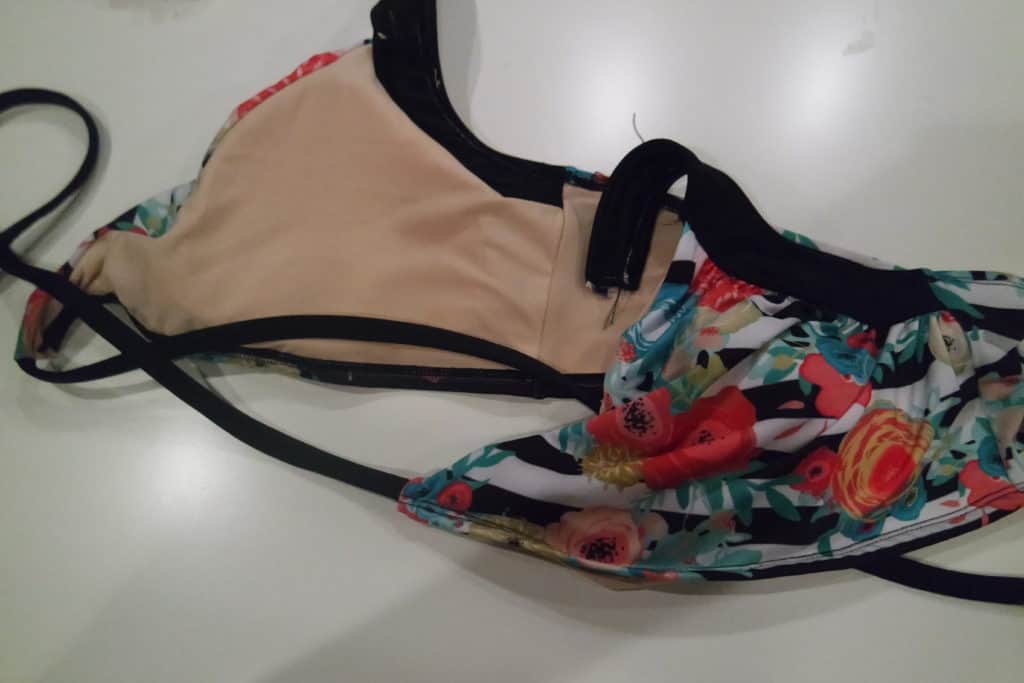
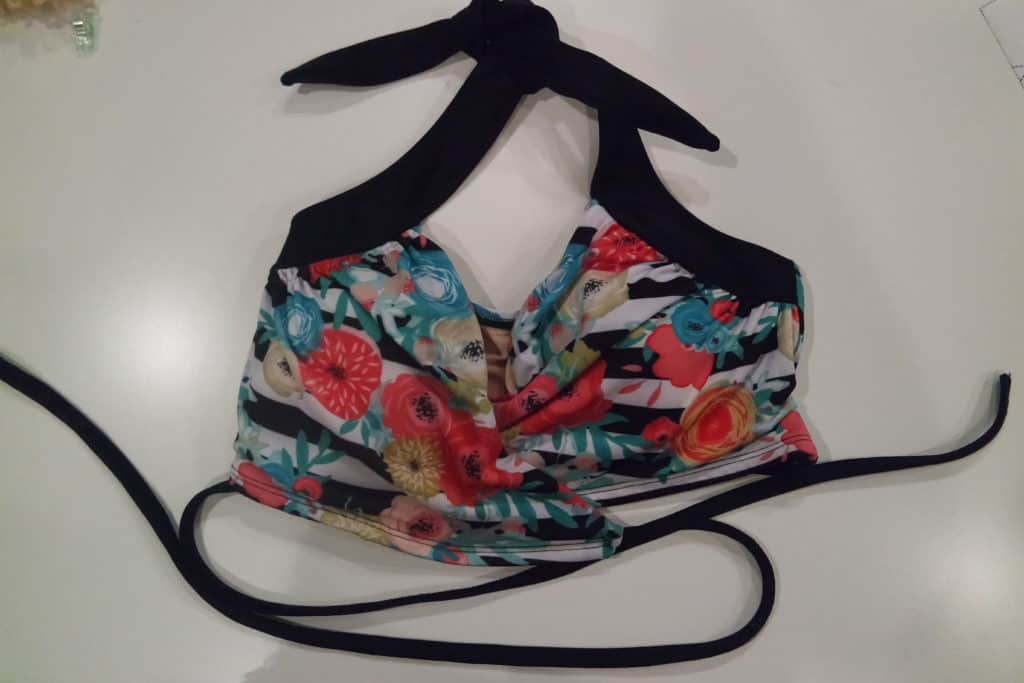
For another quick and easy way to mix up this pattern, try modifying the straps!  In this example, I’ll show you how to hack the halter back and straps into a trendy criss-cross.


1. When cutting out your halter straps, you don’t need to cut the pointed tip.  Just straight across is easier.  For me, the length worked as-is, but if you are extra tall (I am 5’8″), you may want to cut a couple extra inches just to be safe.

2. Assemble the pattern as the instructions direct, until you get to the step for adding the elastic in the back.

3. After you’ve added the elastic, on each side, mark the middle point between the center back and the side seams. (I happened to take this picture before I added the elastic, don’t be confused by that part!)

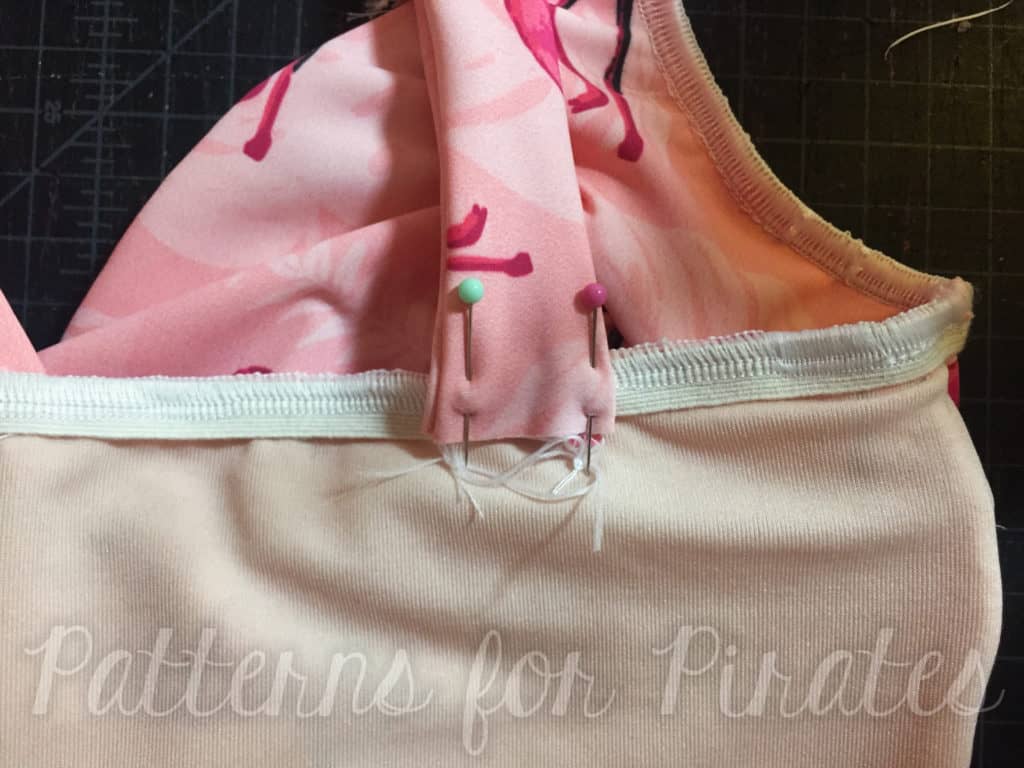
4. Pin/clip (or baste) the straps in place where you’ve marked – make sure to cross them and that they aren’t crooked.  You’ll want to try it on at this point to make sure the strap lengths are comfortable.  I found that I needed to attach the straps about 1.5″ from the end.

5. Once you know exactly where you want the straps placed, now you’re ready to sew them down.  There’s multiple ways you could do this, but I found this method reduced bulk the most.

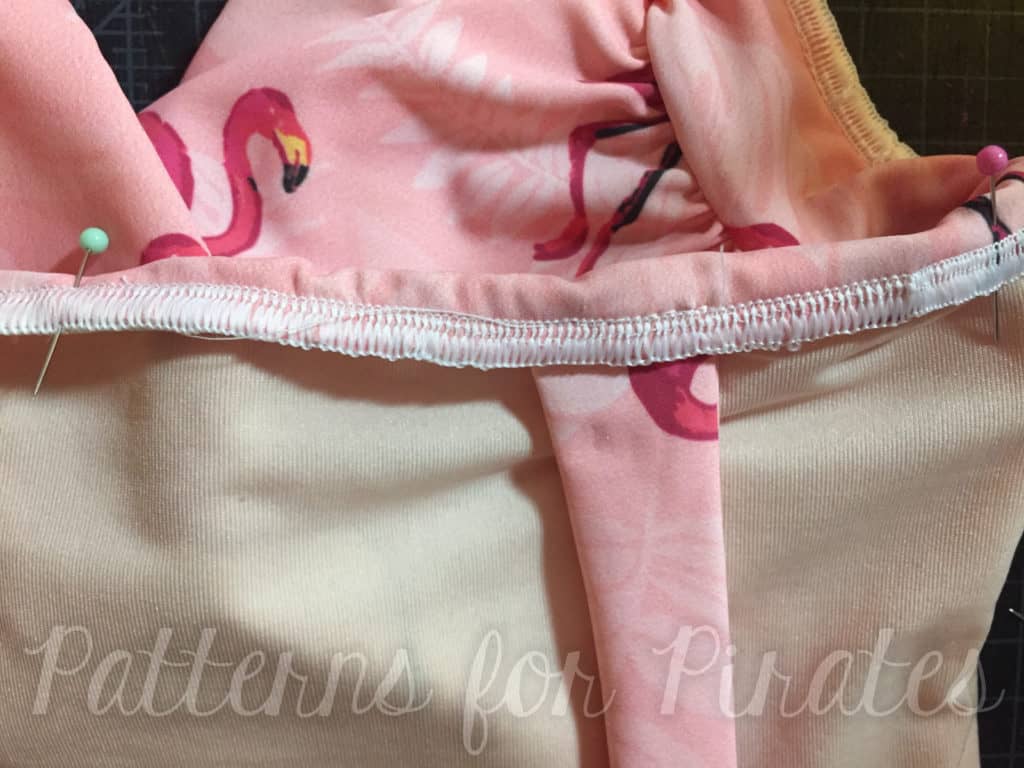
6. With your strap facing up, sew it through the elastic on the back.  This area will receive a lot of stress so make sure to use a good stitch – I like the triple stretch stitch or zigzag.

7. Now turn your elastic edge down to get ready to top-stitch along the edge as the pattern instruction indicate.

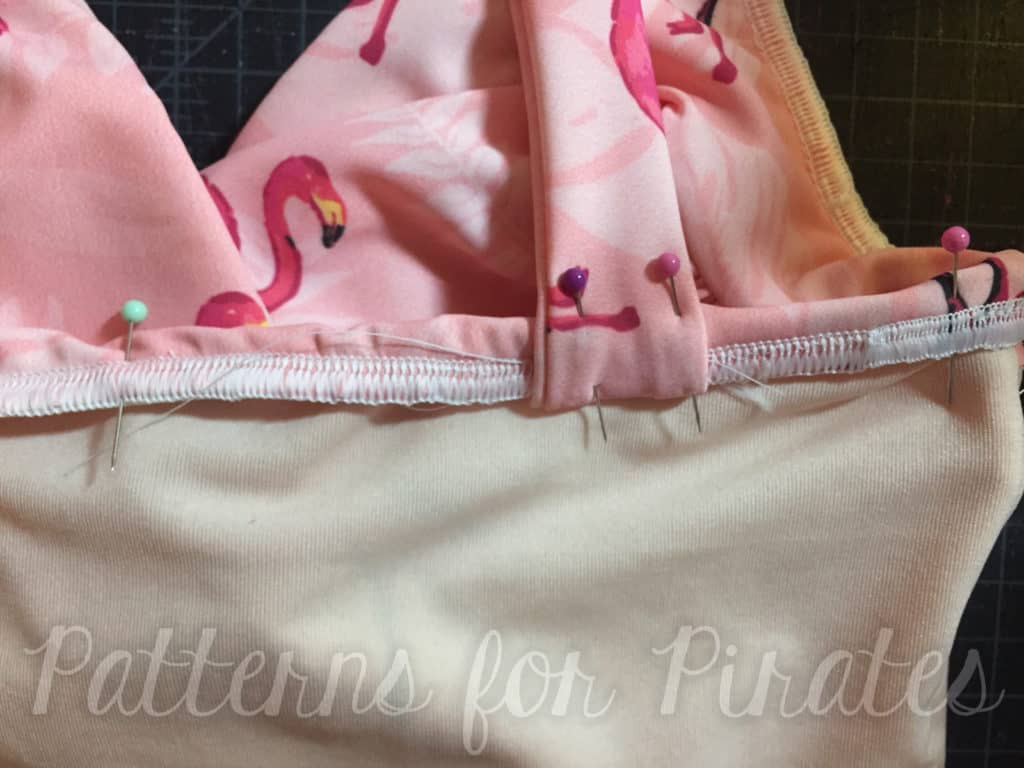
8. Before you top-stitch, pull the straps upwards again.  Now, you’ll also catch the strap as you top-stitch along the back of the suit.

9. That’s it!  Now finish the suit as usual.


Have fun experimenting different ways to change up these straps.  You could try using the low back option instead of the halter,  double or even triple straps on each side, or even weave them together for a completely different look!

– Elisabeth

—

Not really a one piece kind of girl?  Whether you like to rock a bikini or prefer a little more coverage of a tankini,  with a few minor changes you can Take the Plunge to new depths (or looks 😉 )

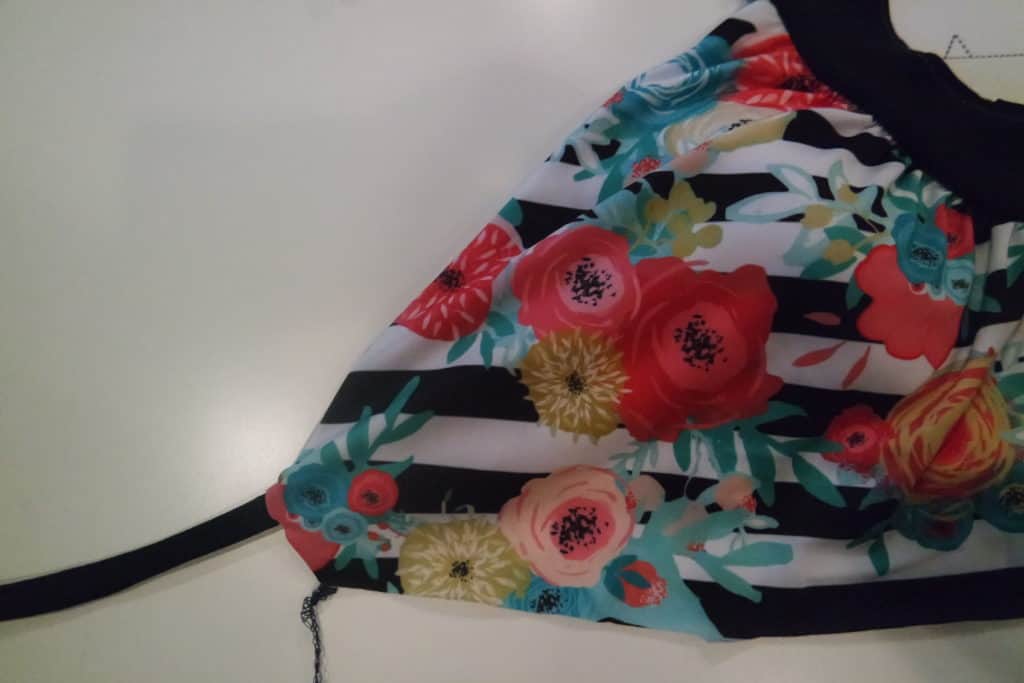
First up, the Peplum Tankini.  I also had some fun and played with the straps a little and might blog those later but for now we will focus on the peplum.

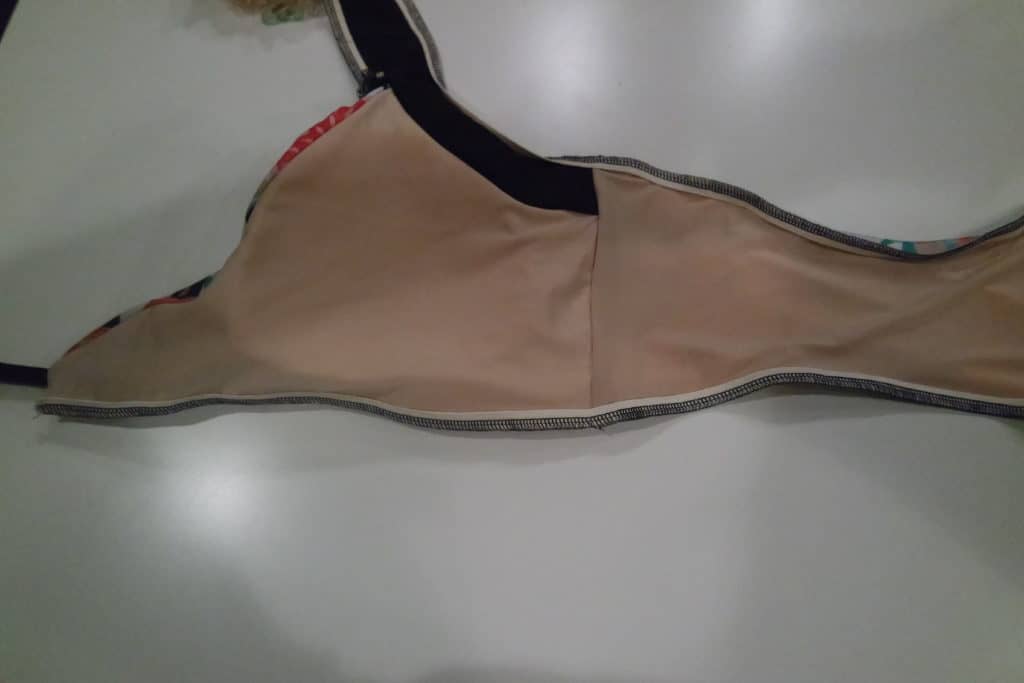
Instead of attaching the skirt to the bottom portion of the waistband as directed in the pattern, you will attach it the to the bottom edge of the bodice.  Using a 1:1 ratio, add 3/8″ elastic and stitch together!  This will give you some extra stability and help keep the top in place. I wanted the skirt to hit just about my high hip so shortened the peplum length in the pattern by 1″.  You can choose any length of your preference though.  I paired this with the Hello Sailor Swim Bottoms, however you could easily use the bottoms in the Take the Plunge Swimsuit (I’ll show those later too!)


Now for the Bikini option…  Not one, but two!!

For this version, you will construct your top exactly as the pattern instructs and need to choose the low back crossover version.  You will also need a 3/4″ swim bra hook.

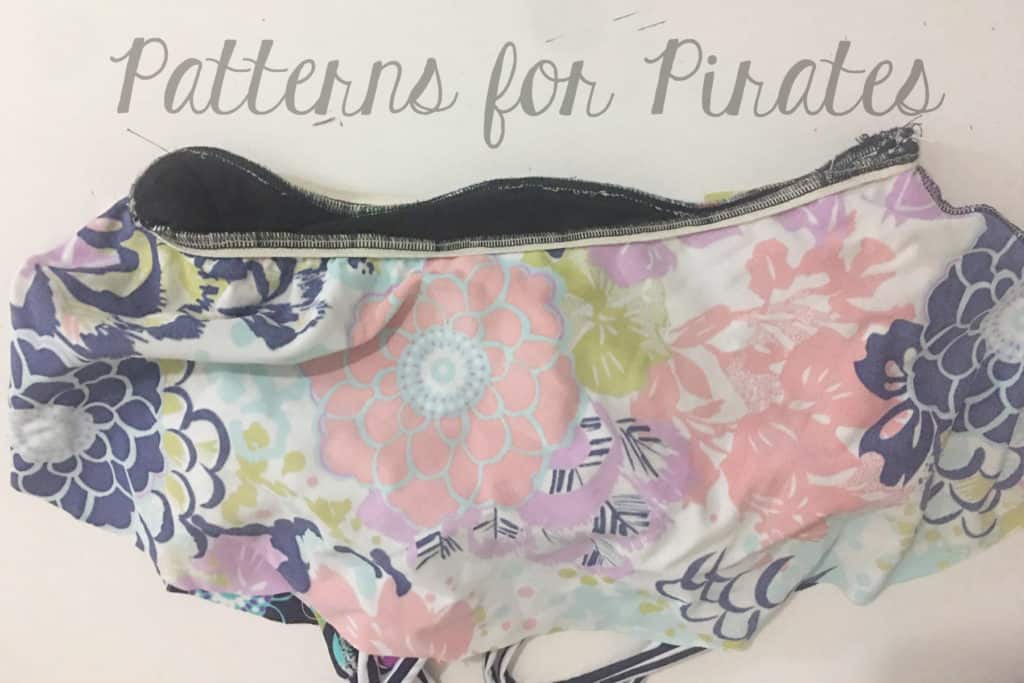
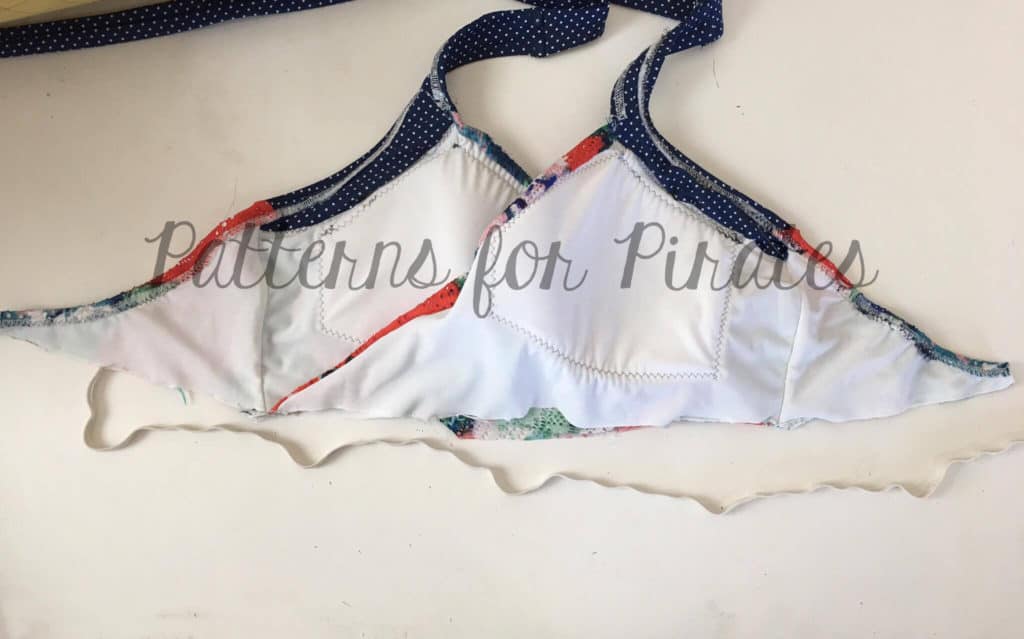
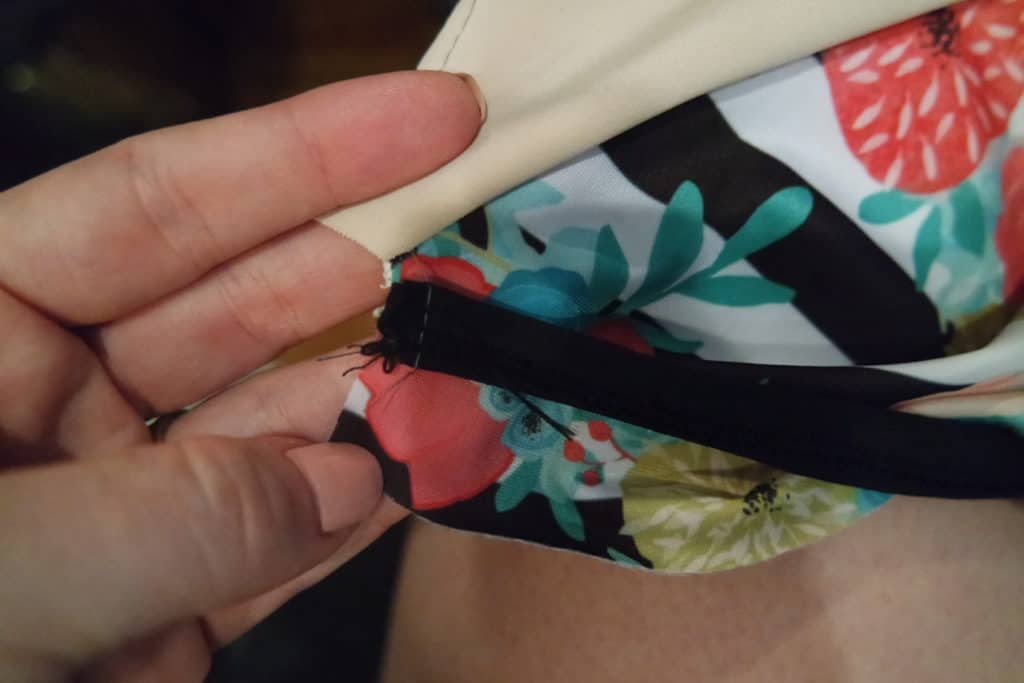
Construct your top exactly as you would in the pattern.  Once you have completed your top, find the center back and clip.  Be sure to baste the bottom edge of your bodice to ensure it is aligned correctly at the center notch and side seams. (Note: bottom edge has not been basted in this pic)

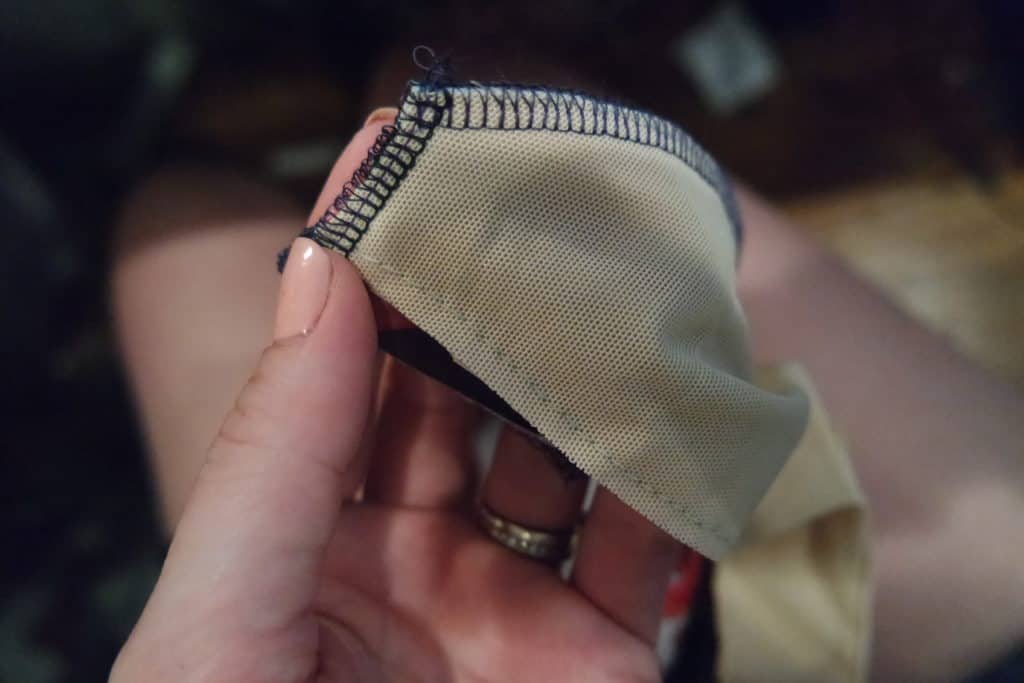
Using a 1:1 ratio, stitch elastic to the lining side along the bottom of the bodice edge.  Flip up and top-stitch.

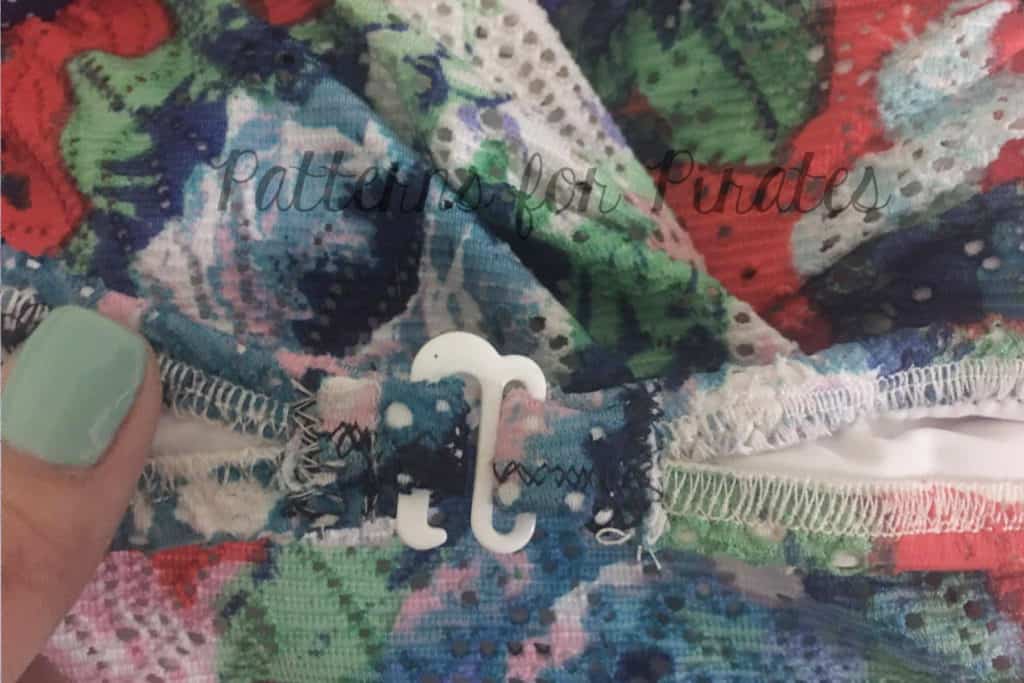
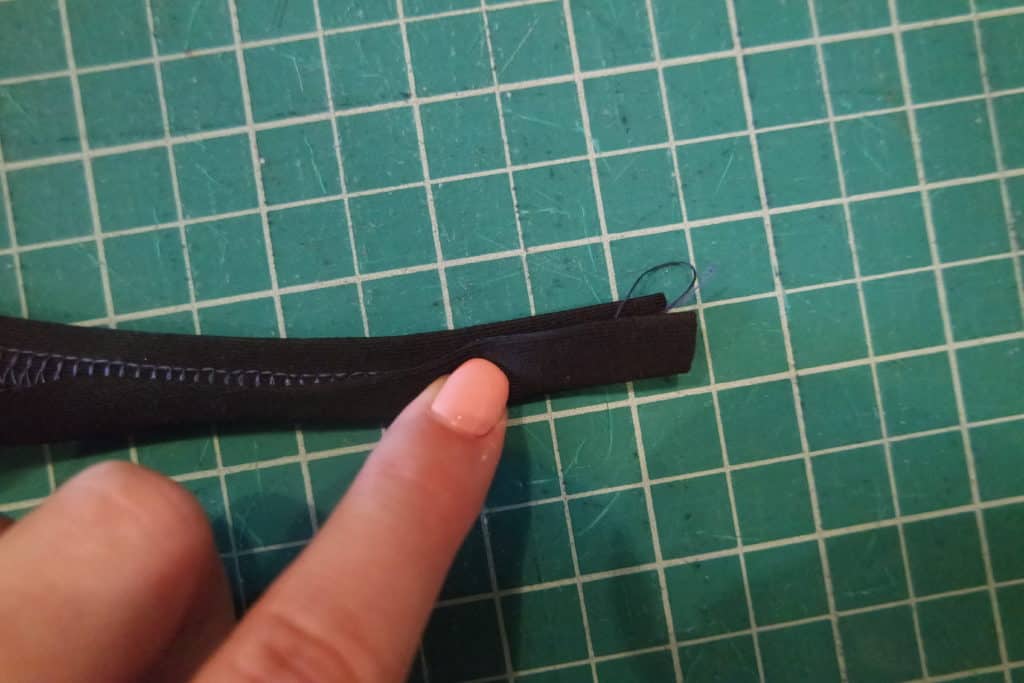
Slide one end in to the swim bra hook and stitch.  Fold over opposite end and stitch, creating a hole for the hook to go through.

To create the separate Take the Plunge bottoms, construct as the pattern indicates.  Using a 1:1 ratio, stitch 3/8″ elastic to the lining side of the top edge of the bottoms.  Flip down and top-stitch.  I used the ruched version here with only the side elastic and omitted the front and back elastic ruching.


Our second bikini hack is super cute and ties around the back.  You will want to use the Halter back (or even the full back) option for this version.

 First, create your bikini straps.  Cut a 1.5″ x 15″ strip.  You can adjust the length to your preference depending on how long you would like your ties.

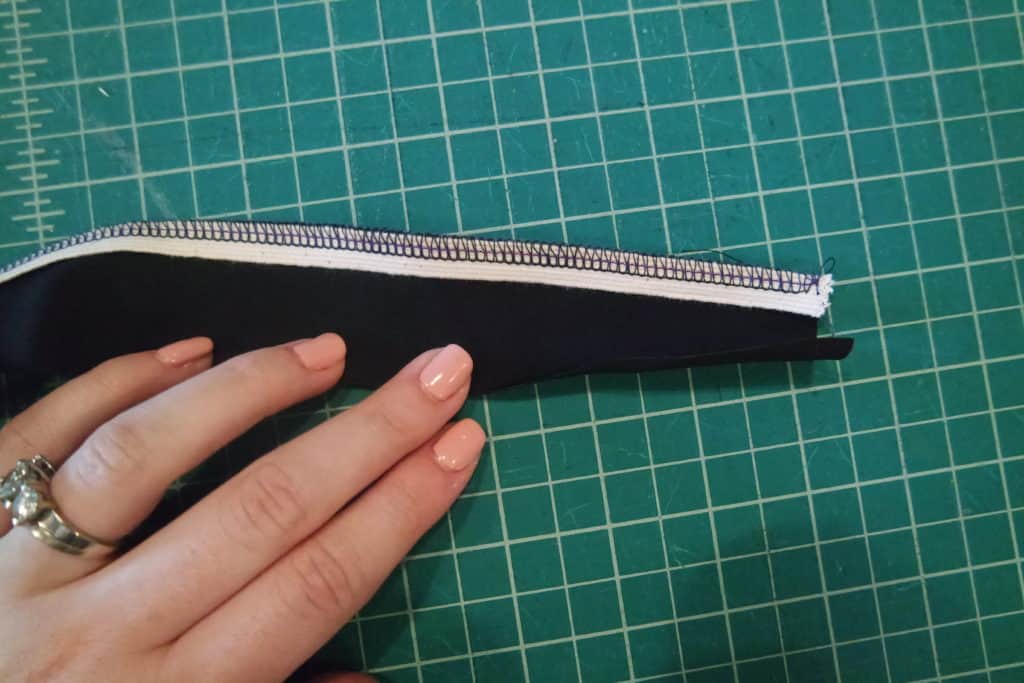
Stitch 3/8″ elastic to one raw edge.
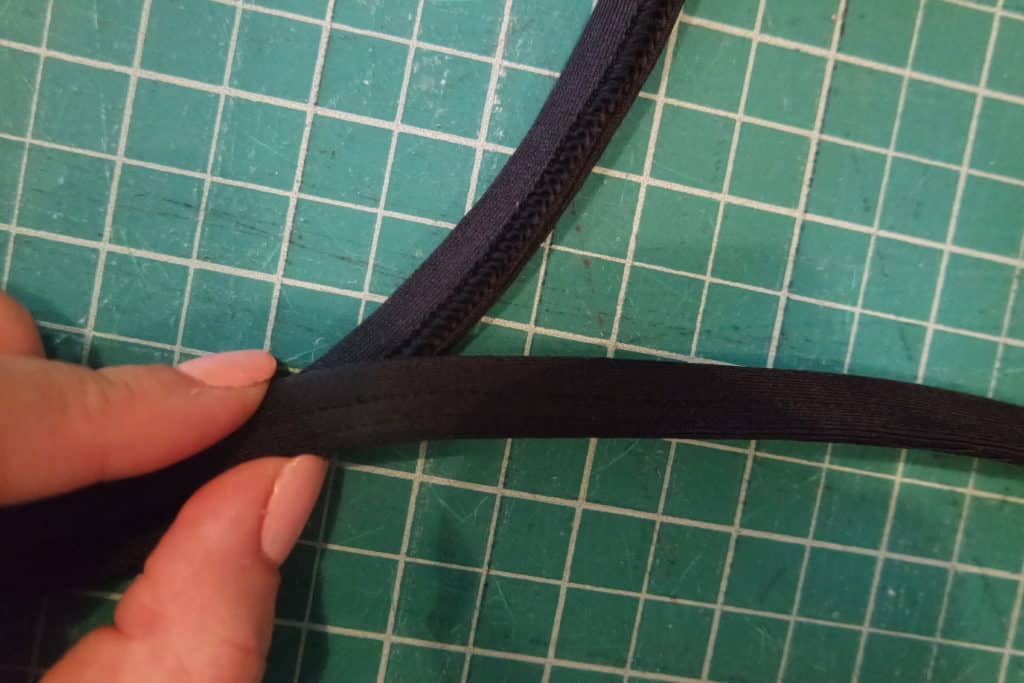
Fold elastic to wrong side of fabric.

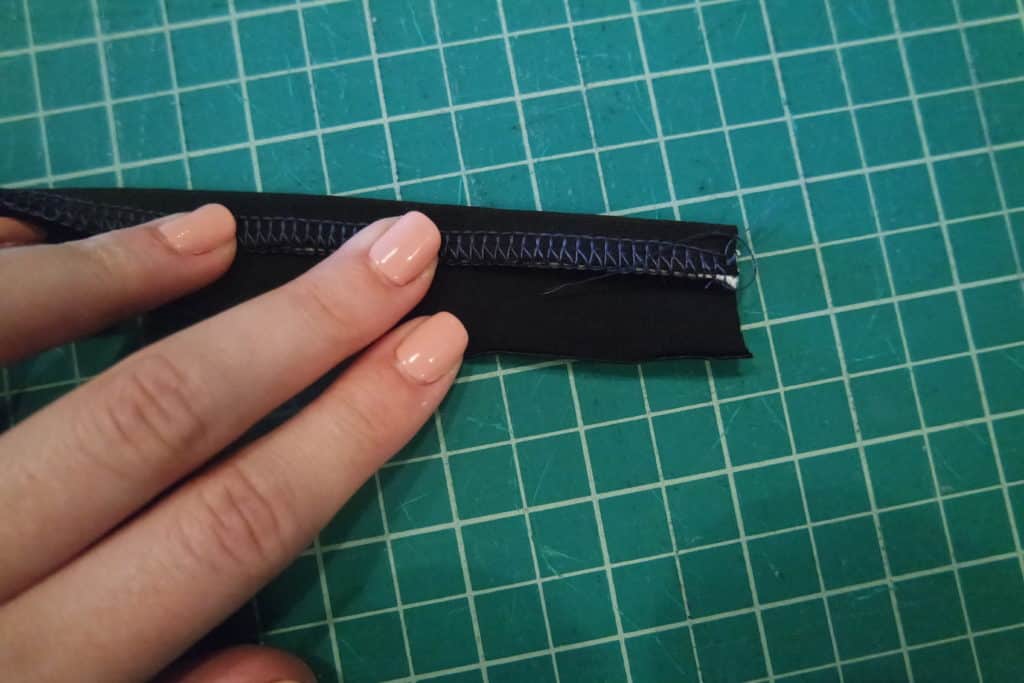
Fold opposite raw edge toward the elastic to the wrong side of fabric.
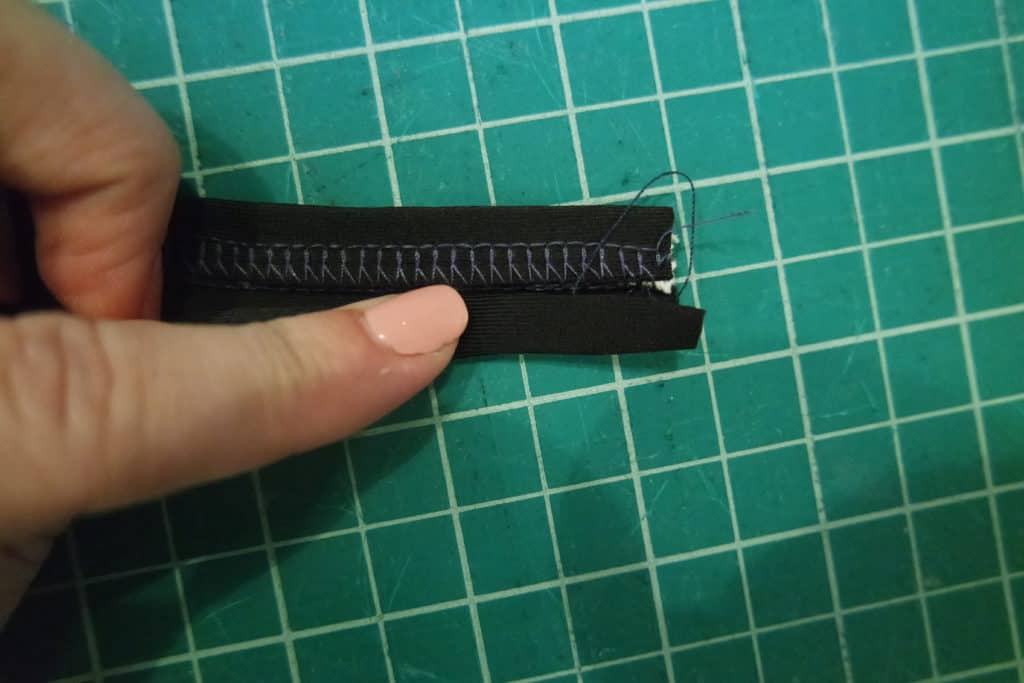
Fold again, encasing the raw edge and elastic.

Top-stitch.

Now, on to the bodice. I trimmed the bottom 1″ off the bodice before beginning.

Construct your bodice as instructed in the pattern.
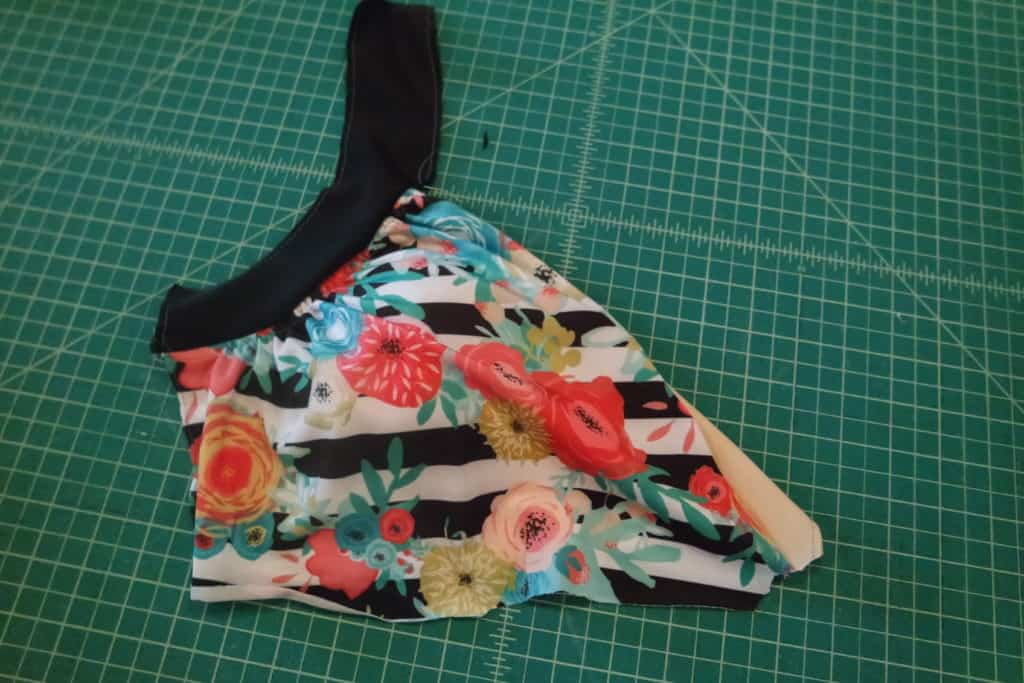
Turn bodice inside out. With right side of strap to the right side of the main front, pin or clip in place.

Baste.
With right side of lining and main fabric together, stitch seam.

Turn bodice right side out and baste along the bottom raw edge.
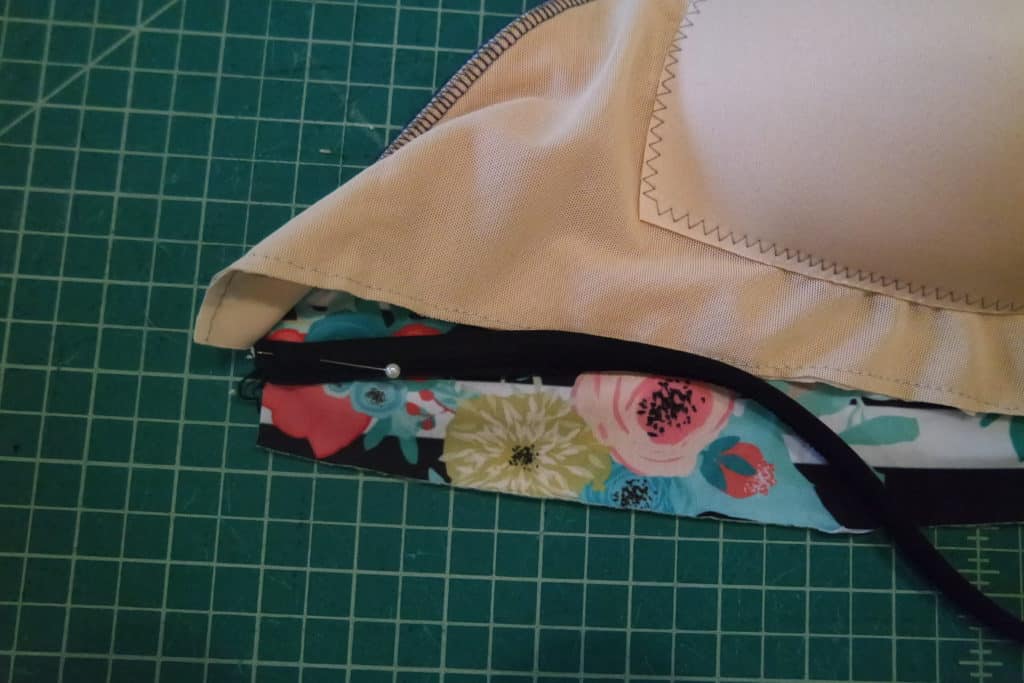
Using a 1:1 ratio, stitch 3/8″ elastic to bottom raw edge of the lining side of the bodice. You will stitch through both the main and lining fabrics.

Fold elastic towards lining and top-stitch.
All done!


Looking for more inspiration?  Be sure to check out our Facebook album with all the lovely tester pics and how to take the pattern one step further and turn it in to a gorgeous top or dress HERE!


Filed Under: Pattern Hacks, Pattern Release 2 Comments

Take the Plunge Swimsuit :: Dress & Peplum Hack

June 14, 2017

We are all loving the new Patterns for Pirates Take the Plunge Swimsuit that was just released! So naturally, we had to take this pattern a step further and morph it into some cute apparel! In this tutorial I am going to show you how to add some super cute skirts in place of the swim bottoms to create adorable everyday garments! As a total bonus you can follow the swim pattern instructions to add built in bra cups and under bust support. How awesome!

:: Fabric Requirements ::

This pattern is intended for pretty sturdy but stretchy swim knit. So in order to turn this into a comfortable dress I recommend choosing a main (outside) fabric that has both great 4-way stretch and good recovery. Brushed poly, rayon spandex, cotton spandex and maybe a very very stretchy scuba or liverpool would work. For the bodice lining you will want to choose something light and stretchy such as rayon spandex or brushed poly. All versions pictured in this tutorial were made using double brushed poly spandex. Also, you do not need to use swim elastic on this, regular braided elastic is sufficient. I will also detail how you may omit the elastic altogether for the full back option.

:: Assemble your Bodice ::

First things first. Go ahead, cut out all pieces of your bodice exactly as instructed in the pattern. None of these pieces need to be altered. You can choose any strap/back option. Choose to add bra cups and under bust support elastic if you feel like having an all-in-one dress! I personally love the push up bra cups for a little extra support when going with the all-in-one option. Remember, you do not need to use swim elastic for non-swim garments. Traditional braided elastic will be a little easier to sew with. Go ahead and assemble the bodice exactly as instructed by the pattern and skip to the Skirt Options portion of this tutorial.

{Optional} :: If you are choosing not to include bra cups, you are using the full back option AND you are using a sturdier fabric like brushed poly or cotton spandex, you may omit the elastic. Fabrics like rayon spandex and ITY, and built in bras that provide support do require that elastic be used to prevent your straps from stretching out. Also, the low back or halter version likewise require elastic to hold the dress up. To omit the elastic follow along with these next steps before getting to the skirt options.

First construct the front bodice pieces as instructed by the tutorial. You can skip the part when you clip the inner strap to fold it over and attach elastic. Instead sew the entire length up the strap to give a nice seam.

Next attach the main back bodice to the lining back bodice by laying them right sides together and stitching along the neckline. Then match up all bodice pieces at the shoulders right sides together and stitch.

Topstitch inner neckline now if preferred. Next, lay your bodice out and fold the back bodice over on top of the front bodice pieces, matching up side seams main fabric to main fabric. Stitch side seams together and then baste the front bodice pieces together along the bottom as instructed in the pattern tutorial.

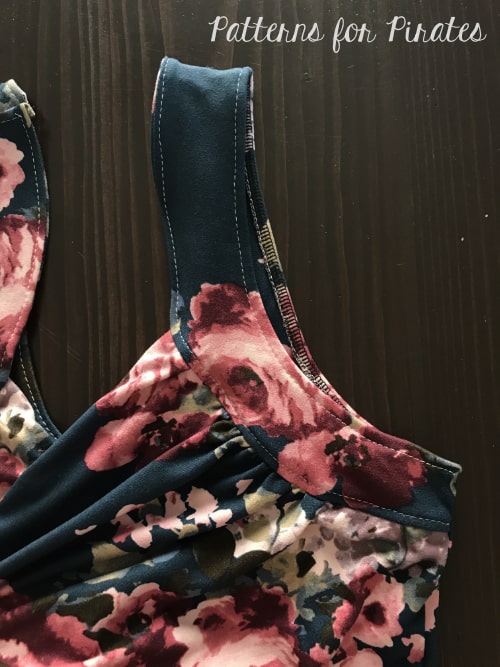
At this point you can baste stitch the outer armholes to prevent fabric shifting. I chose to run my serger around them. Fold the unfinished edges under about 3/8″  and topstitch armholes in place. The burrito roll method to enclose the armholes cleanly does not work here. There is simply too much fabric on the front bodice to work around. Now it’s time to add your skirt!

•  •  •  •  •  •  •  •  •  •  •  •  •  •  •  •  •  •  •  •  •

:: Skirt Options ::

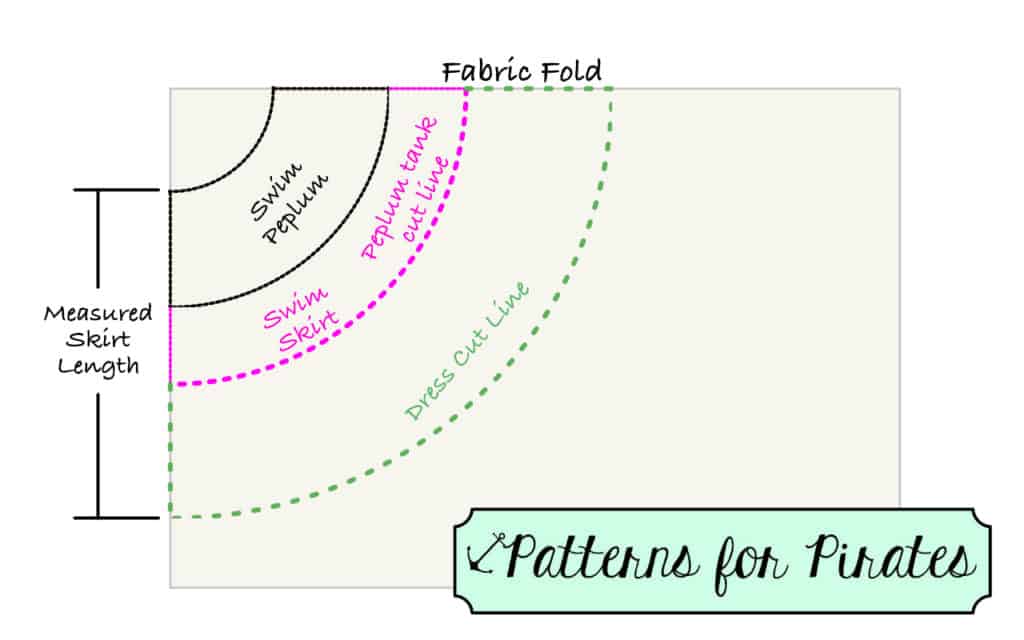
There are 3 skirt options that I will show you. The first option is a super fun peplum length. Cut your peplum piece to match the “skirt length” on the swimsuit pattern. I suggest measuring yourself for a preferred peplum length and double checking it against the pattern. You might want to shorten it up an inch or possibly add length depending. See  the option below for more details on how to measure your skirt length. Once cut, simply follow the pattern directions and omit the swim bottoms to complete the top.

NOTE: The “peplum length” on the swim pattern will be too short for an everyday top.

•  •  •  •  •  •  •  •  •  •  •  •  •  •  •  •  •  •  •  •  •

Next, I will show you an above the knee half circle skirt option. Decide where you would like your dress to land and measure skirt length by holding the end of the tape at your natural waist and allowing the tape to drape along your body. Add 1/2″ to that measurement for your bottom hem and another 3/8″ for your seam allowance. I also like to add an extra inch or so to this measurement just to be safe! You can always trim the hem length down at the end but you can’t easily add extra later! Place your TTP skirt pattern on your fabric and measure out as indicated below. Alternatively you can grab skirt lengths from the Patterns for Pirates Sweetheart Peplum and Dress for the ‘at the waist’ option if you already own that pattern.

Take the Plunge swimsuit dress peplum hack

Cut out your skirt piece, trying to keep your curve as even as possible. Cut your waistband (main and lining as indicated the the pattern) and assemble as instructed omitting the swim bottoms. Attach your waistband/skirt to your bodice. I do recommend cutting both the main waistband and the lining waistband to add structure. Try on your dress for length, hem it and you’re finished!

•  •  •  •  •  •  •  •  •  •  •  •  •  •  •  •  •  •  •  •  •

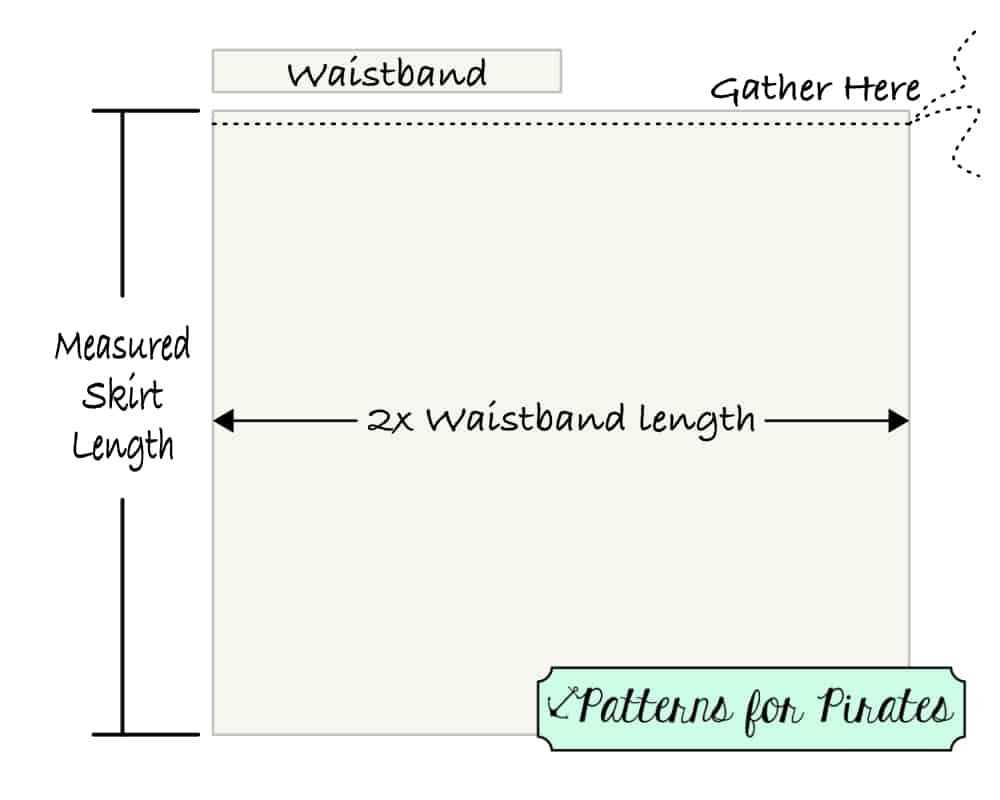
For the final option I will detail how to add a gathered skirt in place. This option is really simple. If you own the Boundless dress pattern you can simply attach the waistband from the TTP pattern instructions to the gathered skirt size from the Boundless. If you don’t own that one you can simply cut your rectangle skirt piece by doubling the waistband length and finding your desired skirt length through measuring as described in the previous option. Cut two skirt panels and sew them together if your fabric isn’t wide enough. Direction of greatest stretch should go across the 2x waistband length. See Illustration below:

Gather one of the doubled waistband length sides by running a long baste stitch across and pulling the bobbin thread. Fit and sandwich the gathered end between the waistband pieces being sure the main fabrics are right sides together. Stitch in place.

Fold the long ends of the skirt to meet right sides together. Stitch down the entire side seam, from waistband to bottom of the skirt. Now attach your skirt/waistband to your bodice, right sides together. Try on your dress and hem to the appropriate length. You’re all done!

•  •  •  •  •  •  •  •  •  •  •  •  •  •  •  •  •  •  •  •  •

So you can see how versatile this swim pattern really is! I hope you have all found this tutorial to be helpful. Go forth, make some swimsuits, peplum tanks and dresses for the summer. Share them with us in the Patterns for Pirates Facebook group. Don’t forget to check out the TTP pattern release roundup for some more swimsuit photos and check out the hack post for some more fun Take the Plunge swimsuit options!


Filed Under: Pattern Hacks, Pattern Release 1 Comment

50K Fan Celebration :: Exposed Elastic PegLegs Hack

April 24, 2017

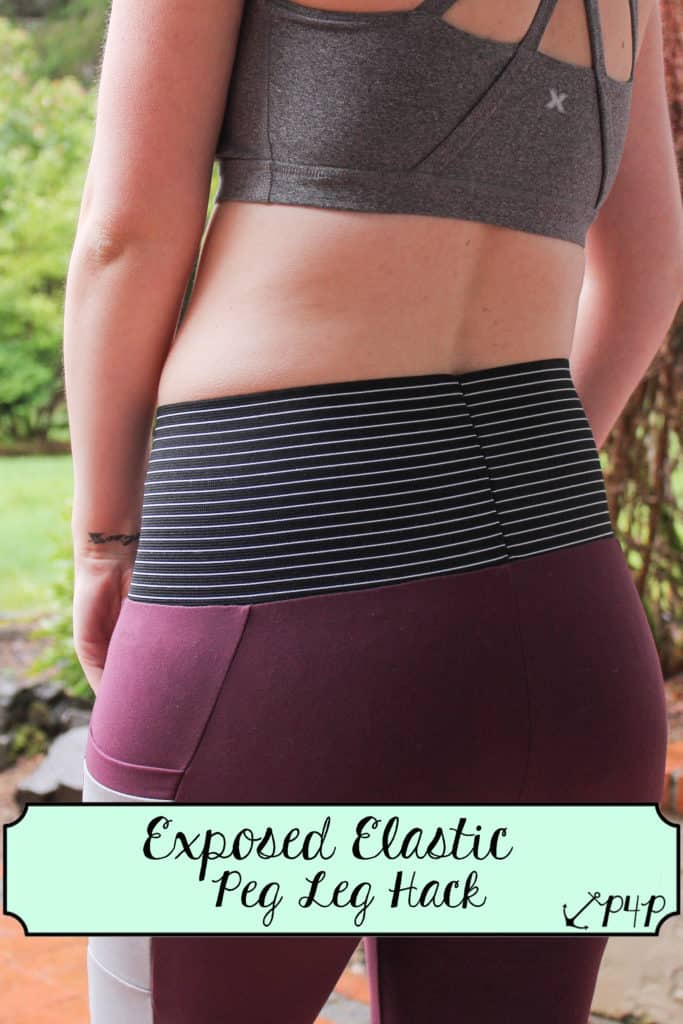
Want to make your Peg Legs even easier? How about skipping the band? Today we have an easy hack for you- adding an exposed elastic band.

There are so many types of elastic available in a variety of colors and designs, as well as a multiple widths. For this hack, you will want to first determine how high you would like your band to come. When I was looking for mine, I searched online for “boxer elastic”  knowing that I wanted a large band and this gave me the biggest variety. I finally decided on one that was 5″ tall.

I chose to cut my Pegs as a low rise since the elastic I chose will add quite a bit of height. You can determine which rise is best for you, keeping in mind how tall your elastic is. You will then want to assembly your Peg Legs as per the tutorial until you reach the step of attaching the band.

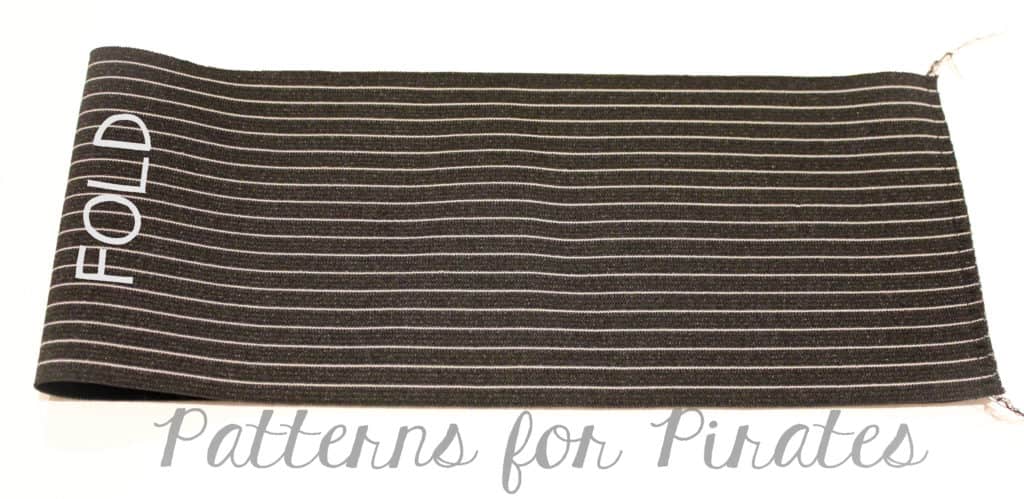
For the width of my band, I used the cut chart as a guide. I added 2″ to this, as my elastic did not have the same amount of stretch as a fabric band would have had (you can always take more off if you need to, should your band be too large when attaching). Fold band in half width-wise, with wrong sides together, and stitch to create an elastic circle.

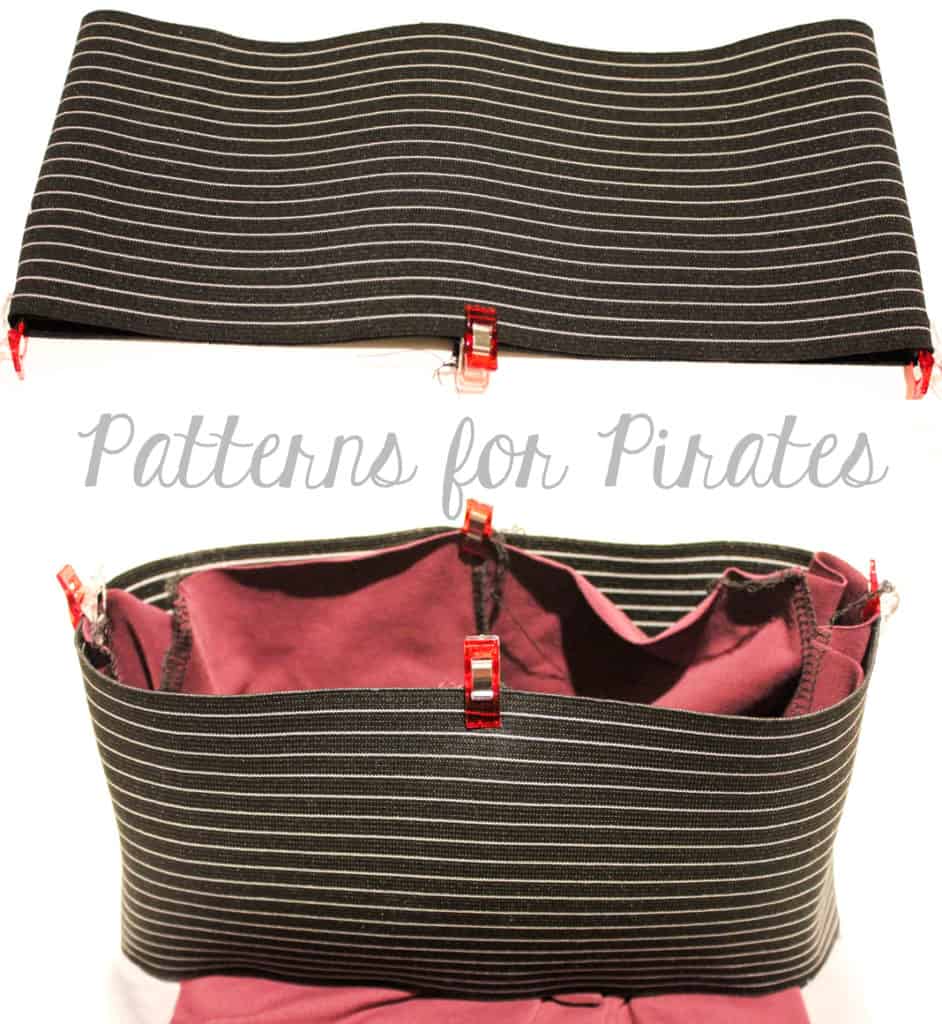
Mark both your elastic band and Pegs into even quarters, then slip band around waist of Peg (with right sides together), aligning quarter points. You will want to make sure that you will have to slightly stretch the band, not the waist of the Pegs. If you do not have to stretch, unpin and remove a small amount from the waistband. It is important to have the band stretch slightly to help hold the Pegs up!

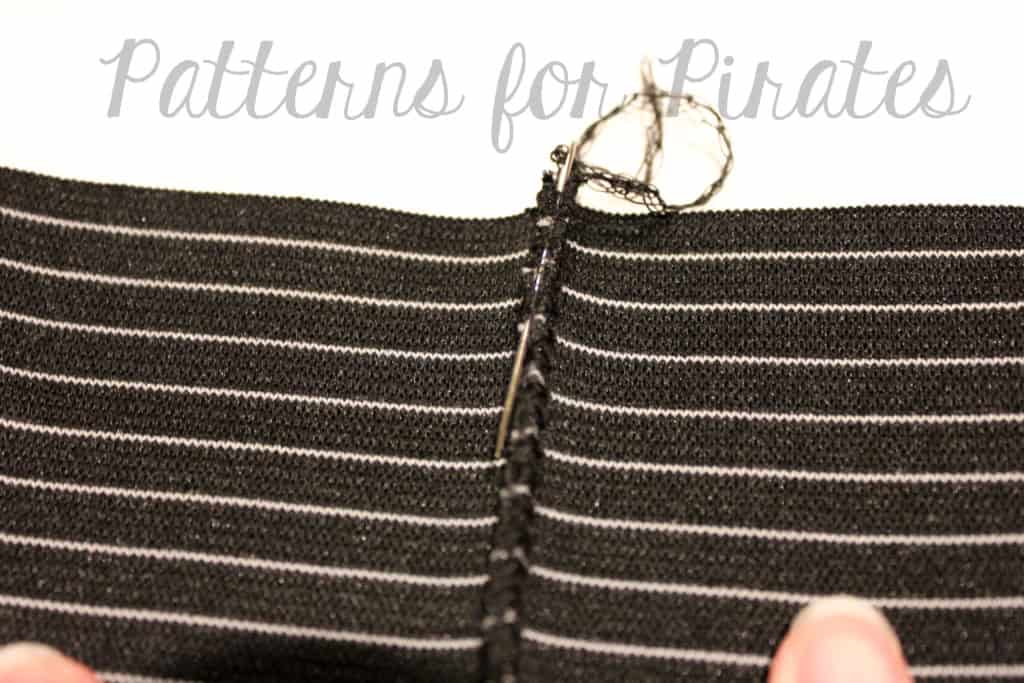
Once you have the elastic waistband and Pegs clipped/pinned together, serge or sew around the waist as you would when attaching a fabric band using a 0.5″ seam allowance. Once attached, if you serged the elastic together in the first step, you will need to finish your seam. I prefer to weave my thread back through using a large needle, however you can also use one of the methods Alex described here. The last step is to hem your Pegs according to the tutorial directions and you’re all finished! Enjoy! ~Erinn


We are celebrating reaching 50K fans in our Facebook group!  To make it a party, our beloved PegLegs pattern just got an update AND some new add-ons.  Before you go running to your machine to sew up your own leggings, make sure to read our PegLegs 101 blog post.  This way, you’ll have all the the information you’ll need to make the perfect pair before you even cut into your gorgeous fabric.

But wait, there’s more!  After any good party is an after-party.  We are taking it one step further and sharing some easy hacks that’ll bring even more flavor to your favorite leggings pattern!  We hope you check them out, make your new favorite pair of leggings, and know that we appreciate every single one of you amazing sewing guys and gals!

Here are our hacks / tutorials / latest tricks:

Lace Waistband Alternative | Drawstring Waistband Tutorial
Exposed Elastic Waistband | Stirrup Pant Hack
Ruched Ankles Adjustment | Decorative Topstitching Tutorial
Ruched Side Panel Hack

Filed Under: Pattern Hacks, Uncategorized Leave a Comment

50K Fan Celebration :: Stirrup Pant PegLegs Hack

April 22, 2017


Written by Kelly Bailey (P4P Blog Contributor)

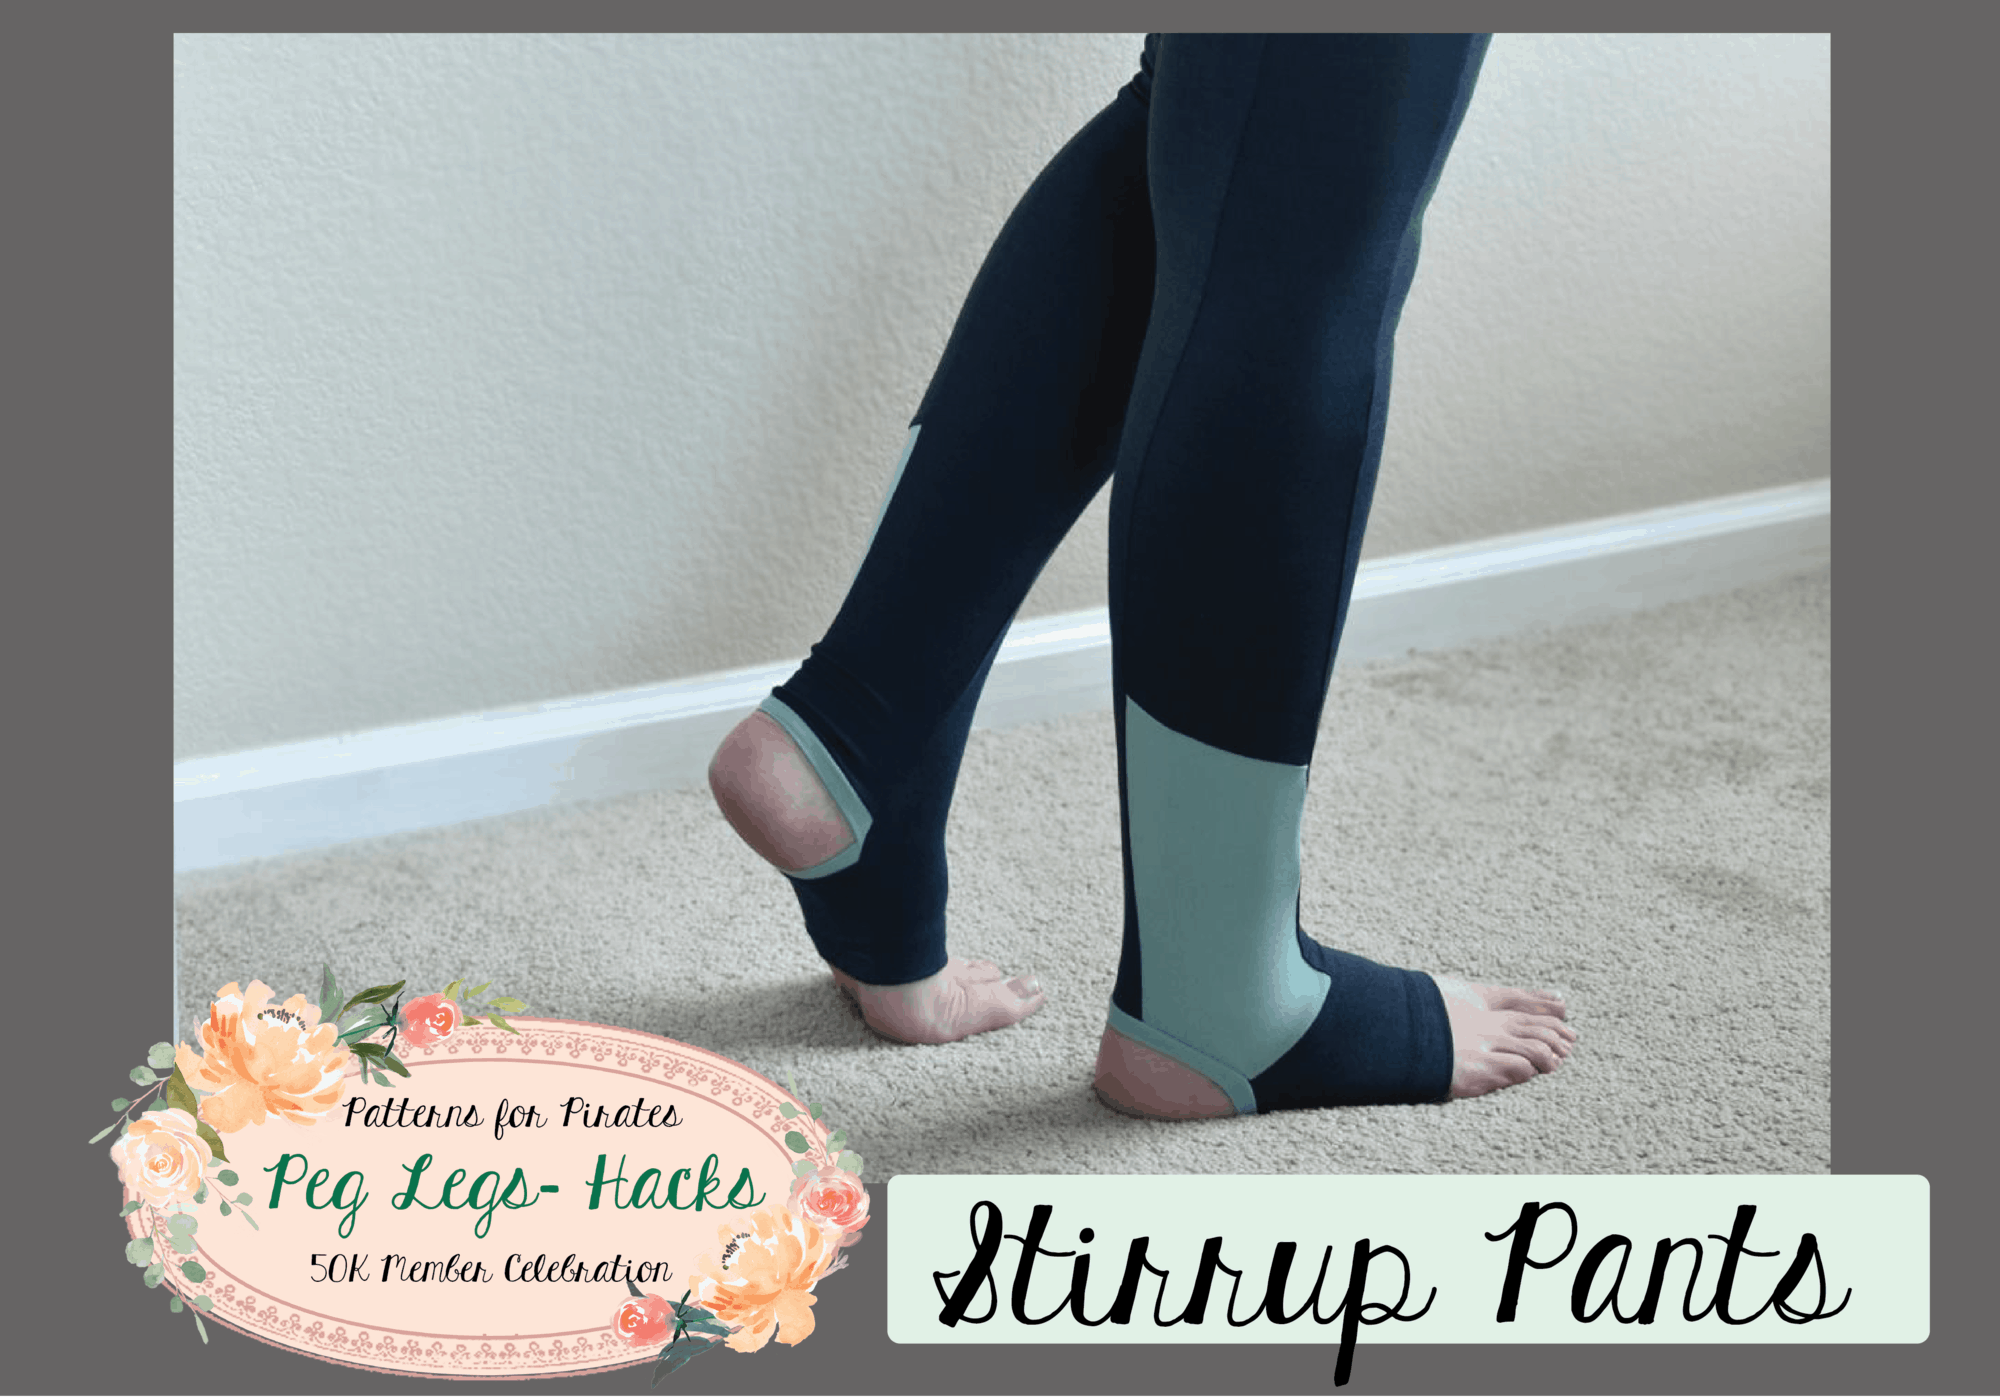
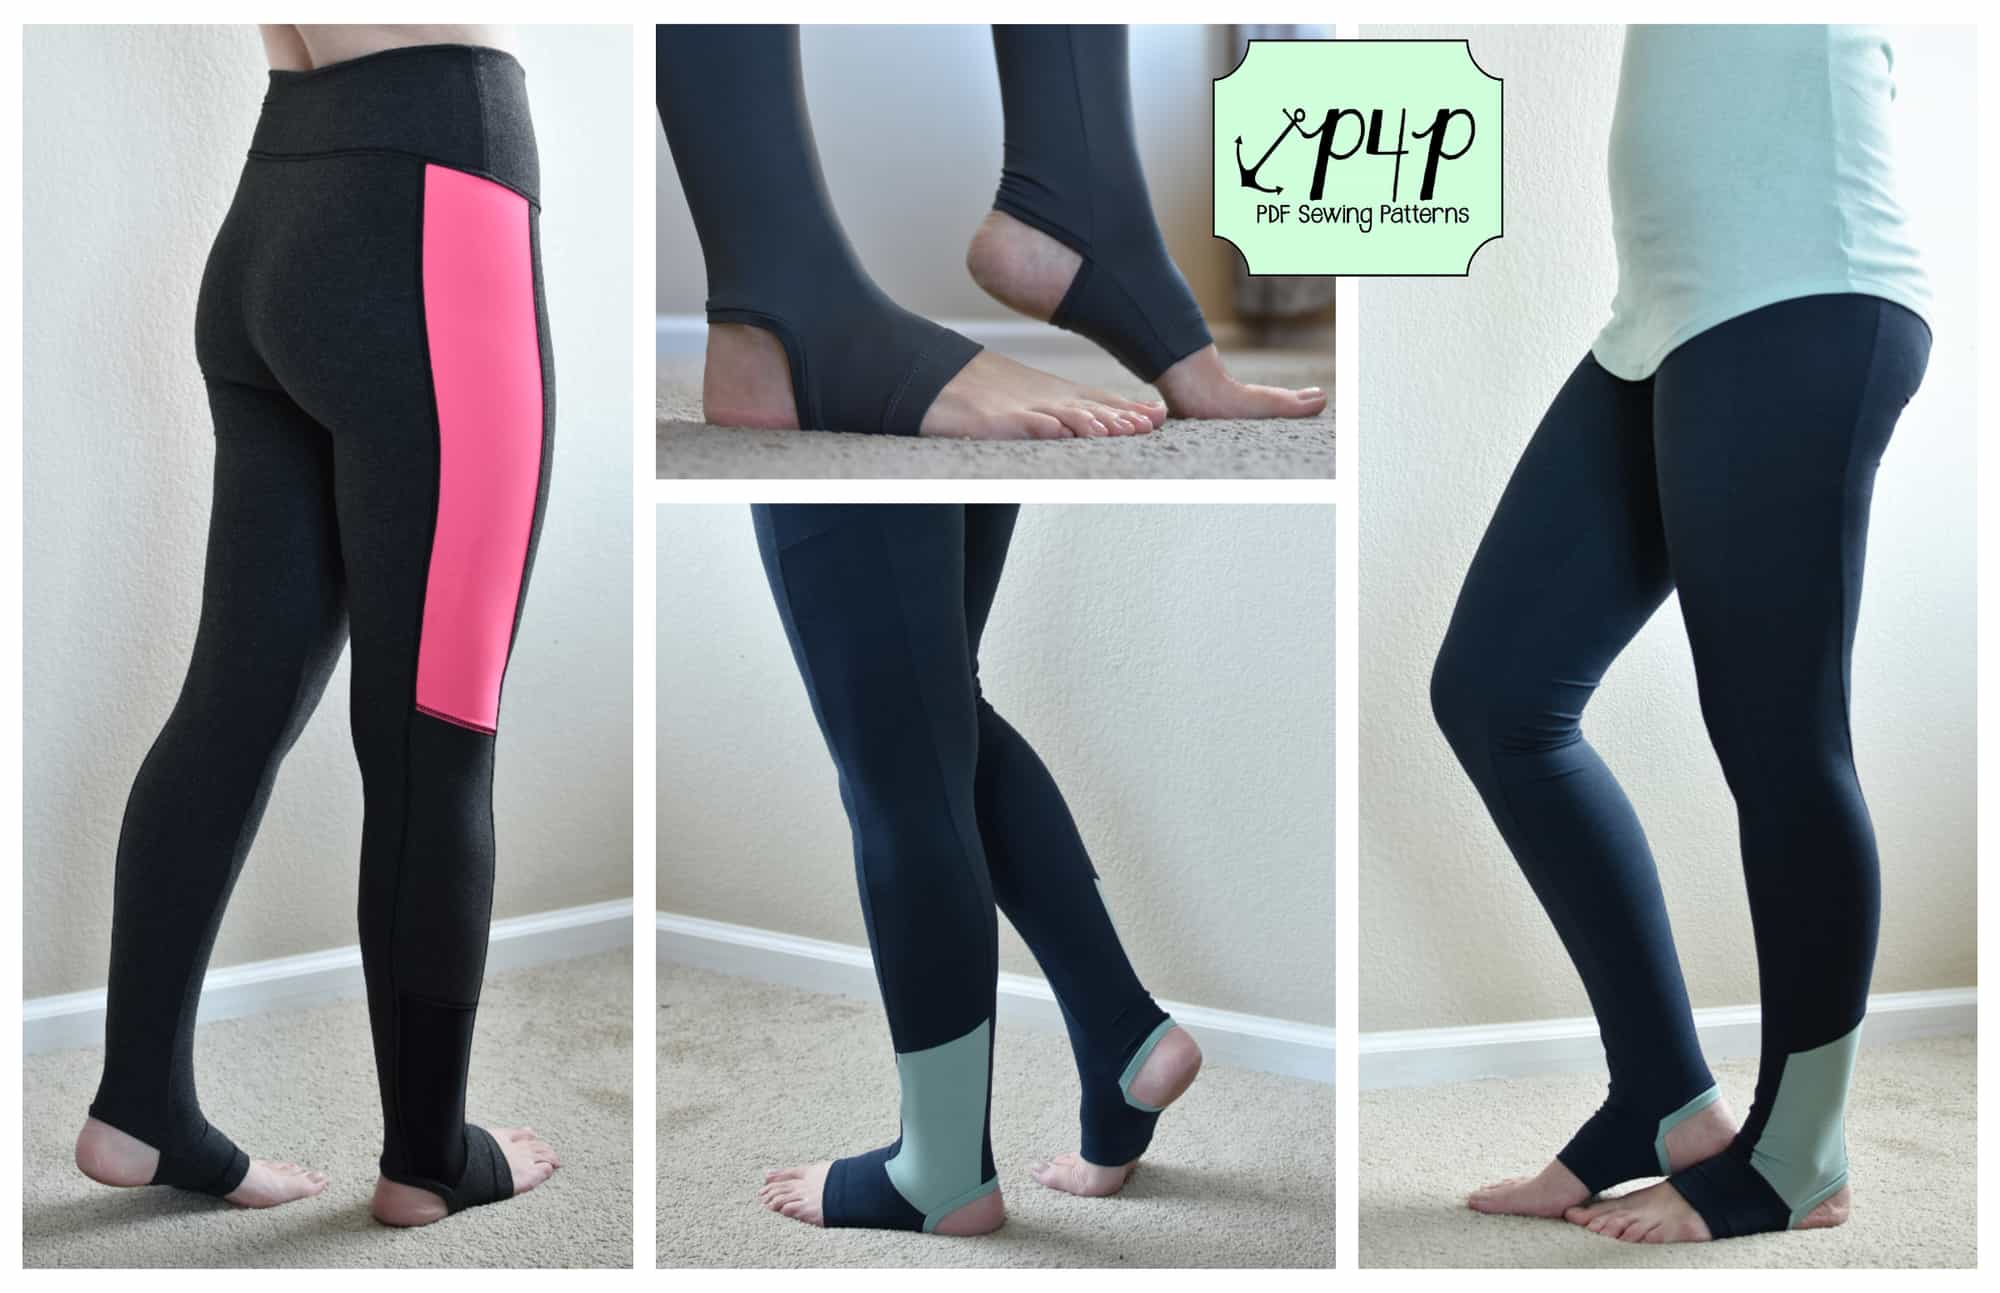
For this tutorial I will be showing you how to take the updated Patterns for Pirates Peg Leg pattern and hack it into a pair of leggings featuring the stylish yoga stirrups! Have you seen these store purchased versions in your gym classes, or maybe on Pinterest, or maybe you’ve been looking for a comfortable pattern for stirrup leggings to compliment a casual outfit? This simple hack is both comfortable and durable. Follow along with this tutorial and please share your results in the P4P sewing group!

Step One: Fabric

My first, and most important, advice is to choose your fabric wisely. This pattern is intended for 4-way stretch knit with at least 50% stretch. See Peg Leg 101 to review the way the fabric contents and stretch will affect your results. Not all knits are meant for leggings due to the degree of stretch this pattern requires. For all 3 of my versions I have used a brushed polyester spandex knit with varying weights. Athletic knits, such as supplex or heavy weight brushed poly, are the best option if you intent to vigorously work out in your finished garment.


Step Two: Stirrup Pattern Piece

Print out and assemble your Peg Leg pattern as normal, being sure to add or take away height as necessary for you. See Peg Leg 101 for more information on how, where and when this is necessary. The Peg Leg pattern is drafted for an average height of 5’5” and an inseam of 28”. This hack can be applied to both the “plain” version and the “color-blocked” versions. Beware that once you’ve sewn this up you will not be able to simply trim off length at the very end of construction as you would with the standard pattern. So be sure to make a traditional pair and know these height adjustments before attempting this hack.

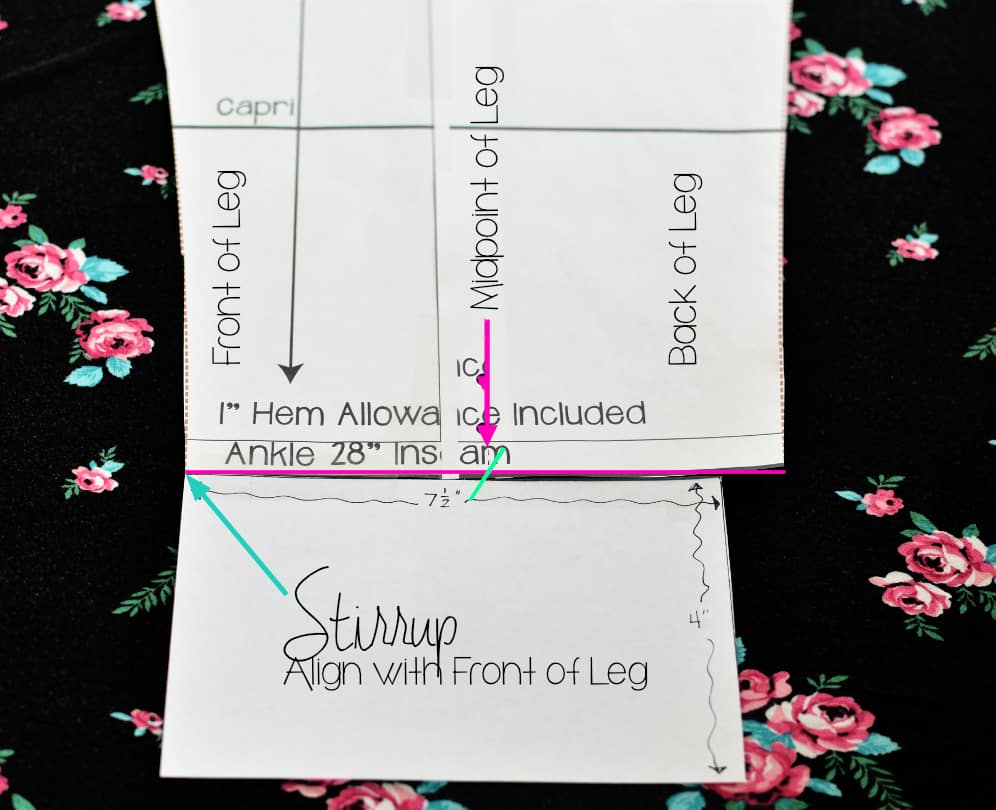
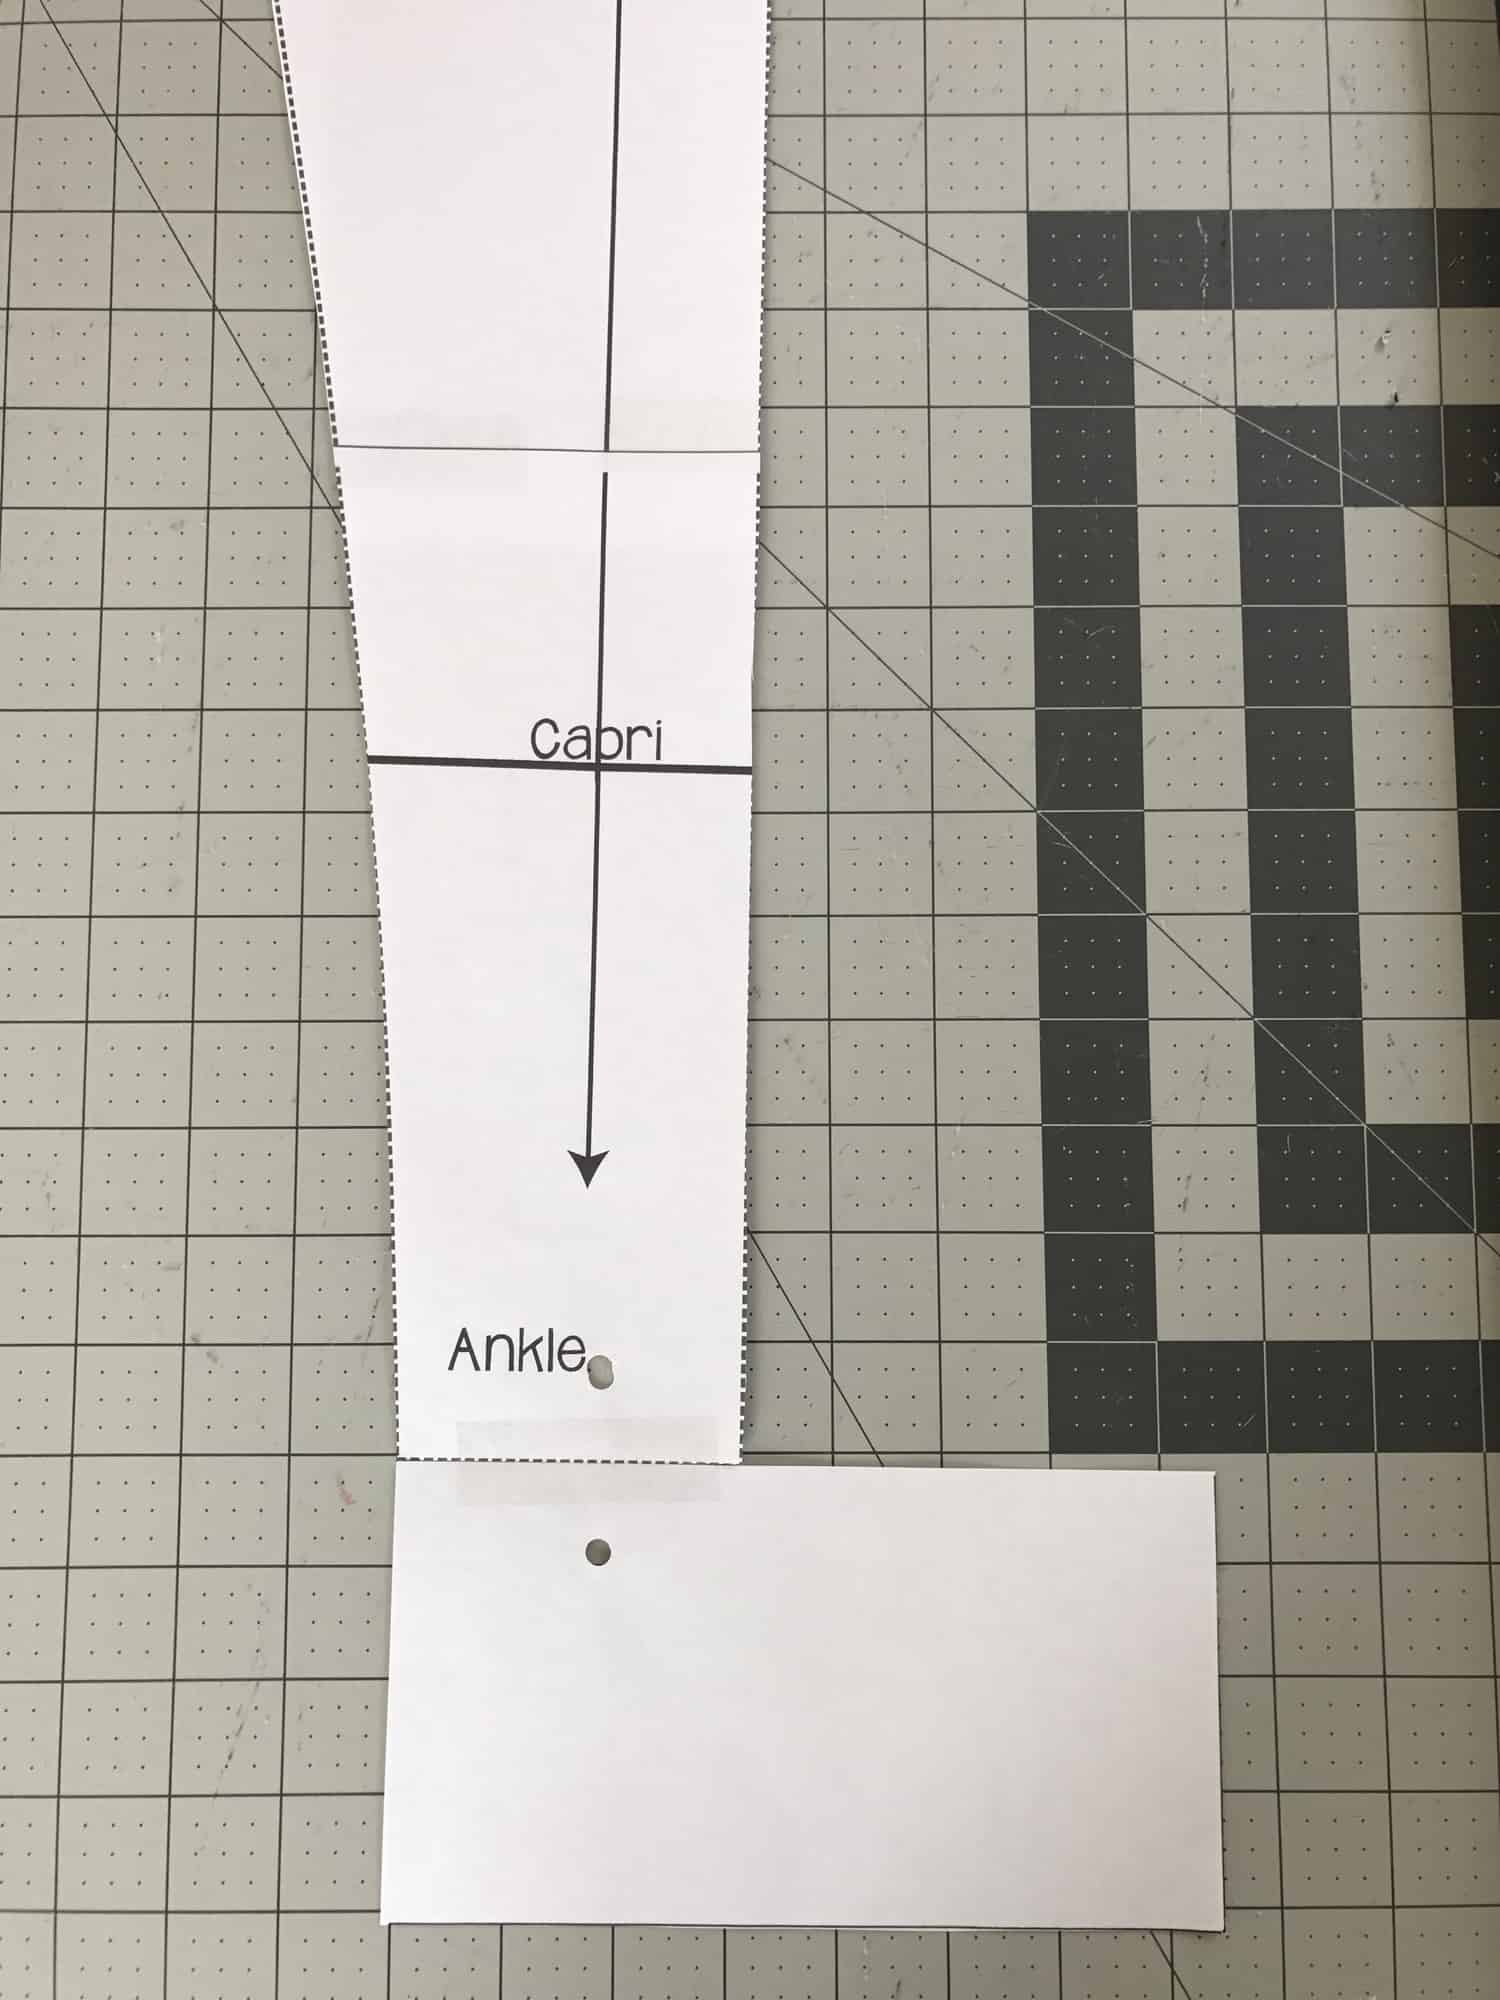
Next cut out a paper rectangle measuring 7.5” x 4”. The 4” height fits my size 9 foot perfectly but you may need to add or remove a little bit to that measurement depending on your shoe size.

Step Three: Modifying the Peg Leg Pattern

If you’re modifying the “plain” version tape your rectangle to the ankle of your peg pattern as shown. Be sure to pay attention to the side you’re attaching the rectangle to. You want to line the edge of the stirrup rectangle with the FRONT side of the leg piece.

If your modifying one of the “color-blocked” versions line up and attach your stirrup rectangle with the edge of the FRONT pattern piece as pictured.

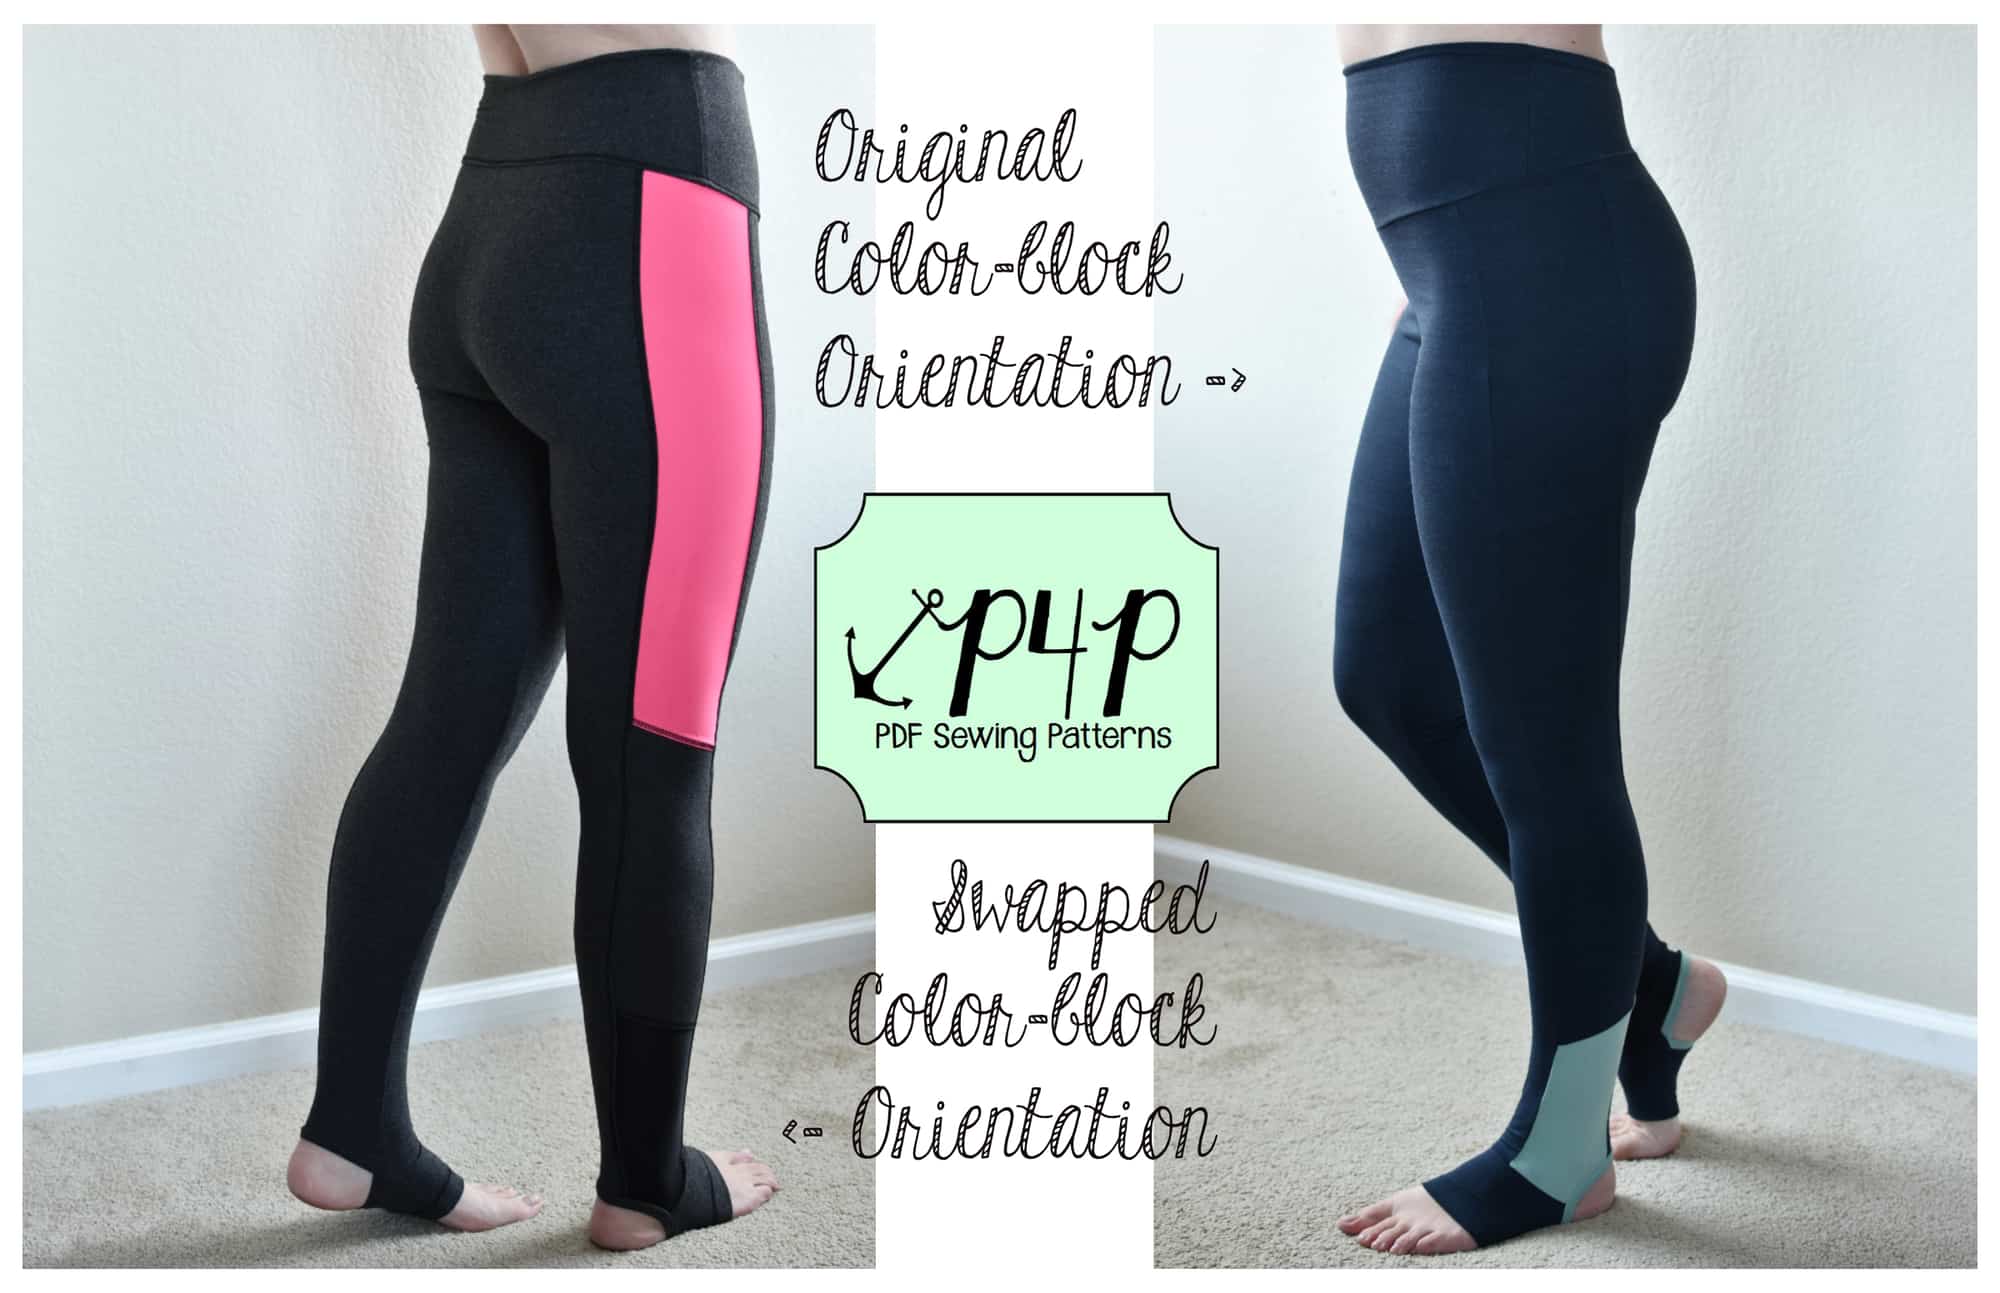
NOTE: You can switch up the top and middle color-block panel pieces and the pattern will still go together without issue if you are not attaching the pocket. If you do attach the pocket still, it would just sit lower on your leg. My charcoal and hot pink pair show what this swap looks like. My navy and seaglass version show the color-block panel assembly as instructed in the original pattern. I also chose to give a faux flatlock look to my pink version. Follow Alex’s decorative top stitching blog to get this look yourself!

Step Four: Cut Out Your Pieces & Assemble Color-block

Use your modified pattern to cut from your fabric all legging pieces. Add to this the addition of two 1.25” x width of ankle strips with the greatest stretch going with the longer length. Theses will be the bands that stretch around the heel of your foot. The width measurement will leave extra that will get trimmed off after attachment. For a size small I cut a 8″x 1.25″ sized heel band.

For the “plain version” make a cut in each leg piece, as shown in the image below, just to the center width of the leg. This is where you will attach the heel band.

For the “color-blocked” version you are going to sew together all color-block pieces as normal, creating two full leg pieces. You will need to pivot the seam 90 degrees to attach the stirrup to the ankle at the front of the leg. Be sure to only sew the stirrup to the halfway mark along the ankle (mid color-block). Leave the rest unattached so that you can sew the heel band in place.

Step Five: Sew Crotch Seams

Lay your fully assembled leg pieces right sides together on top of one another. Sew your crotch curves together.

Step Six: Attach Heel Bands

Press your heel bands wrong sides together lengthwise and then pin along the unfinished slit along ankle edge. Sew in place being sure to use a stretch stitch but not to stretch either the band or the leg piece.


Step Seven: Pin Inseam in Place

Start by pinning your crotch seams right sides together then go to the stirrup piece and start lining up inseams there. Work your way up the leg making sure to overlap the bands as shown in the photo below. Sew inseam together using stretch stitch. Trim off excess heel band.


Step Eight: Finishes

At this point you can attach your waistband using the directions in the patterns tutorial and then hem the bottom of the stirrups using a stretch stitch and your preferred hem width. Press.

All Done!

Try them on and enjoy. Keep your feet cozy whether in yoga class or sewing your next garment at home!


We are celebrating reaching 50K fans in our Facebook group!  To make it a party, our beloved PegLegs pattern just got an update AND some new add-ons.  Before you go running to your machine to sew up your own leggings, make sure to read our PegLegs 101 blog post.  This way, you’ll have all the the information you’ll need to make the perfect pair before you even cut into your gorgeous fabric.

But wait, there’s more!  After any good party is an after-party.  We are taking it one step further and sharing some easy hacks that’ll bring even more flavor to your favorite leggings pattern!  We hope you check them out, make your new favorite pair of leggings, and know that we appreciate every single one of you amazing sewing guys and gals!

Here are our hacks / tutorials / latest tricks:

Lace Waistband Alternative | Drawstring Waistband Tutorial
Exposed Elastic Waistband | Stirrup Pant Hack
Ruched Ankles Adjustment | Decorative Topstitching Tutorial
Ruched Side Panel Hack

Filed Under: Blog Tours, Pattern Hacks, Pattern Release, Uncategorized 2 Comments

50K Fan Celebration :: Lace Waistband PegLegs Hack

April 19, 2017

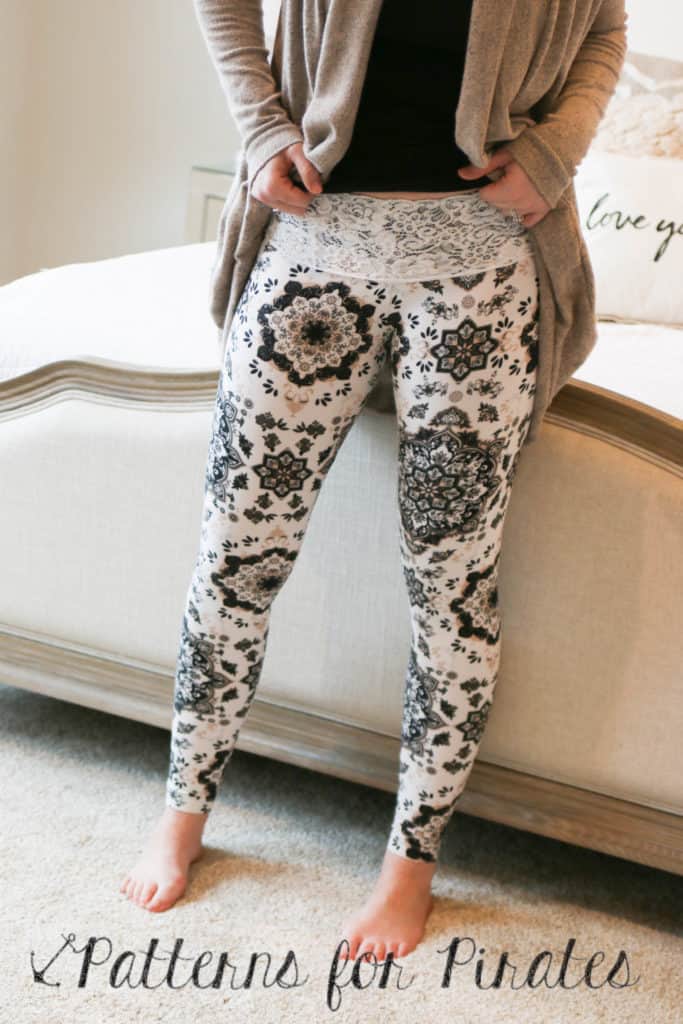
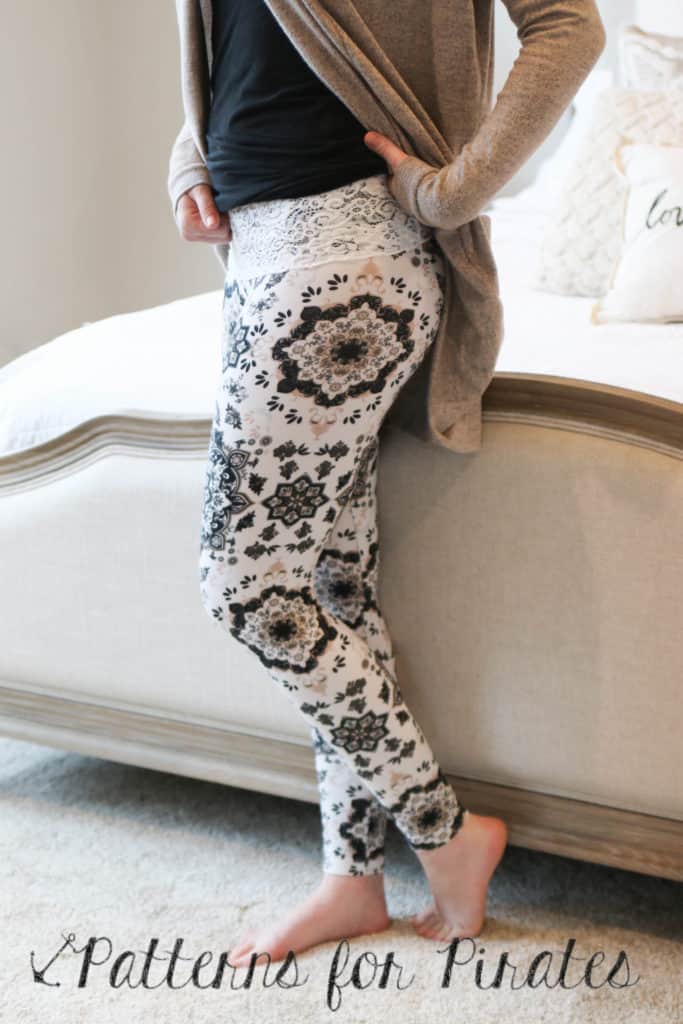
Every once in awhile, our Facebook group gets hit with a picture of a trending item with the question “How can I make this?”.  For a few months, a picture of a lace waistband was circulated and while we secretly worked on the Peg Legs update, we knew we had to add it to our hack lineup.

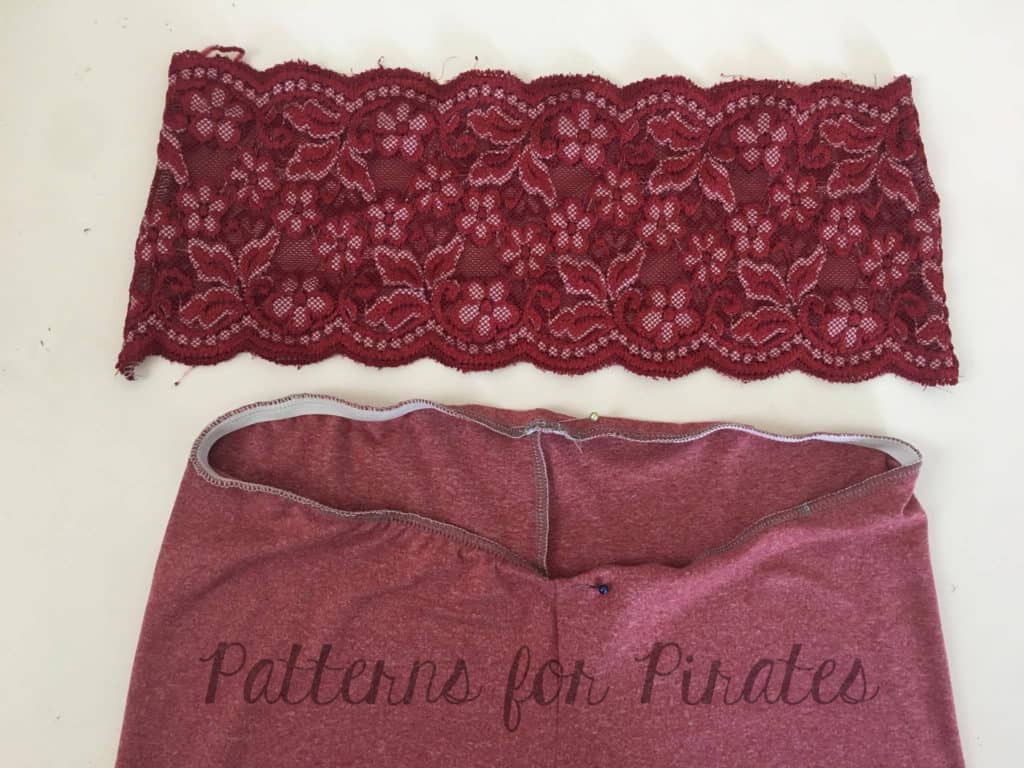
To achieve this look, we are going to eliminate the waistband piece, but in order to help keep them up, we will be increasing the rise and adding elastic at the top edge.  You will also need wide stretch lace (we used lace between 5-6″ tall) and 1/4″-3/8″ elastic.

I wanted to keep the original mid-rise of the leggings but since we are eliminating the extra waistband piece, I cut on the high rise line and added about 0.25″ to accommodate the elastic.  Once cut, assemble the legs as you normally would.

Cut your elastic the width of the waist of the Peg Legs.  The Peg Legs already have negative ease (meaning, they are smaller than your body measurements and stretch to fit) so we do not need to cut the elastic smaller than the opening.  This is just used as extra support to help keep them up.

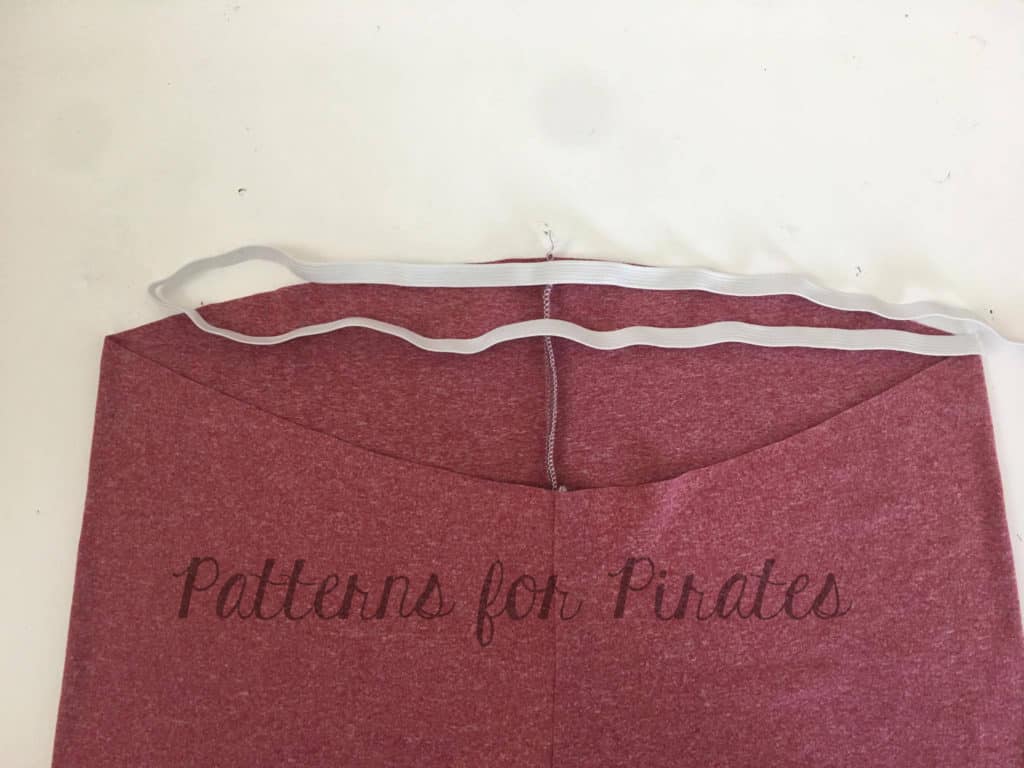
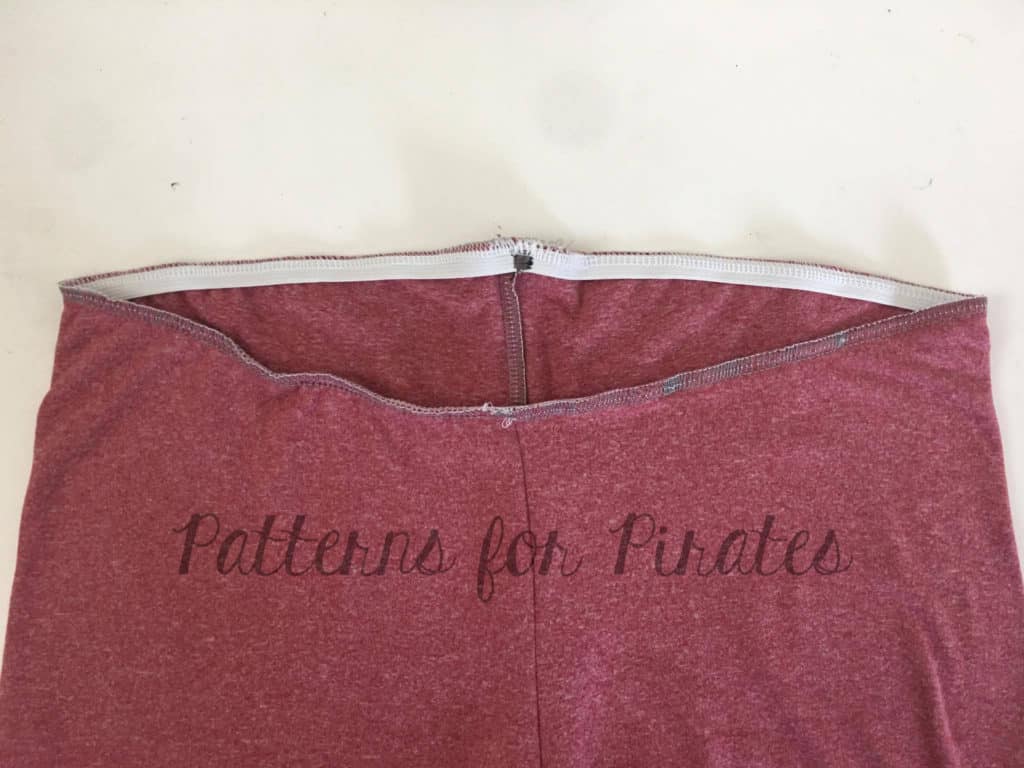
Butt the ends of the elastic to one another, and using a zig-zag stitch, stitch, creating a circle.  Stitch the elastic to the wrong side of the fabric using your favorite stretch stitch.  If using a serger, do not cut any fabric off.   The elastic should be measured at 1:1 with the top of the leggings so should not need to stretch to fit the opening.

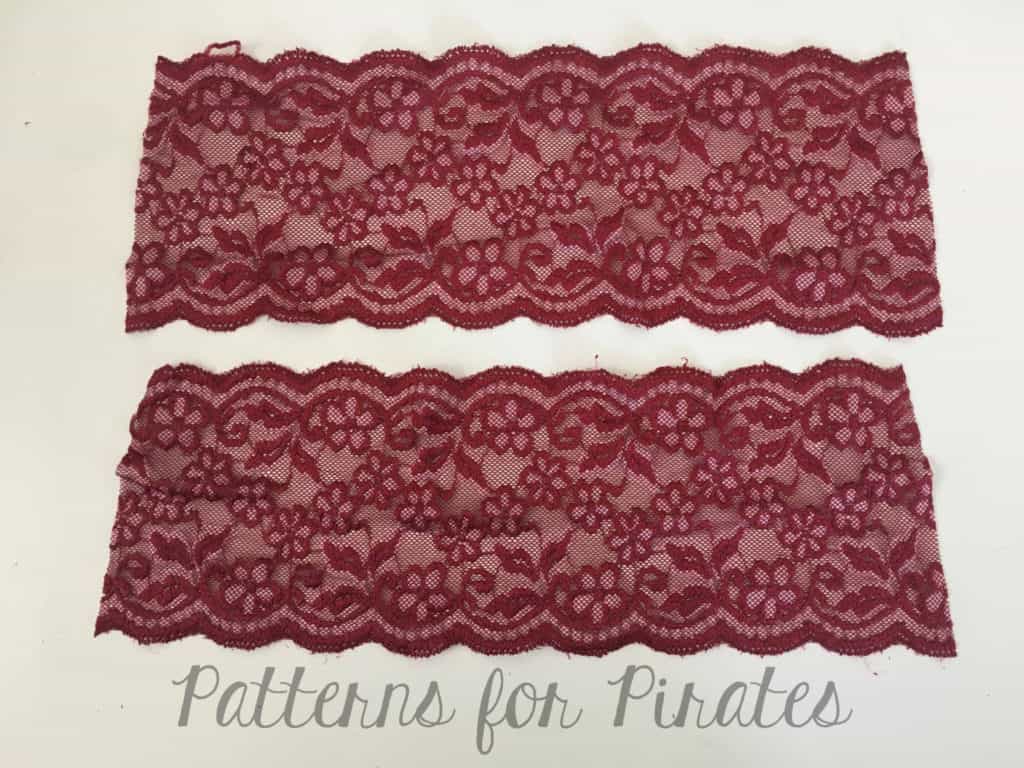
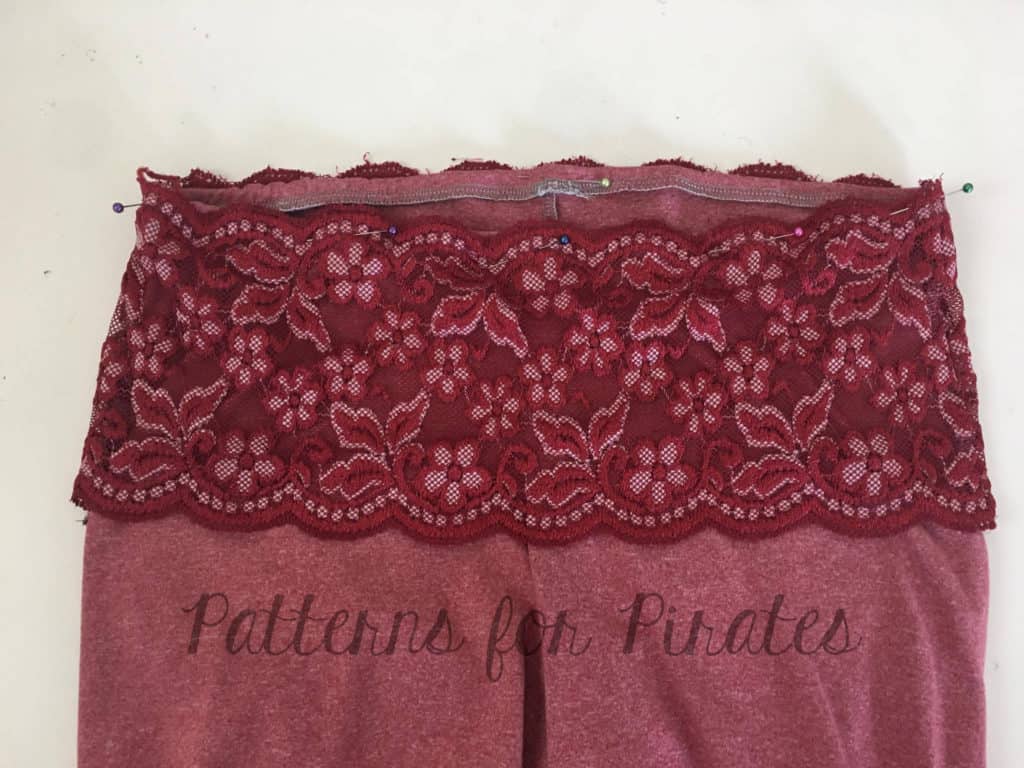
To determine the size of the lace waistband, lay your lace on top of the leggings and cut them 1/2″ wider than the leggings on either side.  Cut 2.

With right sides together, stitch each short end with a 1/2″ seam allowance to create a circle.  Flip right side out.

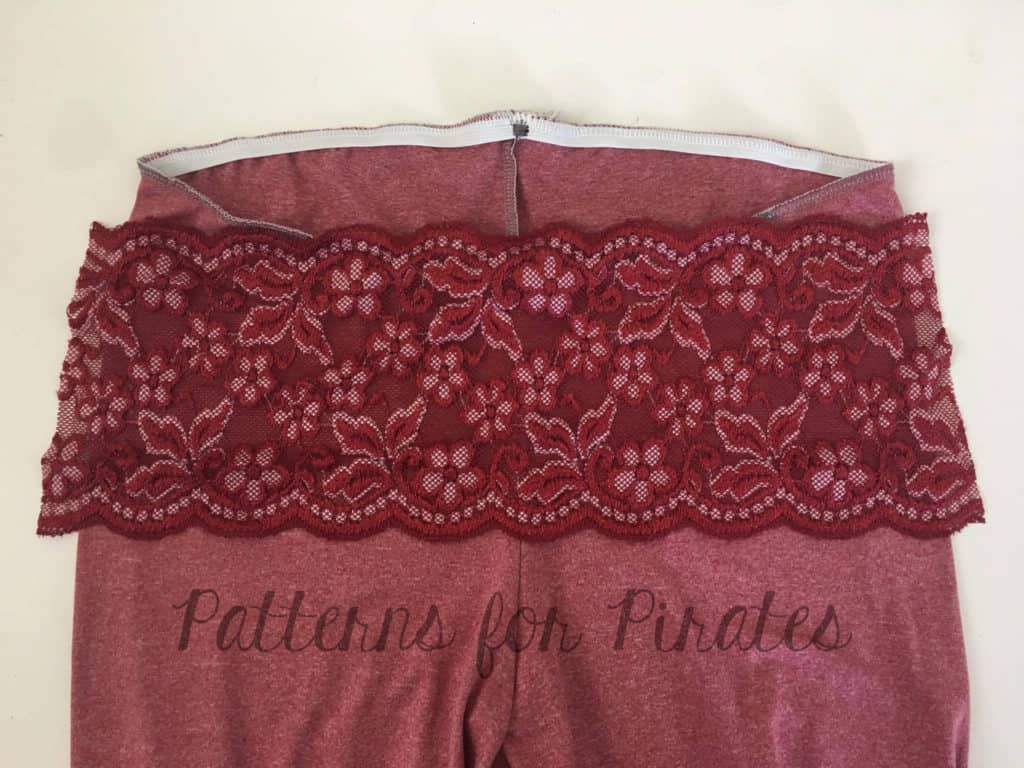
With both right sides out, slip lace waistband over the leggings.  I wanted to encase my elastic so chose to fold over the edge of the fabric as well.  Top-stitch using your favorite stretch stitch around the top edge of the leggings.  I did not stitch along the bottom edge of the lace.  I used a brushed poly so the lace sort of “stuck” to the fabric when worn so found I did not need to stitch the bottom edge in place.


We are celebrating reaching 50K fans in our Facebook group!  To make it a party, our beloved PegLegs pattern just got an update AND some new add-ons.  Before you go running to your machine to sew up your own leggings, make sure to read our PegLegs 101 blog post.  This way, you’ll have all the the information you’ll need to make the perfect pair before you even cut into your gorgeous fabric.

But wait, there’s more!  After any good party is an after-party.  We are taking it one step further and sharing some easy hacks that’ll bring even more flavor to your favorite leggings pattern!  We hope you check them out, make your new favorite pair of leggings, and know that we appreciate every single one of you amazing sewing guys and gals!

Here are our hacks / tutorials / latest tricks:

Lace Waistband Alternative | Drawstring Waistband Tutorial
Exposed Elastic Waistband | Stirrup Pant Hack
Ruched Ankles Adjustment | Decorative Topstitching Tutorial
Ruched Side Panel Hack

Filed Under: Free Pattern, Pattern Hacks, Uncategorized 3 Comments

Pumpkin Spice Dolman Cold Shoulder Hack

April 4, 2017

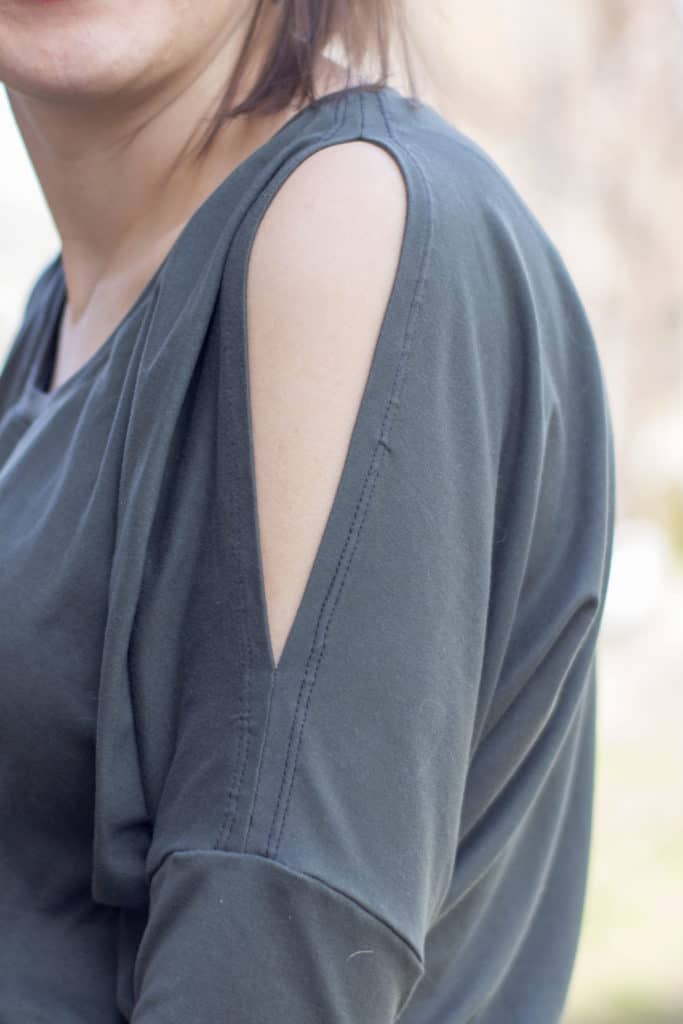
Cold shoulder tops are all the rage right now and it’s a quick and easy hack to add to your Pumpkin Spice Dolman.  The Pumpkin Spice Dolman is one of my very favorites and they are in constant rotation in my wardrobe, so as soon as I saw someone in the Patterns for Pirates Facebook Group ask about a hack, I knew I had to make one ASAP.  Let’s get started!

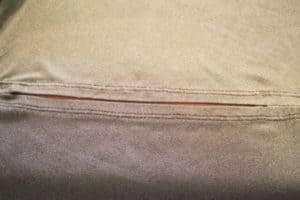
First you are going to cut out all your pieces, I choose to do the 3/4 sleeve with the long band for mine. Once your pieces are cut, we are going to line up our shoulders seams but instead of sewing the hole seam we are going to make a couple of marks.  I marked 1.5 inches down from the neck and placed a pin there and then 2.5 inches up from where the arm attaches. I am sewing a XXS and that is what worked for me but feel free to adjust those measurements to make it perfect for you.  Now we are going to sew from the edge to where we put our pin on the sewing machine.  It’s really important that you don’t use your serger for this step!
Now that our seams are sewn, we are going to press them open and continue pressing where we didn’t sew open as well. Measure to make sure that you are pressing exactly your 1/2 inch seam allowance.  Once you have it pressed open we are going to top stitch both sides of the seam allowance.  I’m using my coverstitch here, but you can use a twin needle or a single needle, whichever you prefer.  You just created your cold shoulder, easy right?!  You will now continue constructing your top just as the pattern says.

And don’t forget the Pumpkin Spice Dolman has a matching girls pattern the Spice Cake so you can also make the girls in your life a matching cold shoulder top- I know that my daughter is all about the cold shoulder and I plan on making her a couple too!

Don’t forget to show off your creations in the Facebook Group, we adore seeing all your creations – Angela

Filed Under: Pattern Hacks, Uncategorized 3 Comments

Cross My Heart Cami Hacks

March 14, 2017

So you love the X option but you also love the T option of the Cross My Heart Cami and now you’re in a pickle…which one do I make? The answer is obvious, you make both! And if you’re anything like I am, you make both style in one cami! 🙂

IMG_6658

IMG_6671

The beauty of the CMHC pattern is that you don’t even need to make any modifications to achieve this look. Simply cut two pieces of the front pattern and follow the directions for adding the T and the X details to the pieces. Finish the cami as per the tutorial and voila! You made yourself a brand new cami that can be worn both way. You can wear the X in the front and the T in the back like I did or you can wear the T in the front.

cami 2fronts

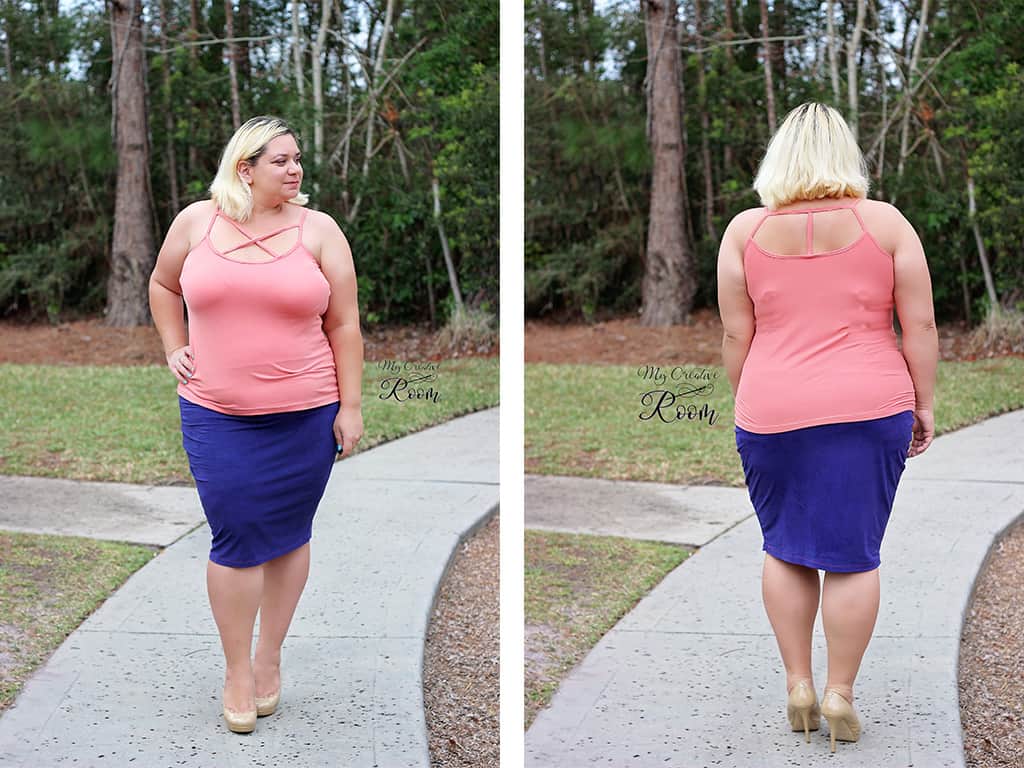
I paired this cami with a Pirate Pencil Skirt and a Sweet Tee with curved hem and an off the shoulder mod. Which styles will you be making first?

Judy made this one with two backs! Such a simple mode that can add so many more options to this pattern!

The V front and low x makes a sizzler! I mean, who doesn’t love to have that piece of clothing that you can pull out, slip on feel a little sexy every once in a while?

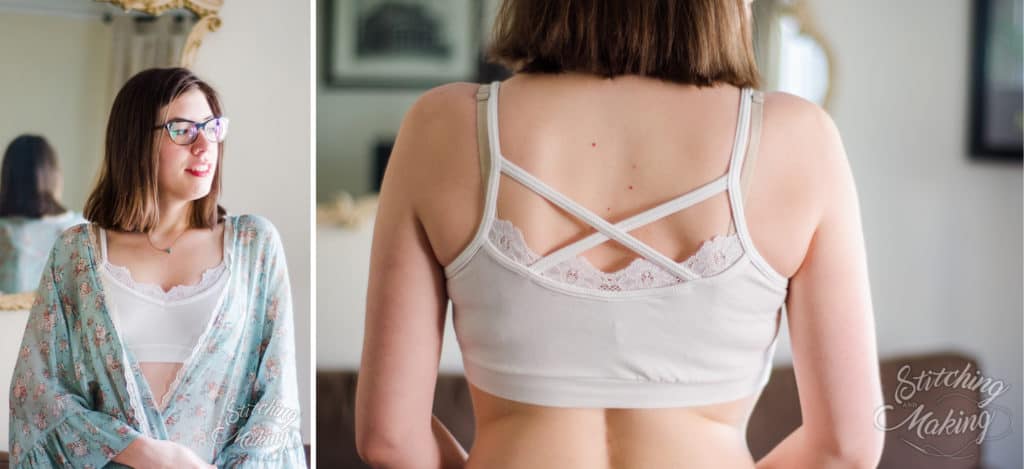
Are you looking for a more delicate, feminine feel?  Grab some stretch lace for an easy hack!

Here’s a simple how-to:

1. Cut the lace the same length as your binding pieces, for whichever neckline you are using.

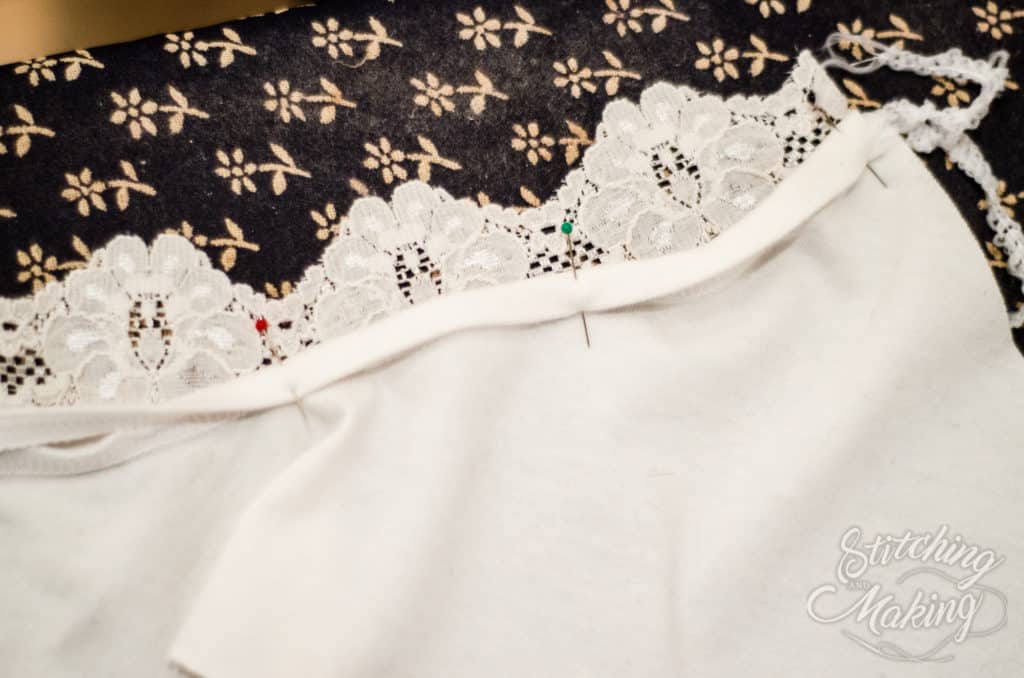
2. After you’ve attached and folded over the binding as directed in the tutorial, pin the right side of the lace to the wrong side of the neckline/binding. In the picture below, the fabric is right side up.


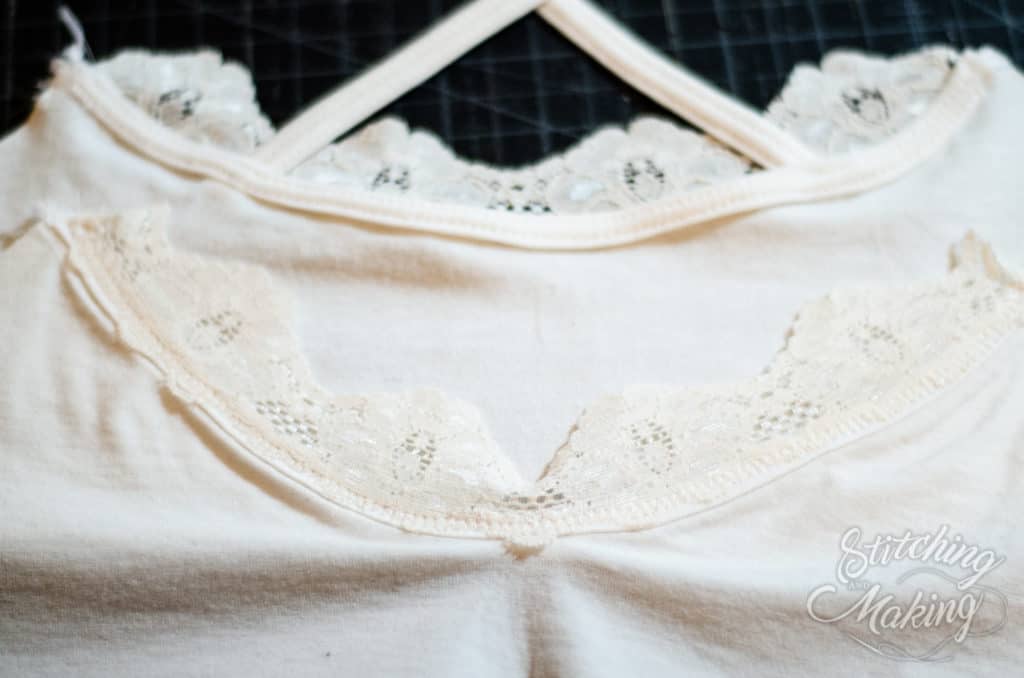
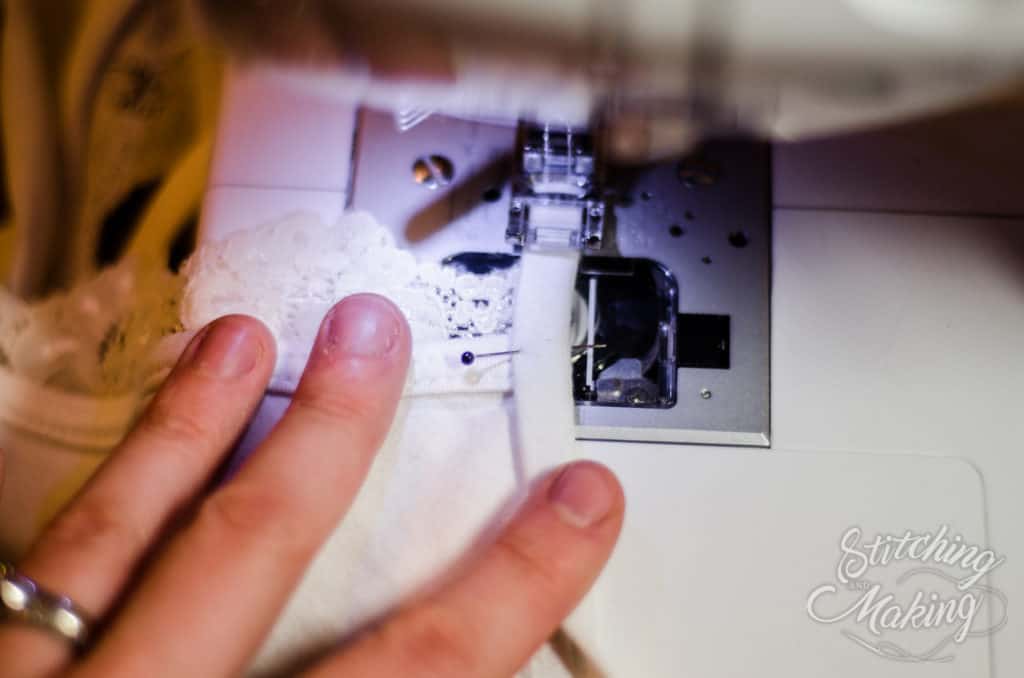
3. Repeat for the back as well, if you’d like.  Then, sew it on as you top-stitch the binding, per the pattern tutorial.  Here’s how it should look all said and done; wrong side up shown on the bottom of the picture, right side up shown at the top.


4. Be sure to catch the edge of the lace on the side of the shoulder binding as you attach it.


5. Finish the shirt as the pattern tutorial directs.  That’s it – easy peasy!

~ Elisabeth


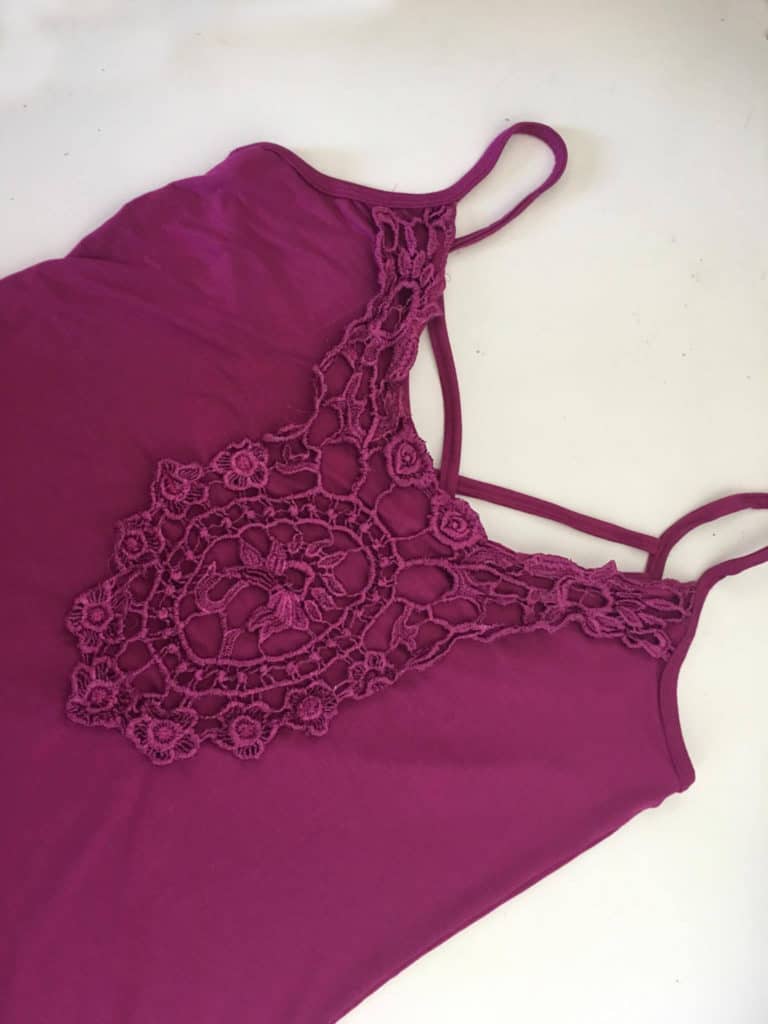
Not sure what to do with all those pretty lace appliques? Attach one to the front or back of the cami.  I happened to up-cycle one from an old shirt that didn’t fit anymore and have some knit on hand that matched perfectly!  I used to V back because of the shape of the applique.  I left the front neckline raw and stitched the lace just overlapping the top edge using a zigzag stitch.  (Knit does not unravel so no need to finish those edges).  Attach to the right side of the cami prior to doing the shoulder binding if your applique extends to the armholes.  For the main body of the applique, I chose to tack down in a few areas (center of the flowers) as the applique itself was pretty open throughout.  Easy Peasy!


Filed Under: Frequently Asked Questions, Pattern Release, Uncategorized 1 Comment

P4P Cardi Week : Grandpa Cardi in Duster Length

January 25, 2017

After spending way too much time browsing for sewing inspiration online, one of the biggest trends I’ve notice is the amount of long cardigans, also known as the duster length. While the original duster length was worn by the adventurous horsemen of the Wild West, I’ve decided to put a Pirate’s twist on it by using the Grandpa Cardigan. And what’s not to love about the Grandpa Cardi? It’s cozy, the perfect layering accessory, and always stylish! With a few quick and easy mods to the pattern, you too will be ready to join in on one of the hottest trends!

Determining Length 
First you will need to determine how long you want your duster. For me, I chose to have it hit right around my mid-calf. I measured from my underarm to mid-calf, which was a distance of 40″ (I’m 5’7″ for reference).

Adding Length to Back and Bodice Pieces
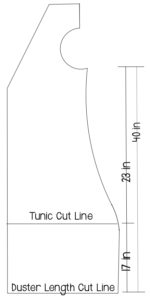
To add my length, I traced the pattern as is, using the tunic cut length. I then placed my tape measure from the bottom of the armcyce to the edge of the tunic cut line on the front bodice piece. For an XS, this measurement was 23″, meaning that I needed to add an additional 17″ in length (you will want to measure this distance if you are using a different size). I then drew a line 17″ down from the tunic cut line, keeping these two lines parallel. Once the line was drawn, I connected the new duster length cut line  perpendicular to the original pattern. Repeat this step on the back piece.

duster cardi

Adding Length to Collar
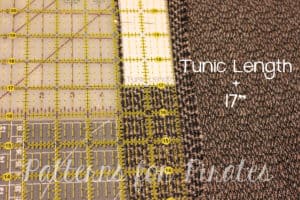
The Grandpa Cardi is very easy adjust the length of the collar. The band is only stretched around the neckline, while there is a 1:1 ratio below the slight V. Since I added 17″ in length, I added this same amount at the end of each collar piece from the tunic cut line. This will not alter the part of the band that needs to be stretched, only add to the section that is 1:1.

 IMG_6577_edited-1

Finishing Duster Cardi
Once you have lengthened all pieces (and cut out your sleeves), assemble the pattern as per the tutorial.

And if you needed a little more inspiration, the Duster happens to pair amazingly well with the Boyfriend V-neck! You should probably just grab that one as well if you don’t already have it! Make sure to check out the bottom of the page to read about what the other ladies have in store for you during #P4PCardiWeek. ~ Erinn

1watermark 2watermark 3watermark

Take a look at our jam-packed schedule of cardigan love!

Saturday, January 21: #P4PCardiWeek Announcement

Sunday, January 22: Cocoon / Butterfly Ruffle + Lace Hems

Monday, January 23: Ribbon Tie Closure Hack

Tuesday, January 24: Carefree Cardigan Fringe Hack

Wednesday, January 25: Duster-Length Adjustment

Thursday, January 26: Kimono Ruffle Sleeves + Hem

Friday, January 27: Varsity Sweater Style Hack

Saturday, January 28: Carefree Cardigan Flannel + Vest Hack

Monday, January 30: #P4PCardiWeek Winner Announcement

You can follow along on the blog here, or in our Facebook group.  Search #P4PCardiWeek to be able to find our posts all over social media.  And please feel free to sew-along with us on one or all of the days.  The more the merrier!

But wait, there’s more!  We wanted to create a friendly pirate-y competition with our P4P Cardi Week!

Between tomorrow and Saturday, January 28, sew up a Patterns for Pirates cardigan using one of our hacks, or by keeping the pattern as-is.  Share your photo with us on Instagram or in our Facebook group and use the tag#P4PCardiWeek We will pick our favorite and the winner will win a free P4P pattern of choice AND be featured on this blog.  Fun right?

To make it even better we have put all the cardigan patterns in the shop on sale all week (no code needed)!

Now get out there and sew some cardigans, matey!

Filed Under: Contest/Giveaway, Pattern Hacks, Uncategorized 2 Comments

P4P Cardi Week :: Carefree Cardigan Fringe Hack

January 24, 2017

WEB COVER

So you’ve been perusing Pinterest and you see all of those must have, trendy fringe cardigans. Now you’re looking at your library of sewing patterns and wondering which one can you easily hack into one of those gorgeous cardigans for yourself? Well here is a tutorial to show you how to easily transform the Patterns for Pirates Carefree Cardigan into a DIY fringe cardigan! Follow along to find out how easy this look is to achieve. At the end I have added the option to attach a button closure too!

First things first, which fabric should you use? My favorite knit fabrics to use for this purpose are knit fleece, closed weave brushed hacci sweater knit or a light-medium weight poly rayon spandex french terry. That said, you could do this with pretty much any knit. Be careful of really loose weave sweater knits though (the ones you can see through). They may fall apart on you during the fringe creation.


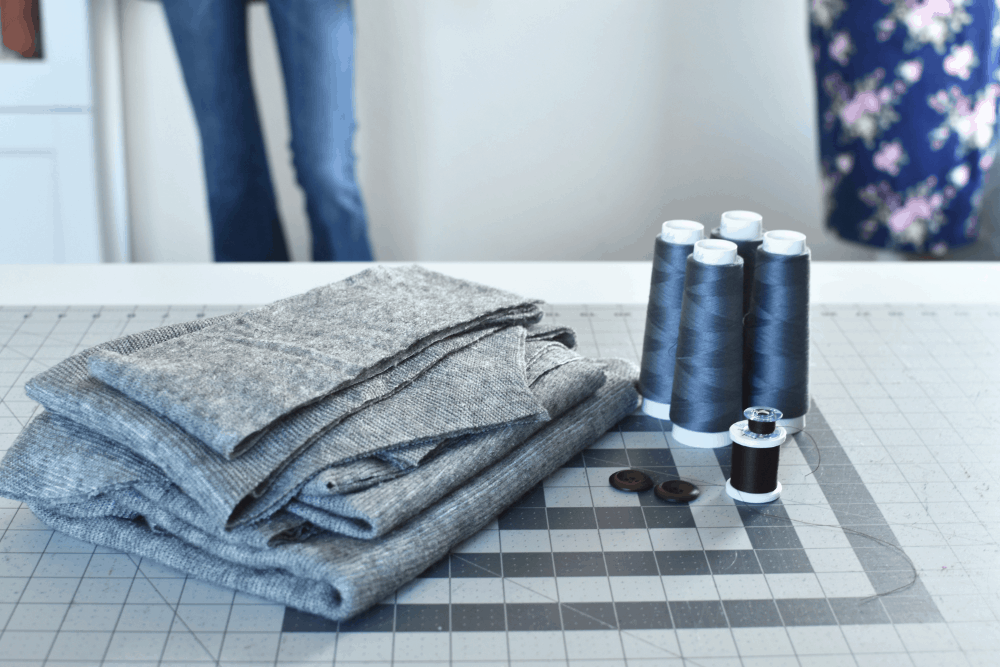
MATERIALS

Step 1: Whatever you do, DON’T SKIP THIS. Before you make your fabric selection and begin cutting out your garment pieces, test out how the fabric is going to look once fringed. To do this make a few ½” wide by 6” deep cuts perpendicular to the selvedge edge. Tie a couple of these strips into a knot together just as it will be done on the finished cardigan. Some knits will stay structured; some will come close to falling apart. It is important to test the fabric to determine if your chosen fabric is going to give you a desired look.

IMAGE 1c

Step 2: Cut out all pieces of your Carefree Cardigan for a ‘neckband only’ version, except for the neckband. For the neckband you are going to cut out a band half the cut chart width plus a seam allowance of 1/2″ for hemming. 

IMAGE 3

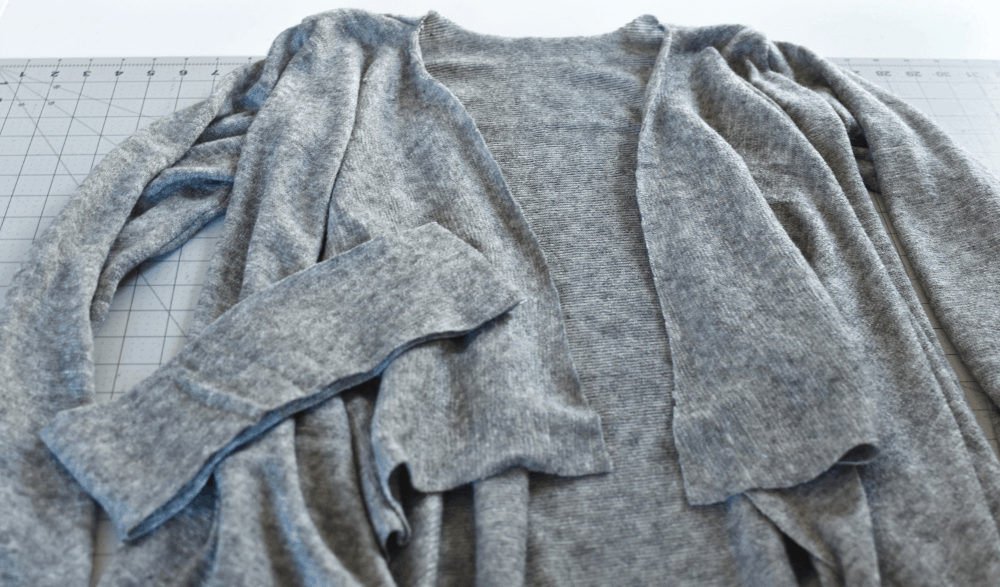
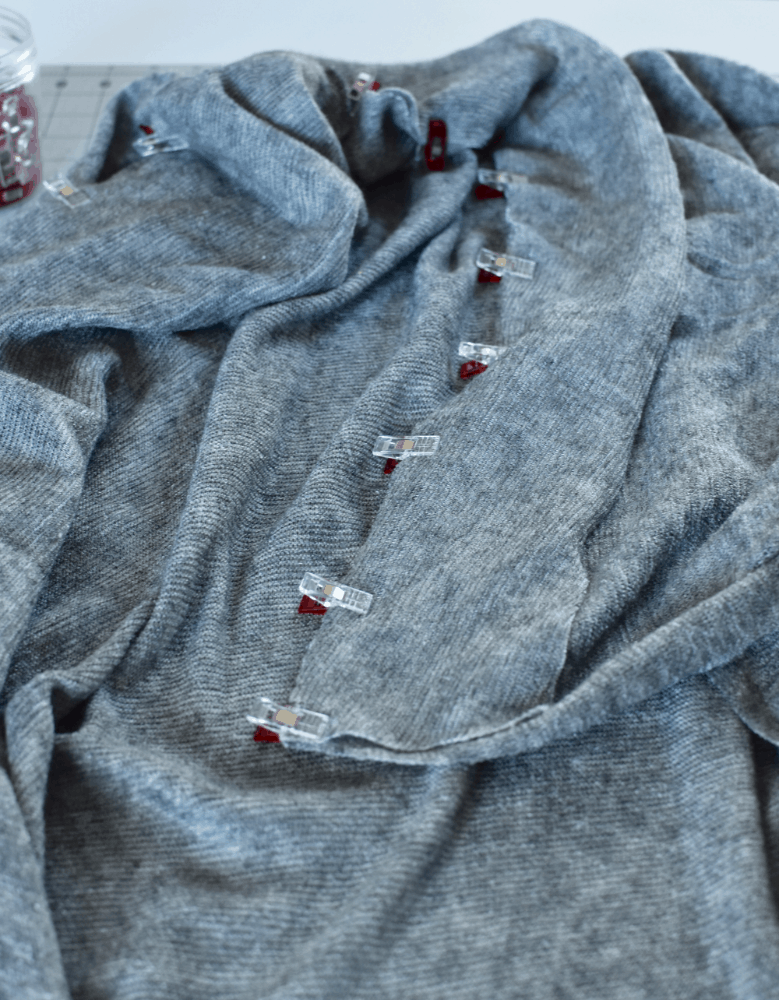
Step 3: Assemble your cardigan as directed by the Carefree Cardigan pattern tutorial with the exception of the neckband. You are attaching the neckband without folding it in half to form a closed band. You want an open raw edged band.

IMAGE 4

Step 4: Using your sewing or coverstitch machine, you will then hem the long exposed edge of the neckband and along the bottom hem. Use a 1/2”” hem width here. You want it thin so that it doesn’t become bulky when you create the fringe. Lastly, hem the sleeves as directed by the pattern.

IMAGE 5c

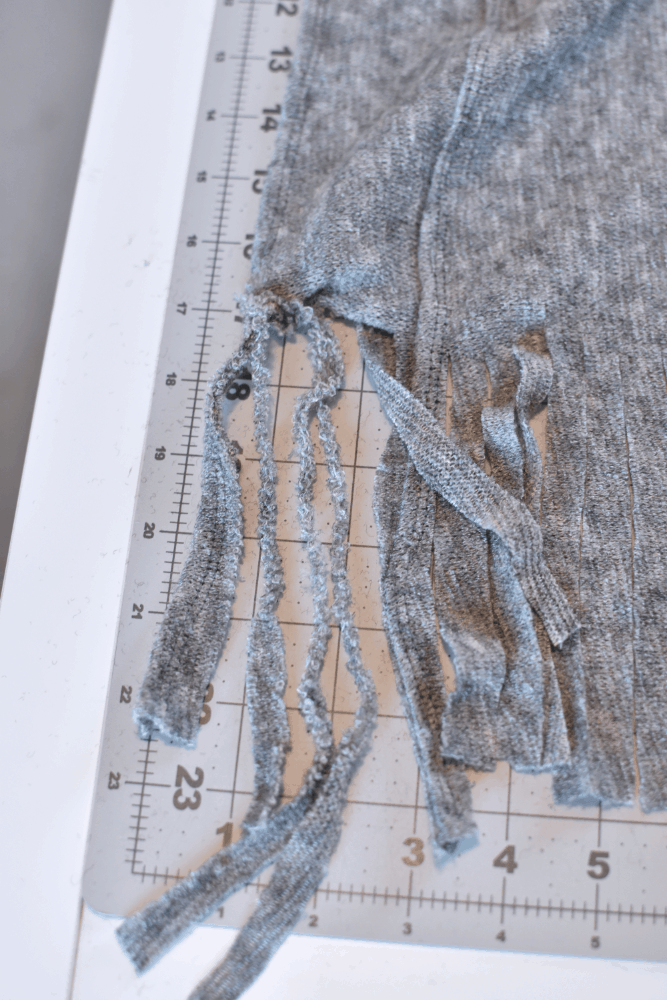
Step 5: Lay your cardigan out on your cutting mat, lining up the unfinished edge along a straight measurement line on your mat. Decide how wide you would like your fringe to be. Take your scissors and cut strips about 6” deep along the entire length of your cardigan front, every ½-1”. I chose to cut ½” strips. Go back and seam rip the hems on the bottom and top strips that you have now cut into fringe strips. You may want to add some reinforcement stiching to the hem stitches at the beginning and end just before it turns into fringe.

image 6c

Step 6: The last step is to finish the fringe edge. This is done by tying the base of the strips into knots all down the front. Decide how many strips you would like to be knotted together to create some separation. I chose to knot 2 strips together down the entire length of my cardigan.

If you choose not to add a button closure you are now all finished!

IMAGE 7B


OPTIONAL  Button Closure

IMAGE 12B

Step 7: Following Judy’s lead in her Carefree Cardigan Button blog tutorial, I chose to add a button to mine to finish off the look. To do this I put on my cardigan and played with different variations of button placement; to decide how I wanted the cardigan to be styled. I settled on adding a 1” shoulder button.

image 8b

[center button placement]

image 8c

[shoulder button placement]

Step 8: Once you have decided on placement, mark it. A lot of the time I like to use dry erase crayons to mark placement. The mark is easily visible on any fabric and it stays put until you throw your garment in the wash. Mark the button location both on the overlapping bodice front and the under lapping bodice front.

image 9c

[dry erase crayon]

image 10c

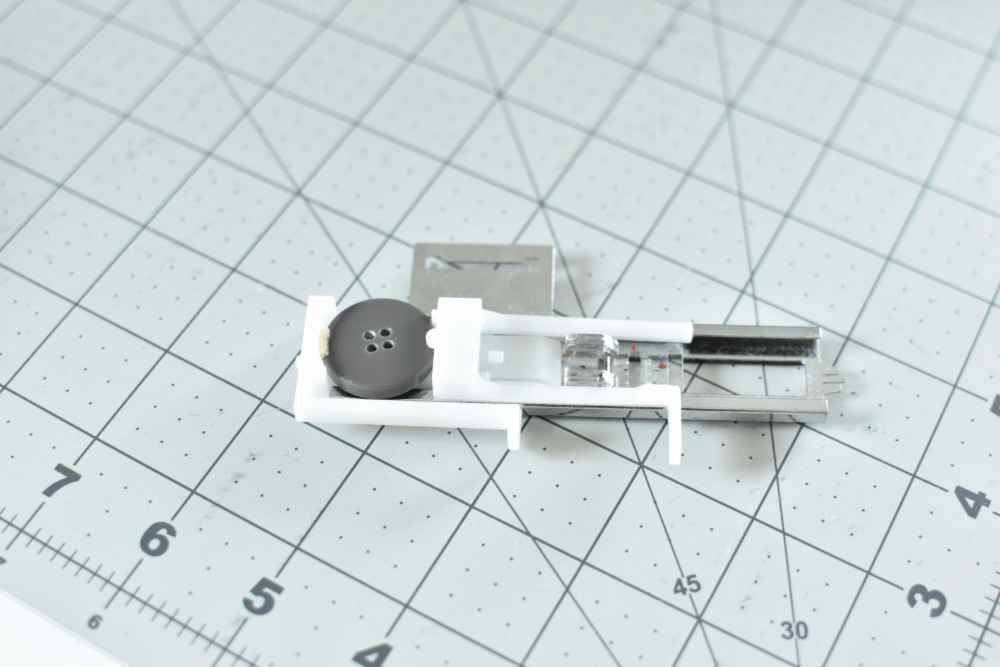
Step 9: Use your sewing machine to create a buttonhole on the overlapping bodice front in the top corner. If you are using an oversized button or do not have an automatic buttonhole presser foot for your machine see Judy Hale’s post HERE. Carefully cut open the buttonhole with your seam ripper.

IMAGE 10B

[automatic buttonhole presser foot]

Step 10: Now attach your button with your sewing machine or by hand on the under lapping bodice shoulder where you have placed a marking. Try it on and adjust button placement if necessary.

IMAGE 11c

All done!

IMAGE 12c

Keep your eyes peeled for some other fun tutorials the ladies at Patterns for Pirates have prepared for you this week! Be sure to read all the way through the end of this post to find out about the contest we have running this week!

-Kelly Bailey

P4P Blog Contributor

Take a look at our jam-packed schedule of cardigan love!

Saturday, January 21: #P4PCardiWeek Announcement

Sunday, January 22: Cocoon Lace Hems and Butterfly Ruffle

Monday, January 23: Ribbon Tie Closure Hack

Tuesday, January 24: Carefree Cardigan Fringe Hack

Wednesday, January 25: Duster-Length Adjustment

Thursday, January 26: Kimono Ruffle Sleeves + Hem

Friday, January 27: Varsity Sweater Style Hack

Saturday, January 28: Carefree Cardigan Flannel + Vest Hack

Monday, January 30: #P4PCardiWeek Winner Announcement

You can follow along on the blog here, or in our Facebook group.  Search #P4PCardiWeek to be able to find our posts all over social media.  And please feel free to sew-along with us on one or all of the days.  The more the merrier!

But wait, there’s more!  We wanted to create a friendly pirate-y competition with our P4P Cardi Week!

Between tomorrow and Saturday, January 28, sew up a Patterns for Pirates cardigan using one of our hacks, or by keeping the pattern as-is.  Share your photo with us on Instagram or in our Facebook group and use the tag #P4PCardiWeek. We will pick our favorite and the winner will win a free P4P pattern of choice AND be featured on this blog.  Fun right?

To make it even better we have put all the cardigan patterns in the shop on sale all week (no code needed)!

Now get out there and sew some cardigans, matey!

Filed Under: Contest/Giveaway, Pattern Hacks 1 Comment

  • « Previous Page
  • 1
  • 2
  • 3
  • Next Page »

Newest Patterns

  • Uptown Joggers - Youth $10.00 $8.50
  • Uptown Joggers $12.00 $10.50
  • Uptown Joggers - Bundle $20.00 $18.00
  • Notch Top & Dress $12.00
  • Notch Top & Dress - Youth $10.00
  • Privacy Policy
  • Refund Policy
  • Affliliate Program
  • Contact Us
  • About

Copyright © 2023 Patterns for Pirates

Copyright © 2023 · Genesis Framework · WordPress · Log in