Patterns for Pirates

P4P stylish, modern, wearable patterns

  • Home
  • Blog
    • Frequently Asked Questions
    • Pattern Releases
      • Free Patterns
    • P4P University
      • Fitting
      • Sewing with Stretch, Knit Fabrics
      • Sewing with Woven Fabrics
      • Sewing Machines
    • Sew-A-Longs
    • Fabric for Pirates
    • Pattern Hacks
    • Announcement
      • Blog Tours
      • Contest/Giveaway
  • Shop
  • Bundle Discounts
  • Flash Friday
  • Gift Cards
  • My Account
  • Cart

Sporty Piko Sew Along – day 2 (chest pocket, back colorblocking)

October 27, 2020

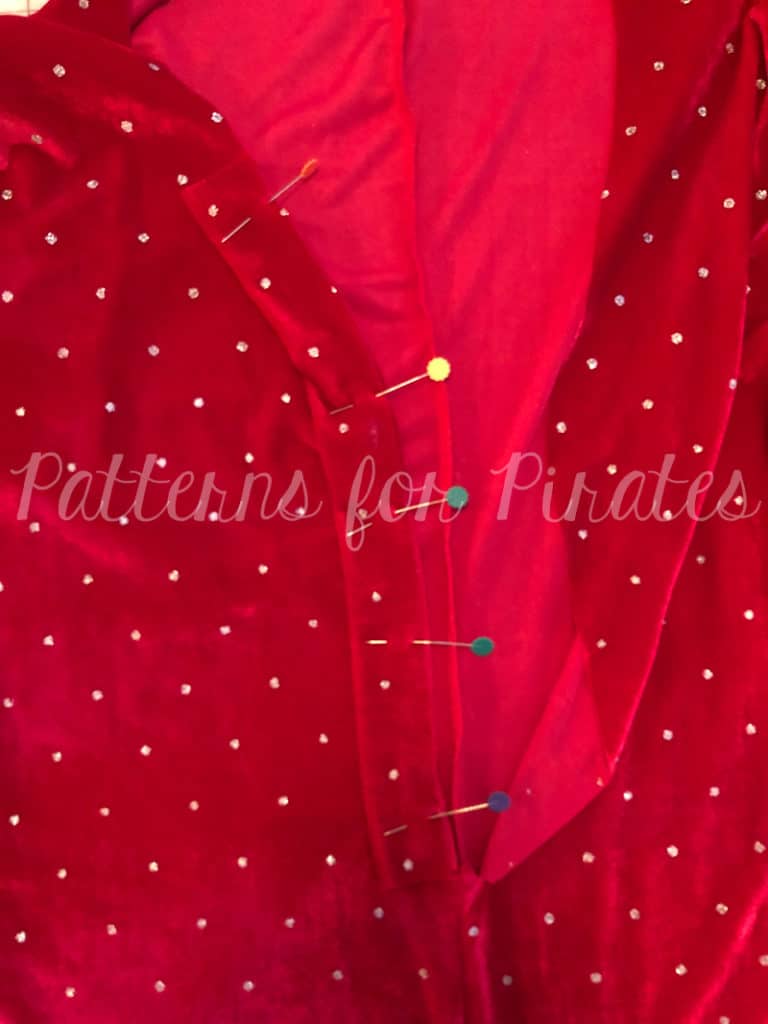
Good morning, pirates! Today we start sewing our Sporty Piko shirts. First step is to add the optional chest pocket. It is optional but I wouldn’t skip it, it adds a little extra something to the front….plus, you can hide your little treasures in it 😉
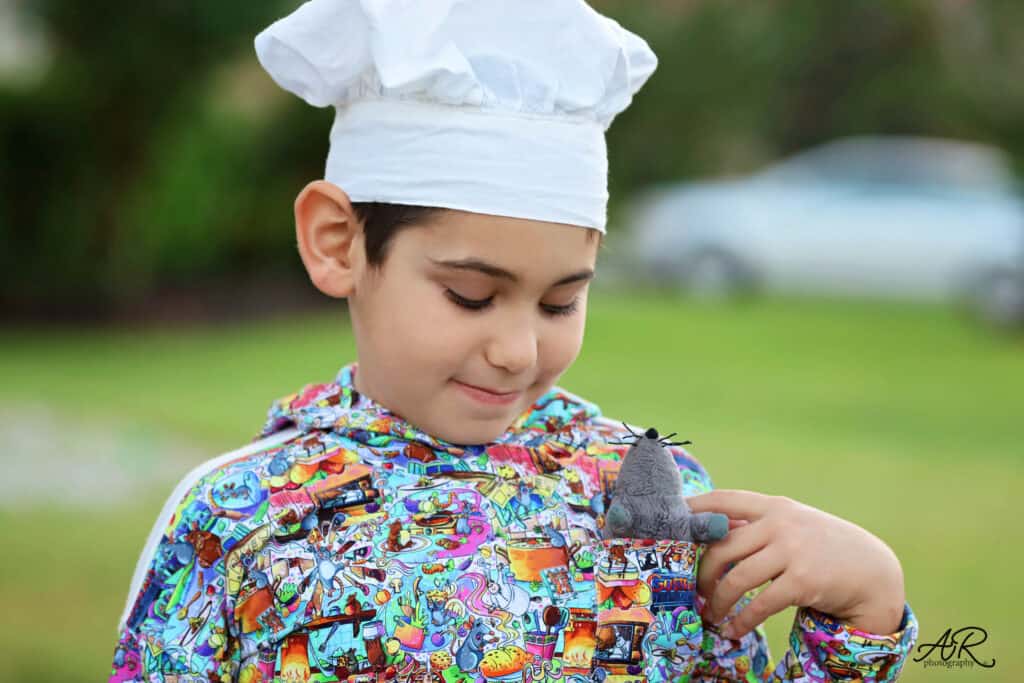

The key to getting a nice pocket is pressing! Yes, I know, I know… I say that all the time but it’s true. If you have a favorite woven you would like to use instead of knit, you can do that for the pocket. 

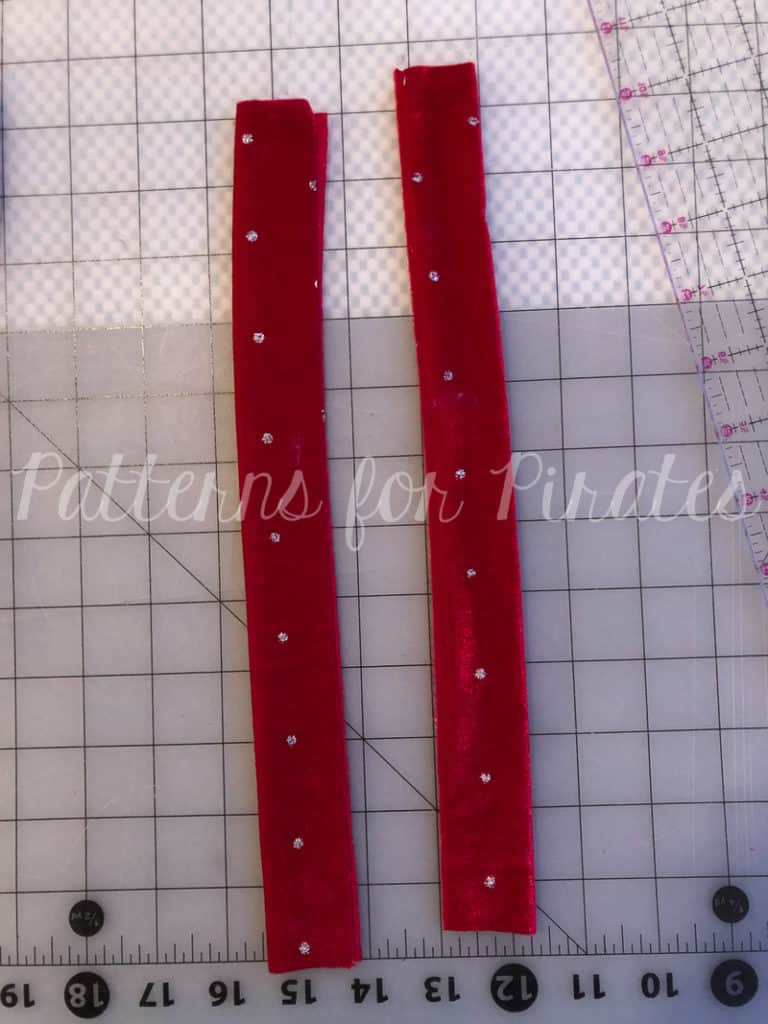
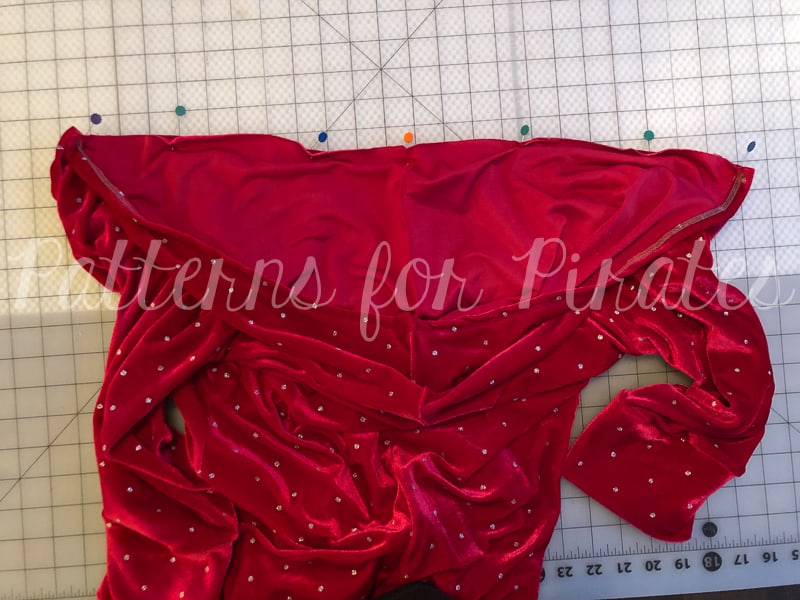
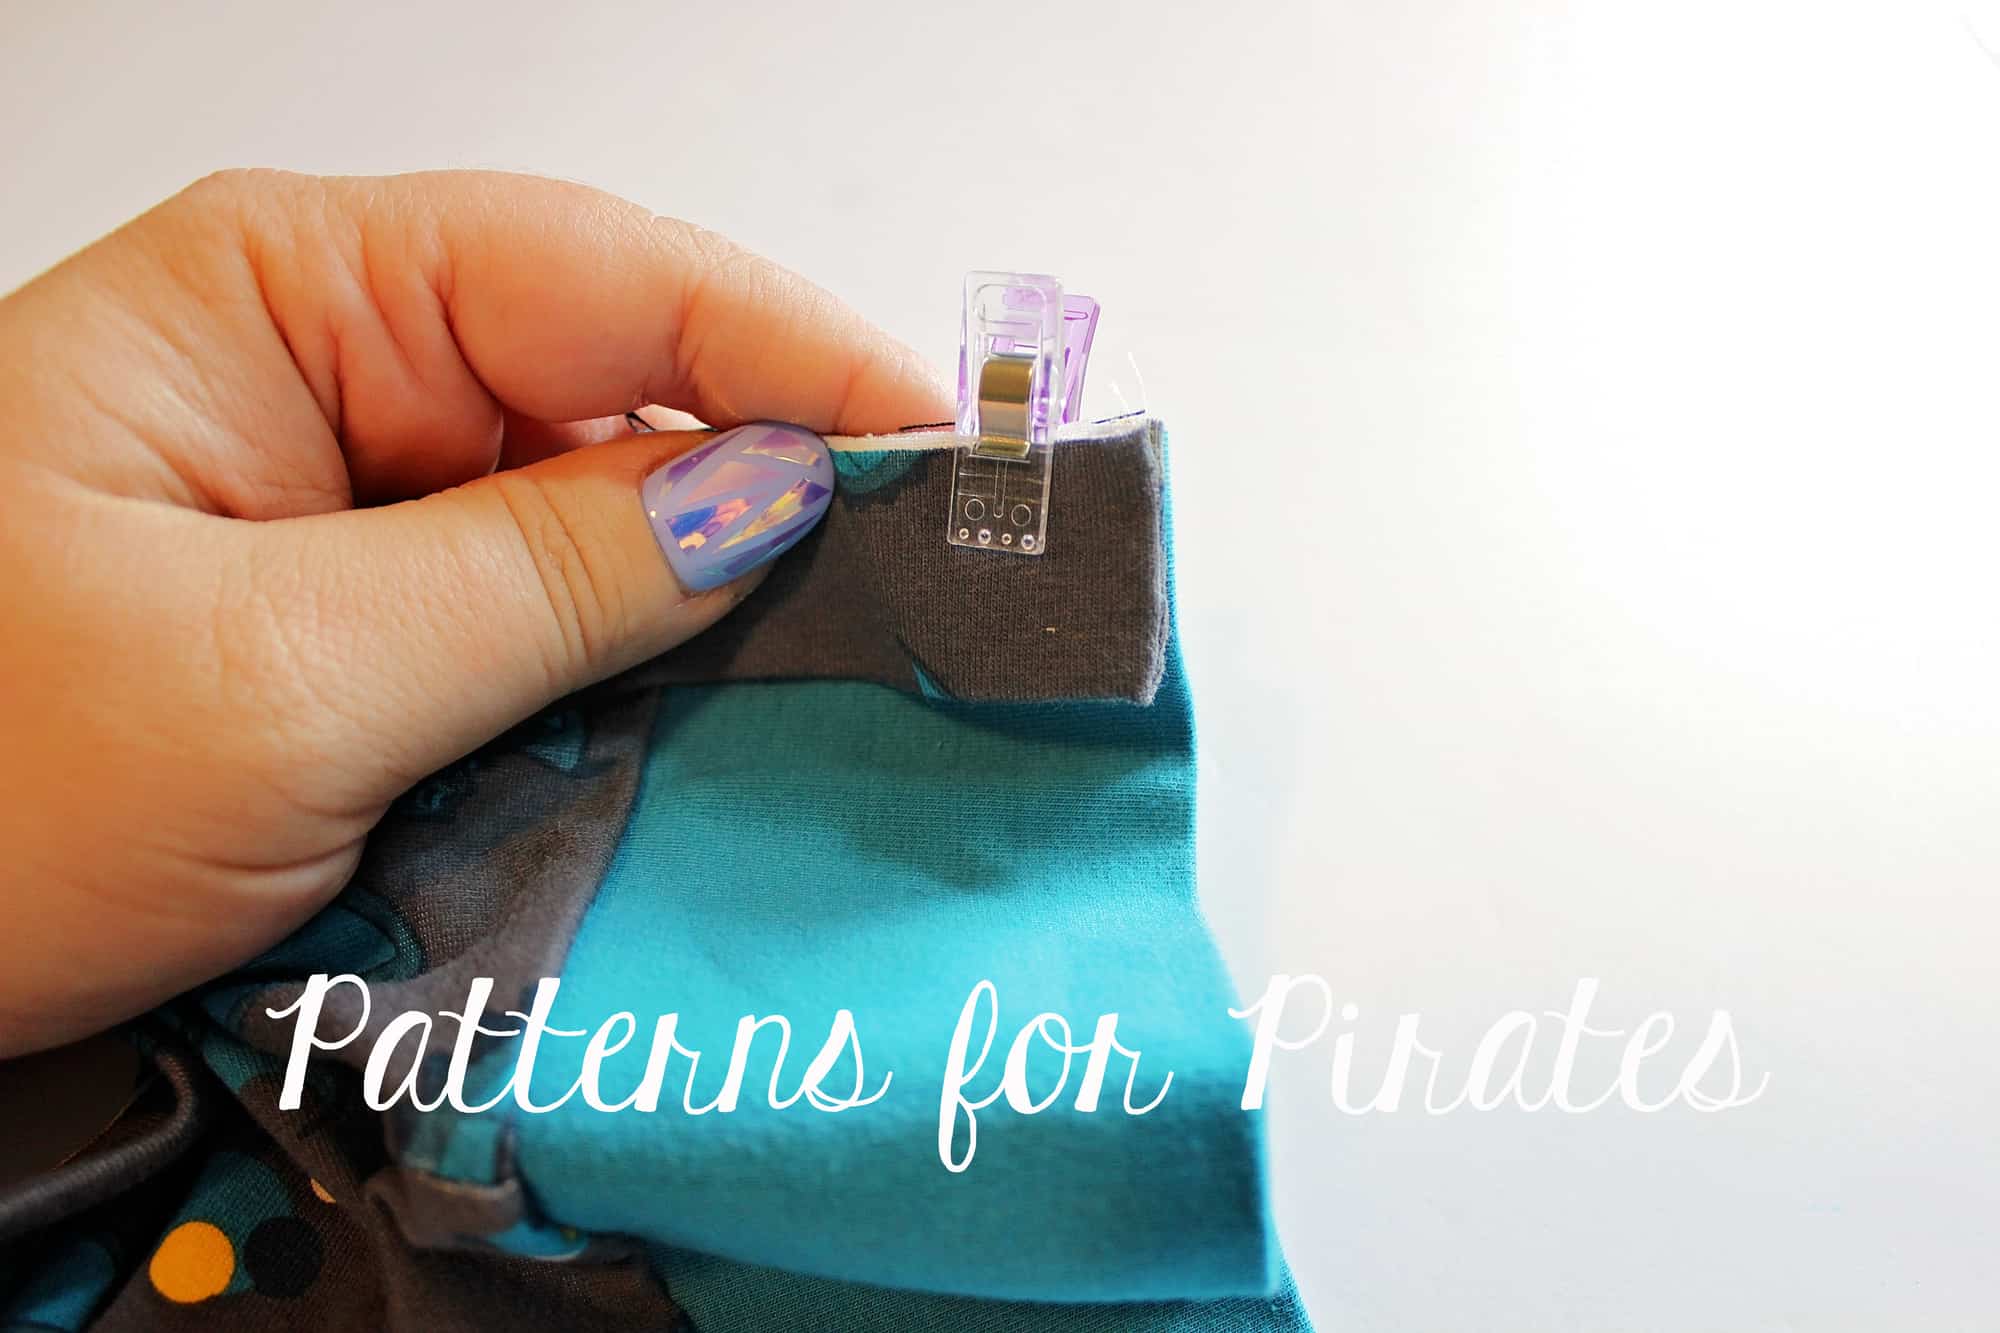
Next and final step of the day is to create the back piece by sewing the top and bottom together. Simply match the center point and pin in place. The two edges are 1:1 ratio so they will match perfectly, no stretching.

Tip: if you plan on adding any embellishments to the top back piece (like HTV, sublimation, iron ons, etc) do that before you sew the pieces together. 
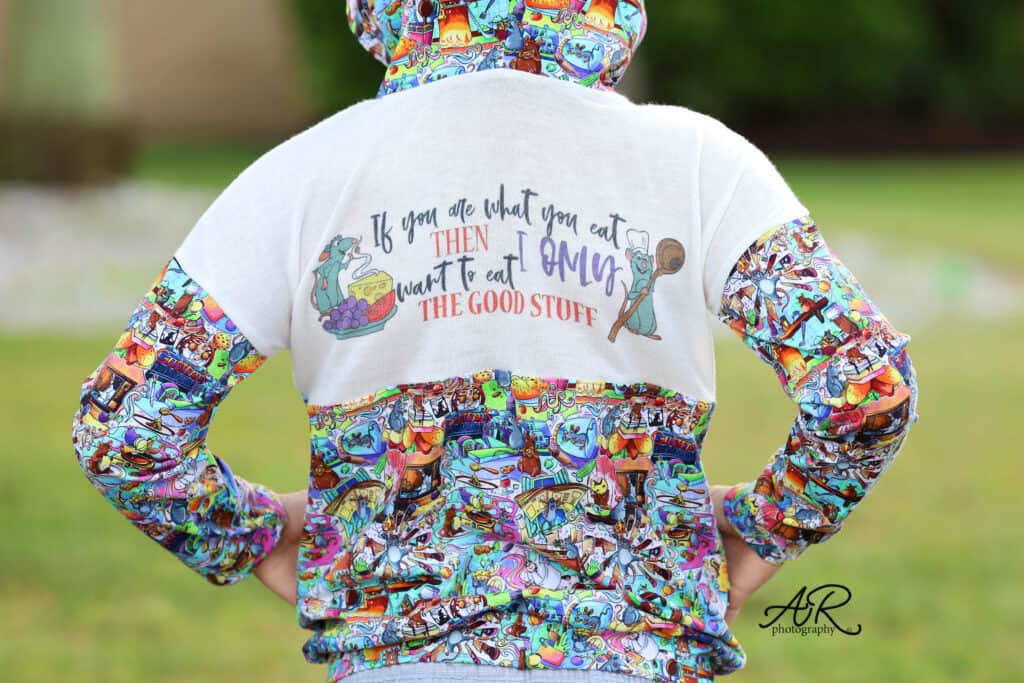

You can see the day 2 video below. Once you complete these steps, post a picture of your progress in the comments of day 2 photo of the sew along album. You can find this album in our SAL group. 
 

Sporty Piko SAL | day 1

Sporty Piko SAL | day 2

Sporty Piko SAL | day 3

Sporty Piko SAL | day 4

Sporty Piko SAL | day 5

Sporty Piko SAL | day 6

Sporty Piko SAL | day 7

Filed Under: Frequently Asked Questions, Sew-A-Long, Uncategorized Leave a Comment

Sporty Piko Sew Along – day 1 (print pattern and cut fabric)

October 26, 2020

Welcome to the Sporty Piko Sew Along!

I am happy to sew with you a Sporty Piko this week. The pattern comes in Youth and Adult and you can of course get the bundle and save. If you are still undecided which style to make, our Round Up blog will give you a glance at all options included, from sleeve lengths to necklines. You can also use the Easy Hacks blog for added options.

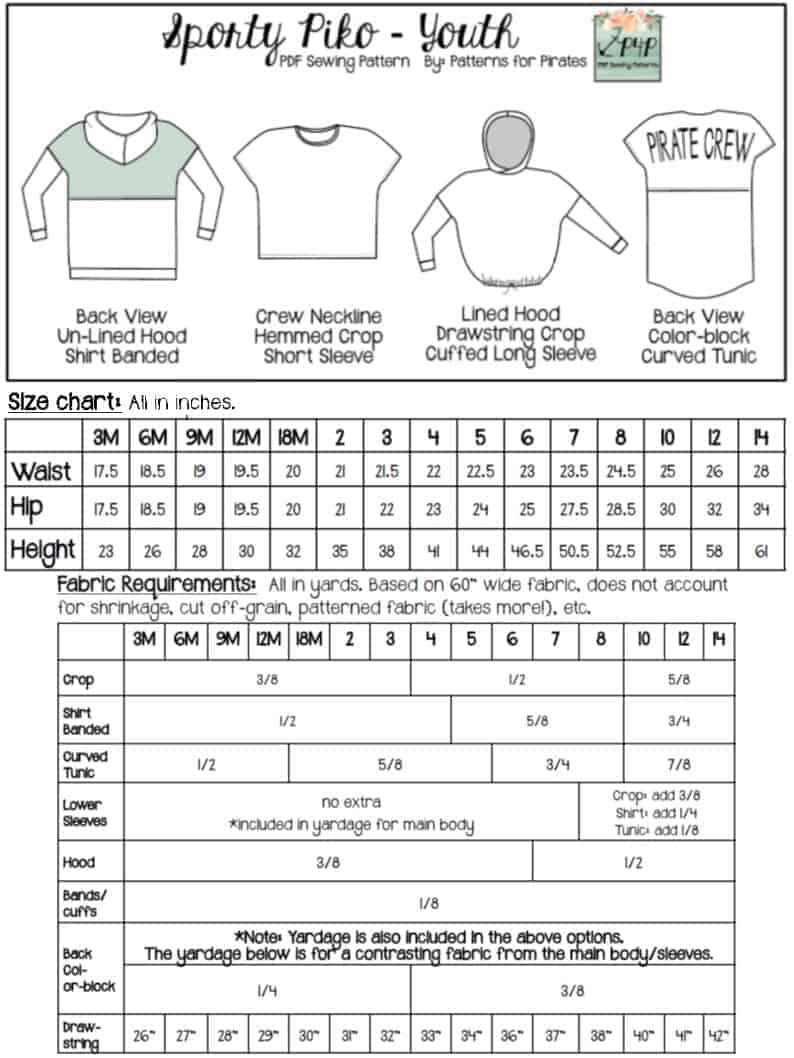
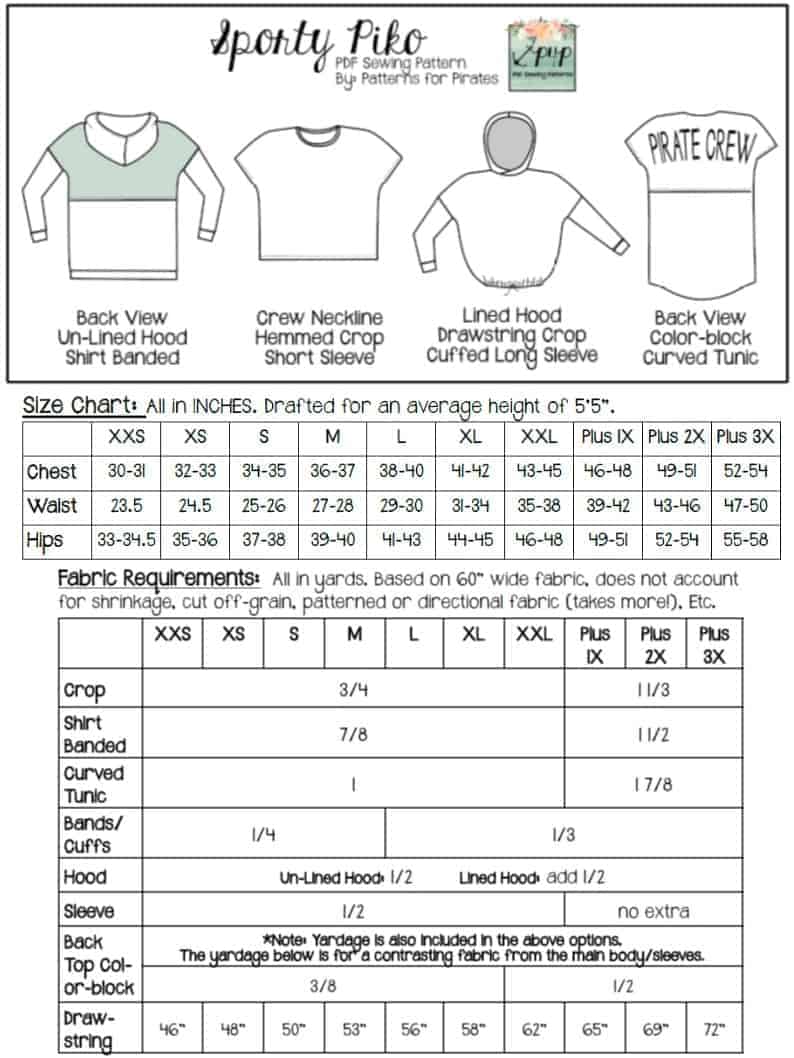
Let’s start by taking the measurements needed for the best fit. P4P has an amazing blog that gives you tips for accurately taking your measurements. You can read all about it here. If your measurements put you in a different size for chest/waist/hips be sure to check out our P4P University blog and grade to achieve the perfect fit. The Sporty Piko patterns include videos as well. On page 3 you will notice an active button that will take you to the video about adding or removing length. Please refer to it if you are taller or shorter than 5’5″.


Unsure about which knit type will work best for your desired look? Take a look over our P4P University Knit Types blog. We also included a cheat sheet that you can print. If you are like me and sometime are just keen on using a specific print for a specific pattern, read our Different fabric, different fit blog post before you cut your fabric.

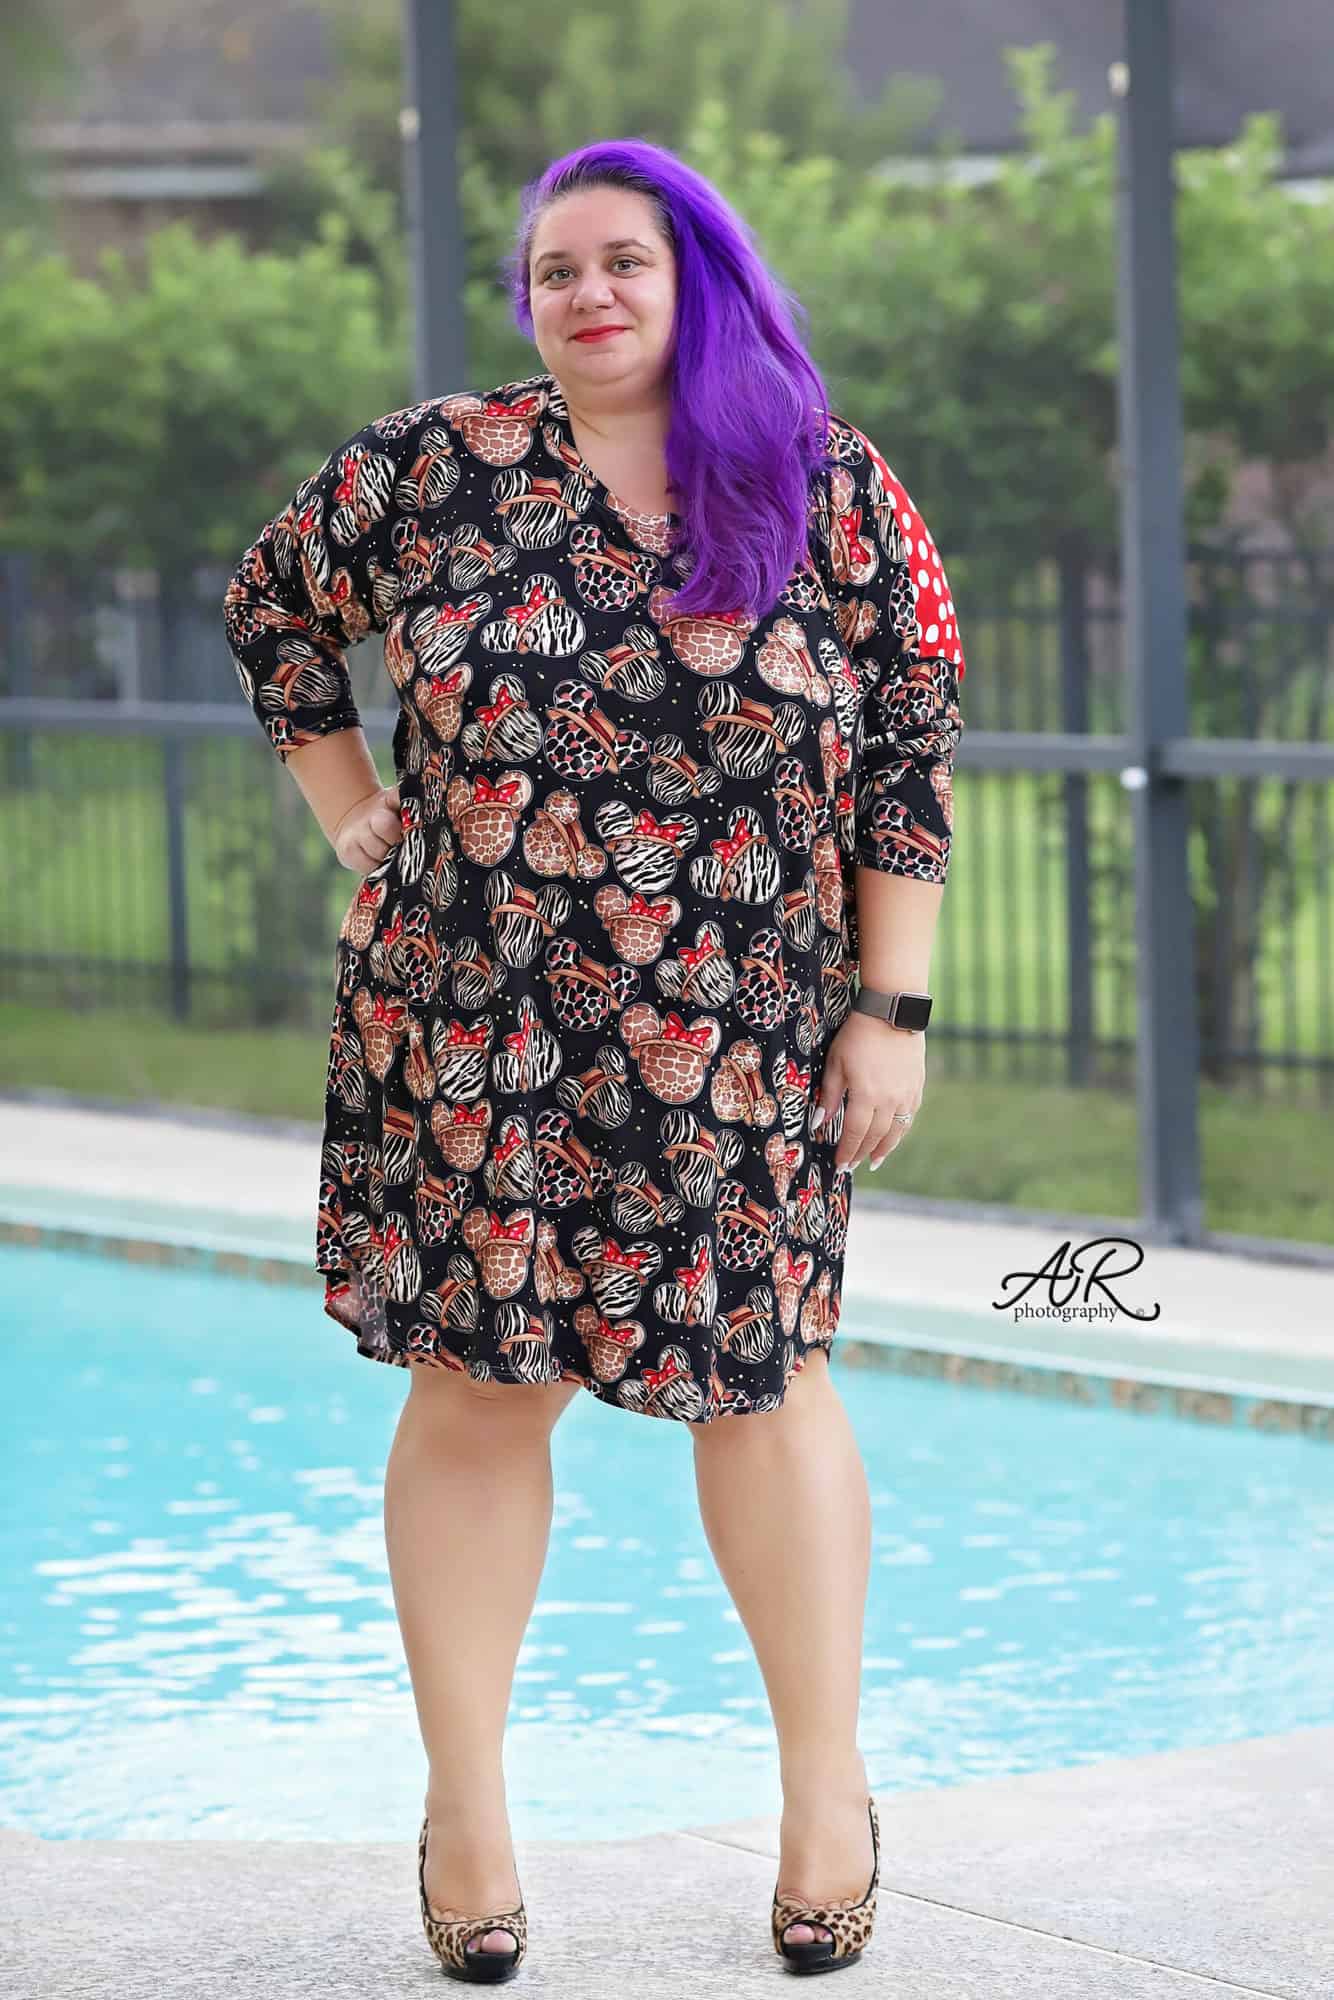
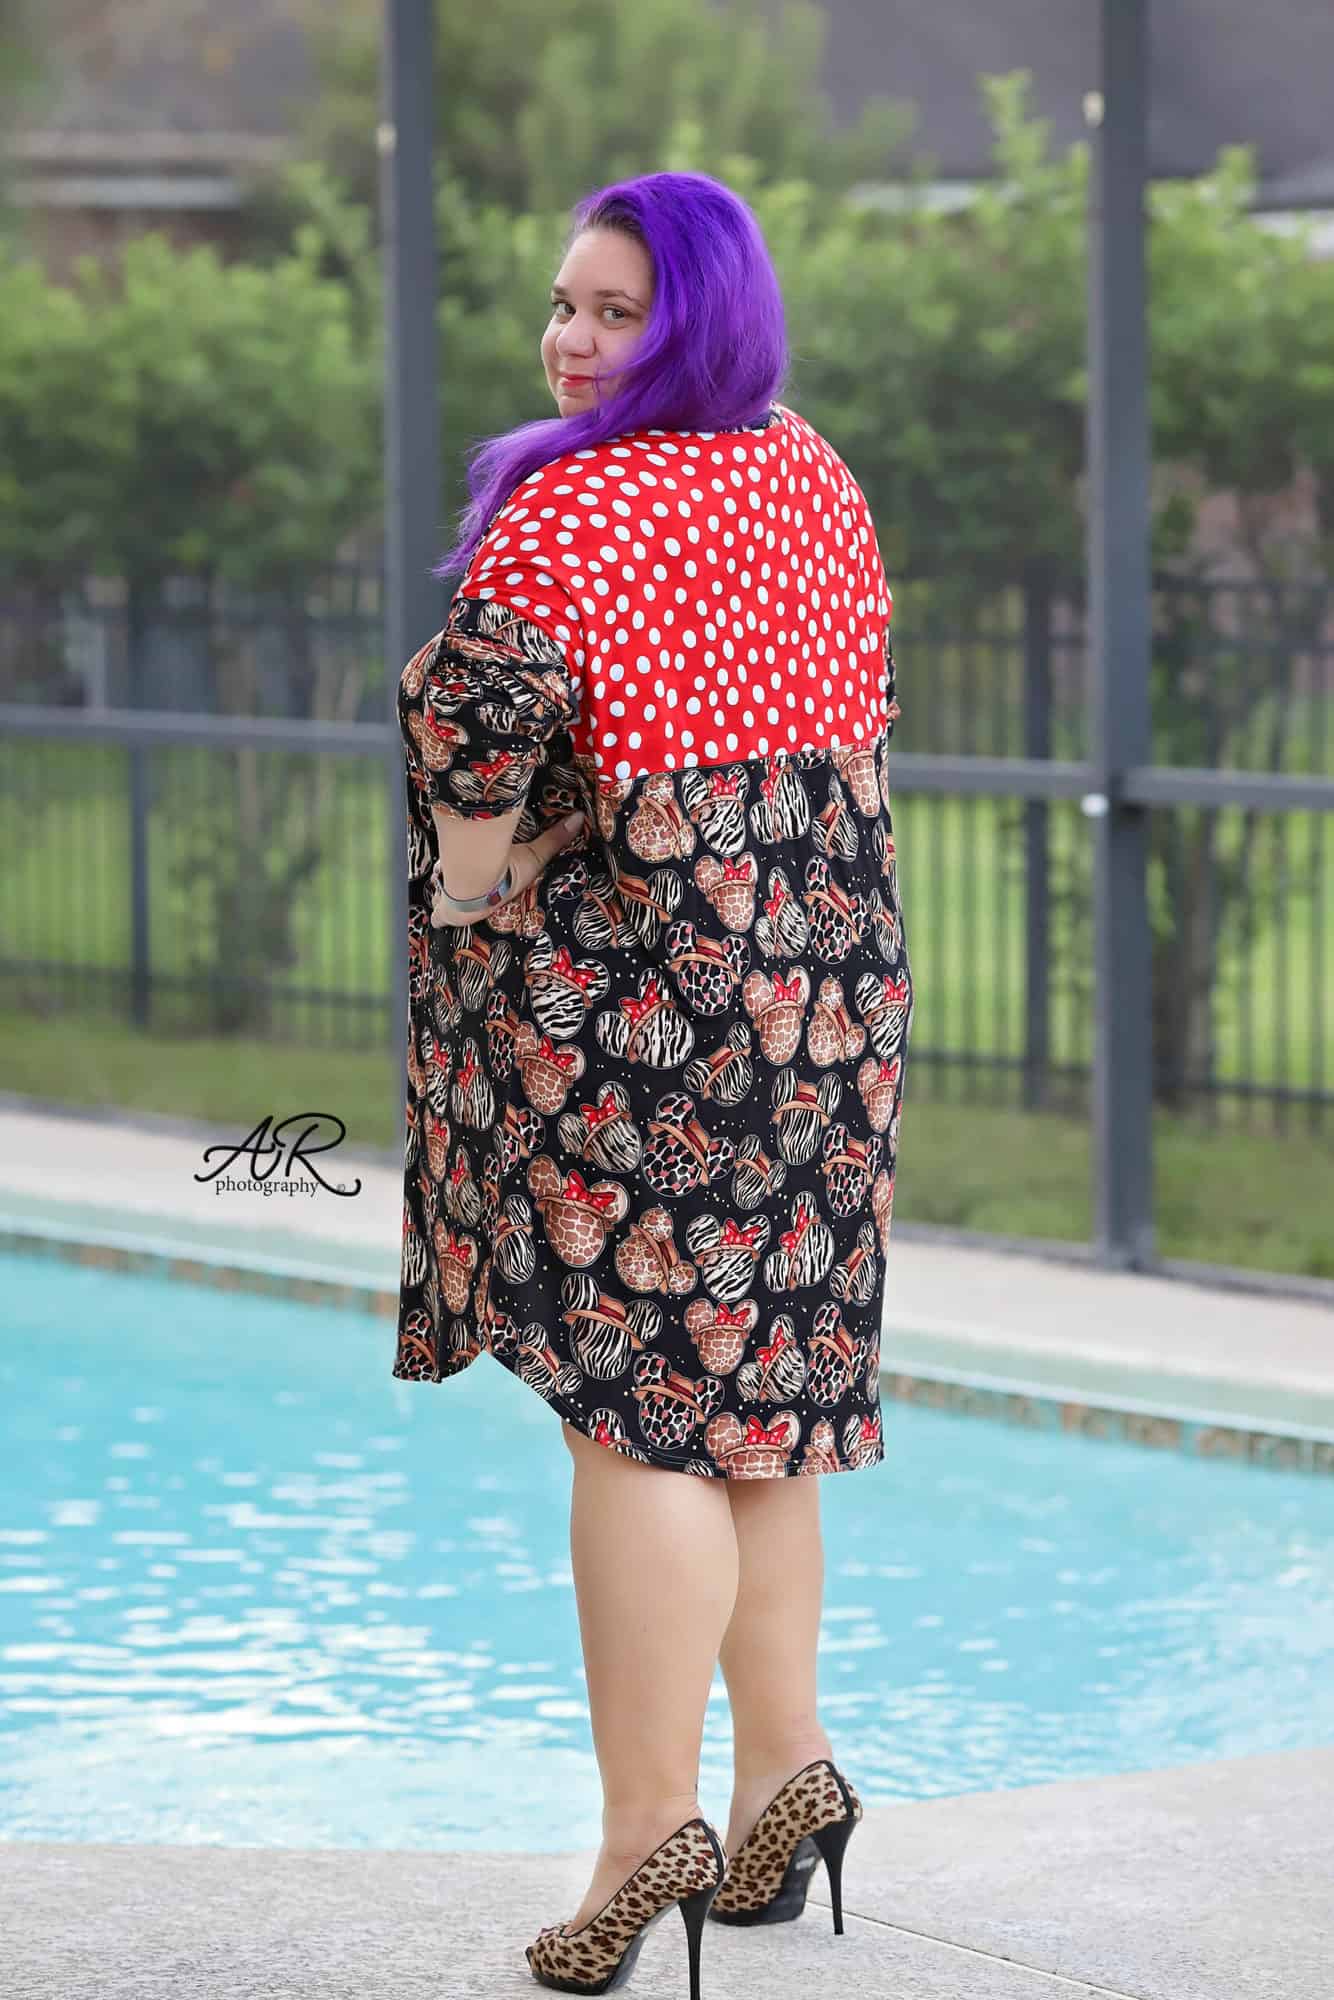
The Sporty Piko patterns include a crop, shirt and tunic length. If you would like to make a dress length simply add 8-10 inches length. The simplest way to do that is to cut both the back and the front pattern pieces at the crop cut line, add the extra length there and tape the remainder of the pattern to it. You can see in the video below how to do that. This is my dress hack made with bamboo lycra.


This pattern is drafted from light to medium weight fabrics with 20-30% stretch. The Sporty Piko has an oversized, relaxed fit so using thicker fabric like cotton lycra, french terry or sweatshirt fleece will give you a bulkier, more rectangle look. It would work great for the youth option, though. For my Sporty Piko I will be using a cute custom cotton lycra from Hapa Fabrics. Hapa is this sew along’s sponsor so be sure to check them out and show them some love in their Facebook group.

You can see the day 1 below, including how I use my projector  with the A0 file. Once you cut the fabric, post a picture of your pretty pile in the comments of DAY 1 photo of the Sporty Piko album in the M4M & P4P Sew Along Group.
Sporty Piko SAL | day 1

Sporty Piko SAL | day 2

Sporty Piko SAL | day 3

Sporty Piko SAL | day 4

Sporty Piko SAL | day 5

Sporty Piko SAL | day 6

Sporty Piko SAL | day 7

Filed Under: Frequently Asked Questions, Sew-A-Long, Uncategorized Leave a Comment

Naughty Nice + Sugar Spice PJs :: Easy Hacks

December 7, 2018

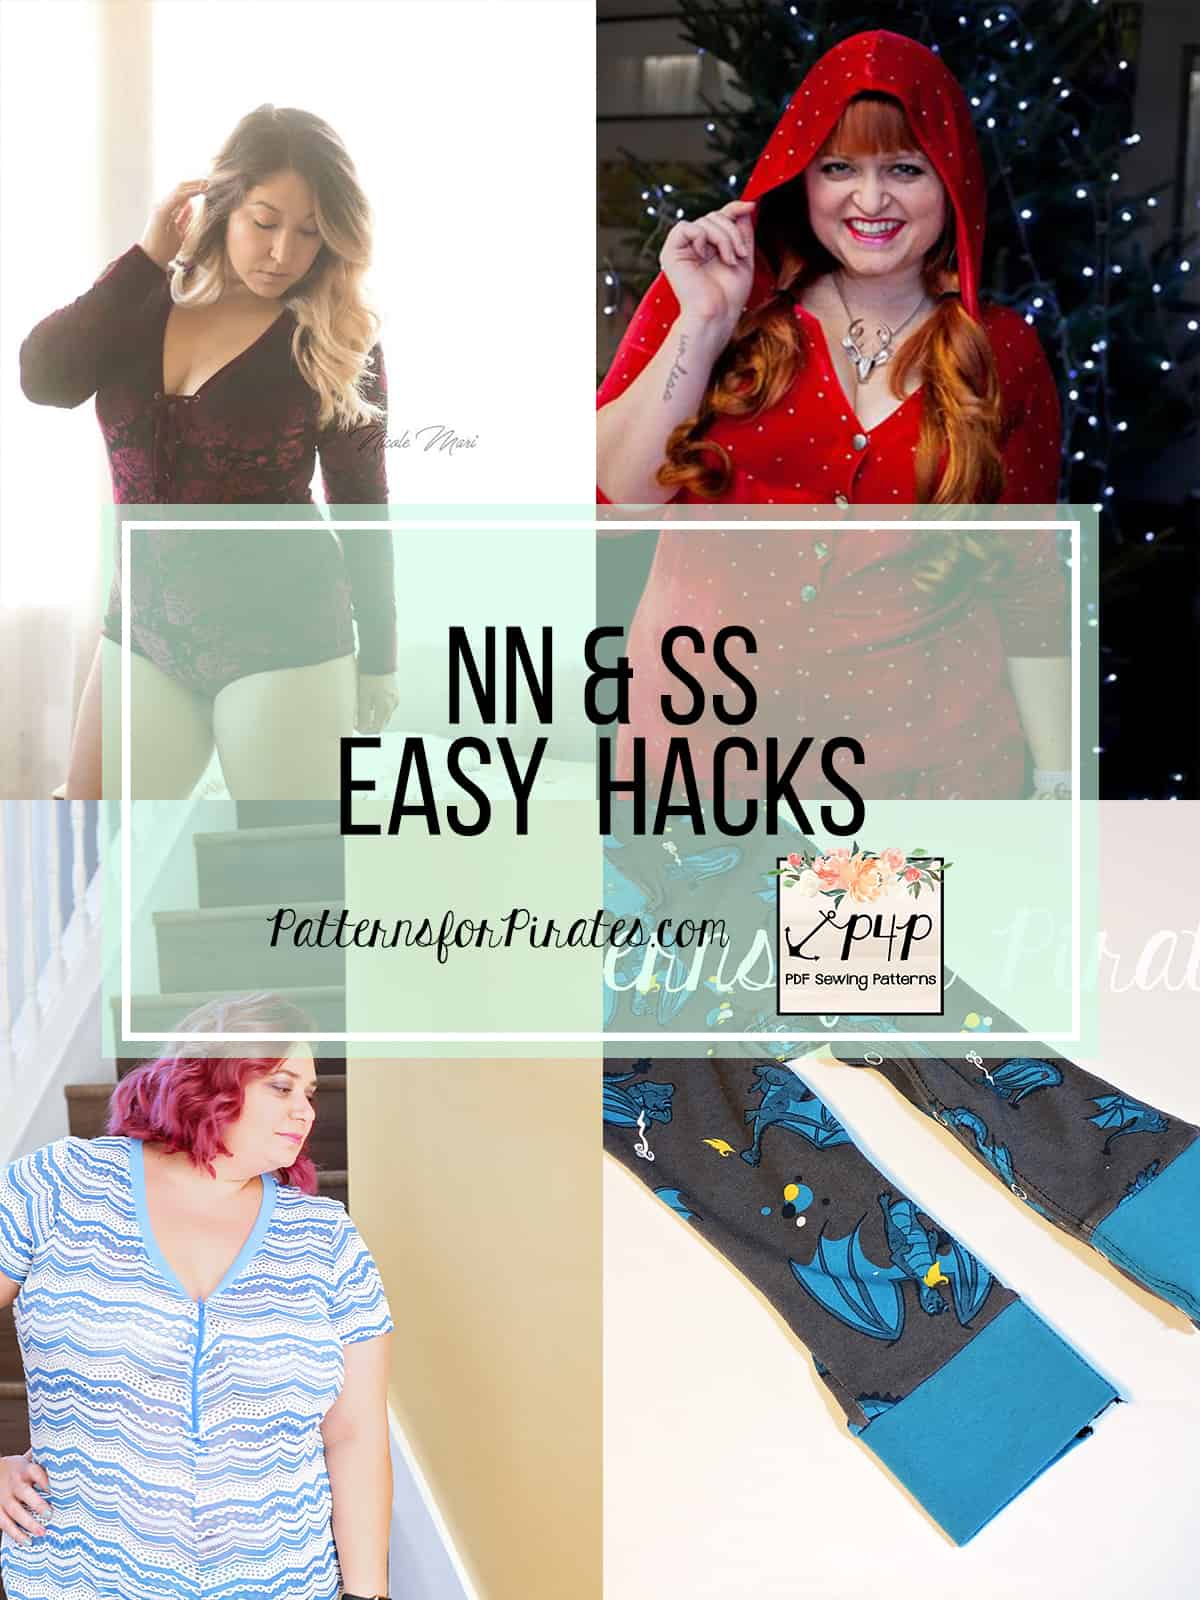
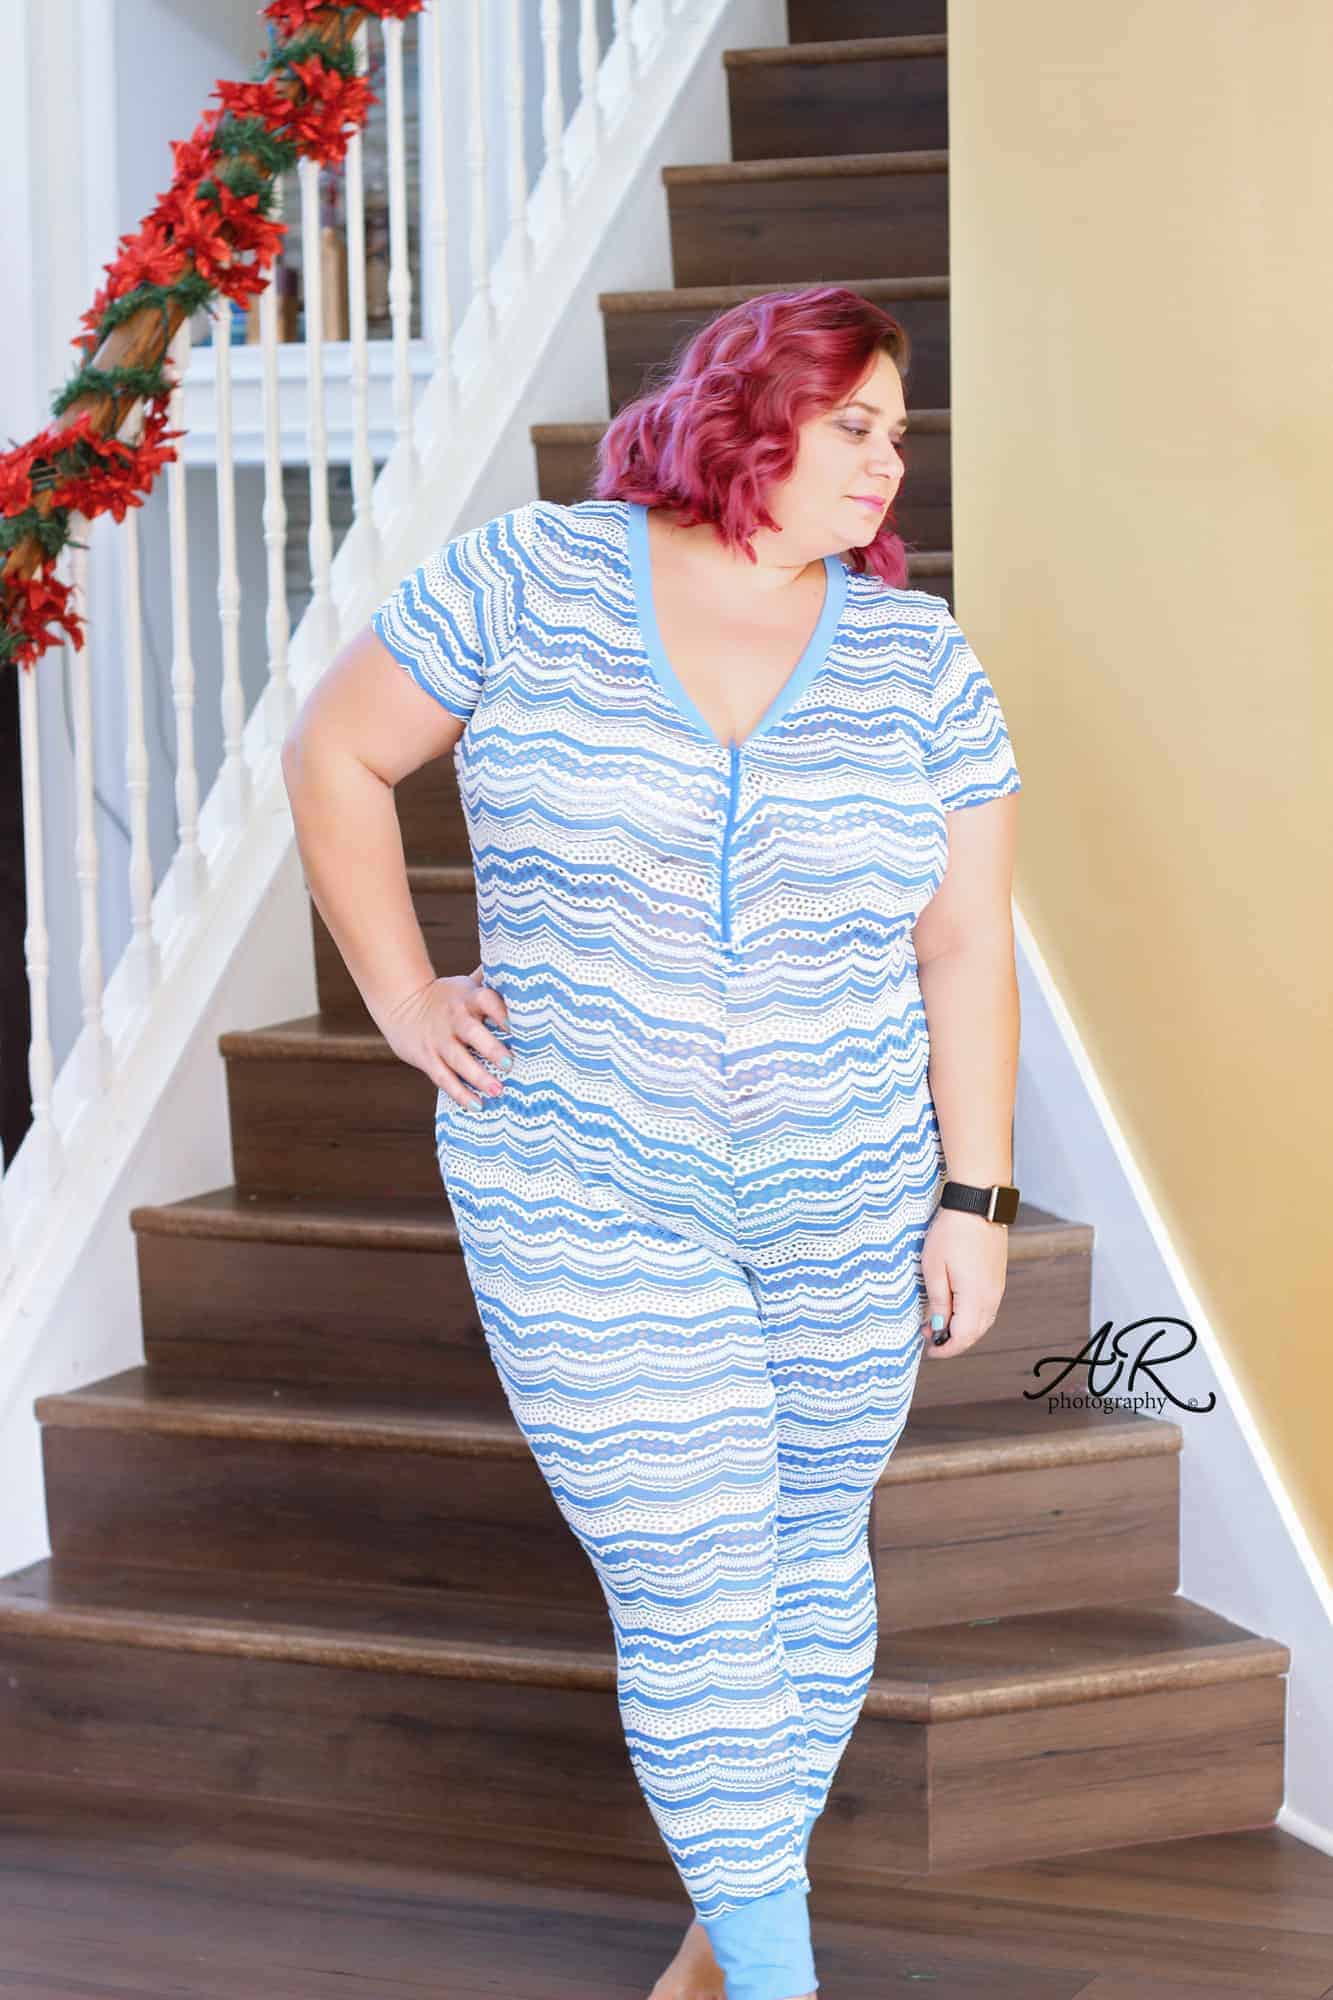
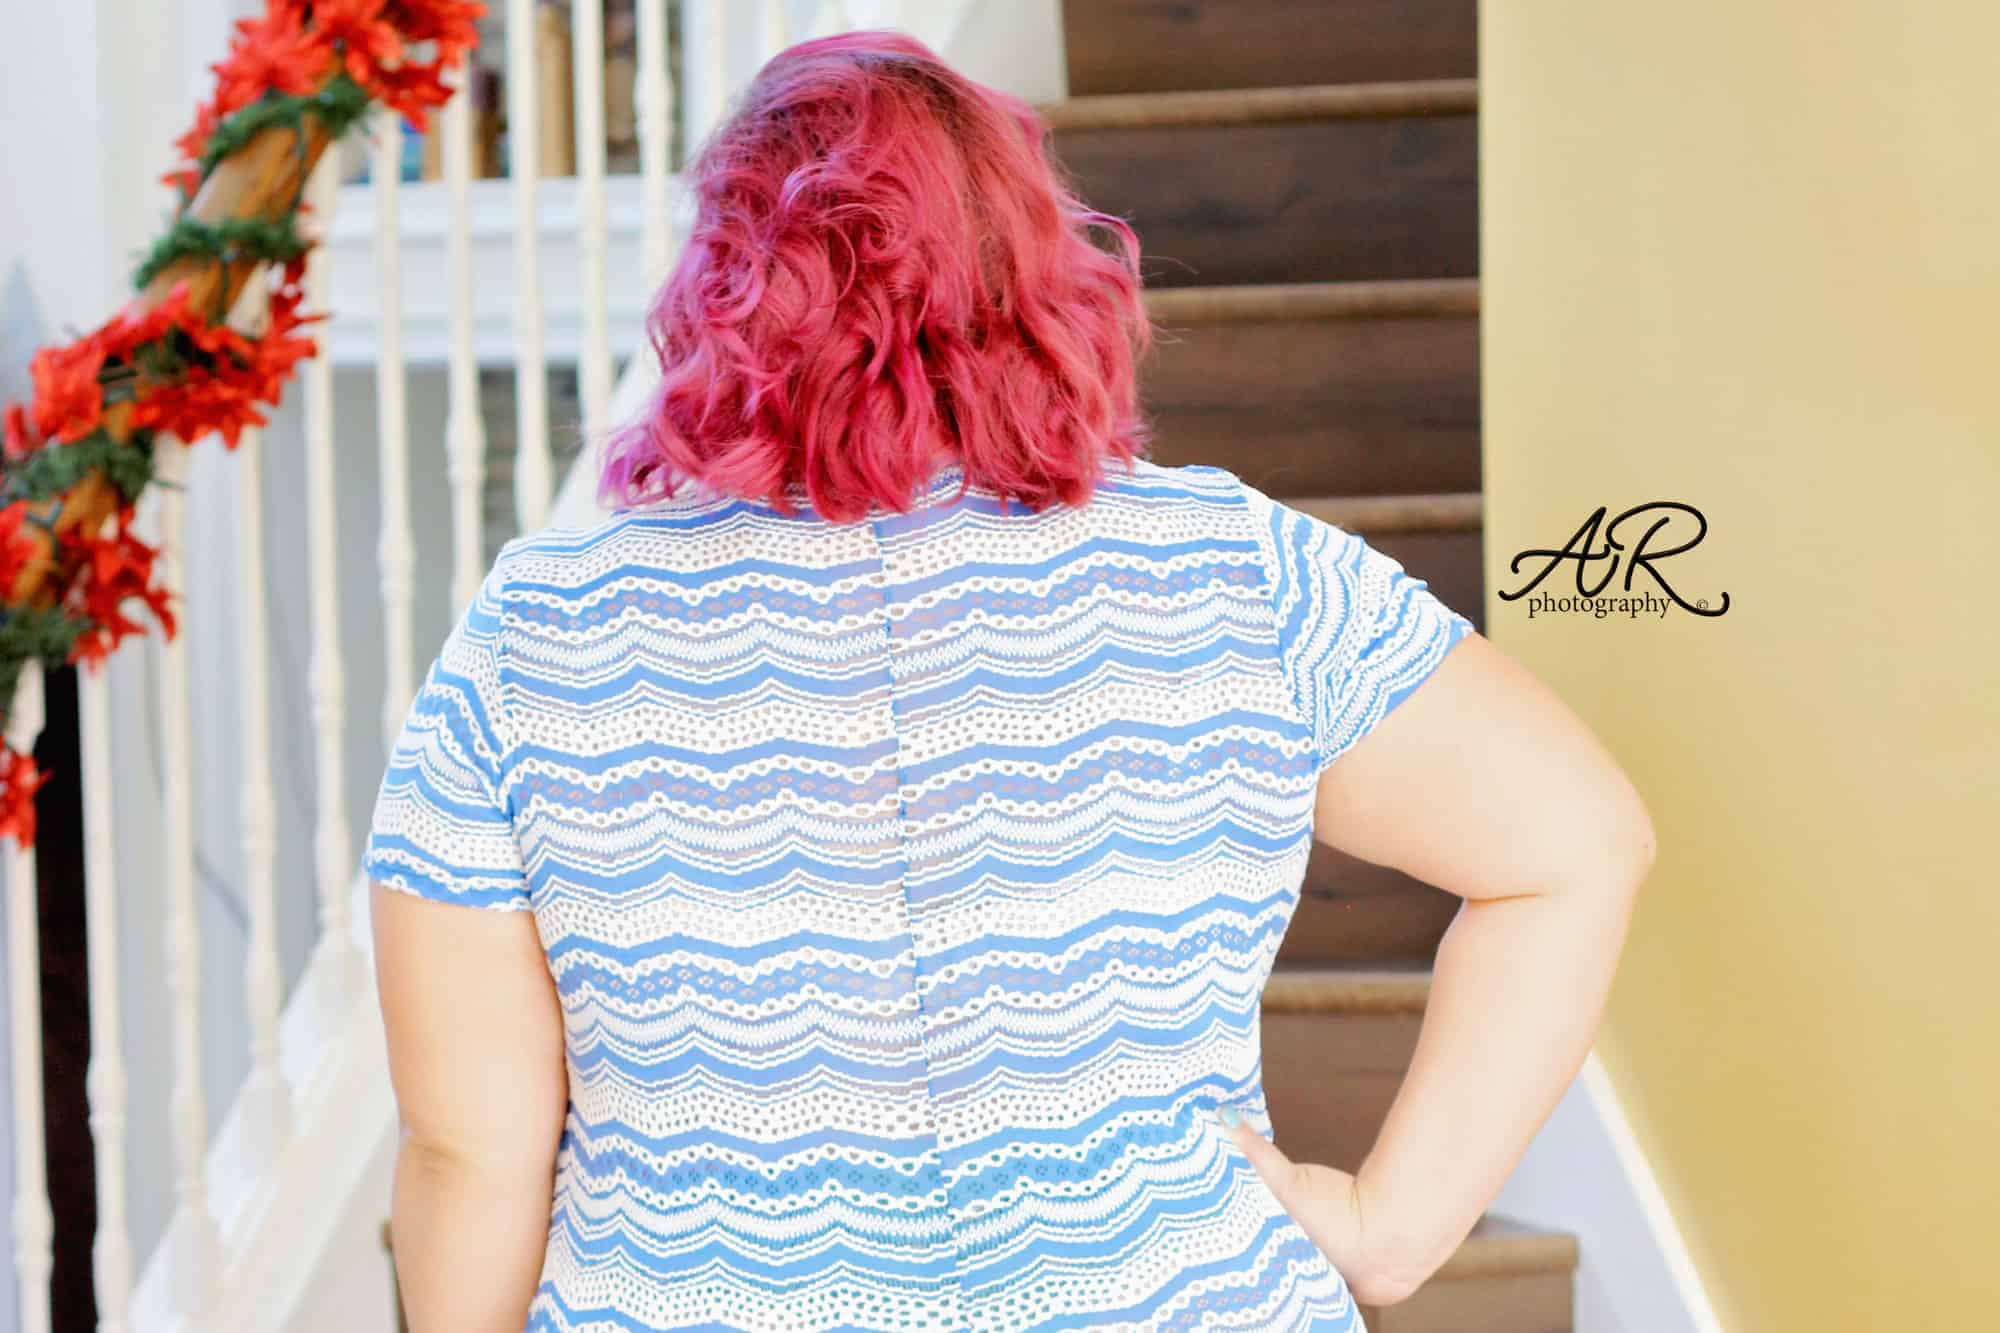
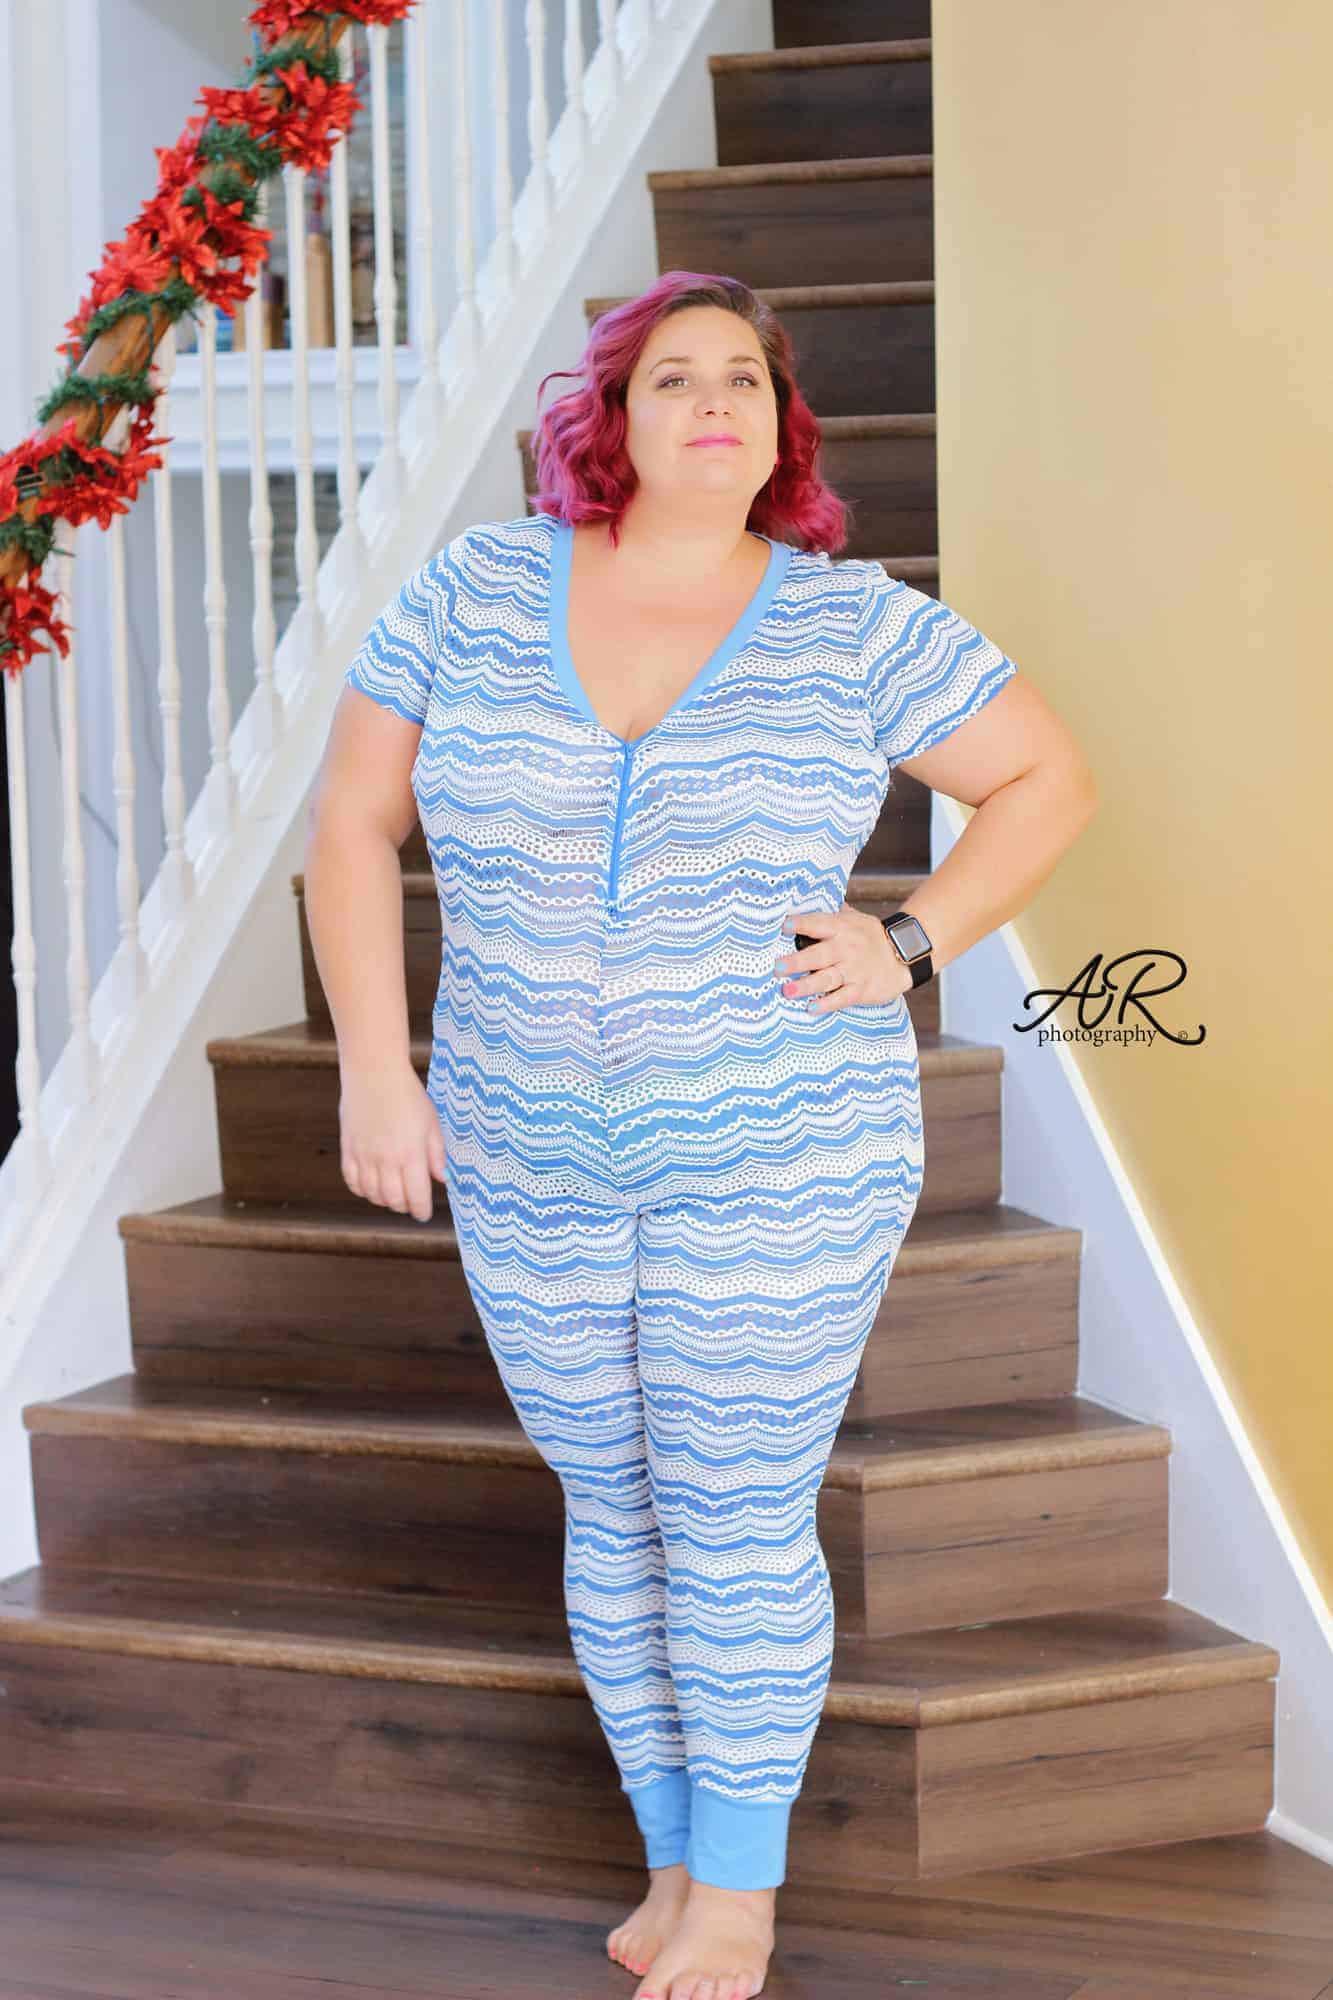
Our newest pajama patterns are just so perfect for the holiday season, aren’t they? So if it’s a party, let’s make it a pajama party with some easy hacks that will add even more options to the Naughty Nice and Sugar Spice PJs you’ll be making.
….

Zipper


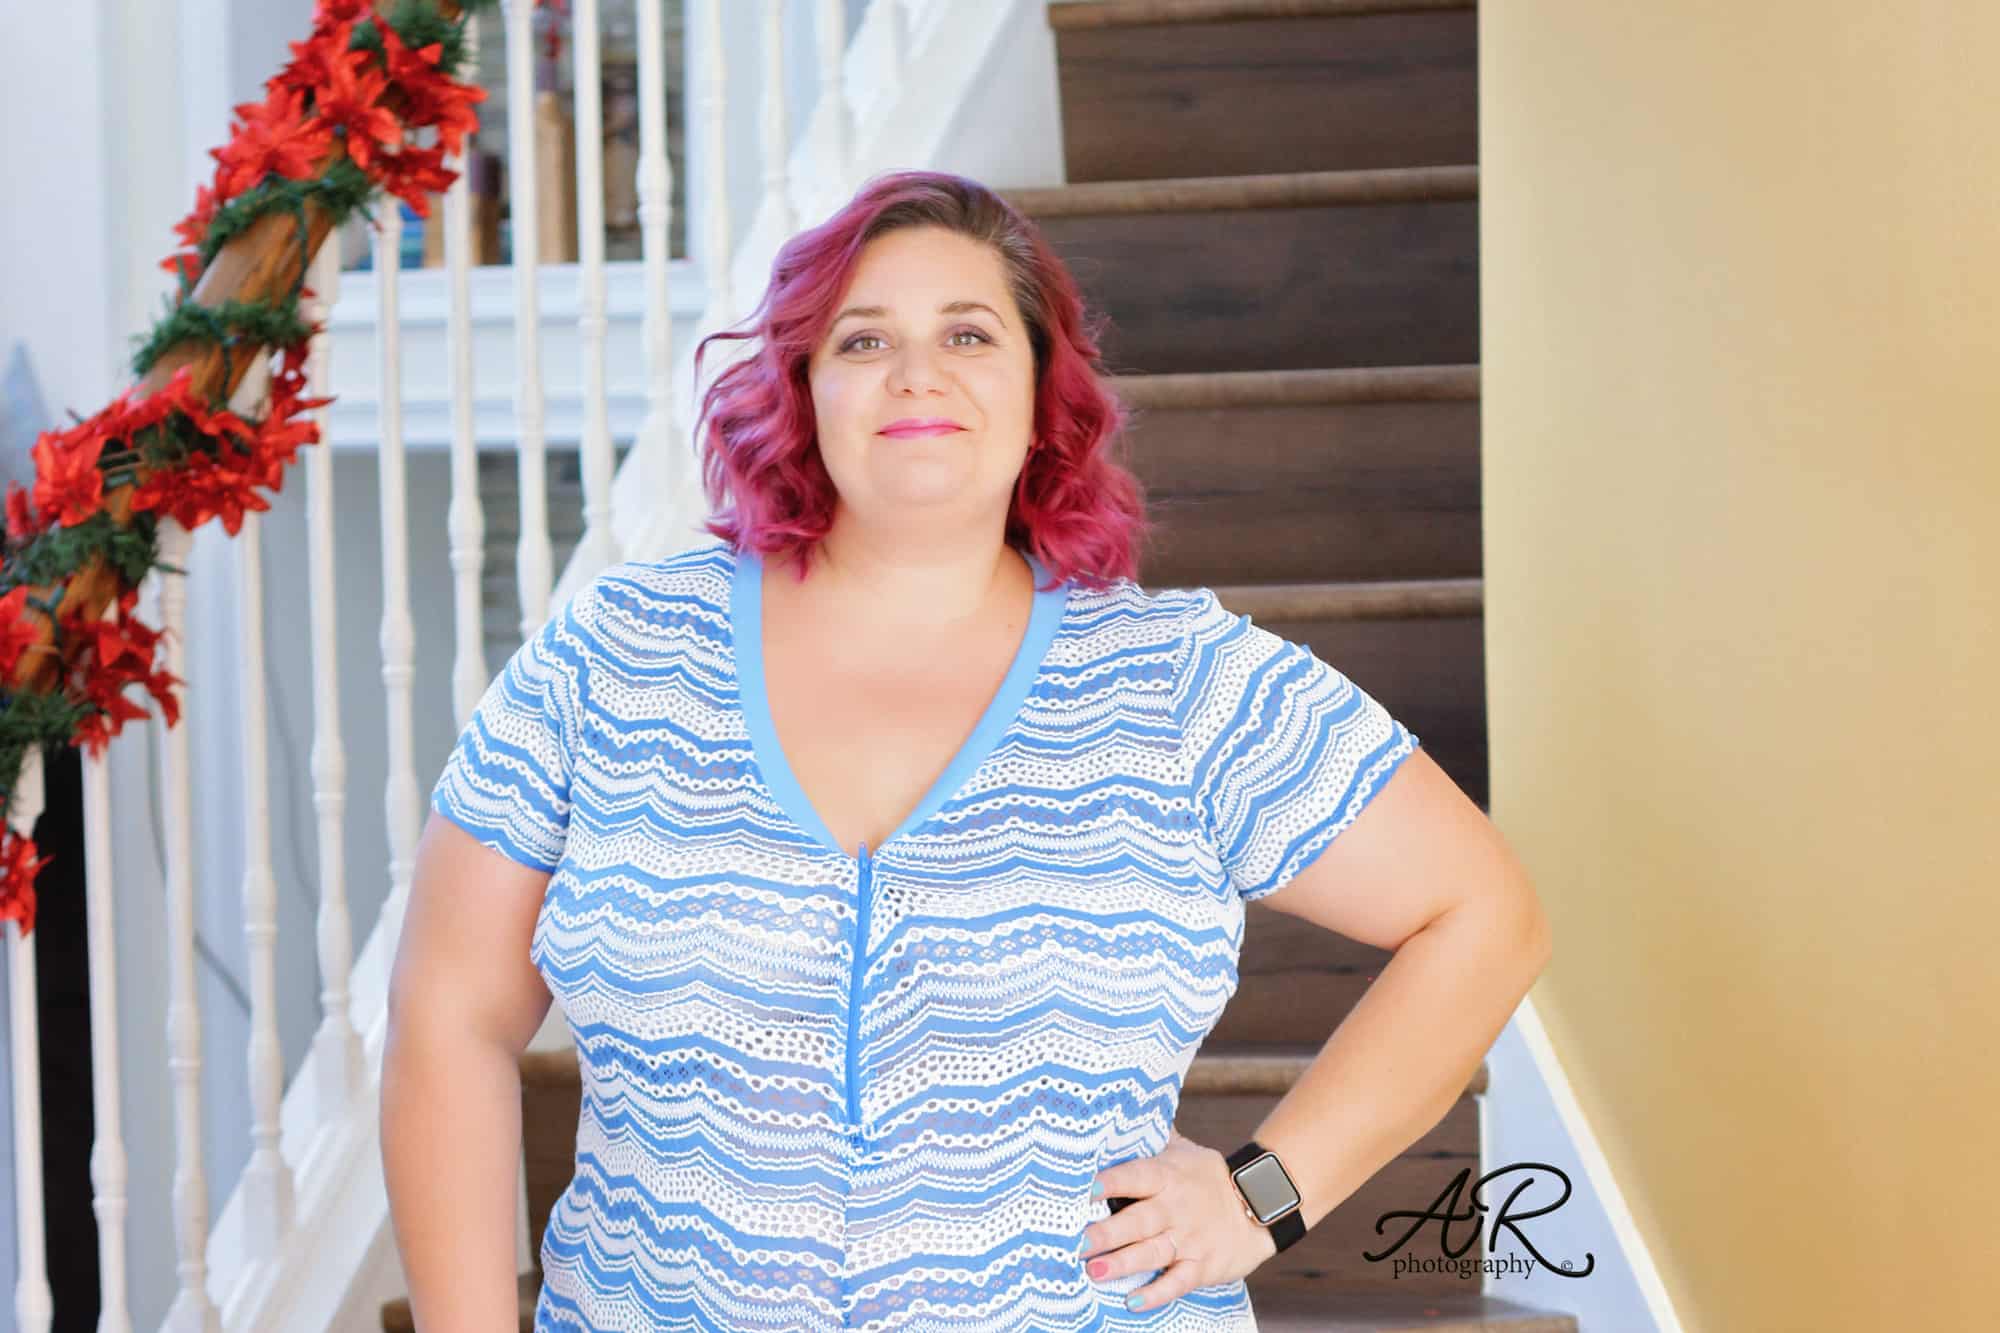
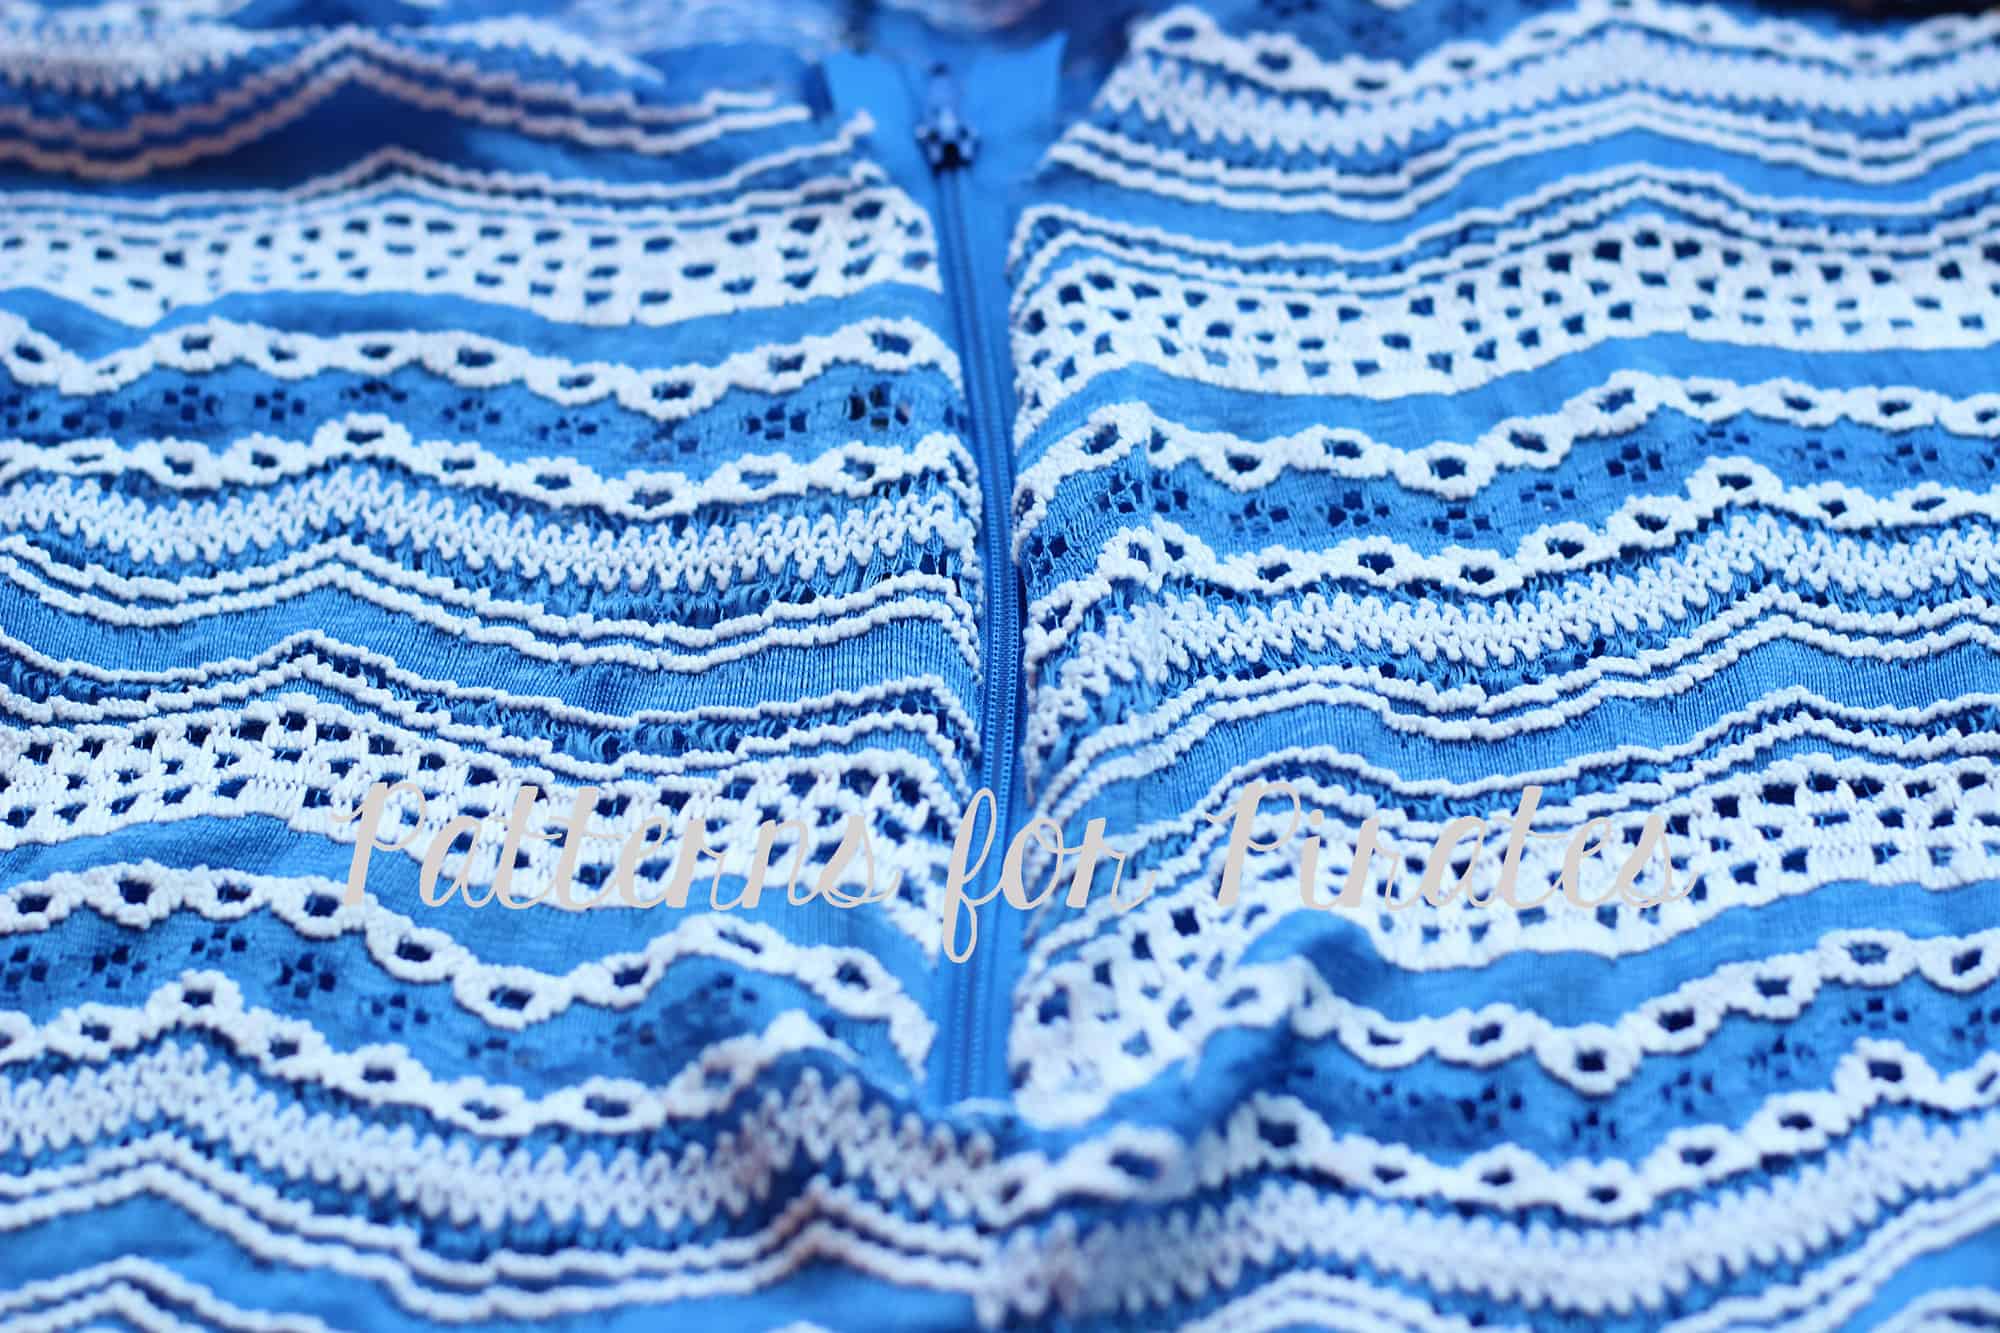
Let’s start by switching the front of the Naughty Nice pajamas from a button/snap placket to a fun zipper. Fear not, it’s super easy! I personally find the zipper to take less time than adding all the snaps or buttons. Grab a 9″ zipper and let’s get started.

Sew the pajama as instructed in the tutorial, except for the neckband. You won’t be using the one in the tutorial, you’ll make a new neckband.

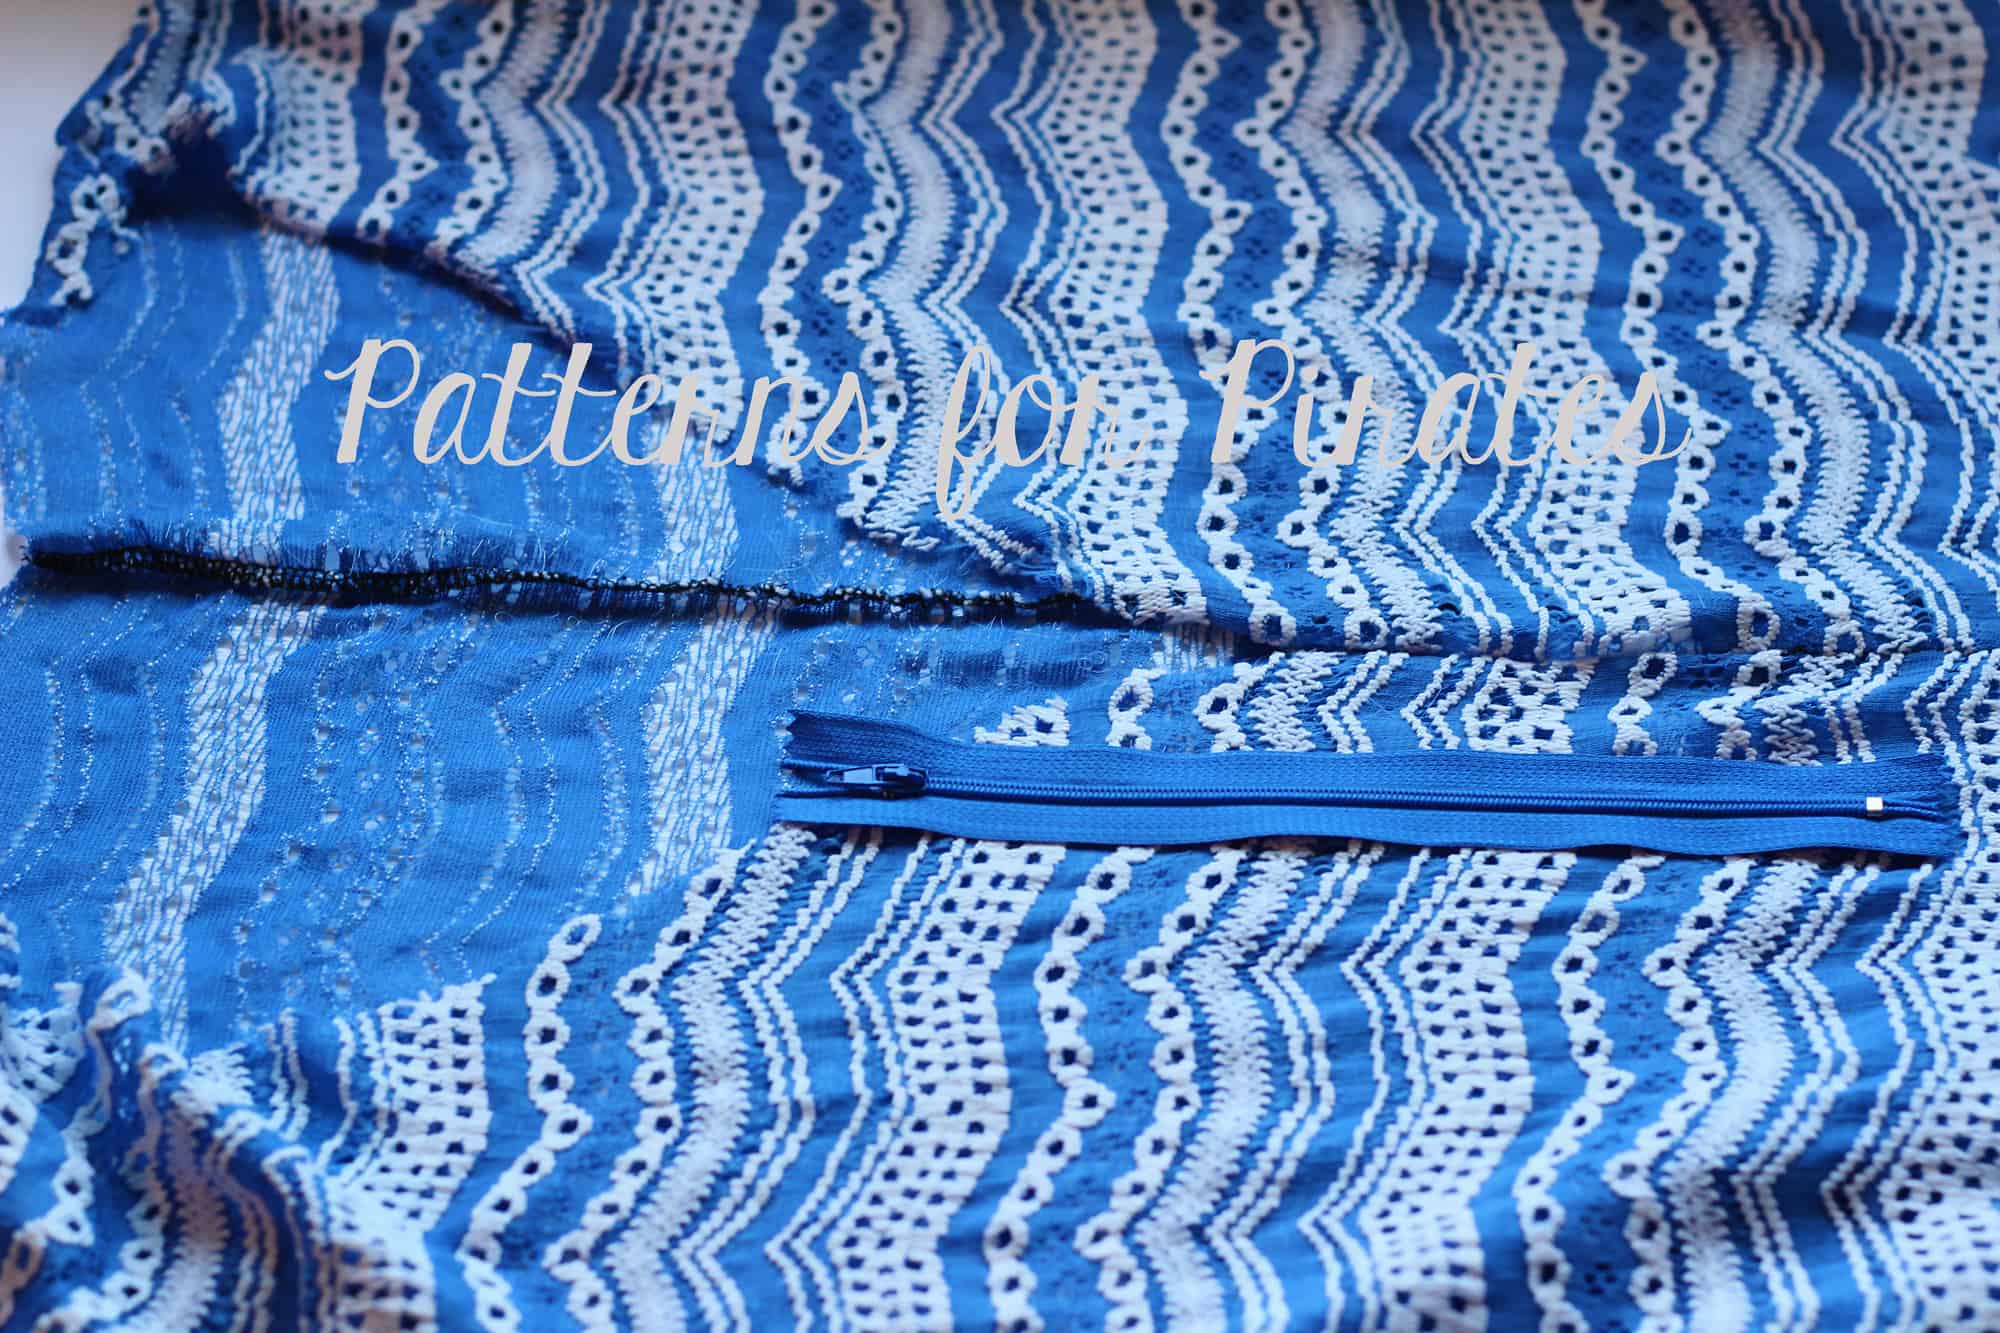
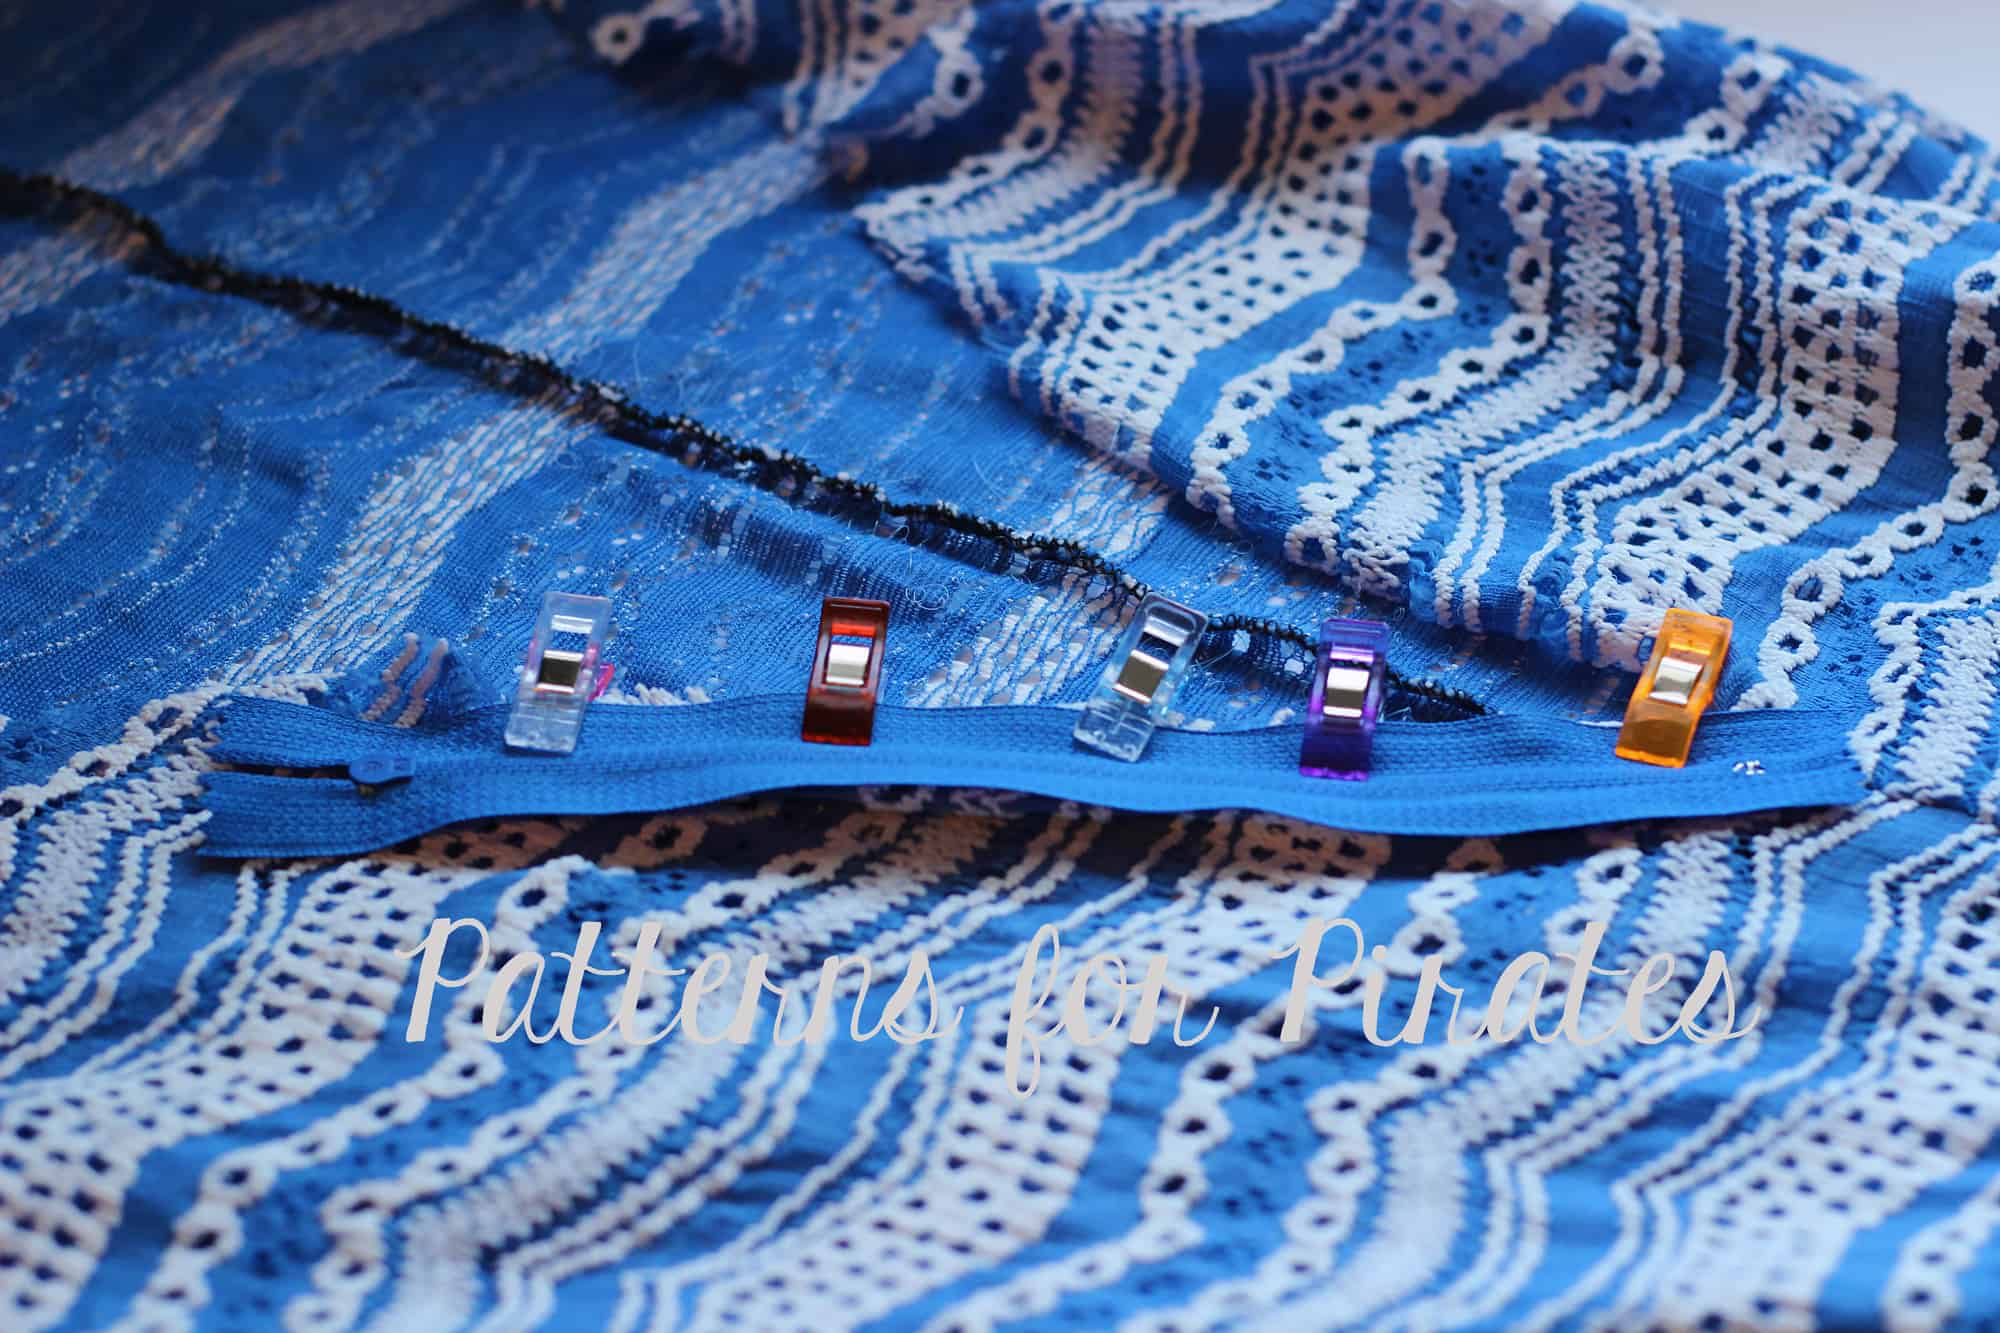
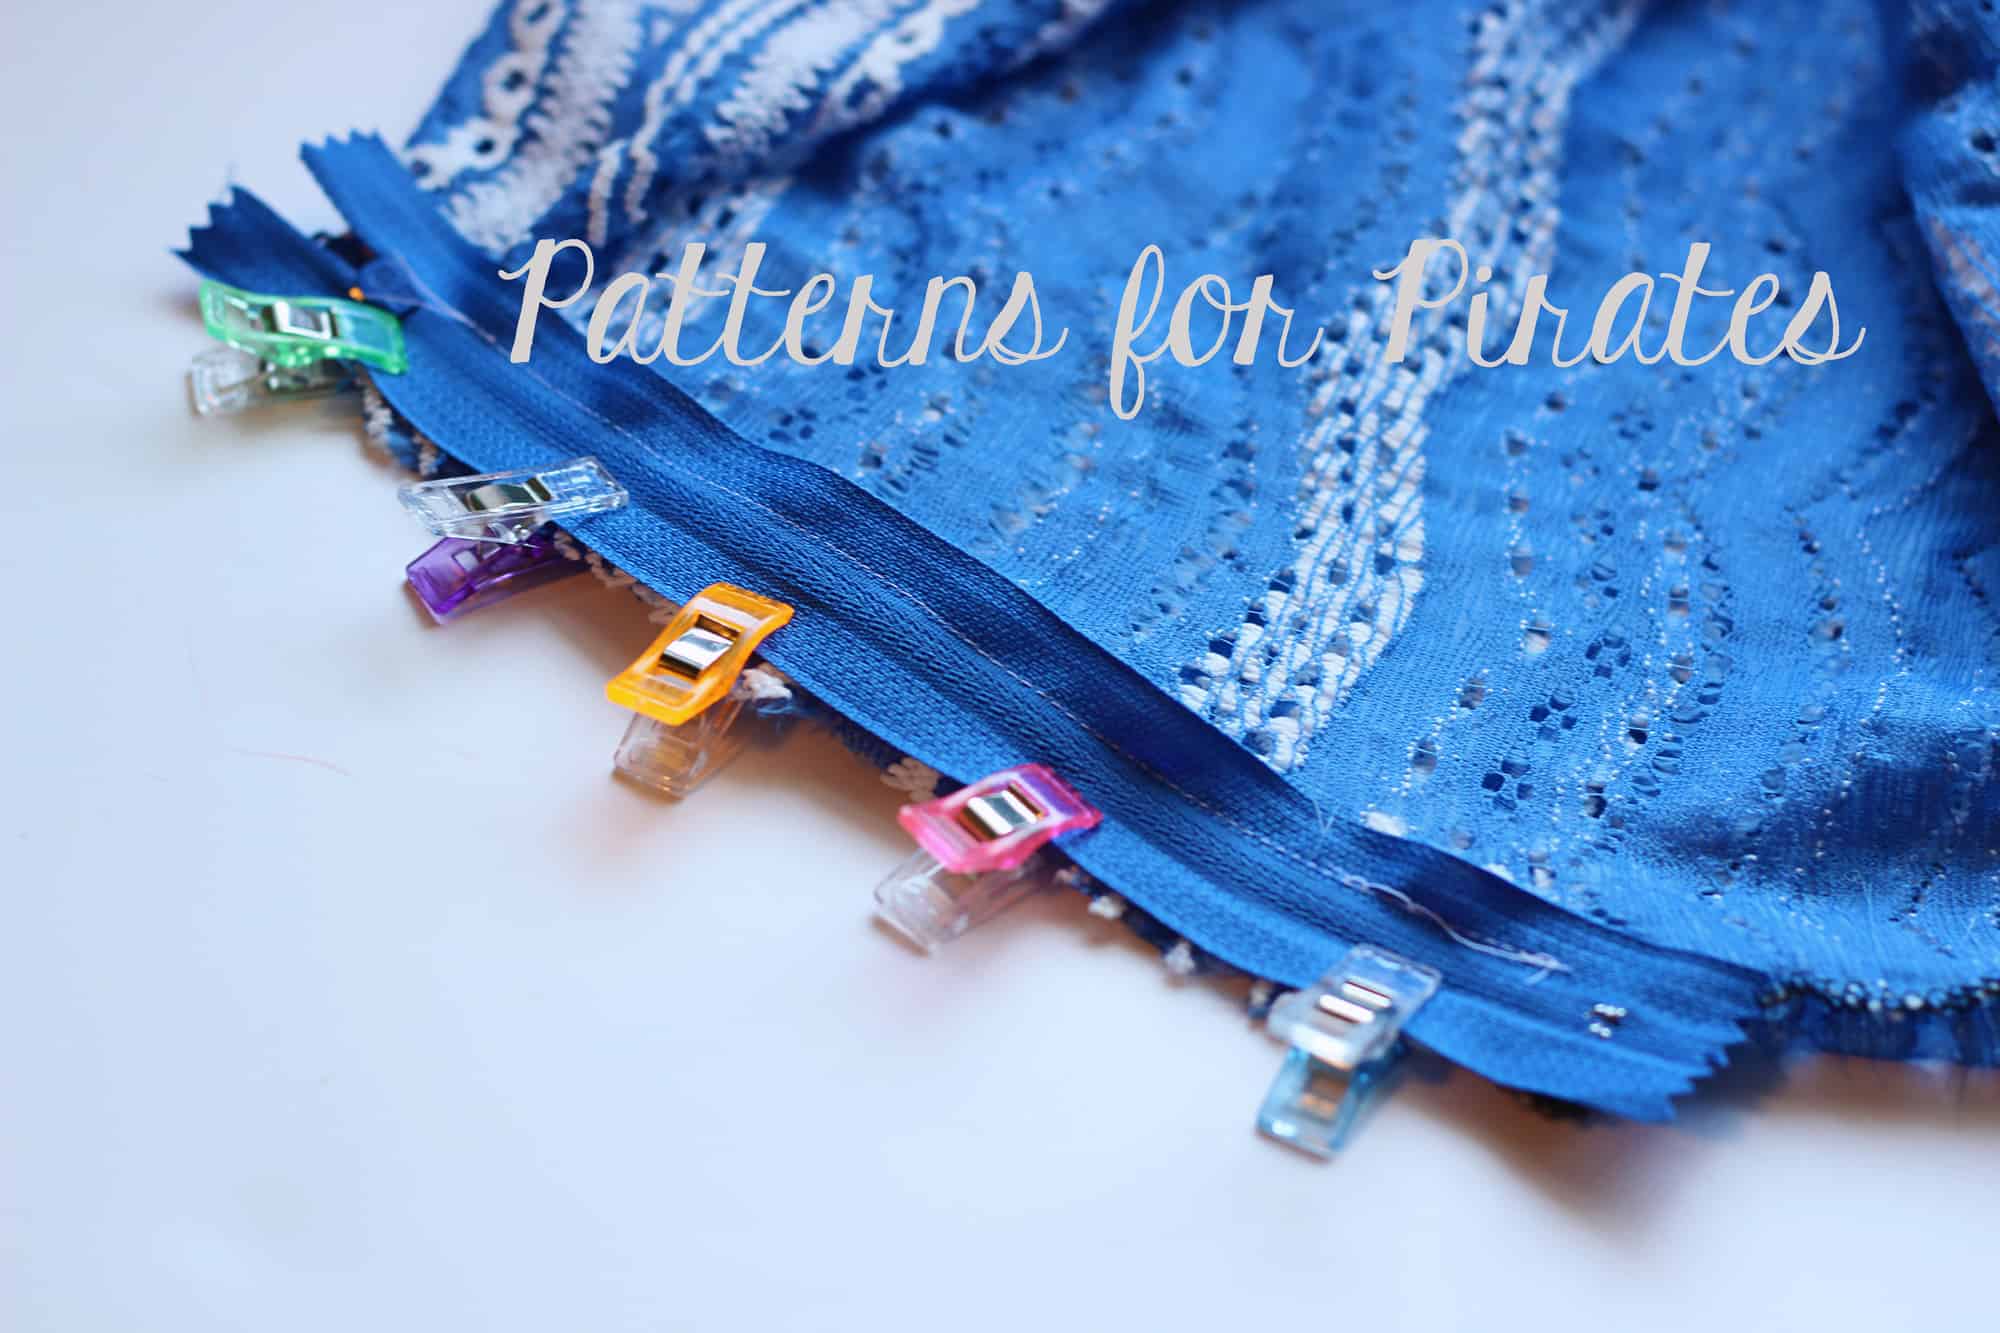
Lay your zipper right side down on the front opening. The to of the sipper will be at the curve. Sew it as close to the zipper teeth as possible. Using a zipper foot will make this easy.

Repeat the process on the other side of the zipper.

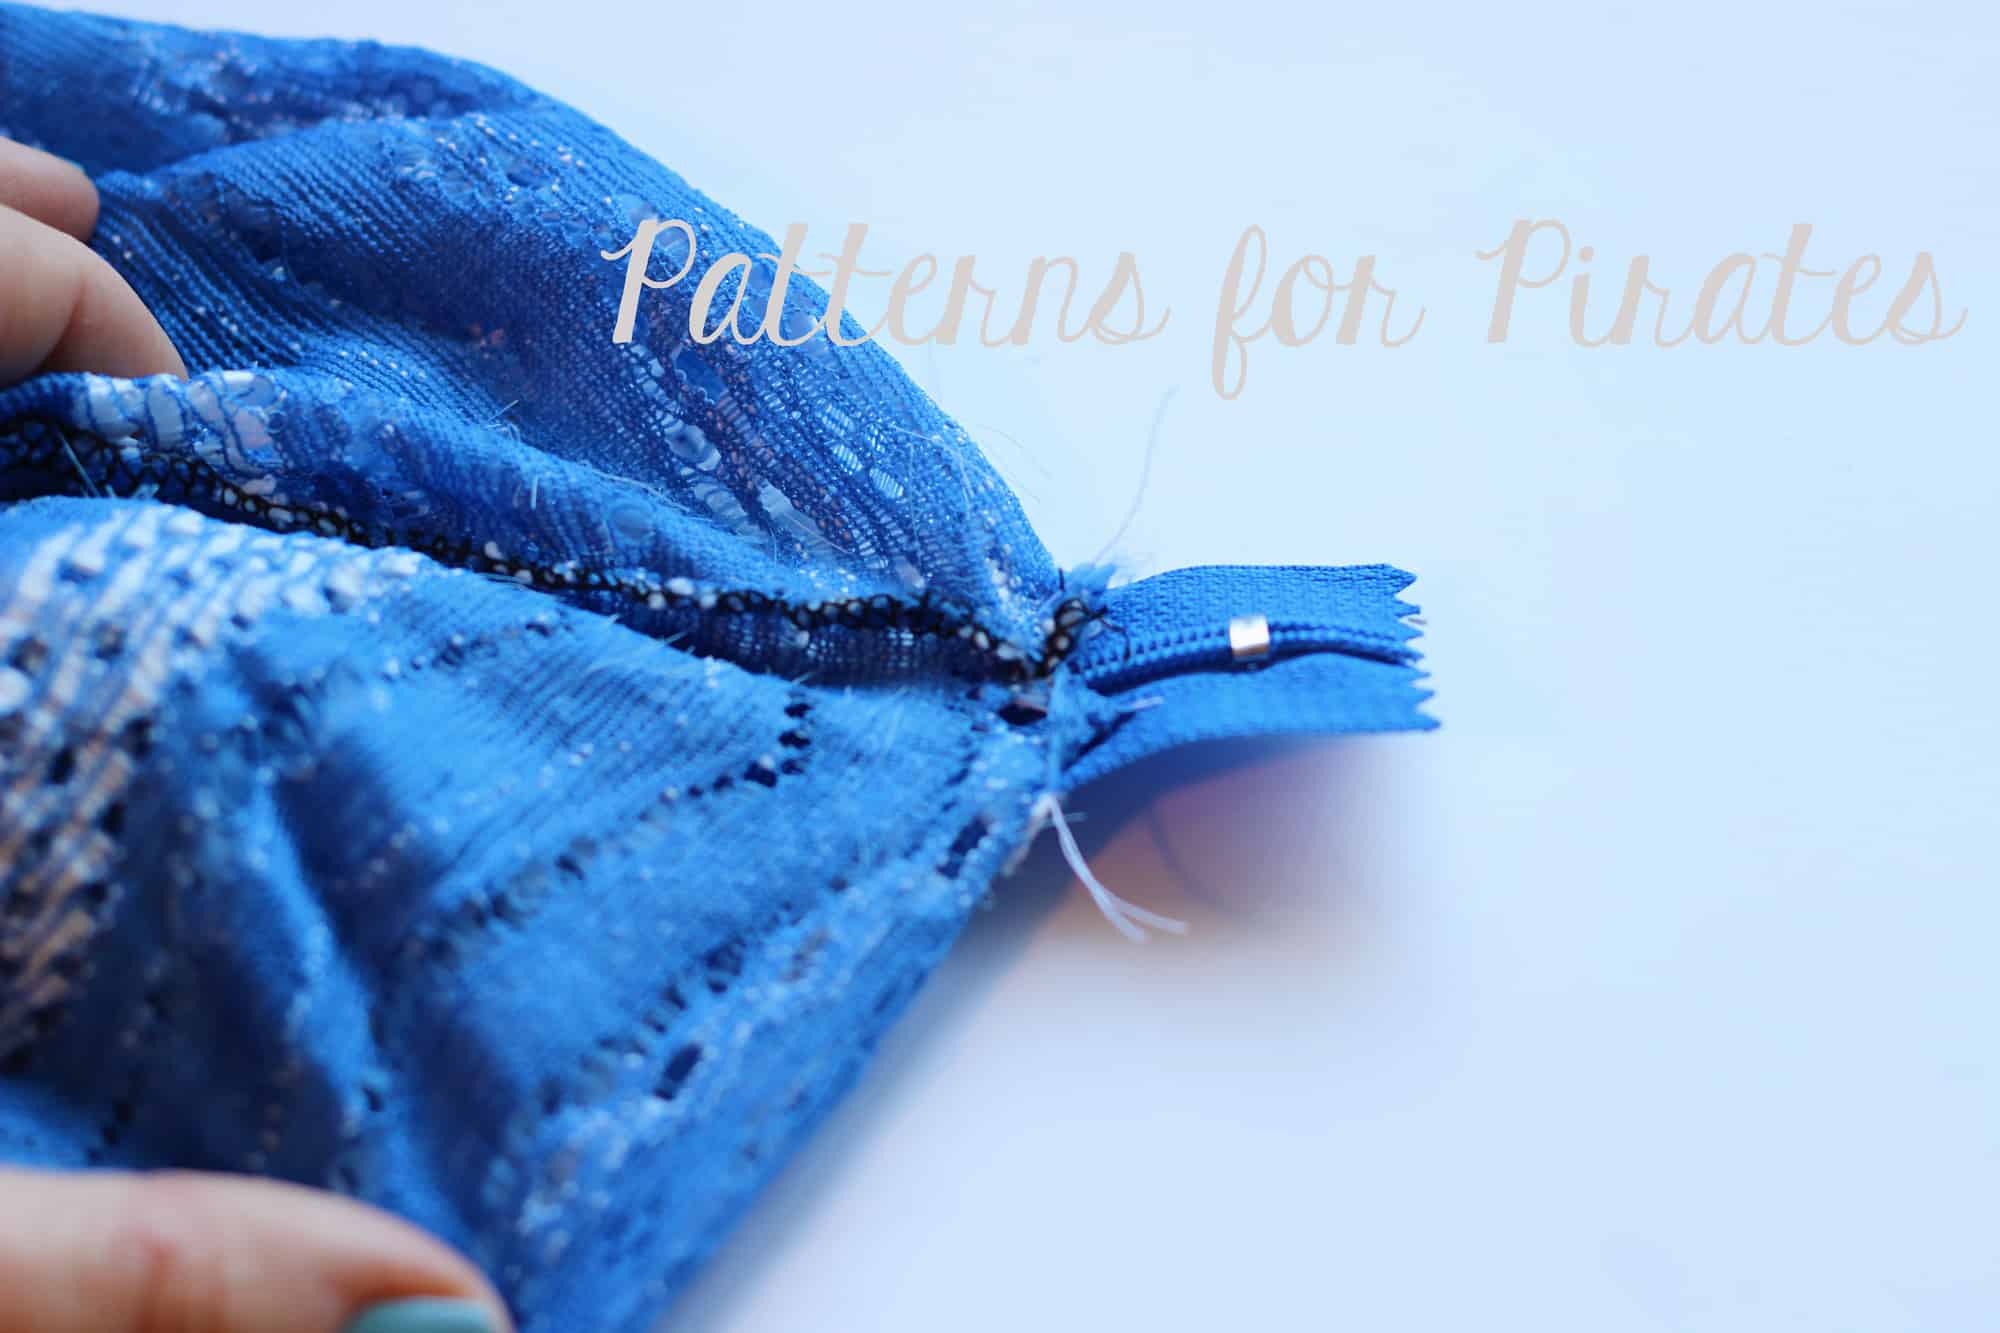
On the wrong side of the fabric, sew a straight stitch where the fabric and zipper meet and remove excess zipper.

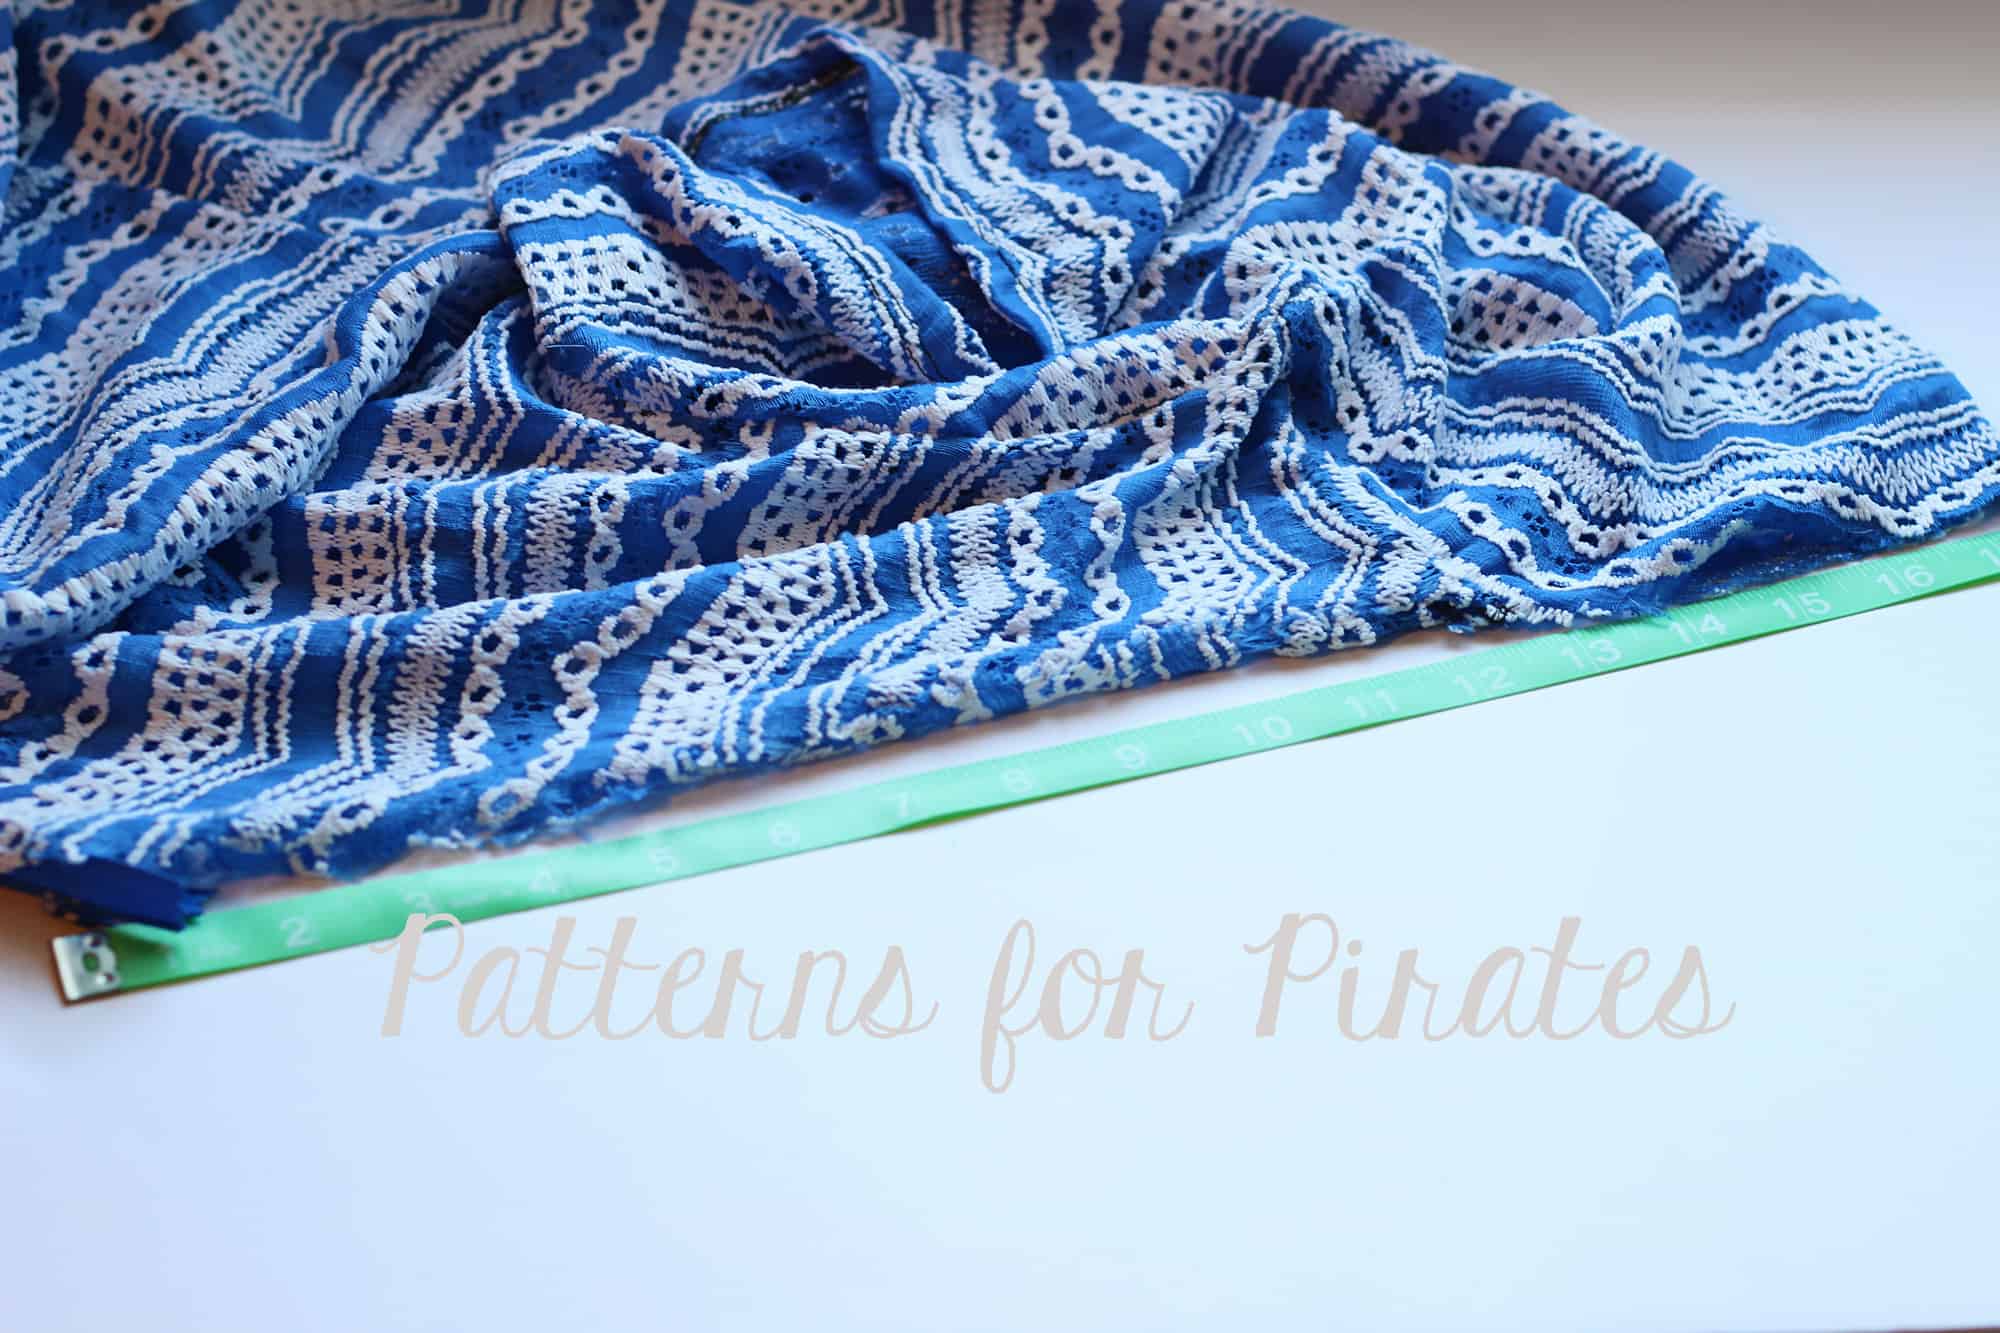
Now that we added the zipper we need to create a new neckband. With the zipper closed measure the neck opening. I like to lay mine flat but you can measure anyway you feel comfortable.

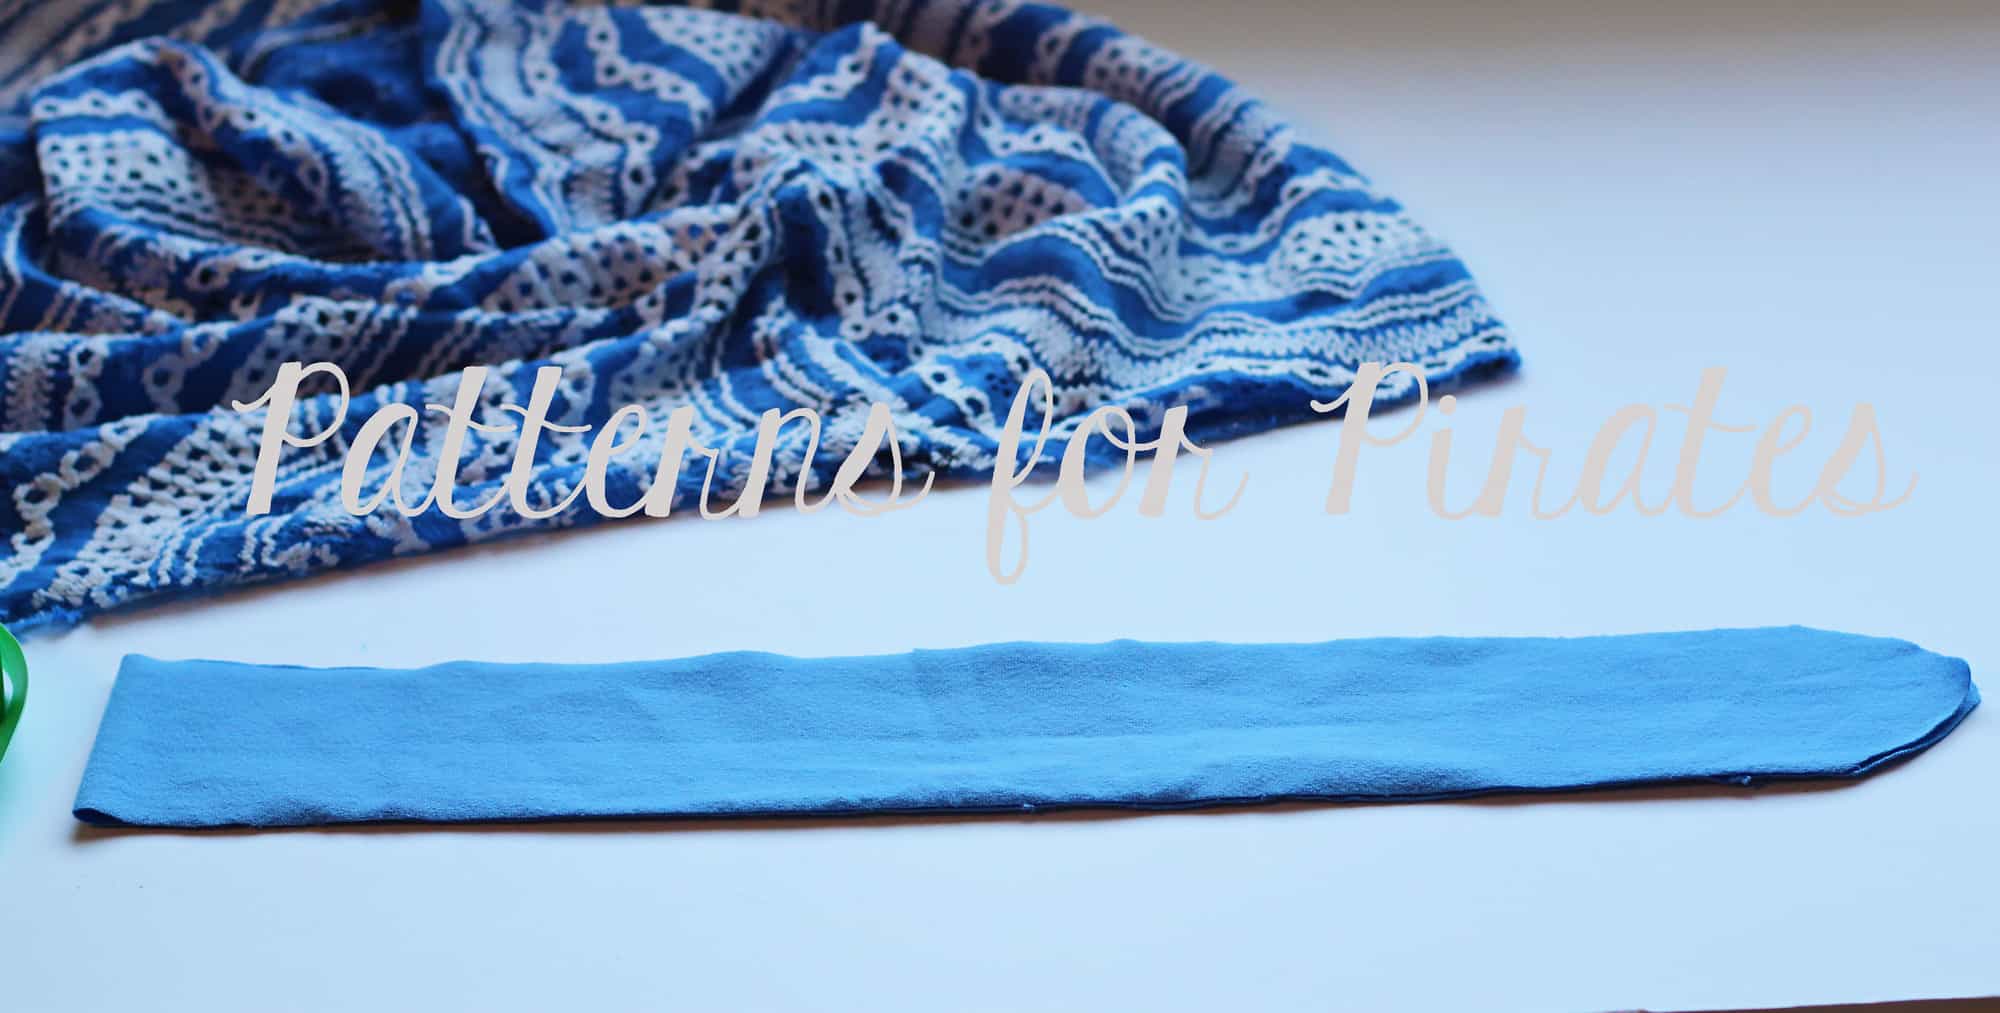
Cut your neckband 85% of the neckline opening plus 1″ for seam allowance by 2.5 inches. Fold your neckband widthwise and round your open edge to resemble a henley neckband. Open then neckband and fold it lengthwise, wrong sides together. Give it a good press and mark the back and the quarter points.

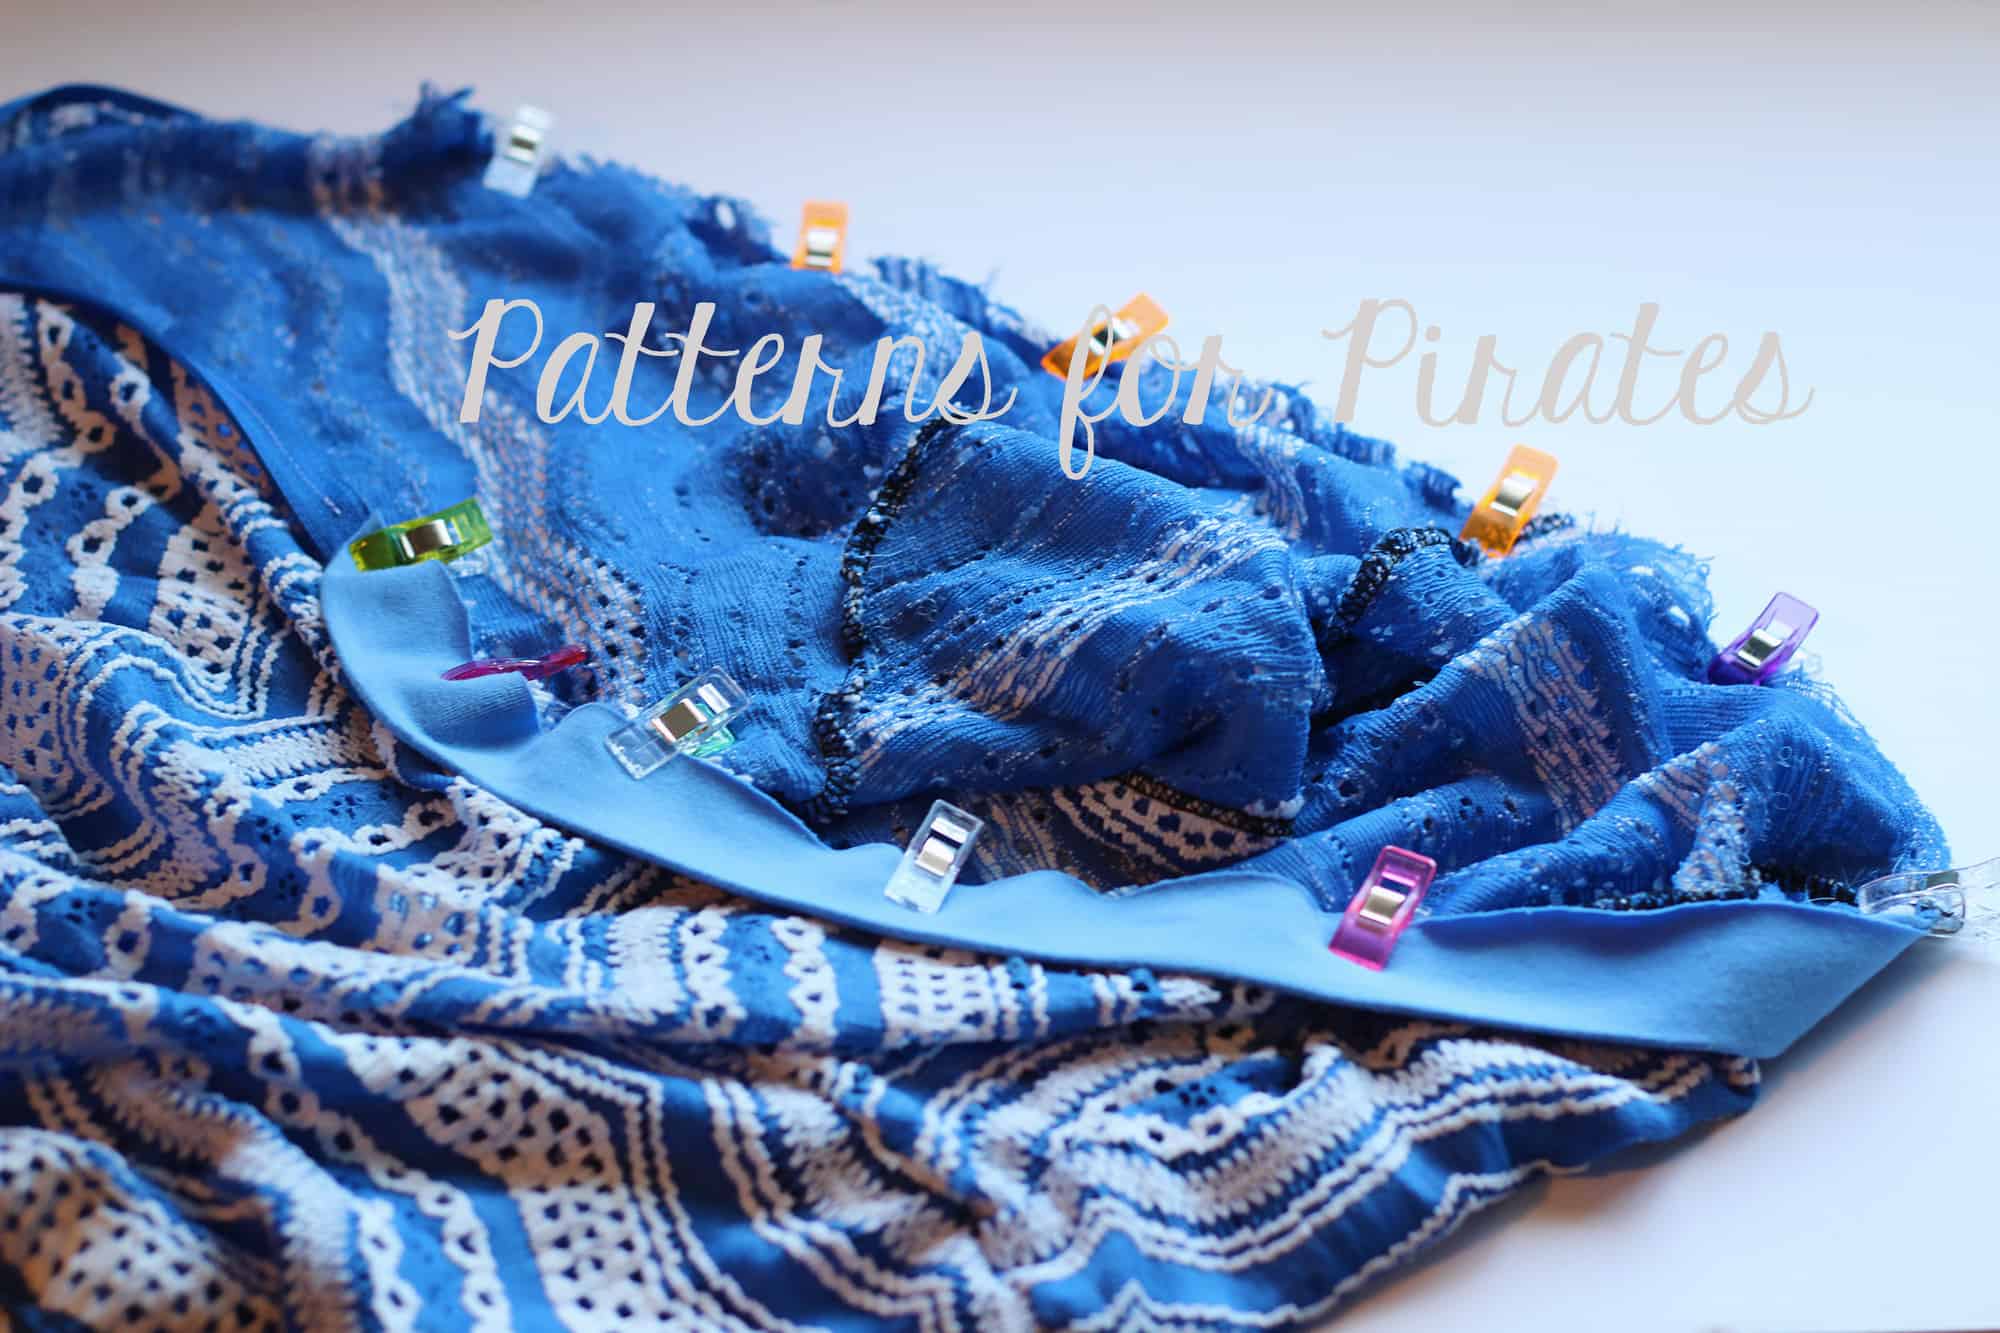
Mark the quarter points on the neckline opening. With the zipper open, pin (or clip) the neckband in place.

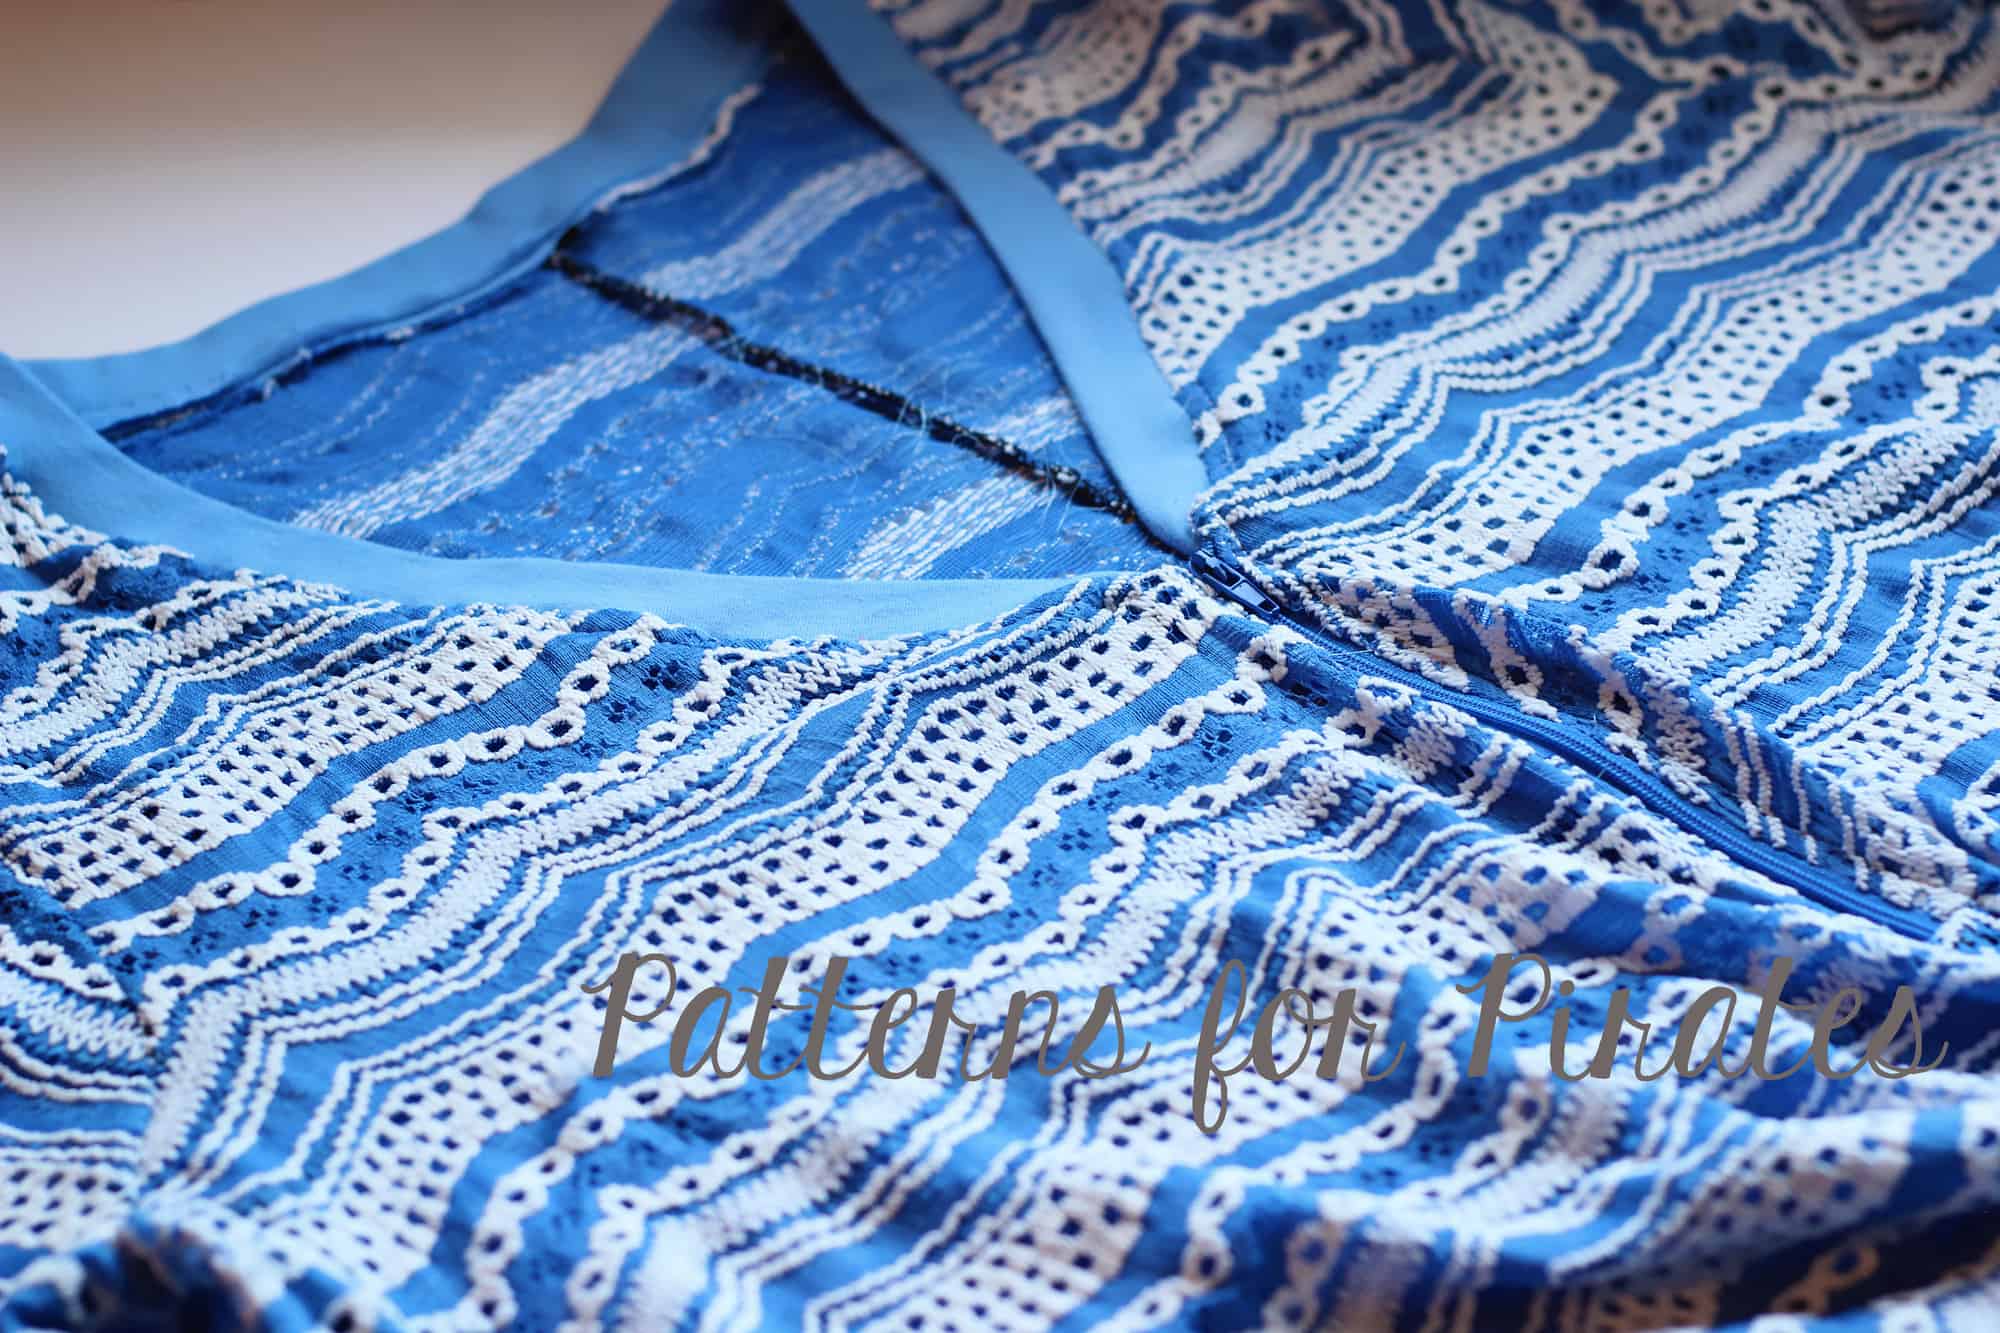
Attach the neckband using a stretch stitch. Optionally, top stitch. I actually like to topstitch around the neckline and zipper right now, using a continuous stitch.

All done! You can use the same technique to add a front zipper to the Sugar and Spice PJs too. You will just have to adjust the zipper length.


…..

Lace Up Front

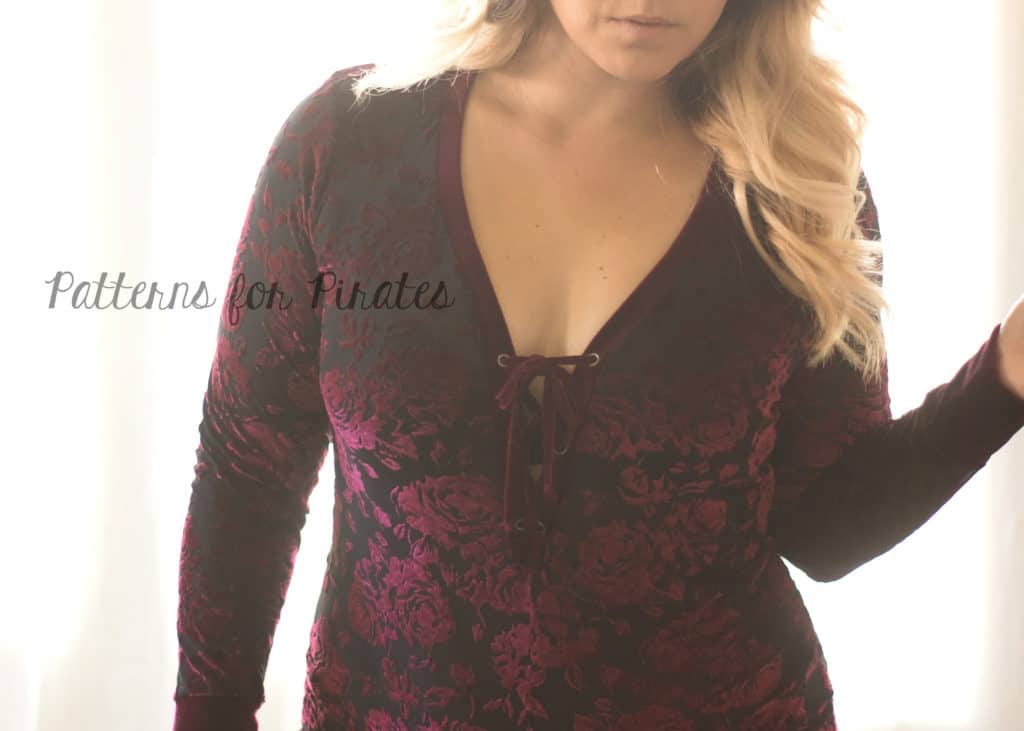
Want to spice up the naughty version or just want some extra fun detail? Instead of snaps or buttons, use grommets/eyelets on the front neckline.  Use as many or as little as you prefer.  I chose to do 4 spaced about 1.5″ apart.  Use drawstring, ribbon, lace or our knit fabric to create the string and lace it up!


…..

Hood

When I was searching for inspiration for my Naughty Nice PJs, I kept coming across hooded versions of this same style pajama.  I’m not sure how comfortable a hood would be to sleep in, but to have a little extra coziness around you while you’re lounging around?  Sign me up!  Plus, I think this pattern will translate so amazingly well for costumes next Halloween, and a hood is always a good thing to be able to attach for those as well.

You can use your favorite hood piece from any pattern.  I chose to use the Women’s Henley hood piece.

Assemble your hood piece like you normally would.  I chose not to line mine and hem it instead.

You’ll need to take two measurements:
— The width of the bottom edge of your hood, where it will attach to your PJs.
— The full length of the neckline + placket opening.

You won’t be using the neckband piece that comes with the pattern.  Instead, you’ll need to do a little more math.

(Neckline Opening Measurement – Hood Width Measurement) / 2 + 1″ Seam Allowance

This will give you your new placket piece length.  You’ll want two of them, for either side of the openings.

With your placket pieces folded in half (wrong sides together), pin it along the front placket opening and stitch.  Repeat with the second placket piece on the opposite side.  Follow the instructions just like the Naughty Nice / Sugar Spice patterns call for, to finish the bottom of your placket pieces.

With right sides together, align your hood piece along the raw edges of the neck opening.  Pin and stitch.  You’re done!


…..

Leg Placket


The last easy hack we wanted to show you is geared towards the Sugar and Spice. We all know how changing a bitty’s diaper can be difficult when they get all wiggly, especially in the middle of the night. So I wanted to show you how to add leg plackets to make changing a little easier.

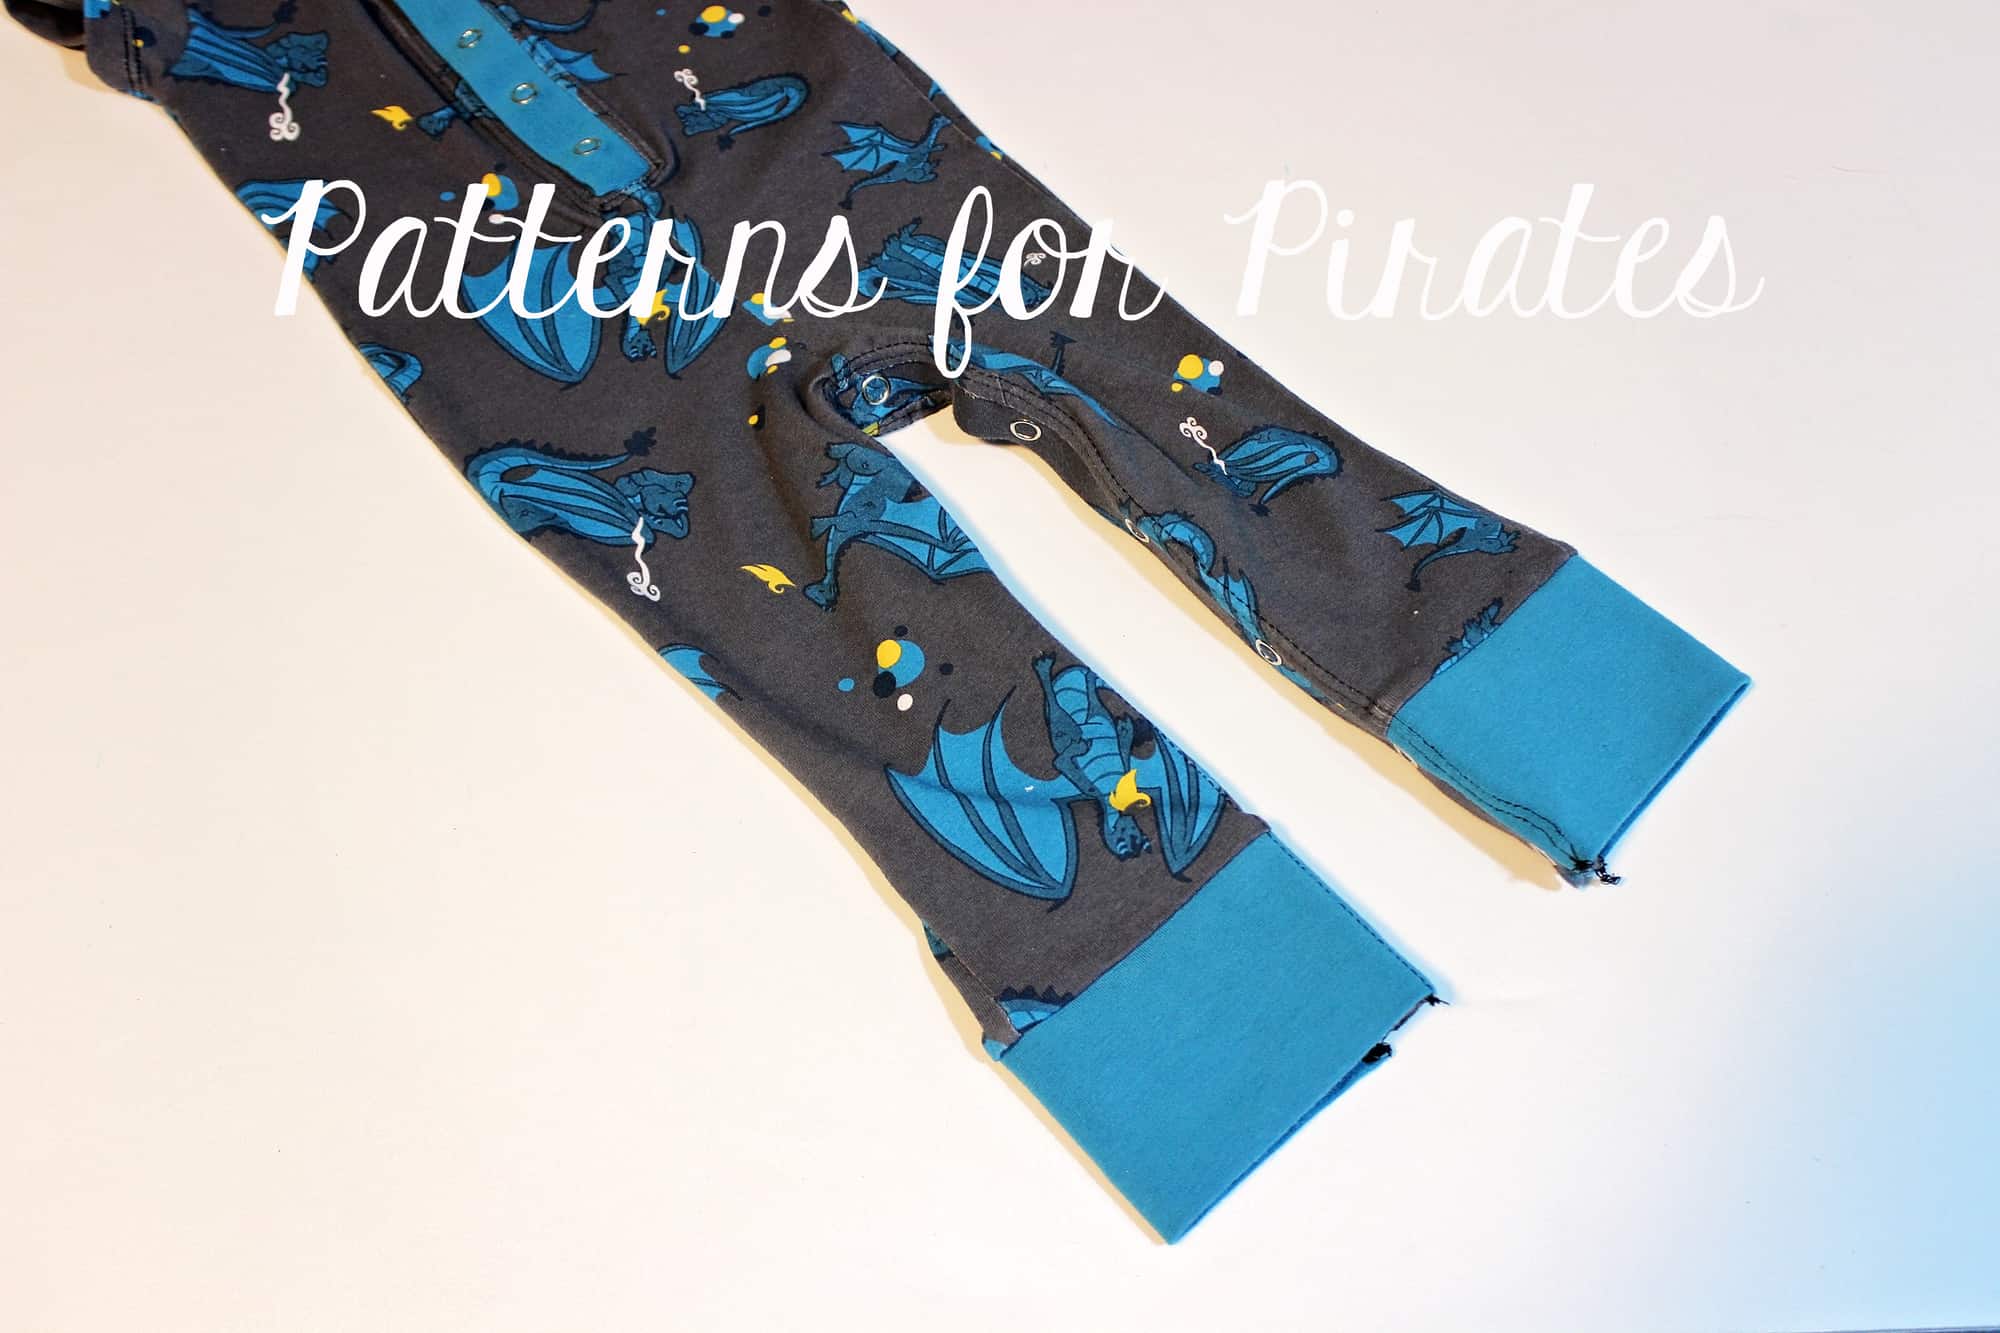
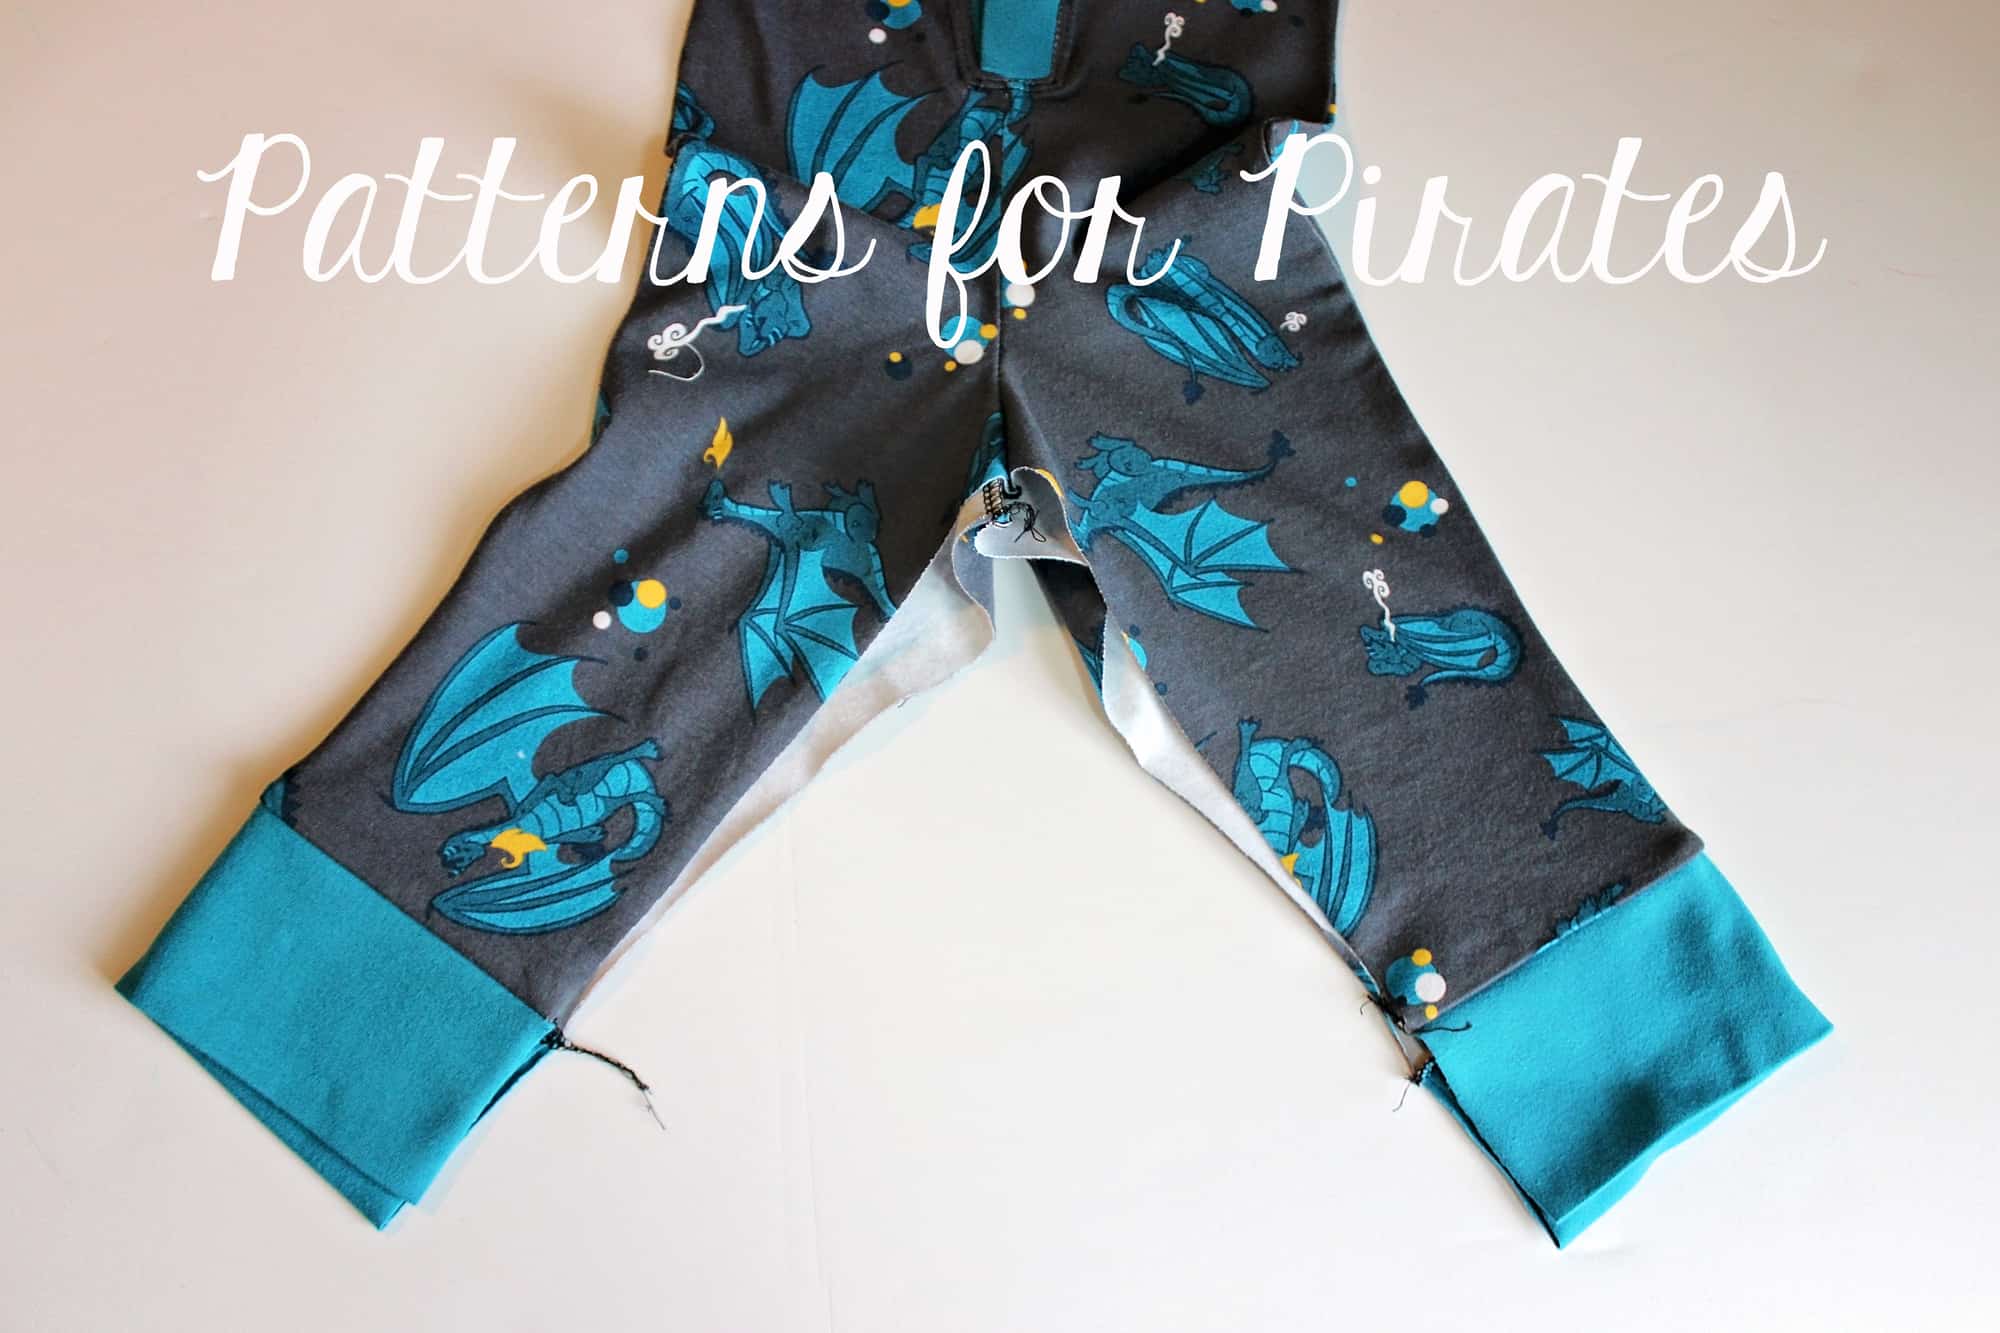
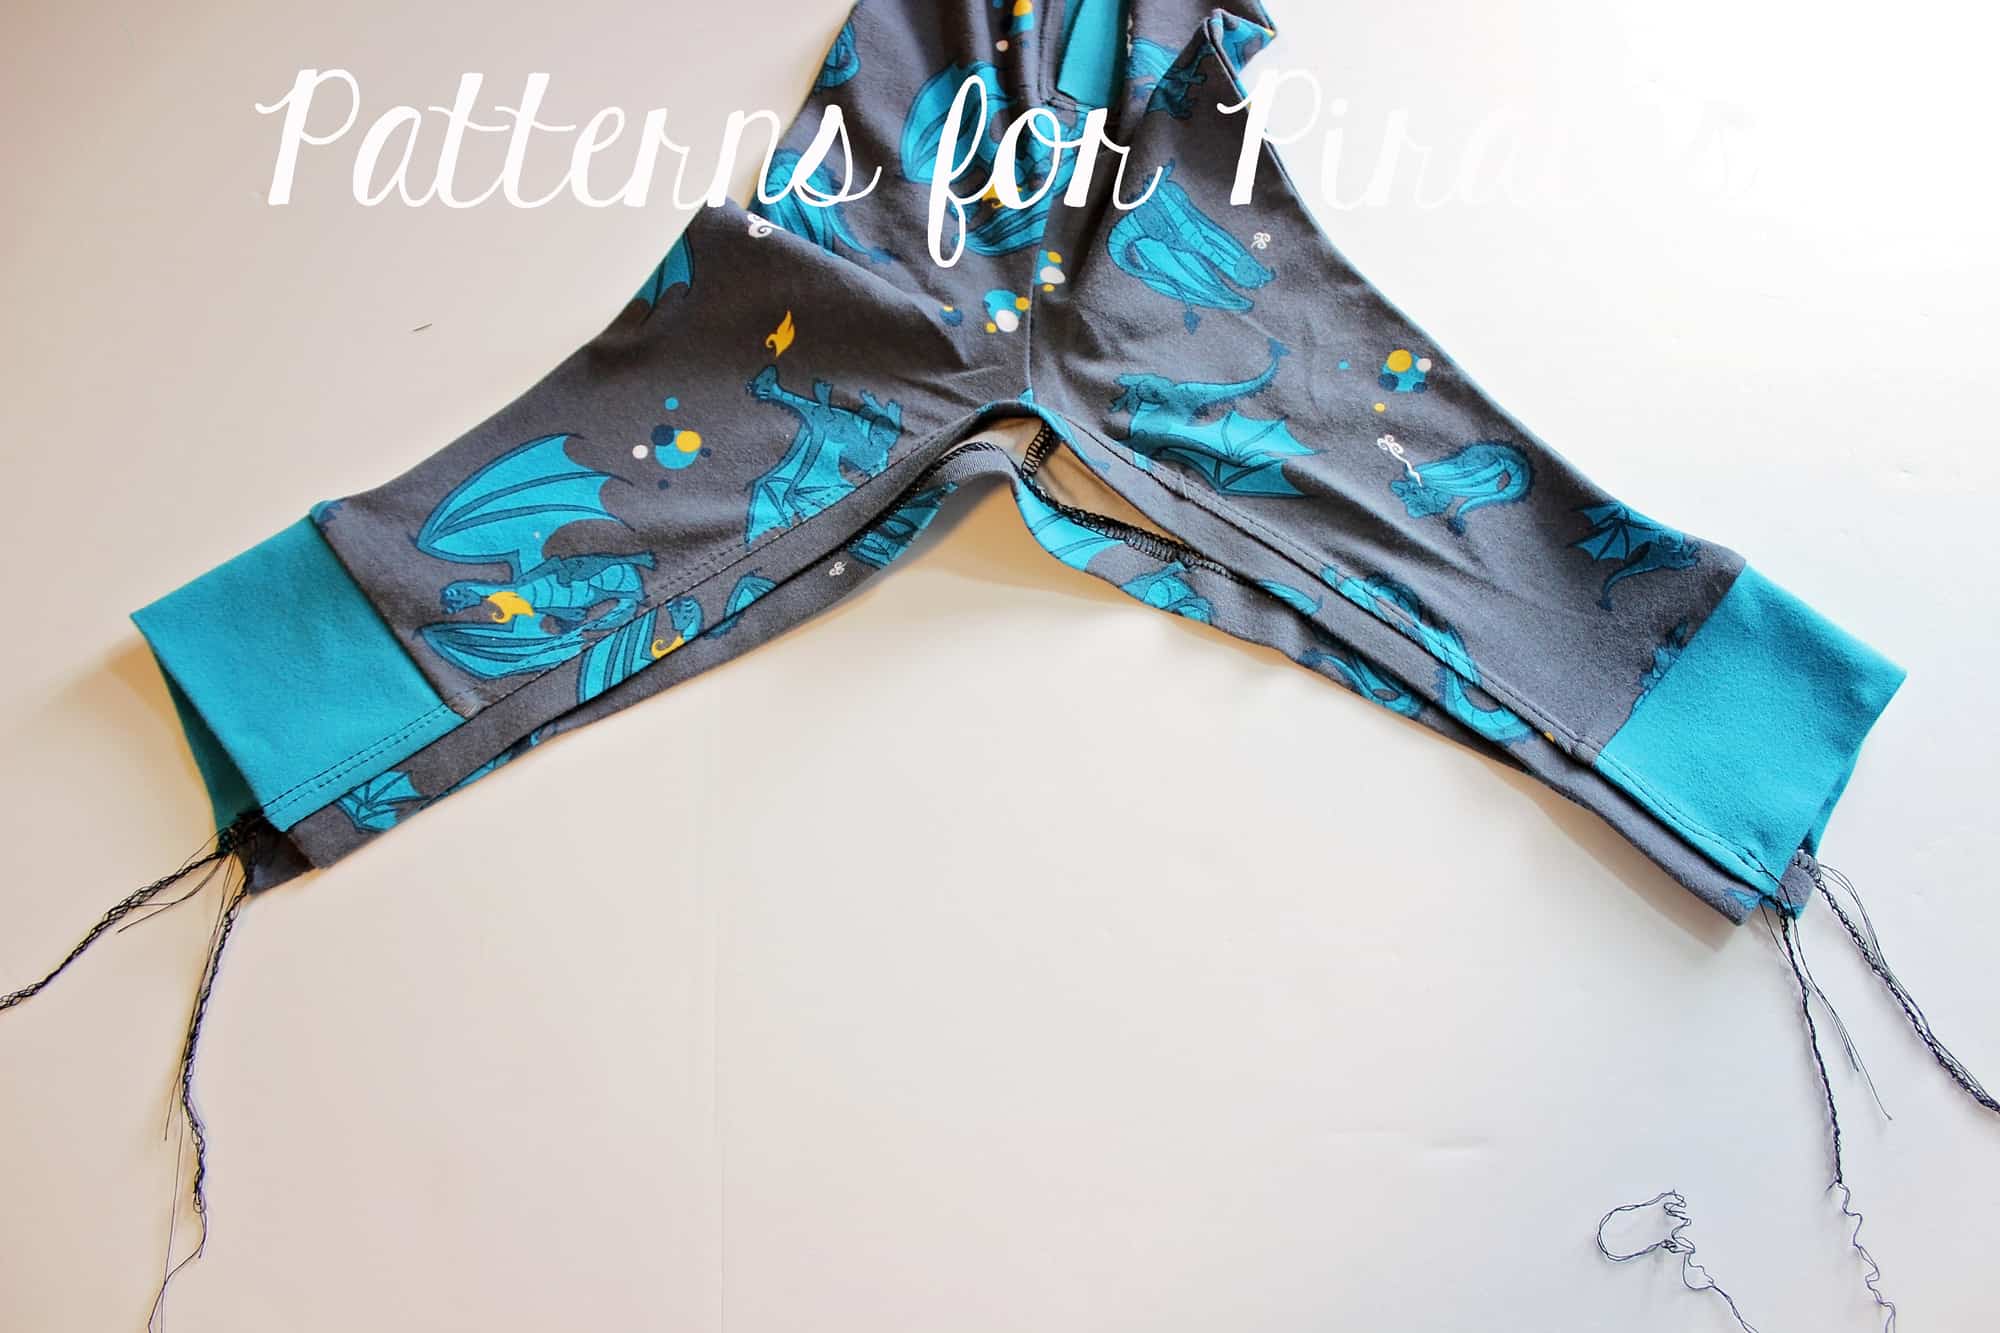
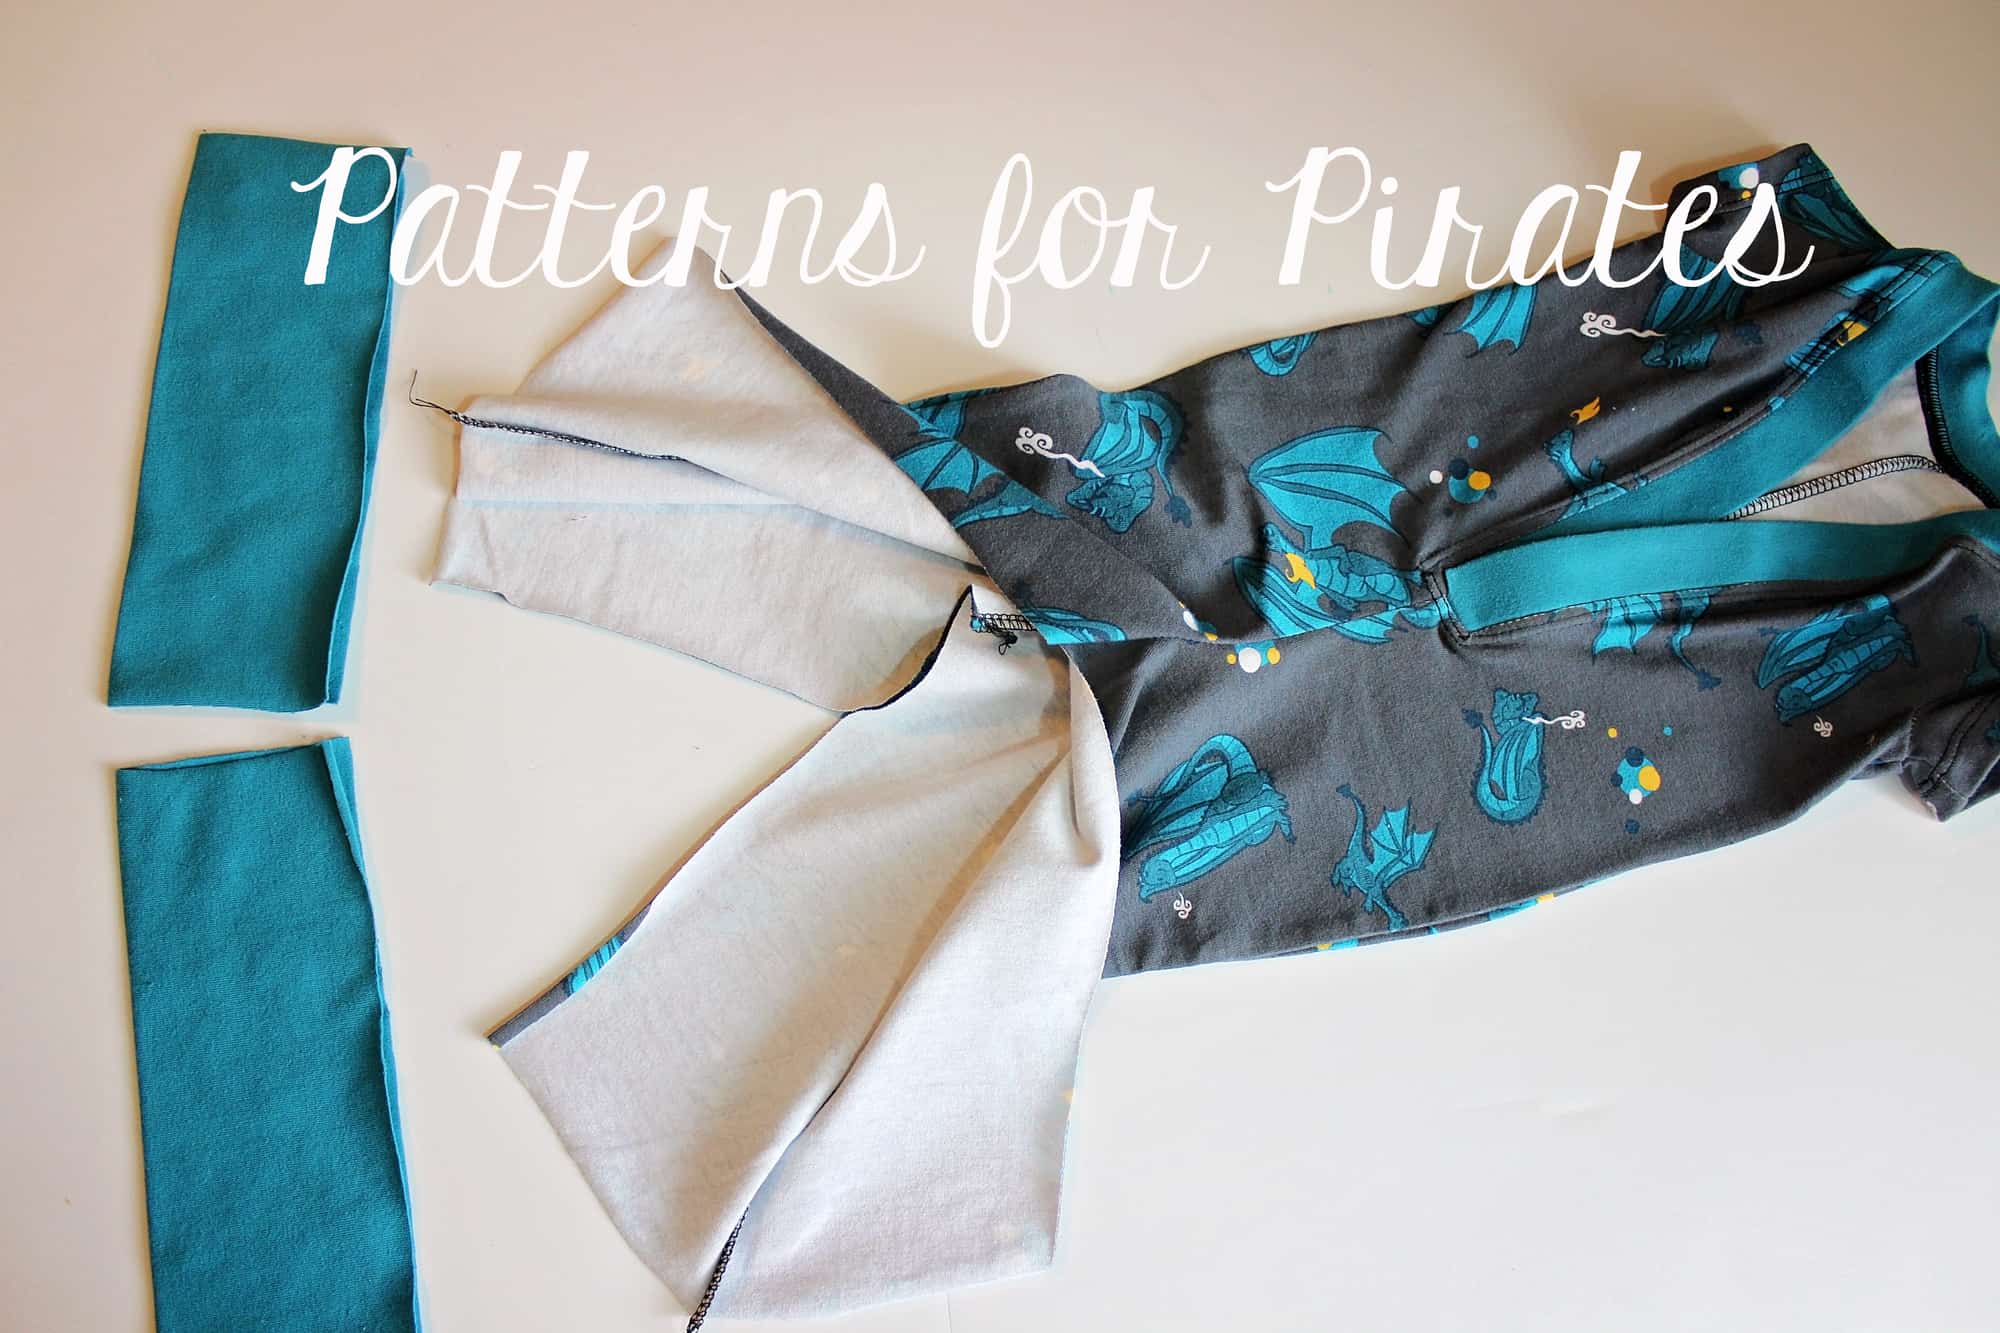
Make the pajamas as instructed in the tutorial but do not stitch the inseam. Instead, add the cuffs flats, right sides together.

Once you add the cuffs, your pajama legs will look like this.

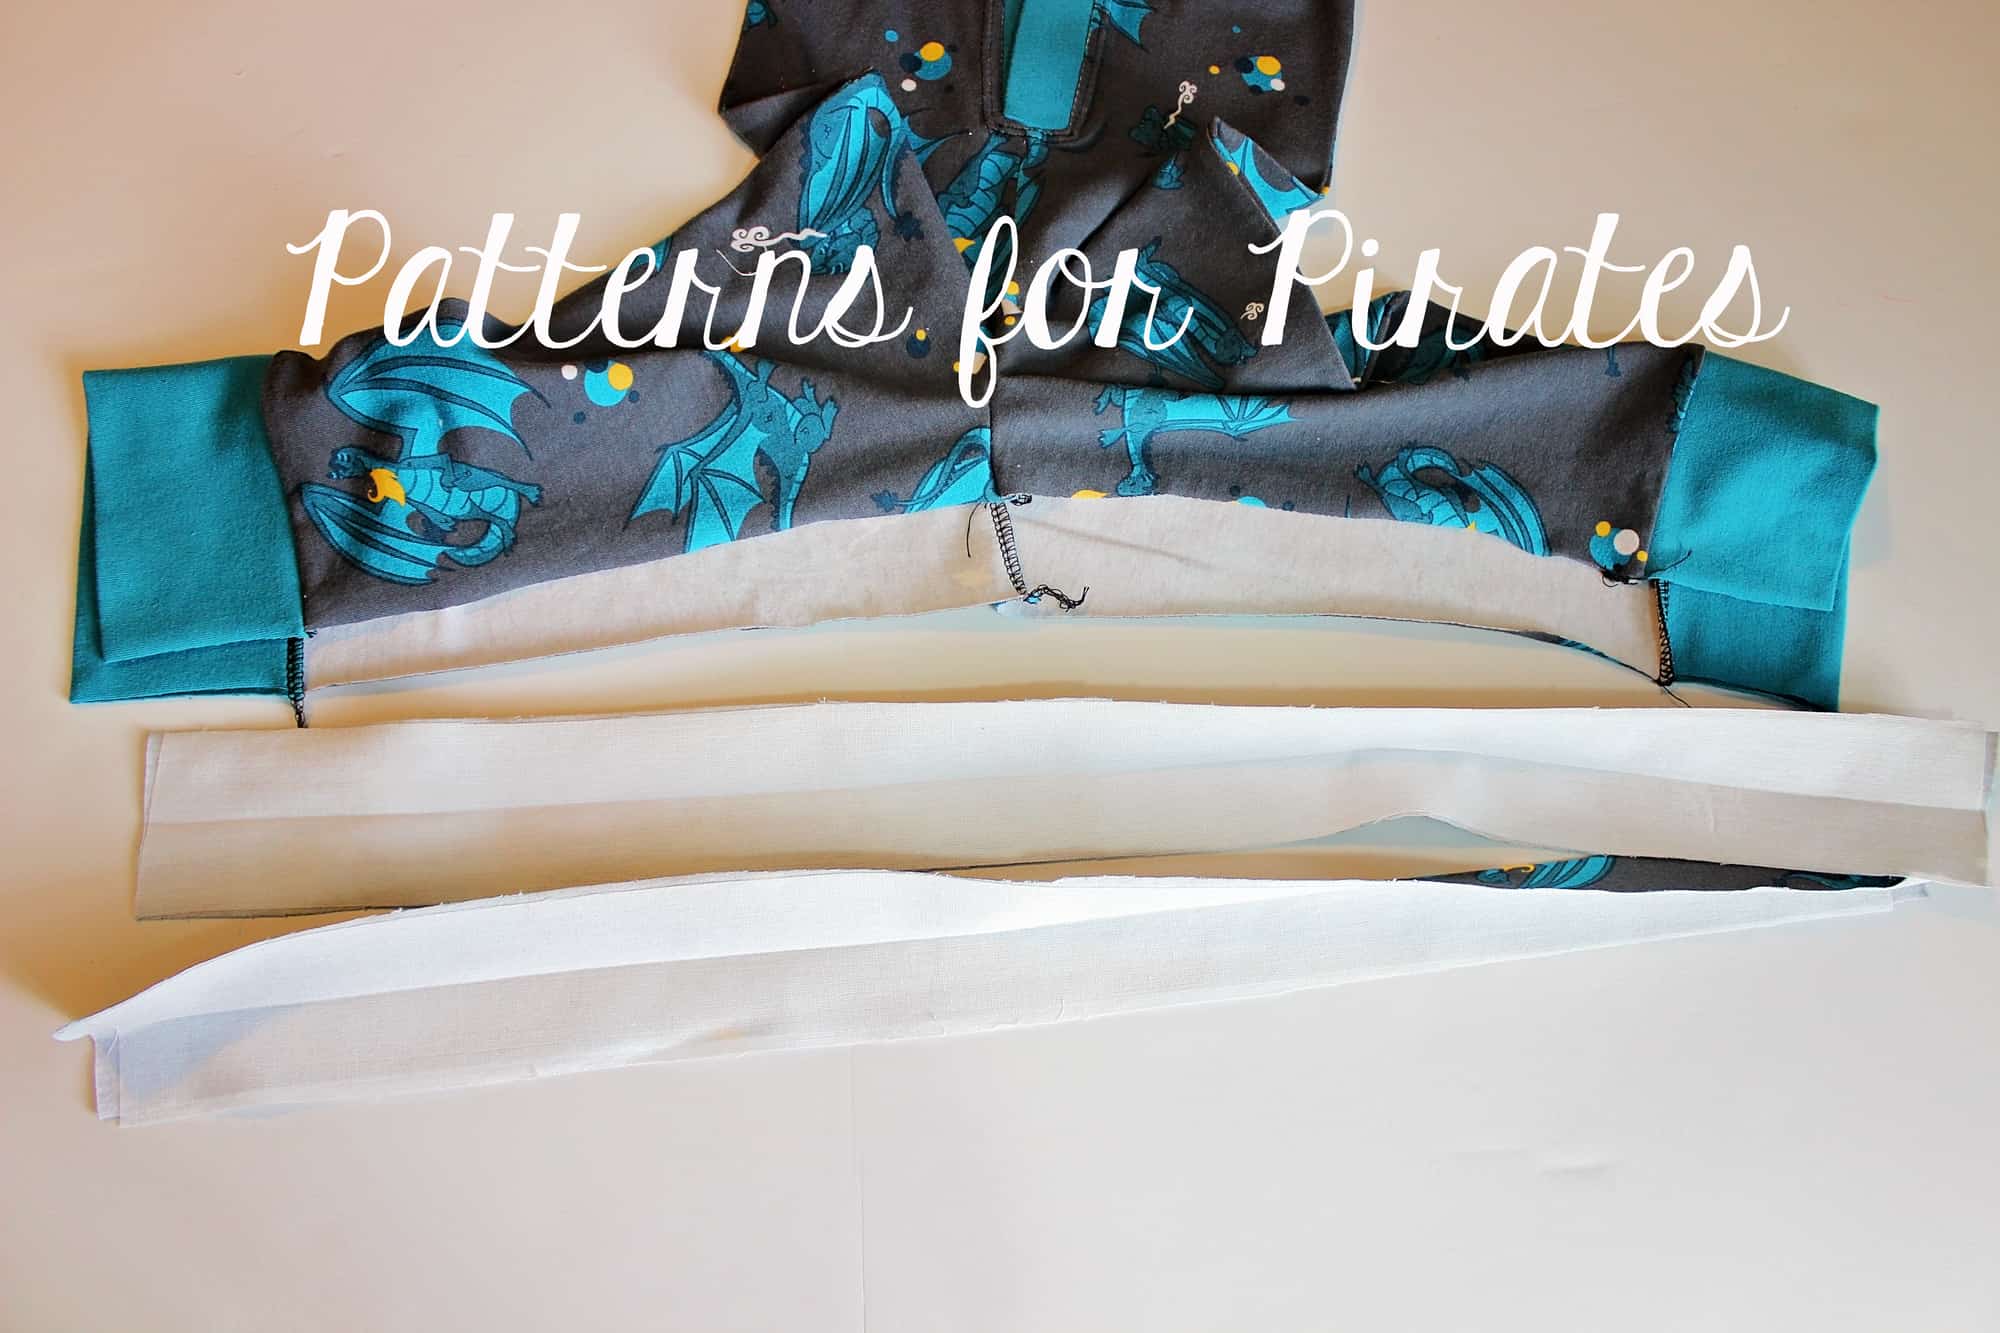
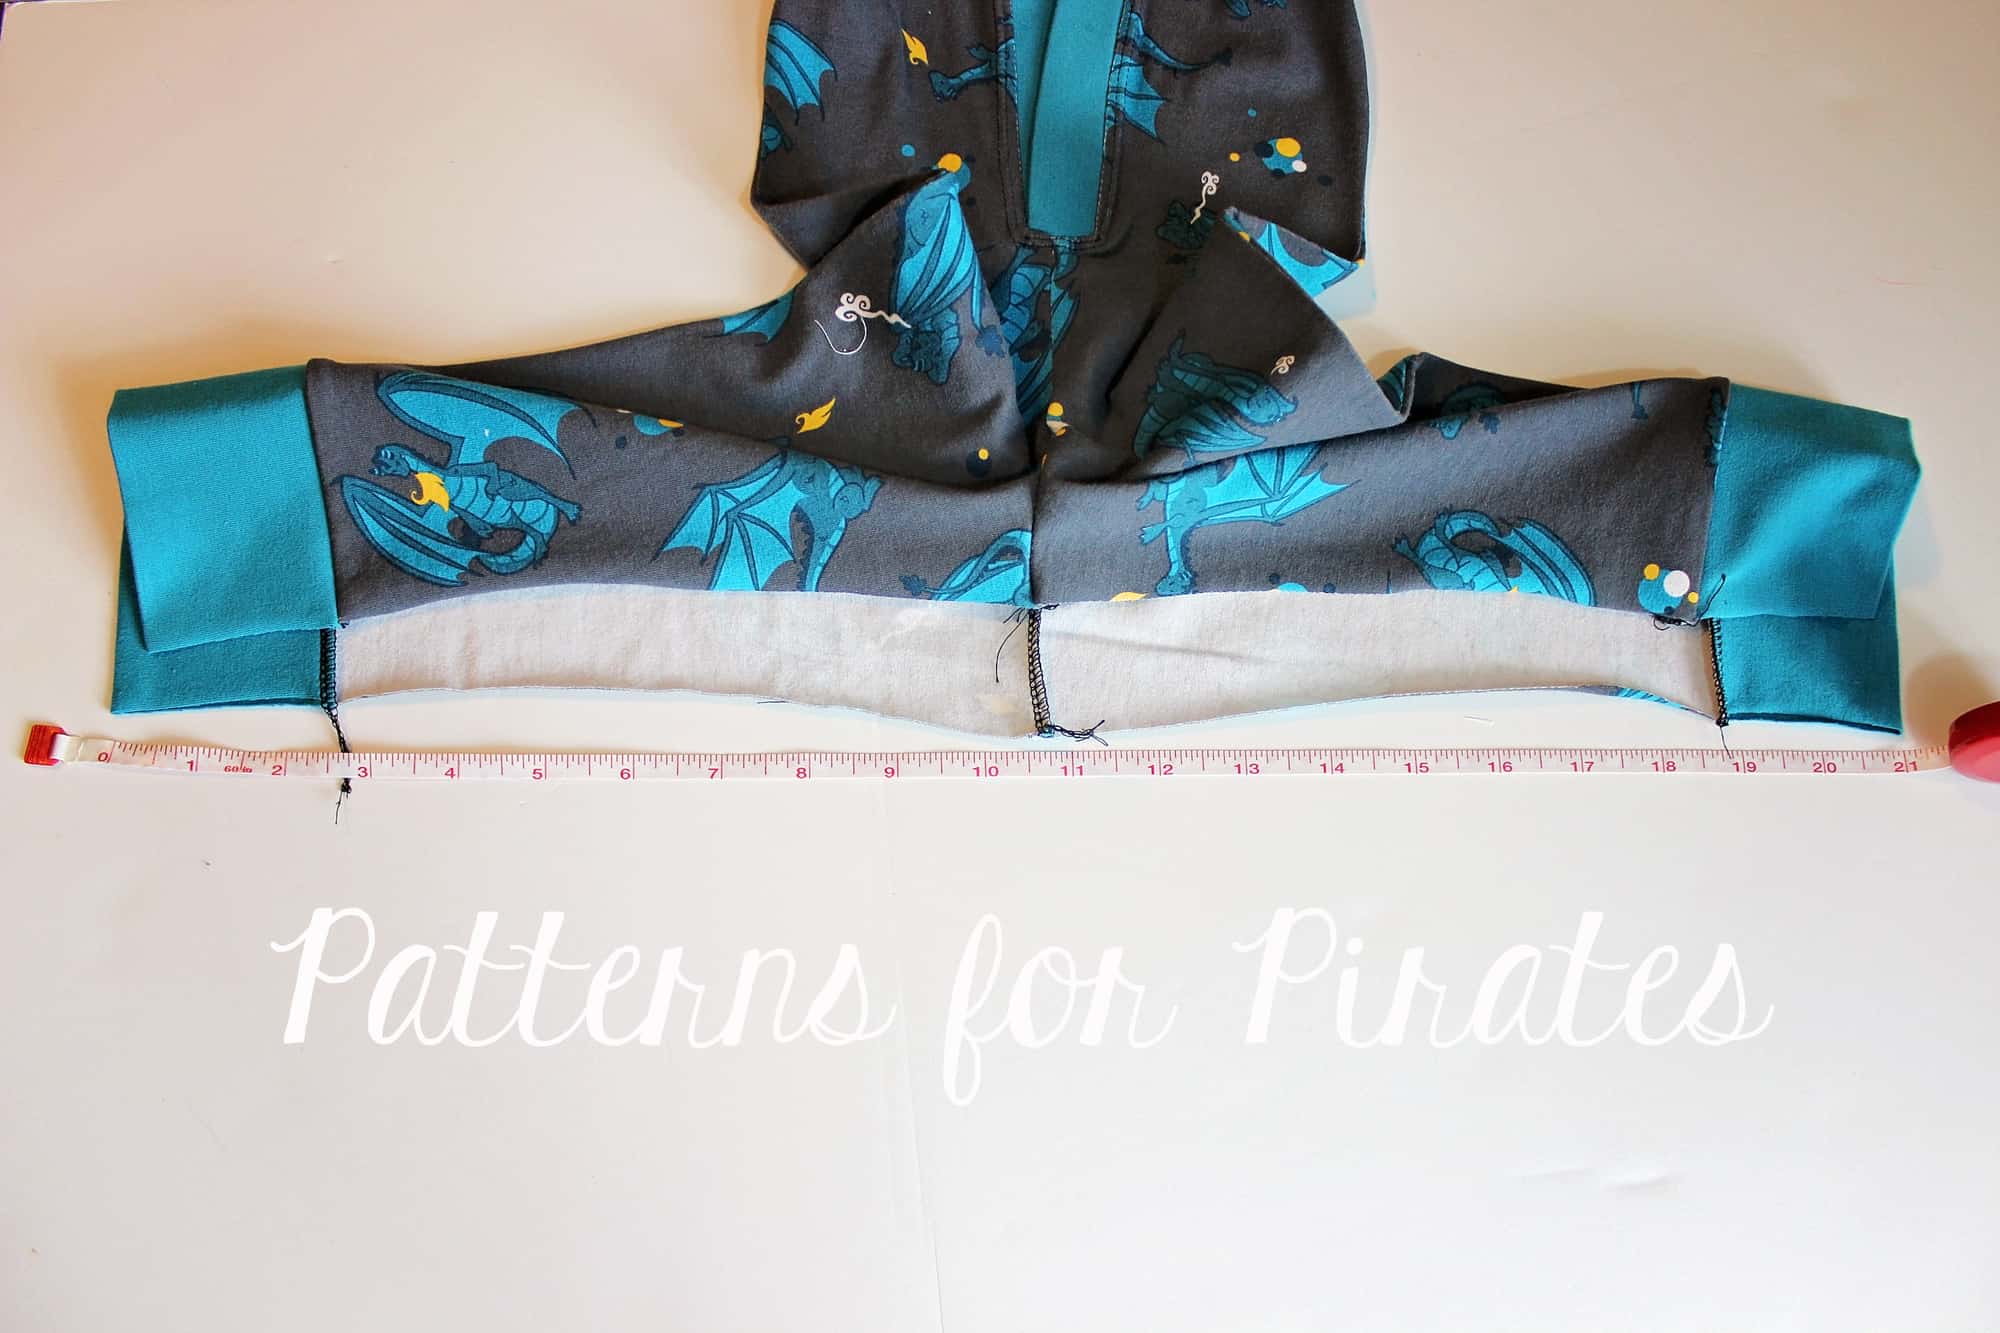
Open the PJ legs and measure the front and back inseams.

Cut two strips of fabric and interfacing that will be the measured length plus 1″ by 2″ width. Add the interfacing to the placket, fold and press lengthwise.

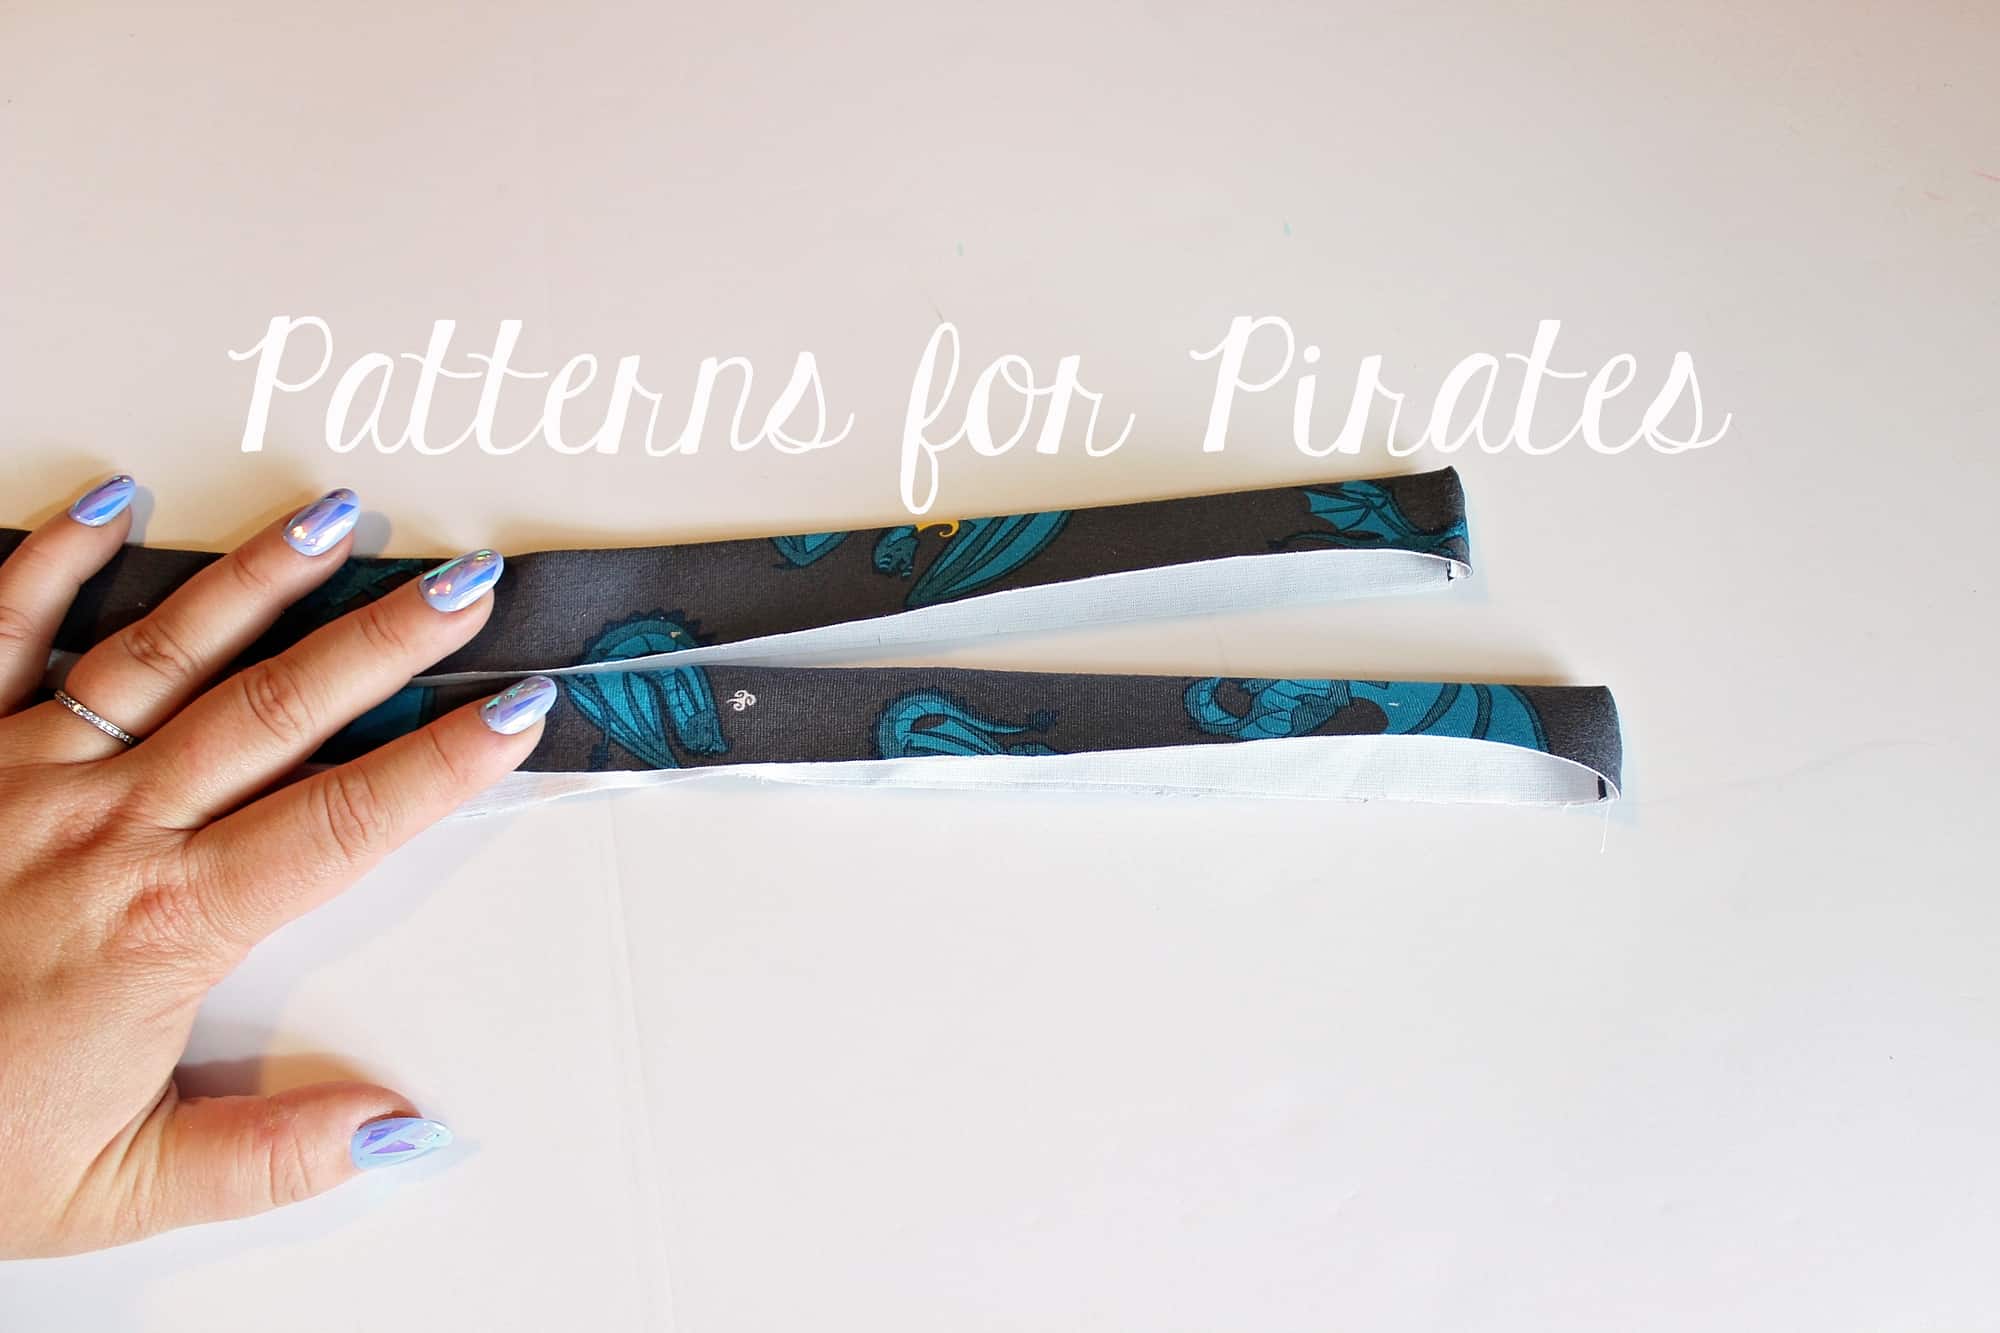
Fold the placket pieces right sides together and sew a stitch along each short end. Use a 1/2″ seam allowance. Cut the seam allowance to about 1/8″ and turn outside out. Press.

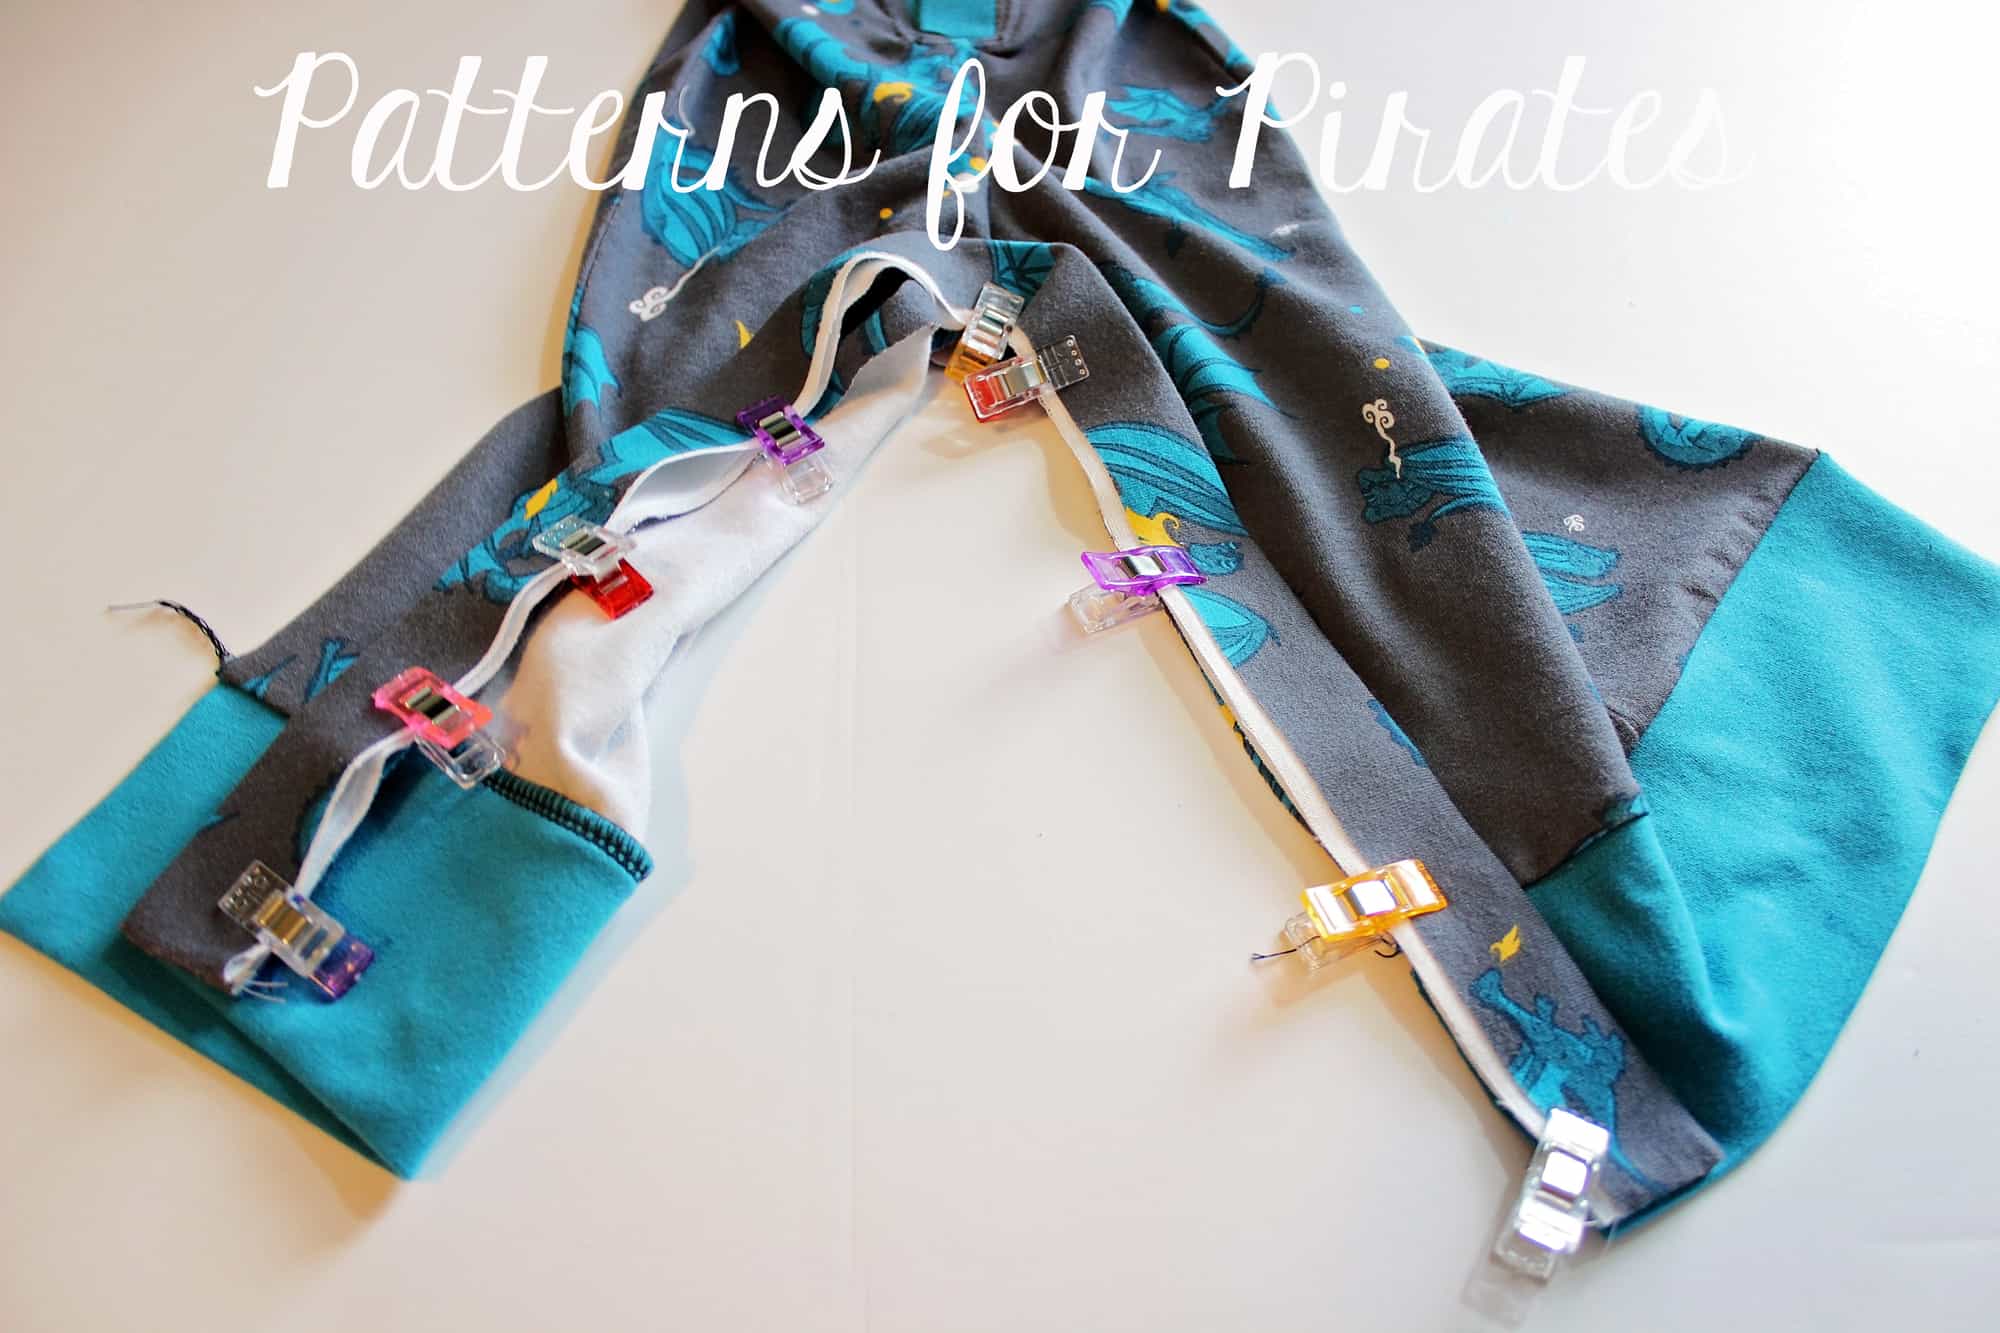
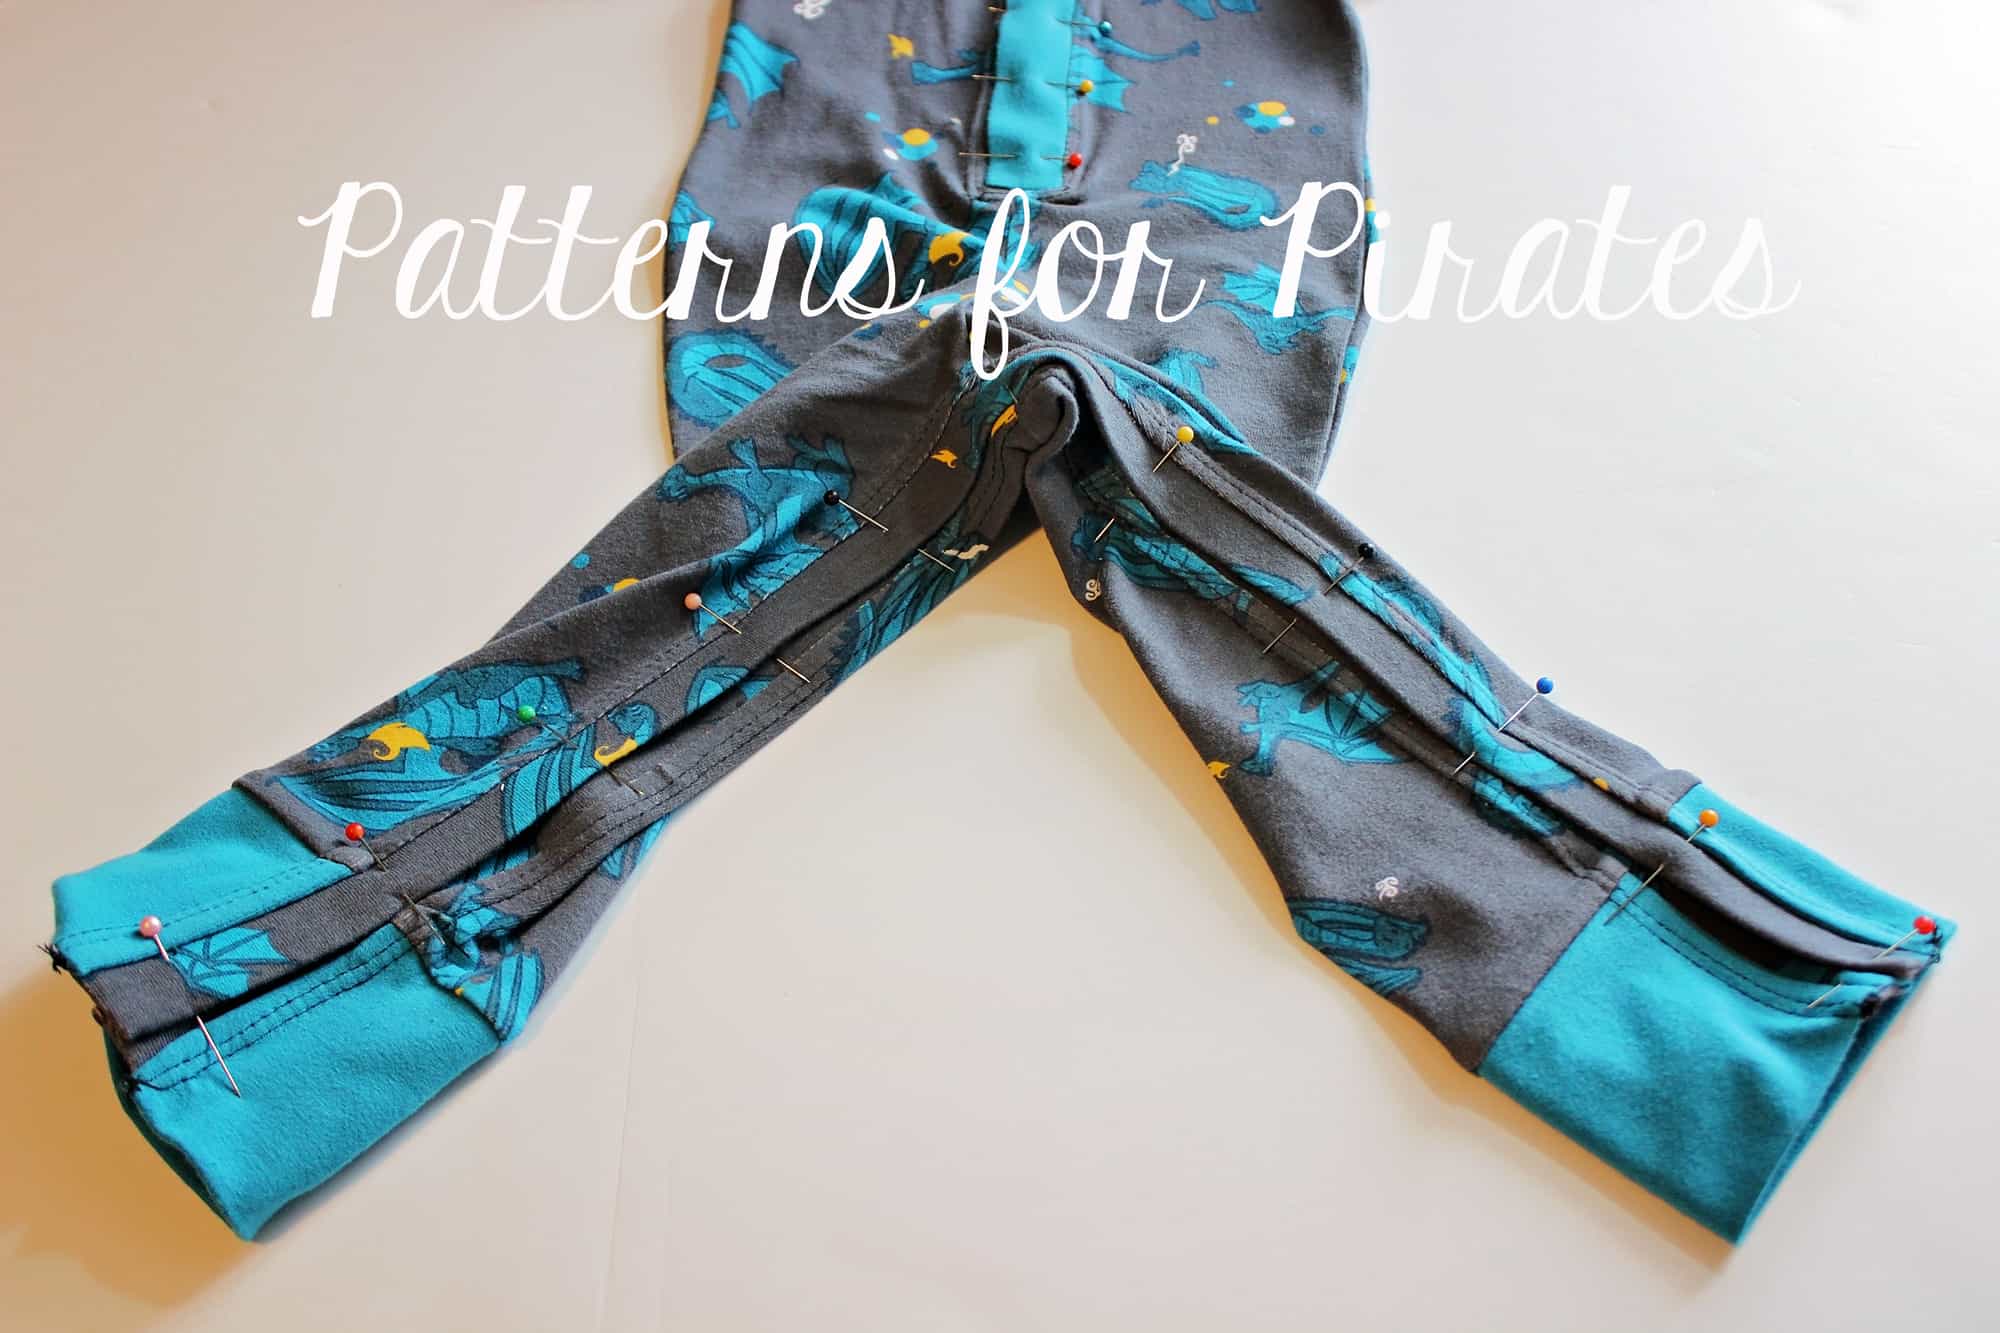
Pin each placket strip to the leg opening, making sure you match the front placket to the front opening and the back placket to the back.

Stitch in place and top stitch. If you used a serger to add your plackets, take a look over this blog to see how to finish the serger tails.

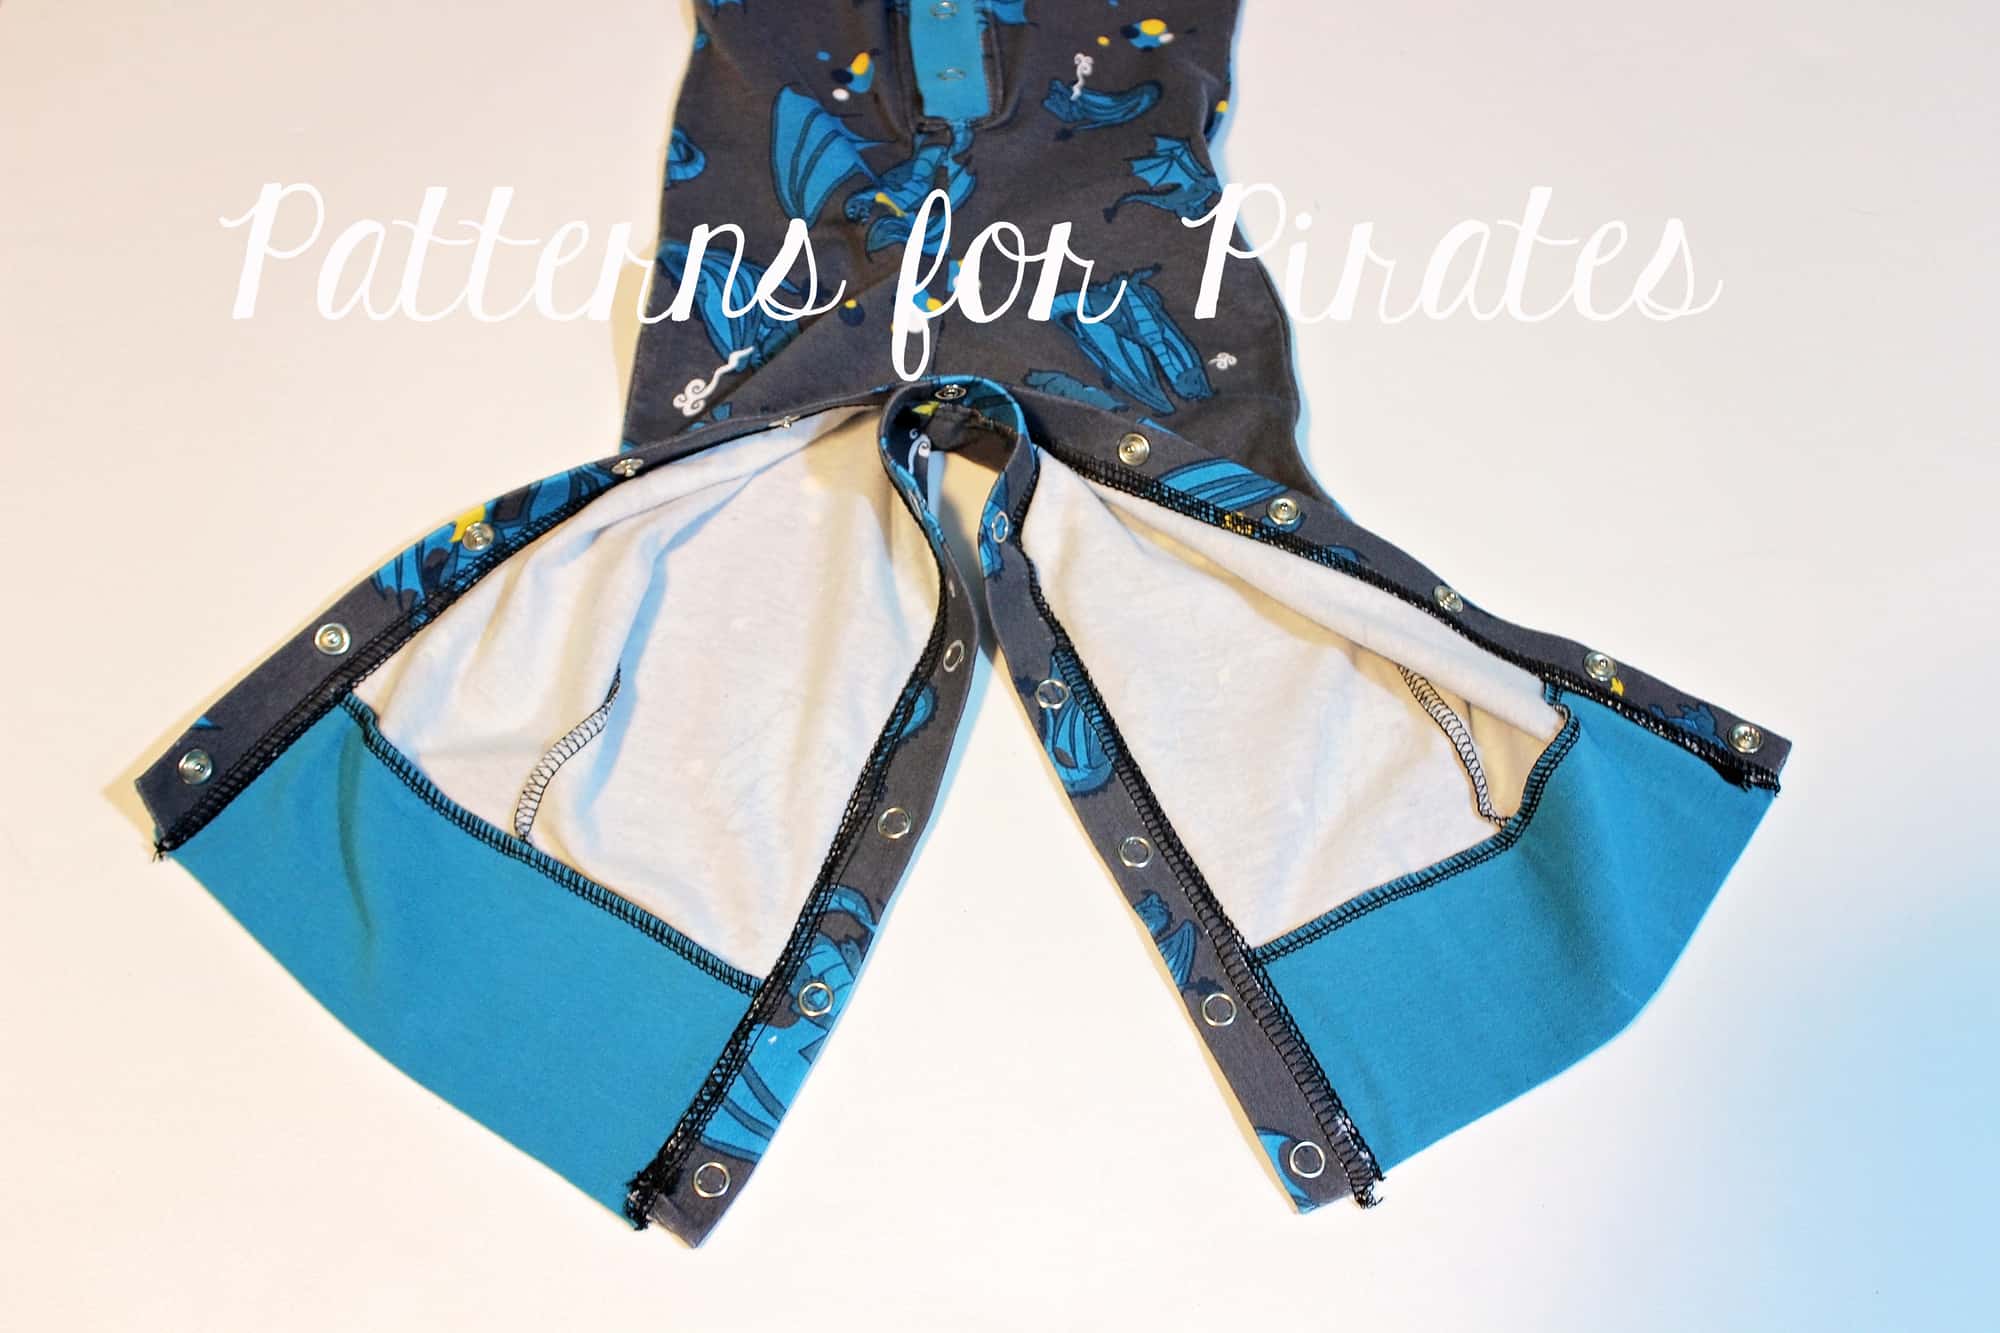
All you have to do now is add your snaps. Space them about 1 – 1.5″ apart from each other.

All done! Now you have easy diaper change Sugar Spice Pajamas!

There you have it, 4 easy hacks to give your pajamas even more options! We can’t wait to see what your Naughty Nice and Sugar Spice Pajamas will be. Post your creations in the P4P group!

Alex, Nicole and Katy

Filed Under: Pattern Hacks, Pattern Release, Uncategorized 1 Comment

Go To Jacket – SAL day 5 (sew neckband / hood)

October 12, 2018

It’s FRIDAY!! On our 5th sew along day we’ll be attaching the neckband for the bomber style jacket or the hood for the hooded one.

The Go To Jacket hood features a center panel which makes it great for mixing and matching fabrics too. If you’d like to add a leather accents to the hood, you can follow the steps in the Go To Jacket hacks blog post.

TIP: If you like the look of the drawstrings and want to add them to the younger kids’ jackets, go for a FAUX DRAWSTRING. Simply cut two 5-6″ pieces of cord and tie a knot at one of the ends. Pull the other end through the drawstring hole and tack it down in the lining. Repeat with the other side. Done! Now you have the look of drawstrings without the safety concern of a real one.

Watch the video below for a visual step by step of the hood construction.

If you decided to go with the very trendy bomber style then all you have to do is press the neckband in half lengthwise, wrong sides together and attach it to the neckline opening. It is very important to remember to attach the neckband 3/8″ away from the front opening, on both sides!

Once you’ve added the hood or neckband post a picture of your progress on the day 5 photo comments of the Go To Jacket SAL album.

Go To Jacket Sew Along

Day 1: Print + Cut Pattern

Day 2: Choose + Cut Fabric

Day 3: Sew Pockets

Day 4: Sew Shoulder Seams + Attach Sleeves

Day 5: Attach Neckband / Hood

Day 6: Add waistband + Finish Sleeves

Day 7: Add Zipper

Day 8: Recap + Catch Up

Day 9: Winners Announcement

Filed Under: Frequently Asked Questions, Sew-A-Long, Uncategorized Leave a Comment

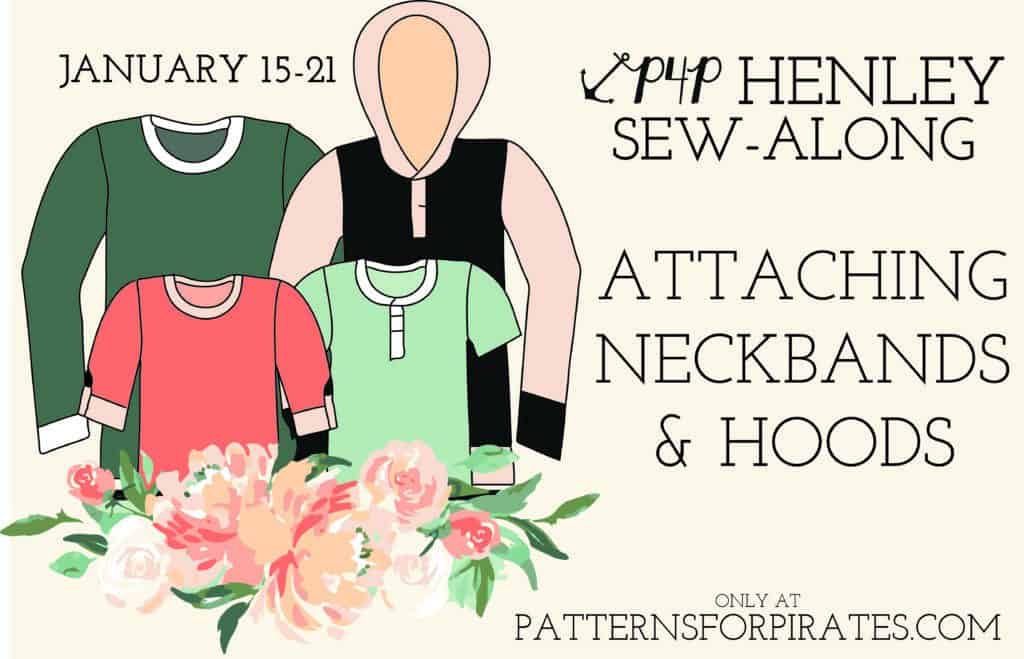
P4P Henley Sew-Along | Attaching Neckband + Hood

January 19, 2018

Welcome to the day 5 of the P4P Henley sew along. Today’s steps include adding the neckband or the hood.

  • Crew Neckband

If you have done the solid front shirt (no placket) you will now be adding the neckband as in the pattern tutorial. For additional tip, check out our P4P University Neckbands 101 blog and videos here.

  • Henley Neckband

If your sew along choice was a Henley style shirt then you would now be adding the henley neckband. This neckband is not sewn in a loop like the crew neckband was. Take a moment to watch the video below. The most important thing to keep in mind when adding this neckband is to go very slow and baste!


  • Hood (with or without the placket)

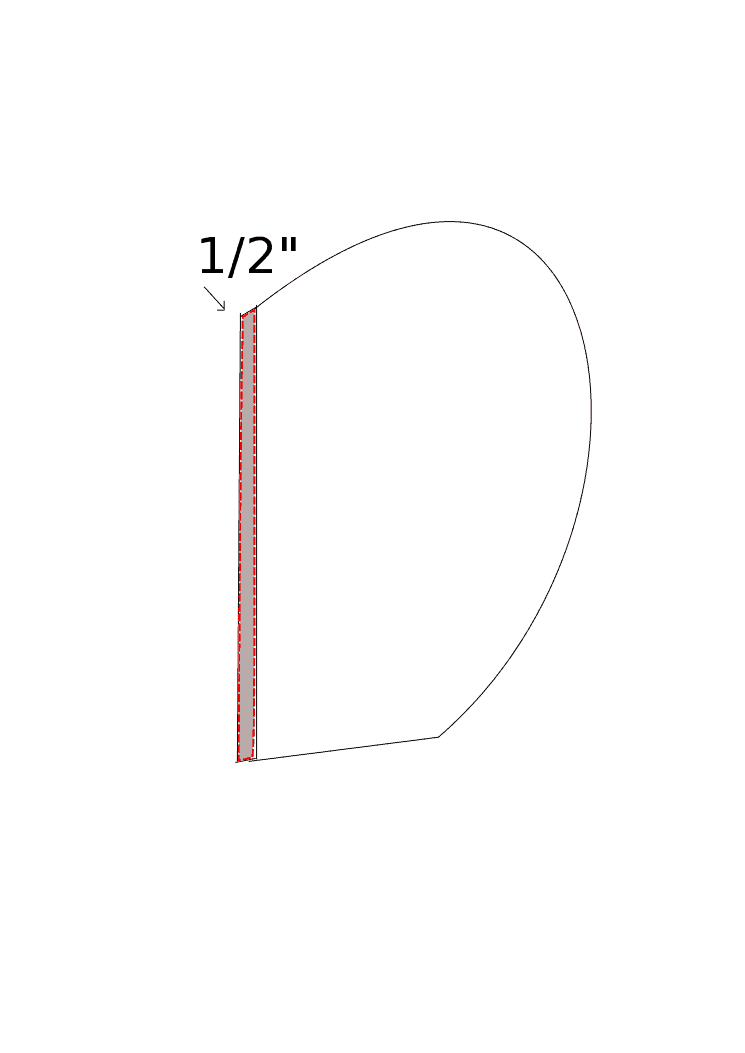
    The Henley patterns include a hood for the placket option. For this sew along we wanted to show you how easy it is to add a hood to the solid front option. The only pattern modifications you will need to make is to extend the front of the hood by 1/2″.

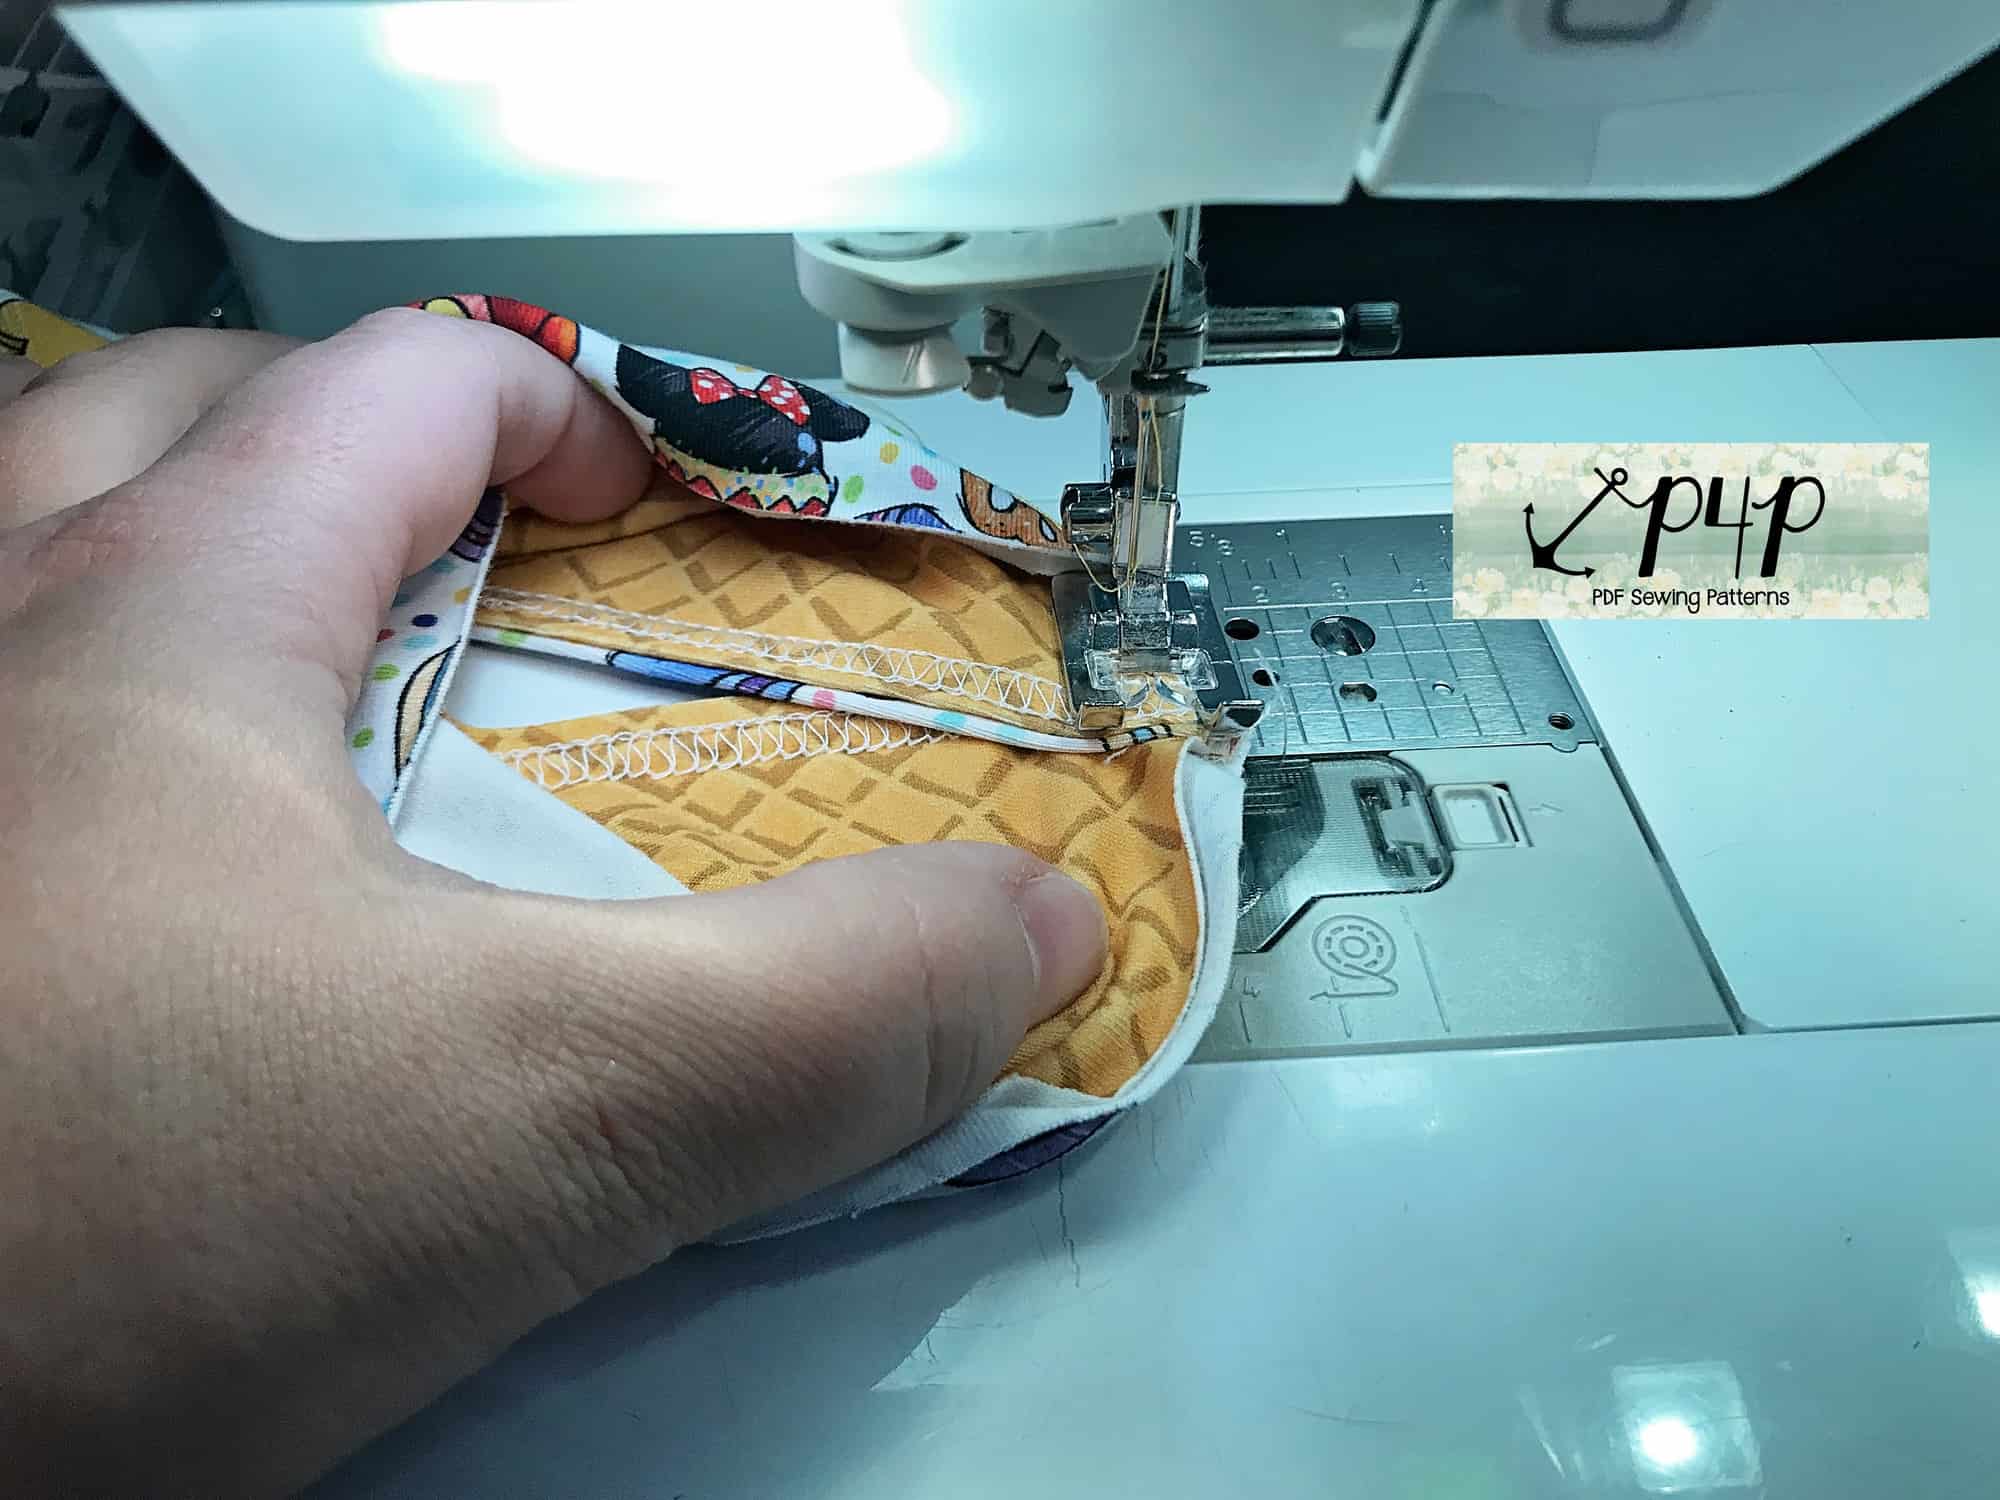
Sew the hood as per the pattern tutorial. Overlap the front neckline 1/2″ and baste in place.

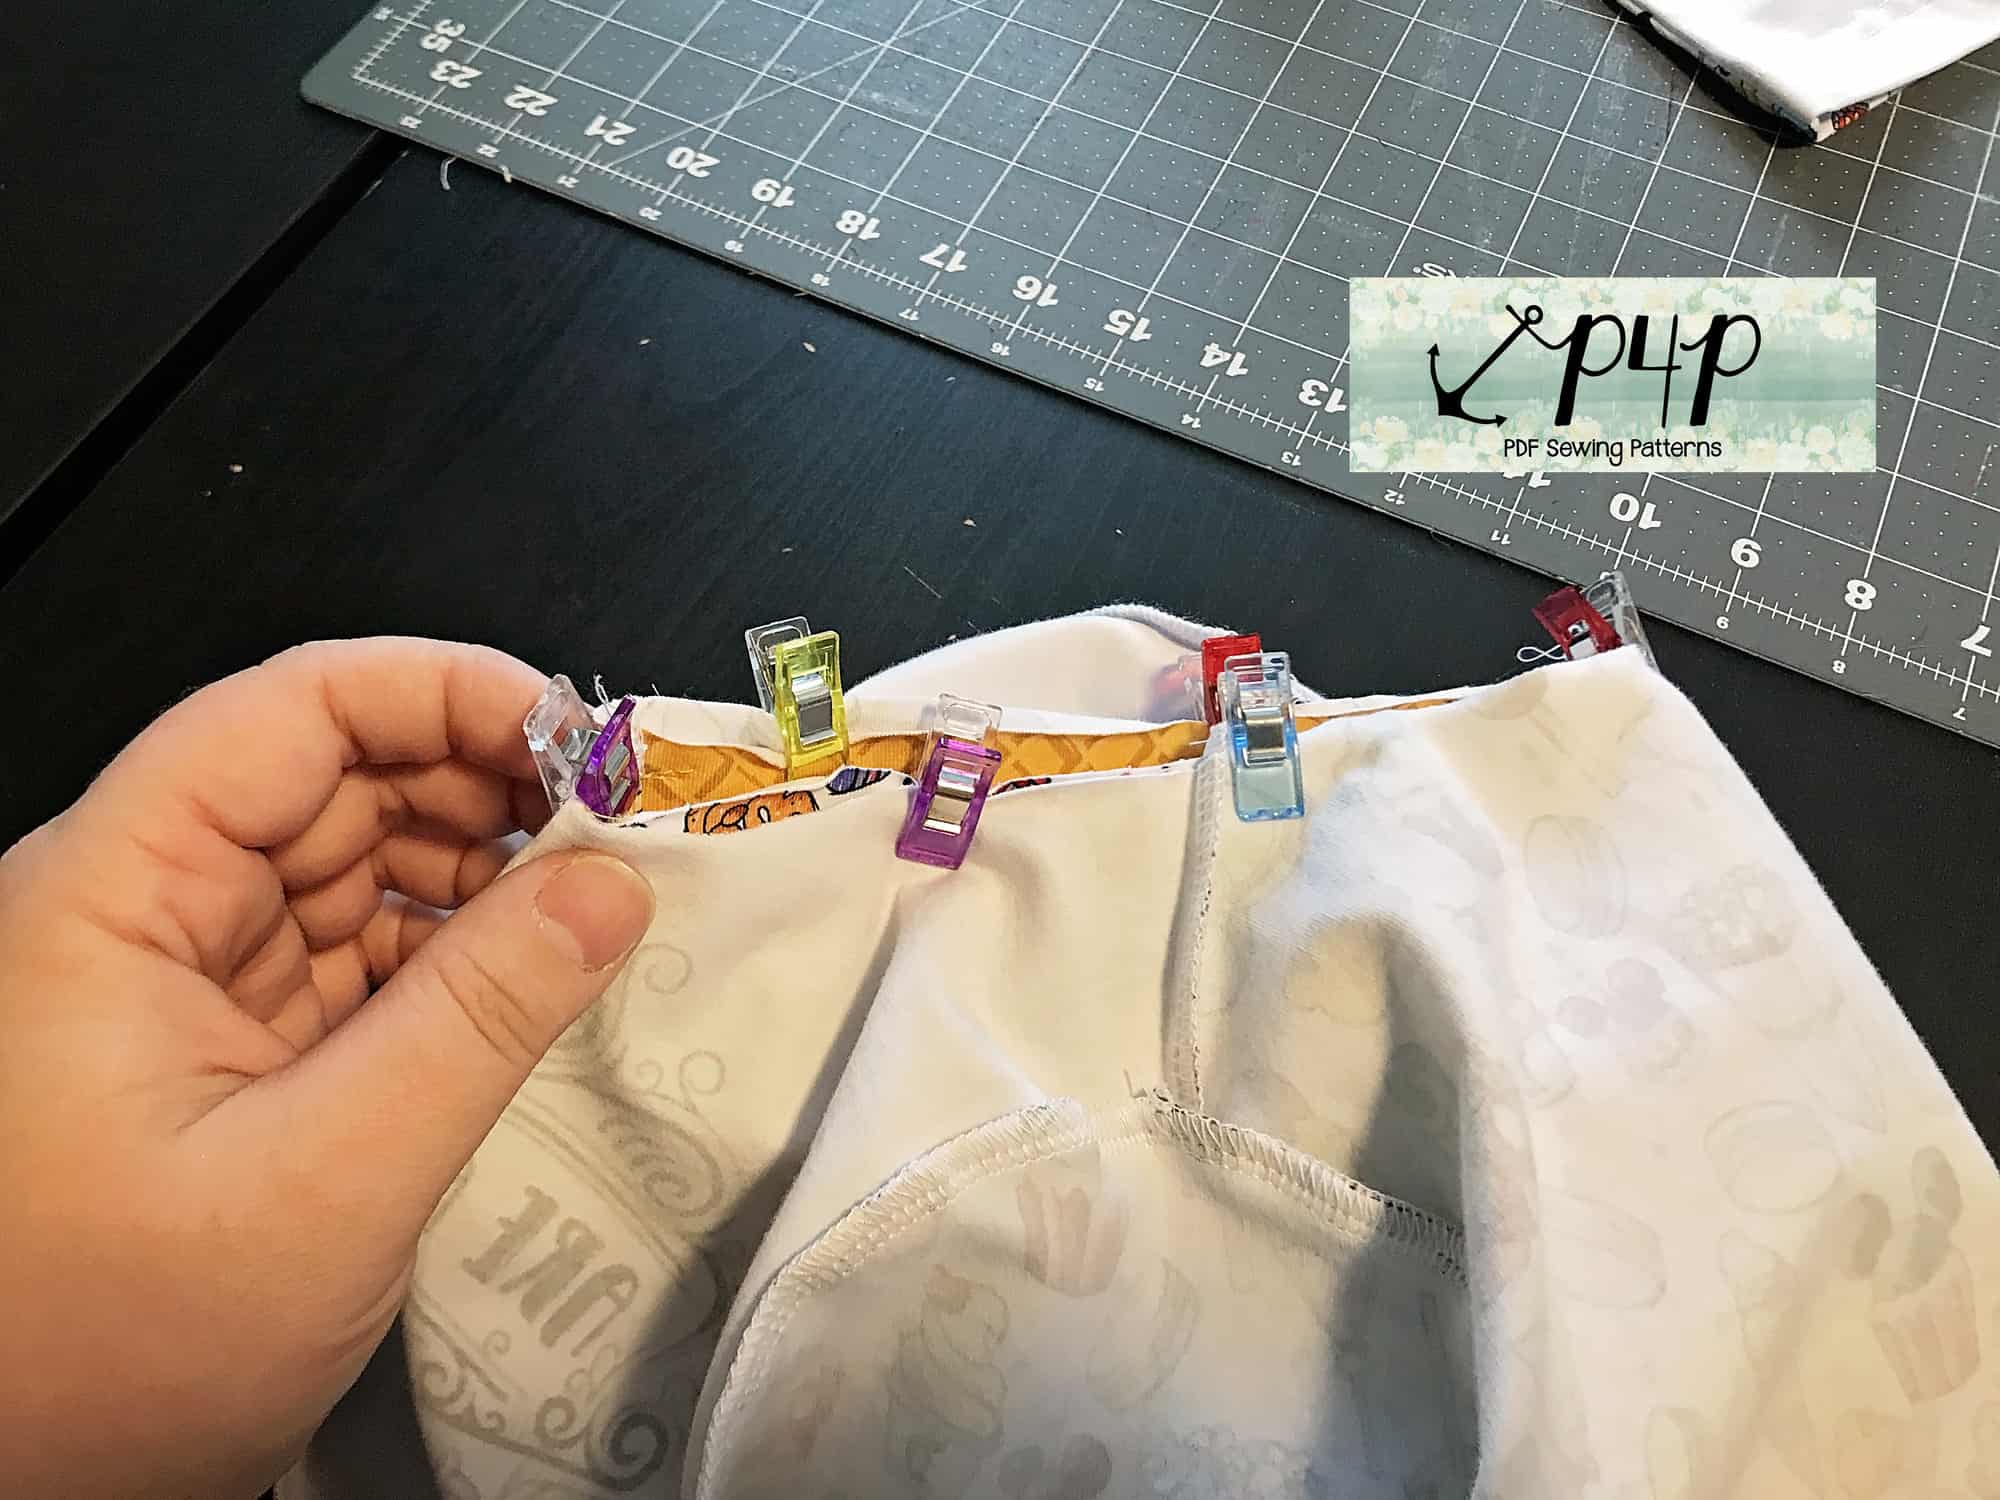
Mark the quarter points of the hood and the neckline. Turn your shirt inside out and place the hood right sides together, matching the quarter points.

Sew or serge the hood to the neckline following a 1/2″ seam allowance. See how easy it was to add a hood to the plain front shirt?


**The links won’t be active until the scheduled date.

January 14: Announcement.
January 15: Choosing Your Fabrics, Printing + Measuring.
January 16: Cutting Fabric.
January 17: Placket.
January 18: Sleeves.
January 19: Attaching Neckband + Hood.
January 20-21: Catch-Up Days.
January 22: Recap + Winners Announced!

Filed Under: Pattern Hacks, Sew-A-Long, Uncategorized Leave a Comment

P4P Raglan Week: Jolly Roger Raglan Update + Add-Ons Release!

September 19, 2016

Welcome to the first day of the P4P Raglan Week!  It’s looking like you are just as excited as we are!  Let’s get the party started with Day 1: the Jolly Roger Raglan update + Jolly Roger Raglan Add-On pattern release!

raglan-week-day1

Let’s talk the Jolly Roger Raglan update first!  It’s one of the most tried and true patterns for kids in the Pattern for Pirates family, and we did a little tweaking to make it even better.  First, we added the layers feature!  We also gave the entire tutorial and pattern an overall facelift to make sure everything was perfect from neckband to hem and everything in between.

14425408_10102913036683023_4848683499498318168_o

img_7894

We have also adjusted the angle of the raglan-sleeve to better match the style of our two women’s raglans (the Relaxed Raglan and the Slim Fit Raglan).  Our testers went through several rounds of the sleeve being adjusted before we all agreed on the fit.  I think you will all love it too!

**If you already own the Jolly Roger Raglan, you will not need to re-purchase to get the updates.  If you bought here (PatternsforPirates.com) or on the Craftsy store, you will simply need to sign into your account and re-download the file.  If your purchase was via Etsy, email help@patternsforpirates.com (WITH PROOF OF PURCHASE) and you will get an updated file.


Now let’s talk the highly requested Add-On Pack for the Jolly Roger Raglan!  You are going to love it so much!  **You must own the Patterns for Pirates Jolly Roger Raglan as well, since this is an add-on and not a stand-alone pattern.

14311484_10102912545716923_6741414687456728065_o

The Add-On Pack is full of super fun options:

  • Two hood types (traditional and cross-over funnel hoods)

14424963_10104358521989049_3747064700530049573_o 14289941_10210944418675163_8315798585323290006_o

  • Kangaroo Pocket

14311306_10207007364604832_362004355791744599_o 14305368_10153988962242877_9154033479605197205_o

  • Cowl Neck

img_9684 14242208_10210516508814415_2927786901913388326_o

  • Inseam Pockets

img_9693 14289893_10154511902671972_2765528919065172778_o

  • Funnel Collar

14324360_10153919372931033_8759815284094426481_o14289782_10154456917283433_4894254594844709762_o

  • Thumbhole Cuffs

14289845_10101035850150252_4649496919678406481_o 14352397_10104358521954119_8025388624738965920_o

  • Ruffle Hem

14324251_10210565851973658_6020903452005956770_o 14242252_10101029350026552_5253696604094059063_o

You can mix-match these options a million times over and still want to make more!  (Just ask our fabulous testers!)

The Jolly Roger Raglan is available for purchase HERE.
Find the Jolly Roger Add-On Pack for purchase HERE.
Or, you can bundle the Jolly Roger + Add-On Packs together HERE.

Be sure to head over to our Facebook Group and check out all of the amazing tester creations for the Jolly Roger Raglan and the Jolly Roger Add-On Pack!  They will provide for endless amounts of inspiration if you’re ever needing it!

listing-pictures-updated-1 listing-pictures

Are you joining us for P4P Raglan Week?  Be sure to share your creations on Instagram or in our Facebook group and use the tag: #P4PRaglanWeek !!  One lucky person will be featured on the blog and win a P4P pattern of their choice!

Here’s the rest of the schedule for the week:

Monday, September 19: Jolly Roger Raglan Pattern Update + Jolly Roger Add-On Pack Pattern Release

Tuesday, September 20: JRR Woven Fabric Hack

Wednesday, September 21: JRR Animal Faces Add-On

Thursday, September 22: Contrast Band Hack for Kangaroo Pockets

Friday, September 23: Women’s Keyhole / Scoopback Raglan Hack

Saturday, September 24: Off-The-Shoulder Raglan Hack

Sunday, September 25: Adding Stripes to Your Raglan Sleeves

Filed Under: Announcement, Blog Tours, Pattern Release, Sew-A-Long 3 Comments

  • « Previous Page
  • 1
  • 2
  • 3

connect with me

  • Email
  • Facebook
  • Instagram
  • Pinterest
  • YouTube
Privacy & Cookies: This site uses cookies. By continuing to use this website, you agree to their use.

To find out more, including how to control cookies, see here: Cookie Policy
  • Privacy Policy
  • Refund Policy
  • Contact Us
  • About

Copyright © 2026 Patterns for Pirates

Copyright © 2026 · Genesis Framework · WordPress · Log in