Hello, friends and welcome to day 5 of the Lumberjack Sew Along! We are almost there! I love seeing all the beautiful shirts being created this week. Today we tackle the collar or hood.
Hood
For a more sporty look and “easier” construction you can add a hood to your Lumberjack. The hood can be made of either knit fabric or woven so you can get really creative with it. Line the hood with sherpa for a super cuddly one or line it with a fun minky print for an extra little something. Once you sew the hood pieces right sides together along the curve, place the lining and main right sides together. Sew along the face opening, turn right side out and top stitch. All you have left to do is attach the hood to the neck opening and finish the raw edge with single fold bias tape. I highly encourage you to use store bought bias tape, it will save you so much time. In a pinch, you can certainly create your own.
Collar
Oh the dreaded collar! Let me guess! It’s the “scariest” part of shirt! I hope I can convince you today that collars can be fun and not so difficult. The key to a great looking collar is making sure that the seam allowance is correct throughout. Another advice I have for when creating the collar is to press as you go. Remember to fuse the interfacing to the lining pieces of both the collar and the collar stand. If you added woven cuffs yesterday, you will find that the process is pretty similar today. Do not skip pressing 1/2″ hem on the collar stand bottom lining! Just as for the cuffs, prepressing this fold helps tremendously when enclosing the raw edge of the neckline in the collar.
You can see in the day 5 video how I added the woven collar to my Lumberjack. Once you finish your collar or hood, post a picture of your progress in the comments of day 5 photo of the Lumberjack sew along album.
Lumberjack Sew along – day 1 | cut fabric
Lumberjack Sew along – day 2 | chest pocket, shoulder seams
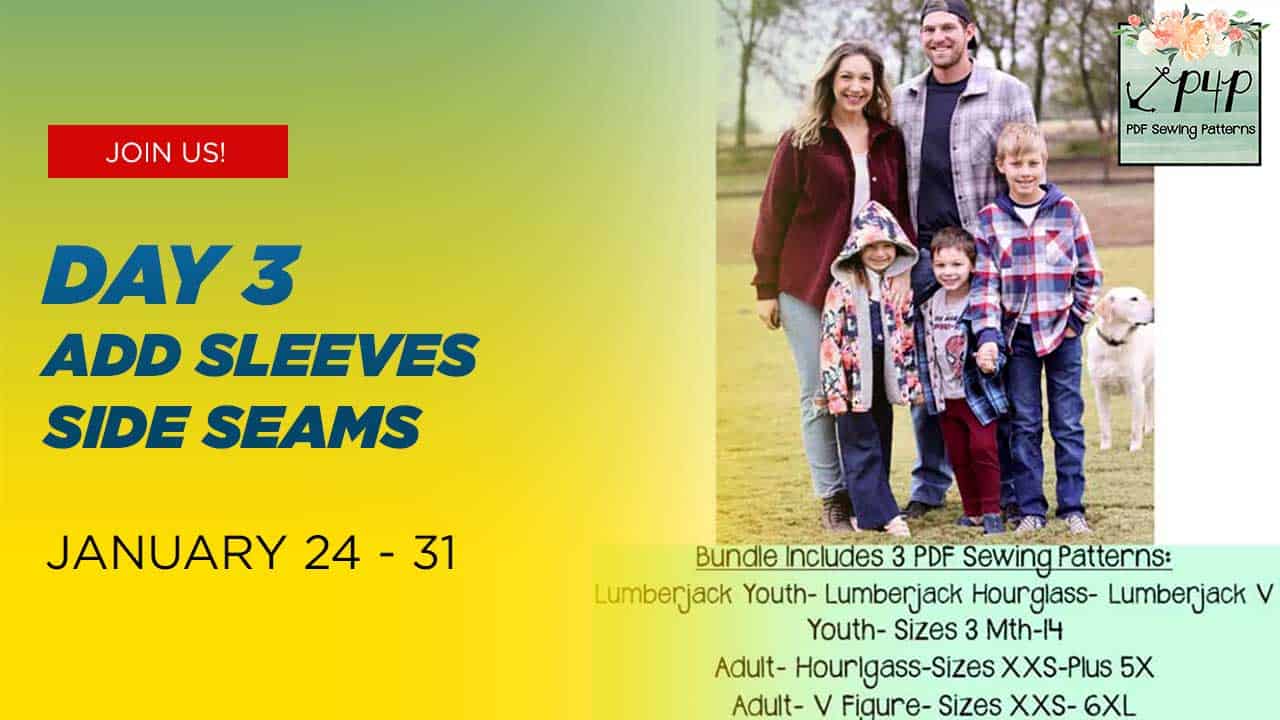
Lumberjack Sew along – day 3 | sleeves, side seams
Lumberjack Sew along – day 4 | cuffs
Lumberjack Sew along – day 5 | hood/collar
Lumberjack Sew along – day 6 | hemming, closures
Lumberjack Sew along – day 7 | winners announcement
![]()