I love to up-cycle! With a little boy I can find boyish knits, stripes and even character prints so much easier and more affordable buying a men’s T-shirt then the $30/yd euro knit… Which I’m constantly drooling over! I also love the heathered T-shirt knit, which is harder to find in a fabric store and very easily found in RTW (Ready to wear). I love to use my husband and my old shirts as well… It’s even more special handmade with an already sentimental shirt! So here are some tips and tricks I’ve learned… 1- Buy bigger… Why not? If an XS and XXXL are the same price get more fabric 🙂 2- If it has a picture on it make sure it will fit on your smaller size you are creating. This one can be difficult if you’re buying large men’s shirts BC they are proportionally much bigger pictures/words/designs on the chest. Here is one I BARELY SQUEEZED on his little chest, but then when it is on some wraps around to the sides, so really I should’ve waited until he was a few sizes bigger!


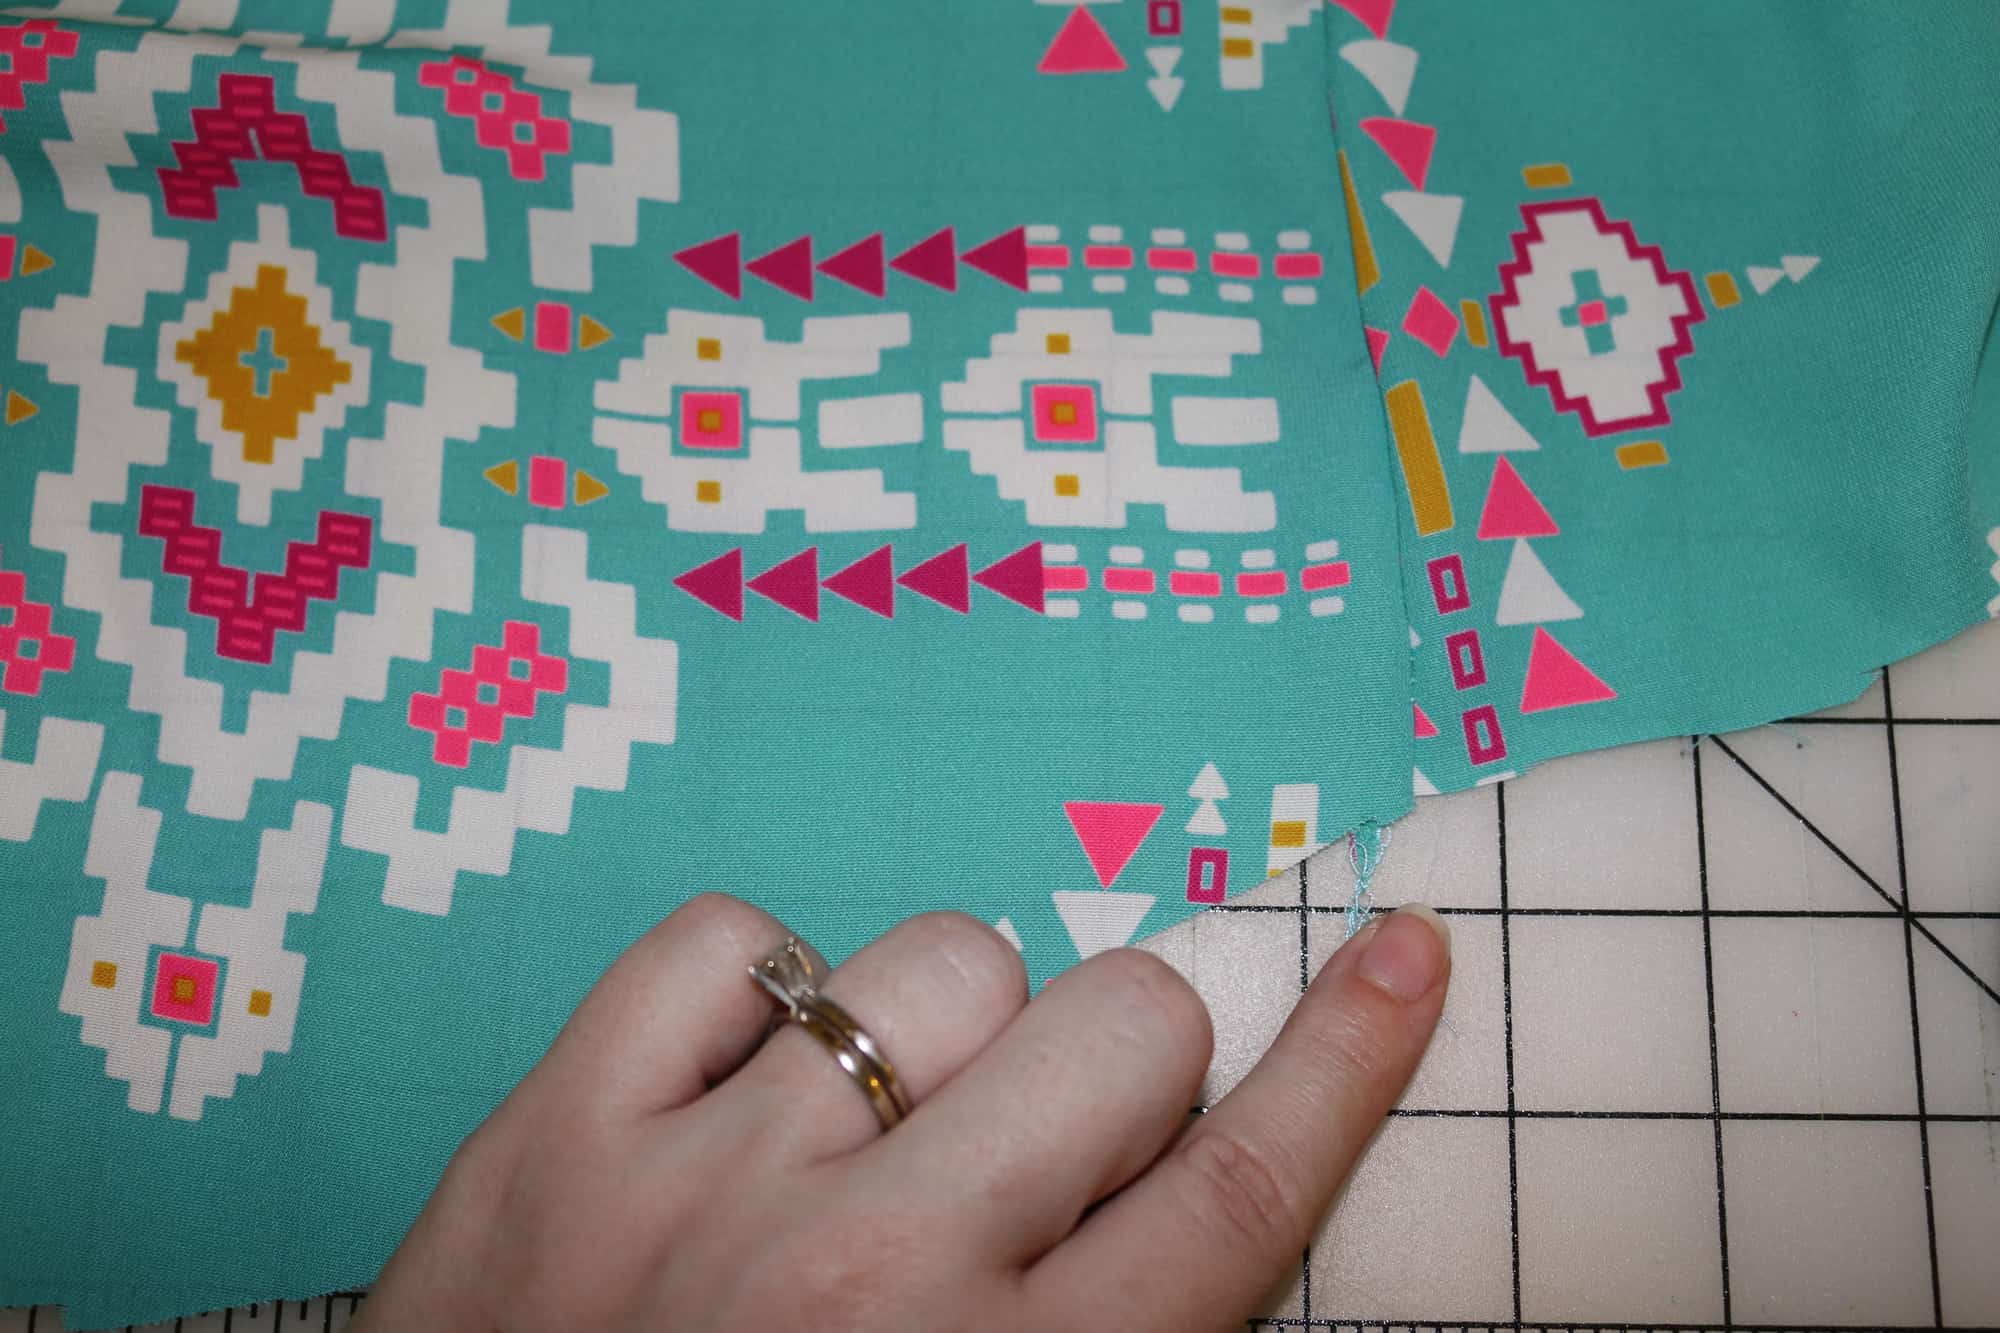
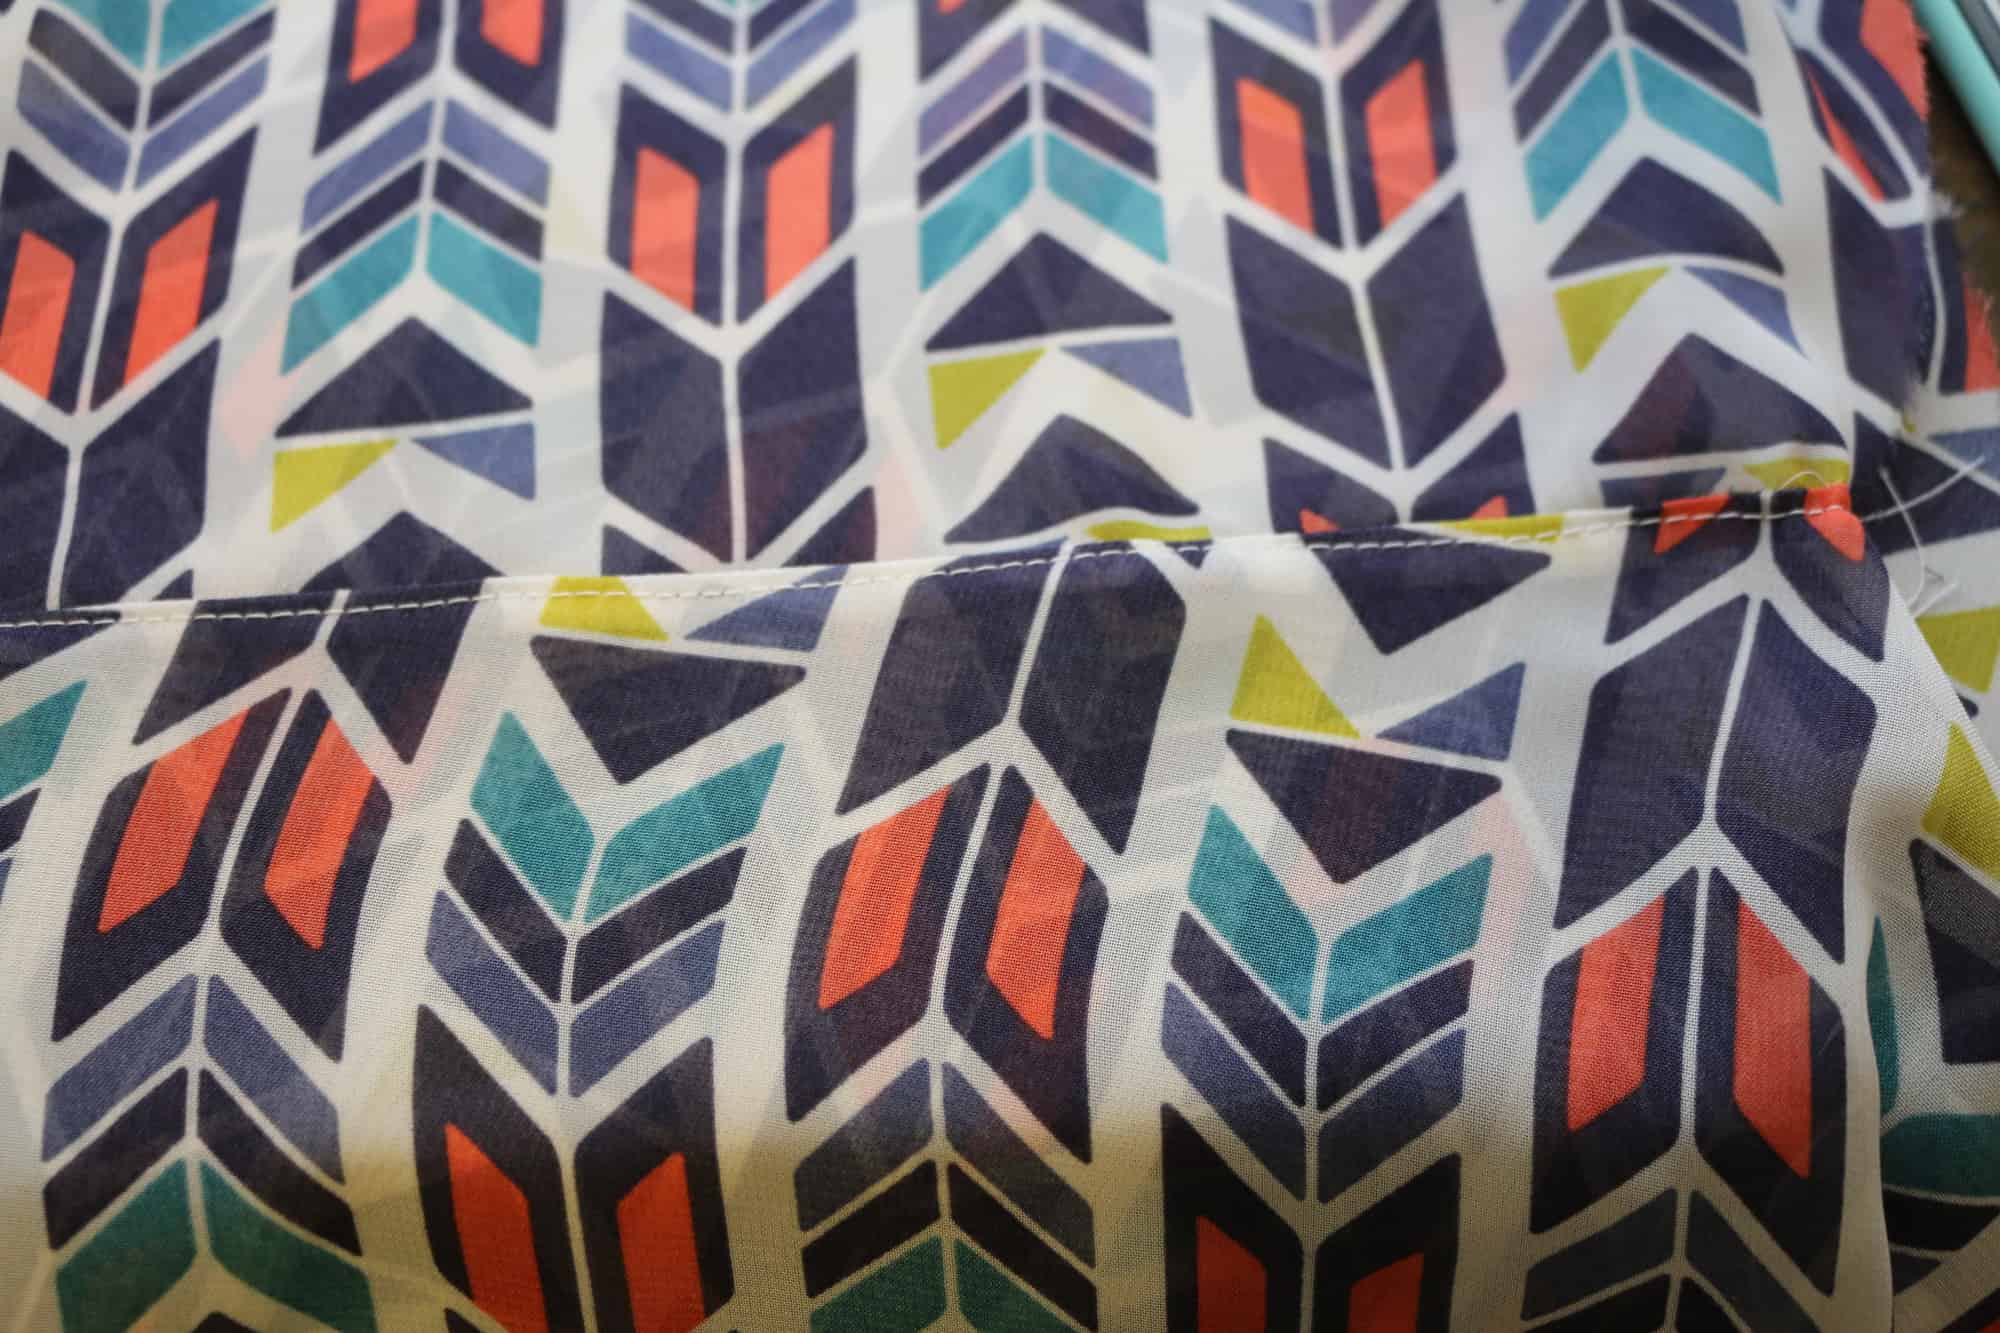
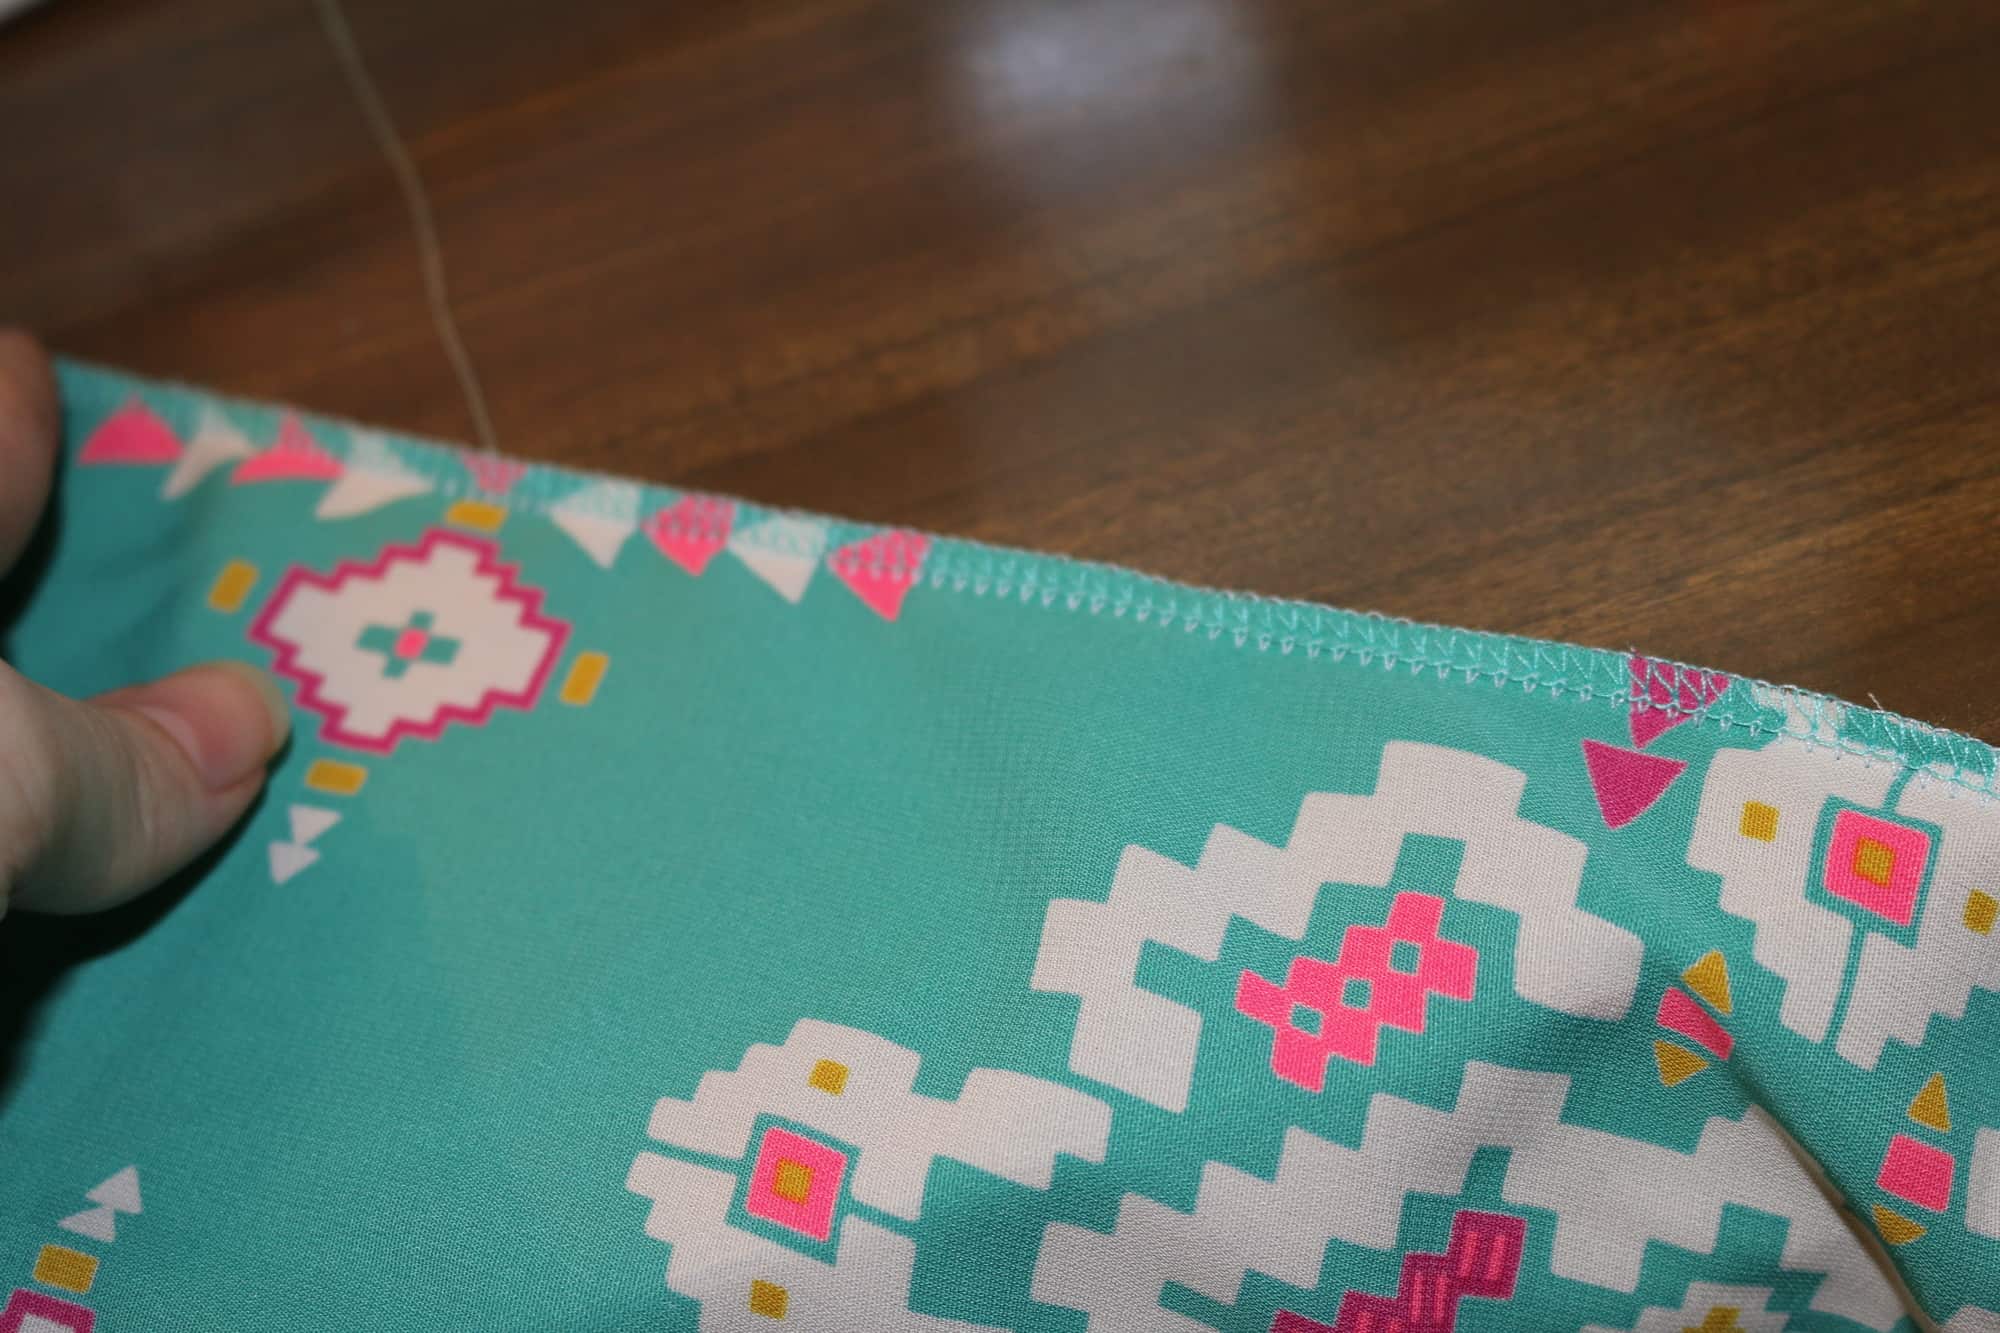
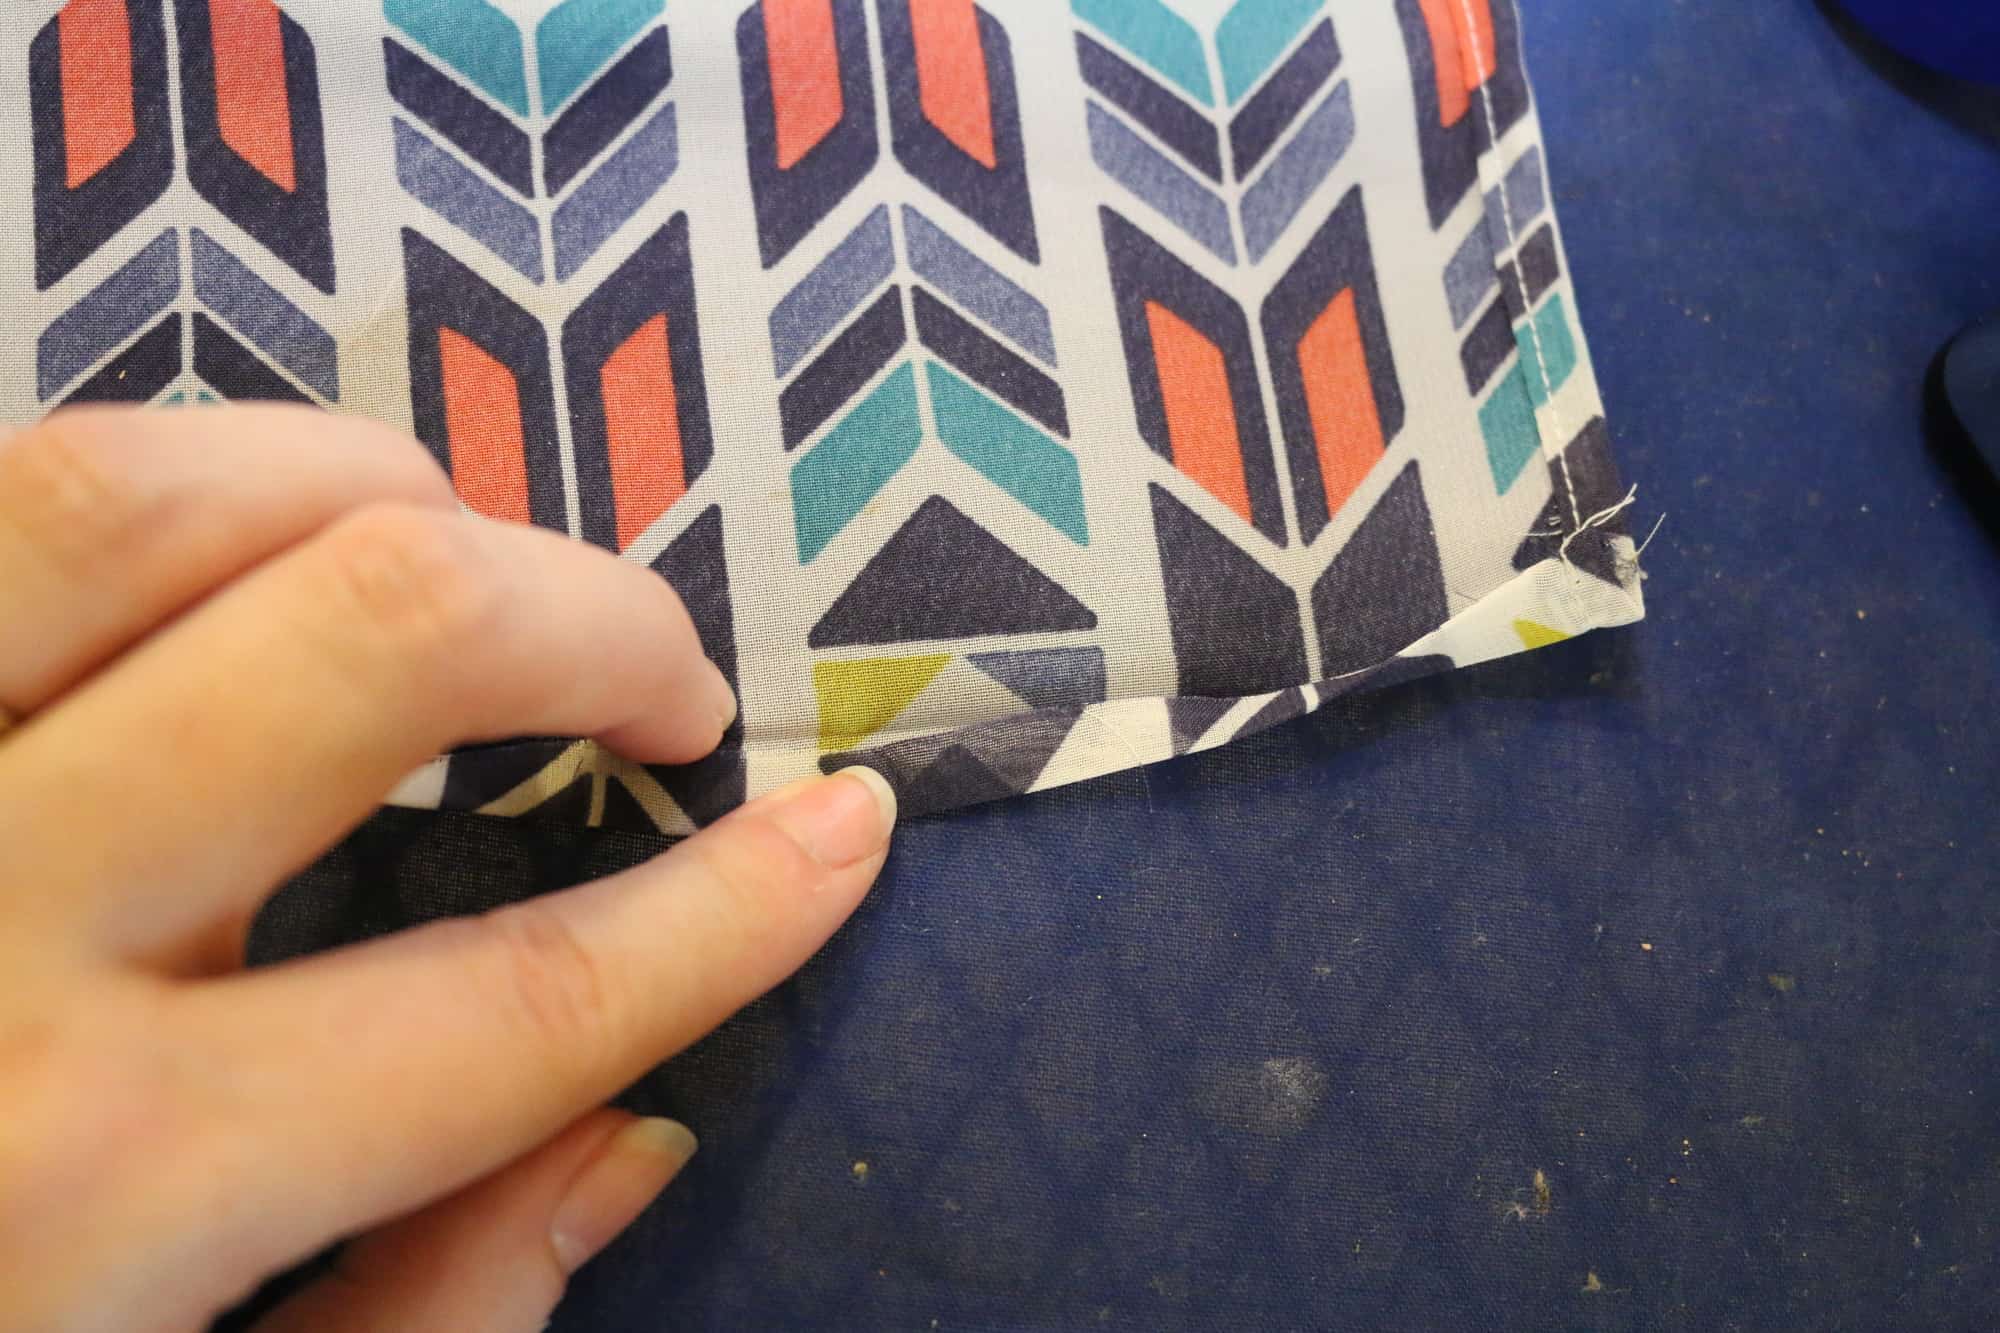
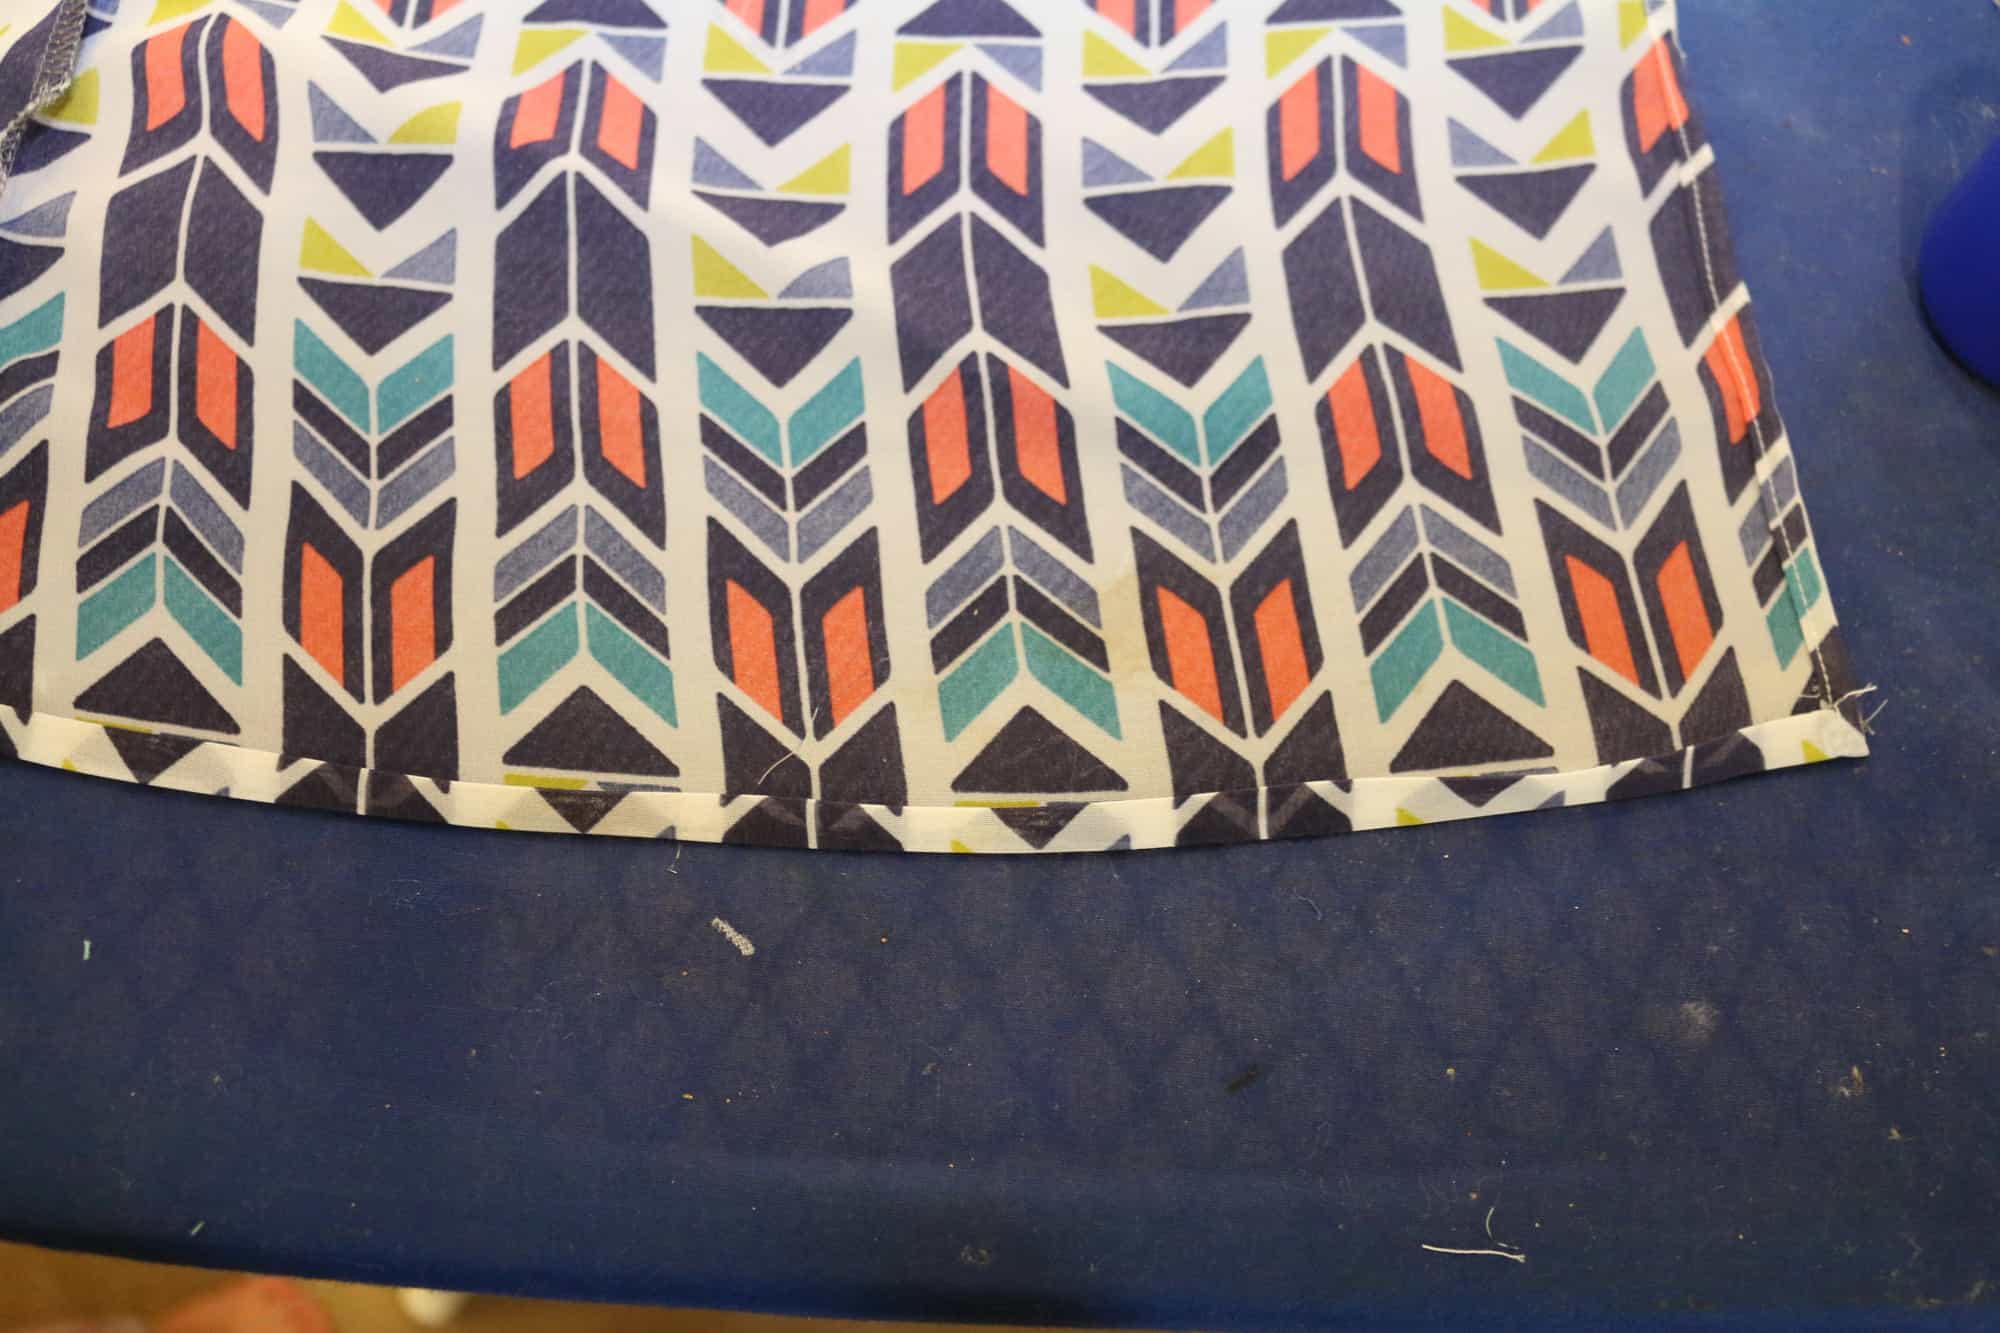
3- Use the hem! I don’t have a cover stitch machine… Yet 🙂 and although I love my double needle using the existing hem saves time and looks nice and professional already! All you have to do is account for the hem- Most my patterns are 1″ so here I am cutting with my pattern piece 1″ below my fabric to make up for the fact that I will not be turning up and hemming.

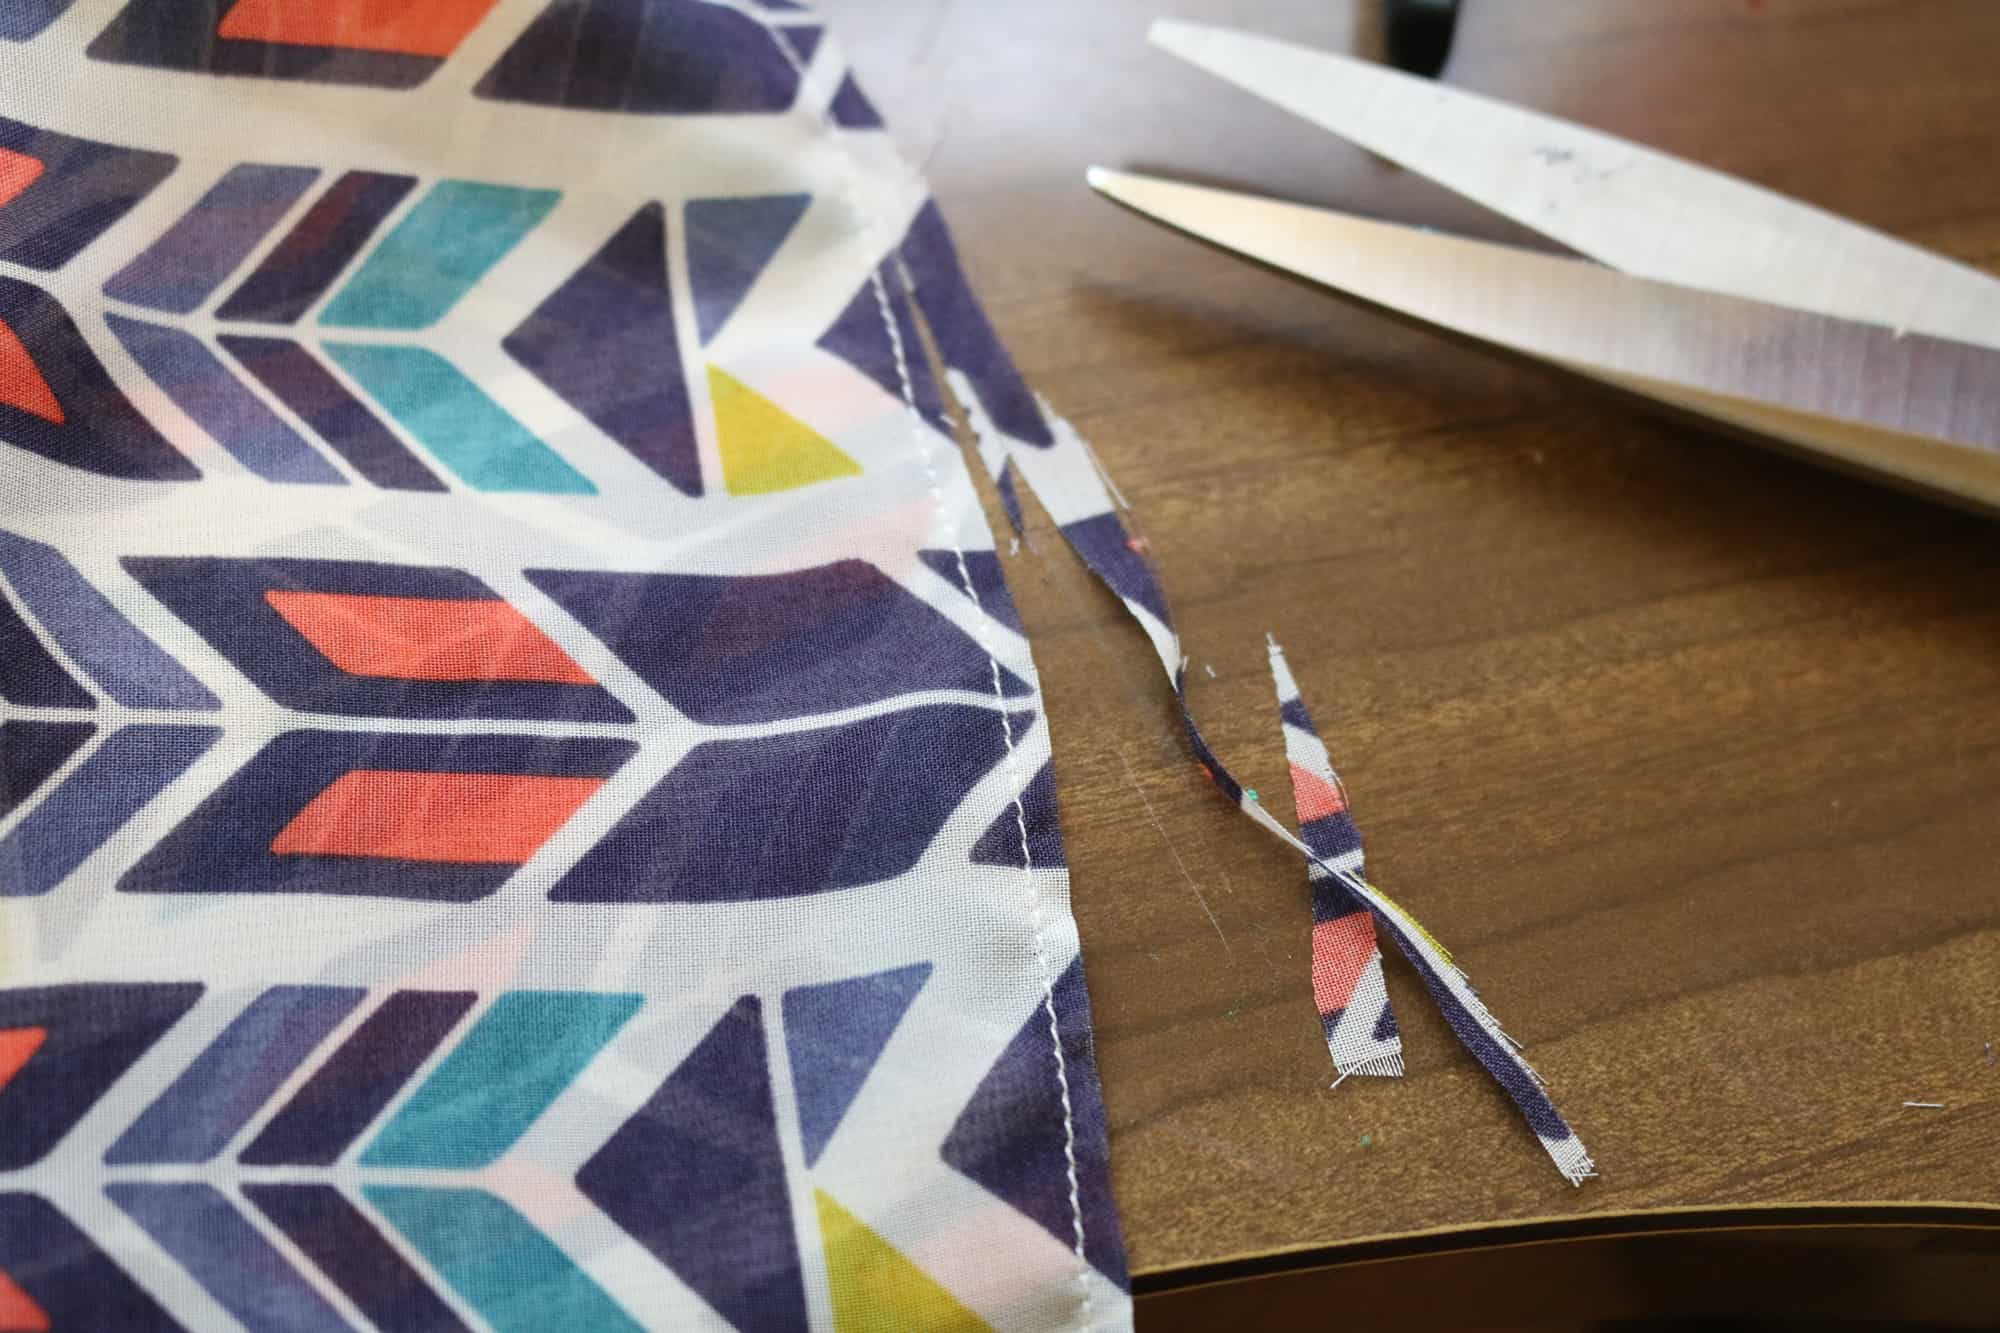
4- Cut you RTW items down the seams, this give you nice flat pieces to last your pattern pieces out on. If there isn’t a side seam, then I don’t cut… but anywhere there are seams I go ahead and cut because you will not be able to use the area. I also cut the sleeves, again along the seam and use them if I can! Here is a shirt and shorts cut and ready to use:

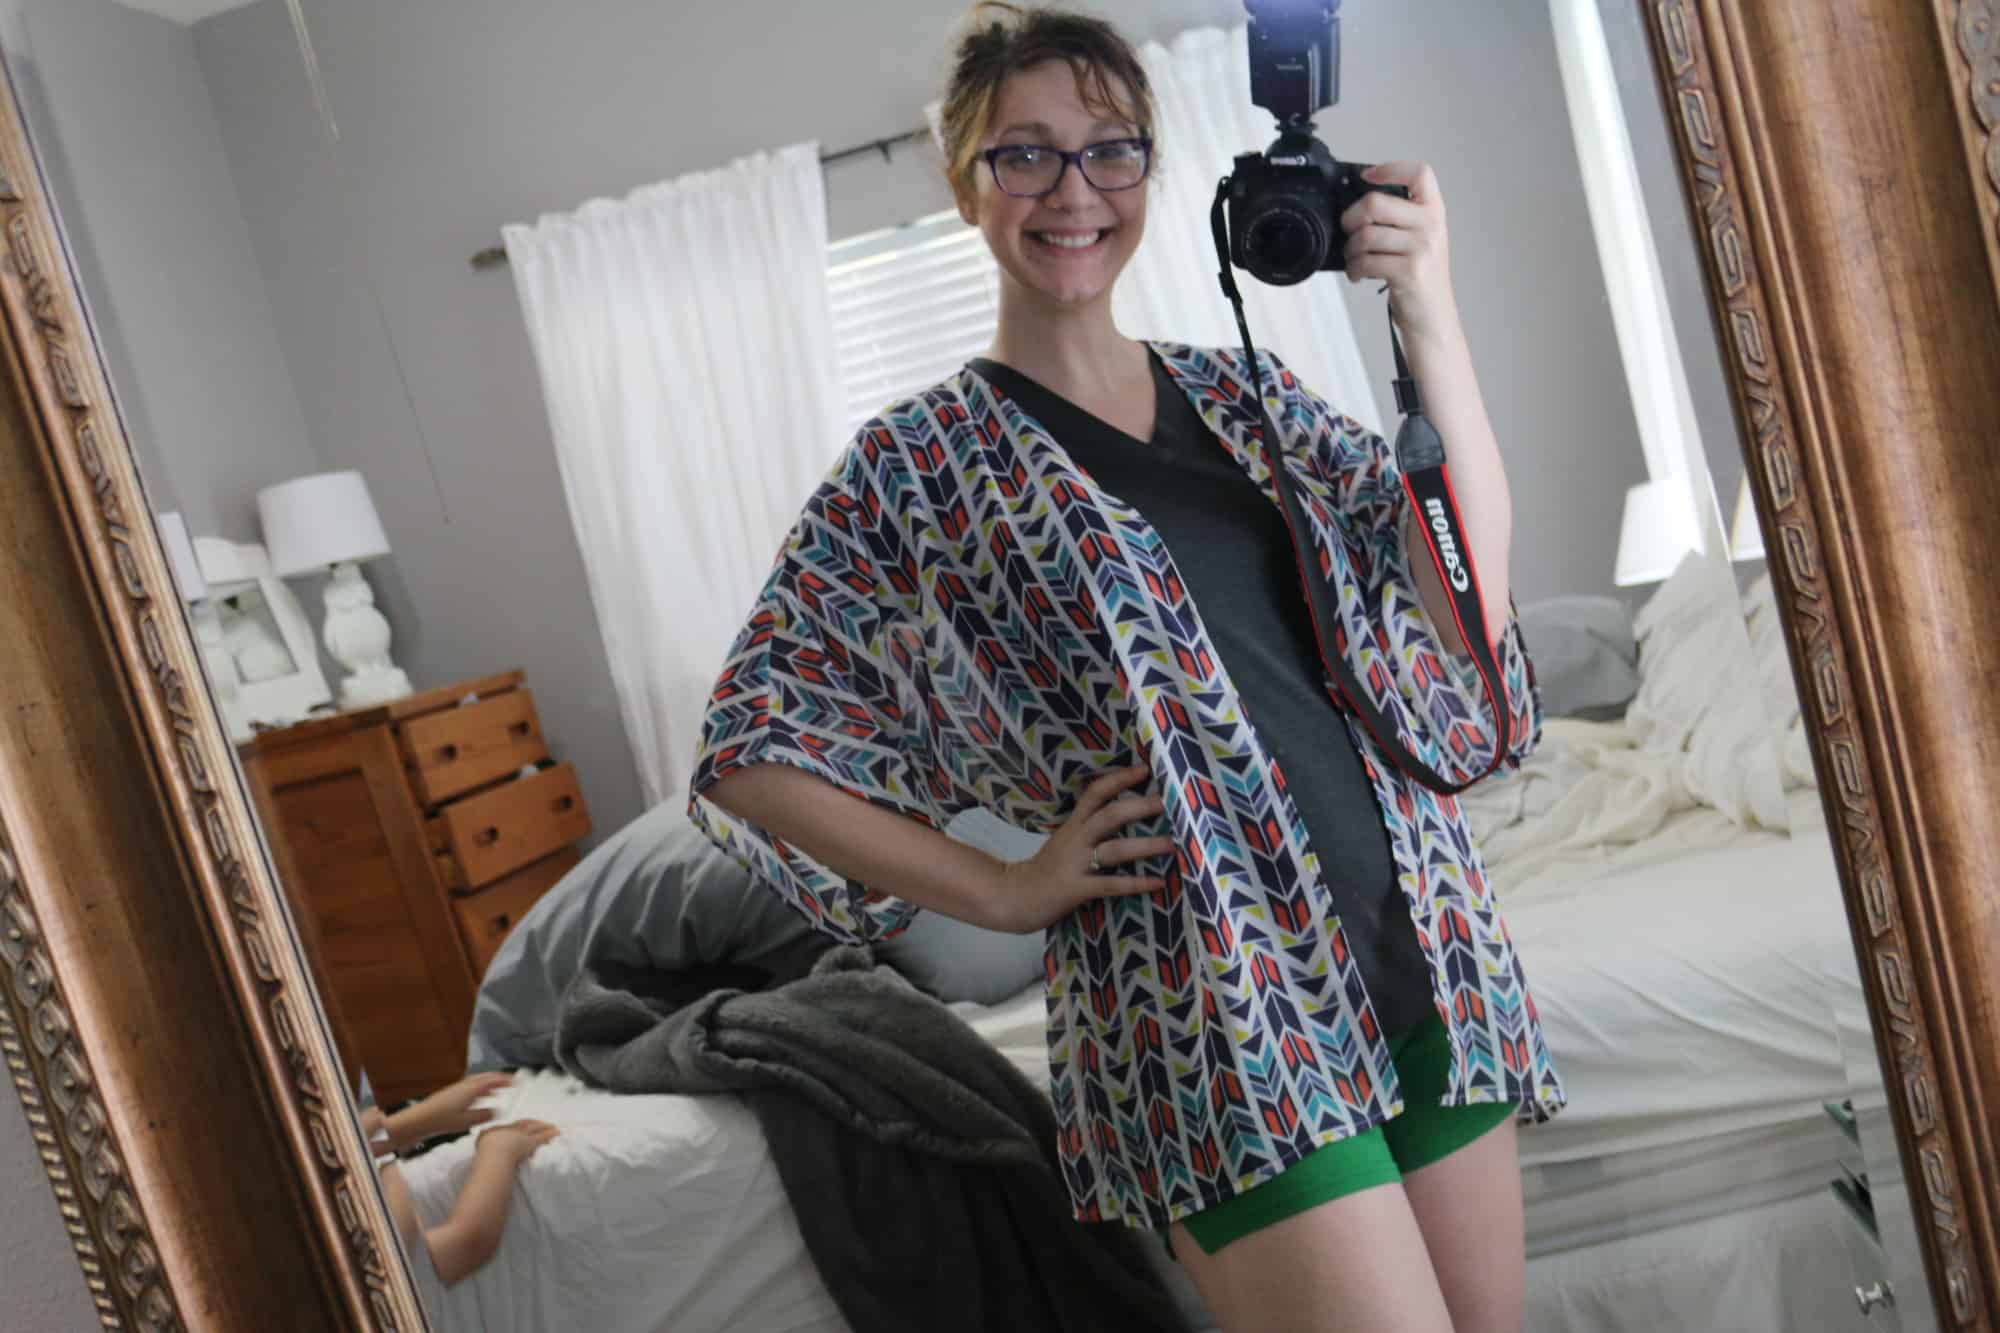
 5- If you’re using a shirt with a design, fold with the DESIGN centered… You’d think RTW is all centered nicely on that shirt… Until you fold it at the side seams and realize it’s not!! Often they’re off centered! 6- If you don’t have ribbed knit to match for the neckline you can use theirs…especially if you have a much larger size (men’s xxl down to a toddler size). Here are a couple of some up-cycles I’ve done: Patterns for Pirates Buccaneer BBall Shorts:


Matey Muscle Tank:


Wingman Shirt: The grey was from a heathered grey t-shirt… the Batman logo was appliqued on my sewing machine 🙂

Deep Sea V-Neck:

Cole’s Creations ‘Buttercup Dress:

Women’s Raglan: