Patterns for Pirates

P4P stylish, modern, wearable patterns

  • Home
  • Blog
    • Frequently Asked Questions
    • Pattern Releases
      • Free Patterns
    • P4P University
      • Fitting
      • Sewing with Stretch, Knit Fabrics
      • Sewing with Woven Fabrics
      • Sewing Machines
    • Sew-A-Longs
    • Fabric for Pirates
    • Pattern Hacks
    • Announcement
      • Blog Tours
      • Contest/Giveaway
  • Shop
  • Bundle Discounts
  • Gift Cards
  • My Account
  • Cart

Sweater Weather – easy hacks

January 23, 2021


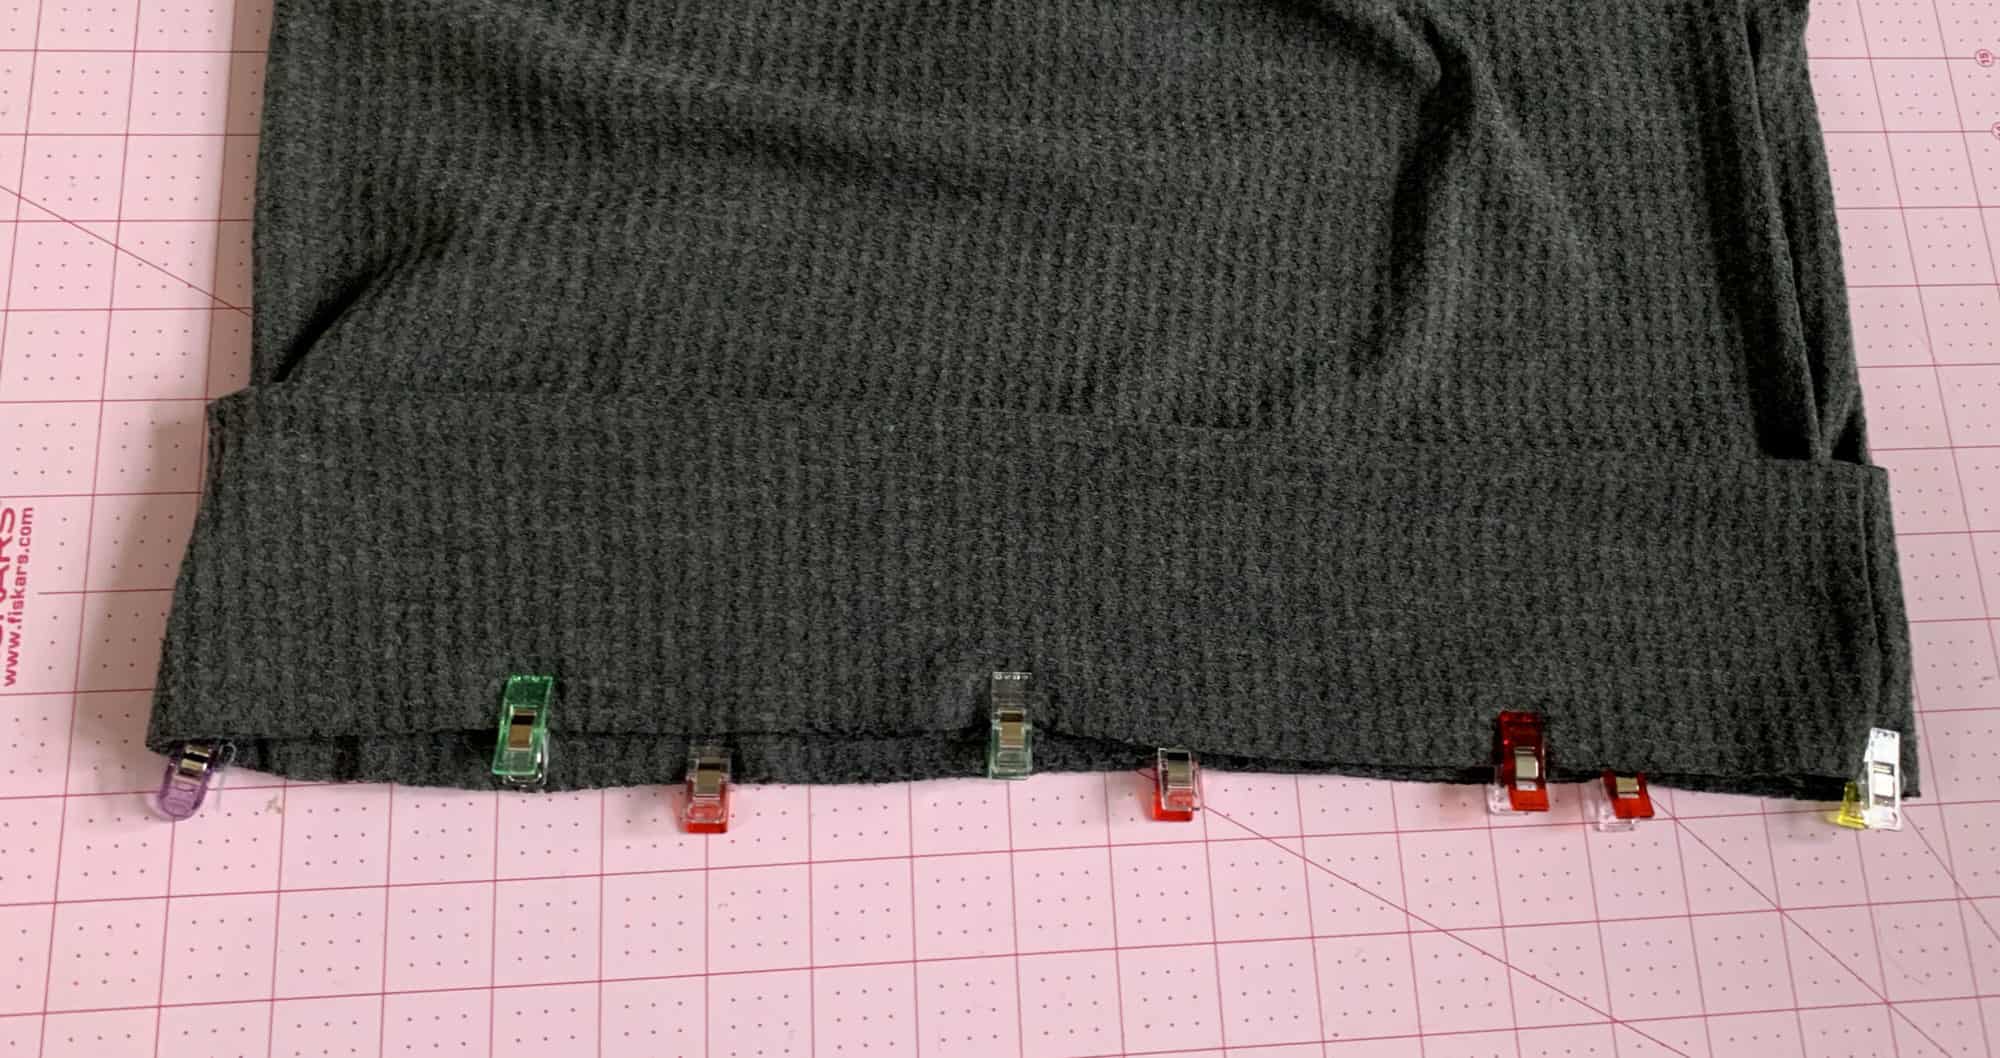
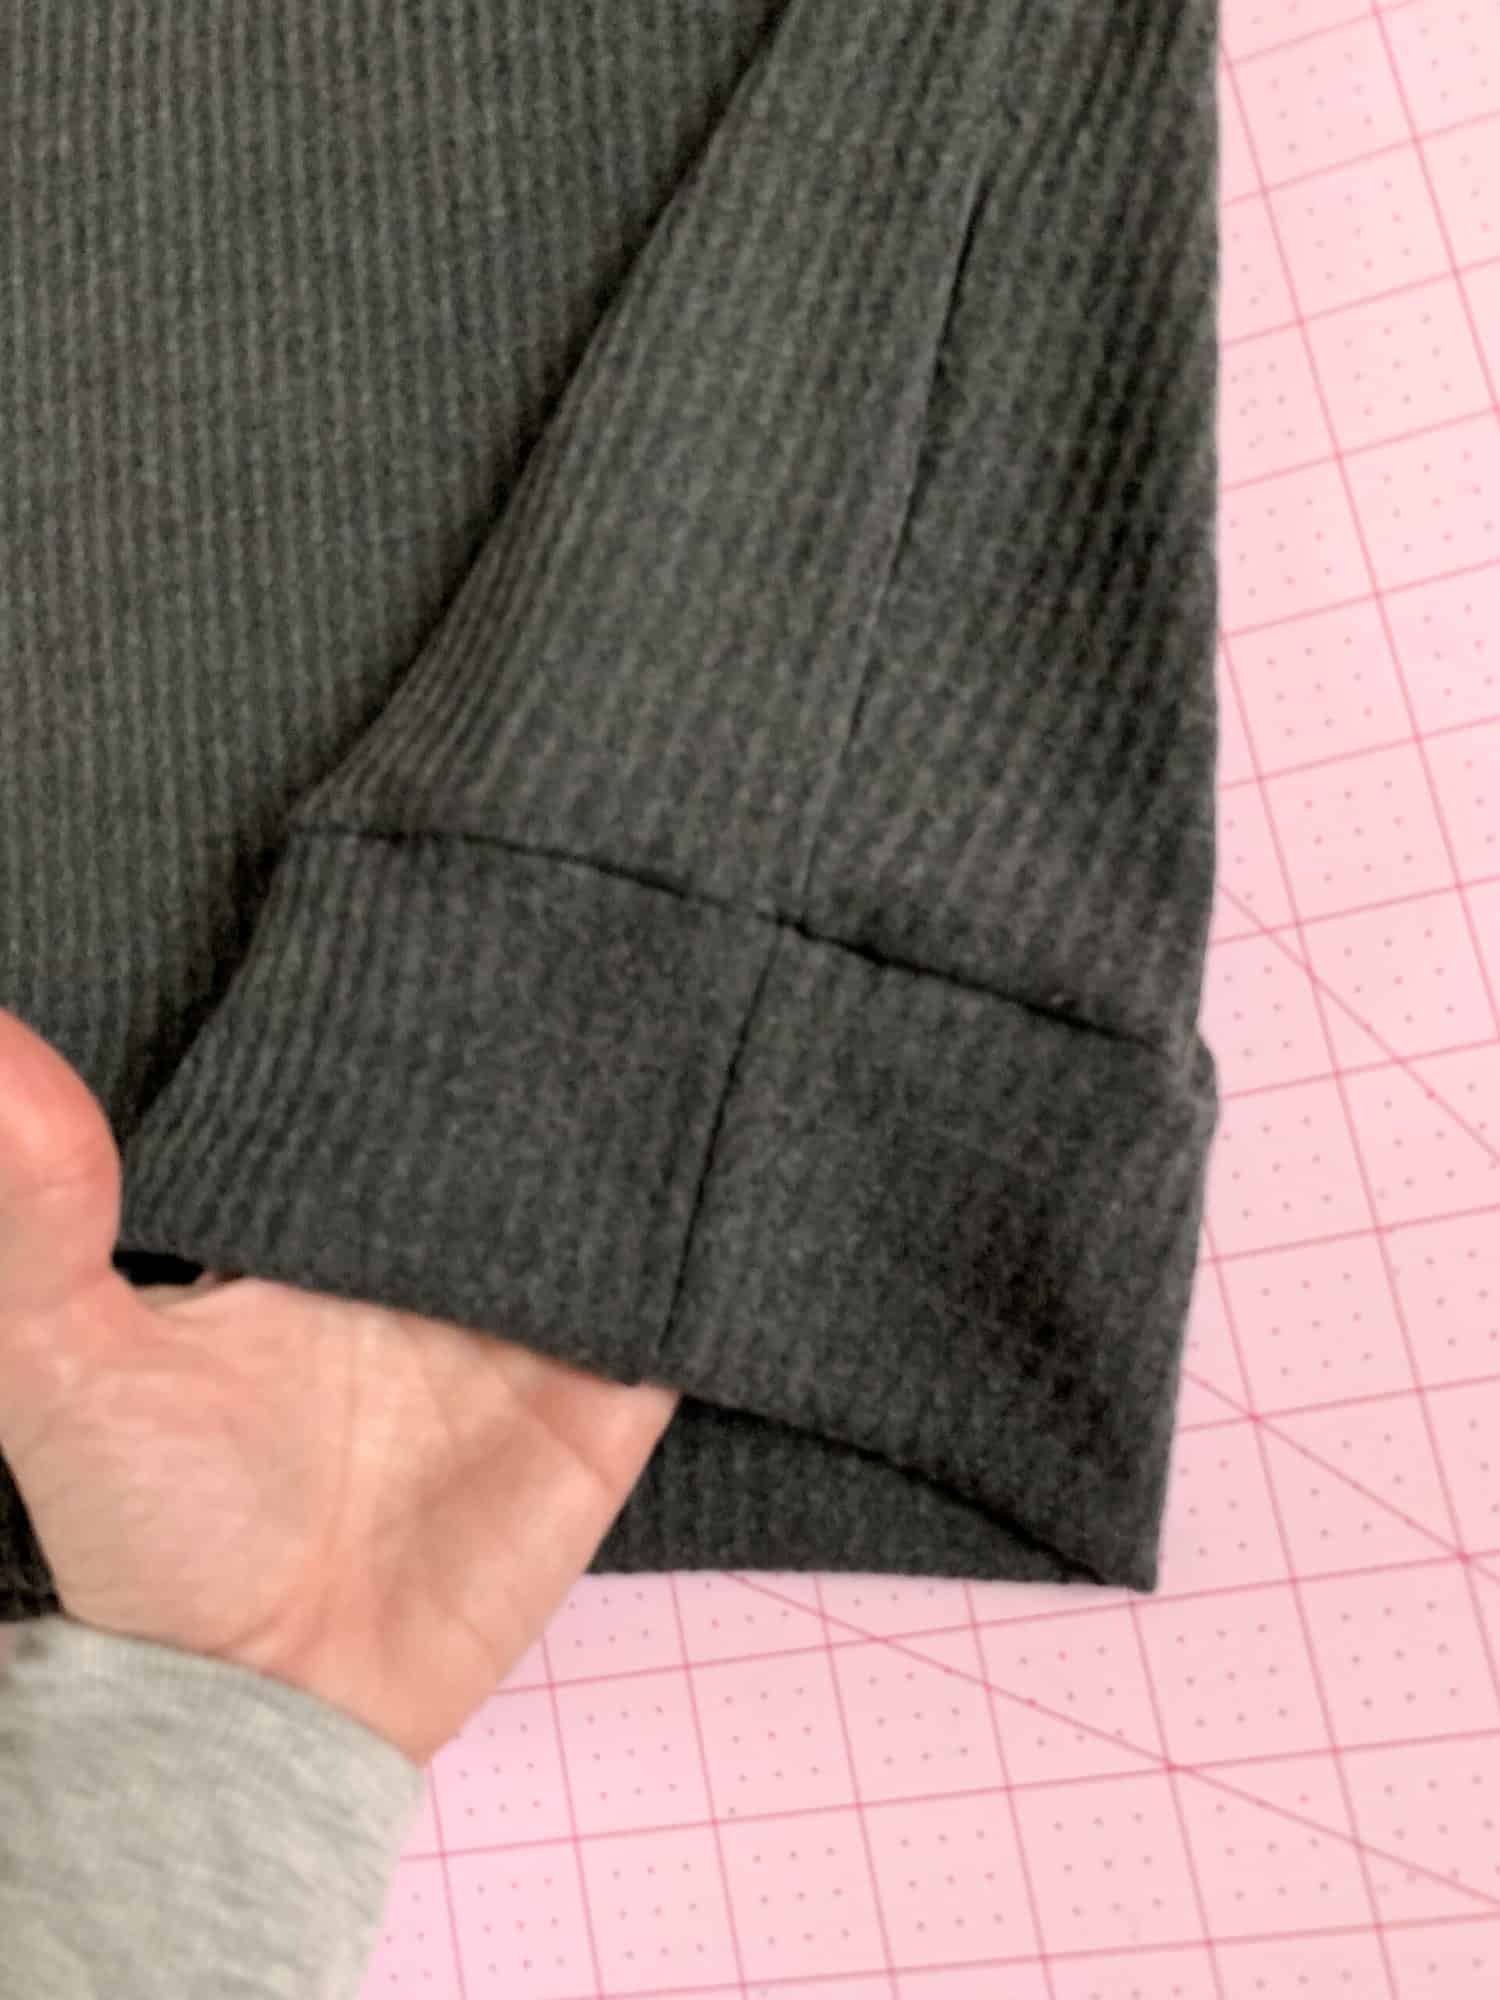
From brrrrrr to ummmm! This cold days, stay nice and warm with the newest P4P pattern, the Sweater Weather! Our blog contributors team has put together some quick and easy hacks to give you even more options to the pattern. Dana is showing you how to make a wonderful Sweater Weather dress, Jody ditches the side seams for a classic banded look and I took the sweater from winter to summer. Let’s get started! 

…..

Dress

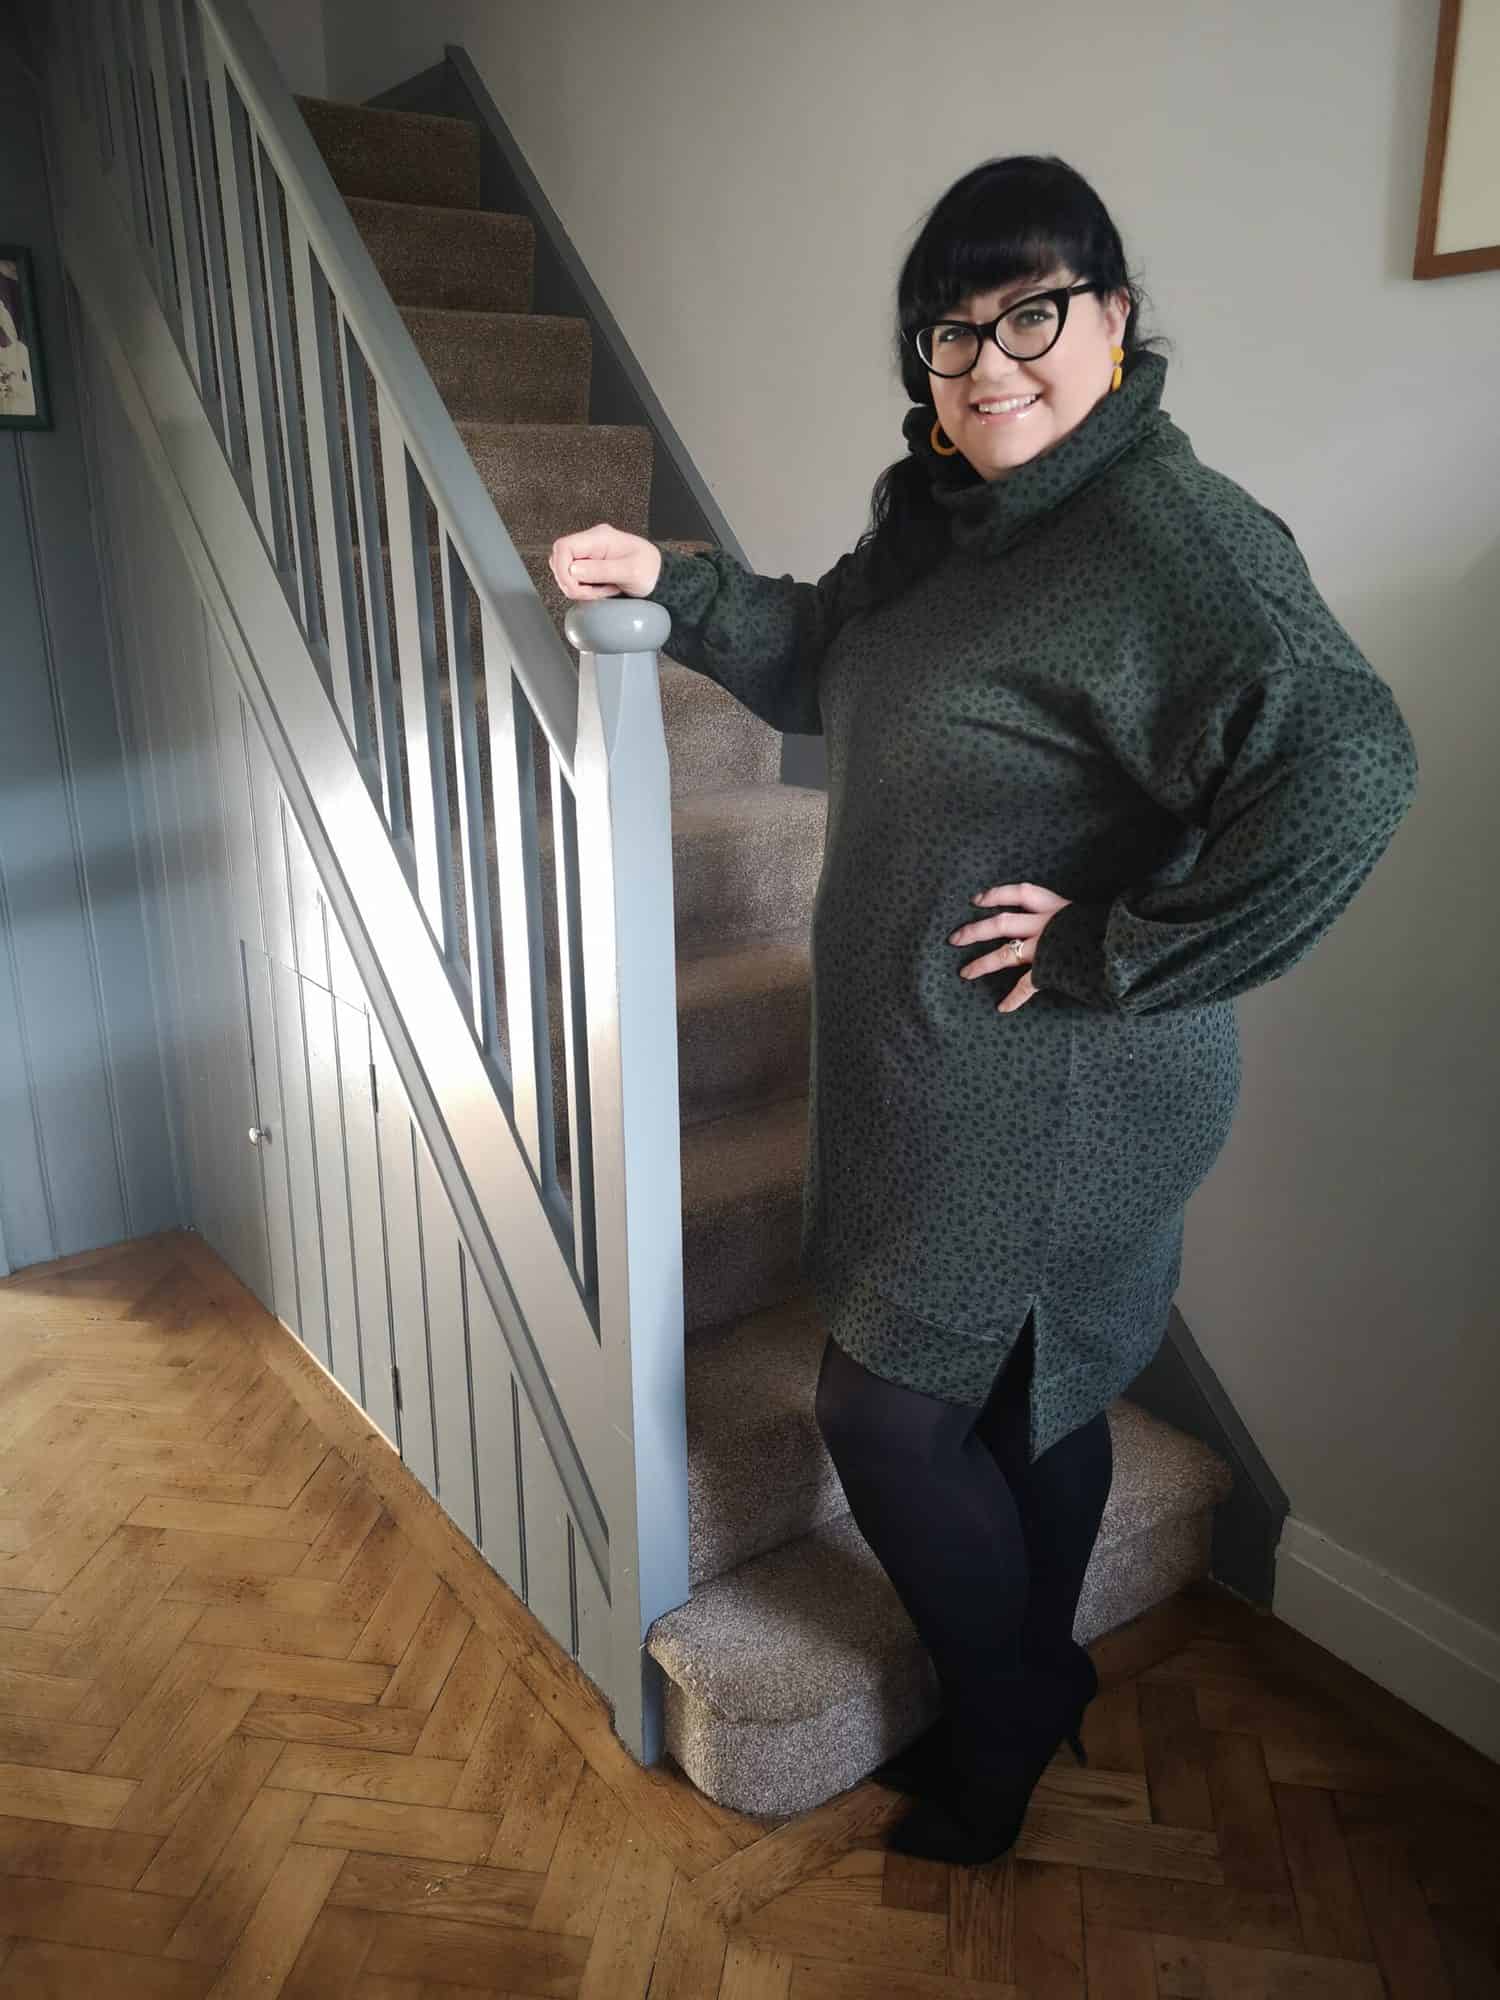
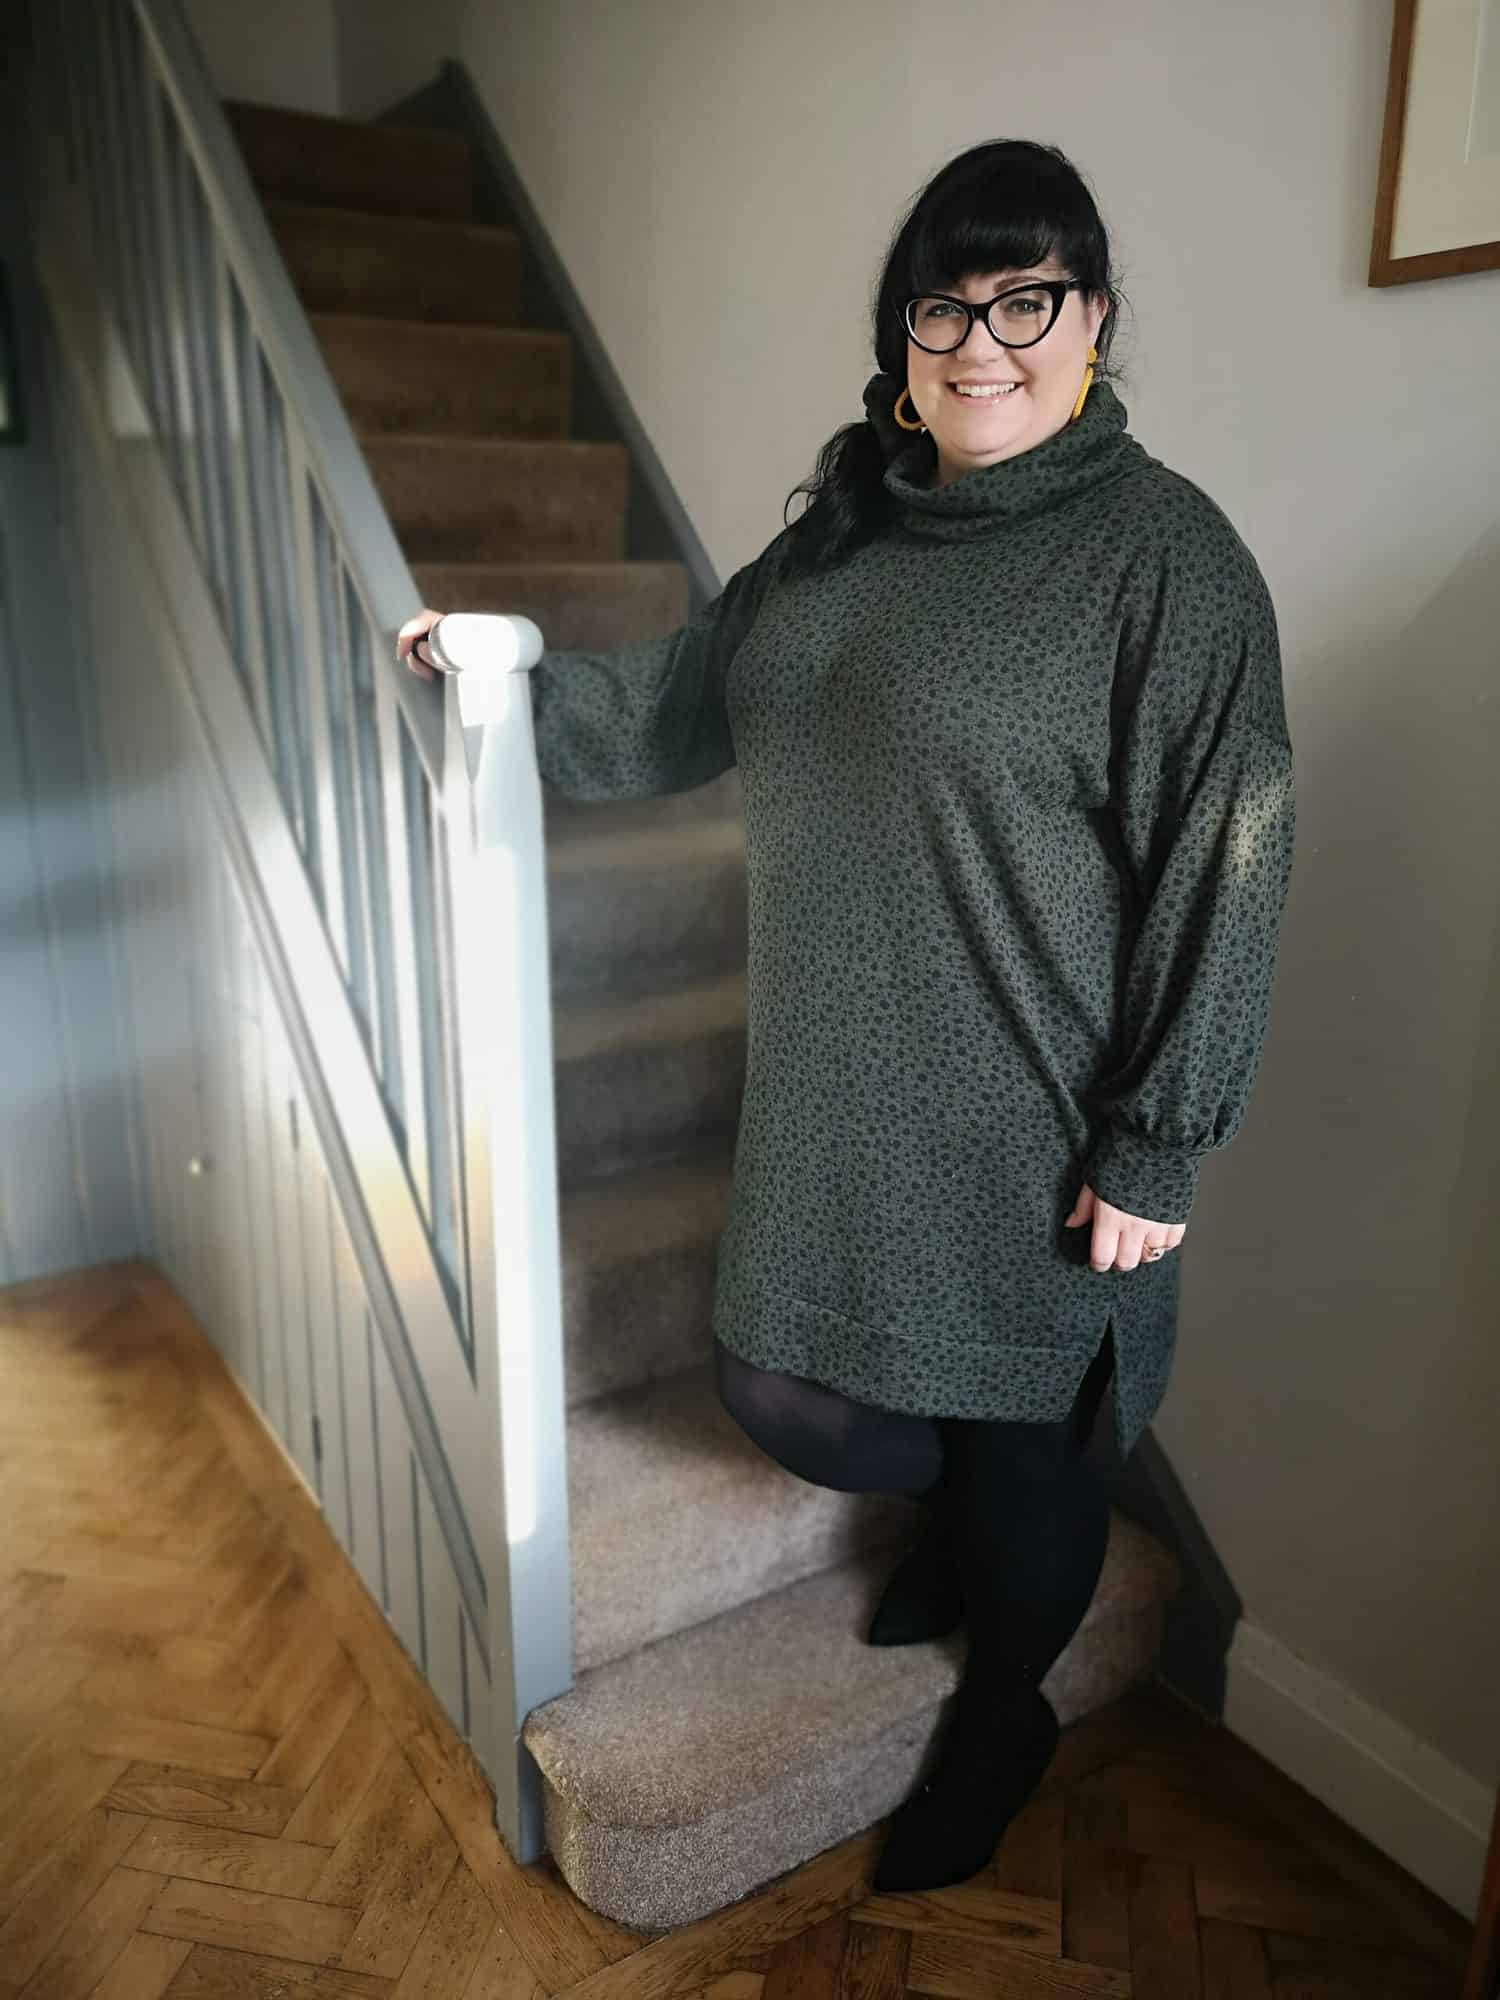
I live in sweater dresses in the winter months because it gets cold in the UK.  I couldn’t resist doing a little hack to the new Sweater Weather length to recreate a Pinspiration I’ve had on my to-do list for a while.

I measured the front pattern piece and then held the tape measure up to myself to decide how much length I wanted to add.  I decided to go with 6 inches extra added to the tunic length, which is a little more that I would normally add but there is a hi-low cutline, and so I wanted to make sure the front would be long enough for decency. 


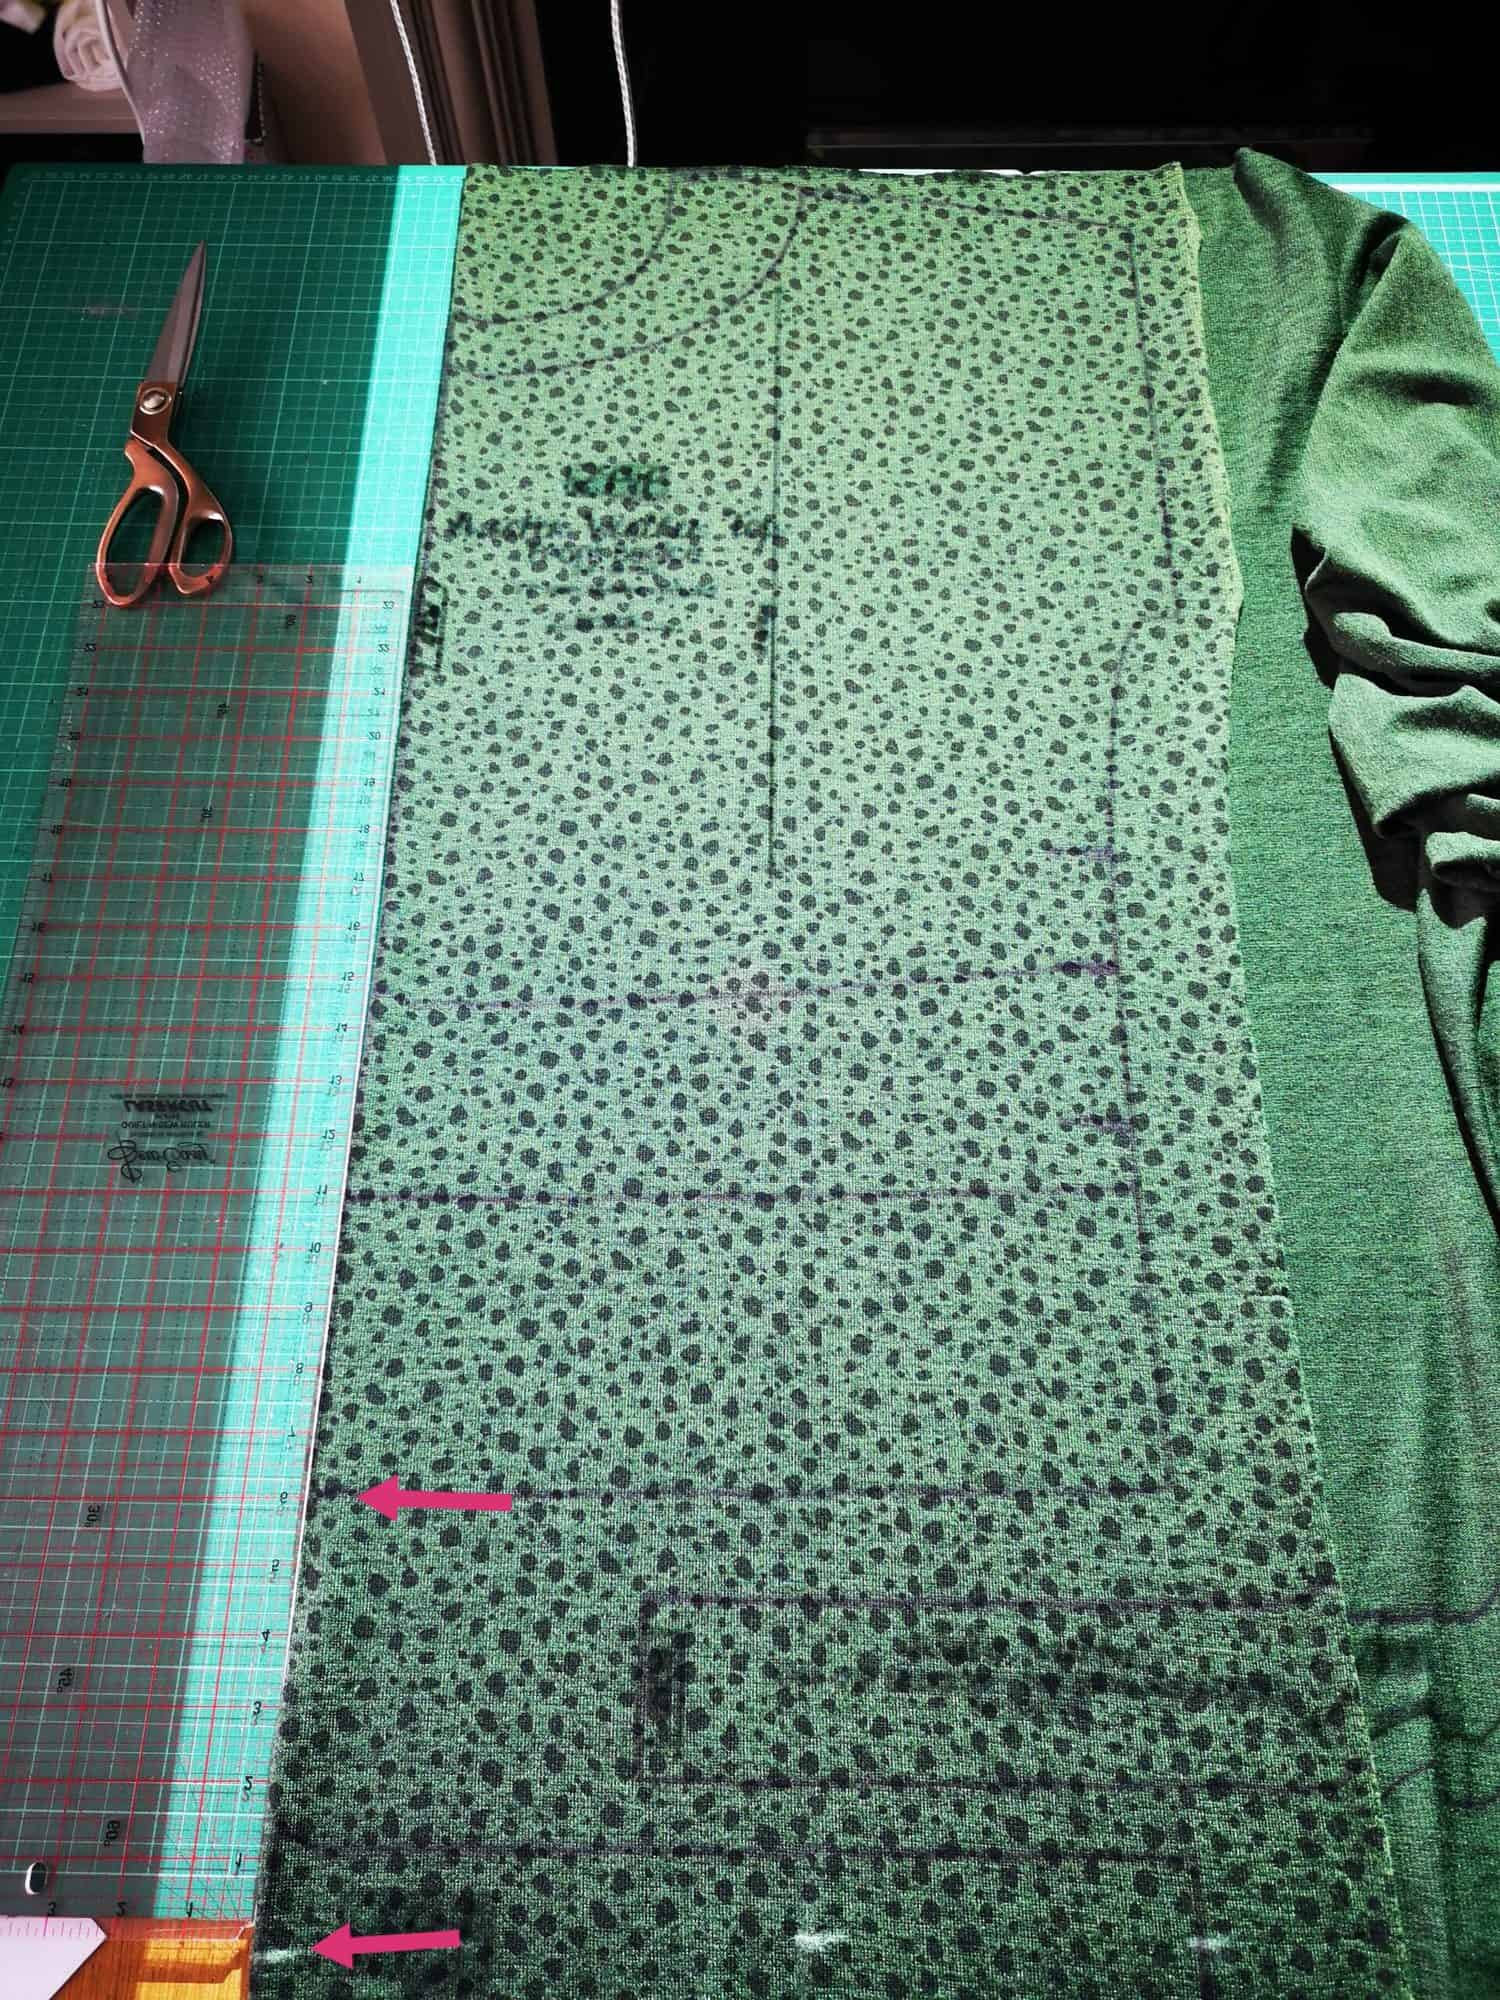
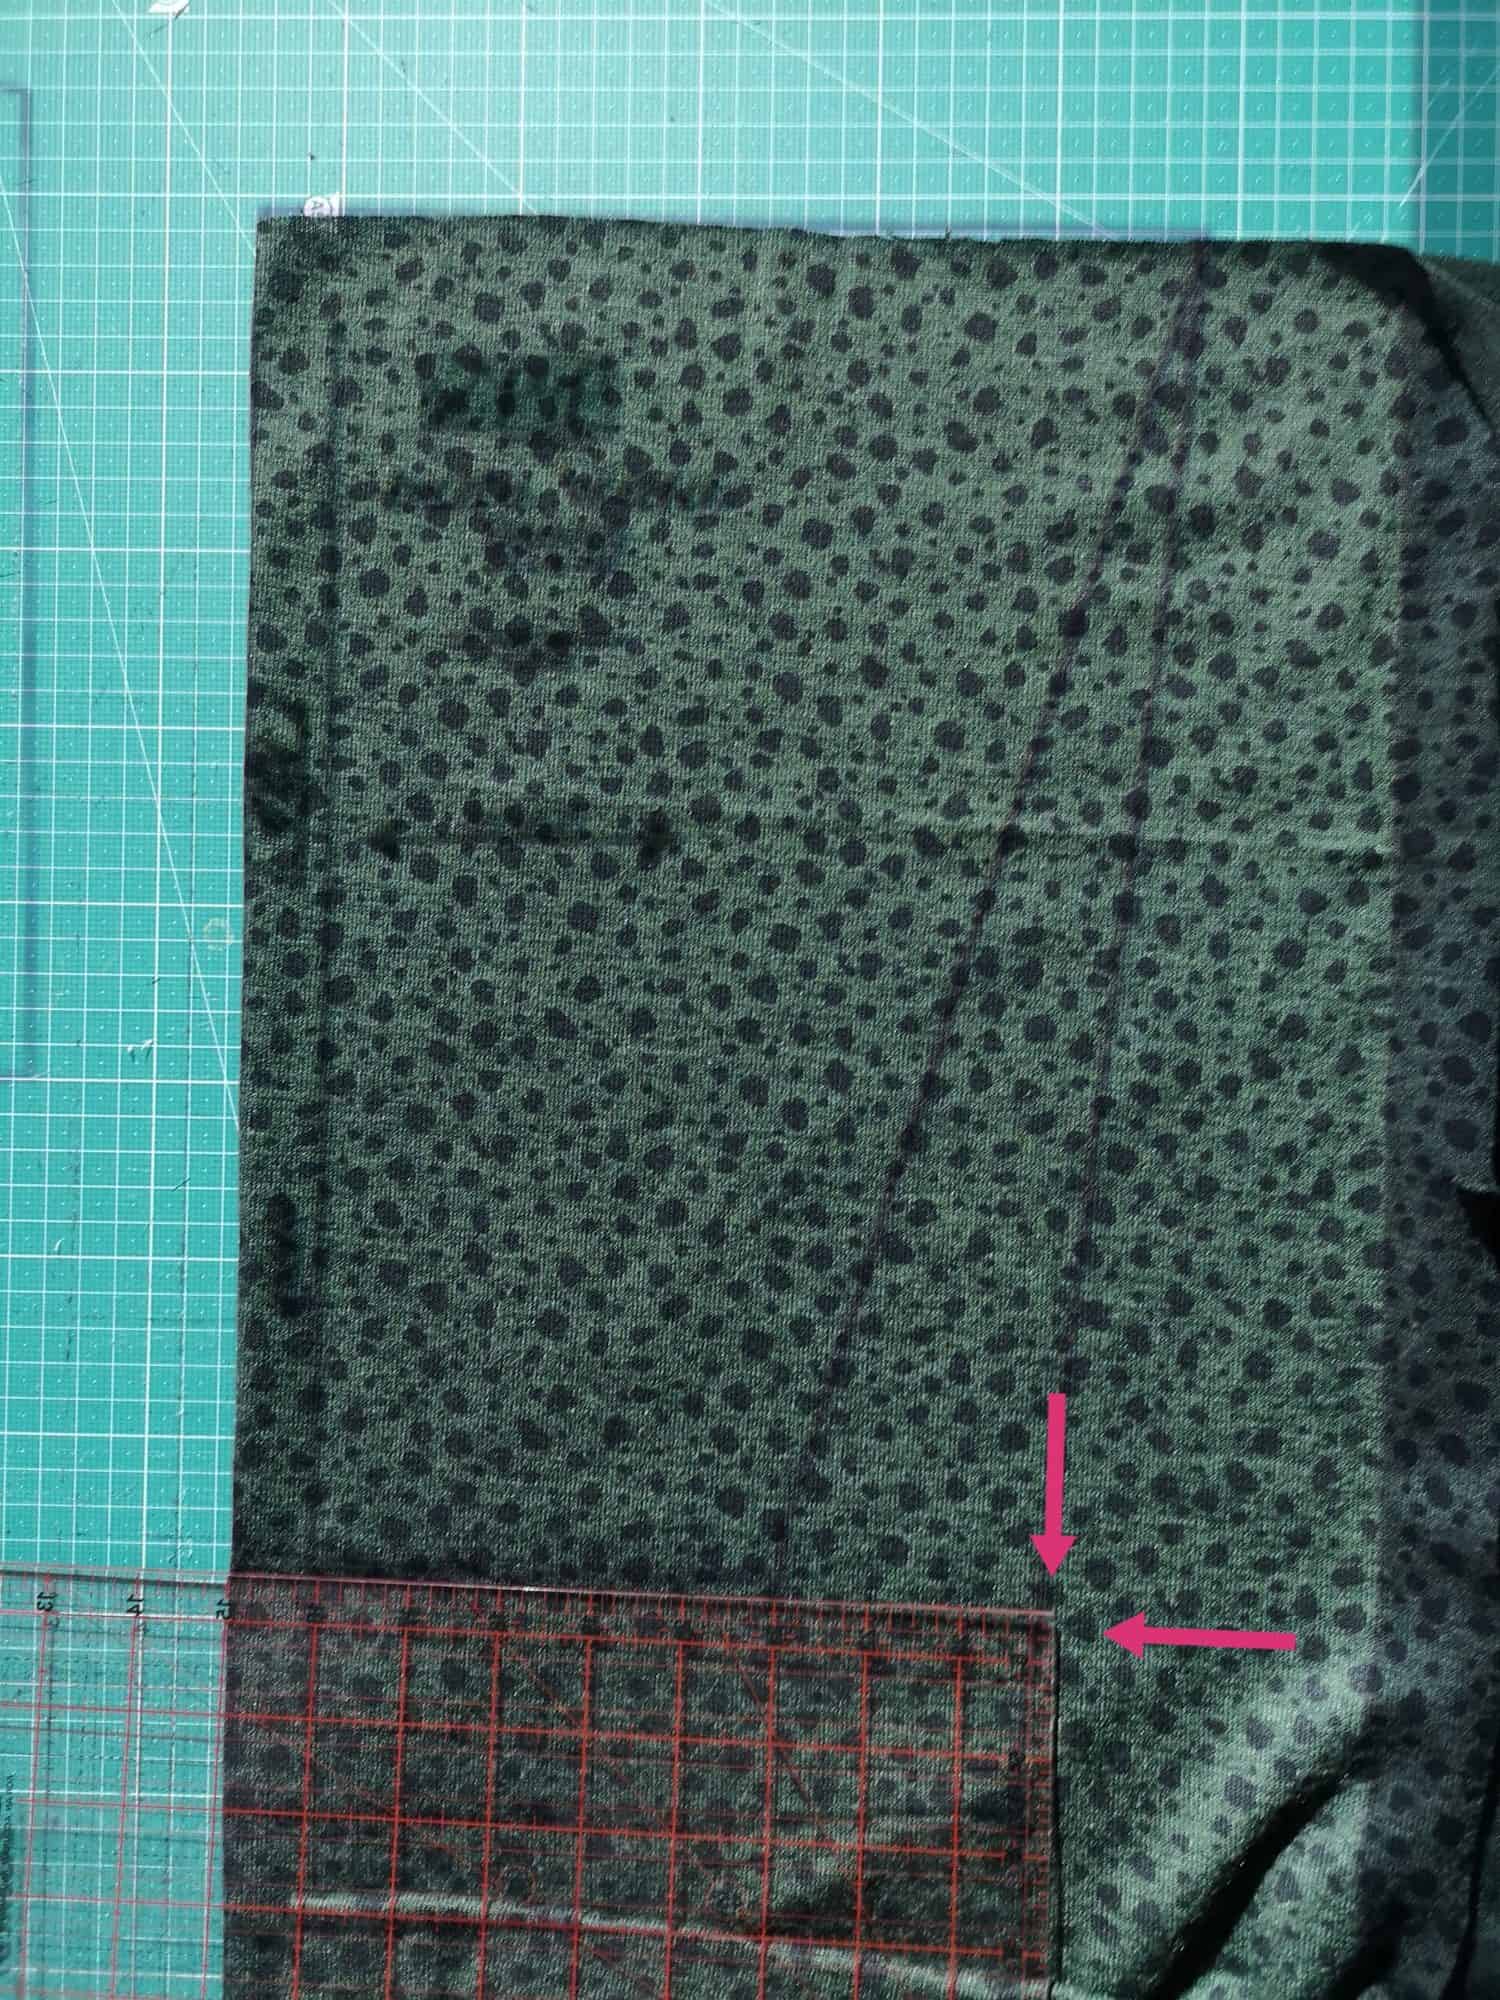
I use a projector these days and it was as simple as adding 6 inches extra length to the bottom of the front and back bodice pattern pieces, which I did on the fly with my perspex quilting ruler and rotary cutter.

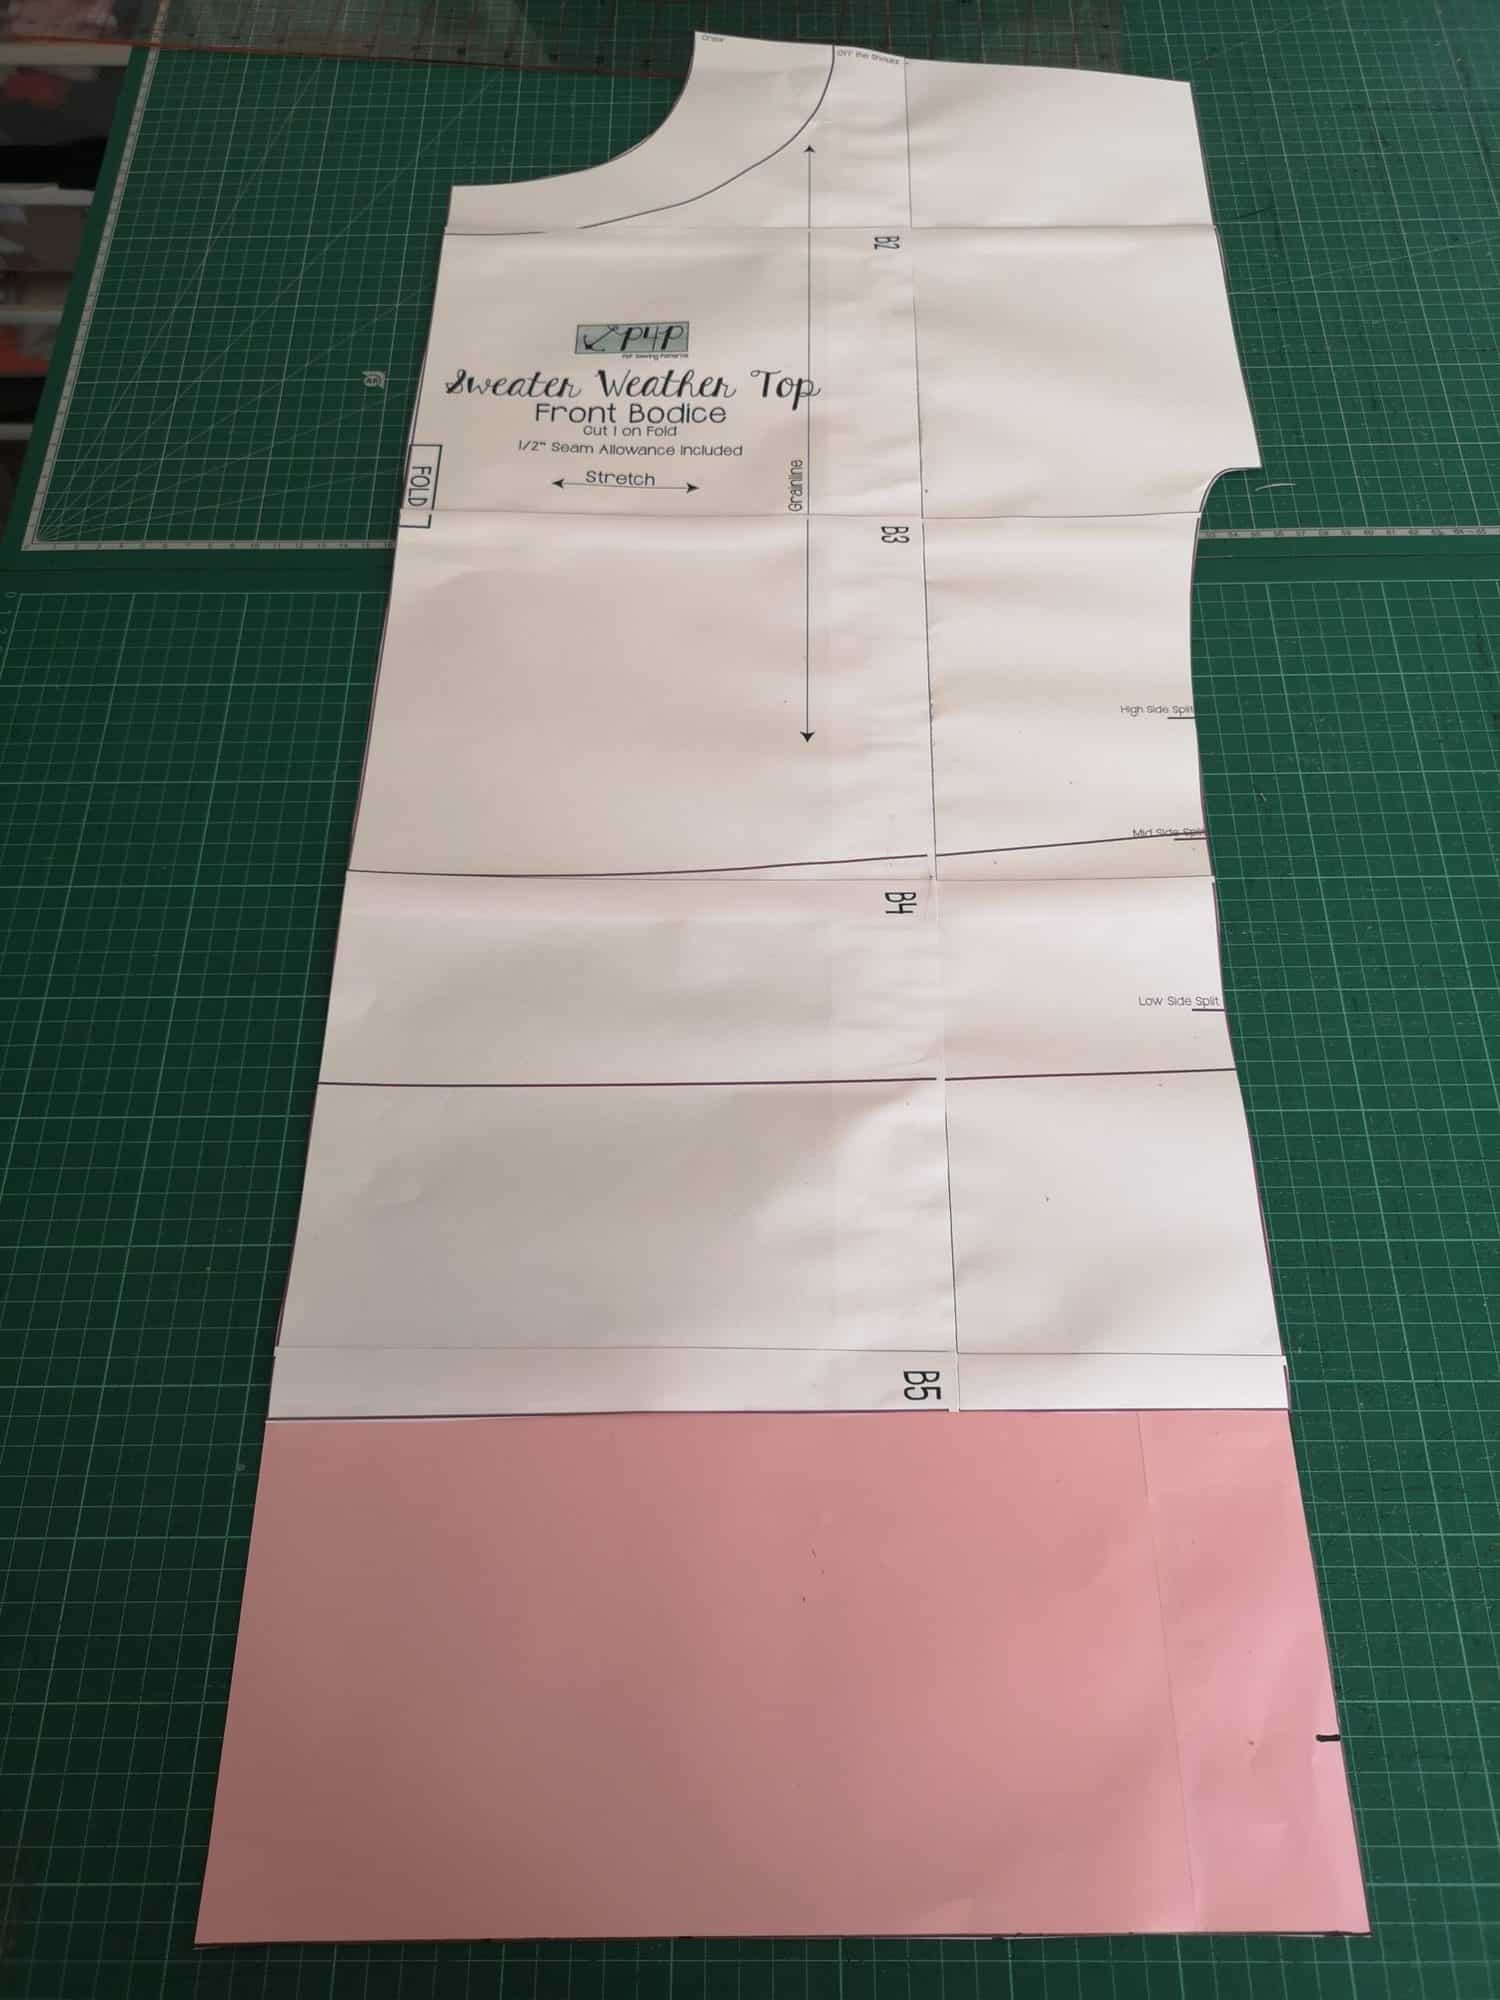
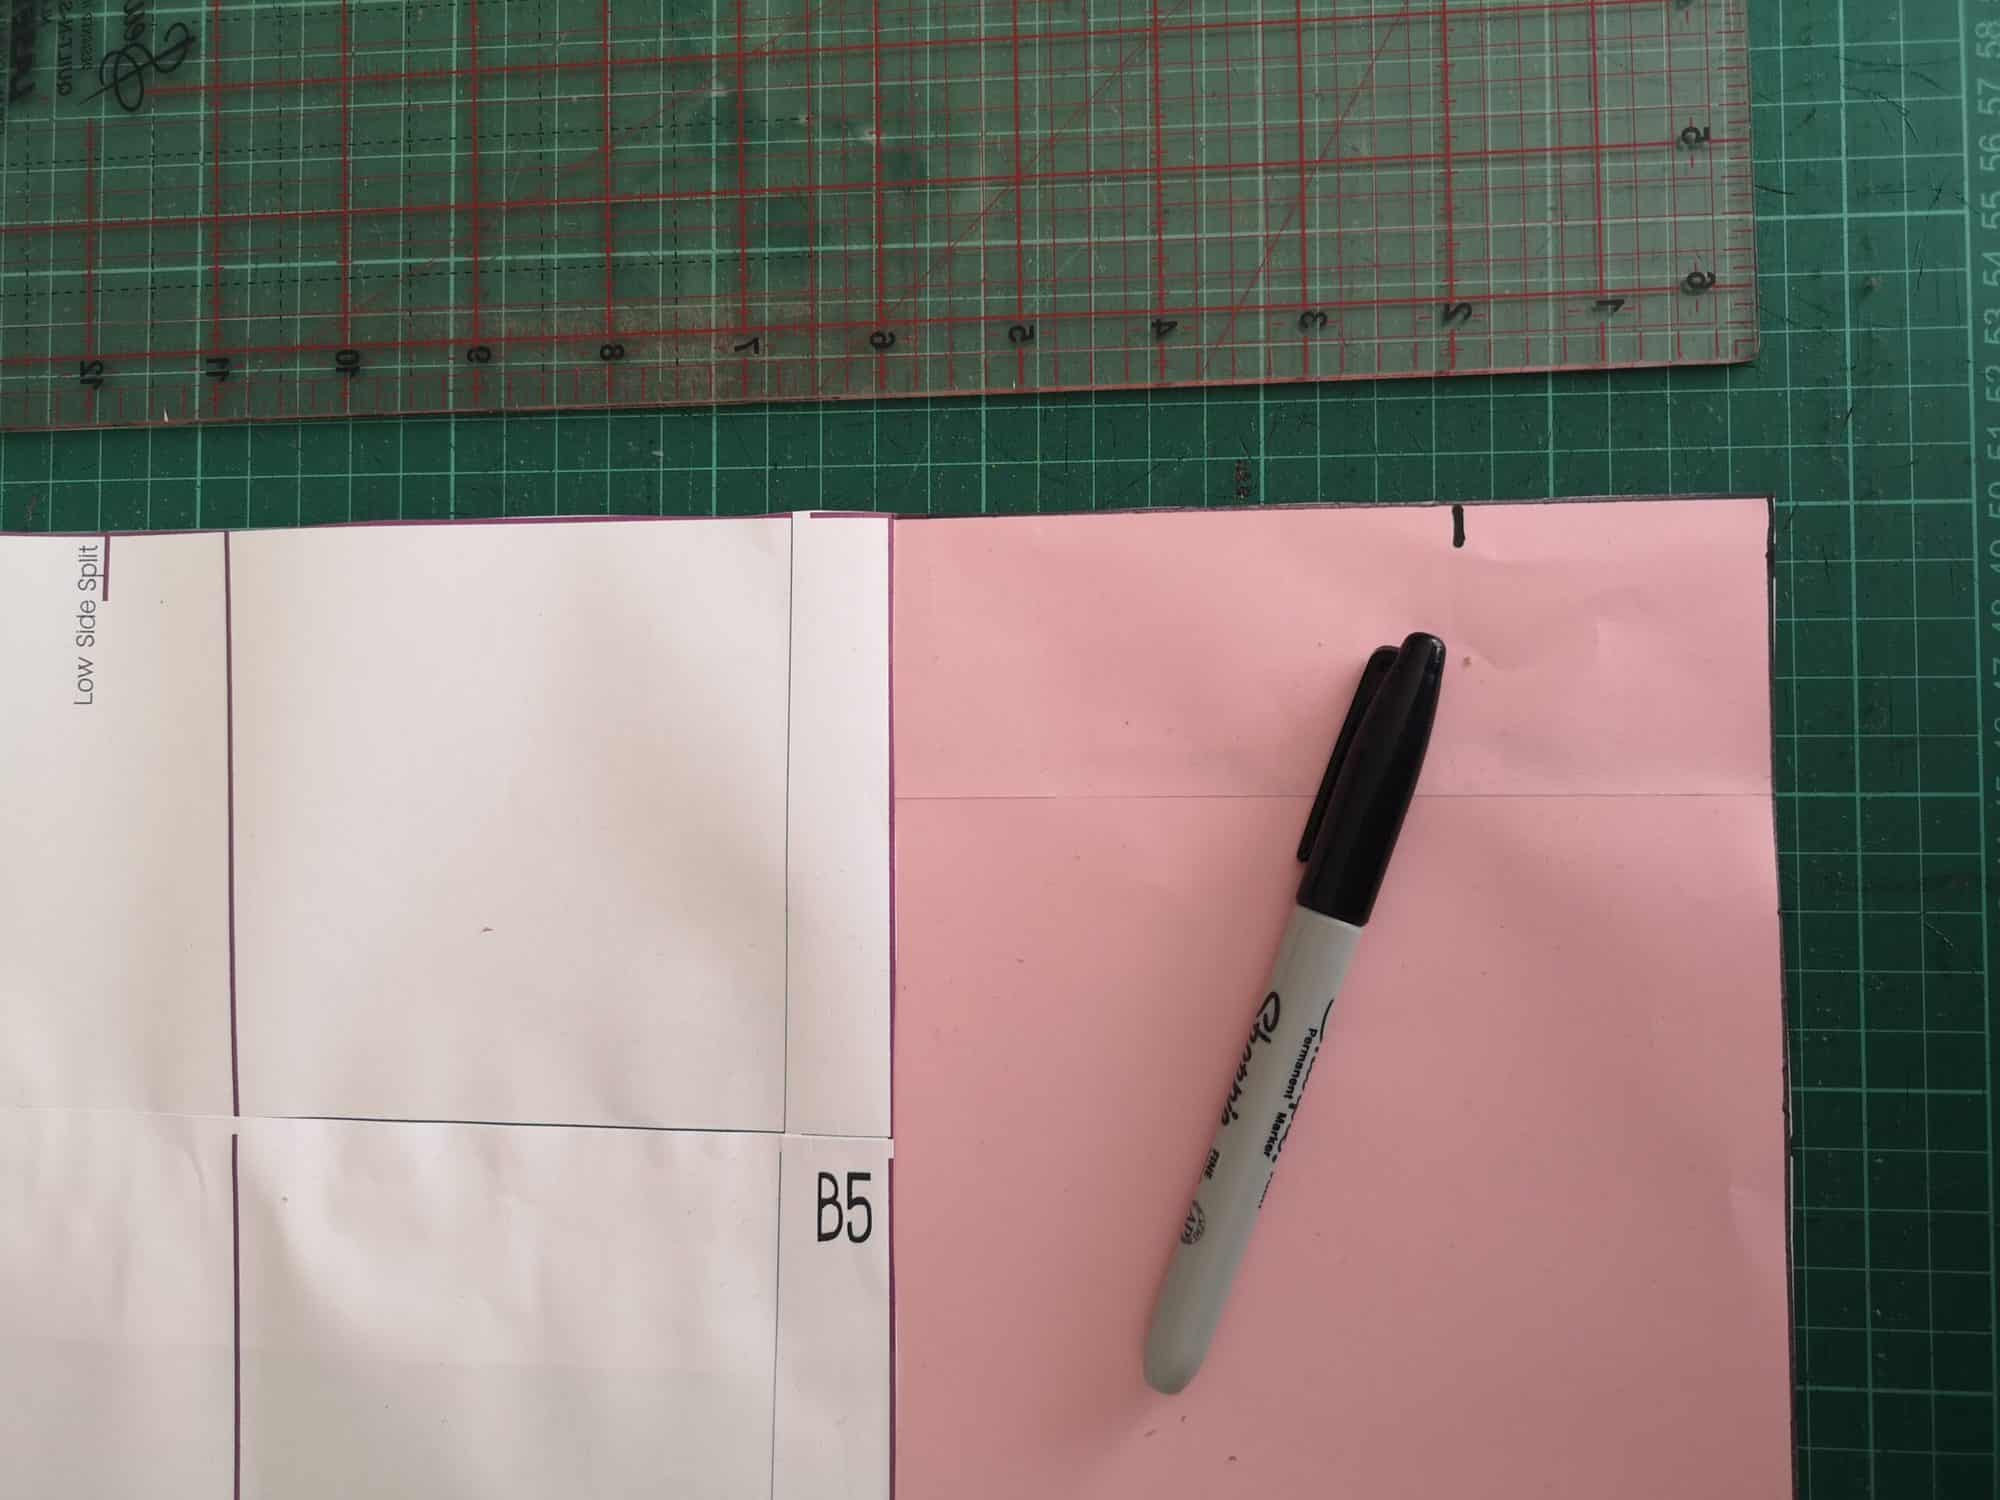
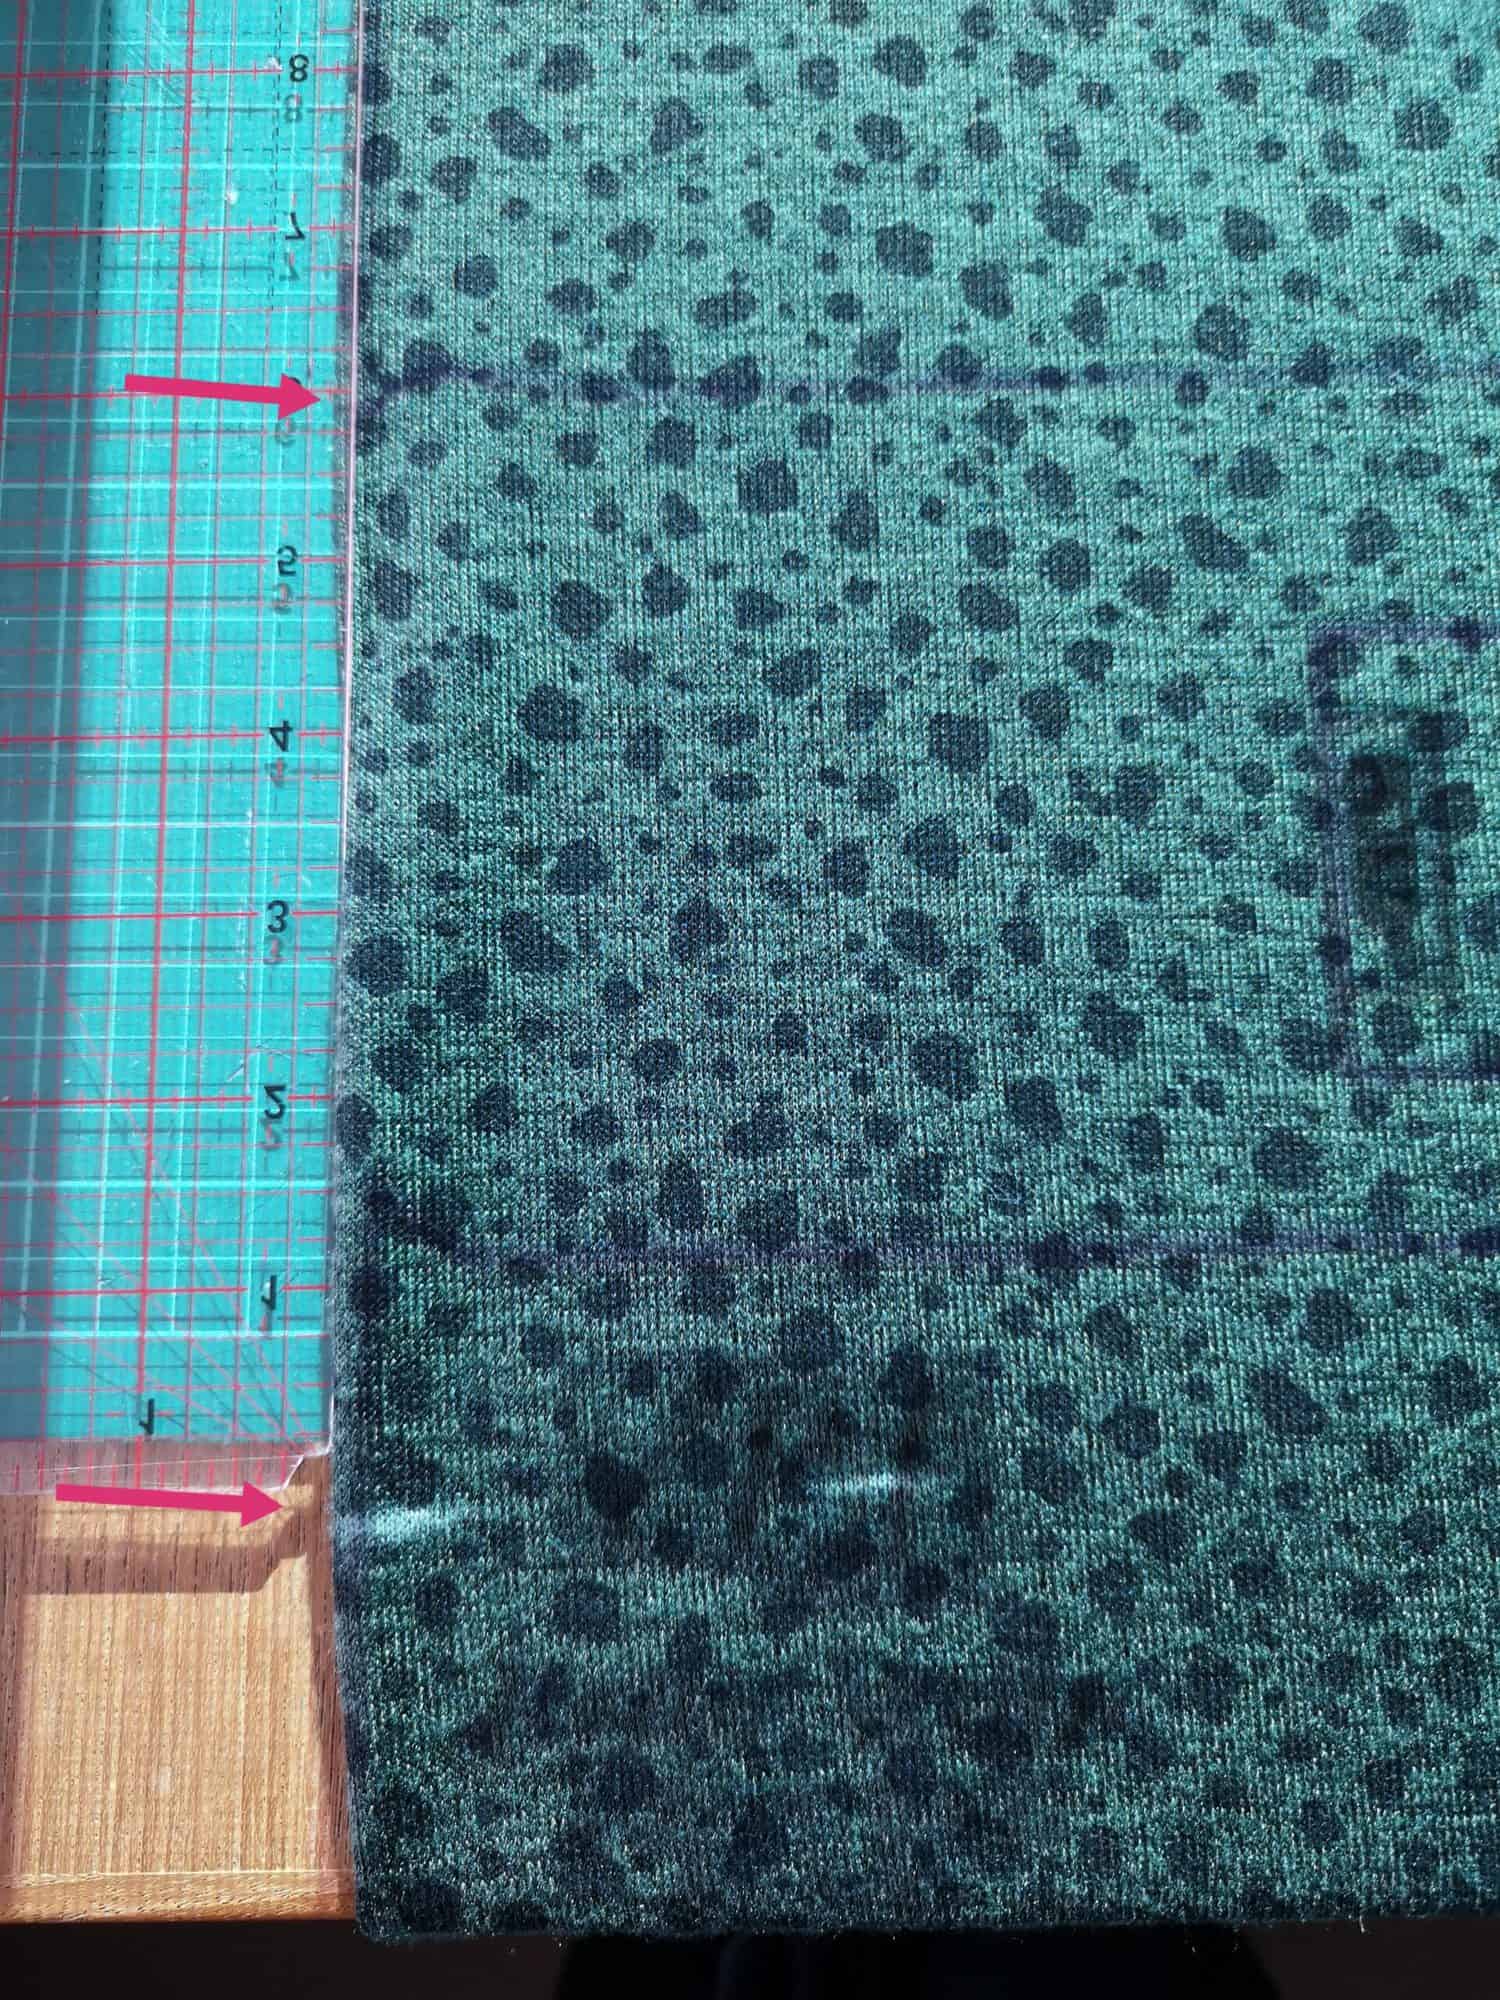
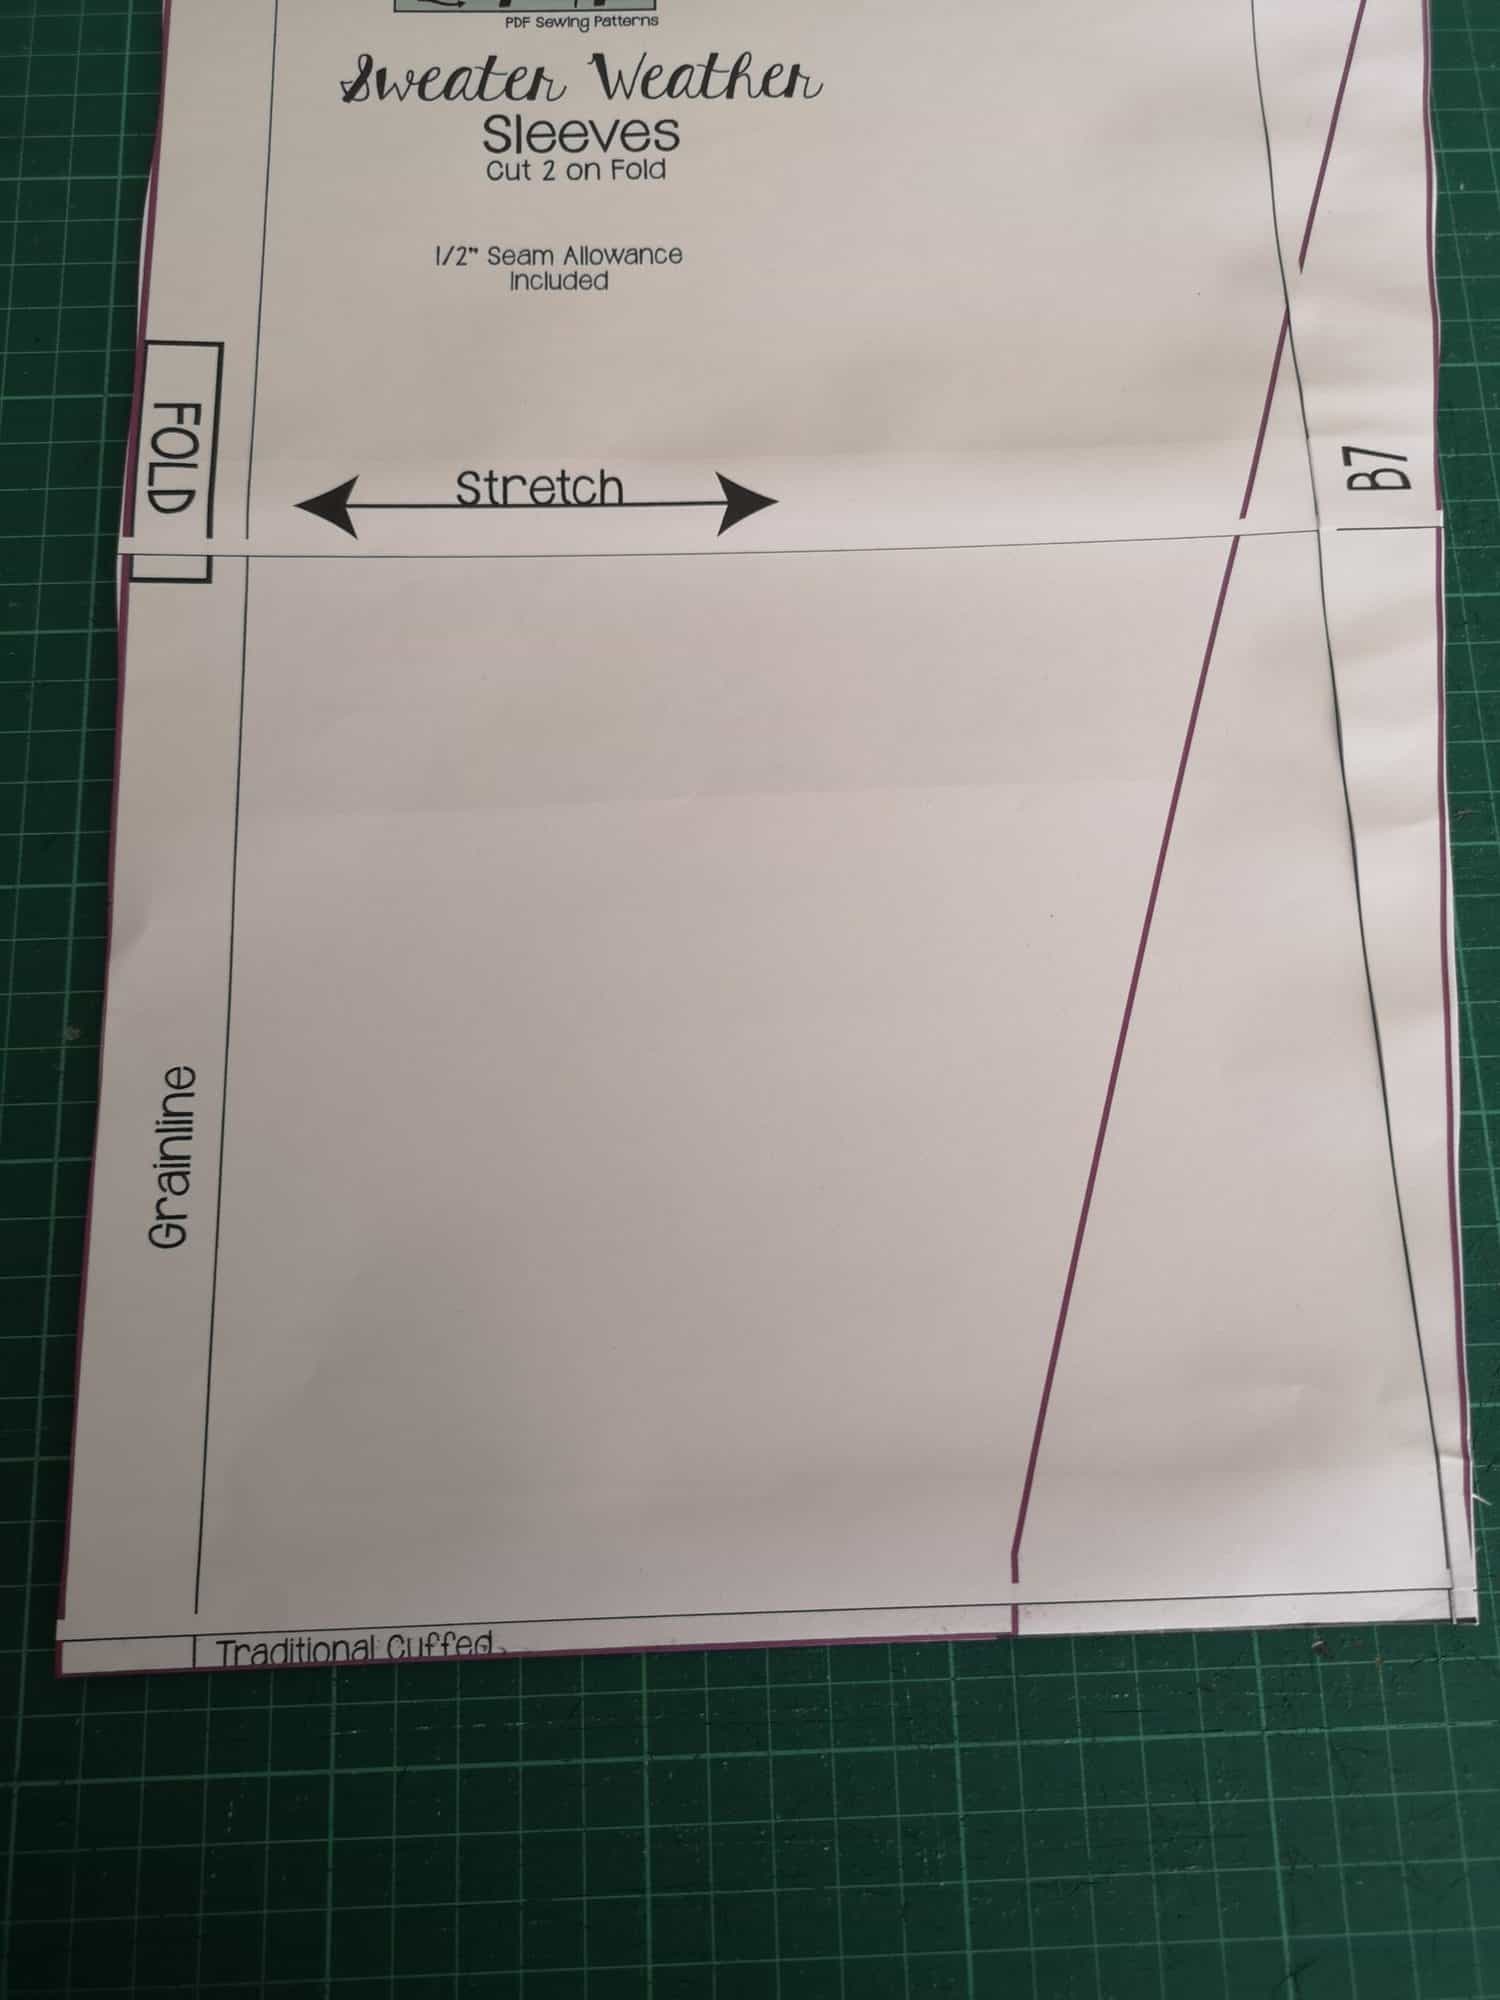
However I also printed out the pattern piece so you could see how it would work on paper too.  The pink paper is the added section. I then decided to mark the notch for my side slit 2 inches up from the bottom edge of the pattern, but this would be up to you.  I chase a 7 year old and a puppy around all day so I didn’t want that side split going too high, but you could go with whichever height you choose.  Then repeat for your back piece.

The only other change I made was to copy the bishop sleeve look from my inspiration pic, and I did that by just cutting the bell sleeve width to the slim cuffed sleeve length.  Projector and paper pattern piece pictures below:

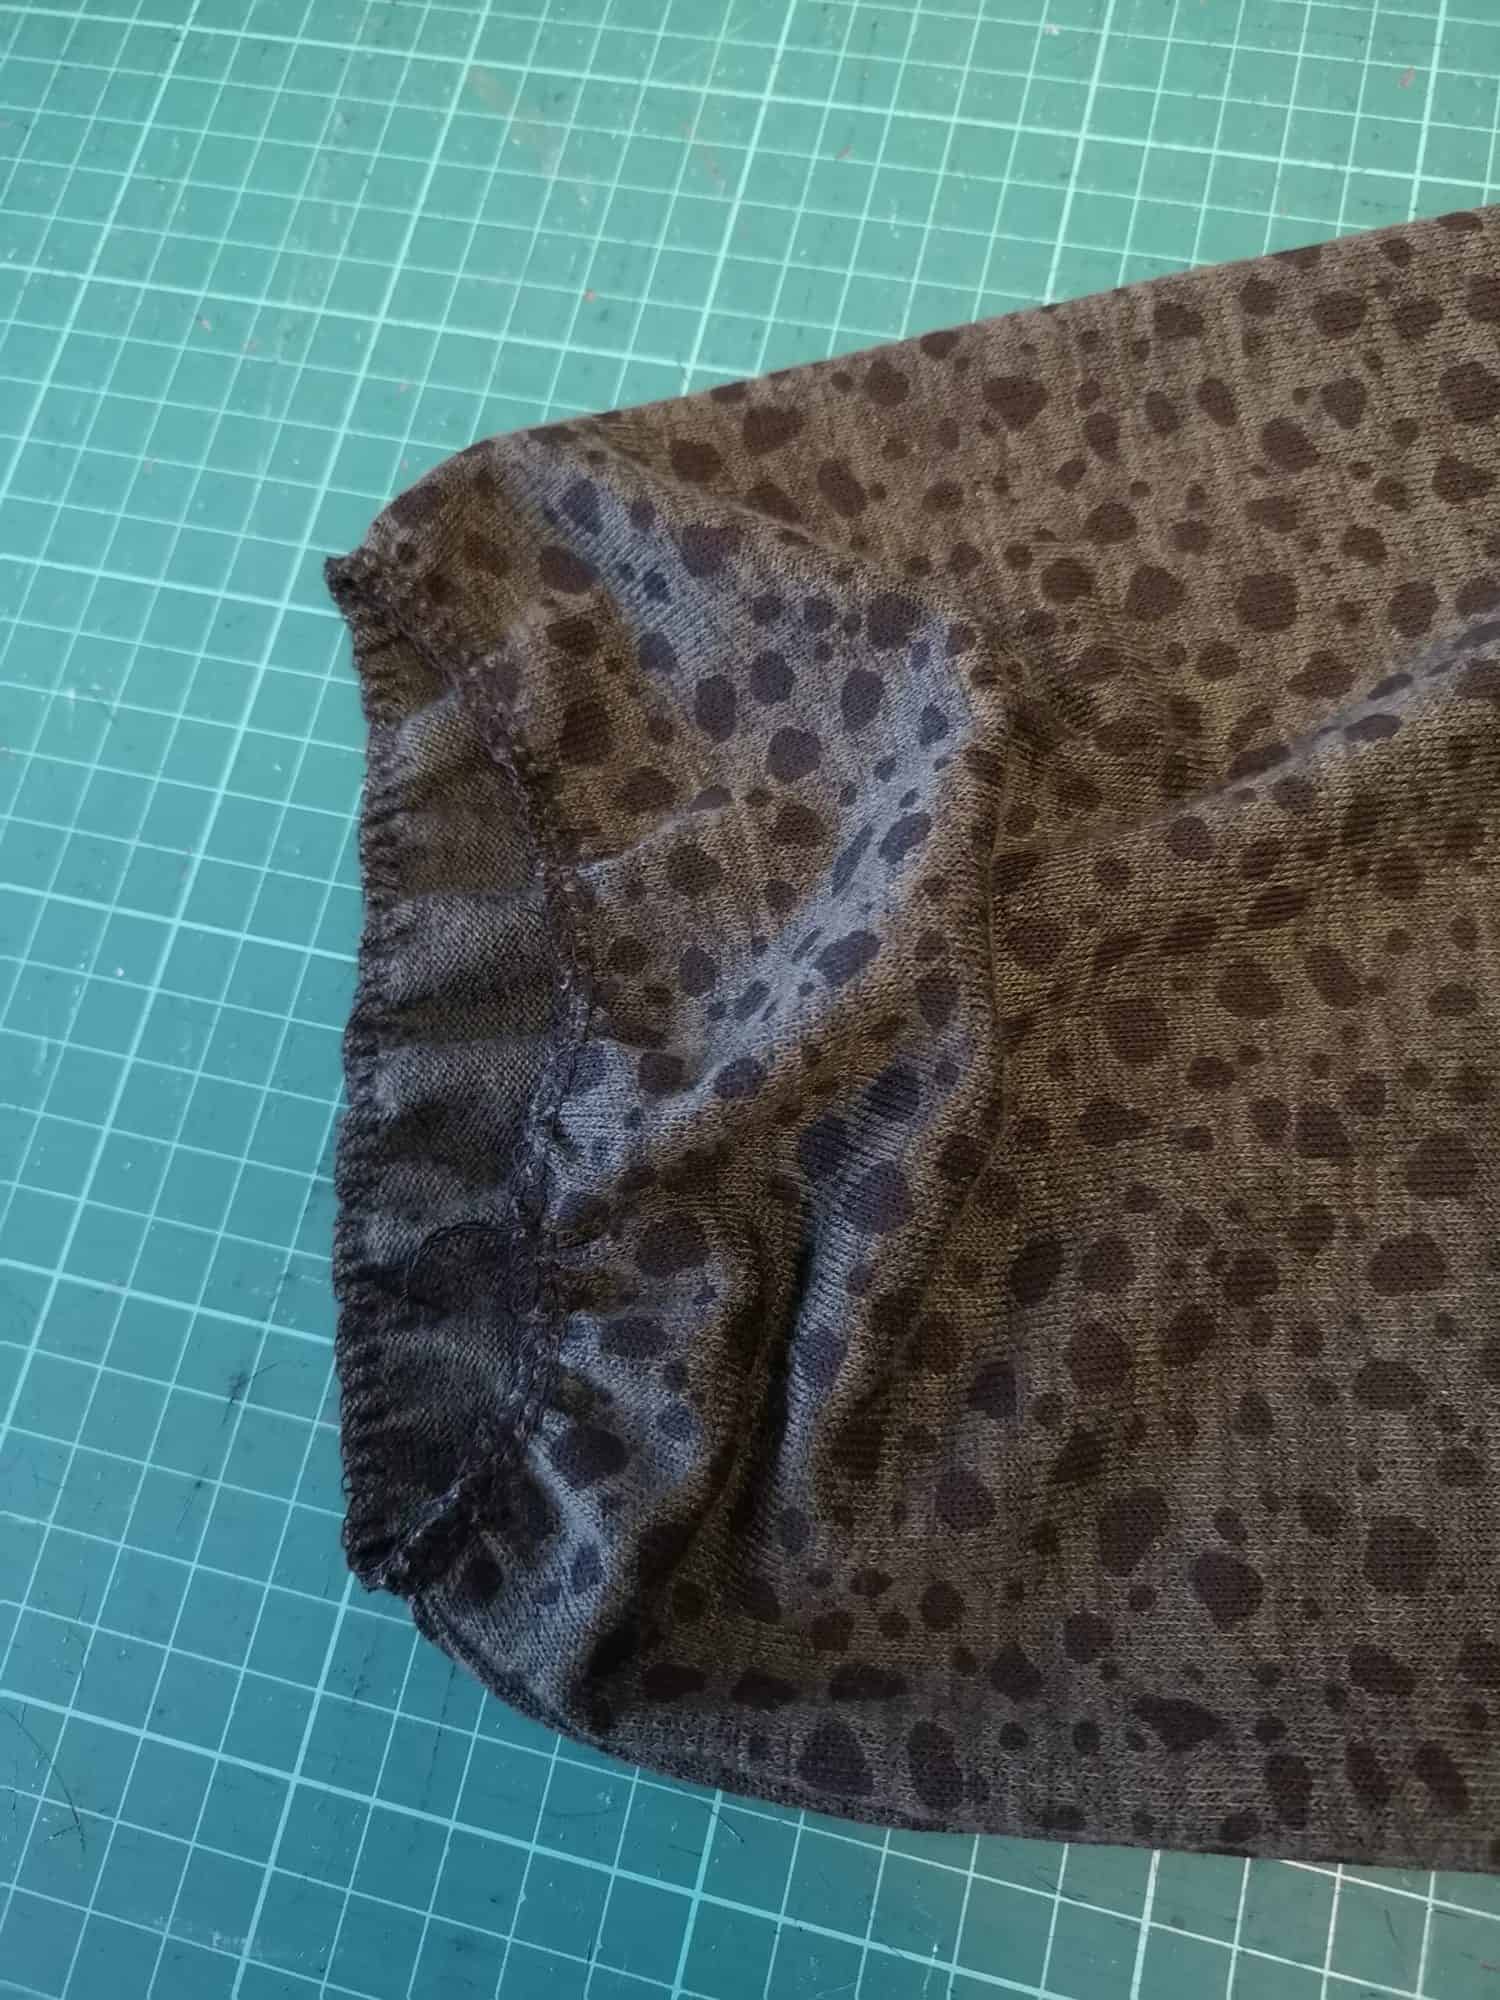
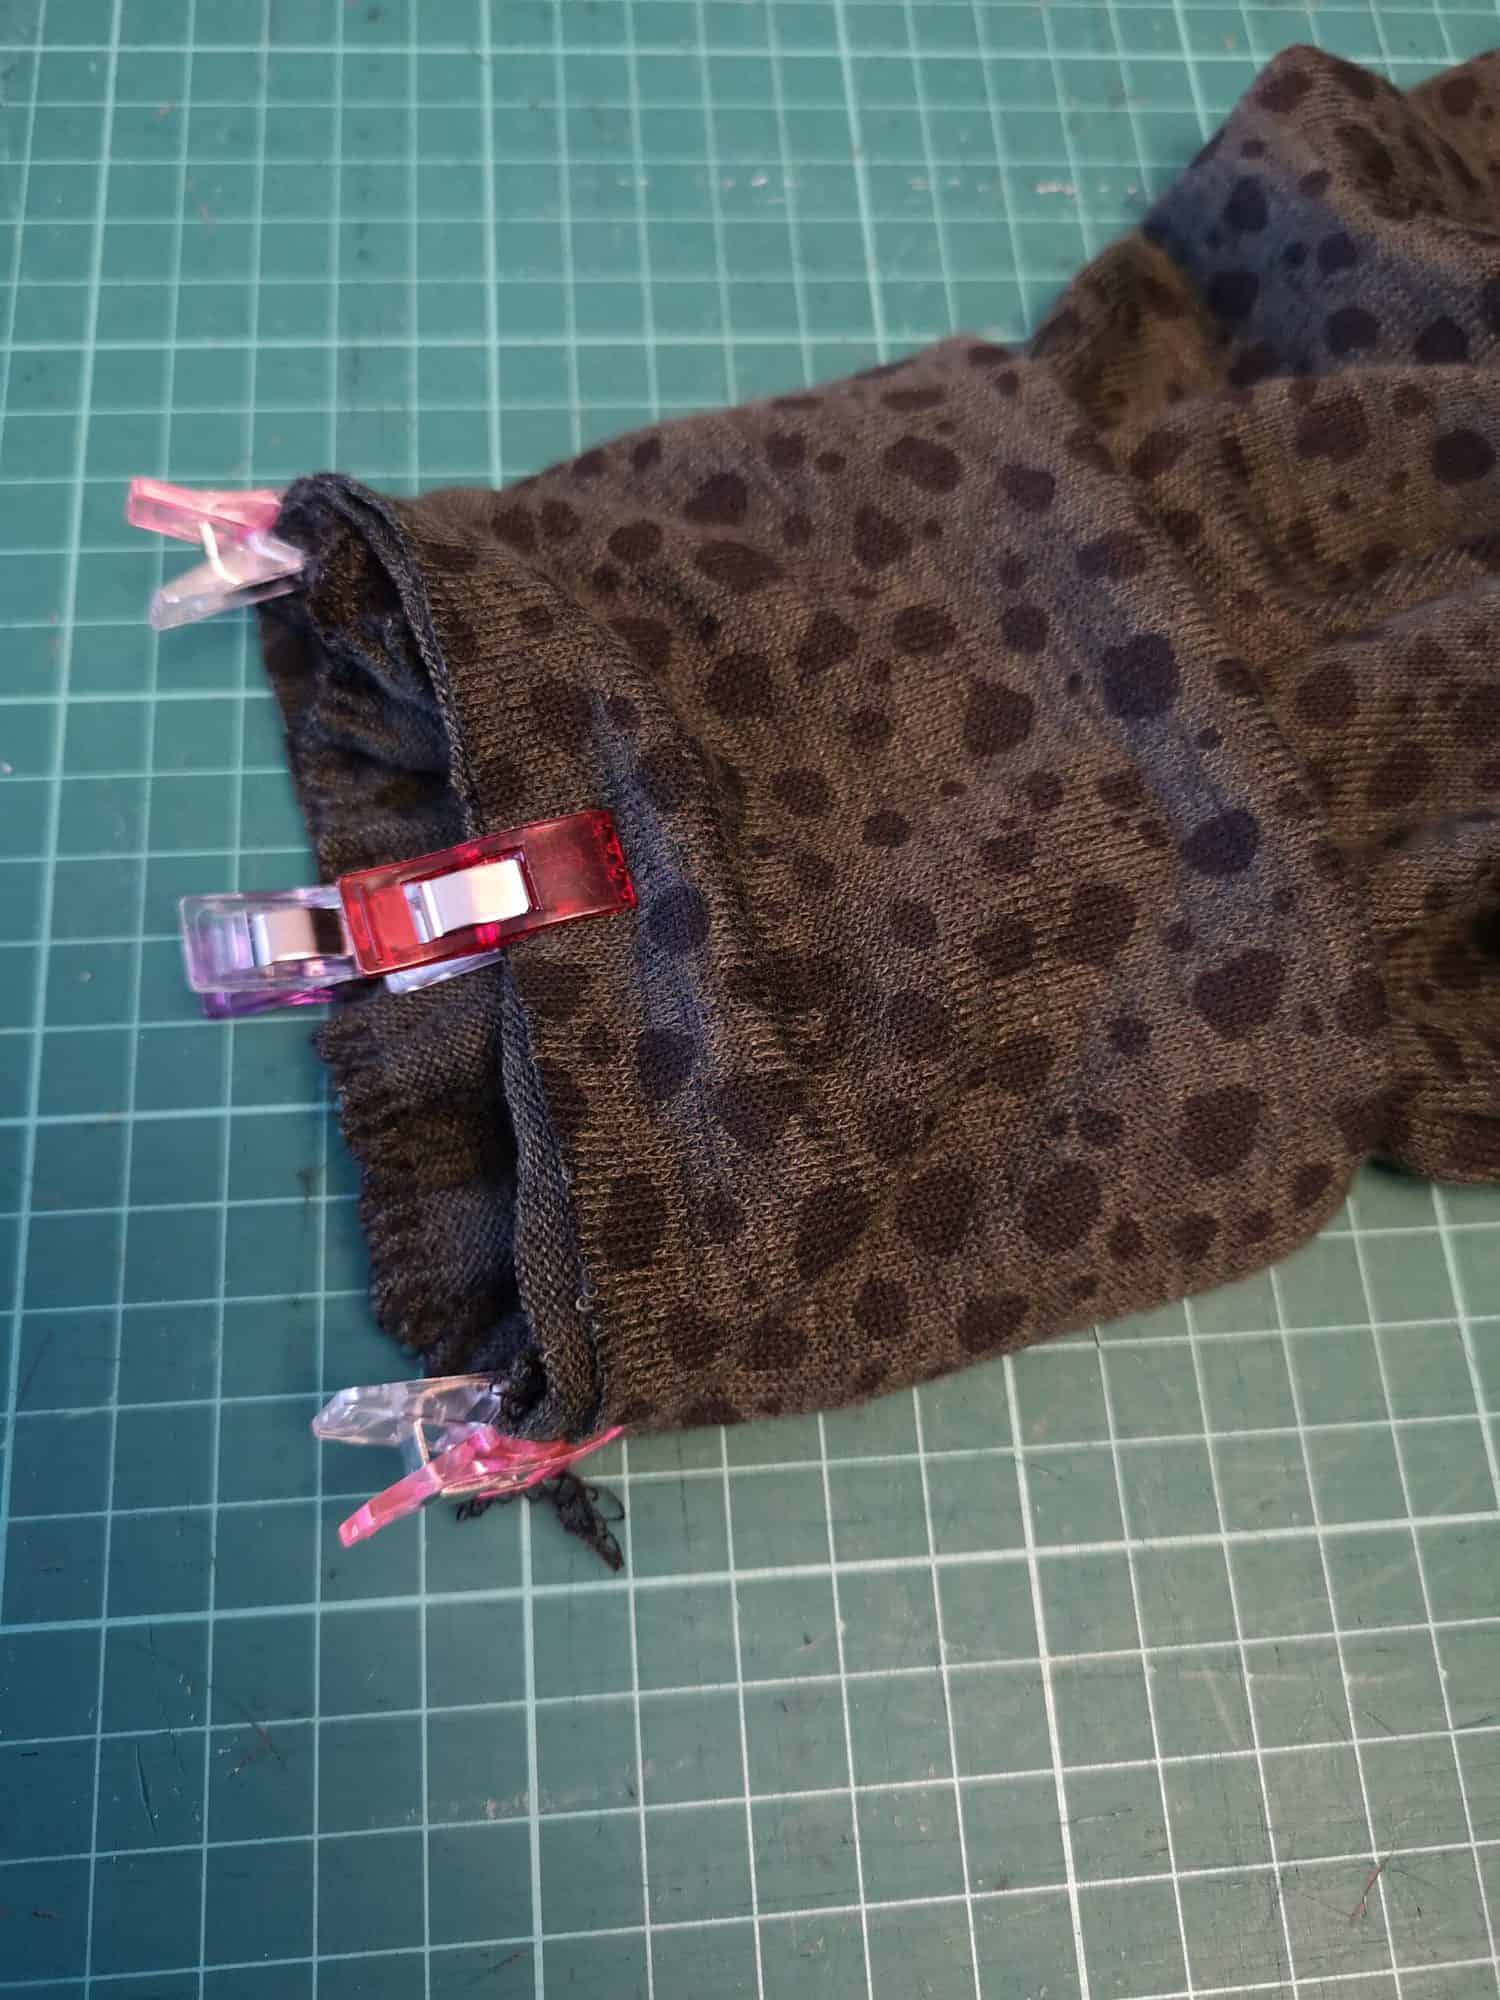
Then I cheekily used my overlocker/serger to gather the bottom of the sleeve by increasing my stitch length and differential feed to their highest setting and whipping round the bottom of the sleeve piece, which gathered it in just enough to fit the cuff. Perfect!

Finally just construct the rest of the garment as per the instructions in the tutorial, and you’re done!

Happy Sewing!

Dana x

…..

No side split

Hey everyone! I have another super quick hack for you. As fun as that side split is that comes in the pattern, I was wanting a most basic top, so I decided to do without the side split for this! It’s as simple as adding a bit of length to the front bodice piece, and sewing the two waistband pieces together in a circle! I’ll break it down for you below.

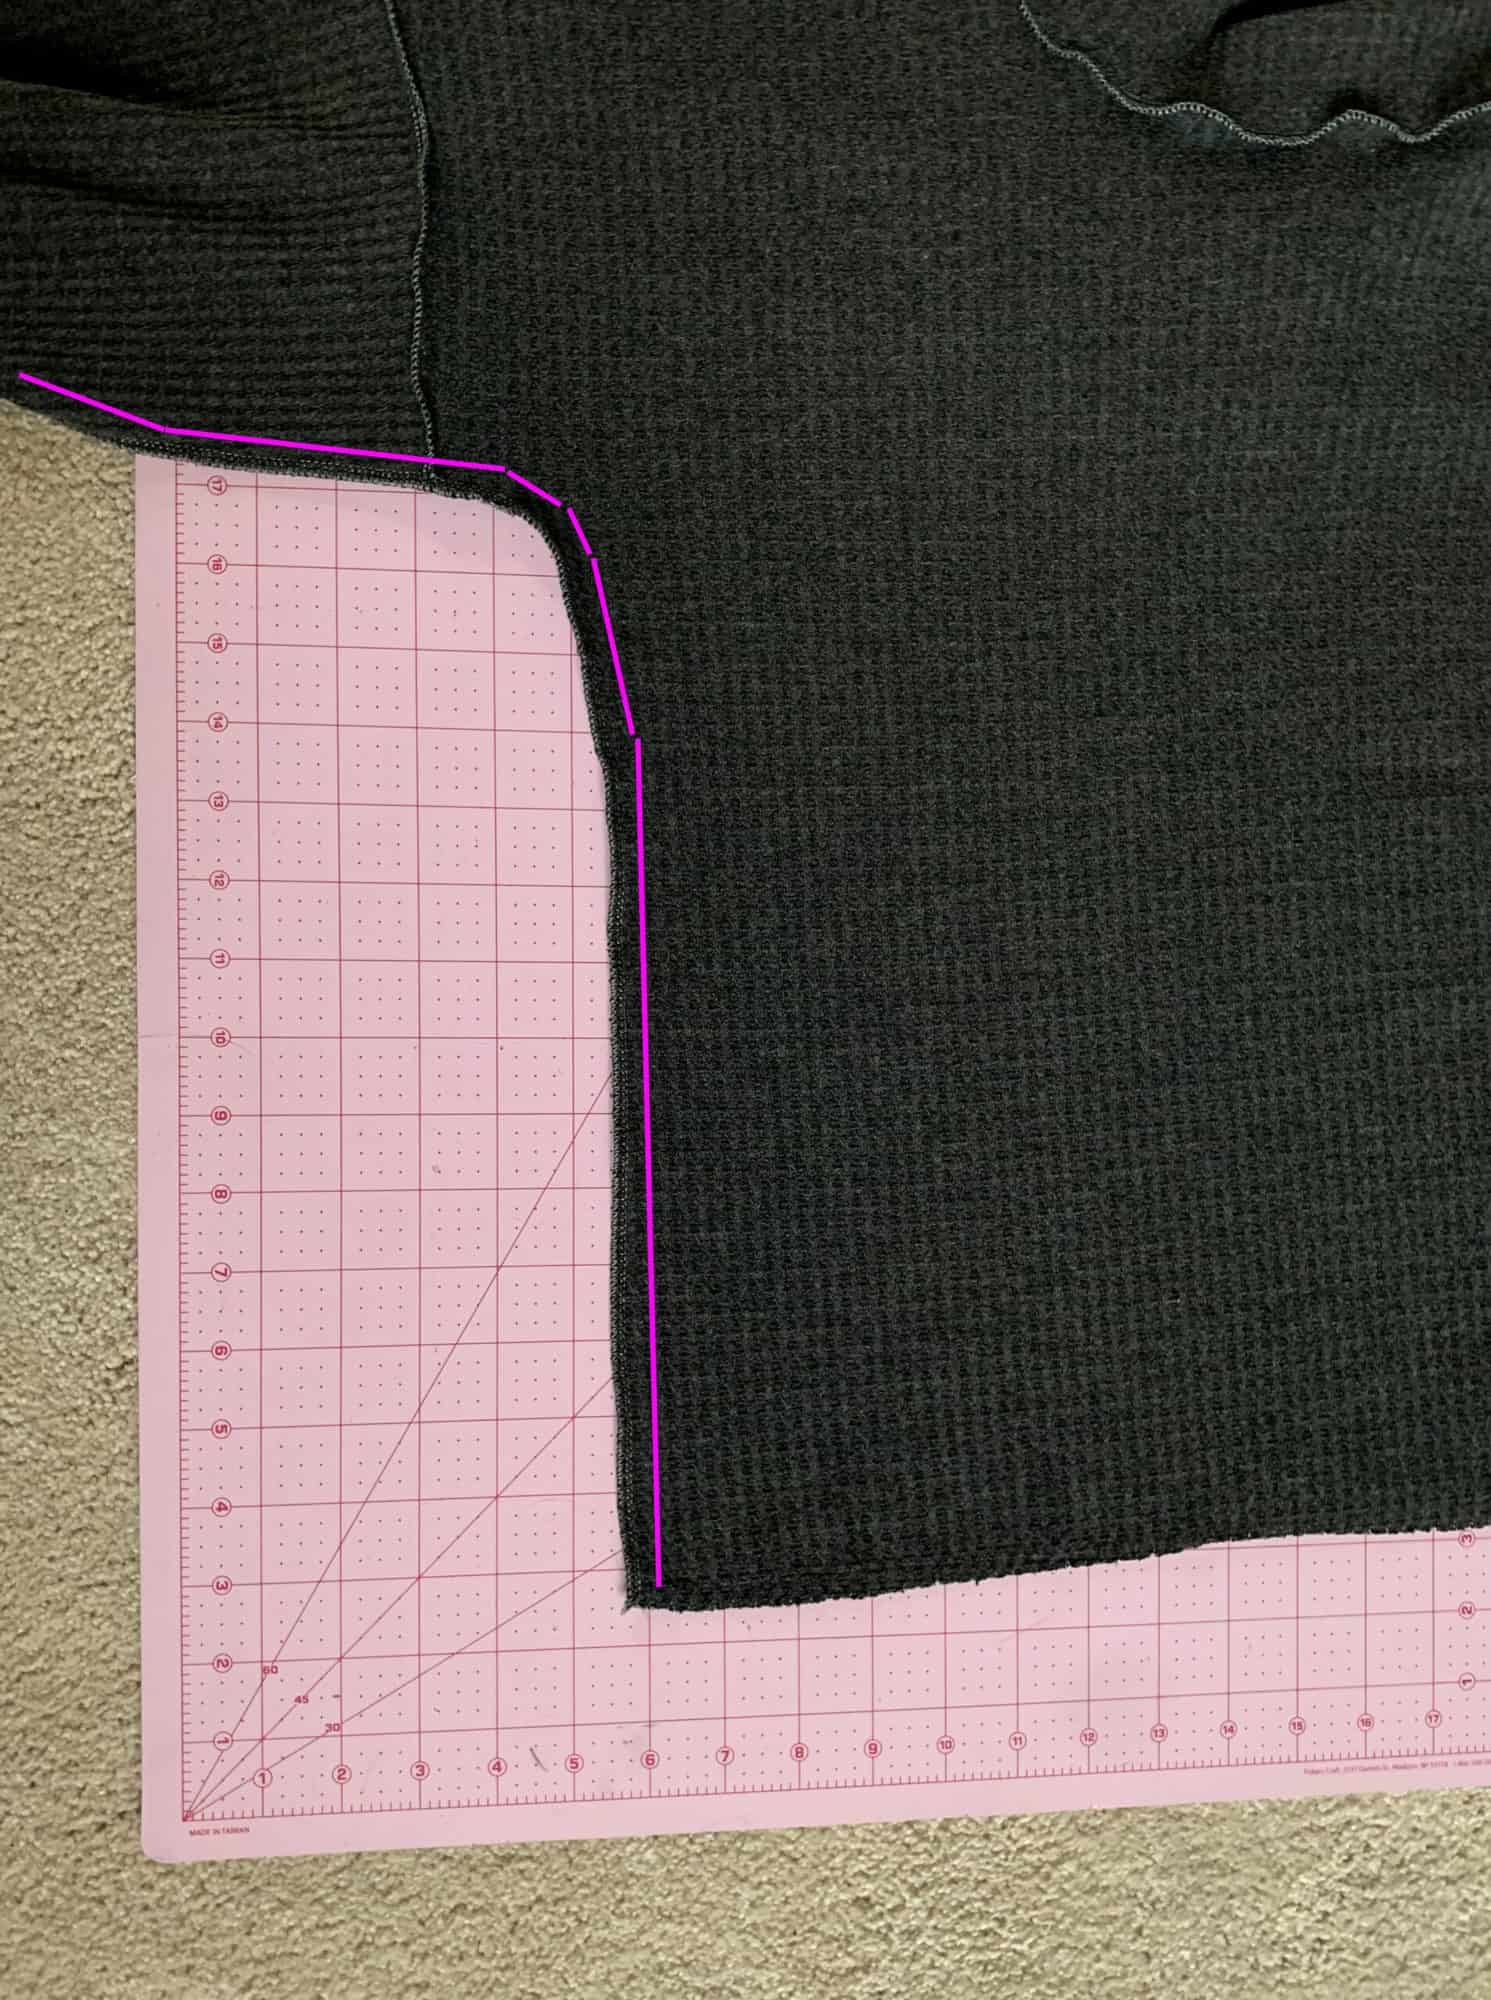
First, you’ll need to make your front and back bodice pieces the same length. I chose to do Top length for this one, and the front bodice piece was about a little over an inch shorter than the back. Since I also use my projector and don’t print out the pattern pieces, I marked the new Top cut line digitally on my PDF file on my computer. In order to figure out how much length to add, I measured from the Split Marking on the side seam down to the Top cut line on the BACK bodice piece. For my size, that distance measured 2.65 inches.

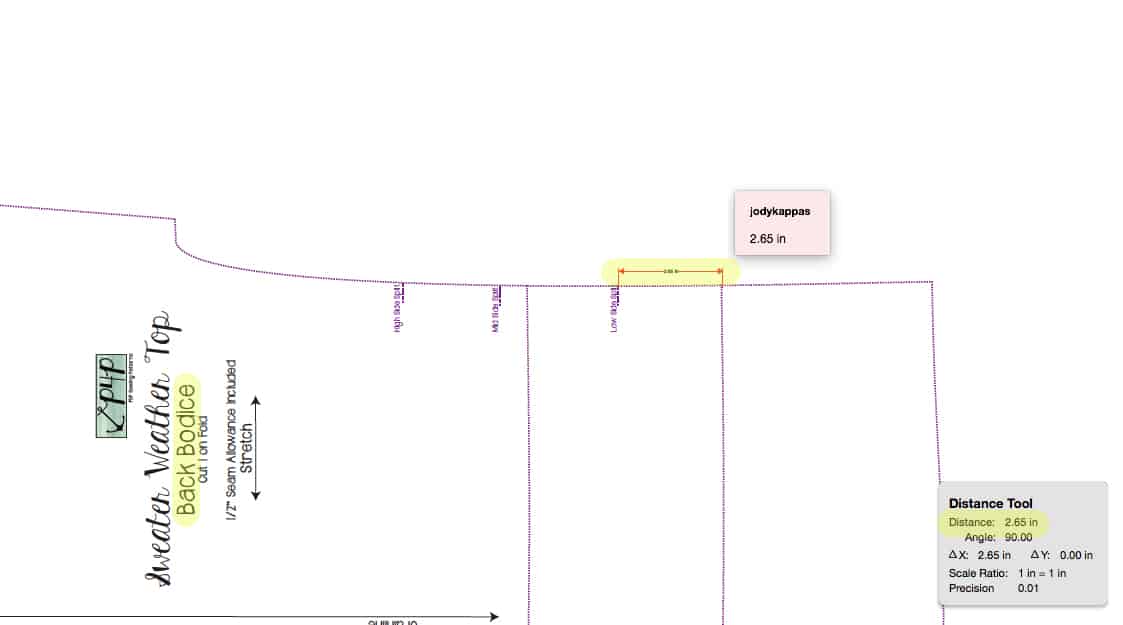
I then measured down from the Split Marking on the side seam of the FRONT bodice piece and marked where the new Top cut line should be. (Doing this with Paper pattern pieces, you would simply lay the back bodice piece over the front piece and see how much extra to add to the bottom of the front!)

This is what the new digitally measured cut line looks like when projected.

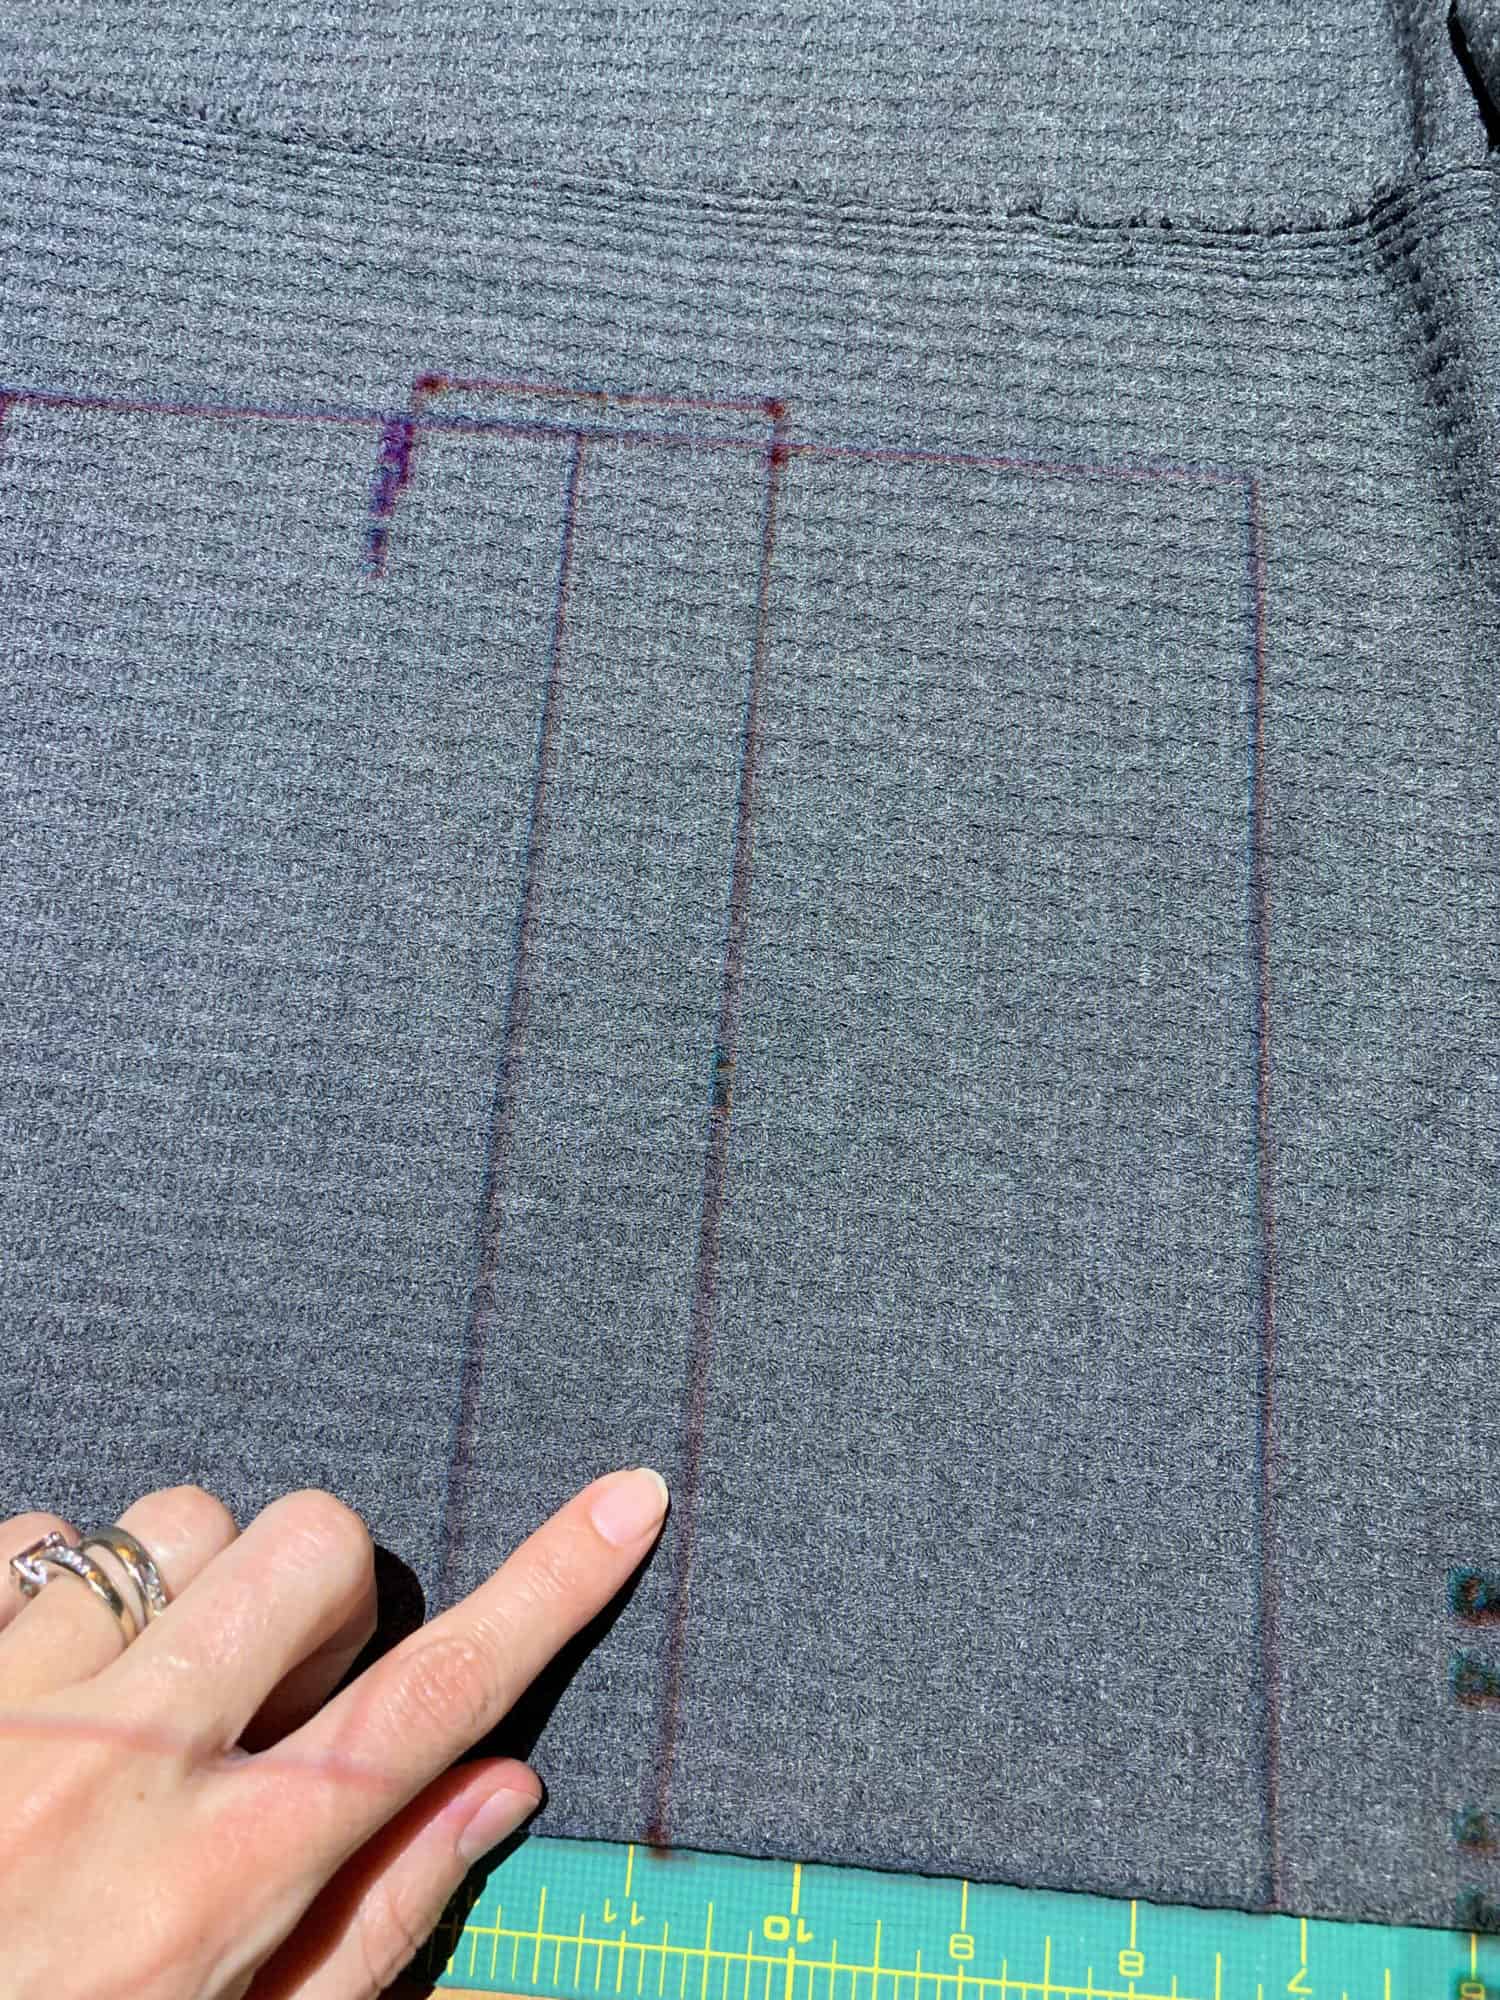
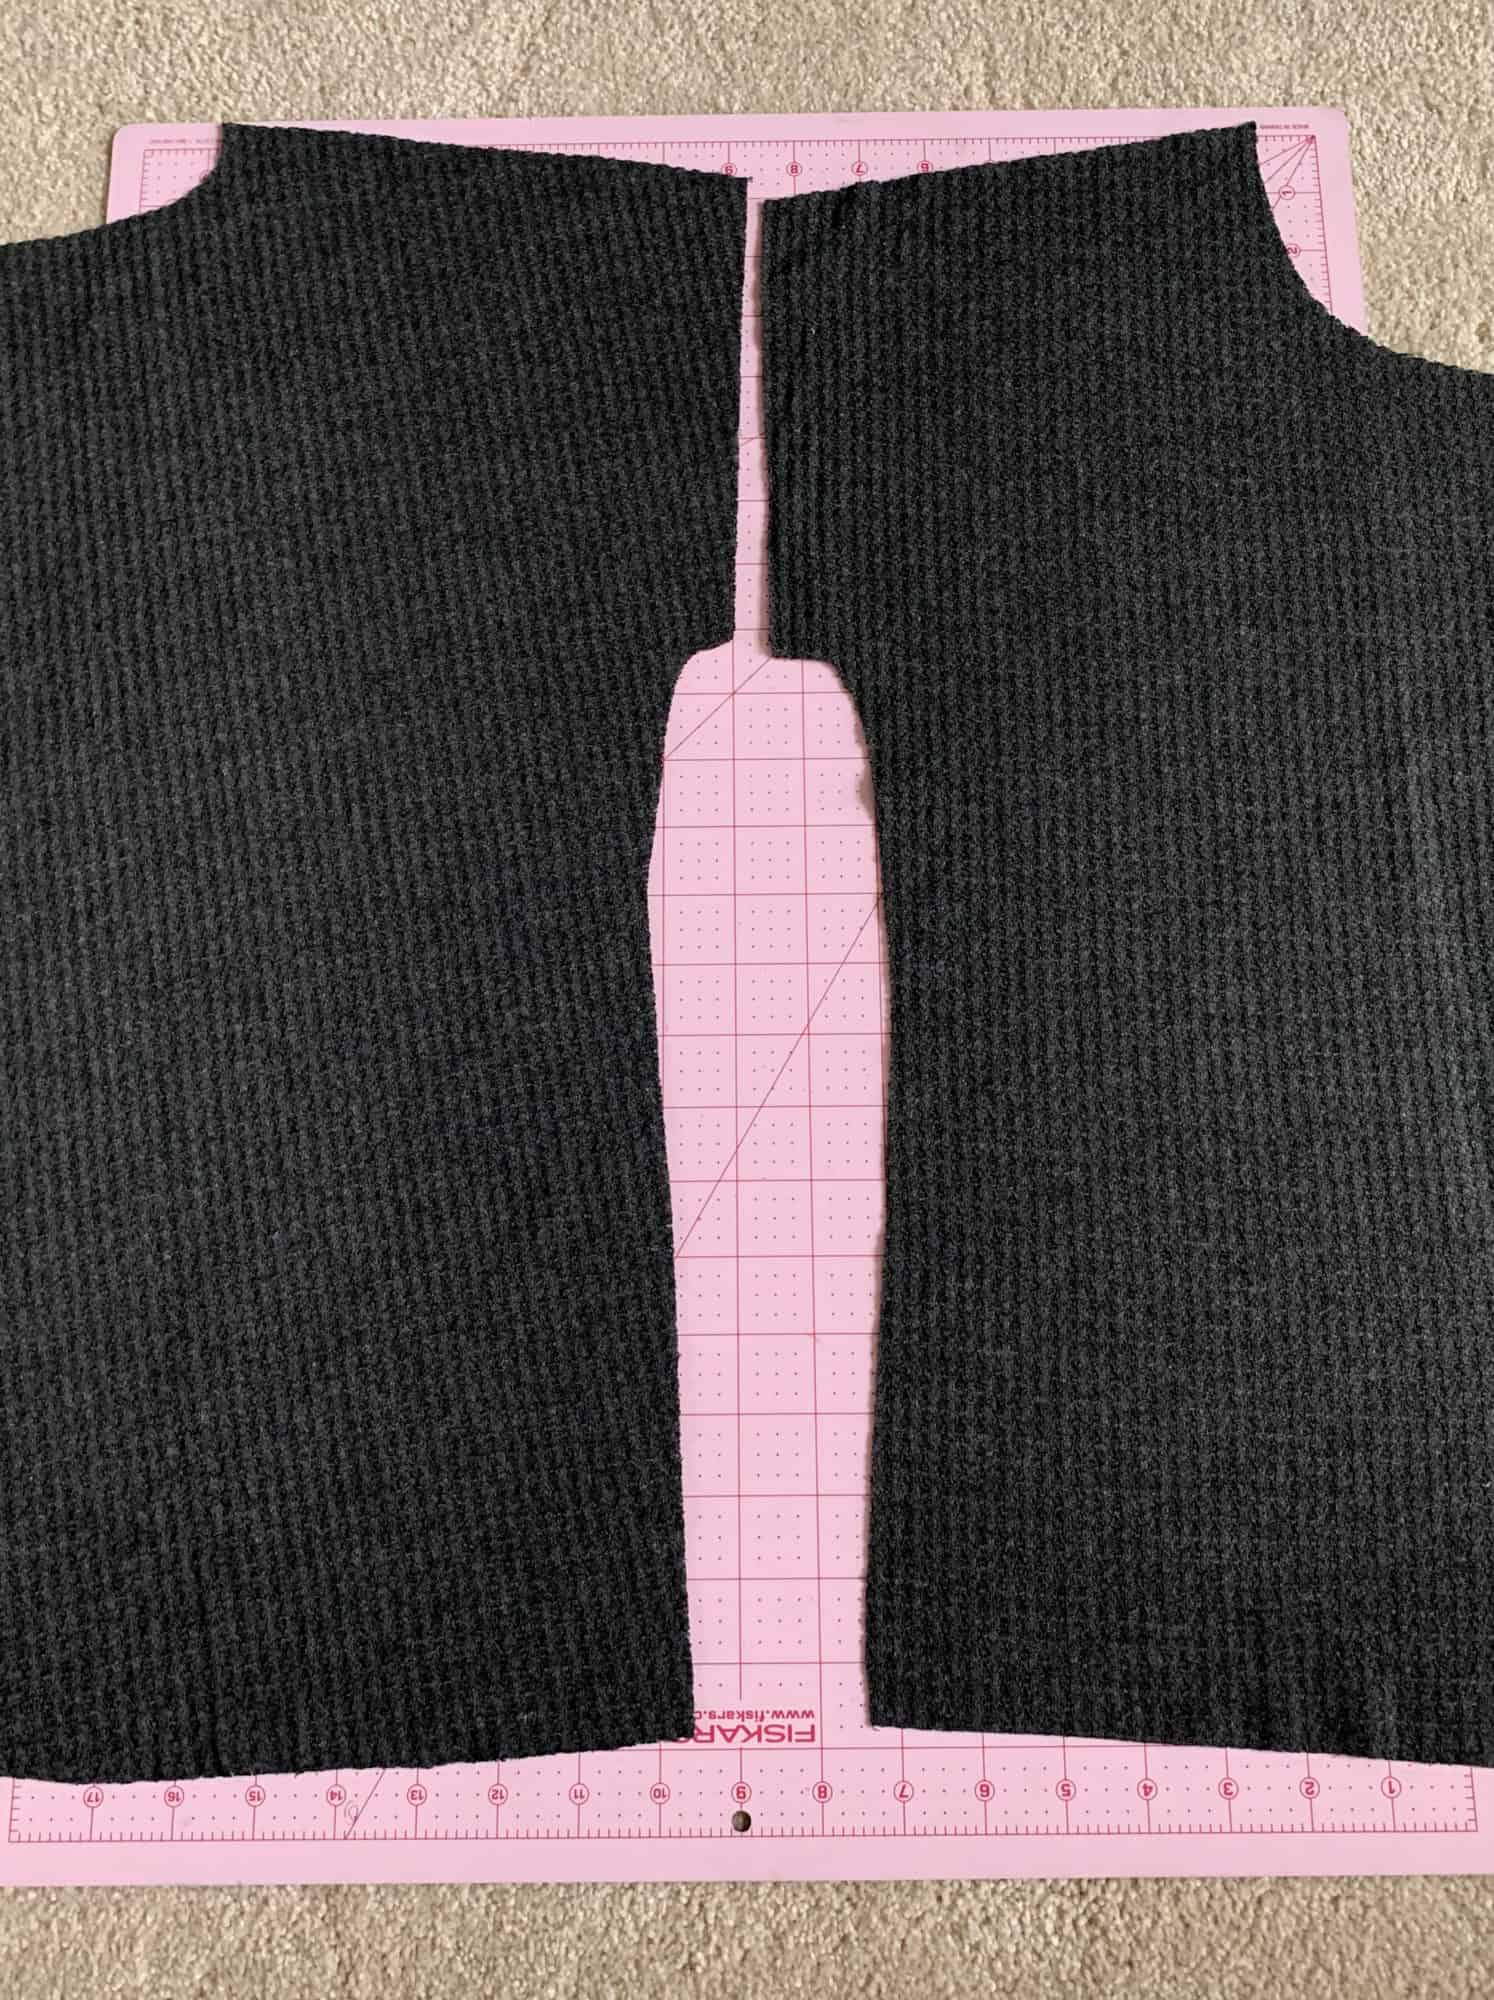
Once I cut my bodice pieces (following the newly marked cut line for the front bodice!) You can see that my front and back bodices are the same length now!

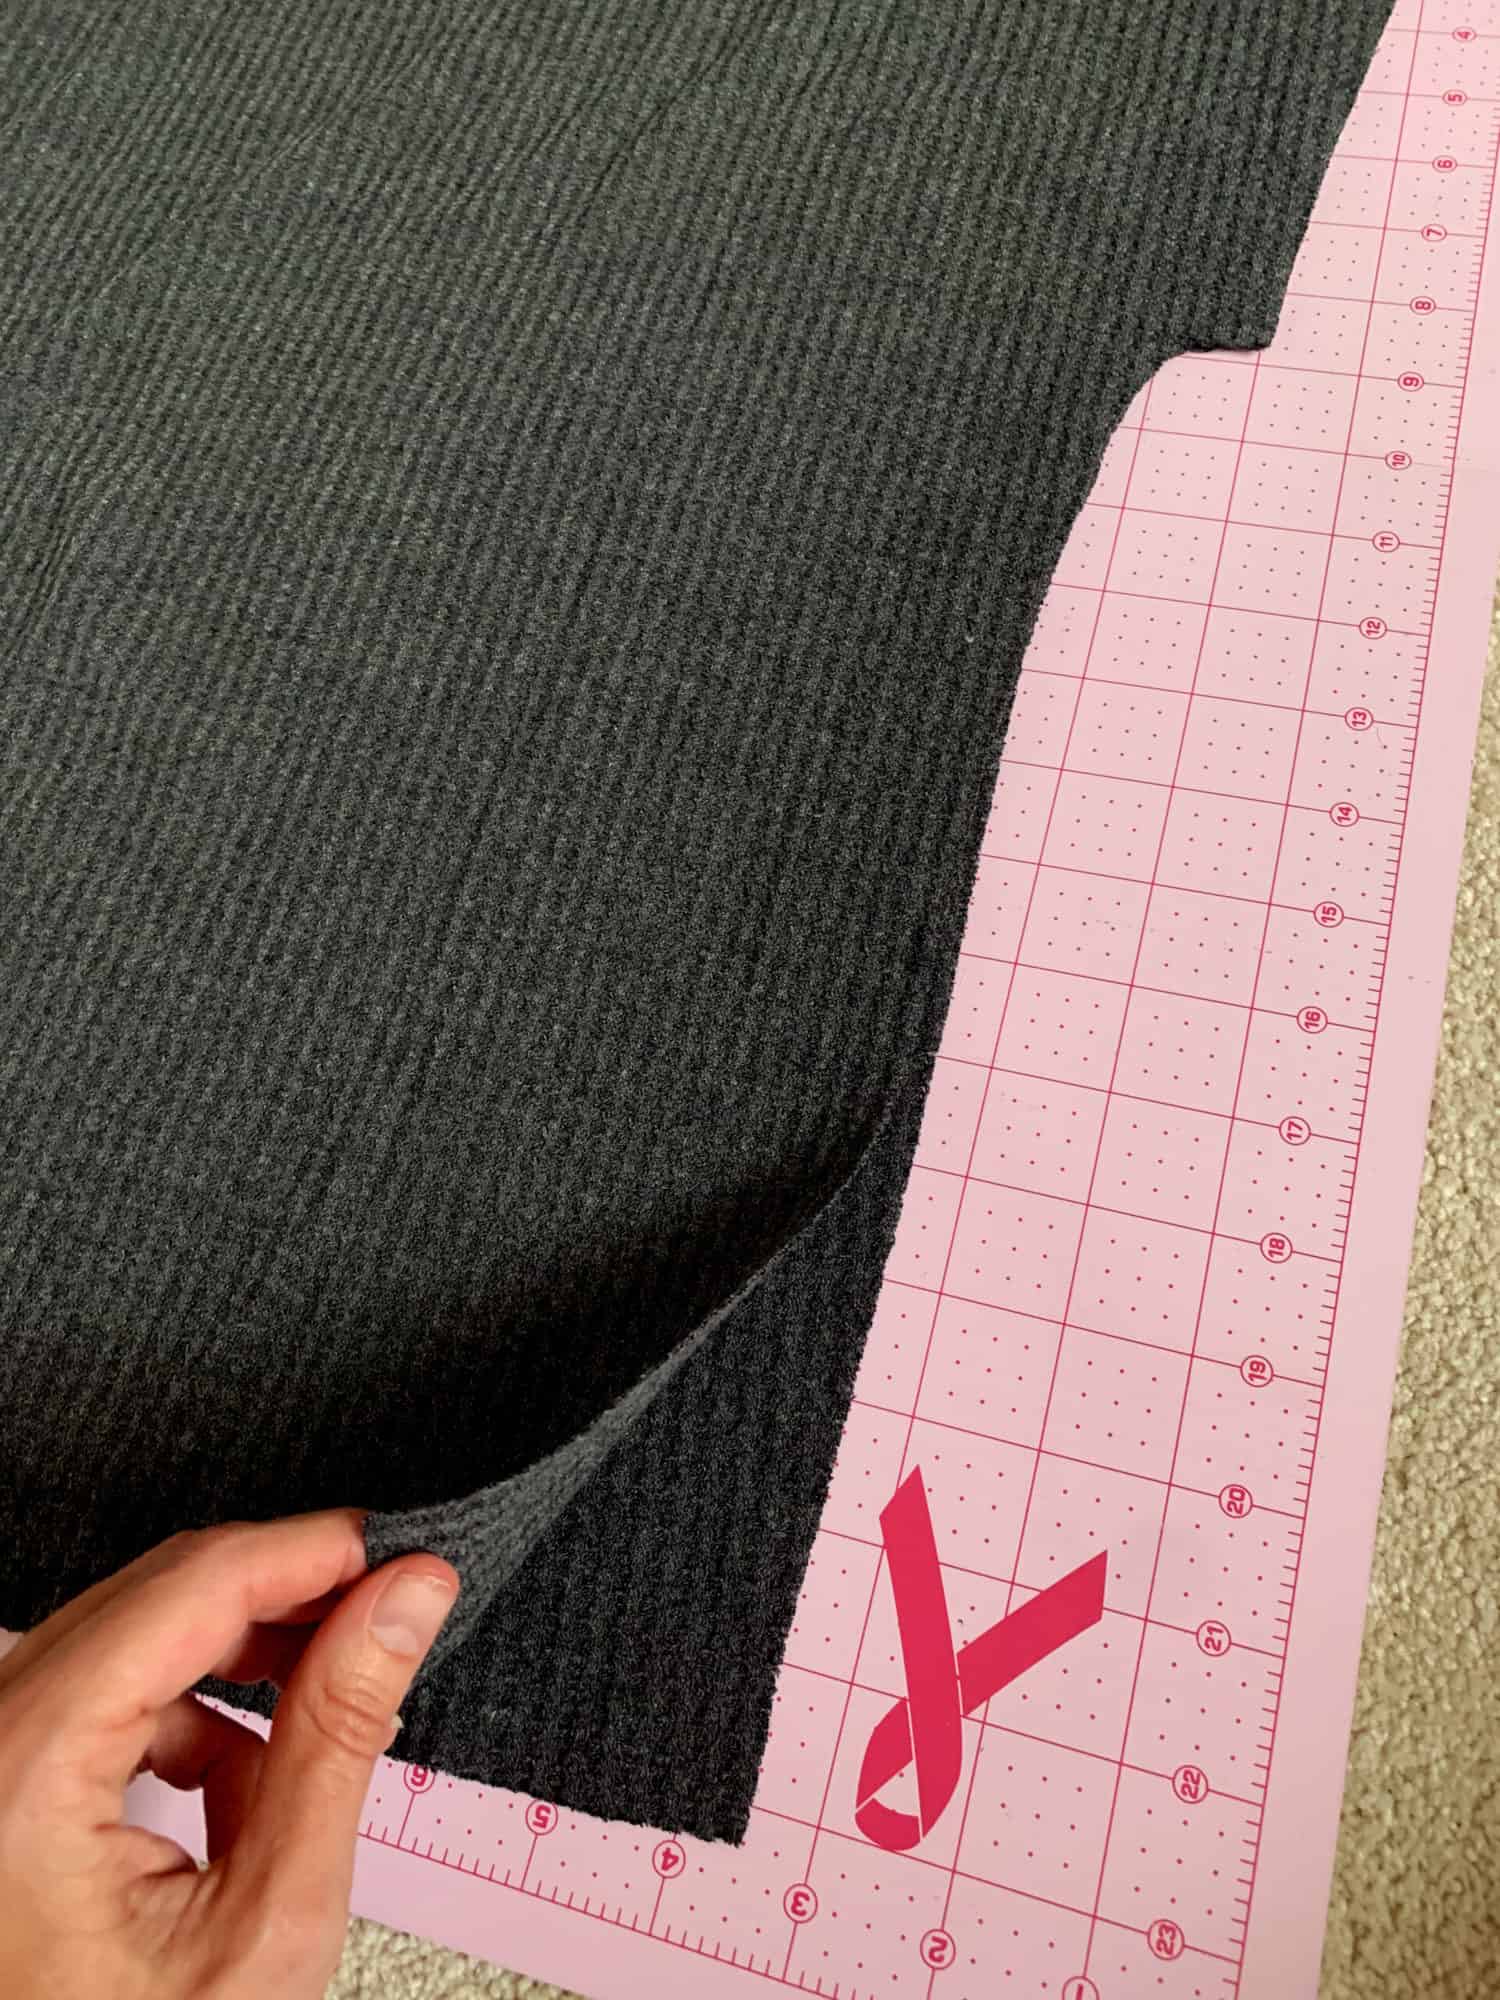
Next, you can sew up your shoulder seams, add the sleeves, and then sew your side seams. When sewing the side seams, instead of stopping your stitches at the split marking like you would have to do if you were making the side split, you can just keep on keeping on and sew right on down to the bottom! Like so:

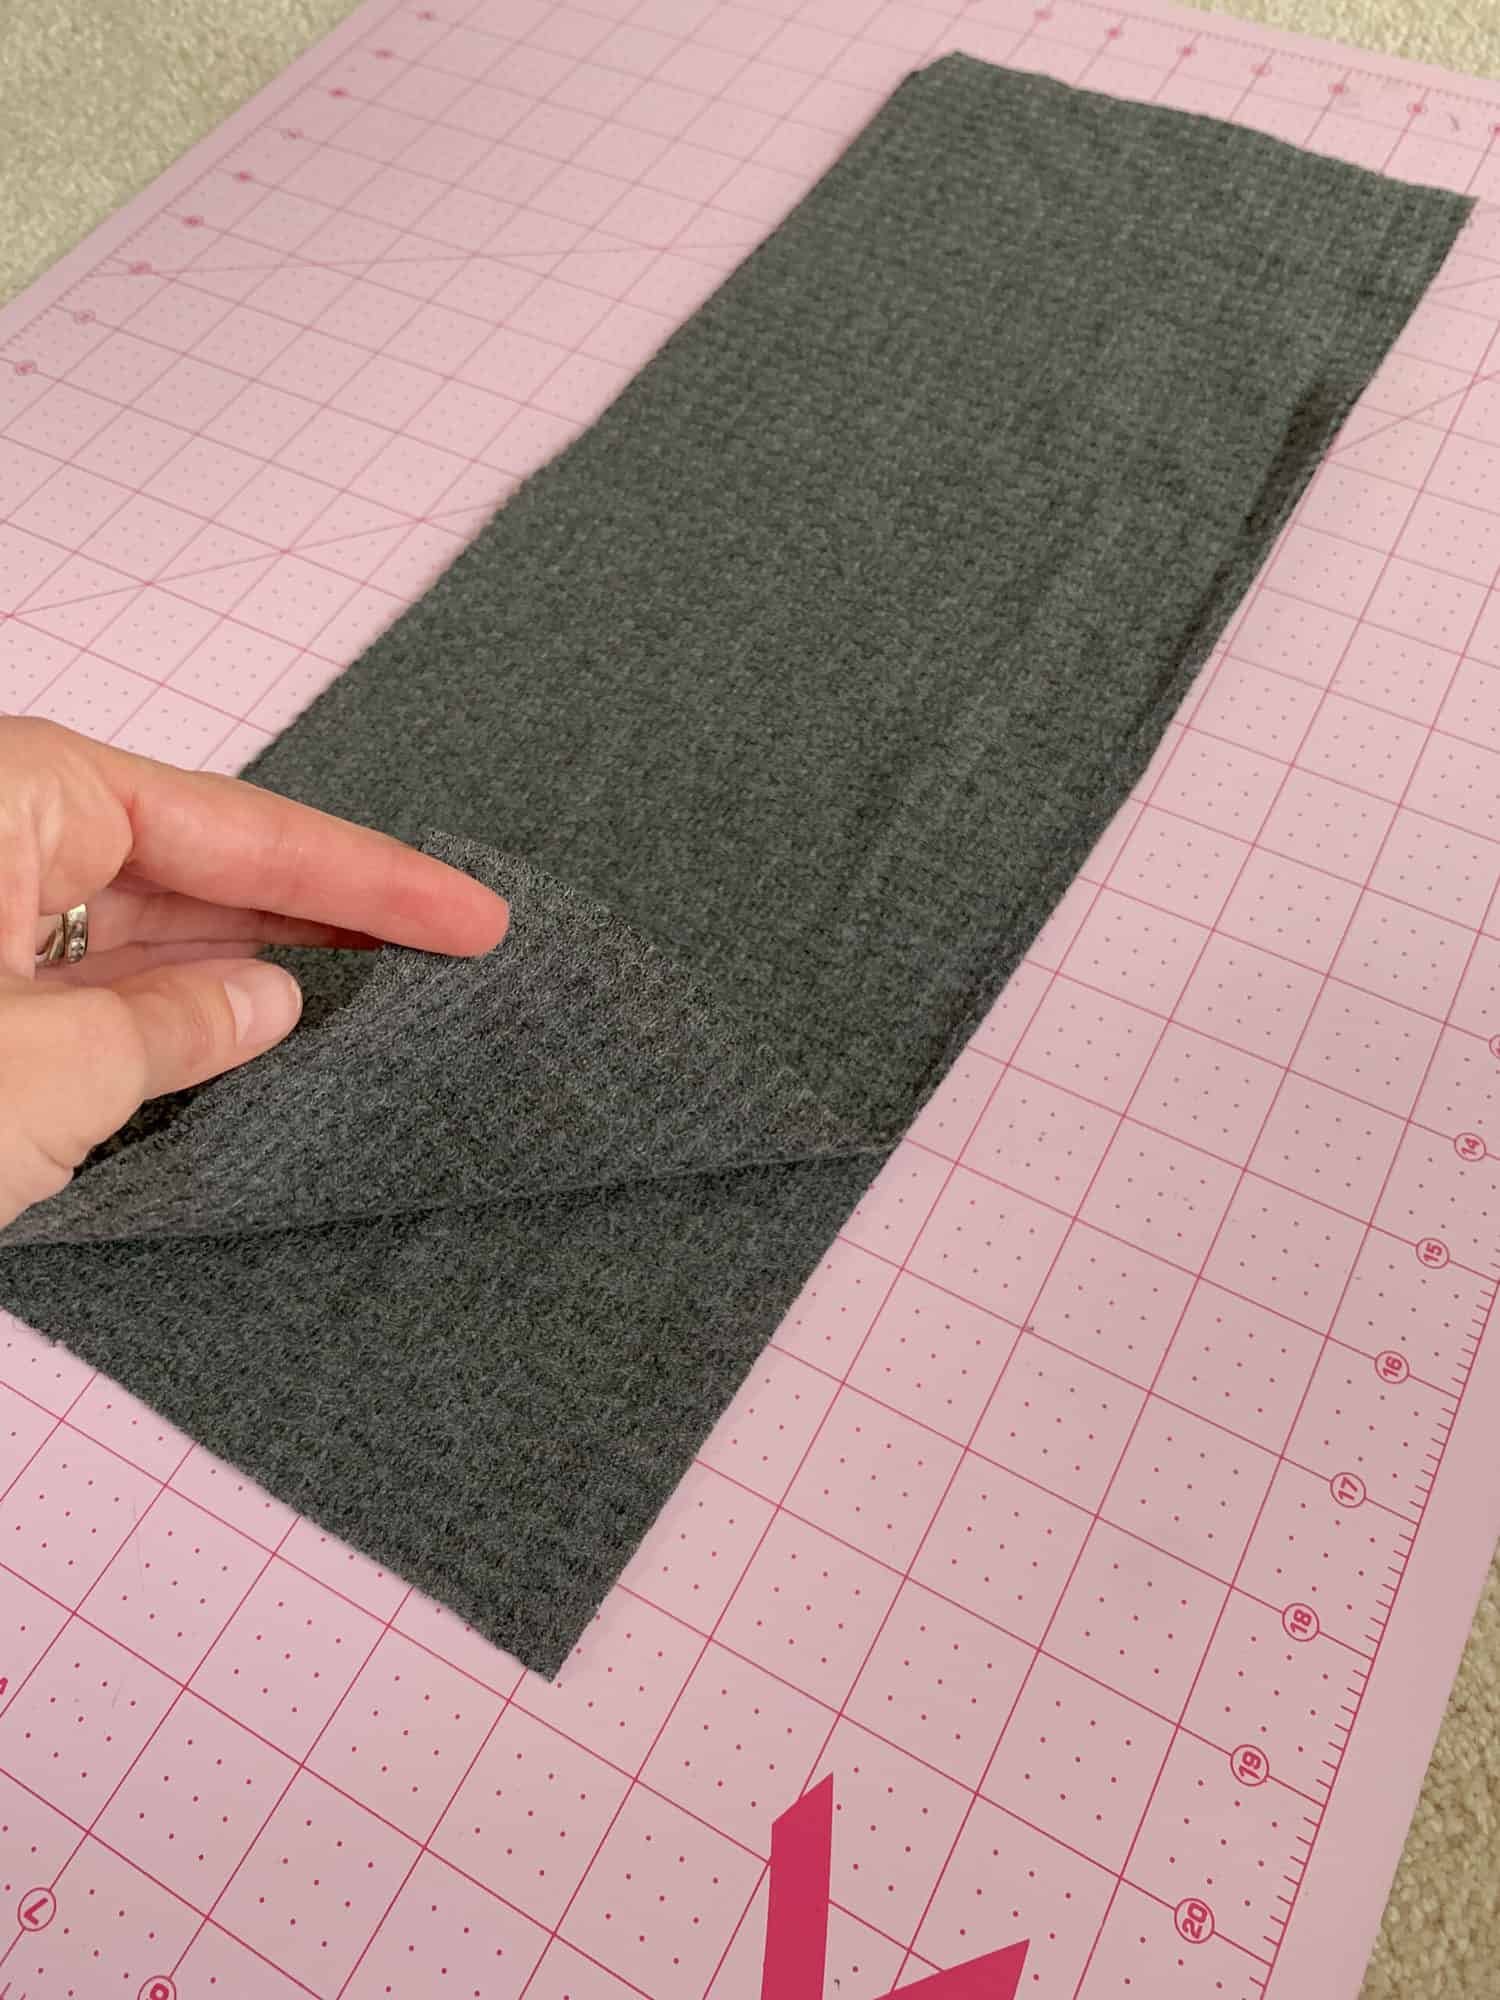
Lastly, you’ll need to create and attach your waistband. Take your two waistband pieces and place them right sides together. Stitch them together along the short ends.

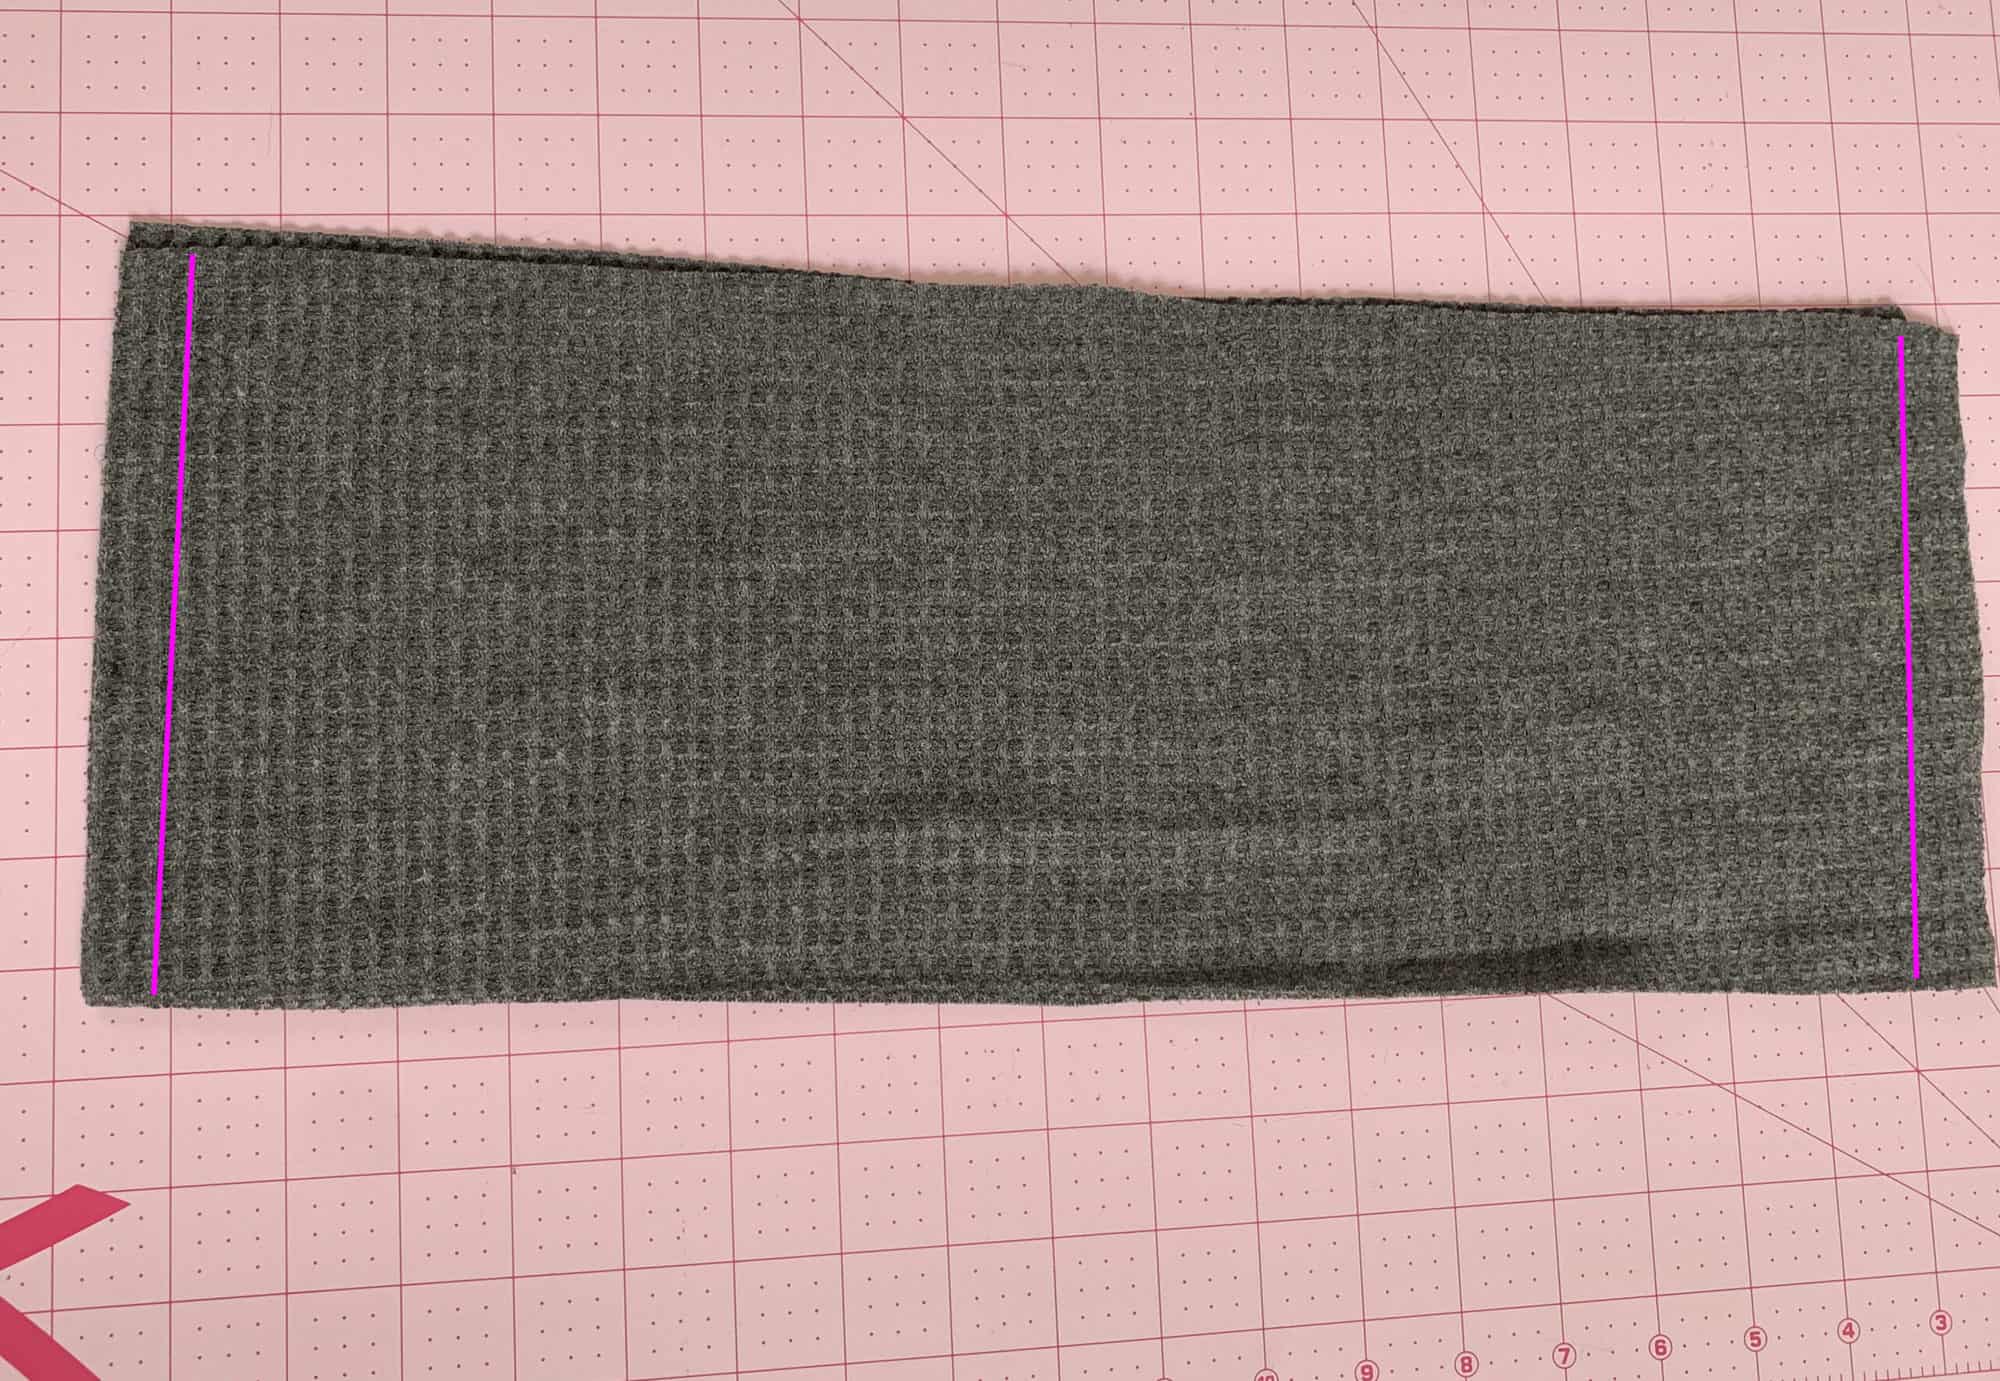
Now fold the waistband circle wrong sides together aligning the raw edges.  You can now slip the waistband on the bottom of the sweater, aligning raw edges, and sew in place.

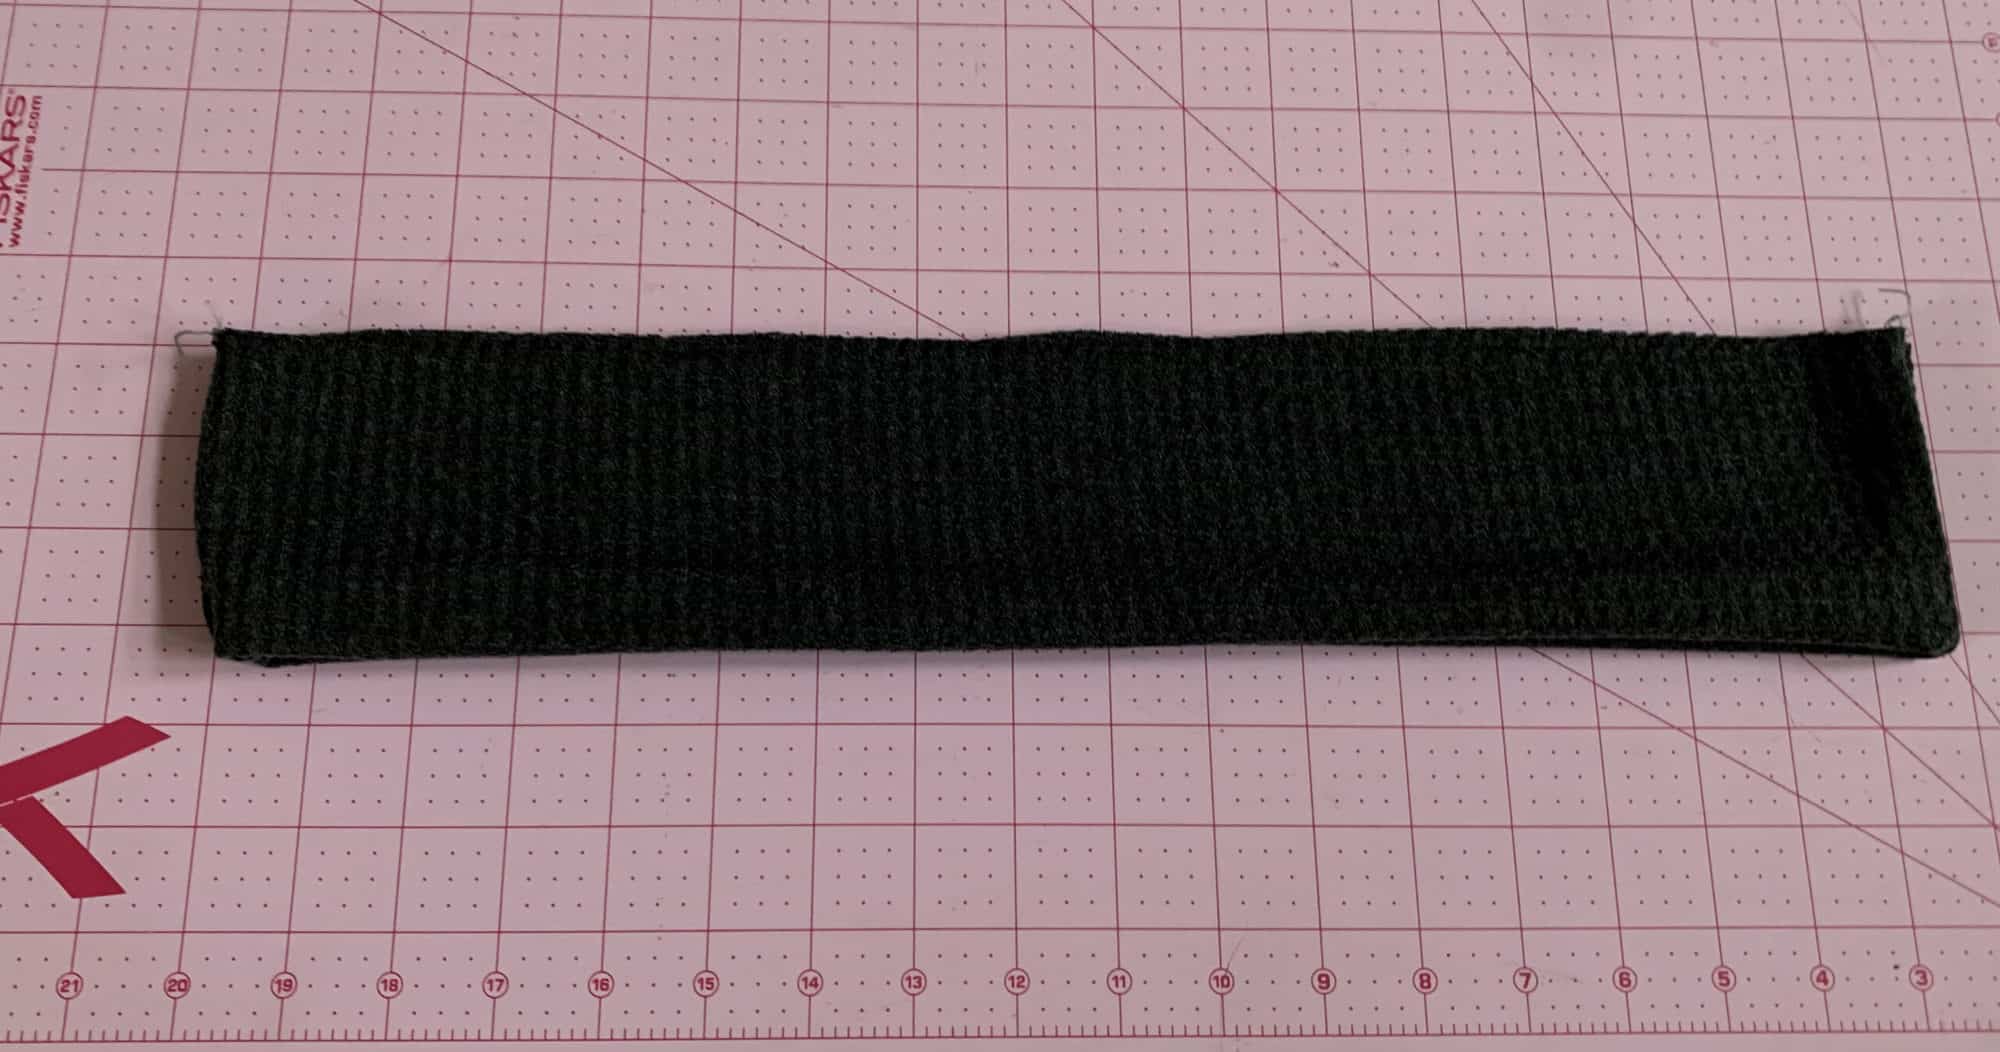
Now you have a comfy sweater without the extra side split!

Happy Sewing!

-Jody

….

Short sleeves

Last but certainly not least I wanted to show you how easy it is to take the Sweater Weather from chilly months to hot summer days. It’s as simple as using lighter fabric and making it short sleeves. For my example, I used custom bamboo spandex (my favorite fabric base!). There are not many modifications you need to do to get the look. Simply skip cutting the sleeves and sleeve cuffs when you gather your pieces. 

Sew the shoulder seems and instructed. Press the sleeve opening 1/2″, wrong sides together as shown below. This will create a memory hem. 

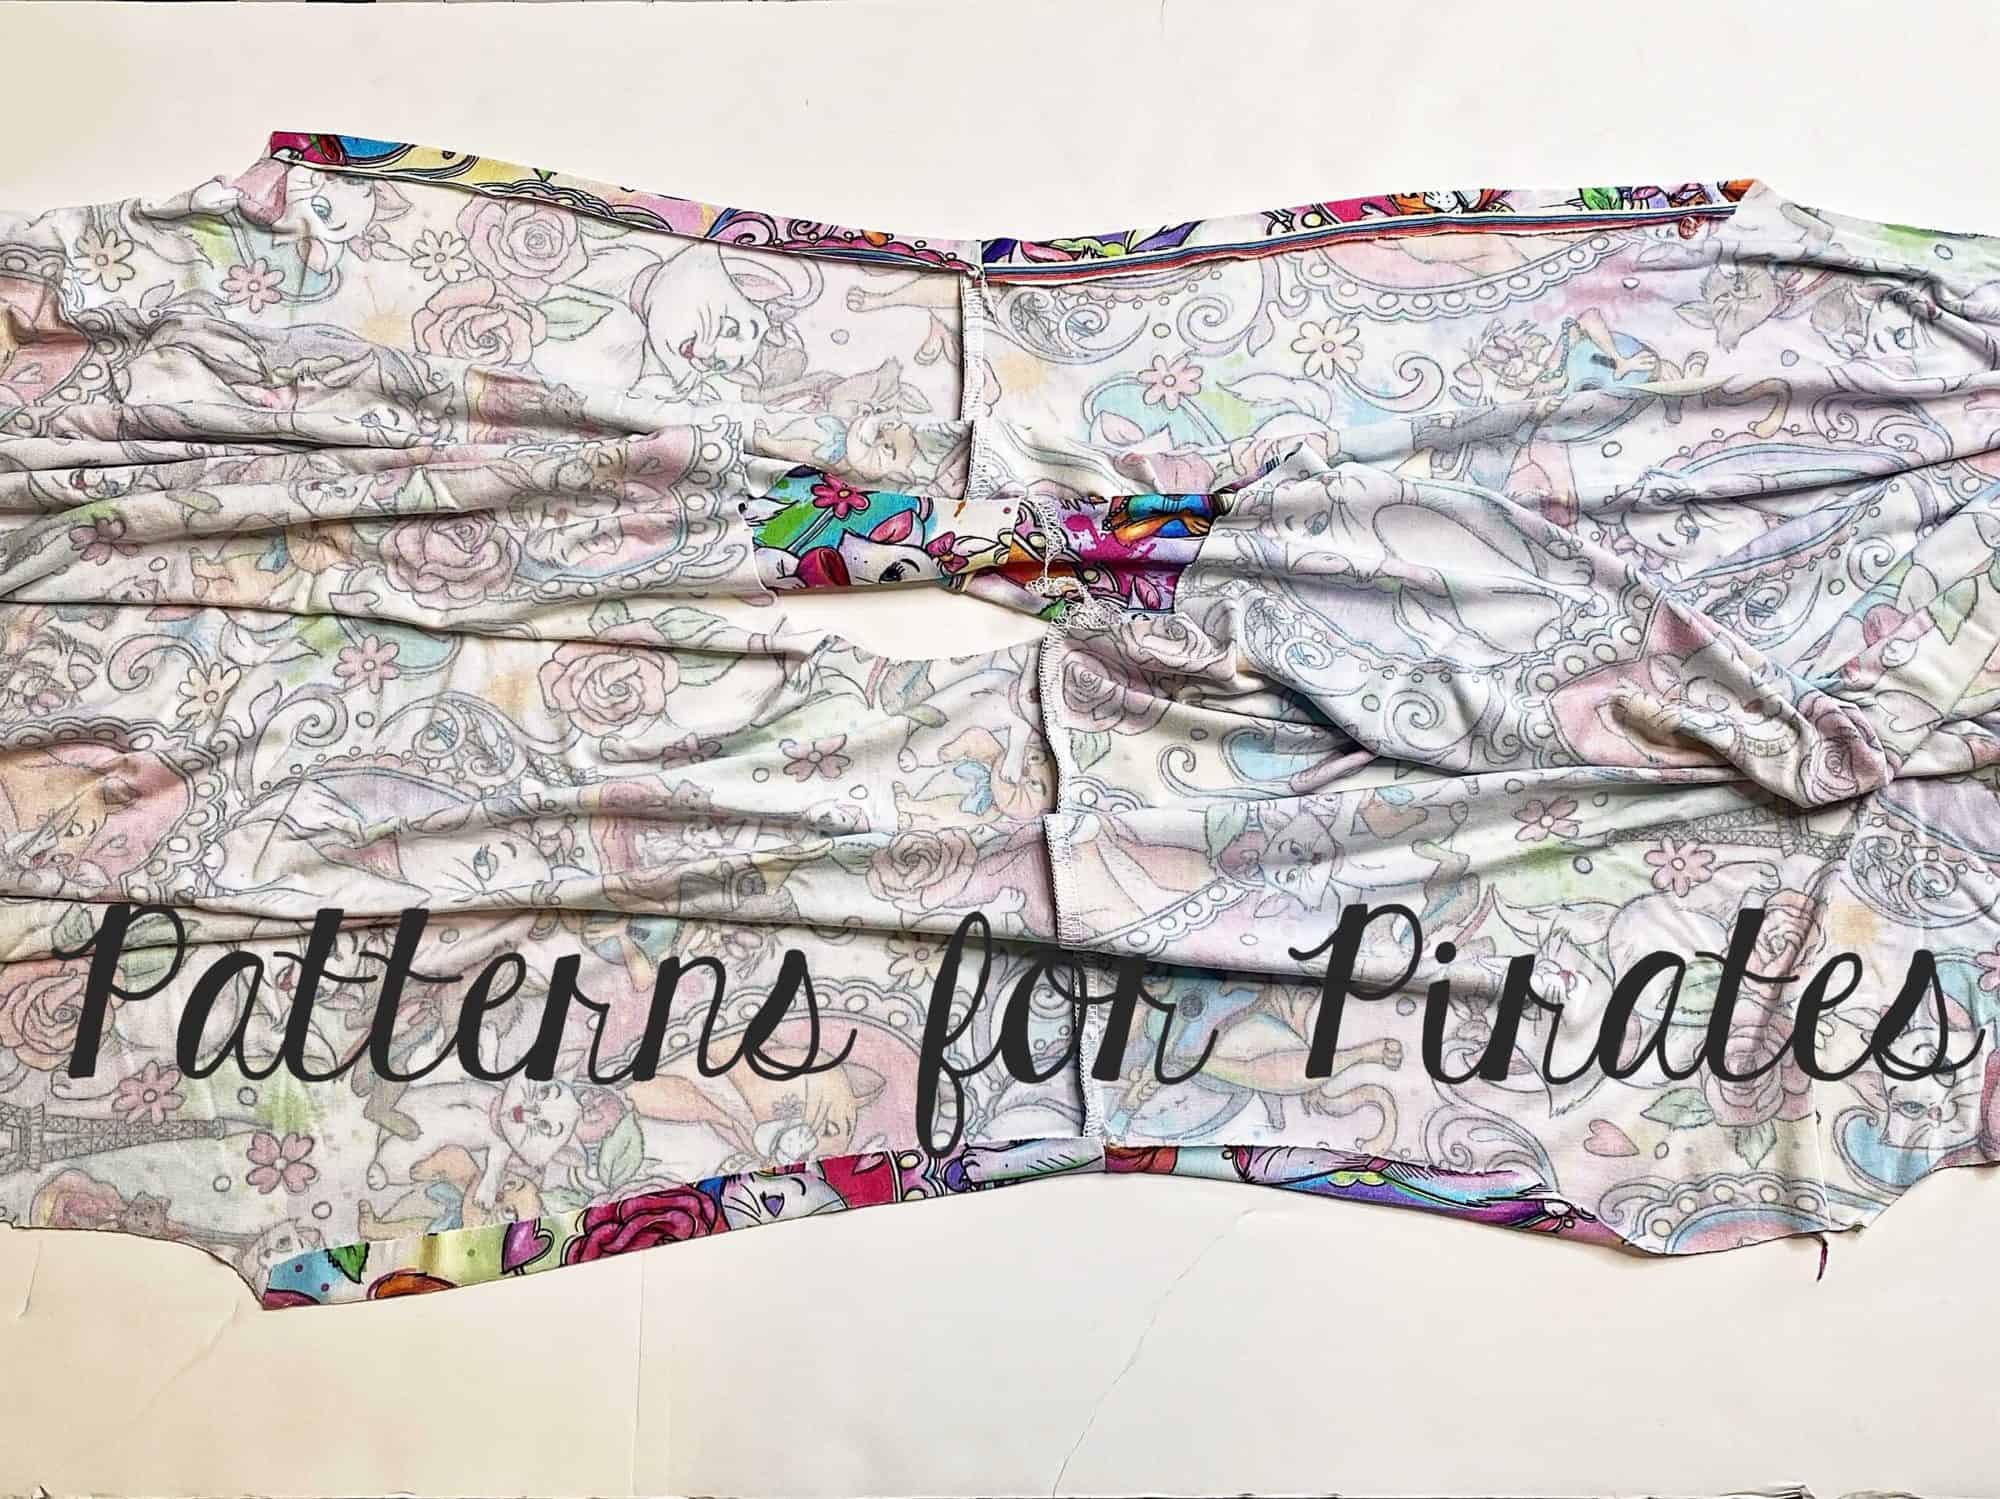
Sew the shirt side seams. Using your favorite stretch stitch (I used my coverstitch) hem the sleeves 1/2″. Press again for a crisp look. 

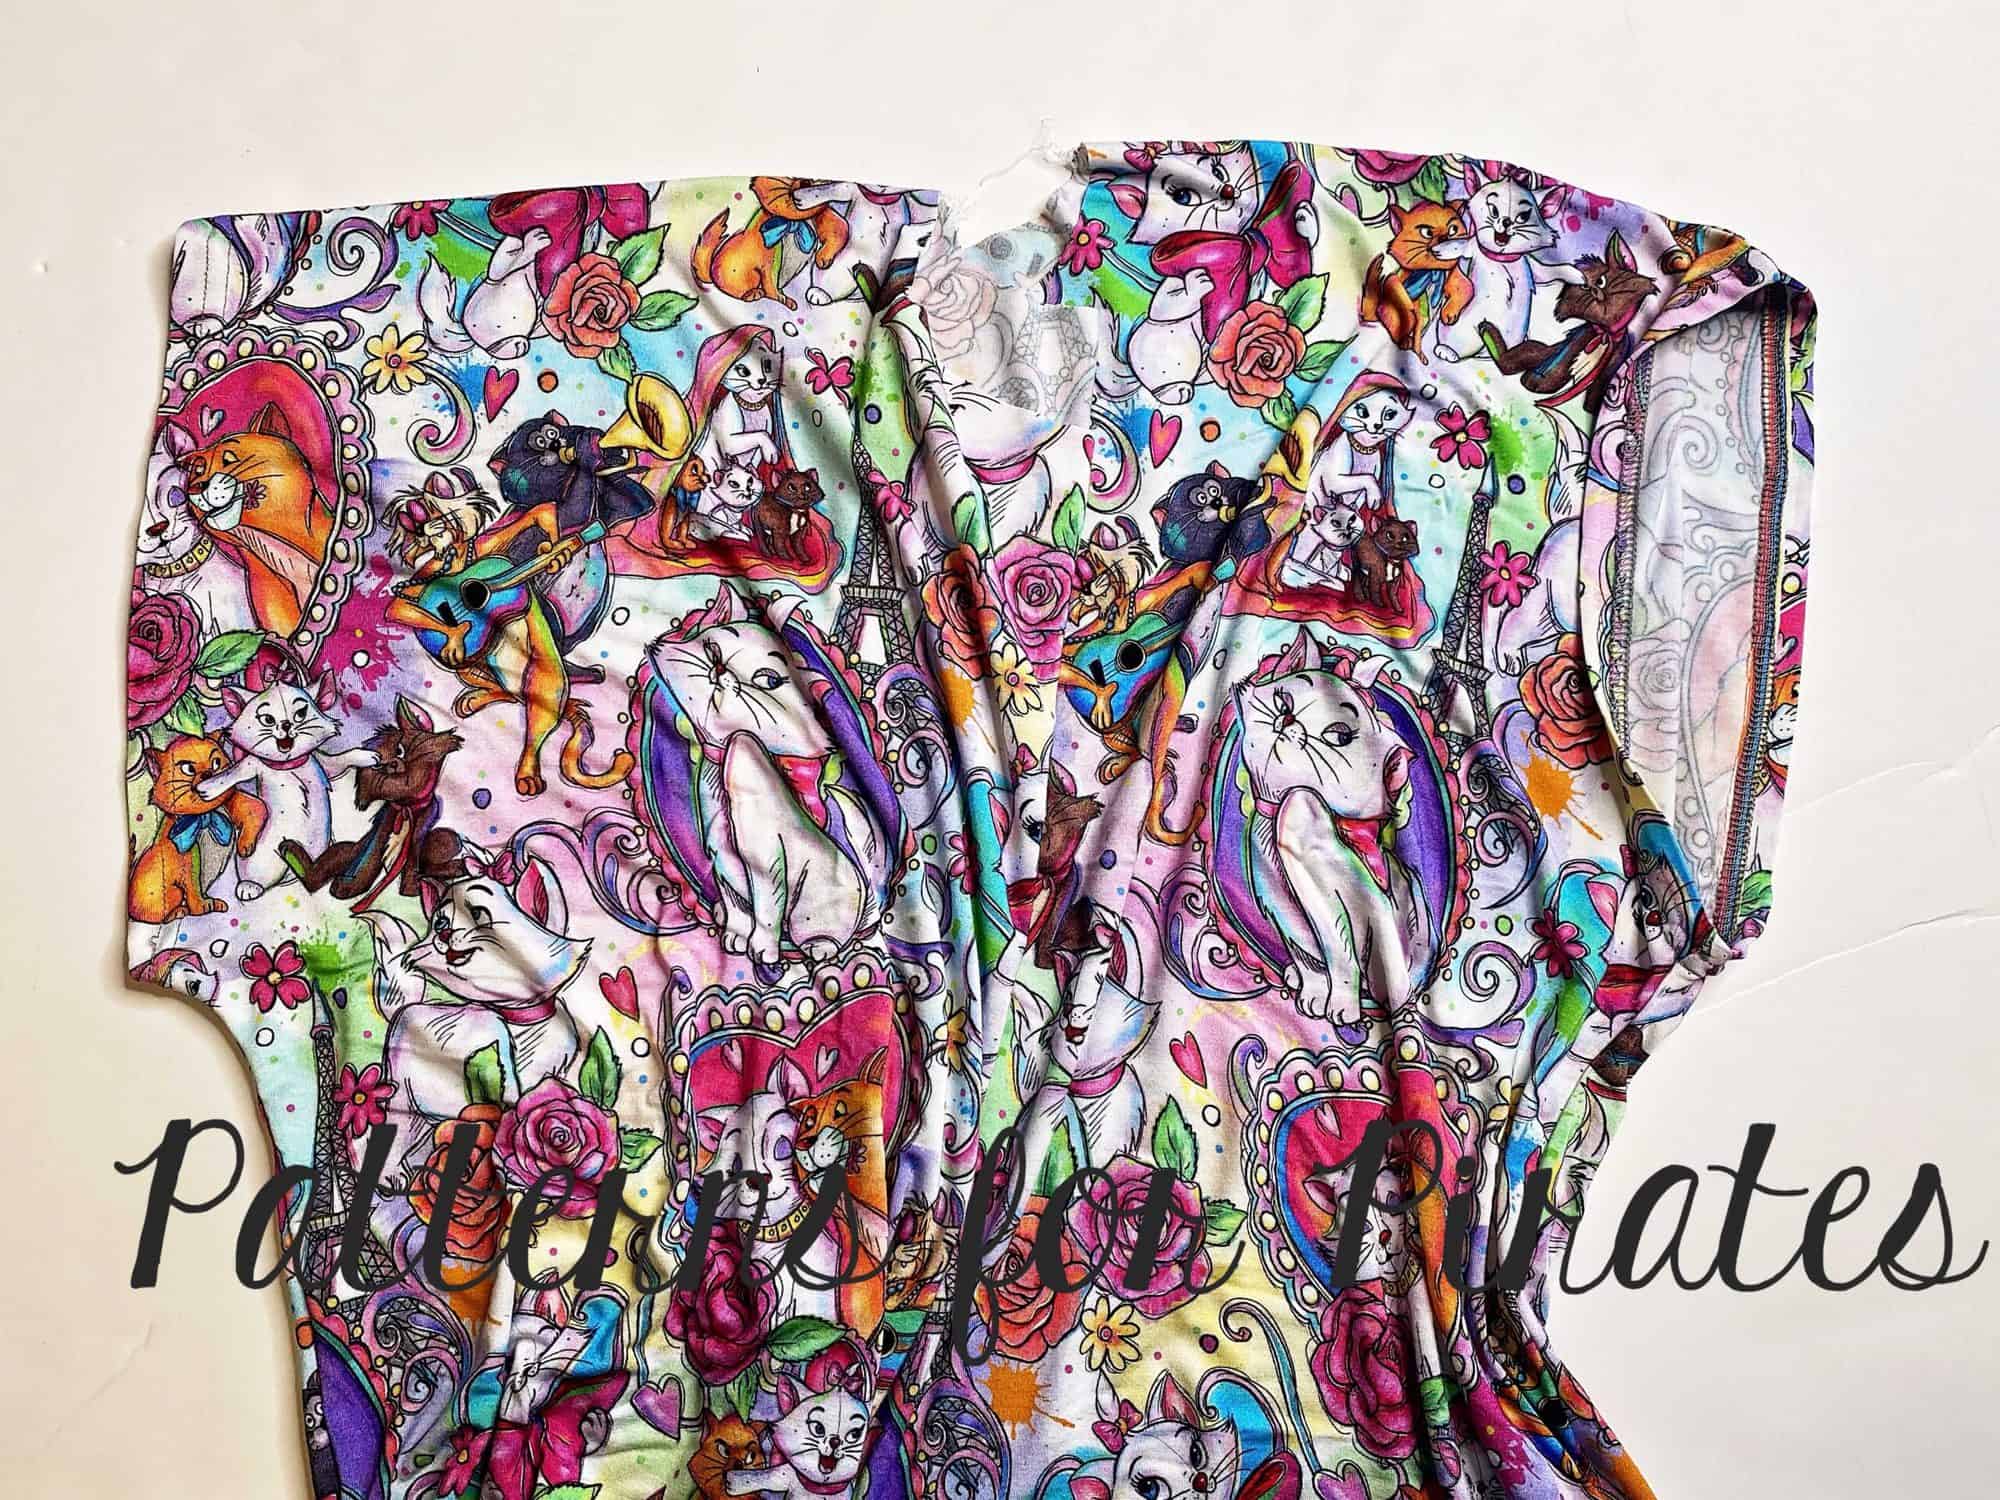
Tadah! Easiest hack ever! Continue sewing your Sweater Weather top as per the tutorial. 

ALTERNATIVE HACK: If you prefer a longer short sleeve, you can band it instead of hemming it. Before sewing the side seams, measure the opening. Cut two bands 4″ tall by the measurement you just did. Sew each band in a loop (at the short ends) using 1/2″ seam allowance. Press length wise, wrong sides together. Sew the shirt side seams. Attach the cuffs to the sleeve opening, matching the side seam. Press and optionally top stitch the seam allowance towards the sleeve. There you have it! A cuffed short sleeve. 


How adorable is Teri? She tested the Sweater Weather top and made herself a tie die short sleeve one too.


How fun and easy were these? We can’t wait to see your take on these hacks. Share your creations in the Patterns for Pirates FB group or on any social media platforms you use! 

Filed Under: Pattern Hacks, Pattern Release, Uncategorized 1 Comment

X Factor Sew Along – day 7

September 1, 2020

Congratulations to all participants in this month’s sew along. You are all winners in my book!  We absolutely loved seeing all the X Factor crop and dresses made last week. Without further ado…

Our first winner is Jeanne T Weidner! Jeanne won a $20 gift card from Patterns for Pirates and a $25 one to Mily Mae Fabrics. The X Factor was Jeanne’s first sew along and she did fantastic! 


Congratulations go out to Kaitlin Schwartz too! Kaitlin will receive a $20 gift card for Made for Mermaids and a $25 store credit to Milly Mae Fabrics. Her little girl just shines in her mini X Factor dress. 


A huge THANK YOU to our sponsor, Mily Mae Fabrics who set our winners up with store credit and provided the gorgeous bamboo Lycra I used during the videos. You too can grab some here.


September is Mermaids month in the M4M & P4P Sew Along group. Colleen will be announcing which pattern we will be sewing together this month. 

X Factor SAL | day 1

X Factor SAL | day 2

X Factor SAL | day 3

X Factor SAL | day 4

X Factor SAL | day 5

X Factor SAL | day 6

X Factor SAL | day 7

Filed Under: Frequently Asked Questions, Sew-A-Long, Uncategorized Leave a Comment

Fierce Bra SAL day 7

December 4, 2019


Thank you for joining us this past week! It is time to announce our Fierce Bra SAL winners so without further ado…

Congratulations Tiffany Nash! Tiffany won a $20 gift certificate to Patterns for Pirates and a $25 gift card to The Styled Magnolia Custom Fabrics.


Our second winner is Andrea Opalewski! Andrea will receive a $20 gift card from Made for Mermaids as well as a $25 card to The Styled Magnolia.


Huge THANK YOU to our Sew Along sponsor for not only providing the prizes but also the fabric I used for my own Fierce Bra and Peg Legs.


Fierce Bra SAL | Print and cut pattern [day 1]

Fierce Bra SAL | Choose and cut fabric [day 2]

Fierce Bra SAL | Prepare lining and sew side seams [day 3]

Fierce Bra SAL | Sew front neckline [day 4]

Fierce Bra SAL | Add shoulder FOE [day 5]

Fierce Bra SAL | Add under bust elastic [day 6]

Fierce Bra SAL | Winners announcement [day 7]

Filed Under: Frequently Asked Questions, Sew-A-Long Leave a Comment

Fierce Bra SAL day 6

November 30, 2019


You did it! Last sewing day of the Fierce Bra SAL is here! Today we are attaching the under bust elastic and of course showing off our custom made bras. Whether you went for more of a loungewear bra and used cotton spandex or preferred an actual, medium impact sports bra and used athletic knit, your waistband will be plush (or underwear) elastic.

You can “get away” with 3/4-1″ elastic if you are using cotton lycra. However, if you would like a sports bra that will be good for workouts, use 1.5-2″ plus elastic. If you have sewn the Youth Fierce Bra you can use 3/4 or 1″ plush elastic.


Here is the last sew along video. Take a look over it and post your completed Fierce Bra in the comments of the day 6 photo of the sew along album. Of course you are welcome to brag in the main P4P group too 🙂 Great job, everyone!


Fierce Bra SAL | Print and cut pattern [day 1]

Fierce Bra SAL | Choose and cut fabric [day 2]

Fierce Bra SAL | Prepare lining and sew side seams [day 3]

Fierce Bra SAL | Sew front neckline [day 4]

Fierce Bra SAL | Add shoulder FOE [day 5]

Fierce Bra SAL | Add under bust elastic [day 6]

Fierce Bra SAL | Winners announcement [day 7]

Filed Under: Frequently Asked Questions, Sew-A-Long Leave a Comment

Fierce Bra SAL day 5

November 29, 2019


Good morning! Today we are adding the FOE shoulder straps. Start by marking your straps front and back notches. Do not skip this step! Sew one strap in a loop. Match the front notch to the front pick up and the back notch to the back pick up. Pin in place. You will stretch the FOE to match the armscye.

Day 5 video is posted below. Once you add both shoulder straps post a picture of the completed steps in the comments of “day 5” photo of the Fierce Bra sew along album.

Fierce Bra SAL | Print and cut pattern [day 1]

Fierce Bra SAL | Choose and cut fabric [day 2]

Fierce Bra SAL | Prepare lining and sew side seams [day 3]

Fierce Bra SAL | Sew front neckline [day 4]

Fierce Bra SAL | Add shoulder FOE [day 5]

Fierce Bra SAL | Add under bust elastic [day 6]

Fierce Bra SAL | Winners announcement [day 7]

Filed Under: Frequently Asked Questions, Sew-A-Long Leave a Comment

Fierce Bra SAL day 4

November 28, 2019


Good morning, pirates and mermaids! Today’s step is attaching the FOE to the front of the neckline and the overlapping back. It is highly important to triple check that the fold over elastic ends are not twisted when attach them to the back of the bra.

Make sure you mark your notches (center and pick ups) on the FOE as the center fold over elastic part is smaller than the front curve. You will be stretching the elastic to match the neckline.

Below is today’s video. Once you finish your steps post a picture in the comments of day 4 photo of the Fierce Bra SAL album in the Sew Along group.

Fierce Bra SAL | Print and cut pattern [day 1]

Fierce Bra SAL | Choose and cut fabric [day 2]

Fierce Bra SAL | Prepare lining and sew side seams [day 3]

Fierce Bra SAL | Sew front neckline [day 4]

Fierce Bra SAL | Add shoulder FOE [day 5]

Fierce Bra SAL | Add under bust elastic [day 6]

Fierce Bra SAL | Winners announcement [day 7]

Filed Under: Frequently Asked Questions, Sew-A-Long Leave a Comment

Fierce Bra SAL day 3

November 27, 2019


Let’s start sewing! On day 3 we sew the inner lining to the lining piece and sew the side seams on both the main and the lining. The youth Fierce Bra does not include a “cups” option however, Angela showed us in the release hacks blog how to add cups to the youth bra. You can check it out here. If you would like to sew one of the hacks during this sew along, your entry will still count for the prizes 🙂

If you opted out of the cups, you will only have lining and main and your steps today will be just sewing the side seams…super duper easy! 

Take a look over the day three video below and post  picture of your progress in the comments of day 3  picture of the Fierce Bra SAL album.

Fierce Bra SAL | Print and cut pattern [day 1]

Fierce Bra SAL | Choose and cut fabric [day 2]

Fierce Bra SAL | Prepare lining and sew side seams [day 3]

Fierce Bra SAL | Sew front neckline [day 4]

Fierce Bra SAL | Add shoulder FOE [day 5]

Fierce Bra SAL | Add under bust elastic [day 6]

Fierce Bra SAL | Winners announcement [day 7]

Filed Under: Frequently Asked Questions, Sew-A-Long Leave a Comment

Fierce Bra SAL day 2

November 26, 2019


Welcome to day 2 of our Fierce Bra sew along. Today we will be choosing the fabric, cutting it and gathering all necessary notions. To make the Fierce Bra you will need athletic knit or cotton spandex fabric, 1″ Fold Over Elastic (FOE), 3/4″ – 2″ plush waistband elastic and optionally power mesh or cups.

For my Fierce Bra I decided to go with a gorgeous athletic knit I got from The Styled Magnolia. I am using solid purple supplex, also from TSM, for lining and a nude swim for the inner lining. I am using 1″ FOE and 1.5″ plus elastic, both from Amazon.

The Day 2 video is posted below. Check it out and once you are done cutting your fabric post a picture of your prepped fabric in the comments of the Day 2 photo of the Fierce Bra SAL album in the M4M & P4P Sew Along group.

Fierce Bra SAL | Print and cut pattern [day 1]

Fierce Bra SAL | Choose and cut fabric [day 2]

Fierce Bra SAL | Prepare lining and sew side seams [day 3]

Fierce Bra SAL | Sew front neckline [day 4]

Fierce Bra SAL | Add shoulder FOE [day 5]

Fierce Bra SAL | Add under bust elastic [day 6]

Fierce Bra SAL | Winners announcement [day 7]

Filed Under: Frequently Asked Questions, Sew-A-Long 1 Comment

Fierce Bra SAL day 1

November 25, 2019


Welcome to the Fierce Bra

Sew Along!

Day 1 is for purchasing the patterns, printing and cutting the size(s) you need. If you plan on sewing for yourself you can get the Fierce Bra here, if you’re sewing for your little one, the Youth Fierce Bra can be purchased here and if you’re sewing for both of you can get the bundle.

This Sew Along will take place in our M4M & P4P Sew Along group so be sure to join the group to be able to post your progress this week. As always all daily posts will be here on the blog but you’ll be checking in with your completed steps in the group, in the comments of each daily picture.


This sew along is sponsored by The Styled Magnolia who specializes in non inspired custom fabric. They offer a variety of athletic knits that make the most perfect Fierce Bras. Our two lucky winners will each get a gift card to shop TSM fabric.


Now that you have your pattern printed, time to cut the correct size(s). The Fierce Bra (adult) pattern includes pieces for Full Bust and Small but so if your full bust is 1 size bigger or smaller than the over bust and under bust measurement you can use the FBA or SBA pattern piece. You will still need to grade if your full bust varies by more than one size from the under/over bust size.

P4P has an amazing blog that gives you tip for accurately taking your measurements. You can read all about it here. If your measurements put you in a different size for bust/waist/hips be sure to check out our P4P University blog and grade to achieve the perfect fit.

Check out the day 1 video below and then comment “done” on the Day 1 picture of the Fierce Bra SAL album in the sew along group. We don’t allow pictures of the pattern pieces so this will count as your day 1 check in. Let’s get started!

Fierce Bra SAL | Print and cut pattern [day 1]

Fierce Bra SAL | Choose and cut fabric [day 2]

Fierce Bra SAL | Prepare lining and sew side seams [day 3]

Fierce Bra SAL | Sew front neckline [day 4]

Fierce Bra SAL | Add shoulder FOE [day 5]

Fierce Bra SAL | Add under bust elastic [day 6]

Fierce Bra SAL | Winners announcement [day 7]

Filed Under: Frequently Asked Questions, Sew-A-Long 5 Comments

Grandpa Cardi/Cpt Mack’s Cardigan SAL – day 3 (sew pocket and elbow patches)

January 16, 2019

Good morning, pirates! Today’s sew along is all about details. We are addin pockets and elbow patches. This is the time to get creative! Use some cute accent fabric, like sequins or faux leather or go classic and match the pockets with the main fabric.

The patterns include two options for the pocket, a hemmed and banded one. The banded one is a great alternative if you’re not the biggest hemming knits fan, plus it gives you the option to incorporated some more accent fabrics too. As I mentioned yesterday, the elbow patches will add a fun detail to your cardigans. Whether you’re making one for yourself and or one for your little, add a pop of color or texture to your patches! You’ll love it!

Tip: When adding the elbow patches mark the left arm and the right arm to make sure that you will not have the pockets on the inside of your arm vs the elbow. 

If you have chosen to make your cardigan with sweater knits, go over our Sweater knits blog post where I am giving you some wasy tricks to work with this fabric base.

Watch the videos below and  post a picture of your pockets and added elbow patches in the day 3 photo comments of the Cardigan SAL album.

Grandpa Cardi | Cpt Mack’s Cardigan Sew along  – Day 1 (Print & cut pattern)

Grandpa Cardi | Cpt Mack’s Cardigan Sew along  – Day 2 (choose and cut fabric)

Grandpa Cardi | Cpt Mack’s Cardigan Sew along  – Day 3 (pockets and elbow patches)

Grandpa Cardi | Cpt Mack’s Cardigan Sew along  – Day 4 (shoulder seams and add sleeves)

Grandpa Cardi | Cpt Mack’s Cardigan Sew along  – Day 5 (finish sleeves and bottom edge)

Grandpa Cardi | Cpt Mack’s Cardigan Sew along  – Day 6 (collar/shawl and buttons)

Grandpa Cardi | Cpt Mack’s Cardigan Sew along  – Day 7 (winners announcements)


Filed Under: Frequently Asked Questions, Sew-A-Long, Uncategorized Leave a Comment

  • 1
  • 2
  • Next Page »

Newest Patterns

  • Notch Top & Dress $12.00 $10.50
  • Notch Top & Dress - Youth $10.00 $8.50
  • Notch Top & Dress - Bundle $20.00 $18.00
  • Friendly City Sweater $12.00
  • Friendly City Sweater - Youth $10.00
  • Privacy Policy
  • Refund Policy
  • Affliliate Program
  • Contact Us
  • About

Copyright © 2023 Patterns for Pirates

Copyright © 2023 · Genesis Framework · WordPress · Log in