Today is all about prepping your pattern and fabric and making sure you get the best fit before you even cut a single fiber!
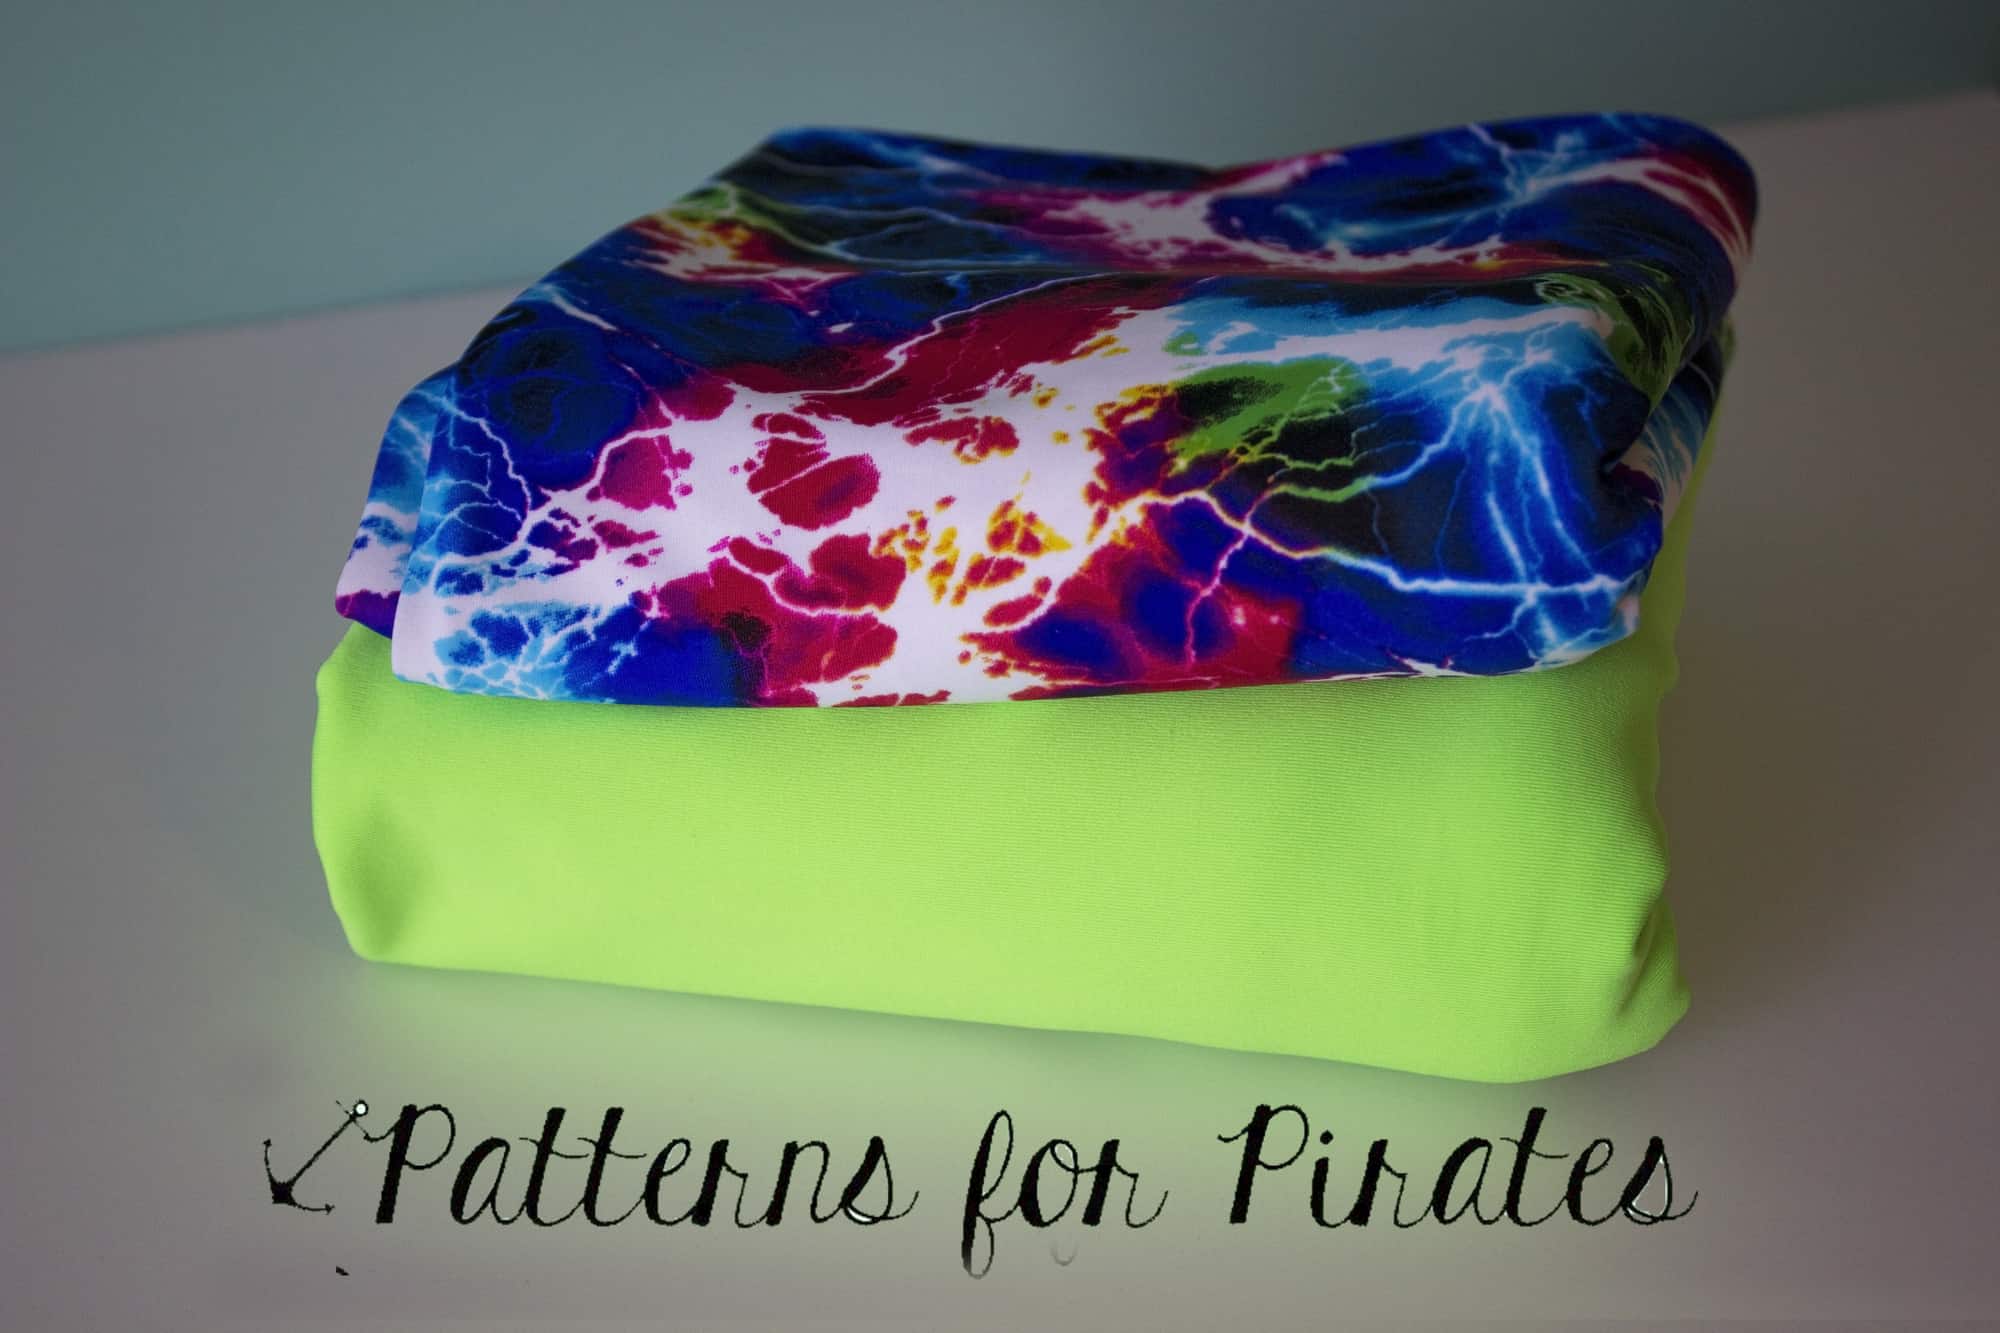
LET’S TALK FABRIC
The best part of the henley patterns is that they work with a huge array of fabrics. French Terry, sweater knit, thermal, interlock, rayon spandex, and single/double brushed poly-spandex are just to name a few. Check out our Knit 101 Blog post if you need more help with the fabric types.
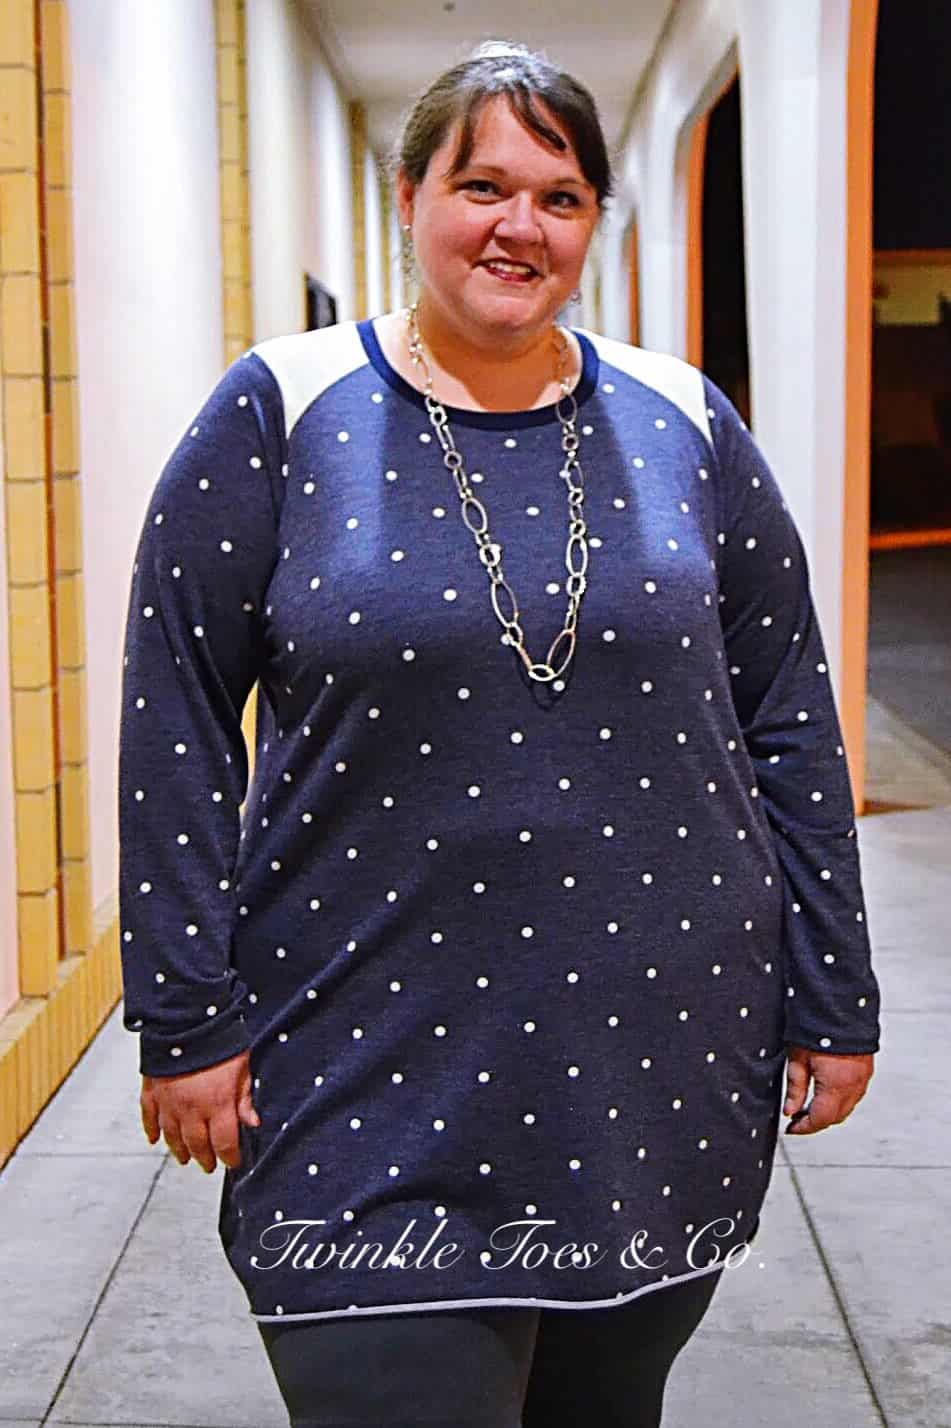
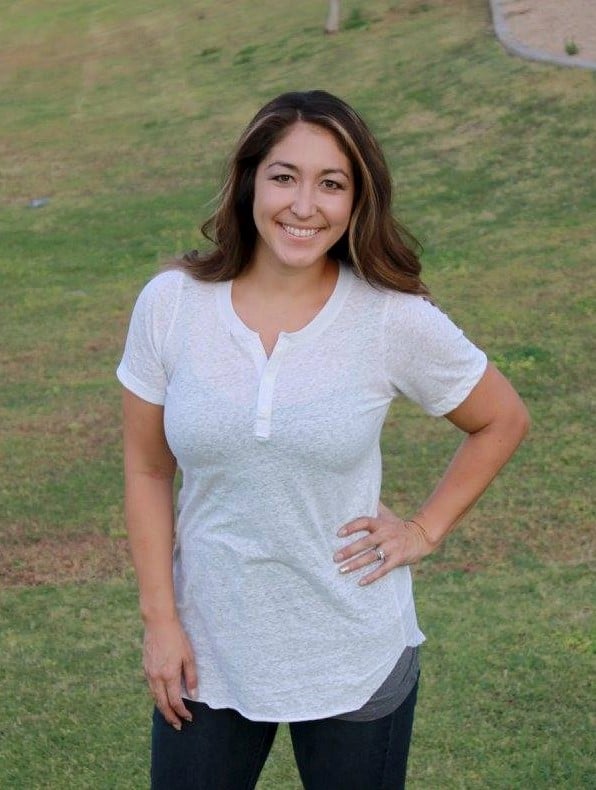
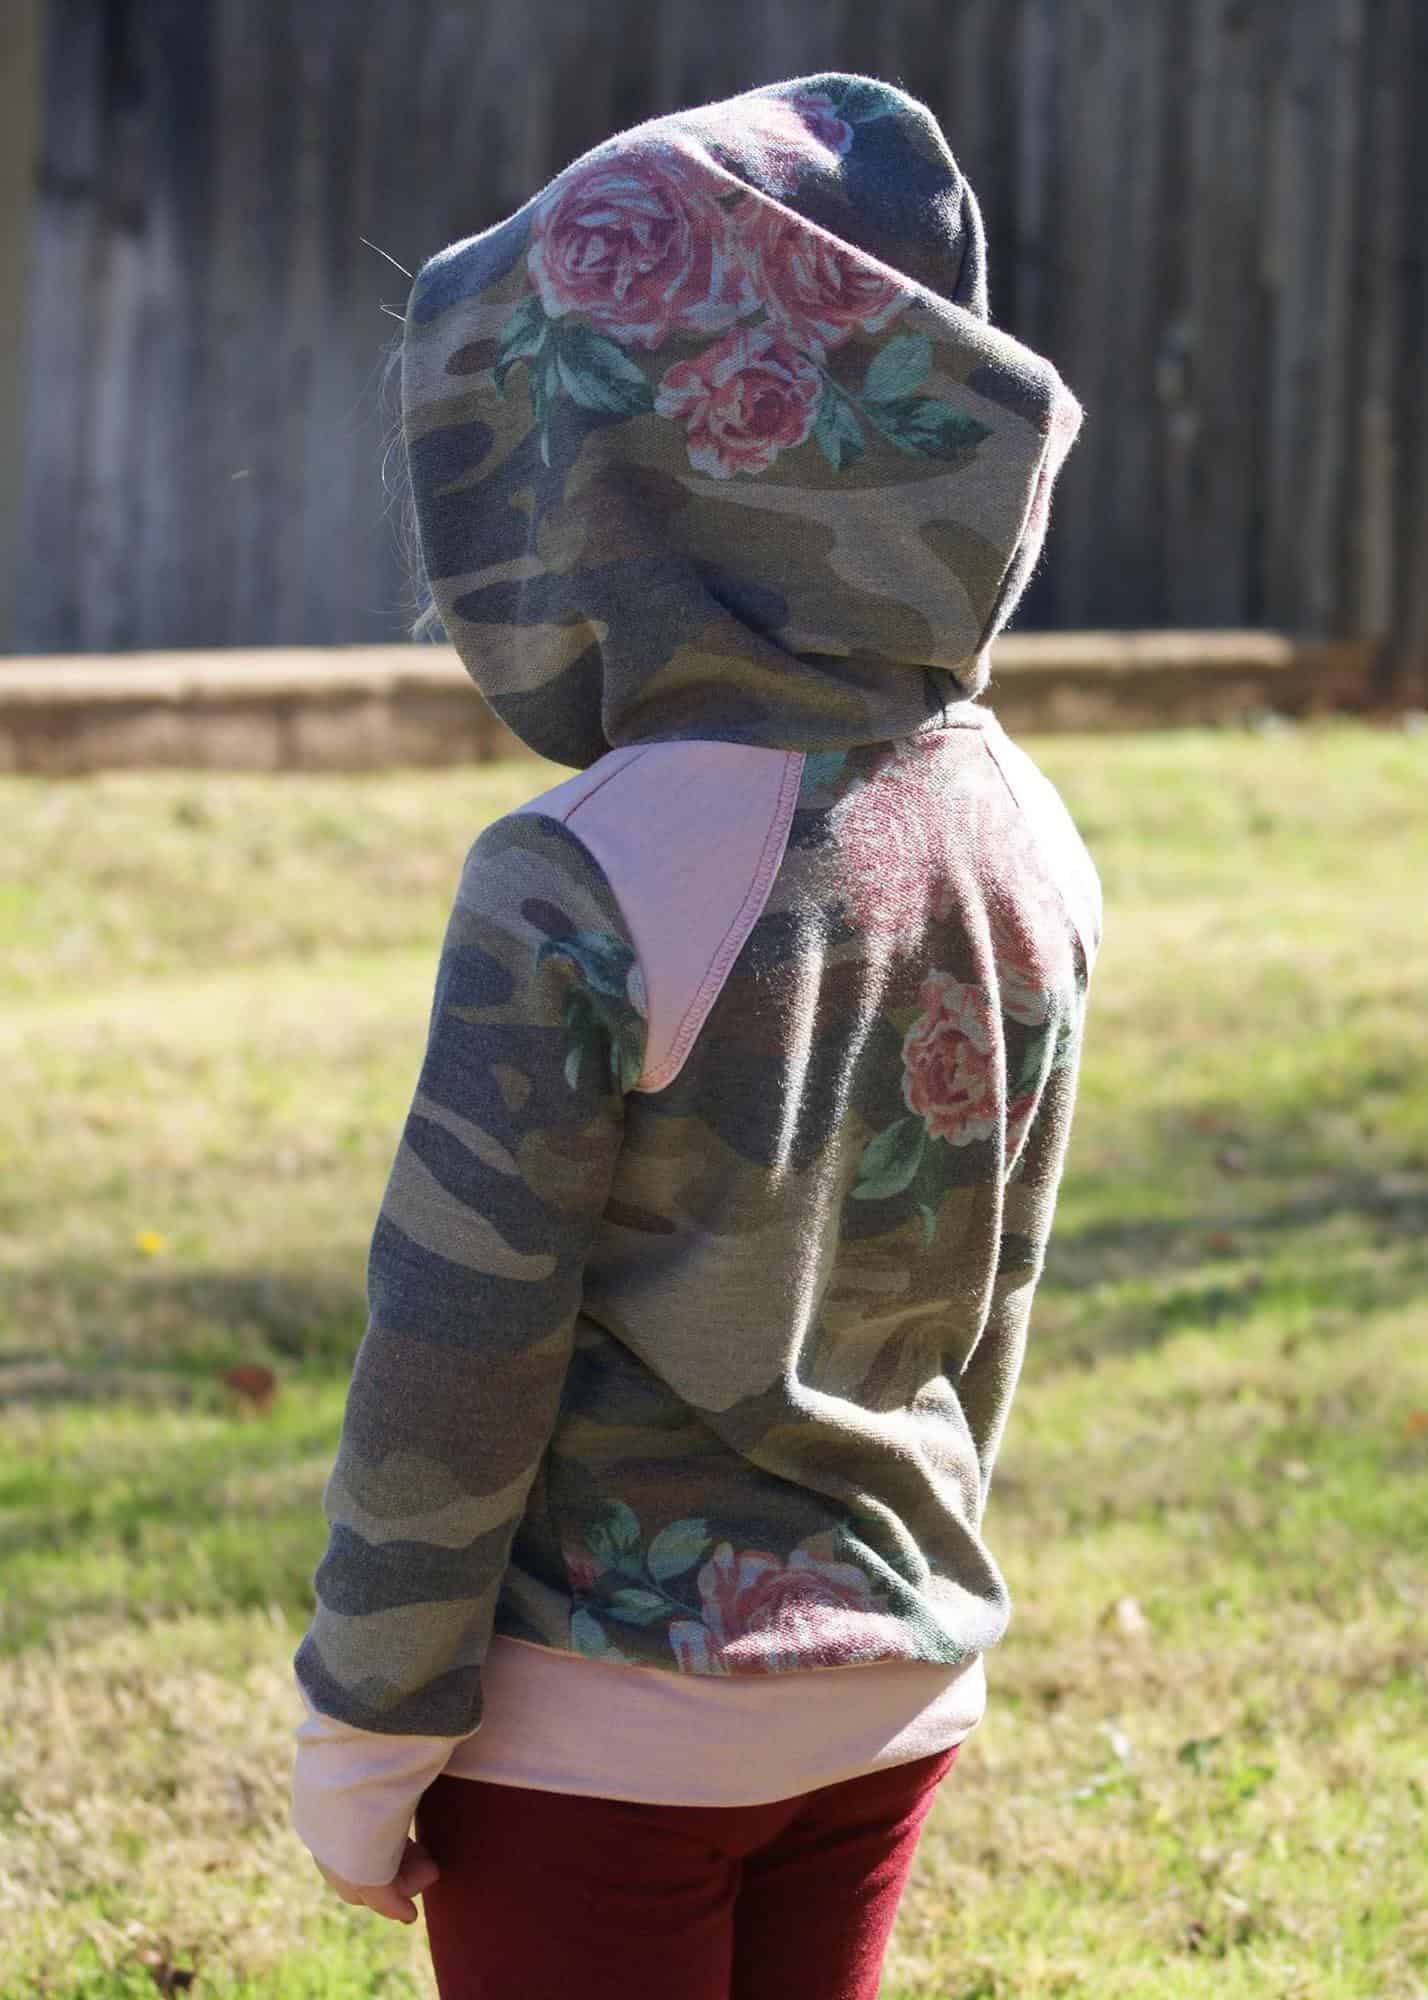
Here are a few examples from our testers! And be on the lookout for the raglan shoulder color block hack later this week. 😉
-

- Sweater Knit

-

- Rayon Spandex/Jersey

-

- French Terry
-

- Crushed Velvet

-
- Sweater Knit and Suede accents

-

- Burnout Jersey/Rayon Spandex Placket
-

- Thermal

-

- Cotton Lycra

-

- Cotton Lycra

-

- French Terry
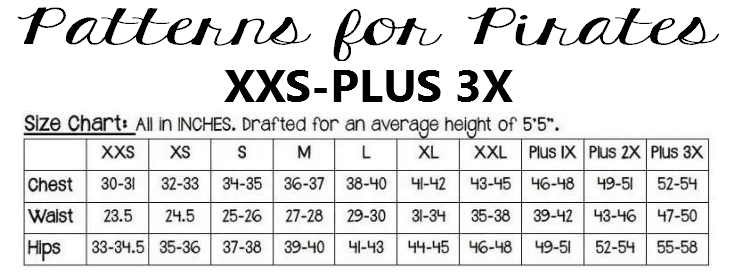
MEASURE YOURSELF
The Henley Patterns are all focusing on three measurement points: Chest, Waist and Hips. Judy created an entire post dedicated to measurements and how to properly measure yourself. You can see the full post HERE.
Chest/Full Bust — Full bust is around the fullest/biggest part of your bust. You want the tape as even horizontally as possible. For men/children, the fullest part of their chest is where the measurement needs to be taken.

Hip – This is a deceiving name. It is measured around your fullest/biggest part, which is usually your booty. Try to keep your tape as even horizontally as possible (a mirror really helps on this one!)

Waist– This is your natural waistline. Contrary to most belief, it is NOT your belly button or where you wear your pants (even though you might like high waisted pants). It is taken at the smallest part of your mid section. if you don’t have a very defined natural waist there is a very easy way to find it.
Take any kind of stretch trim, fold over elastic, thin elastic, even a strip of knit will work, and tie it snuggly around your mid section. Now MOVE around, bend walk around, sit down, it will naturally settle on your smallest part. This is your natural waist.


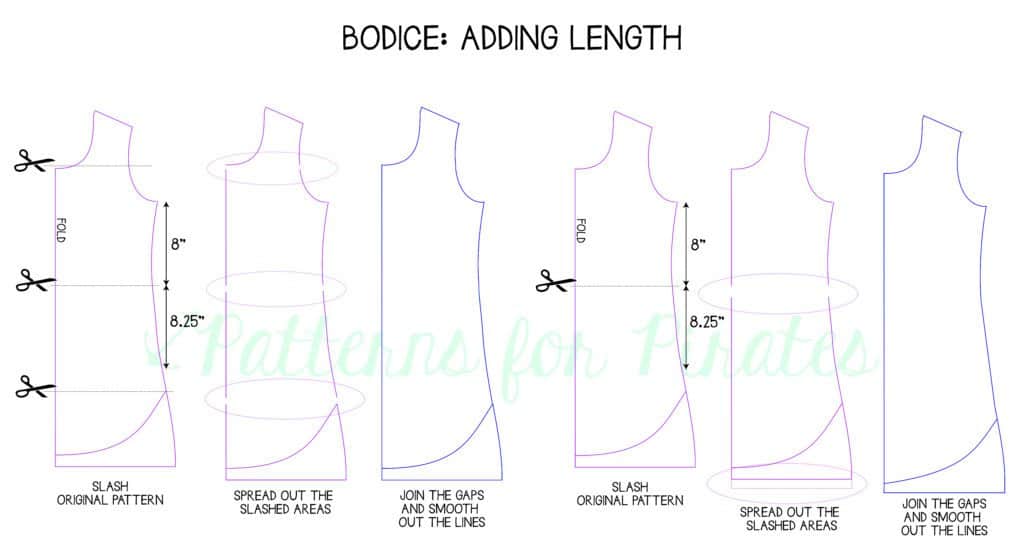
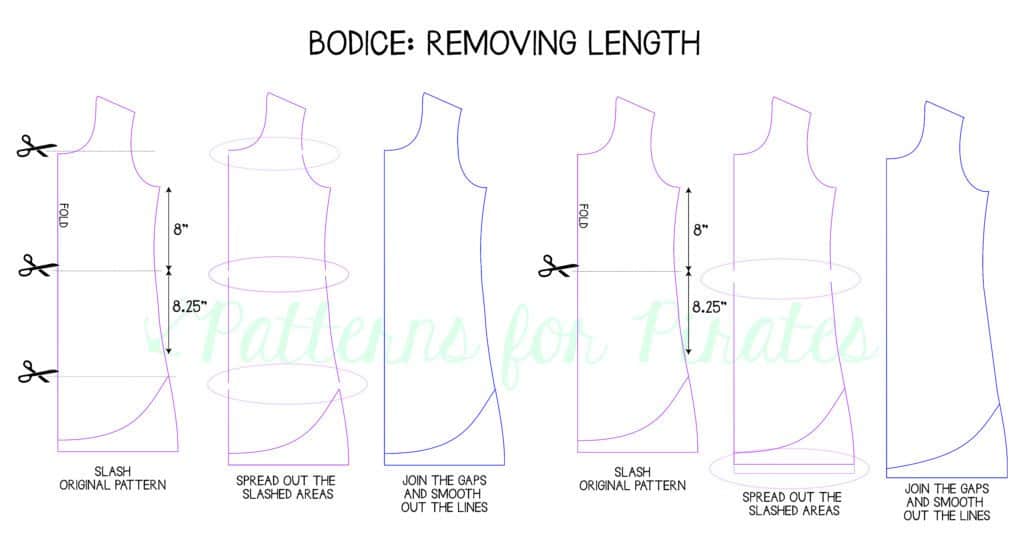
What if you’re taller or shorter than the pattern is drafted for?
Wouldn’t you know that we have an entire blog post dedicated to helping you with that as well? The “rule of thumb” is to add/subtract 1/2″ for every inch that you are different than the pattern is drafted for. For example, at 5’10” there is a 5″ difference so I would need to add 2.5″ throughout the pattern. If I were 5’1″ then I would remove 2″ of length since there is a 4″ difference.
Head HERE to read more about it!
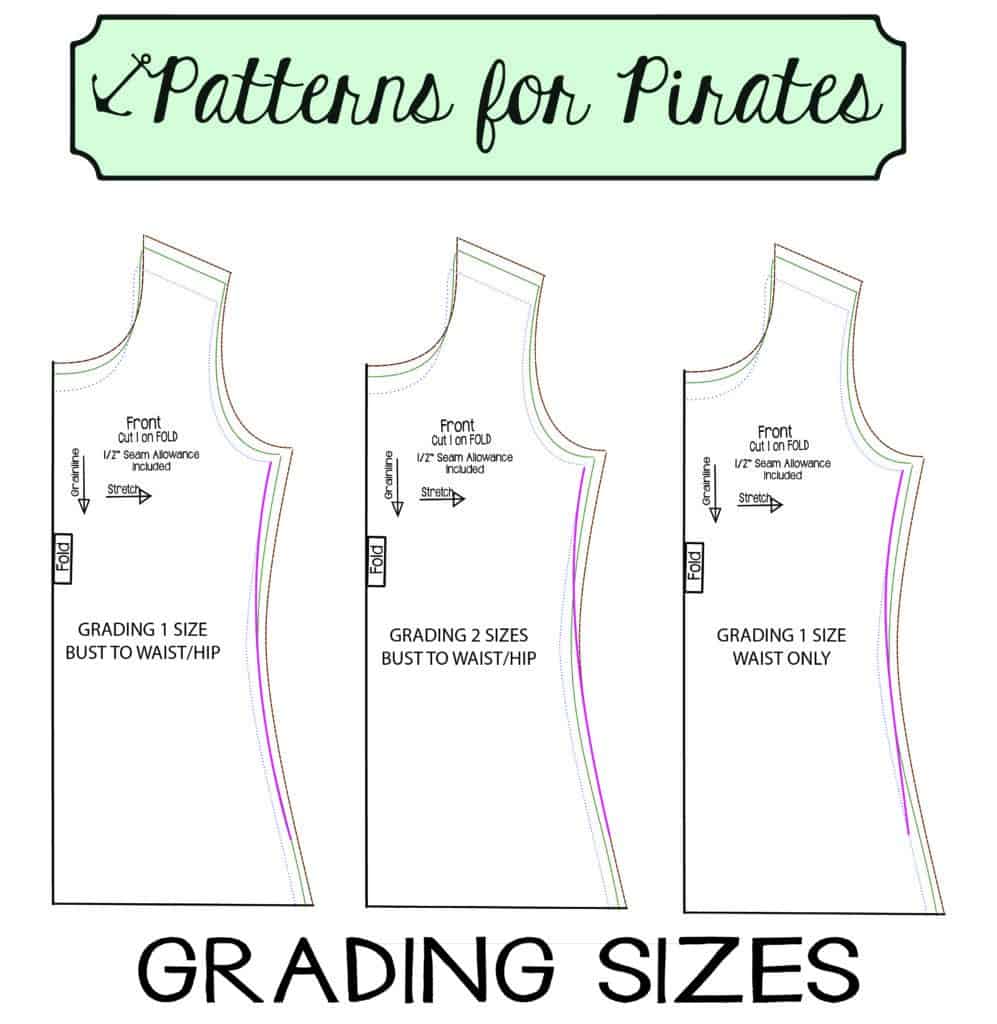
What if your measurements don’t fall within one size?
That is why you’re sewing for yourself, isn’t it? To get the perfect fit? Well then let’s get that perfect fit!
Now that you have determined your size and if you’d like to grade, how do you do it? Below are a few examples of grading for a larger waist and hip size. Any adjustments should be made to both the FRONT and BACK pieces. Do not be discouraged if your measurements put you within different or larger sizes than ready-to-wear store-bought clothes as pattern sizing does not translate the same. Our bodies come in all shapes and sizes, and we are all uniquely beautiful.
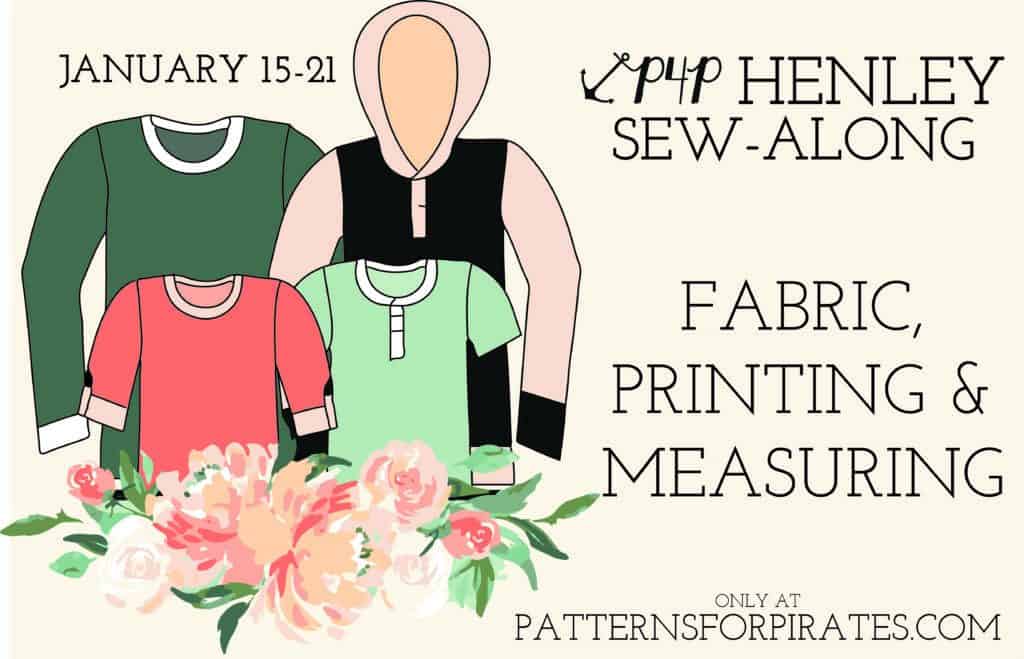
PRINT YOUR PATTERN(S)
All three henley patterns are “no-trim” pages. That is exactly what it sounds like! The pages are set up to print and be taped/glued together without needing to get scissors out and trim the edges before assembly. It makes this step of the process even quicker. Need help assembling the no-trim pages? No problem! Judy created this fabulous video for us. Go check it out HERE. (You have to be a member of the P4P Facebook group to be able to see the video.)
Before you hit print, BE SURE that your pages are set to print at 100%, no scaling. We still recommend printing only the first page and measuring your 1″ x 1″ (or 4cm x 4cm) square to verify the print size is correct before printing the entire pattern. Even if your square is off by the teeniest amount, the entire pattern will be affected and your dress will not fit. Save yourself some ink and paper (and fabric!) and verify the settings first.

Whew! That was a lot of information to take in, wasn’t it?
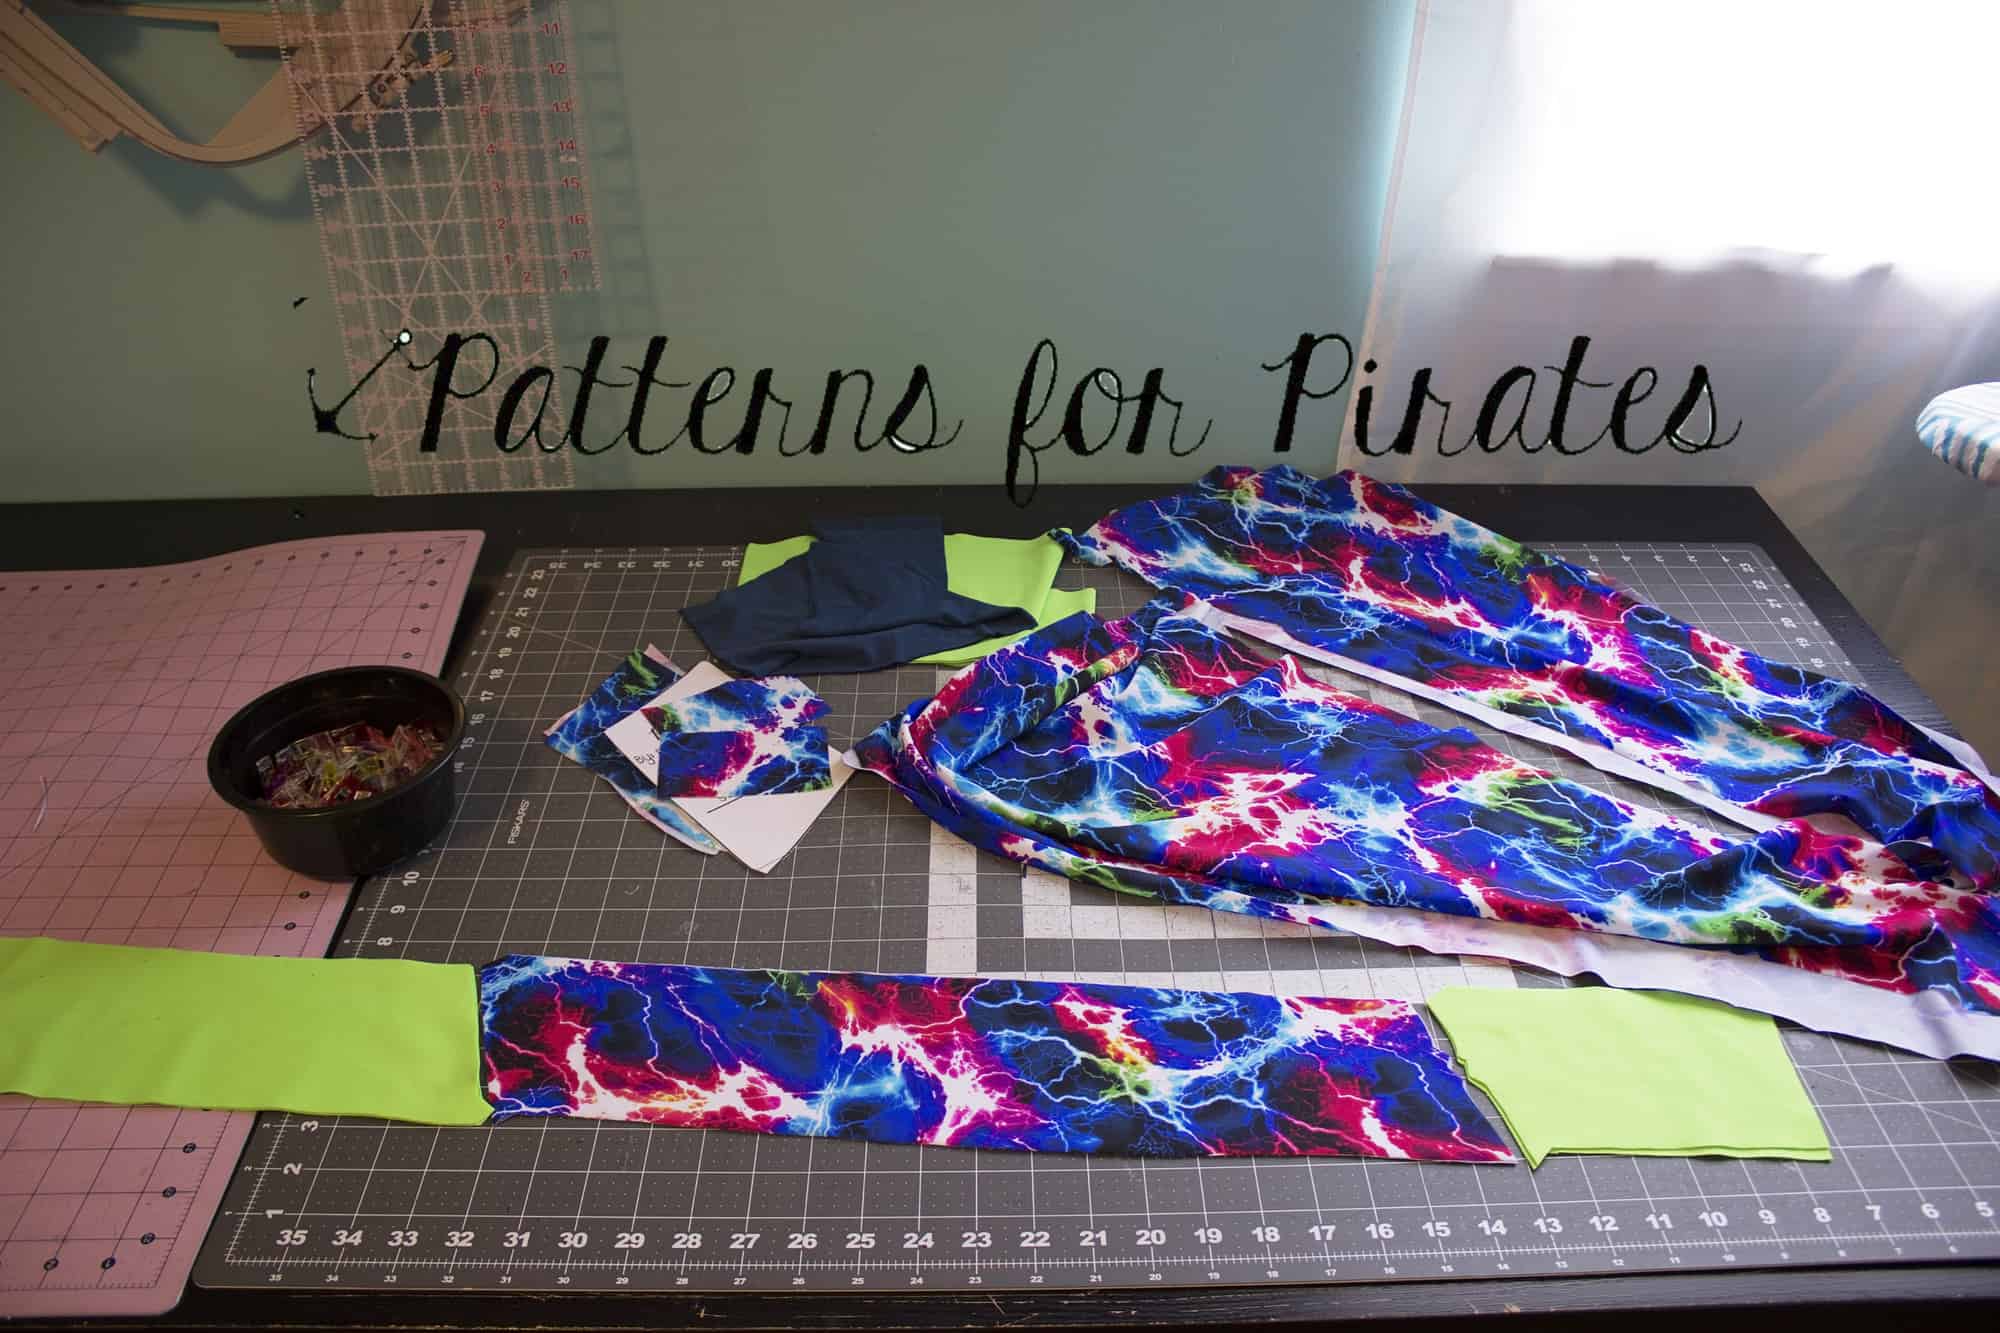
Hopefully now, your pattern is printed, taped/glued together, you have properly measured for your size, cut the pattern pieces out and are ready to start cutting into your pretty fabrics tomorrow. If you’re sewing along with us, be sure to tag @PatternsforPirates and #P4PHENLEYSAL on Instagram. Don’t forget to join us on the P4P event page either: Henley SAL on Facebook.
**The links won’t be active until the scheduled date.
January 14: Announcement.
January 15: Choosing Your Fabrics, Printing + Measuring.
January 16: Cutting Fabric.
January 17: Placket.
January 18: Sleeves.
January 19: Attaching Neckband + Hood.
January 20-21: Catch-Up Days.
January 22: Recap + Winners Announced!