Patterns for Pirates

P4P stylish, modern, wearable patterns

  • Home
  • Blog
    • Frequently Asked Questions
    • Pattern Releases
      • Free Patterns
    • P4P University
      • Fitting
      • Sewing with Stretch, Knit Fabrics
      • Sewing with Woven Fabrics
      • Sewing Machines
    • Sew-A-Longs
    • Fabric for Pirates
    • Pattern Hacks
    • Announcement
      • Blog Tours
      • Contest/Giveaway
  • Shop
  • Bundle Discounts
  • Flash Friday
  • Gift Cards
  • My Account
  • Cart

Brunch Blouse|Bitty Brunch Blouse SAL day 2 (cut fabric)

March 12, 2019


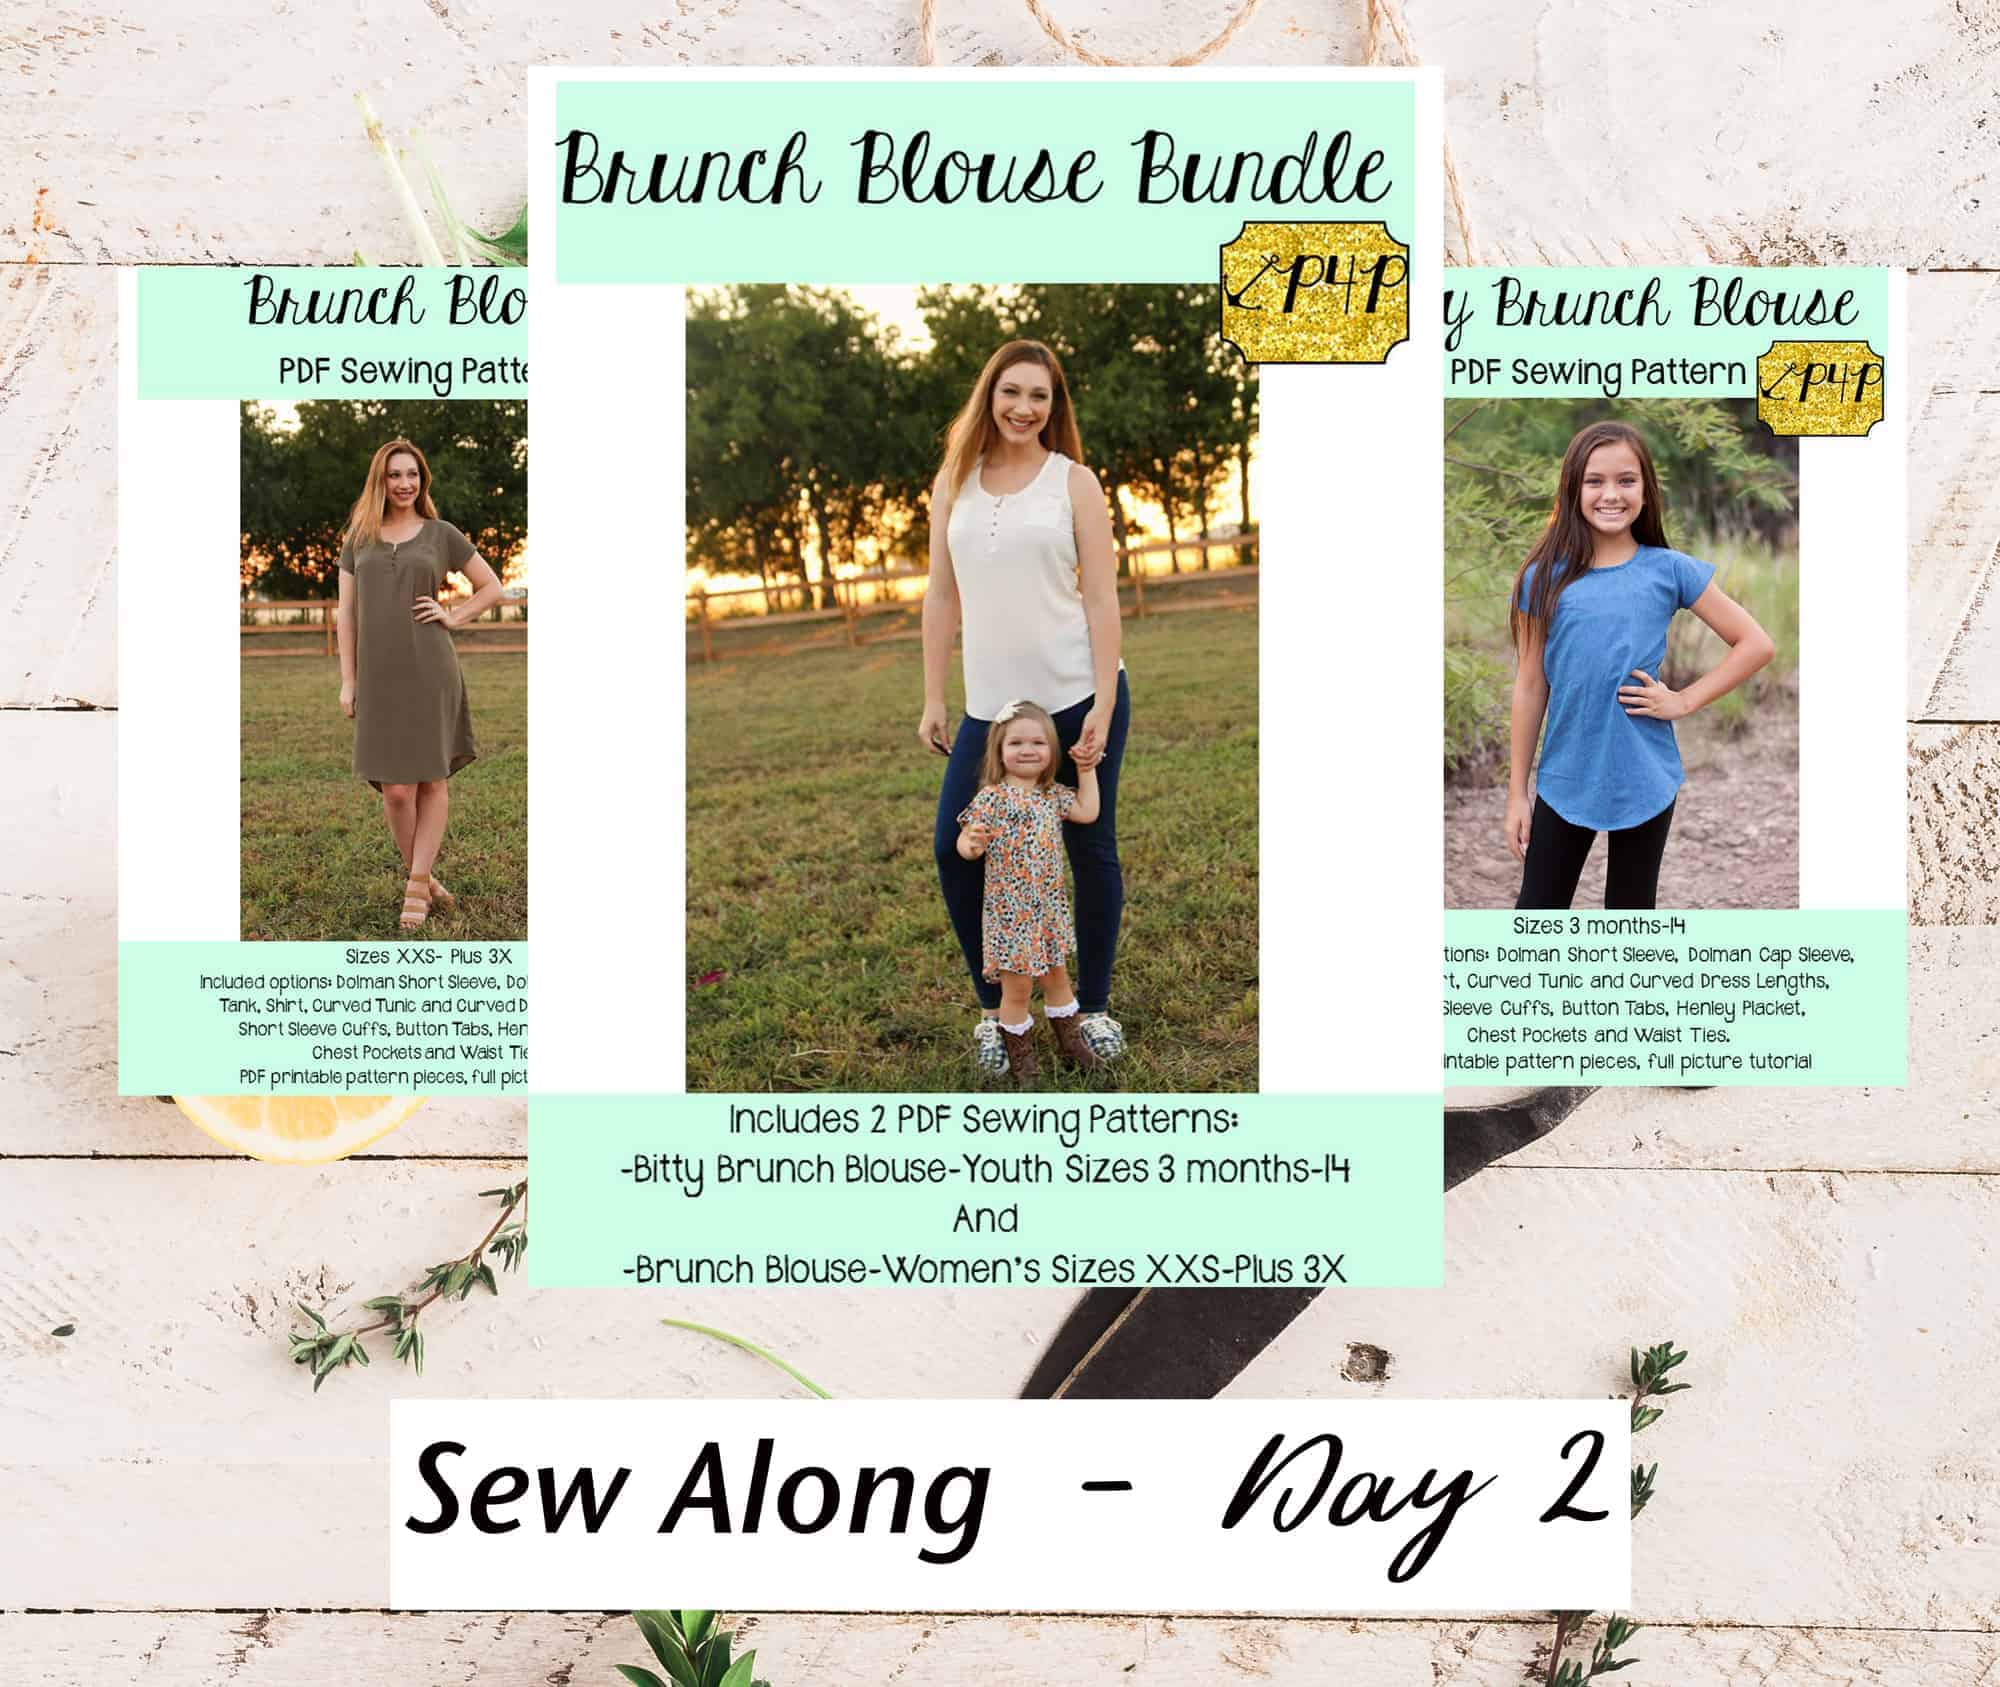
Welcome to day 2 of our Brunch and Bitty Brunch  sew along. Today we will be choosing the fabric, cutting it and gathering all necessary notions and accessories. You should have your pattern pieces ready from yesterday.

But first let’s talk a little about the right fabric for this pattern. As you can see in the video below I am using a gorgeous woven from Backstitch Fabrics for my Brunch Blouse. This woven is custom printed and the perfect weight. For the women’s blouse I absolutely love rayon fabric and chiffons. I highly encourage you to avoid quilter cottons because they do not have the necessary drape to make the top or dress flattering….and we all want that, am I right? You can get away with good quality quilter cotton for the Bitty Brunch though.


 

Backstitch SoFlo is this sew along’s sponsor too, so one of you will be getting a $50 Gift Card to the shop shop so you can treat your to some gorgeous custom printed woven fabric. Our second winner will receive a $25 gift card to Backstitch SoFlo too.

If you picked the henley style option you will also need buttons or snaps. My recommendation for buttons or snaps is smaller size ones. The placket finished width is aprox 1/2 inch so your buttons must be smaller than this.

The Day 2 video is posted below. Check it out and once you are done cutting your fabric post a picture of your prepped fabric in the comments of the Day 2 photo of the Brunch Blouse/Bitty Brunch Blouse SAL album in the M4M & P4P Sew Along group.

Brunch Blouse|Bitty Brunch Blouse SAL day 1 (print pattern)

Brunch Blouse|Bitty Brunch Blouse SAL day 2 (cut fabric)

Brunch Blouse|Bitty Brunch Blouse SAL day 3 (darts and placket)

Brunch Blouse|Bitty Brunch Blouse SAL day 4 (pocket/waist ties/back seam)

Brunch Blouse|Bitty Brunch Blouse SAL day 5 (shoulder/side seams)

Brunch Blouse|Bitty Brunch Blouse SAL day 6 (neckband)

Brunch Blouse|Bitty Brunch Blouse SAL day 7 (finish sleeves/hem)

Brunch Blouse|Bitty Brunch Blouse SAL day 8 (winners announcement)

Filed Under: Frequently Asked Questions, Sew-A-Long, Uncategorized Leave a Comment

Brunch Blouse|Bitty Brunch Blouse SAL day 1 (print pattern)

March 11, 2019


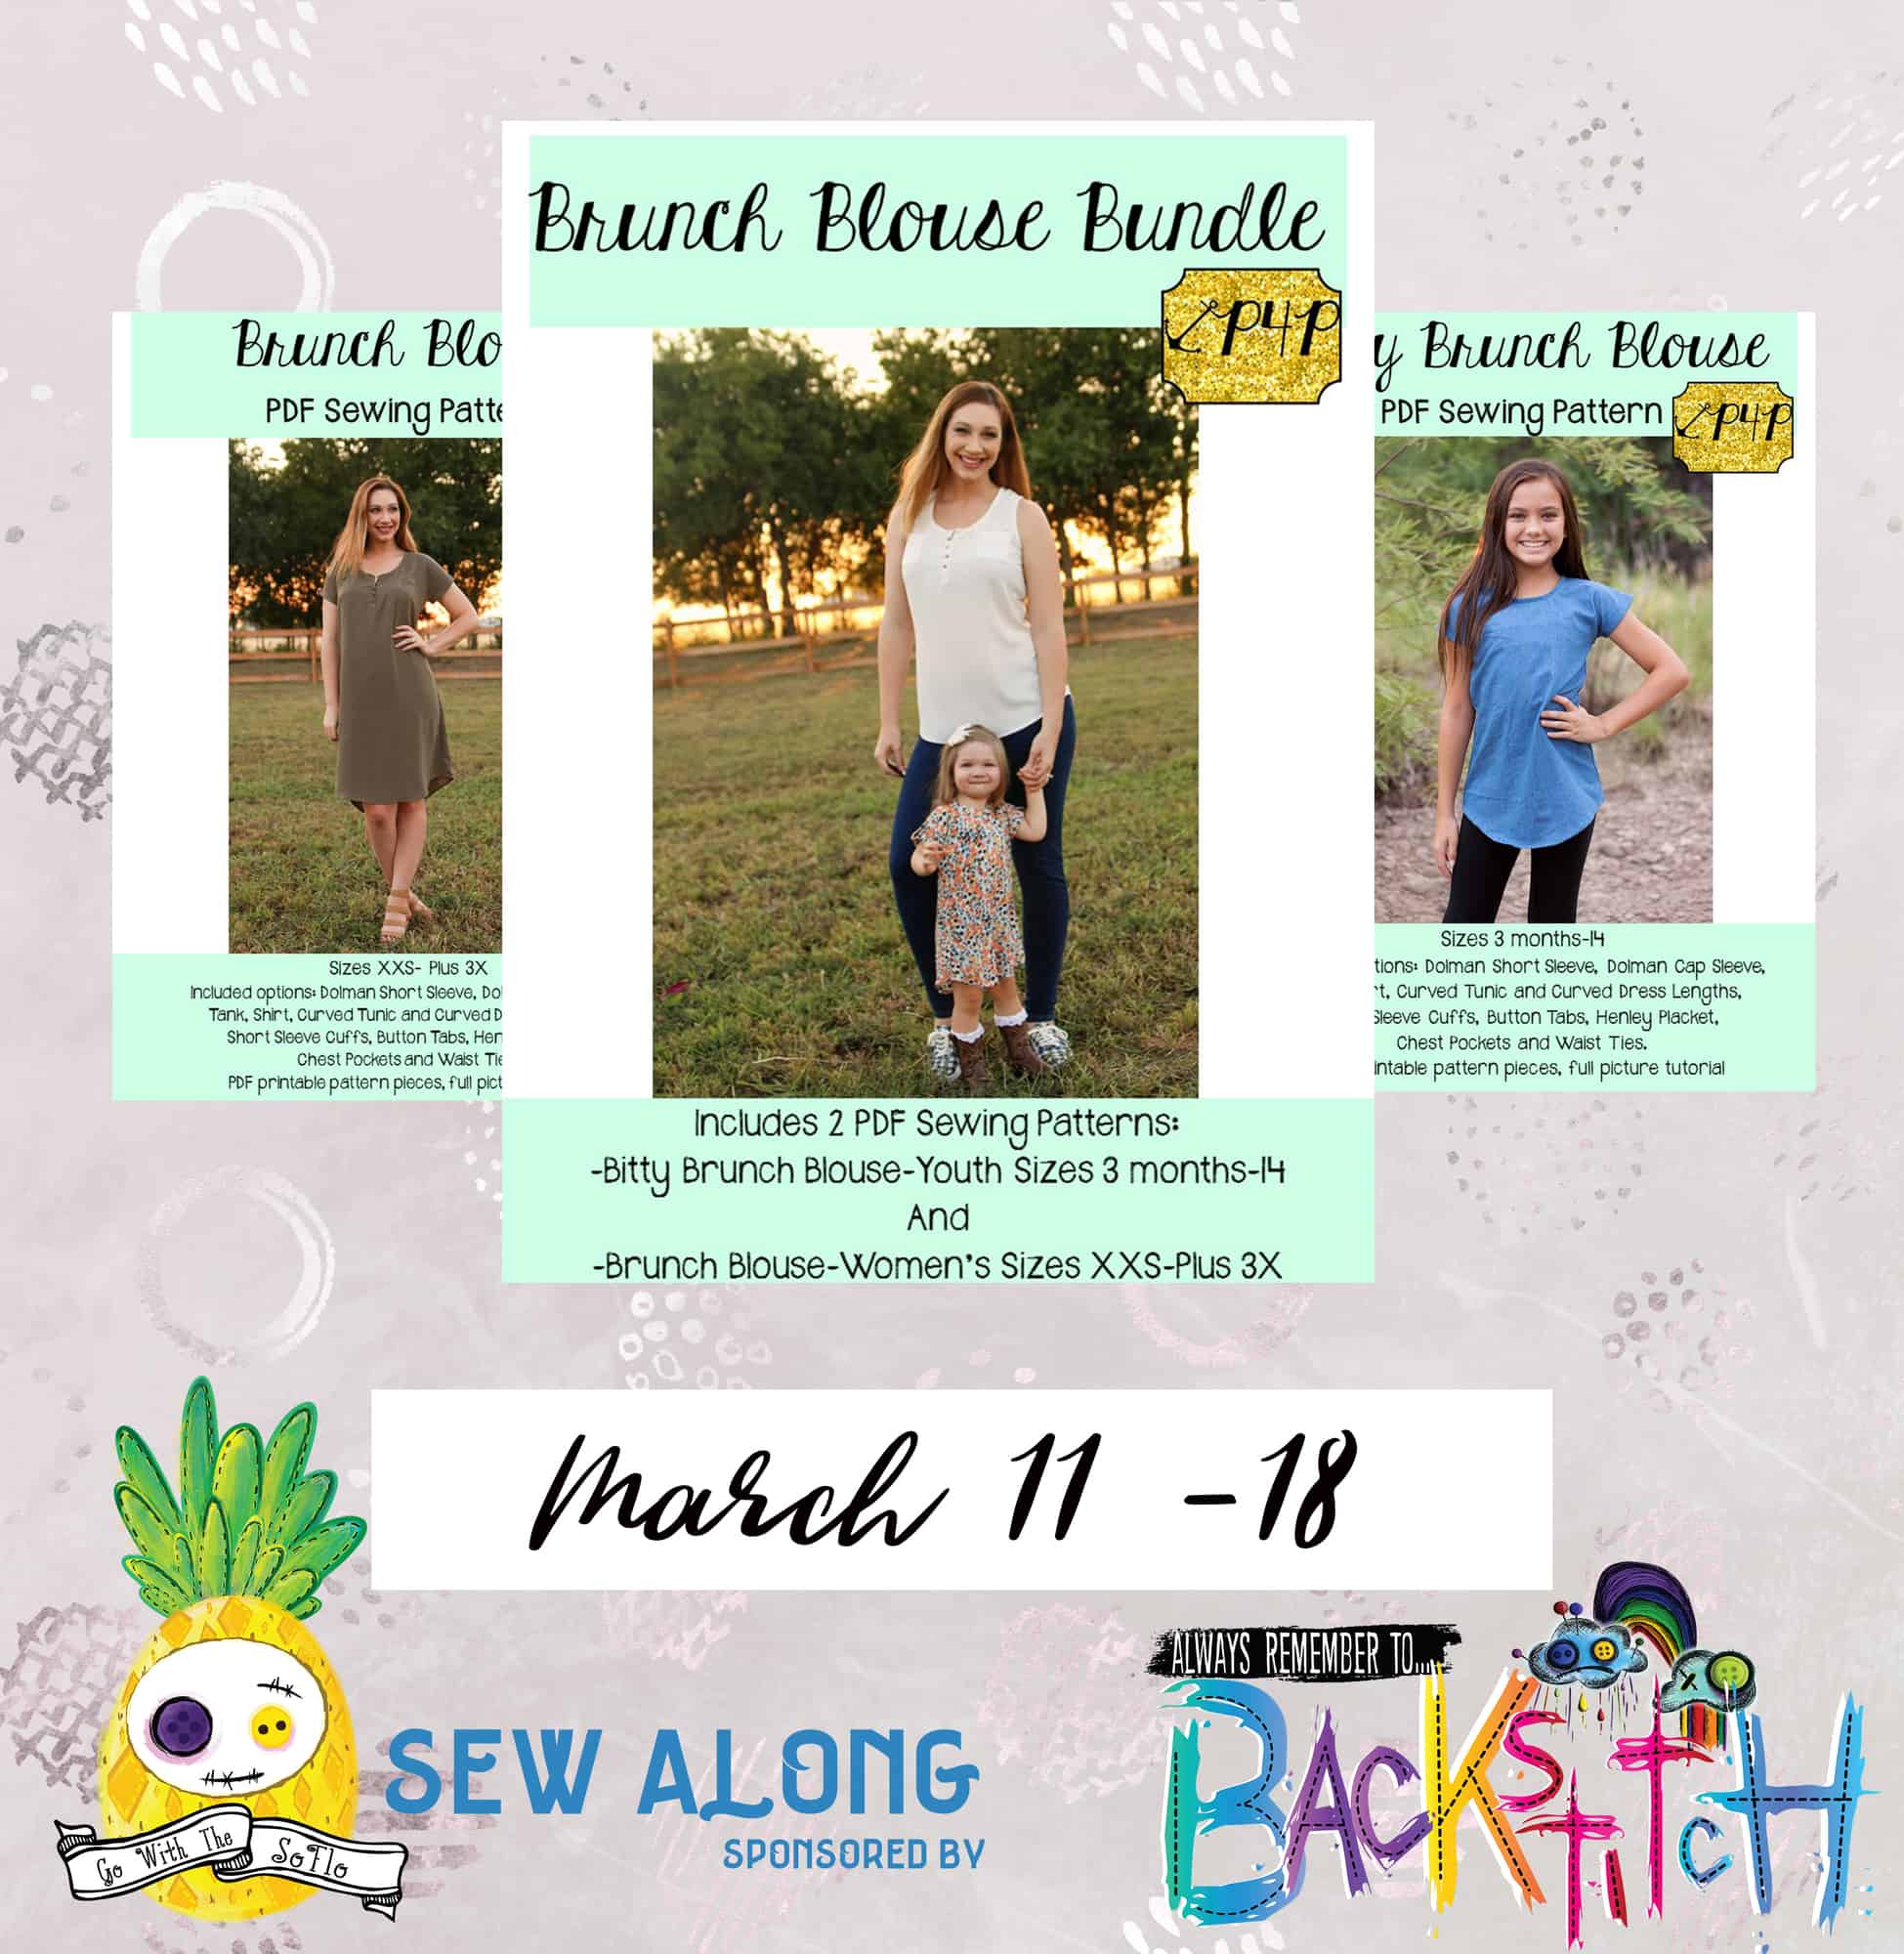
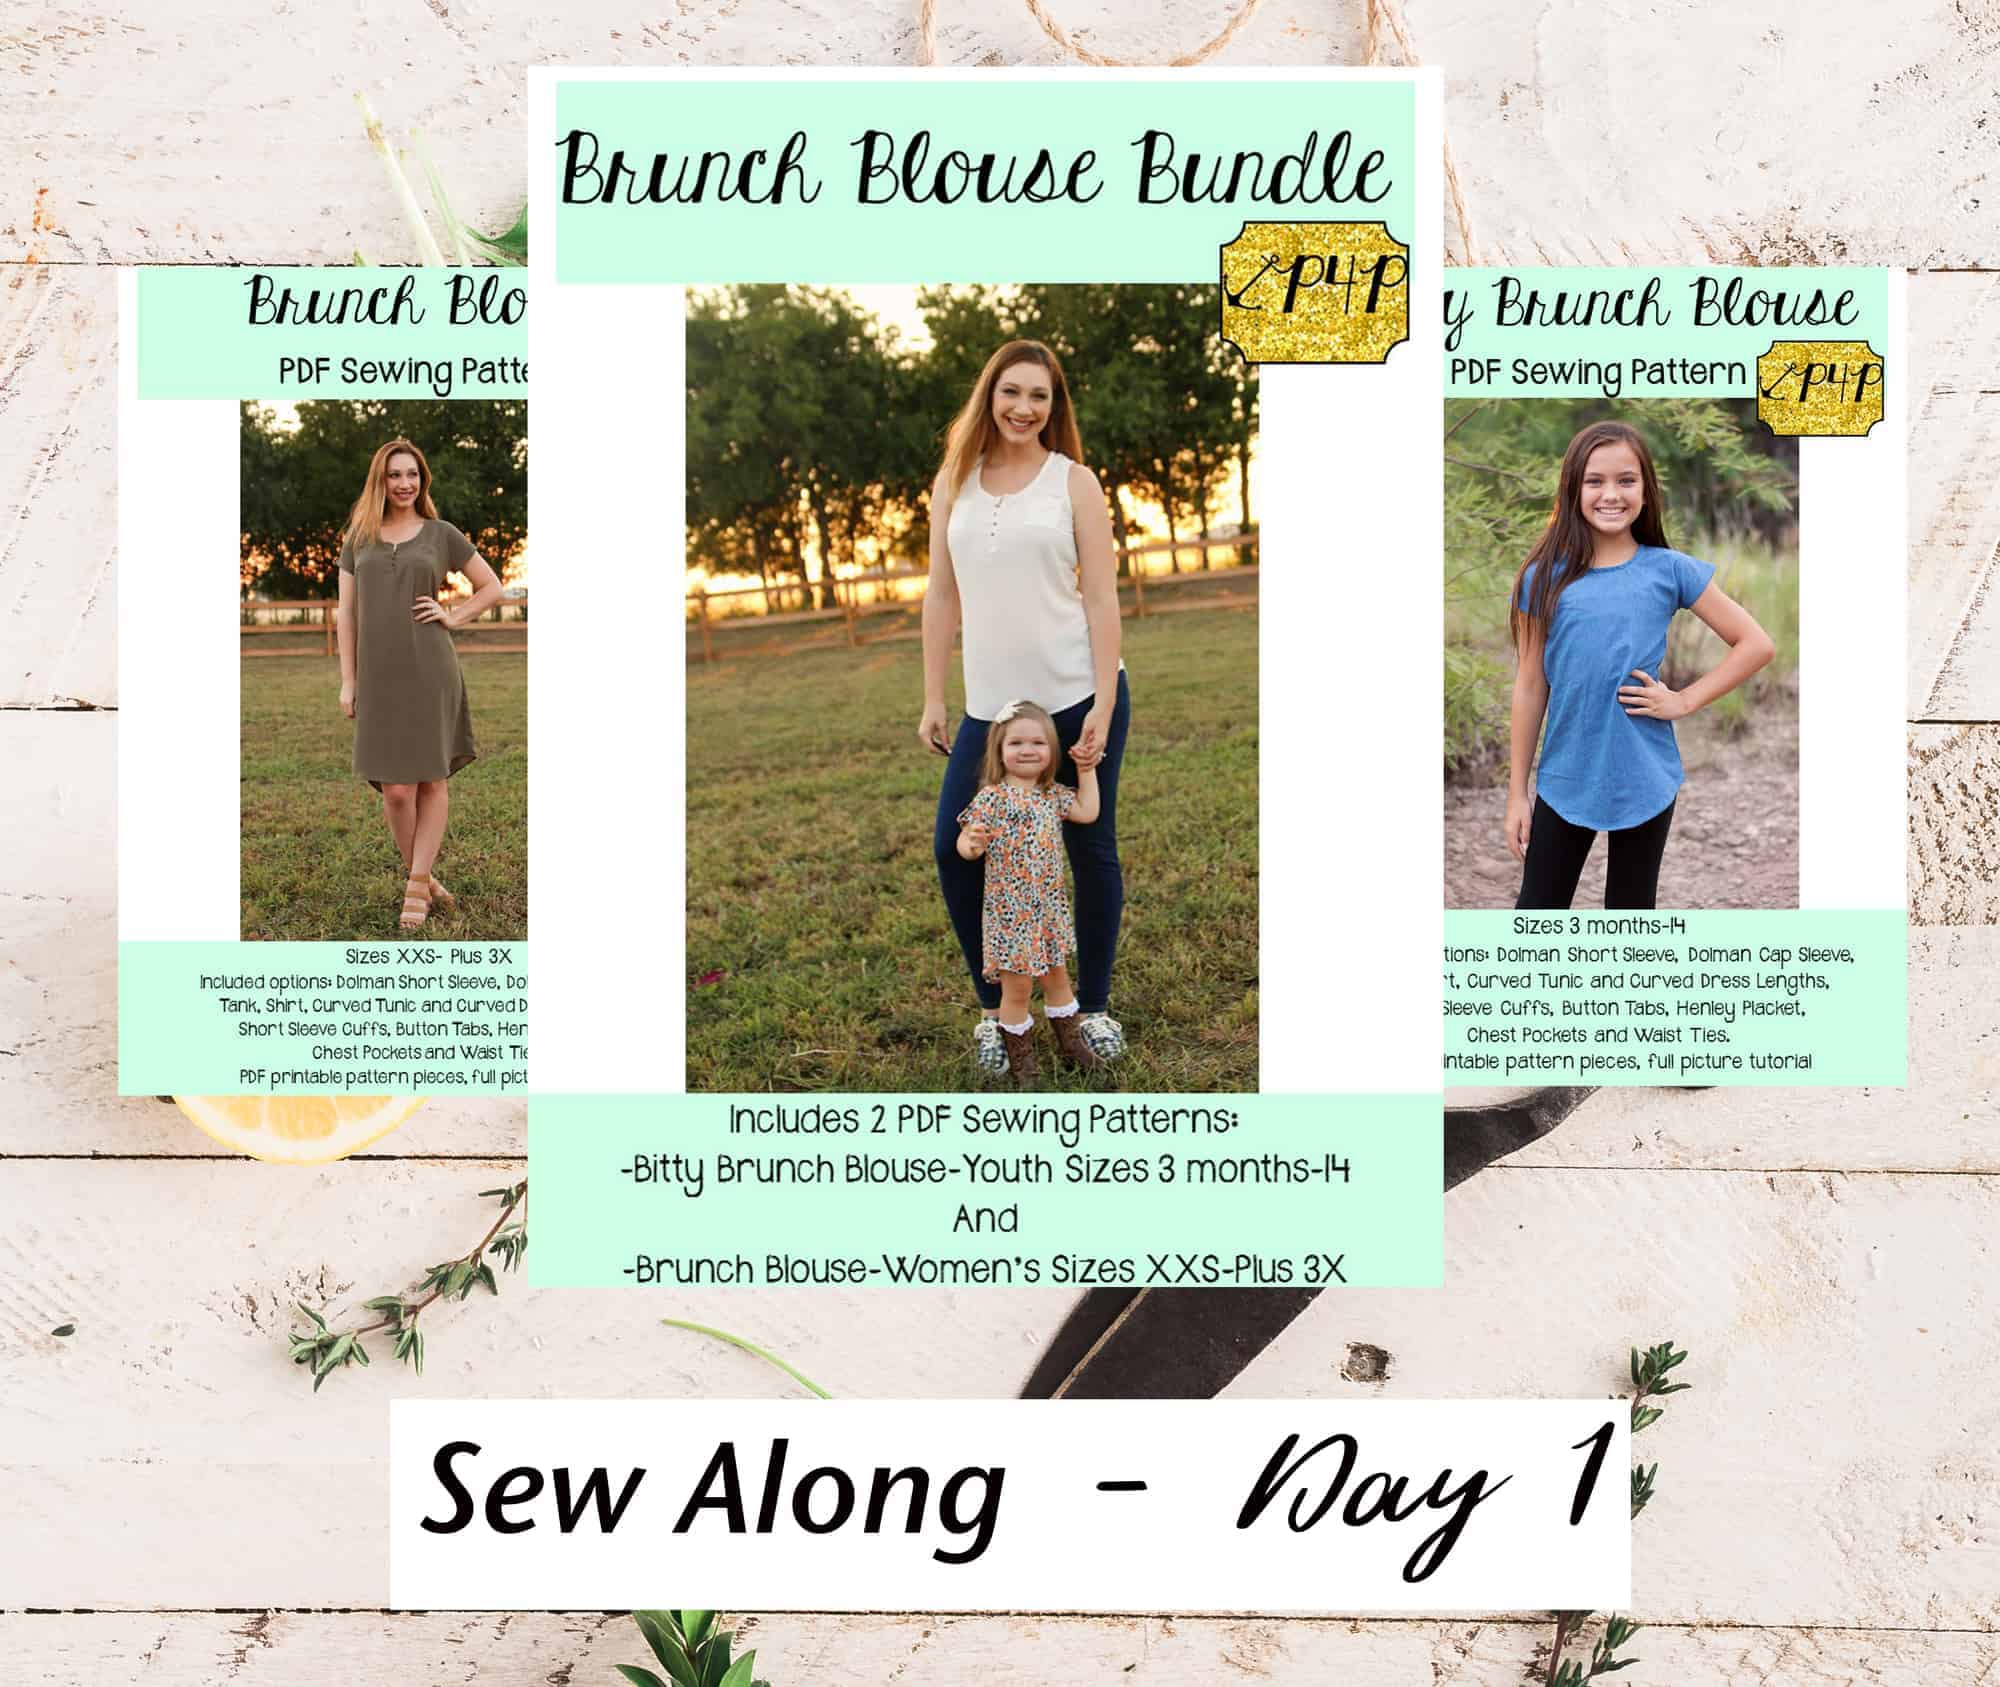
Welcome to the Brunch Blouse and Bitty Brunch Blouse

Sew Along!

Day One is reserved to purchasing the patterns, printing and cutting the size(s) you need. If you plan on sewing for yourself you can get the Brunch Blouse here, if you’re sewing for your little girl, the Bitty Brunch Blouse can be purchased here and if you’re sewing for both of you (just think of the mommy and me matching outfits!) you can get the bundle.

This Sew Along will take place in our M4M & P4P Sew Along group so be sure to join the group not only for the exclusive discount code available for the patterns but also to post your progress this week. As always all daily blog posts will be here on the blog but you’ll be checking in with your completed steps in the group.

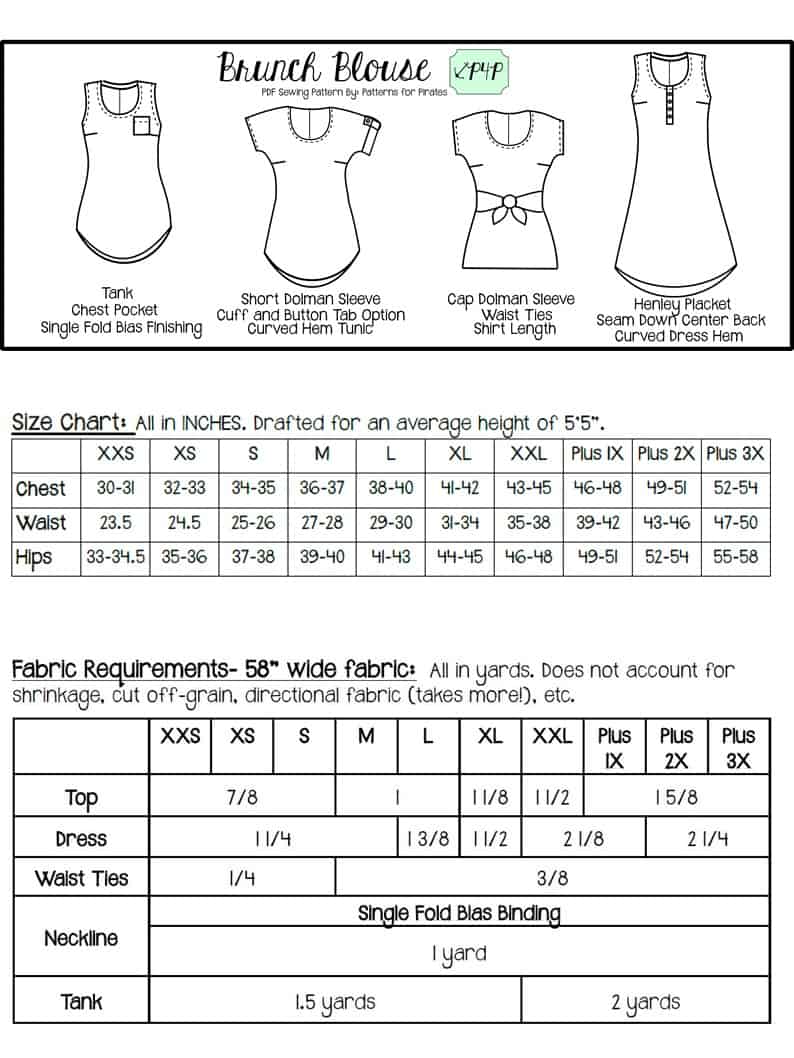
Now that you purchased the pattern(s), print the size needed. In order to do that it is very important that you take your most accurate measurements. The Brunch Blouse and Bitty Brunch Blouse are drafted for woven fabric (no stretch) so if you need to grade for multiple sizes, please do not skip this step.

You will need your waist, hips and chest measurements in order to choose the correct blouse size. P4P has an amazing blog that gives you tip for accurately taking your measurements. You can read all about it here. If your measurements put you in a different size for chest/waist/hips be sure to check out our P4P University blog and grade to achieve the perfect fit.

Check out the day 1 video below and then comment “done” on the Day 1 picture of the Brunch/Bitty Brunch Blouse SAL album in the sew along group. We don’t allow pictures of the pattern pieces so this will count as your day 1 check in. Let’s get started!

Brunch Blouse|Bitty Brunch Blouse SAL day 1 (print pattern)

Brunch Blouse|Bitty Brunch Blouse SAL day 2 (cut fabric)

Brunch Blouse|Bitty Brunch Blouse SAL day 3 (darts and placket)

Brunch Blouse|Bitty Brunch Blouse SAL day 4 (pocket/waist ties/back seam)

Brunch Blouse|Bitty Brunch Blouse SAL day 5 (shoulder/side seams)

Brunch Blouse|Bitty Brunch Blouse SAL day 6 (neckband)

Brunch Blouse|Bitty Brunch Blouse SAL day 7 (finish sleeves/hem)

Brunch Blouse|Bitty Brunch Blouse SAL day 8 (winners announcement)
Filed Under: Frequently Asked Questions, Sew-A-Long, Uncategorized 4 Comments

Grandpa Cardi/Cpt Mack’s Cardigan SAL – day 4 (sew shoulder seams and add sleeves)

January 17, 2019

And just like that we made it to day 4! Today we sew the shoulder seams, add the set in sleeves and sew the side seam. By the end of today your project will look like a cardigan 😉  When attaching the sleeves it is very important to match the notch to the shoulder seam, pin in place and then match the side seams and pin in place.

TIP: If you’re doing a hemmed sleeve now would be a good time to press your memory hem. This will make it so much easier to hem later on. 

The Grandpa Cardi and Cpt. Mack’s Cardigan patterns follow a 1/2″ seam allowance so be sure to not deviate from it when you sew the shoulder seams RST or when you attach the sleeves.

Watch the day 4 video below and be sure to post a picture of today’s progress in the day 4 photo comments of the Cardigan SAL album in the M4M & P4P Sew Along Group.

Grandpa Cardi | Cpt Mack’s Cardigan Sew along  – Day 1 (Print & cut pattern)

Grandpa Cardi | Cpt Mack’s Cardigan Sew along  – Day 2 (choose and cut fabric)

Grandpa Cardi | Cpt Mack’s Cardigan Sew along  – Day 3 (pockets and elbow patches)

Grandpa Cardi | Cpt Mack’s Cardigan Sew along  – Day 4 (shoulder seams and add sleeves)

Grandpa Cardi | Cpt Mack’s Cardigan Sew along  – Day 5 (finish sleeves and bottom edge)

Grandpa Cardi | Cpt Mack’s Cardigan Sew along  – Day 6 (collar/shawl and buttons)

Grandpa Cardi | Cpt Mack’s Cardigan Sew along  – Day 7 (winners announcements)

Filed Under: Frequently Asked Questions, Sew-A-Long, Uncategorized 2 Comments

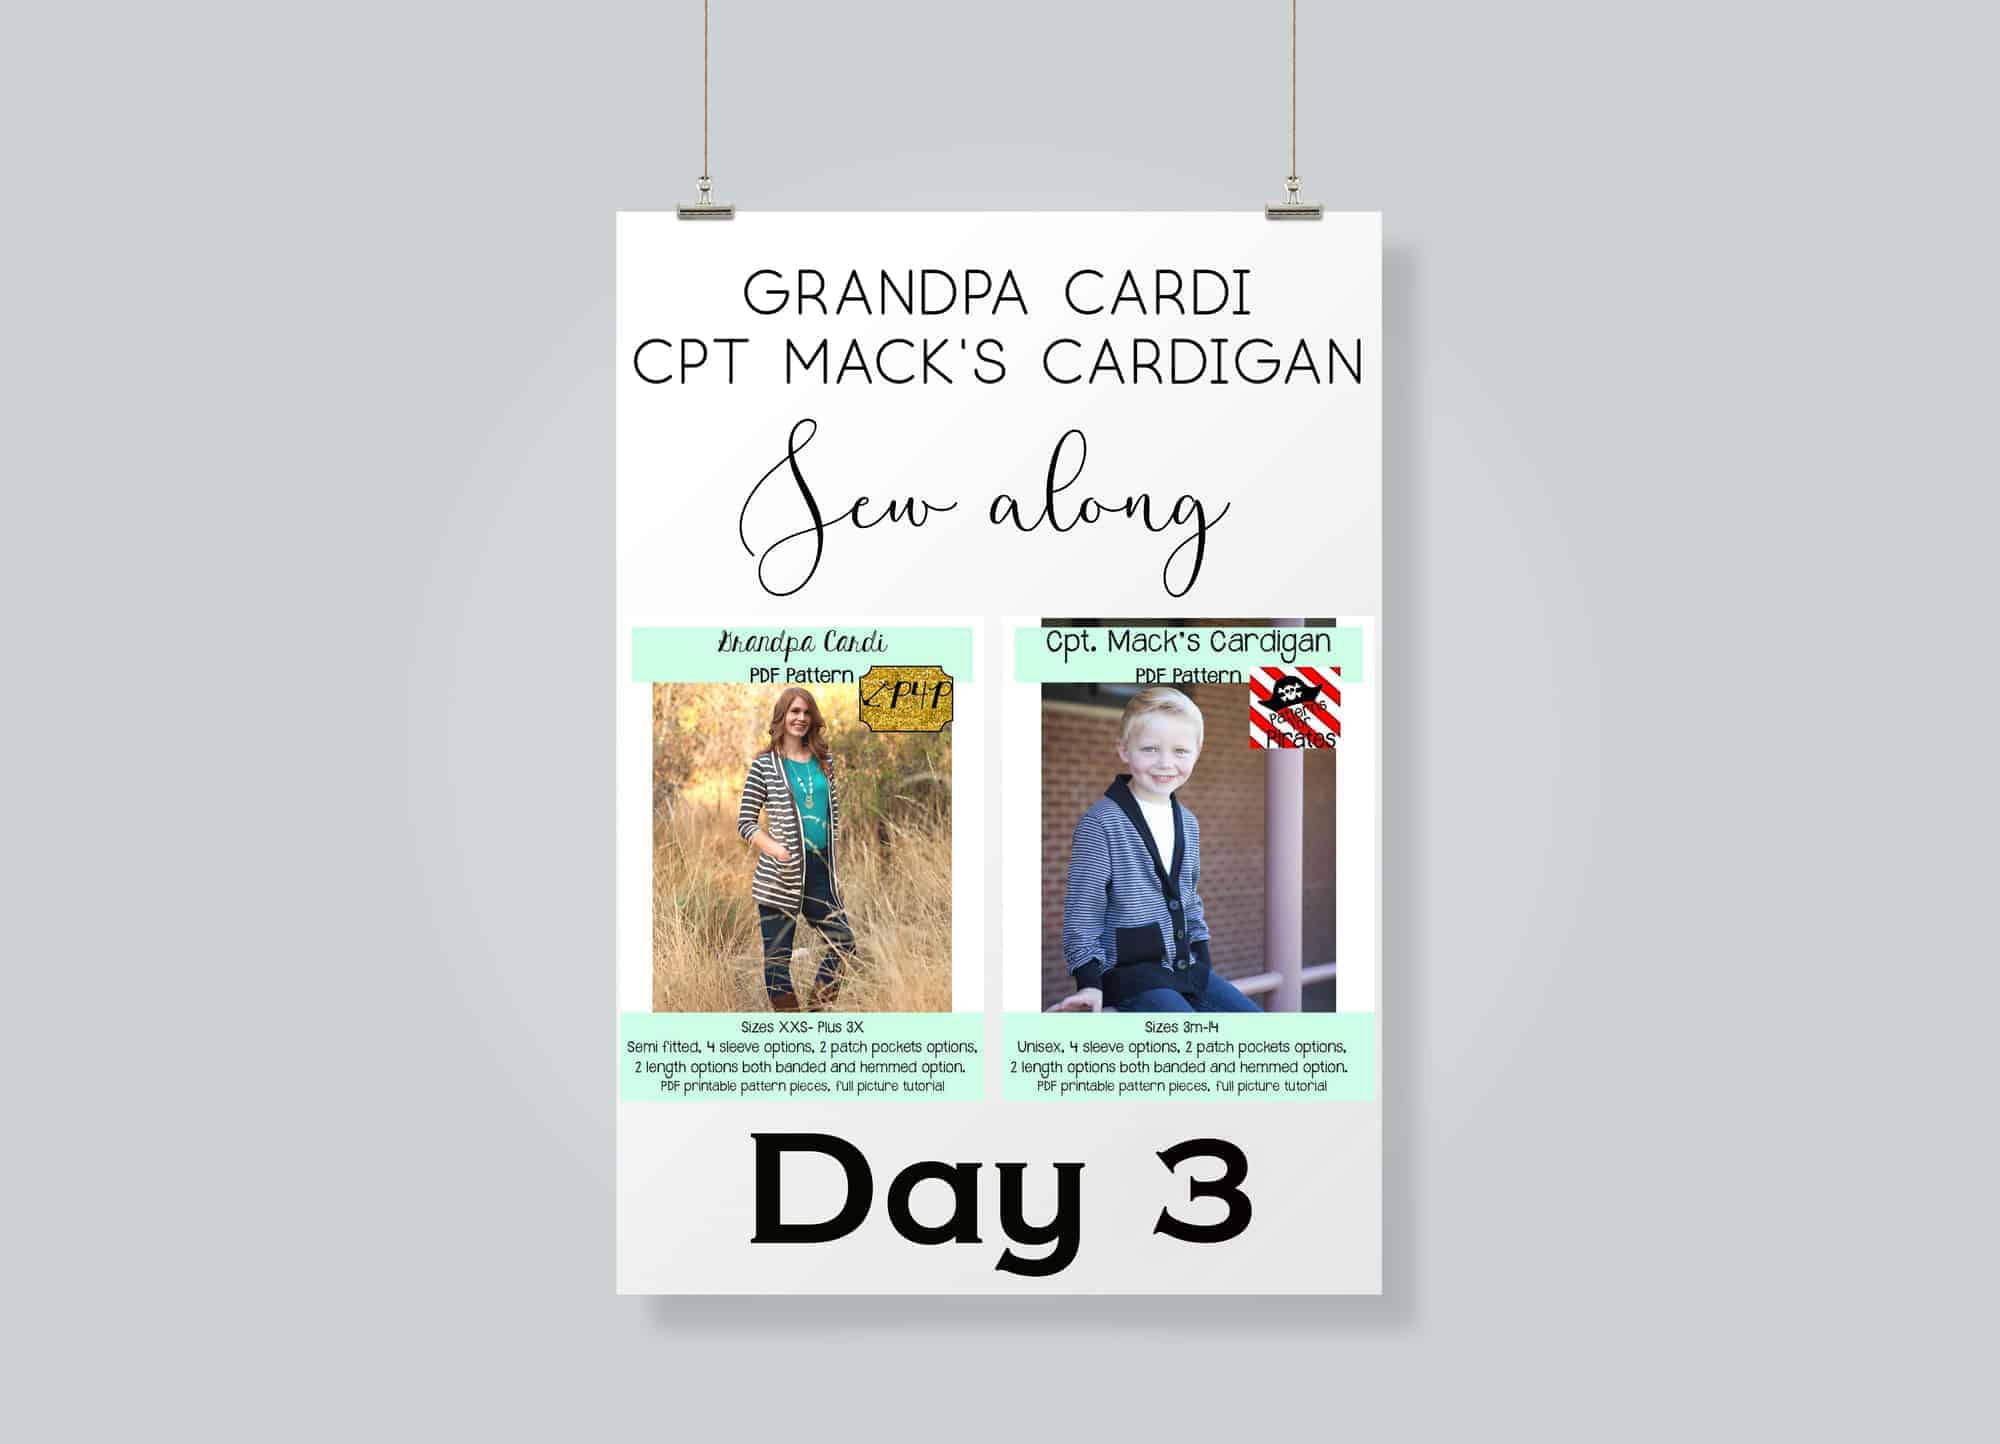
Grandpa Cardi/Cpt Mack’s Cardigan SAL – day 3 (sew pocket and elbow patches)

January 16, 2019

Good morning, pirates! Today’s sew along is all about details. We are addin pockets and elbow patches. This is the time to get creative! Use some cute accent fabric, like sequins or faux leather or go classic and match the pockets with the main fabric.

The patterns include two options for the pocket, a hemmed and banded one. The banded one is a great alternative if you’re not the biggest hemming knits fan, plus it gives you the option to incorporated some more accent fabrics too. As I mentioned yesterday, the elbow patches will add a fun detail to your cardigans. Whether you’re making one for yourself and or one for your little, add a pop of color or texture to your patches! You’ll love it!

Tip: When adding the elbow patches mark the left arm and the right arm to make sure that you will not have the pockets on the inside of your arm vs the elbow. 

If you have chosen to make your cardigan with sweater knits, go over our Sweater knits blog post where I am giving you some wasy tricks to work with this fabric base.

Watch the videos below and  post a picture of your pockets and added elbow patches in the day 3 photo comments of the Cardigan SAL album.

Grandpa Cardi | Cpt Mack’s Cardigan Sew along  – Day 1 (Print & cut pattern)

Grandpa Cardi | Cpt Mack’s Cardigan Sew along  – Day 2 (choose and cut fabric)

Grandpa Cardi | Cpt Mack’s Cardigan Sew along  – Day 3 (pockets and elbow patches)

Grandpa Cardi | Cpt Mack’s Cardigan Sew along  – Day 4 (shoulder seams and add sleeves)

Grandpa Cardi | Cpt Mack’s Cardigan Sew along  – Day 5 (finish sleeves and bottom edge)

Grandpa Cardi | Cpt Mack’s Cardigan Sew along  – Day 6 (collar/shawl and buttons)

Grandpa Cardi | Cpt Mack’s Cardigan Sew along  – Day 7 (winners announcements)


Filed Under: Frequently Asked Questions, Sew-A-Long, Uncategorized Leave a Comment

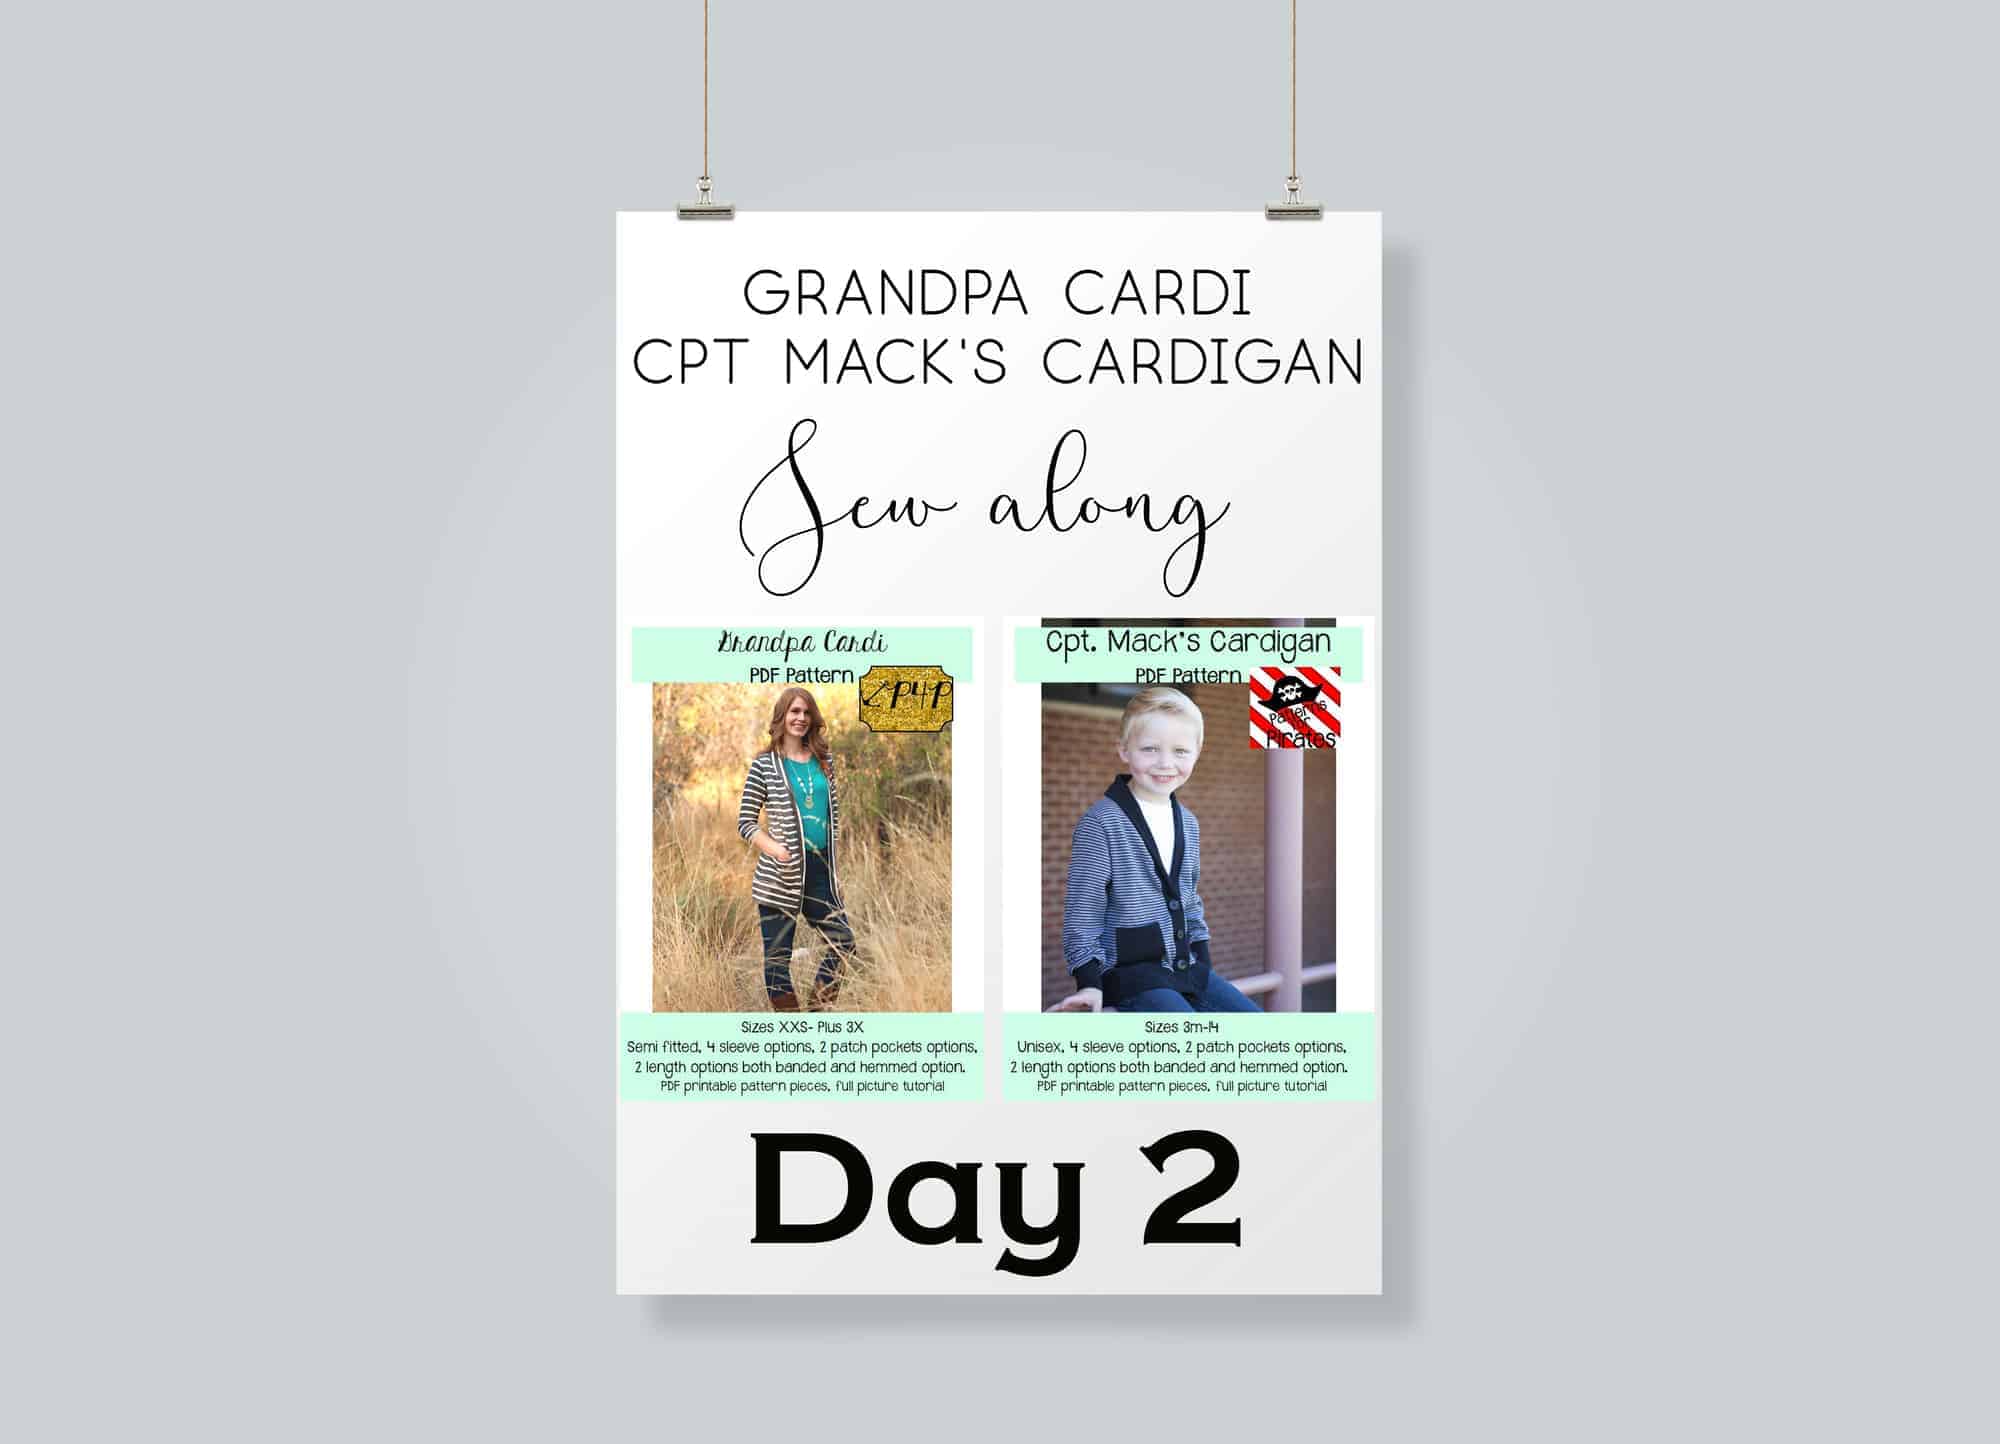
Grandpa Cardi/Cpt Mack’s Cardigan SAL – day 2 (pick and cut fabric)

January 15, 2019

Welcome to day 2 of our Grandpa Cardi/Cpt Mack’s Cardigan sew along. Today we will be choosing the fabric and cutting it. You should have your pattern pieces ready from yesterday.

But first let’s talk a little about the right fabric for this pattern. As you can see in the video below I am using a gorgeous rose gold sweater knit from Sincerely Rylee for my Grandpa Cardi. This my favorite knit type for this pattern. For Cpt Mack’s I like the structured look of cotton lycra. These two cardigans can be made with virtually any knit fabric since they only require 20% stretch.

Sincerely Rylee is this SAL’s sponsor too, so one of you will be getting a $50 Gift Card to their shop so you can treat your to some gorgeous sweater knits (and not only) too.

If you are unsure about which knit type will work best for your desired look, take a look over our P4P University Knit Types blog. Judy also included a cheat sheet that you can print. If you are like me and sometime are just keen on using a specific print for a specific pattern, read our Different fabric, different fit blog post before you cut your fabric.

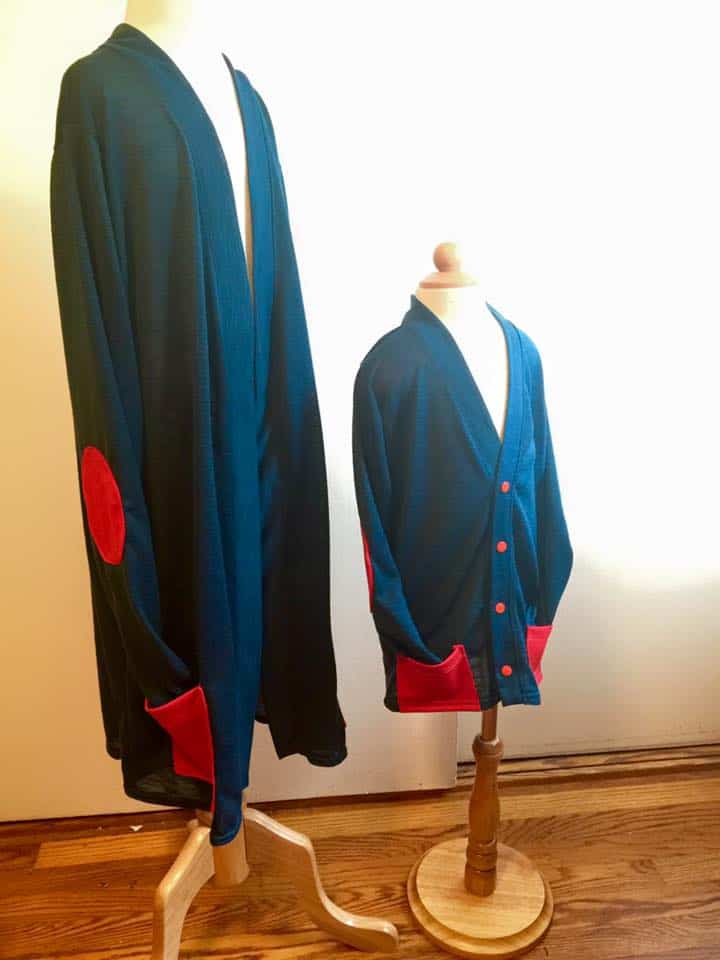
Writing this blog brought back some memories…the set below is my first ever Grandpa cardi/Cpt Mack’s cardigan I ever made. It’s a thin sweater knit from Joann and I still wear it today. My little man wore his at school for two years. It makes an great uniform piece too.

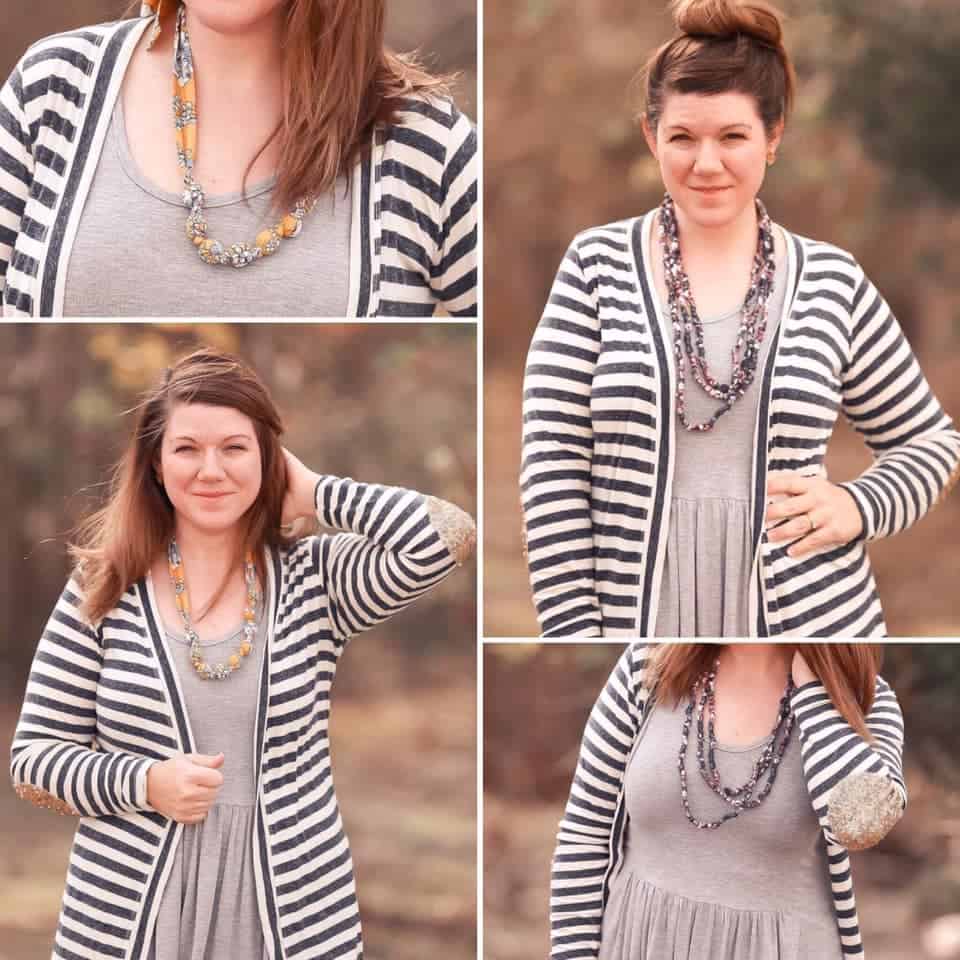
Got some sequins fabric you absolutely love? Use them for the elbow patches. Colleen’s Grandpa cardi is to die for…afterall, who doesn’t need a fancy elbow pocket patch?

For my cardigan I decided to add bamboo lycra shoulder patches and pockets. I’m using a rose gold striped main fabric so I chose a gold and roses print for the patches. Get it Get it? 😉

The Day 2 video is posted below. Check it out and once you are done cutting your fabric post a picture of it in the comments of the Day 2 photo of the Grandpa Cardi/ Cpt Mack’s SAL album in the M4M & P4P Sew Along group.

Grandpa Cardi | Cpt Mack’s Cardigan Sew along  – Day 1 (Print & cut pattern)

Grandpa Cardi | Cpt Mack’s Cardigan Sew along  – Day 2 (choose and cut fabric)

Grandpa Cardi | Cpt Mack’s Cardigan Sew along  – Day 3 (pockets and elbow patches)

Grandpa Cardi | Cpt Mack’s Cardigan Sew along  – Day 4 (shoulder seams and add sleeves)

Grandpa Cardi | Cpt Mack’s Cardigan Sew along  – Day 5 (finish sleeves and bottom edge)

Grandpa Cardi | Cpt Mack’s Cardigan Sew along  – Day 6 (collar/shawl and buttons)

Grandpa Cardi | Cpt Mack’s Cardigan Sew along  – Day 7 (winners announcements)

Filed Under: Frequently Asked Questions, Sew-A-Long, Uncategorized 1 Comment

Grandpa Cardi/Cpt Mack’s Cardigan SAL – day 1 (print and cut pattern)

January 14, 2019

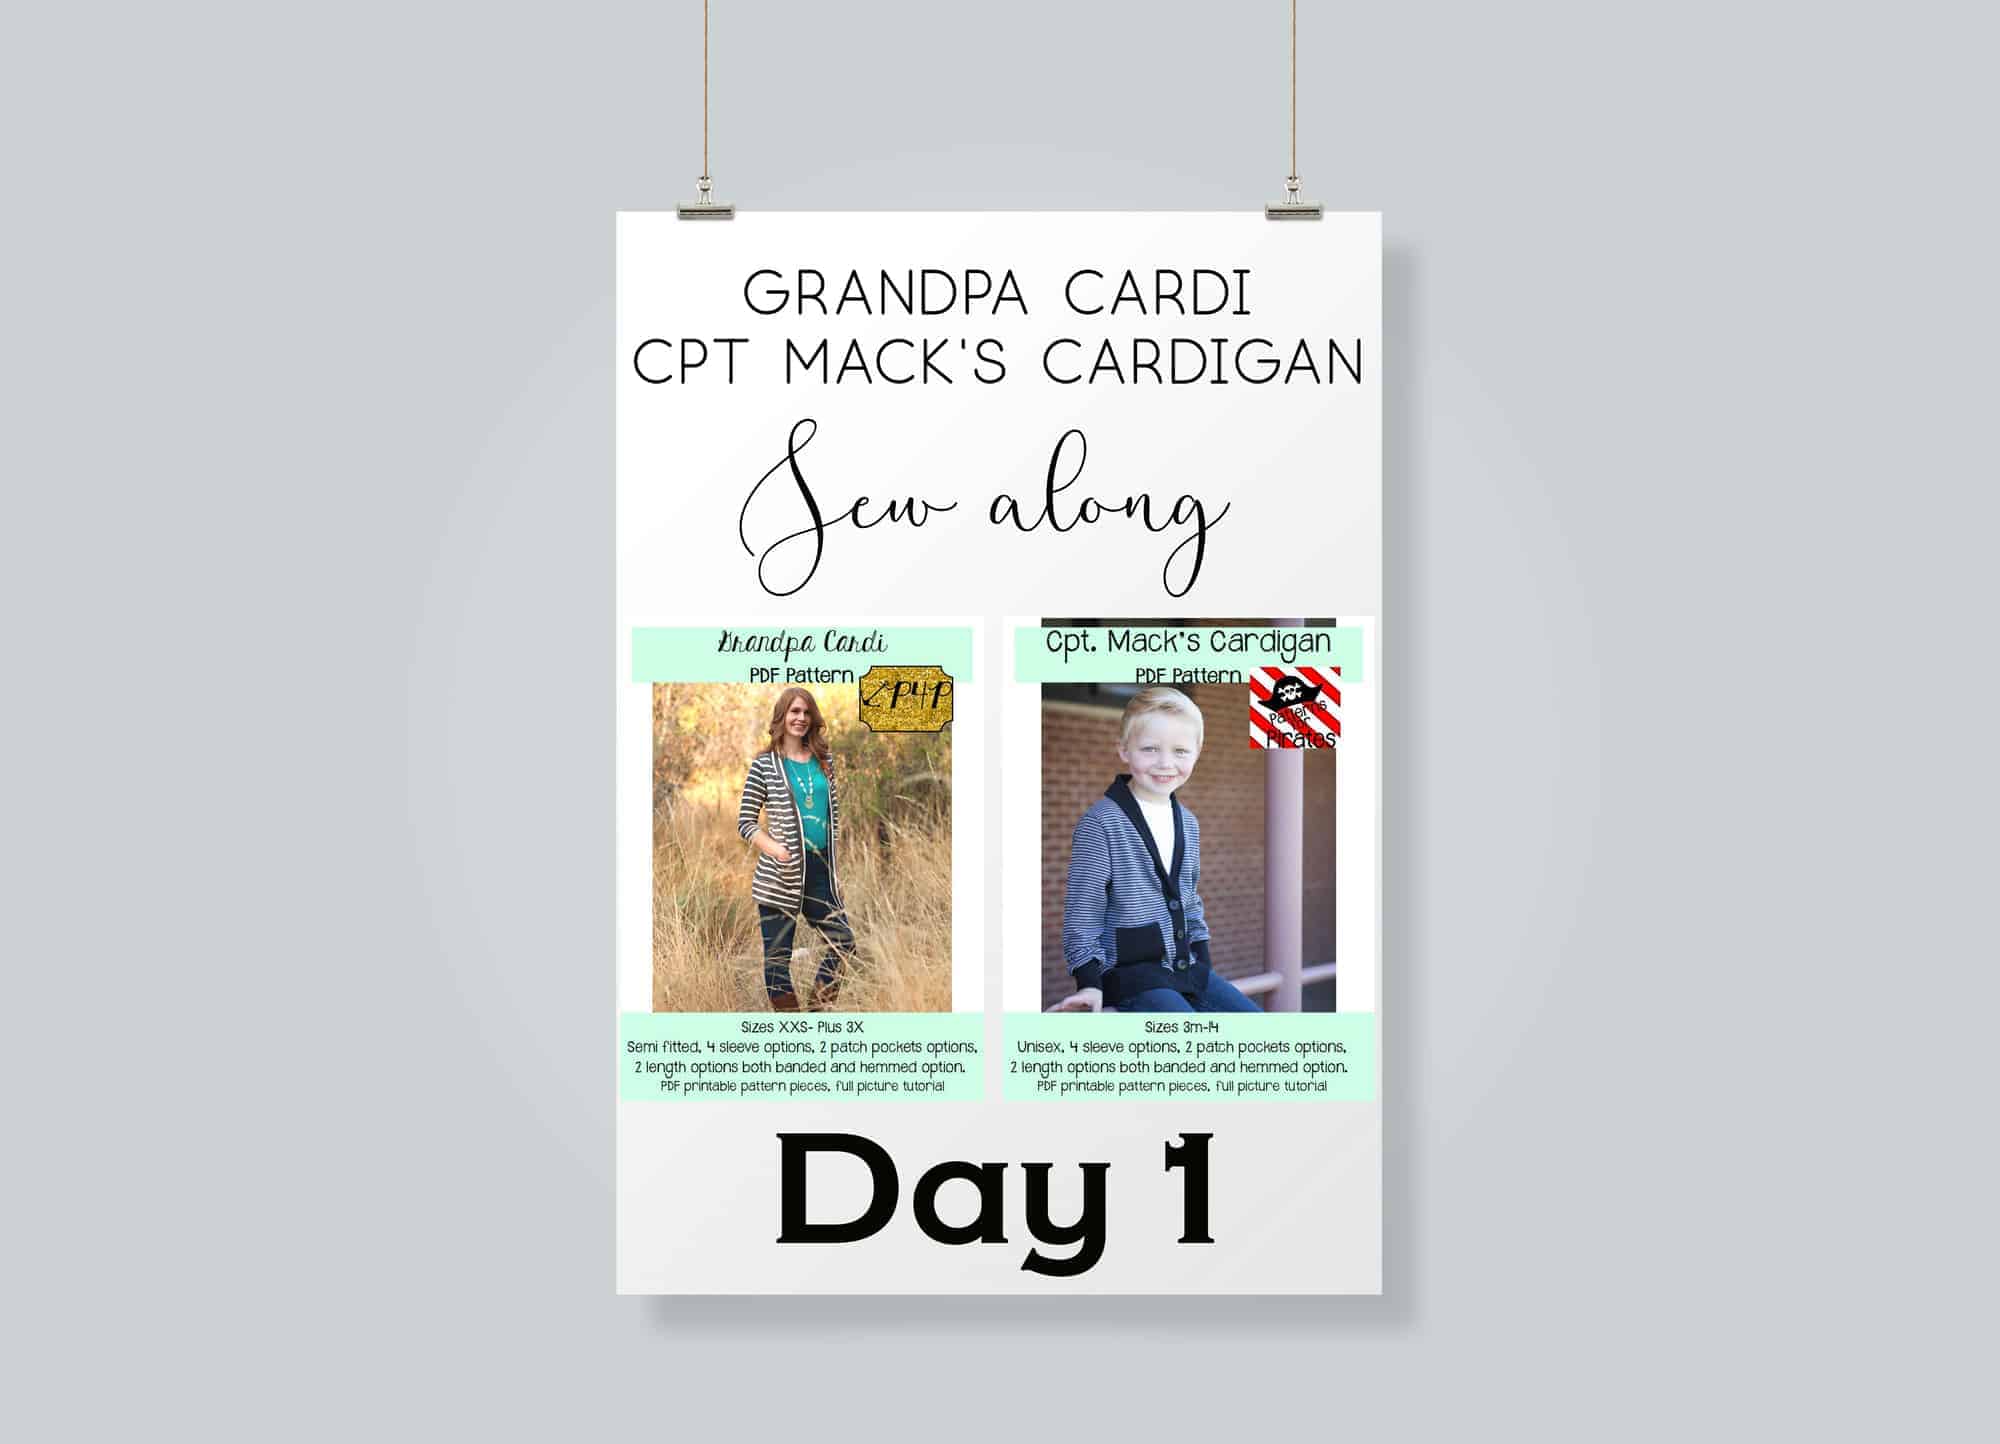
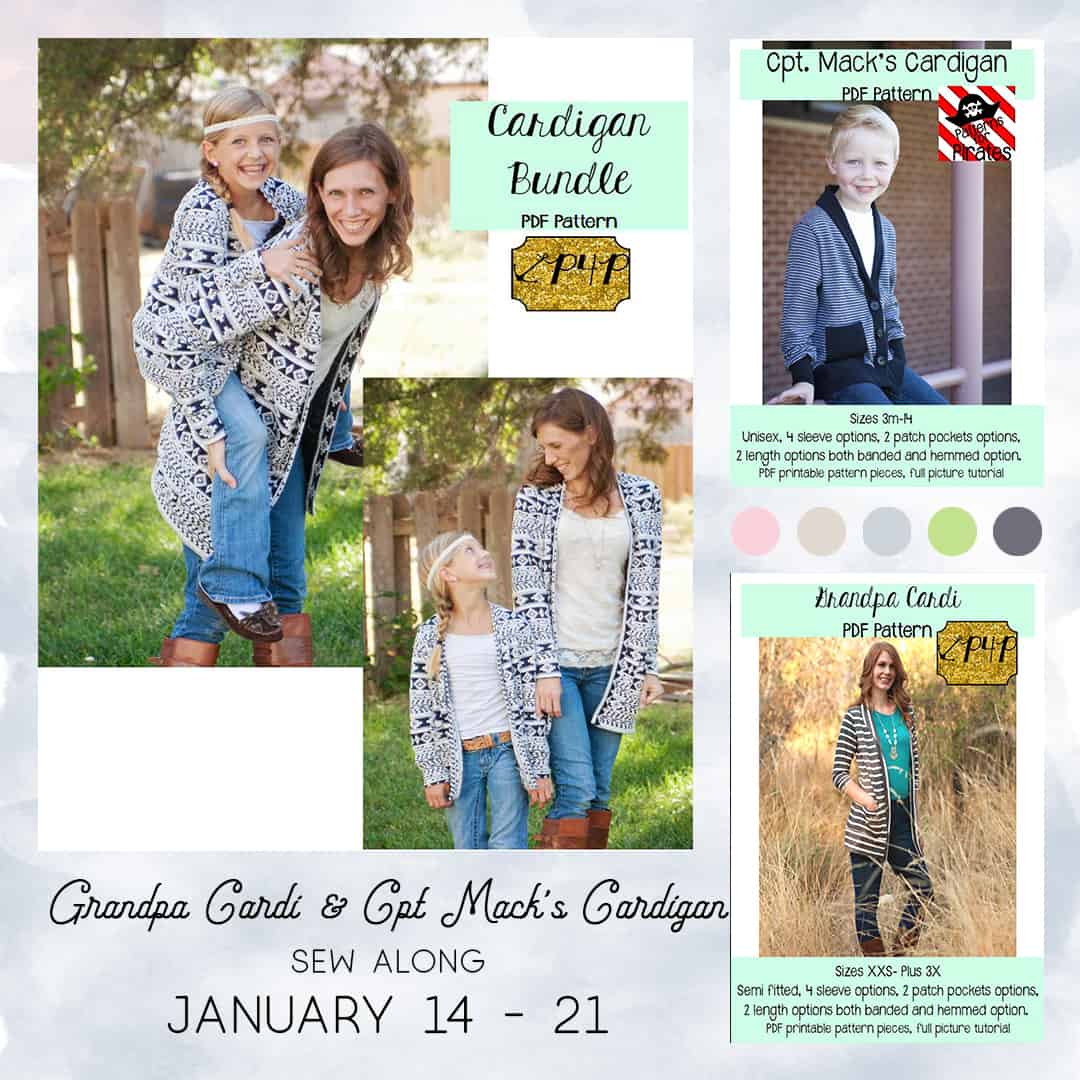
Welcome to the Grandpa Cardi / Cpt. Mack’s Cardigan Sew Along!

Day One is reserved to purchasing the patterns, printing and cutting the size(s) you need. If you plan on sewing for yourself you can get the Grandpa Cardi  here, if you’re sewing for your little one, the Cpt. Mack’s Cardigan can be purchased here and if you’re sewing for both of you (just think of the mommy and me matching outfits!) you can get the bundle.

This Sew Along will take place in the new M4M & P4P Sew Along group so be sure to join the group not only for the exclusive discount code available for the Grandpa Cardi and Cpt. Mack’s Cardigan patterns but also to post your progress this week.

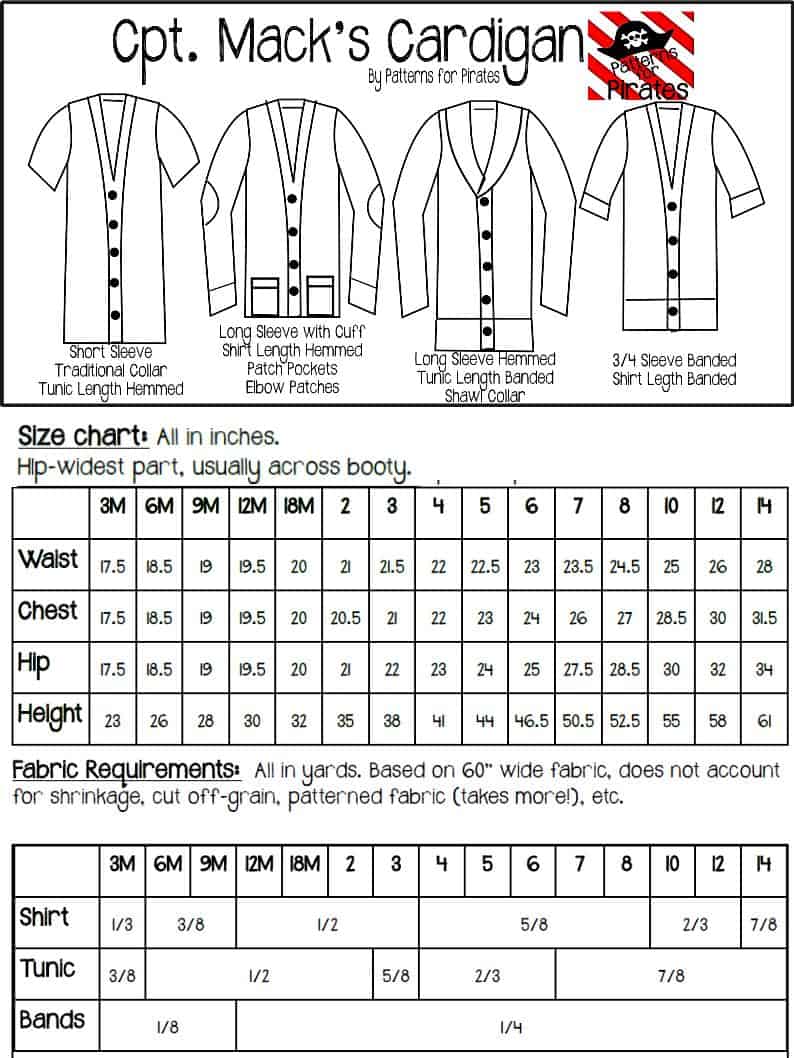
Now that you purchased the pattern(s), print the size needed. In order to do that it is very important that you take your most accurate measurements.

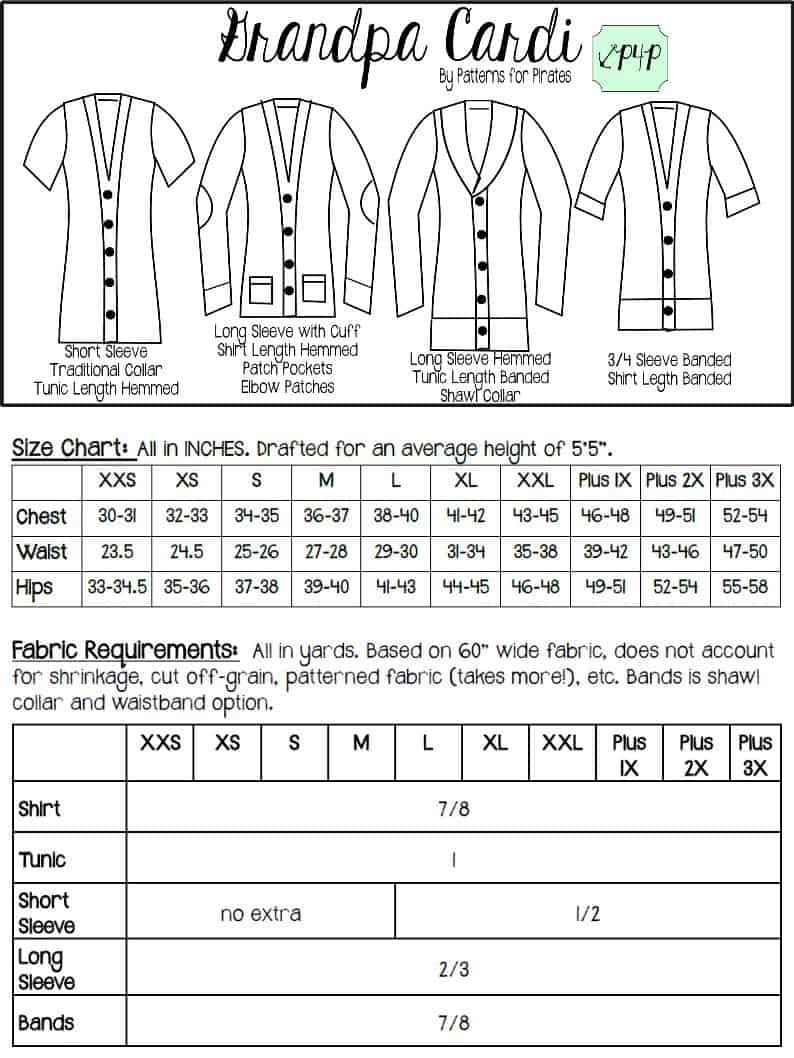
You will need your waist, hips and chest measurements in order to choose the correct cardigan size. P4P has an amazing blog that gives you tip for accurately taking your measurements. You can read all about it here. If your measurements put you in a different size for chest/waist/hips be sure to check out our P4P University blog and grade to achieve the perfect fit.

Check out the day 1 video below and then comment “done” on the Day 1 picture of the Cadigan SAL album in the sew along group. We don’t allow pictures of the pattern pieces so this will count as your day 1 check in.


Grandpa Cardi | Cpt Mack’s Cardigan Sew along  – Day 1 (Print & cut pattern)

Grandpa Cardi | Cpt Mack’s Cardigan Sew along  – Day 2 (choose and cut fabric)

Grandpa Cardi | Cpt Mack’s Cardigan Sew along  – Day 3 (pockets and elbow patches)

Grandpa Cardi | Cpt Mack’s Cardigan Sew along  – Day 4 (shoulder seams and add sleeves)

Grandpa Cardi | Cpt Mack’s Cardigan Sew along  – Day 5 (finish sleeves and bottom edge)

Grandpa Cardi | Cpt Mack’s Cardigan Sew along  – Day 6 (collar/shawl and buttons)

Grandpa Cardi | Cpt Mack’s Cardigan Sew along  – Day 7 (winners announcements)

Filed Under: Frequently Asked Questions, Sew-A-Long, Uncategorized 4 Comments

Go To Jacket – SAL day 9 (winners announcement)
October 16, 2018

Ahoy, pirates! Besides the zipper blog post, I feel like today’s post is the most anticipated one 😉 Let me start by congratulating everyone who finished their Go To Jackets this past week. We know zippers can be intimidating for some and we are so proud of you for trying and succeeding!

Let’s not keep you waiting any longer. *drumroll*

Our first GTJ sew along winner is MONIQUE VIDAL . Congratulations! You won a $20 P4P store credit and a $40 Vintage Lace gift card. 


Our second GTJ sew along winner is LAURA SEMAAN Great job! You won a $20 M4M store credit and a $25 RockerbyeDestash Fabrics gift card.


A big thank you to our October sponsors!


Stick around the M4M & P4P Sew Along group because our fellow mermaids will be announcing the November SAL soon. You won’t want to miss it!

Go To Jacket Sew Along

Day 1: Print + Cut Pattern

Day 2: Choose + Cut Fabric

Day 3: Sew Pockets

Day 4: Sew Shoulder Seams + Attach Sleeves

Day 5: Attach Neckband / Hood

Day 6: Add waistband + Finish Sleeves

Day 7: Add Zipper

Day 8: Recap + Catch Up

Day 9: Winners Announcement

Filed Under: Frequently Asked Questions, Sew-A-Long, Uncategorized Leave a Comment

Go To Jacket – SAL day 8 (recap/catch up day)

October 15, 2018

Wow! What an amazing last week we had! We have seen so many beautiful Go To Jackets sewn this past 7 days. But fear not! You still have time to get yours done too. Today is catch up day, so go over the previous blogs and videos and get sewing. The links to all blogs is below.

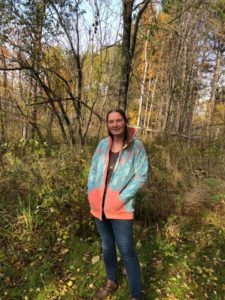
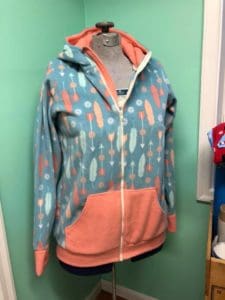
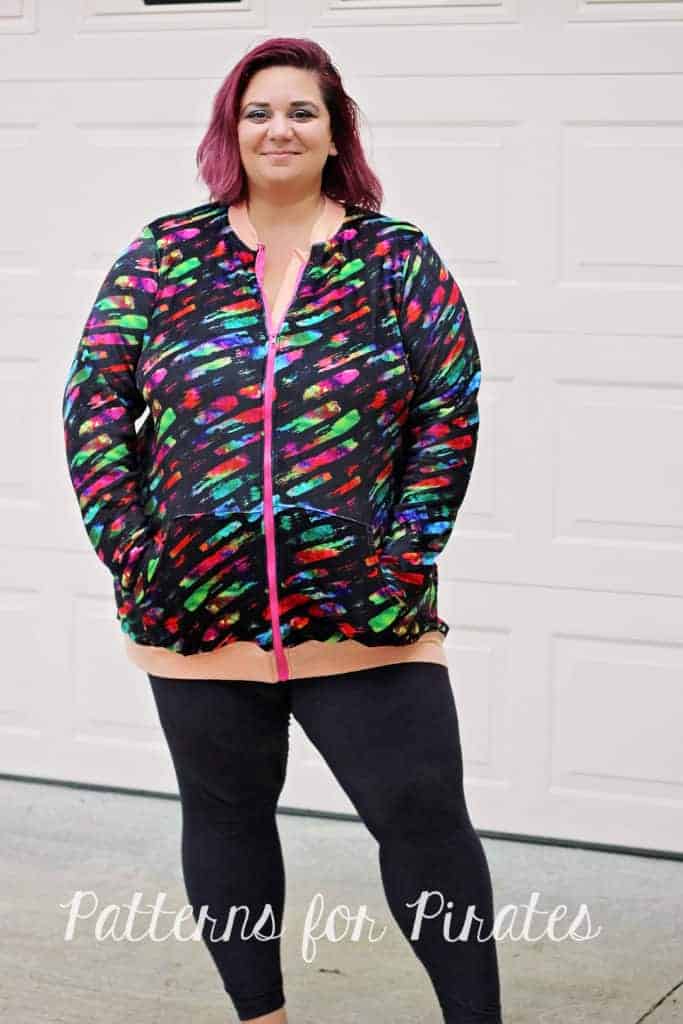
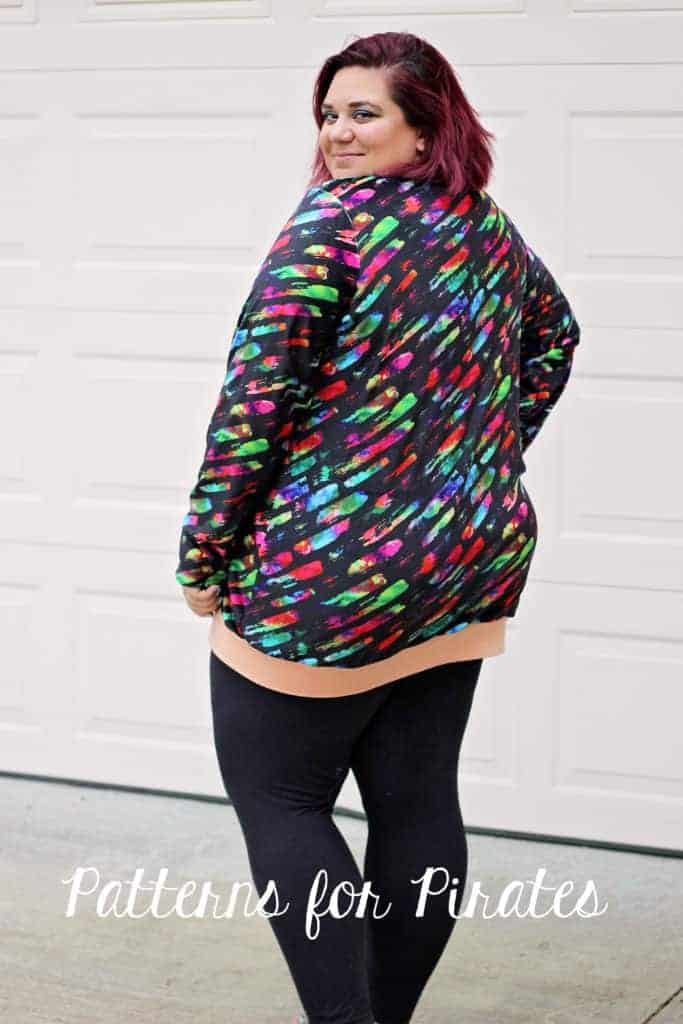
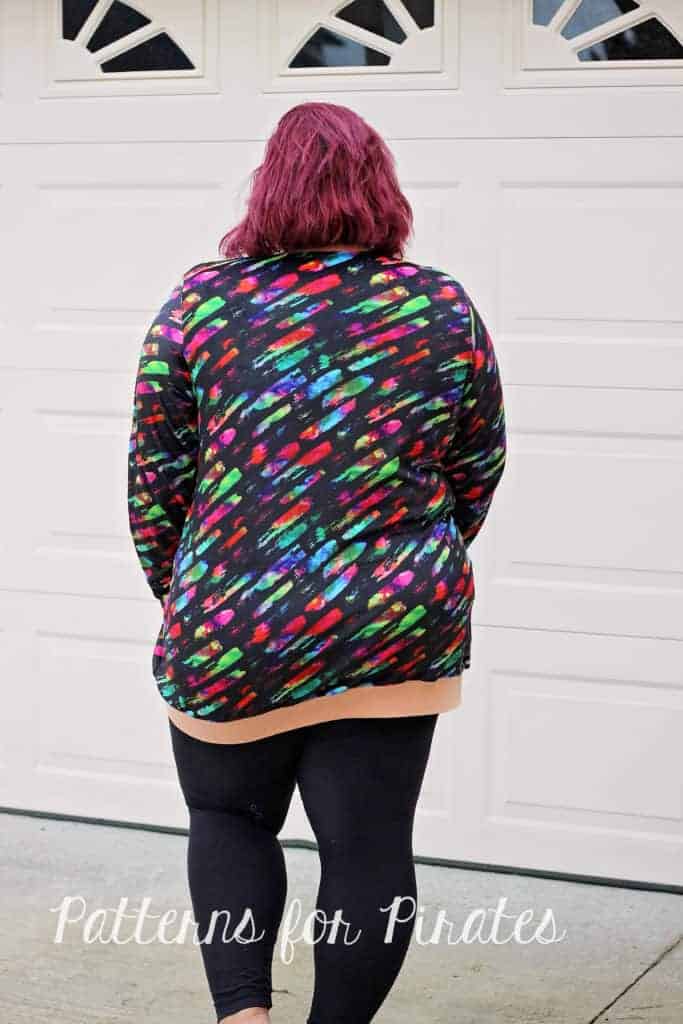
This week I made myself a tunic length bomber style jacket that is unbelievably cozy and comfy. I used squish from RockerbyDestash Fabrics and cotton lycra for the waistband band, cuffs and neckband. I have a feeling those kanga pockets I added will be holding plenty of the boy’s little treasures.

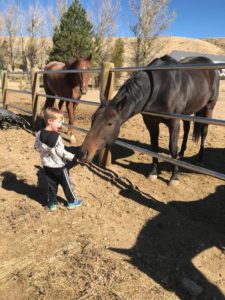
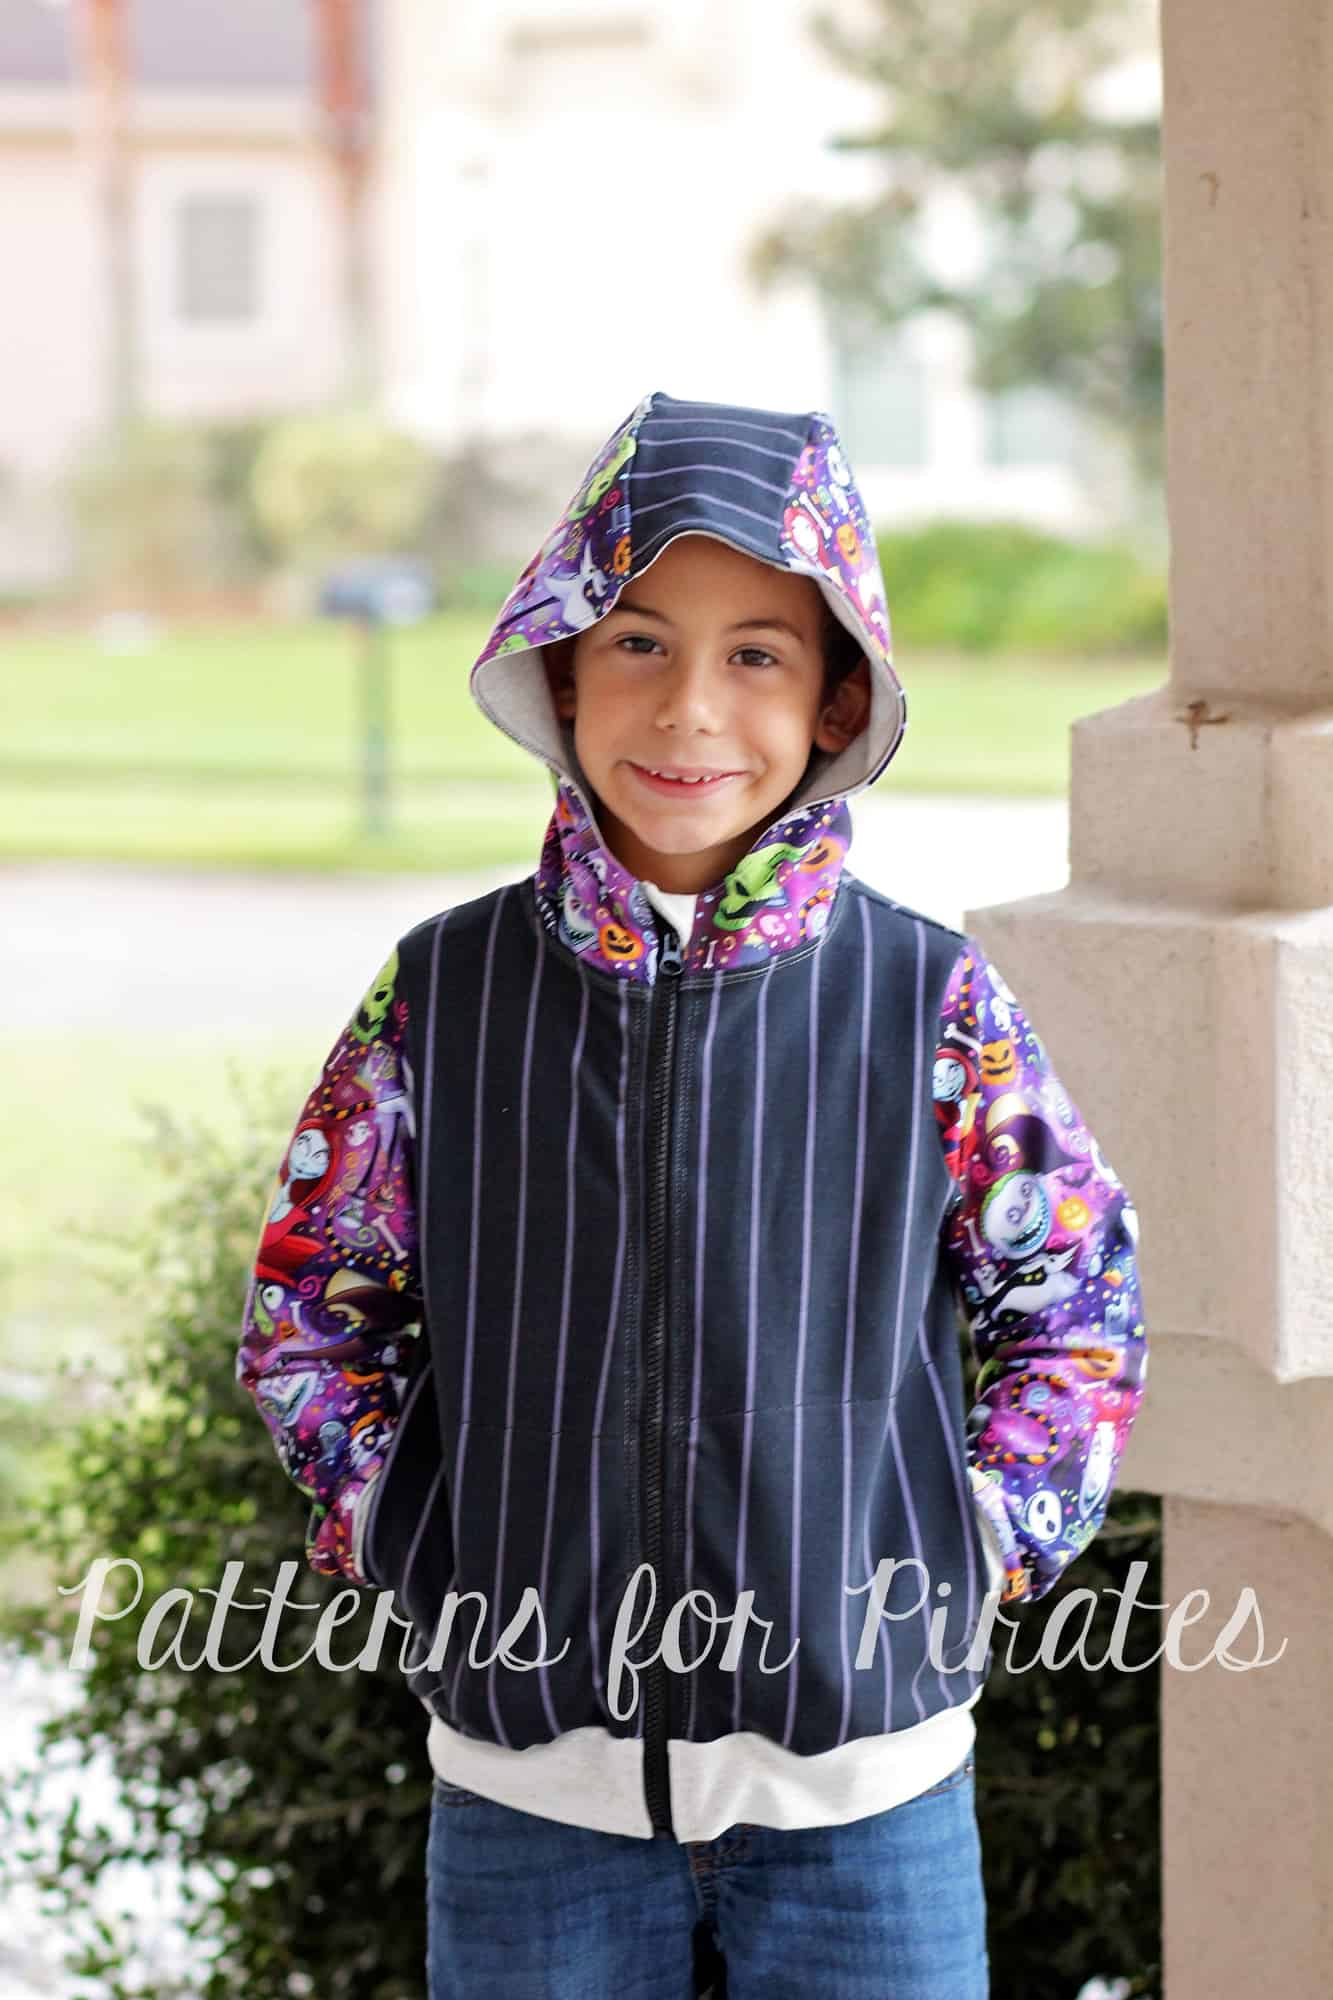
I also made a youth Go To Jacket for my little men. They had to have the hood and I added inseam pockets to this one. This cute French Terry one will be a staple in their wardrobe as soon as we get some cooler weather here in Florida. This fabric is from Vintage Lace.

My next one will have to be the men Go To Jacket so my husband gets a comfy zippered hoodie too. He has already picked some fabric.


If you’re not sure which style to pick or which options, take a look over our Go To Jacket Round Up blog post as well as the GTJ albums in the P4P Facebook Group.


Tomorrow the P4P & M4M teams will be picking two SAL winners so be sure to finish up your jackets and post a picture of your project in the Day 7 comments photo of the GTJ Sew Along album in the M4M & P4P Sew Along Group.

Go To Jacket Sew Along

Day 1: Print + Cut Pattern

Day 2: Choose + Cut Fabric

Day 3: Sew Pockets

Day 4: Sew Shoulder Seams + Attach Sleeves

Day 5: Attach Neckband / Hood

Day 6: Add waistband + Finish Sleeves

Day 7: Add Zipper

Day 8: Recap + Catch Up

Day 9: Winners Announcement

Filed Under: Frequently Asked Questions, Sew-A-Long, Uncategorized Leave a Comment

Go To Jacket – SAL day 7 (add zipper)

October 14, 2018

THE day is here! The big ZIPPER day is today. 🙂 Let’s all take a deep breath and remind ourselves it’s really not hard, I promise you! Start by preparing your chin guard, make all markings and press.

If you need to shorten the zipper you are using, take a look over the the videos in this P4P University blog. Shortening plastic zippers is a breeze so don’t be afraid to purchase longer zippers in bulk.

TIP: The Wonder Tape is your best friend when adding zippers! It holds the zipper in place and you can sew through it without gumming up your needles. It will work like magic!

The zipper video is below so take a look over it before your start sewing. As always, don’t be shy to ask questions in the Sew Along group. Once you finish your jacket add a photo of your work in the Day 7 picture comments of the Go To Jacket SAL album. Keep in mind that only pictures posted in that thread will count towards the prizes. 🙂

YOU DID IT! Great job sewing your zippered jackets.

Go To Jacket Sew Along

Day 1: Print + Cut Pattern

Day 2: Choose + Cut Fabric

Day 3: Sew Pockets

Day 4: Sew Shoulder Seams + Attach Sleeves

Day 5: Attach Neckband / Hood

Day 6: Add waistband + Finish Sleeves

Day 7: Add Zipper

Day 8: Recap + Catch Up

Day 9: Winners Announcement

Filed Under: Frequently Asked Questions, Sew-A-Long, Uncategorized 1 Comment

Go To Jacket – SAL day 4 (sew shoulder seams and add sleeves)

October 11, 2018

Day 4 is here! Today we sew the shoulder seams (easy peasy!) and add the set in sleeves. When attaching the sleeves it is very important to match the notch to the shoulder seam, pin in place and then match the side seams and pin in place.

TIP: If you’re doing a hemmed sleeve now would be a good time to press your memory hem. This will make it so much easier to hem later on. 

The Go To Jacket pattern follows a 1/2″ seam allowance so be sure to not deviate from it when you sew the shoulder seams RST or when you attach the sleeves.

Watch the day 4 video below and be sure to post a picture of today’s progress in the day 4 photo comments of the Go To Jacket album in the M4M & P4P Sew Along Group.

Go To Jacket Sew Along

Day 1: Print + Cut Pattern

Day 2: Choose + Cut Fabric

Day 3: Sew Pockets

Day 4: Sew Shoulder Seams + Attach Sleeves

Day 5: Attach Neckband / Hood

Day 6: Add waistband + Finish Sleeves

Day 7: Add Zipper

Day 8: Recap + Catch Up

Day 9: Winners Announcement

Filed Under: Frequently Asked Questions, Sew-A-Long, Uncategorized Leave a Comment

  • « Previous Page
  • 1
  • …
  • 8
  • 9
  • 10
  • 11
  • 12
  • 13
  • Next Page »

connect with me

  • Email
  • Facebook
  • Instagram
  • Pinterest
  • YouTube
Privacy & Cookies: This site uses cookies. By continuing to use this website, you agree to their use.

To find out more, including how to control cookies, see here: Cookie Policy
  • Privacy Policy
  • Refund Policy
  • Contact Us
  • About

Copyright © 2026 Patterns for Pirates

Copyright © 2026 · Genesis Framework · WordPress · Log in