Welcome to day 2 of our Grandpa Cardi/Cpt Mack’s Cardigan sew along. Today we will be choosing the fabric and cutting it. You should have your pattern pieces ready from yesterday.
But first let’s talk a little about the right fabric for this pattern. As you can see in the video below I am using a gorgeous rose gold sweater knit from Sincerely Rylee for my Grandpa Cardi. This my favorite knit type for this pattern. For Cpt Mack’s I like the structured look of cotton lycra. These two cardigans can be made with virtually any knit fabric since they only require 20% stretch.
Sincerely Rylee is this SAL’s sponsor too, so one of you will be getting a $50 Gift Card to their shop so you can treat your to some gorgeous sweater knits (and not only) too.

If you are unsure about which knit type will work best for your desired look, take a look over our P4P University Knit Types blog. Judy also included a cheat sheet that you can print. If you are like me and sometime are just keen on using a specific print for a specific pattern, read our Different fabric, different fit blog post before you cut your fabric.
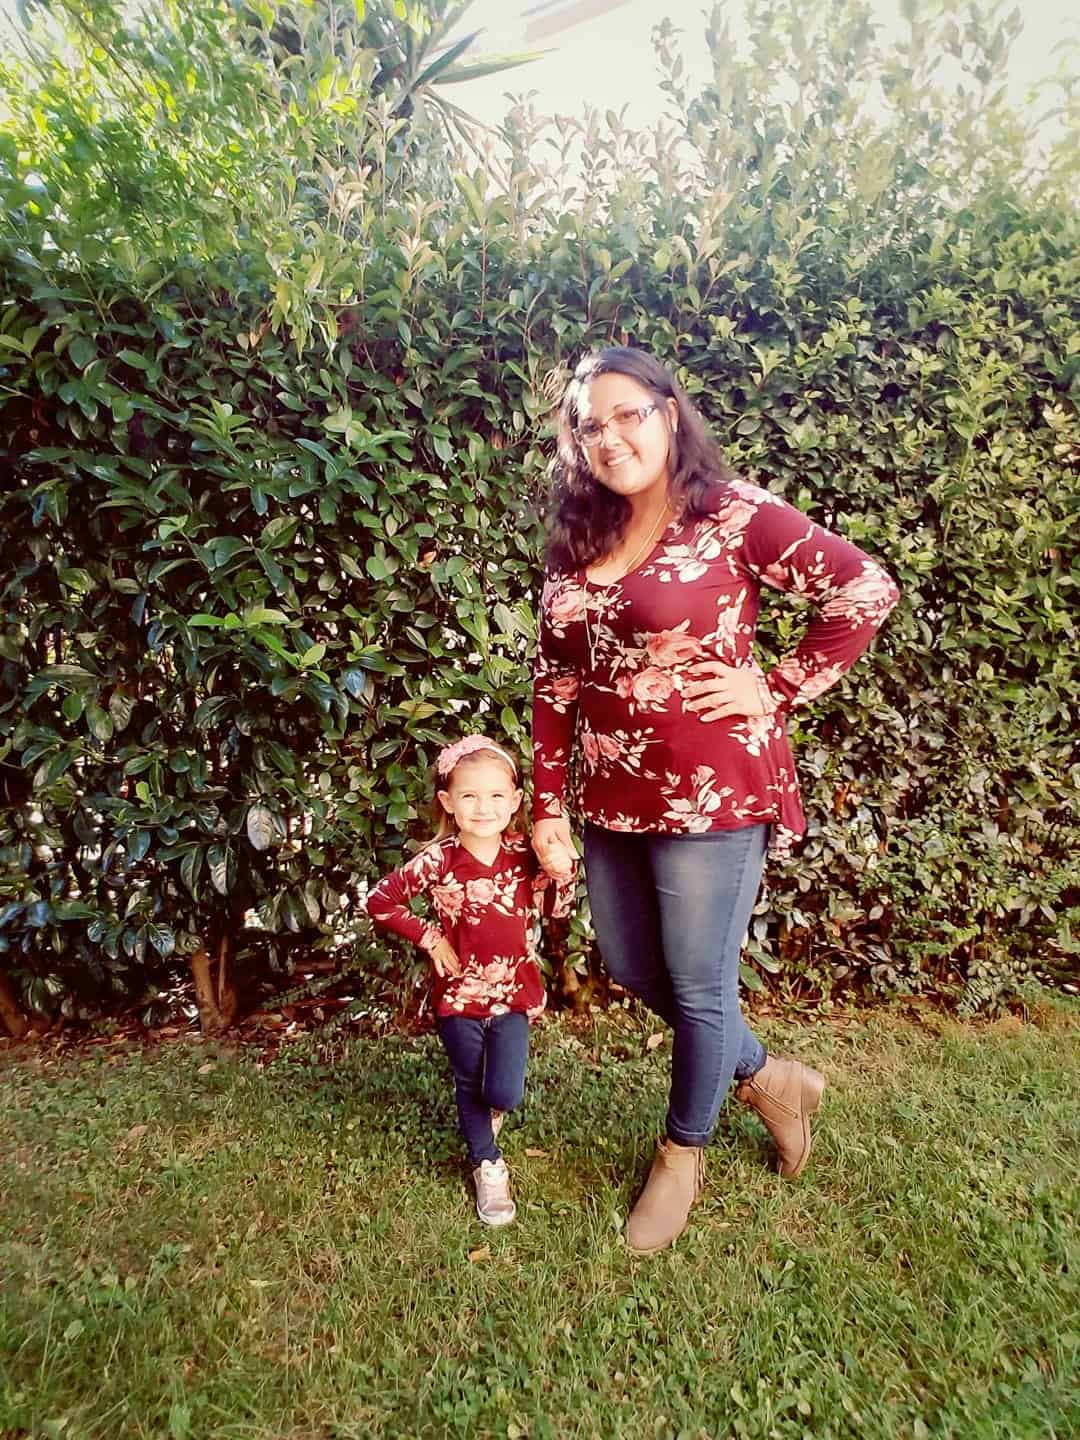
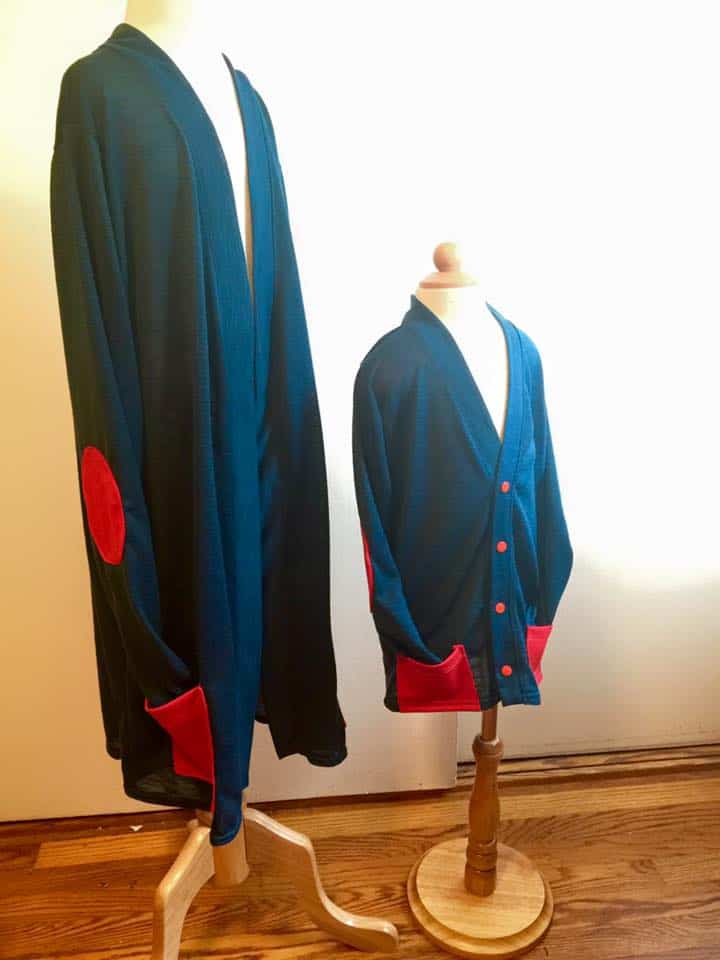
Writing this blog brought back some memories…the set below is my first ever Grandpa cardi/Cpt Mack’s cardigan I ever made. It’s a thin sweater knit from Joann and I still wear it today. My little man wore his at school for two years. It makes an great uniform piece too.
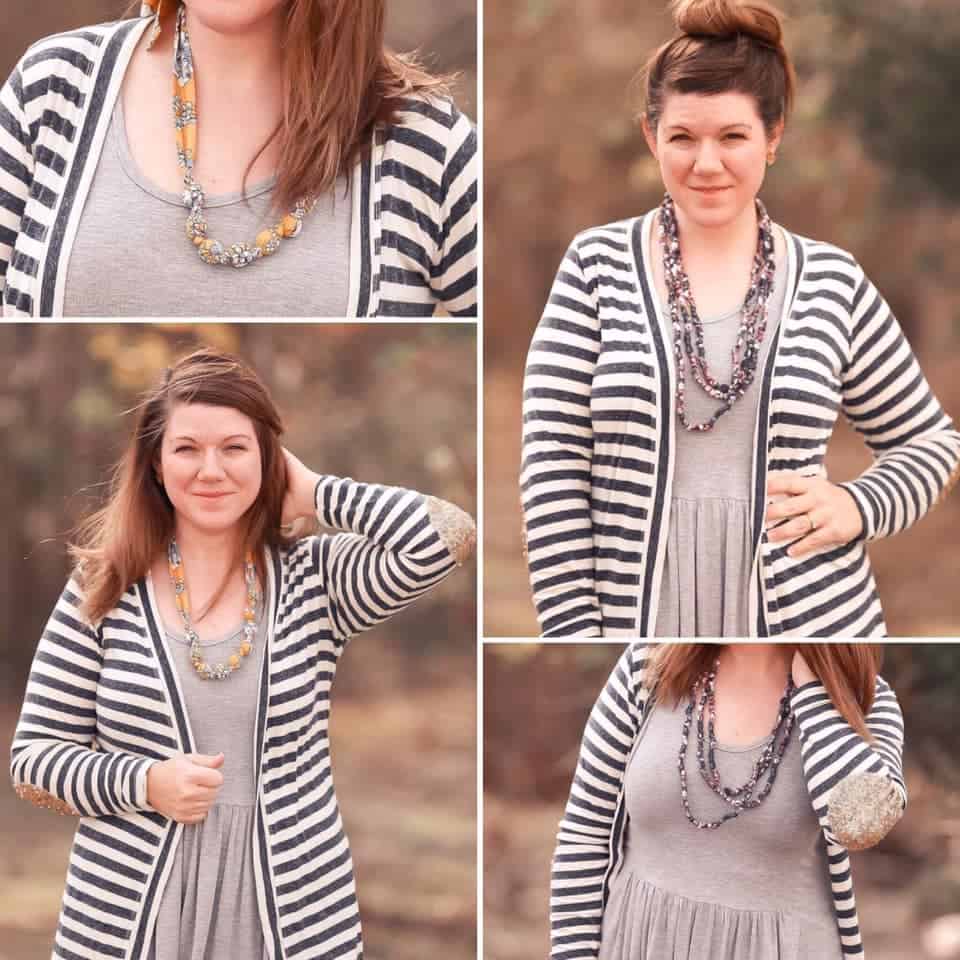
Got some sequins fabric you absolutely love? Use them for the elbow patches. Colleen’s Grandpa cardi is to die for…afterall, who doesn’t need a fancy elbow pocket patch?
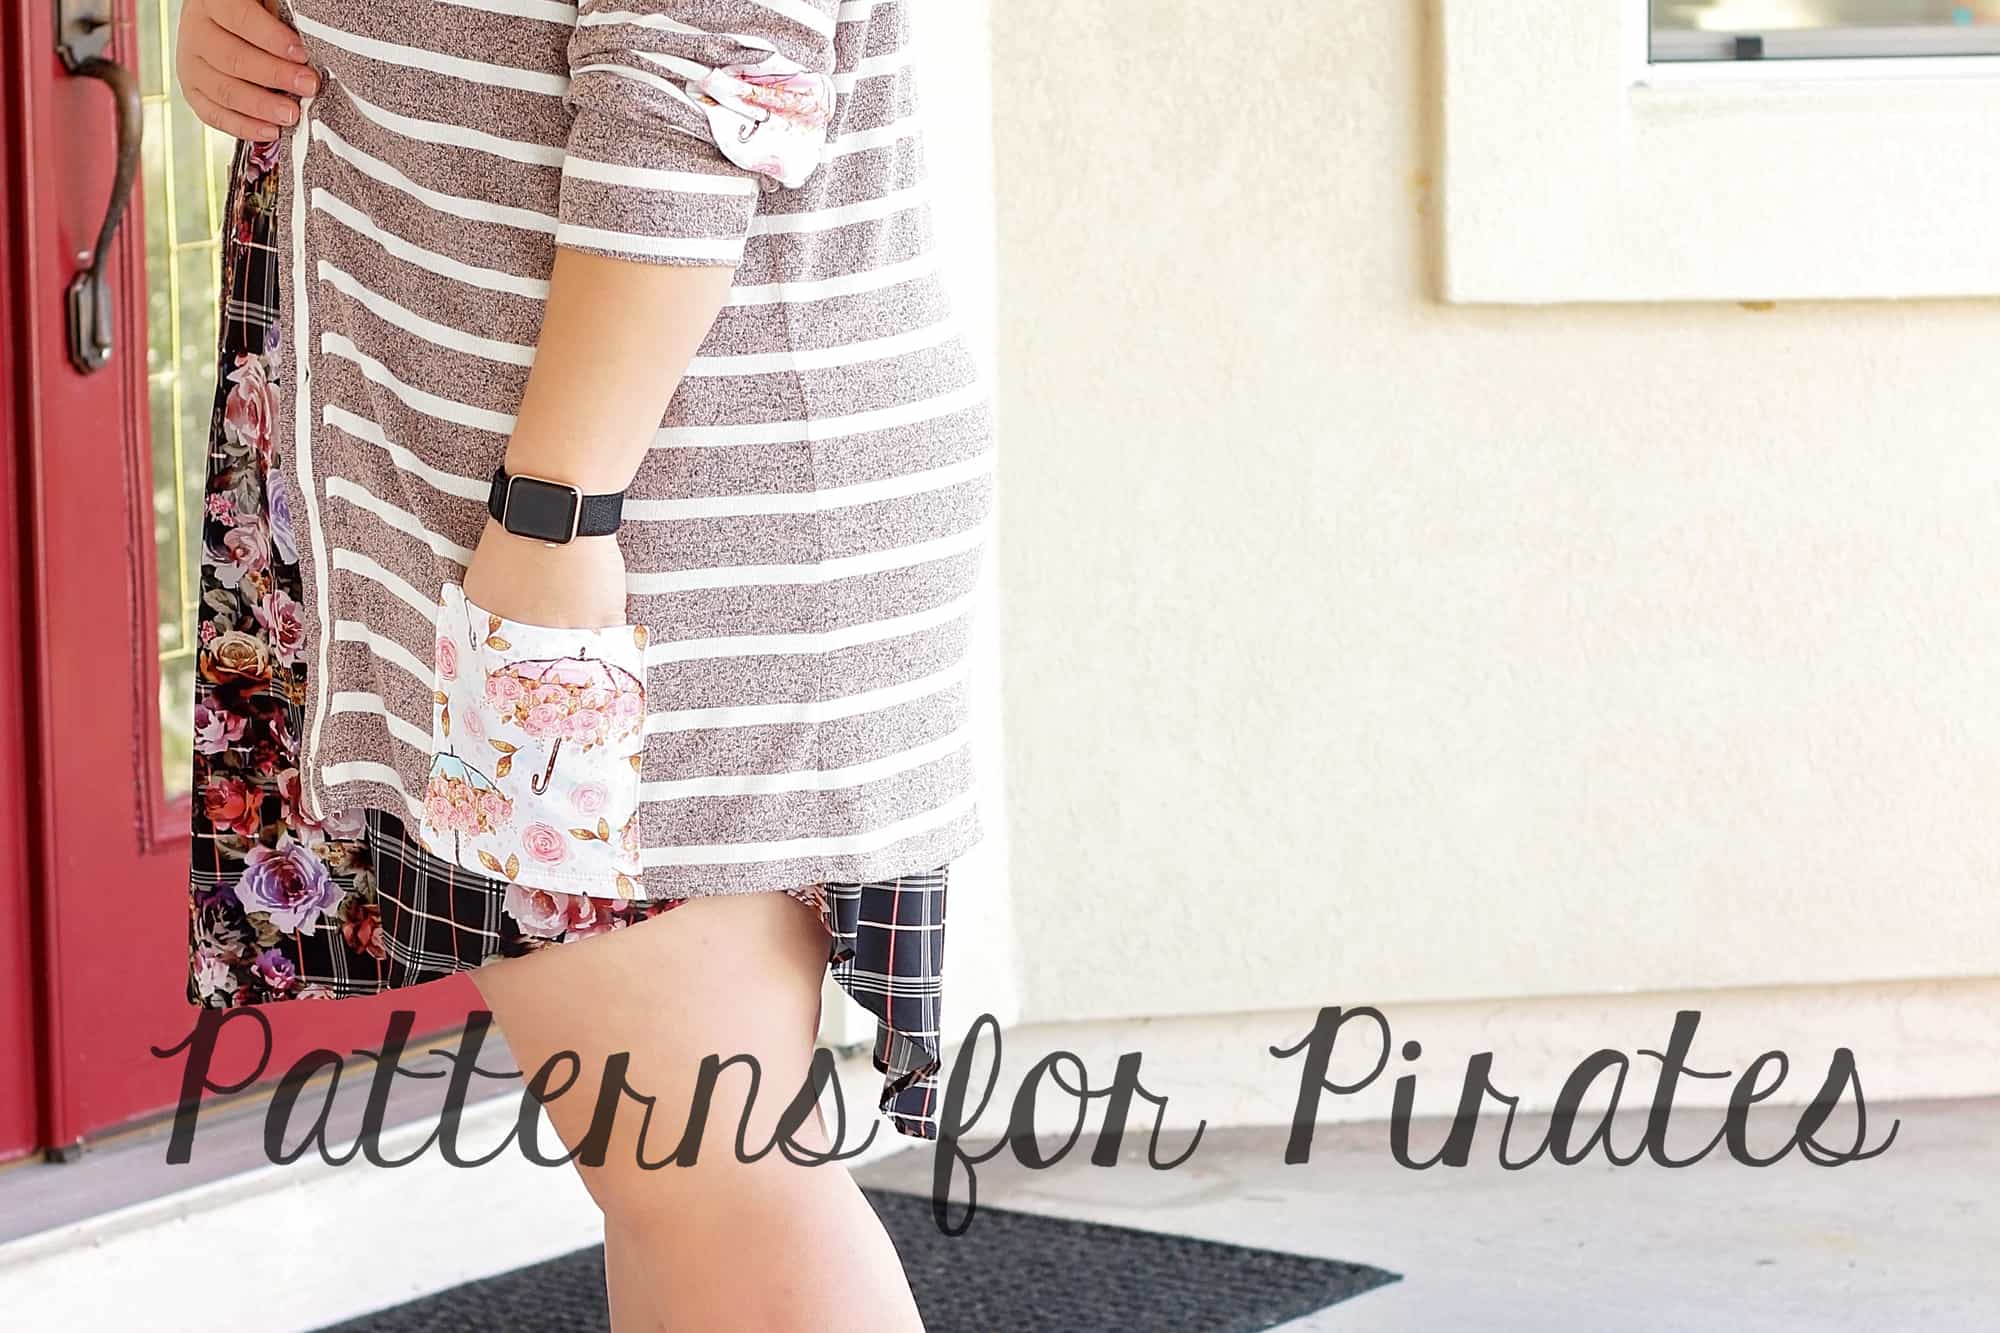
For my cardigan I decided to add bamboo lycra shoulder patches and pockets. I’m using a rose gold striped main fabric so I chose a gold and roses print for the patches. Get it Get it? 😉

The Day 2 video is posted below. Check it out and once you are done cutting your fabric post a picture of it in the comments of the Day 2 photo of the Grandpa Cardi/ Cpt Mack’s SAL album in the M4M & P4P Sew Along group.
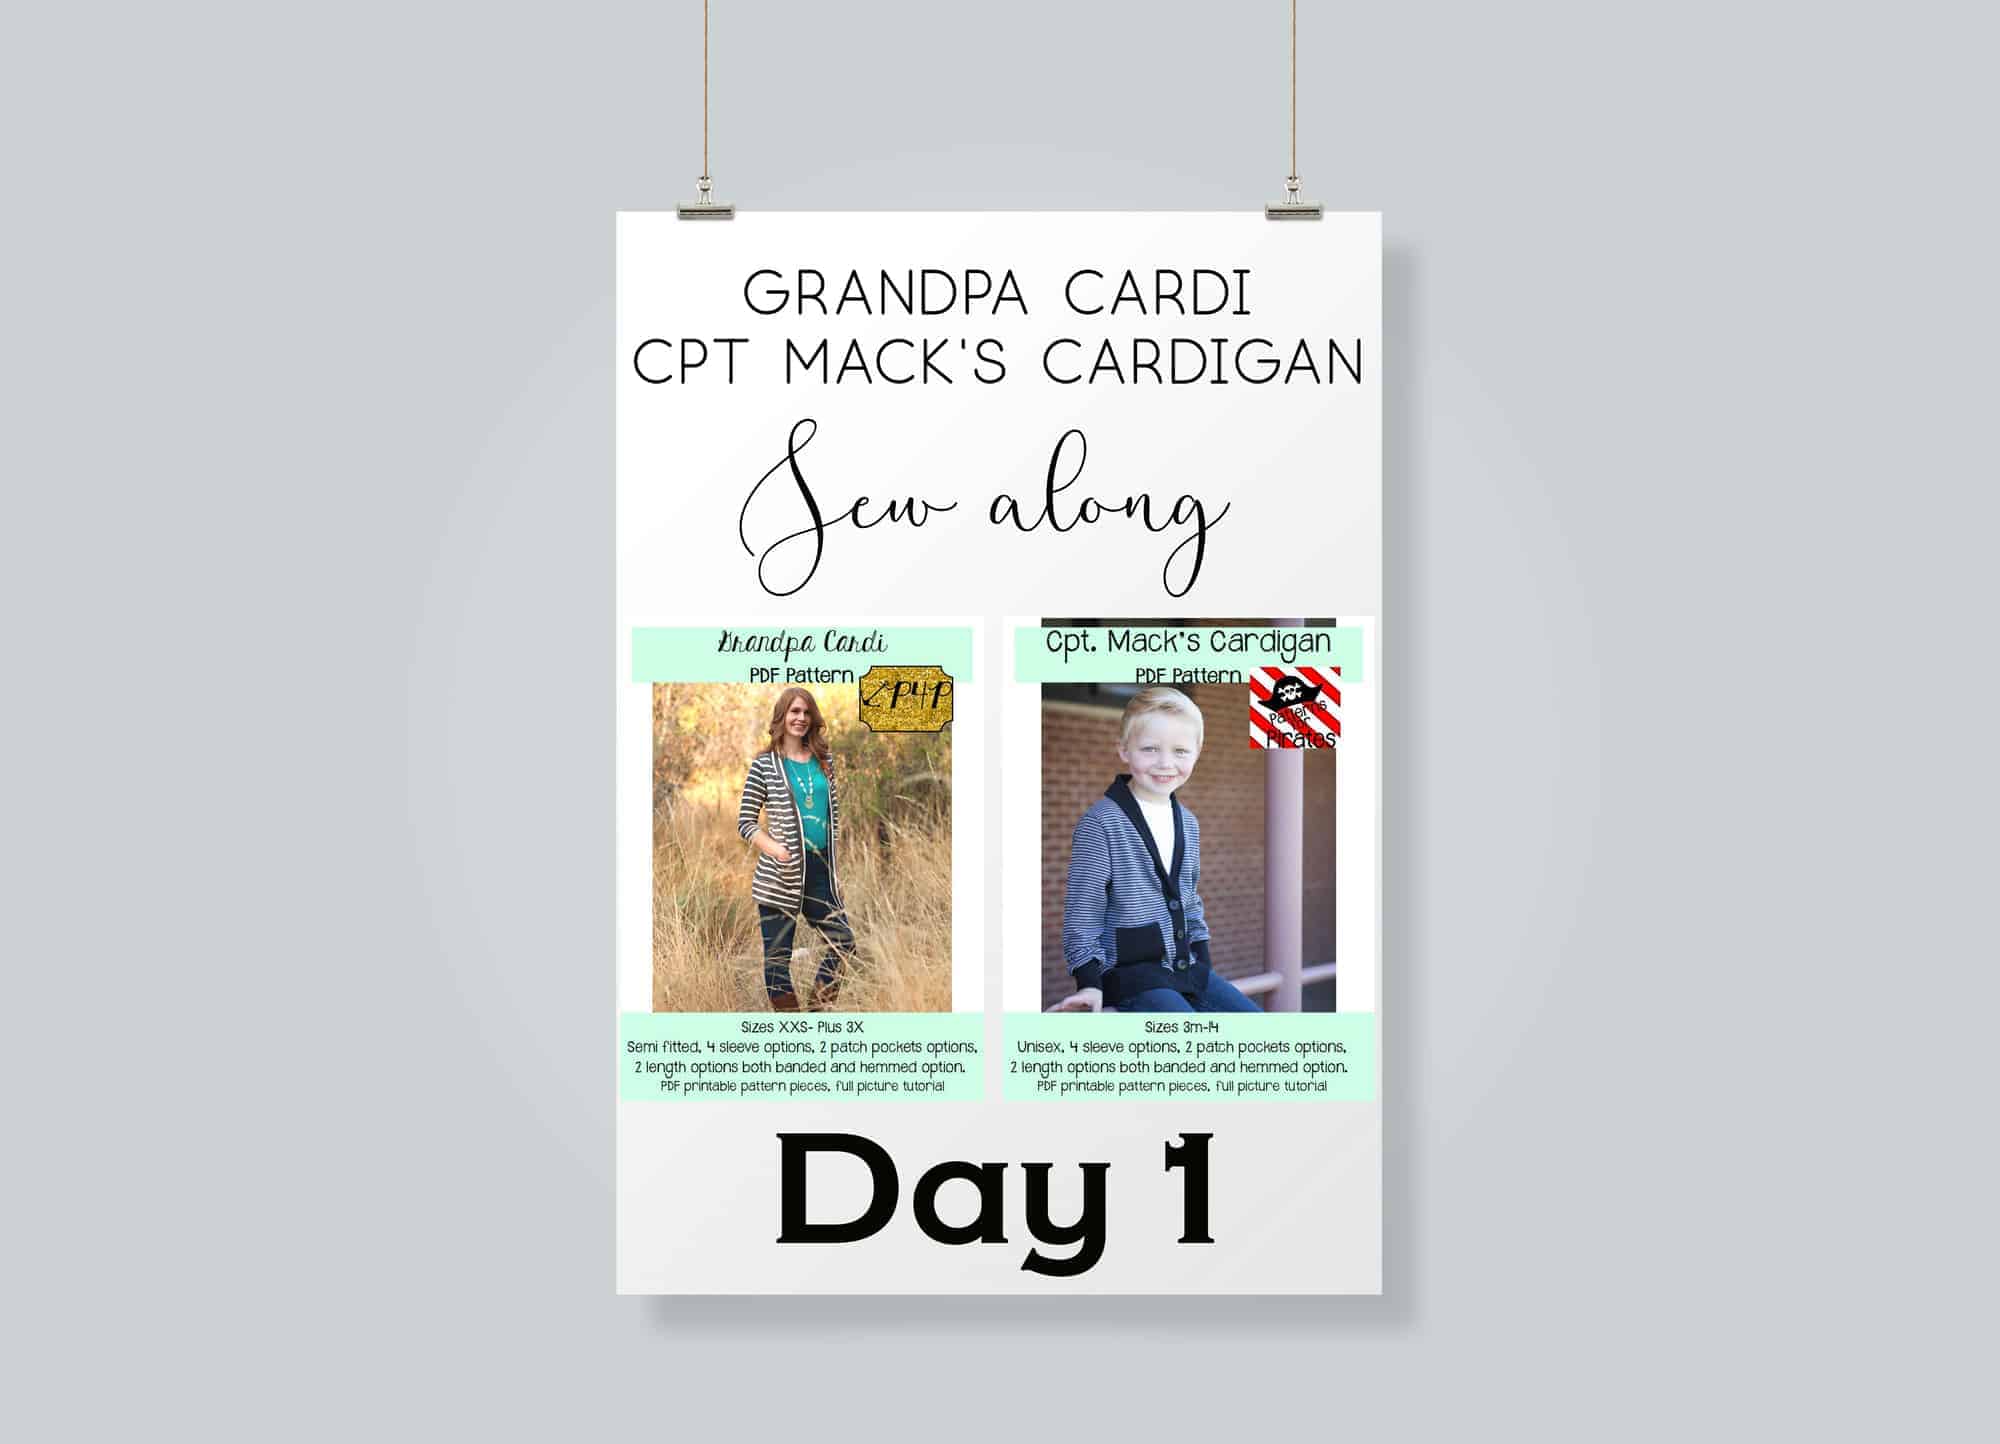
Grandpa Cardi | Cpt Mack’s Cardigan Sew along – Day 1 (Print & cut pattern)
Grandpa Cardi | Cpt Mack’s Cardigan Sew along – Day 2 (choose and cut fabric)
Grandpa Cardi | Cpt Mack’s Cardigan Sew along – Day 3 (pockets and elbow patches)
Grandpa Cardi | Cpt Mack’s Cardigan Sew along – Day 4 (shoulder seams and add sleeves)
Grandpa Cardi | Cpt Mack’s Cardigan Sew along – Day 5 (finish sleeves and bottom edge)
Grandpa Cardi | Cpt Mack’s Cardigan Sew along – Day 6 (collar/shawl and buttons)
Grandpa Cardi | Cpt Mack’s Cardigan Sew along – Day 7 (winners announcements)