Patterns for Pirates

P4P stylish, modern, wearable patterns

  • Home
  • Blog
    • Frequently Asked Questions
    • Pattern Releases
      • Free Patterns
    • P4P University
      • Fitting
      • Sewing with Stretch, Knit Fabrics
      • Sewing with Woven Fabrics
      • Sewing Machines
    • Sew-A-Longs
    • Fabric for Pirates
    • Pattern Hacks
    • Announcement
      • Blog Tours
      • Contest/Giveaway
  • Shop
  • Bundle Discounts
  • Flash Friday
  • Gift Cards
  • My Account
  • Cart

Brunch Blouse|Bitty Brunch Blouse SAL day 1 (print pattern)

March 11, 2019


Welcome to the Brunch Blouse and Bitty Brunch Blouse

Sew Along!

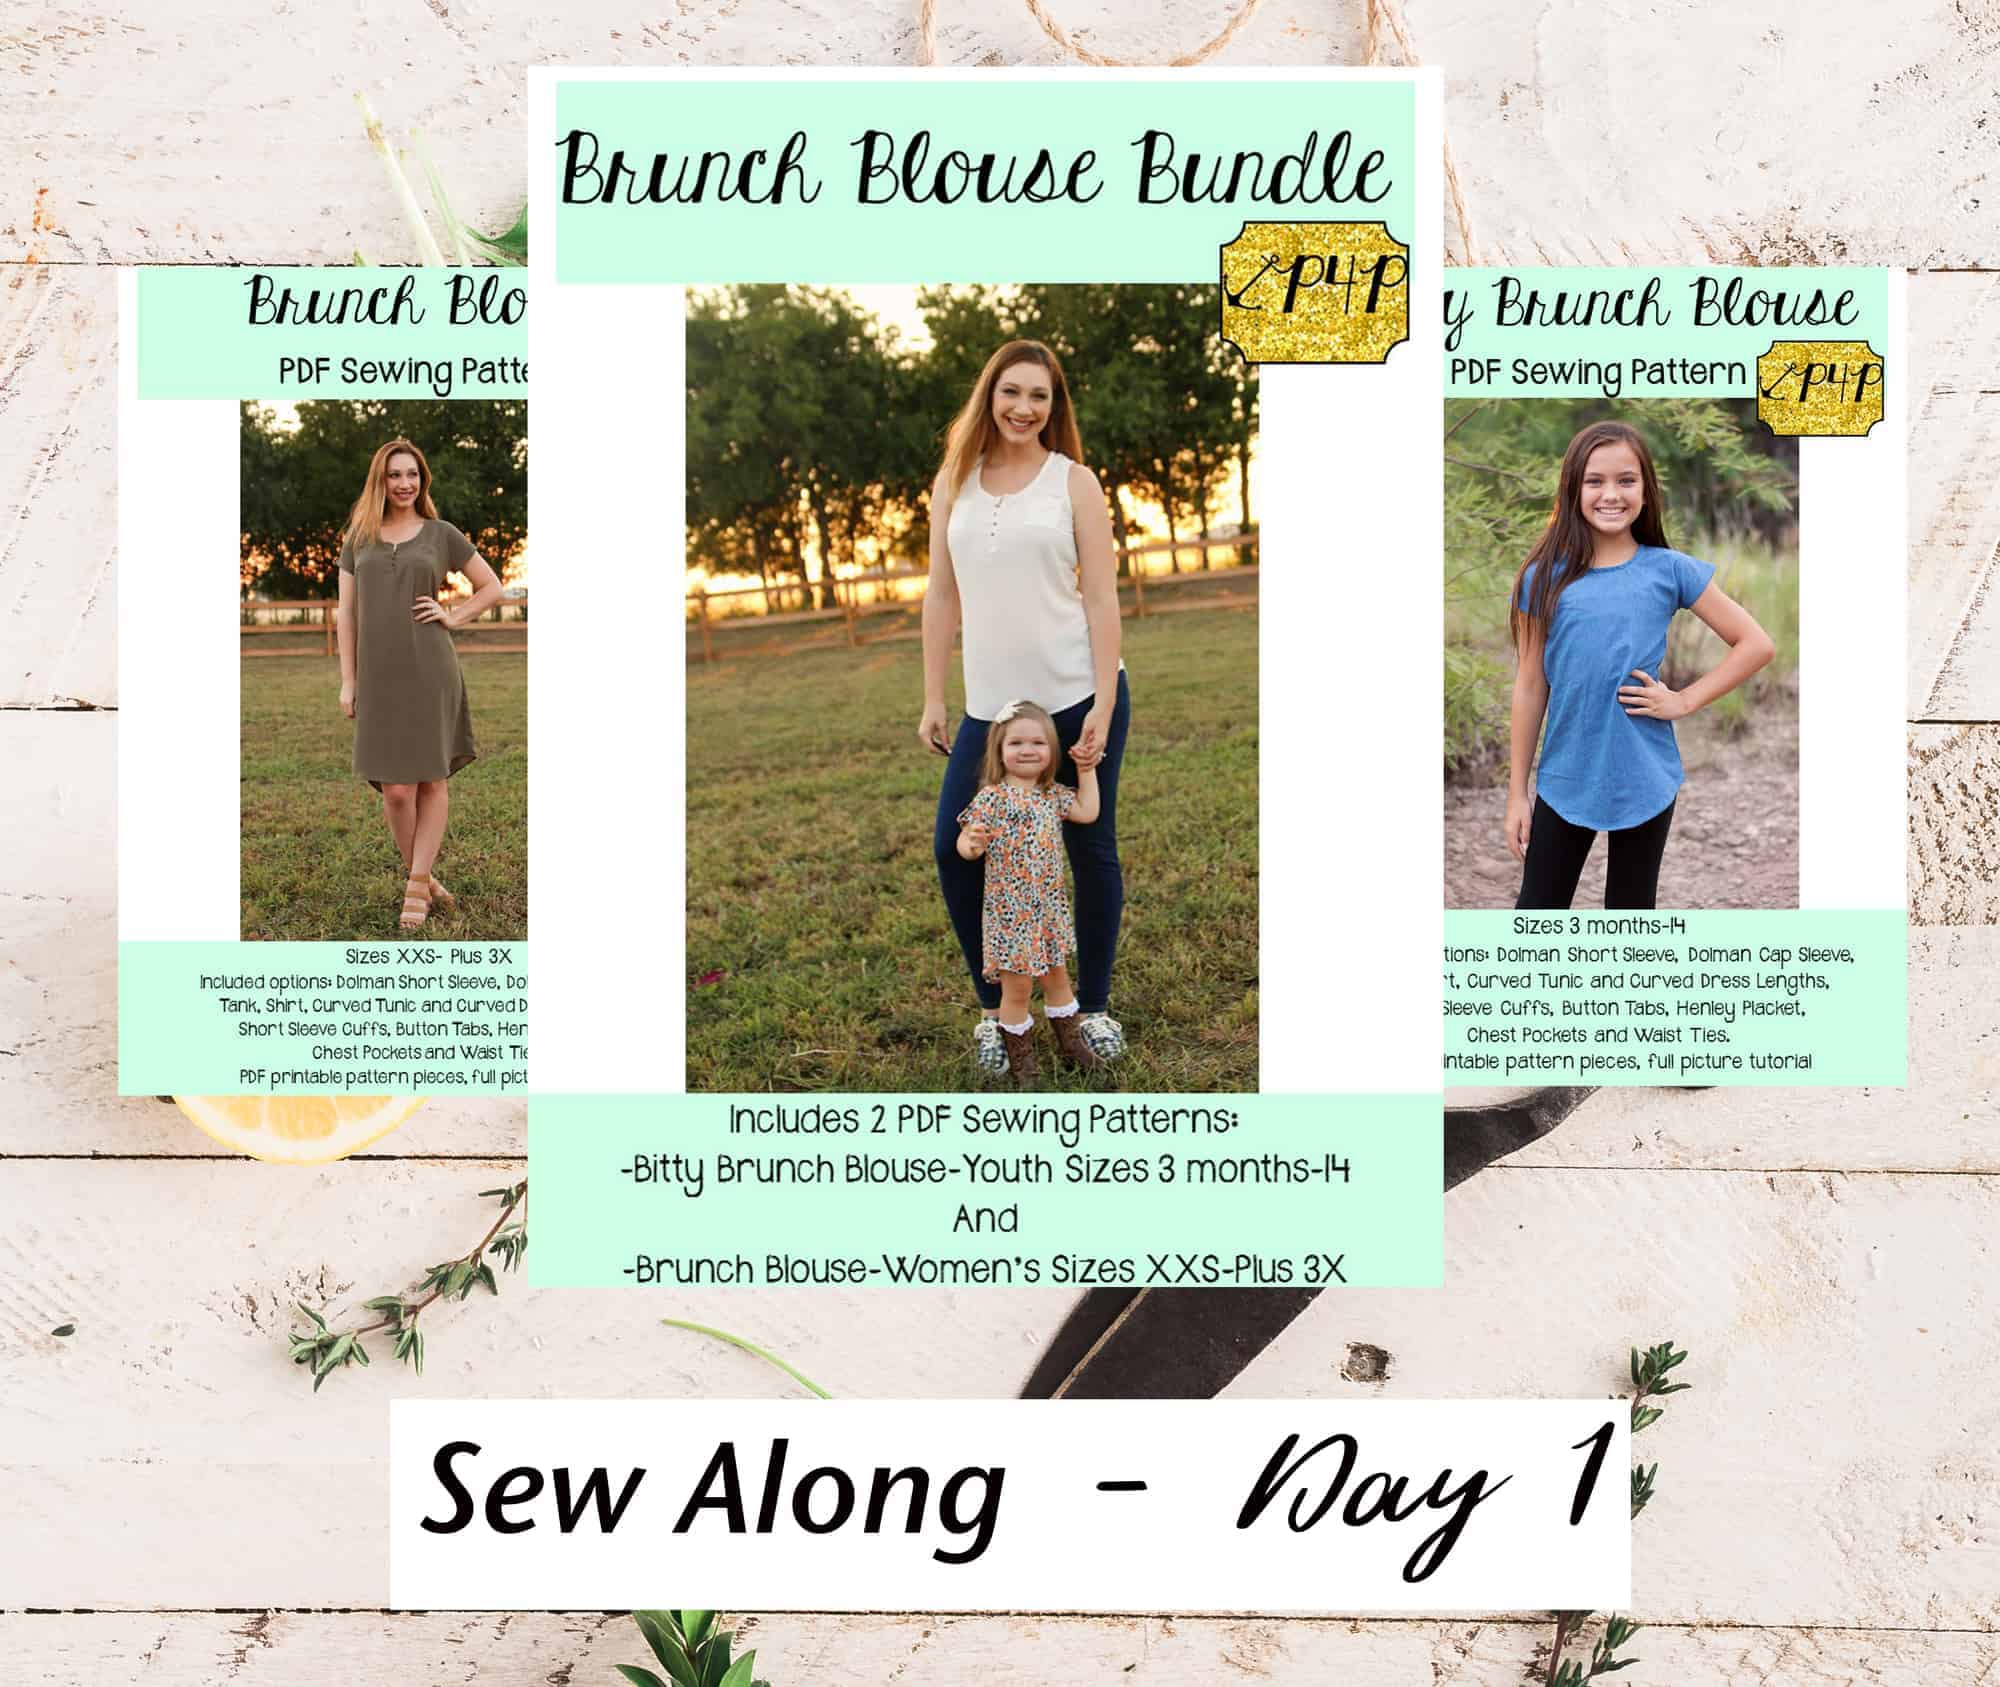
Day One is reserved to purchasing the patterns, printing and cutting the size(s) you need. If you plan on sewing for yourself you can get the Brunch Blouse here, if you’re sewing for your little girl, the Bitty Brunch Blouse can be purchased here and if you’re sewing for both of you (just think of the mommy and me matching outfits!) you can get the bundle.

This Sew Along will take place in our M4M & P4P Sew Along group so be sure to join the group not only for the exclusive discount code available for the patterns but also to post your progress this week. As always all daily blog posts will be here on the blog but you’ll be checking in with your completed steps in the group.

Now that you purchased the pattern(s), print the size needed. In order to do that it is very important that you take your most accurate measurements. The Brunch Blouse and Bitty Brunch Blouse are drafted for woven fabric (no stretch) so if you need to grade for multiple sizes, please do not skip this step.

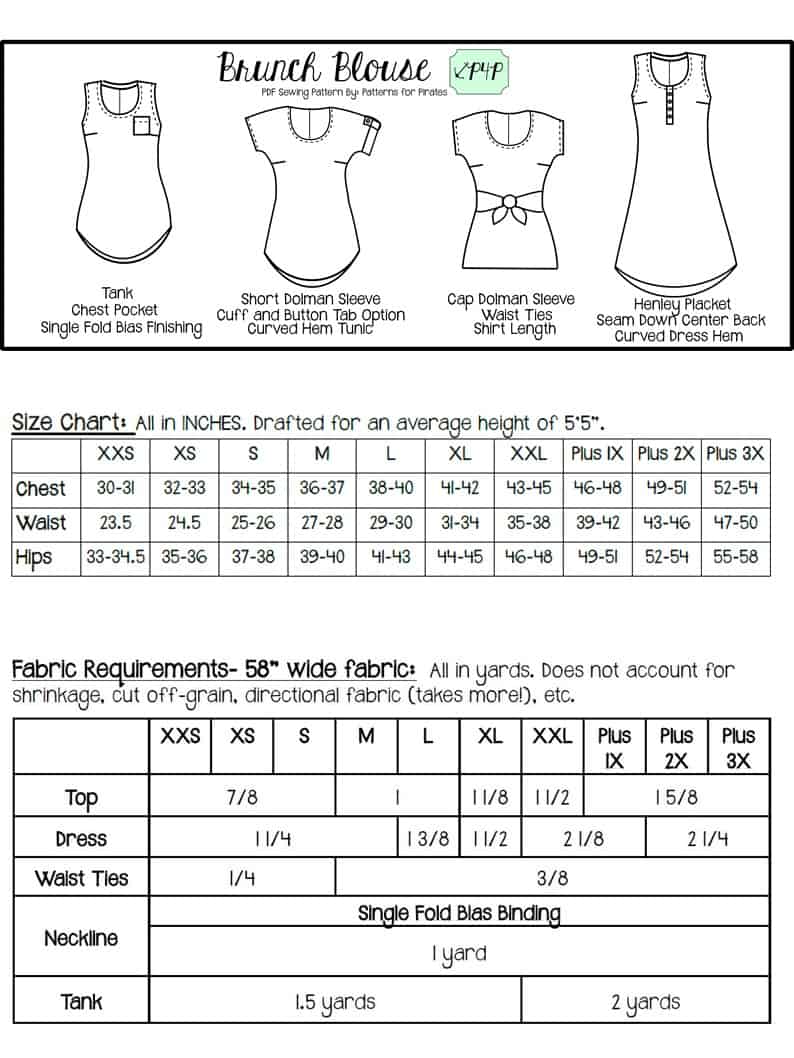
You will need your waist, hips and chest measurements in order to choose the correct blouse size. P4P has an amazing blog that gives you tip for accurately taking your measurements. You can read all about it here. If your measurements put you in a different size for chest/waist/hips be sure to check out our P4P University blog and grade to achieve the perfect fit.

Check out the day 1 video below and then comment “done” on the Day 1 picture of the Brunch/Bitty Brunch Blouse SAL album in the sew along group. We don’t allow pictures of the pattern pieces so this will count as your day 1 check in. Let’s get started!

Brunch Blouse|Bitty Brunch Blouse SAL day 1 (print pattern)

Brunch Blouse|Bitty Brunch Blouse SAL day 2 (cut fabric)

Brunch Blouse|Bitty Brunch Blouse SAL day 3 (darts and placket)

Brunch Blouse|Bitty Brunch Blouse SAL day 4 (pocket/waist ties/back seam)

Brunch Blouse|Bitty Brunch Blouse SAL day 5 (shoulder/side seams)

Brunch Blouse|Bitty Brunch Blouse SAL day 6 (neckband)

Brunch Blouse|Bitty Brunch Blouse SAL day 7 (finish sleeves/hem)

Brunch Blouse|Bitty Brunch Blouse SAL day 8 (winners announcement)

Filed Under: Frequently Asked Questions, Sew-A-Long, Uncategorized 4 Comments

5 tips for adding neckbands

June 6, 2017

So you spent an hour picking the perfect fabric, perfect coordinates and matching thread. You’ve sewn your favorite P4P shirt and you only have one step left…the dreaded neckband. That’s when you start panicking and getting nervous about attaching the neckband and finishing your outfit. Fear no more!

Today on the blog I will give you 5 tips that will help you achieve that perfect neckband you are striving for all the time.

1. Choose the right fabric for your neckband!

Neckbands will be stretched when you attach them, they will be stretched when you put on or take off the shirt, so it is very important that fabric you use for the neckband has great stretch and great recovery. My favorite type of materials for neckbands are cotton spandex, rayon spandex, ribbing and rib knit. You can get away with using some brushed poly as long as the recovery is good. Avoid, scuba, french terry and 2 way poly blends.


2. Always cut the neckband cross-grain!

Never cut your neckbands along the grain. Even if your fabric has 4 way stretch (which it should) the vertical stretch is not going to be as much as the horizontal one. If you don’t have enough of the main fabric to cut the neckband is best to use a coordinating fabric than cutting the neckband along the grain.


3. Mark the quarters of your neckband and neck opening!

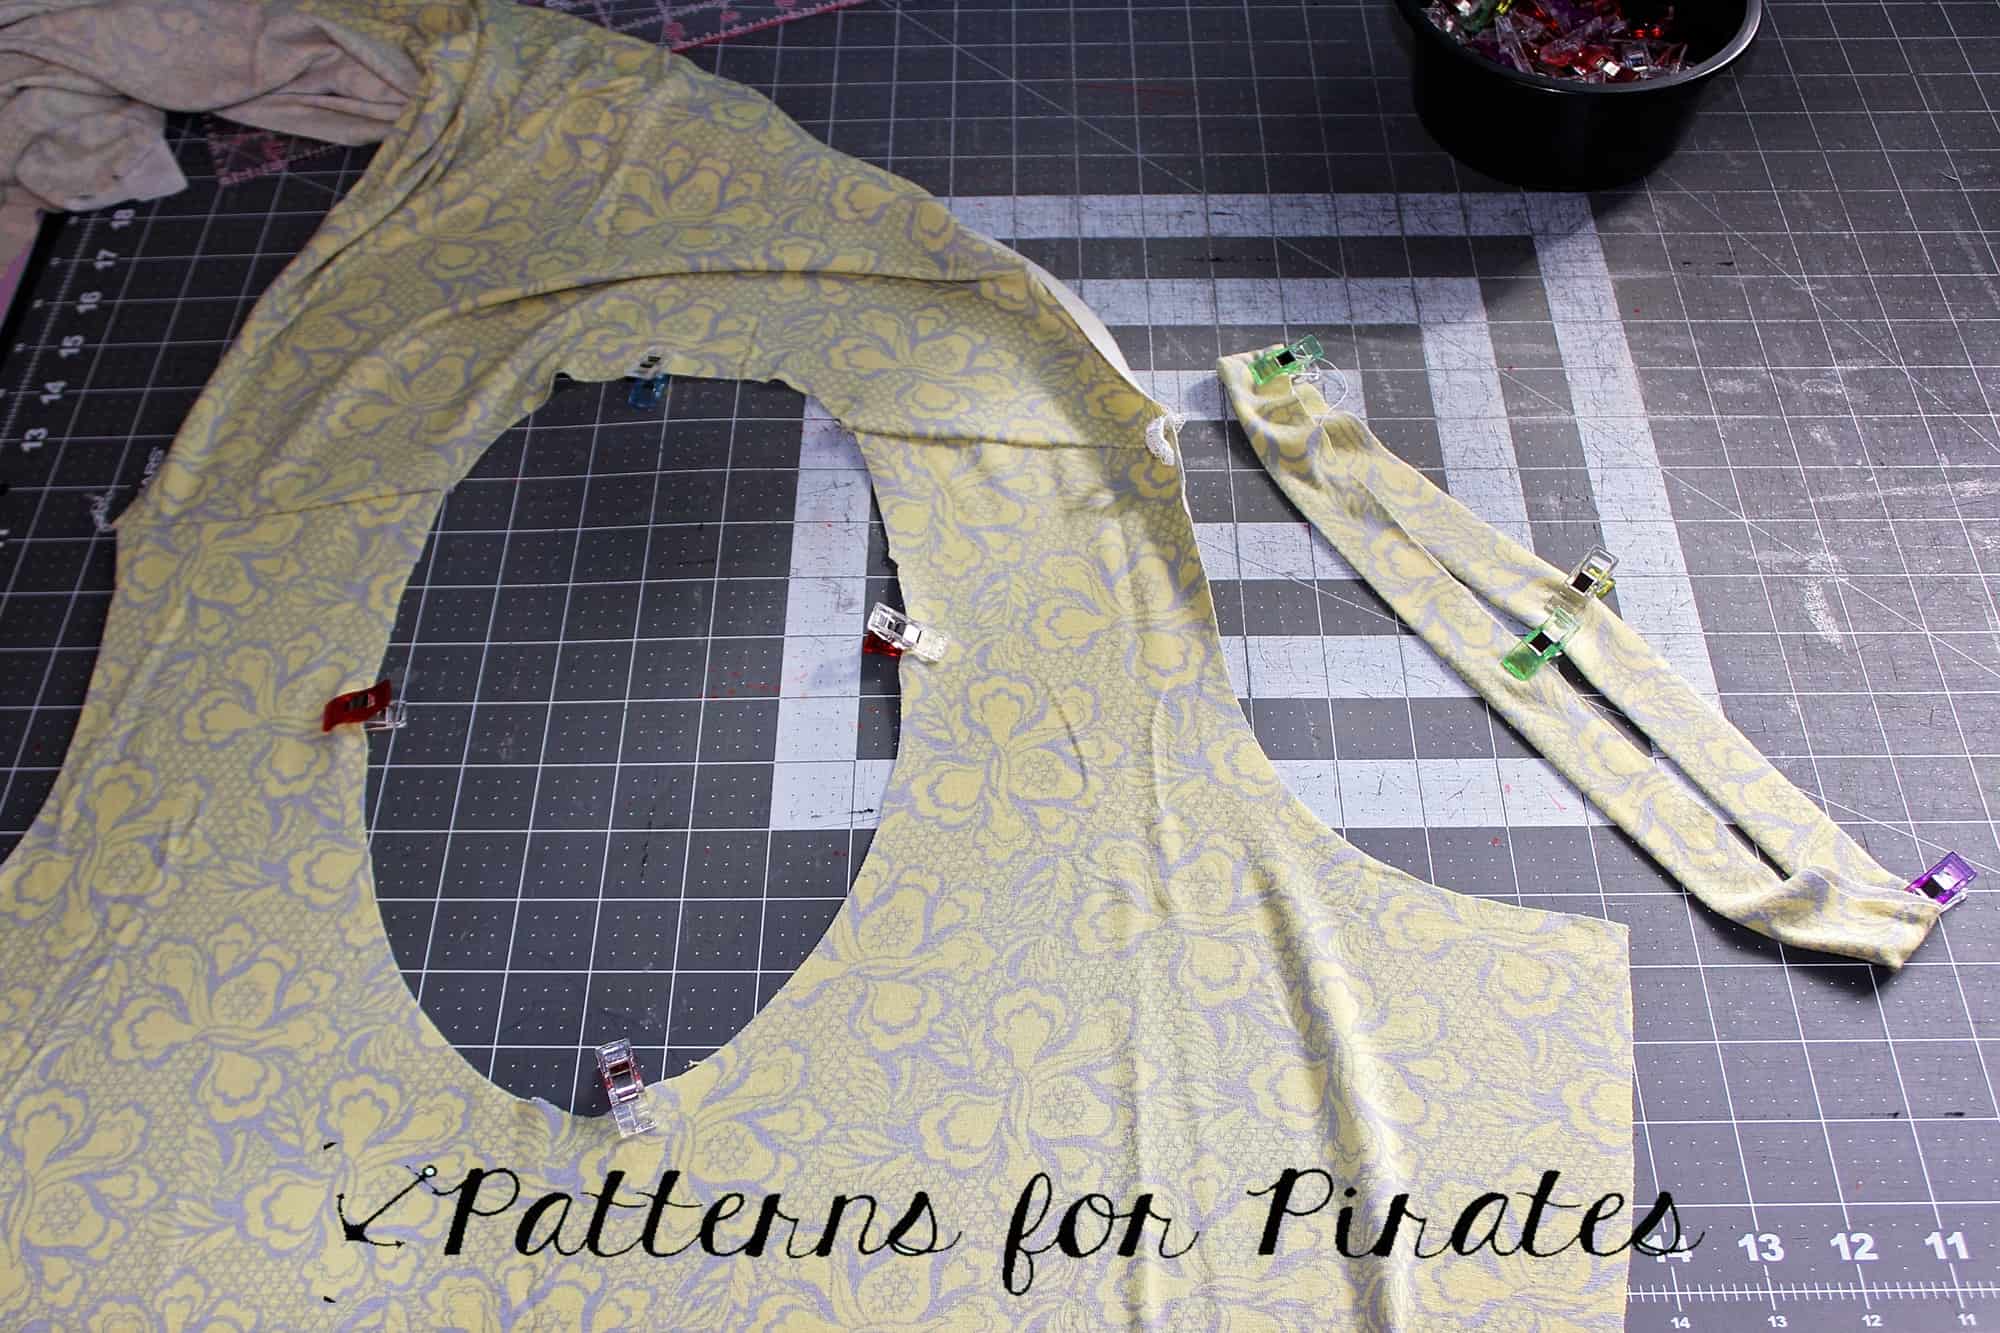
It’s very important that you find and pin (or clip) the quarter points of the neckband and neck opening. After you have sewn the neckband RTS at the ends so you have a loop, fold it length wise and mark where the seam is. This will be the back of your neck band.  The center front of the neckband will be on the opposite side. Now fold it in half bringing the center front and back markings together. The fold will mark your two quarters.

To find the front and back  neck opening centers, bring the shoulder seams wrong side together. Where centers will be where the folds are. Mark them with a pin, a clip or a small snip. With the fabric still laying flat, bring the center front and back together. Your quarter marks will be at the folds. Mark them as well. You will see that the side neck opening quarter marks are NOT at the shoulder seam. The front opening is larger than the back opening.

For all you visual learners, here is a video of the process.


4. Use the right stitches!

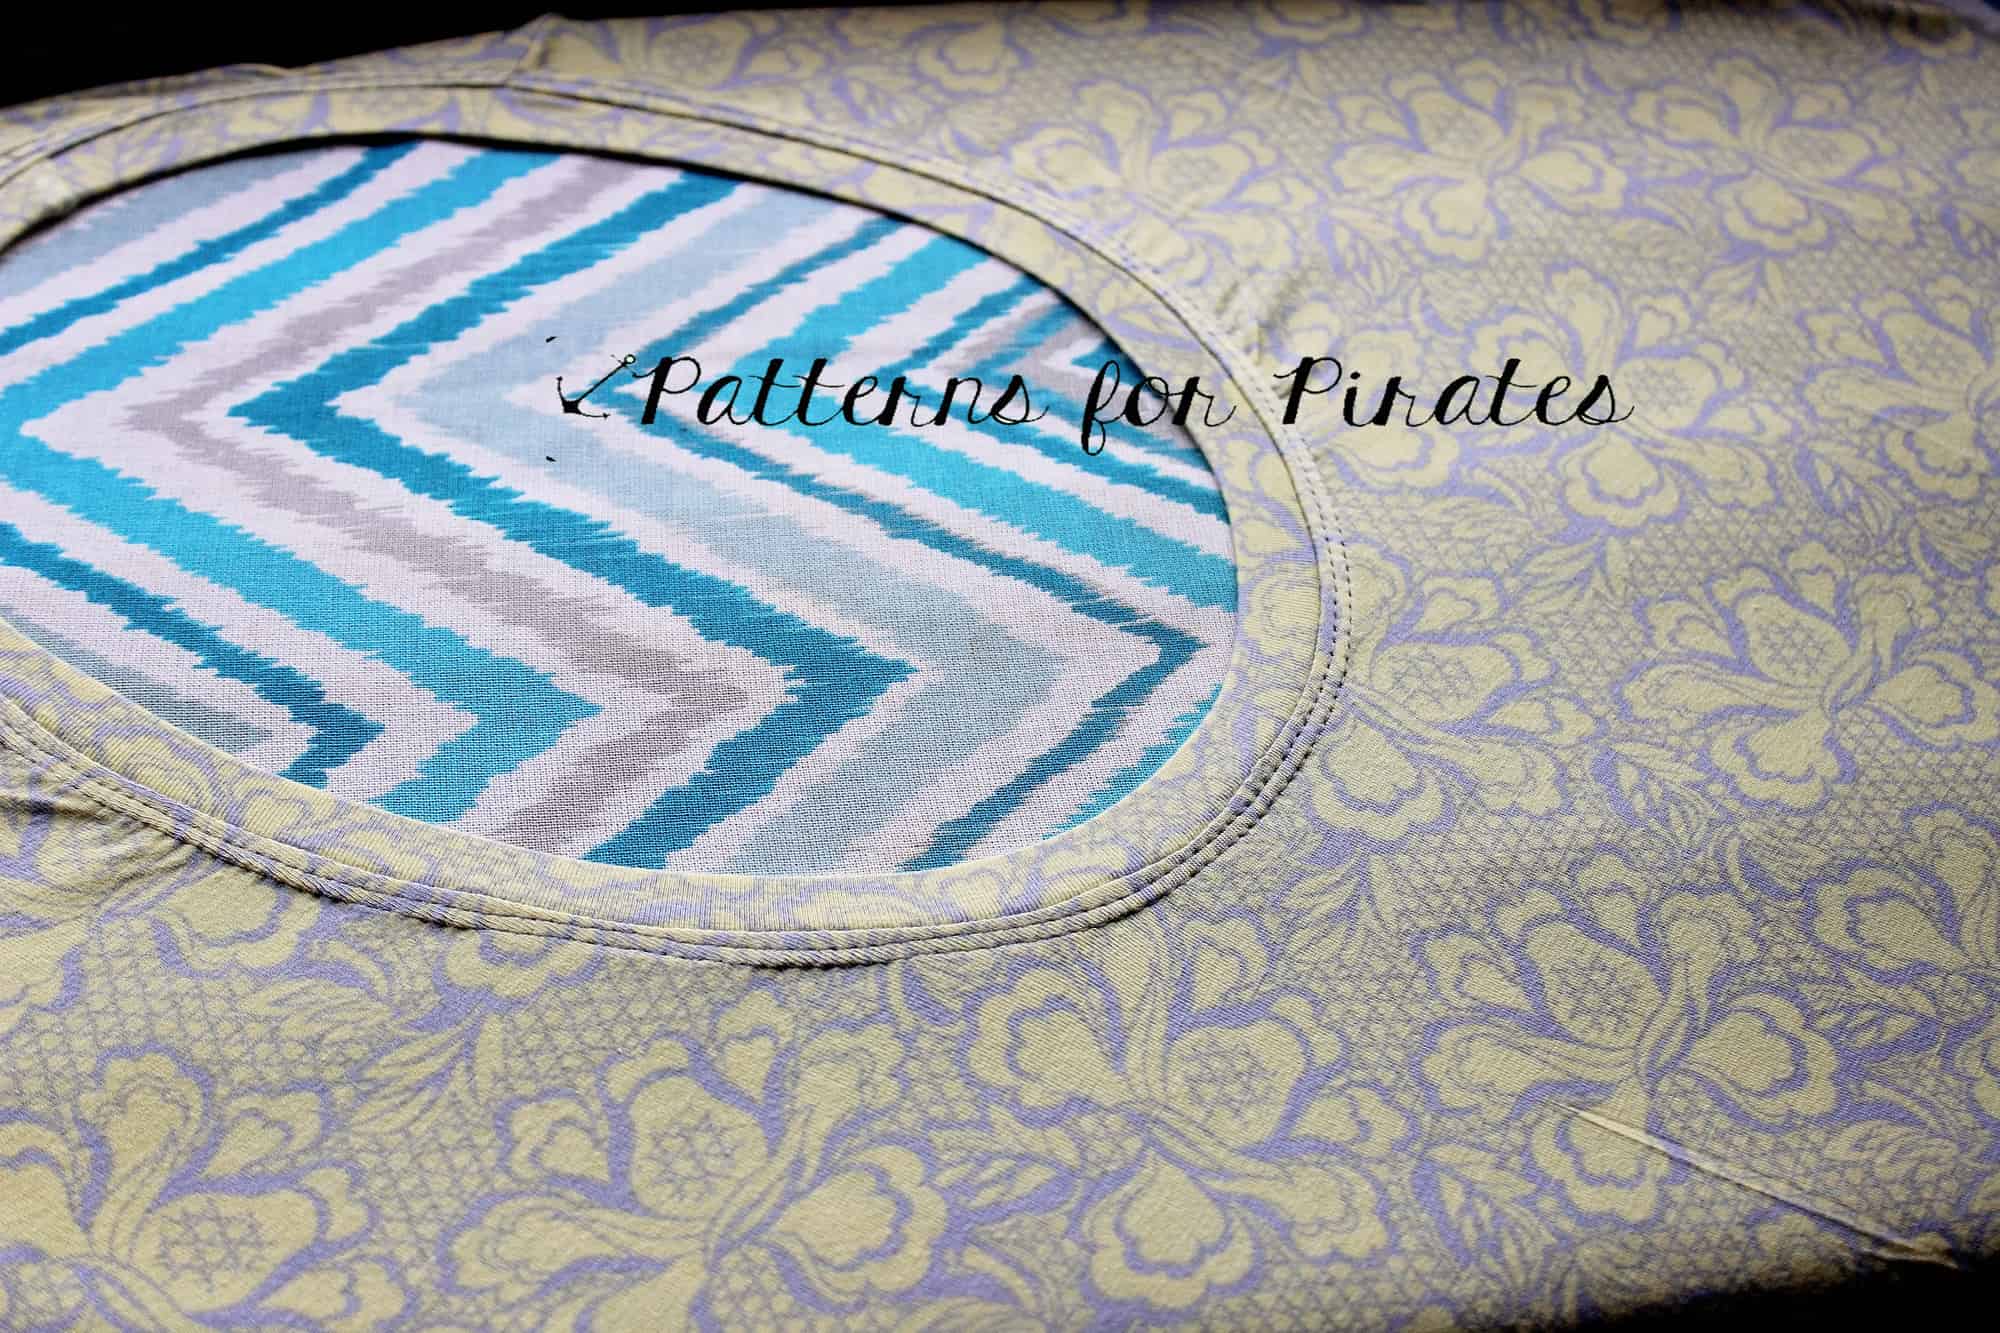
Avoid using a straight stitch when attaching the neckband. As I mentioned earlier, the neckband will be stretched and pulled so you want to make sure the stitches are up to the job. If you are using only your sewing machine, attach the neckband with either a stretch stitch or a narrow zig zag stitch. I prefer to use my serger for this step but it is not mandatory. Once you attached the neckband, press the seam allowance towards the shirt. You will now be top stitching it down with your coverstitch machine or your sewing machine. You can top stitch with a wide zig zag stitch, a stretch stitch or twin needles. Be sure to check out our Twin Needles tips and tricks blog too.

You can see how I attached the neckbands here:


5. Press, press, and steam some more!

If you’ve followed the tips I gave you and notice a slight waviness, don’t panic. It’s normal when sewing knits especially if they are on the bias (as is part of the neck opening). Go back to your ironing board and give the neckline a good hefty steam press. Most of the times my neckbands are cotton spandex based and I crank up my ironing machine all the way to the “linen” setting. Make sure you test the heat of your iron on a scrap fabric first. If your shirt is poly based you will need a lower ironing temperature, you do not want to melt your fabric 🙂

There you have it! 5 easy to follow steps to achieve a perfect neckband all the time!

Happy sewing, pirates!

Filed Under: Frequently Asked Questions, P4P University, Sewing Techniques, Sewing with Stretch, Knit Fabrics 11 Comments

5 ways to finish a serger hem

March 9, 2017


IMG_6554

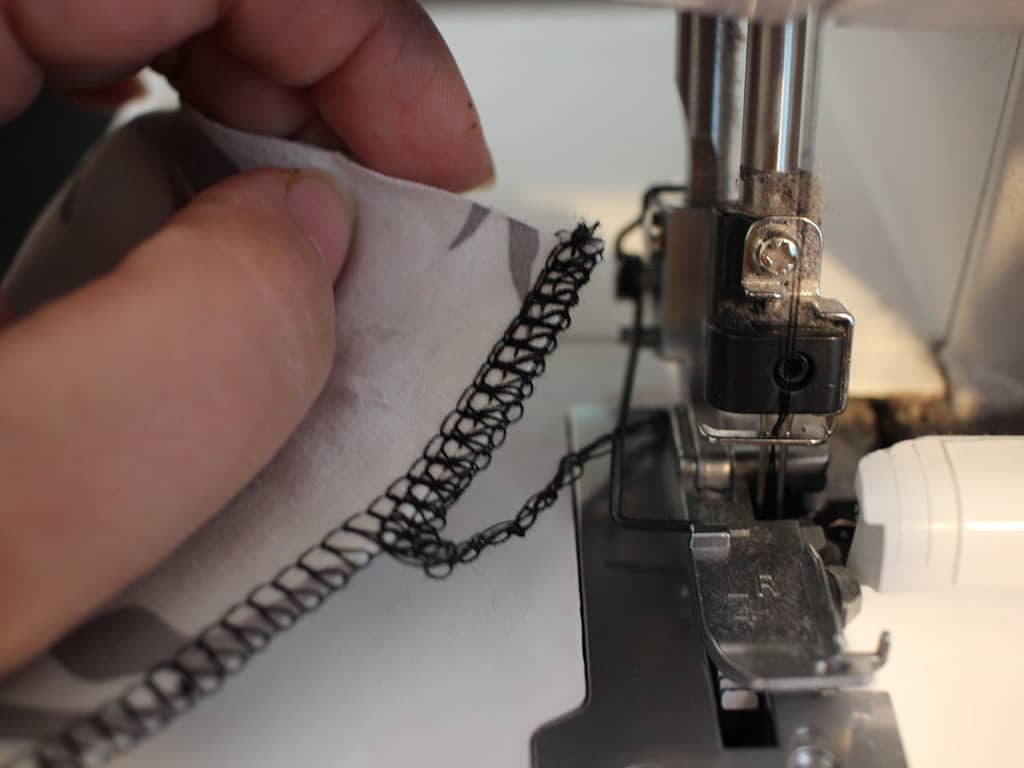
“How do you finish your serger stitch since you can’t back stitch?”; “What do I do with the long serger tail ?” ….just a few of the  serger questions we’ve seen in our group. So, today in the blog I will show you 5 easy ways to finish your serger seam. These techniques will definitely come in handy when your seams will not be enclosed in a hem or they won’t be serged over in a subsequent pattern step.

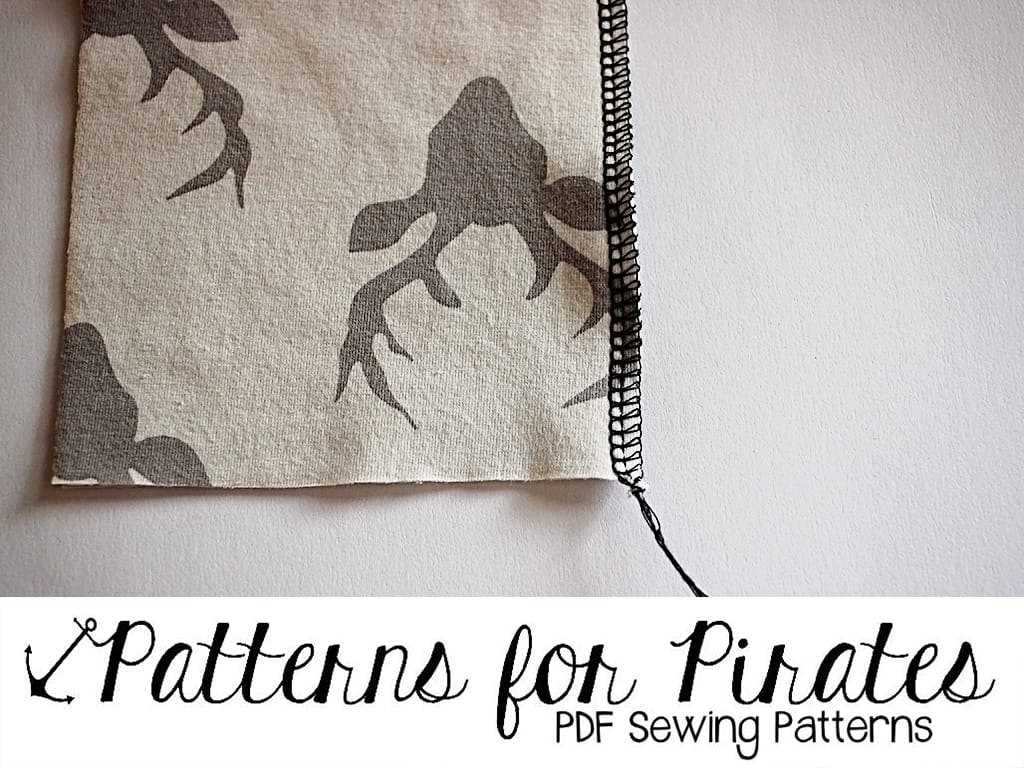
1. Let’s start with my most used one, and the easiest method since it does not involve any other tools. Serge your fabric together and chain off a 5- 6 inches tail. Simply tie a knot as close as possible to the edge and done! It will not unravel and it took you 20 seconds to do. 🙂

IMG_6537

IMG_6538

TIP: For a cleaner look you can tack down the seam with your sewing machine. Simply stitch down the serged edge half an inch  towards the back.

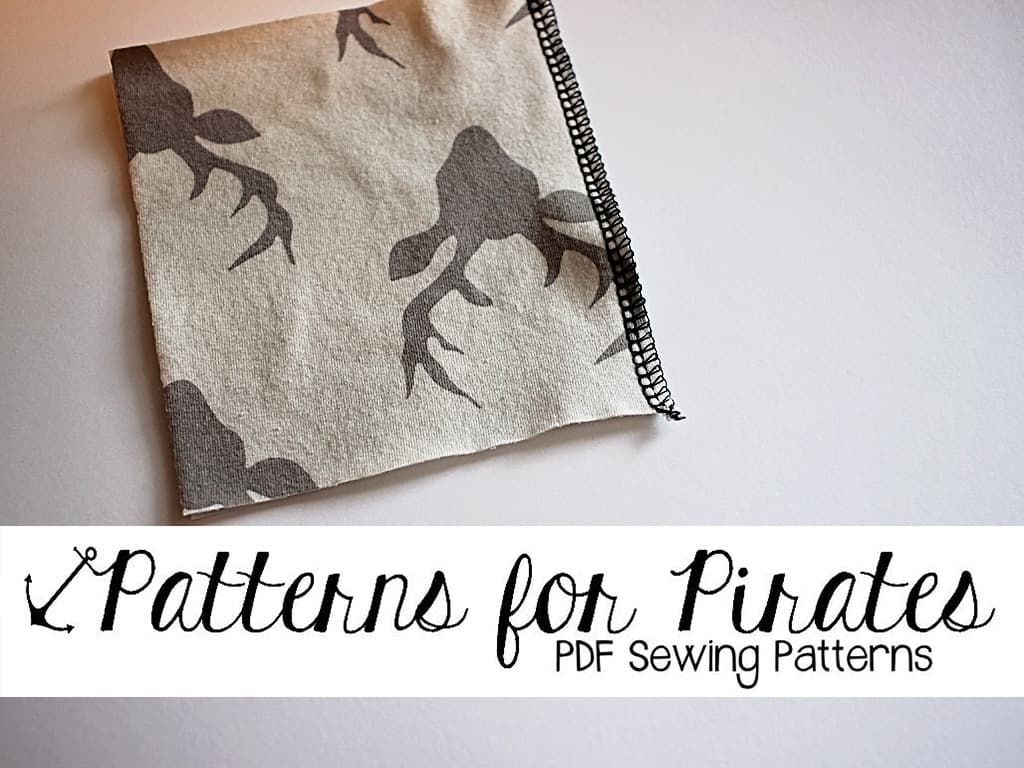
2. Another simple way to finish your serged seam is to snip the tail close to the edge and then add a little dab of Fray Block or Fray Check. This will prevent your seam from coming undone. This method is my least favorite since it takes a while for the liquid fray block to dry and they are not always 100% secure.

IMG_6539

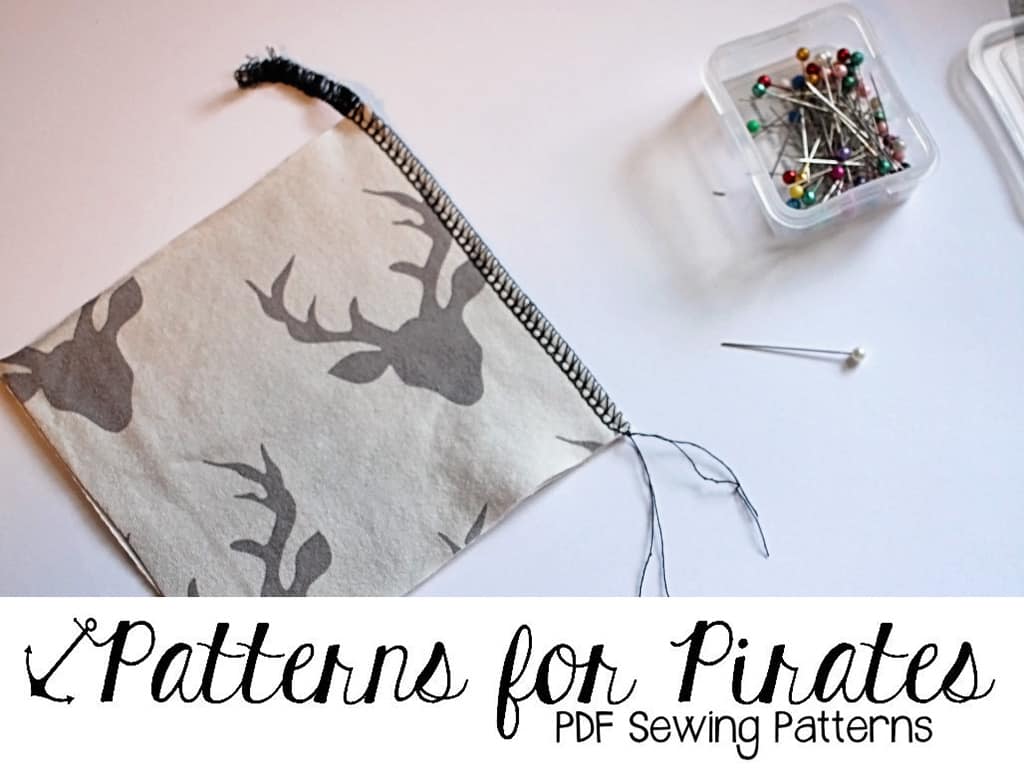
3. A third way to insure that you have a nice smooth finish to your serged seam is to chain off 4-5 inches then using a needle gently unstitch the chain so you have 4 threads. Take the two needle threads and the two looper threads and tie a double knot. Carefully snip the threads as close to the knot as possible.

IMG_6540

IMG_6541

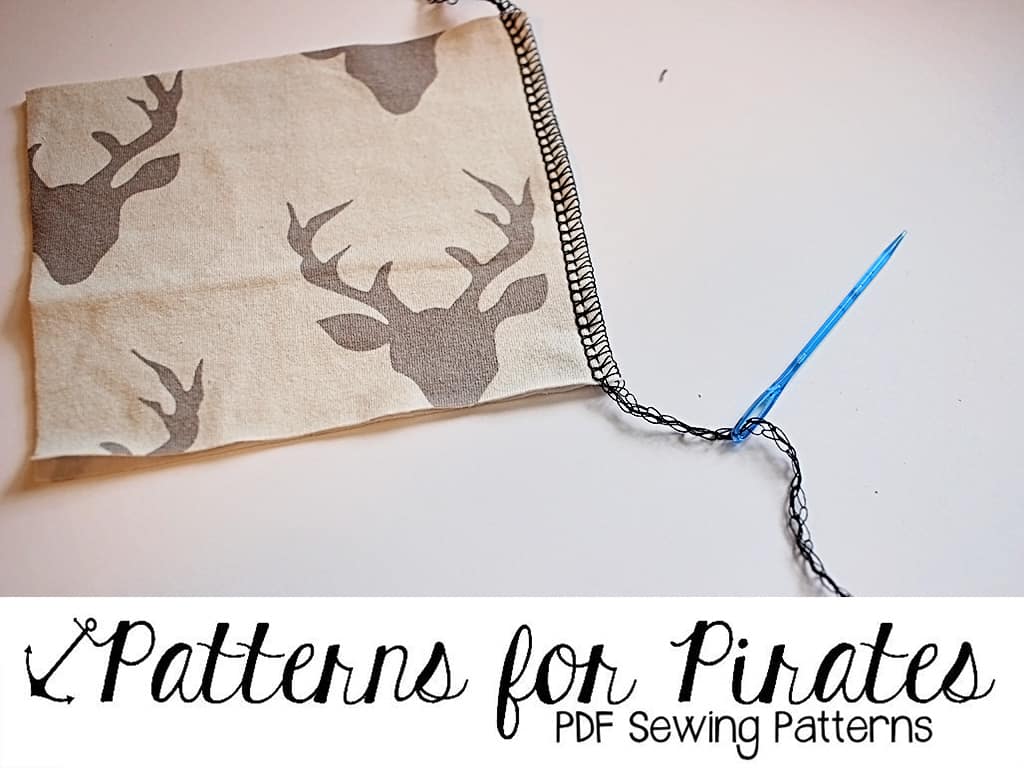
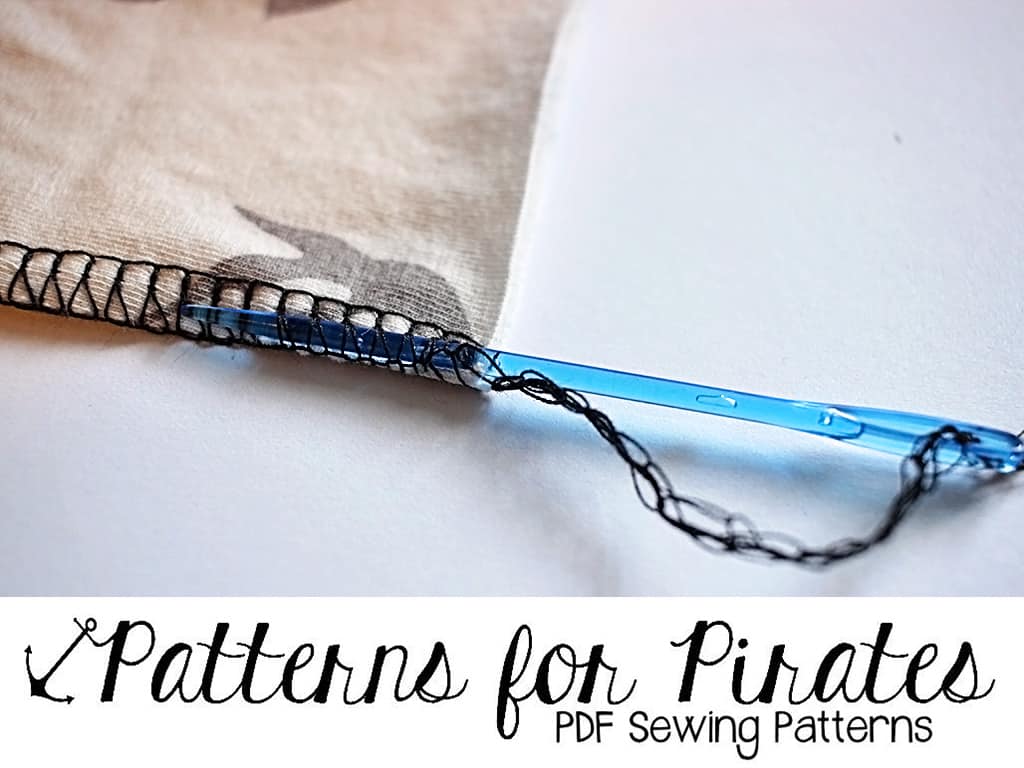
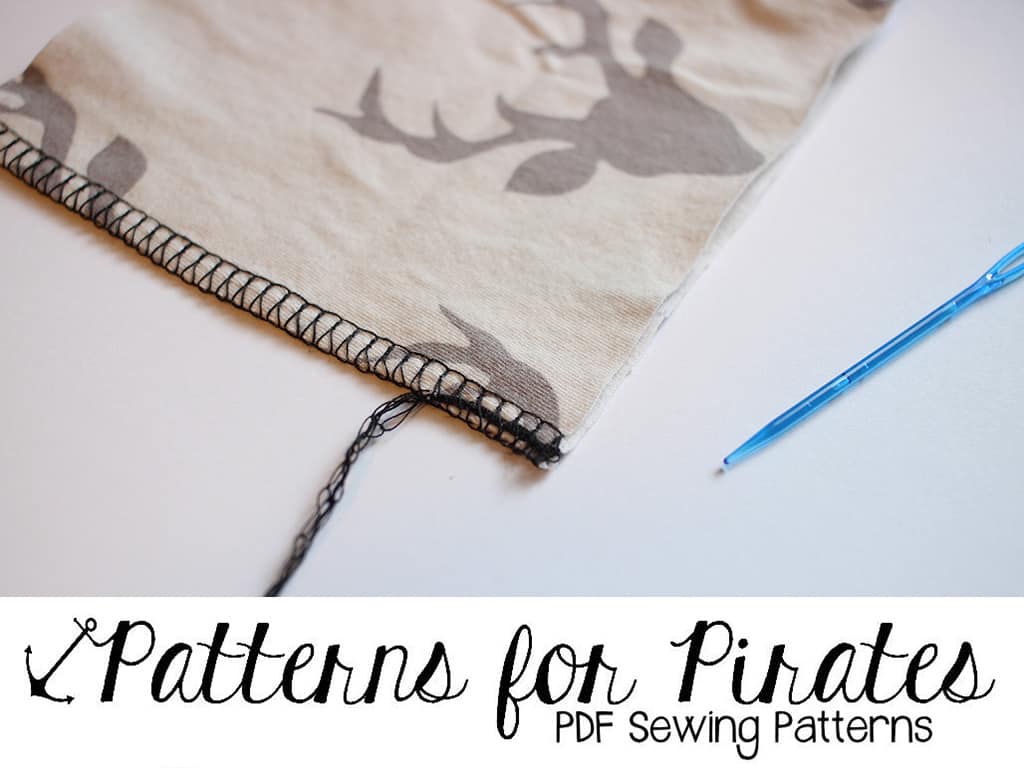
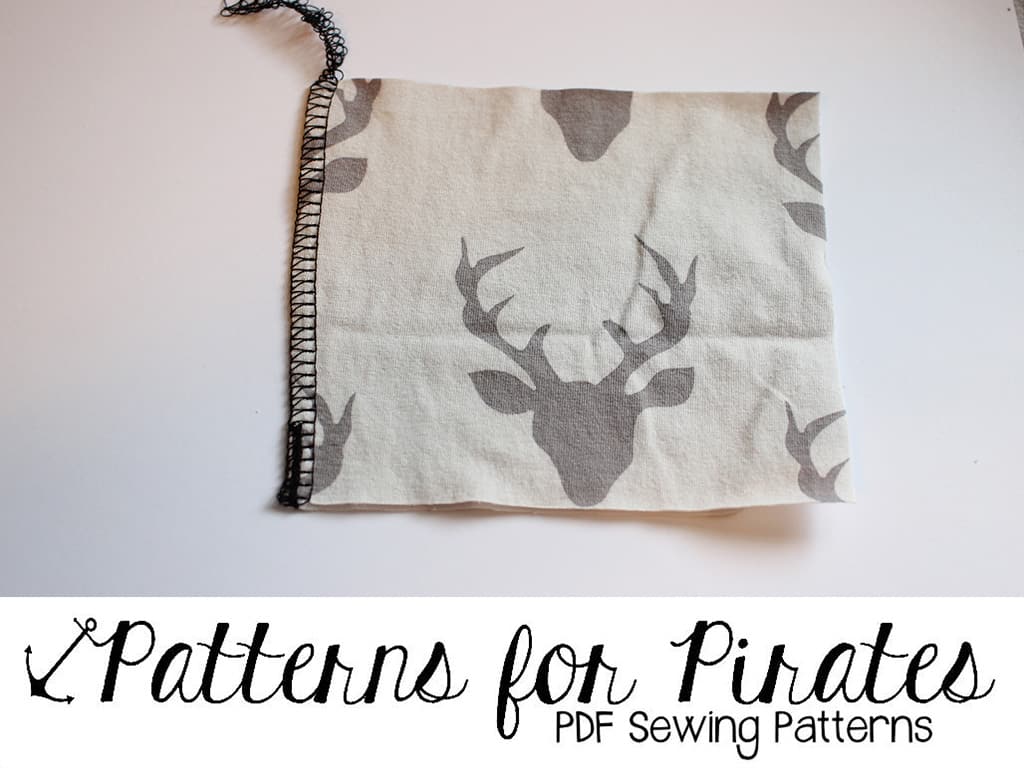
4. One of the most popular ways to finish a serger seam is the “weaving through” method. In order to do that you will be chaining off your stitches about 5 inches, then you will be using a knitting or crochet suture needle to weave the chain in the looper stitches. Grab the needle and thread the chain through the needle eye. Slowly weave the chain through the looper stitches about an inch or so. Carefully trim the rest of the chain stitch.

IMG_6542 IMG_6543 IMG_6544 IMG_6545

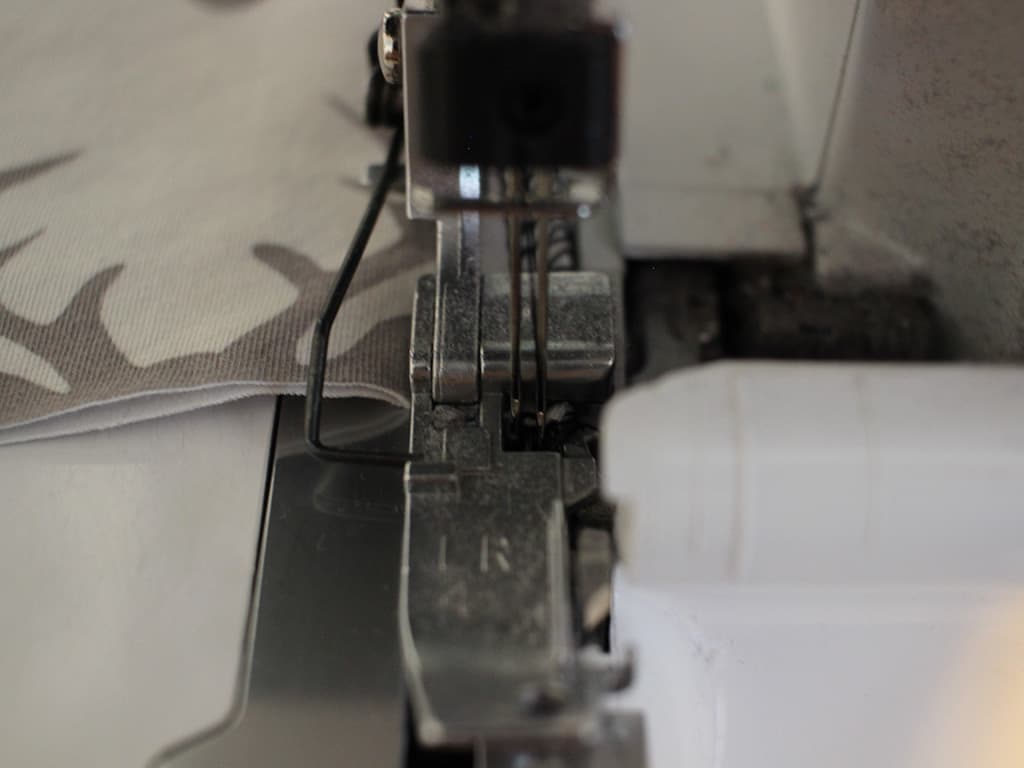
5. The last finishing method is the most “complex” one and it will need a bit of practice. It is not difficult, you just need to pay extra attention. Serge your seam and when you get to the end of the edge, lift your presser foot, gently but firmly pull the fabric just enough that you can flip it on the other side. Disengage the serger knife and serge in the opposite direction for an inch or two. Stop, lift your presser foot and carefully pull the fabric on the side away from the foot. Chain off a couple of inches and then cut the chain as close to the fabric as possible. In doing this “faux backstitching” you will end up with a beautiful finish that is also very secure.

IMG_6547 IMG_6548 IMG_6549

There you have it! Hope you found these 5 easy ways to finish off your seam helpful and that you’ll refer back to them when you’ll be sewing the new cami patterns that Judy sneaked on the P4P Instagram page. 😉

Alex


Filed Under: Frequently Asked Questions, P4P University, Sewing Techniques, Uncategorized 12 Comments

  • « Previous Page
  • 1
  • 2

connect with me

  • Email
  • Facebook
  • Instagram
  • Pinterest
  • YouTube
Privacy & Cookies: This site uses cookies. By continuing to use this website, you agree to their use.

To find out more, including how to control cookies, see here: Cookie Policy
  • Privacy Policy
  • Refund Policy
  • Contact Us
  • About

Copyright © 2026 Patterns for Pirates

Copyright © 2026 · Genesis Framework · WordPress · Log in