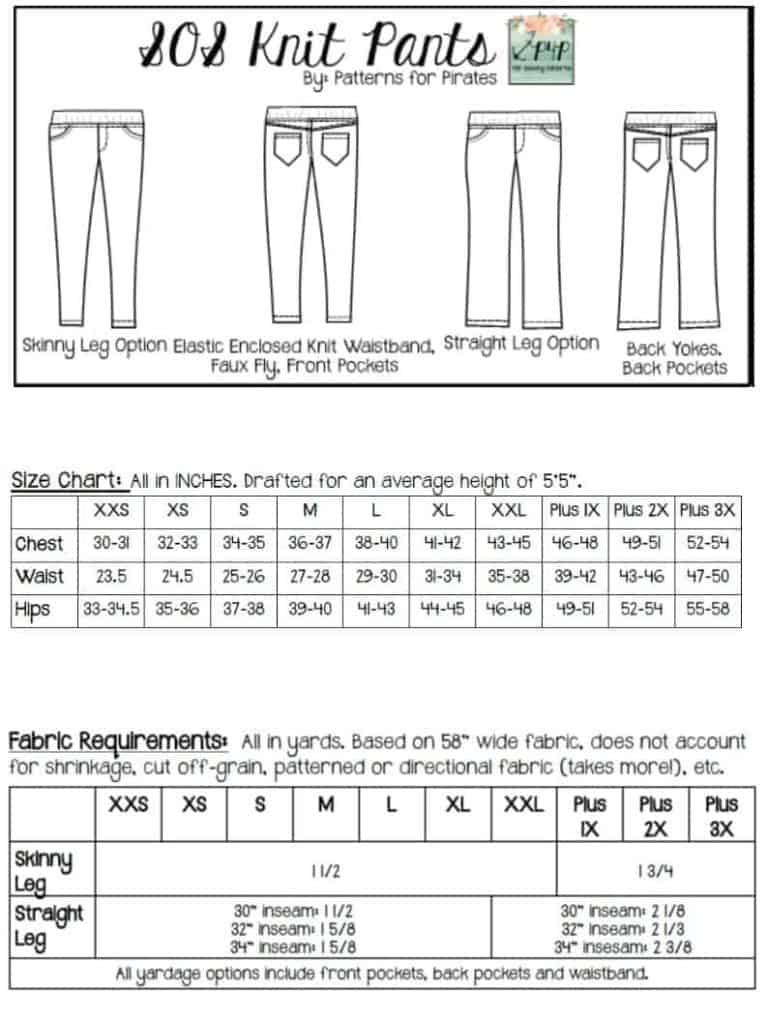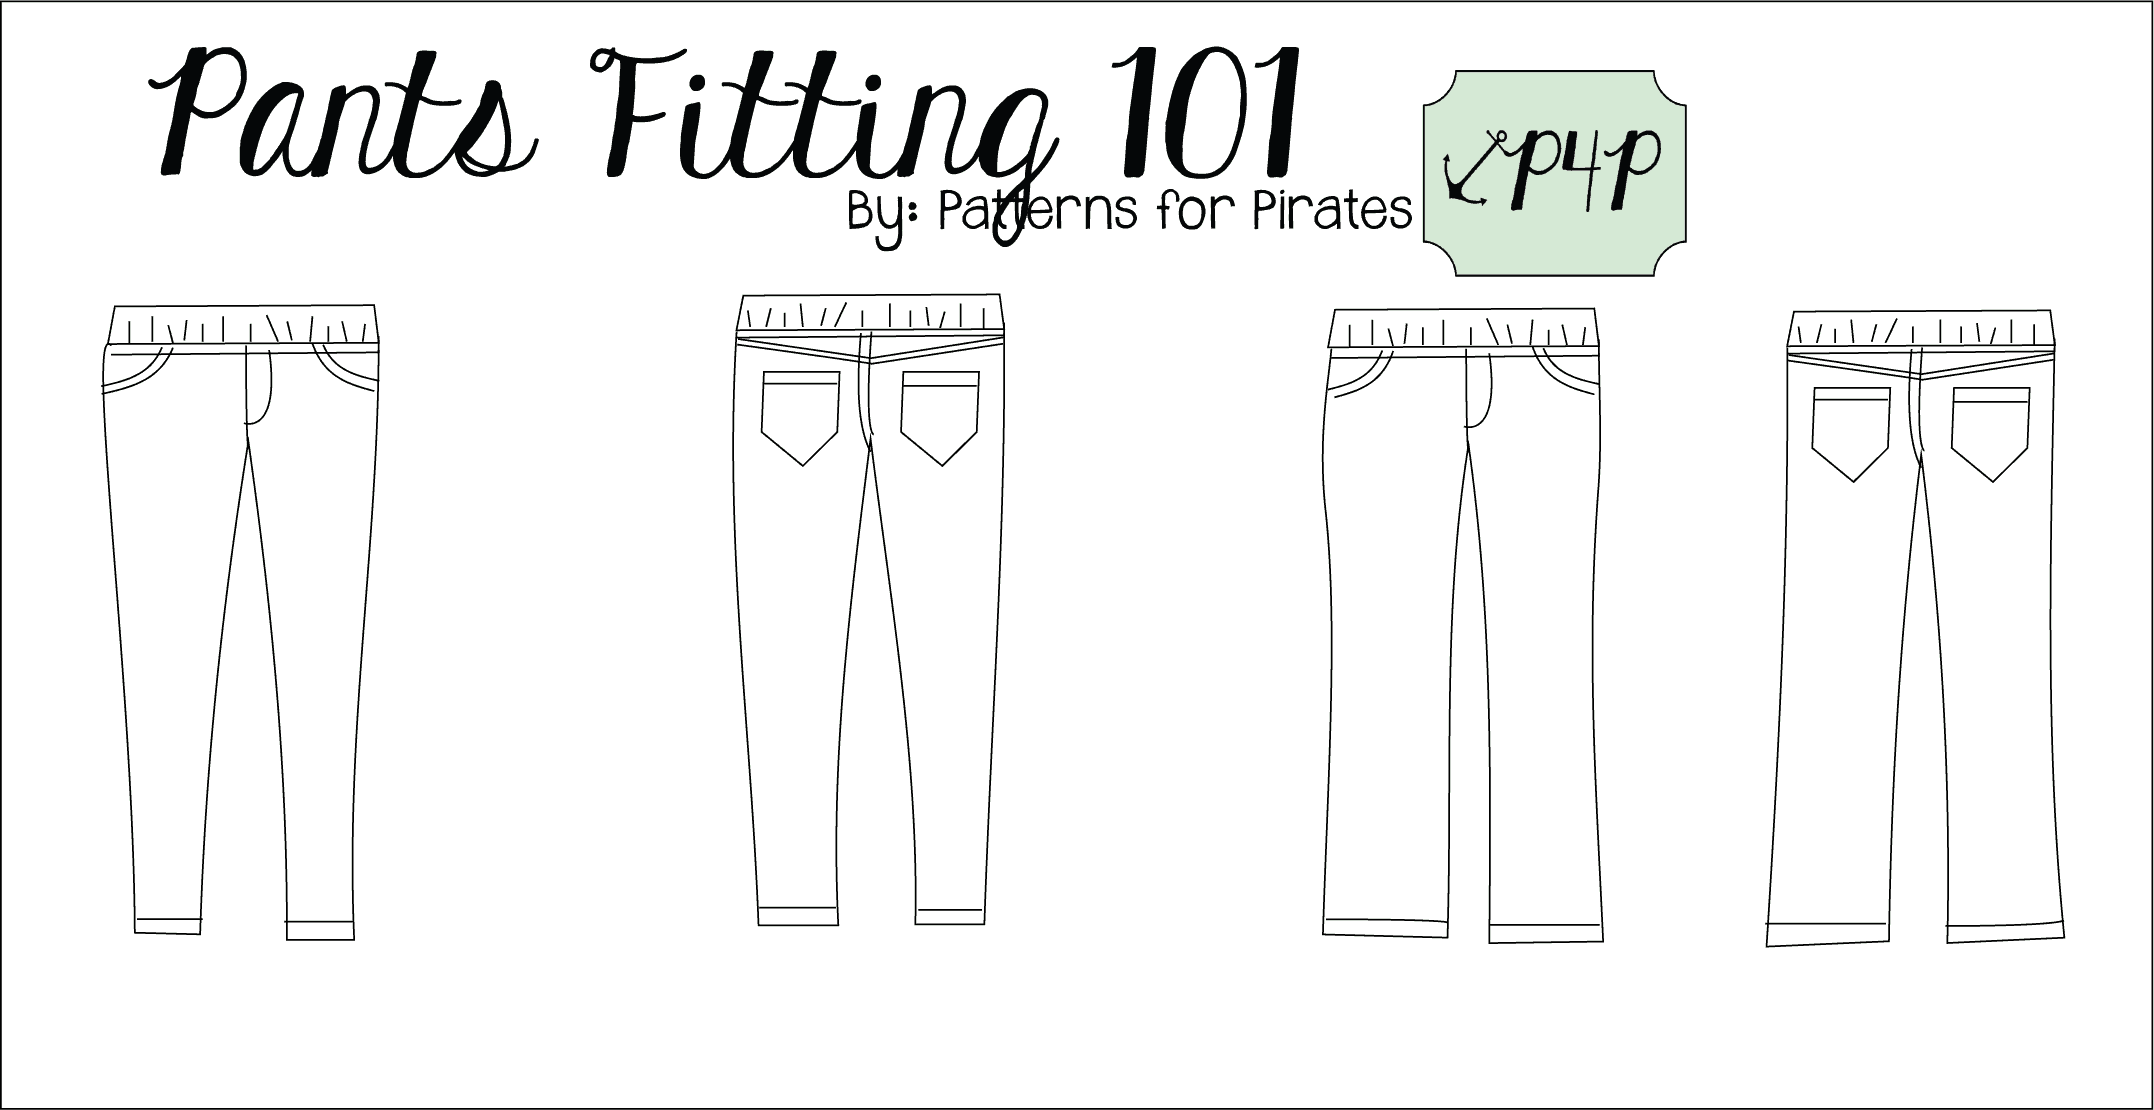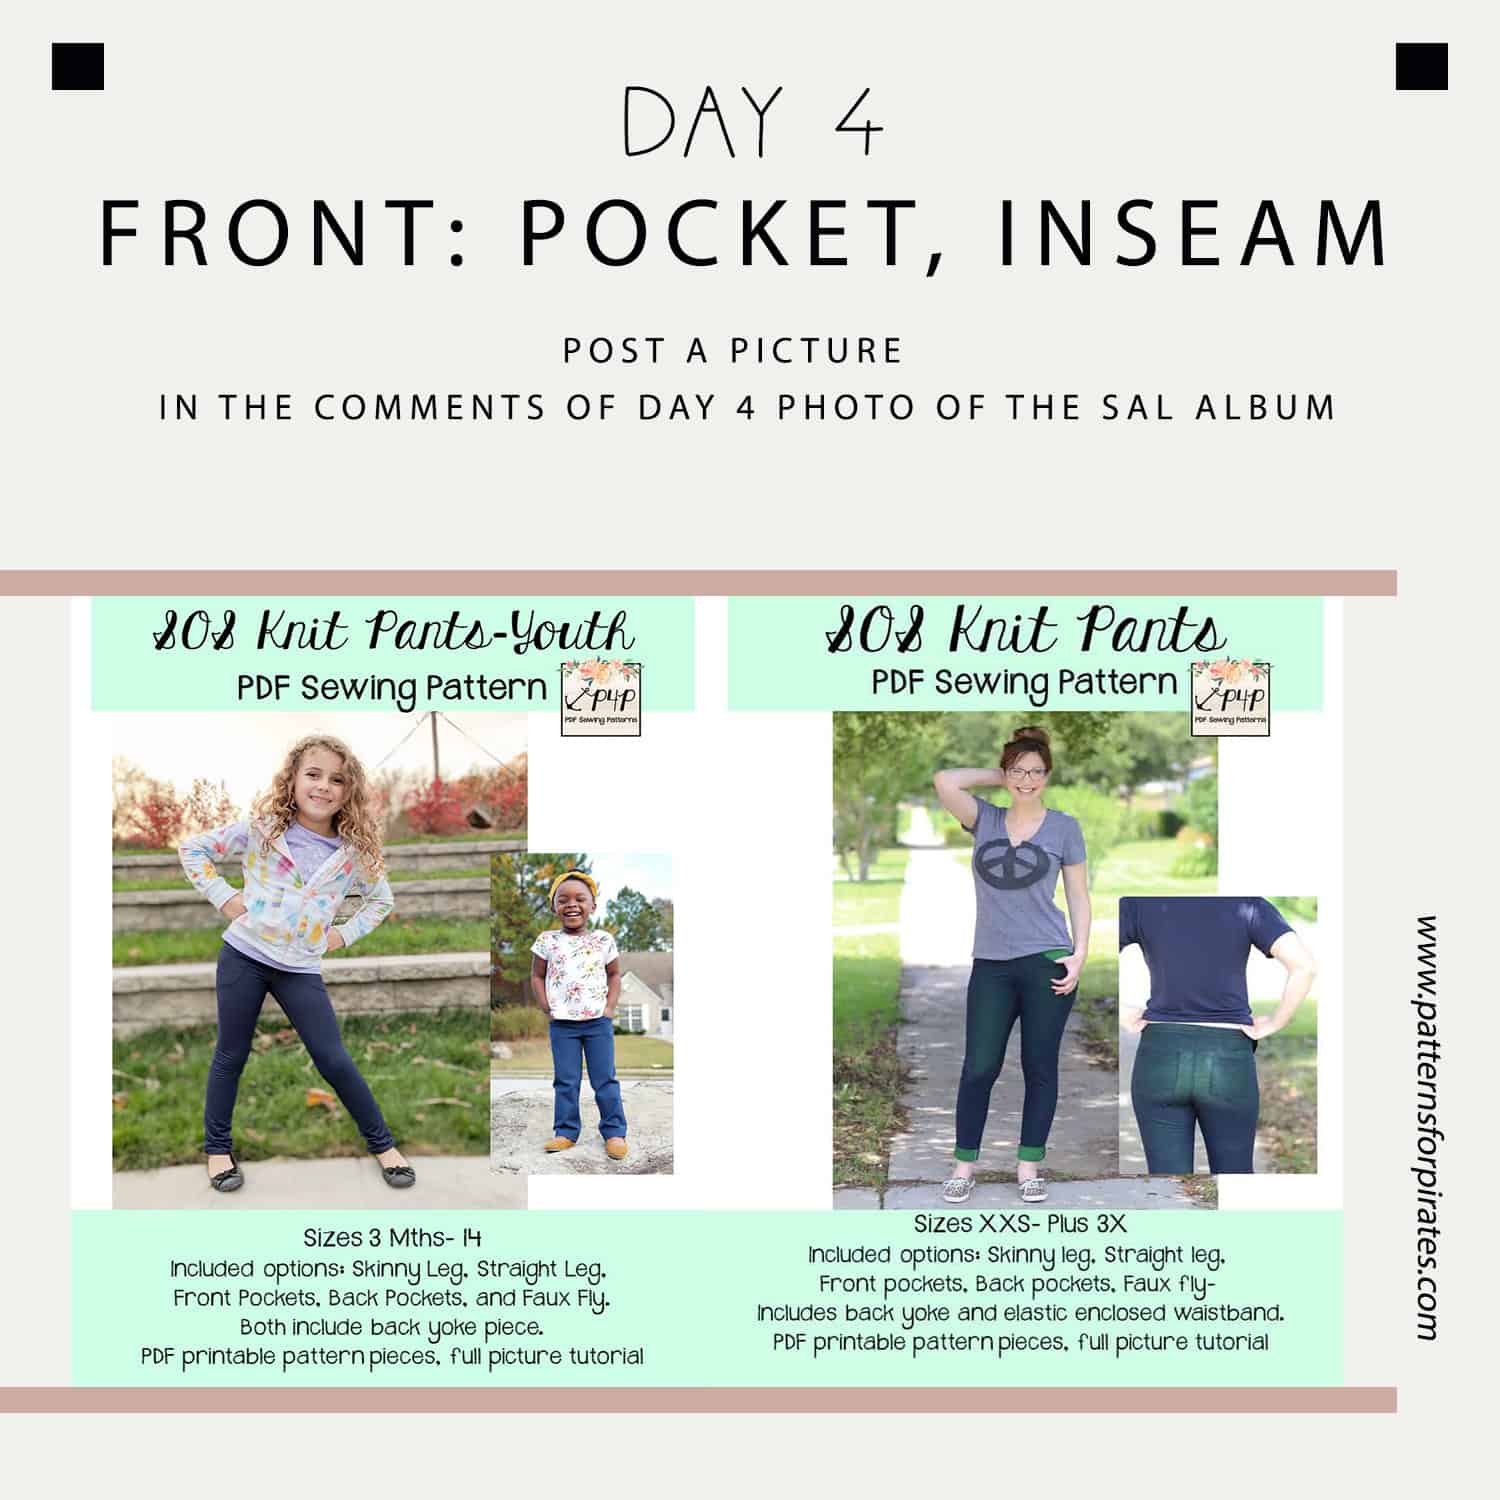
Good morning mermaids and pirates! Today, on day 4, we will be sewing the front pockets and the front seam. Let’s start with the pockets! The SOS knit pants feature slat pockets with an French seam. As I mentioned in the previous video, I strongly encourage you to use a thinner knit fabric for the pocket lining. This will reduce the bulk considerably.
If you have opted for the MOTO HACK (free hack and pattern on the blog) today is the day when you will be sewing the pin tucks and putting together the front legs.
Once you added your pocket, all you have left to do today is sew the front crotch seam and make sure to post a picture of your progress in the comments of DAY 4 photo of the SOS sal album.
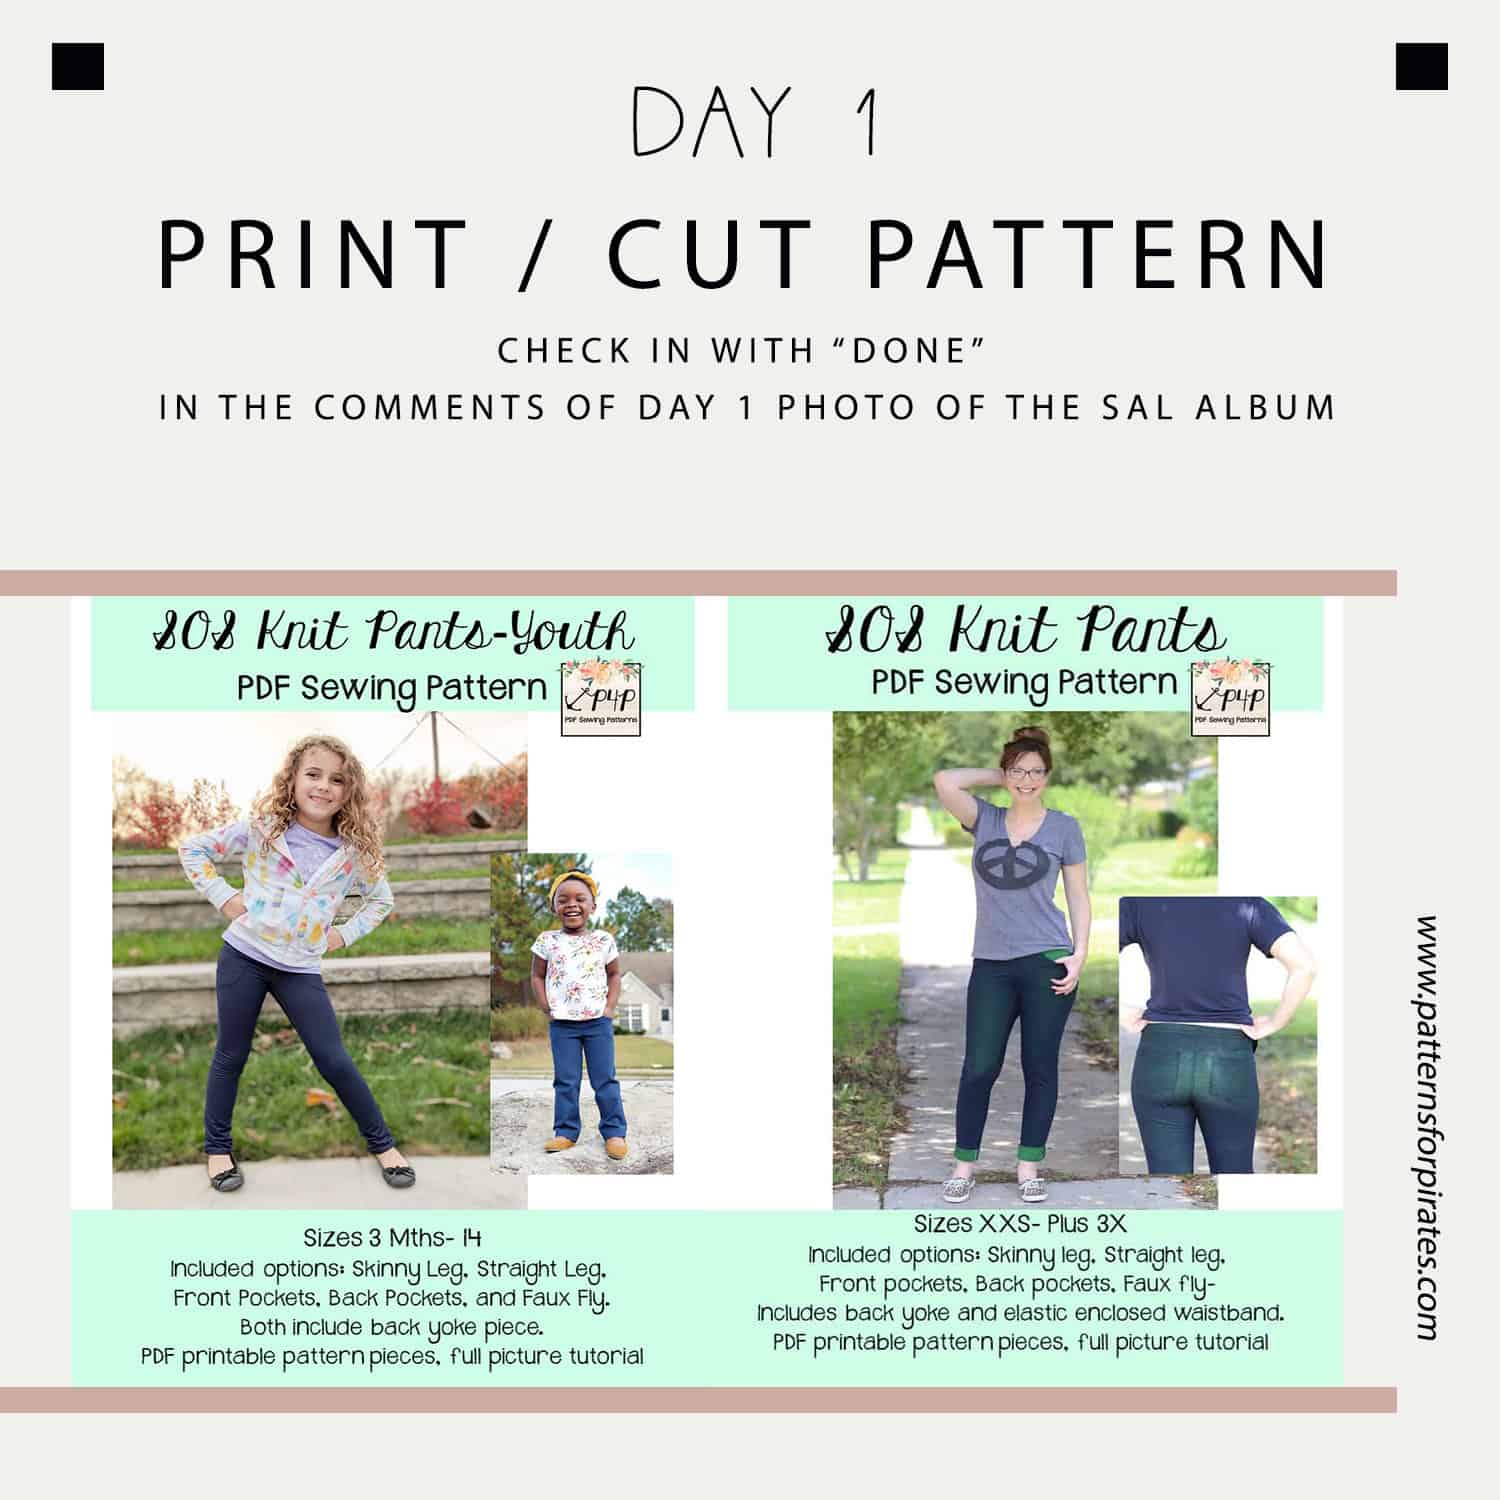
SOS sew along | Day 1 – Print and cut pattern
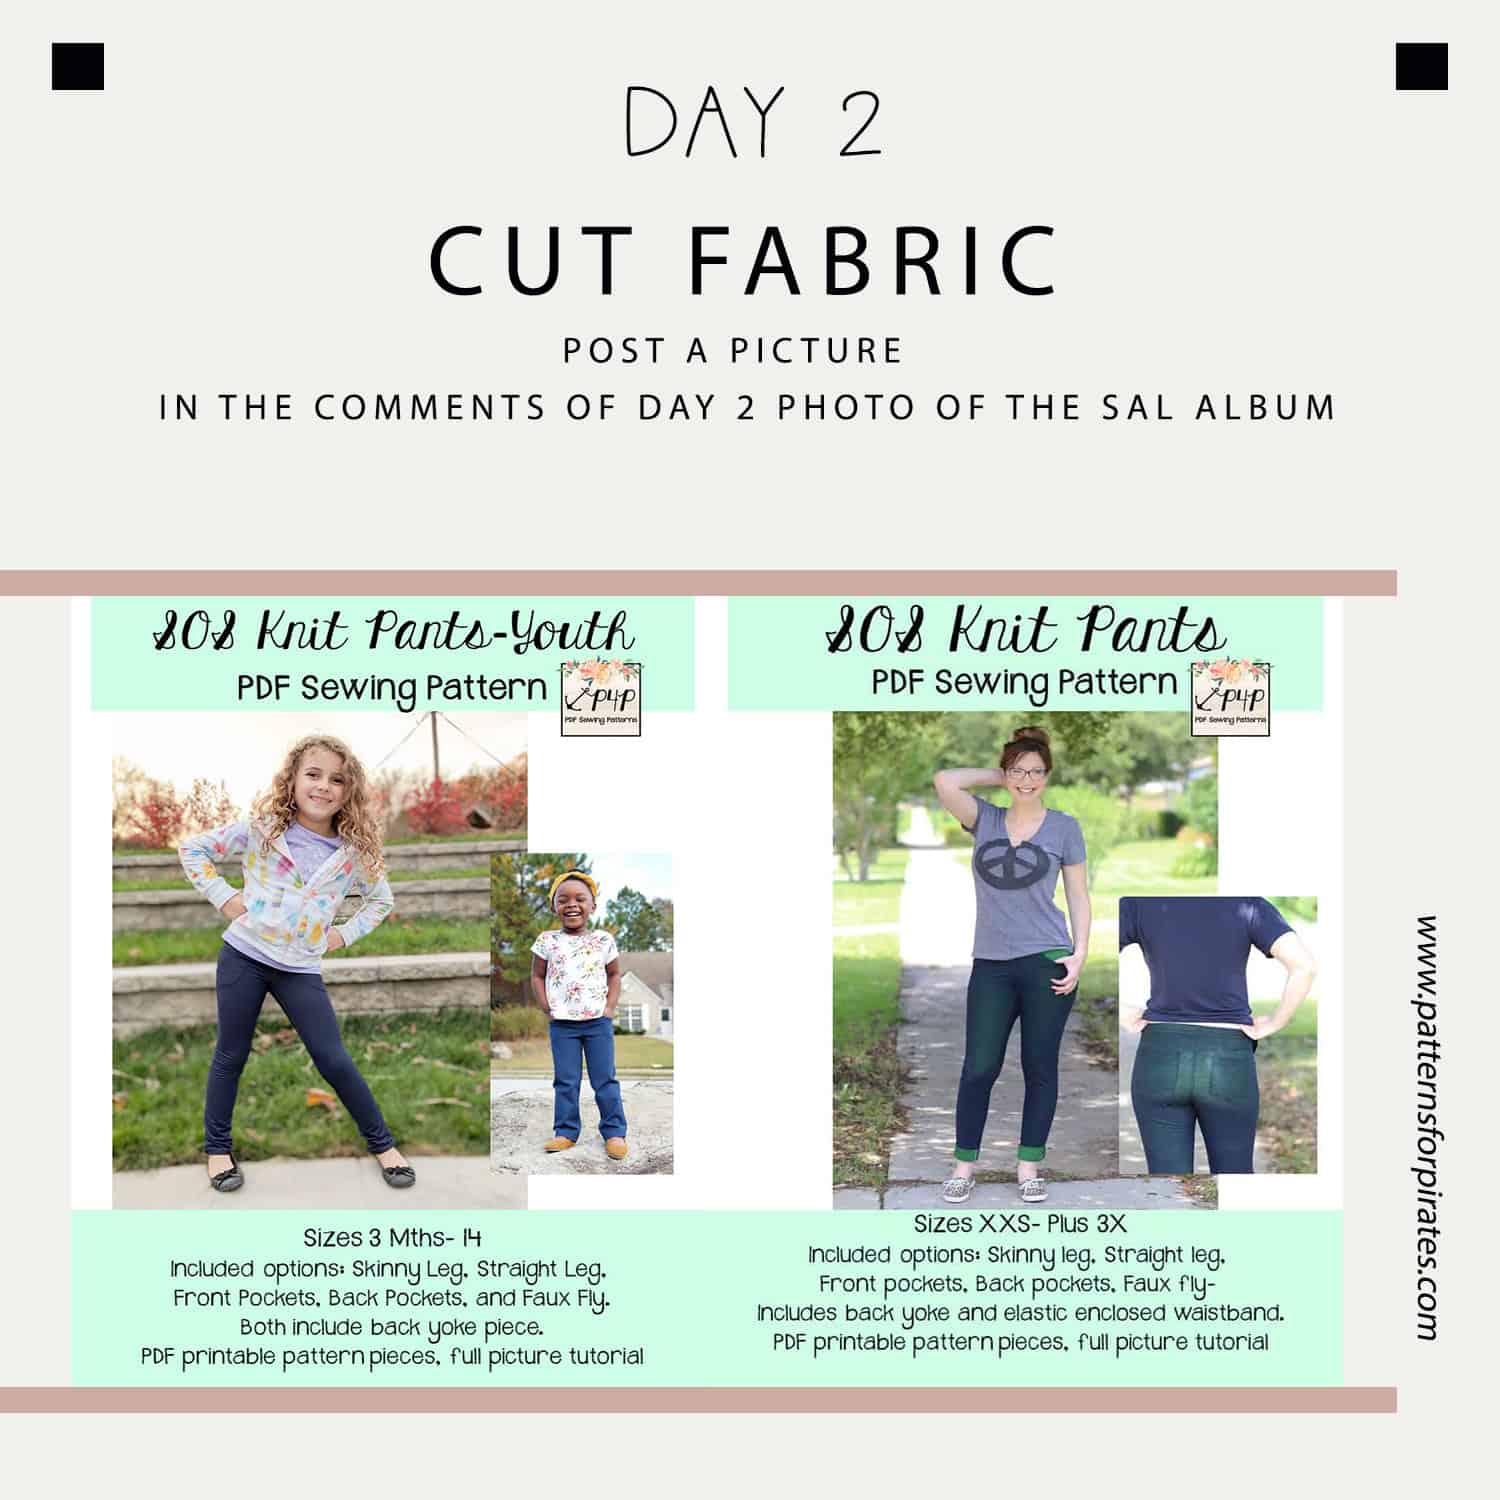
SOS sew along | Day 2 – Cut fabric
SOS sew along | Day 3 – Back: pocket, yoke, inseam
SOS sew along | Day 4 – Front: pocket, inseam
SOS sew along | Day 5 – Leg inseam, side seam, hem
SOS sew along | Day 6 – Waistband
SOS sew along | Day 7 – Winners announcement