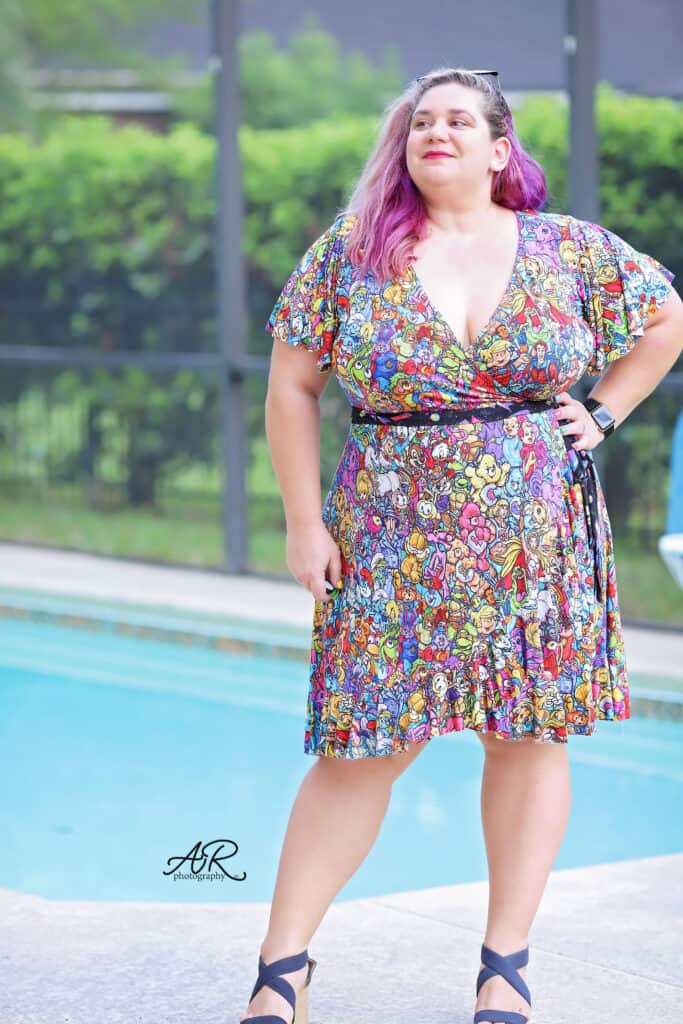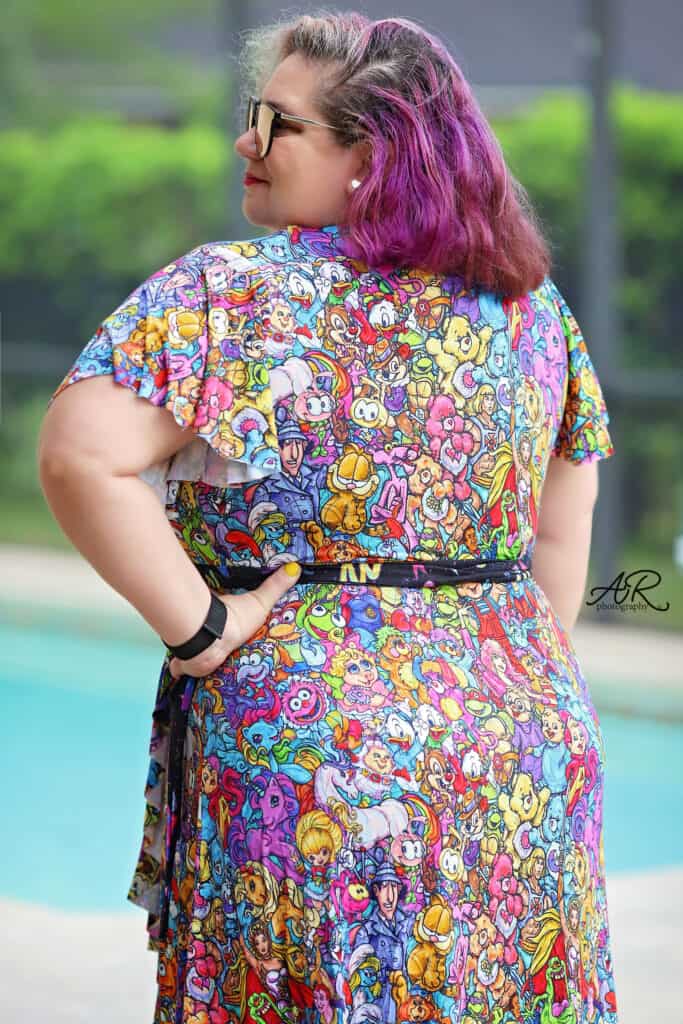
What a fantastic week! Thank you so much for joining me in the Flutter Wrap sew along. The time has come to announce our winners and let me tell you… The mermaids/pirates team had a hard time picking!
Congratulations Gaelle Davila! As our first winner, Gaelle will receive a $20 Patterns for Pirates gift card and a $50 Oh So Pretty Custom Fabrics one.

We were also mesmerized by Tiffany Ottoson‘s dress! Tiffany is our second prize winner, a $20 gift card to Made for Mermaids and a $25 Oh So Pretty Custom Fabrics one.

A big THANK YOU to Oh So Pretty Custom Fabrics, our Sew Along sponsor, who also provided the bamboo lycra fabric for the videos.


Team Mermaids will be taking over the SAL group in May. Stay tuned for their pattern choice announcement!
Flutter Wrap SAL day 1 | Print and cut pattern
Flutter Wrap SAL day 2 | Cut fabric
Flutter Wrap SAL day 3 | Sew back, shoulder and side seams
Flutter Wrap SAL day 4 | Sew sleeves or tank binding
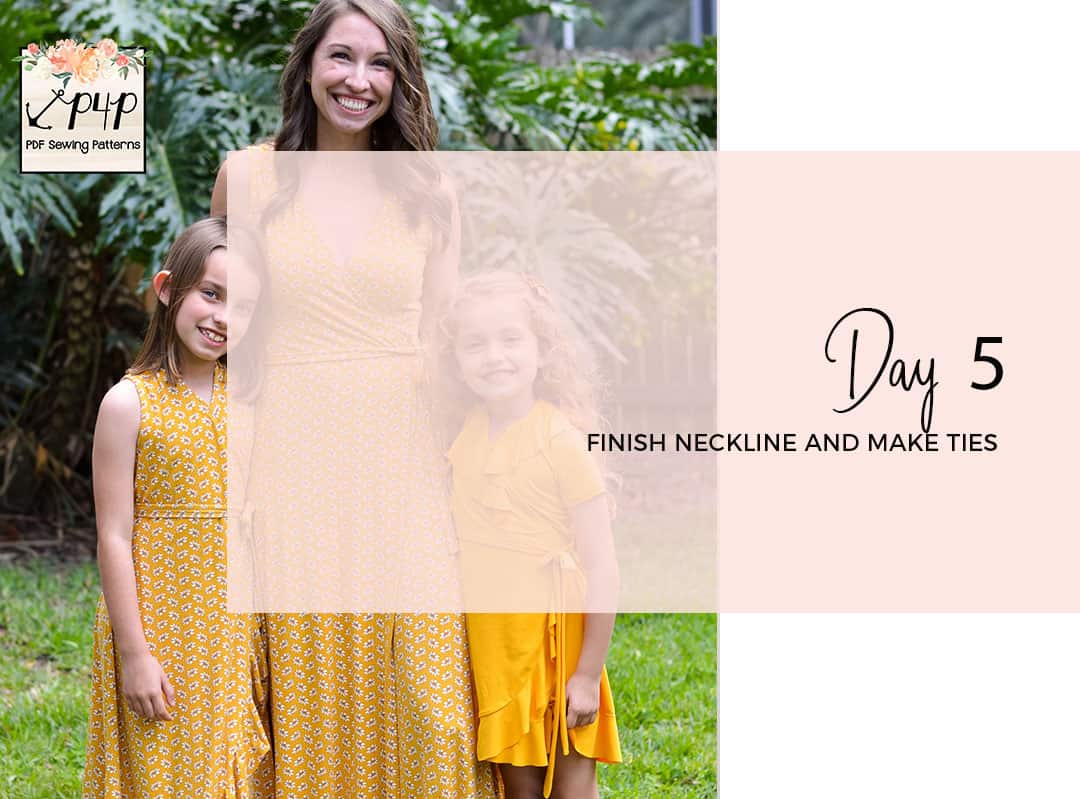
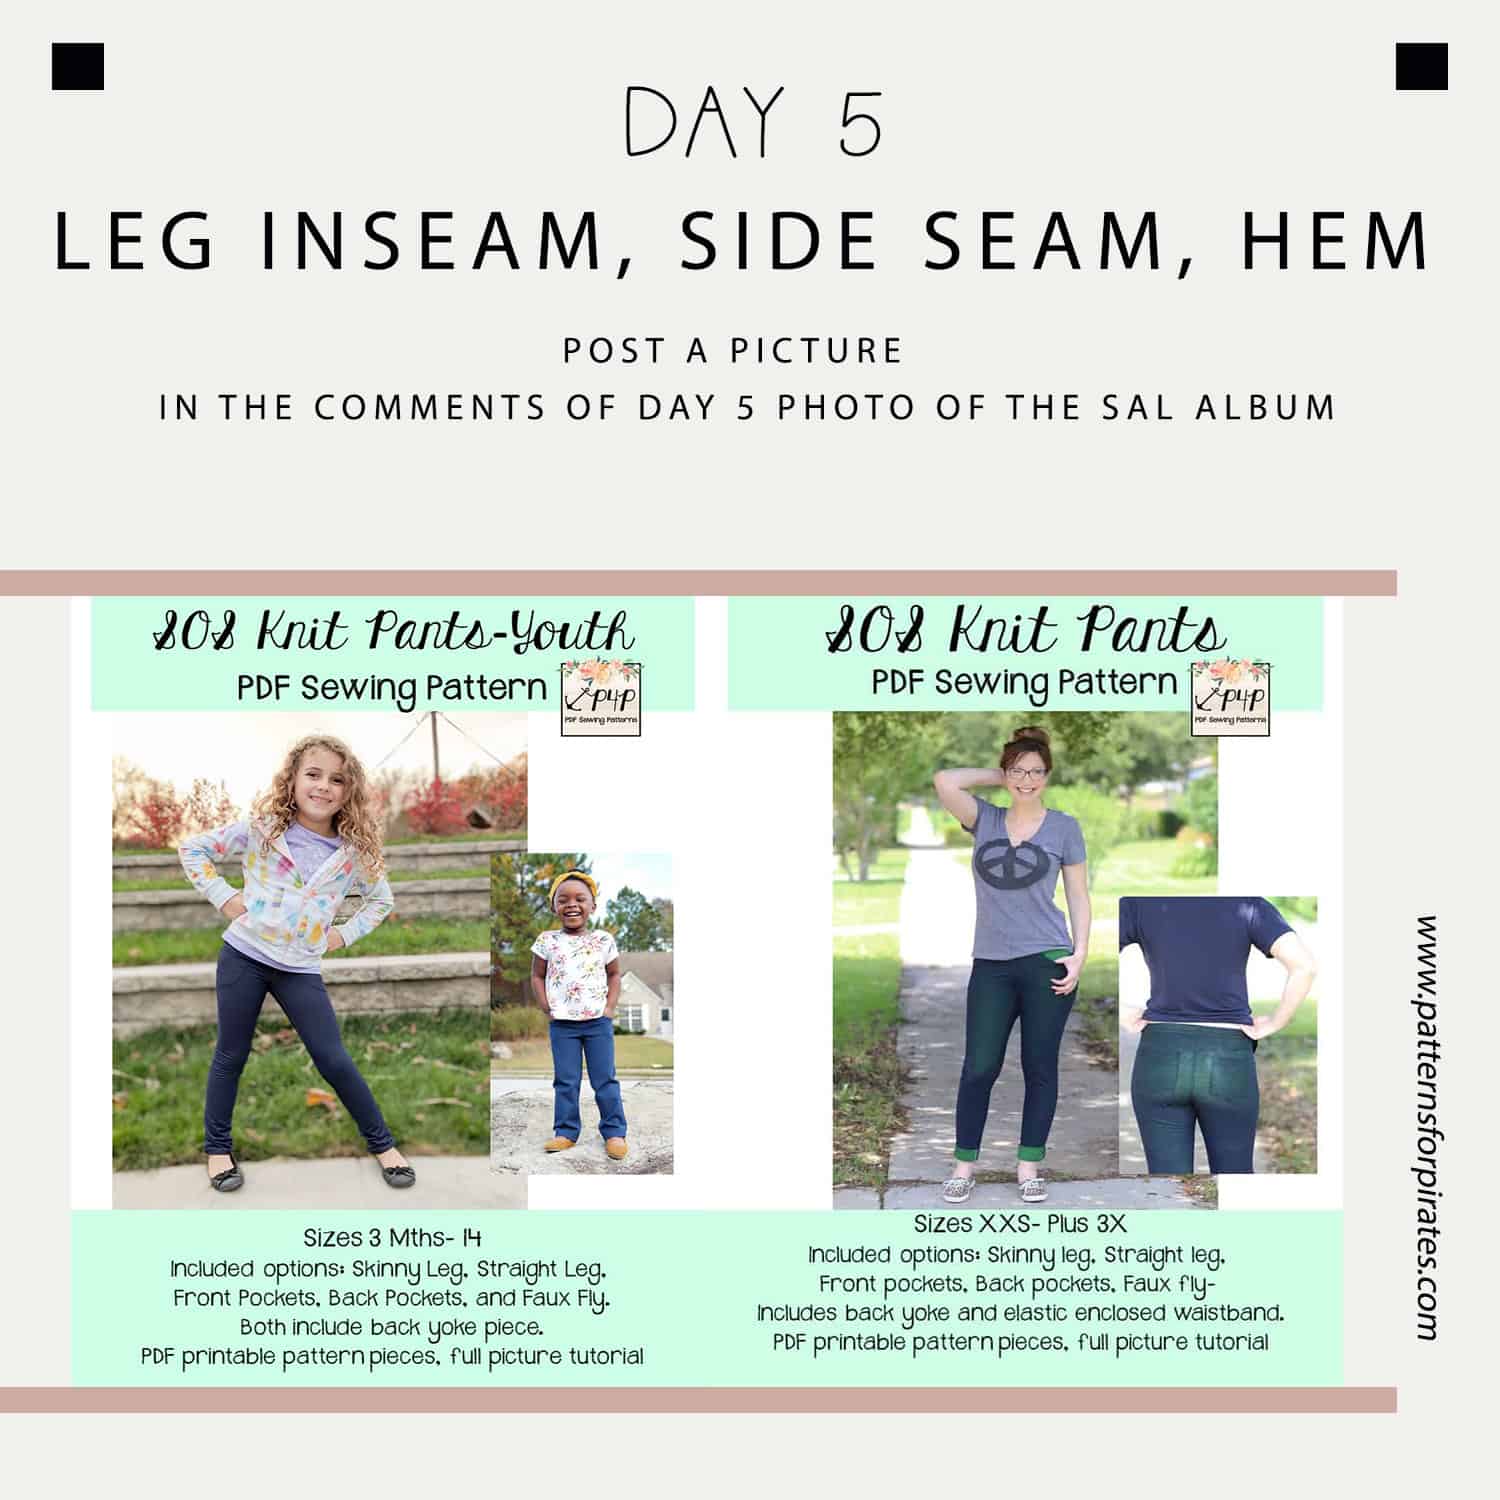
Flutter Wrap SAL day 5 | Add neckline binding and waist ties
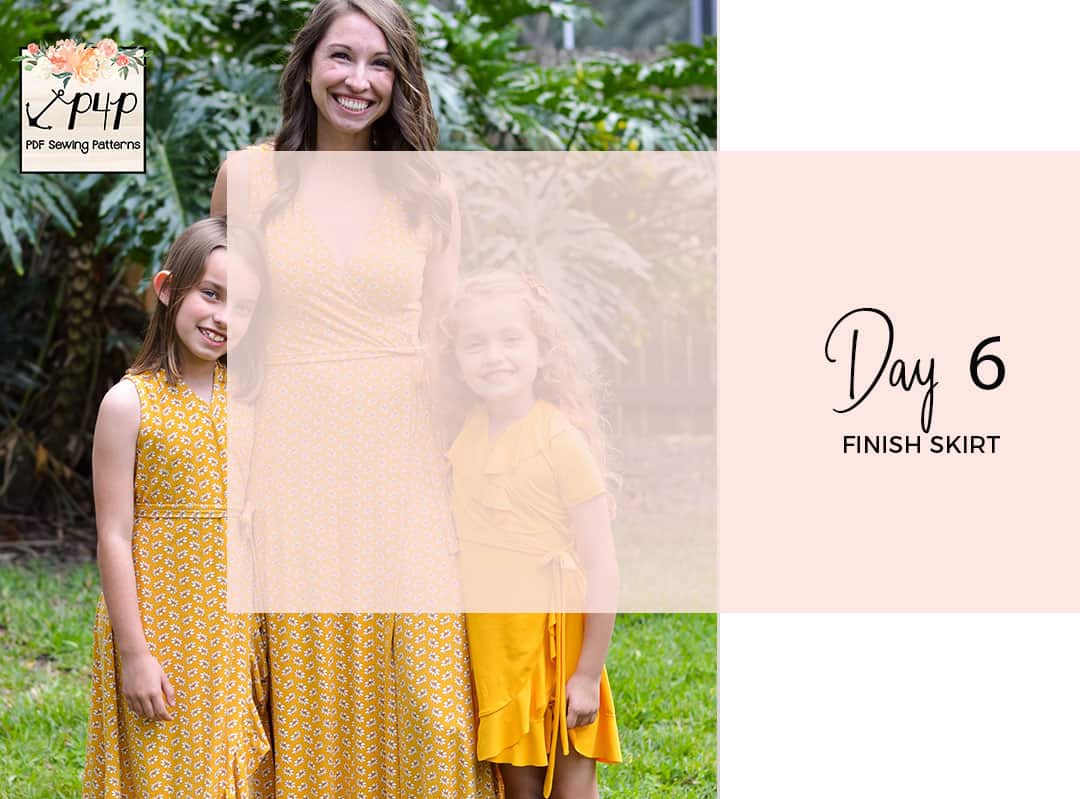
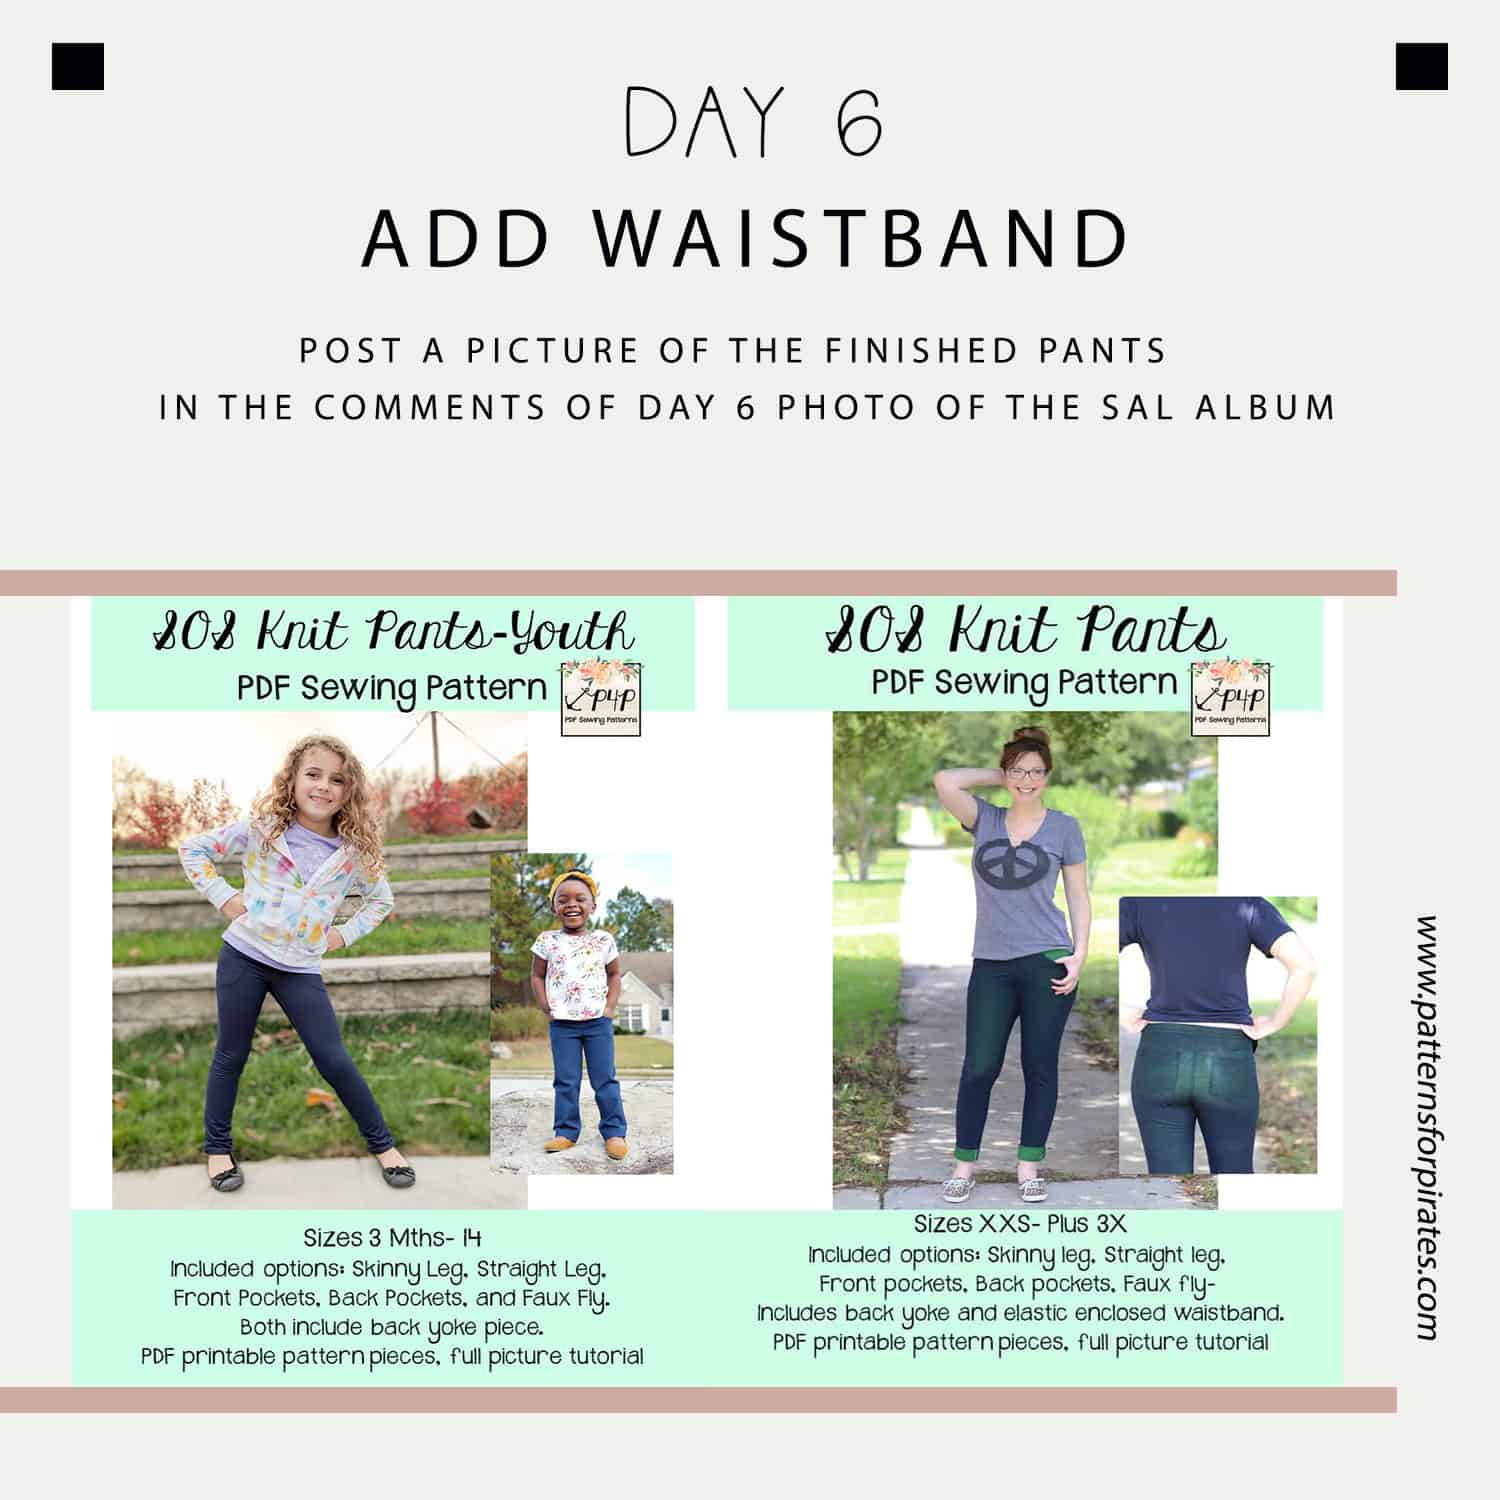
Flutter Wrap SAL day 6 | Finish skirt
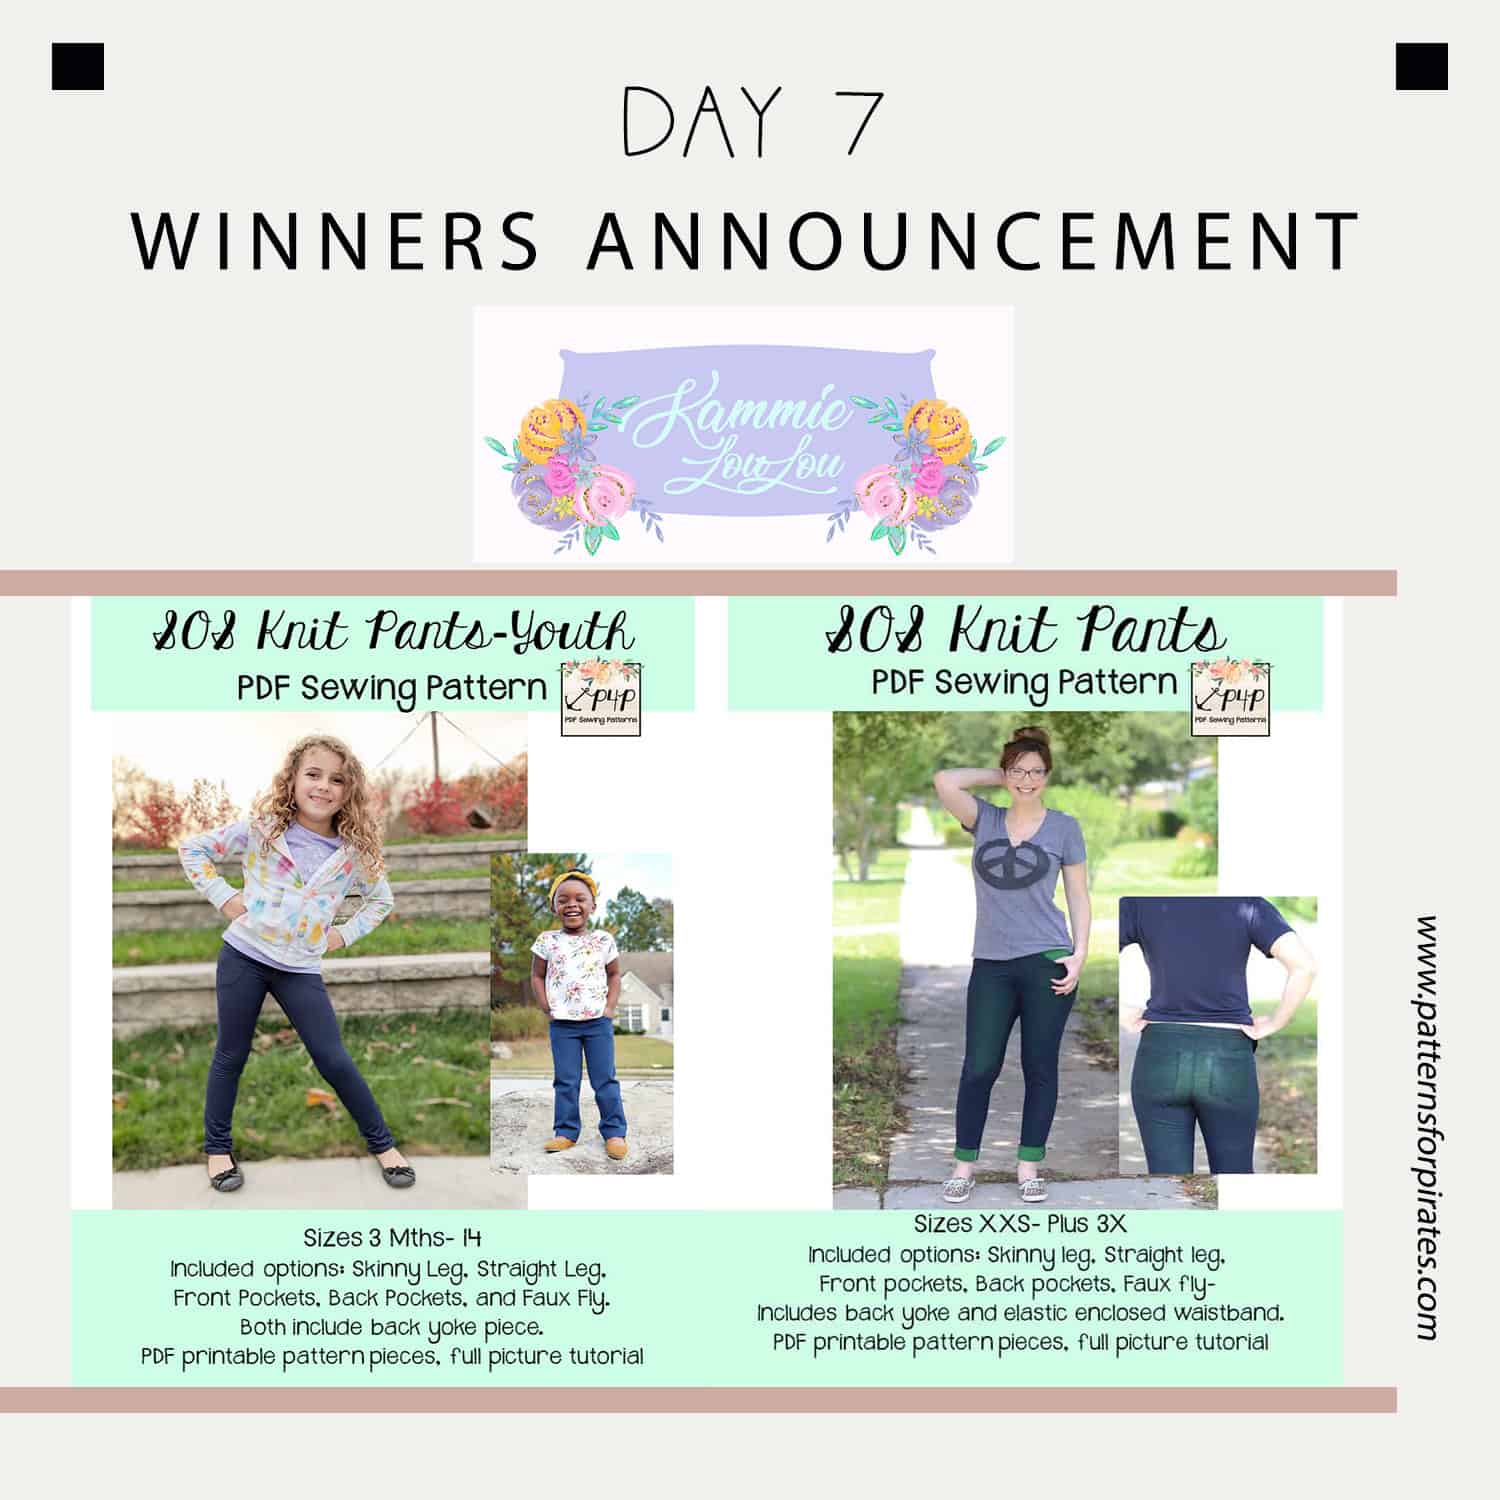
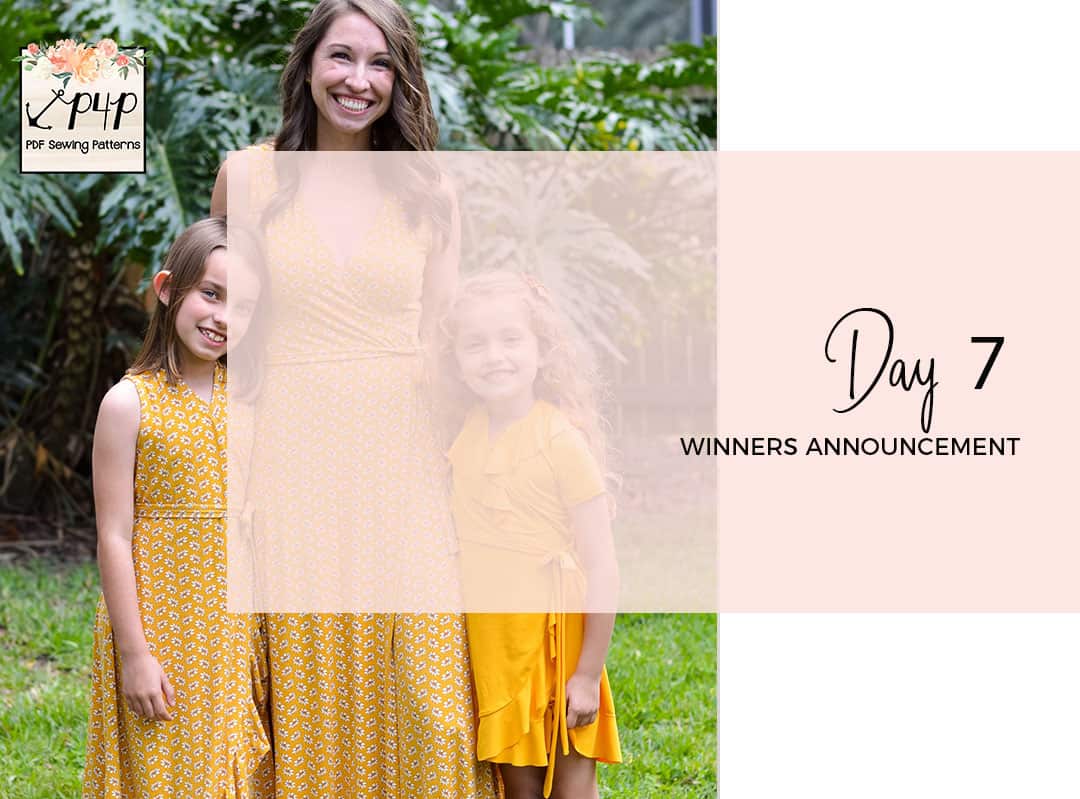
Flutter Wrap SAL day 7 | Winners announcement