Protected: FABRIC FOR PIRATES :: February 2021 REVEAL
Protected: Fabric for Pirates :: December 2020 Reveal
Protected: Fabric for Pirates :: November 2020 Reveal
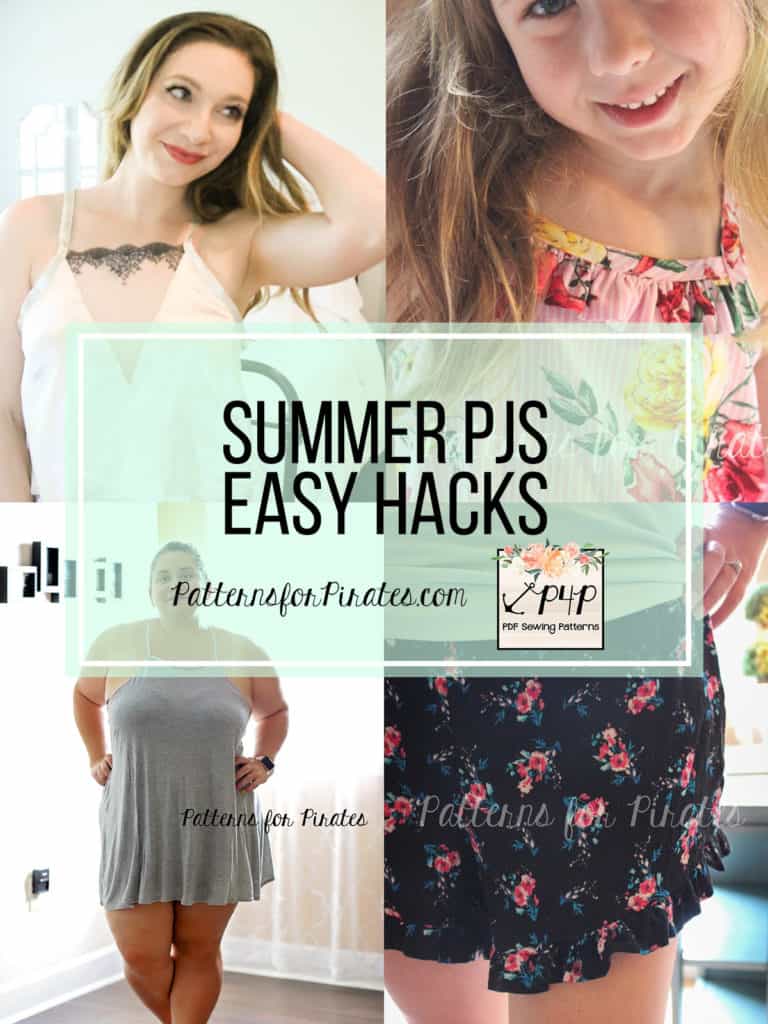
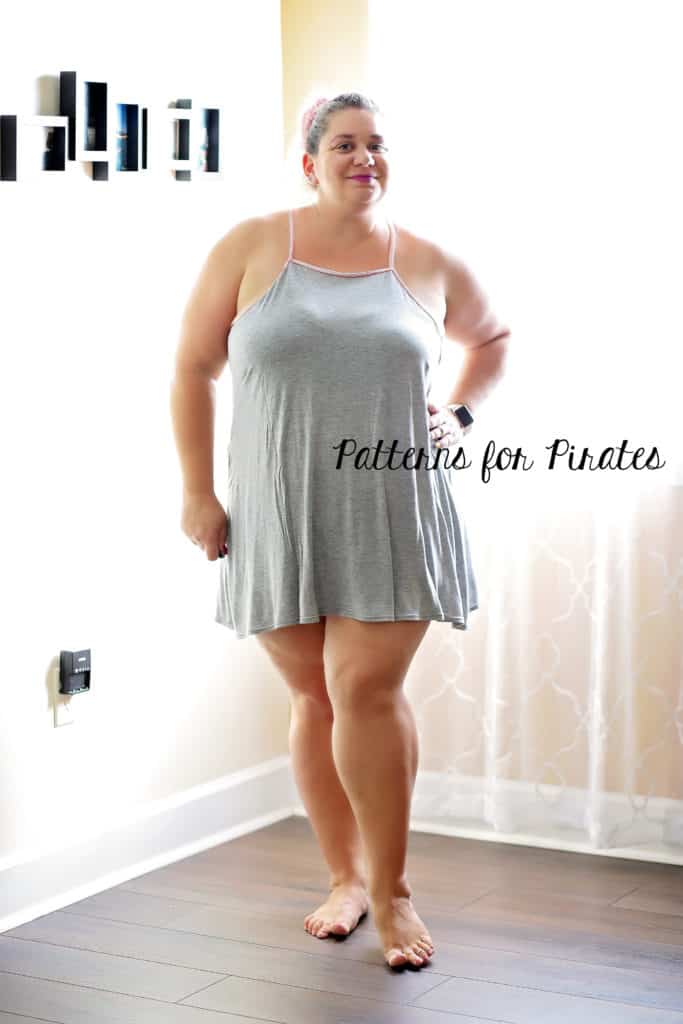
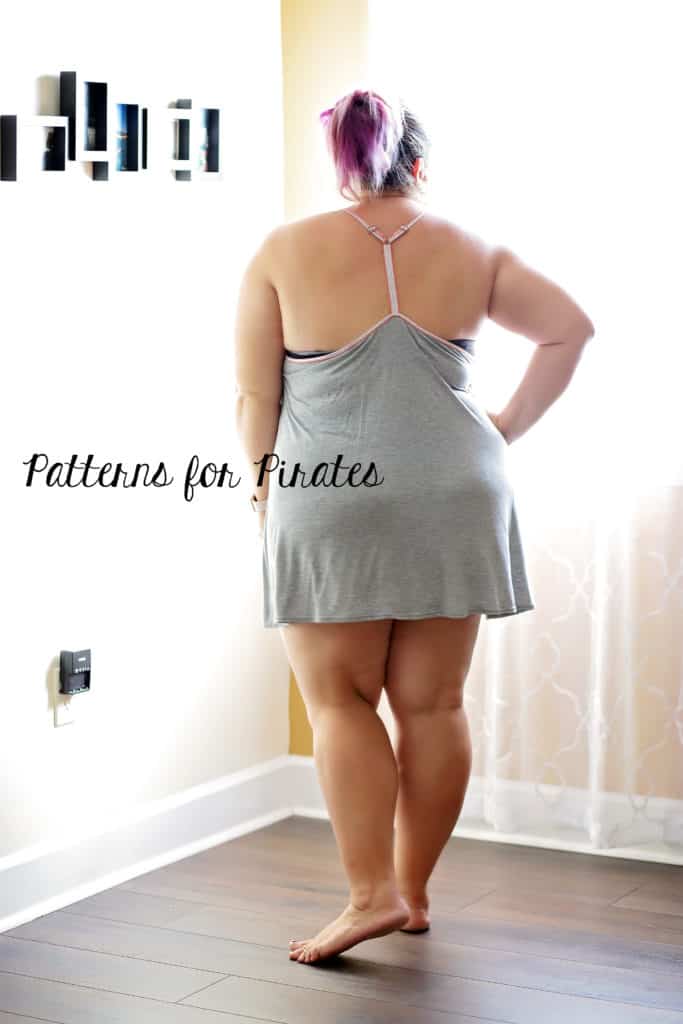
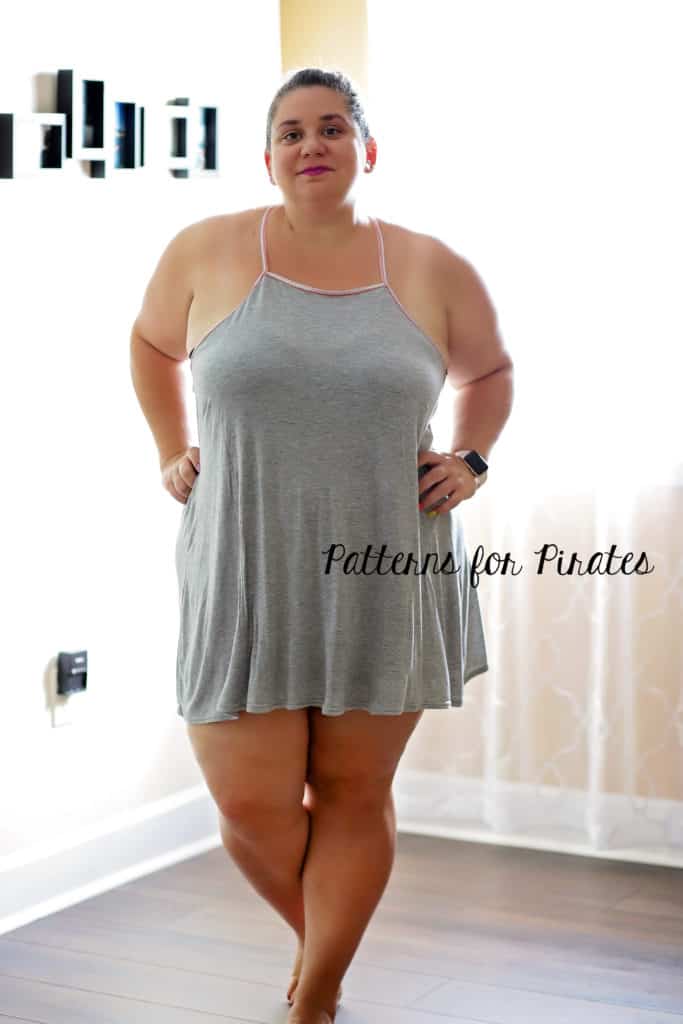
Summer PJs easy hack
As with all new P4P patterns our blog team has some easy hacks ready for you to take your Summer Pjs up a notch. It is a sizzling summer after all…
Knit and FOE
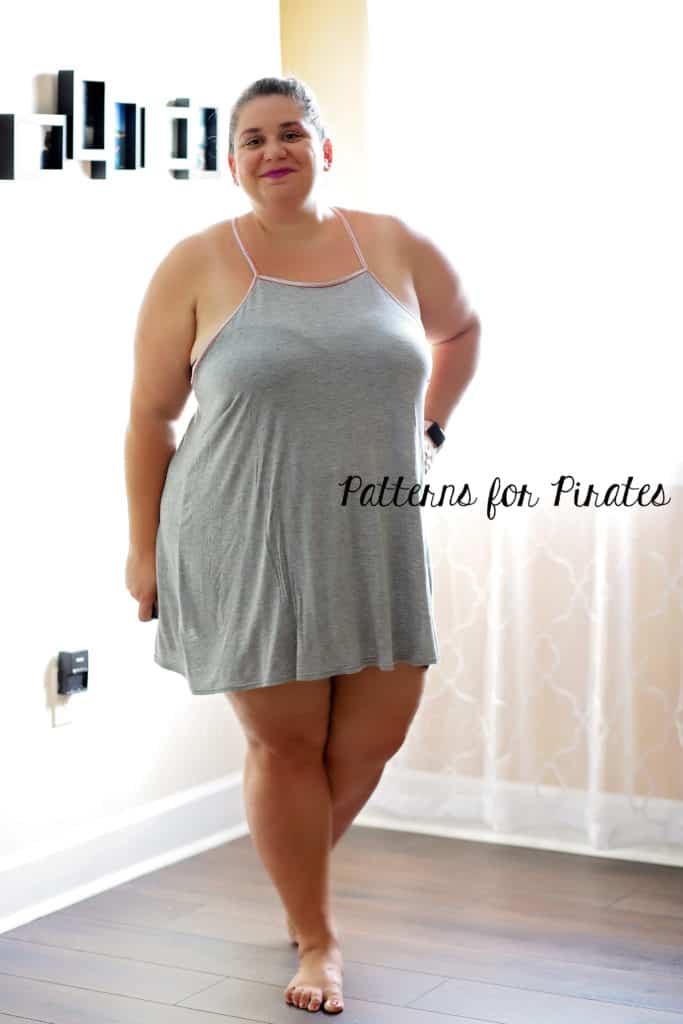
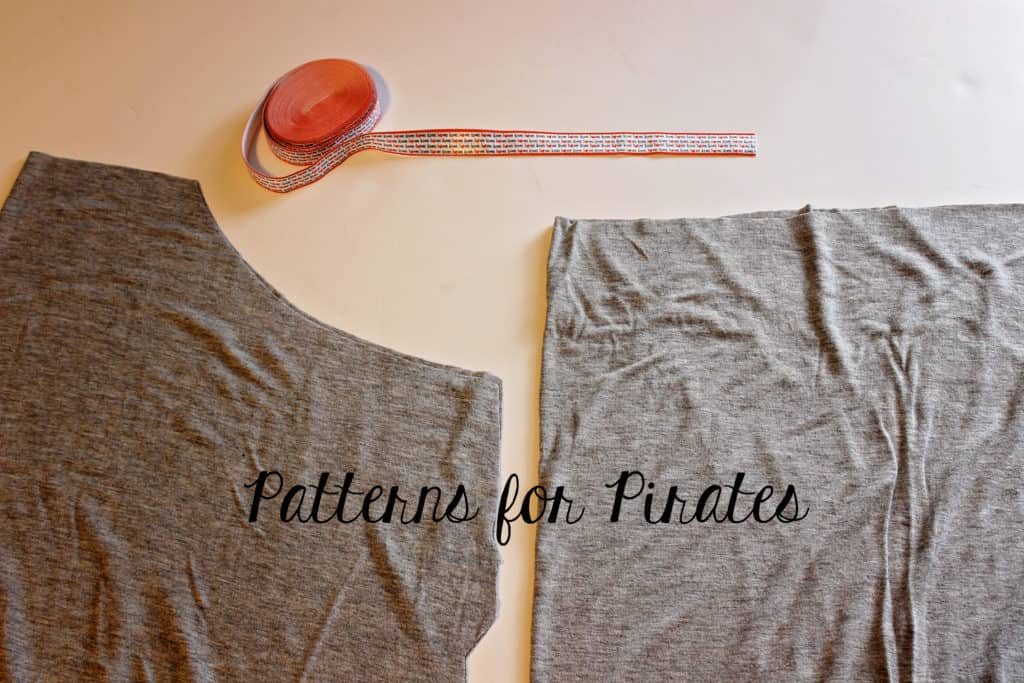
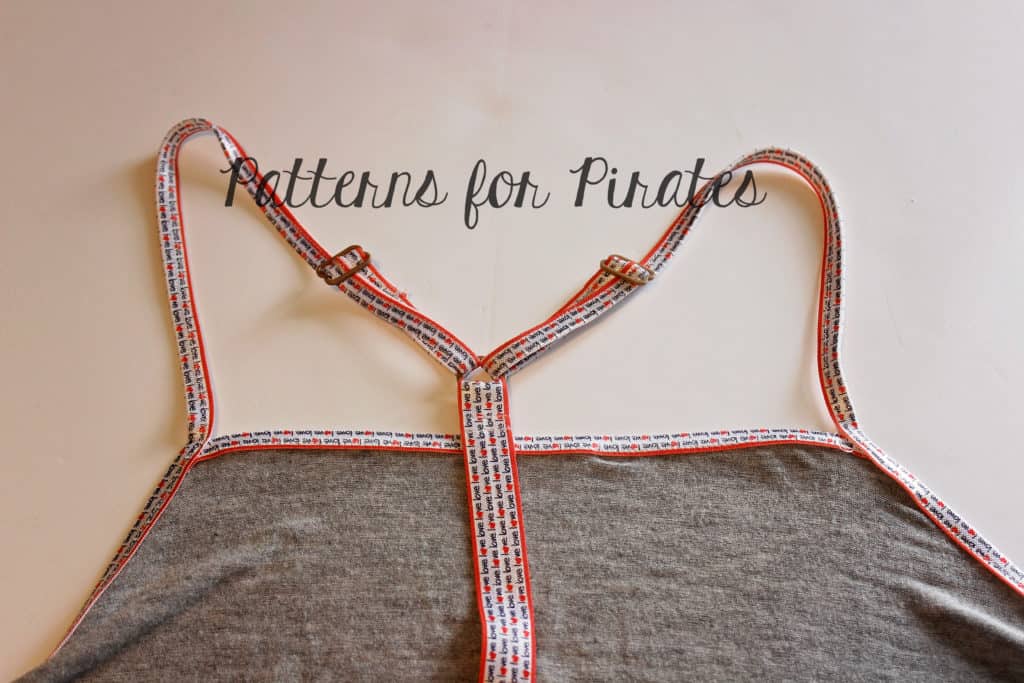
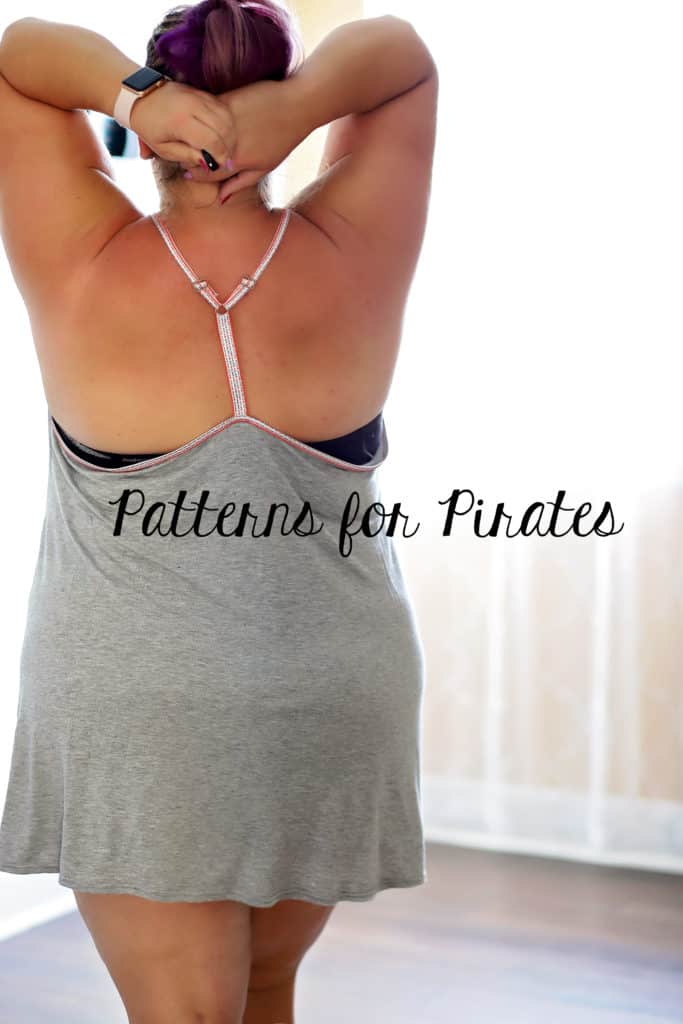
Let’s start with a simple fabric switch. If you are anything like me you have piles and piles of knit fabric in your stash. Let’s make the Summer Pjs with jersey knit. The other replacement we are making is switching the bias tape for FOE (fold over elastic).
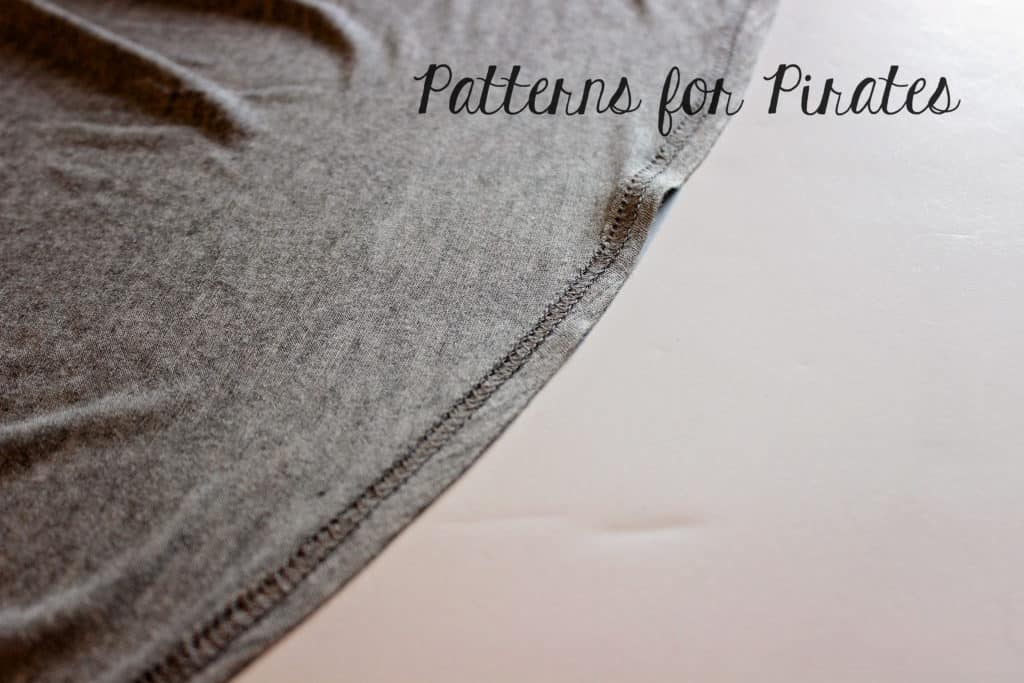
I used 5/8″ FOE for mine but any width bigger would work too. One of my favorite parts of making the Summer PJs with knit is that I can coverstitch the hem.
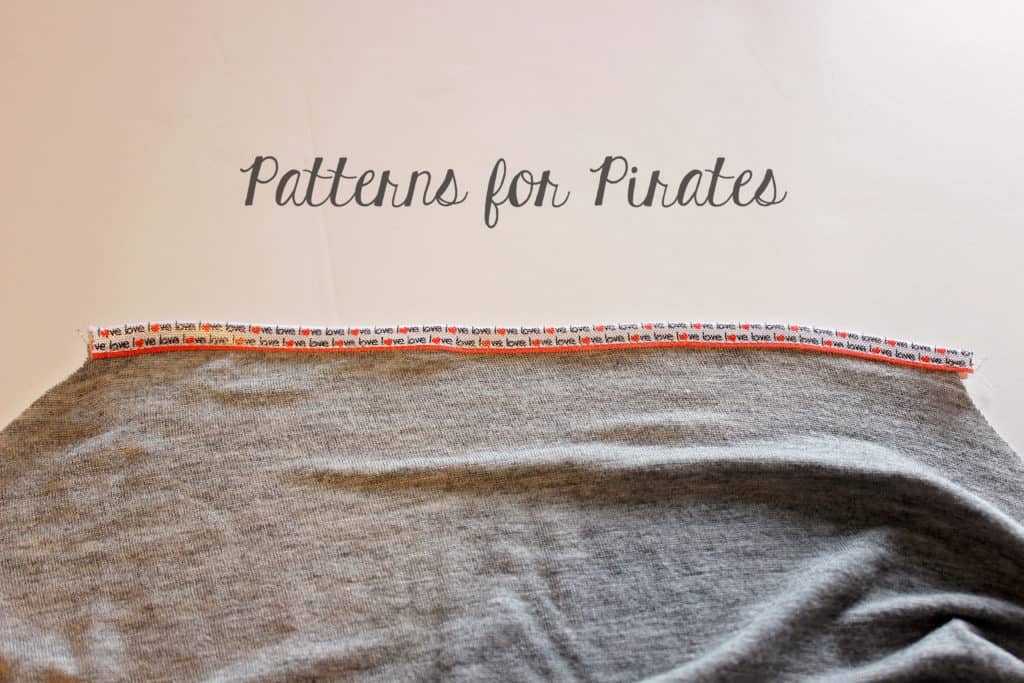
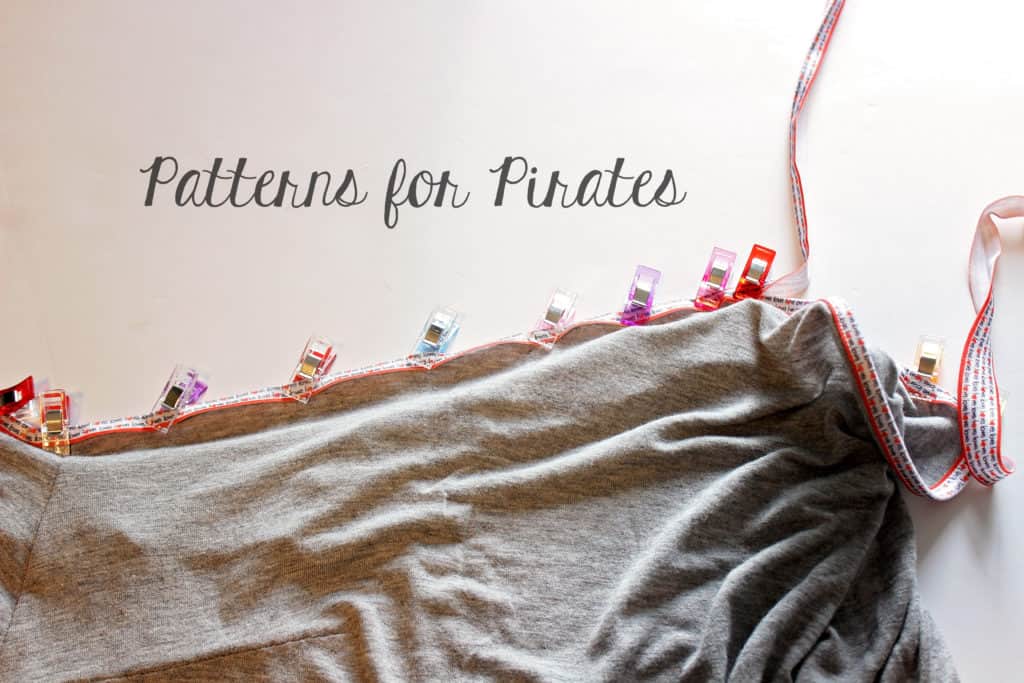
Sew the PJs as instructed in the tutorial. When adding FOE simply fold it in half and sew it on with a lightning bolt stitch or triple stretch stitch. You can get away with using a straight stitch since the pattern has plenty of positive ease so you won’t really be stretching the binding.
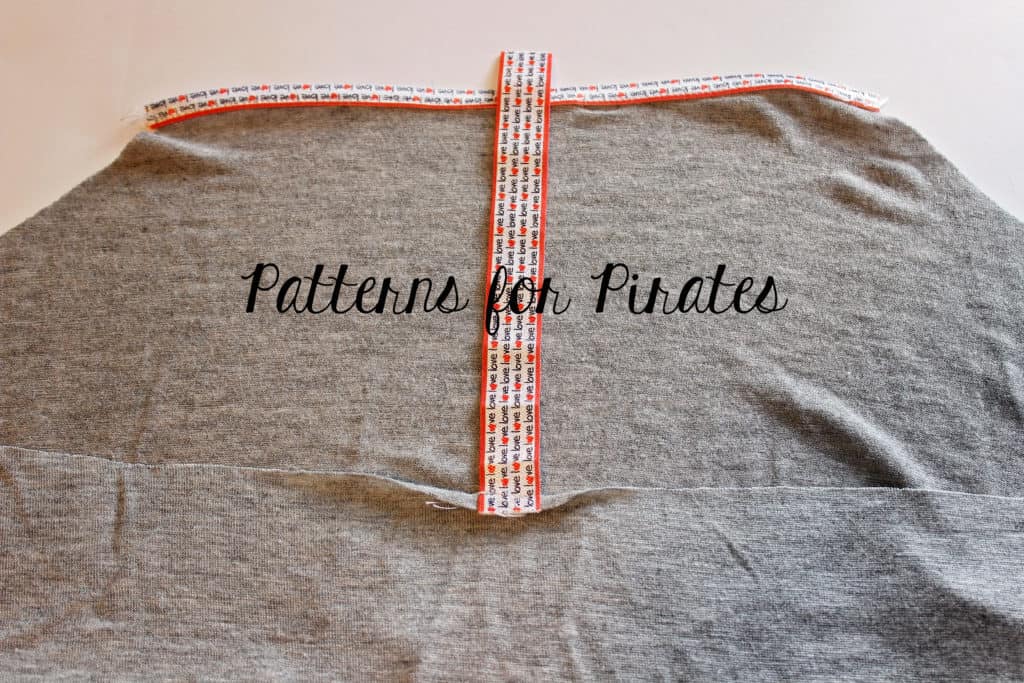
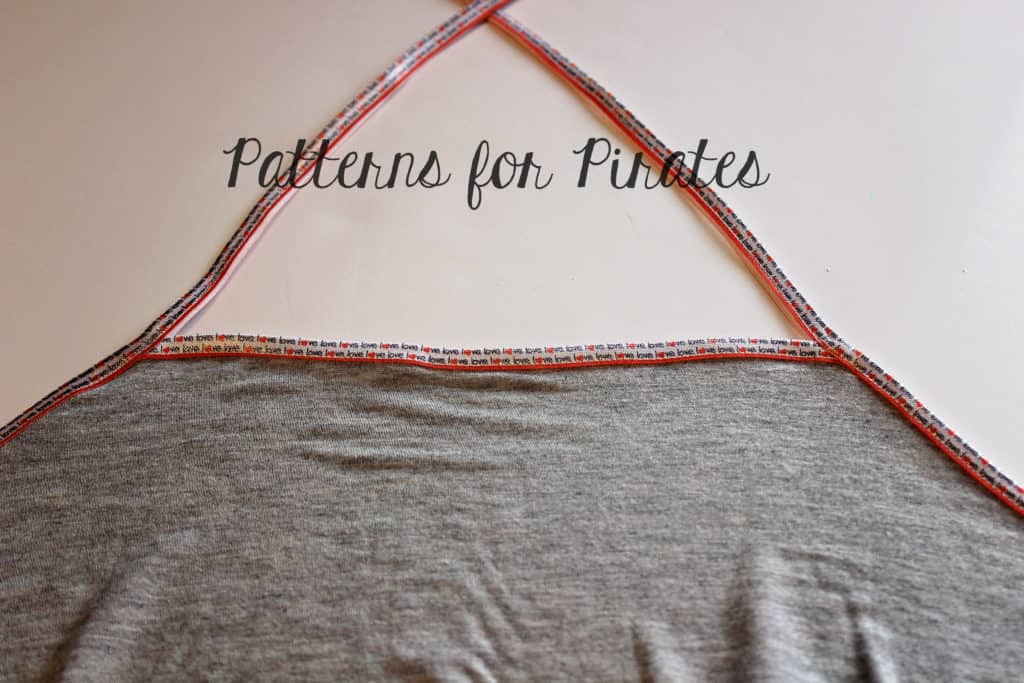
I left the FOE as is for the back strap but you can certainly fold that one over as well.
Use lots of pins when adding the long back strap. It will help if you steam press the FOE fold prior to pinning or clipping it in place.
That’s it! No changes made to the actual pattern pieces just fabric choice…easy peasy!
Lace Insert
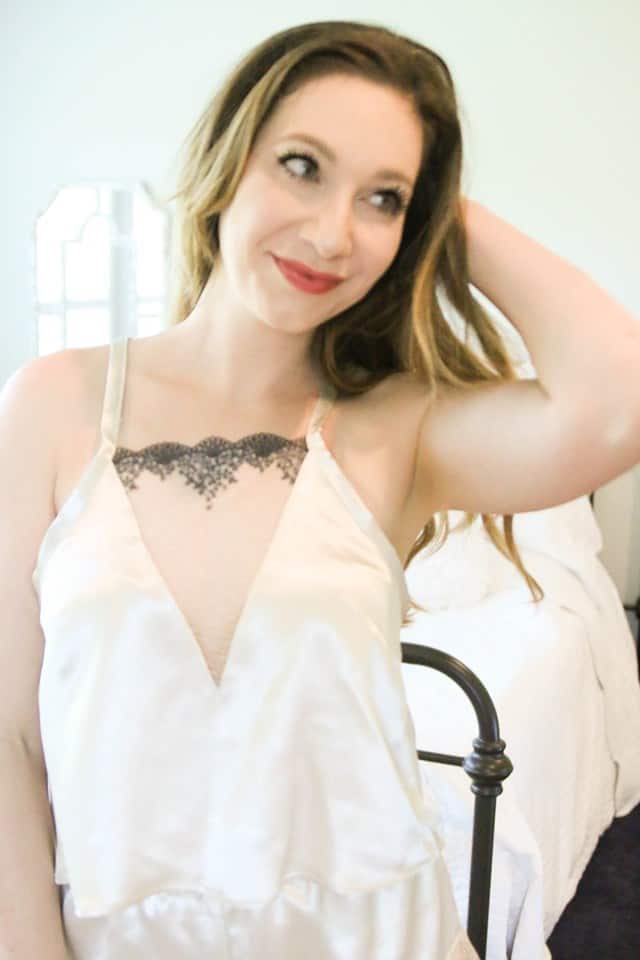
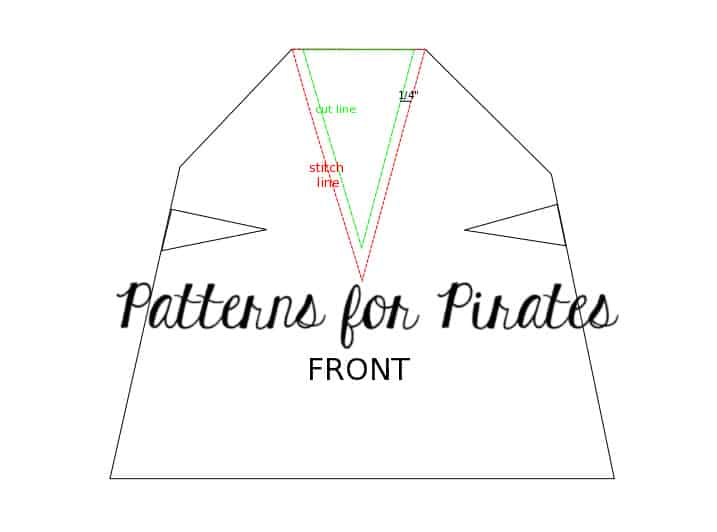
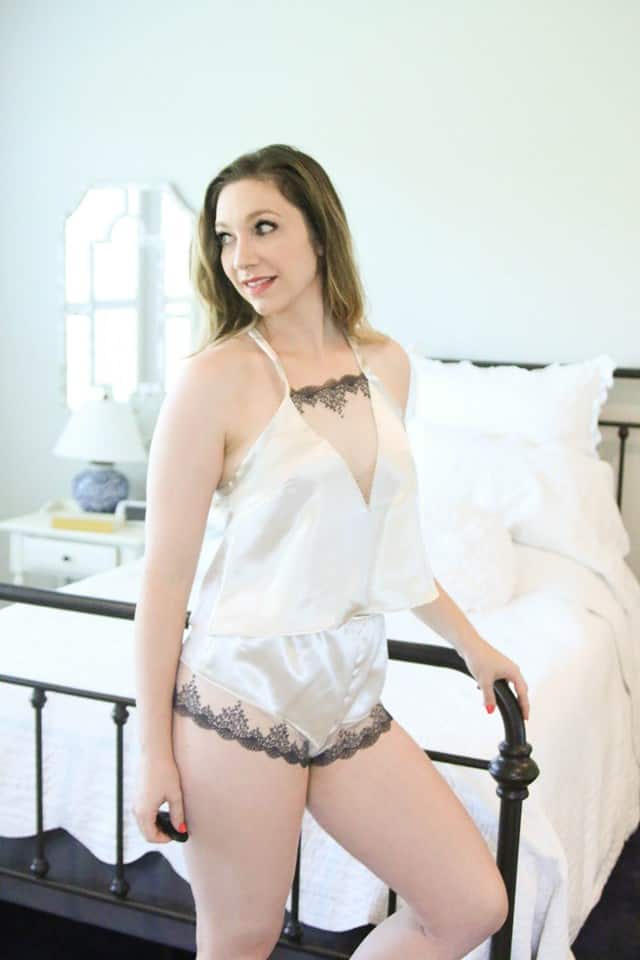
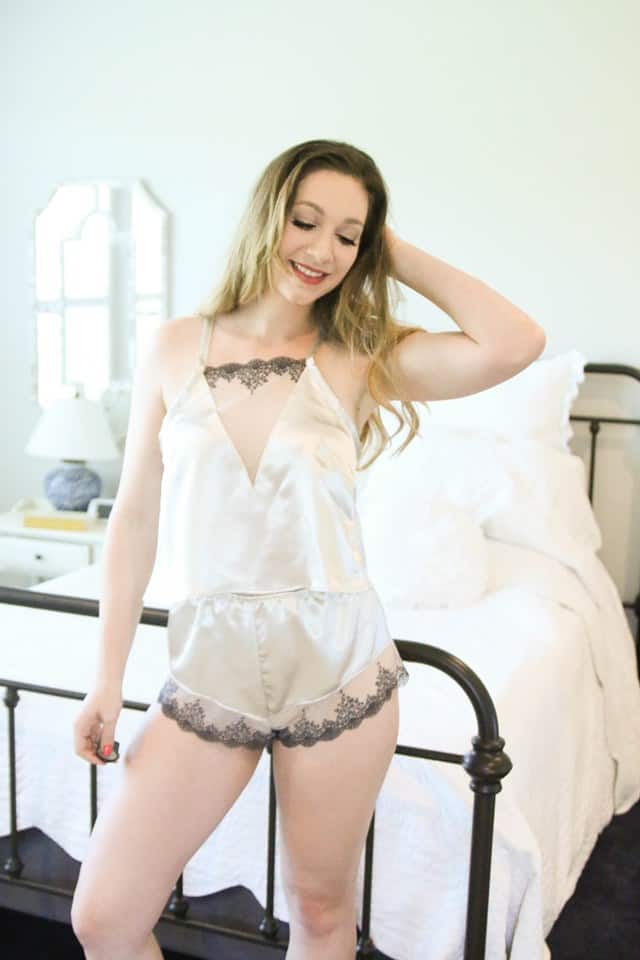
If you are looking to make your Summer Pjs just a little more sexy…why not add a lace insert to the front of the top or nightie? Grab your favorite lace or very wide lace trim and let’s get started. Cut the fabric as instructed in the pattern. Using a disappearing pen, like a Frixion , mark on the front piece the “V” you would like to be lace. This is where you choose how “risque” you would like to make your pajamas. Mark another line 1/4″ inside of the first one. This will be your cutting line for the main fabric. Cute along the green line and remove the inside triangle.
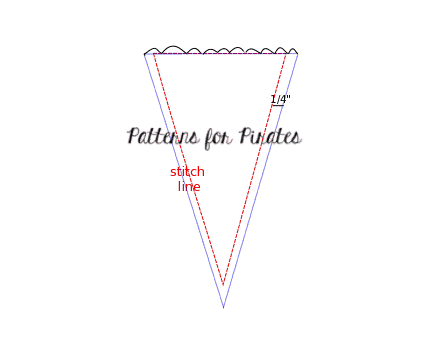
Cut down your lace a 1/4″ bigger than the size of the bigger triangle. If you use gallon lace or trim make sure the pretty details (like Judy’s black accent) is at the top. Mark 1/4″ inside the V lace triangle with the disappearing pen or tailor chalk. This will be the stitching line.
Place your lace triangle over the front piece right sides together matching the stitching lines (red). Sew over the marked lines with a straight stitch, pivoting at the center V. Flip the lace piece inside the main fabric and finish the raw edges with a zig zag stitch. Top stitch 1/8″ away from the edge.
If your lace has a raw edge at the top, follow the pattern to add bias binding. If your using lace with a finished edge like Judy’s then simply skip the front bias tape.
All you have left to do now is enjoy your new sexy summer pajamas.
Ruffles
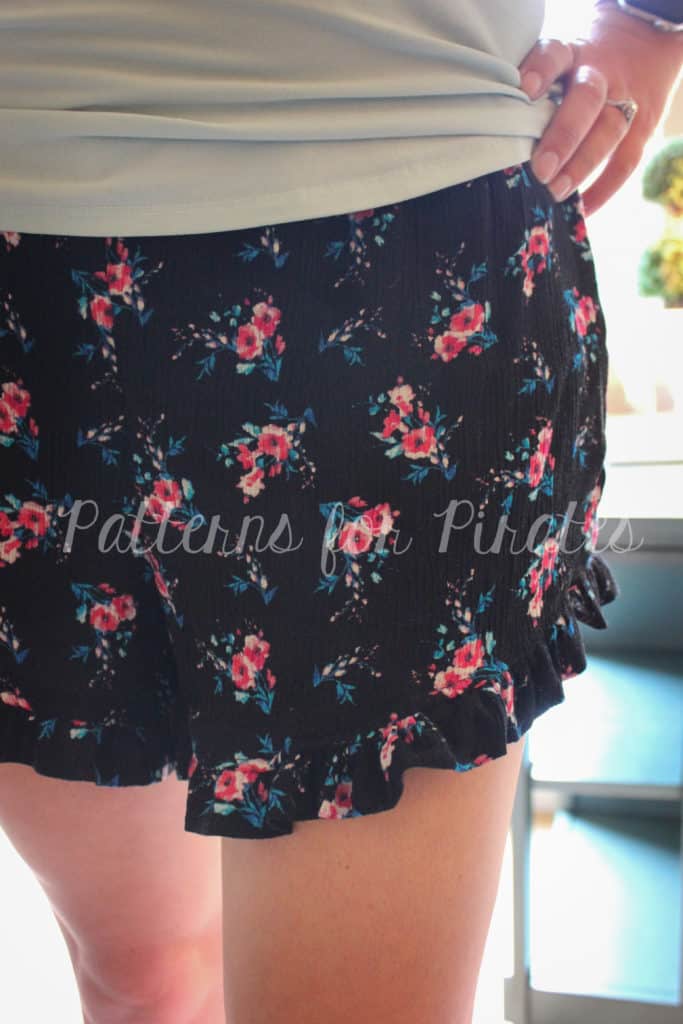
Ruffles can add such a soft, feminine detail and to me, the new Summer PJ’s has so many great places to add a ruffle. One of the first places is the legs. You can add ruffles to either the cheekie or shorts length. For this tutorial, I added ruffles to the shorts length.
To begin, you will want to assemble your shorts as directed by the tutorial, with the exception of hemming.
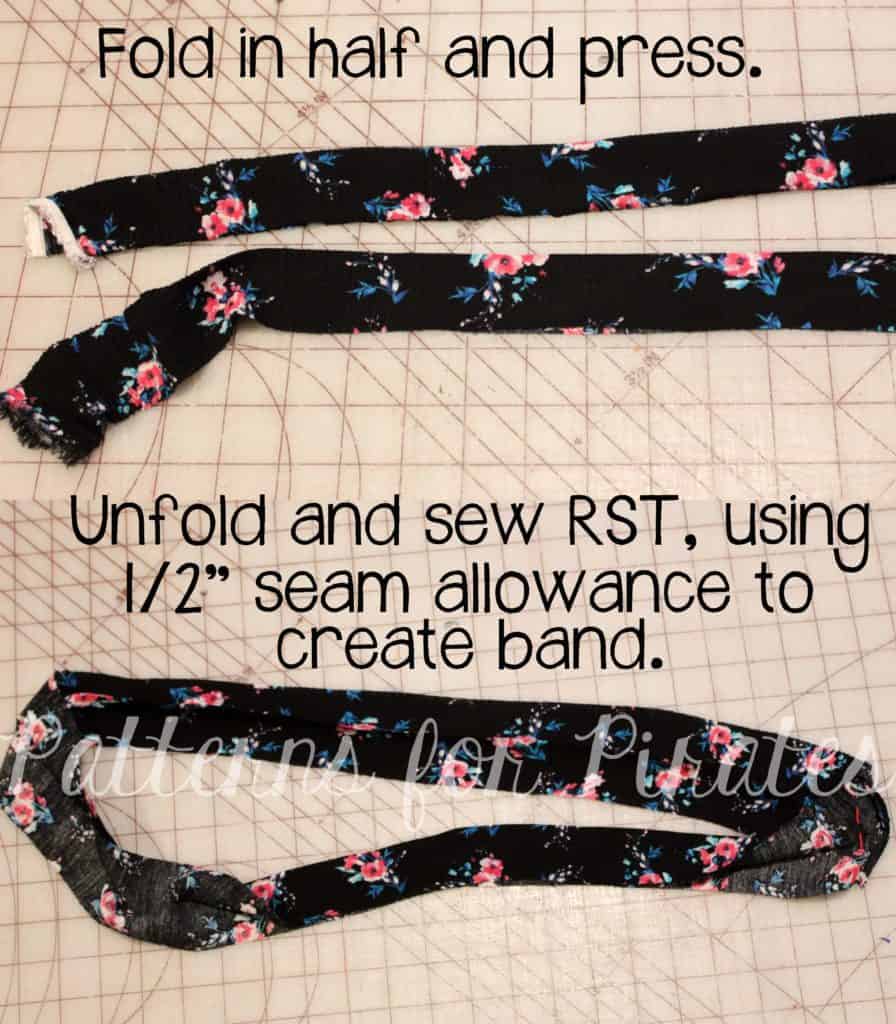
Once you’ve constructed your shorts, you will need cut your bands that will be used for the ruffles. The band needs to be 3″ x width of fabric. If you would like your ruffle more full, you can always sew two strips together to create a fuller look.
Once the strips are cut, you will want to press them in half, with wrong sides together. Unfold your strips. With right sides together, stitch the ends together, using a 1/2″ seam allowance to create a loop.
Re-fold your band. Using the longest straight stitch on your machine, create your gathering stitches. You will want to use two rows of stitches, one at a 1/4″ from the raw edge and a second 5/8″. Repeat on other band.
Mark the middle of your band with a pin or clip. Pulling the bobbin thread, begin to gather your band. You will then want to match up the seam of the band with the crotch seam and the middle with the outside leg seam.
Evenly distribute your gathers and attach using a 1/2″ seam allowance. To finish, press the seam up and top stitch around the legs if wished!
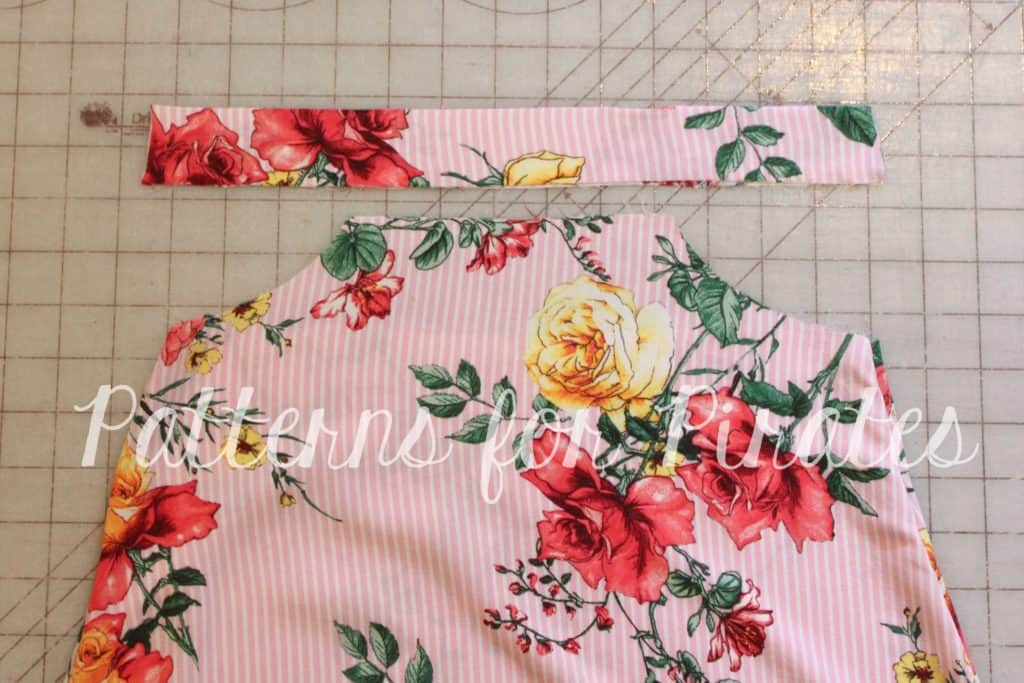
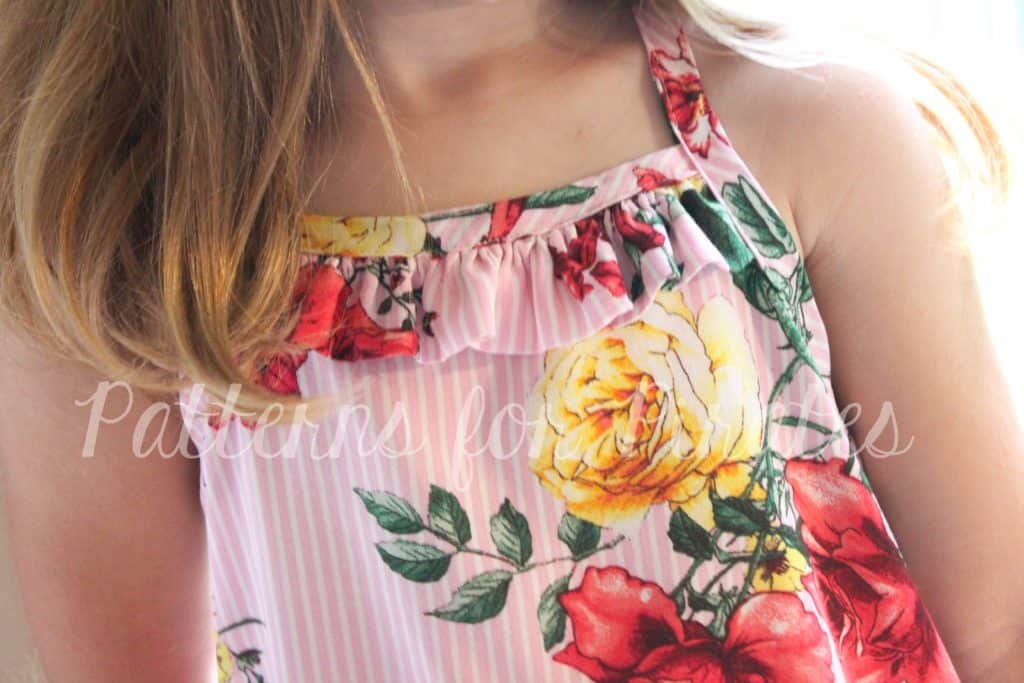
Another quick and easy way to add ruffles to the Summer PJ’s is to add one to the neckline. I chose to add this to my daughter’s nightgown and we are both in love with the results. Many of the steps will be the same as above. After cutting out your top, stitch your side seams together. For the ruffle, you will want to cut a strip of fabric that is 3″ x double the width of the neckline. Press this strip of fabric in half, wrong sides together.
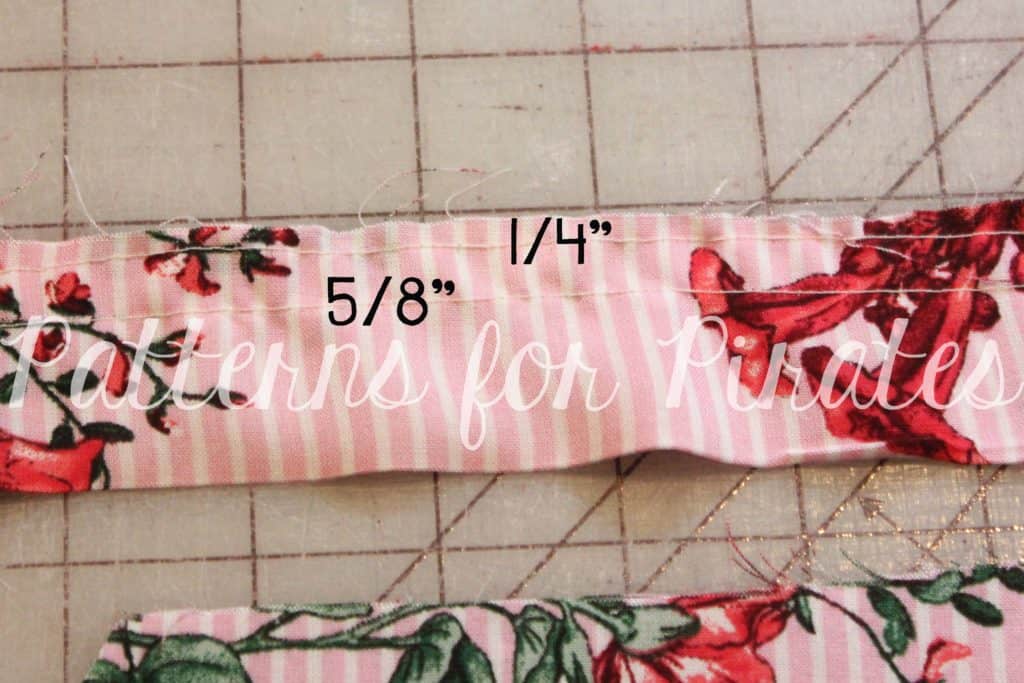
Using the longest straight stitch, create your gathering stitches by stitching a straight line at both 1/4″ and 5/8″ from the raw edge.
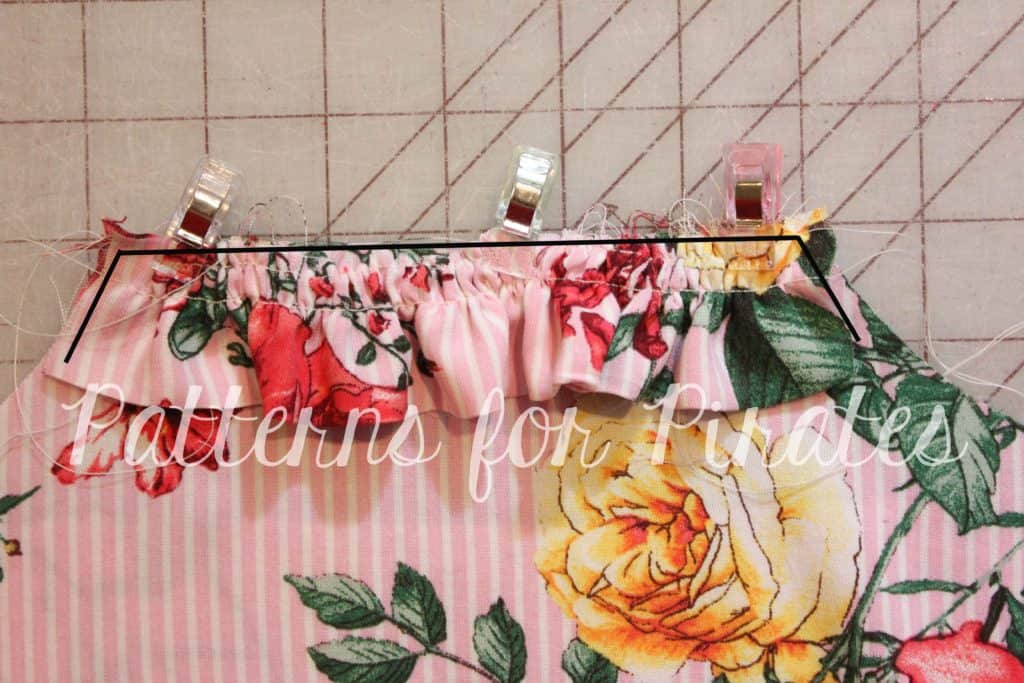
To gather, pull the bobbin thread until the strip is the same width as the neckline (** Leave 1/2″ ungathered on both ends to help reduce bulk when attaching the binding). Baste around the armscyes and neckline to hold ruffle in place.
Continue to finish the top according to the tutorial, attaching the binding to the neckline as instructed, treating the ruffle and neckline as one.
Now that you have your youth and adult Summer PJs, and learned some easy hacks, time to get creative with your own pajamas. Don’t forget to share your pretties in the P4P Facebook group so we can all marvel at their beauty.
Alex and Erinn
When It Goes Against the Grain
Woven Fabrics
We make woven fabrics on a loom. The weaver strings the lengthwise threads first, and we call them the “warp”. Then threads are woven through them creating the fabric. We call these horizontal threads the “weft” or the “woof”. We’ve named the edges of the fabric the “selvages” or “selvedges”, and we weave them more tightly to prevent fraying.
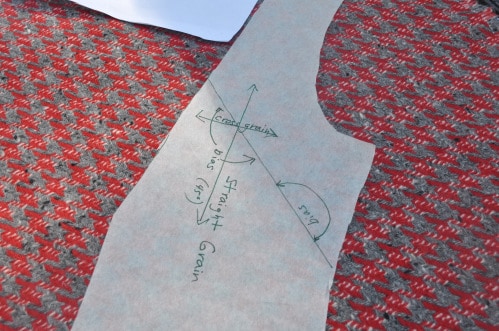
The warp creates the “straight grain” of the fabric, and the weft creates the “cross grain”.
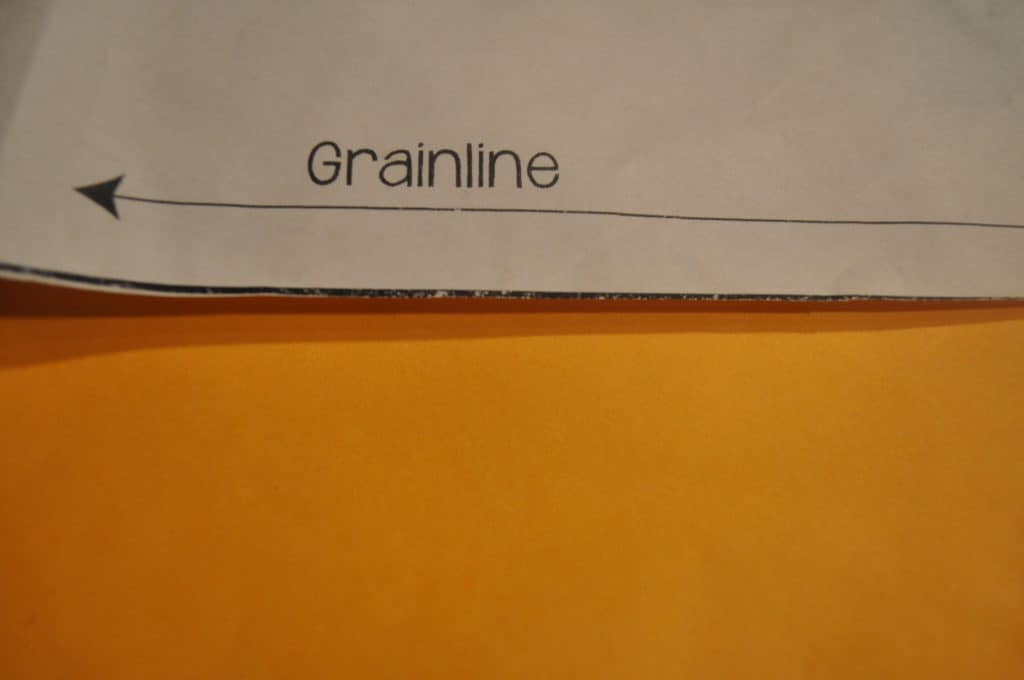
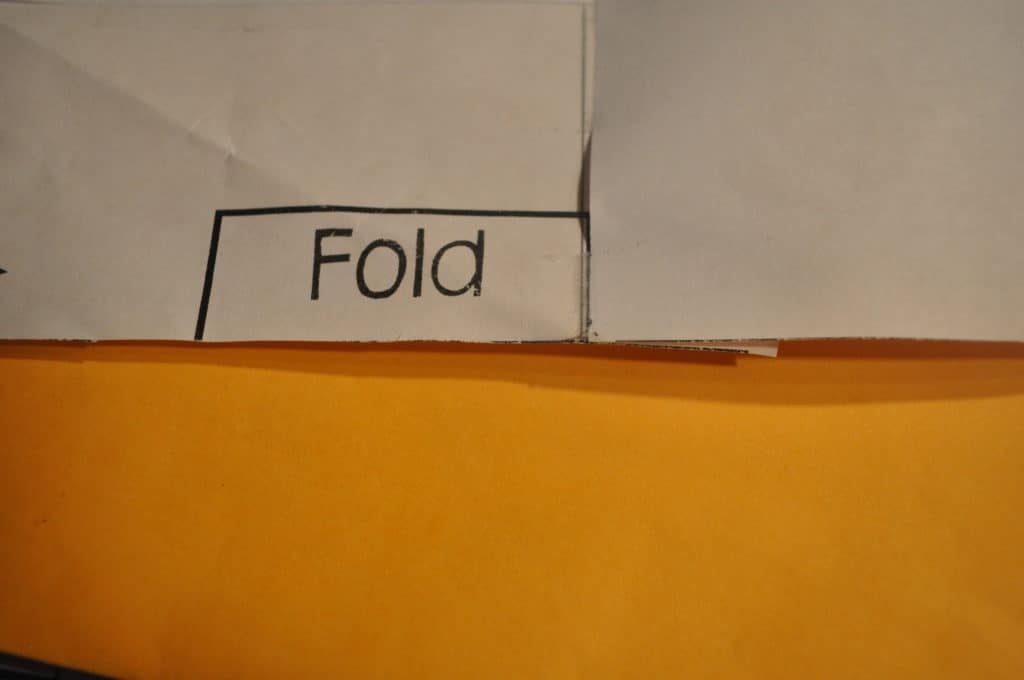
Pattern pieces have grainlines printed on them. They are either arrows or fold lines.
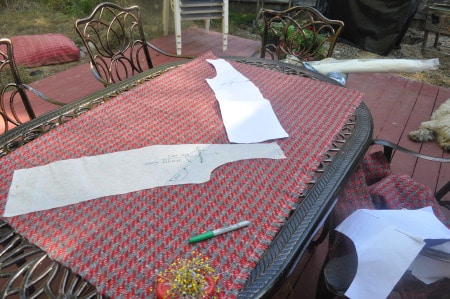
When we cut a pattern out, the best way is to fold the fabric carefully on the straight grain of the fabric, lining up the selvages . If you need to straighten the ends of your fabric, take a snip through the selvage near one end. Then pull a horizontal thread. The missing thread will create a straight line for you to cut along.
Then place the pattern pieces down carefully with the grain lines on the pattern piece lined up with the straight grain of the fabric.
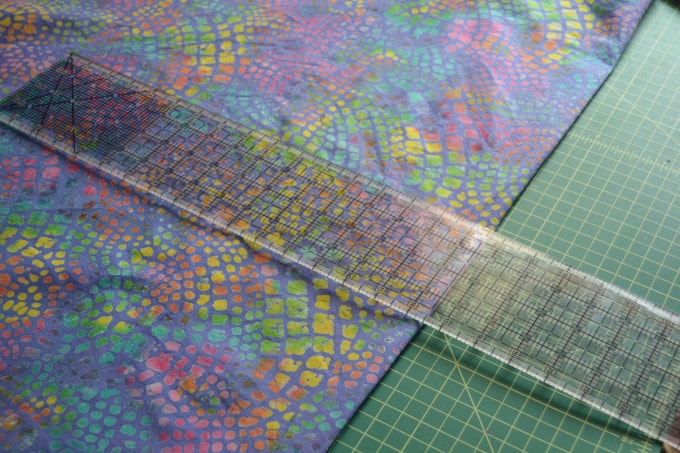
An easy way to check if your pattern piece is “on-grain” is to measure from the line on the pattern piece to the selvages in a couple of places. The distance should be the same.
It’s important for long pattern pieces, especially something like a pant leg, to be grain perfect. If it’s not, the garment will twist, and once you cut it, there’s nothing you can do to fix it. You’ll also never be able to match stripes or plaids if you cut off-grain.
Smaller pieces like pockets, collars, cuffs, and yokes can be cut on the straight grain, the cross grain, or the bias no matter what the lines on the pattern say. The “bias” is the direction that’s 45 degrees from the straight grain. It has more drape than either the straight grain or the cross, and edges cut on the bias don’t fray.
When you cut major pieces on the bias, it’s important to cut them in opposite directions or your whole garment will twist. But it’s not important for small pieces like pockets.
You can mark the bias on your pattern piece with a protractor or a quilting ruler.
Over time fabrics cut on the cross grain will droop more than then fabric cut on the straight. It’s not a problem for something like a skirt or pants made from a border print. The droop won’t be noticeable in the normal lifetime of the garment. You might see it in heavy curtains, though.
Knit Fabrics
Technically, knit fabrics don’t have a grain, but the direction you cut your pieces out matters just as much. Big machines make knit fabric, but they work the same way we knit with yarn and needles. Some machines knit back and forth and some knit in the round. One results in a fabric with selvage-like edges and other in a tube of fabric.
No matter what yarn is used to create the knit fabric, the single knit process will result in a horizontal stretch in the fabric we call the “mechanical stretch”. Fabrics that only have horizontal stretch are usually called “two-way stretch”. The addition of elastane (Spandex, Lycra, etc.) to the yarns can create a fabric with both horizontal and vertical stretch, and it is usually described as “four-way stretch”. Whether the fabric is two-way or four-way, the horizontal stretch should be the circumference of your garment.
While the amount of elastane in the yarns might make the fabric stretchy enough for the garment to fit you cut with the vertical stretch used as the circumference, you shouldn’t cut it that way. If the mechanical stretch in the fabric hangs vertically, you’ll get elephant knees, saggy elbows, and baggy crotches. You can use the same method for making sure your pattern is lined up so the grainlines on your pattern are parallel to the edges of your fabric that we use for wovens. Knit patterns often have the horizontal stretch line marked, too.
There’s a saying in sewing- The fabric always wins. There is probably nowhere in sewing where fighting the fabric is more futile than not paying attention to the grain.
Roberta
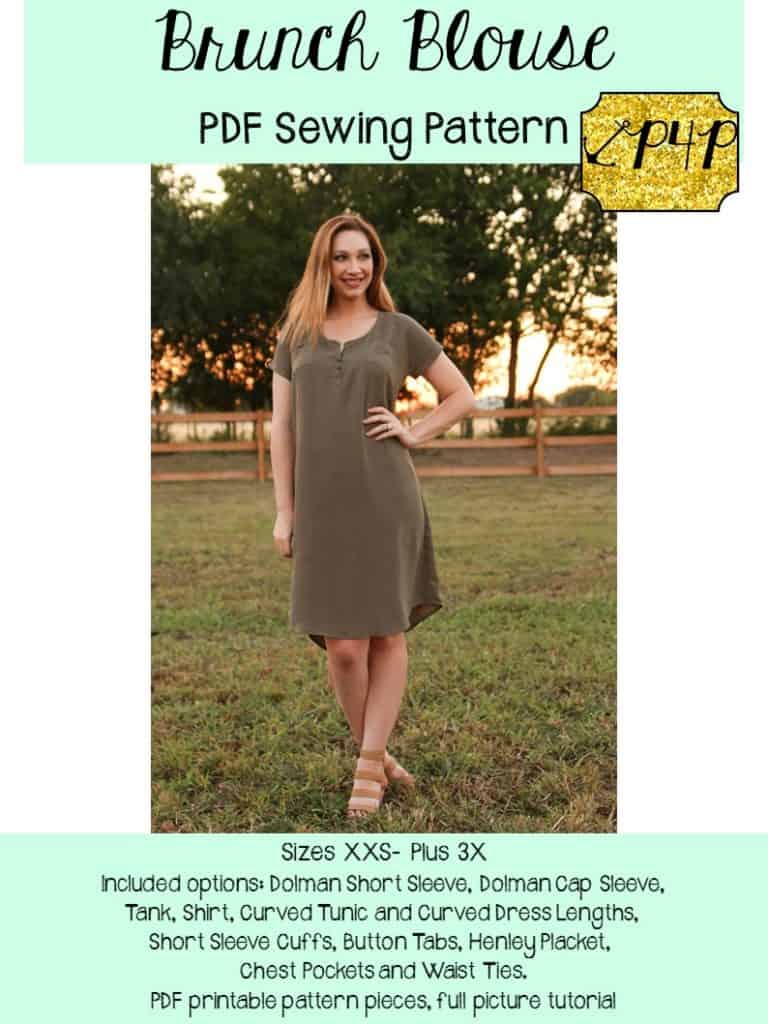
Brunch Blouse:: New Pattern Release!
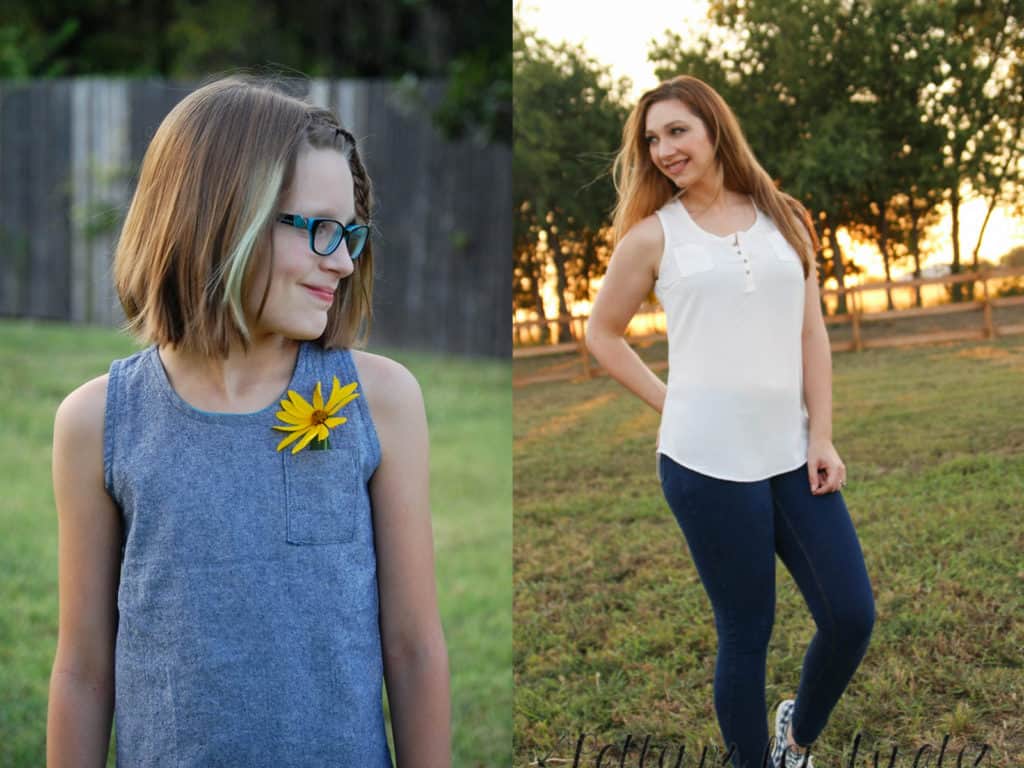
The Summer of Wovens has brought some pants with the Linen Loungers, an updated Everyday Elegance Top and Sweet Bow Dress… and now we give you the perfect top for your apparel wovens, the Brunch Blouse!
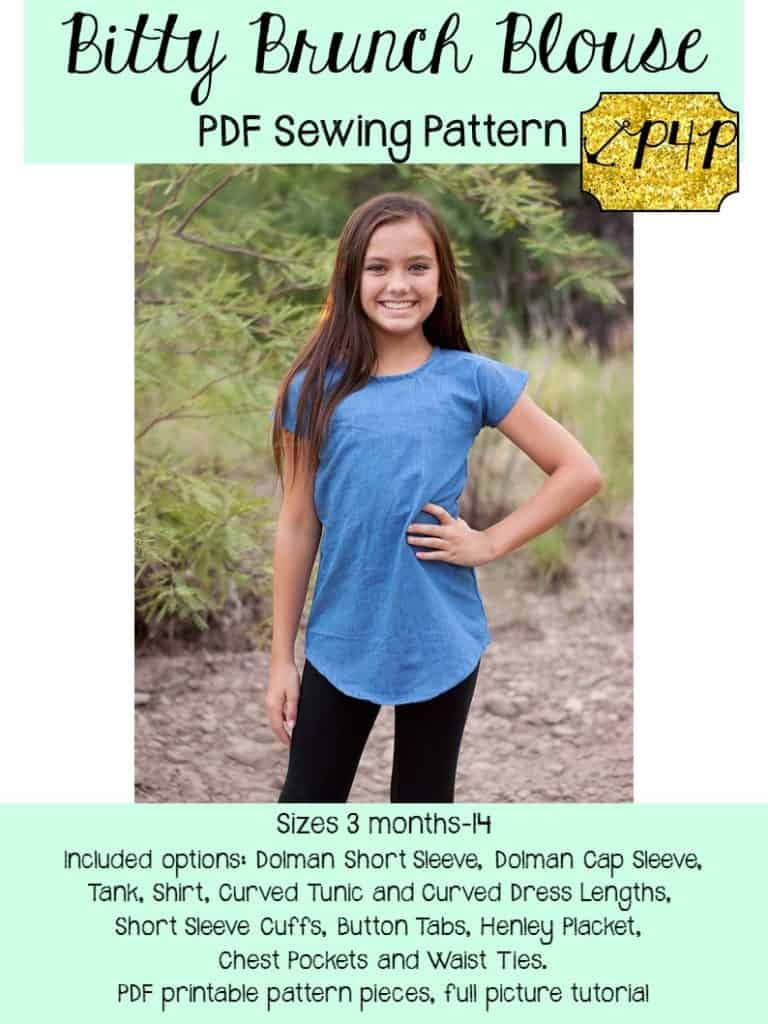
We also did it in youth for those with littles.
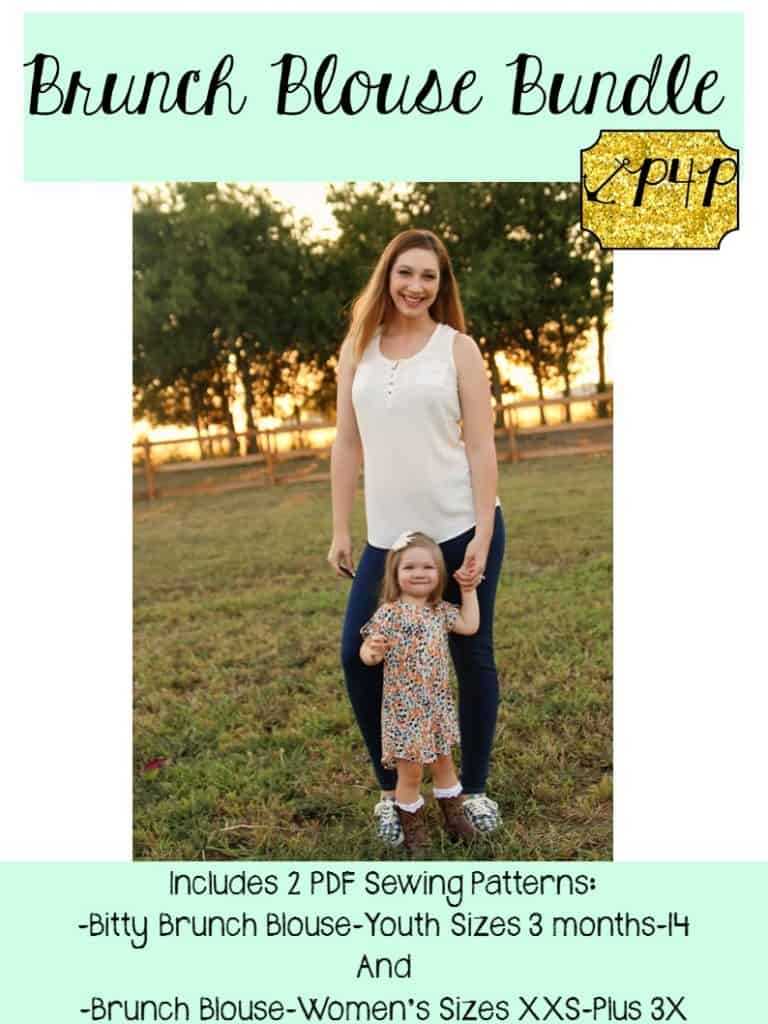
And, as always we gave you a deal if you wanted both in a bundle listing!
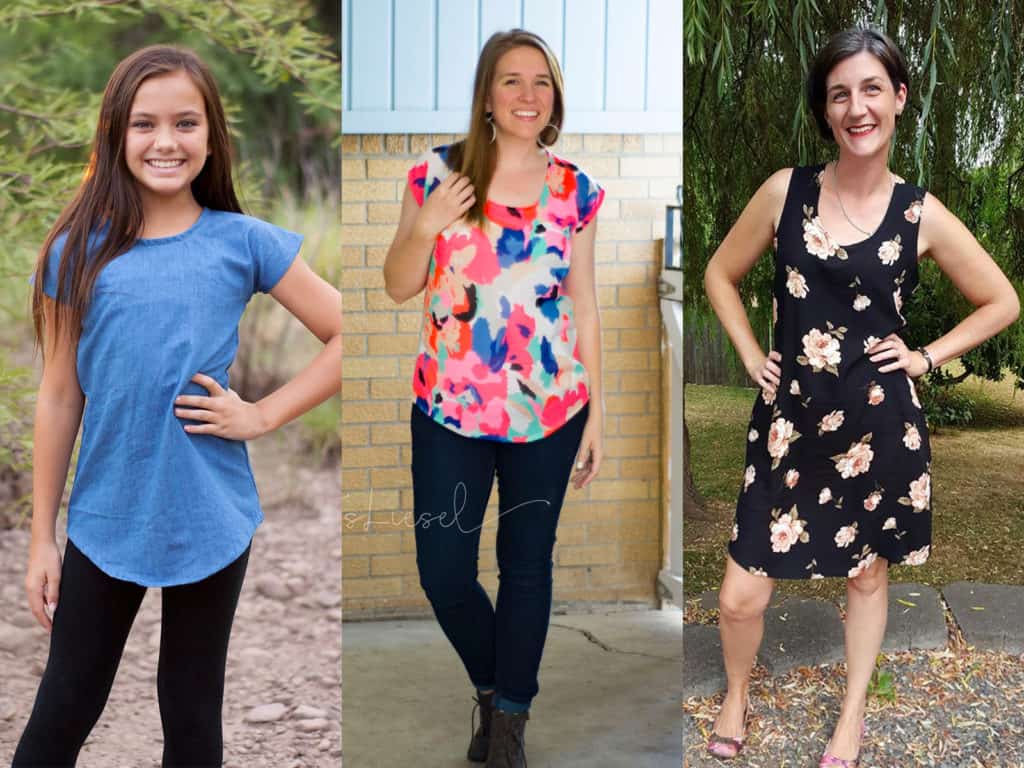
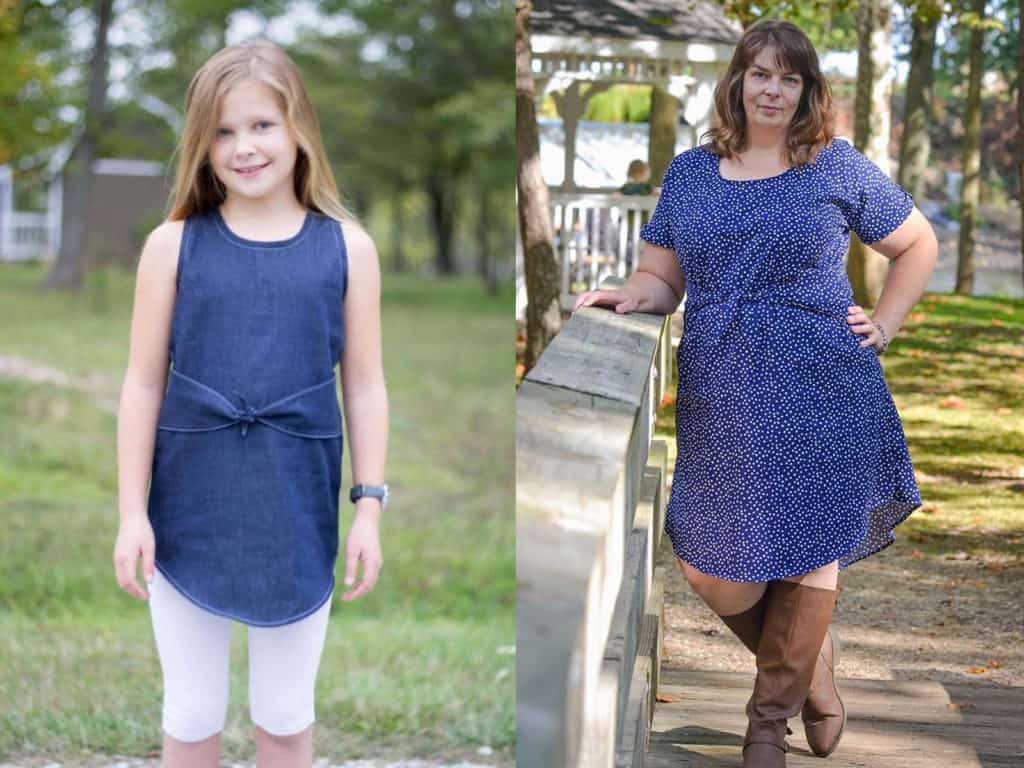
They are both fitted through chest/bust and looser through waist and hip. They are the perfect casual event top and dress! Use up those gorgeous wovens in your stash or you see at the store and have the perfect thing for that next baby shower, birthday party, brunch with the girls…it even works great for your work or church rotations.
**Want to learn more about how to measure yourself for this pattern? We’ve got you covered with an in-depth blog HERE. And in case you’re new to Patterns for Pirates and PDF patterns in general, we have a great blog full of new user tips HERE to help you get started! And, as with all of our current releases and updates, the pdfs now include our layers feature and can be found in Letter, A4 and A0 sizes.
Lets go over ALL the options!
They include a dolman style short sleeve, cap sleeve and tank.
Shirt length:
Tunic/Curved Hem:
And Dress Length:
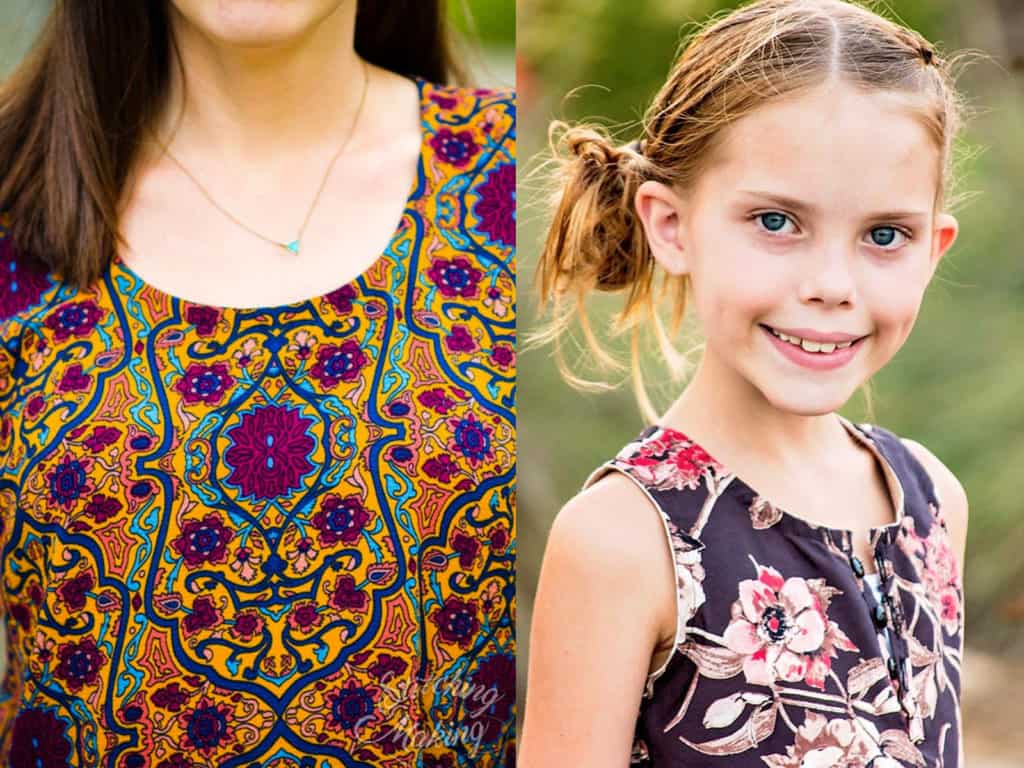
They both include a henley option:
Chest Pockets:
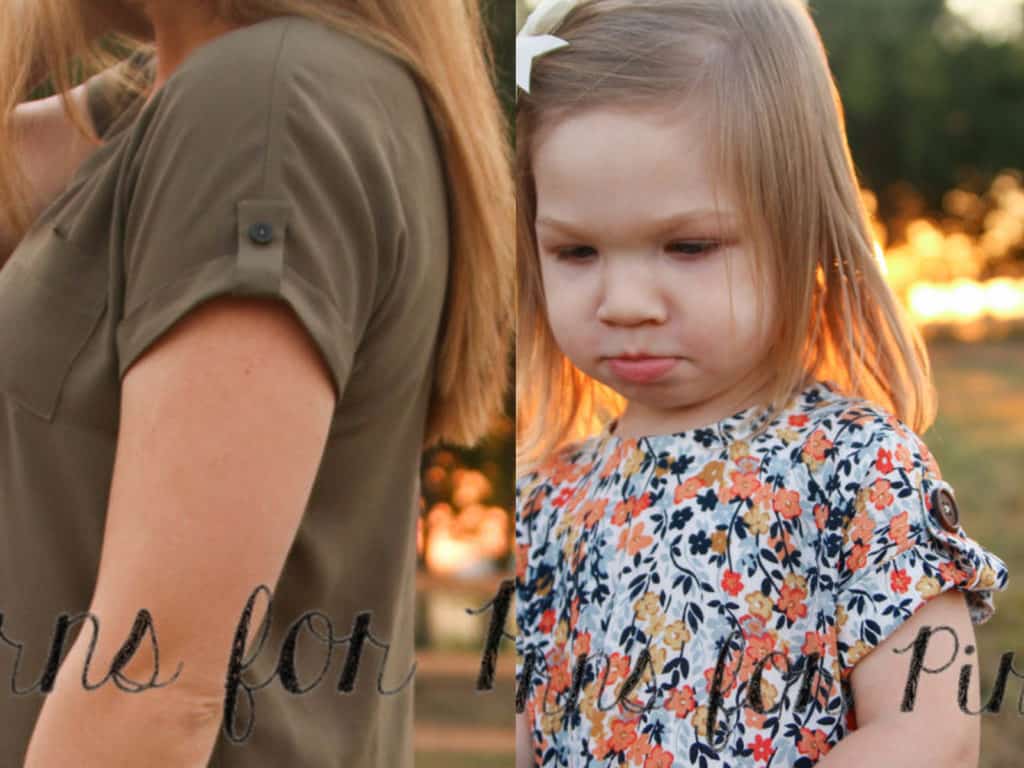
Short Sleeve Cuffs and Button Tabs:
Waist Ties:
The neckline and tank are finished with single fold bias binding to the inside:
Both have a center back seam:
Youth has a button and loop closure on the back while women’s is a simple pull on with no closure.
Don’t forget you can check out this pattern on all shapes and sizes and get a look at more examples of all the options in our albums in the P4P Facebook group! Here is the women’s Brunch Blouse Album and the youth Bitty Brunch Blouse Album.
The sale price will last through Sunday September 17th (midnight US Central time zone) so grab it while you can get that awesome price!
And if that wasn’t enough options, be sure to check out our Brunch Blouse Hacks HERE.
Tips for adding a woven skirt to a knit bodice
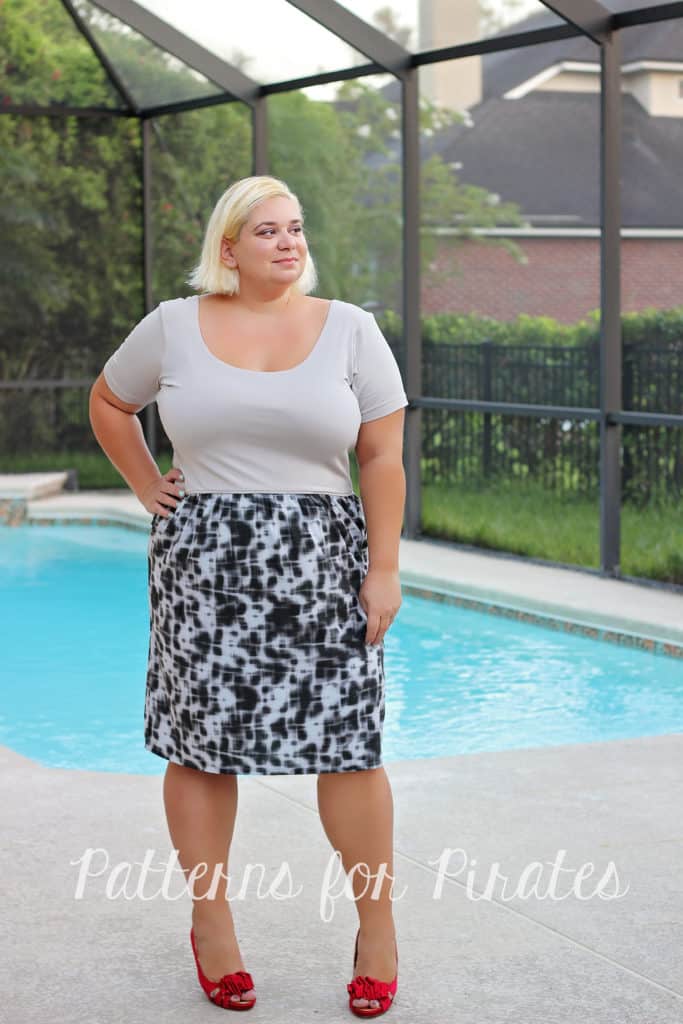
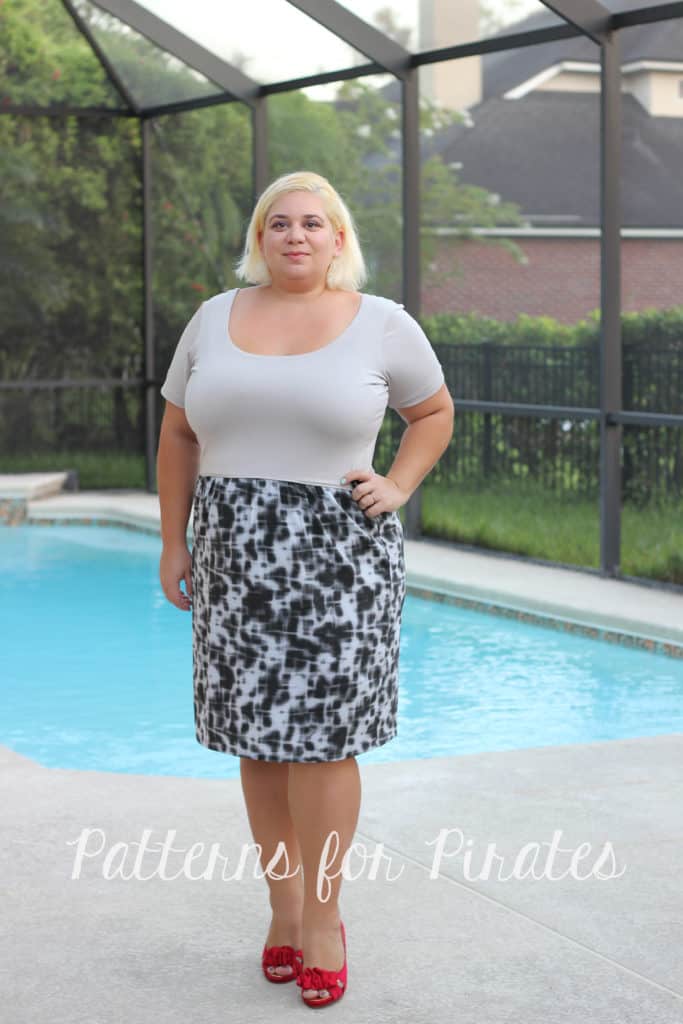
Ahoy, pirates! The Summer of Wovens is in full swing so I wanted to show you how easy it is to add a gathered woven skirt to a knit bodice. You can use this technique to the Boundless dress, like I have, or the Sunshine dress. If you love the bodice of the Sweetheart dress as much as I do you can use it and hack it with a woven gathered skirt too.
The most important thing to keep in mind when adding a woven skirt is CHOOSING THE RIGHT WOVEN fabric. Make sure to use a light weight fabric with great drape. I used a Nicole Miller chiffon and it worked beautifully. You can also use rayon, rayon challis or crepe georgette. Avoid quilters cotton, it will look stiff and add visual width which we don’t want. Am I right, ladies? 😉
Cut the pieces as per the pattern. You do not need to size up or down, just be sure to measure yourself and choose the size based on that. I do recommend adding some width to the skirt for more comfortable wear. I did not add it to mine but you can certainly increase width by a couple of inches. You can see how to take your measurements here.
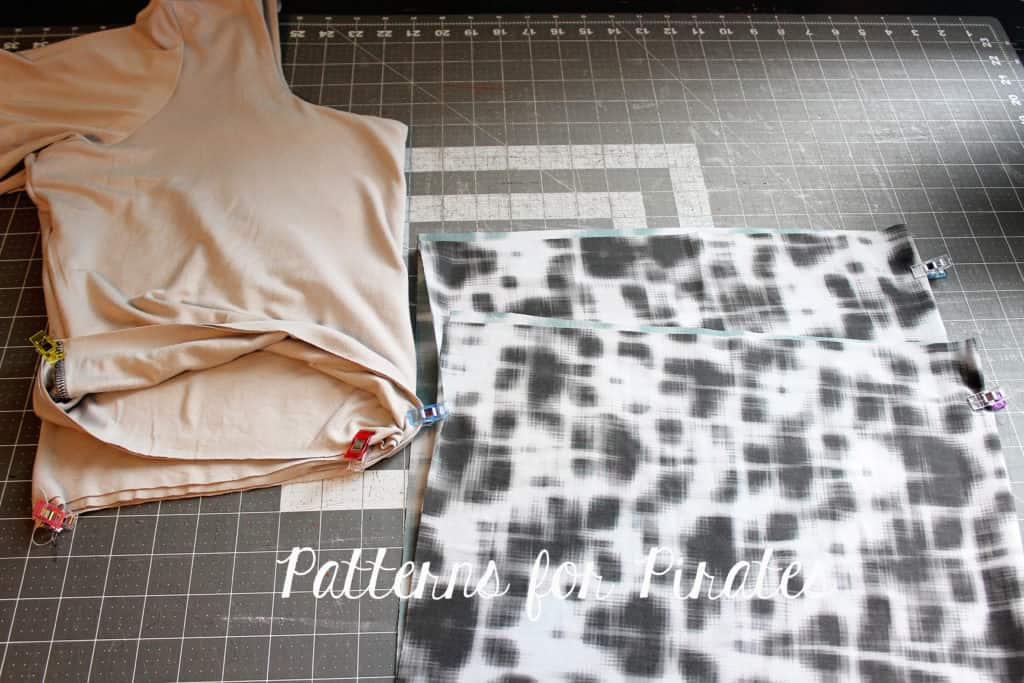
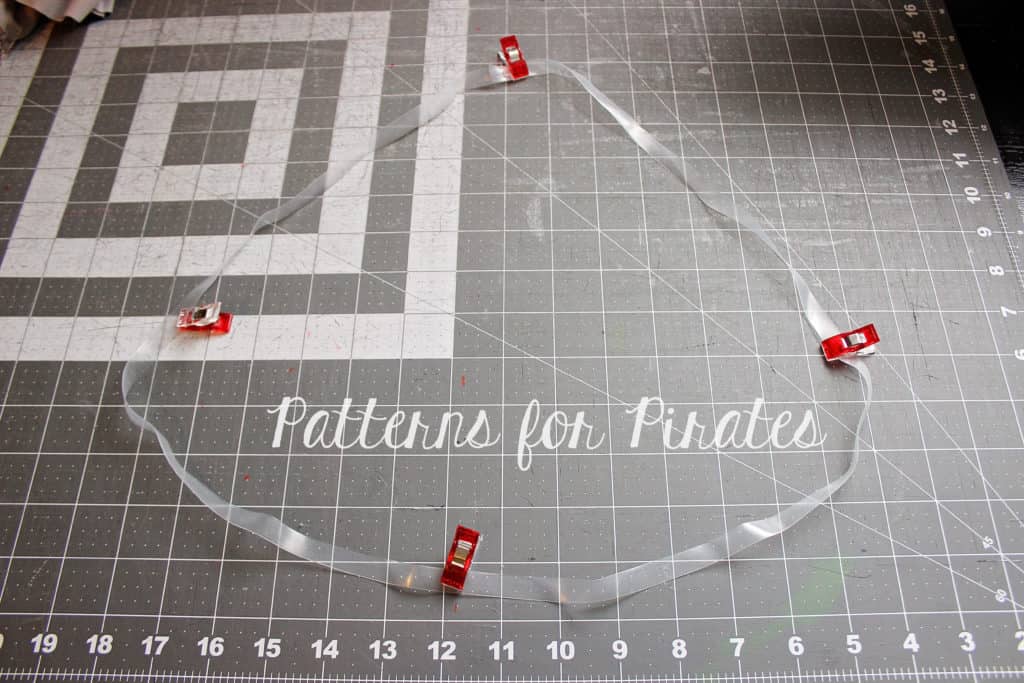
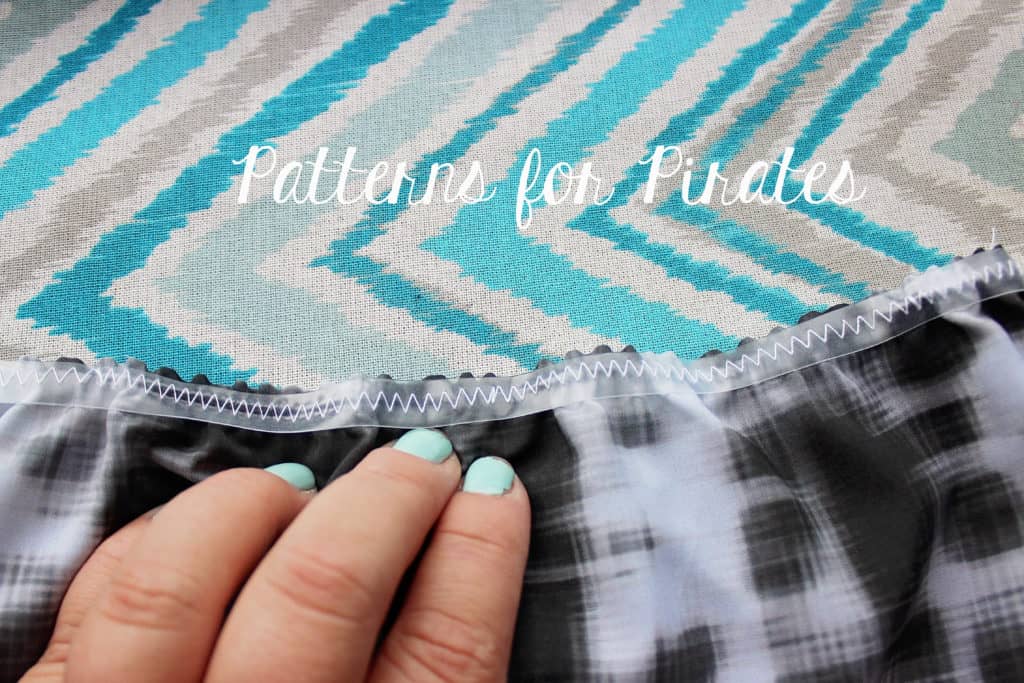
Sew the bodice as per the pattern tutorial. I marked the center of the front skirt piece and the back. I like to use clear elastic when I attach the skirt to the bodice. I do that for two reasons, the clear elastic will add stability to the seam and it will help you gather your skirt evenly. Simply cut a piece of elastic that matches the bodice bottom. Don’t forget to add seam allowance! I prefer to cut just one piece and match the elastic seam to the center back but if you prefer to cut two pieces and match the seams to the sides you’re welcome to do that as well.
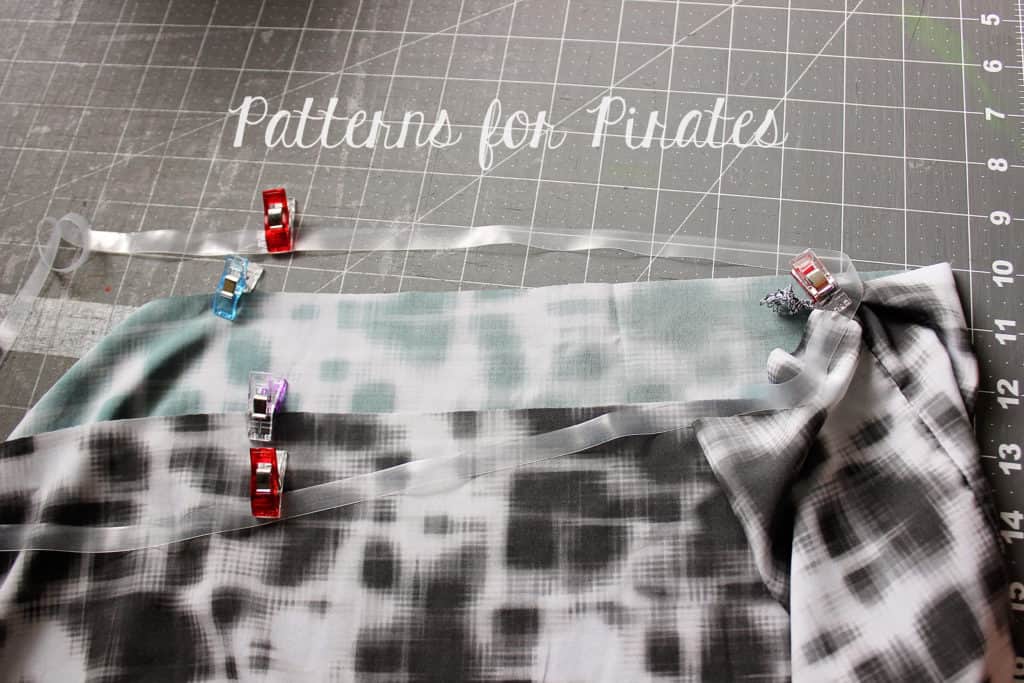
Mark the quarters of the clear elastic. Mark the side seams and center back and front of the skirt. Remember to mark the to of the skirt if you’re using a fabric with a directional print 🙂
Match the quarters of the skirt to the quarters of the elastic.
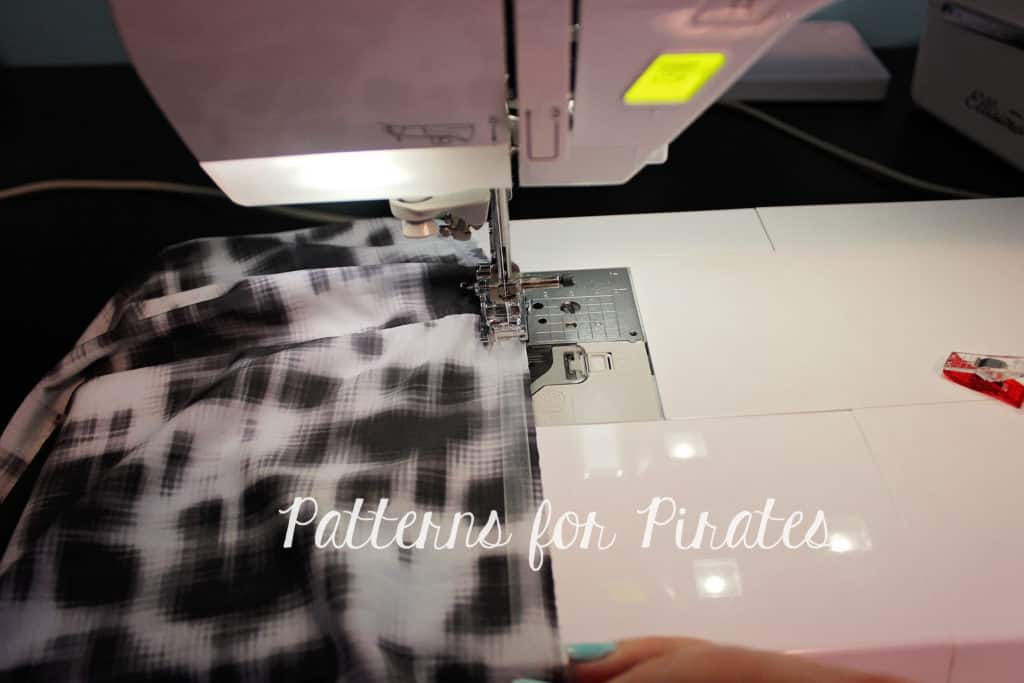
Sew the clear elastic to the top of the skirt. Use a zig zag stitch and adjust the tension and width to better fit the type of fabric you are using. Stretch the elastic as you sew. If you use a 1/2″ clear elastic simply align the edge of the elastic to the edge of the skirt. I use 3/8″ clear elastic so I put it a little lower than the edge to accommodate the 1/2″ seam allowance that is followed in this pattern.
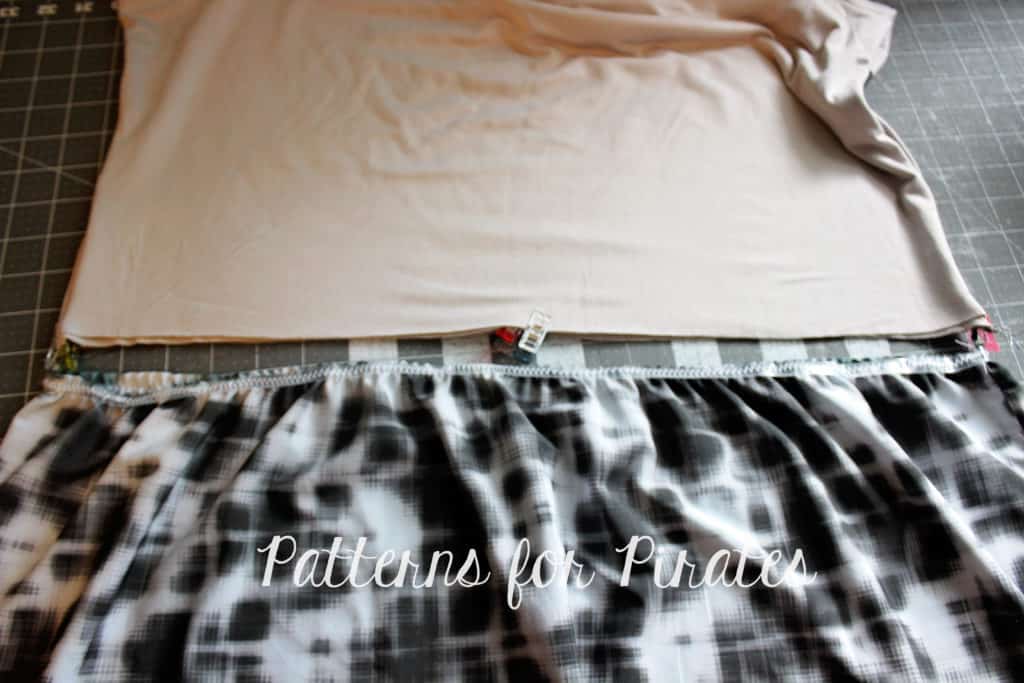
All you have to do now is attach the skirt to the bodice. The bottom of the bodice and the top of the skirt will be the same circumference. Match the side seams and the center backs and fronts, pin right sides together and sew.
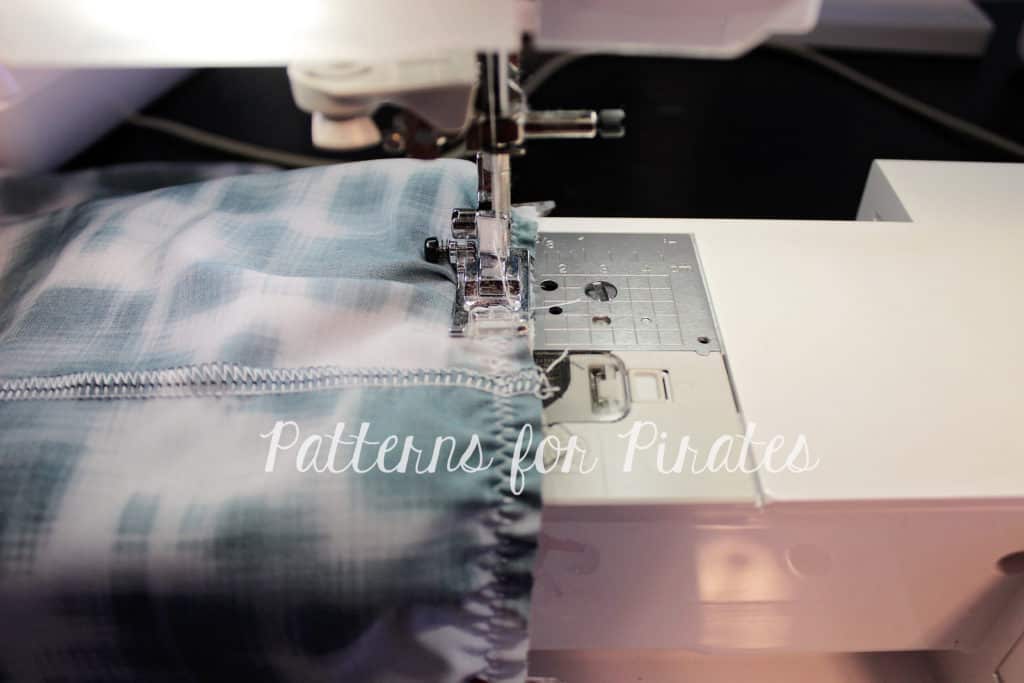
I like to attach the skirt to the bodice using a zig zag stitch but you can also use a triple stretch stitch.
Optional: top stitch the seam allowance up towards the bodice.
Tadah! You’re all set to rock your new woven skirt Boundless (or Sunshine) dress! I can’t wait to see your take on this easy hack so be sure to post it in the P4P group too!
P4P University :: Bias Binding
We recently covered the tips and tricks to using a knit binding (HERE) but what about woven fabrics? One of the many finishing options for necklines, sleeve hems and armcyes for woven fabrics is bias binding. Unlike knit, woven binding should be cut on the bias (45 degrees from the grain-line) so that it bends and curves and allows it to lay flat. Some patterns will include a pattern piece, which makes it easy to line up and cut the strip on the bias, however, it can eat up quite a bit of fabric and we all know how much we hate to waste pretty fabric, right? You can also use pre-made bias binding, but many of times it’s nice to use the same fabric as the your garment, so we’re going to show you how make a continuous bias strip from a small square of your fabric. This is also perfect to use up your scraps.
For this example, I used a 15″ x 15″ square which makes about 100″ of 2″ bias binding. A 12″ square makes about 60″ which is plenty for the bias binding neckline option of the Everyday Elegance.
- Cut and prep the square. Mark opposite sides with A/B and draw a diagonal line from one corner to the other.
- Cut the square across diagonally.
- With right sides together, match the ‘A’ side and stitch together using a 1/4″ seam seam allowance.
- Press seam allowance open.
- Starting at the bottom, draw 2″ lines parallel to the bottom edge. If there is any excess that does not complete a full 2″ row, just trim it off.
- With right sides together, fold the ‘B’ side toward one another. Your fabric should be a square, with your drawn lines still parallel with one another.
- Pull the pointed corners in opposite directions and match up the next row of lines.
- With right sides together, pin and stitch using a 1/4″ seam allowance.
- Press seam allowance open.
- Starting at one end, cut along your previously drawn lines.
- Continue cutting around the circle and voila! You now have a continuous bias strip.
At this point, you can set your binding aside or you can continue to pre-press to finish preparing it to be sewn to your garment. A 2″ binding strip will create 1″ single fold or 1/2″ double fold bias tape. The above method also works for various widths and single or double fold bias tape.
- Fold bias strip in half toward the wrong side. Press.
- Unfold and re-fold the raw edges toward center.
- Fold again and press.
There you have it! Creating your own bias tape from woven fabric is as simple as a couple of seams and cuts.
Check out the video below as Judy walks you through a quick demonstration on sewing with bias binding.
We’ve added another quick video with SINGLE FOLD BIAS BINDING 🙂 Enjoy!
As promised in the video here are a couple pictures to entice you to PRESS and stay stitch to help get a great finish.
Finished single fold bias:
Happy Sewing!!
Linen Loungers :: New Pattern Release!
Wahoo! It’s pattern release day! And we are coming to you with our first ::new:: pattern for the “Summer of Wovens”!! (Too many exclamation points? Can you tell I’m excited?)
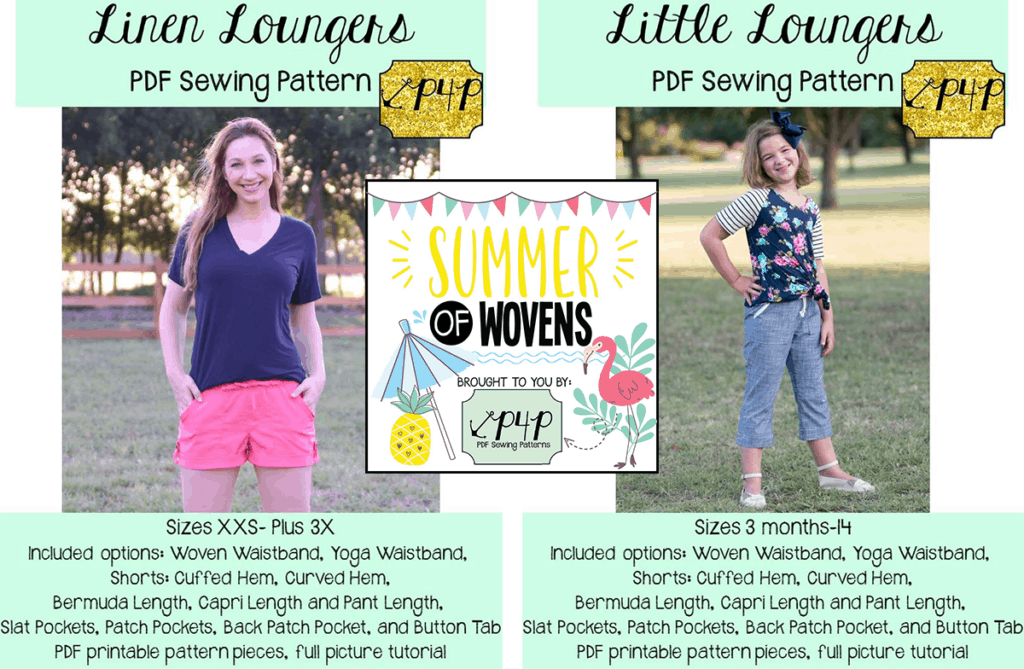
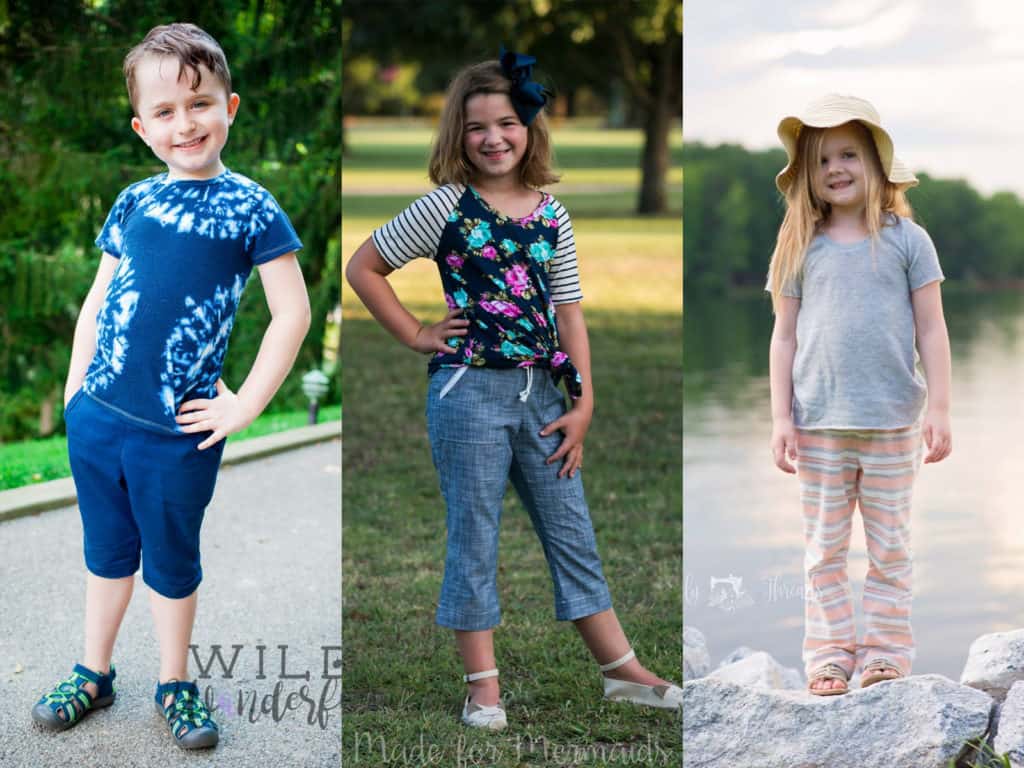
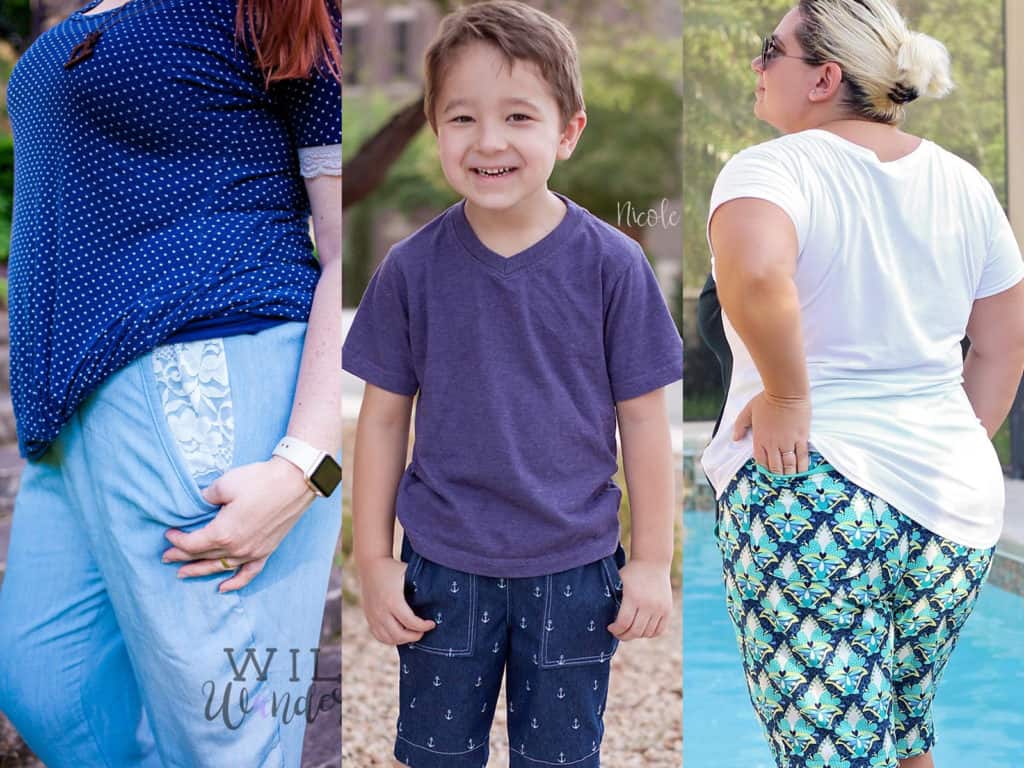
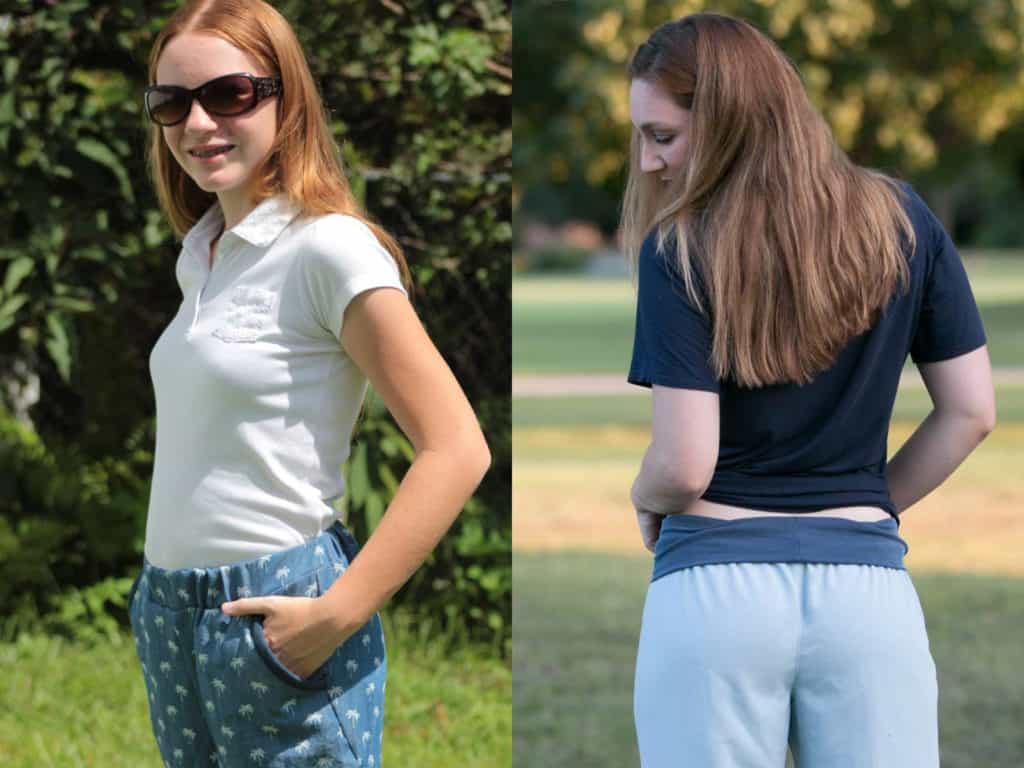
We are bringing you the Linen Loungers and the Little Loungers, which are both a woven pant full of options!
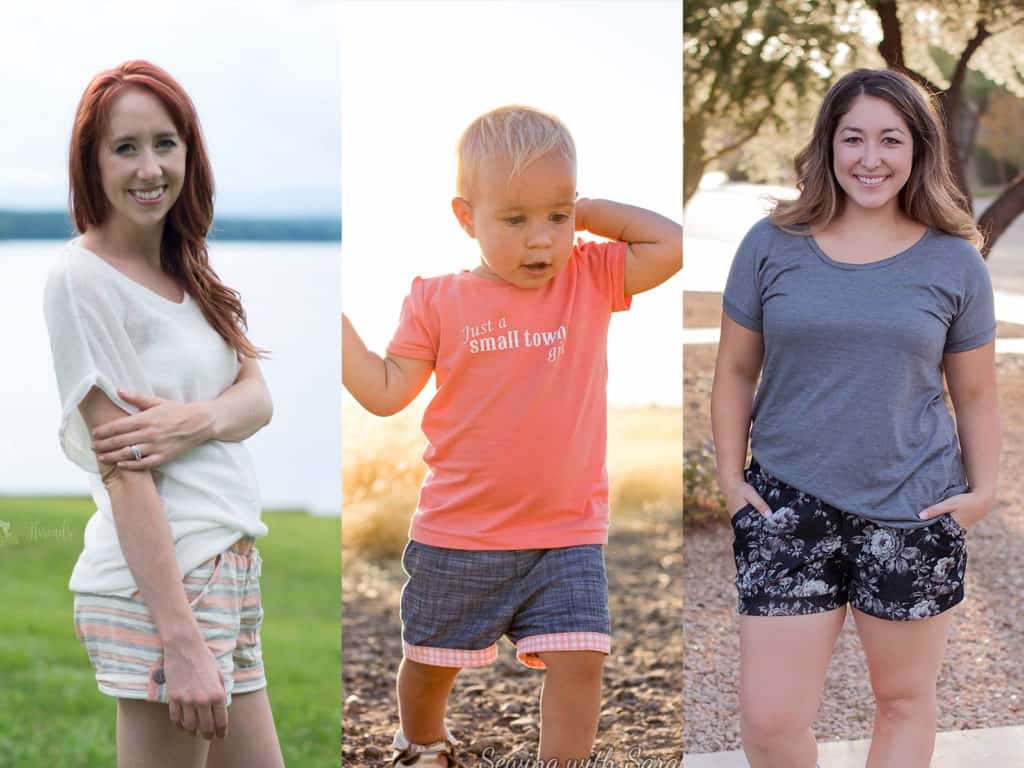
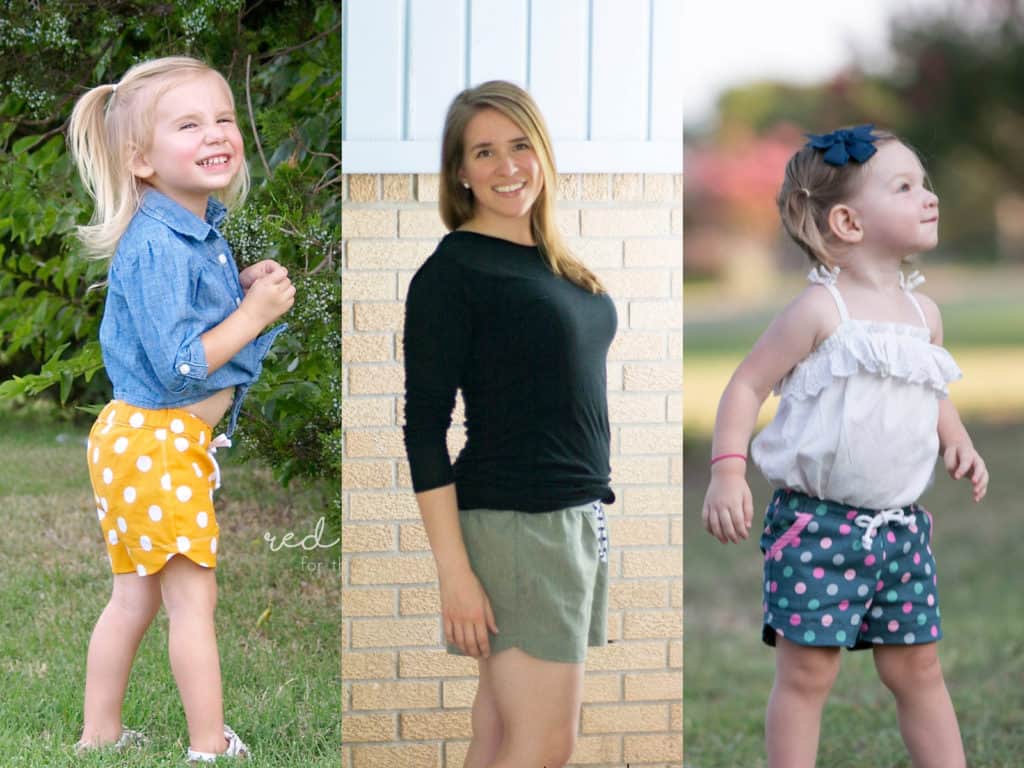
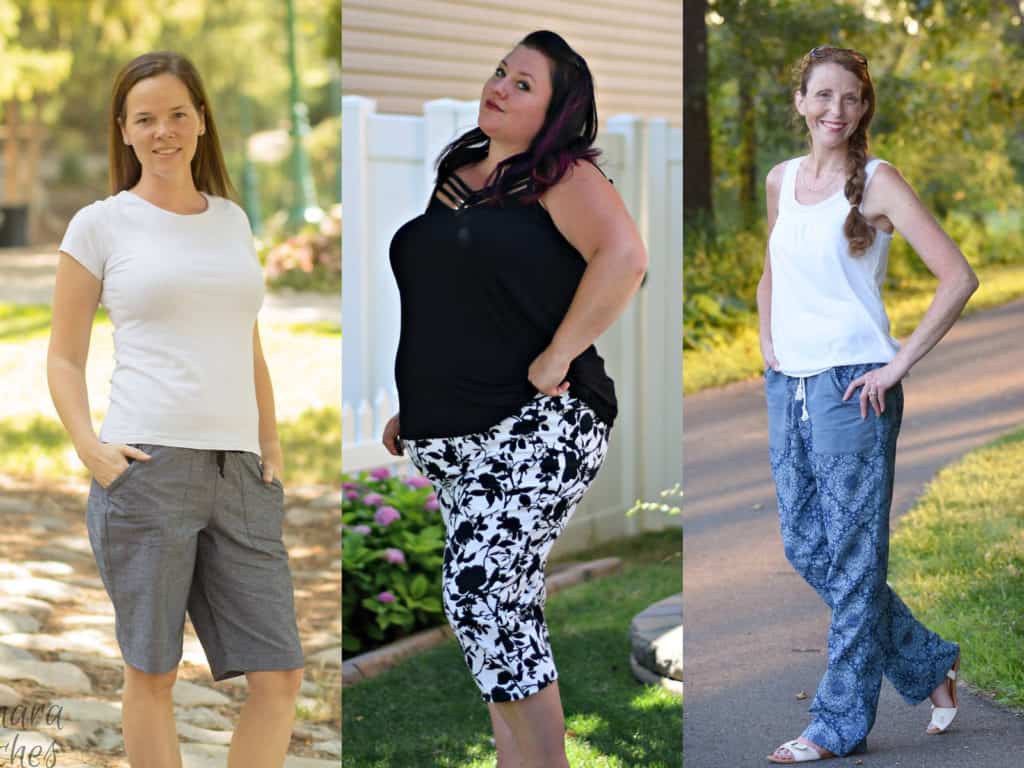
The women’s Linen Loungers are in our full size range, from XXS – Plus3X. They are available in five lengths (shorts with cuffed hem, shorts with curved hem, bermuda, capri and pant), three pocket options (patch, slat and a back patch pocket), two waistbands (woven and yoga) and also offer optional button tabs and a drawstring. The unisex youth Little Loungers are available in sizes 3Month – 14 and cover all of the same options as their women’s counterpart!
What are your fabric options for these pants?
For the shorts length, the sky is pretty much the limit. You can use a more structured woven or something with drape and have your new favorite pair of shorts to wear while taking on your everyday life. For the other lengths, we highly recommend using a woven apparel fabric that has some drape to it like linen, linen blends, rayon, crepe, ect. These Loungers are all a pull-on pant style and drafted looser in the hips for easy on/off, and then taper in at the knee with a slight bootcut flair.
**Want to learn more about how to measure yourself for this pattern? We’ve got you covered with an in-depth blog HERE. And in case you’re new to Patterns for Pirates and PDF patterns in general, we have a great blog full of new user tips HERE to help you get started! And, as with all of our current releases and updates, the pdfs now include our layers feature and can be found in Letter, A4 and A0 sizes.
Let’s break down the options a little!
Cuffed Hem Shorts (with optional Button Tab)
Curved Hem Shorts
Bermuda/Capri/Pant Length
Slat/Patch/Back Patch Pockets
Woven/Yoga Waistband
Ready to purchase a copy of the Loungers and get to sewing yourself?
Grab a copy of the Little Loungers, Linen Loungers, or even a Loungers Bundle so you can sew for practically the whole family.
Please don’t think we’d leave you with just the pattern and no extras!! Head over to our “Loungers Hacks” post to see how you can take these patterns another step further.
If you’re still needing more inspiration, be sure to head over to the Patterns for Pirates Facebook Group Albums for the Linen Loungers and Little Loungers to see what our amazing testers have sewn for themselves. Don’t forget to tag us on Instagram (@patternsforpirates | #patternsforpirates) and to share your finished items over in our Facebook group! We love to see what you make!
Happy sewing, friends!
