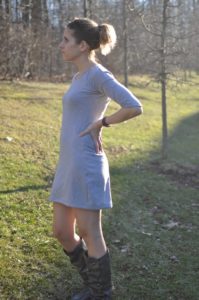
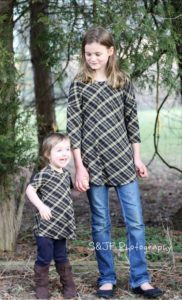
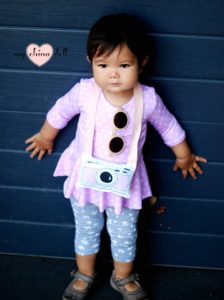
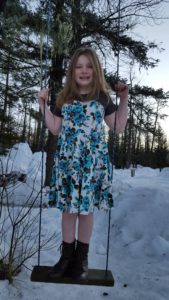
Welcome back to the Sweetheart + Me Hearties Sew-A-Long. Let’s get Day #2 started!
Today is all about printing and assembling your pattern. And measuring yourself correctly, so we make sure to get the best fit.

Patterns for Pirates patterns have lots of little extras for you. First, the newest files are set up with a “layers” feature. You can read all about how to access the layers HERE.
And on top of that, they are “no-trim” pages. And that’s exactly what it sounds like! The pages are set up to print and be taped/glued together without needing to get scissors out and trim the edges before assembly. It makes this step of the process even quicker. Need help assembling the no-trim pages? No problem! Judy created this fabulous video for us. Go check it out HERE. (You have to be a member of the P4P Facebook group to be able to see the video.)
Before you hit print, BE SURE that your pages are set to print at 100%, no scaling. We still recommend printing only the first page and measuring your 1″ x 1″ (or 4cm x 4cm) square to verify the print size is correct before printing the entire pattern. Even if your square is off by the teeniest amount, the entire pattern will be affected and your dress will not fit. Save yourself some ink and paper (and fabric!) and verify the settings first.

Now let’s talk measuring yourself!
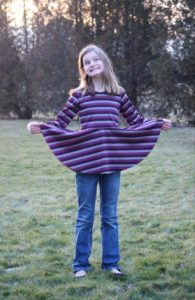
Judy created an entire post dedicated to measurements and how to properly measure yourself. You can see the full post HERE. However, since the Sweetheart + Me Hearties patterns have a full circle skirt, which makes it very forgiving in the hips, the most important fit aspect of this pattern is the bodice.


Full Bust: Full bust is around the fullest/biggest part of your bust. You want the tape as even horizontally as possible.

Over Bust: This is taken around upper back, under arms and over your bust.


Under Bust: This is taken directly under your bust around back. Try to keep your tape as even horizontally as possible.

Waist: This is your natural waistline. Contrary to most belief, it is NOT your belly button or where you wear your pants (even though you might like high waisted pants). It is taken at the smallest part of your mid section. If you don’t have a very defined natural waist there is a very easy way to find it.
Take any kind of stretch trim, fold over elastic, thin elastic, even a strip of knit will work, and tie it snuggly around your mid section. Now MOVE around, bend walk around, sit down, it will naturally settle on your smallest part.
This is your natural waist ![]()


Side Waist Length: Taken from your armpit vertically down to your natural waist. This measurement is vital in any pattern that should hit as your natural waist. (Ahem, Sweetheart Dress!) Making sure this measurement is accurate will give you the most flattering fit. If the seam doesn’t hit you at that smallest point then you’re not using it to your advantage. 😉

Start with your arms DOWN. You want your tape to start where your crease naturally lies— not all the up to your arm. Think where you’d like your shirt to be (if it’s all the way up as tight as possible then it is uncomfortable and you can’t move your arms around).
This was such a hard picture to get! But here are the best we could get to explain… yes, I taped the tape to myself lol!!!


What if you’re taller or shorter than the pattern is drafted for?
The Sweetheart dress was designed for the average “side waist length” of 8 inches. If you measure more or less than that, it’s incredibly important to adjust your pattern to fit your body properly.
We recommend to adjust differently, based upon your bust size. If you have a smaller/larger bust than the pattern is drafted for, make your height adjustments at the bust line. If your bust measurements are the same, add or remove the length below your bust line.
What if your measurements don’t fall within one size?
That is why you’re sewing for yourself, isn’t it? To get the perfect fit? Well then let’s get that perfect fit!
Let’s say your measurements fall in a “medium” bust and a “large” waist. Cut the pattern out, by grading between the two sizes. Before cutting, simply draw a line on your paper pattern, blending the sizes at a midpoint. You want your line as smooth as possible between to the two sizes.

WHEW! Did you soak in all of that information?
Hopefully now, your pattern is printed, taped/glued together, you have properly measured for your size, cut the pattern pieces out and are ready to start cutting into your pretty fabrics tomorrow. If you’re sewing along with us, be sure to tag @PatternsforPirates and #P4PSWEETSAL on Instagram. Don’t forget to join us on the P4P event page either: Sweetheart SAL on Facebook.
Thanks for sewing along with us! We look forward to a week worth of sewing with you!
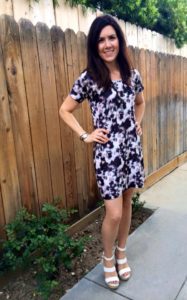
Day 1: Fabric Selection.
Day 2: Printing + Measuring.
Day 3: Cutting Fabric.
Day 4: Bodice + Sleeves.
Day 5: Skirt + Hemming.
Day 6 & 7: Catch-Up Days.
Day 8: Recap + Winners Announced!


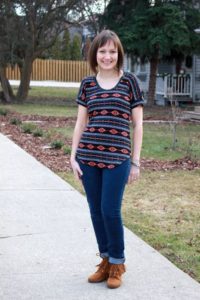


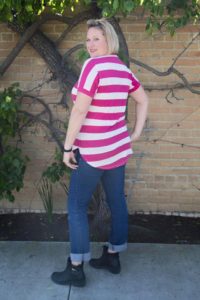
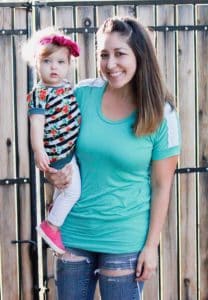
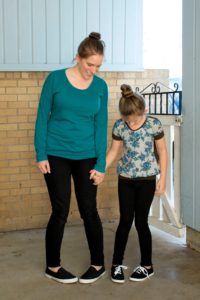
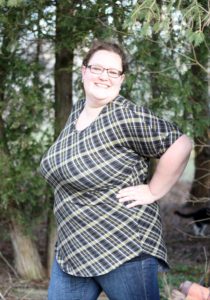
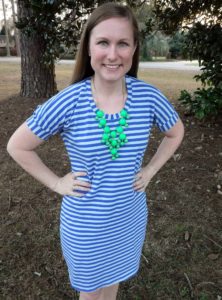
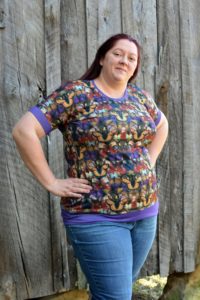


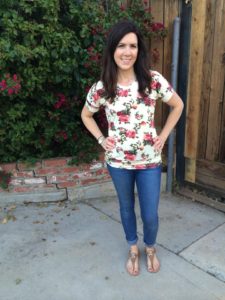
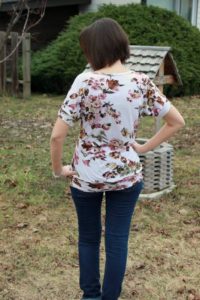
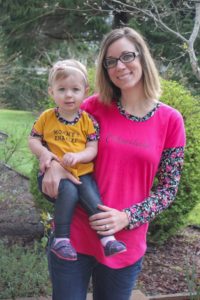


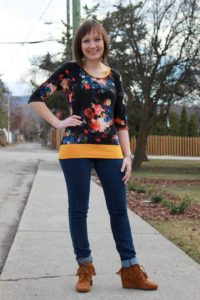


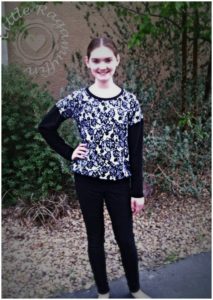
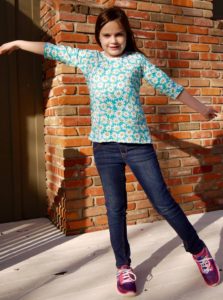
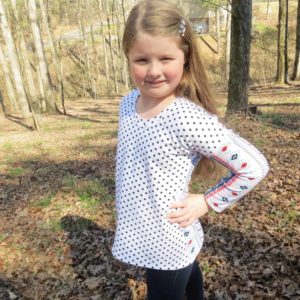
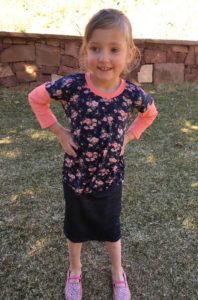


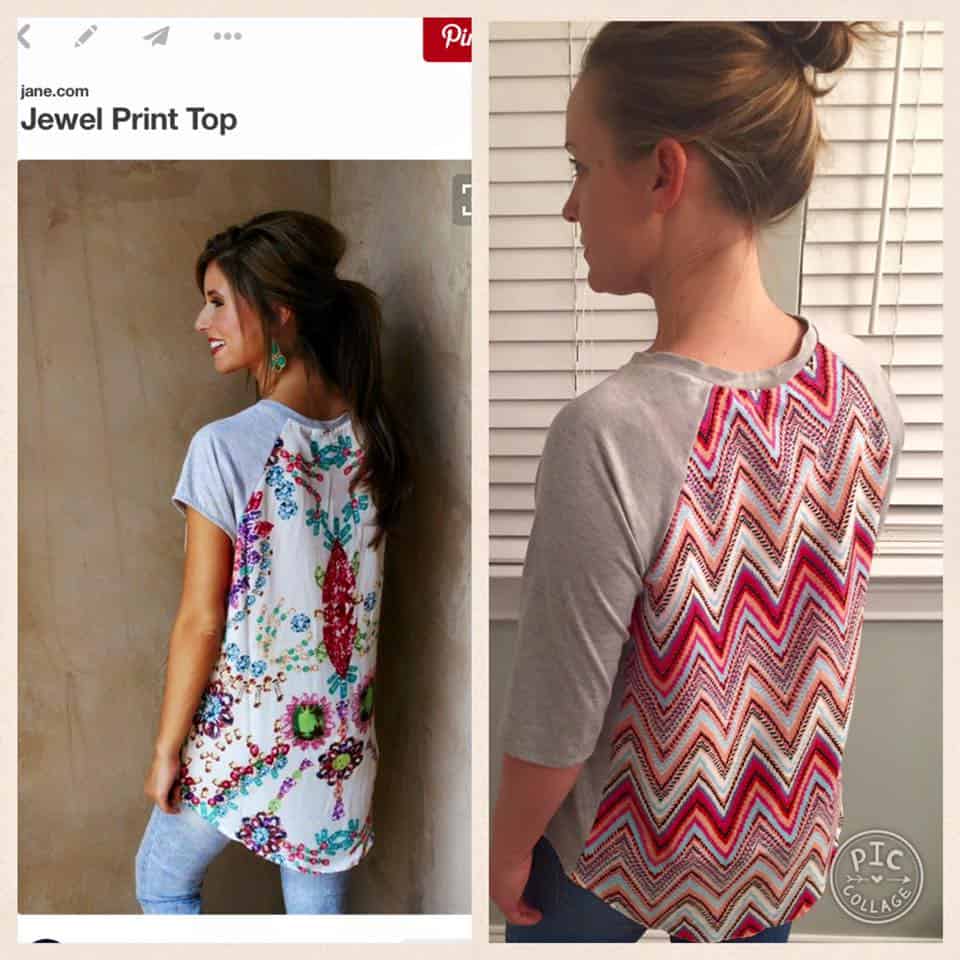
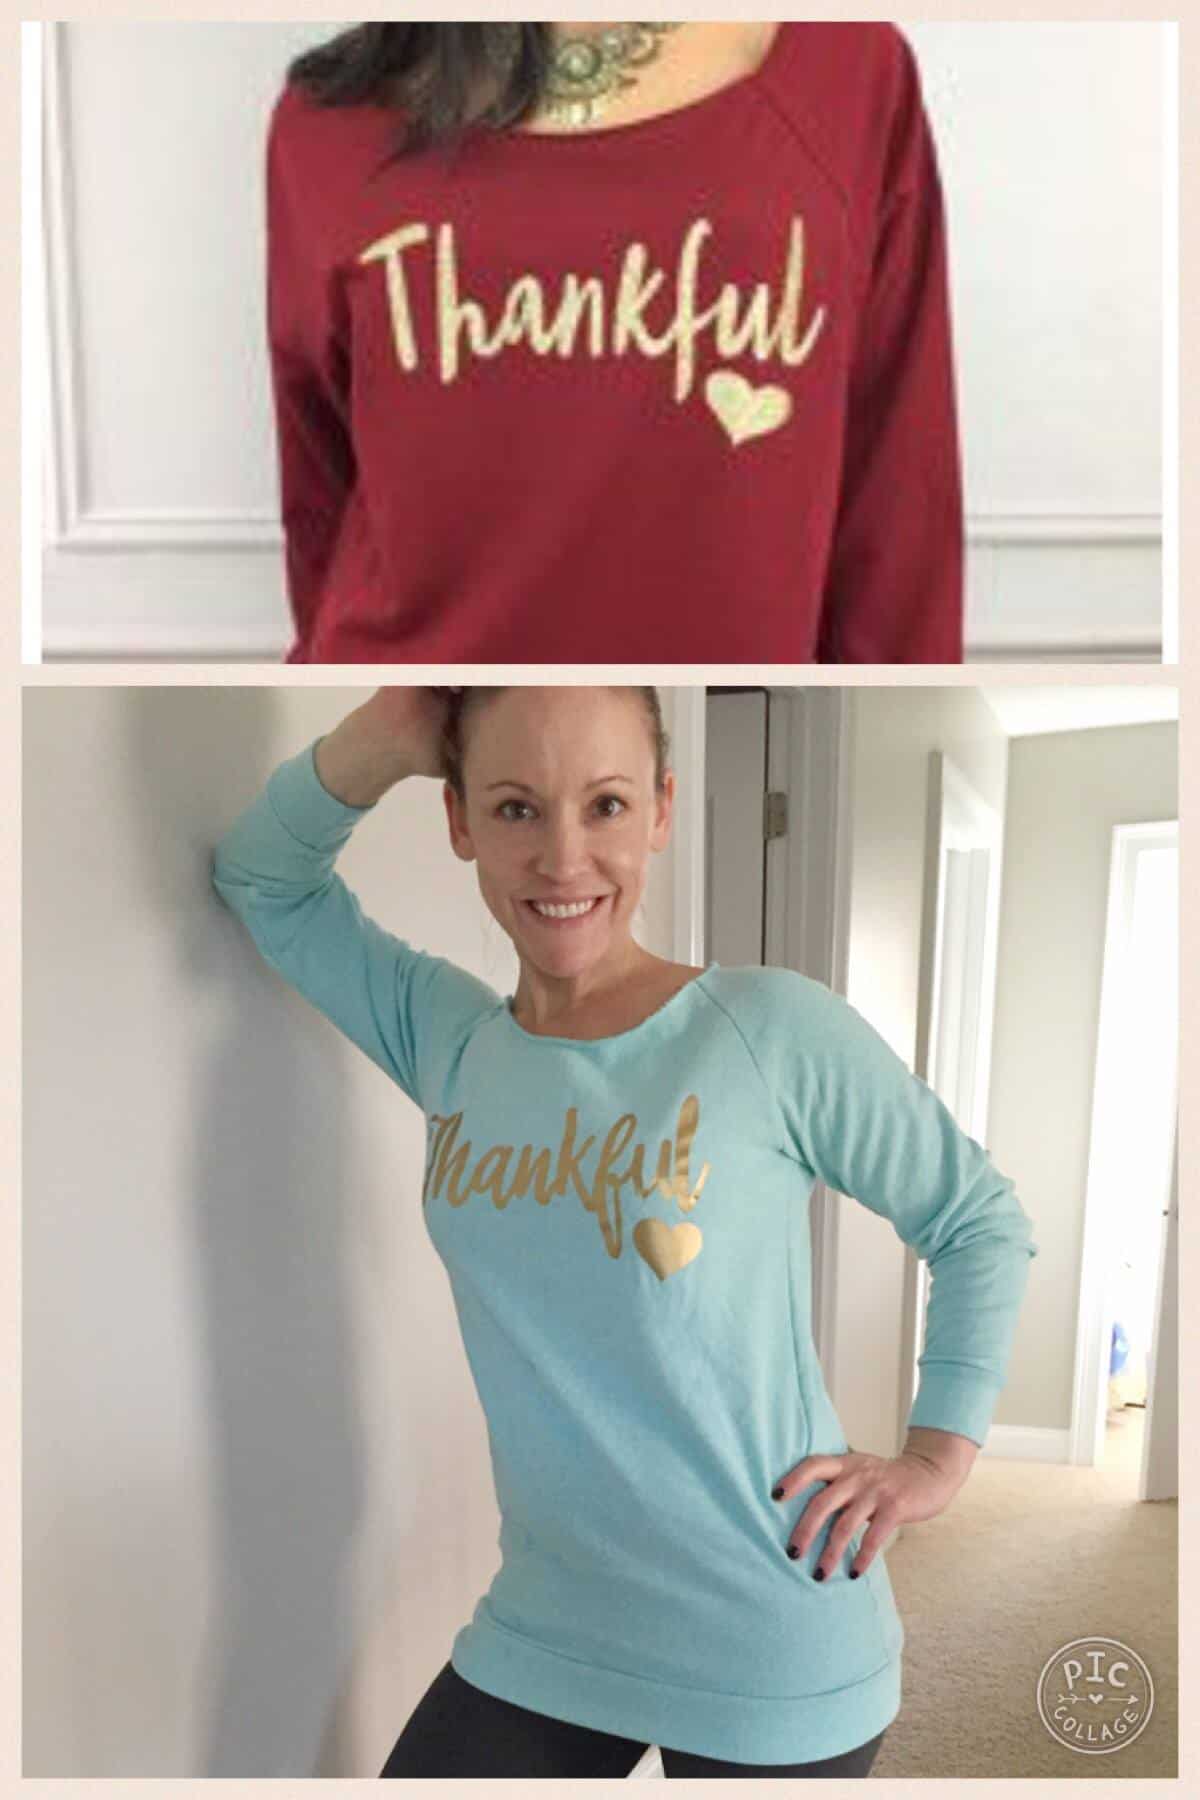
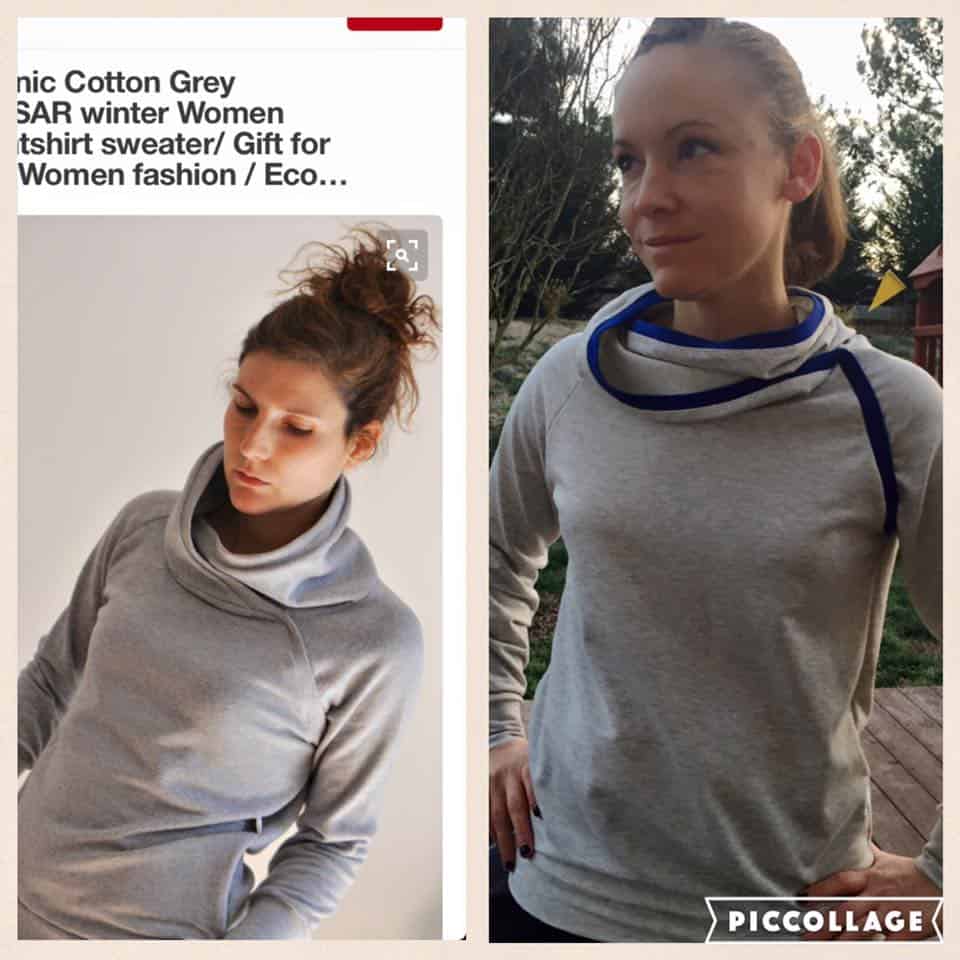
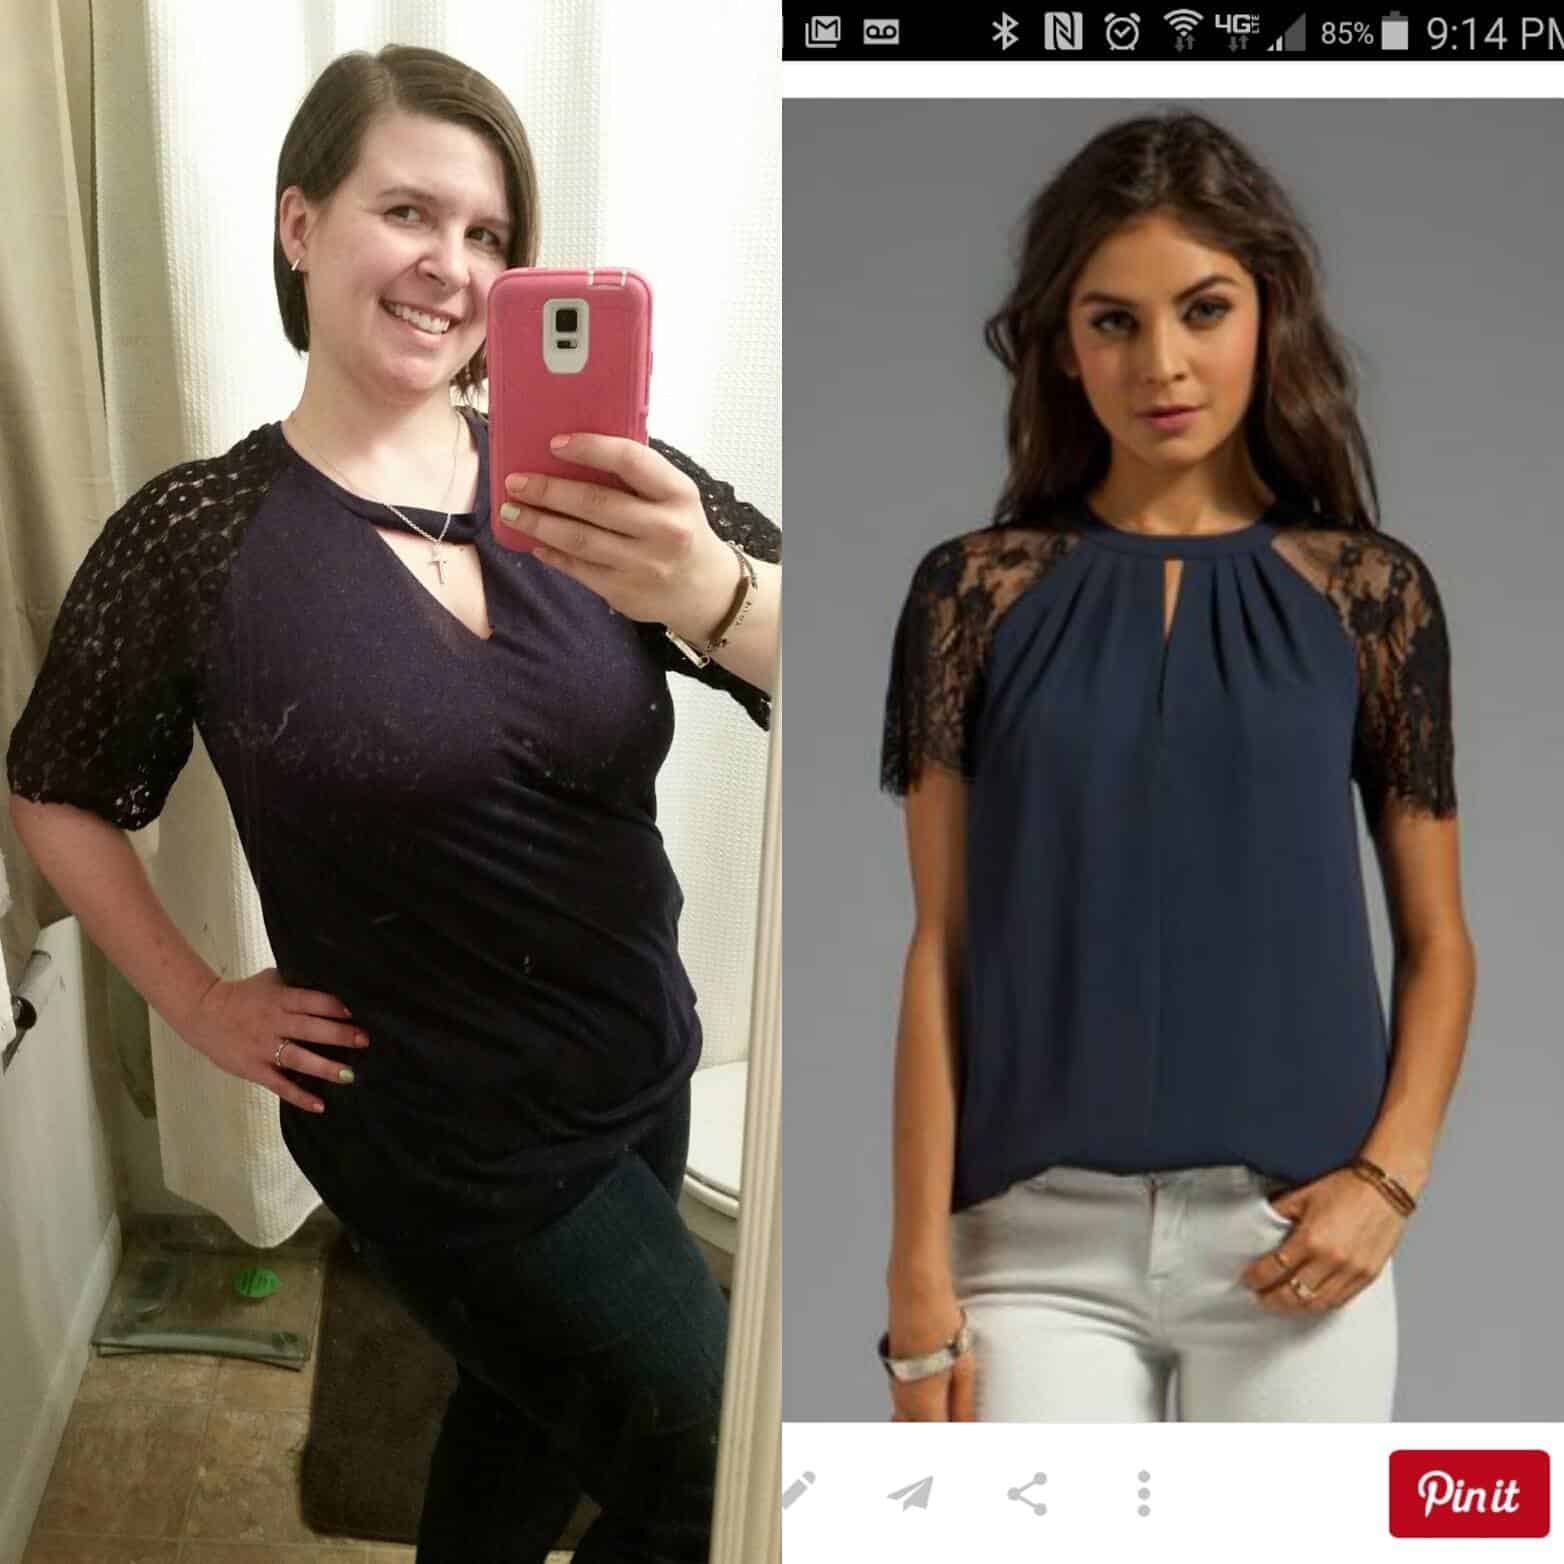


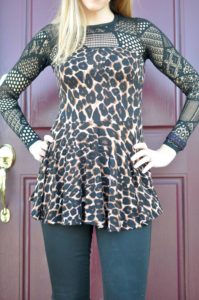


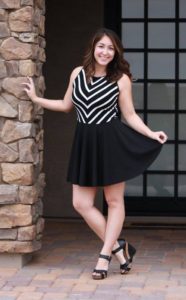

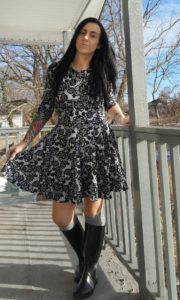
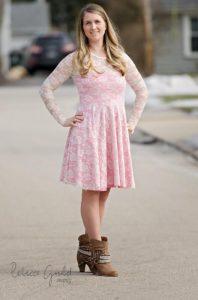
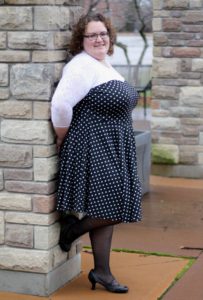
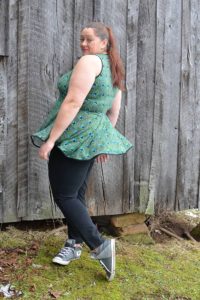


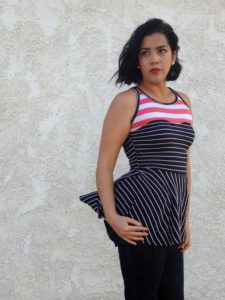


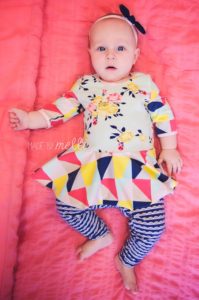


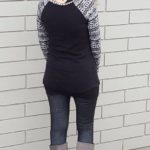
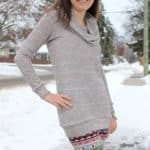
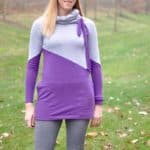
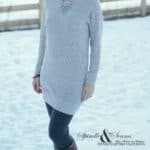
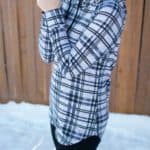
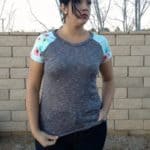
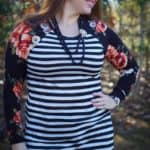
 Also added was a 3/4 sleeve length. It just made sense to add it in as a style choice. And it looks amazing on our testers!
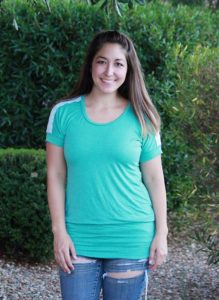
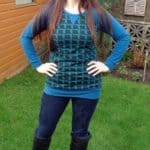
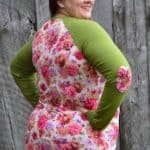
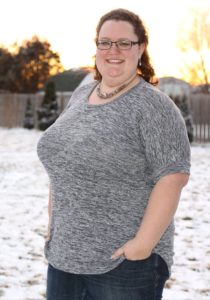
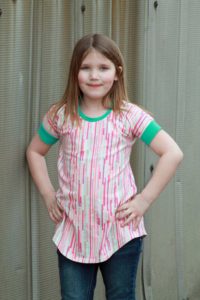
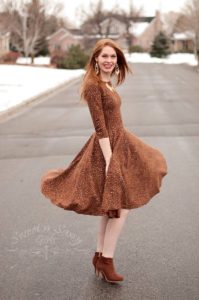
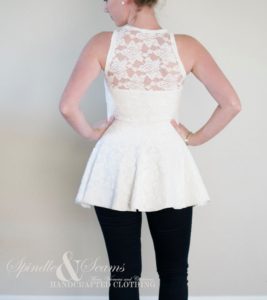
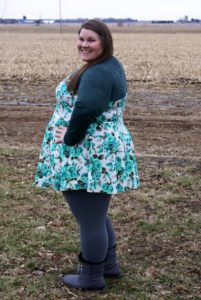
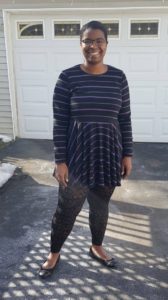
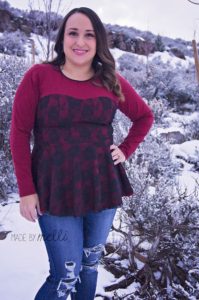
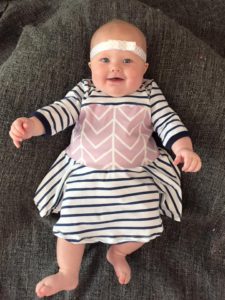
 A new hem alternative was added too! In addition to the curved and straight hems from the original pattern, there is now a chance to add a band to the bottom of your PSD. The bands come in two different lengths and simply create a different look for this style top. Sometimes you want a curved/straight simple hem for a more flowy-style shirt…and sometimes you want something that pulls it all back into your body. Isn’t that the beauty of sewing? You get exactly the style you want in each item you stitch for yourself!
 So what are you waiting for? Go grab yourself the