Patterns for Pirates

P4P stylish, modern, wearable patterns

  • Home
  • Blog
    • Frequently Asked Questions
    • Pattern Releases
      • Free Patterns
    • P4P University
      • Fitting
      • Sewing with Stretch, Knit Fabrics
      • Sewing with Woven Fabrics
      • Sewing Machines
    • Sew-A-Longs
    • Fabric for Pirates
    • Pattern Hacks
    • Announcement
      • Blog Tours
      • Contest/Giveaway
  • Shop
  • Bundle Discounts
  • Flash Friday
  • Gift Cards
  • My Account
  • Cart

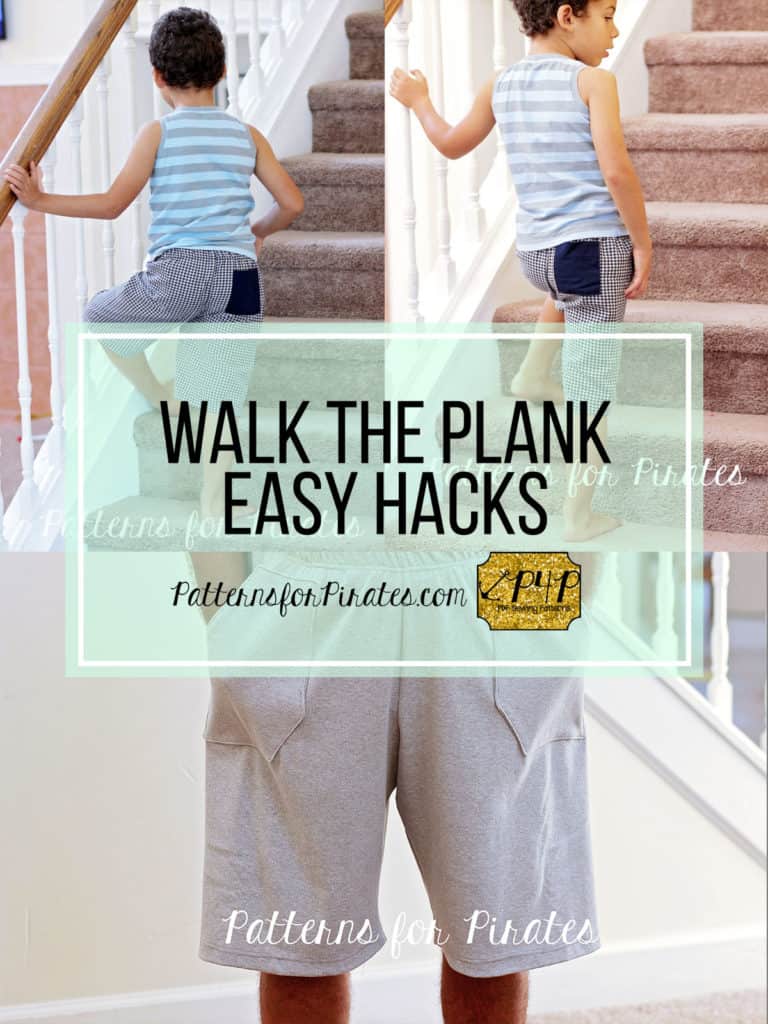
Walk the Plank – easy hacks

September 27, 2017

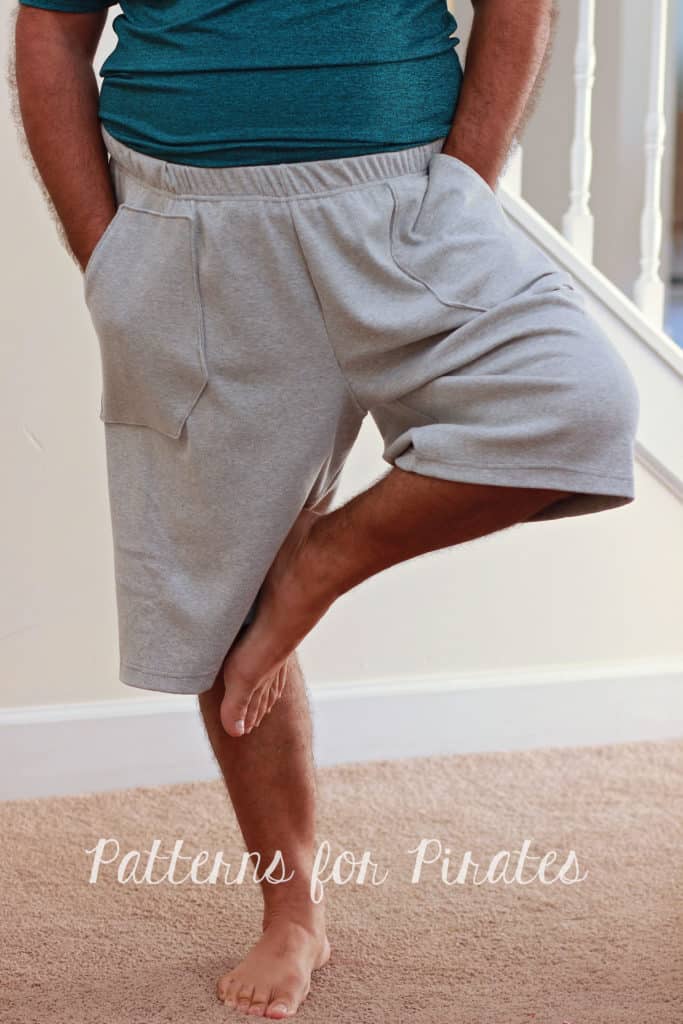
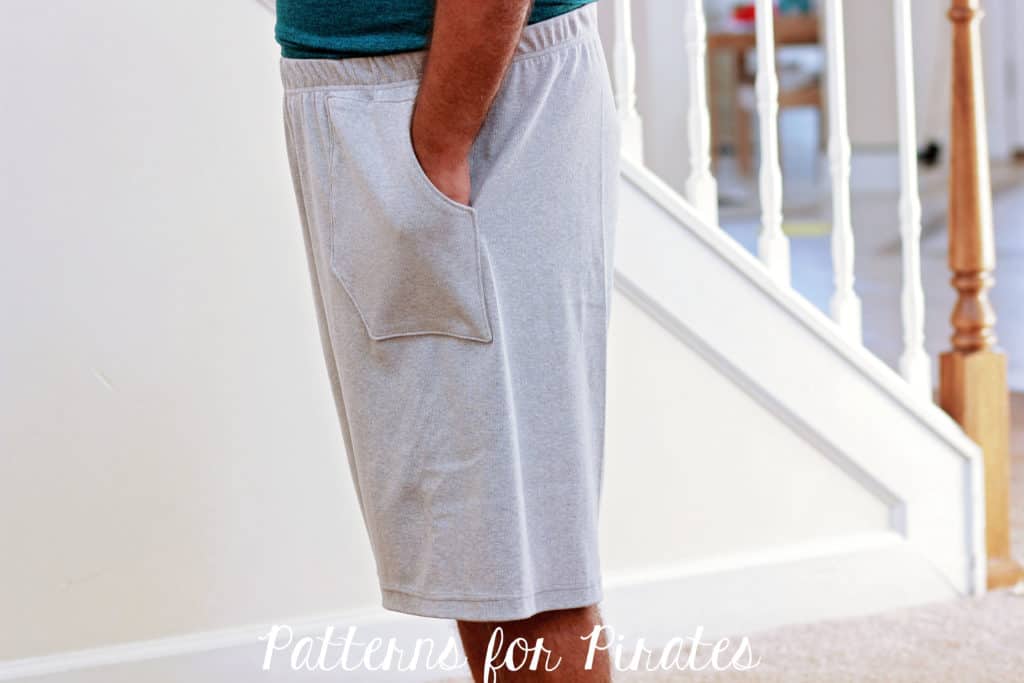
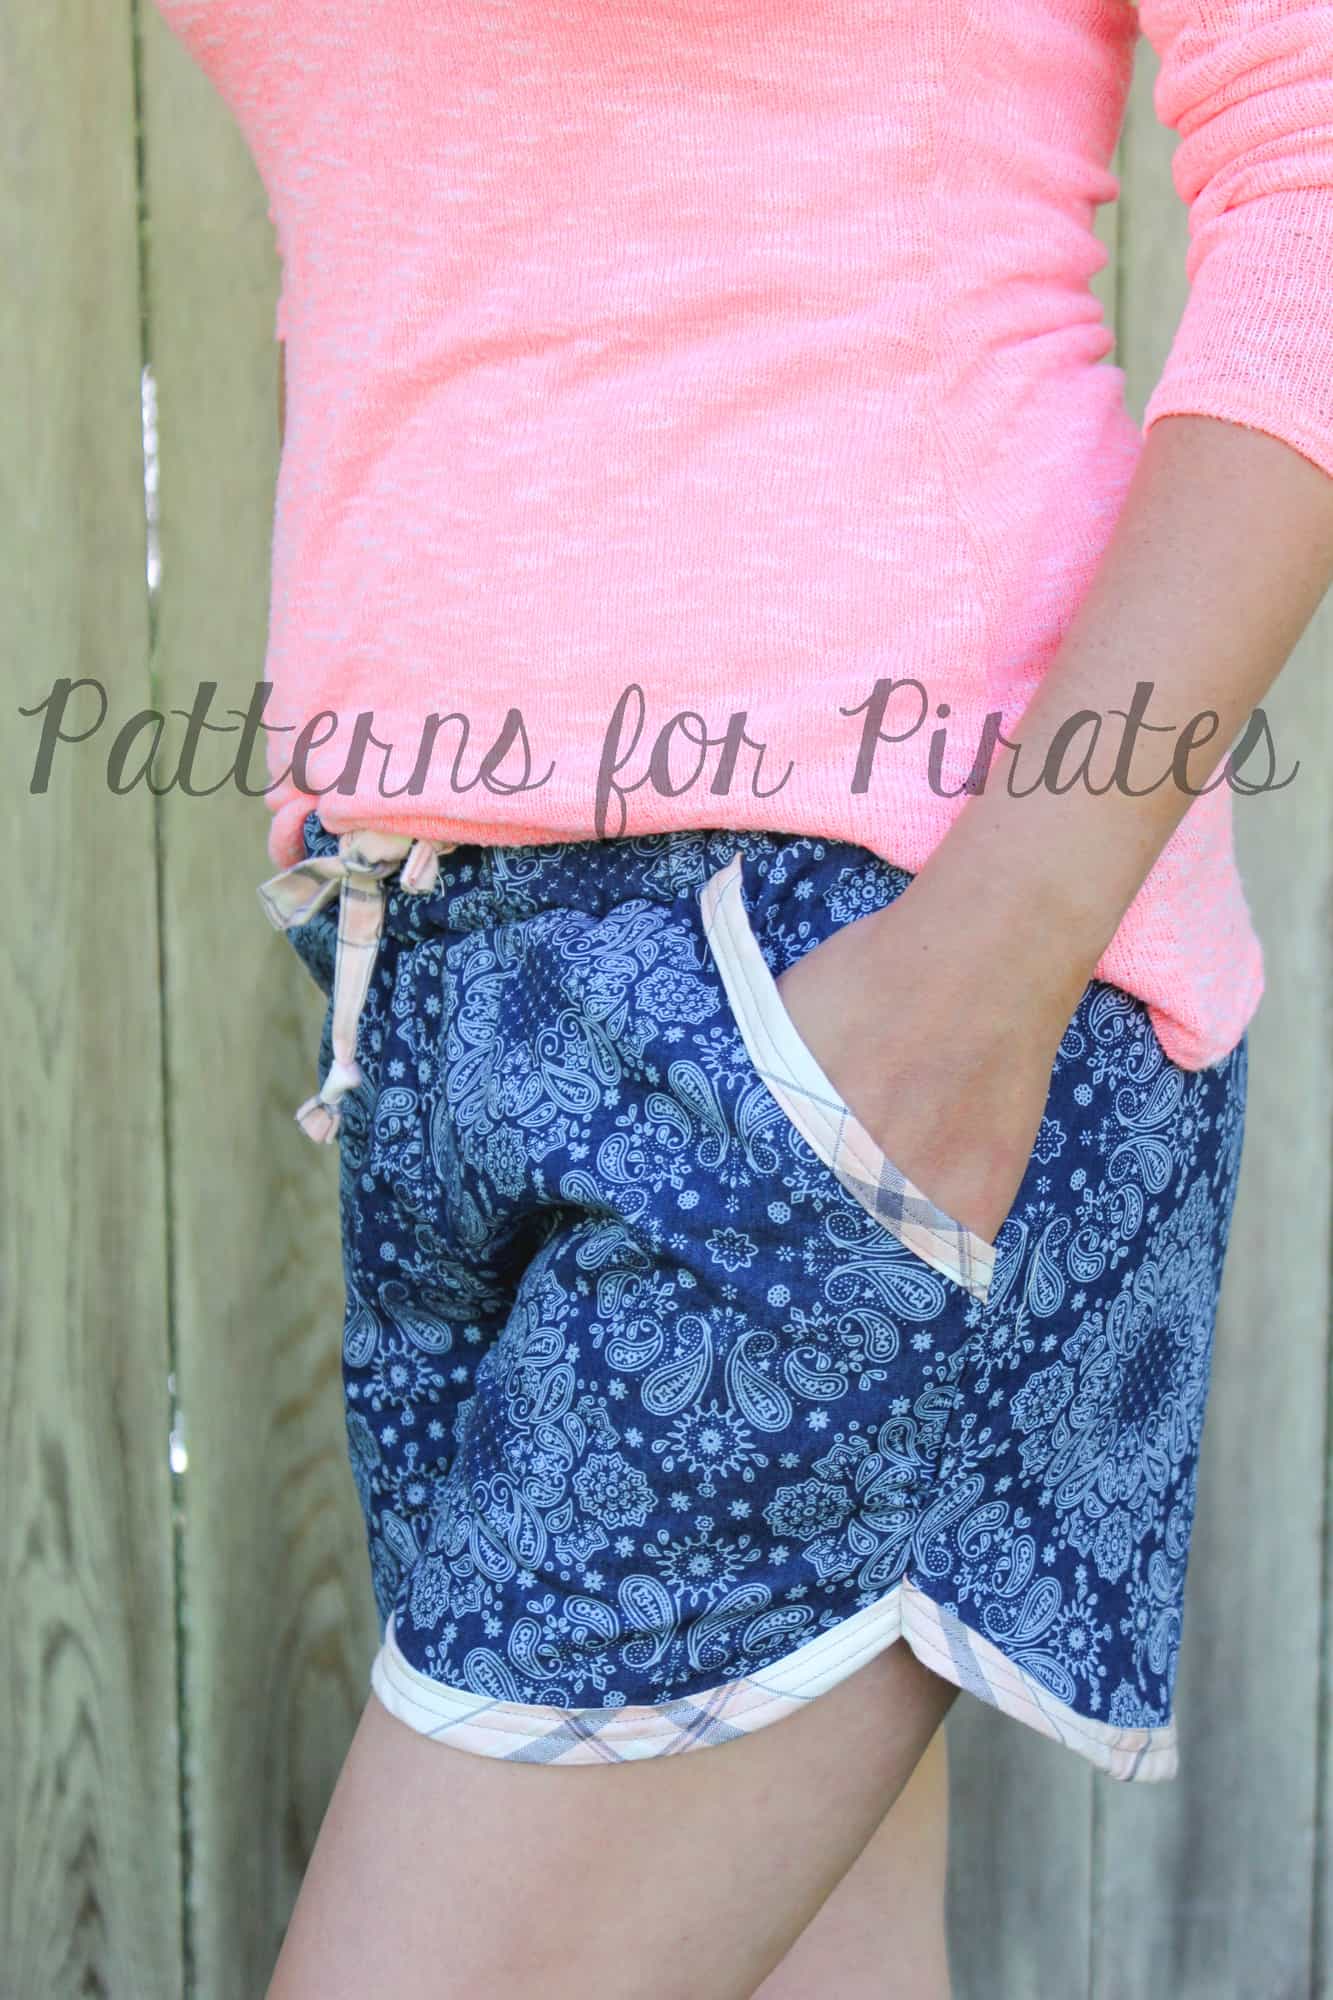
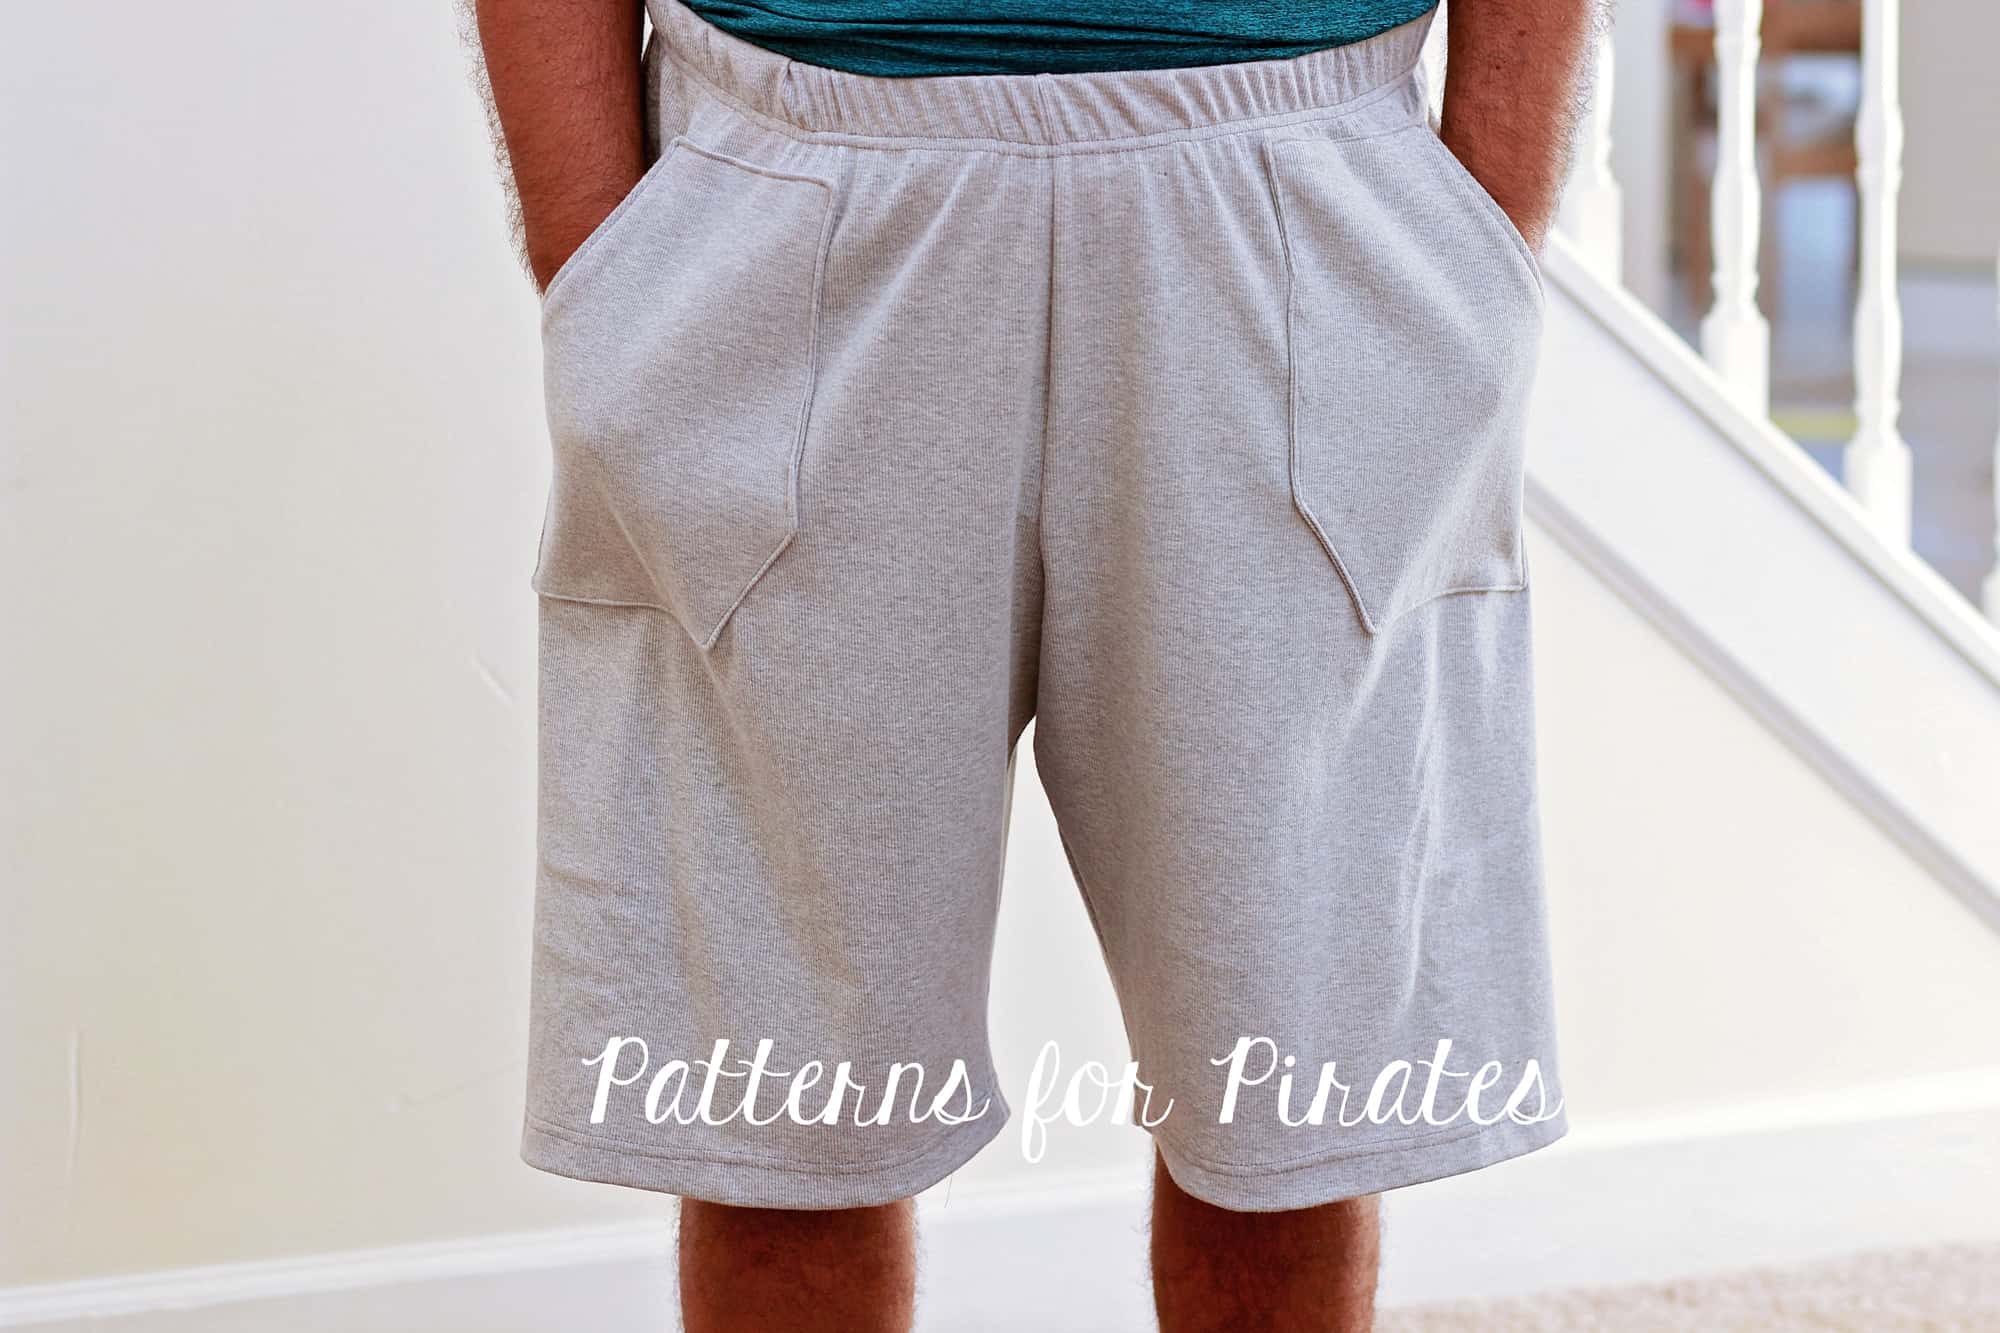
Ahoy, pirates! Hope you grabbed your FREE Walk the Plank pajama pants patterns by now. If not you can get them here. Today I wanted to show you how easy it is to add patch pockets to the pattern so all those husbands, boyfriends and sons of ours will be even happier with their new PJ pants. I’ll also show you how to enclose the the elastic in the seam.

. . . . .

Front patch pockets

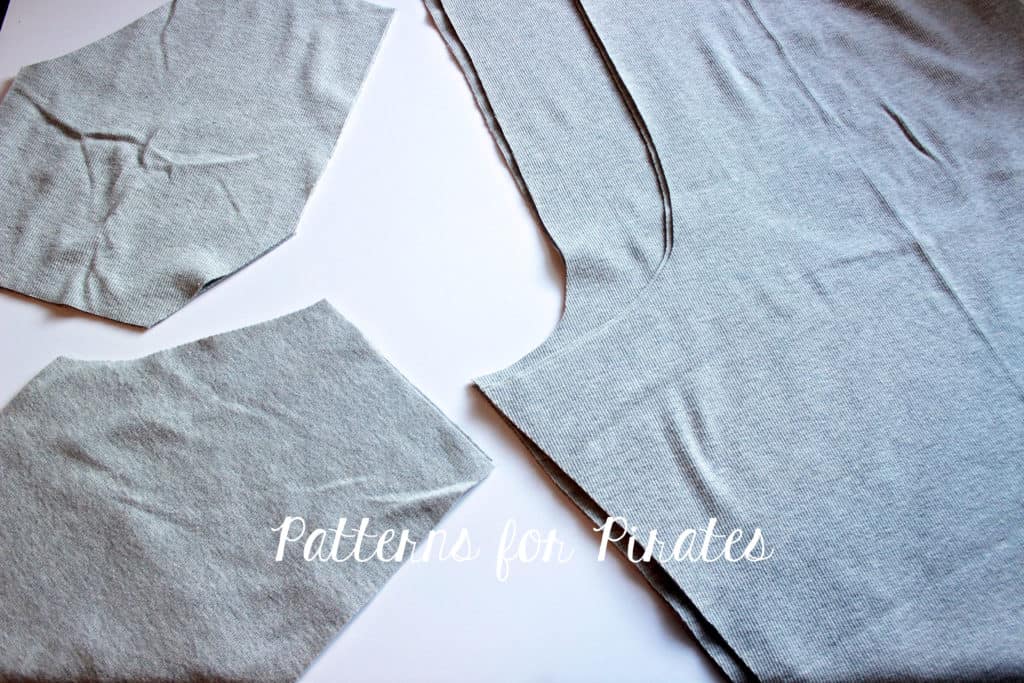
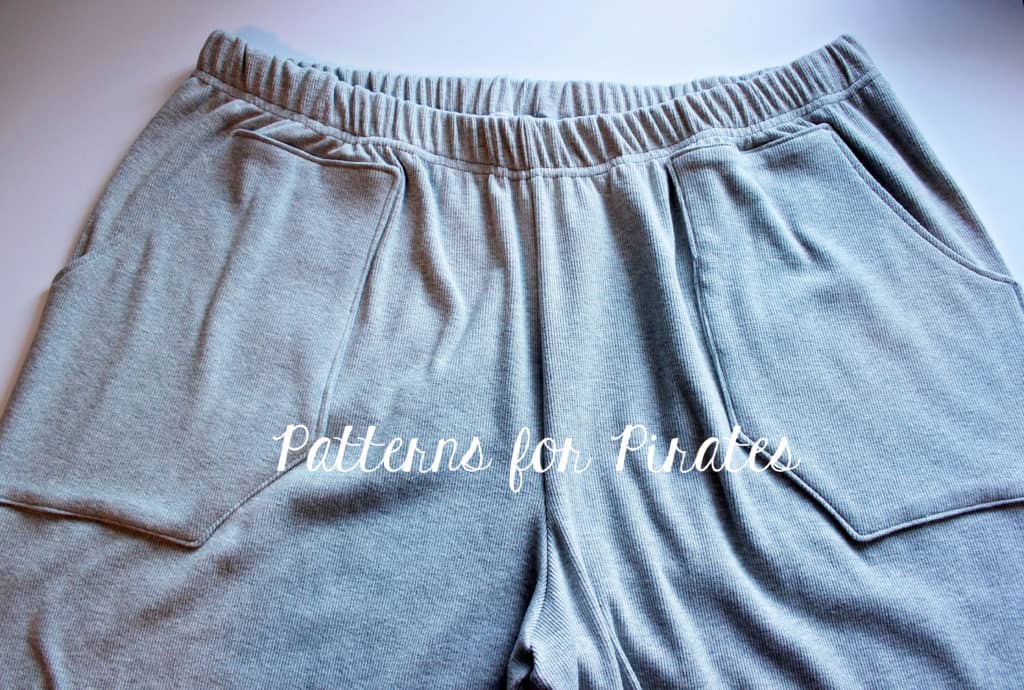
Start by printing the WTP pattern piece in the size needed. Now grab your Papa Bear Joggers (Mama Bear or Baby Bear) pants pattern and print only the page(s) that include the Patch Pocket. You now have two pattern pieces, the pants and the pocket. Cut the leg fabric (two mirrored images) and 4 pocket pieces (2 mirrored images for the main and 2 for the lining). The PJ pants pattern is drafted for woven fabric. I did use knit instead…you can do that too if you want!

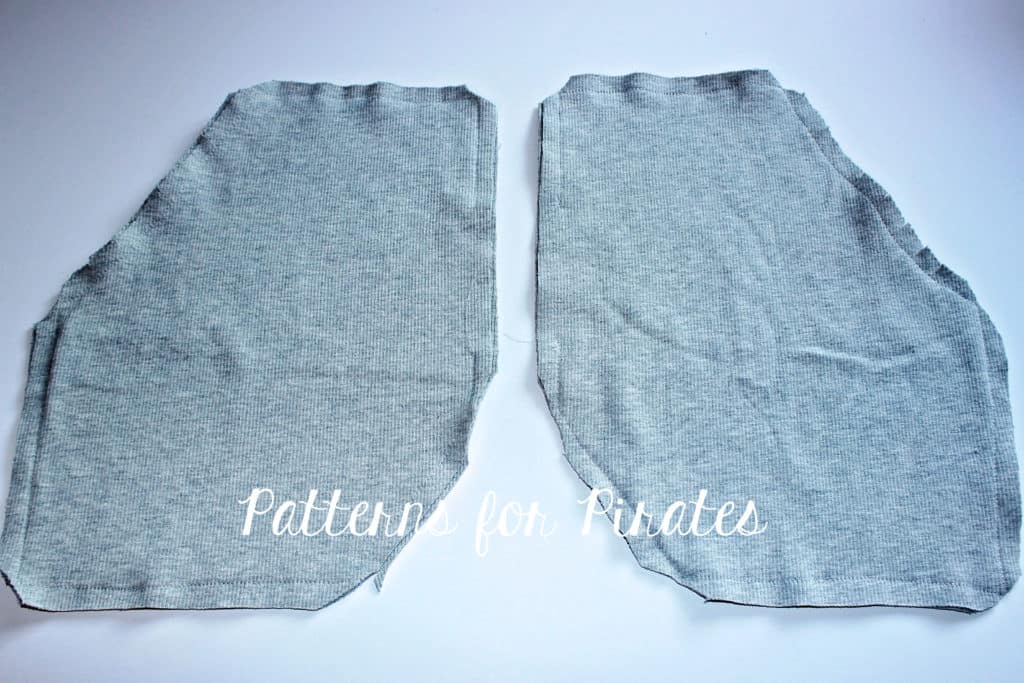
Take your pockets and place them right side together. Sew around the edge with a 1/2″ seam allowance, leaving 2-3″ opening so we can turn the pocket.

Clip the corners and snip the curve of the pocket as close to the seam as possible (without clipping the stitch). Turn your pocket inside out a press very well. Repeat with the other pocket.

Top stitch only the pocket curve opening.

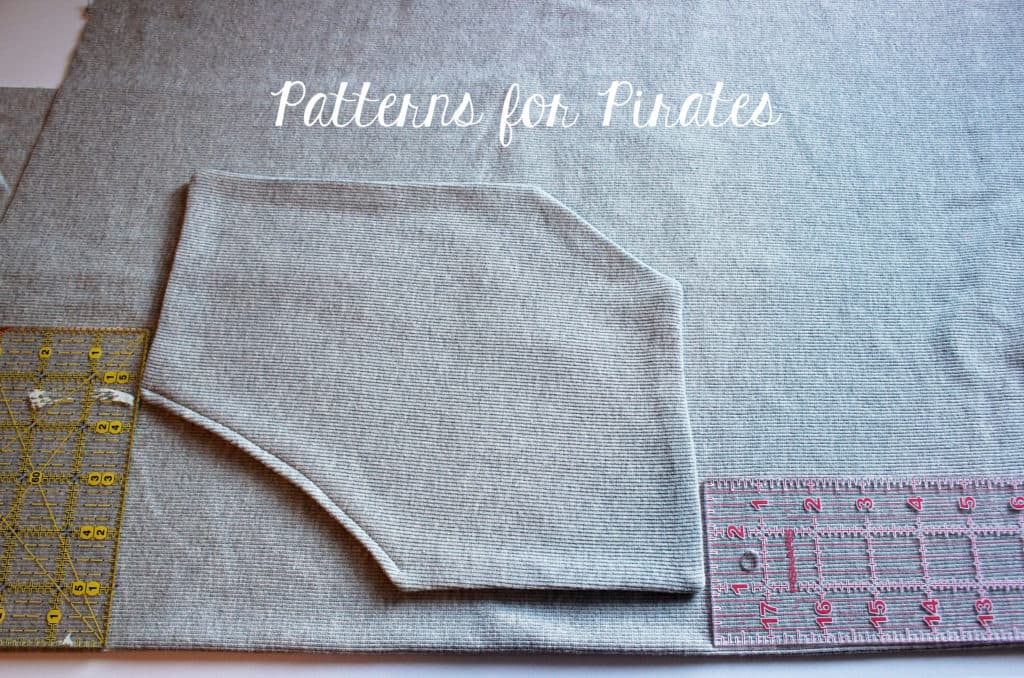
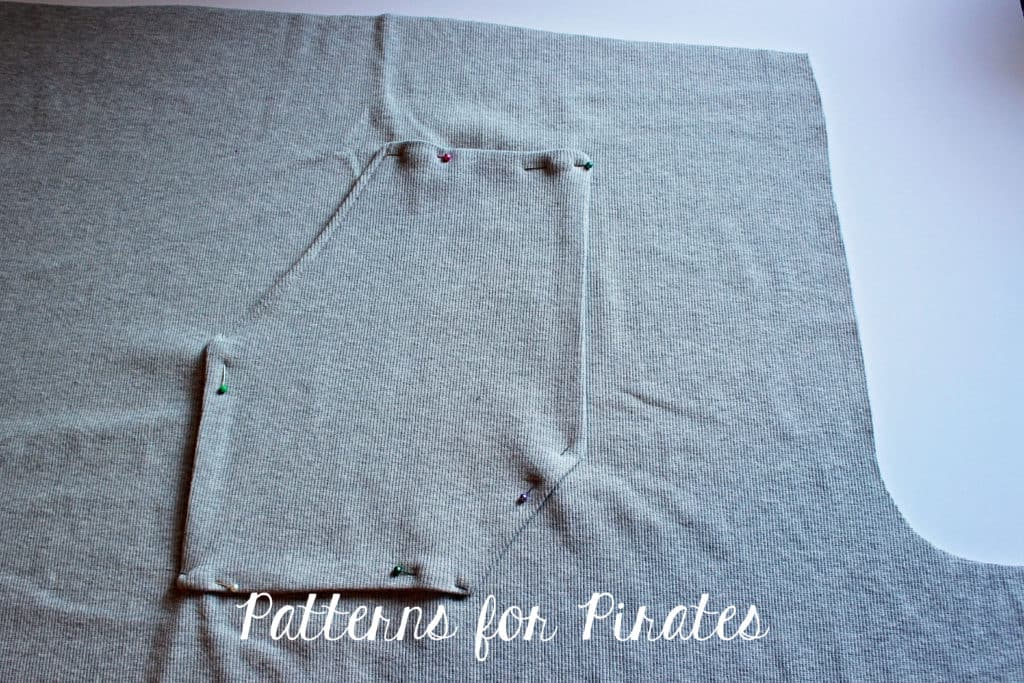
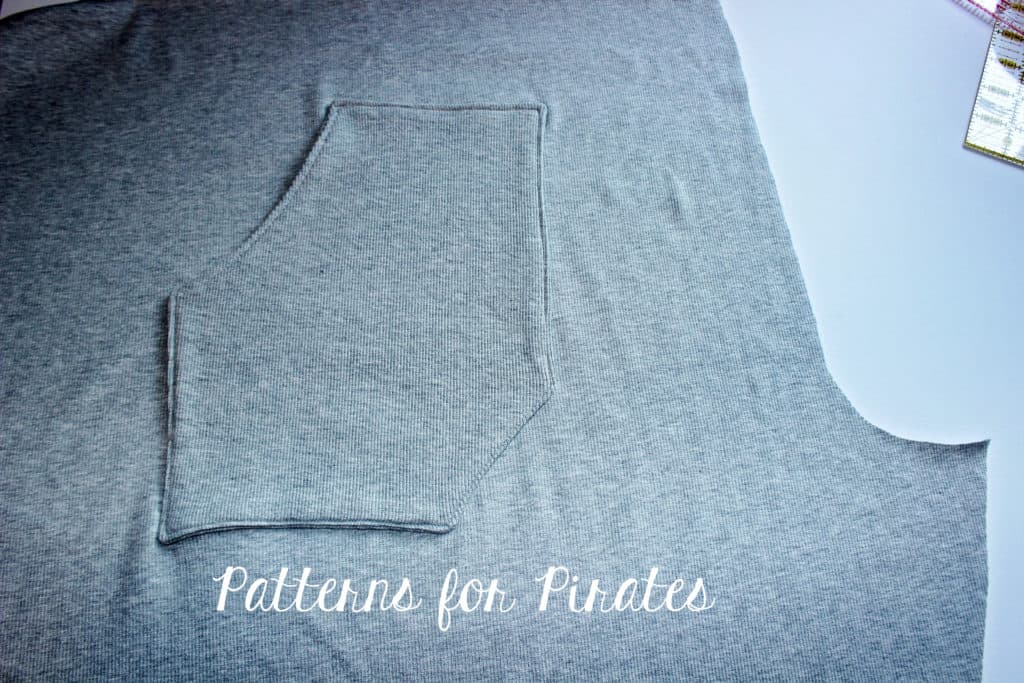
Take the pants pattern piece and place it right side up. Fold the pants so the inseam matches making sure the front is on top. Measure 4″ down from the waist edge and 1 inch away from the side fold. Place the pocket as in the picture below and pin in place.

Note: you will need to adjust these measurements if you are making the kids Walk the Plank pj pants.

Sew the pocket to the pants making sure you leave the pocket curve open. You will only be sewing around the 5 straight edges. Repeat for the other leg.

That’s it! You added patch pockets to the pajama pants. Simply continue to construct the pattern as per the tutorial and enjoy a new pair of PJs WITH POCKETS!


. . . . .

Back patch pocket

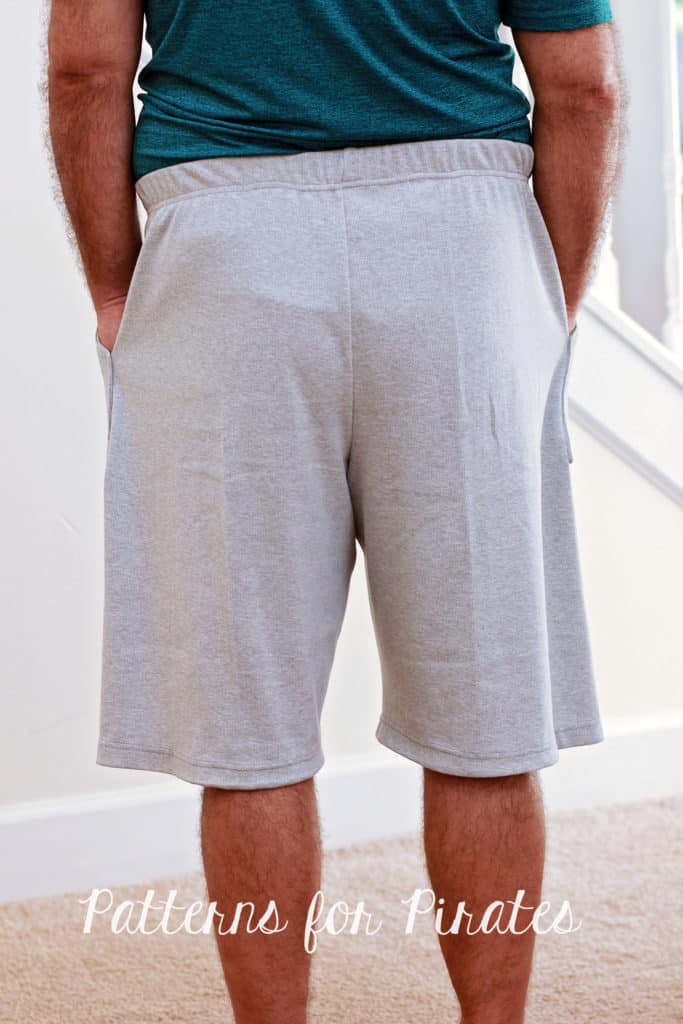
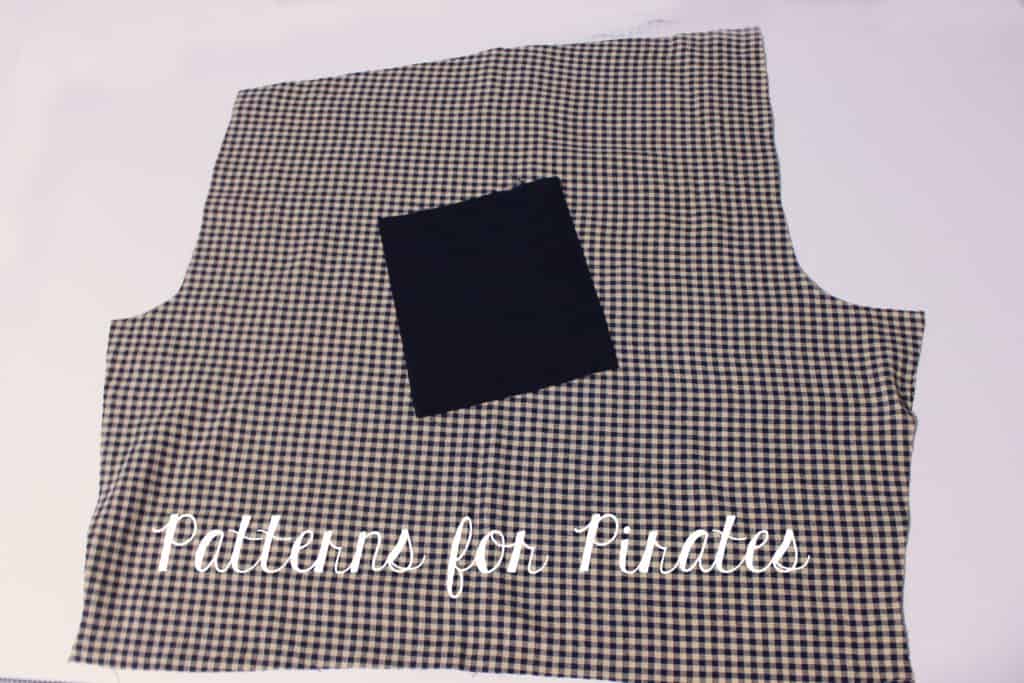
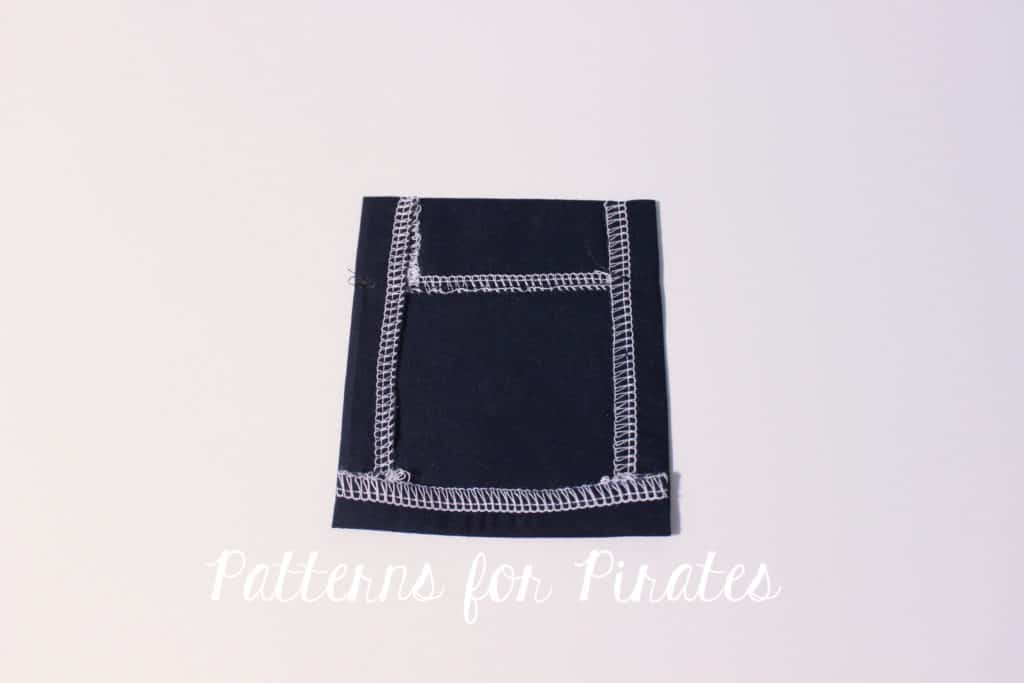
Next I want to show you how to add a back pocket to your Walk the Plank PJ pants. This hack is even easier and it does not require any additional P4P patterns. Simply cut one rectangular piece of the same fabric or a coordinating one. The size of the rectangle will vary depending on how big you would like the pocket. I cut my piece 5″ wide by 6″ tall and I am making a size 6 PJ pants.

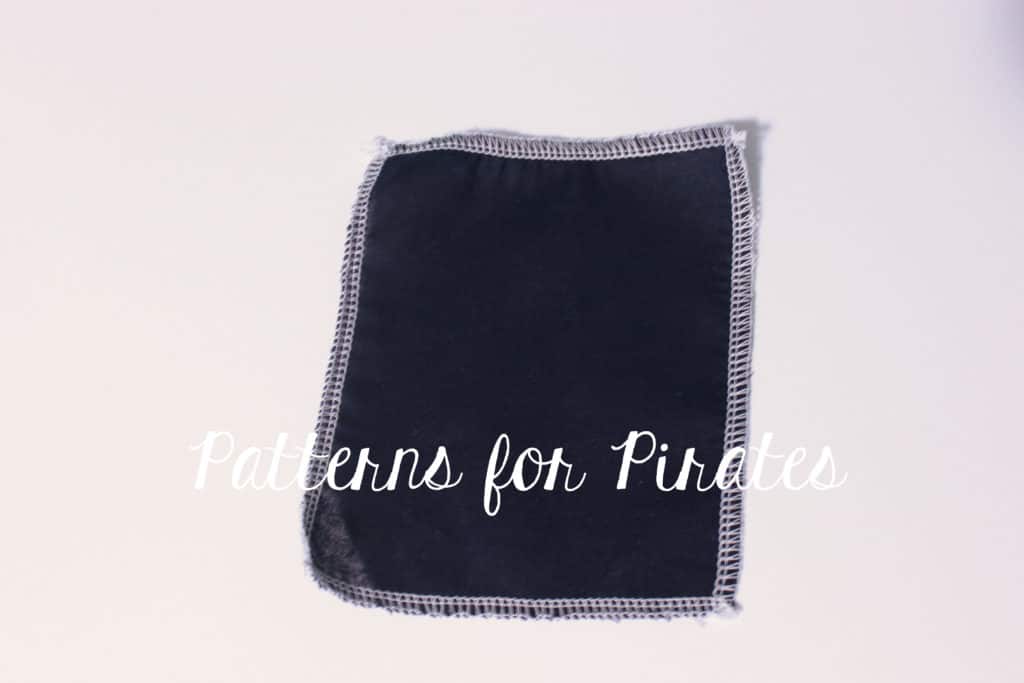
Optionally, you can serge around the edges to prevent fraying in the wash.

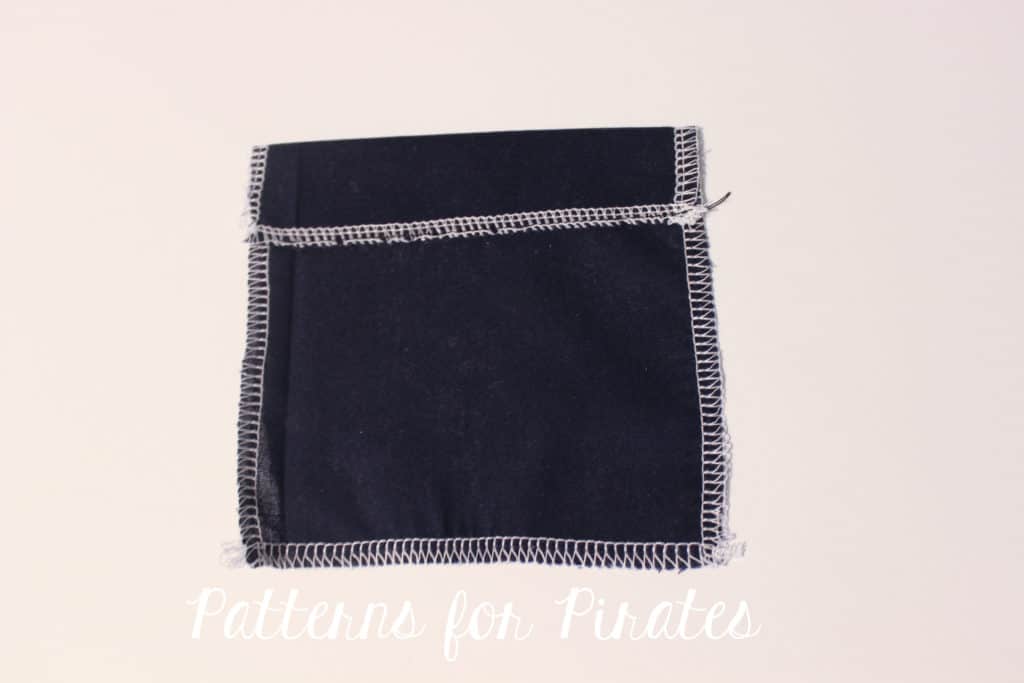
Fold the top of the pocket 1″ down, press and sew in place.

Now fold the other three sides 1/2″ and give it a good press. Do not sew them just yet.

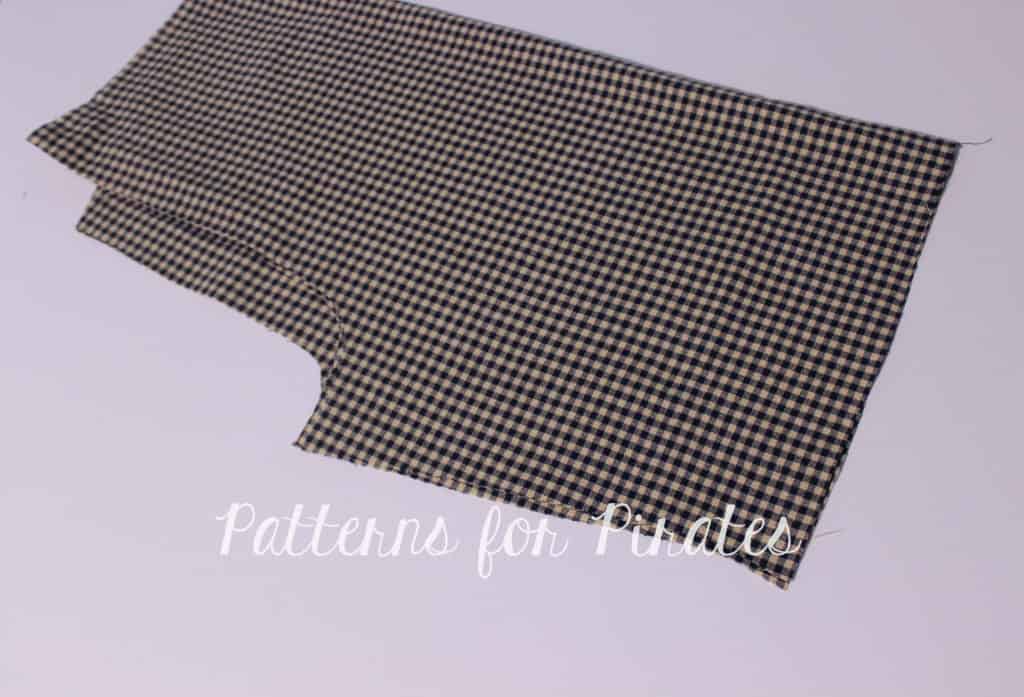
Take your pants pattern piece and with the right side out, match the inseam. Place it on the table with the back facing up. The back part of the pants is the one with the higher rise.

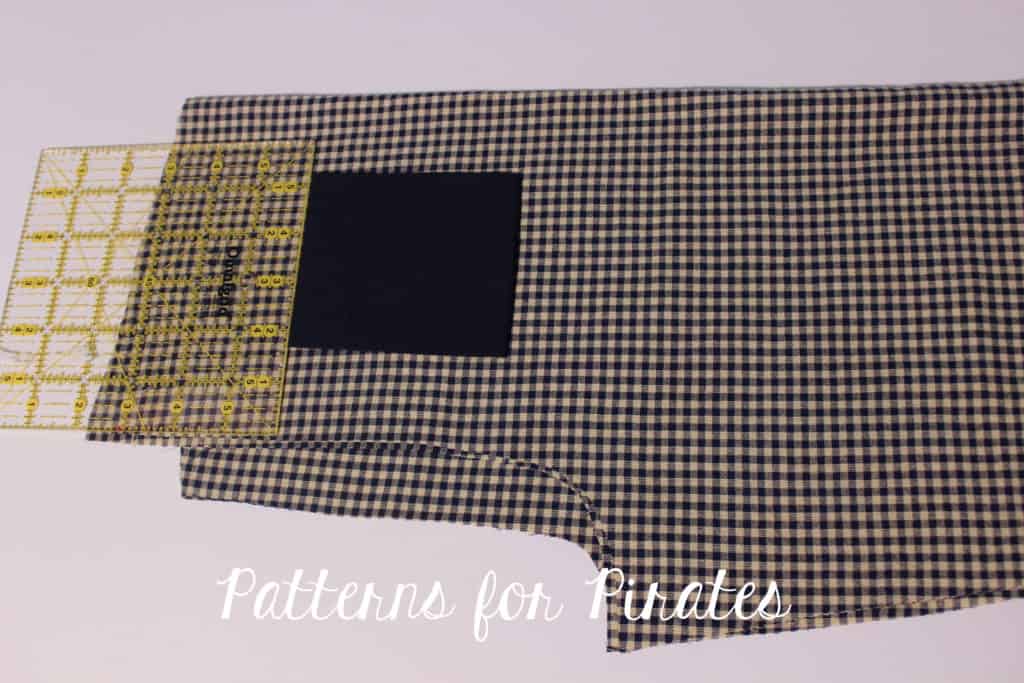
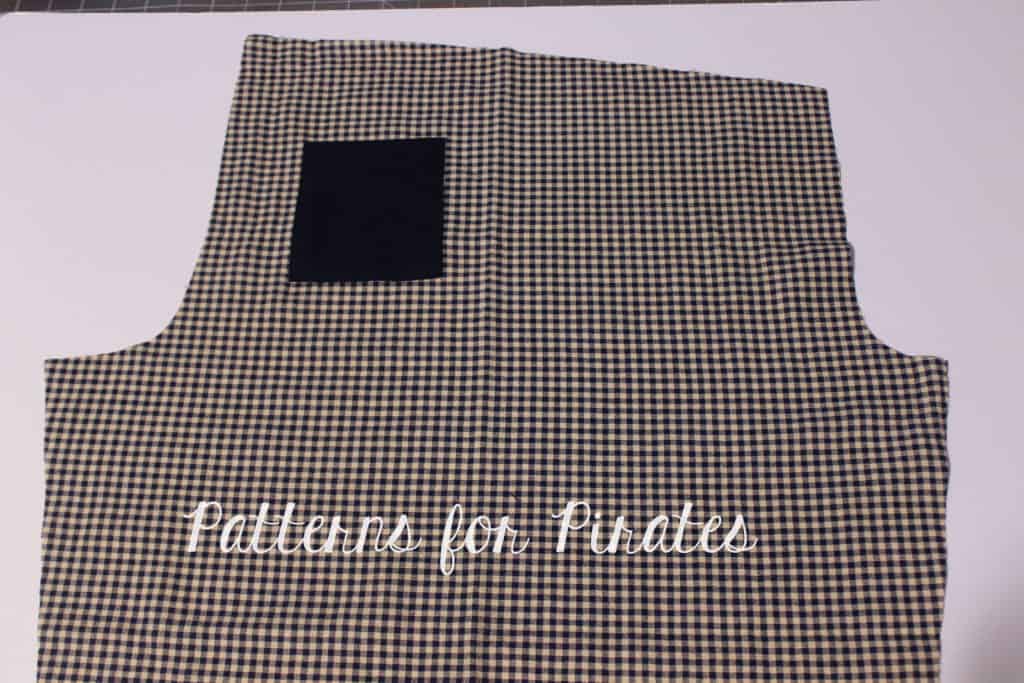
Place the pocket approximately 3″ down from the rise. Note that this placement will vary from size to size so I encourage you to baste in place insead of sewing in place if you are not sure if you’ll like where the pocket sits.

Edge sew the pocket to the pants (or baste) making sure you do not sew the top but only the bottom and the sides of the pocket.

Continue sewing the PJ pants as per the pattern tutorial and enjoy you new pair of back pocket Walk the Plank pants. 🙂

NOTE: If you basted the pocket, try the pants on! If you like where the pocket sits, stitch it in place. IF you don’t, you can easily remove the pasting stitches and relocate the pocket before you sew it in place.

. . . . .

Enclosed elastic waistband

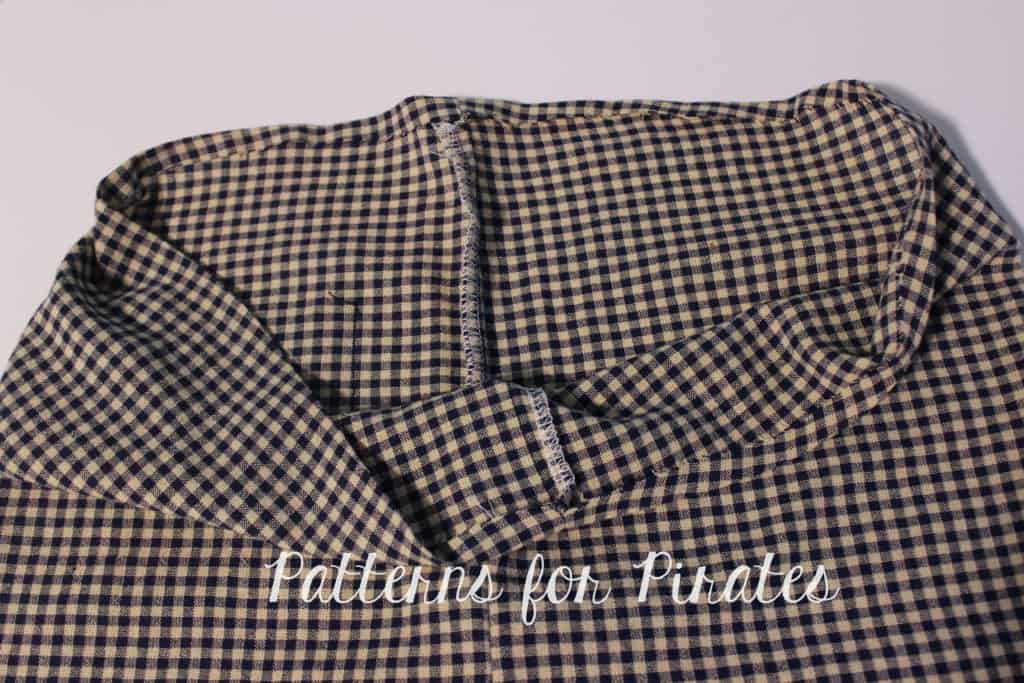
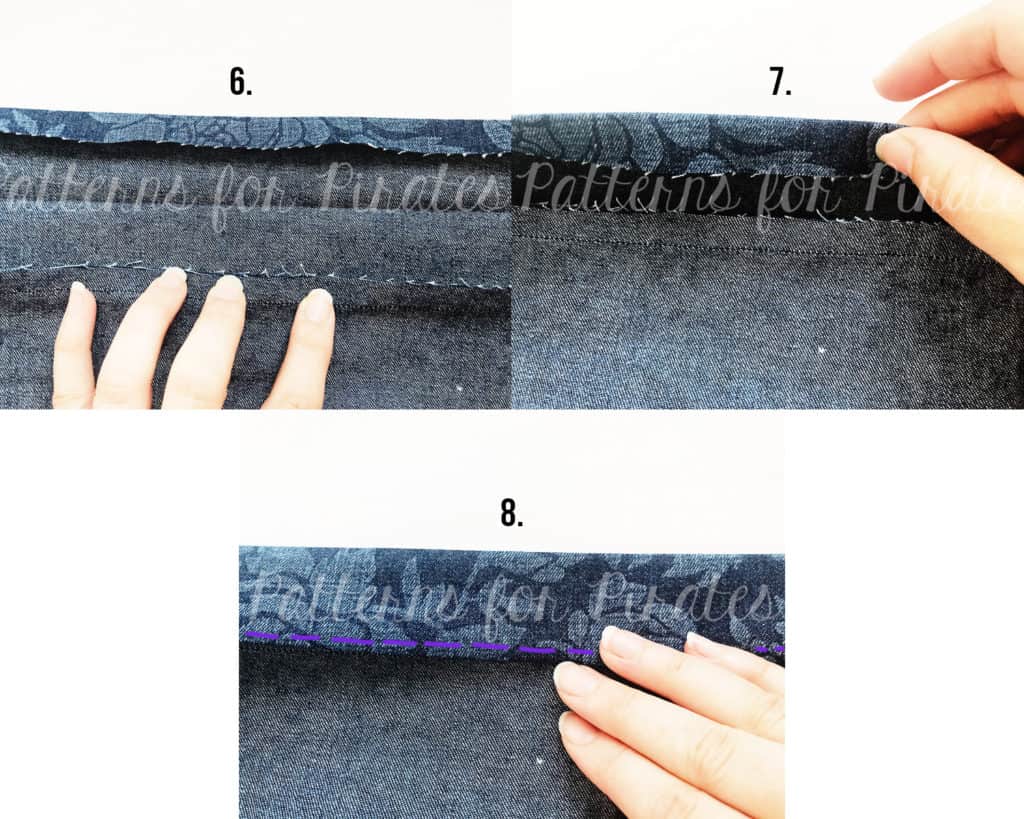
Next up I would like to show you how to enclose the elastic in the waist so you do not have any visible serged edges. Sew your PJ pants as indicated in the tutorial. Press the top of the pants 1/4″ down in order to create a memory hem.

NOTE: this method will yield a rise that will be 1/4″ lower than the original pattern.

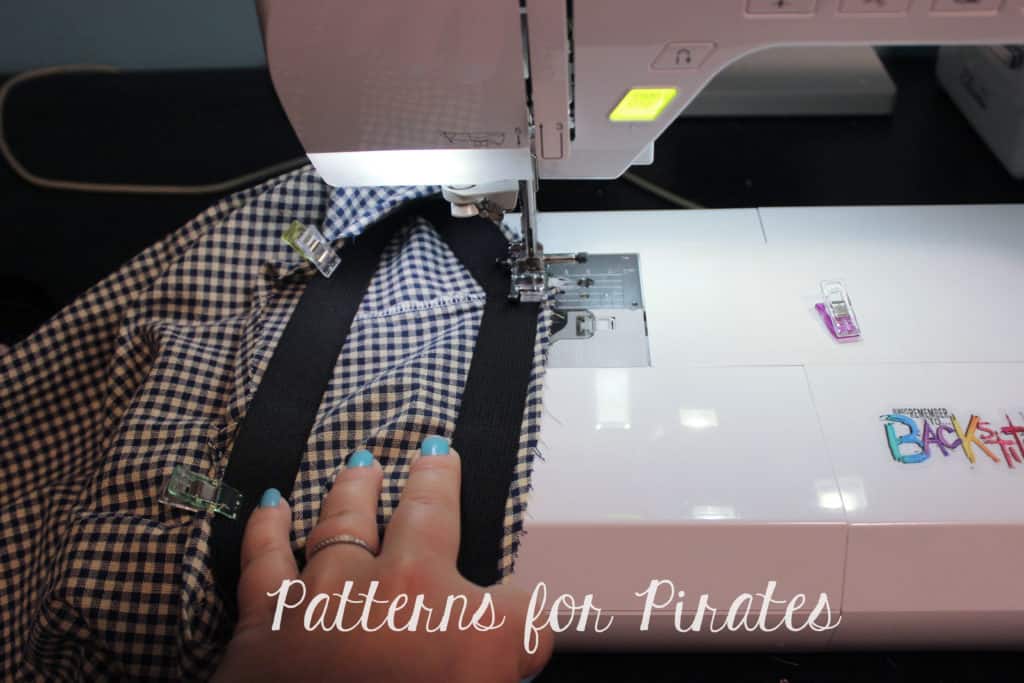
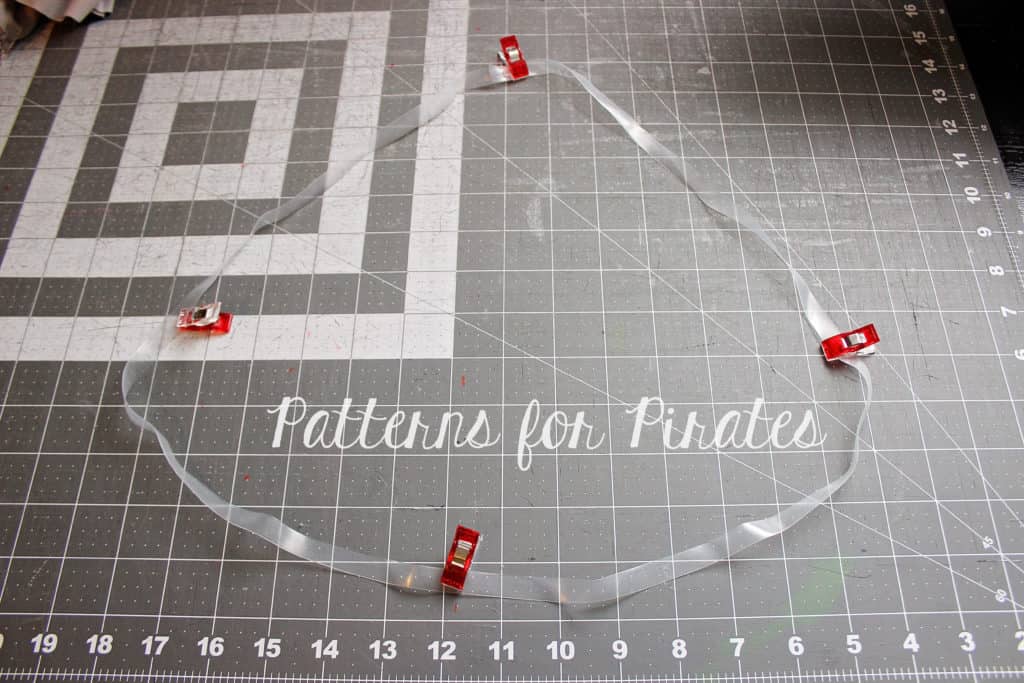
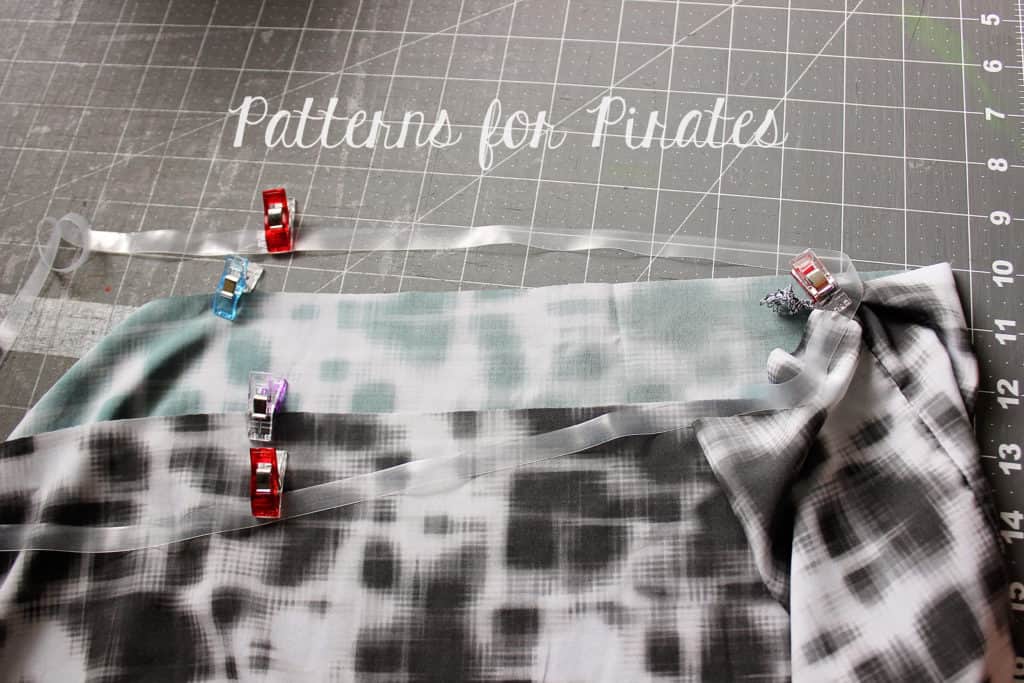
Sew the elastic in a loop (as per the pattern) and mark the quarters with pins or clips. Find the quarters of the waist opening and match the elastic quarter points to them, placing the top of the elastic 1/4″ of an inch down from the top of the pants. Use the memory crease mark as a guide.

Sew the elastic with a a zig zag stitch.

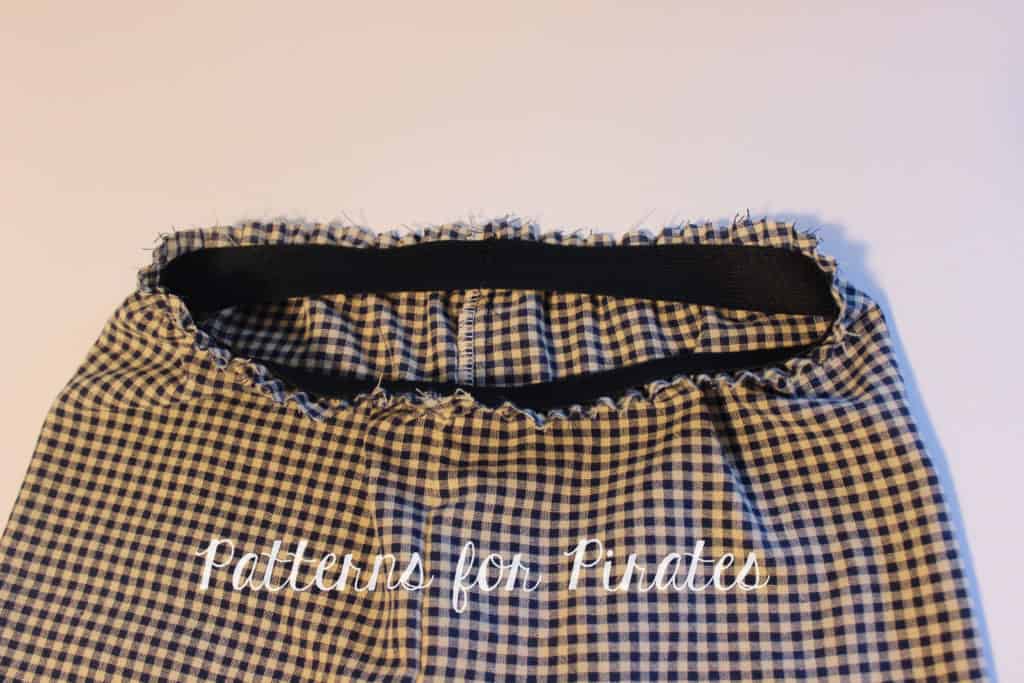
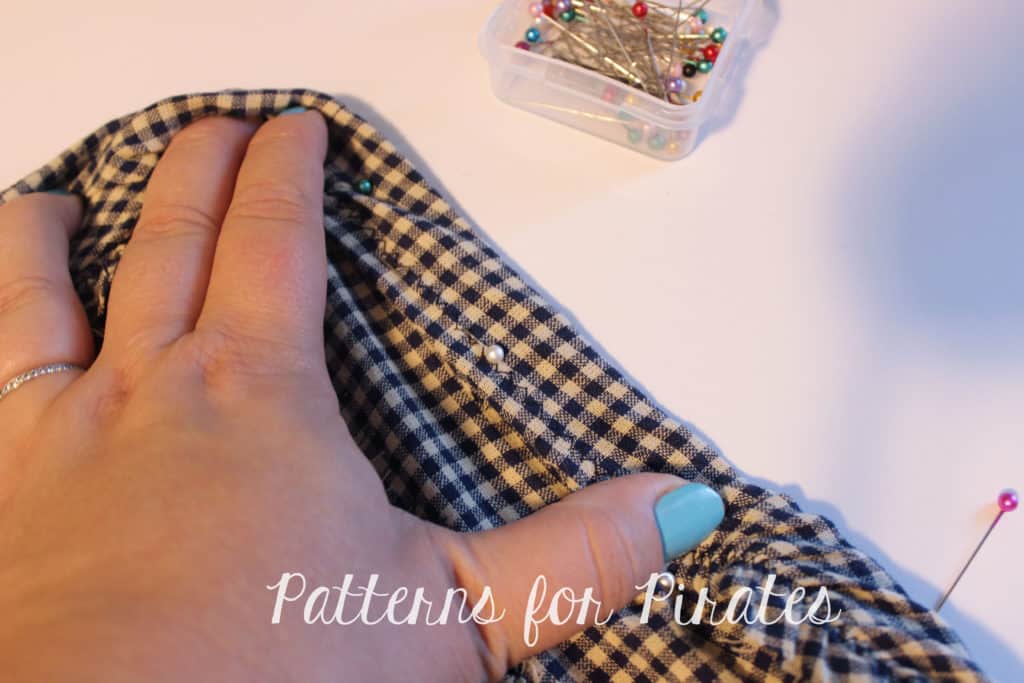
Fold the top top of pants down. This may be a tricky process since you will have to stretch the elastic as you go. Take it slowly and press!

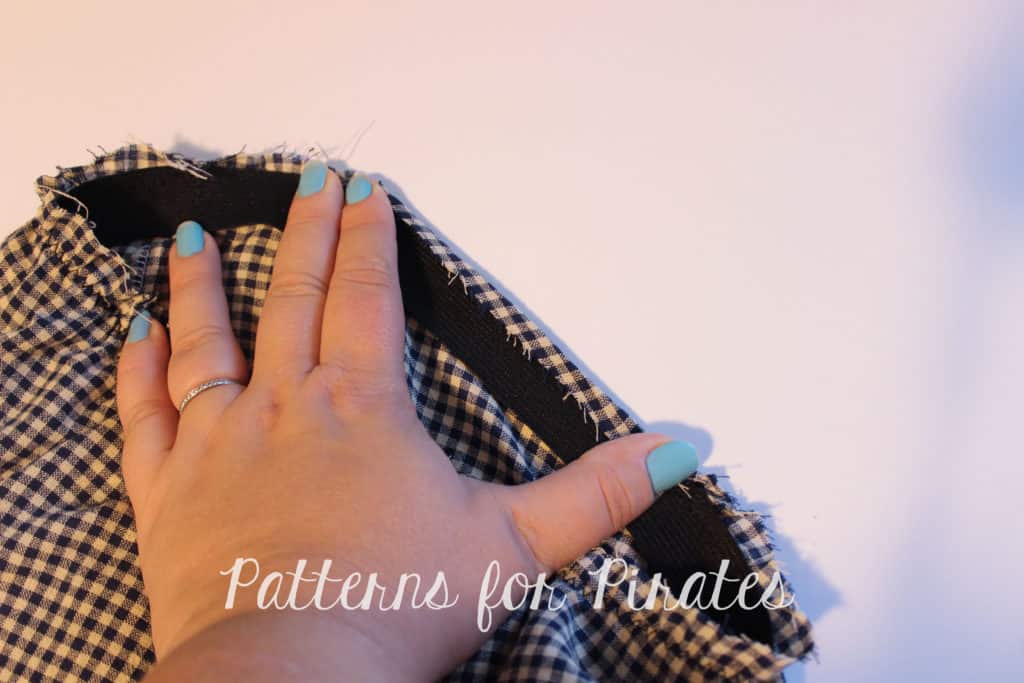
Fold the elastic down and pin in place. You will again need to stretch the elastic so you might find it easier to skip pinning and just use your hand to hold it in place when you sew.

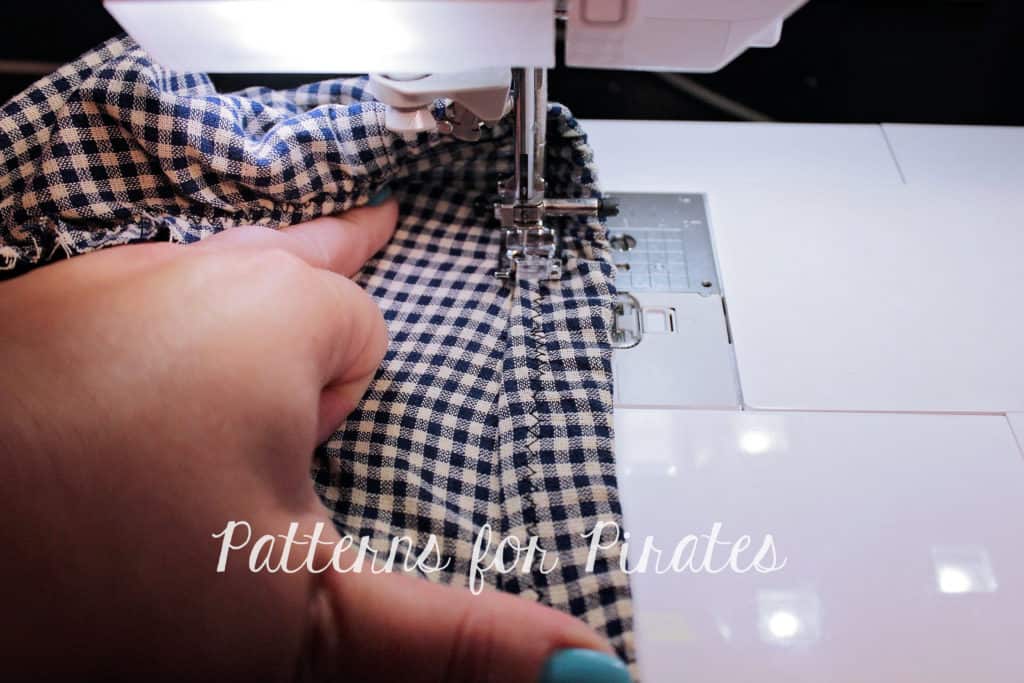
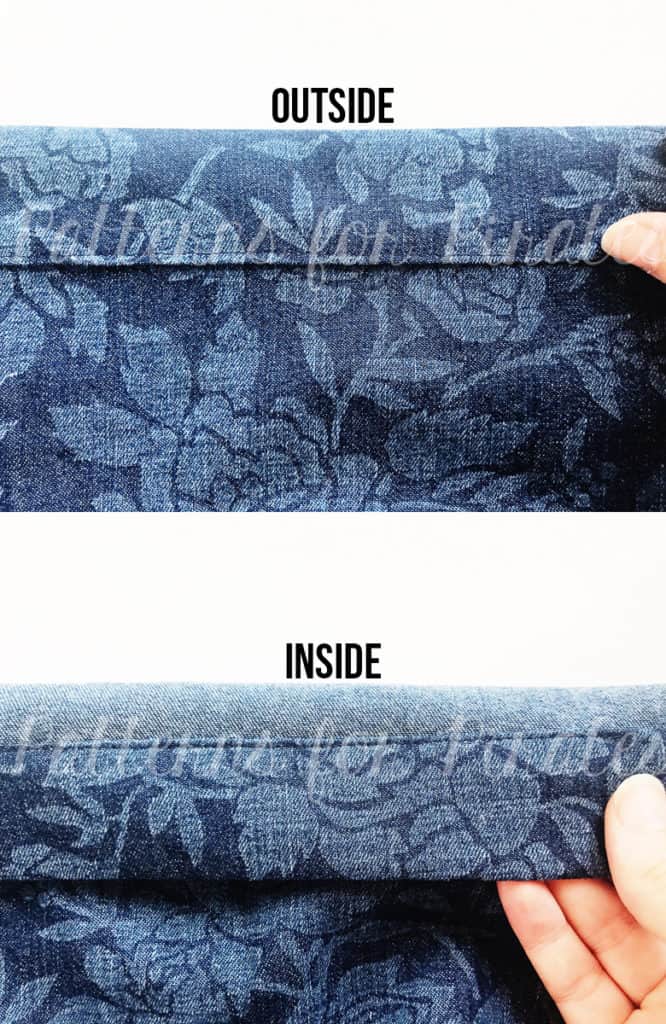
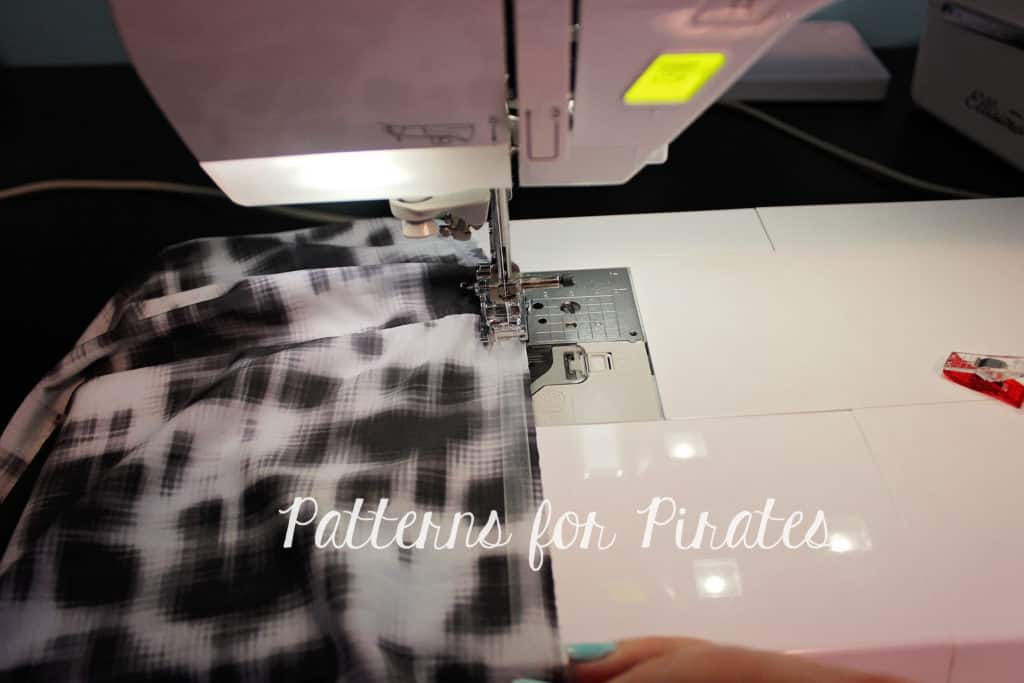
Sew as close to the edge as you can, stretching the elastic  to make sure the fabric lays flat when you stitch it.

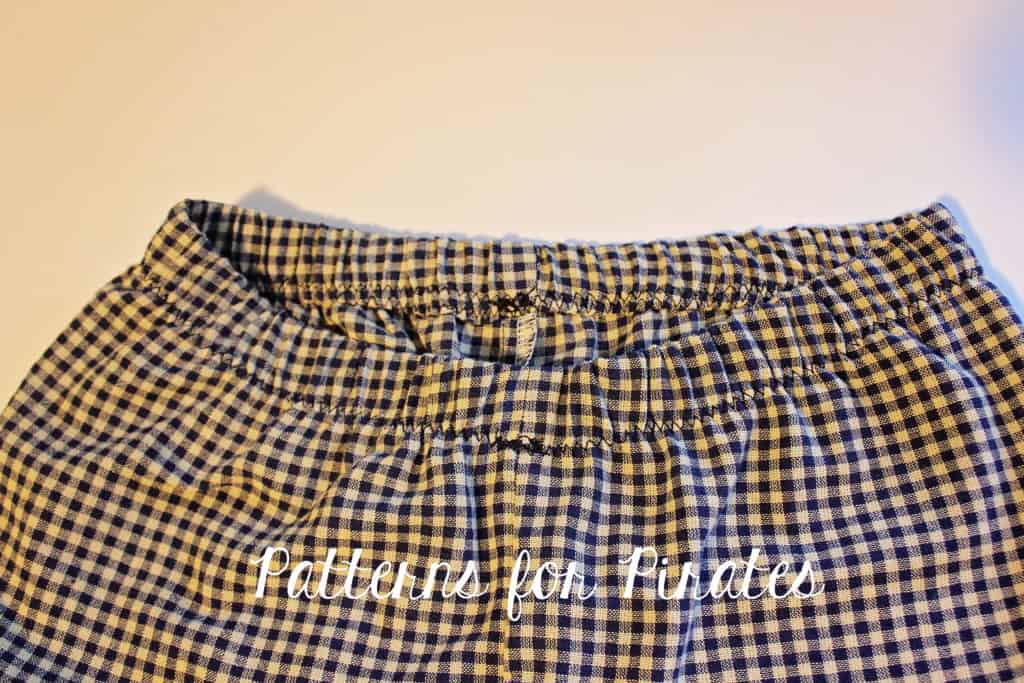
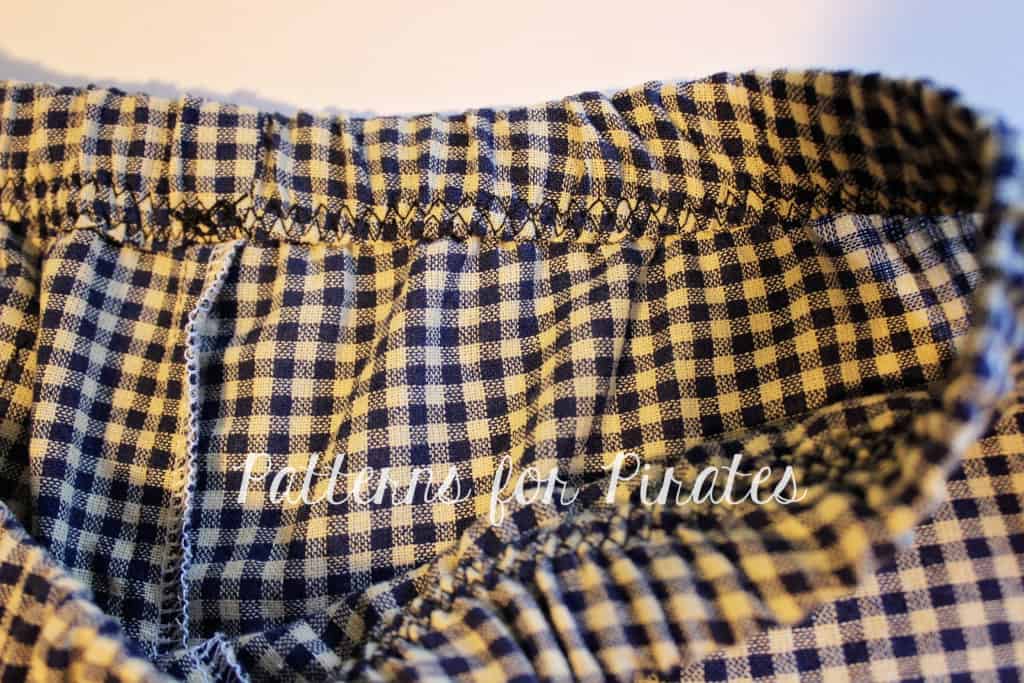
There you have it…. an enclosed elastic for your new PJ pants!

Hope you found these easy hacks helpful. Don’t forget to show your creations in the P4P group! We love to see what you make for you and your loved one.
Filed Under: Free Pattern, Pattern Hacks, Pattern Release, Uncategorized 12 Comments

Brunch Blouse – easy hacks

September 14, 2017

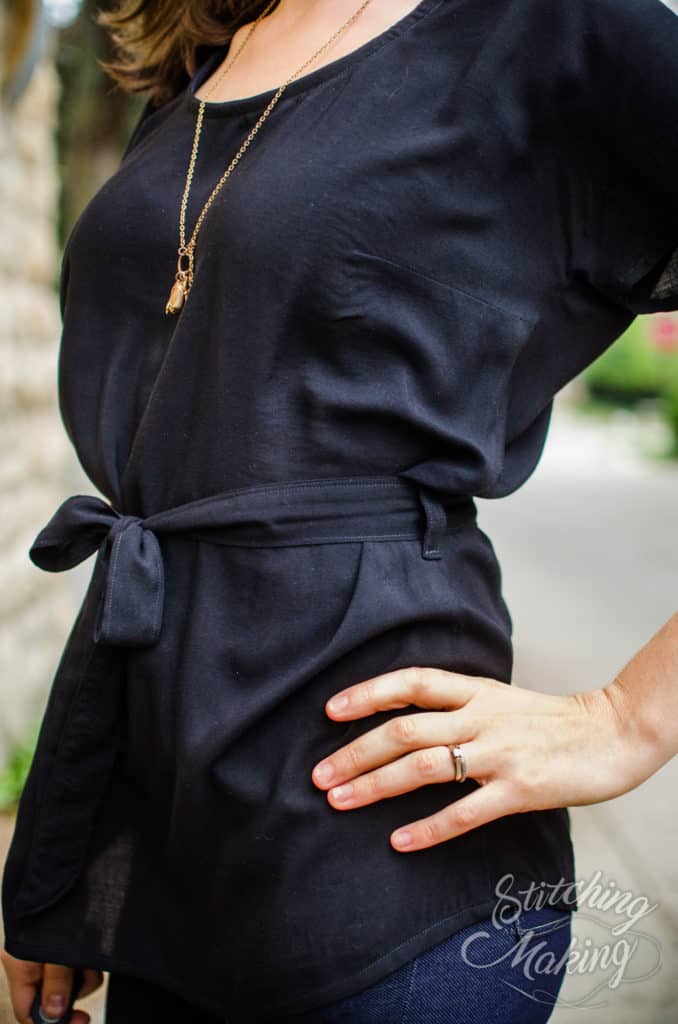
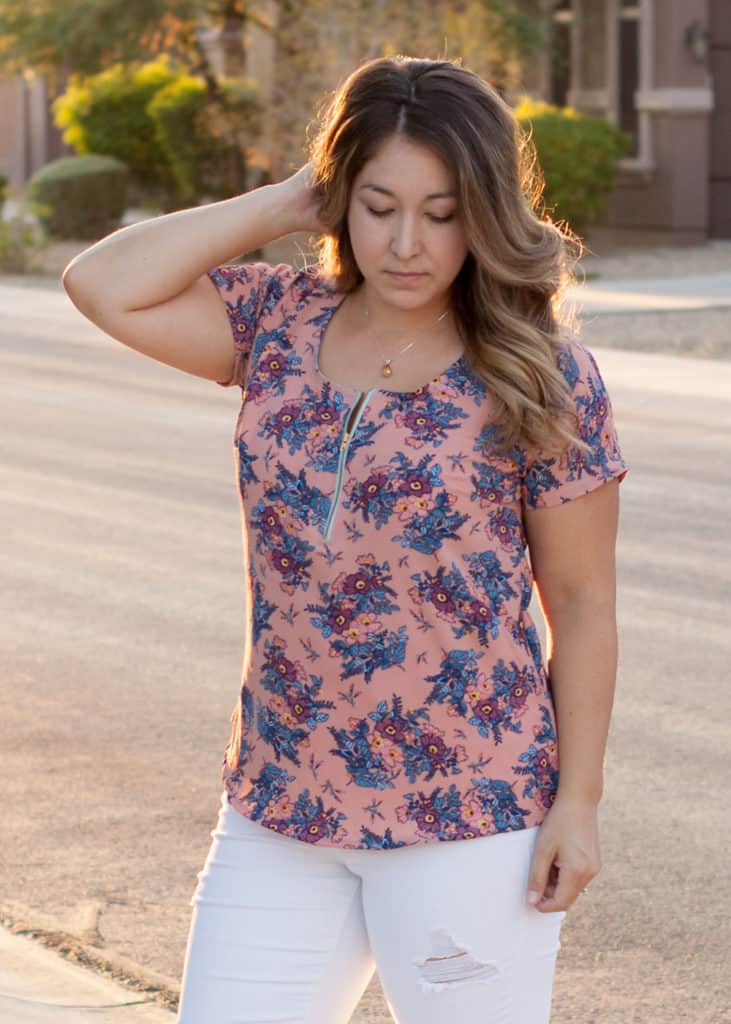
In true P4P fashion, we have a few easy, fun hacks for the Brunch Blouse. Grab the pattern here and get creating!

. . . . .

Color Block Dress

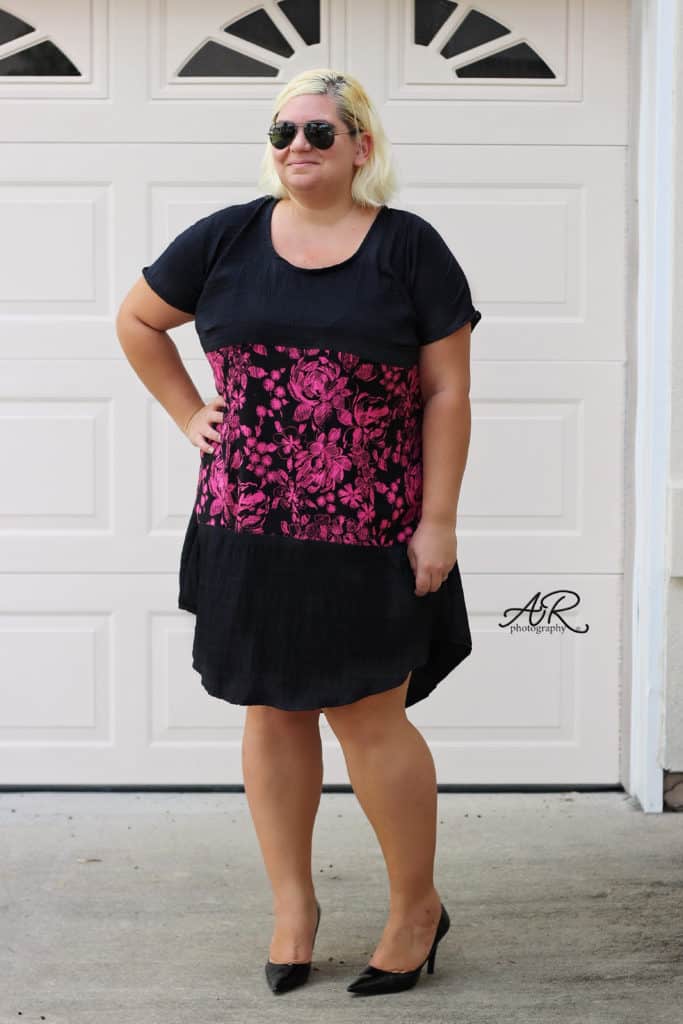
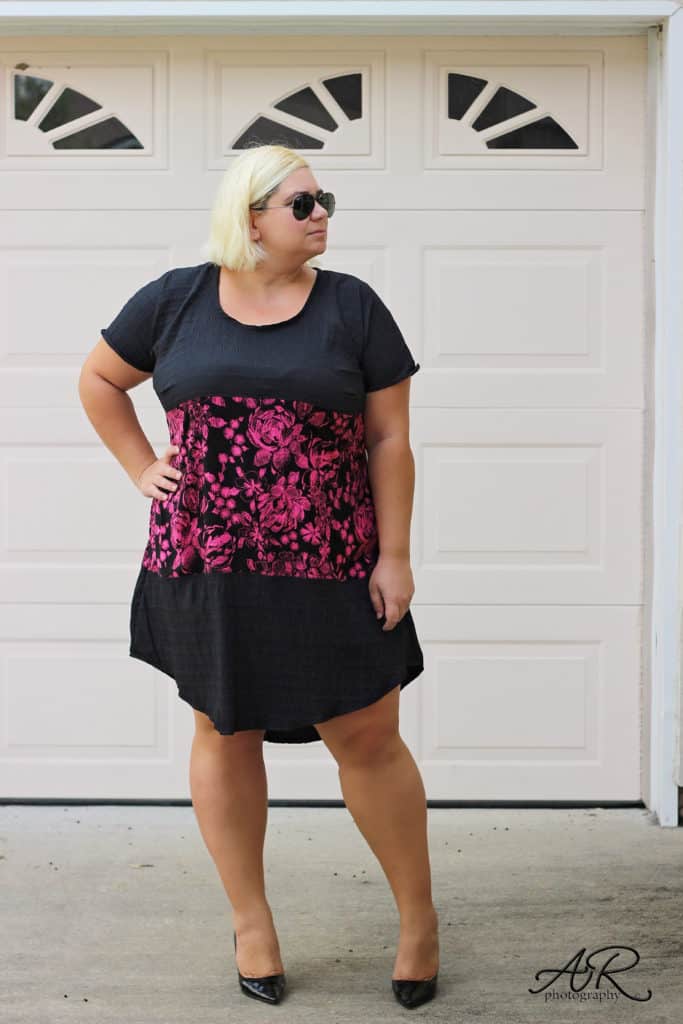
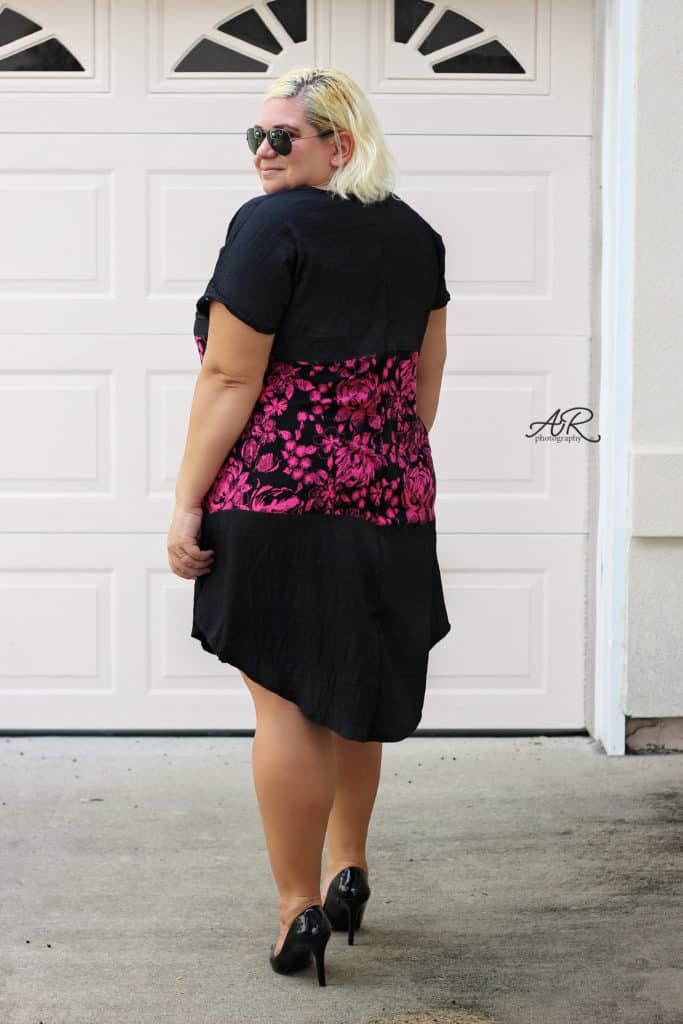
First off I will show you how to achieve a color block look with the dress option of the Brunch Blouse. You can use the same principles for the top option, you will just need to adjust some measurements. Start by printing the pattern in the size you need. Now grab a ruler and some scissors or a rotary cutter (for paper only 😉 ) because we’ll do some cutting.

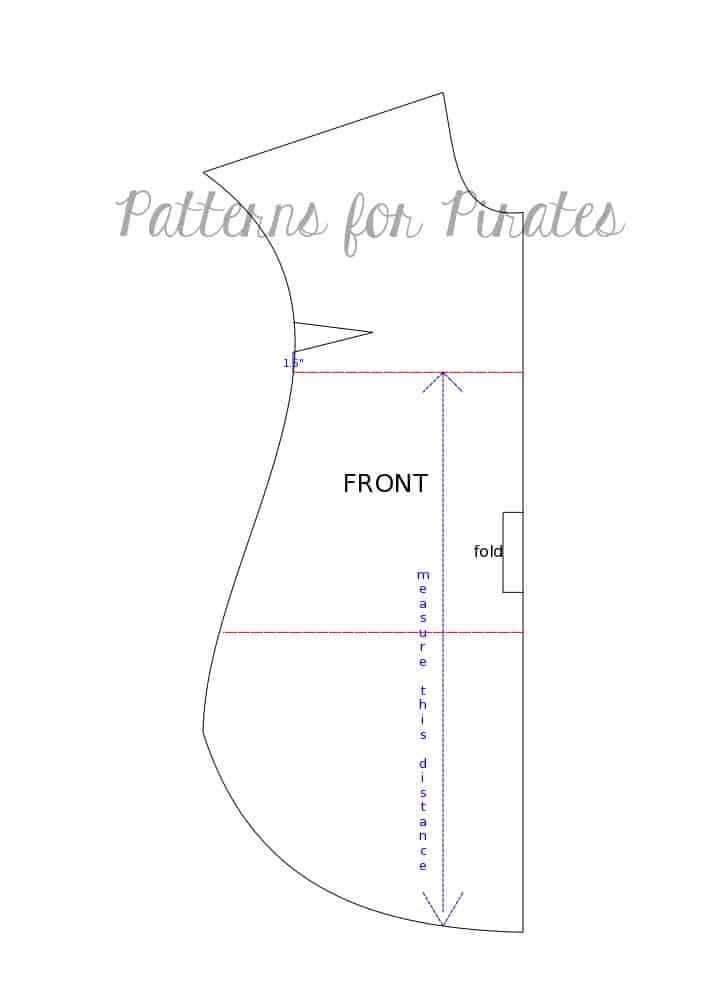
Take the front pattern piece and mark 1.5″ down from where the dart mark is. Now draw a horizontal line (perpendicular to the center fold). Measure the distance between this line and the bottom of the dress.

Divide the length in half and draw a horizontal line at the half way mark. You have now split the front in 3 separate pieces.

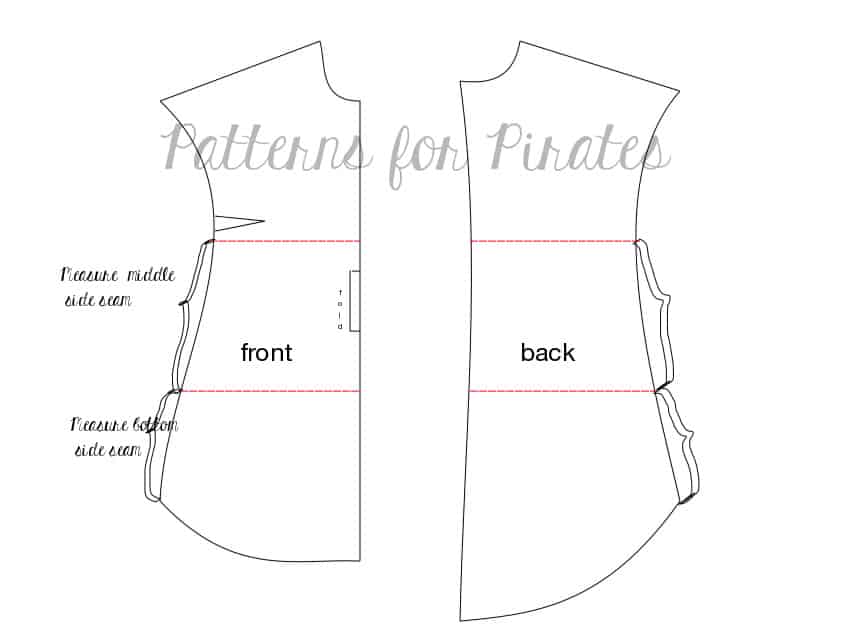
Measure the side seam from the bottom to the bottom colorblock line. Take your back piece and measure up on the side seam the same amount and mark it. Now draw a horizontal line on the back piece. We will be measuring the front middle part side seam now. Mark the point on the back piece from the bottom colorblock line to whatever the measurement was for the middle front side piece. Draw a horizontal line front that marking point. You have now color blocked your back pattern pieces too, making sure that they will line up beautifully with the front color block pieces. Great job!

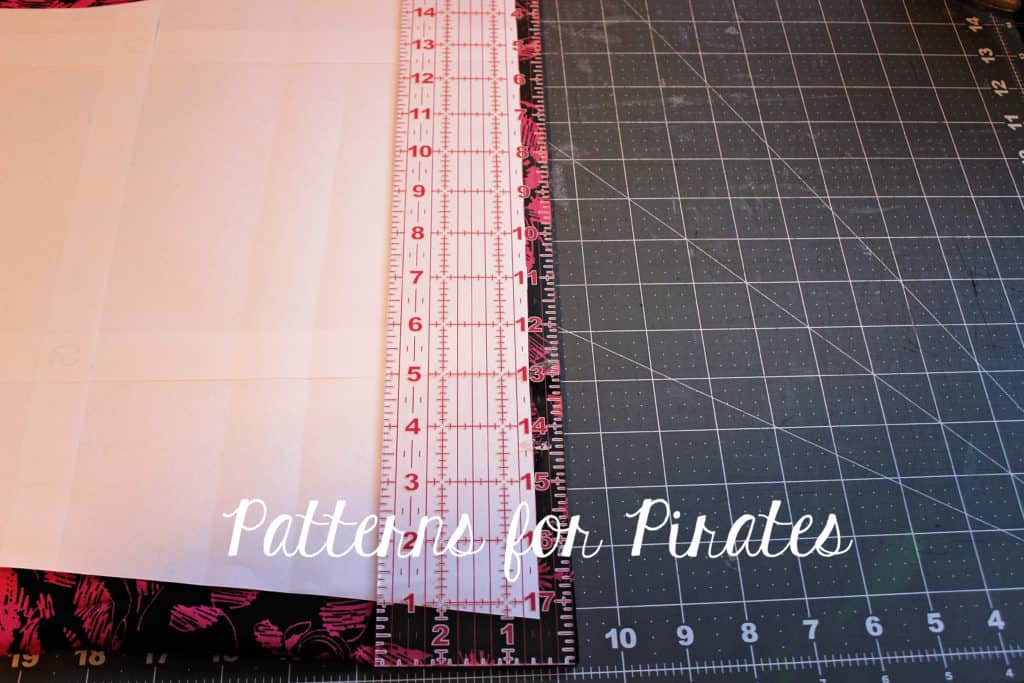
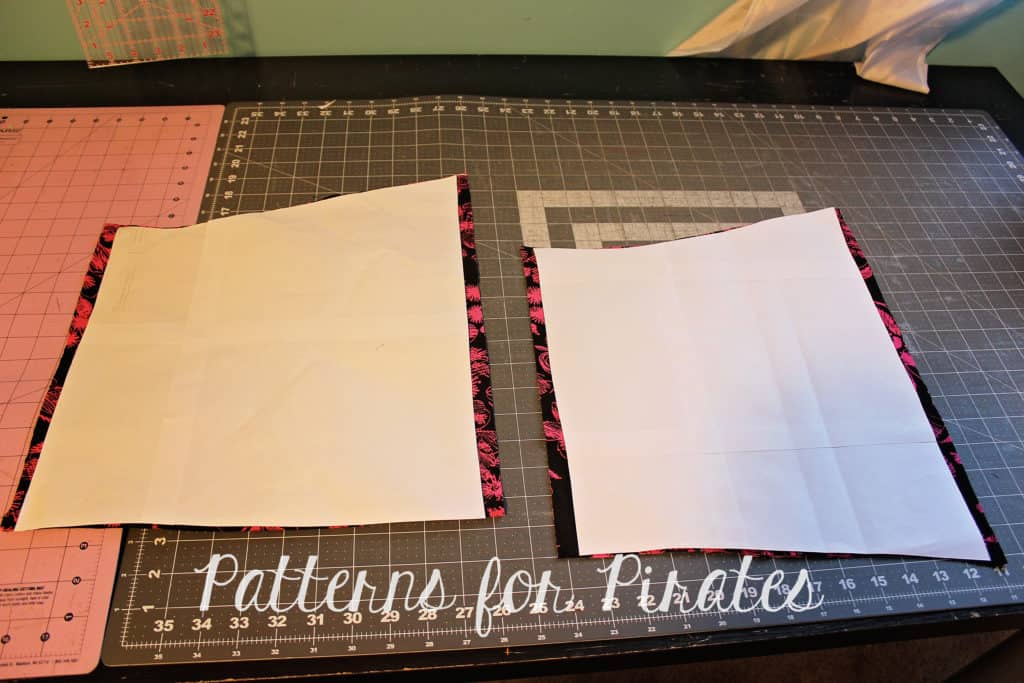
We will now cut the fabric. DO NOT FORGET THE SEAM ALLOWANCE! Since we are only dealing with straight color blocking lines, I will show you the easiest way to add SA. Simply use a quilter’s ruler and cut away 1/2 from the newly designed pattern pieces. Remember you need to add seam allowance only to the colorblock parts, NOT the center fold or side and middle back seam. Those seam allowances are already included in the pattern.

Once you have all your pieces cut (3 for the front, 6 for the back) you will start sewing them together. First sew the front top to the front middle (RST) with 1/2″ seam allowance, serger your raw edges and optionally top stitch. You will now sew the front bottom to the front middle, right sides together. You now have your front piece ready. Repeat the process for the back pieces. Remember that the back of the Brunch Blouse is not cut on fold so you will end up with two mirrored back cuts.

Finish sewing your BB dress as per the tutorial instruction. How easy and fun was that? You can get creative with your color blocking…just imagine a beautiful ombre blouse, or a blouse with lace overlay for the top colorblock. The possibilities are endless.

. . . . .

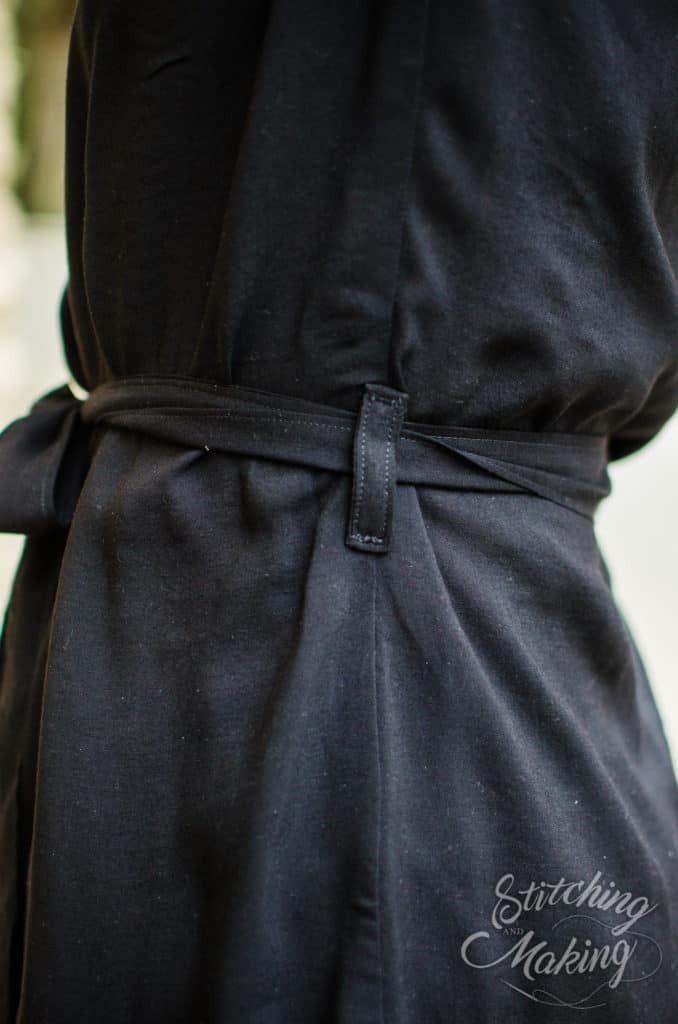
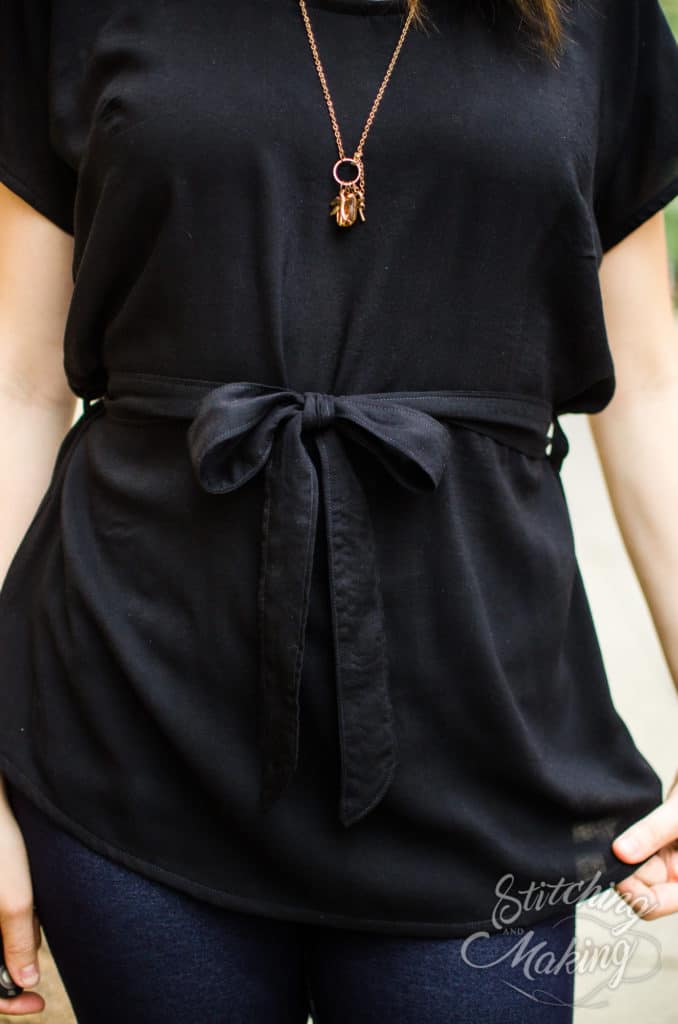
Belt Loops and Sash Hack

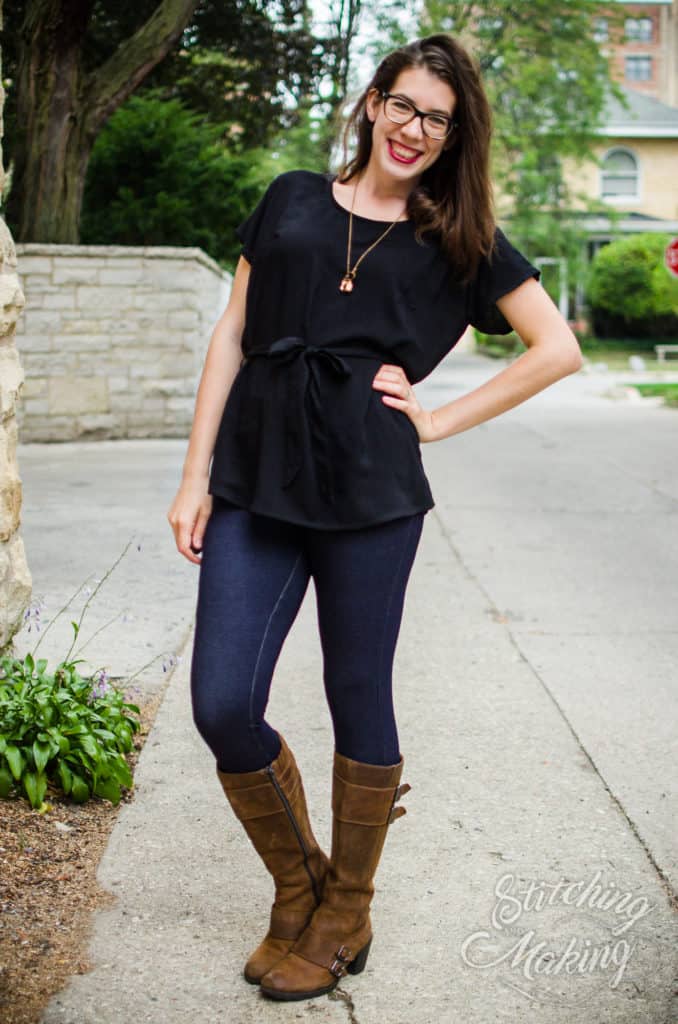
This hack is super easy but a fun option for a different look than the normal Brunch Blouse!  You can do this hack with any option except the one that already includes the waist tie.


1. First, sew up your blouse/dress as usual.  Make sure to mark the notches on the side seams, add a pin as well after you’ve sewn the side seams so that you can still see where the notch is.

2. To make the sash, refer to this cut chart based on your size.  Cut two.


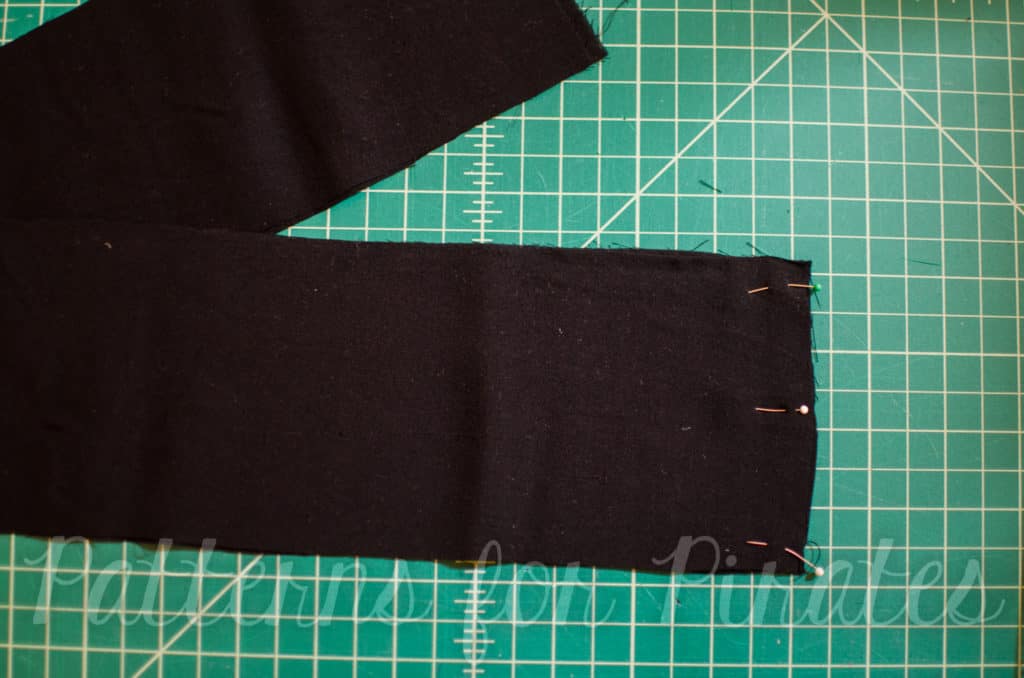
3. Right sides together, sew the short ends together.  Press open and finish edges.


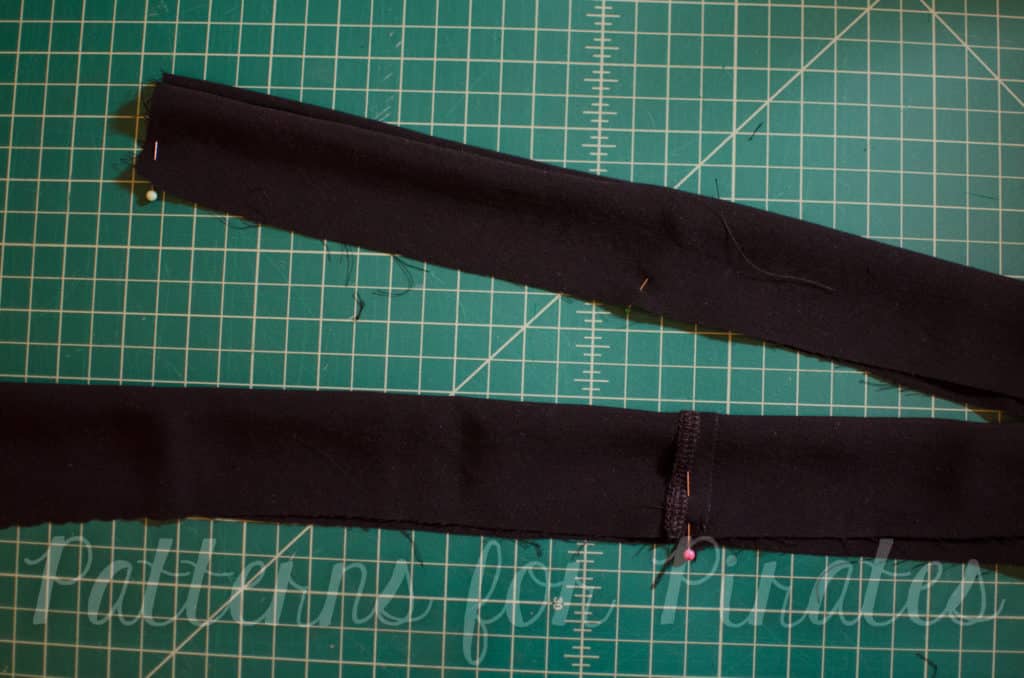
4. Right sides together, sew the long edges now, but leave 2″ unsewn in the middle.  This is how you’ll turn it right side out when you’re done.
 

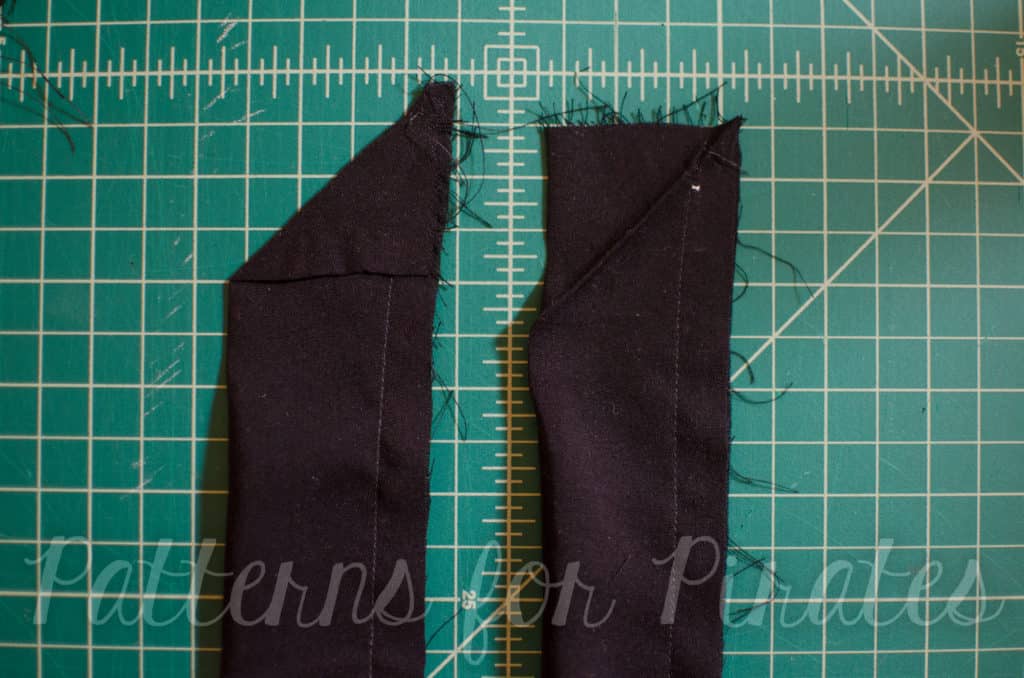
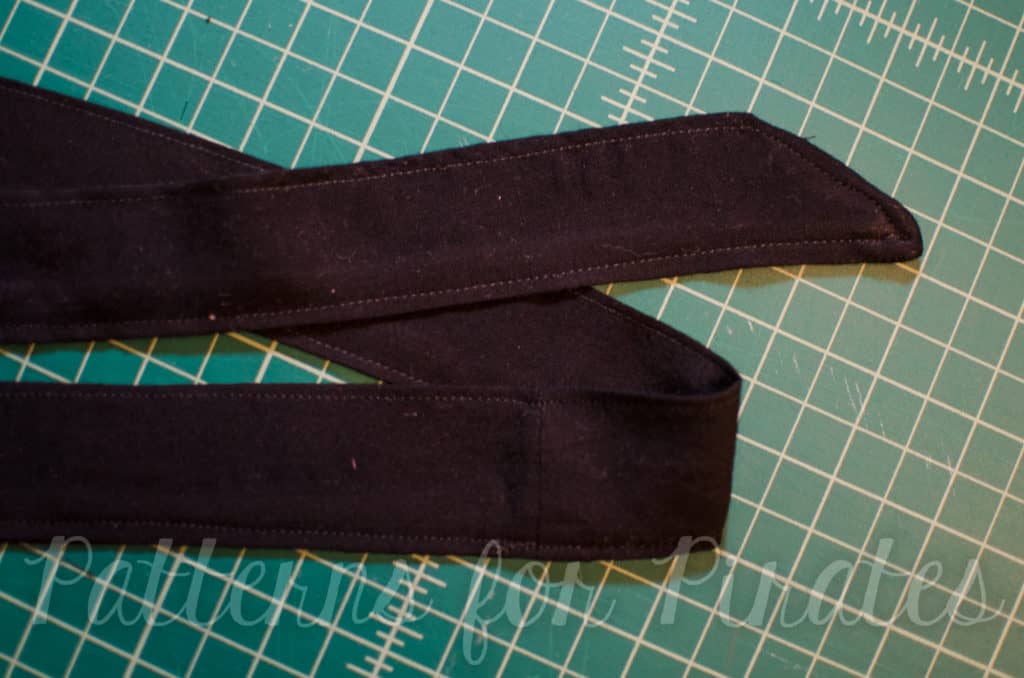
5. Iron the short edge over to form a triangle.  Now sew here to make the pointed edge, and trim the seam allowance down to 1/2″.


6. Turn right side out, press, and topstitch as close to the edge as you feel comfortable.  When you get to the 2″ you left open, align the seam allowance inside and and stitch shut while topstitching.


7. For the belt loops, first decide if you want two or three.  I opted for two because I didn’t want one on the back (I just don’t like the feeling).

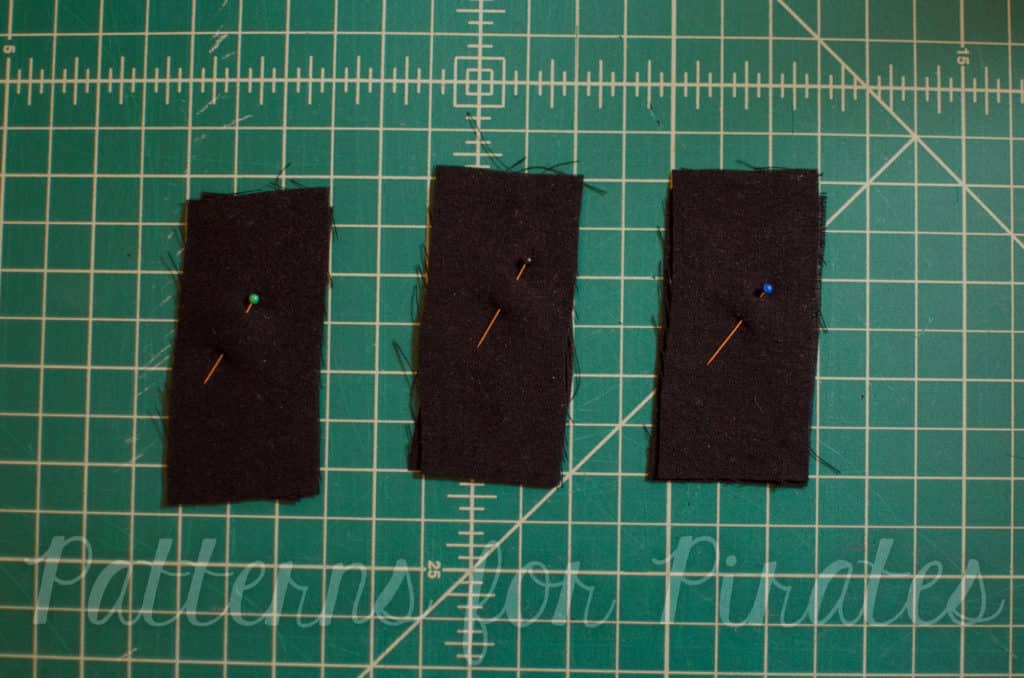
8. Cut rectangles 3″ x 1.5″ – four for two belt loops or six for three belt loops.


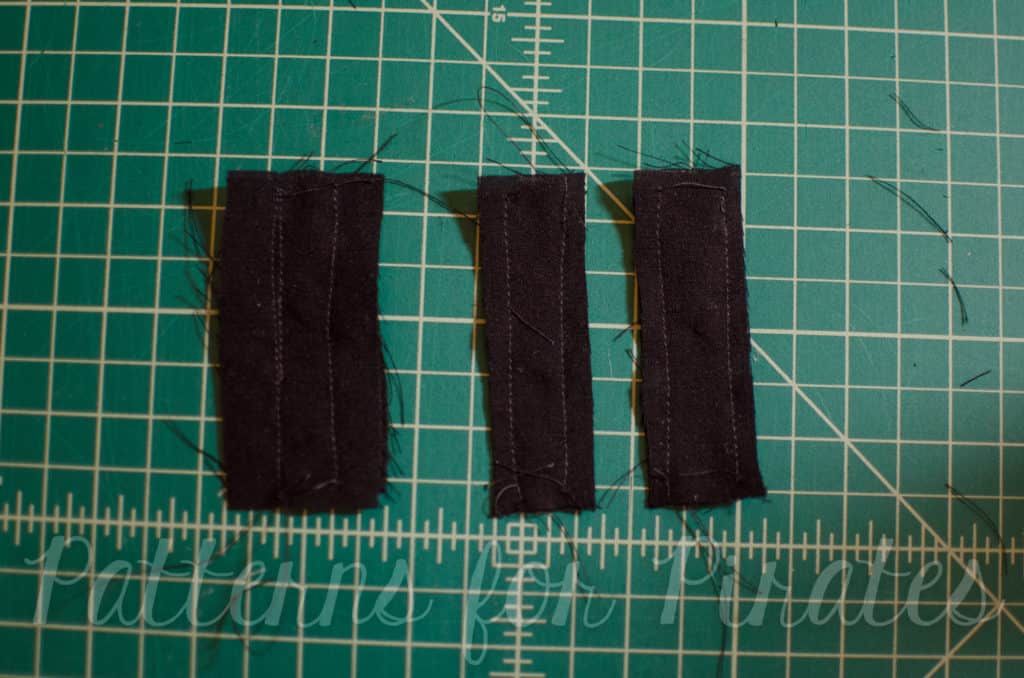
9. Stitch along the long edges, right sides together.  Then trim seam allowance to 1/4″.


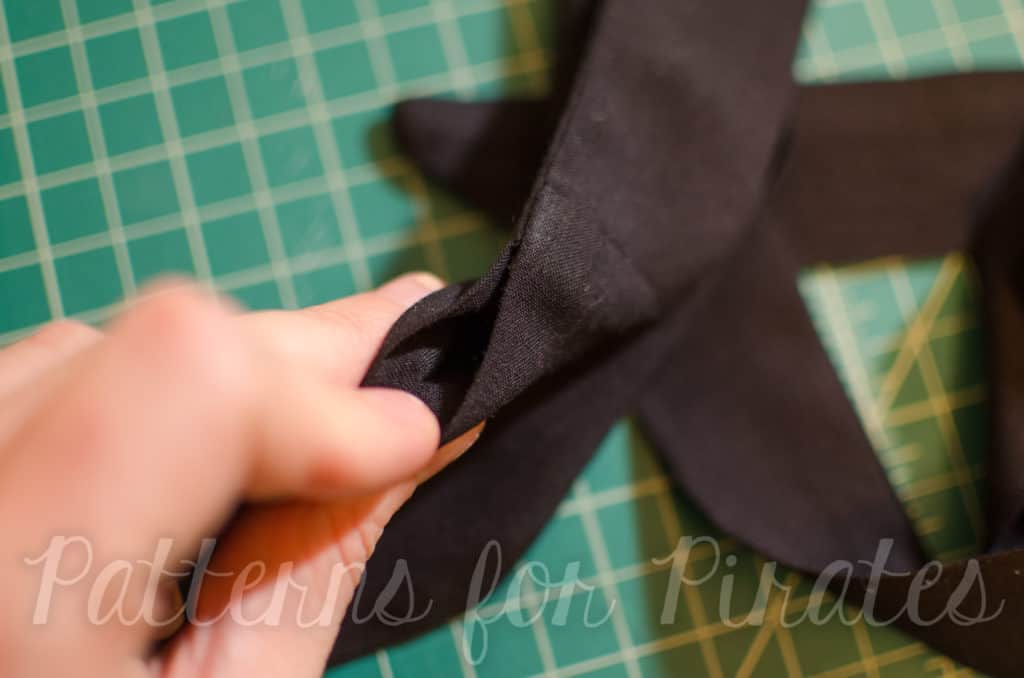
10. Turn right side out, press short raw edges to the back 1/2″. then topstitch down the long edges as close to the edge as you feel comfortable.


11. Find the notch on the blouse side seams you marked earlier.  Sew the loops on to the side seams, over the notch, by topstitching the short side 1/4″ from the edge.  If you’d like a loop on the back too, find the middle of the back neckline and use a ruler to find the center back of the blouse from there and attach.


12.  Press everything one last time.  Slip in your sash into the loops and wear your new blouse!


~Elisabeth

. . . . .

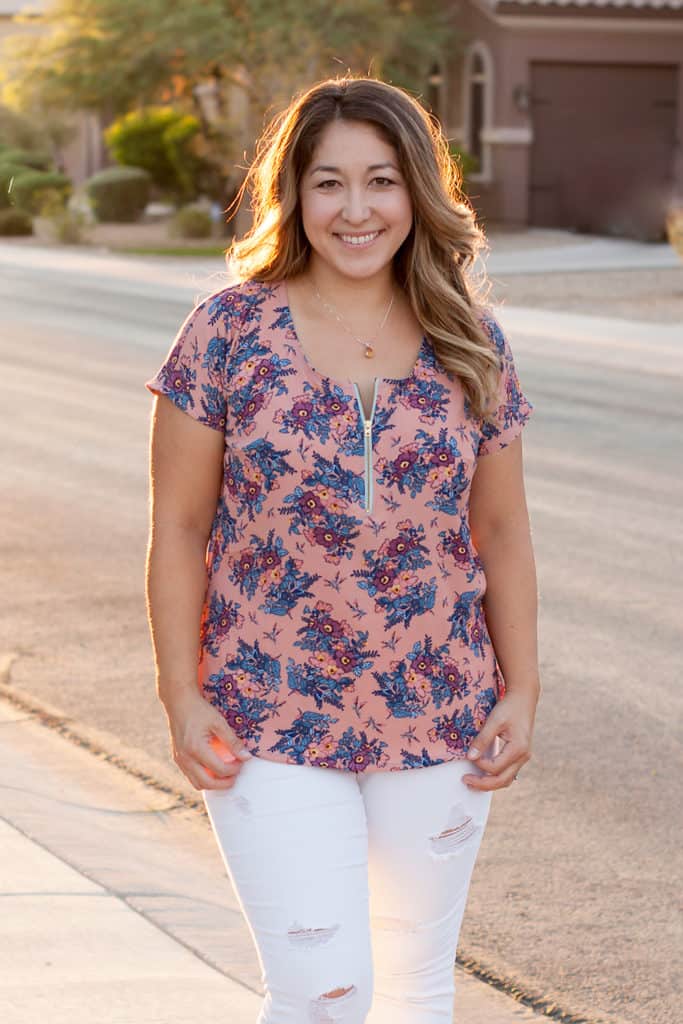
Front Zipper Hack


This is a little more intense and involves one of those scary things… you know, a zipper!  Now, if you’ve never installed a zipper this may be a little daunting, but I promise, take it slow, you can do this!

I am using a 7″ (I think?) exposed metal zipper but you can choose your preferred length if you want it shorter or longer.  If you’re choosing this option, do this prior to any other step in completing your top.  So now, let’s get started.

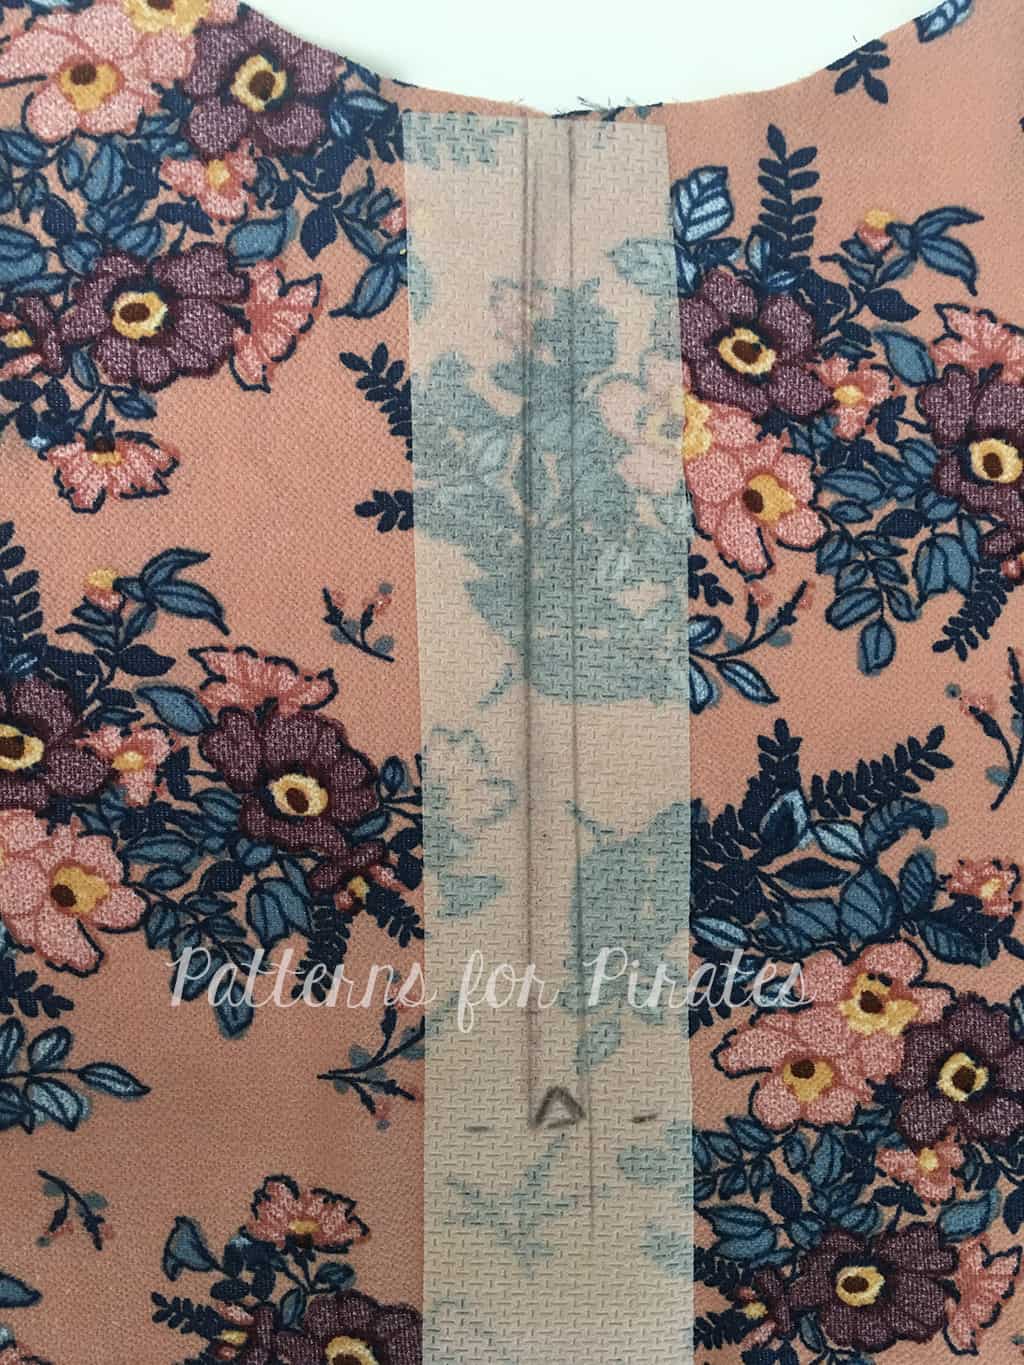
Find center front of neckline and iron on interfacing to wrong side of fabric.
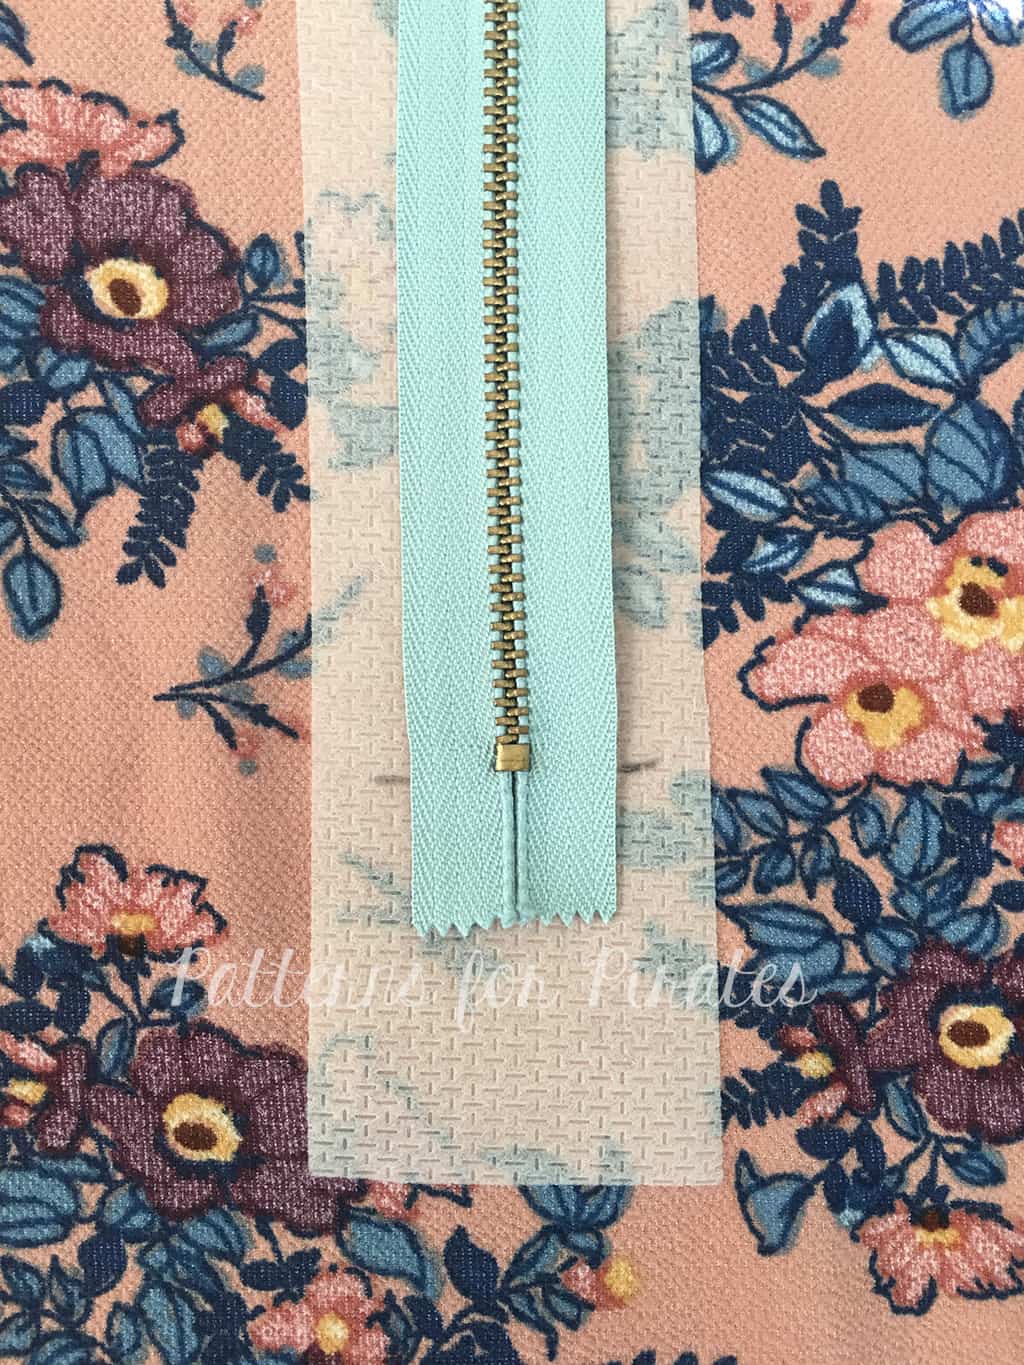
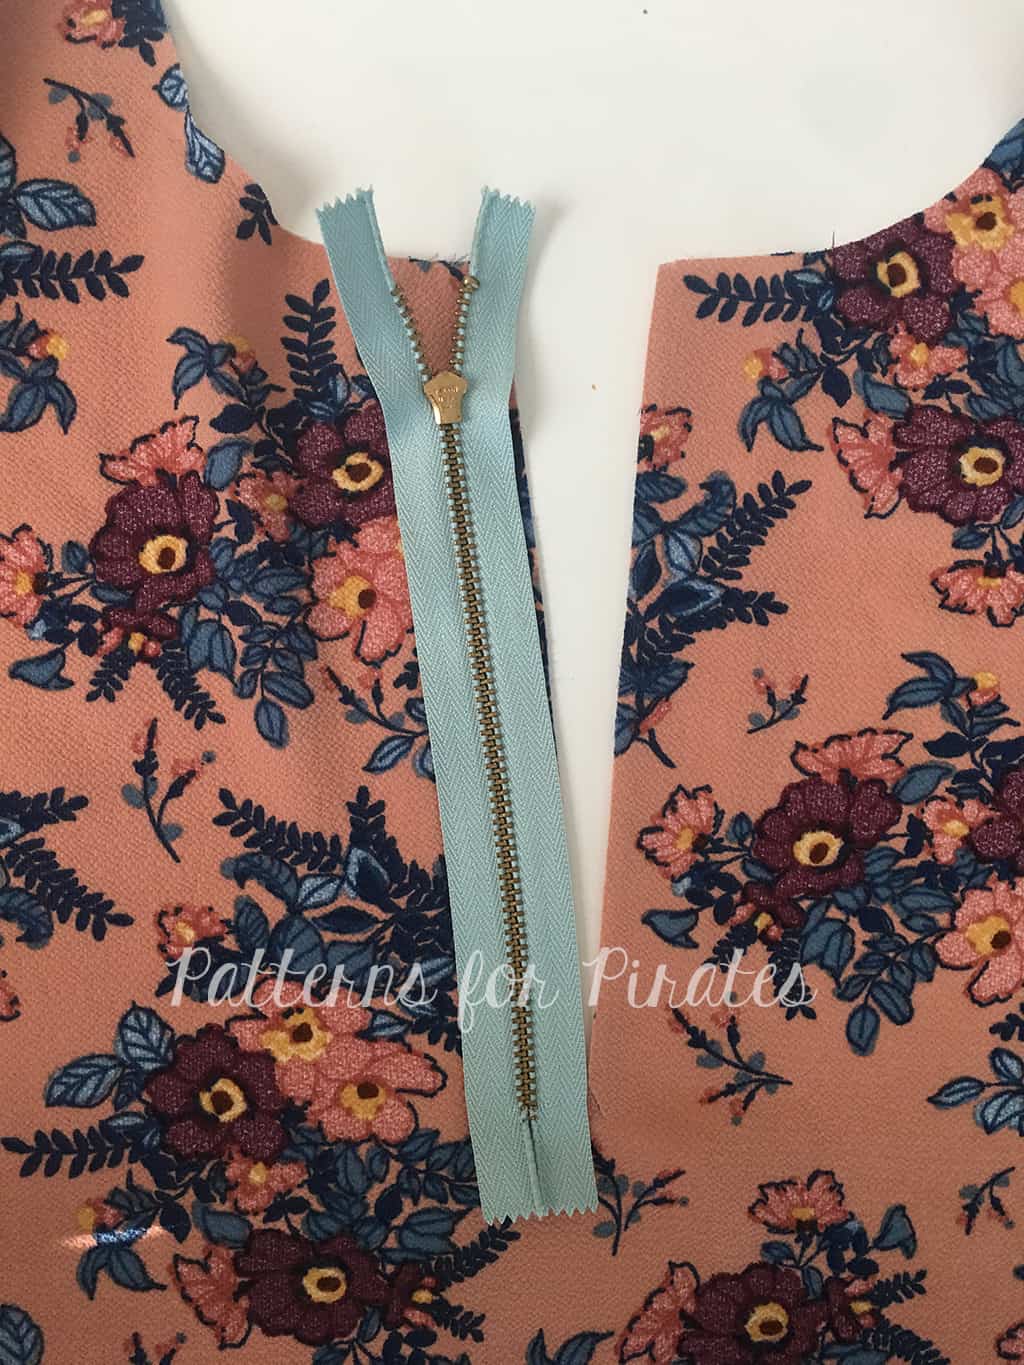
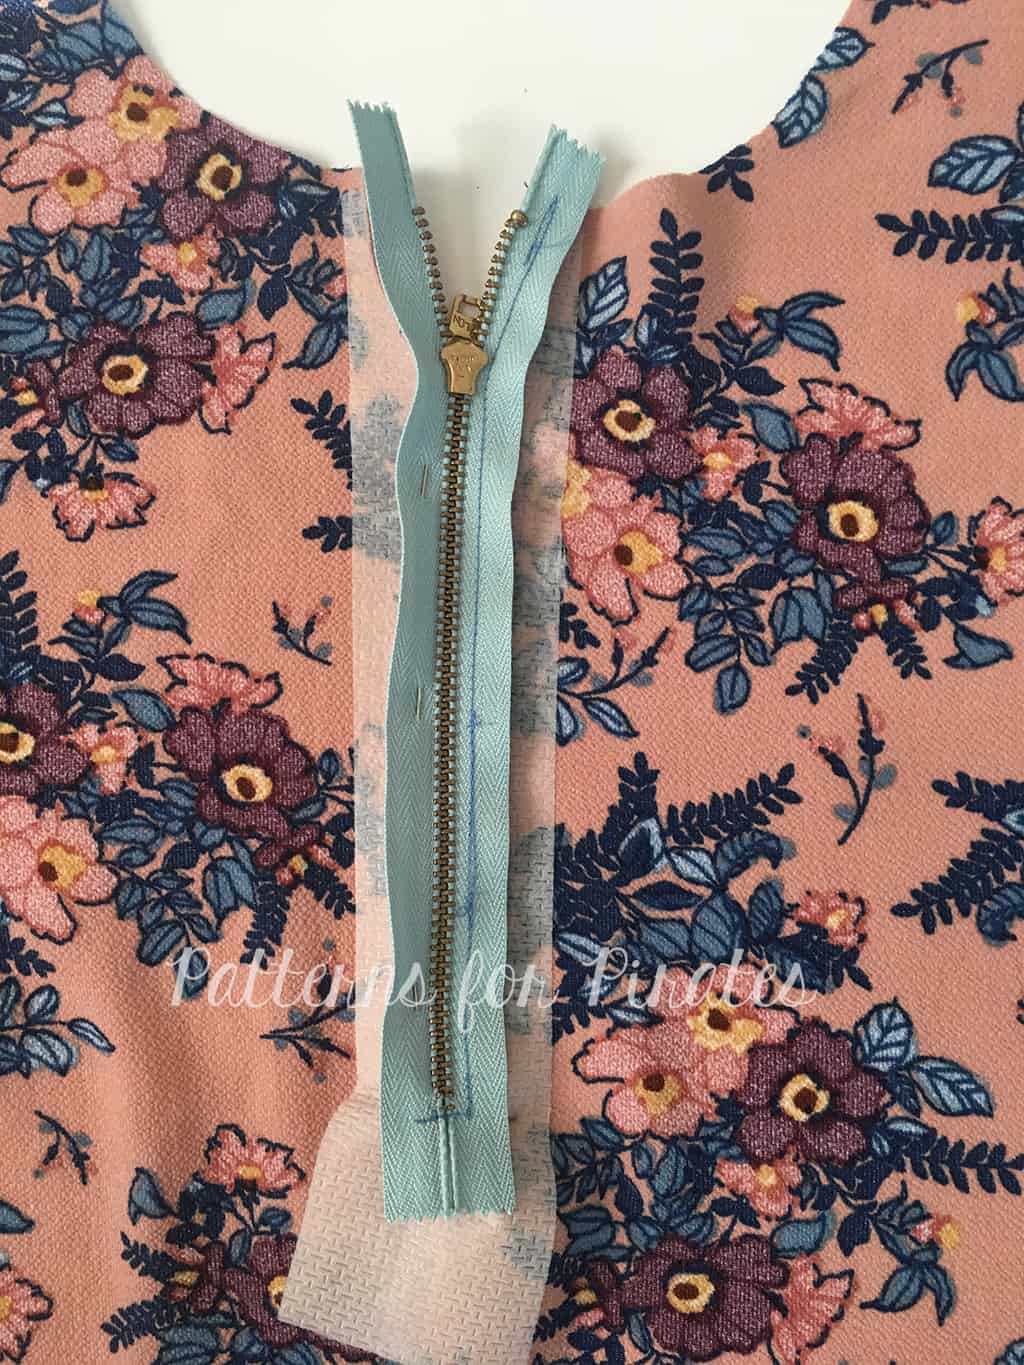
Place top of zipper 1/4″ below raw edge of neckline. If your tails are longer, you can trim them later.
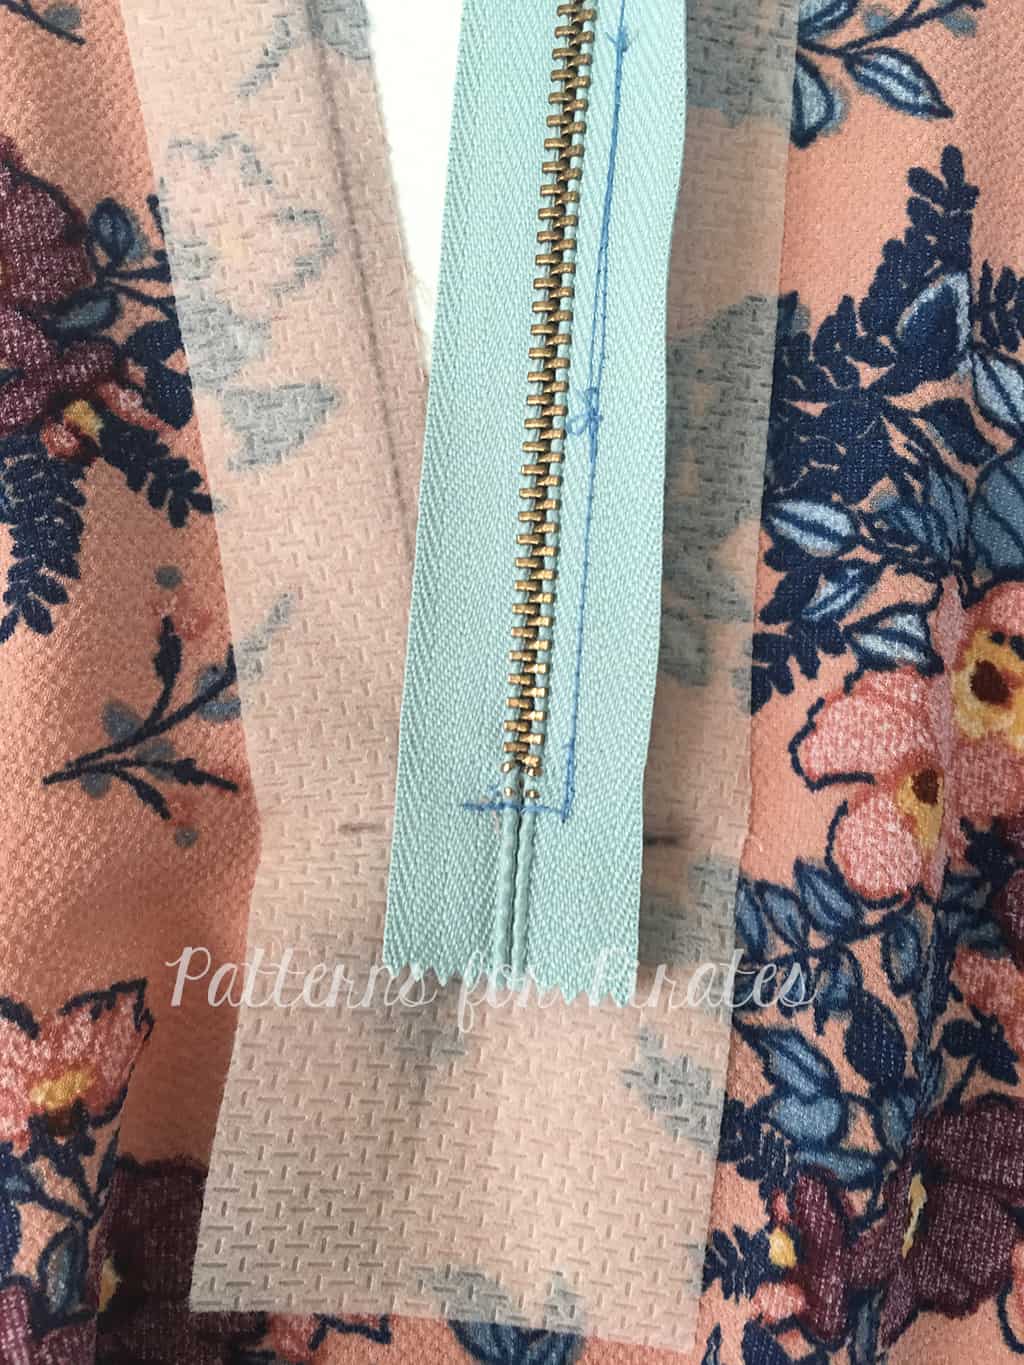
Mark the zipper stop placement on your interfacing.

Draw a 1/2″ rectangle down the center of the front bodice. (this will be your stitch guide)
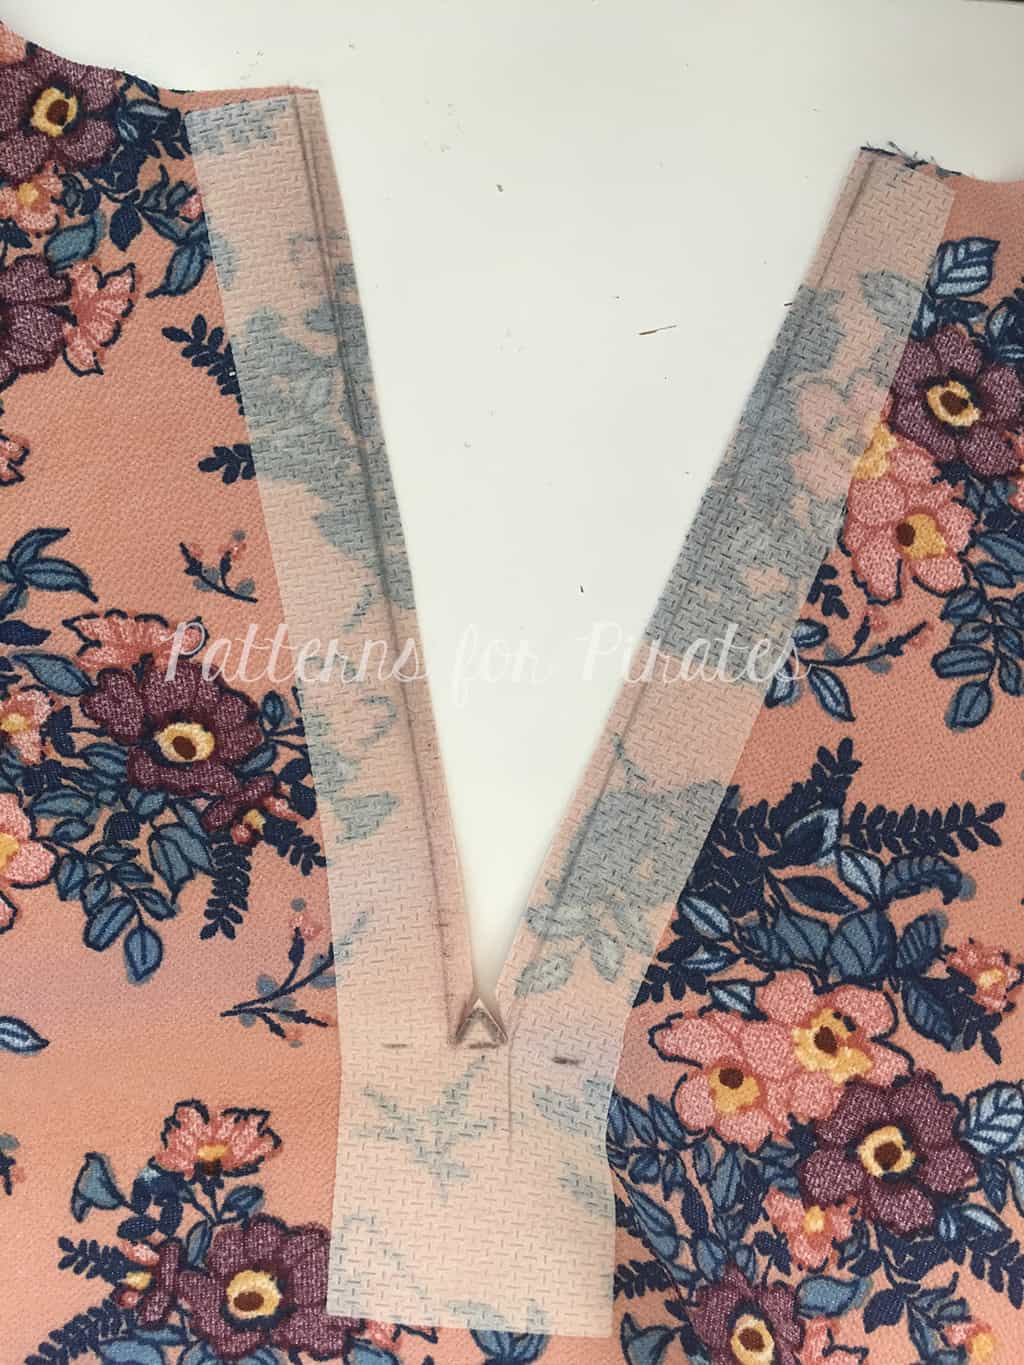
Cut down the center of the rectangle. Stopping just above the bottom, snip at a 45 degree angle to the corners.
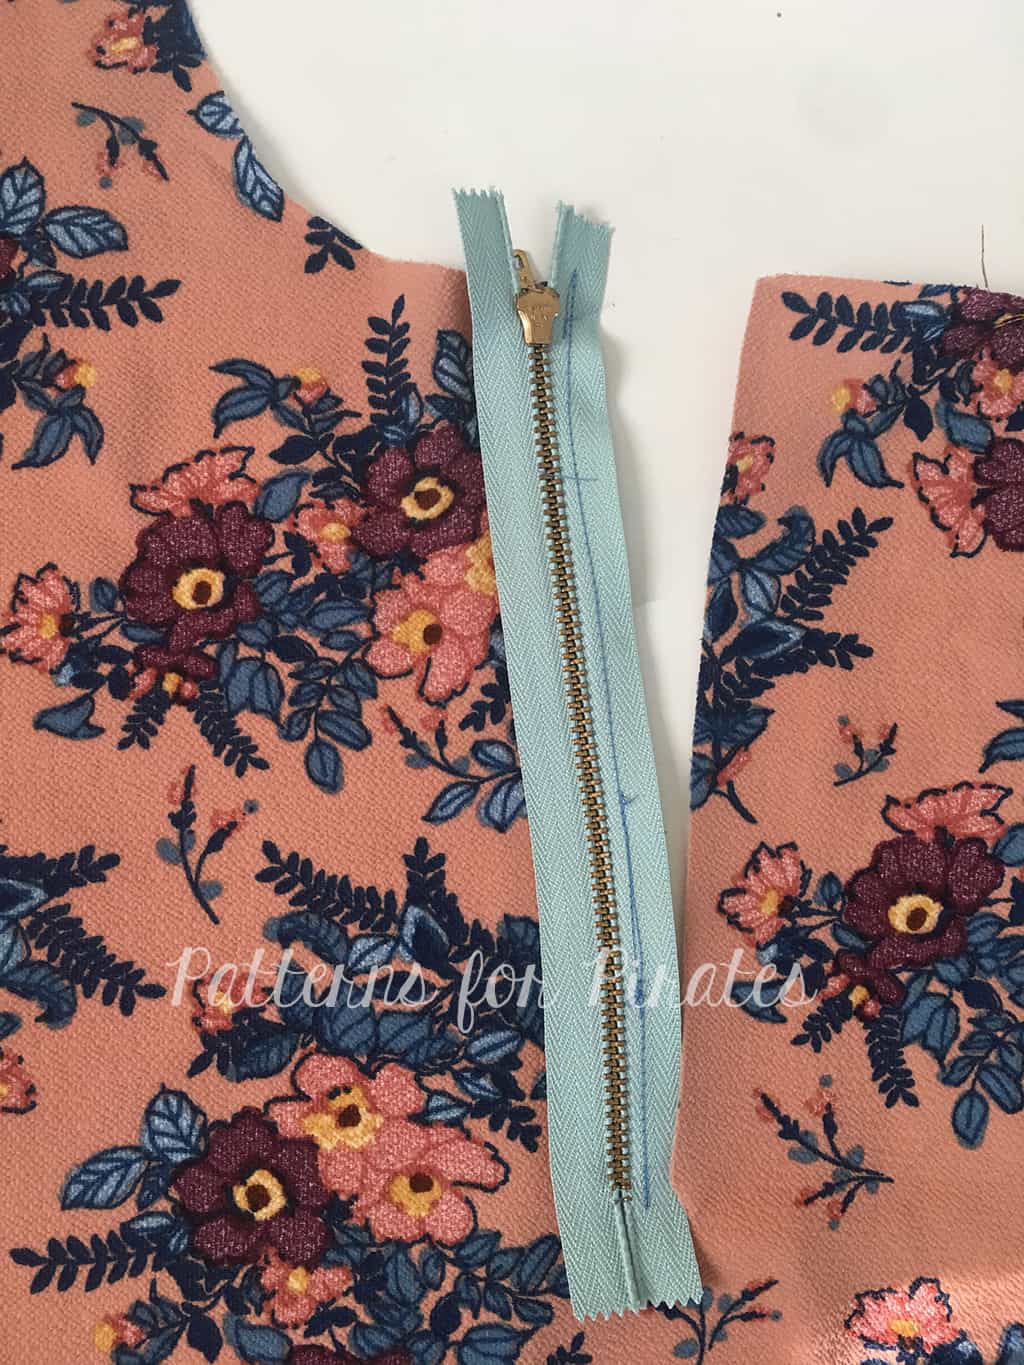
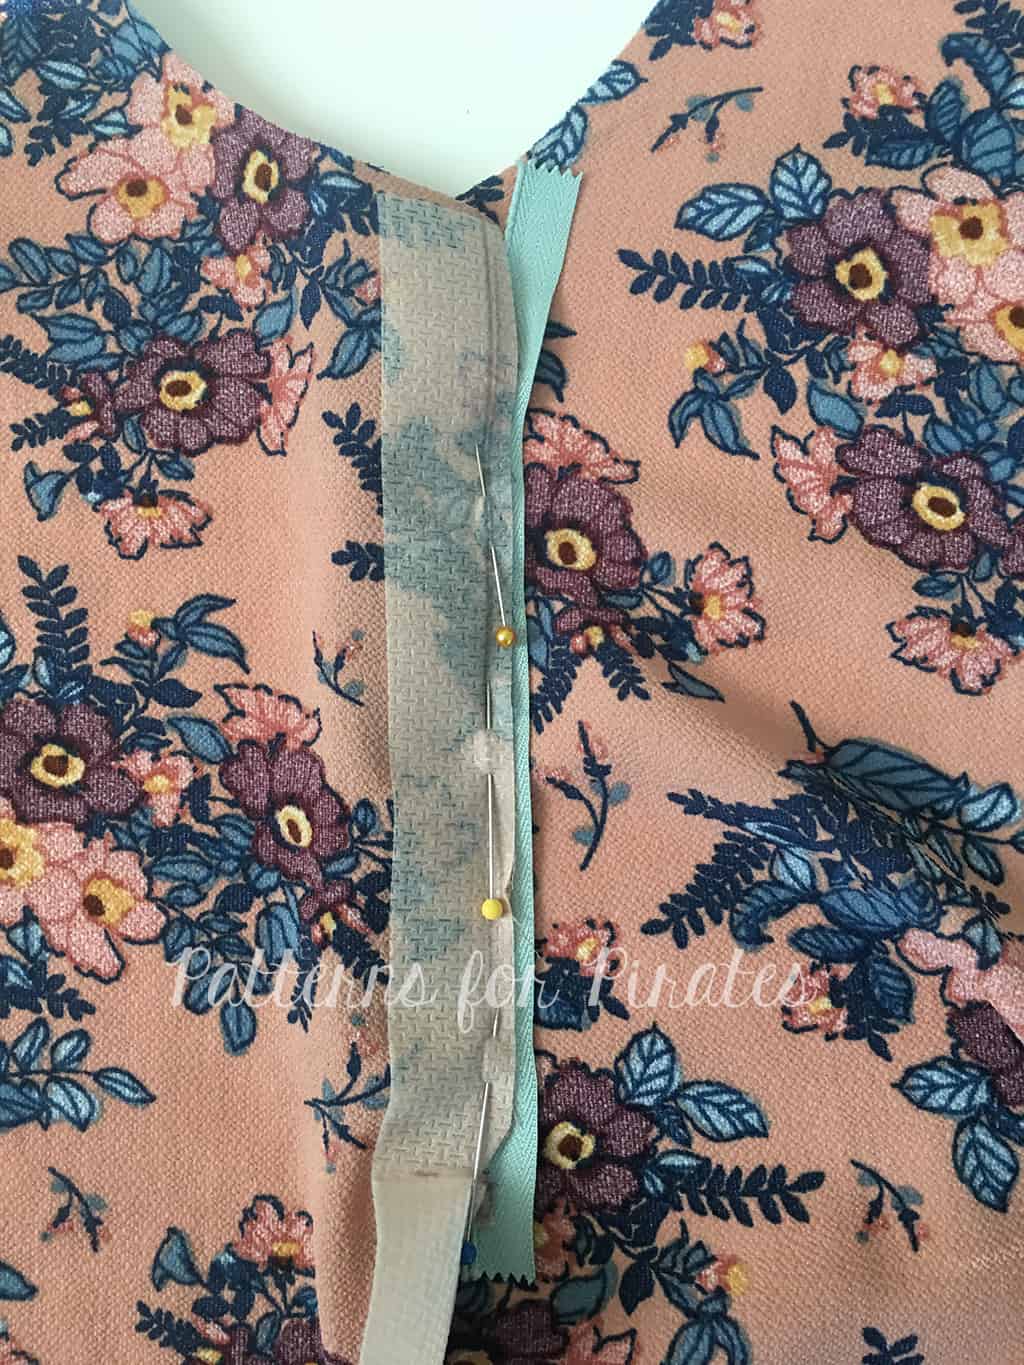
With right sides together, pin zipper in place.

The raw edge of your fabric should line up toward the center of the zipper tape.
Be sure that your zipper stop is aligned with the bottom edge of your rectangle.
Stitch.

View from the front
Flip notch upward and stitch.
View from back of zipper.

Repeat with opposite side. With right sides together, pin zipper to front bodice.
Stitch.
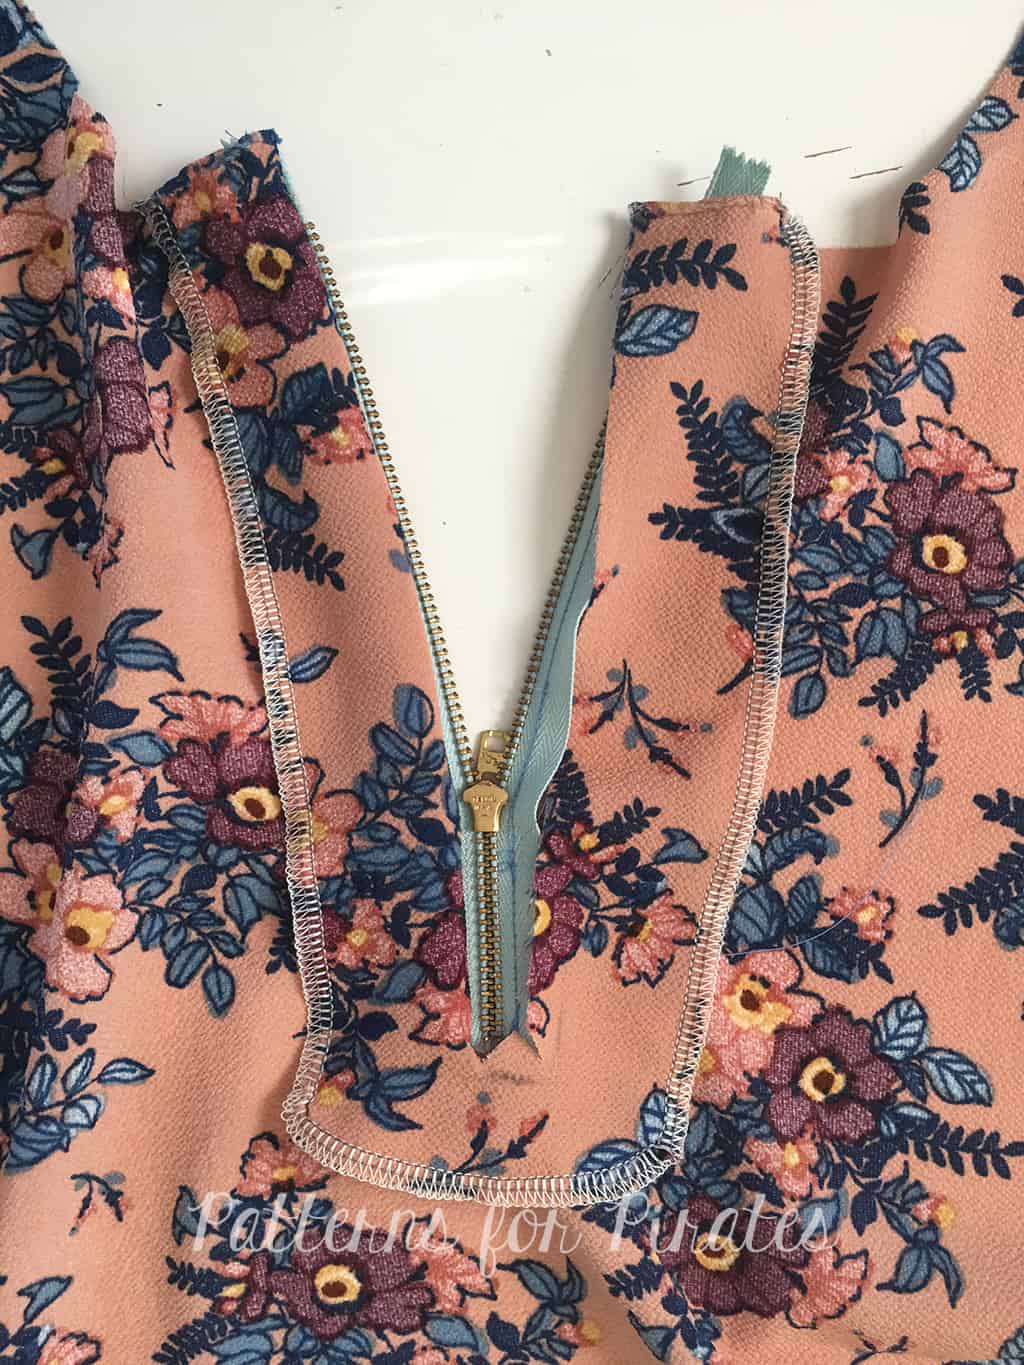
View from back of completed zipper.

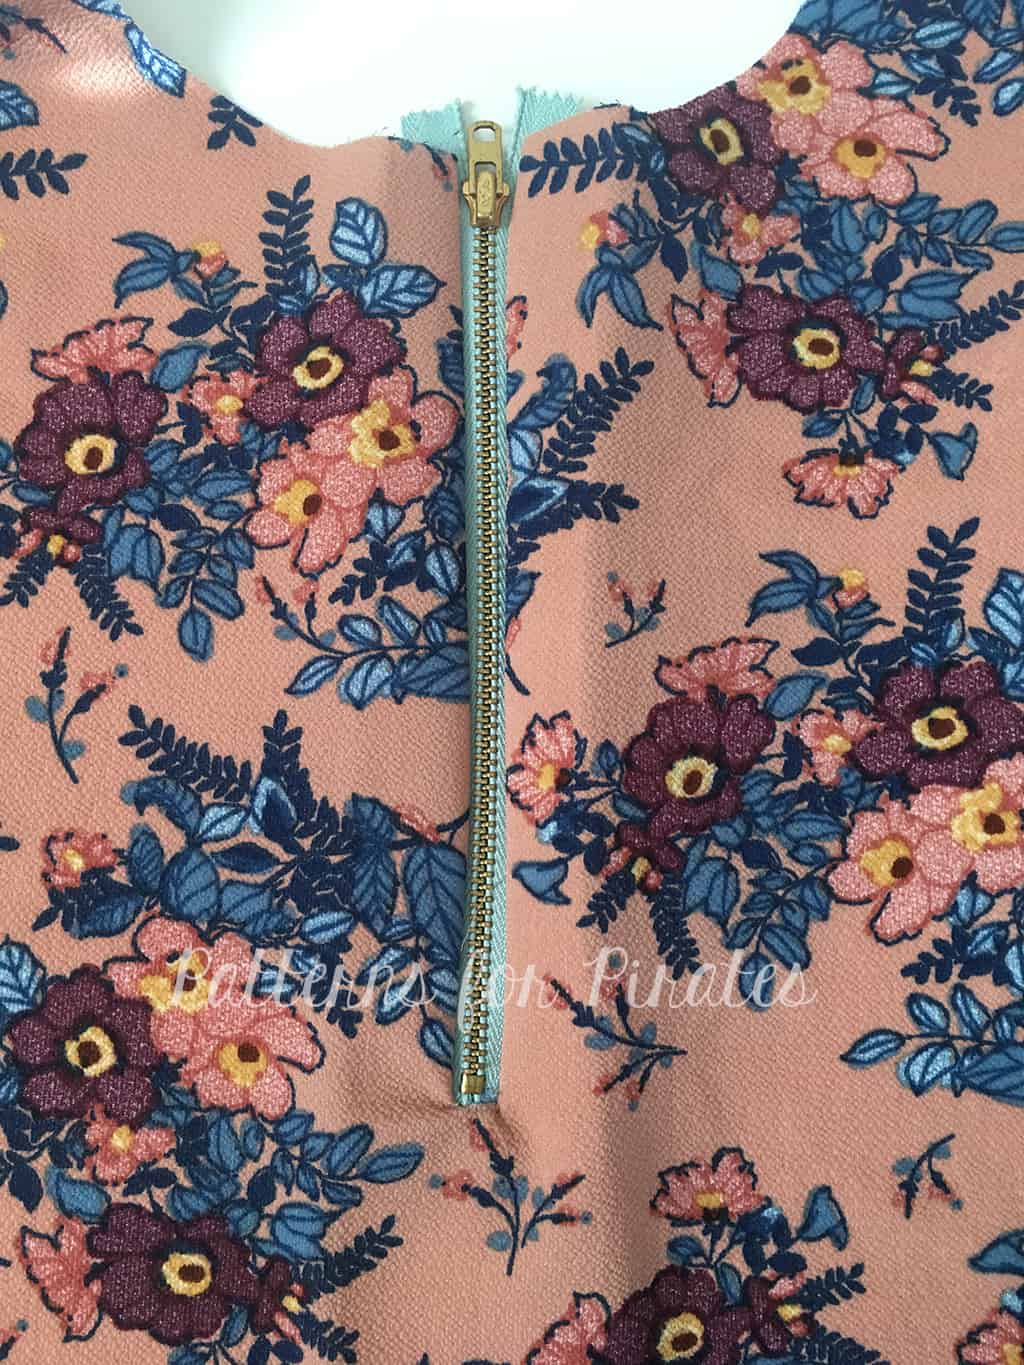
View from front. You can stop here and top-stitch if you do not mind the zipper showing inside your item. Proceed to next step if you want to enclose it.
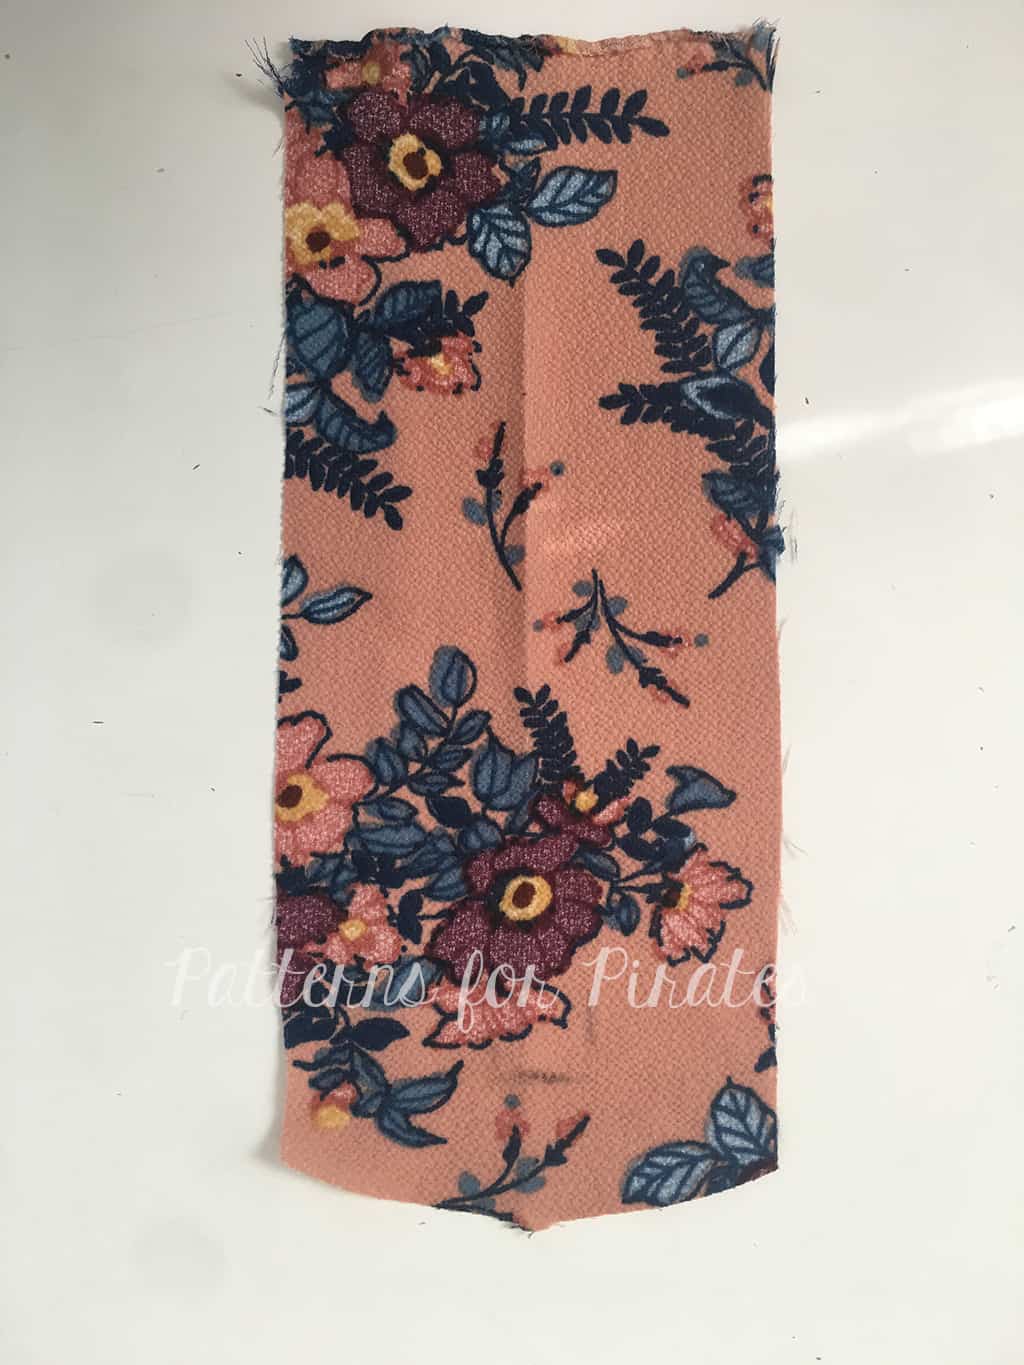
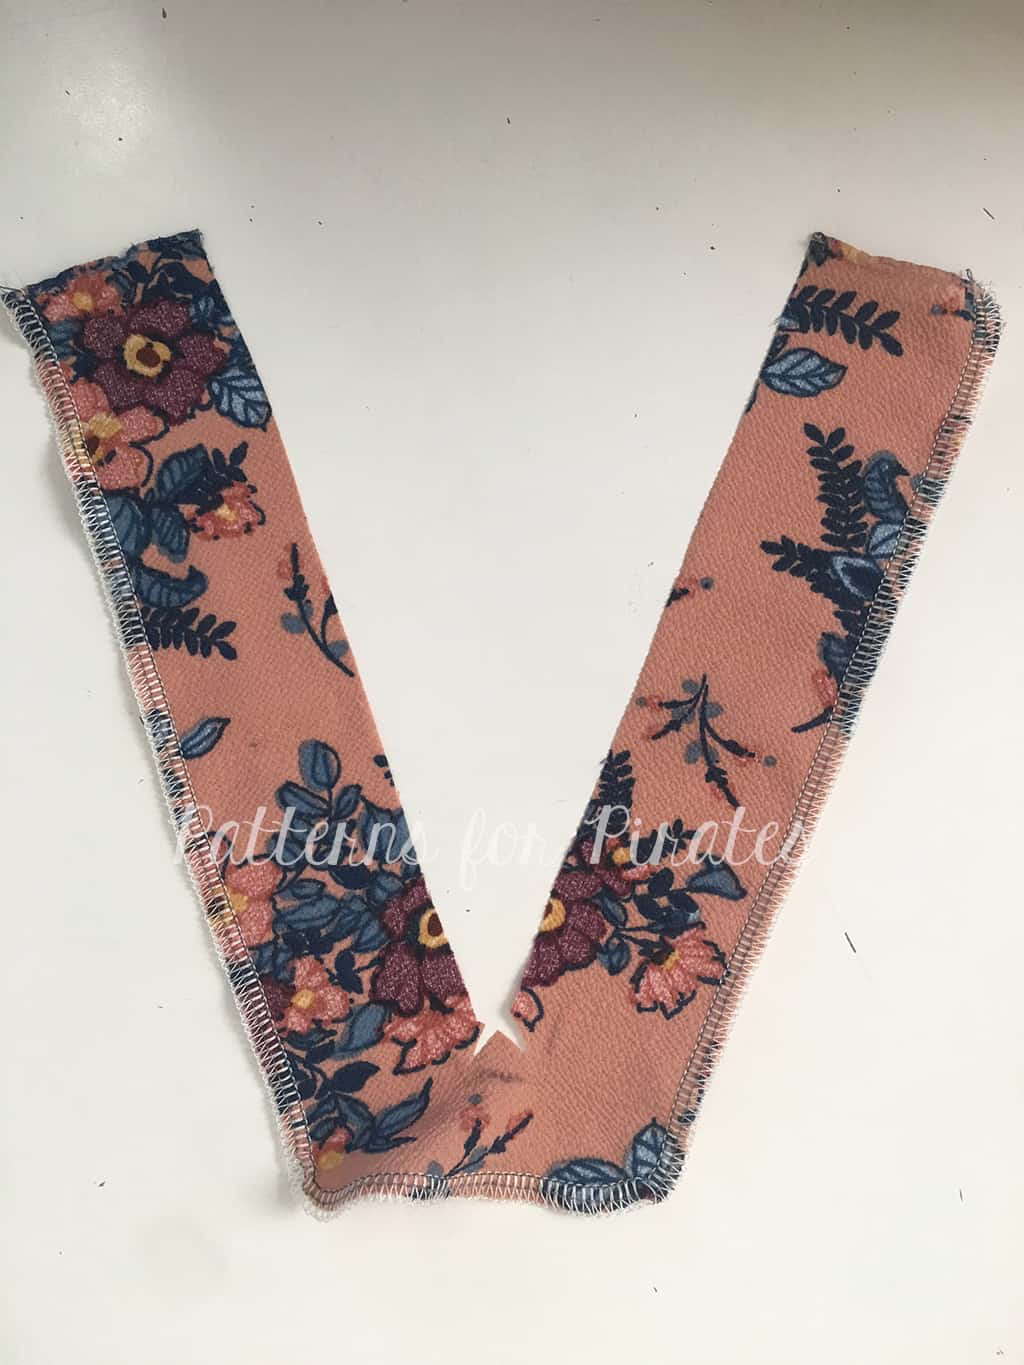
Cut a facing and transfer the markings as previously done in the first few steps.
Finish raw edges. Cut down the center of the facing and snip towards the corner at a 45 degree angle.

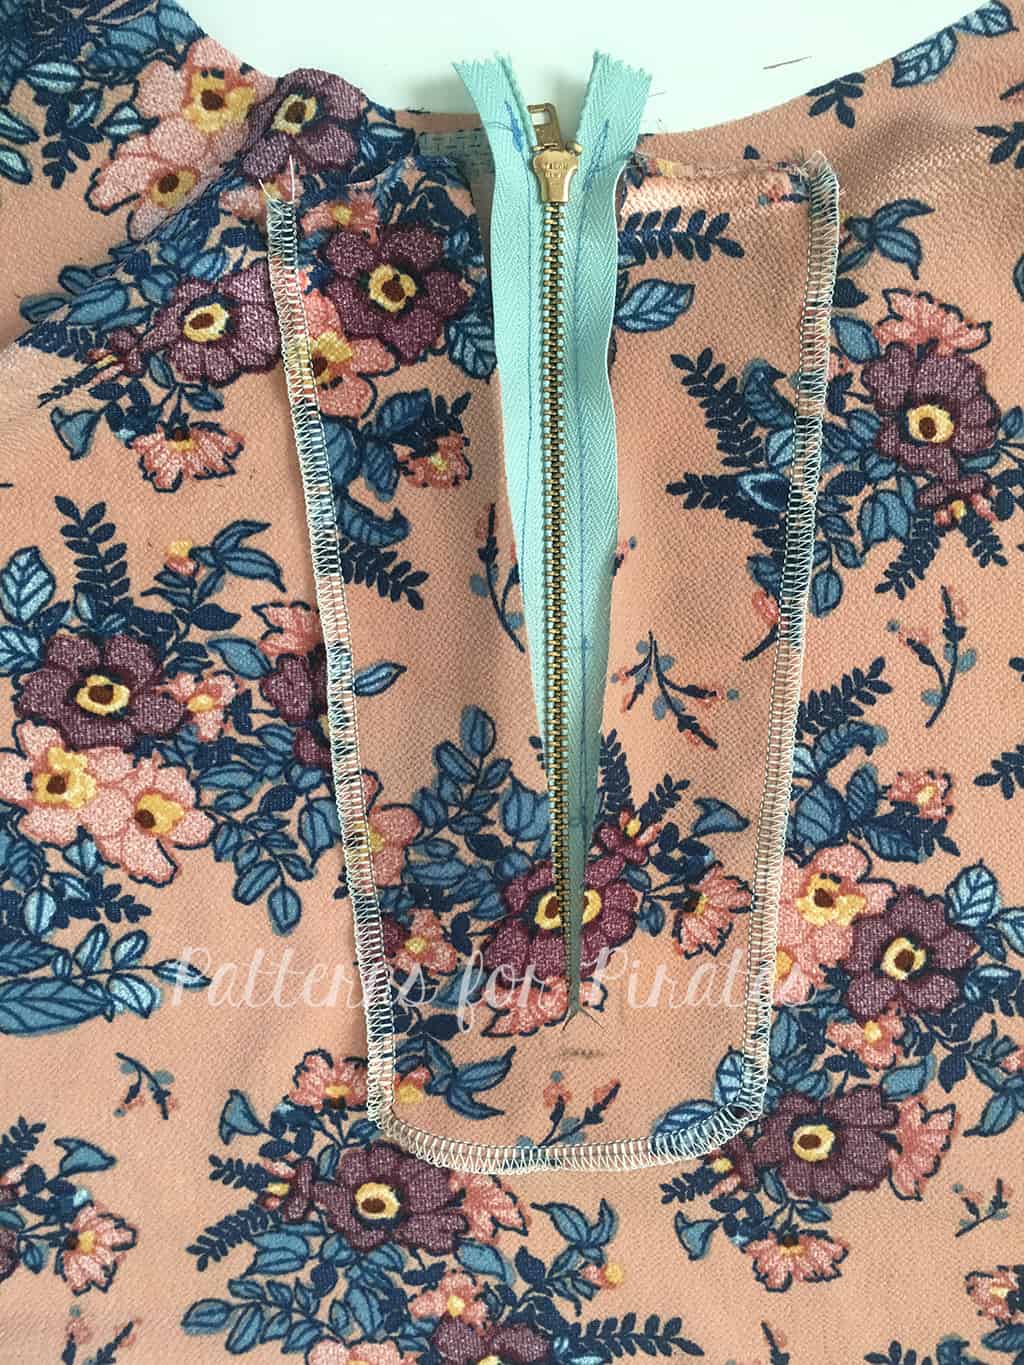
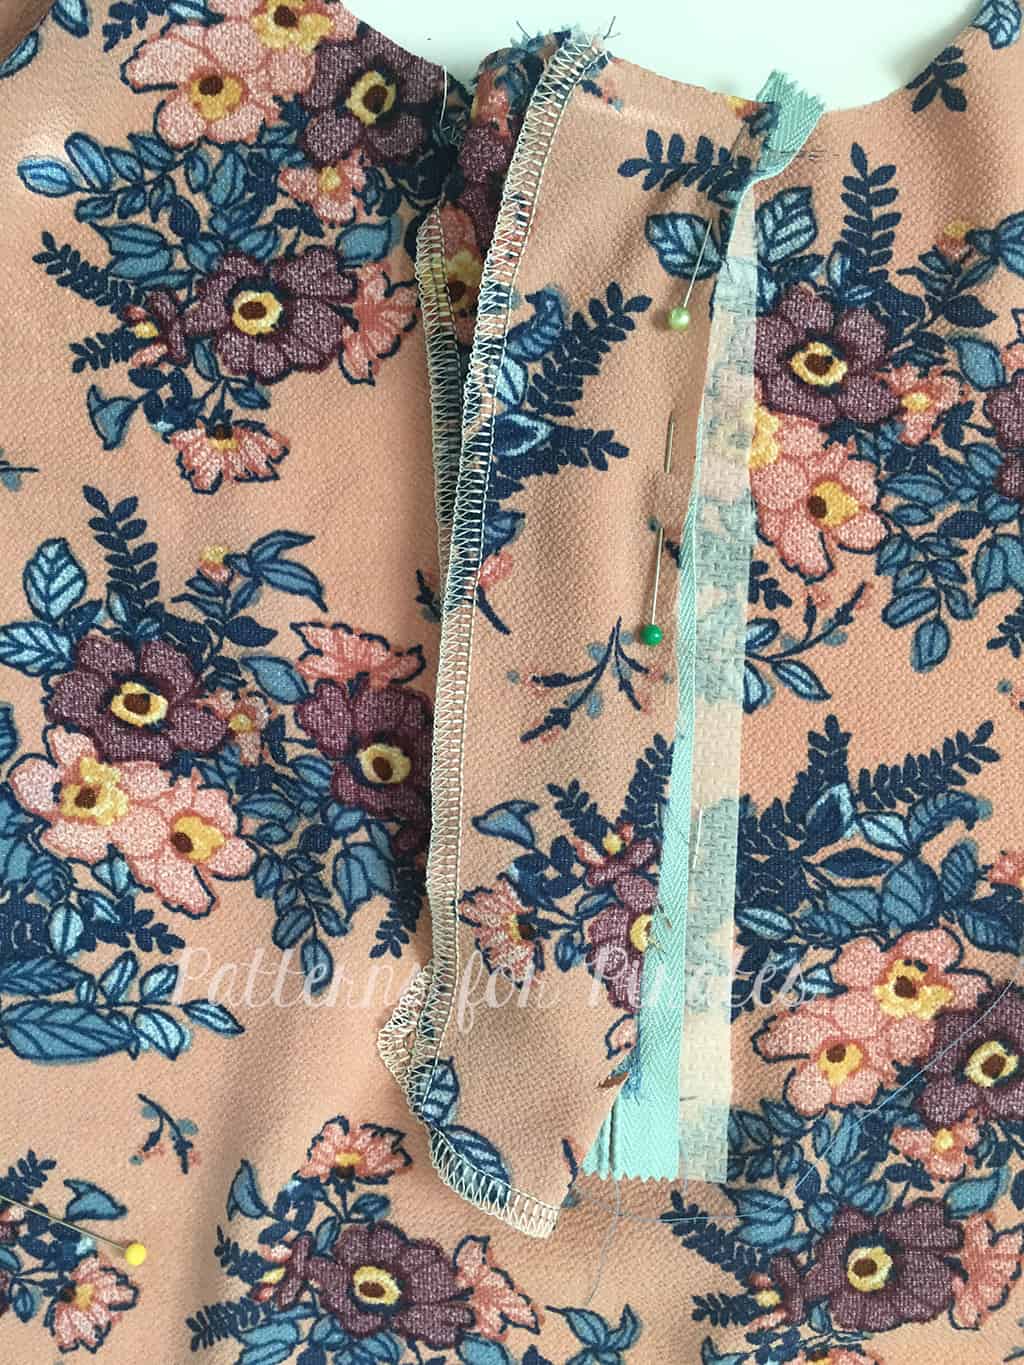
Lay the facing right side up on top of the wrong side of your zipper and front bodice.
Flip the facing toward the center so that the right side is now lined up with the wrong side of the zipper. Stitch.
View of left side of facing stitched.

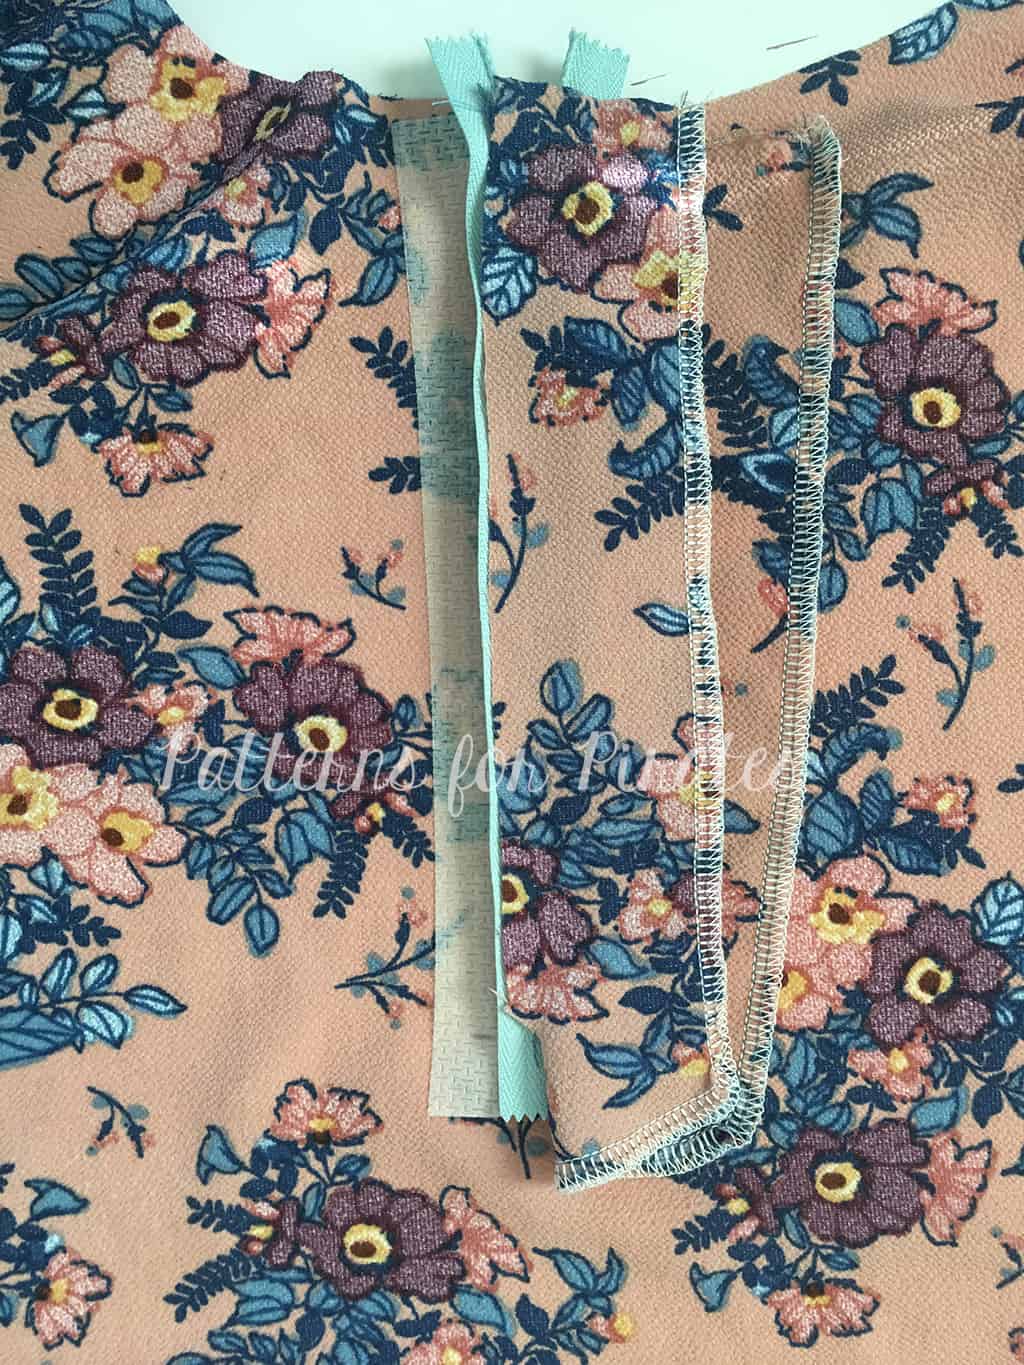
Repeat on opposite side. Stitch.
Pull notch down and stitch in place. (same as you previously did on your main front body).
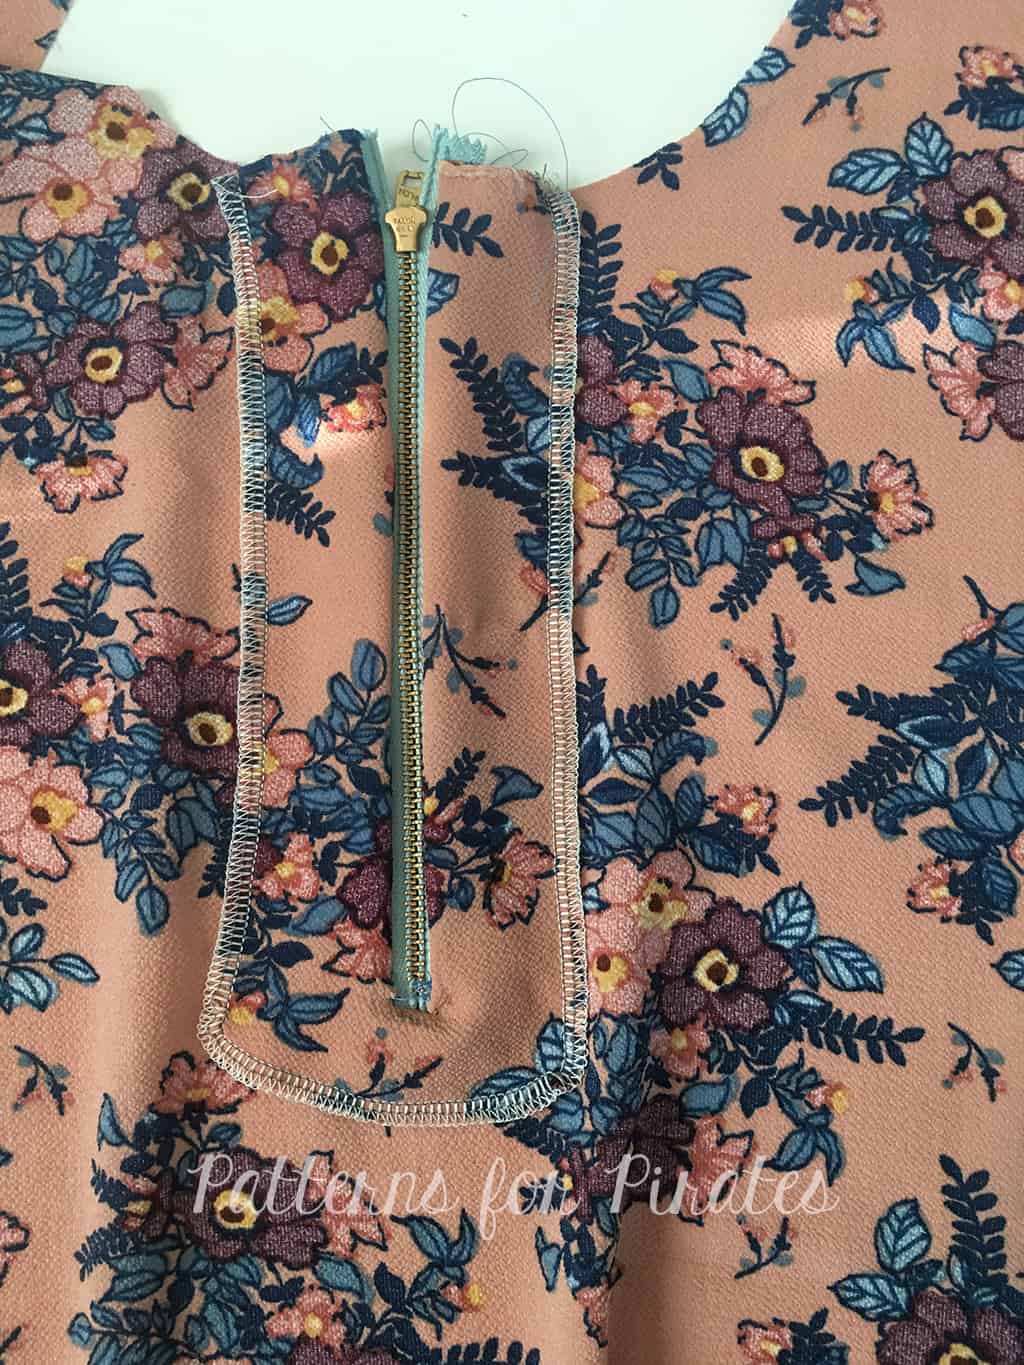
View from back.

Top-stitch around zipper.
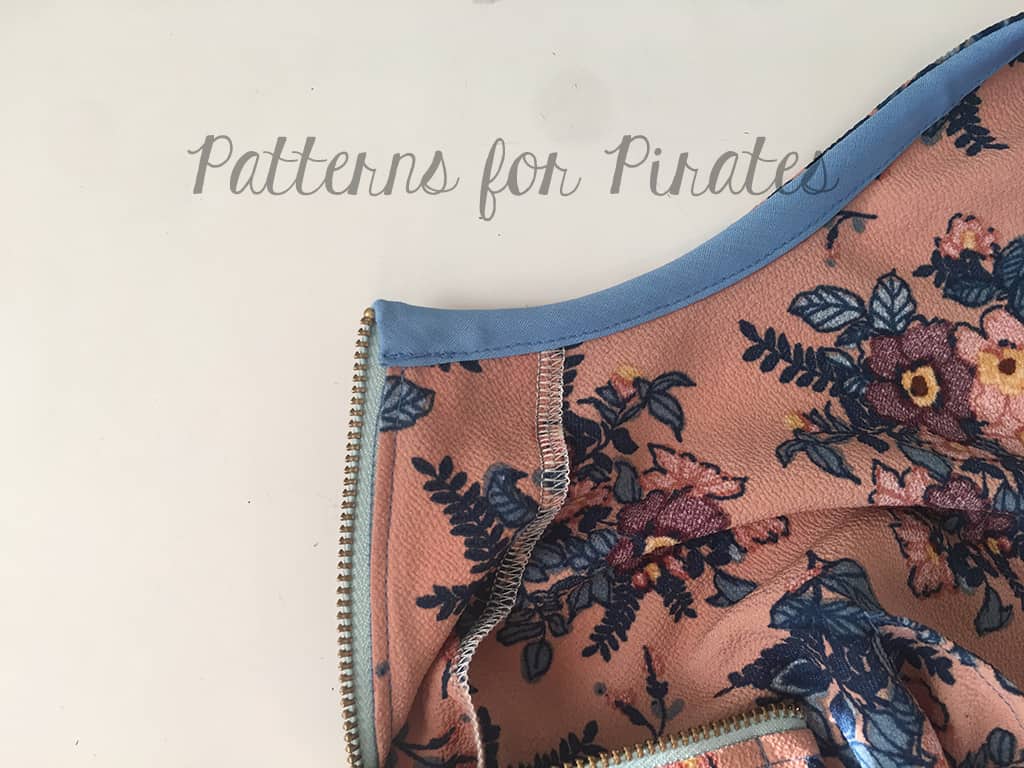
Finish neckline using single fold bias tape as shown in the tutorial.

There you have it!  I hope that wasn’t as difficult as it appears.  If you’re not sure you’re ready to tackle the zipper on your top, try it on a few scrap pieces first.  Practice makes perfect right?


We hope you enjoyed the hacks as much as we did.   Don’t forget to share your makes in the Facebook Group, we’d love to see them!  Happy Sewing!

Filed Under: Pattern Hacks, Pattern Release, Uncategorized Leave a Comment

P4P University – plackets

September 13, 2017


Ohhh….plackets! Why are you so scary? Today on the blog I’m hoping to change that perceptions of them and help you face this fear.

What are plackets?

Plackets are basically just a slit or an opening in the fabric that allows for garments to be easily put on or taken off. Sometimes plackets are purely decorative. You can find them on sleeves, on pants, back of skirts and neckline. You can have a placket on the back of the neckline or on the front. The most common neckline front plackets are for Henley or Polo style shirts. On this blog I will be using the new Brunch Blouse placket but you can certainly utilize the same principles for a Yo Ho Henley or a Women or Men Henley shirt too.
 

Interfacing? Yay or nay?

My first tip/recommendation is to always use light weight interfacing for the placket piece. Simply fuse a piece of interfacing to the wrong side of the pattern piece. You can get away with not using any if you’re making a woven pattern but even so, the result will be so much better if you do add it. Interfacing will help stabilize your piece which in turn will make it a lot easier to sew. ALWAYS use interfacing for knit plackets!
Mark and press!

As you can see in the video above, I use a tailor chalk to mark the pressing and sewing lines on the back of the placket piece. You can use a soluble fabric pen or a fabric marker too.

If you have a tailor clapper now would be a good time to use it. It will defiantly come in handy and help keep those pressing marks firm. Spray starch will help too!

Sew slowly!

Make sure you pin a lot and catch any notches that need to be enclosed! This may be the most tedious part of adding a front neckline placket so it is well worth paying extra attention and sewing slowly.

Enjoy the fruits of your labor! 🙂

Now that you took the time to create the perfect placket, show it off! Be proud of your achievement and don’t let sewing techniques intimidate you! Speaking of showing off…don’t forget to brag about your Henleys and Brunch Blouses in the P4P group.


Filed Under: P4P University, Sewing Techniques, Uncategorized 4 Comments

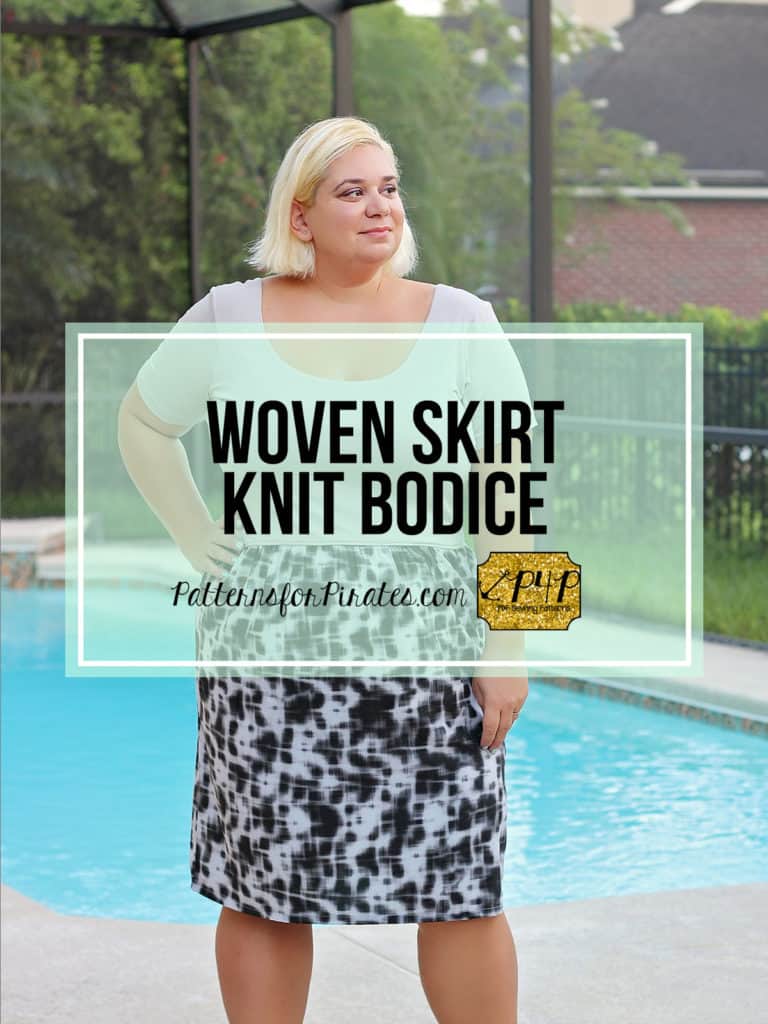
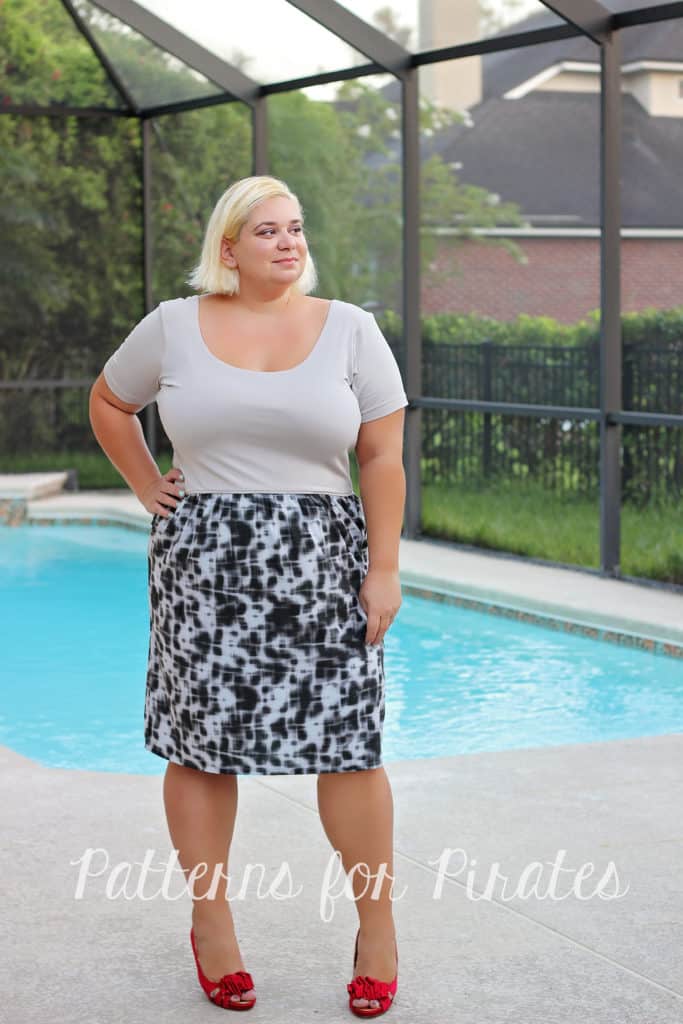
Tips for adding a woven skirt to a knit bodice

August 17, 2017

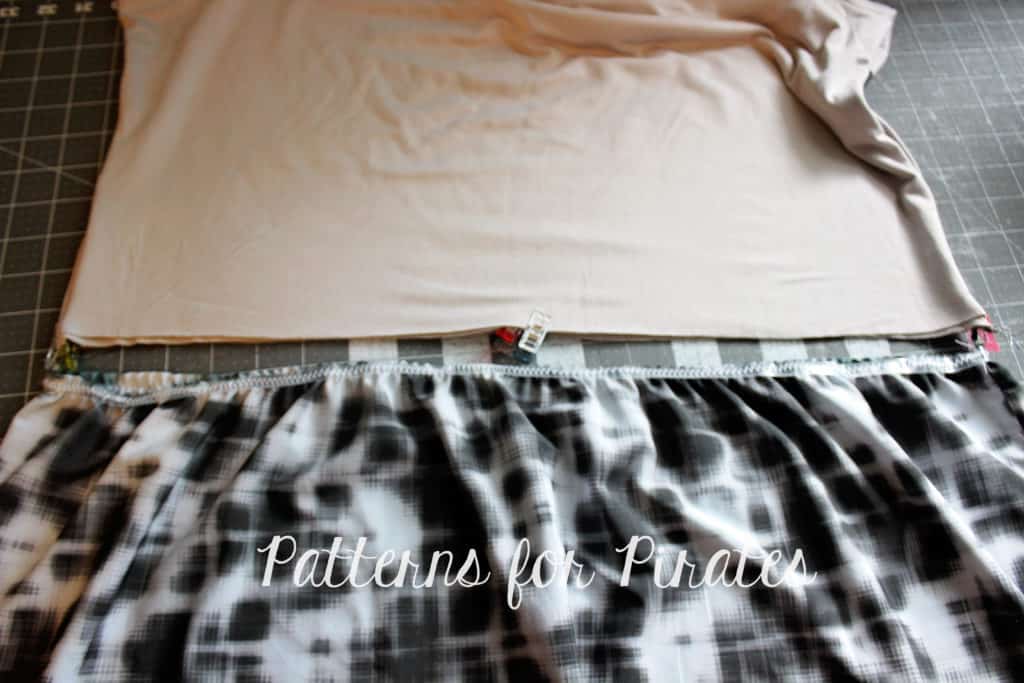
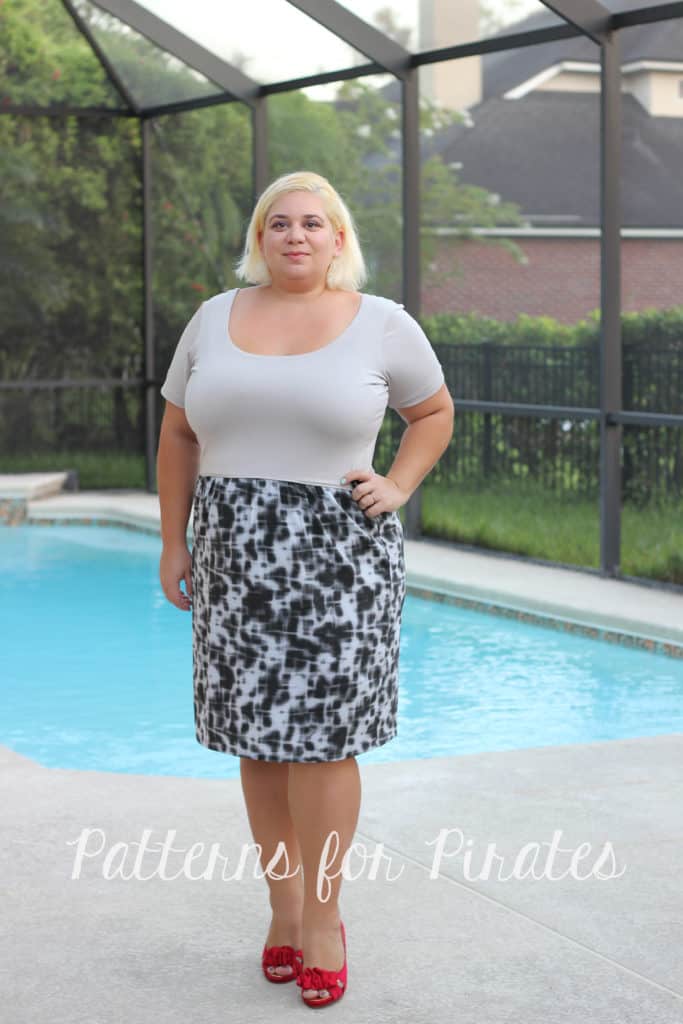
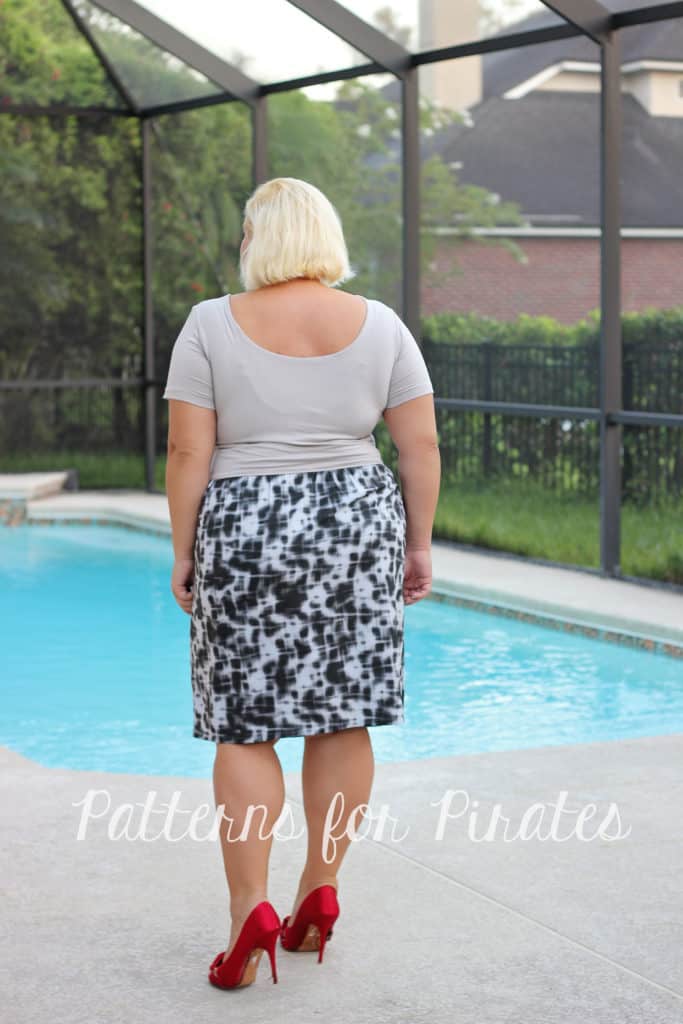
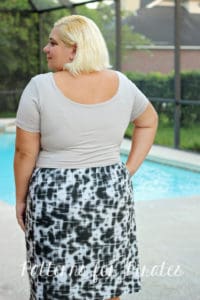
Ahoy, pirates! The Summer of Wovens is in full swing so I wanted to show you how easy it is to add a gathered woven skirt to a knit bodice. You can use this technique to the Boundless dress, like I have, or the Sunshine dress. If you love the bodice of the Sweetheart dress as much as I do you can use it and hack it with a woven gathered skirt too.

The most important thing to keep in mind when adding a woven skirt is CHOOSING THE RIGHT WOVEN fabric. Make sure to use a light weight fabric with great drape. I used a Nicole Miller chiffon and it worked beautifully. You can also use rayon, rayon challis  or crepe georgette. Avoid quilters cotton, it will look stiff and add visual width which we don’t want. Am I right, ladies? 😉

Cut the pieces as per the pattern. You do not need to size up or down, just be sure to measure yourself and choose the size based on that. I do recommend adding some width to the skirt for more comfortable wear. I did not add it to mine but you can certainly increase width by a couple of inches. You can see how to take your measurements here.

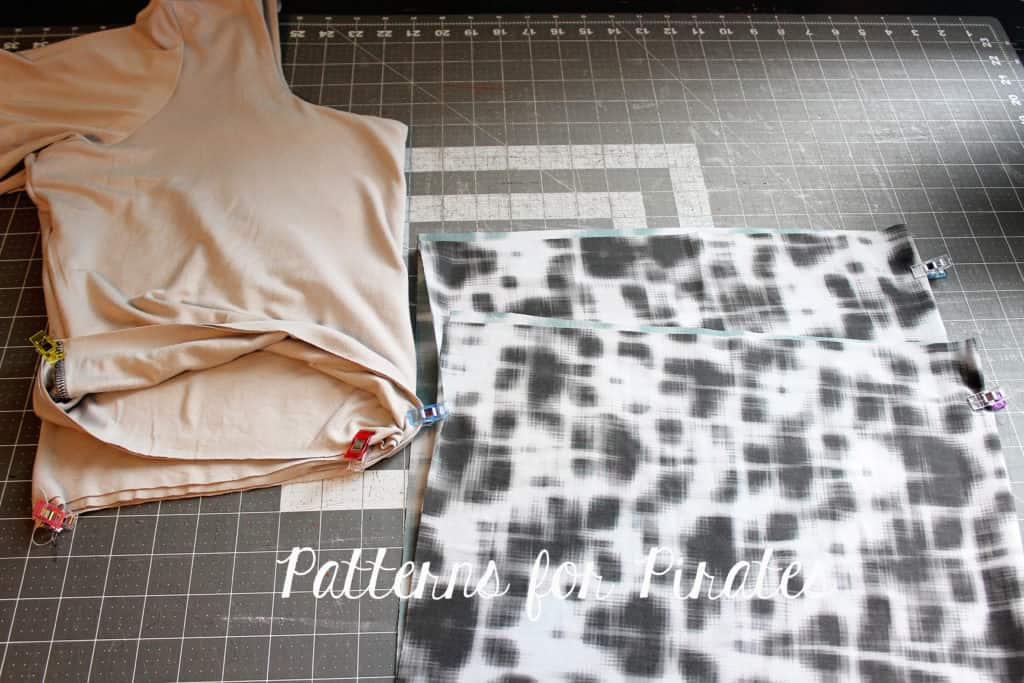
Sew the bodice as per the pattern tutorial. I marked the center of the front skirt piece and the back. I like to use clear elastic when I attach the skirt to the bodice. I do that for two reasons, the clear elastic will add stability to the seam and it will help you gather your skirt evenly. Simply cut a piece of elastic that matches the bodice bottom. Don’t forget to add seam allowance! I prefer to cut just one piece and match the elastic seam to the center back but if you prefer to cut two pieces and match the seams to the sides you’re welcome to do that as well.

Mark the quarters of the clear elastic. Mark the side seams and center back and front of the skirt. Remember to mark the to of the skirt if you’re using a fabric with a directional print 🙂

Match the quarters of the skirt to the quarters of the elastic.

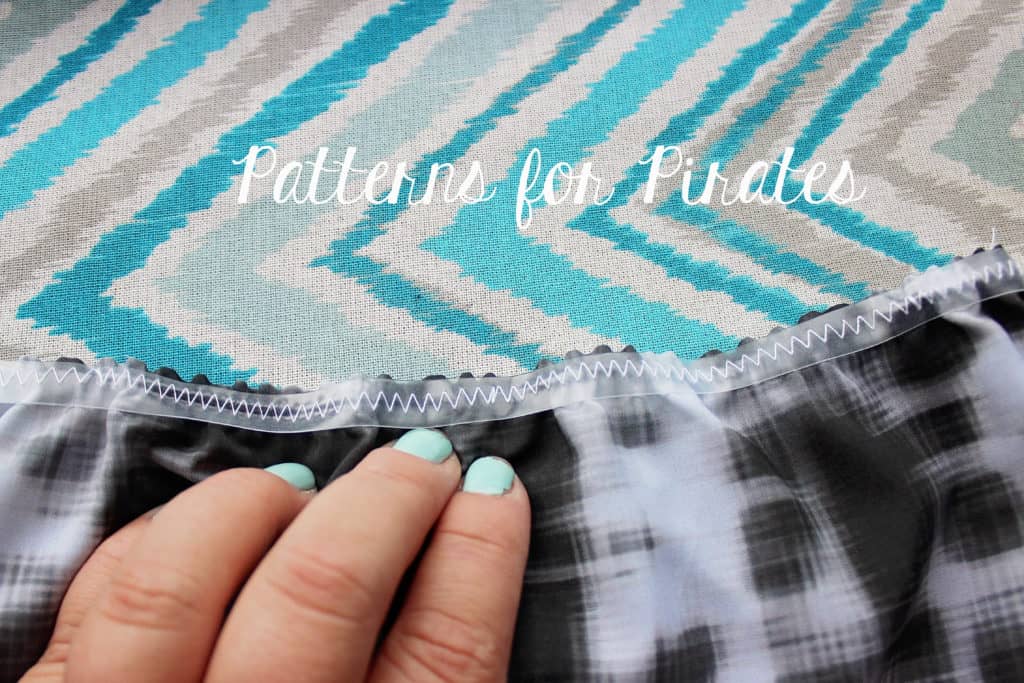
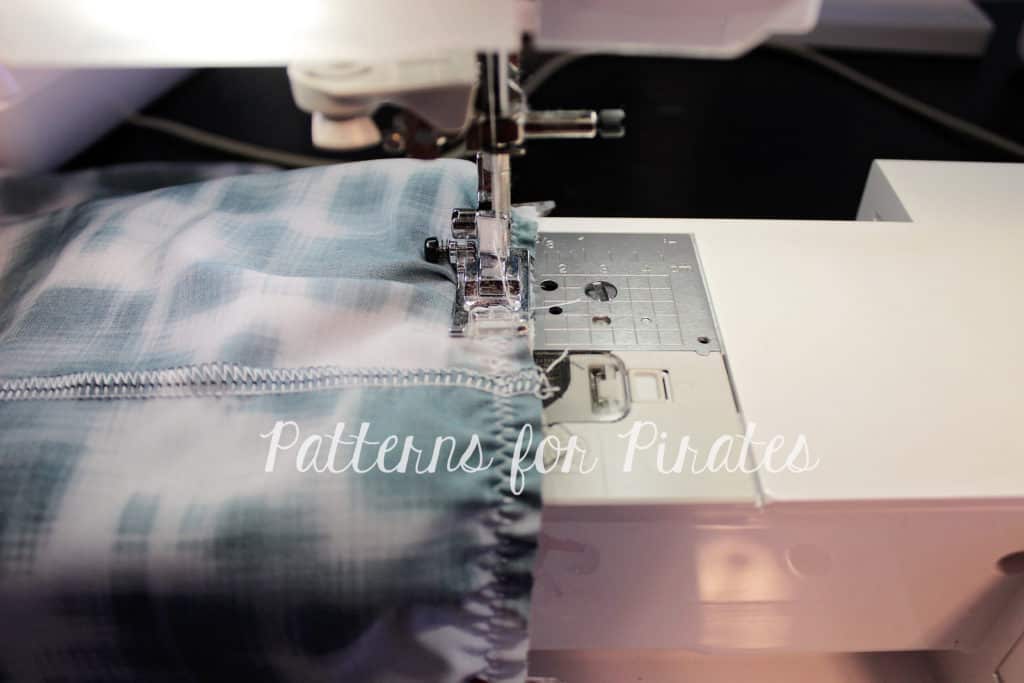
Sew the clear elastic to the top of the skirt. Use a zig zag stitch and adjust the tension and width to better fit the type of fabric you are using. Stretch the elastic as you sew. If you use a 1/2″ clear elastic simply align the edge of the elastic to the edge of the skirt. I use 3/8″ clear elastic so I put it a little lower than the edge to accommodate the 1/2″ seam allowance that is followed in this pattern.

All you have to do now is attach the skirt to the bodice. The bottom of the bodice and the top of the skirt will be the same circumference. Match the side seams and the center backs and fronts, pin right sides together and sew.

I like to attach the skirt to the bodice using a zig zag stitch but you can also use a triple stretch stitch.

Optional: top stitch the seam allowance up towards the bodice.

Tadah! You’re all set to rock your new woven skirt Boundless (or Sunshine) dress! I can’t wait to see your take on this easy hack so be sure to post it in the P4P group too!

Filed Under: Frequently Asked Questions, Pattern Hacks, Uncategorized 6 Comments

Fall Capsule

August 1, 2017

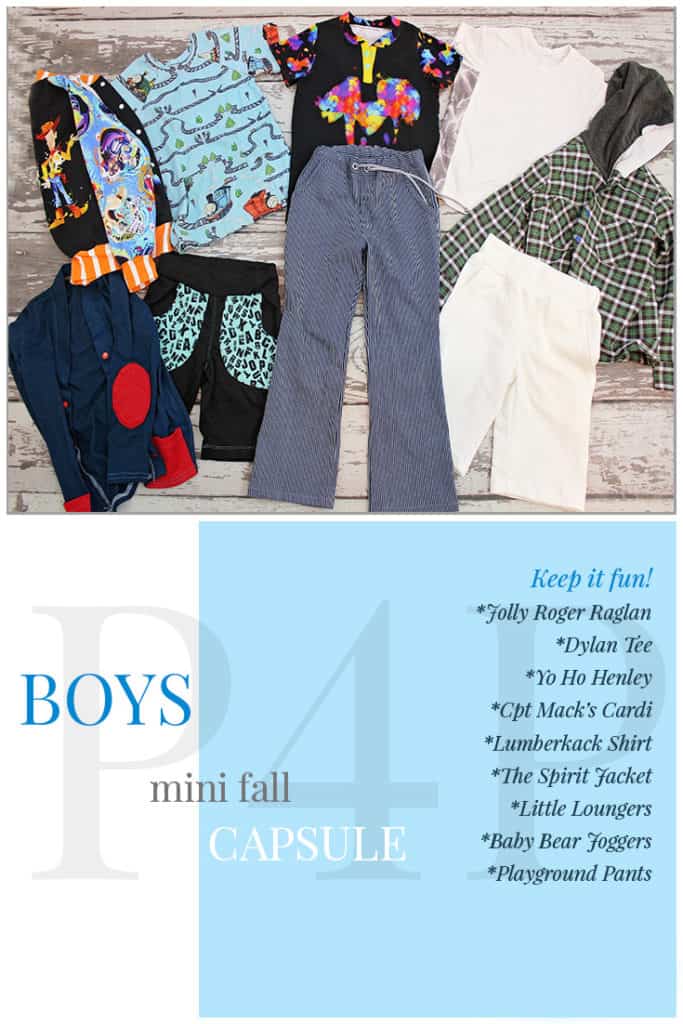
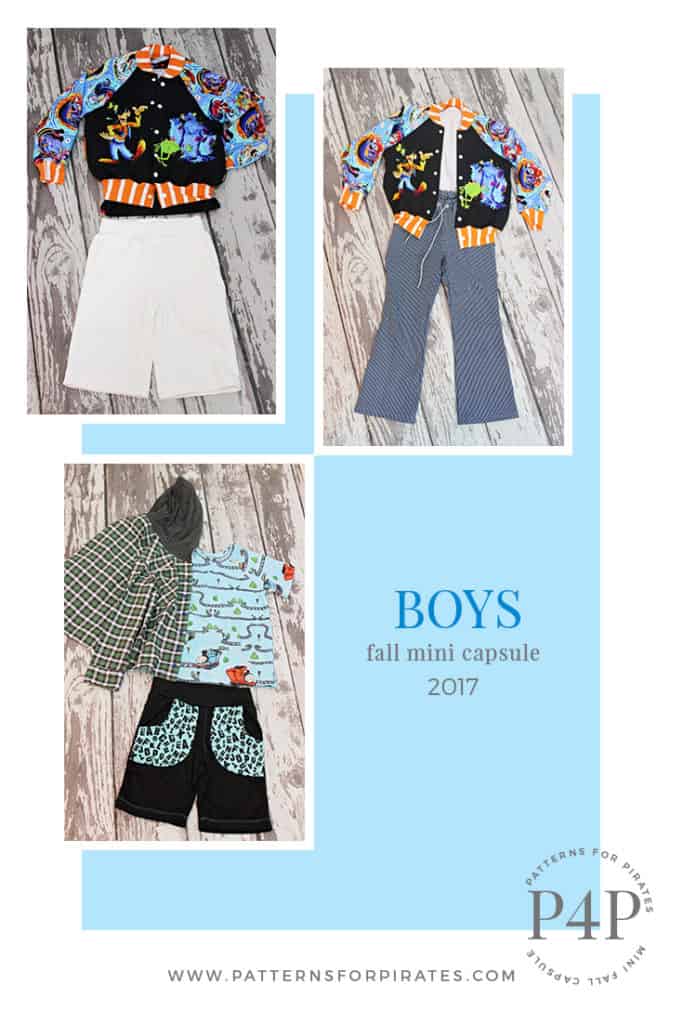
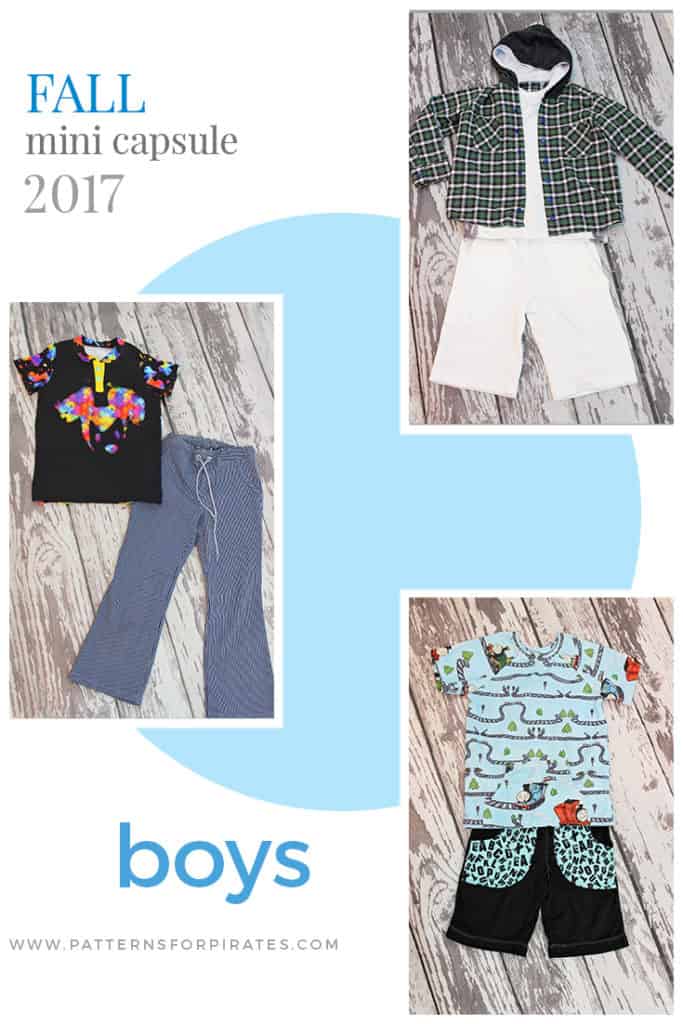
Once again Patterns for Pirates teamed up with Made for Mermaids and Cole’s Corner and Creations to bring you some Fall Capsule inspiration. As before we will be giving you some ideas how to create Women, Boys and Girls mini capsules.

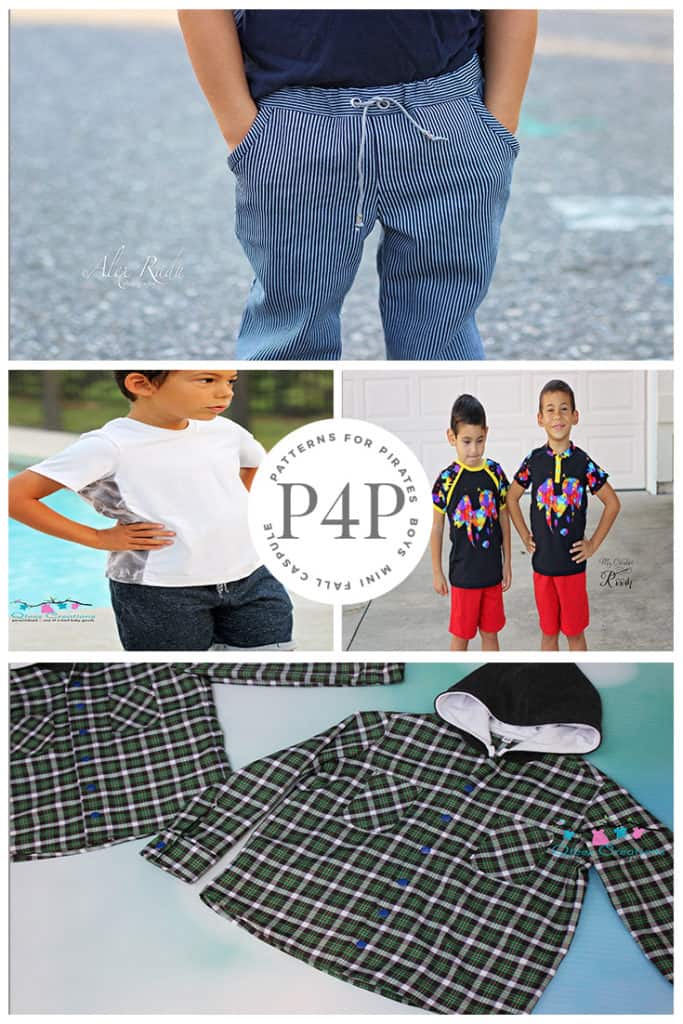
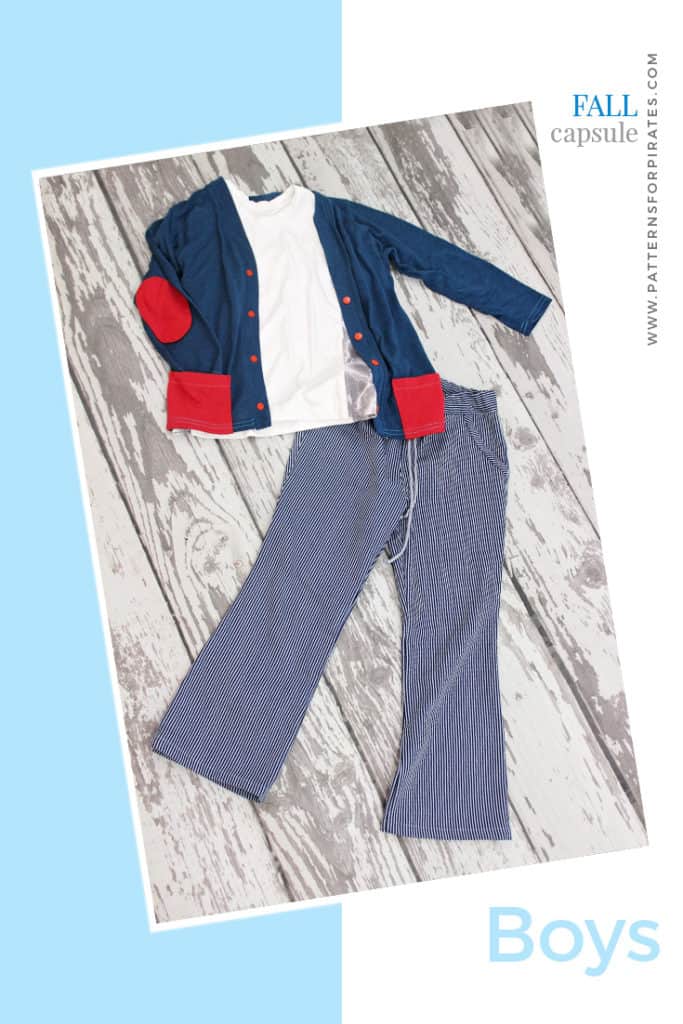
Today I will show you how to create a perfect mini fall/back to school capsule for your little men. As some of you know, I live in Florida so my kids’ capsules will reflect the warm climate. For the rare days when it’s chilly (and by chilly I mean 70s 🙂 ) I love to have some layering pieces ready. I find Cpt Mack’s Cardigan to be the perfect layering piece for short or long sleeves tshirts. Those elbow patches are so fun!

When you built your boy’s fall capsule be sure to add a button up shirt like the Lumberjack Shirt. They can be worn as stand alone tops but also make great layering tops. You can make the collar option or go for a fun, cool look and add a hood.

Every boy needs a cool jacket! Am I right? Well…look no further than the Spirit jacket from Cole’s Corner and Creations. The raglan style sleeves make it such an easy sew that you’ll be whipping those in no time.

Between the 3 sisters pattern companies you have so many tops options. For Noah’s fall capsule I went with my 3 favorite choices…the P4P Jolly Roger Raglan, the M4M Dylan Tee and the P4P Yo Ho Henley. All patterns feature a long sleeve and short sleeve option so you can pick whatever style works best for your area.


When choosing the bottoms for the mini fall capsule I kept in mind one thing: COMFORT! My little man lives in shorts all year long so I went with the Pirate Playground shorts and a modified knee length Baby Bear Joggers. I like the loose fit of the Playground Pants for PE days and the slimmer fit of the Baby Bear Joggers for everyday wear.

For the occasional colder day I had to add a pair of the new Little Loungers pants. This pair is made with a striped linen blend and it’s such a classic look. It pairs beautifully with the Yo Ho Henley, the JRR and the Dylan Tee.


We can’t wait to see your little one’s capsules this fall! You can read the contest details on the M4M blog here. Regardless of which top, layering piece or bottoms you choose remember to: Keep it fun! Keep it simple! Keep it comfortable!

Filed Under: Blog Tours, Uncategorized Leave a Comment

LL – easy hacks

July 20, 2017

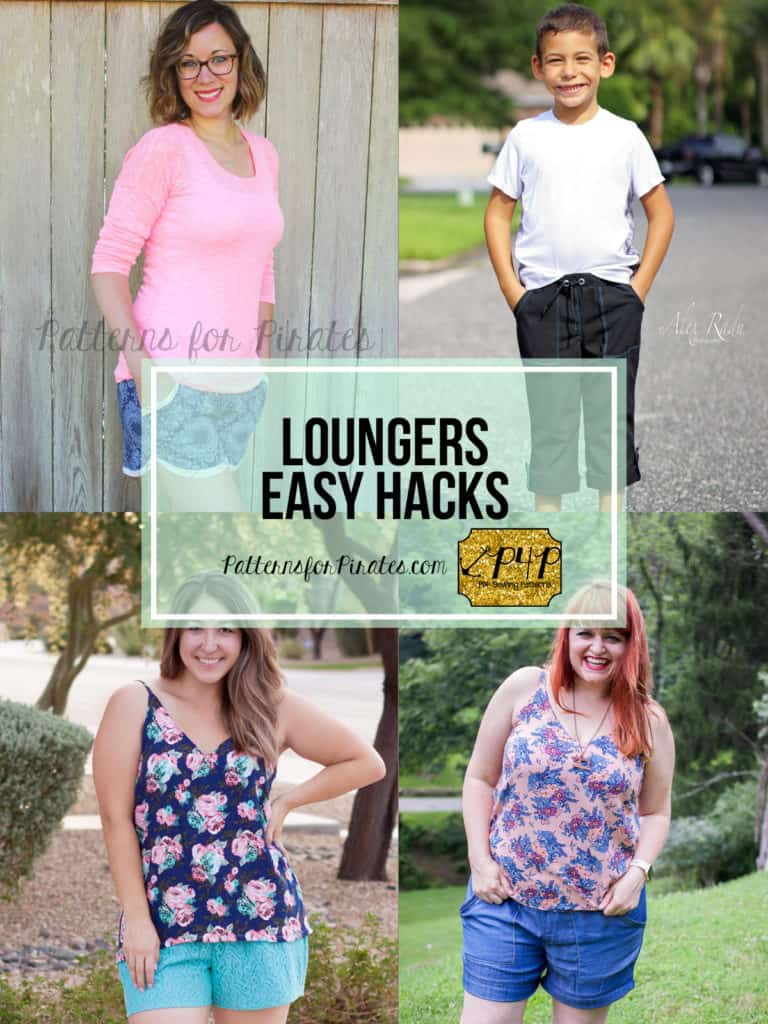
In true Pirate fashion we could not have let this double release go by without showing you some easy but fun hacks for the Little Loungers and Linen Loungers. Erinn will start you off with an adorable bias binding hack for the curved hem shorts.

…..

Bias Binding curved hem

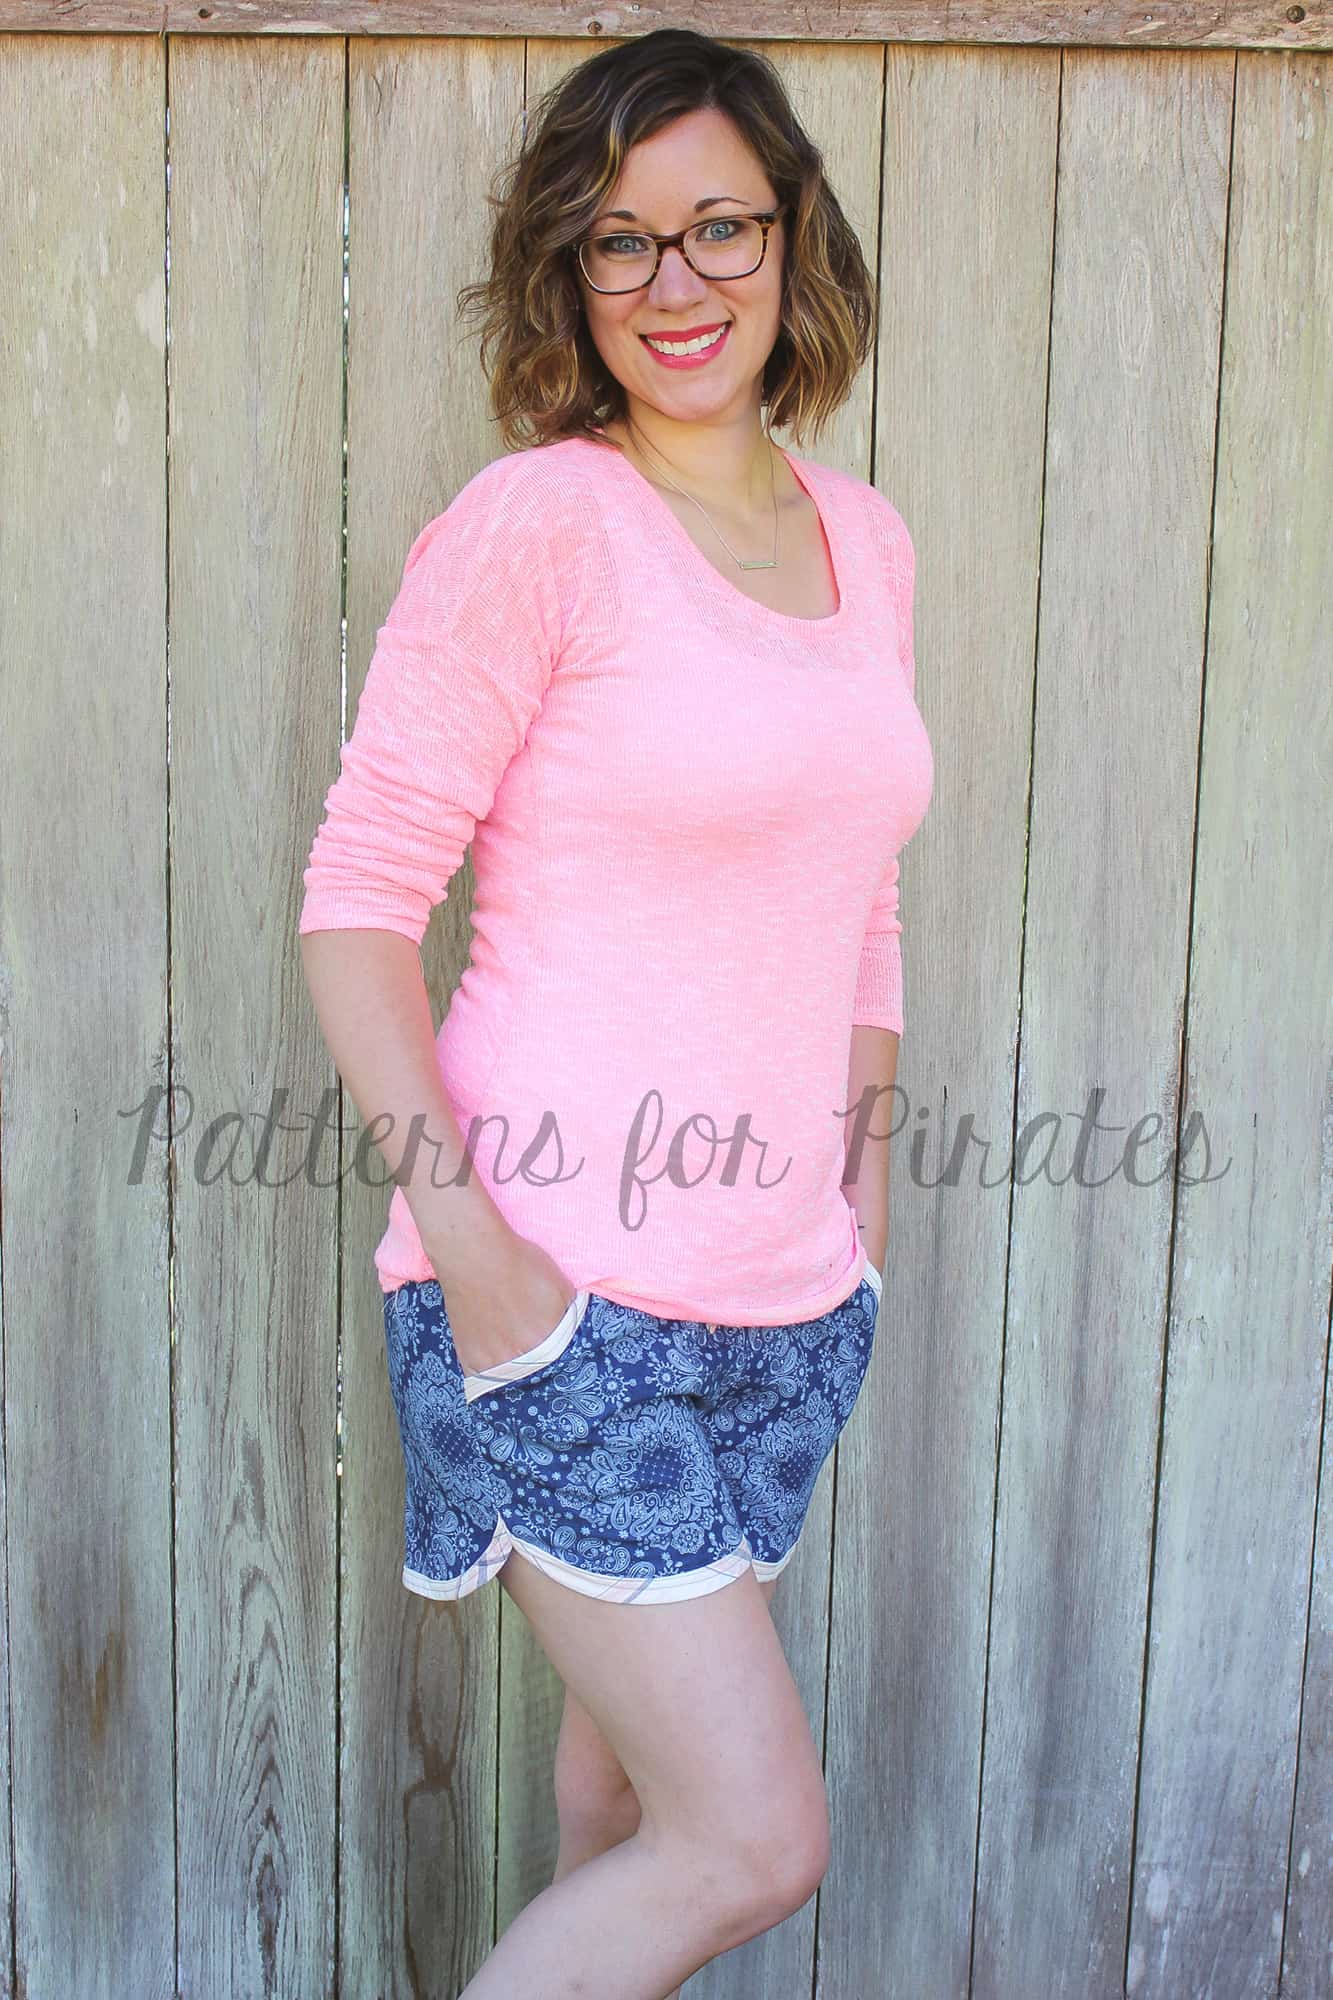
Adding bias bindings to the hemline of the curved shorts is a quick and easy way to create an entirely different look. One of the things that I love most about this look is that it’s a great way to add a pop of contrasting or coordinating fabrics.

To create this look, cut out your pattern pieces as you would per the pattern. The only additional thing you will need are your bindings. For mine, I cut them 2″ wide by a length that was longer than the hemline. As you can see below, I used the curved pattern pieces and marked the top edge. I will connect my bias binding pieces up to this marking.

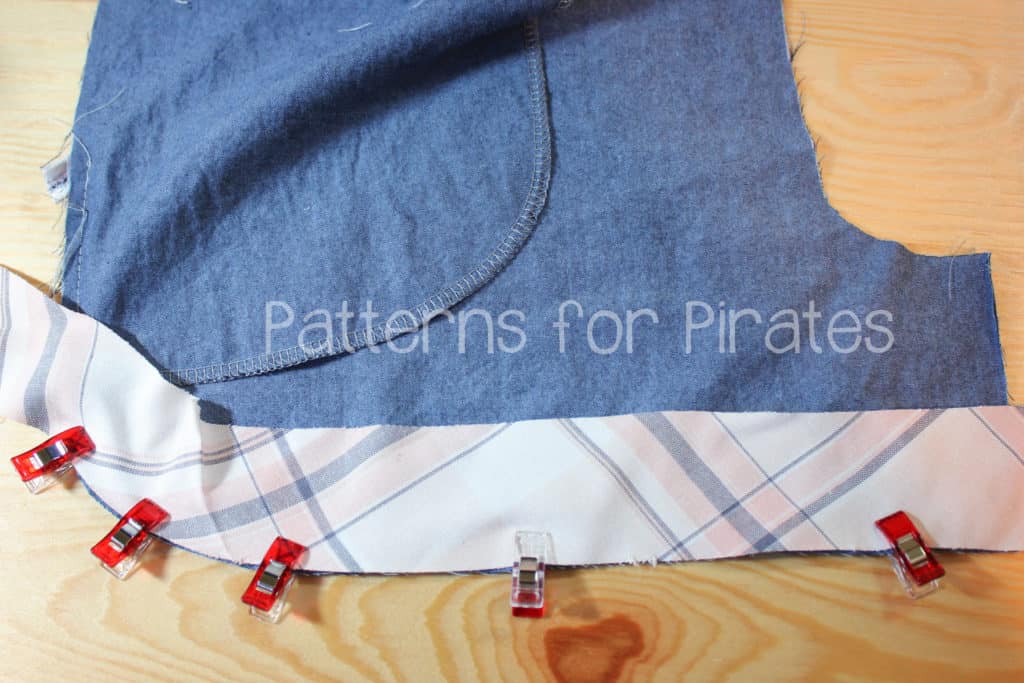
If you are attaching pockets, you can complete everything through these steps. Before sewing up the inseam and sides, you will want to complete your bindings along the curves. Place your shorts facing down and bias binding pieces face down and then gently ease them along the curves. You will want to pin/clip this in place. As you can see, my pieces are longer than the edges, but these will be trimmed later. Attach with a 1/2″ seam allowance, then clip into seam allowance along curve.

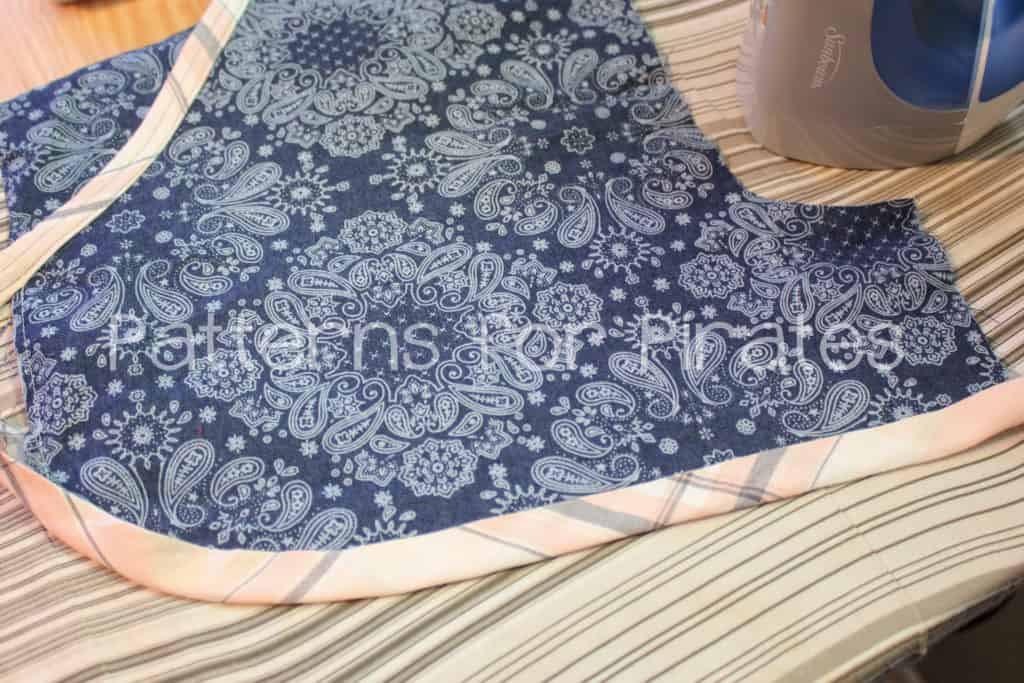
Once you’ve attached your binding, press binding piece and seam up. Press bias binding piece to align with top edge, then press again as you fold binding over (these are the same steps as were completed on pockets).  Edge stitch along folded edge and repeat on the other three hemlines.

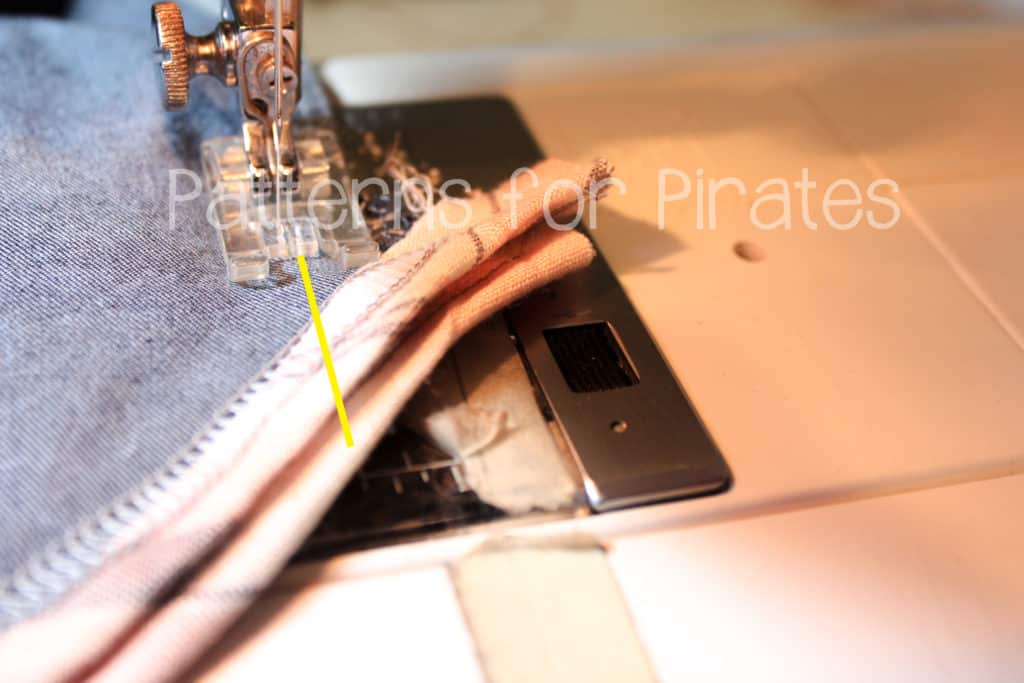
Once you’ve attached all bias bindings, you will assembly your pattern as directed. When reaching the curved seam and inseam, you will want to make sure to use a straight stitch for the last few inches to create a cleaner finish (With wovens, it is advised to use a straight stitch first and then go back over with a serger if desired. If doing so, end your serged section a few inches before your straight stitch to help create that cleaner look). Trim any bias binding pieces that might be longer than your seam allowance.


…..

Cuffed capri pants

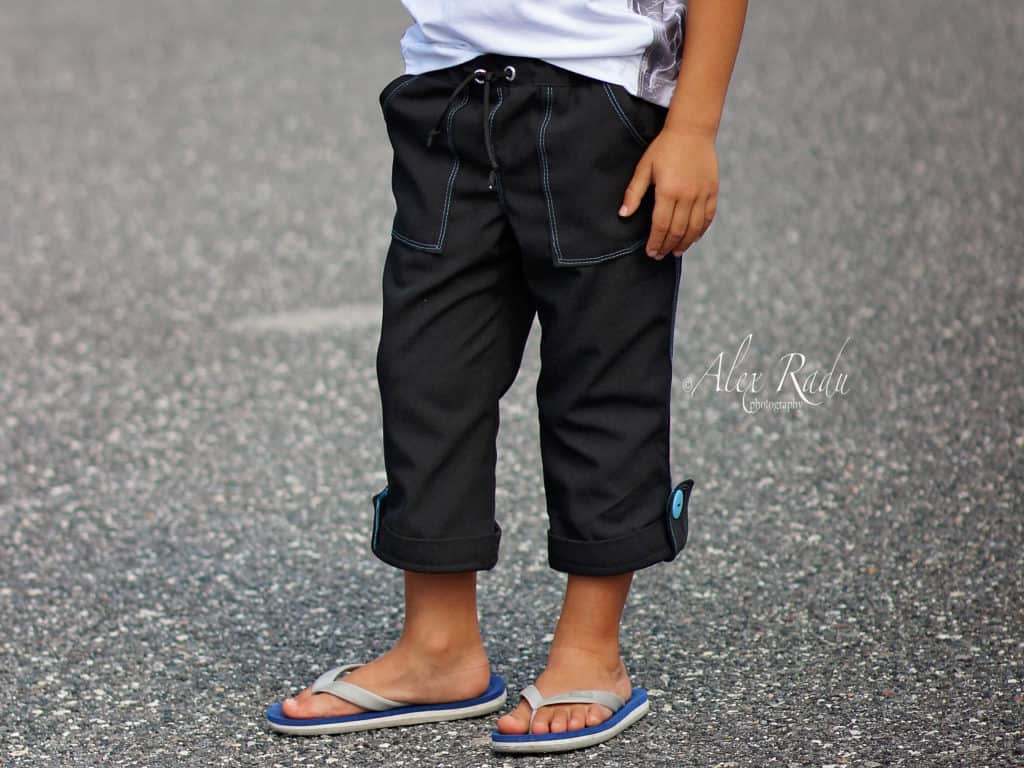
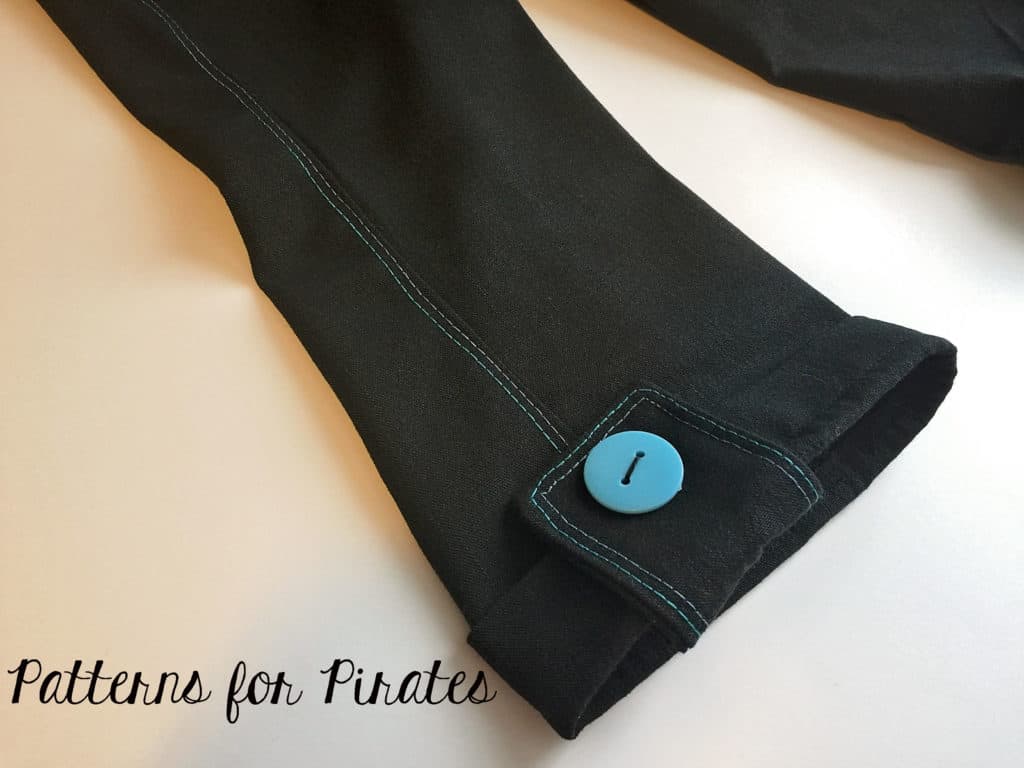
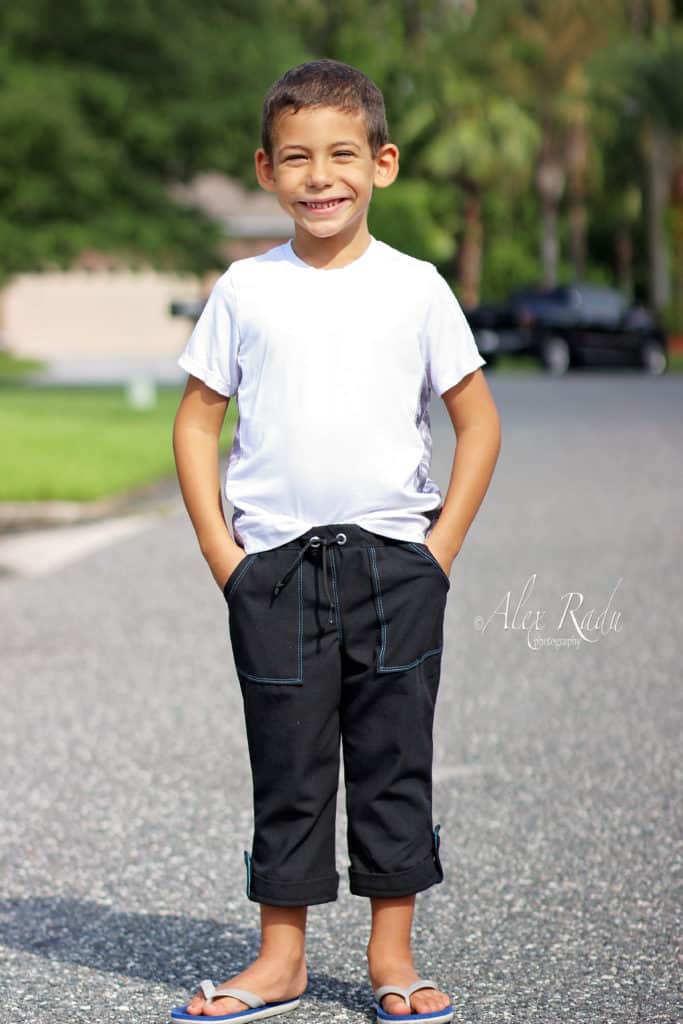
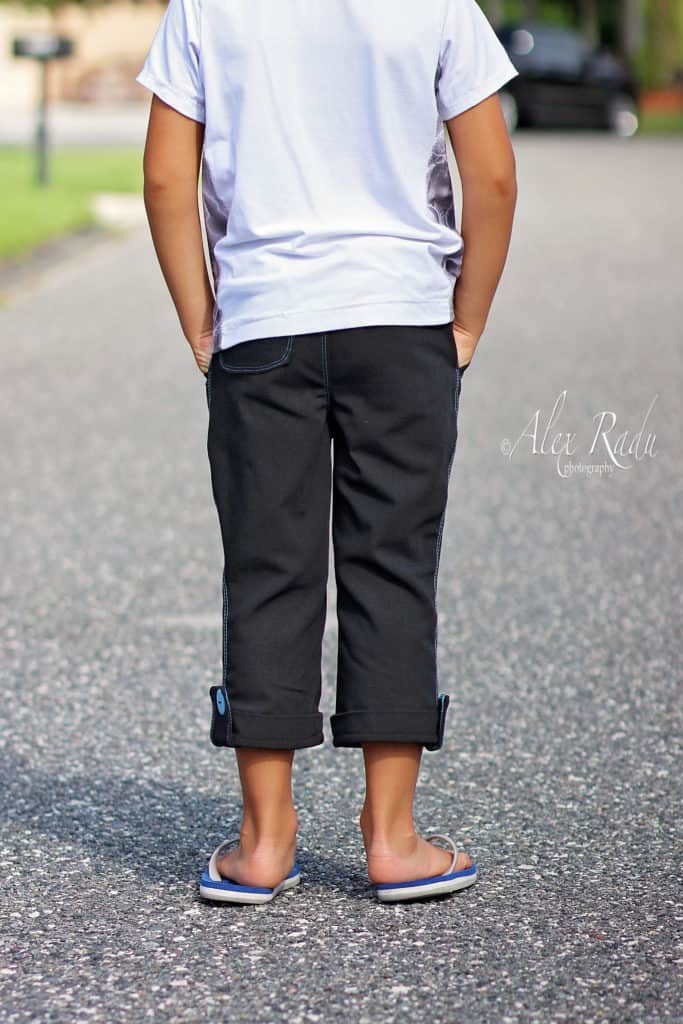
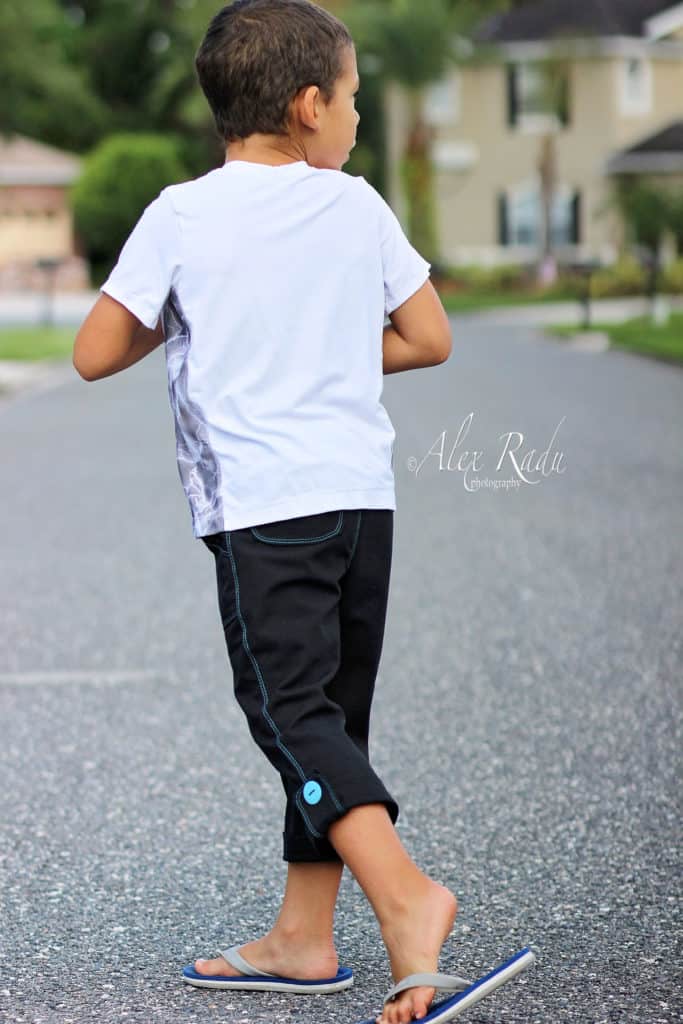
Next I will show you how easy it is to add  cuffs to the capri pants. The patterns include a cuff option for the short so we will use the same tutorial techniques. Start by printing the pattern in your desired size. I made a size 6 Little Loungers with patch pocket and elastic waistband.

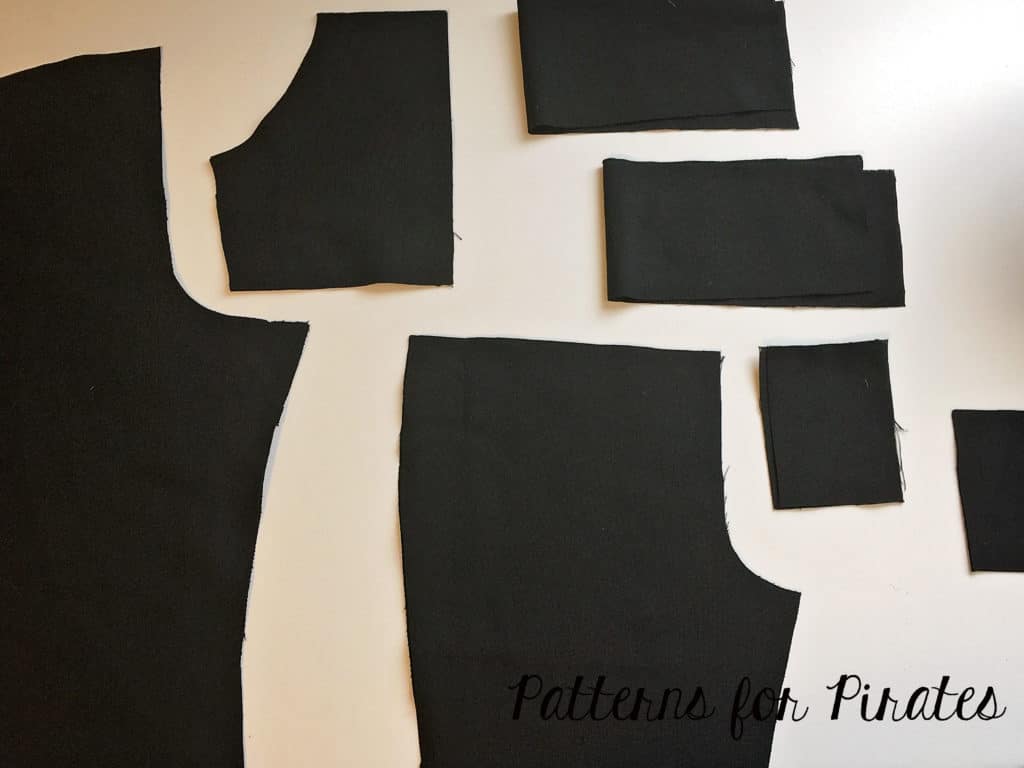
There are two changes you will need to do to the original pattern. You must cut the capri length 1 inch shorter than the cut line for both the front and back pieces. We do that because we won’t be hemming anymore, we will be adding the cuffs. That brings me to the second change you’ll need to make. The cuffs in the pattern are drafted to fit 1:1 ratio to the shorts leg opening. The capri leg opening is smaller so we will need to shorten the width of the cuff. How much you shorten the width will vary for each size. The length of the cuff will remain the same.

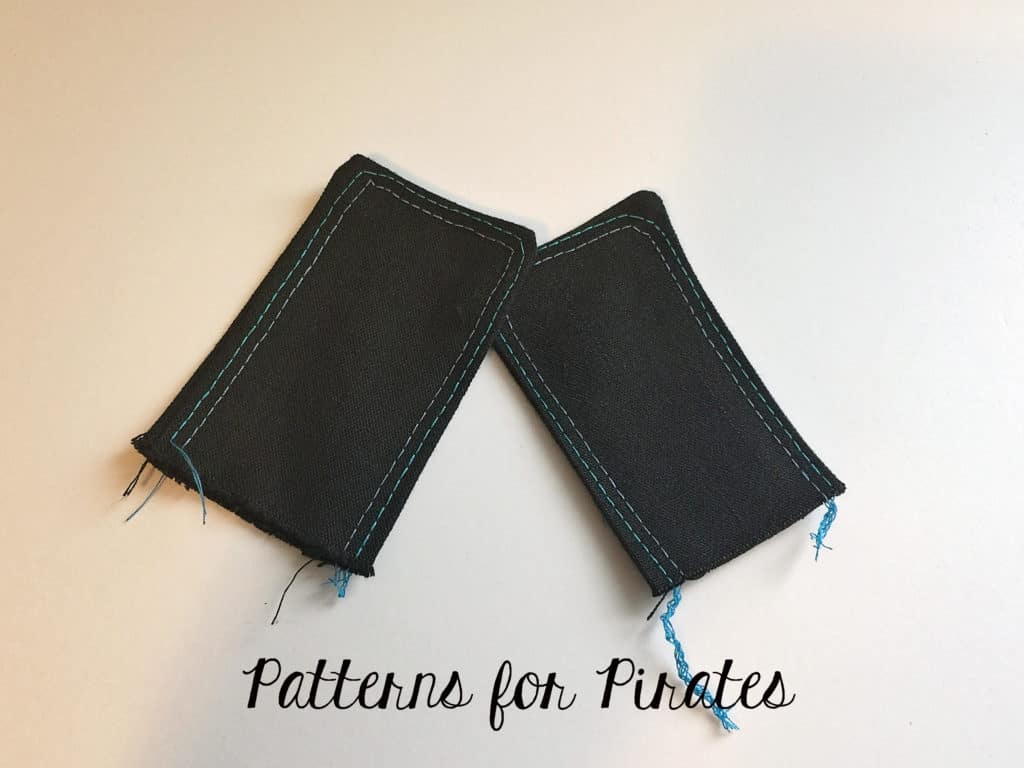
Don’t forget to cut and attach the button tabs too! They add such a cute touch to the capris!

Sew the pants as per the tutorial. Easy peasy! Don’t be afraid to add some detail stitching to the button tabs or the pockets! I used my coverstitch to add a touch of blue but you can certainly use a twin needle or your preferred decorative stitches.

If you love the look of the cuff but prefer the bermuda length you can certainly apply the same principals and created a cuffed bermuda linen lounger or little lounger…the sky’s the limit! 🙂


…..

 Hemmed and lined shorts

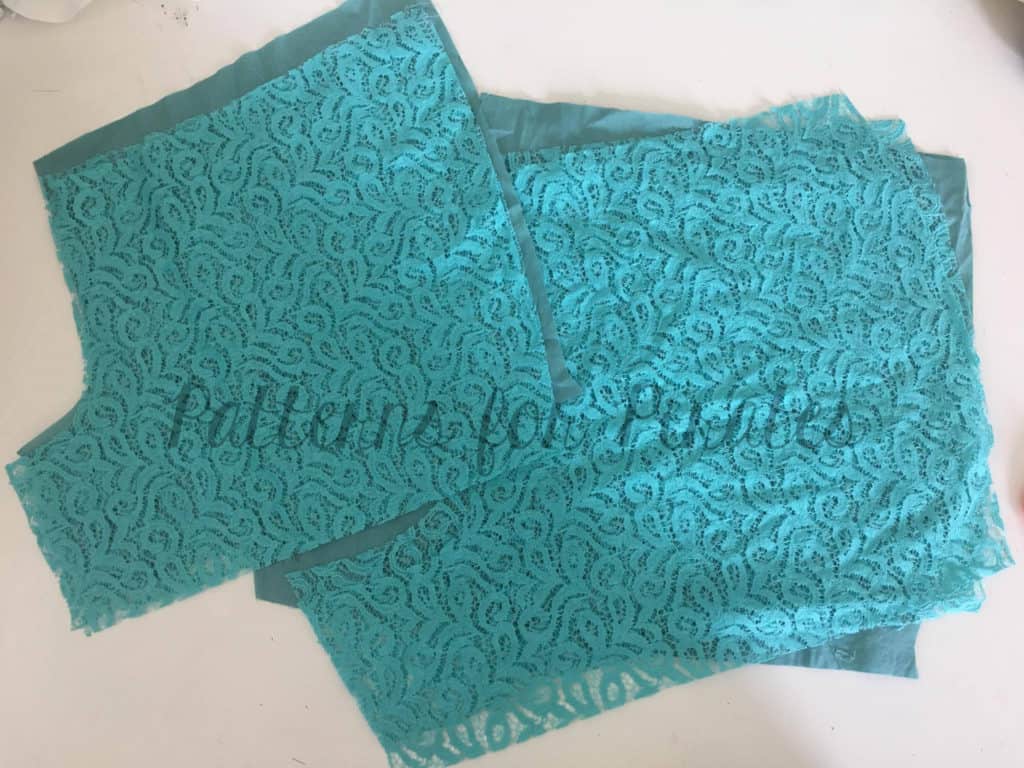
We always like to mix up our finishing options to give you a wide variety that you can apply to any pattern so we went with a cuffed or curved hem facing for the shorts this time.  If you’ve been following P4P for awhile, you’ll notice Judy loves some short shorts 😉 but that may not be your  preference.  I’m going to show you how to lengthen your inseam and do a simple hemmed edge.  I also wanted to use this gorgeous embroidered lace so will give some insight on how to line them.

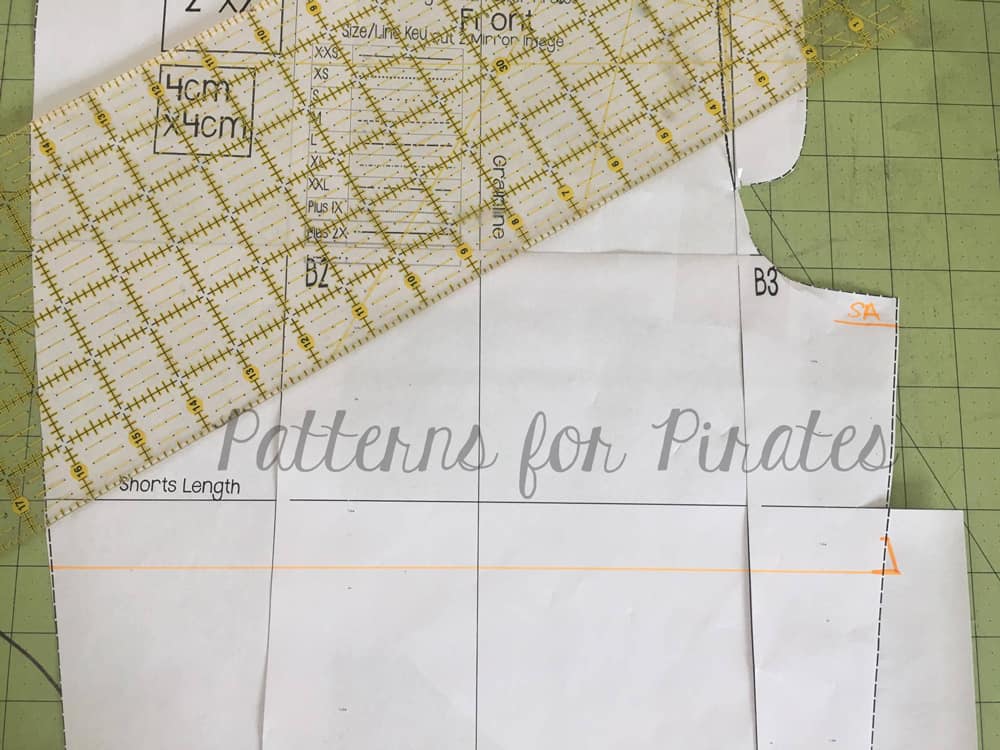
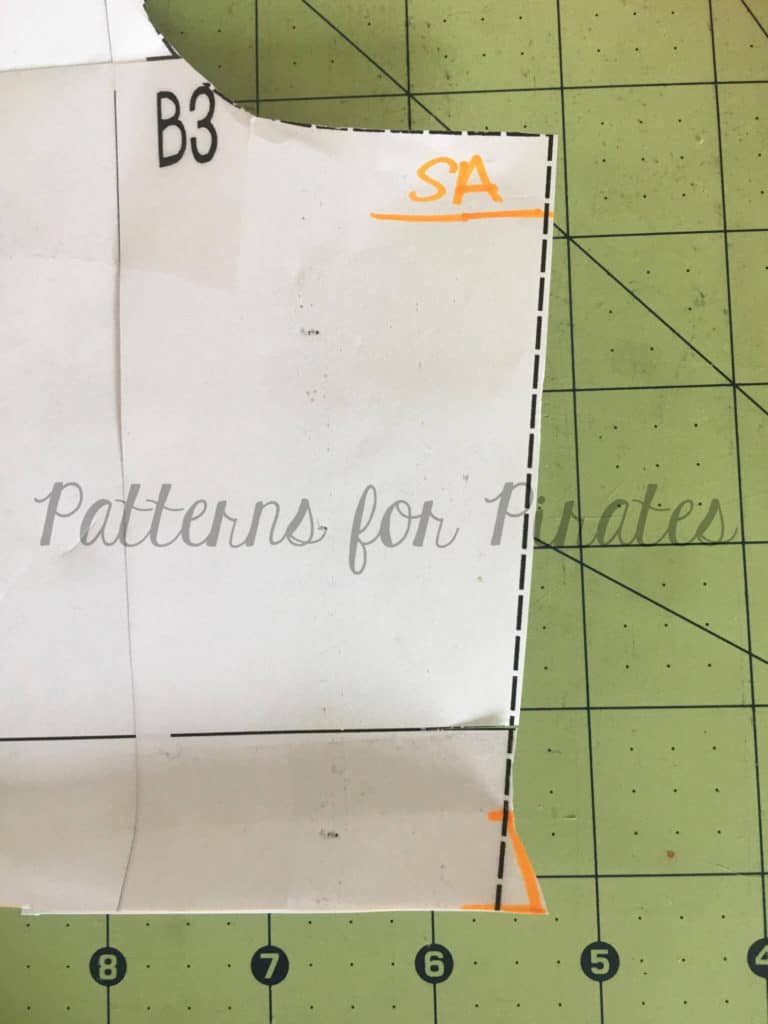
First, decide what you would like  your finished inseam length to be.  The current inseam finishes at 2.5″.  For my finished length I went with 3.5″.  Decide the length of your preferred hem (I did 1/2″) and add this to your desired inseam length.  Measure and transfer to your pattern.  Don’t forget all seam allowances are 1/2″ so your total inseam on the pattern should be 1/2″ longer.  Example for my 3.5″ finished inseam: 1/2″ seam allowance at the crotch curve + 3.5″ inseam length + .5″ hem allowance = 4.5″ total inseam.

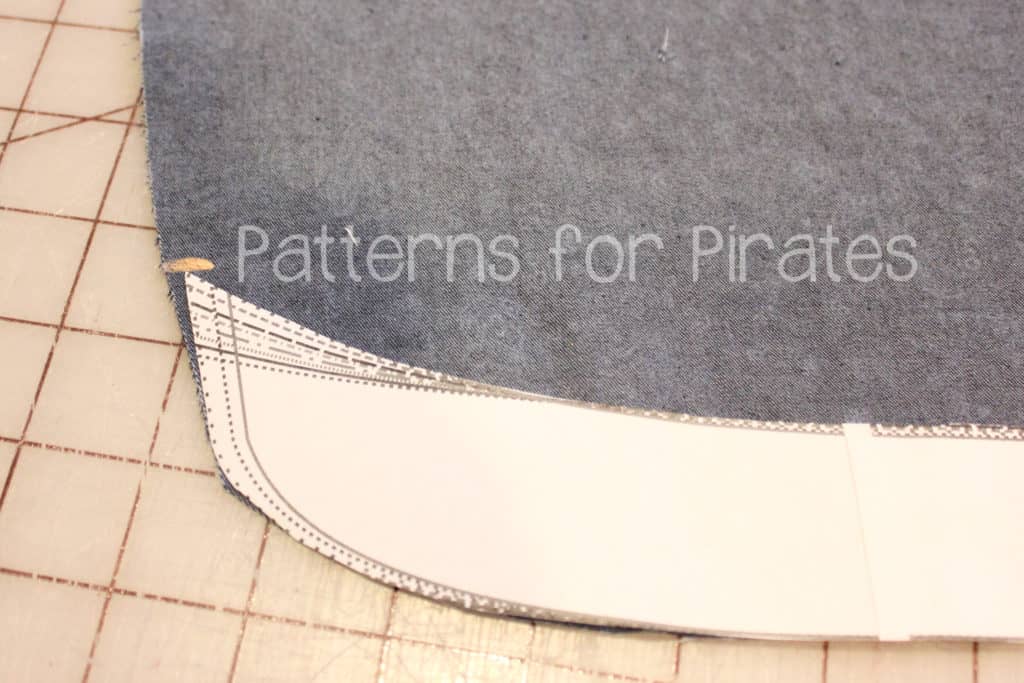
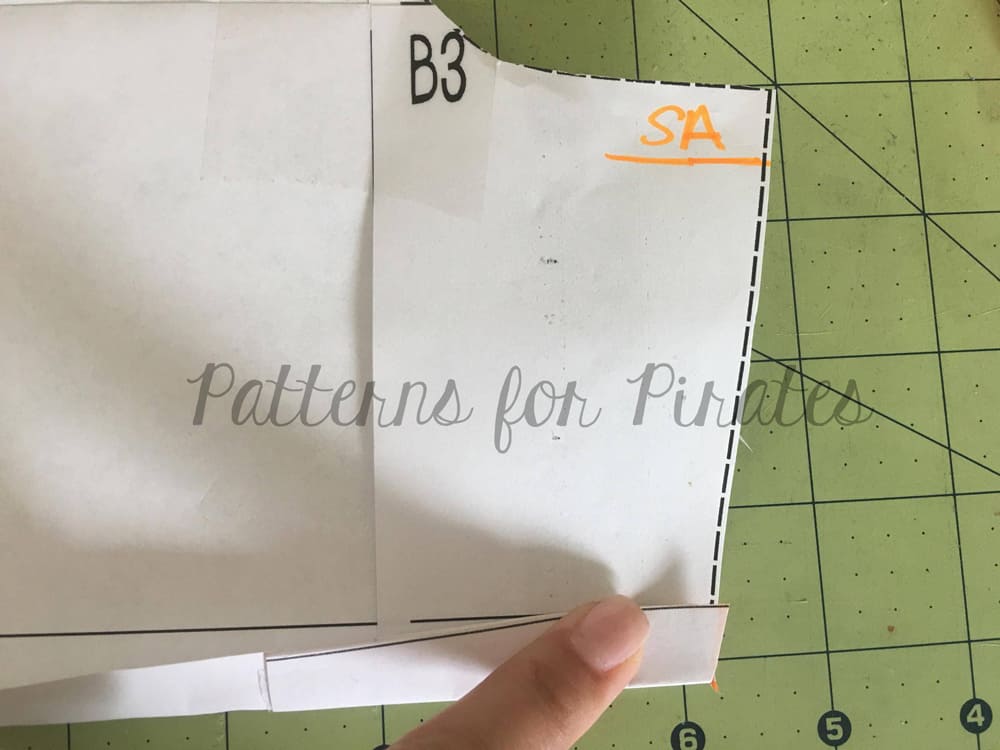
Now that you have adjusted your inseam length we will make our hem gauge for the hem.  You’ll notice these outward notches on other cutlines (bermuda) as well as on sleeves hems.  It may look a little funny, but it actually serves a purpose.  Cutting the outward notch will allow the hem to lay flat once folded.  The angle of the gauge should be a mirror image of the seam just above it so that when its turned under it will lay flush.  Again, my hem allowance is 1/2″, if you choose to do a wider hem, you will want to extend your hem gauge to match the same length of your hem allowance.


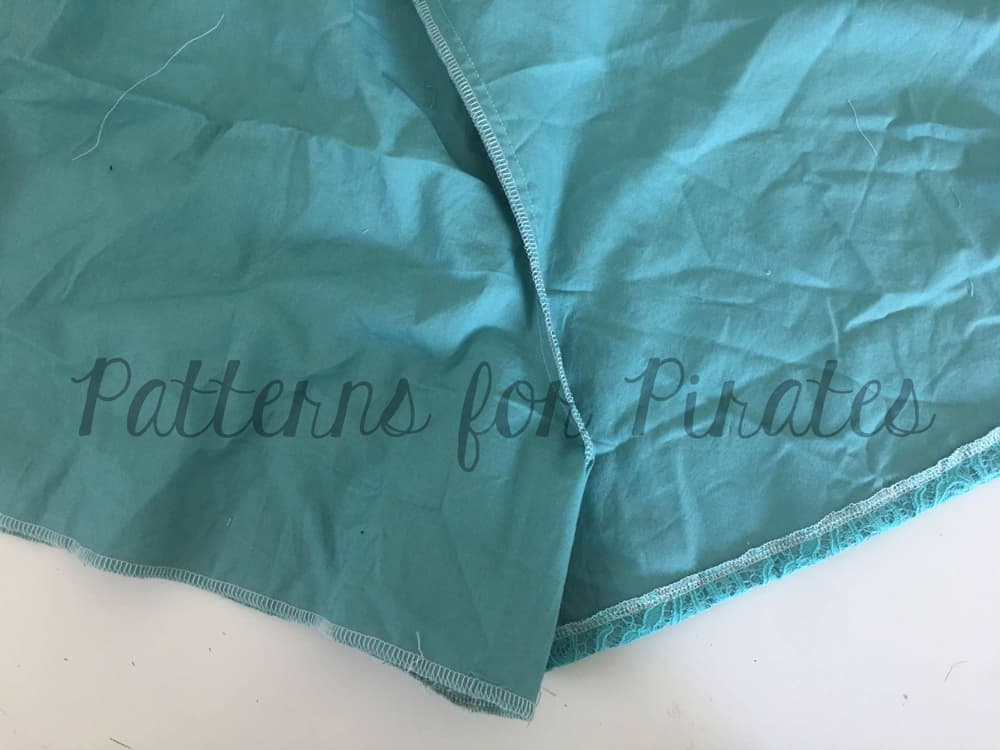
Proceed to cut your pattern and construct as instructed in the tutorial.  To make a lined pair, cut every piece from both your main and lining fabric.  Lay your main fabric on top of your lining piece (right sides up) and construct as usual, treating them as one piece.

To hem, I serged both the main and lining fabric together to finish the edge . Then turned and top-stitched.  Easy right?


You can also line the shorts by treating your lining and main fabric as separate items.  So construct a main short and lining short then slip them inside one another and attach your waistband to both the lining and the main.  I chose to it the other way since I would be hemming them together anyway.


…..

Fully Enclosed Seams on Cuffed Shorts

When it comes to seams on my pants, I tend to gravitate toward wanting to enclose all of them.  It gives a nicer, neater look to your pant, and just feels more “handmade” than “homemade” to me.  The Loungers tutorial already tells you how to enclose the waistband on your pants, but what if you wanted to enclose the cuff hems too?

Here’s a quick rundown of how to make that happen:

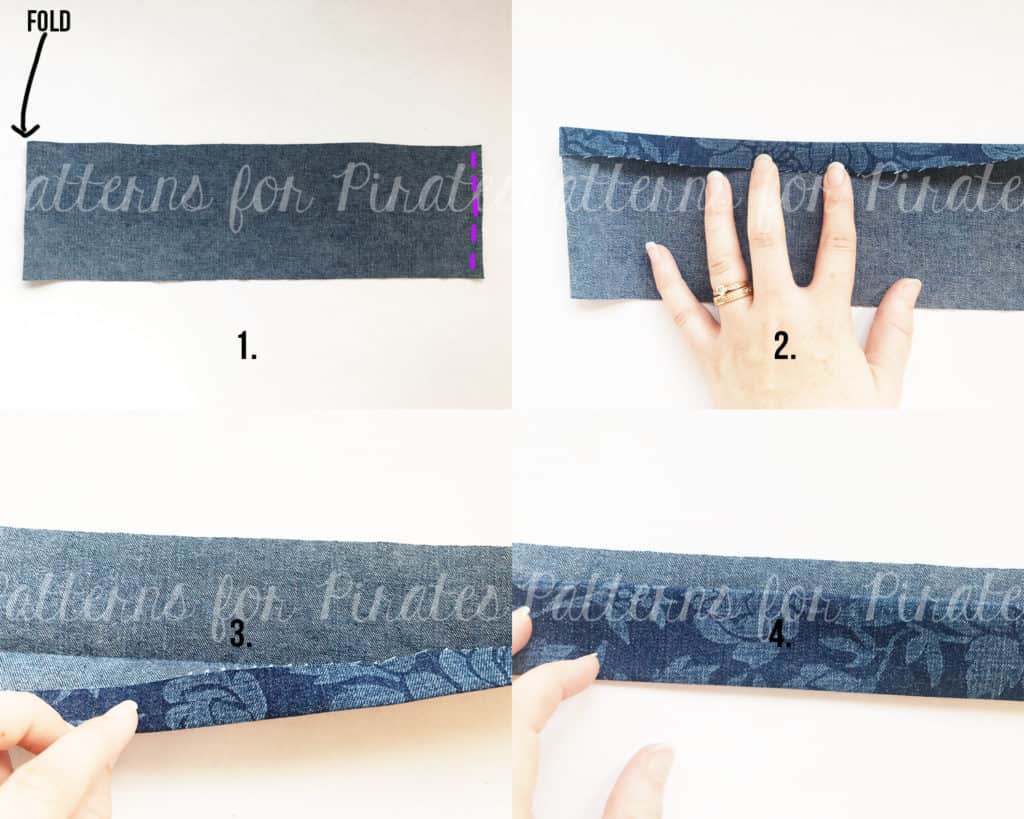
  1. Prepare your cuff as the pattern states.  Right sides together, fold piece in half and stitch along unfolded edge.
  2. Working from the wrong side of the fabric, fold and press 1/2″ on one of the long edges of entire cuff piece.
  3. With right sides together, fold and press your cuff piece, leaving 1/2″ seam allowance at the top edge.
  4. Press, press, press.

5. With your pant leg piece right side up, place your cuff piece on top (pinning carefully and aligning all of your seams.  Stitch at a 1/2″ seam allowance.

6. Flip your fabric over so you’re looking at the wrong side of your pant leg.  Open up your cuff piece and press the raw edges away from the pant leg, toward your cuff.
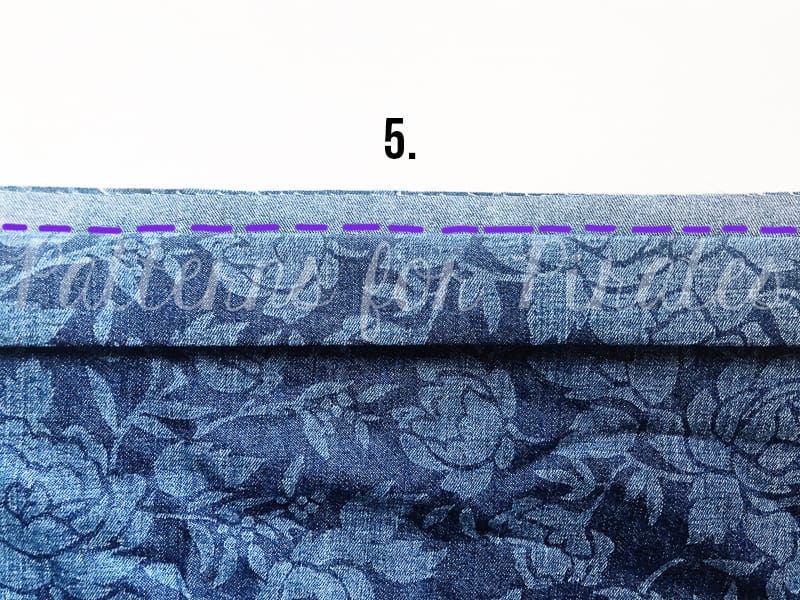
7. Using those beautifully pressed lines that you created for yourself back in steps 2-4, fold your cuff piece so it encloses all of your raw edges.
8. Press and edge stitch.

You now have a beautifully enclosed hem on your pant leg!  Do a small happy dance, pat yourself on the back, and then repeat the steps for your other cuff.

(I didn’t have a chance to grab photos in my new shorts made from the tutorial yet, but I used that same method on the short pictured below and I LOVE them!  You will too!)


Use one of these hacks?  Be sure to hop on over to the Facebook Group and share your Linen and Little Loungers love. 🙂

Filed Under: Pattern Hacks, Uncategorized 1 Comment

Everyday Elegance – easy hacks

July 13, 2017

The Everyday Elegance recently received an update and and we added more options. (Read more about it the re-release here). We could not let this event pass by without showing you some easy hacks that can take your beloved EE to the next level.

[Read more…]

Filed Under: Pattern Hacks, Uncategorized 1 Comment

Sewing Needles 101

July 7, 2017

One of the most important steps to follow when sewing is choosing the right needle for your project. A wrong needle can leave holes in the fabric, snag it or skip stitches so let’s answer the two most common questions regarding sewing needles.

What does that number mean?

Let’s start by understanding the numbers on the packaging or needles. You will notice most sewing machine needles have two numbers on them. The numbers from 60 to 110 reflect the European metric system while the numbers from 8 to 18 represent the American needle sizing. For example, an universal needle 90/14 means it’s Euro size 90 and US size 14. As a general rule, the lower the number, the finer the needle and the higher the number, the bigger the needle.


8-10 (60 – 70) – great for very fine weight (like fine silk, chiffon, organza)

11-12 (75 – 80) – use these sizes for light weight fabrics ( cotton spandex, cotton voile)

14 (90)  – perfect for medium weight fabrics ( cotton woven, linen, jersey, fleece)

16 (100) –  this size is great for heavy fabric (denim, duck, corduroy )

18 (110) – use these needles when sewing very heavy fabric ( heavy denim, upholstery)

20 (120) – very, very heavy fabric


Note: some automatic threader sewing machines may not be able to thread lower number needles so you will have to manually thread it.


What are the most common types of needles and what fabric do I use them with?


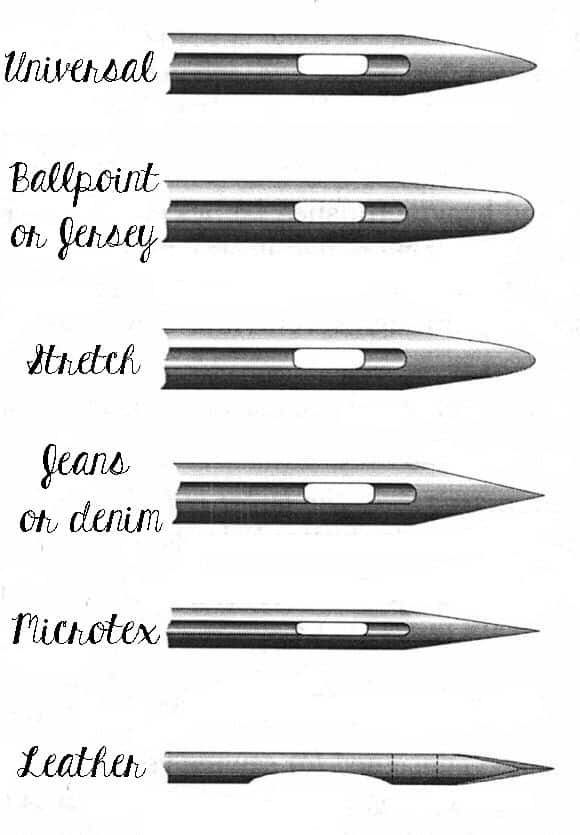
Universal needles: These needles are the most common used ones.. They pierce through the fibers. These needles are great for woven fabrics and stable knits.

Ball point or jersey needles: They have a round tip and they go around the fibers or in between the fibers of the fabric, keeping its integrity. They are best suited for knit materials.

Stretch needles: These needles are sharper than ball point needles but follow the same concept as them. They do not pierce the fibers but go in between them. These ones are perfect for very stretchy fabric like performance knits or swimwear and elasic.

Jeans or Denim needles: This style needle is very thick and sharp. It goes through the fabric and it’s best used with denim or heavier fabric like outdoor wovens and duck.

Microtex needles: The tip of microtex needles is very sharp and thin. It is ideal for thin, delicate fabrics like chiffon or crepe.

Leather needles: The chisel point will make it easy for this needle to penetrate thick fabrics like leather and some thick vinyls. Do not use on ultra suede.

Some other type of needles you will see in the notions section are: quilting , embroidery, top stitching, metalfil, self threader, twin needles or triple needles.

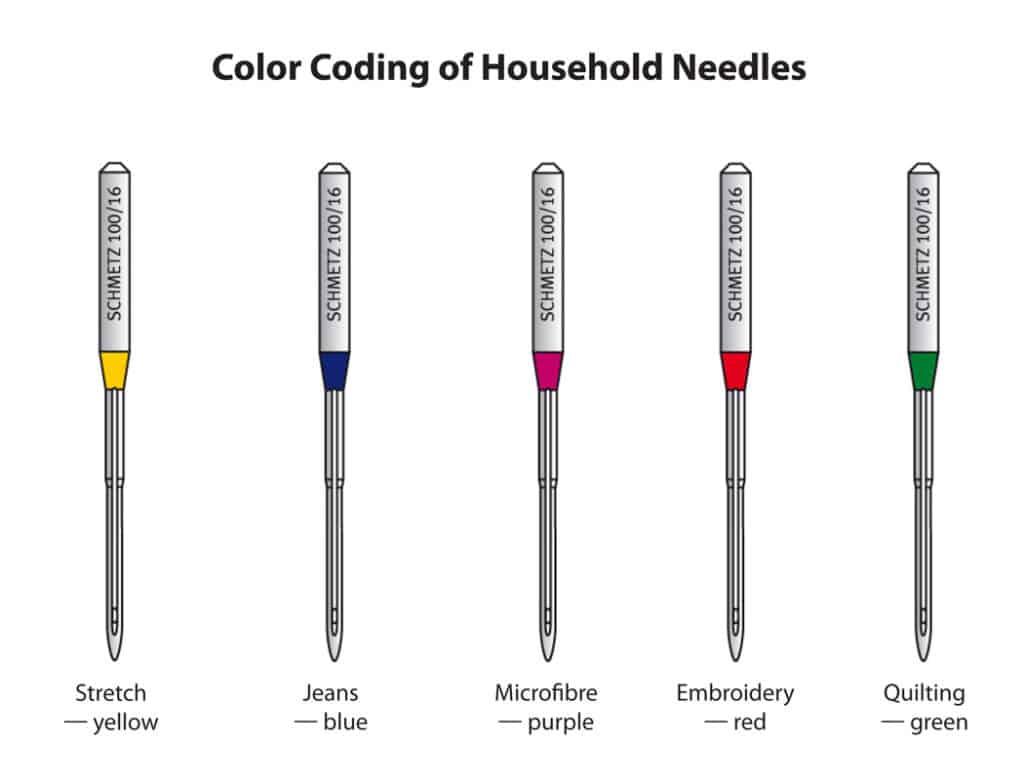
You may notice colors that accompany the various styles of needles. Some needle manufacturers have started adding colors to their products so it make it easier to distinguish the type.

For the best results don’t forget to change your sewing machine or serger needles after each project. They tend to get dull rather easily and a dull needle will snag your fabric. Now that you have your perfect needle for your perfect fabric, grab that P4P pattern and don’t forget to share your creations in the group!

Filed Under: Frequently Asked Questions 3 Comments

Sew What Do I Wear on Vacation

June 16, 2017

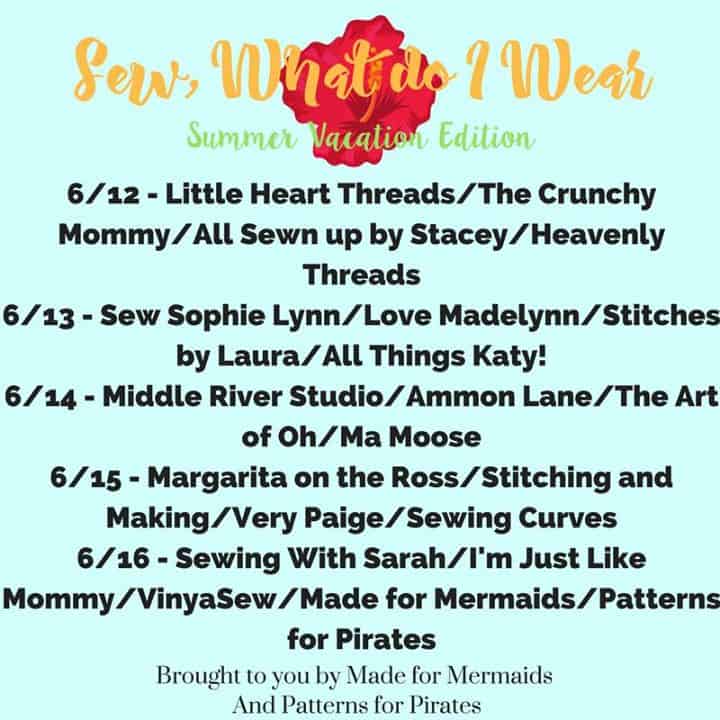
Once again, Patterns for Pirates teamed up with Made for Mermaids  to bring some amazing vacation outfits inspiration. This blog tour is full of outfits that would be perfect for any destination.

Whether I pack for a quick getaway weekend or a week long trip, I always make sure to bring clothes that do not wrinkle easily and do not take a lot of space in my luggage. With two boys to keep up with I also need my outfits to be super comfortable.

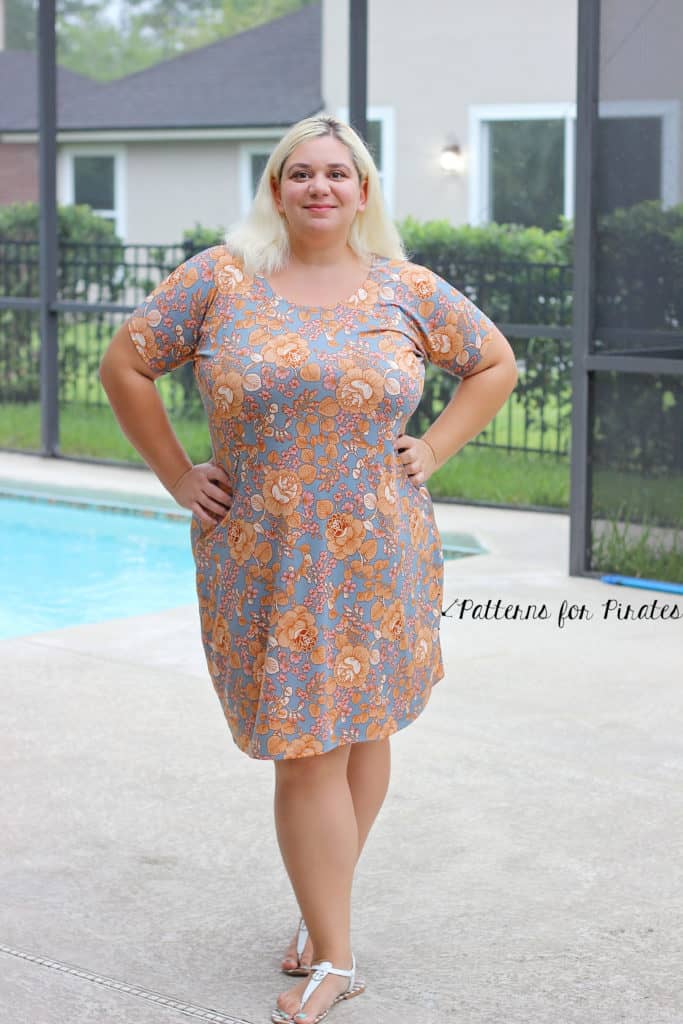
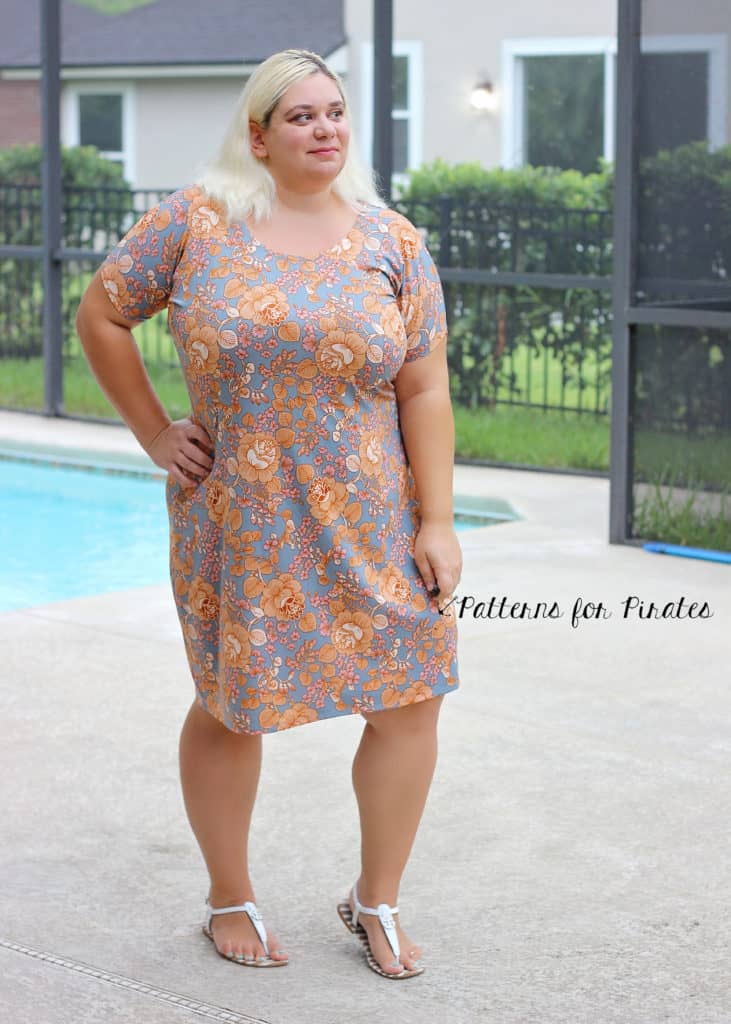
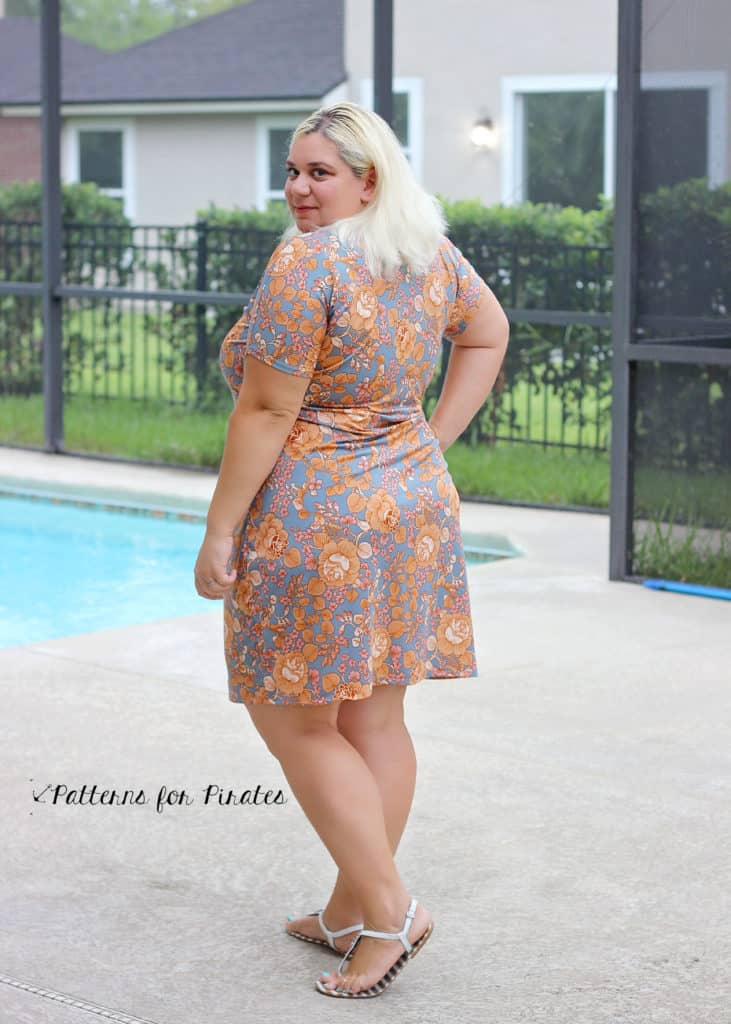
My next vacay suitcase will certainly include a few Favorite Tee dresses since I have sewn at least ten of them since the pattern launched. I am all about tshirt dresses this summer, comfortable and stylish. My favorite ones are rayon spandex, since they hardly ever wrinkle when packed and they feel great in high temperatures.

It is no secret that my closet is full of Sweet Tee dresses so they will definitely be a staple in my vacation wardrobe. They are such a quick sew and a very flattering silhouette. I do lengthen my Sweet Tee dresses about 3.5 inches, but that is just a personal preference. You can rock your flirty shorter pattern version for sure!

The Sweet Tee pattern includes a banded short sleeve option and a neckband finishing of the neckline. To make it an ever faster sew I hem my sleeves by folding 1/2 ” and topstitching with my coverstitch. You can very well use a zig zag stitch or a twin needle too.

I like to use the same technique to the neckline as well. I simply fold it 1/2″ wrong sides together and clip it in place…use a lot of clips (or pins) and press it well. all you have to do now is top stitch it the same way you did your sleeves.

Tadah! A super quick 30 minutes sew, comfy and elegant….perfect for vacation. I love that the Sweet Tee can be dressed up or dressed done, wear it with heels for an evening out or with flats for a fun day of vacation activities.

Don’t forget to check out the other blogs in this tour! The ladies really delivered!

June 12:  Little Heart Threads , The Crunchy Mommy , All_Sewn_Up_By_Stacey , Heavenly Threads Blog

June 13 : SewSophieLynn , Love Madelynn , Stitches by Laura  ,  All Things Katy!

June 14: Middle River Studio, Ammon Lane , The Art of Oh, Ma Moose

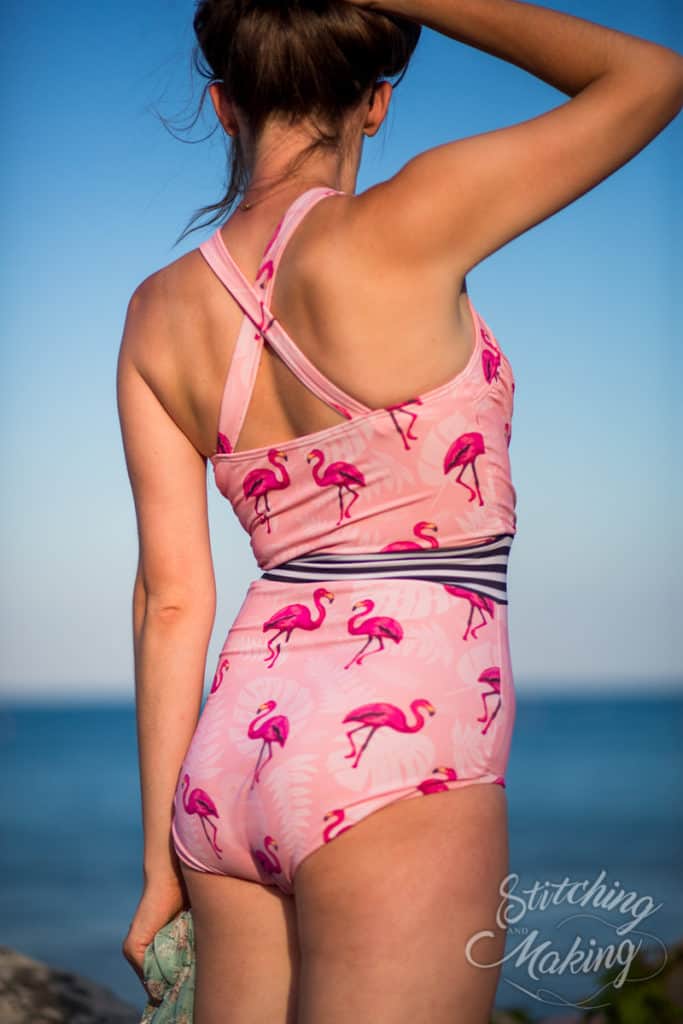
June 15: Sewing Curves, Margarita on the Ross, Stitching and Making, Very Paige,

June 16: Sewing with Sarah, I’m Just Like Mommy, Vinya Sew,

Made for Mermaids, Patterns for Pirates

Filed Under: Blog Tours 3 Comments

Take the Plunge Swim :: Easy Hacks

June 15, 2017

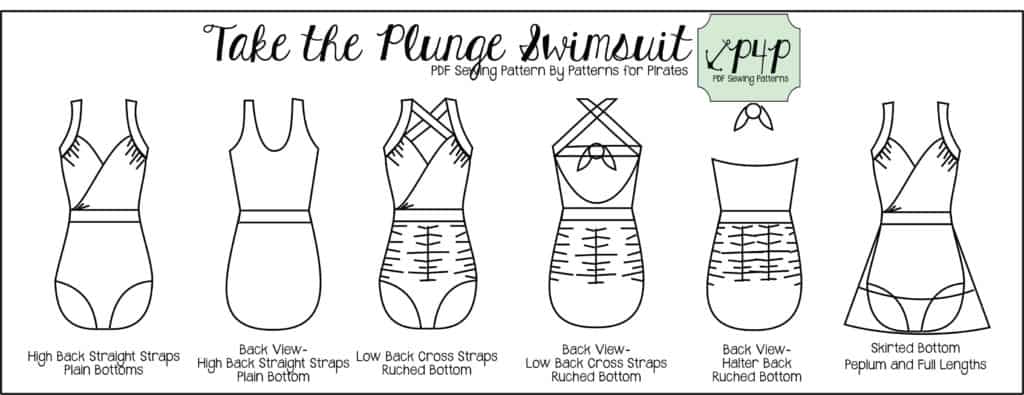
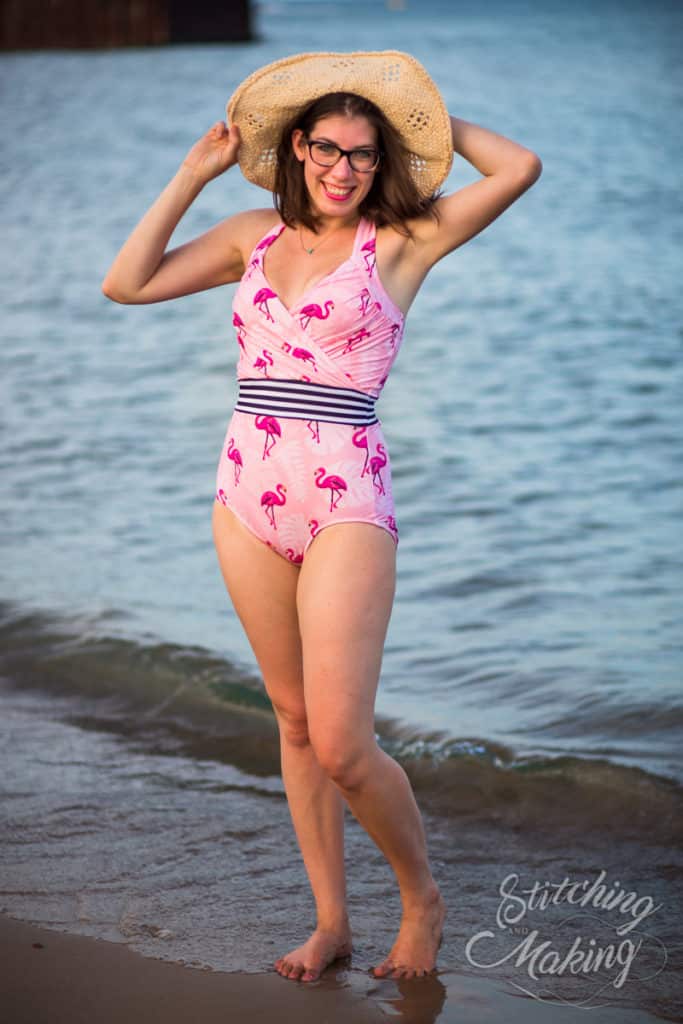
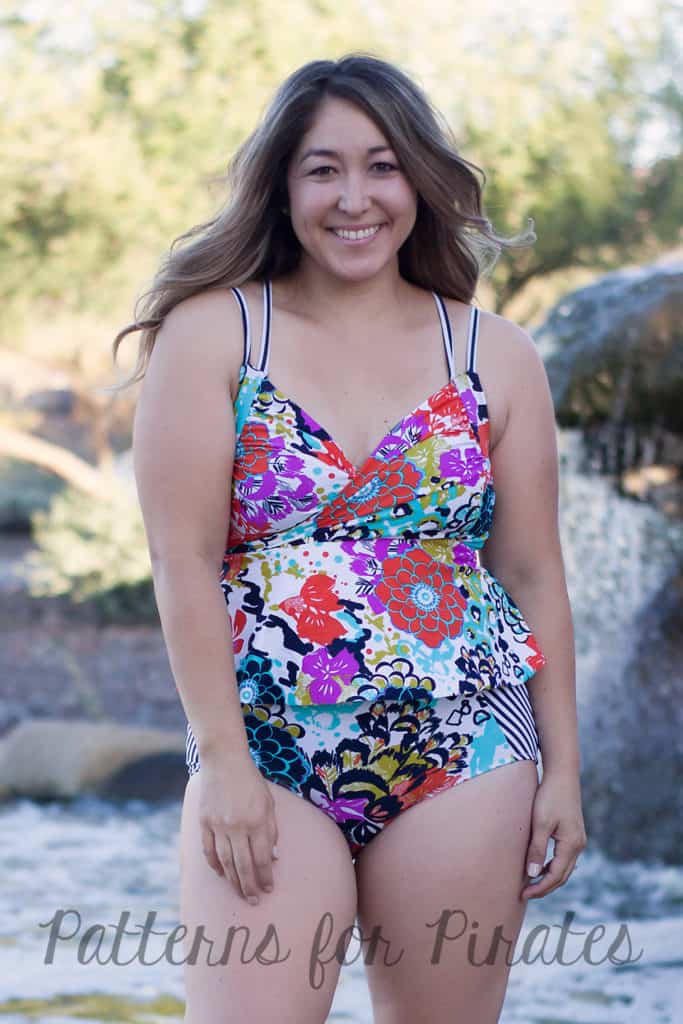
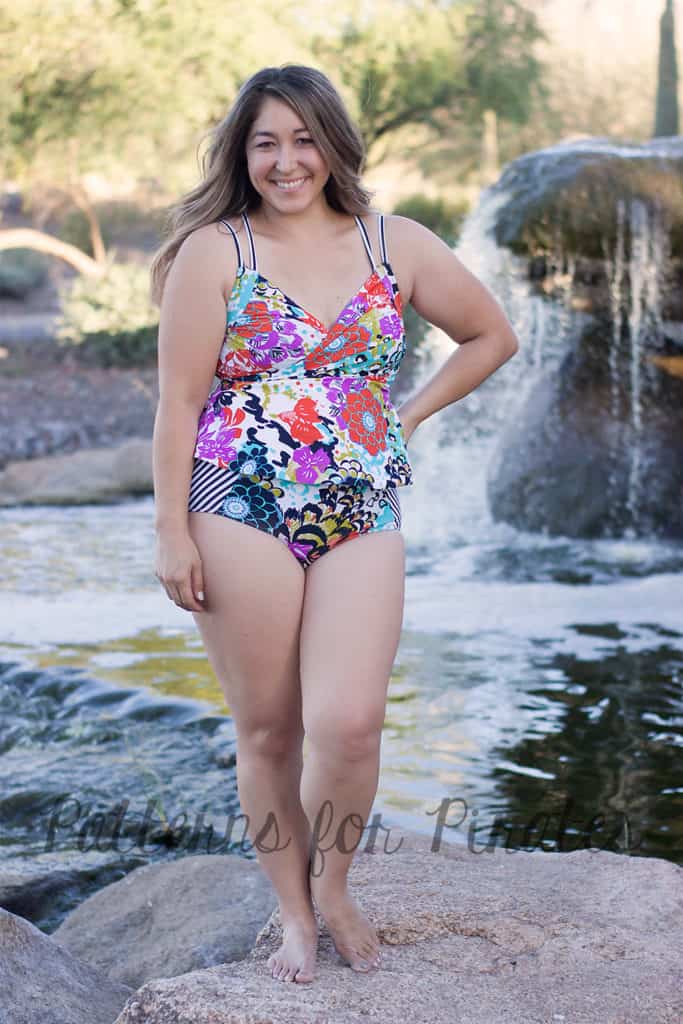
The ultimate one piece swimsuit is here and it’s packed with so many options. Mix and match the halter, low back or high back with any of the bottoms styles for a unique look every time but in true P4P fashion we could not have released this pattern without some easy hacks to get you even more looks out of your Take the Plunge Swimsuit.

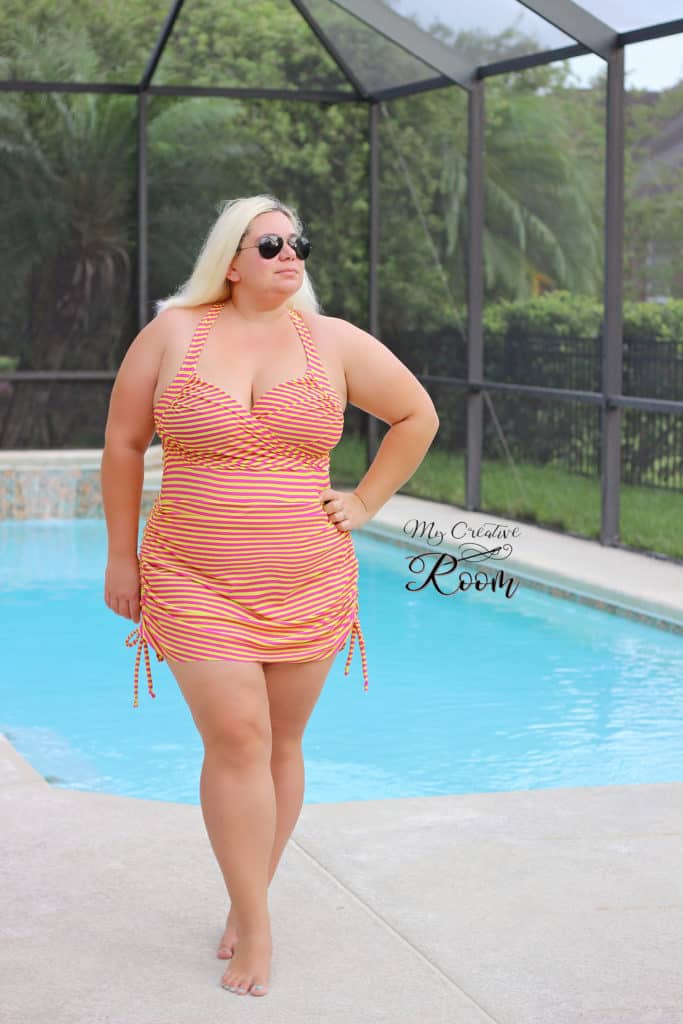
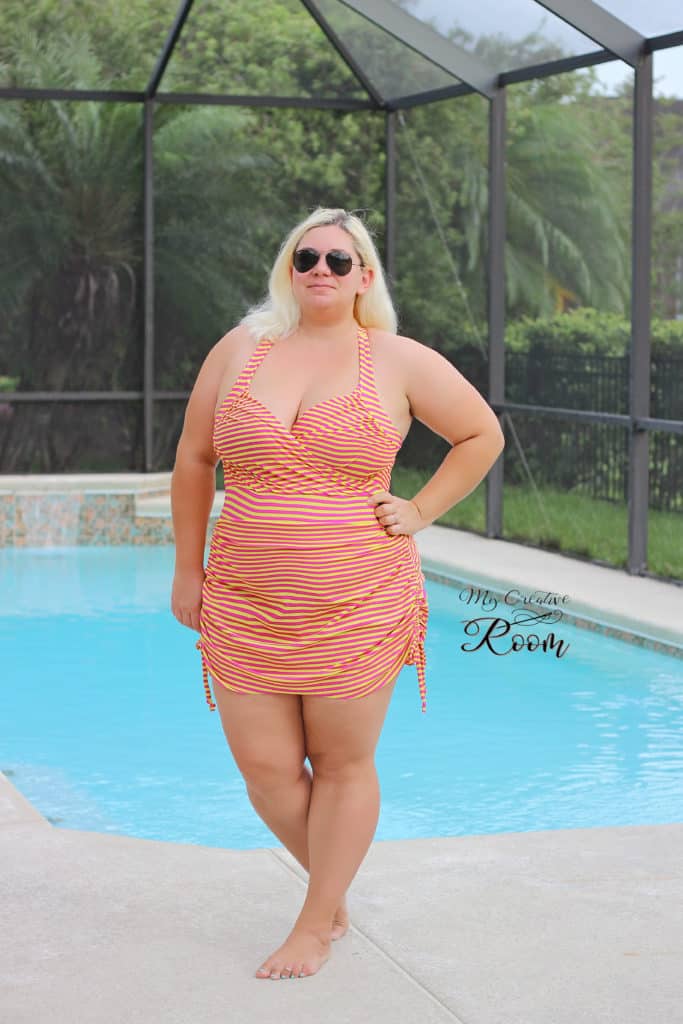
First on the hack line up is a super easy swicharoo! 🙂 Simply switch the half circle skirt included in the Take the Plunge swimsuit with the rushed skirt of the Hello Sailor  Swim Bottoms.

This “retro” look is so easy to achieve when using the ties option of the Hello Sailor Swim Bottoms. If you prefer to use the elastic rushing option included in the tutorial  you can certainly do that too.

I used the low back option of the Take the Plunge swimsuit but either one of the other tops would look amazing with the skirted bottoms. Make yourself a high back option and you’ll be ready to chase your little ones at the beach this summer. 🙂

There was no alteration needed to make to the pattern.  Follow the tutorial for the Take the Plunge swimsuit and replace the skirt included with the Hello Sailor Swim Bottoms skirt. Easy peasy!

Alex

—

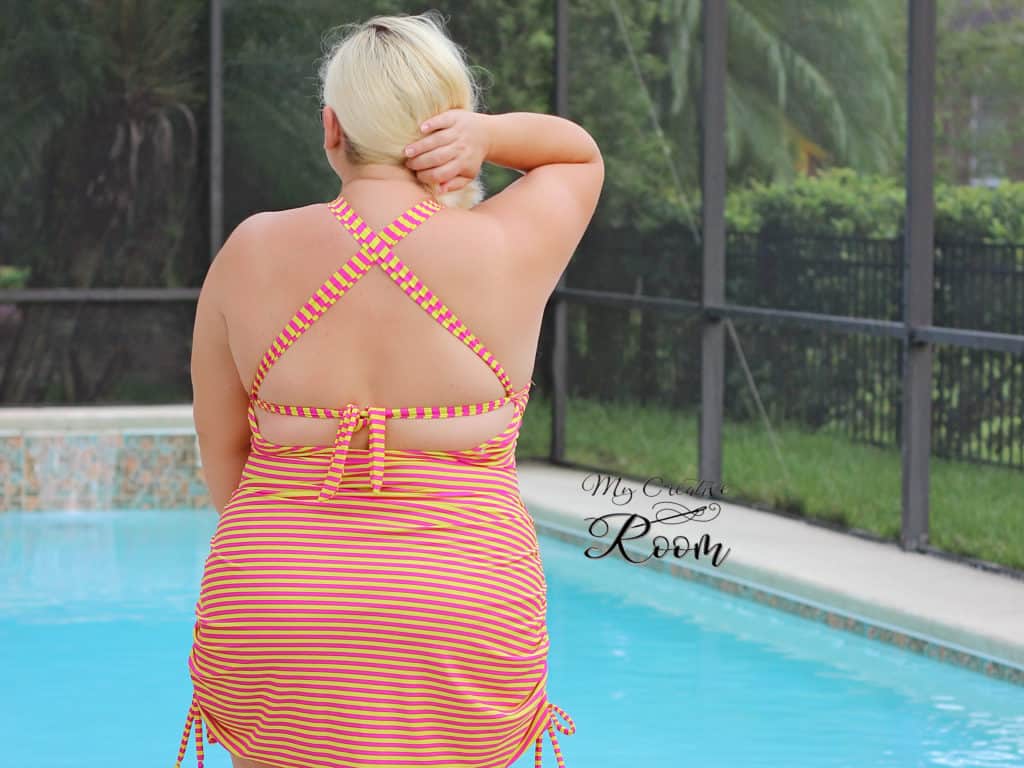
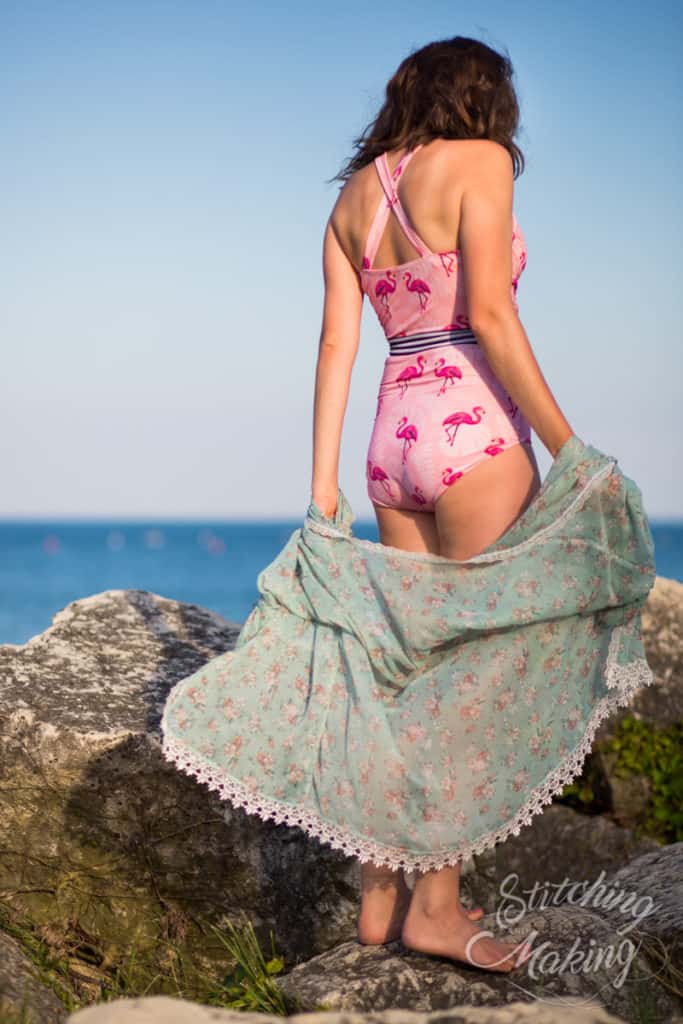
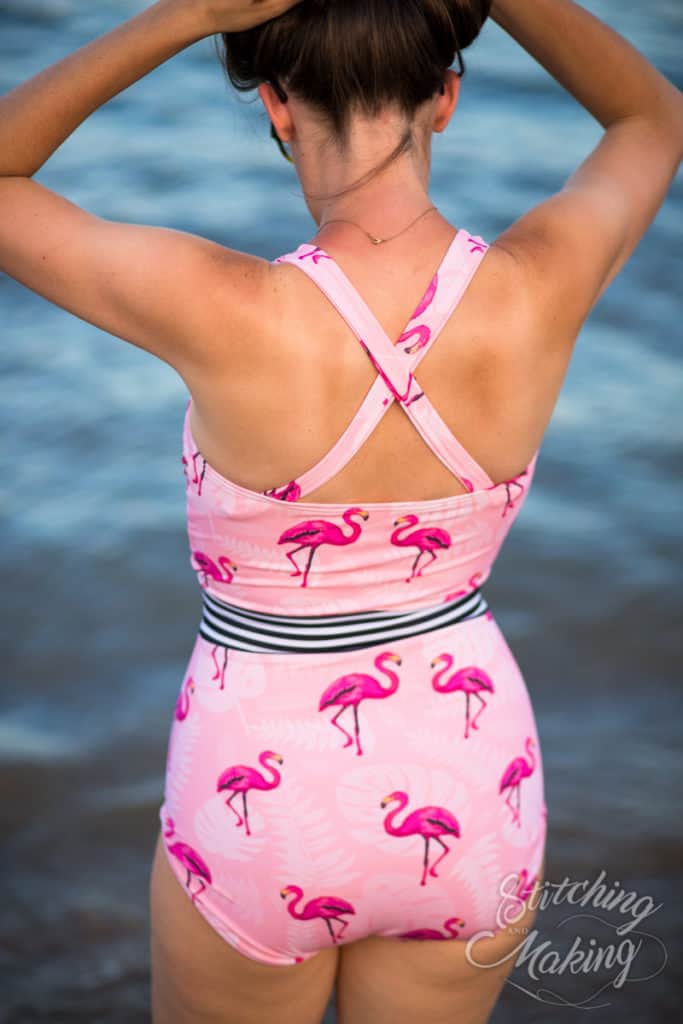
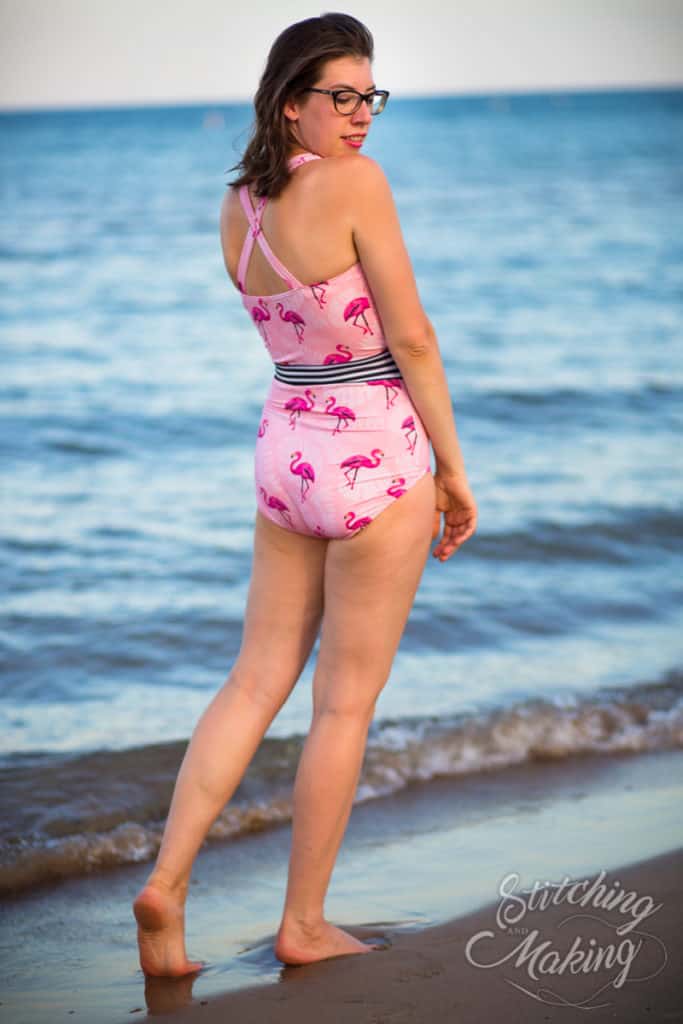
For another quick and easy way to mix up this pattern, try modifying the straps!  In this example, I’ll show you how to hack the halter back and straps into a trendy criss-cross.


1. When cutting out your halter straps, you don’t need to cut the pointed tip.  Just straight across is easier.  For me, the length worked as-is, but if you are extra tall (I am 5’8″), you may want to cut a couple extra inches just to be safe.

2. Assemble the pattern as the instructions direct, until you get to the step for adding the elastic in the back.

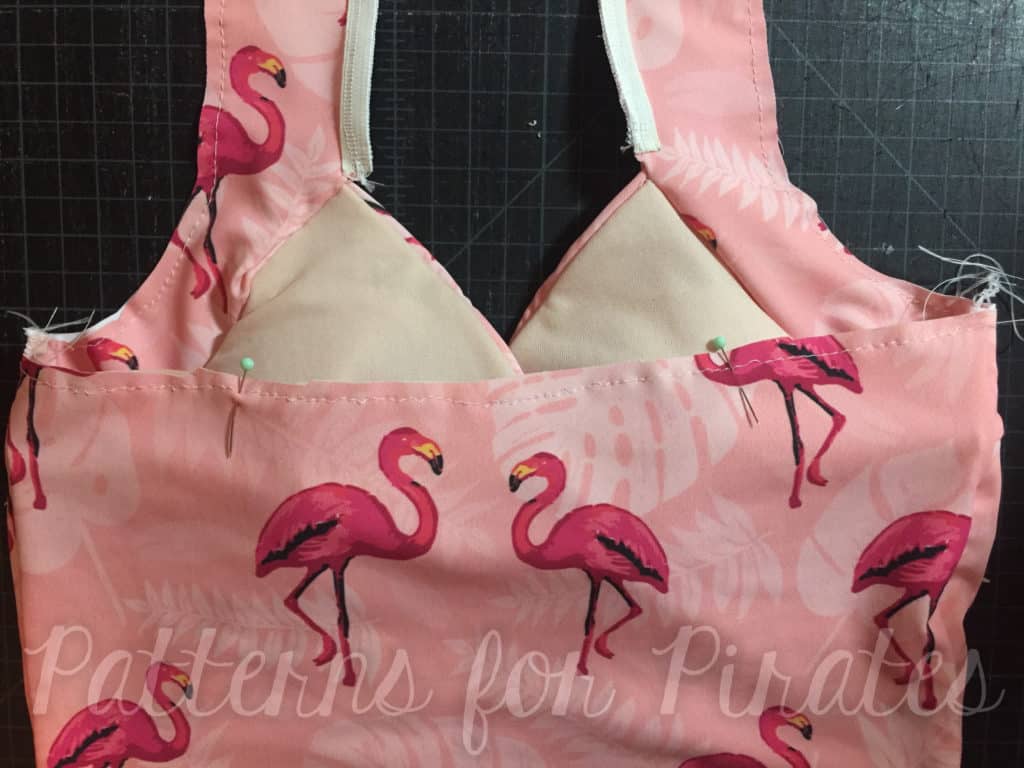
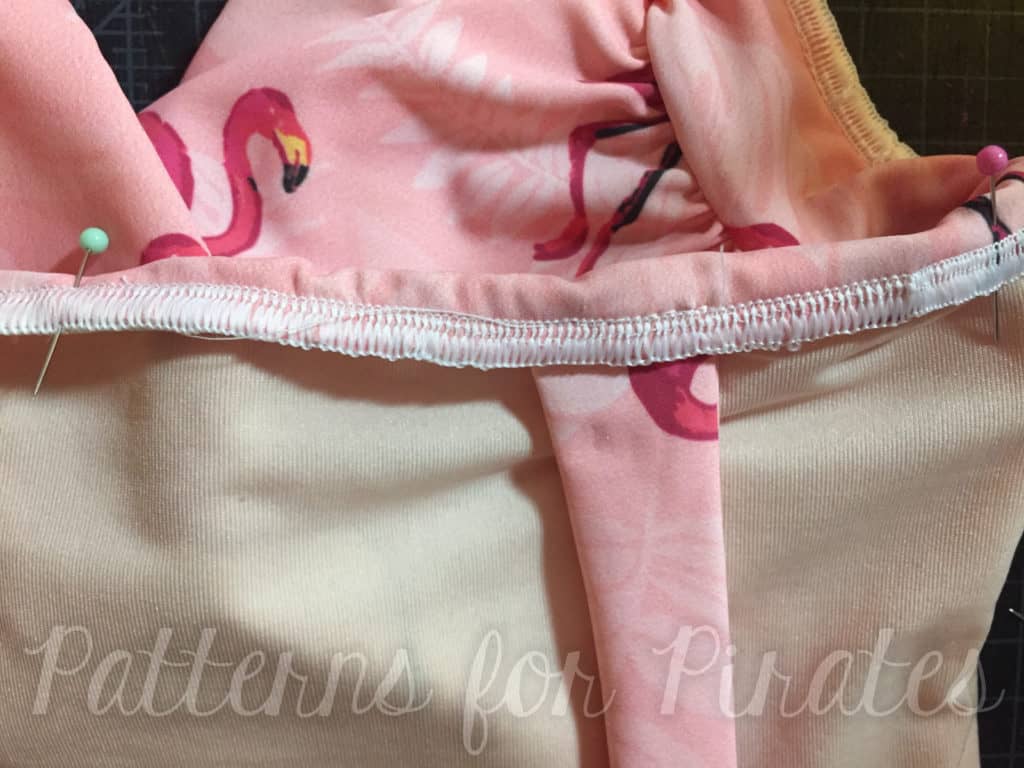
3. After you’ve added the elastic, on each side, mark the middle point between the center back and the side seams. (I happened to take this picture before I added the elastic, don’t be confused by that part!)

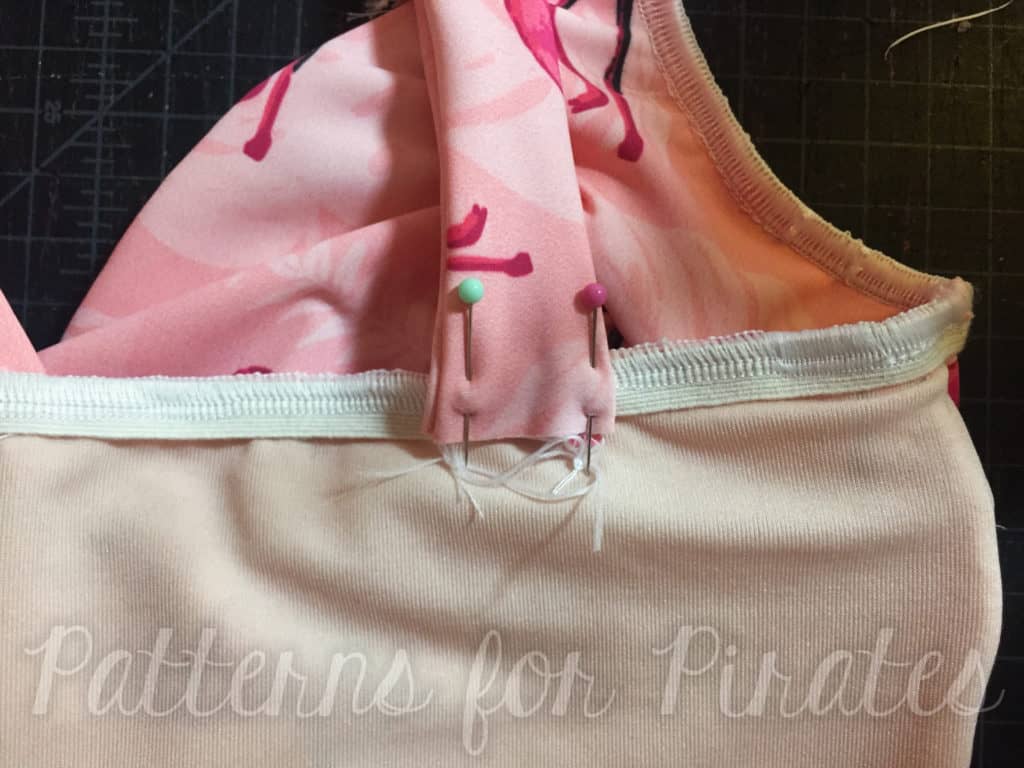
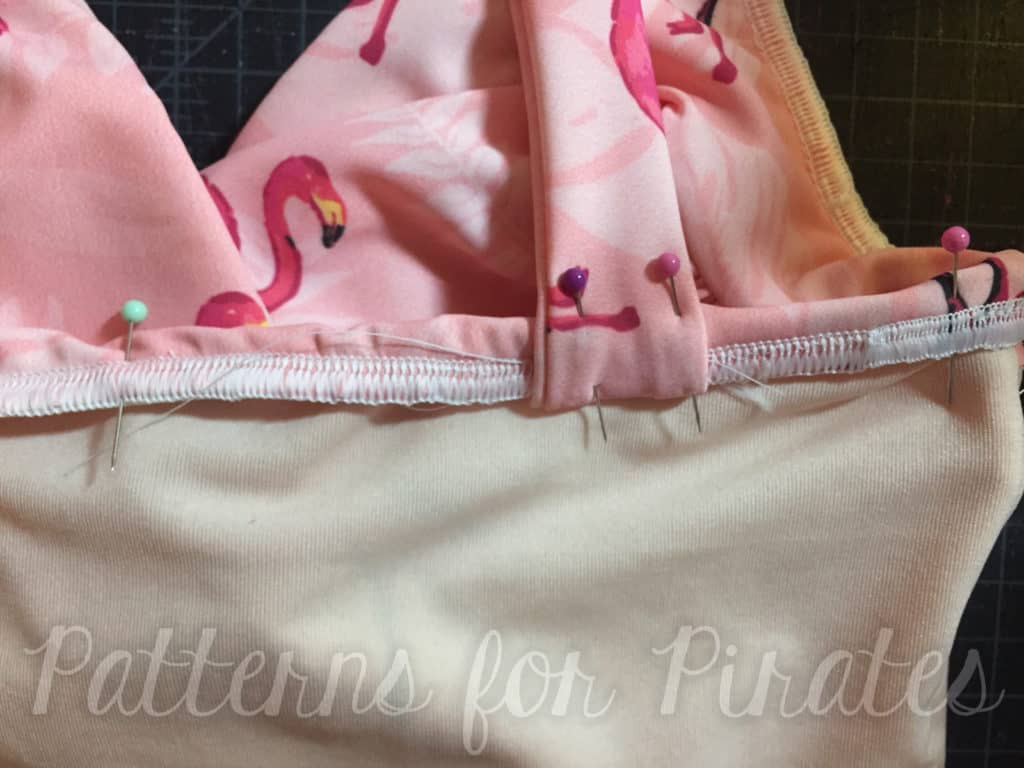
4. Pin/clip (or baste) the straps in place where you’ve marked – make sure to cross them and that they aren’t crooked.  You’ll want to try it on at this point to make sure the strap lengths are comfortable.  I found that I needed to attach the straps about 1.5″ from the end.

5. Once you know exactly where you want the straps placed, now you’re ready to sew them down.  There’s multiple ways you could do this, but I found this method reduced bulk the most.

6. With your strap facing up, sew it through the elastic on the back.  This area will receive a lot of stress so make sure to use a good stitch – I like the triple stretch stitch or zigzag.

7. Now turn your elastic edge down to get ready to top-stitch along the edge as the pattern instruction indicate.

8. Before you top-stitch, pull the straps upwards again.  Now, you’ll also catch the strap as you top-stitch along the back of the suit.

9. That’s it!  Now finish the suit as usual.


Have fun experimenting different ways to change up these straps.  You could try using the low back option instead of the halter,  double or even triple straps on each side, or even weave them together for a completely different look!

– Elisabeth

—

Not really a one piece kind of girl?  Whether you like to rock a bikini or prefer a little more coverage of a tankini,  with a few minor changes you can Take the Plunge to new depths (or looks 😉 )

First up, the Peplum Tankini.  I also had some fun and played with the straps a little and might blog those later but for now we will focus on the peplum.

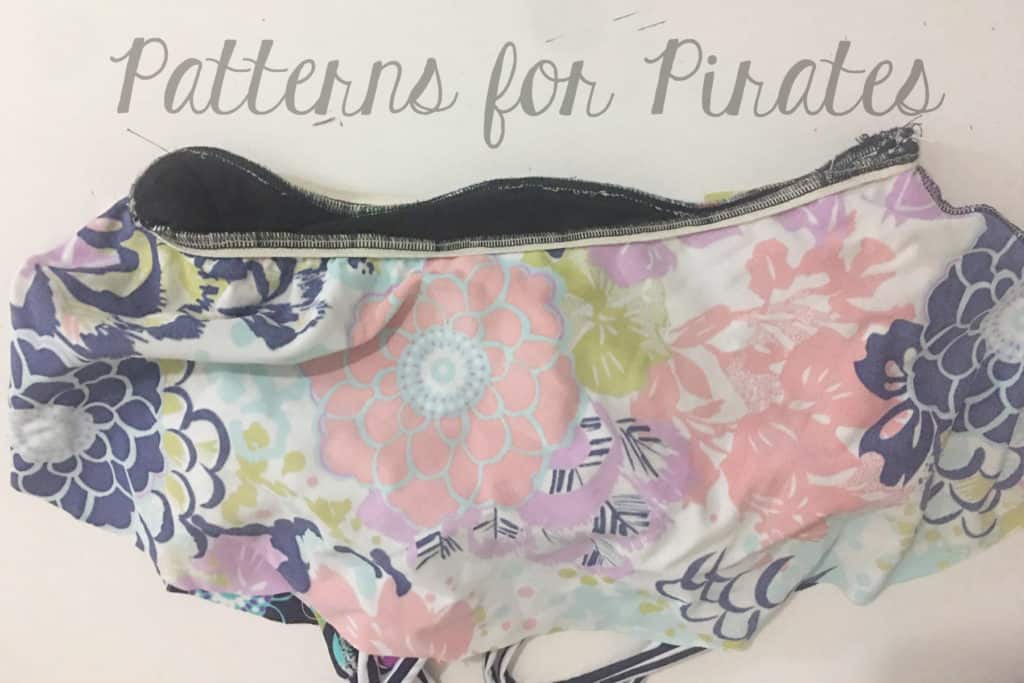
Instead of attaching the skirt to the bottom portion of the waistband as directed in the pattern, you will attach it the to the bottom edge of the bodice.  Using a 1:1 ratio, add 3/8″ elastic and stitch together!  This will give you some extra stability and help keep the top in place. I wanted the skirt to hit just about my high hip so shortened the peplum length in the pattern by 1″.  You can choose any length of your preference though.  I paired this with the Hello Sailor Swim Bottoms, however you could easily use the bottoms in the Take the Plunge Swimsuit (I’ll show those later too!)


Now for the Bikini option…  Not one, but two!!

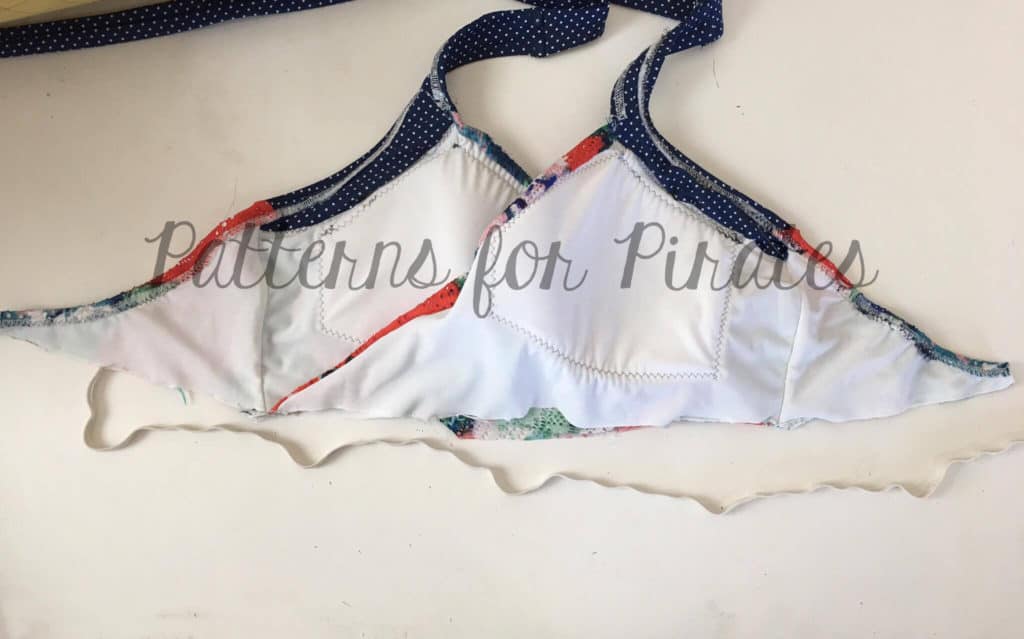
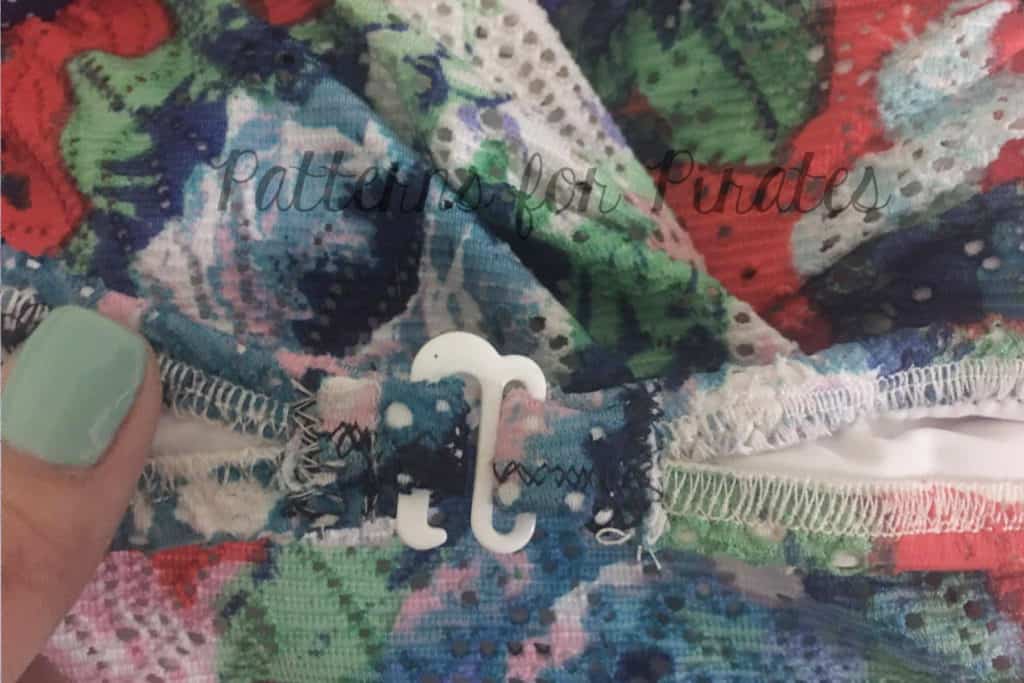
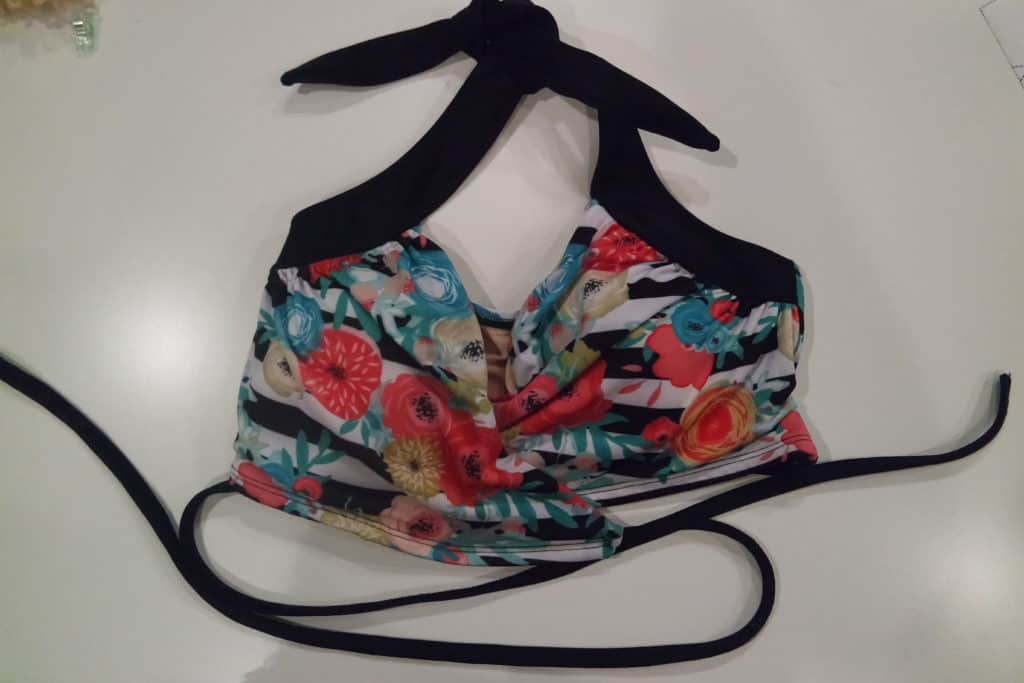
For this version, you will construct your top exactly as the pattern instructs and need to choose the low back crossover version.  You will also need a 3/4″ swim bra hook.

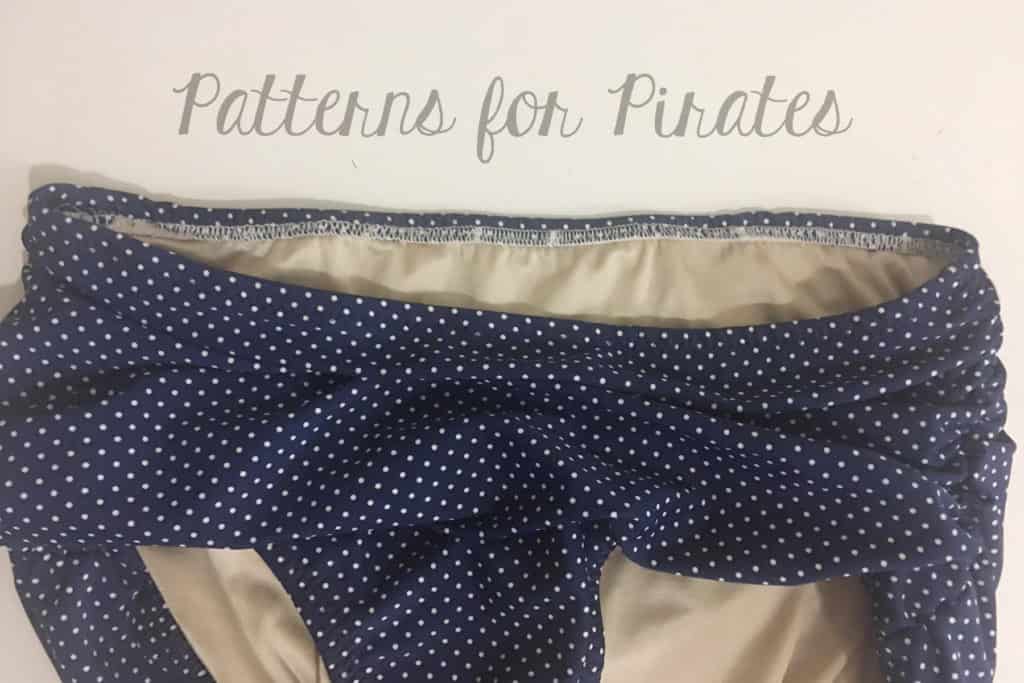
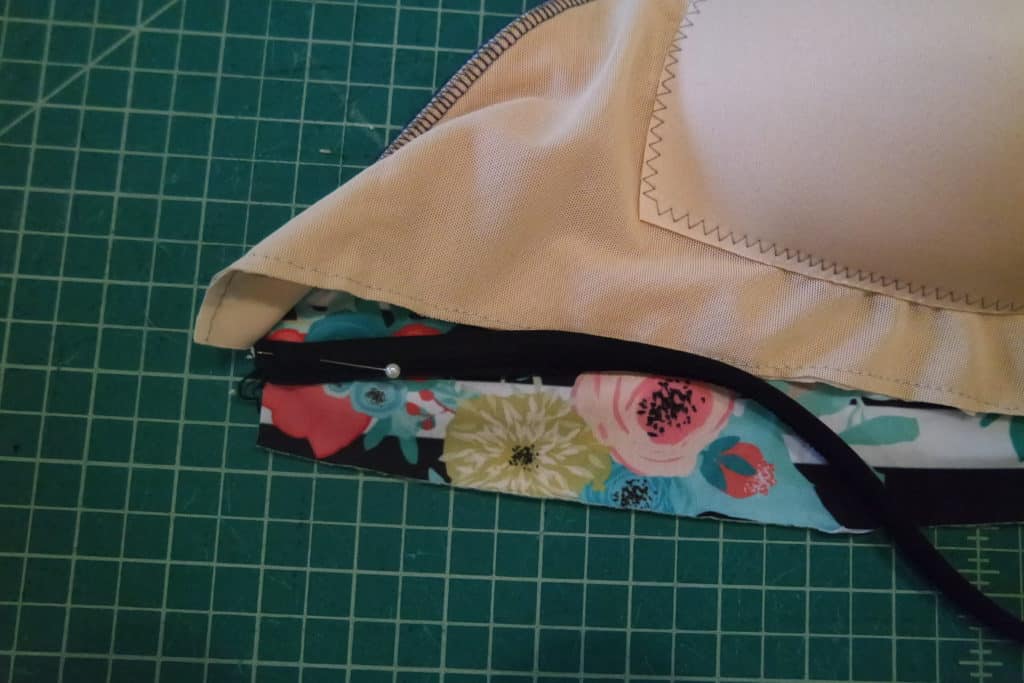
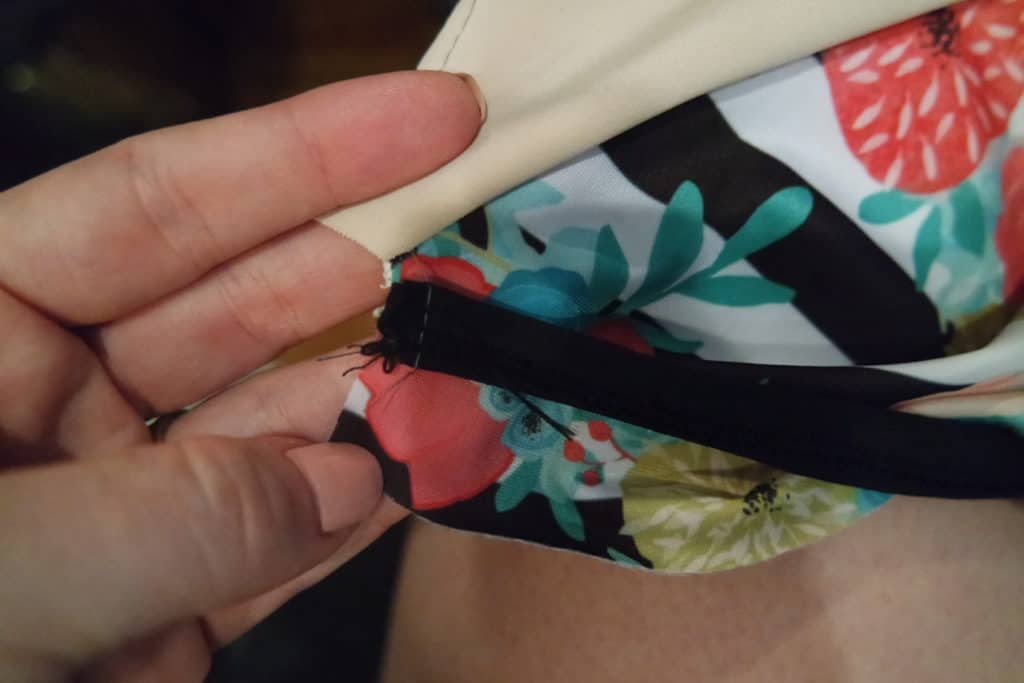
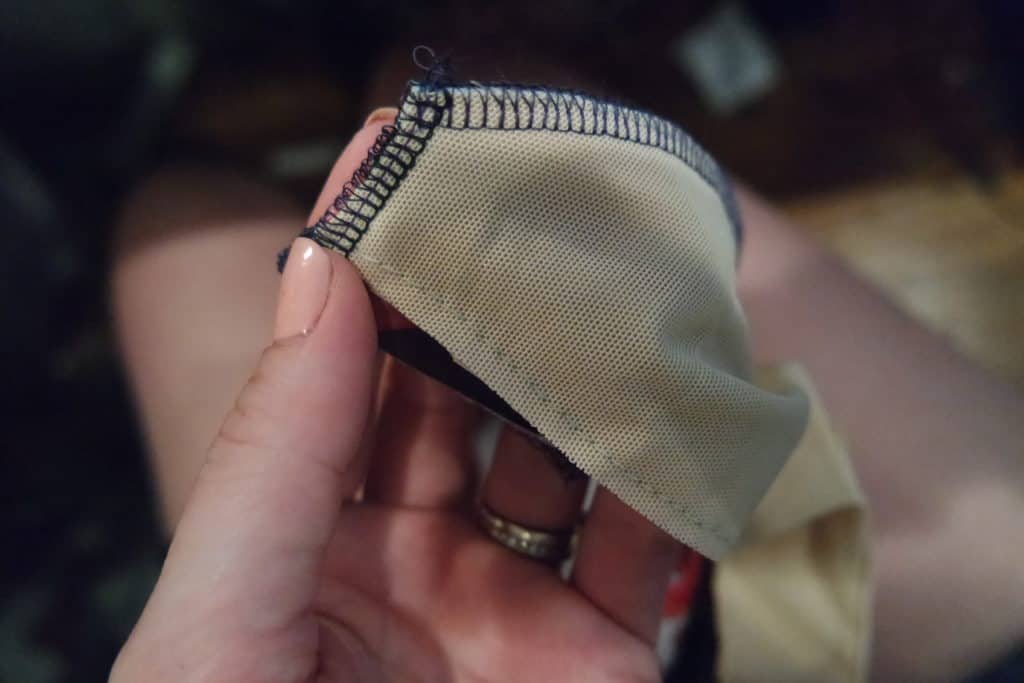
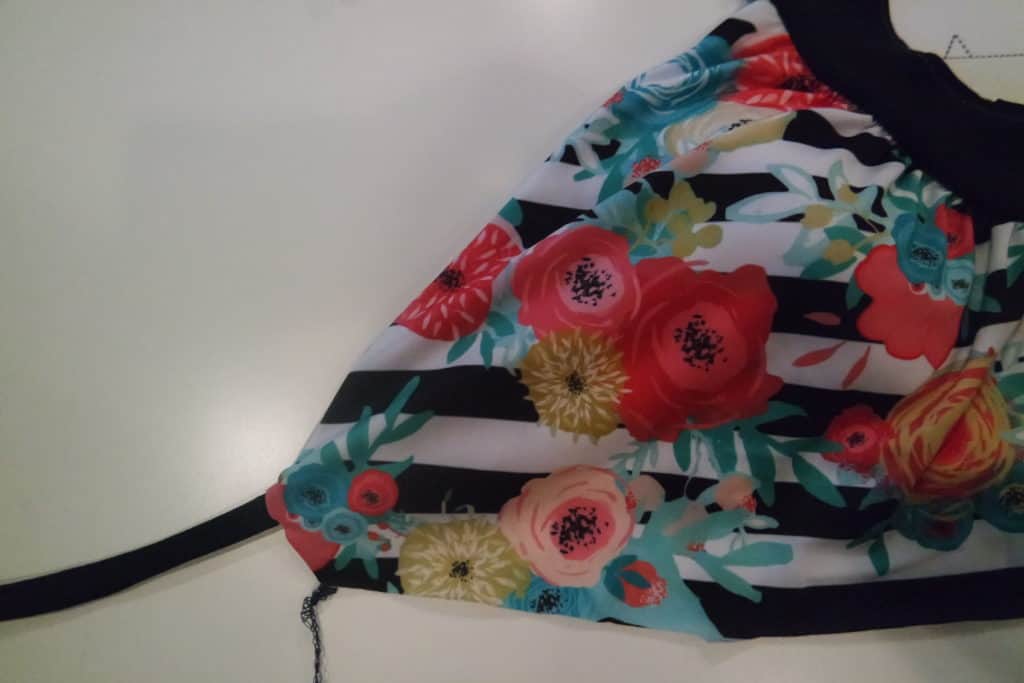
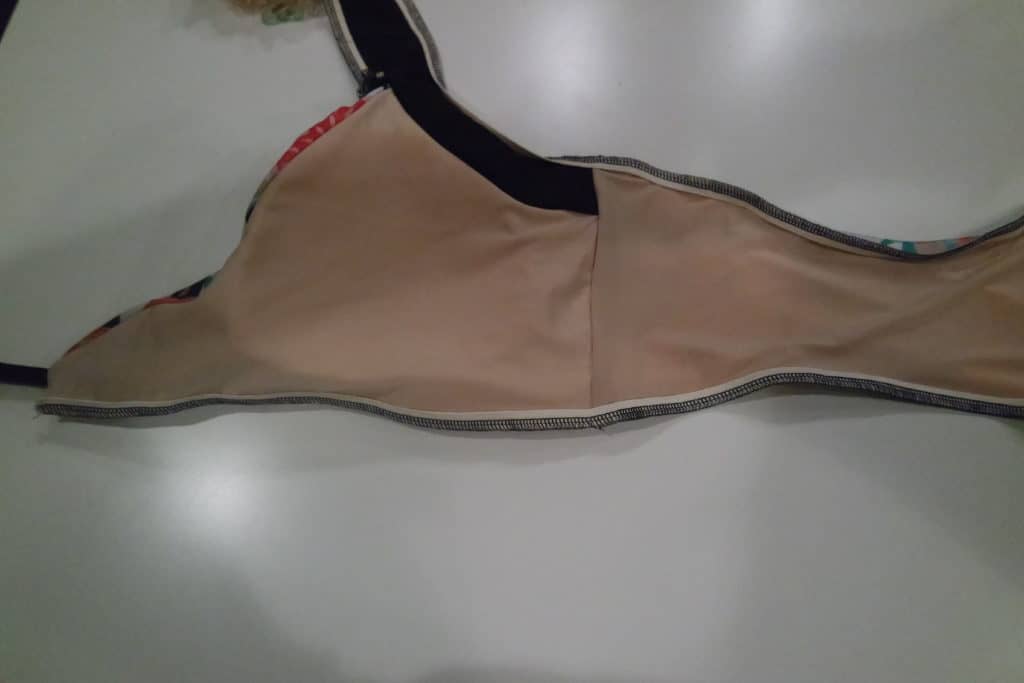
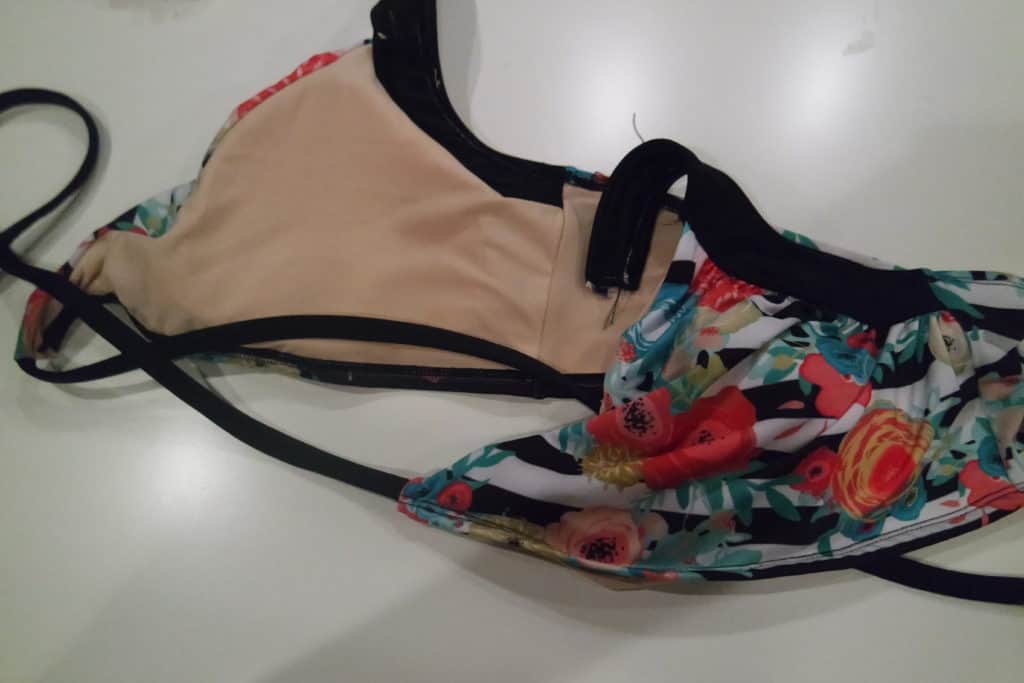
Construct your top exactly as you would in the pattern.  Once you have completed your top, find the center back and clip.  Be sure to baste the bottom edge of your bodice to ensure it is aligned correctly at the center notch and side seams. (Note: bottom edge has not been basted in this pic)

Using a 1:1 ratio, stitch elastic to the lining side along the bottom of the bodice edge.  Flip up and top-stitch.

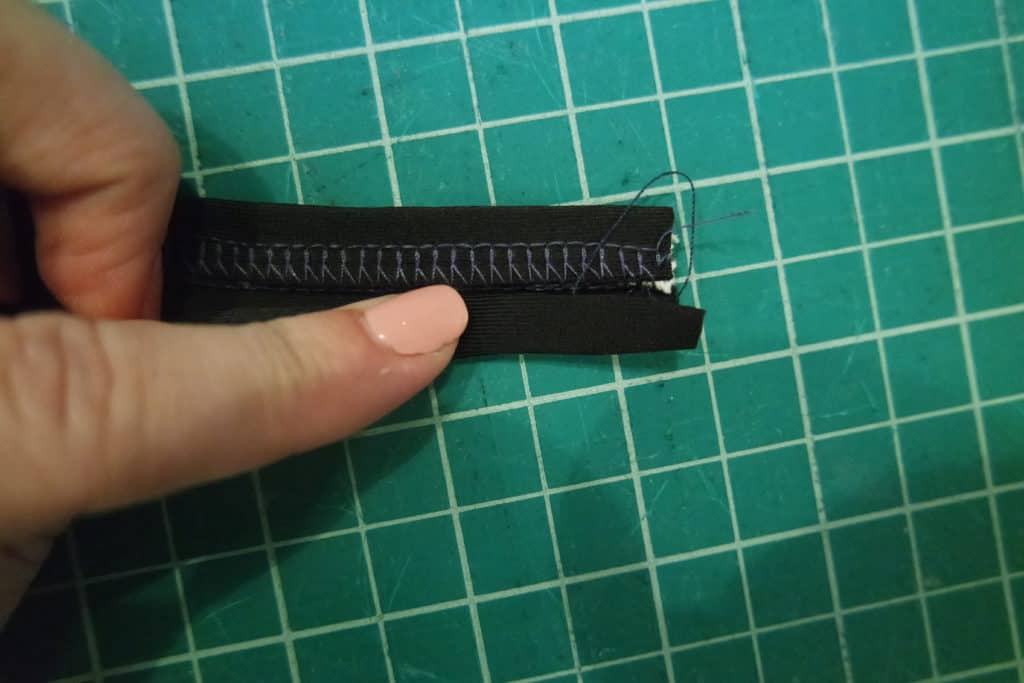
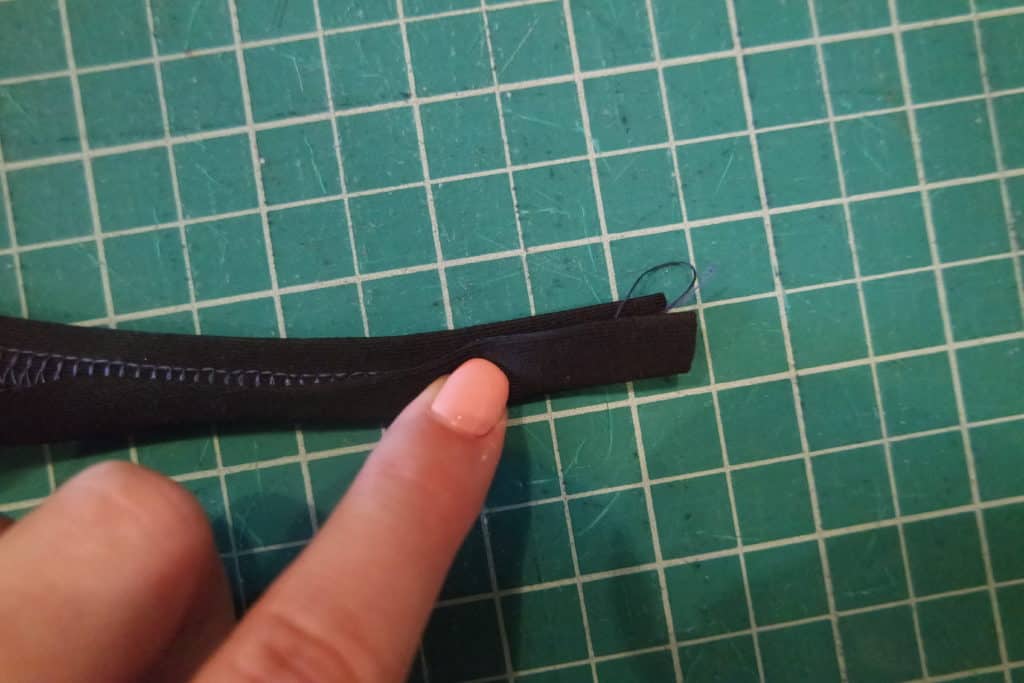
Slide one end in to the swim bra hook and stitch.  Fold over opposite end and stitch, creating a hole for the hook to go through.

To create the separate Take the Plunge bottoms, construct as the pattern indicates.  Using a 1:1 ratio, stitch 3/8″ elastic to the lining side of the top edge of the bottoms.  Flip down and top-stitch.  I used the ruched version here with only the side elastic and omitted the front and back elastic ruching.


Our second bikini hack is super cute and ties around the back.  You will want to use the Halter back (or even the full back) option for this version.

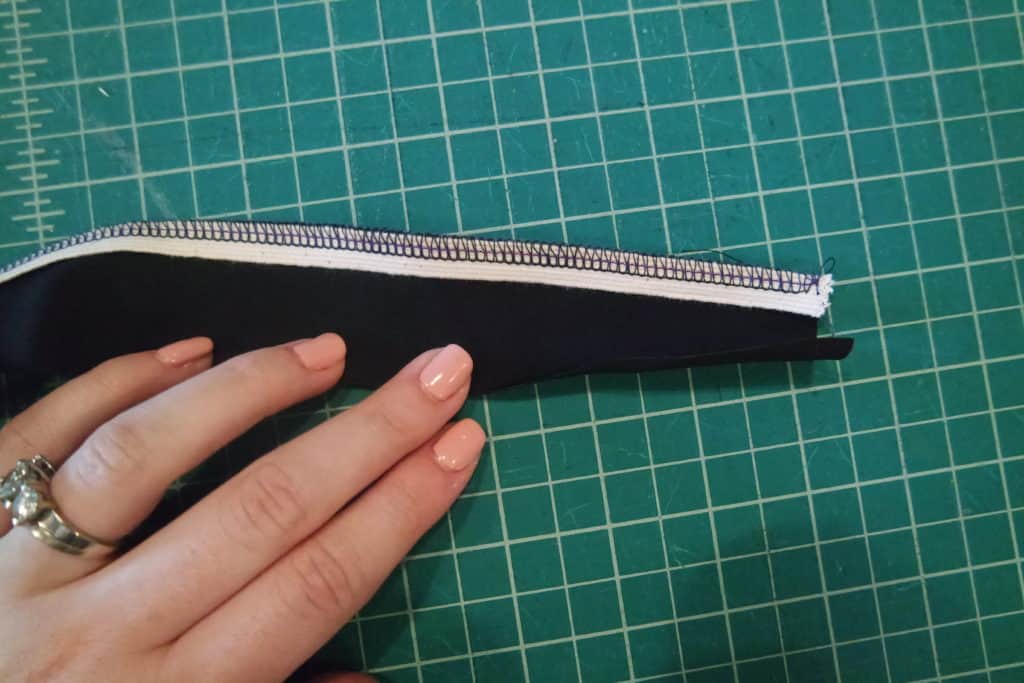
 First, create your bikini straps.  Cut a 1.5″ x 15″ strip.  You can adjust the length to your preference depending on how long you would like your ties.

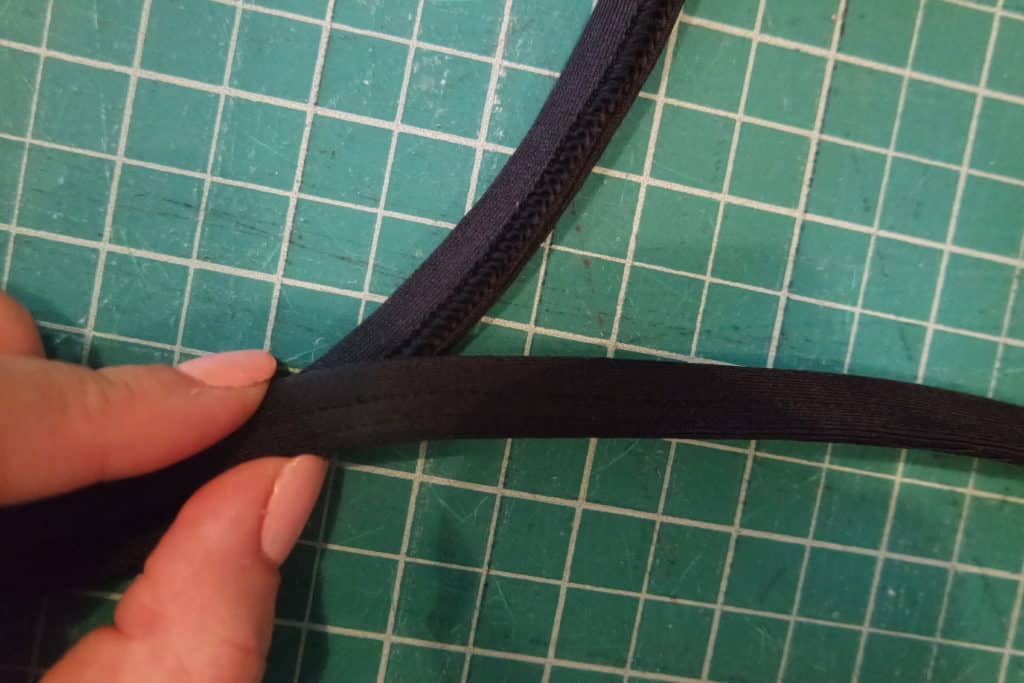
Stitch 3/8″ elastic to one raw edge.
Fold elastic to wrong side of fabric.

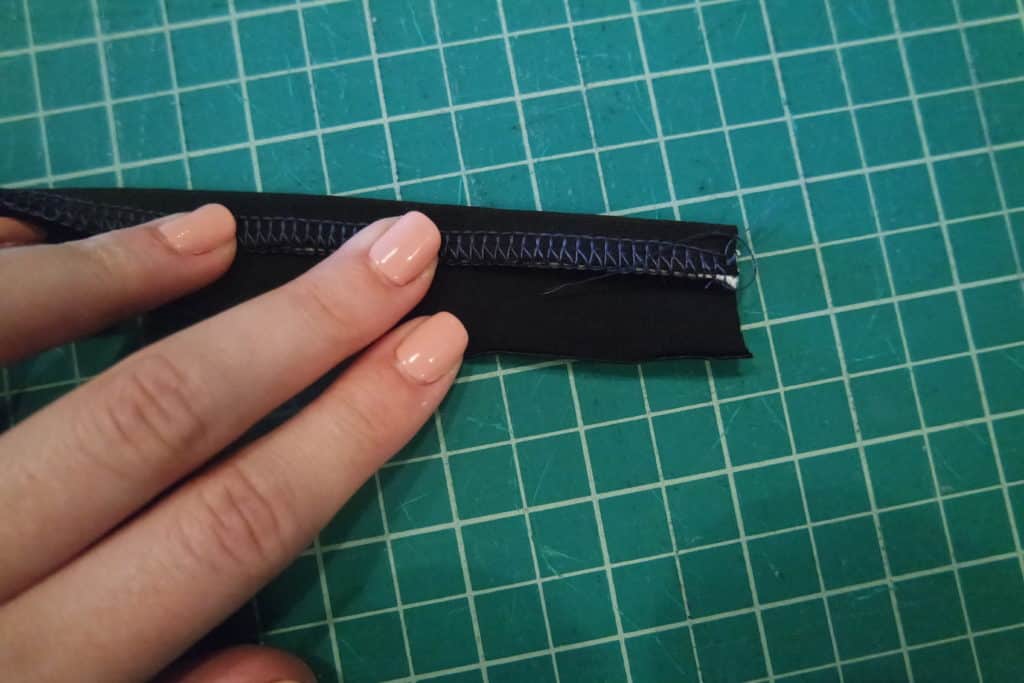
Fold opposite raw edge toward the elastic to the wrong side of fabric.
Fold again, encasing the raw edge and elastic.

Top-stitch.

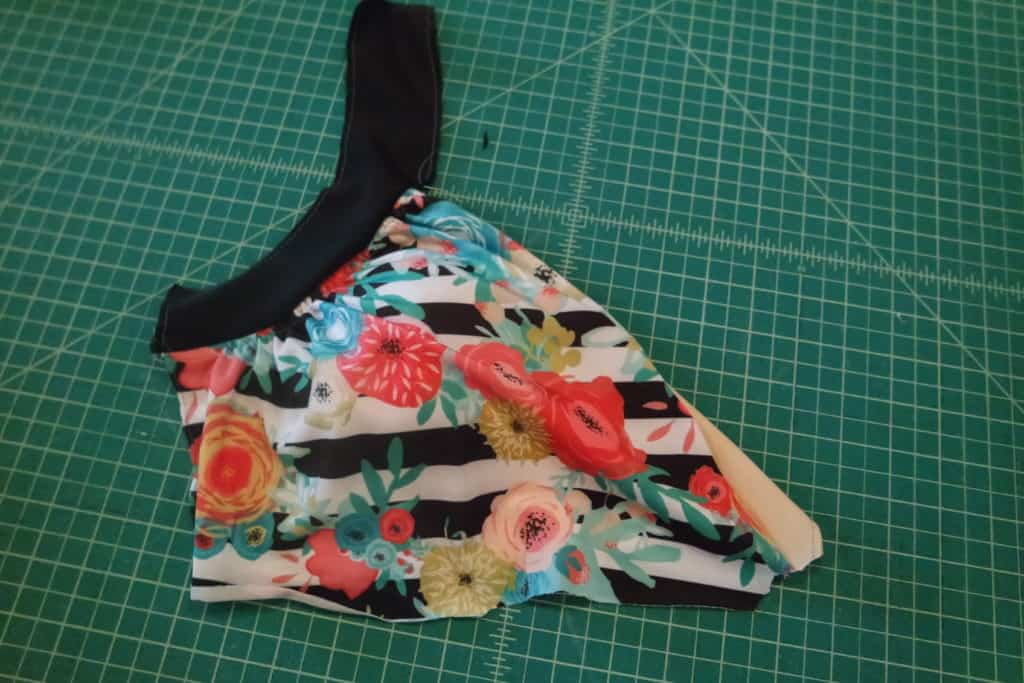
Now, on to the bodice. I trimmed the bottom 1″ off the bodice before beginning.

Construct your bodice as instructed in the pattern.
Turn bodice inside out. With right side of strap to the right side of the main front, pin or clip in place.

Baste.
With right side of lining and main fabric together, stitch seam.

Turn bodice right side out and baste along the bottom raw edge.
Using a 1:1 ratio, stitch 3/8″ elastic to bottom raw edge of the lining side of the bodice. You will stitch through both the main and lining fabrics.

Fold elastic towards lining and top-stitch.
All done!


Looking for more inspiration?  Be sure to check out our Facebook album with all the lovely tester pics and how to take the pattern one step further and turn it in to a gorgeous top or dress HERE!


Filed Under: Pattern Hacks, Pattern Release 2 Comments

  • « Previous Page
  • 1
  • …
  • 18
  • 19
  • 20
  • 21
  • 22
  • 23
  • Next Page »

Featured Patterns

  • Mae Top - Bundle Mae Top - Bundle $20.00
  • Mae Bottom - Bundle Mae Bottom - Bundle $20.00
  • Loosey Goosey - Bundle Loosey Goosey - Bundle $20.00
  • Bacall Bodysuit Bacall Bodysuit $12.00
  • Privacy Policy
  • Refund Policy
  • Affliliate Program
  • Contact Us
  • About

Copyright © 2025 Patterns for Pirates

Copyright © 2025 · Genesis Framework · WordPress · Log in