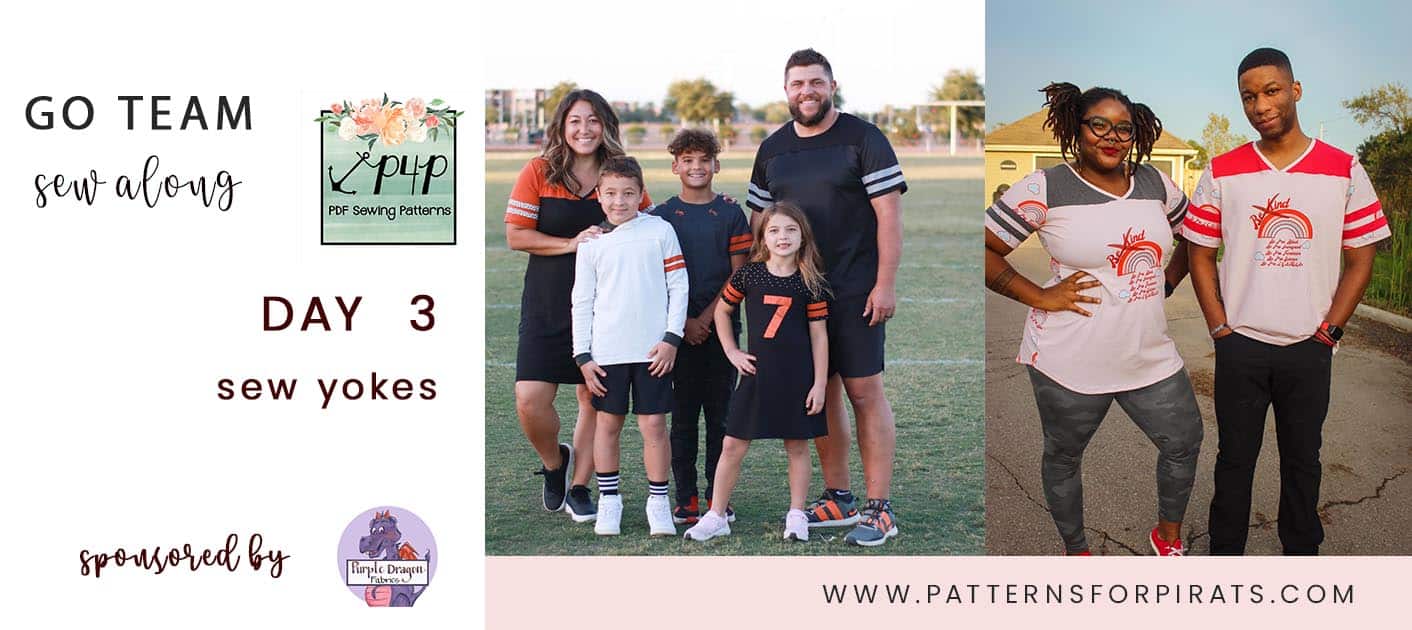
Ahoy, pirates! Welcome to day 3 of the Go Team Sew Along. Today we attach the yokes to the bodice. At the start of the day you should have one piece with the front and back sewn together (with a V neck, crew neckband or hood) and two pieces for the bodice, one front and one back.
Mark the center of both the front and back bodices. Add a pin or a clip to the center back of the yoke. If sewing the crew or hood style, add one to the front yoke too. Matching the center fronts and center backs place the yoke and bodice right sides together. Sew with a stretch stitch or serger. Top stitch the seam allowance down. you can do this on your sewing machine with a zig zag stitch or a twin needle. Alternatively, you can use your serger. If you need a refresher or you are new to sewing with a twin needle, here is one of our P4P University post to help you with that.
If you opted for the V neck style, overlap the two front pieces slightly and sew a basting stitch to keep them in place. Place the front of the bodice on the front V neck yoke, sew in place and top stitch. That’s it! You are done for today!
Here is the day 3 video where you can see both the hood and V neck options sewn. Once you finish today’s steps, post a photo of your progress in the day 3 comments of the Go Team sew along album. See you back here tomorrow!
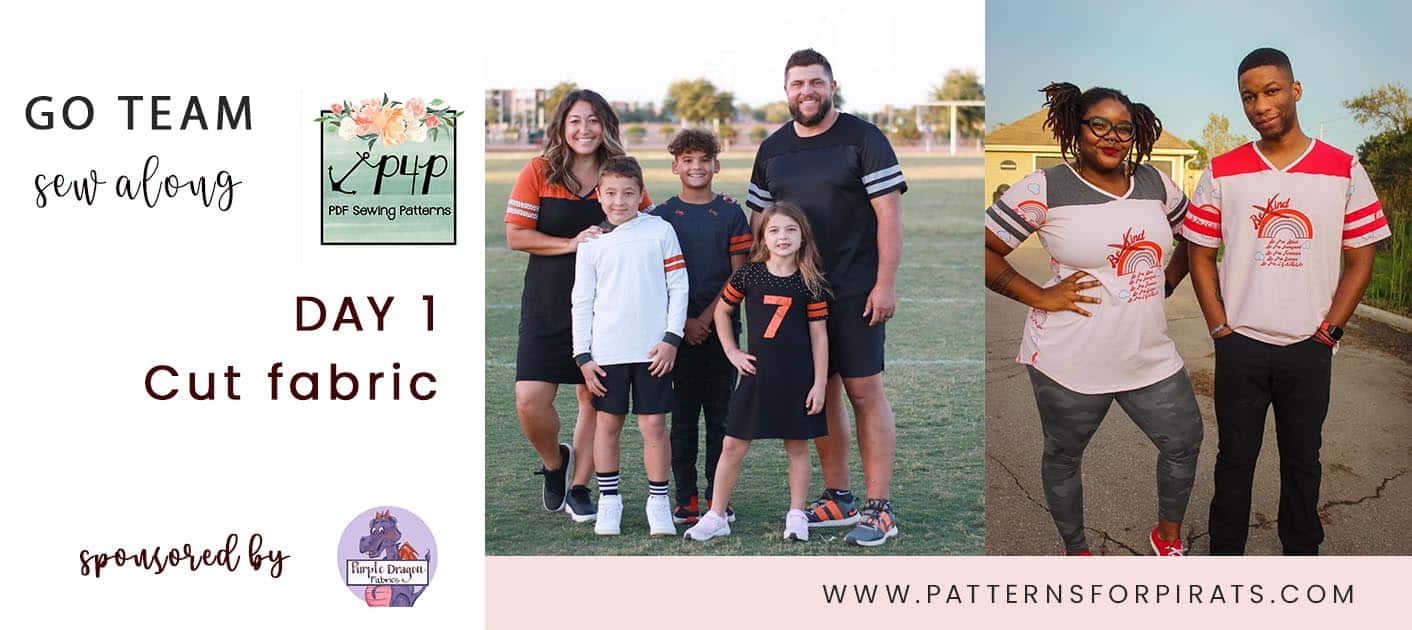
Go Team SAL – day 1 | cut fabric
Go Team SAL – day 2 | shoulder seams & neckline
Go Team SAL – day 5 | side seams & hem bottom
Go Team SAL – day 6 | hem sleeves or add cuffs
Go Team SAL – day 7 | winners announcement