The newest pattern is a great wardrobe staple. I know this pattern will be on high rotation for years to come in both my closet and Baby Girls too! Say hello to the Everyday Shirt:
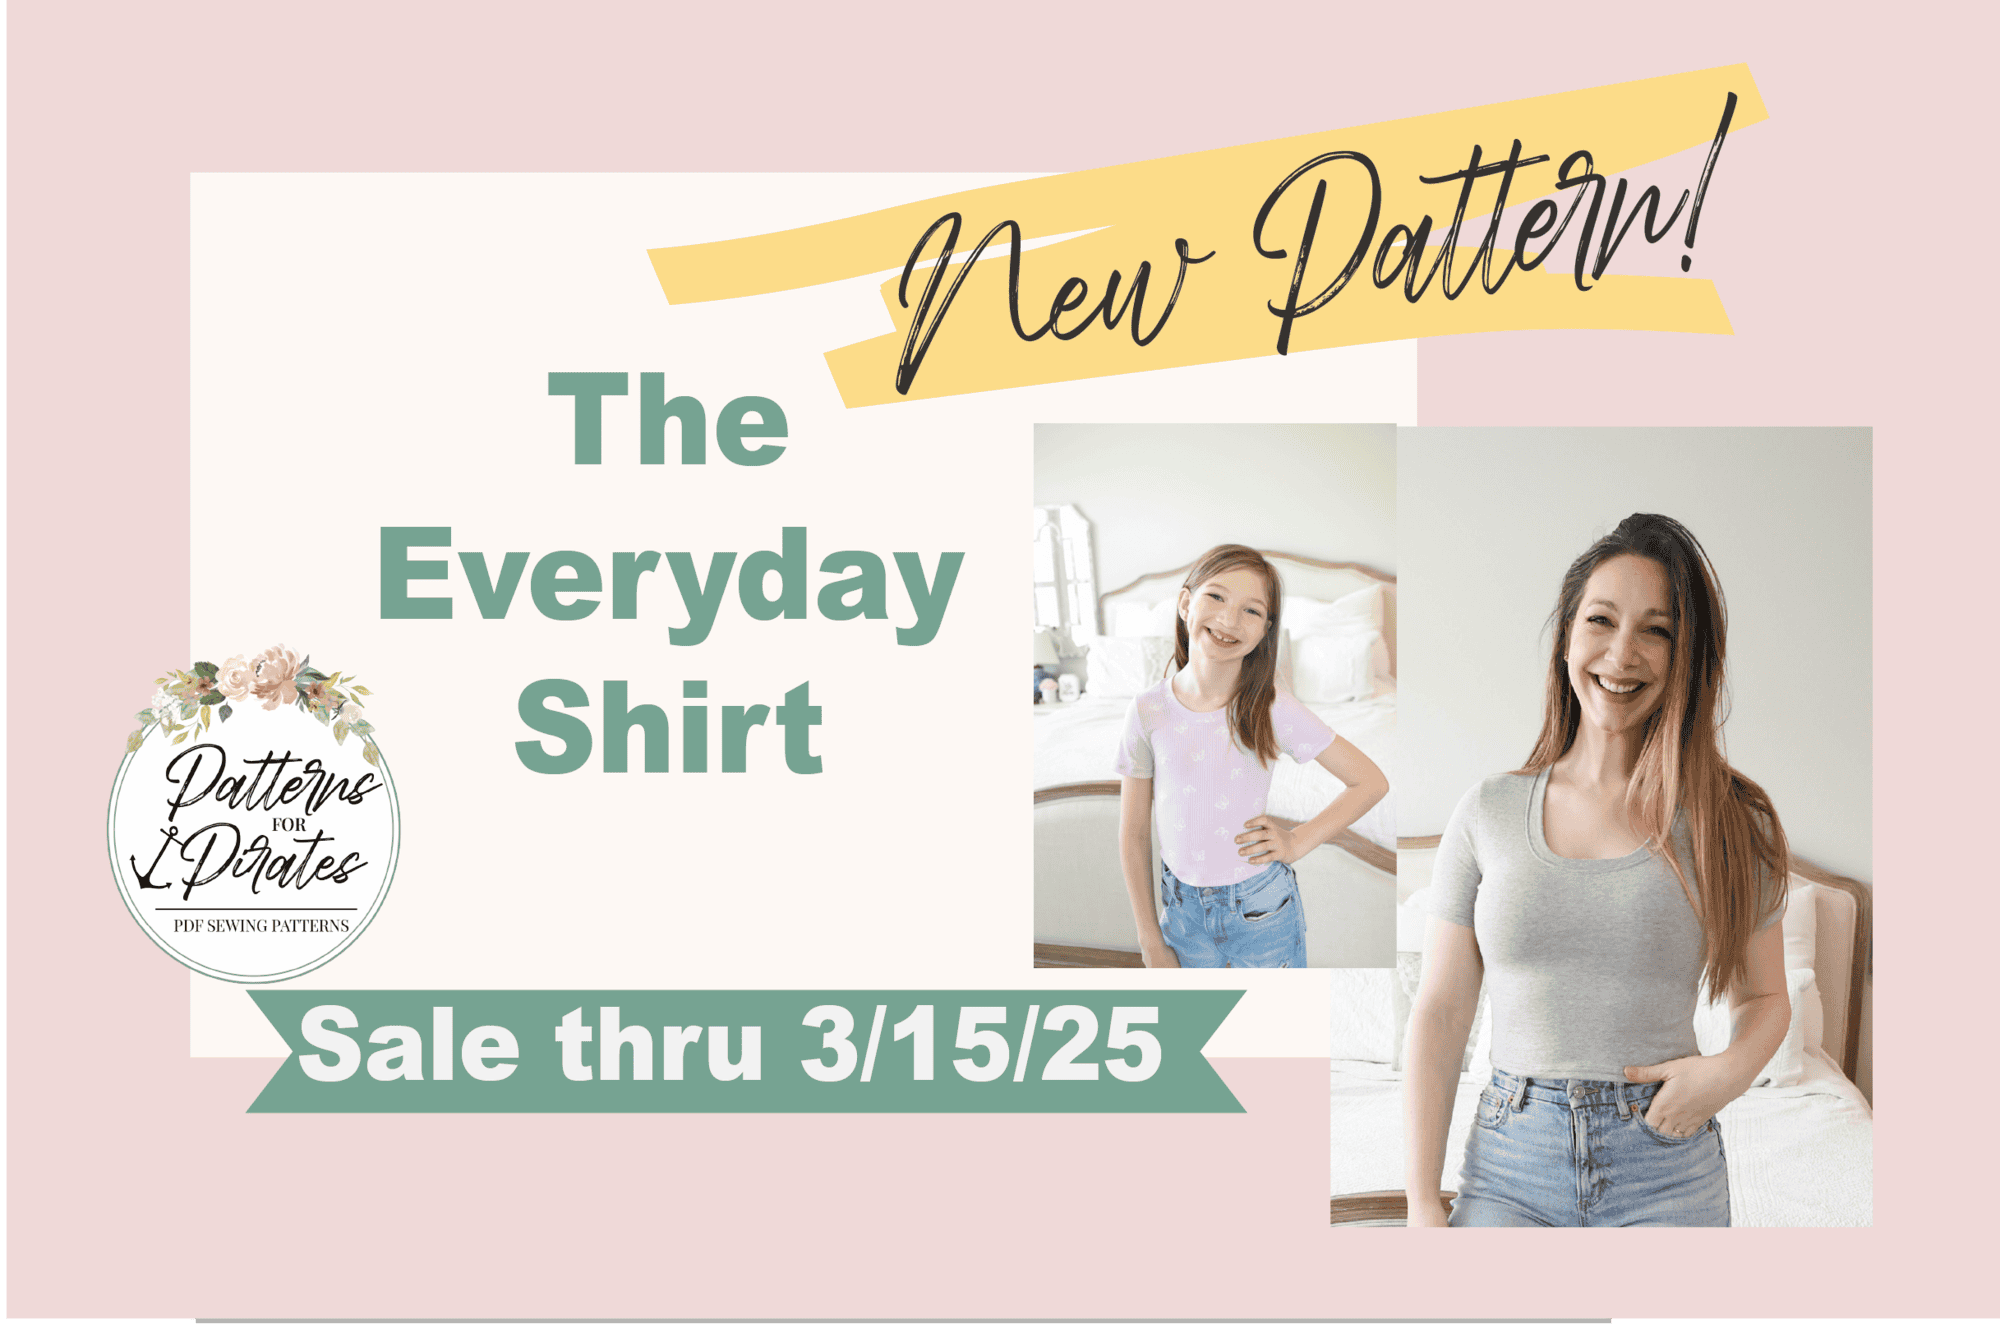
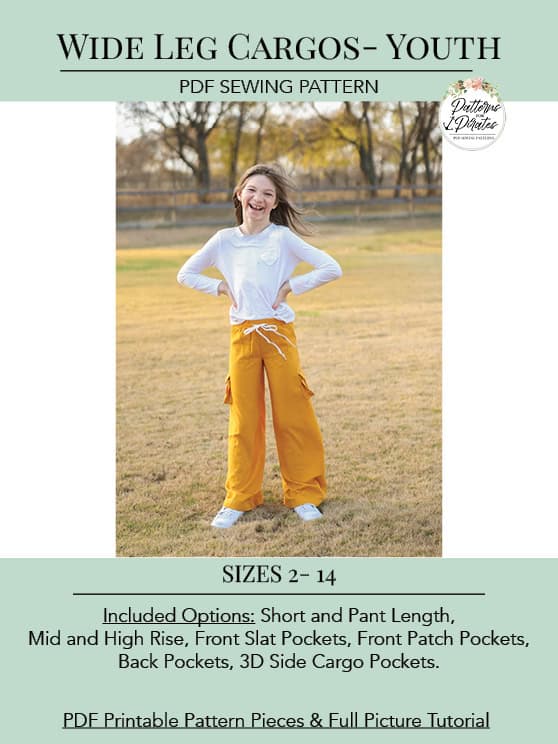
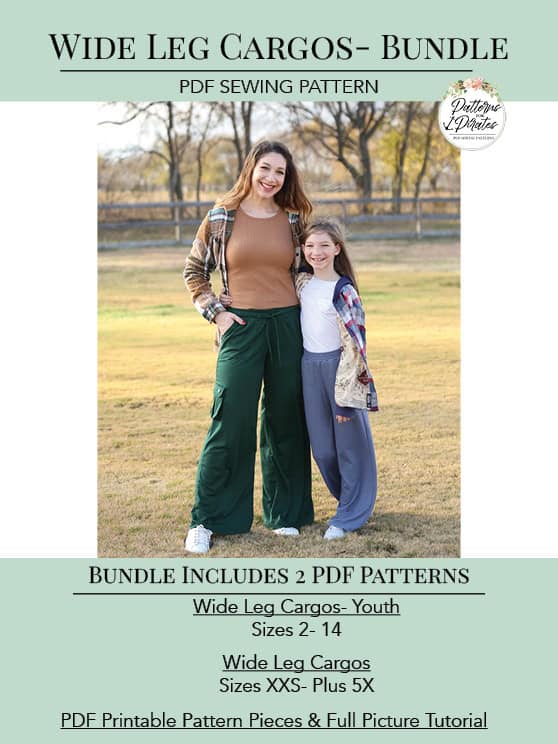
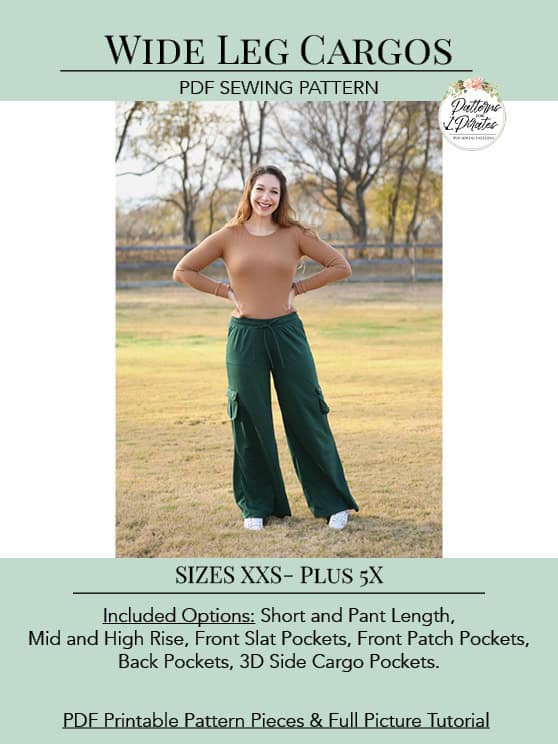
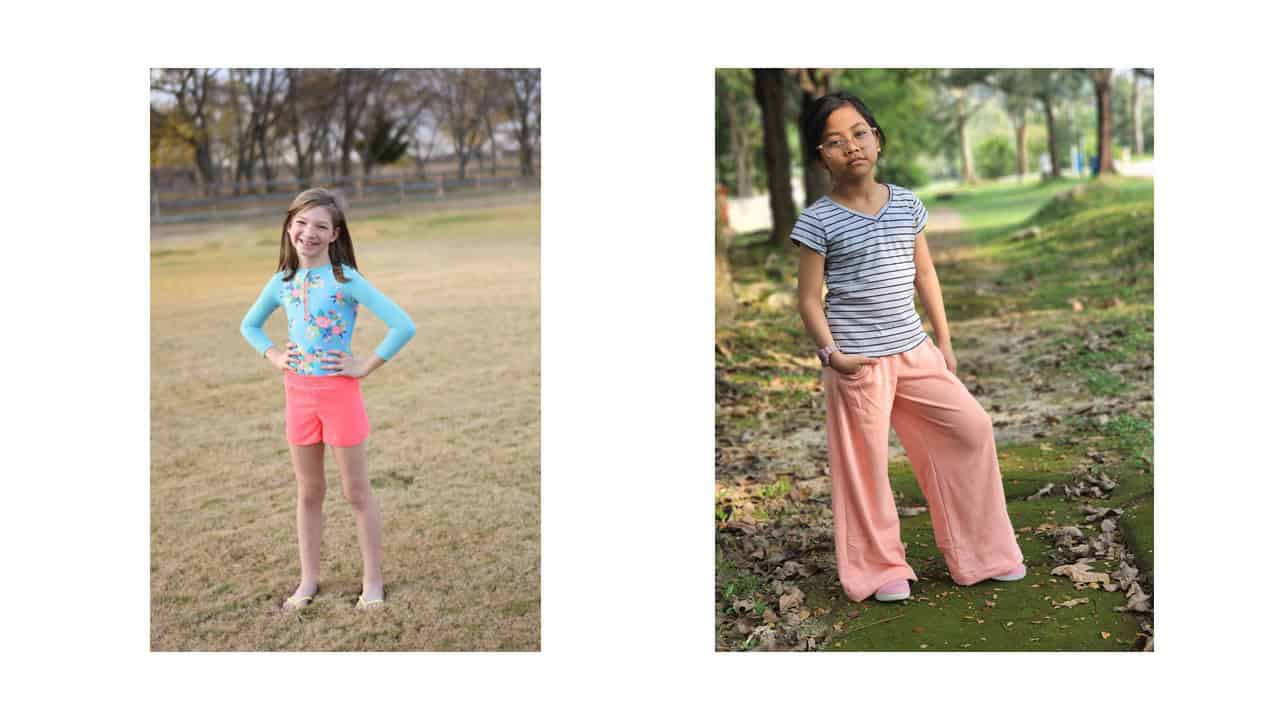
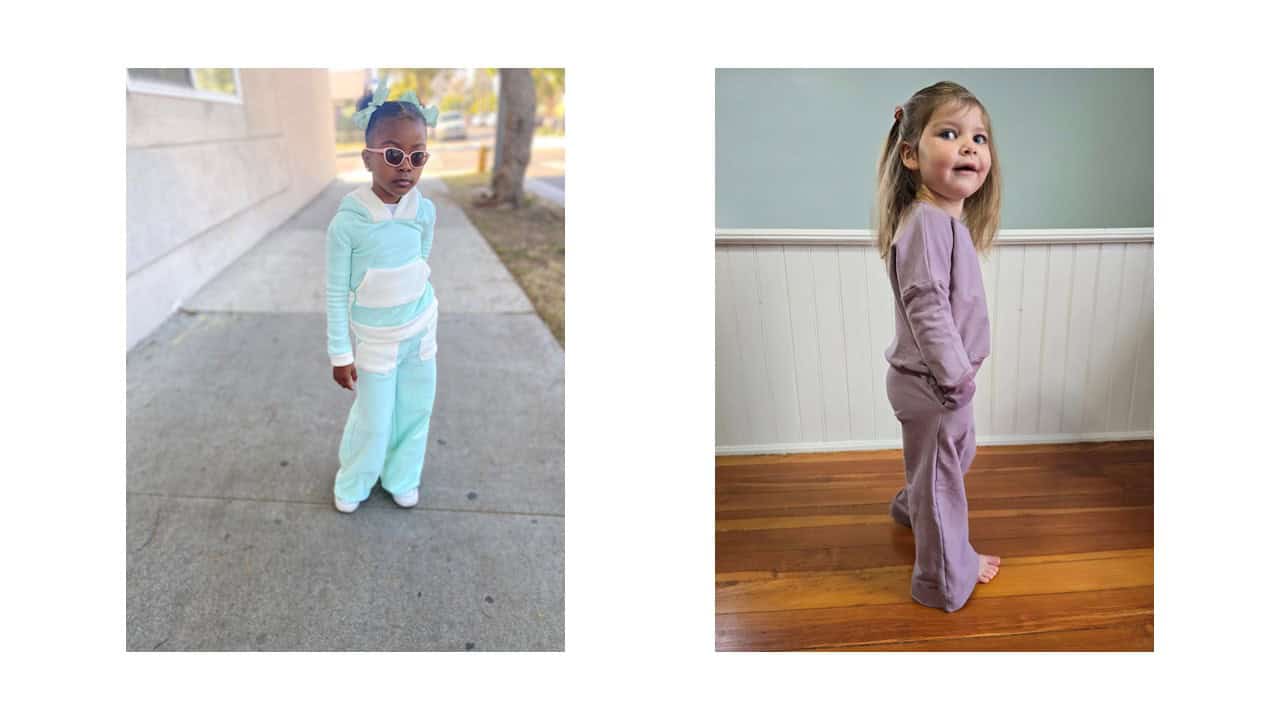
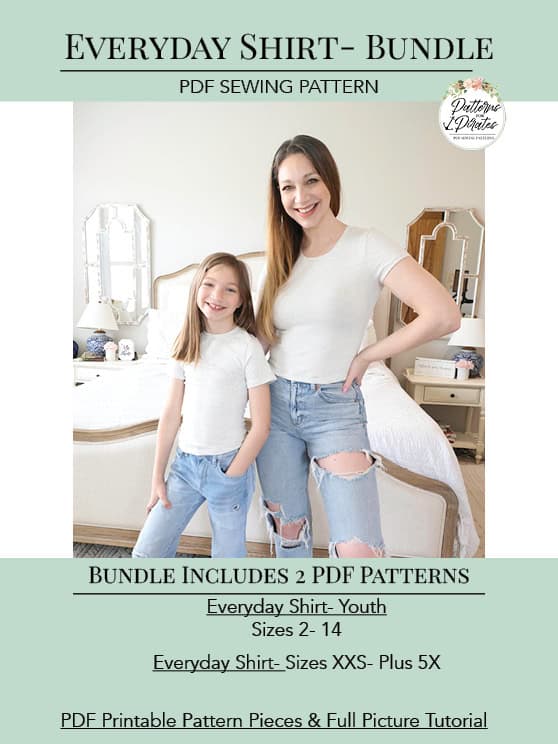
The youth sizes range from 2 – 14 and the adult sizes are XXS – Plus 5X for the Adult Hourglass Figure.
- *Want to learn more about how to measure yourself for these pattern? We’ve got you covered with an in-depth blog HERE. And for even more helpful fun, we have a free* printable that you can use to help record your measurements as you take them.
- And in case you’re new to Patterns for Pirates and PDF patterns in general, we have a great blog full of new-user tips HERE to help you get started!
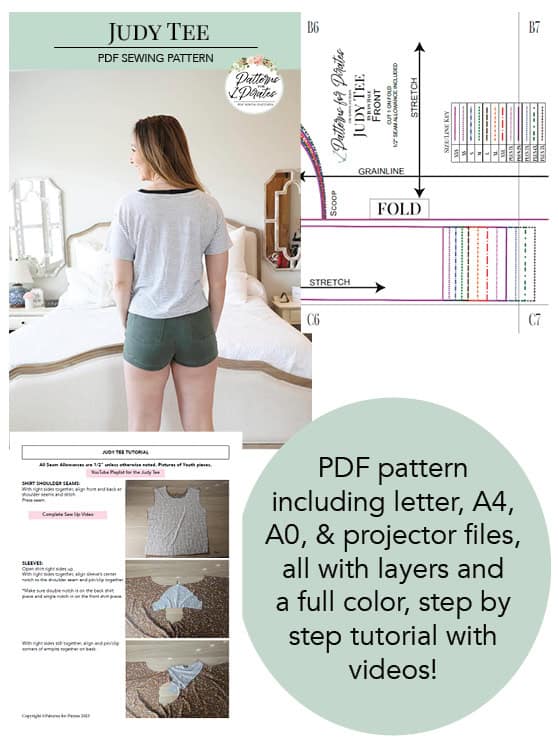
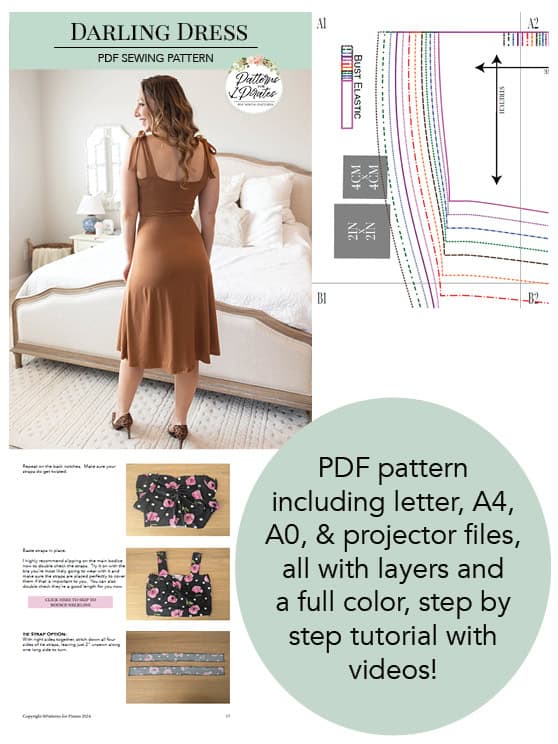
- As with all of our current releases and updates, the pdfs now include our layers feature and can be found in Letter, A4, A0 and projector sizes.
- We’ve also got an excellent planning tool for you with our Coloring Pages. It’s a resource that is updated with every new pattern addition, this pattern included!
- Need a way to keep track of the P4P patterns you have? We’ve gone through all of our patterns and created an interactive PDF for you! Grab your copy HERE.
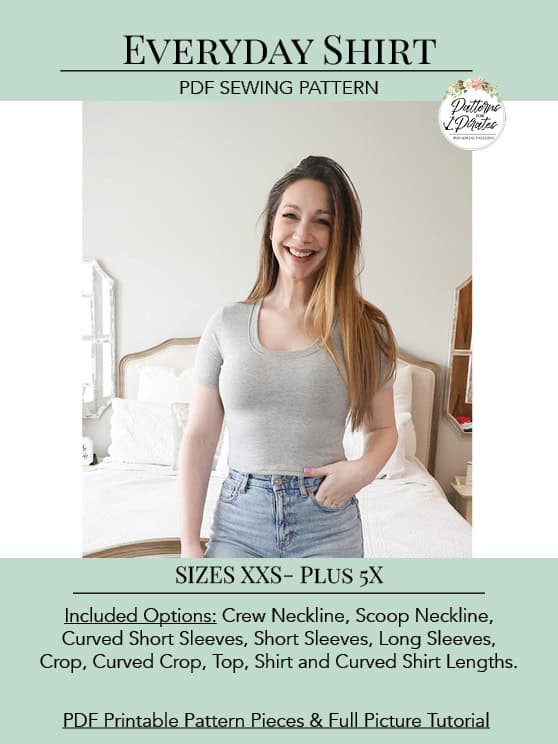
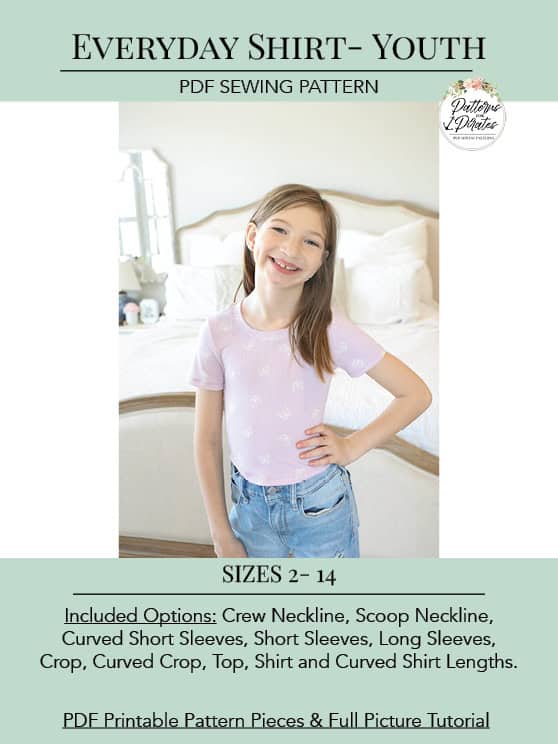
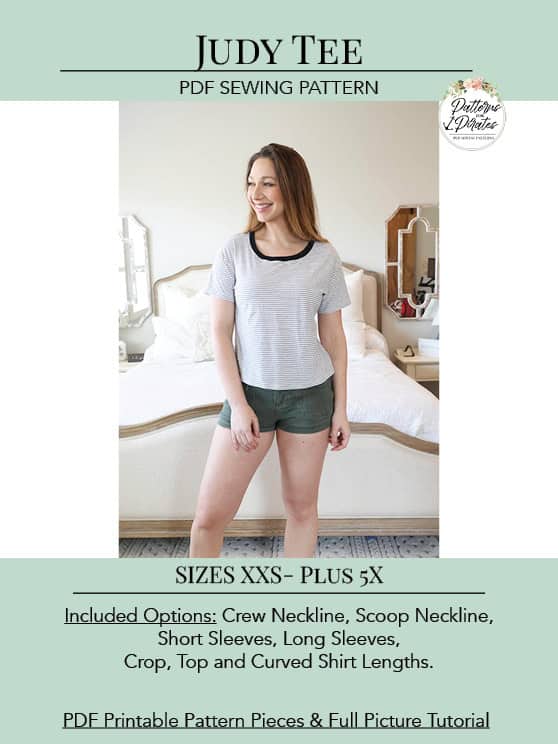
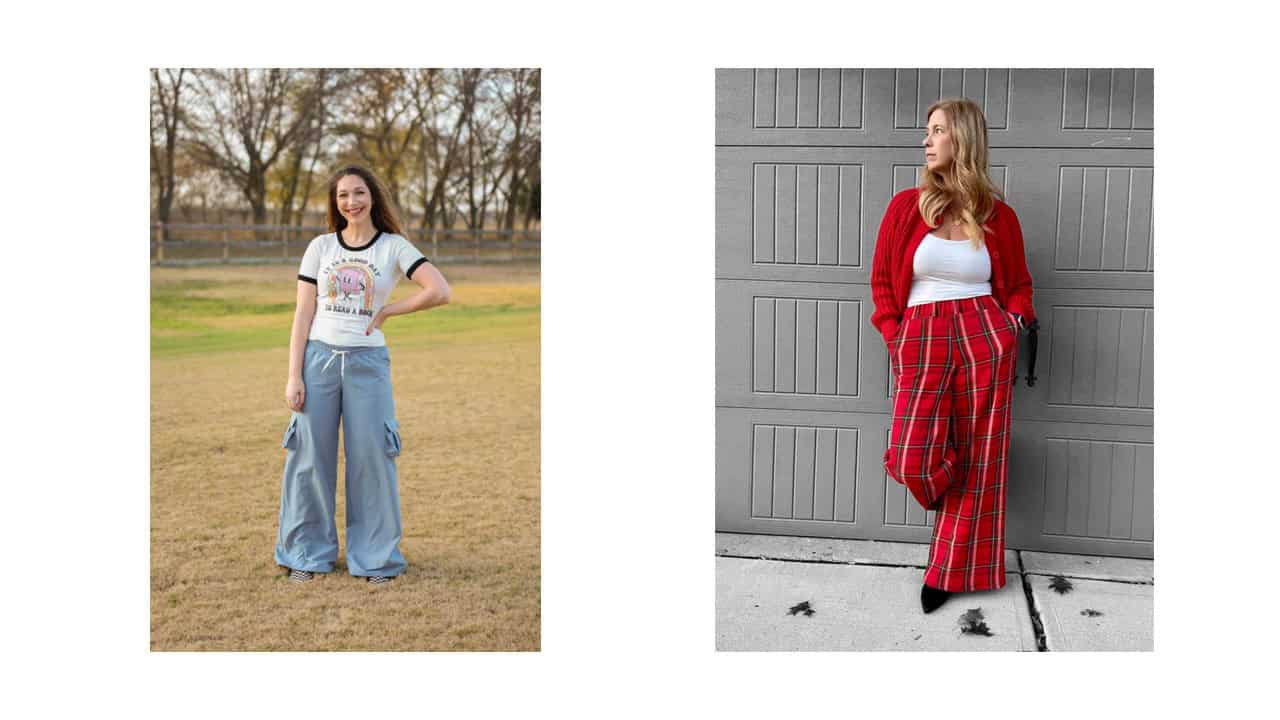
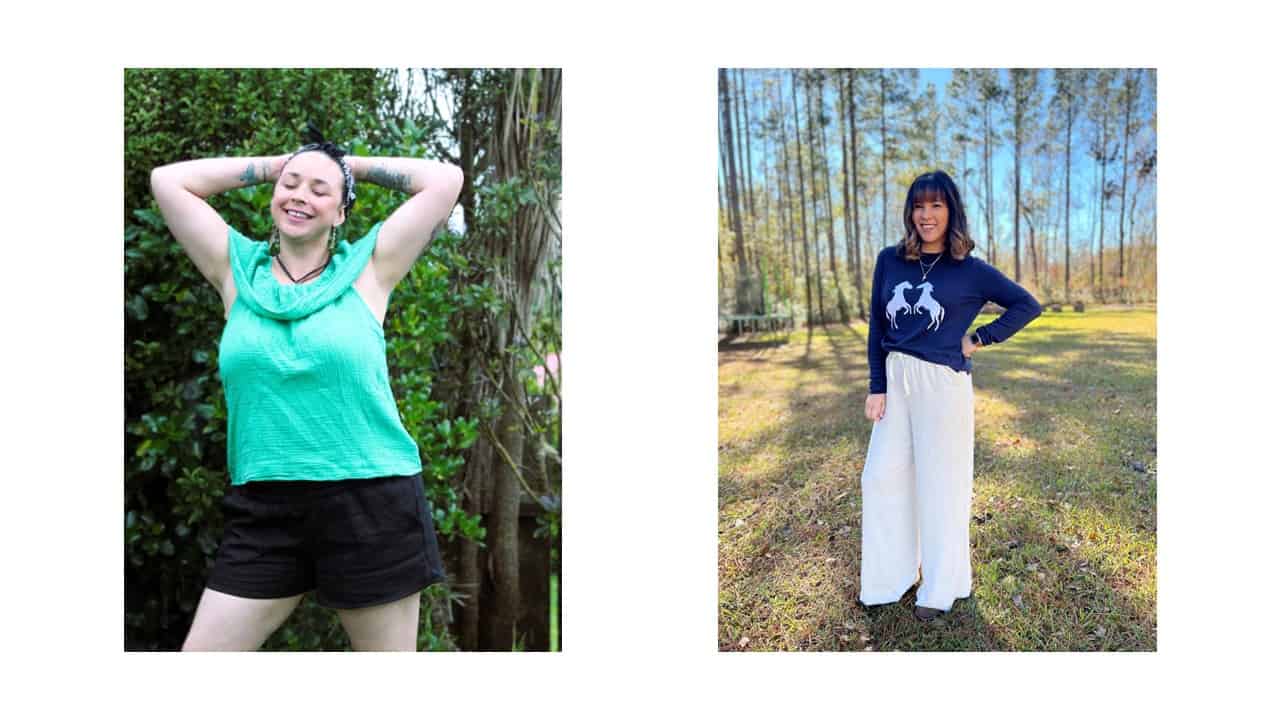
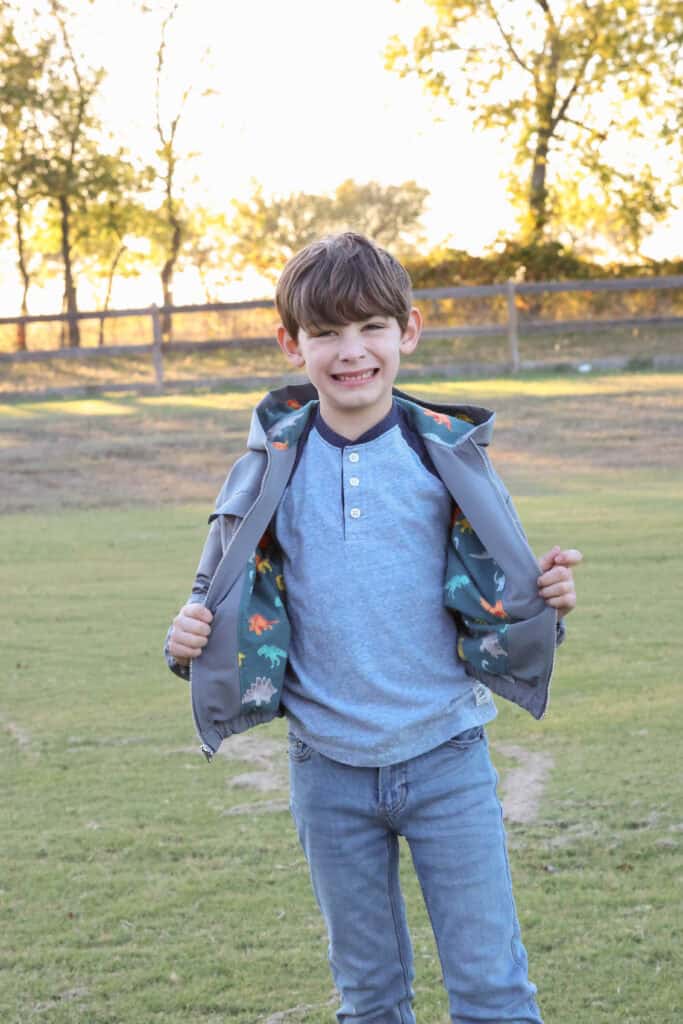
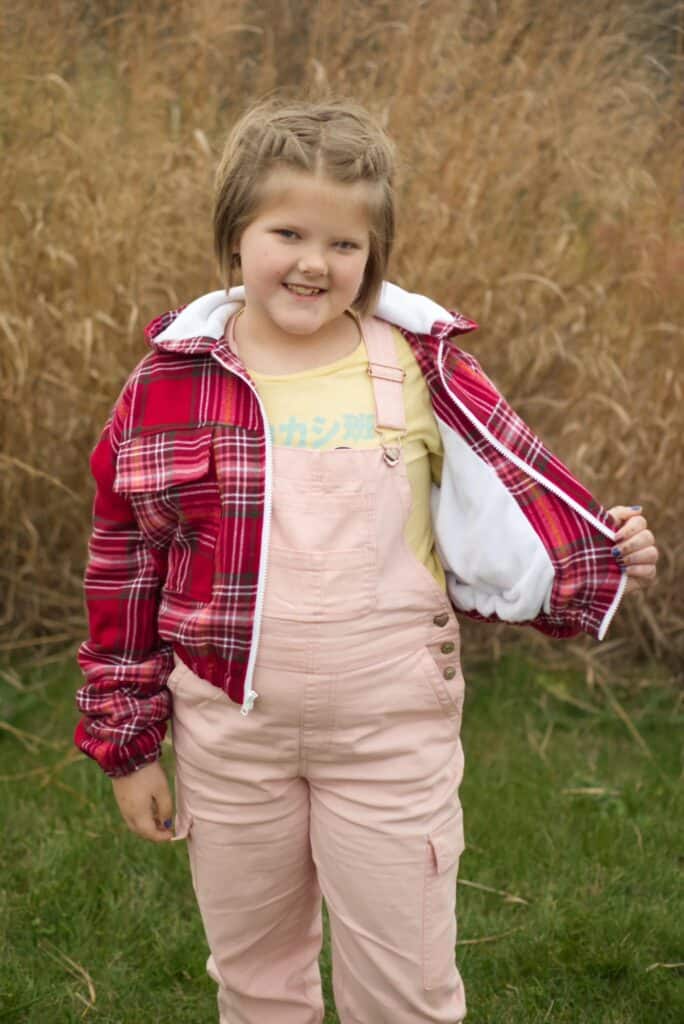
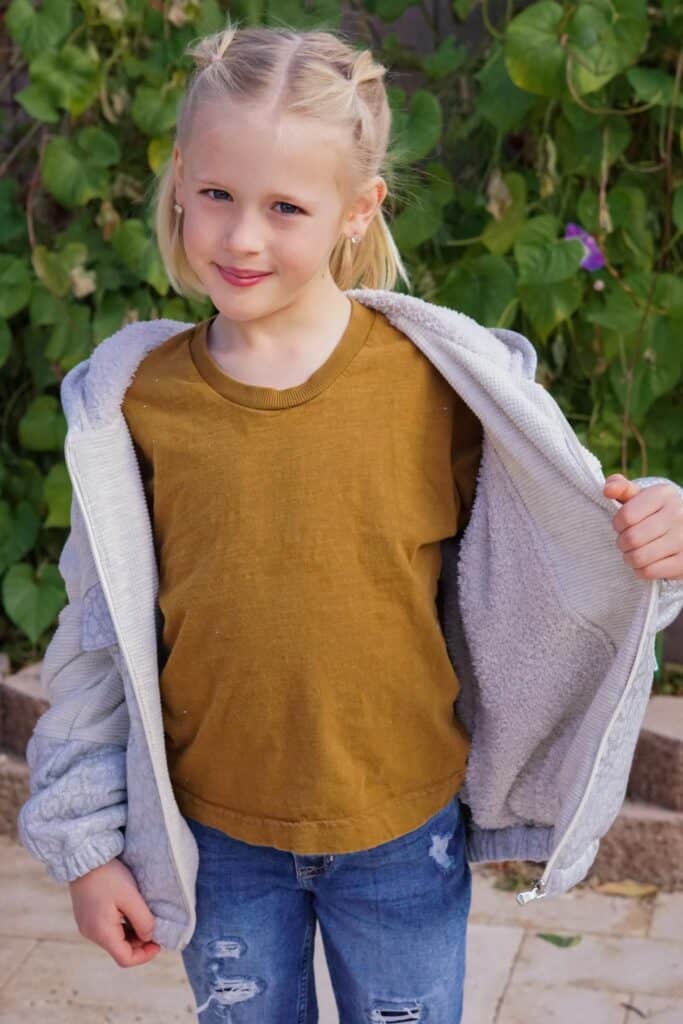
The Everyday Shirt pattern is a perfect wardrobe staple for a snug fit shirt that is great on it’s own or as a base layer. Featuring a crew or scoop neckline and several lengths you’ll be sure to find your favorite options for hot or cold months. It is a snug fit perfect for fitting under cardigans, overalls, sweaters, etc., but not skin tight. The youth sizing still has some growing room and ease for comfort and the adult is just snug enough to feel fitted without being tight.
Pattern options for the Everyday Shirt includes:
- Lengths: Crop / Curved Crop / Top / Shirt / Curved Shirt
- Necklines: Crew / Scoop
- Sleeves: Curved Short / Short Sleeve / Hemmed Long Sleeve / Cuffed Long Sleeve
The Everyday Shirt pattern is drafted for high stretch knits with good recovery.
Specific fabric suggestions: double brushed poly, ribbed knits, cotton spandex, rayon/modal/bamboo spandex, etc.
Like to watch videos? We’ve got you! The tutorial includes a link to a full sew along sew up, video all about measuring yourself and choosing a size and more:
I hope this classic shirt keeps your wardrobe functional and fitting well!
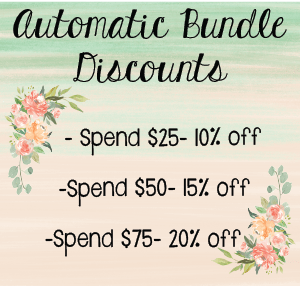
Patterns are available now and on sale (no code needed) through 11:59pm CST, March 15, 2025.
Grab your copy of the Everyday Shirt patterns here: Everyday Shirt Everyday Shirt-YOUTH Everyday Shirt-BUNDLE
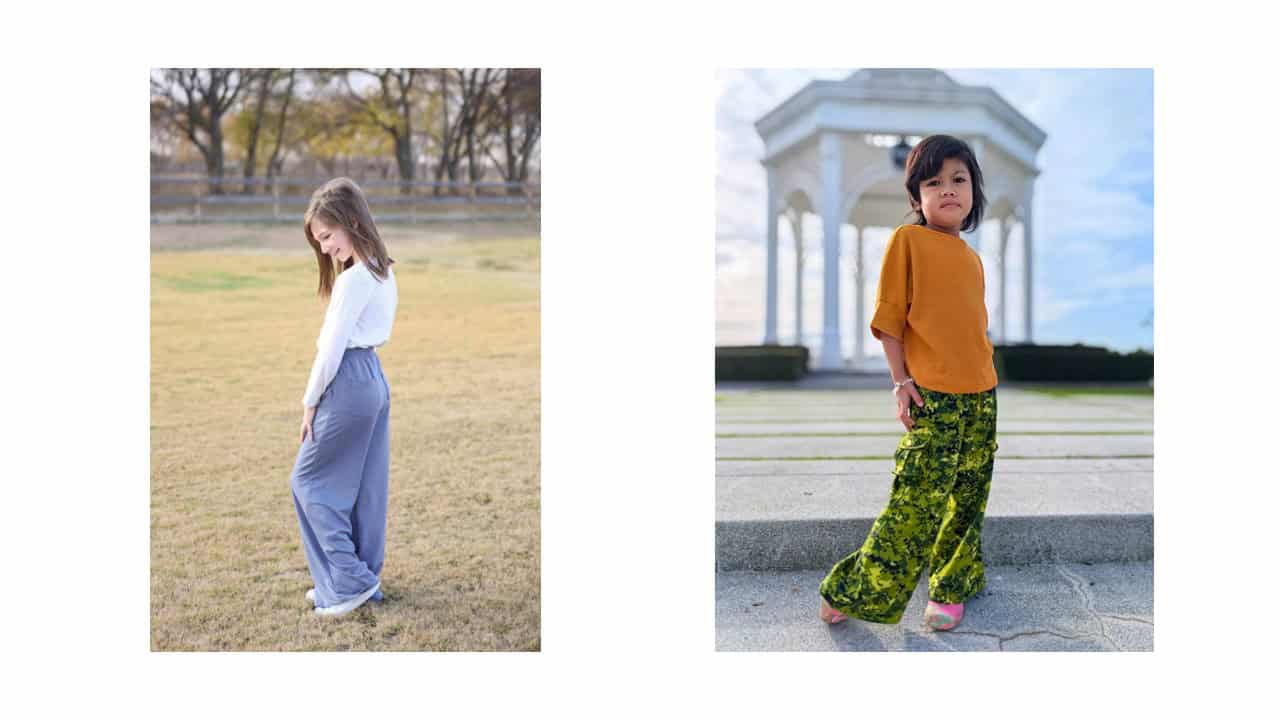
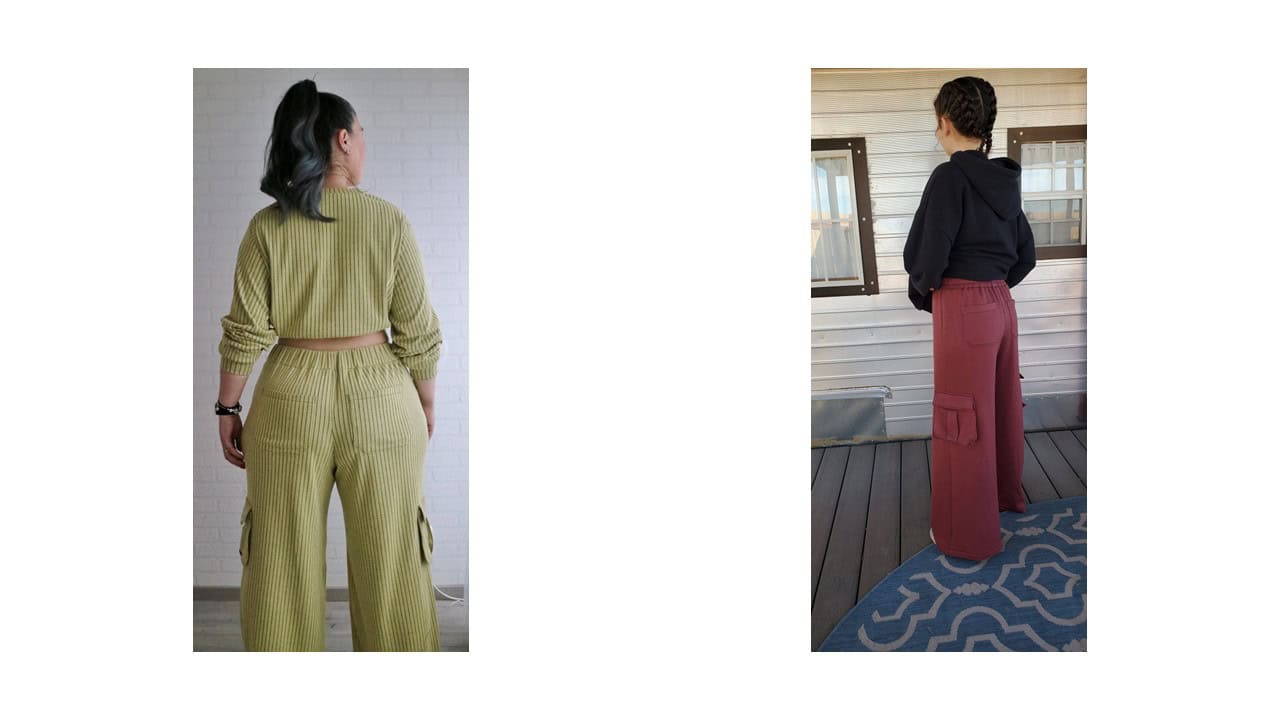
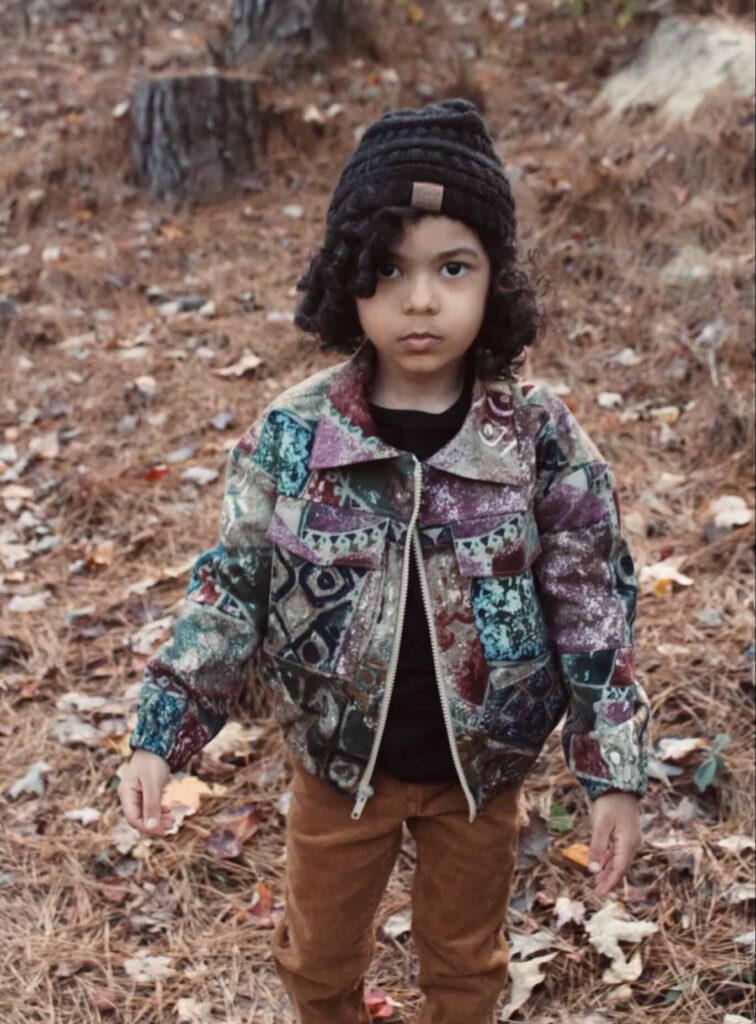
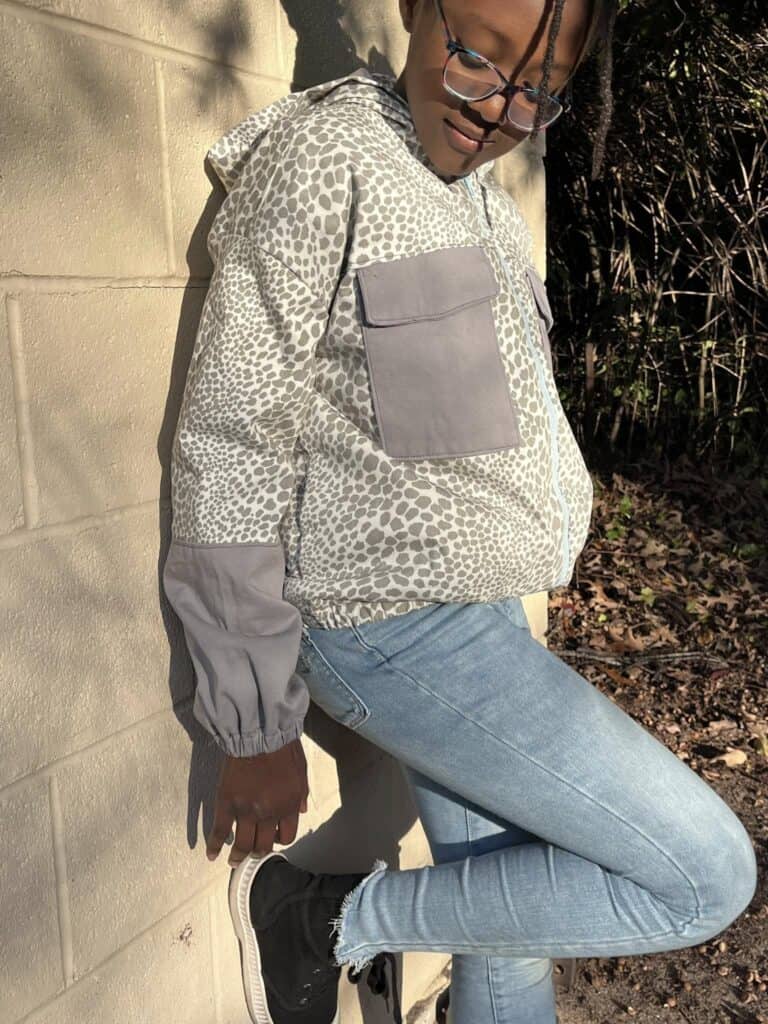
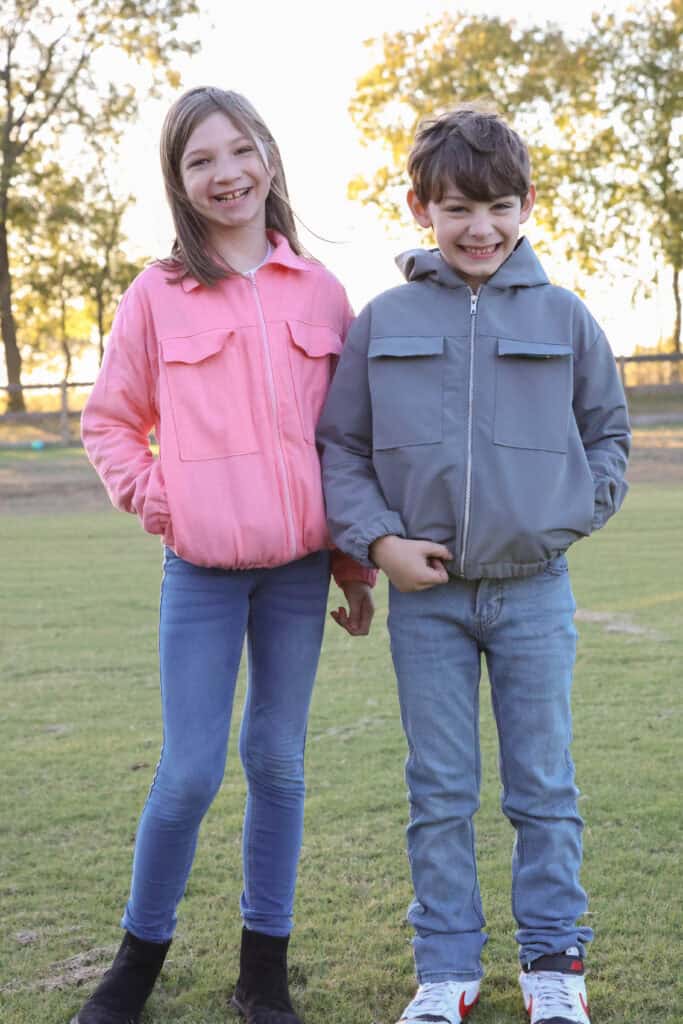
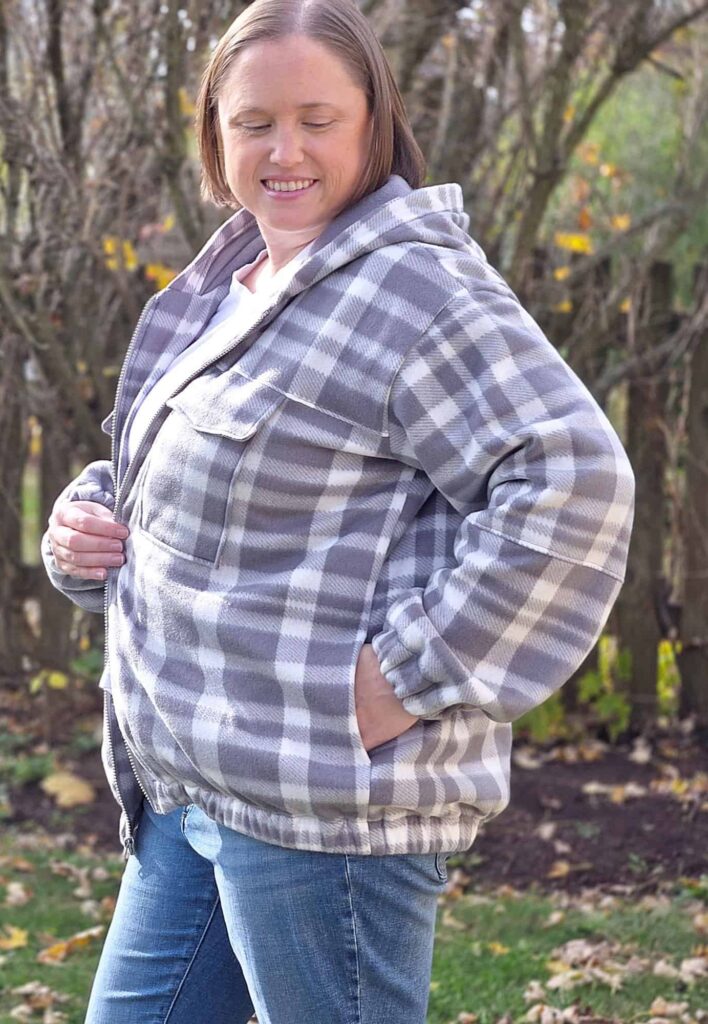
As always, we’ve got more photos for you to use as inspiration! Head over to the Facebook group to browse our albums full of gorgeous photos, compliments of our tester team! Everyday Shirt Facebook Group Album