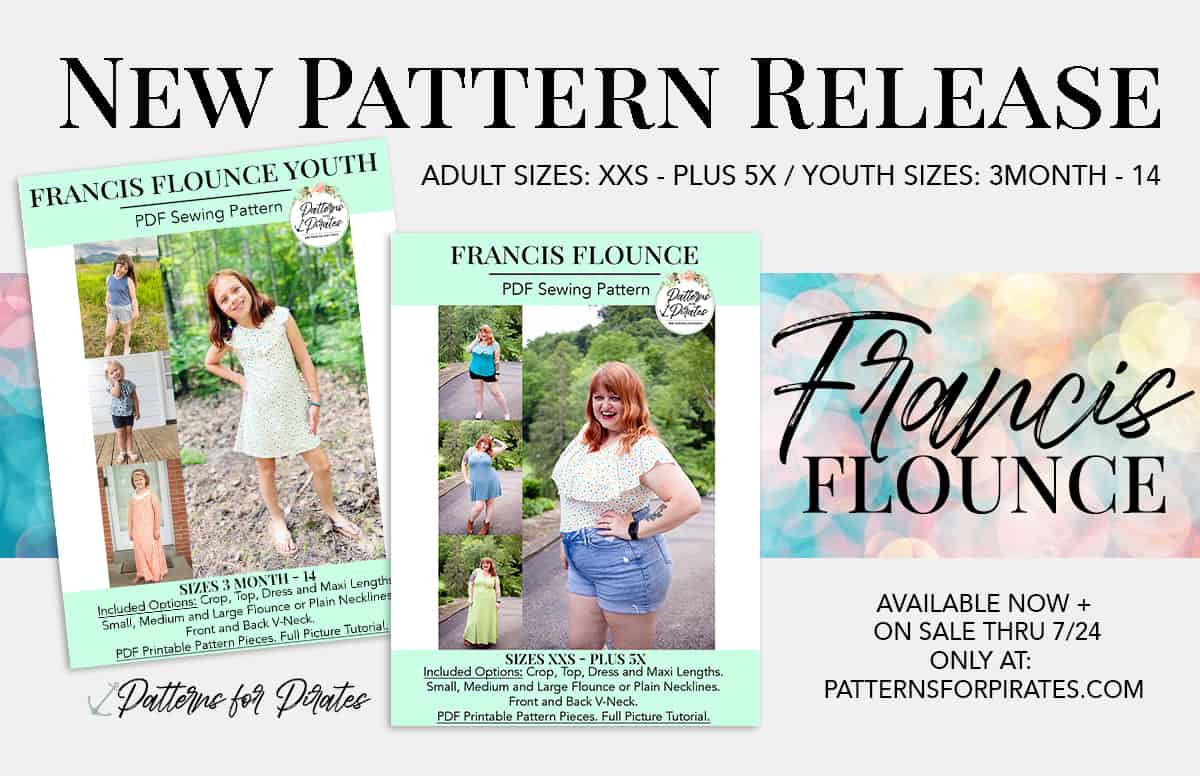
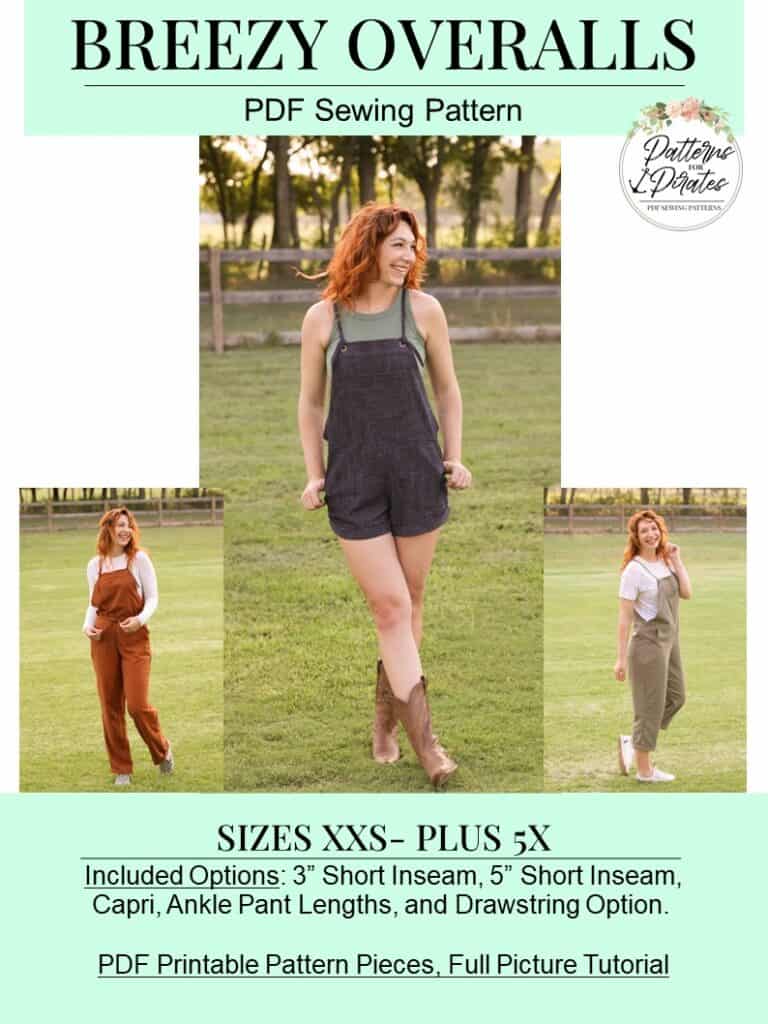
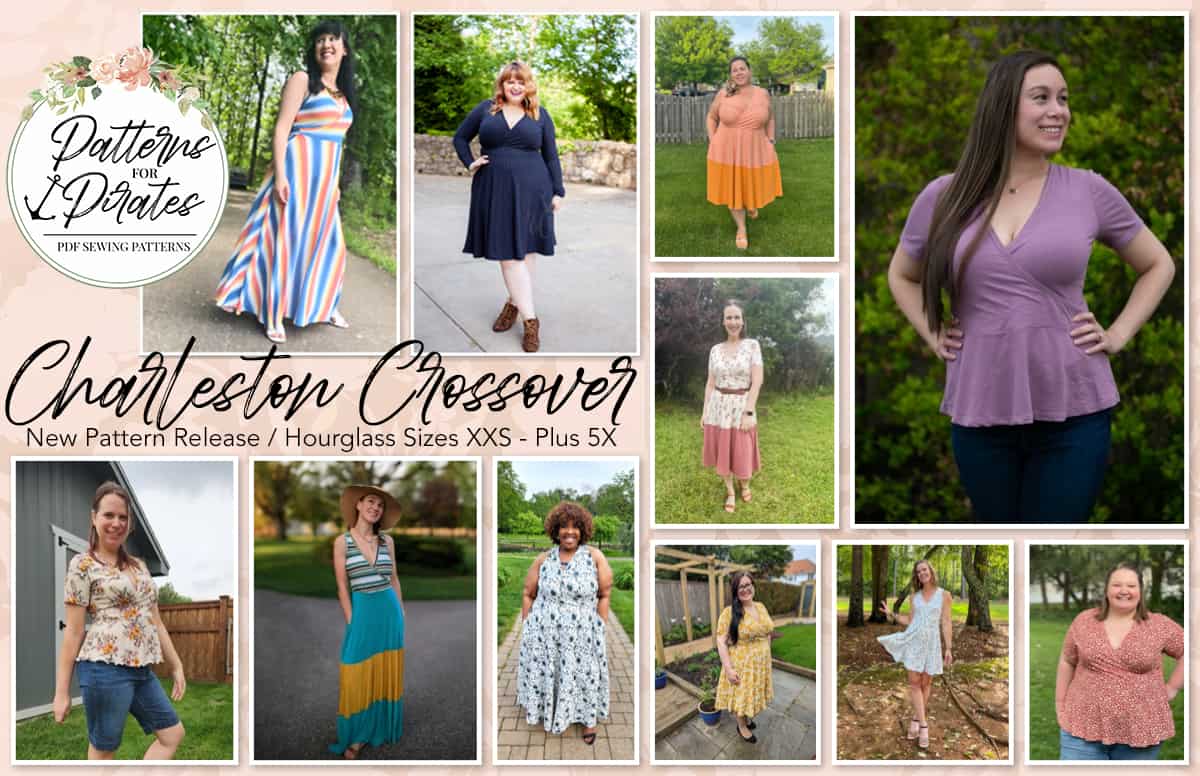
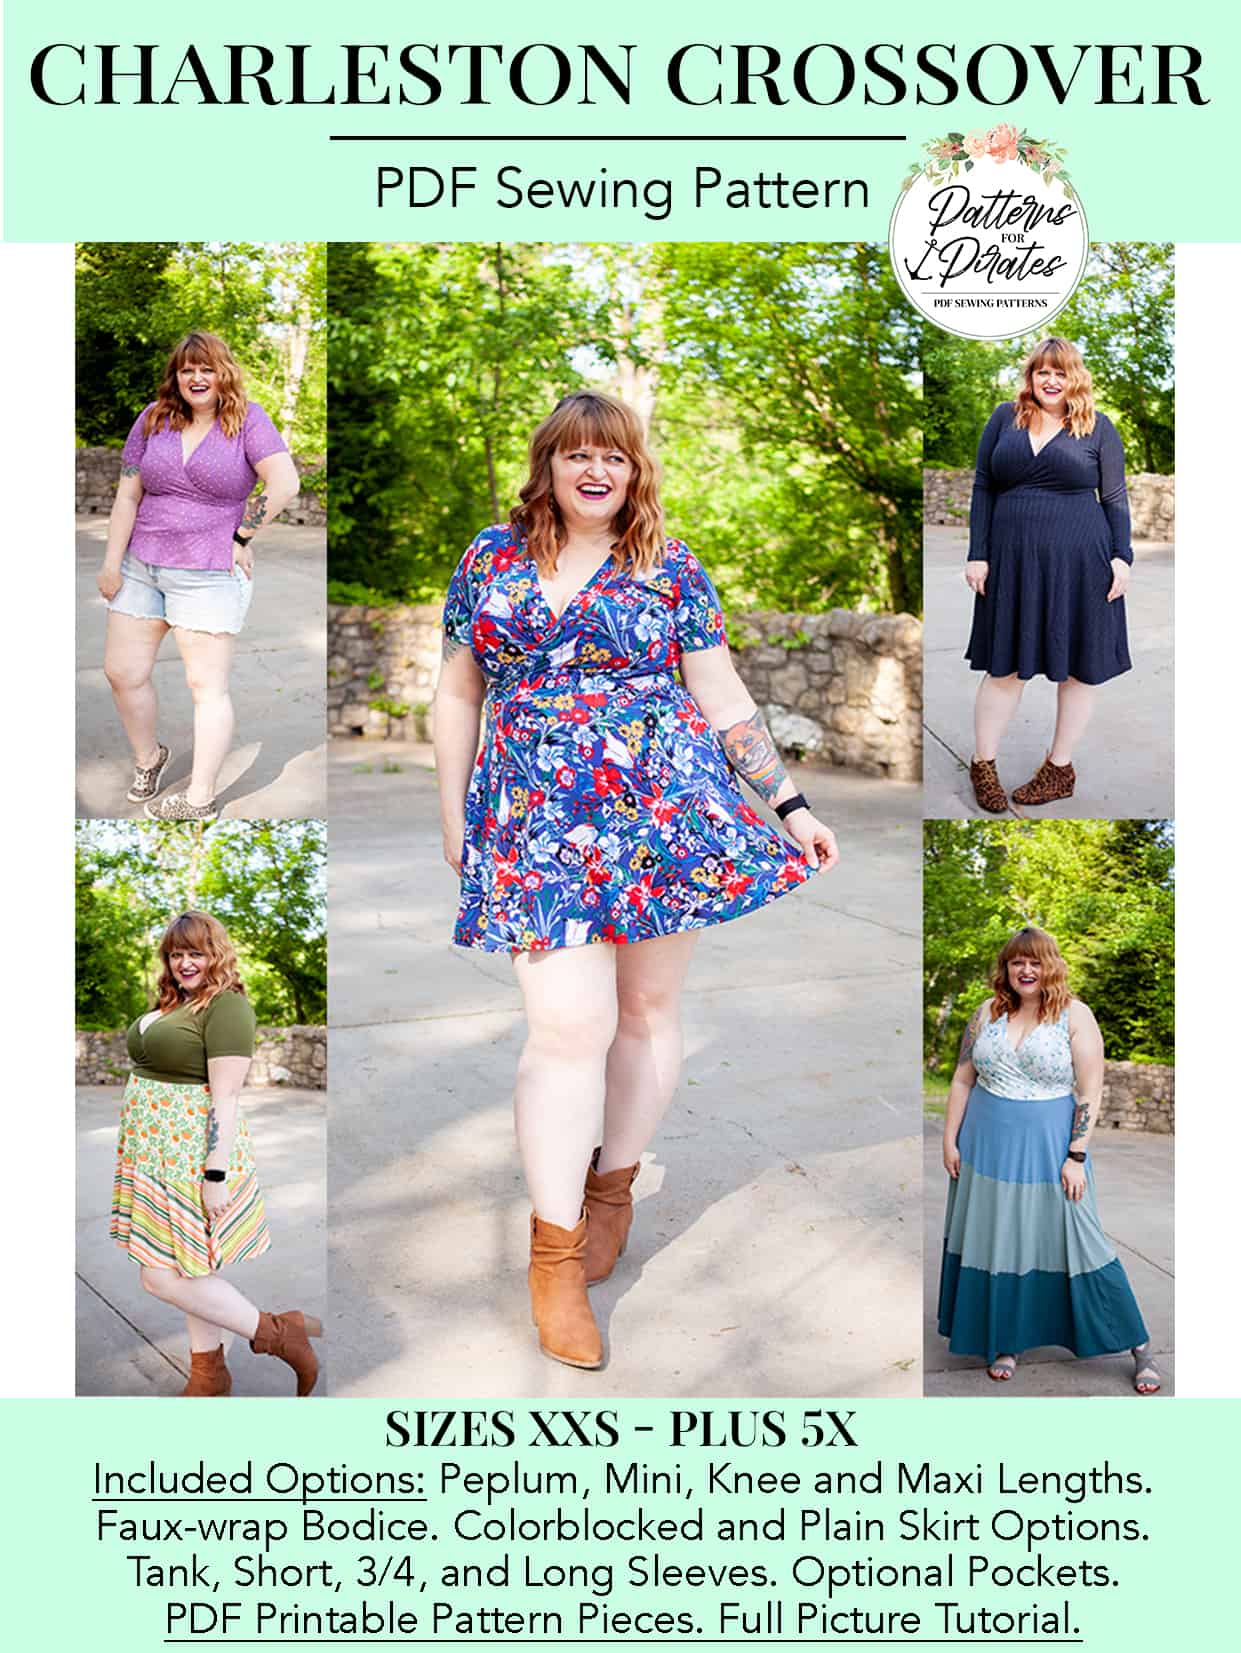
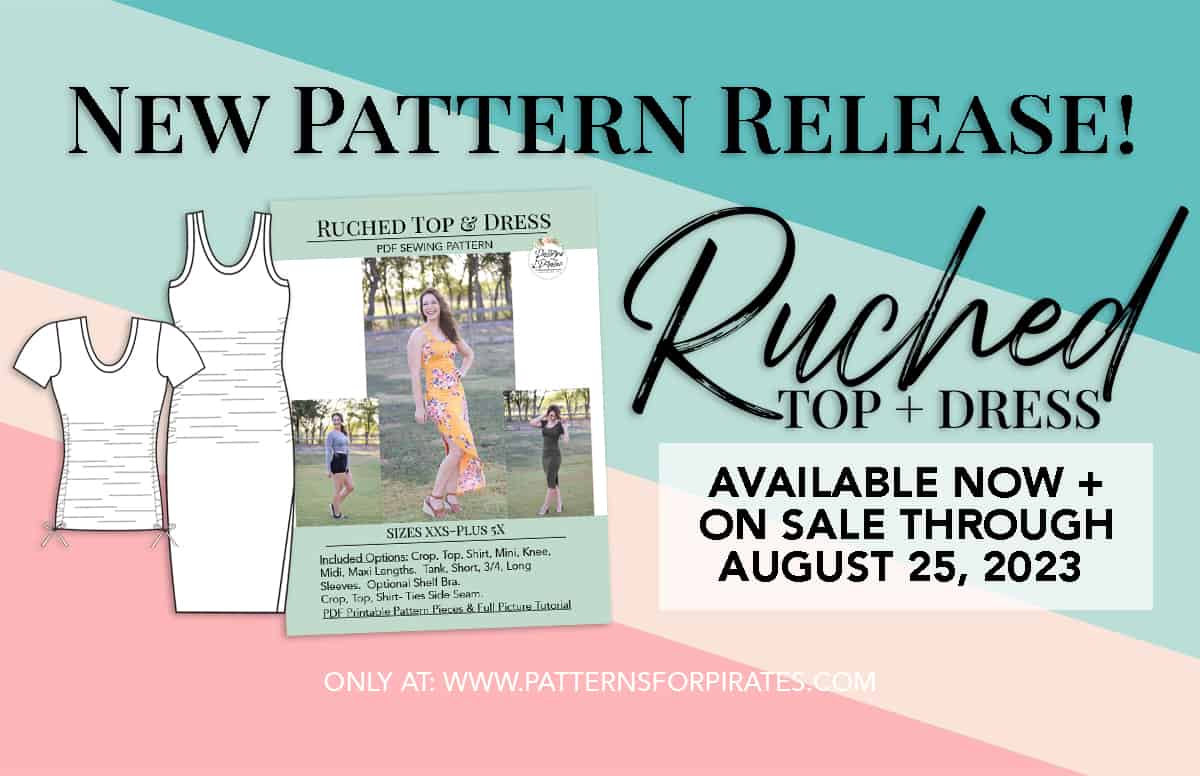
Woohoo! We are here to party with our favorite Pirates for another Pattern Release Day! The Ruched Top & Dress is the pattern you’ve been searching for…we are sure of it. We can’t wait to tell you all about it, so let’s get right to it!
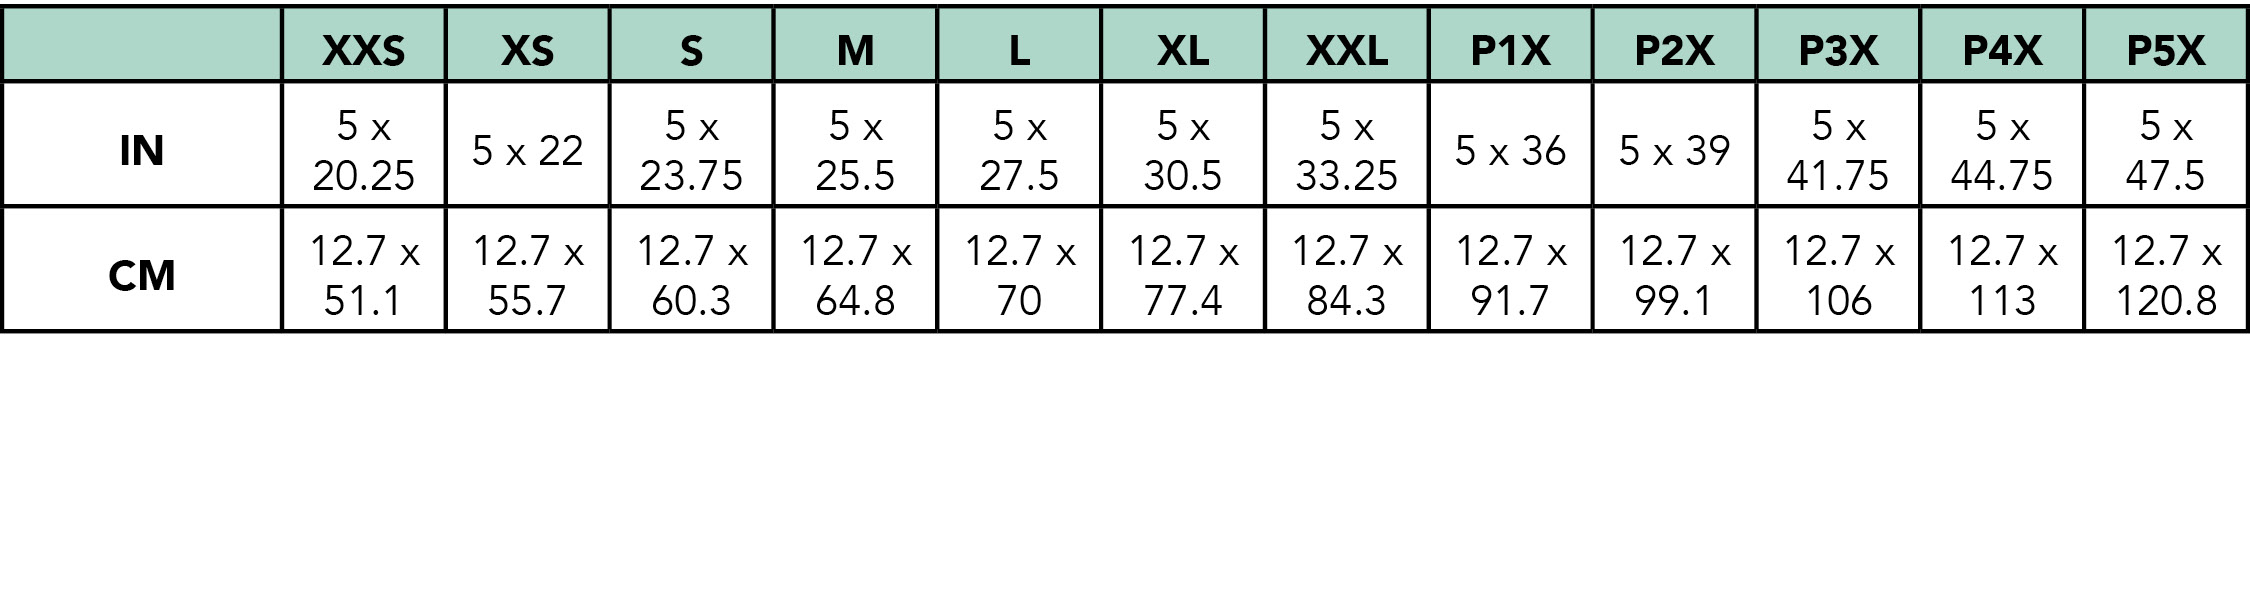
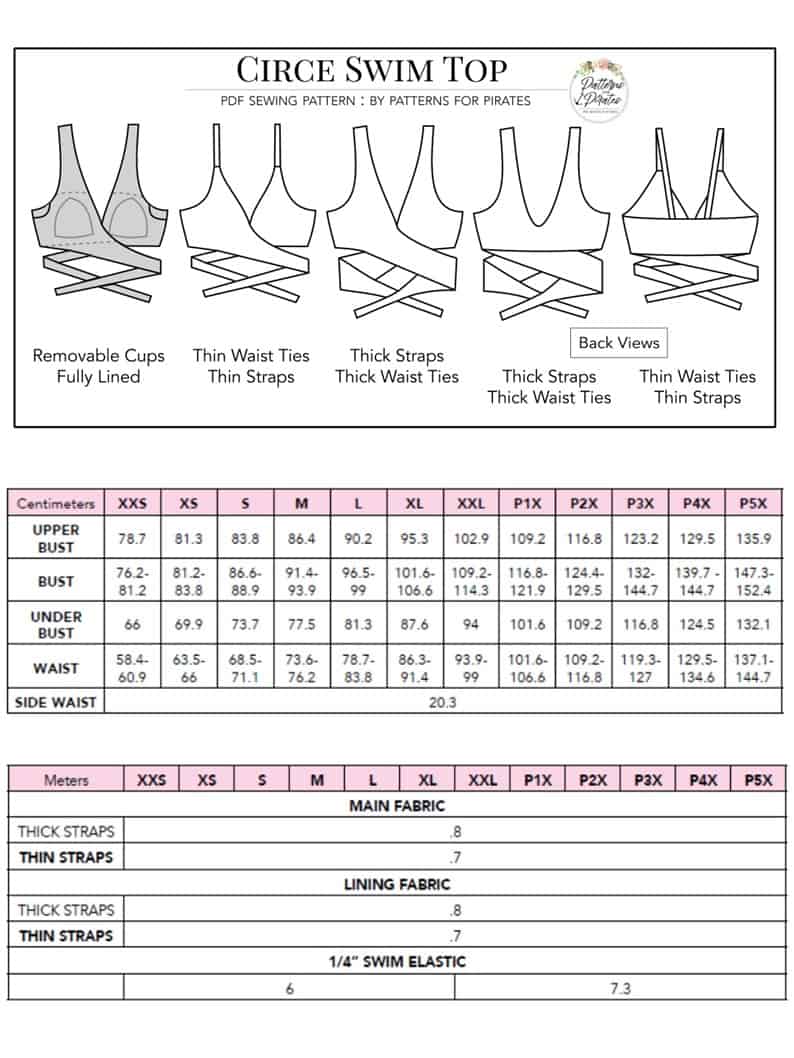
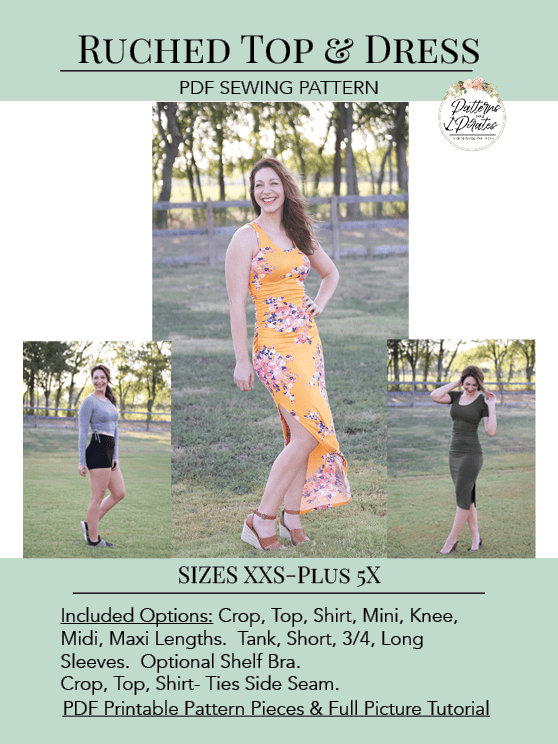
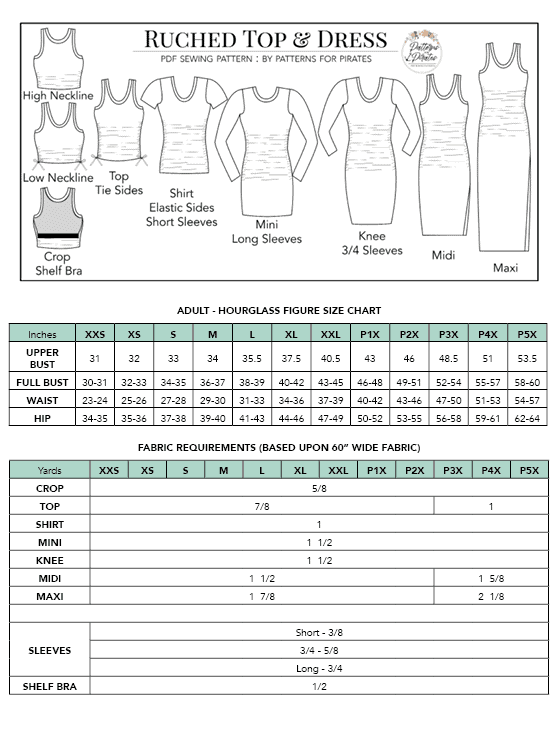
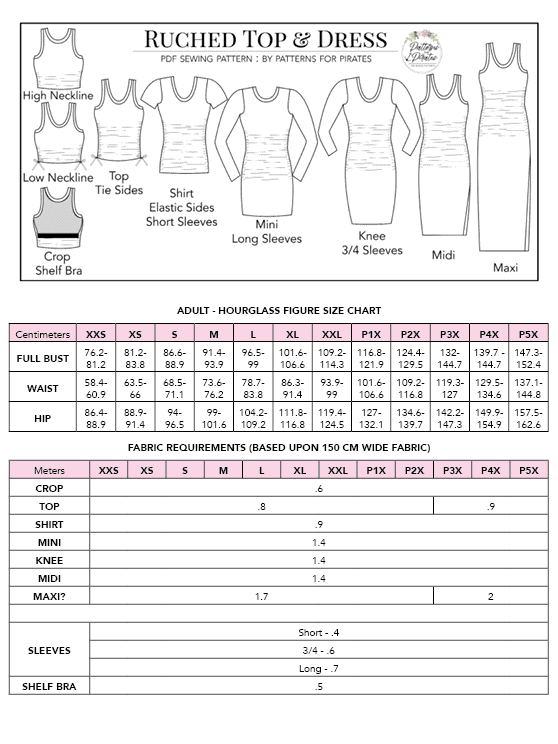
The Ruched Top & Dress pattern is drafted for the full, newer size chart, extending from XXS – Plus 5X for the Adult Hourglass Figure.
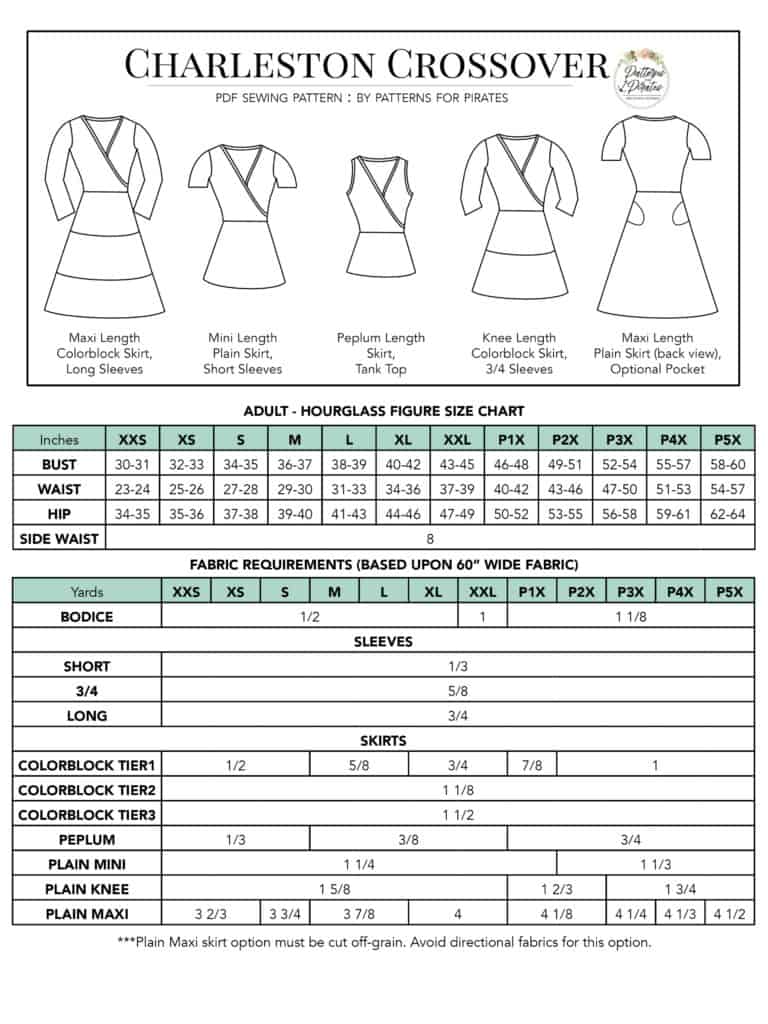
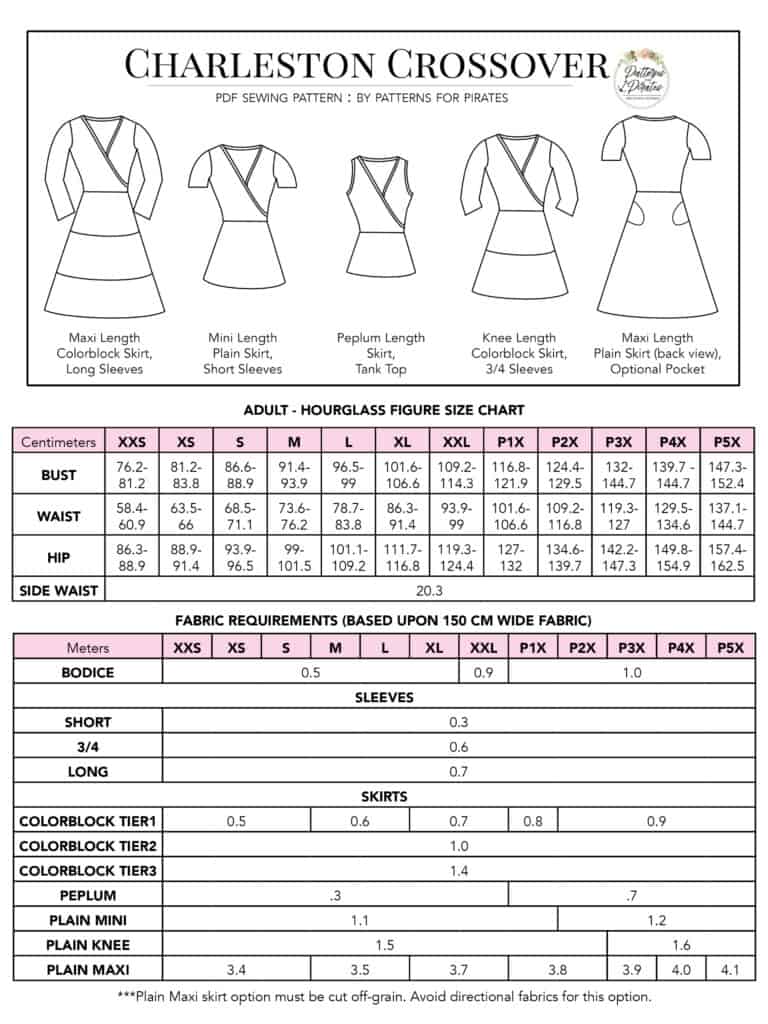
- *Want to learn more about how to measure yourself for these pattern? We’ve got you covered with an in-depth blog HERE. And for even more helpful fun, we have a free* printable that you can use to help record your measurements as you take them.
- And in case you’re new to Patterns for Pirates and PDF patterns in general, we have a great blog full of new-user tips HERE to help you get started!
- As with all of our current releases and updates, the pdfs now include our layers feature and can be found in Letter, A4, A0 and projector sizes.
- We’ve also got an excellent planning tool for you with our Coloring Pages. It’s a resource that is updated with every new pattern addition, this pattern included!
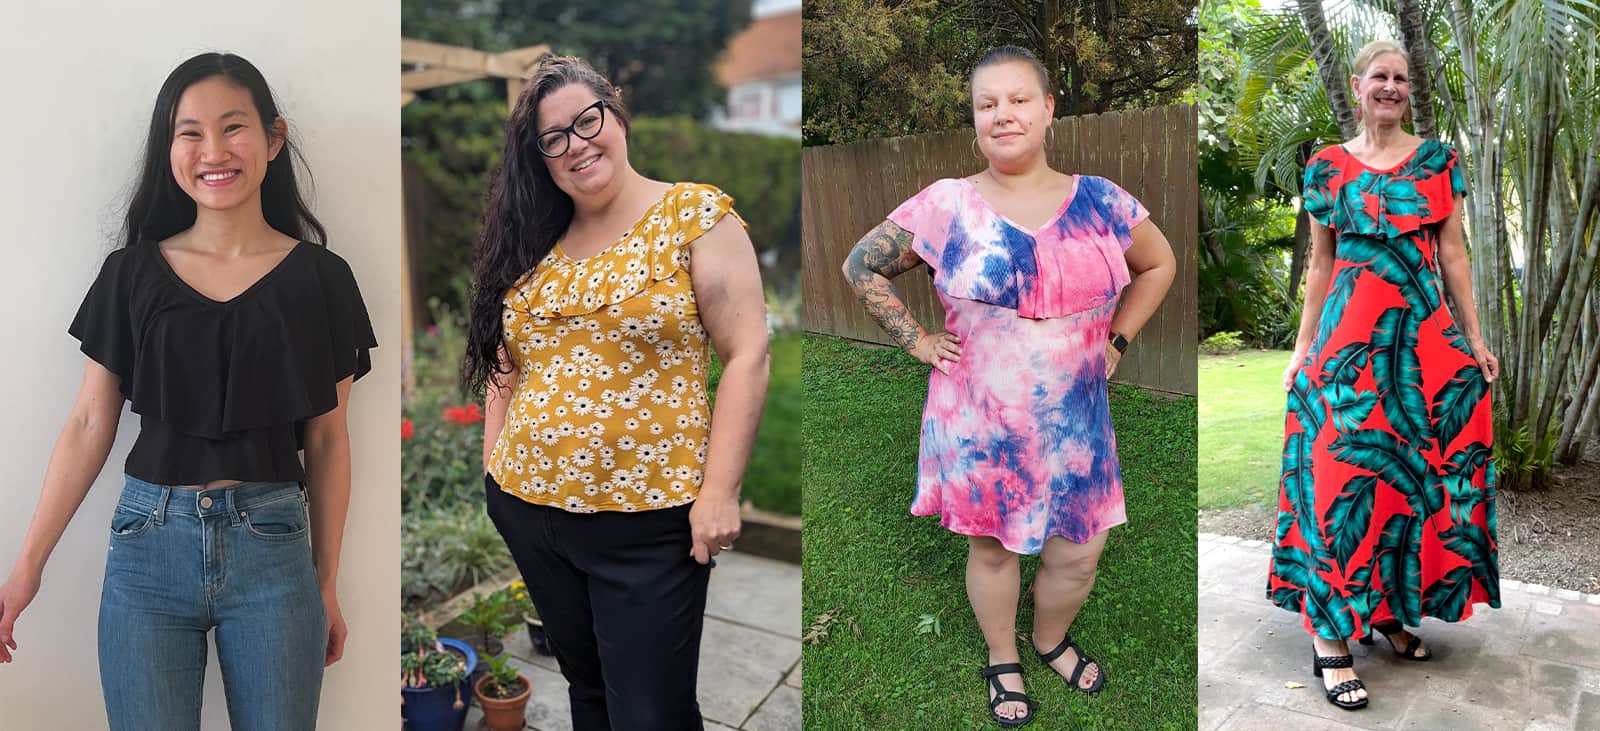
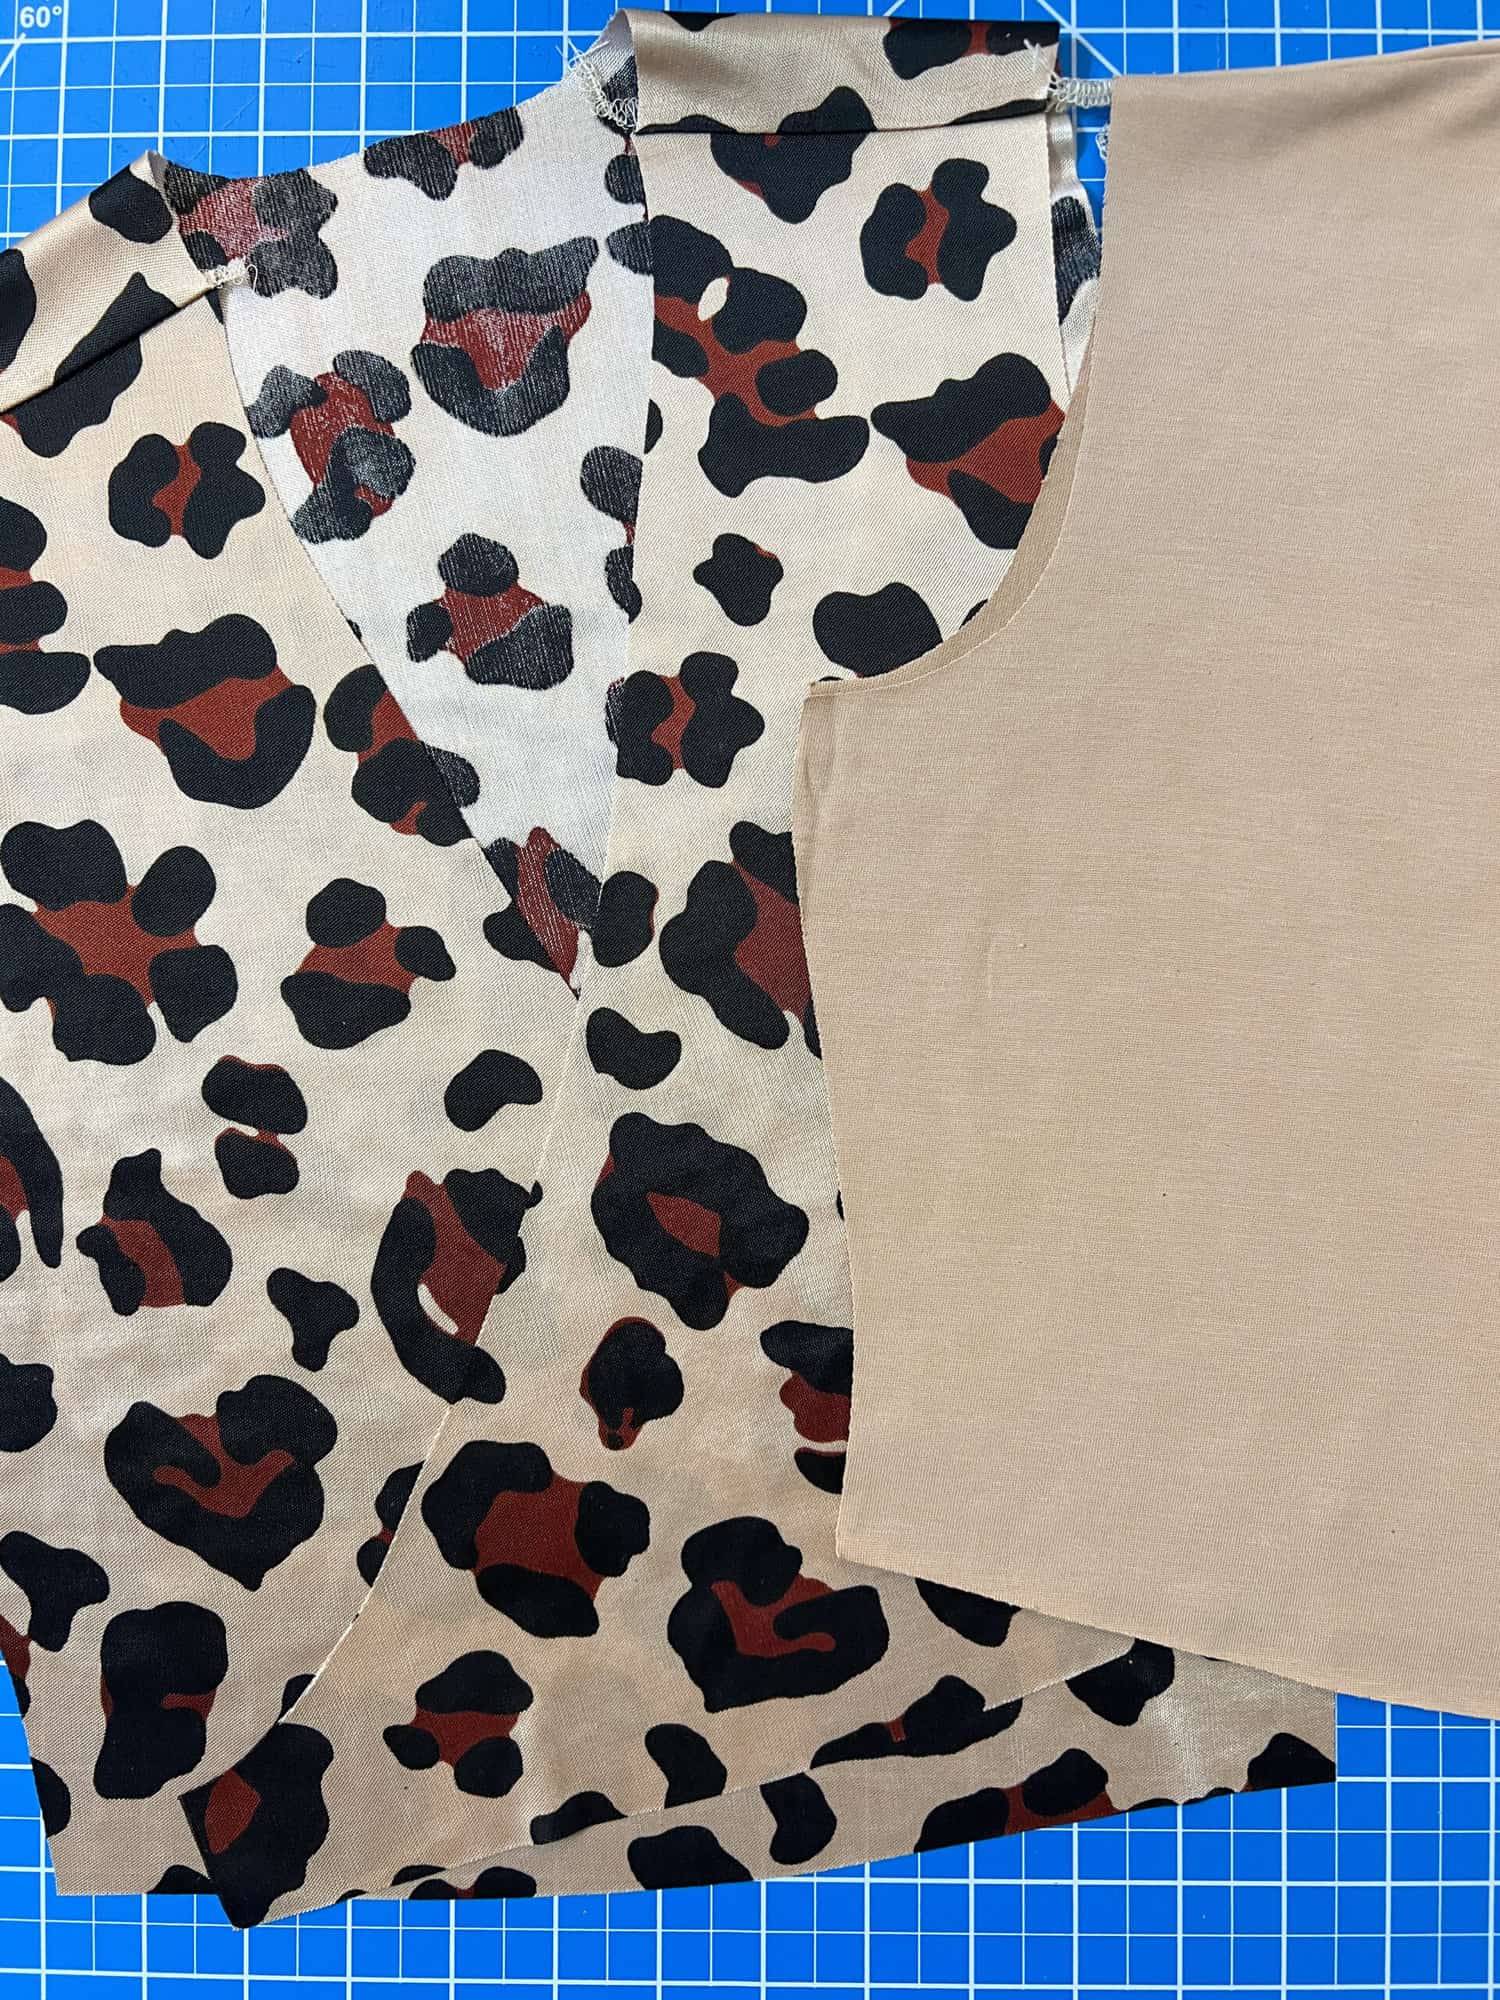
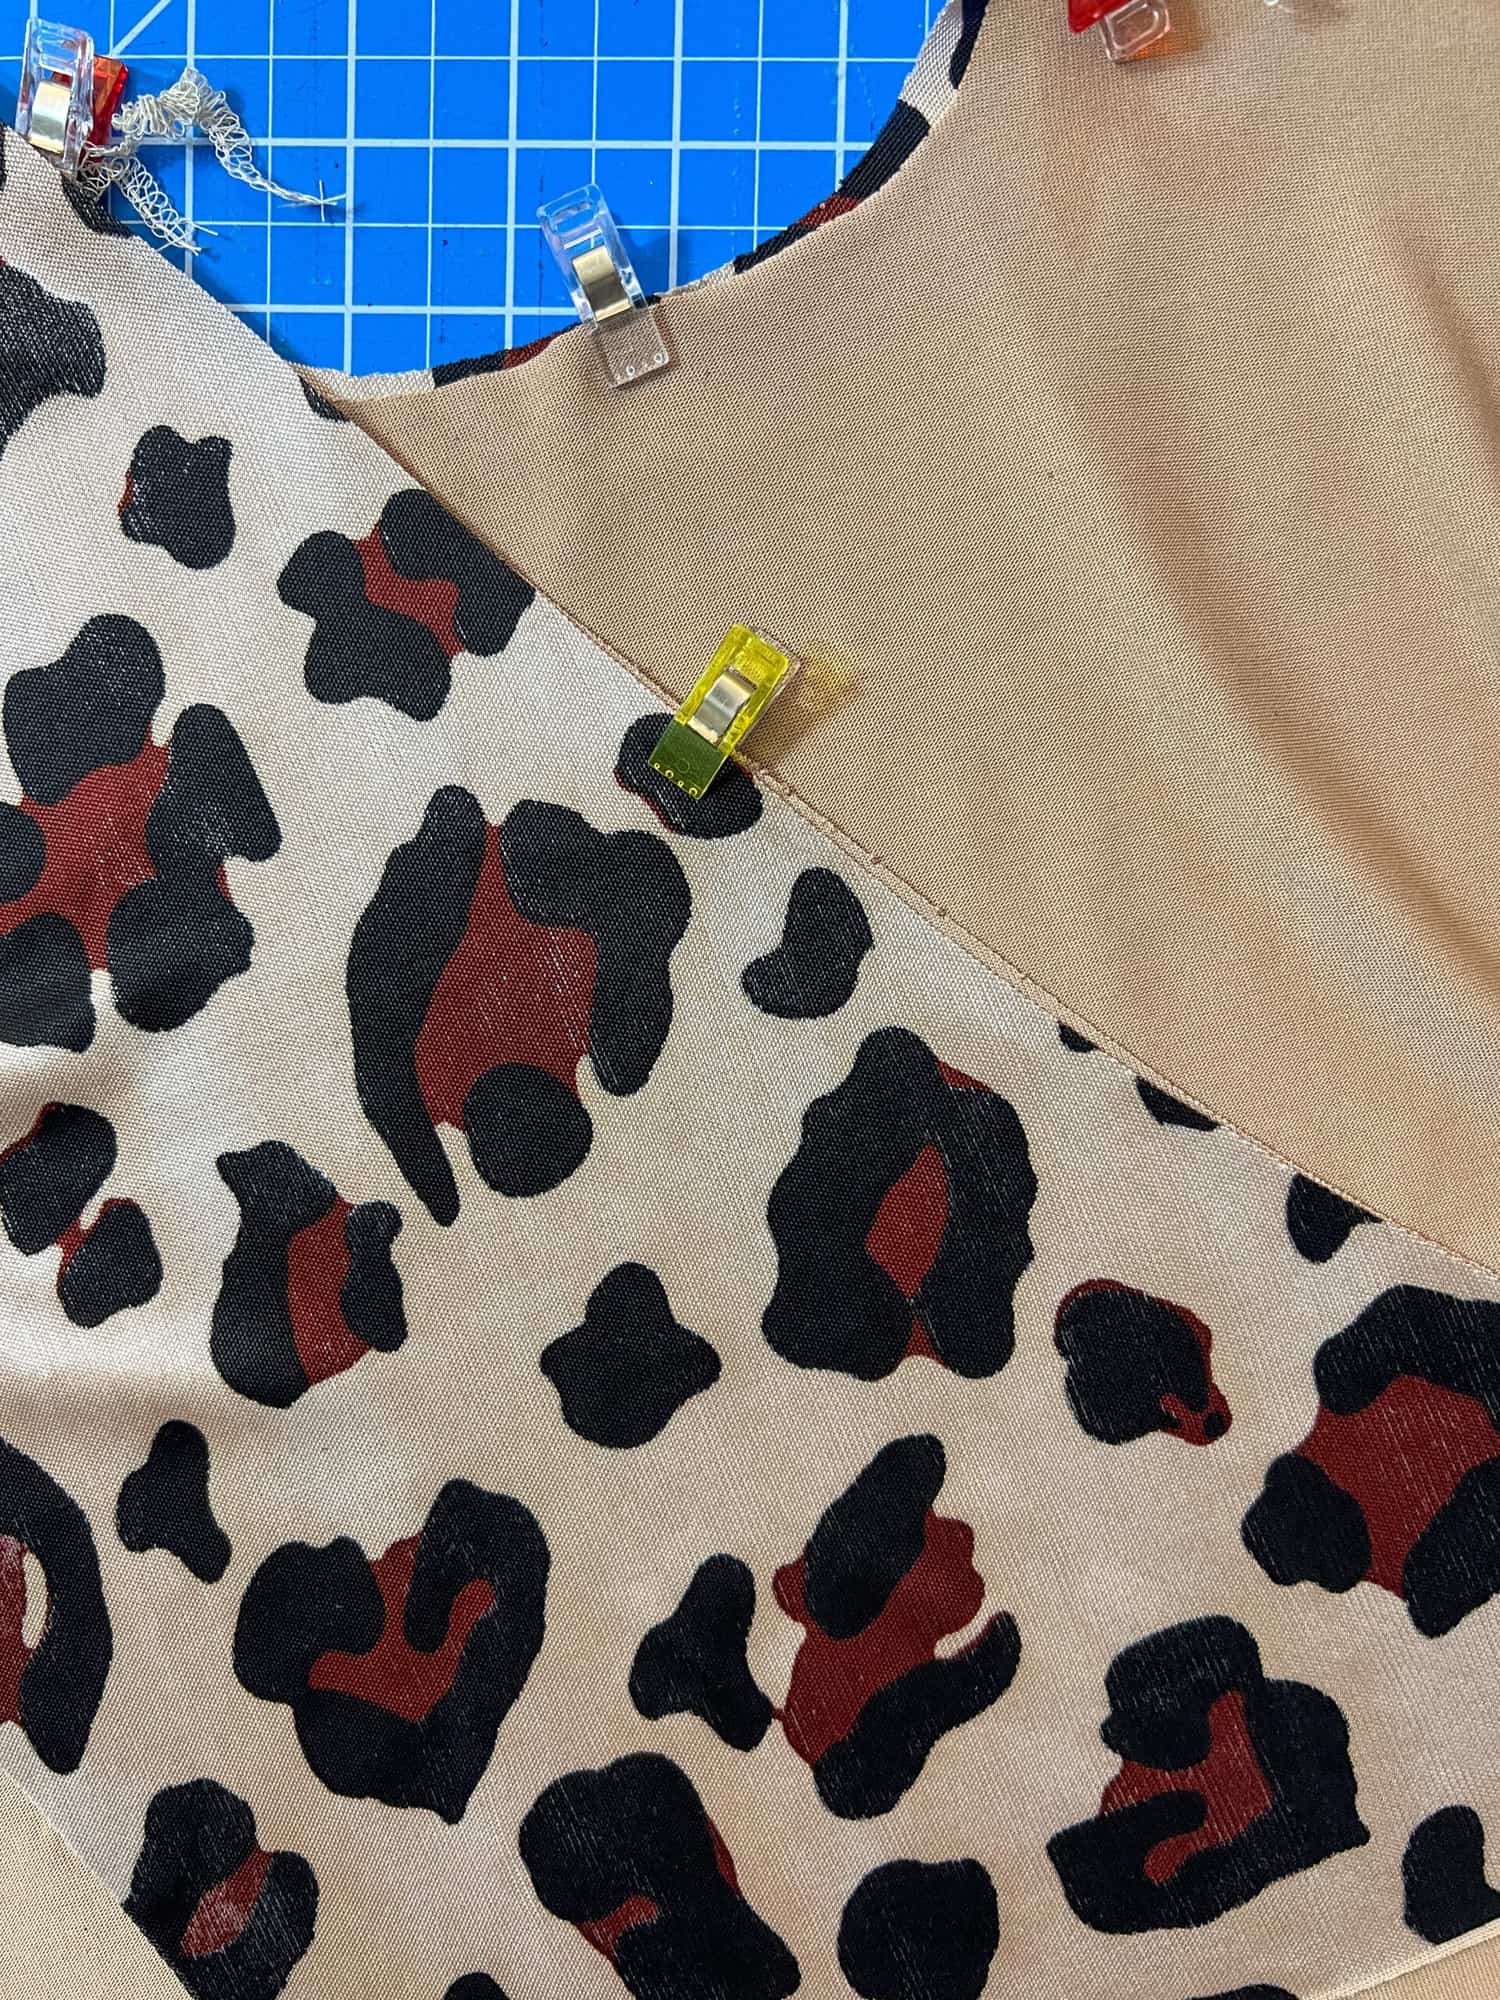
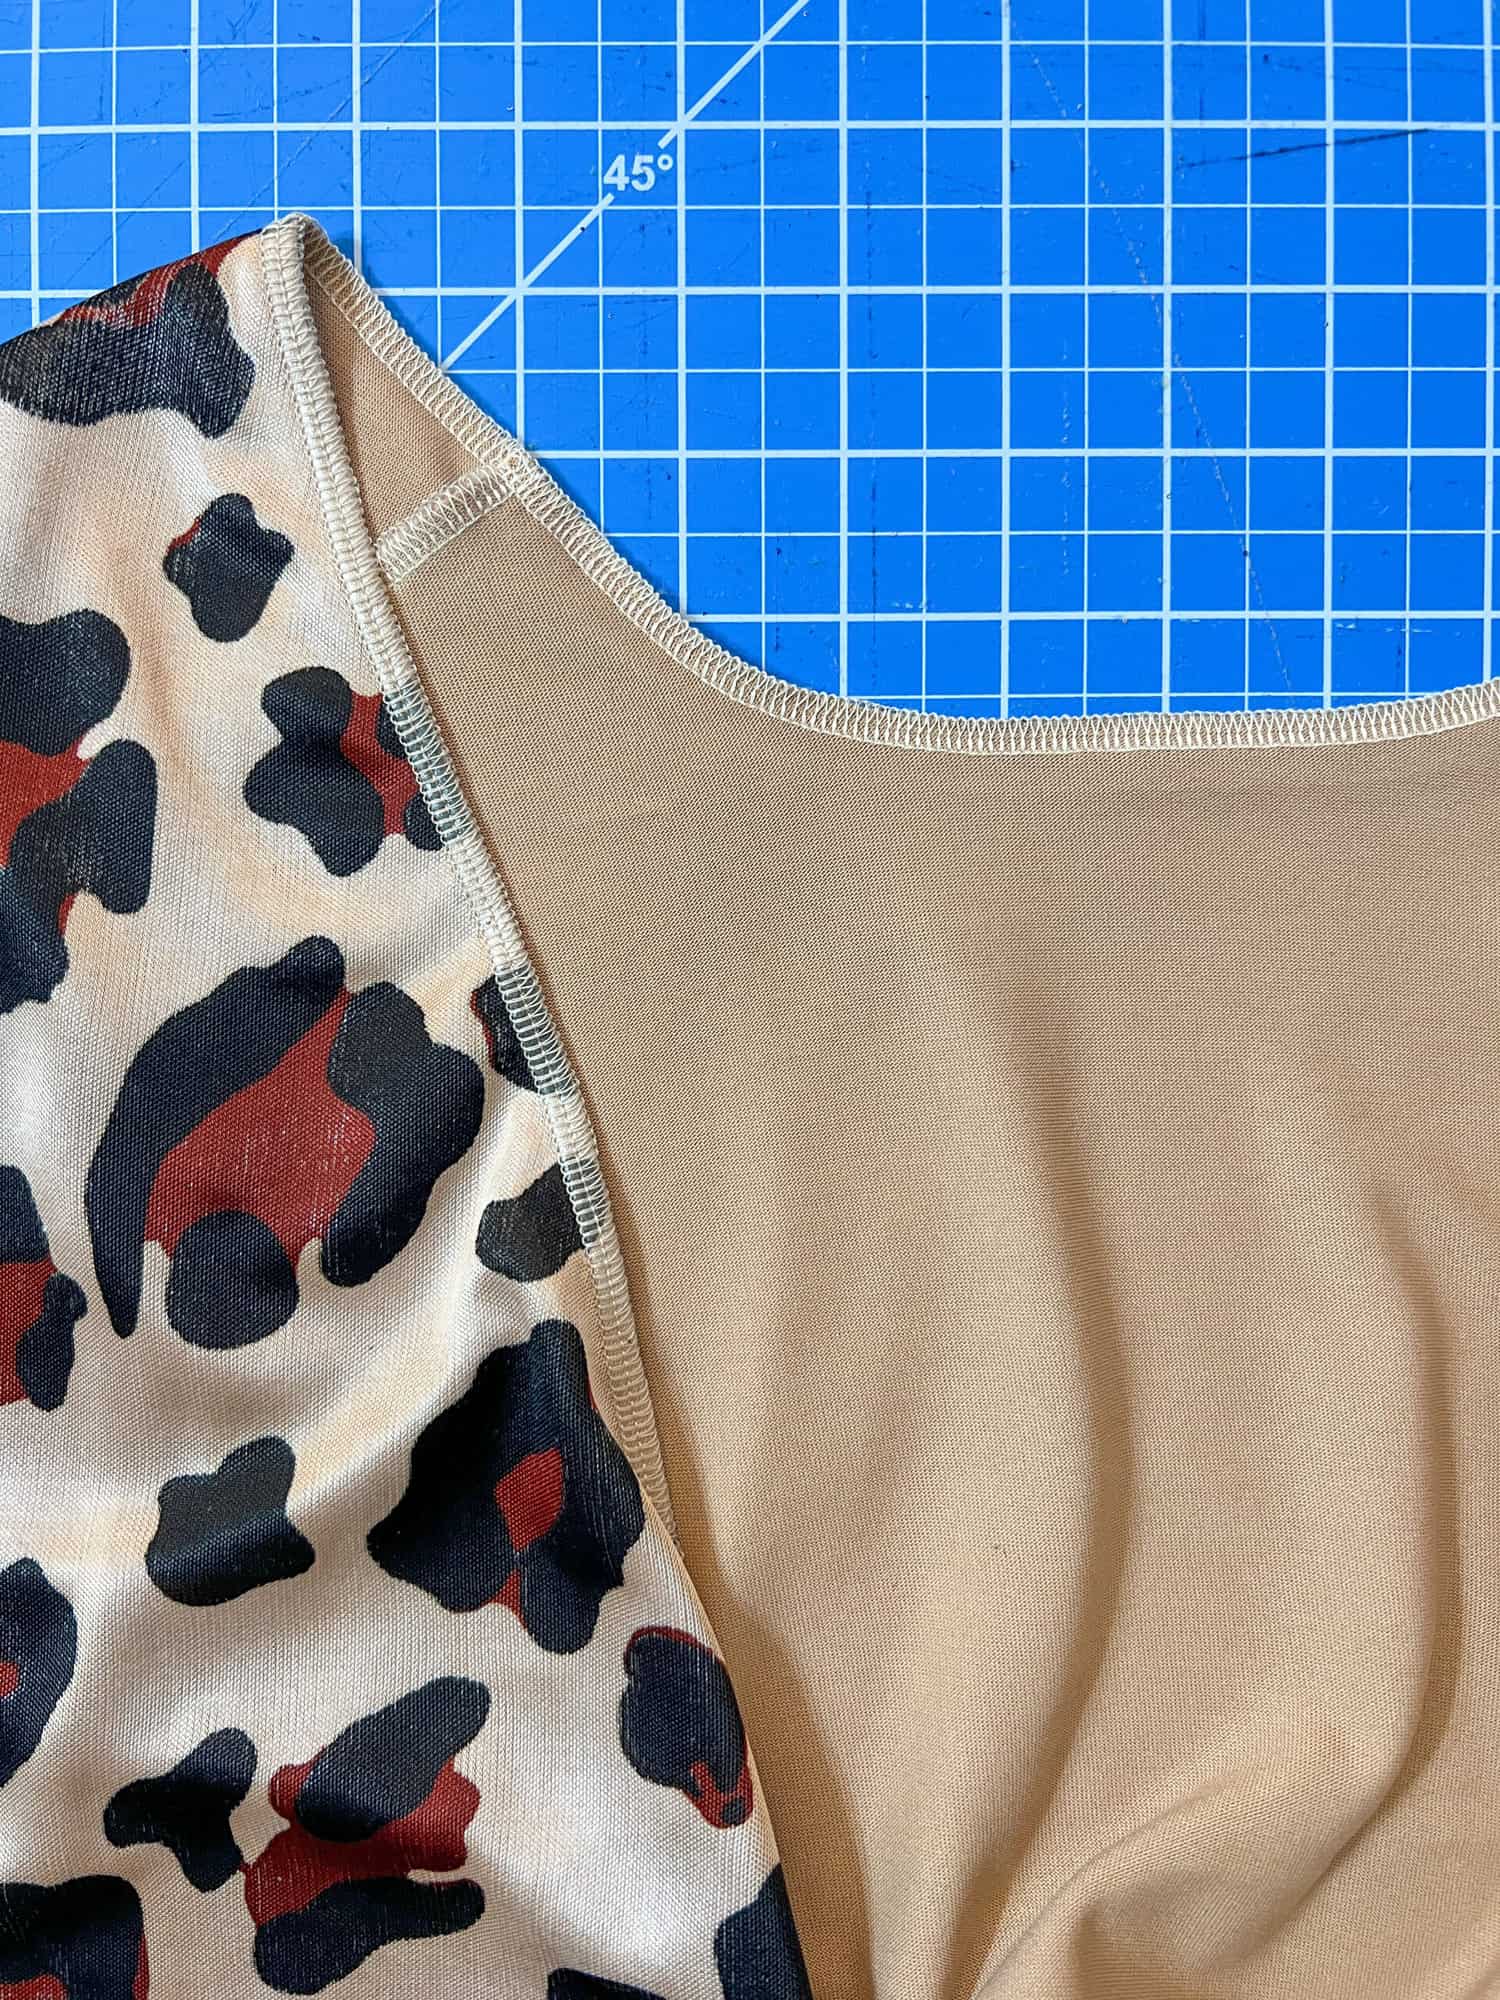
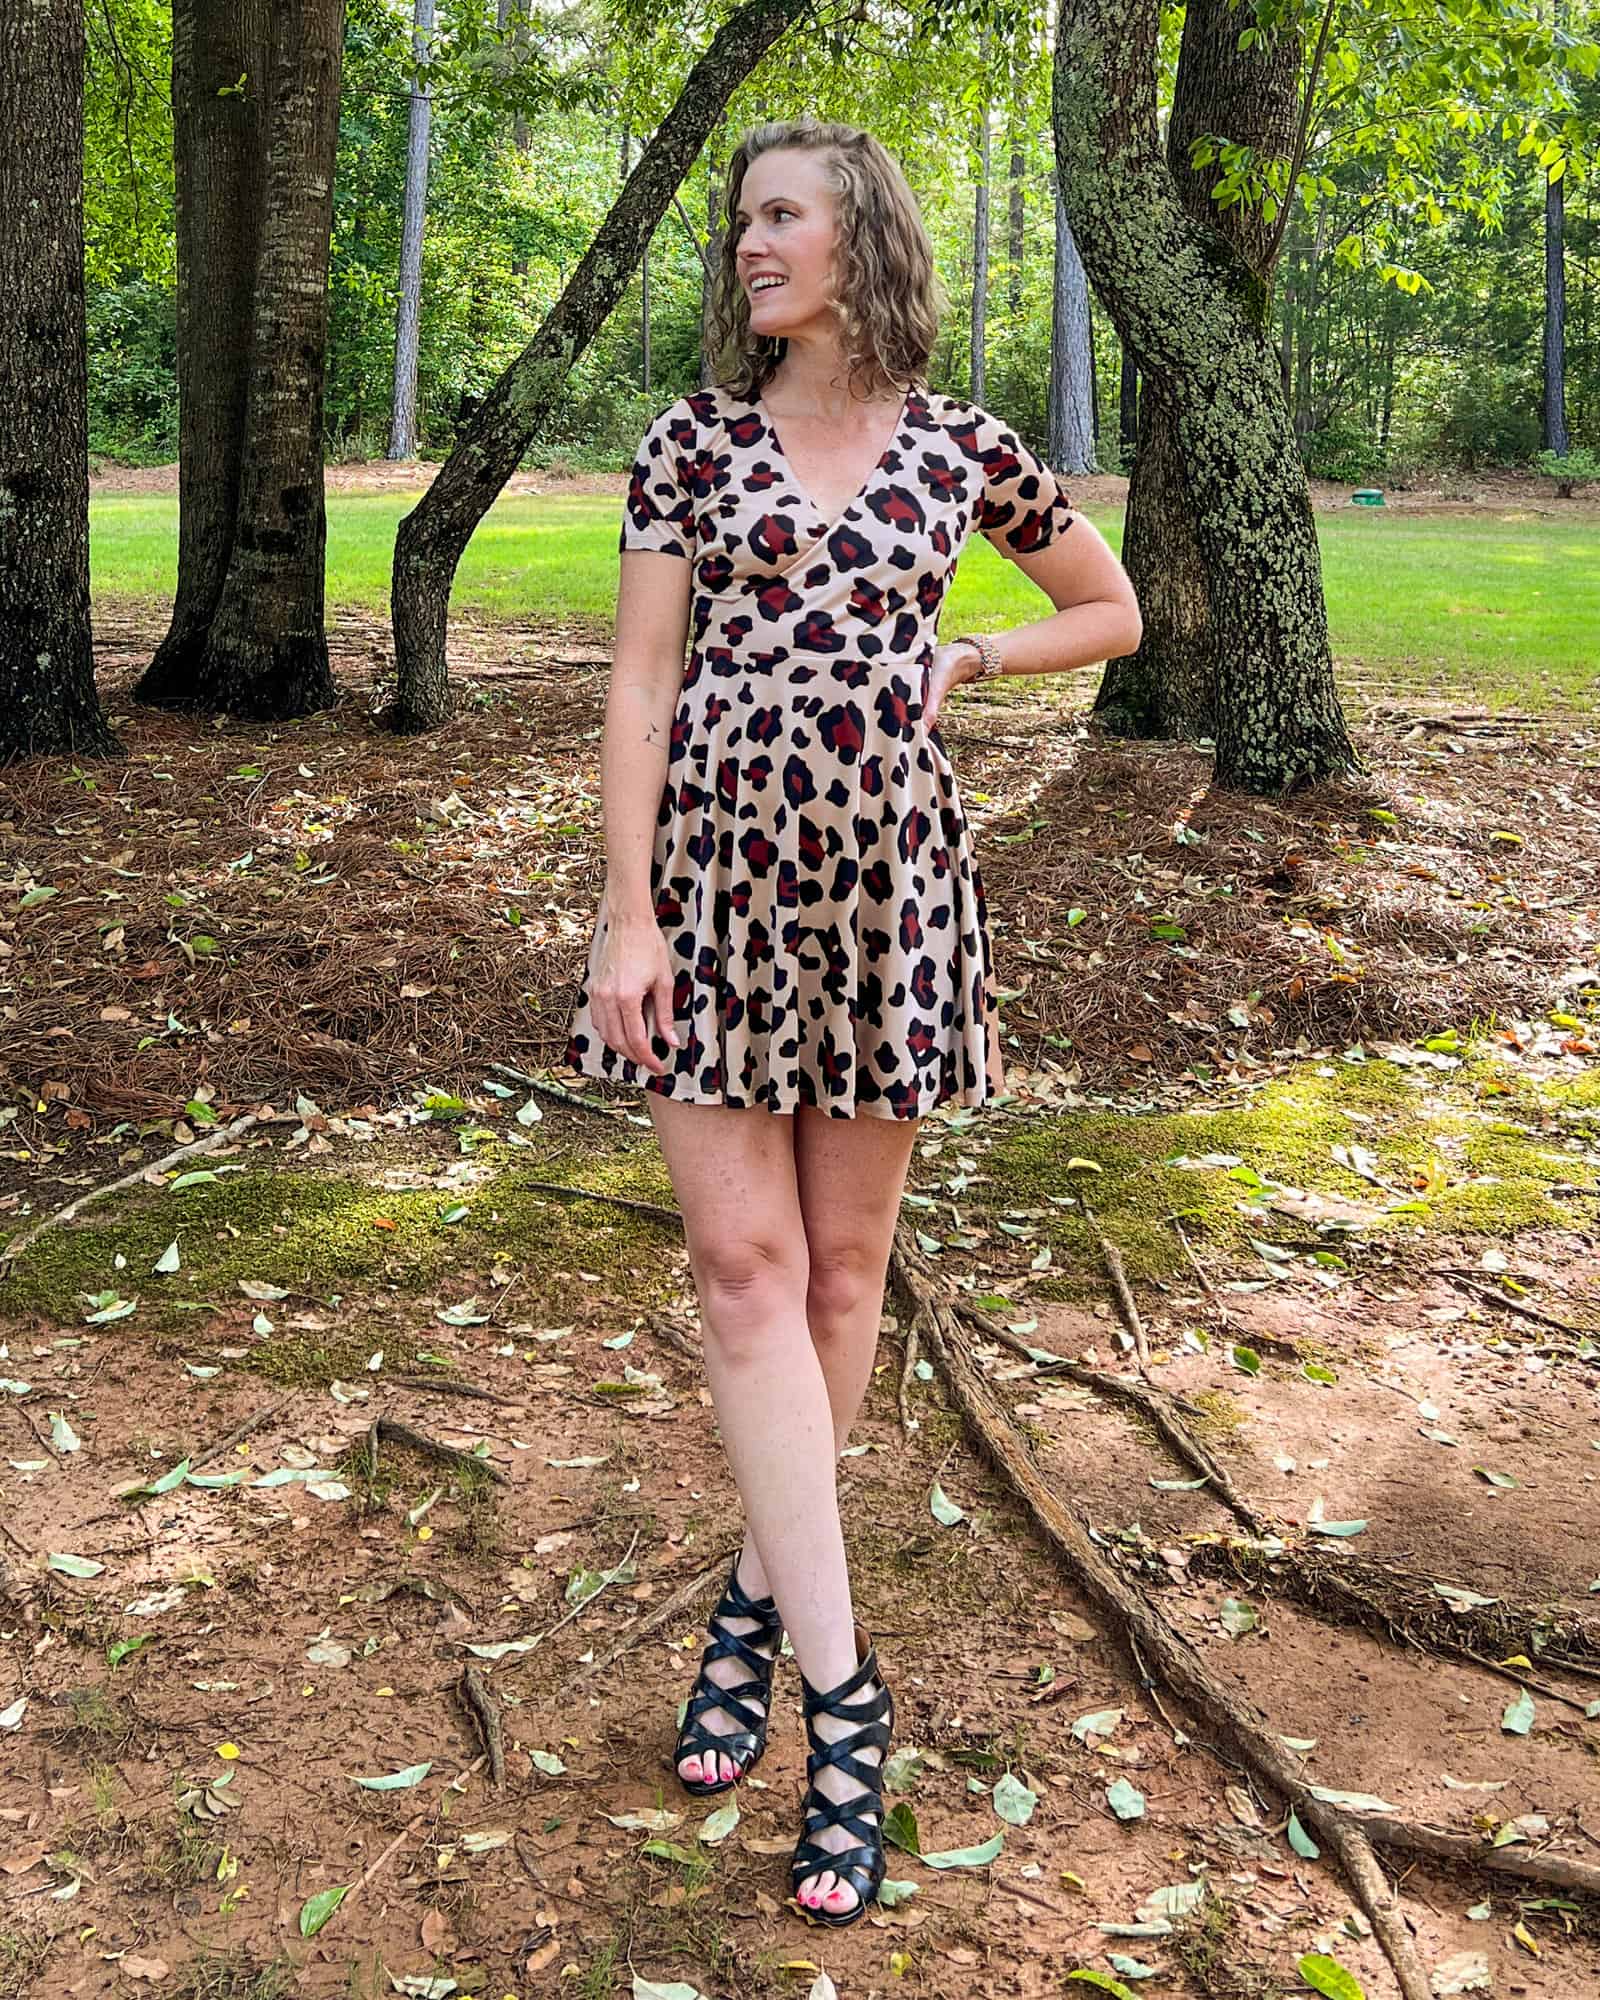
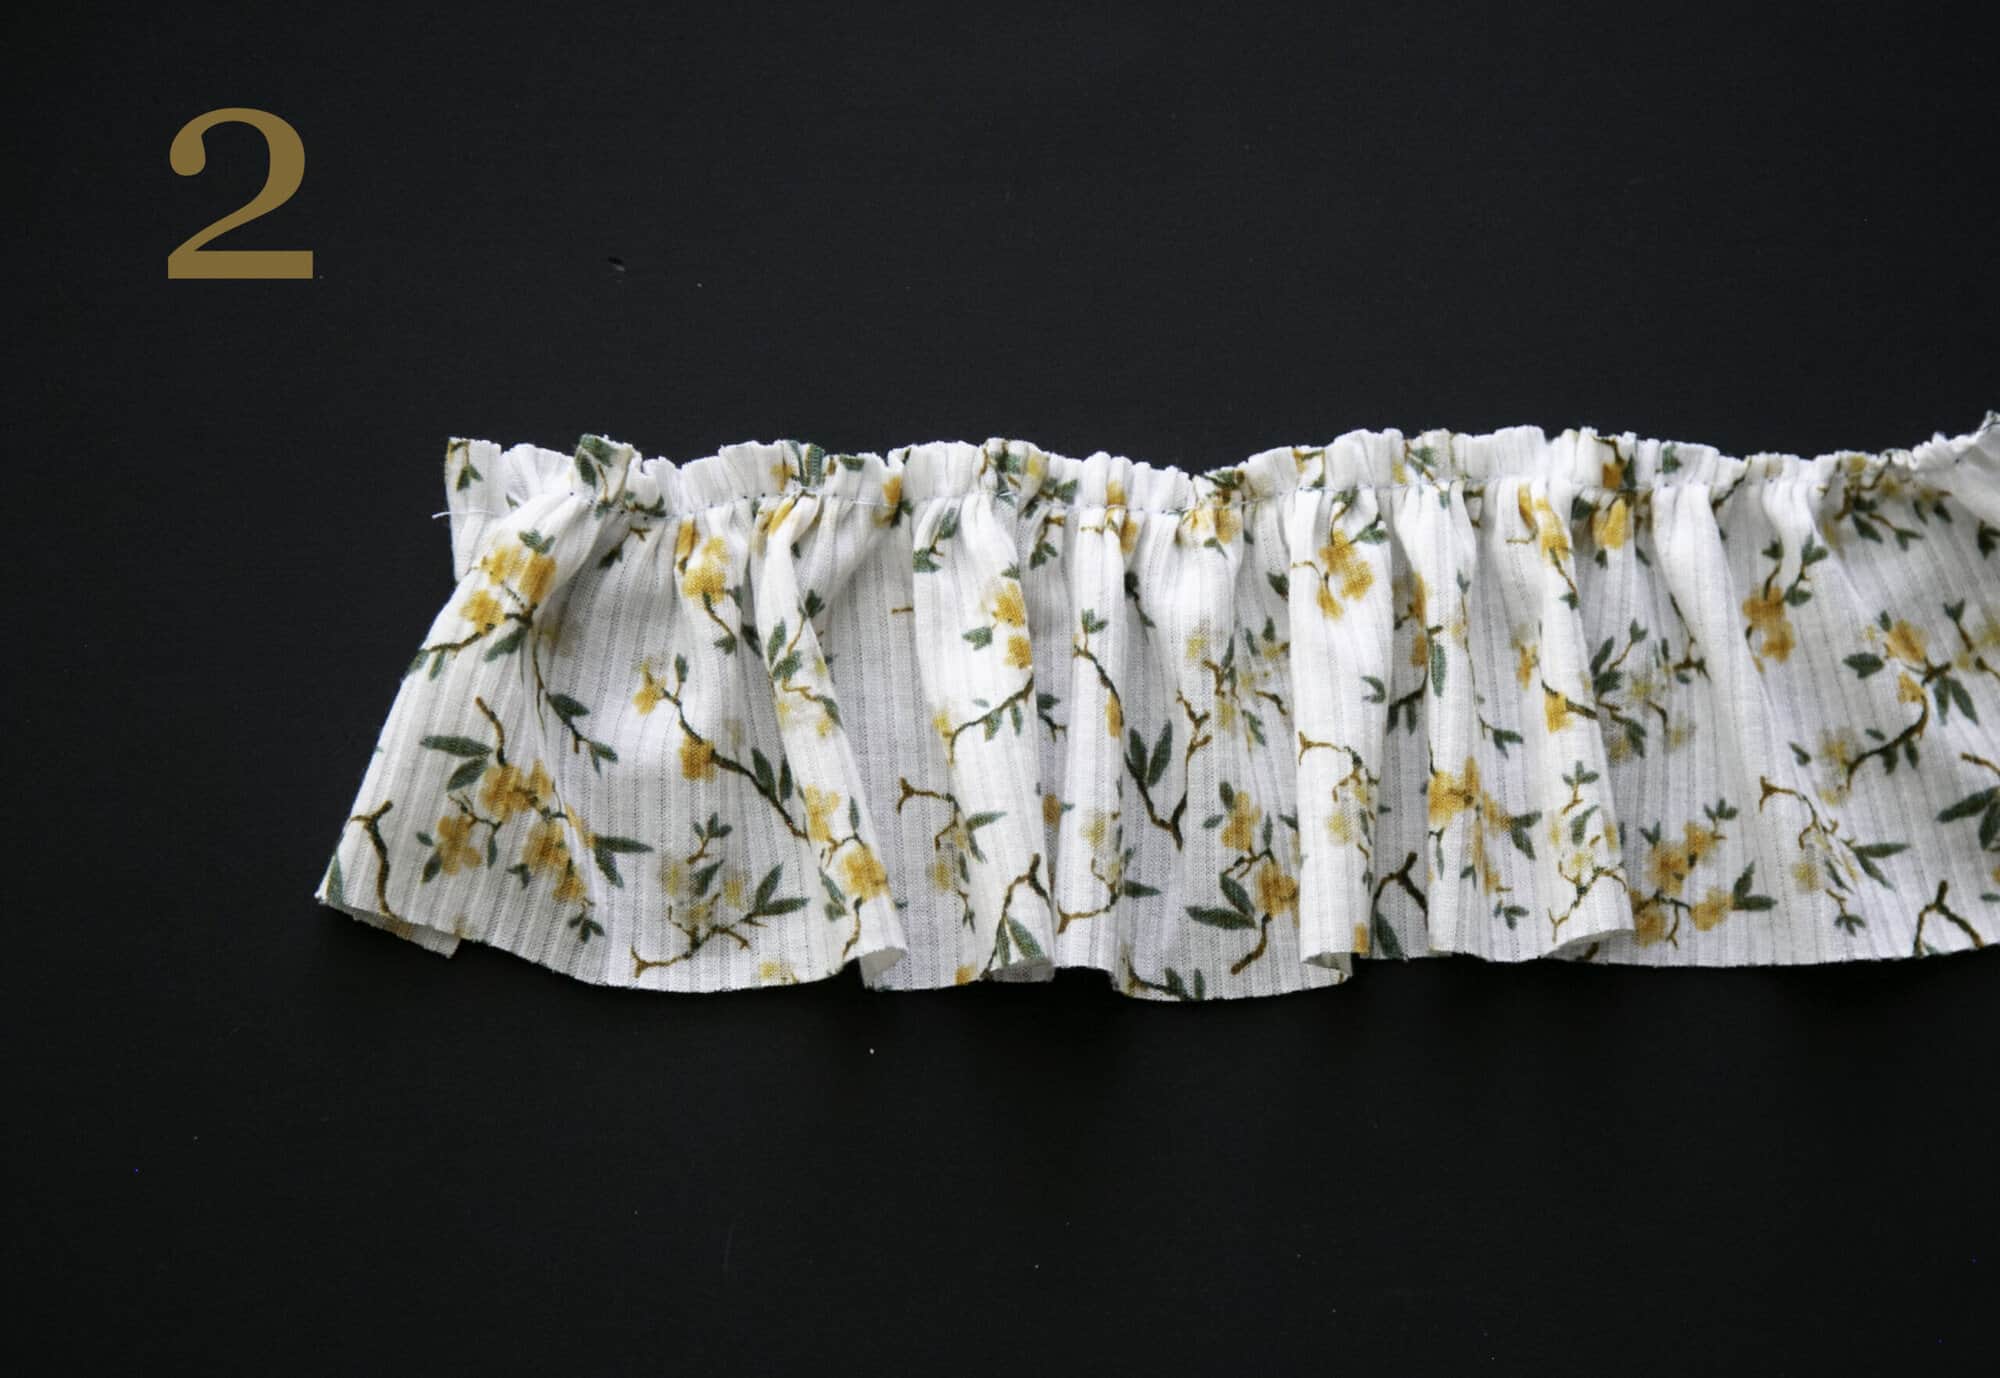
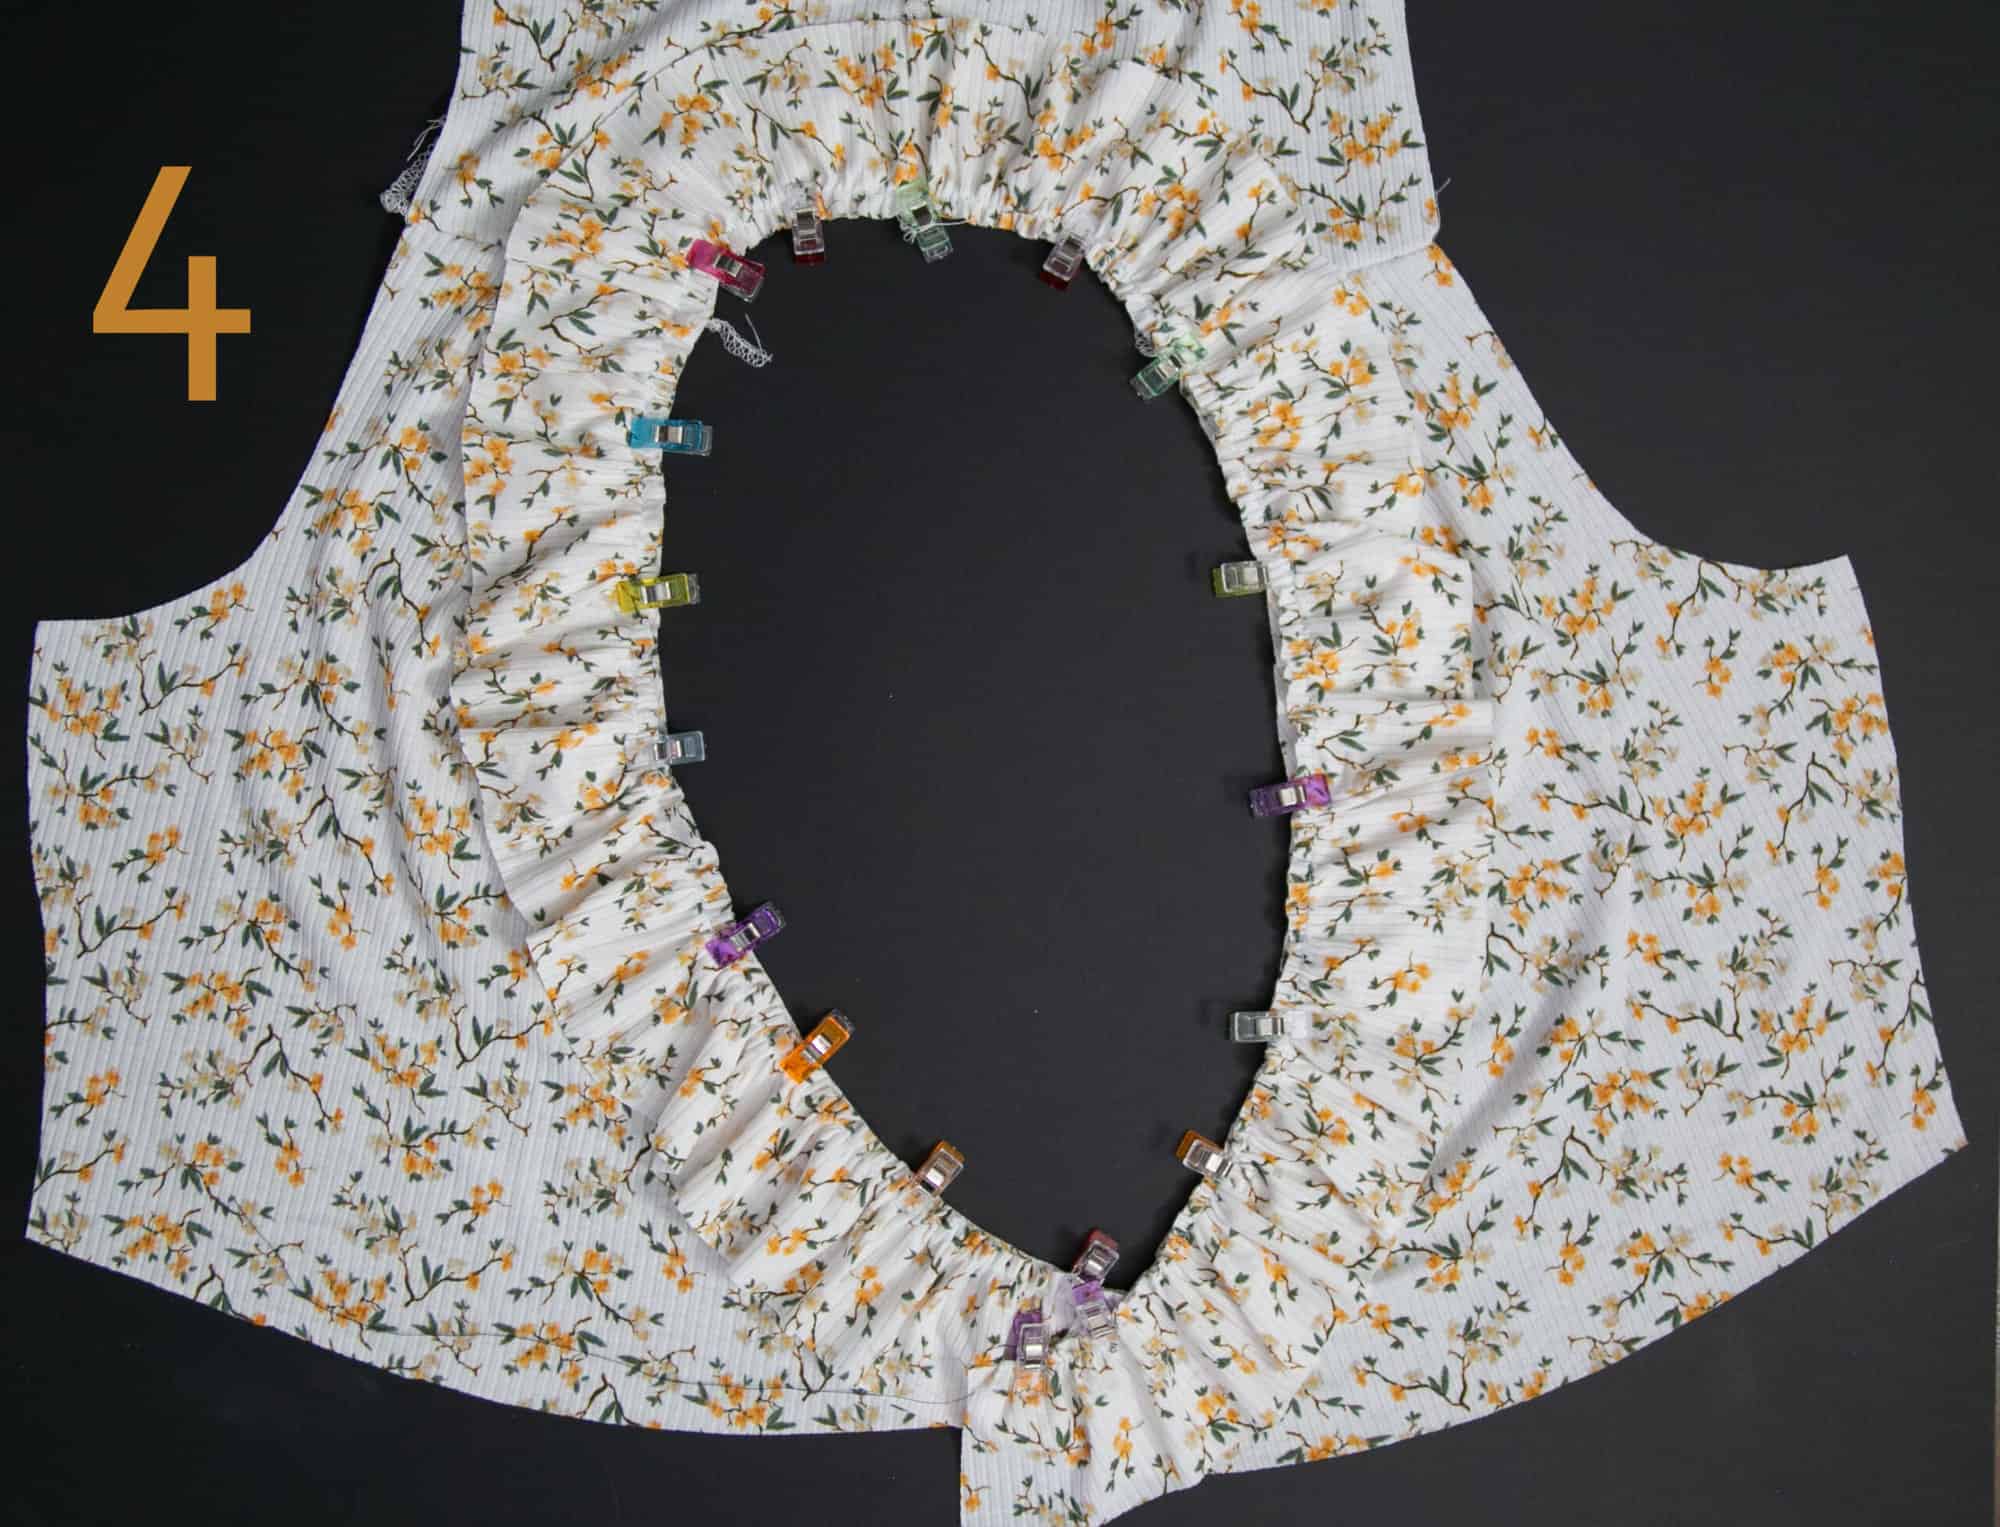
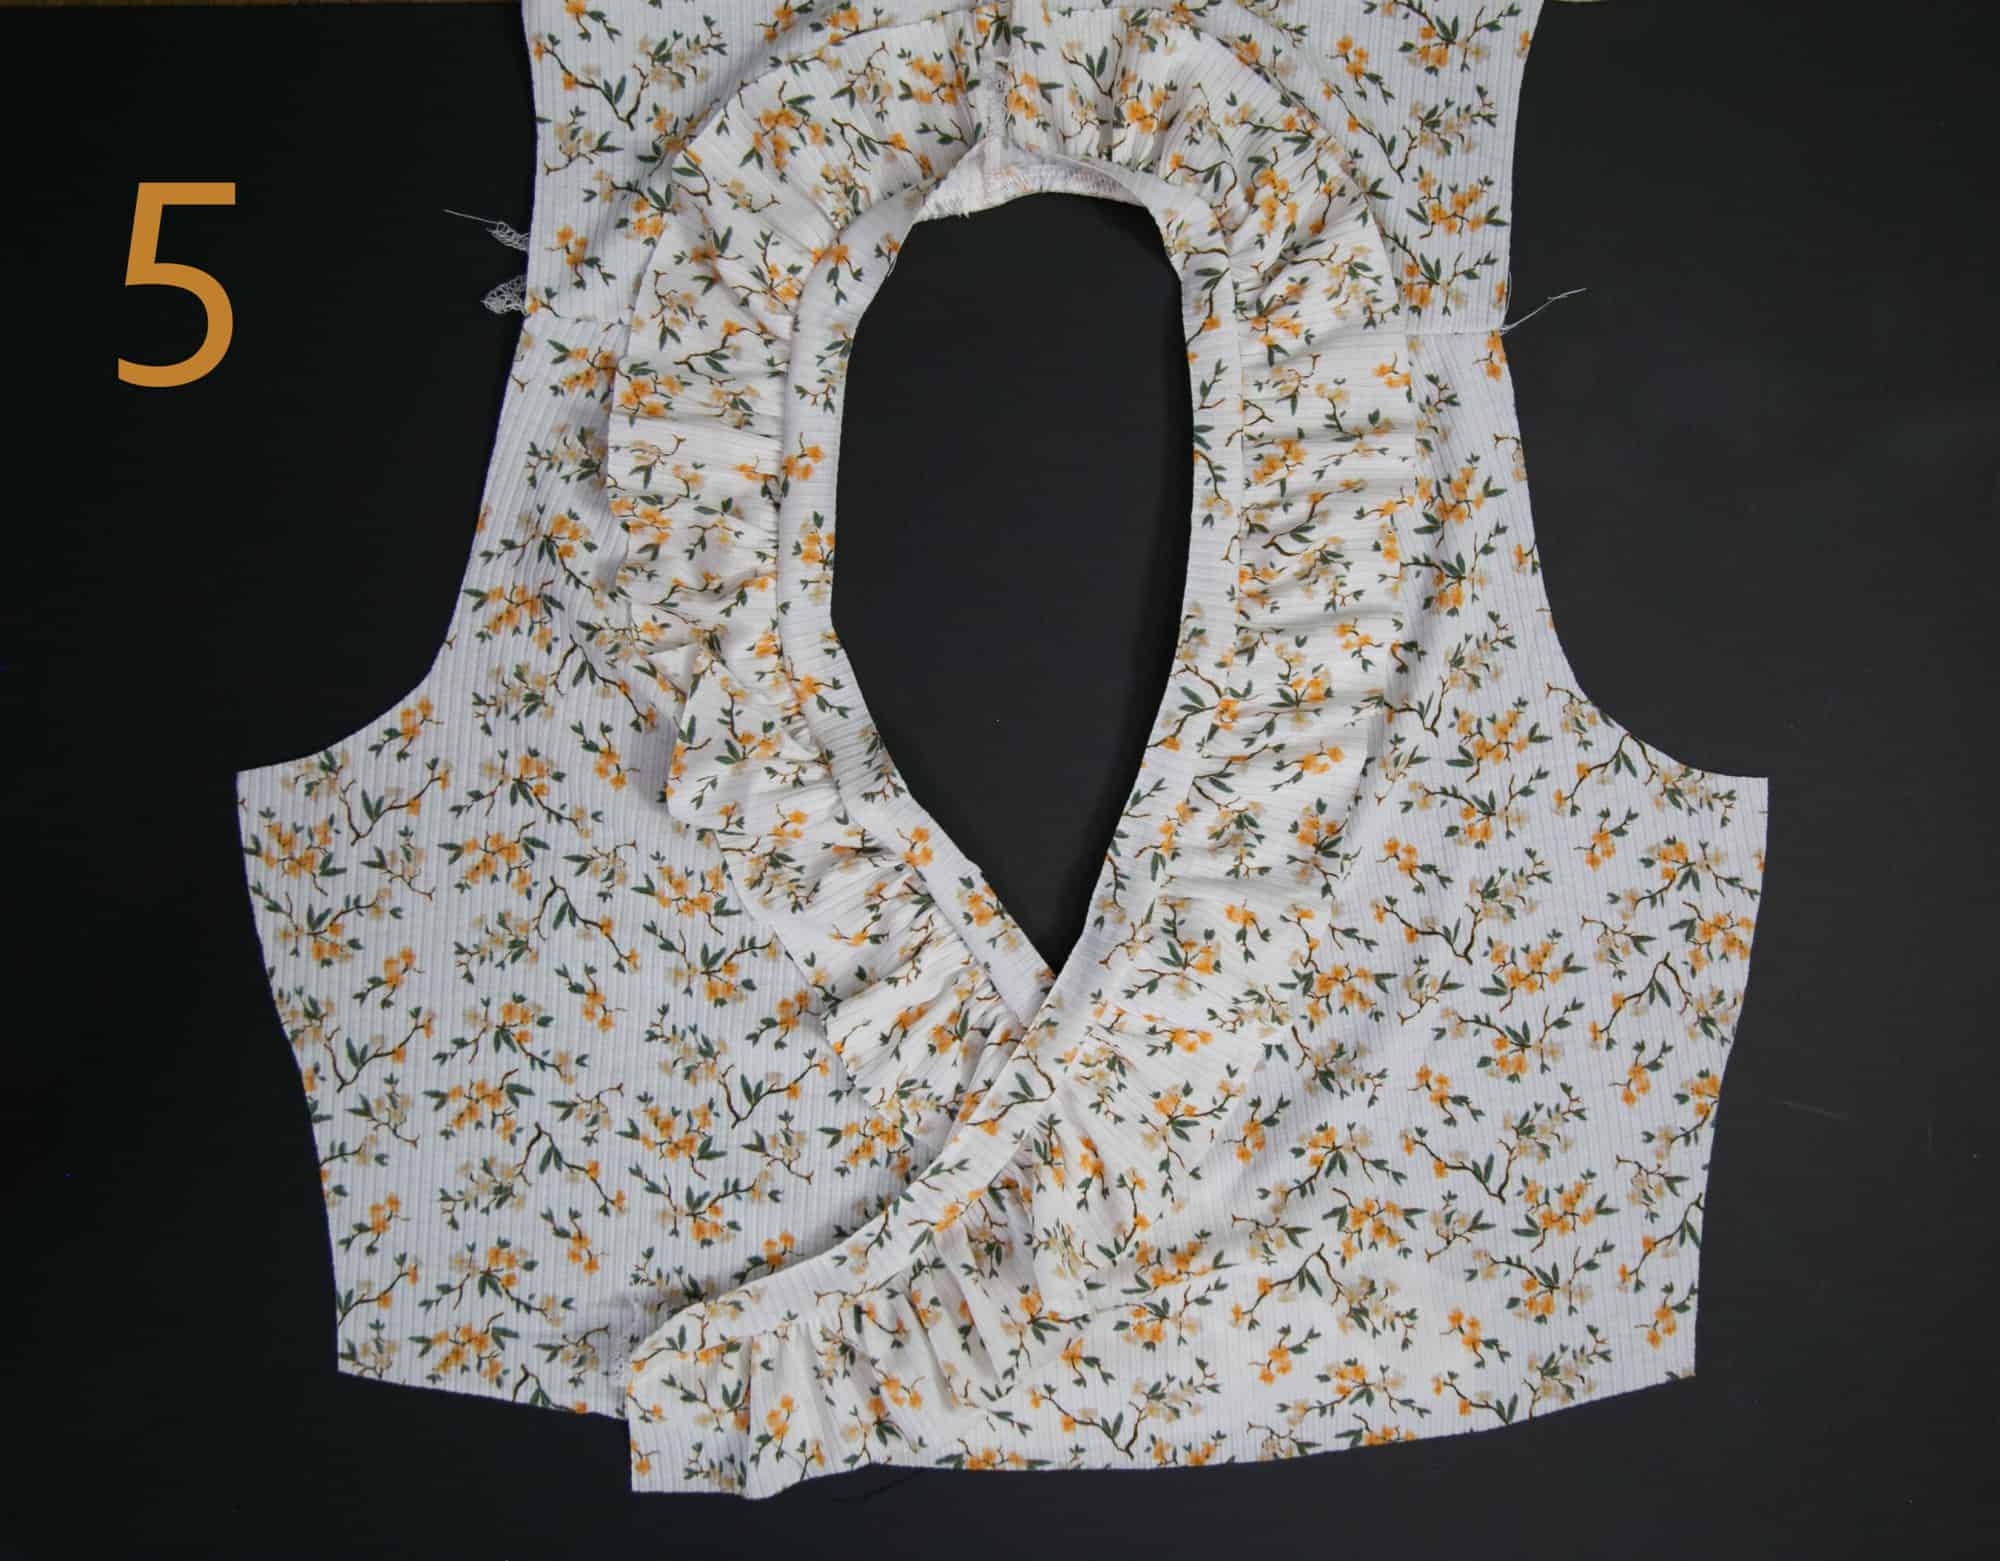
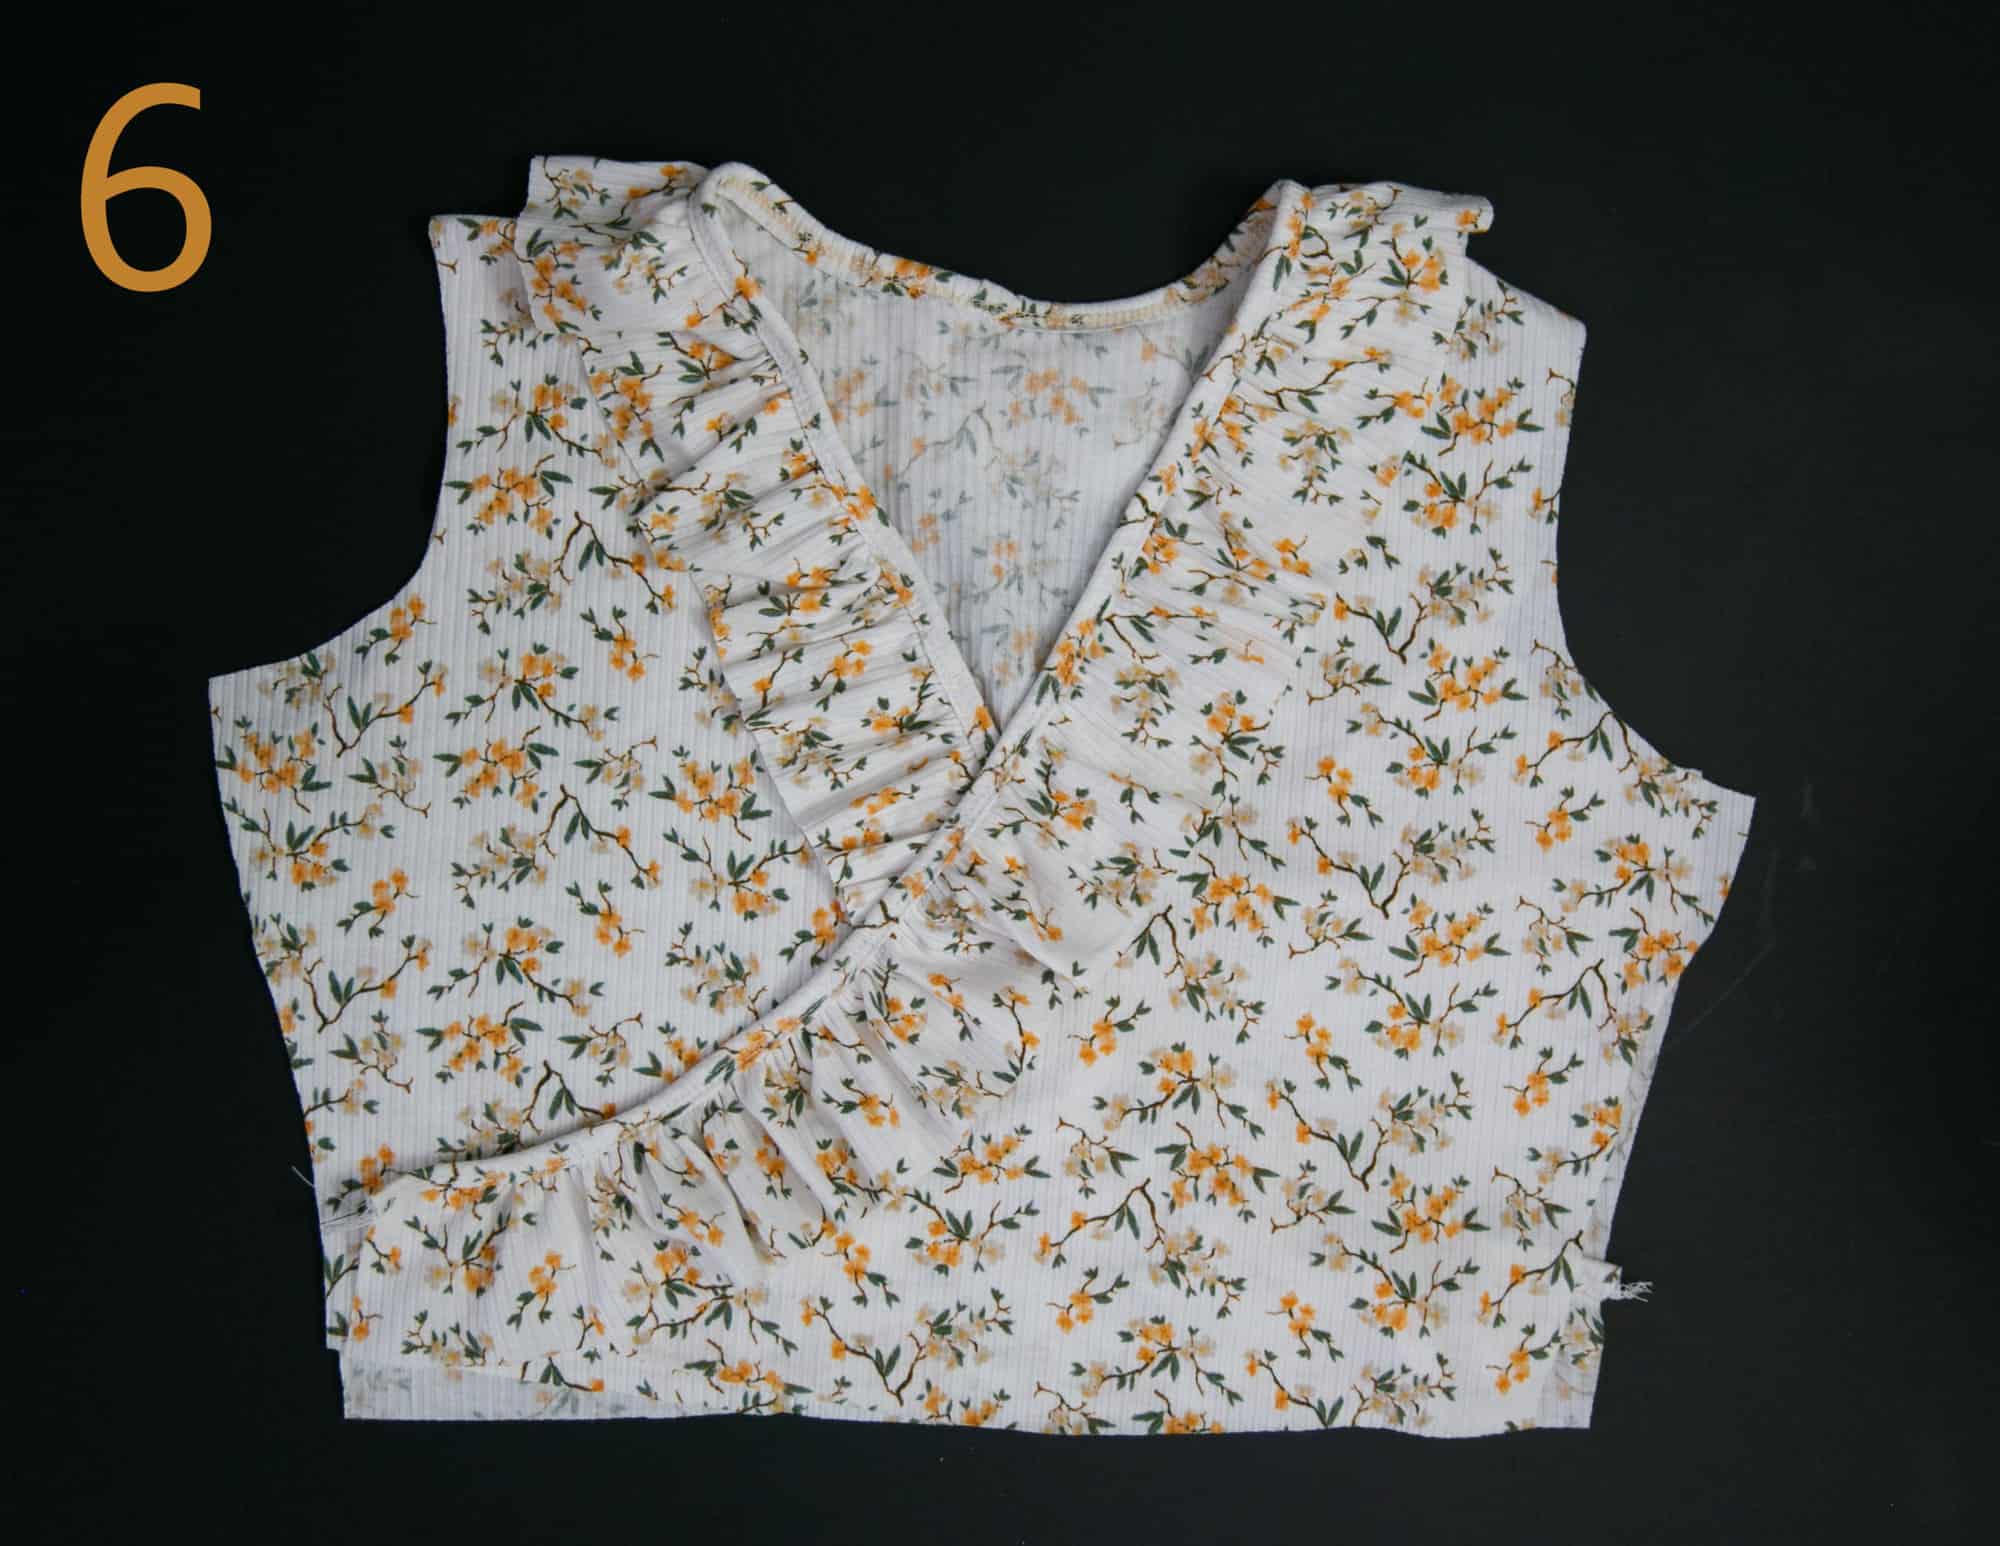
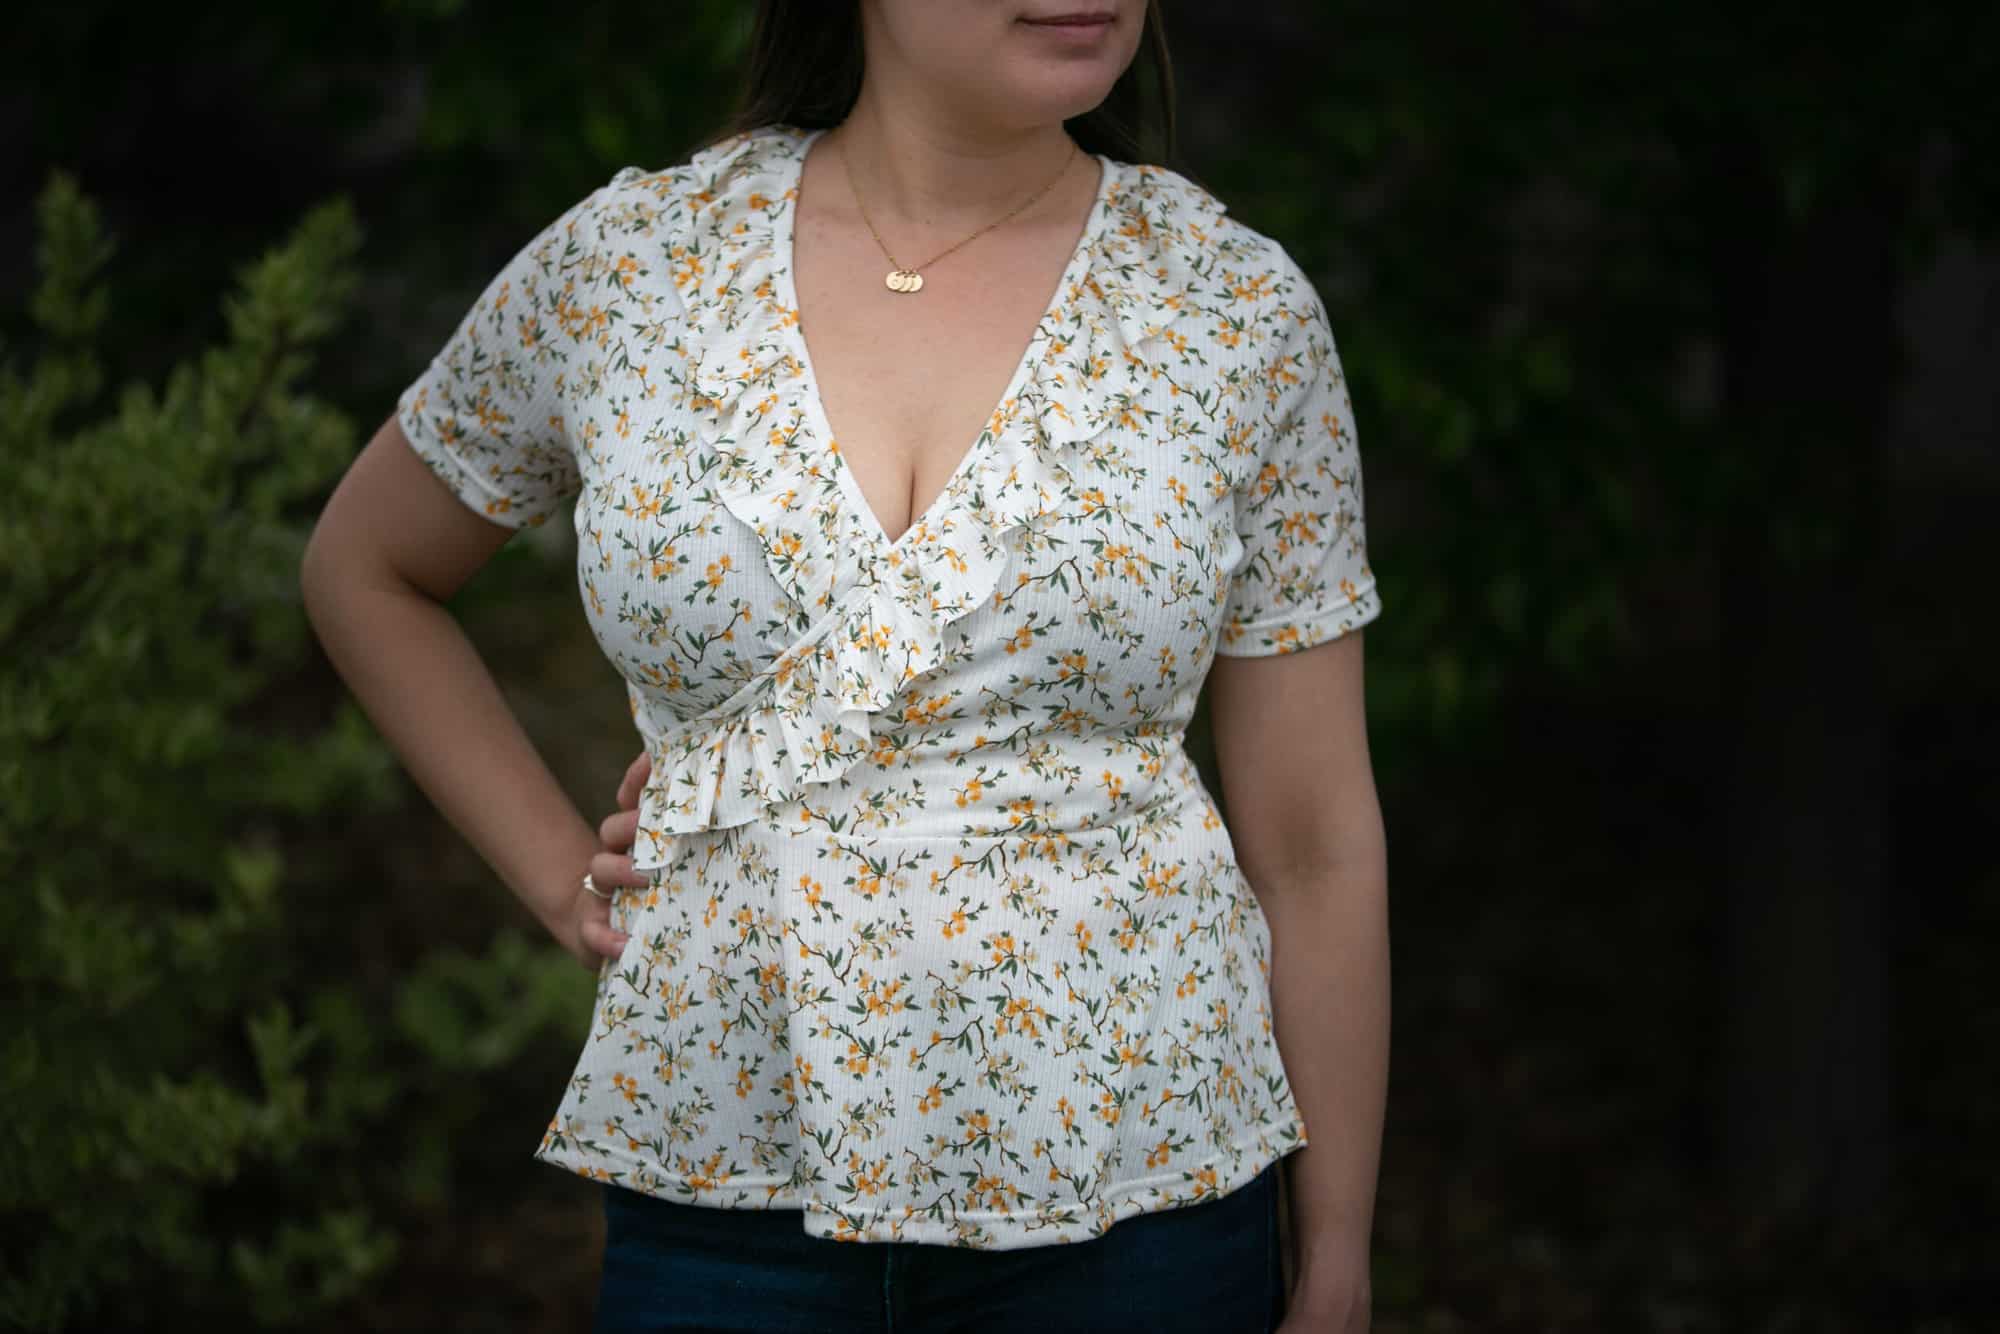
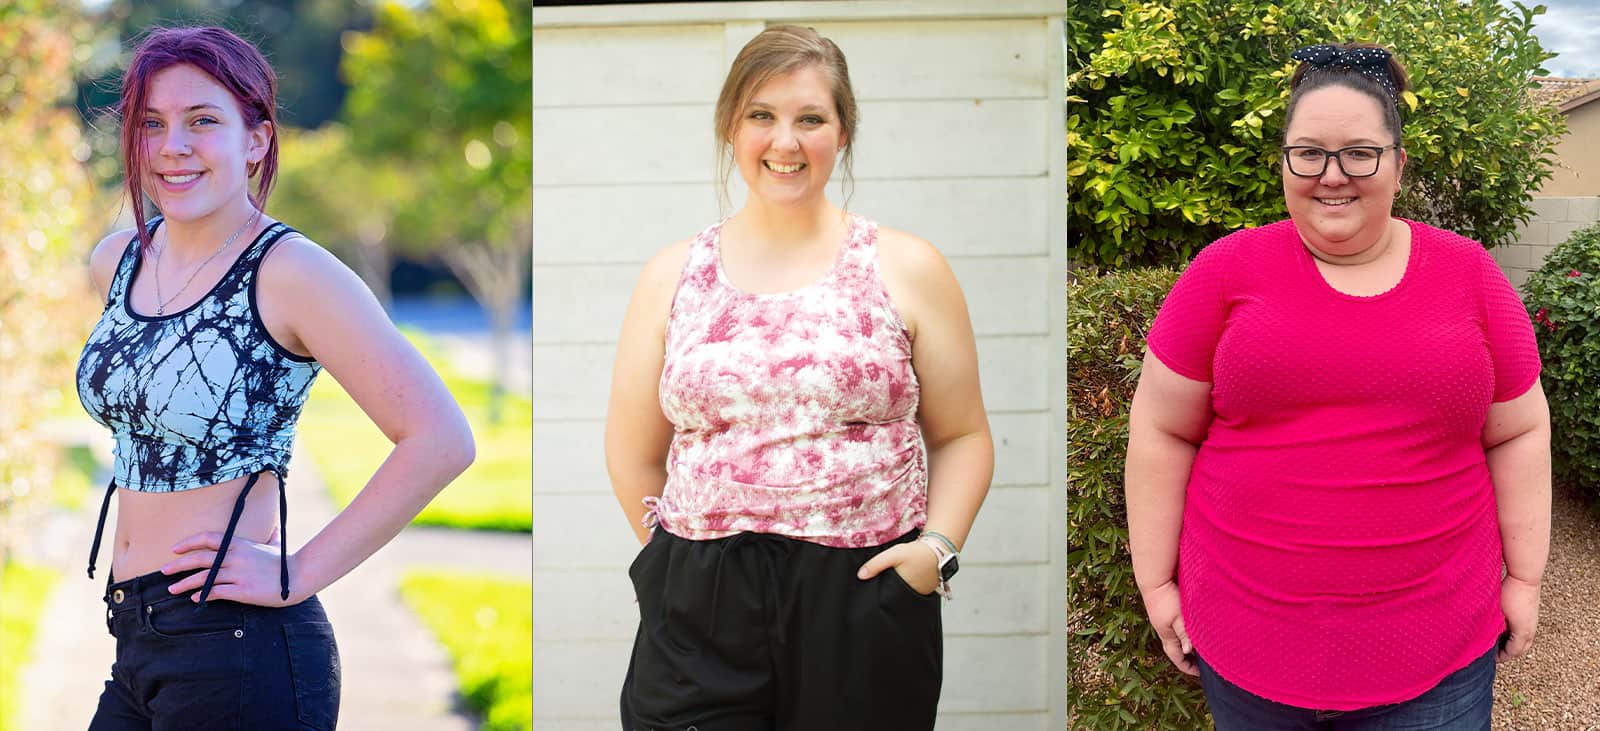
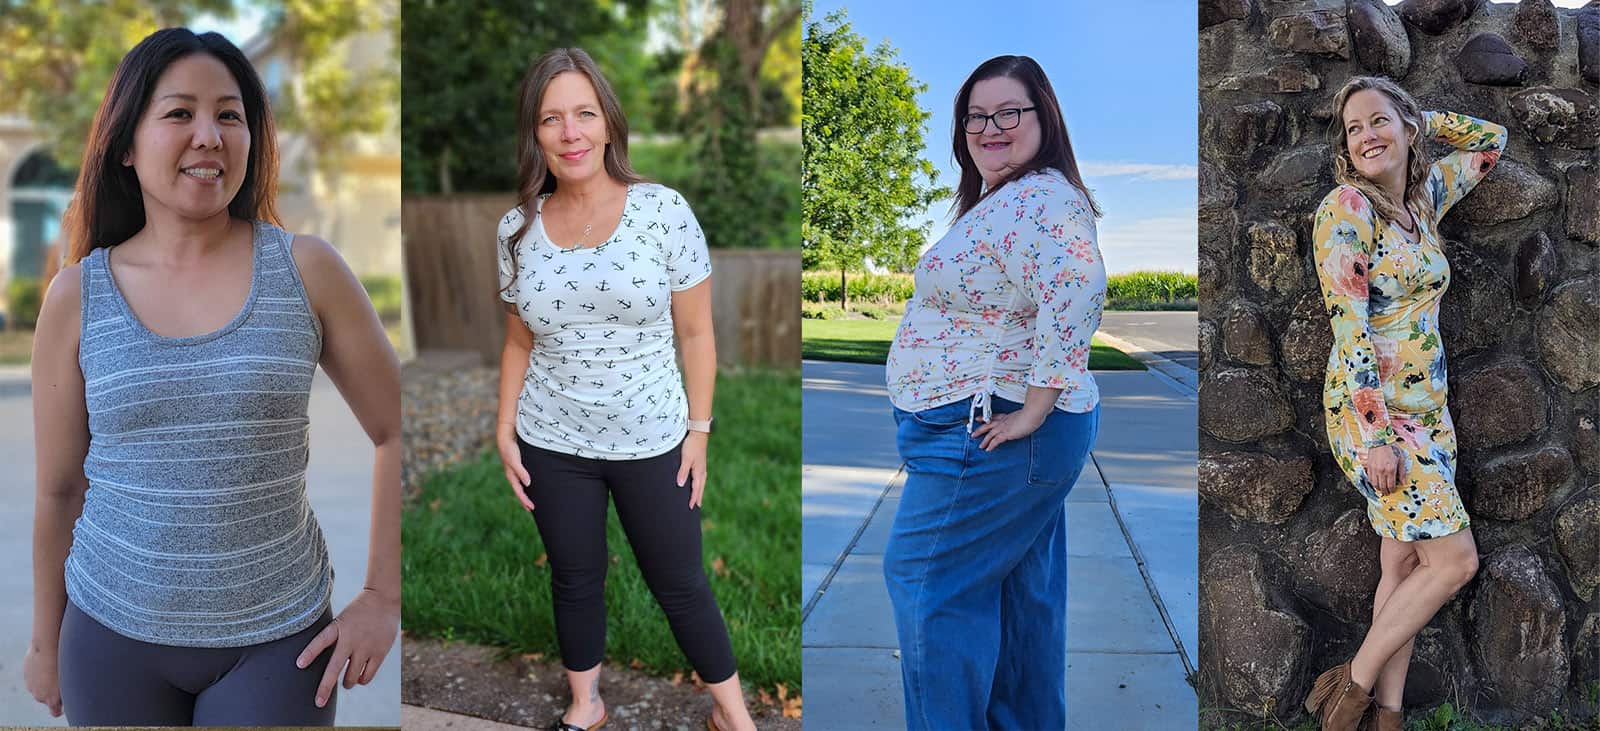
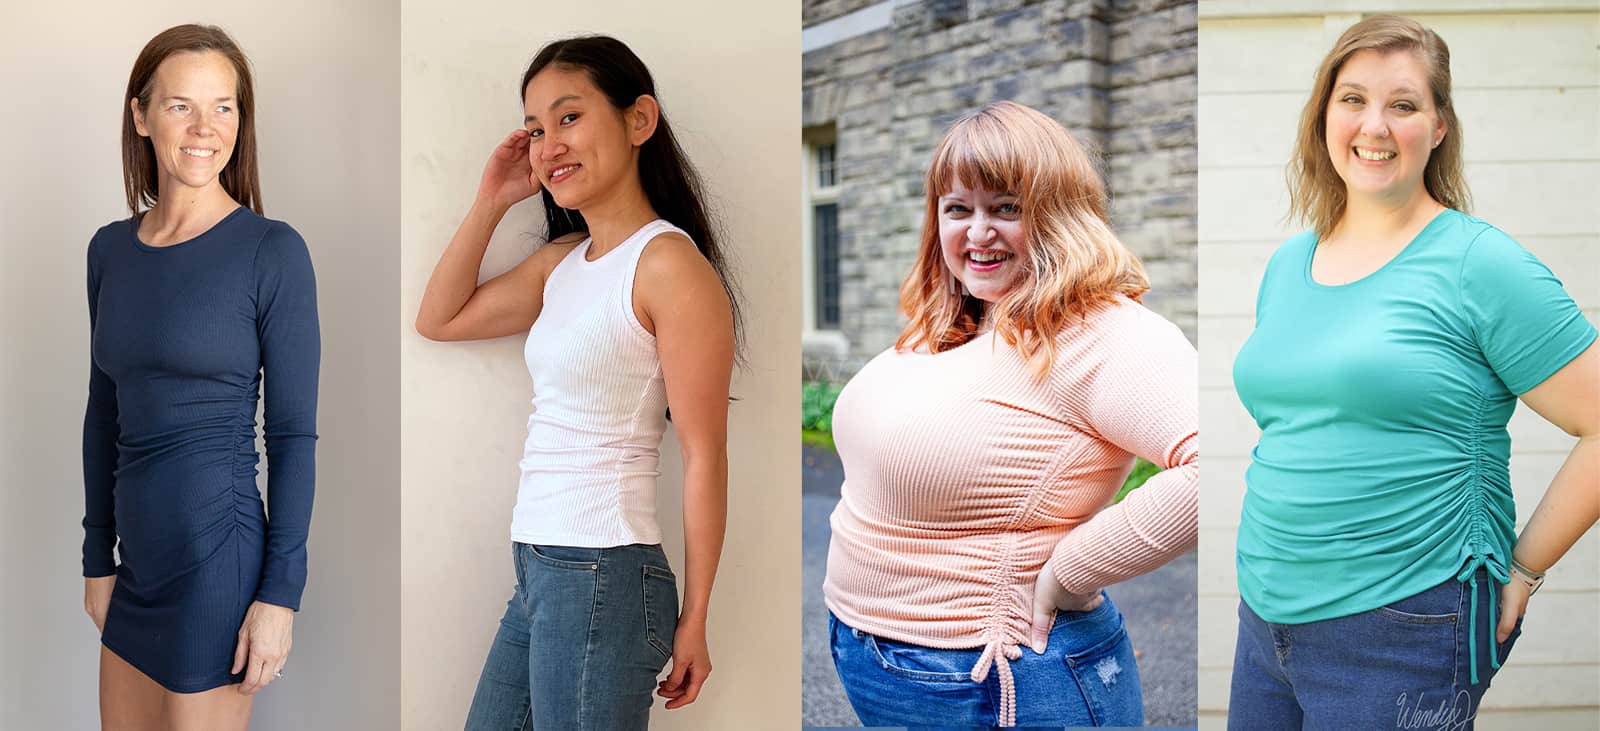
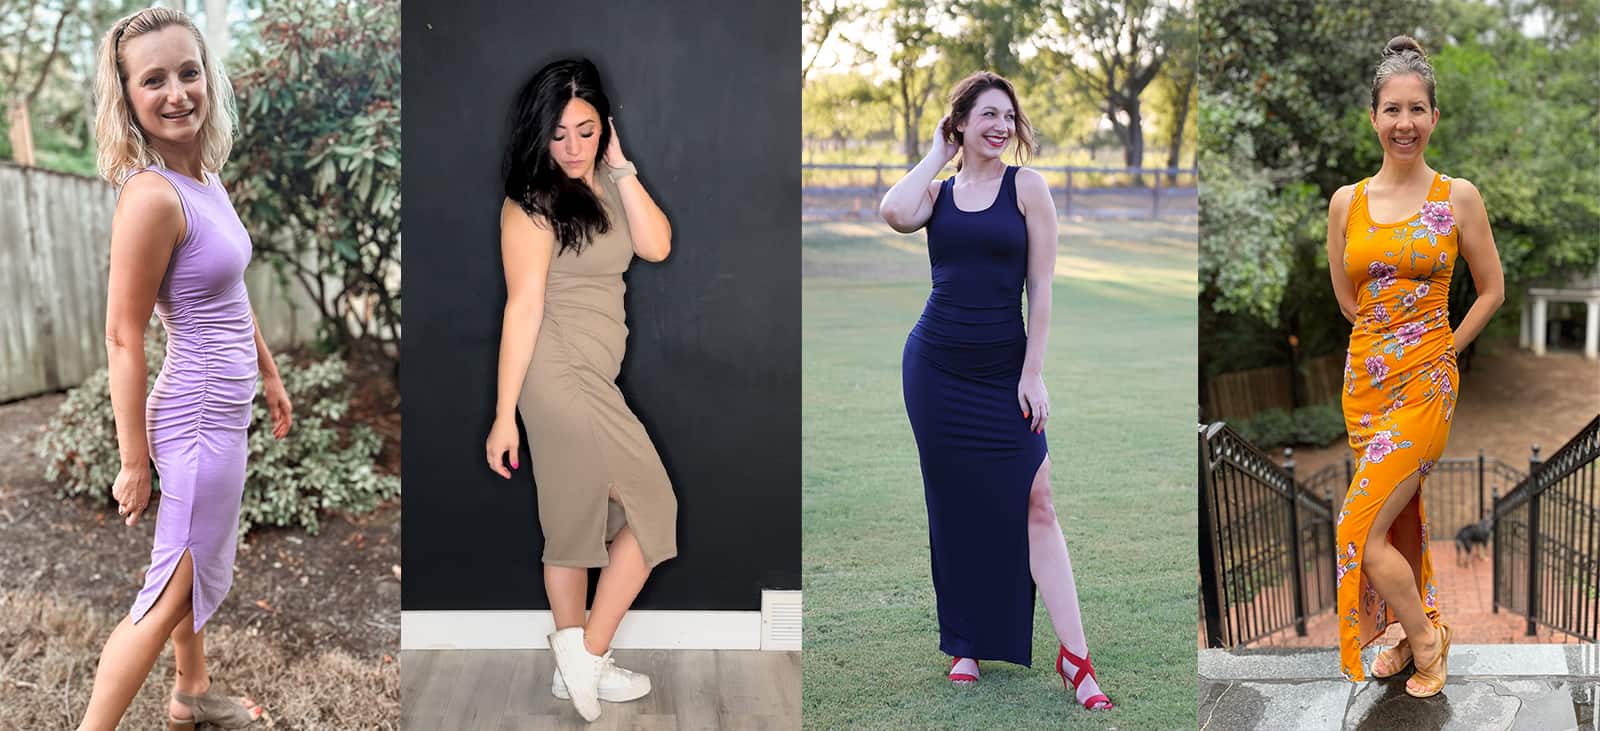
The Ruched Top & Dress is drafted with a snug fit throughout to give a classic, curve hugging silhouette. The side seams have a small amount of ruching (from bust-to-hip) to give a comfortable and forgiving fit.
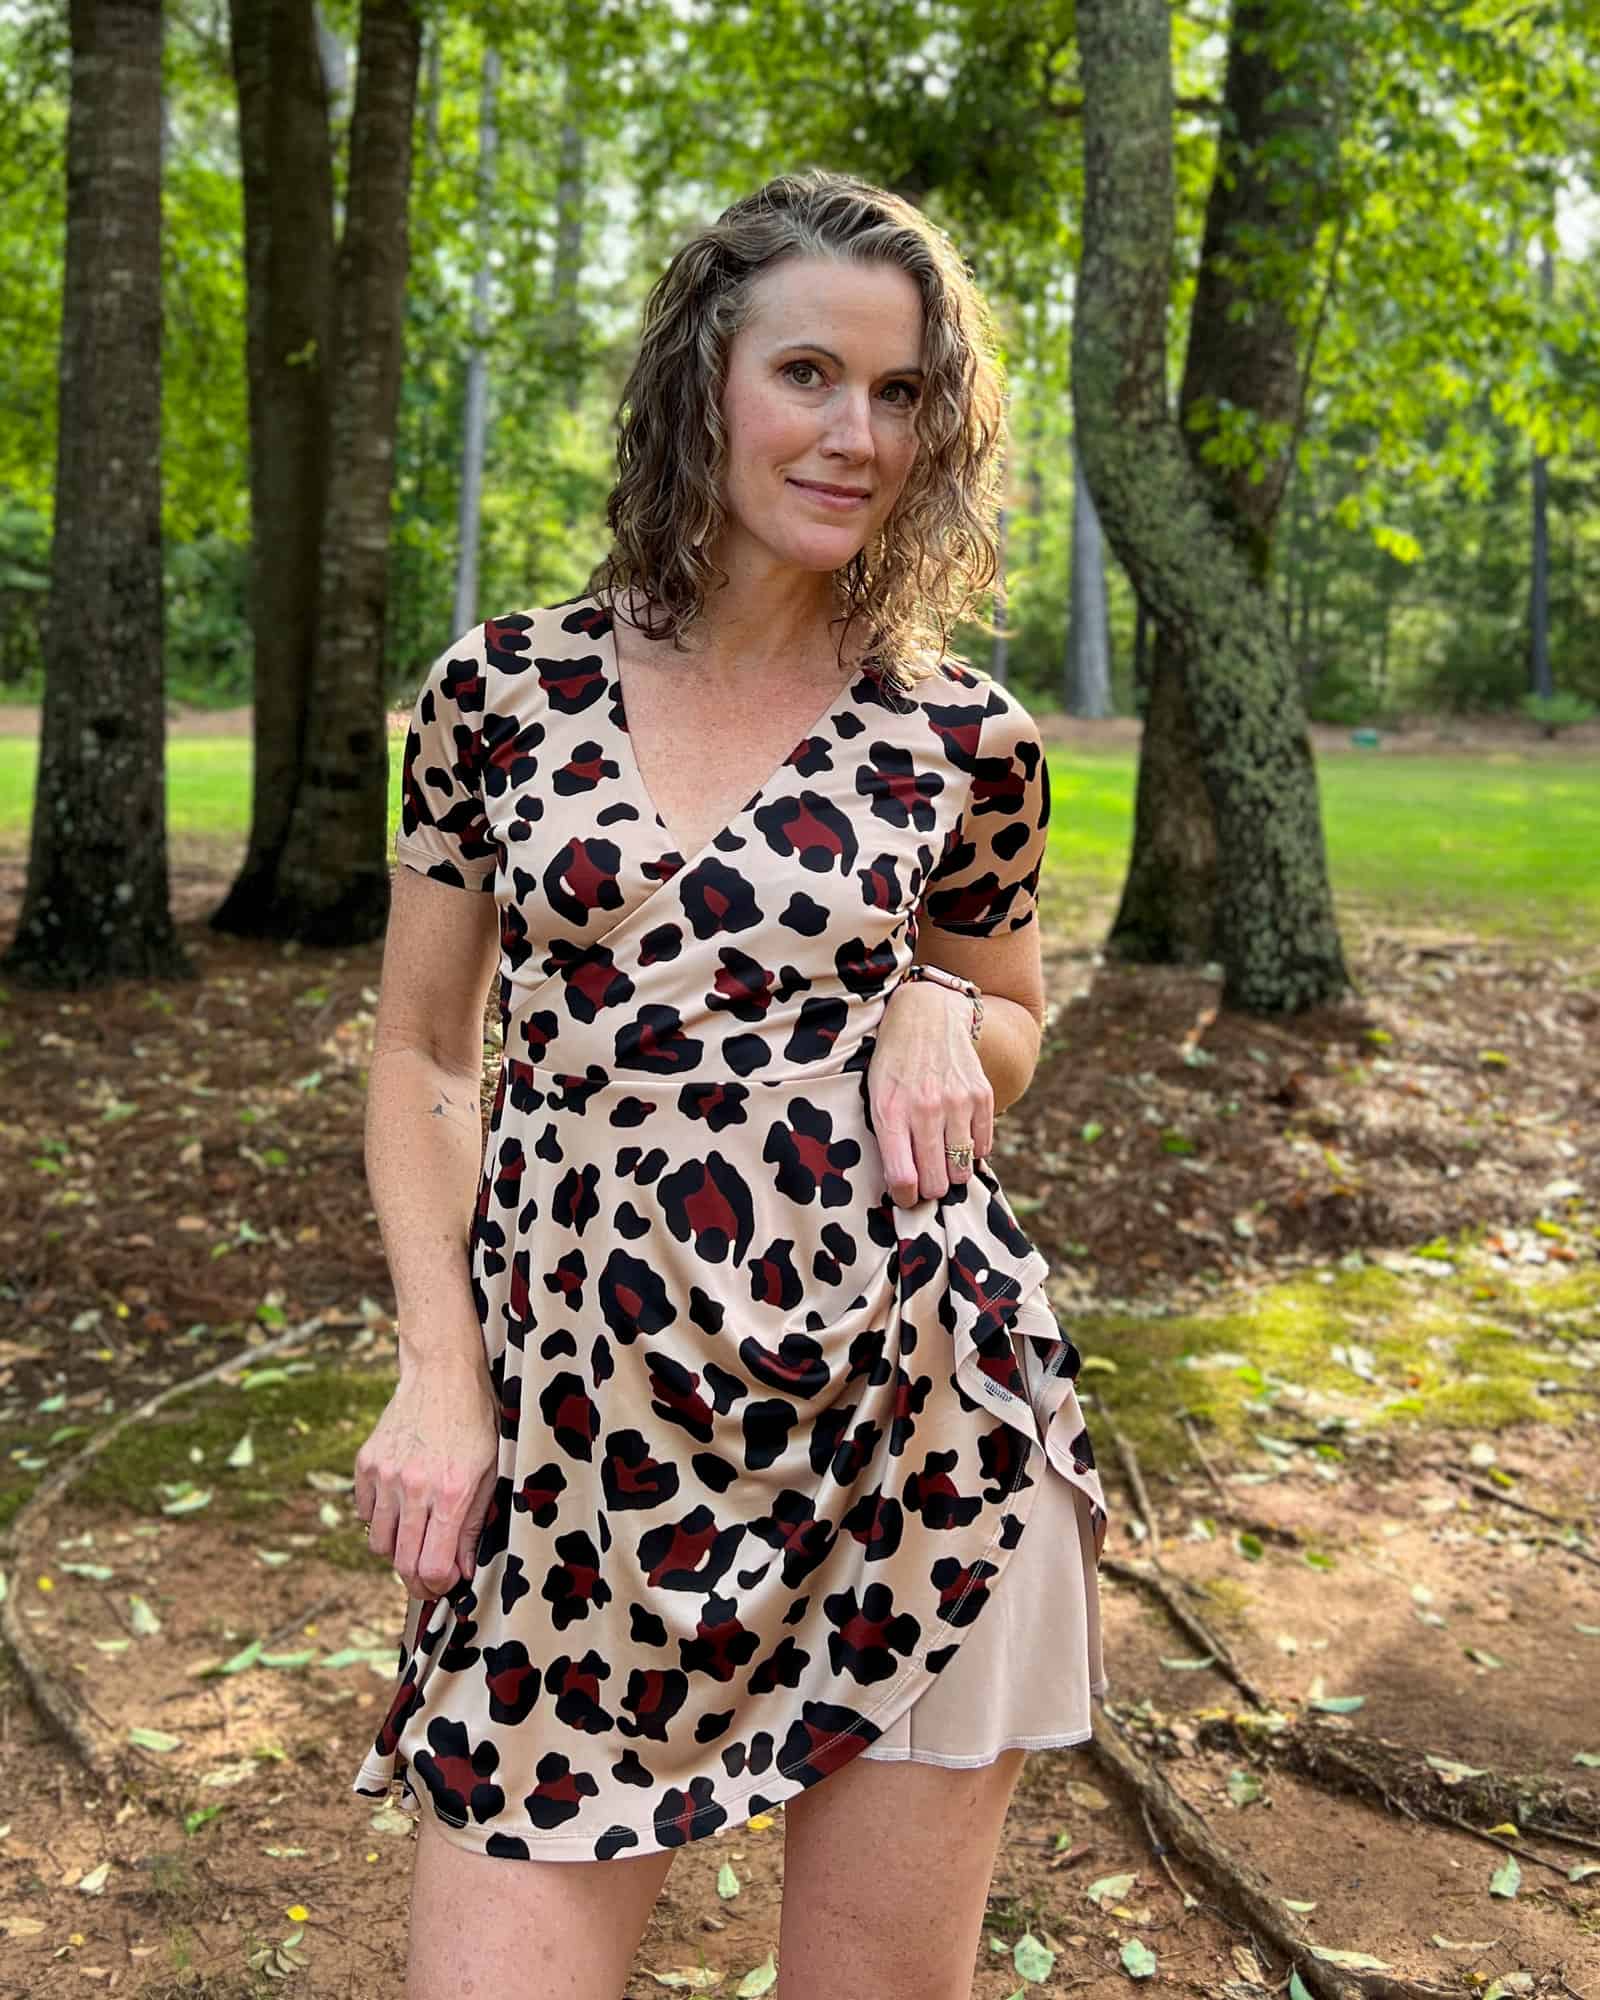
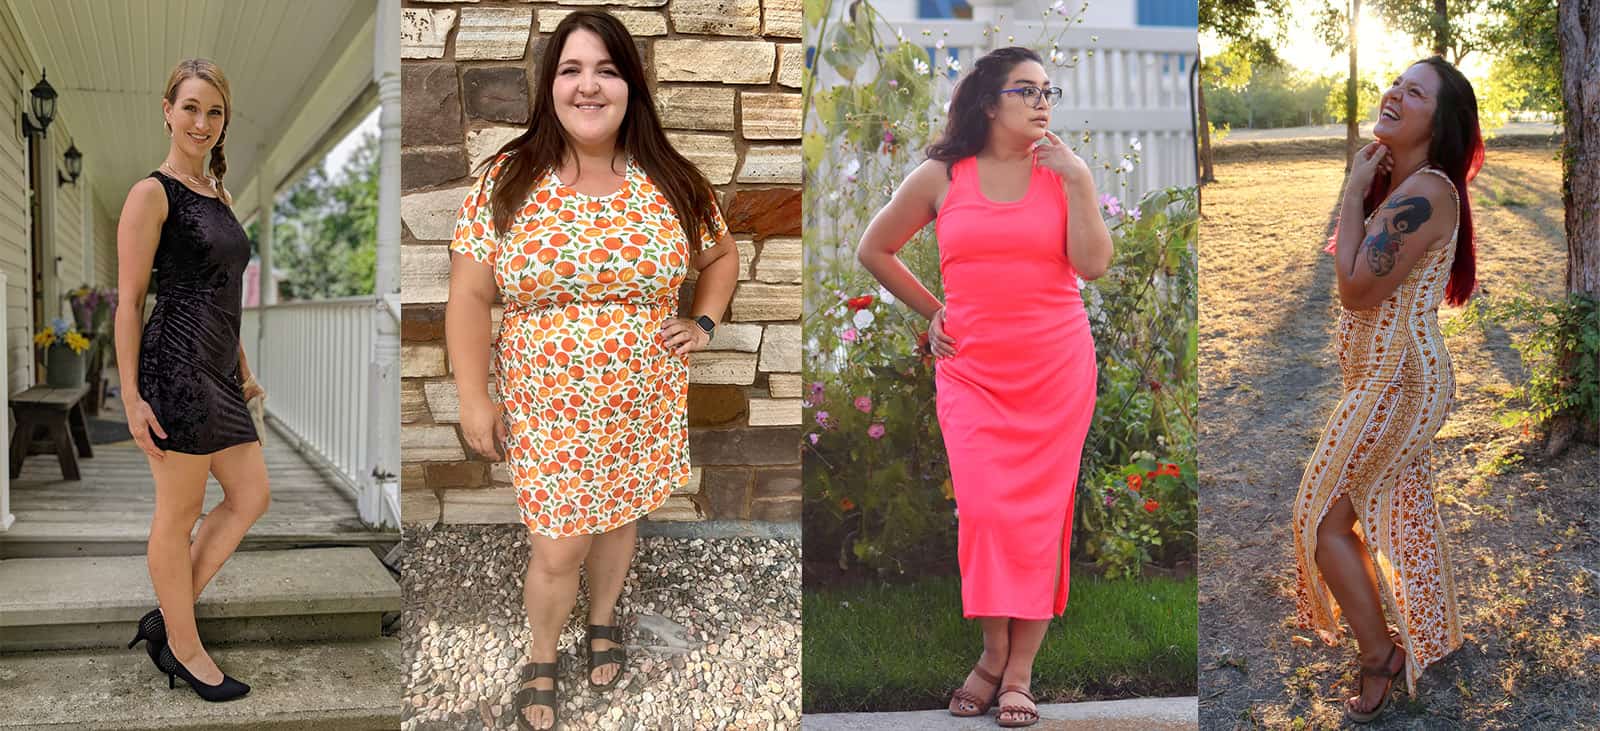
There are so many lengths included to fit your preference for every occasion! The Crop, Top, and Shirt lengths also include an option for side ties to add a cute detail and to give you more freedom in how much you ruche it up or not. The longer dress lengths, including Midi and Maxi lengths, have a side seam split for a fun to wear and elegant walking vent for the slim fitting skirt.
You can also add a shelf bra into any option and turn it into a workout top, swimsuit/rashguard, or to just go braless/give more support for the bust. You can sew up a top or dress perfect for any weather with all the sleeve options. You can also choose from a higher crew neckline or a lower jewel neckline on any option. This pattern also works well for maternity wear (I just recommend grading out the front piece at the waist to accommodate bump).
Options Include:
- Seven Hem Lengths: Crop, Top, Shirt, Mini, Knee, Midi + Maxi
- Four Sleeve Options: Tank, Short, 3/4, + Long
- Two Neckline Options: Higher Crew, Lower Jewel
- Optional Shelf Bra
- Crop, Top, Shirt Only: Tie Side Seam Option
- Midi, Maxi Only: Side Seam Leg Split
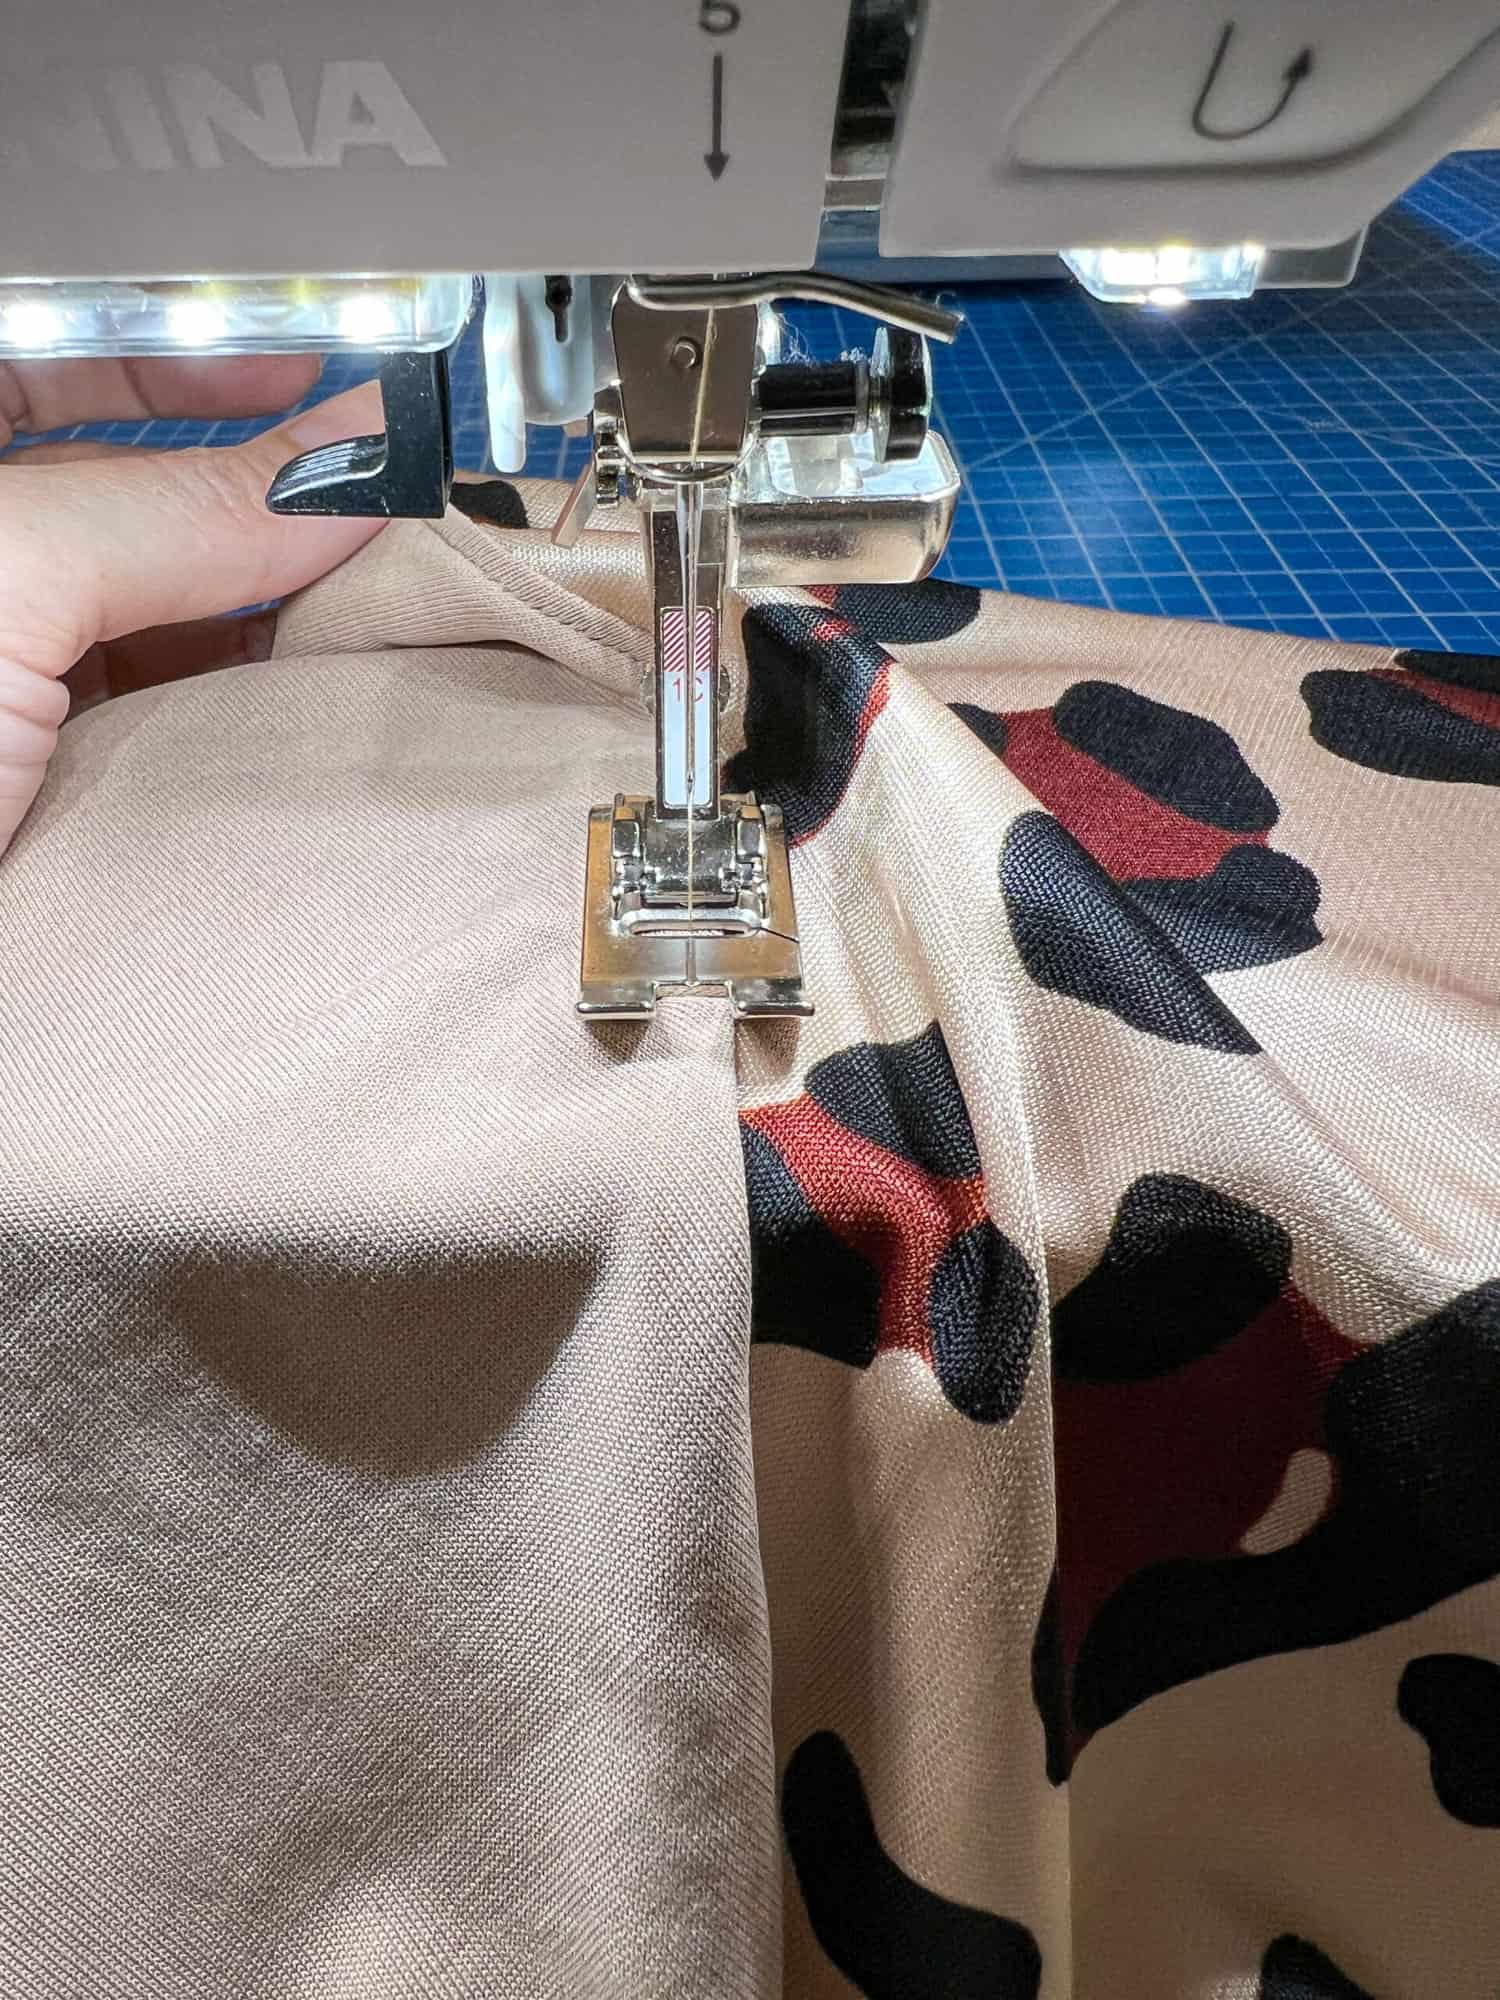
The Ruched Top & Dress pattern is drafted for light-to-medium weight knit fabrics with at least 30% horizontal stretch. Fabrics that have good recovery will work best for this pattern so it doesn’t end up “sagging” after wear. Fabrics that are more stable will show gathering/ruching more. The fabrics with more drape will not show the gathering as much and the center back and front will drape down in a curve (also a cute look). The shelf bra must have high stretch knit fabrics like swim, athletic, or high quality cotton spandex.
Specific Fabric Suggestions: Ribbed knits, cotton spandex, cotton jersey, modal/rayon/bamboo with good recovery, sweater knit, waffle knits with good recovery, swim knit, athletic knits, double brushed polyester, DTY, ITY, etc.
Ready to take a closer look at all of the options? Let’s do it!
CROP / TOP / SHIRT / MINI / KNEE / MIDI + MAXI HEM LENGTHS
TANK / SHORT / THREE-QUARTER / LONG SLEEVES
ELASTIC SIDE SEAMS / SIDE SEAM TIES (CROP, TOP + SHIRT LENGTHS ONLY)
SPLIT HEM (MIDI + MAXI DRESS ONLY)
We are incredibly excited to see what you make with the Ruched Top & Dress pattern! It is available and on sale (no code needed) through 11:59pm CST, Friday, August 25, 2023.
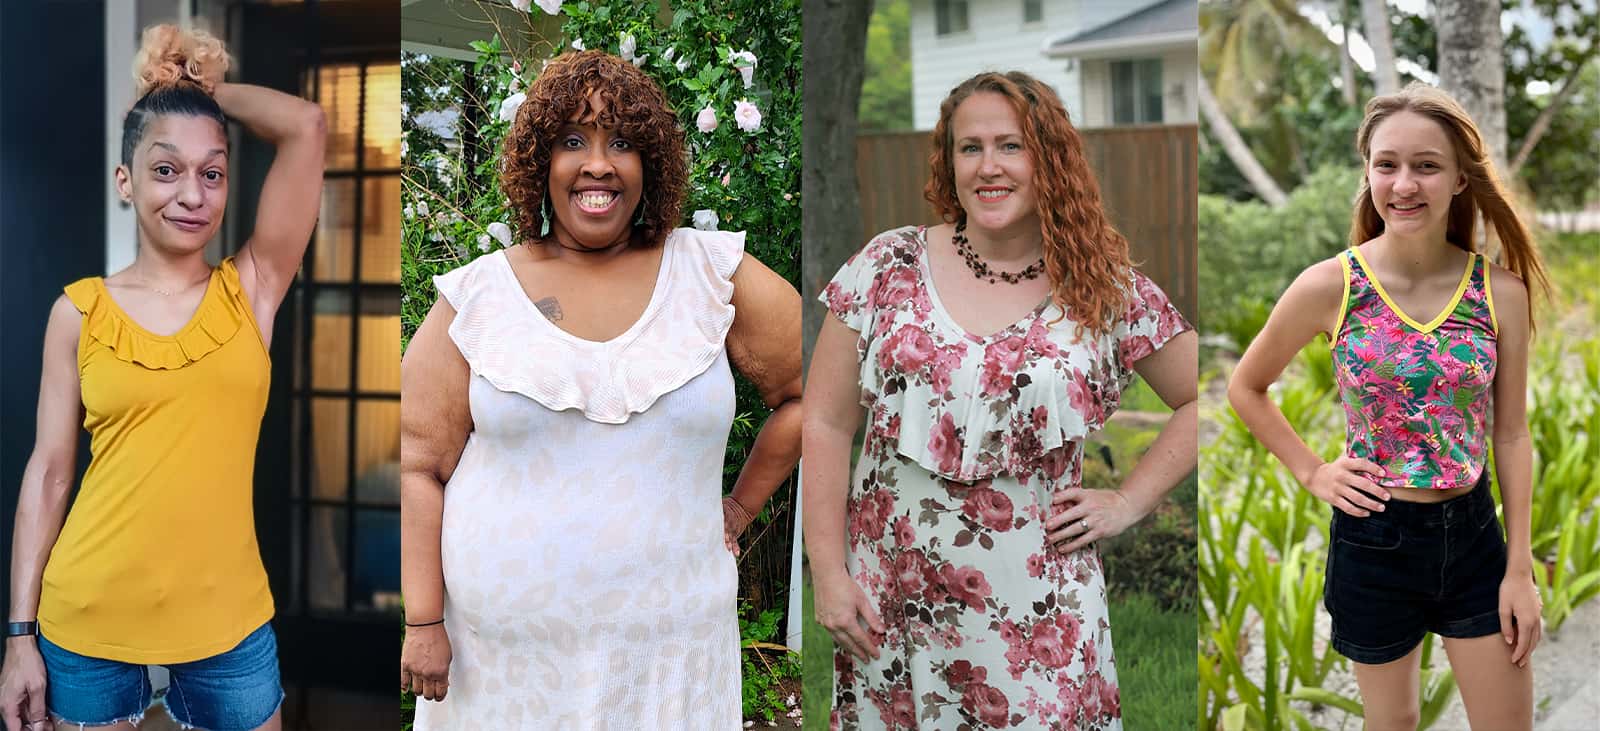
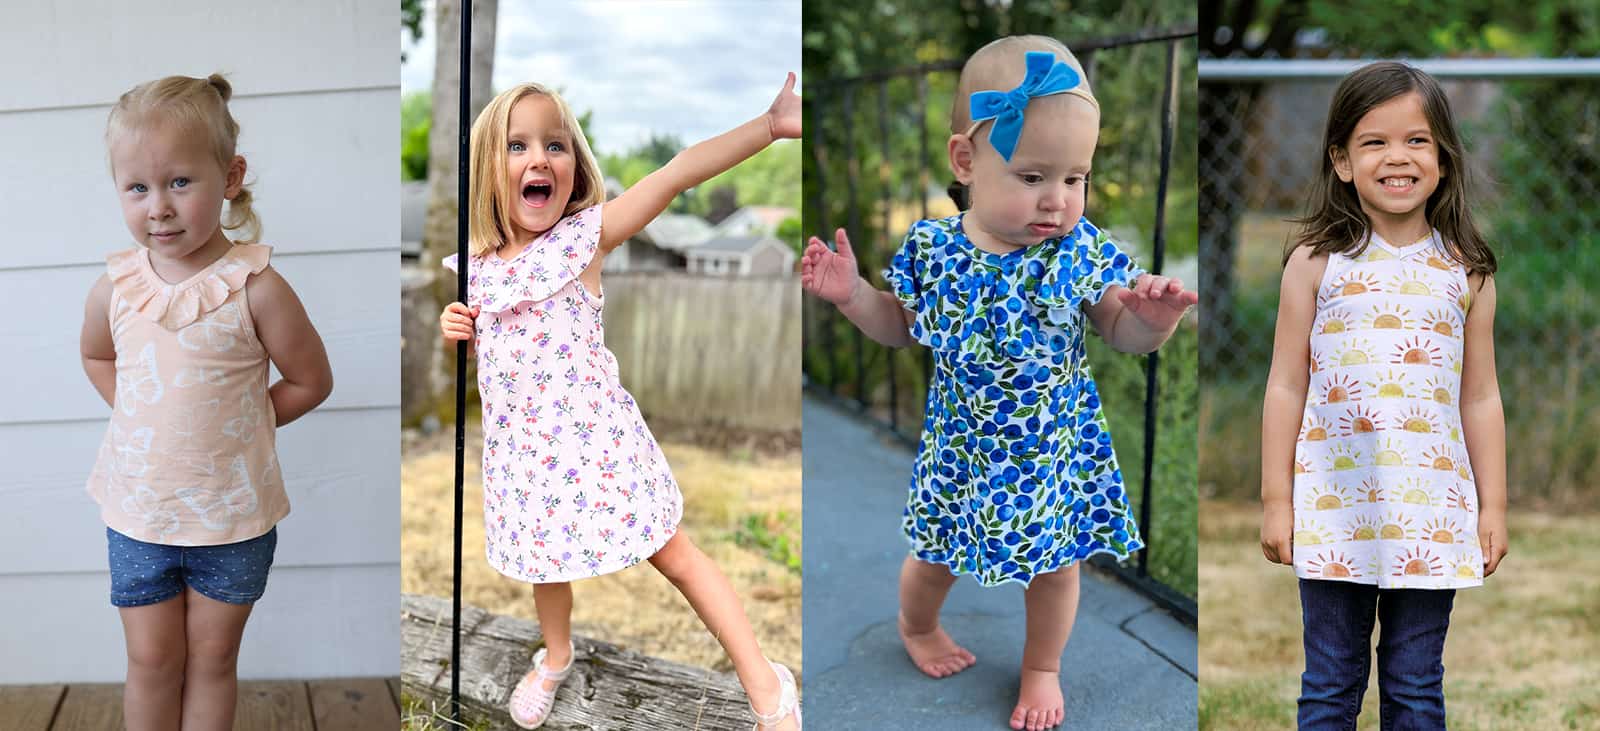
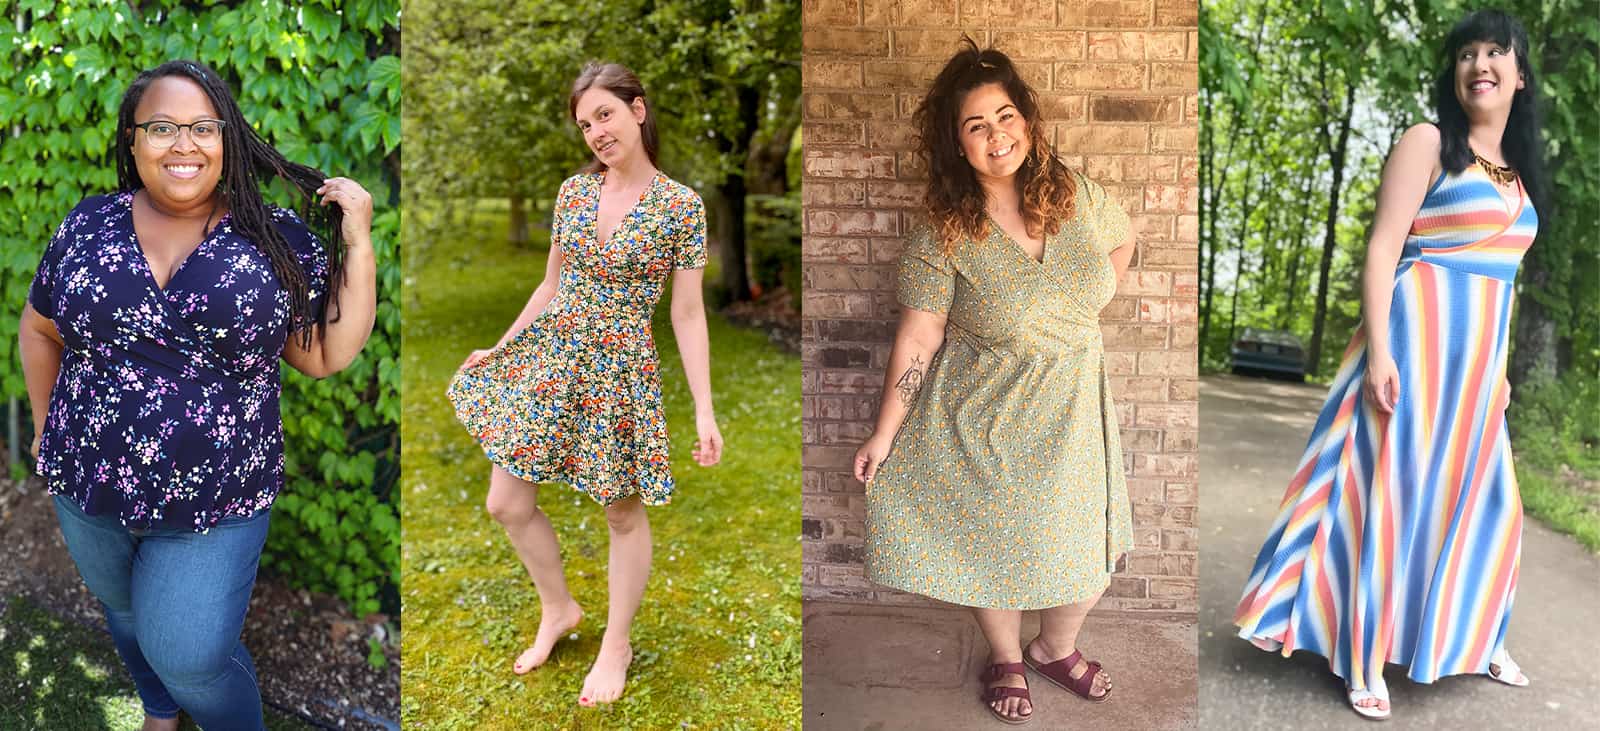
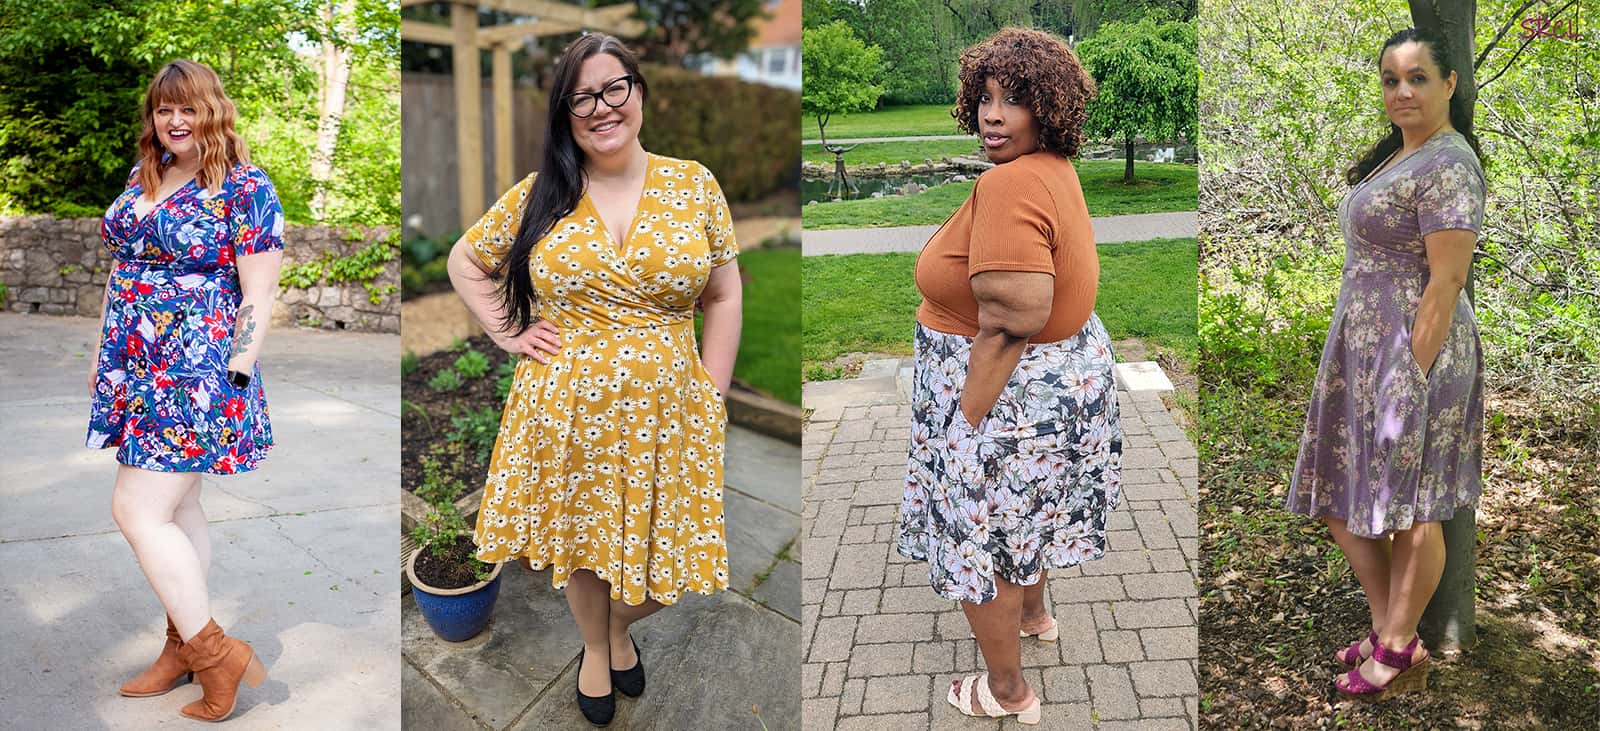
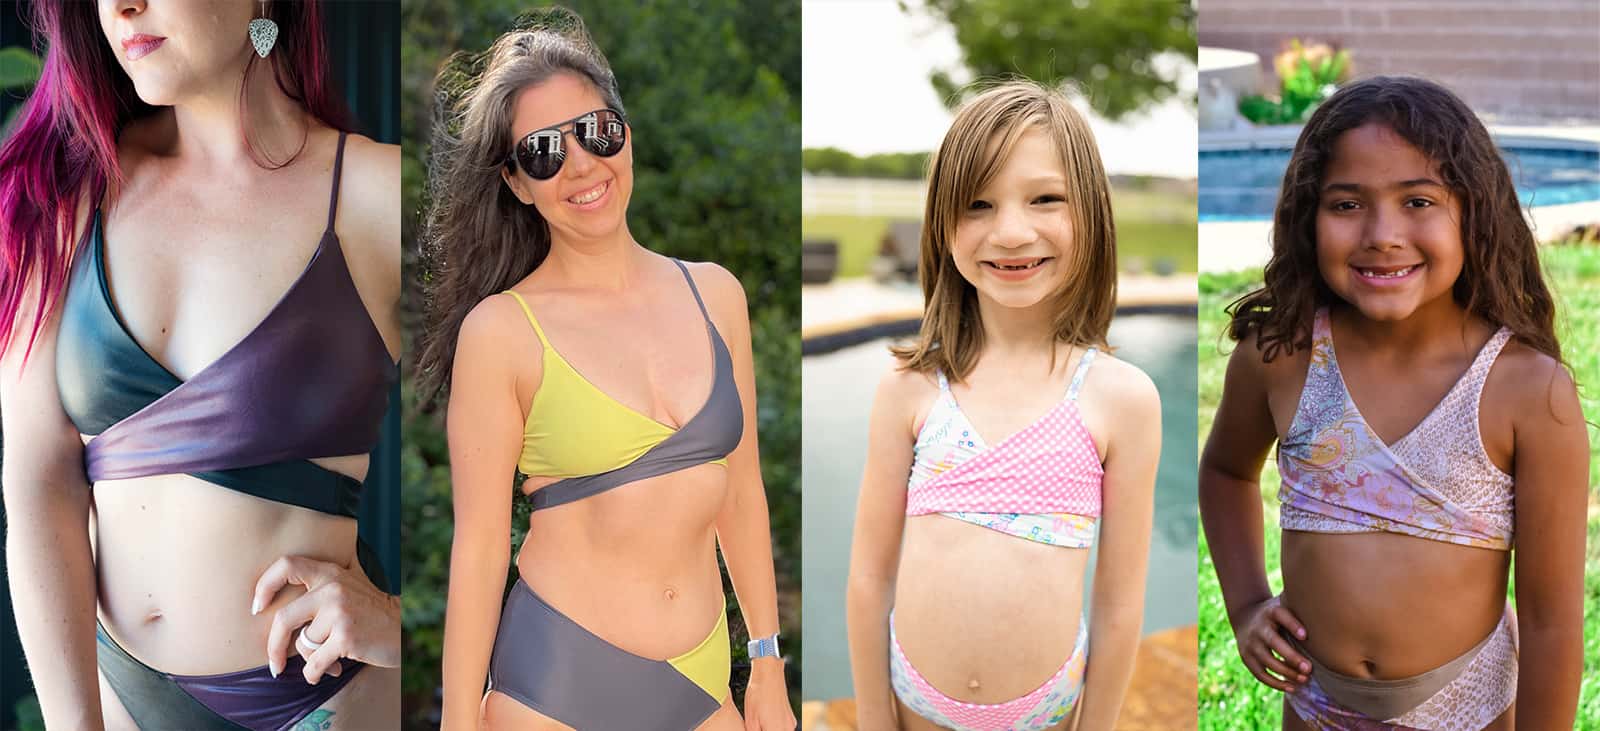
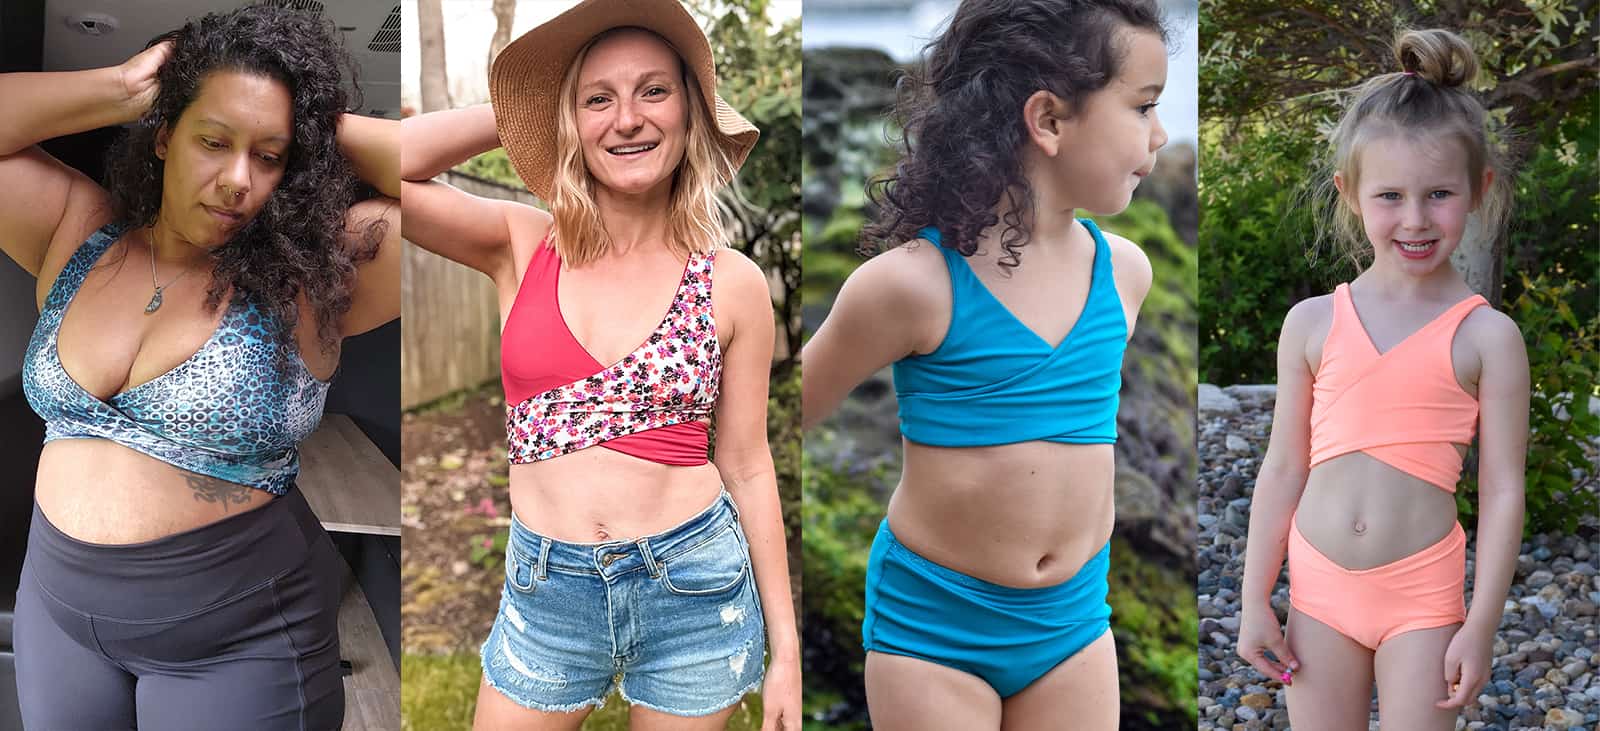
As always, we’ve got more photos for you to use as inspiration! Head over to the Facebook group to browse our albums full of gorgeous photos, compliments of our tester team!
Ruched Top & Dress Facebook Album
We can’t wait to see what you create for yourself!