We’ve got spirit, yes we do. We’ve got spirit, how ’bout you?!?!
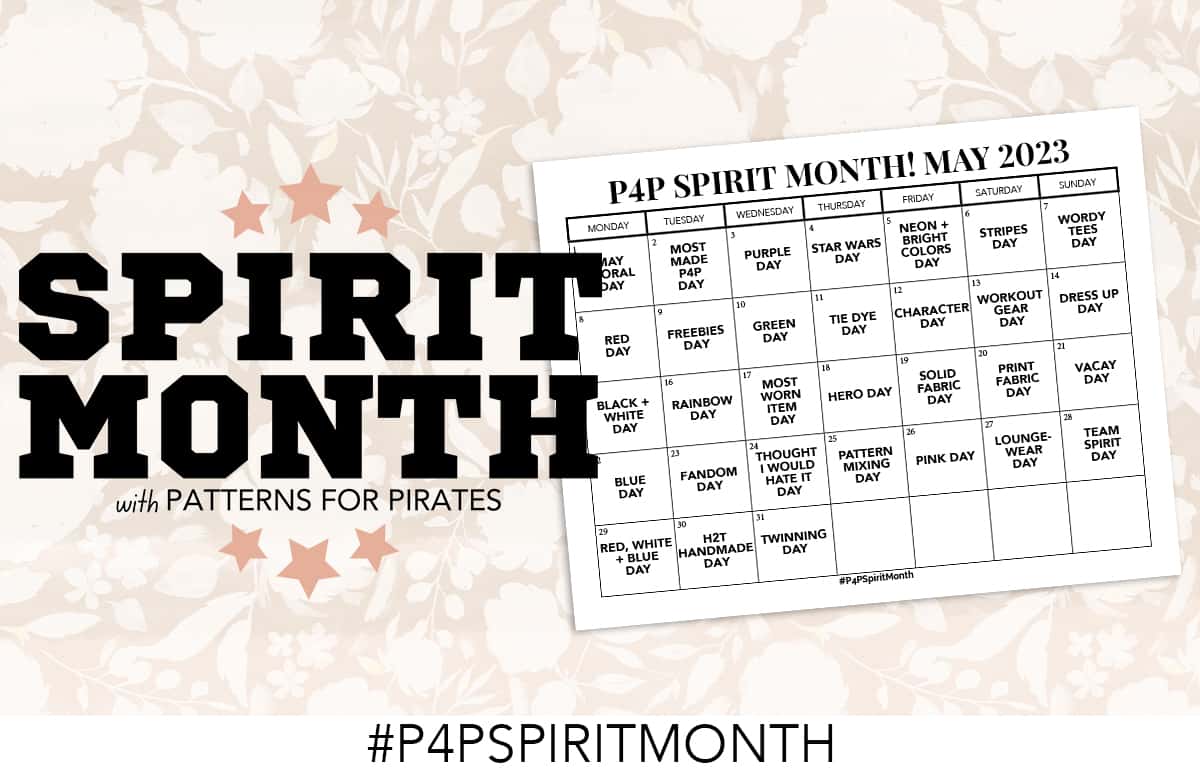
I am pumped to share that we are gearing up for another round of “P4P Spirit Month“, just like we did in 2020! As soon as the calendar flips to May 1, it’s go time y’all!
What are we doing exactly? Our team is super in love with Me Made May and the idea behind getting to know your self-made clothing, and to celebrate your sewing skills. Big props to So, Zo…What Do You Know? for starting this social media movement a decade ago.
We decided to kick it up a notch by creating themes around each day. Think of it like Spirit Week at school…where all of your fellow classmates dress in theme together and you get to feel the excitement and camaraderie surrounding your themed clothing efforts. Instead of it only lasting a week, it’s the ENTIRE MONTH. And the themes are pretty achievable, using items you already have in your closet. You can play along as much or as little as you’d like.
DOWNLOAD THE FREE PRINTABLE CALENDAR HERE
The rules are pretty simple.
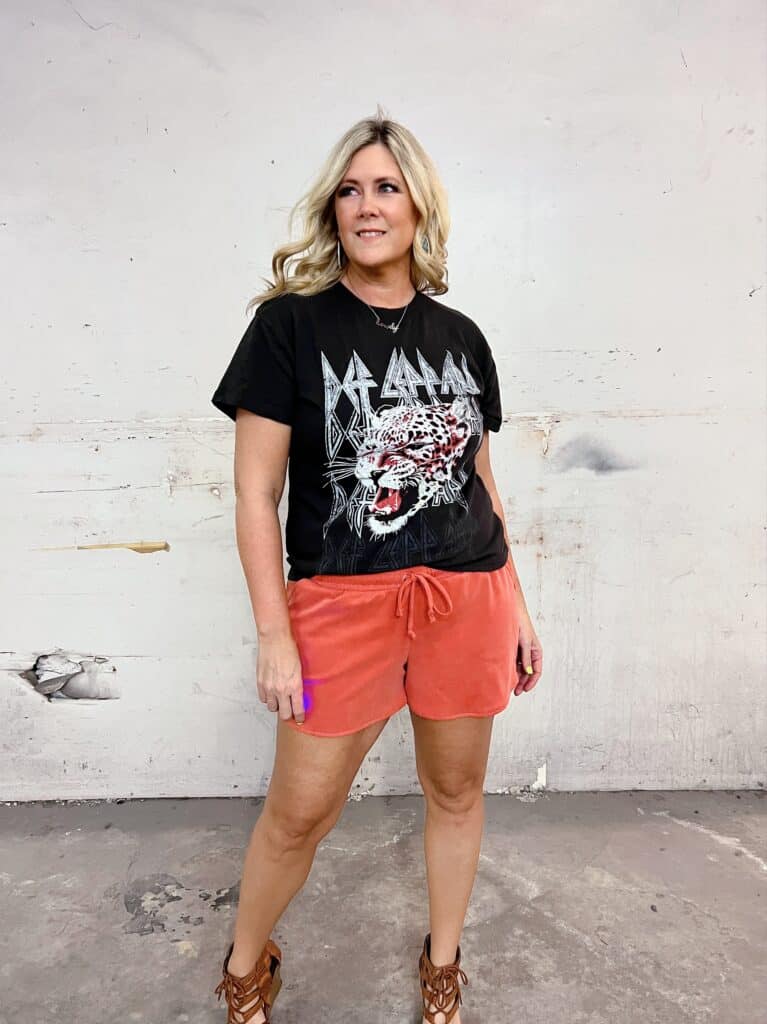
- Wear a new / old Patterns for Pirates clothing item that you’ve made, matching up with the daily theme. ie: wear a purple Basic Tee on Purple Day (May 3).
- Simple adjustments / pattern mashes are fine to share. We just want to be able to recognize the P4P pattern you used to make your clothing item!
- Take a photo of yourself in the item.
- It has to be a new photo, taken that day. Mirror selfies with a messy room behind you are completely acceptable. We just want to see you, in this moment, playing along with us!
- Share the photo on the Patterns for Pirates Facebook Group wall, in a separate post that you’ve created.
- You must use the hashtag #P4PSpiritMonth so we can find your image. (It must be EXACT to come up in our search.)
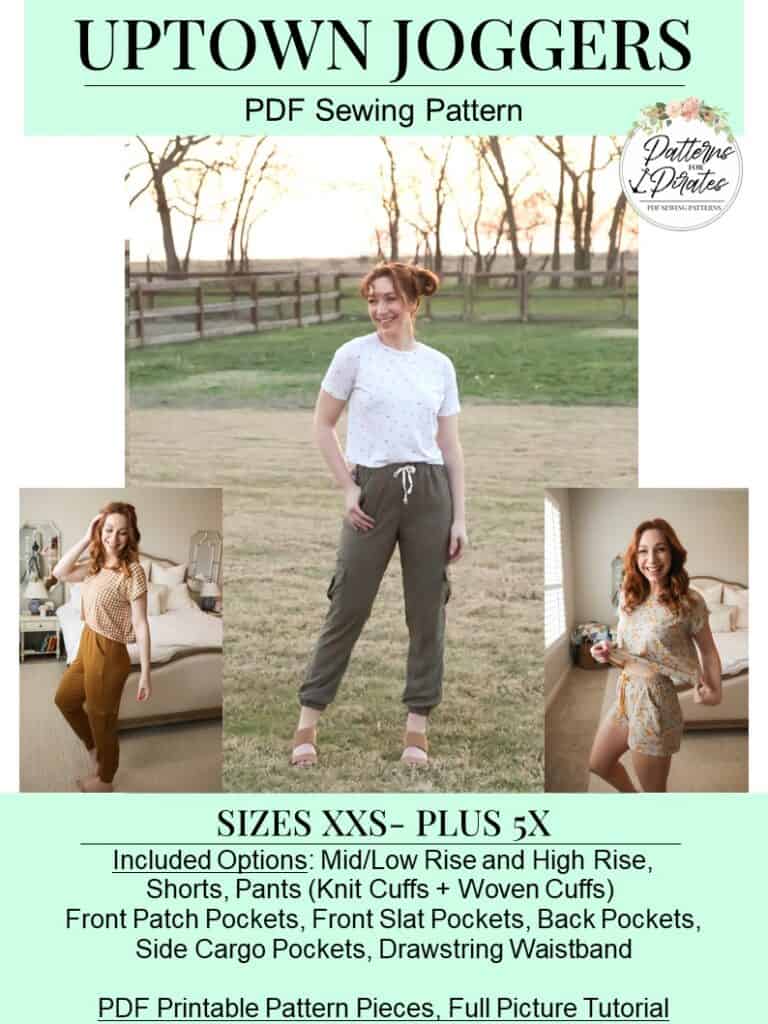
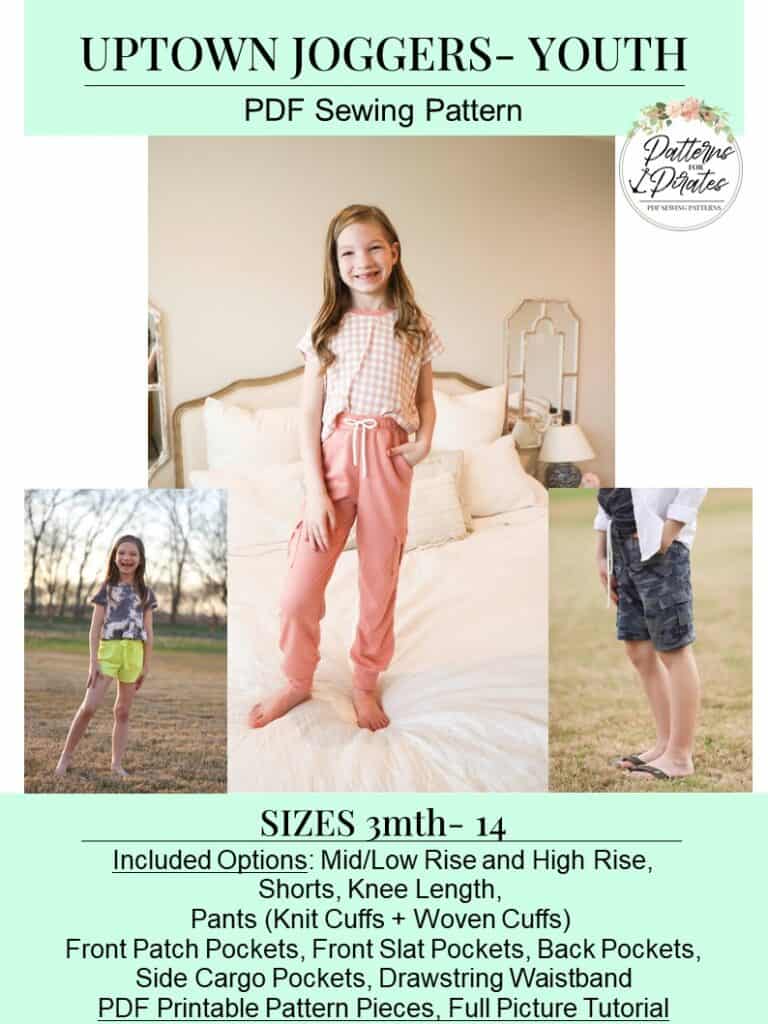
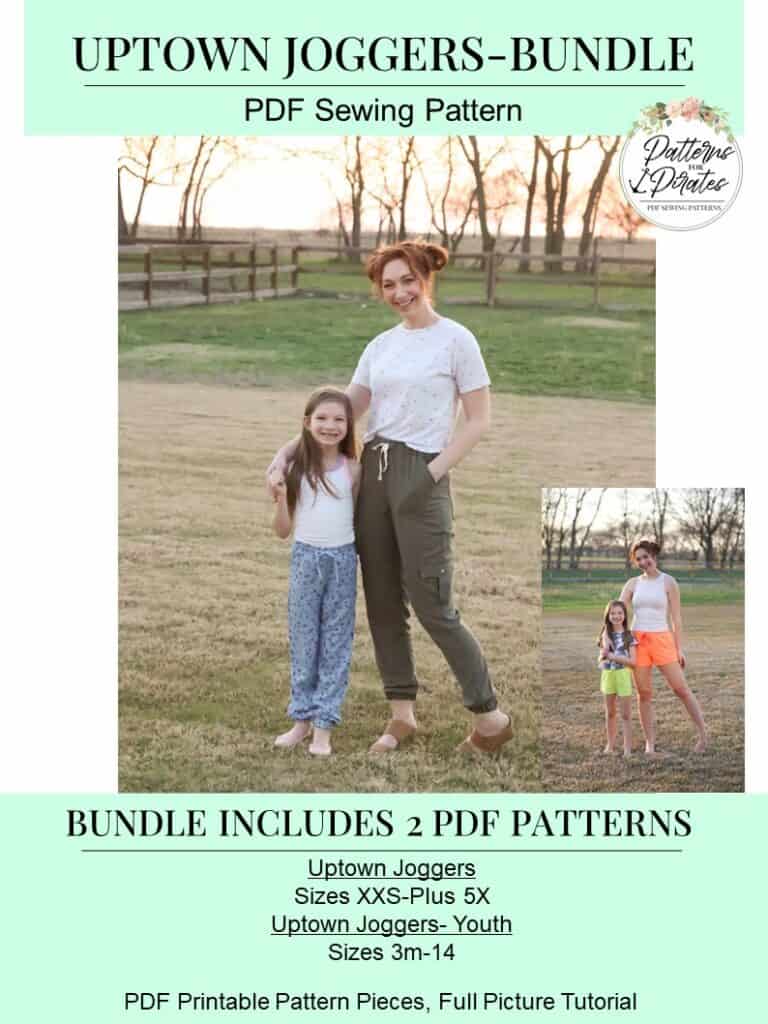
- Tell us what P4P pattern you used to create your look.
- Have fun with it!
Why play along with us? To have fun, of course. But also — there are some prizes involved.
We will pick three random names from all of the images that are shared using our hashtag. (Our super pirate sleuths will make sure you’re following all of the rules and posting on the correct days.) And those winners will be walking away with $25 in store credit to the Patterns for Pirates pattern shop!
Each day that you participate and share counts as an entry into the contest. The winners will be random lottery winners, meaning that everyone has a chance….from a beginner who might be sewing their first P4P to a seasoned apparel sewist!
But wait. There’s more!
Each day, we will be featuring a different P4P pattern, and for 24 hours only, that pattern will be $2 off. No code needed. Each featured pattern will be announced in the Facebook group at 9am EST by Crew Member Katy McKinley…so go find her posts each morning to find the daily deal!
Have more questions for us? Send us an email ( help@patternsforpirates.com ) and we will be ready on the other side with an answer!