2022 Fall Sale and Grand Opening of Anchor Fabrics
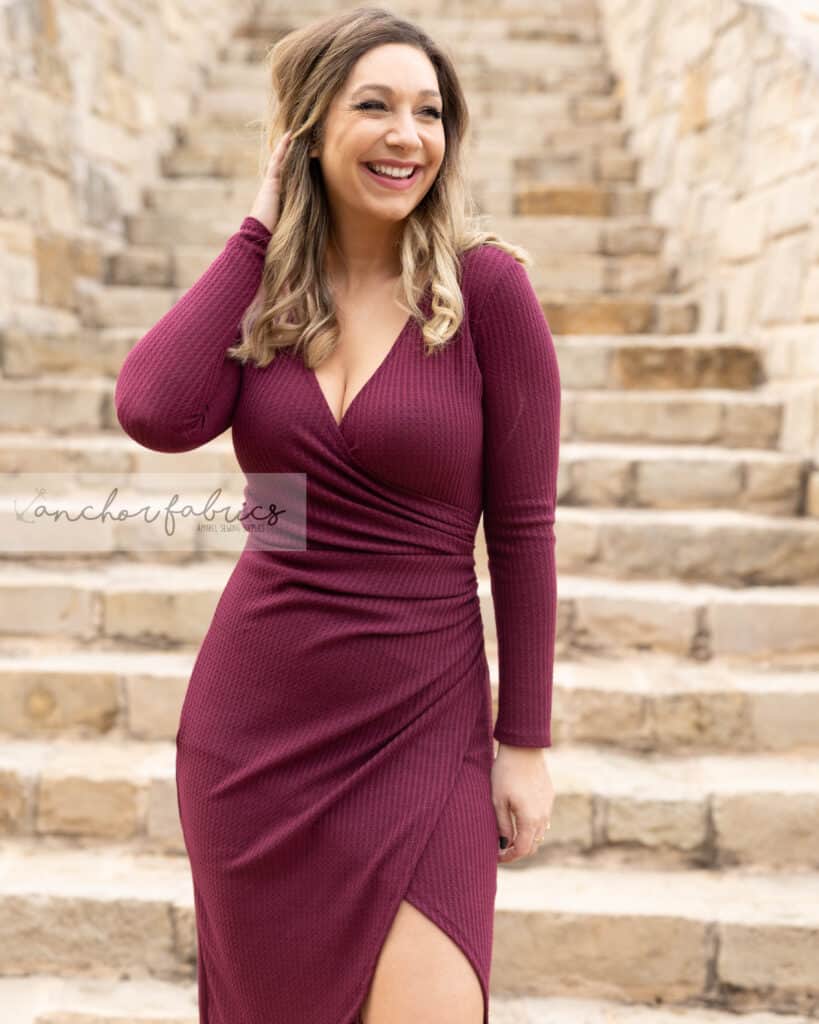
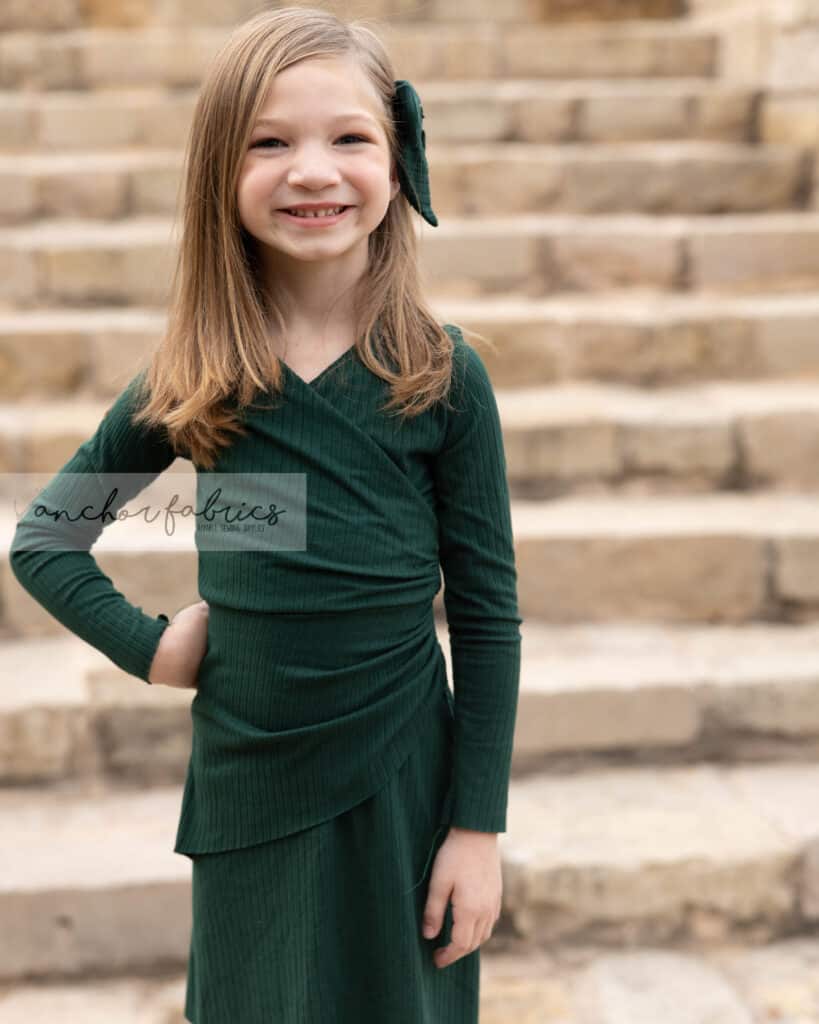
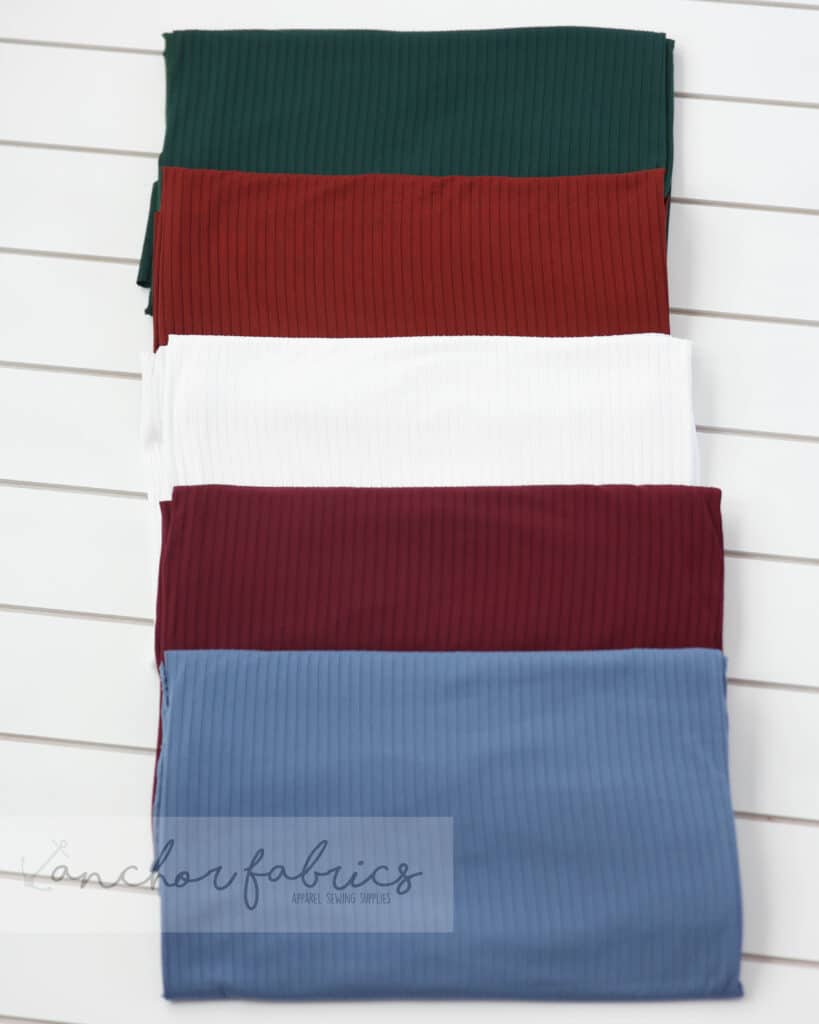
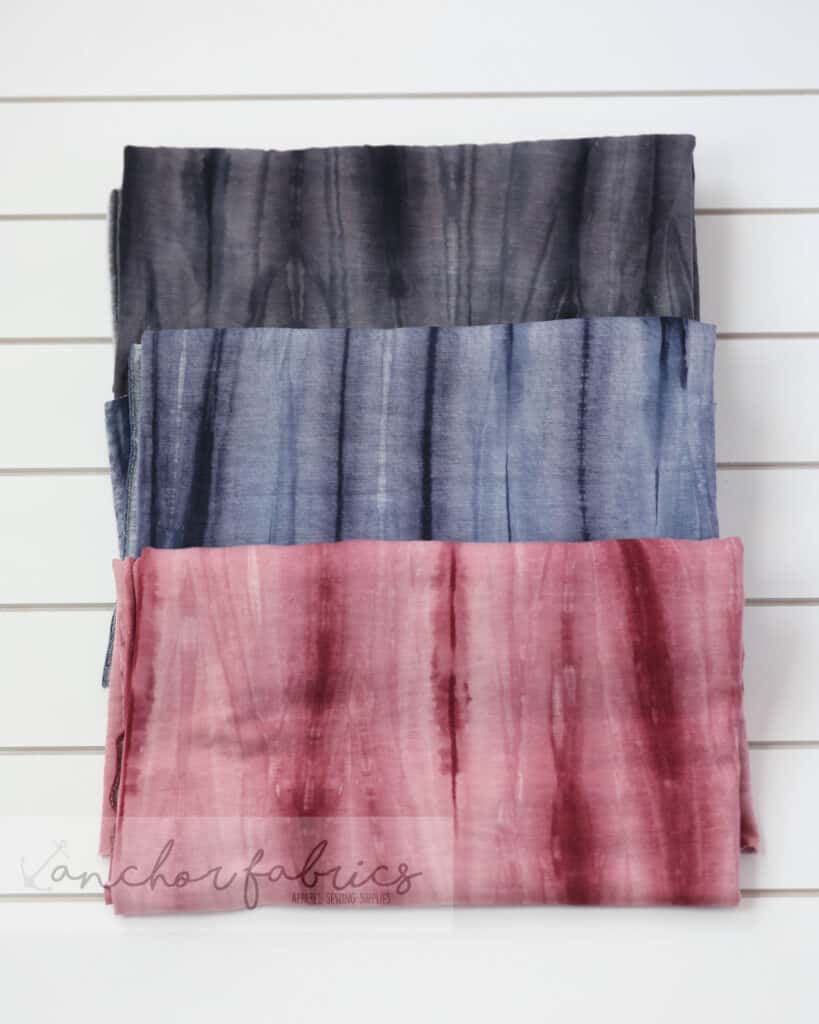
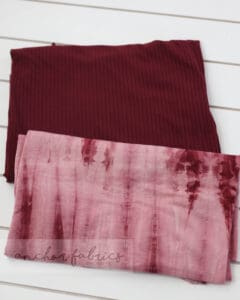
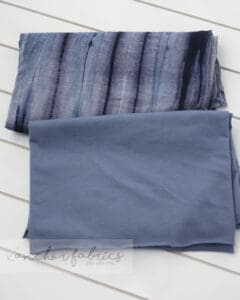
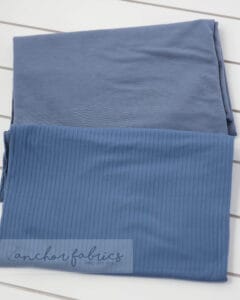
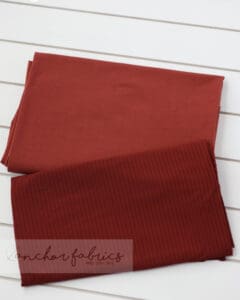
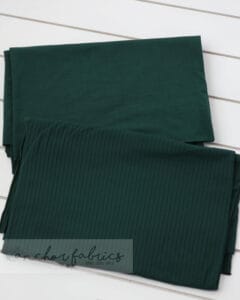
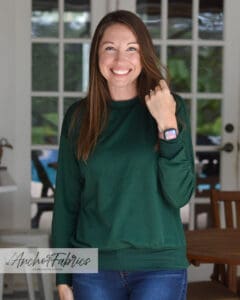
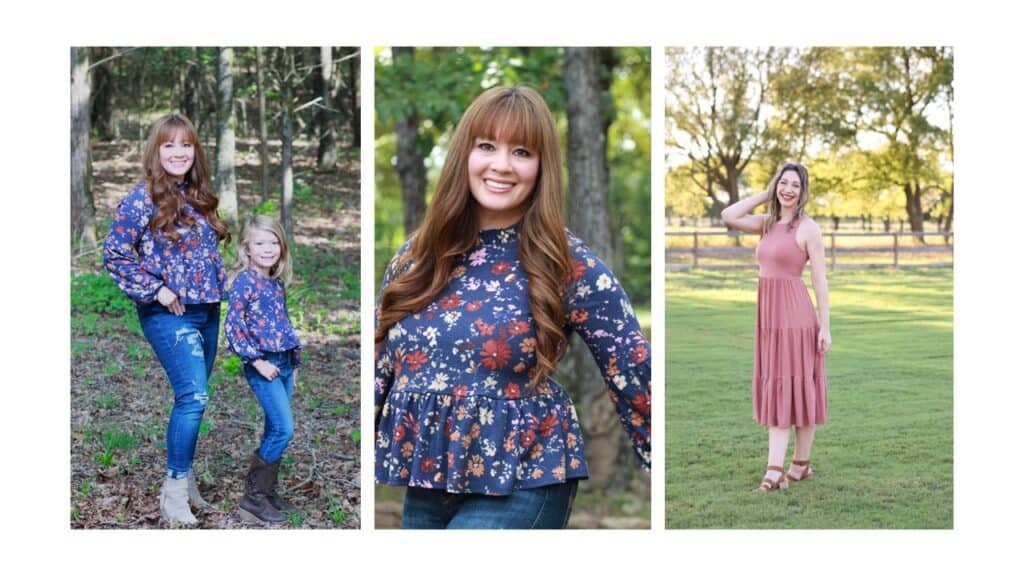
I’m so excited to share the biggest announcement to hit the blog in a long time! Along with our Fall Sale this year and as we near hitting 150K Facebook members in our sewing group we’re also opening up a small fabric shop called Anchor Fabrics!
You might wonder why I’d ever try adding anything else to my overflowing plate? Me too… jkjkjk 😉 I absolutely love to share the love of sewing, especially helping those new to the art. Katy and I started the monthly fabric subscription, Fabric for Pirates, 3 years ago now and have since been on the hunt for smaller wholesalers we could support through that. I’ve been purchasing my own fabric samples from our wholesalers for a while now, which means you’ve been seeing these fabrics being used in many of our new pattern releases.
I get asked so often where my fabrics are from, and now I can pass along the support of a small wholesale business and give you the same fabrics I’m asked about at the same time!
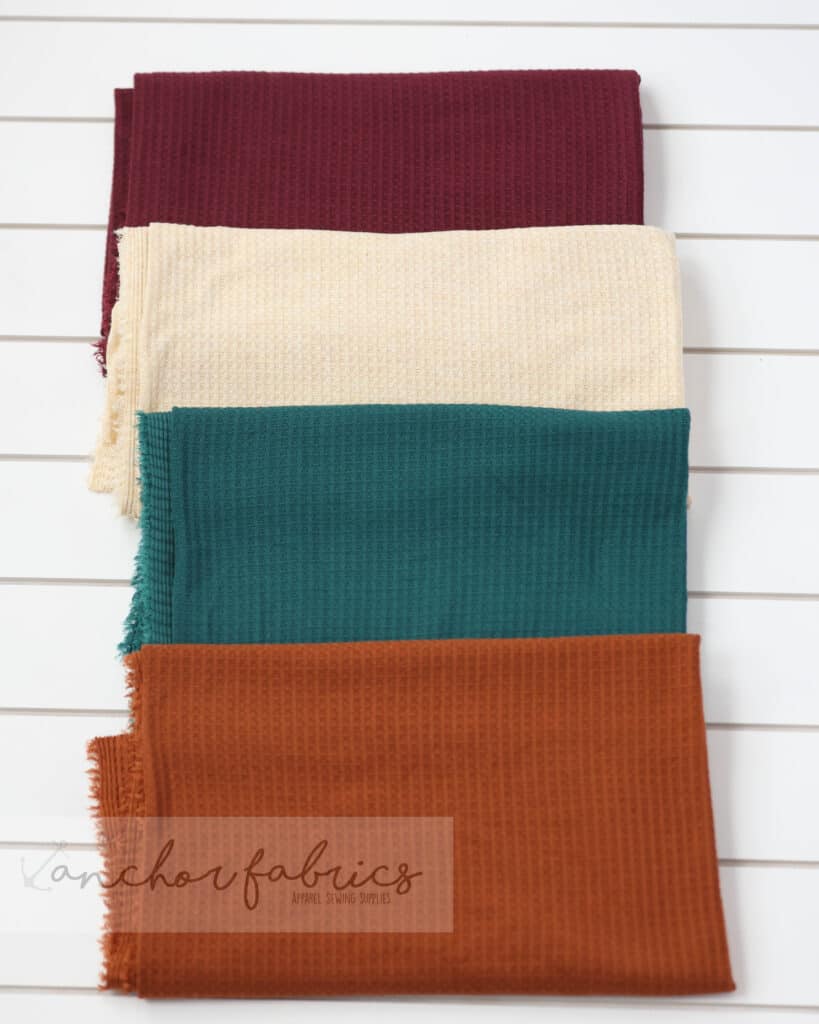
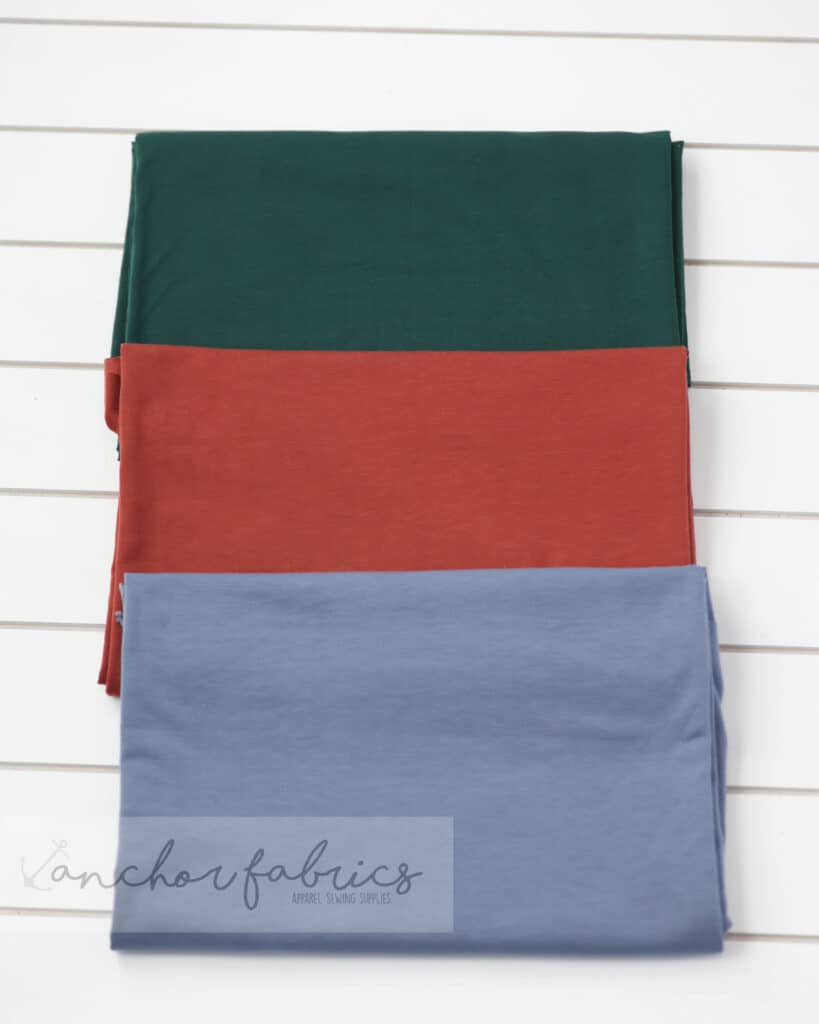
We’ve started out with a small collection of beautiful fall inspired fabrics. I will continue to order samples for pattern in testing and stock my favorites on the site along with pattern releases. This way if you love a fabric I’ve sewn up and shared I will have it for you to purchase for yourself! How fun is that? I can’t wait to provide even more help for beginners trying to pair the perfect fabric to their patterns.
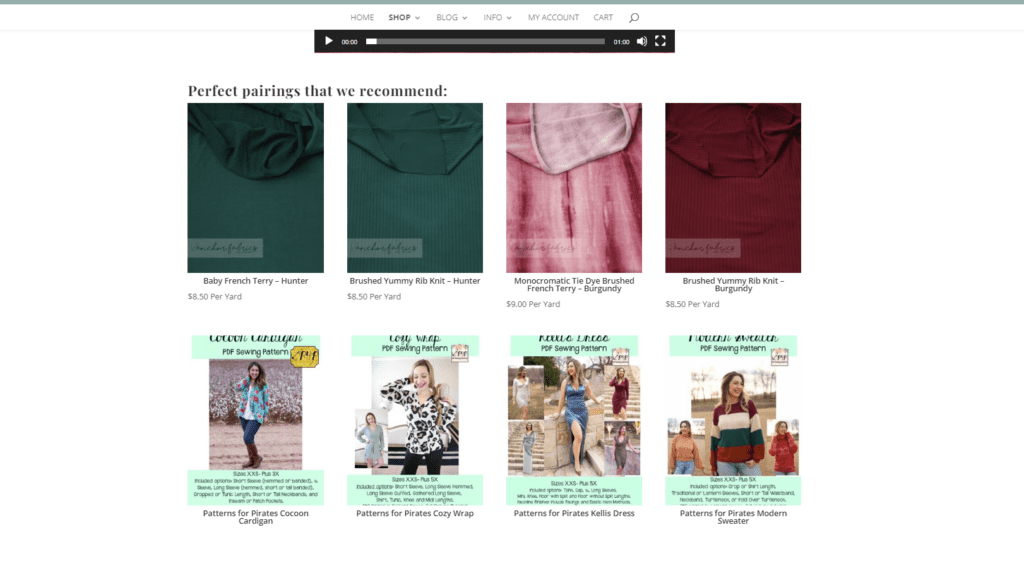
In each of the fabric listings, I have linked a few P4P patterns that will pair nicely with the fabrics. This is such a useful tool for beginners, especially for those who are still working on figuring out which fabric goes with which patterns. And of course you can always ask in either Facebook group.
Yep, there is another group now! If you’d like to join the Anchor Fabrics Facebook group, we’d love to have you! Anchor Fabrics new group will be your new go-to place to share what you’ve made with your fabrics, no matter the designer or pattern! It’s also a great way to ask questions about fabric pairing, color matching, or anything else you need advice or assistance on when it comes to our fabrics.
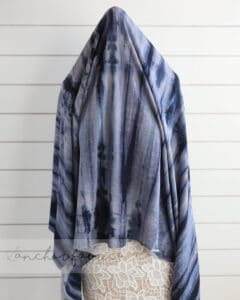
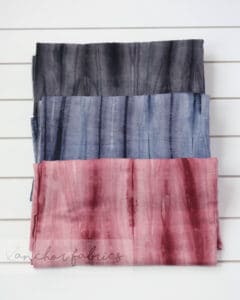
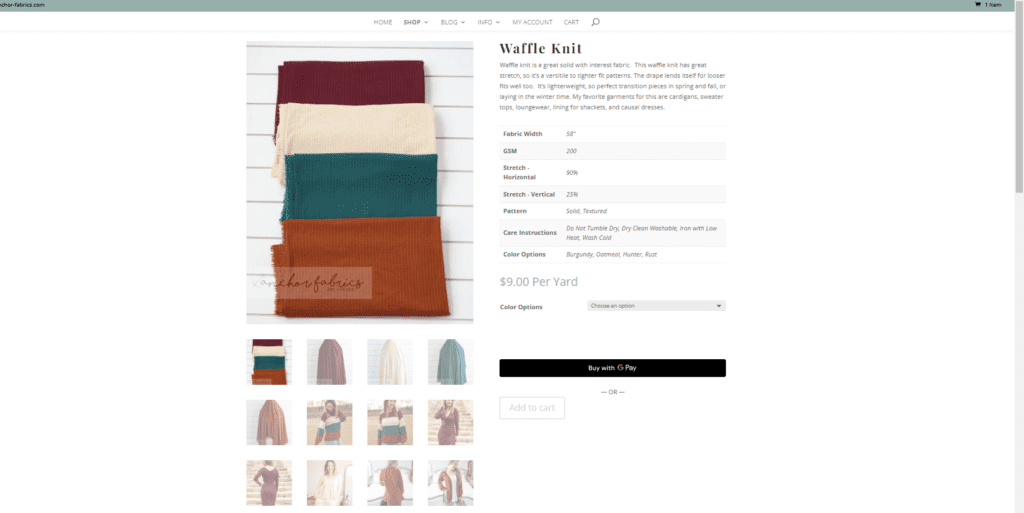
I’ve tried very hard to include ALLLL the important information about each fabric listed on the site for those who might not be acquainted with the different kinds of apparel fabrics. I’ve showed close ups with the back and front (to show texture), draped over a maniquin (to show scale, drape and opacity), and flat fold with other available colors for thickness and color. I use two color correcting devices, natural lighting, and a simple background to make sure I’m representing the colors the best I can in the photos.
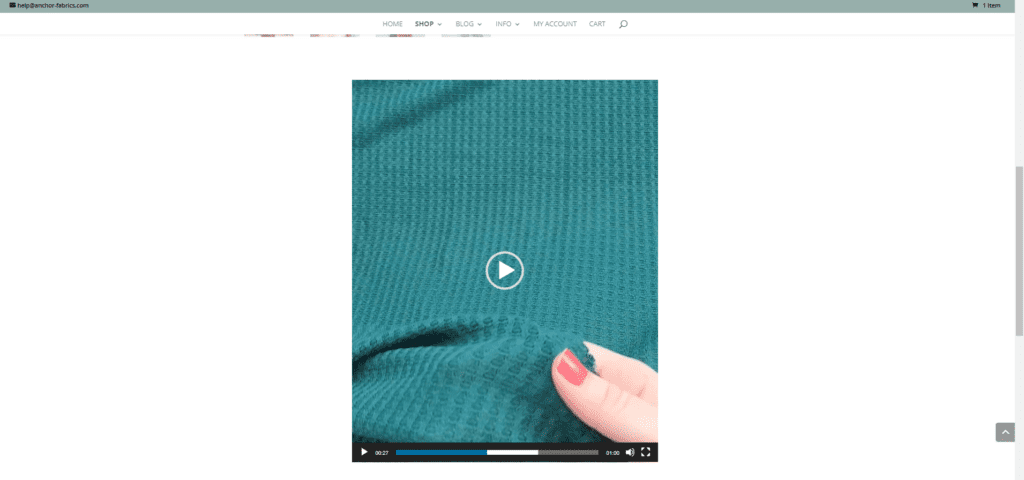
Each listing also includes a video showcasing that fabric, so you can see more than what a photo can sometimes capture. Our goal is to help you become more confident in selecting and purchasing fabrics from us, so you can make all of your sewing dreams come true! We want you to bring your apparel sewing visions to life with Anchor Fabrics, no matter if you’re a experienced sewist or just starting out on your sewing journey.
I also try to show the fabrics I thought matched well together on the site for you!
I love to be able to grab a matching rib knit for cuffs, neckbands, etc. Sometimes it’s hard to know if a burgundy color in two different fabric bases will even match one-another. That’s why I’ve try my best to show the fabric combinations that I think work really well together to help make that easier for you. No more guess work!
One of my favorite set-ups on the Anchor Fabrics website is that we are offering everything in 1/2 yard increments! If you just need a little bit of that matching rib for cuffs you can grab just 1/2 yard instead of a full yard. Or if you’re colorblocking your make… just grab 1/2 yards of each color!
You can also order continuous yardage in half yard increments as well… so those pesky Peg Legs that take JUST OVER one yard… you can now order 1.5yards rather than 2 full yards. YES!!!!
With the Grand Opening of Anchor Fabrics, and the Fall Sale at Patterns for Pirates happening at the same time, now is your perfect chance to stock up of fabric and patterns for the upcoming holiday sewing, fall and winter weather, and just grab whatever you’ve been eyeing! If you have seen a make of mine that you loved the fabric and would love for me to stock it on Anchor… let me know 🙂 I might just be able to do that!
Sale coupon codes will automatically pop up at the cart and you just CLICK TO APPLY 🙂 That way you don’t have to remember the codes! Don’t forget to subscribe to our newsletters so you never miss out of sales and releases. We don’t send newsletters unless there is something new and worthy of an email, so no worries about us clogging up your email. If you’re subscribed and never see those emails, make sure we are not being hidden into your junk or promotions folder to never be seen!
I hope you’re excited to venture into this new journey with me. I’m hoping to make the sewing process more accessible and smoother for all those trying to learn the art of sewing and those who don’t have much time for their hobby they love. I cannot wait to see what everyone makes with our patterns and fabrics!
Elvira Sleeve :: A Halloween Freebie (Gala Gown Add-on)!!
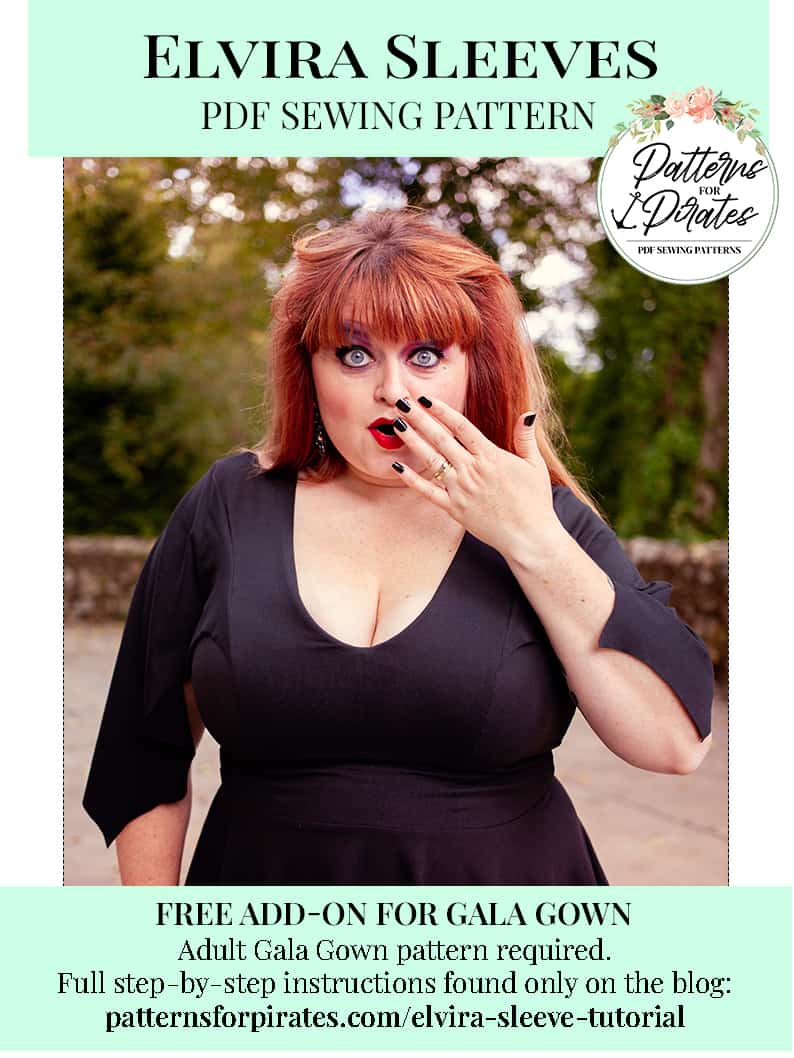
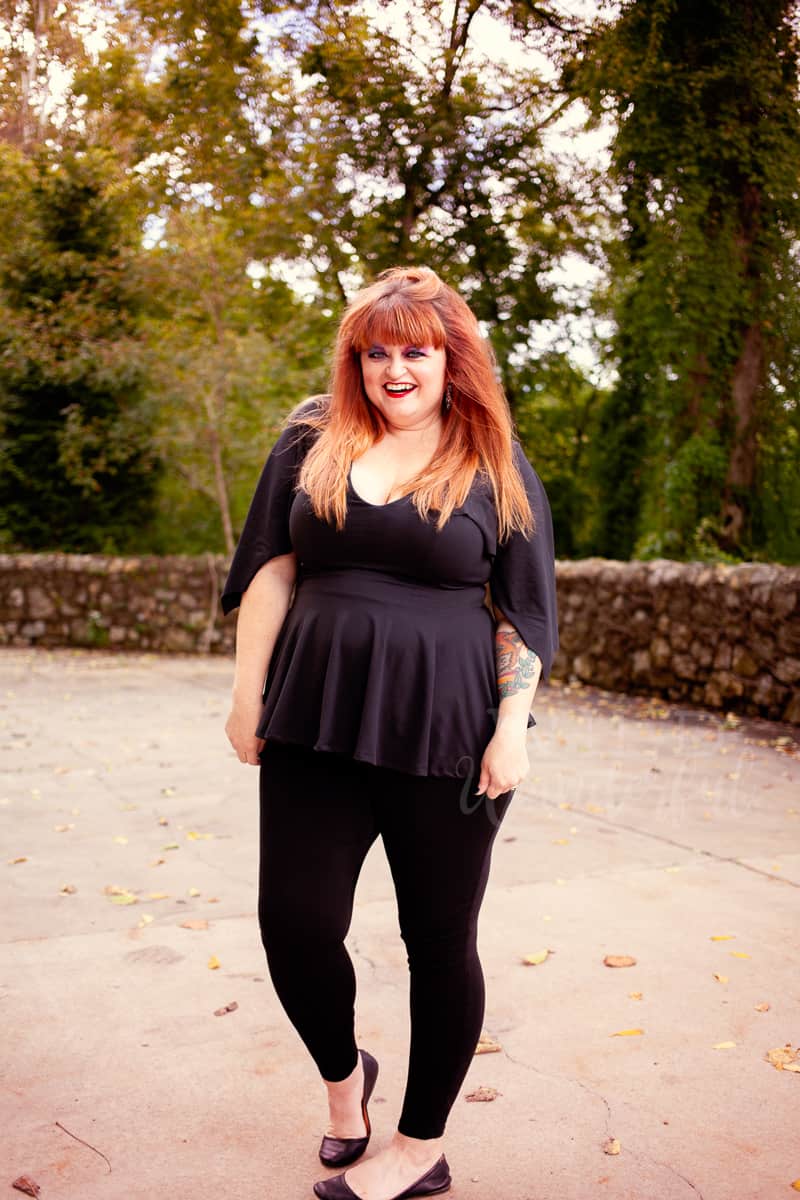
Guess who is back again with another super fun freebie for Halloween? Spooky Season is my all time favorite and I was super duper pumped to bring this sleeve to life for y’all!
The Elvira Sleeve is named after the Mistress of the Dark herself, one of the most iconic vampy ladies out there. Honestly it’s the only name I wanted to give it after I decided to make these sleeves happen. It’s just too perfect!
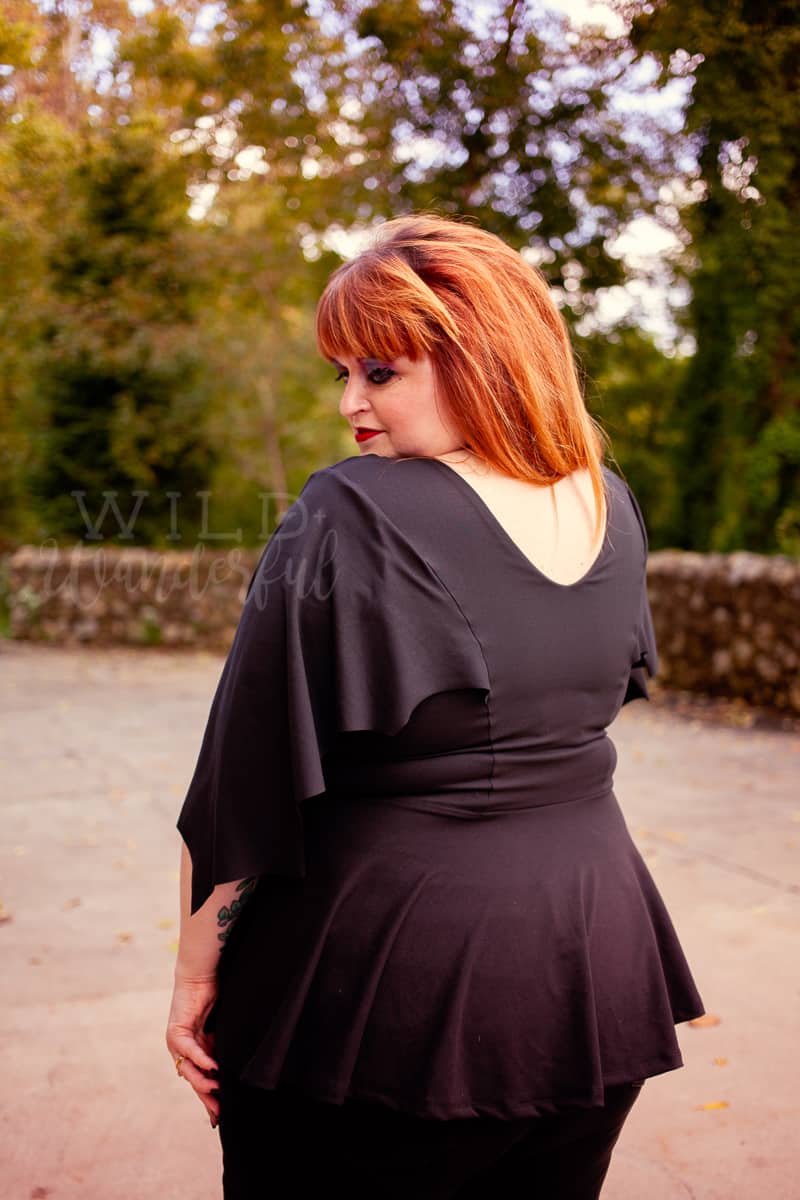
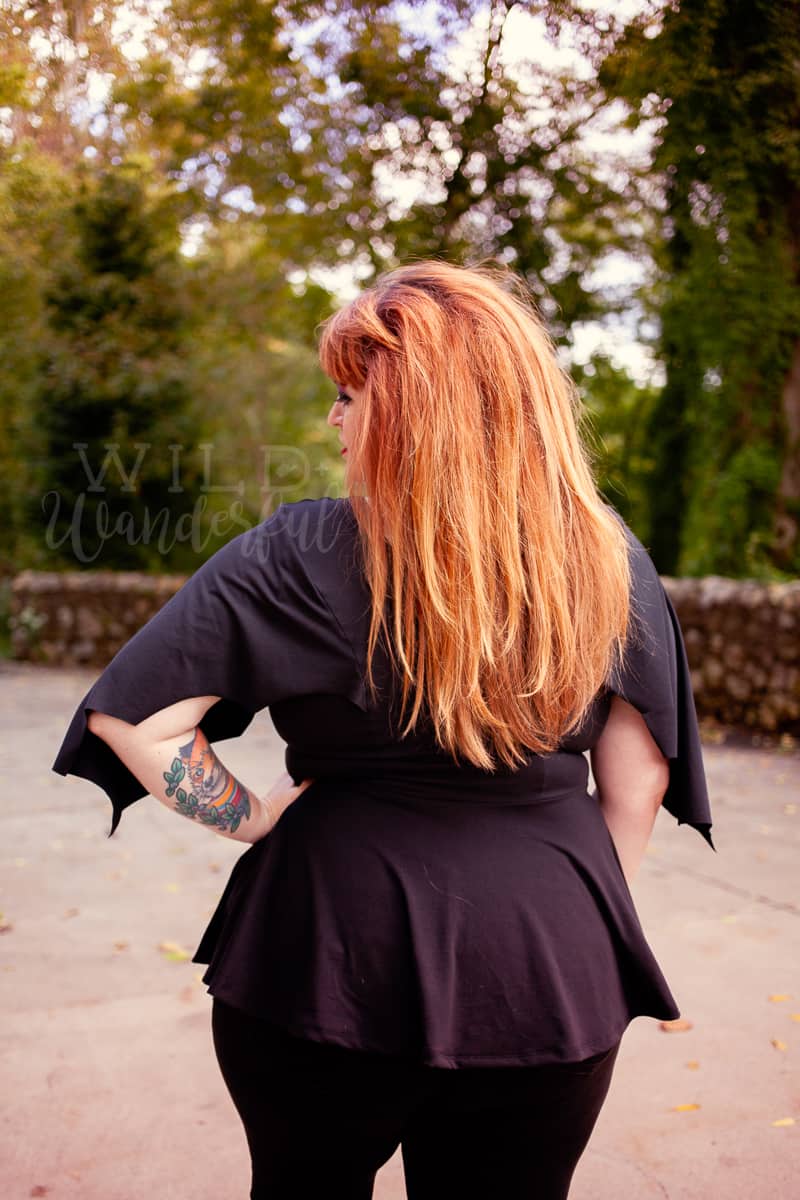
The sleeves are designed with a bat-like scalloped edge and fits along the princess seaming of the front and back bodices perfectly. It provides for a very retro look with a little extra something!
I’m mildly obsessed with how they turned out! (A quick sidebar before there’s any confusion, I personally only wanted a top and not a full length dress when I created my ensemble. The skirted portion is actually the peplum length skirt from the Sweetheart Dress…I just matched it up with the bodice of the Gala Gown!)
You will need the Adult Gala Gown pattern in order to create this vampy look! Don’t have it in your pattern collection yet? Not to worry! We’ve got a special discount code for you to use (through 11:59pm CST on Friday, September 30, 2022). You can use this one time use code on the Adult, Youth, or Bundle.
Use code: SPOOKYSEASON to take advantage of the discount!
SUPPLIES NEEDED:
- Gala Gown Pattern
- Elvira Sleeve, Gala Gown Add-On (free pattern!)
- 5/8 Yard Additional Knit Fabric for Sleeves
- Basic Sewing Supplies
The Elvira Sleeve is designed to work only with the sleeved versions of the Gala Gown. In my finished photos, I have used the cap sleeve length. You can choose to use any of the sleeve lengths that you wish!
**To use this add-on, we are making slight changes to the original Gala Gown’s tutorial for the construction of the Main Fabric. Steps 1 and 2 are being done in reverse, in order to attach the Elvira Sleeves to the princess seaming.
Step 1: With right sides together of main front and main back bodice pieces, stitch at shoulders.
Step 2: With right sides facing up, lay bodice piece on table in front of you.
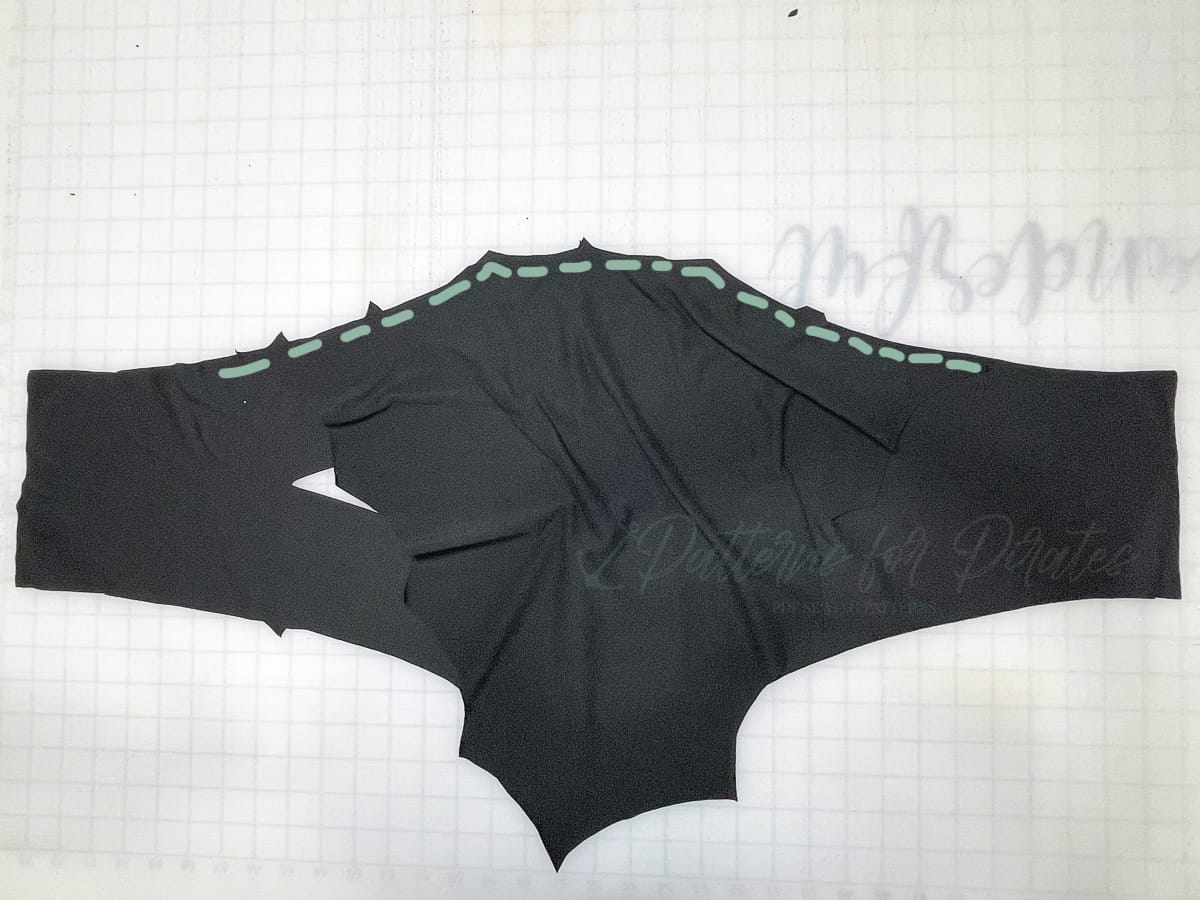
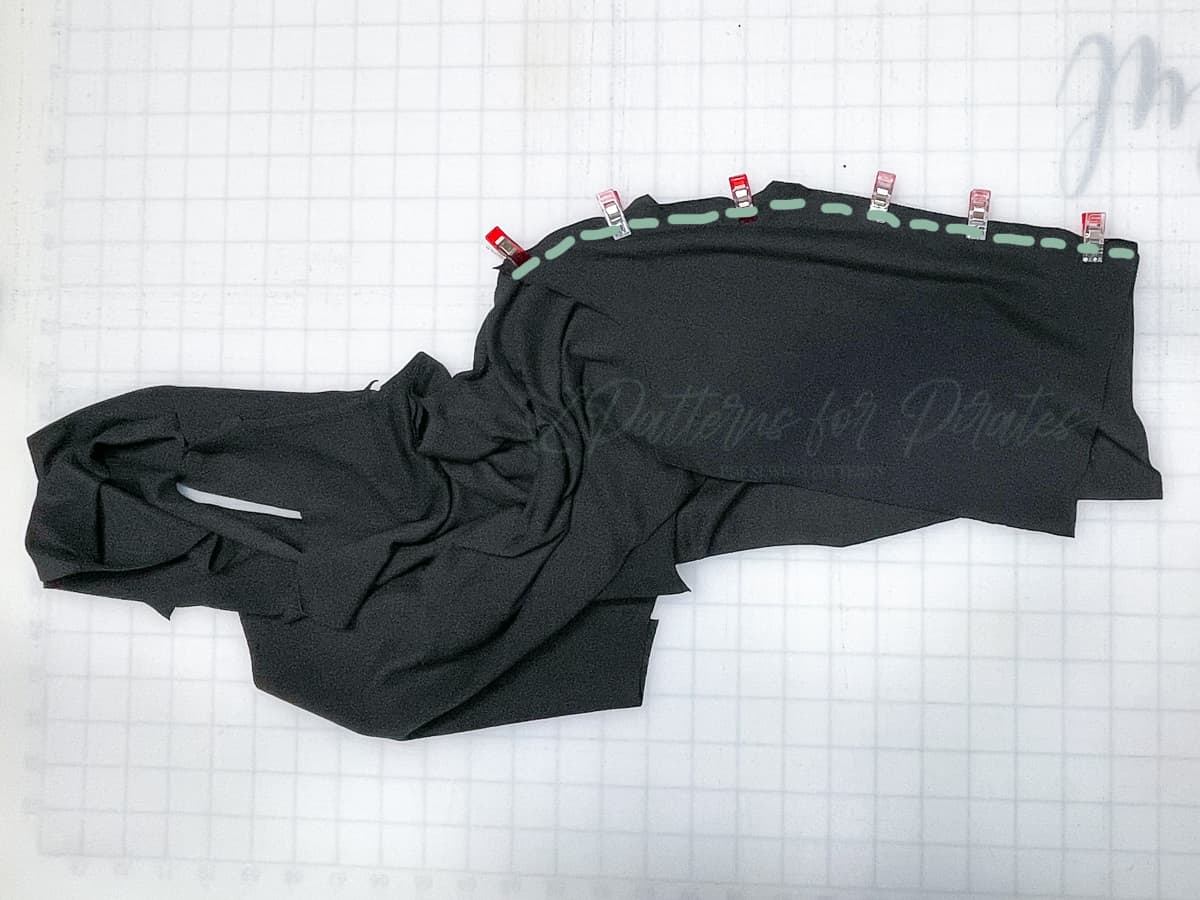
With right sides together, align one of the sleeves along the armscye and front/back princess seams. Baste in place. **Just like the Gala Gown pattern itself, the single notch designates the front bodice, the double notch designates the back bodice.
**Note: The Elvira Sleeves were designed to be left unhemmed. If you plan to hem the scalloped edges, do that now — before you attach them to the bodice in the next stop.
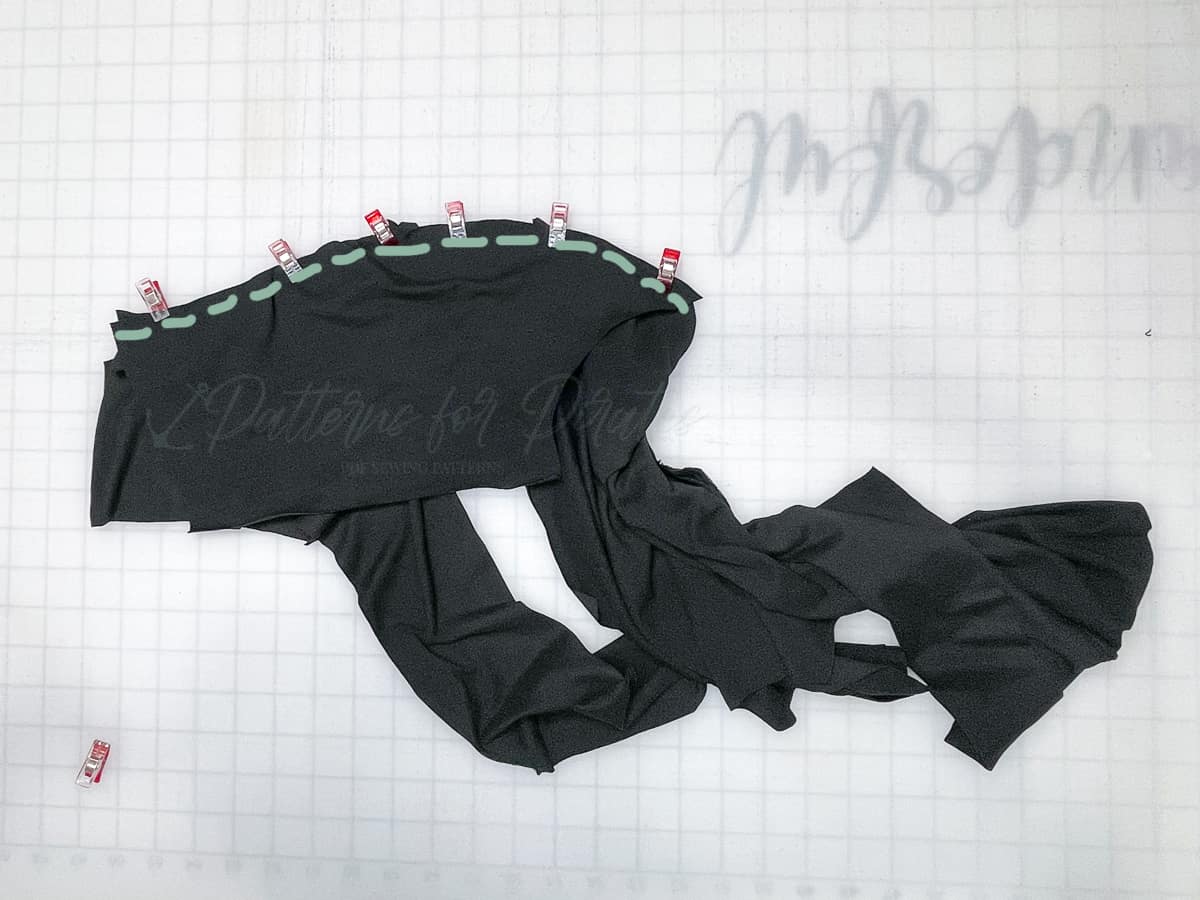
Step 3: With right sides together, matching at top, bottom, and bust points, pin and ease curves of main side bodice and center front bodice. Stitch.
Note: Align the top of the side bodice with the center front bodice at the seam allowance, not the top raw edge of the curve. There will be a small “dog-ear”/wedge that overhangs. The Elvira sleeves will be wedged between the main side bodice and center front bodice.
Repeat with opposite side. With right sides together, matching at top, bottom, and bust points, pin and ease curves of other main side bodice and center front bodice. Stitch.
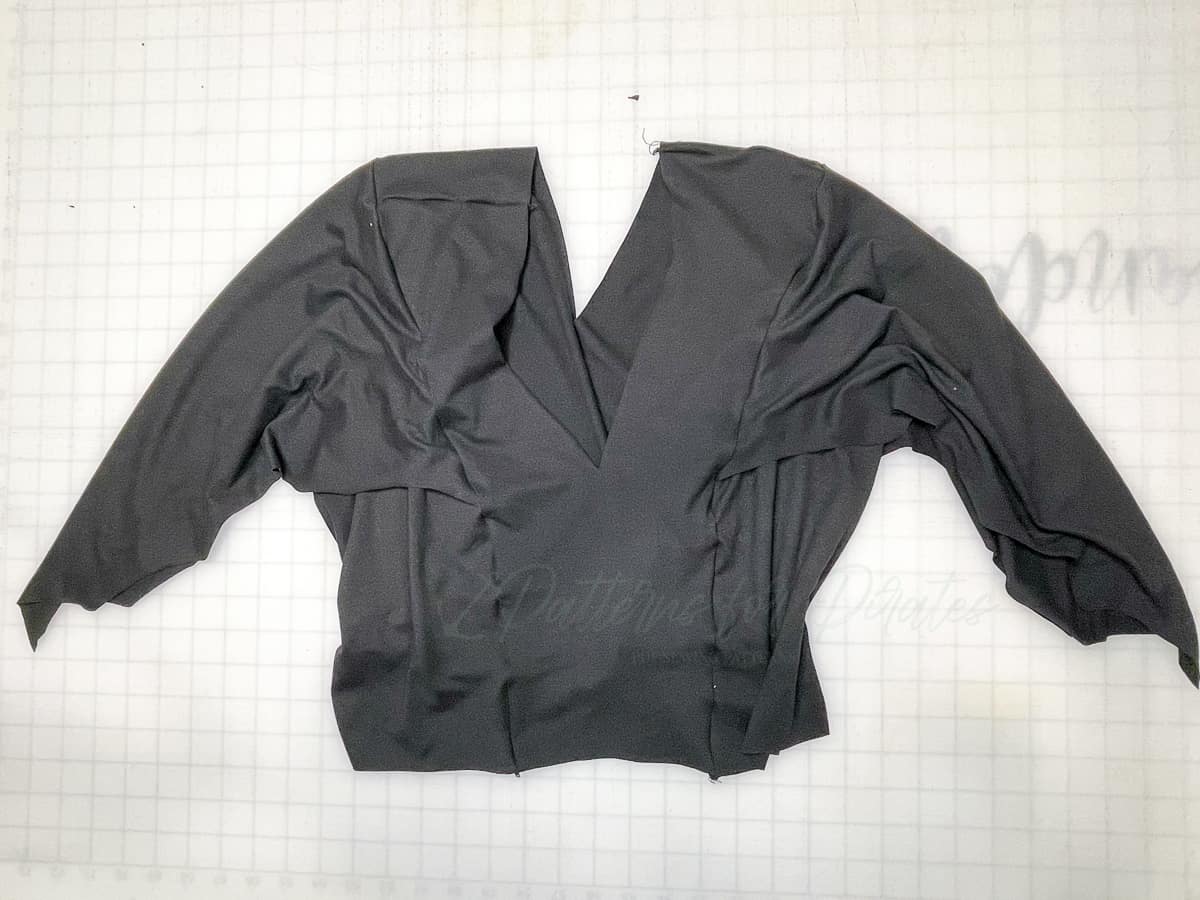
Repeat with Back Center Bodice and Back Side Bodice pieces.
Continue with the remainder of the Gala Gown tutorial steps, starting at Step 3: Neckline.
If I may speak for the entire P4P Team, we are SO EXCITED to see your Elvira Sleeve, Gala Gowns! Make sure you share it with us in our Facebook Group, or tag us on Instagram (#patternsforpirates or @patternsforpirates) so we can celebrate your cute, new, vampy outfit!
New Pattern Release :: Gather ‘Round Dress
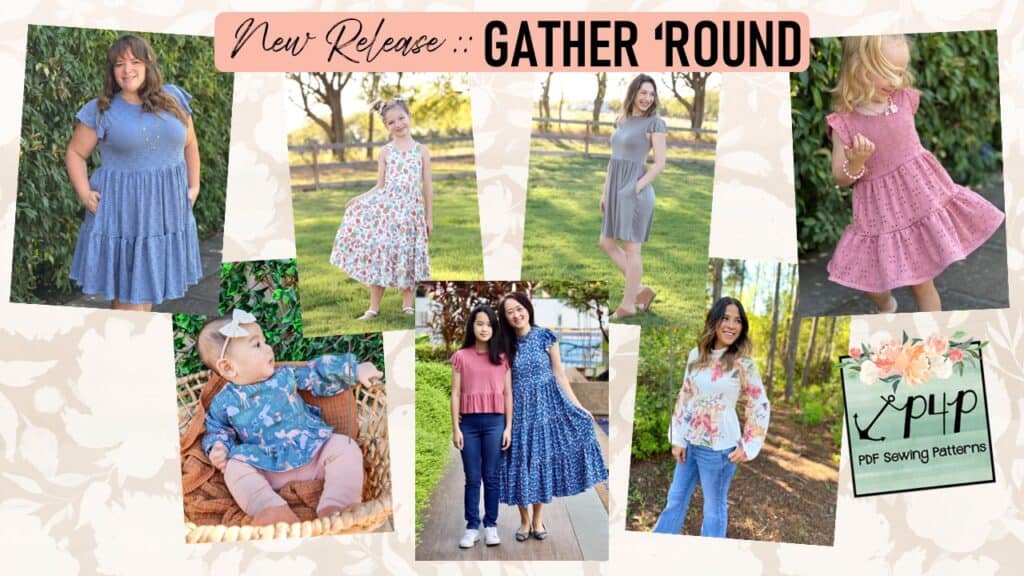
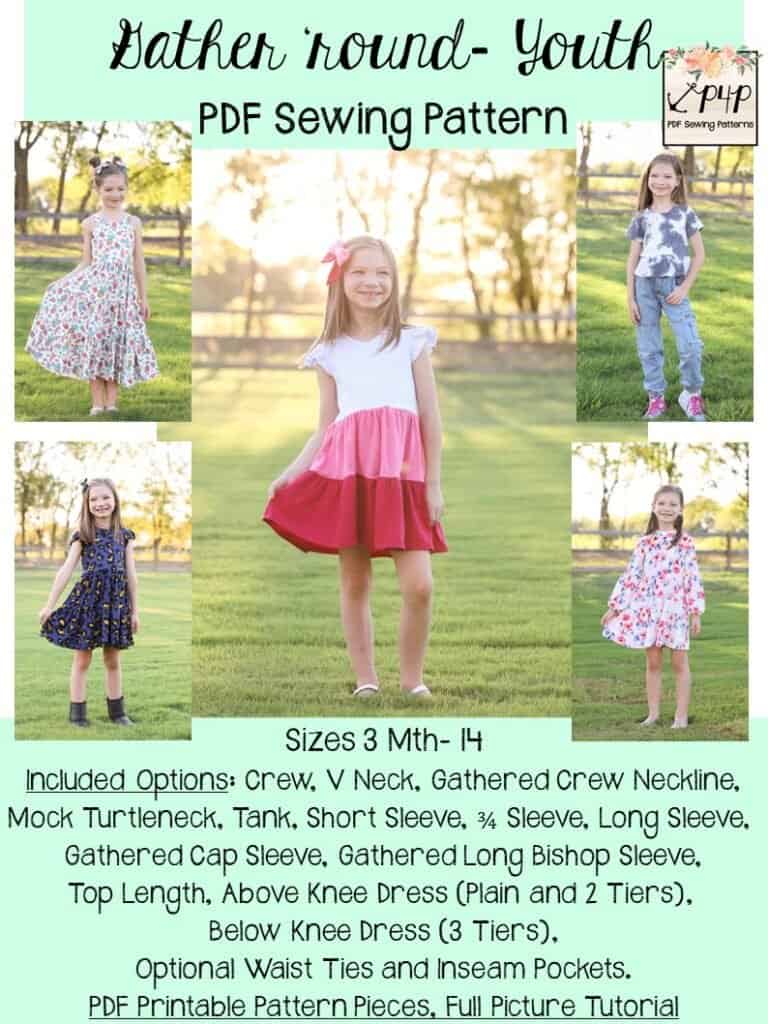
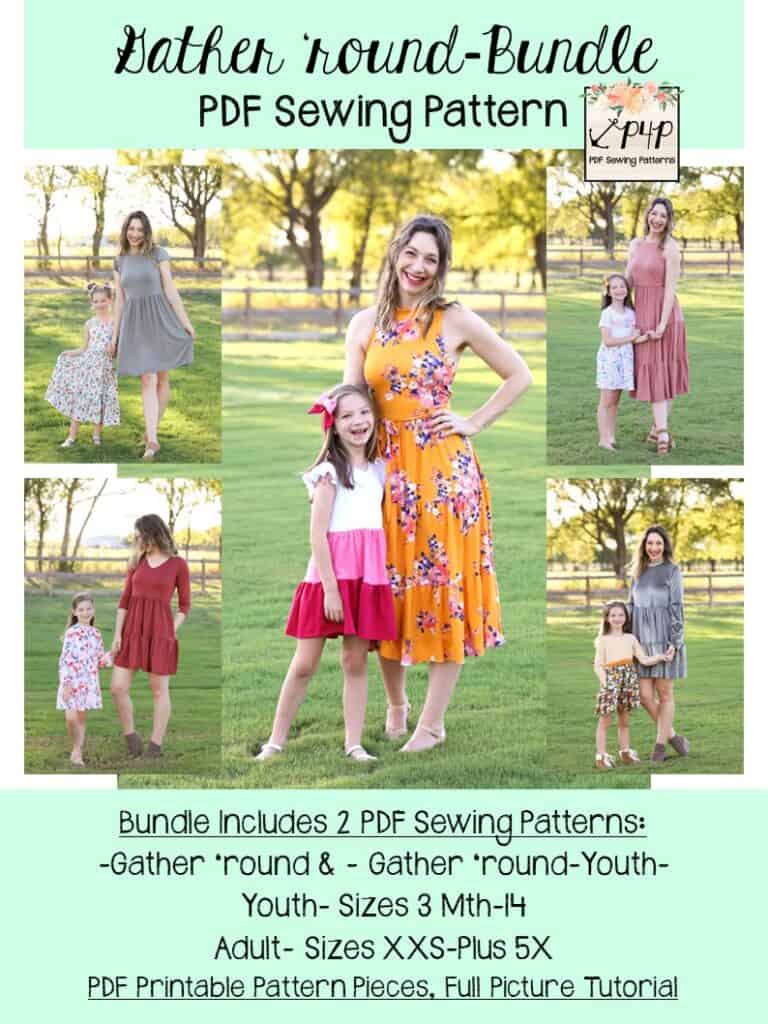
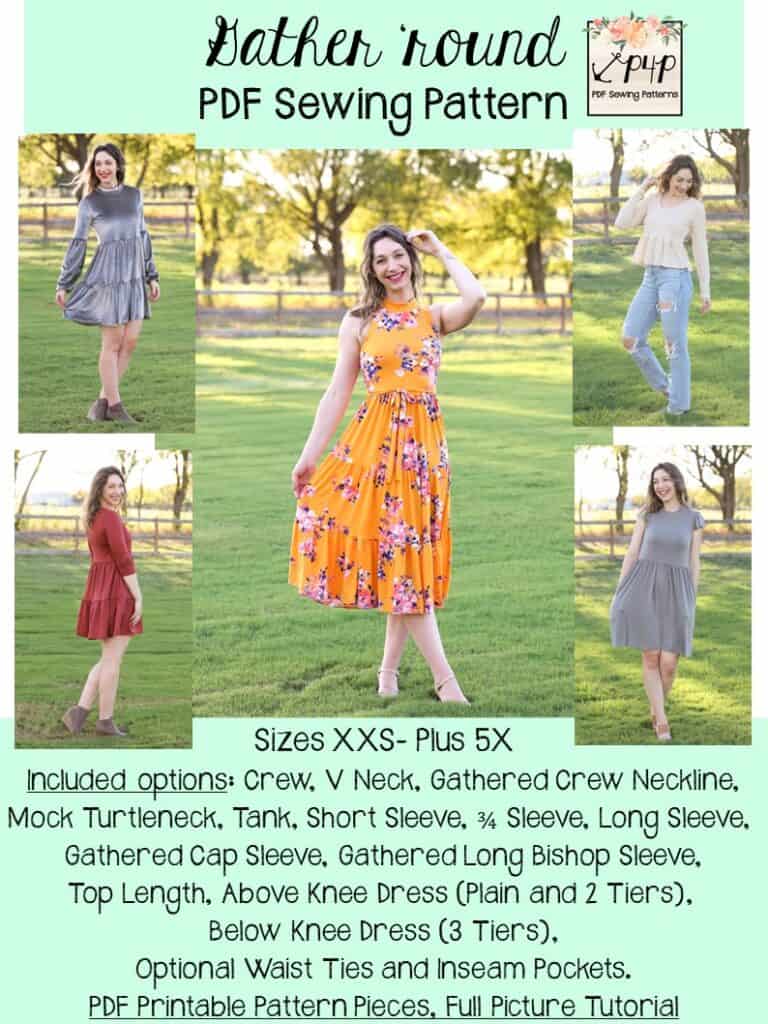
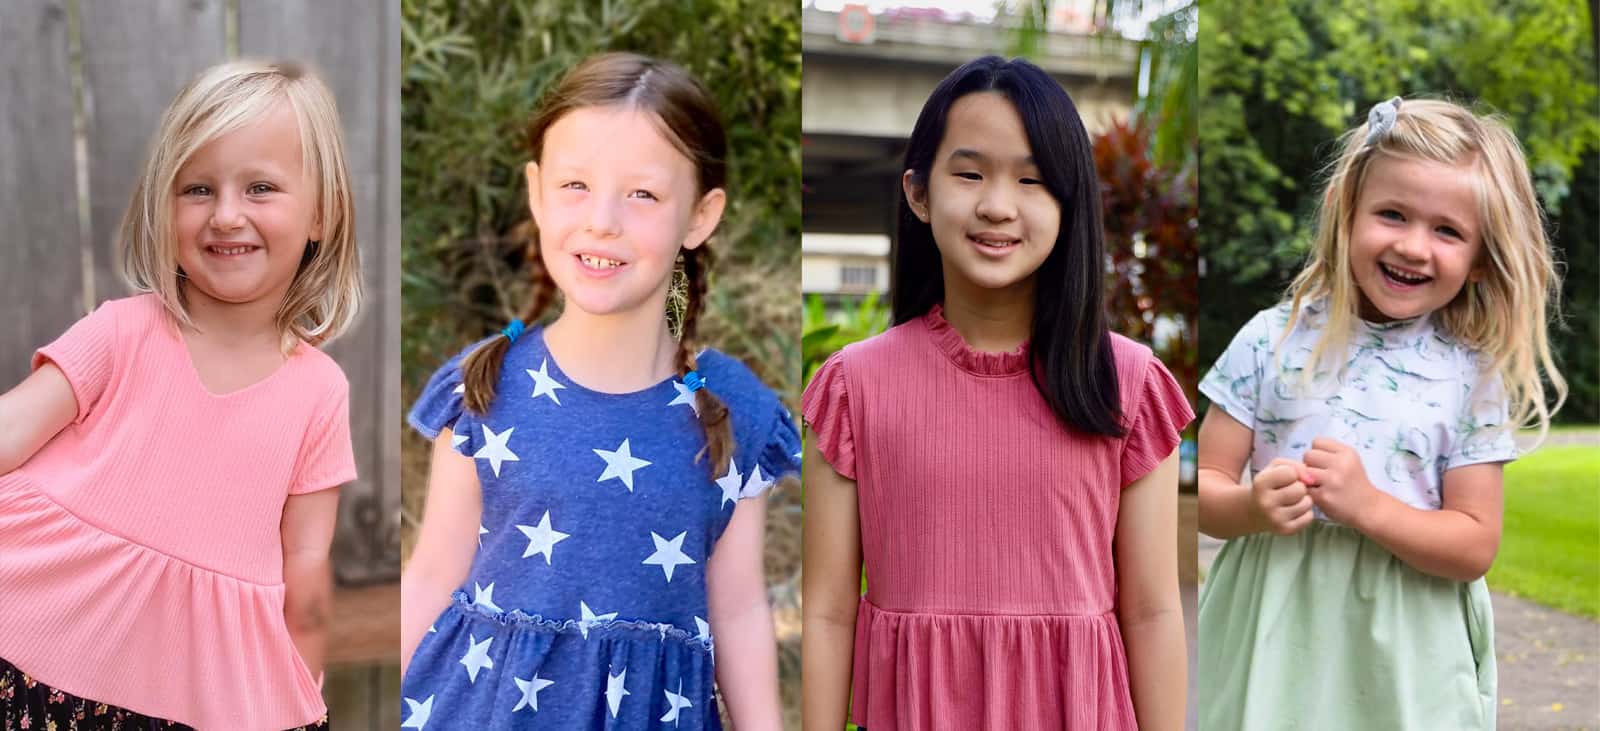
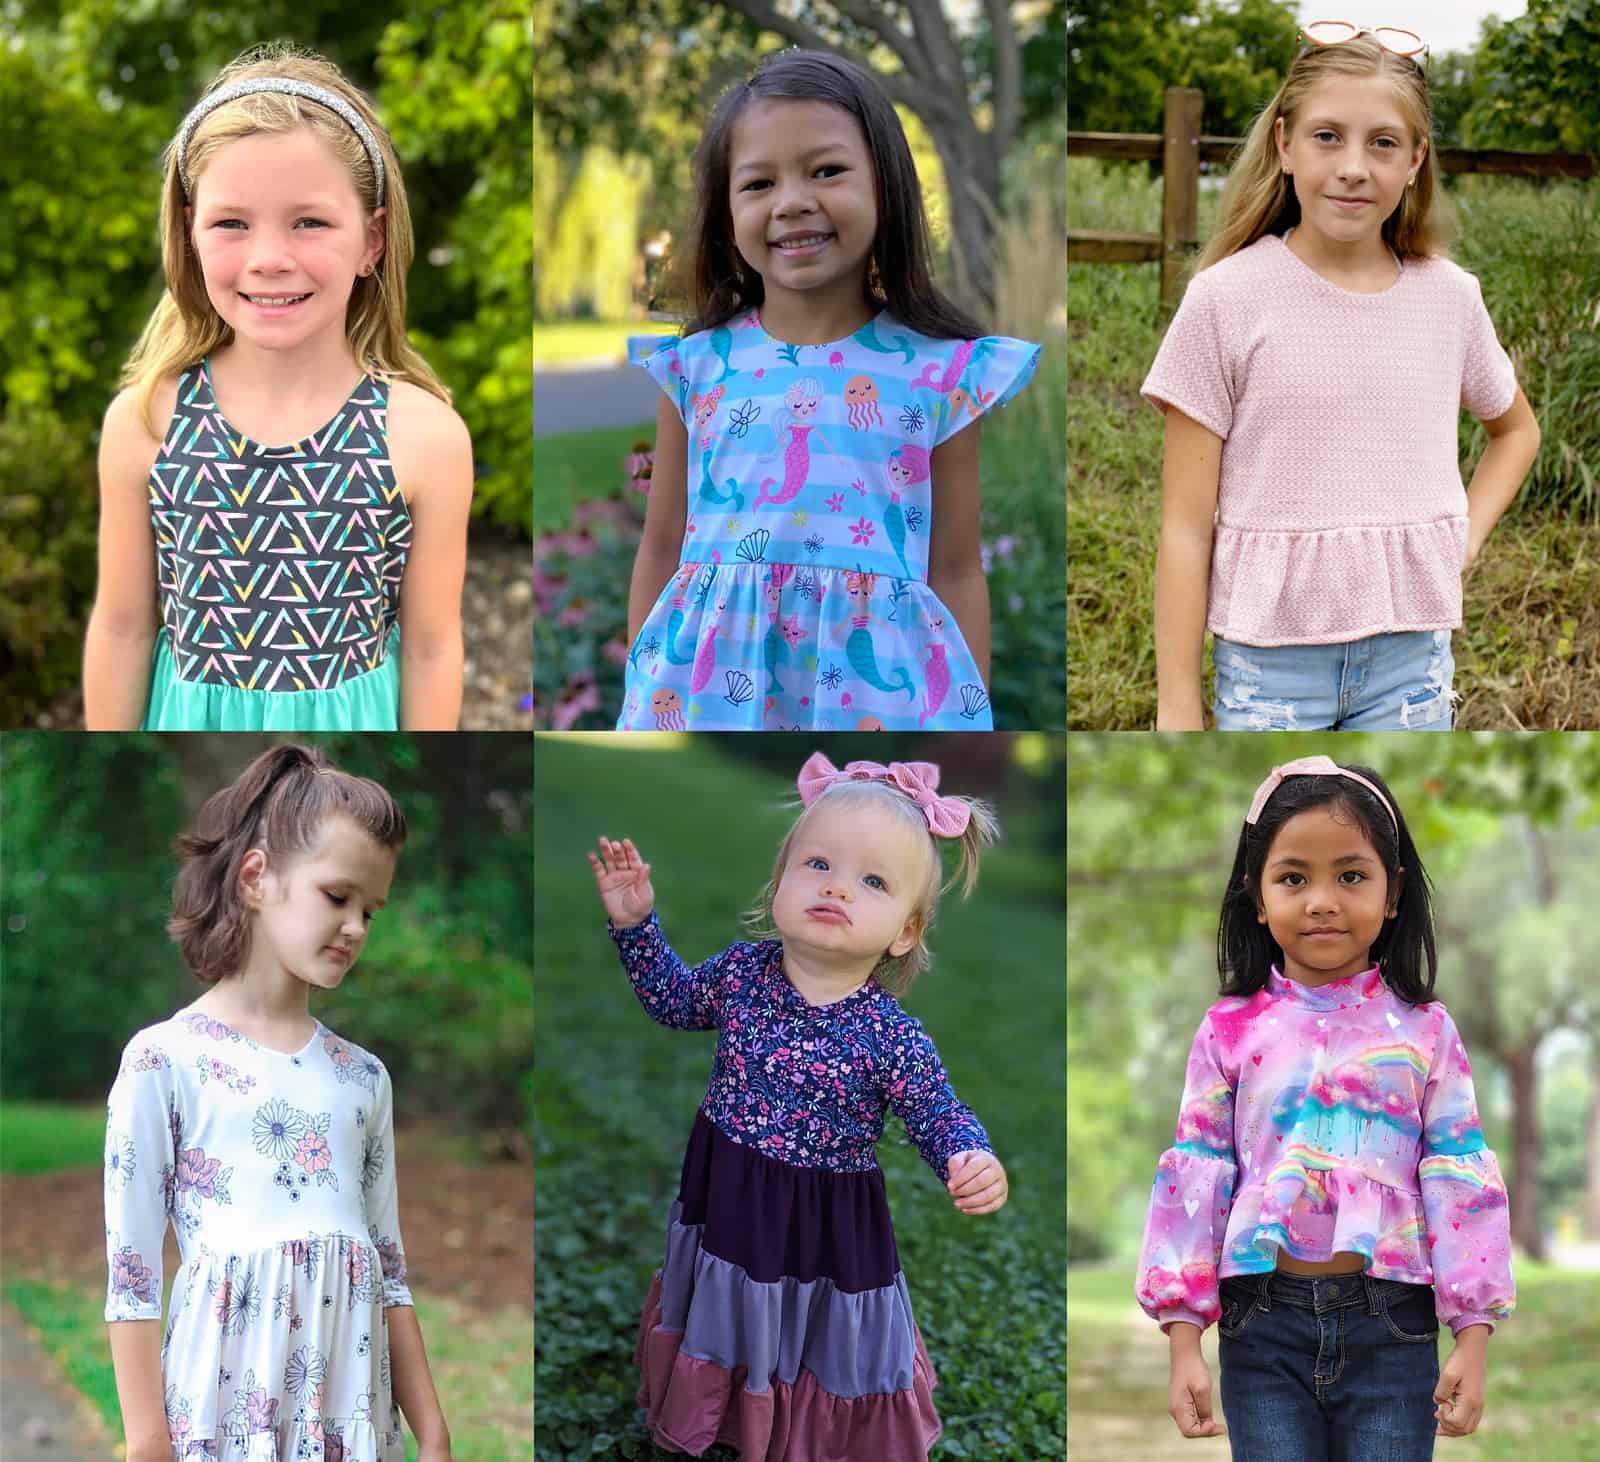
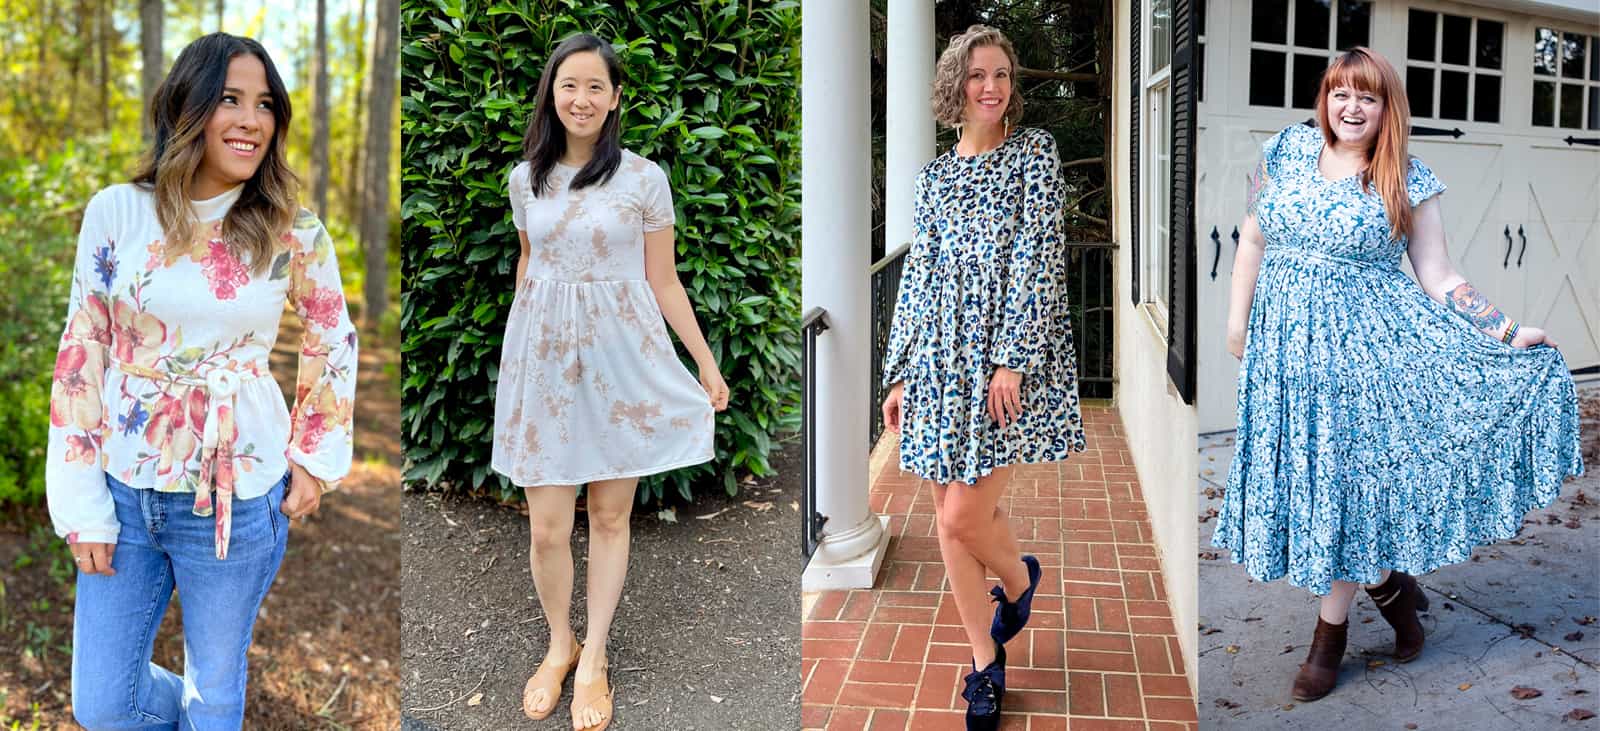
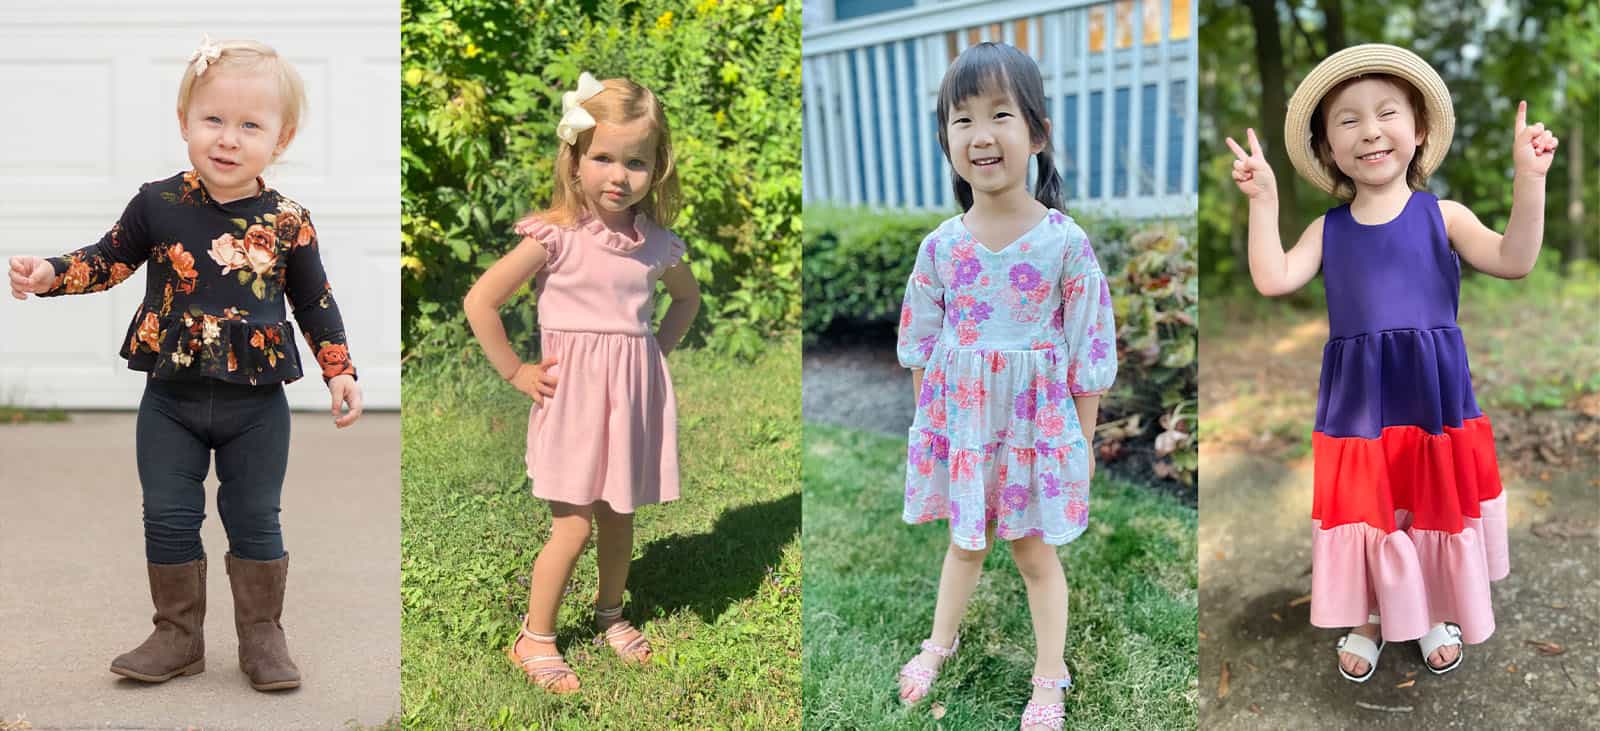
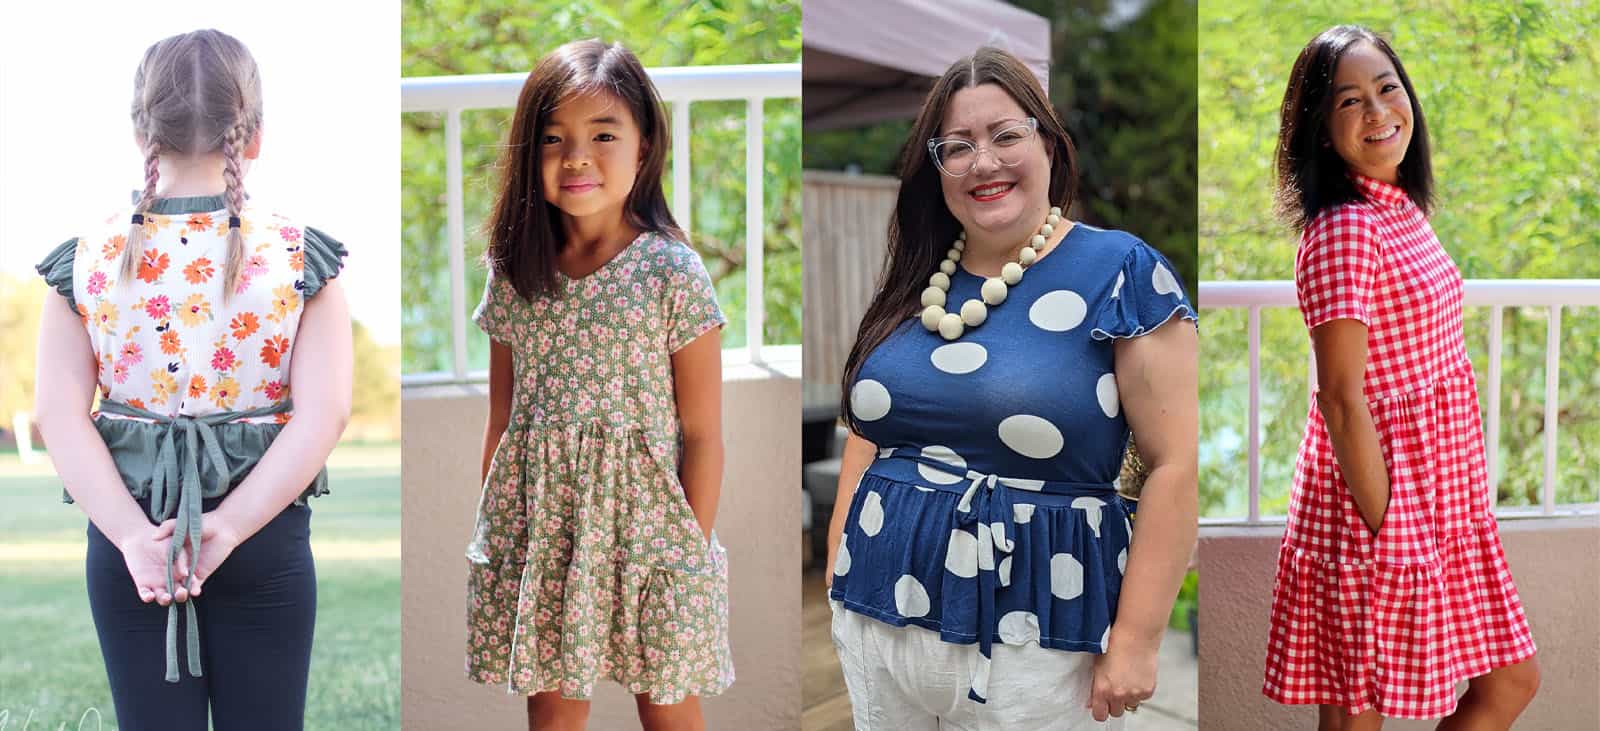
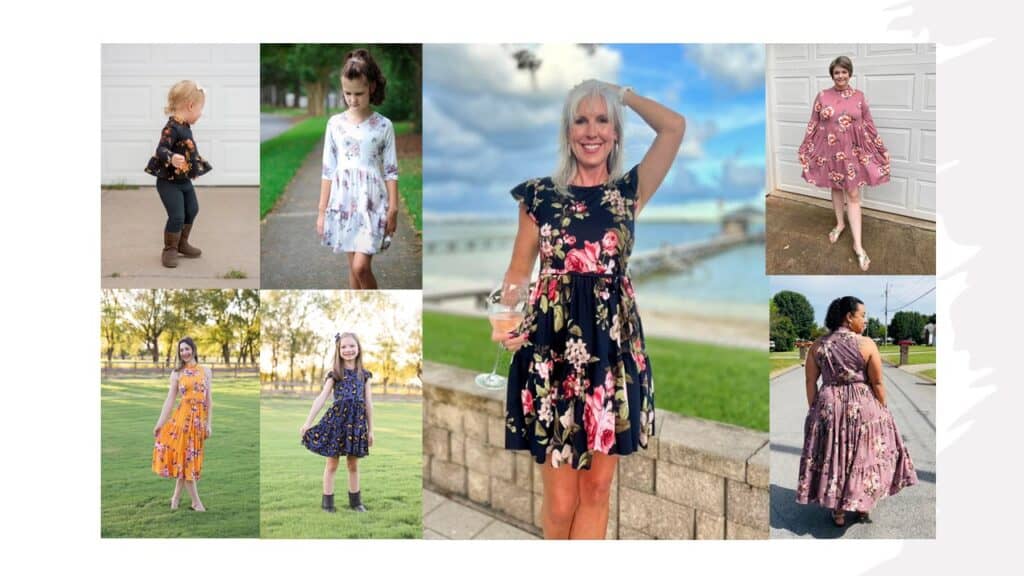
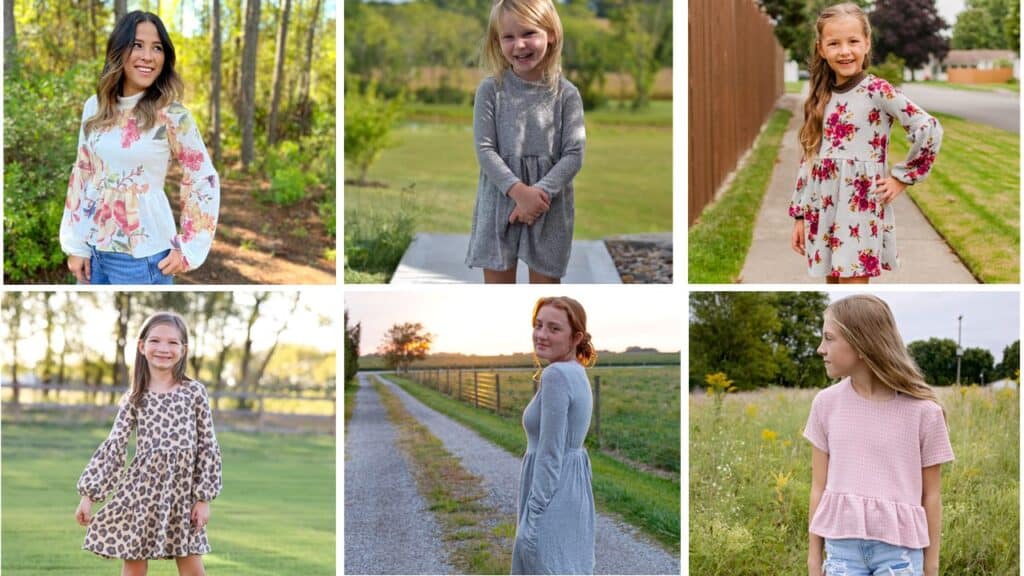
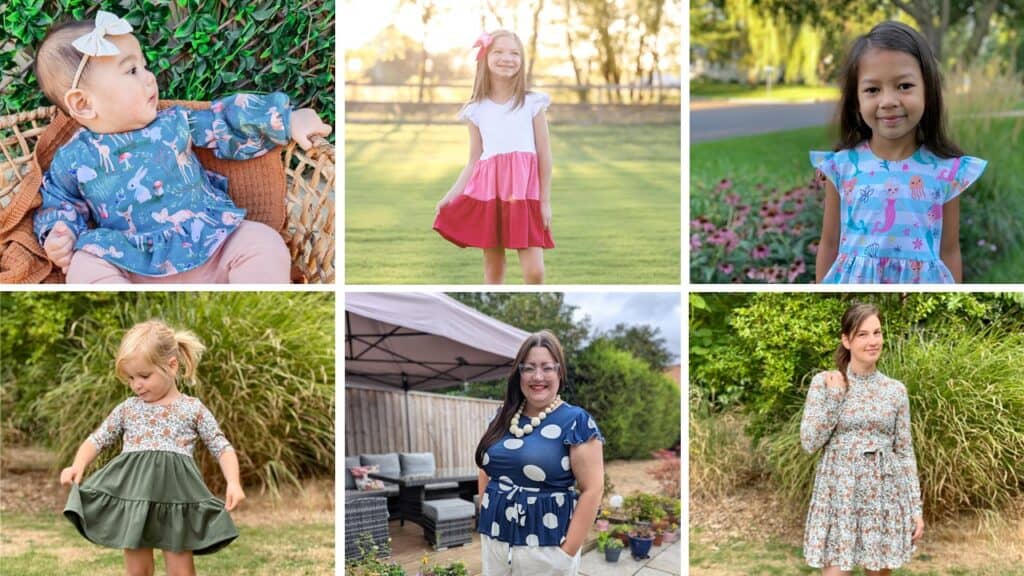
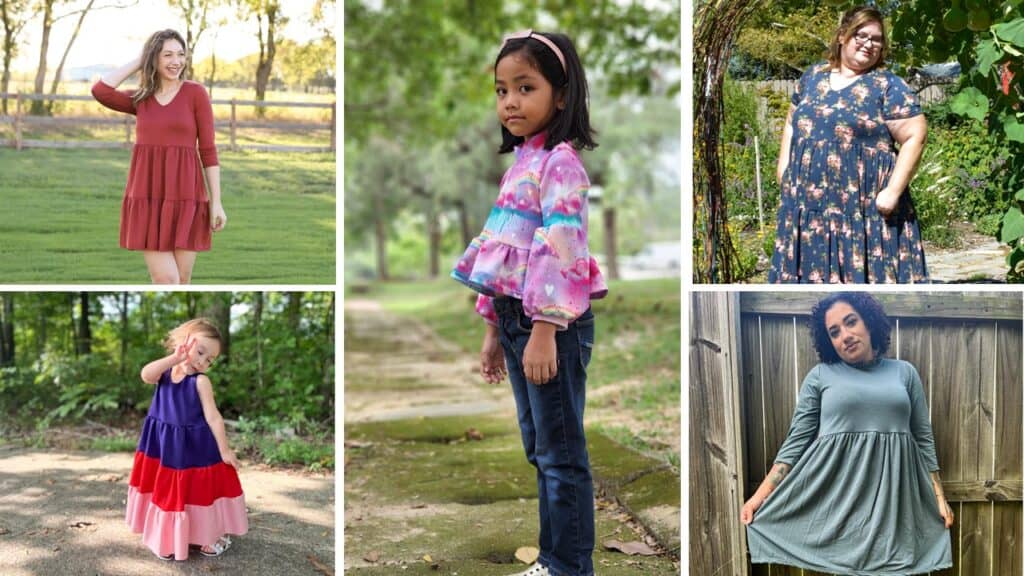
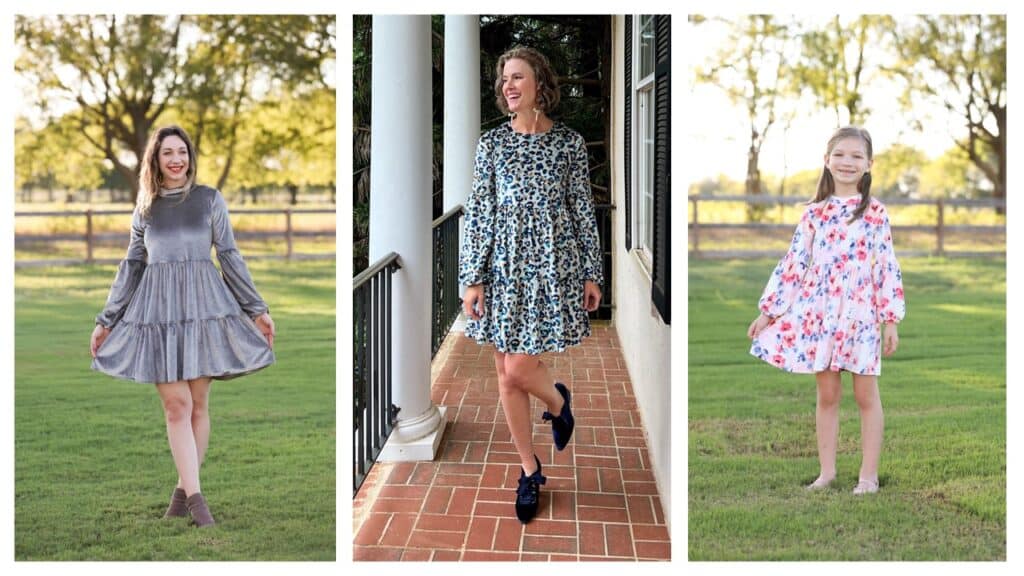
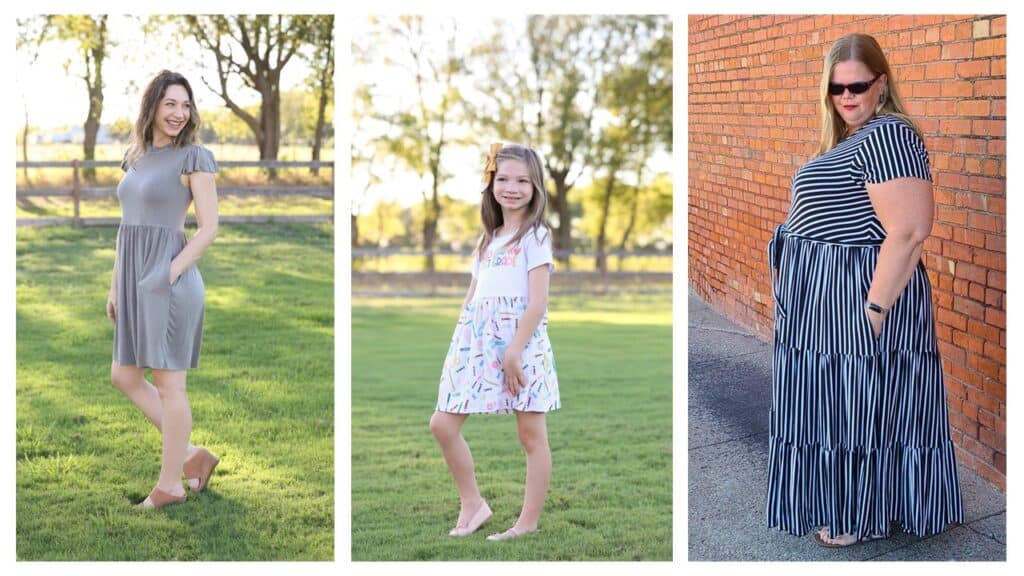
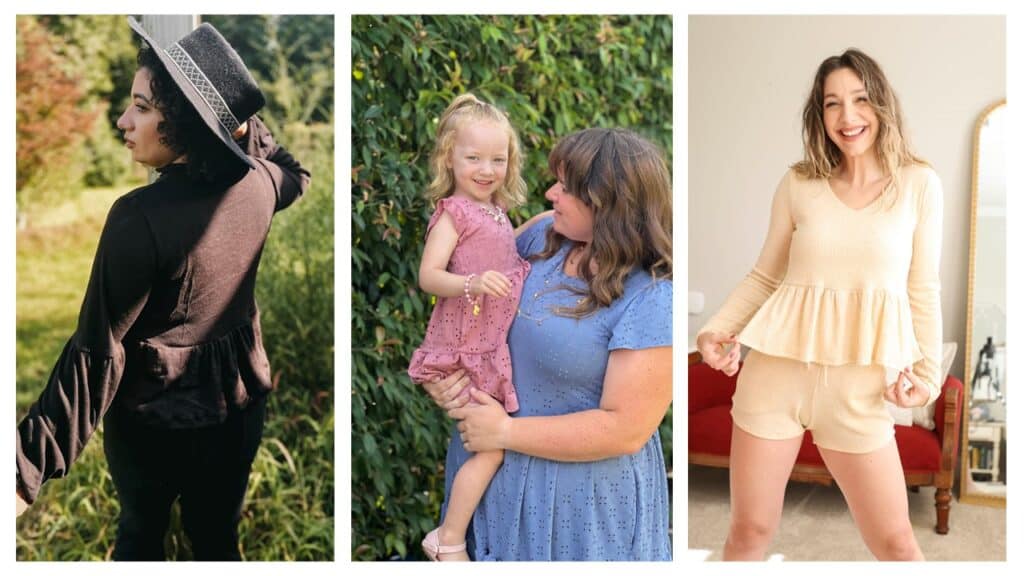
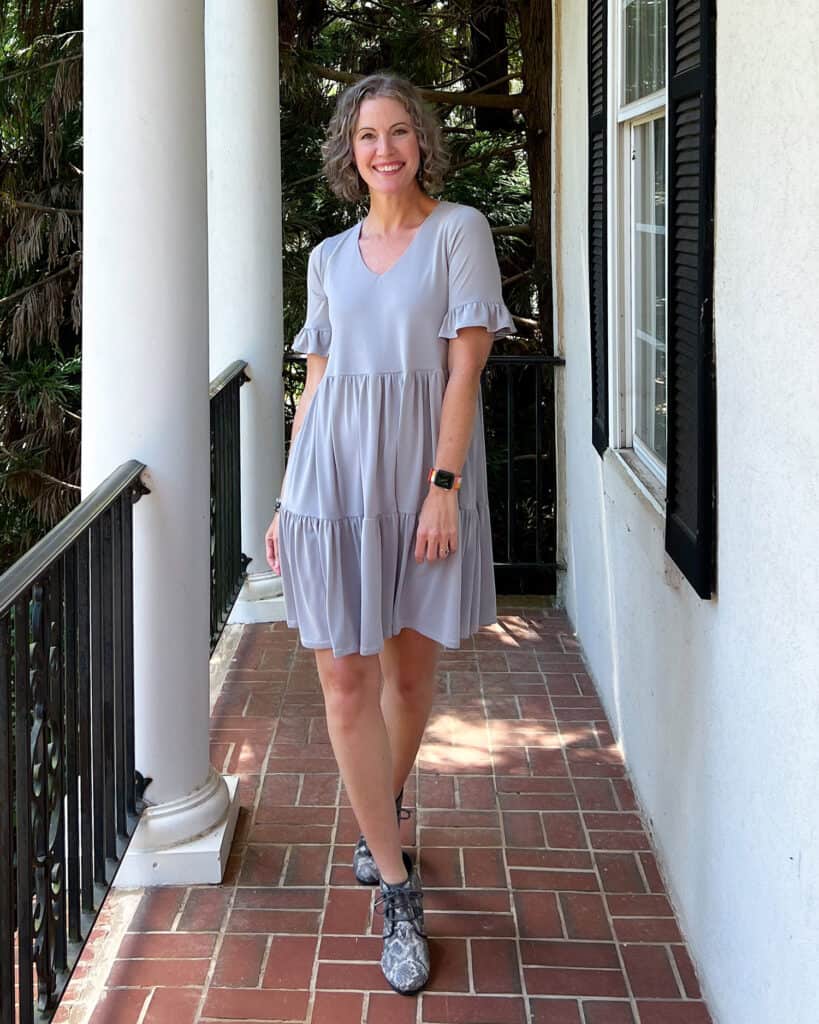
Gather around while we tell you all about our newest patterns! The Gather ‘Round dress patterns are here and they’re SO FUN to make and wear. We are so excited to share them with you!
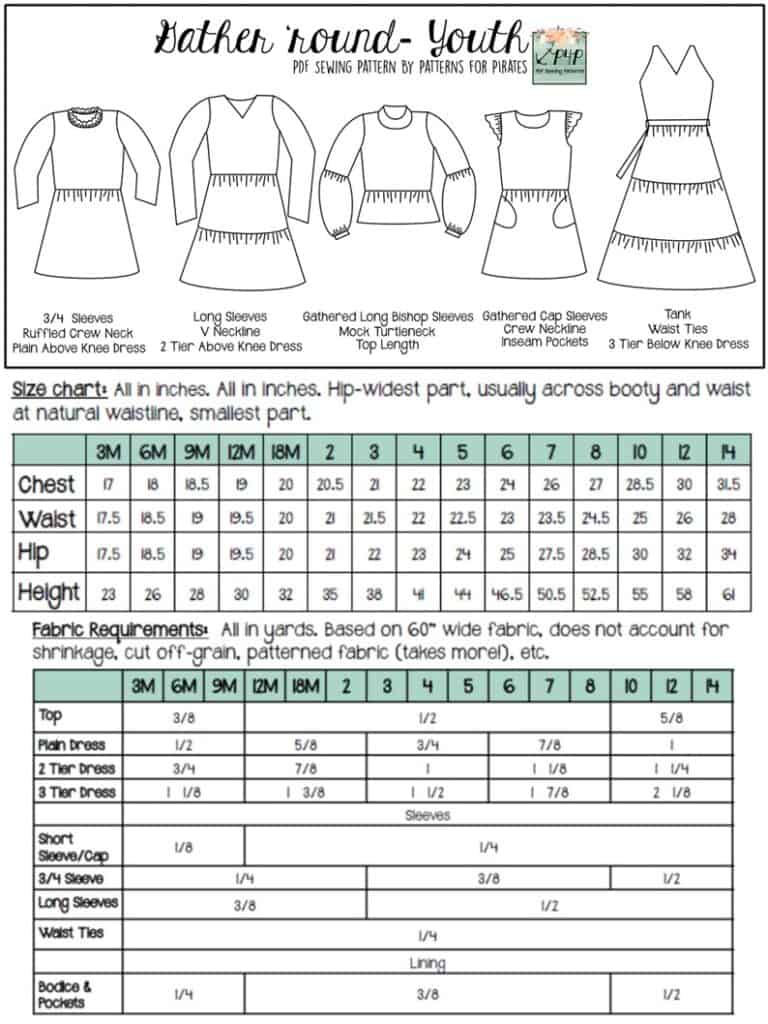
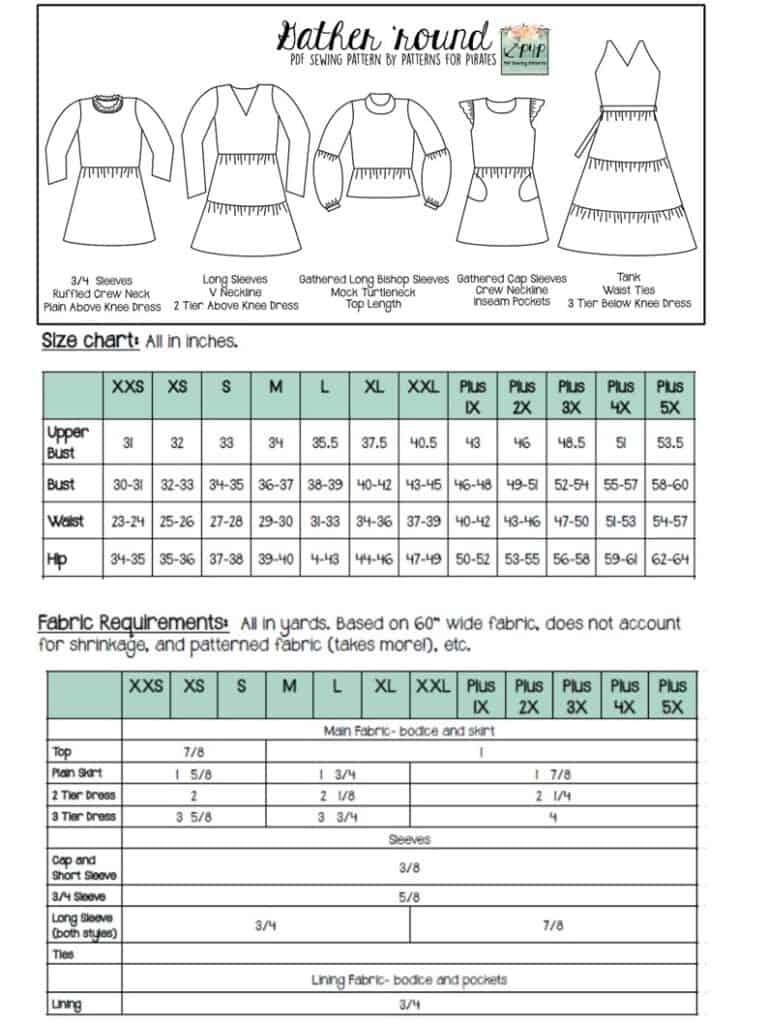
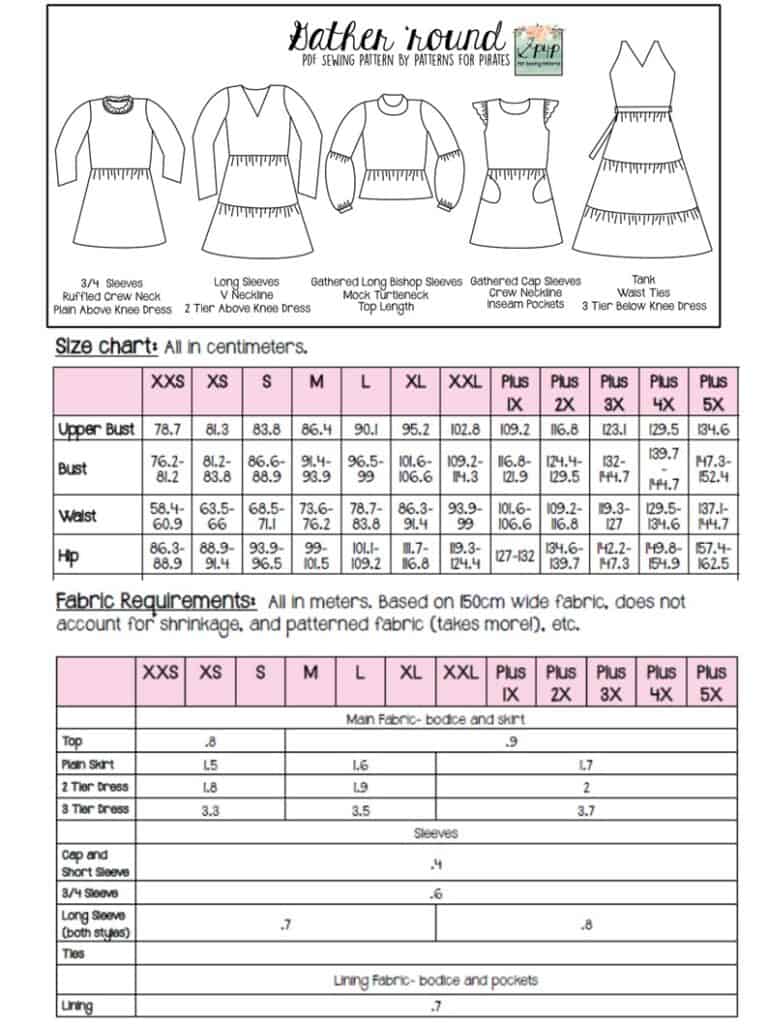
The youth sizes range from 3m – 14 and the adult sizes are for the full, newer size chart, extending from XXS – Plus 5X for the Adult Hourglass Figure.
- *Want to learn more about how to measure yourself for these pattern? We’ve got you covered with an in-depth blog HERE. And for even more helpful fun, we have a free* printable that you can use to help record your measurements as you take them.
- And in case you’re new to Patterns for Pirates and PDF patterns in general, we have a great blog full of new-user tips HERE to help you get started!
- As with all of our current releases and updates, the pdfs now include our layers feature and can be found in Letter, A4, A0 and projector sizes.
VNeck | Crew | Ruffled Crew | Mock Turtleneck Necklines
Tank | Cap Sleeve | Short Sleeve | 3/4 Sleeve | Long Sleeve | Bishop Sleeve
Top Length | Plain, Above Knee Dress | 2-Tier Above Knee Dress | 3-Tier Below Knee Dress
Optional Waist Ties | Pockets
Fabric Inspirations:
Double Brushed Poly:
Sweater Knit:
Cotton Spandex:
Ribbed Knits:
Stable Knits (French Terry, Liverpool, Scuba):
Stretch Velvet:
Slinky Jerseys (rayons, polys, etc):
Textured Knits (waffle, eyelet):
Pointelle:
We are so excited to see what you sew up with the new Gather ‘Round patterns! Head on over to the shop, grab yourself a copy, and get to sewing! They are available on sale (no code needed) through 11:59pm CST, September 18, 2022.
Gather ’round Adult | Gather ’round Youth | Gather ’round Bundle
Hoping for a little inspiration before diving into some Gather ‘Round sewing? Journey over to our Facebook group where you can see tester albums full of amazing images!
Gather ’round Adult Album | Gather ’round Youth Album
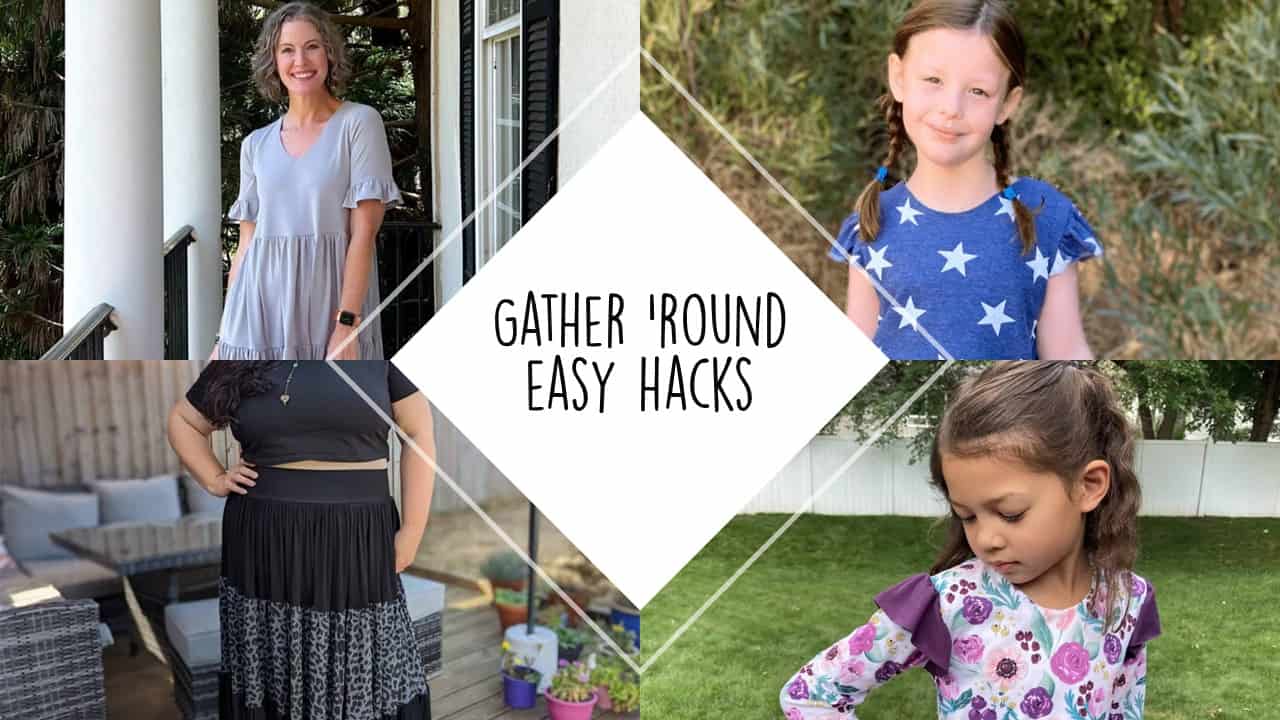
But wait, there’s more! We’ve put together an awesome “Easy Hacks” blog post, that will help you take your sewing a little further! Go check out what Judy and Rachel put together for you, in the ways of some simple tutorials!

All Gather Round Hacks
ALL GATHER ROUND HACKS
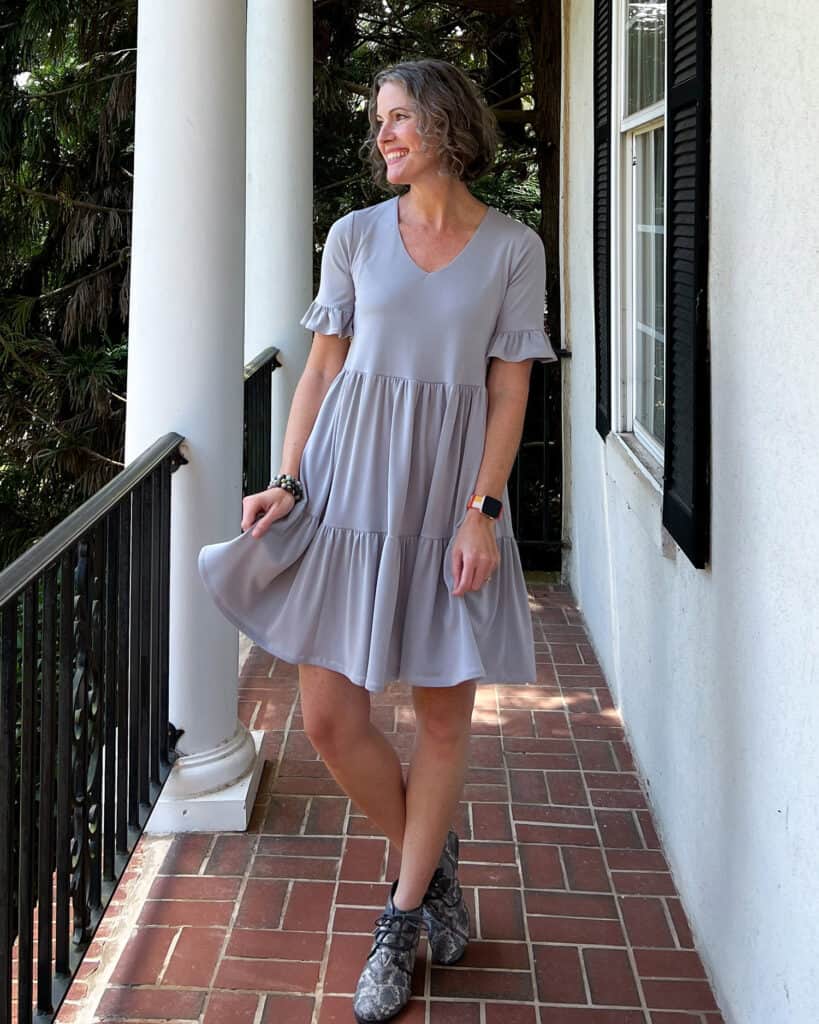
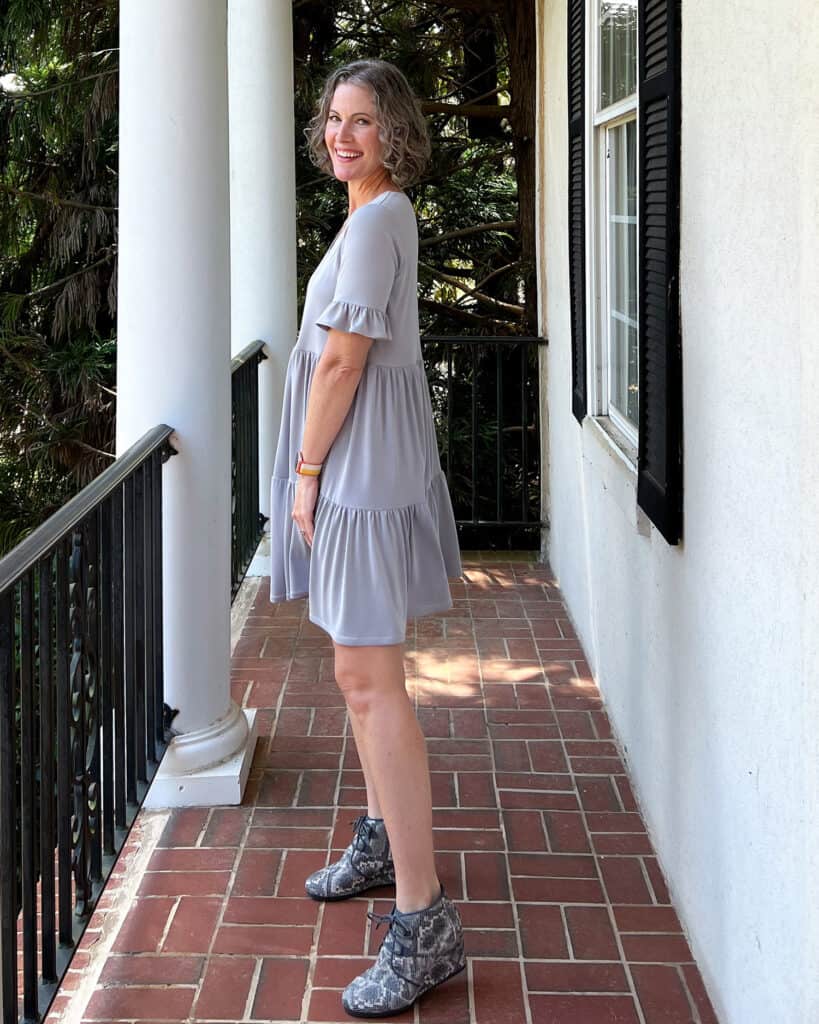
Ruffle on Short Sleeve Hack:
Copy your favorite ready-to-wear look with this simple hack!
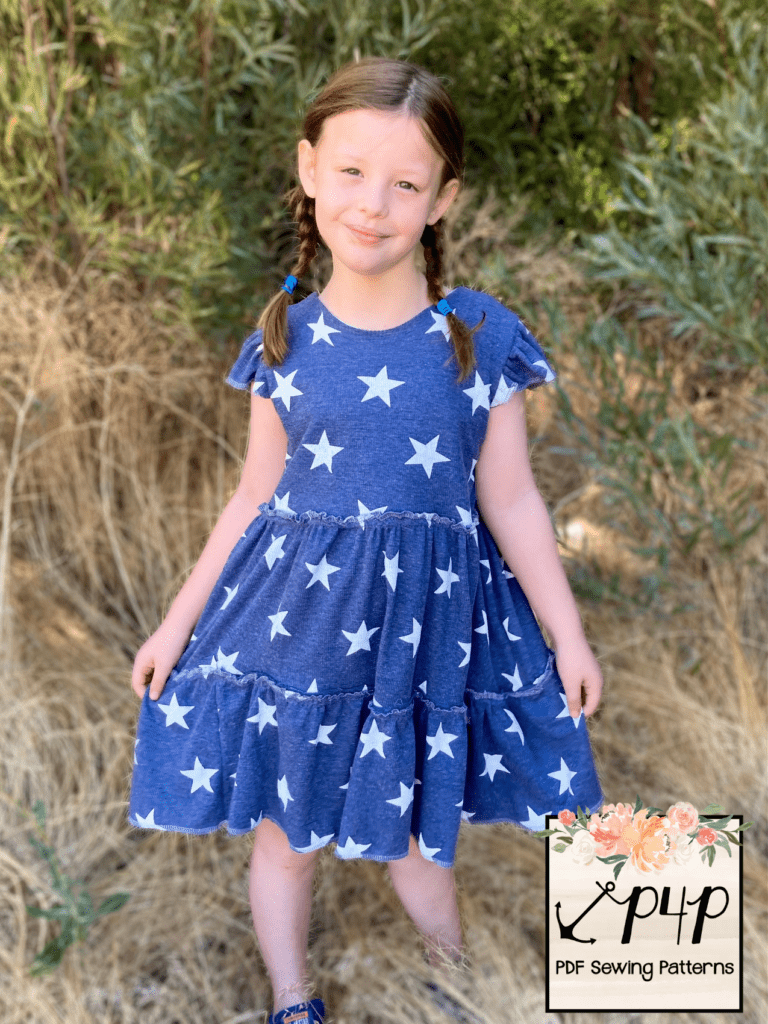
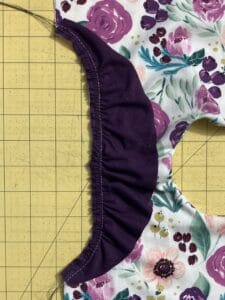
Adding a ruffle to the sleeve of the new Gather ‘Round pattern is a very simple hack to further extend the versatility of your pattern.
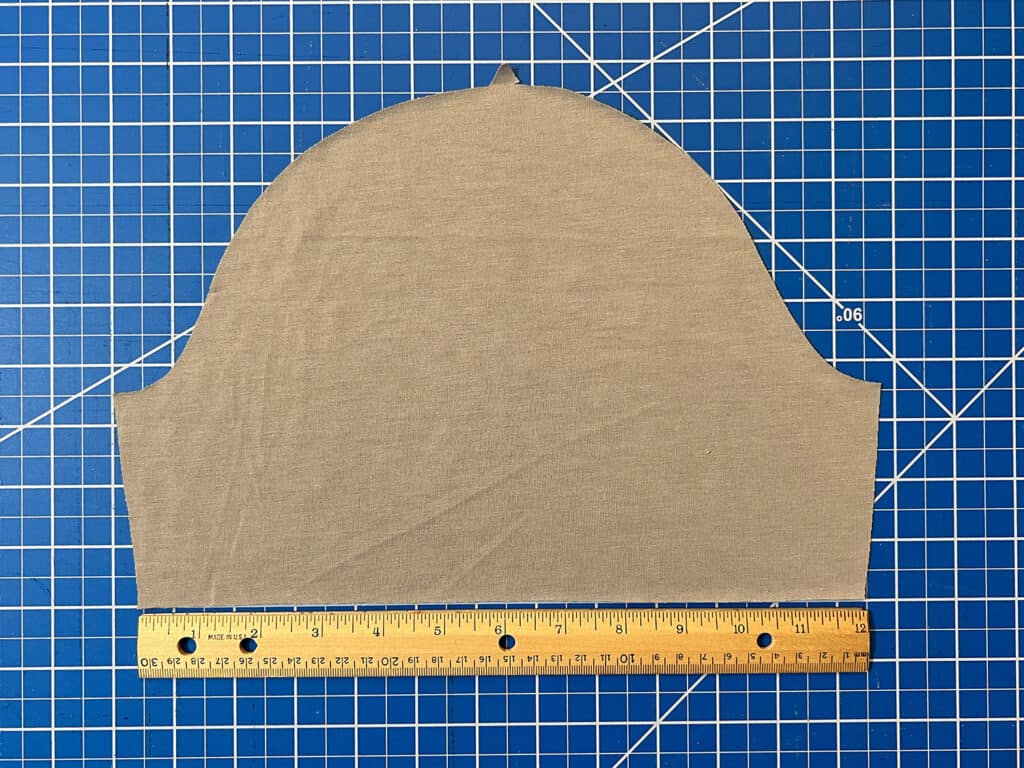
Start by cutting out the short sleeve pattern pieces.
Measure the bottom hemline.
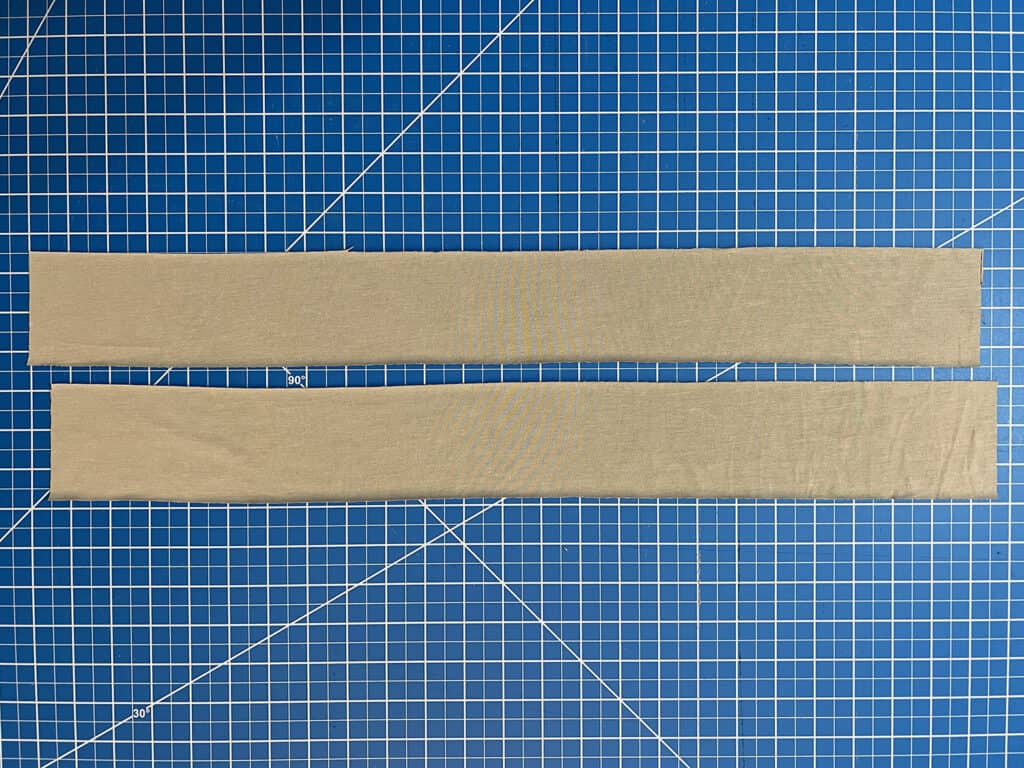
Multiply that measurement by 1.75 to get the length of your ruffle piece (i.e. 12” x 1.75 = 21”).
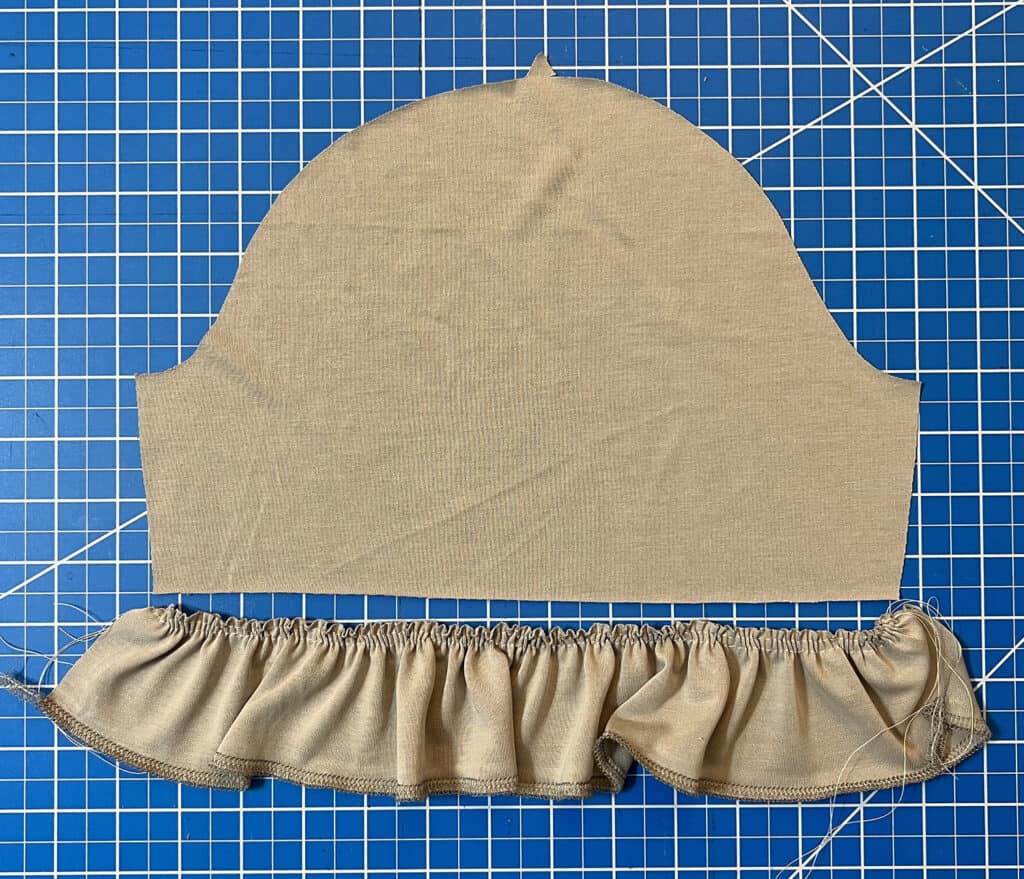
I made a ruffle that is 2.5” long, but you can make yours longer or shorter to your preference. My sleeve hem was 12” so I cut my ruffle pieces 3” tall (to accommodate the seam allowance on both ends) x 21” long.
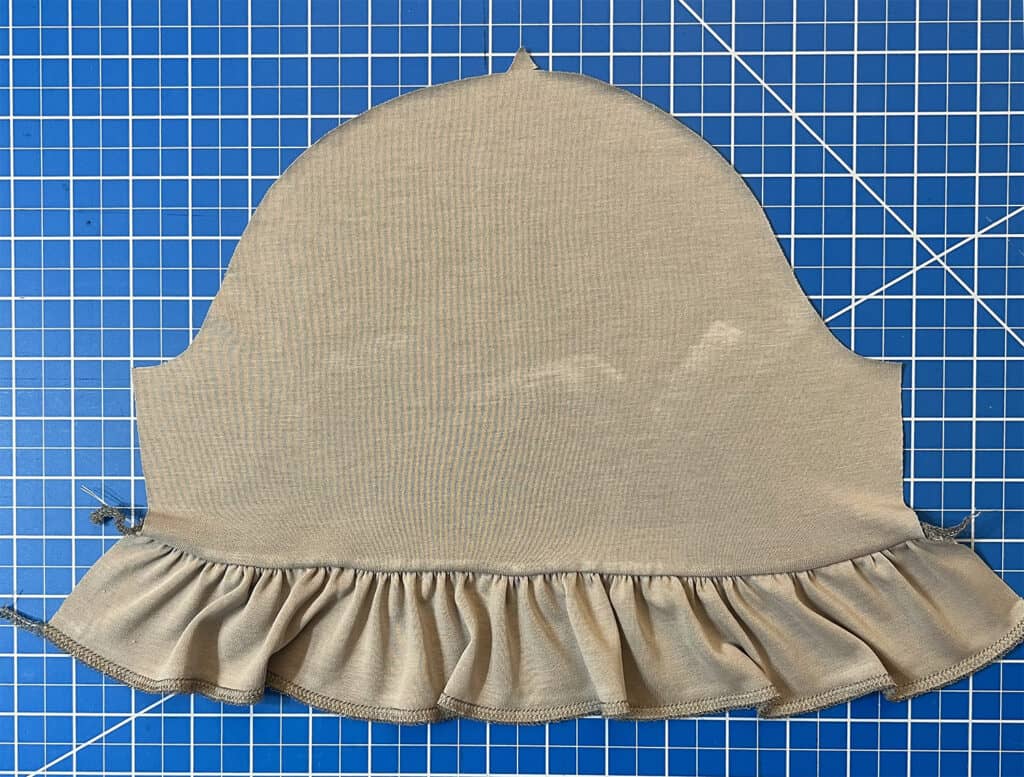
Use your preferred gathering method to fit the ruffle to the sleeve. Baste in place, then sew.
From this point forward, complete your make per the pattern instructions.
Skirt only Hack:
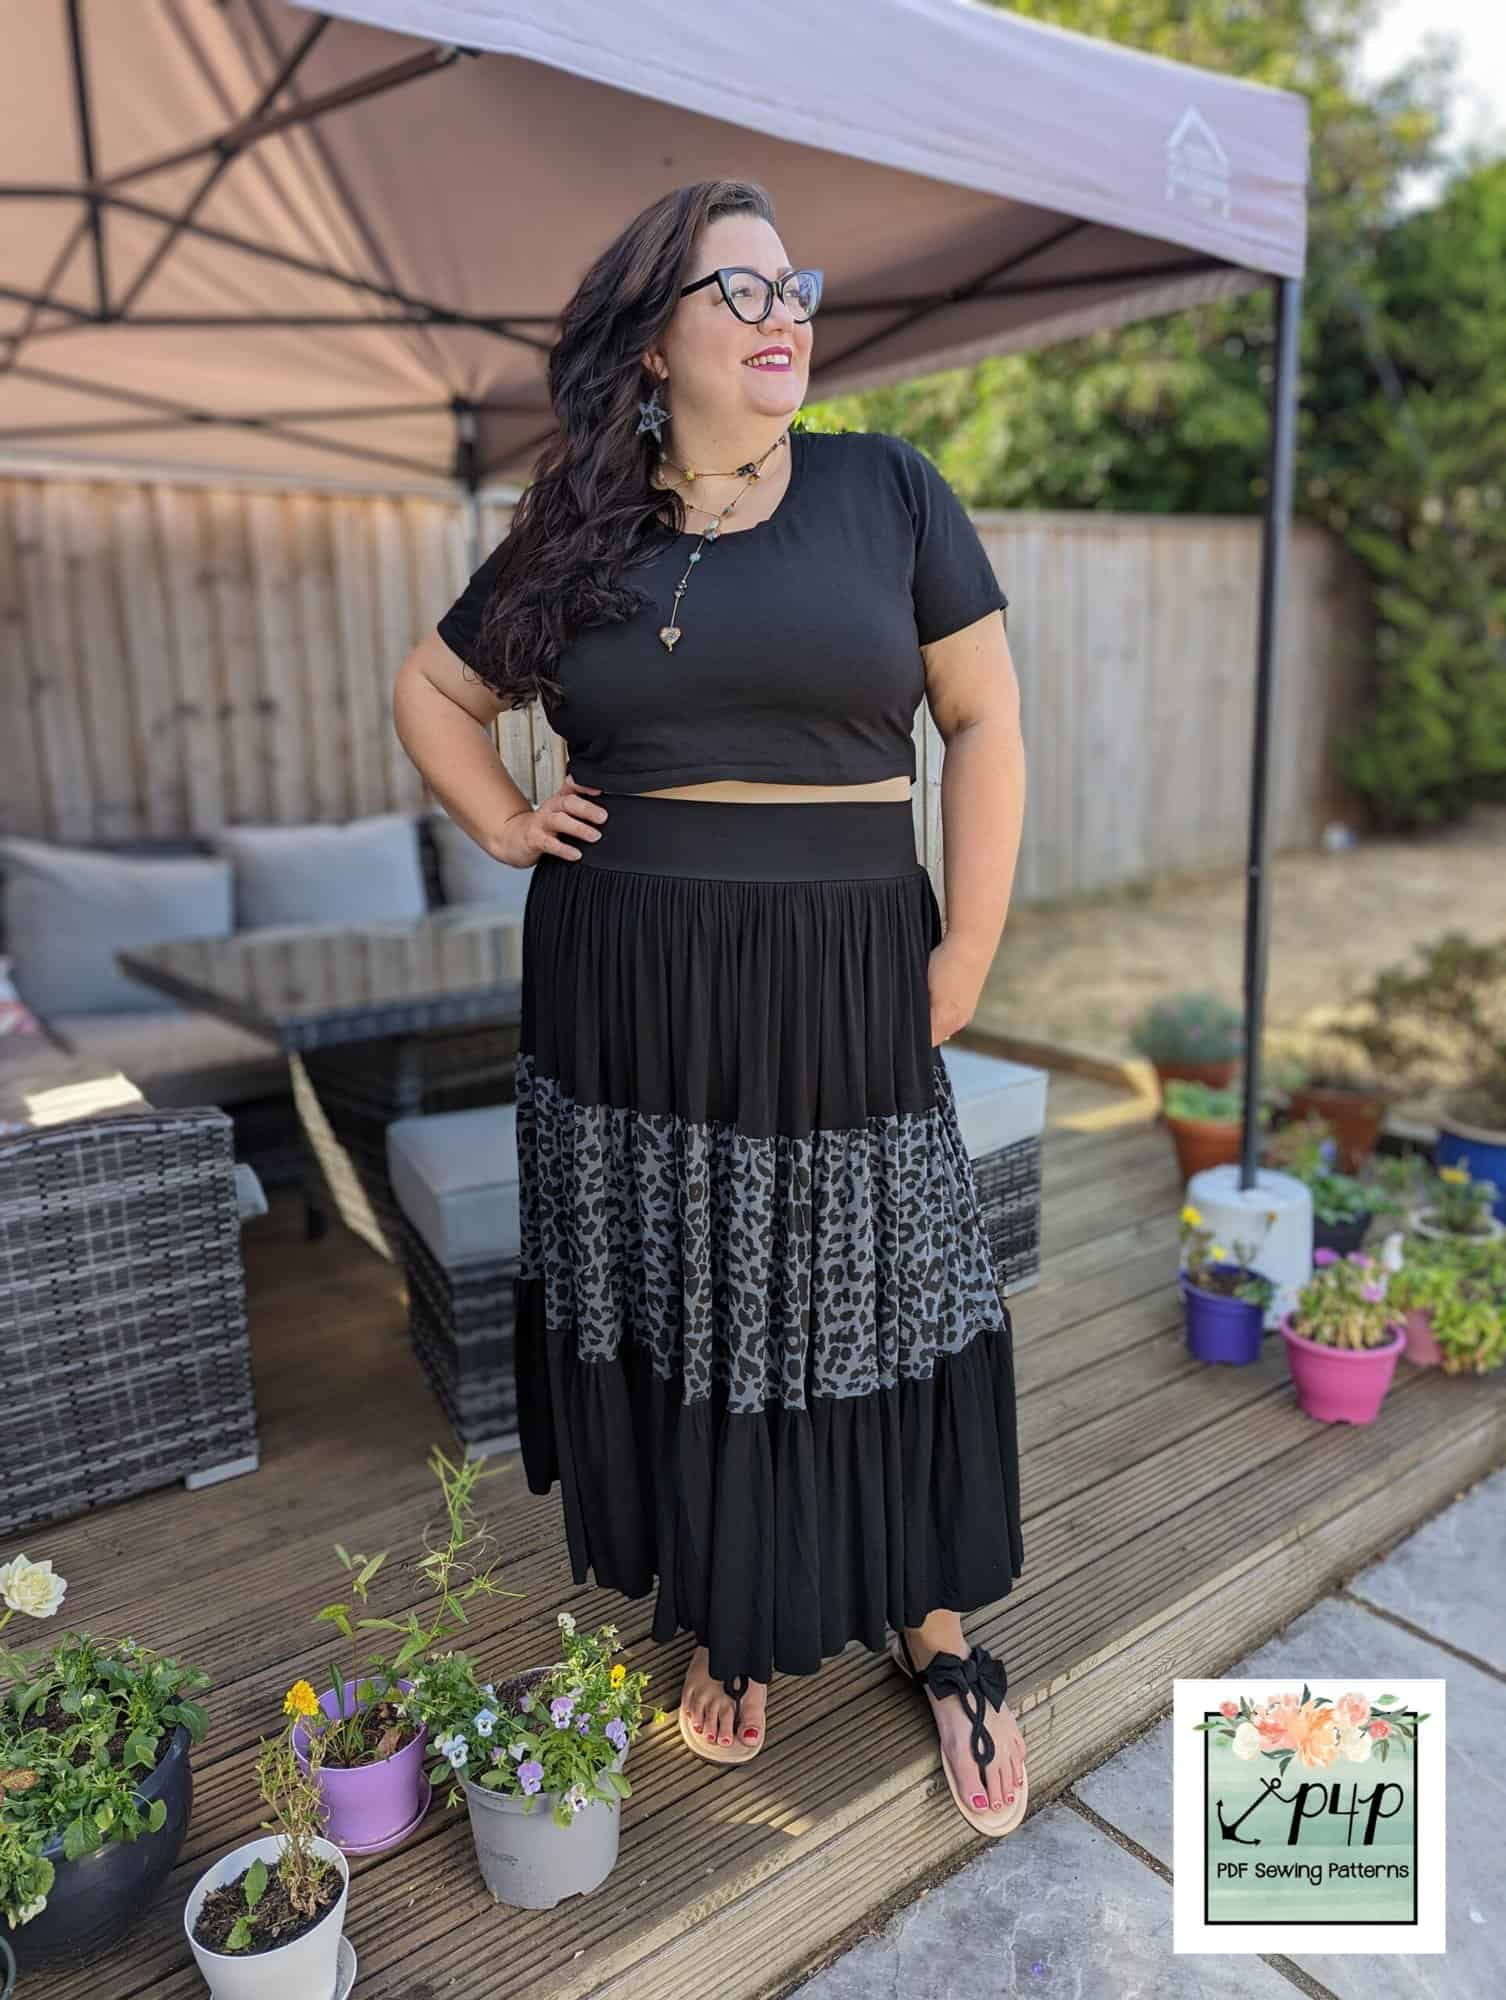
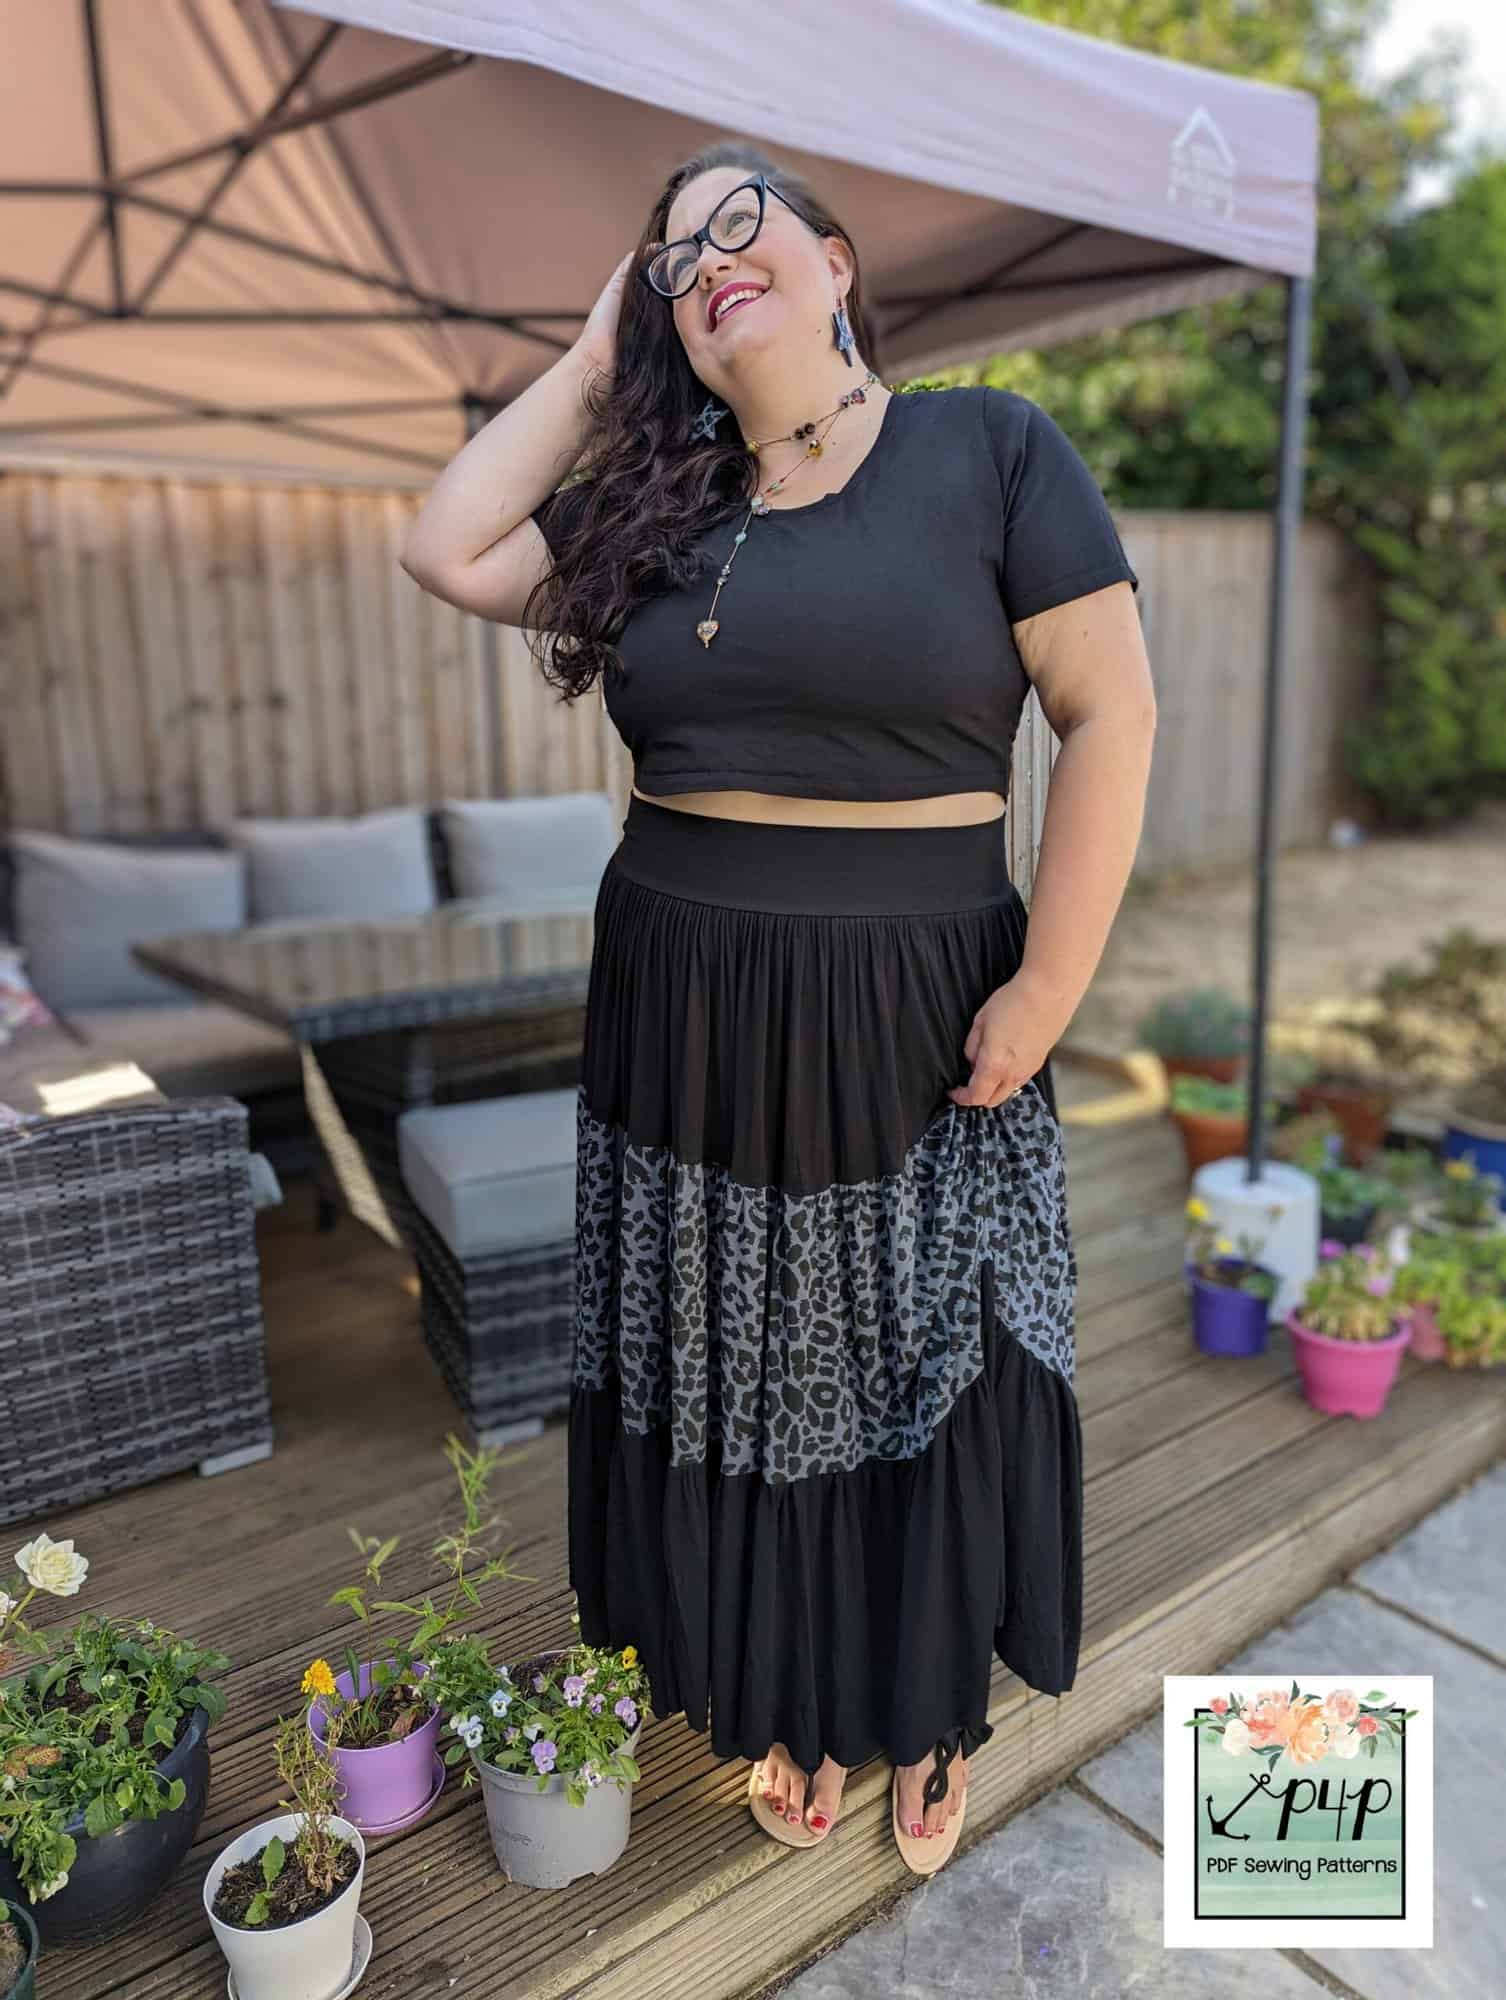
I have been all over the swirly skirt and crop top look this year, and when we started testing the All Gather Round I couldn’t resist making the skirt section on its own to add to my collection.
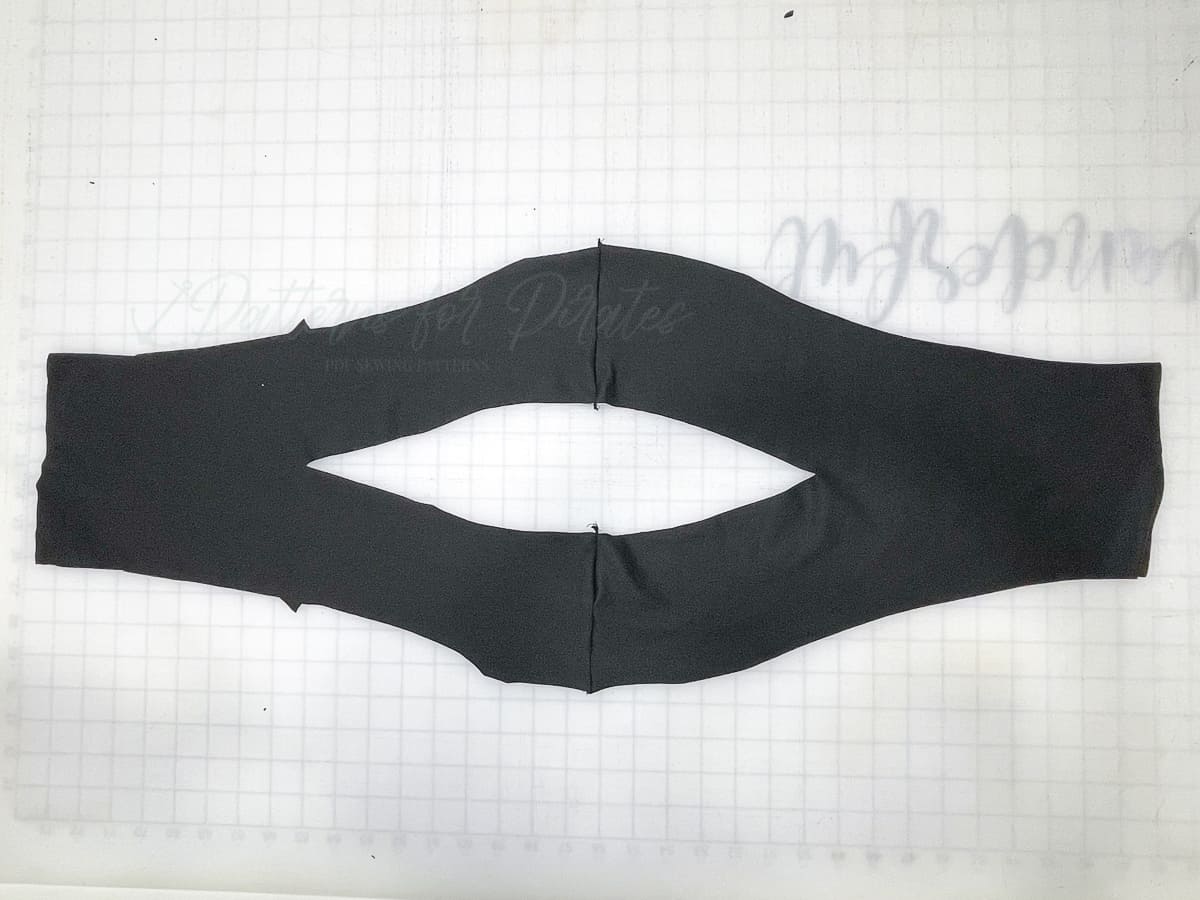
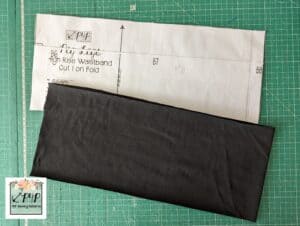
This is the simplest and easiest hack out there, just head over and grab the waistband pattern piece in your size from the FREE Peg Legs pattern.
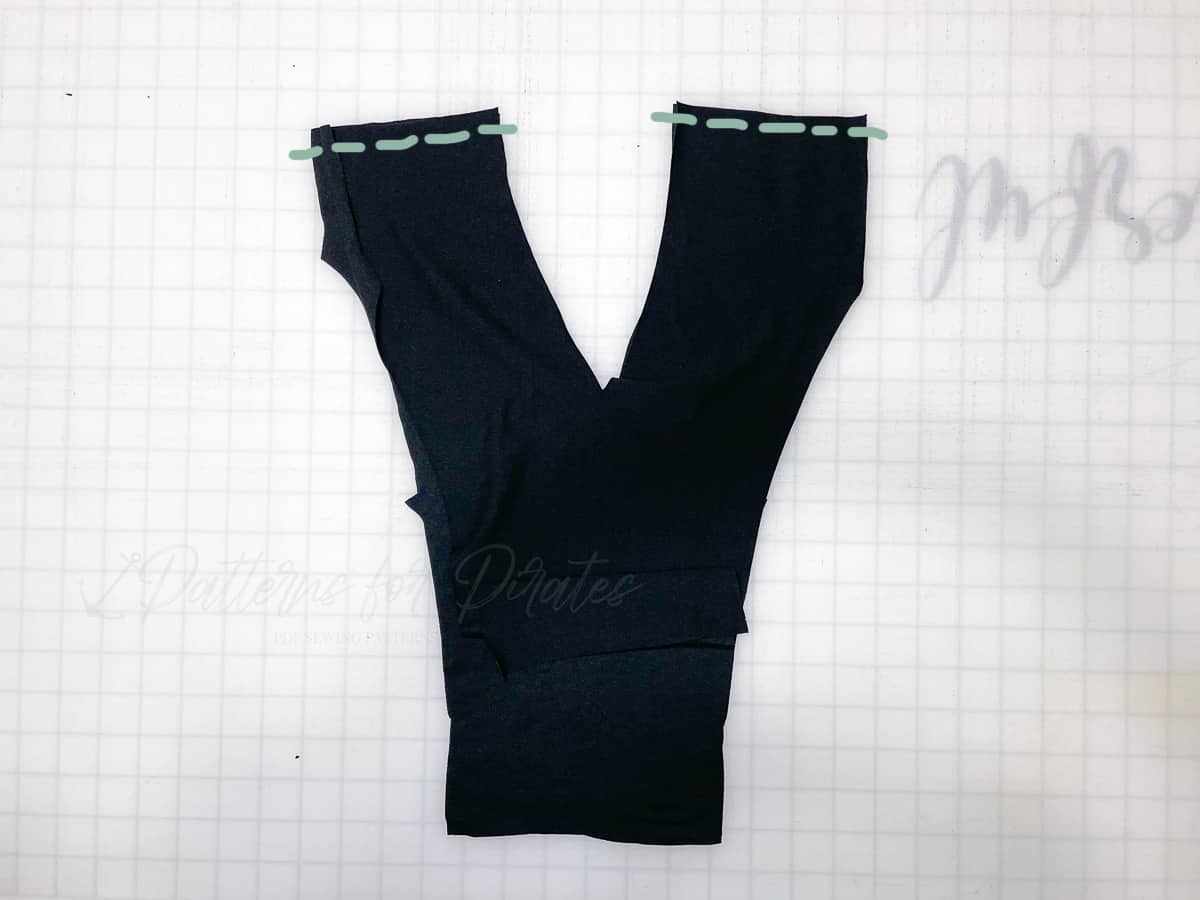
I used a viscose elastane fabric for the skirt pieces, but that wouldn’t have worked for the waistband as it wouldn’t have enough body to hold the skirt up. I decided on a plain black cotton/lycra for my waistband, but whatever you use it will need great stretch and recovery as the skirt can end up pretty heavy with all those tiers attached. Then cut your fabric for the waistband using the Pegs pattern piece.
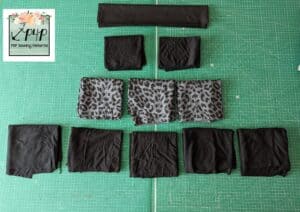
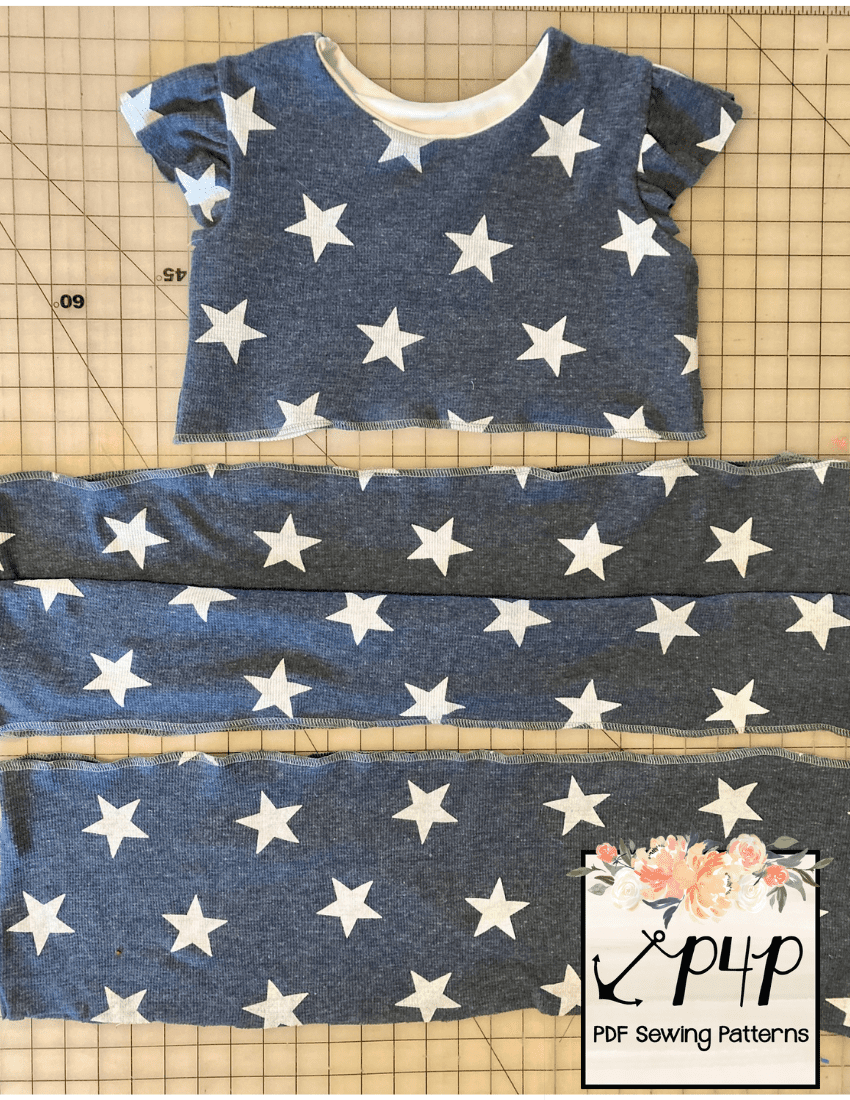
Cut your skirt pieces according to the instructions for the All Gather Round. I had:
1 x waistband
2 x top tier
3 x mid tier
5 x bottom tier
(the tier pieces are folded in the photo above, just to get them all in the pic)
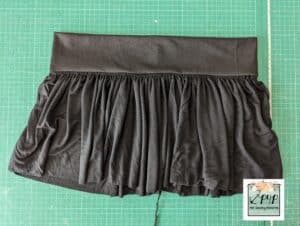
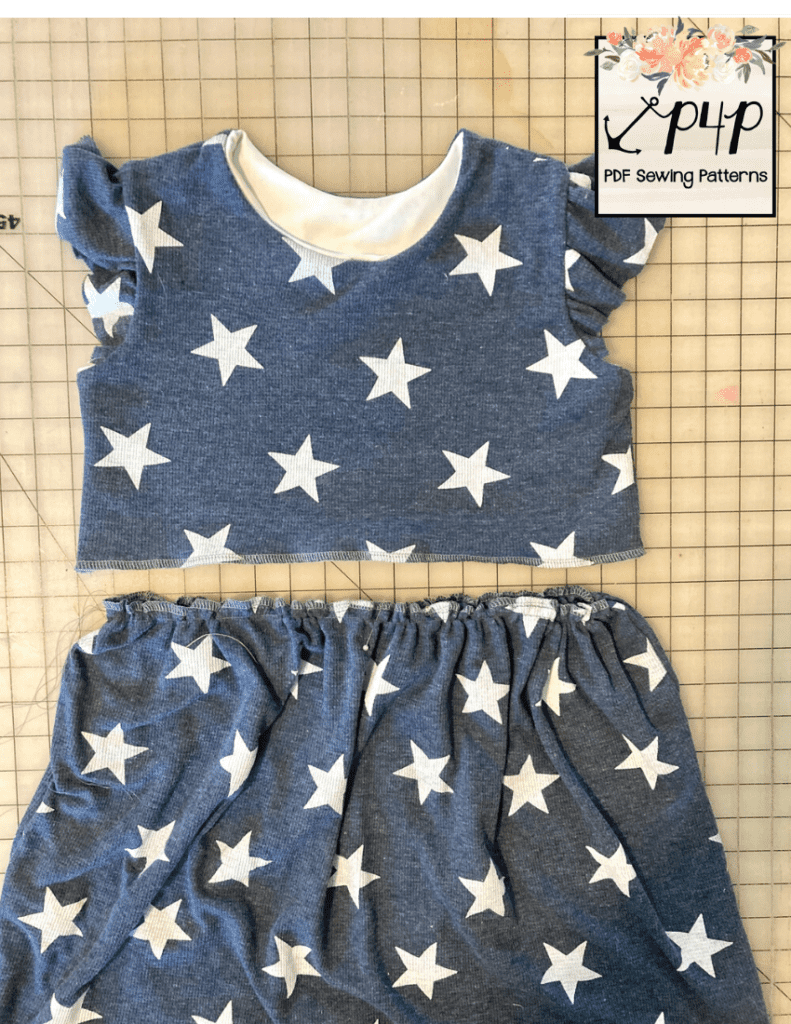
Then simply construct your skirt according to the tutorial for the All Gather Round but instead of attaching it to the bodice you attach it to the waistband. It really couldn’t be easier!
Give it a good press with some steam to help the gathers behave, and you’re all done. Enjoy your new twirly, swirly skirt! I’m wearing this with the crop length top from the Rainbow Dress Pattern
Exposed Seam Hack:
I have been seeing dresses and tops with exposed seams everywhere lately, and a hack showcasing this fun trend could not be simpler!
First, choose your options for the Gather ’round Dress, and complete the steps up to Step 4. That means you’ll be constructing your bodice, adding optional pockets if desired and sewing the side seams of your skirt tiers.
At this point, you may choose to finish the raw edges of your skirt tiers, as these will be exposed once the dress is complete. This is completely up to you! I chose to do so on this version, because I like the more finished look it gave it, although leaving the edges raw is also just fine. Just make sure that if you do choose this option, to be careful NOT to cut any of the seam allowance off with your serger.
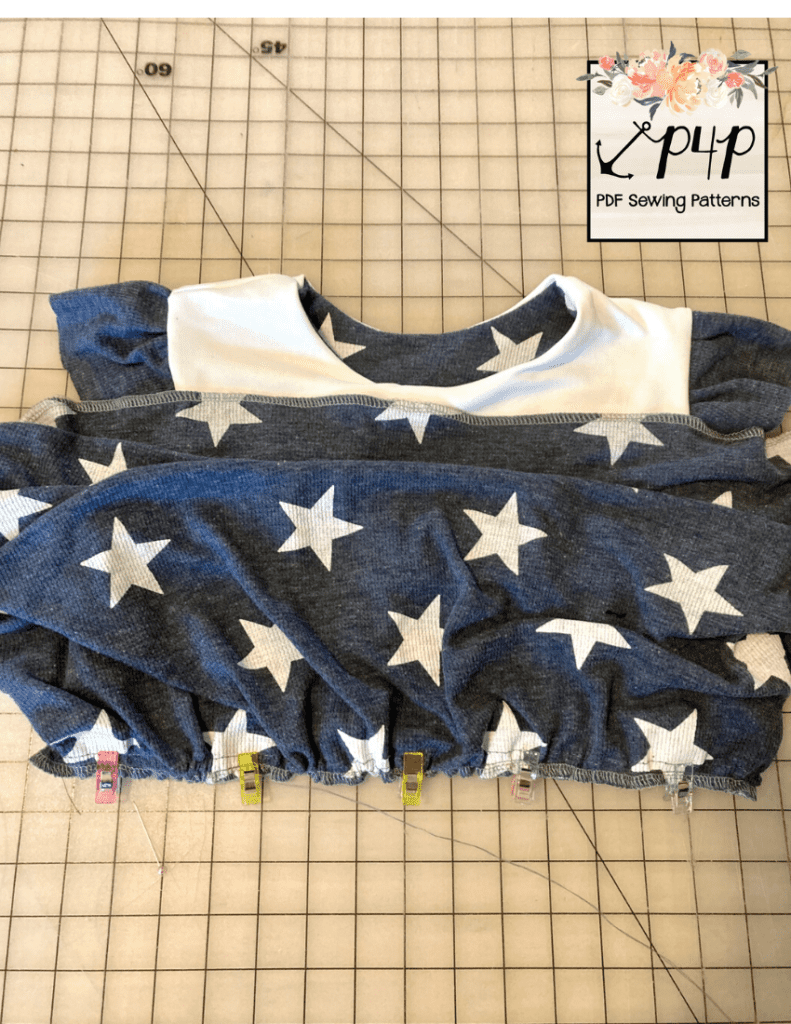
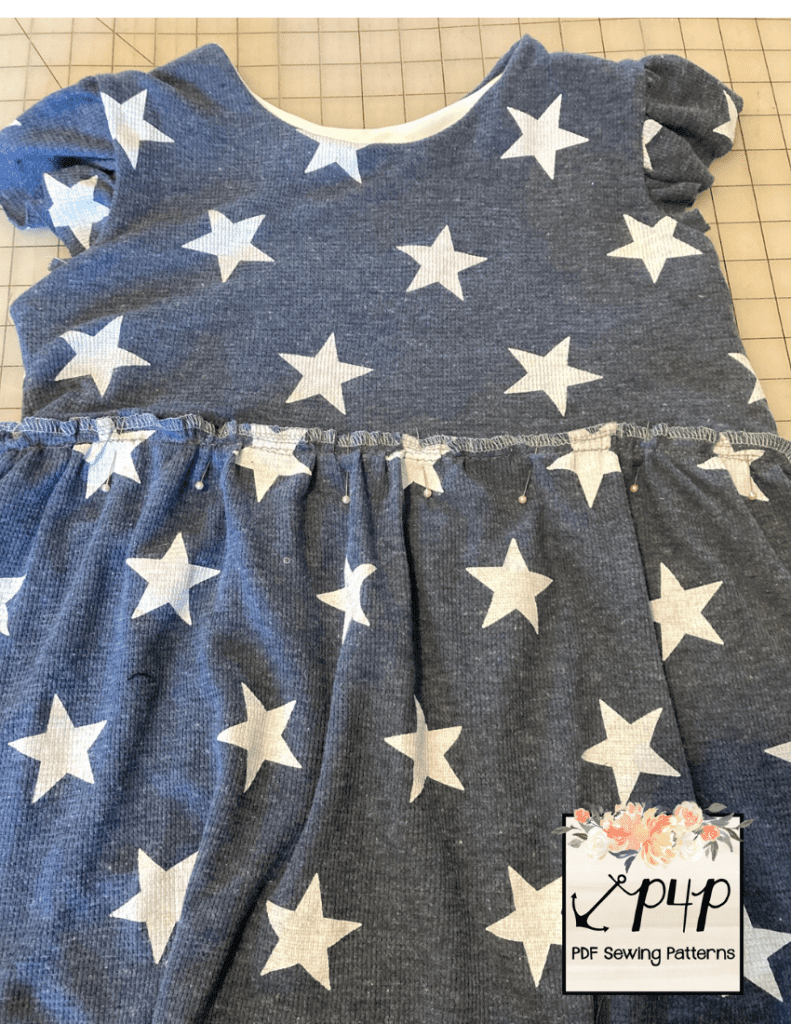
Next, select the top tier of your skirt, and run two rows of gathering stitches across the top long edge, as directed in the pattern tutorial. You’ll want to have it line up roughly with the circumference of your bodice, as shown here.
The next step is where the exposed seams come into play! This time, attach the top skirt tier to the bodice WRONG SIDES together using a 1/2″ seam allowance.
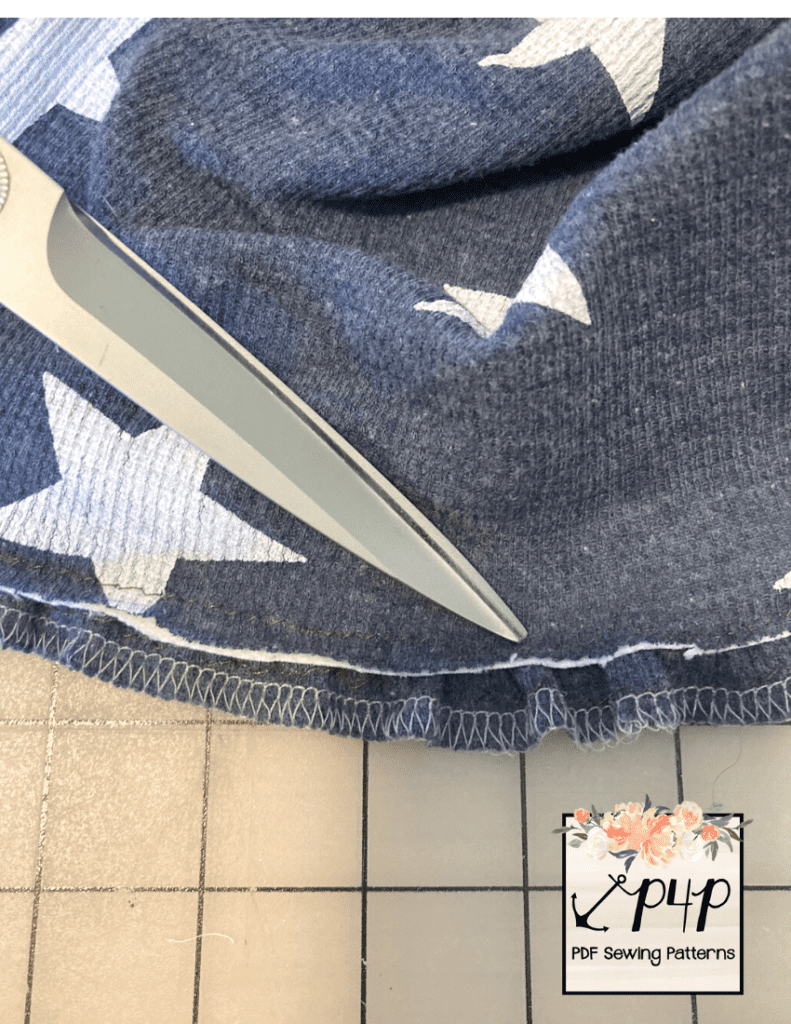
Turn your dress right side out. At this point, particularly if you’ve used a different colored bodice lining like I have here, you’ll want to trim the seam allowance of the bodice ONLY, being careful not to cut through the stitching. This will reduce bulk and enable your skirt to lay more nicely as well.
Press the seam allowance up toward the bodice, and topstitch just below the exposed edge of the skirt.
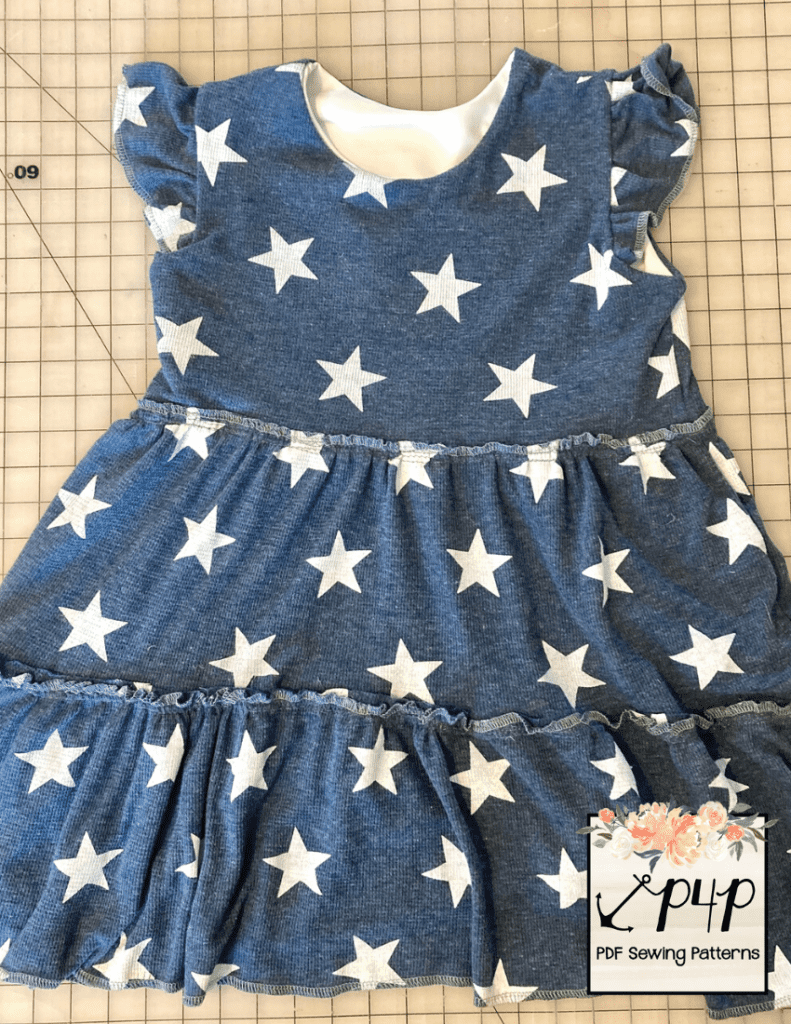
Depending on the options you’ve chosen for your Gather ’round Dress, repeat these steps until all skirt tiers are attached. Hem as usual.
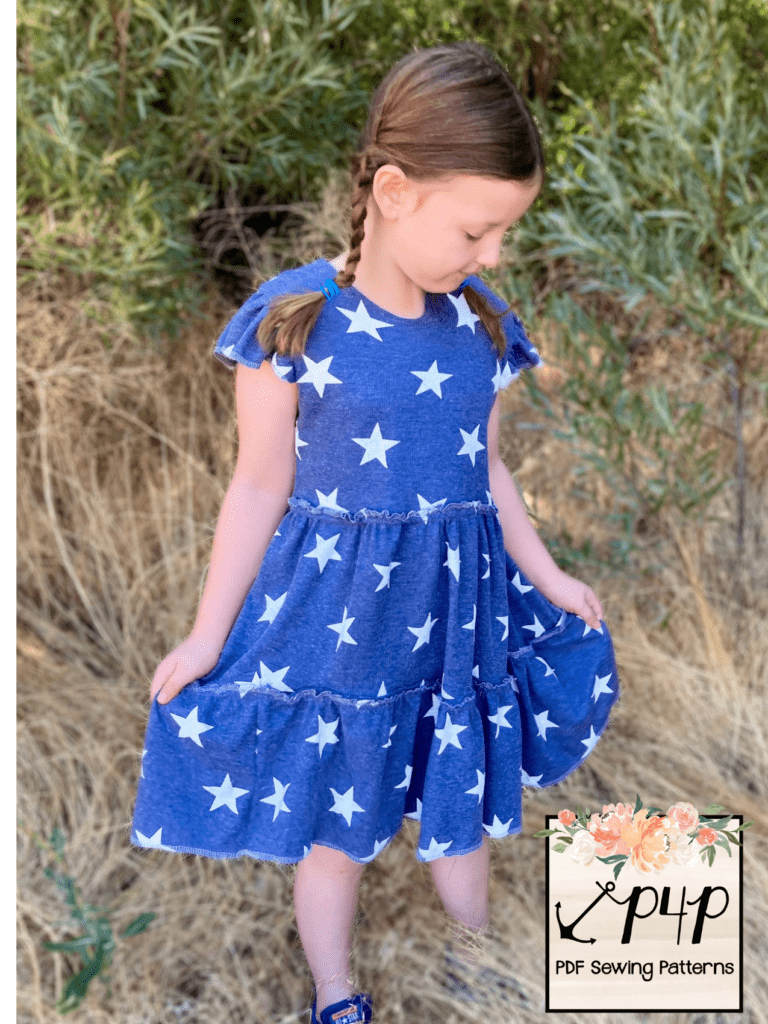
You’ve done it! Now step back and admire your gorgeous and trendy exposed seams.
Gathered Cap Sleeve with Long Sleeves Hack:
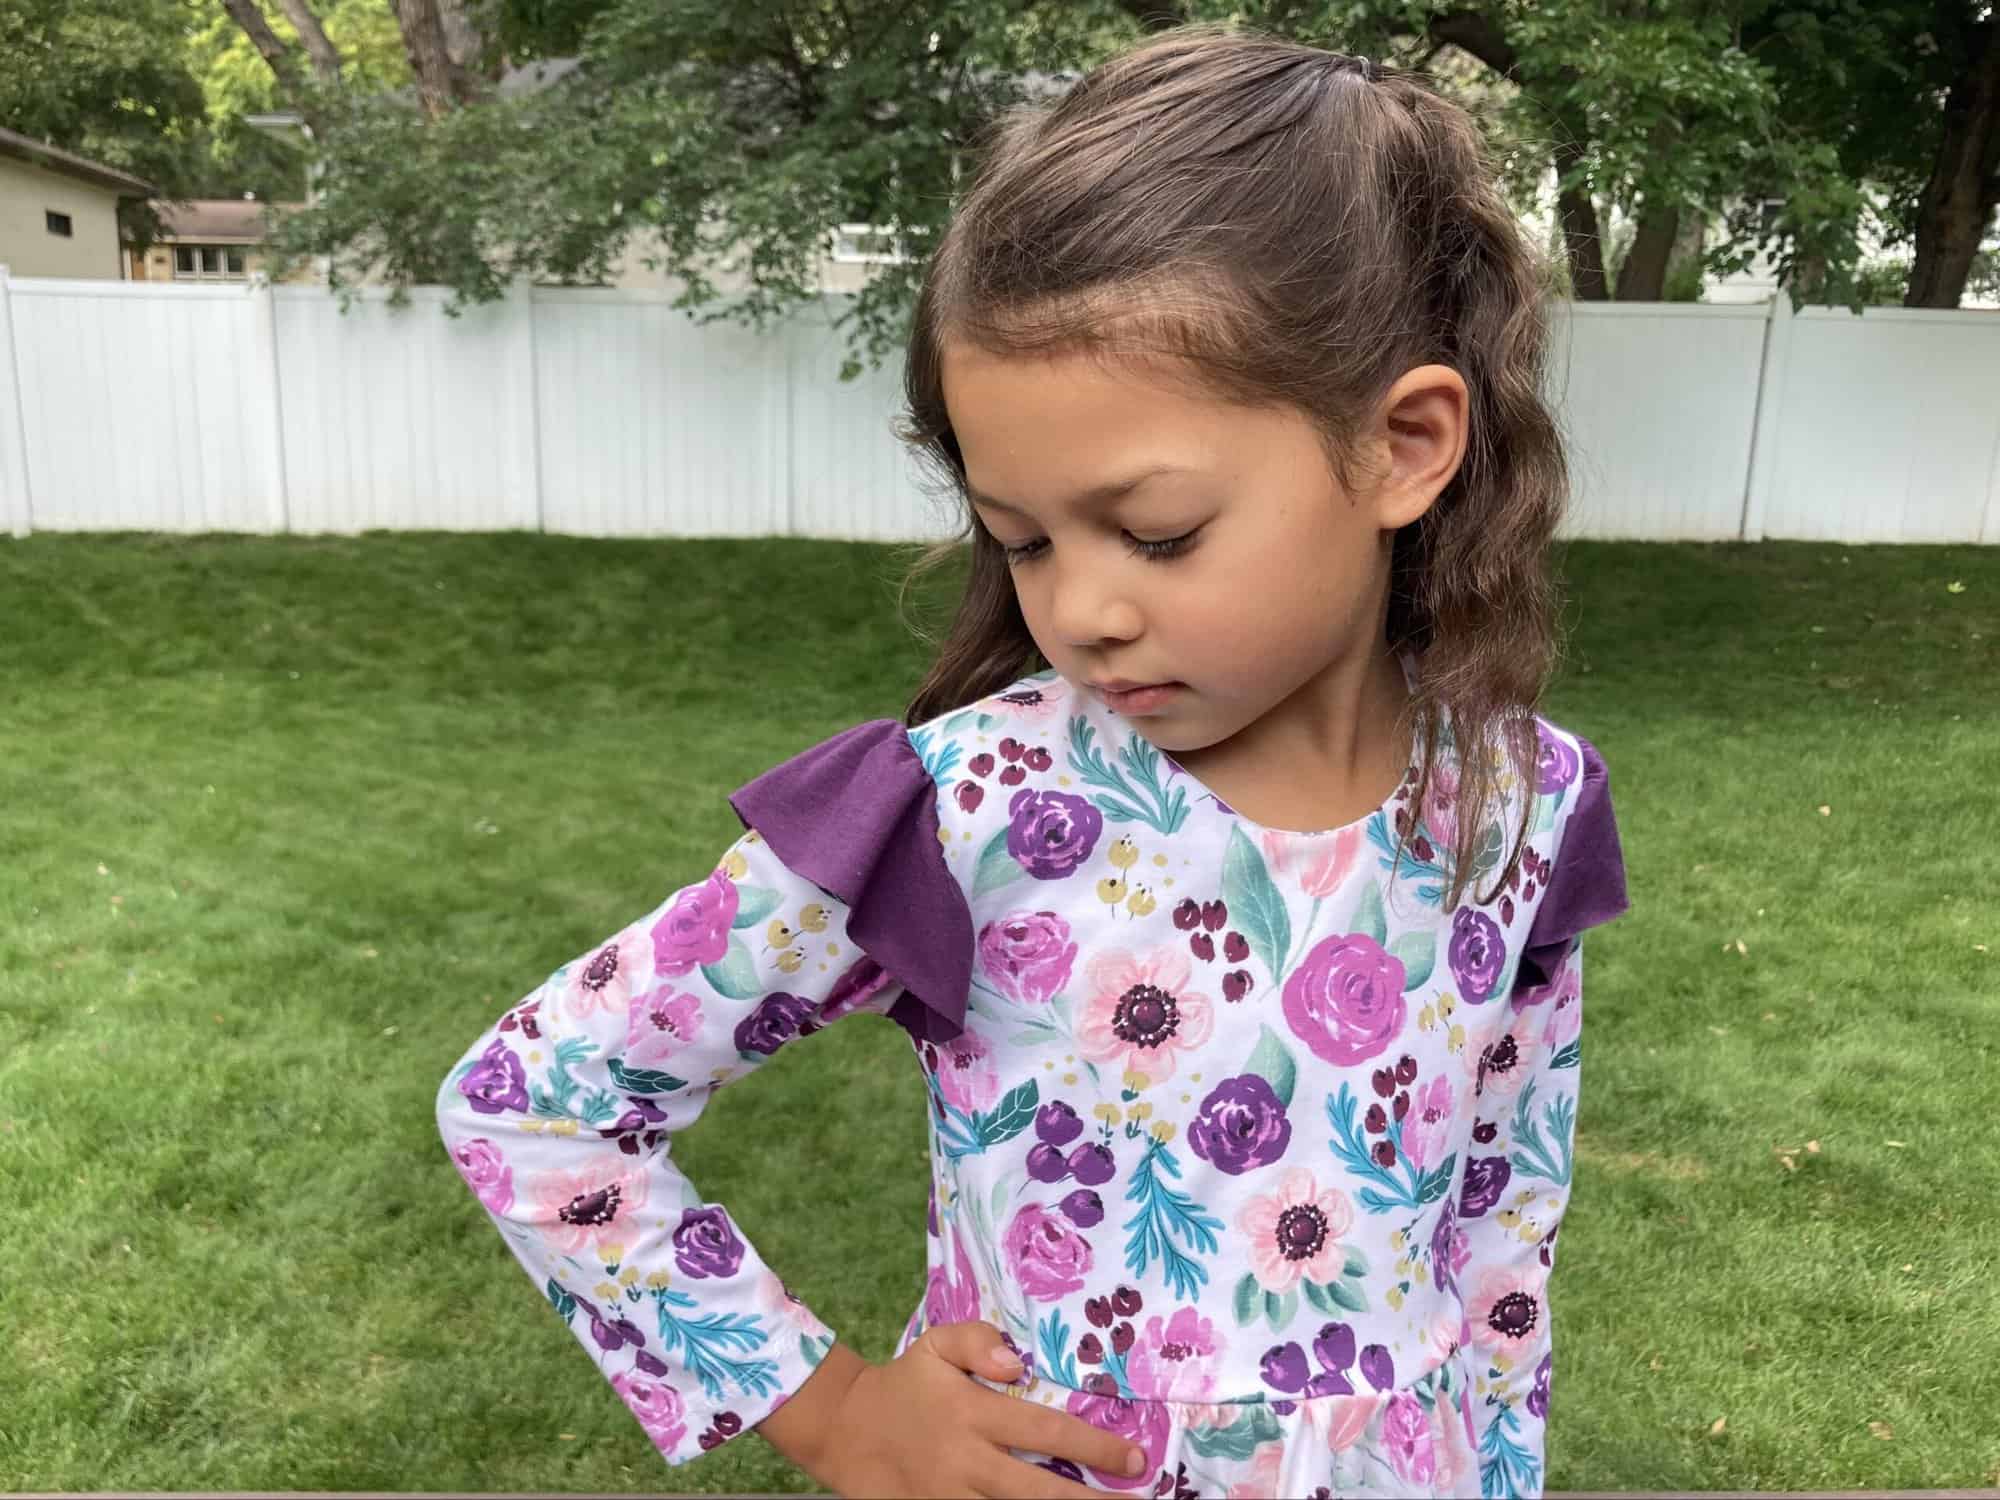
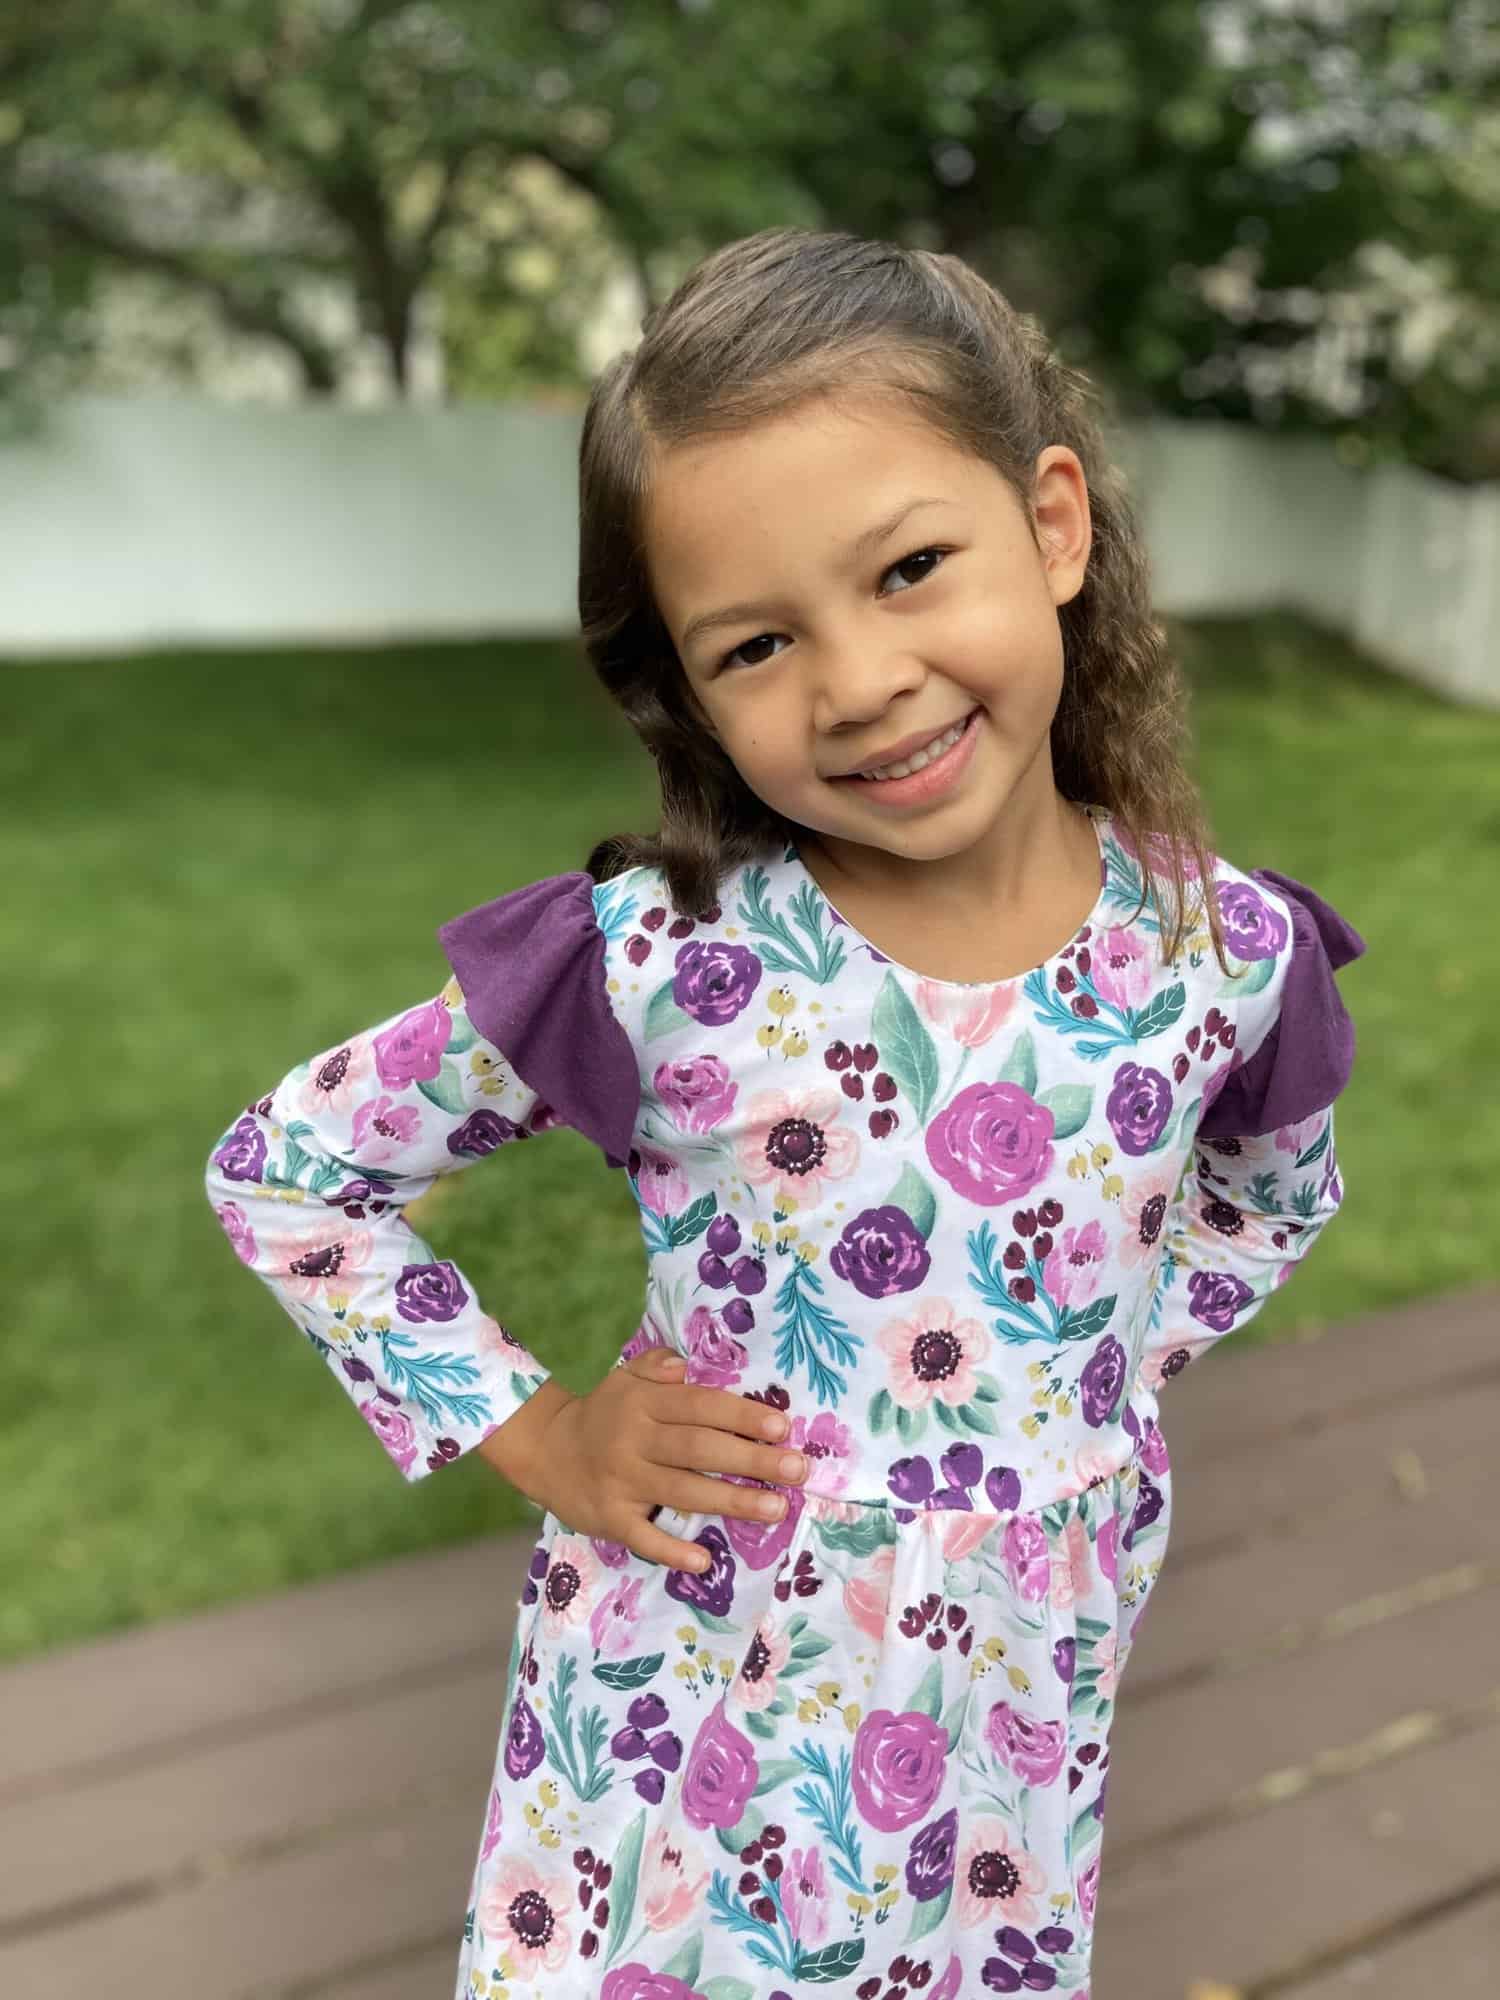
I really love the flutter and long sleeve combo and it’s super simple to achieve!
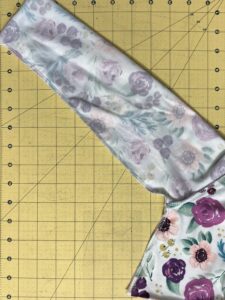
Follow the Gather ‘Round dress tutorial for adding the gathered cap sleeves to the bodice but use a basting stitch.
Place the right side of the long sleeve on top of the wrong side of the gathered cap sleeve, and attach flat, easing the shoulder of the sleeve to match the armscye. Pull out all basting stitches.
With right sides together and matching the armpit seam. Pin and stitch the side seam from the sleeve hem to the bottom edge of the bodice. Continue with tutorial to attach the skirt.
Voila! All done!
Protected: Fabric for Pirates :: September 2022 Reveal
Protected: Fabric for Pirates :: August 2022 Reveal
New Pattern Release :: Tie Up Top (Adult + Youth Sizes!)
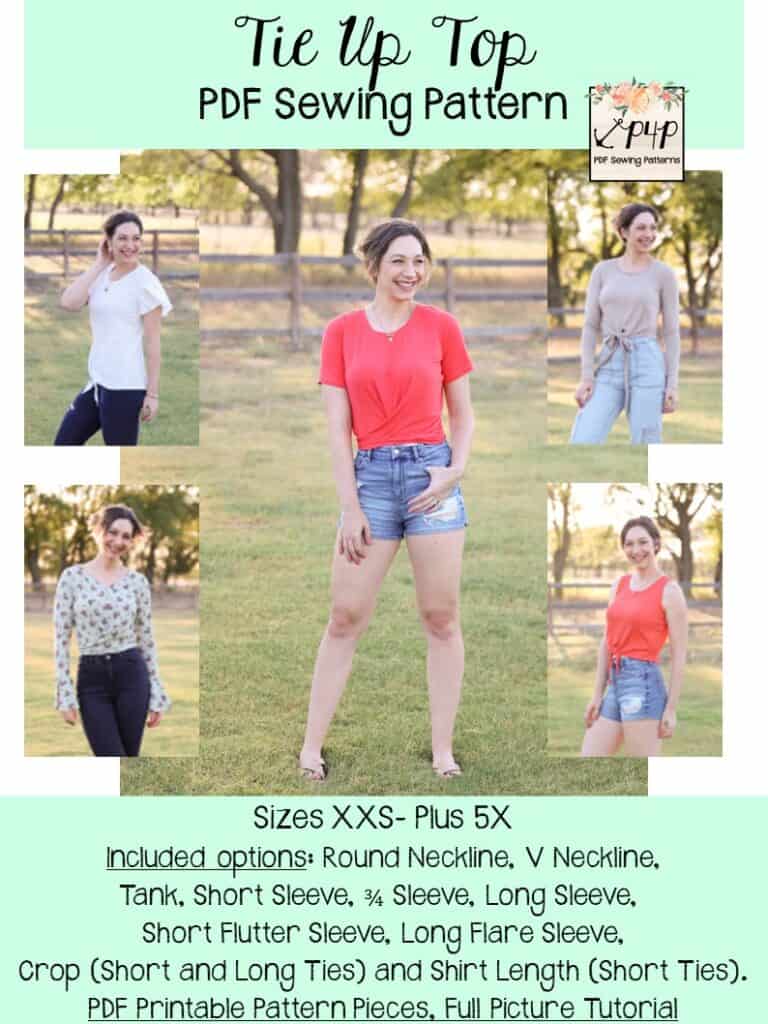
We are super duper excited to be sharing our latest pattern to hit the P4P lineup today! It’s perfectly timed for this in-betweener season….where you’re kinda over summer and ready for fall but still needing clothing to carry you through the warm weather. The Tie Up Top patterns (in both Youth and Adult – Hourglass sizes) are everything you’ve been waiting for.
They’re cute. They’re on trend. And they’re adaptable for all the seasons you’re in, and all the seasons you’re wishing would happen sooner!
The youth sizes range from 3m – 14 and the adult sizes are for the full, newer size chart, extending from XXS – Plus 5X for the Adult Hourglass Figure.
- *Want to learn more about how to measure yourself for these pattern? We’ve got you covered with an in-depth blog HERE. And for even more helpful fun, we have a free* printable that you can use to help record your measurements as you take them.
- And in case you’re new to Patterns for Pirates and PDF patterns in general, we have a great blog full of new-user tips HERE to help you get started!
- As with all of our current releases and updates, the pdfs now include our layers feature and can be found in Letter, A4, A0 and projector sizes.
Round Neckline | V Necklines
Tank | Short Sleeve | 3/4 Sleeve | Long Sleeve | Flutter Sleeve | Flare Sleeve
Crop w/Short Ties | Crop w/Long Ties | Shirt Length
The Crop with long ties can be tied both in front in a long bow or wrapped around to the back and tied in the back for a more fitted waist.
We are so excited to see what you sew up with the new Tie Up Top patterns! Head on over to the shop, grab yourself a copy, and get to sewing! They are available on sale (no code needed) through 11:59pm CST, August 8, 2022.
Tie Up Top – Adult Hourglass | Tie Up Top – Youth | Tie Up Top – Adult + Youth Bundle
Hoping for a little inspiration before diving into some Tie Up Top sewing? Journey over to our Facebook group where you can see tester albums full of amazing images!
Tie Up Top Adult Album | Tie Up Top Youth Album
But wait, there’s more! We’ve put together an awesome “Easy Hacks” blog post, that will help you take your sewing a little further! Go check out what Judy and Rachel put together for you, in the ways of some simple tutorials!
Tie Up Top Easy Hacks
Tie Up Top Easy Hacks
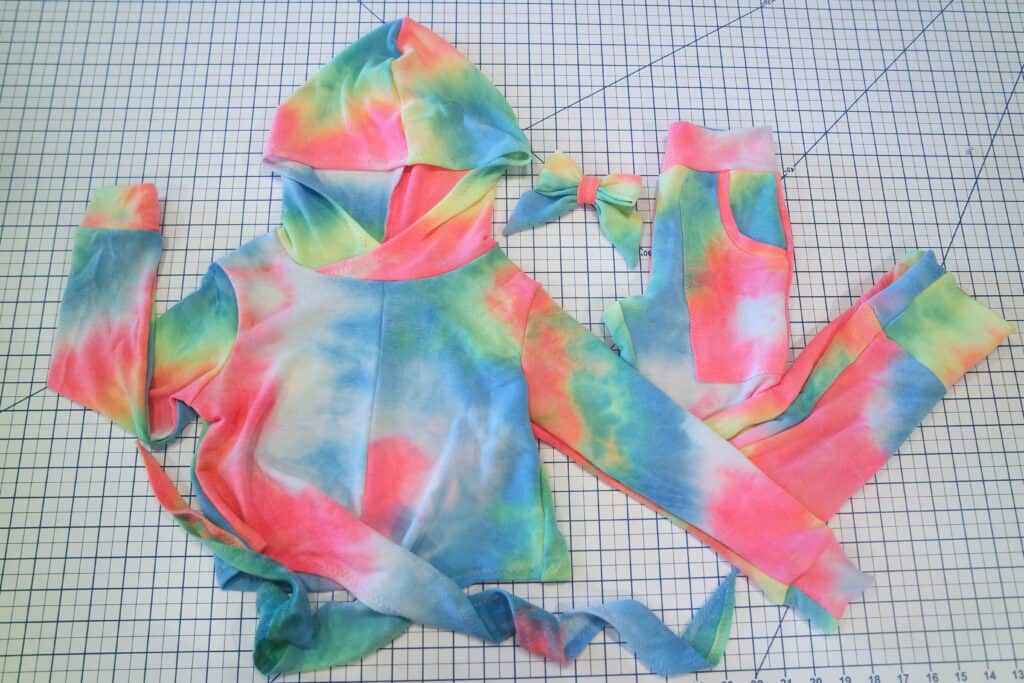
Hood
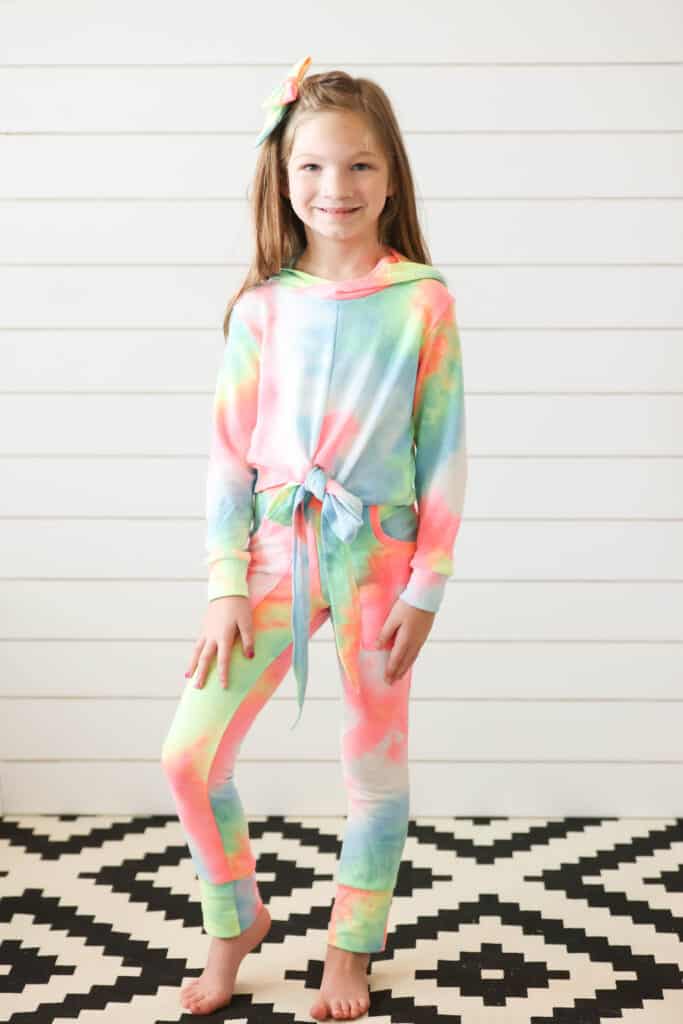
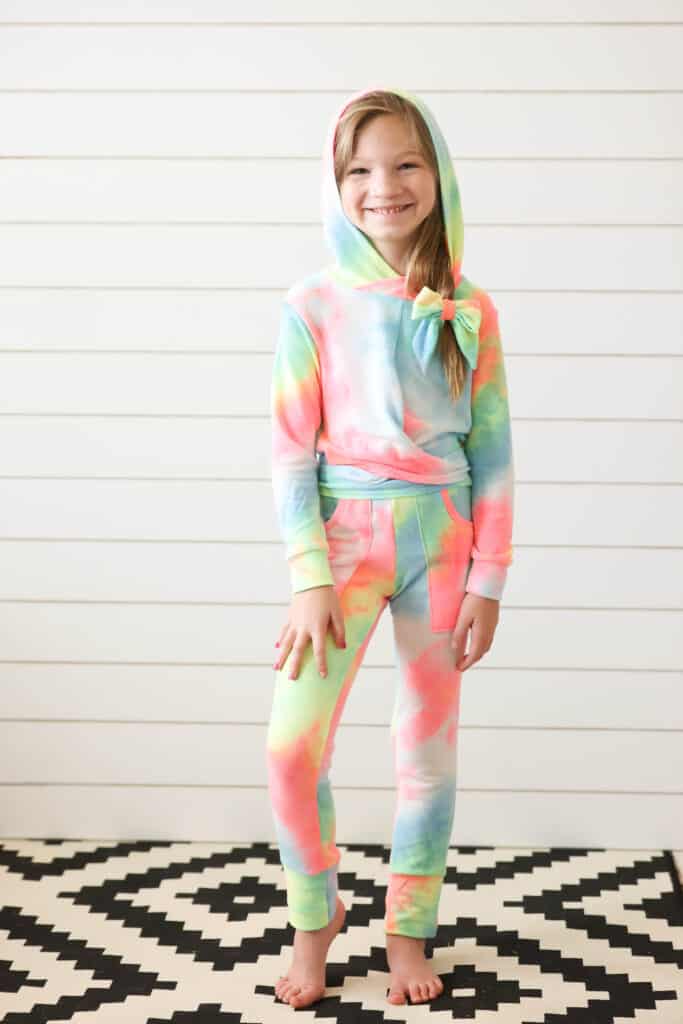
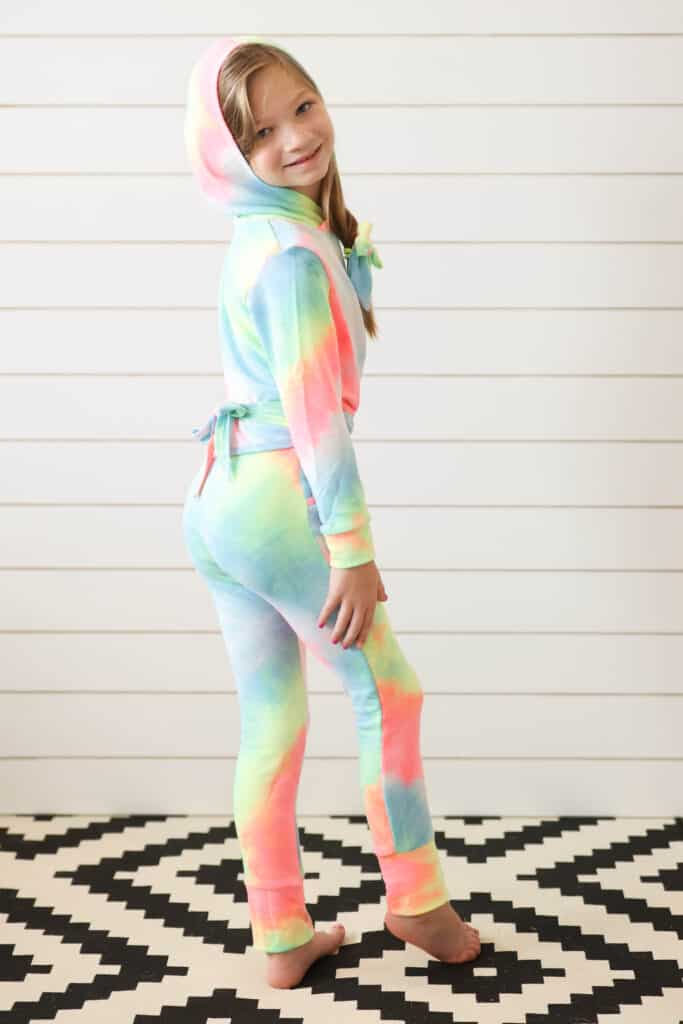
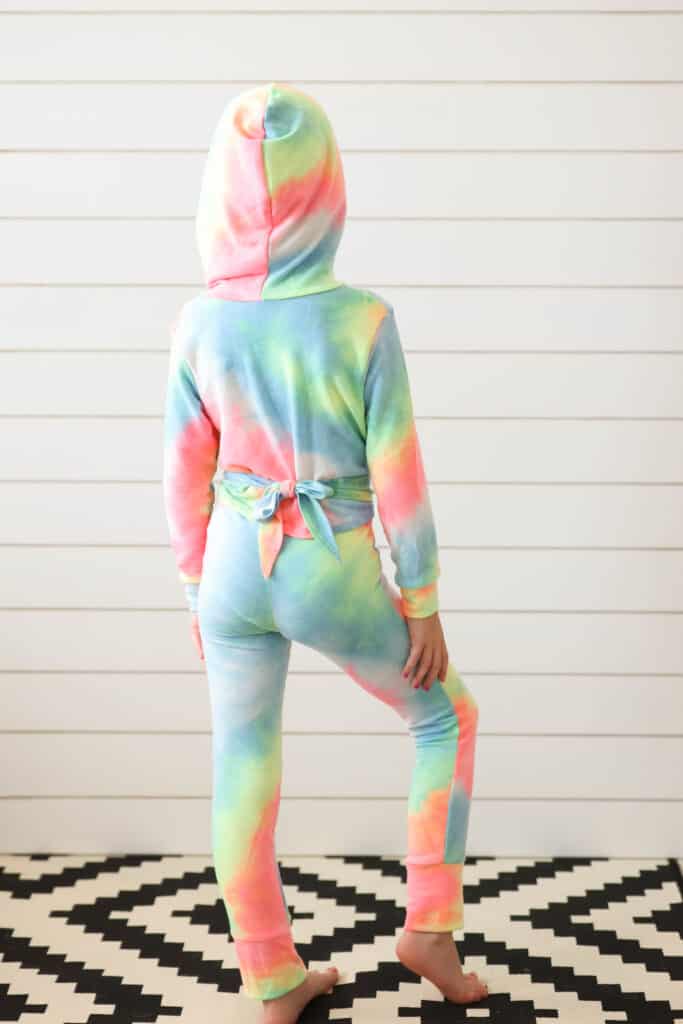
I had a hard time narrowing down options for the Tie Up Top, like I always do when I’m drafting up a pattern! One option that I wanted, but just couldn’t squeeze in anymore into the pattern was a hood! I thought it would be so cute with the crop, long ties option! So, here I am to show off how to add a hood to it if you’re like me and think it’s an adorable combo.
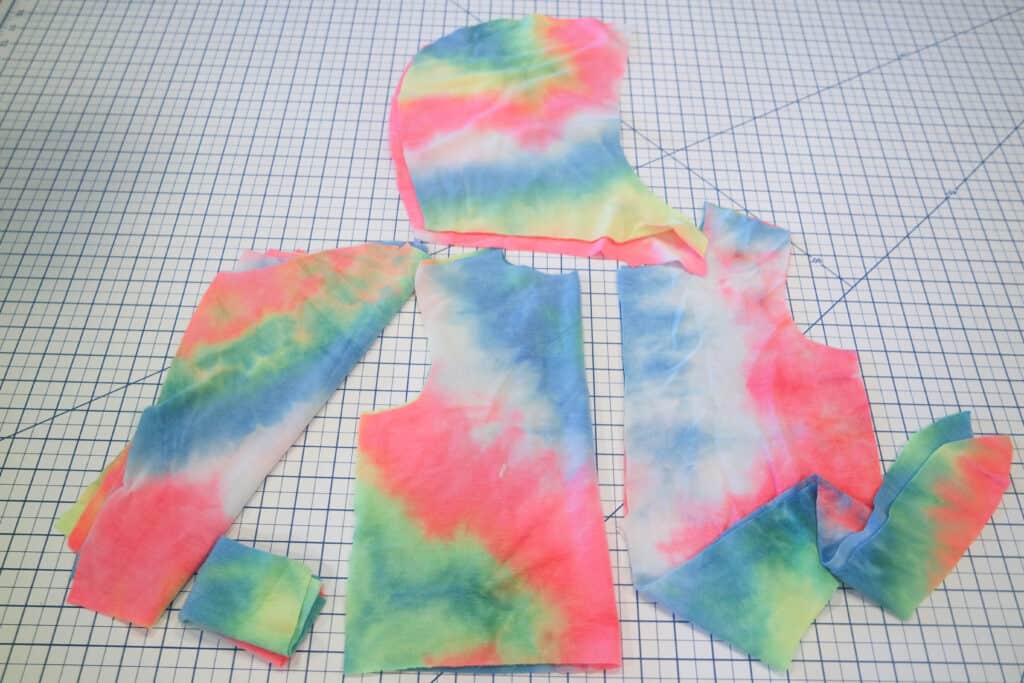
Cut your Tie Up Top with the rounded/crew neckline. I used the hood from the Sporty Piko….bonus! Cut that out in the same size as your Tie Up Top is.
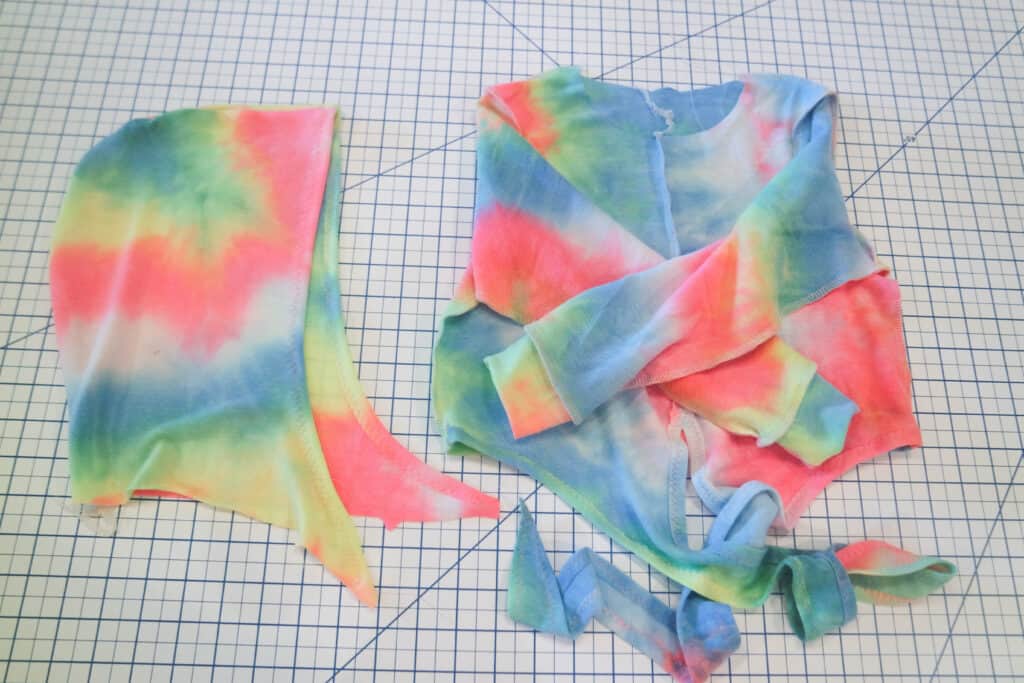
Next sew up the Tie Up Top completely following the tutorial, just leaving the neckline raw. Sew up the hood as the Sporty Piko tutorial instructs up to the part that attaches to the neckline.
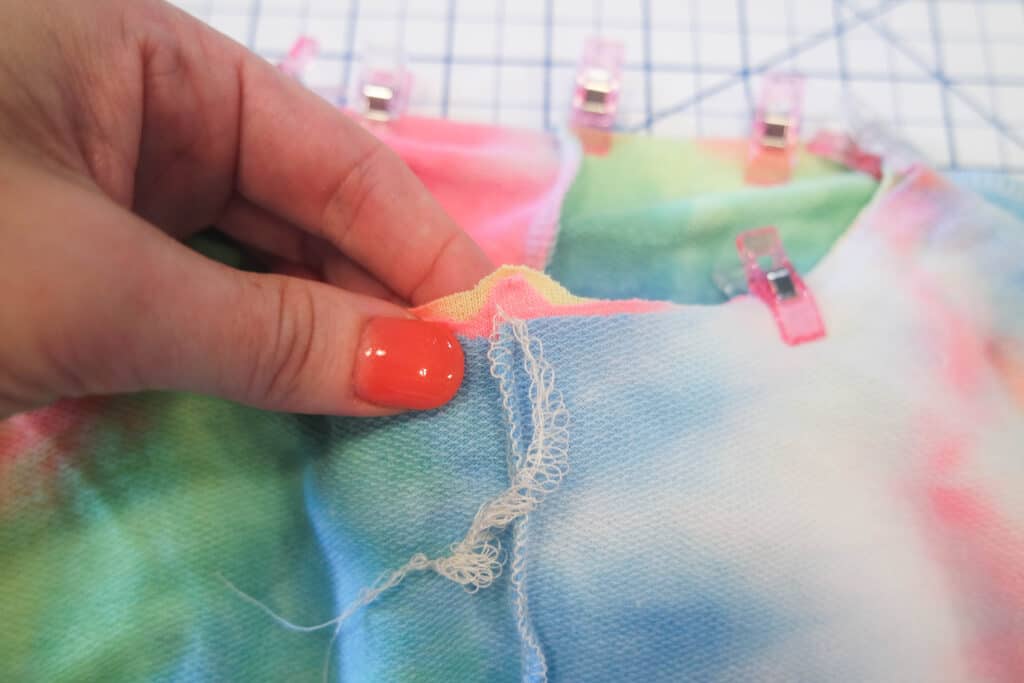
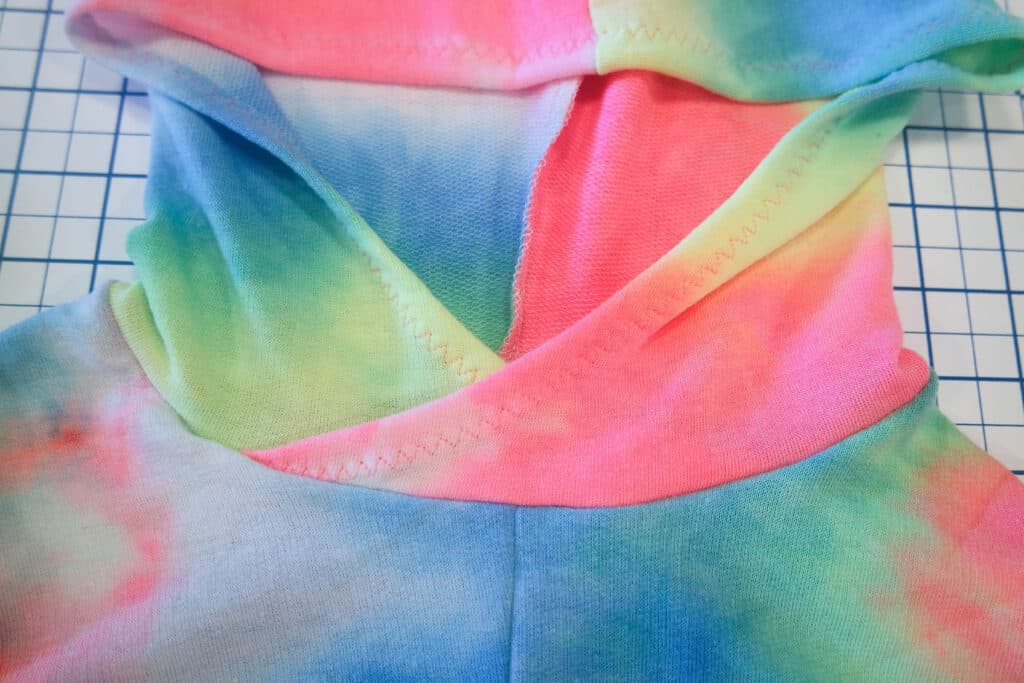
We will now follow the instructions on the Sporty Piko for attaching the hood. Match the hood at the back centers. Then continue pinning/clipping the hood to the neckline without stretching neckline or hood. The notches on the hood should be close to the center front. It might not be perfect since we’re using 2 different patterns, but it will be close! My size 7 matched up great.
Stitch the hood to the neckline.
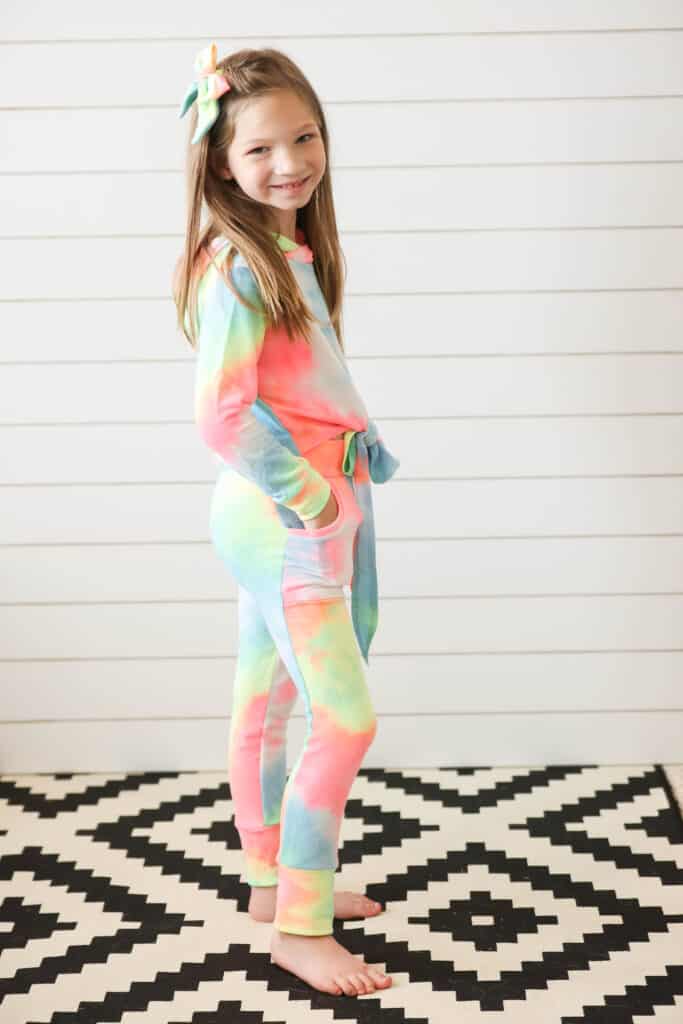
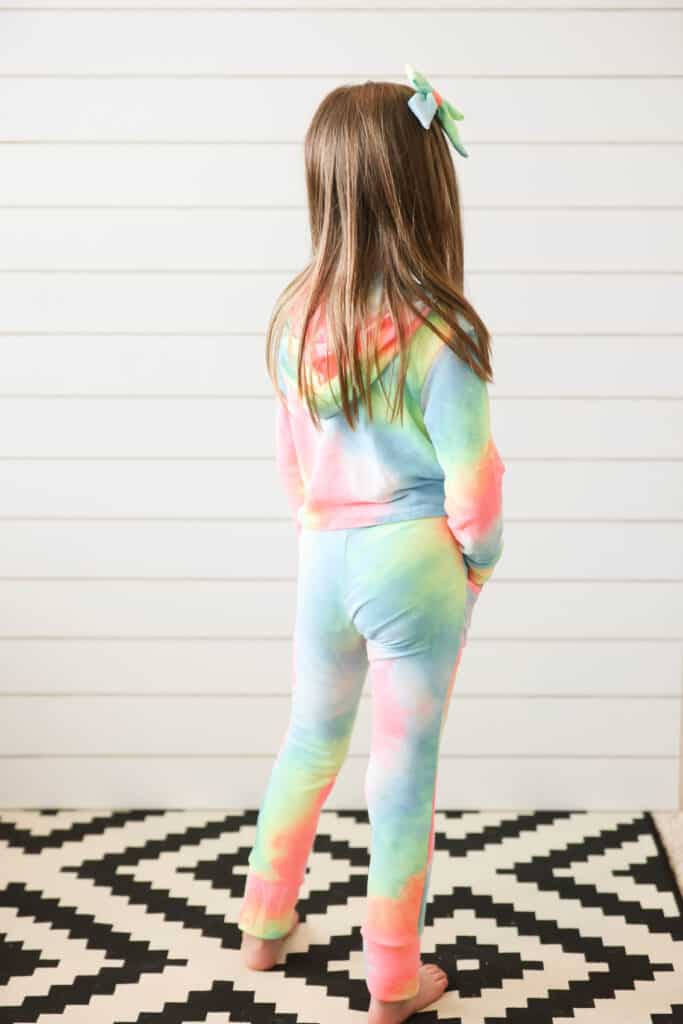
Now…. if you’re like us… you’ll also need some matching pants and a bow to go with it 😉
Wear it tied in front
Or wrapped to the back and tied.
Either way, you have an amazing new hoodie! I hope I have time to make myself one in waffle knit soon too!
Diagonal Stripes Two Ways!
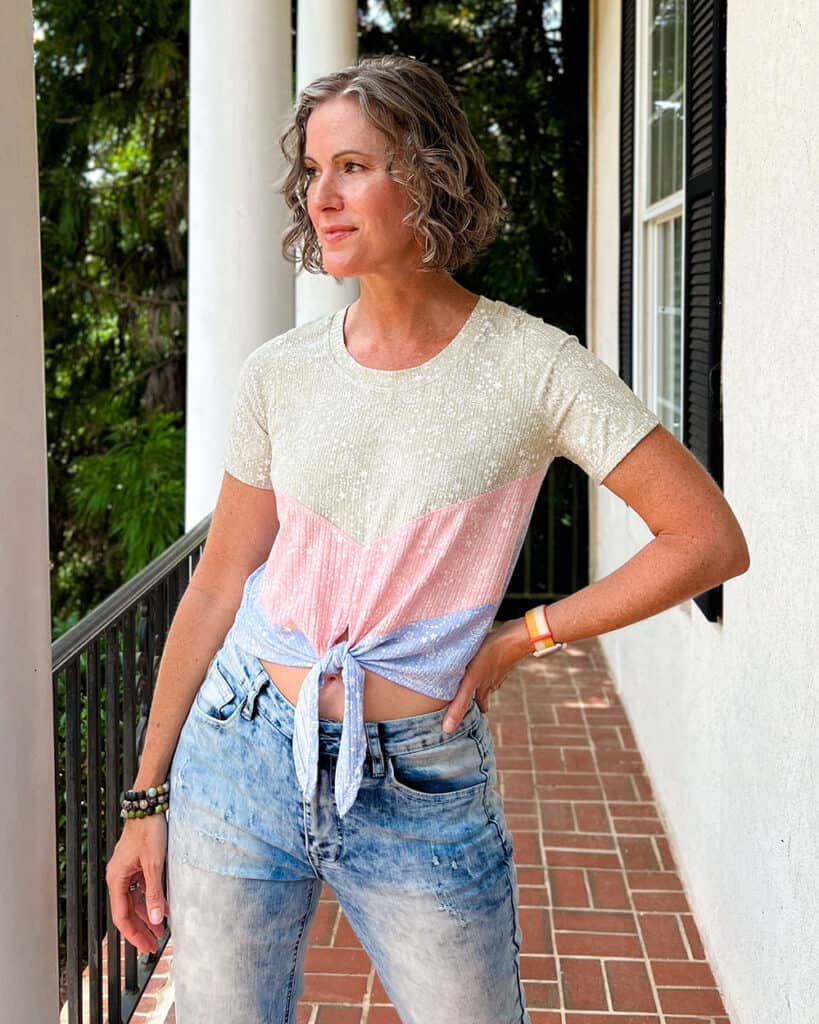
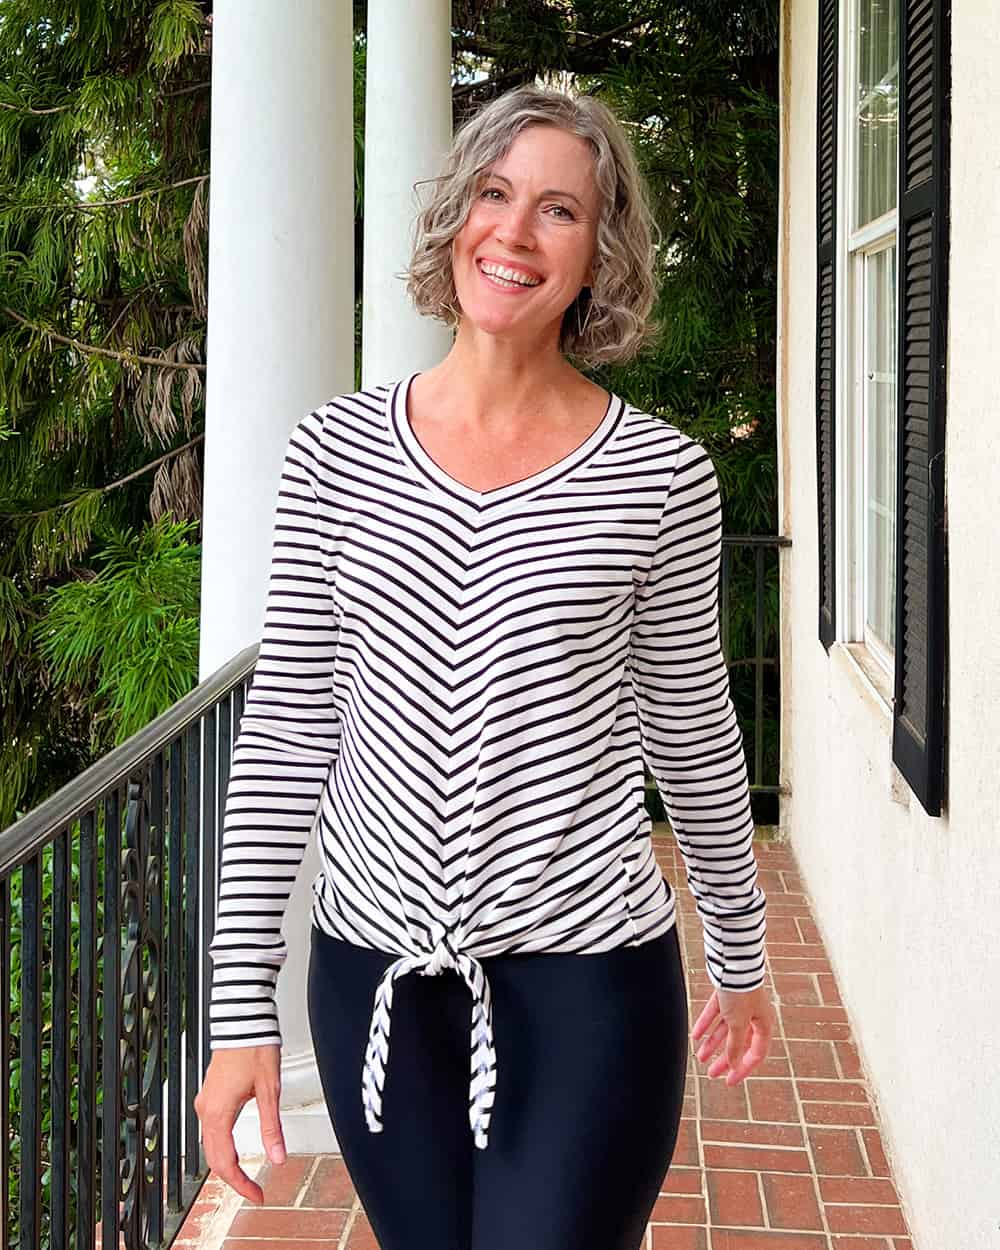
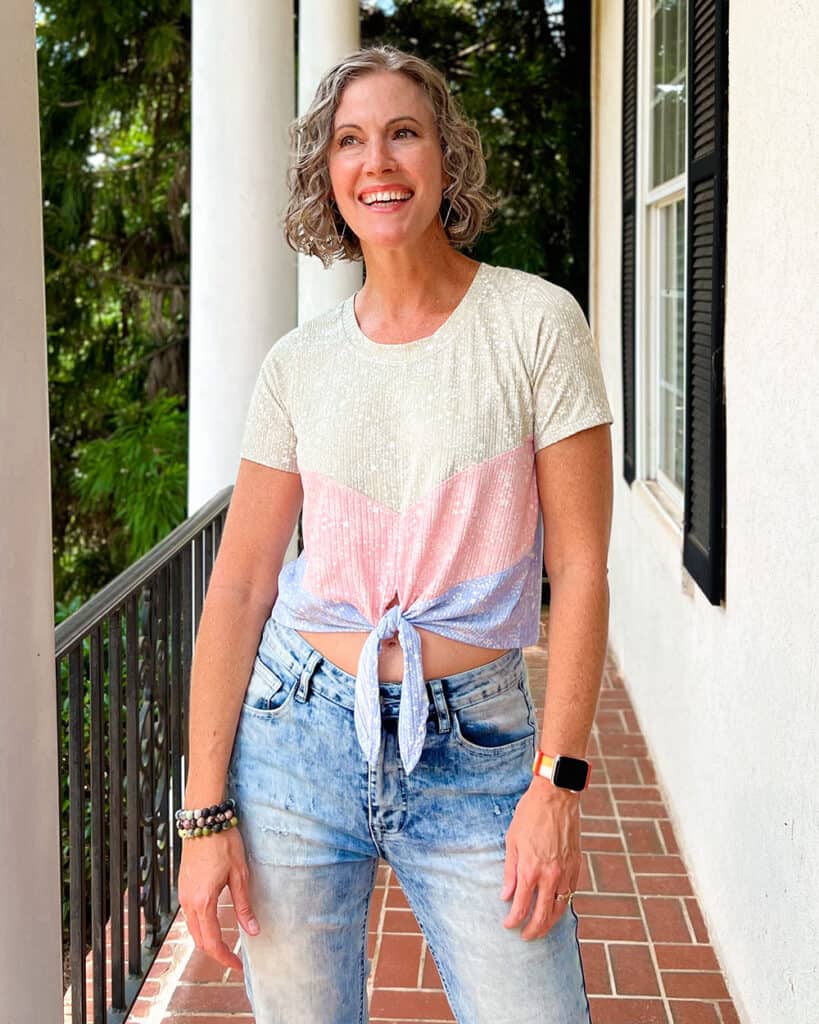
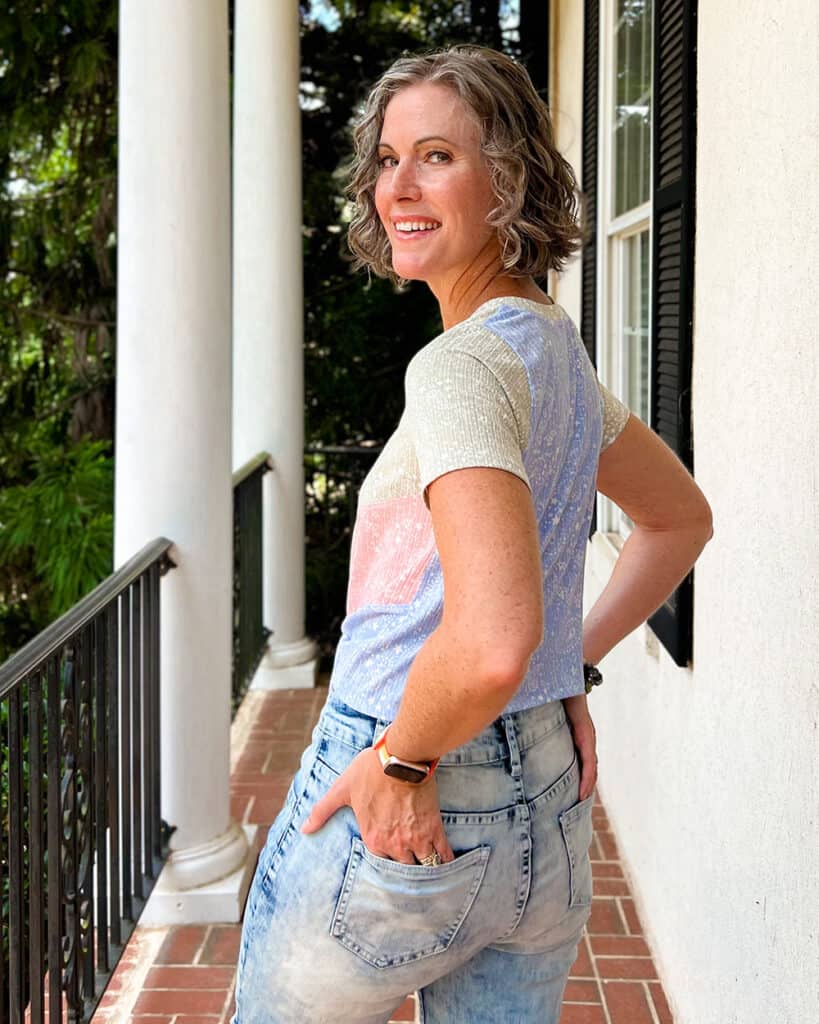
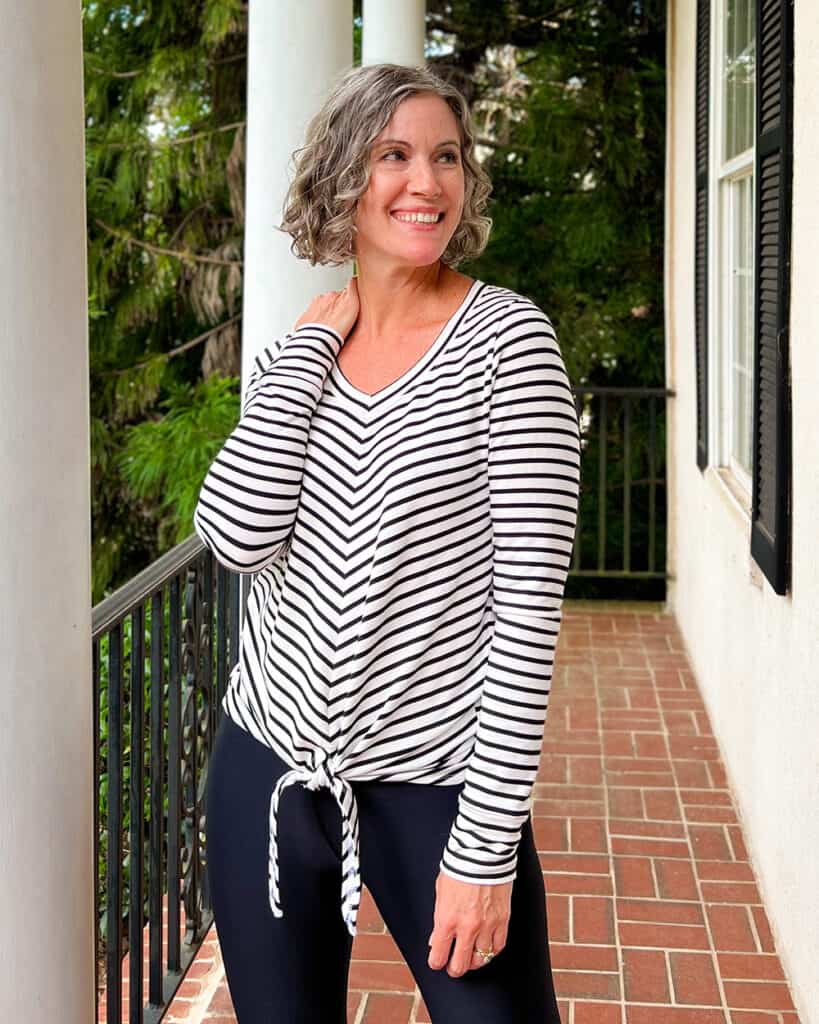
The center seam of the new Tie Top pattern makes it perfect for scrap-busting and playing with pattern placement! Here are two ways that I added a diagonal stripe detail to the front of my makes.
Colorblocking
I am fully committed to projector sewing at the moment, but this hack is easiest to accomplish with a printed pattern piece.
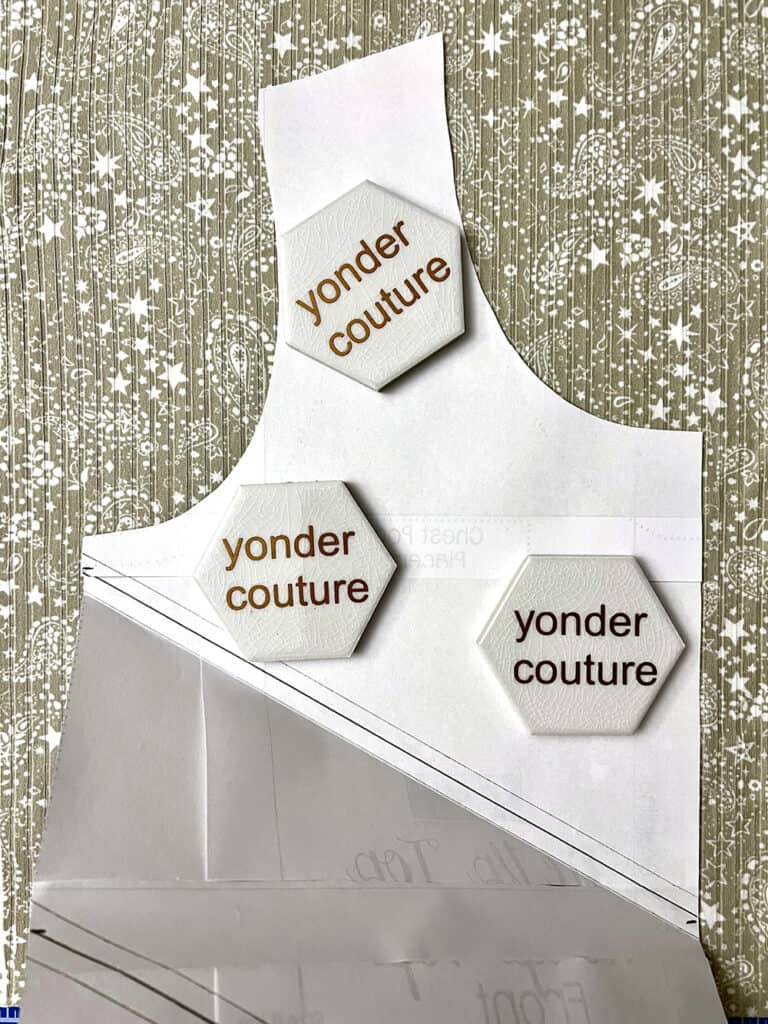
Start by printing and assembling (if necessary) your front bodice pattern piece of choice.
I wanted my colorblocking to begin just below the armscye. You may wish to carry yours higher. If so, the same steps apply!
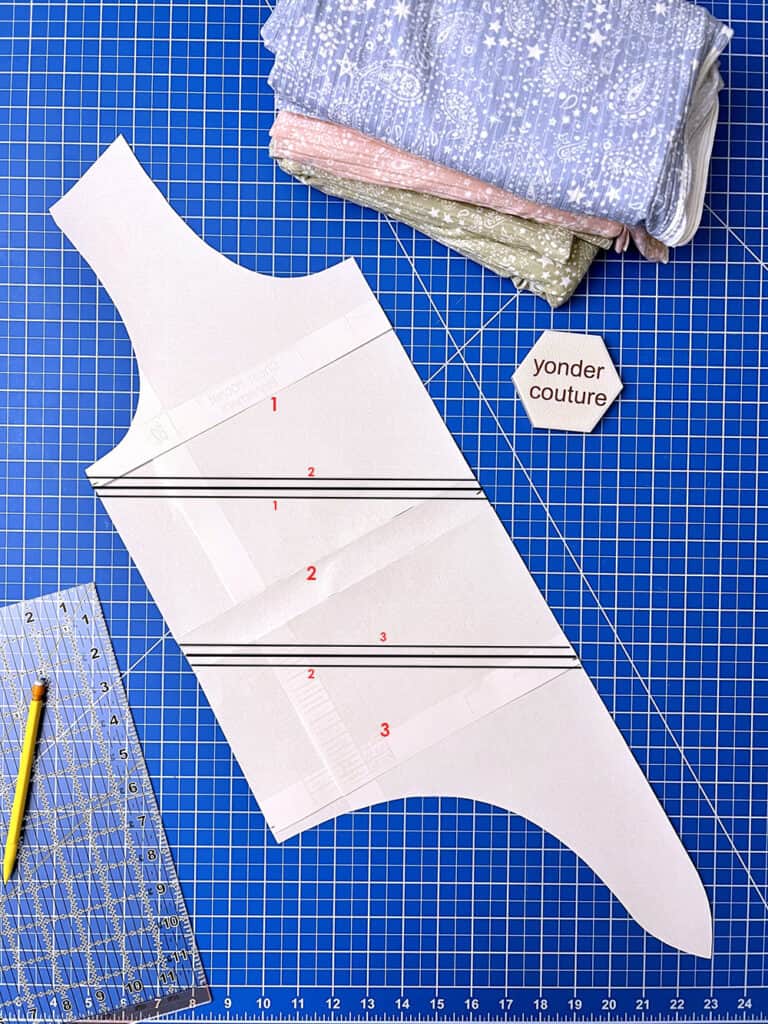
I started by measuring the side seam. Mine was 12”. I divided in half and marked my pattern piece at this halfway point (6”). I also made a mark ½” from the bottom of the armscye and above the hemline to account for the seam allowance. I copied these marked positions on the opposite side of the pattern piece.
I then drew a diagonal line from the top outside mark to the inside center point. Repeat for the marks below.
Trace another line ¼” above and below your original lines. These represent your seam allowances and fold lines.
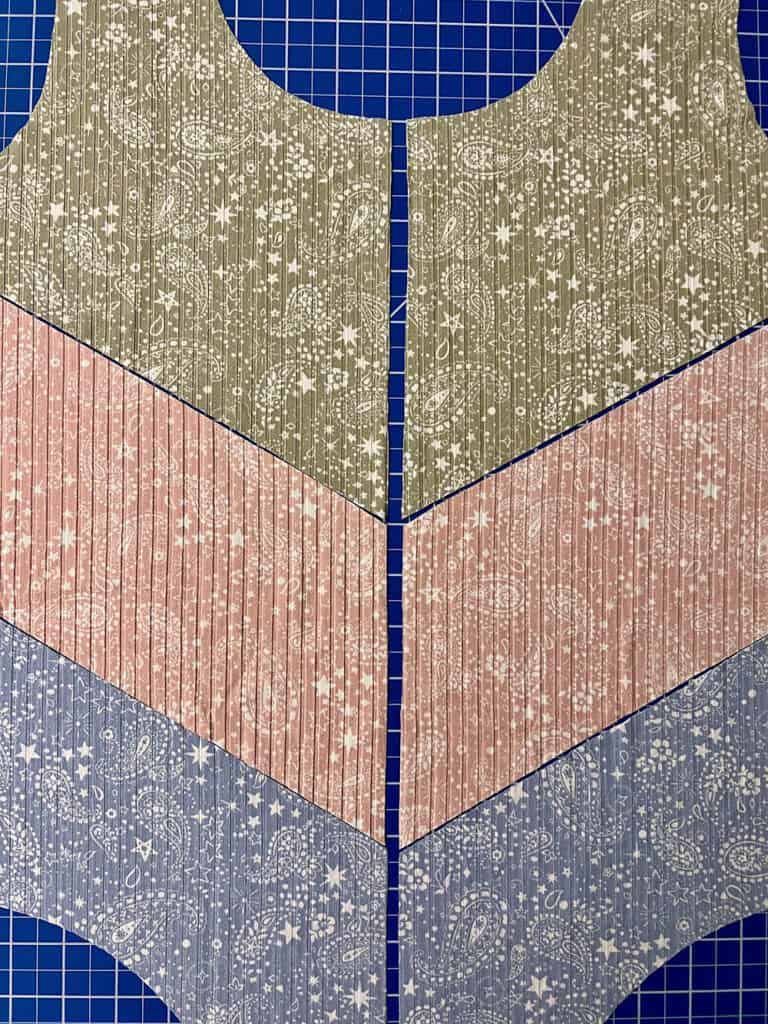
It’s time to cut your pieces! Fold up the first block at the #1 line indicated below. Repeat for the other two pieces, folding your pattern piece at the corresponding lines.
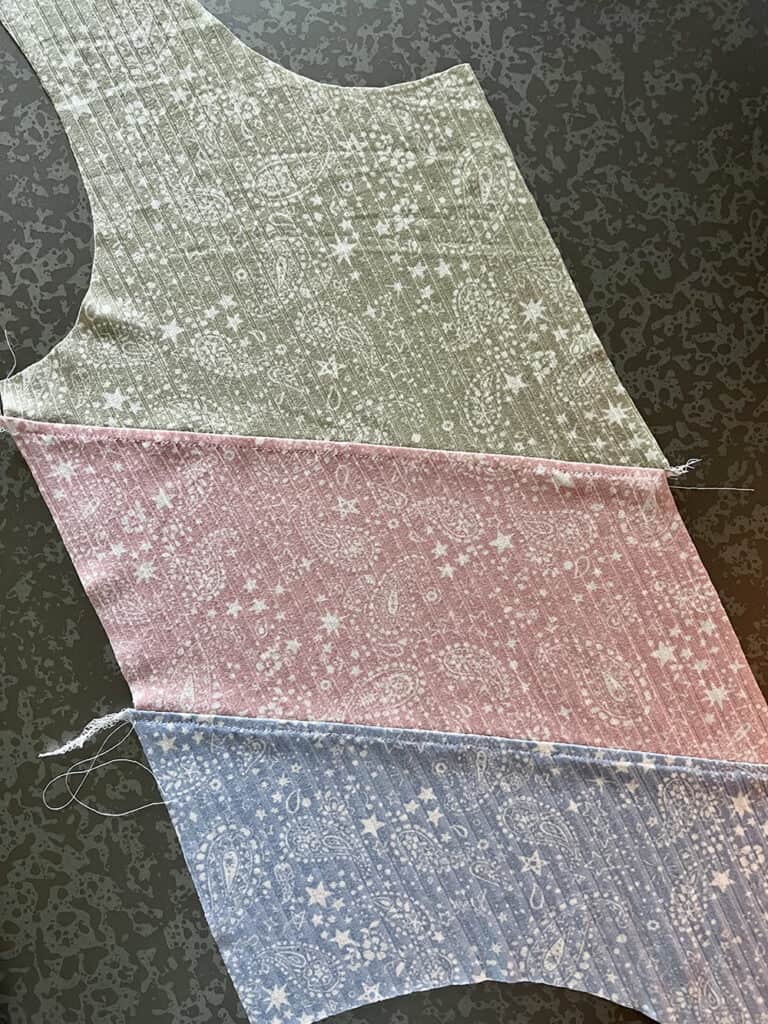
Sew in order, right sides together, with a ¼” seam allowance and top stitch. Isn’t your front bodice CUTE??!!
From this point, follow the assembly instructions that come with your pattern.
Striped Fabric
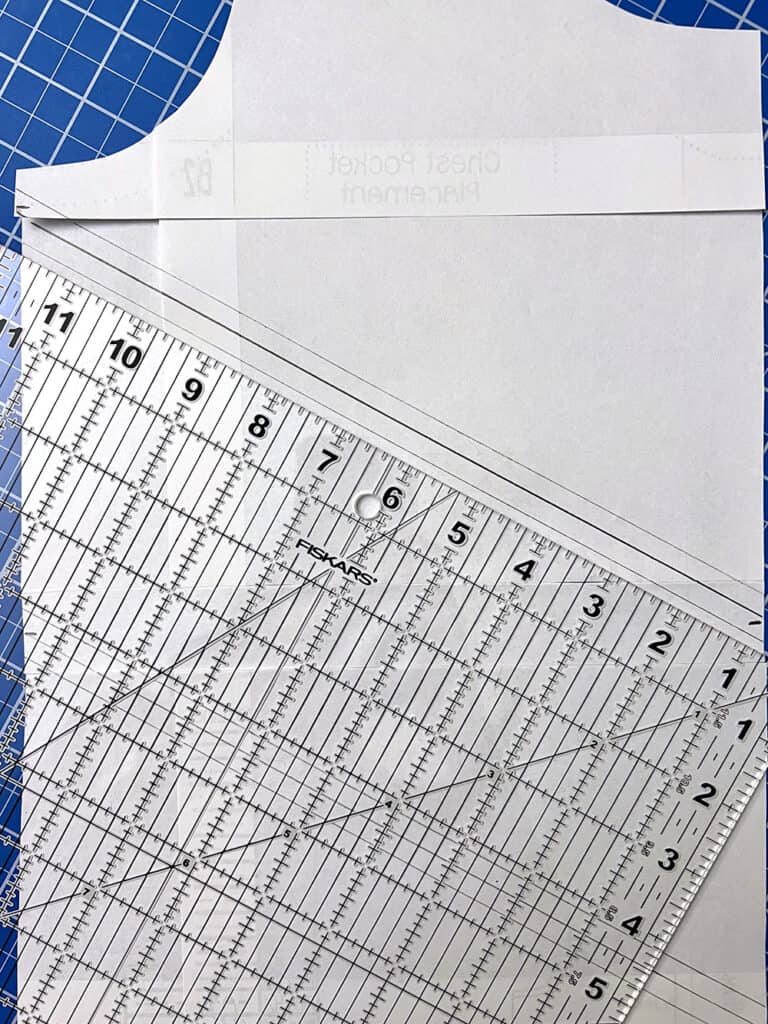
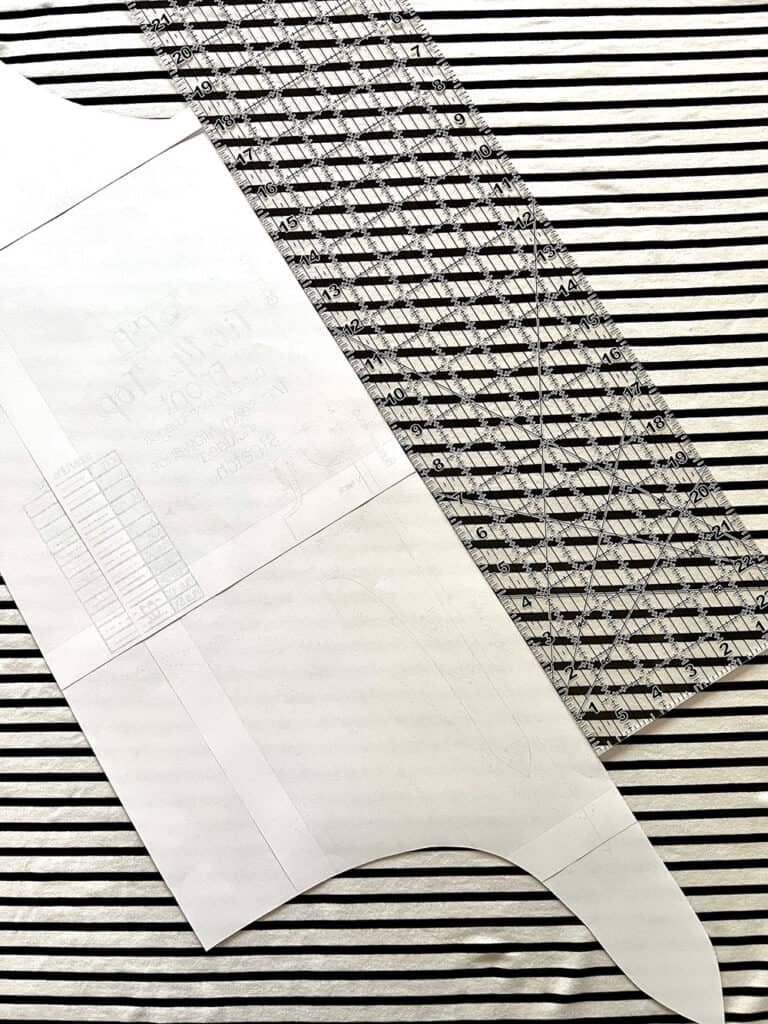
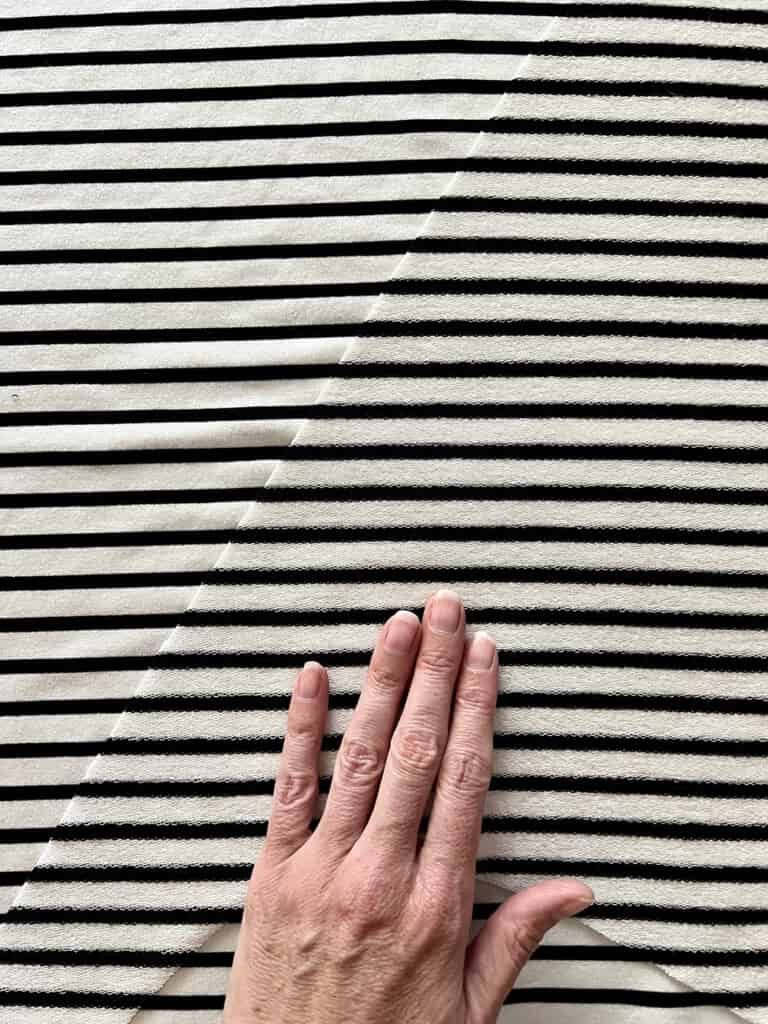
It’s very easy to achieve a diagonal detail with striped fabric. Just be careful about how you cut it. Rather than cutting two pieces at a time, I chose to cut one panel first, then the other. I wanted to make sure my stripes were as accurate as possible.
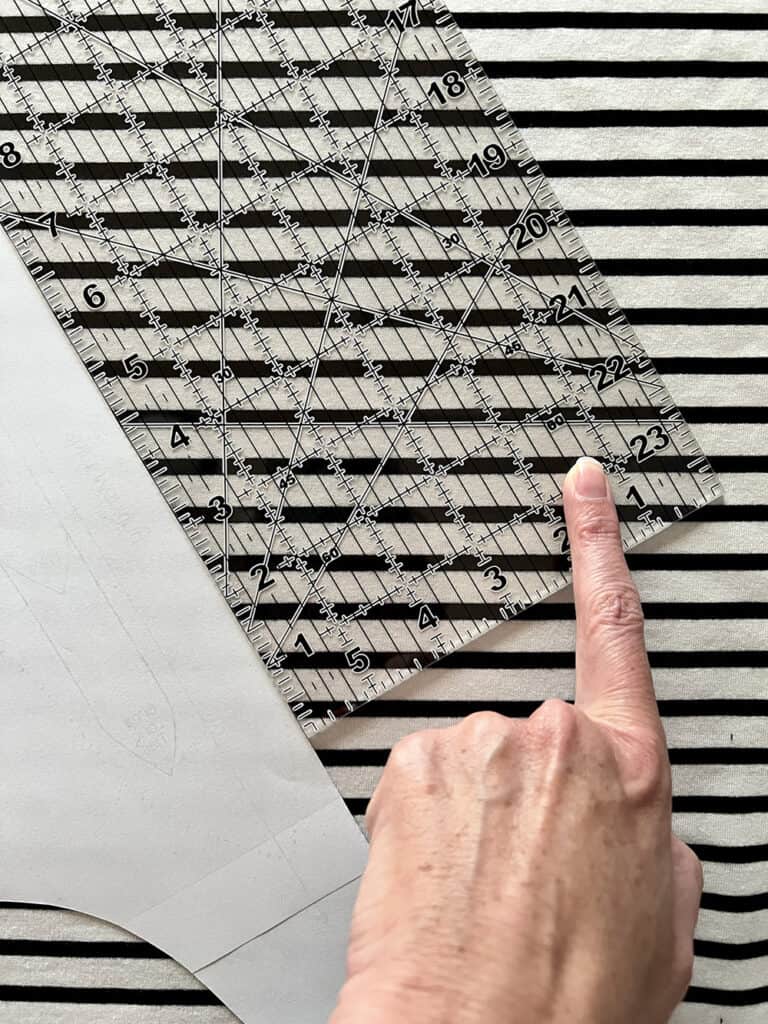
I have a clear ruler imprinted with angles and decided to use the 60° angle to line up my pattern piece. The angle of your diagonal lines is totally up to you – it’s most important that the sides mirror each other.
Cut your first panel, flip it over, line up your stripes, and cut out your second panel.
Assemble per the pattern instructions. I recommend pinning or clipping ever second or third stripe to keep it beautifully lined up as you sew.
Enjoy!
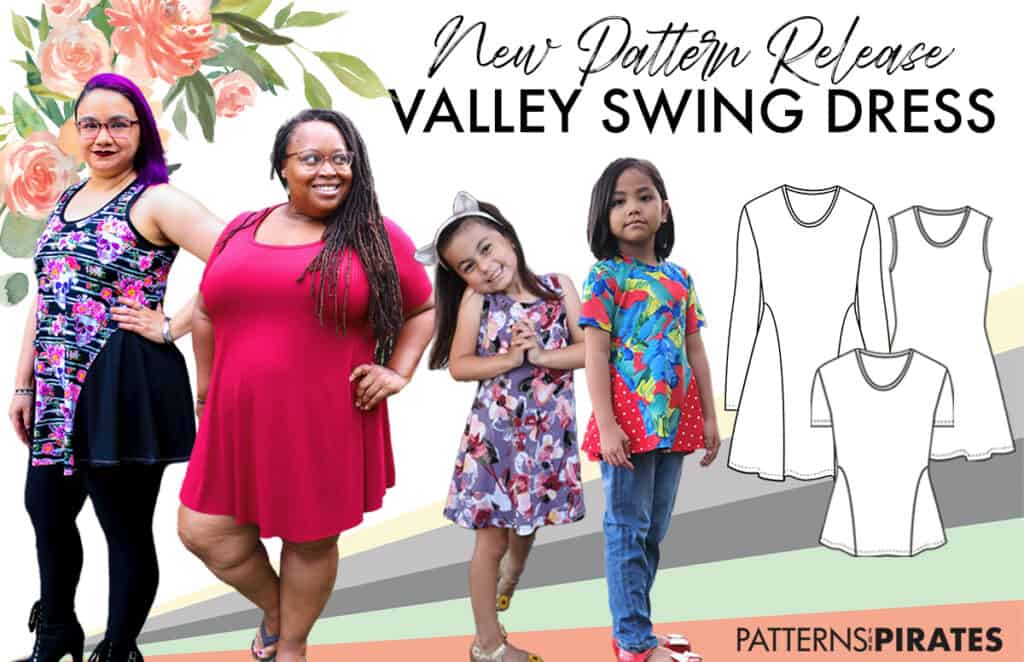
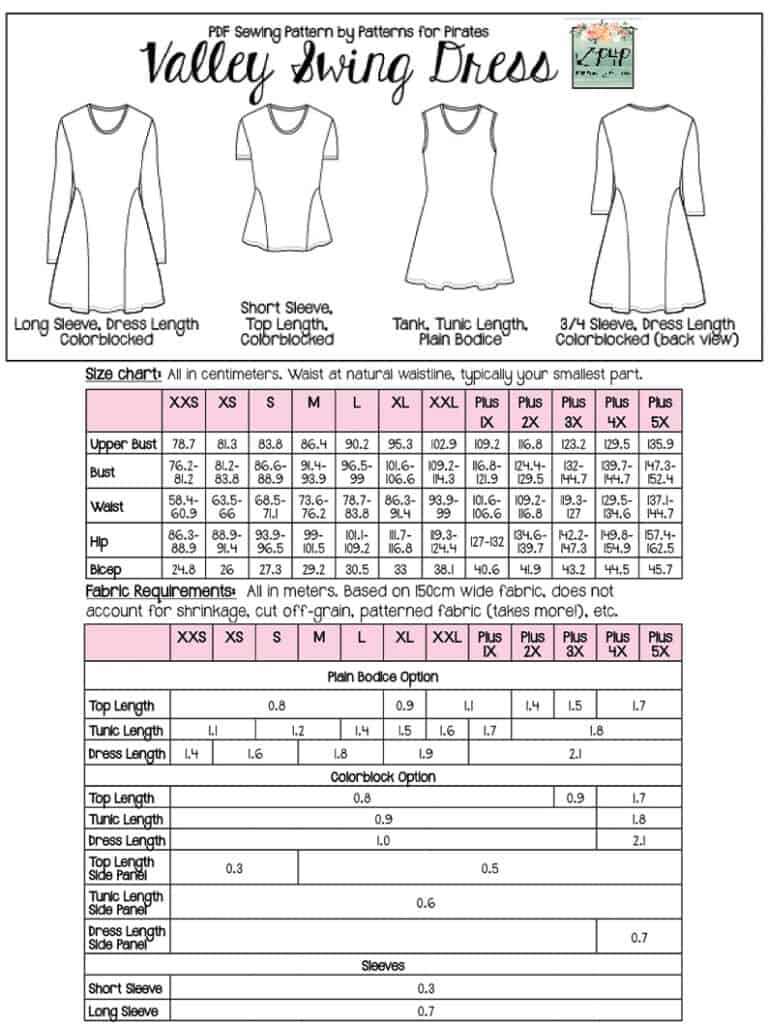
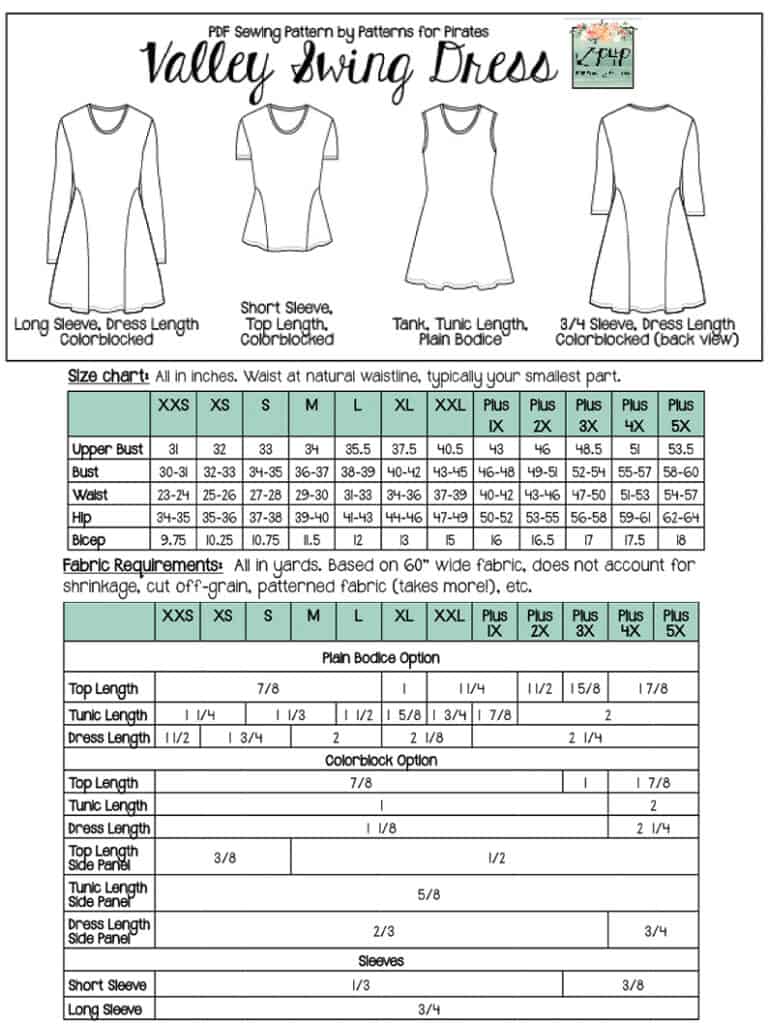
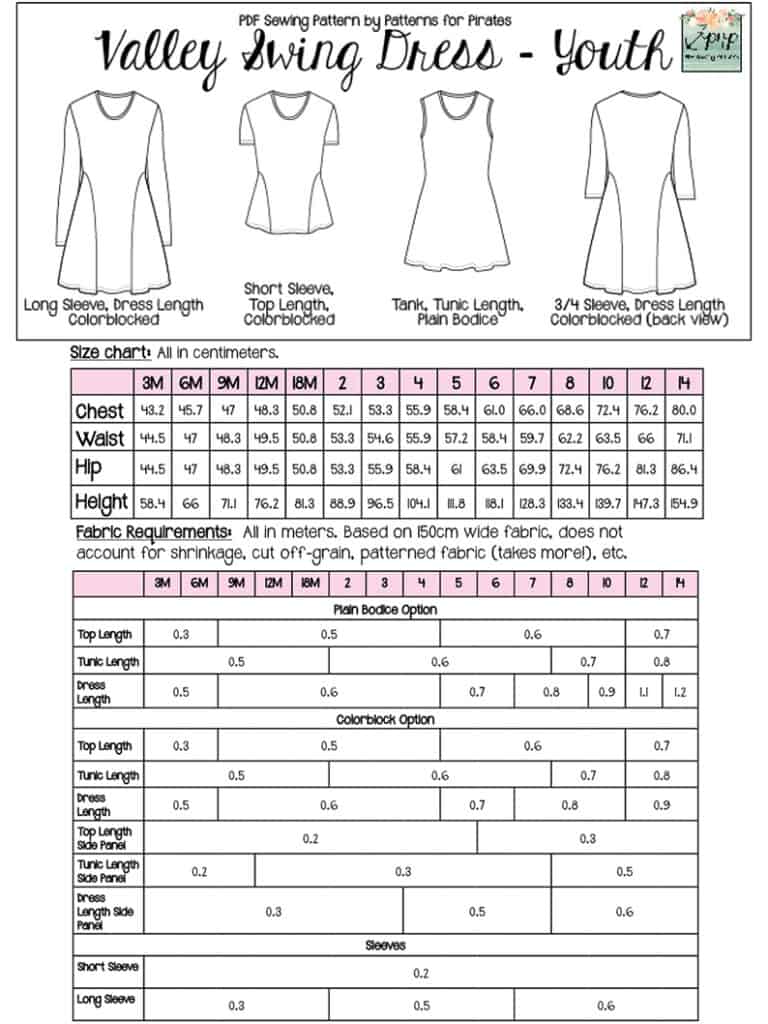
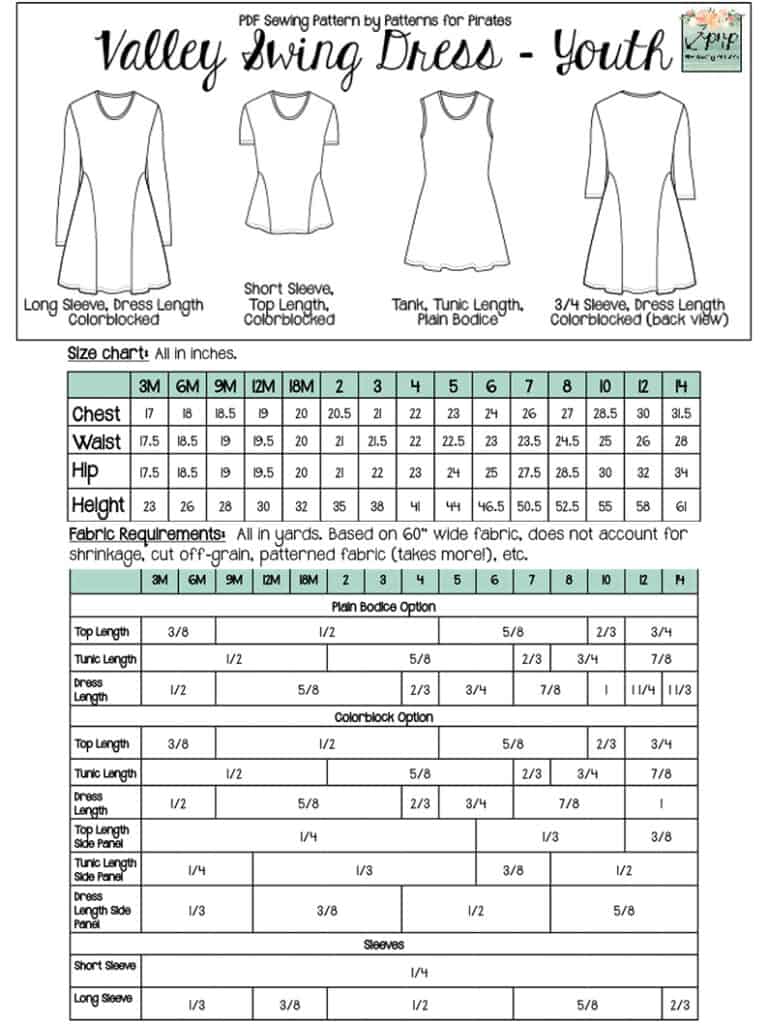
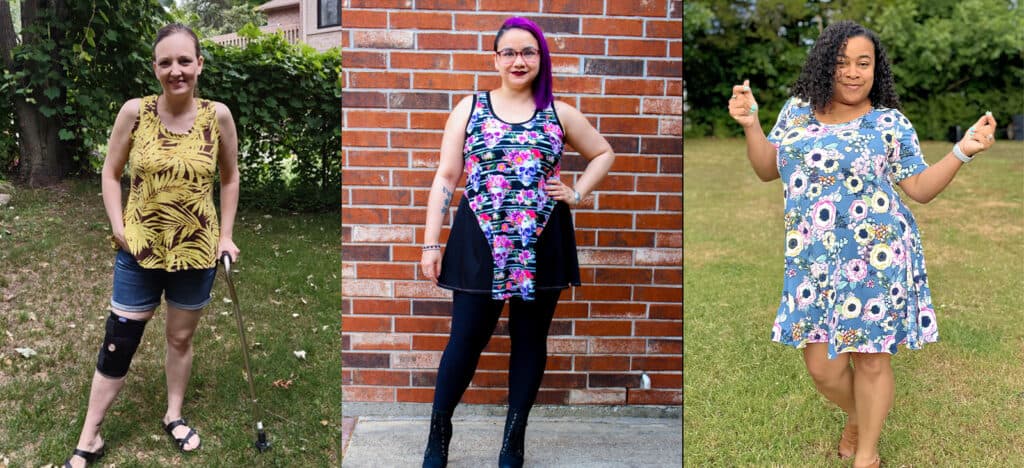
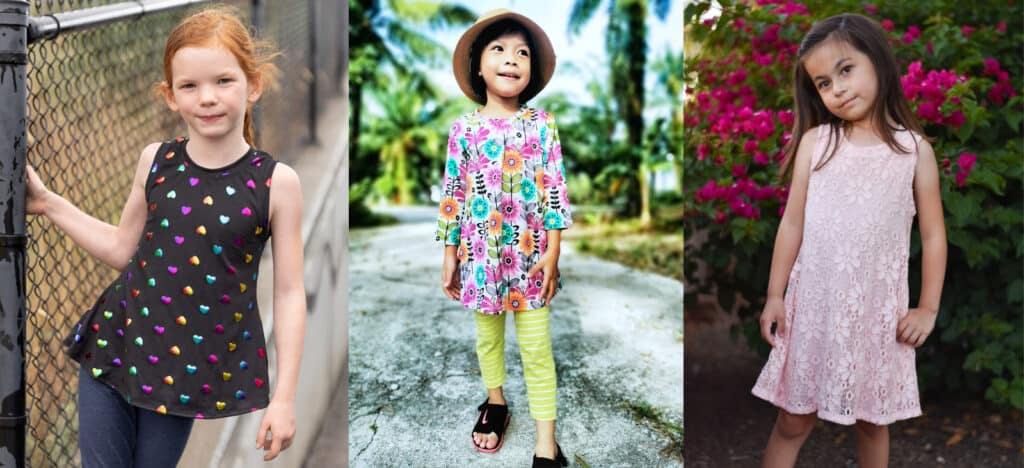
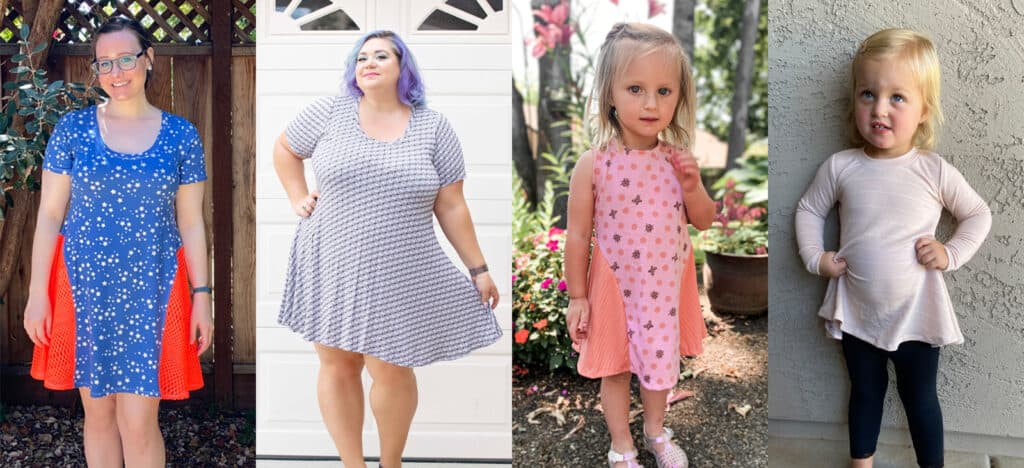
New Pattern Release :: Valley Swing Dress (Adult + Youth Sizes!)
We are so excited to release our newest pattern by crew member Katy!
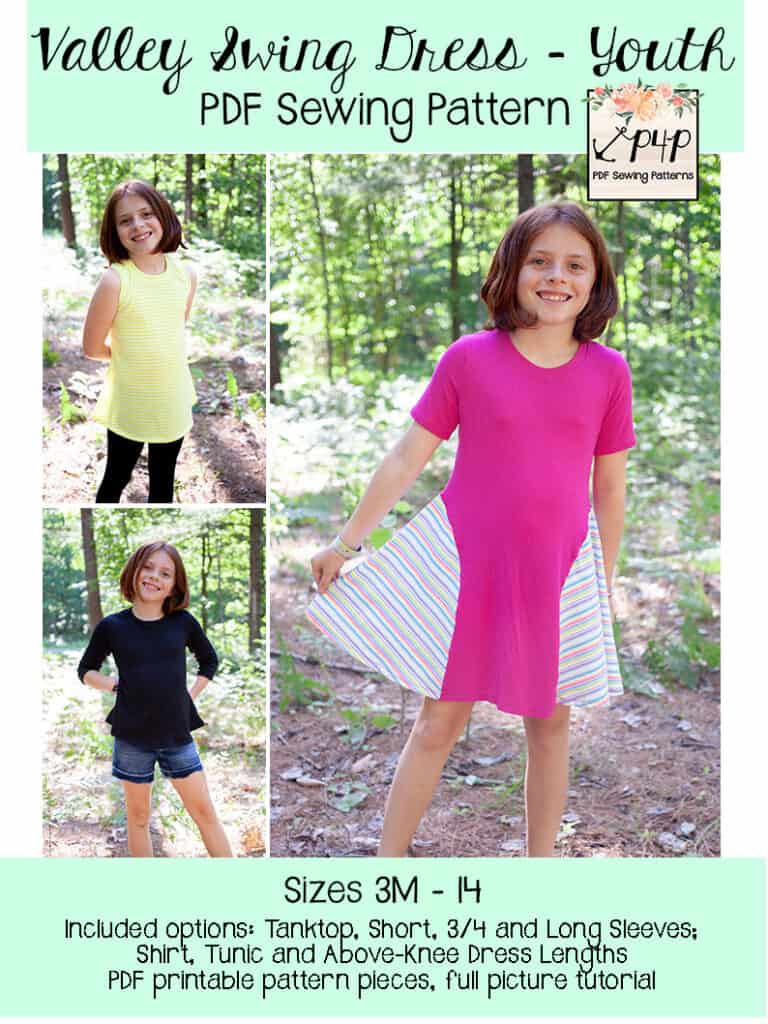
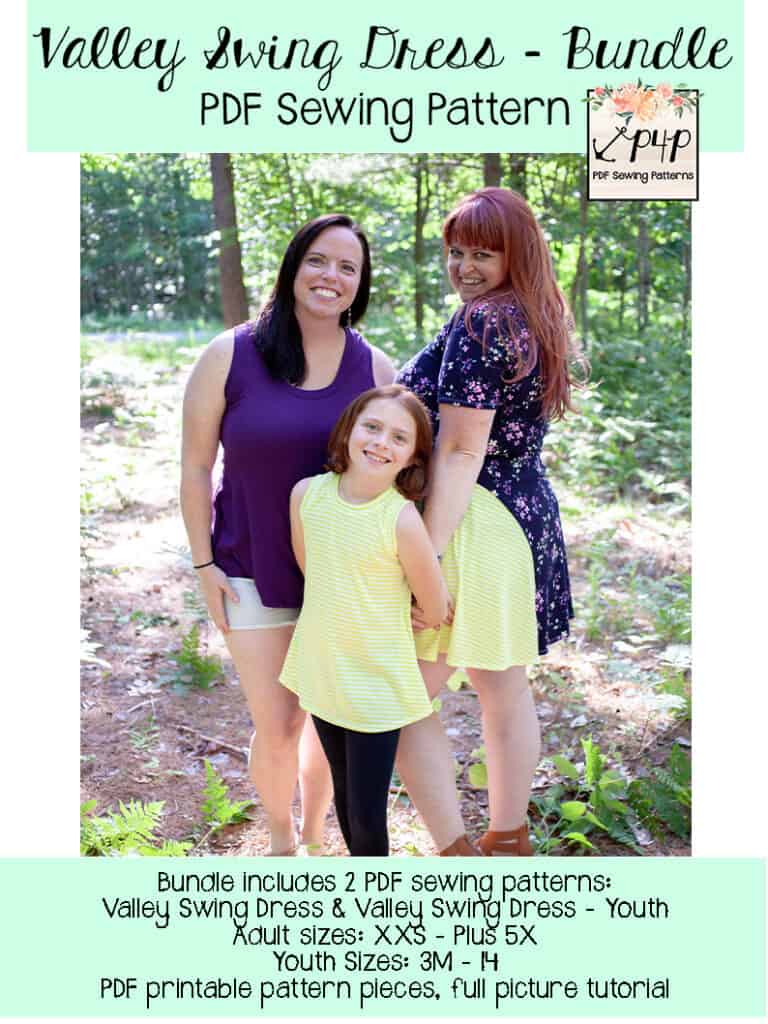
Say hello to your new favorite dress: The Valley Swing Dress, available for both our Adult Hourglass Figure (XXS – Plus 5X sizes) and Youth (3m – 14 sizes). Like all of her pattern releases so far, Katy’s giving a nod to her home state. The Valley Swing Dress is named after where she lives in West Virginia: the Ohio Valley.
Are you ready to swish, sway, and (of course!) swing yourself into a new pattern with us? Let’s tell you all about it!
- tanktop, short, 3/4 and long sleeves
- top, tunic and above-knee hem lengths
- colorblock or plain skirted options
The youth sizes range from 3m – 14 and the adult sizes are for the full, newer size chart, extending from XXS – Plus 5X for the Adult Hourglass Figure.
- *Want to learn more about how to measure yourself for these pattern? We’ve got you covered with an in-depth blog HERE. And for even more helpful fun, we have a free* printable that you can use to help record your measurements as you take them.
- And in case you’re new to Patterns for Pirates and PDF patterns in general, we have a great blog full of new-user tips HERE to help you get started!
- As with all of our current releases and updates, the pdfs now include our layers feature and can be found in Letter, A4, A0 and projector sizes.
TOP + TUNIC + DRESS HEM LENGTHS
TANK + SHORT + 3/4 + LONG SLEEVE LENGTHS
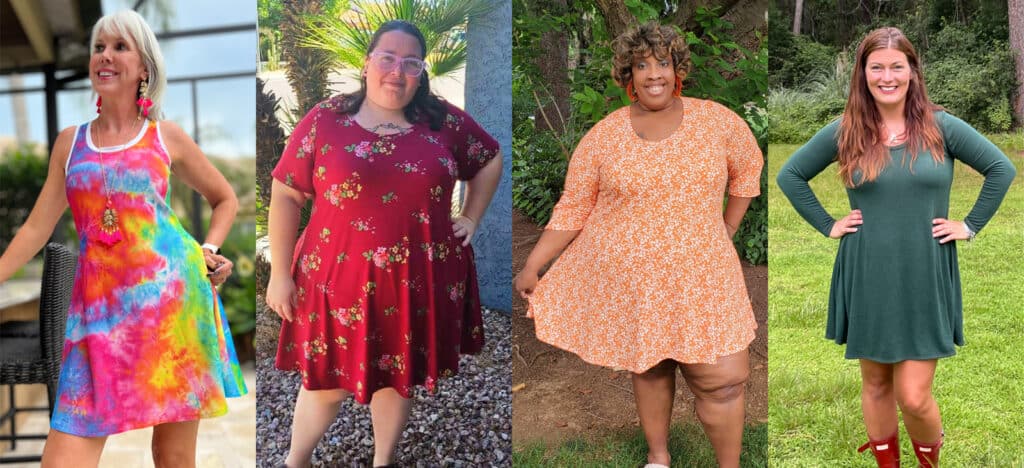
COLORBLOCK + PLAIN OPTIONS
We are looking forward to see what you make with the new Valley Swing Dress patterns! Head on over to the shop and grab yourself a copy and get to sewing! They are available on sale (no code needed) through 11:59pm CST, July 17th, 2022.
Valley Swing Dress | Valley Swing Dress – Youth | Valley Swing Dress – Bundle
Hoping for a little inspiration before diving into some swing dress sewing? Journey over to our Facebook group where you can see tester albums full of amazing images!
Valley Swing Adult Album | Valley Swing Youth Album
- « Previous Page
- 1
- …
- 5
- 6
- 7
- 8
- 9
- …
- 65
- Next Page »

