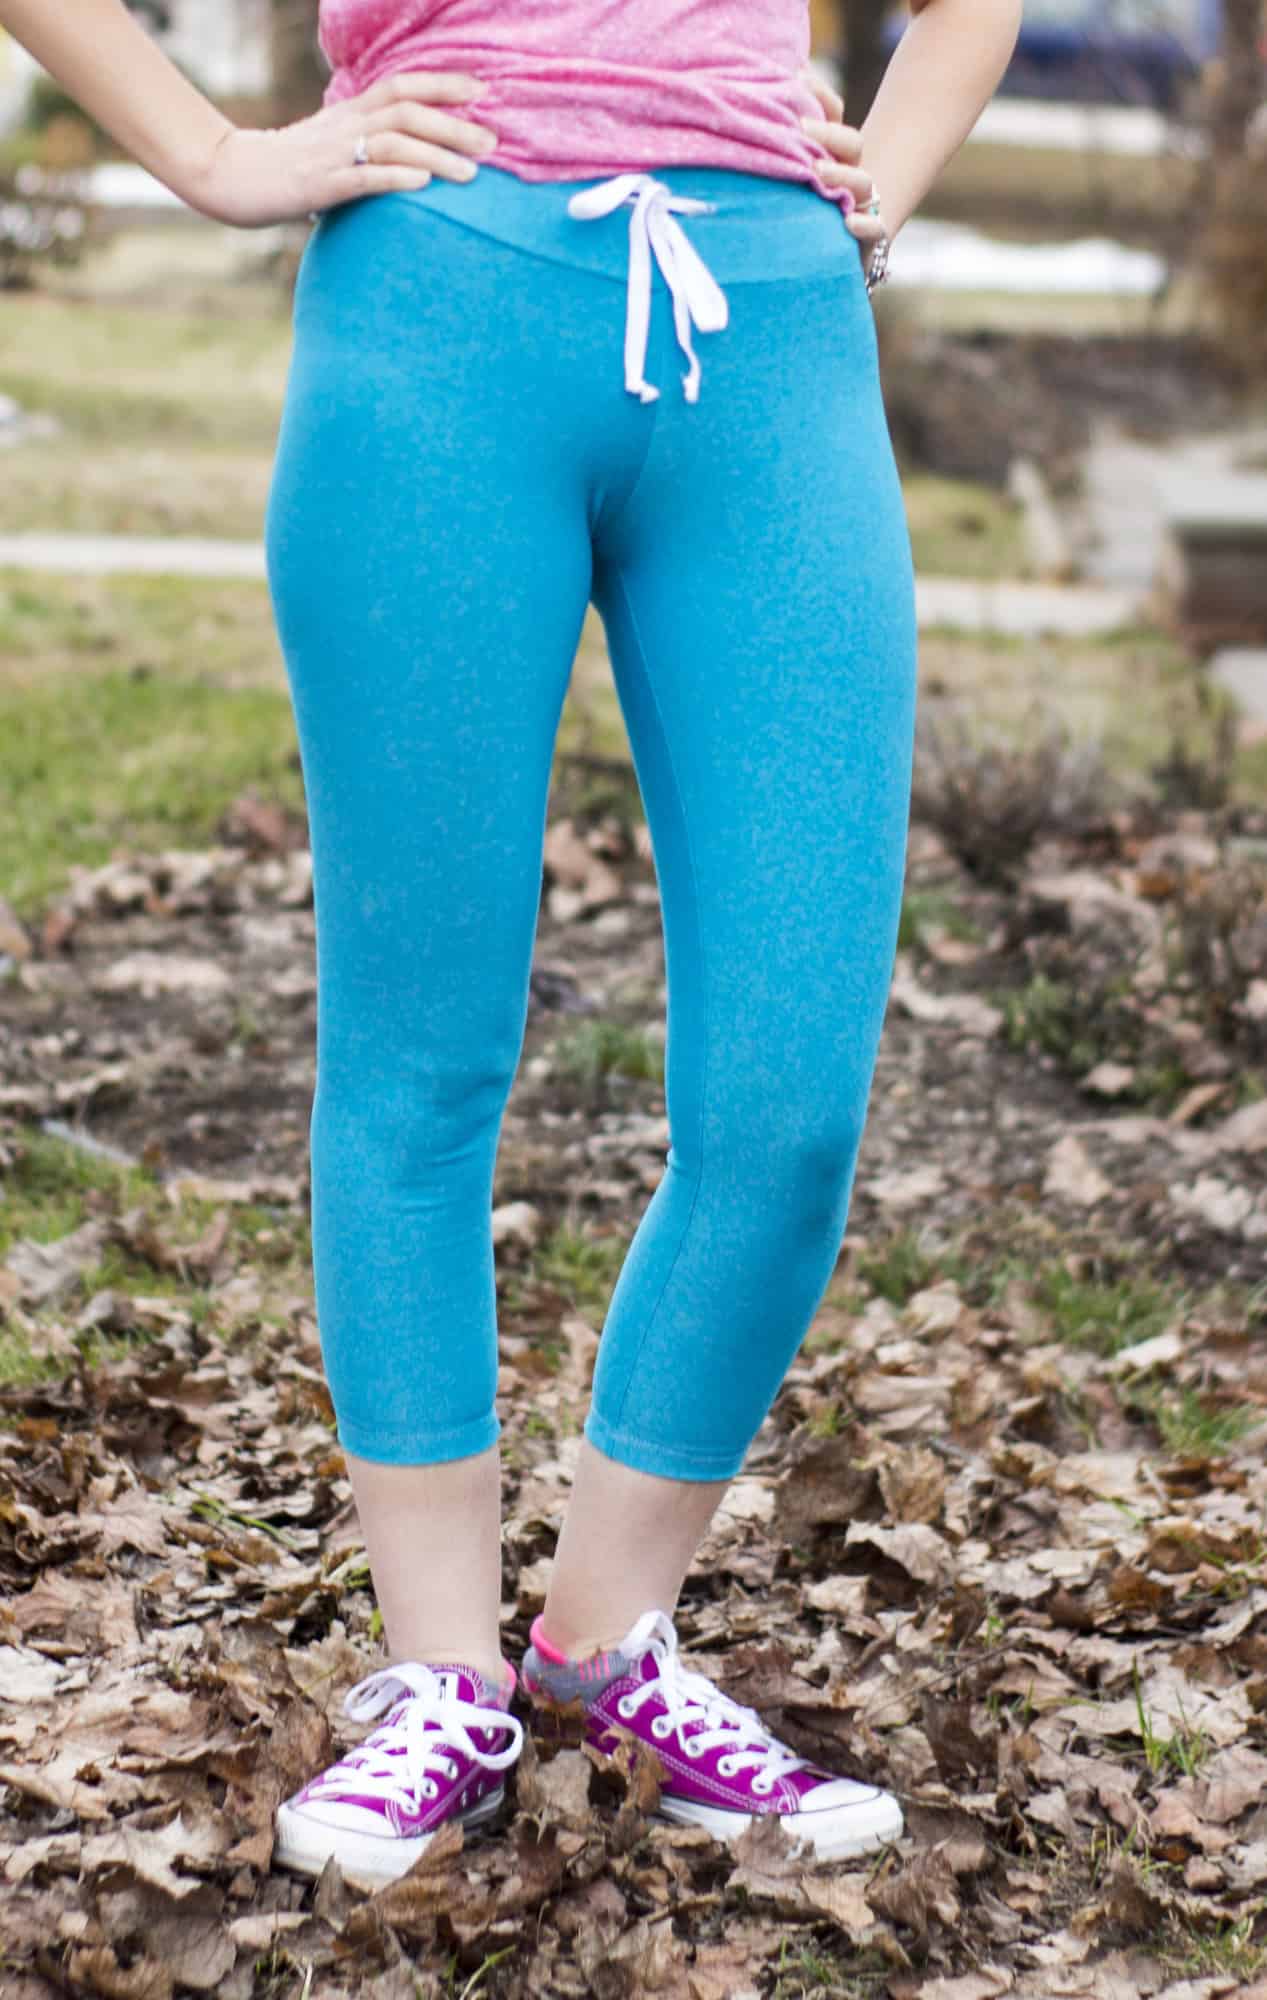
Ahoy Pirates!
Today I’m going to show you how to add some ruching to the ankles of your PegLegs. This is a super easy way to amp up their cuteness factor and take them to the next level.
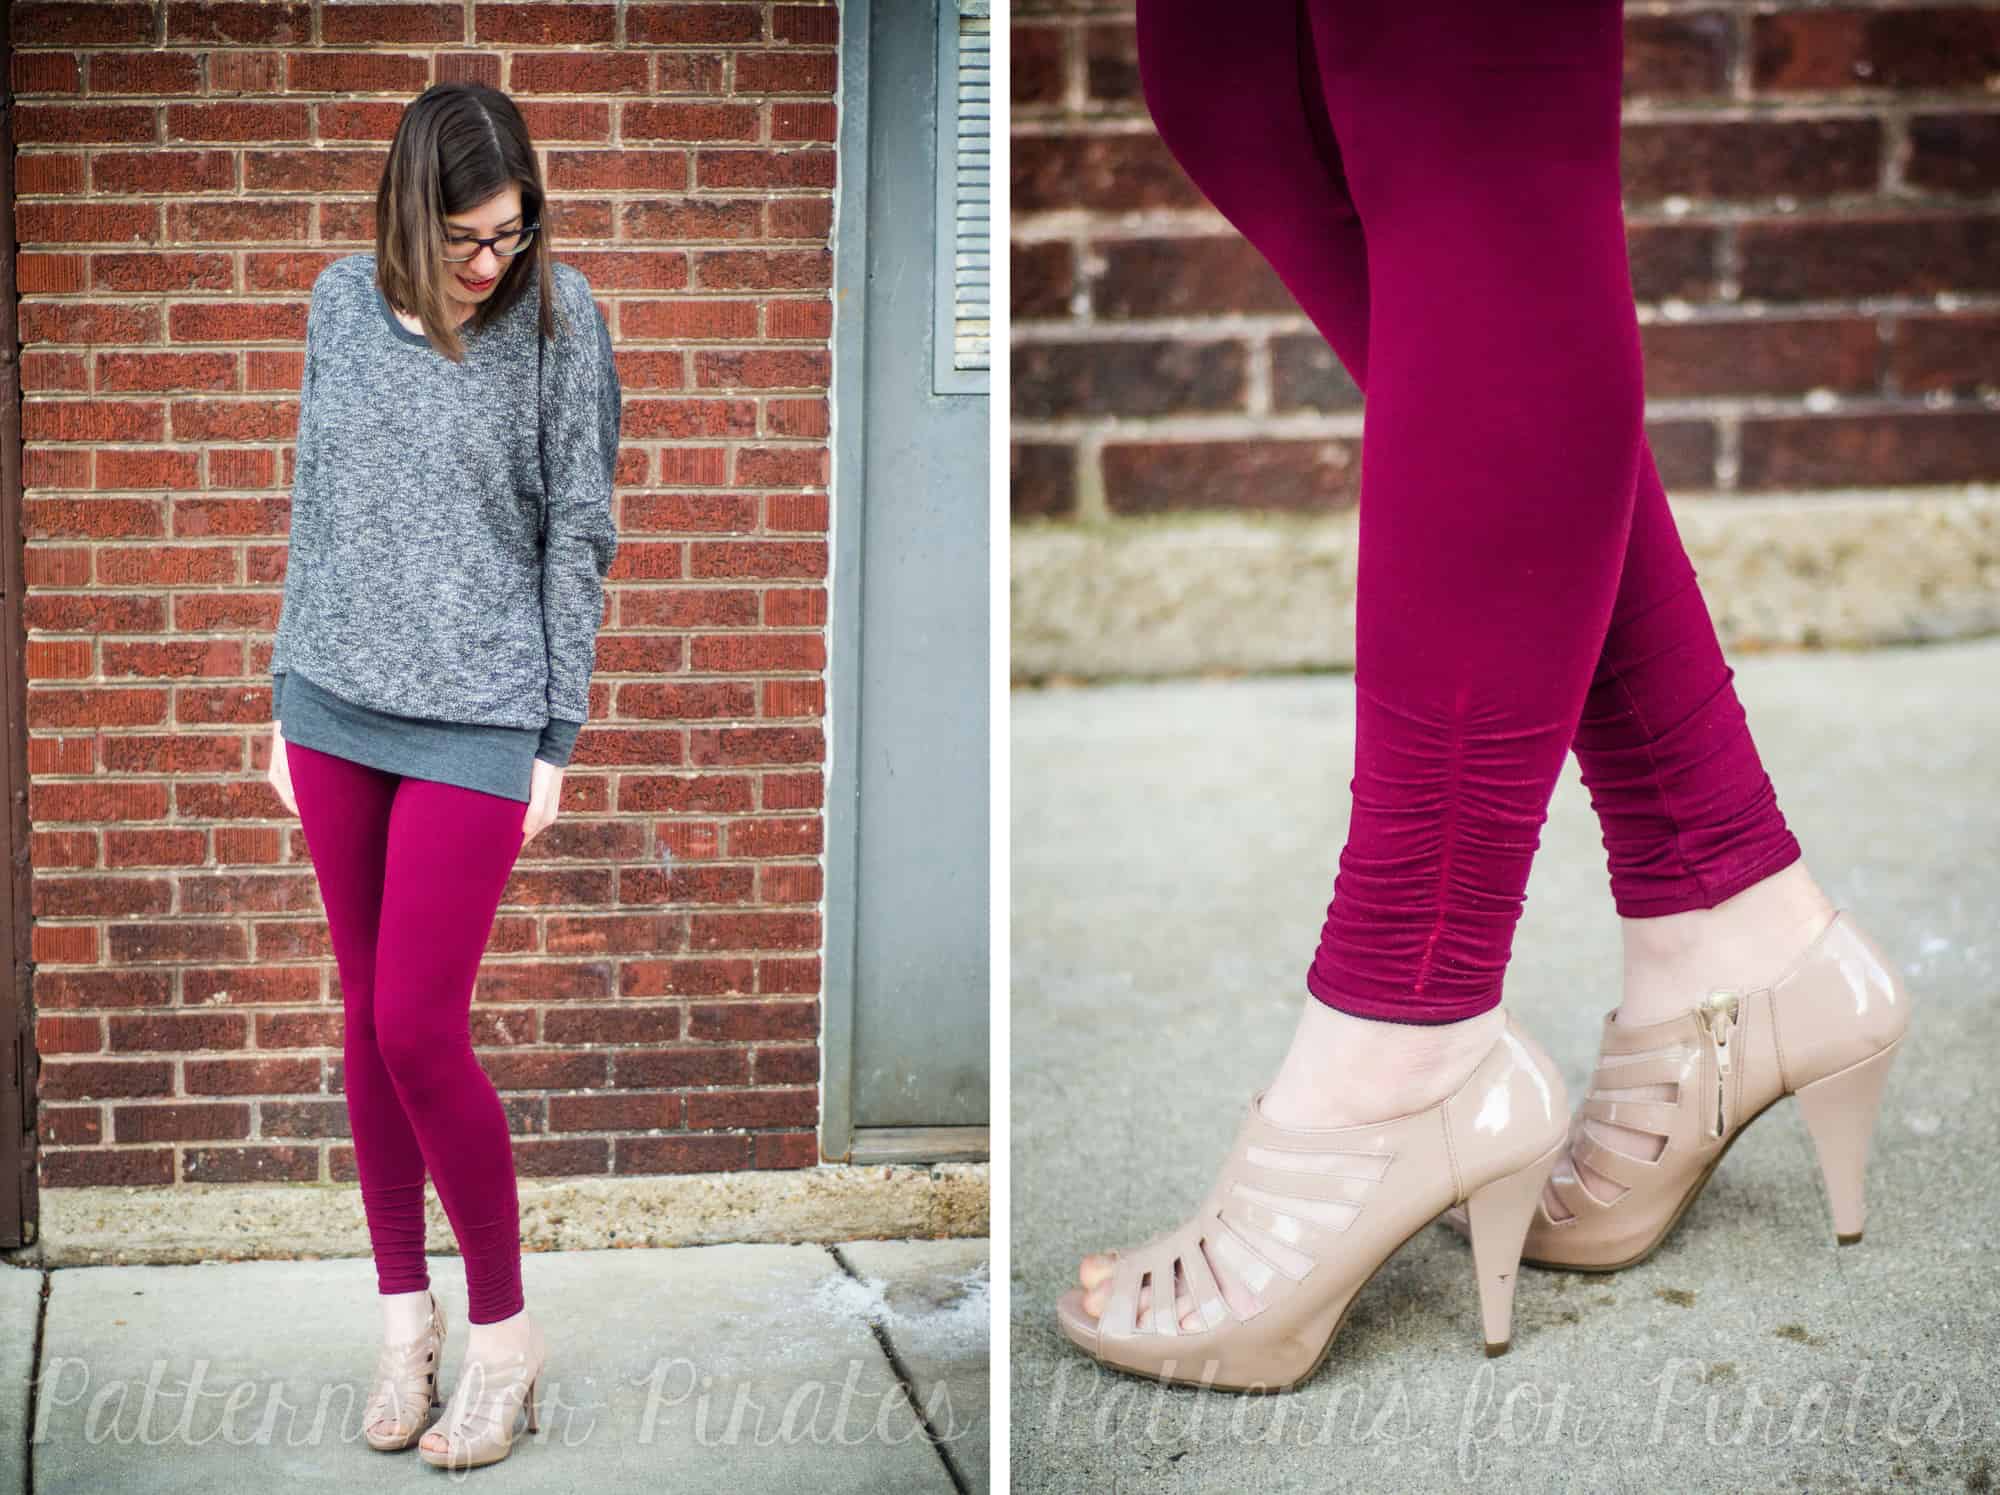

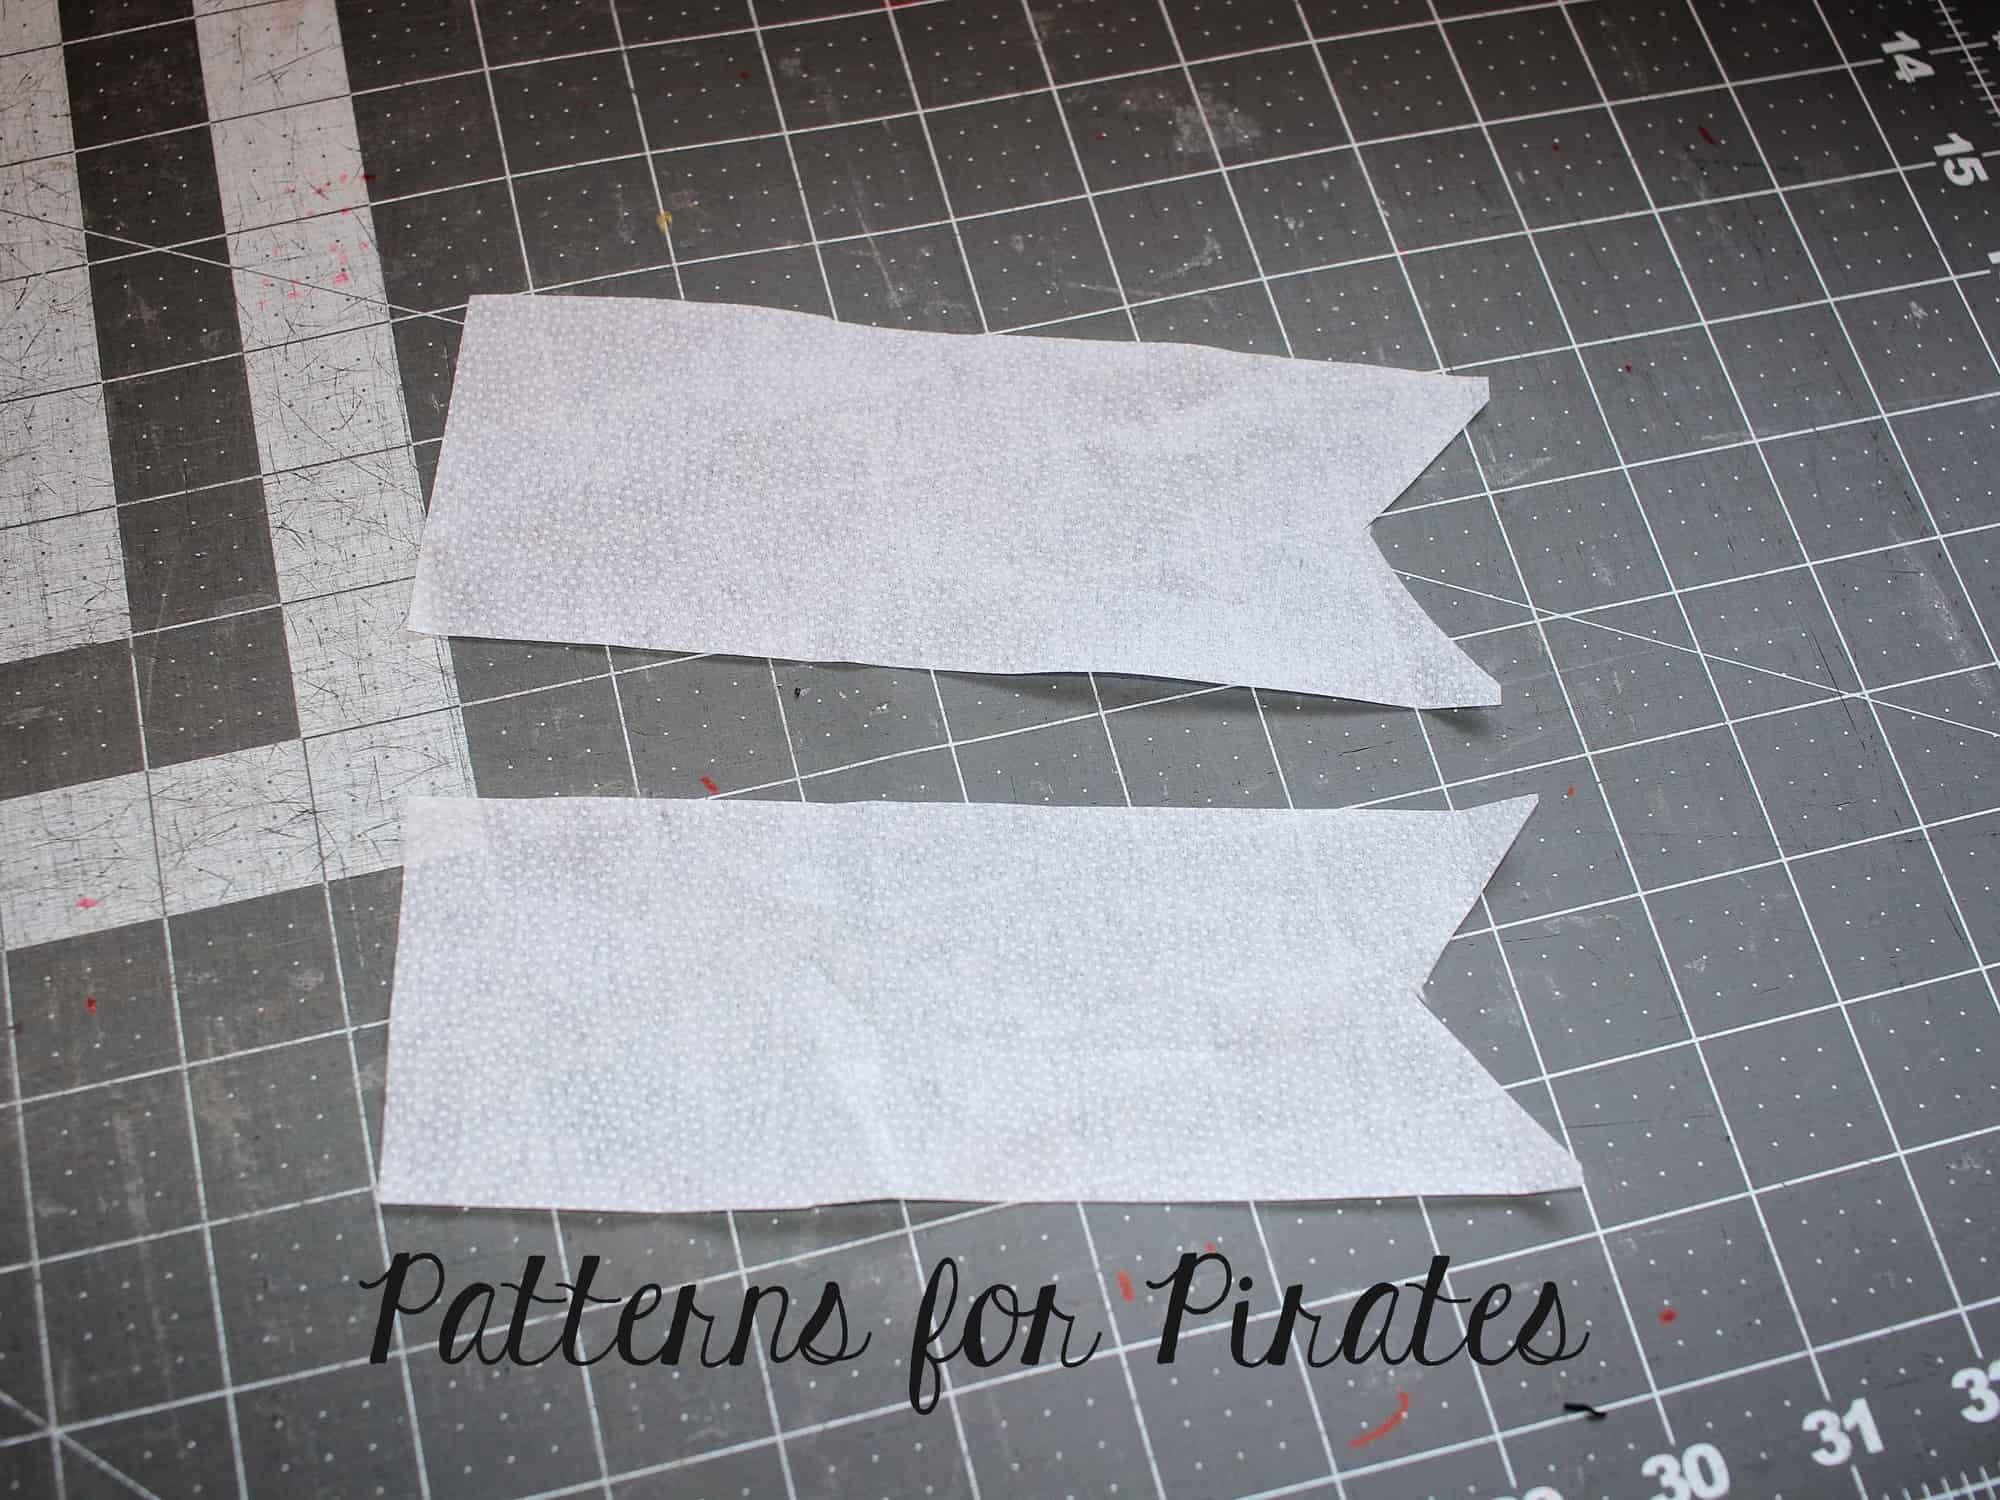
For this hack, I’ll be ruching using elastic. Depending on your preferences, you’ll need about 12″ of braided (non-roll) elastic. I used 1/2″, though you can also use 1/8″, if you’d prefer. You will also need matching thread.
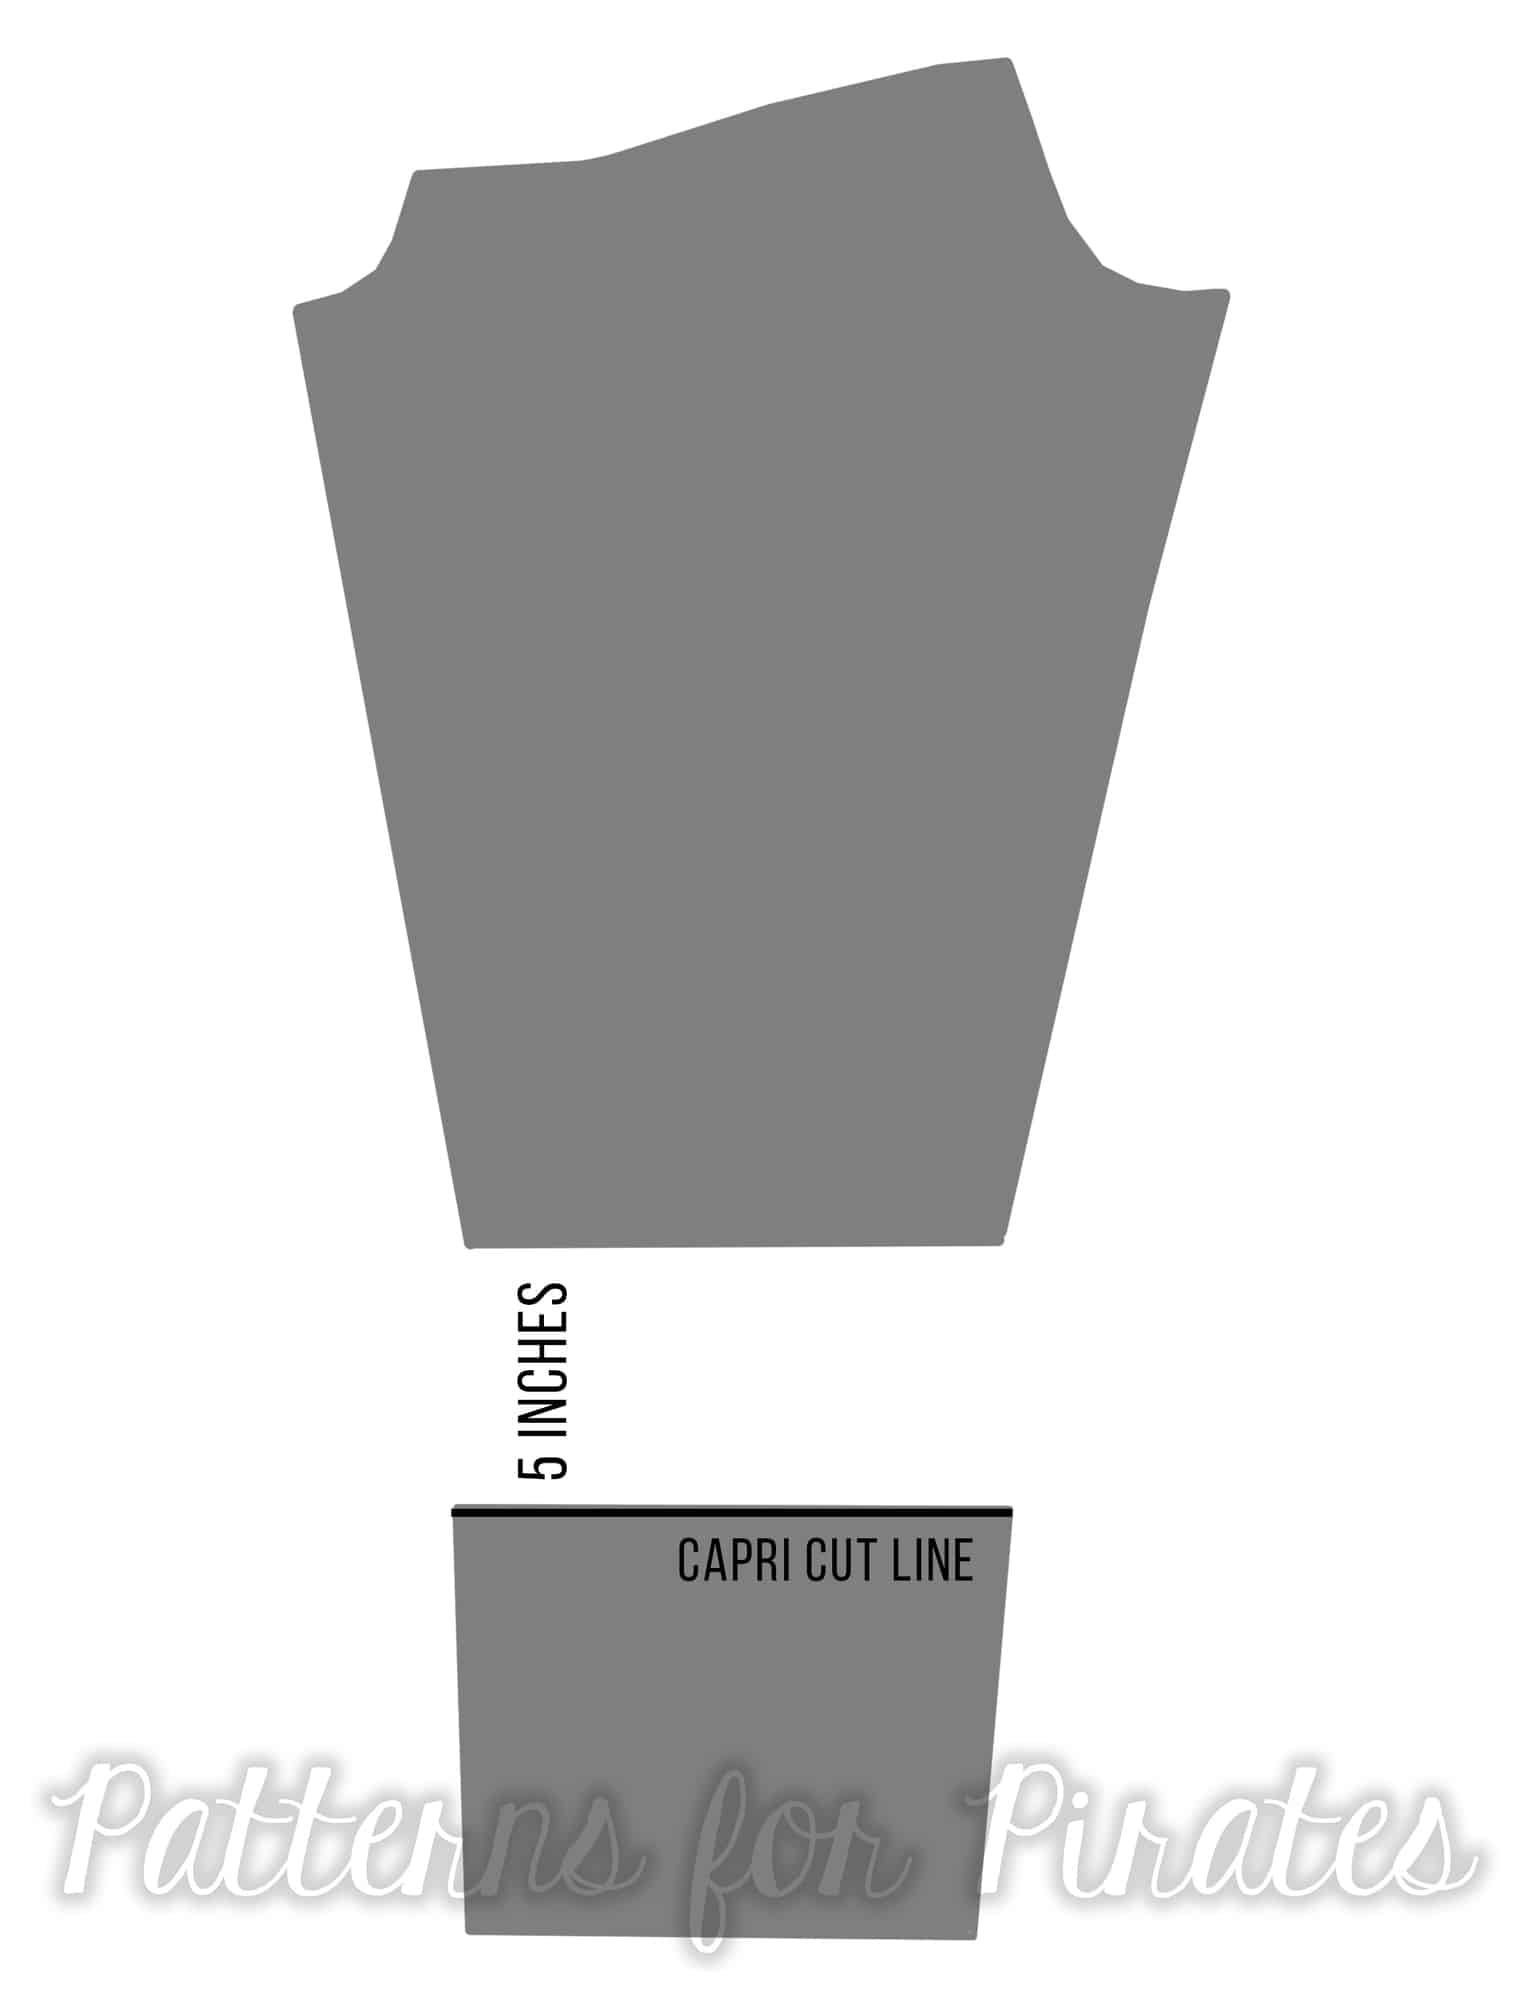
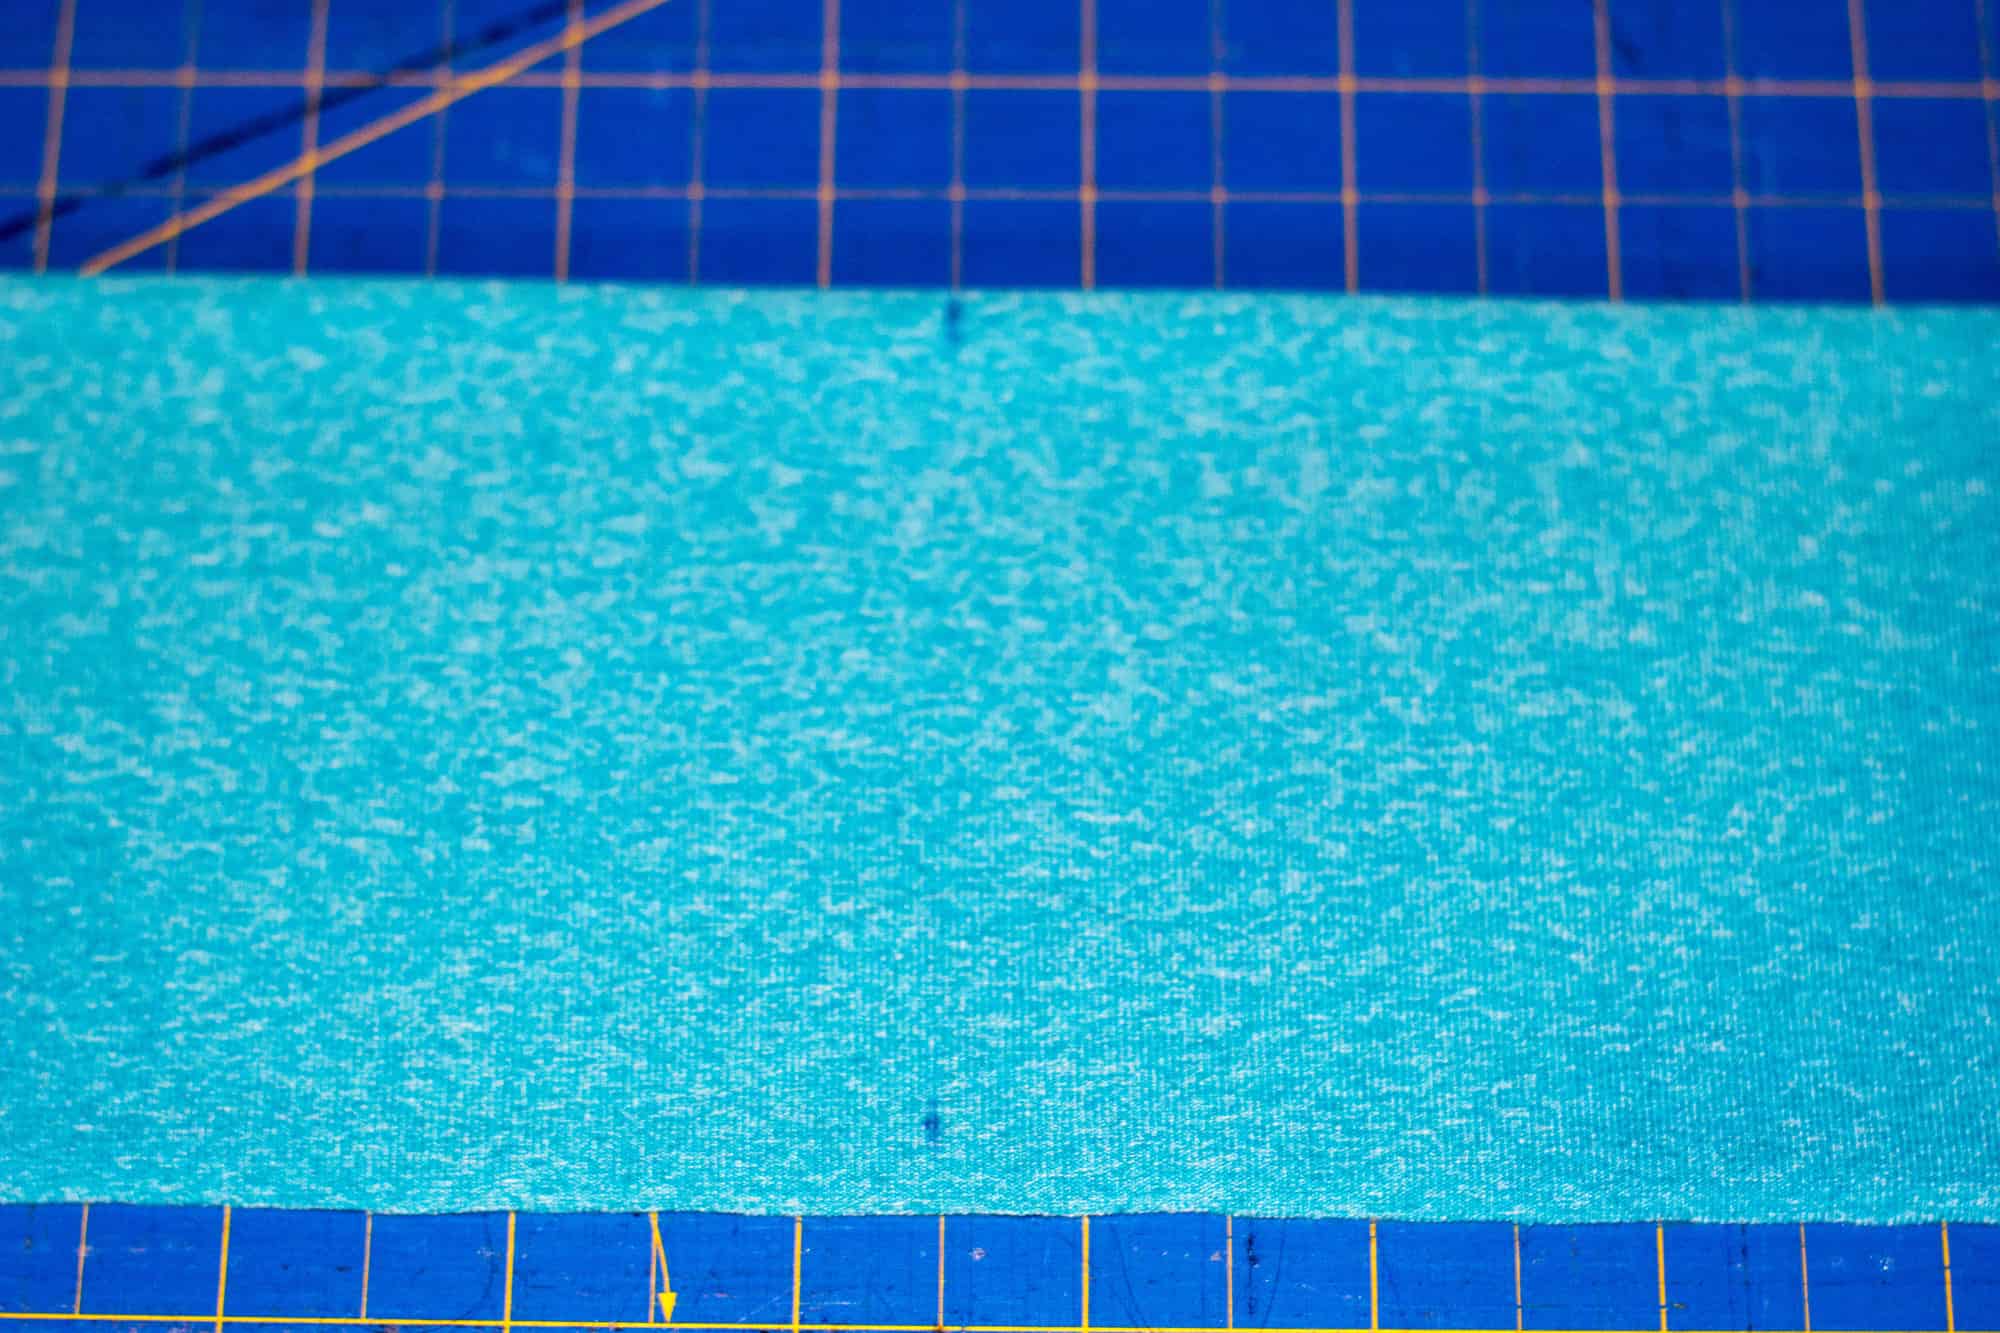
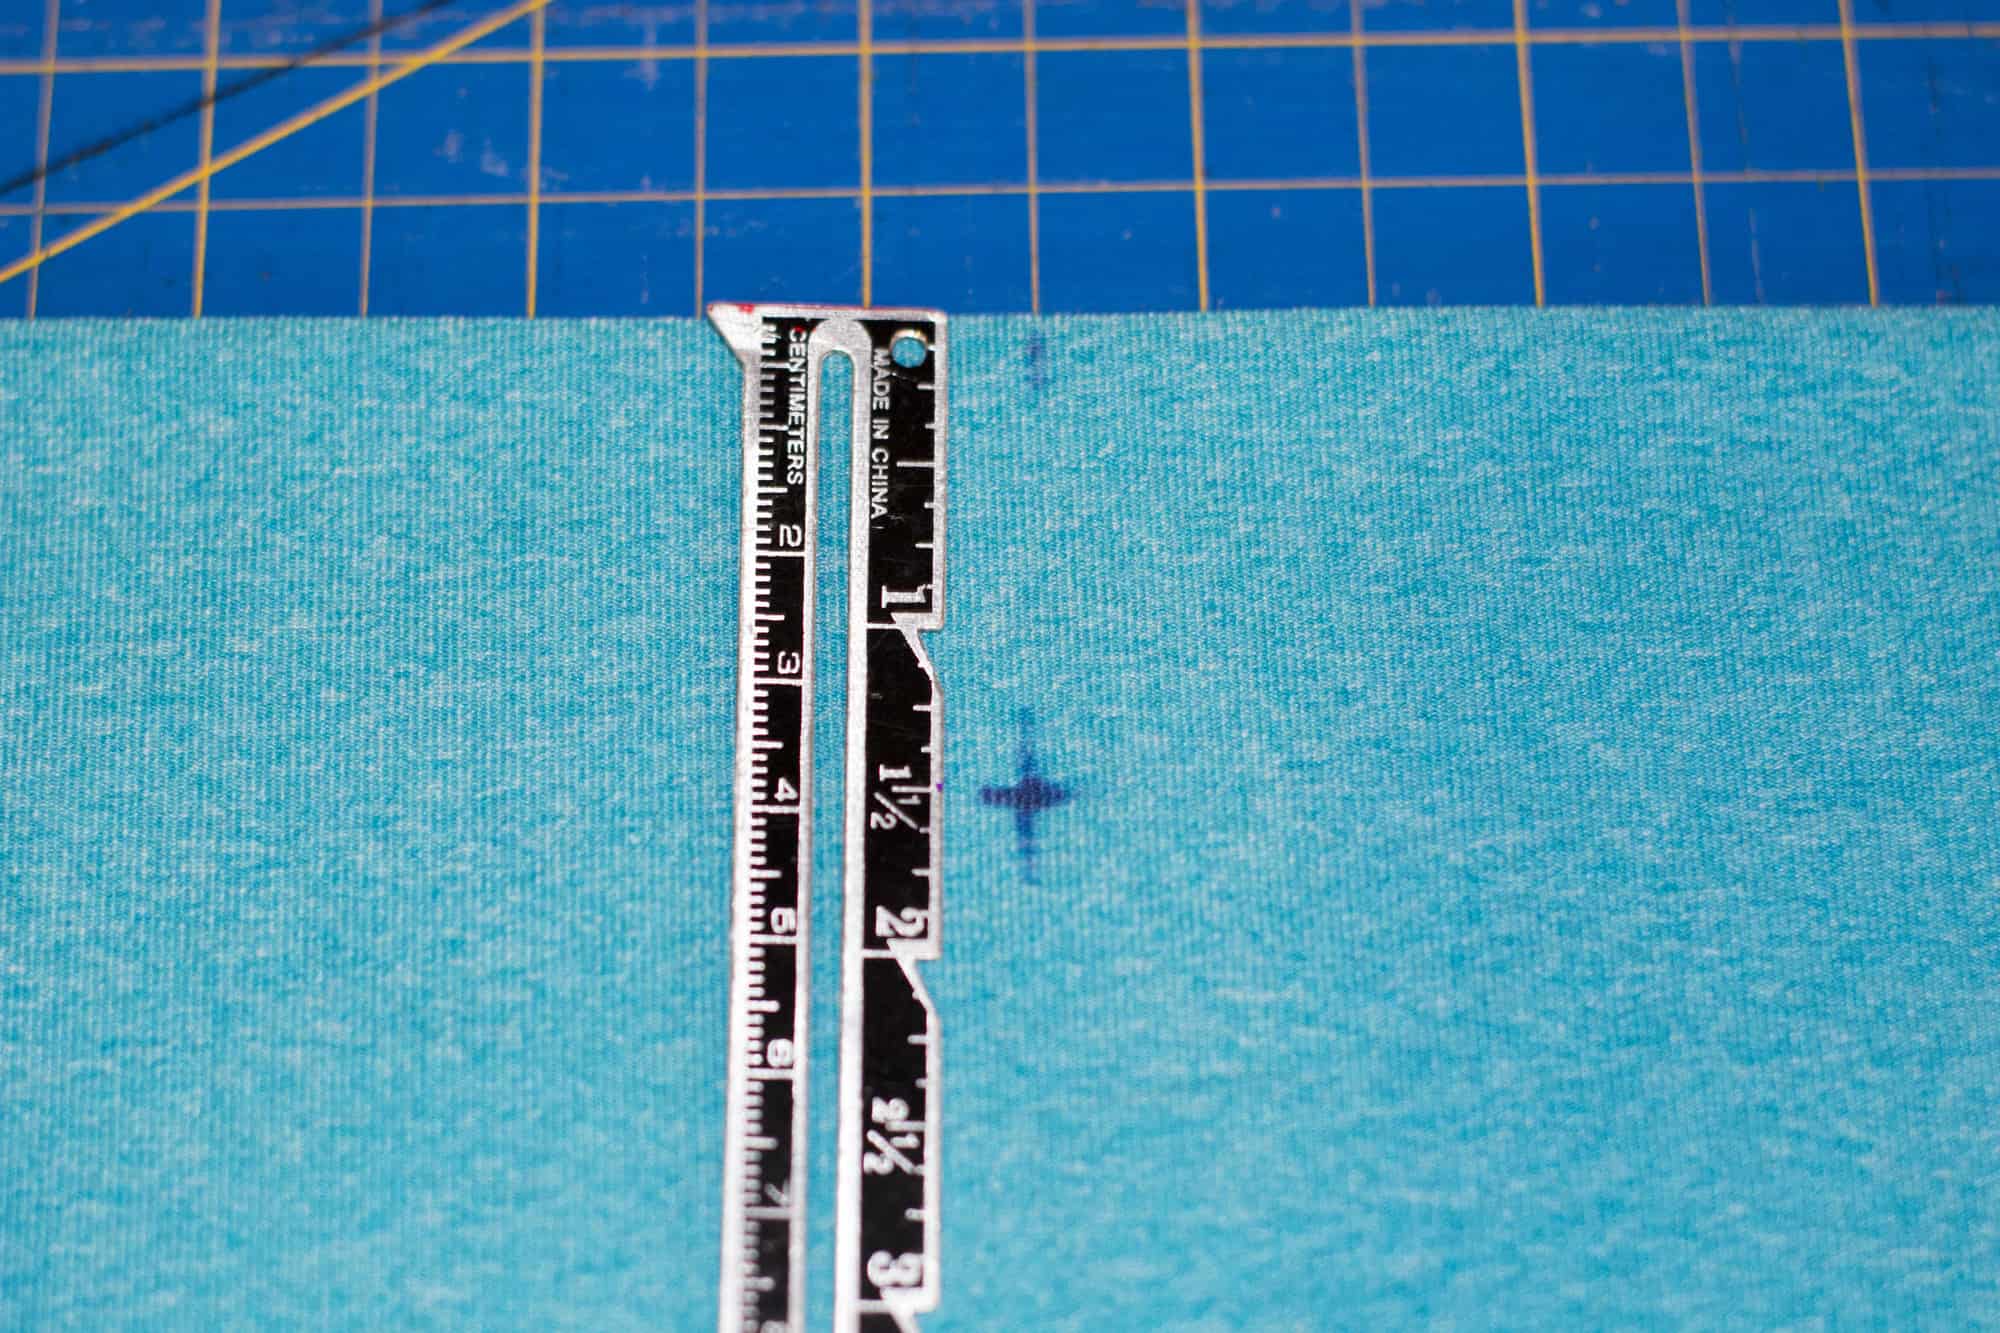
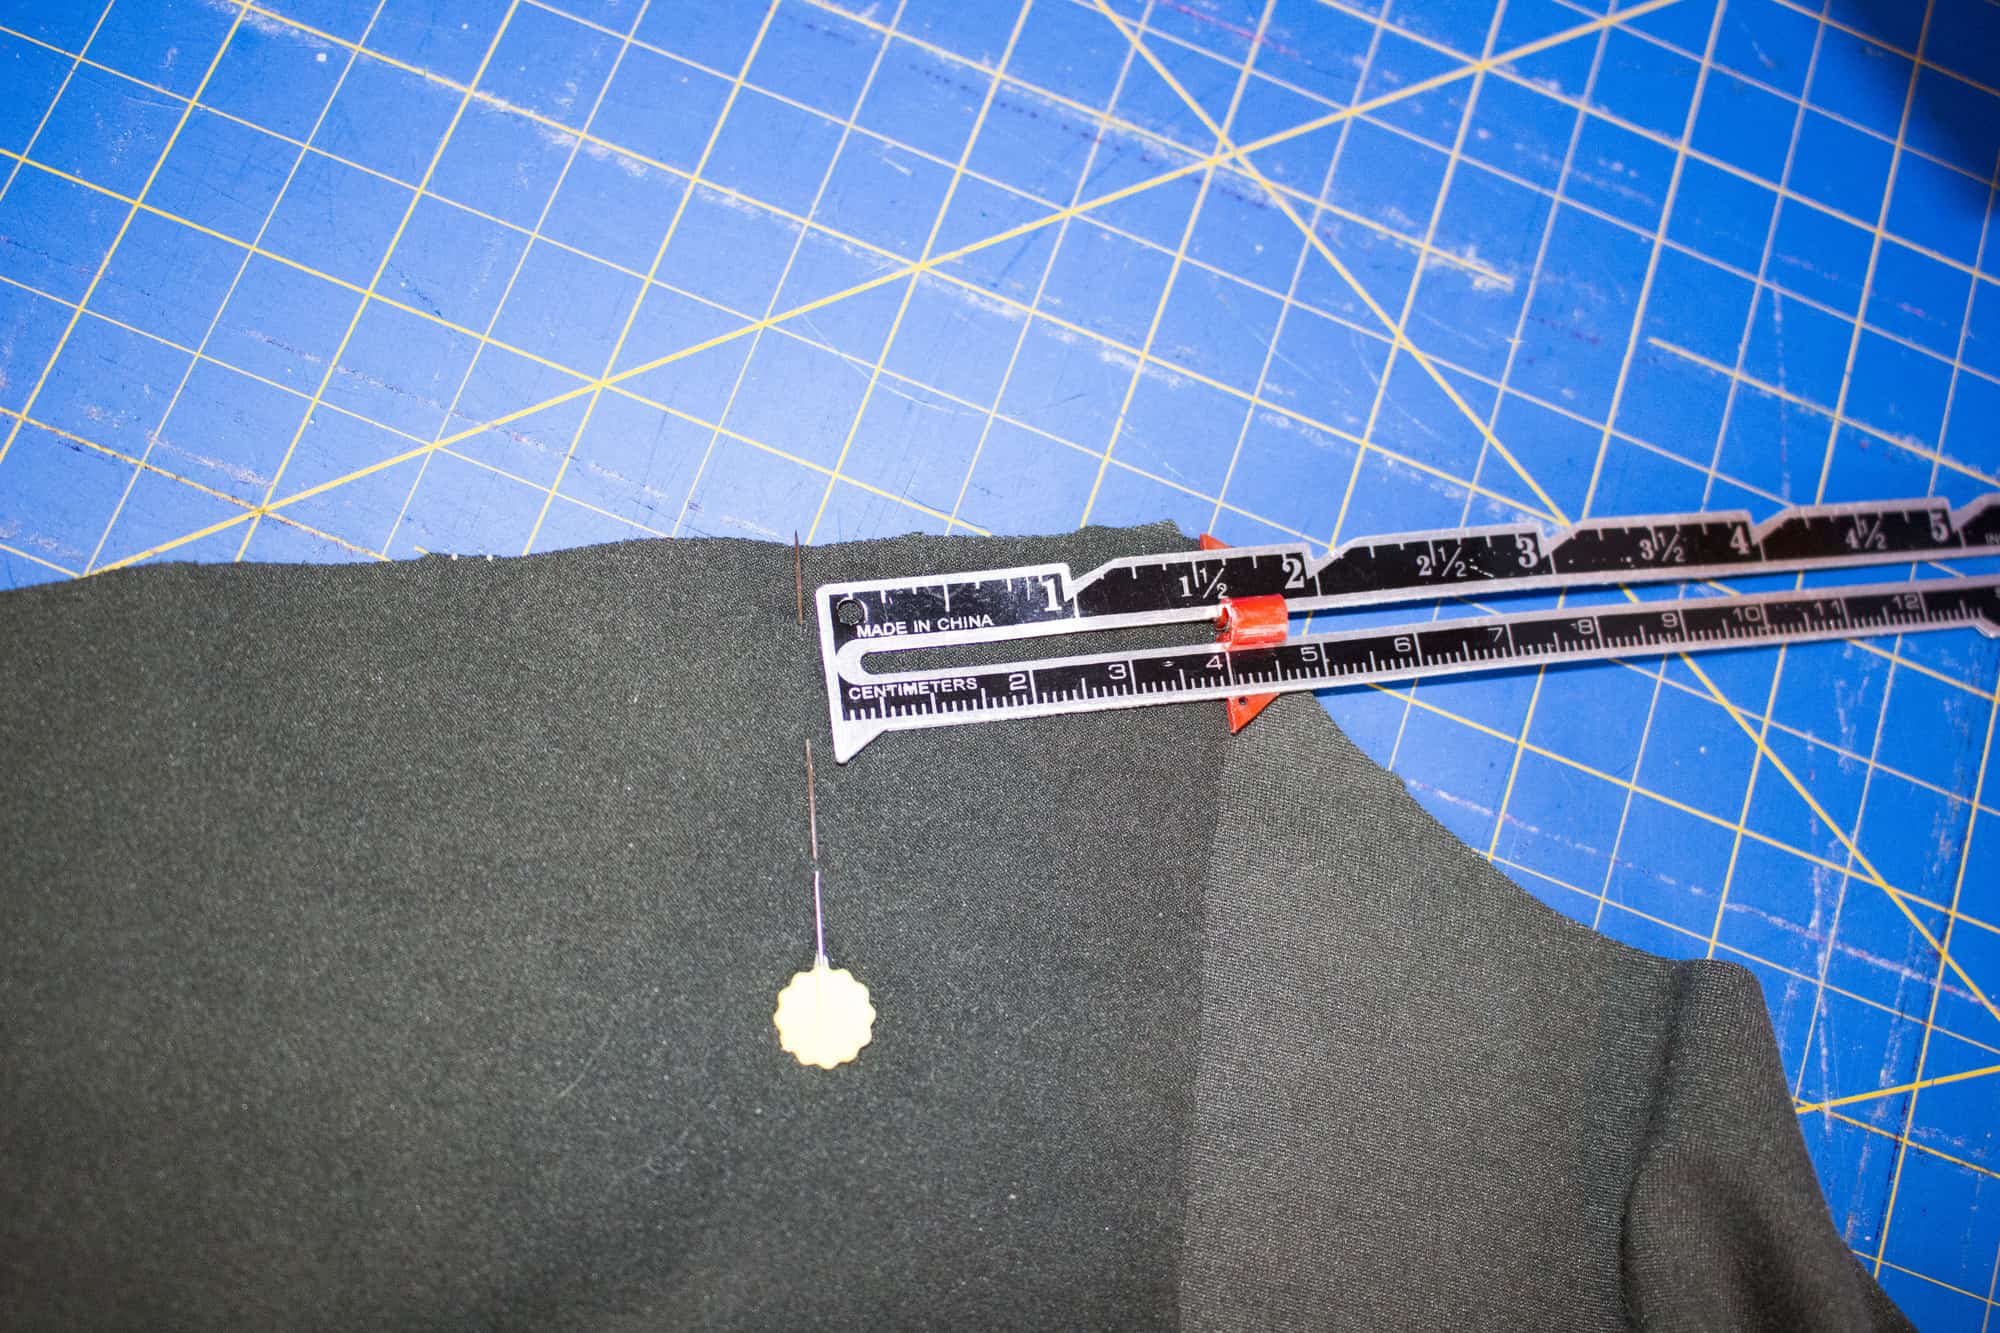
1. The first thing you need to do is decide how long you want your line of ruching to be. For mine, I chose 5″.
2. You’ll need to add length to the pattern to accommodate the fabric the ruching will take up; you’ll add the same number you originally chose. So for me, the length to add was also 5″. And now the total ruched amount will be 10″.
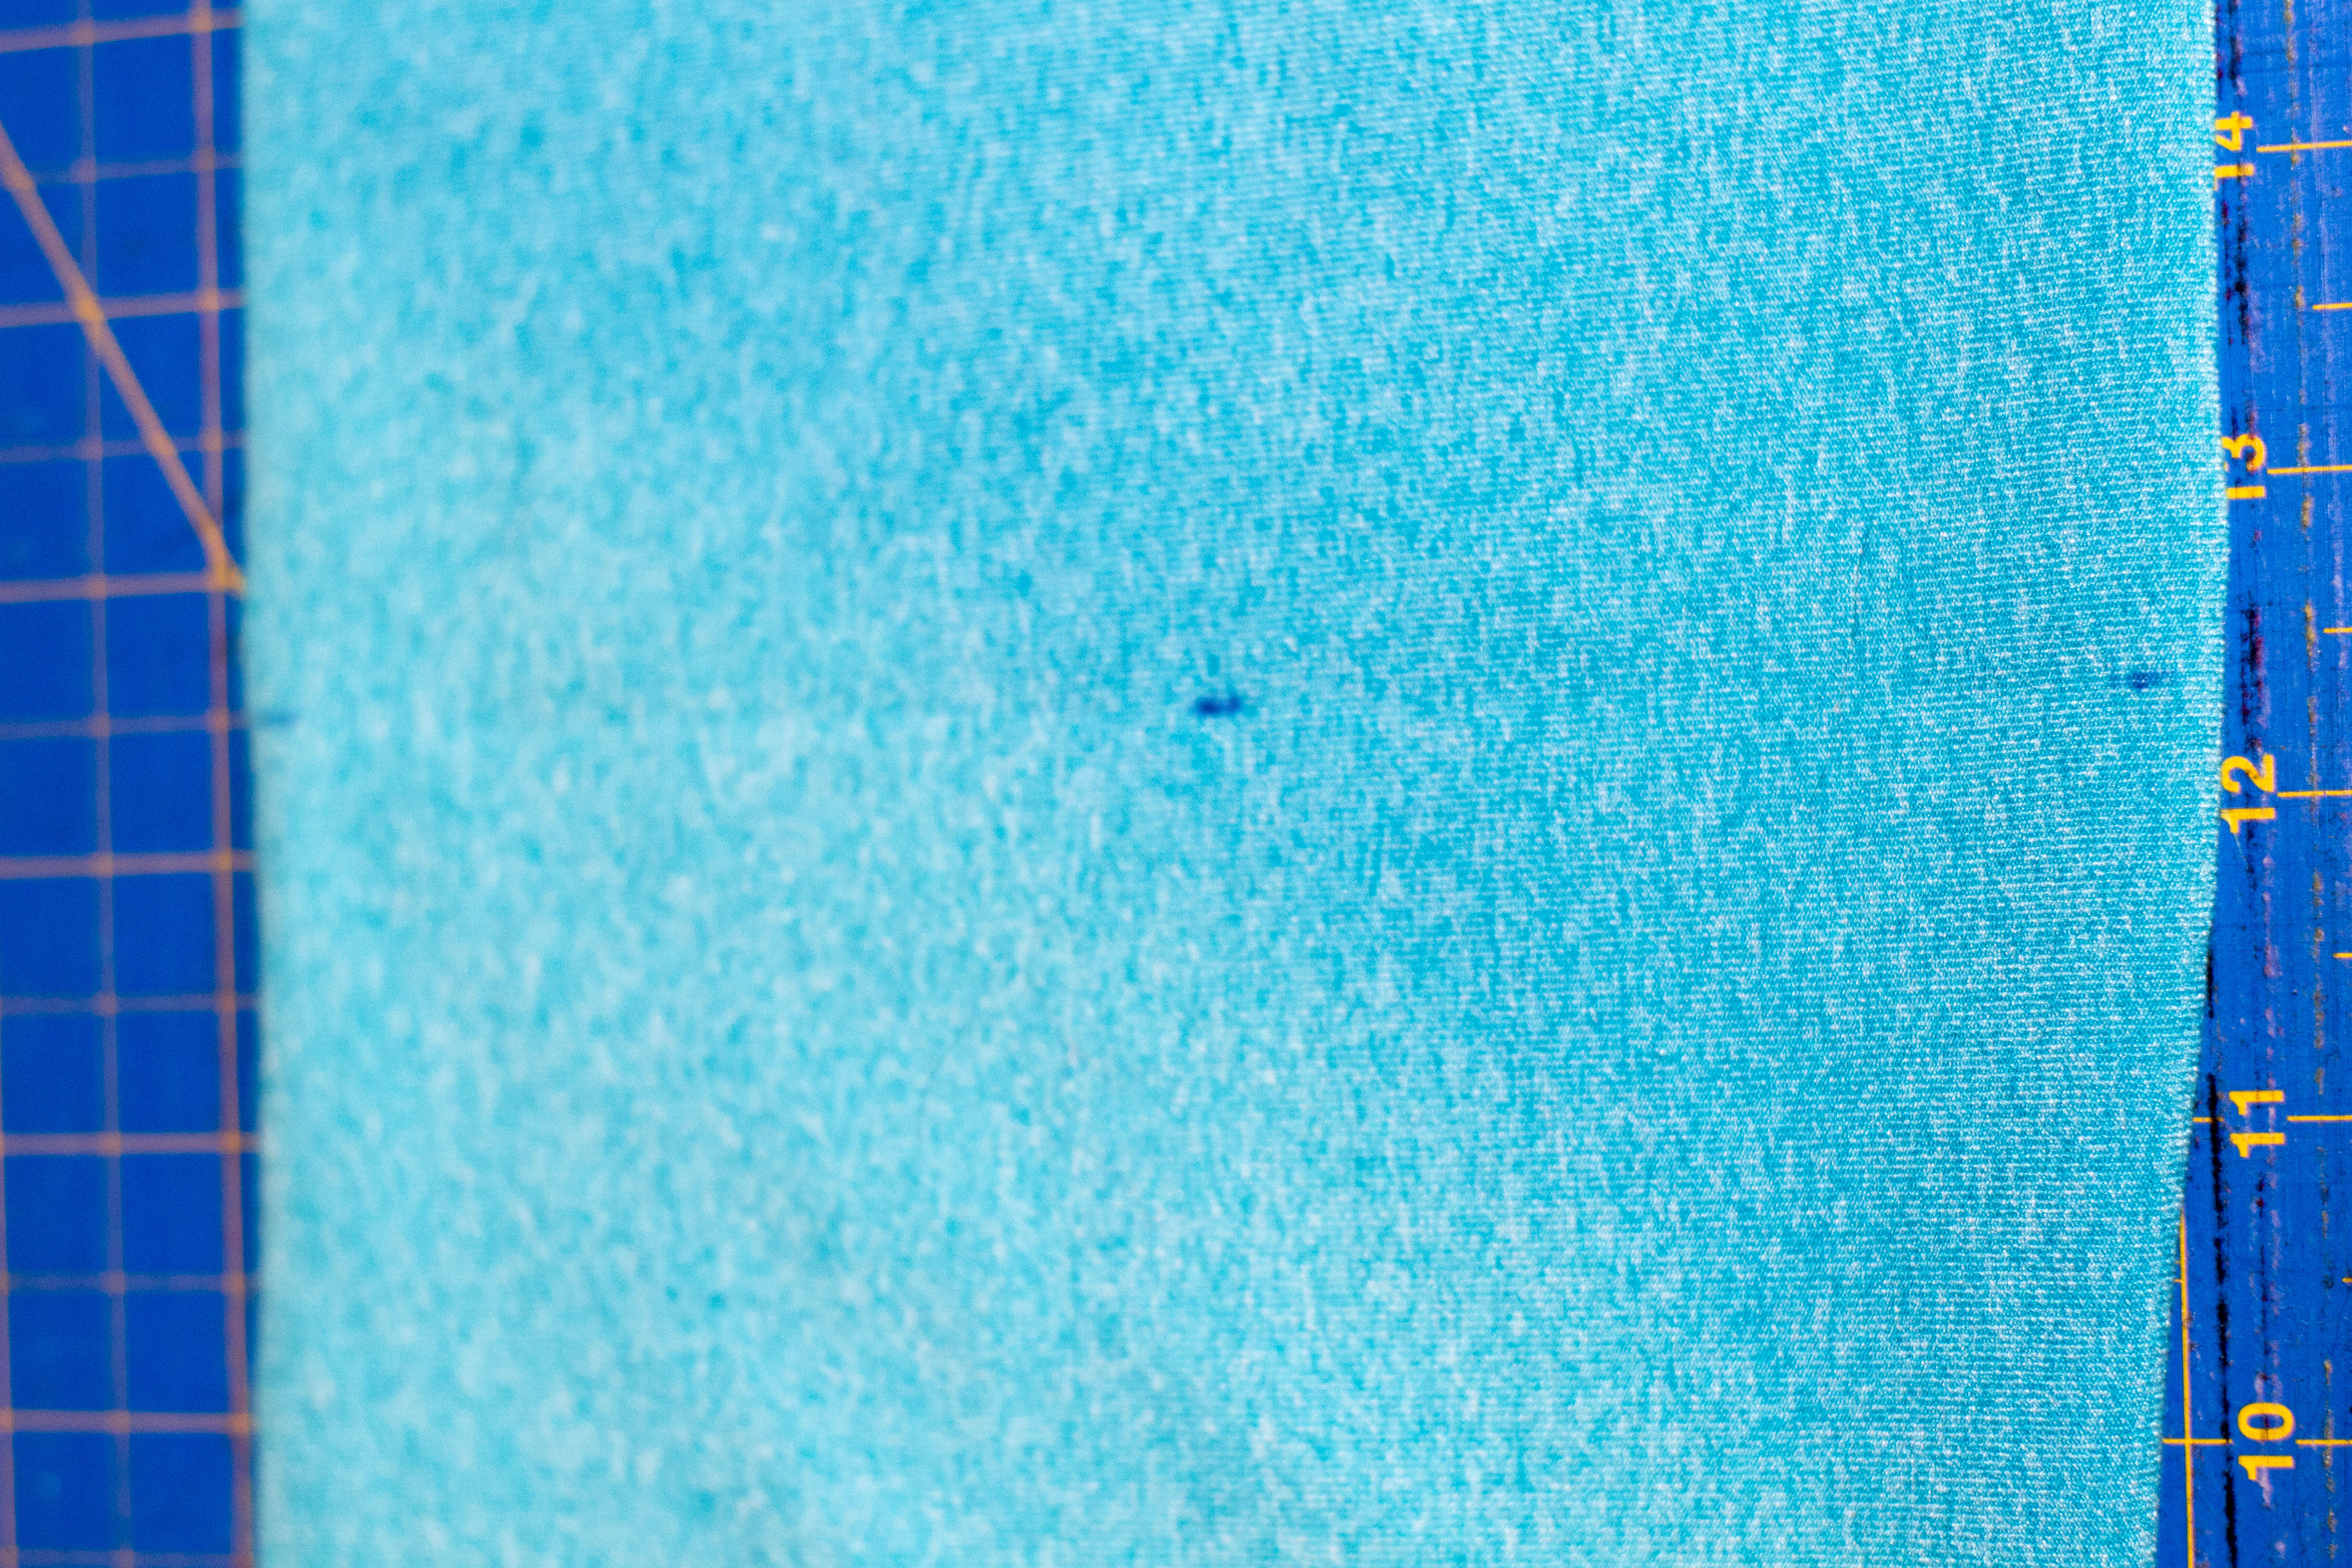
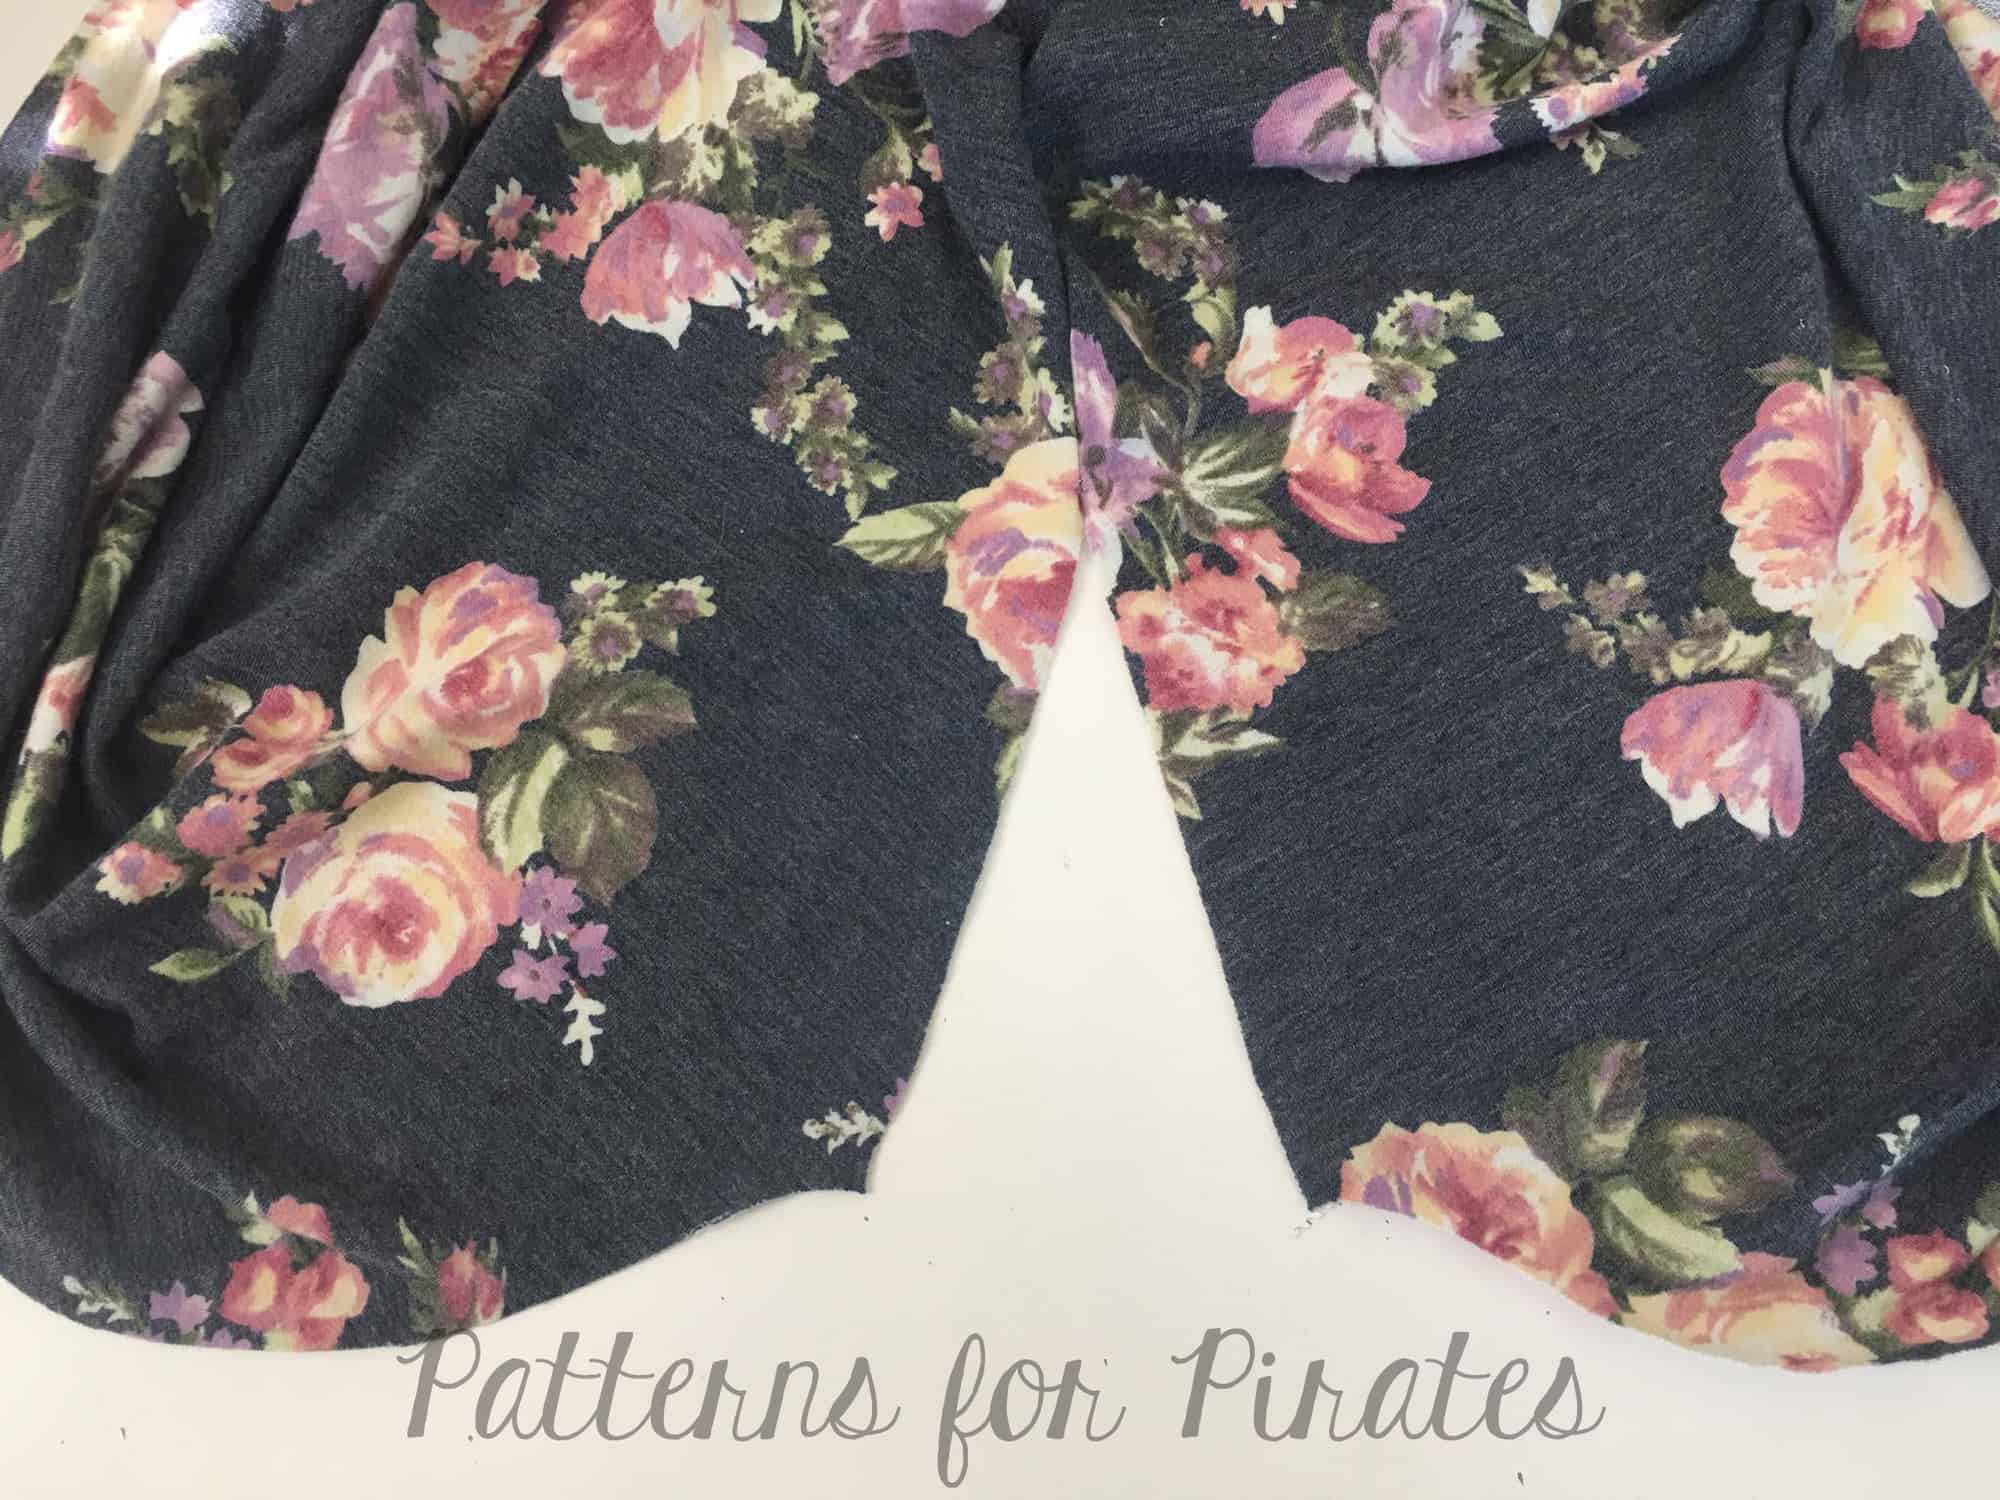
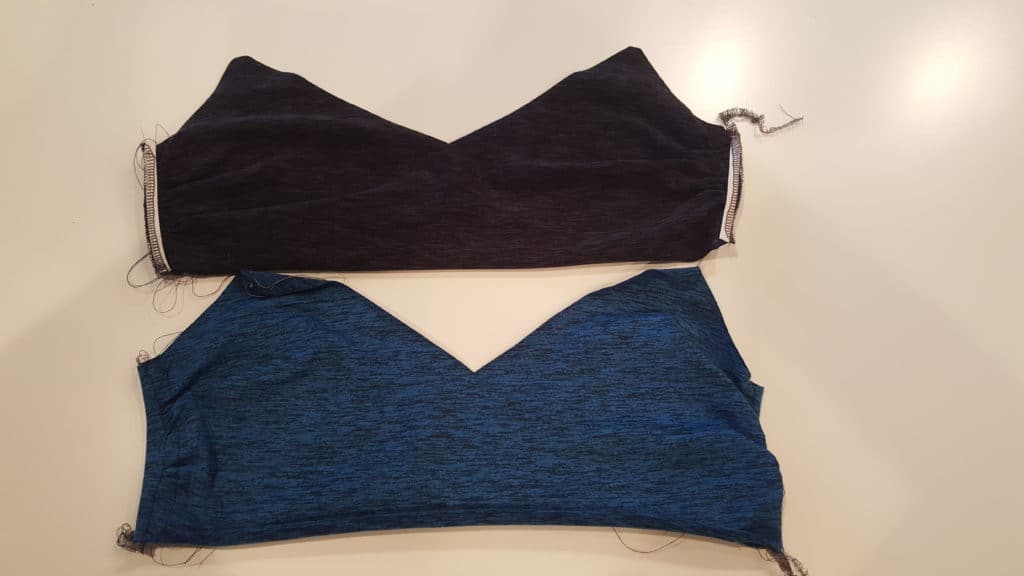
3. Add the extra length at the capri cut line. To do this, cut your pattern on the capri line, add however many inches you chose earlier. I added 5″. Then cut out your leg pieces with this added length, and your choice of waistband. Your leggings will look crazy long – this is good!
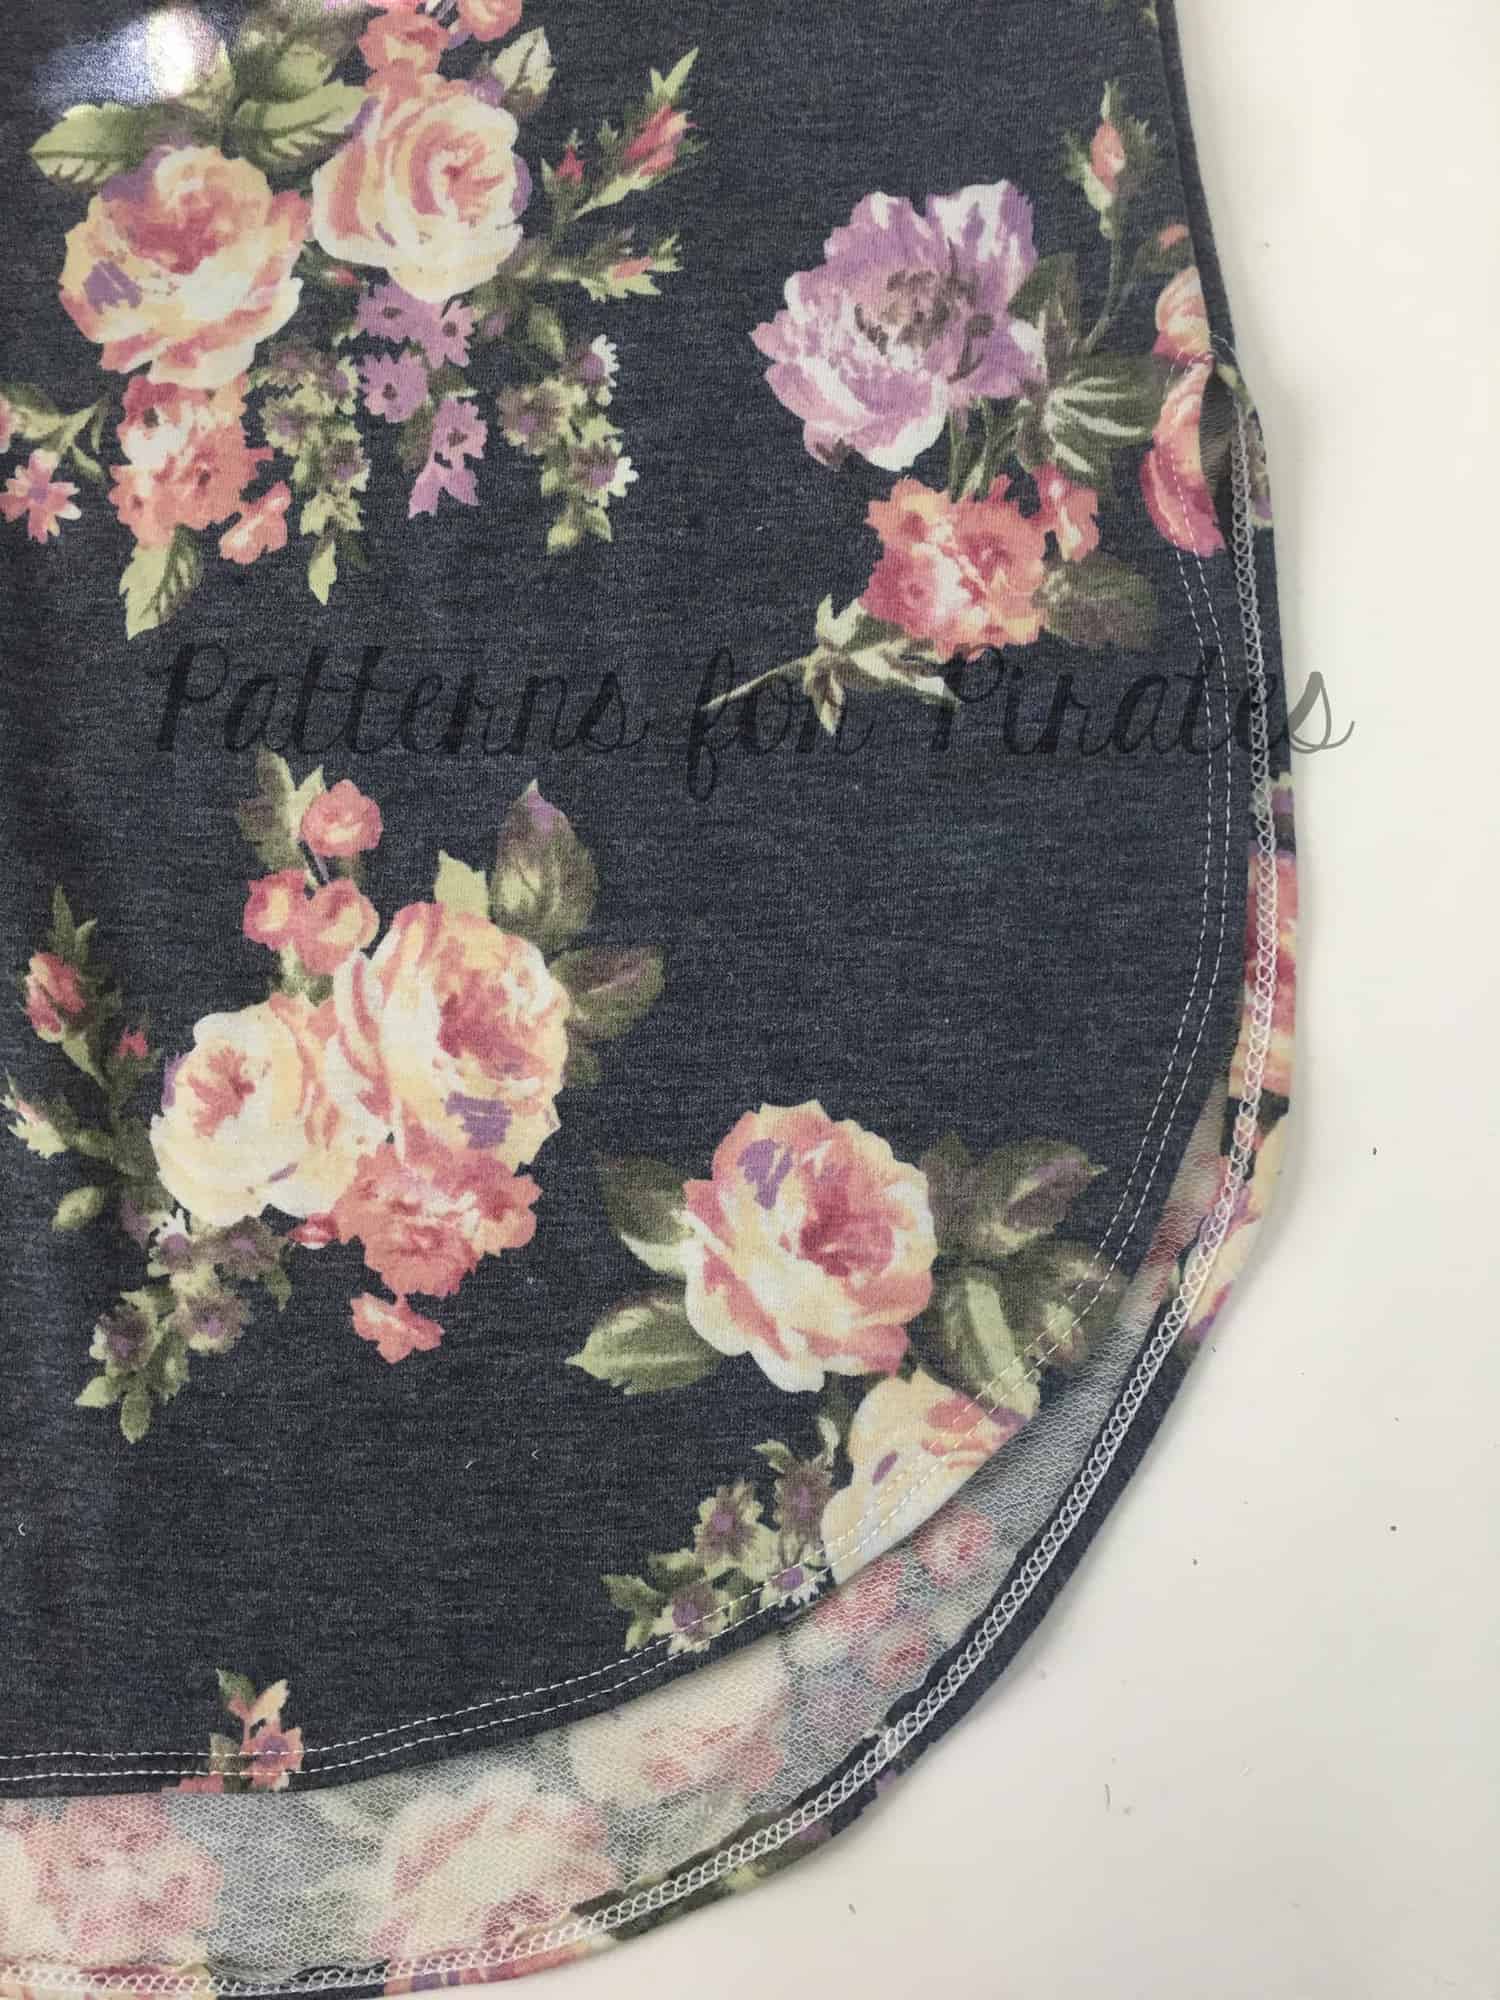
4. I highly suggest hemming the bottom edge now, before ruching. It will be so much easier this way; I chose to do a faux blind hem with my serger. Or, let’s be real…if you’re not planning on hemming, then this doesn’t apply to you! 😉
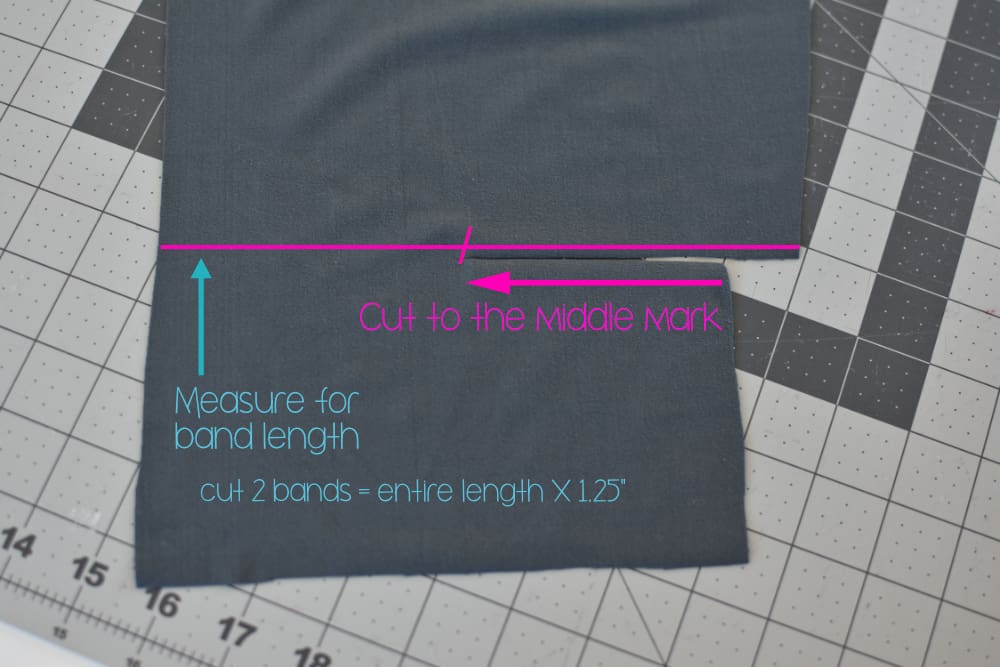
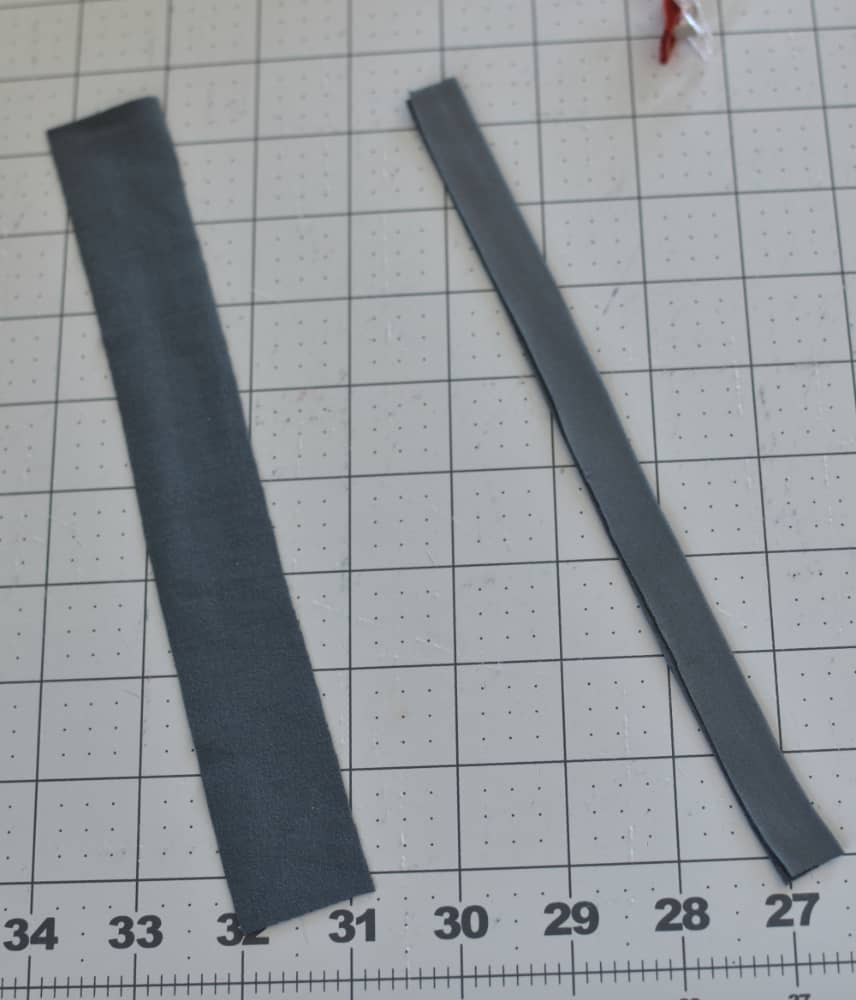
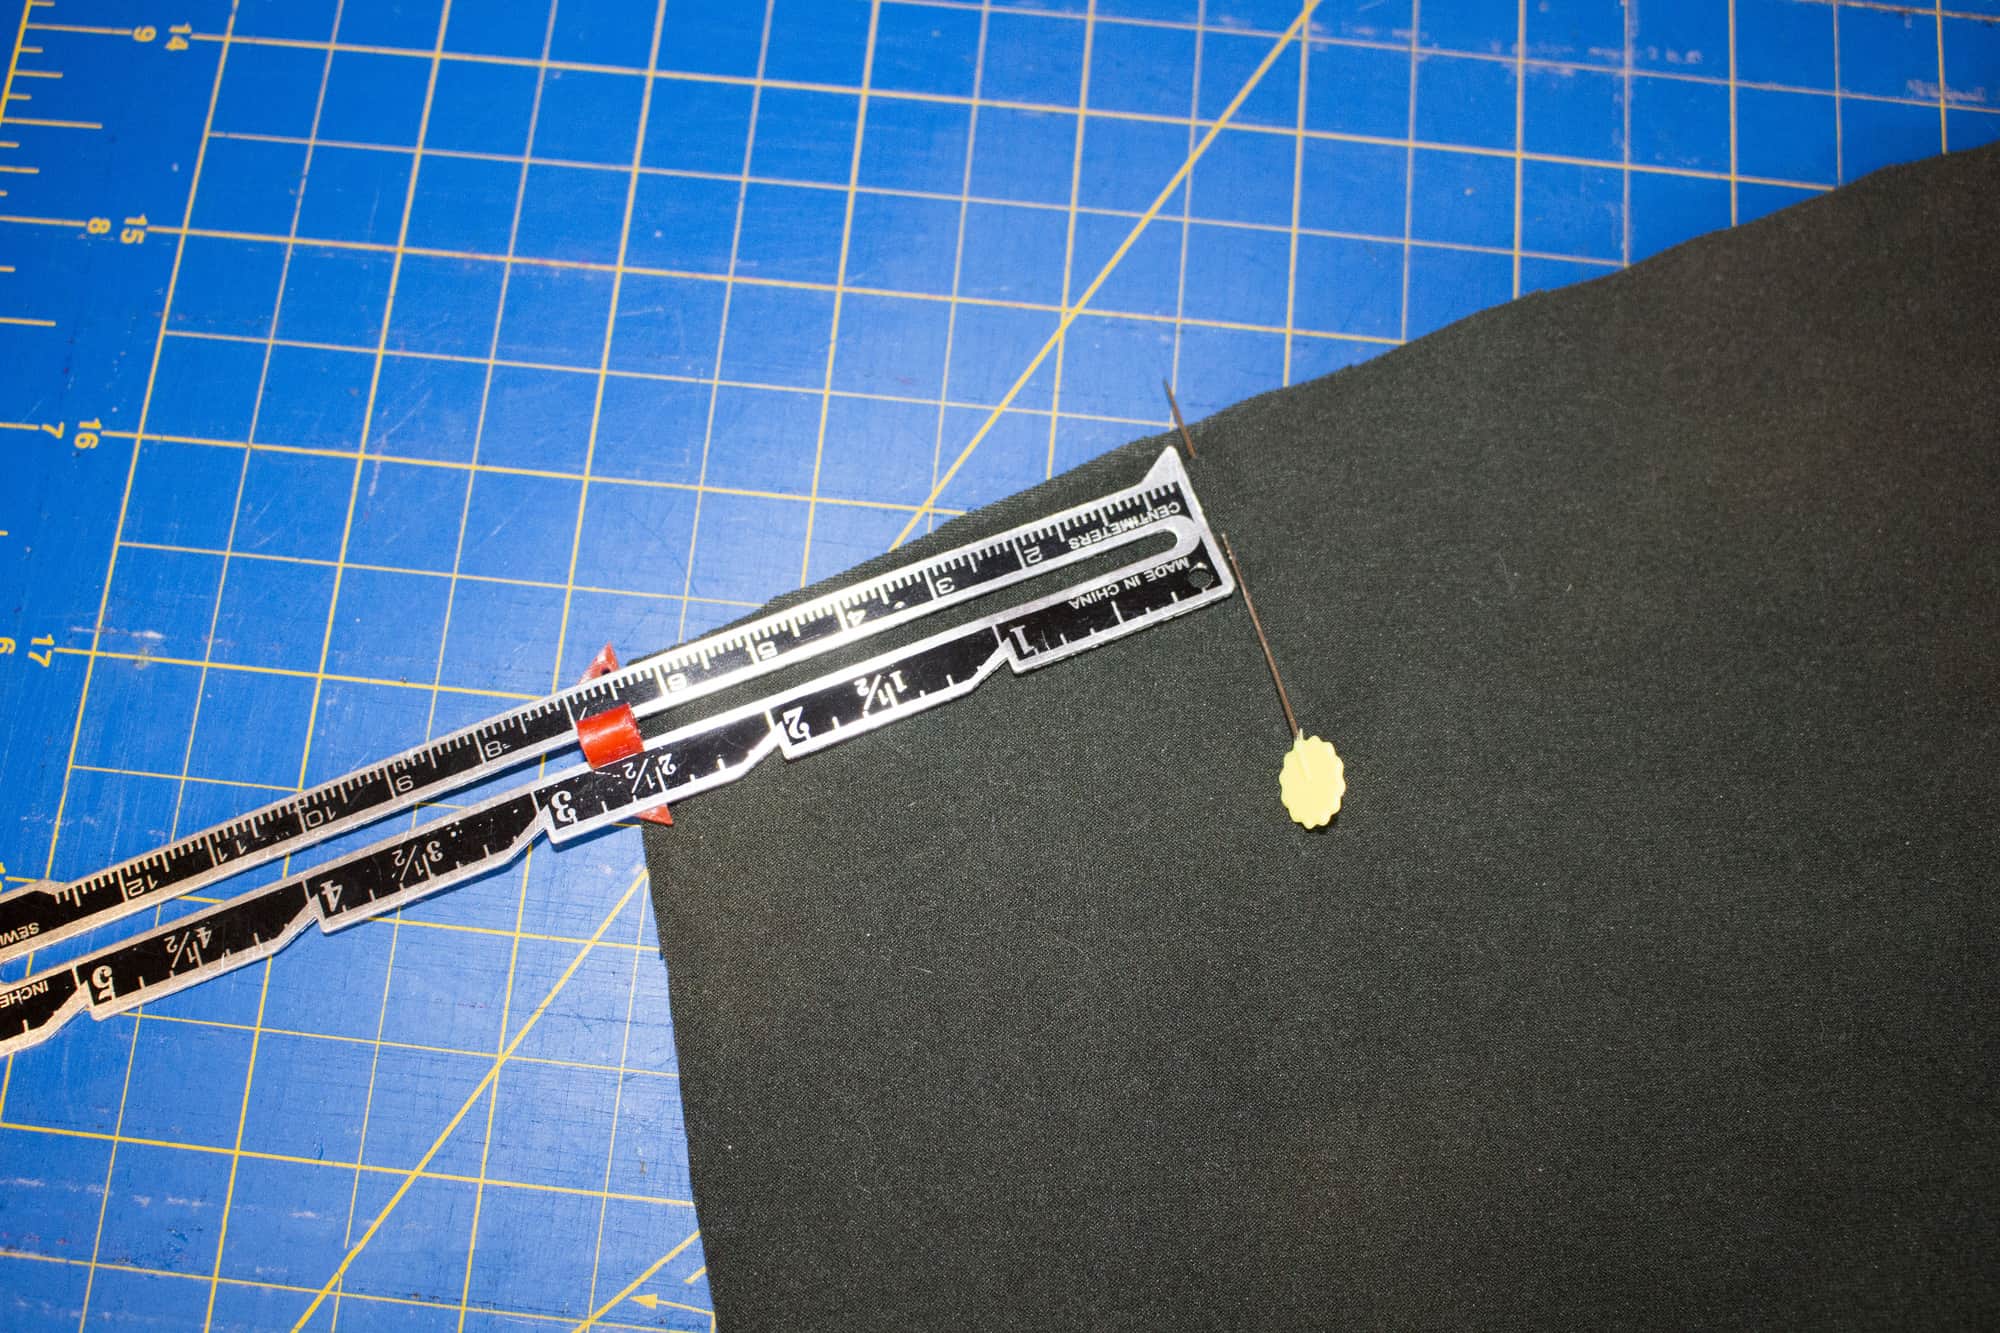
5. Cut your elastic pieces. To determine the length, add 1″ to your original measurement. So I cut mine 6″.
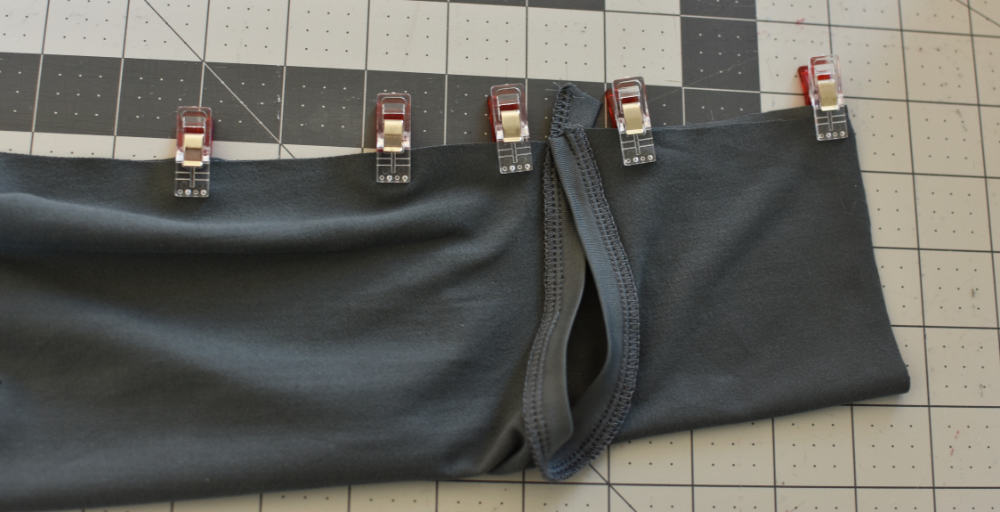
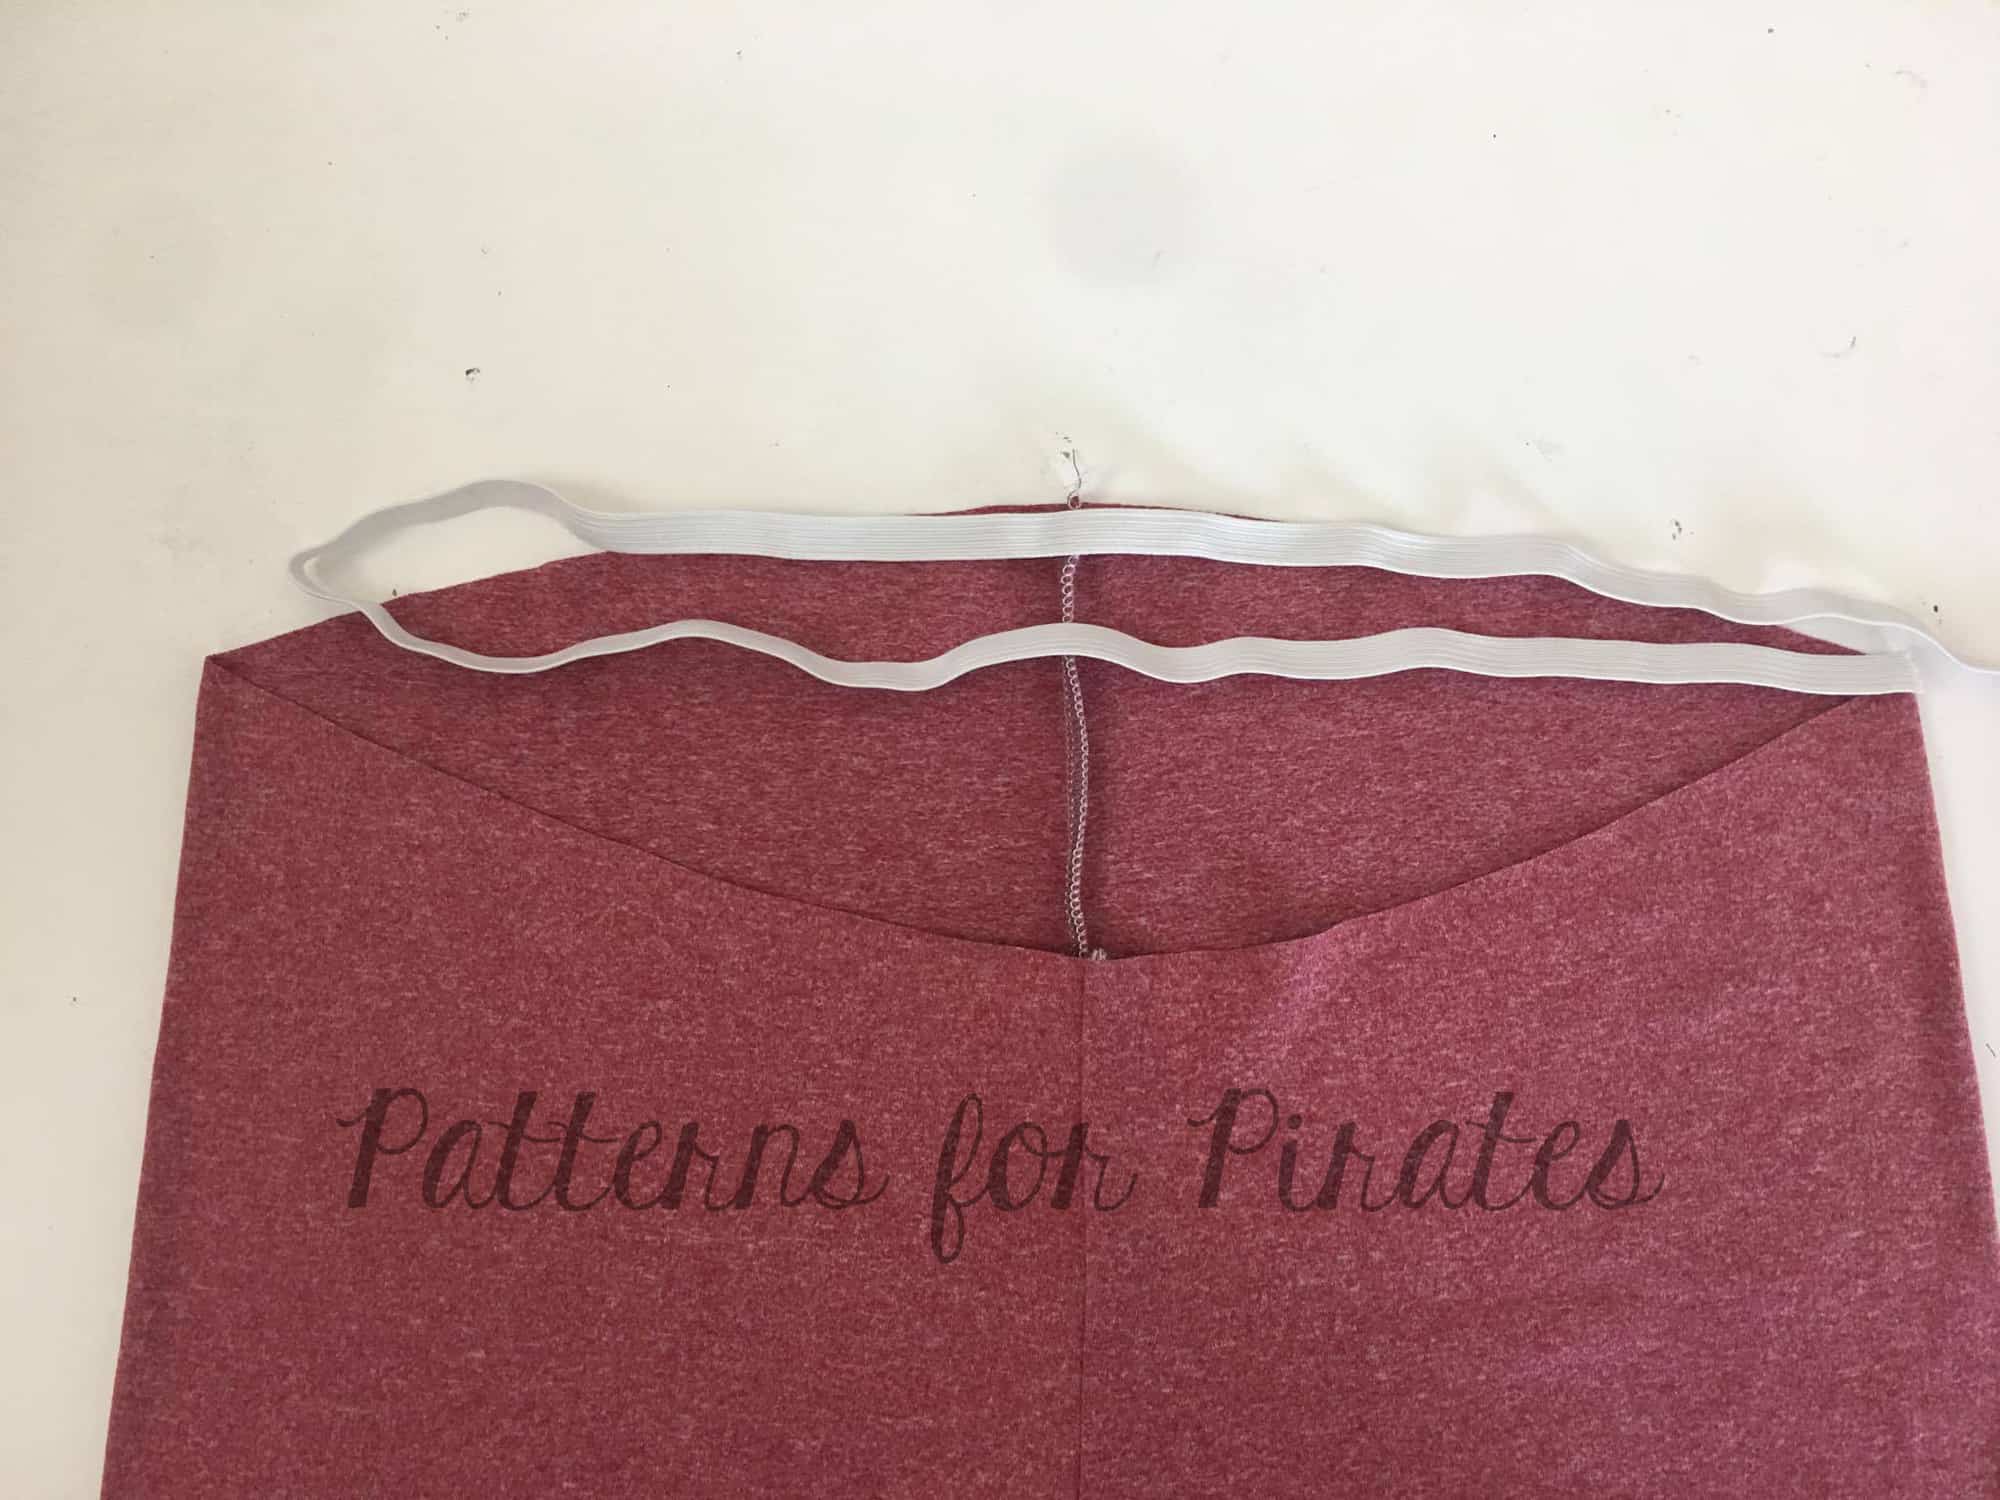
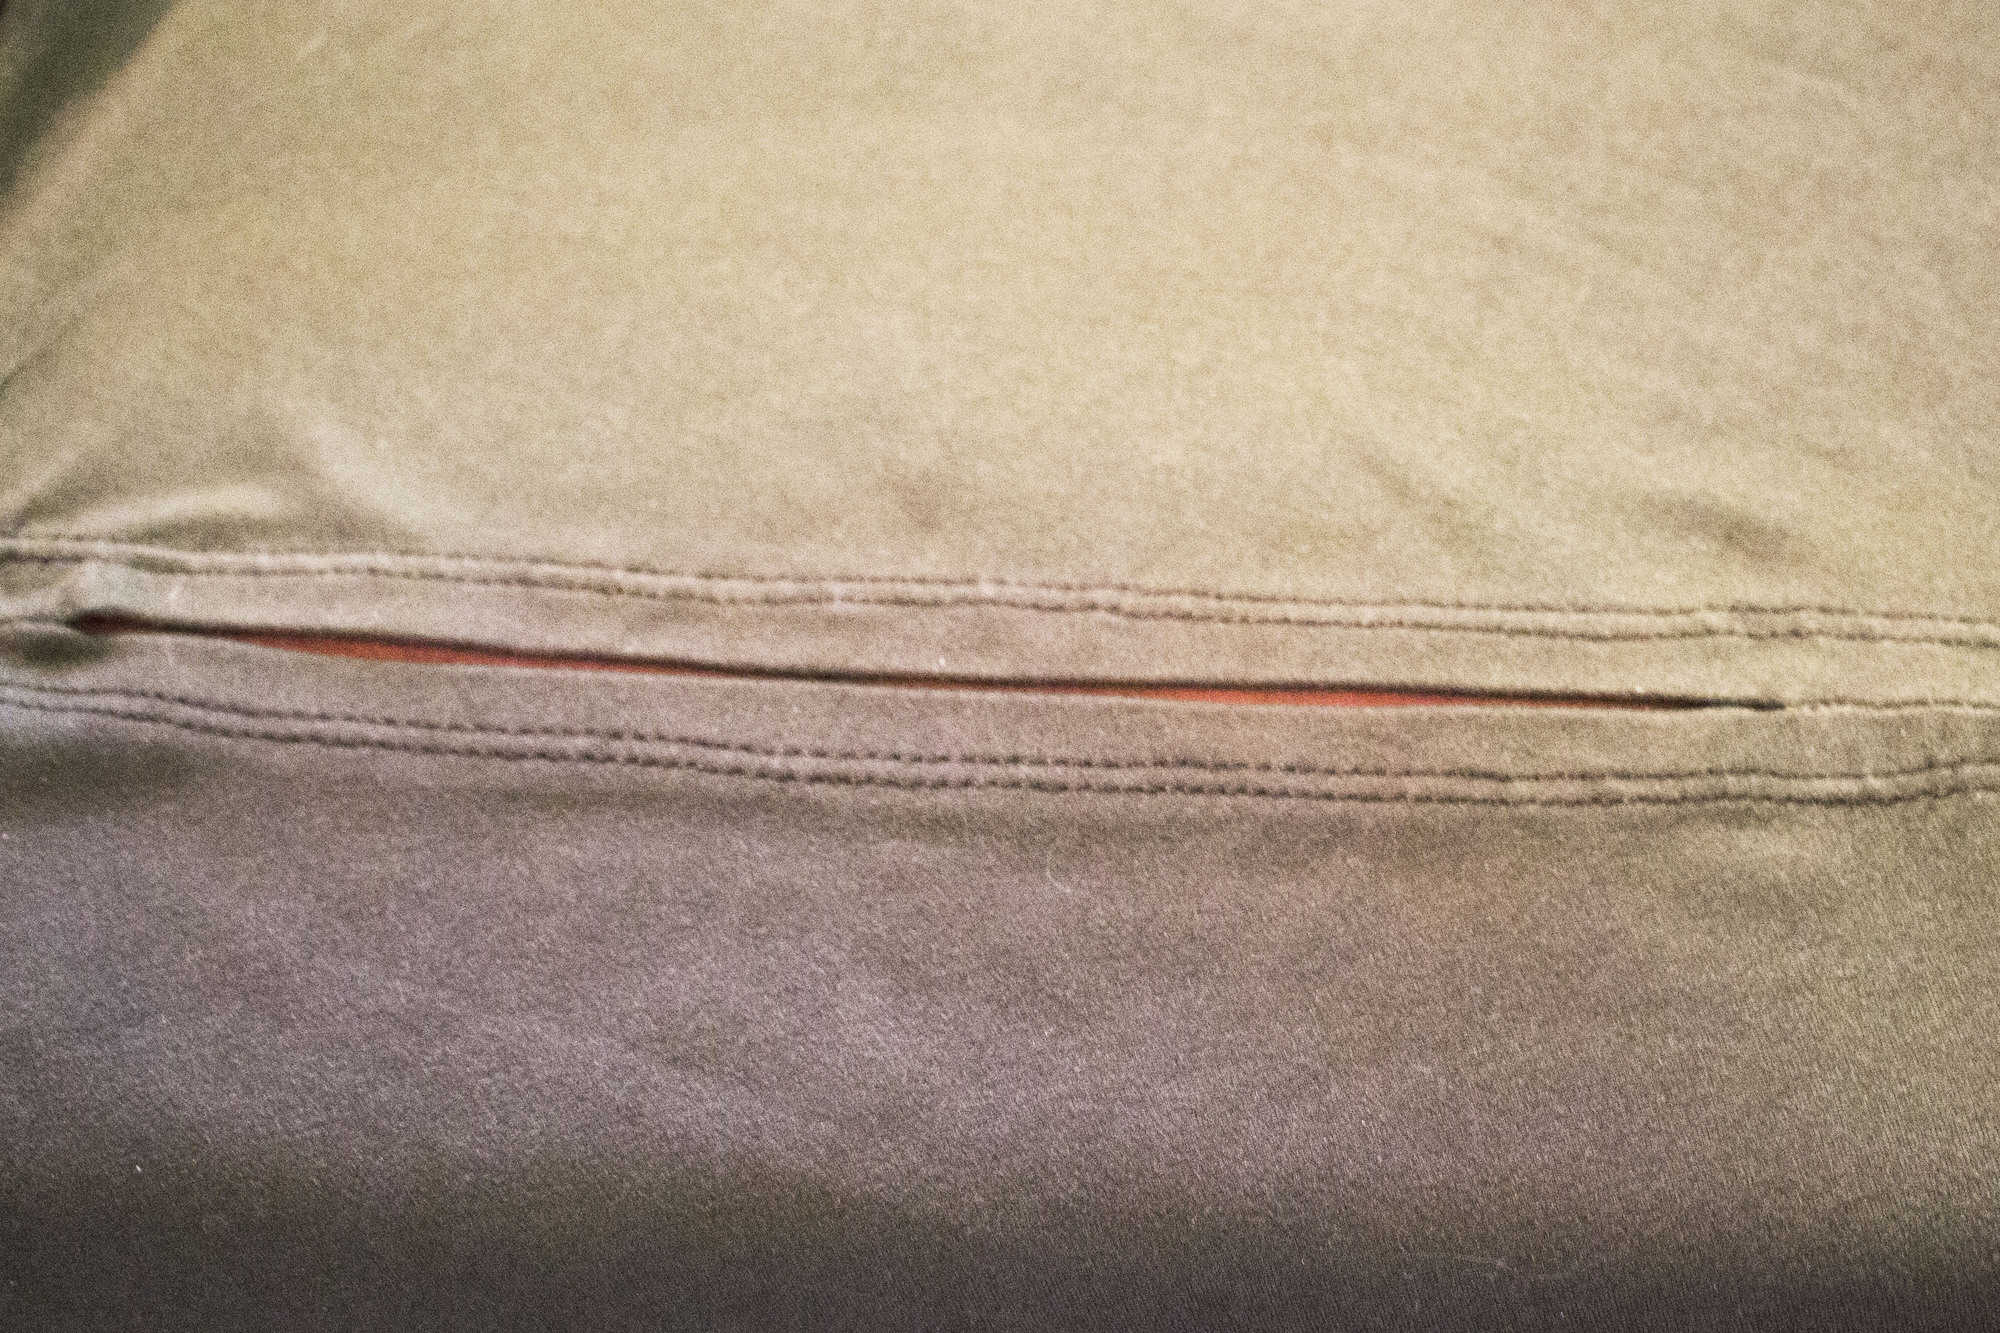
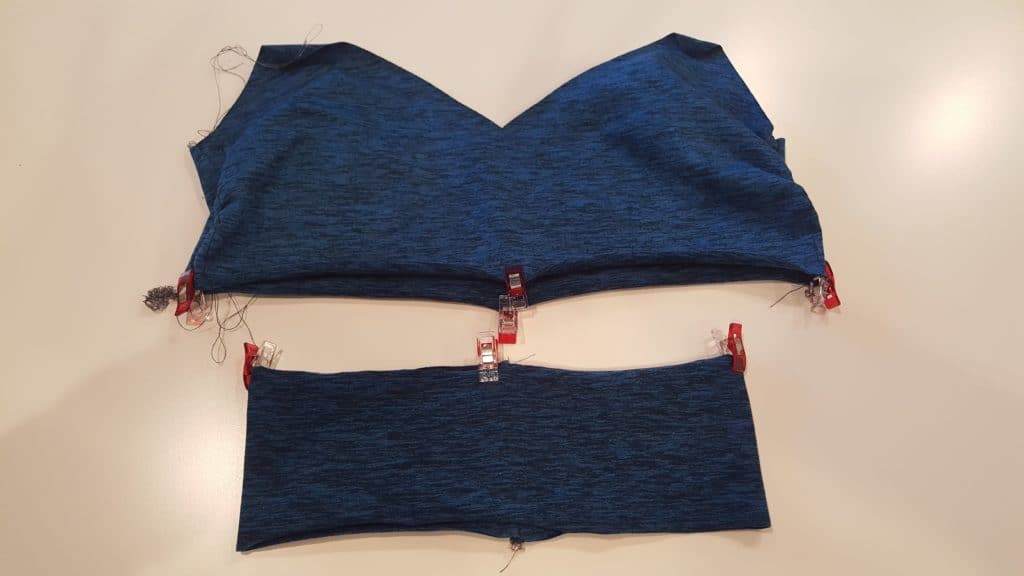
6. Now, before you sew up the side seams, find the middle of the piece on the end, and mark it. Pin/clip your elastic in place in this place, right above your hem.

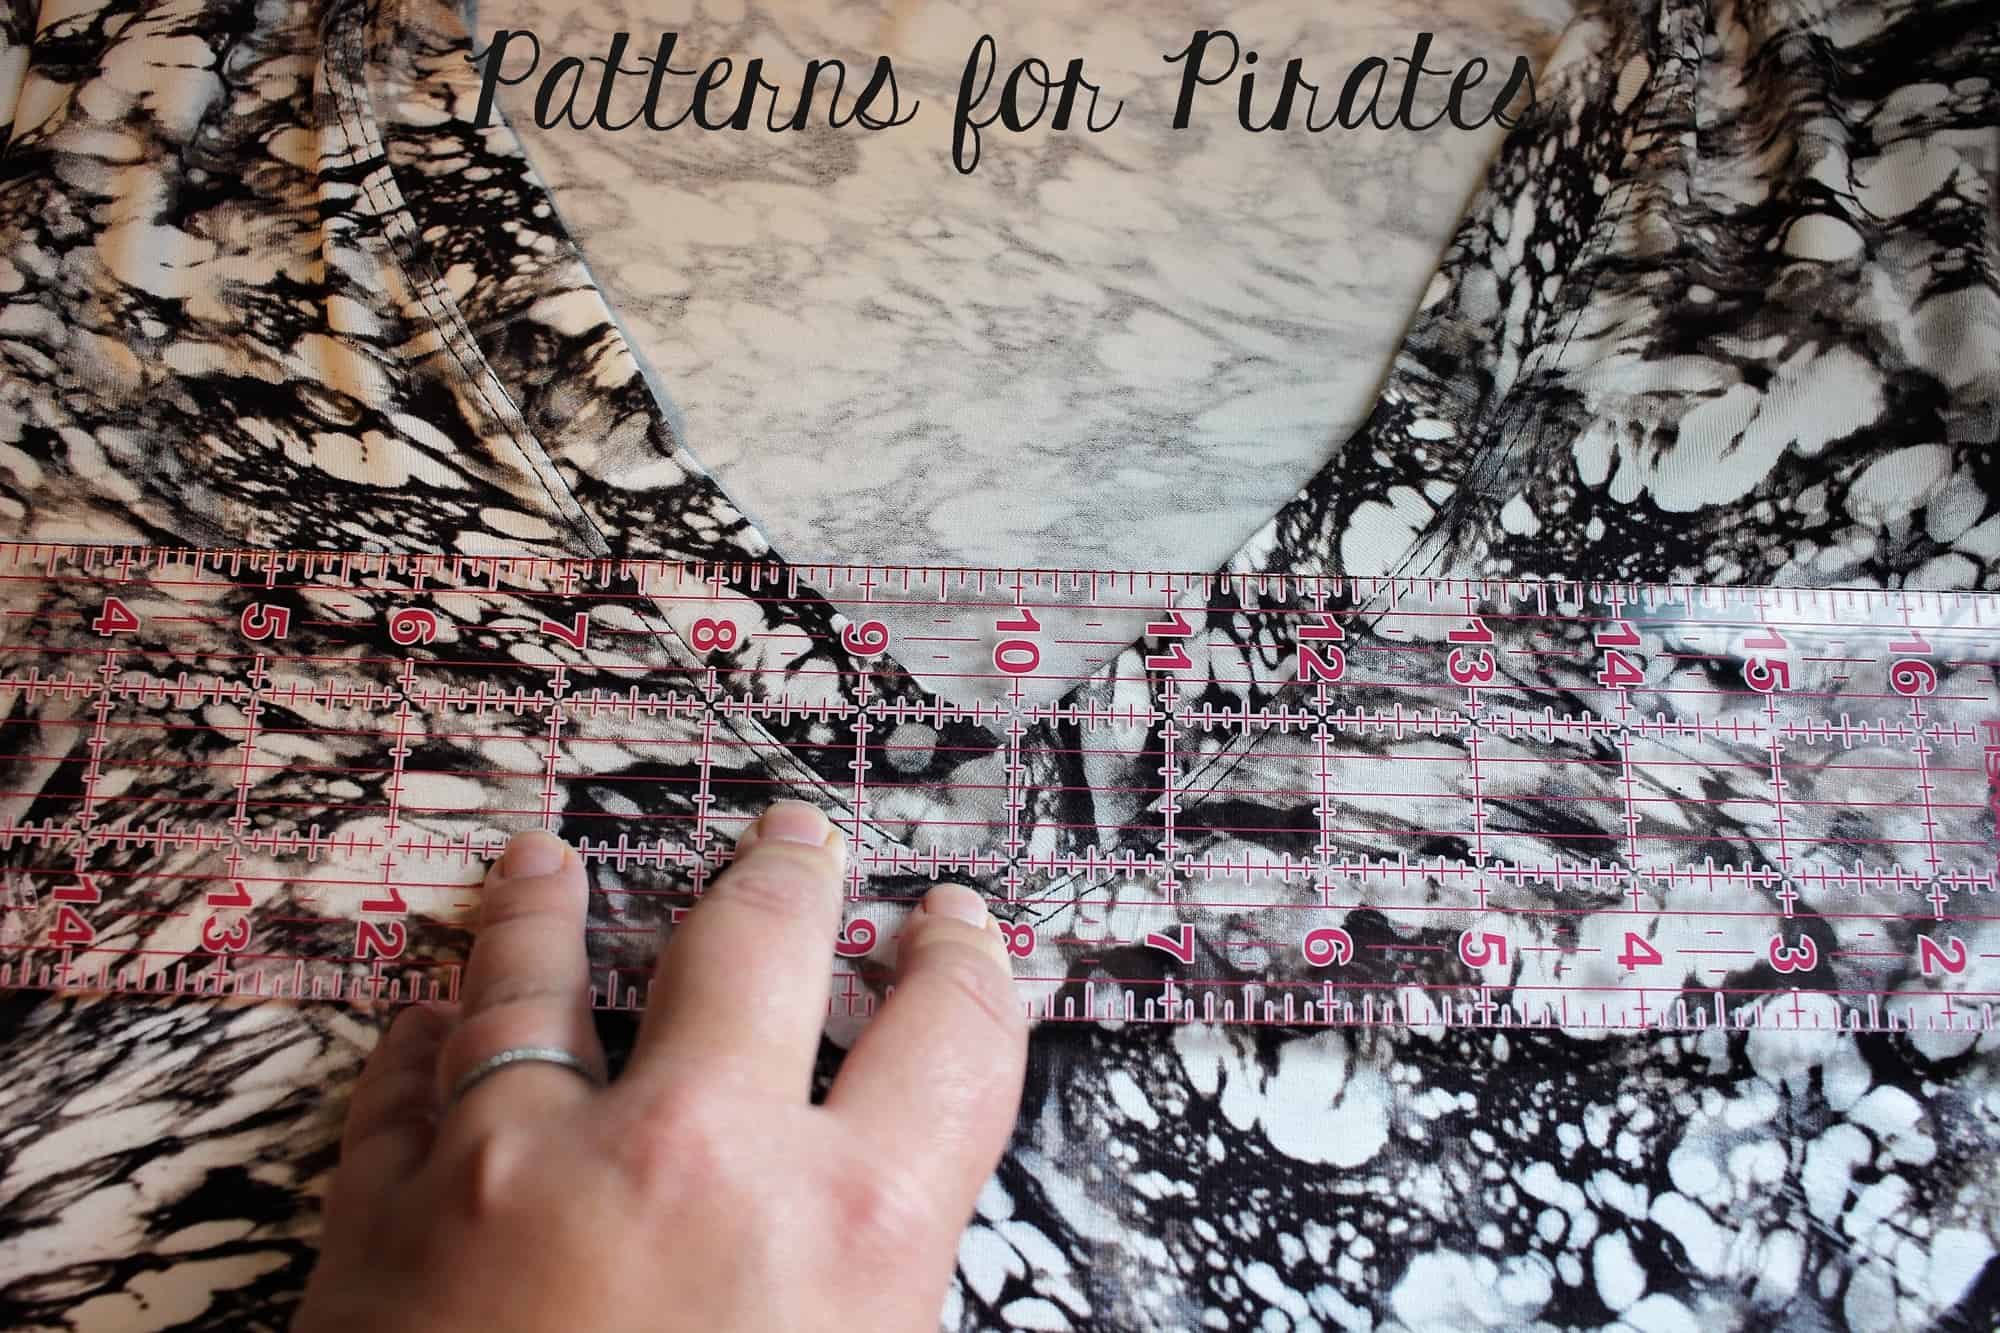
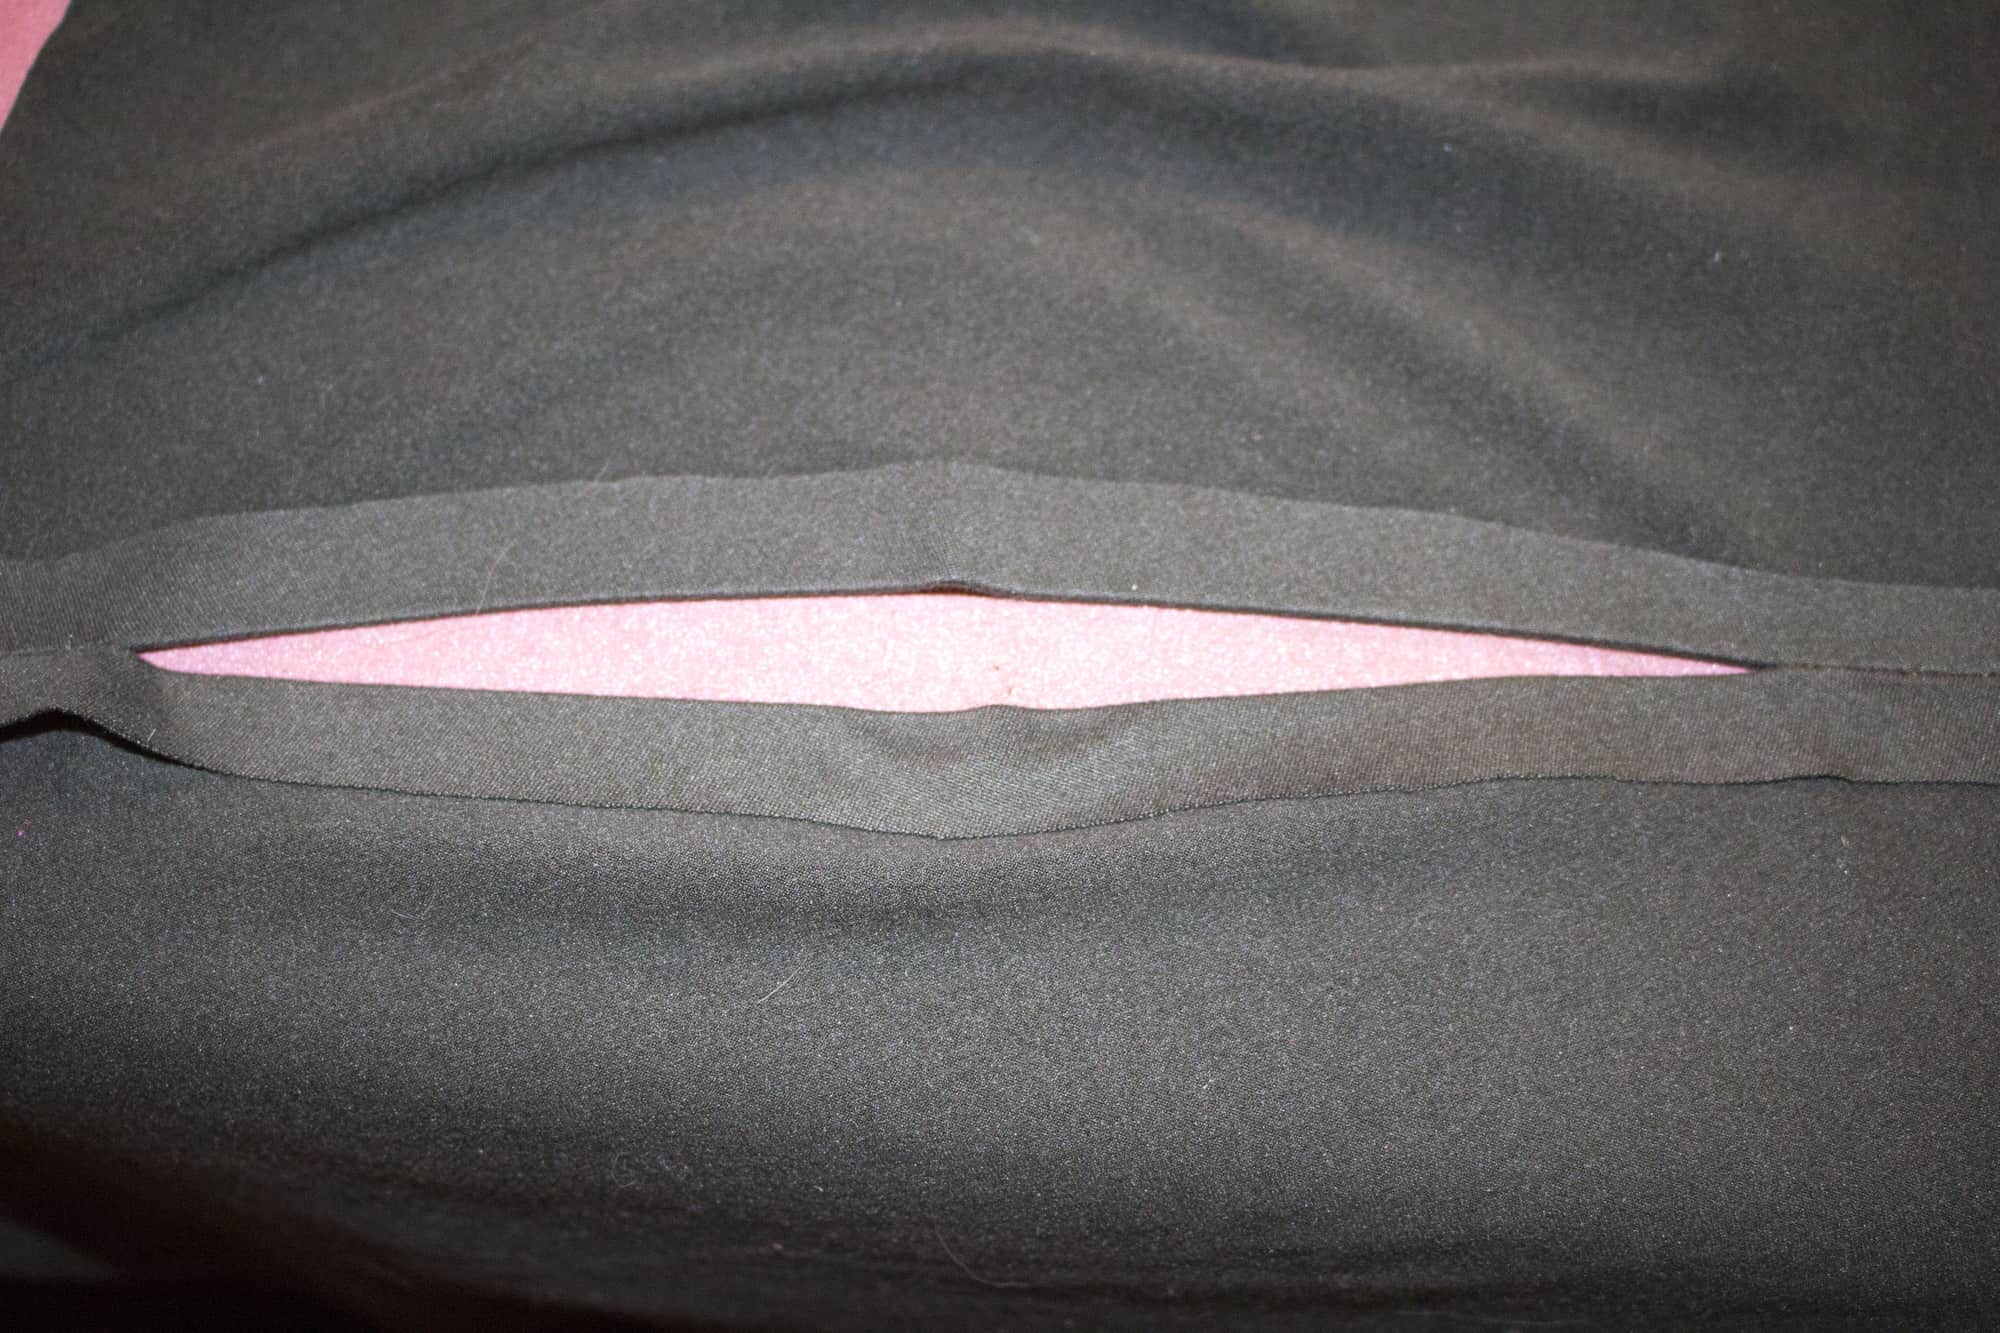
7. From the marked spot, measure up your total ruched amount, determined in step 2. My ruched amount was 10″, so I measured 10″ above my marked spot. Add a pin to this spot as well.
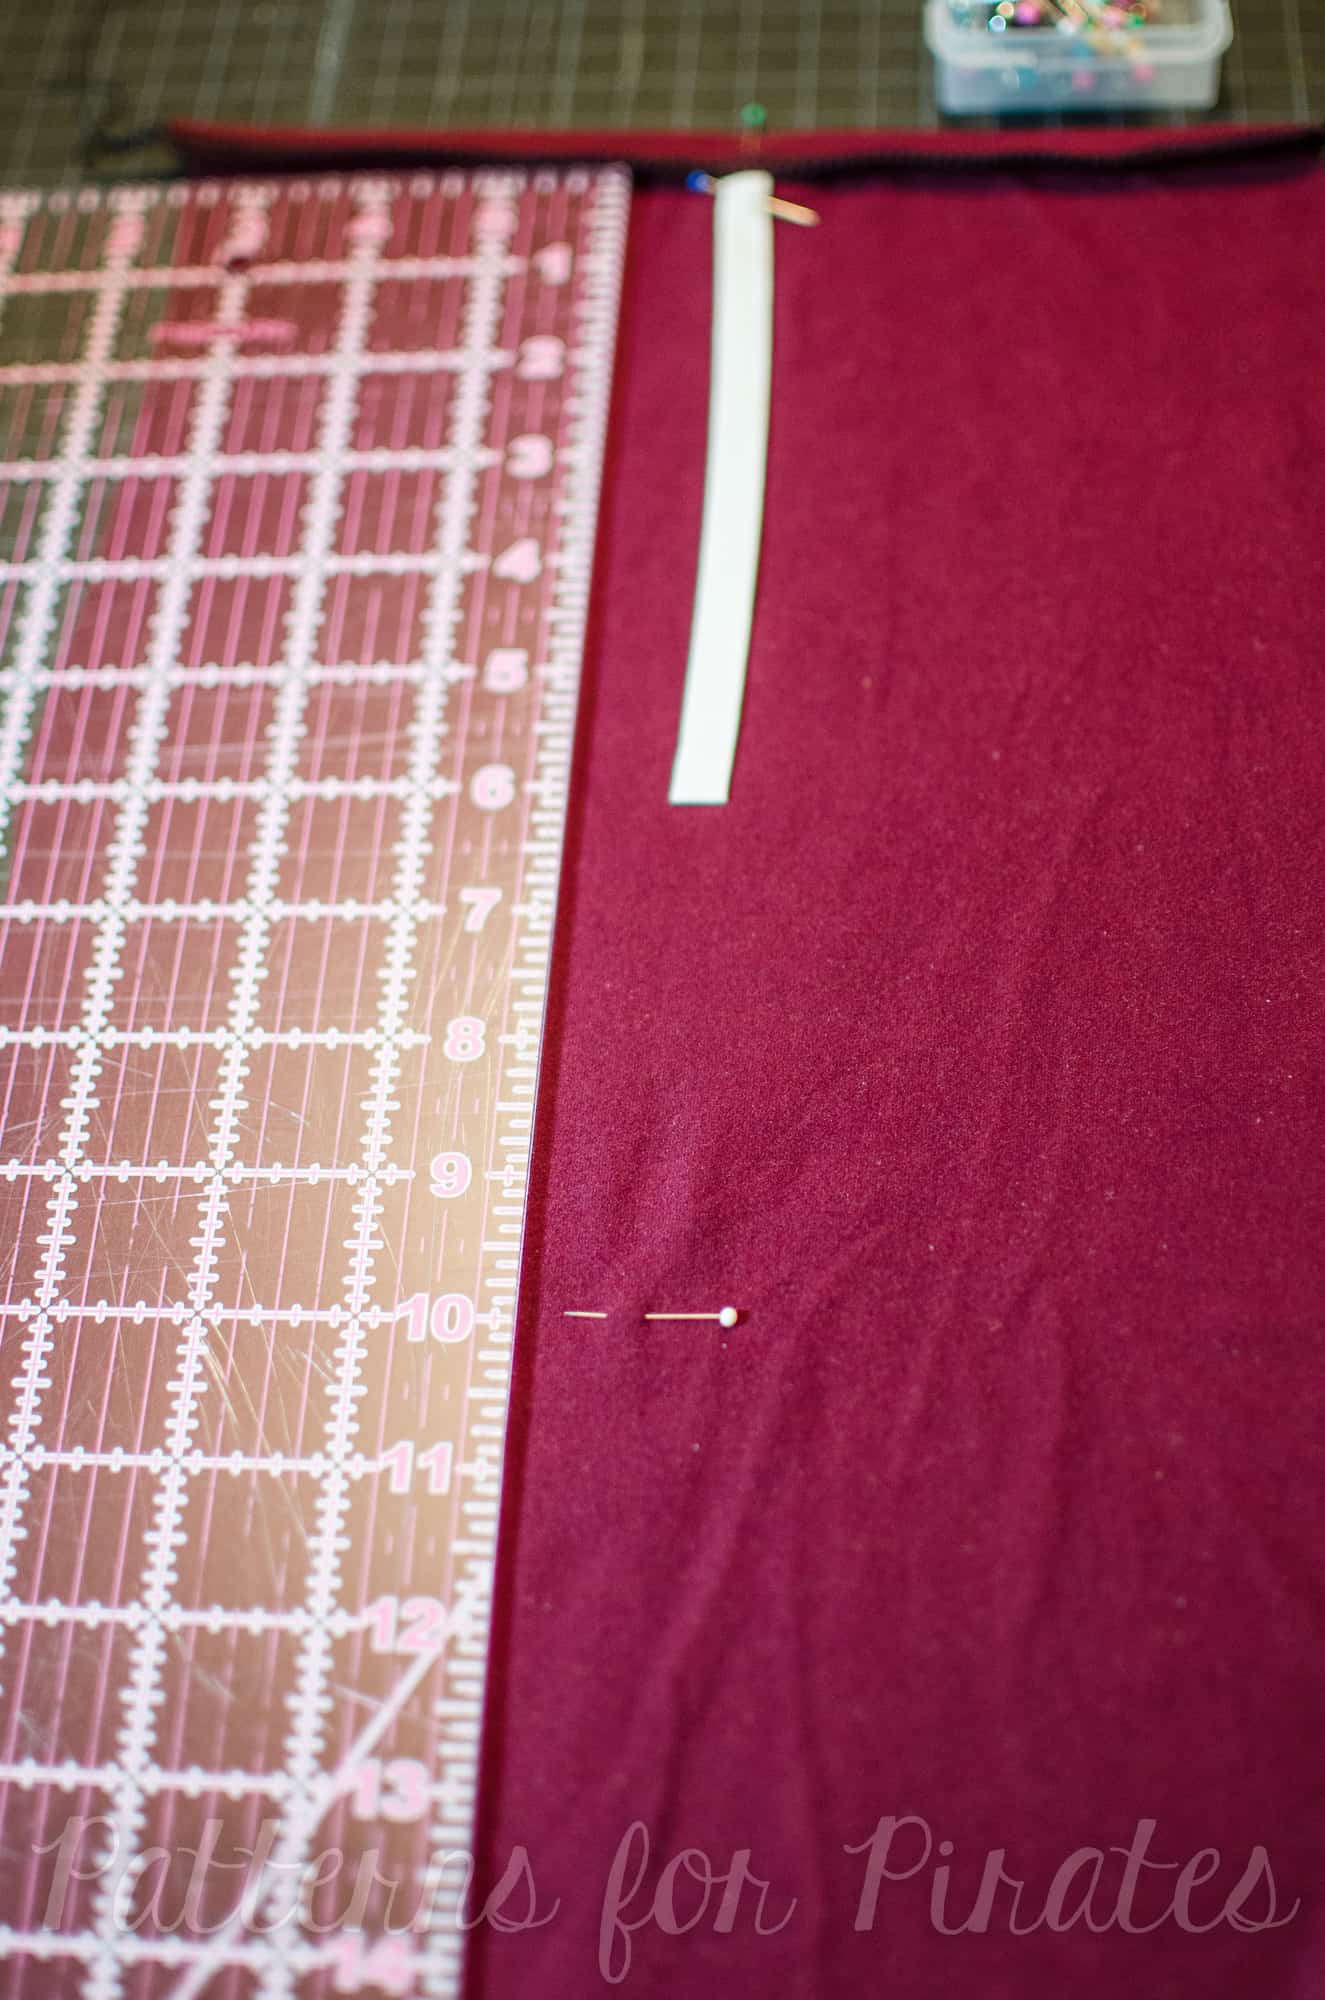
8. Now bring the other end of the elastic to the pin and pin it to the fabric. This is the spot which will be ruched.

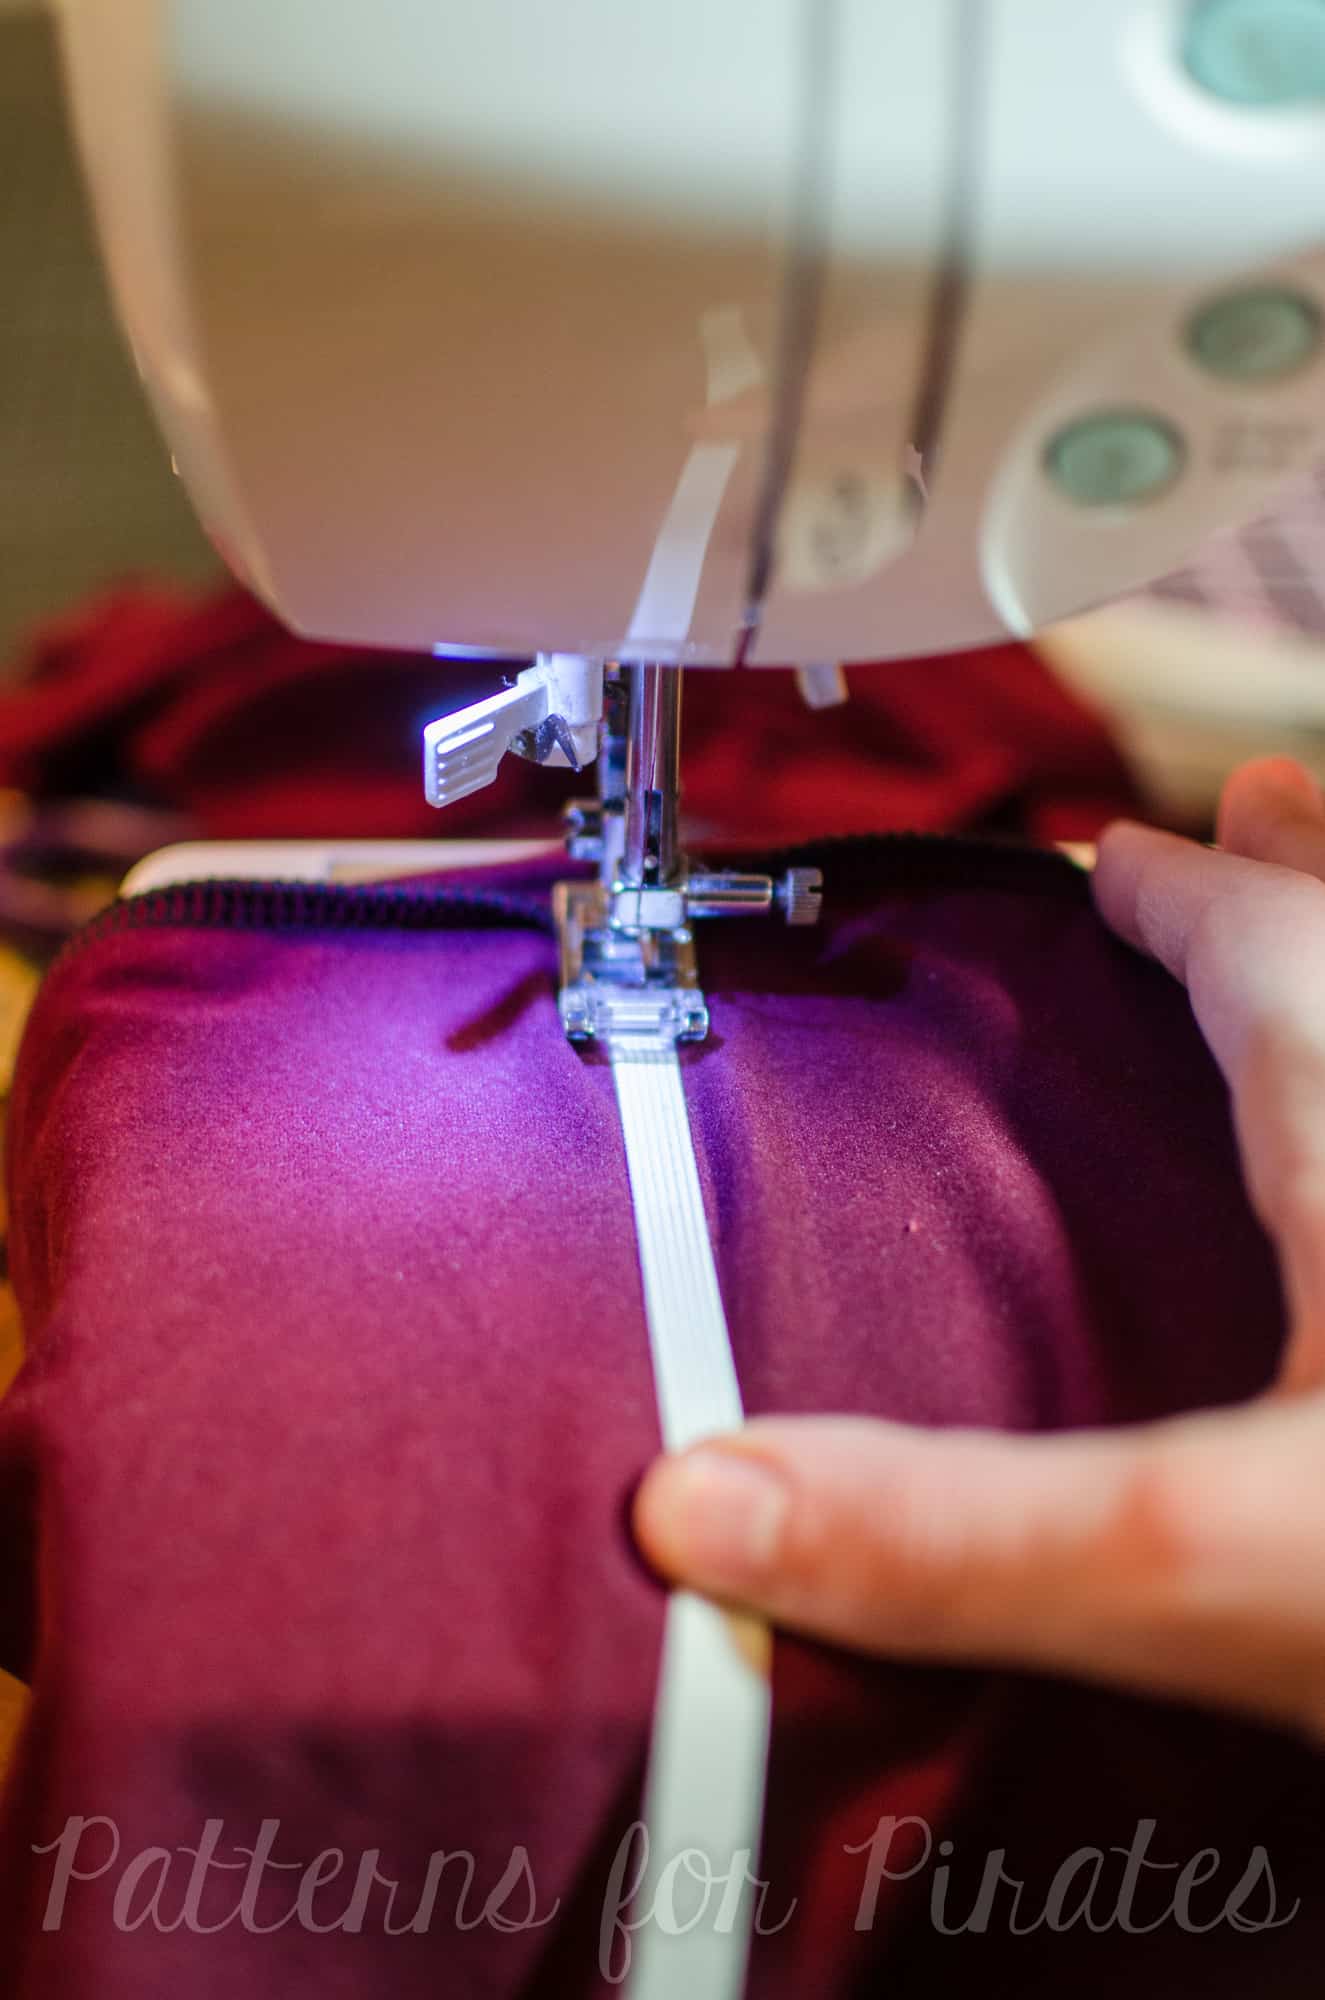
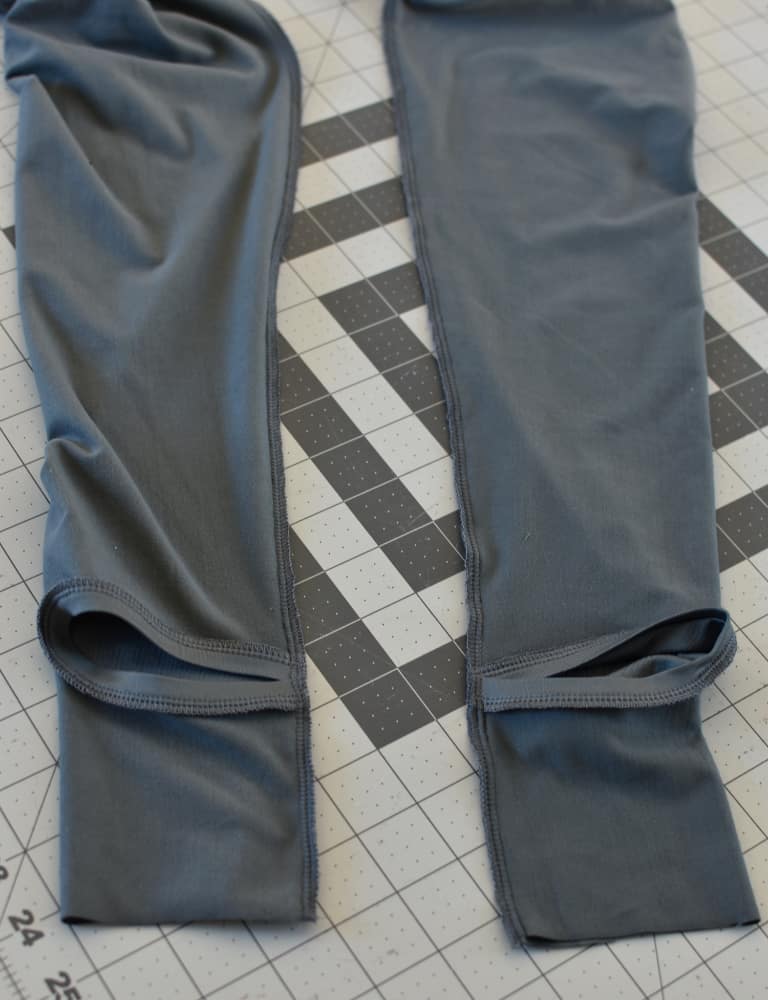
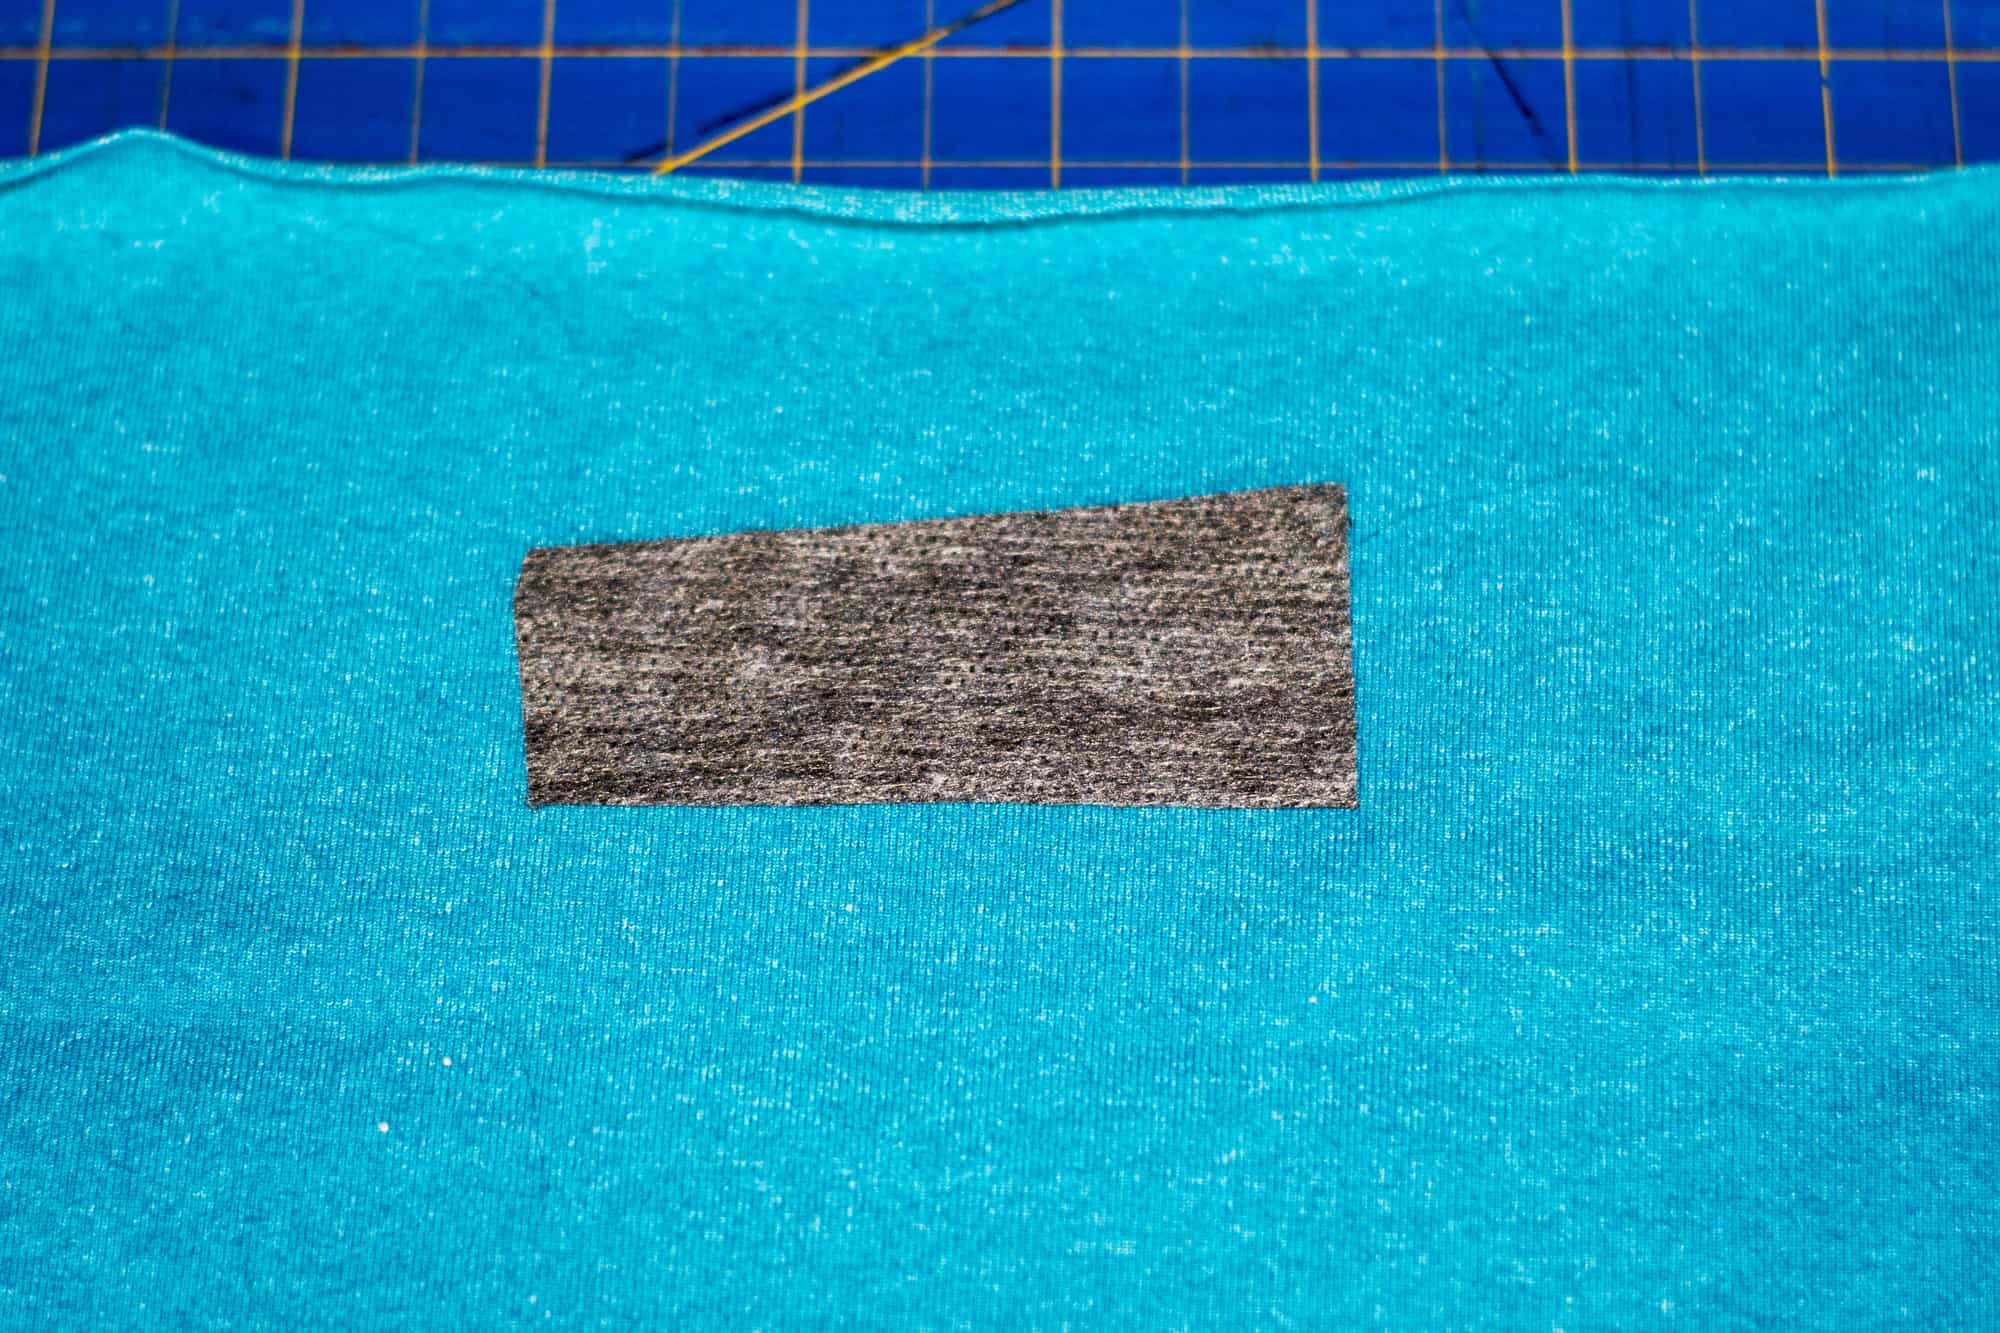
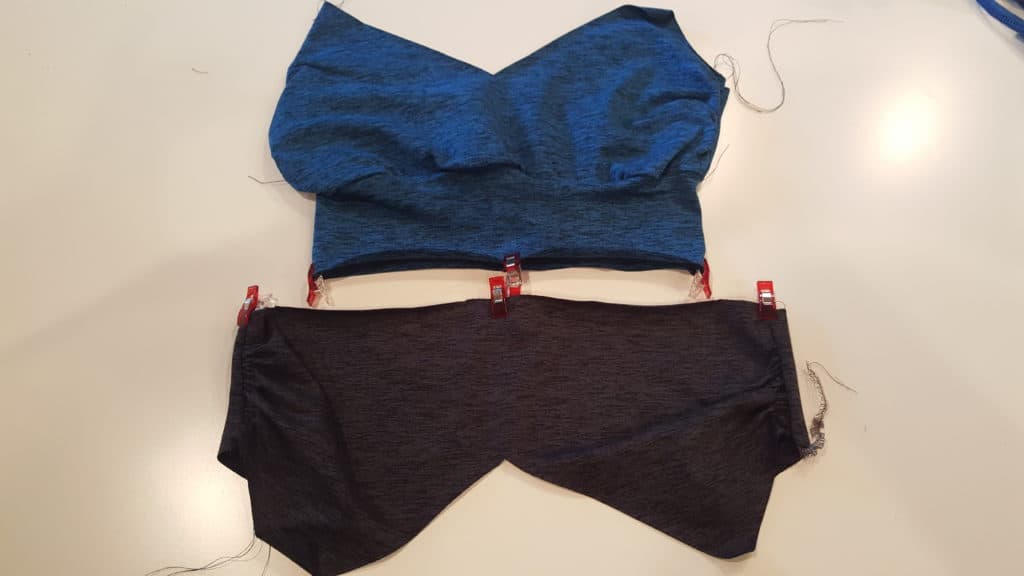
9. You’ll be sewing the elastic to the fabric now, stretching as you sew. This can be a little tricky, so I advise you test this out on a scrap before sewing your actual ruched piece.
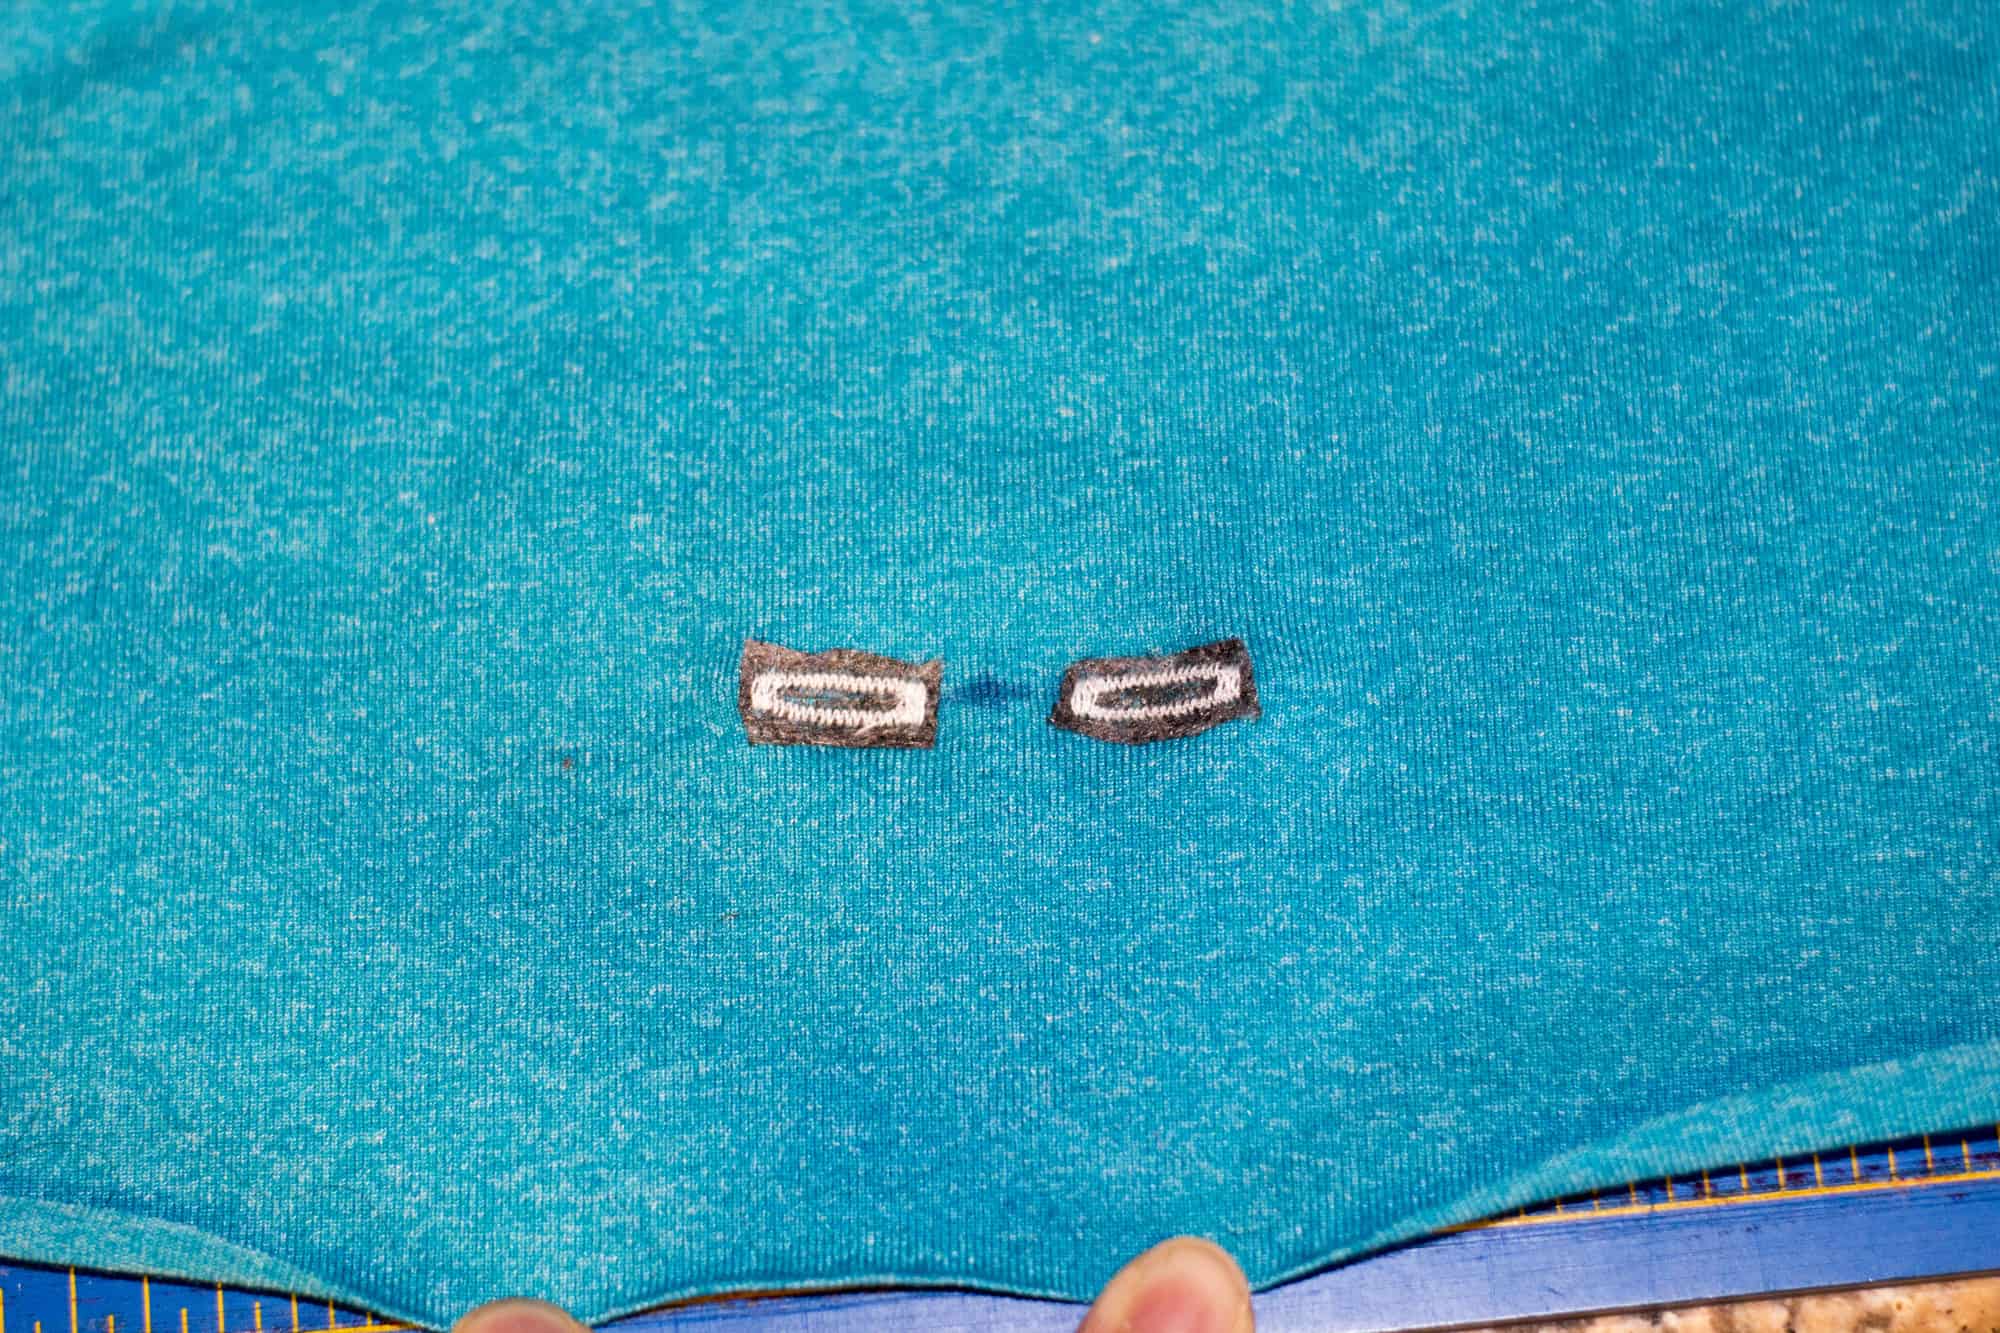
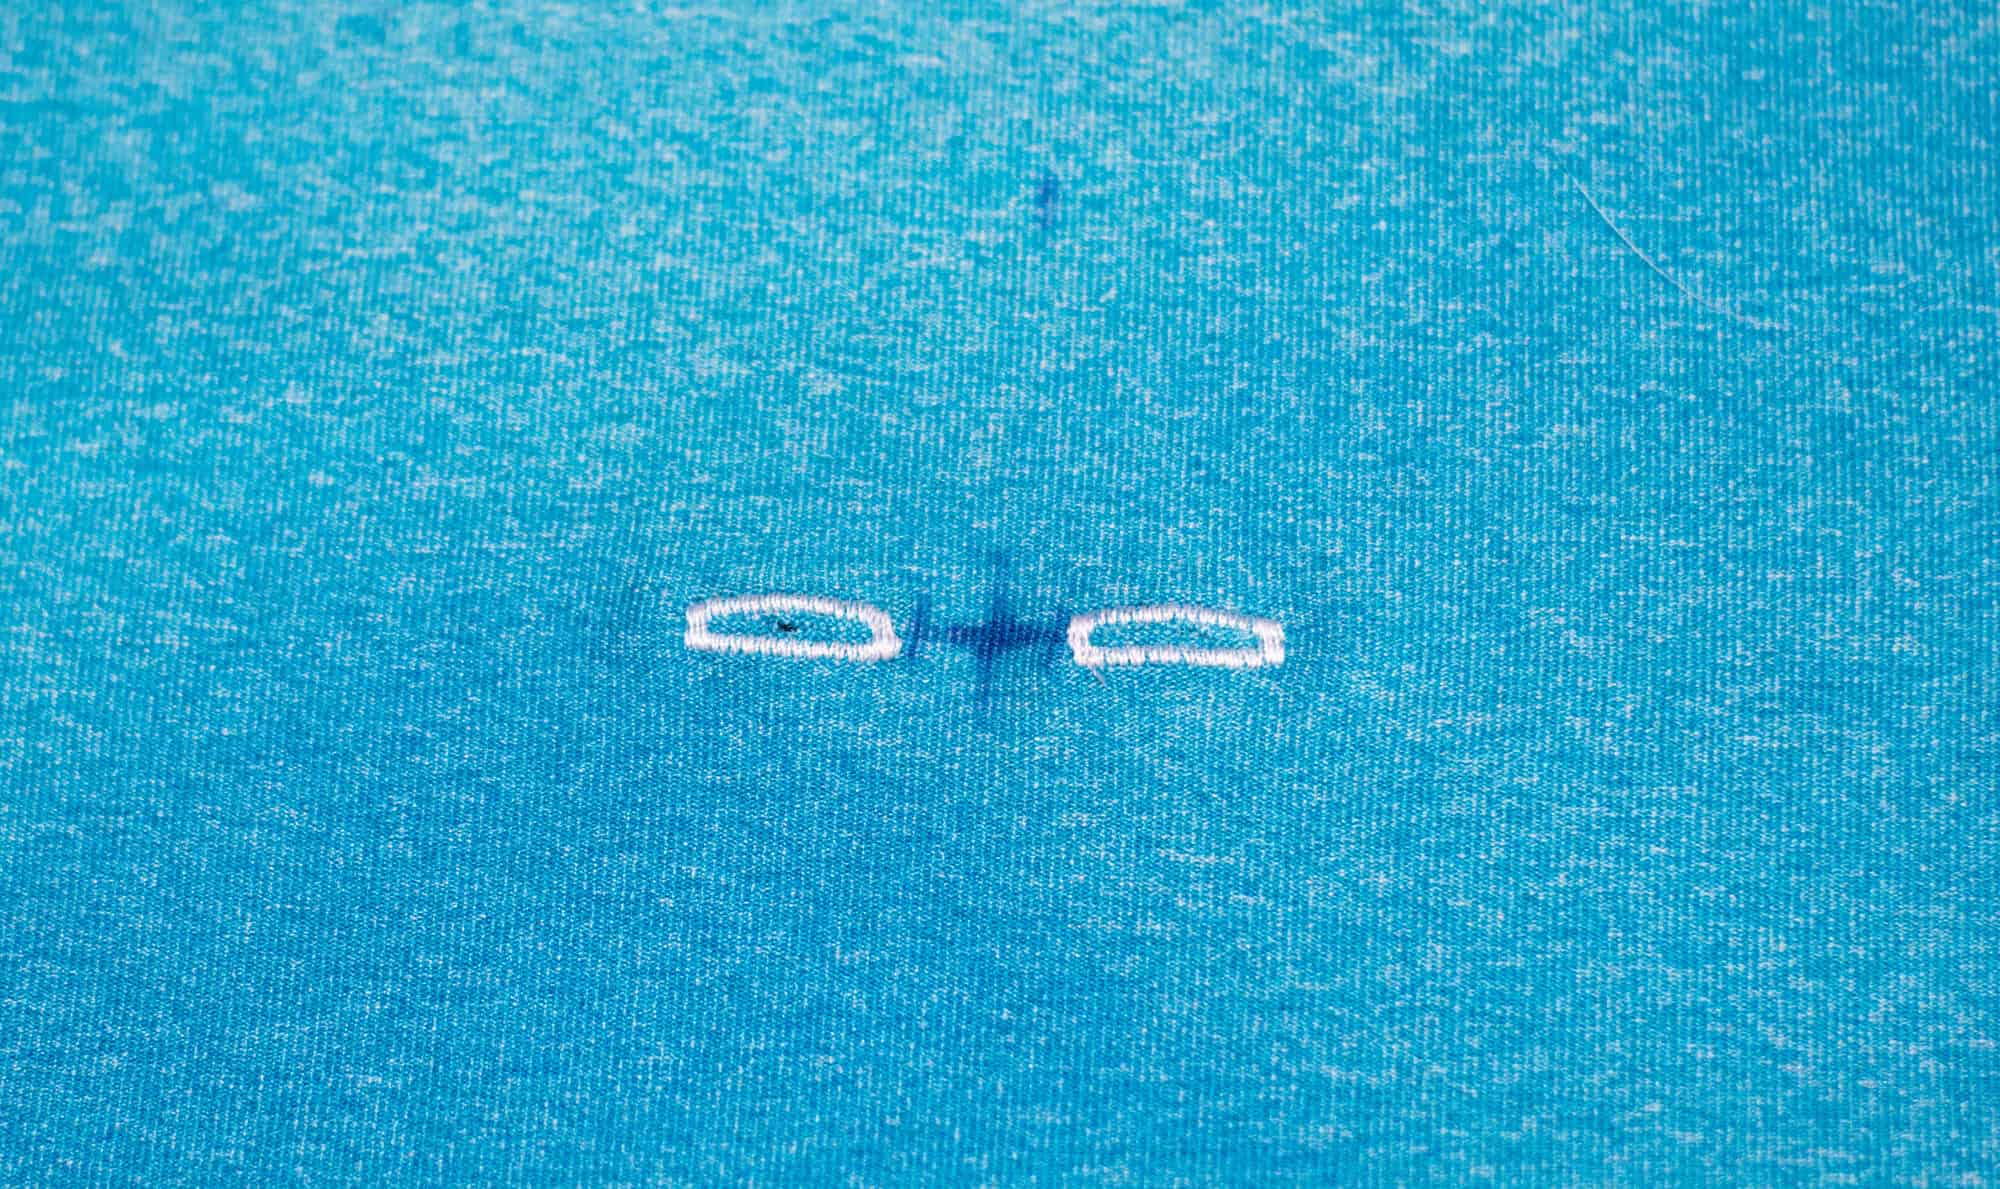
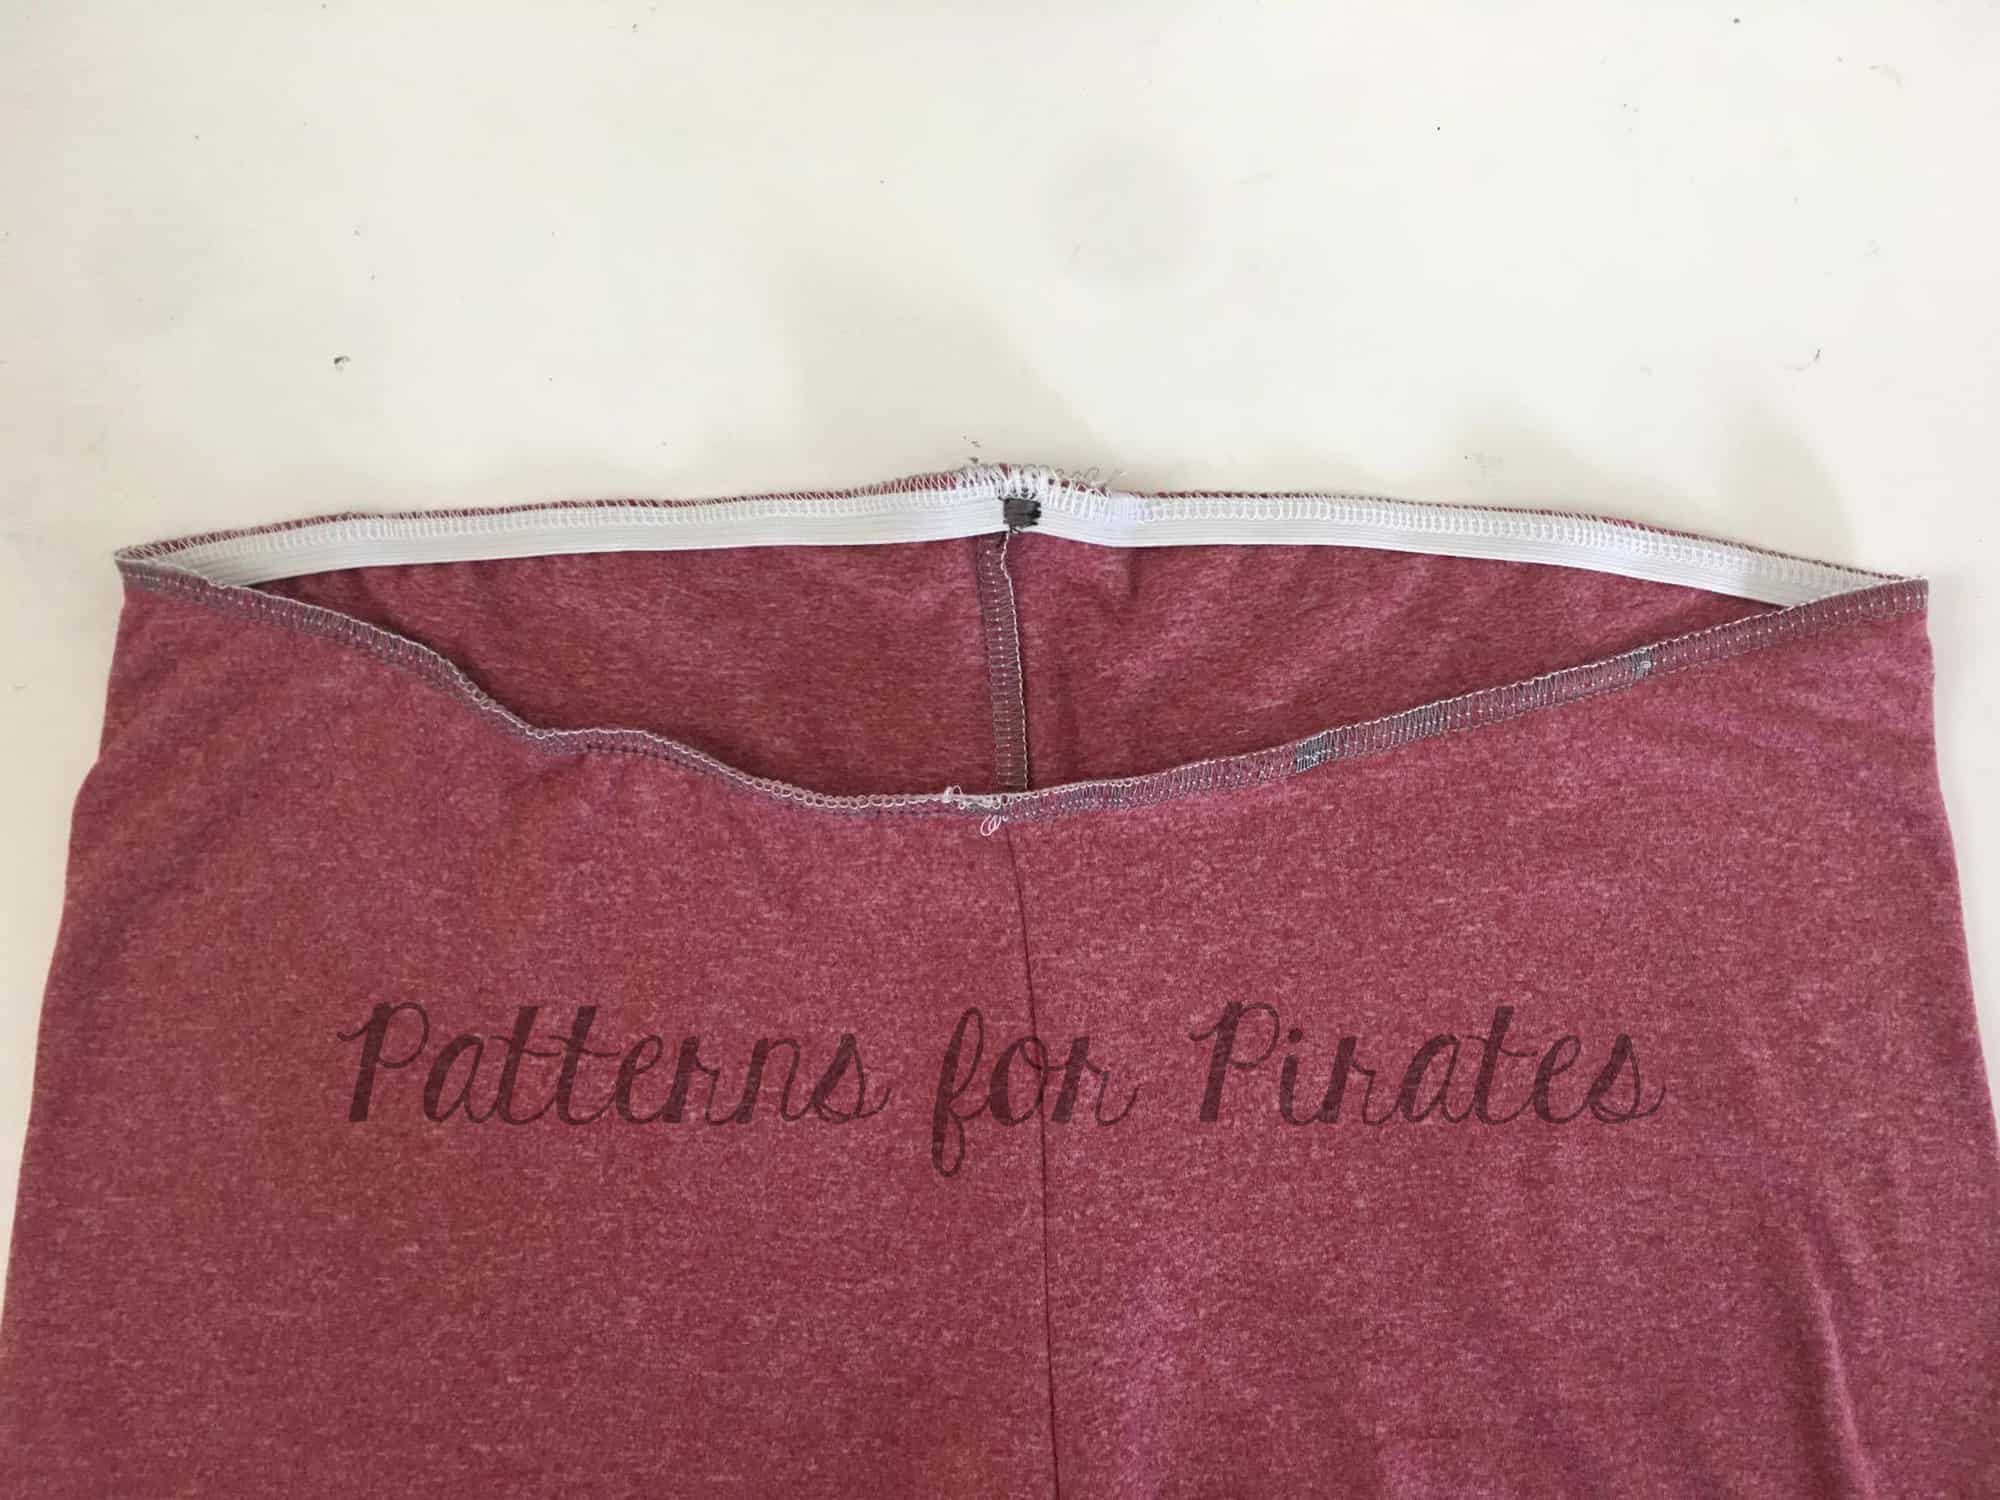
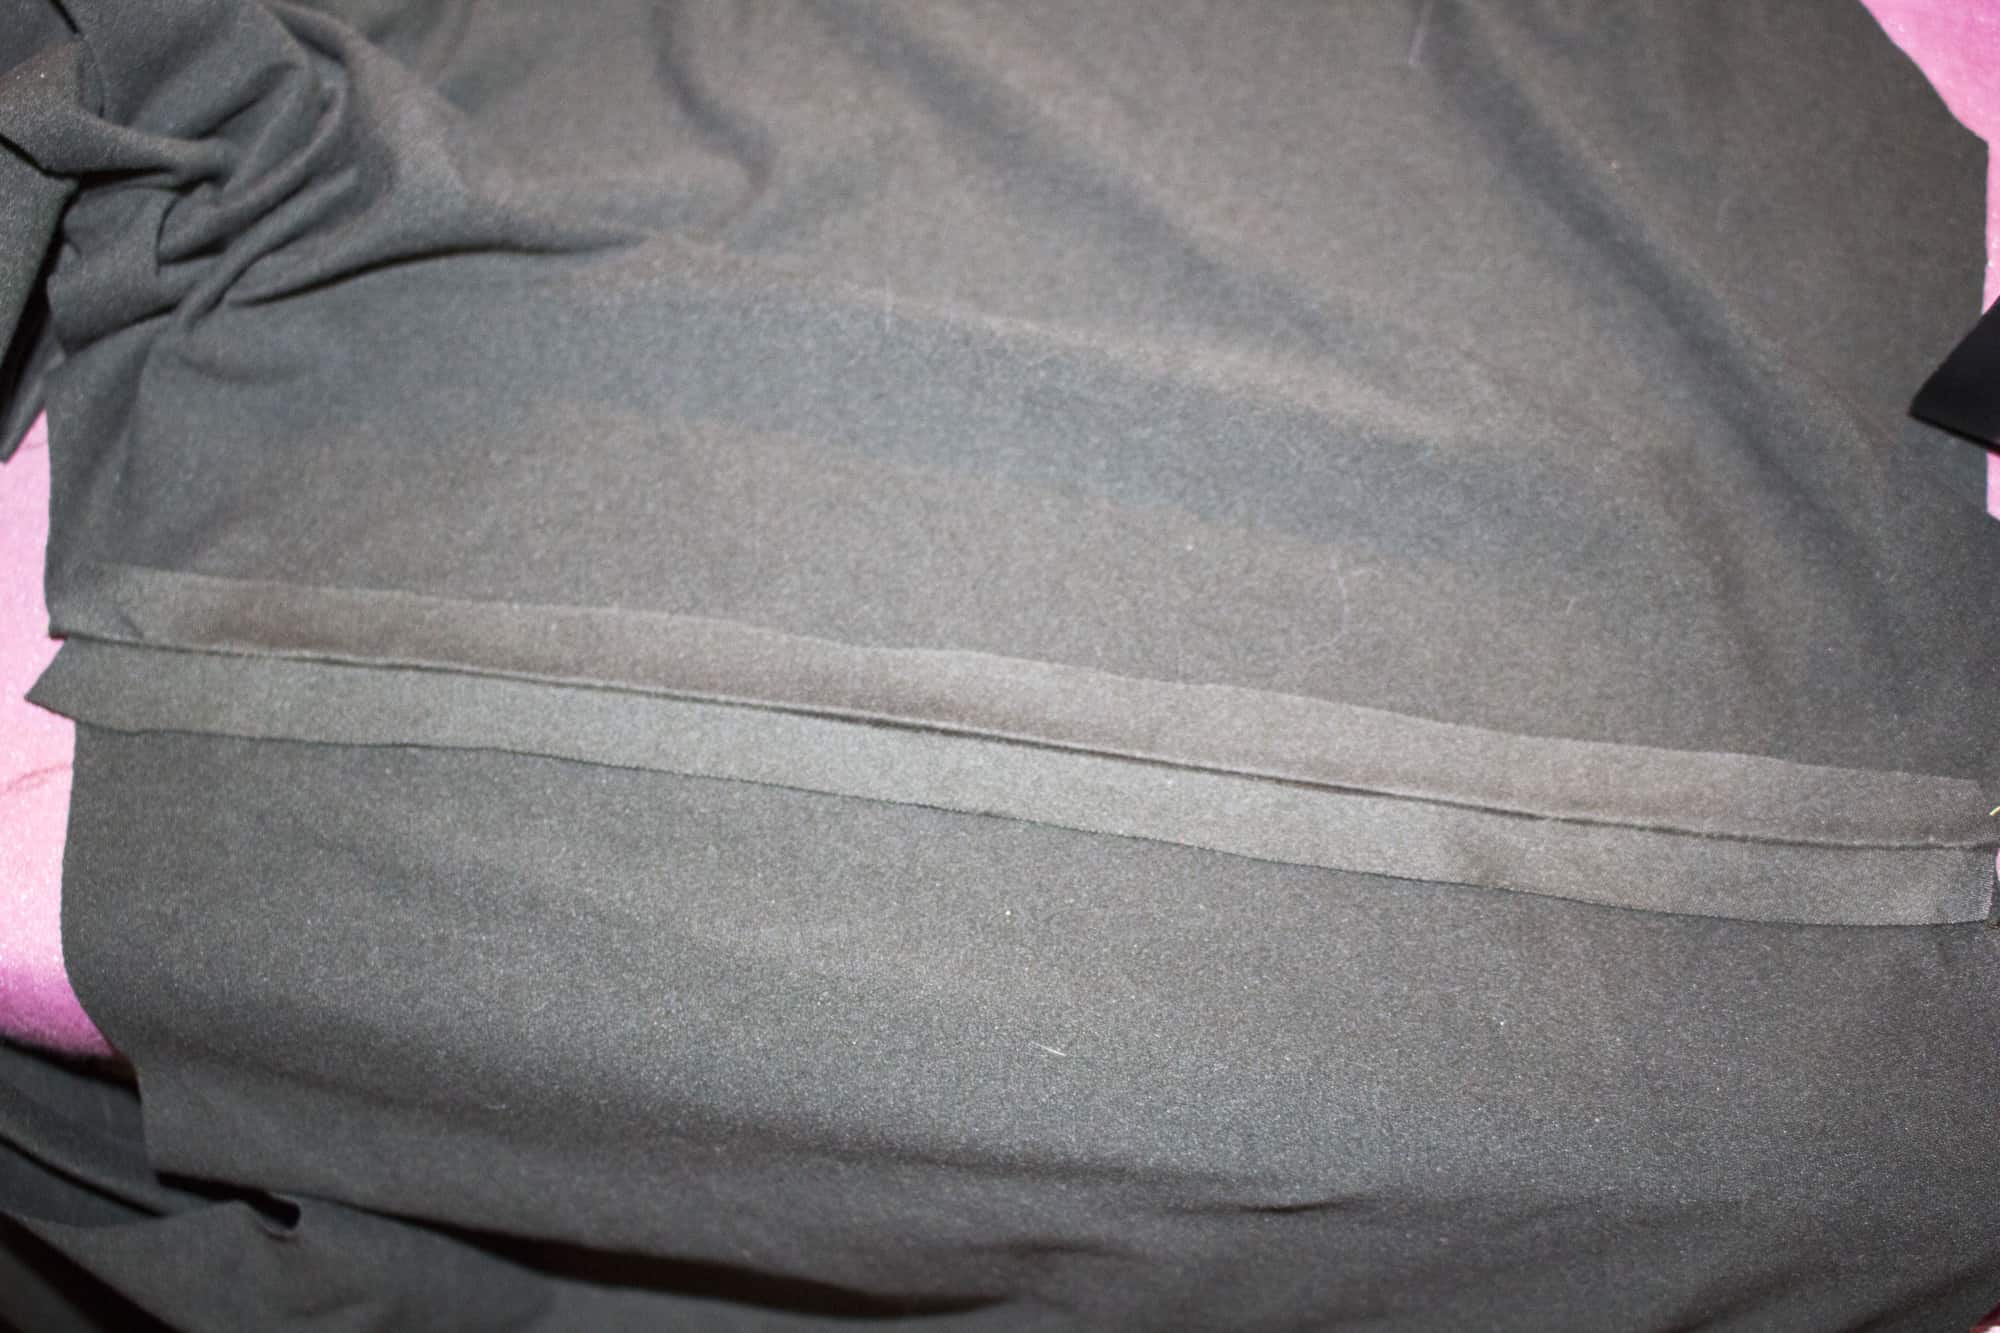
10. Using a slightly shorter zigzag stitch (my length was 1.8, you may also need to reduce the width as well, I used 2.5), start sewing at the end of your elastic. Don’t worry about pulling the elastic until you can grab the end of it from behind the presser foot. This should be about 1/2″ of stitching until you can grab it.

11. The trick now is to hold the elastic from the back while you also pull it from the front, as you are sewing (I couldn’t show this while also holding the camera to take this picture). 😉 This way, you can control it pretty well. I find it helpful to stretch the elastic before sewing, and then pin the middle part to the fabric. Now you can pull from the pin to the presser foot instead of from the very end. Once you get to the pin, then pull from end to end until you are finished sewing. Be sure to backstitch carefully. Don’t worry about making it absolutely perfect, because the ruching will bunch up quite a bit.
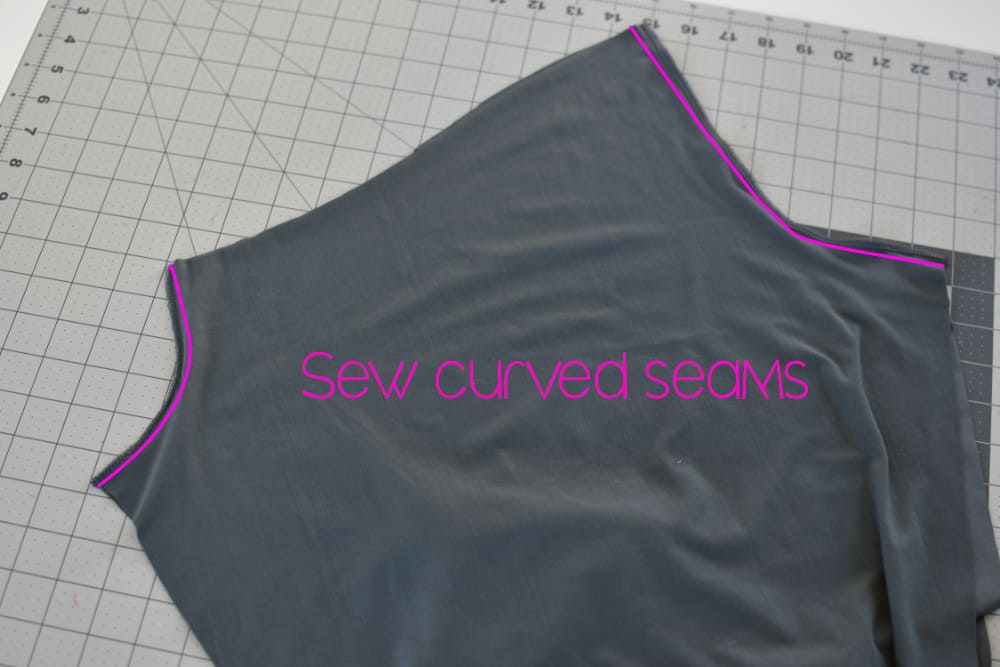
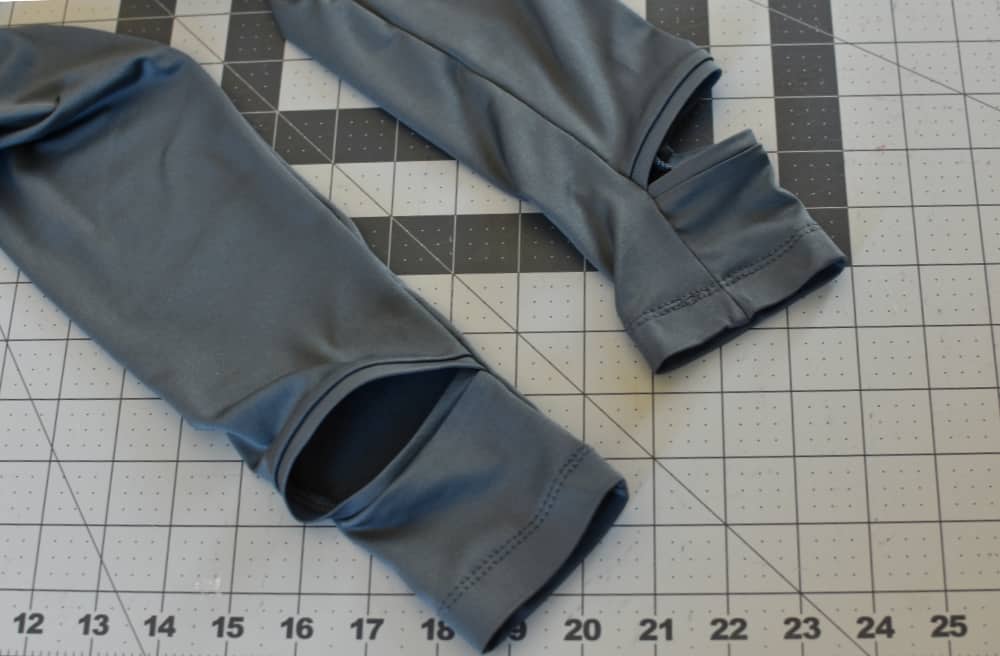
12. Now, assemble your PegLegs as usual…sewing the side seams, the waistband, etc. Good news is you’ve already hemmed! Or chosen not to…
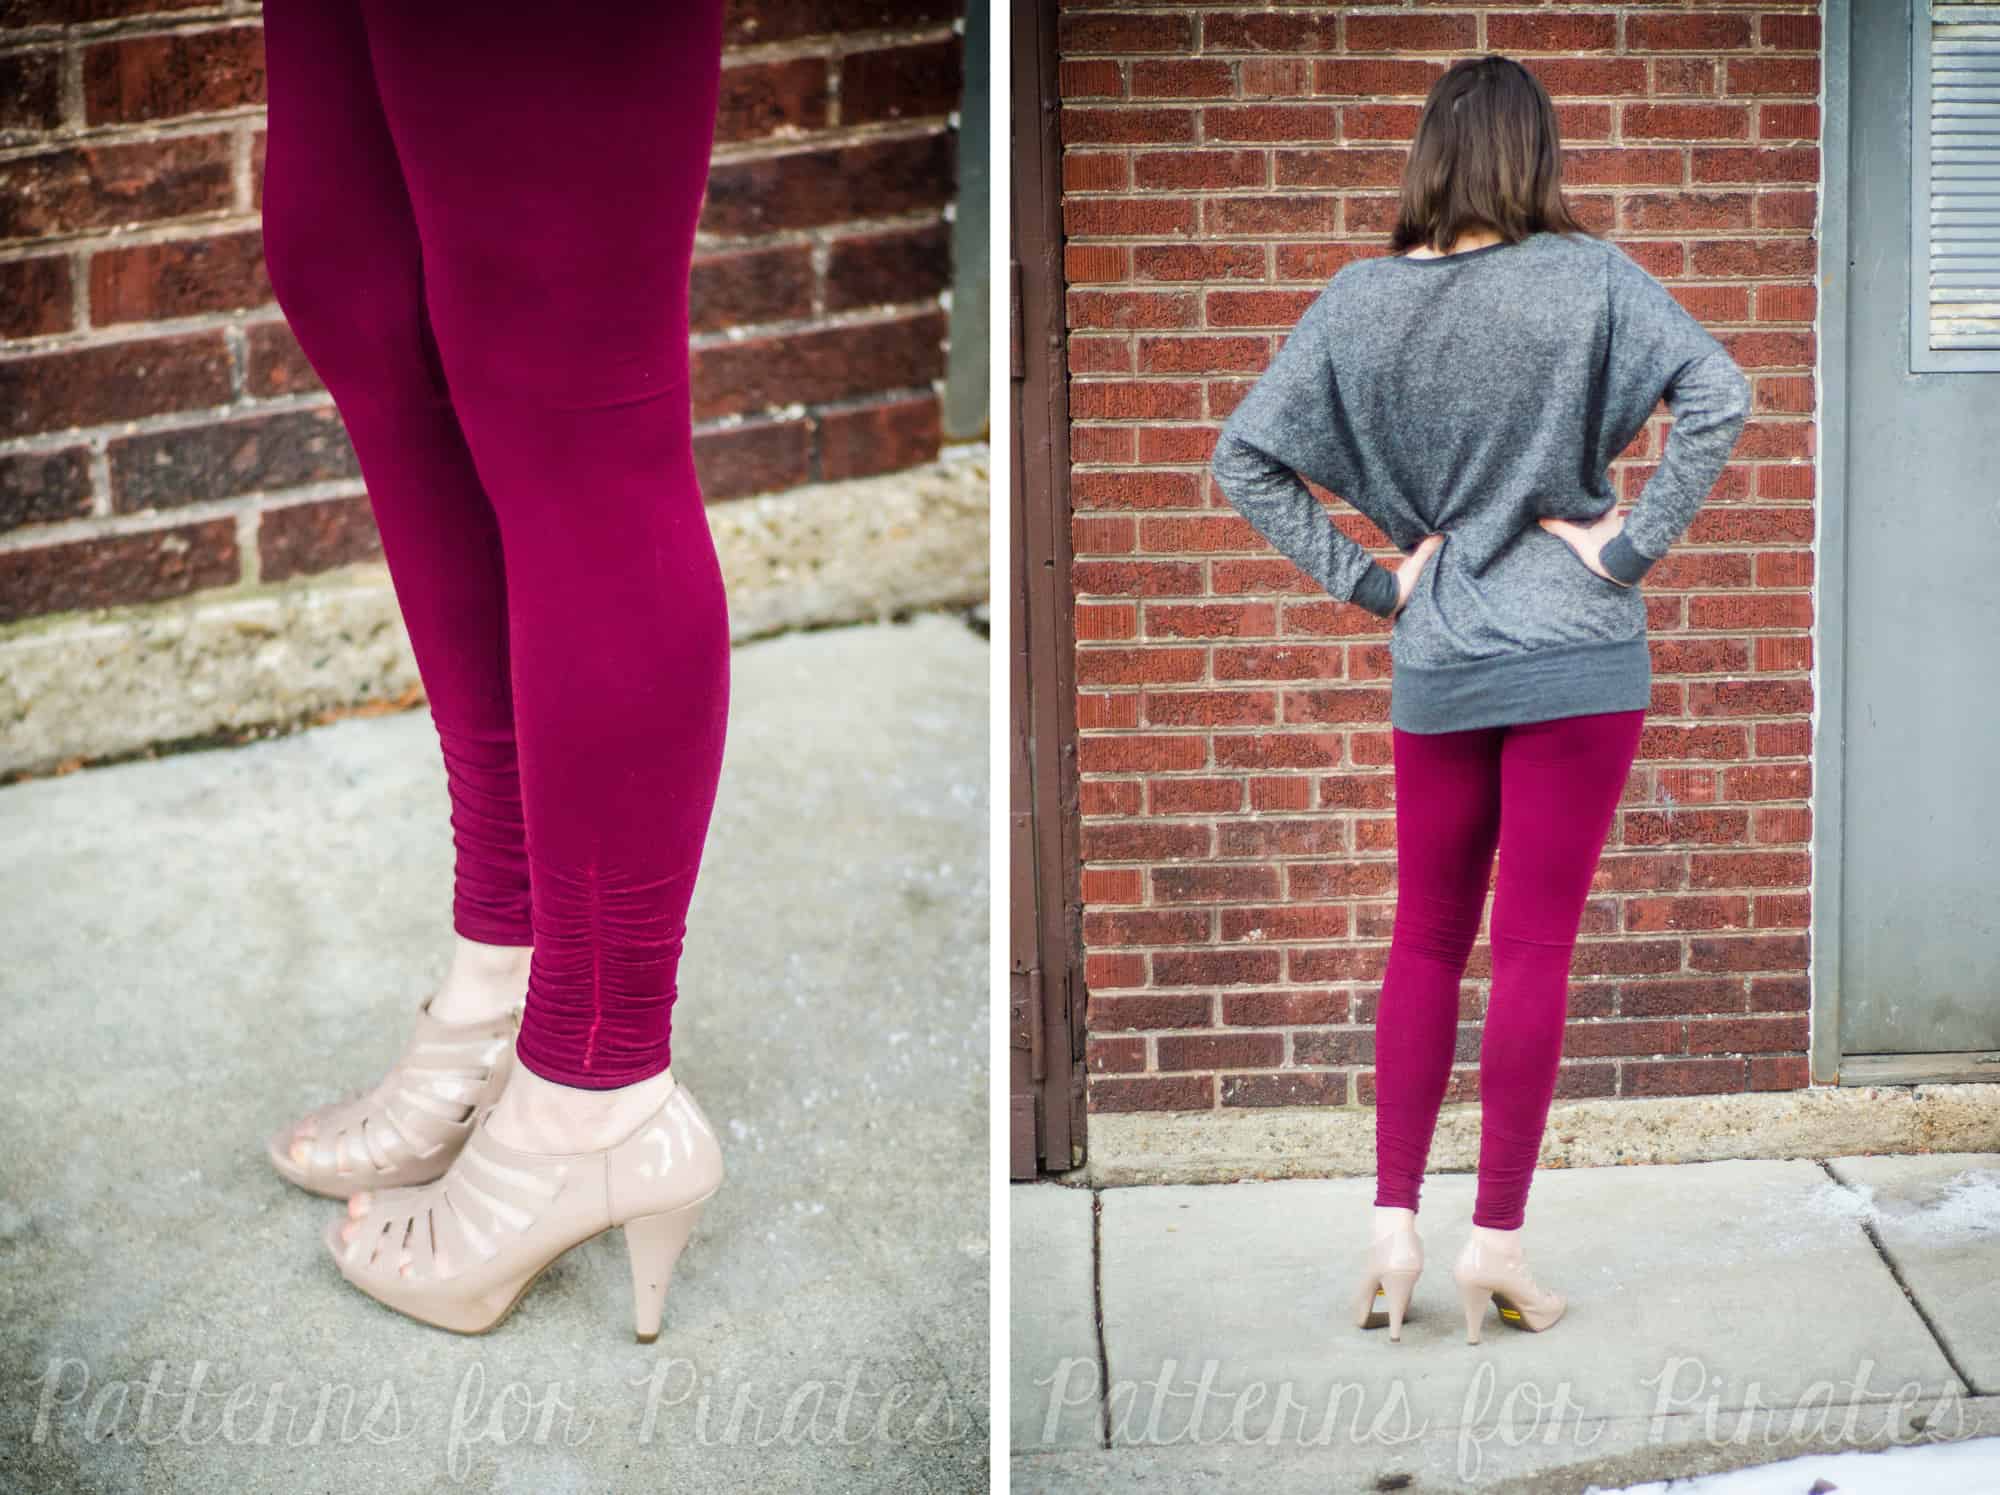
That’s it – you’re done! Feel free to play around with different lengths of ruching as well, you may prefer more or less than me. Also, you can also ruche using elastic thread hand-wound in your bobbin. With this method, you’d also lengthen your pattern, and then sew a straight line however many inches you added. I don’t mind using elastic though, since I always have it on hand (not the case with elastic thread!).
Be sure to post your ruching hacks in our Facebook group so we can have all the “heart eyes” for your creations! 😍
~Elisabeth
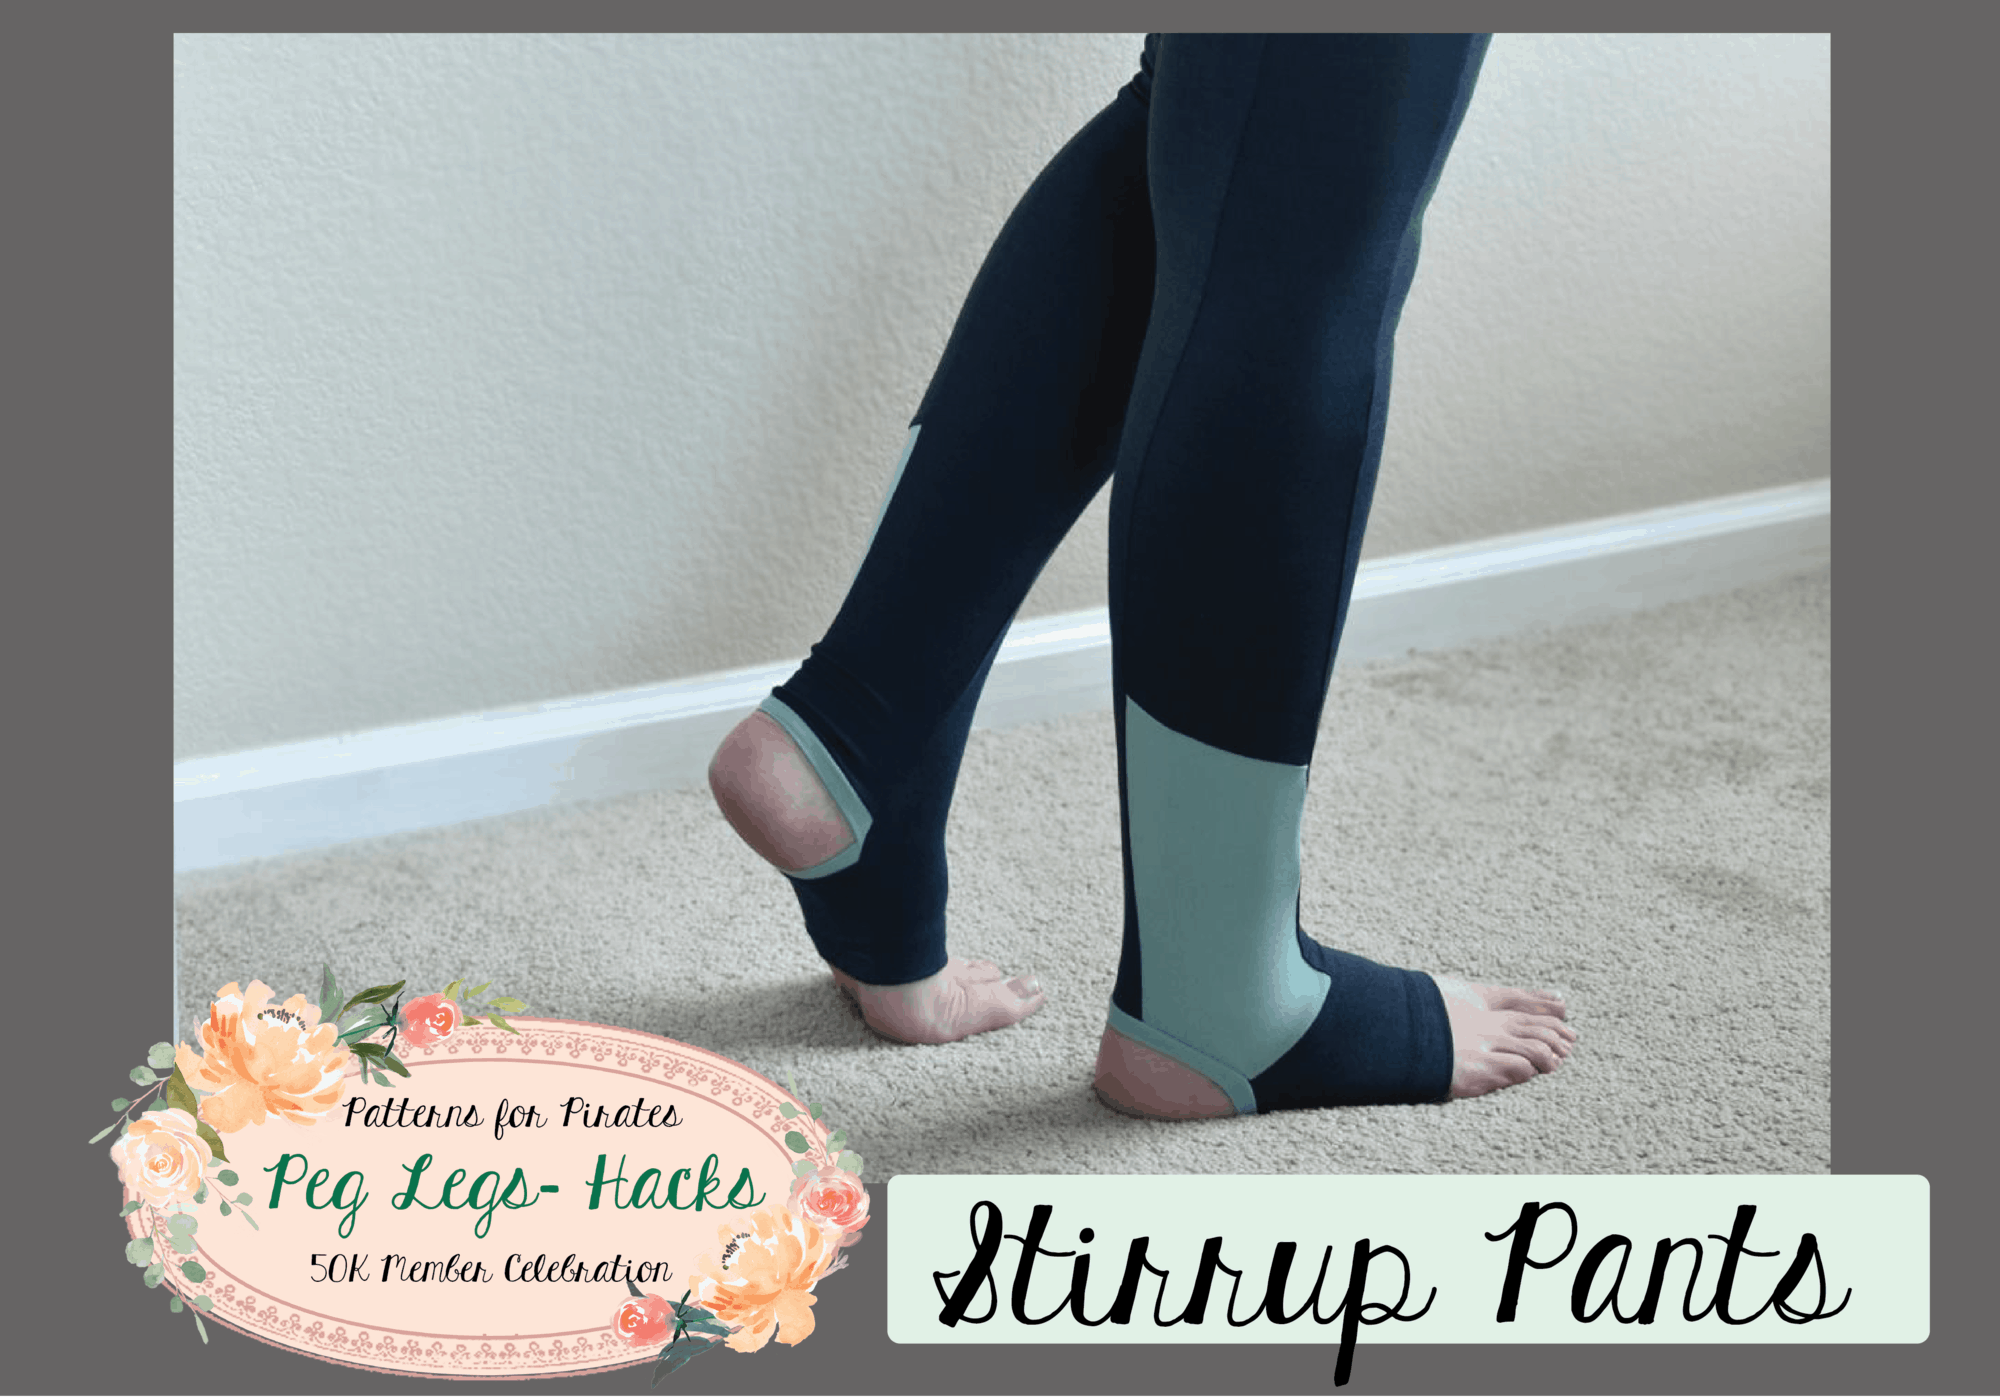
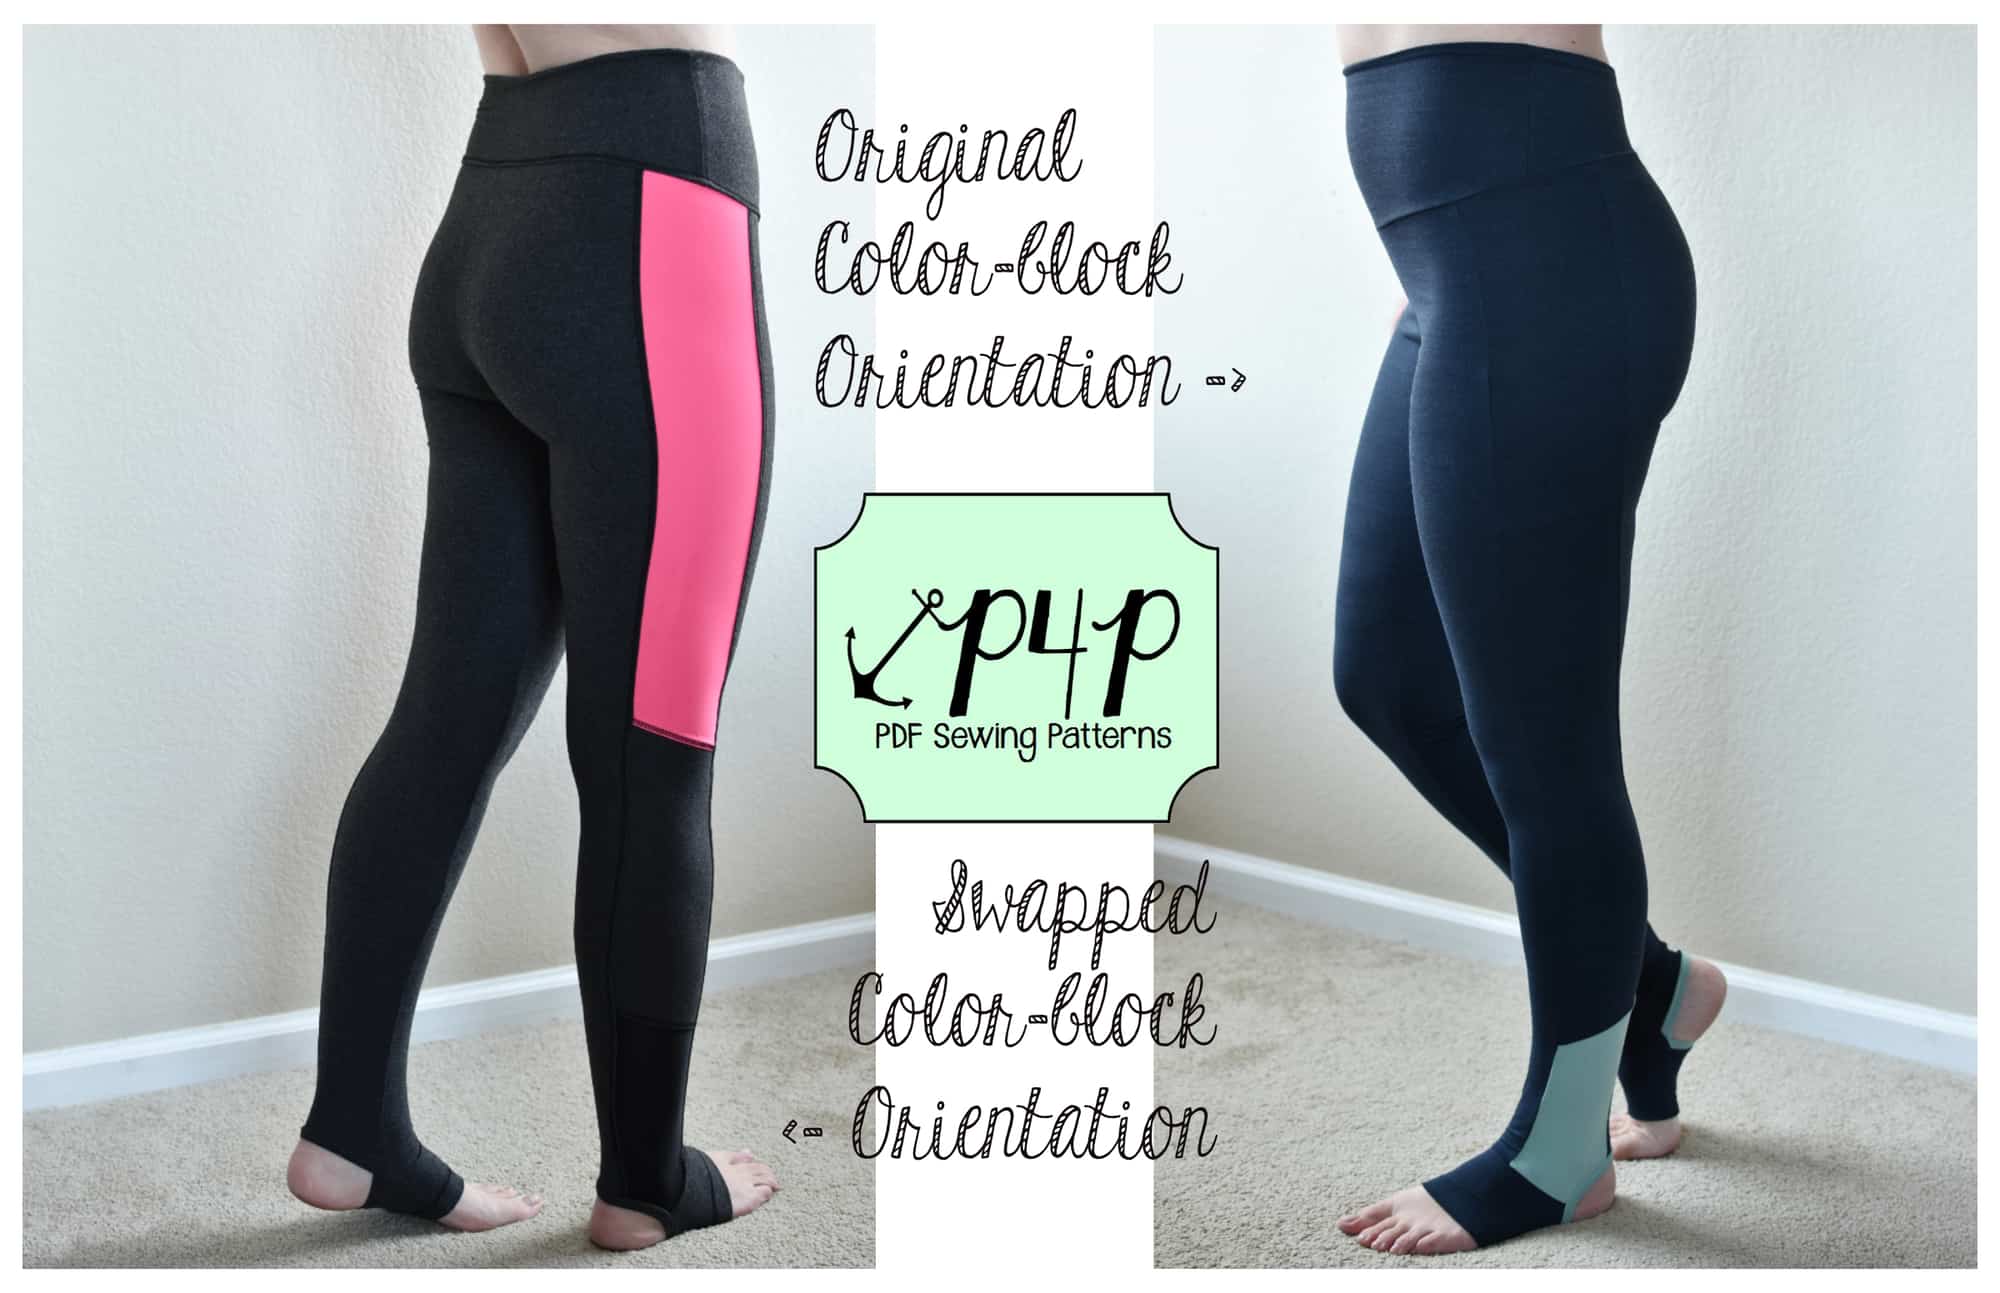
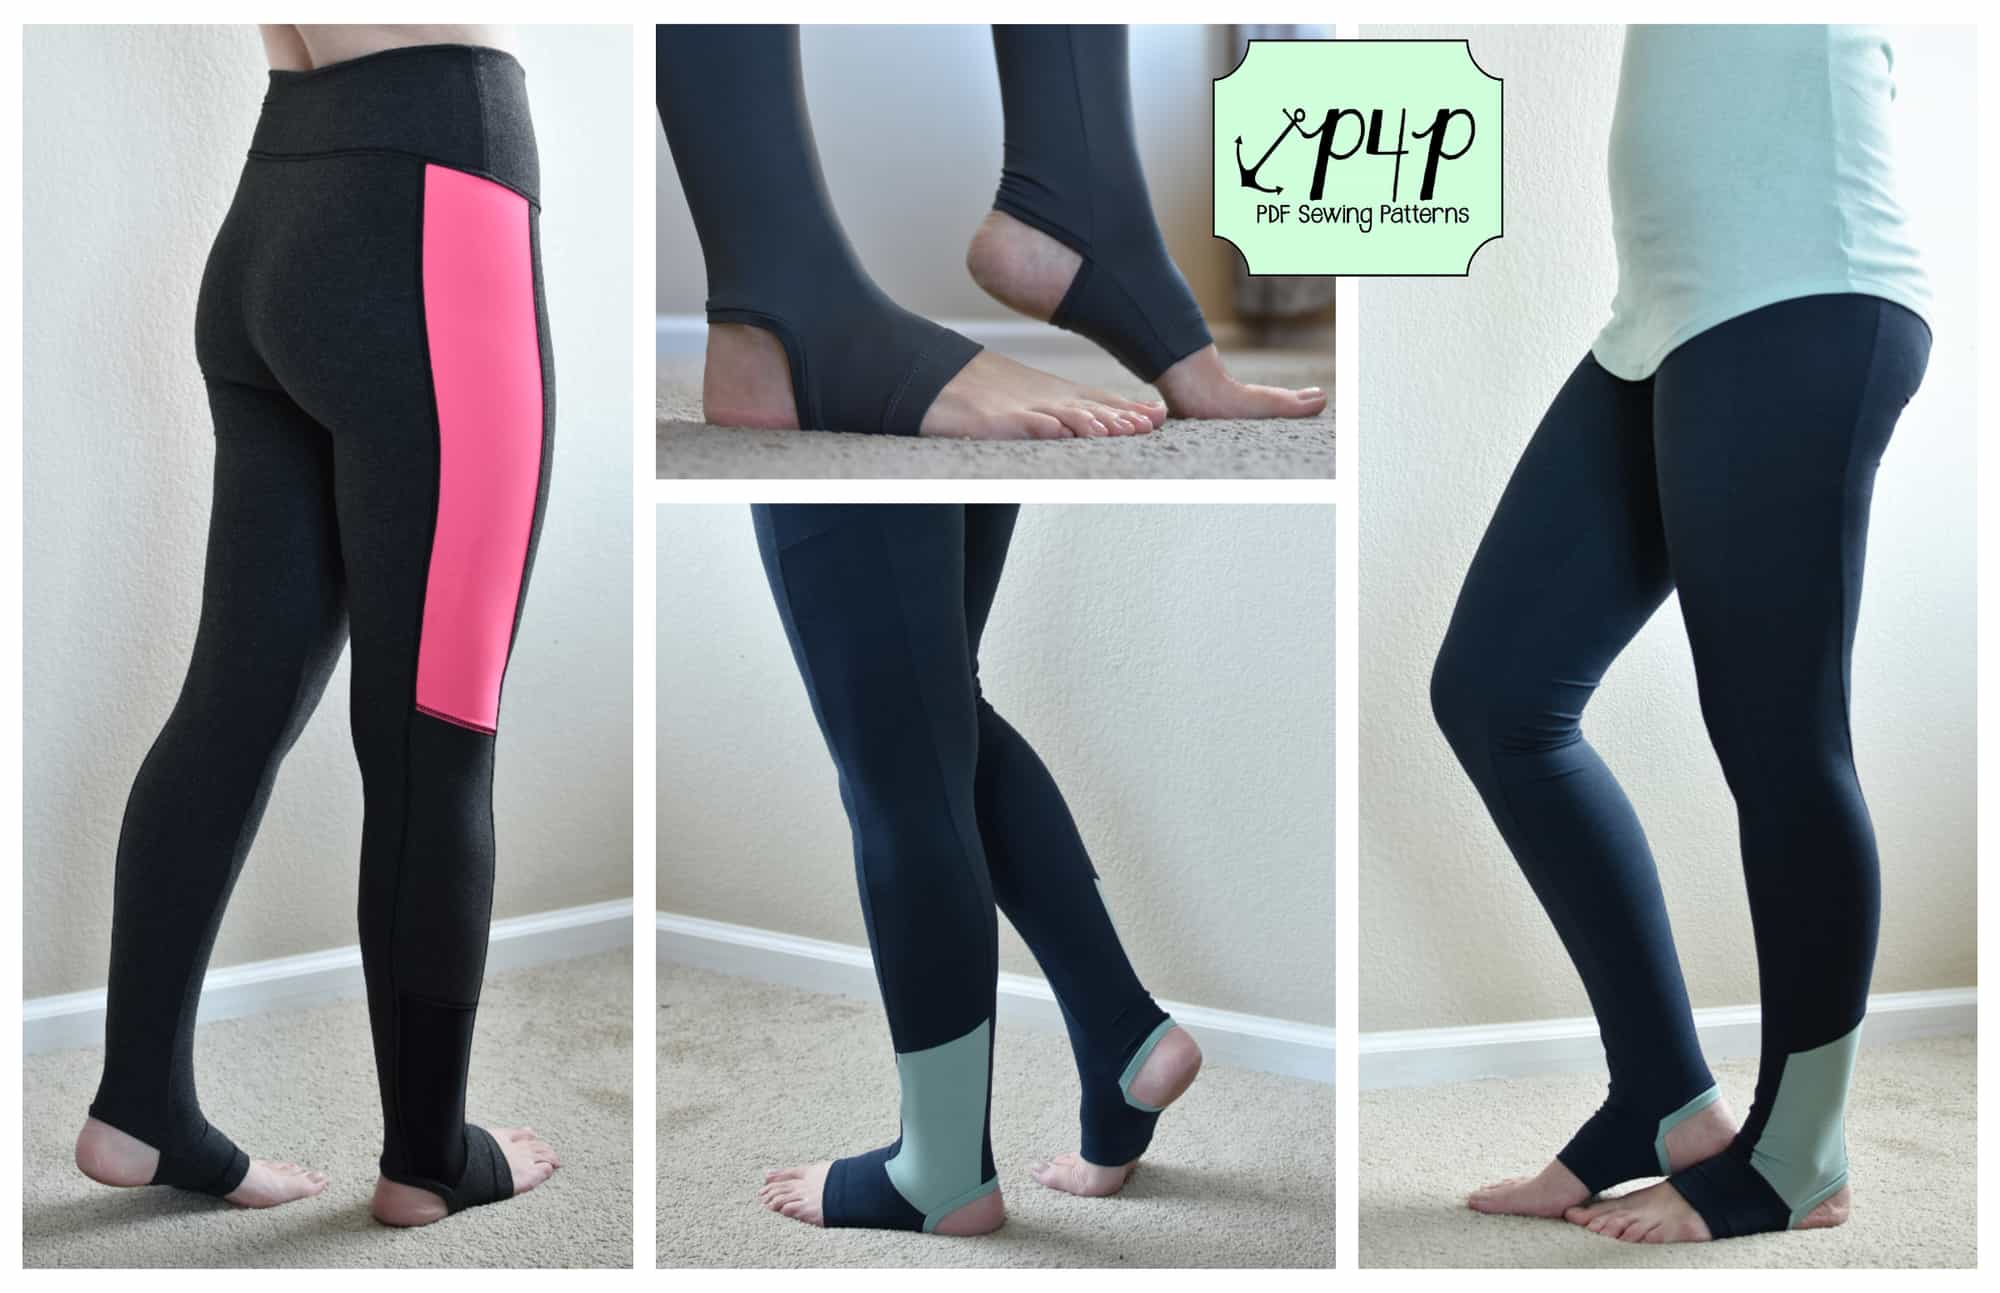
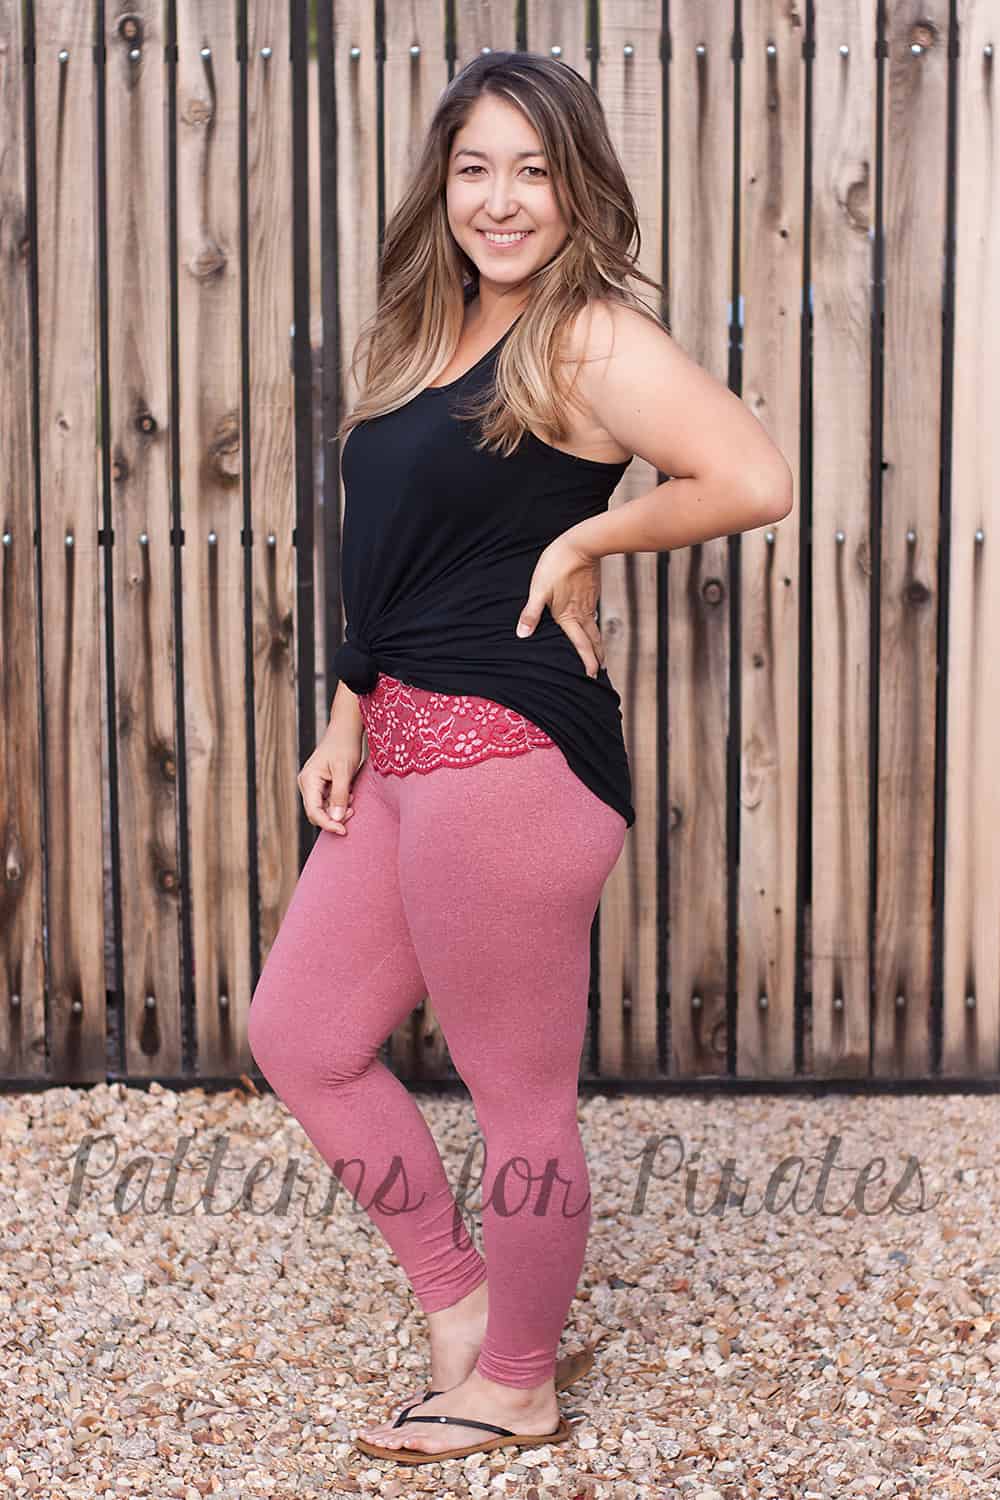
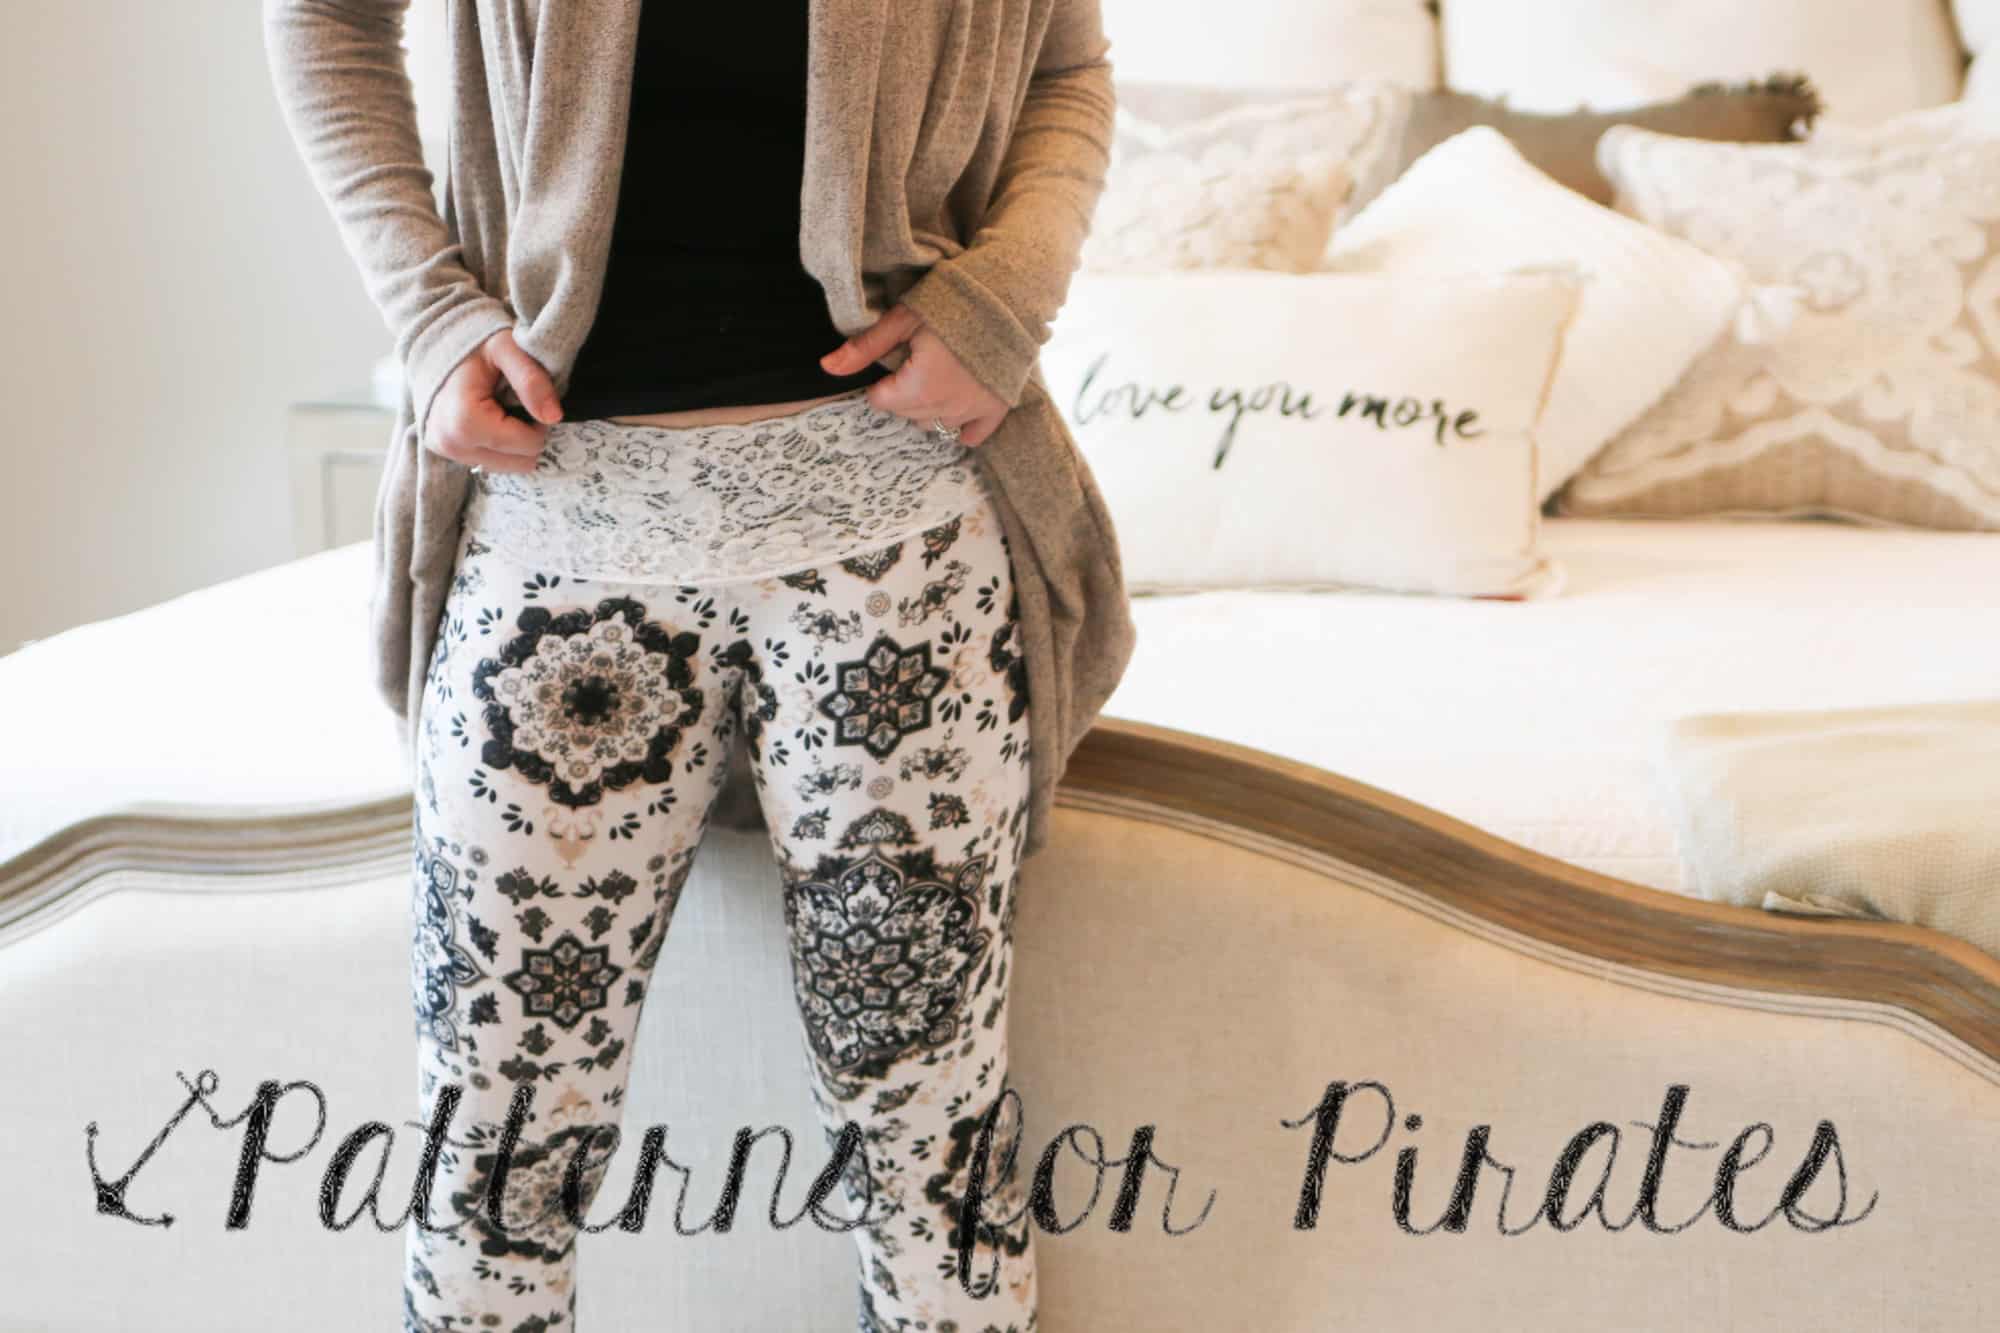
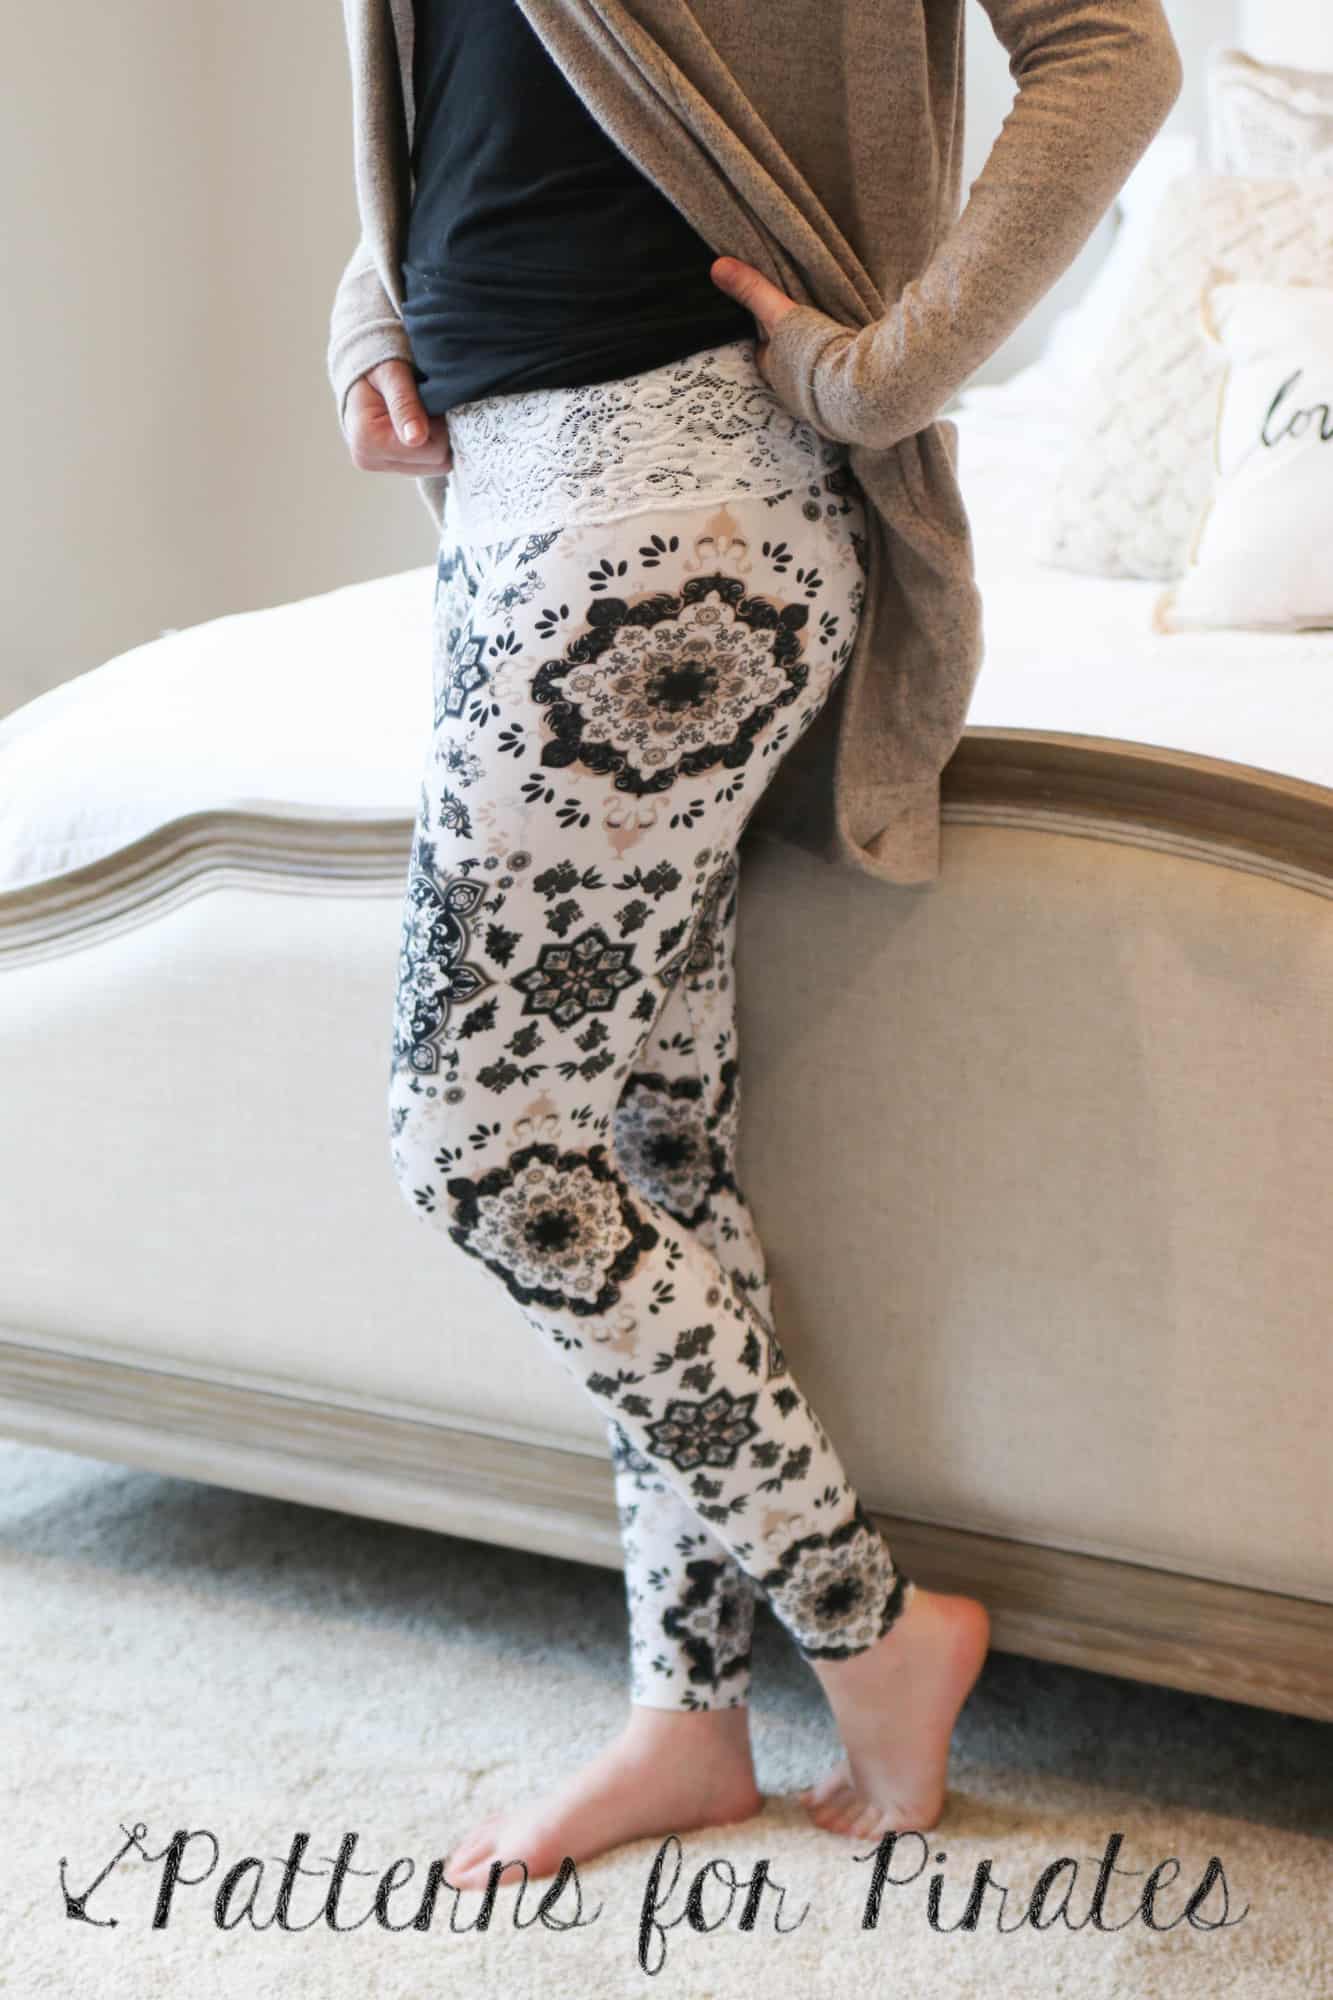
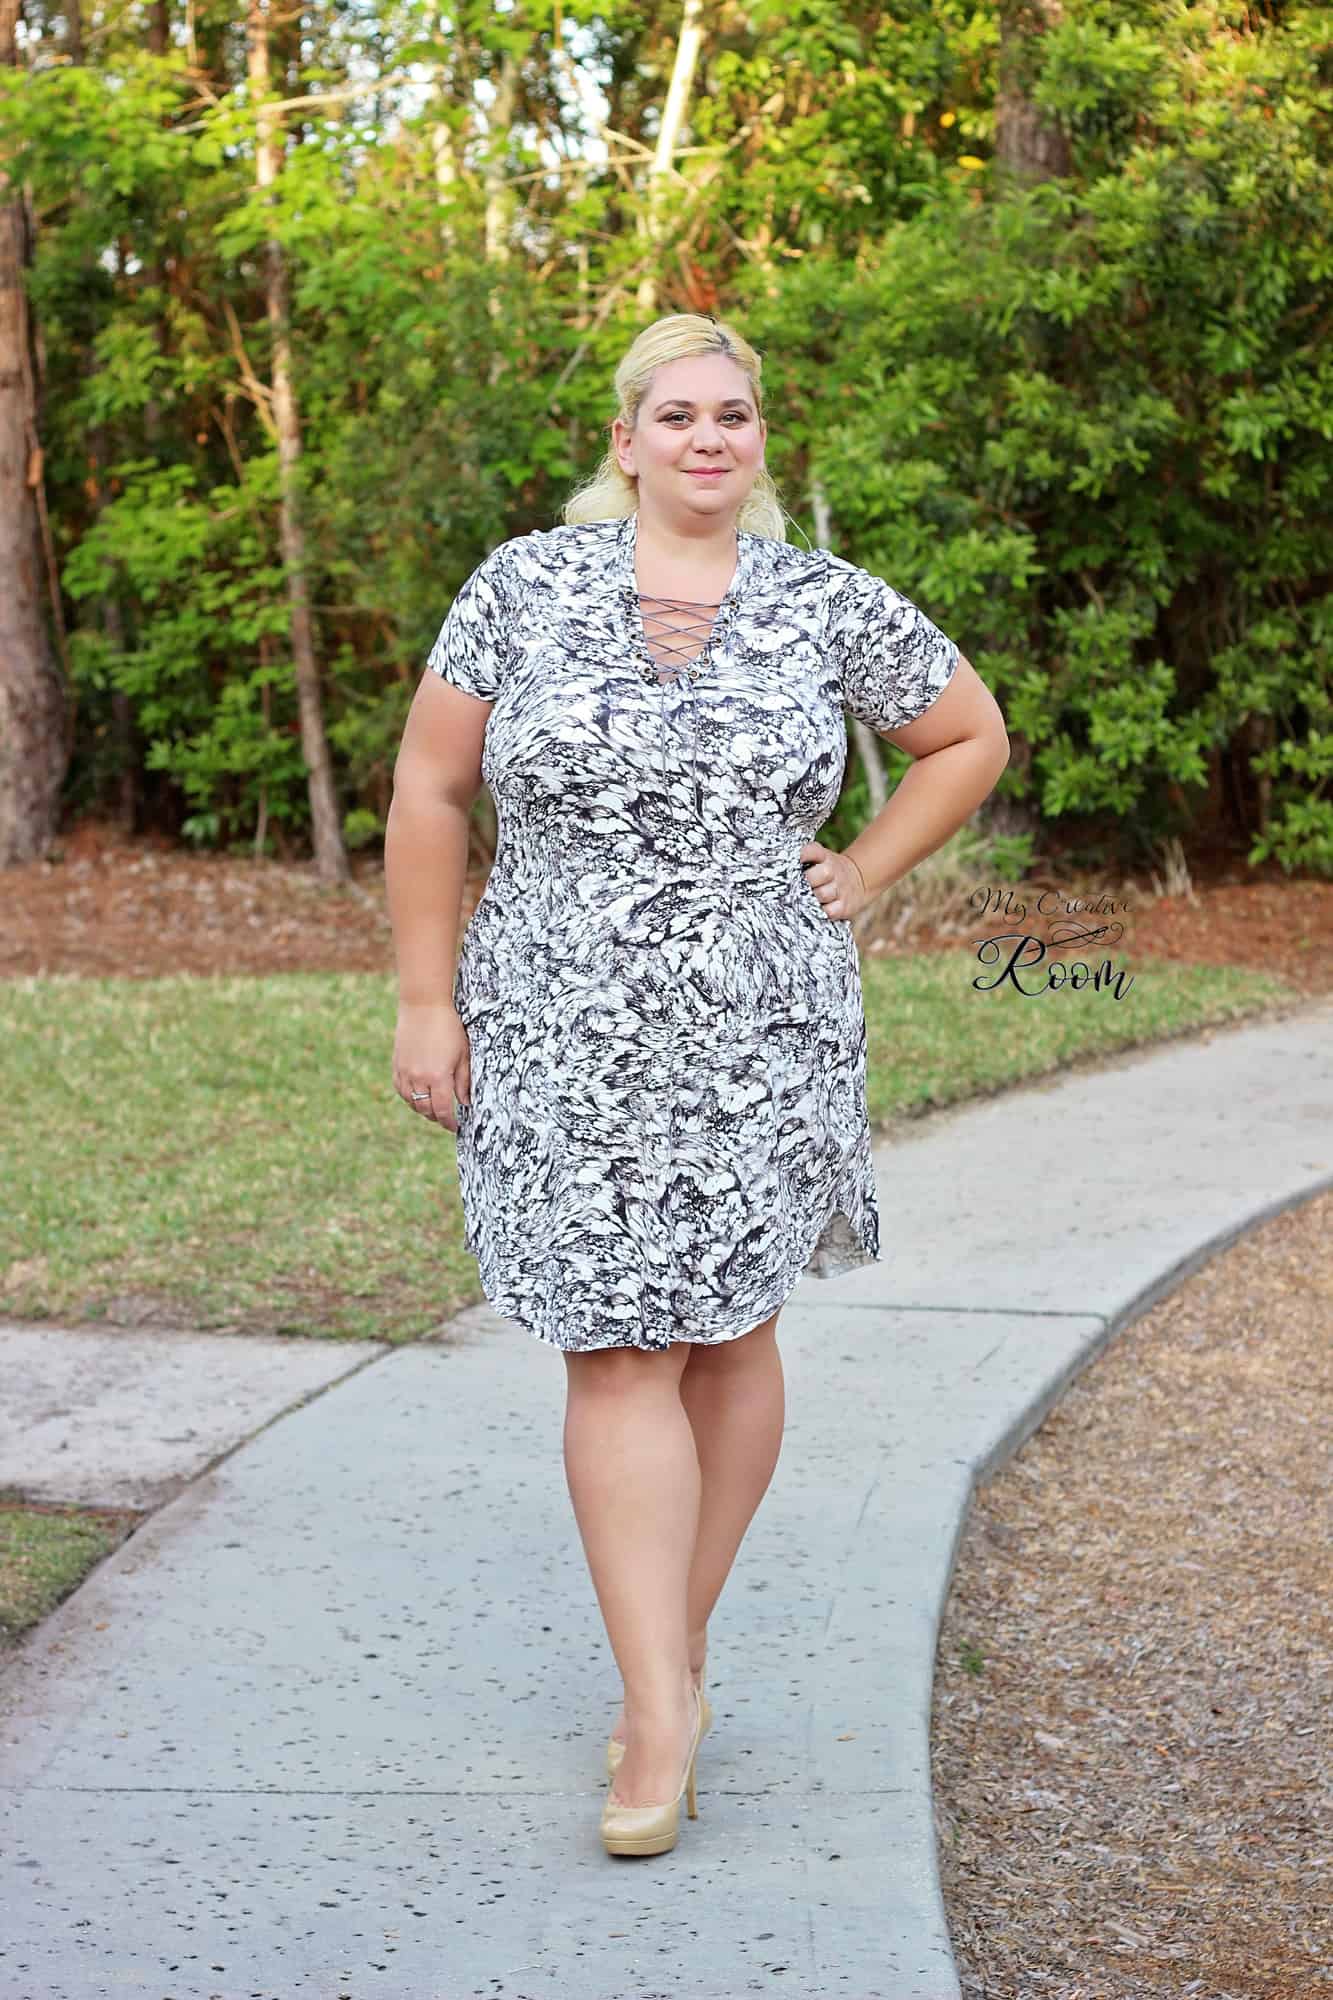
We are celebrating reaching 50K fans in our Facebook group! To make it a party, our beloved PegLegs pattern just got an update AND some new add-ons. Before you go running to your machine to sew up your own leggings, make sure to read our PegLegs 101 blog post. This way, you’ll have all the the information you’ll need to make the perfect pair before you even cut into your gorgeous fabric.
But wait, there’s more! After any good party is an after-party. We are taking it one step further and sharing some easy hacks that’ll bring even more flavor to your favorite leggings pattern! We hope you check them out, make your new favorite pair of leggings, and know that we appreciate every single one of you amazing sewing guys and gals!
Here are our hacks / tutorials / latest tricks:
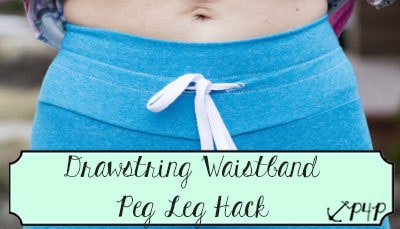
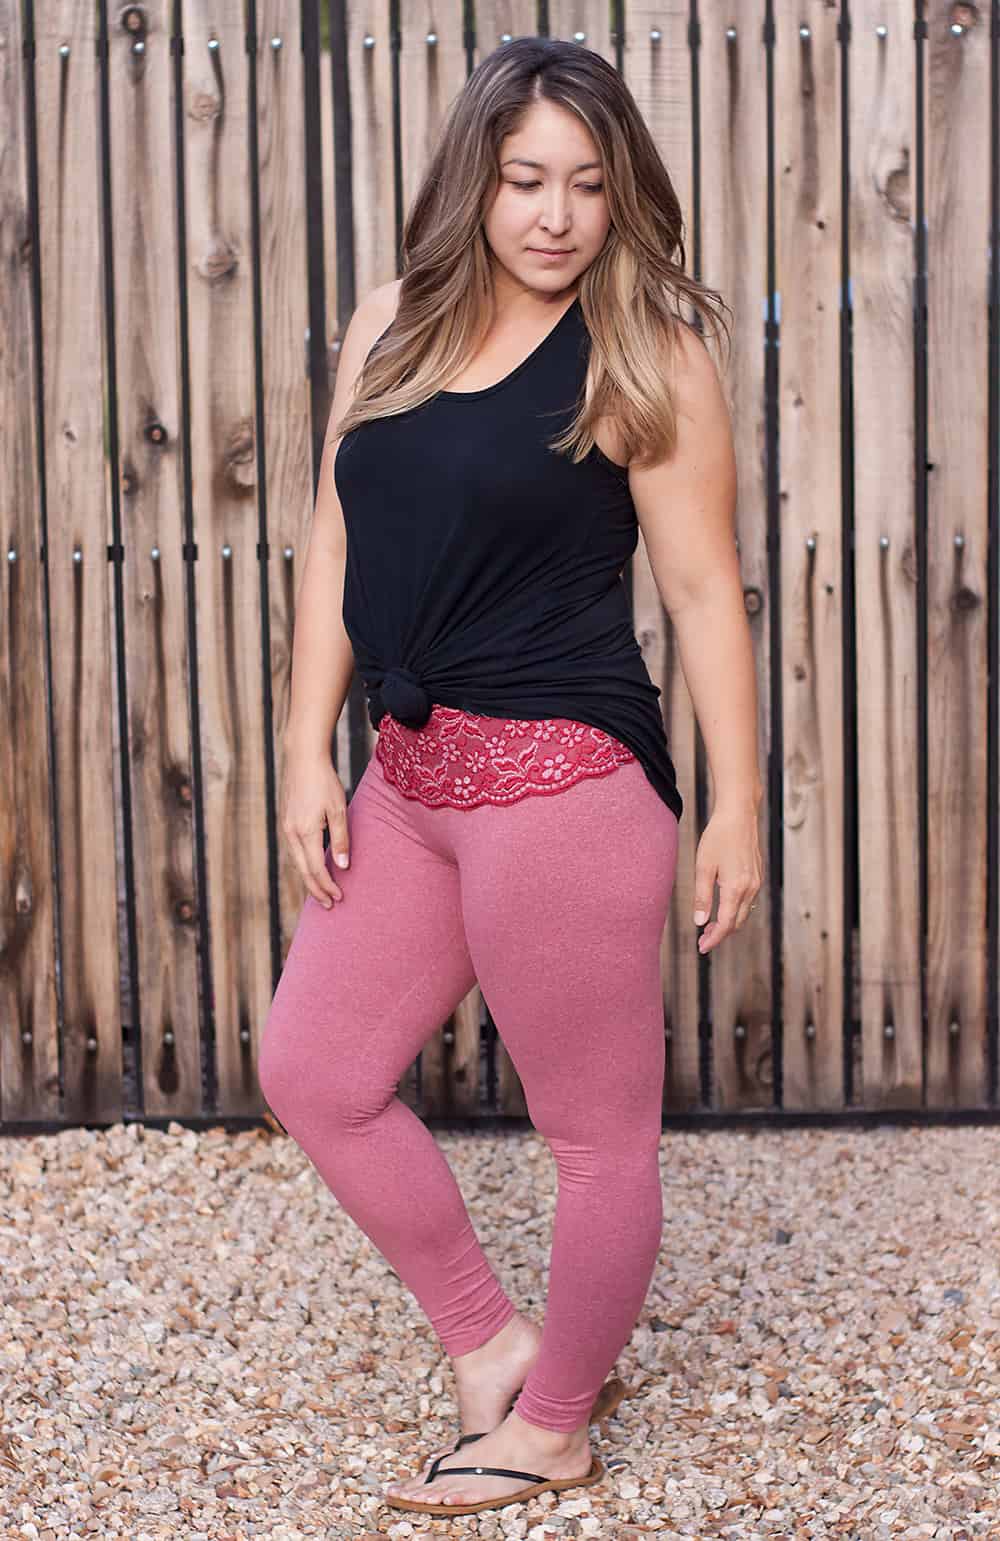
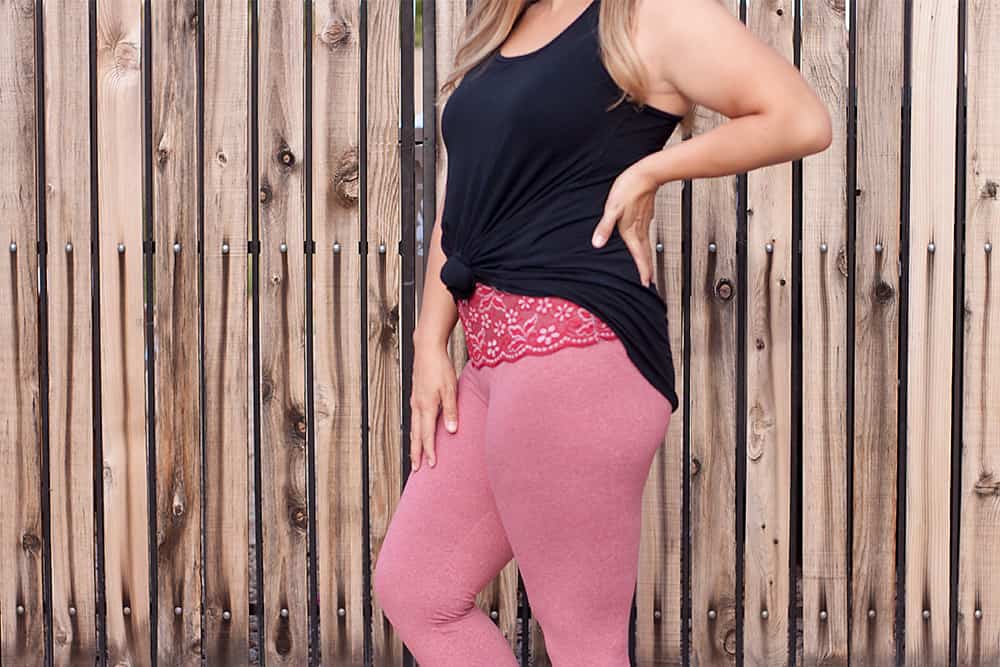
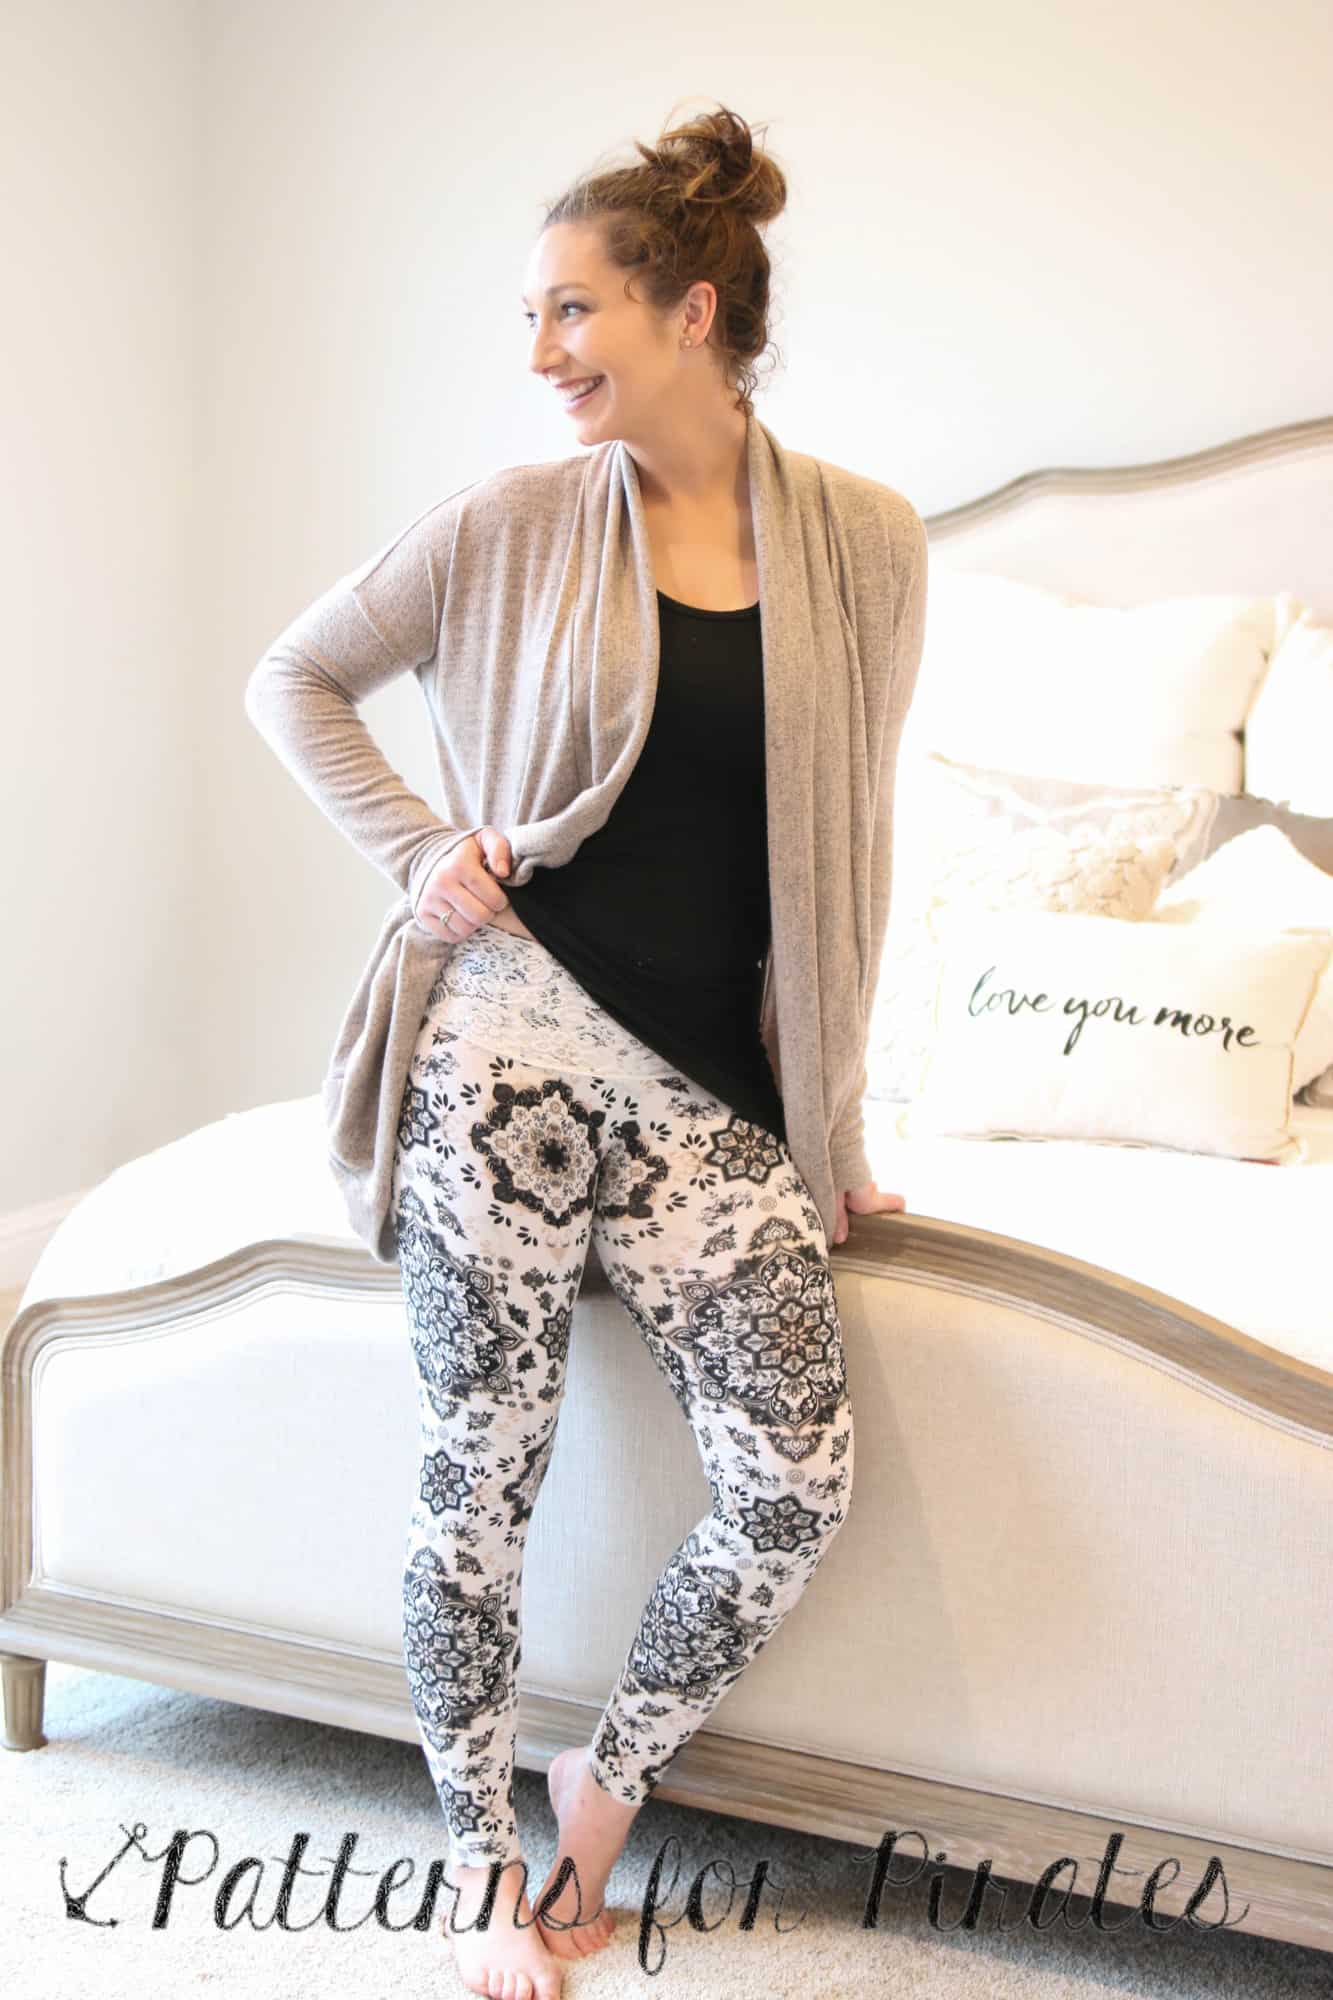
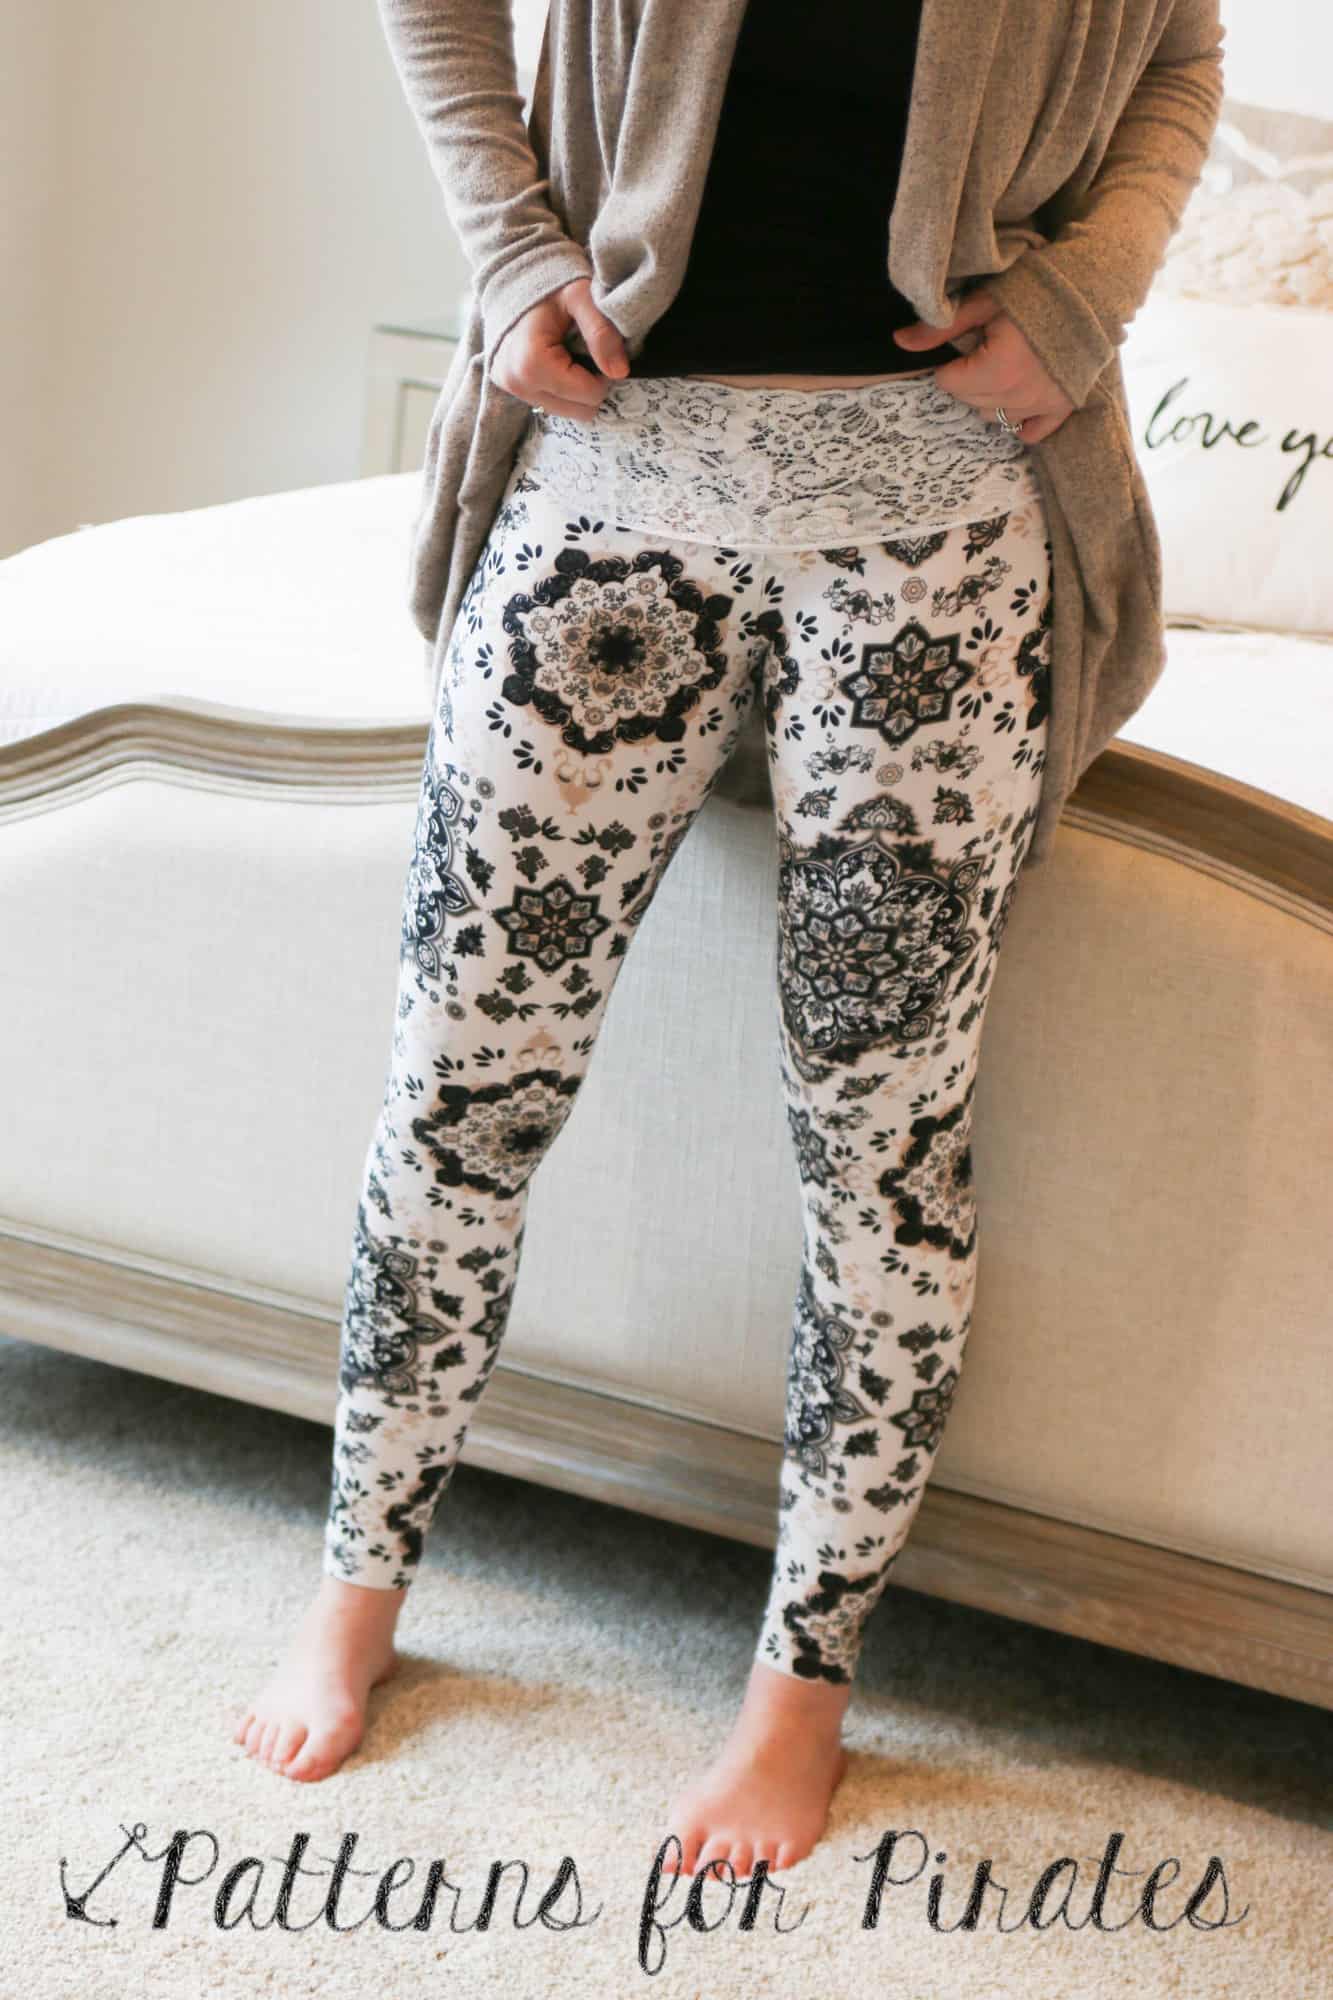
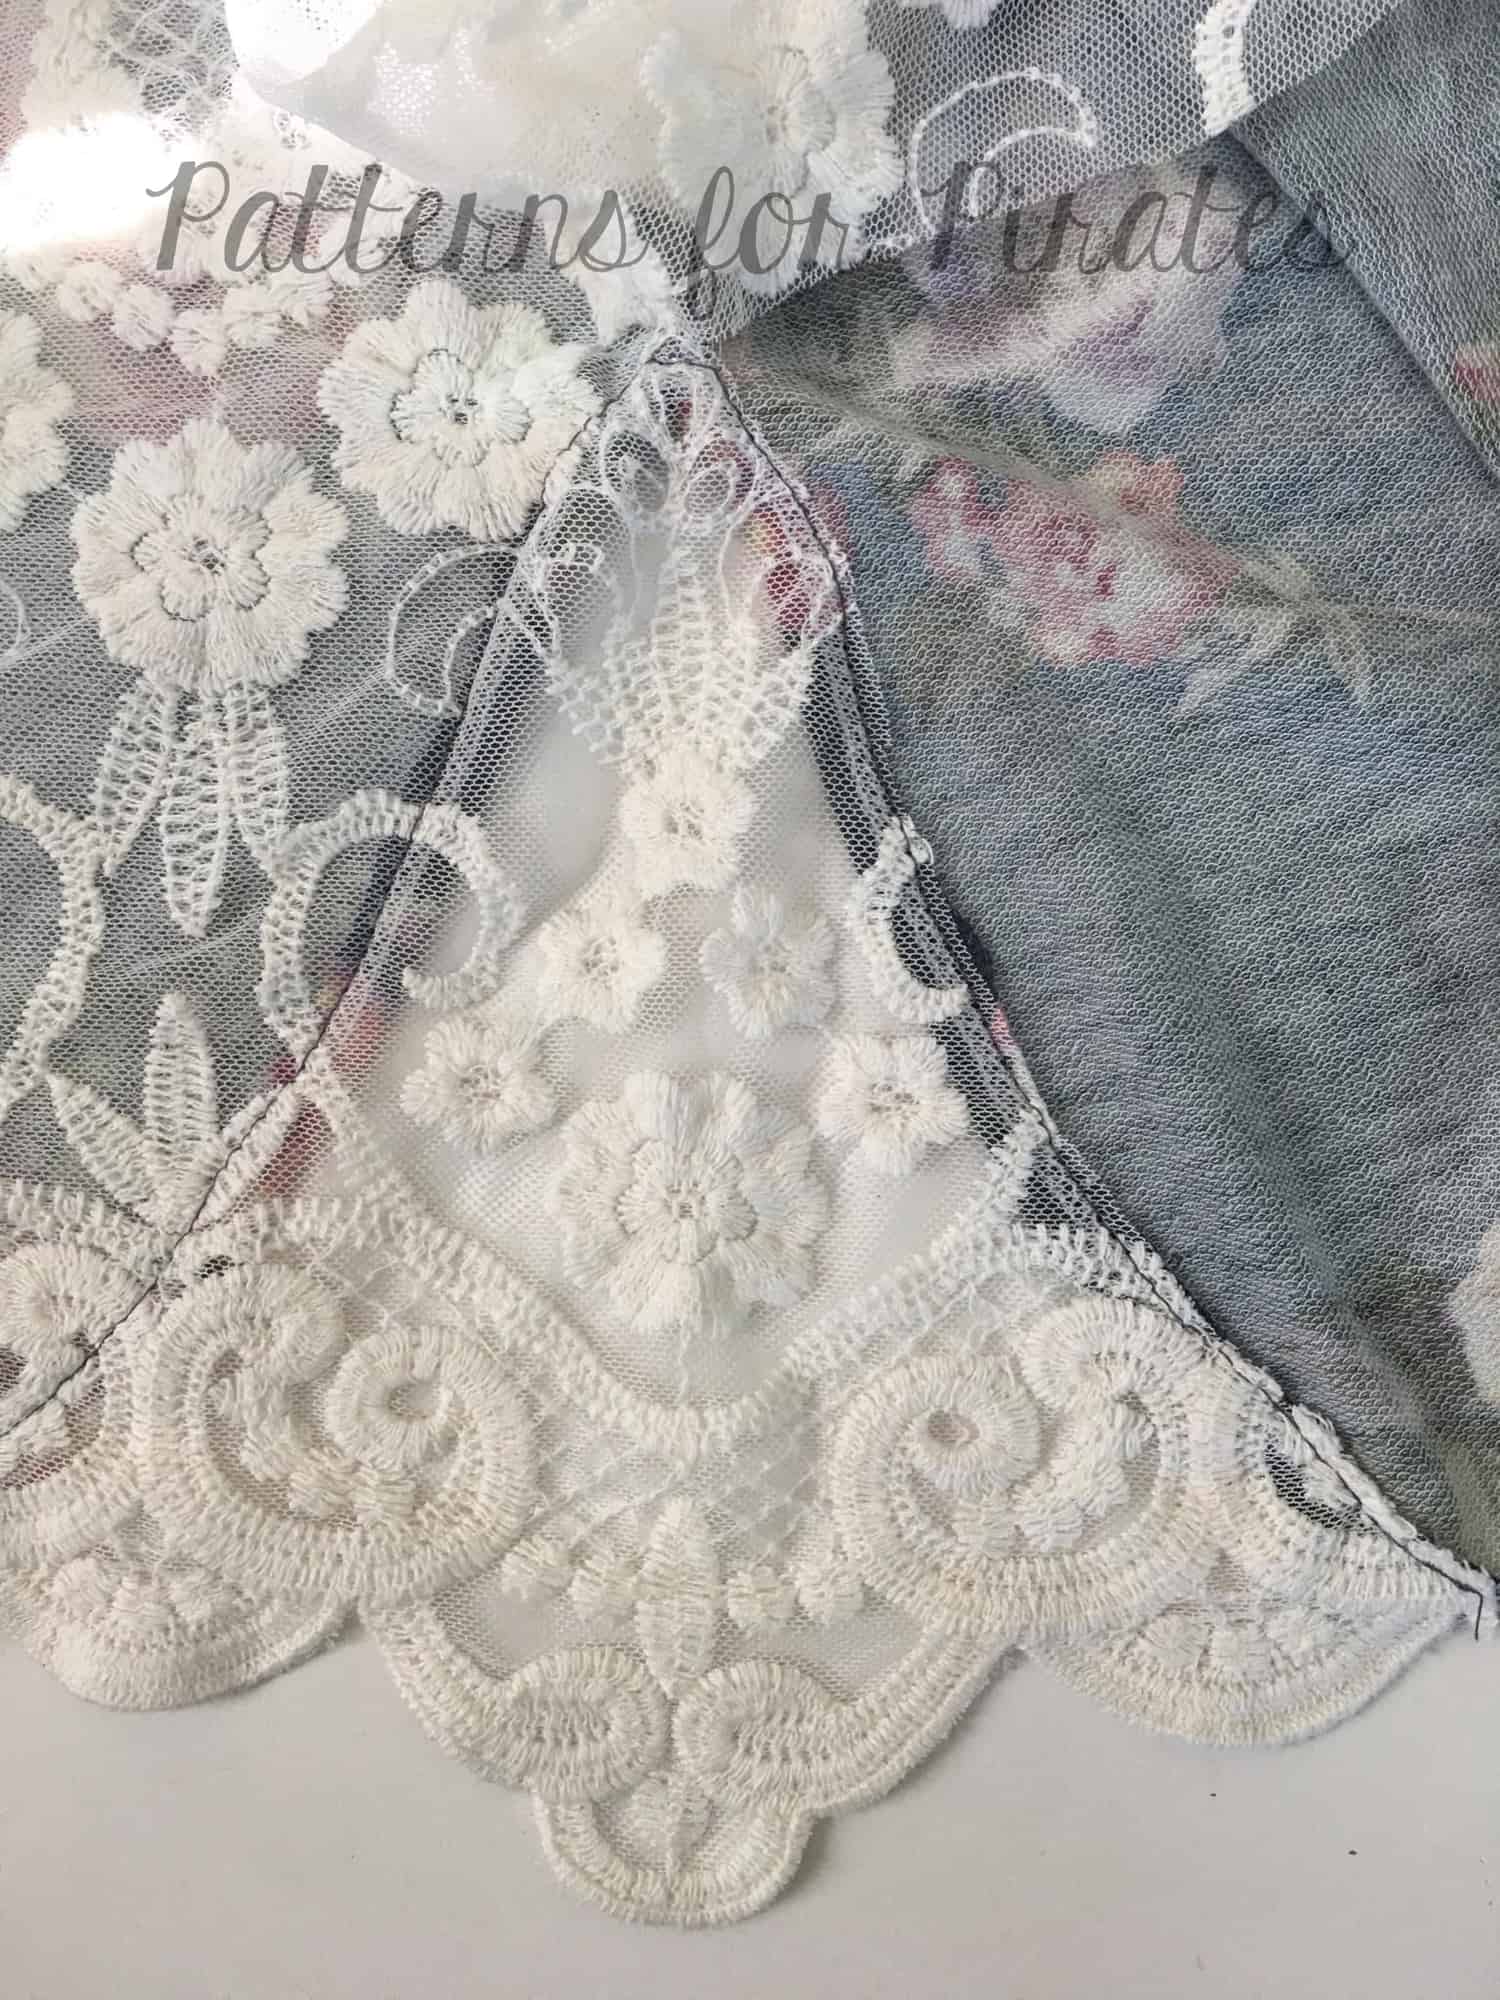
Lace Waistband Alternative | Drawstring Waistband Tutorial
Exposed Elastic Waistband | Stirrup Pant Hack
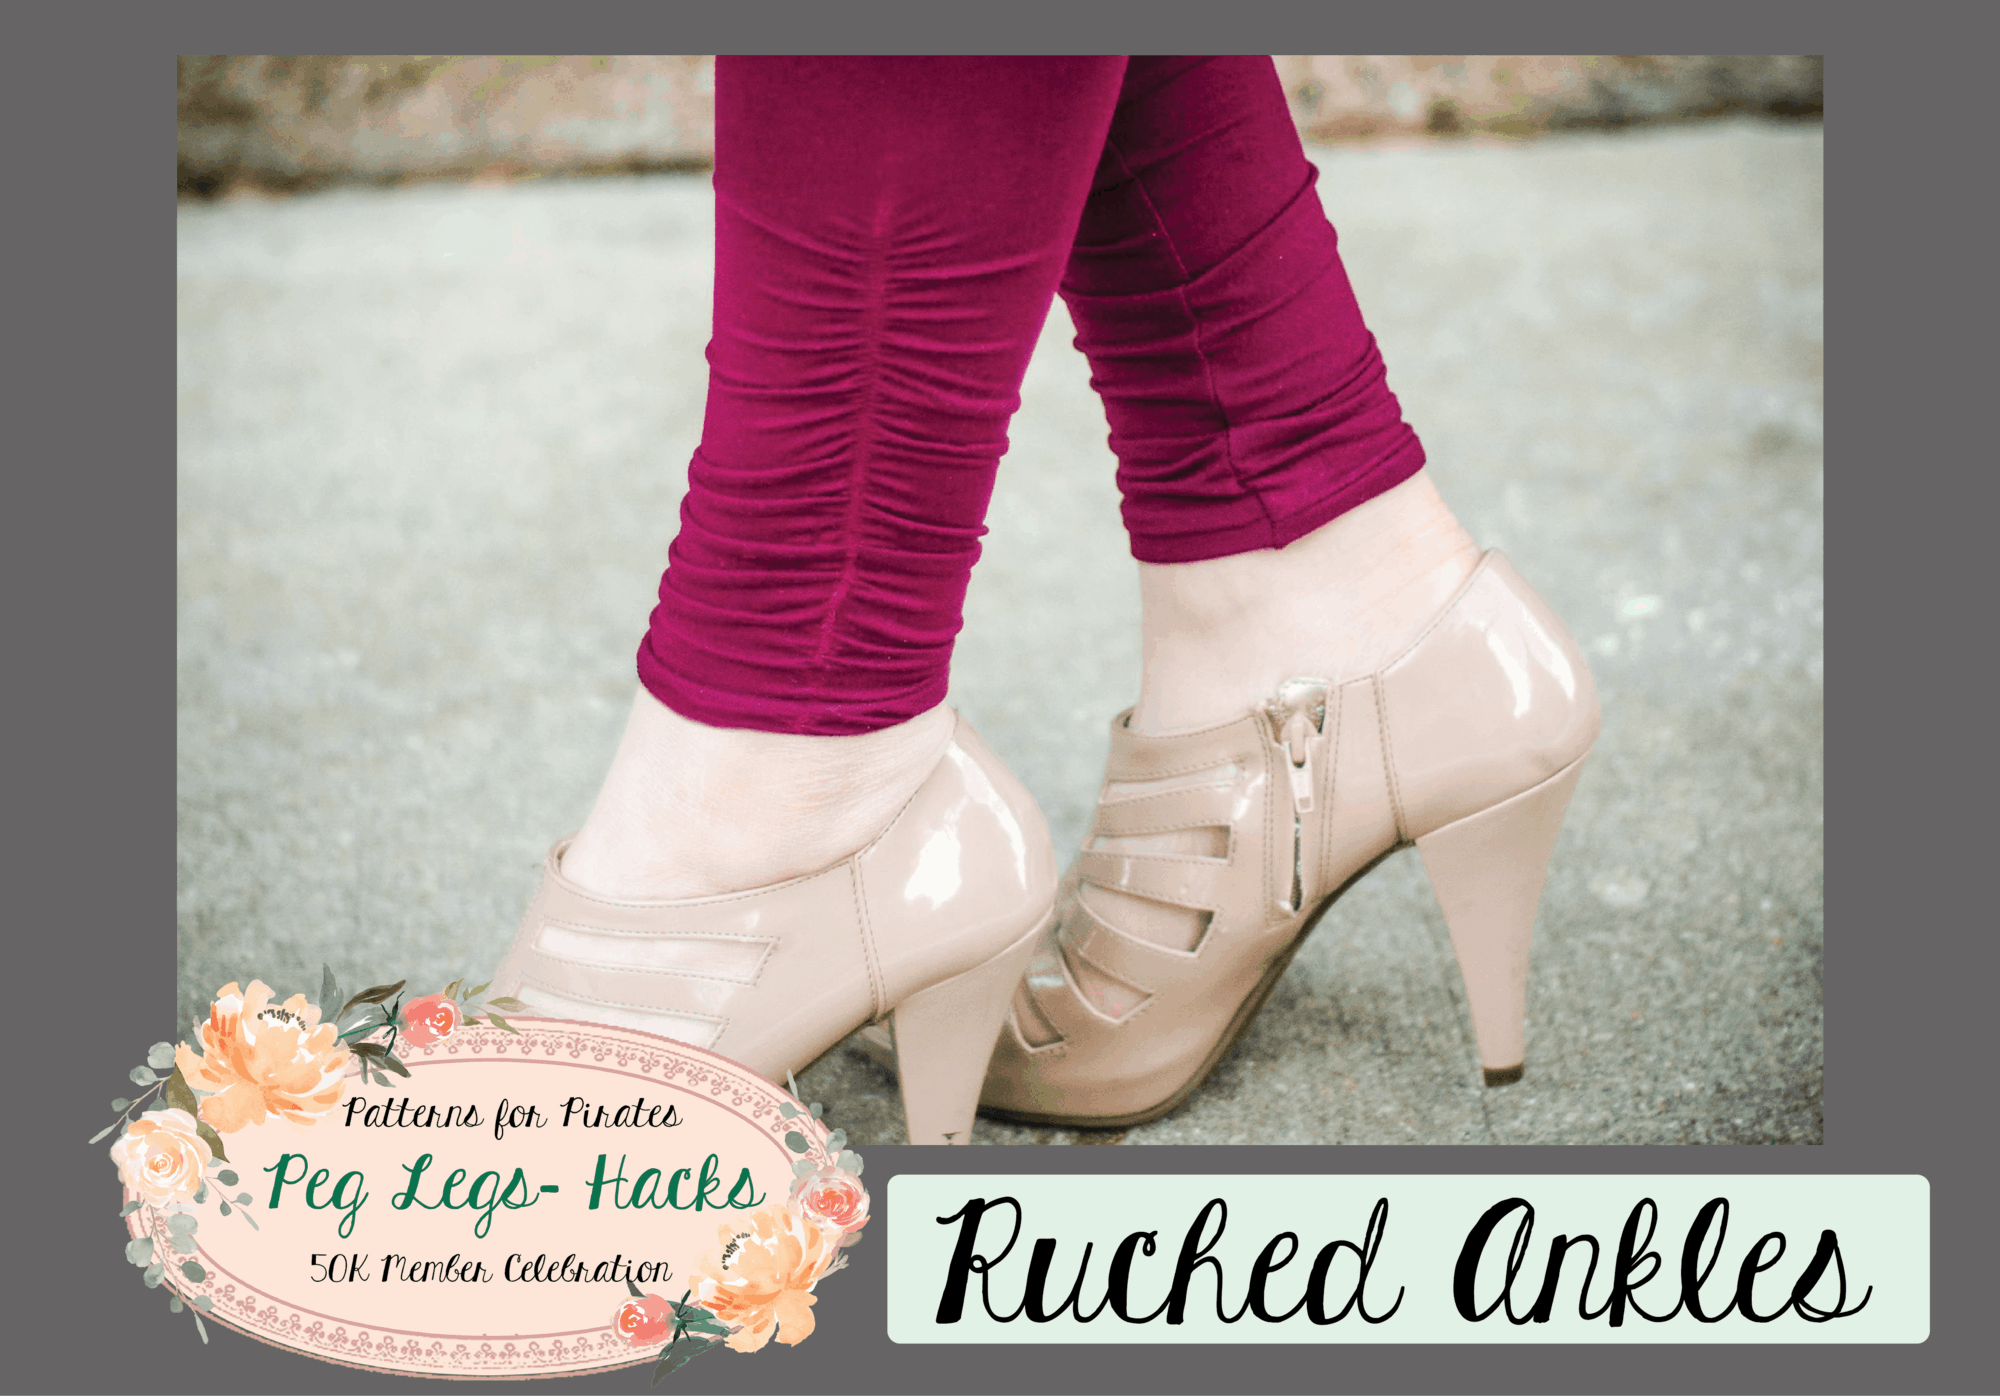
Ruched Ankles Adjustment | Decorative Topstitching Tutorial
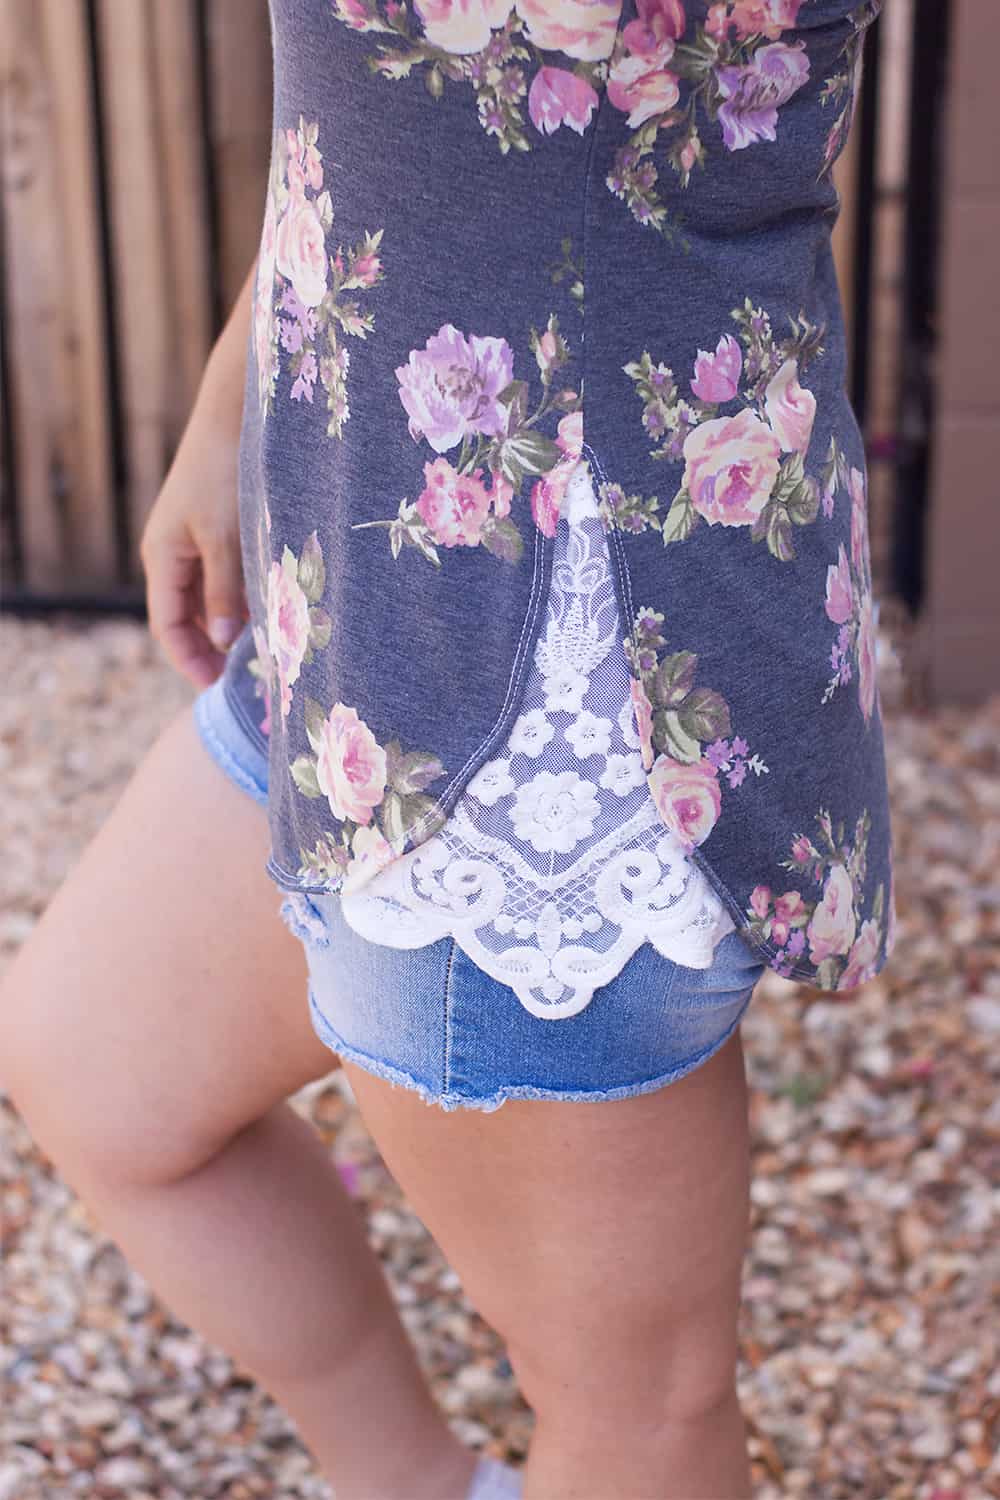
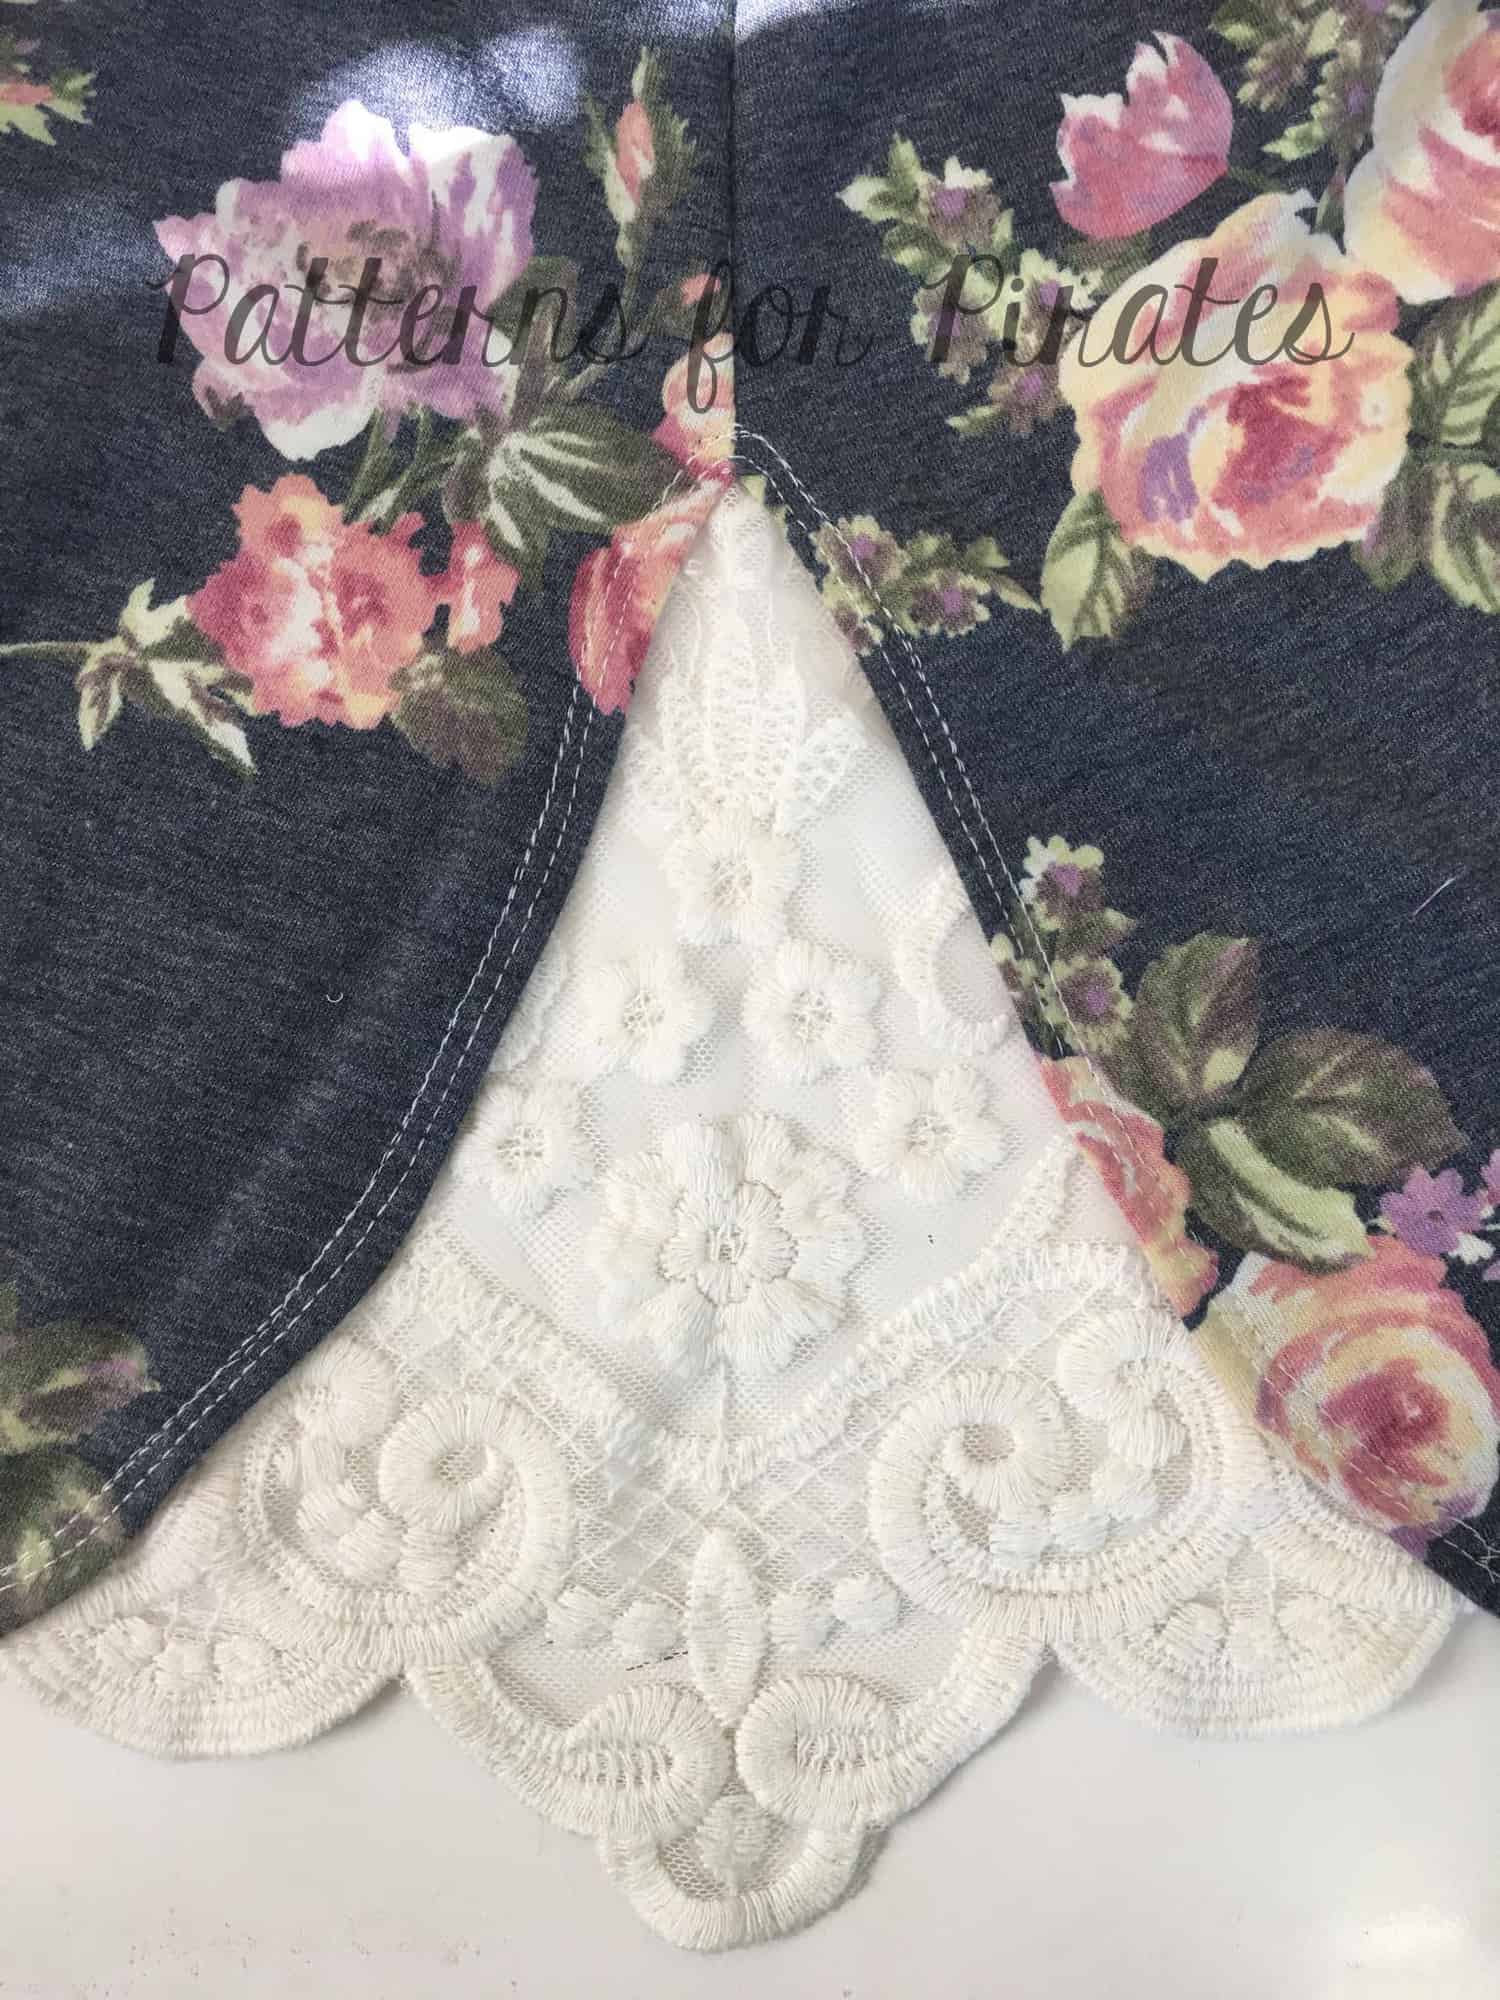
Ruched Side Panel Hack


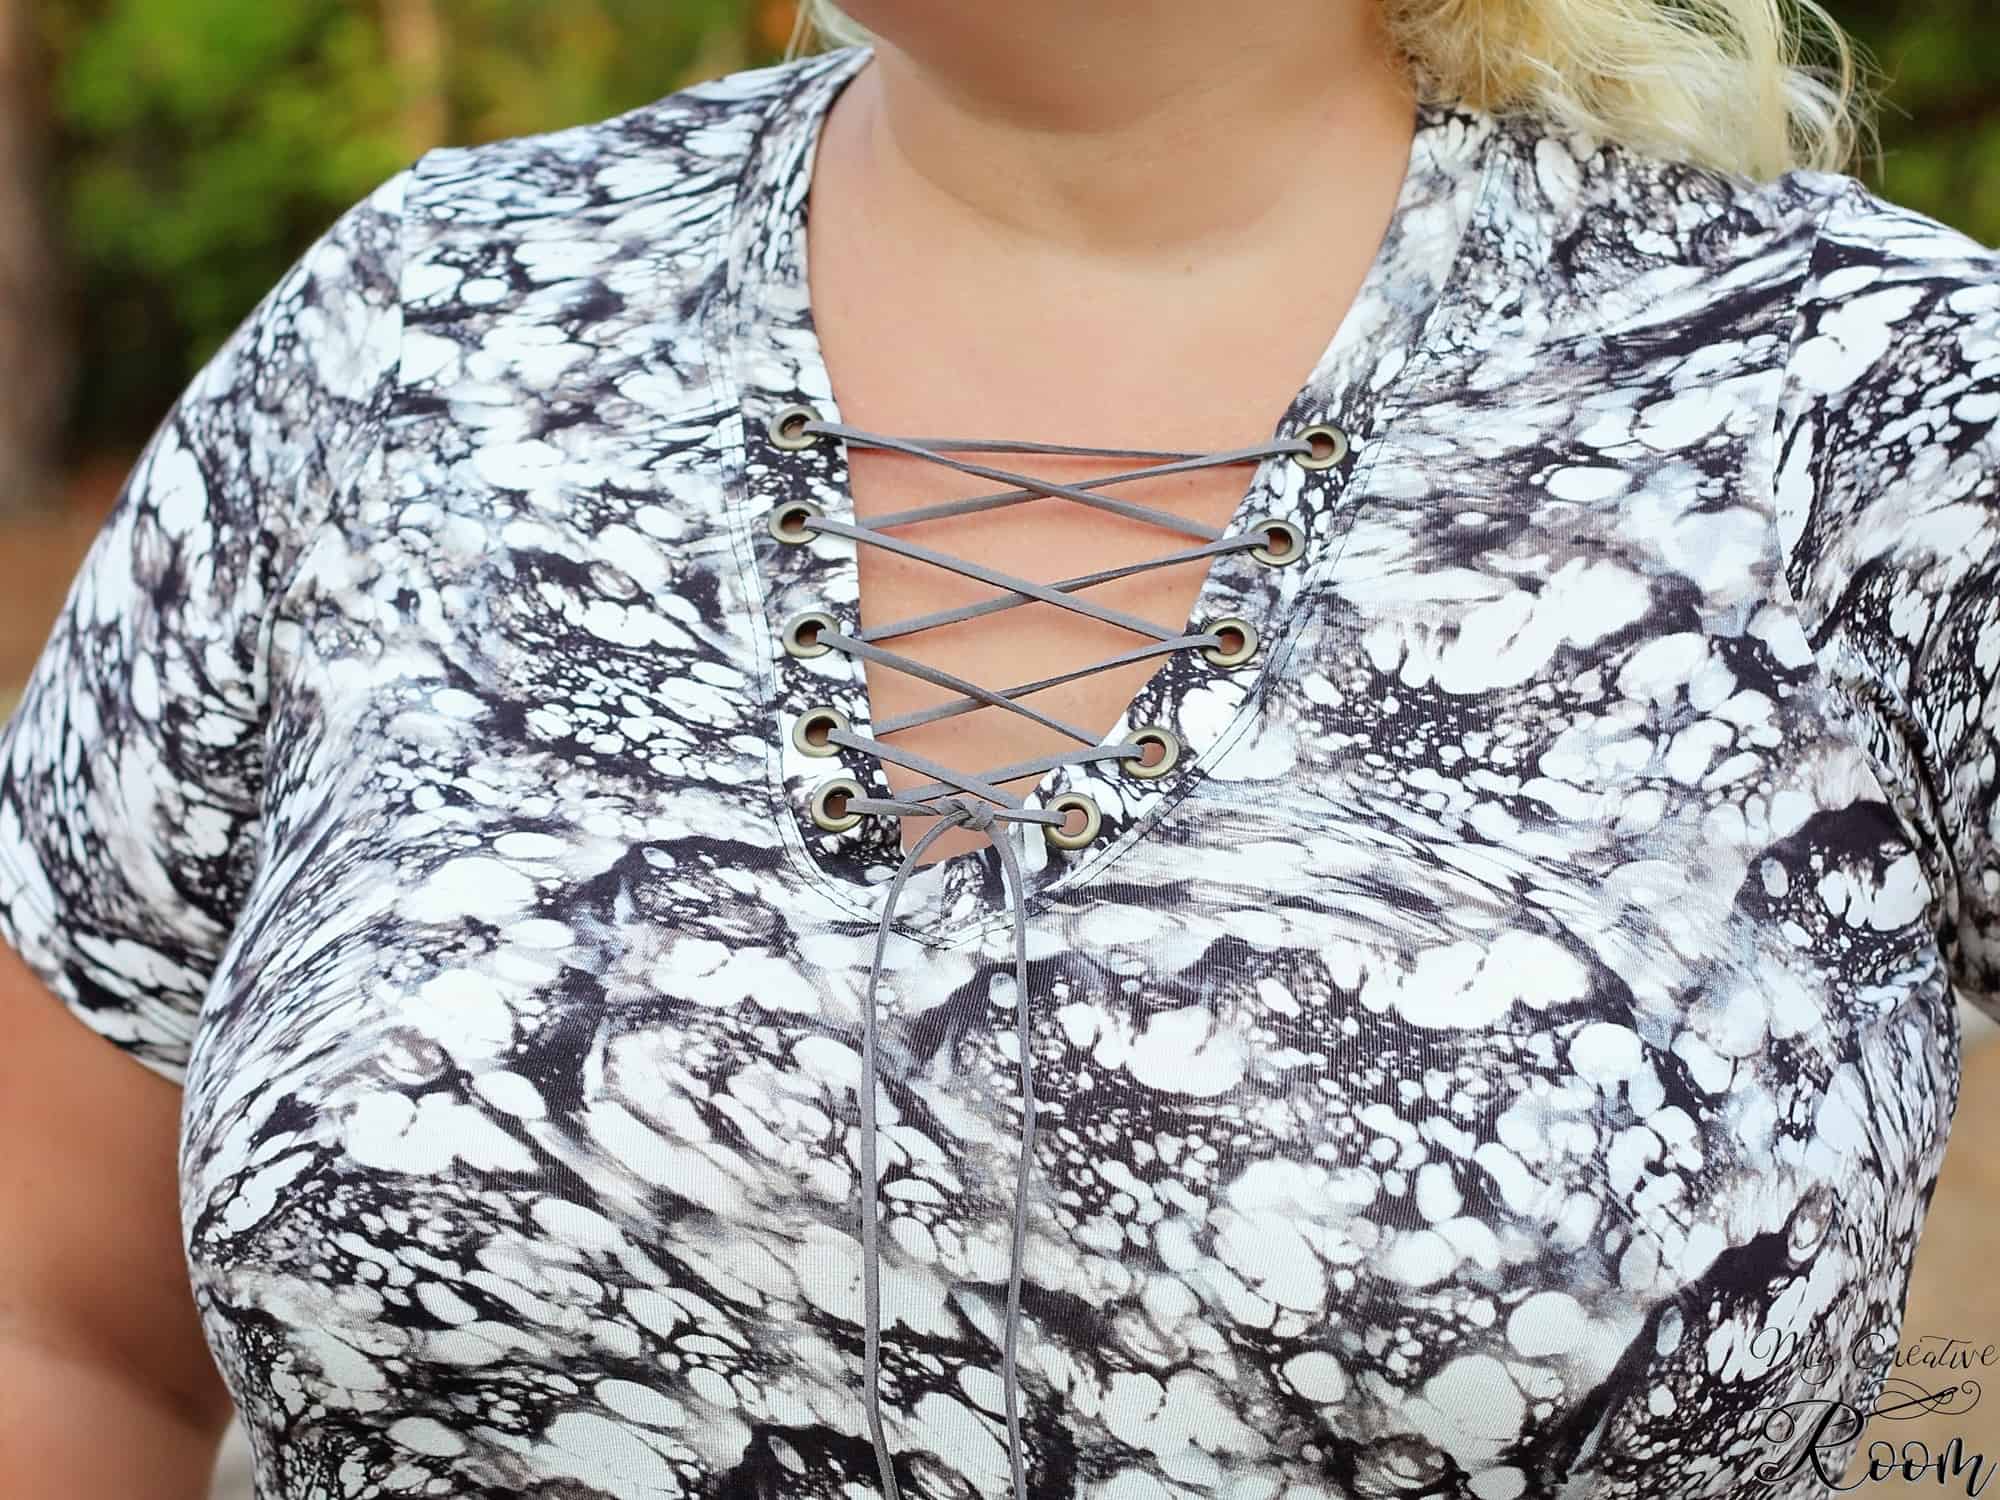
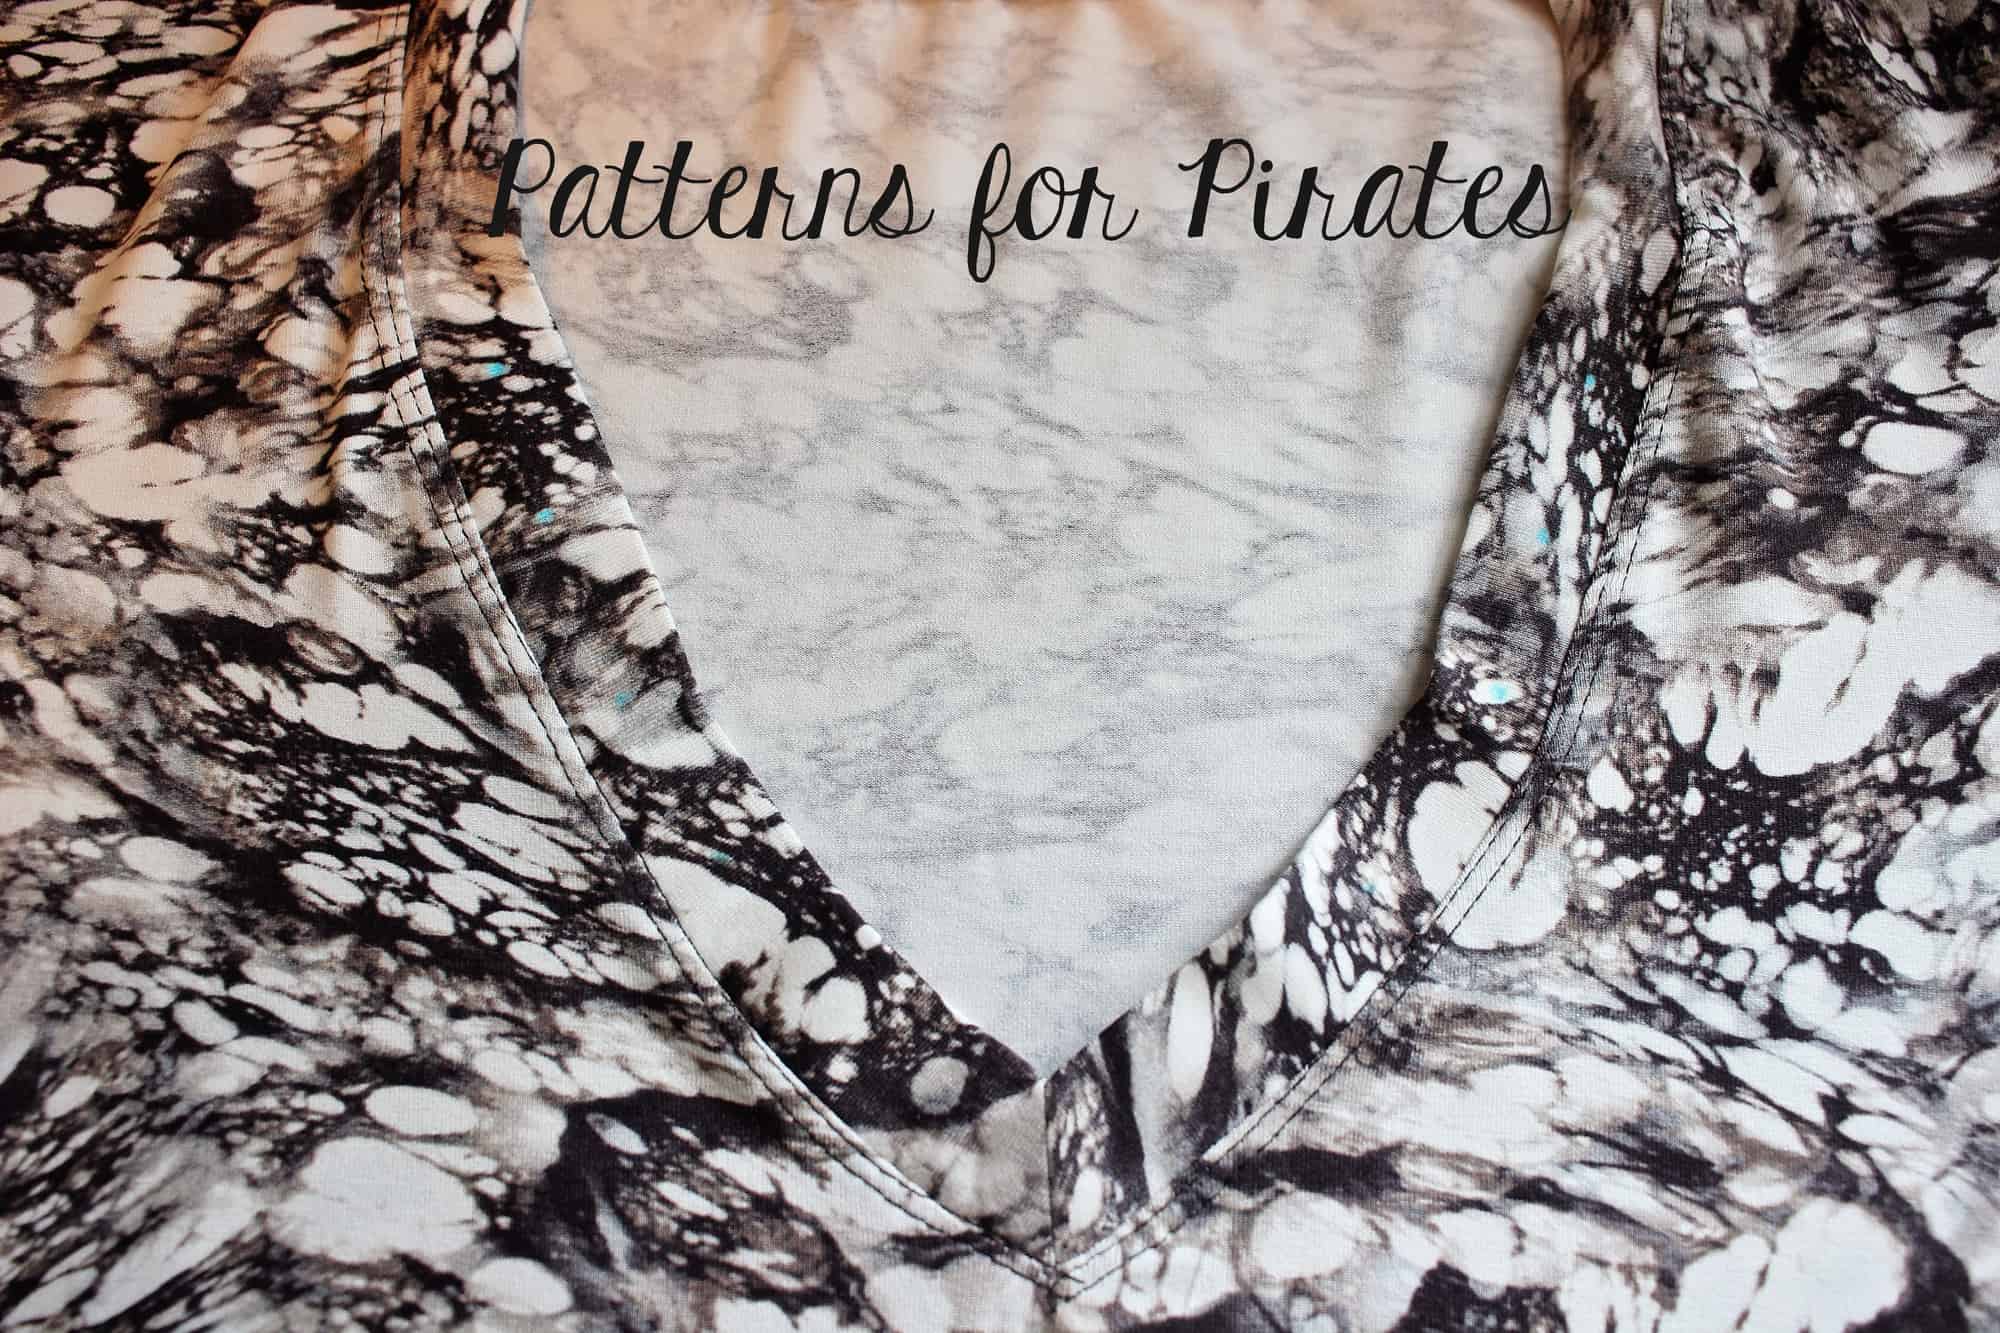
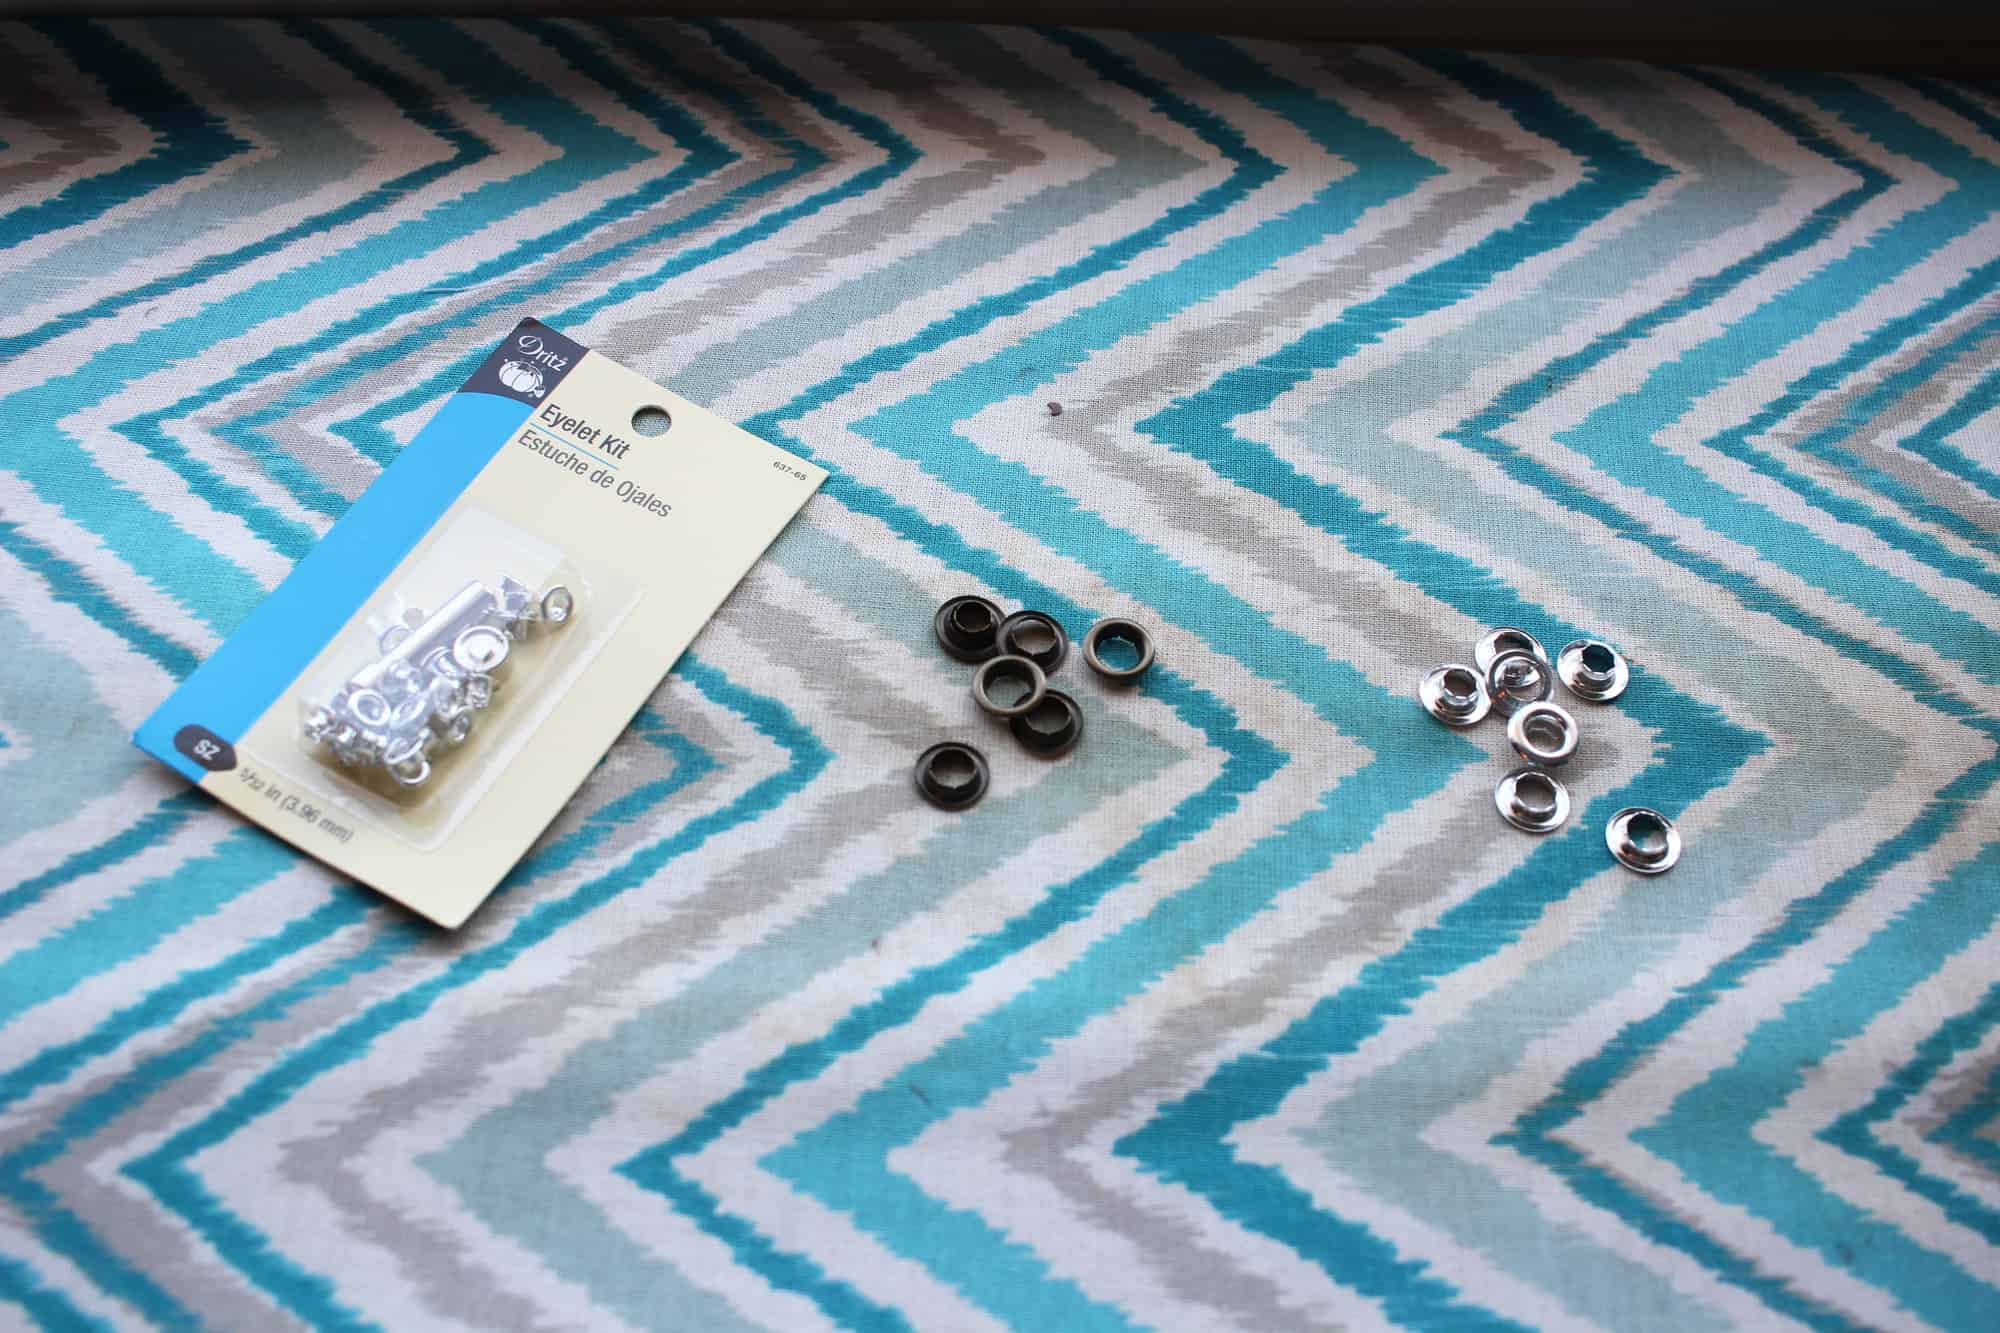

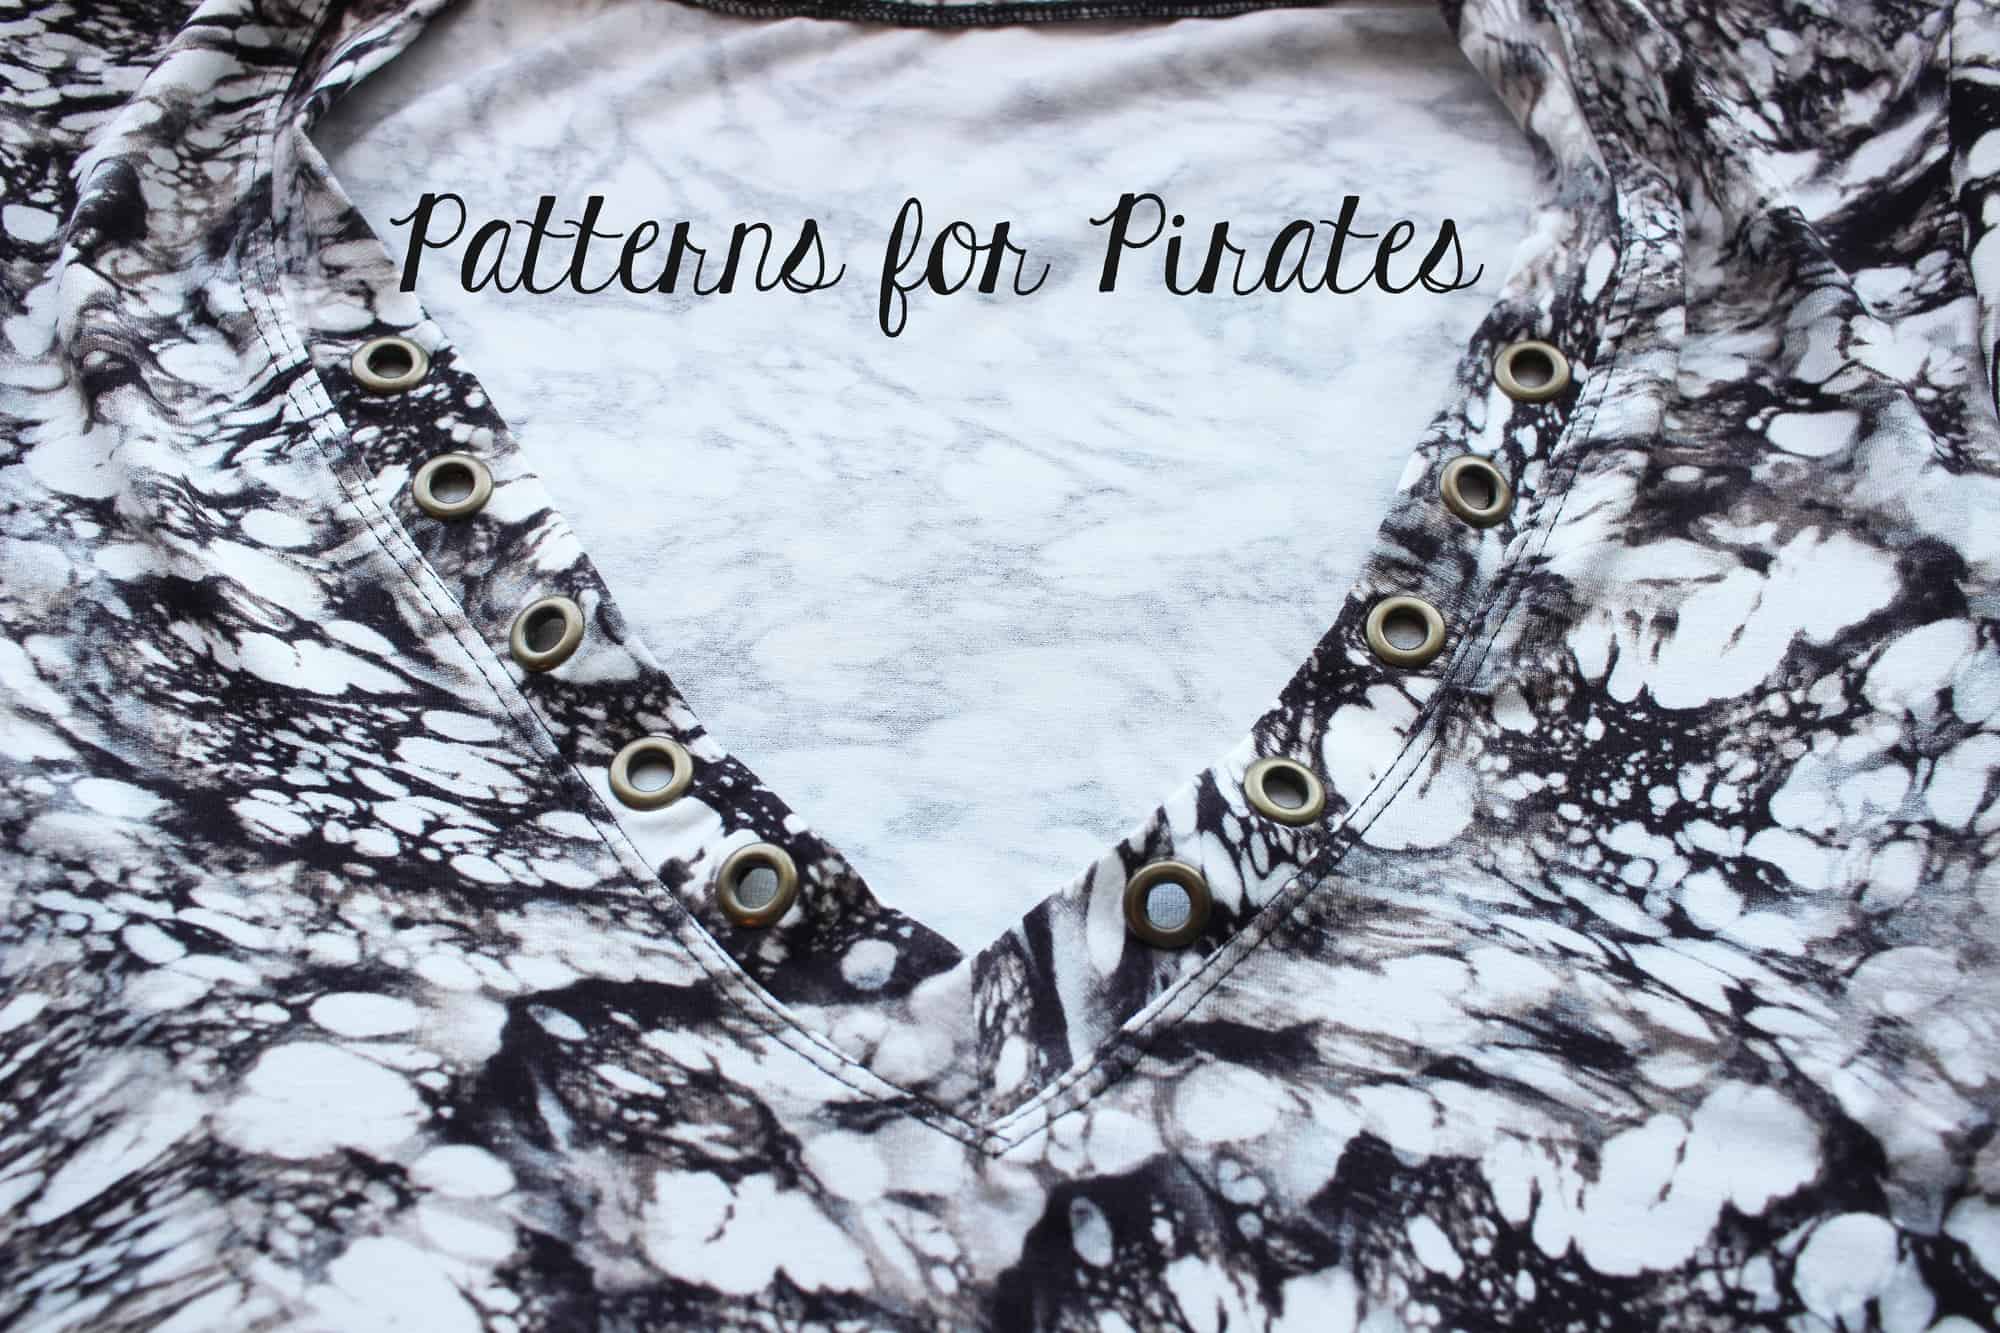
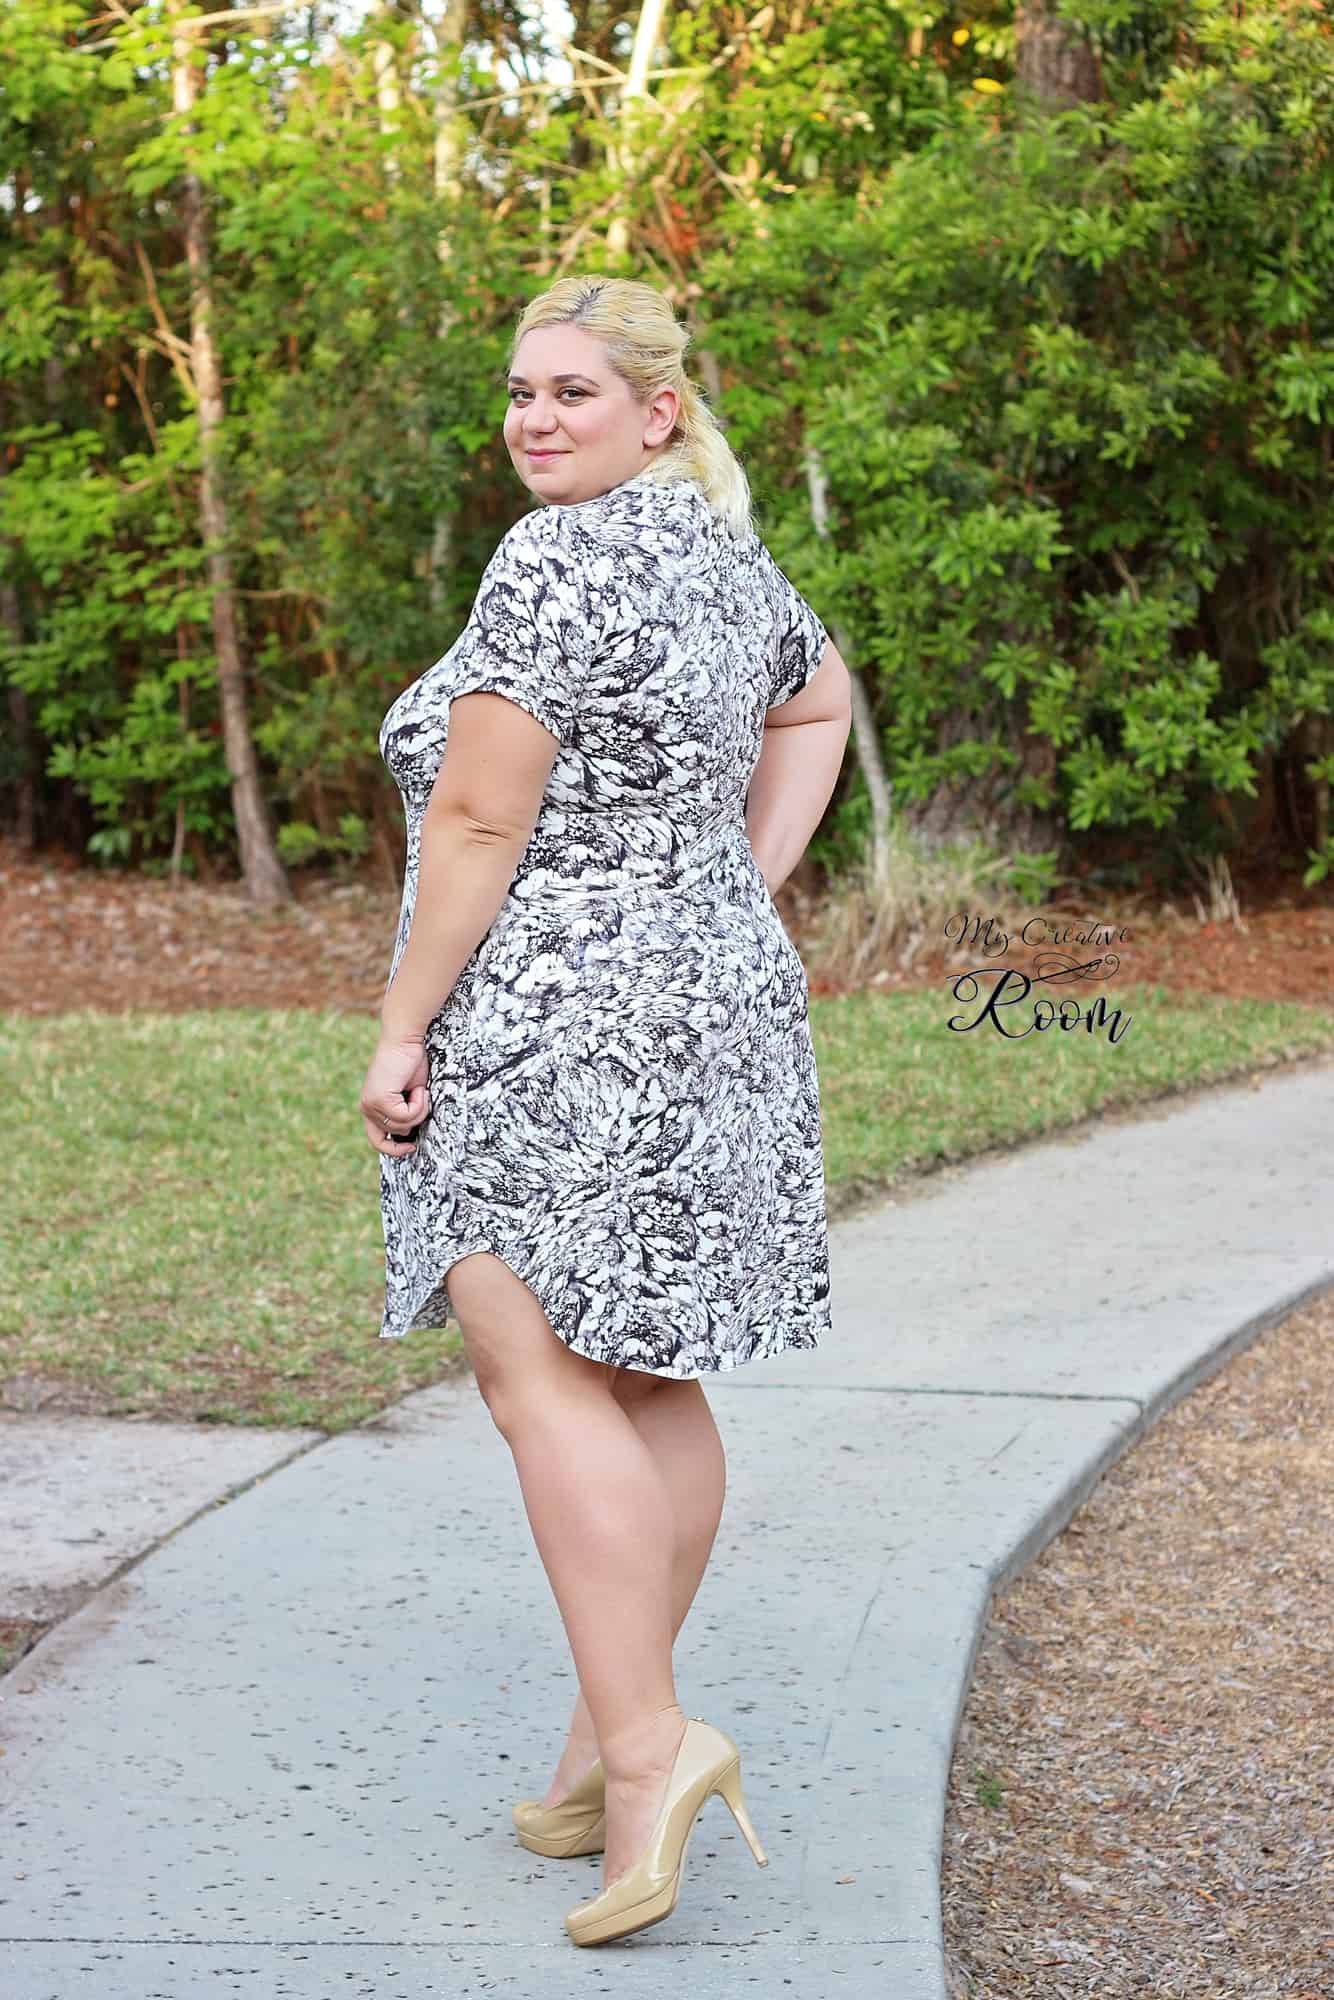
 For a more edgy look you can make a faux leather binding and thread it through the eyelets.
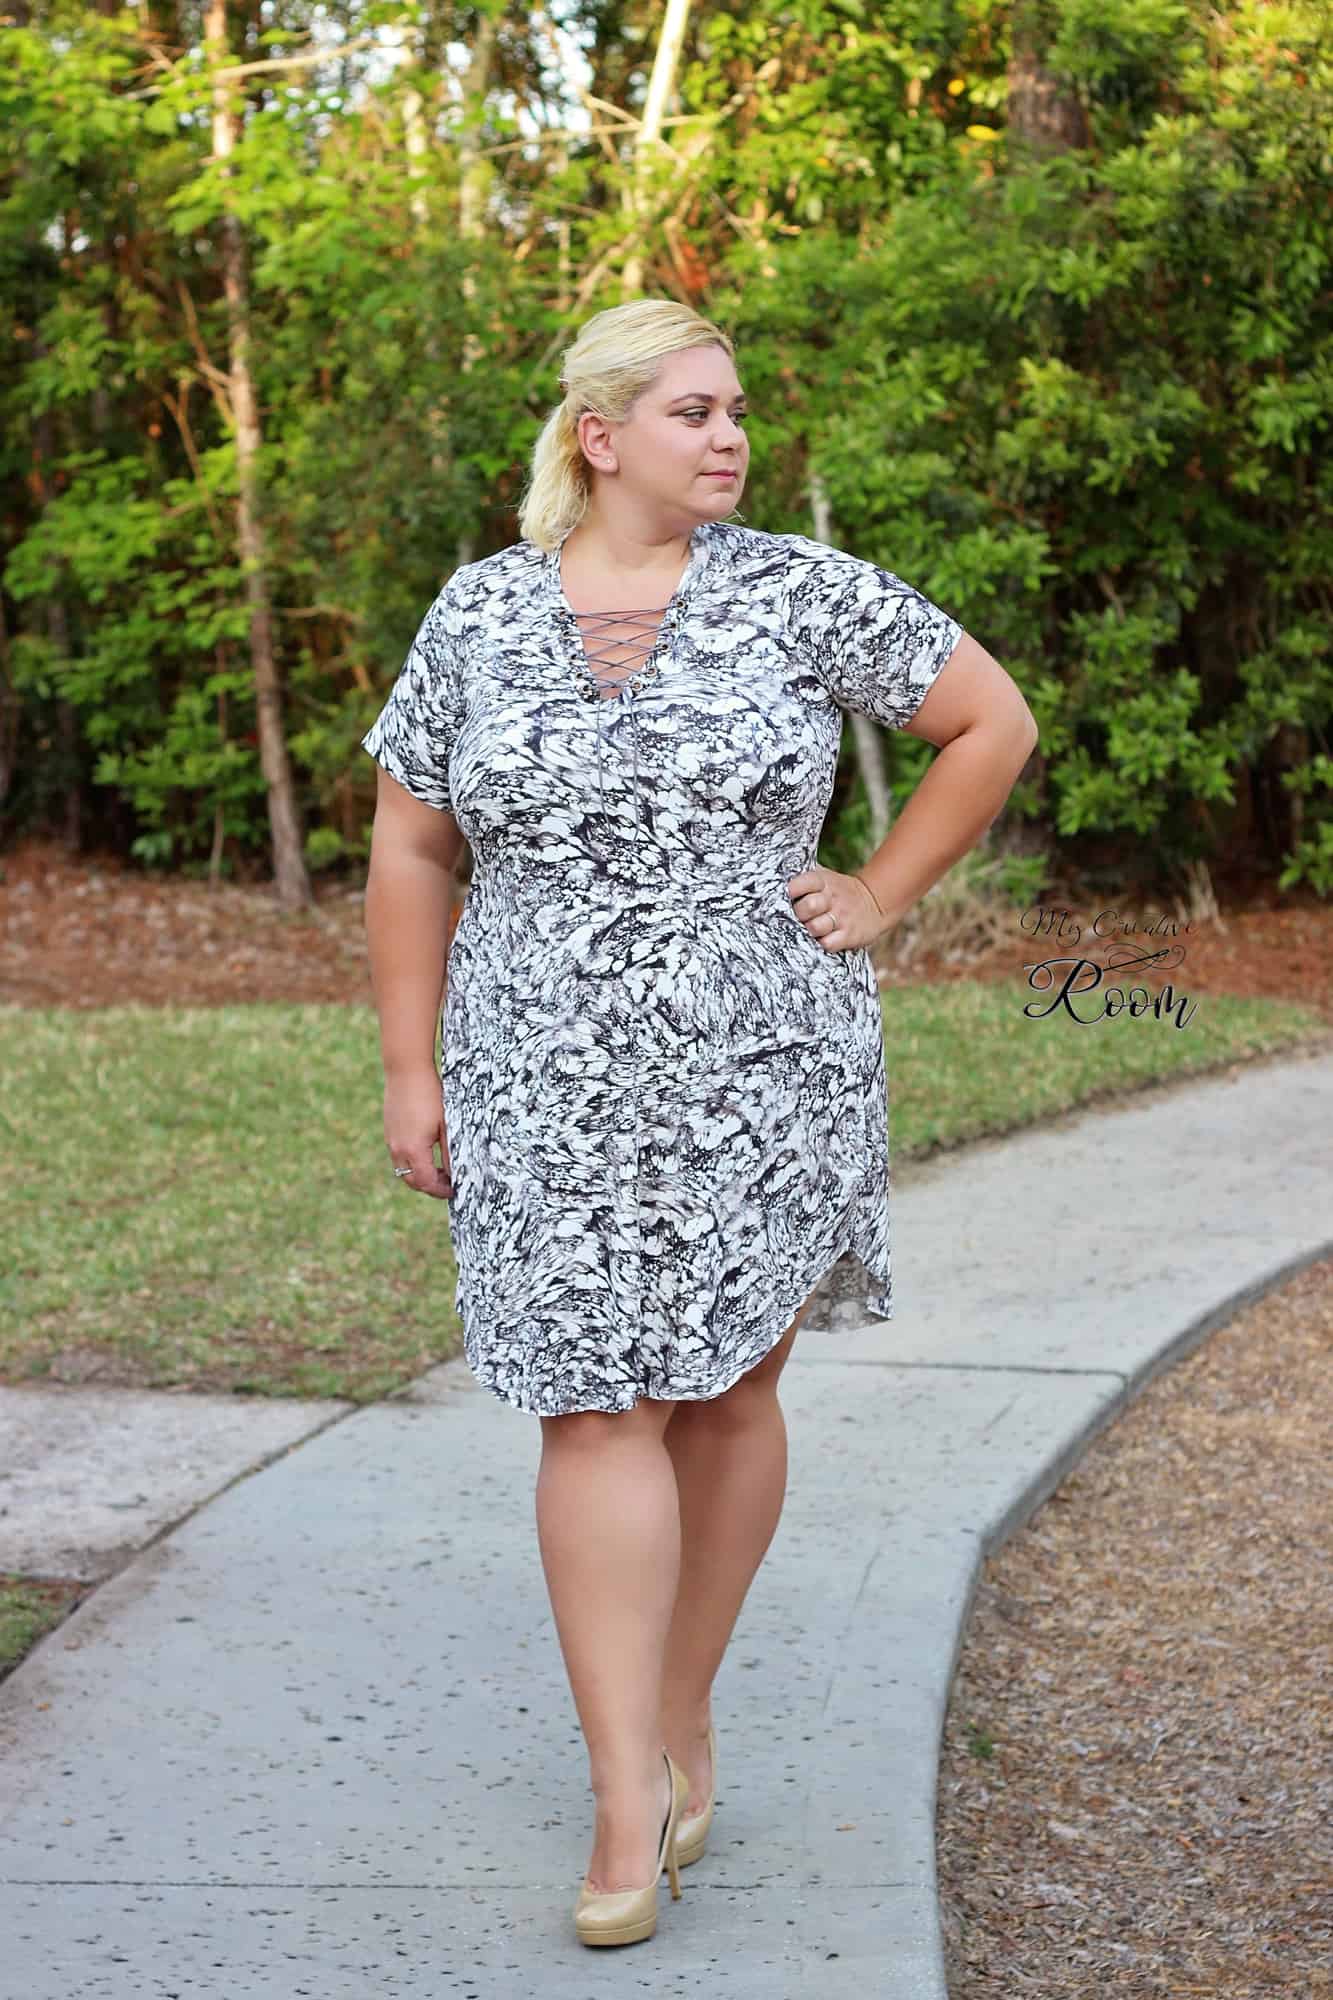


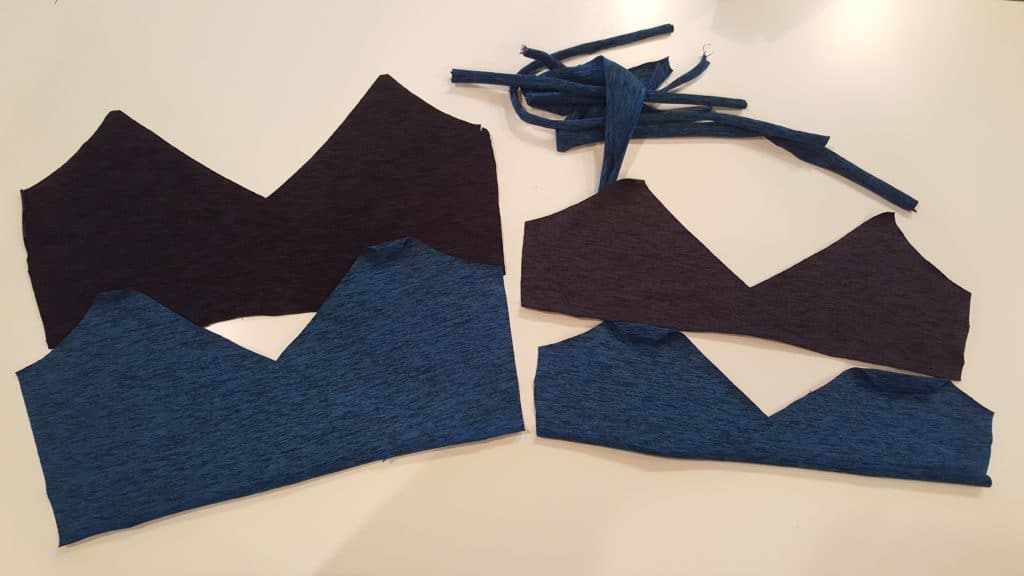
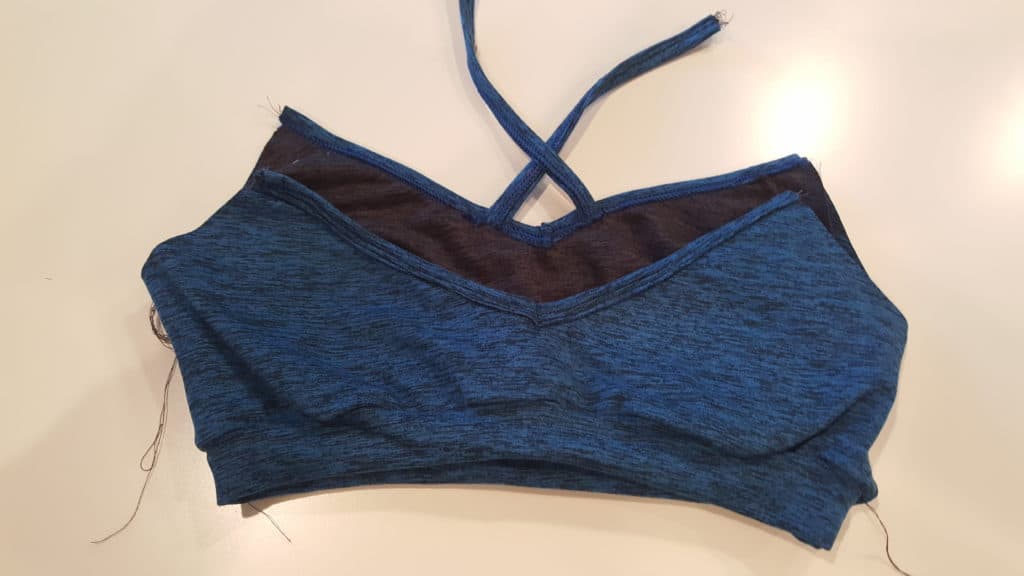
 Attached the other side of the band RST to the lining top.
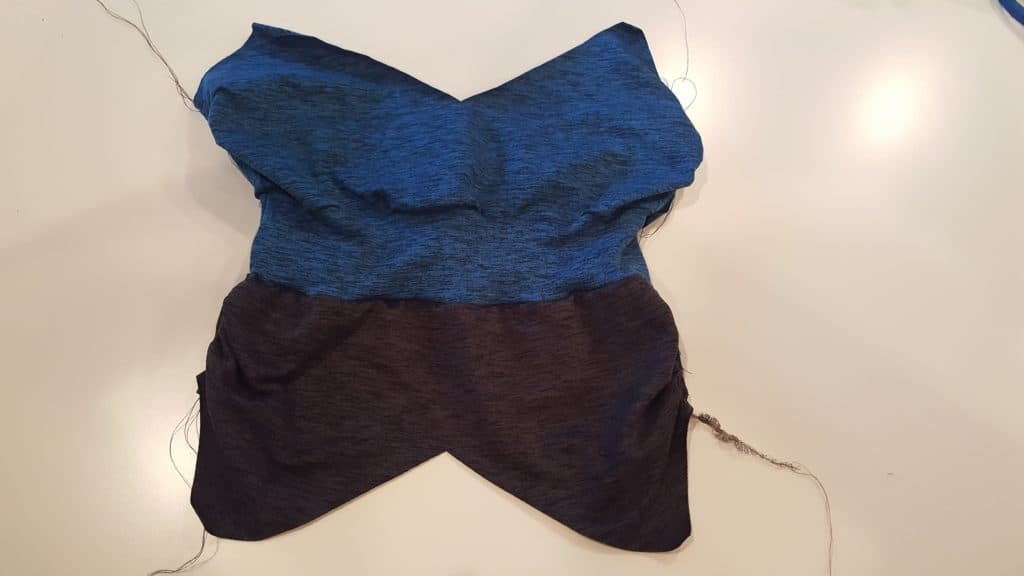
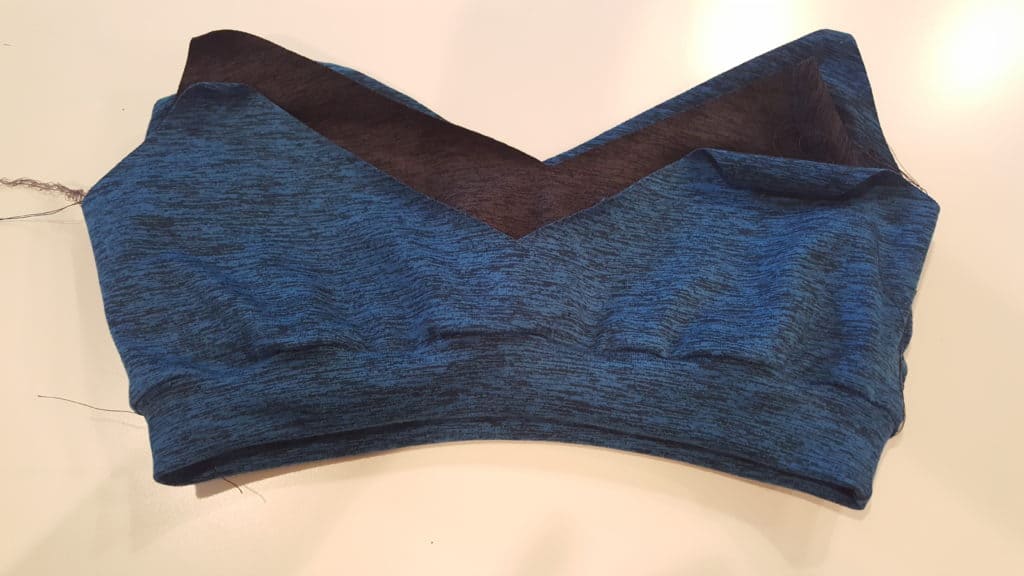
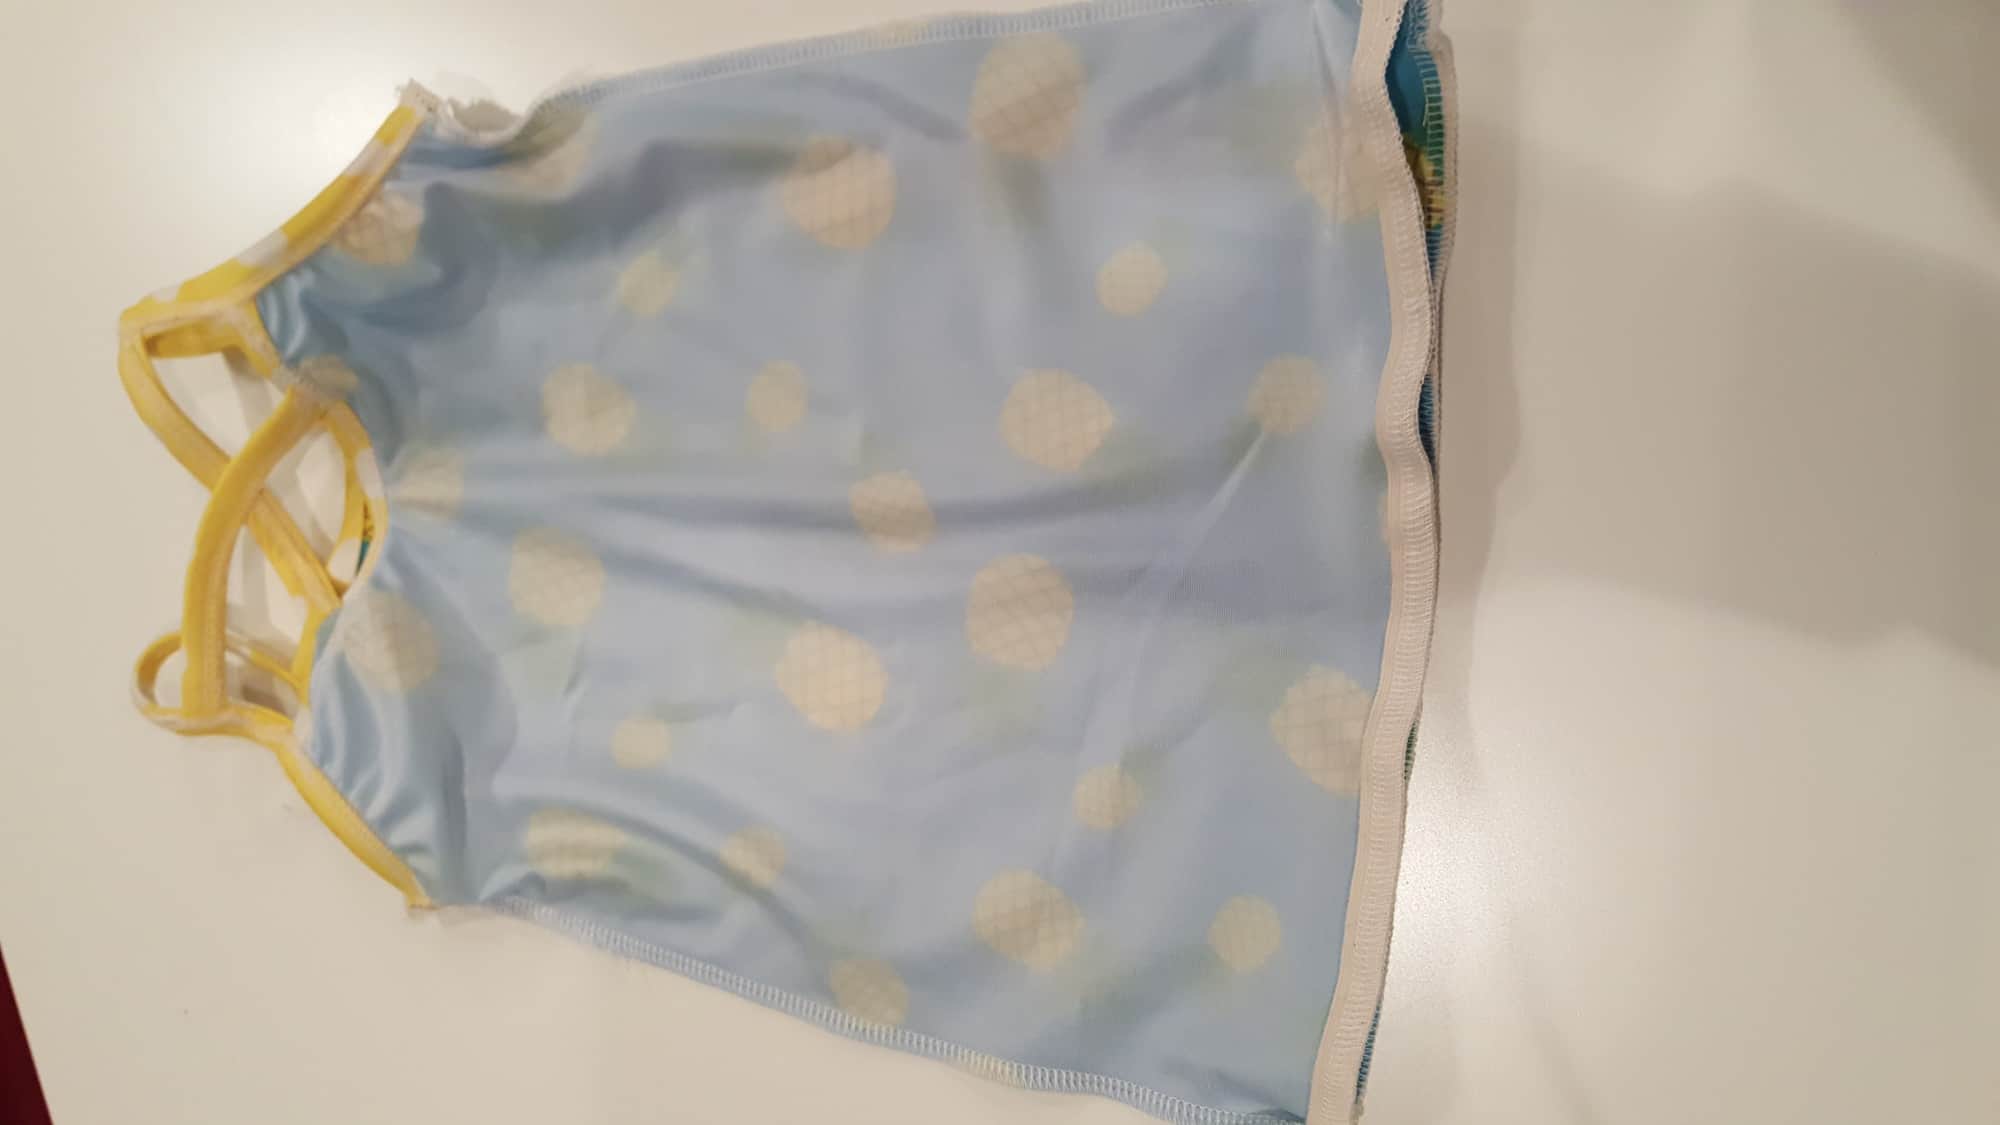
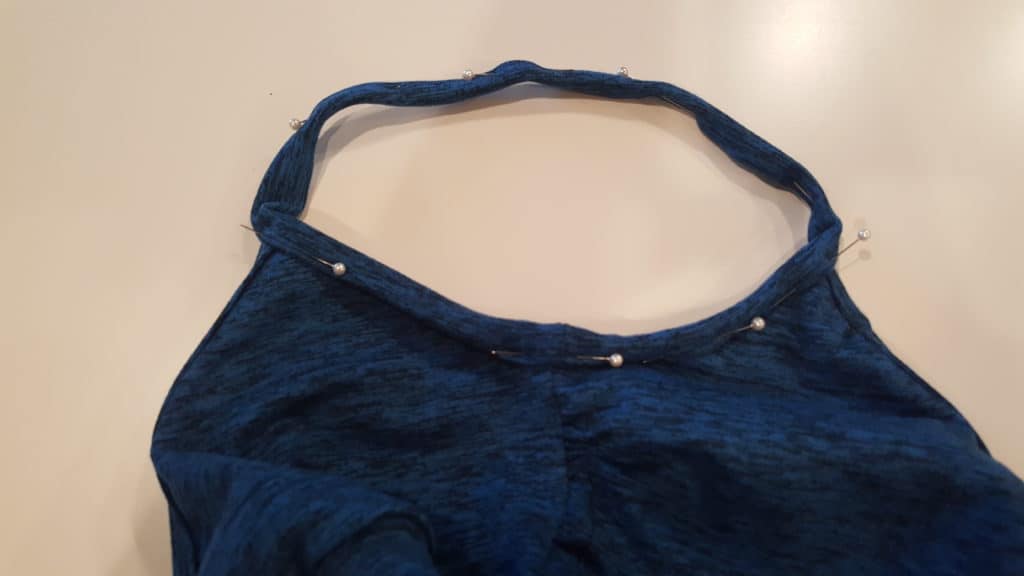
 After stitching the neckline bindings on you will stitch the shoulder strap bindings in the round. With shoulder strap marked from pattern pieces, fold in half widthwise and stitch short ends creating a circle.
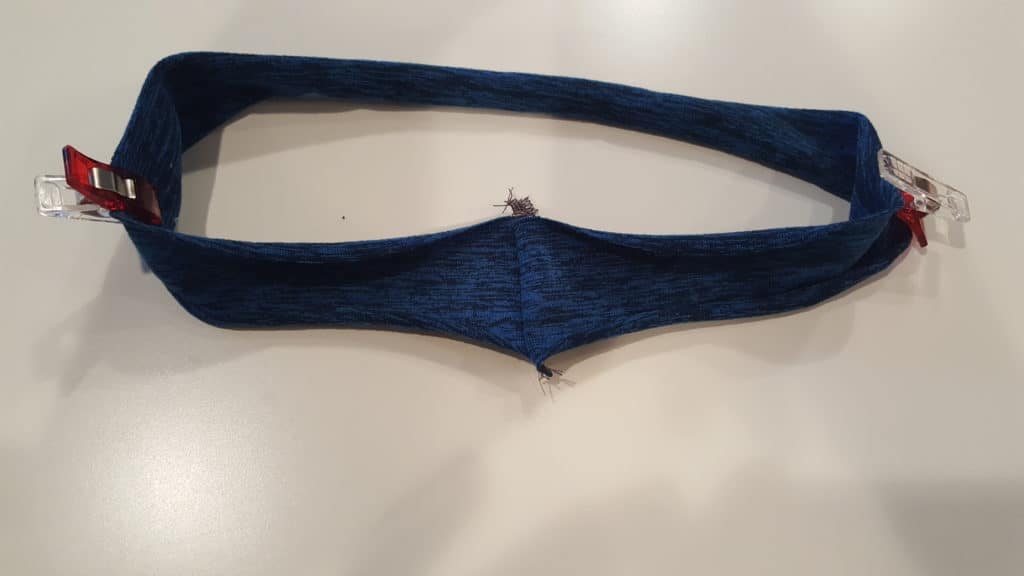

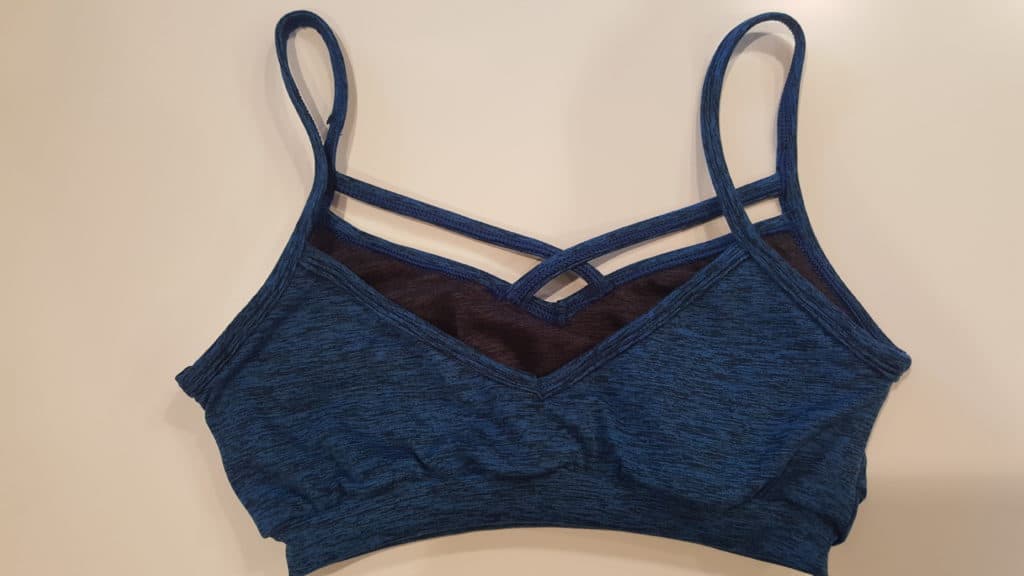 Although I could wear this around the house very comfortably I wouldn’t venture out in it still. Personally, I’m much more comfortable in something with cups of some sort. You can definitely add cups into the lining as well if you’re wanting that too, but I didn’t have any of hand to throw in there 😉 I wouldn’t consider it enough support to use as a sports bra either. If you’re wanting more of a sports bra I would recommend adding some power mesh inner lining to help hold the ladies in place.
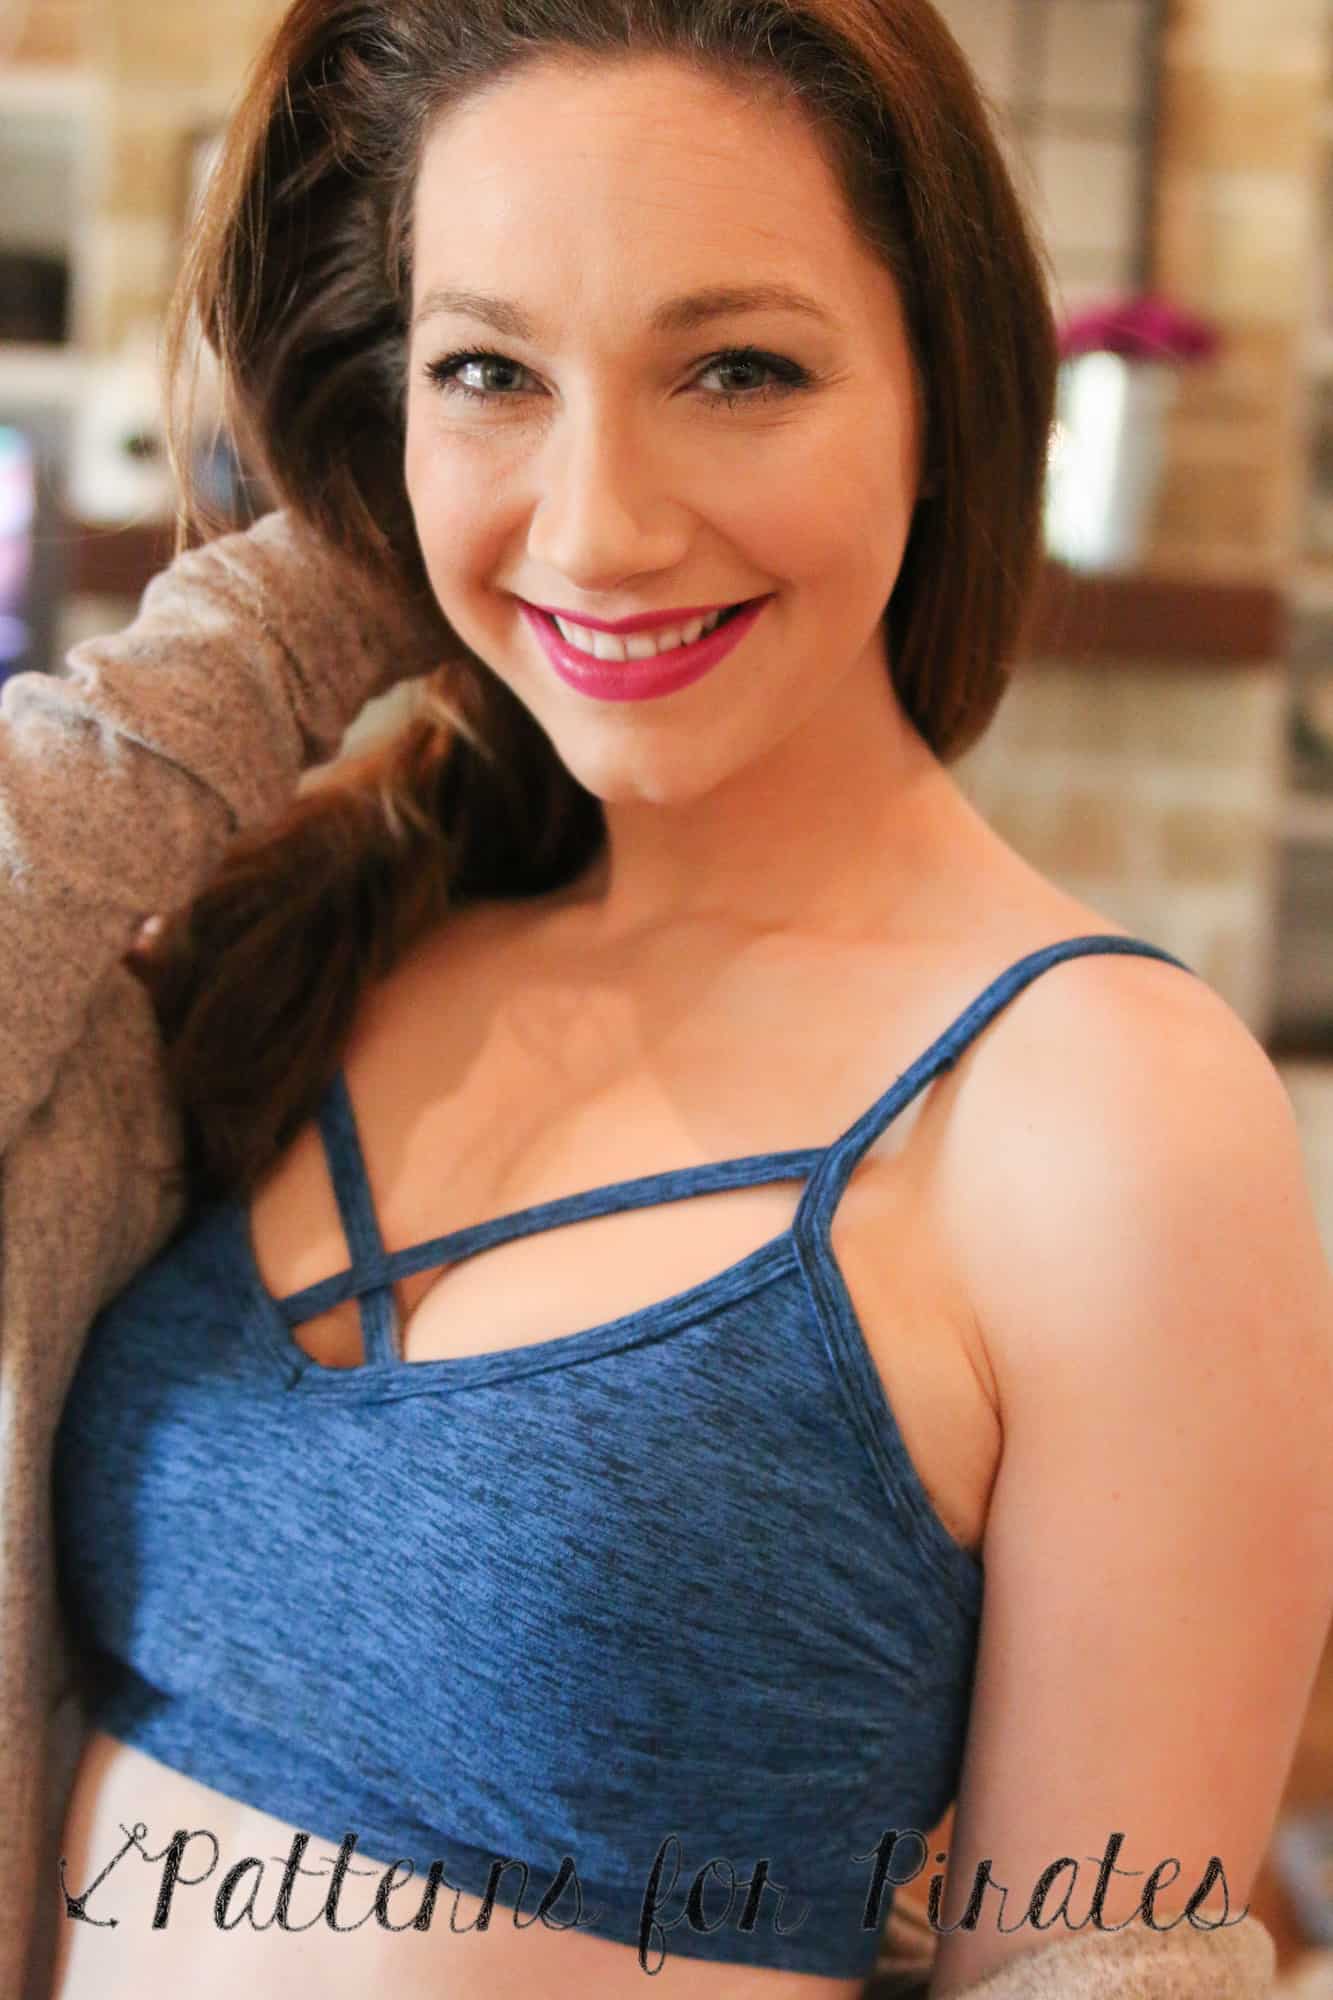


![IMG_6525[1]](http://www.patternsforpirates.com/wp-content/uploads/2017/01/IMG_65251.jpg)
![IMG_6526[1]](http://www.patternsforpirates.com/wp-content/uploads/2017/01/IMG_65261.jpg)
![IMG_6527[1]](http://www.patternsforpirates.com/wp-content/uploads/2017/01/IMG_65271.jpg)
![IMG_6528[1]](http://www.patternsforpirates.com/wp-content/uploads/2017/01/IMG_65281.jpg)
![IMG_6549[1]](http://www.patternsforpirates.com/wp-content/uploads/2017/01/IMG_65491.jpg)
![IMG_6542[1]](http://www.patternsforpirates.com/wp-content/uploads/2017/01/IMG_65421.jpg)