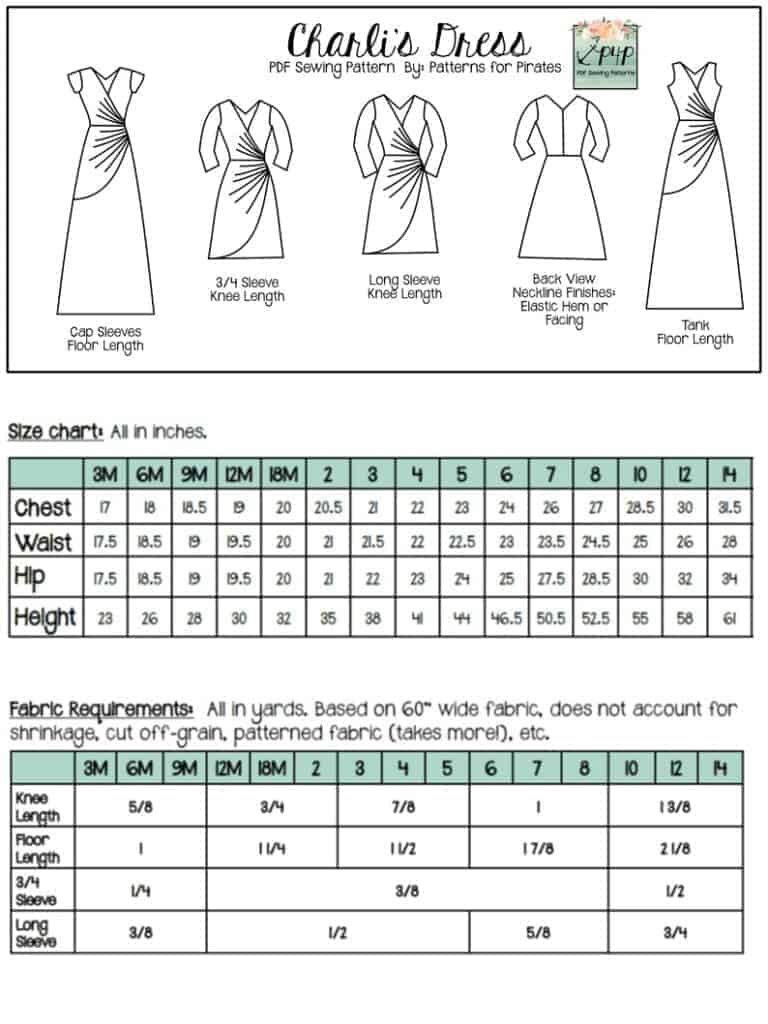
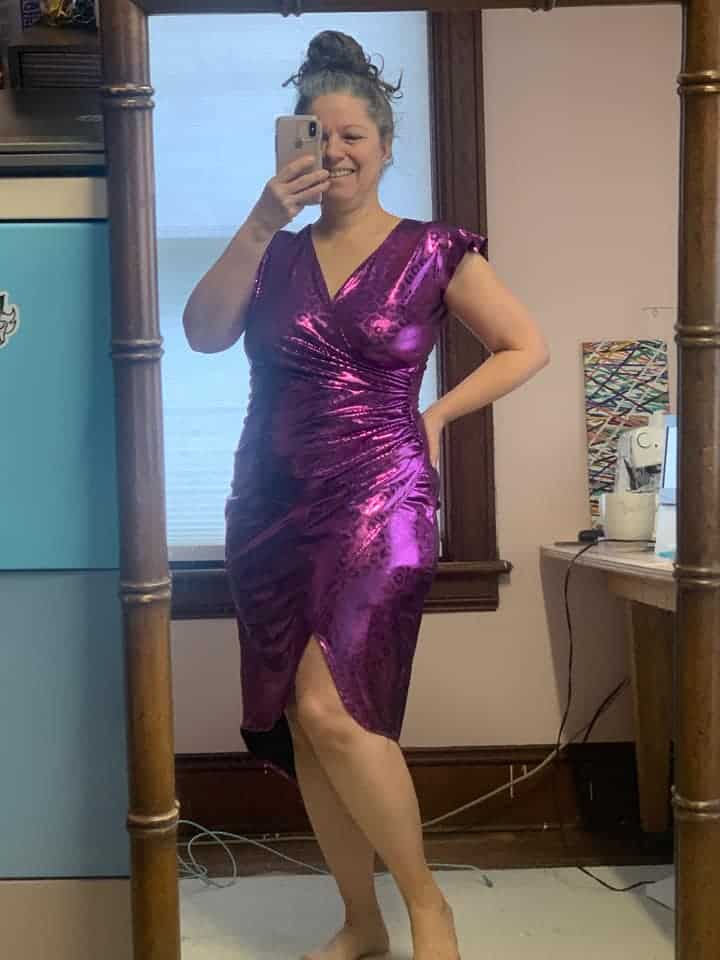
Hello, friends! Thank you everyone who joined us last week for the Kelli and Charli sew along. I thoroughly enjoyed making the stretch velvet Kelli dress…plus , I am Christmas ready with month and months to spare. I know you are here to find out the winners so without further ado, here they are!
Congratulations, Stevie Puckett-Perez ! She is our first winner. Mel won a $20 gift card from Patterns for Pirates and a $25 gift card from Mily Mae Fabrics.

Congratulations go to Cathryn Larkin as well! Cathryn won a gift card from Made for Mermaids valued at $20.
A huge THANK YOU to our sew along sponsor. Make sure you check out Mily Mae Fabrics on Facebook to keep up to date with their sales and fabrics.

I am passing the baton to the mermaids! I’m excited to see what’s next in the sew along group.
Kelli and Charli sew along – day 1 | cut fabric
Kelli and Charli sew along – day 2 | shoulder seams and facing
Kelli and Charli sew along – day 3 | gather front and sew side seams
Kelli and Charli sew along – day 4 | add sleeves
Kelli and Charli sew along – day 5 | create skirt
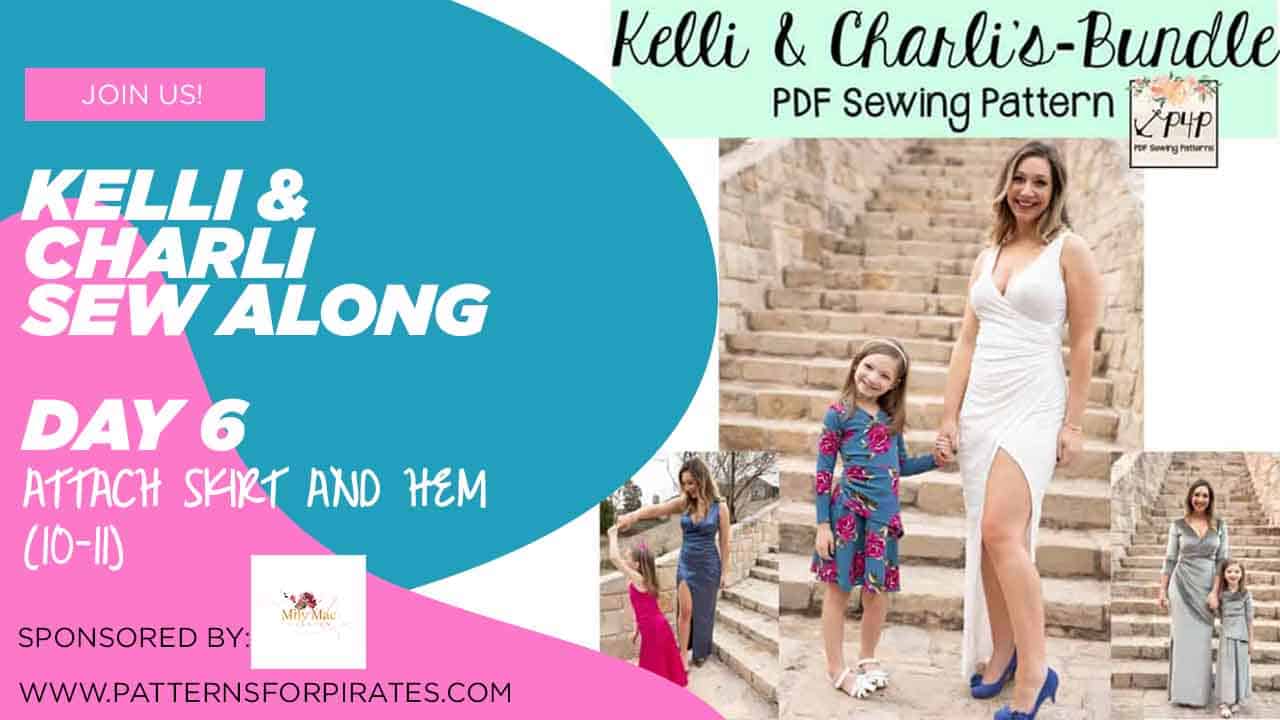
Kelli and Charli sew along – day 6 | attach skirt and hem
Kelli and Charli sew along – day 7 | winners announcement
![]()