Are you ready for another super fun day of freebies for the 2019 Holiday Freebies with Patterns for Pirates? Because I am!!
Today’s free pattern for you is a super, duper easy one. And such a fun sew! Let’s get to the Pixie Hat, shall we?
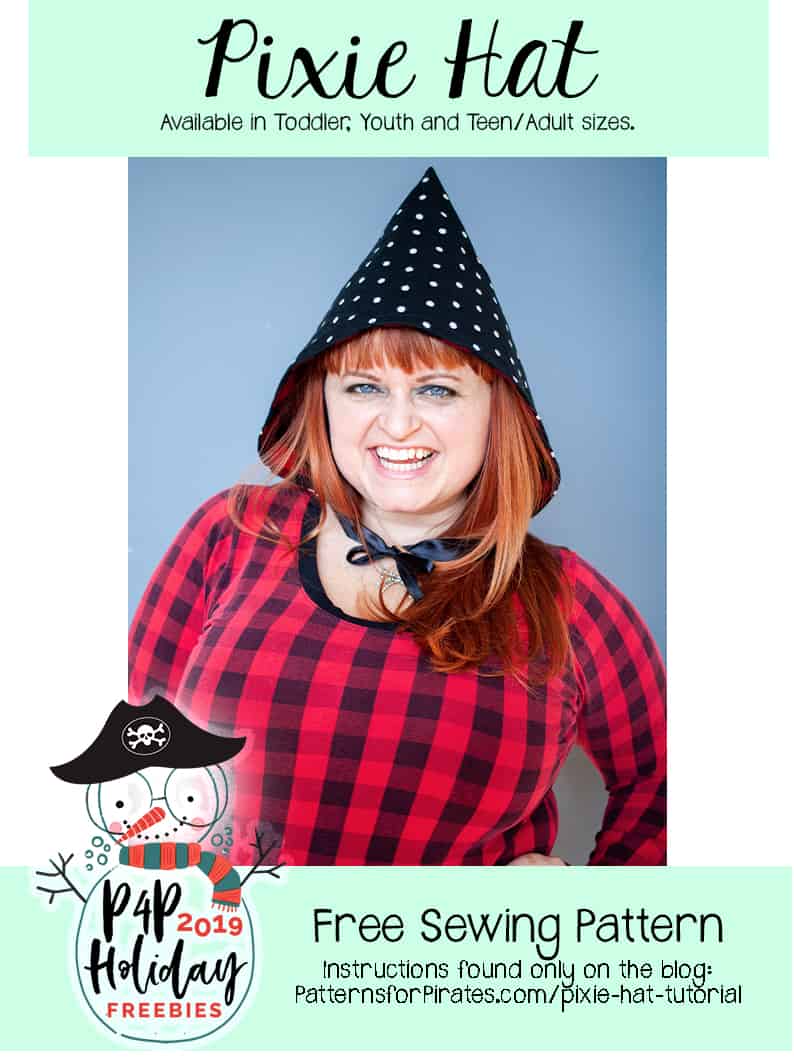
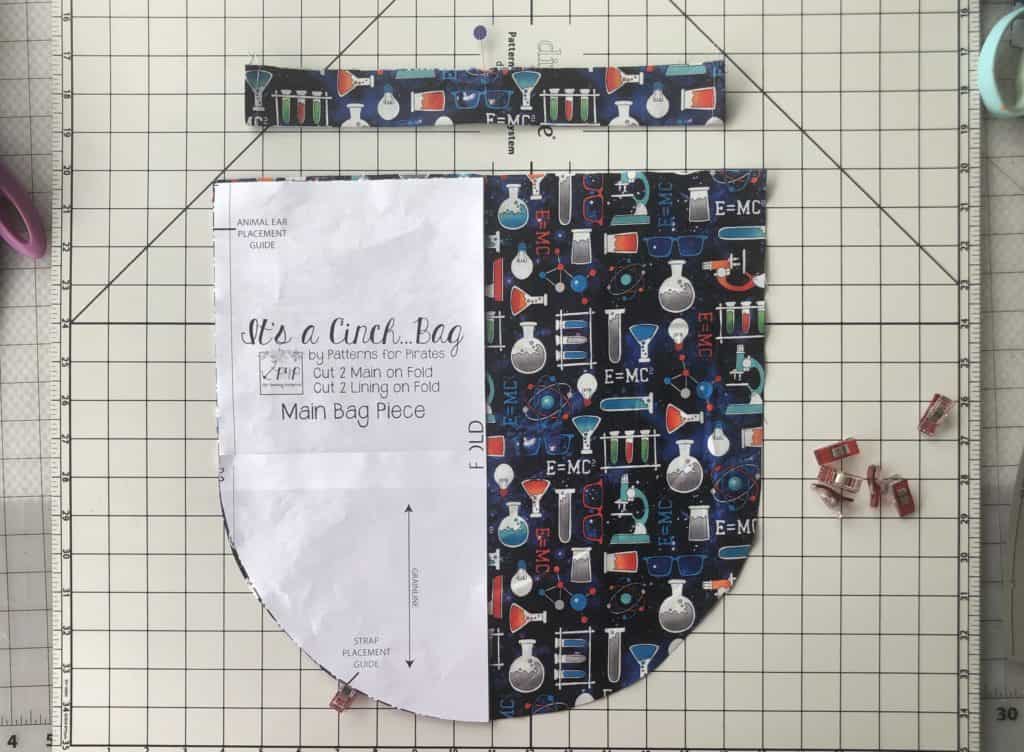
Grab your “PIXIE HAT” pattern pieces here!
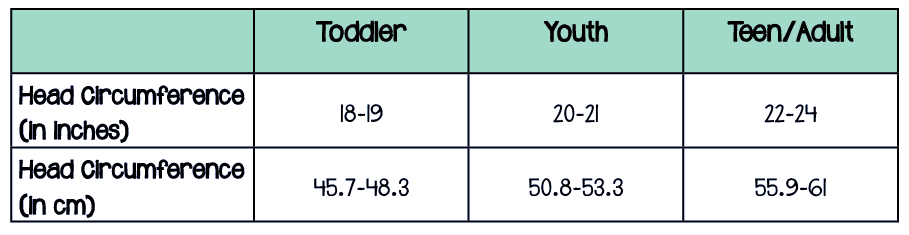
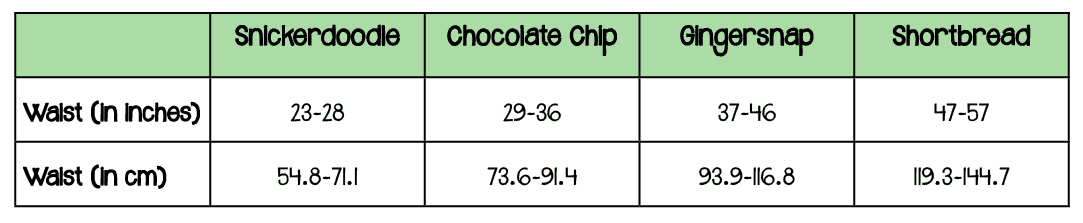
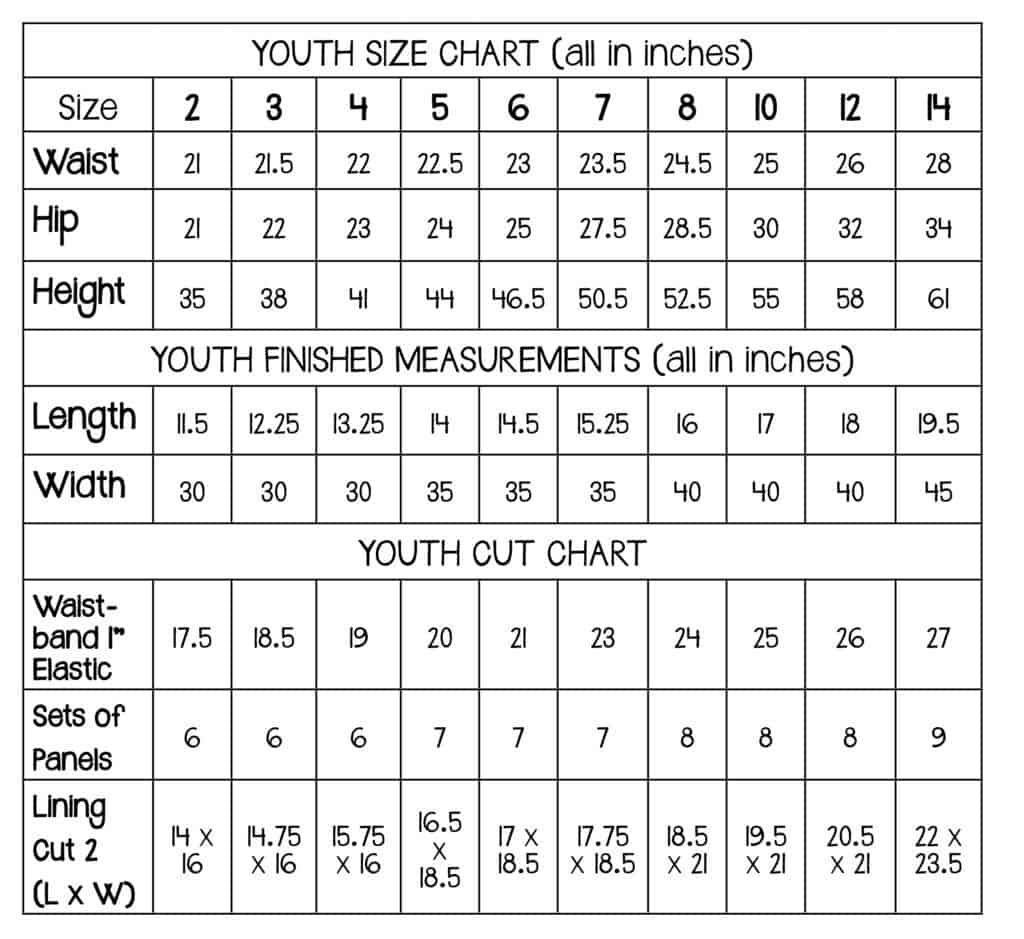
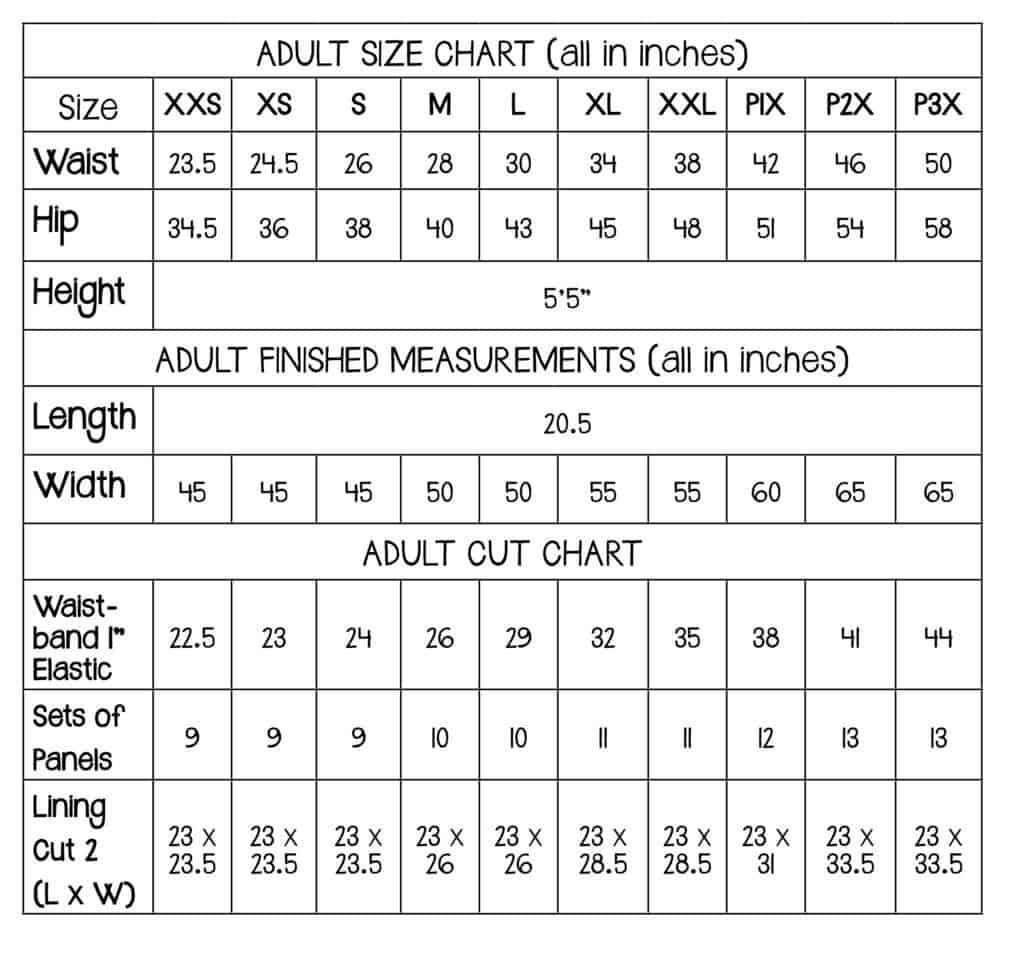
Check the size chart before sewing to know which size you need to make!
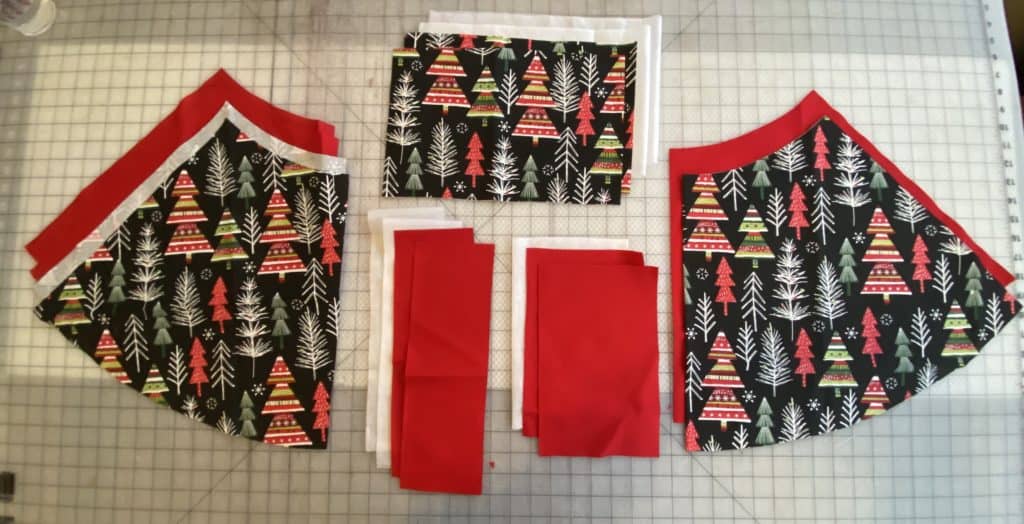
Fabric Requirements (based upon 44″ quilting cottons):
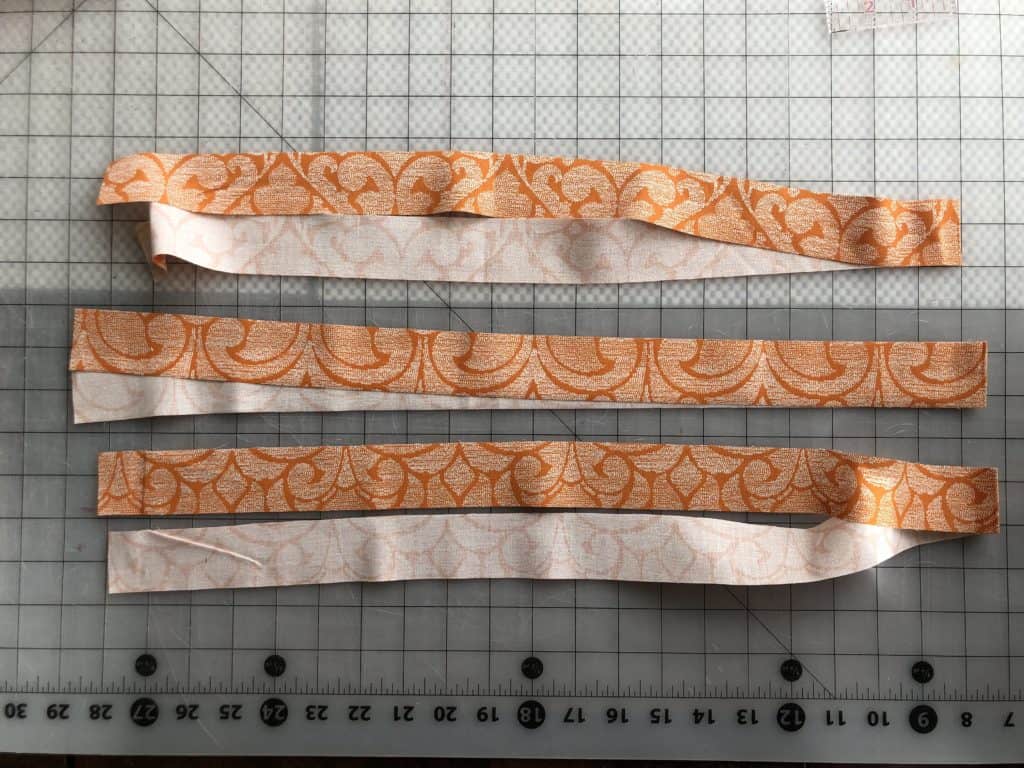
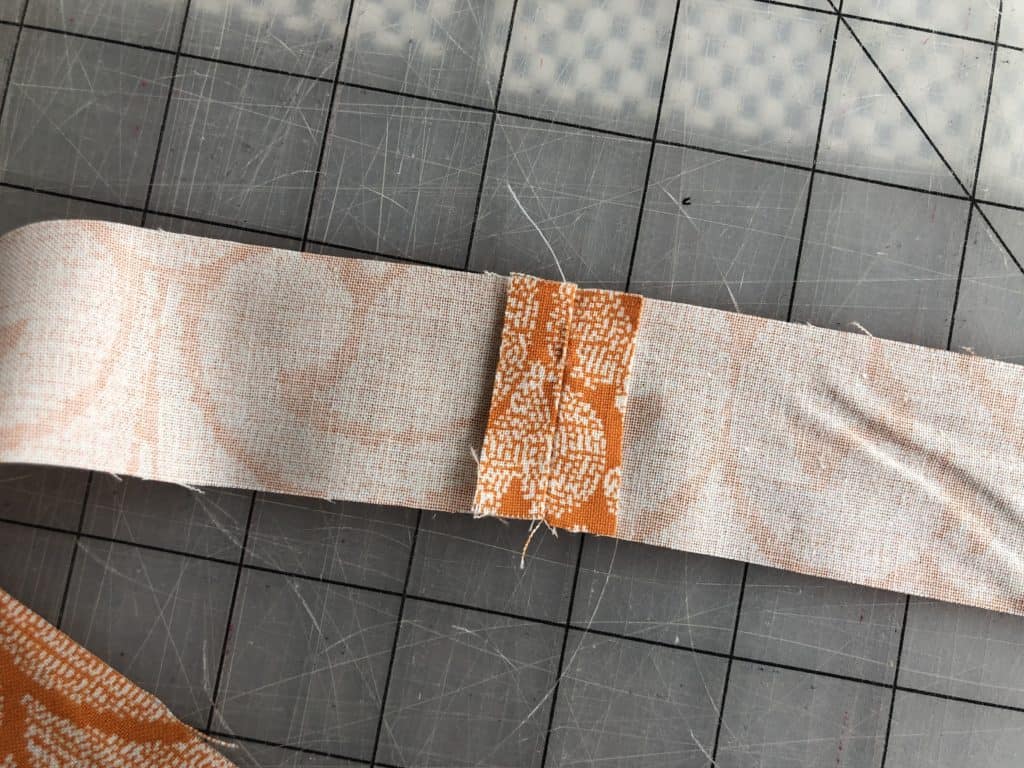
- – 3/4” or 7/8” ribbon (34″ for Toddler size, 35″ for Youth size, 36″ for Teen/Adult size)
– 2/3 yard each lining + main. I like flannel for this!
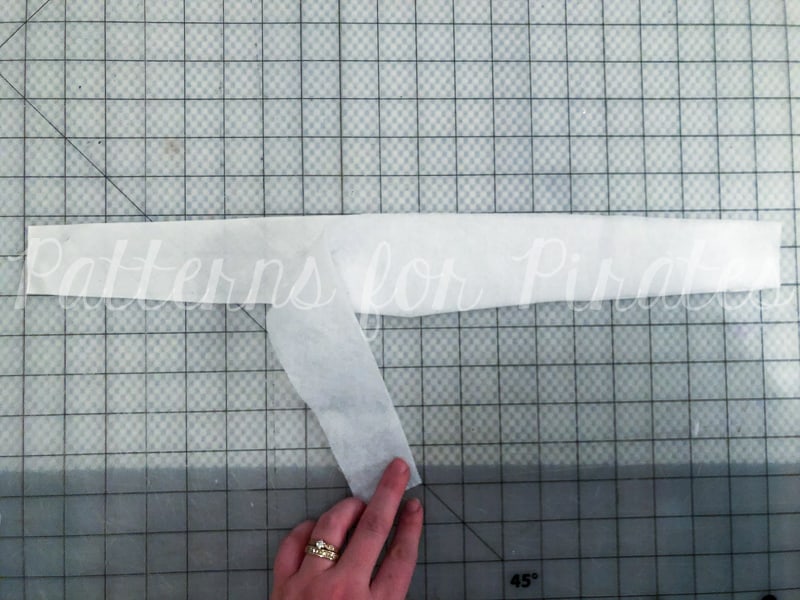
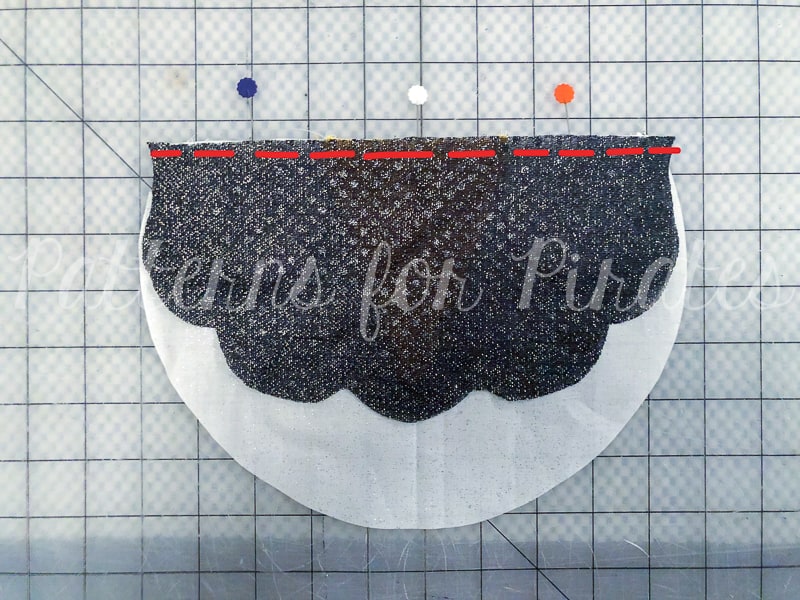
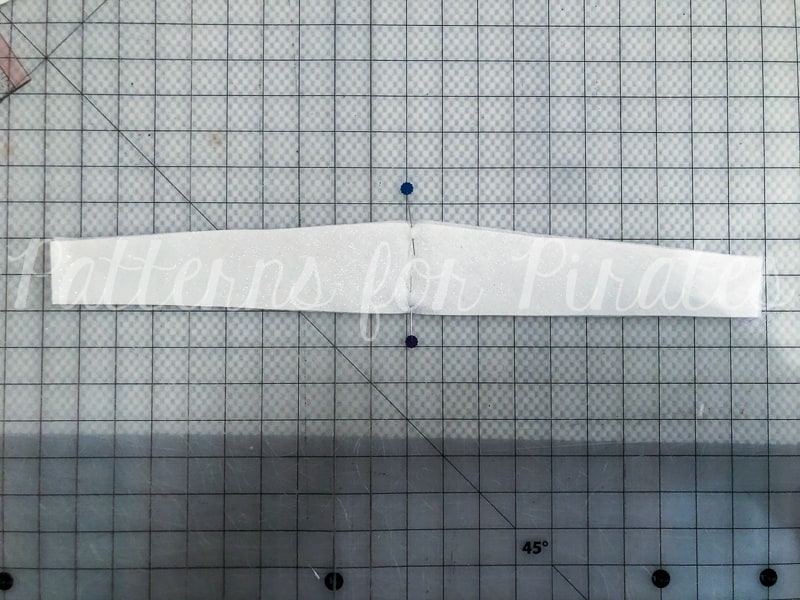
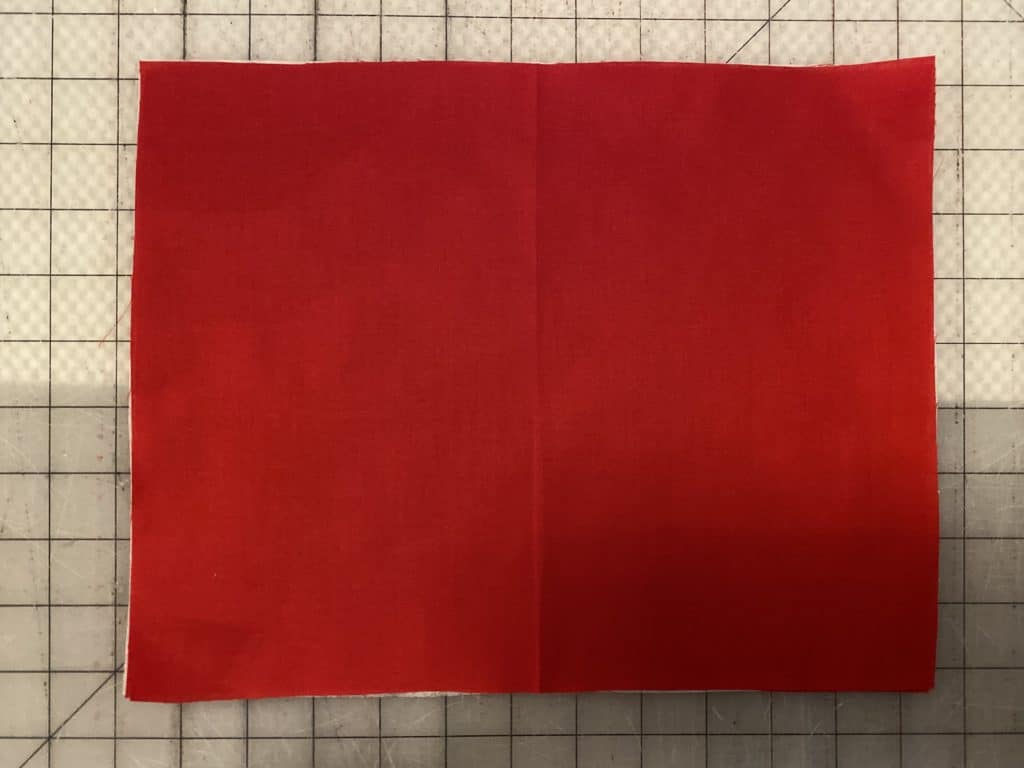
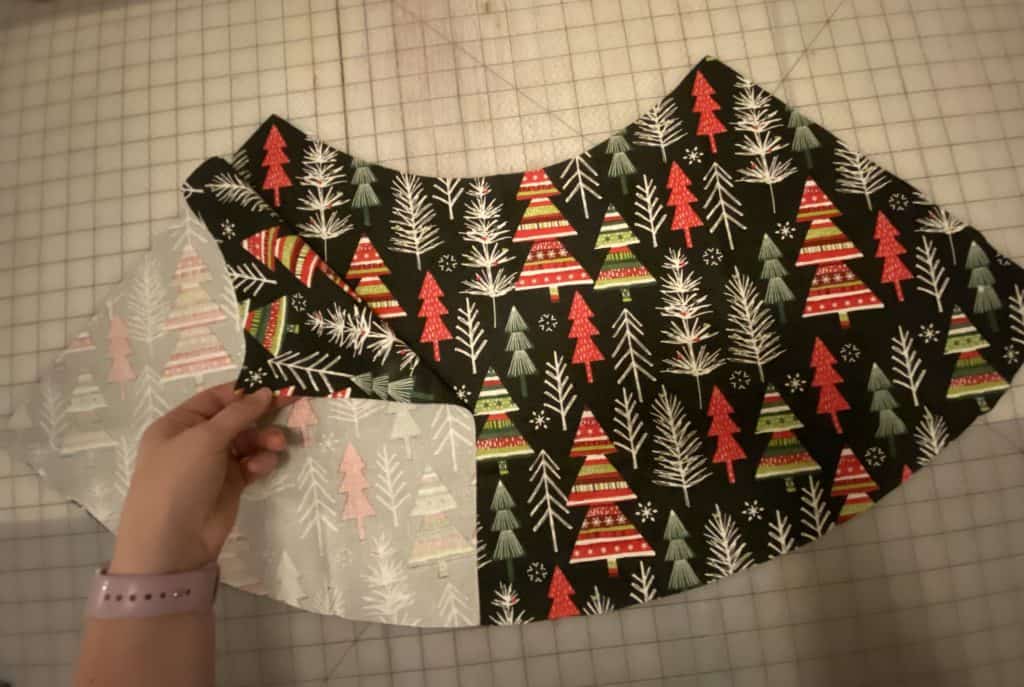
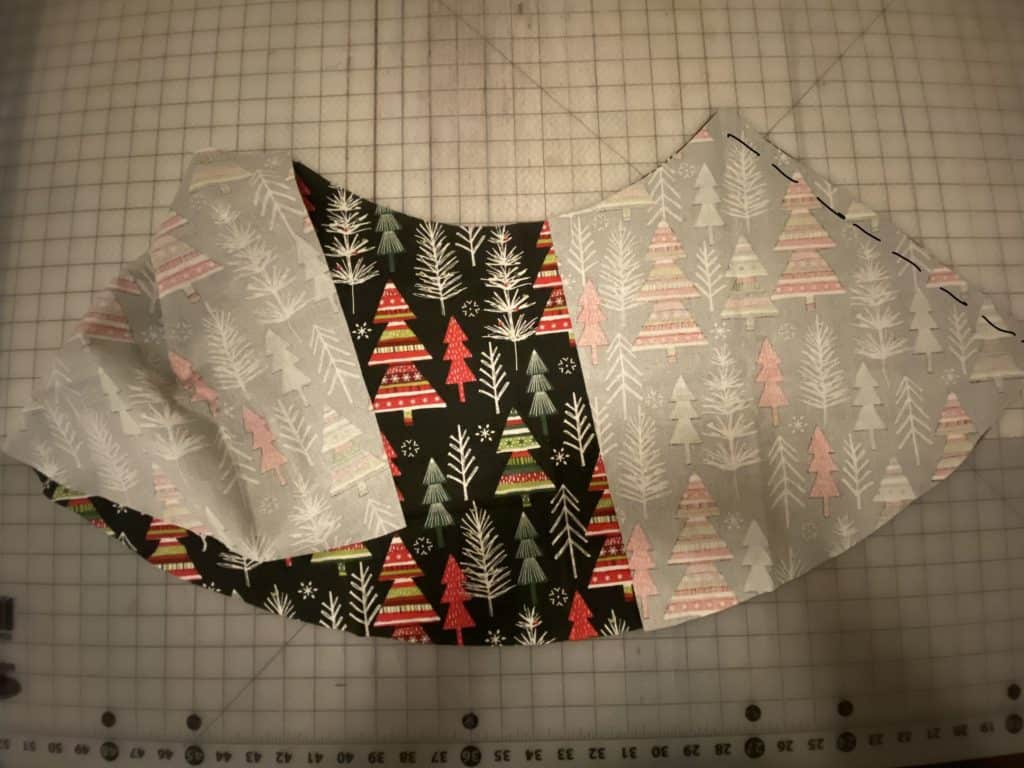
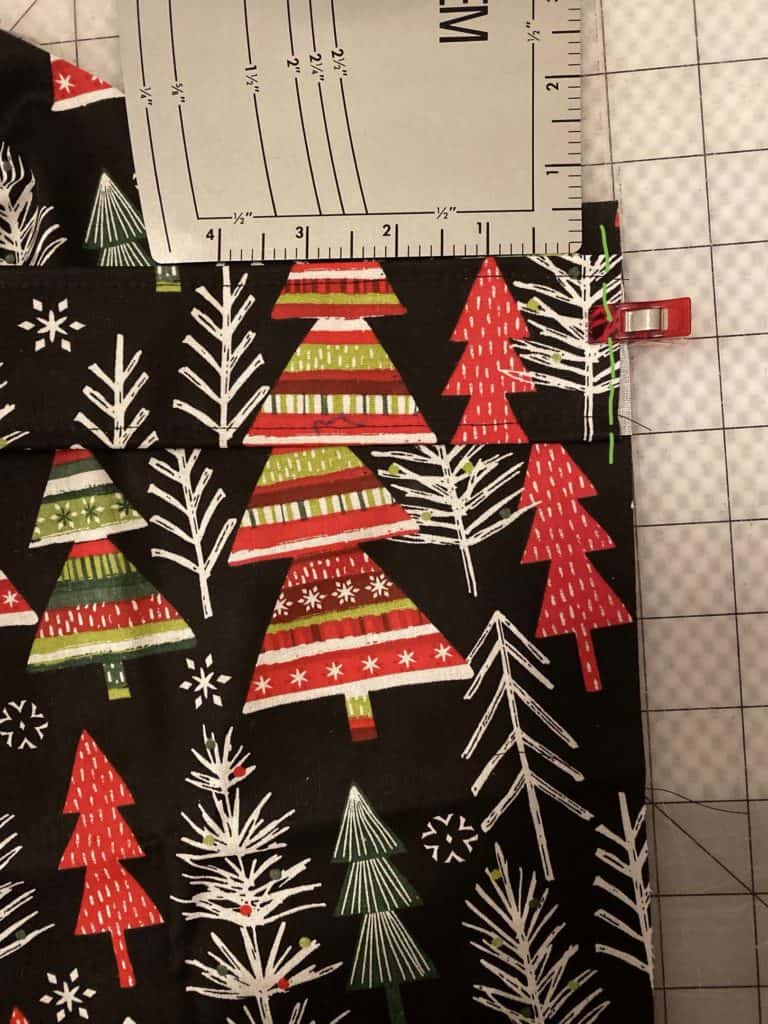
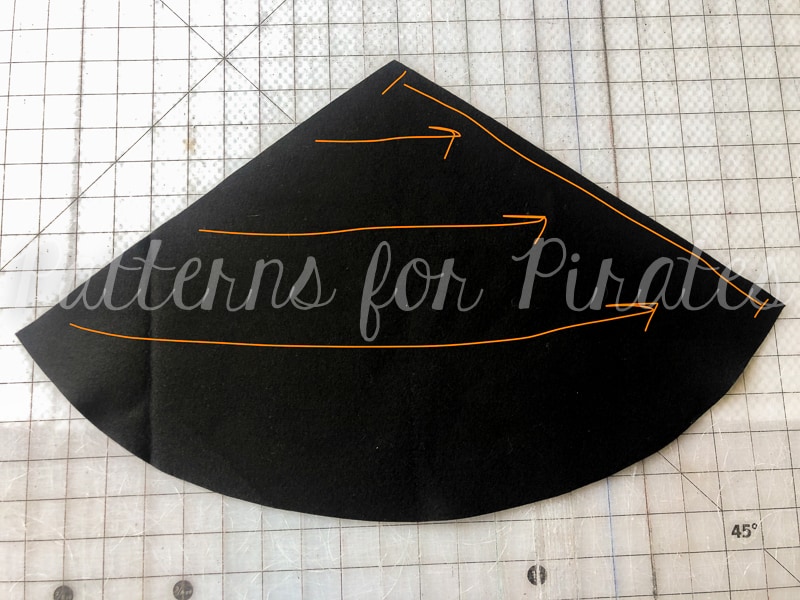
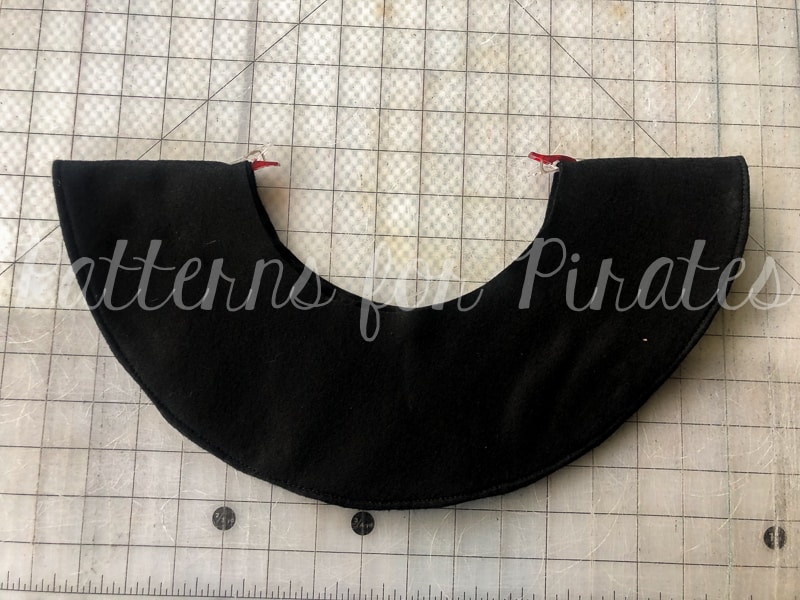
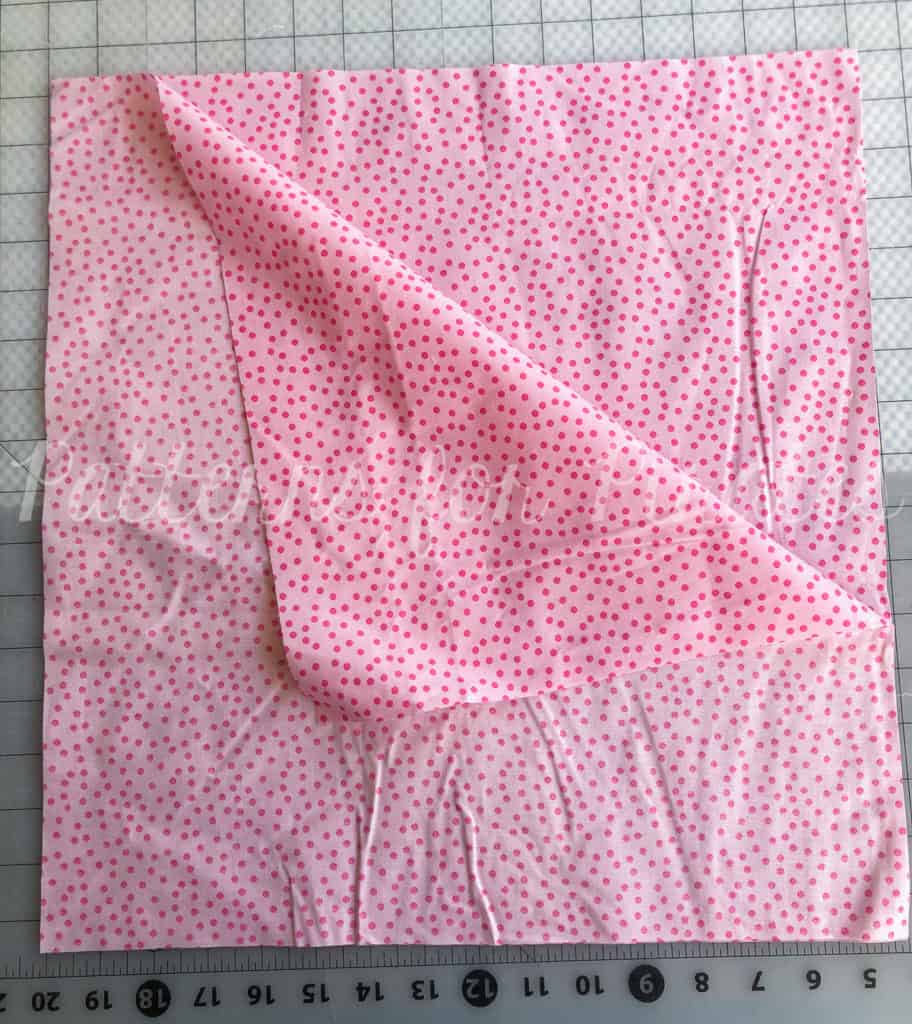
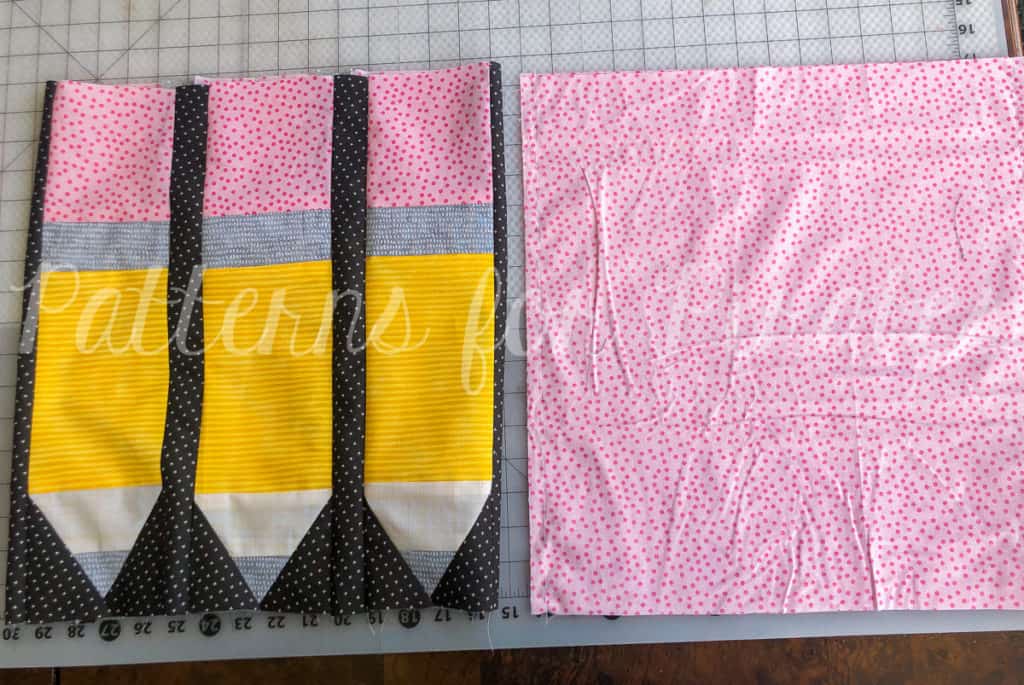
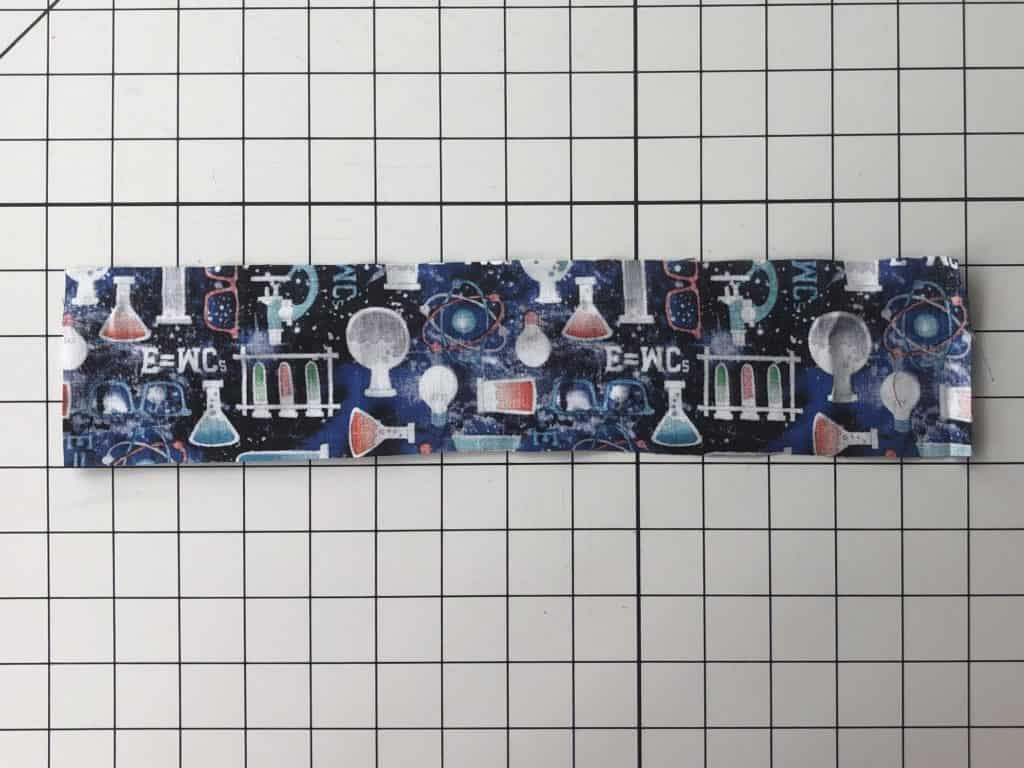
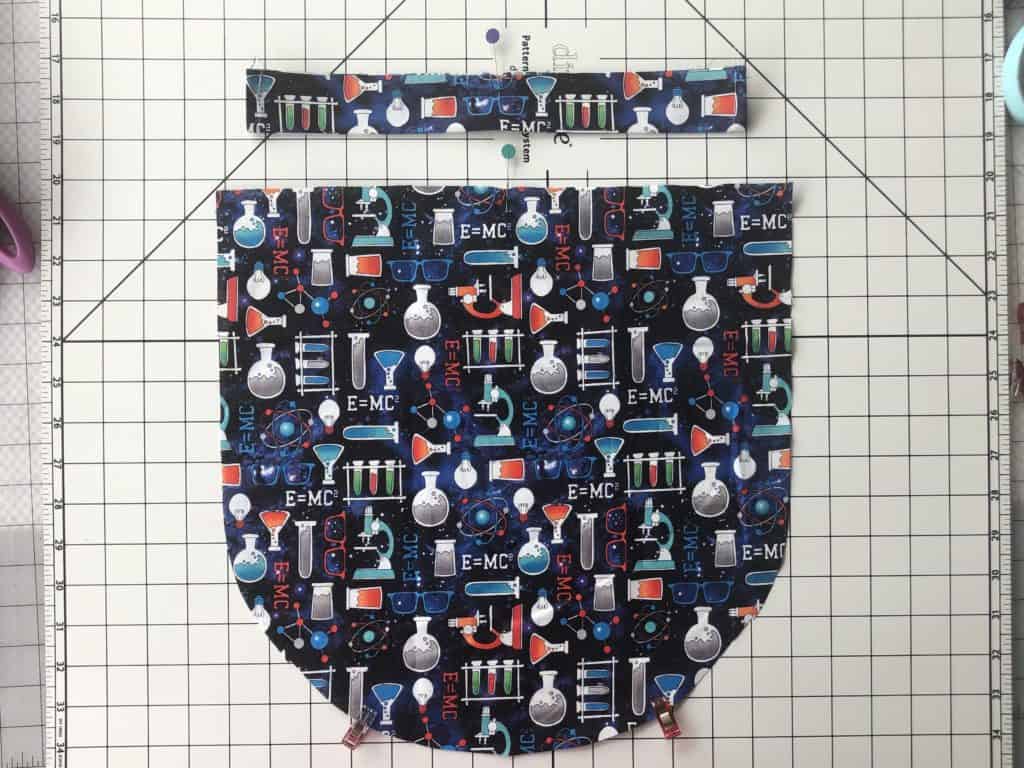
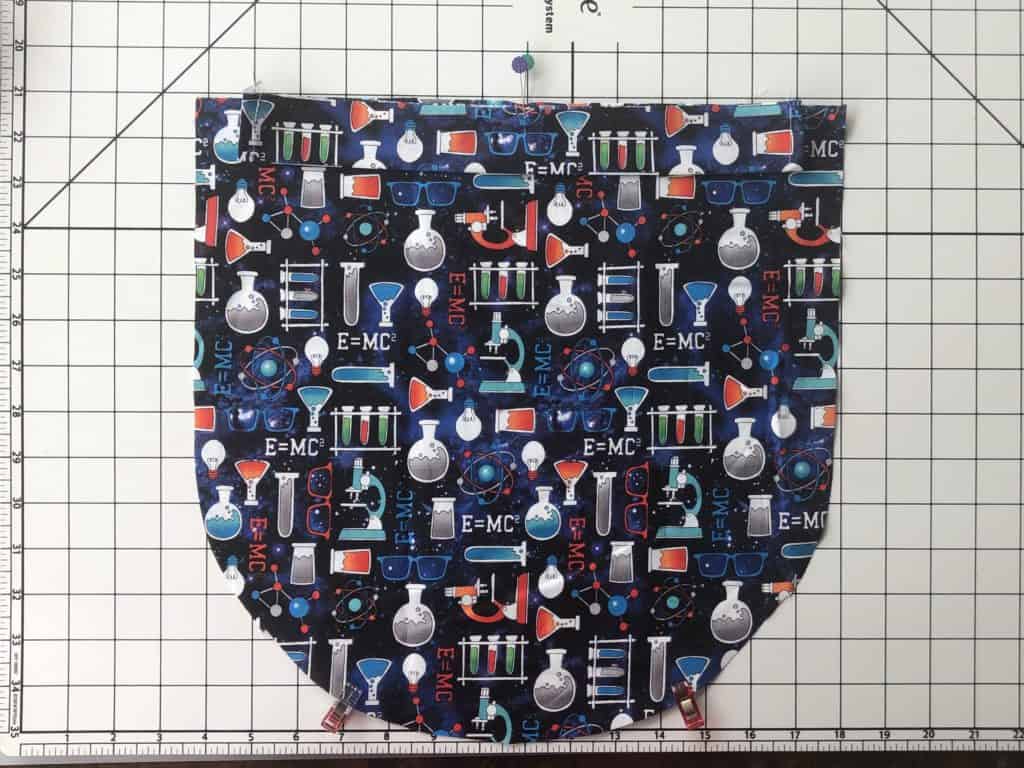
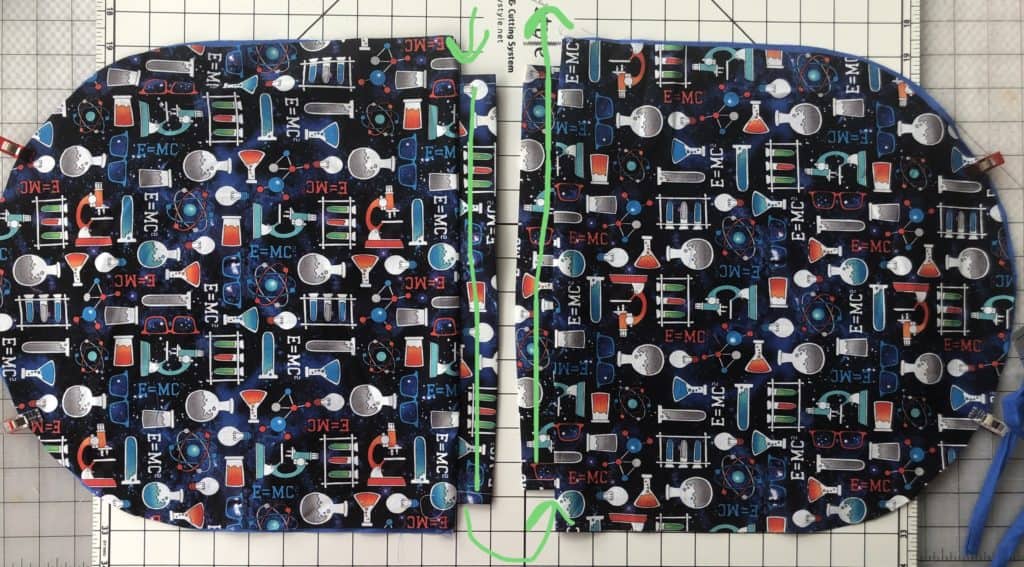
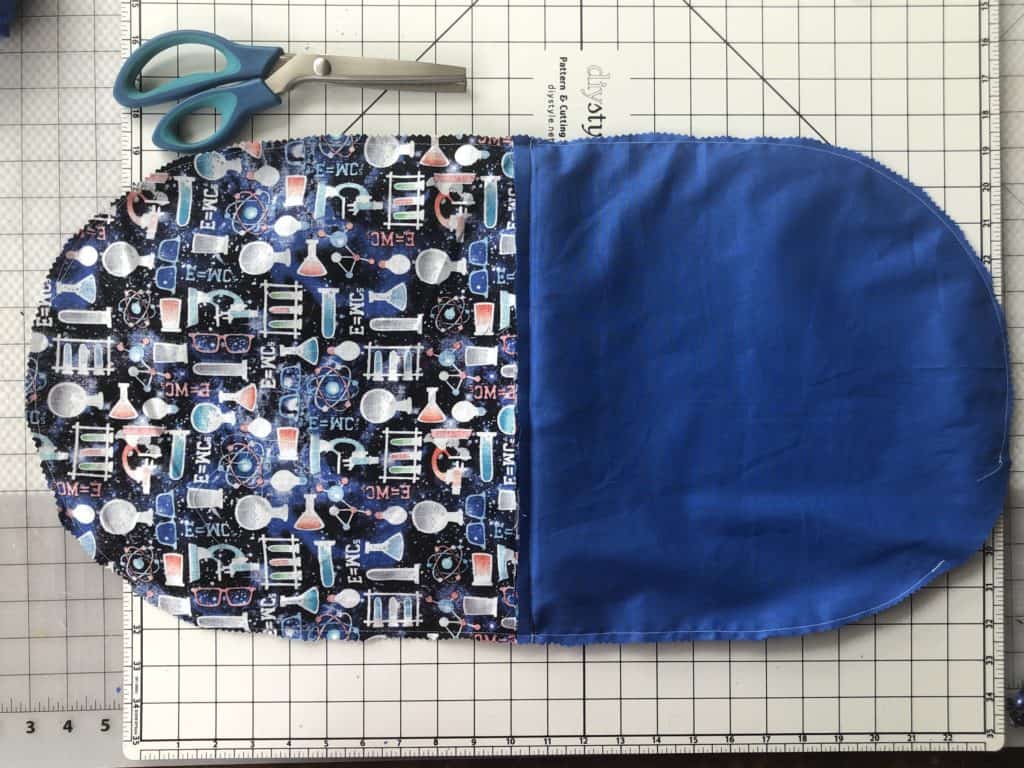
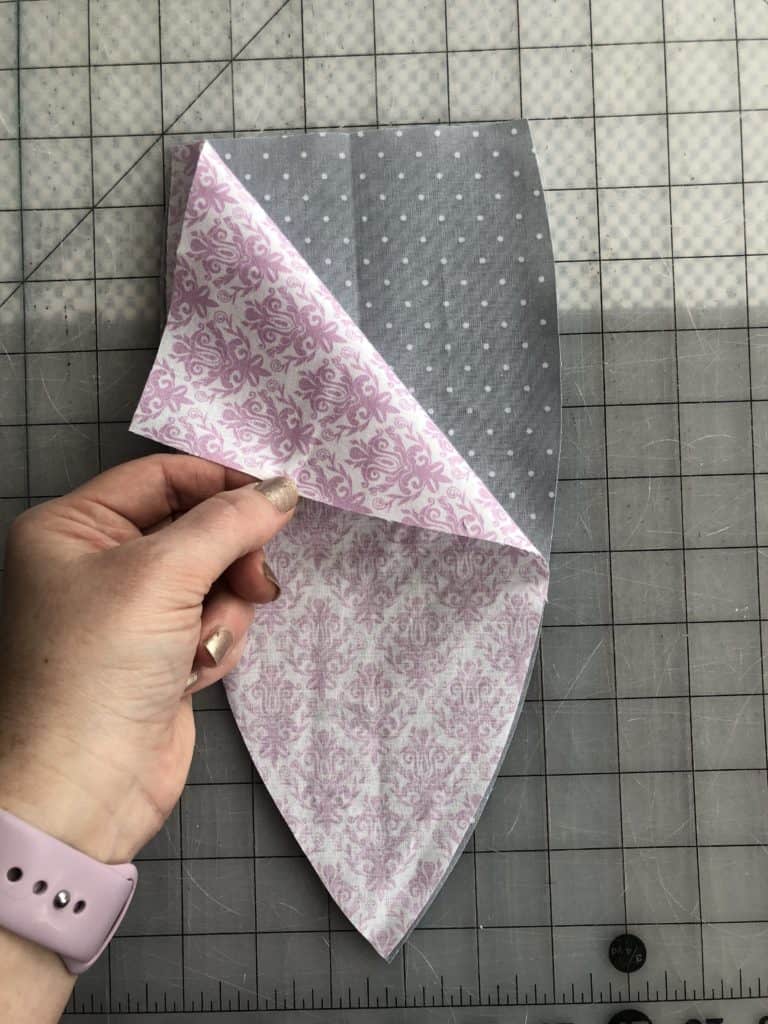
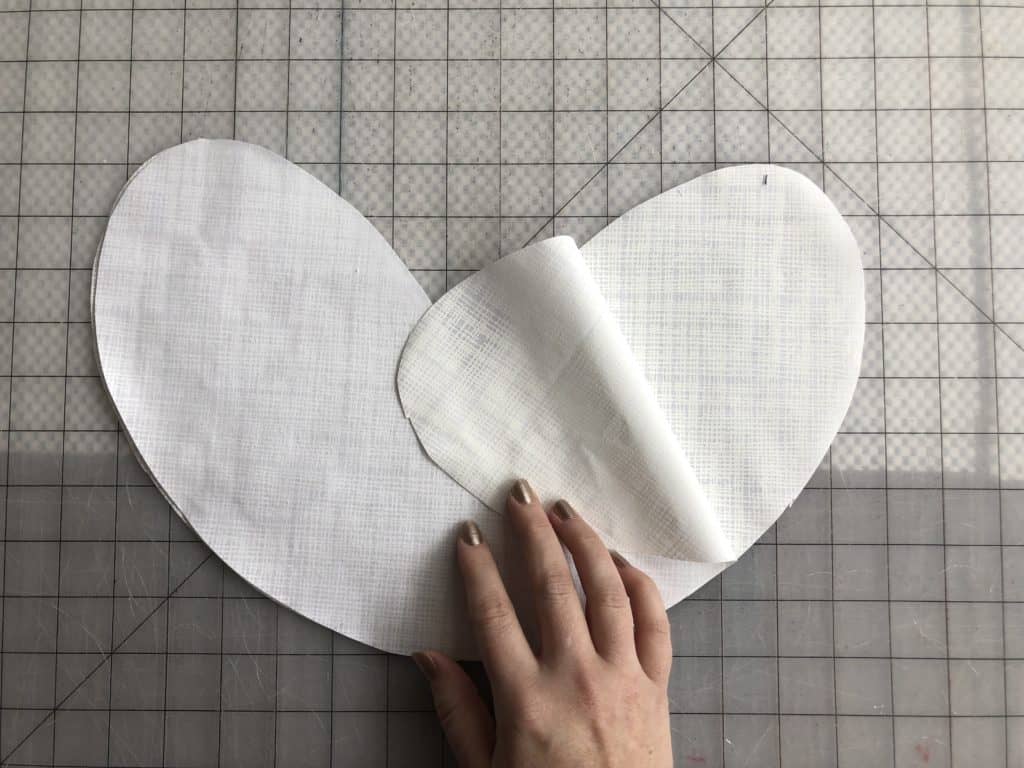
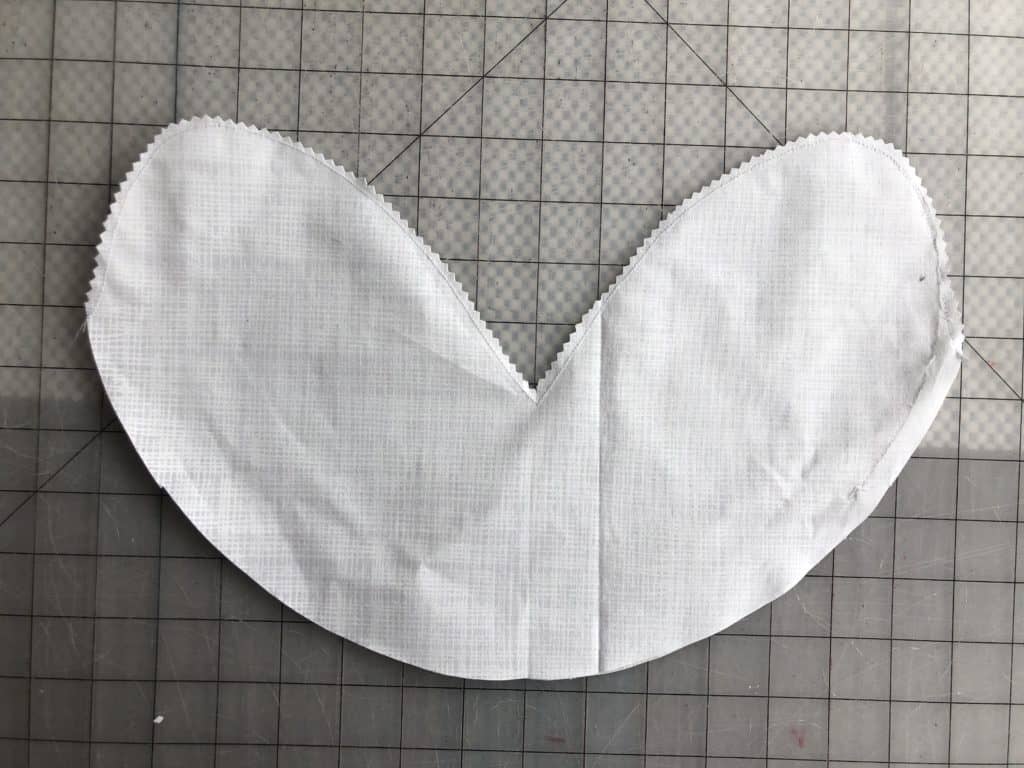
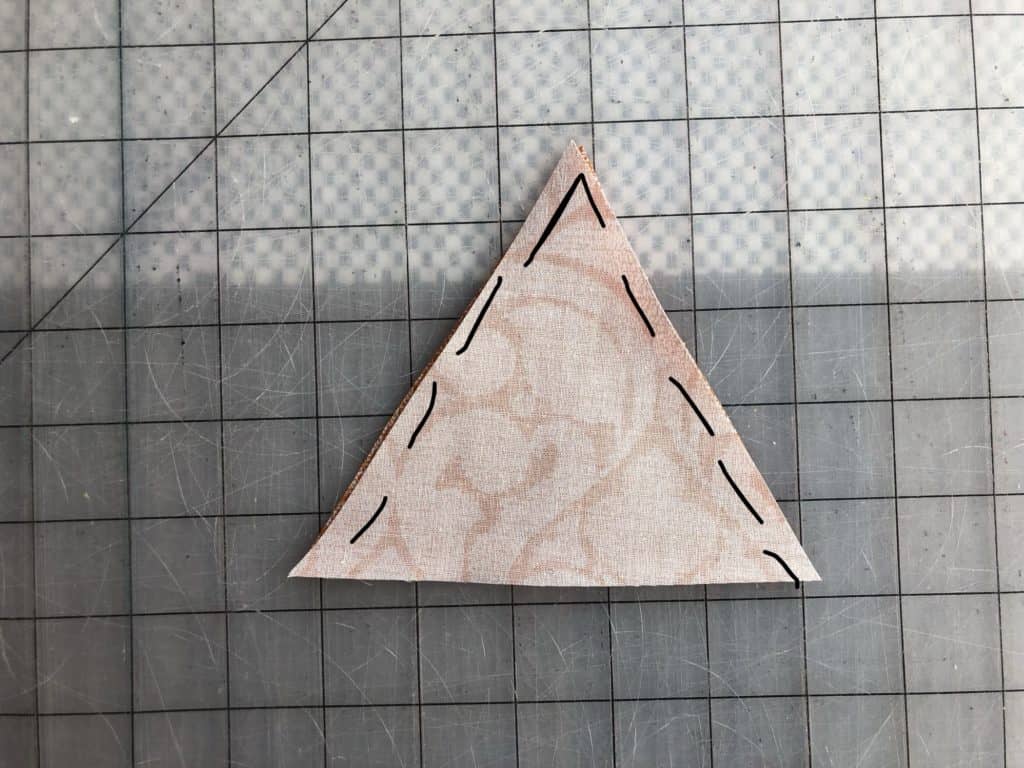
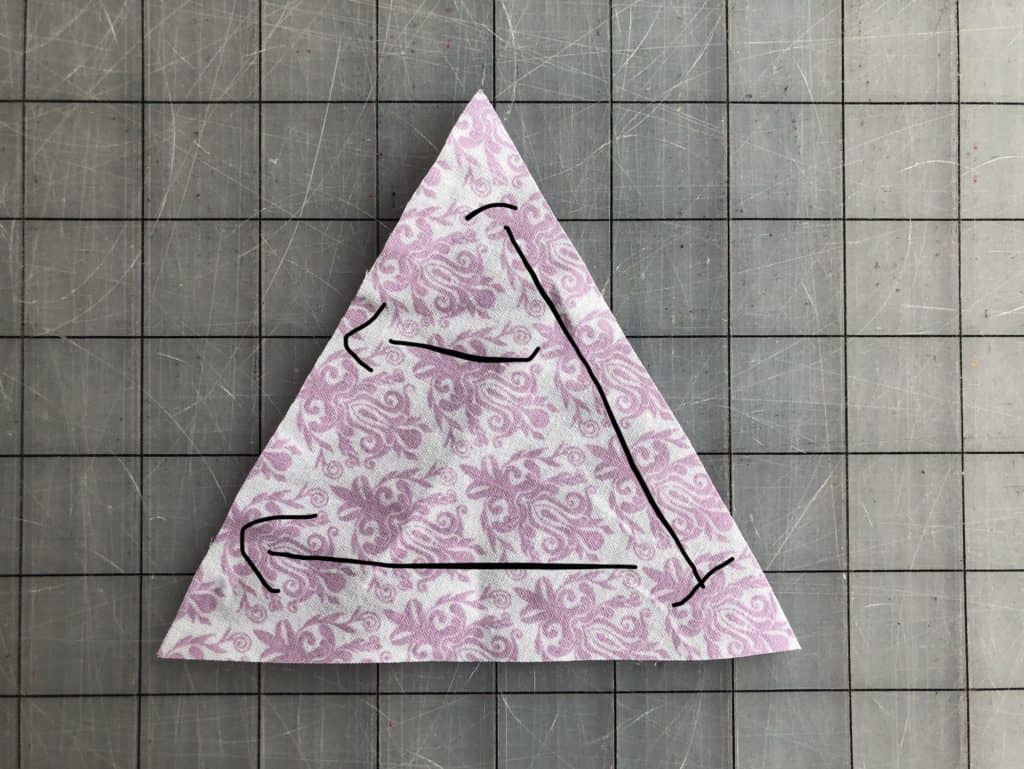
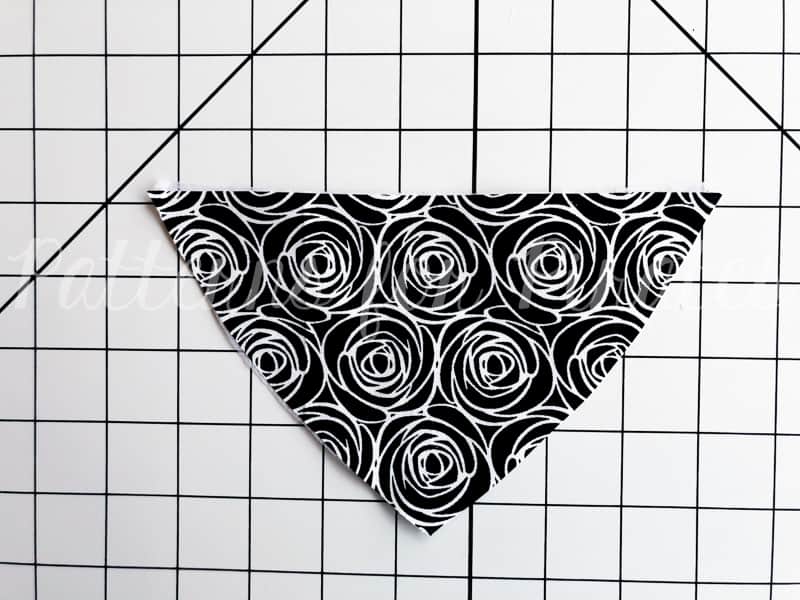
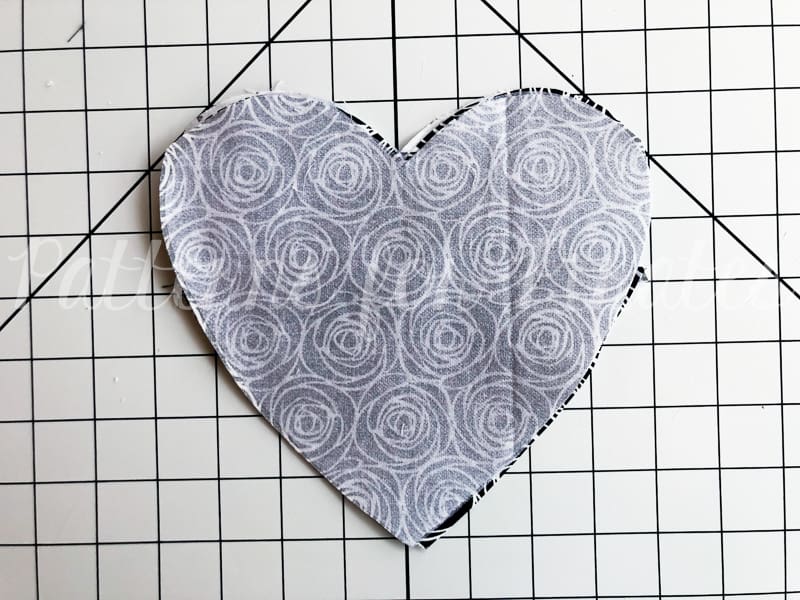
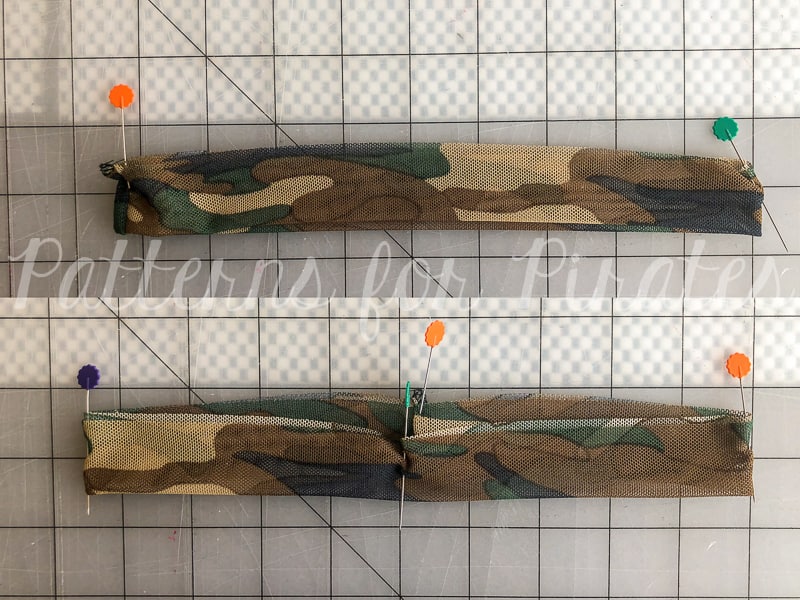
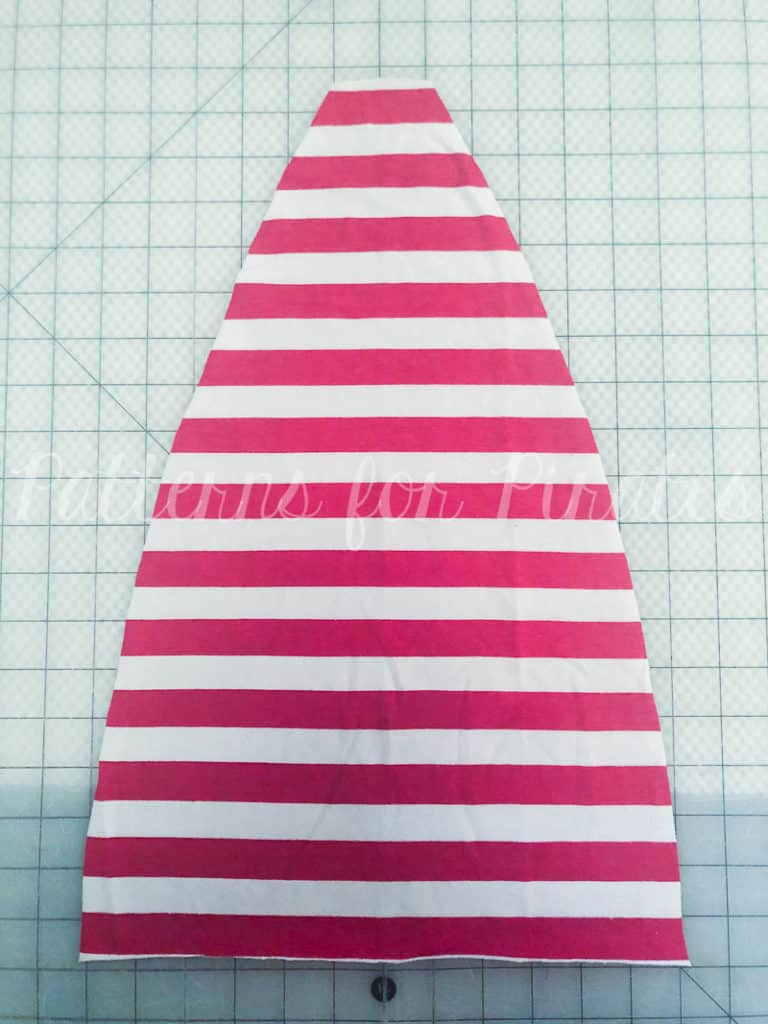
Lay your piece with right side of the fabric up, facing you.
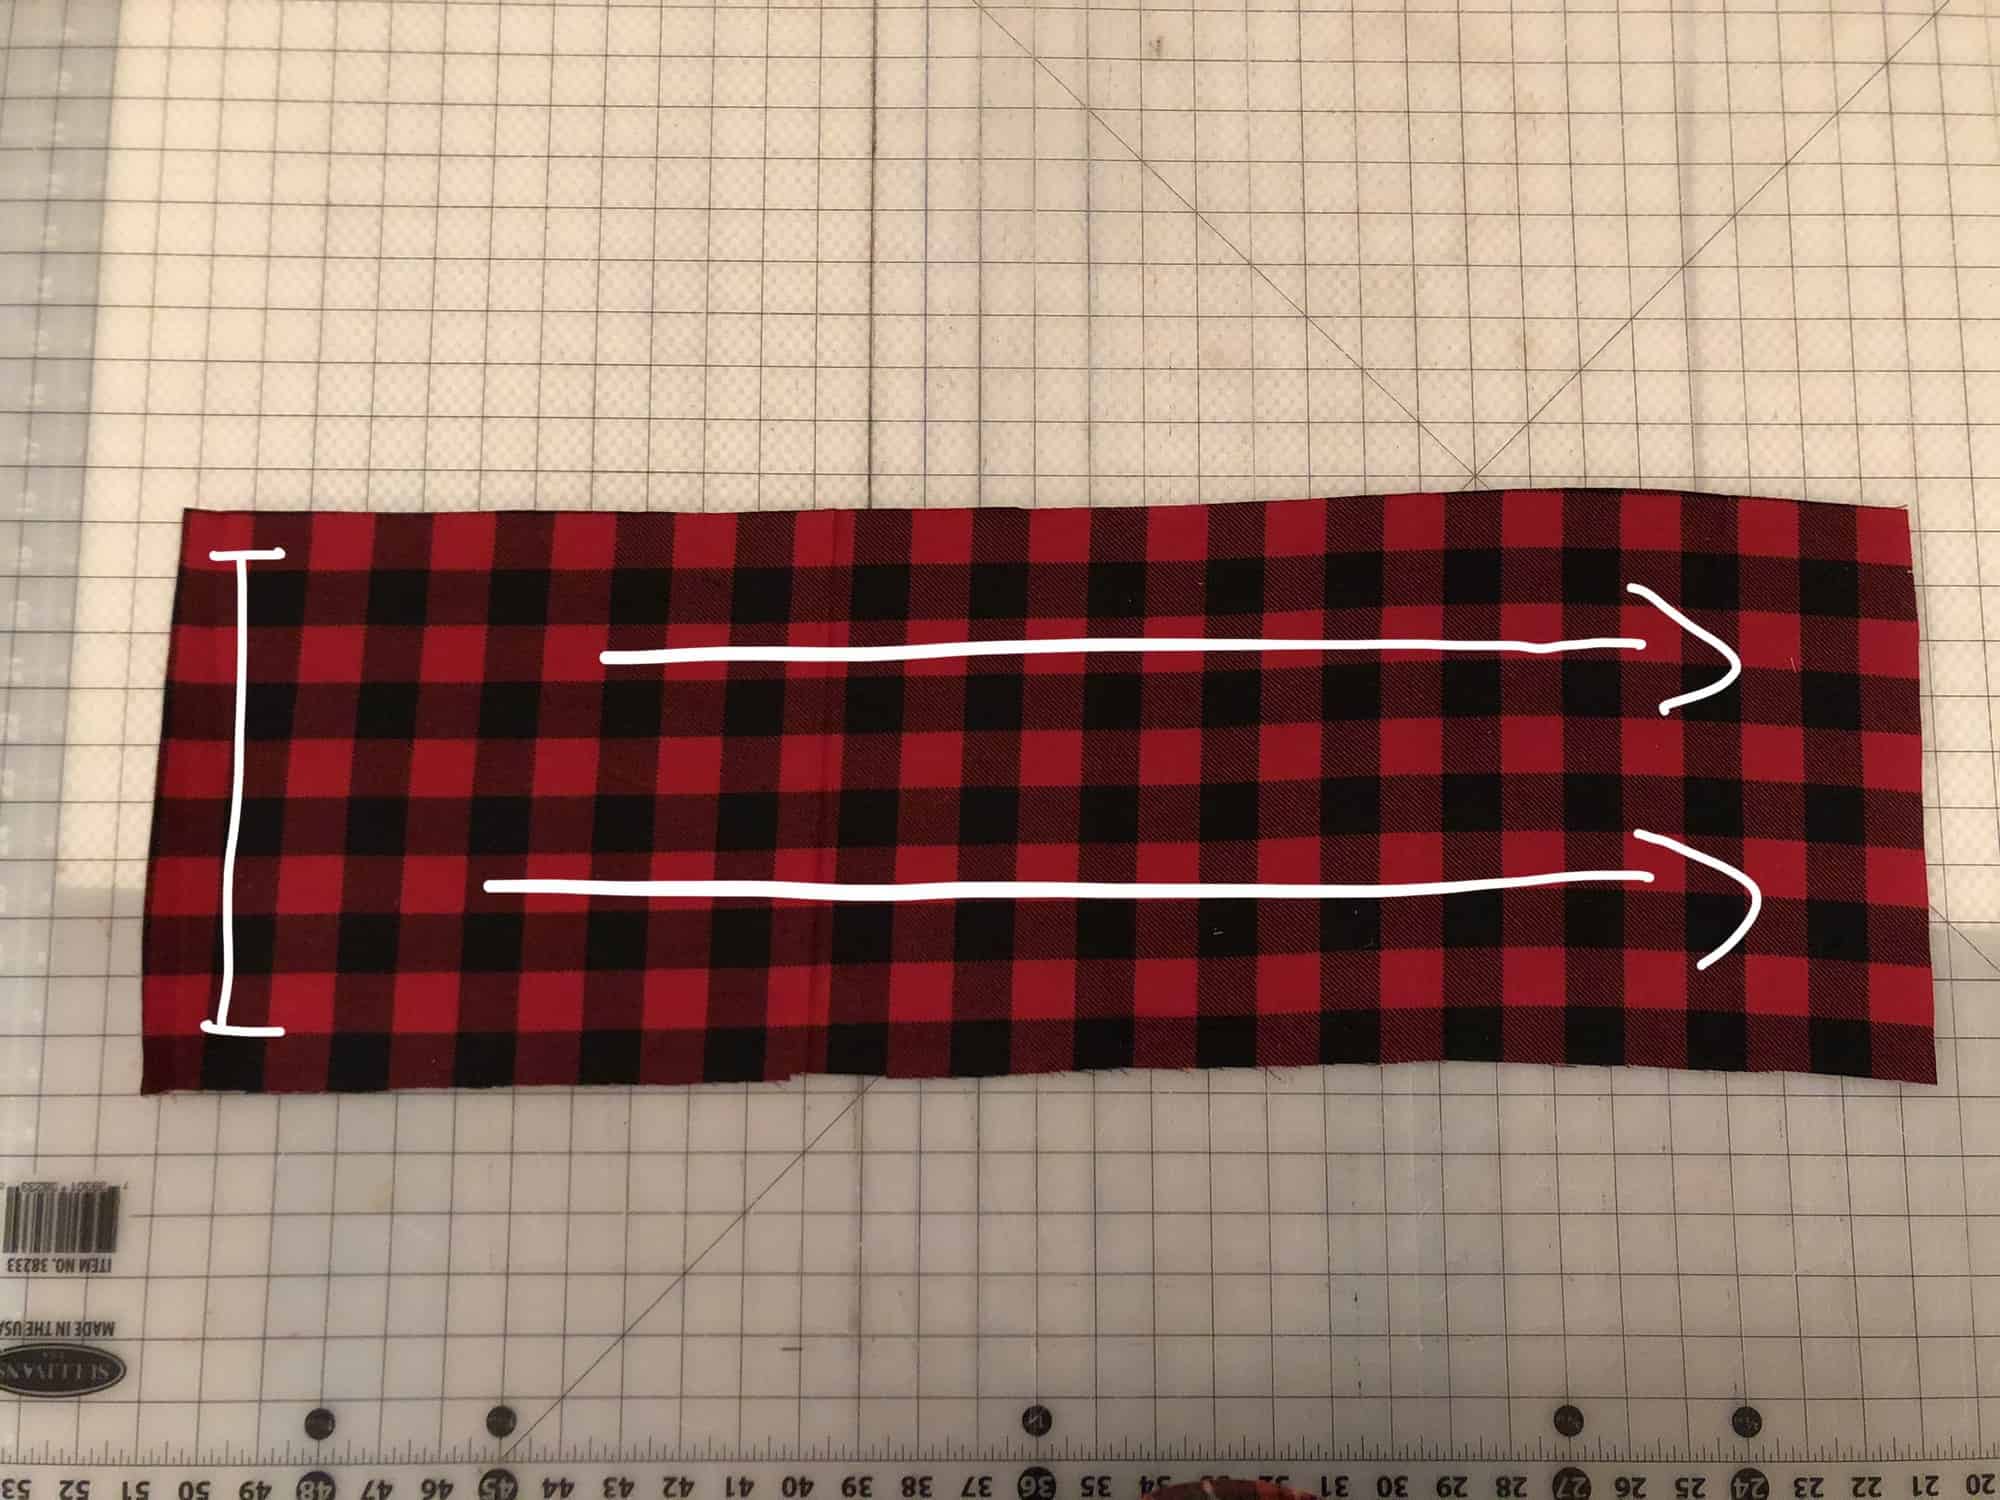
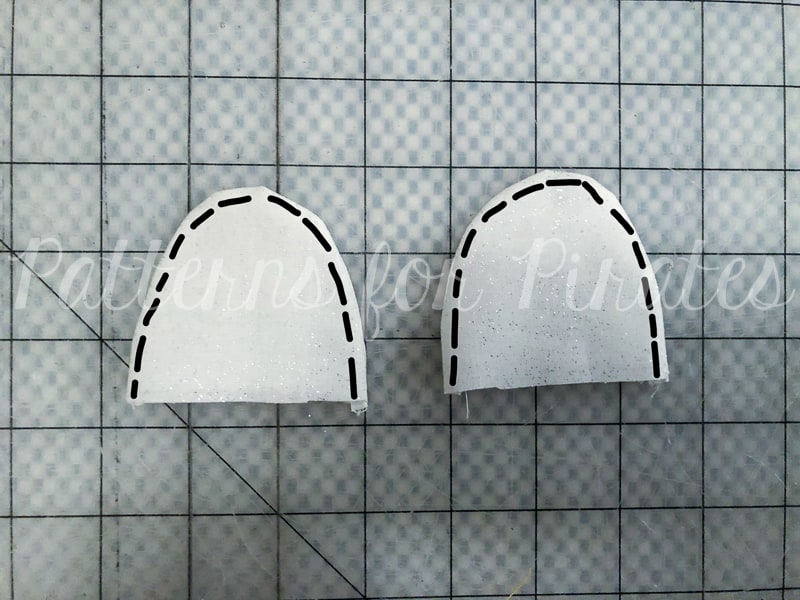
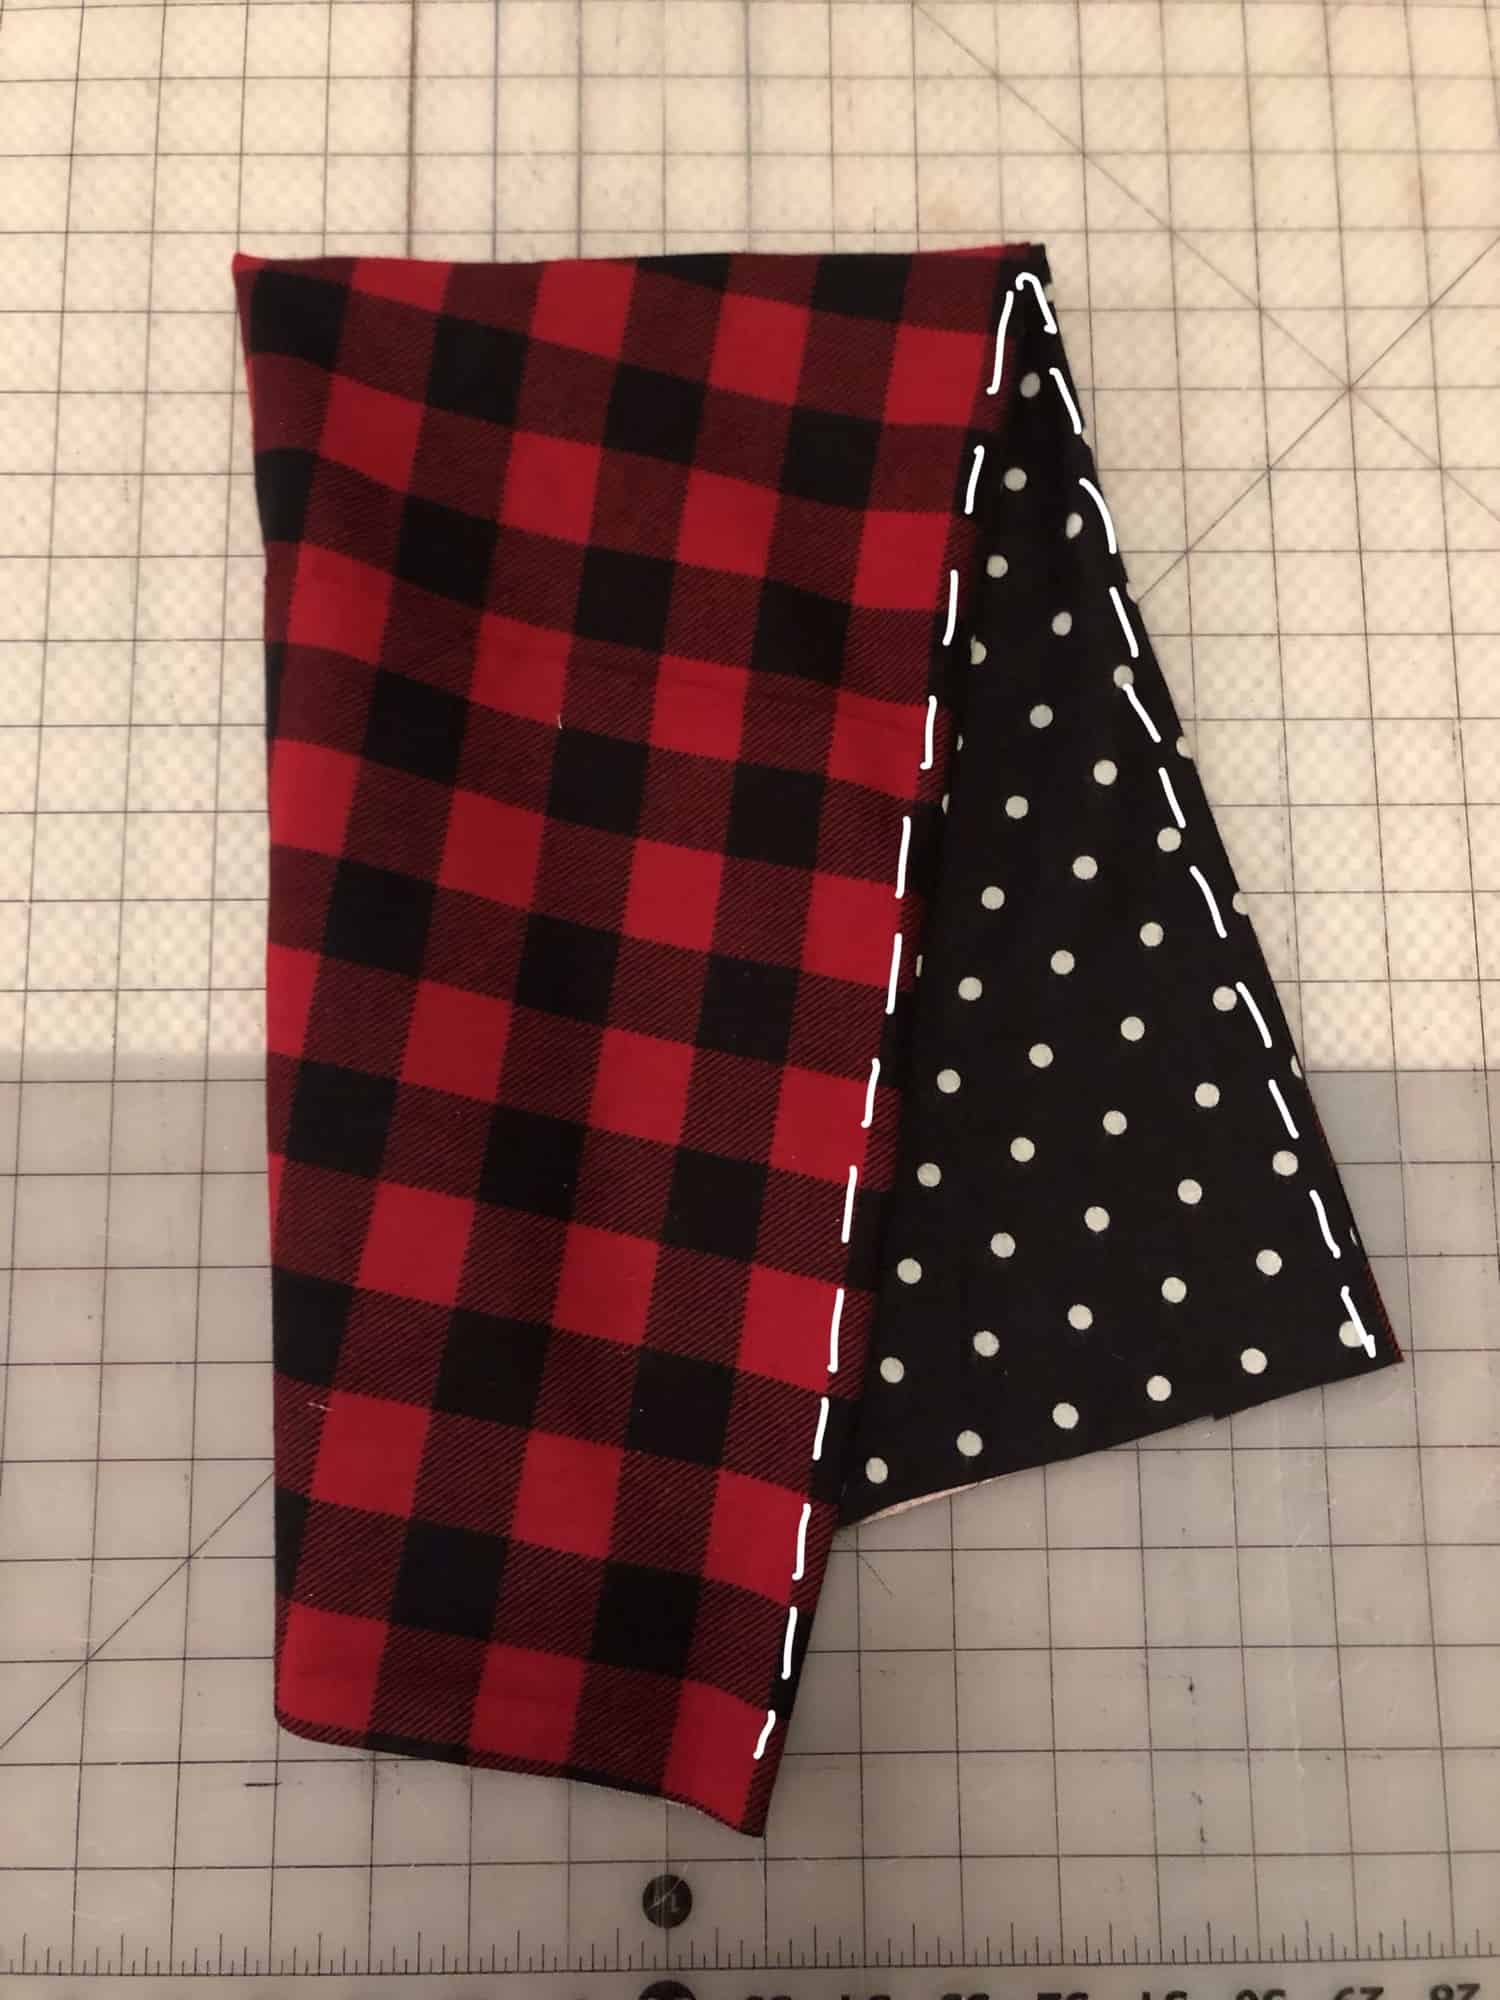
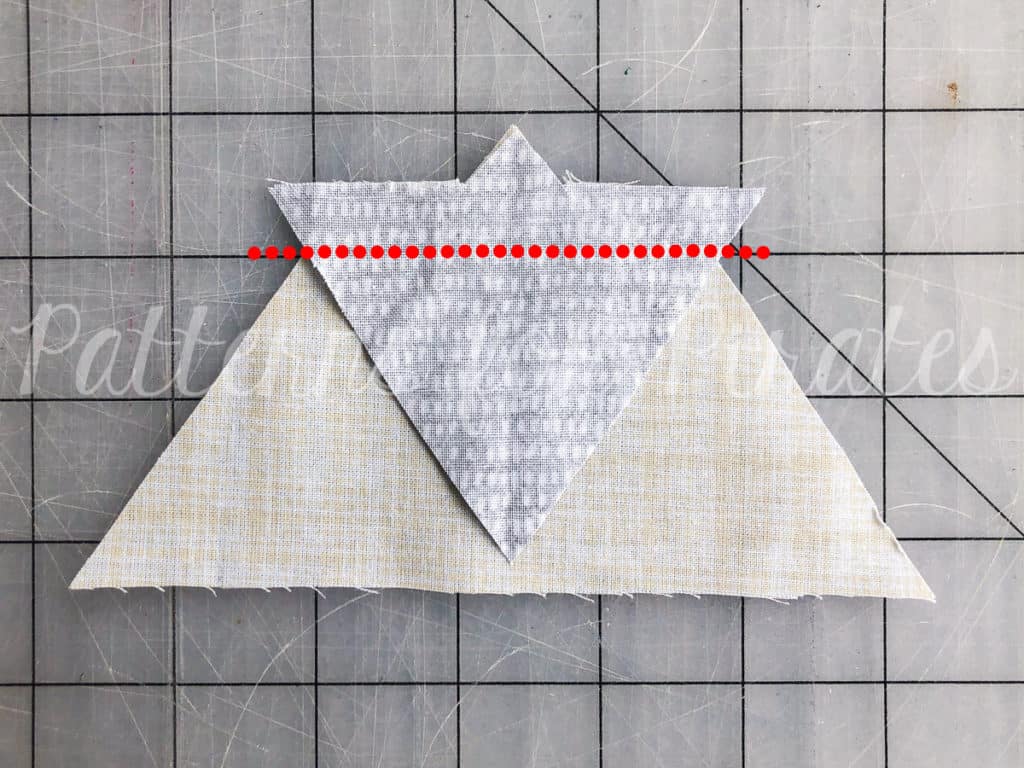
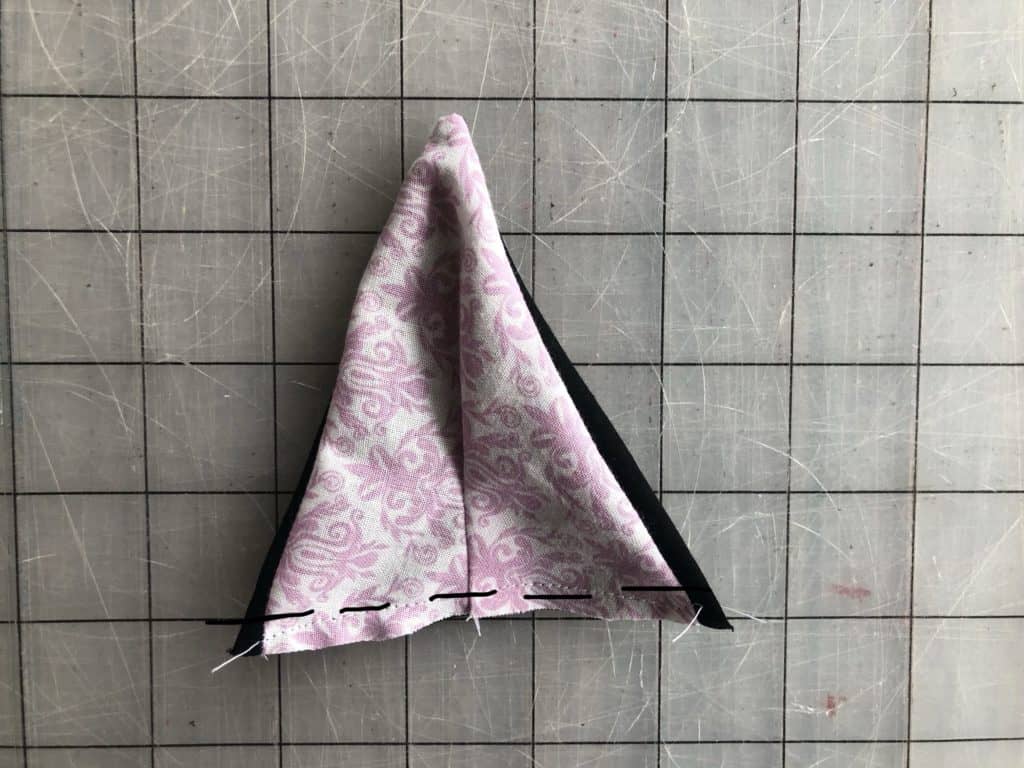
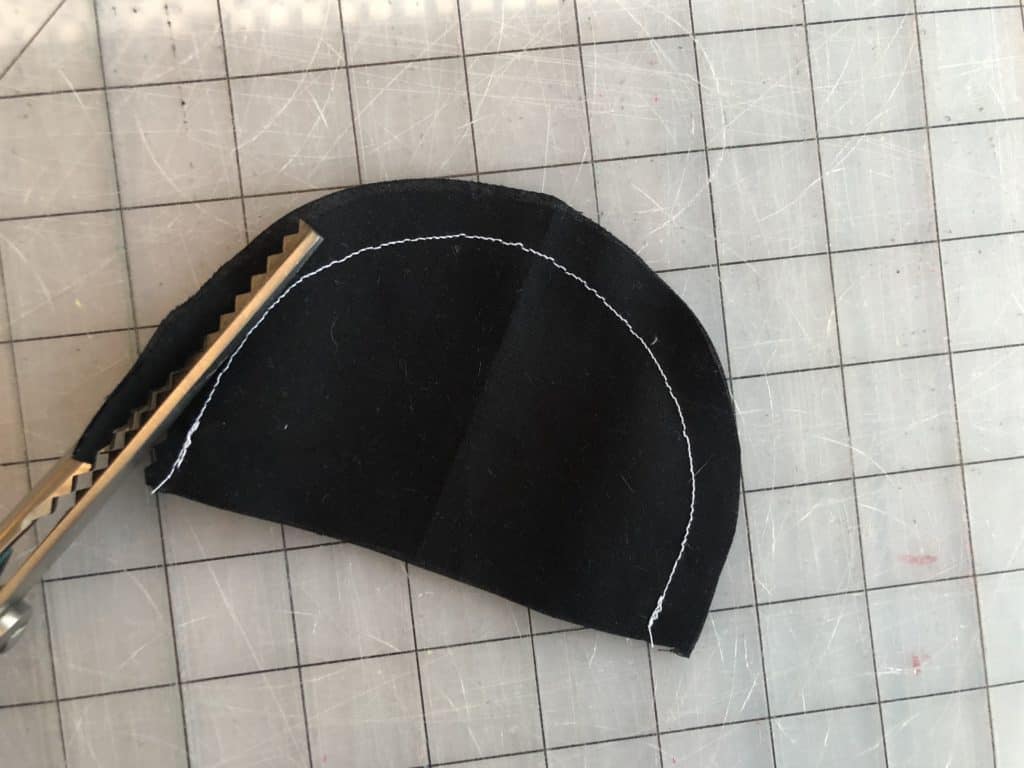
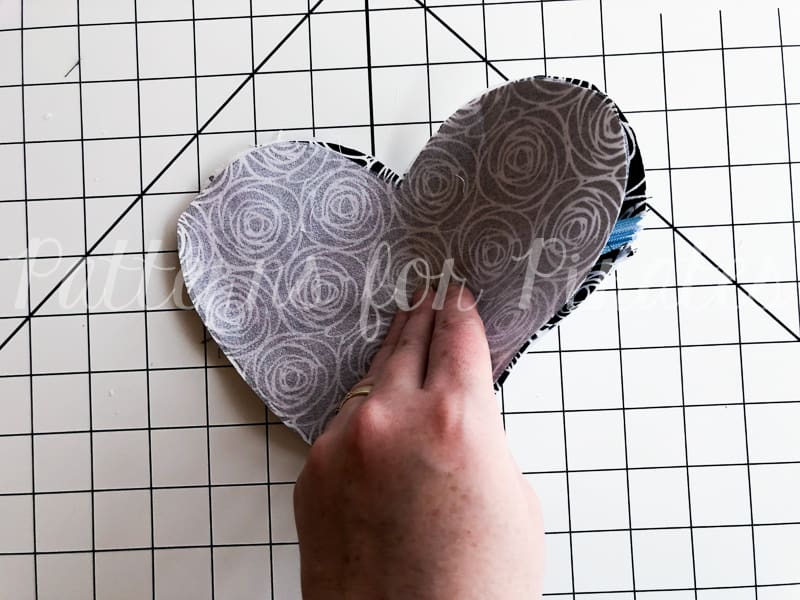
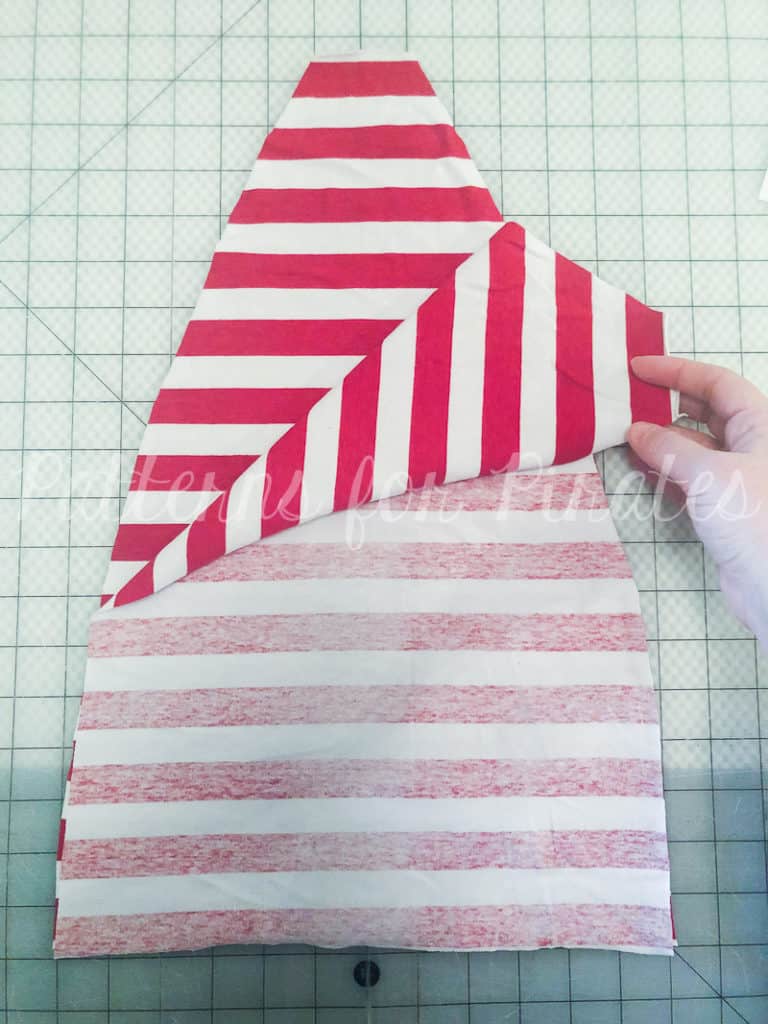
Meeting the short ends, fold the piece in half, with right sides together.
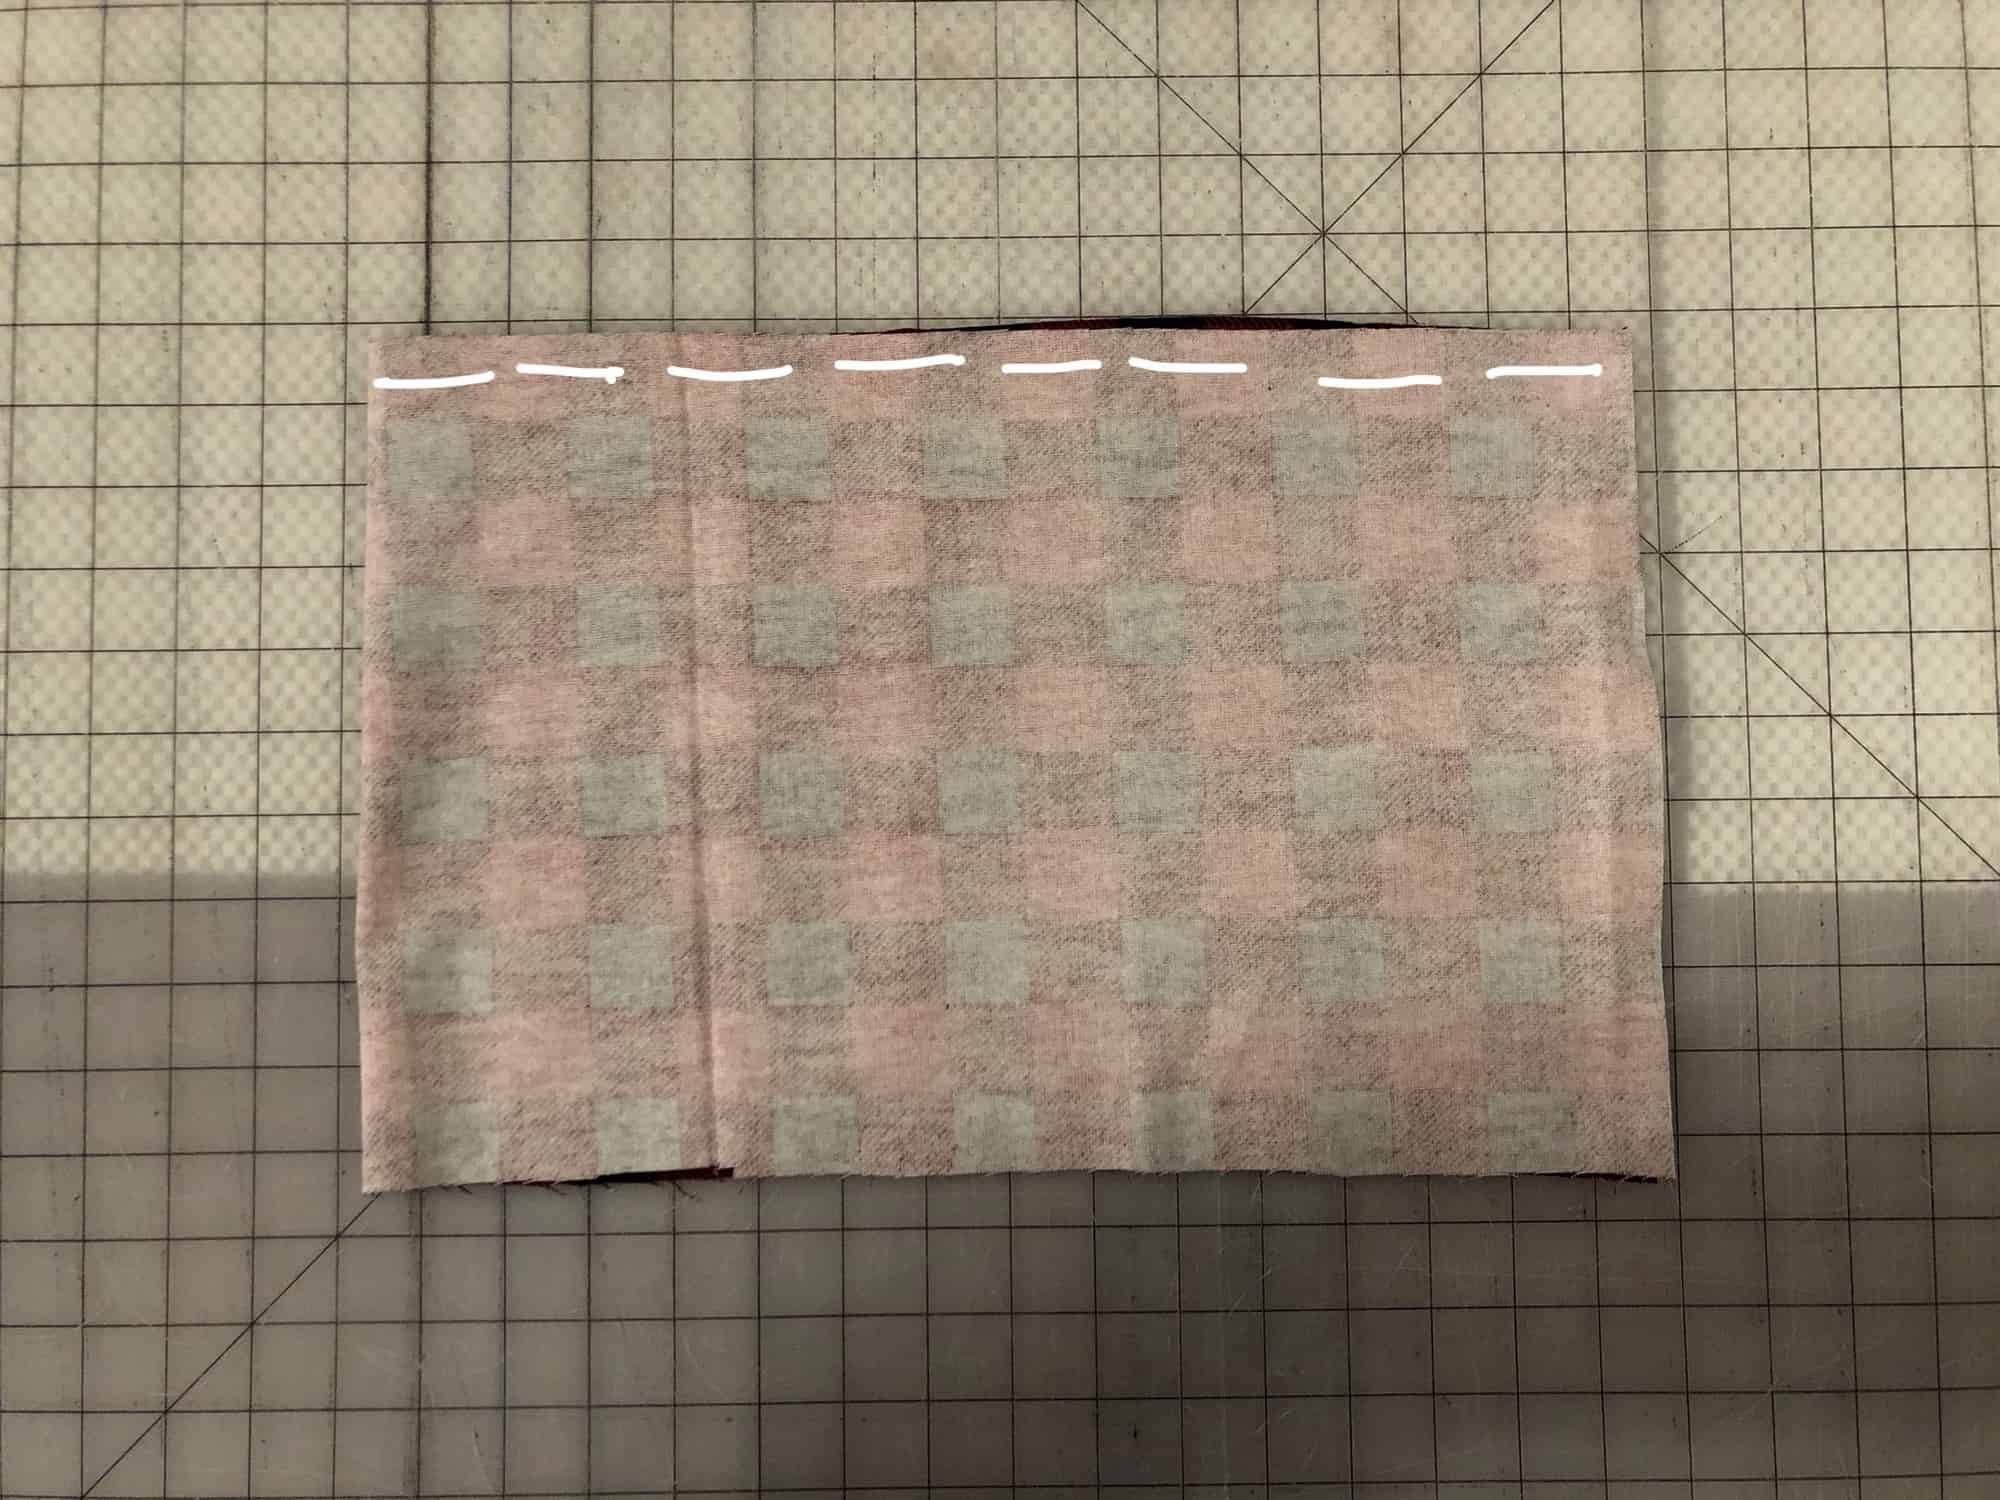
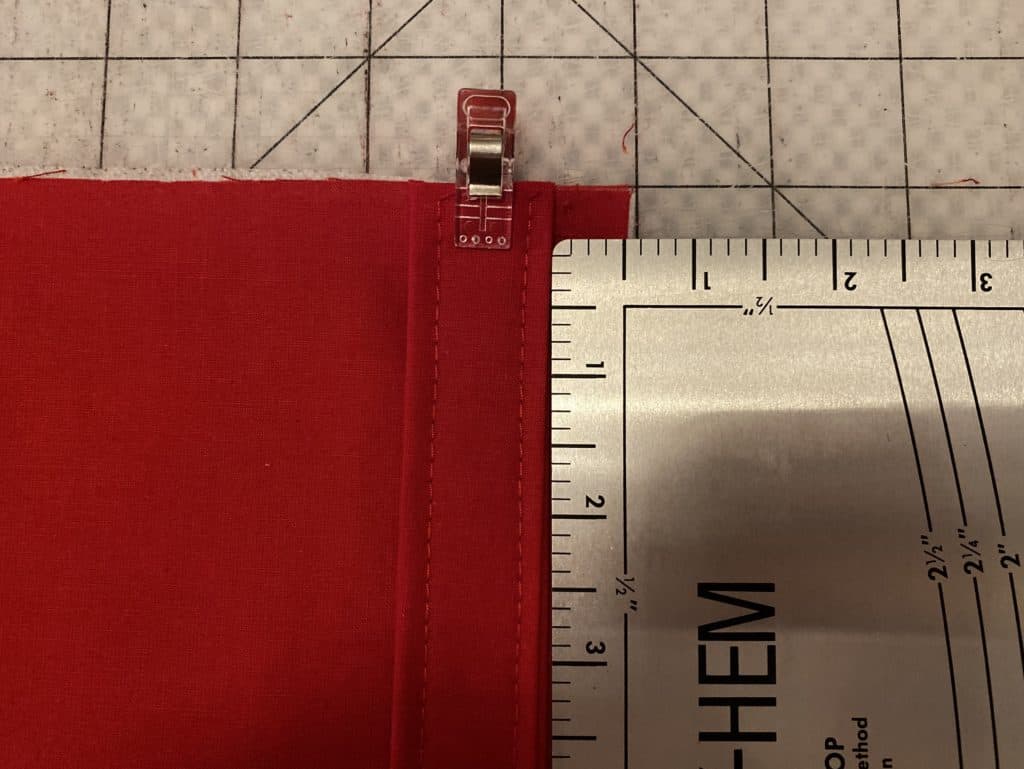
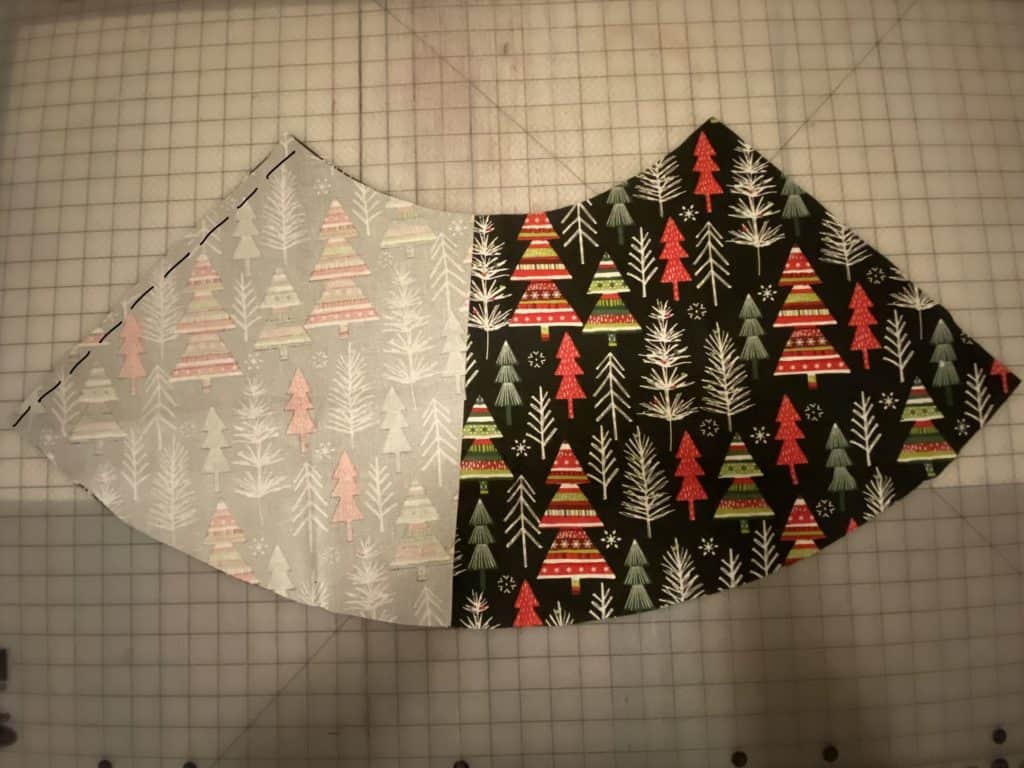
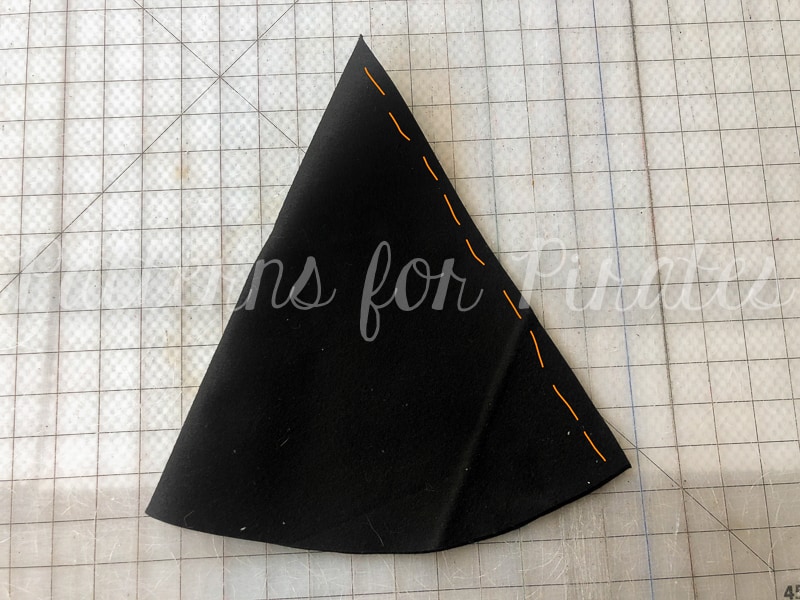
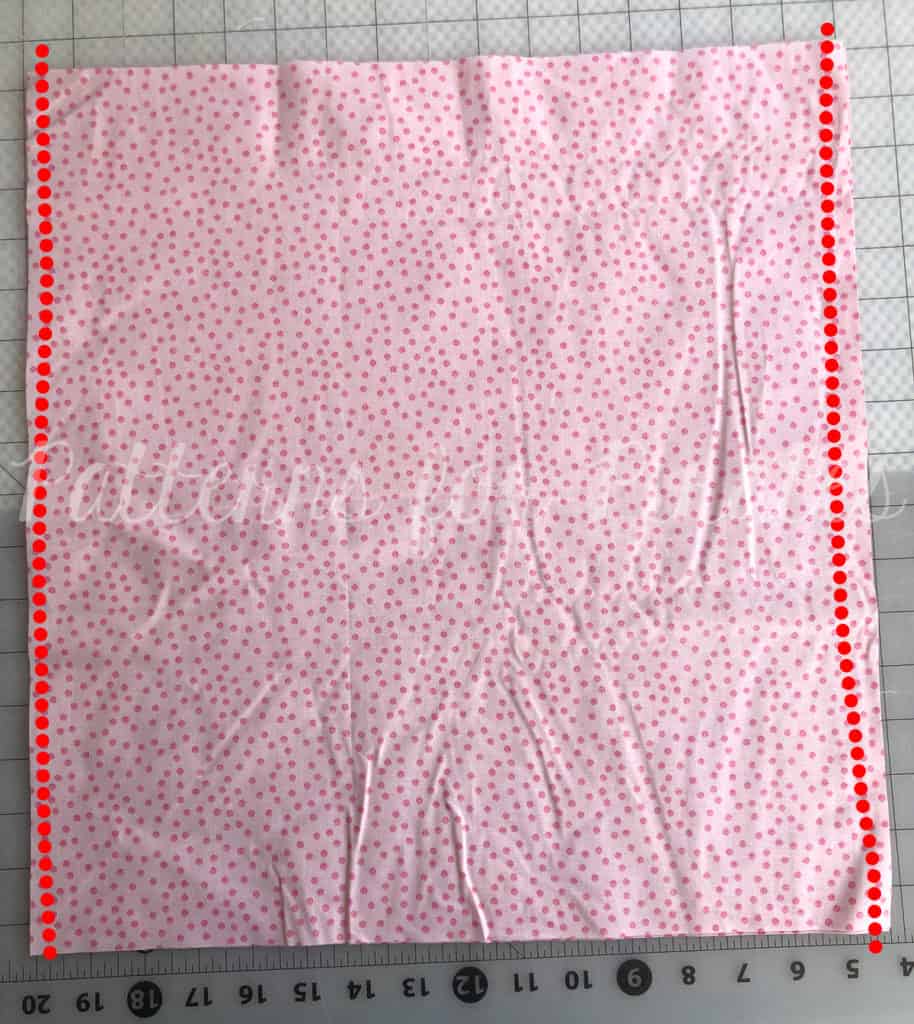
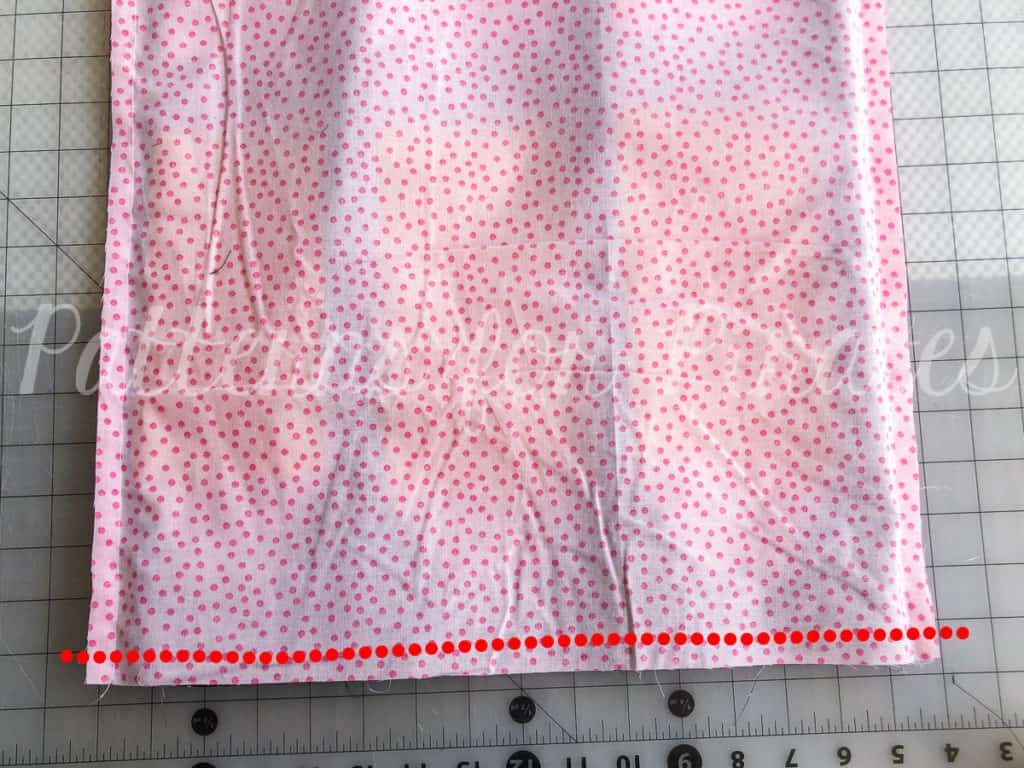
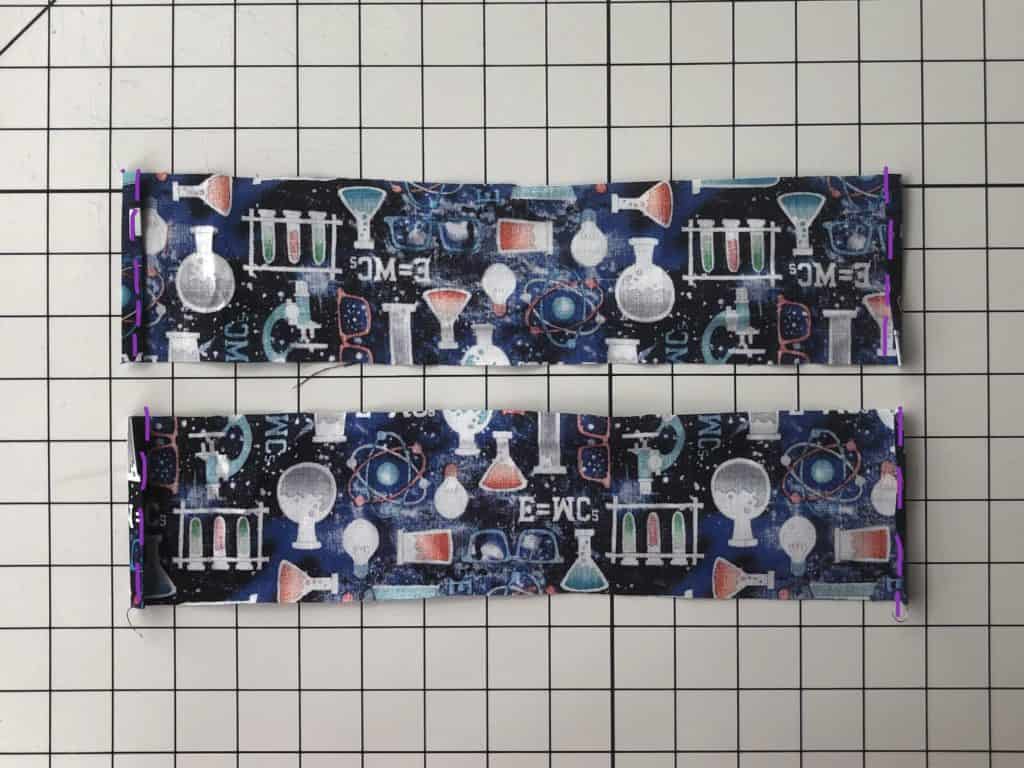
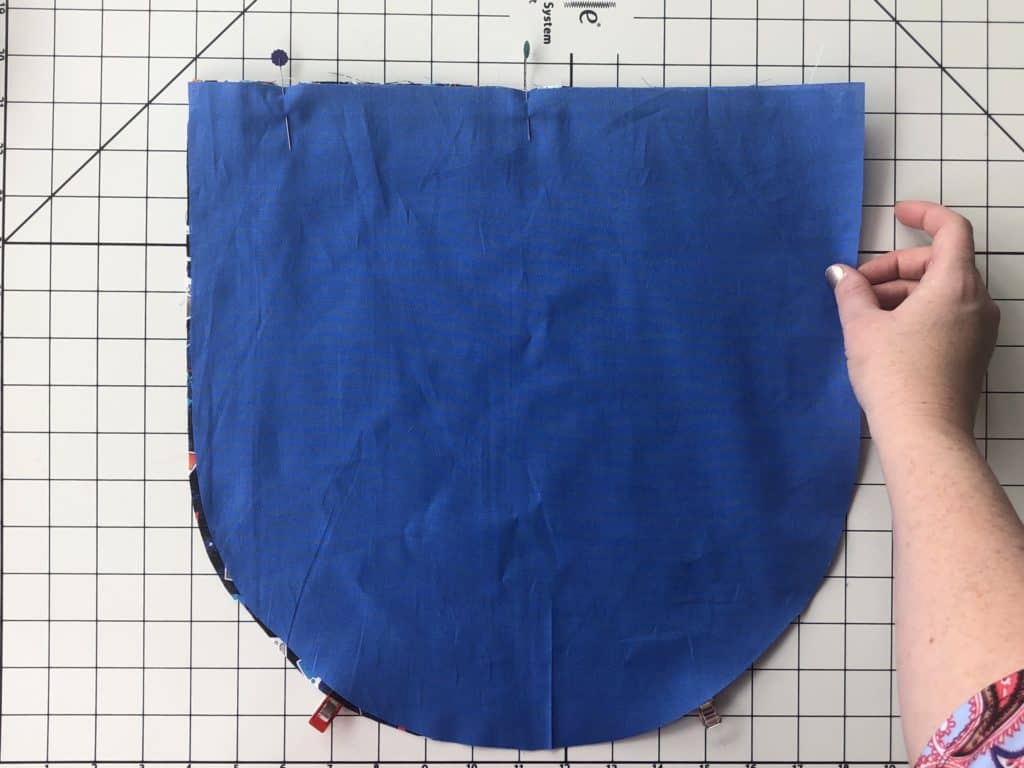
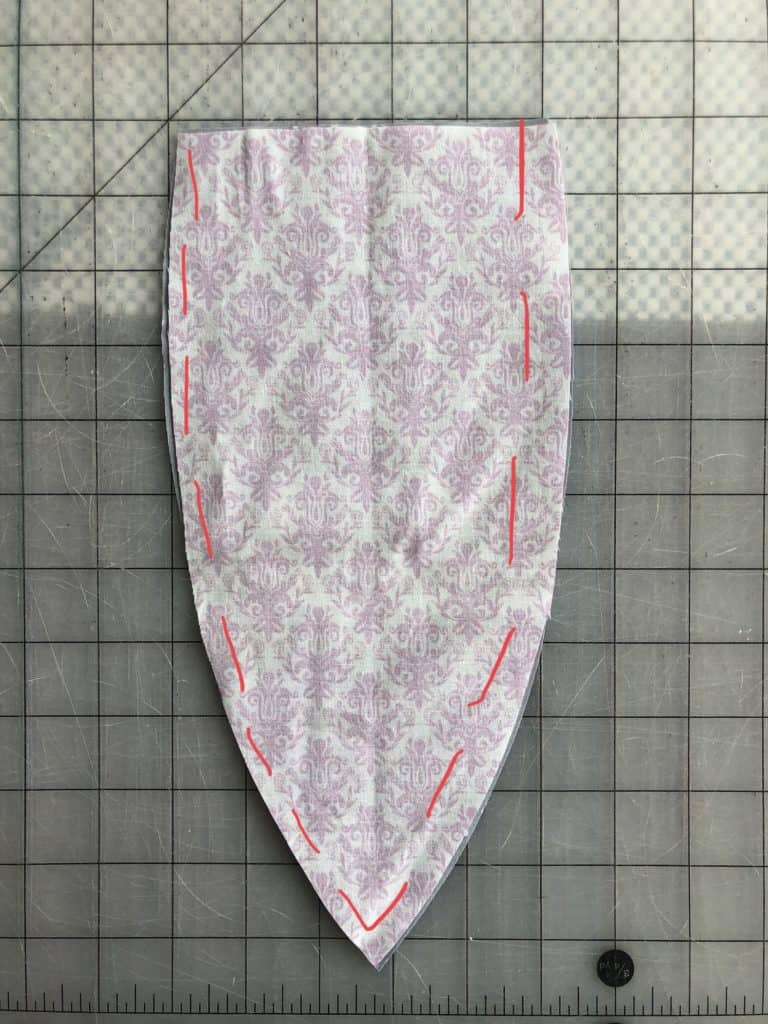
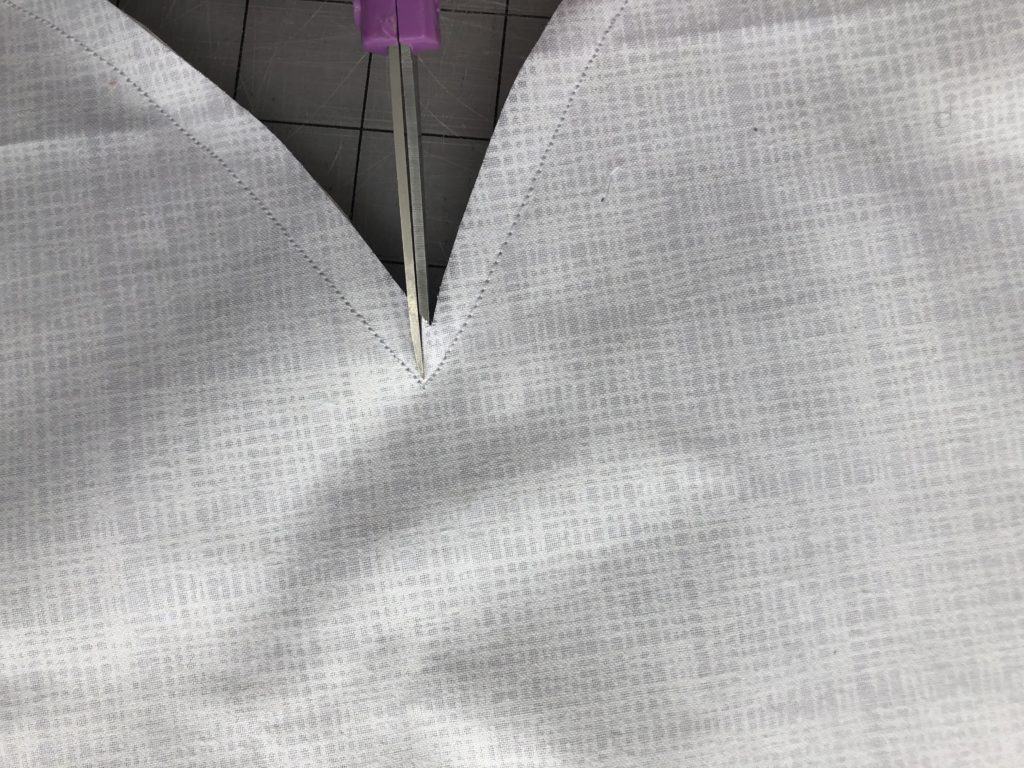
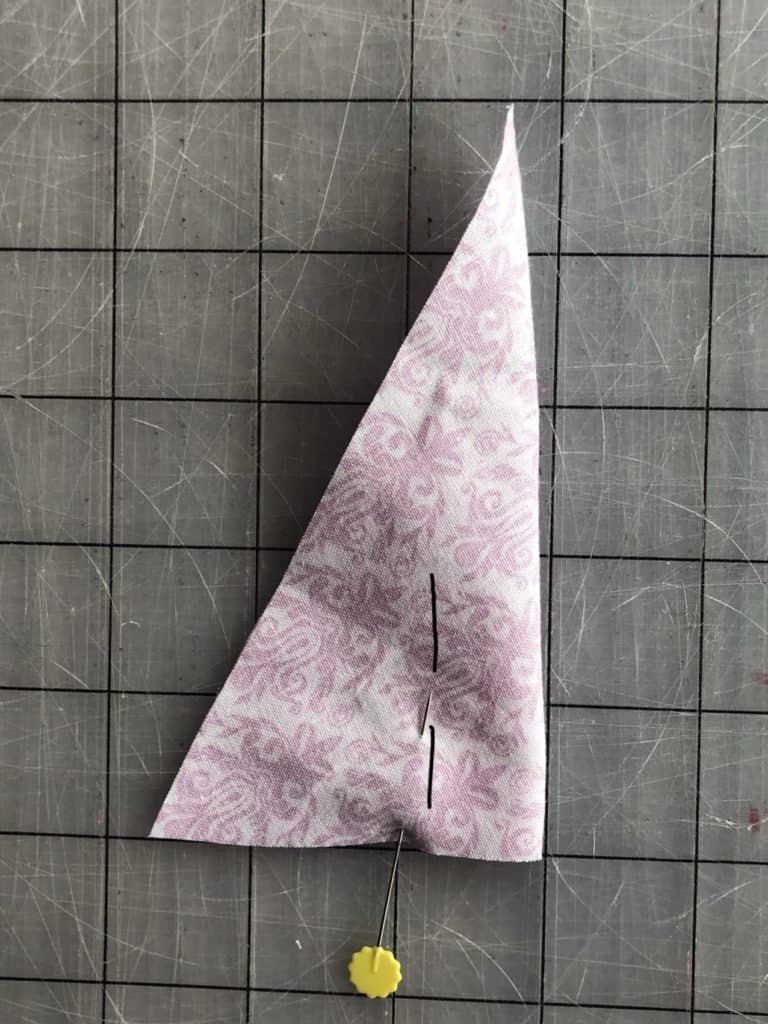
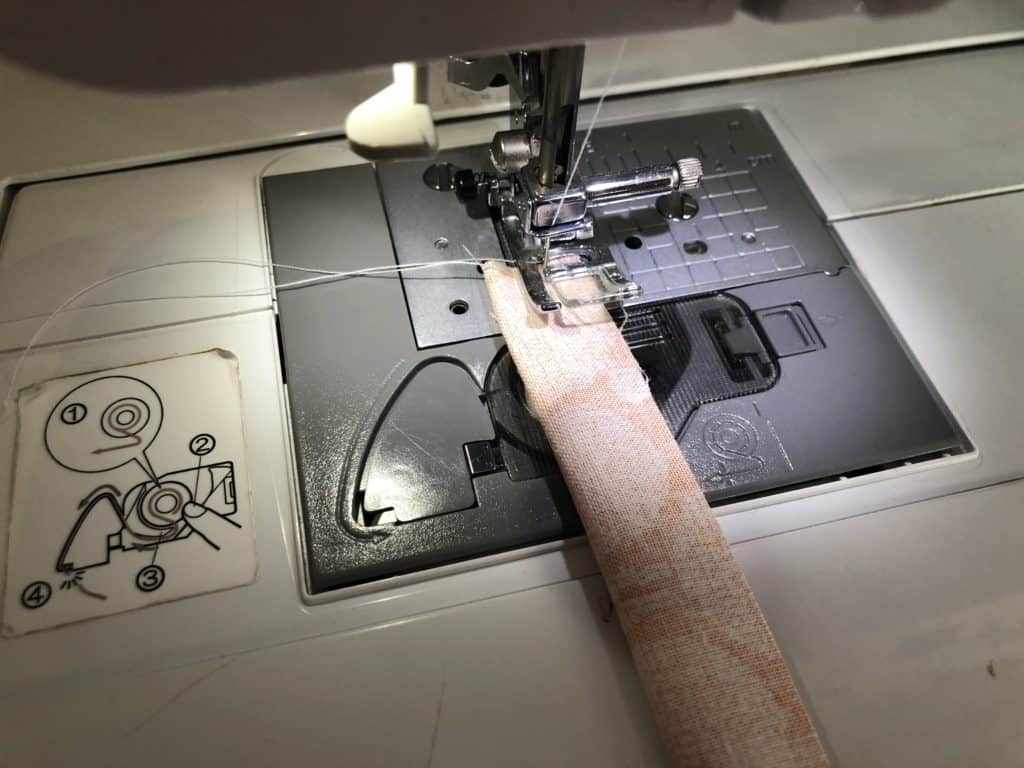
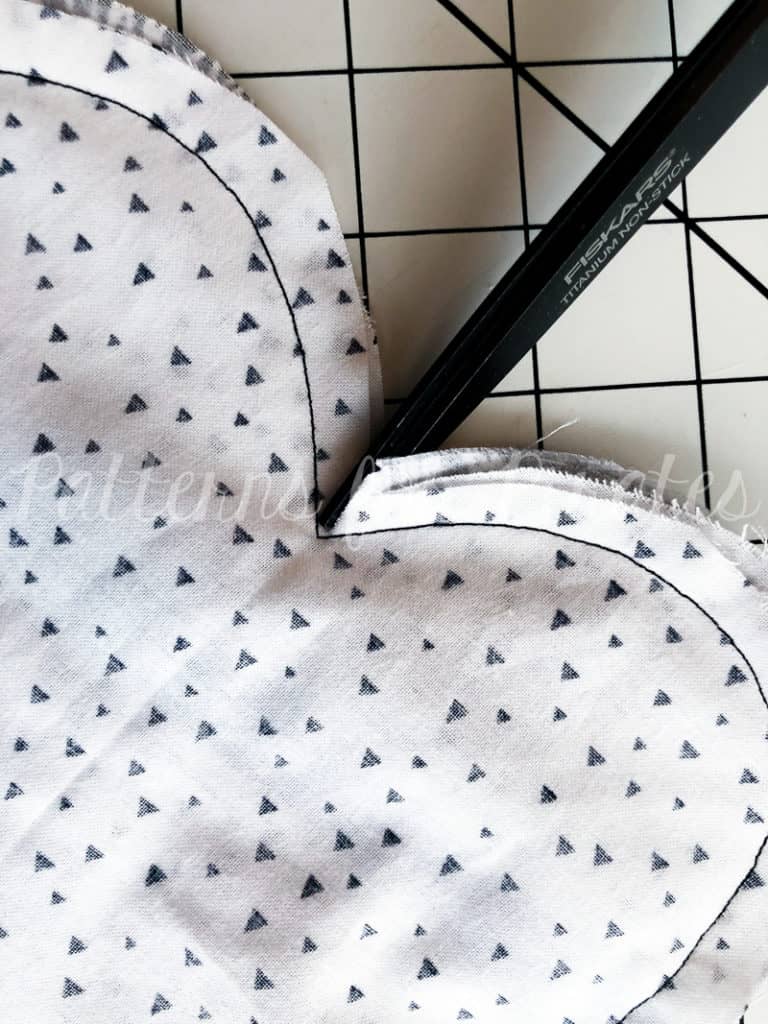
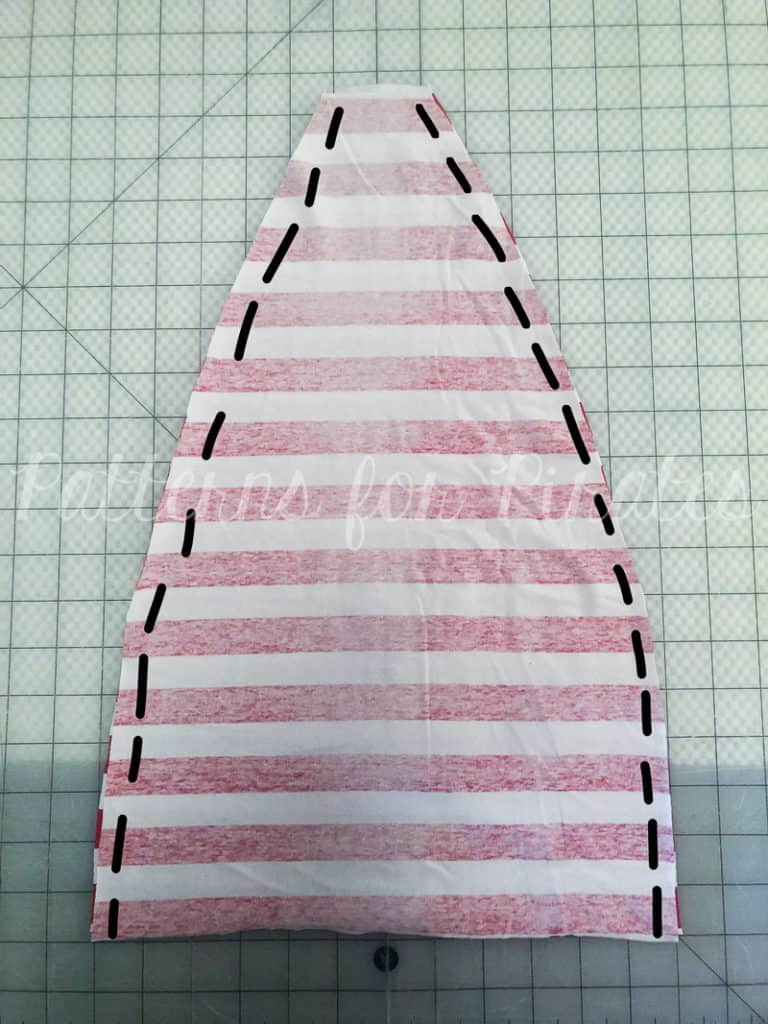
With 1/2” seam allowance, sew along one of the long edges.
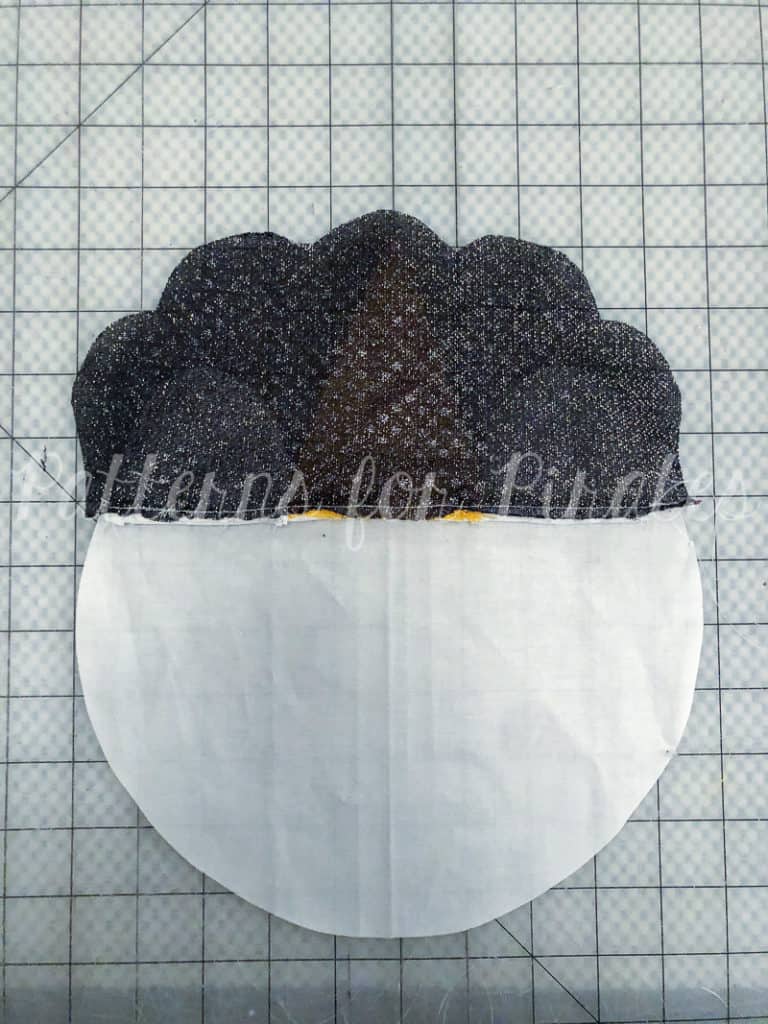
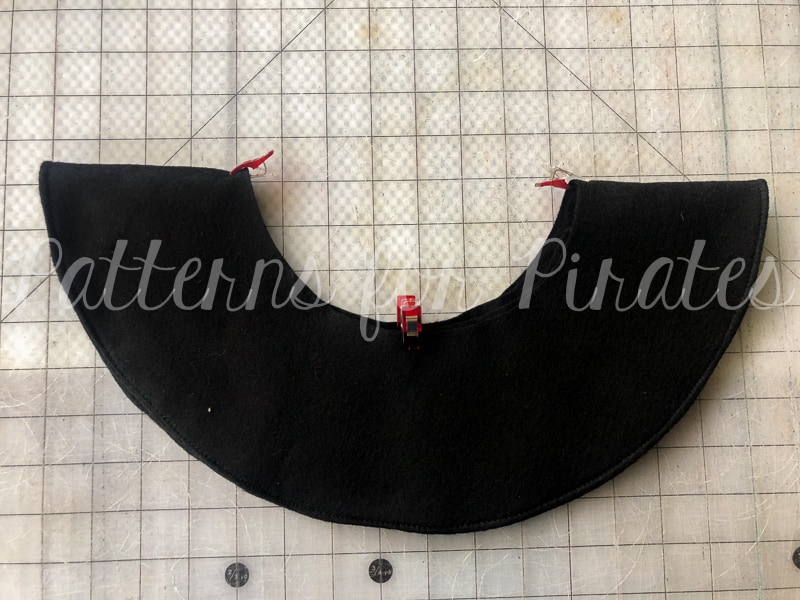
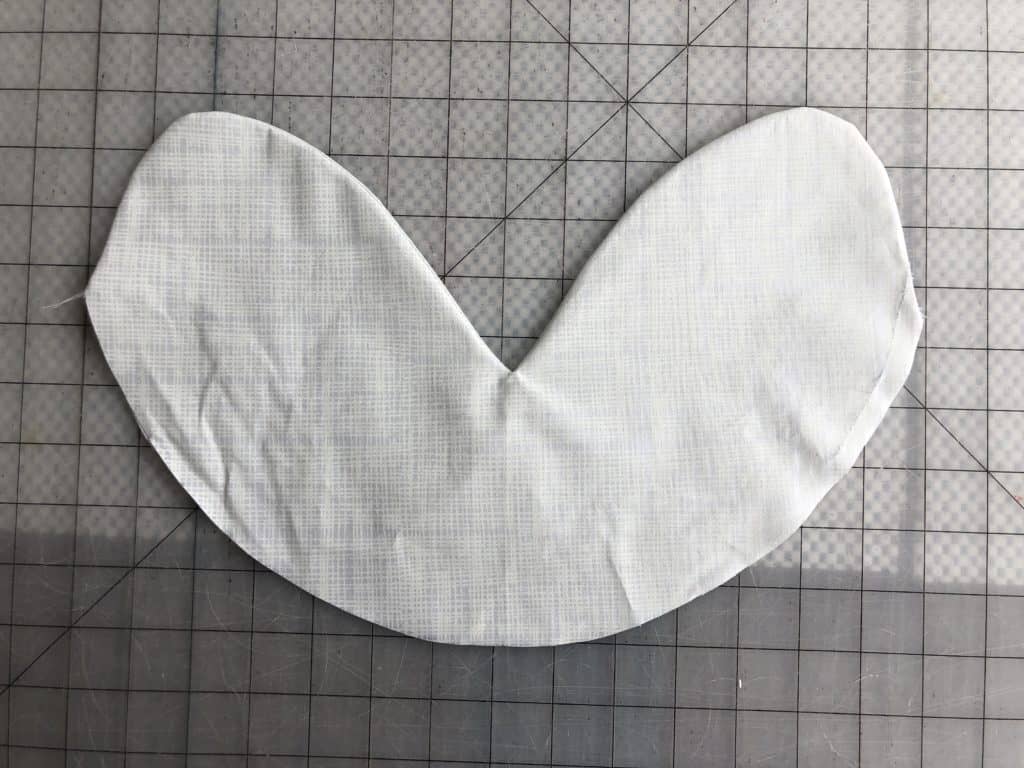
Repeat with lining piece.
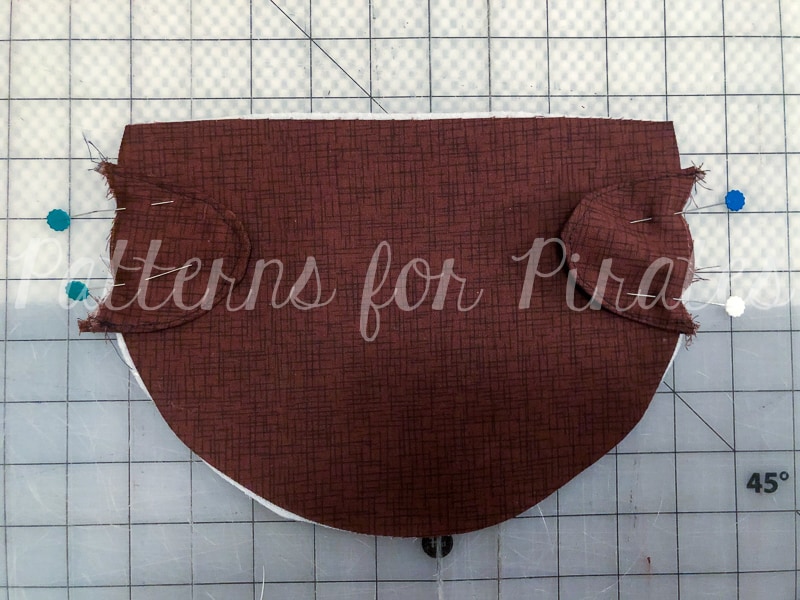
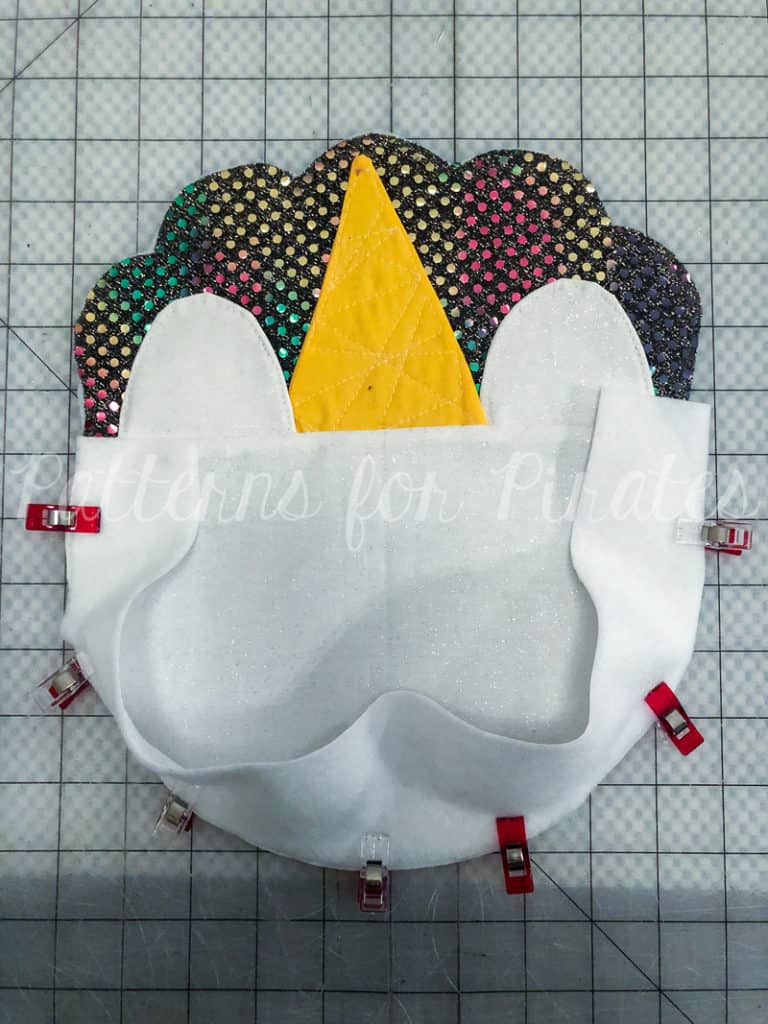
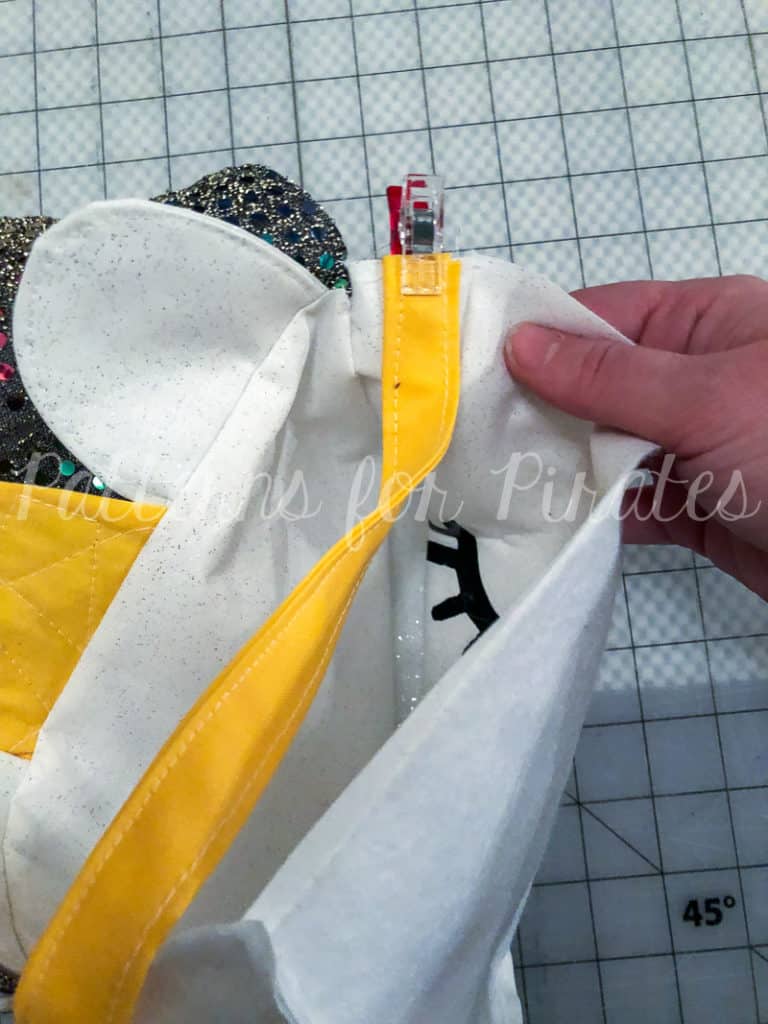
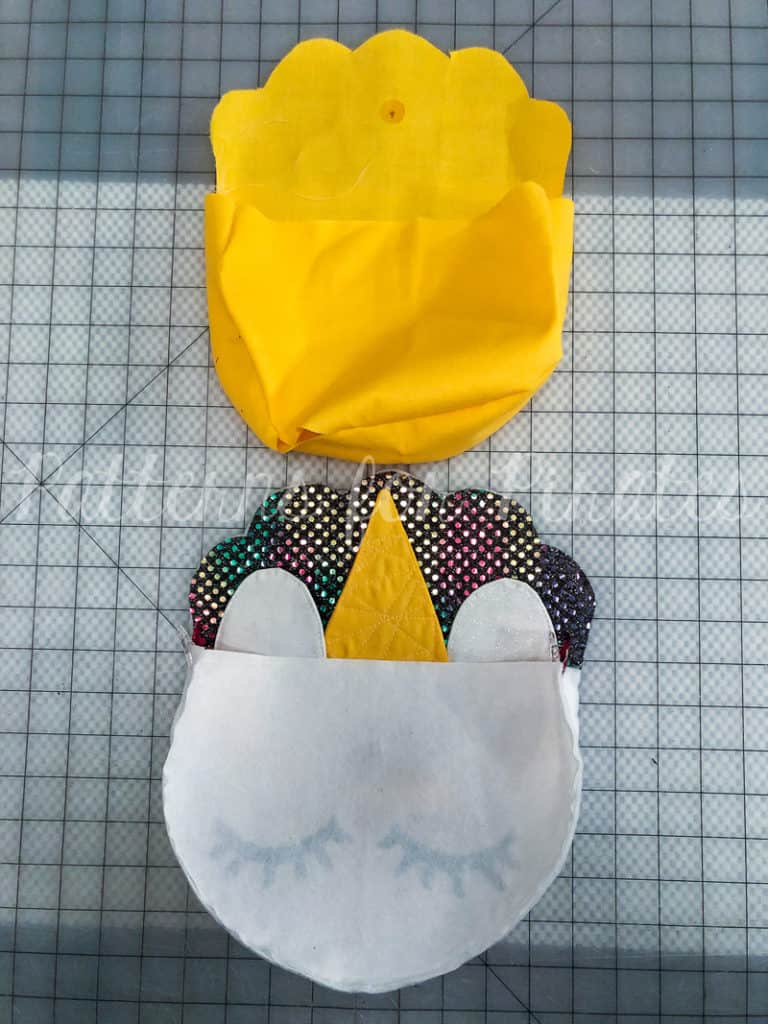
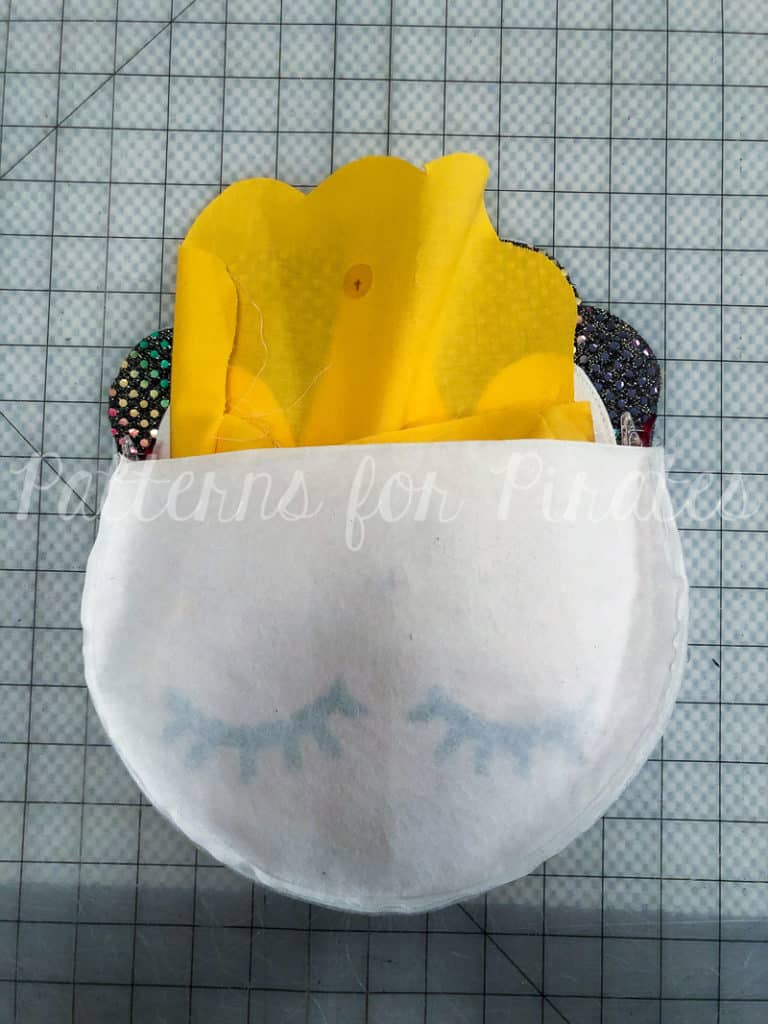
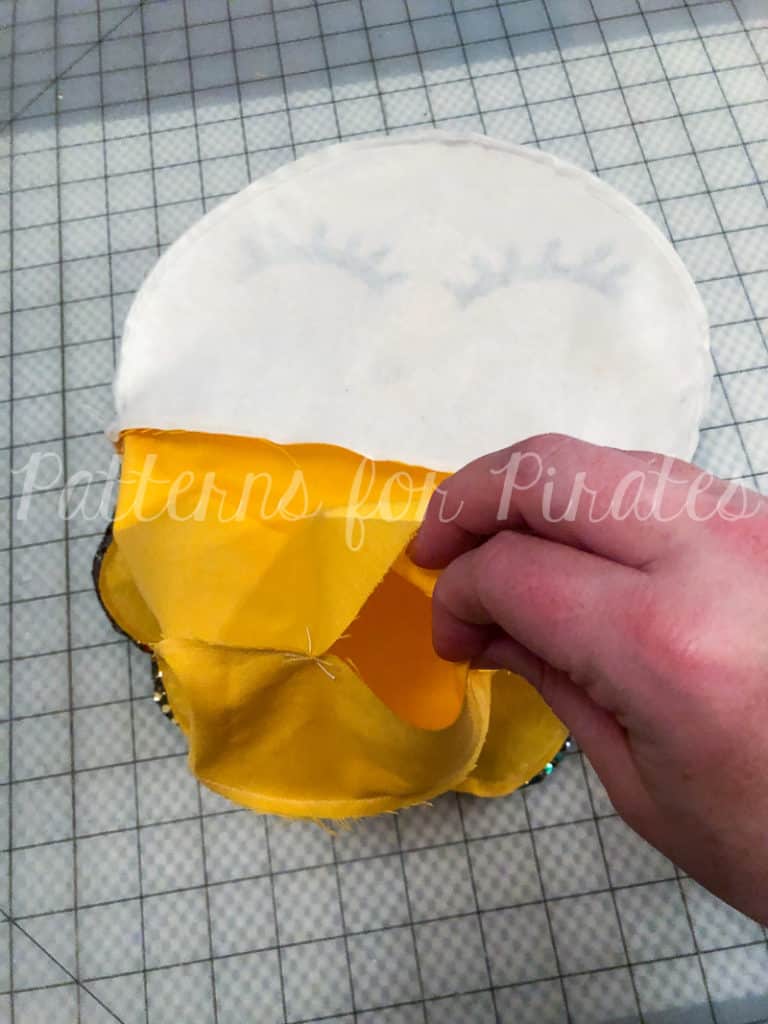
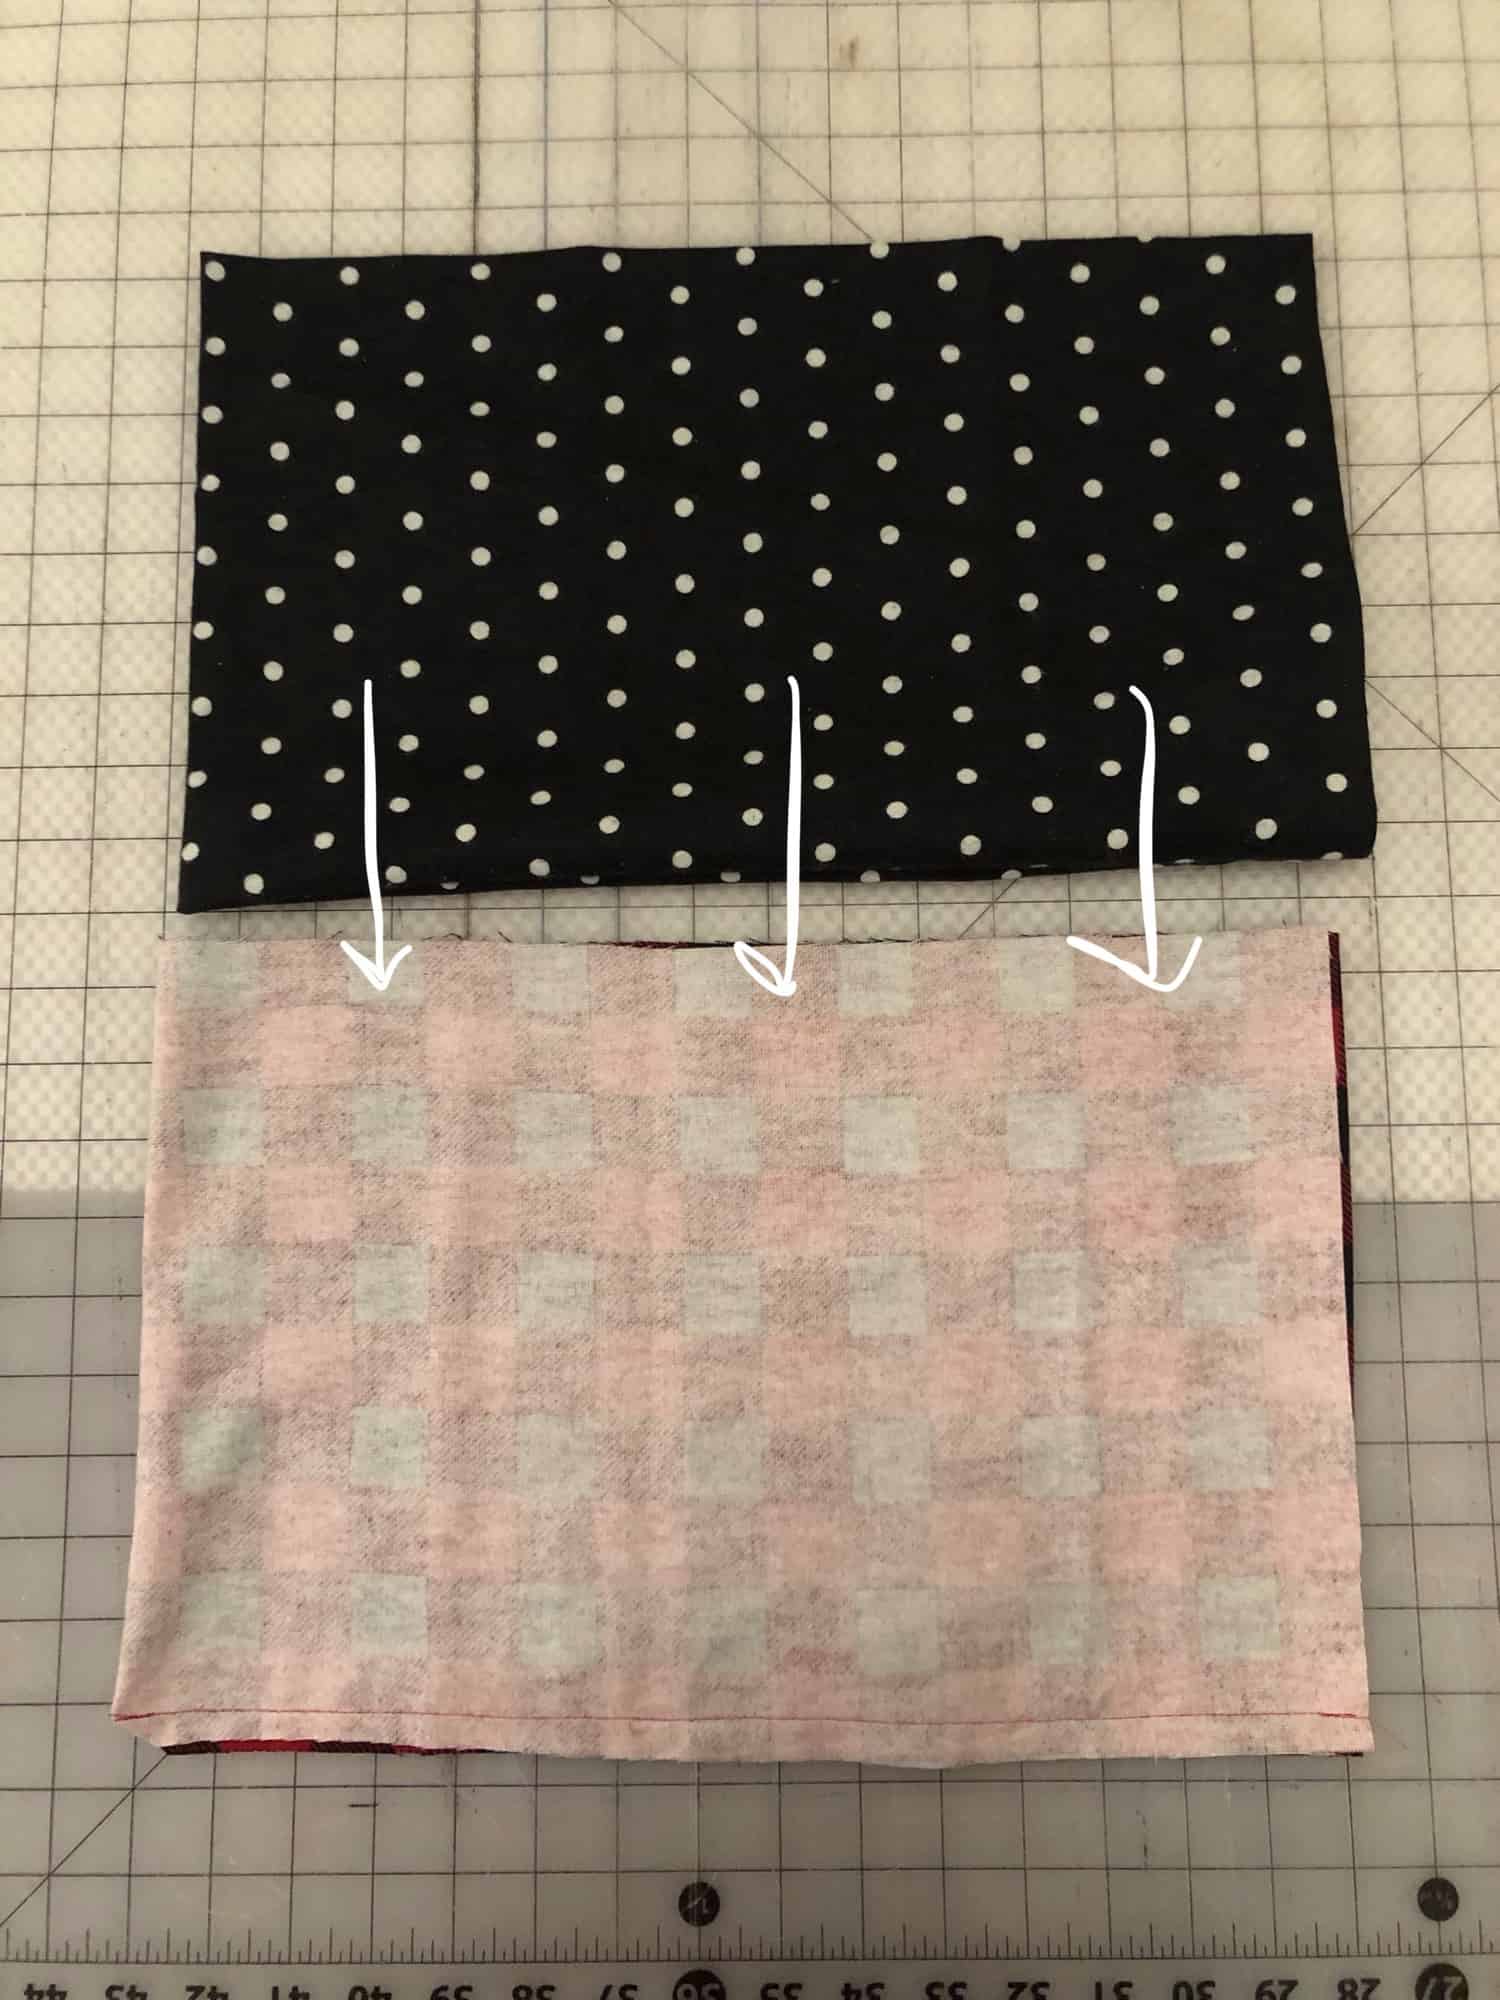
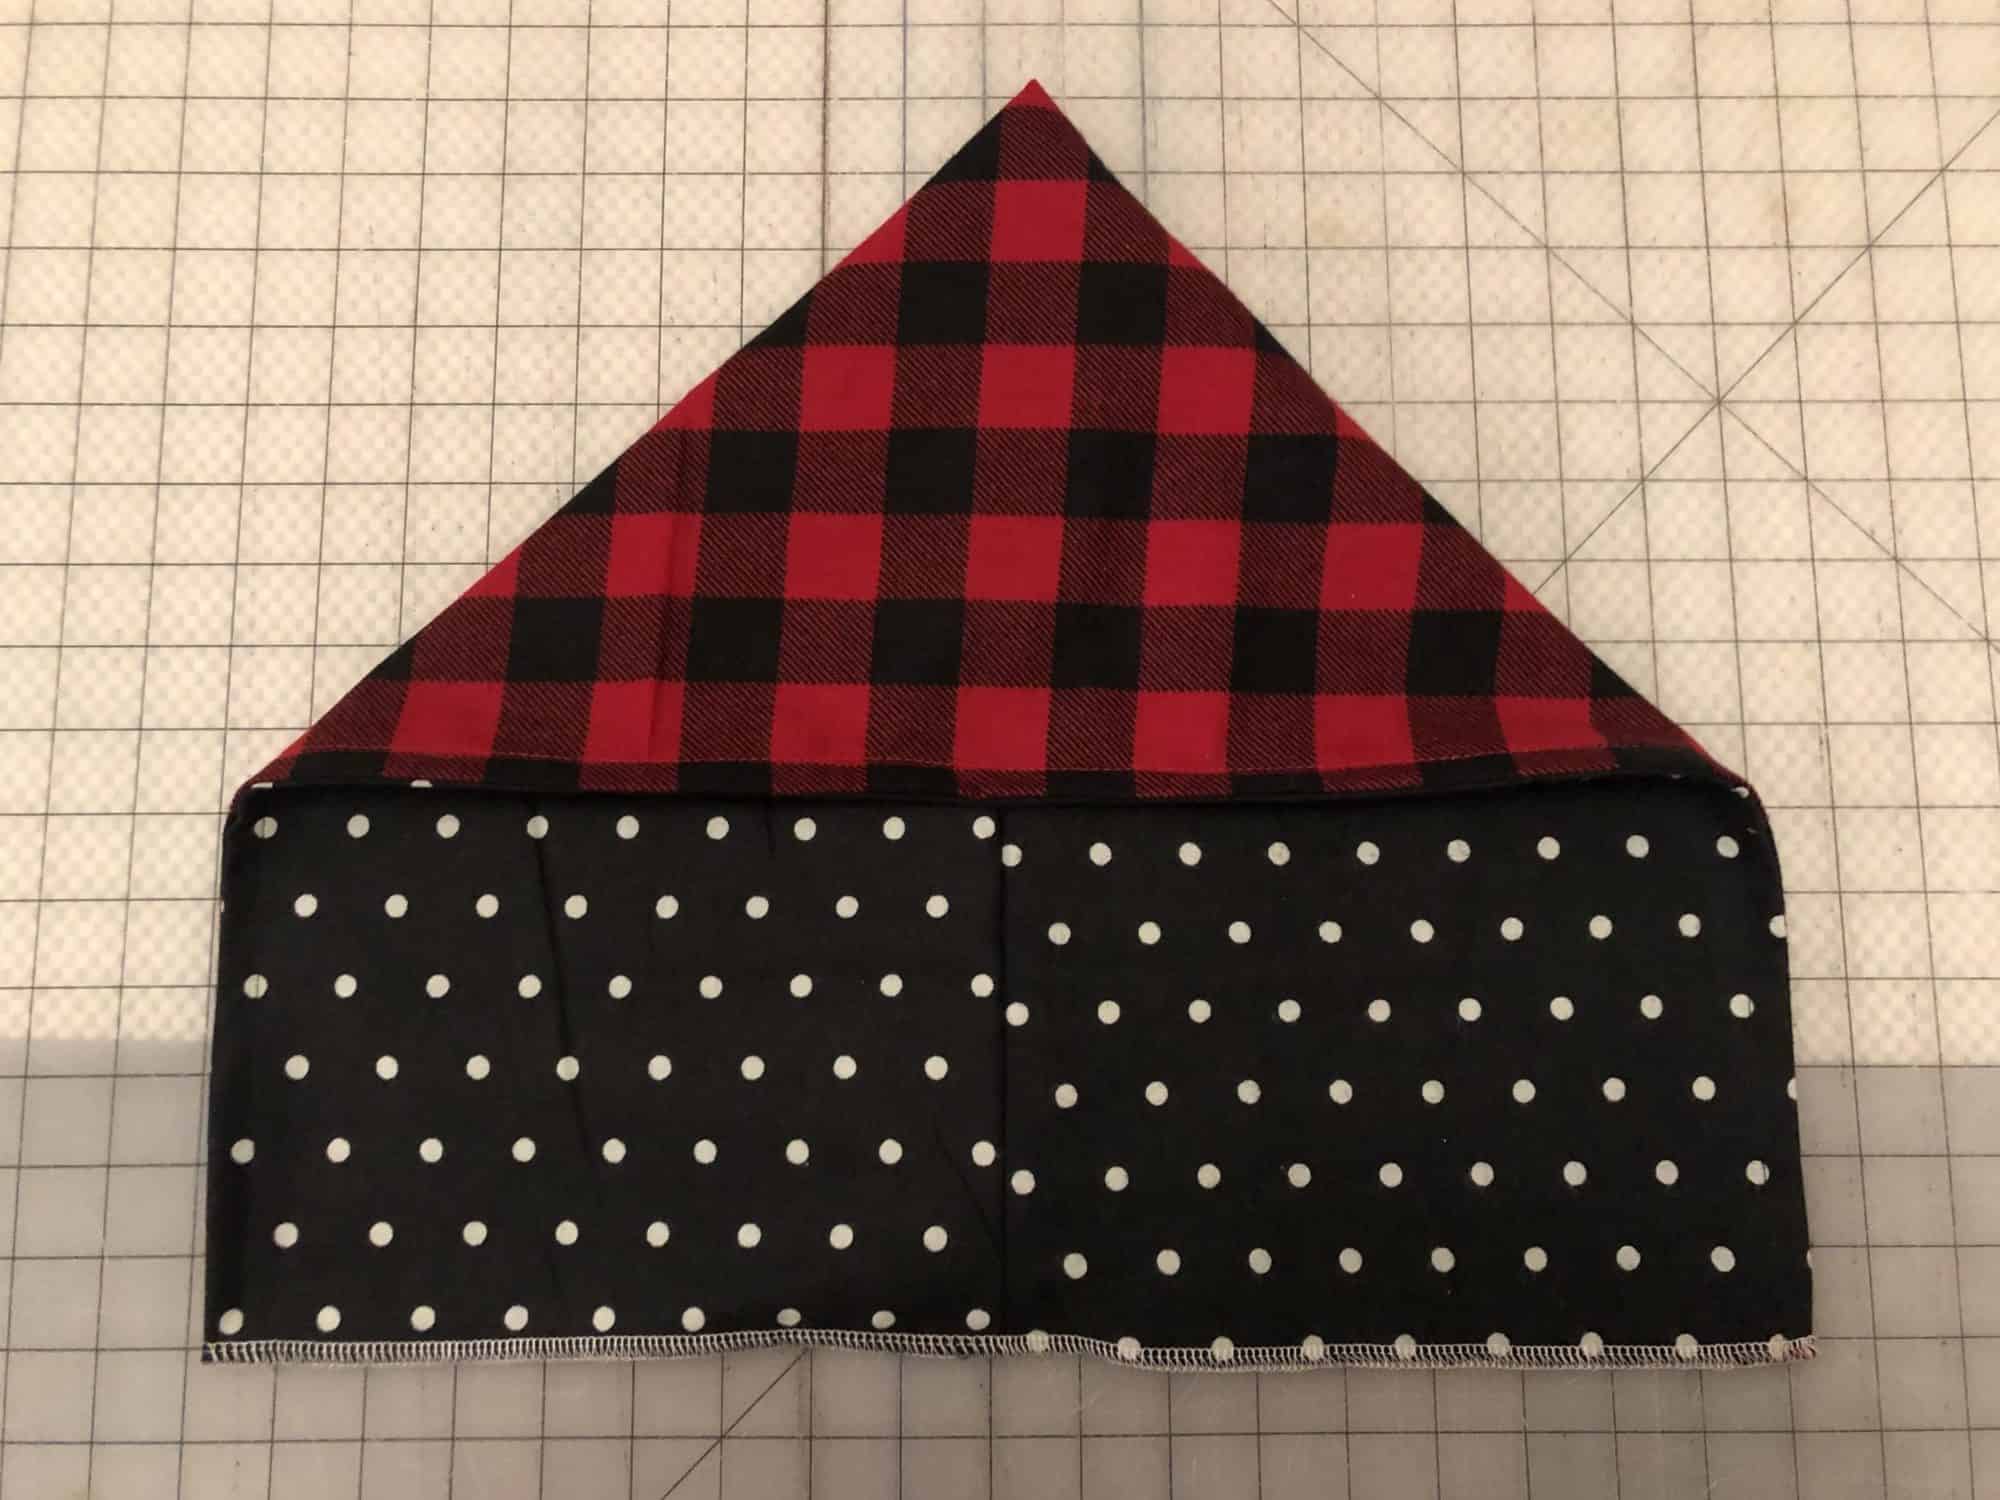
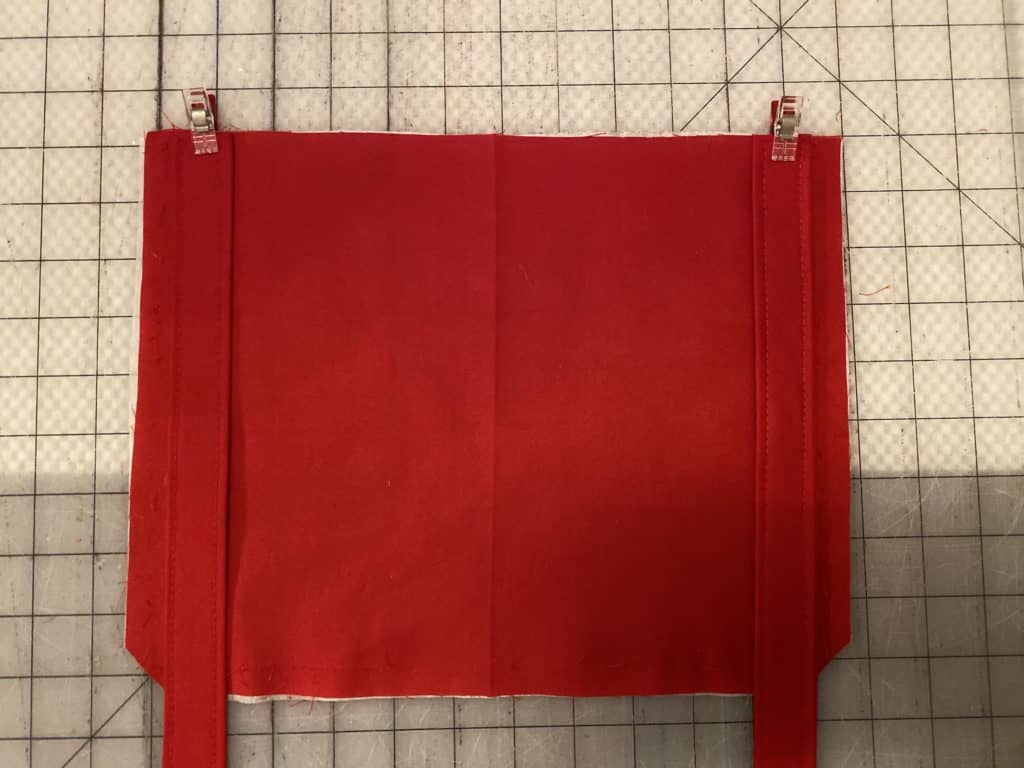
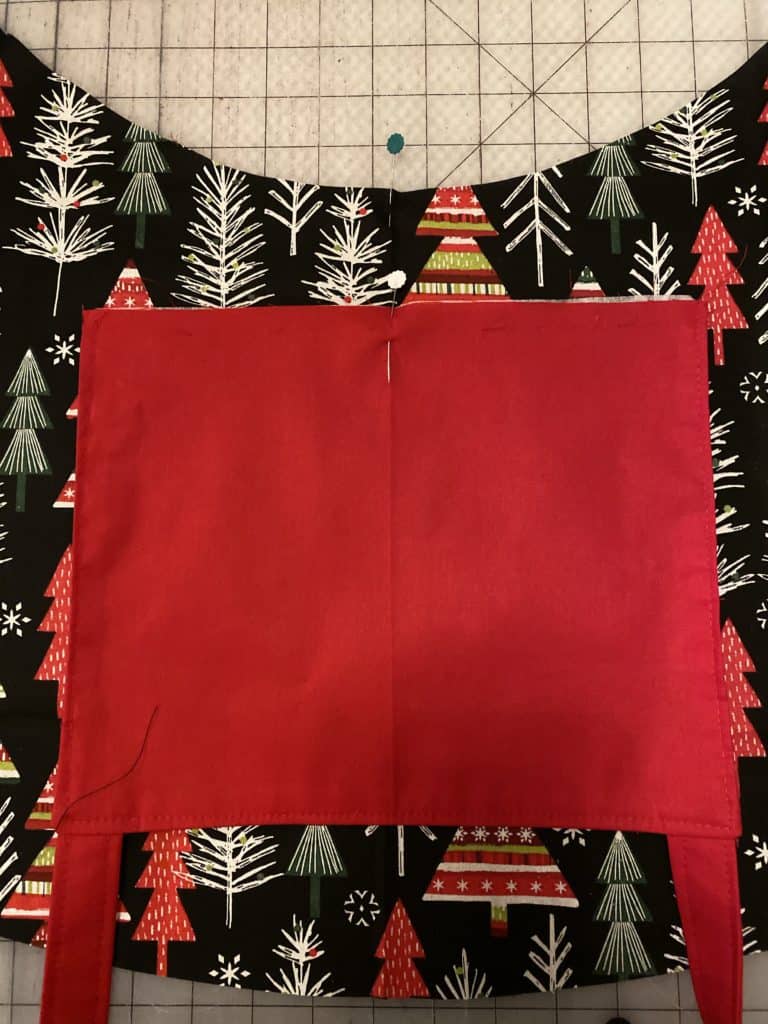
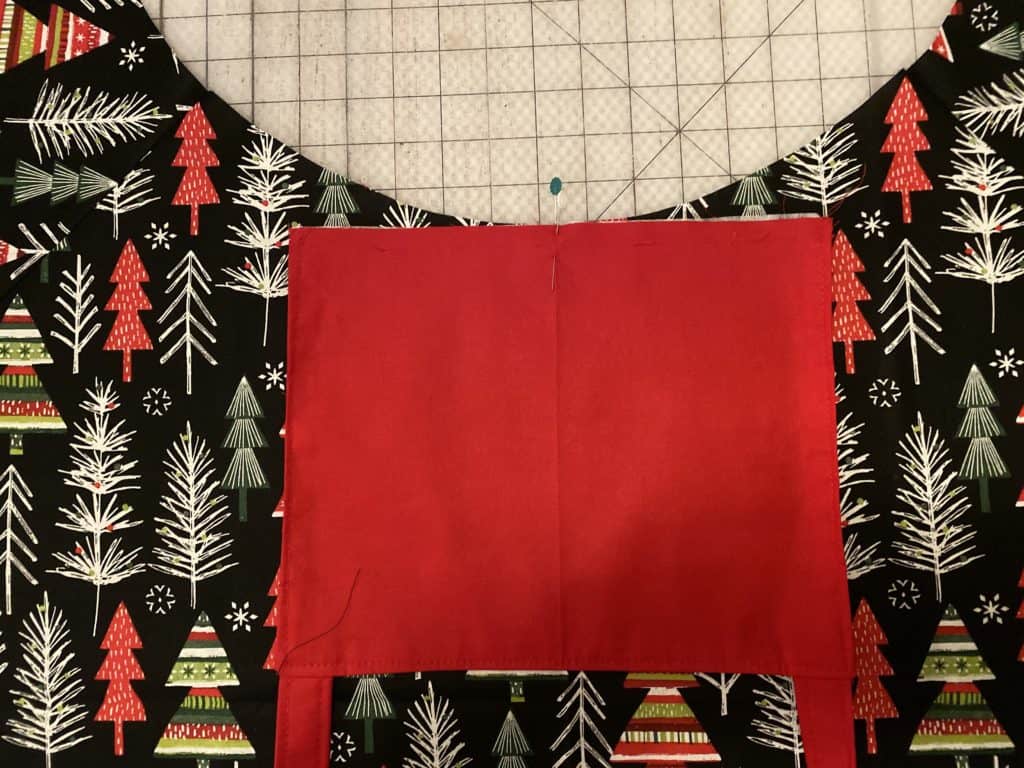
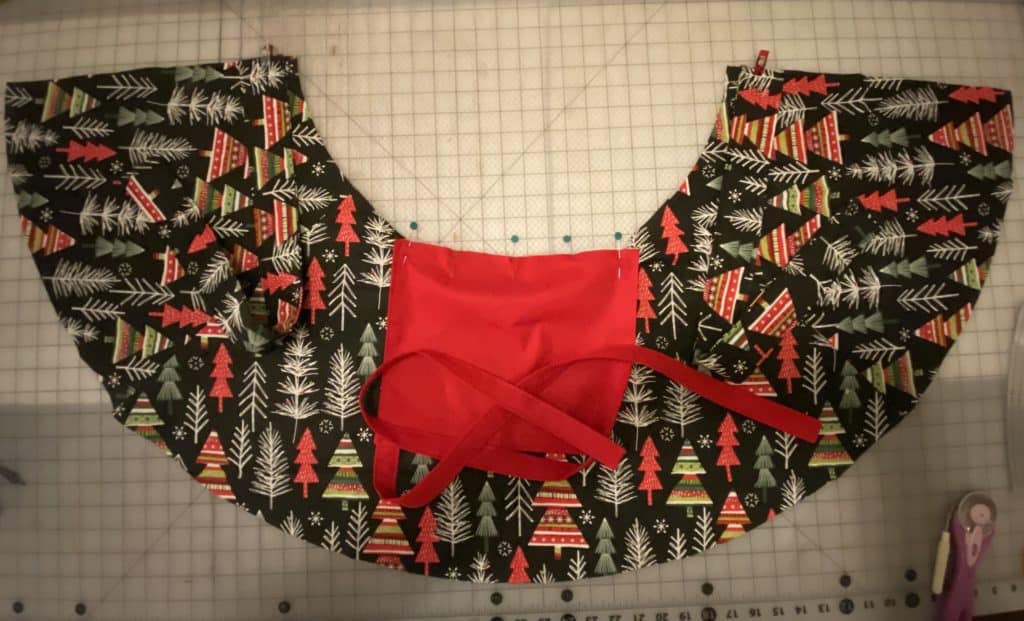
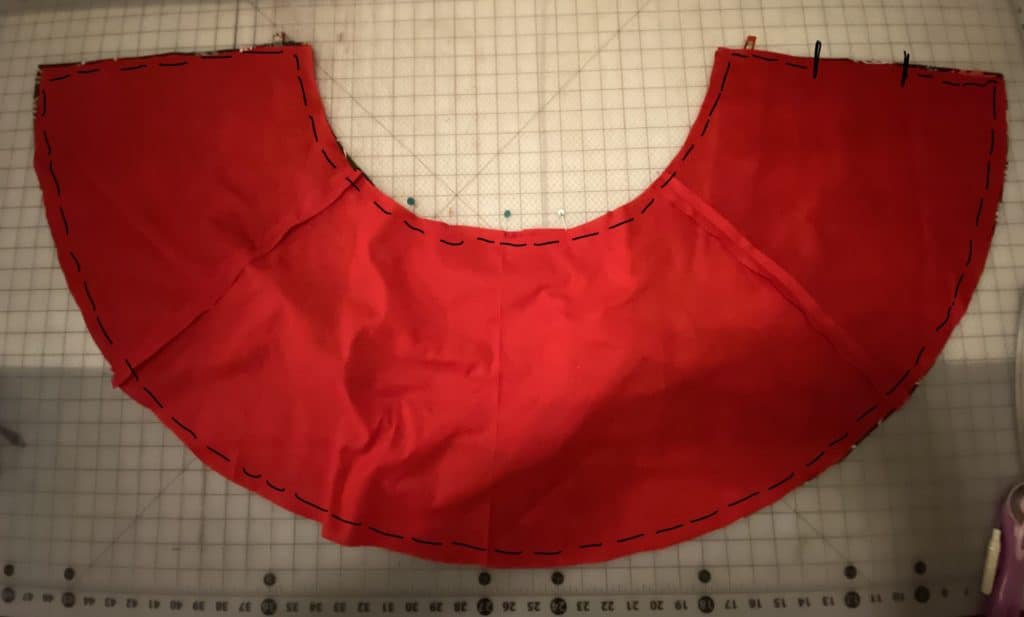
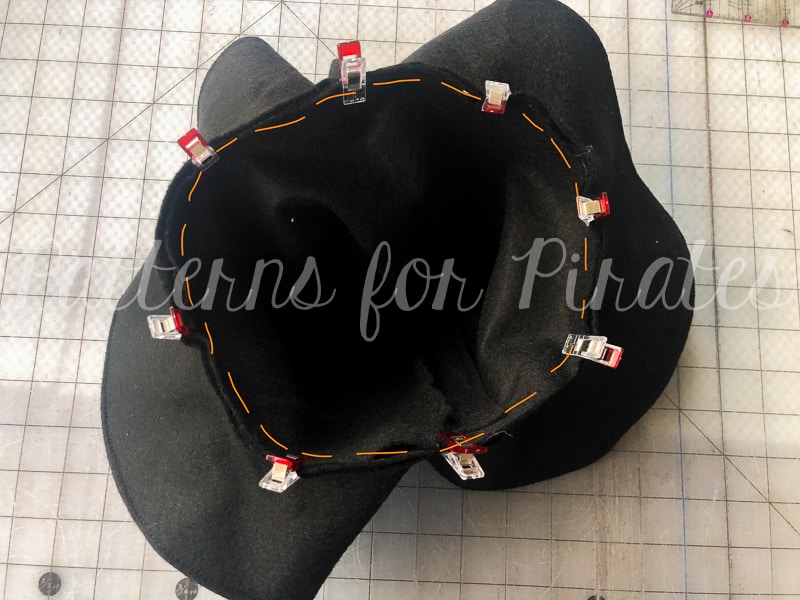
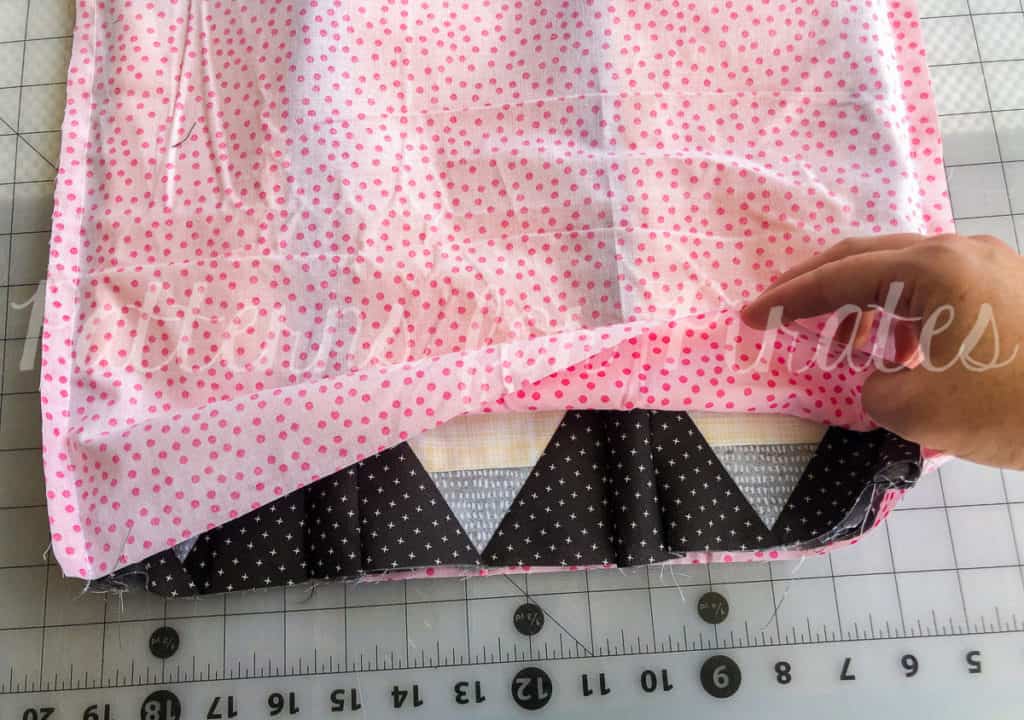
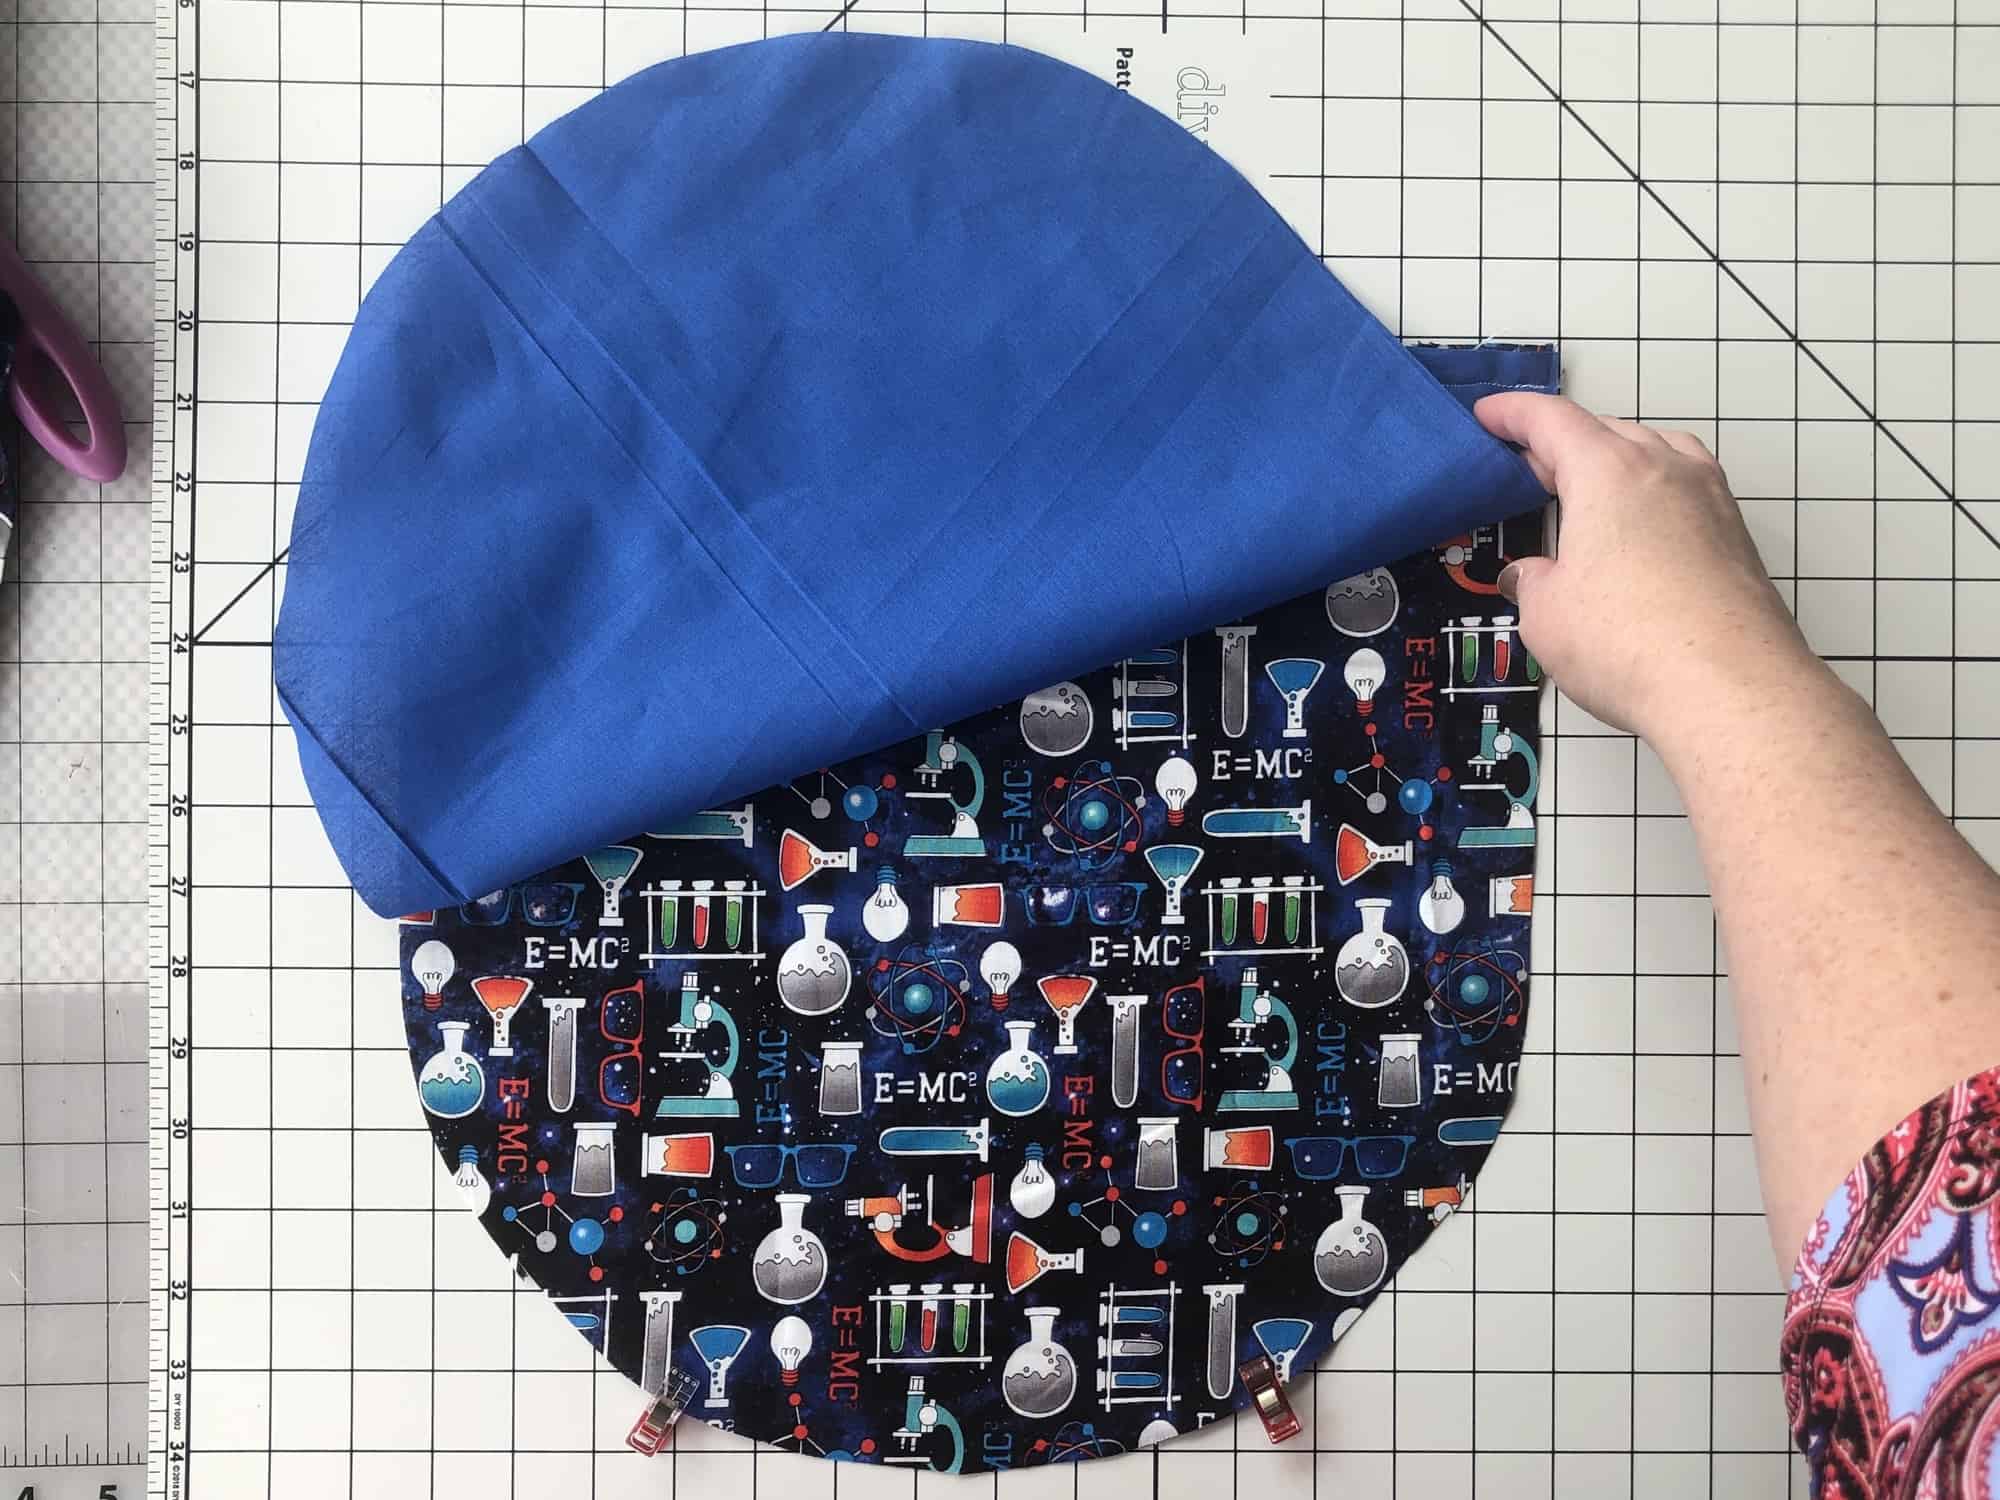
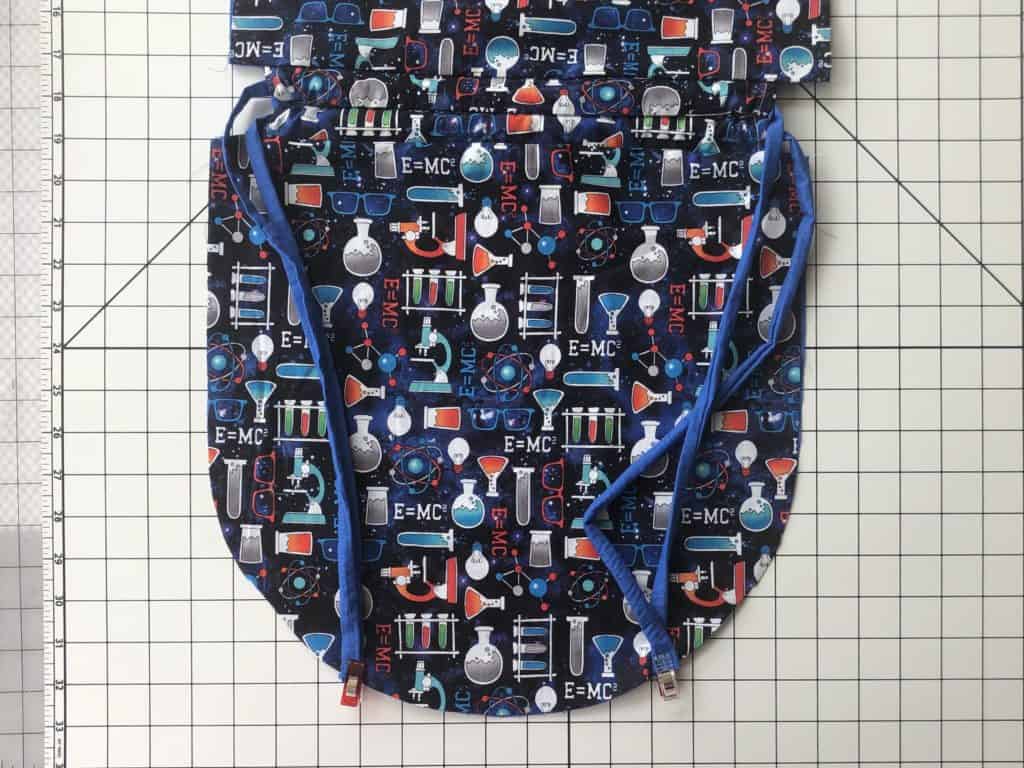
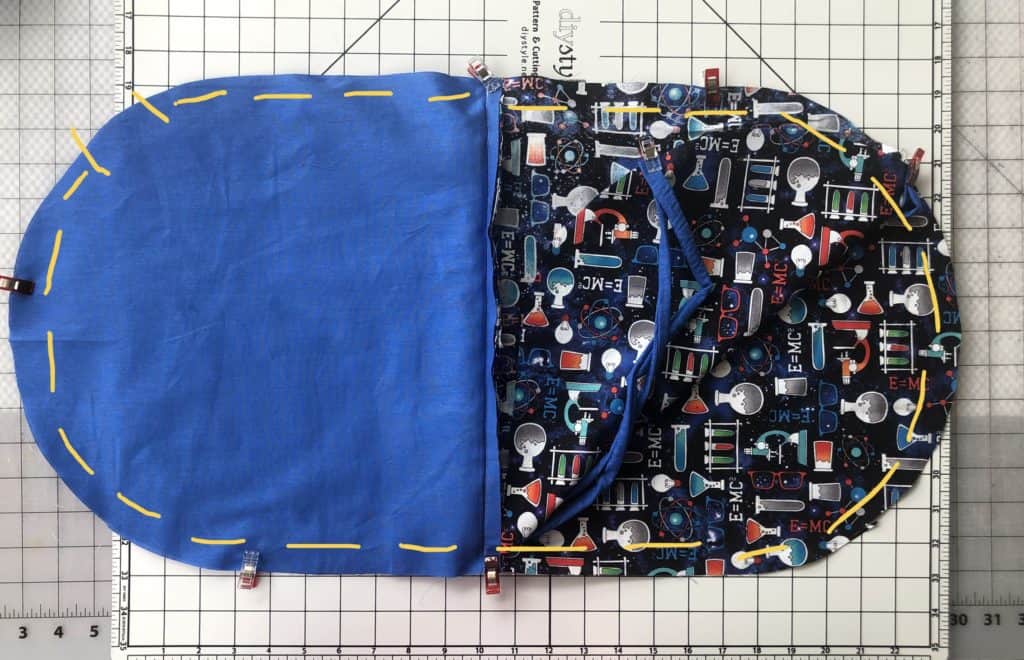
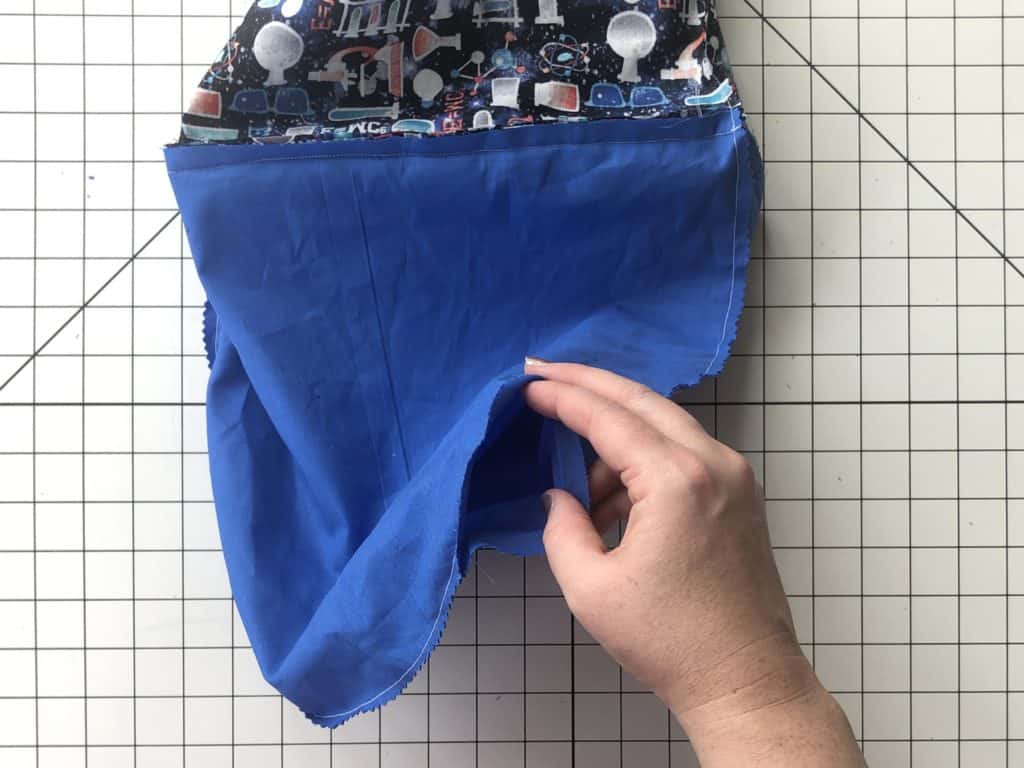
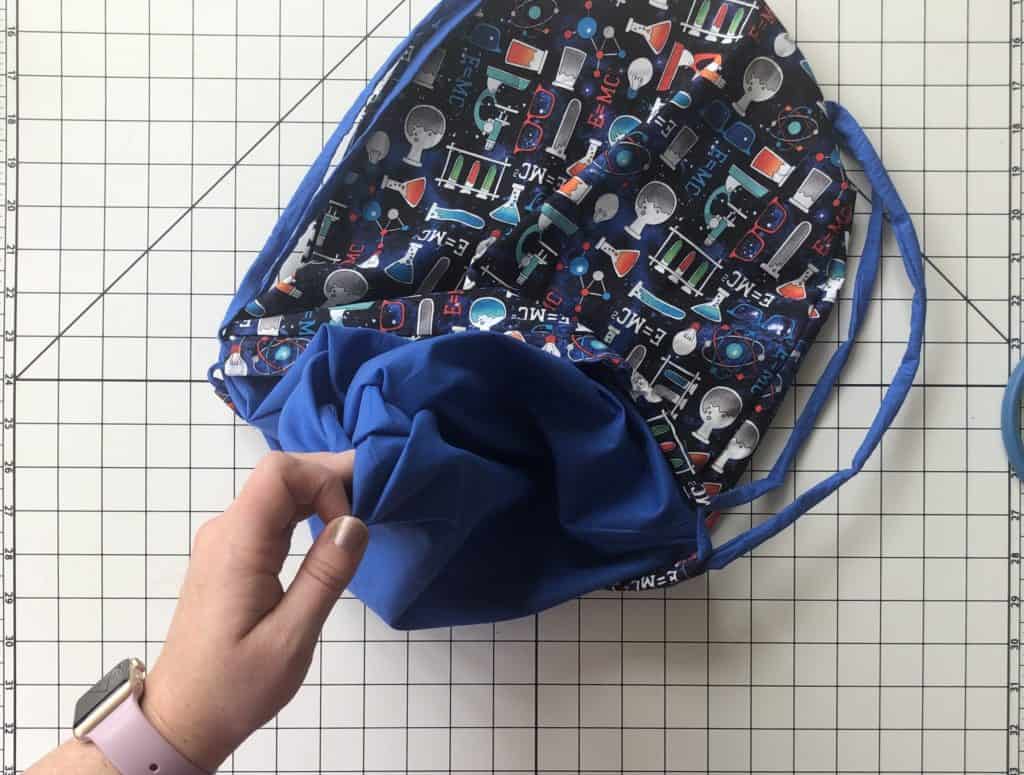
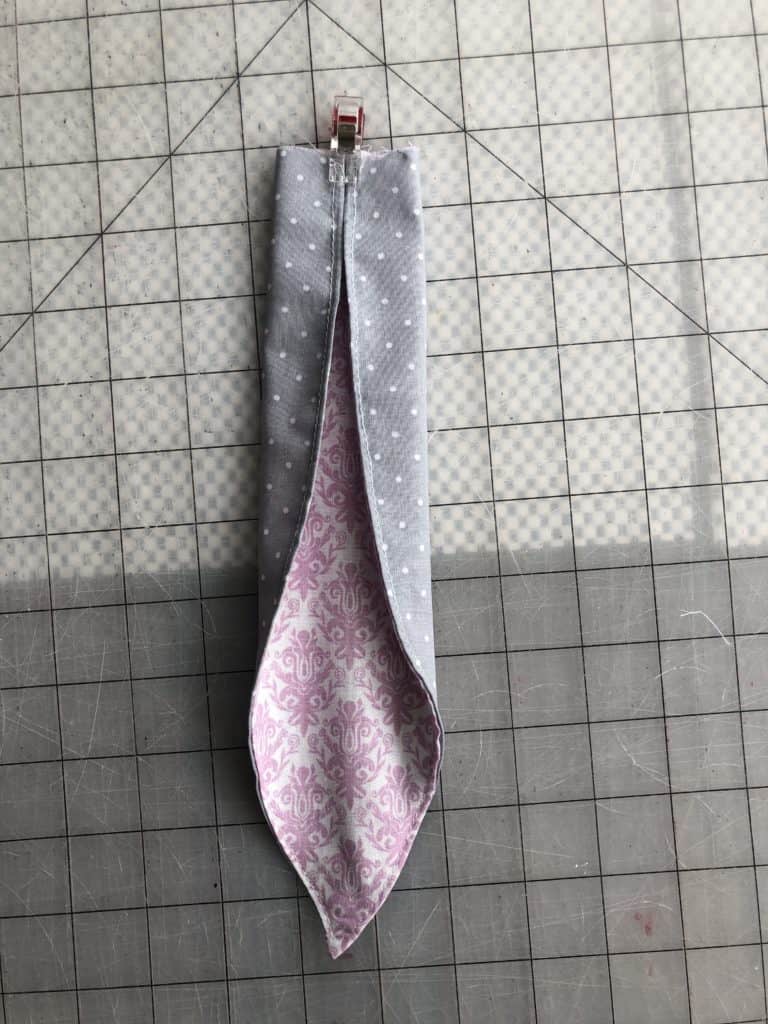
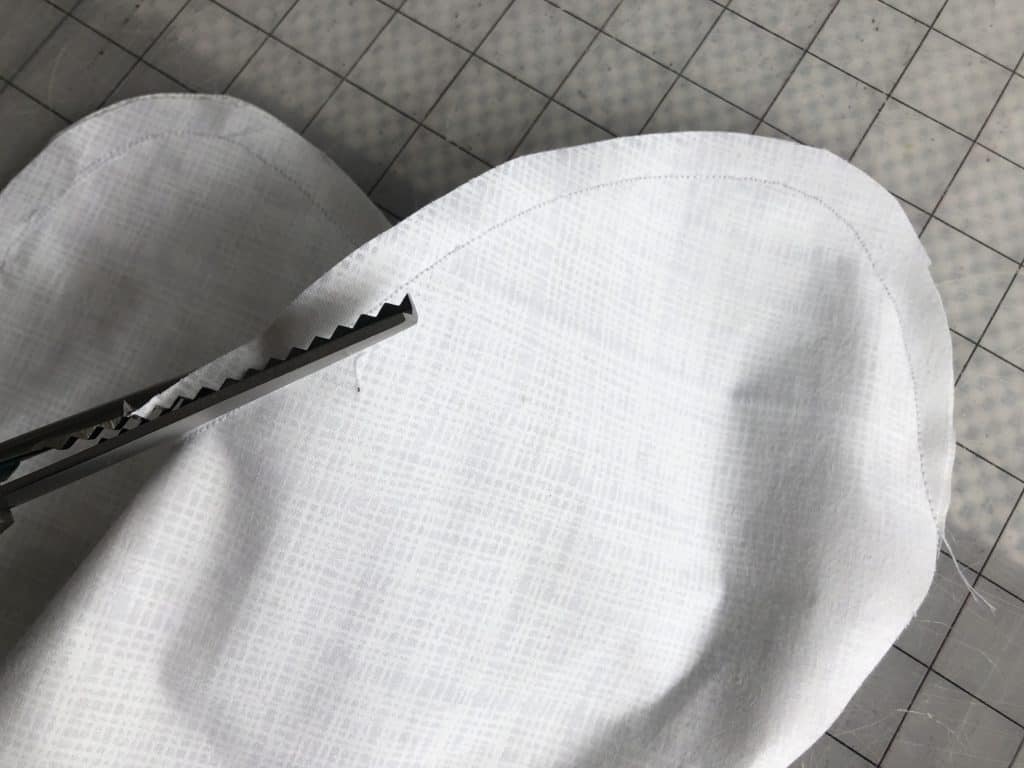
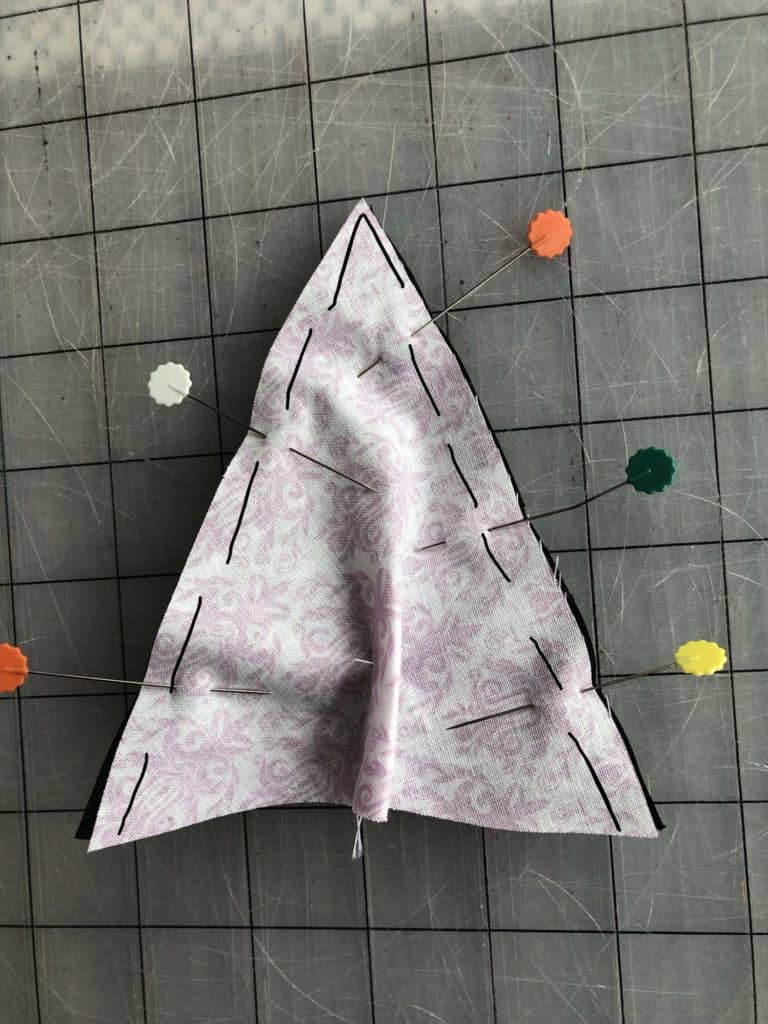
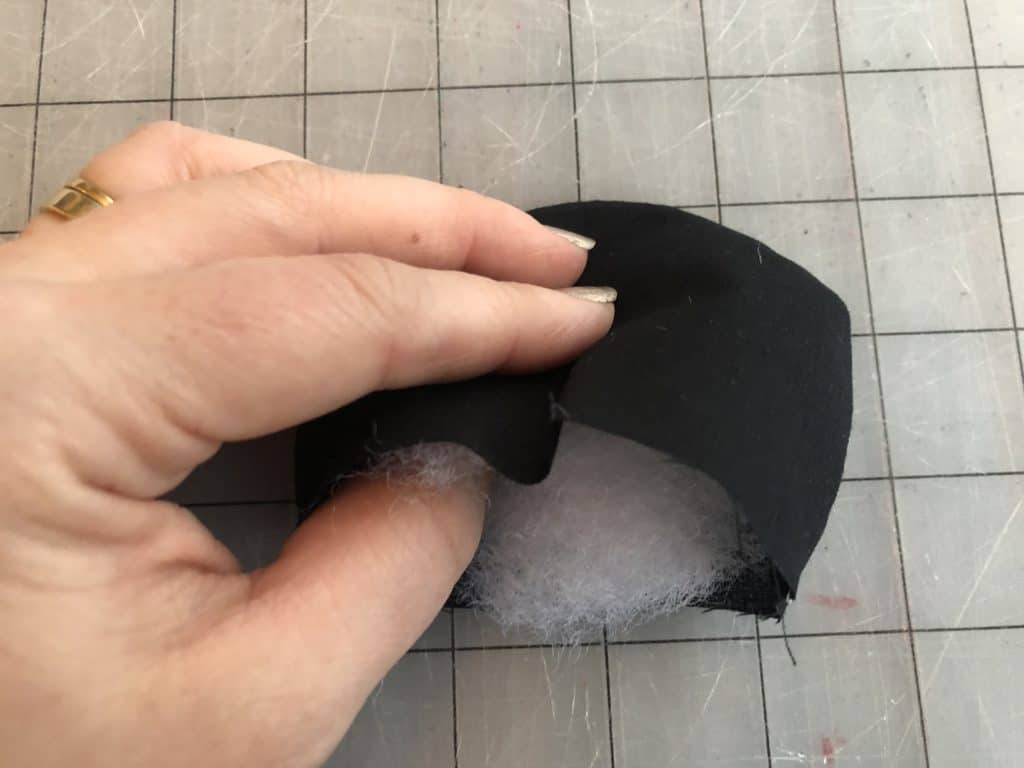
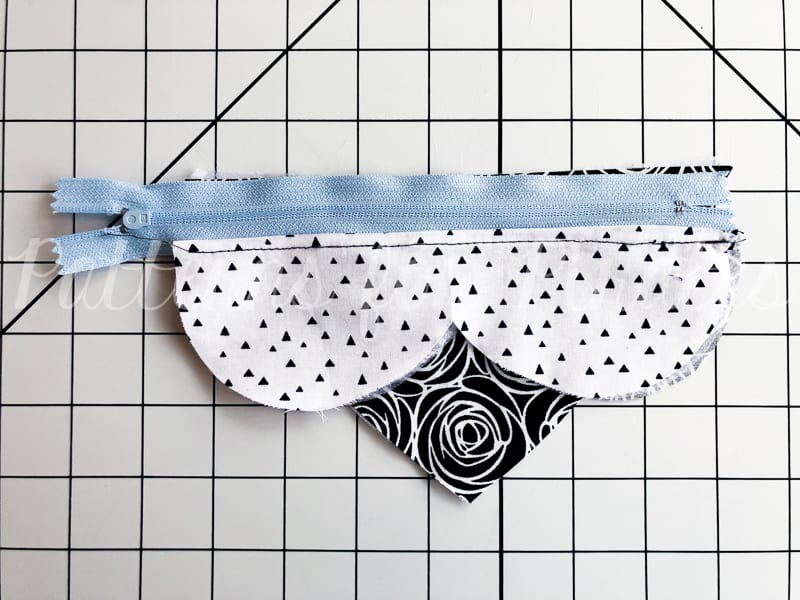
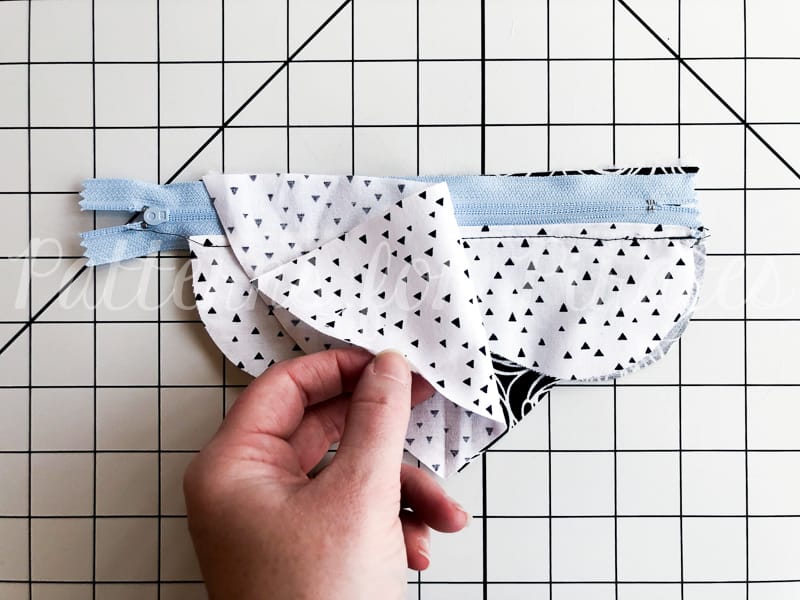
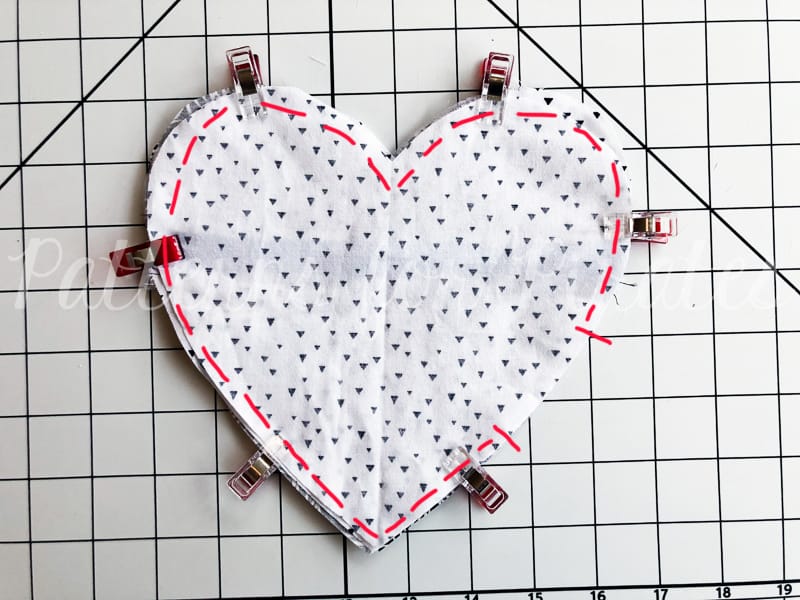
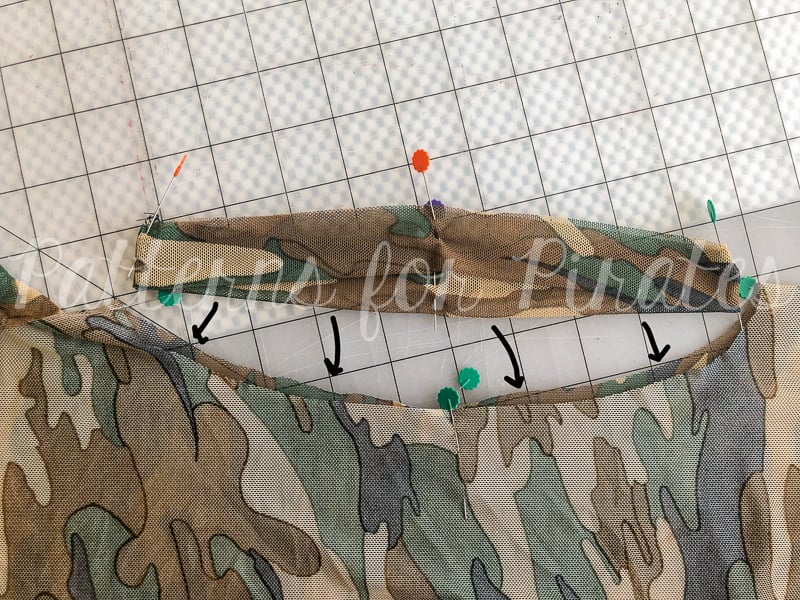
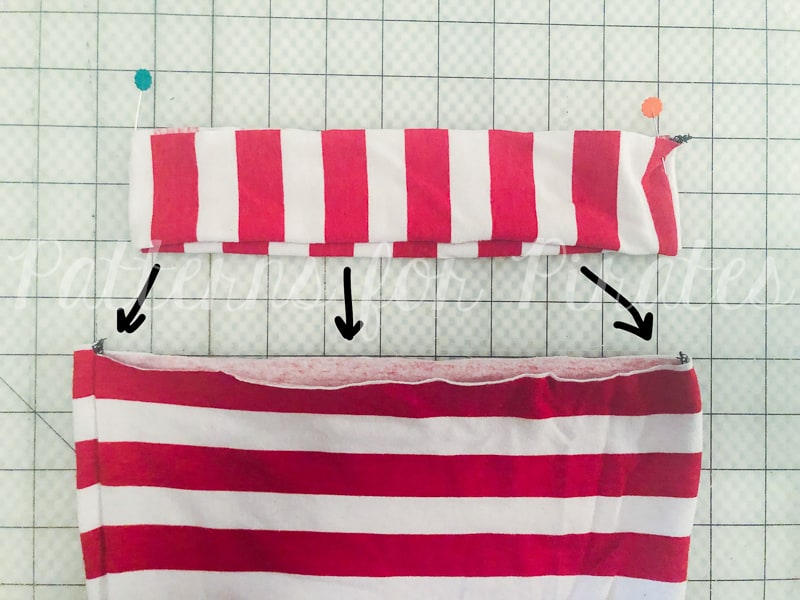
With the lining piece right sides out, and the main piece wrong sides out, put the lining piece inside of the main.
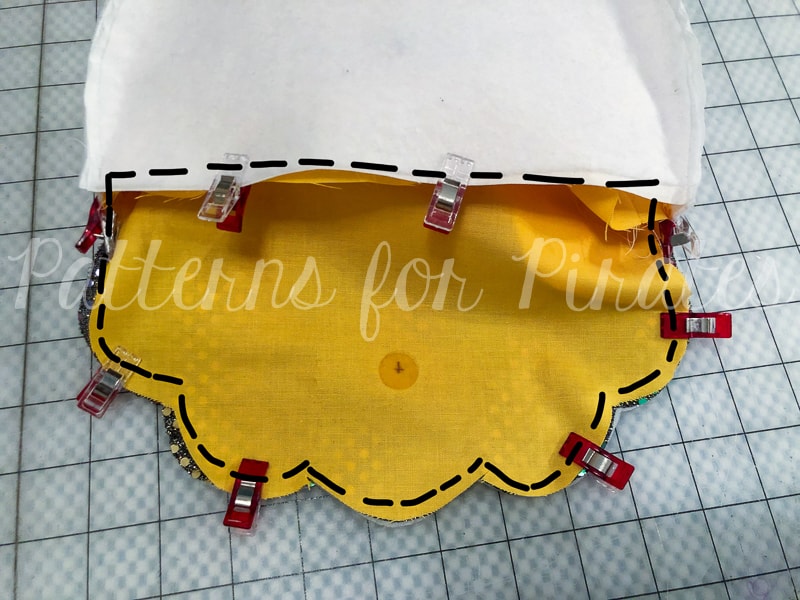
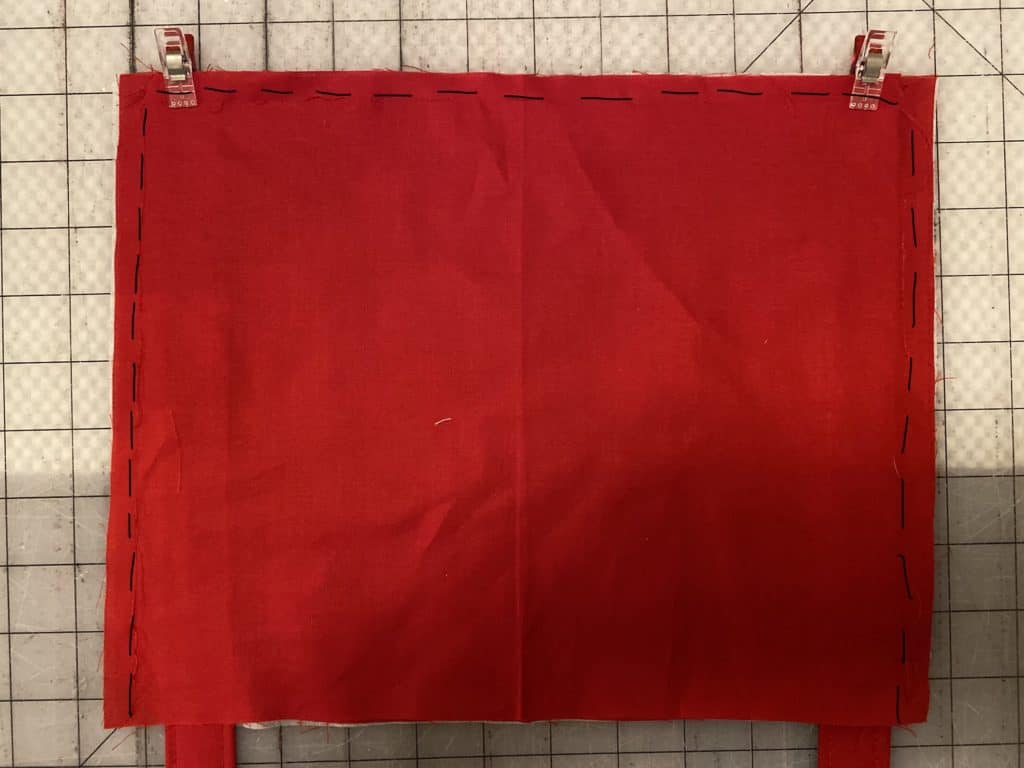
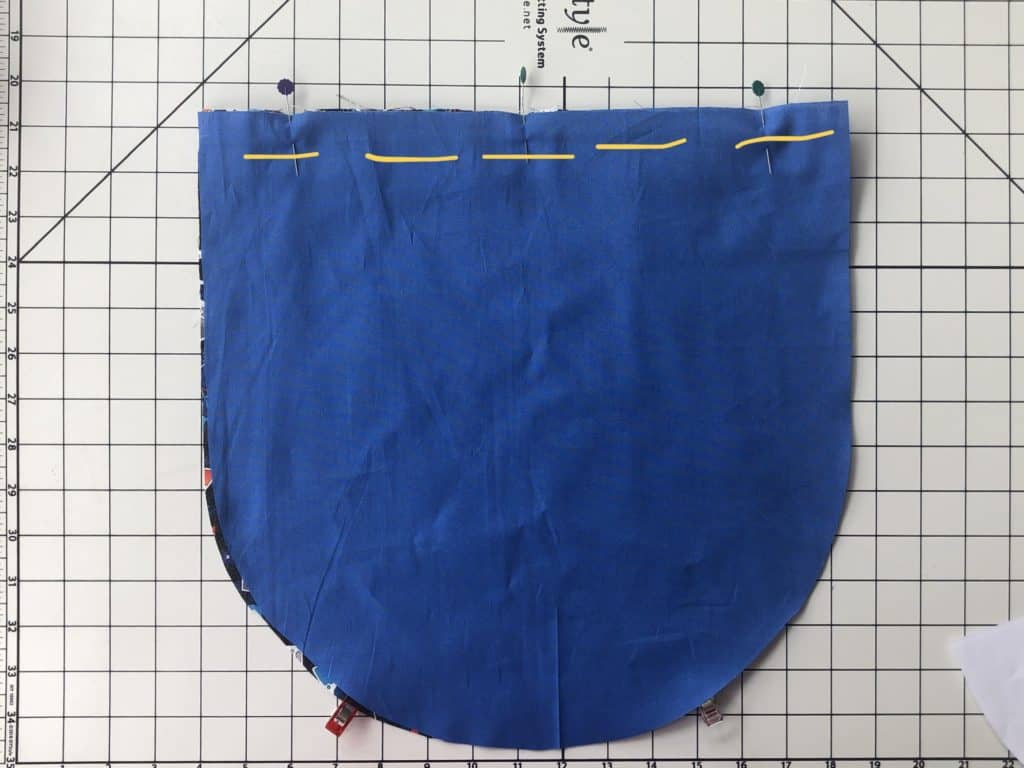
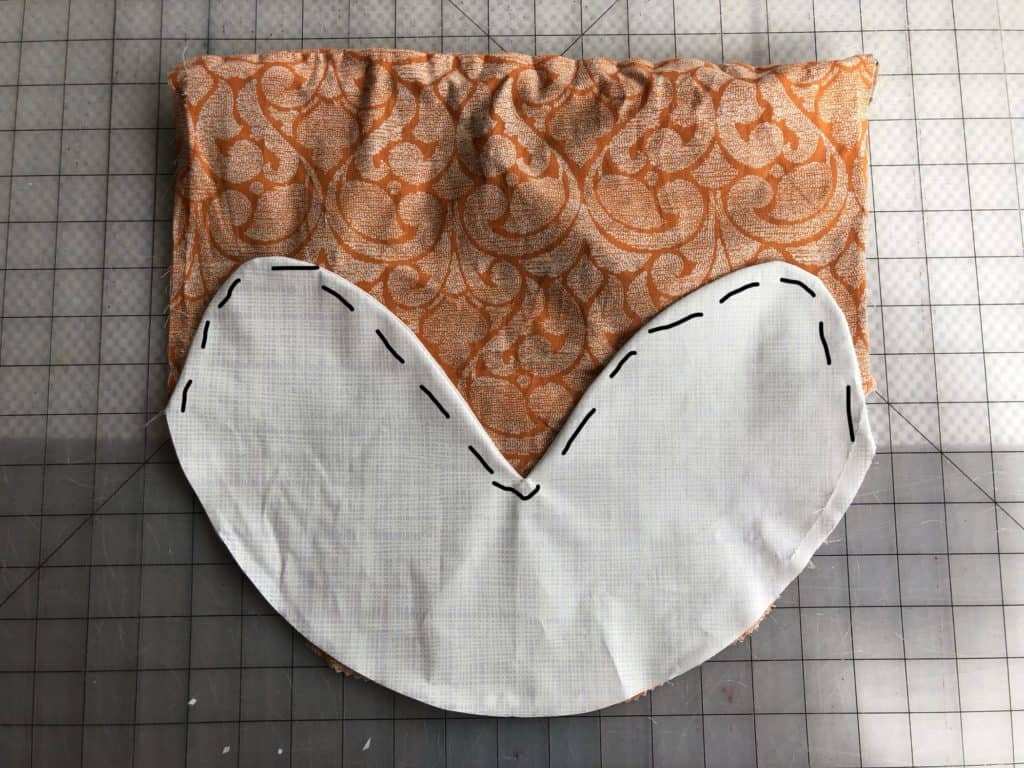
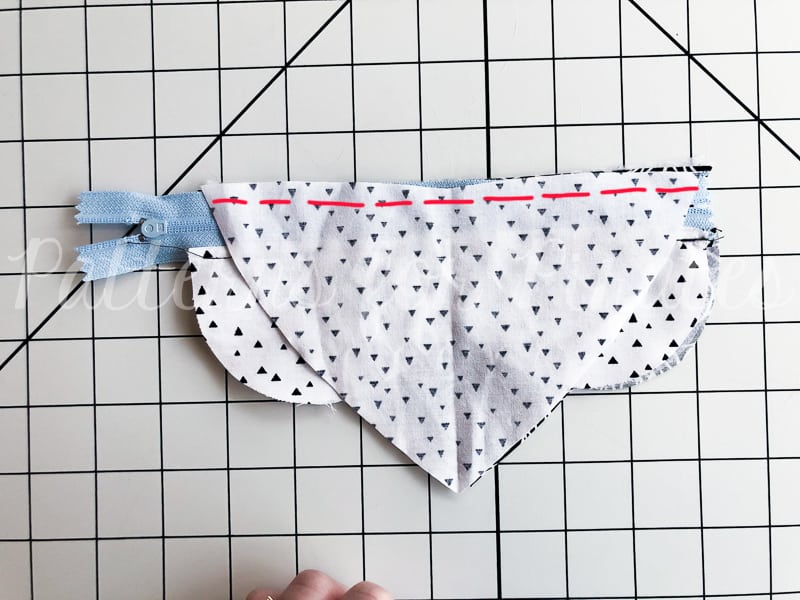
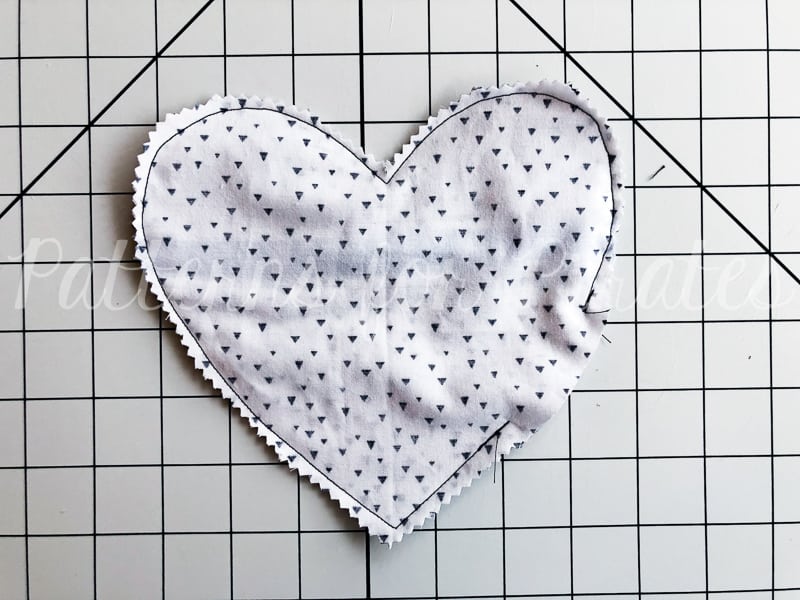
Align all edges and sew long, raw edge, using 1/2” seam allowance.
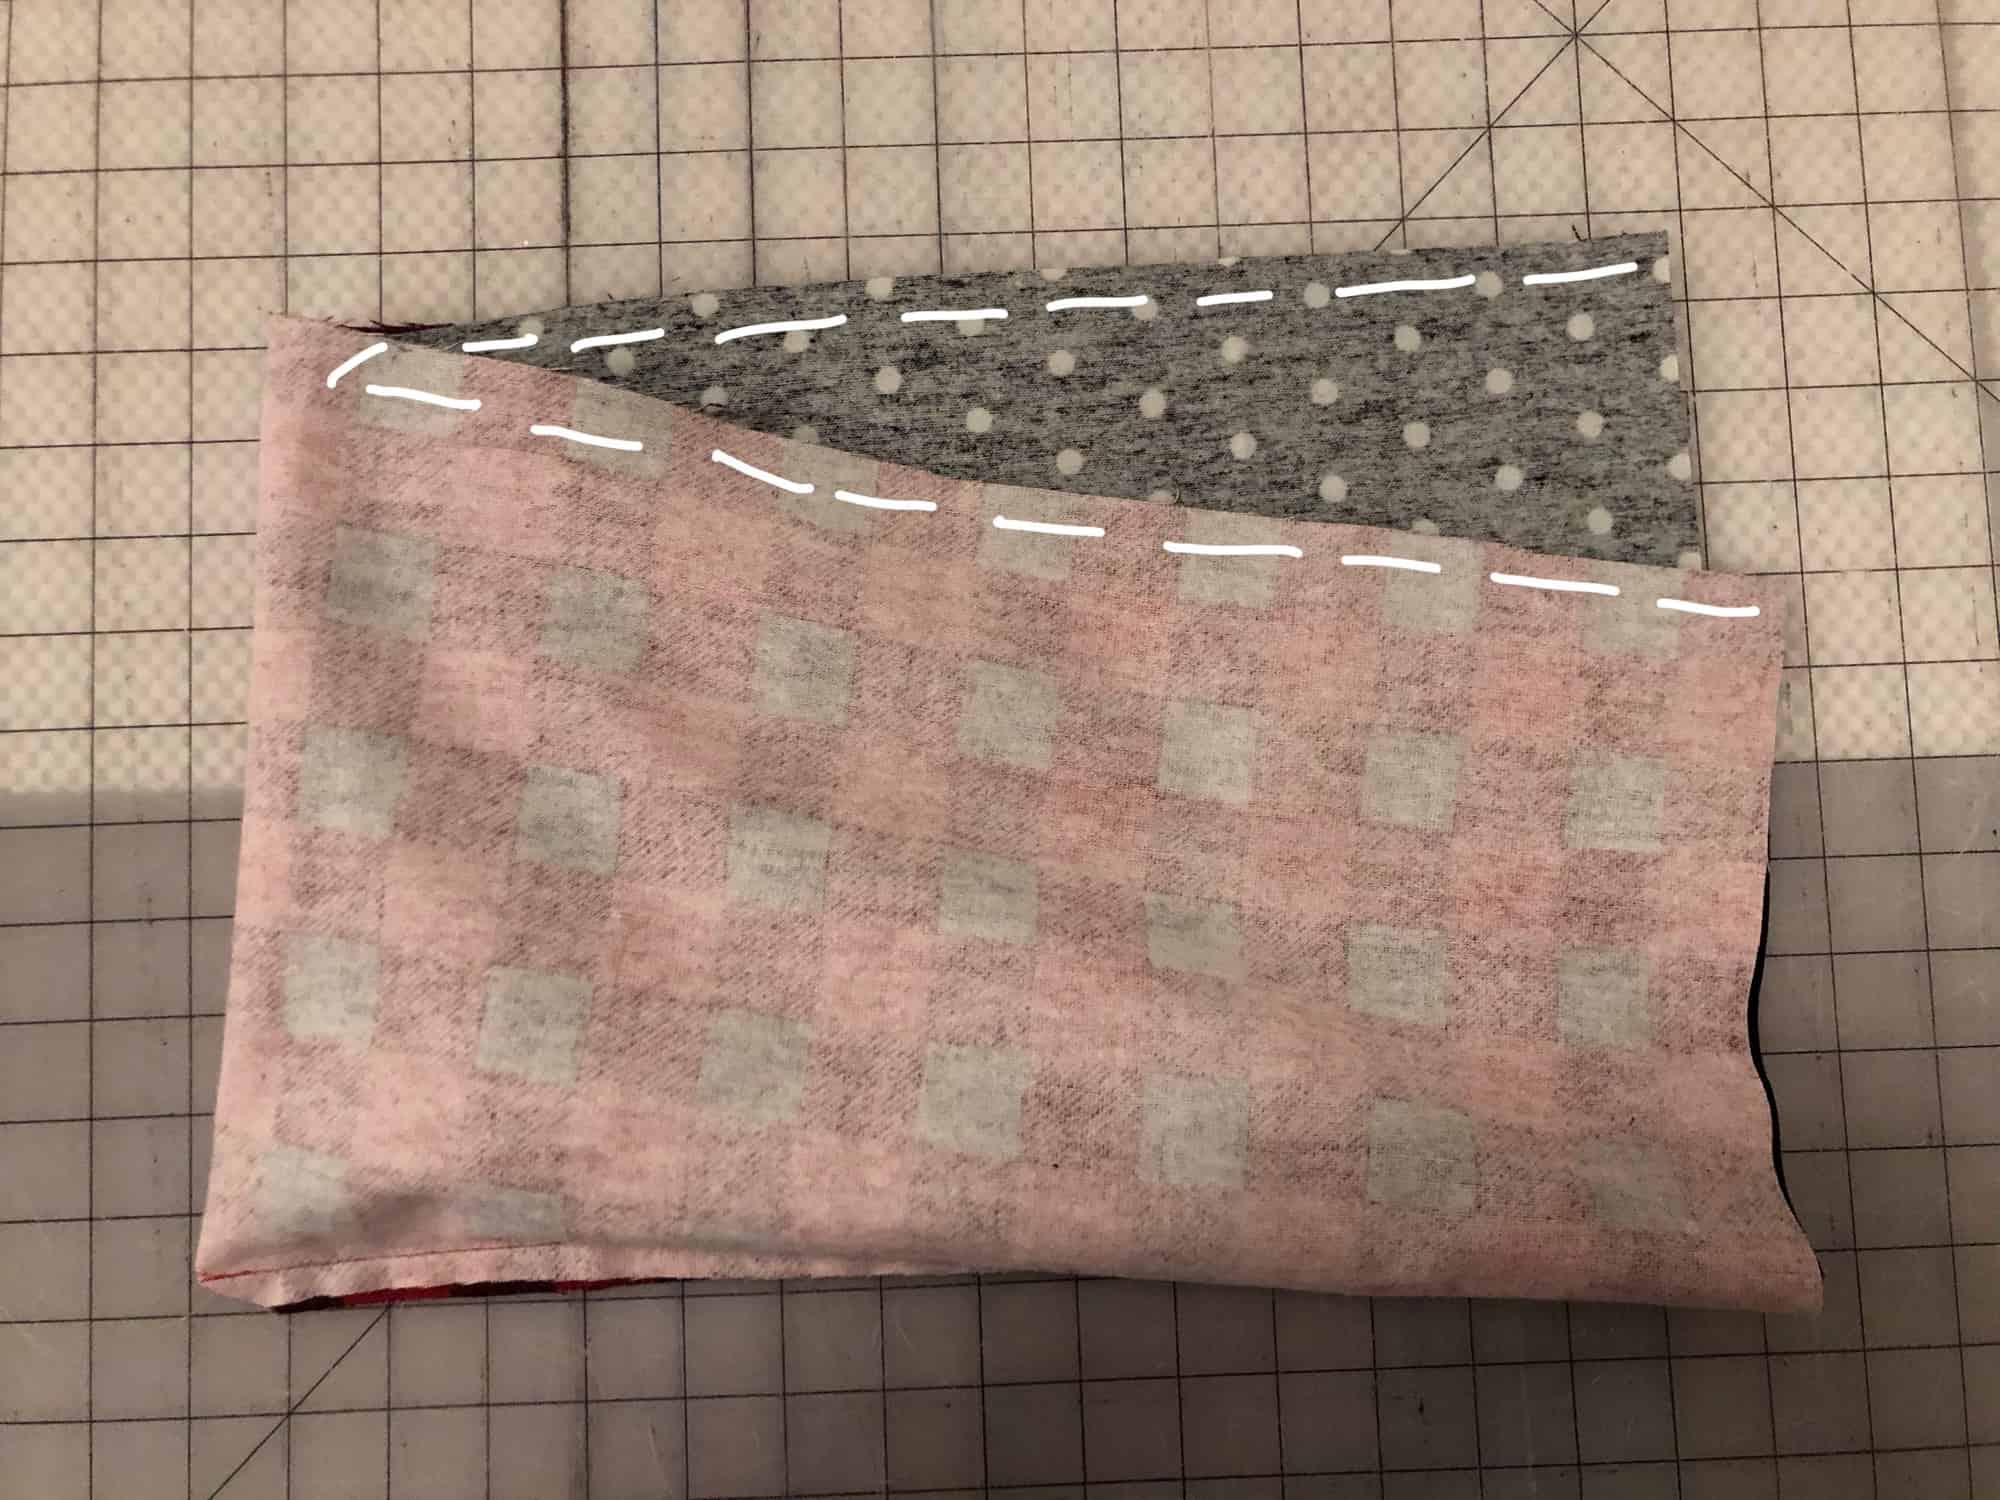
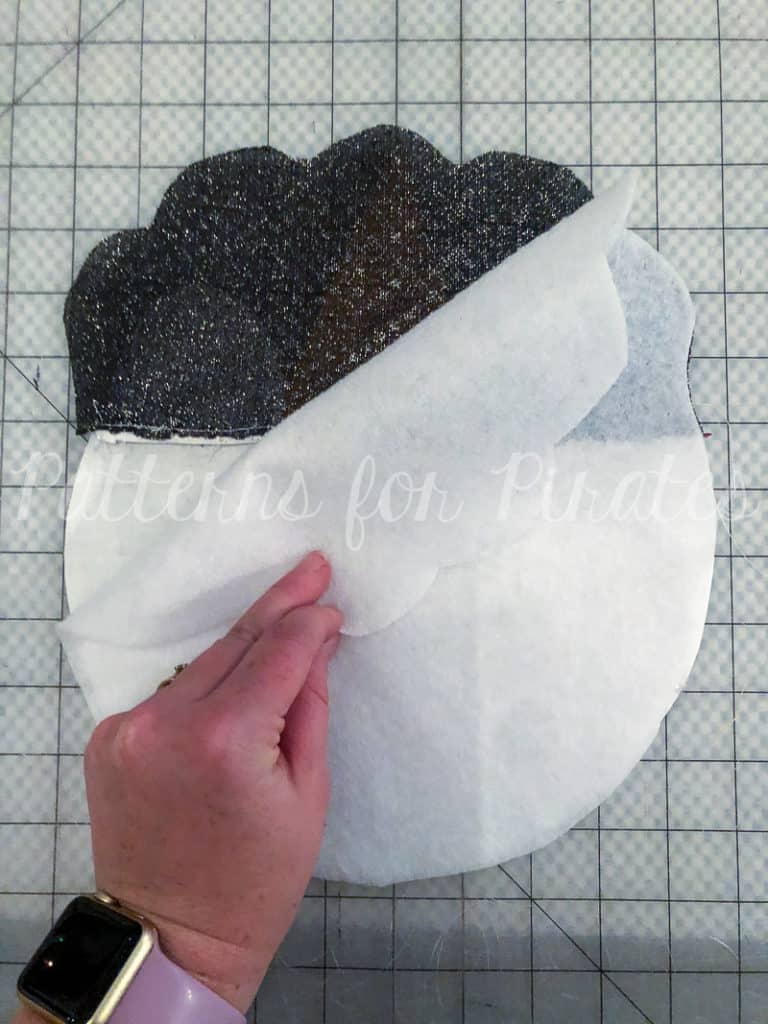
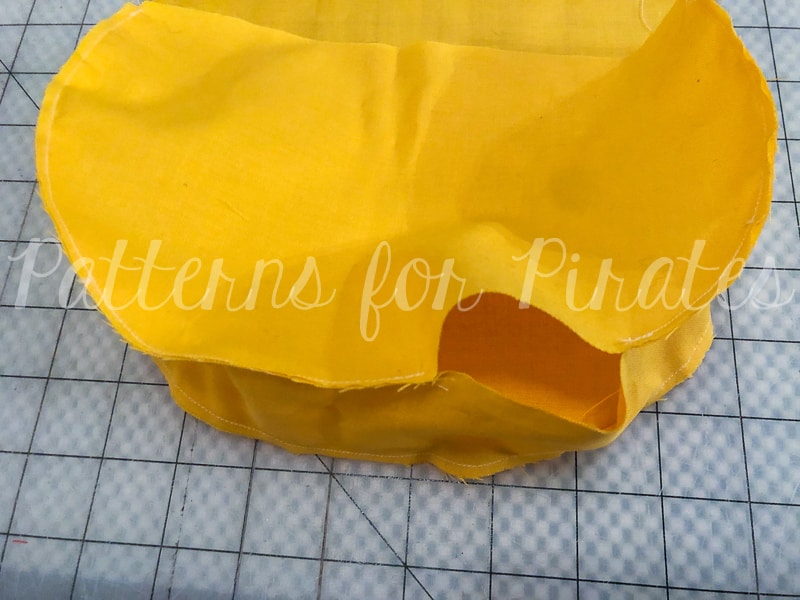
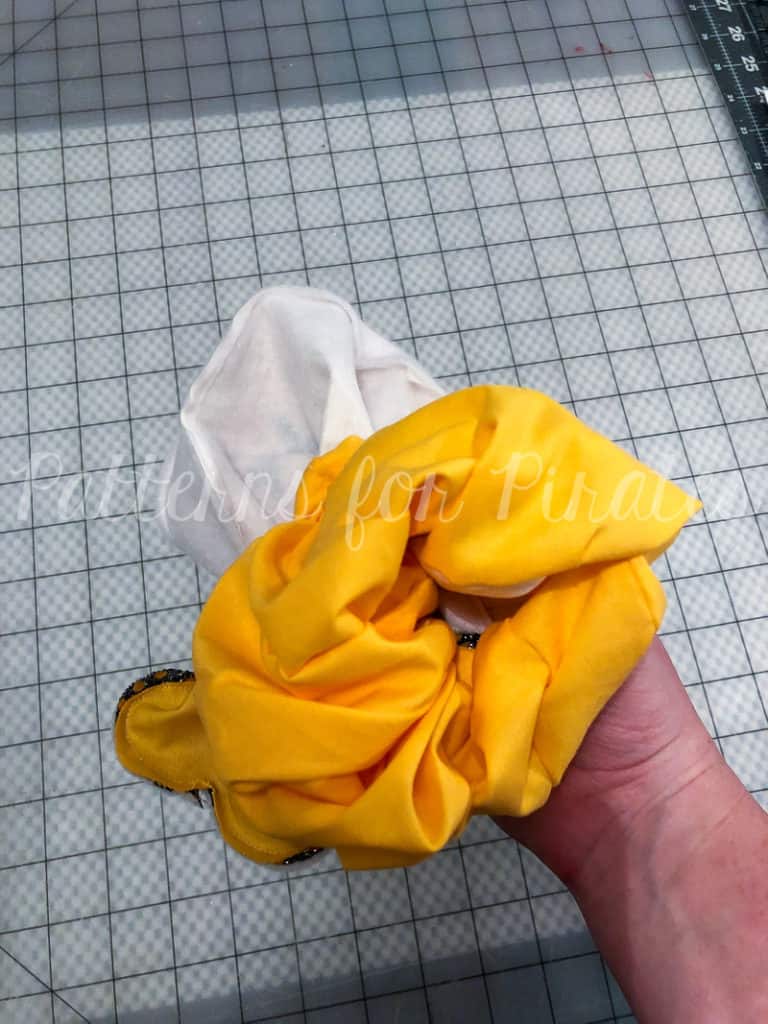
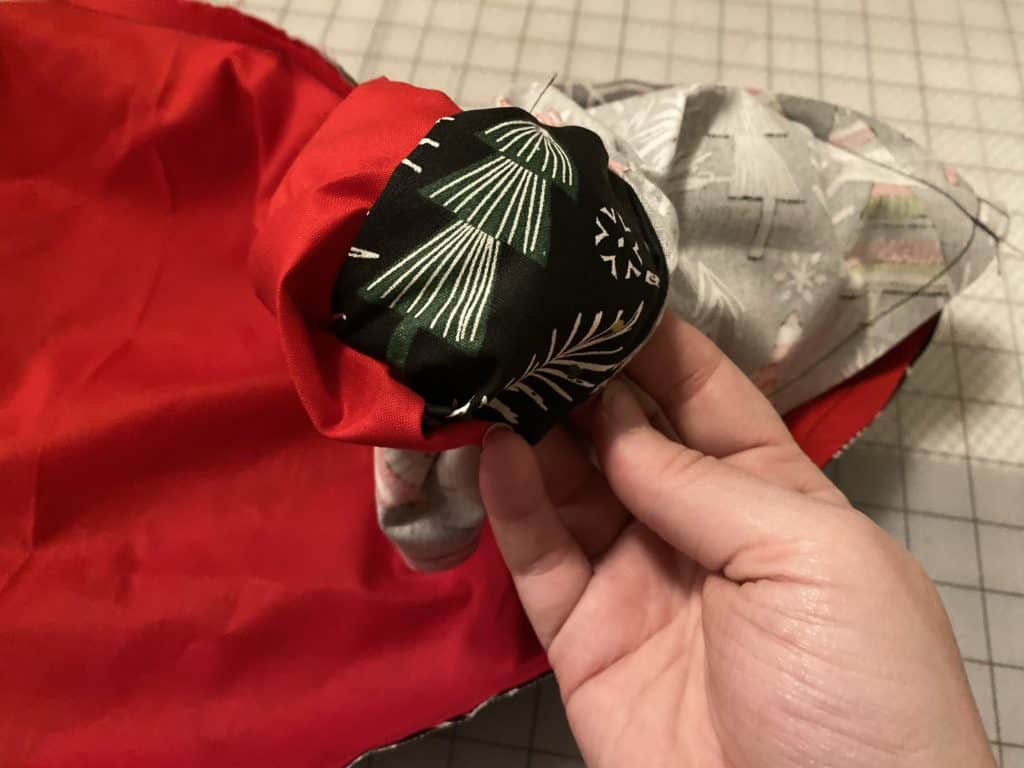
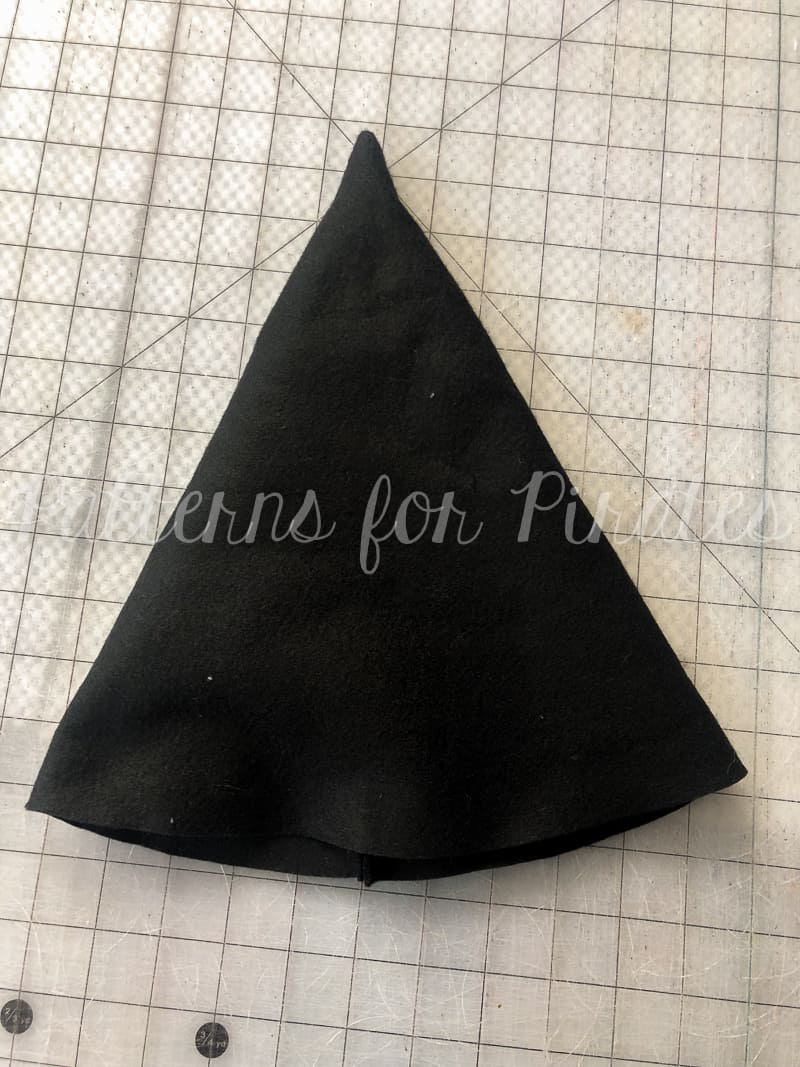
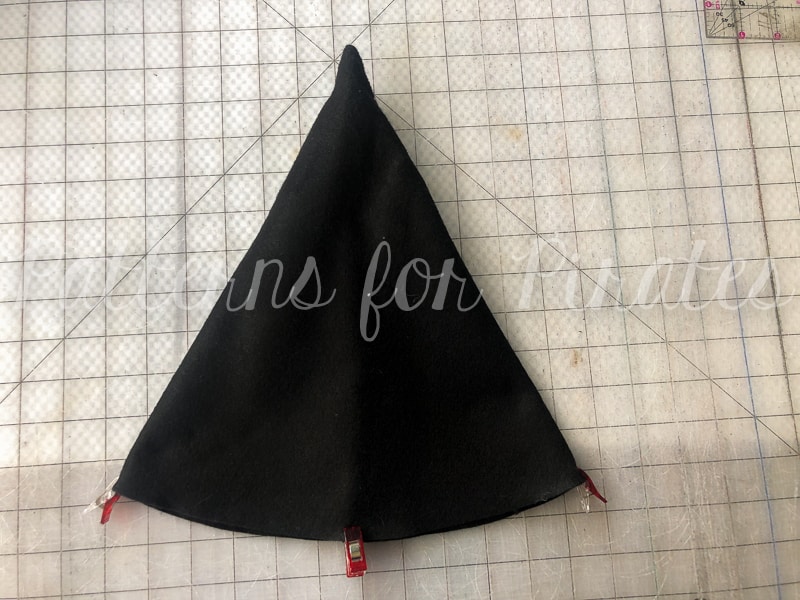
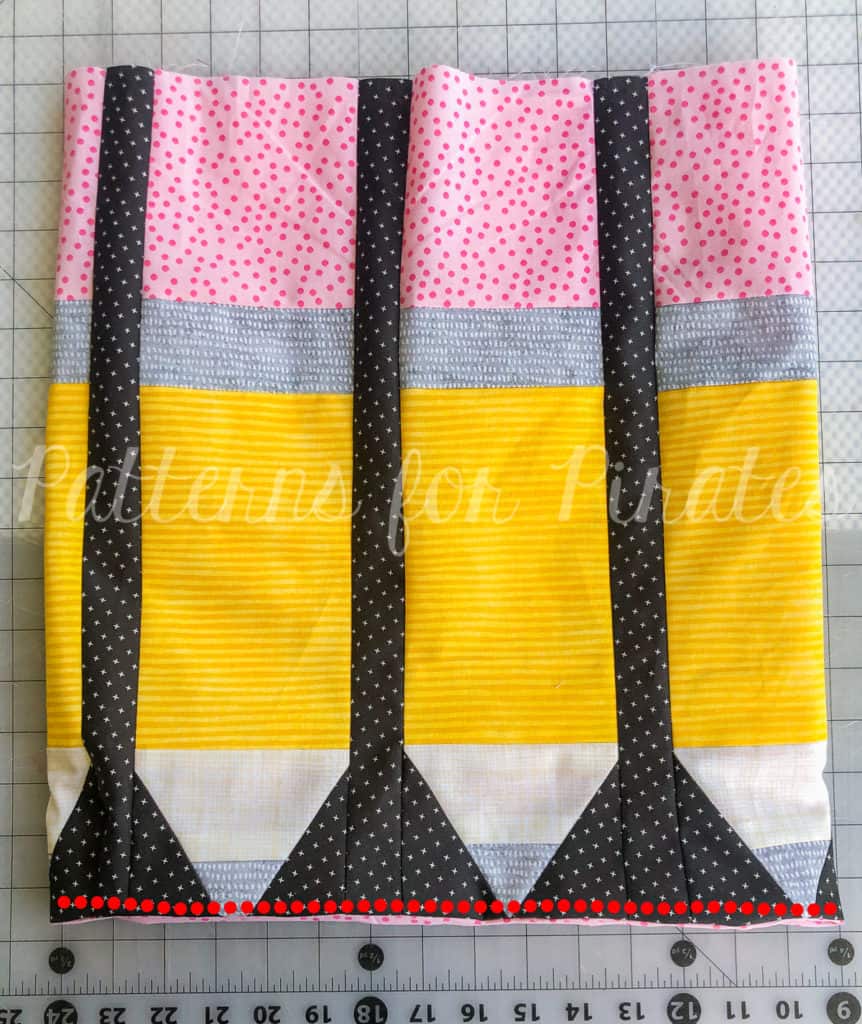
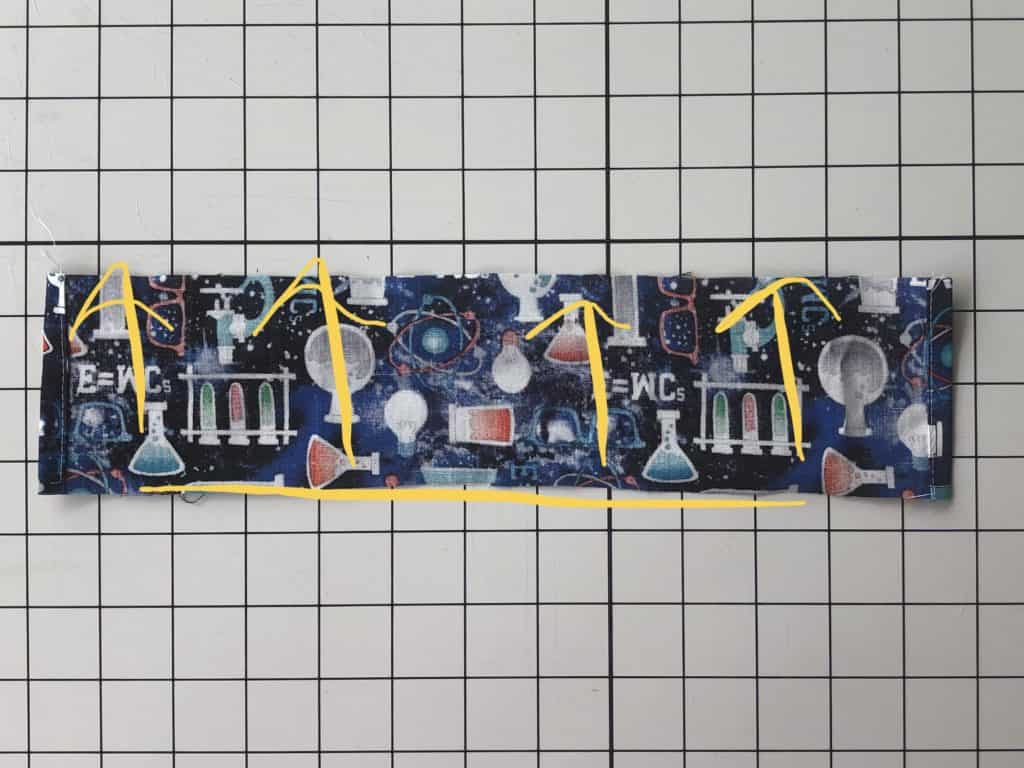
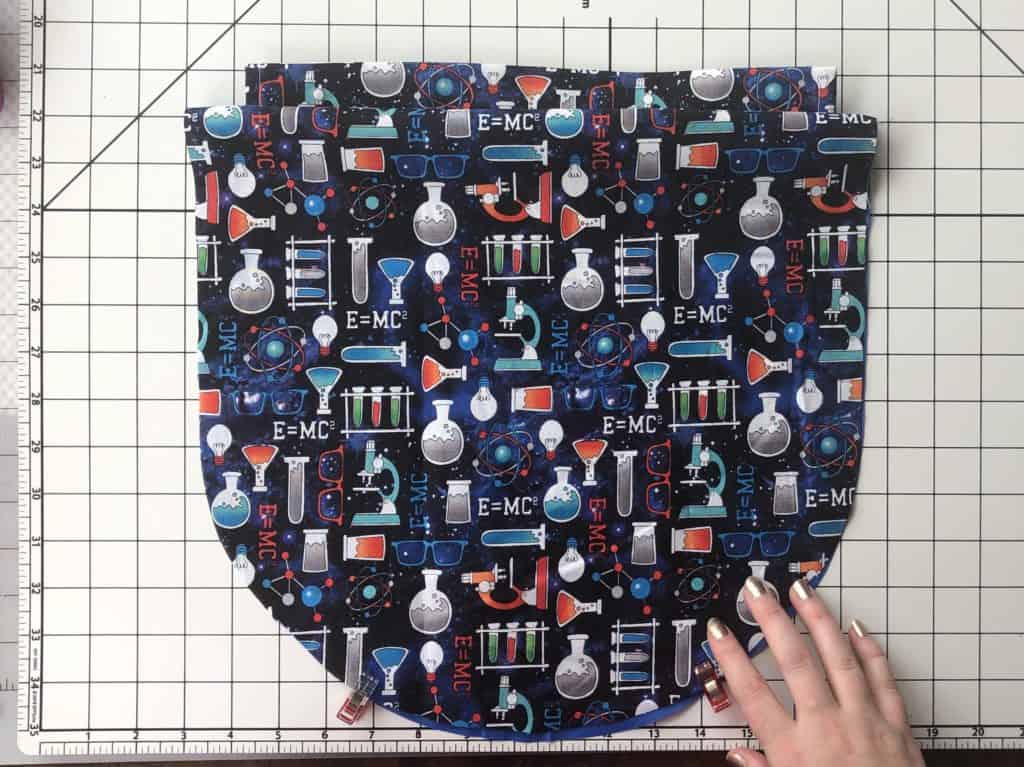
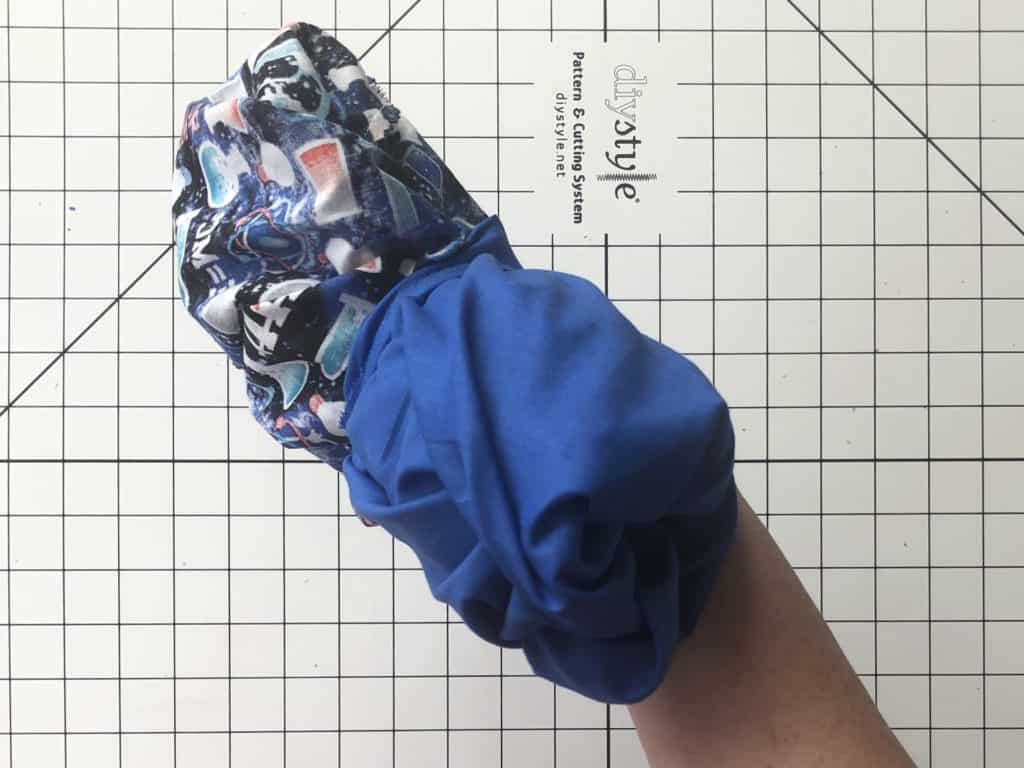
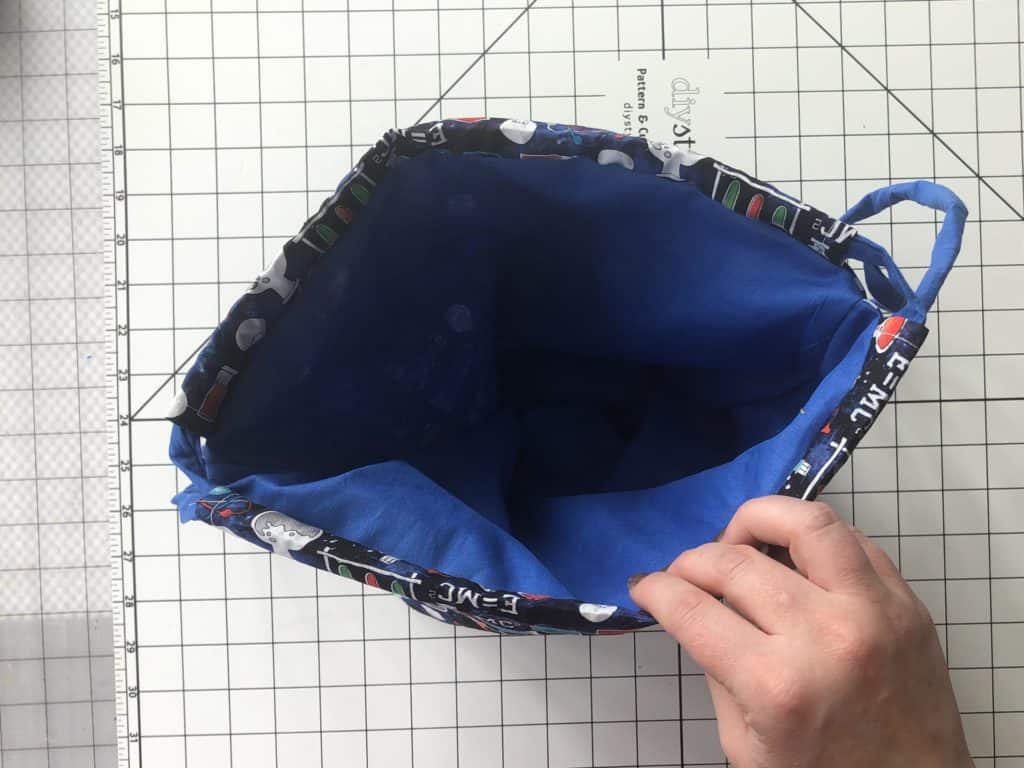
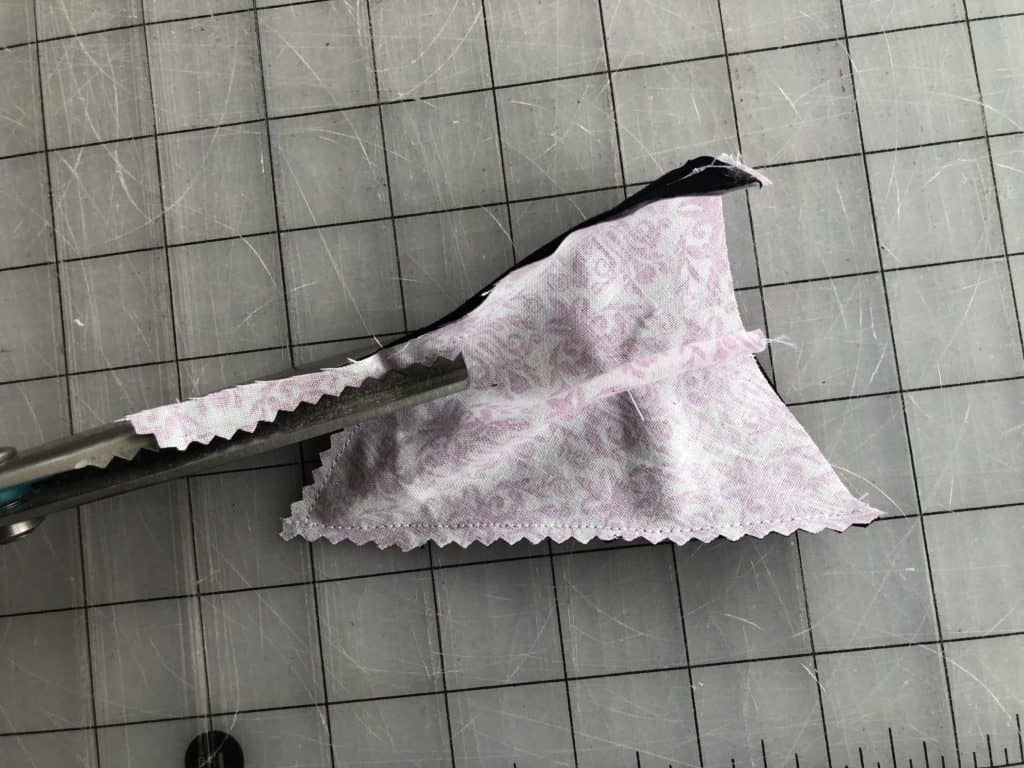
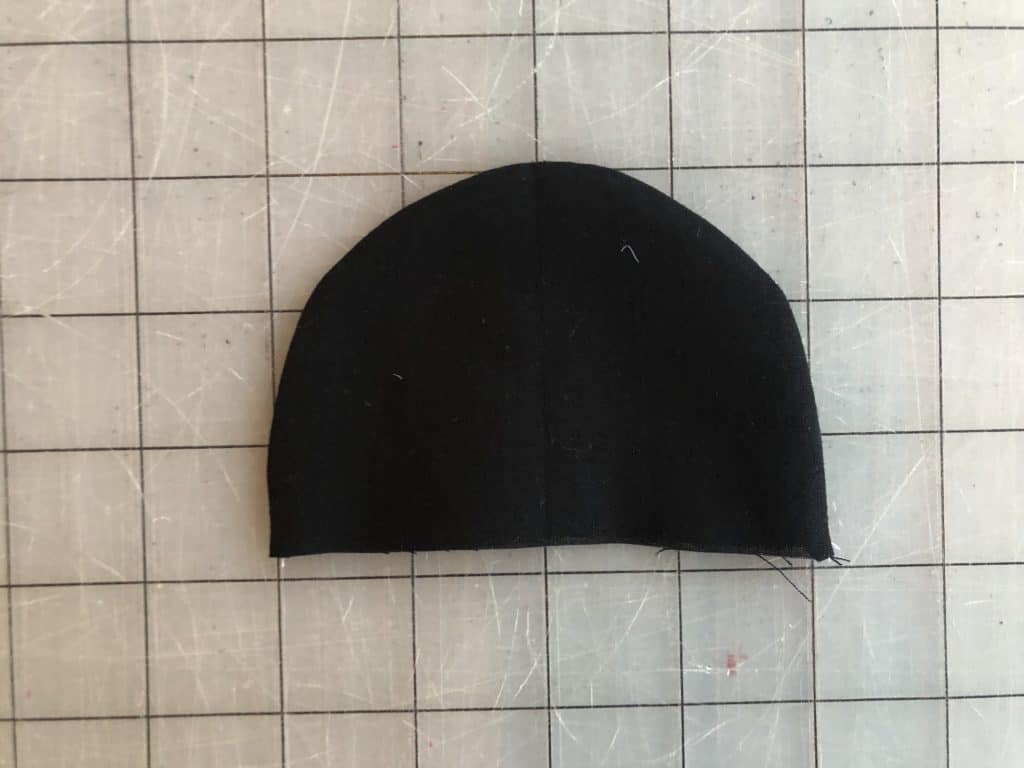
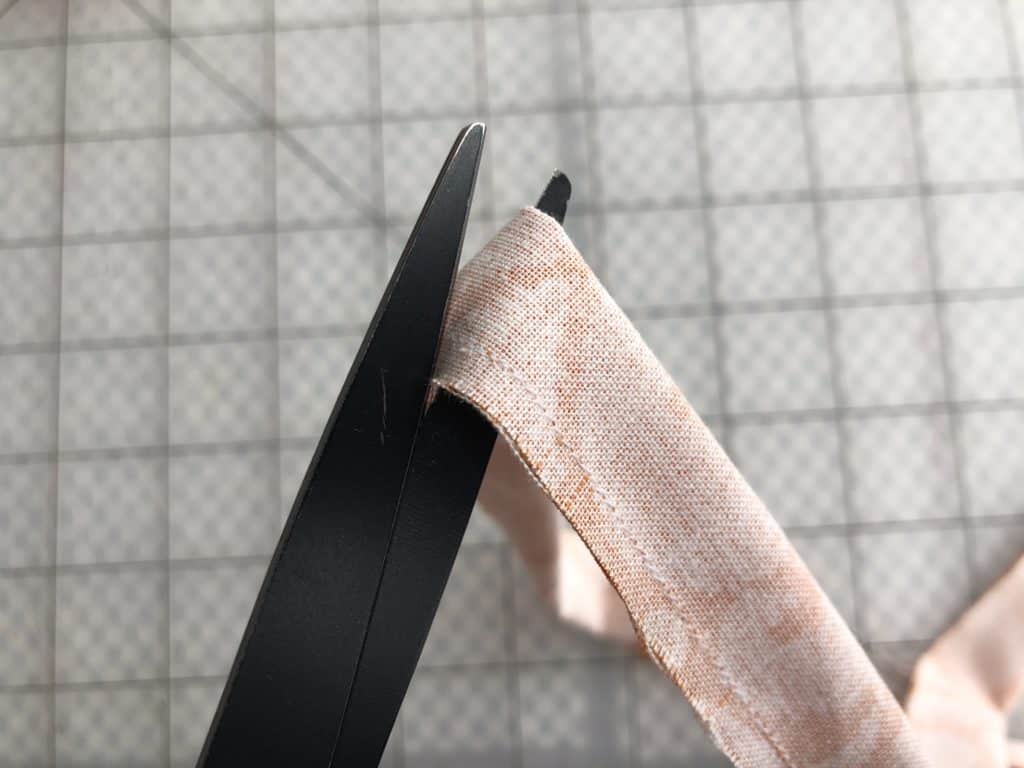
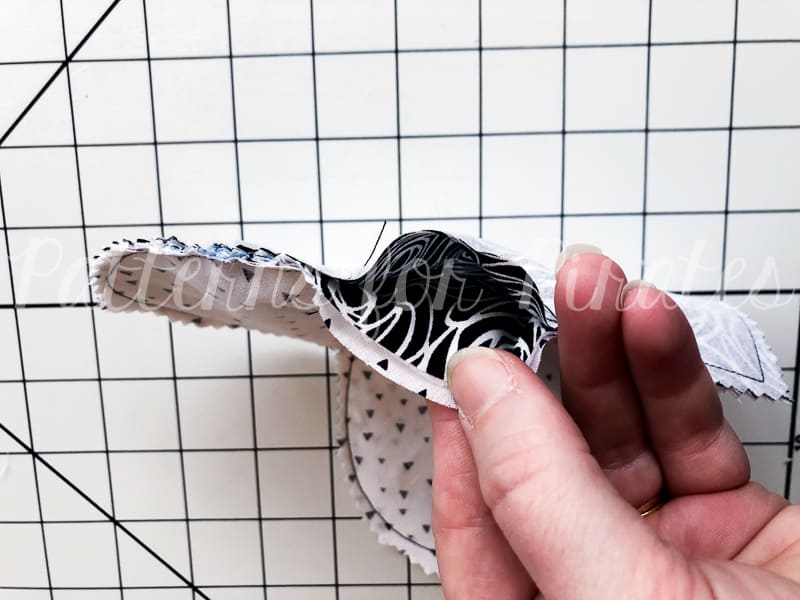
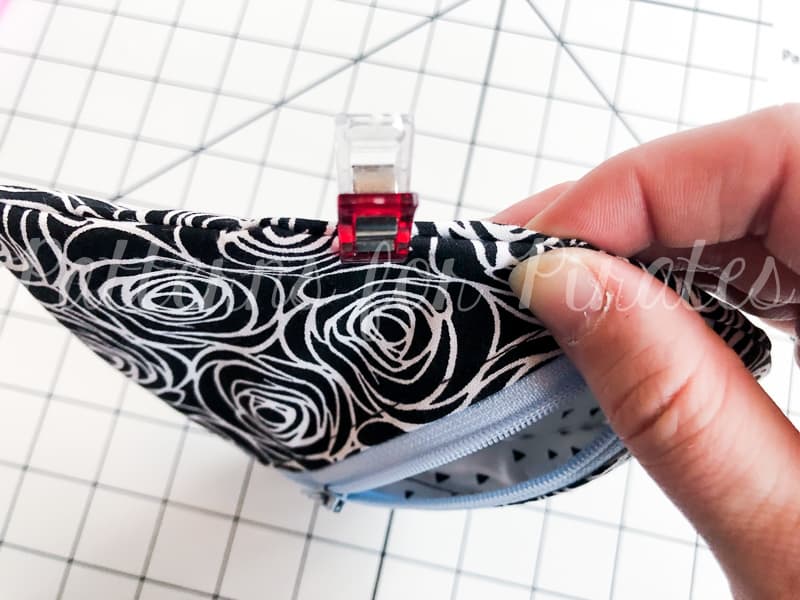
Turn right sides out. And top stitch along long edge, if desired.
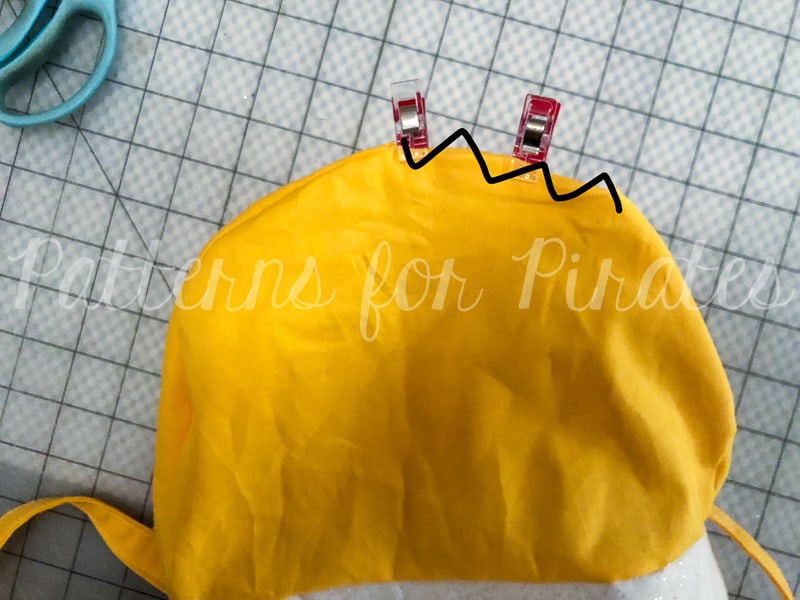
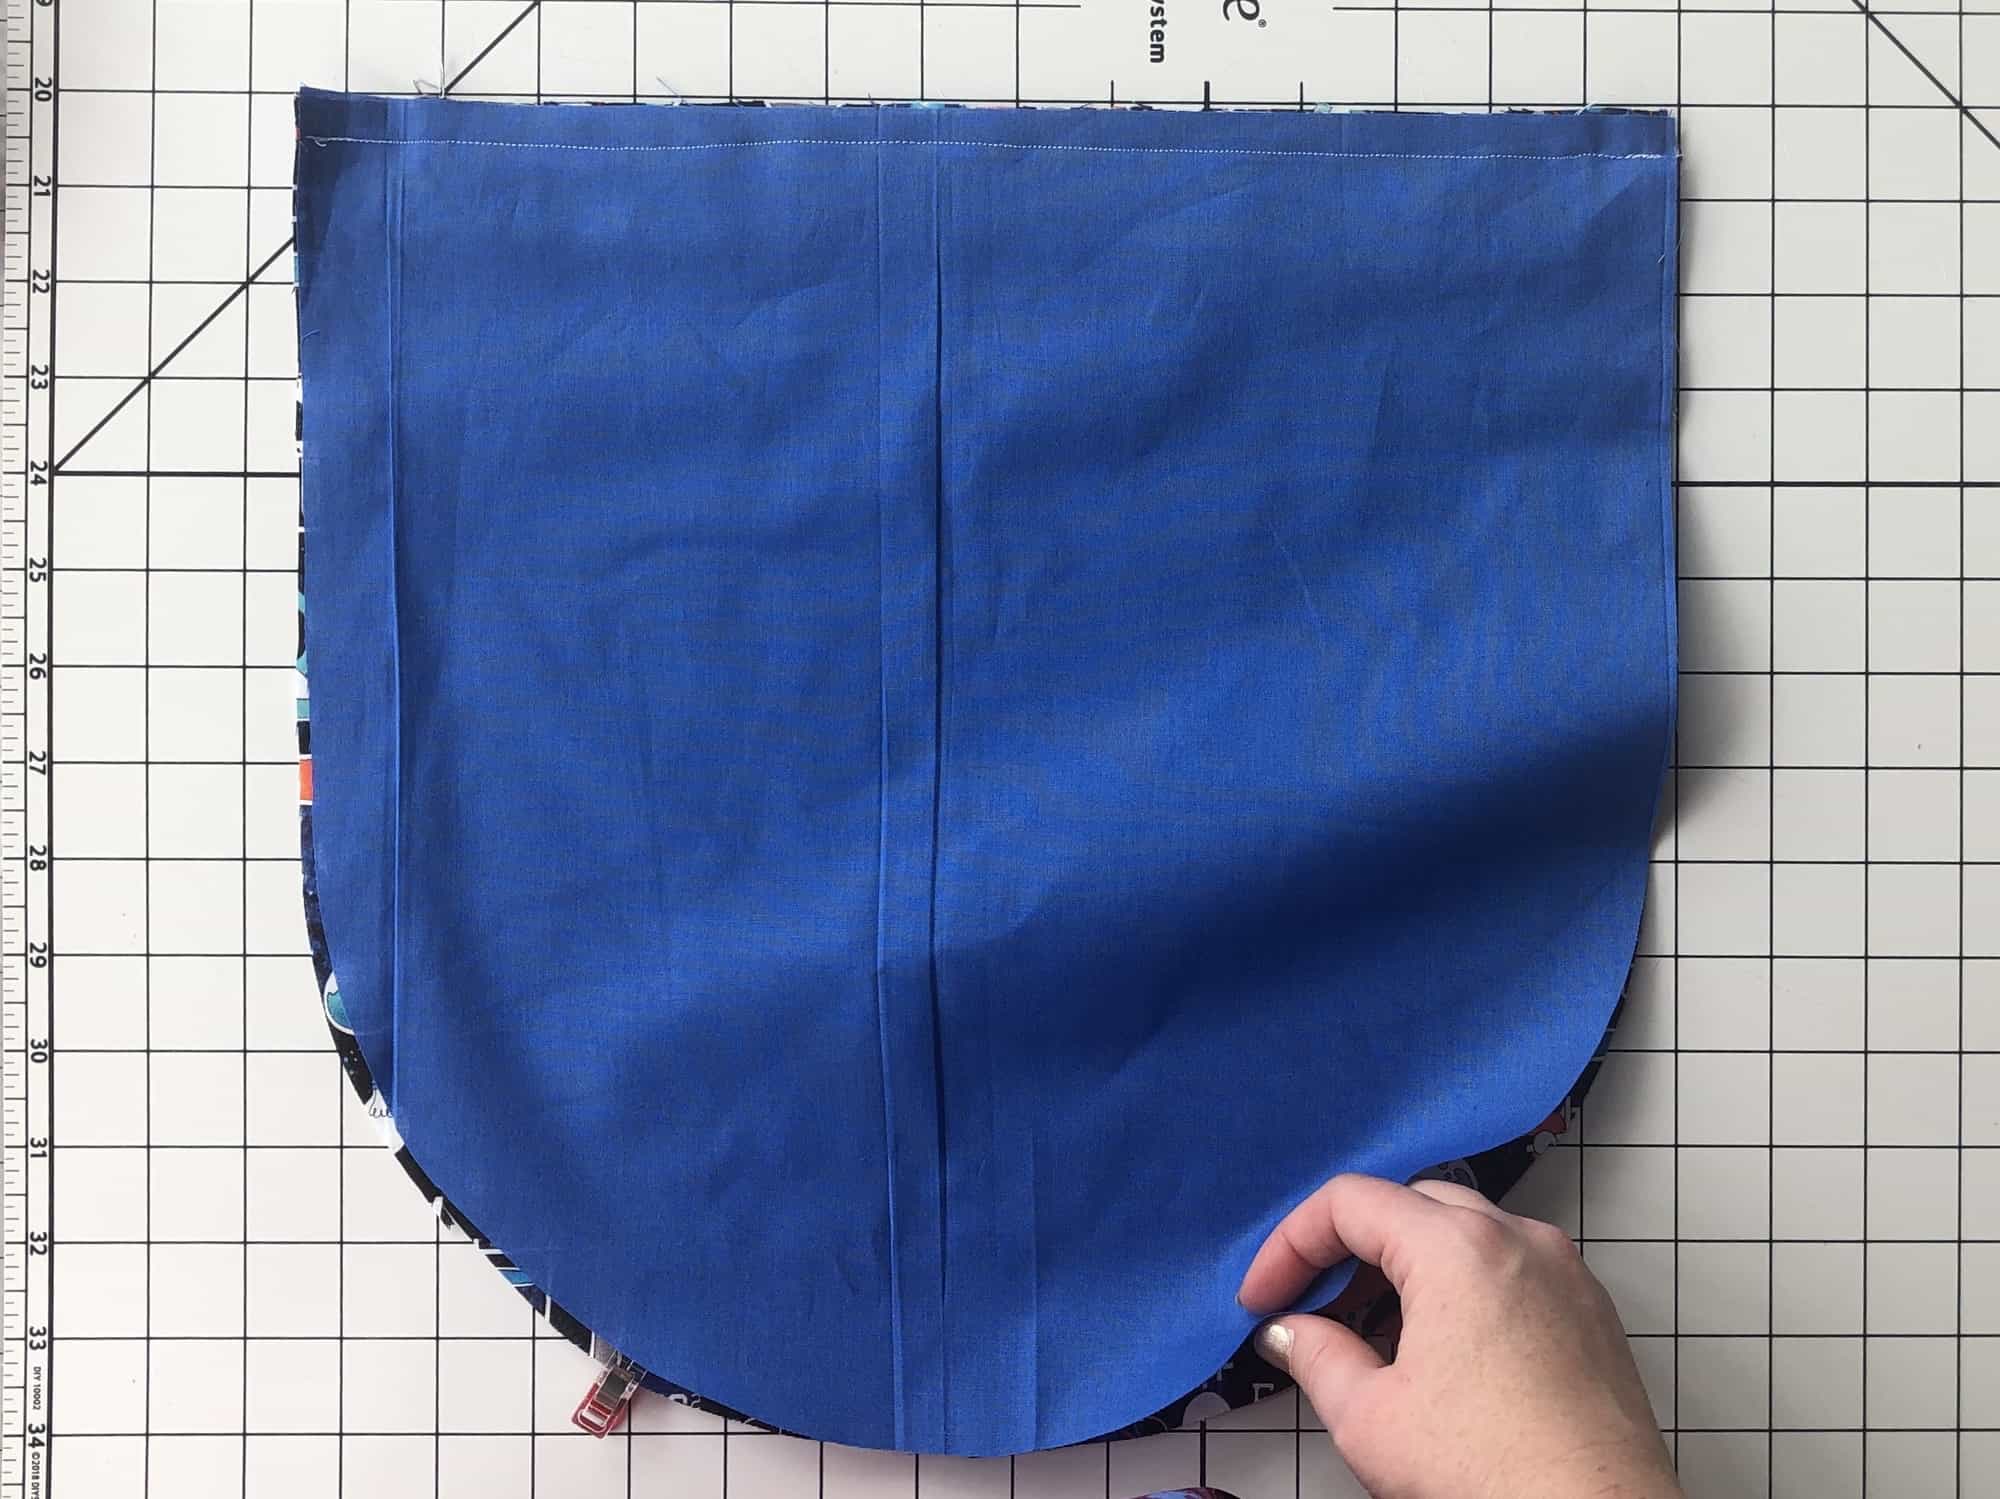
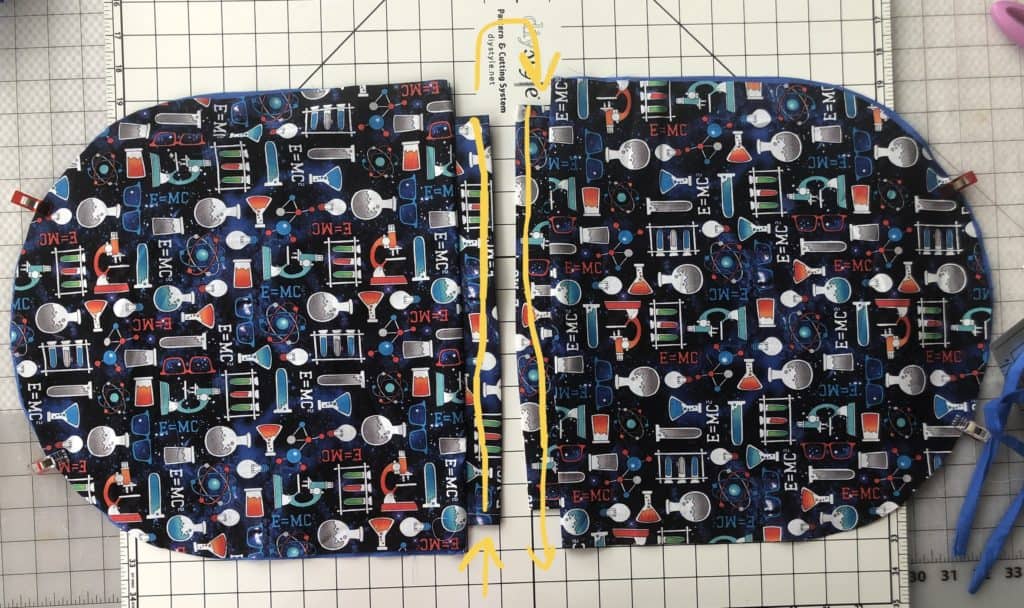
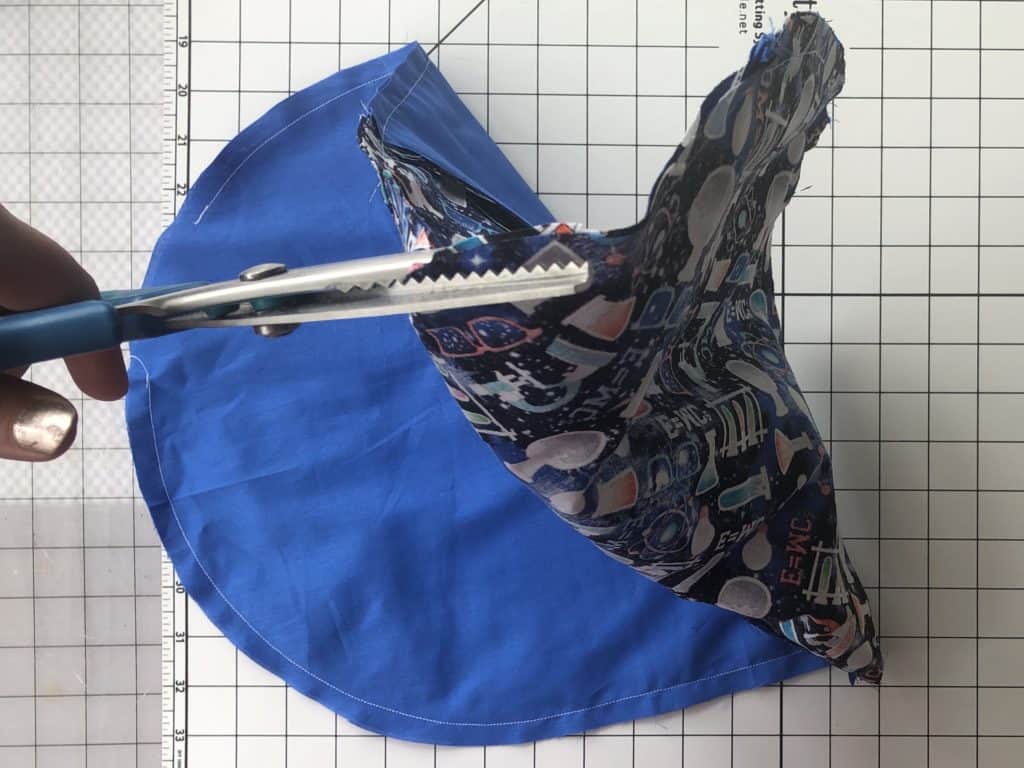
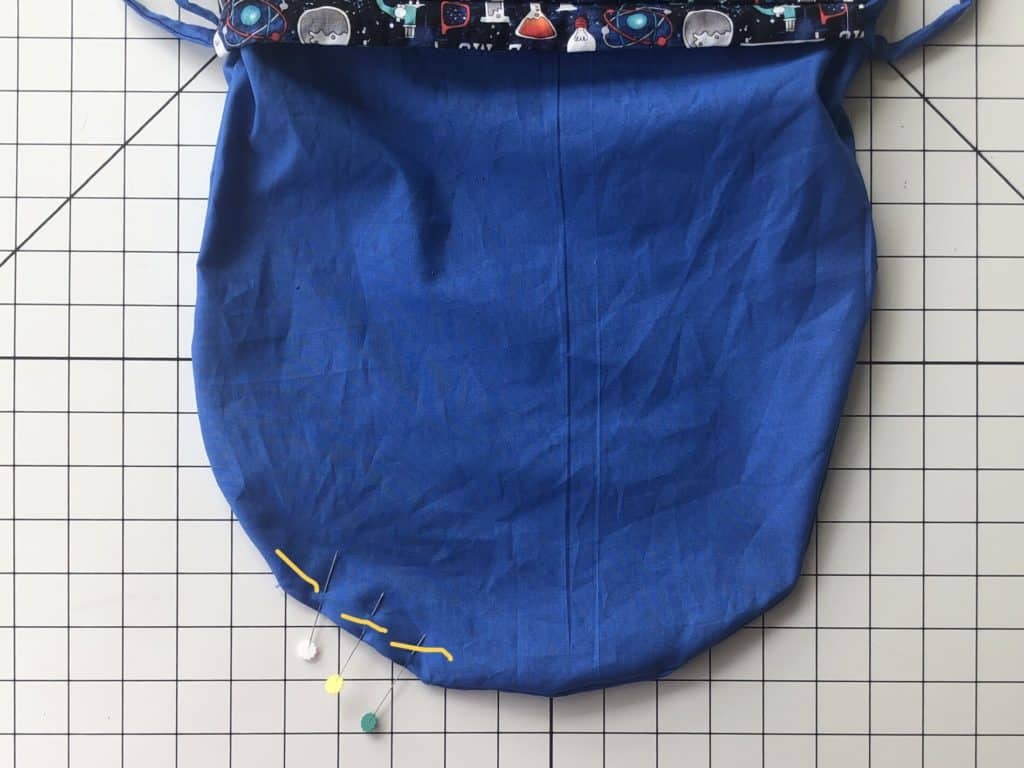
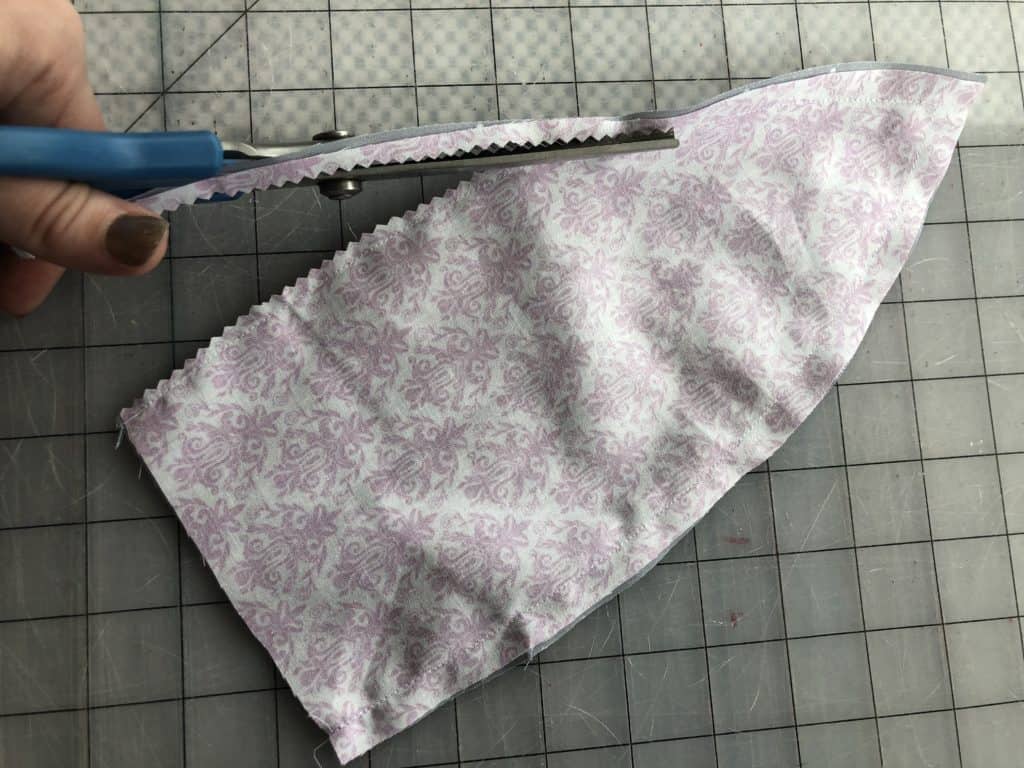
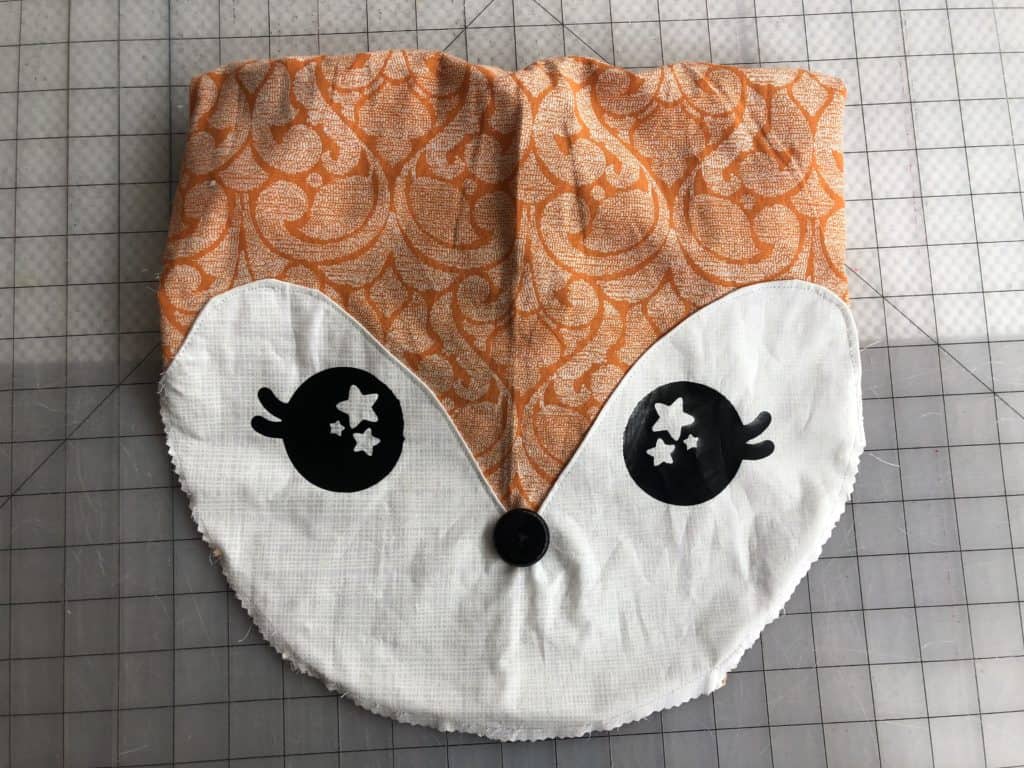
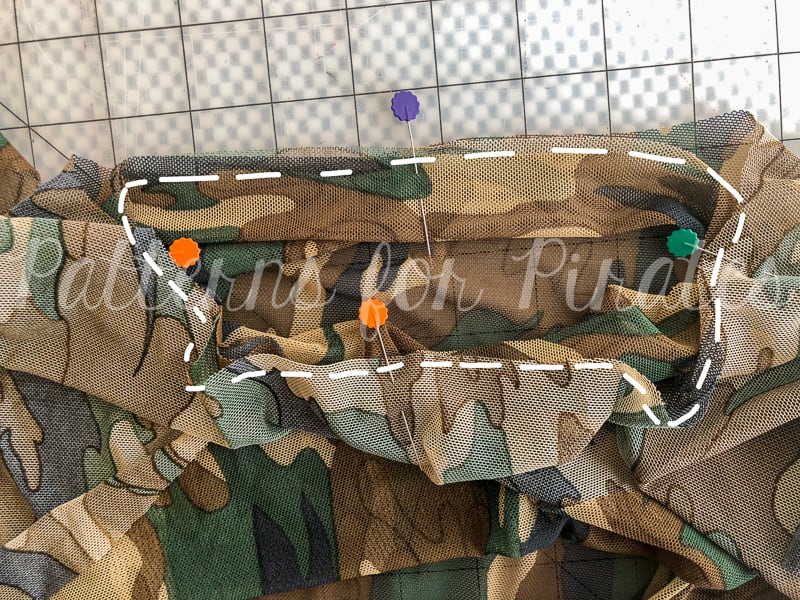
If desired, baste/serge the bottom edge of the hat.
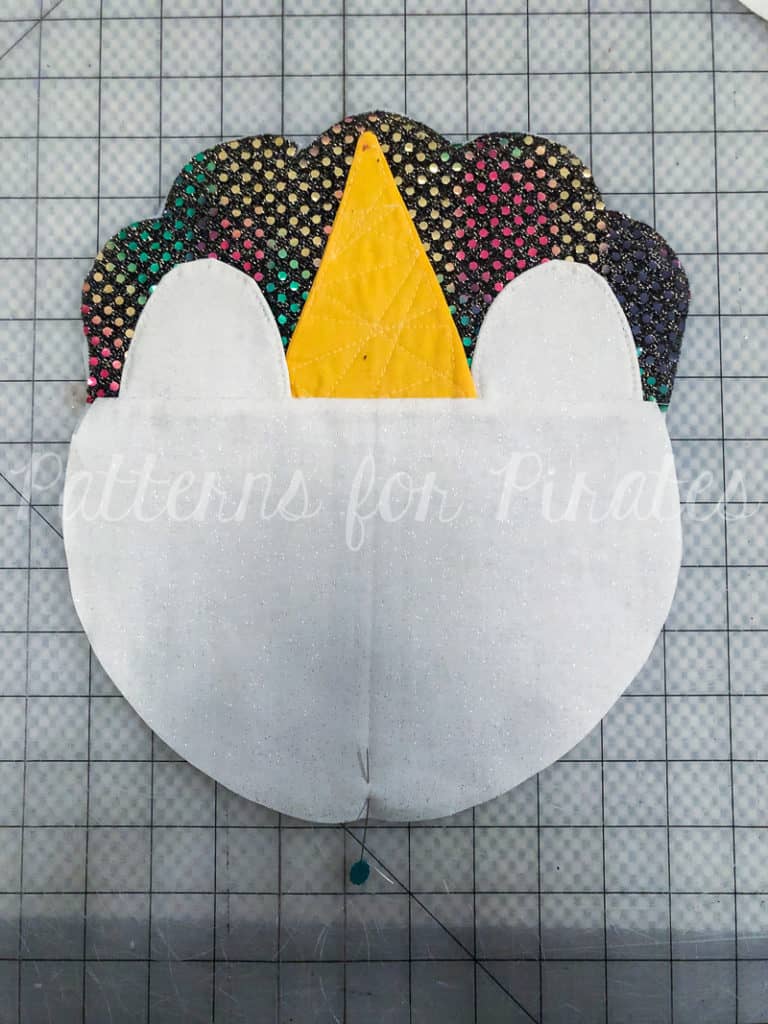
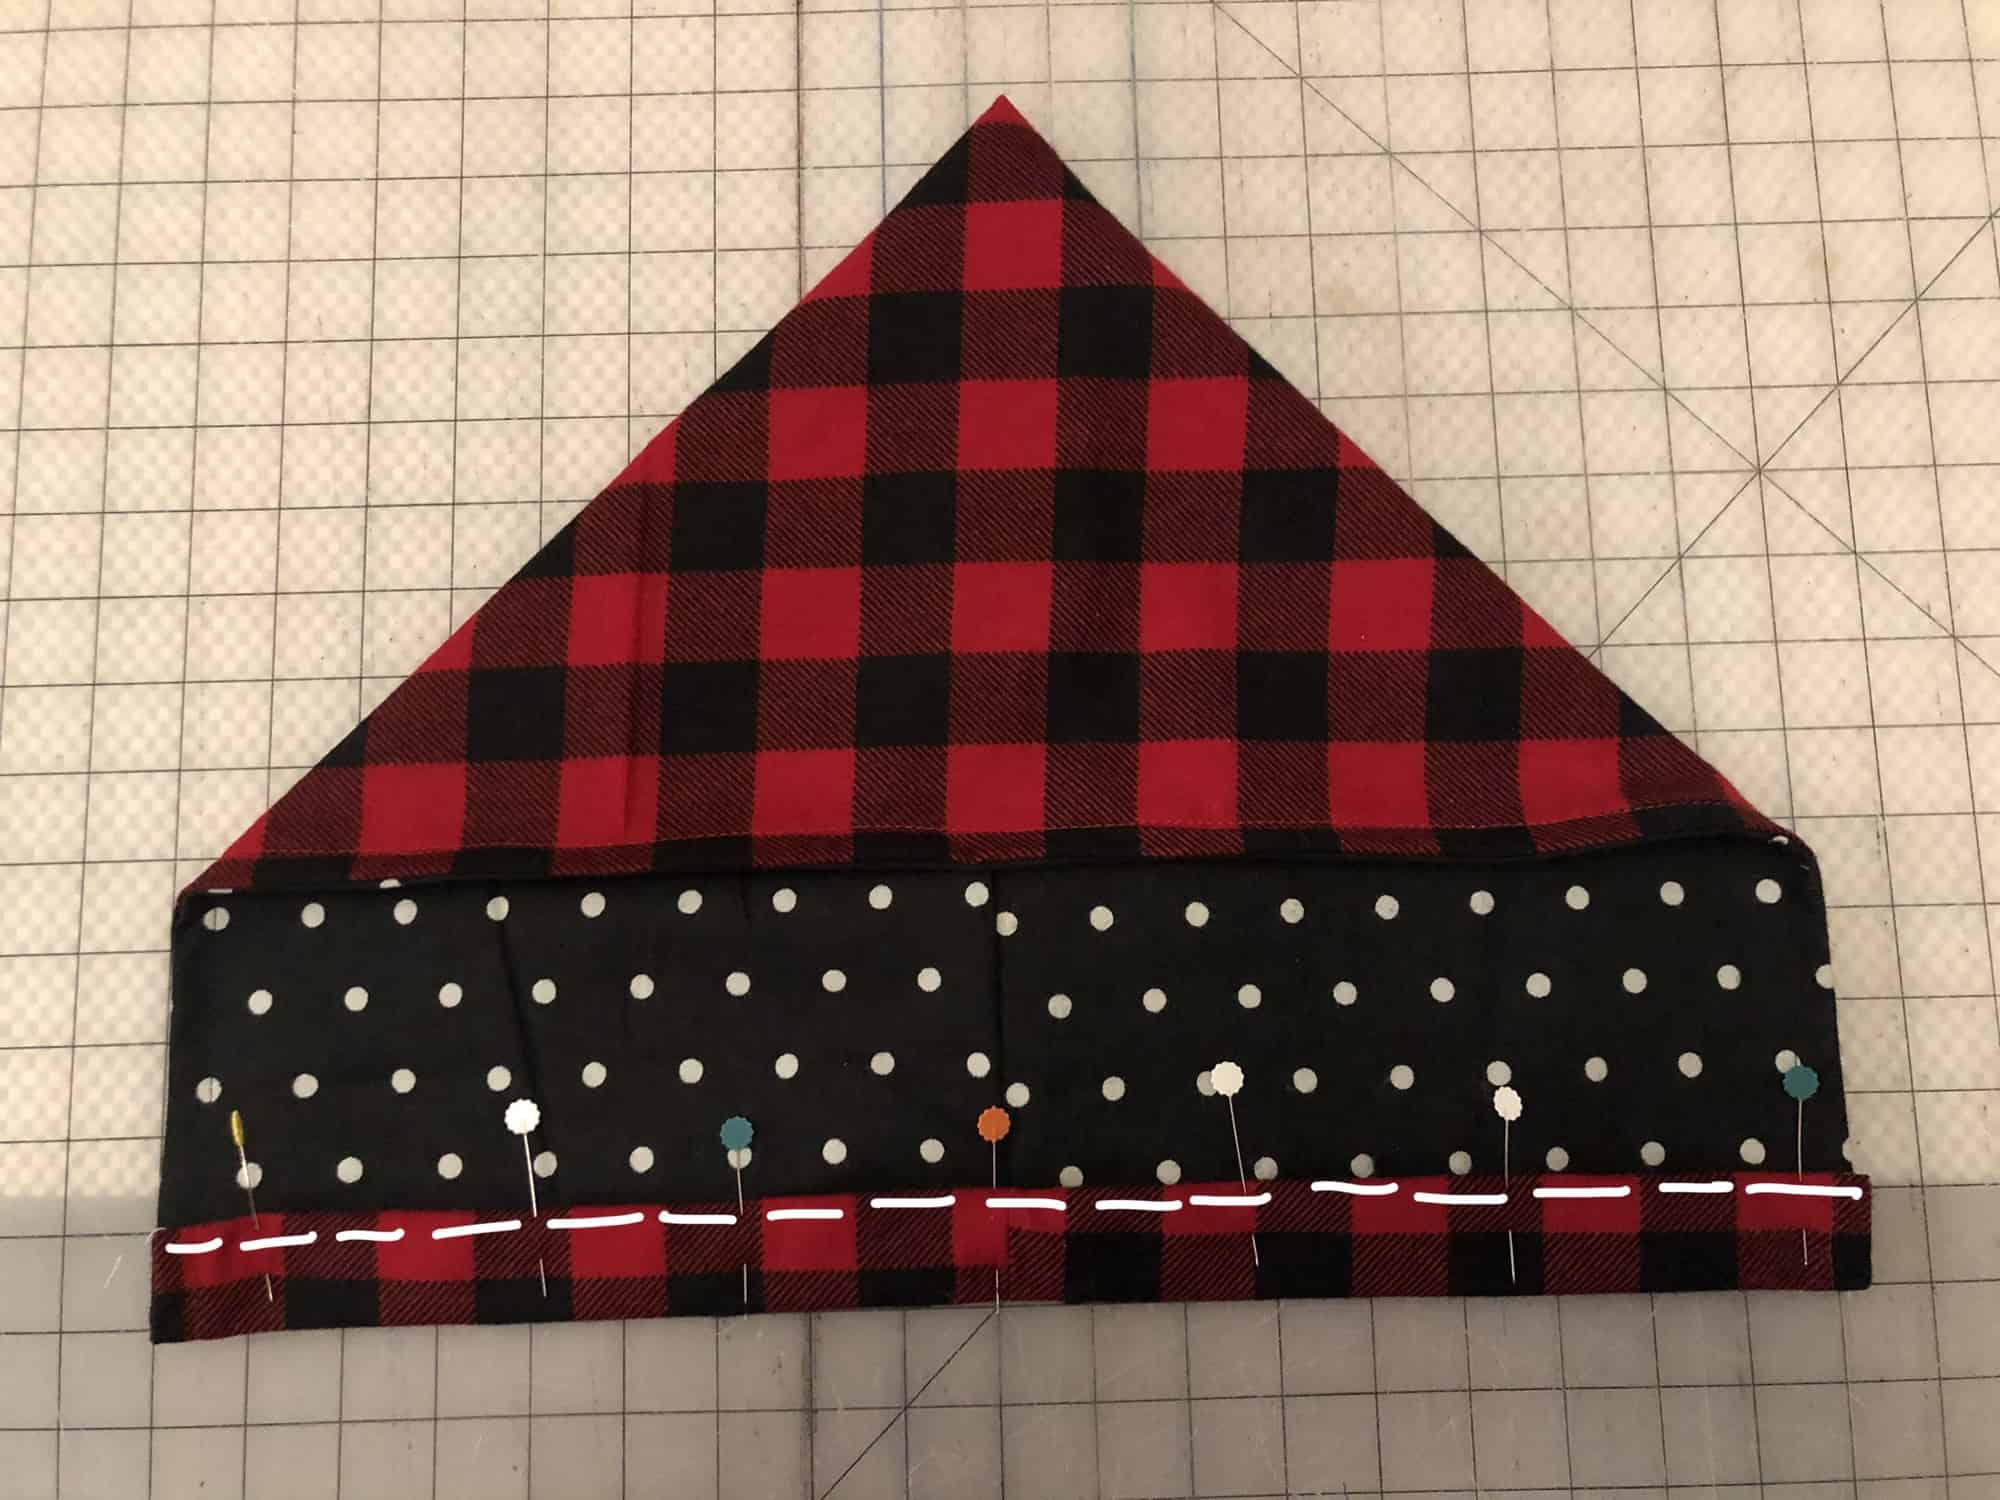
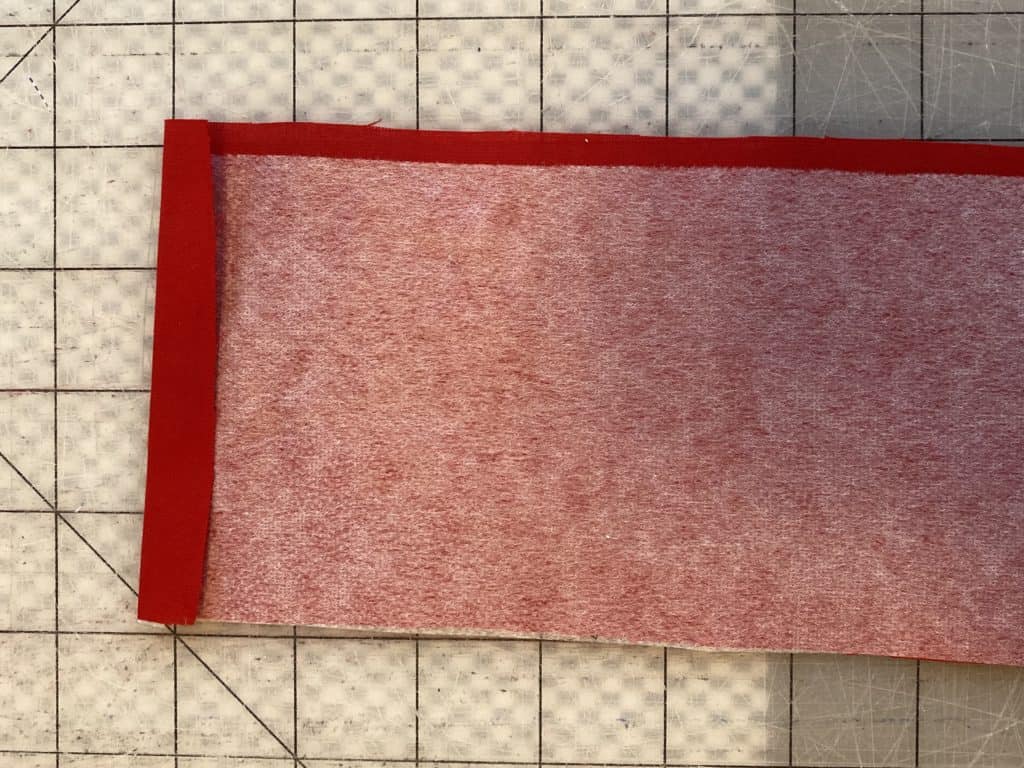
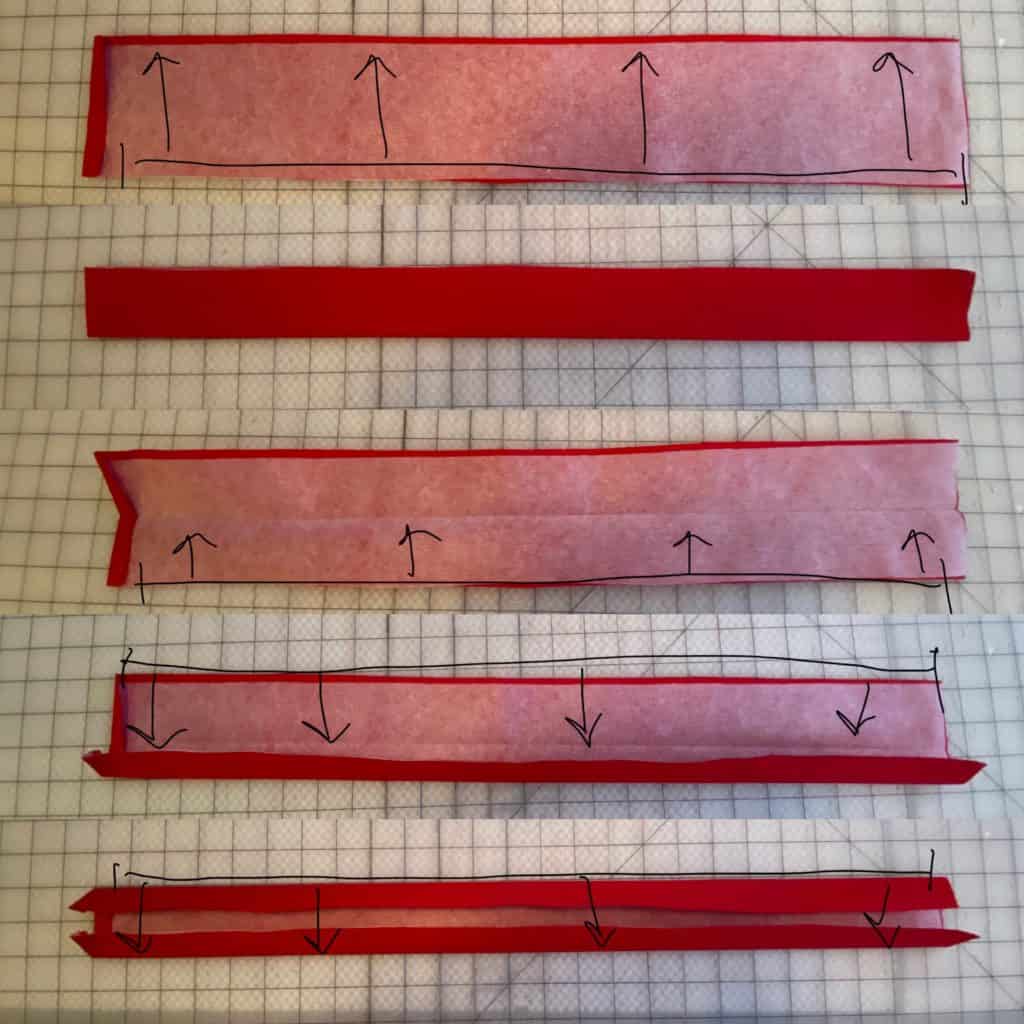
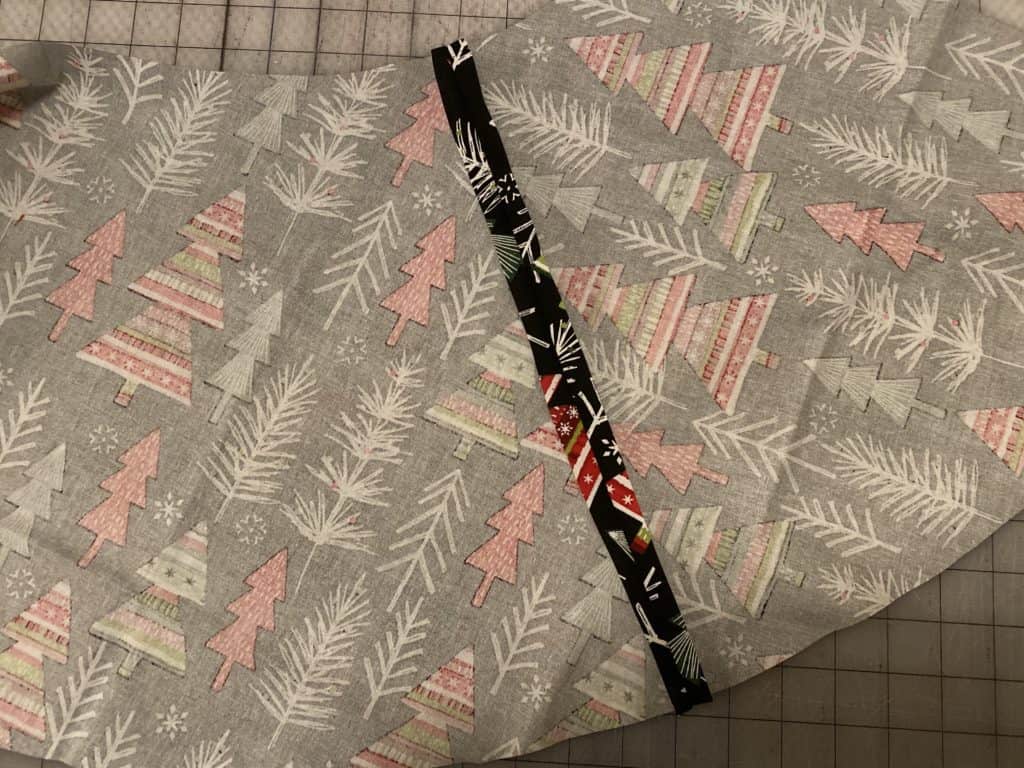
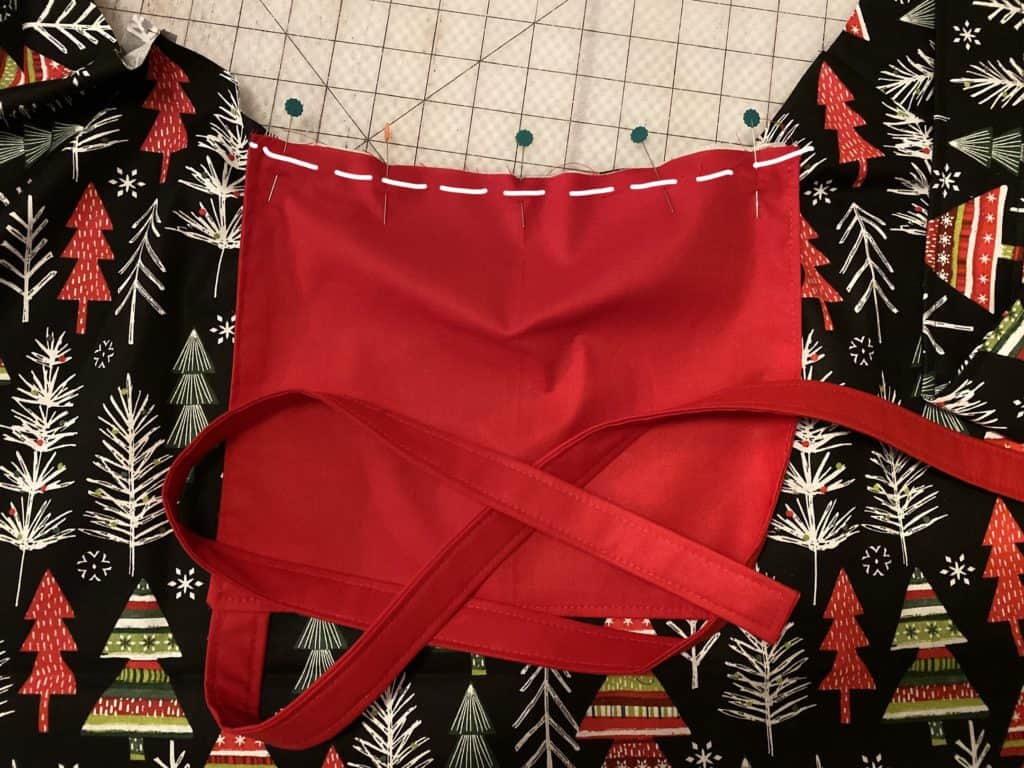
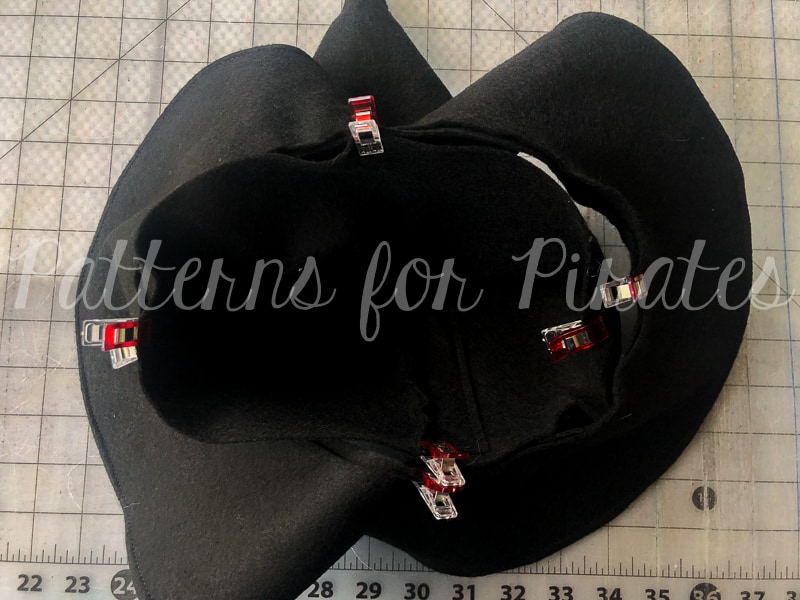
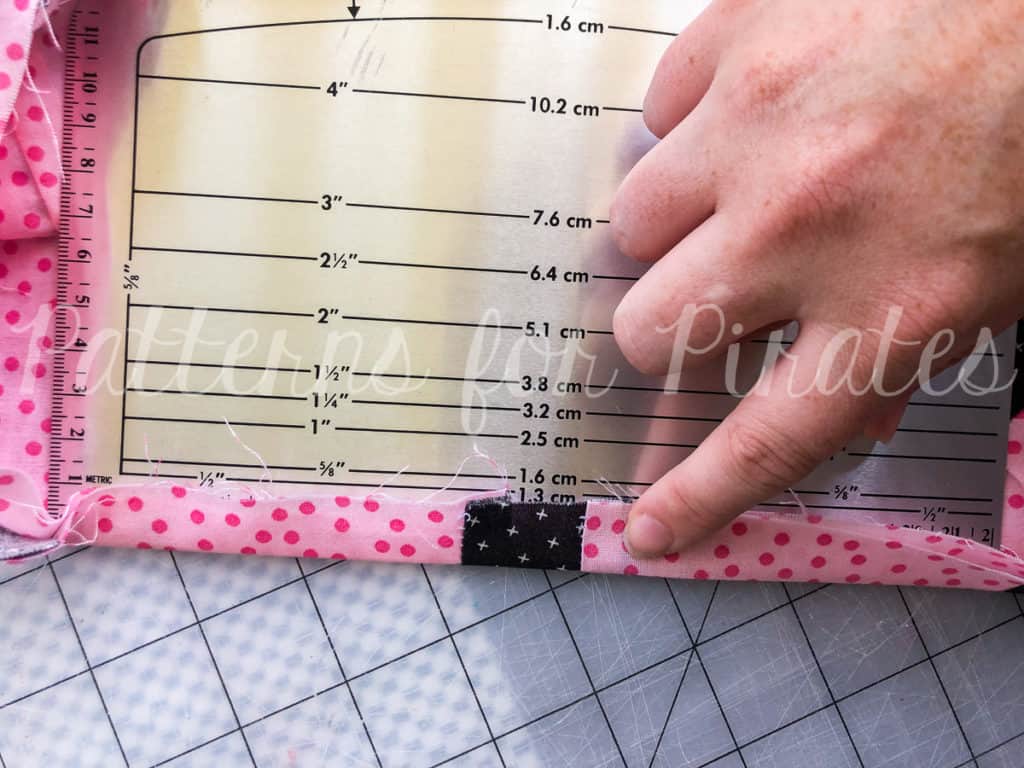
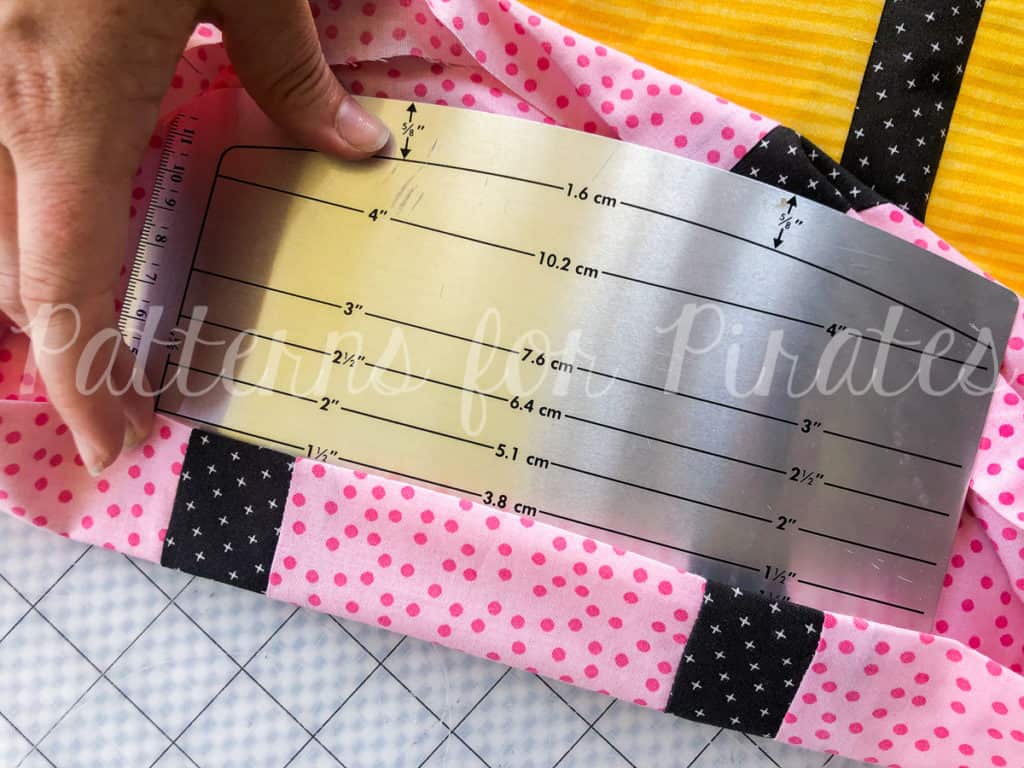
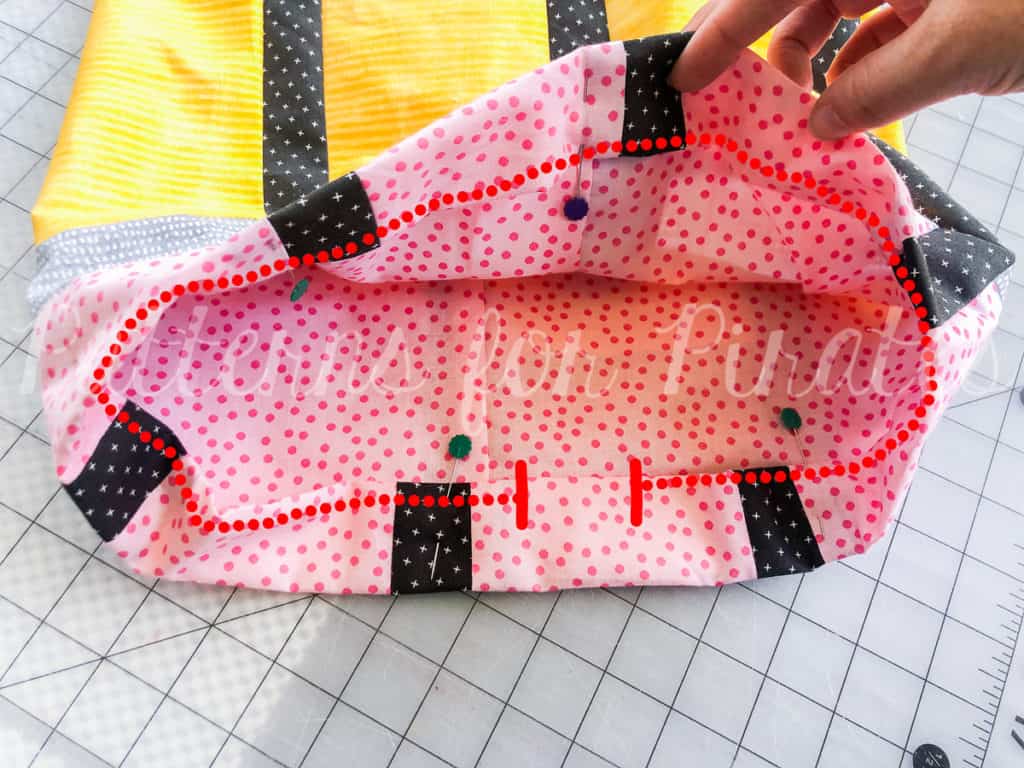
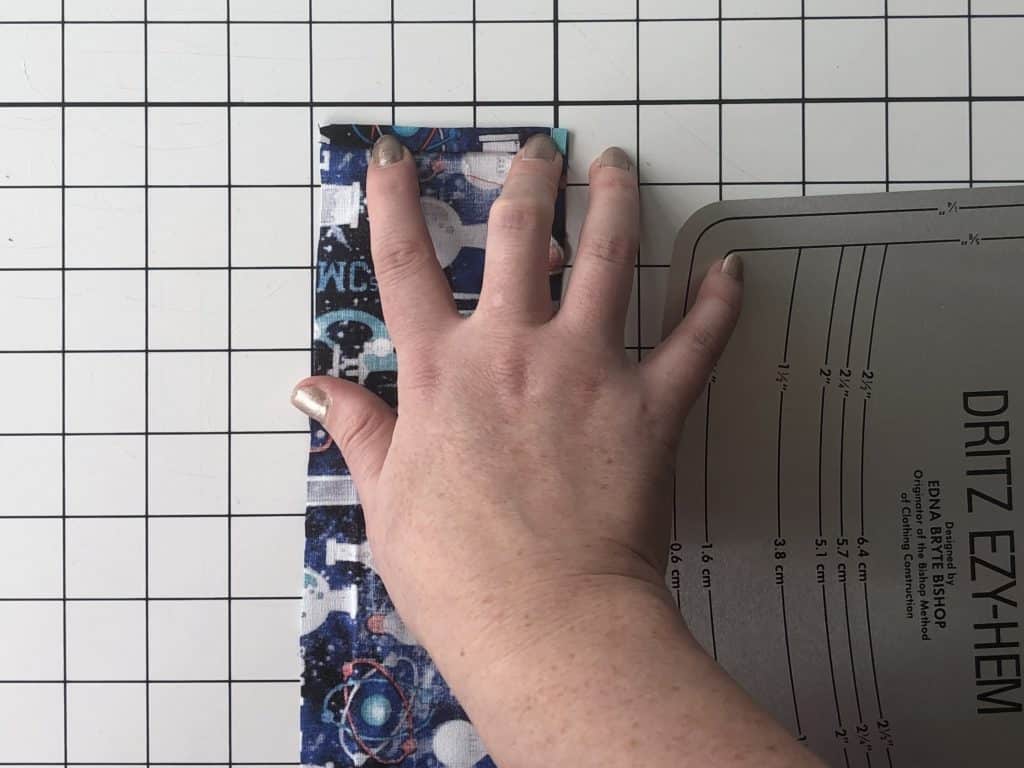
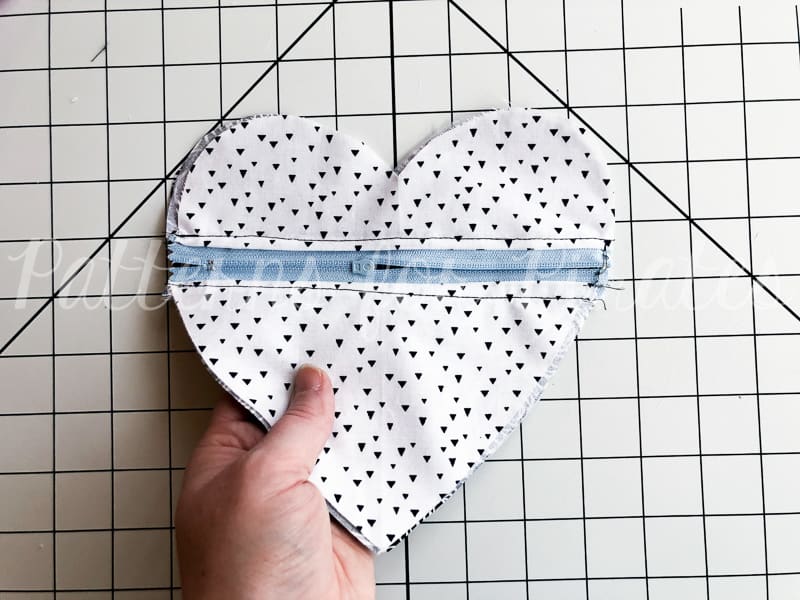
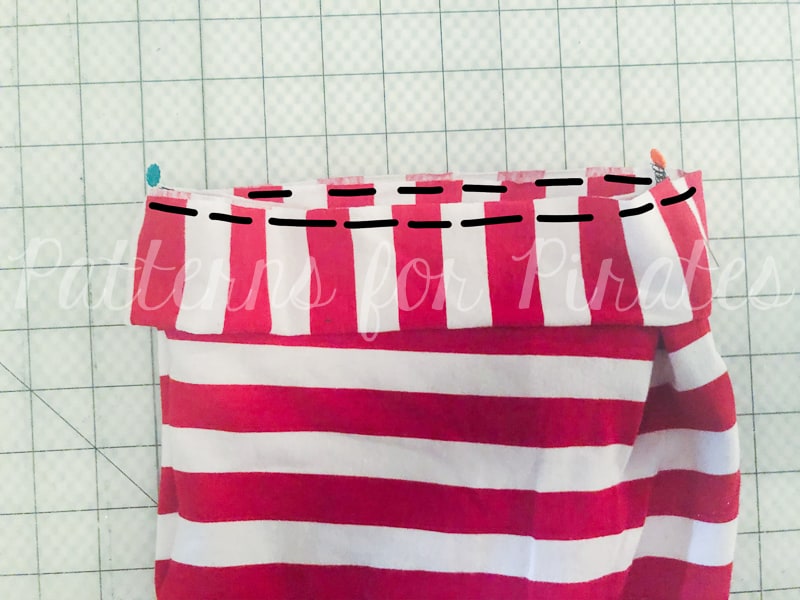
Press 1/4” and then 1” toward lining, to create ribbon casing. Top stitch along top edge of the fold.
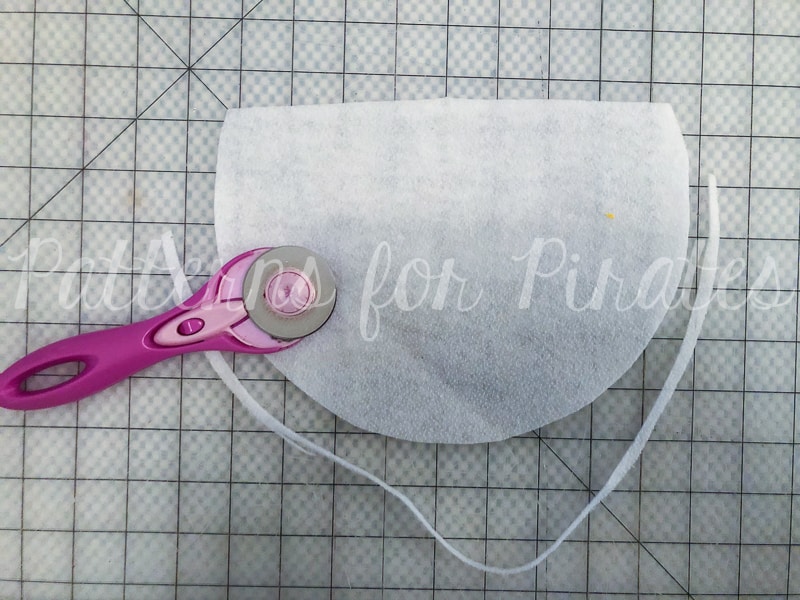
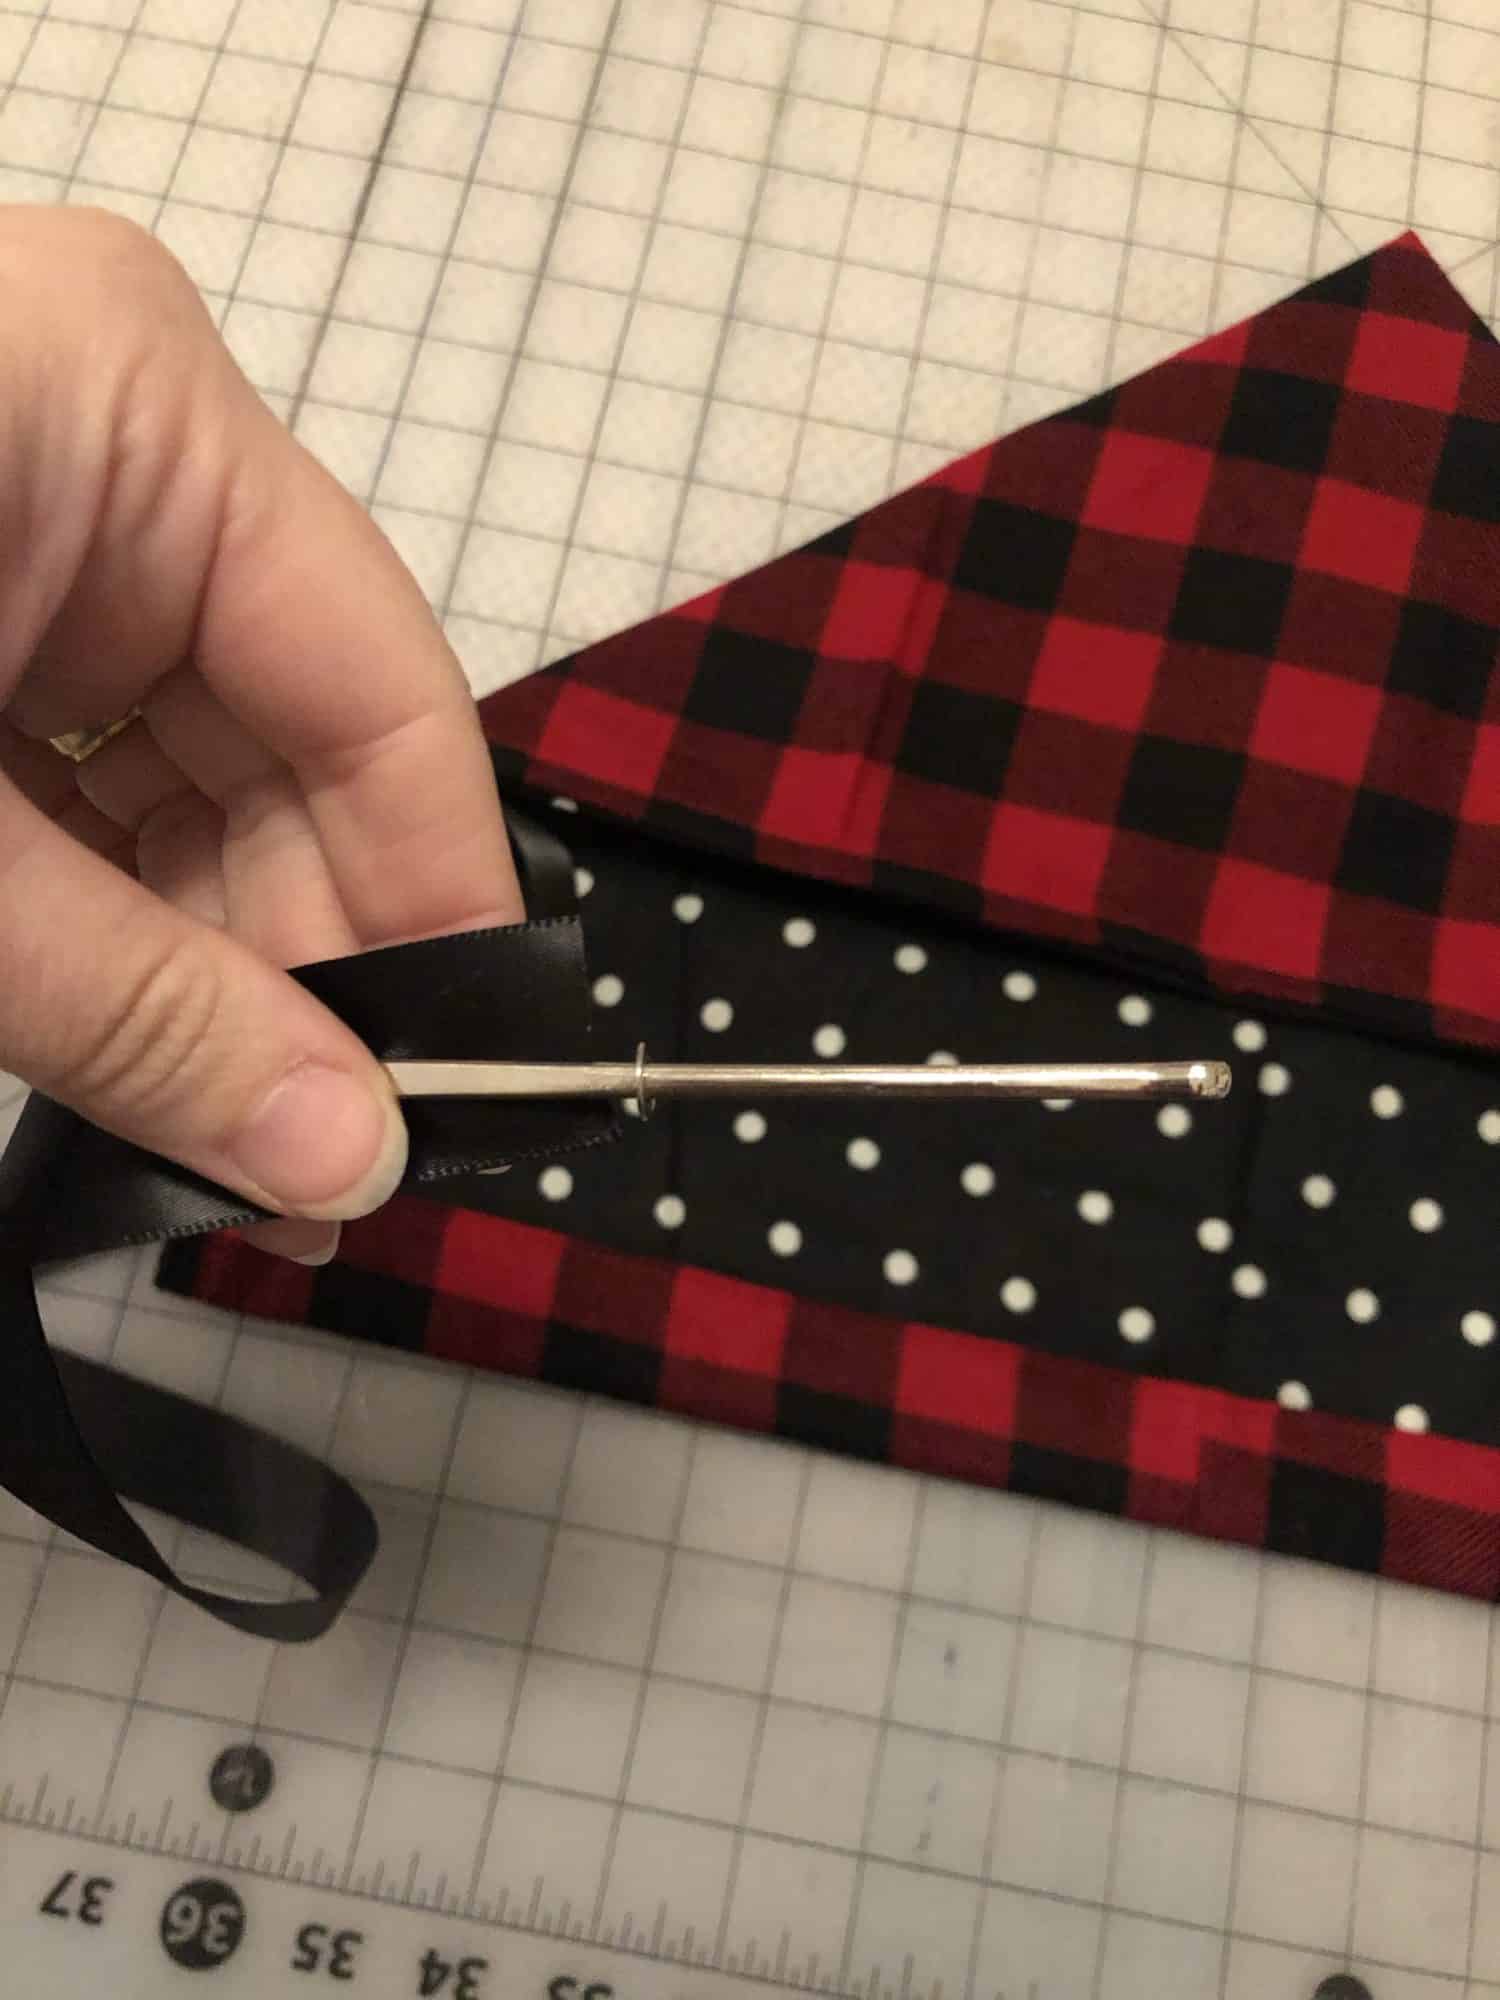
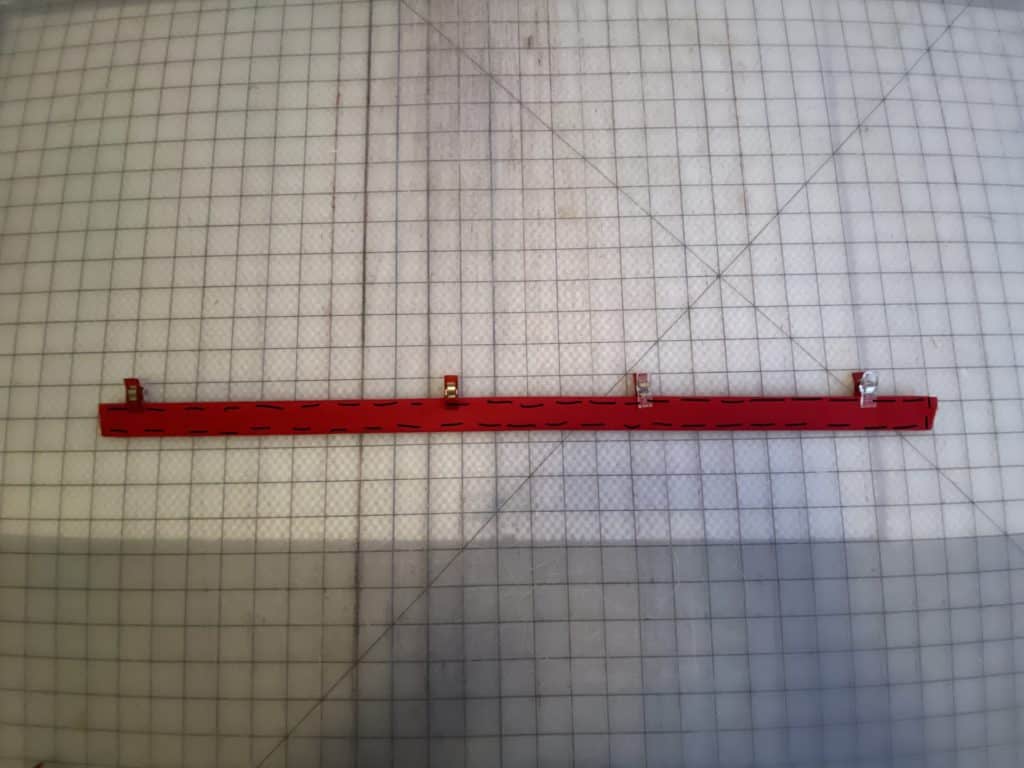
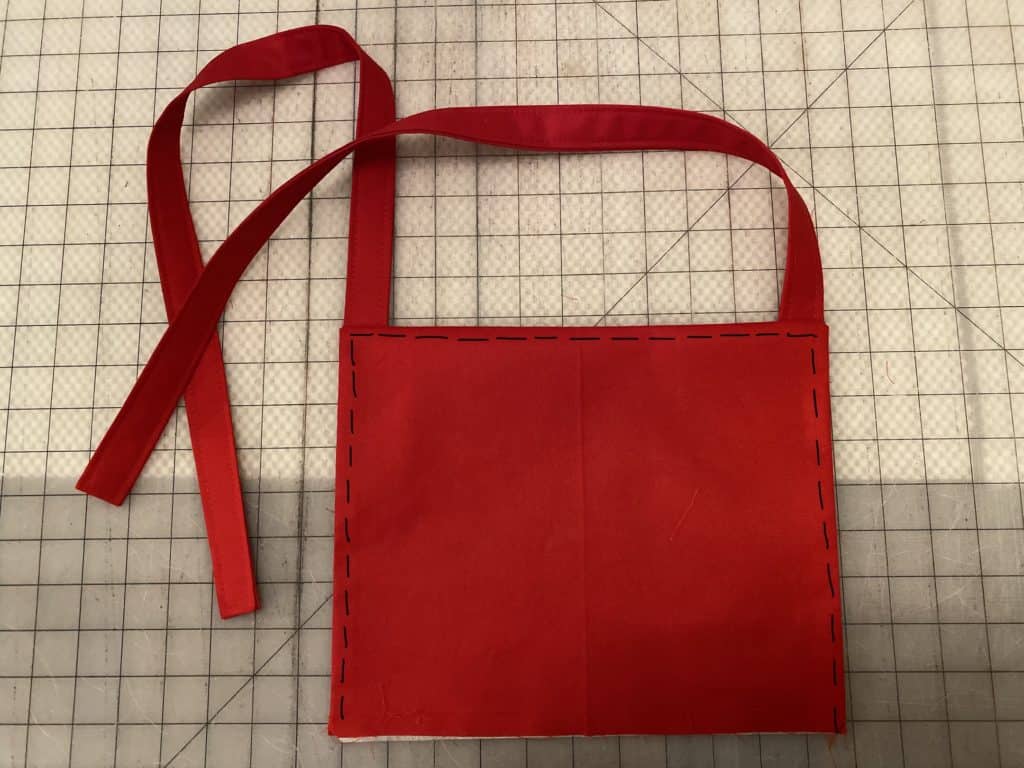
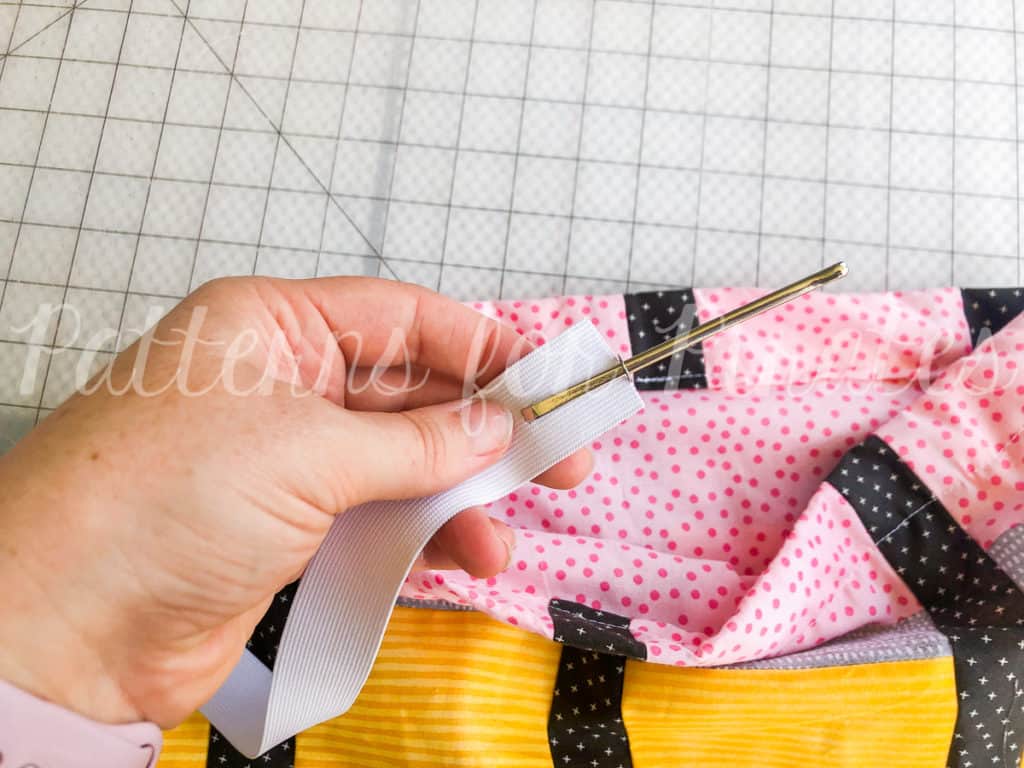
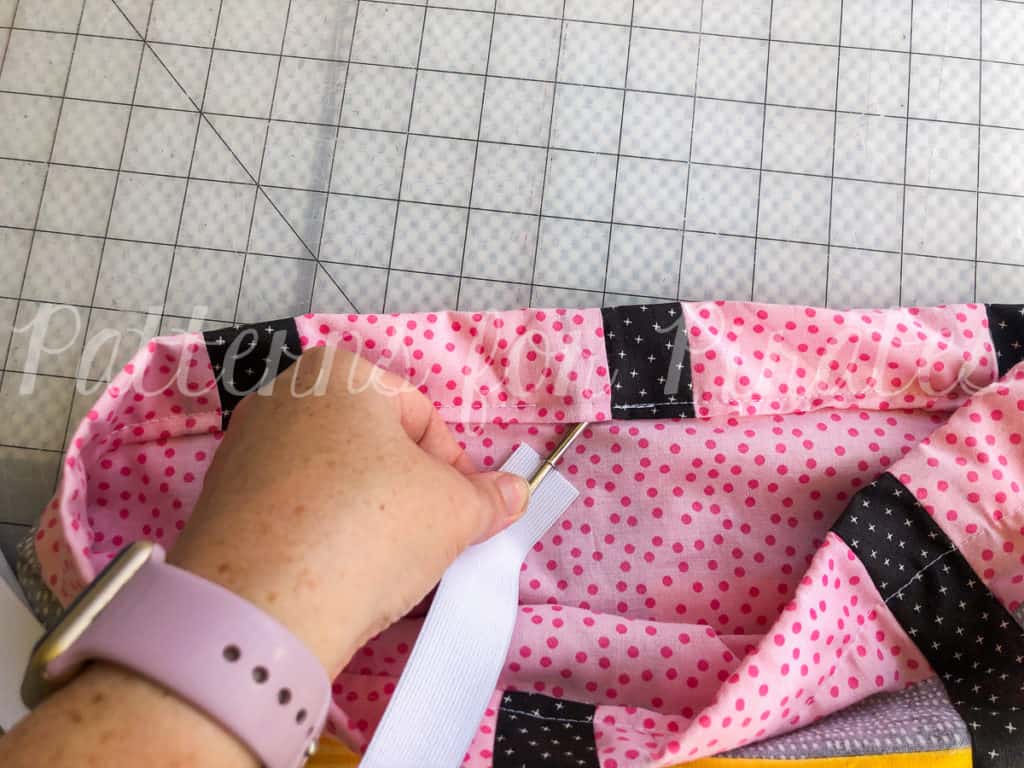
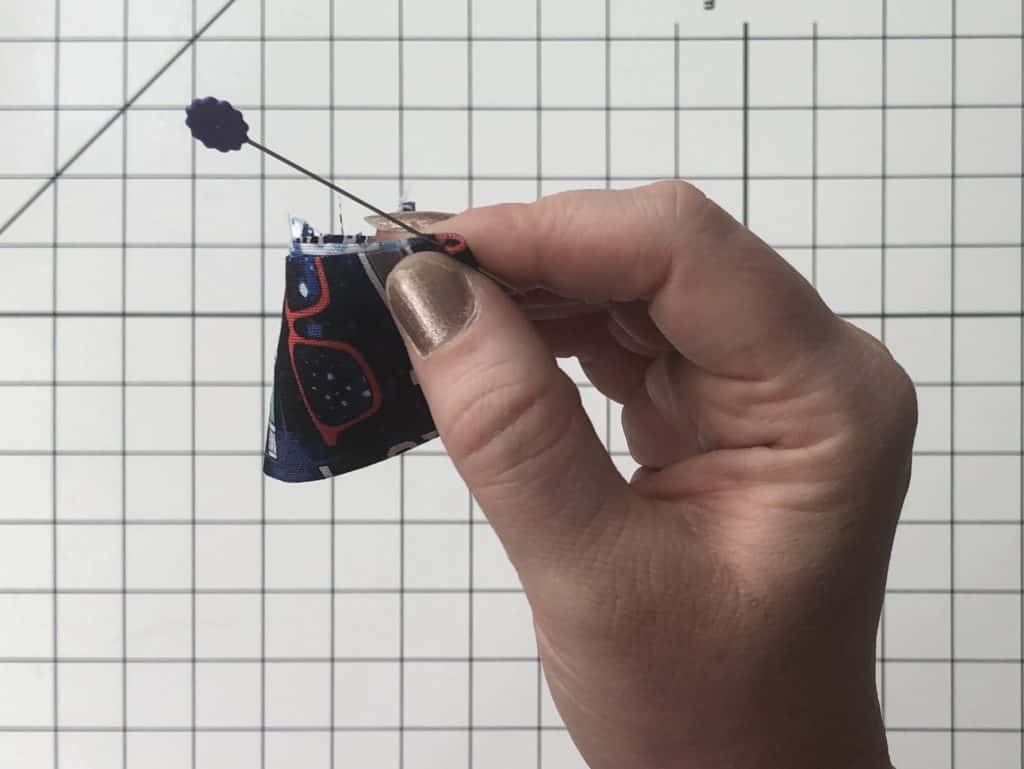
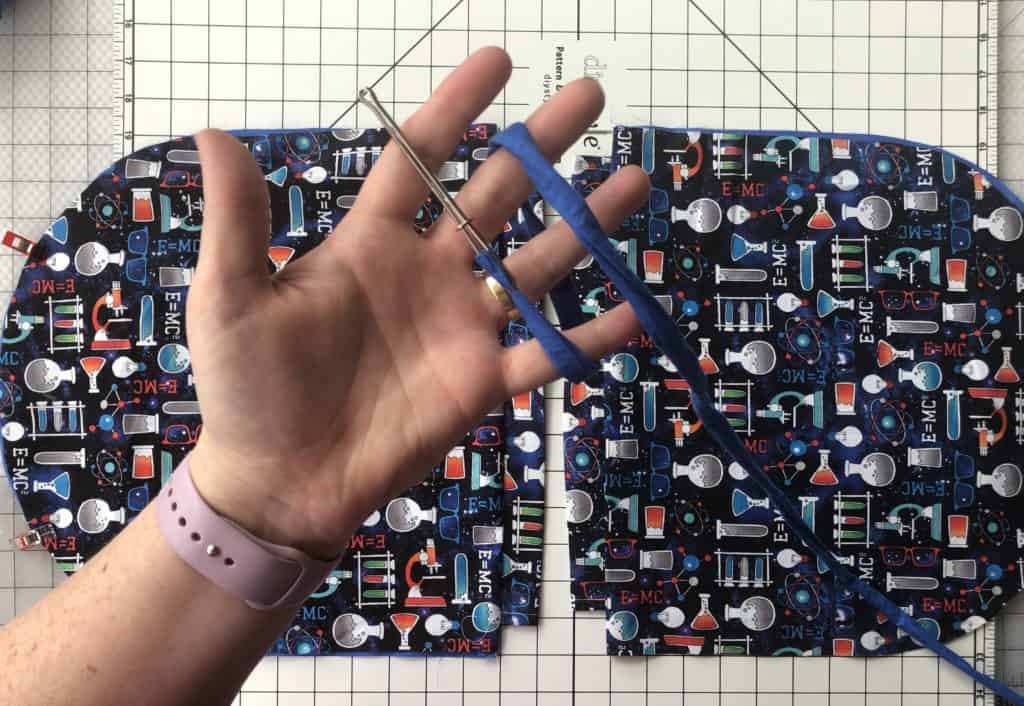
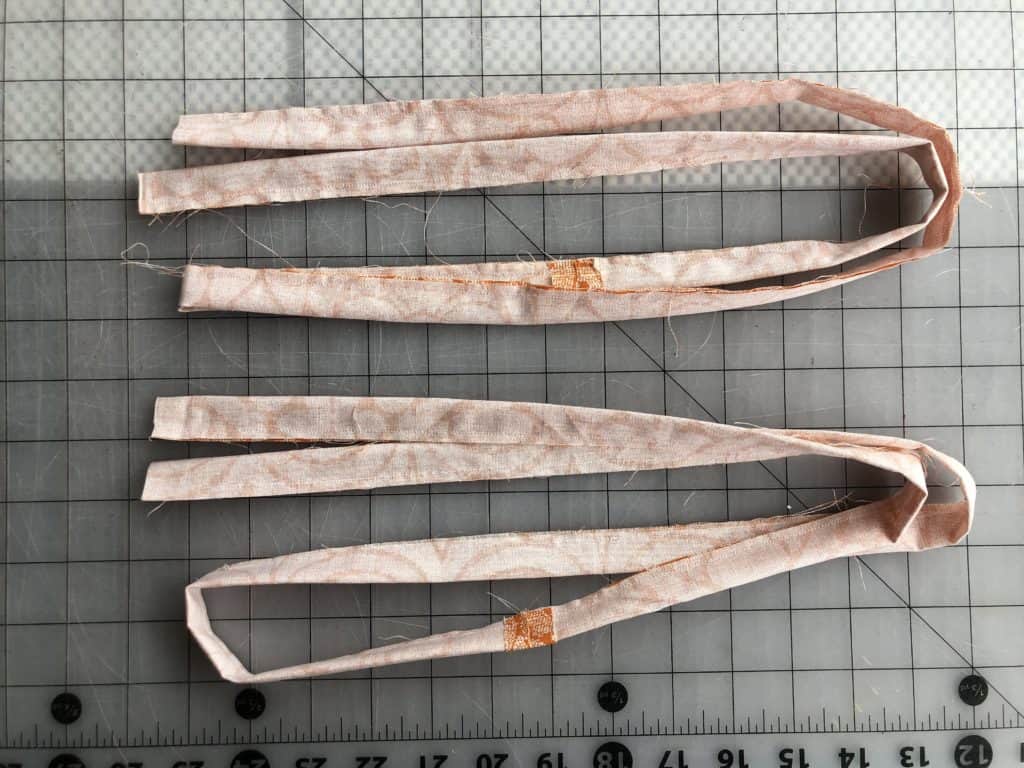
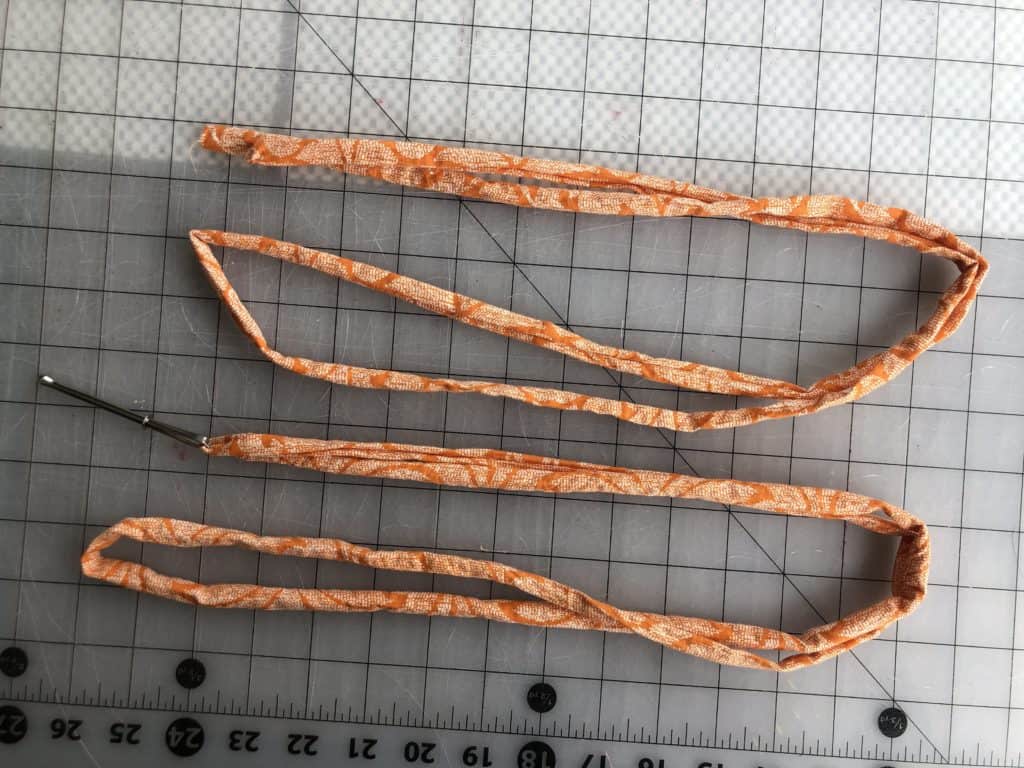
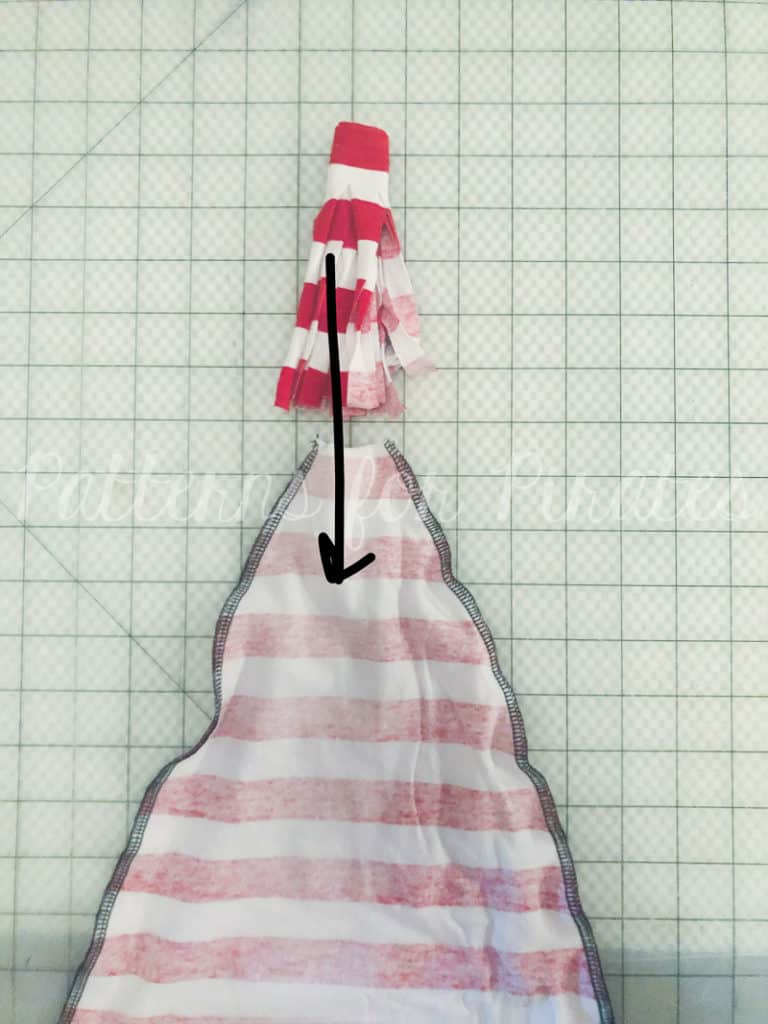
Using a bodkin / safety pin, thread ribbon through casing.
**Quick reminder time! To prevent fraying, you will want to seal the edges of your ribbon with heat.
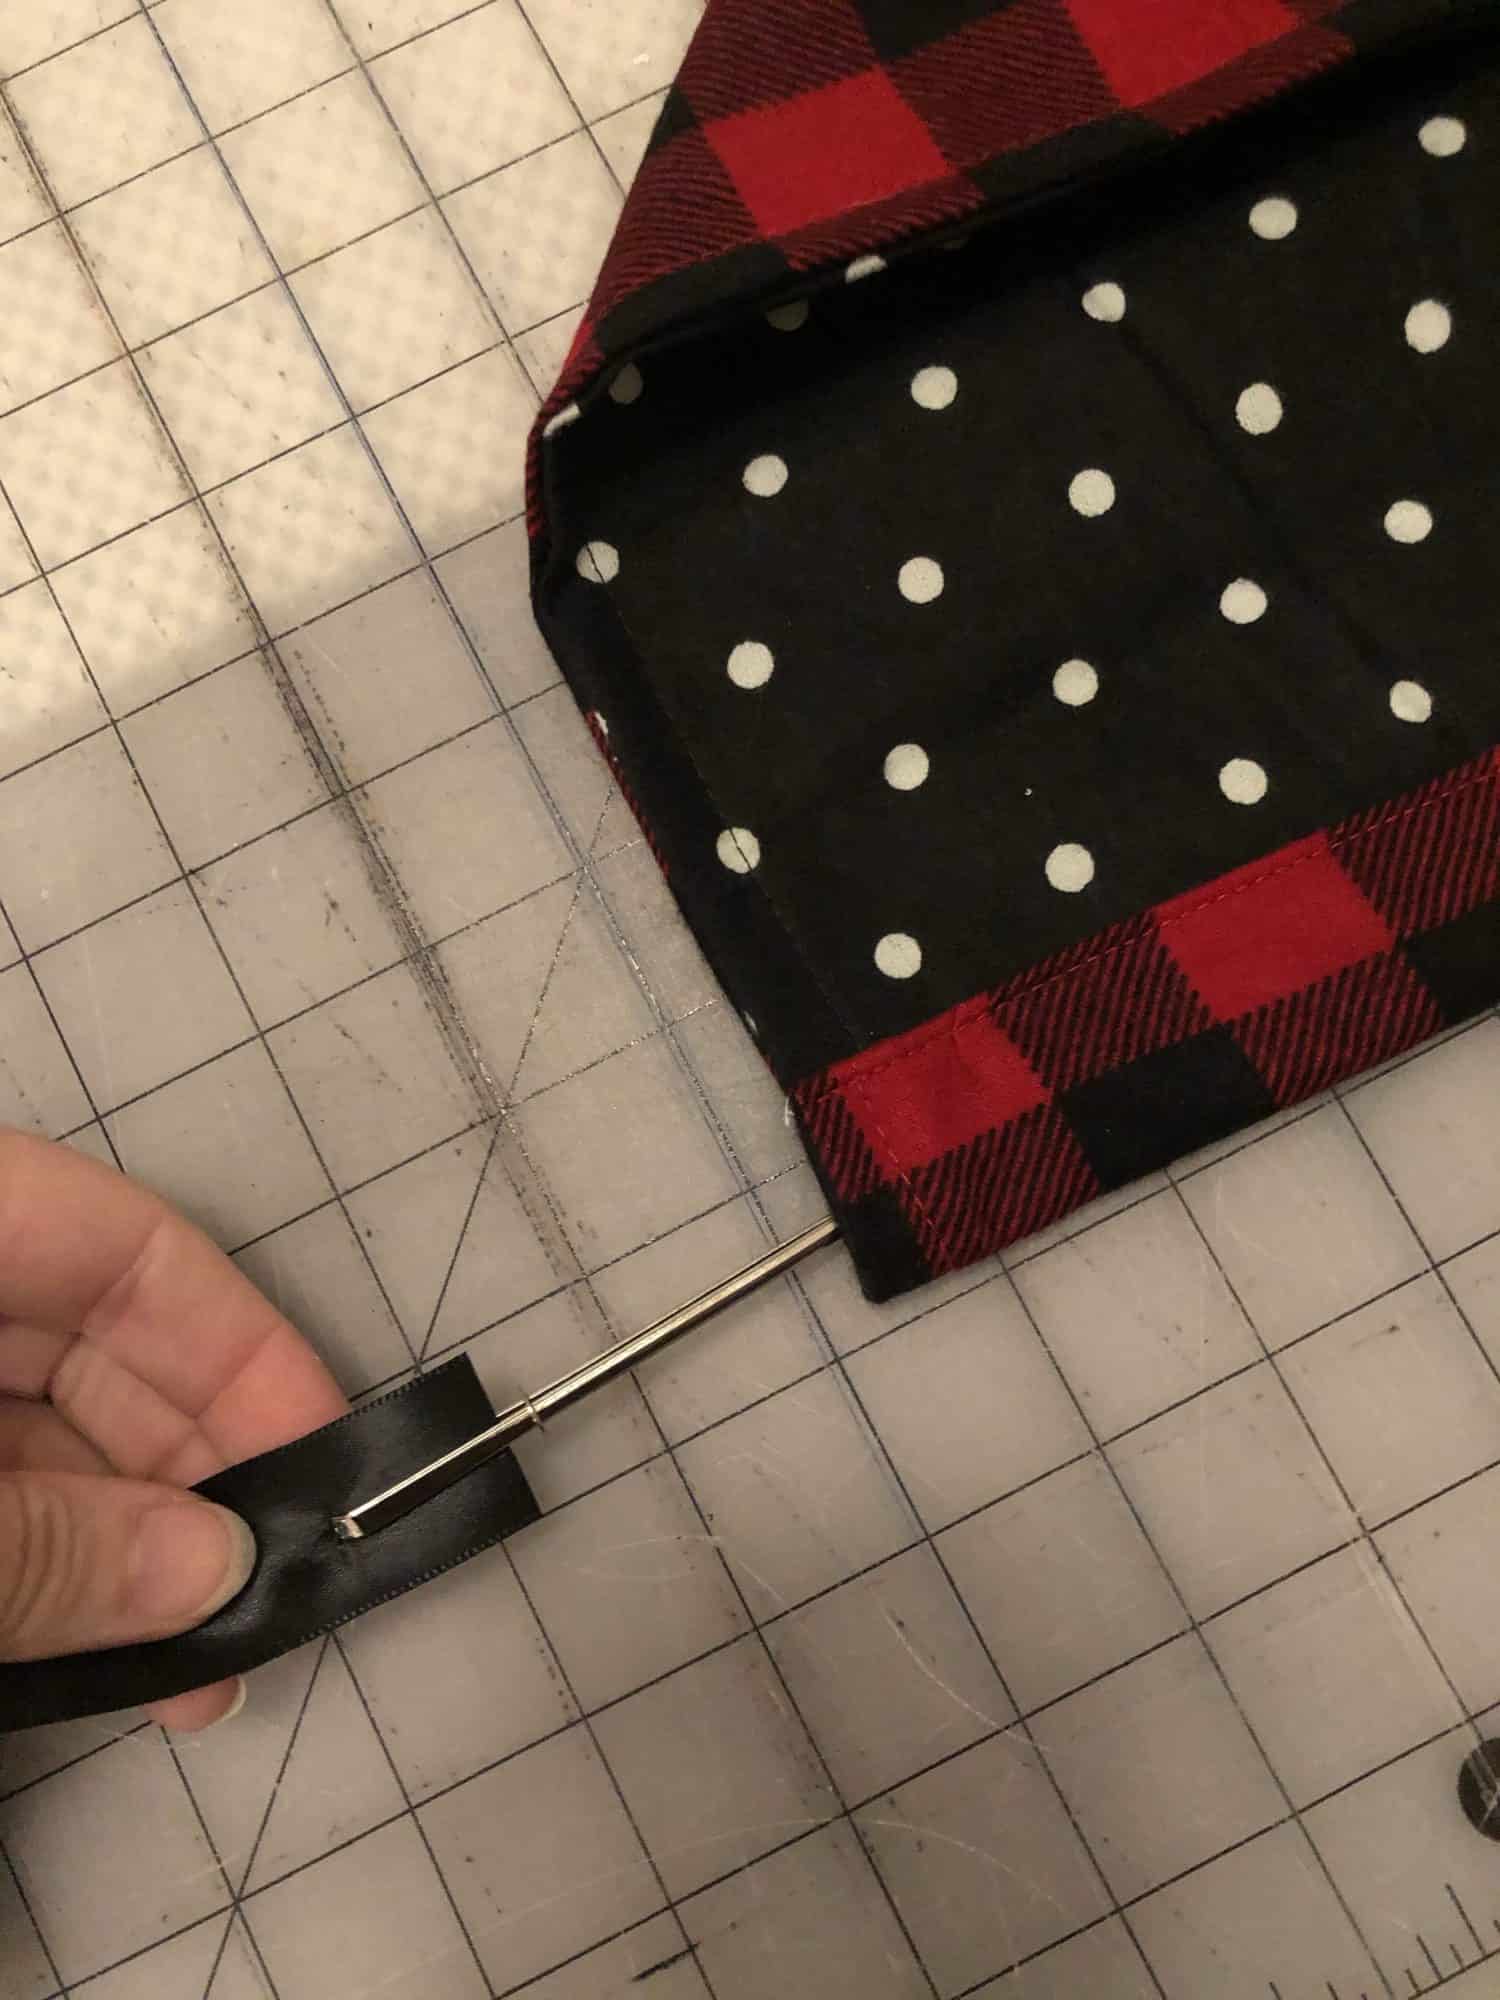
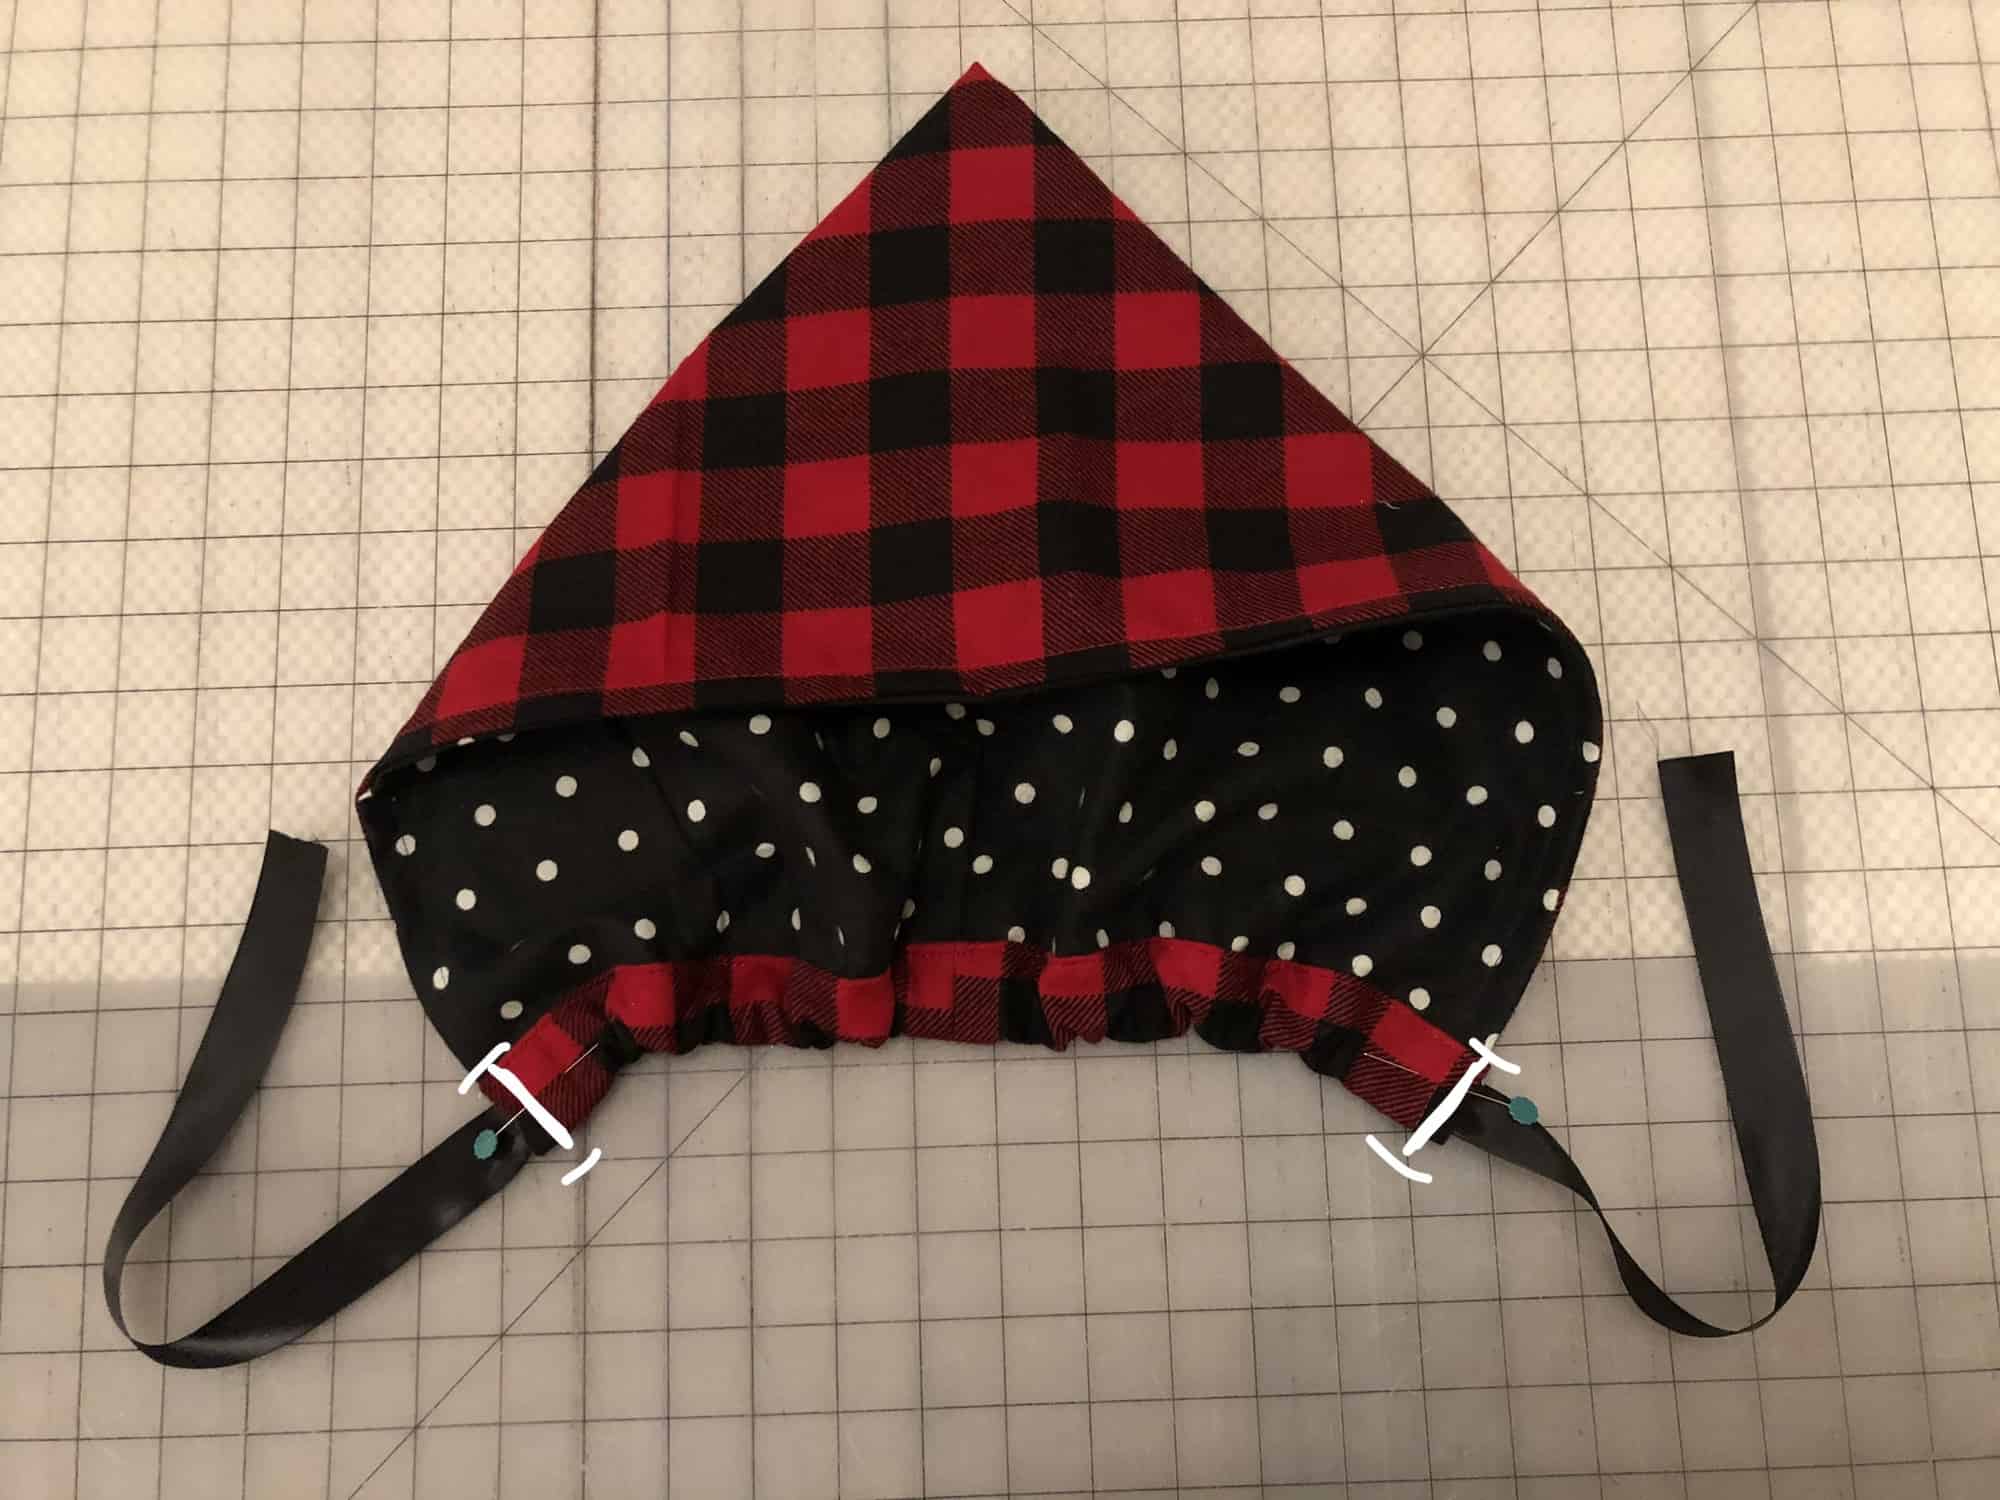
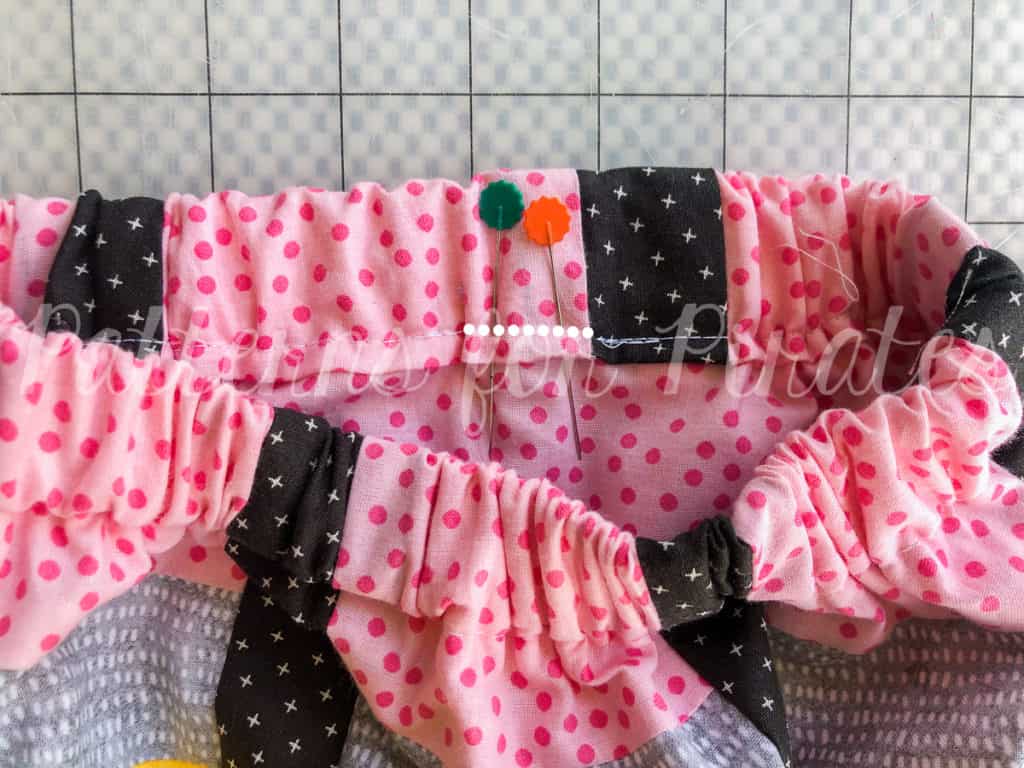
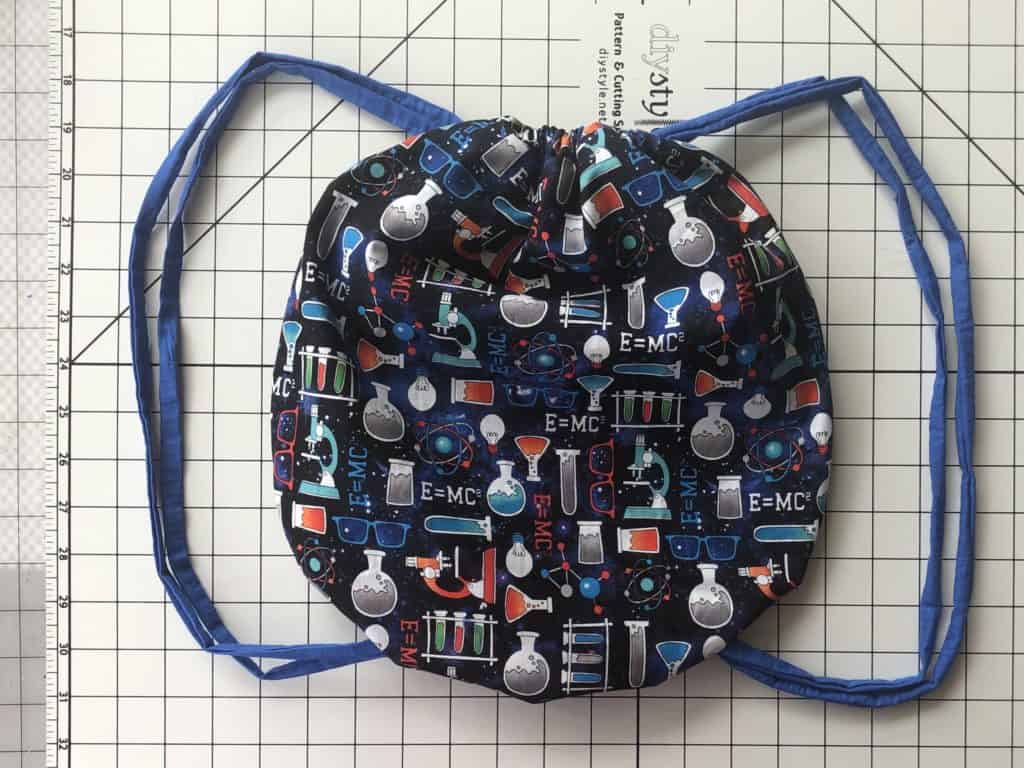
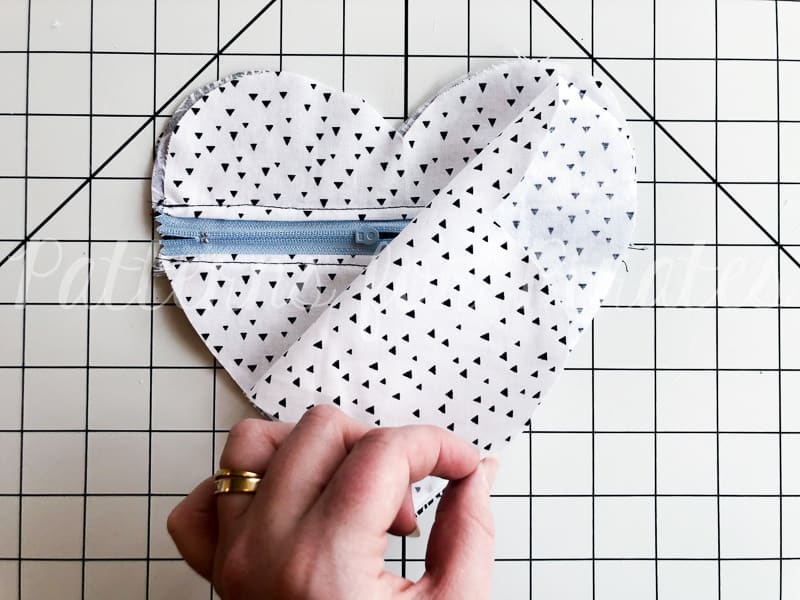
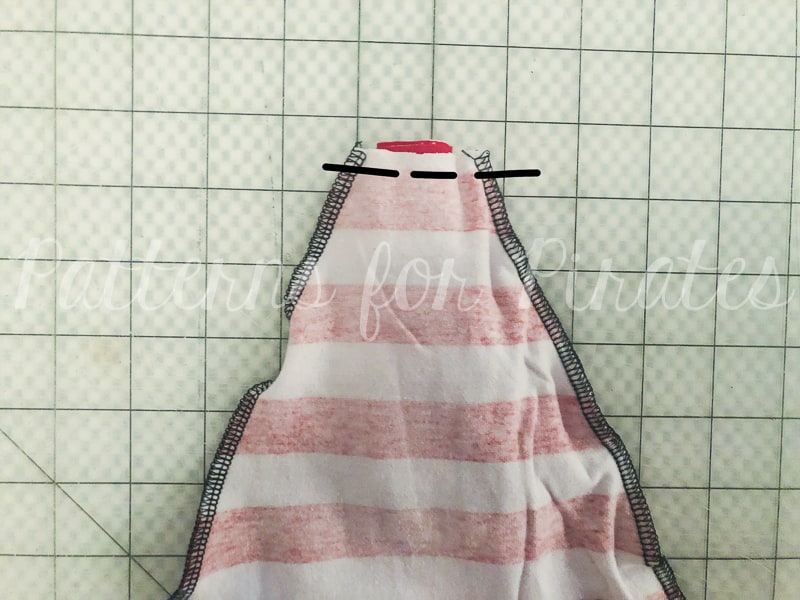
Allow for only 12” of ribbon to be on either side of casing. Secure with stitches. It will gather to about 2/3 of the width of your hat bottom.
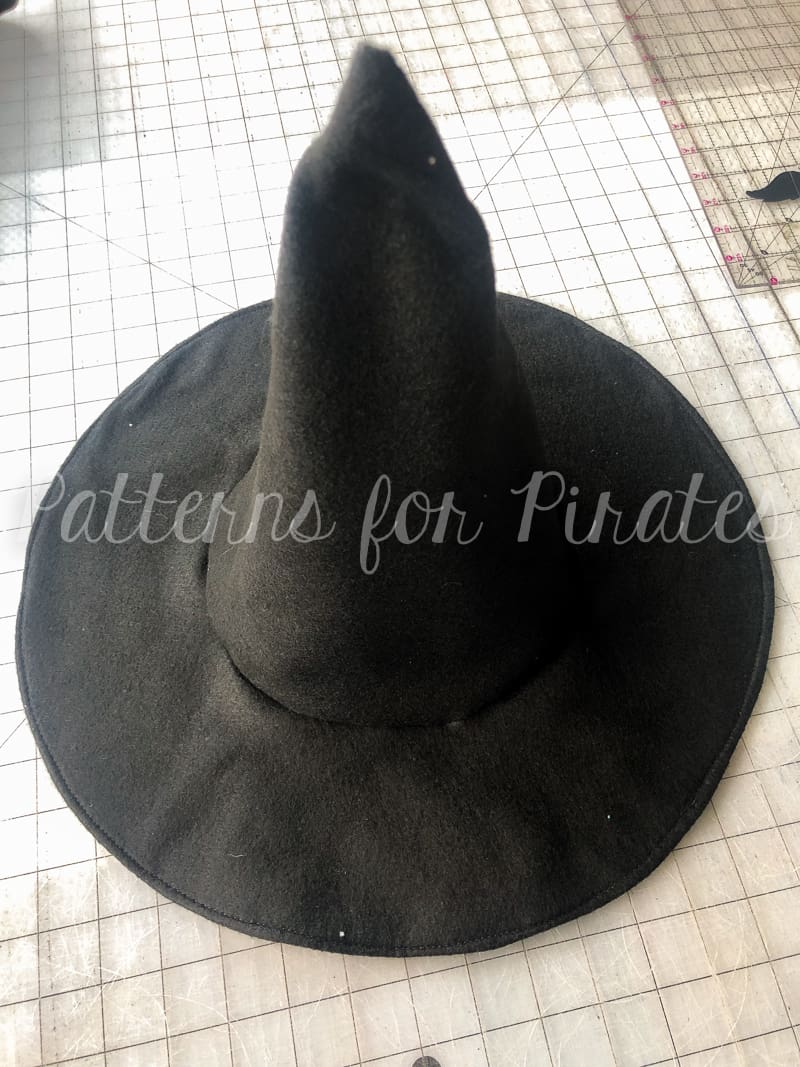
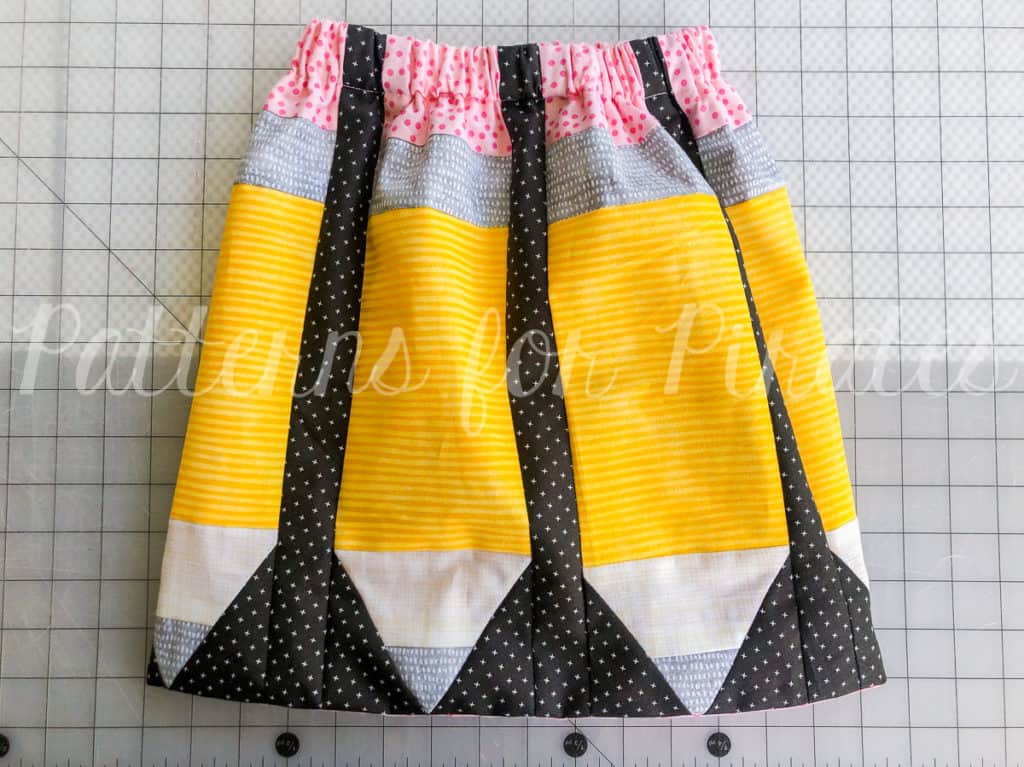
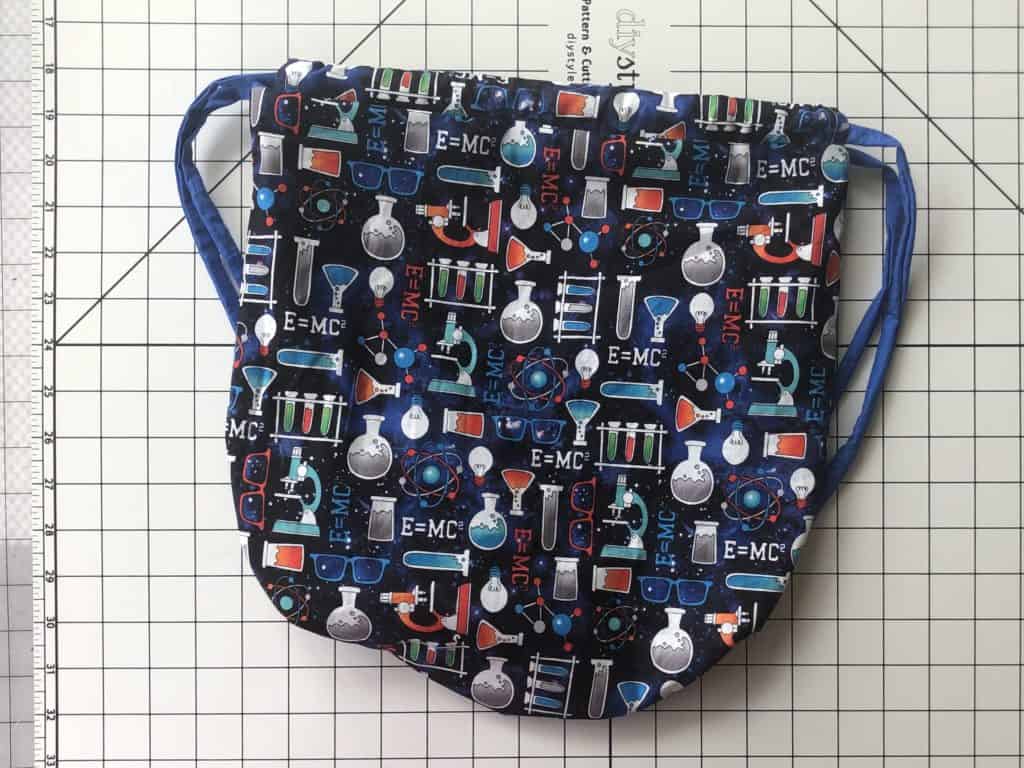
You’re done!
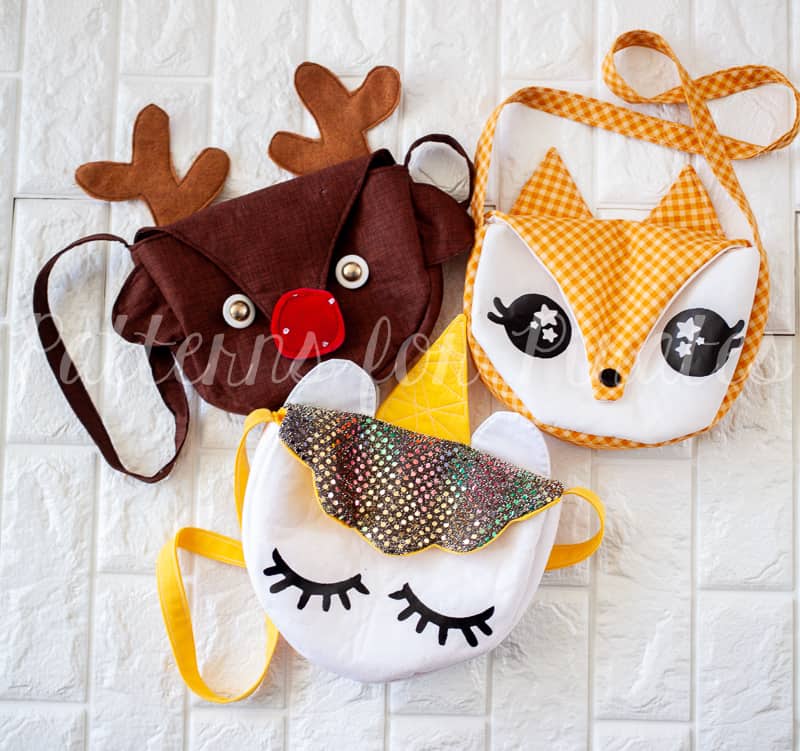
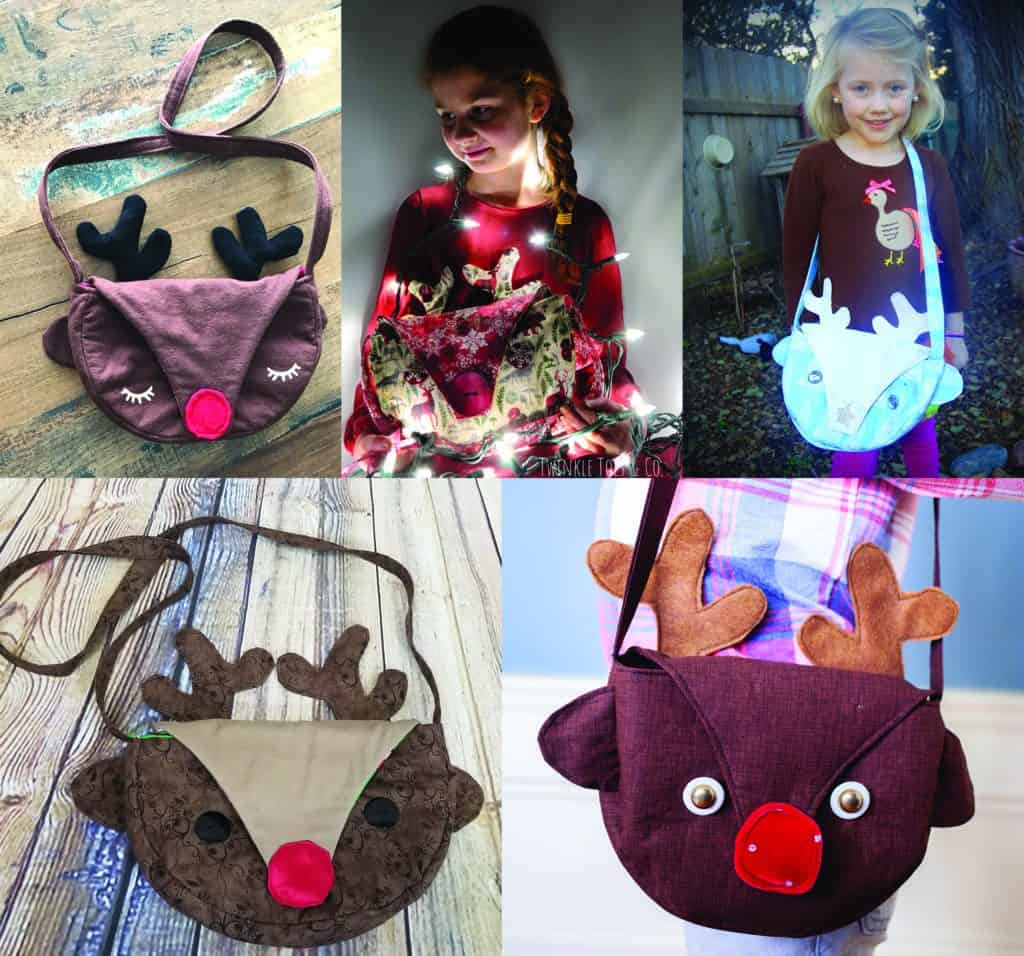
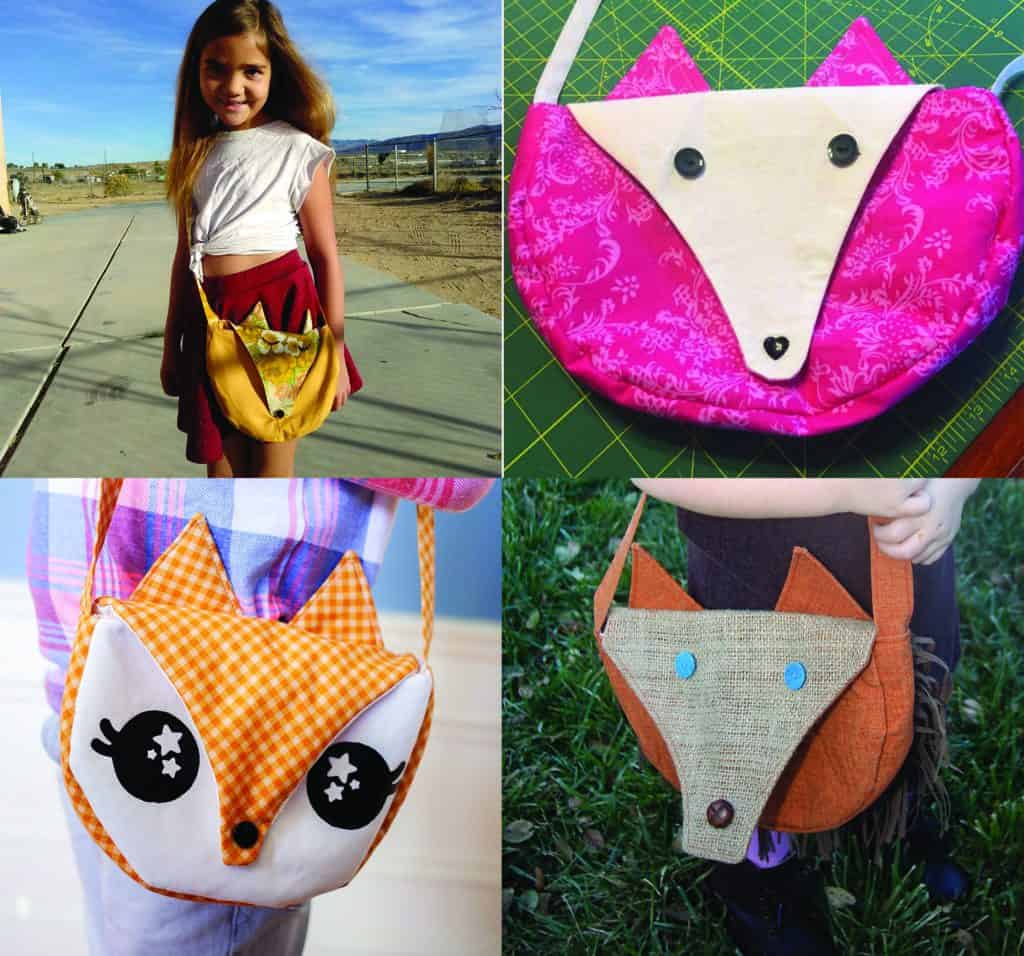
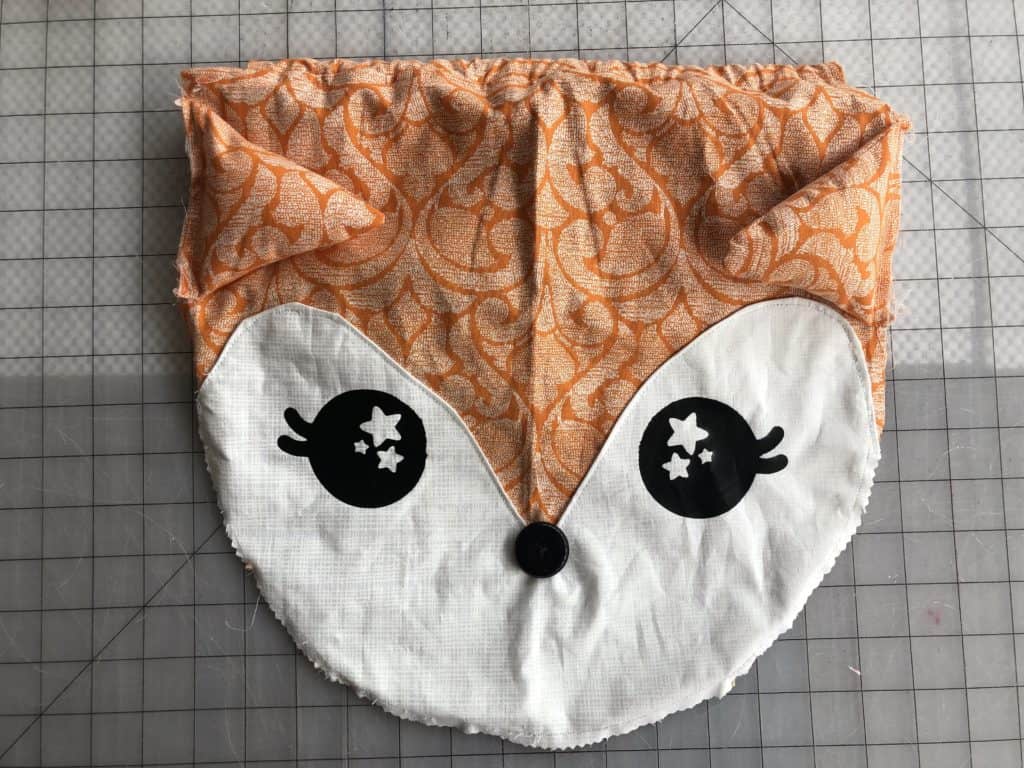
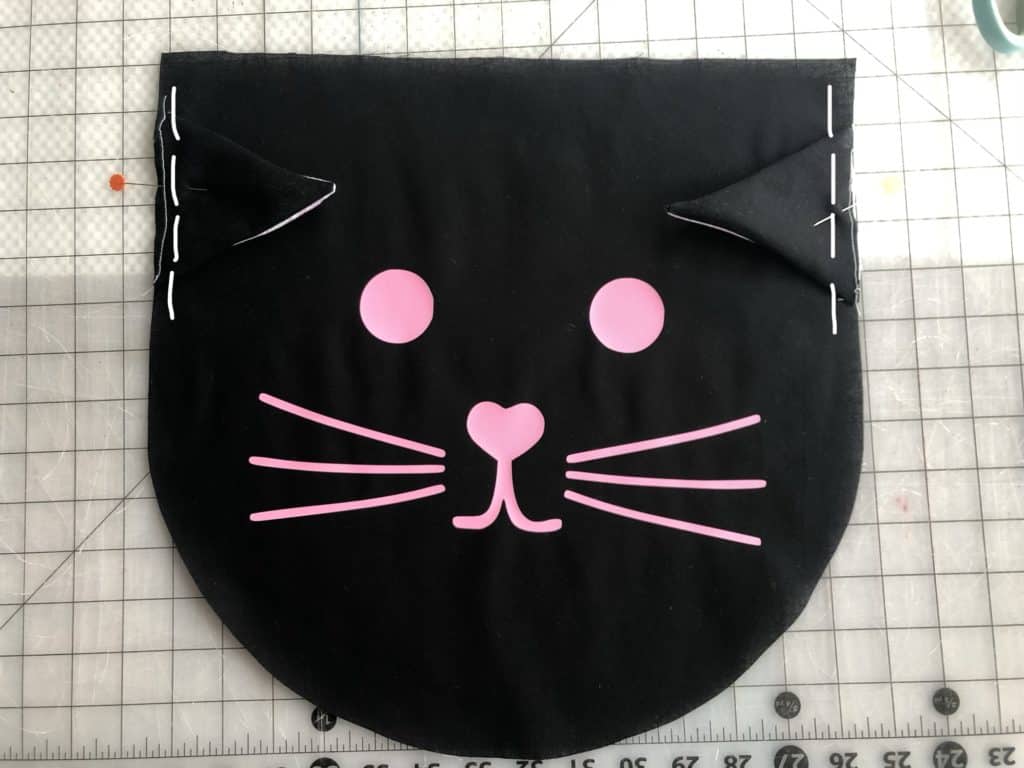
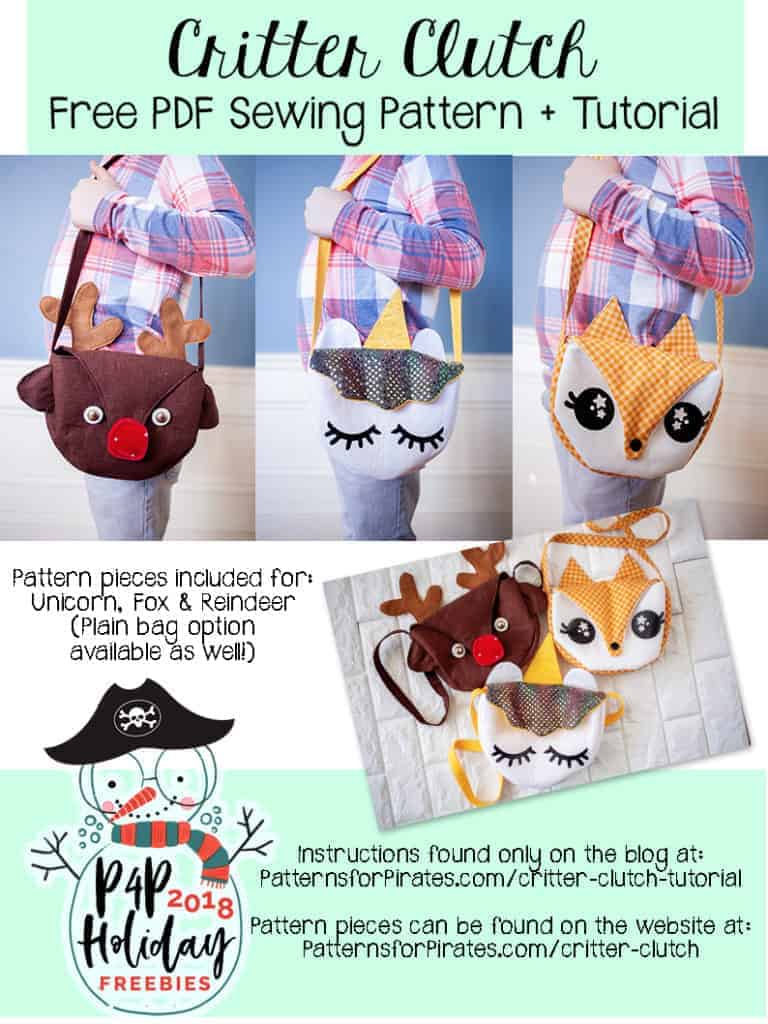
And just in case you’re in need of some inspirations, here are a few photos from our fabulous testers!

As always, our favorite thing is when you share what you’ve made from our patterns! Head over to the Patterns for Pirates Facebook Group and let us “oooh” and “aaah” over what you’ve created!
Happy Holidays, Pirates!


 And now, onto the tutorial!
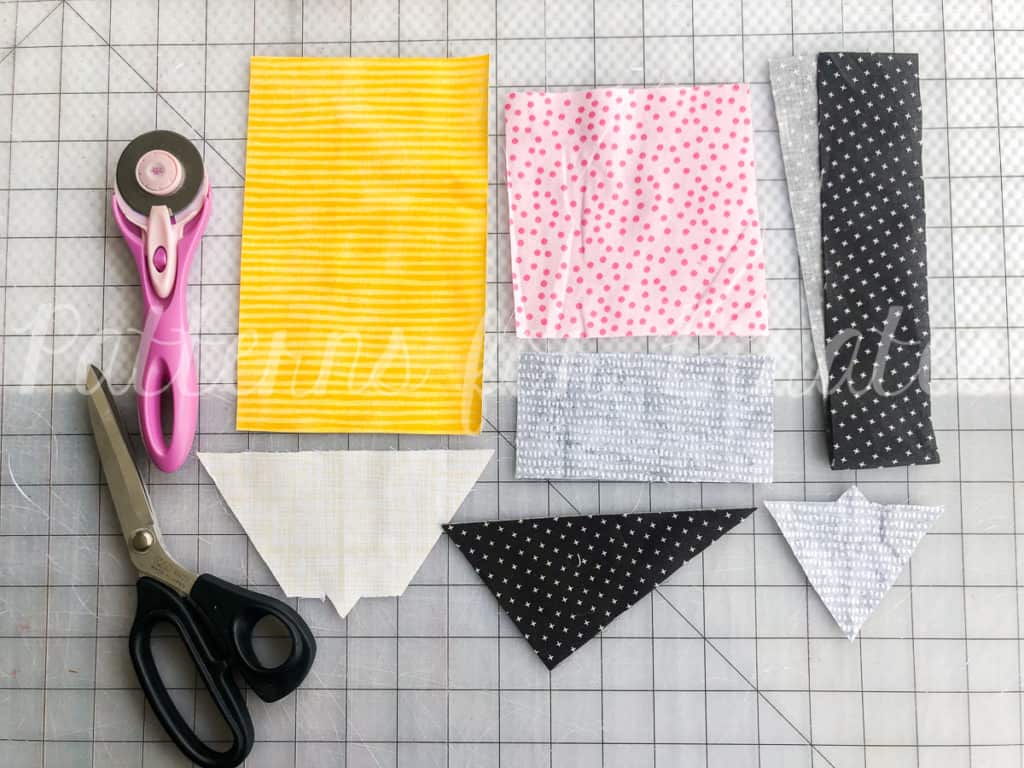
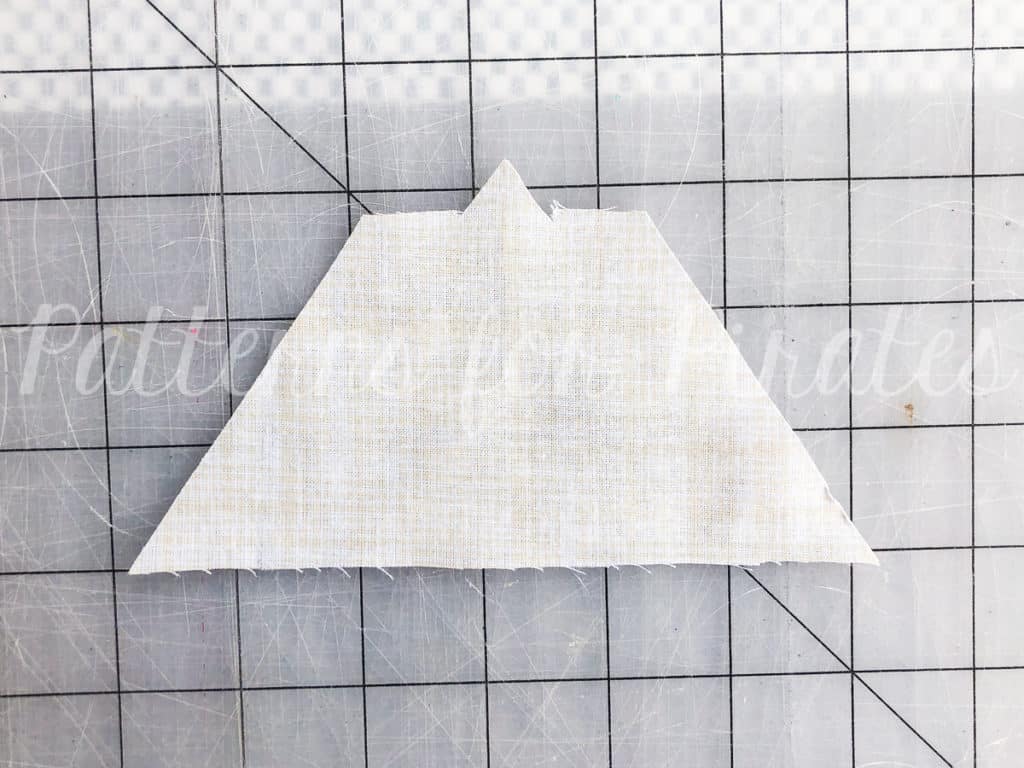


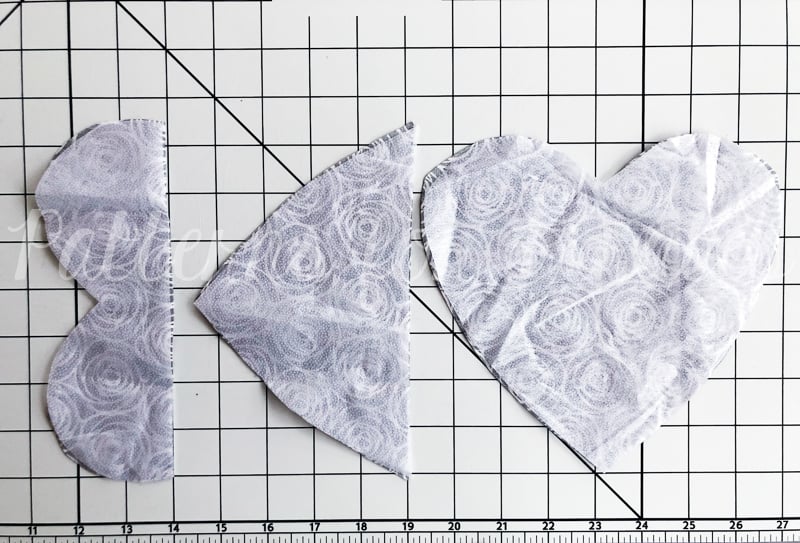


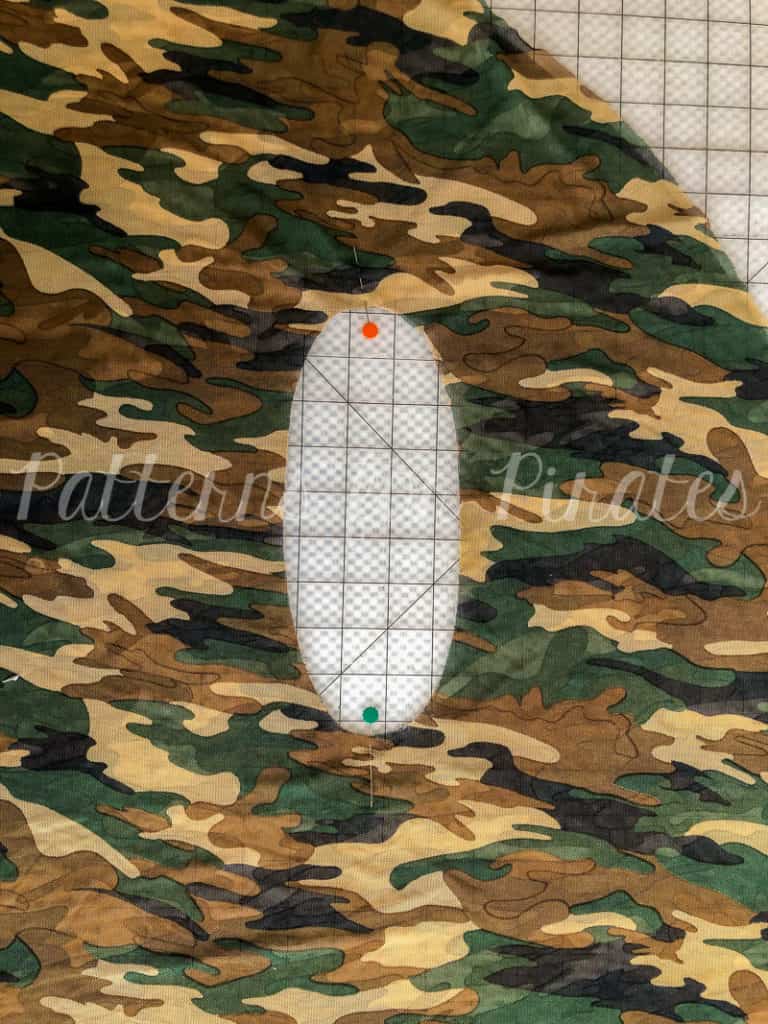
 Grab your pattern piece, realign it along the top, and cut our your arm openings.
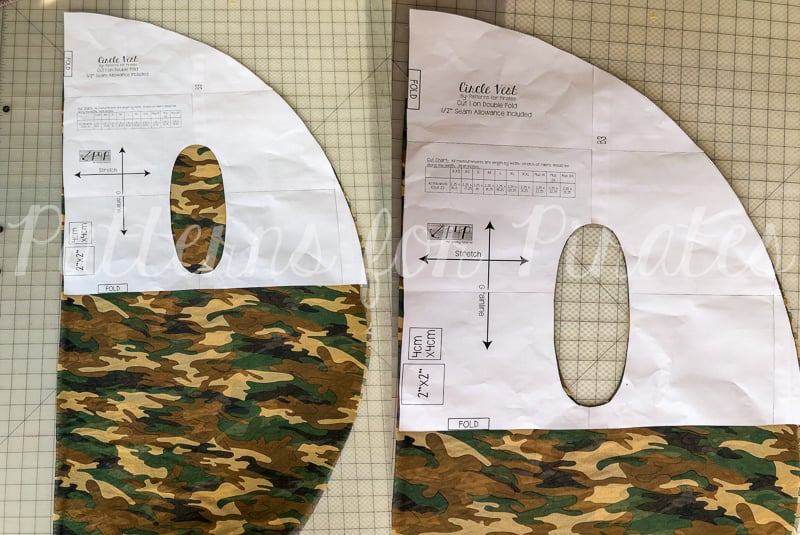


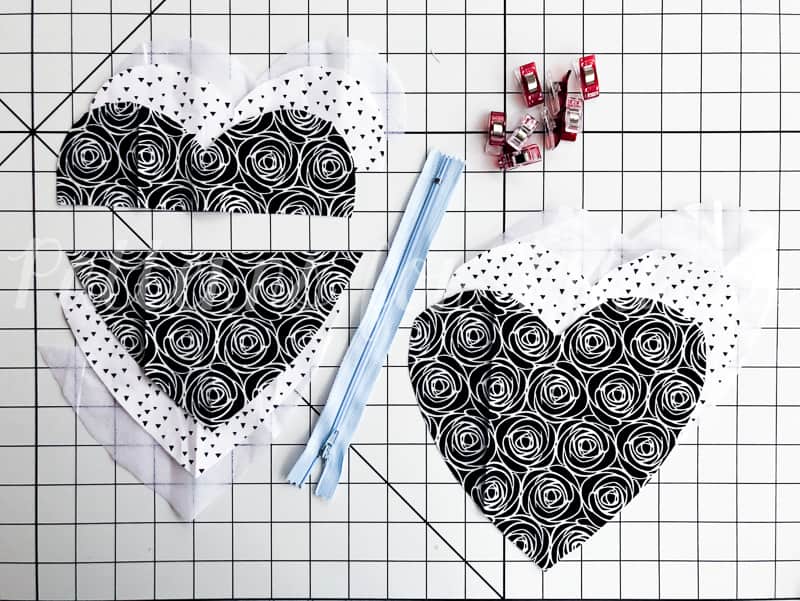
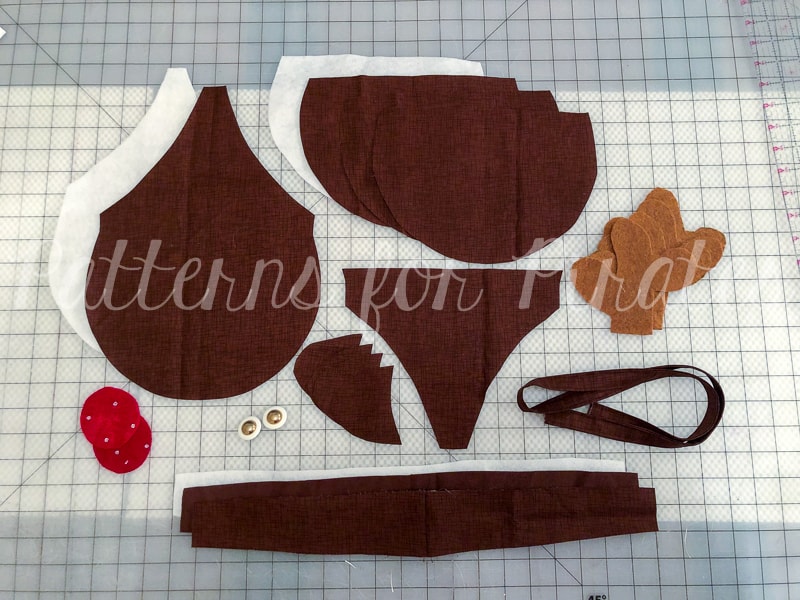
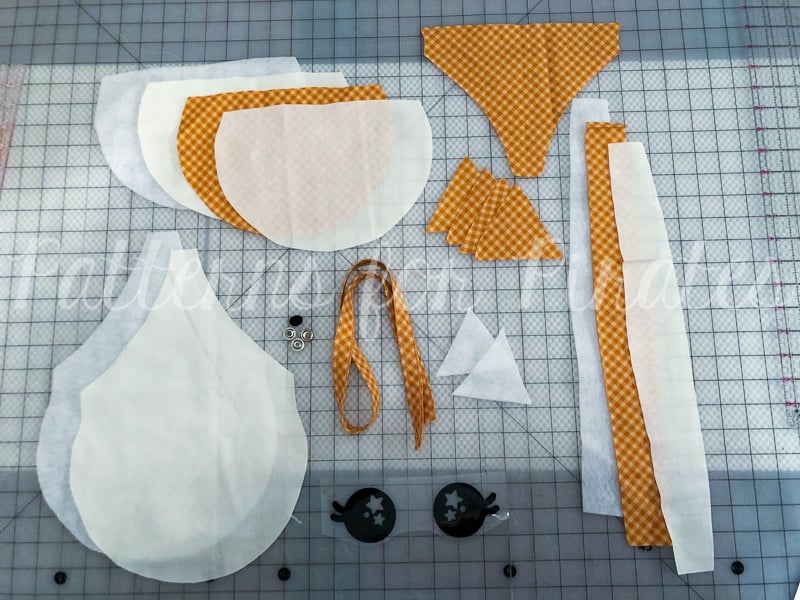
 You will need:
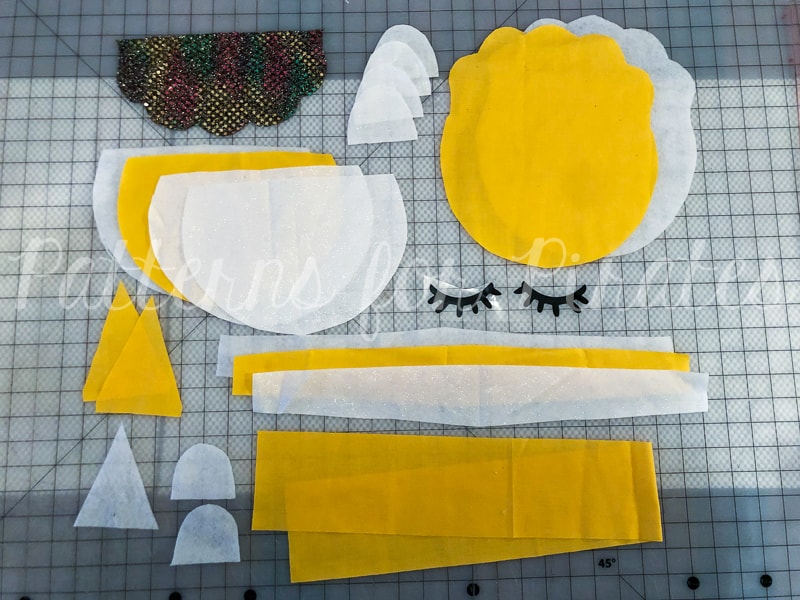
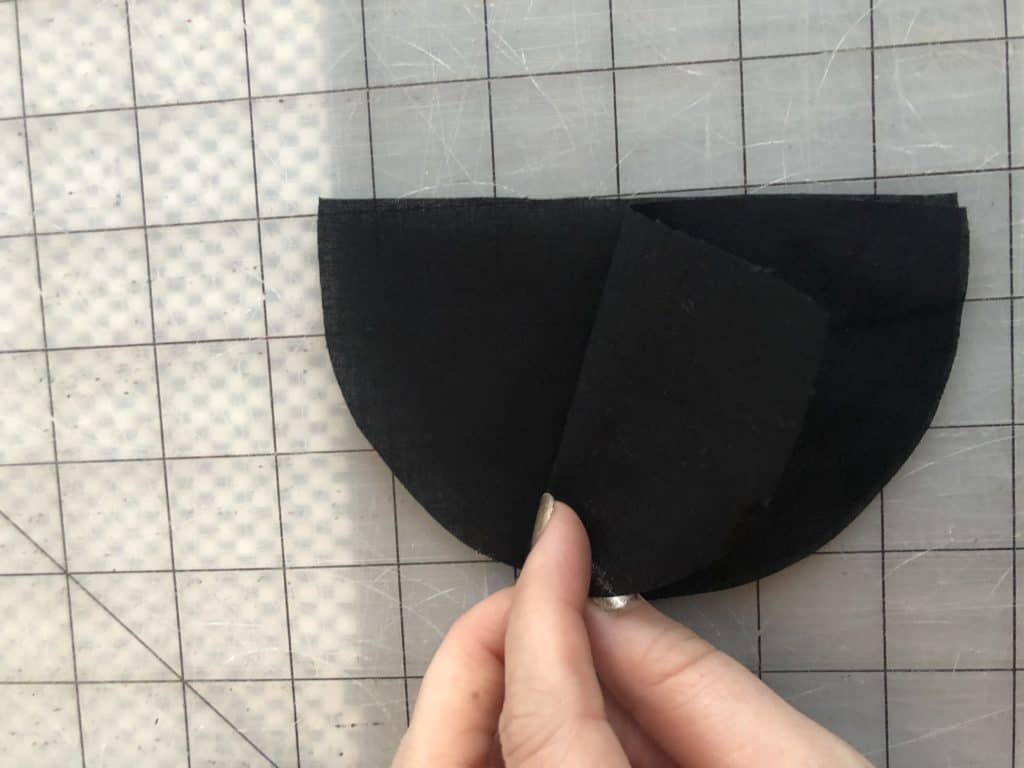
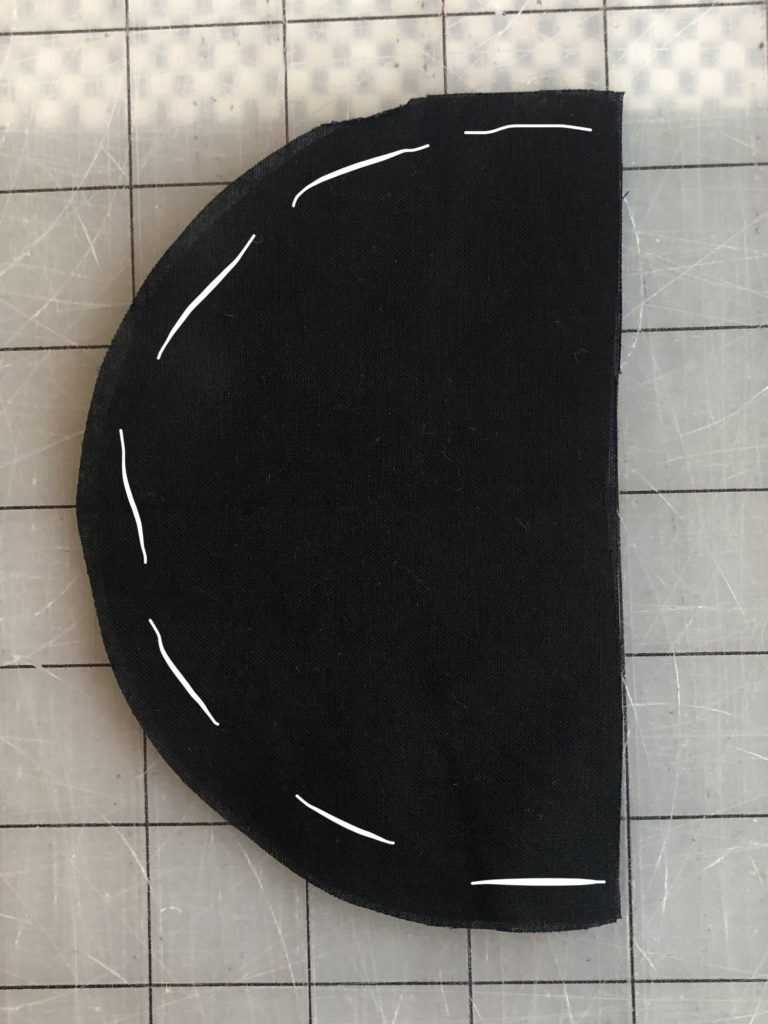
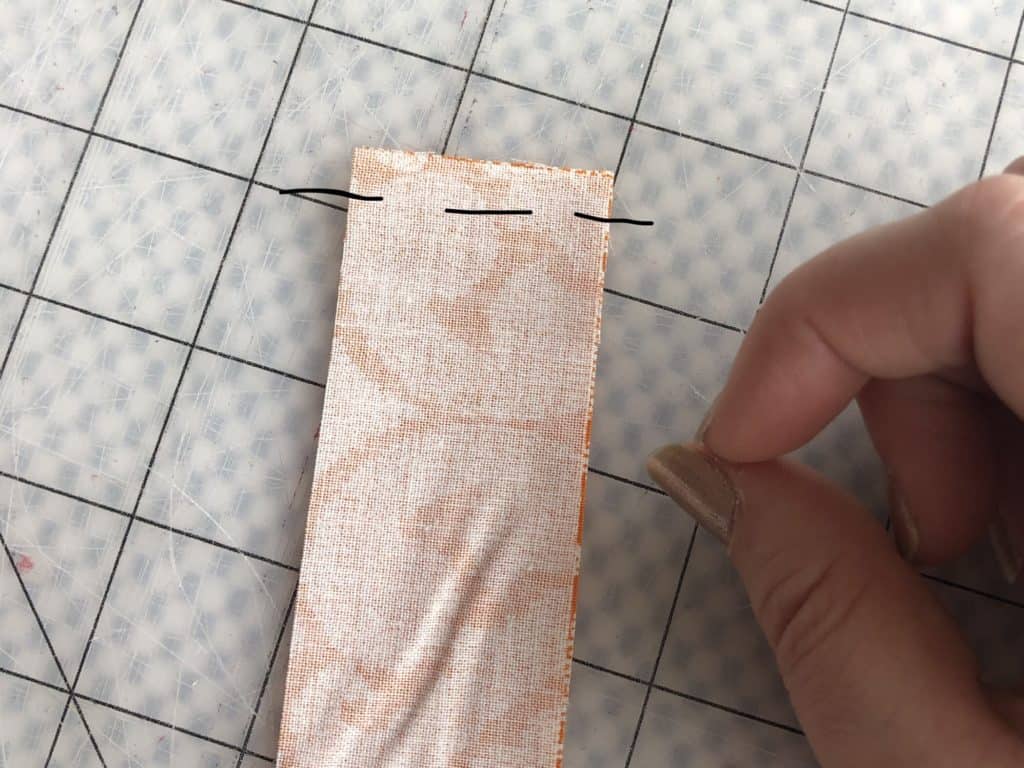
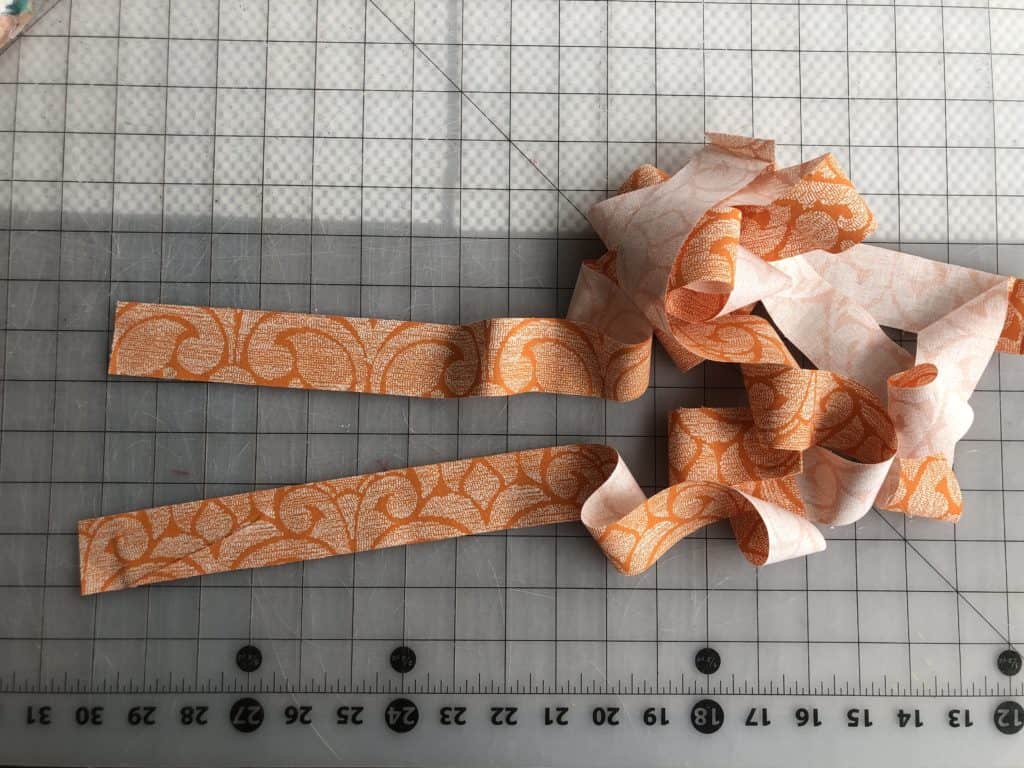
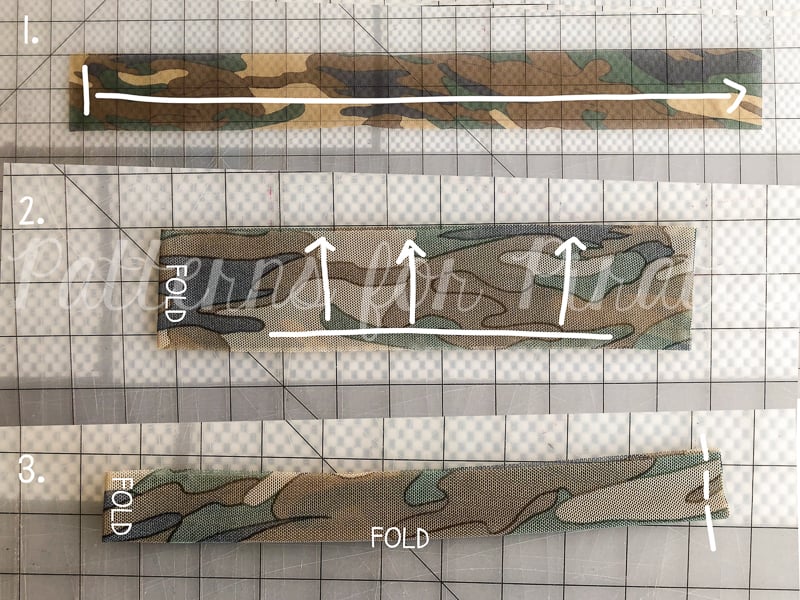
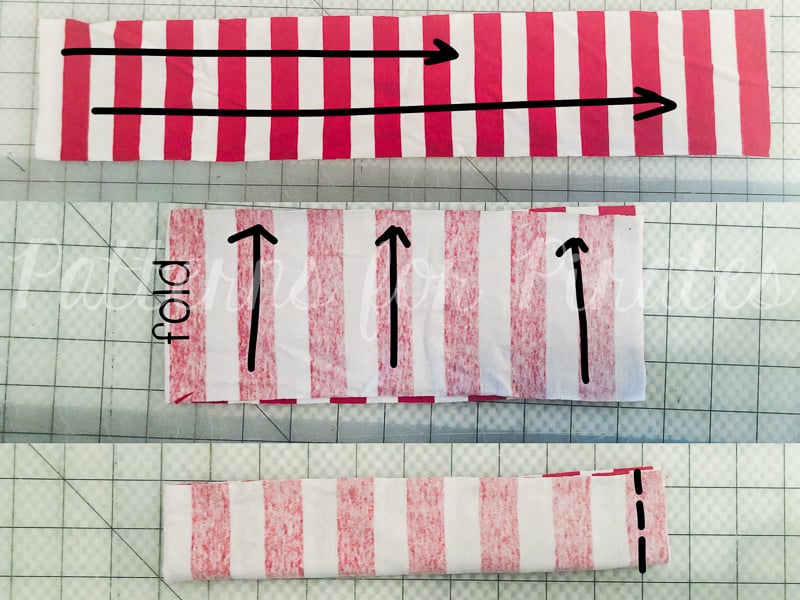
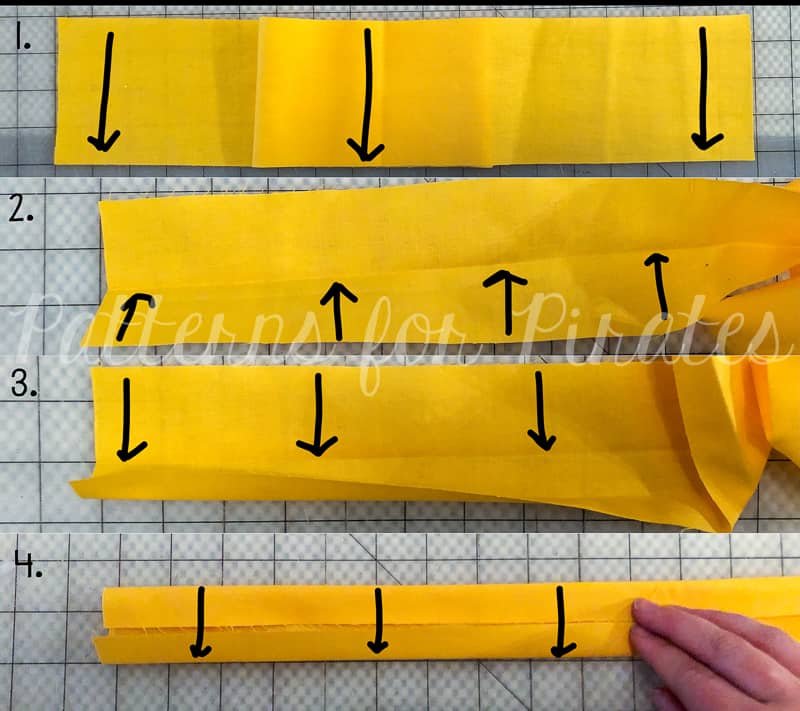 1. Fold in half, with long edges touching, wrong sides together. Press.