Patterns for Pirates

P4P stylish, modern, wearable patterns

  • Home
  • Blog
    • Frequently Asked Questions
    • Pattern Releases
      • Free Patterns
    • P4P University
      • Fitting
      • Sewing with Stretch, Knit Fabrics
      • Sewing with Woven Fabrics
      • Sewing Machines
    • Sew-A-Longs
    • Fabric for Pirates
    • Pattern Hacks
    • Announcement
      • Blog Tours
      • Contest/Giveaway
  • Shop
  • Bundle Discounts
  • Flash Friday
  • Gift Cards
  • My Account
  • Cart

2017 Holiday Freebies: Easy Button Cowl

December 8, 2017

I’m back to gift you the final item for our 2017 Holiday Freebies!  Have you had fun with us so far this week?

In case you’ve missed the last four days, go take a look: Slouchy Headwarmer / Emoji Pillows / Clothing Size Tags / Camera Strap

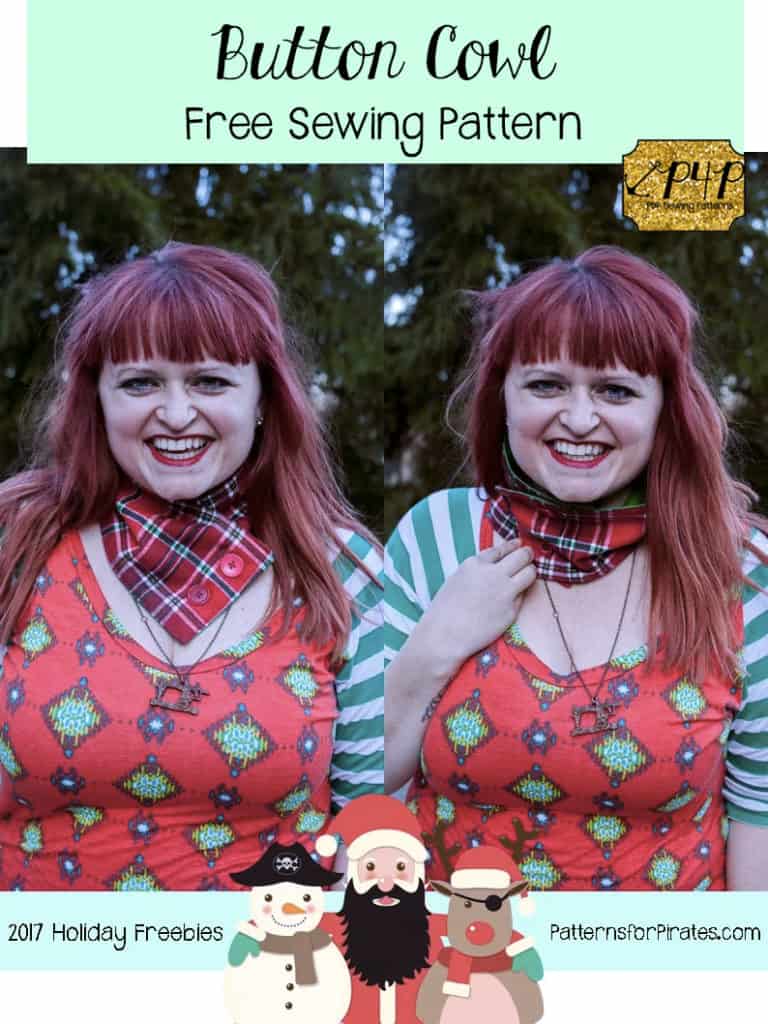
On the last day of our freebies, we are sharing how to make this super cute, quick, and easy Button Cowl.  We’ve even got two ways for you to wear it.  Are you ready?  Let’s get to it!
 

Materials needed:

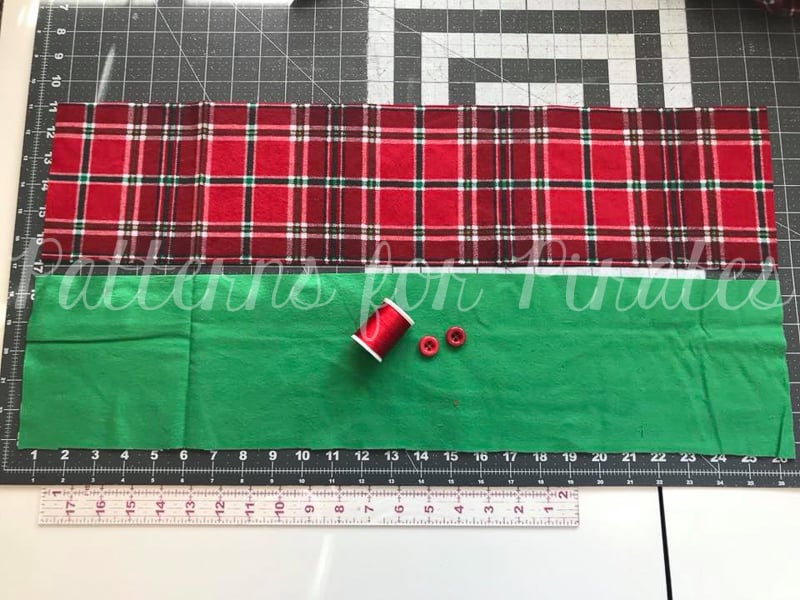
  • 2 – 26″ wide x 6″ long pieces of fabric (can be flannel, fleece, sweatshirt fabric, etc. Really anything will work, but obviously the cozier the better.)
  • 2 buttons / snaps
  • Coordinating thread

With fabrics right sides together, stitch around entire outside using 1/2″ seam allowance. Leave 3″ opening for turning.
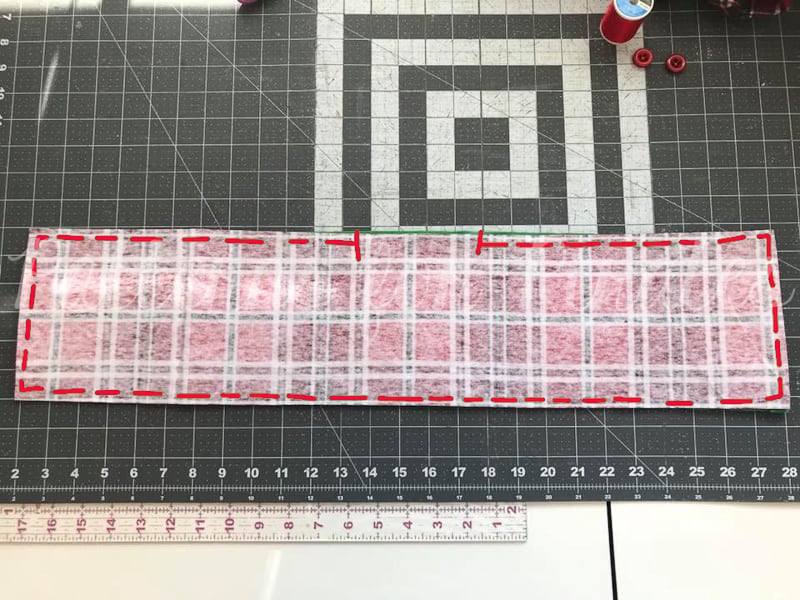
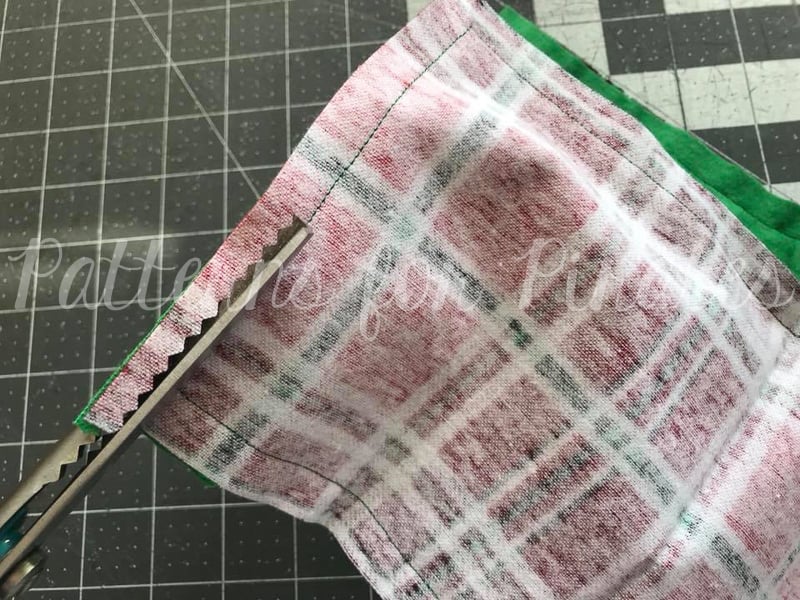
Trim away bulk, making sure not to snip through seams.
Turn right-sides-out, through the opening.
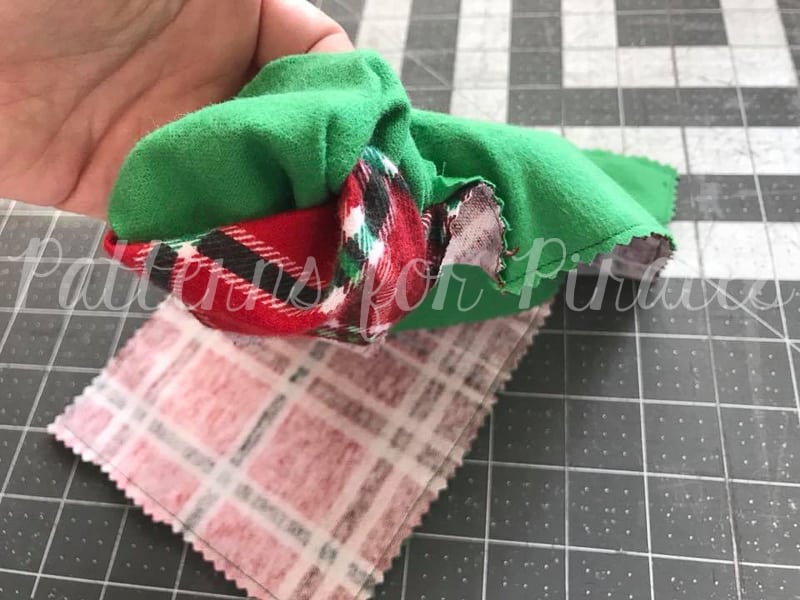
Tuck in your seam allowance, press.
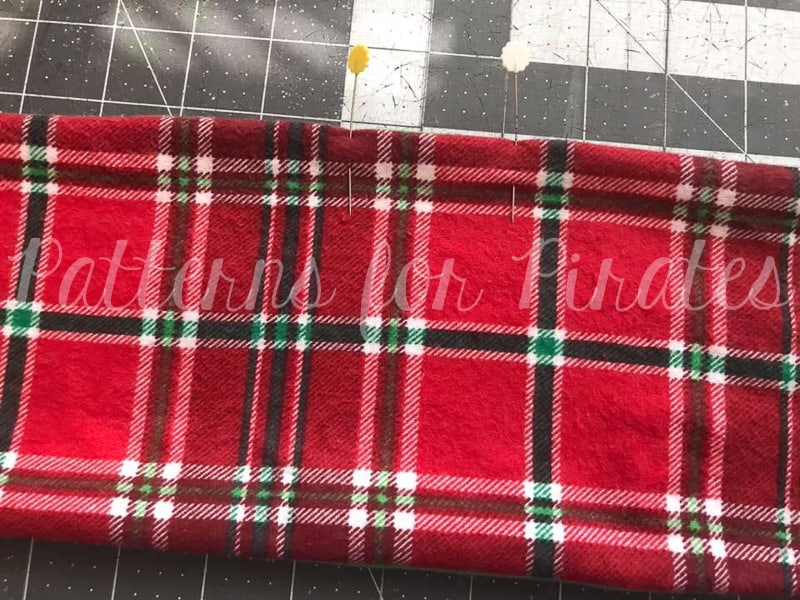
Top stitch along entire outer edge, making sure to catch your opening in there.
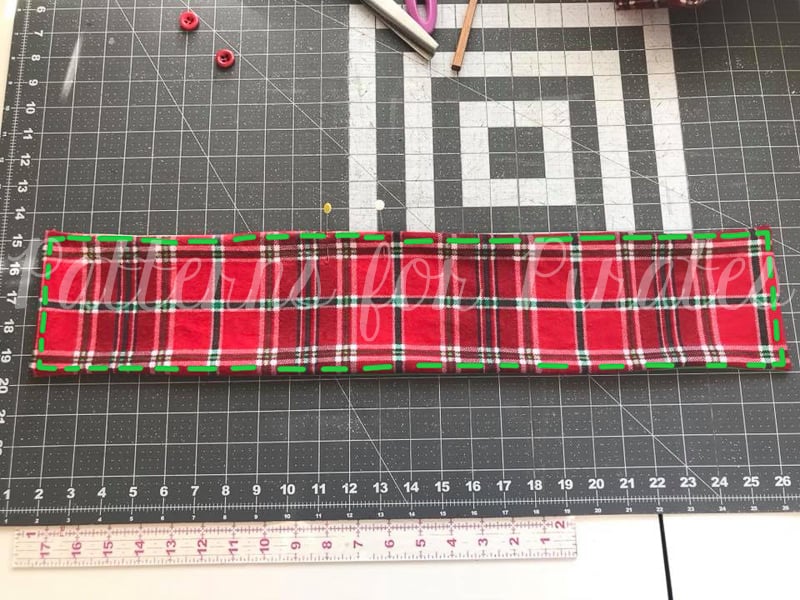
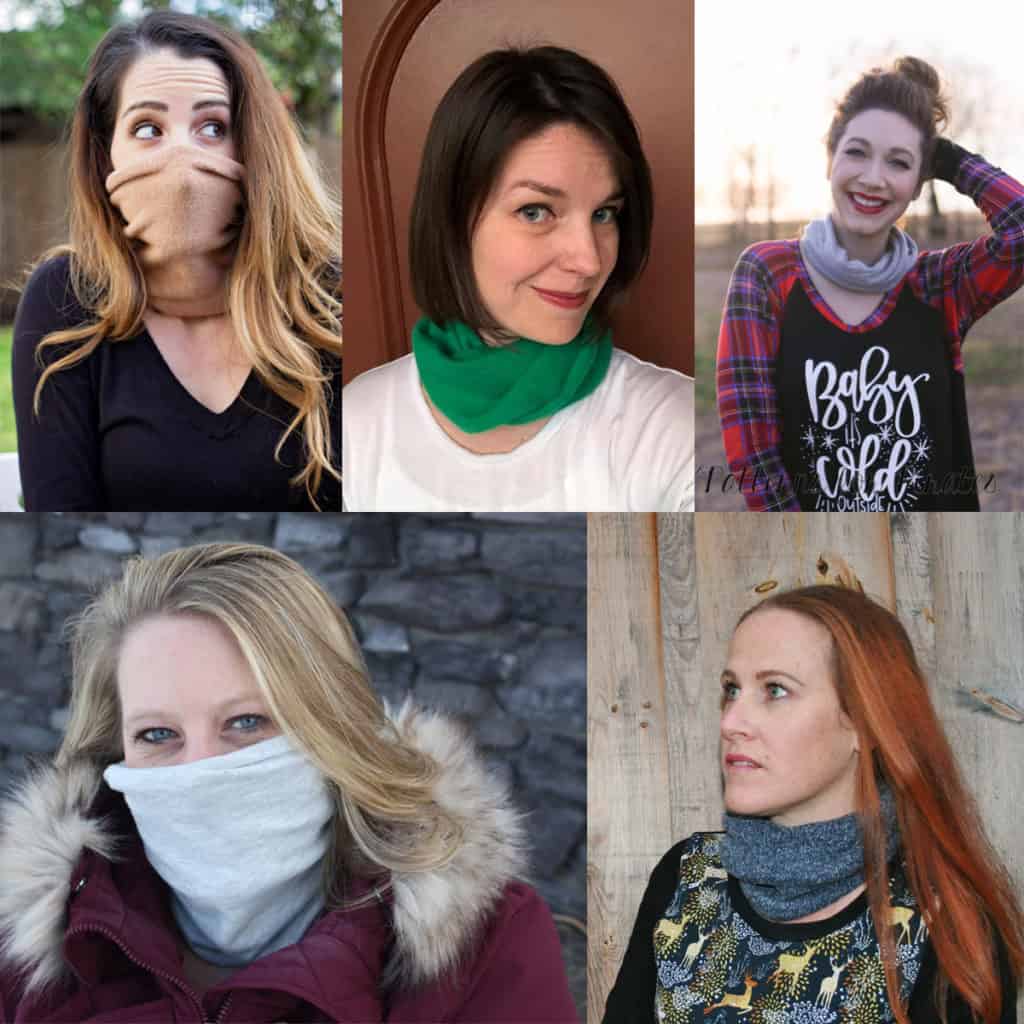
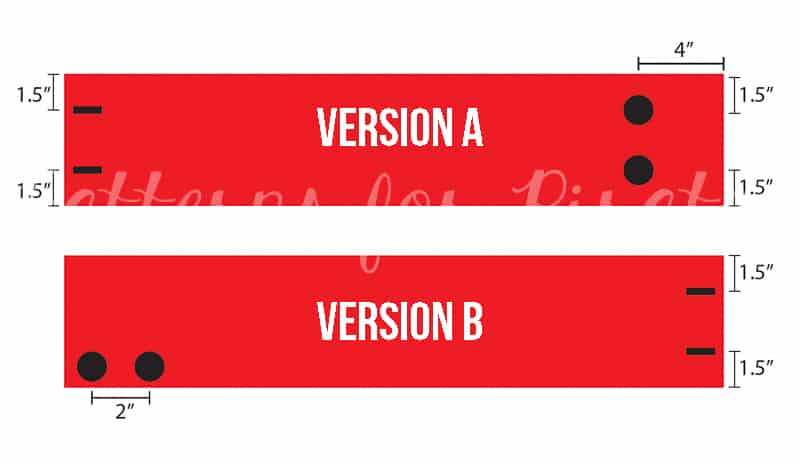
There are two ways you can add buttons/snaps to the cowl to create different ways to wear them.  I created an easy diagram to help you with placement for your buttons and button holes, depending on the style you’re wanting for your cowl.
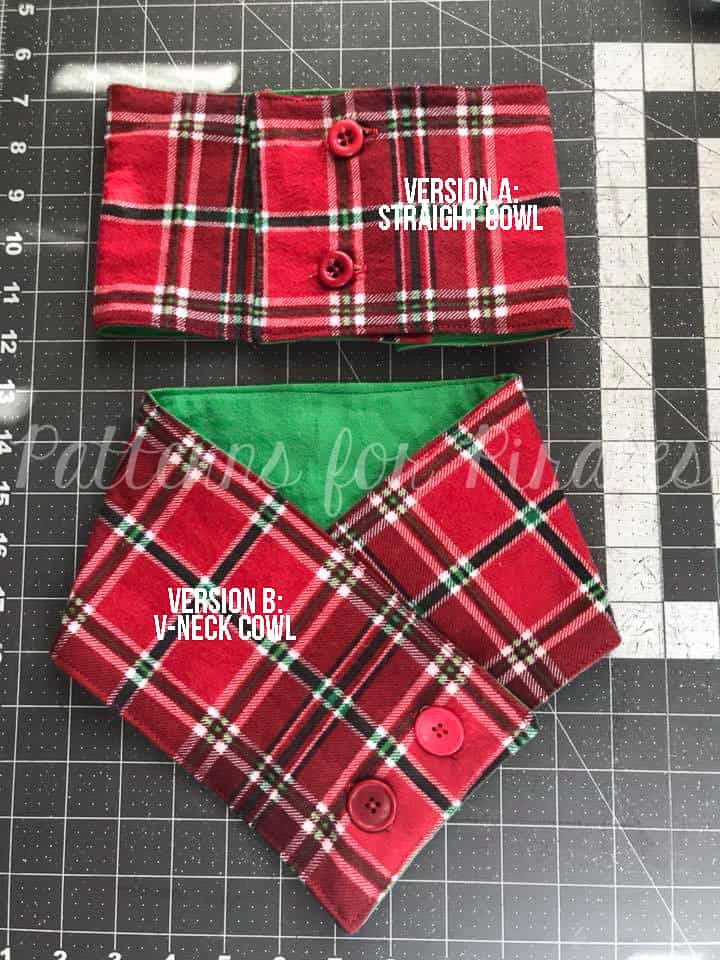
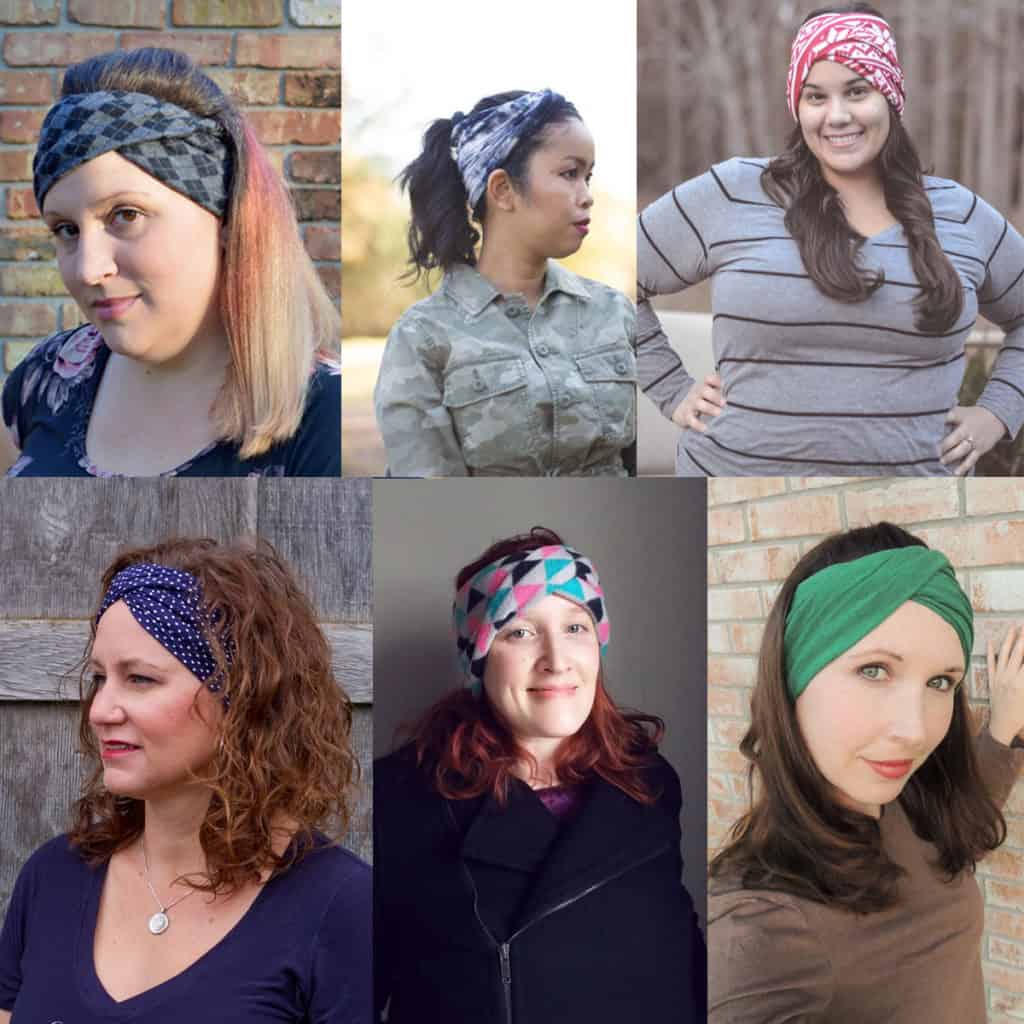
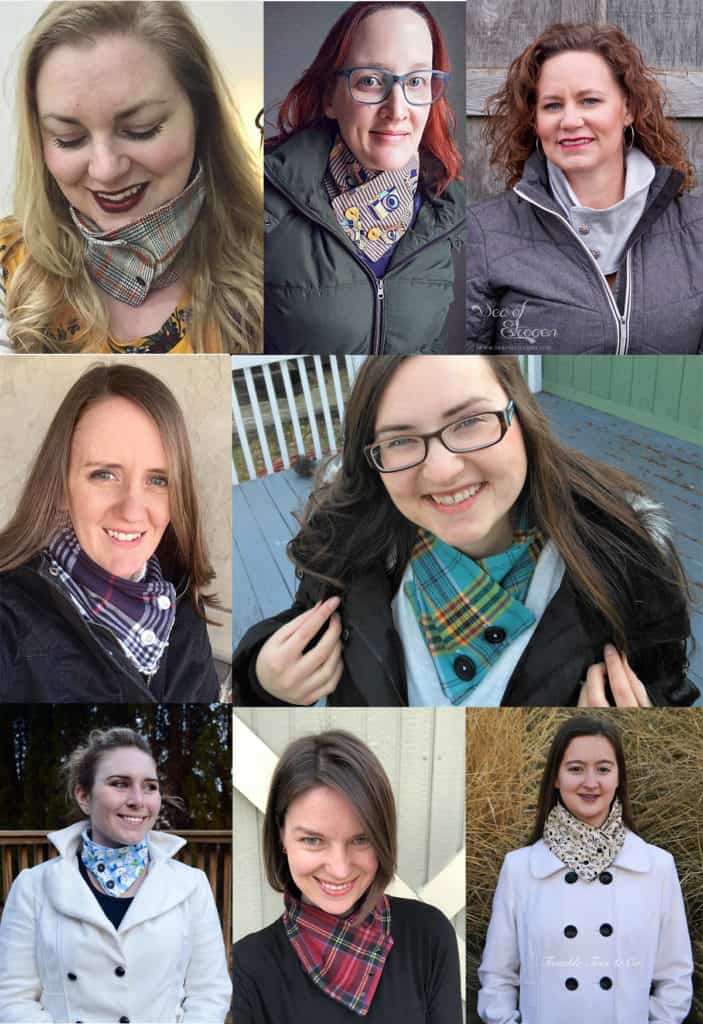
Here’s a quick peek at what some of our testers made for themselves with this pattern:
As always, we would love if you shared your creations with us!  Head over to the Patterns for Pirates Facebook Group and show us what you made!  Happy Holidays, friends!
Filed Under: Free Pattern 5 Comments

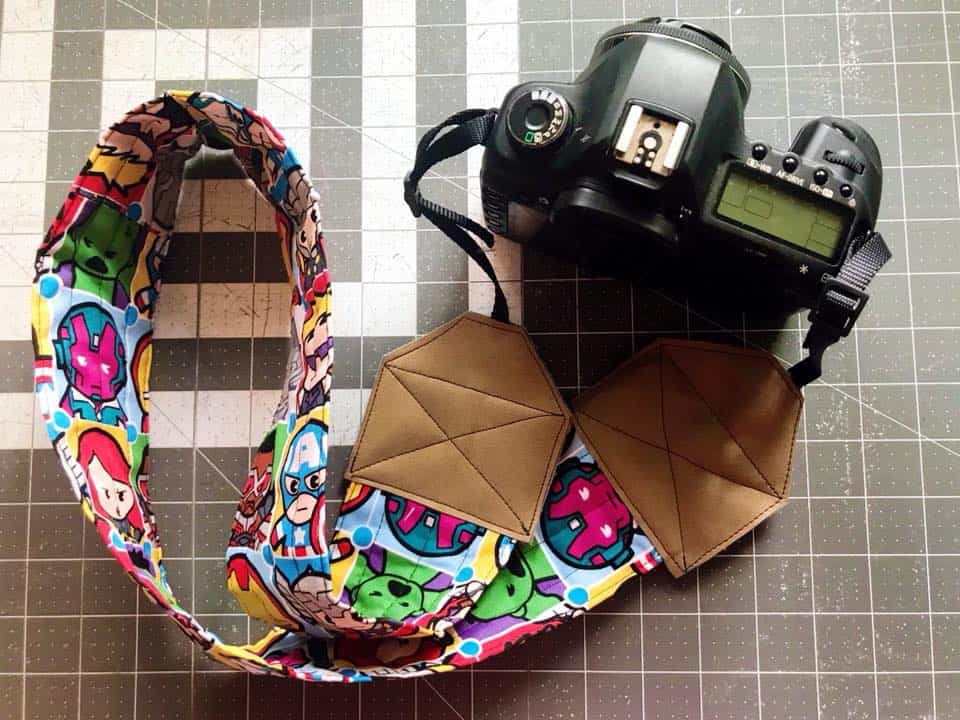
2017 Holiday Freebies: DIY Camera Strap

December 7, 2017

What?  We are on day four of the 2017 Holiday Freebies already?  I hope you’re having as much fun as I am!  If you need to back and review the past three days, I can wait!

Here are some links: Slouchy Headwarmer / Emoji Pillows / Clothing Size Tags

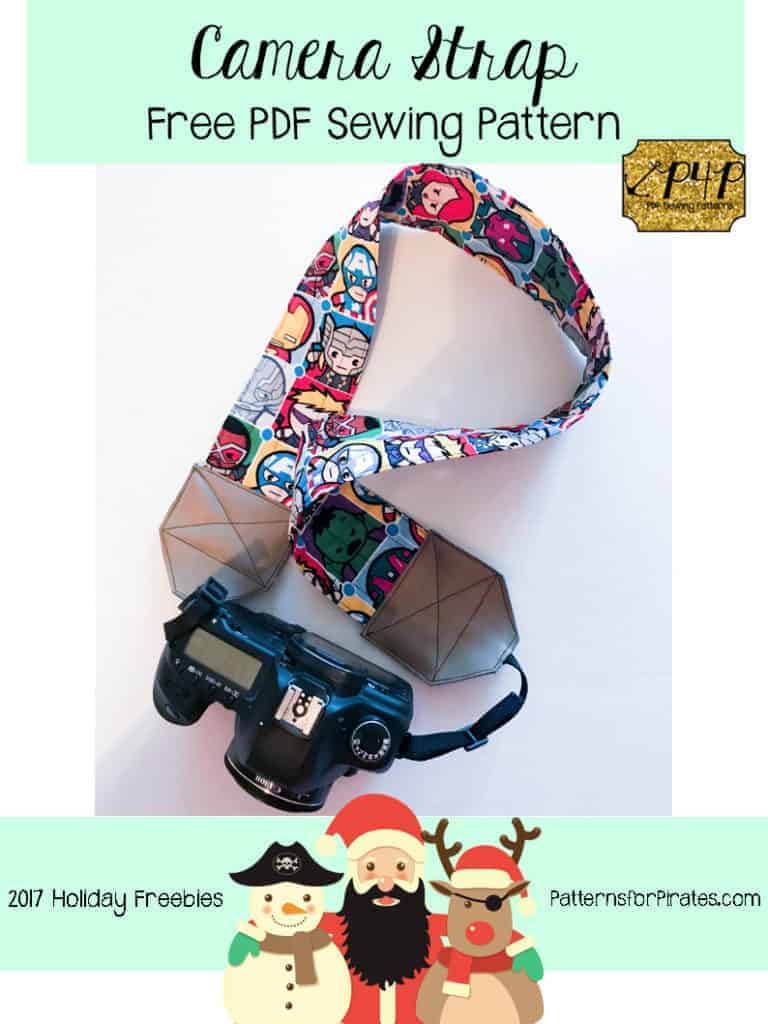
Now that we’ve covered that, let’s get to today’s free pattern!  Sewing and photography seem to go hand-in-hand more often, because we want to share what we’ve made with our sewing community!  Why not sew yourself a sweet little strap to wear while you’re using that camera of yours?  It’s super easy to do and way more fun than using what came with your camera originally.  Let’s get to it!

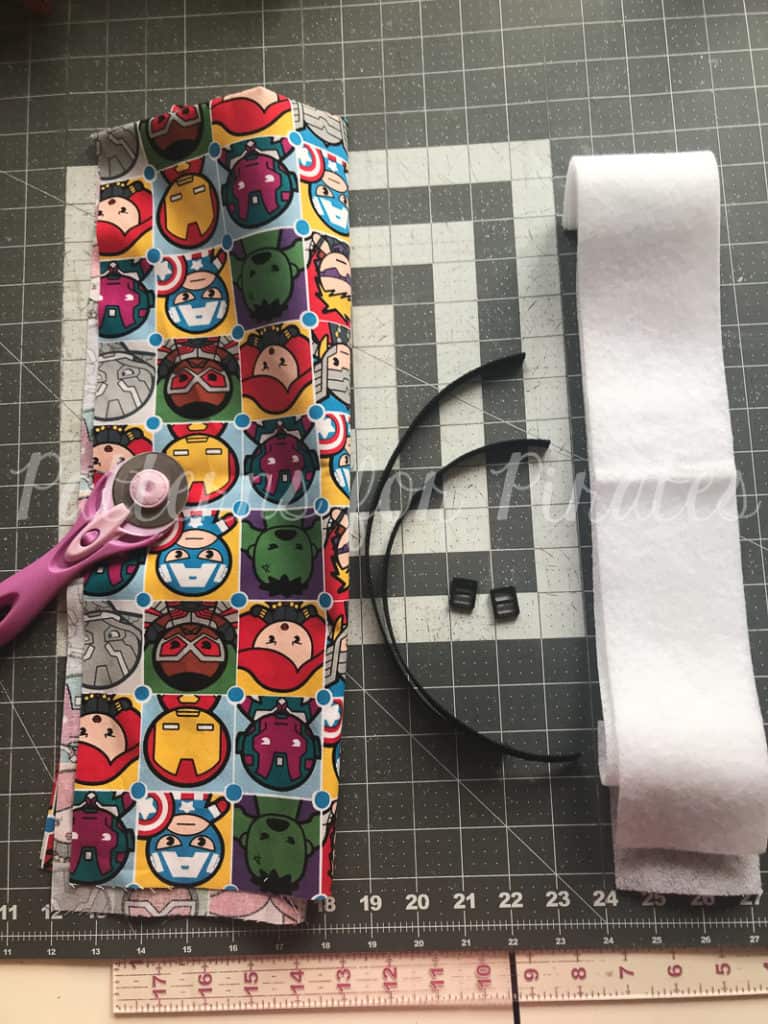
Prep your pieces, you will need:

  • Pattern Piece for Vinyl Ends
  • 36″ L x 12″ W Quilting Cotton
  • 2 – 12″ cuts of nylon webbing (1/2″ or 3/8″ both work) — I used THIS
  • 2 – 1/2″ or 3/8″ sliding adjusters — I used THESE black versions as well as THESE fun colored ones!
  • 36 L x 3″ W Fusible Fleece Interfacing
  • Small scraps of Vinyl/Pleather

**If you can’t find the nylon webbing / sliding adjusters in your local fabric store, a quick trick is to buy a small dog collar from the dollar store.  They tend to have the right width strap, and usually include the adjuster on it as well.

Important: The ends of nylon wedding need to be heat sealed to prevent fraying.  Make sure to do this before sewing it to your strap pieces!

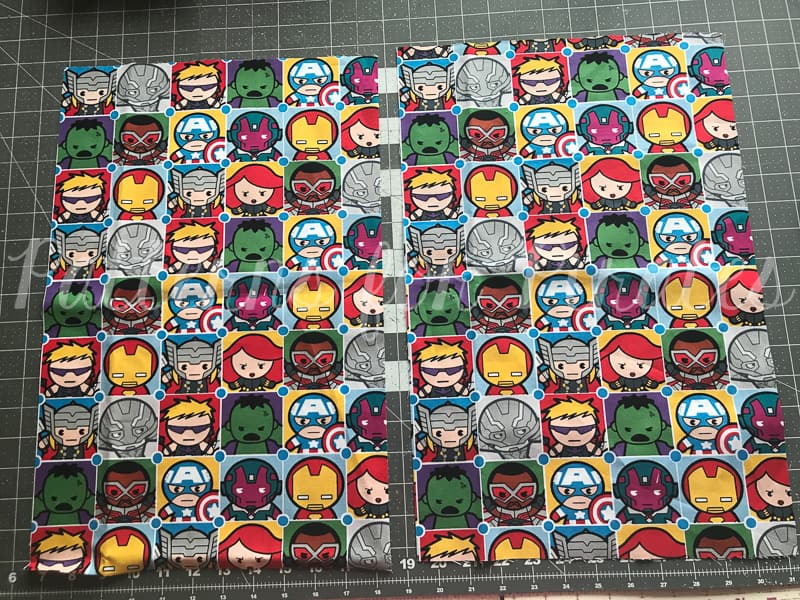
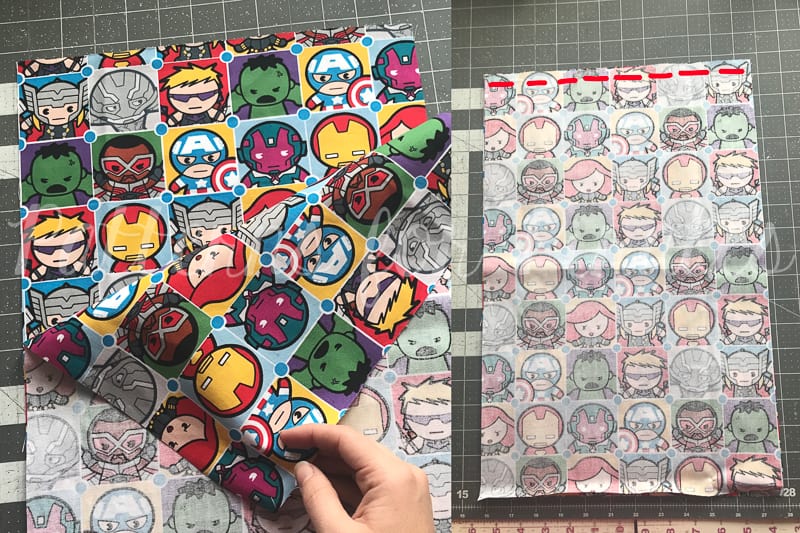
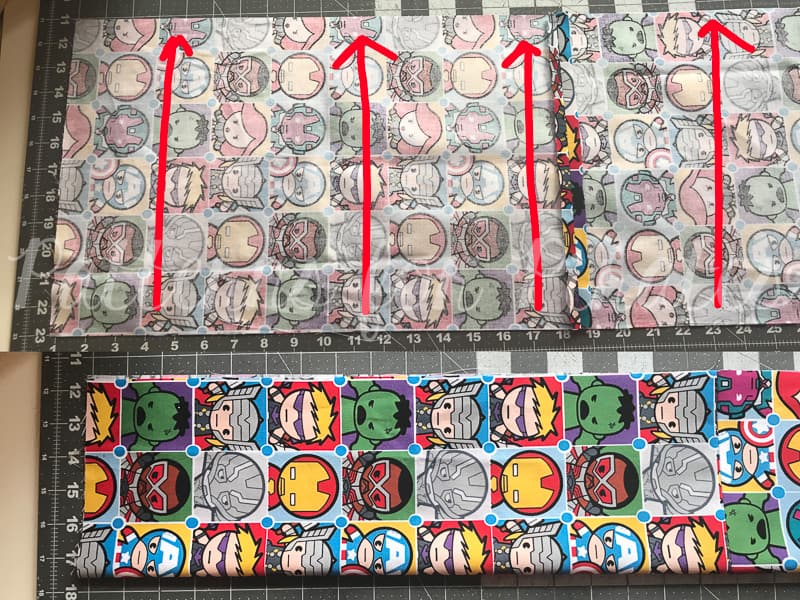
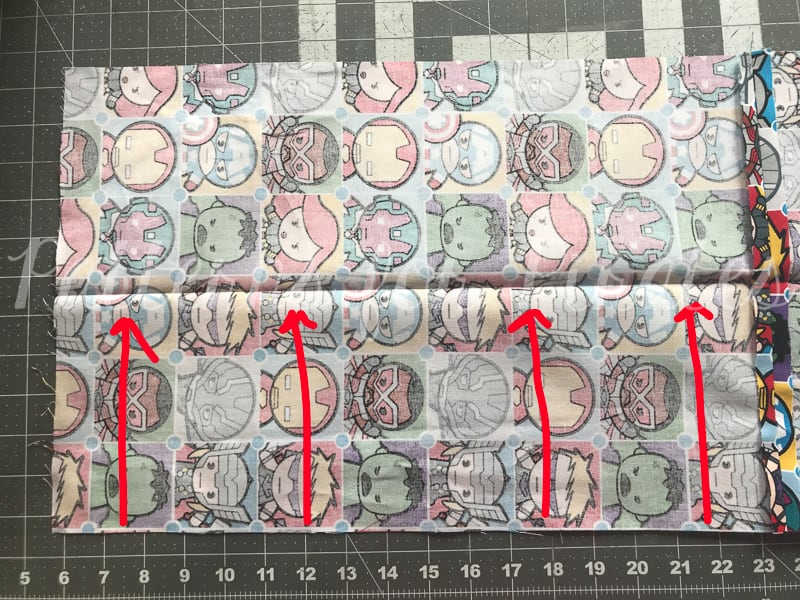
**If your fabric is directional, you will want to cut two pieces for your strap and then stitch them together. Cut two 18.5″ x 12″ pieces from your quilting cotton.

For directional fabric, place your pieces right sides together, and sew along the short edge, using 1/2″ seam allowance.

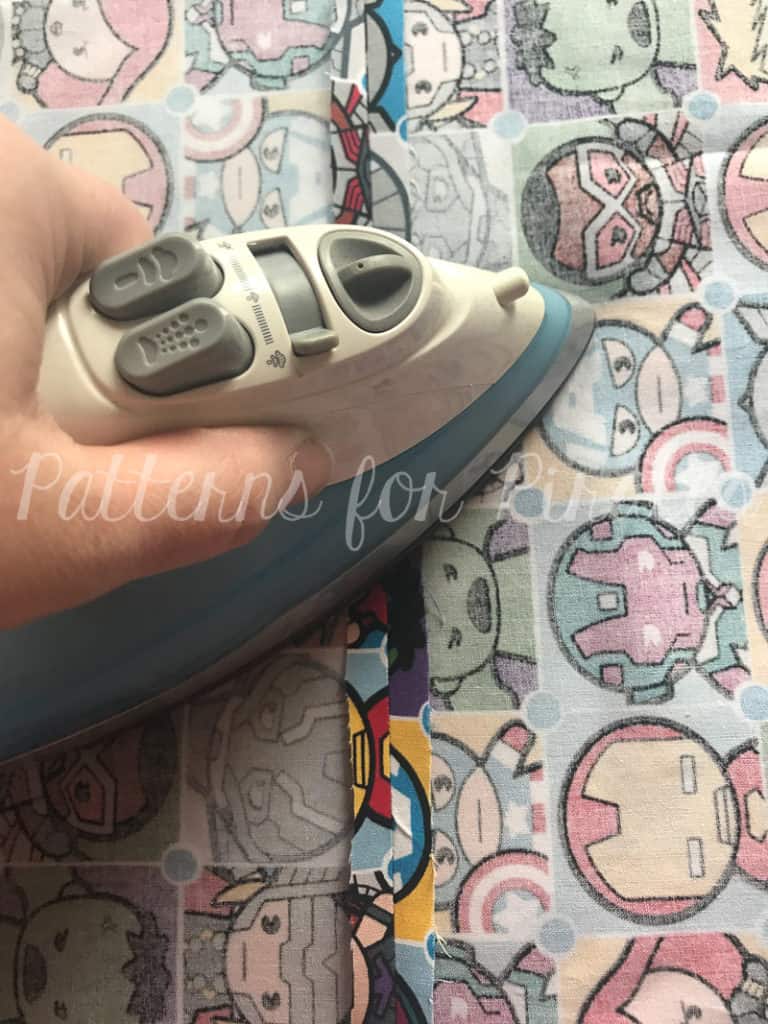
Press open your seam.

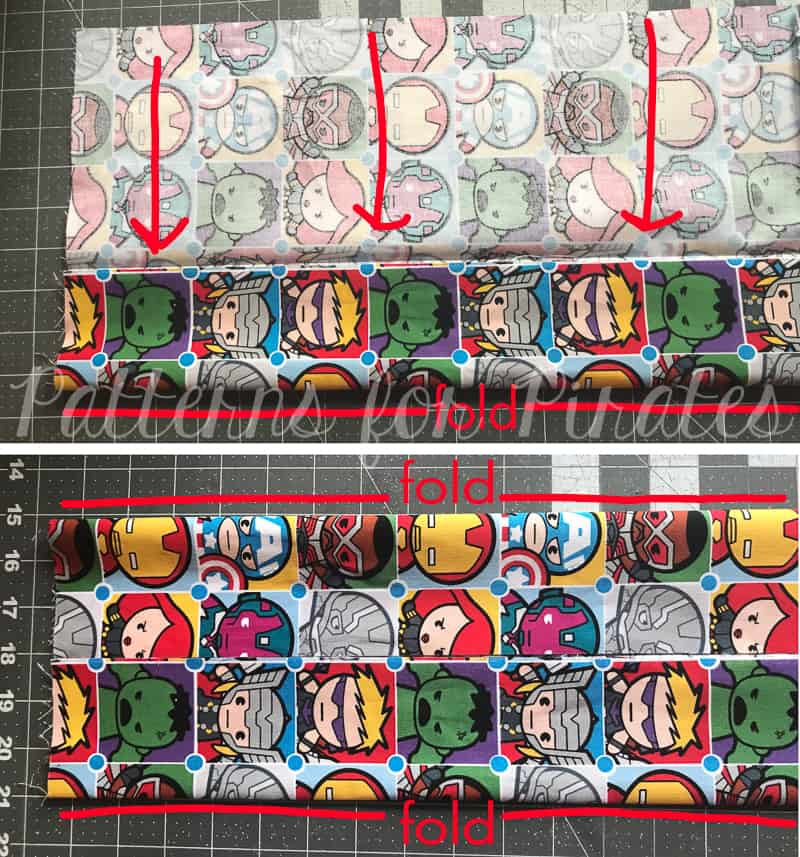
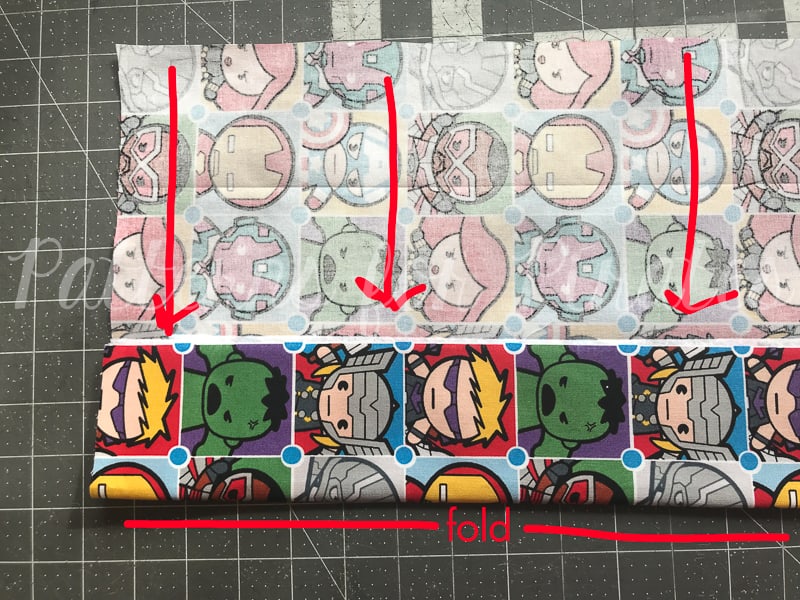
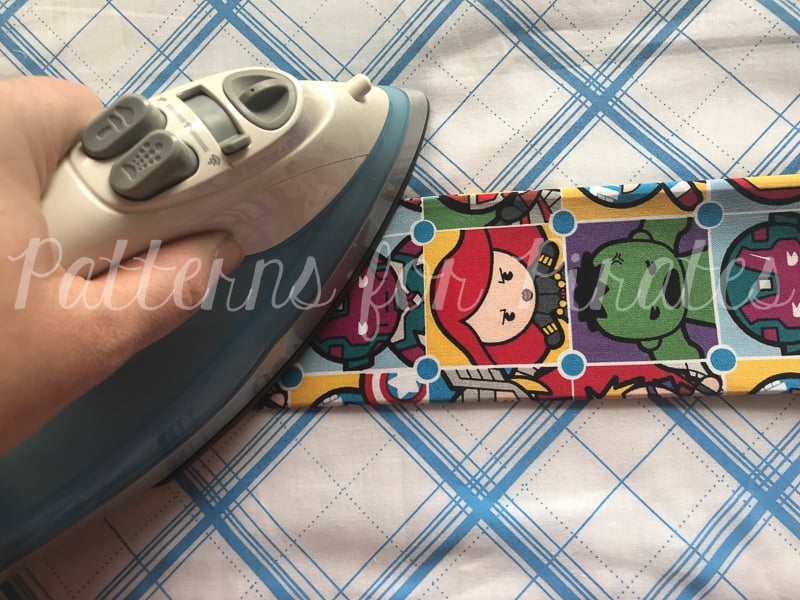
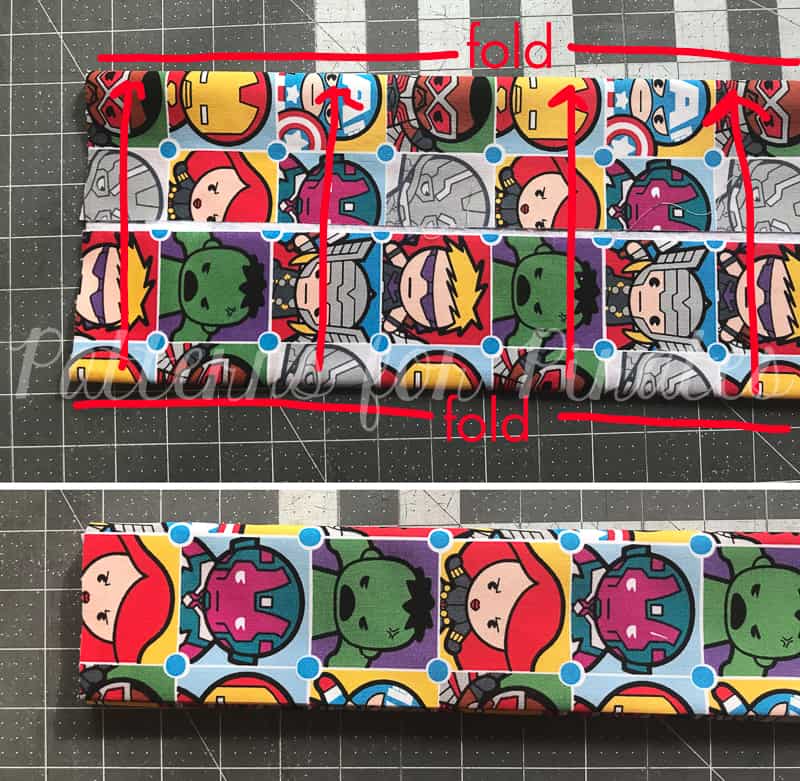
For all straps: Fold your main fabric wrong sides together, meeting the long edges to one another. Press.

Open up your piece and fold one of the raw edges toward the middle crease you just made.

Repeat with the second raw edge. Press.

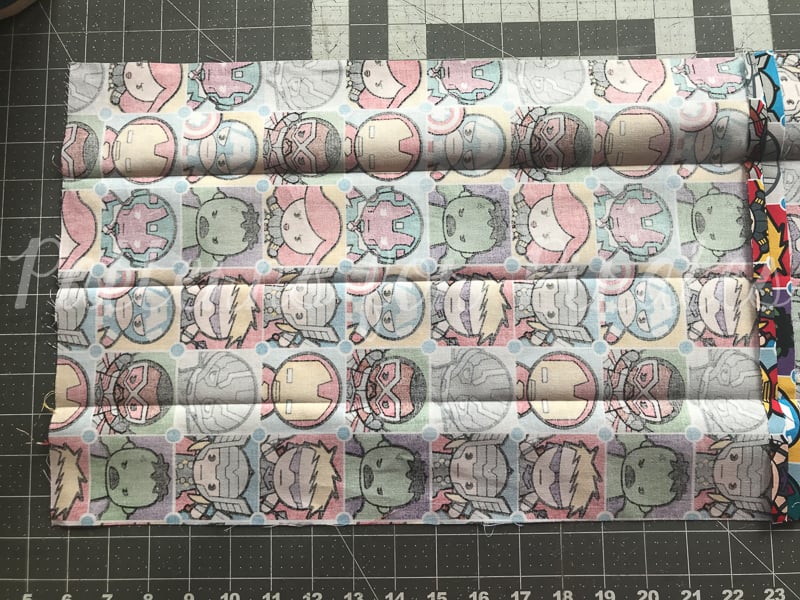
If you open your piece, you’ll now have 3 creases, spread evenly across four total sections.

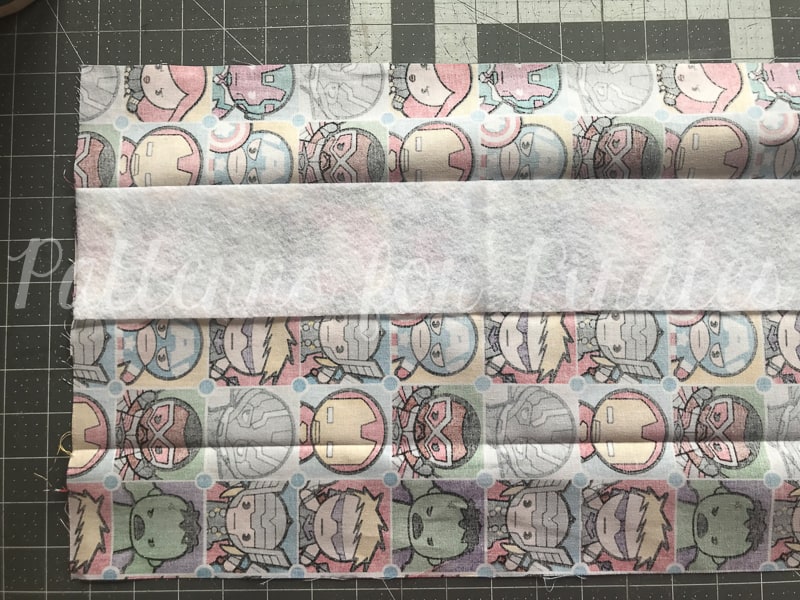
On one of the middle sections, following the directions provided by the manufacturer, iron your fusible fleece to your strap piece.

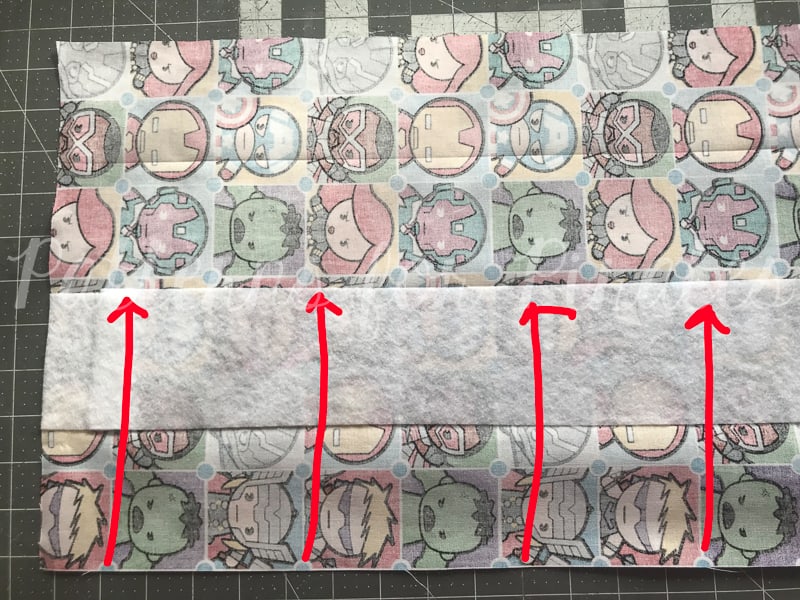
We will be refolding the strap in the same method as before. Take one of the raw edges and fold it toward the middle crease.

Repeat with other raw edge.

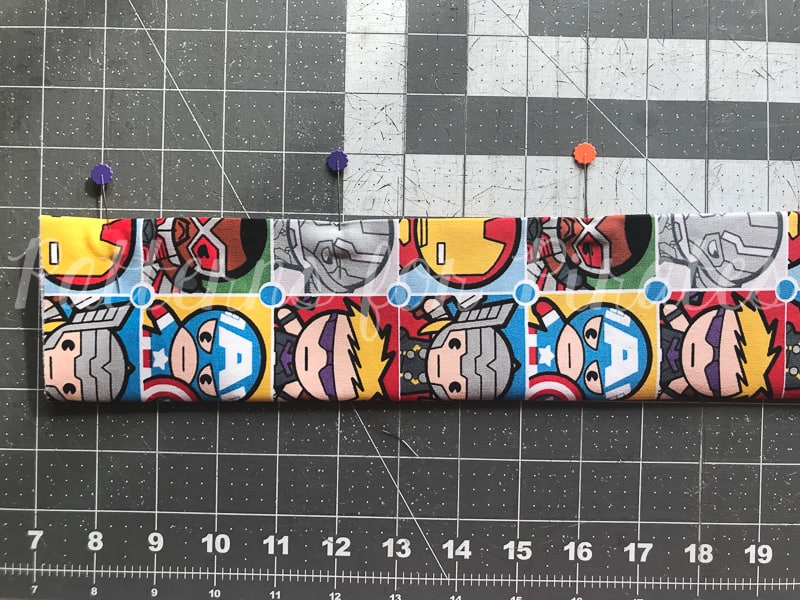
Fold along middle crease, meeting both folded edges. All of your raw edges will be fully enclosed now.

Press, press, press.

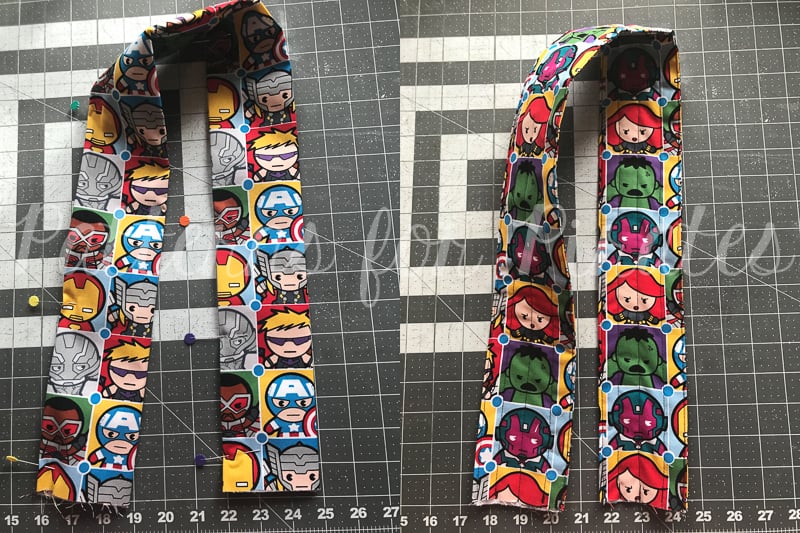
I like to clip/pin my outer edges together, to make sure they’ll align properly when I go to stitch them. Straight stitch along the entire edge you just pinned, getting as close to the edge as you can.

This part is up to you, and how fancy you want to get with your quilting. I like to run an edge stitch along the other long edge. And then three even lines across the rest of the strap. You can stitch as much or as little as you’d like!

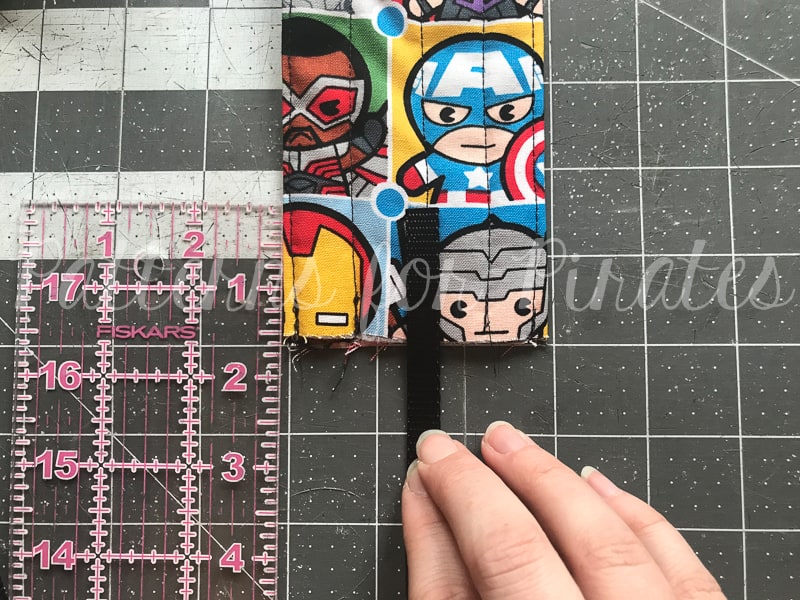
Take your nylon strap and overlap it 1.5″ from the edge of your strap, aligning it directly in the center of the strap.

Pin and repeat for the opposite end.

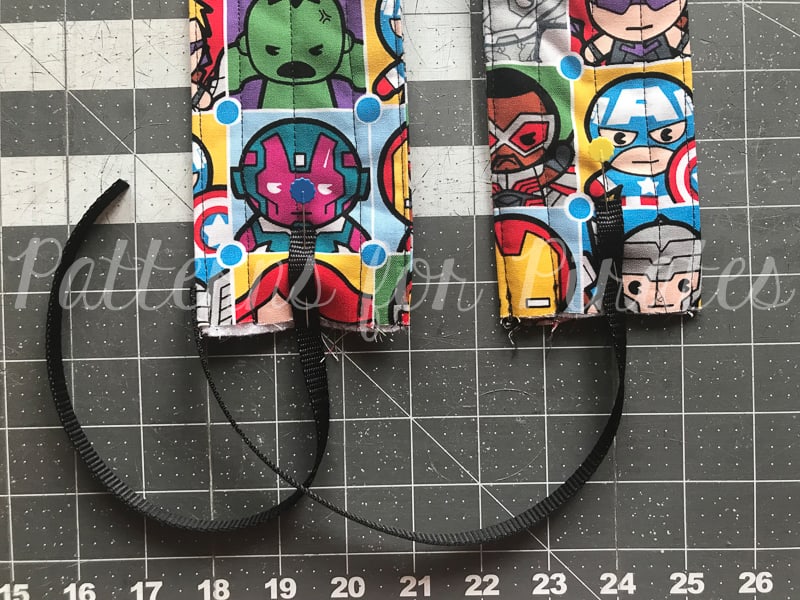
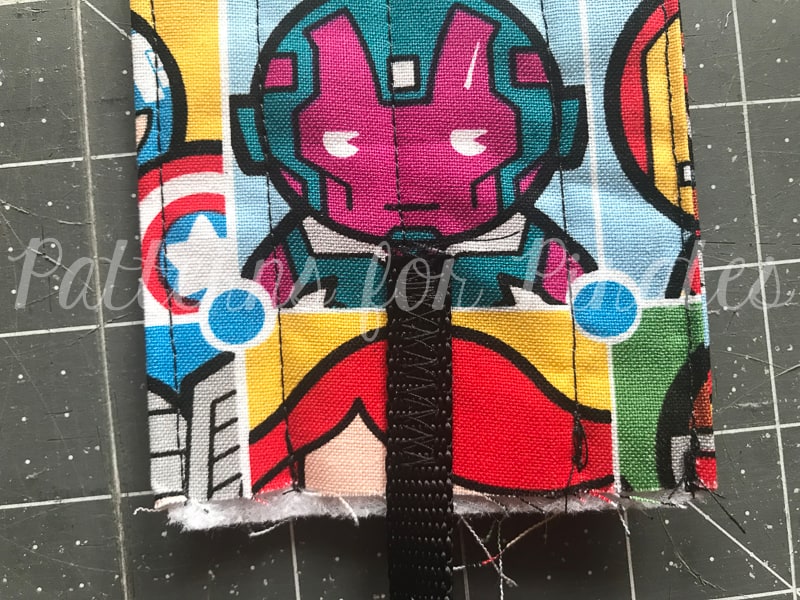
Using a wide zig zag stitch, secure your nylon strap to the end.

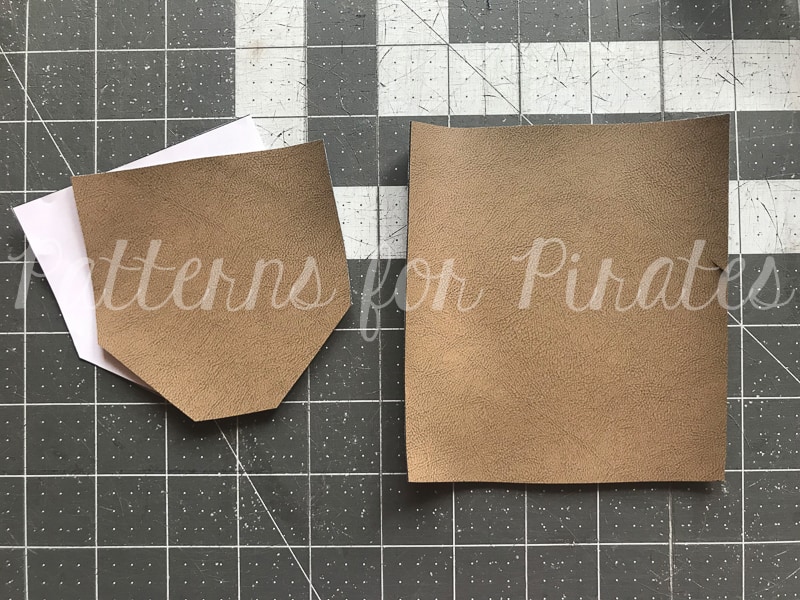
For the vinyl pieces, I recommend to only cut one actual piece — and to have an oversized rectangle for the other. It’s easier than trying to get them to line up perfectly. Especially since vinyl can be fussy to topstitch.

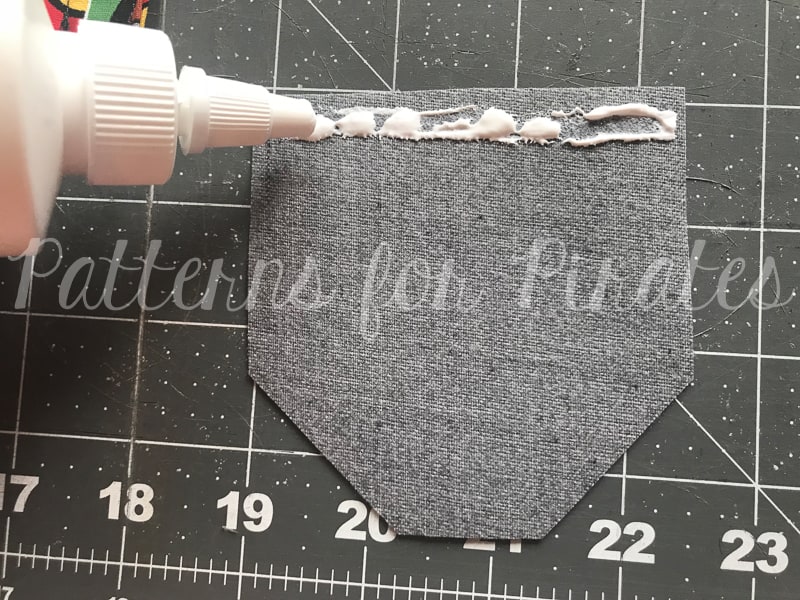
I like to run a line of fabric glue at the top of the vinyl backside. It helps keep it in place when sewing.

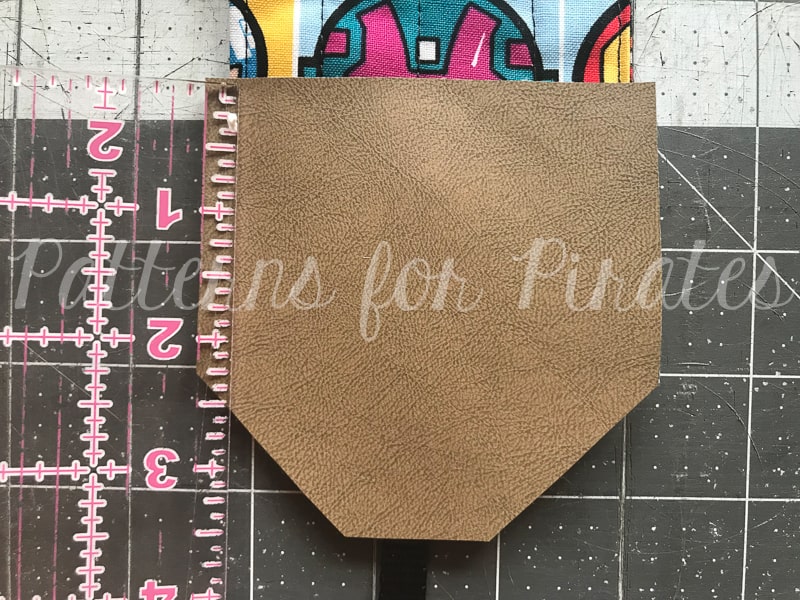
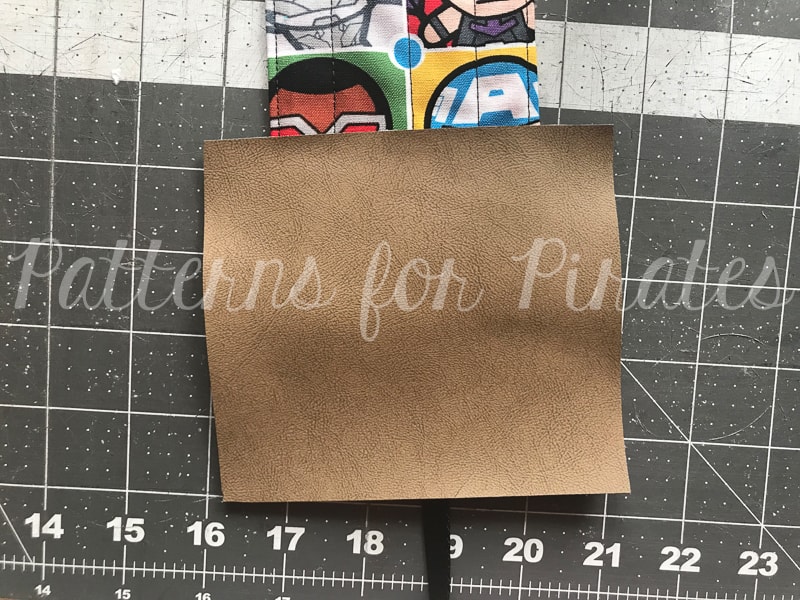
Two inches up from the bottom of your strap piece, lay out one of the vinyl pieces. The vinyl should be slightly wider than your strap.

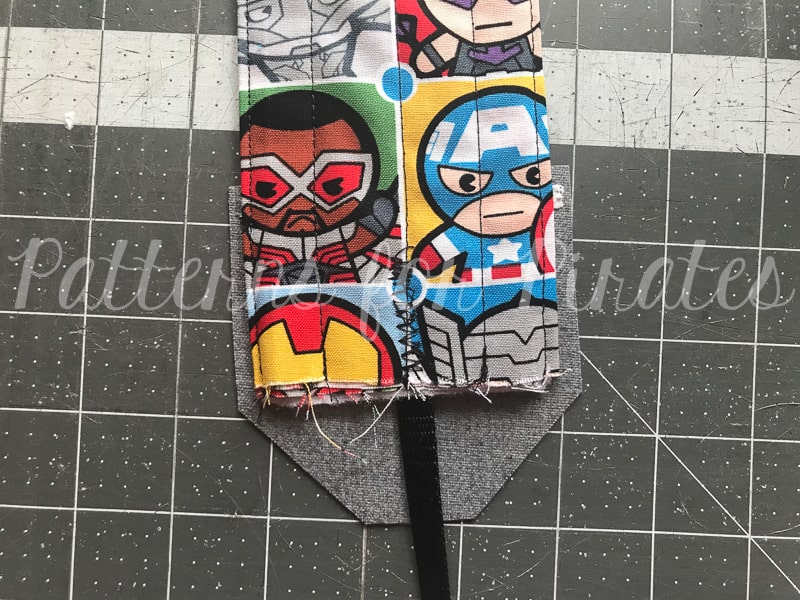
Flip over your strap.

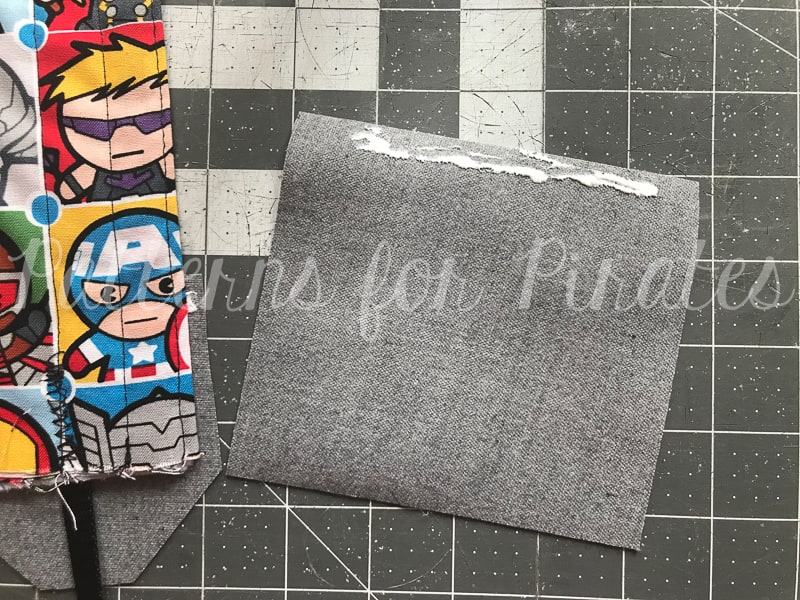
Throw another line of glue on the edge of your vinyl square.

Place it 2″ up from the bottom of your strap.

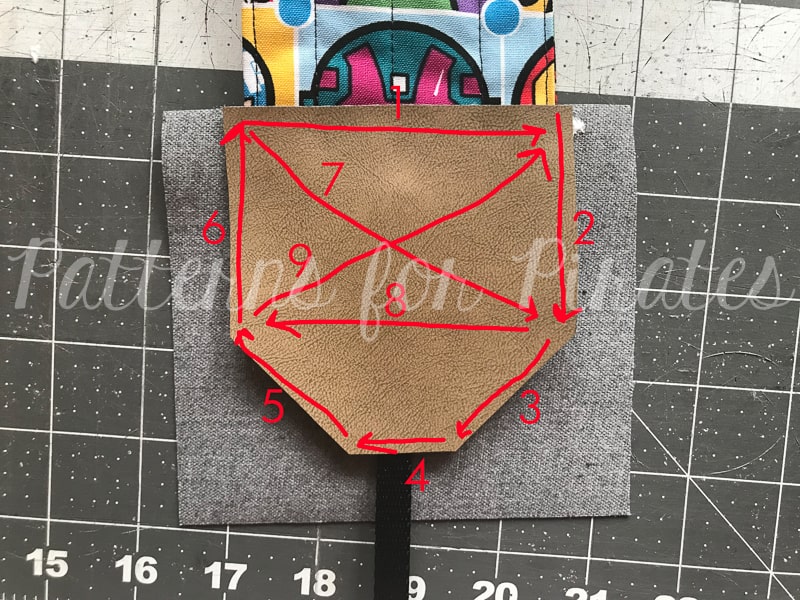
Flip your piece back over and stitch your vinyl on. This is the path I take and it allows for a continuous stitch. You can take whatever path you want. 😉

I HIGHLY recommend using a teflon foot for this. Vinyl can be a huge brat. I know they carry them at JoAnn Fabrics, or you can snag one on Amazon.

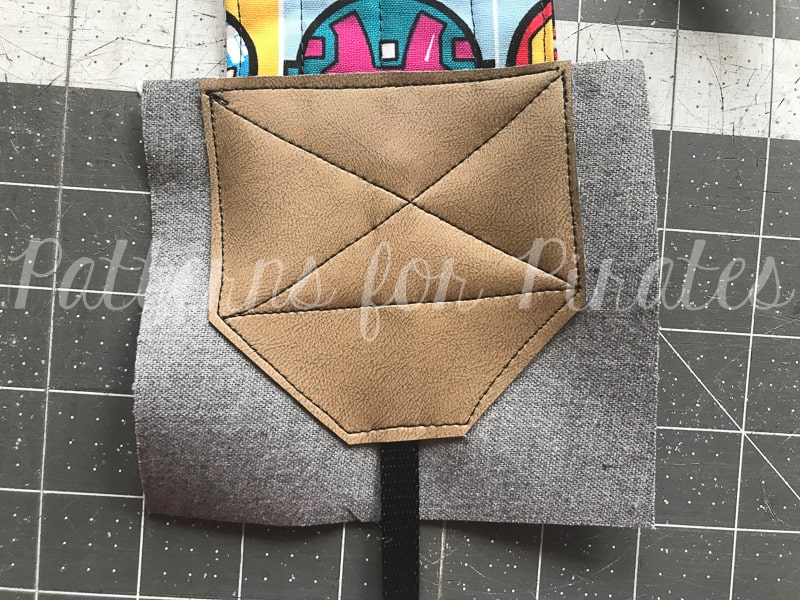
Finished stitches.

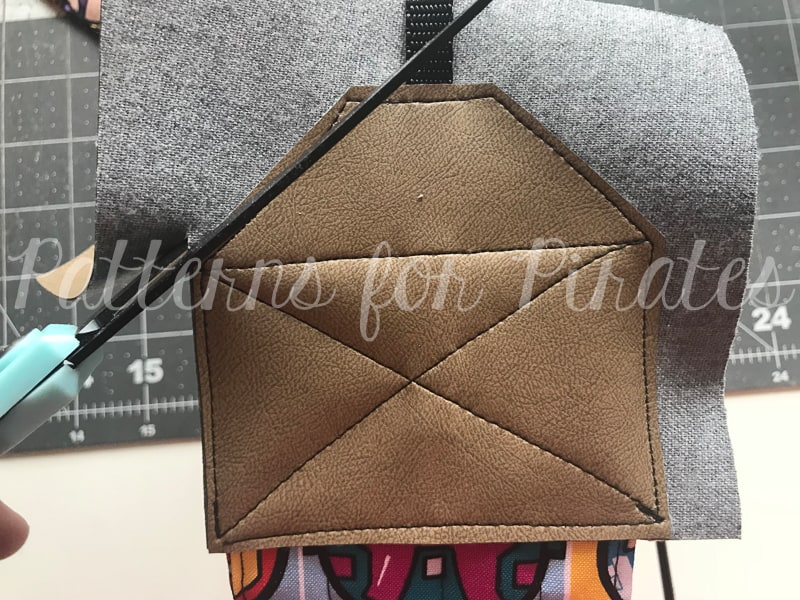
Trim the vinyl to match your other pieces.

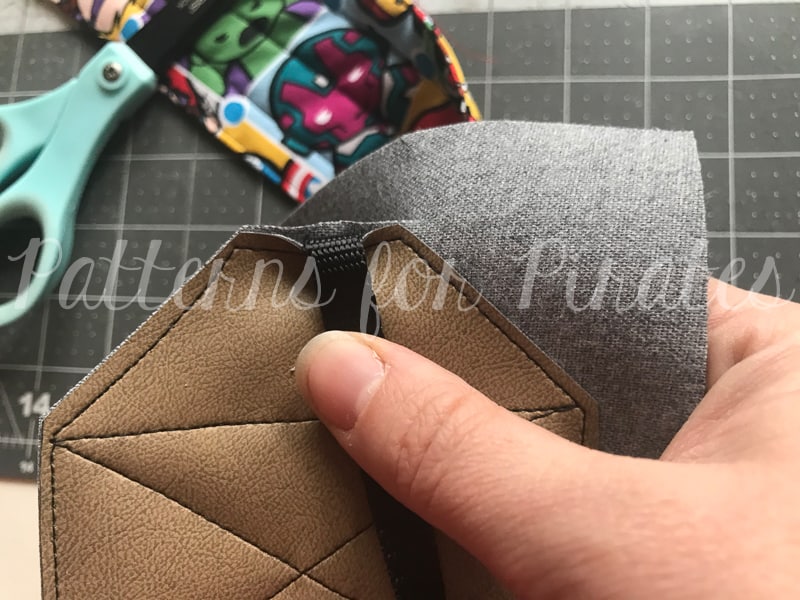
Be careful not to cut off your nylon strap. Just tuck it out of the way when you’re trimming.

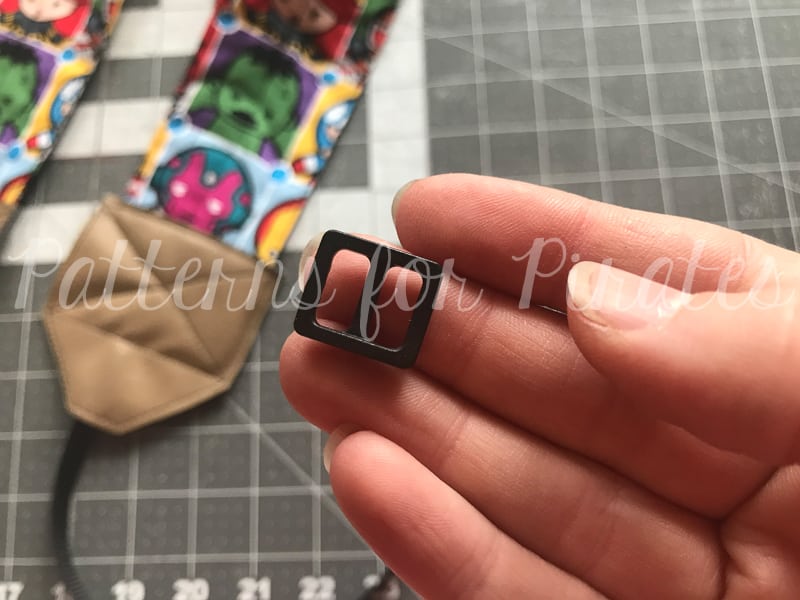
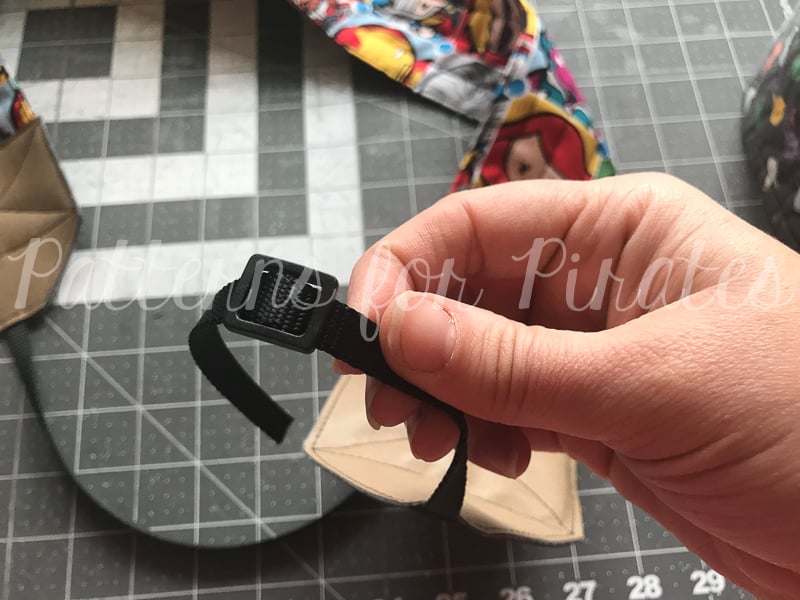
Take your slider.

Slide it onto your strap.

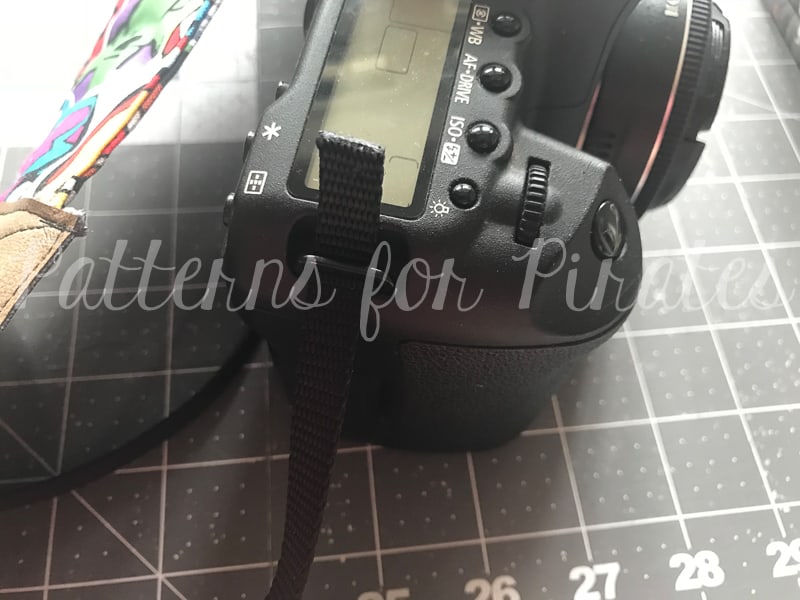
Put the cord in from the bottom-up on your camera.

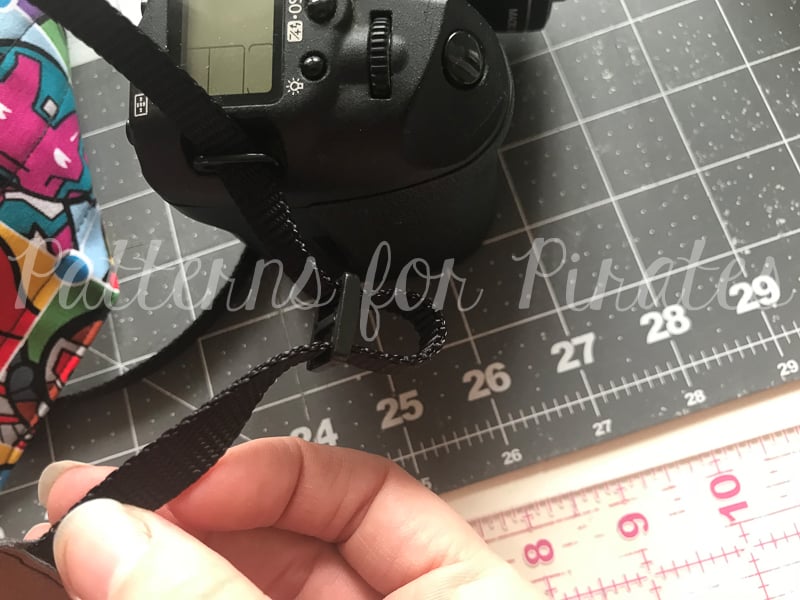
Give yourself a little slack.

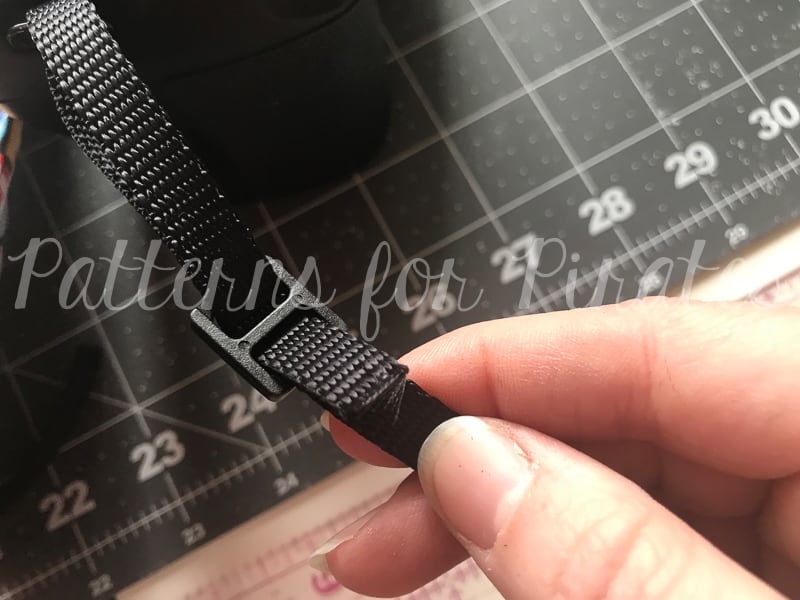
Run the cord back through the bottom and secure the strap to your camera. Easy peasy!


I am SO EXCITED to see your new, stylin’ camera straps!  I’ve been using my me-made strap for years now (so has my hubby) and we get compliments on it all the time.  I’m betting you will too!  Please, if you do make one for yourself, share it with us in the Patterns for Pirates Facebook Group!

**Also, as a quick note, there are some affiliate links scattered within this post.  I make a small commission for purchases made through those links, but I only link products that I’ve used and actually recommend myself.

Filed Under: Free Pattern 2 Comments

2017 Holiday Freebies :: Size Tags

December 6, 2017

We are back for more fun with day three of our 2017 Holiday Freebies!  (In case you missed the last two…check out our Slouchy Headwarmer + Emoji Pillows and then come right back!)

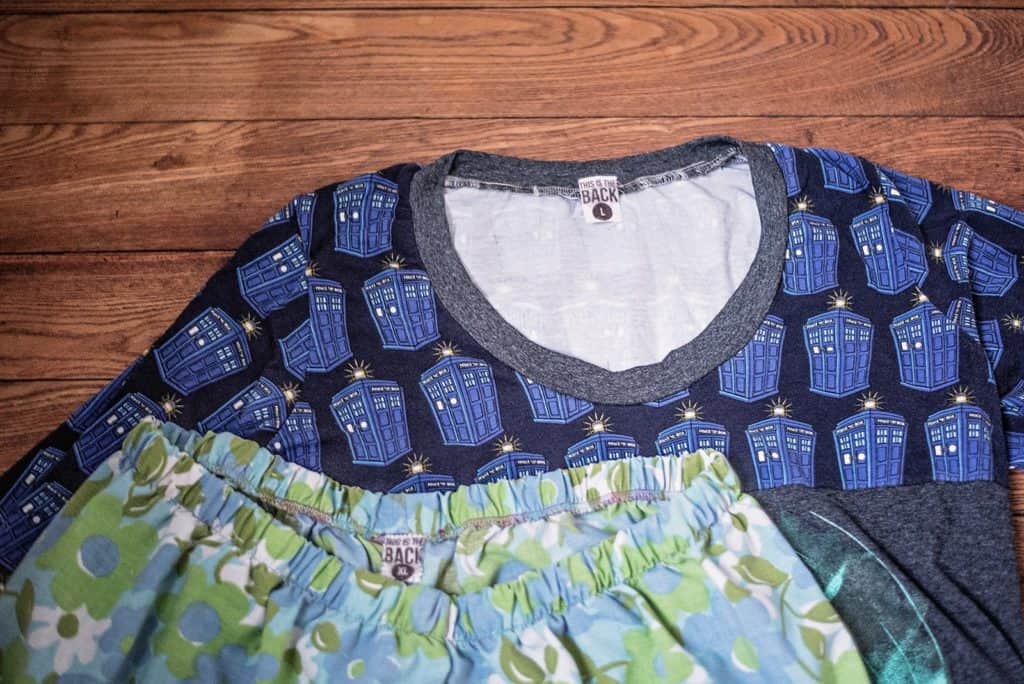
One of the only complaints I get in my household about the handmade clothes I make for my husband and son are that there aren’t tags.  Apparently it’s not as easy for everyone as it is for us to find the back of your shirt!  We are helping to change that with these cute clothing size tags, so now the only complaint should be that they don’t have enough of your handiwork hanging in their closets!

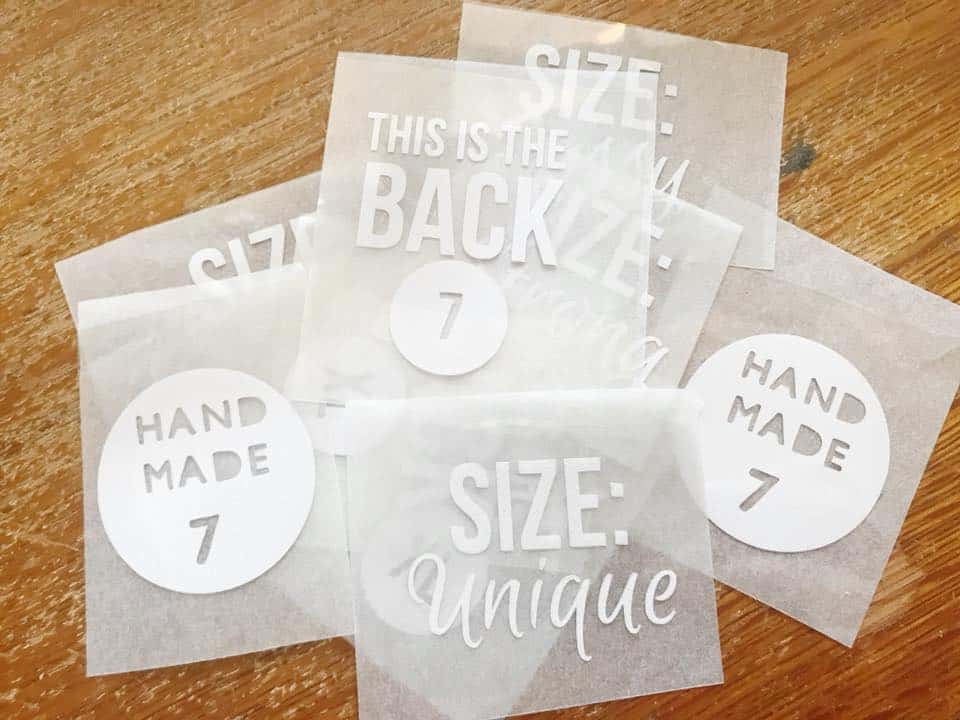
I made the “THIS IS THE BACK” tags for my own family’s use a while back and thought I might share it with my P4P friends!  And then we couldn’t leave you with just one (kinda snarky) design, so I whipped up two more styles to go along with it.  I think a favorite with our holiday help were the “Size: Unique” set.  Now you can label your clothing properly with things like: beautiful, sassy, strong, healthy, etc.  Kinda fun, right?

You can go pick up your copy of these designs right HERE.

Don’t own a die cutting machine like a Silhouette or Cricut?  No sweat!  We have included an extra file type (PNG) that will allow you to work with the designs however you’d like.  We even had someone print on fabric using their at-home printer and sewed the labels in that way.  Pretty clever, huh?

Here are some other ideas:

— Go old school and use an iron on transfer paper and your at-home printer.
— Use Heat Transfer Vinyl and your die cutter.
— Try your hand at Freezer Paper Stenciling.  (Dana from Made Everyday has a great tutorial HERE.)

And just as a handy little tip from someone who has been using tags like these for a while now, I like to cut a bunch of tags on my Silhouette, weed them, lay them on a piece of parchment paper and then cut them out. That way, they’re ready to go when I need them. No fuss!

As always, we love to see what you make from our goodies!  Please feel free to share with us over in the Patterns for Pirates Facebook Group!  And make sure to come back tomorrow to see what else we’ve cooked up this week for you!  Happy Holidays, Friends!

Filed Under: Free Pattern 14 Comments

2017 Holiday Freebies :: Emoji Pillows

December 5, 2017

We are back for Day 2 of our 2017 Holiday Freebies!  (In case you missed yesterday’s, head here to learn how to make this awesome Slouchy Headwarmer!)

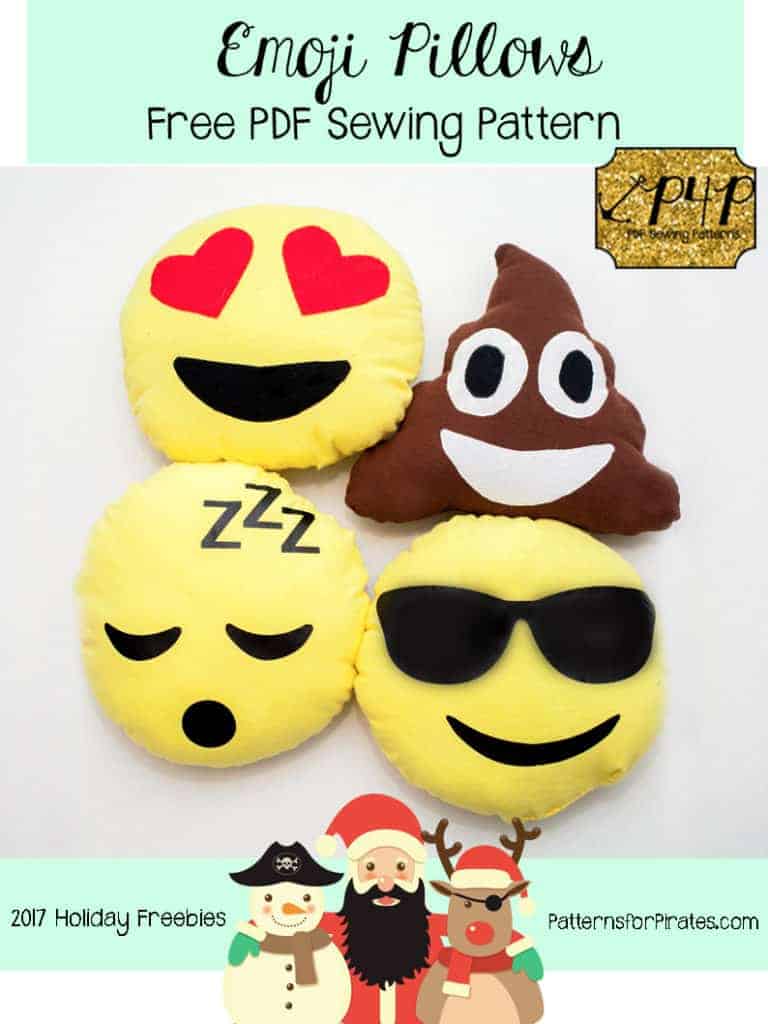
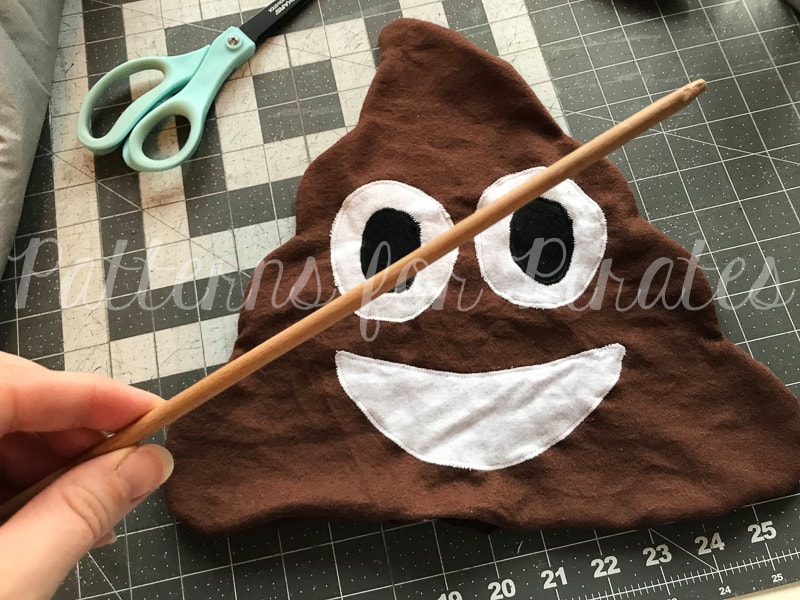
I don’t think you’ve braced yourselves enough for today’s freebie, though.  If you’ve got a kiddo (or a kid at heart!) on your holiday gift list, we just might have the perfect solution for you: EMOJI PILLOWS!

These pillows come out to be 12″ tall.
You will need:
— Emoji Pillow pattern pieces (found HERE)
— small amounts of yellow, red, black, and/or brown fabrics.
— fiberfill (aff link)

Recommended fabrics: flannel, fleece, sweatshirt fleece, kona cotton, quilting cotton, etc.

**Optional, but highly recommended for woven fabrics that can fray (affiliate links):
— If you plan on finishing your face pieces with stitching: Wonder Under Sewable or Heat n Bond Iron-On Sewable Adhesive, etc. are great because they are machine safe and won’t gunk up your needles.
— If you don’t plan on stitching the face pieces to the pillows: Heat ‘N Bond Ultra Hold Iron-On Adhesive, etc. are better since they tend to have a stronger hold.  You just don’t want to stitch through those!

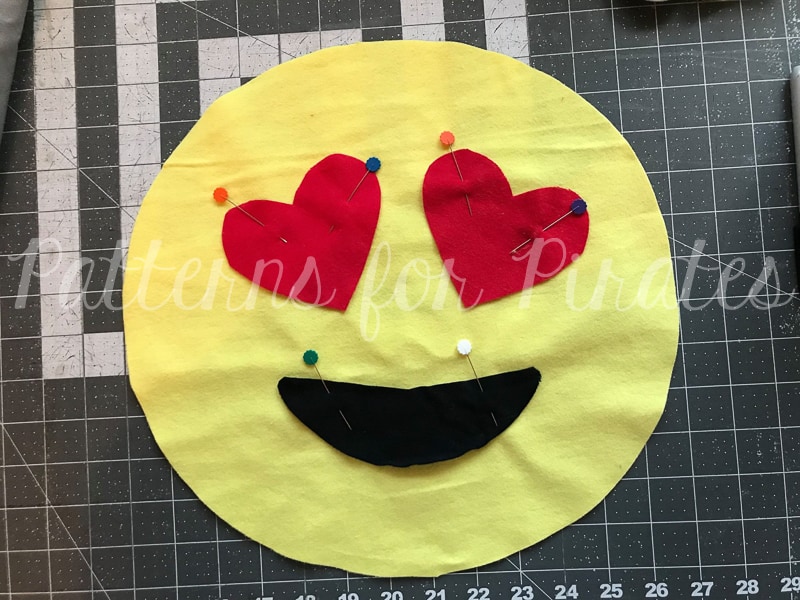
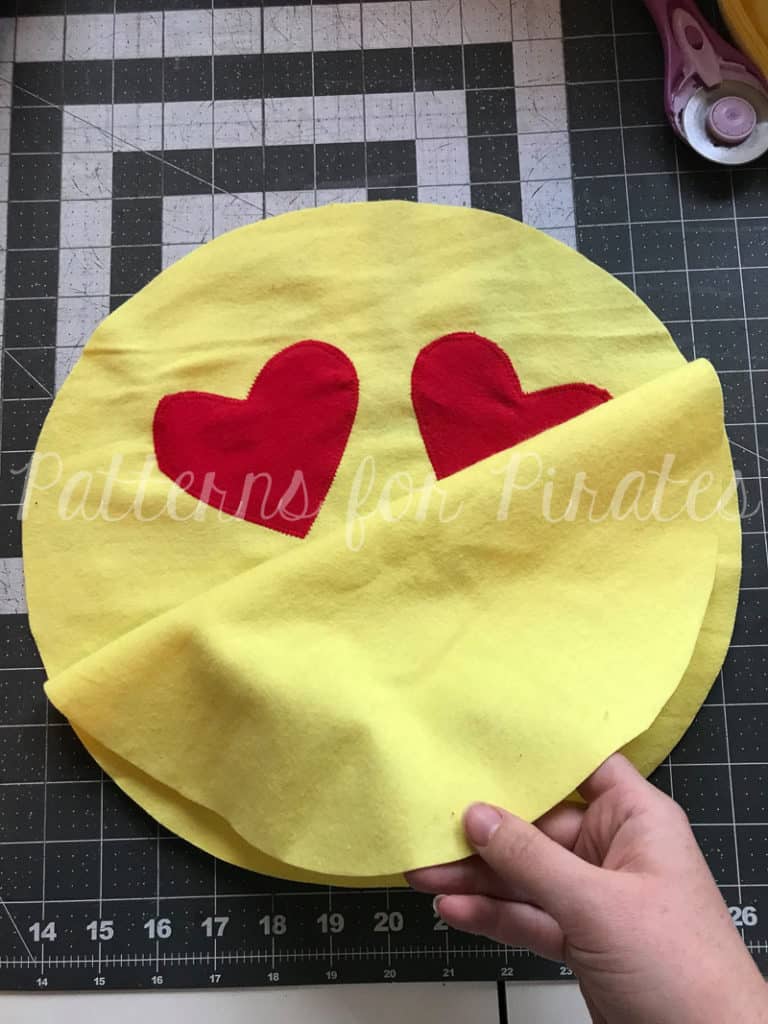
Heart Eye Emoji Pillow:

  • Cut 2 Heart Eyes
  • Cut 1 Mouth
  • Cut 2 Main Pillow Pieces

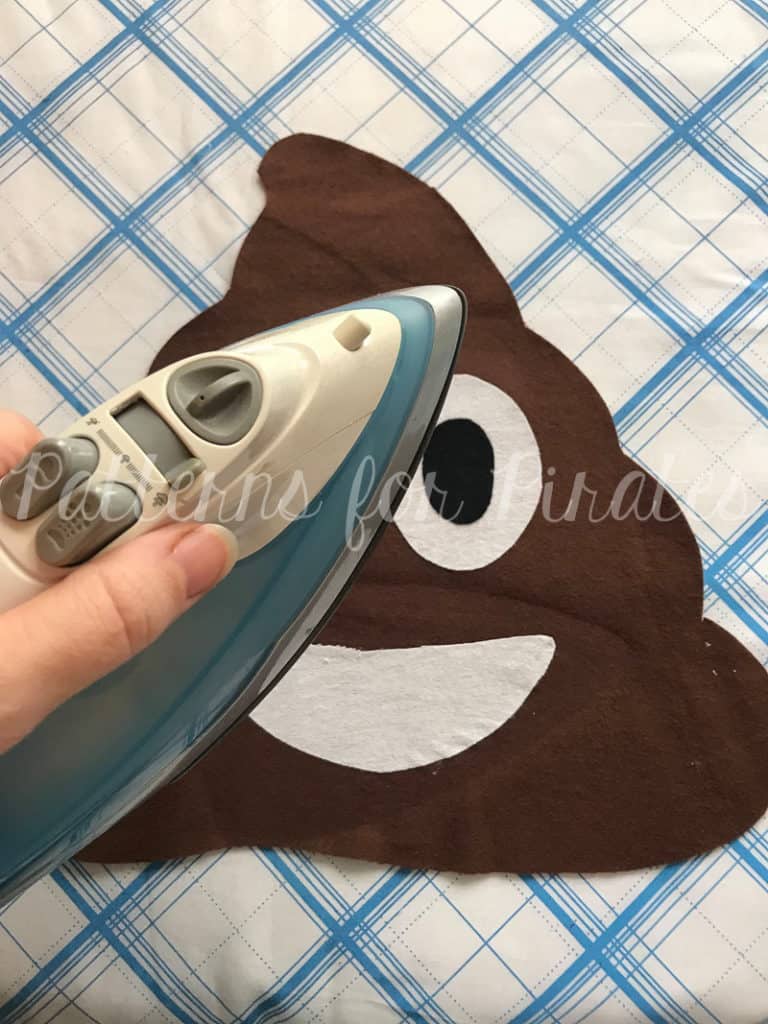
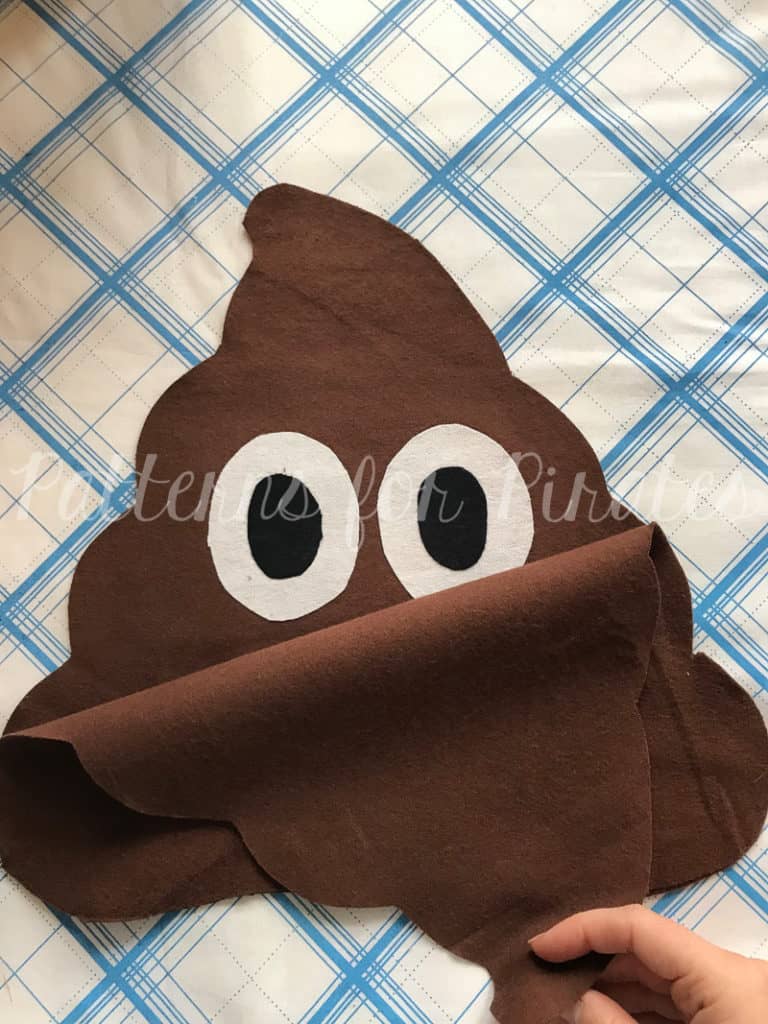
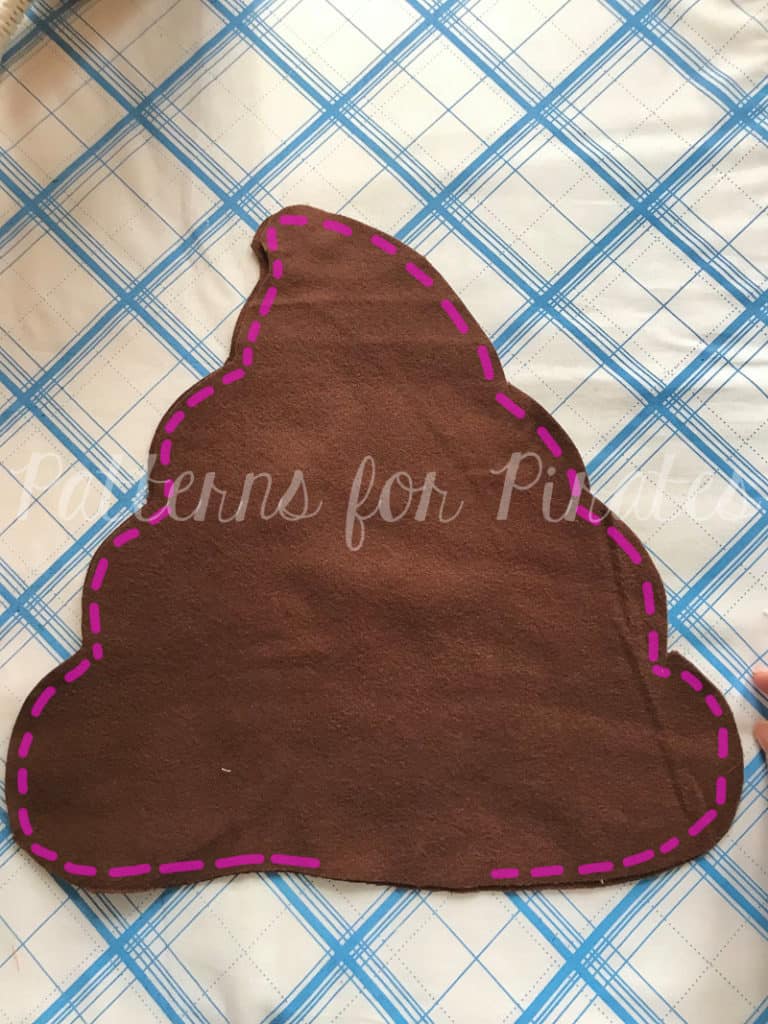
Poop Emoji Pillow:

  • Cut 2 Outer Eyes
  • Cut 2 Inner Eyes
  • Cut 1 Mouth
  • Cut 2 Main Pillow Pieces

Sleepy Emoji Pillow:

  • Cut 2 Sleepy Eyes
  • Cut 1 Mouth
  • Cut 3 Z’s
  • Cut 2 Main Pillow Pieces

Sunglasses Emoji Pillow

  • Cut 1 Sunglasses
  • Cut 1 Mouth
  • Cut 2 Main Pillow Pieces

ALL MAIN PILLOW PIECES HAVE 1/4″ SEAM ALLOWANCE.
**THERE ARE NO SEAM ALLOWANCES ON THE FACE PIECES, AS THOSE ARE ALL APPLIQUED OR IRONED ON.

Iron pieces to interfacing according to instructions.  If using an iron-on method only, apply your face pieces directly to one main pillow piece.

If using the applique method, pin your face pieces into place and zig zag stitch around pieces, securing them to the pillow piece.

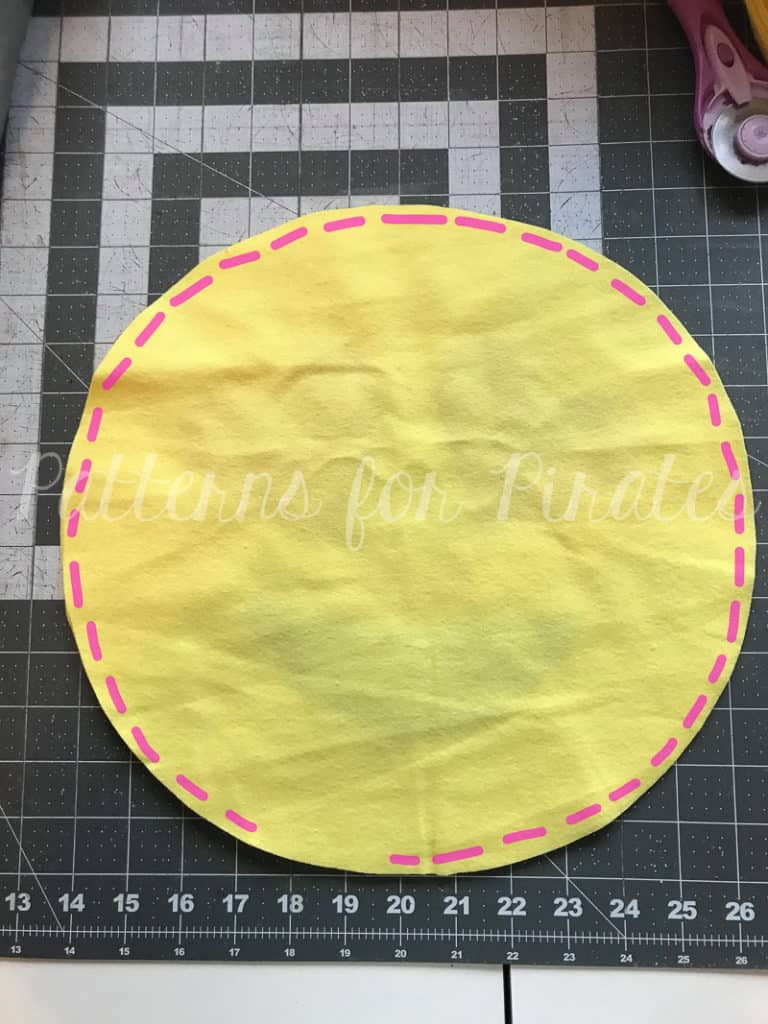
Lay your main pillow body right sides together.

Sew around entire outside, using 1/4″ seam allowance. Leave 3″ opening at the bottom for turning.

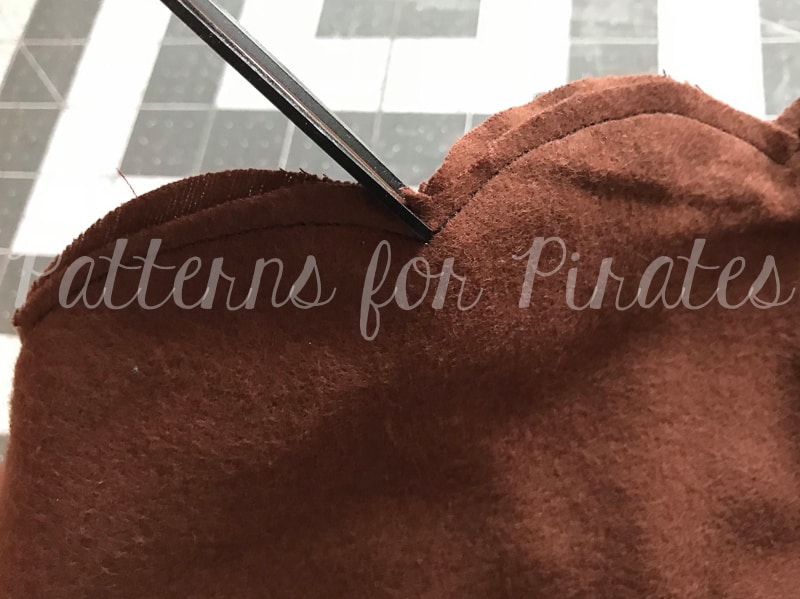
Without clipping through seam, trim and clip corners for easy turning.

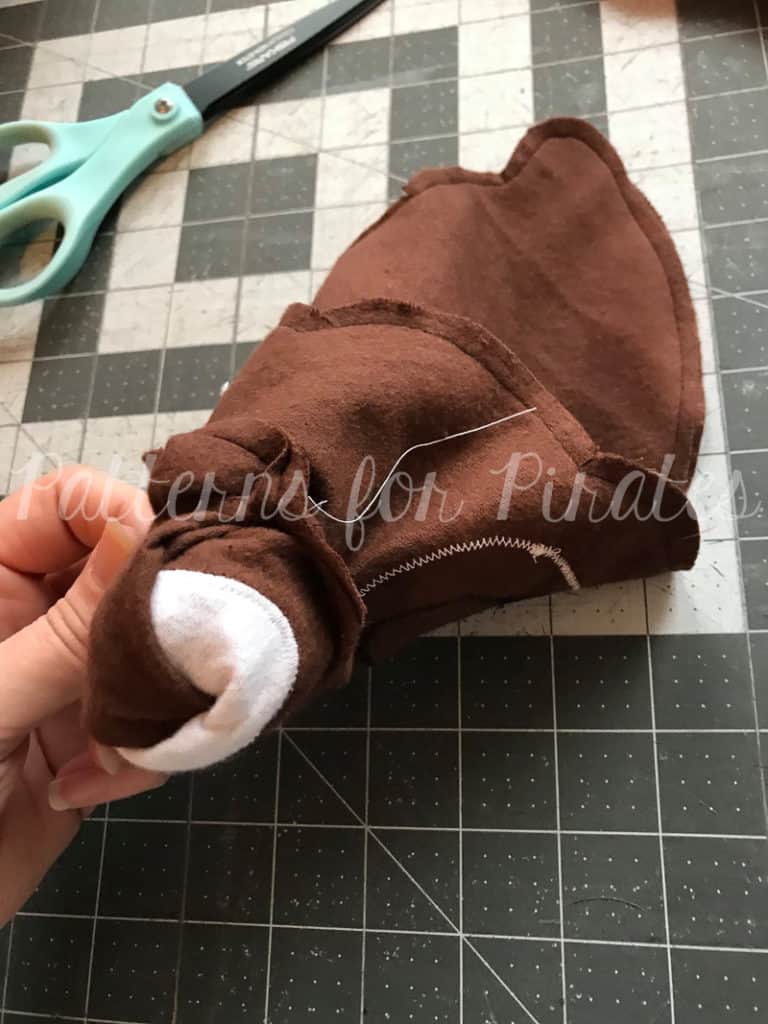
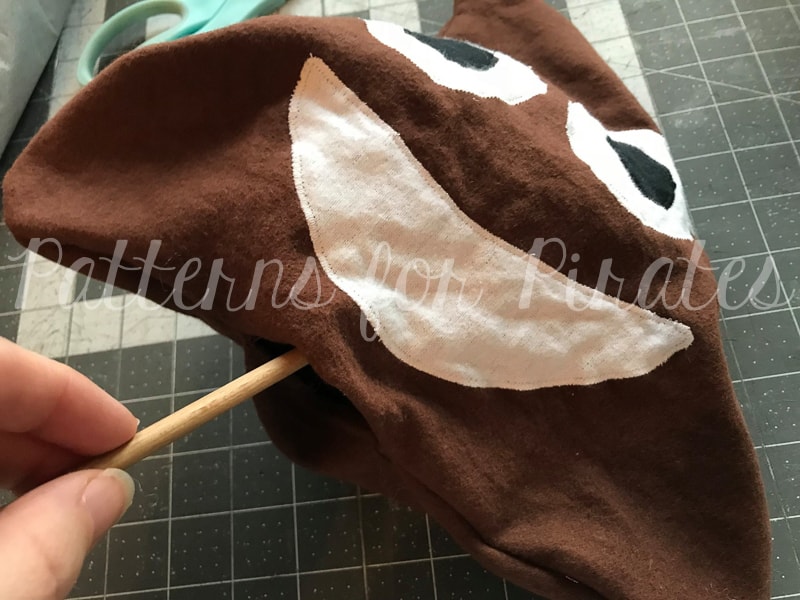
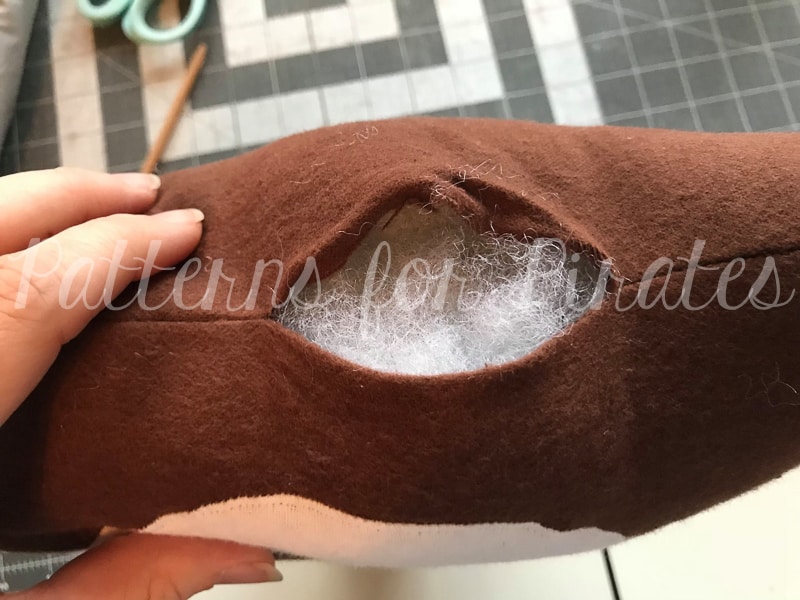
Turn pillow right-side-out, through opening you’d left in the bottom edge.

I like to use a wooden dowel to push out edges and make sure everything is turned properly.

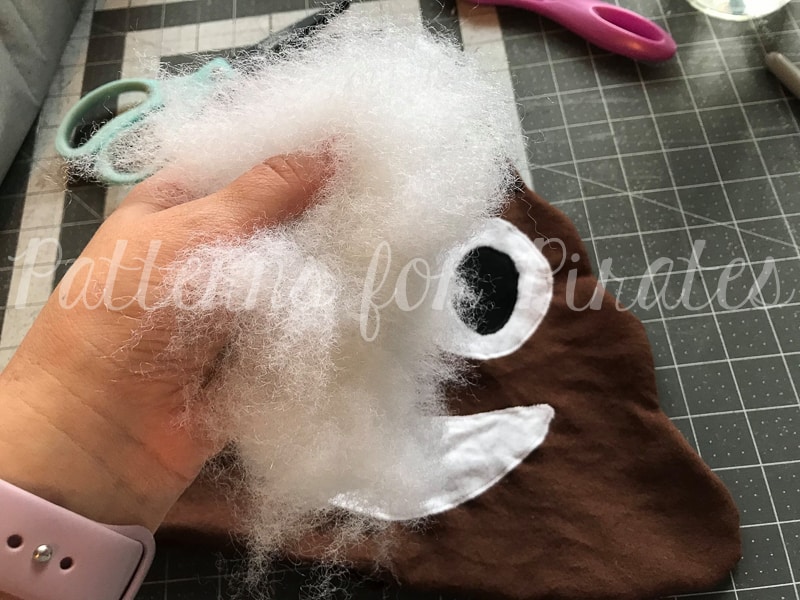
Grab your fiber fill.

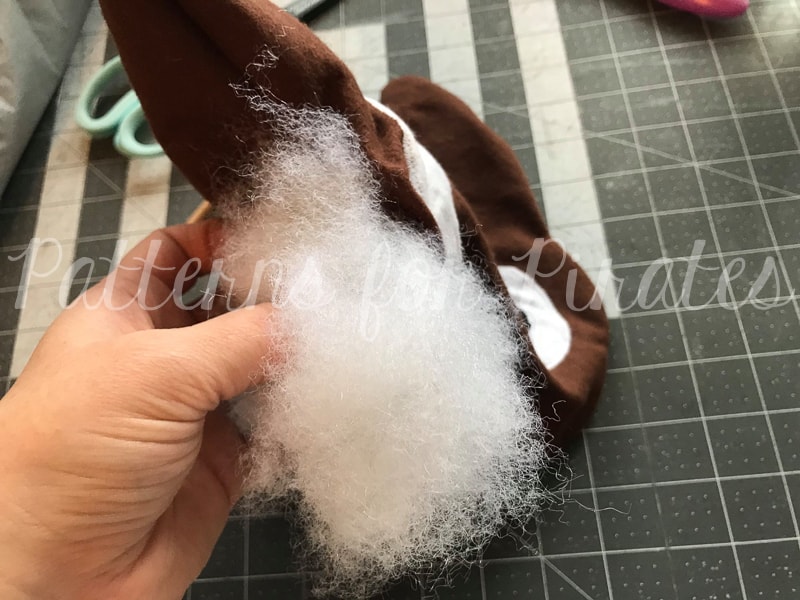
Start filling your pillow, through the opening at the bottom.  I also like to use the wooden dowel to help move the fiber fill around.

Fill the entire pillow, but don’t overstuff.

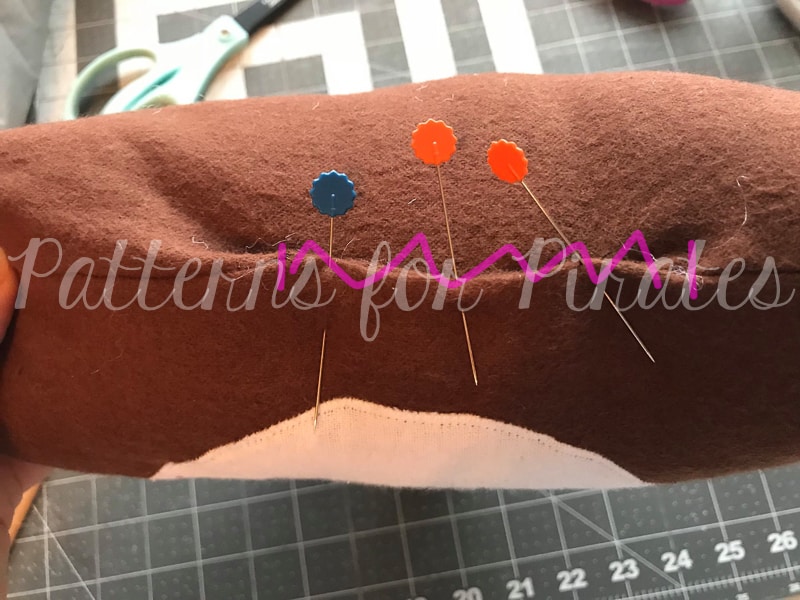
Pin and hand stitch the opening shut, using your favorite method.

You’re all done!  I cannot wait to see your versions of the Emoji Pillows!  Don’t forget to share your finished projects in the Patterns for Pirates Facebook Group!  (I have this strange feeling that my feed is going to be FULL of poop emojis soon, haha!)  Happy Holidays, friends!

Filed Under: Free Pattern 3 Comments

2017 Holiday Freebies :: Slouchy Headwarmer

December 4, 2017

I. Am. So. Excited.

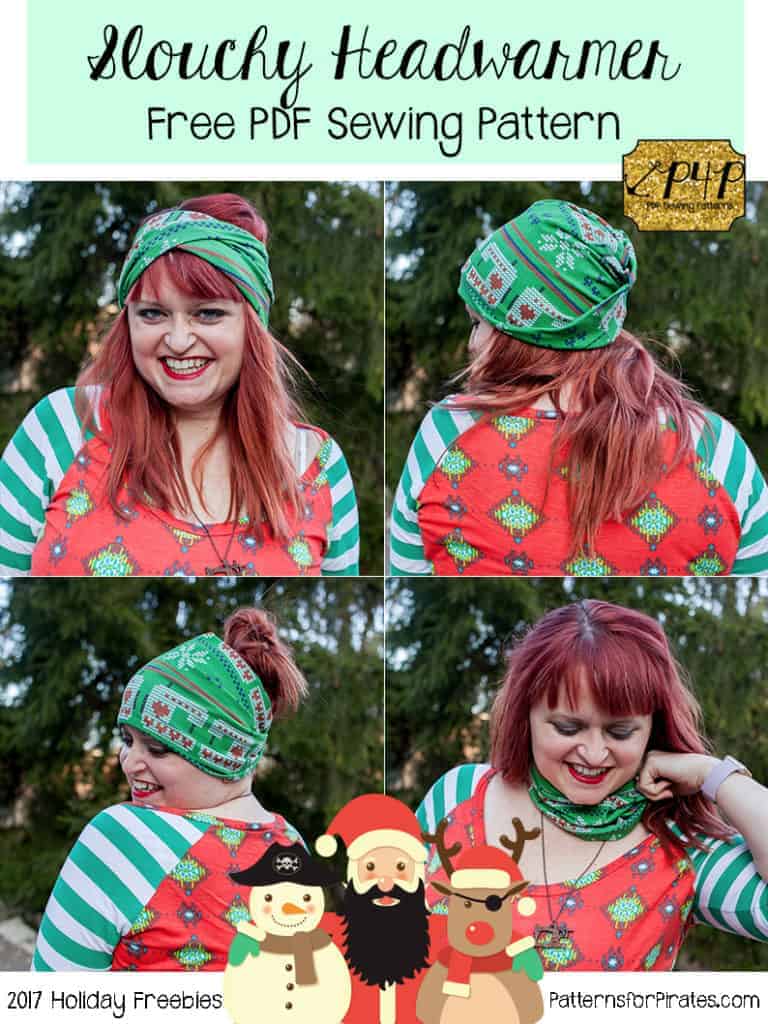
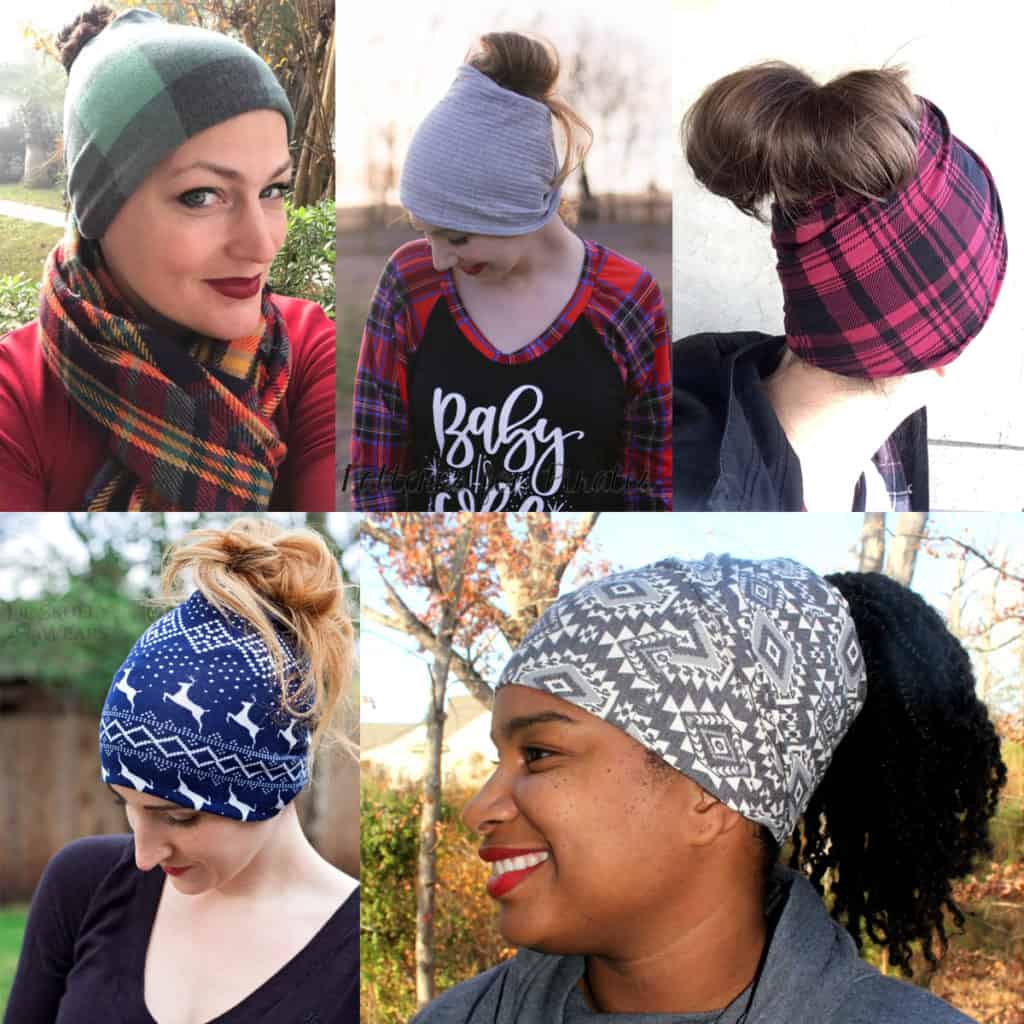
We are kicking off another year of P4P Holiday Freebies and today is the first of FIVE days of freebies.  I hope you love each and every one of them as much as I do.  We brainstormed pretty hard to find things that were unique, quick to make, and totally giftable for people on your holiday lists.  (And if you’re on your own holiday list, we don’t judge at all!)  Today’s freebie is like four-in-one!  It’s a slouchy headwarmer that can convert into a headband, hat, cowl, and messy bun hat!

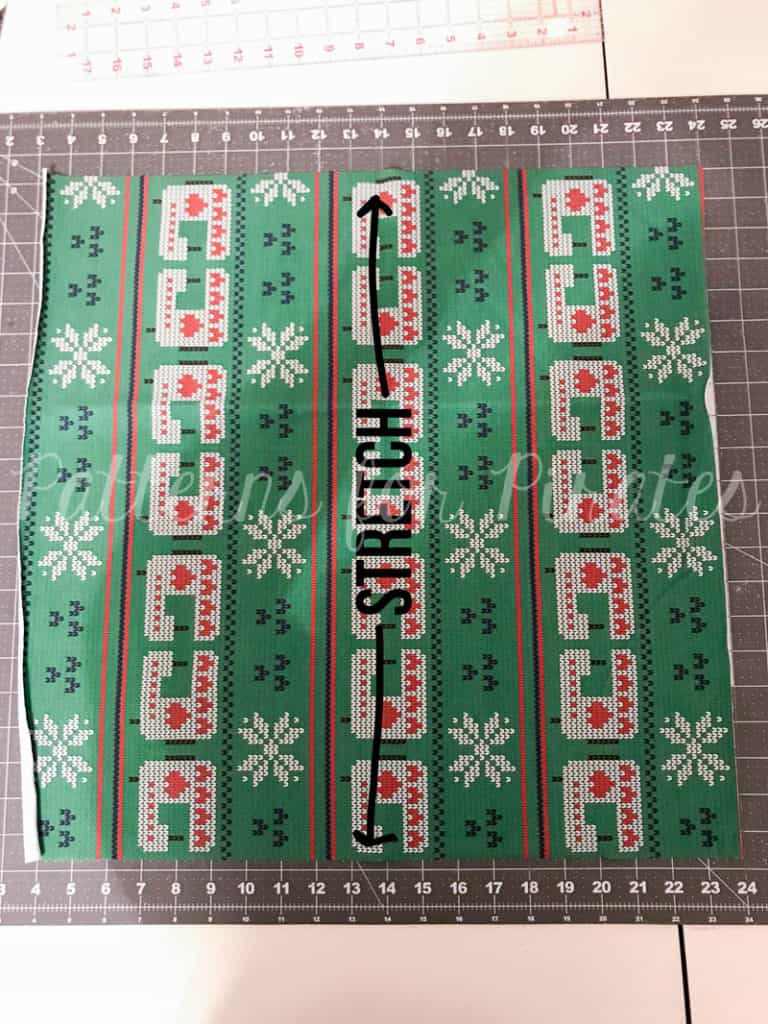
Suggested fabrics: Brushed Poly, Rayon/Spandex, (some) Sweater Knits, Cotton Lycras, etc.  The fabric has to have a really good stretch and recovery factor.

Cut square: 20” wide x 20” long.
**The average woman’s head size is 21″ in circumference.  If your head measures smaller/larger than this, it’s easy to adjust accordingly.  I also recommend to add an inch or two if you’re using a thicker cotton/lycra blend or something with a high spandex percentage, as it can be extra tight and end up a little uncomfortable if it’s too tight.

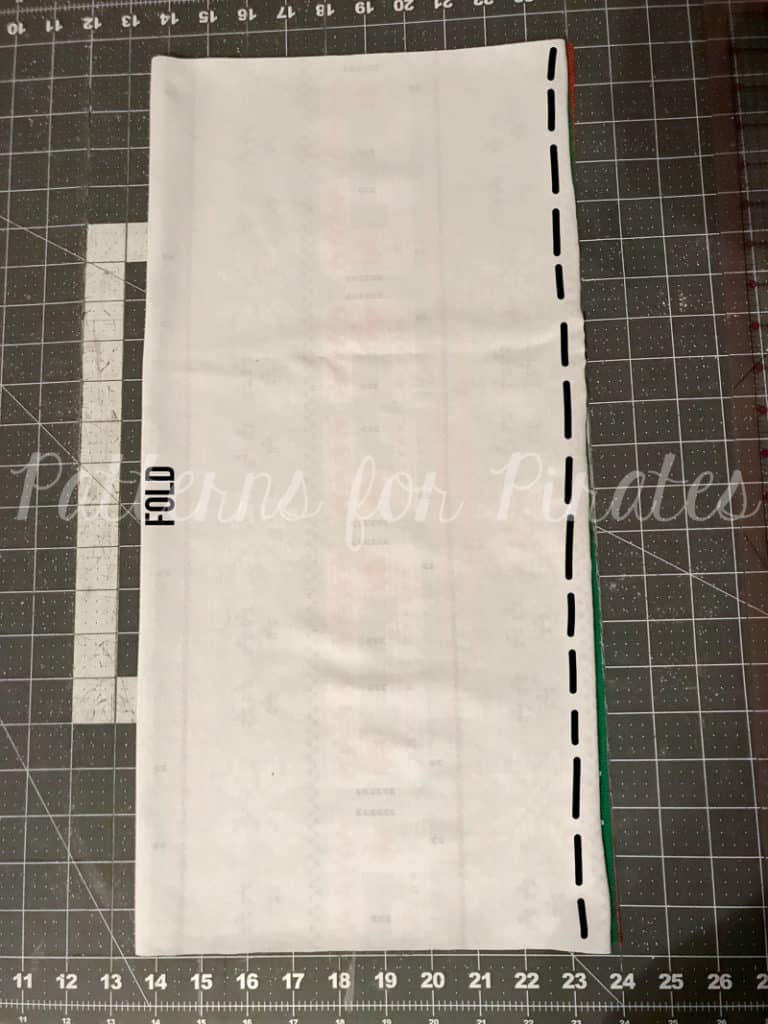
Fold in half, right sides together. Stitch with 1/2” allowance.  Turn right side out.

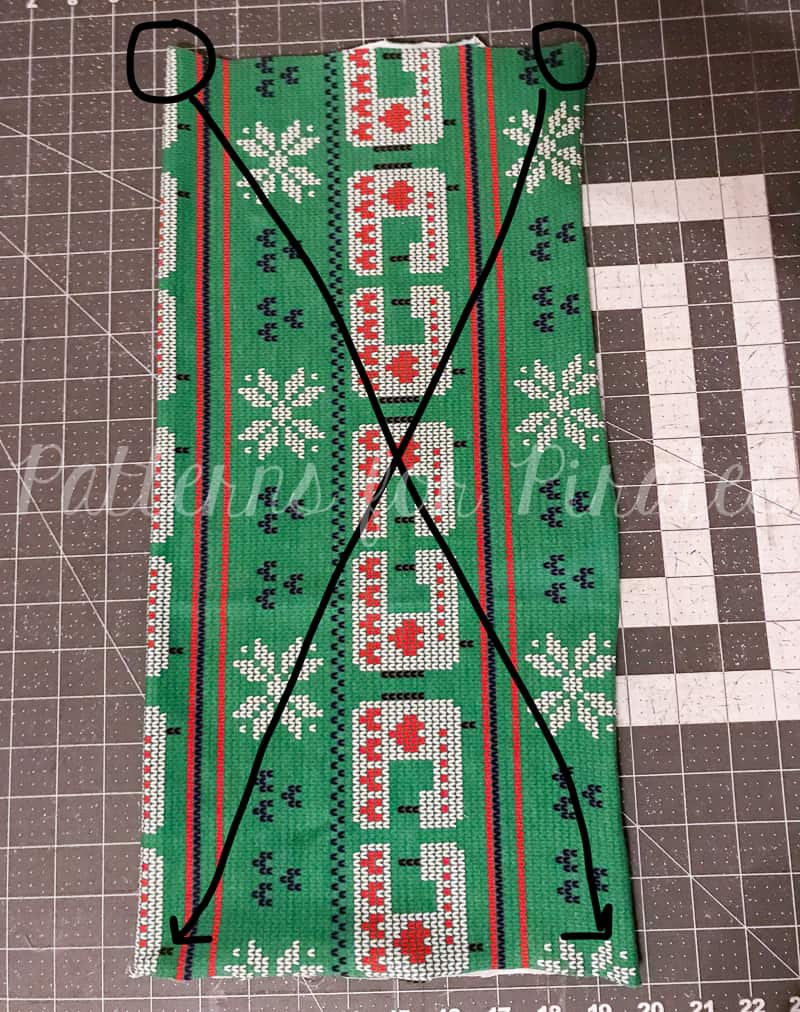
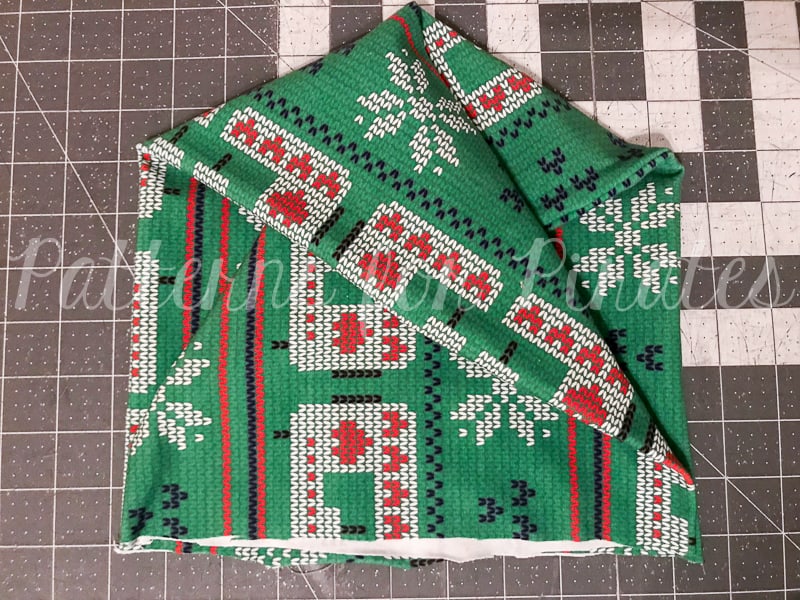
Fold top right corner to meet bottom left corner.

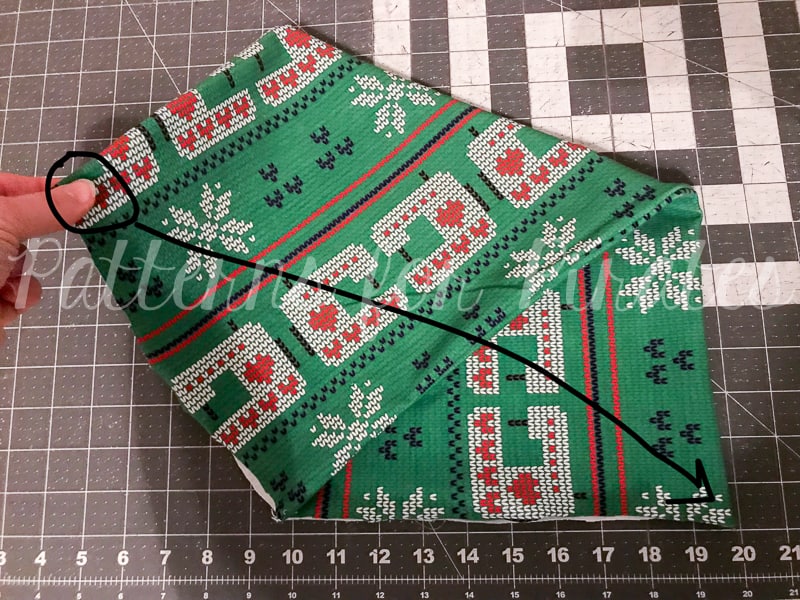
Grab the outer corner (which was top left corner before we folded in the last step) and have it meet the right bottom corner.

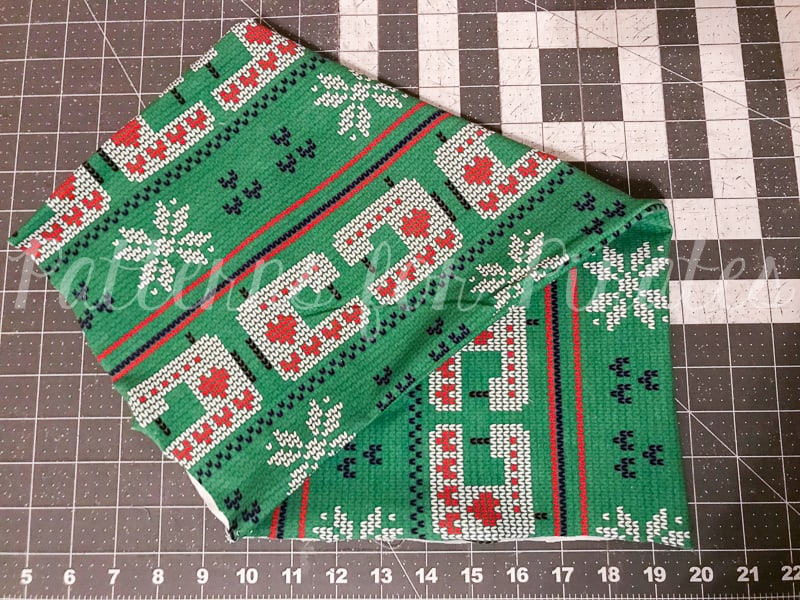
Shown folded with the twist.

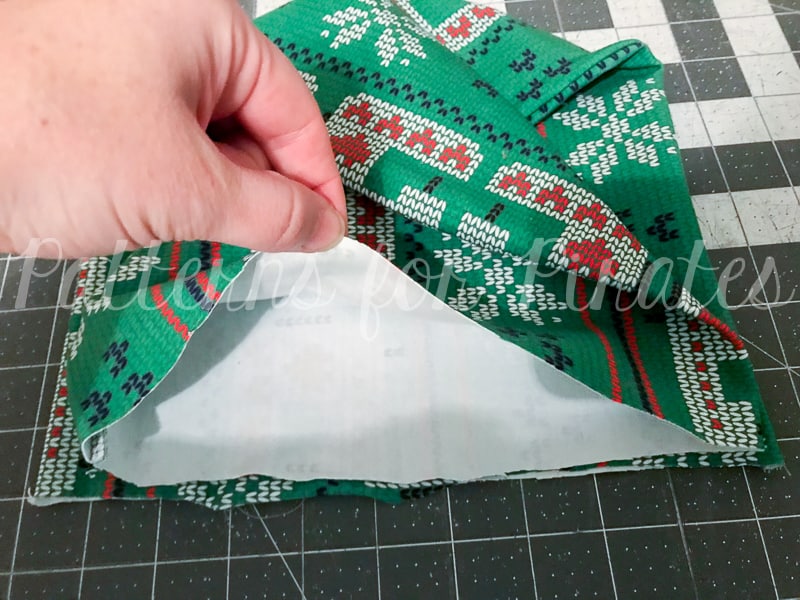
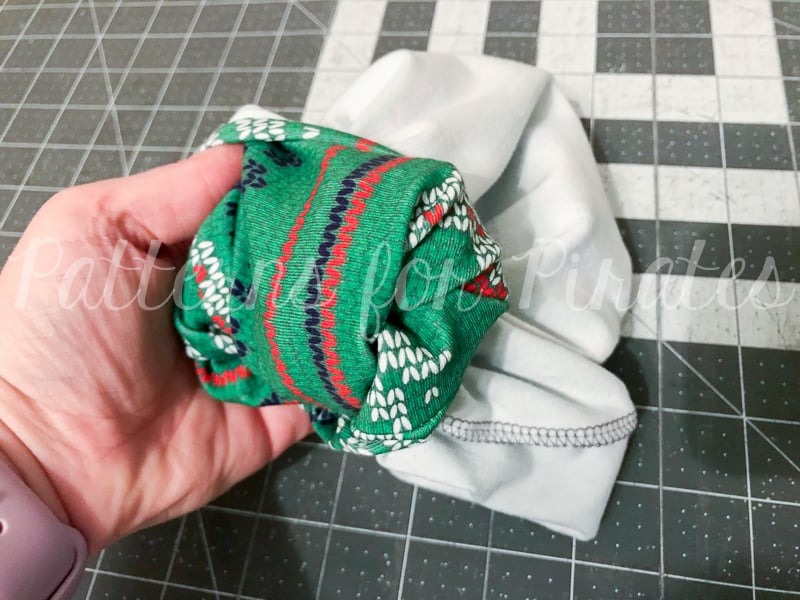
Grab the top layer of the four raw edges.

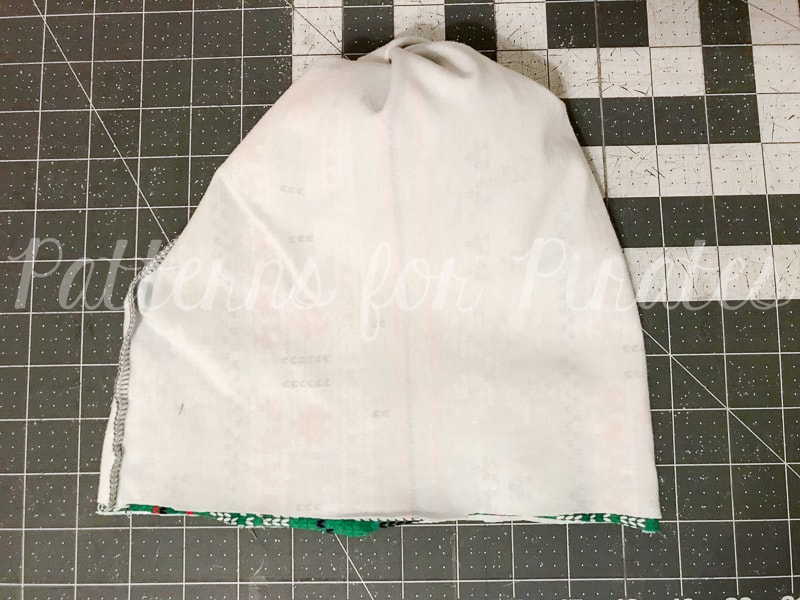
Flip it around the entire headband, so you have a pocket with right sides together.

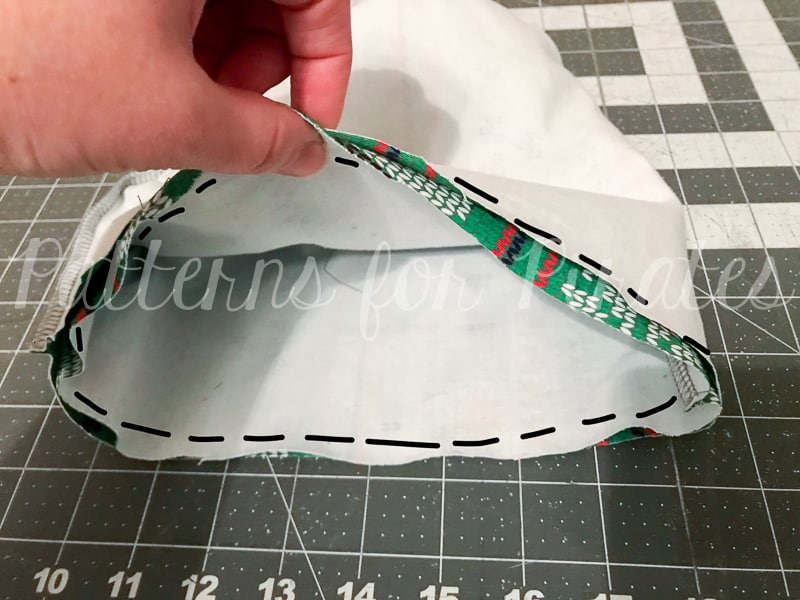
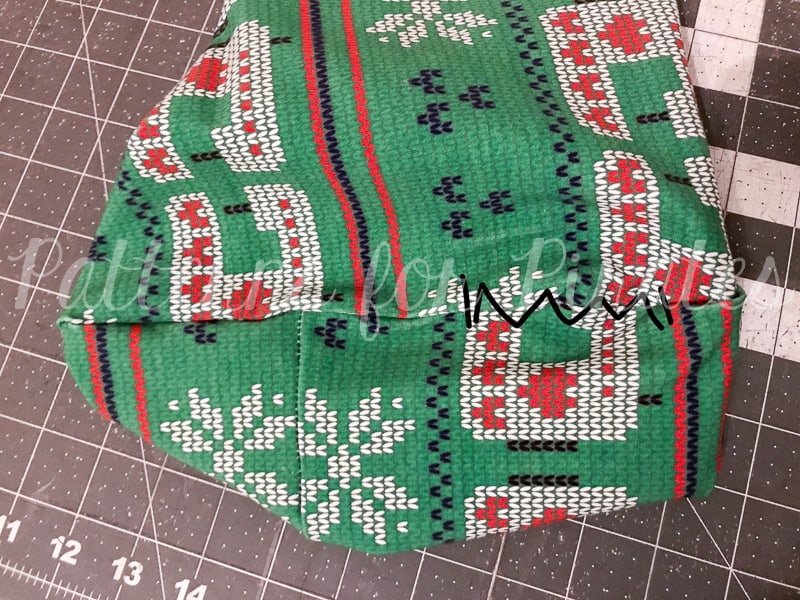
Stitch around open edge closed, leaving a 2-3” opening for turning.

Pull your headband back through opening, turning it right-sides out.

Blind stitch opening shut.

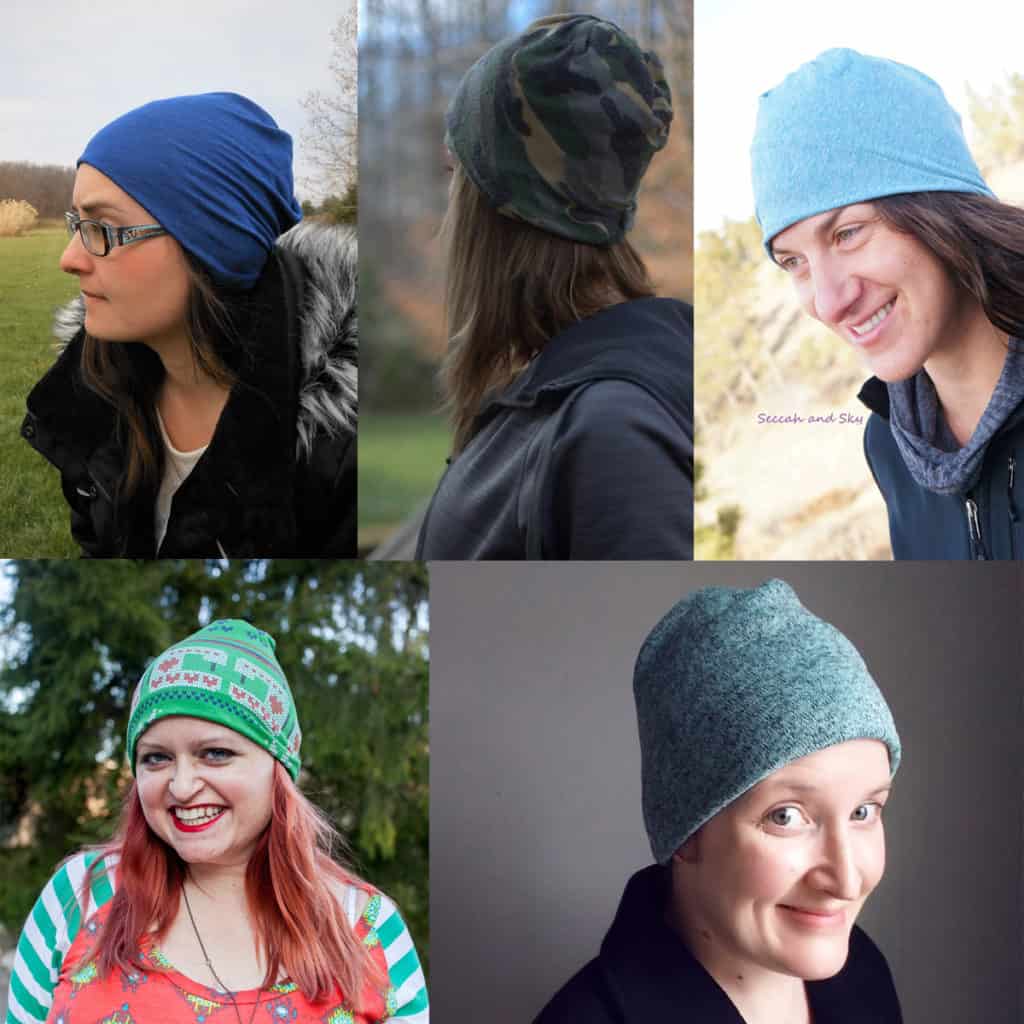
And now comes the fun part!  This headwarmer can be worn FOUR different ways.  Four!  Amazing, right?  Especially for such a simple sew!  You can…..

…rock it as a headband/earwarmer.

…wear it like a hat.

…throw it on over a messy bun.

…or keep your neck warm, while wearing it like a cowl.

As always, we love when you share what you’ve made with us.  Head over to the Patterns for Pirates Facebook group and show off the fabulous Slouchy Headwarmer that you’ve managed to make from our freebie pattern!  Happy Holidays, friends!
Filed Under: Free Pattern 36 Comments

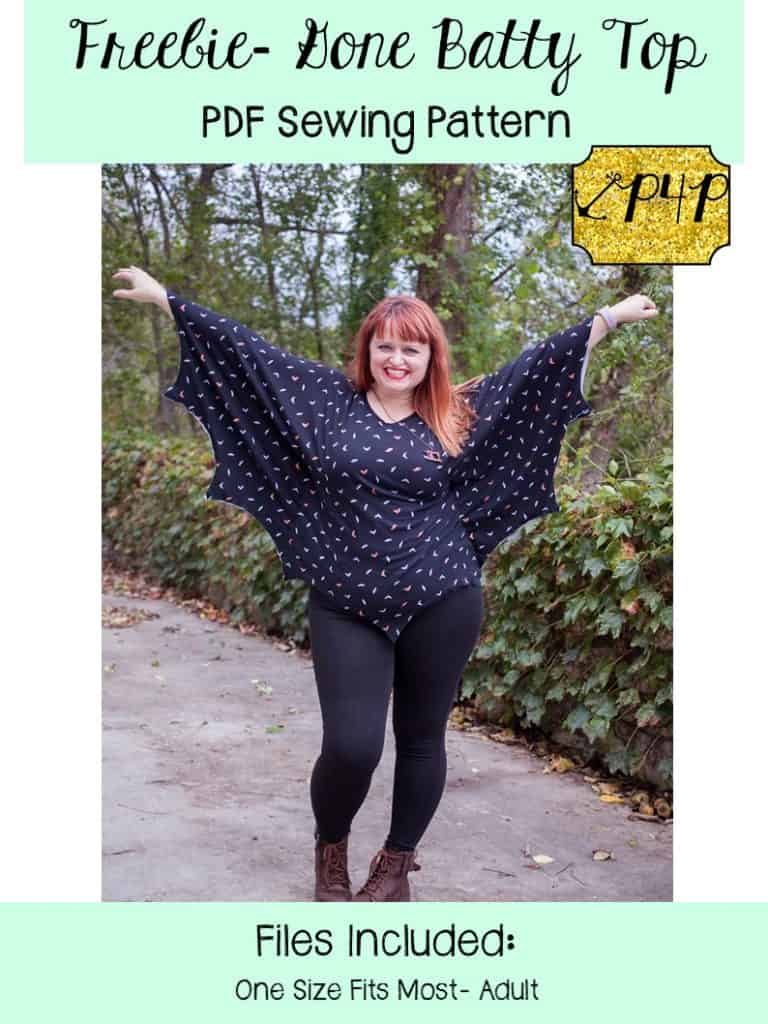
Gone Batty Top :: A Halloween Freebie!

October 17, 2017

Halloween is my favorite holiday ever.  EVER.  It’s so fun and kitchy and full of creativity.  All the best things, right?

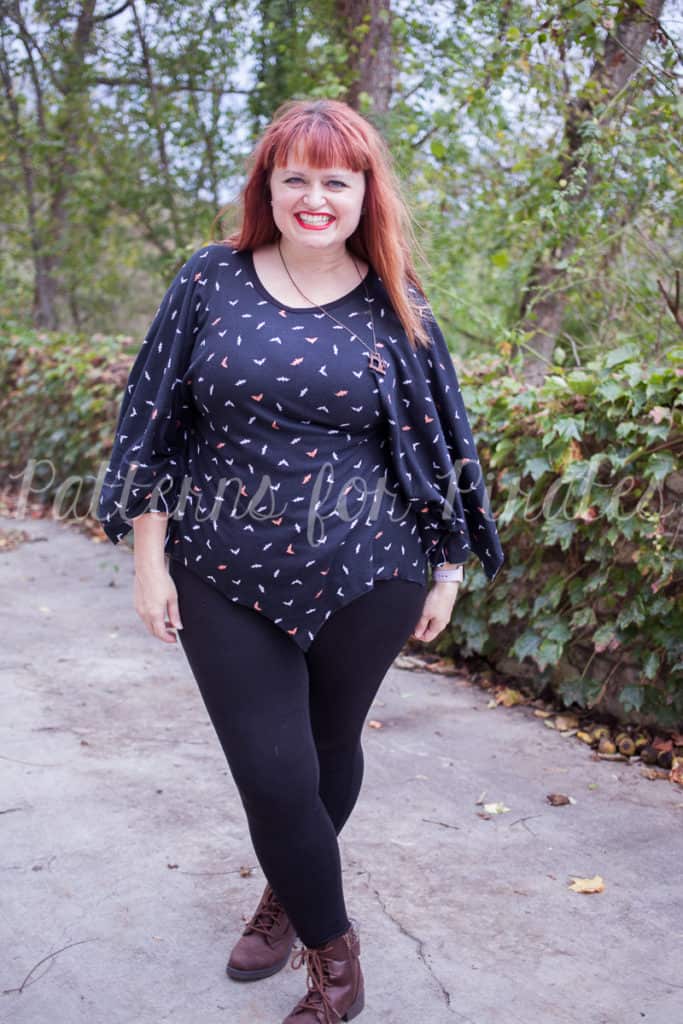
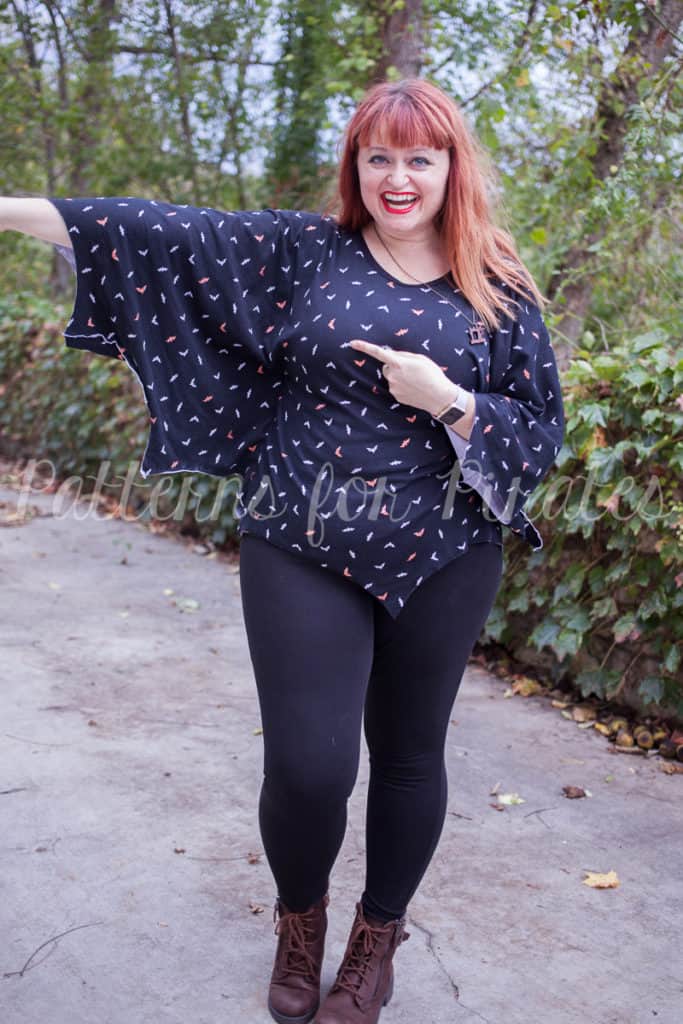
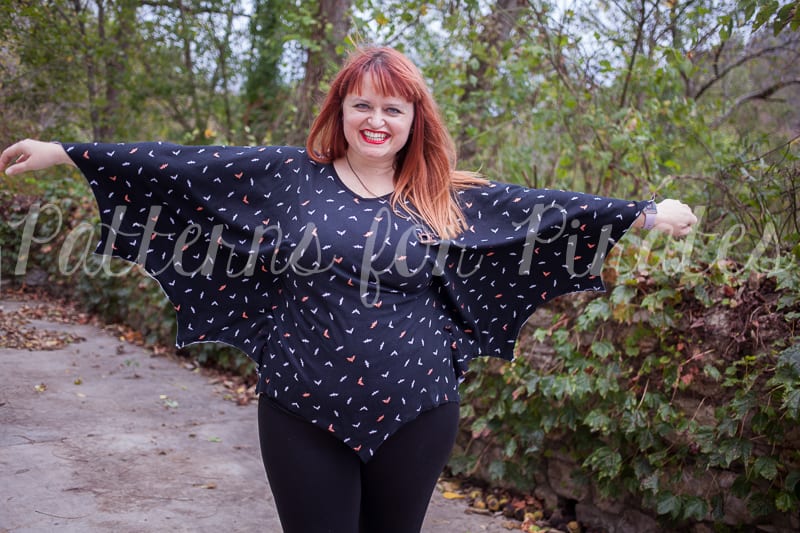
I’ve been seeing ads for these batwing shirts floating around and I NEEDED one.  And since we love to give our P4P family fun freebies, we thought this would be the perfect thing to help you create this Halloween.  It’s totally wearable as just a fun, festive top.  Or you could use it as a last minute costume idea.  Either way, I hope you love it!

Want to make this top for yourself?

Go grab yourself a copy of the Gone Batty Top (for FREE!!) and then come back and learn how to make your own.

This pattern is a “one size fits most” adult pattern.  It’s a circle top with some added details and the measurements are based upon your high hip.

**Want to learn more about how to measure yourself for this pattern?  We’ve got you covered with an in-depth blog HERE.  And in case you’re new to Patterns for Pirates and PDF patterns in general, we have a great blog full of new user tips HERE to help you get started!  And, as with all of our current releases and updates, the pdfs can be found in Letter, A4 and A0 sizes.

Recommended fabrics: Practically any knit fabric with at least a 20% stretch will do!  Cotton lycra, poly/rayon blends, dbp, ity, etc.
Note: Due to the style of the curved “bat wings”, I’ve left the edges raw and unhemmed.  You’re welcome to hem if you’d like, I simply chose not to with this top style.


Supplies needed:

Main Fabric: 1-5/8 yard
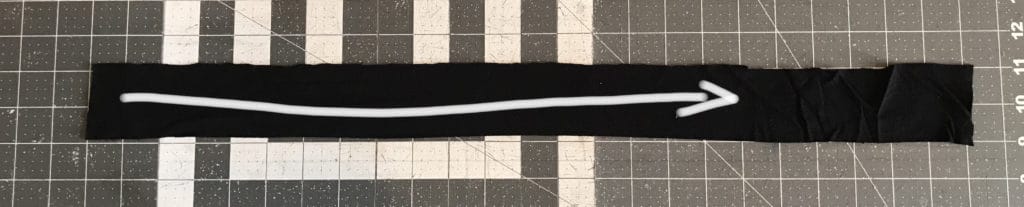
Neckband: cut piece 2″L x 19″W (pattern piece also provided)

Step 1: Cut out the bodice piece.  You will be cutting on a double fold.  First, folding selvedge edge to selvedge edge.  And then folding down lengthwise.
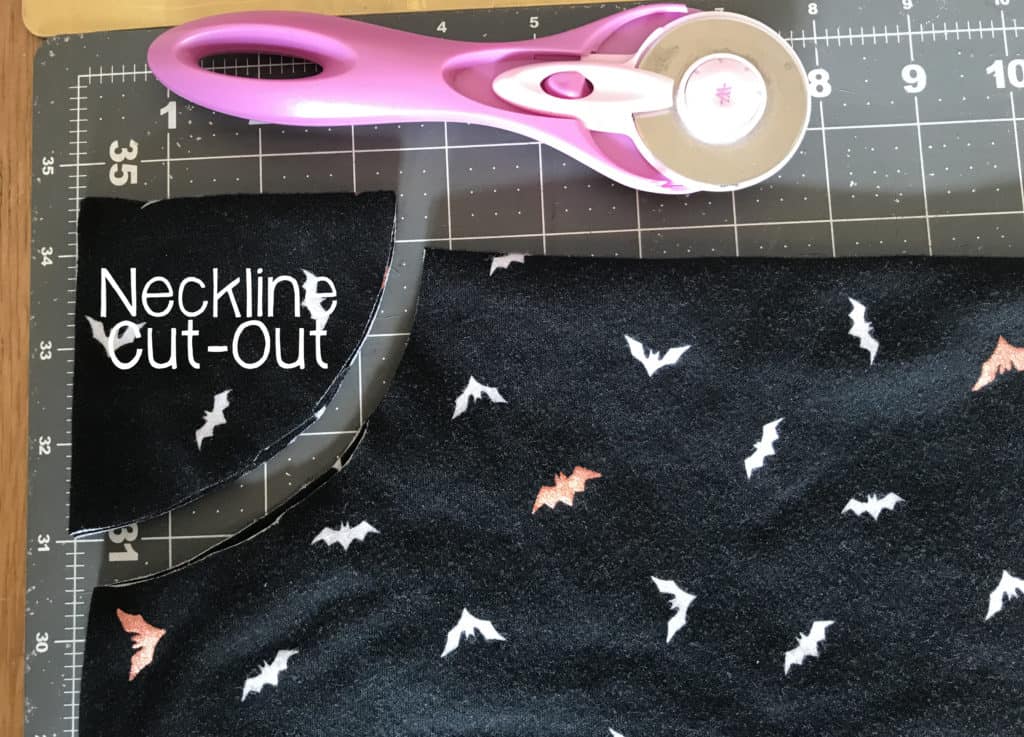
**If you’re wanting to skip printing all of the pages, print only page 8 and use the cut-out pieces provided.

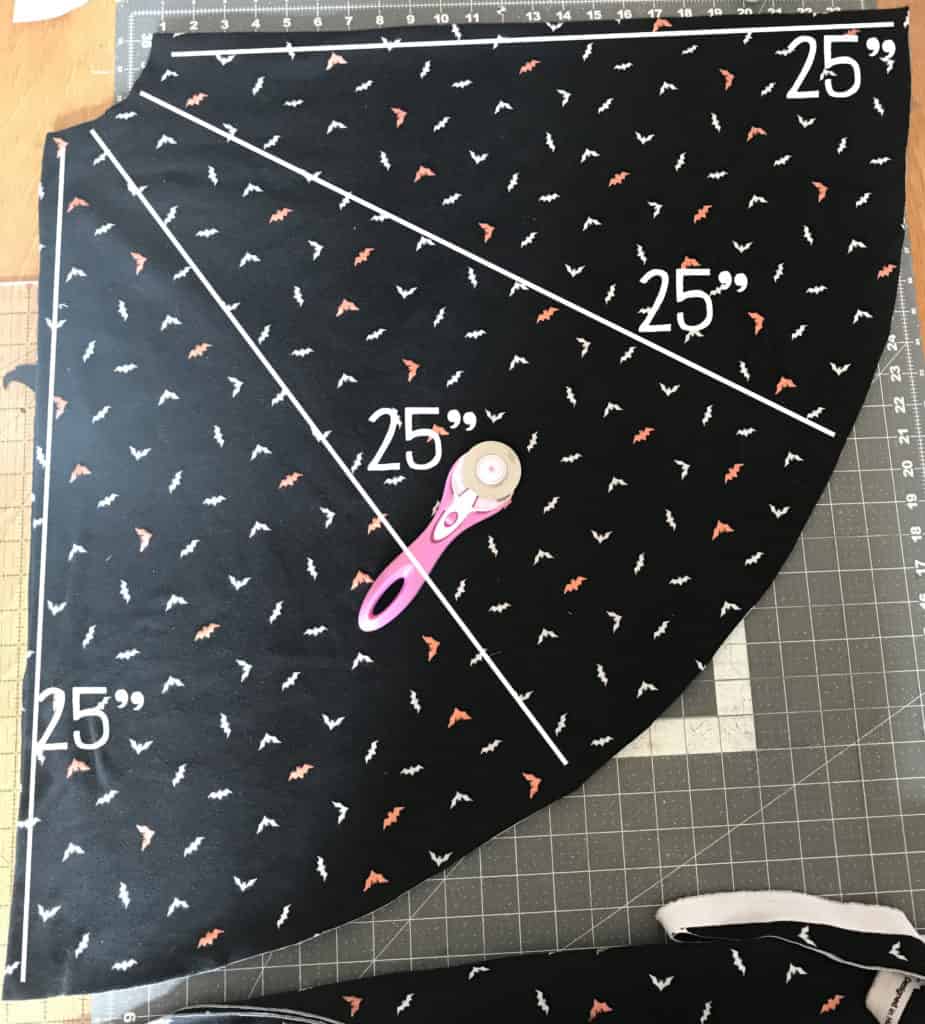
When using the cut-out pieces, measure 25″ from the neckline cutout.

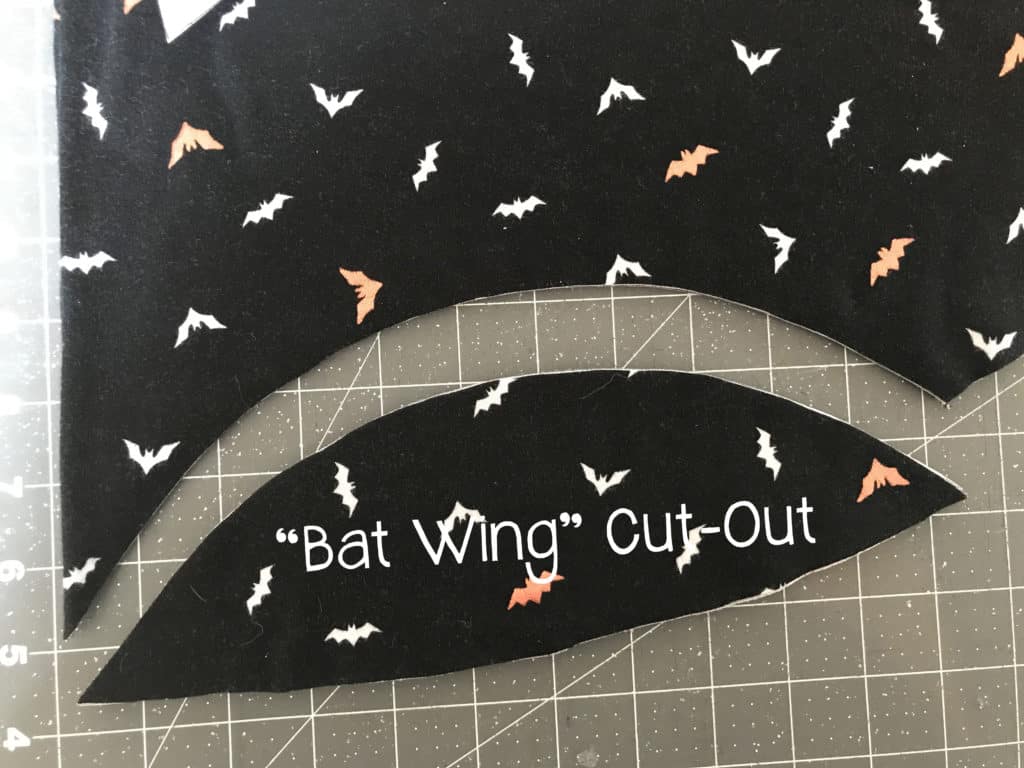
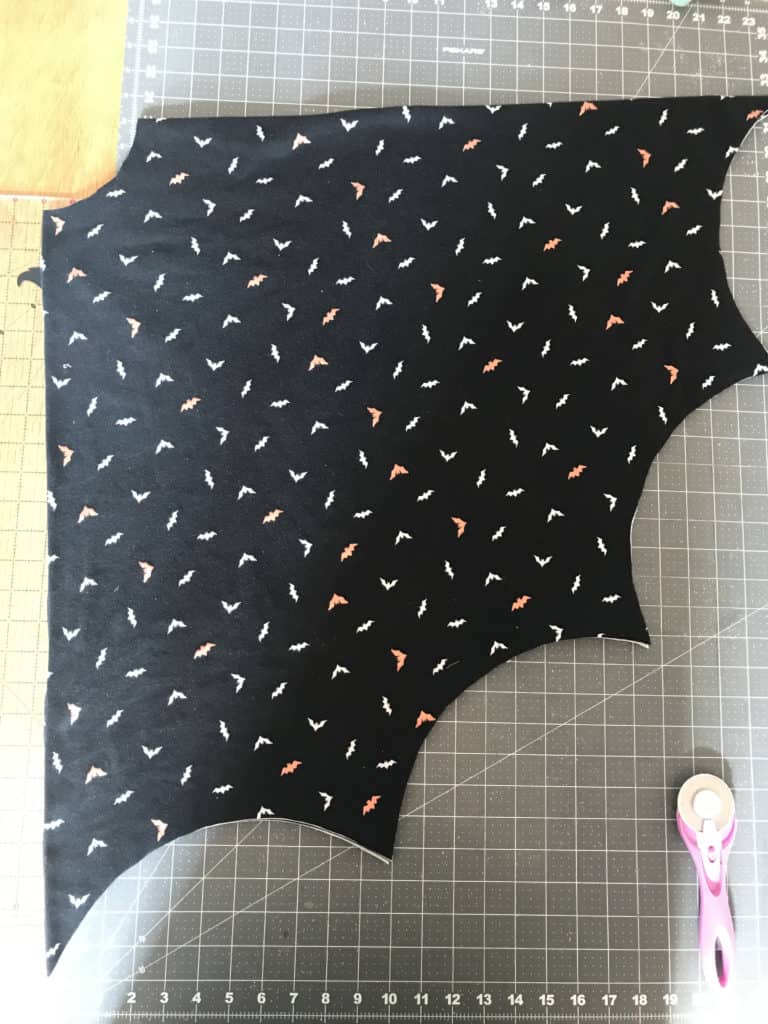
Keeping your bodice piece folded, take the “Bat Wing” cut-out and remove the shape from the bottom hem four times, beginning with the bottom corner and working your way toward the second folded edge.

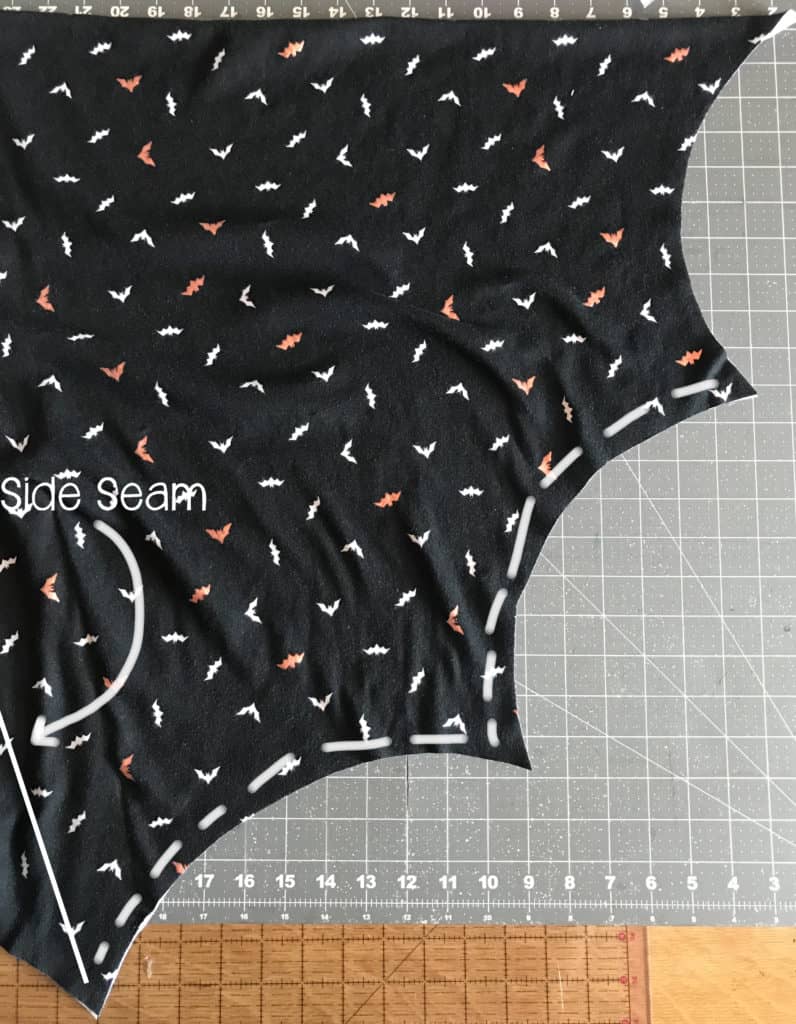
Step 2: Sew your side seam.

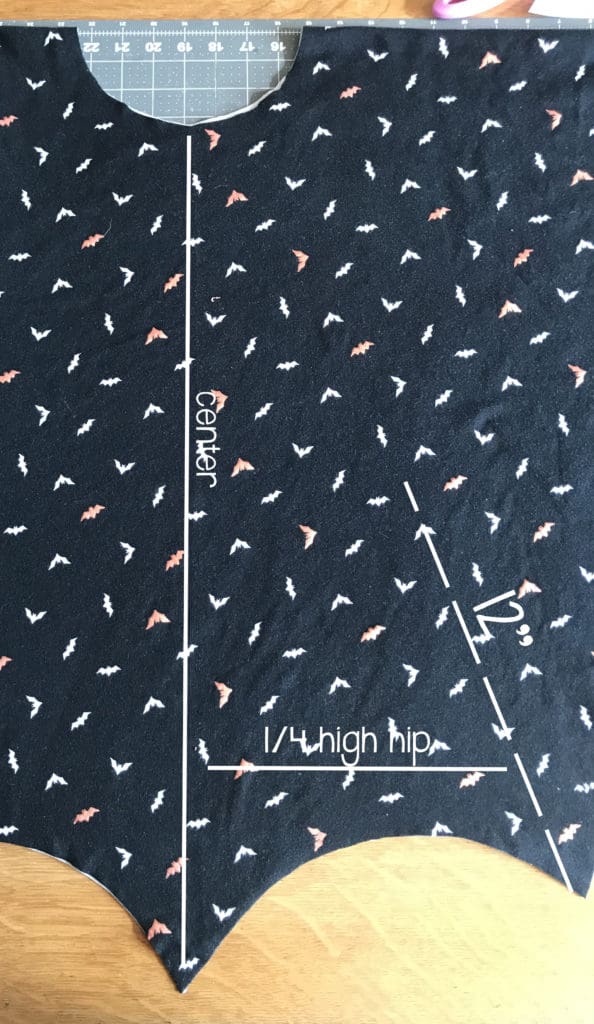
— Take your “high hip measurement” and divide by 4.
— Open up your top, so the stretch is going width-wise but it remains folded at the top.
— Find your center line, and measure your high-hip/4 measurement.
— Using a stretch stitch: sew a 12″ line, slightly angled toward the neck opening.  Repeat for the opposite side.

Step 3: Stitch your “bat wings”.
This step is totally optional, but highly recommended.  It allows for your “wings” to stay together nicely.

Starting at your side seam, edge stitch the “bat wings” together, ending at the second to last point.  Repeat for the other side.

Step 4: Add the neckband.  (If you struggle with neckband installation, here’s a super helpful blog with videos!)

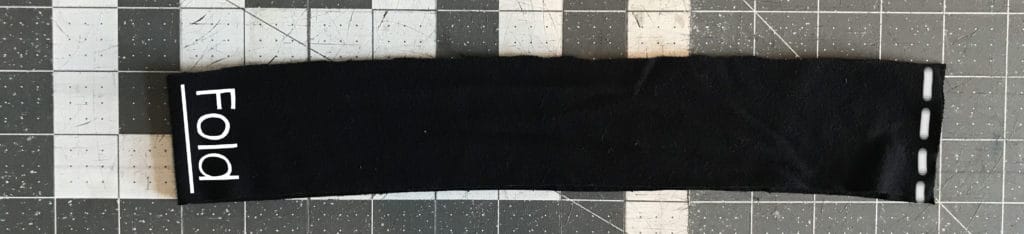
— Fold your neckband piece, right sides together, meeting the short ends together.

— Using 1/2″ seam allowance, stitch short ends.

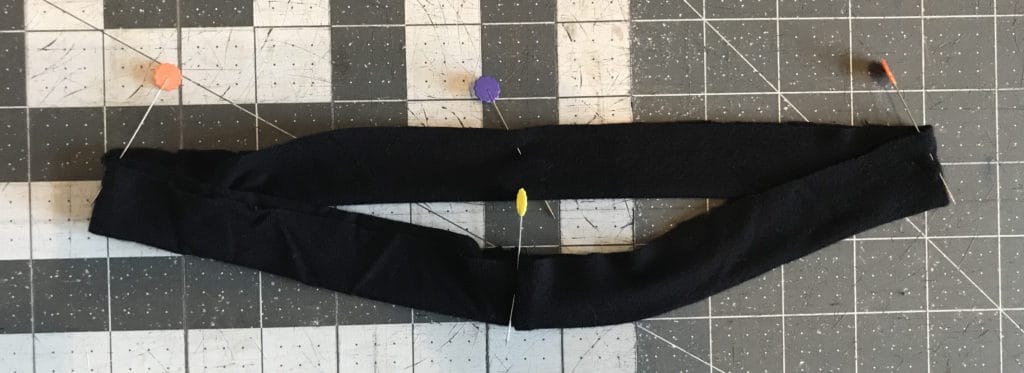
— With wrong sides together, fold the raw edges together to meet each other.  Mark 1/4 points of raw edges.

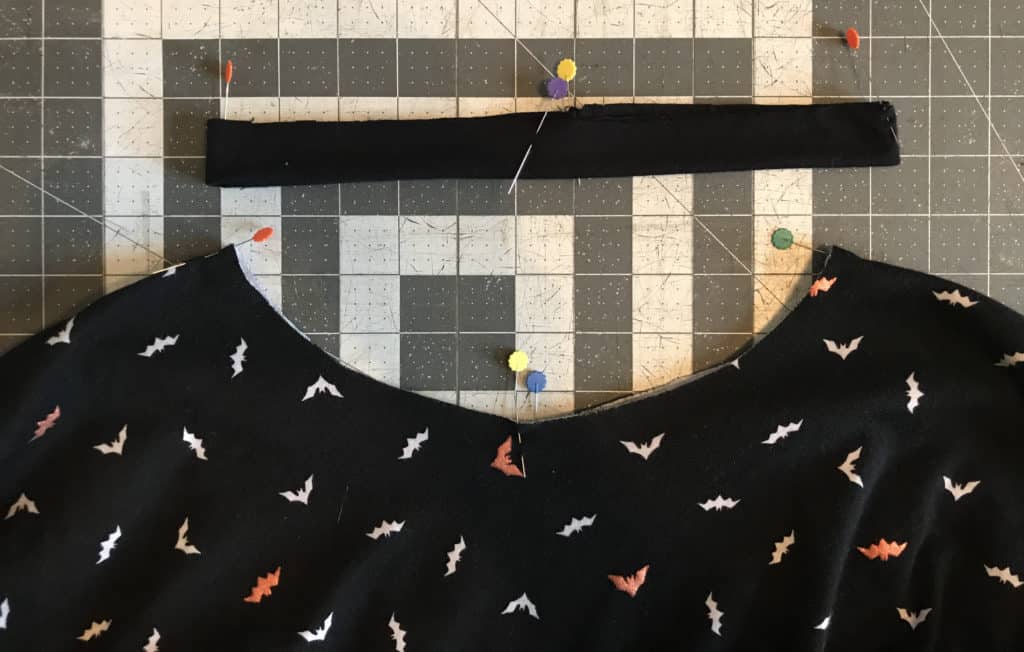
— Mark the 1/4 points on the bodice piece.

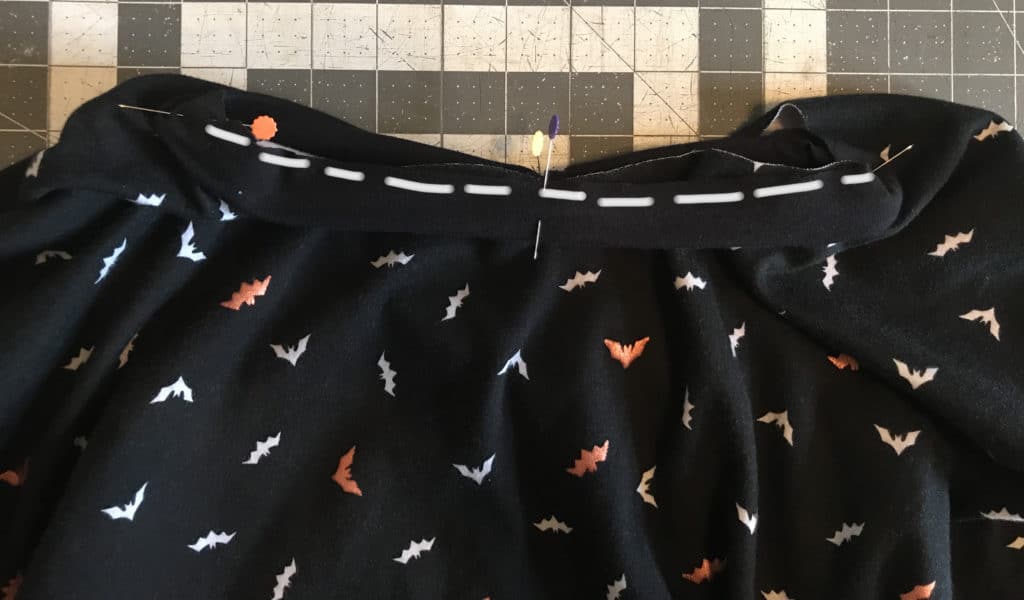
—  Slide the neckband over the bodice, aligning the raw edges and matching the quarter-marked points.  Note: The neckband is slightly smaller than the bodice.  Stitch, using 1/2″ seam allowance.

— Flip neckband up and enjoy your new batty top!

As always, we love when you share what you’ve made with us.  Head over to the Patterns for Pirates Facebook group and show us how bat shirt crazy you’ve become with our Gone Batty Top!


Filed Under: Free Pattern, Pattern Release 17 Comments

Walk the Plank – easy hacks

September 27, 2017

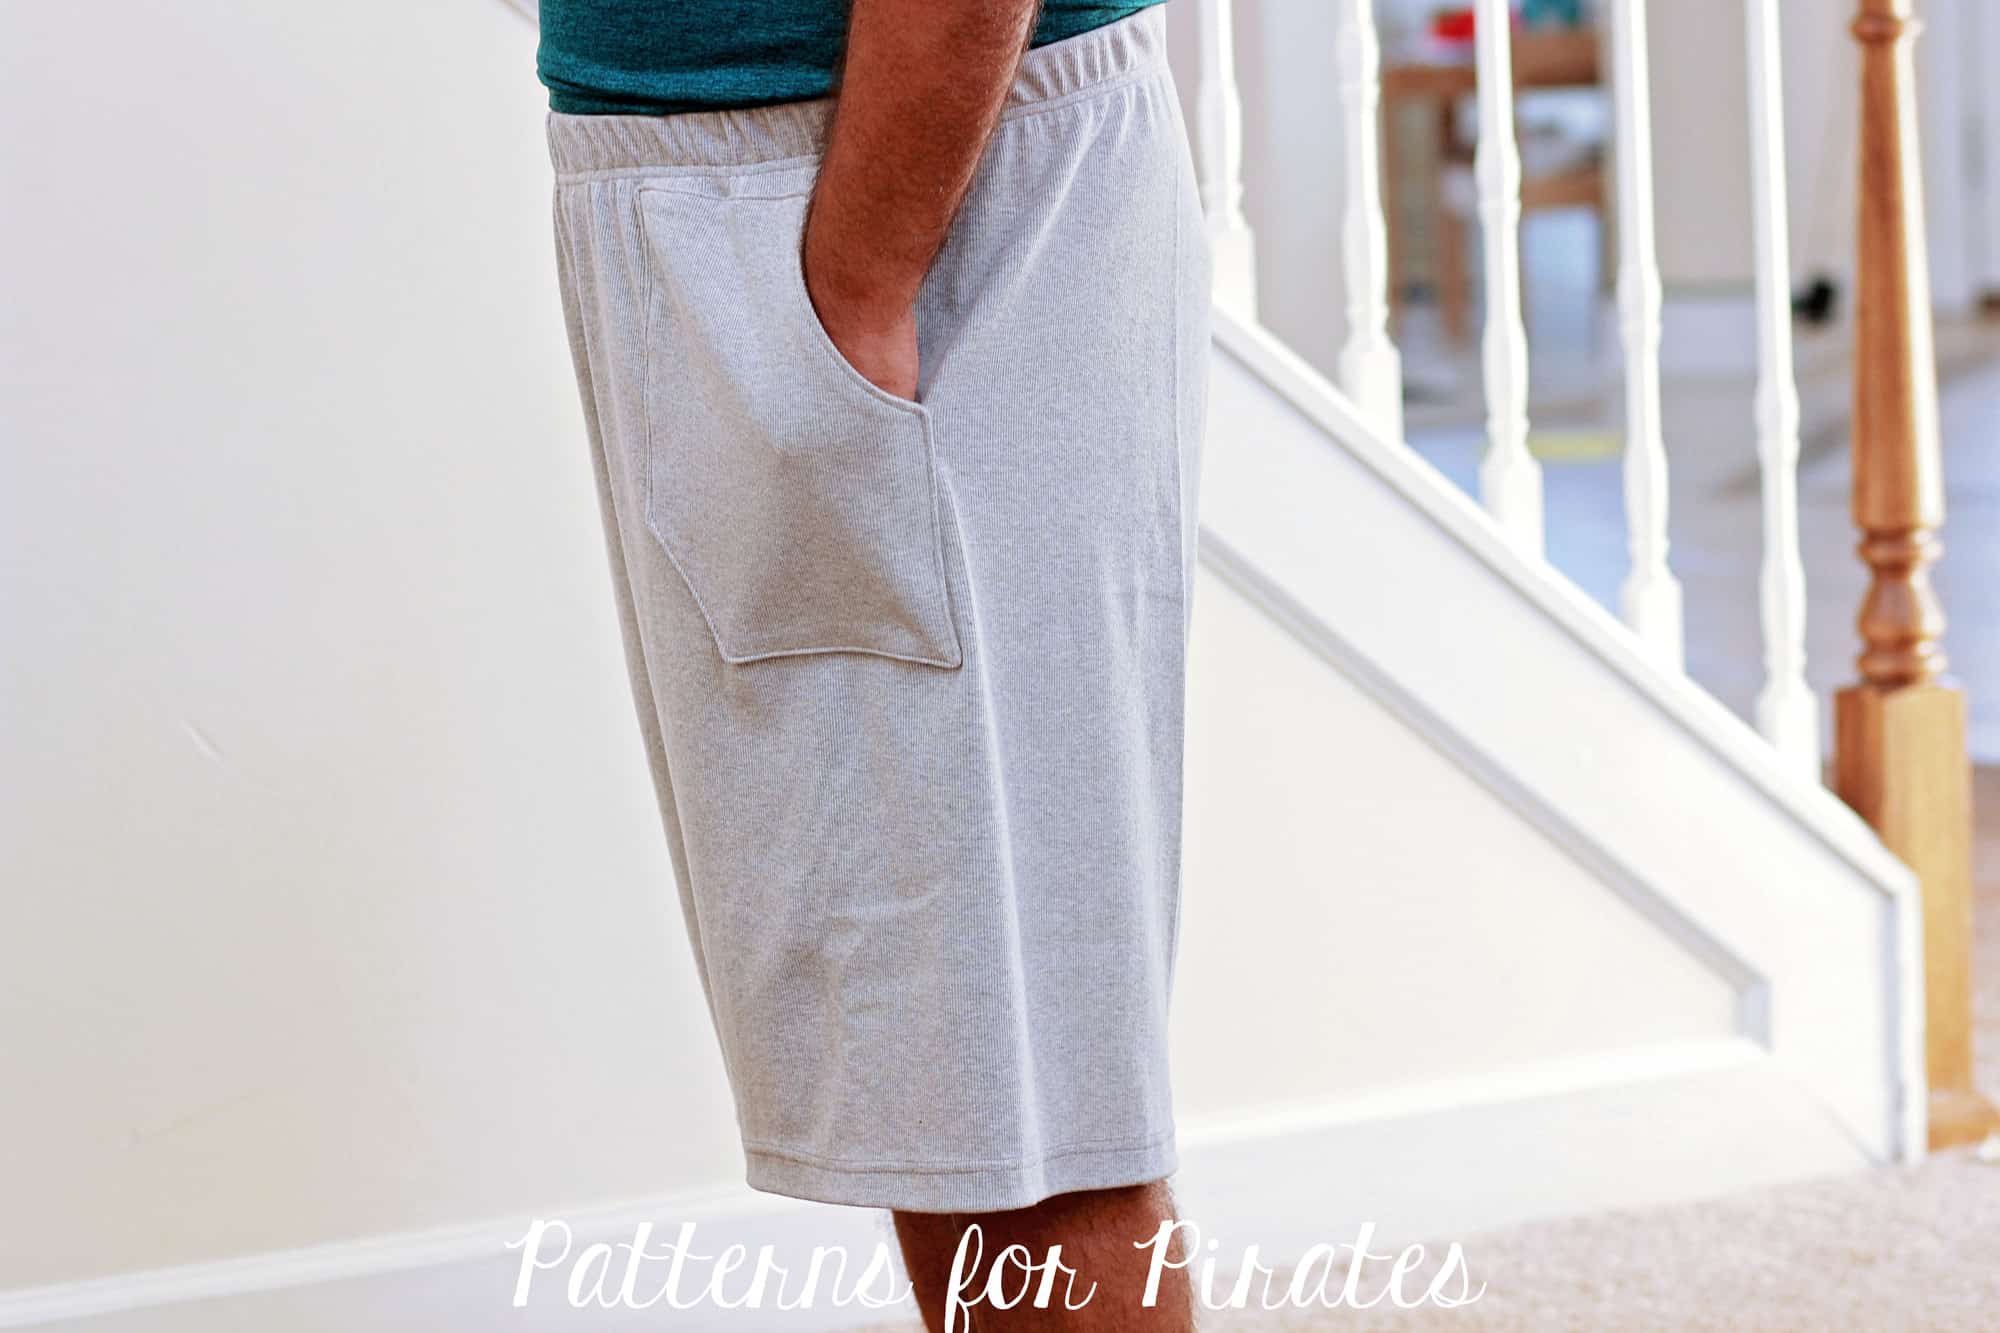
Ahoy, pirates! Hope you grabbed your FREE Walk the Plank pajama pants patterns by now. If not you can get them here. Today I wanted to show you how easy it is to add patch pockets to the pattern so all those husbands, boyfriends and sons of ours will be even happier with their new PJ pants. I’ll also show you how to enclose the the elastic in the seam.

. . . . .

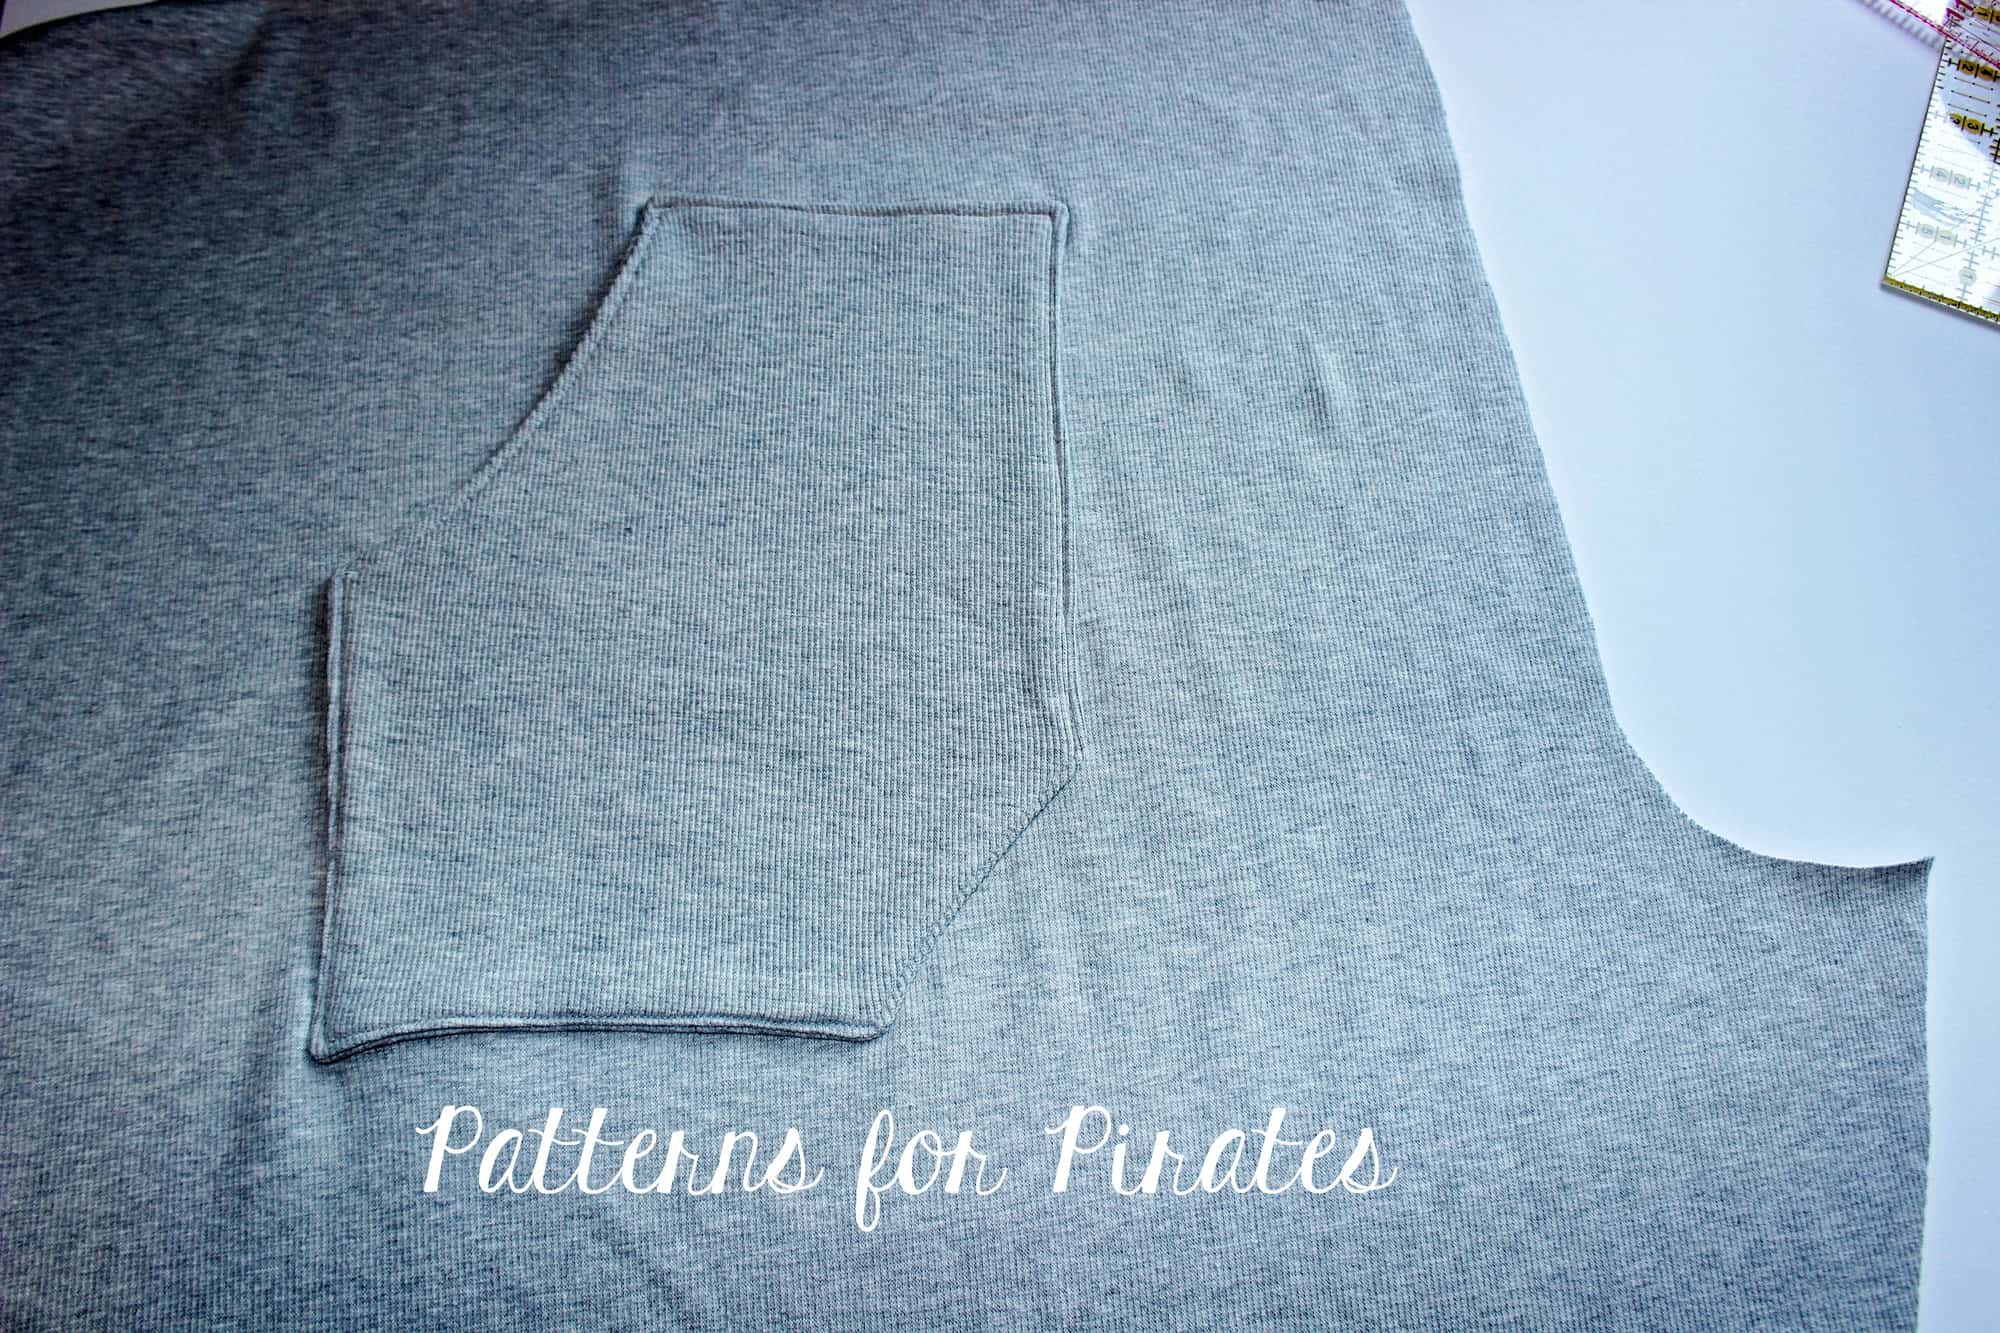
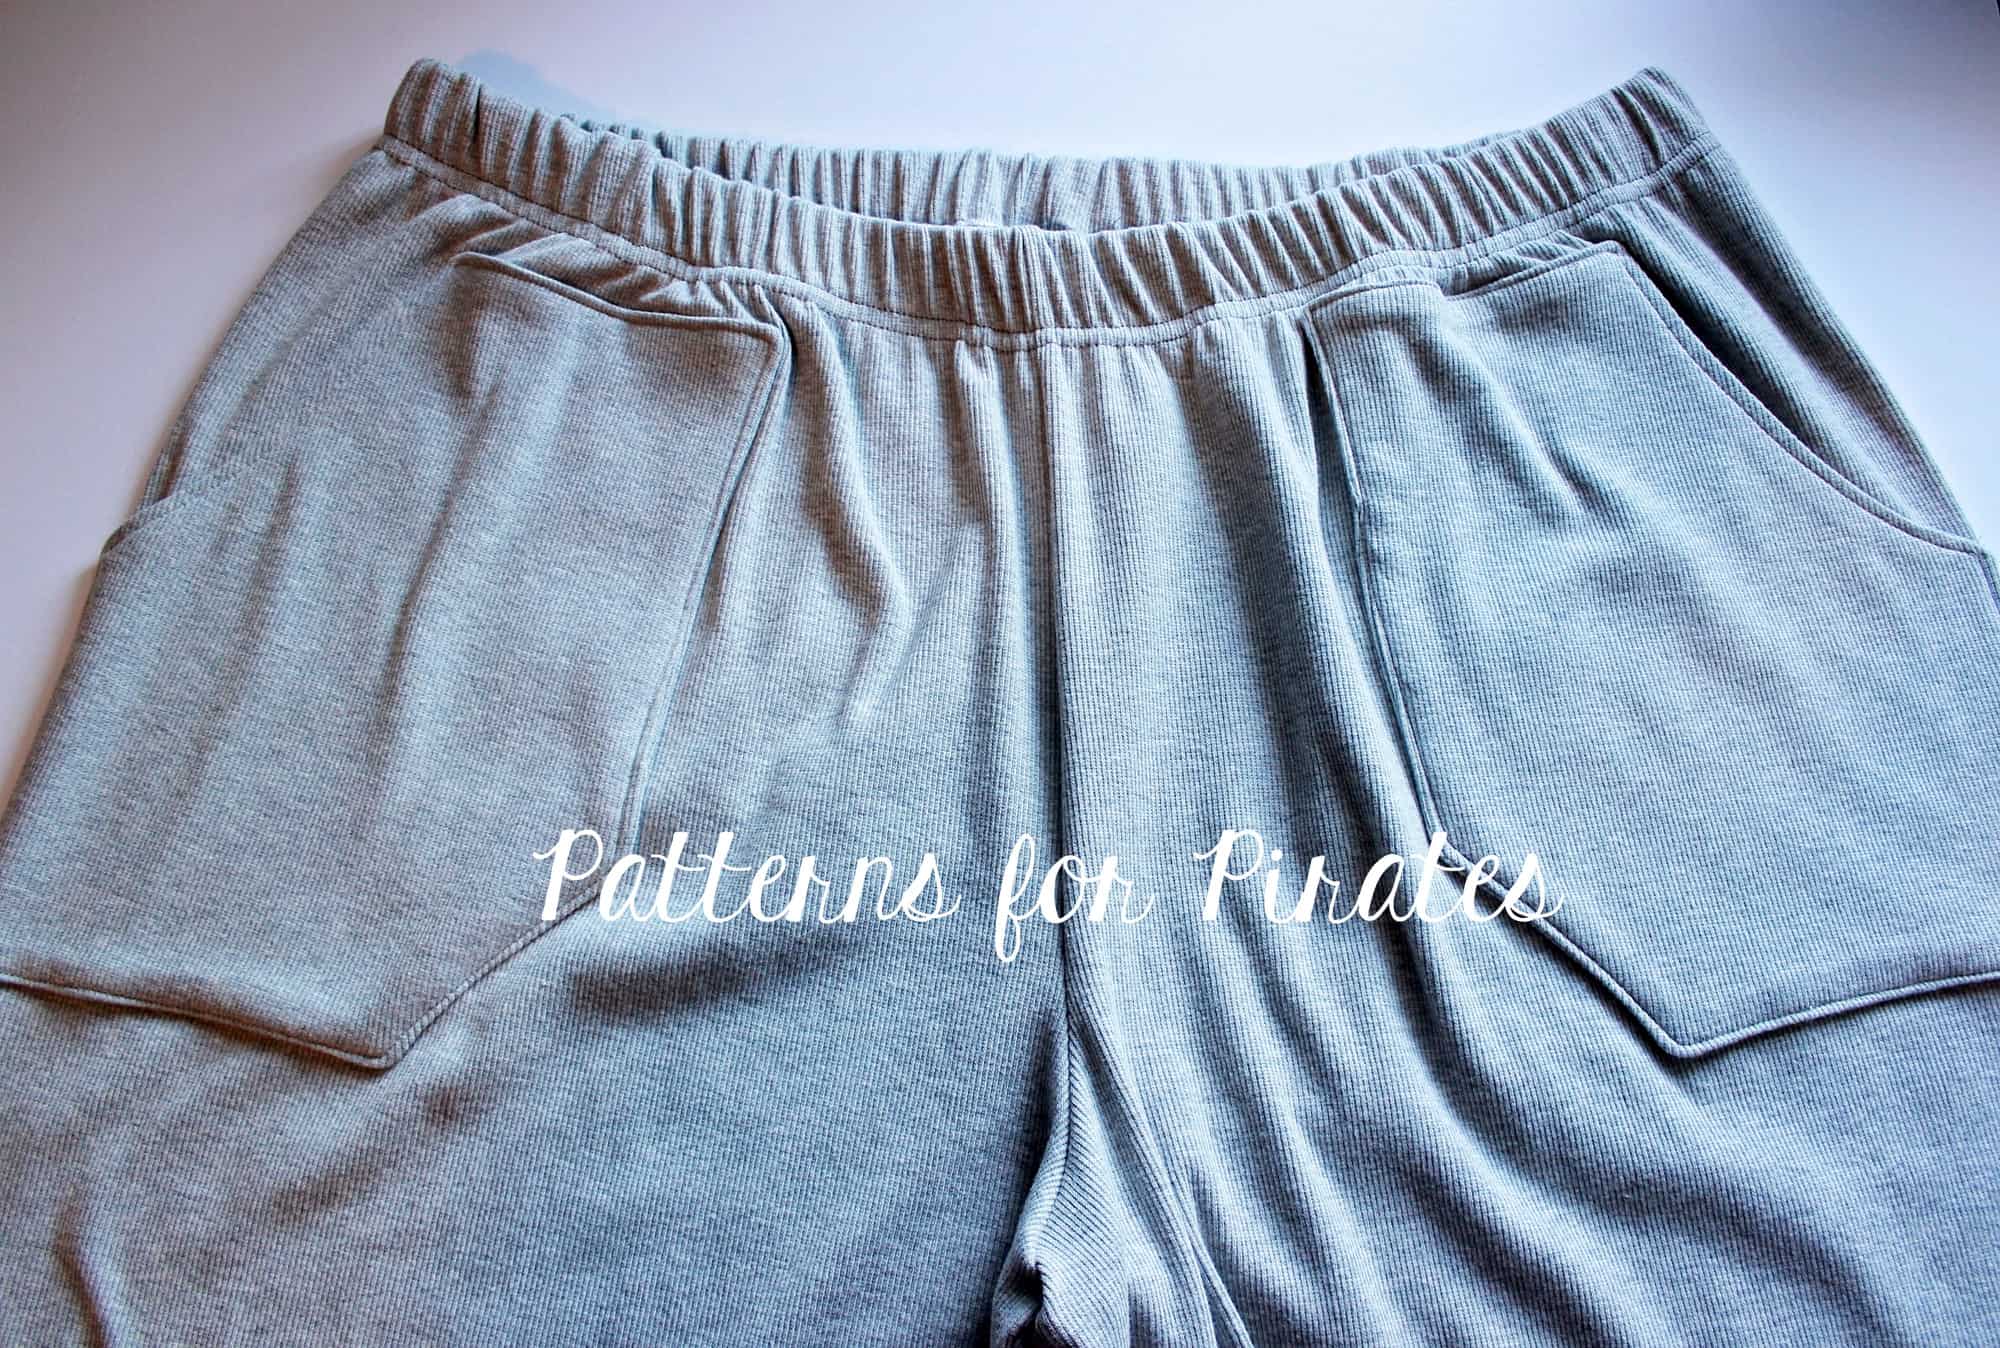
Front patch pockets

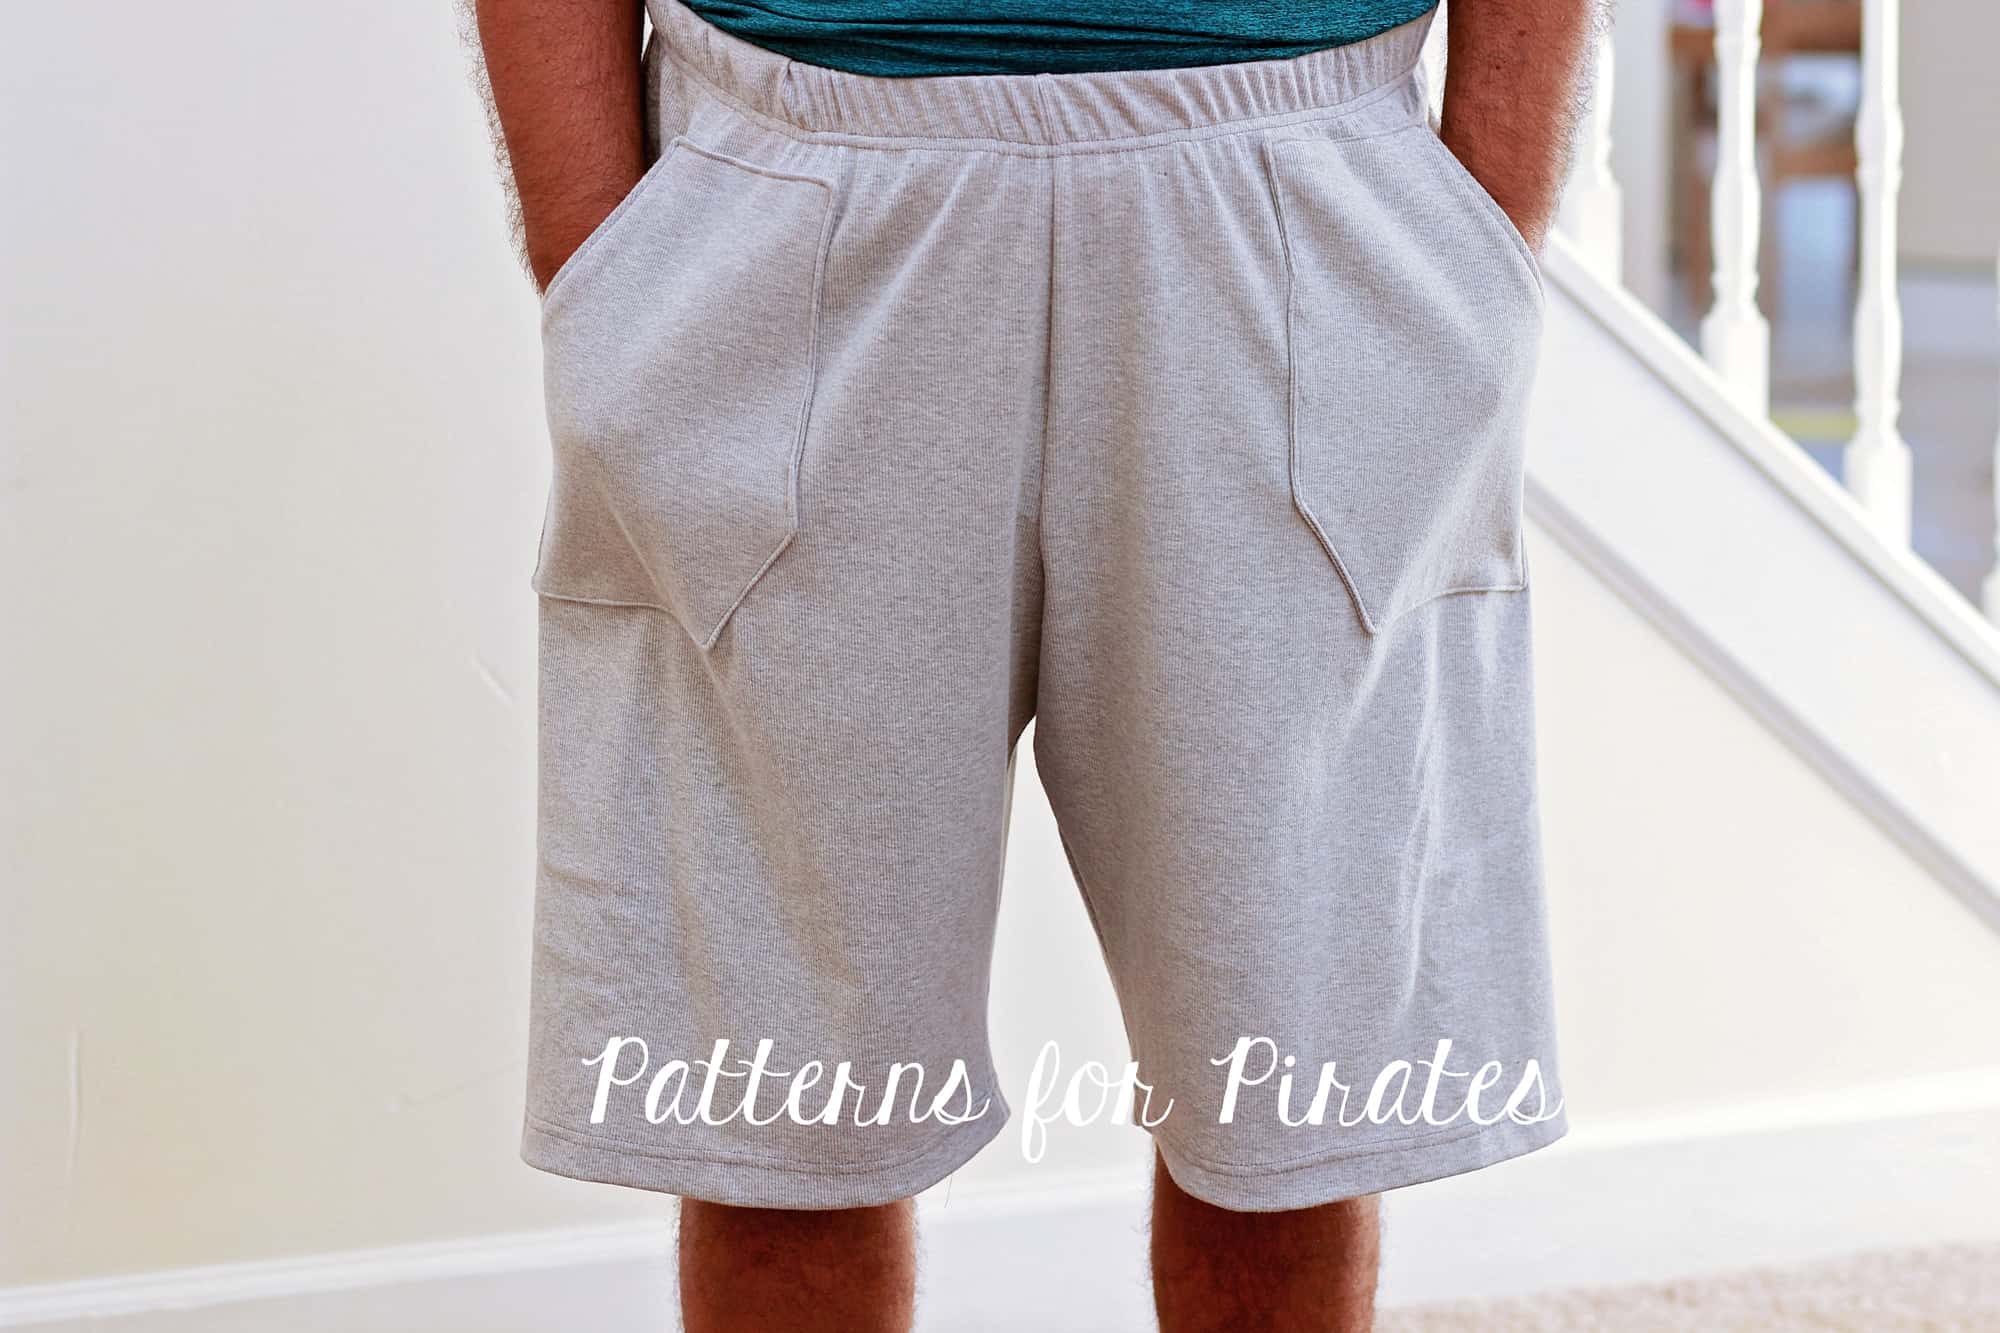
Start by printing the WTP pattern piece in the size needed. Now grab your Papa Bear Joggers (Mama Bear or Baby Bear) pants pattern and print only the page(s) that include the Patch Pocket. You now have two pattern pieces, the pants and the pocket. Cut the leg fabric (two mirrored images) and 4 pocket pieces (2 mirrored images for the main and 2 for the lining). The PJ pants pattern is drafted for woven fabric. I did use knit instead…you can do that too if you want!

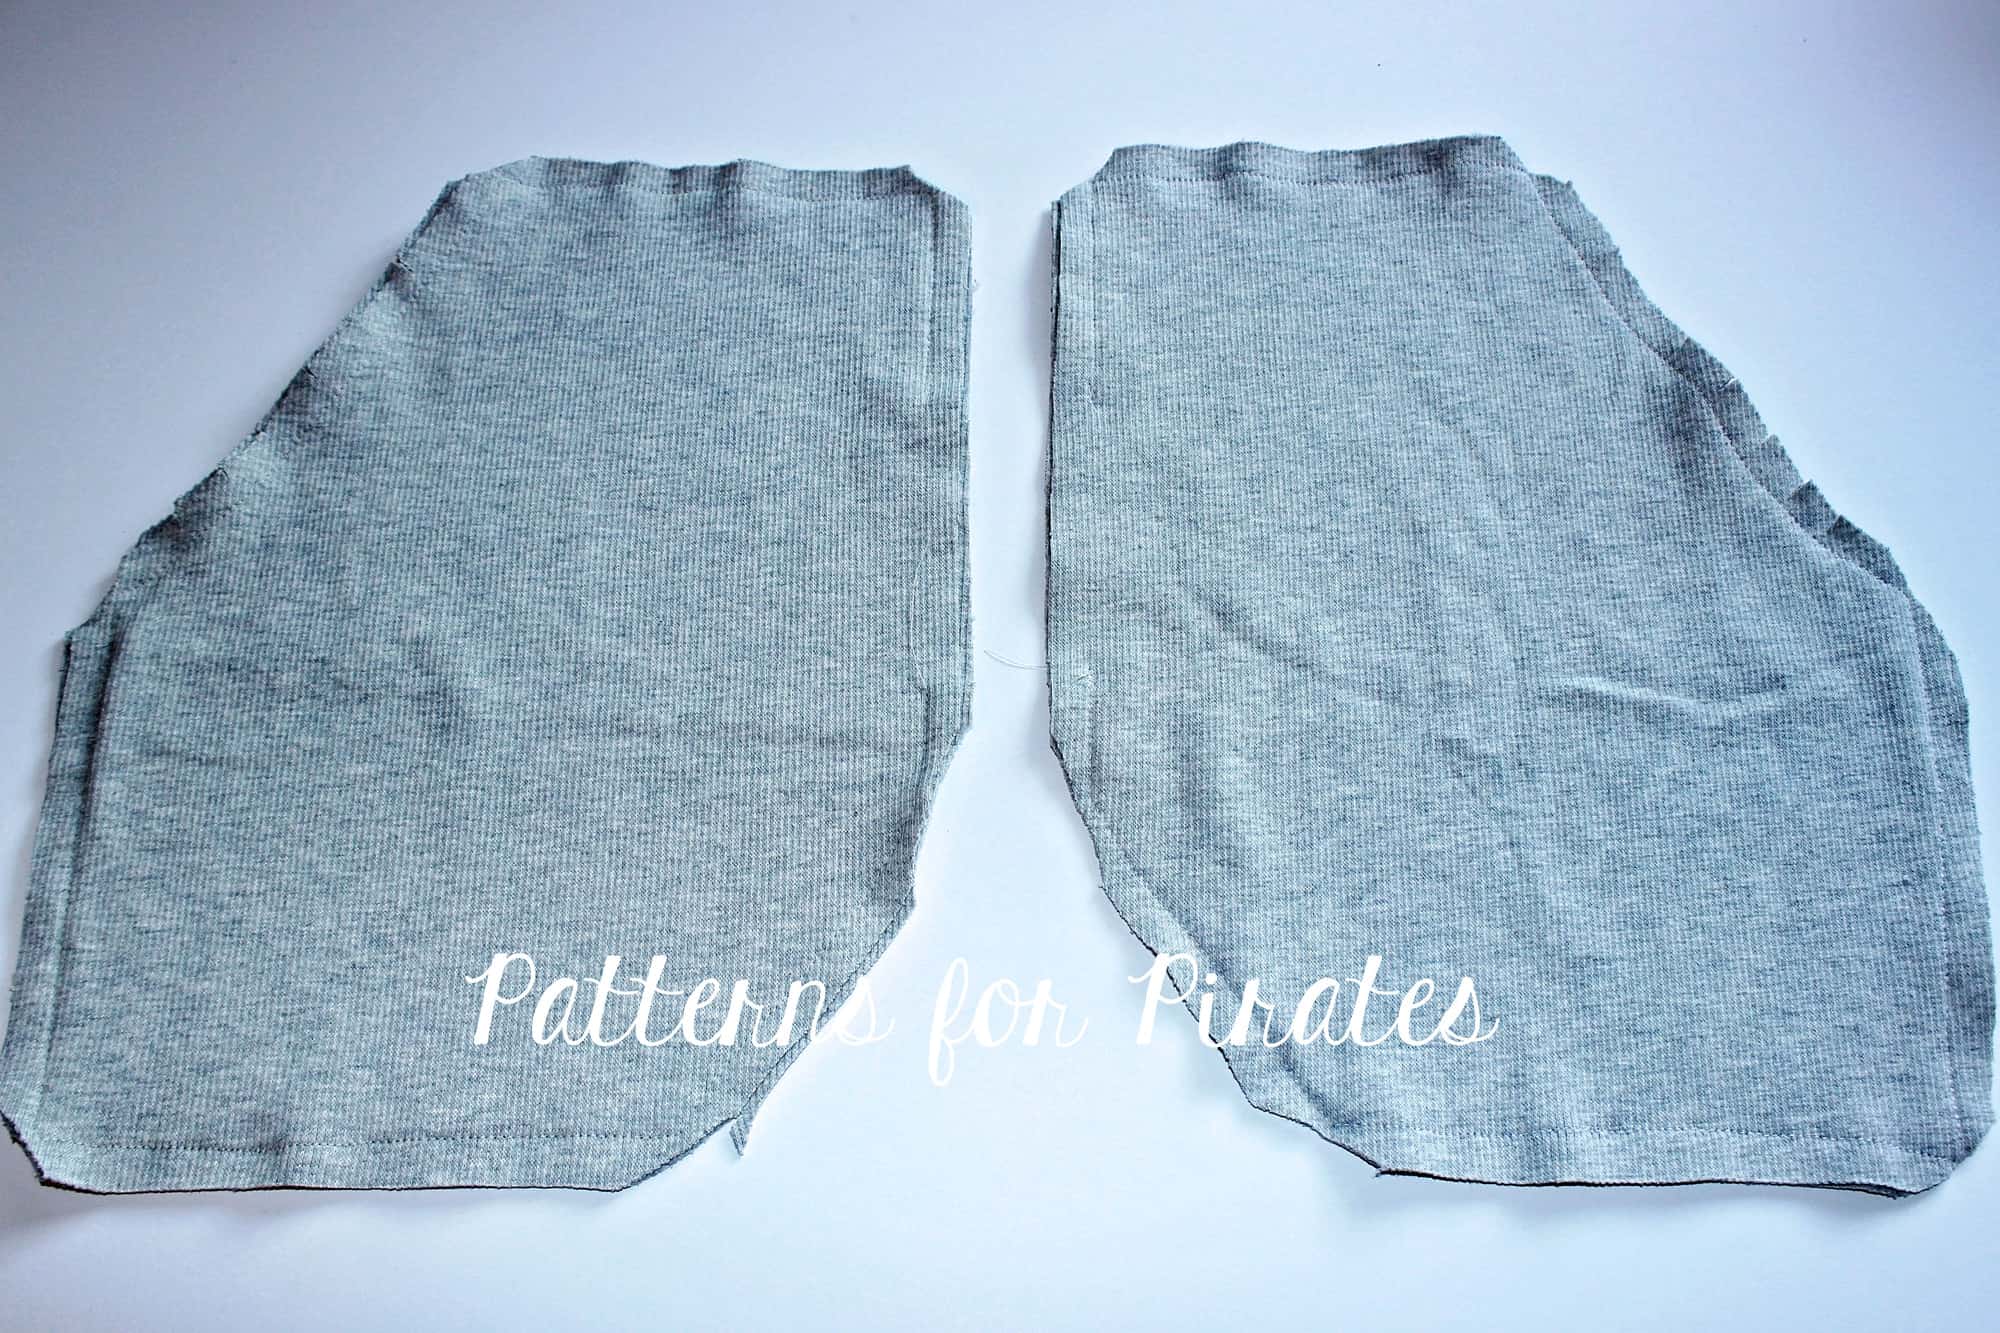
Take your pockets and place them right side together. Sew around the edge with a 1/2″ seam allowance, leaving 2-3″ opening so we can turn the pocket.

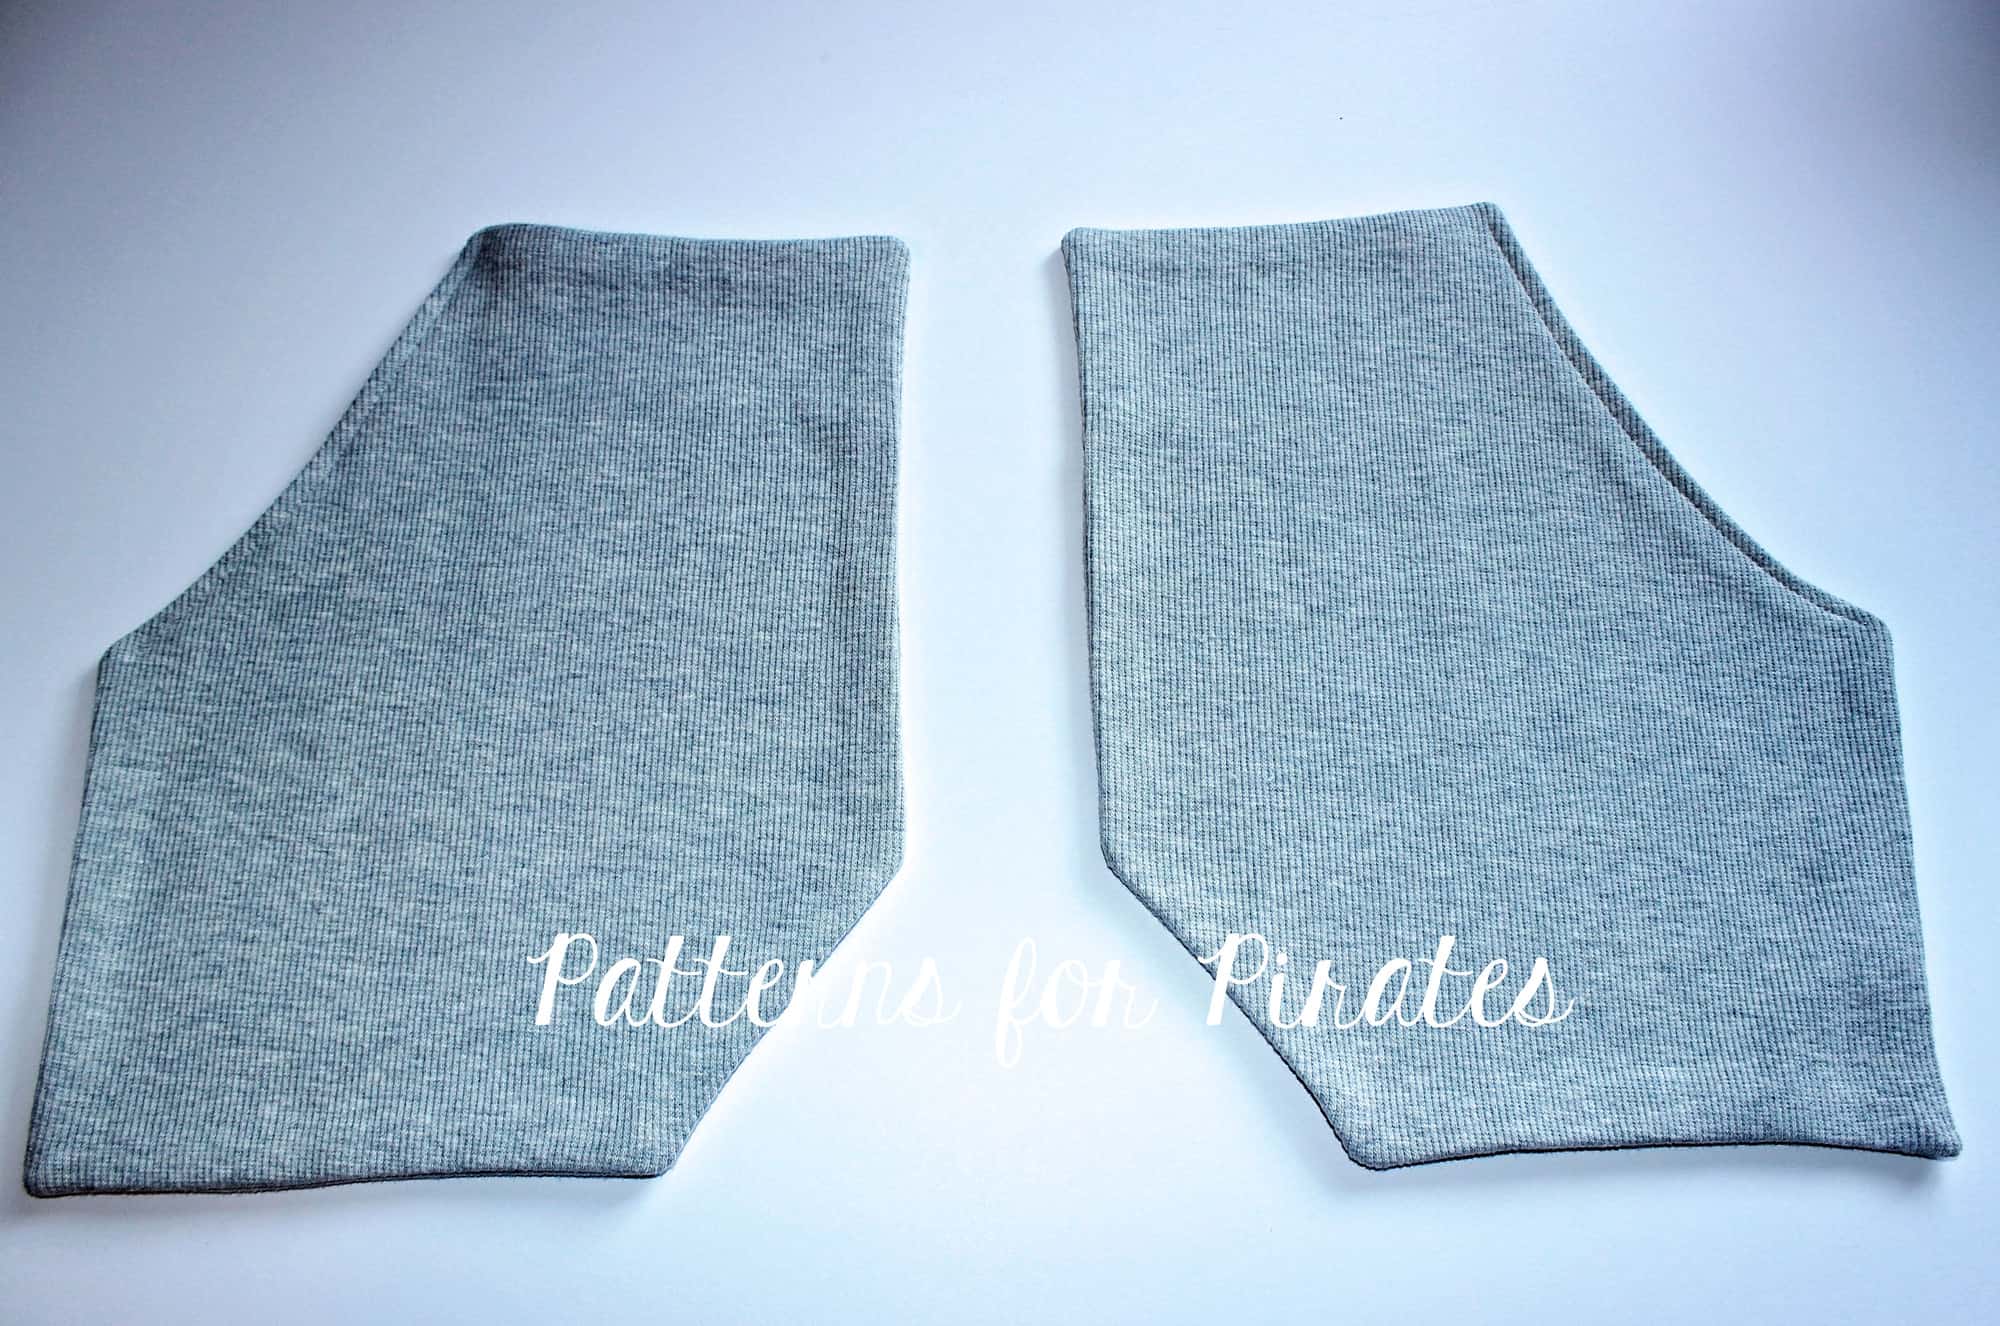
Clip the corners and snip the curve of the pocket as close to the seam as possible (without clipping the stitch). Turn your pocket inside out a press very well. Repeat with the other pocket.

Top stitch only the pocket curve opening.

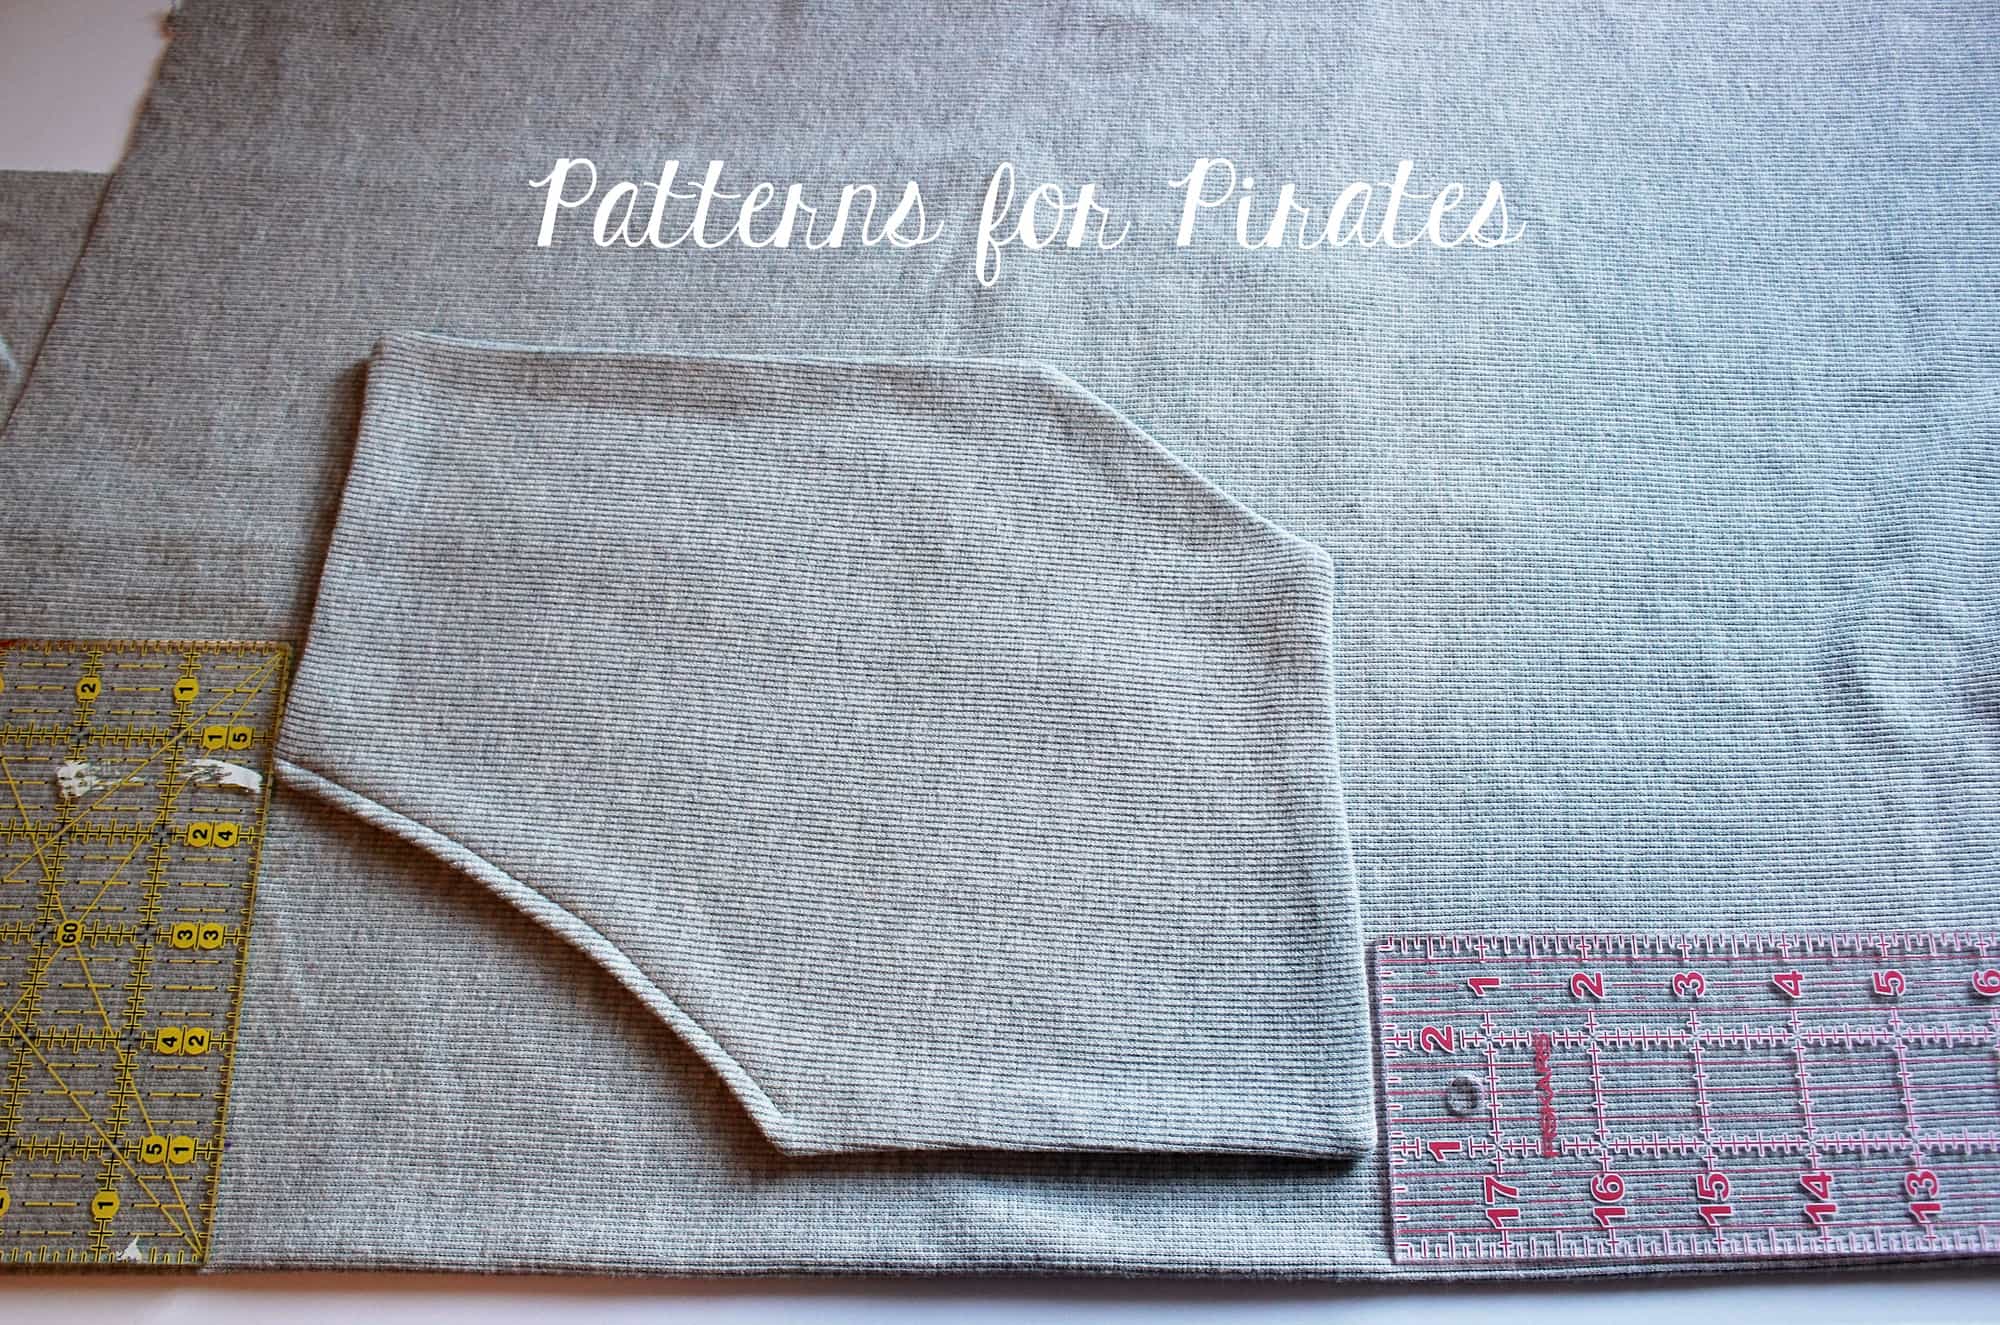
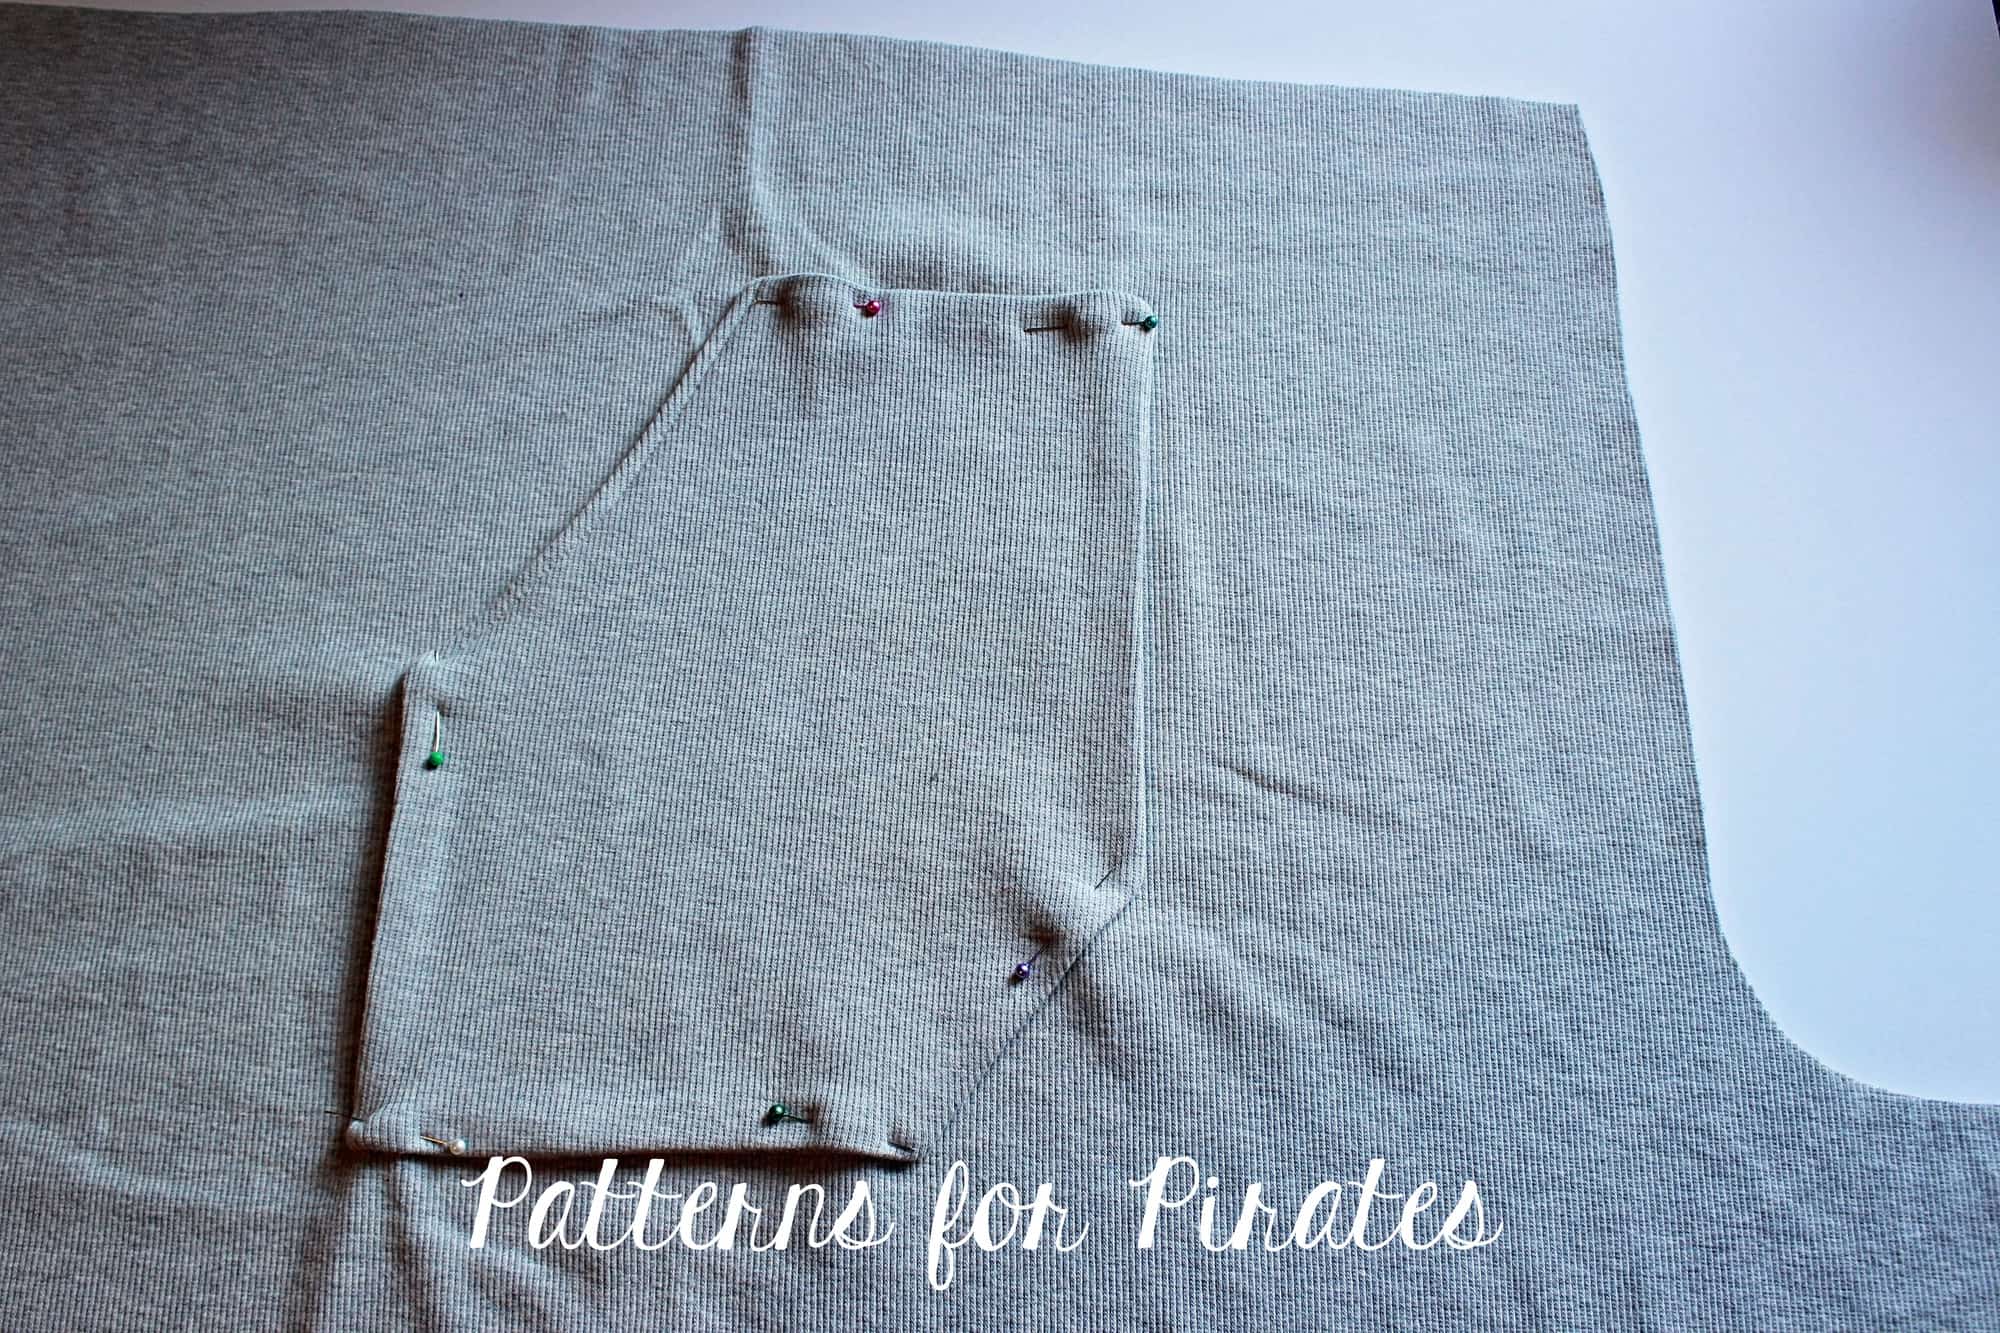
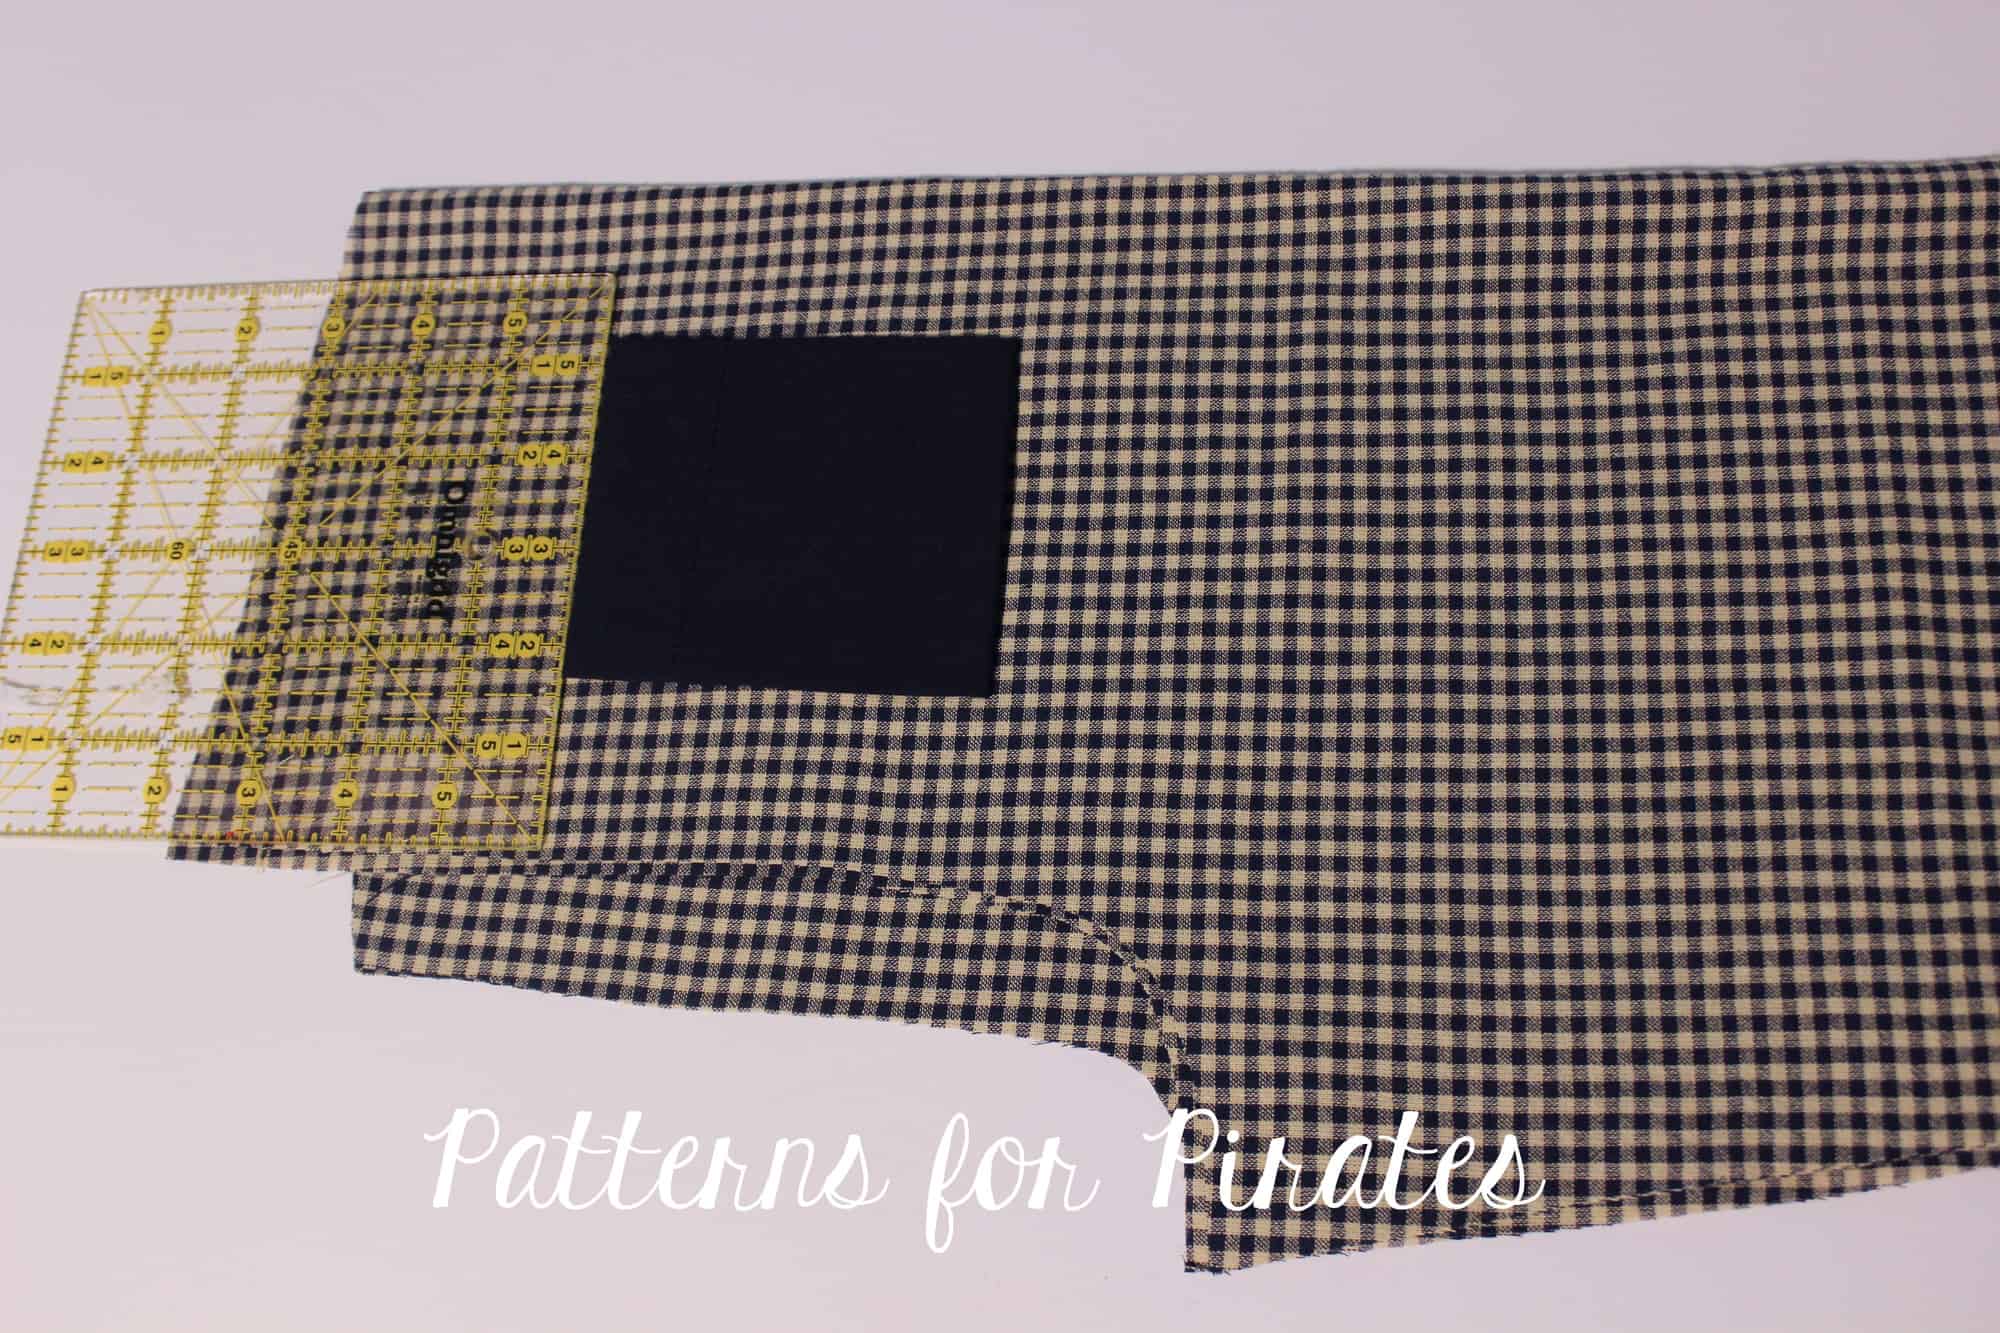
Take the pants pattern piece and place it right side up. Fold the pants so the inseam matches making sure the front is on top. Measure 4″ down from the waist edge and 1 inch away from the side fold. Place the pocket as in the picture below and pin in place.

Note: you will need to adjust these measurements if you are making the kids Walk the Plank pj pants.

Sew the pocket to the pants making sure you leave the pocket curve open. You will only be sewing around the 5 straight edges. Repeat for the other leg.

That’s it! You added patch pockets to the pajama pants. Simply continue to construct the pattern as per the tutorial and enjoy a new pair of PJs WITH POCKETS!


. . . . .

Back patch pocket

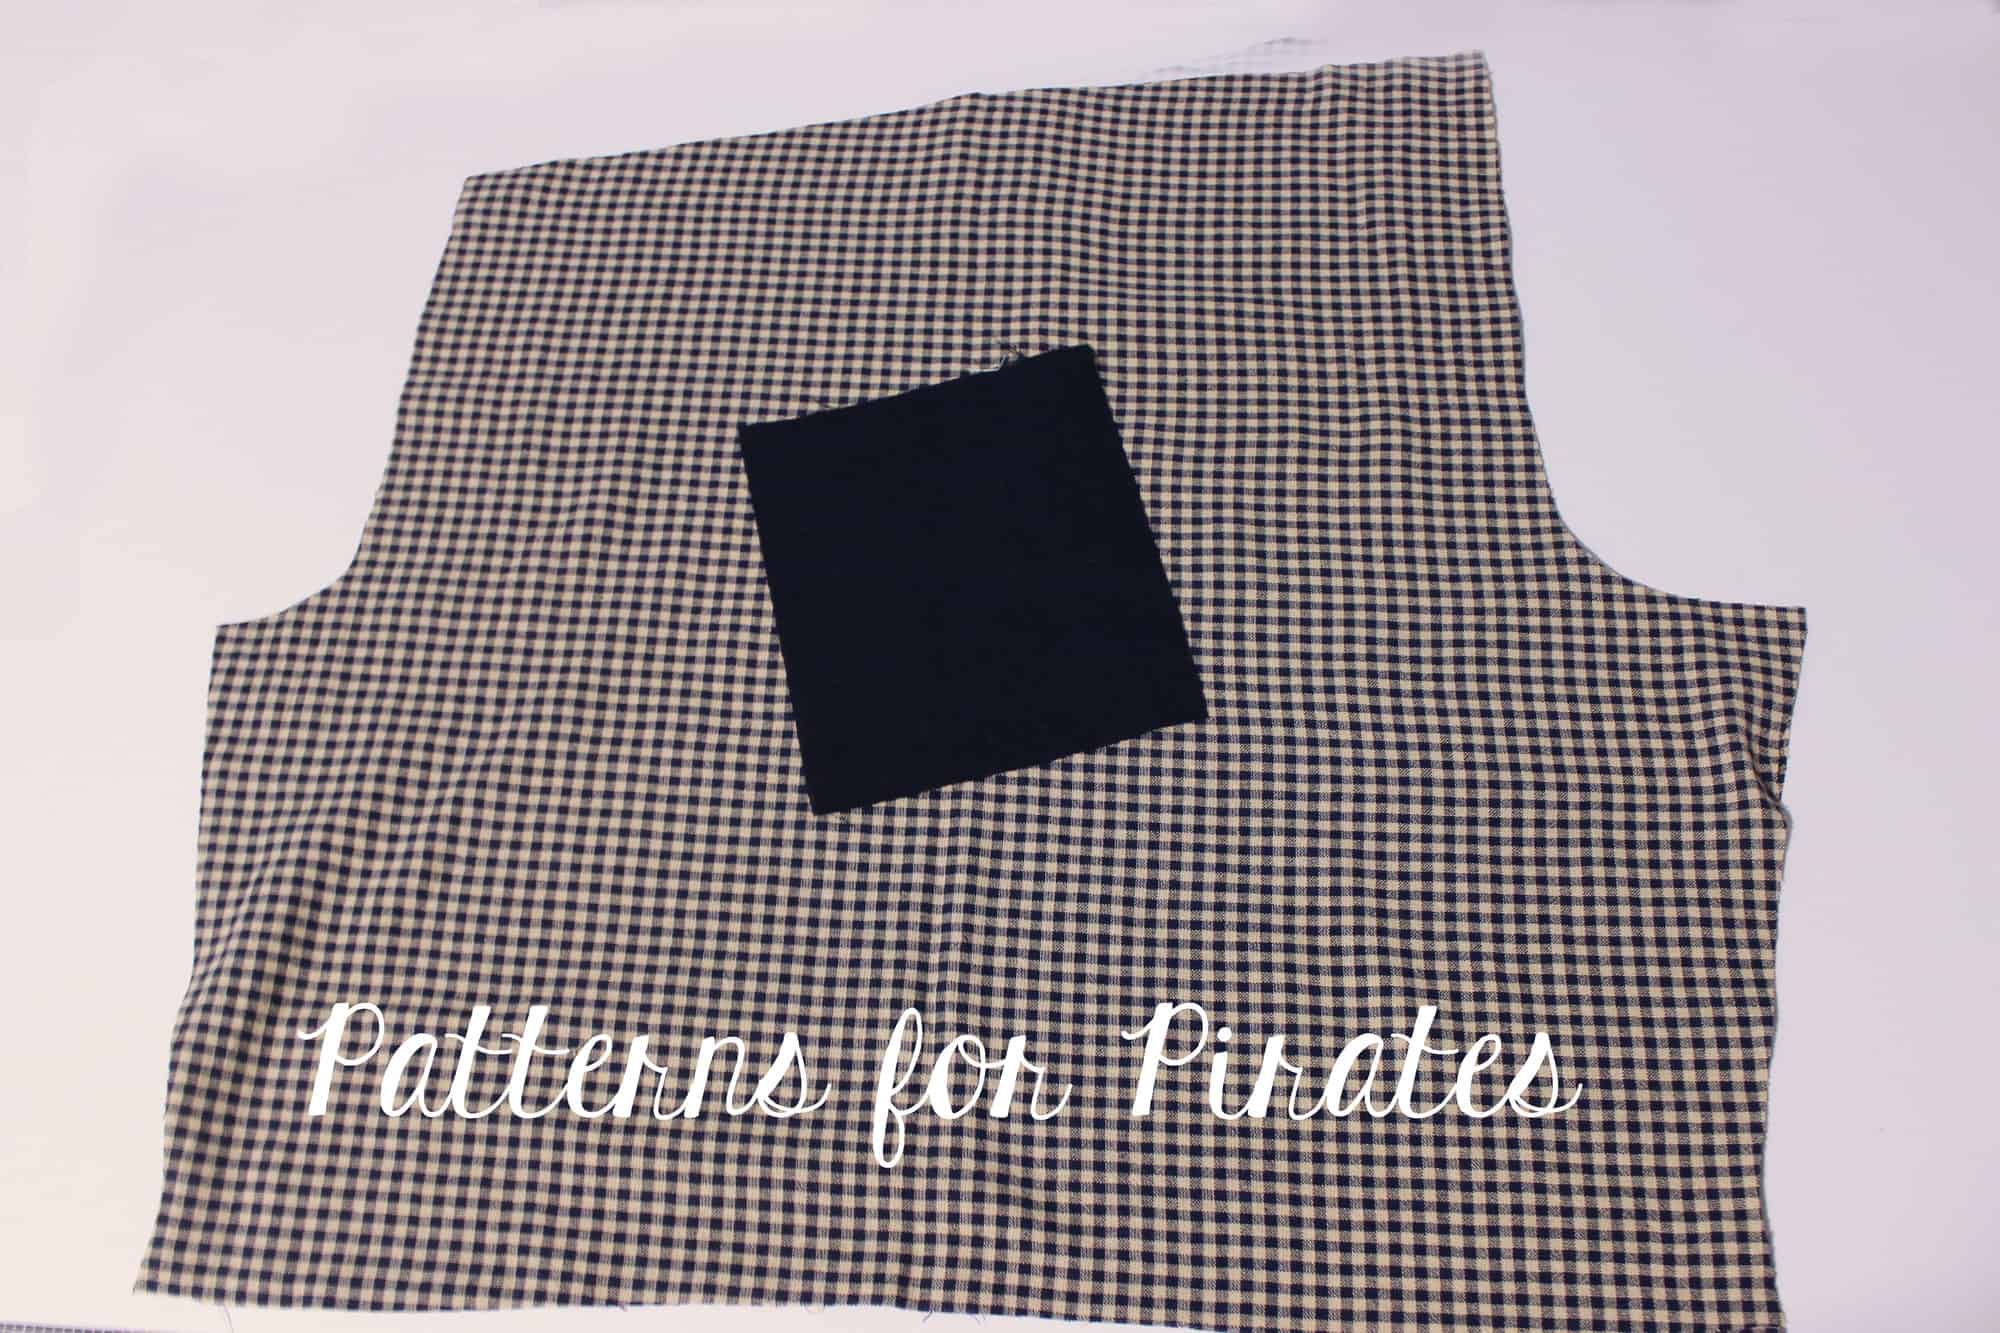
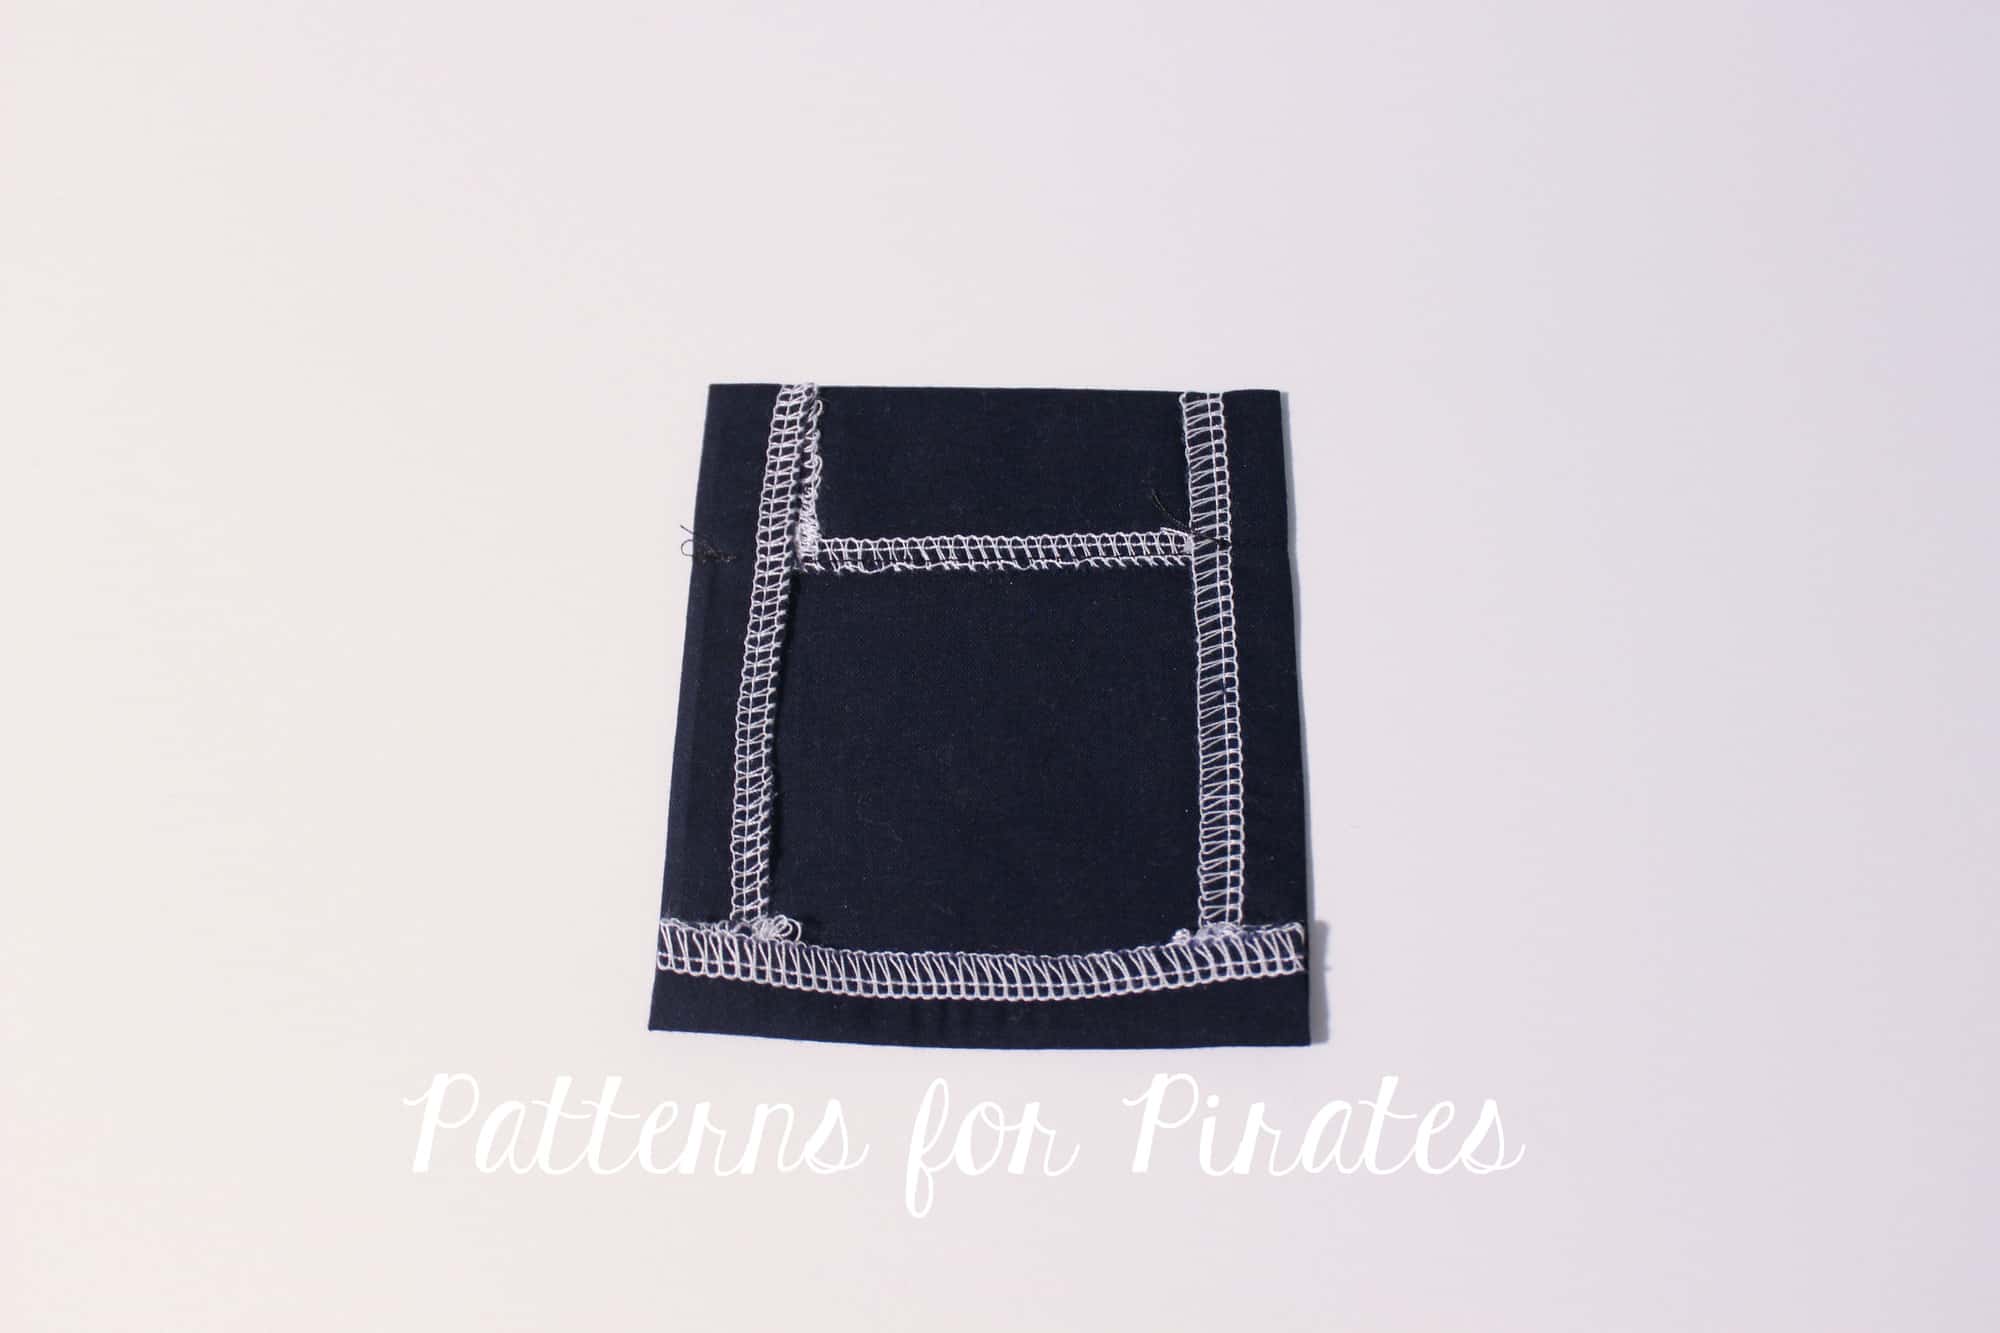
Next I want to show you how to add a back pocket to your Walk the Plank PJ pants. This hack is even easier and it does not require any additional P4P patterns. Simply cut one rectangular piece of the same fabric or a coordinating one. The size of the rectangle will vary depending on how big you would like the pocket. I cut my piece 5″ wide by 6″ tall and I am making a size 6 PJ pants.

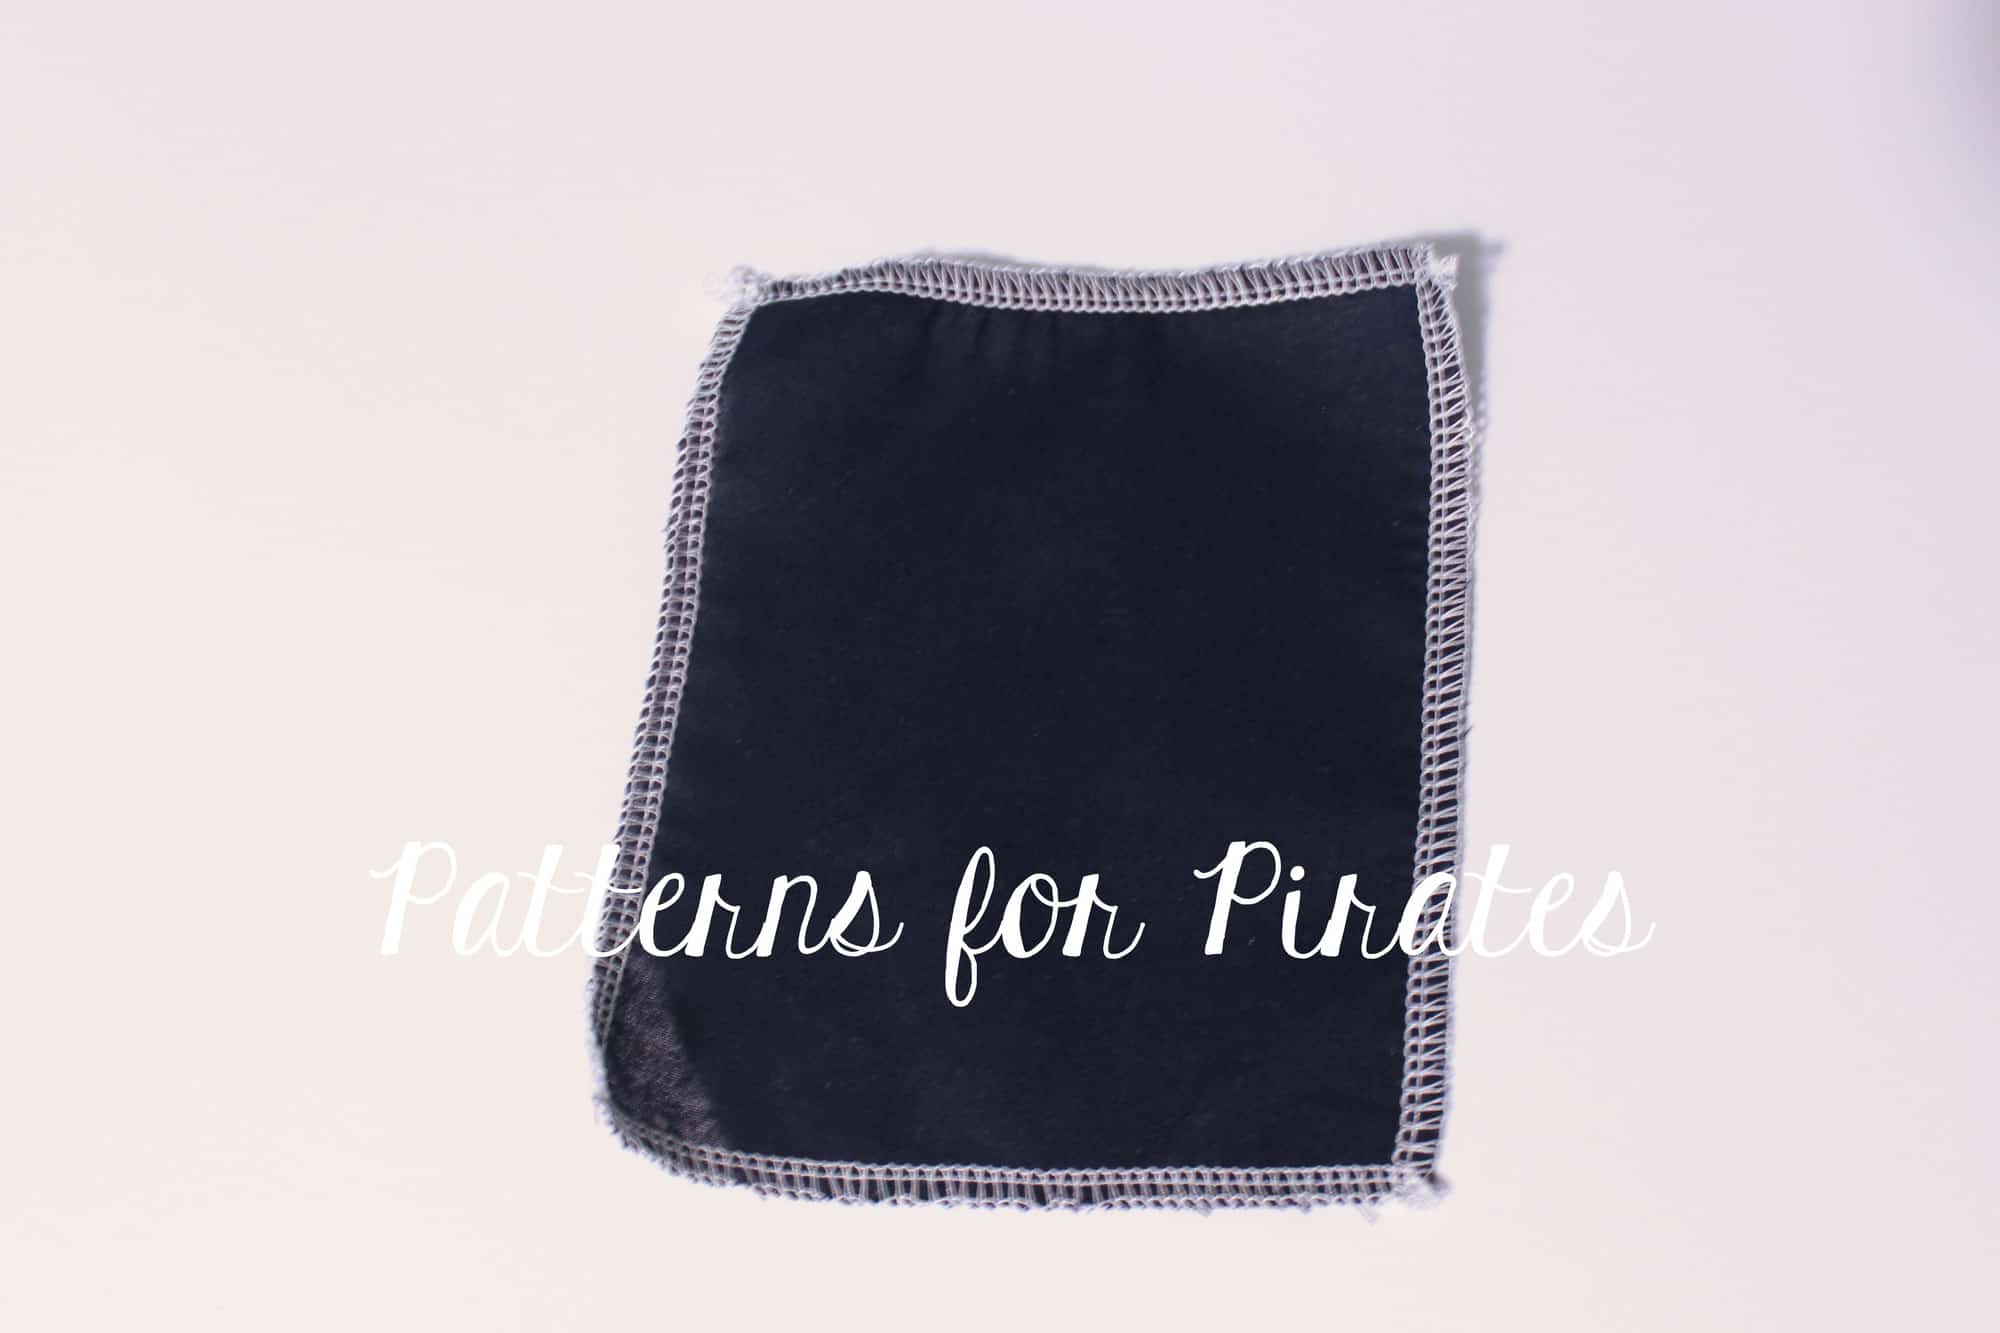
Optionally, you can serge around the edges to prevent fraying in the wash.

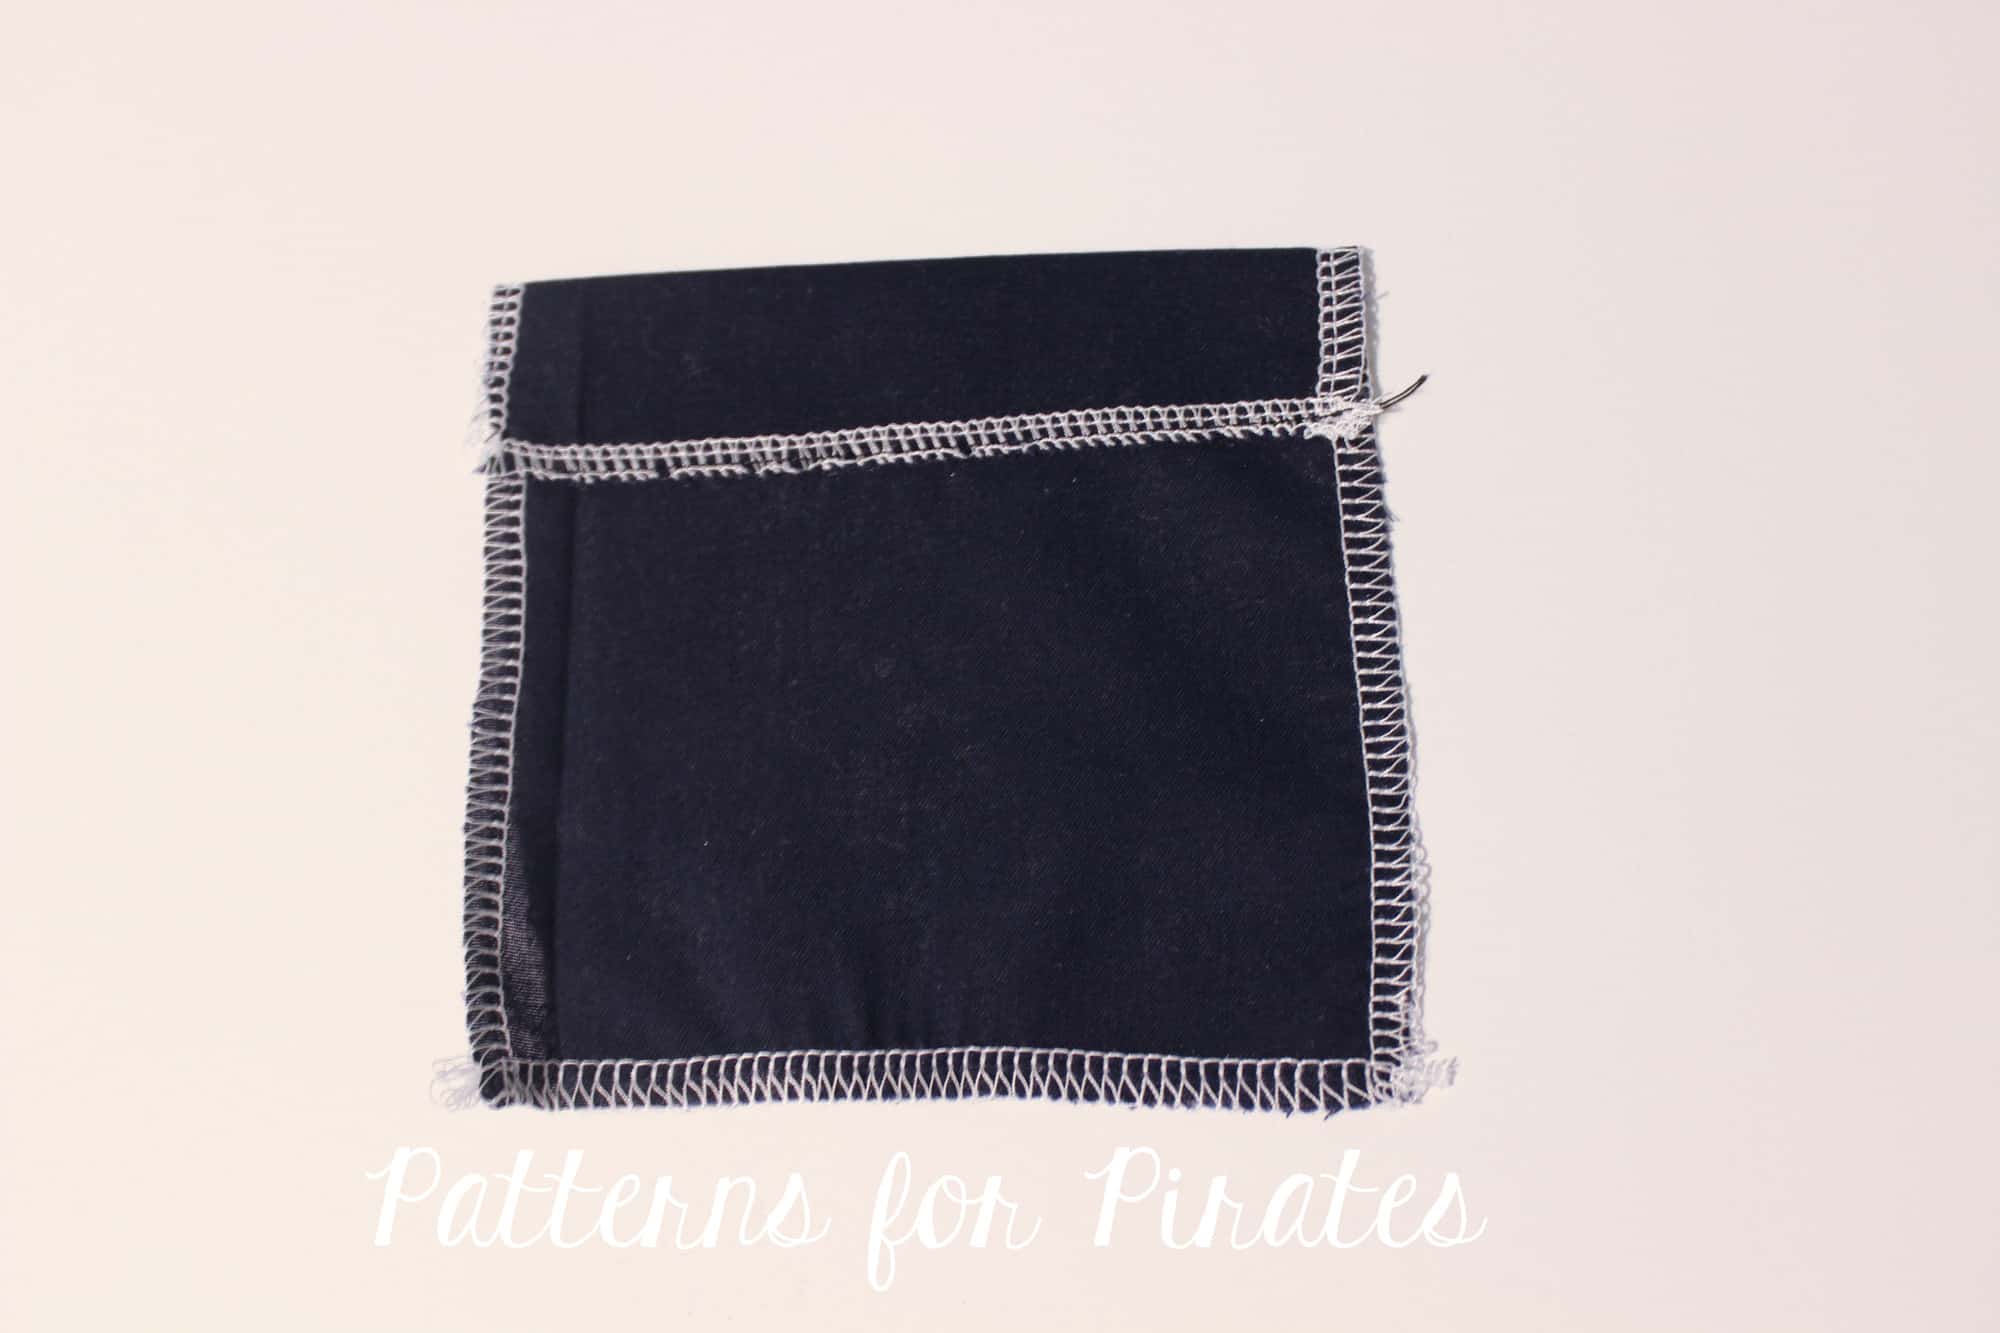
Fold the top of the pocket 1″ down, press and sew in place.

Now fold the other three sides 1/2″ and give it a good press. Do not sew them just yet.

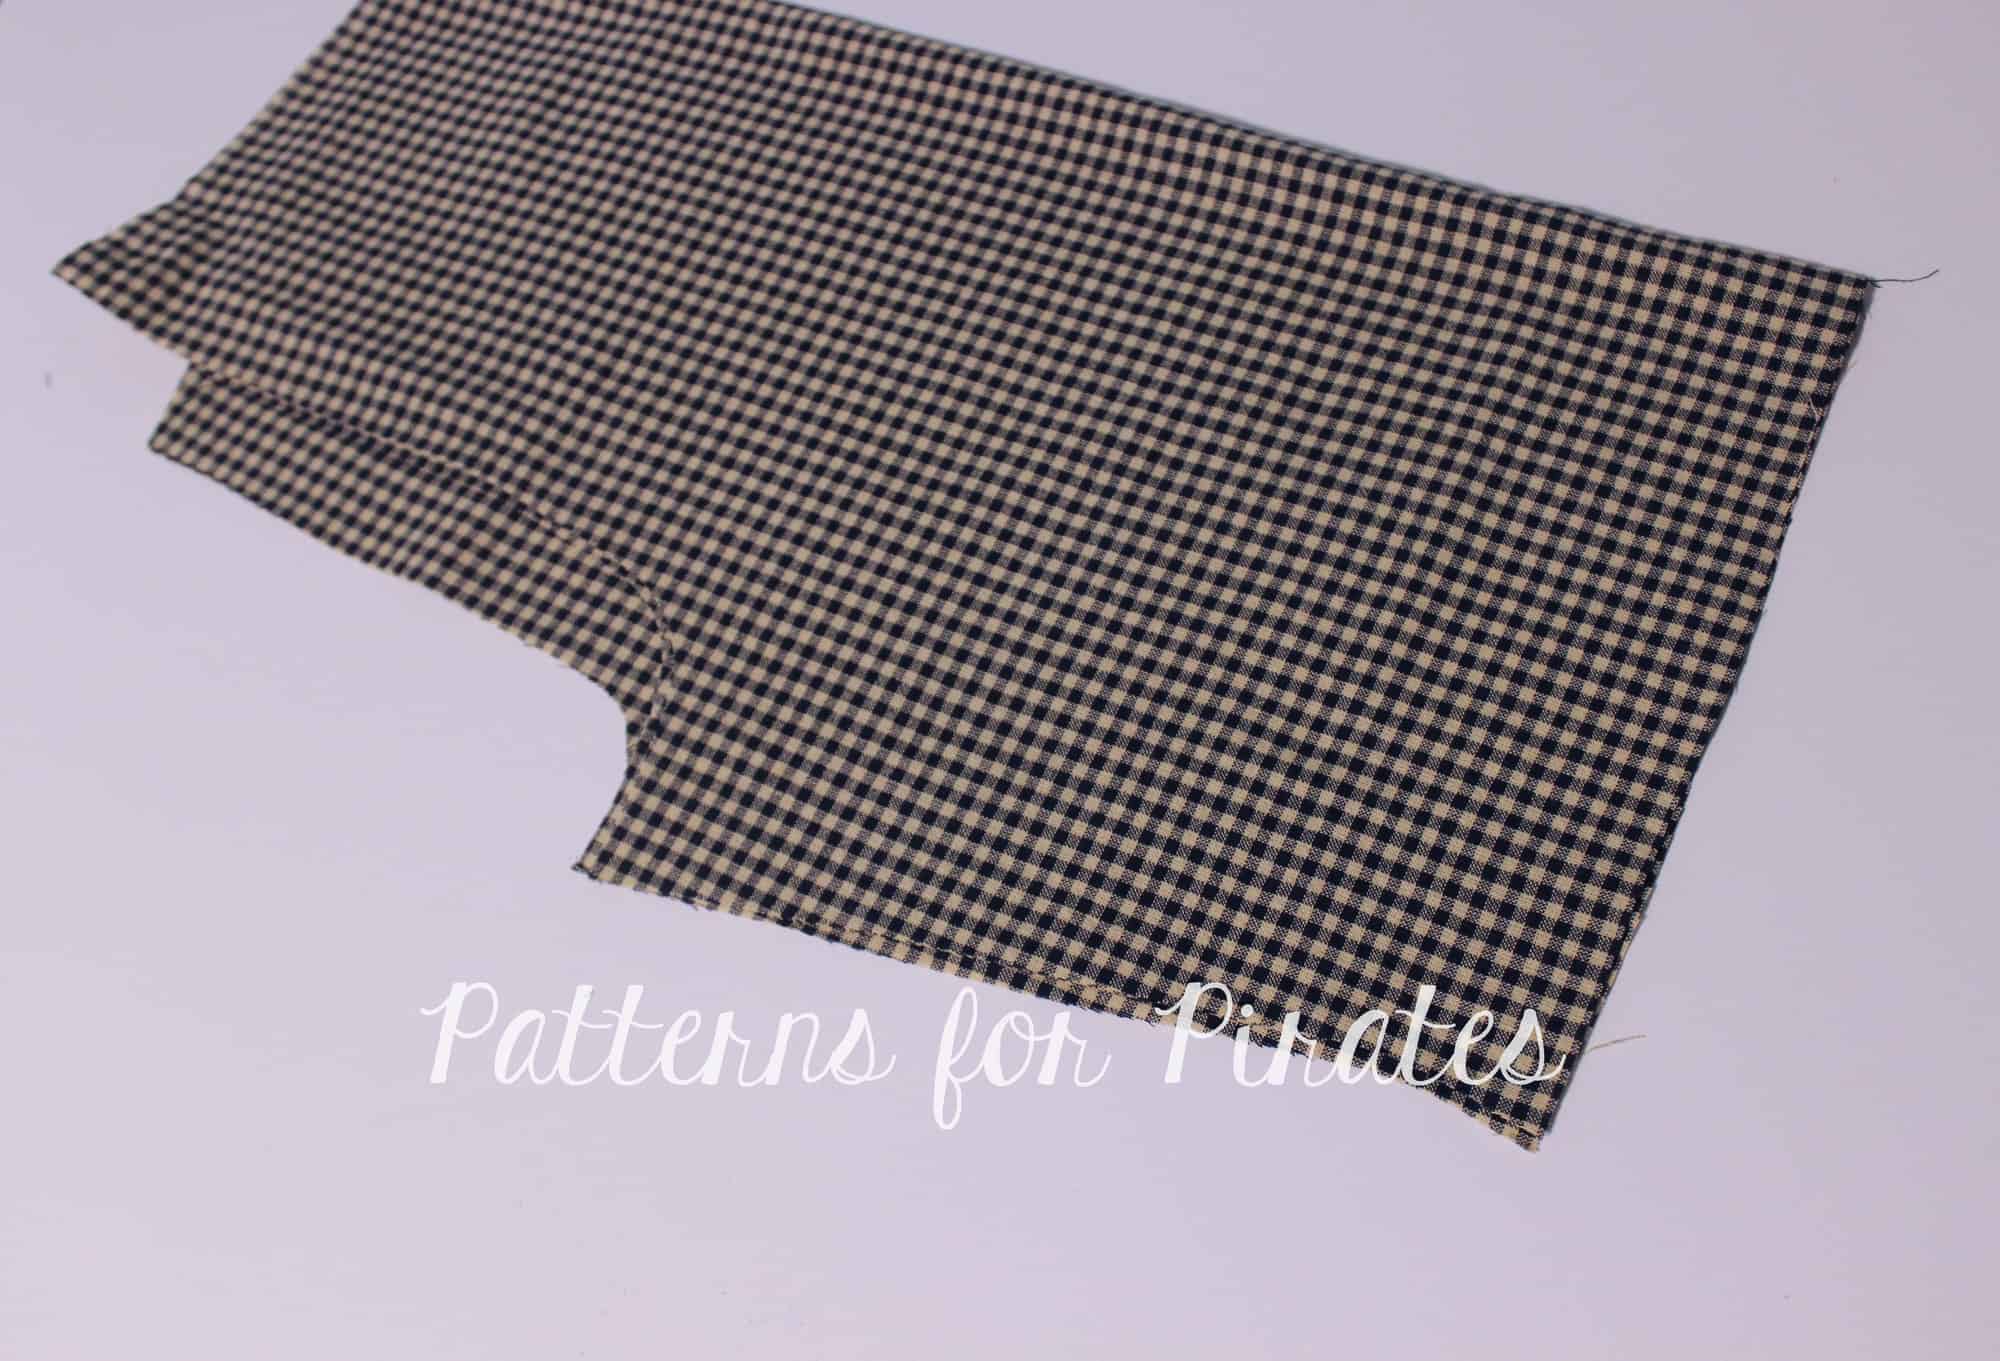
Take your pants pattern piece and with the right side out, match the inseam. Place it on the table with the back facing up. The back part of the pants is the one with the higher rise.

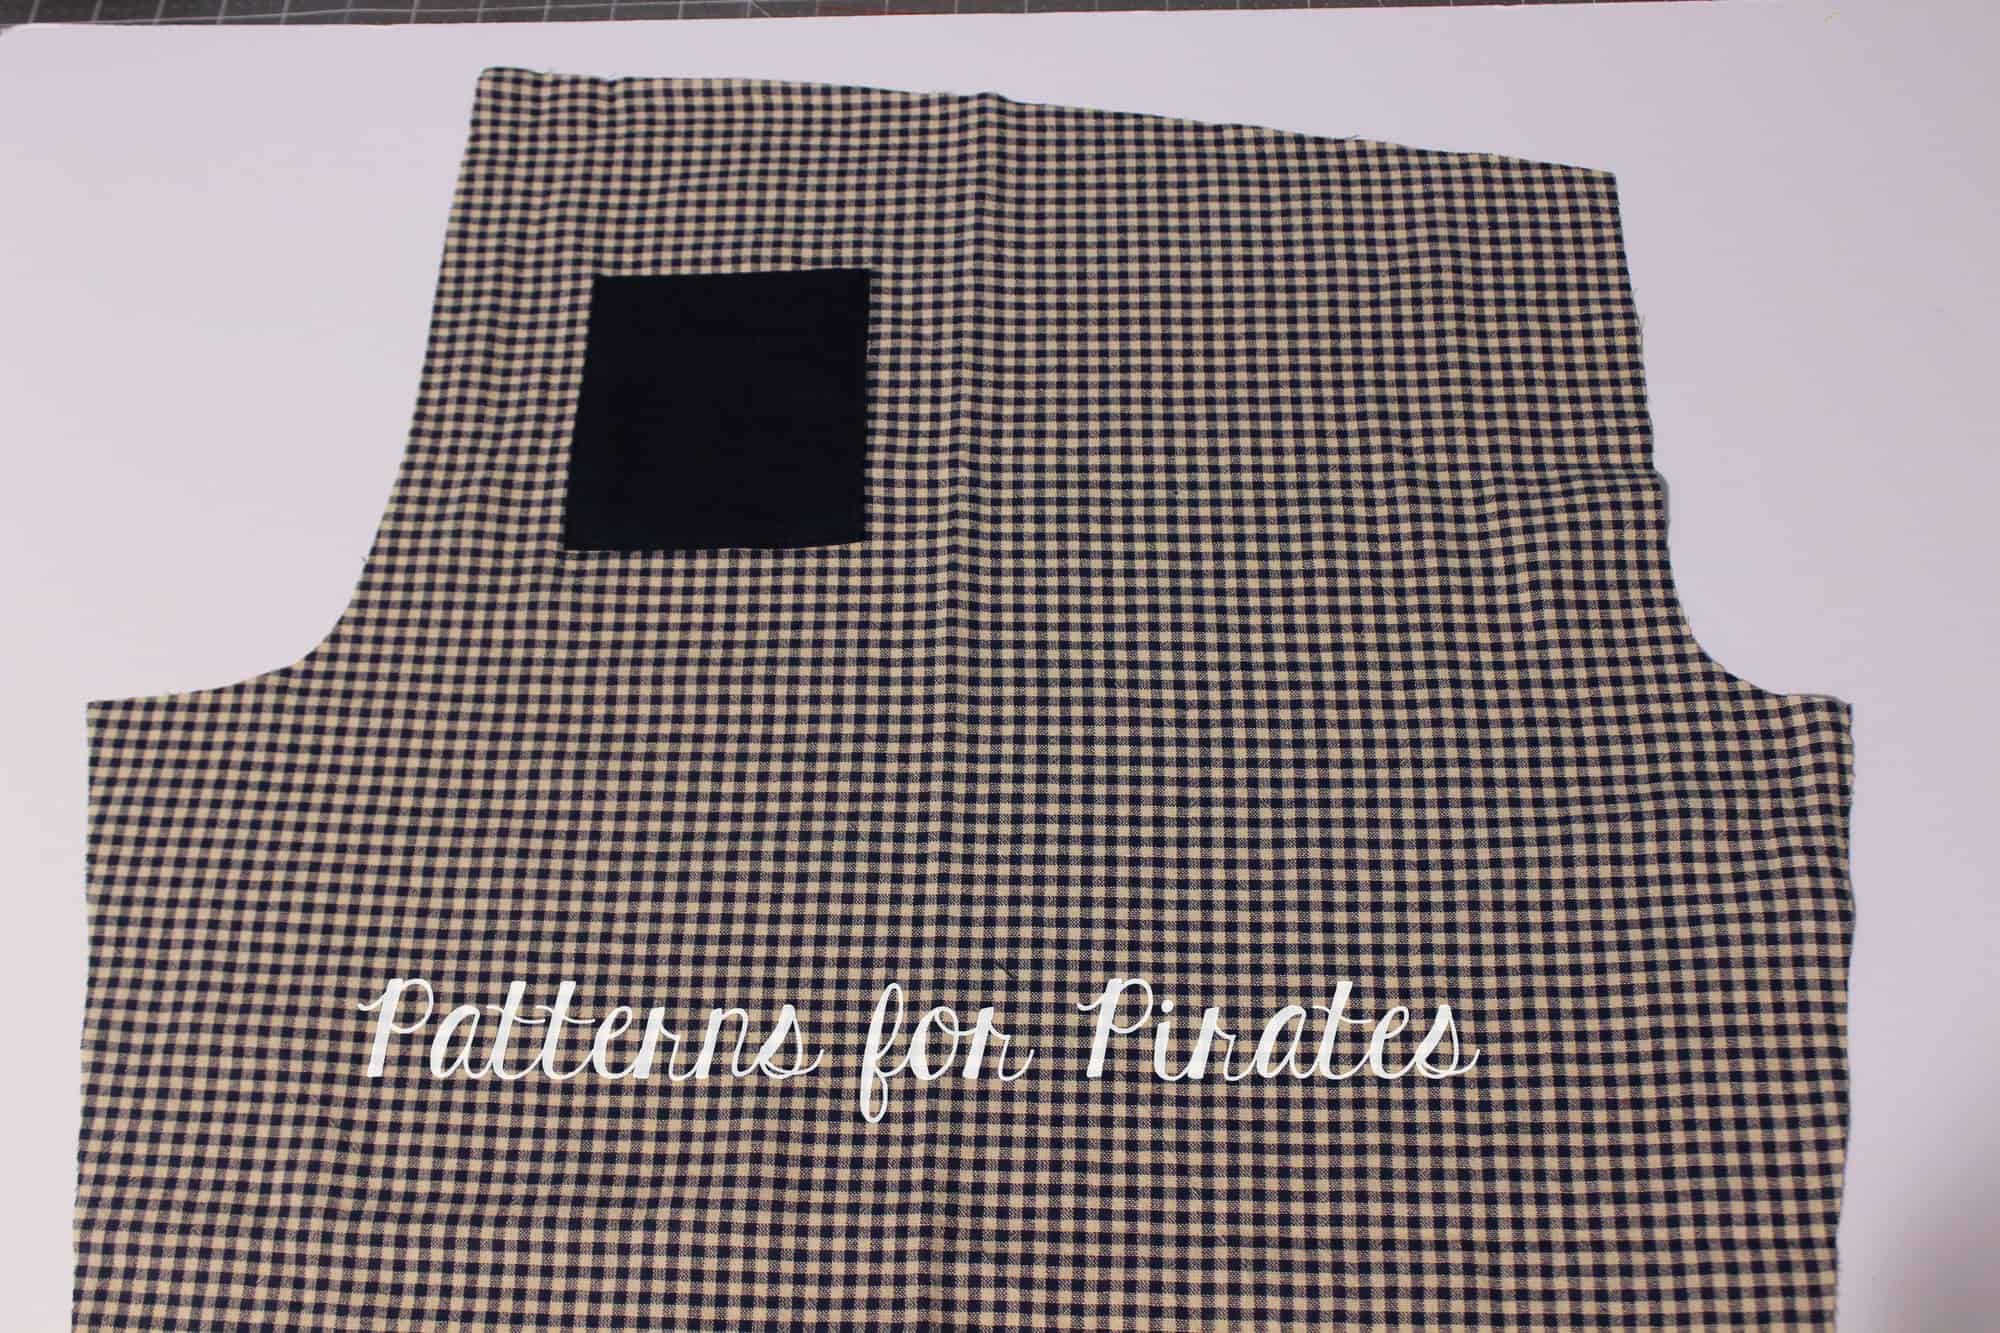
Place the pocket approximately 3″ down from the rise. Note that this placement will vary from size to size so I encourage you to baste in place insead of sewing in place if you are not sure if you’ll like where the pocket sits.

Edge sew the pocket to the pants (or baste) making sure you do not sew the top but only the bottom and the sides of the pocket.

Continue sewing the PJ pants as per the pattern tutorial and enjoy you new pair of back pocket Walk the Plank pants. 🙂

NOTE: If you basted the pocket, try the pants on! If you like where the pocket sits, stitch it in place. IF you don’t, you can easily remove the pasting stitches and relocate the pocket before you sew it in place.

. . . . .

Enclosed elastic waistband

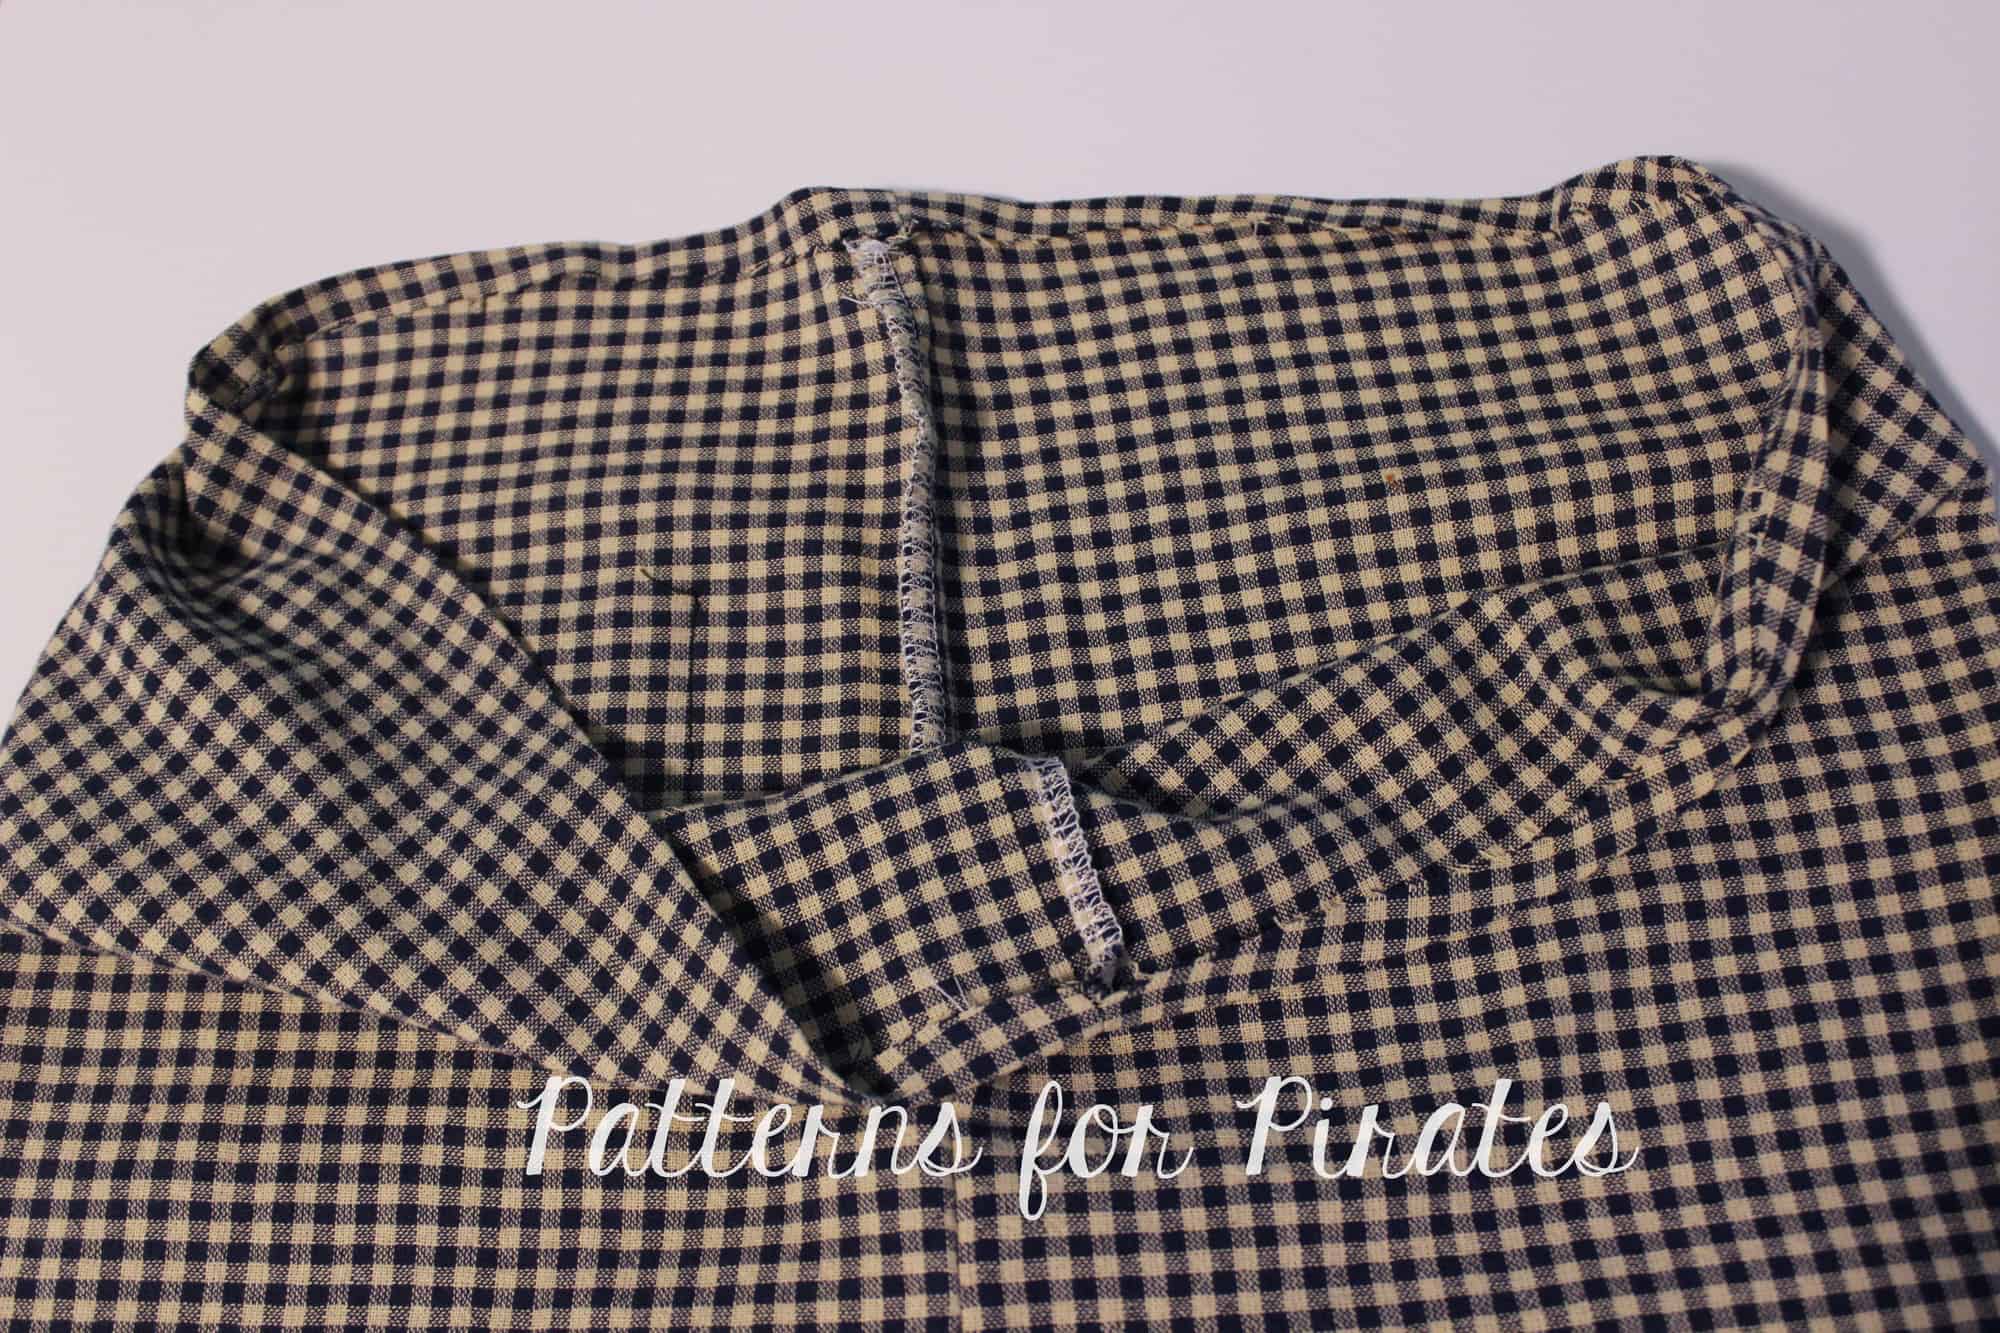
Next up I would like to show you how to enclose the elastic in the waist so you do not have any visible serged edges. Sew your PJ pants as indicated in the tutorial. Press the top of the pants 1/4″ down in order to create a memory hem.

NOTE: this method will yield a rise that will be 1/4″ lower than the original pattern.

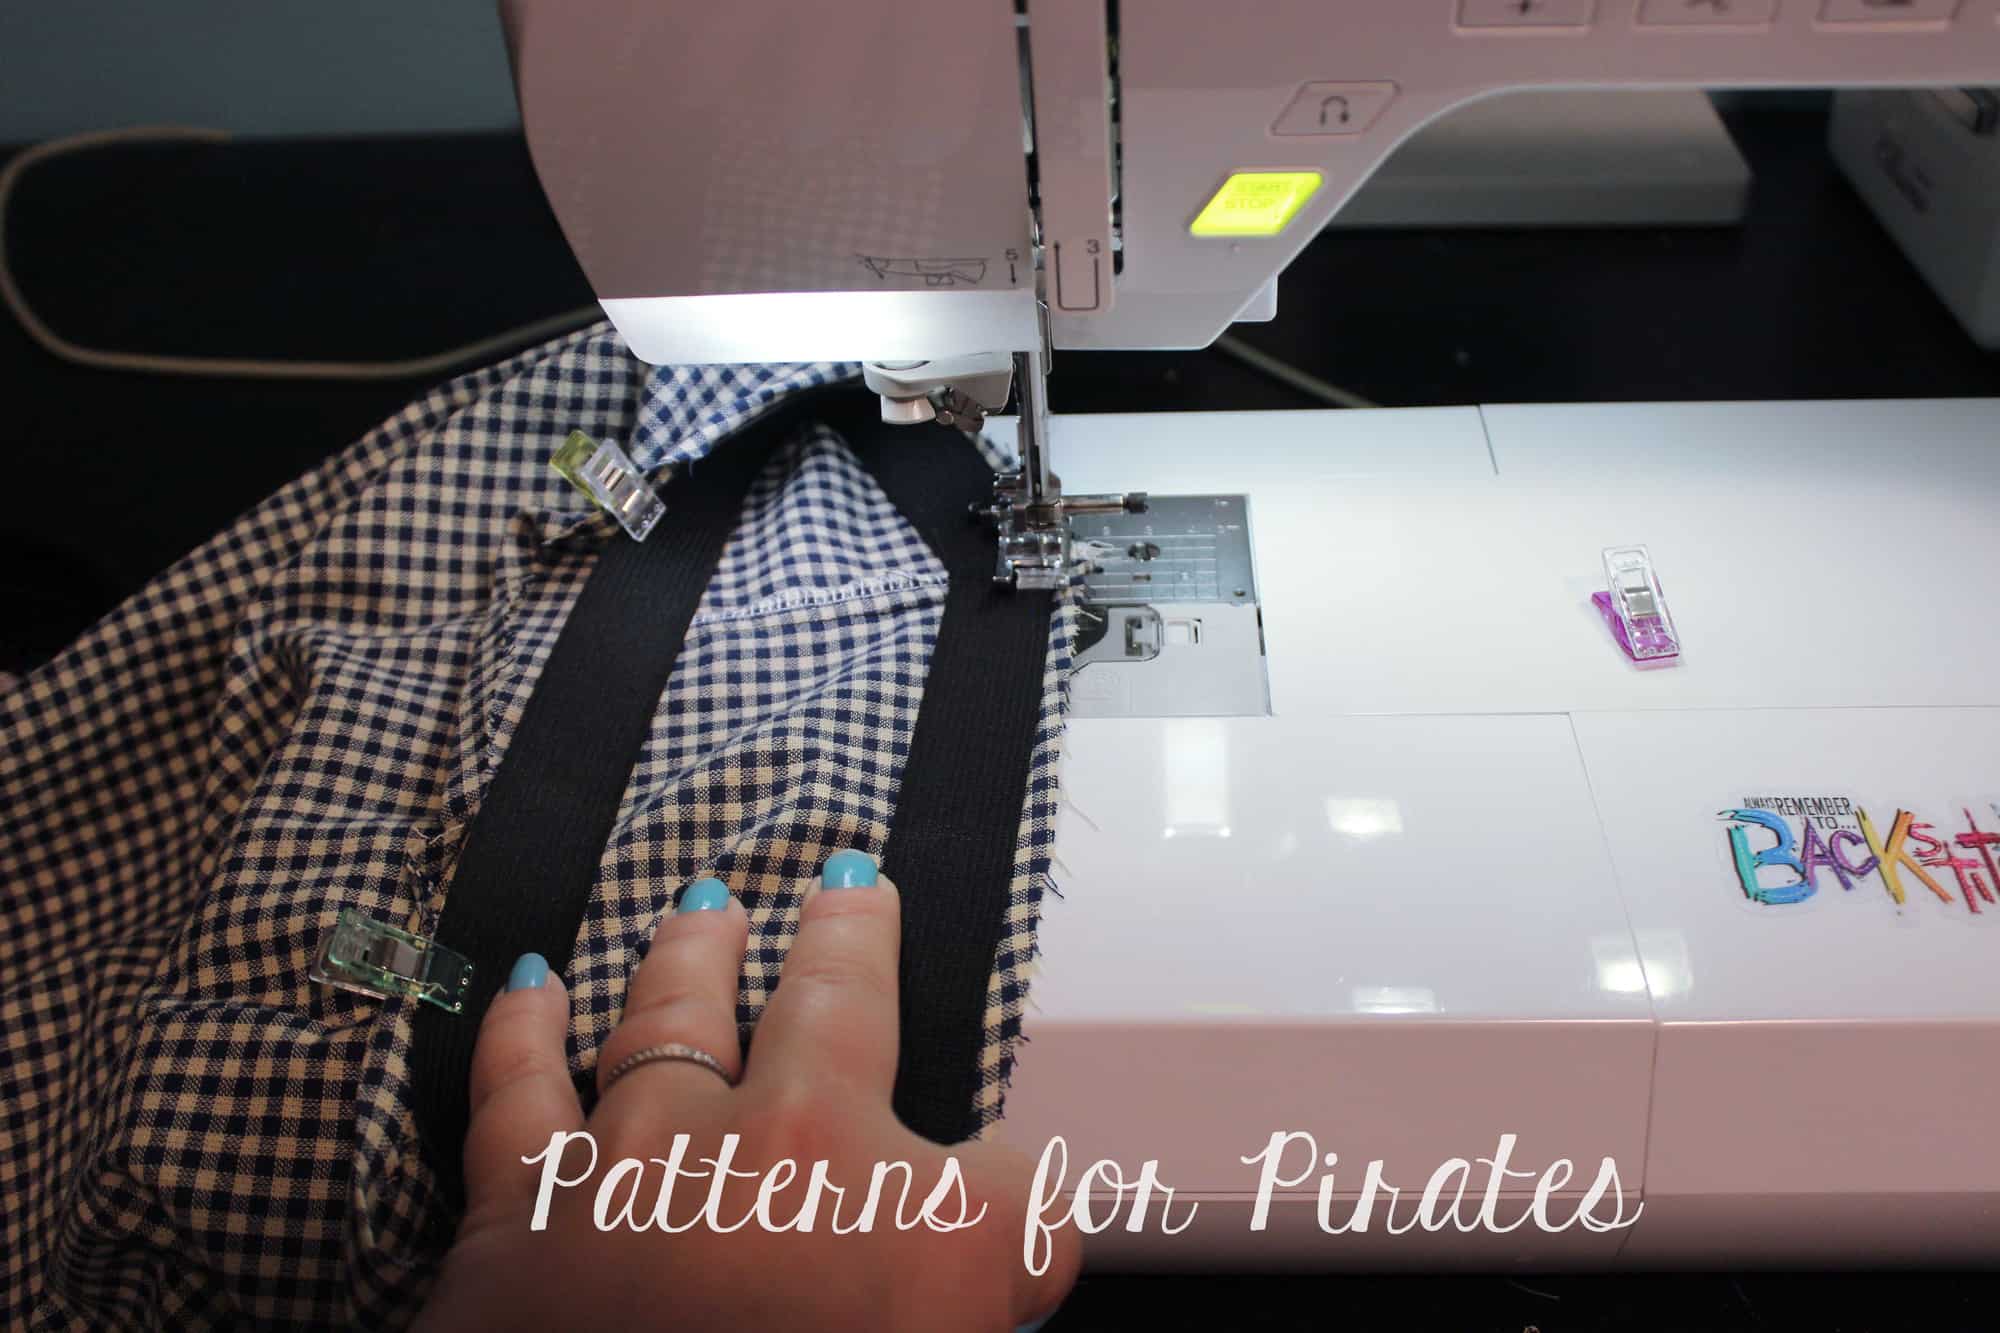
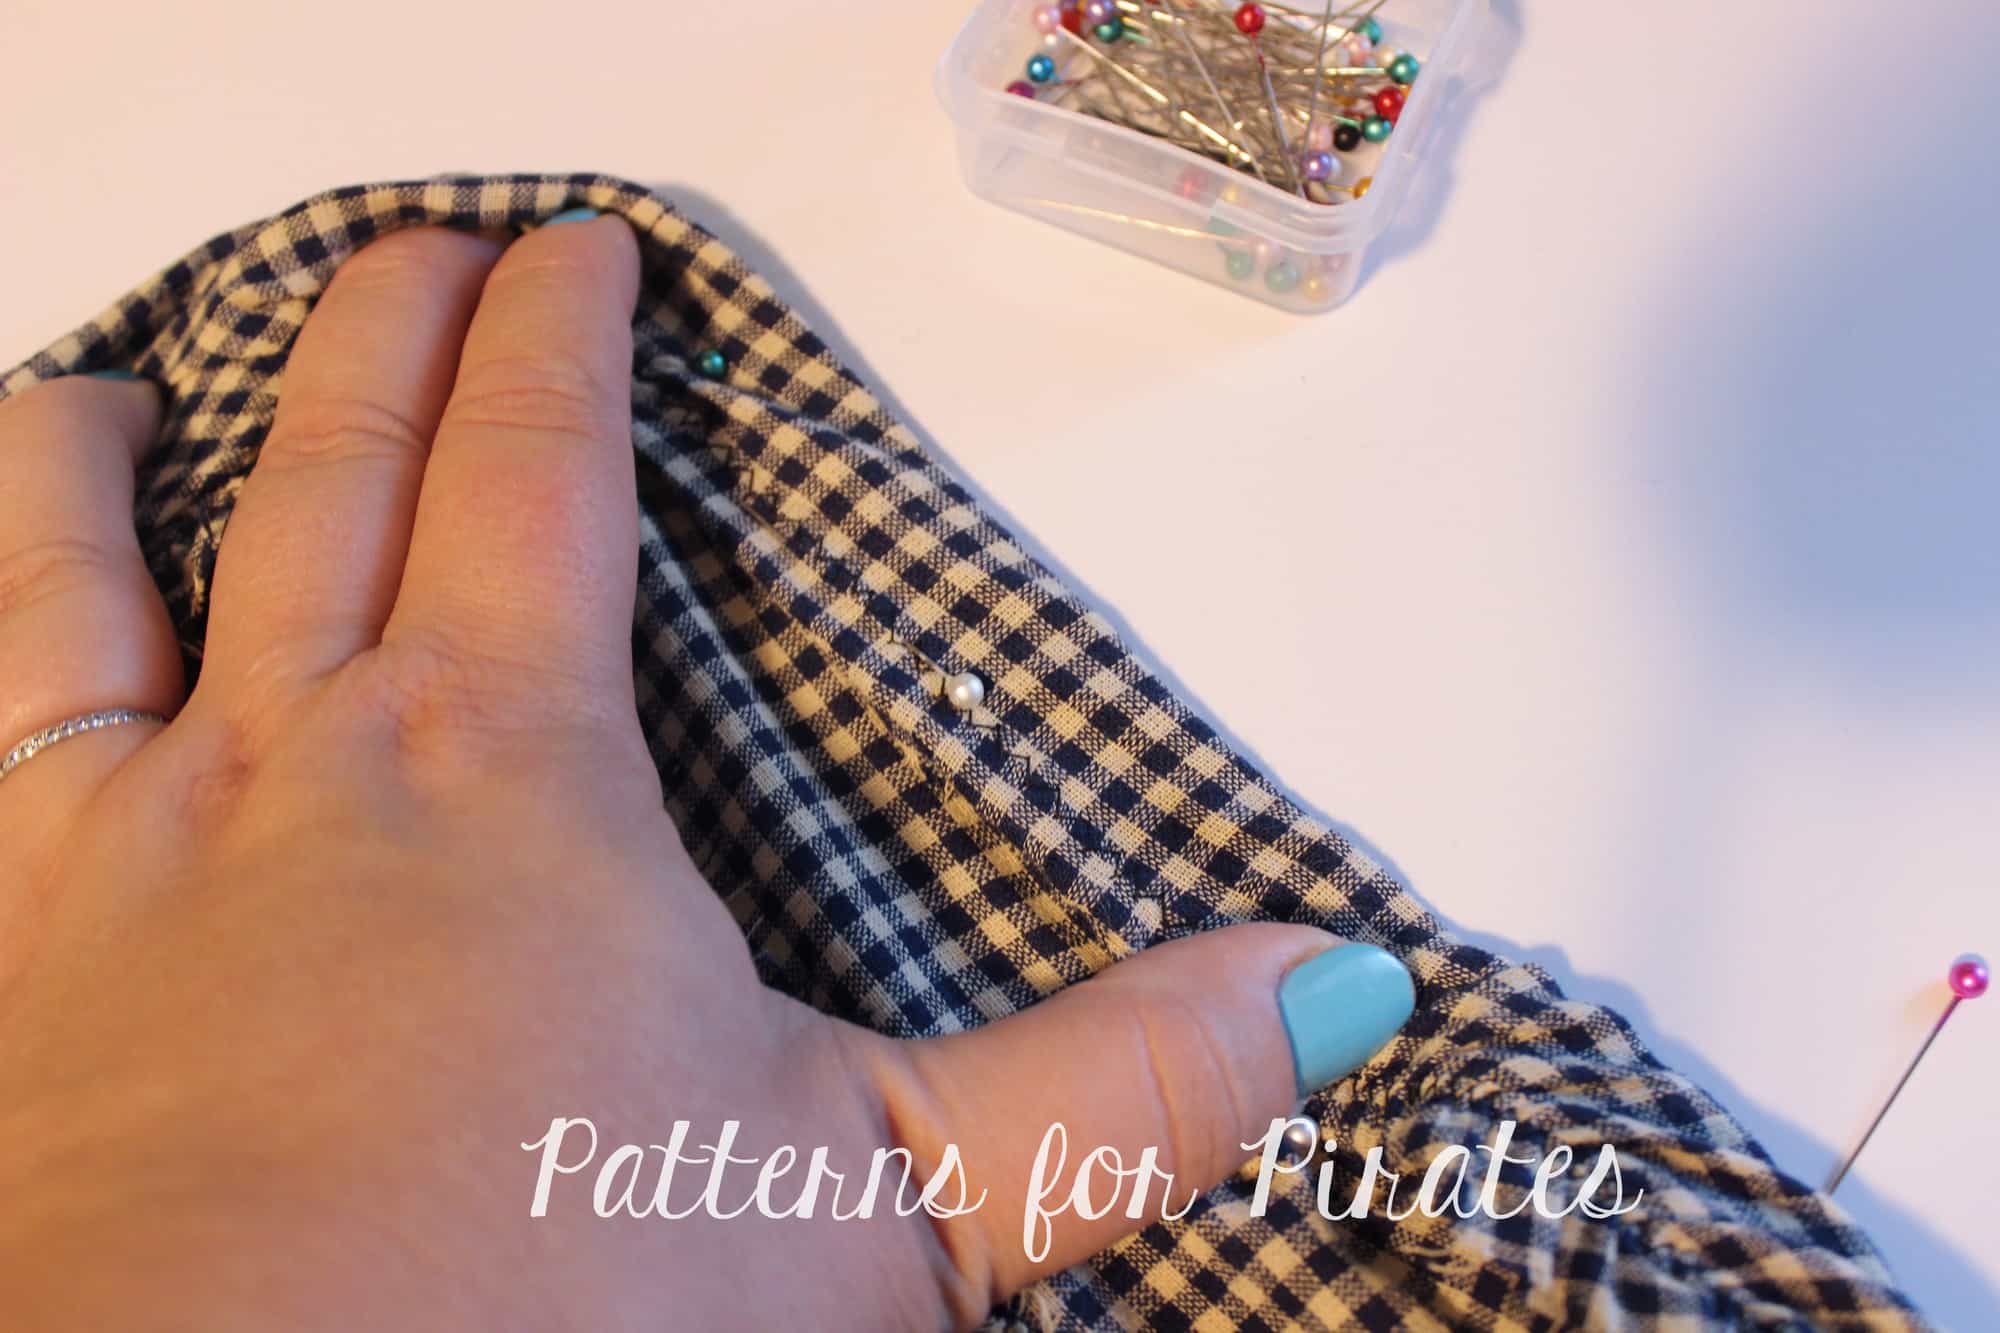
Sew the elastic in a loop (as per the pattern) and mark the quarters with pins or clips. Find the quarters of the waist opening and match the elastic quarter points to them, placing the top of the elastic 1/4″ of an inch down from the top of the pants. Use the memory crease mark as a guide.

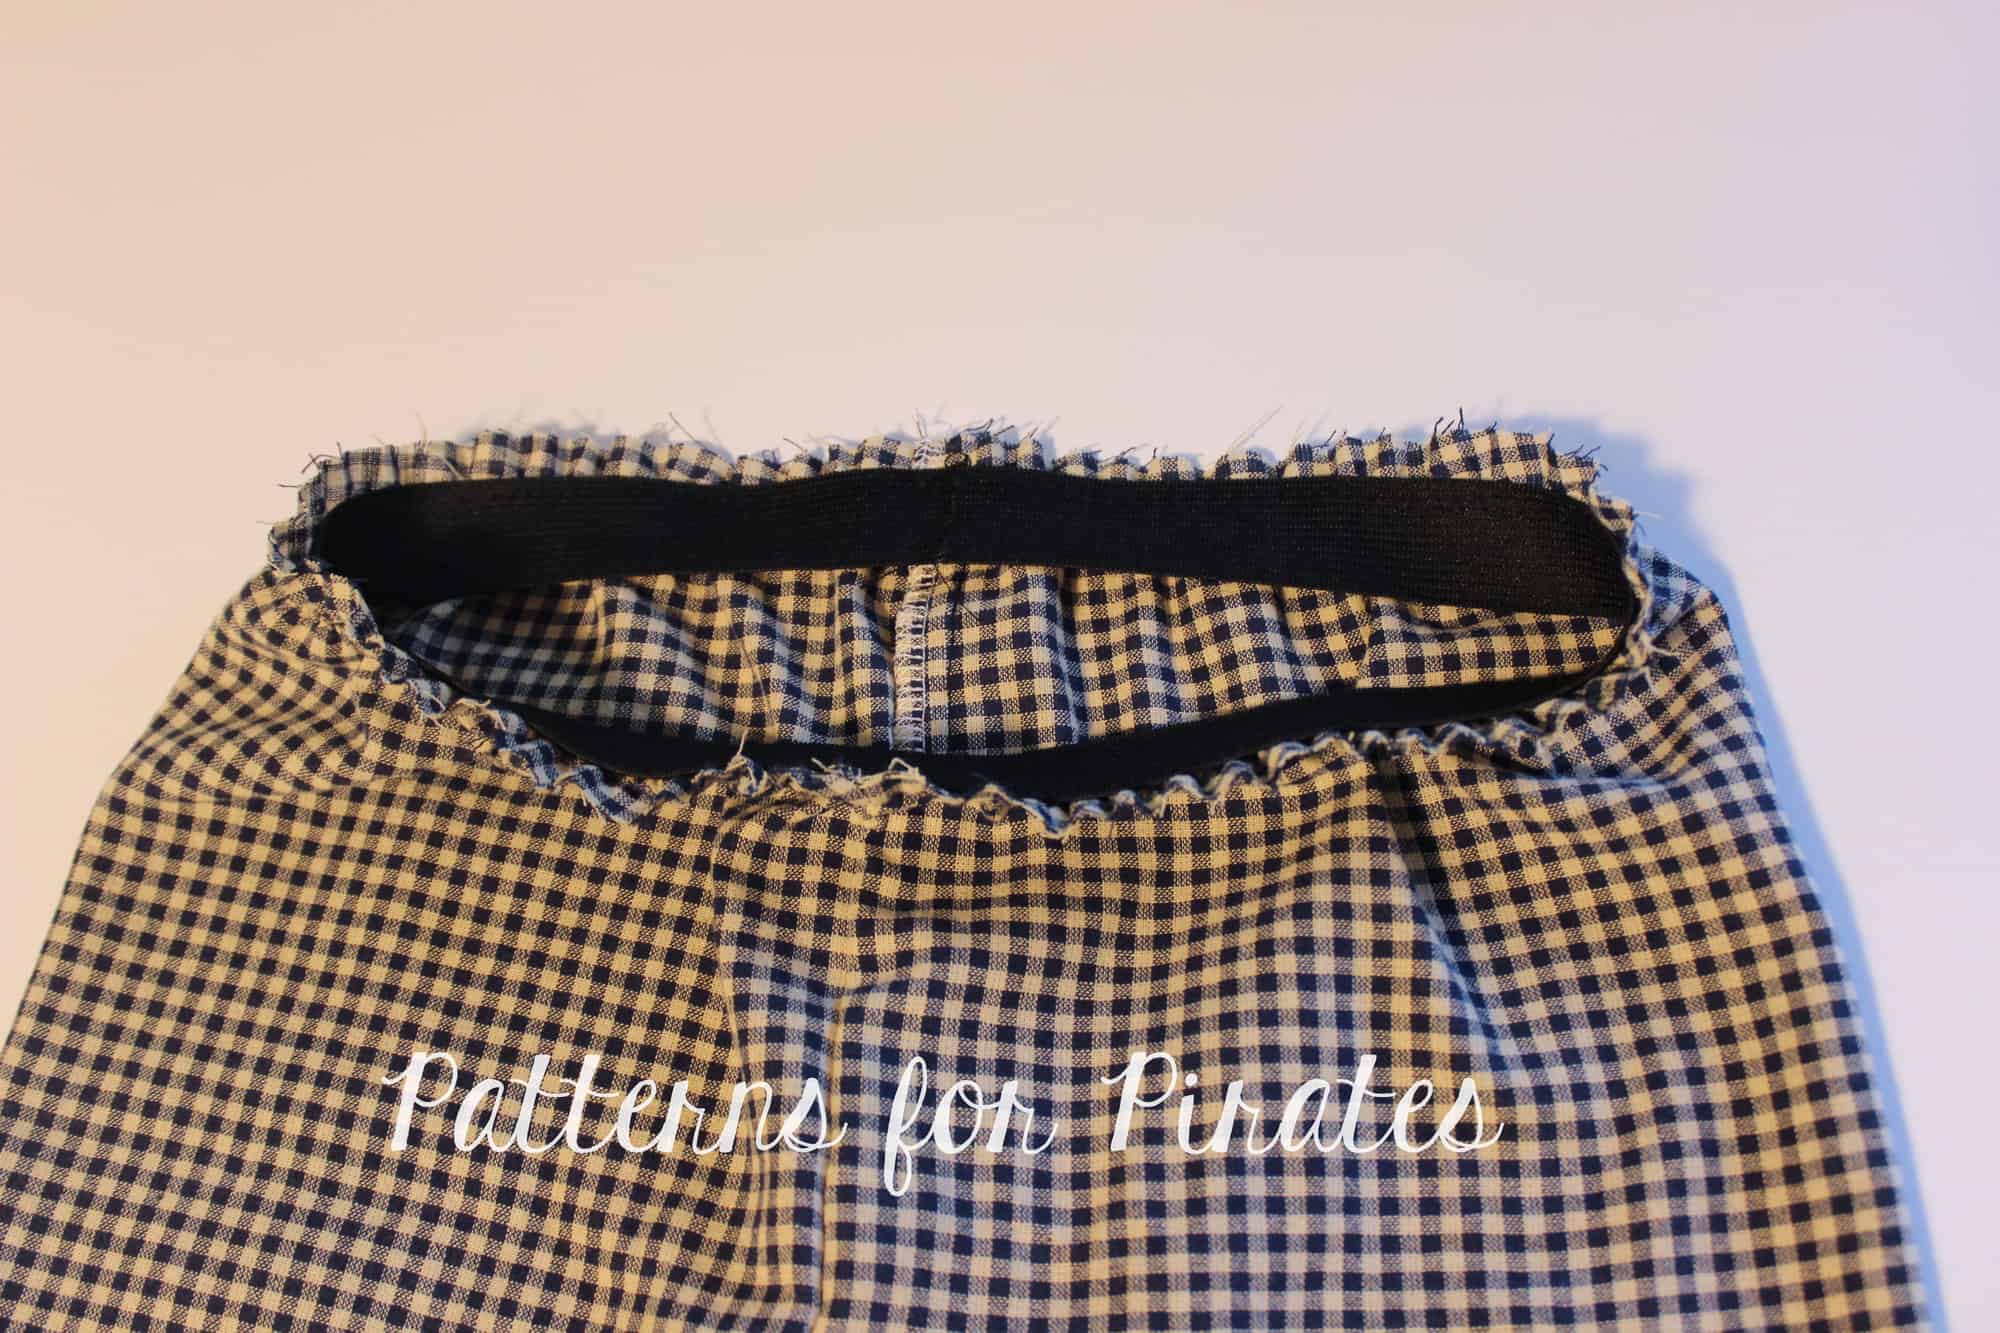
Sew the elastic with a a zig zag stitch.

Fold the top top of pants down. This may be a tricky process since you will have to stretch the elastic as you go. Take it slowly and press!

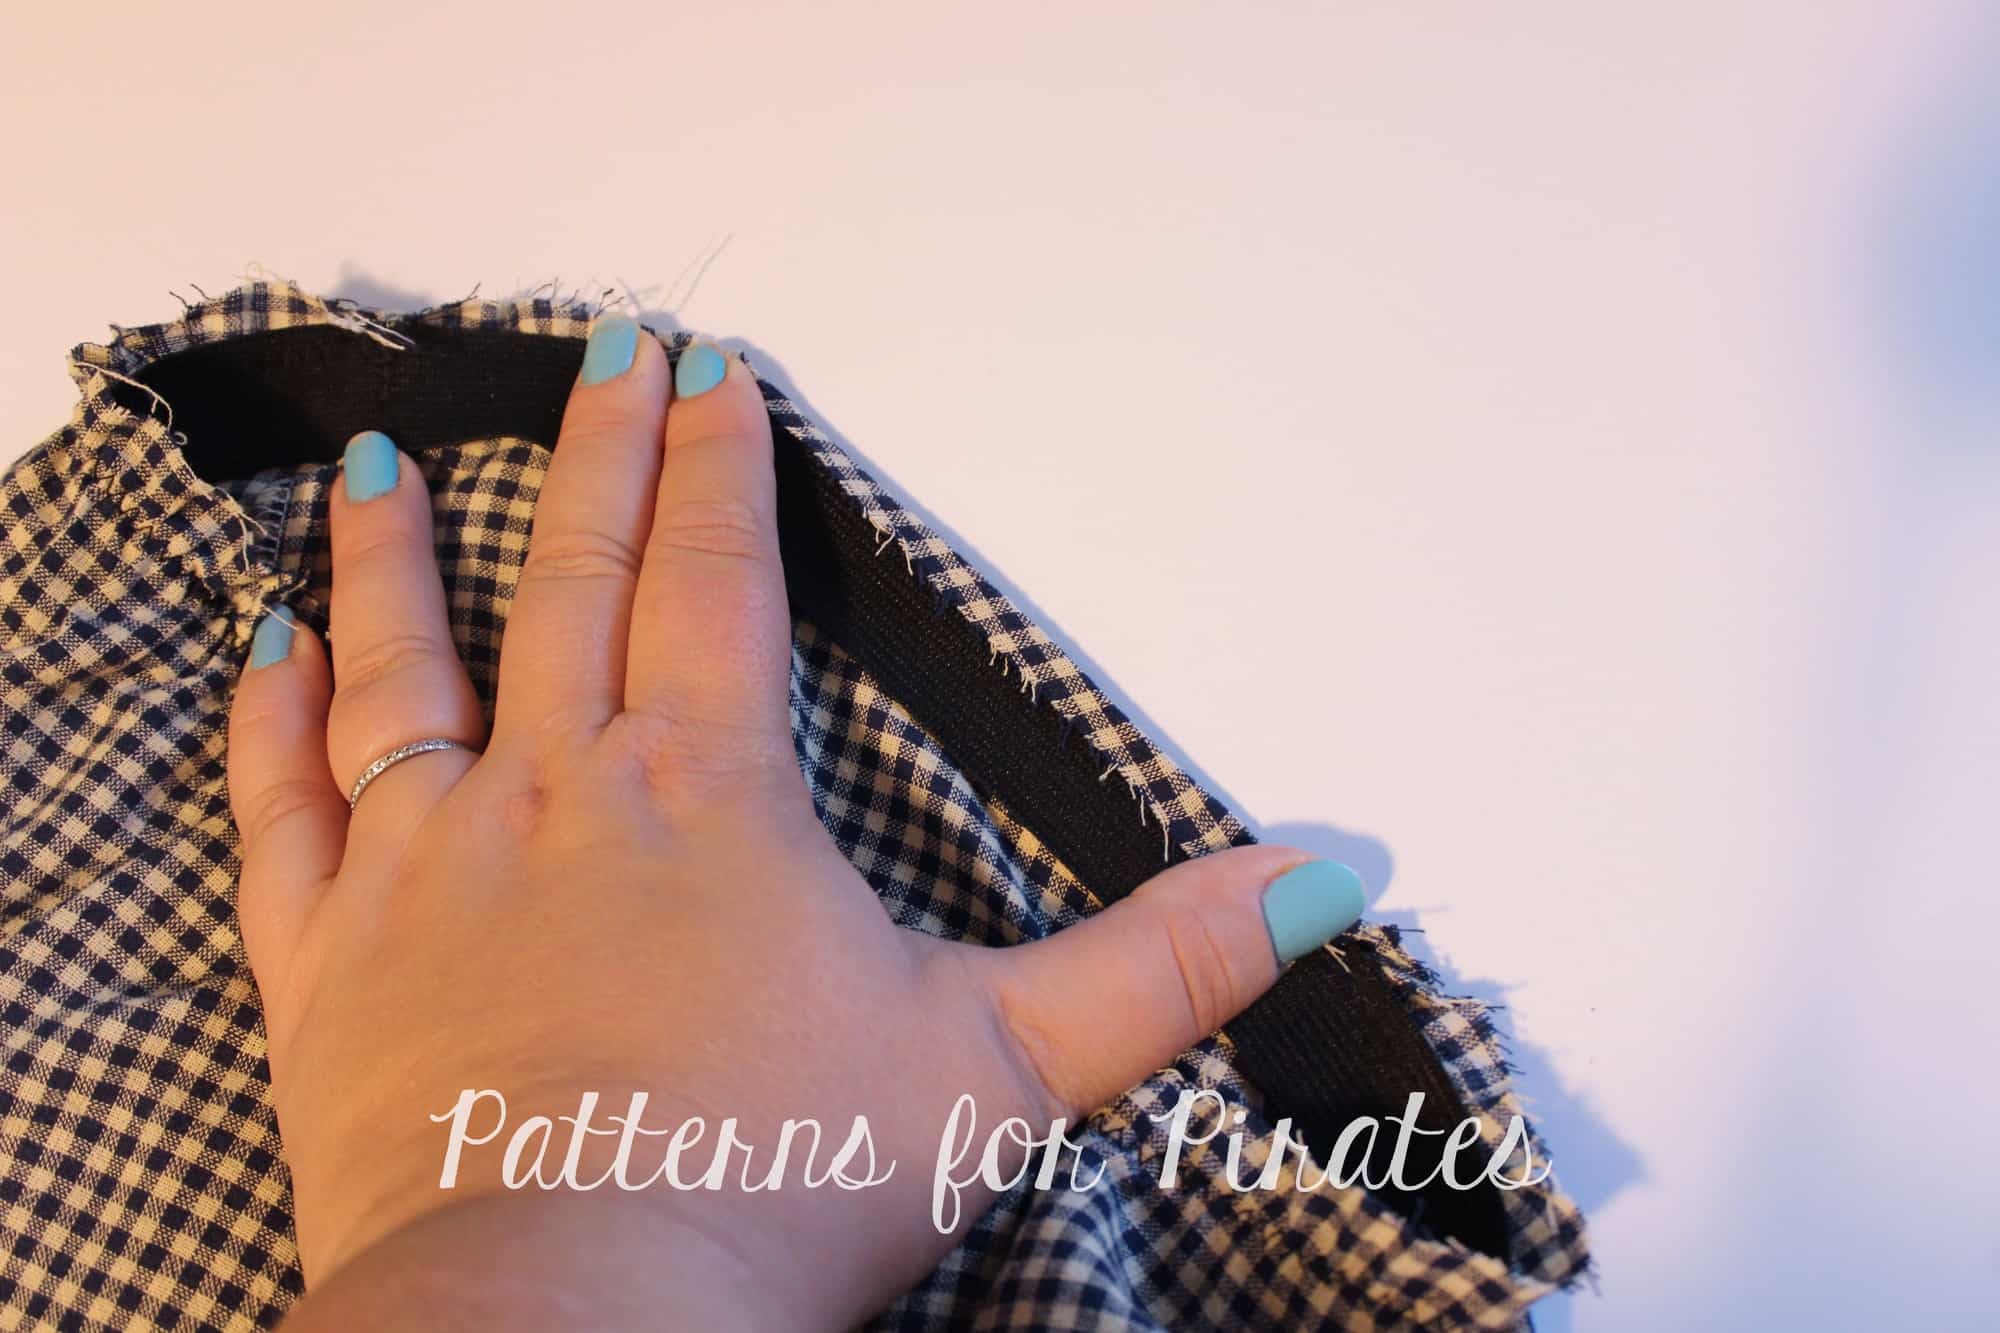
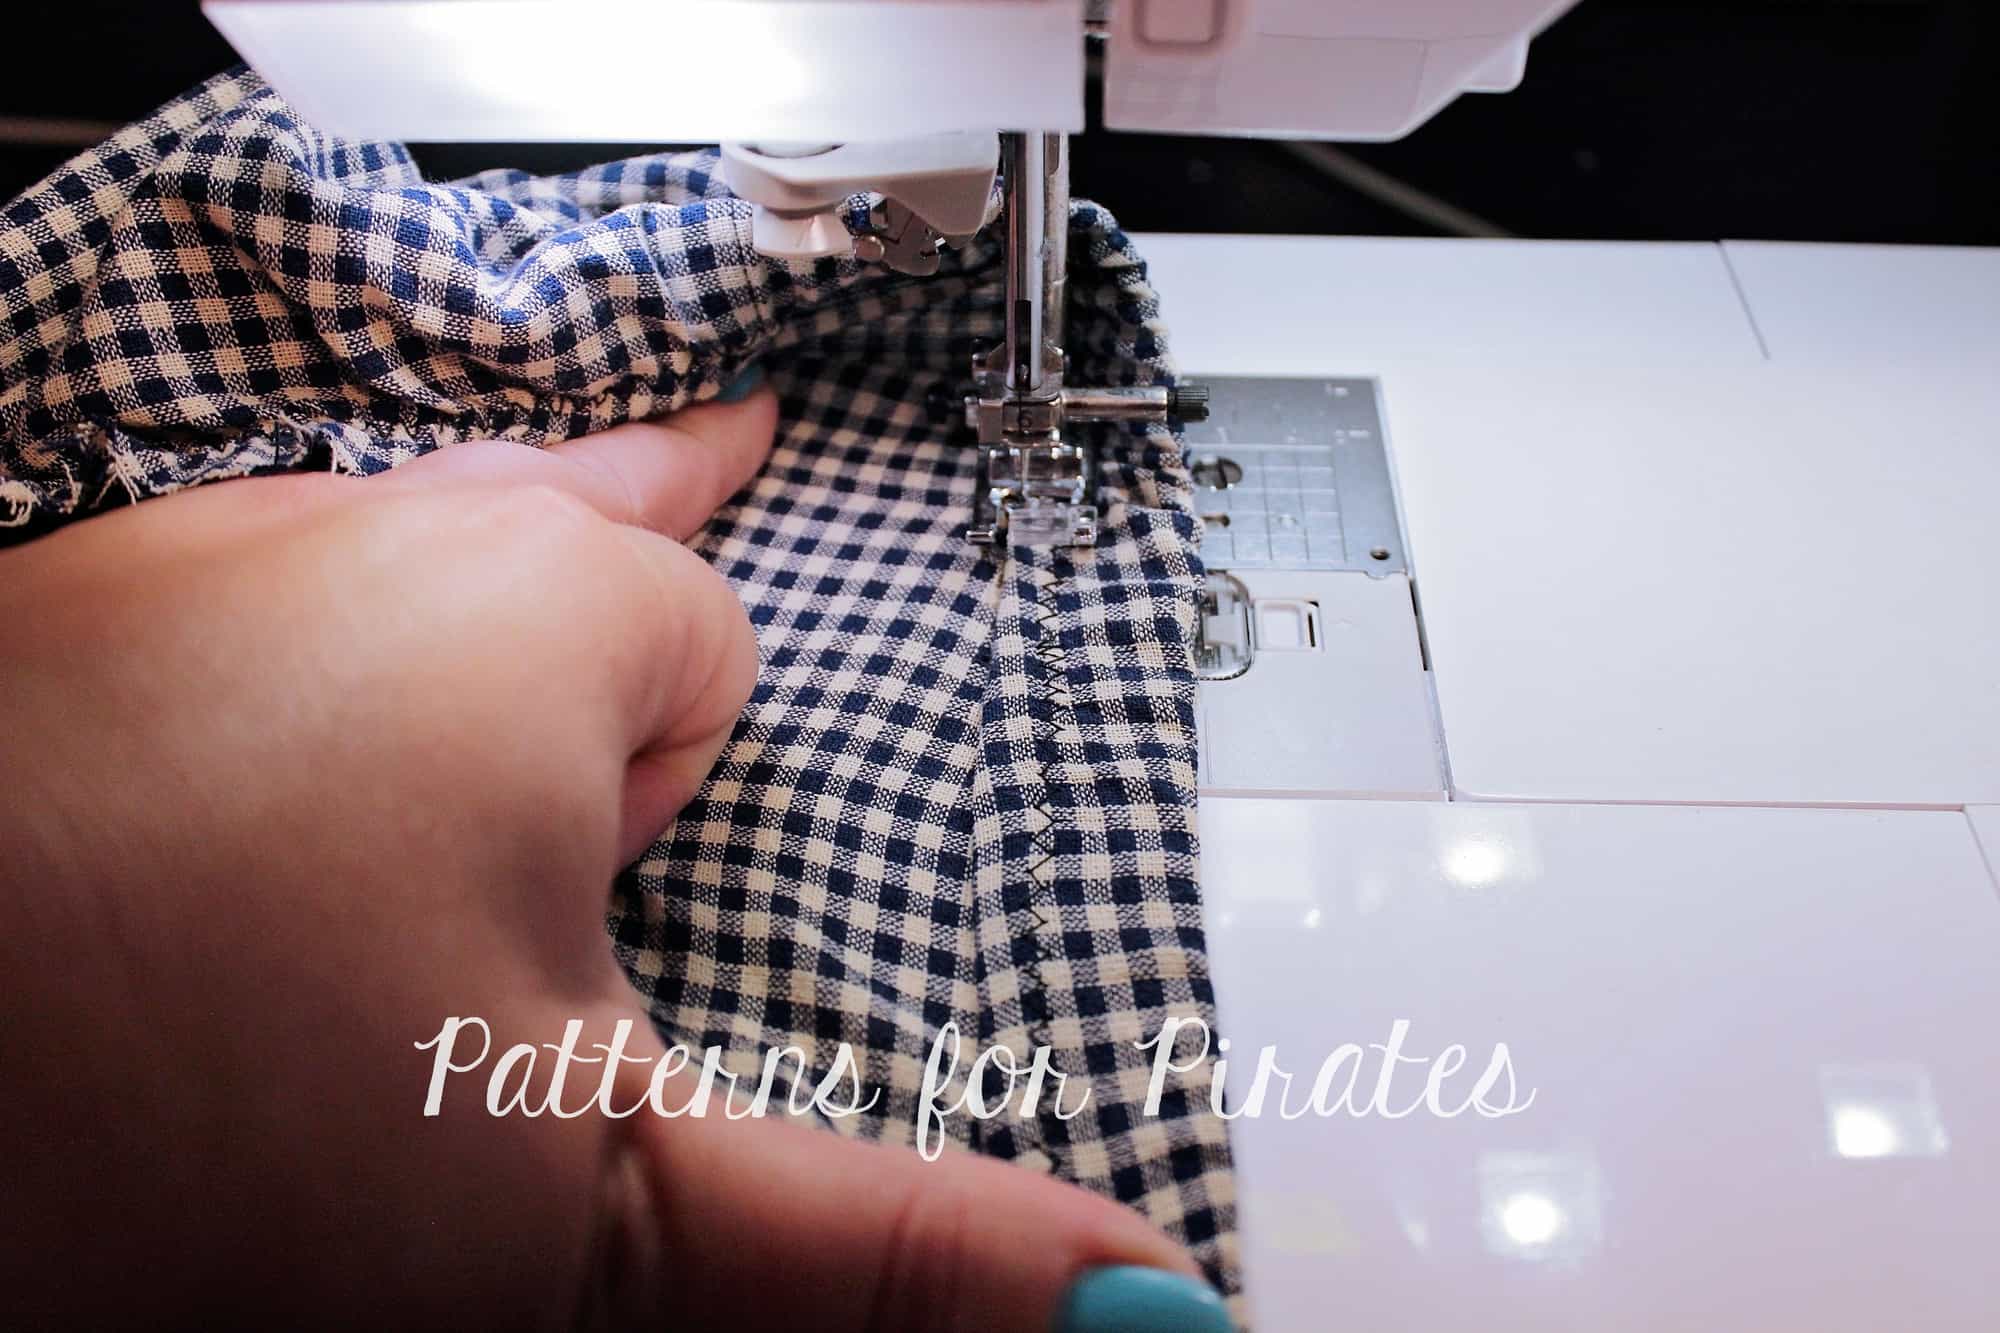
Fold the elastic down and pin in place. You will again need to stretch the elastic so you might find it easier to skip pinning and just use your hand to hold it in place when you sew.

Sew as close to the edge as you can, stretching the elastic  to make sure the fabric lays flat when you stitch it.

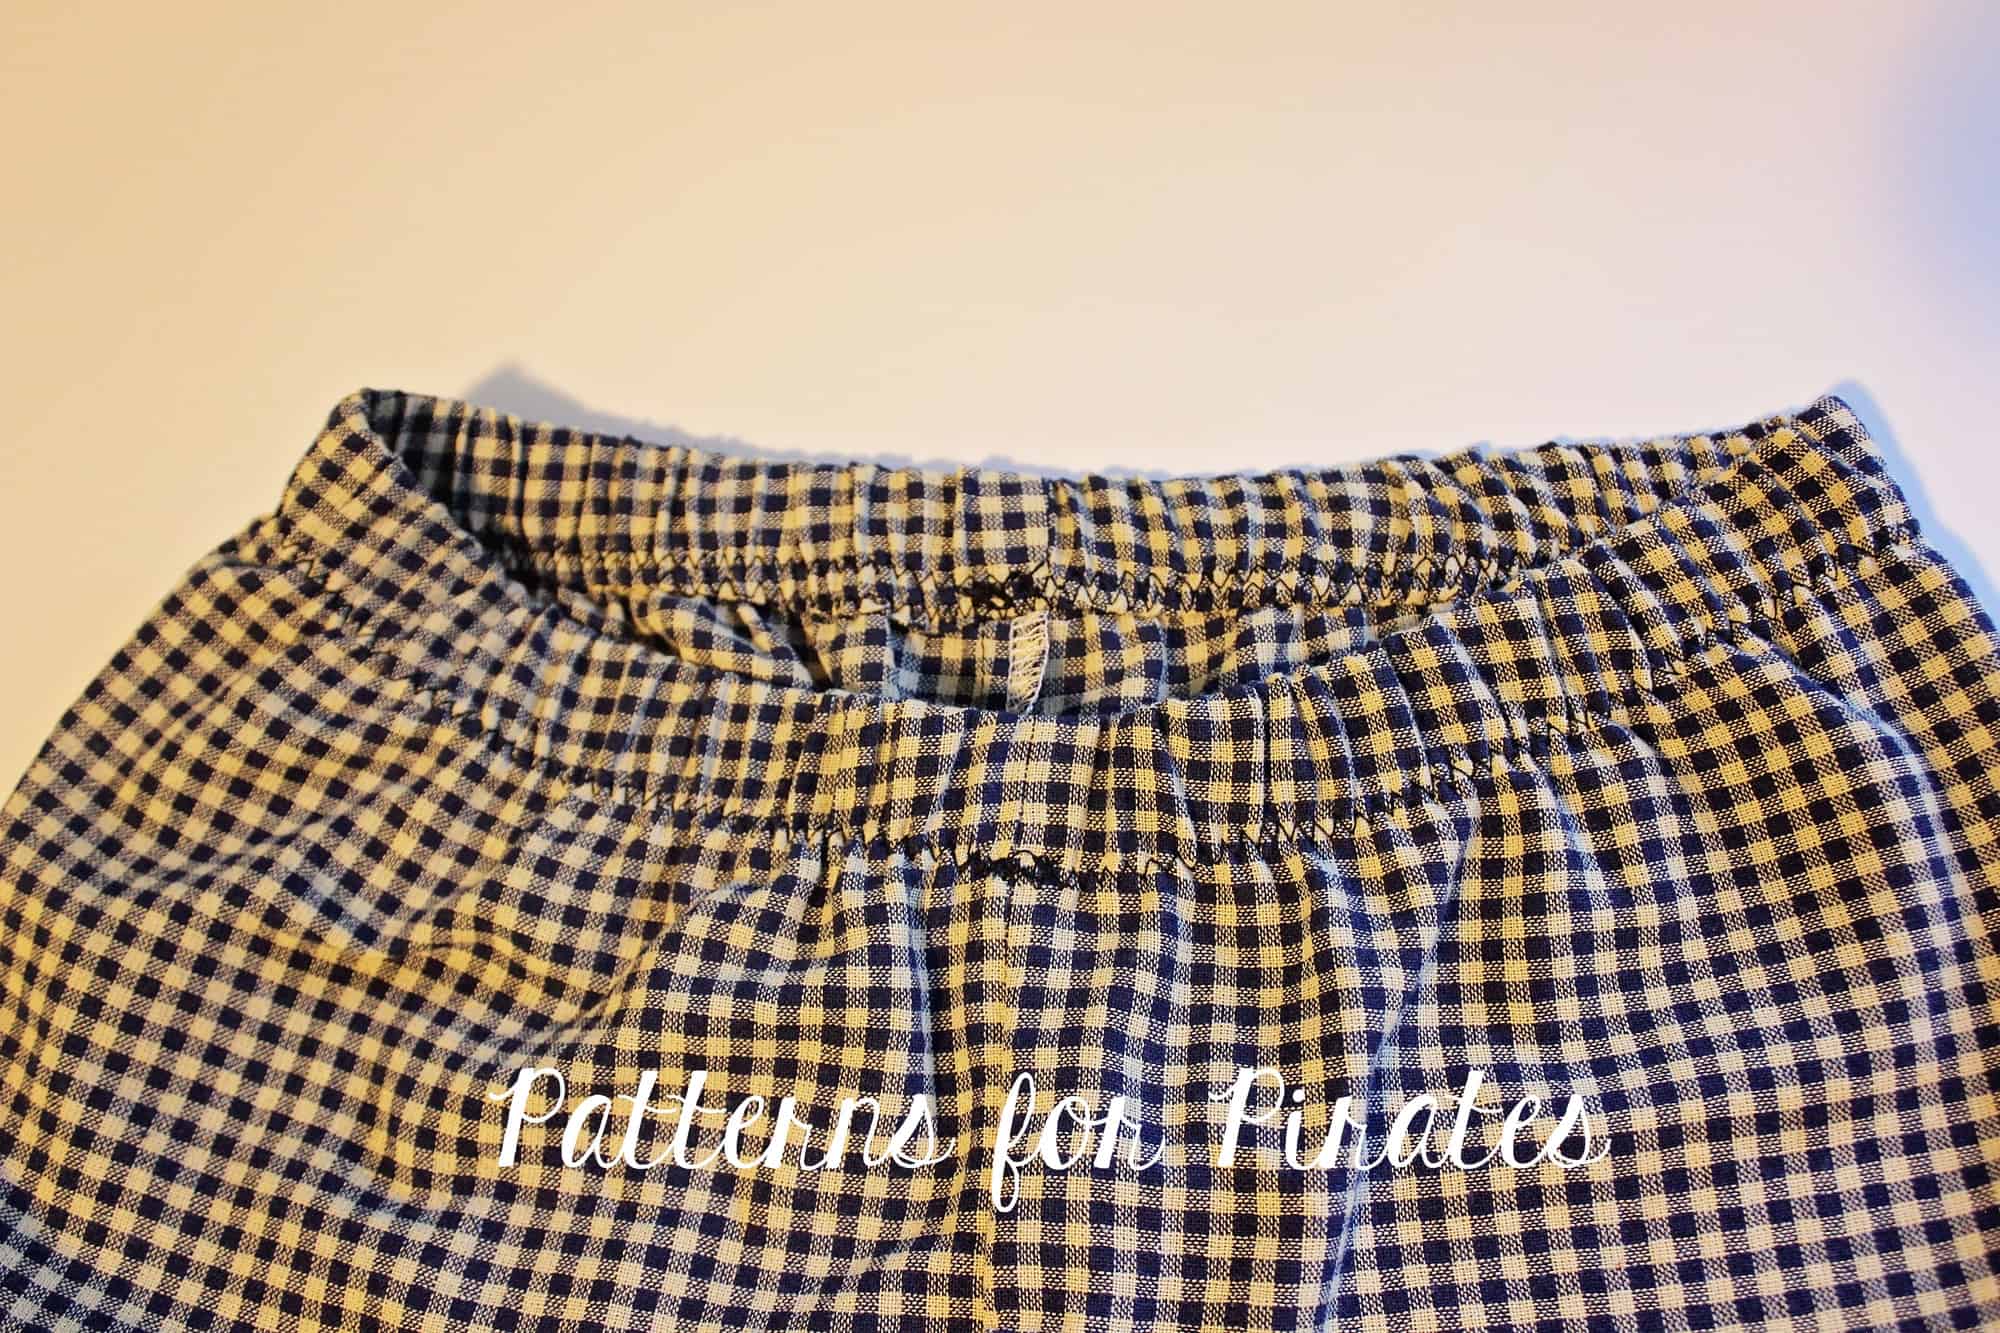
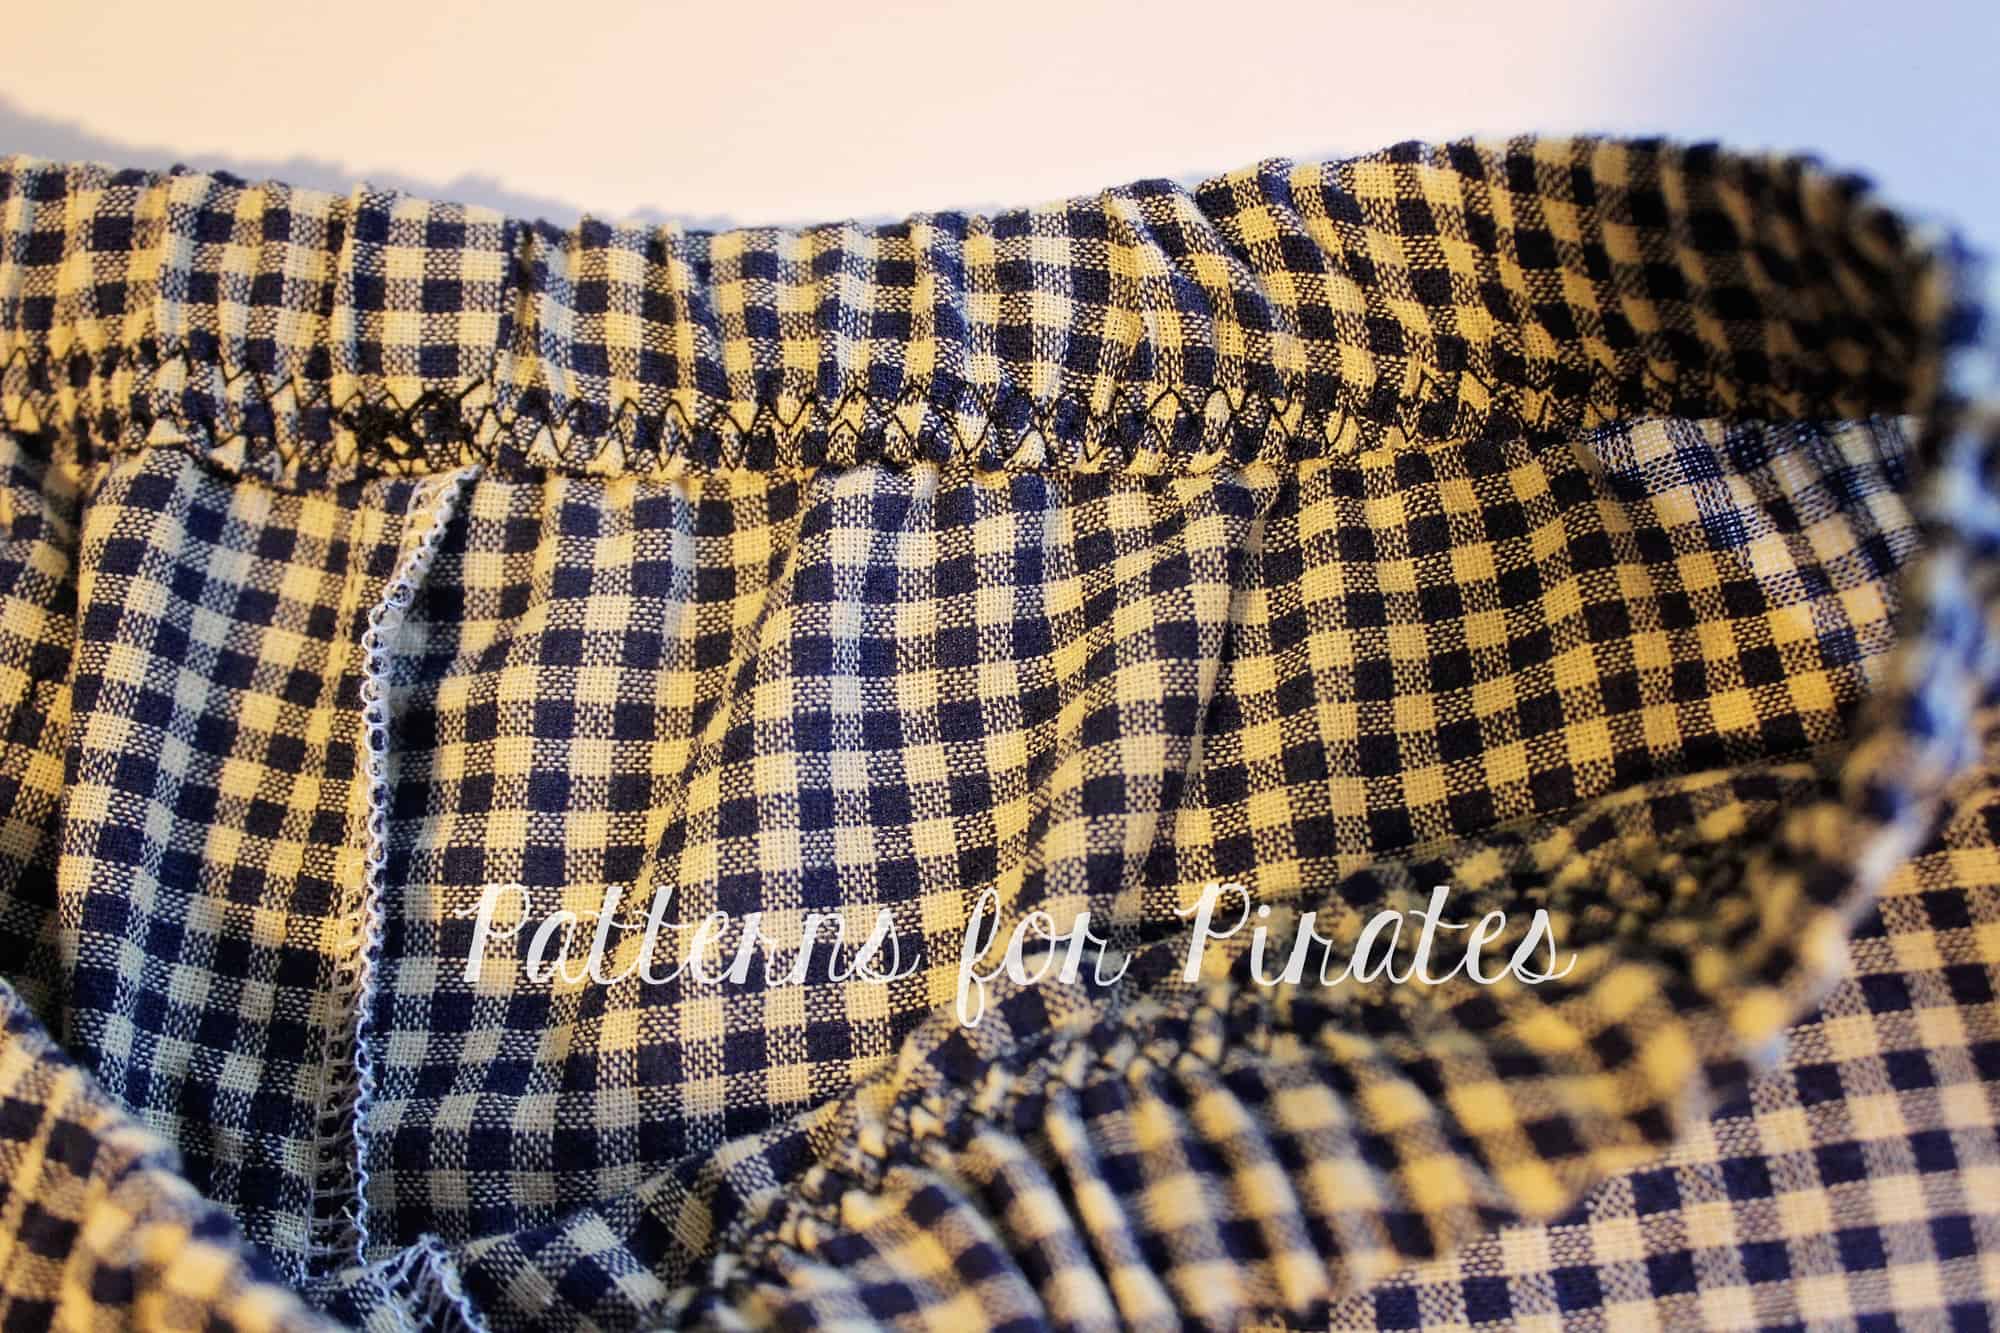
There you have it…. an enclosed elastic for your new PJ pants!

Hope you found these easy hacks helpful. Don’t forget to show your creations in the P4P group! We love to see what you make for you and your loved one.

Filed Under: Free Pattern, Pattern Hacks, Pattern Release, Uncategorized 12 Comments

Walk the Plank PJ Bottoms :: New Pattern Release!

September 27, 2017

Oh man.  Not only is today a release day, but it’s also a day that I get to make a fun announcement.  Or rather, TWO fun announcements!  Are you ready for this?

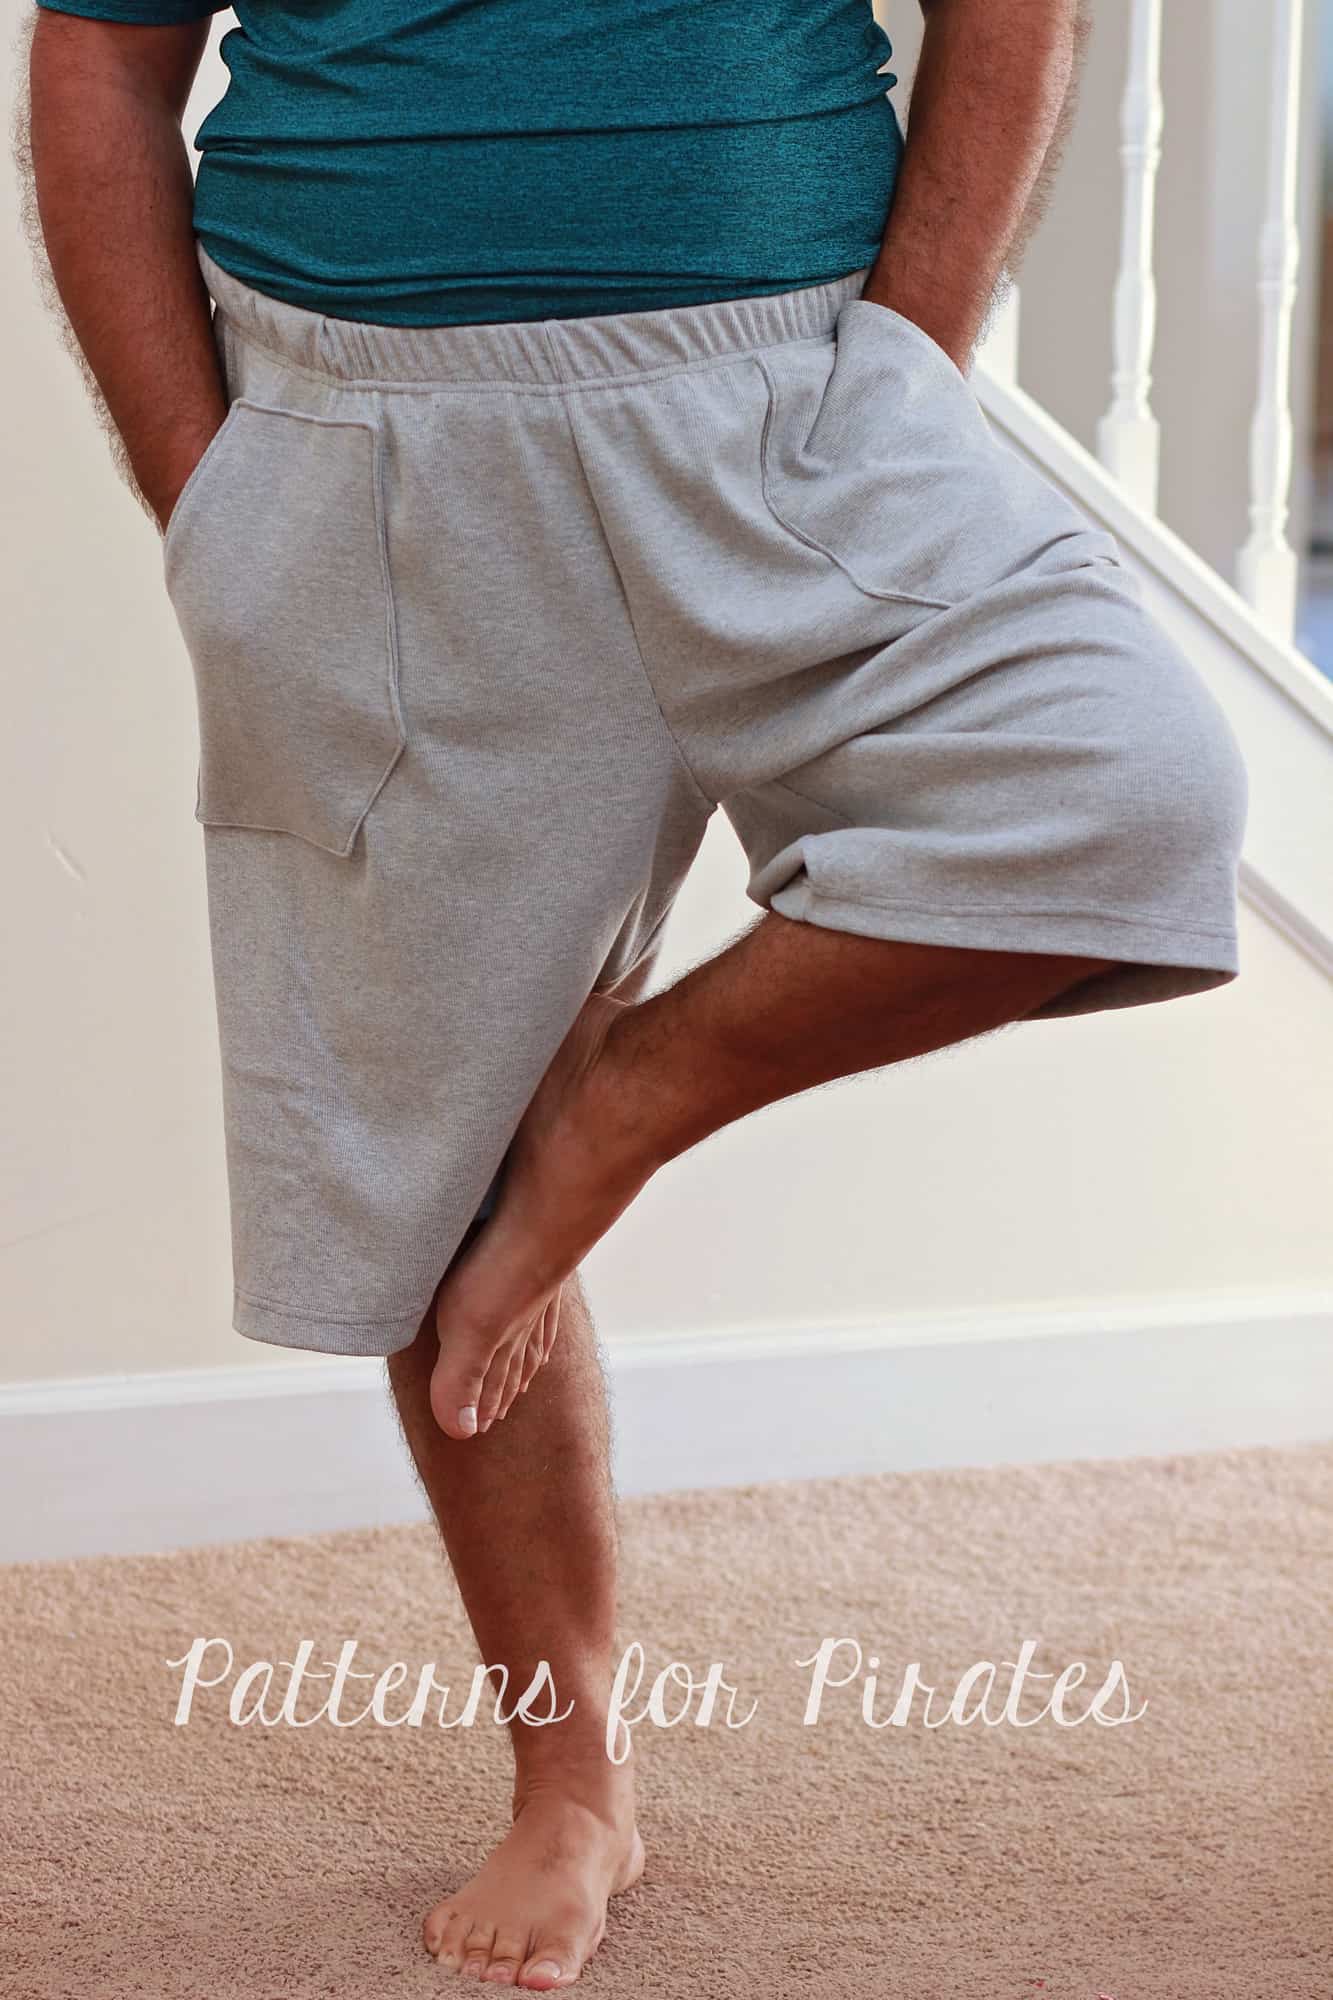
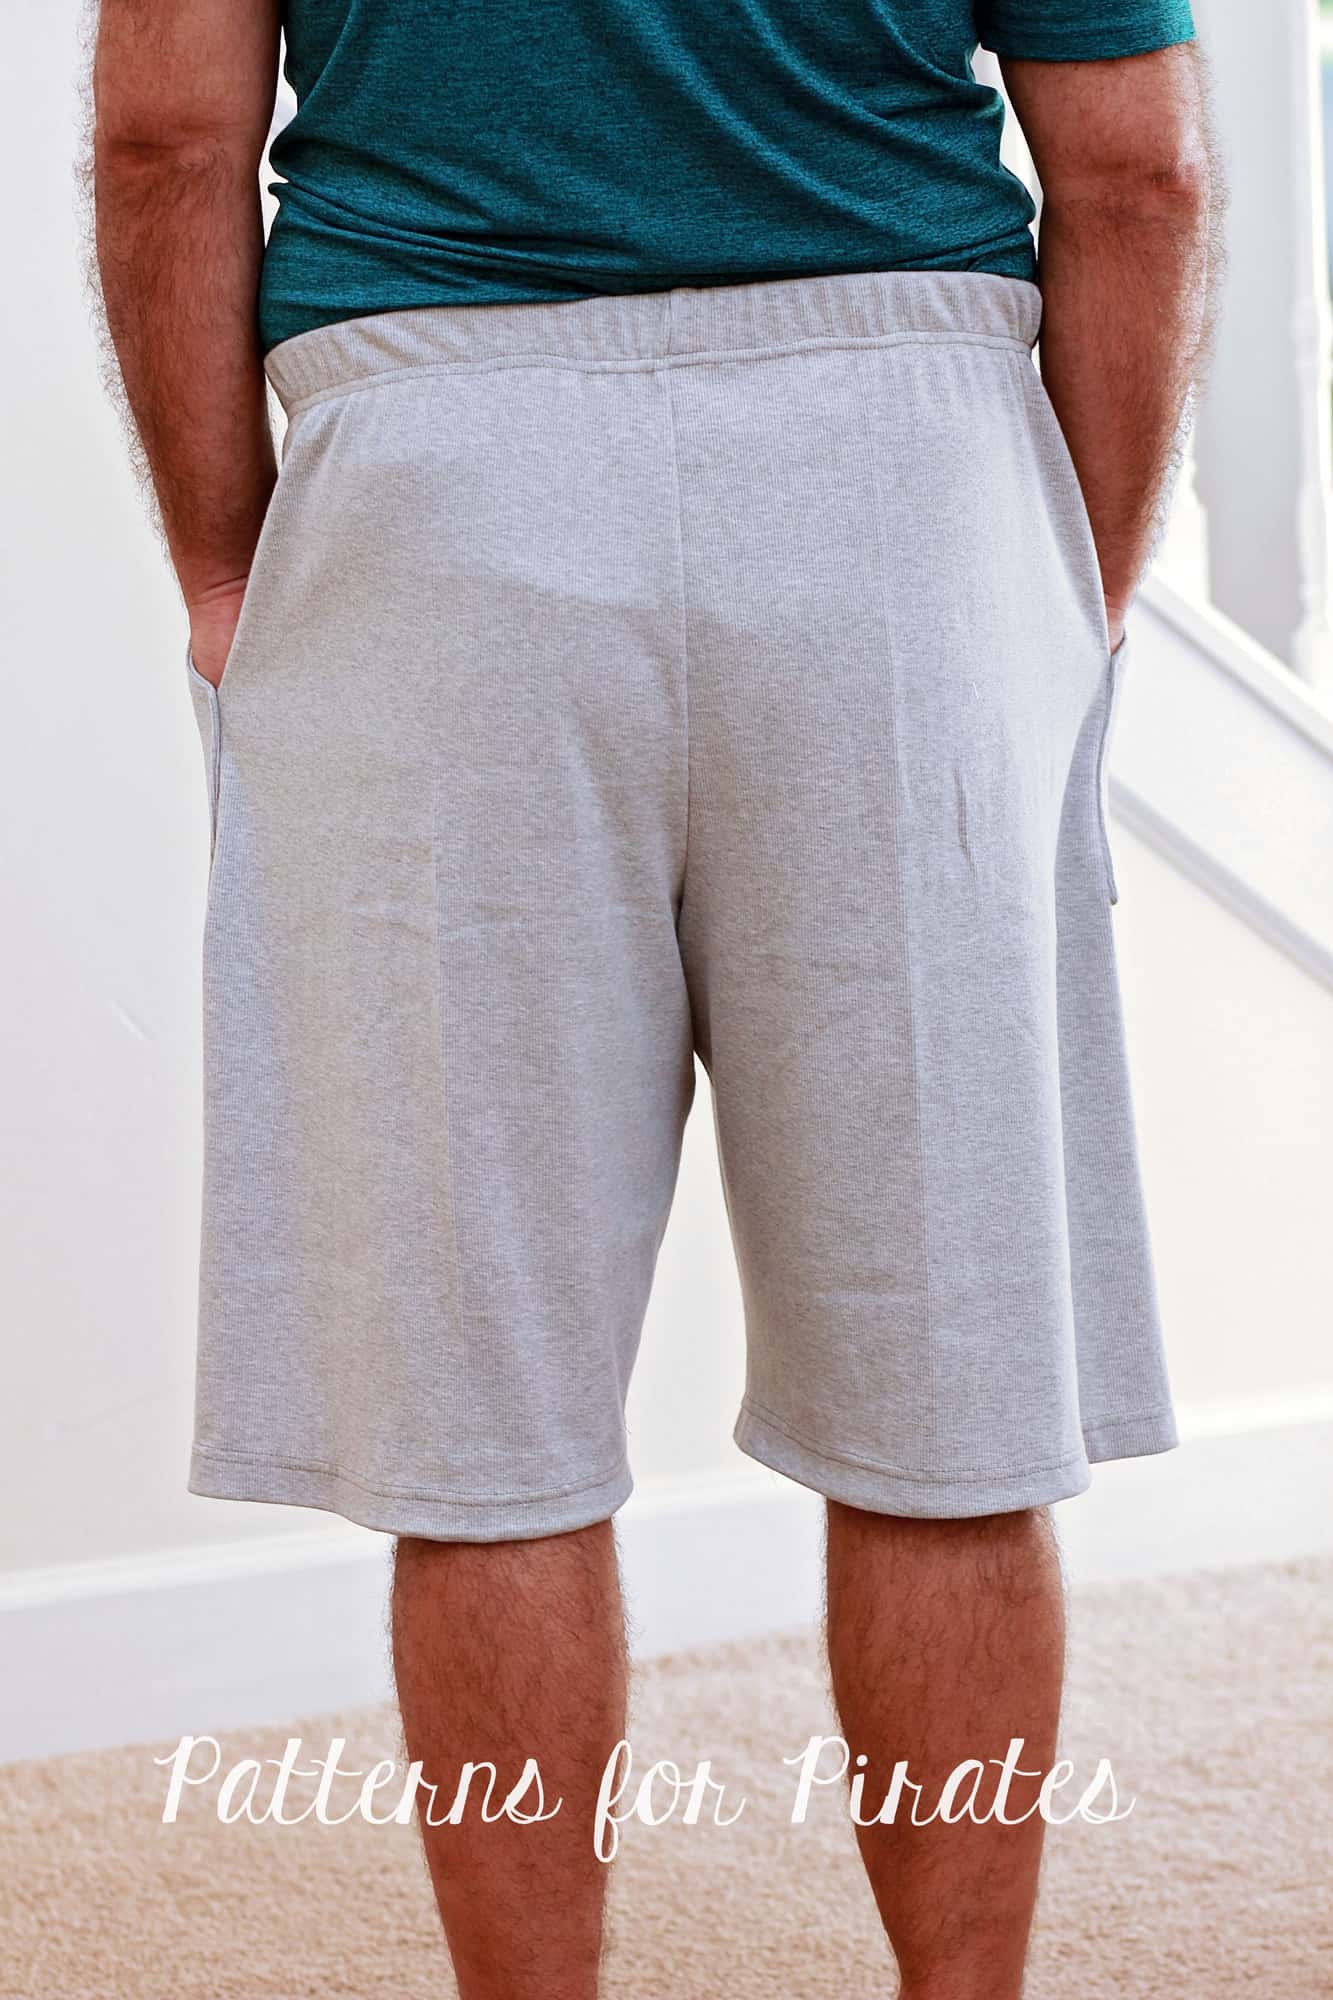
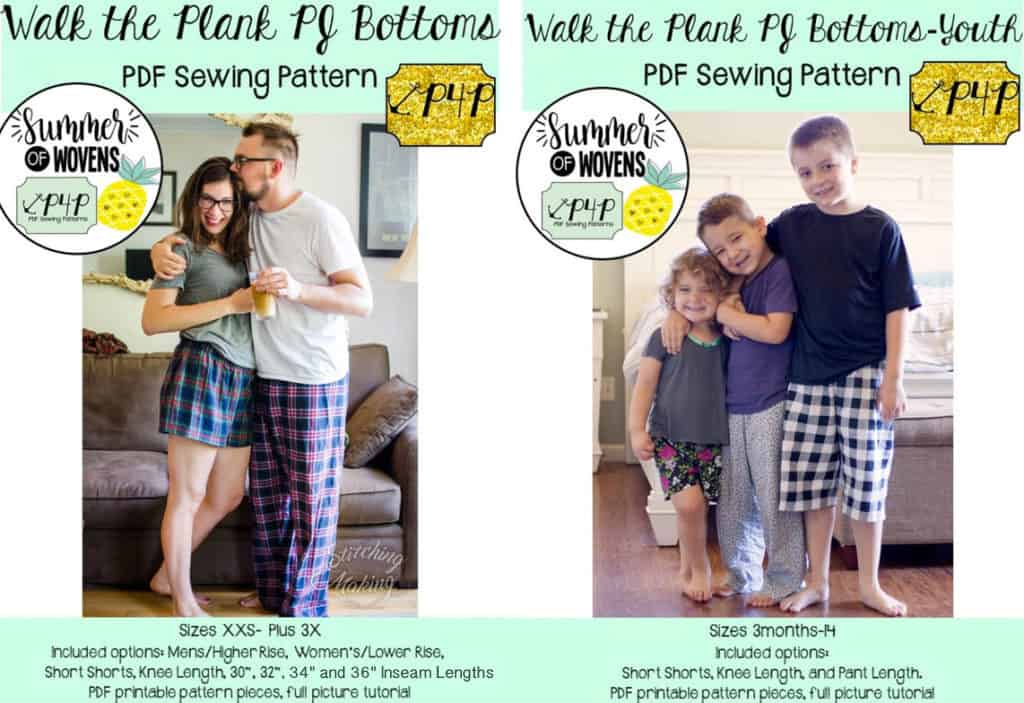
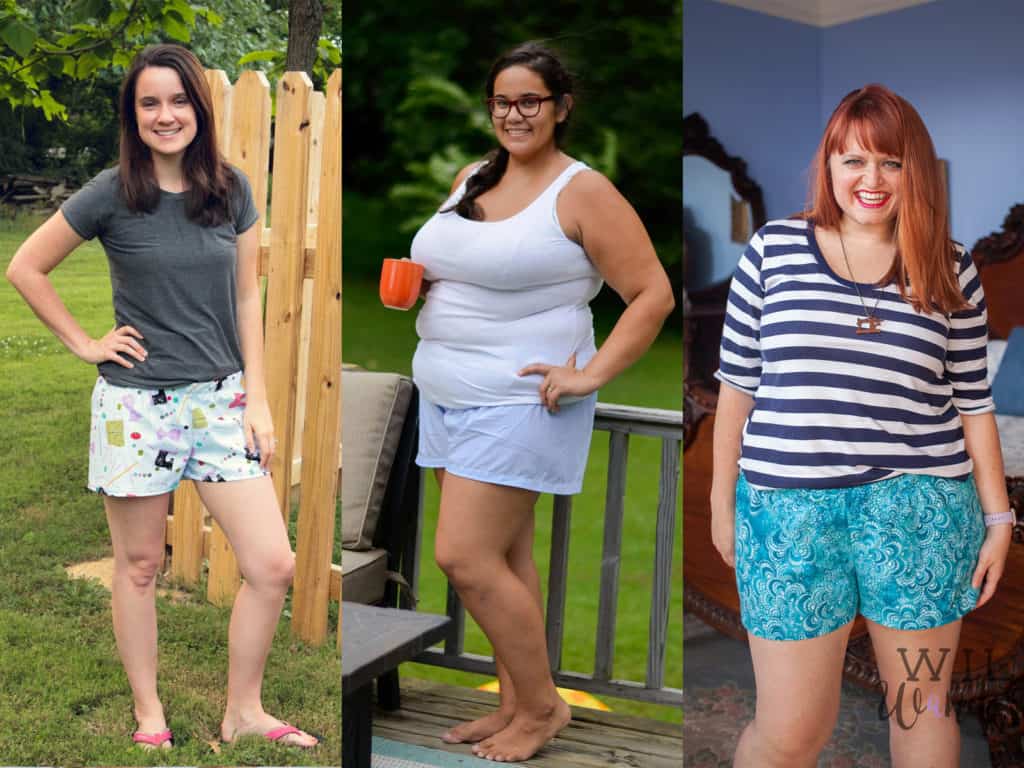
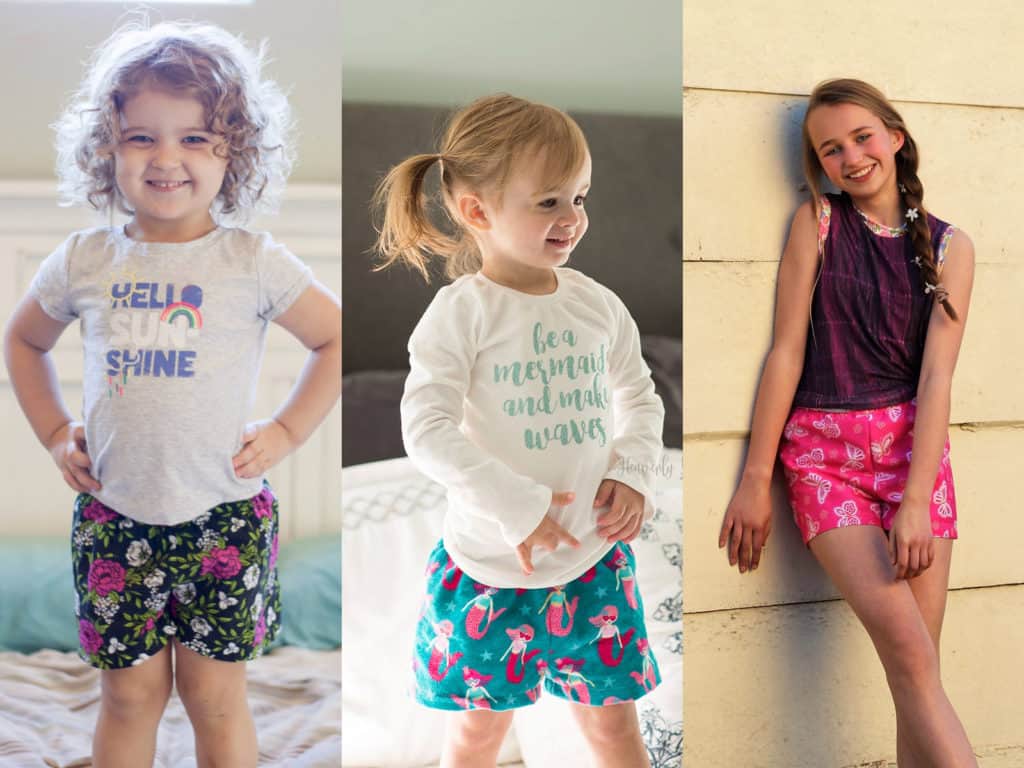
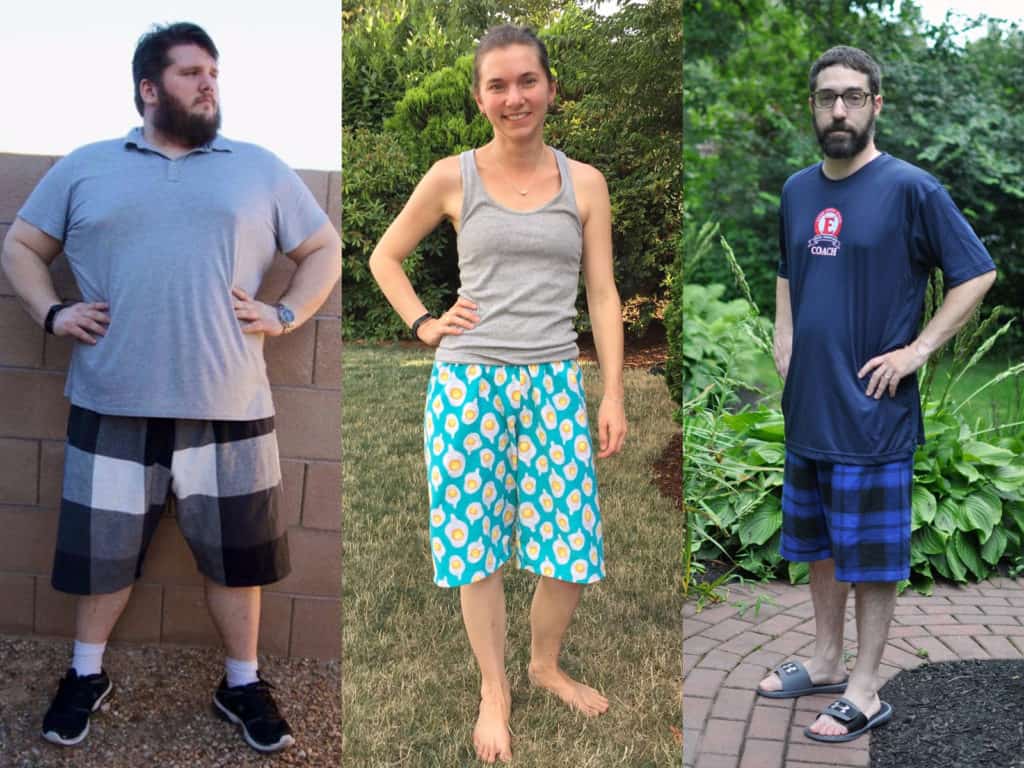
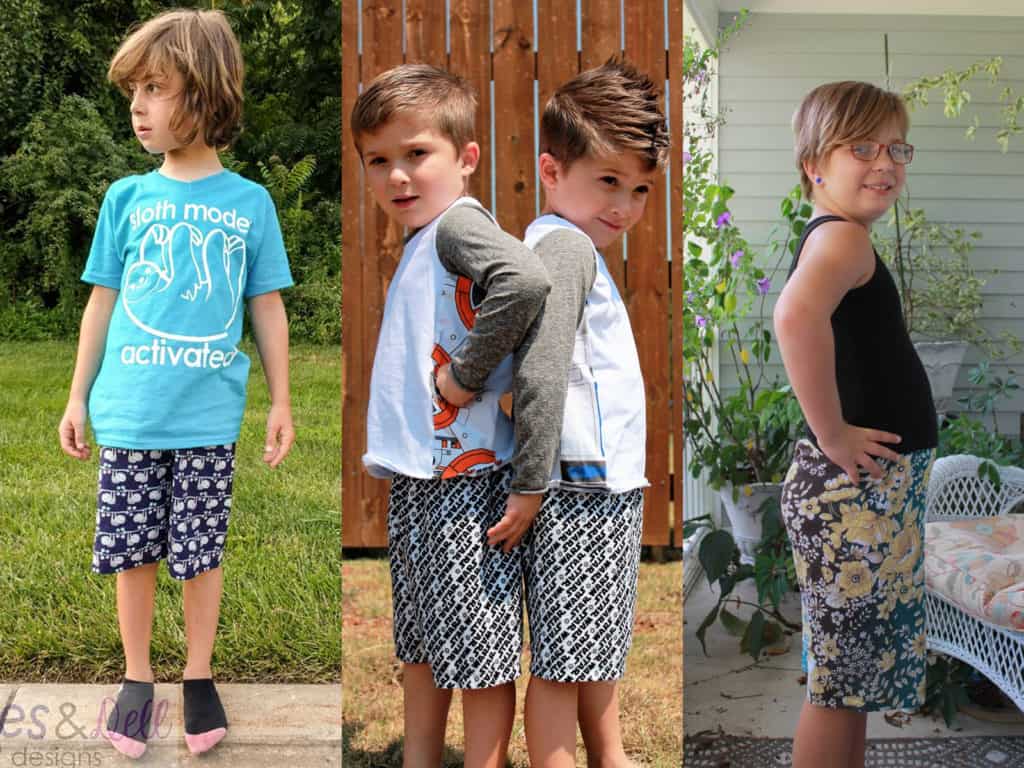
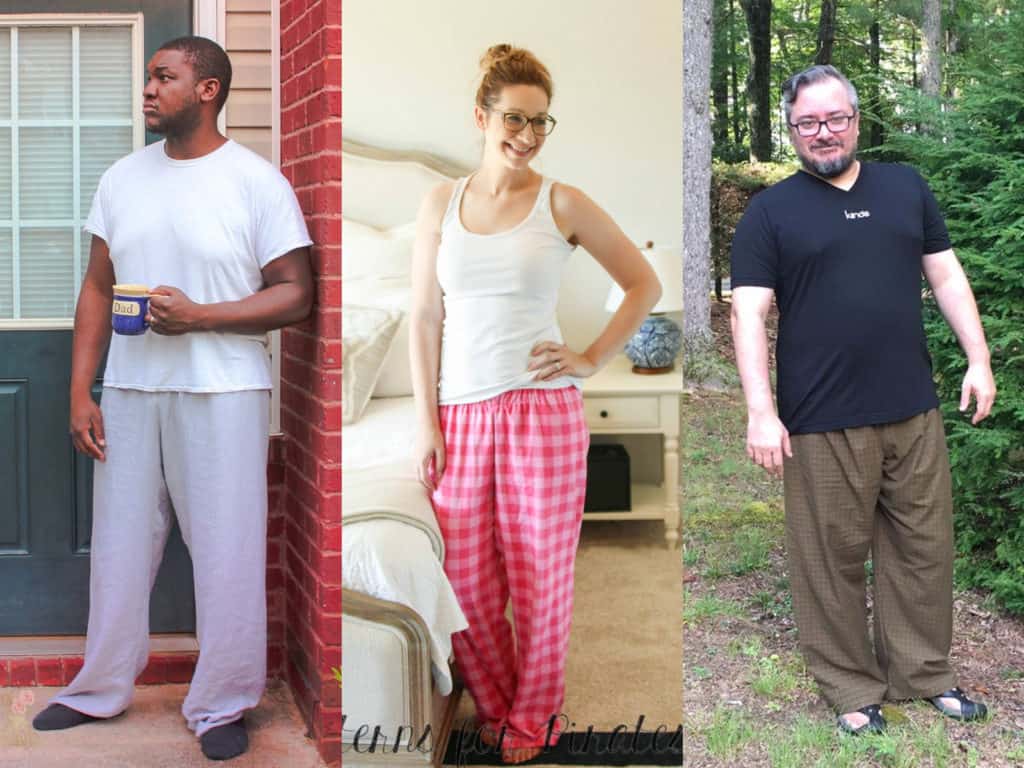
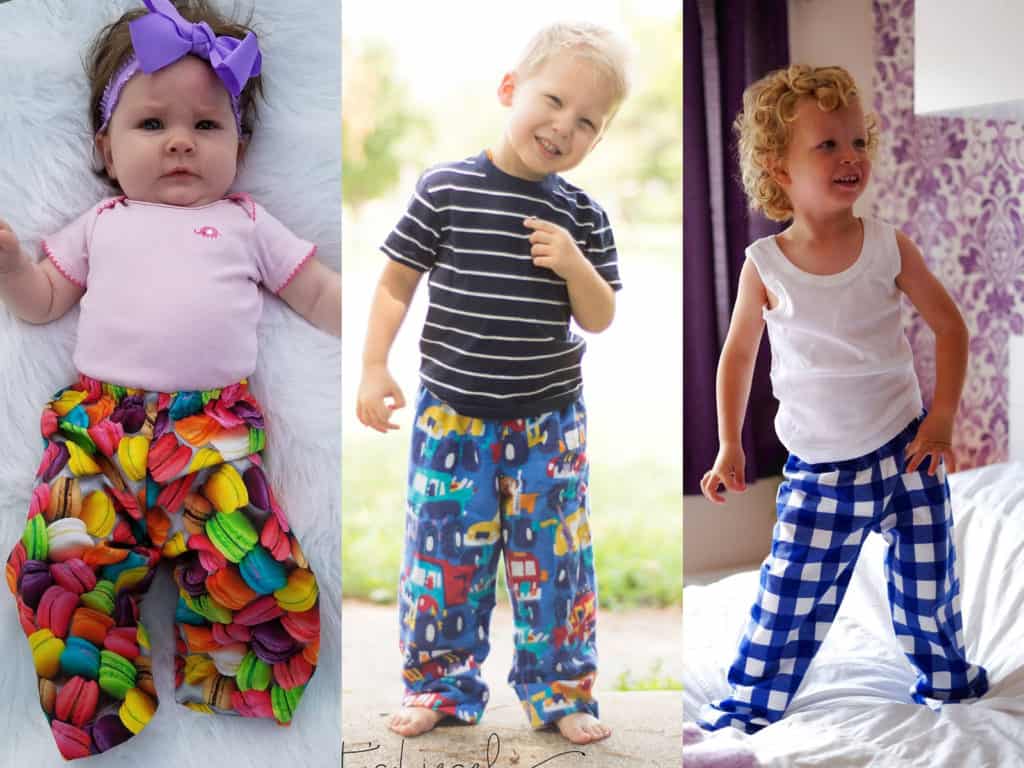
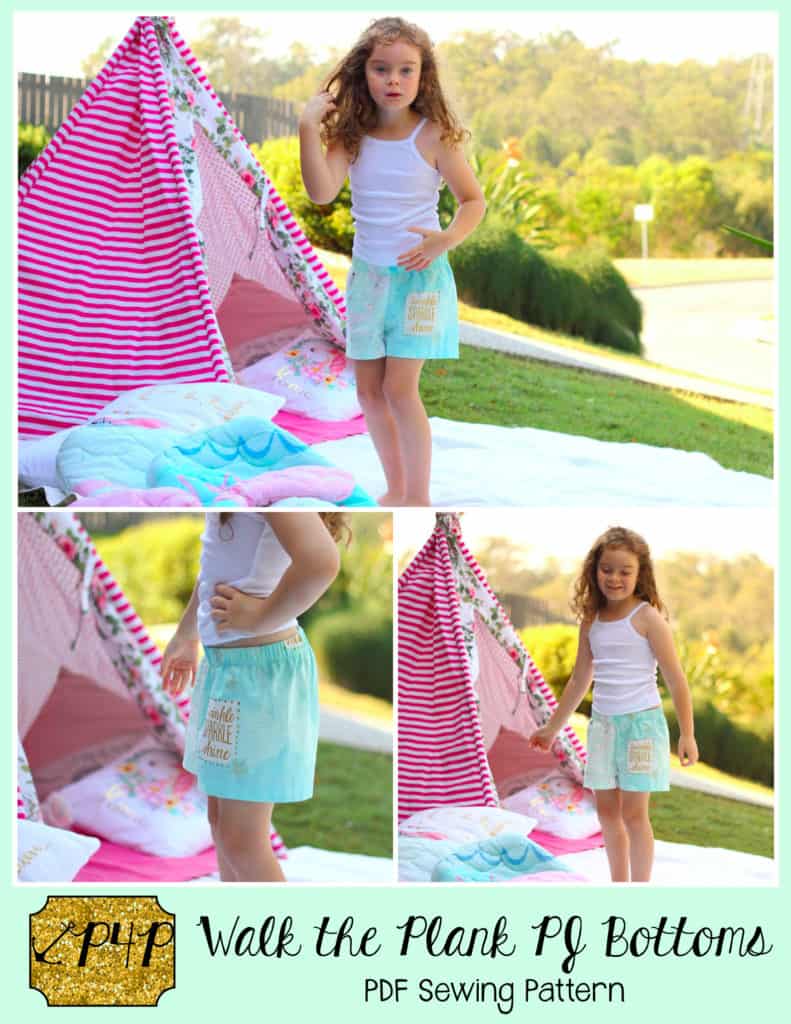
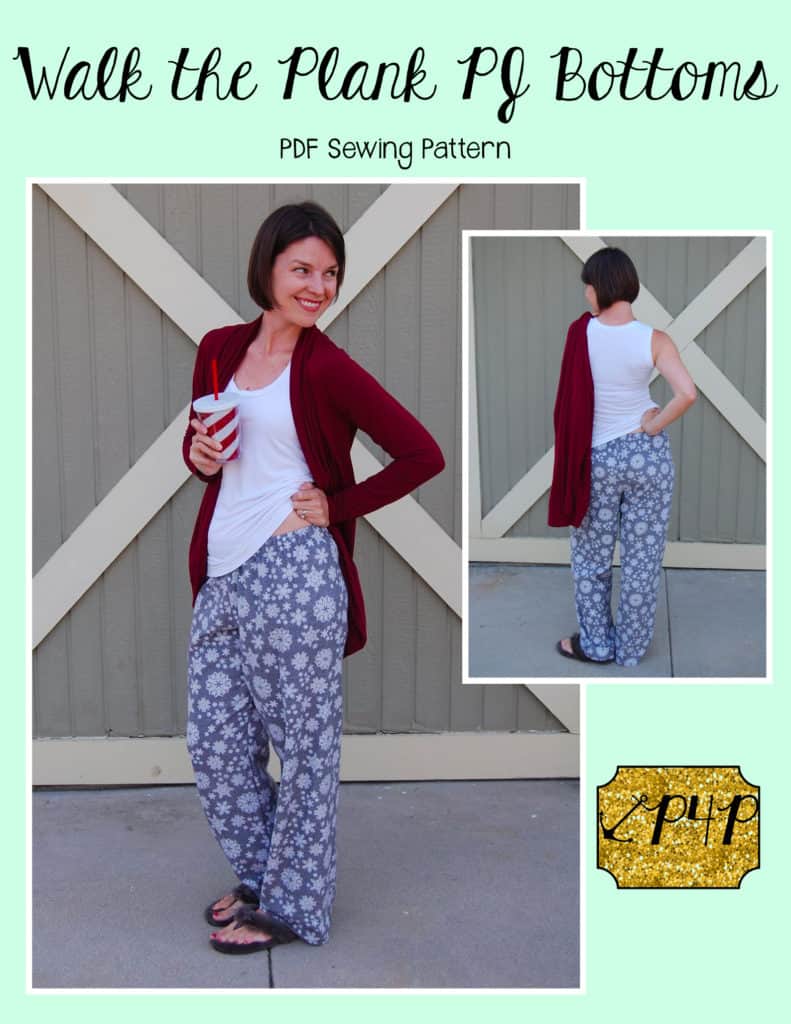
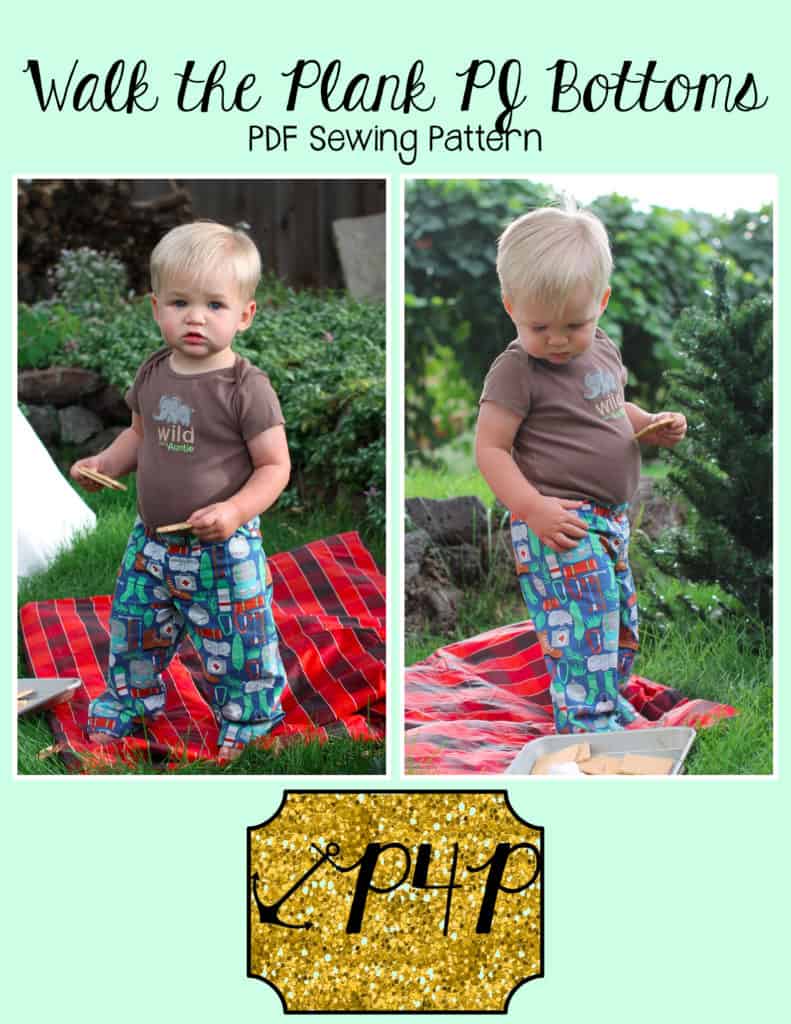
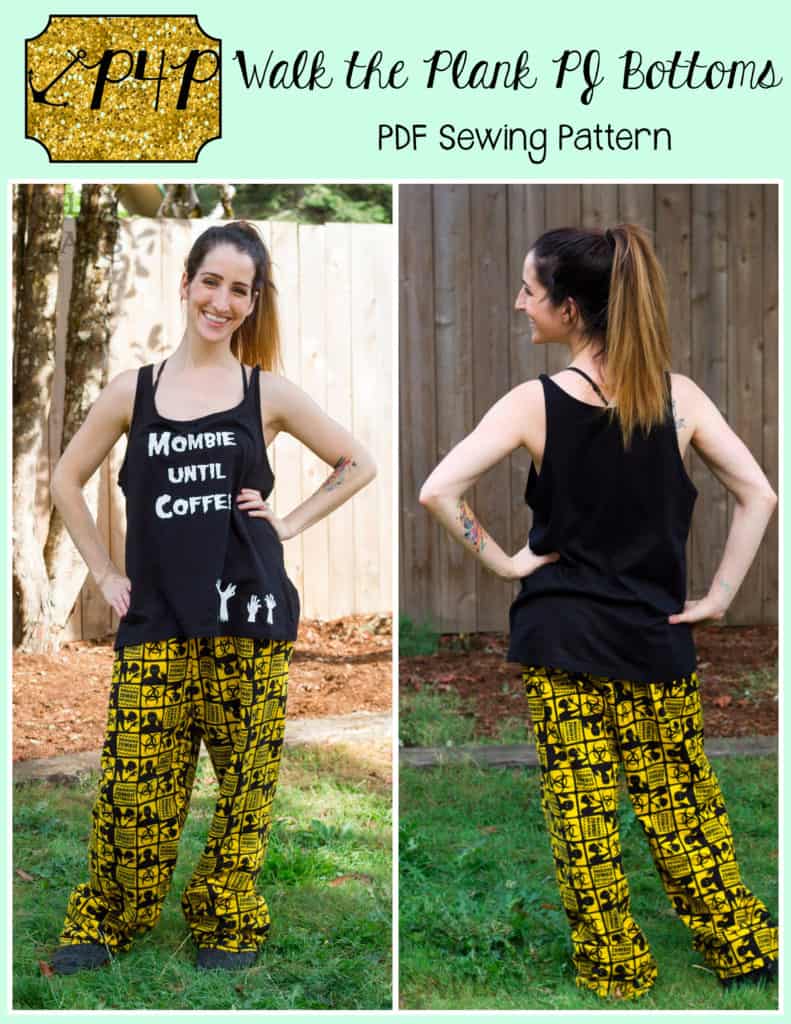
First, let’s talk about our newest pattern, and the final pattern in the P4P Summer of Wovens.  The Walk the Plank PJ bottoms are super easy to make, even easier to wear, pajama bottoms that are a unisex pattern and available in sizes 3M – adult Plus 3X.  Both the adult and youth patterns include three lengths (short shorts, knee length, and pant length).  The adult sizes have a differing mens and womens rise, as well as varying inseams (30″ / 32″ / 34″ / 36″ ).

The Walk the Plank pant truly is a quick sew!  All sizes were drafted to fit on a 44″ wide fabric, so you can easily use your favorite flannel or quilting cotton.  The patterns feature no side seam, and no waistband piece, as well as a quick elastic installation.  **Plus 3X were drafted with an extra side seam, so those sizes can use 44″ fabric as well.

Here’s a quick peek at the lengths:

SHORT SHORTS

KNEE LENGTH

PANT LENGTH

We have been running a contest over the last week.  You can read up on P4P’s Next Top Tester HERE if you’re interested in the process.  We had 650 (give or take) applicants that we invited into our Top Tester group.  These ladies went through some work for us!  They didn’t know what they were signing up for, but we had them all test the Walk the Plank PJ Bottoms for us!  Everyone did amazing, even amidst all of the chaos that testing in a group that size can bring.  And guess what?  We have a winner!

Well, we have four winners.  These testers did an incredible job, on all levels of testing.  It’s not just about taking pretty pictures.  It’s about providing feedback, supporting fellow testers, being around to ask/answer questions, and help with marketing.  We are so happy to have them on board with us!

Congratulations to our first ever Patterns for Pirates’ Next Top Tester: Amber Jones Zelenay 🎉🎉🎉
Our Second Place winner is: Karen Grimshaw
AND congratulations to the Runners Up: Bethany Tolman and Michelle Tobey


Want to know the best part about this pattern?  It’s FREE!!  We wanted to have a little end-of-summer celebration and thought this would be a fun way to party with you all.  Plus, it’s perfect timing with the holidays right around the corner.  Family Jammies Photo Op?  I think so!

Grab your copy of the Walk the Plank PJ Bottoms in UNISEX ADULT or UNISEX YOUTH today!

**Want to learn more about how to measure yourself for this pattern?  We’ve got you covered with an in-depth blog HERE.  And in case you’re new to Patterns for Pirates and PDF patterns in general, we have a great blog full of new user tips HERE to help you get started!  And, as with all of our current releases and updates, the pdfs now include our layers feature and can be found in Letter, A4 and A0 sizes.

If you’re still needing more inspiration, be sure to head over to the Patterns for Pirates Facebook Group Albums for the Walk the Plank PJ Bottoms to see what our amazing testers have sewn for themselves.  Don’t forget to tag us on Instagram (@patternsforpirates | #patternsforpirates) and to share your finished items over in our Facebook group!  We love to see what you make!

Happy sewing, friends!
Filed Under: Announcement, Contest/Giveaway, Free Pattern, Pattern Release 23 Comments

FREE Printable Measurement Charts

August 14, 2017


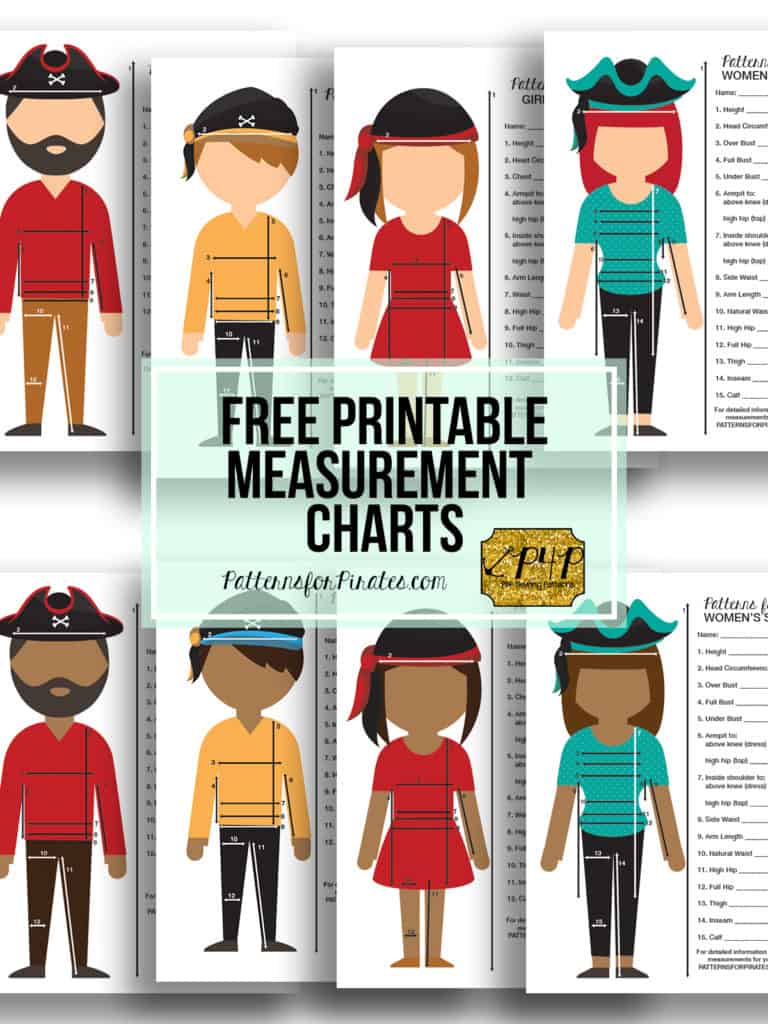
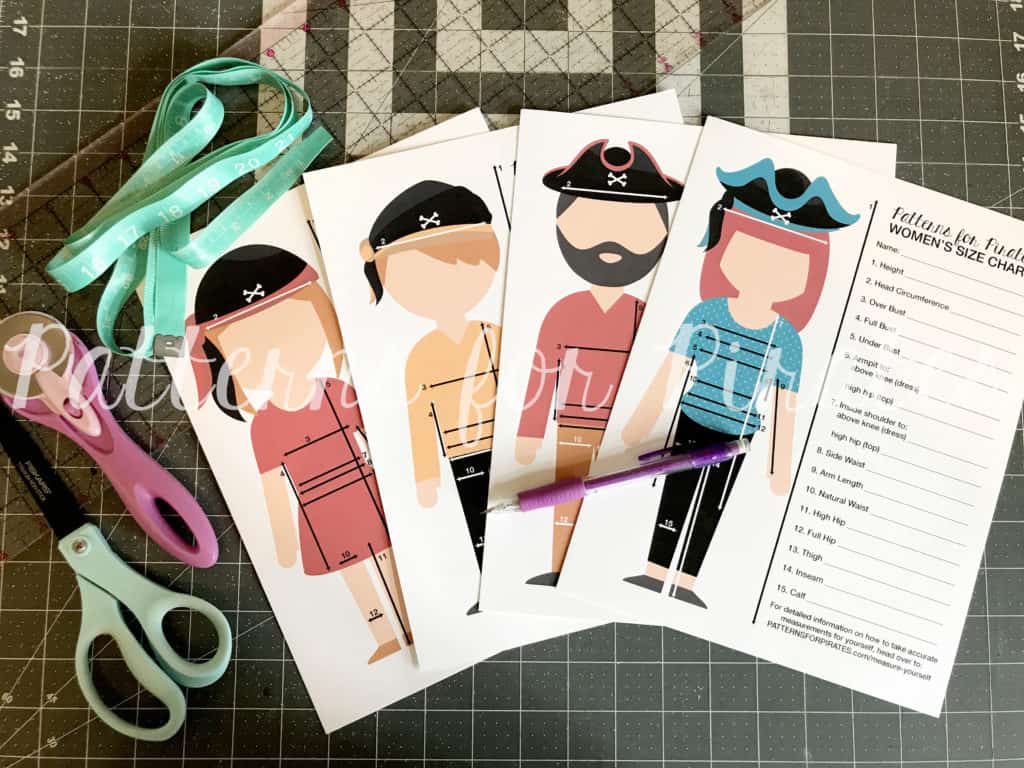
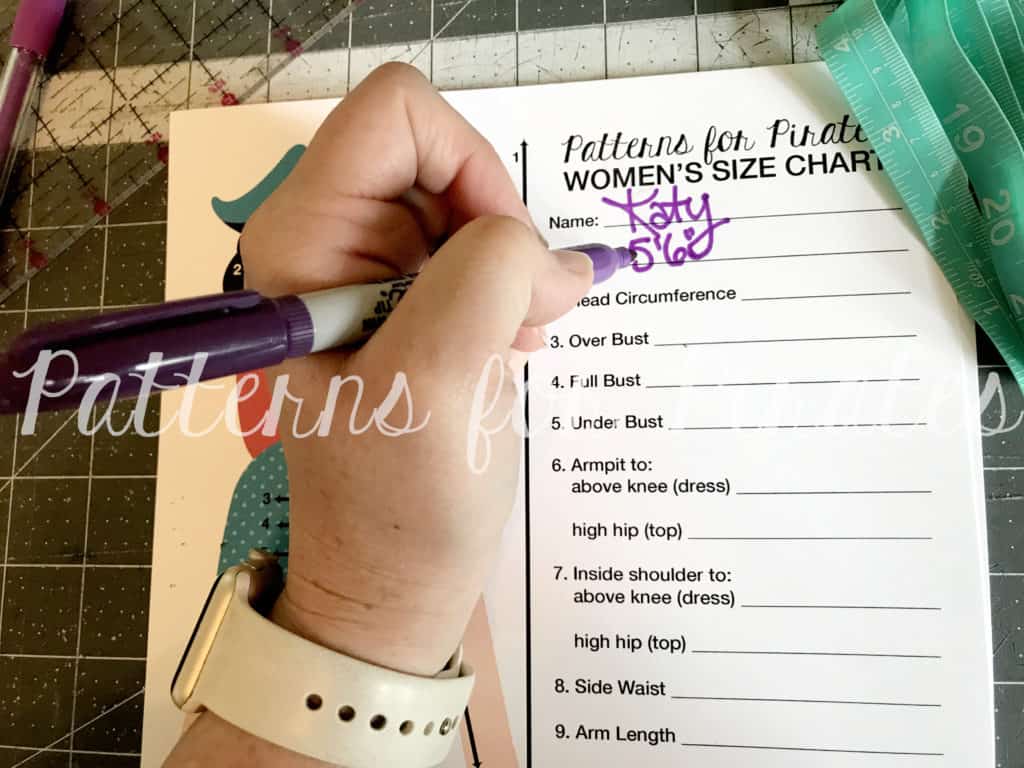
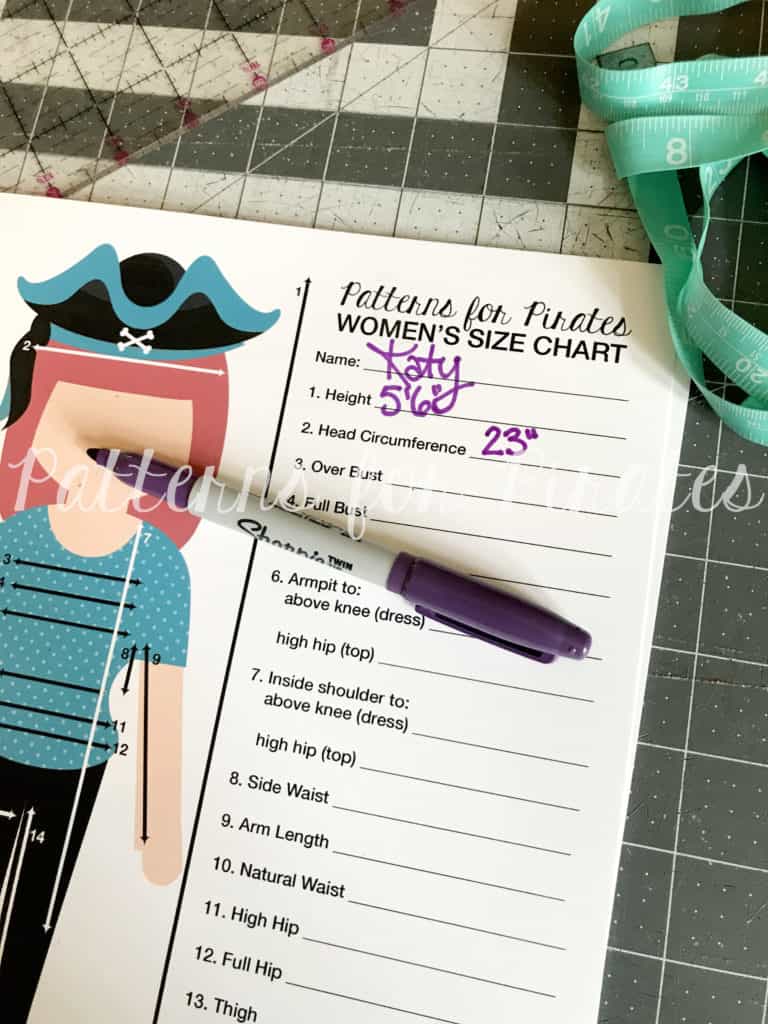
I am excited to be sharing this new FREEBIE with you today!  The biggest/best part of sewing for yourself or your family is being able to create custom clothing for exactly the unique size and shape that you are.  But that’s a lot of numbers to remember.  So we are here to make it a little easier on you by sharing these measurement charts.

There is a fill-in chart for each member of your family.  Simply print, measure, write it down, and get to sewing!

Need help figuring out some of these measurements?  We’ve already got you covered!  Head over to Judy’s post about “How To Measure Yourself” to see where to place the measuring tape and how to get the most accurate numbers.

What are you waiting for?  Go grab a copy of these PDFs and make life a little easier on yourself!
FREE PRINTABLE MEASUREMENT CHARTS

Happy sewing, friends!
Filed Under: Free Pattern 7 Comments

Peg Legs SAL: Day 7 – Recap and winners announcement

May 3, 2017

We made it to the last day of the Peg Legs sew along. You all did an amazing job this past week! I’ve seen so many beautiful pairs of Peg Legs being sewn.

Let’s recap what we did so far:

Day 1: Fabric selection

Day 2: Printing and measuring

Day 3: Cutting the fabric

Day 4: Attach add ons

Day 5: Sew inseam and attach legs

Day 6: Attach waistband

Without further ado…here are our 5 Peg Leg SAL winners


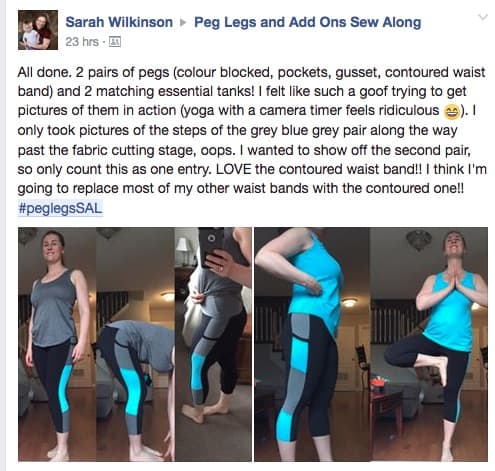
First winner: Sarah Wilkinson

$15 P4P store credit

$50 So Sew English store credit

$50 Stika Fabrics store credit

$50 Midnight Mountain Fabrics store credit

$25 Beanpop store credit

$50 RP Custom Fabrics store credit


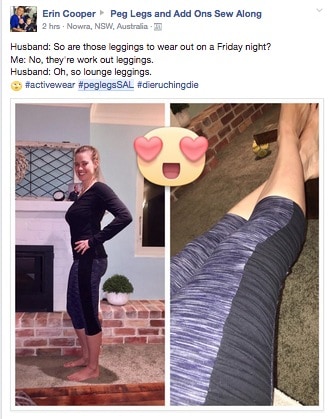
Second winner:  Erin Cooper

$15 P4P store credit

$50 Aurora Designs store credit

$50 Little Bear Fabric + Trim store credit

$50 Smoogie Custom Fabric store credit

$25 Little Lady Bug Fabrics Gift Card

$30 Store Credit($50 NZD) Levana Fabrics


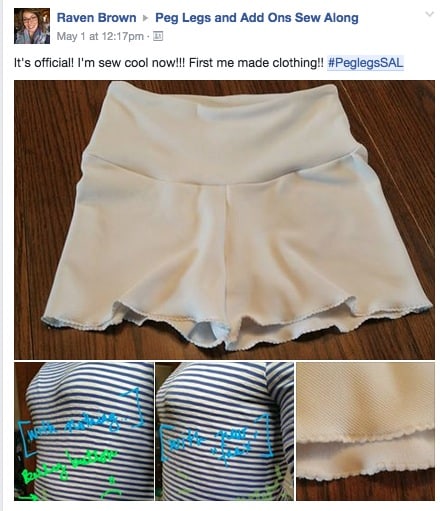
Third winner: Raven Brown

$15 P4P store credit

$60 Boss Lady Fabric store credit

$50 The Fabric Snob store credit

$50 RockerBye Destash Fabric store credit

$50 Water Tower Textiles Canada store credit

€25 Droomstoffen store credit


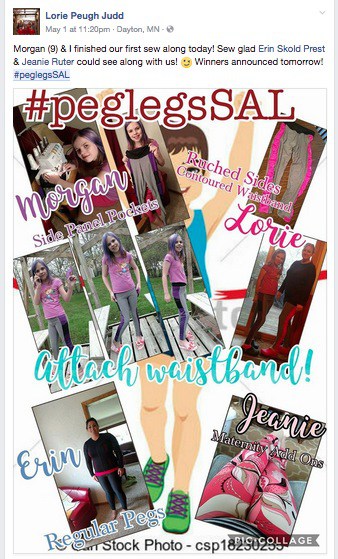
Fourth winner: Lorie Peugh Judd

$15 P4P store credit

$50 Made Whimsy/ You Made Something store credit

$25  Star Dust & Moon Beam Textile Company gift card to each store

$50 Pretty Posh Prints store credit

$50 Sash Fabrics store credit

$30 Phat Quarters store credit

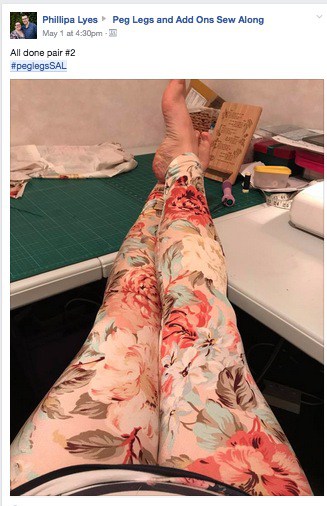
Big prize winner: Phillipa Lyes

$50 P4P store credit

$100 Sincerely Rylee store credit

$75 Sew Vagabond store credit

LFRB full of fabric from Sly Fox Fabrics

$50 True North Fabrics store credit

$50 Sweet N Charmed Fabric store credit


Congratulations to all of the winner and all participants! Please contact the shop owners to claim your prizes.


Thank you to the sponsors who made all these amazing prizes possible. Be sure to check out their awesome fabric selections!

Made Whimsy Fabric

Sew Vagabond

Sly Fox Fabrics

True North Fabrics

Sincerely Rylee

RP Custom Fabrics

Smoogie Fabric and Design

Sitka Fabrics

Star Dust and Moon Beam Textile Company

Levana Fabrics

Midnight Mountain Fabrics

Water Tower Textiles

Droomstoffen

Aurora Designs

Boss Lady Fabrics

Little Bear Fabric and Trim

Sash Fabrics

Rockerbye  Destash

The Fabric Snob

So Sew English

Fabricmail Sweet N Charmed

Phat Quarters, Pretty Posh Prints

Little Ladybug Fabrics.

Filed Under: Contest/Giveaway, Free Pattern, Sew-A-Long, Uncategorized 4 Comments

  • « Previous Page
  • 1
  • …
  • 4
  • 5
  • 6
  • 7
  • 8
  • Next Page »

connect with me

  • Email
  • Facebook
  • Instagram
  • Pinterest
  • YouTube
Privacy & Cookies: This site uses cookies. By continuing to use this website, you agree to their use.

To find out more, including how to control cookies, see here: Cookie Policy
  • Privacy Policy
  • Refund Policy
  • Contact Us
  • About

Copyright © 2026 Patterns for Pirates

Copyright © 2026 · Genesis Framework · WordPress · Log in