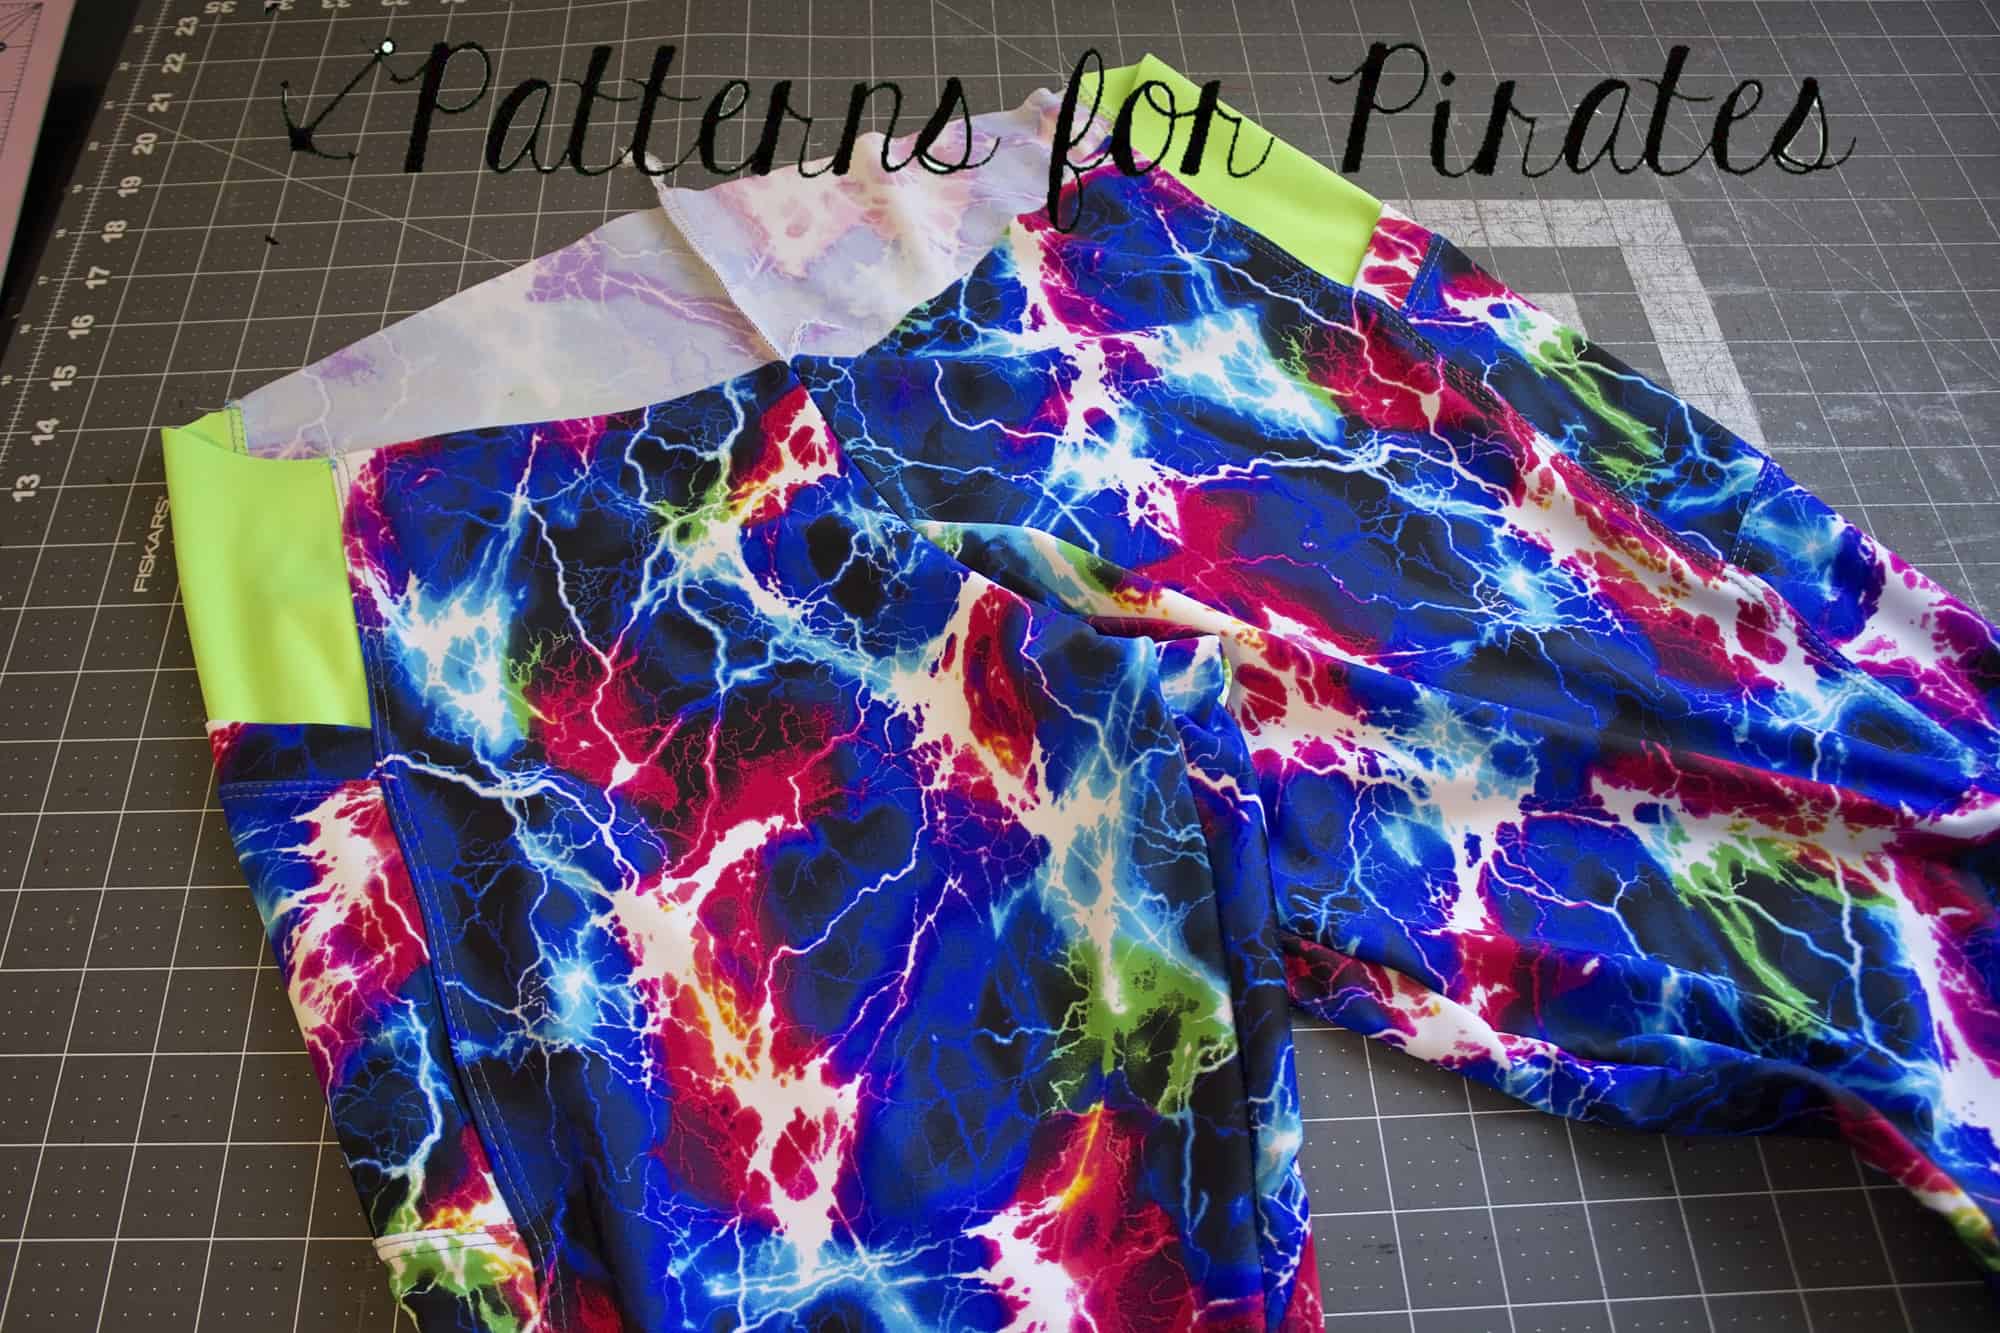
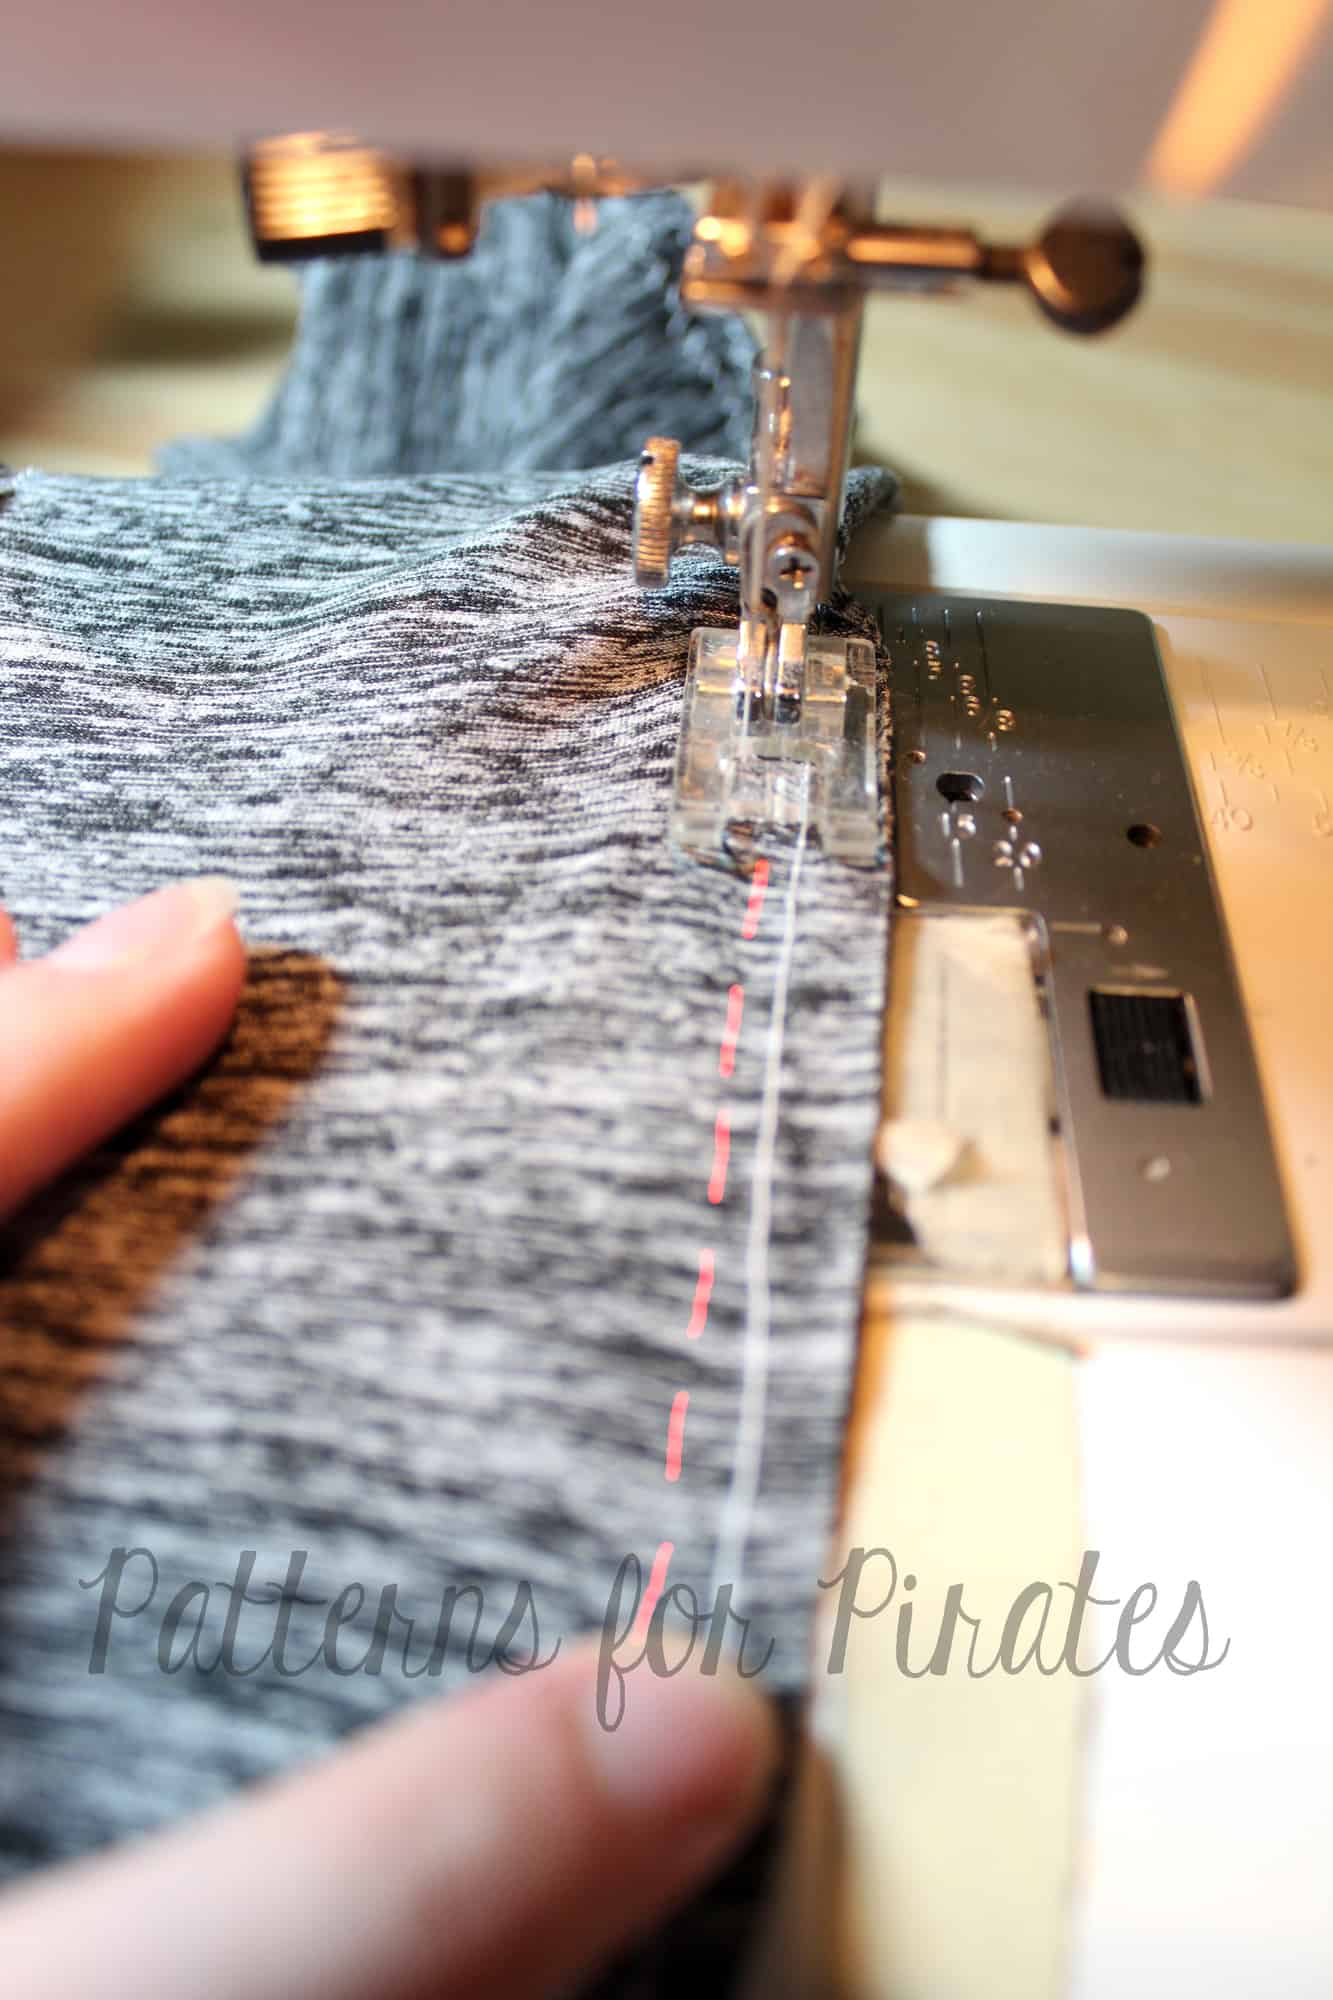
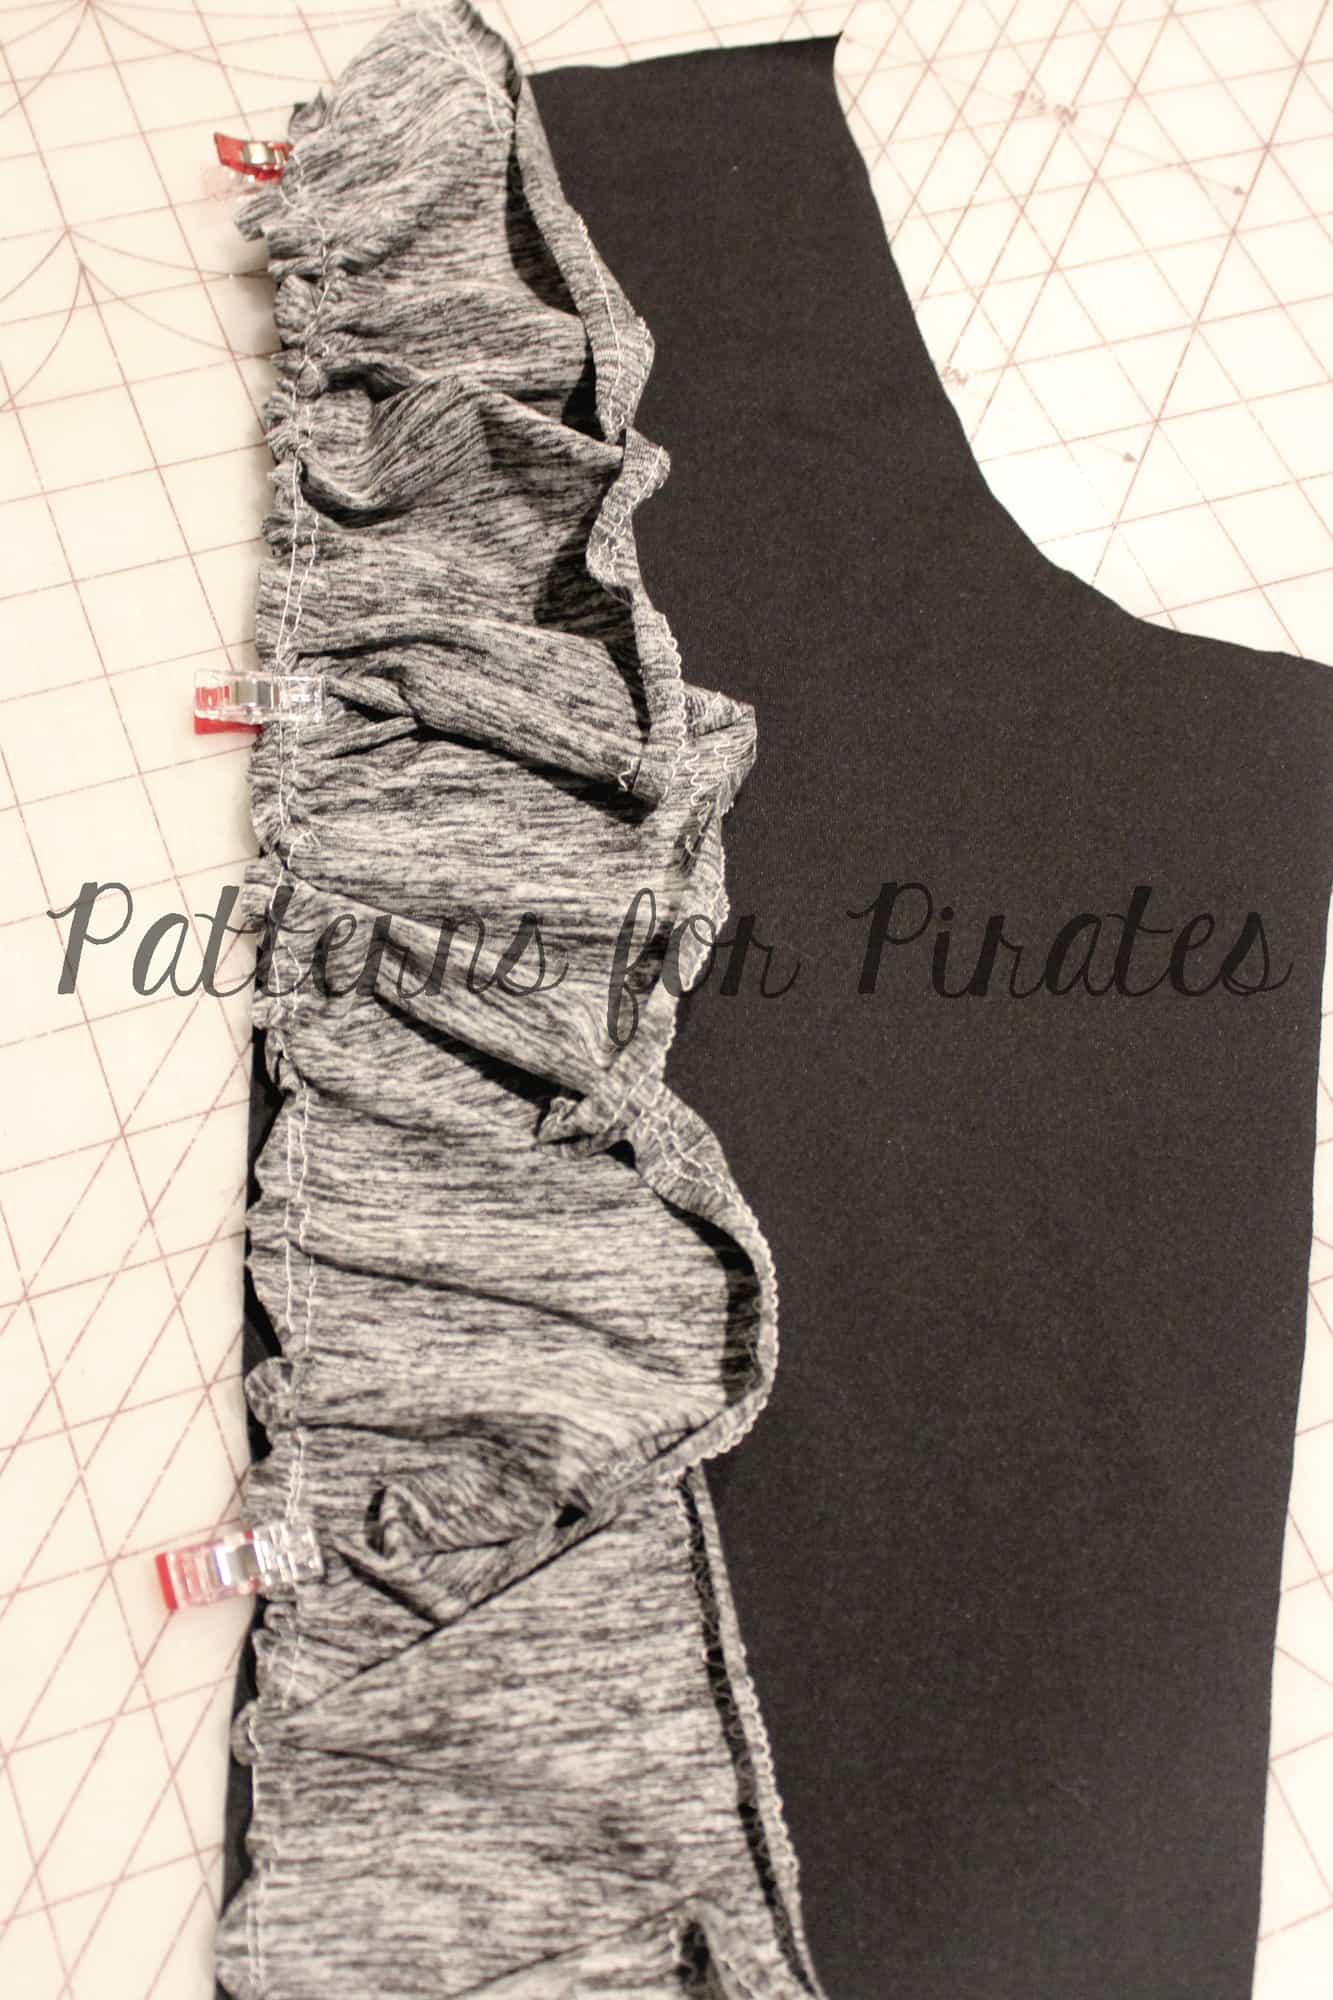
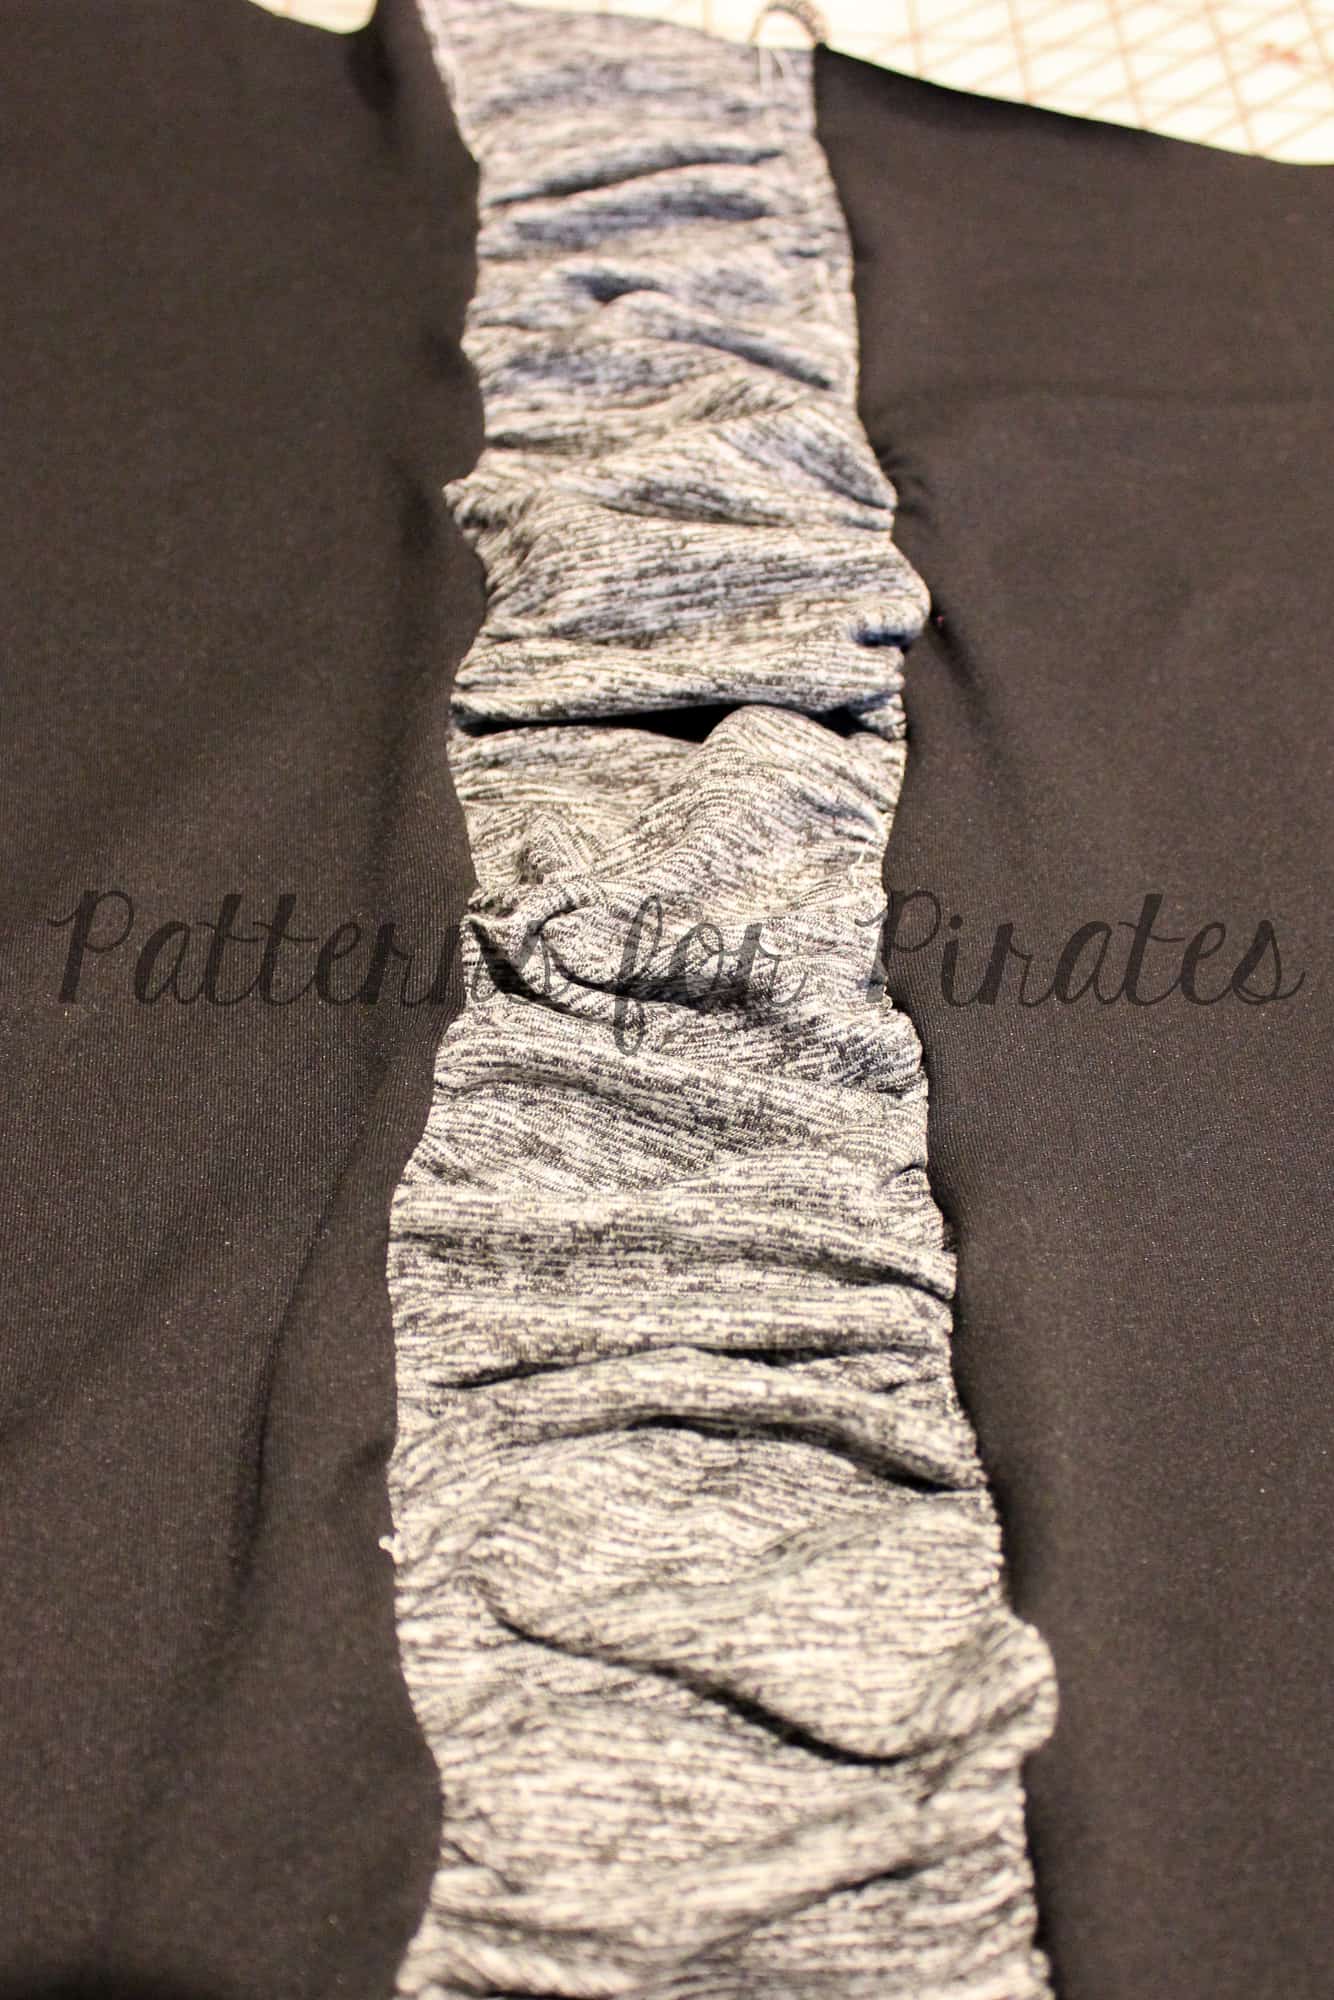
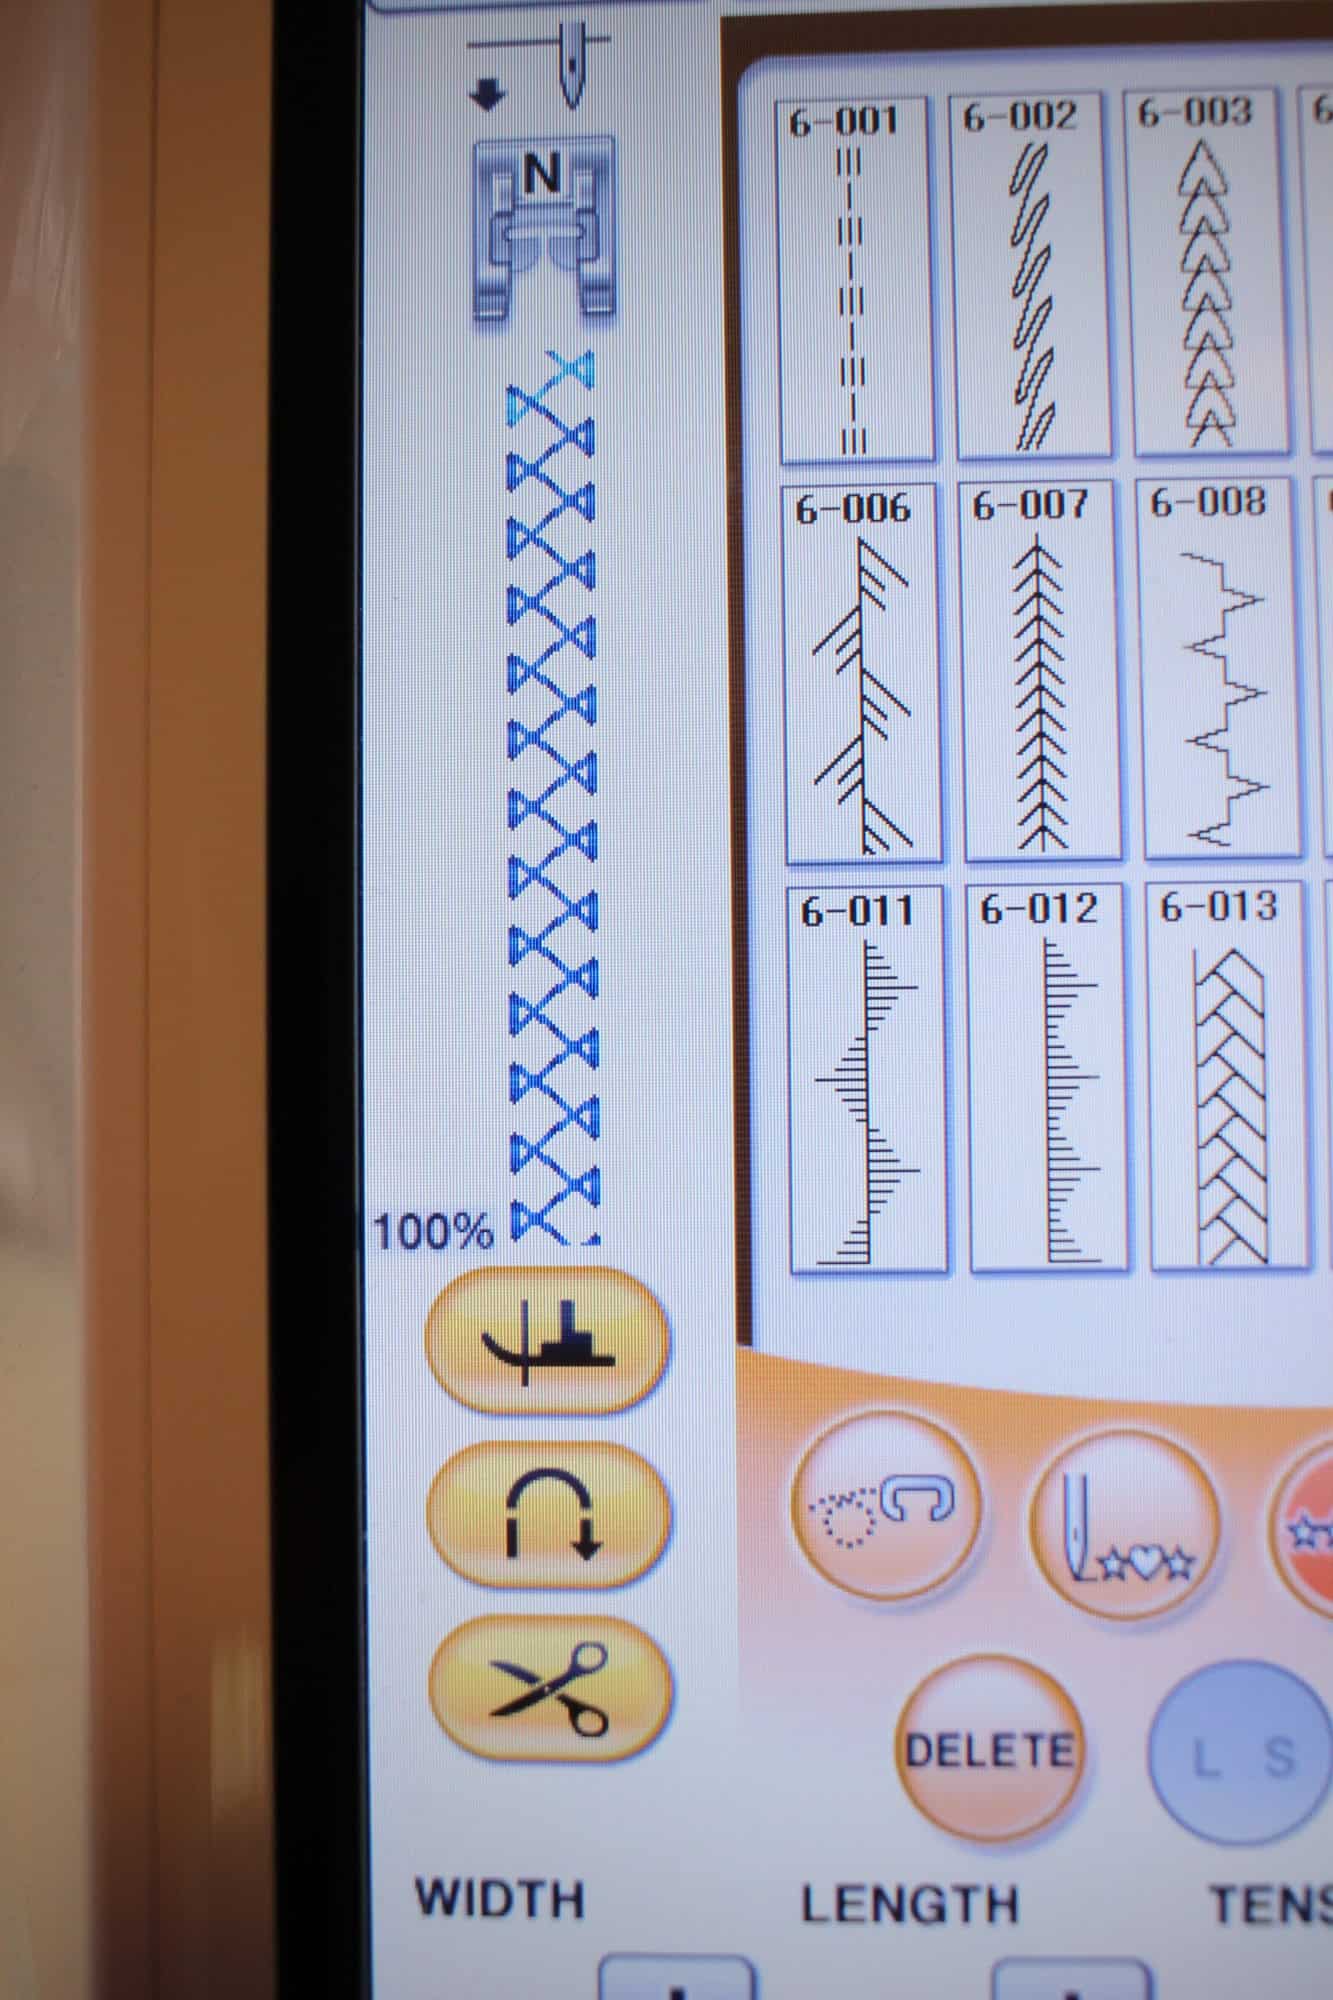
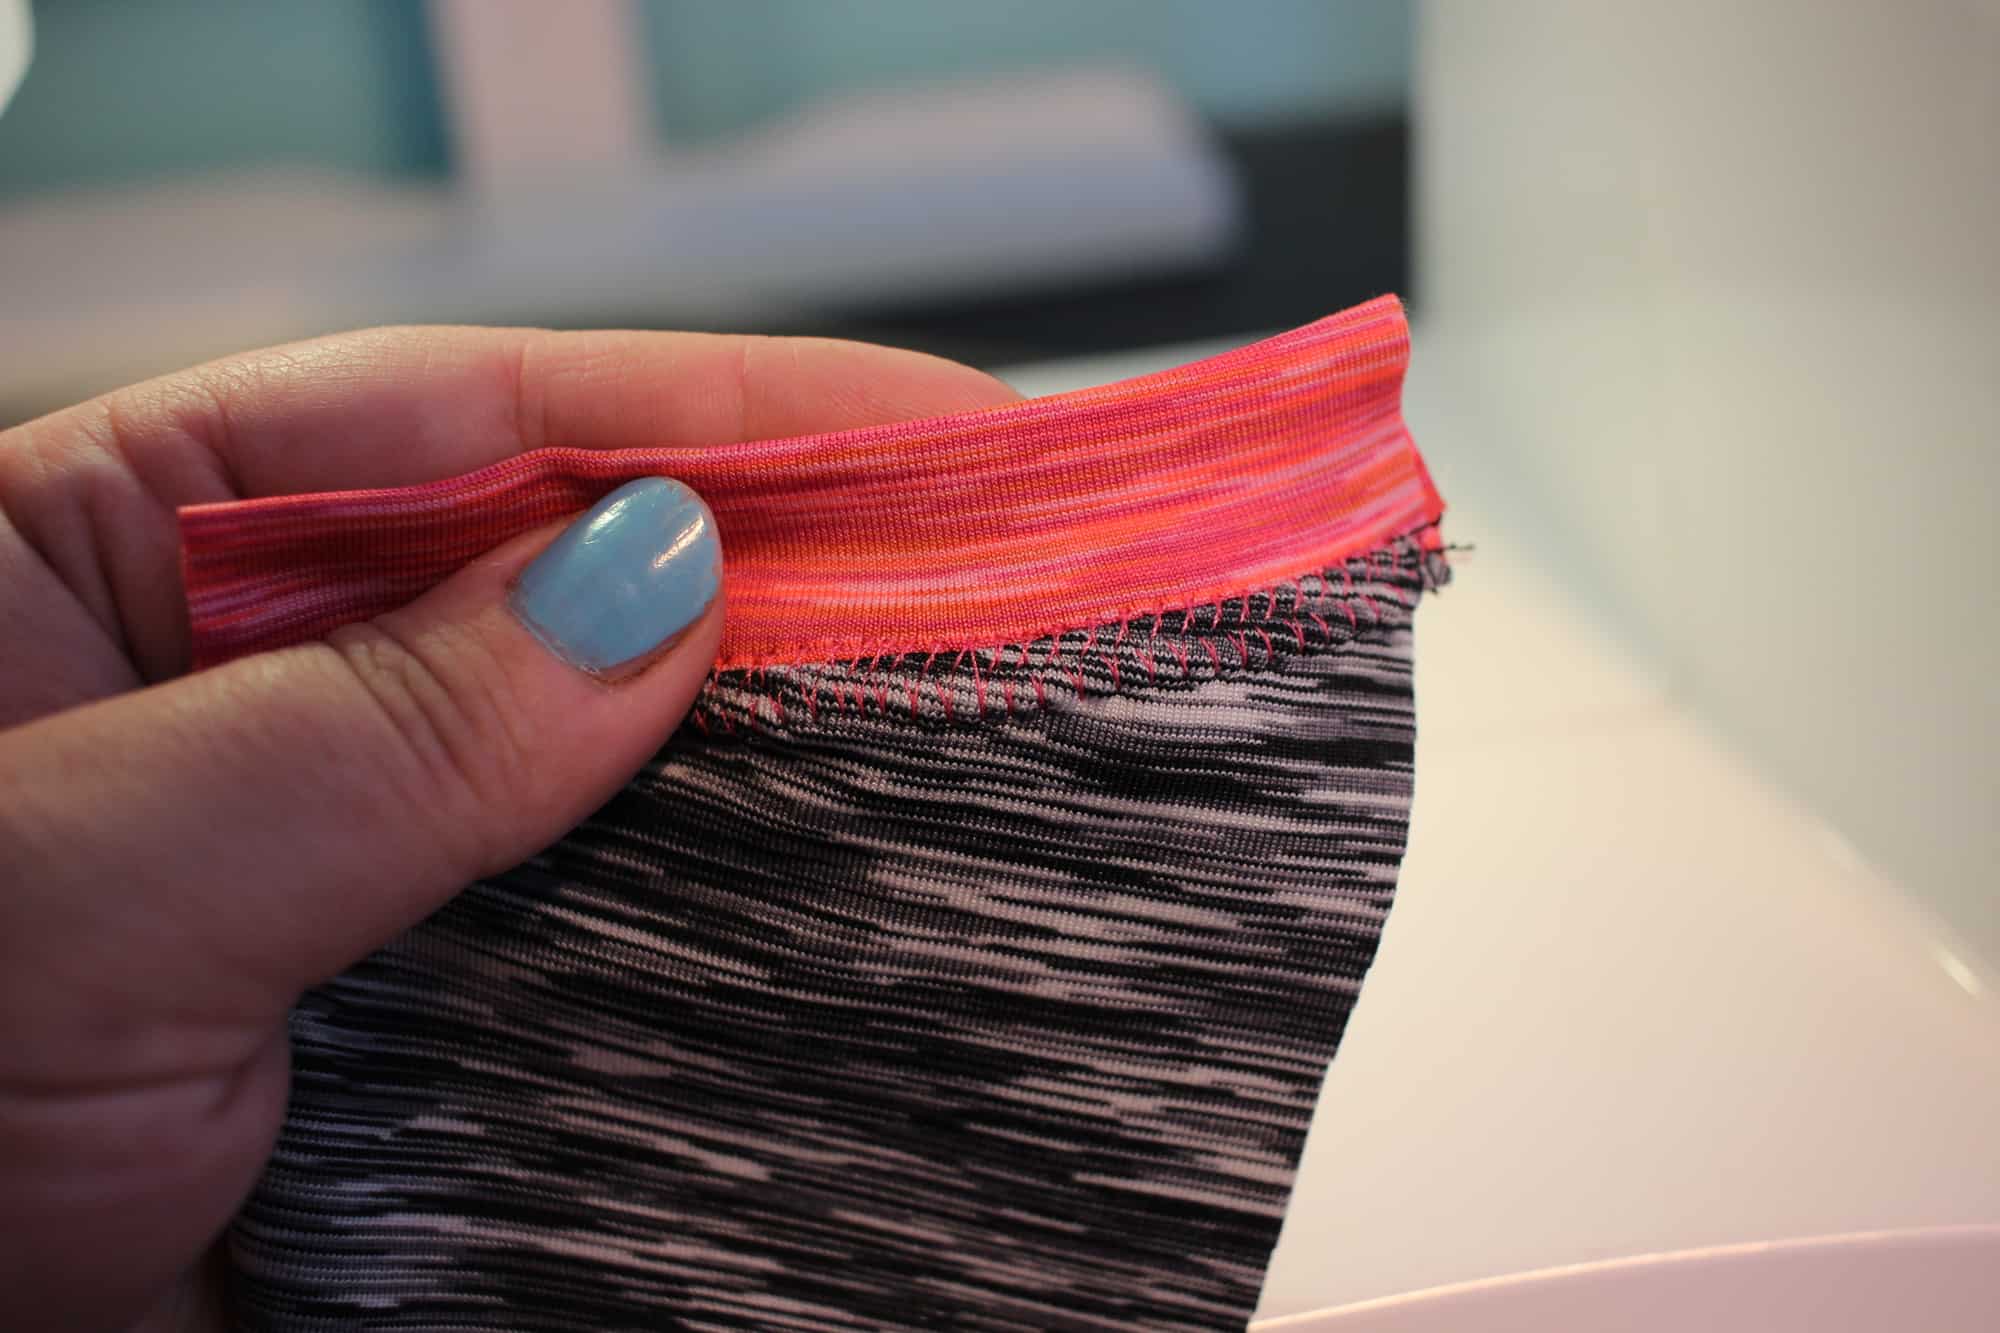
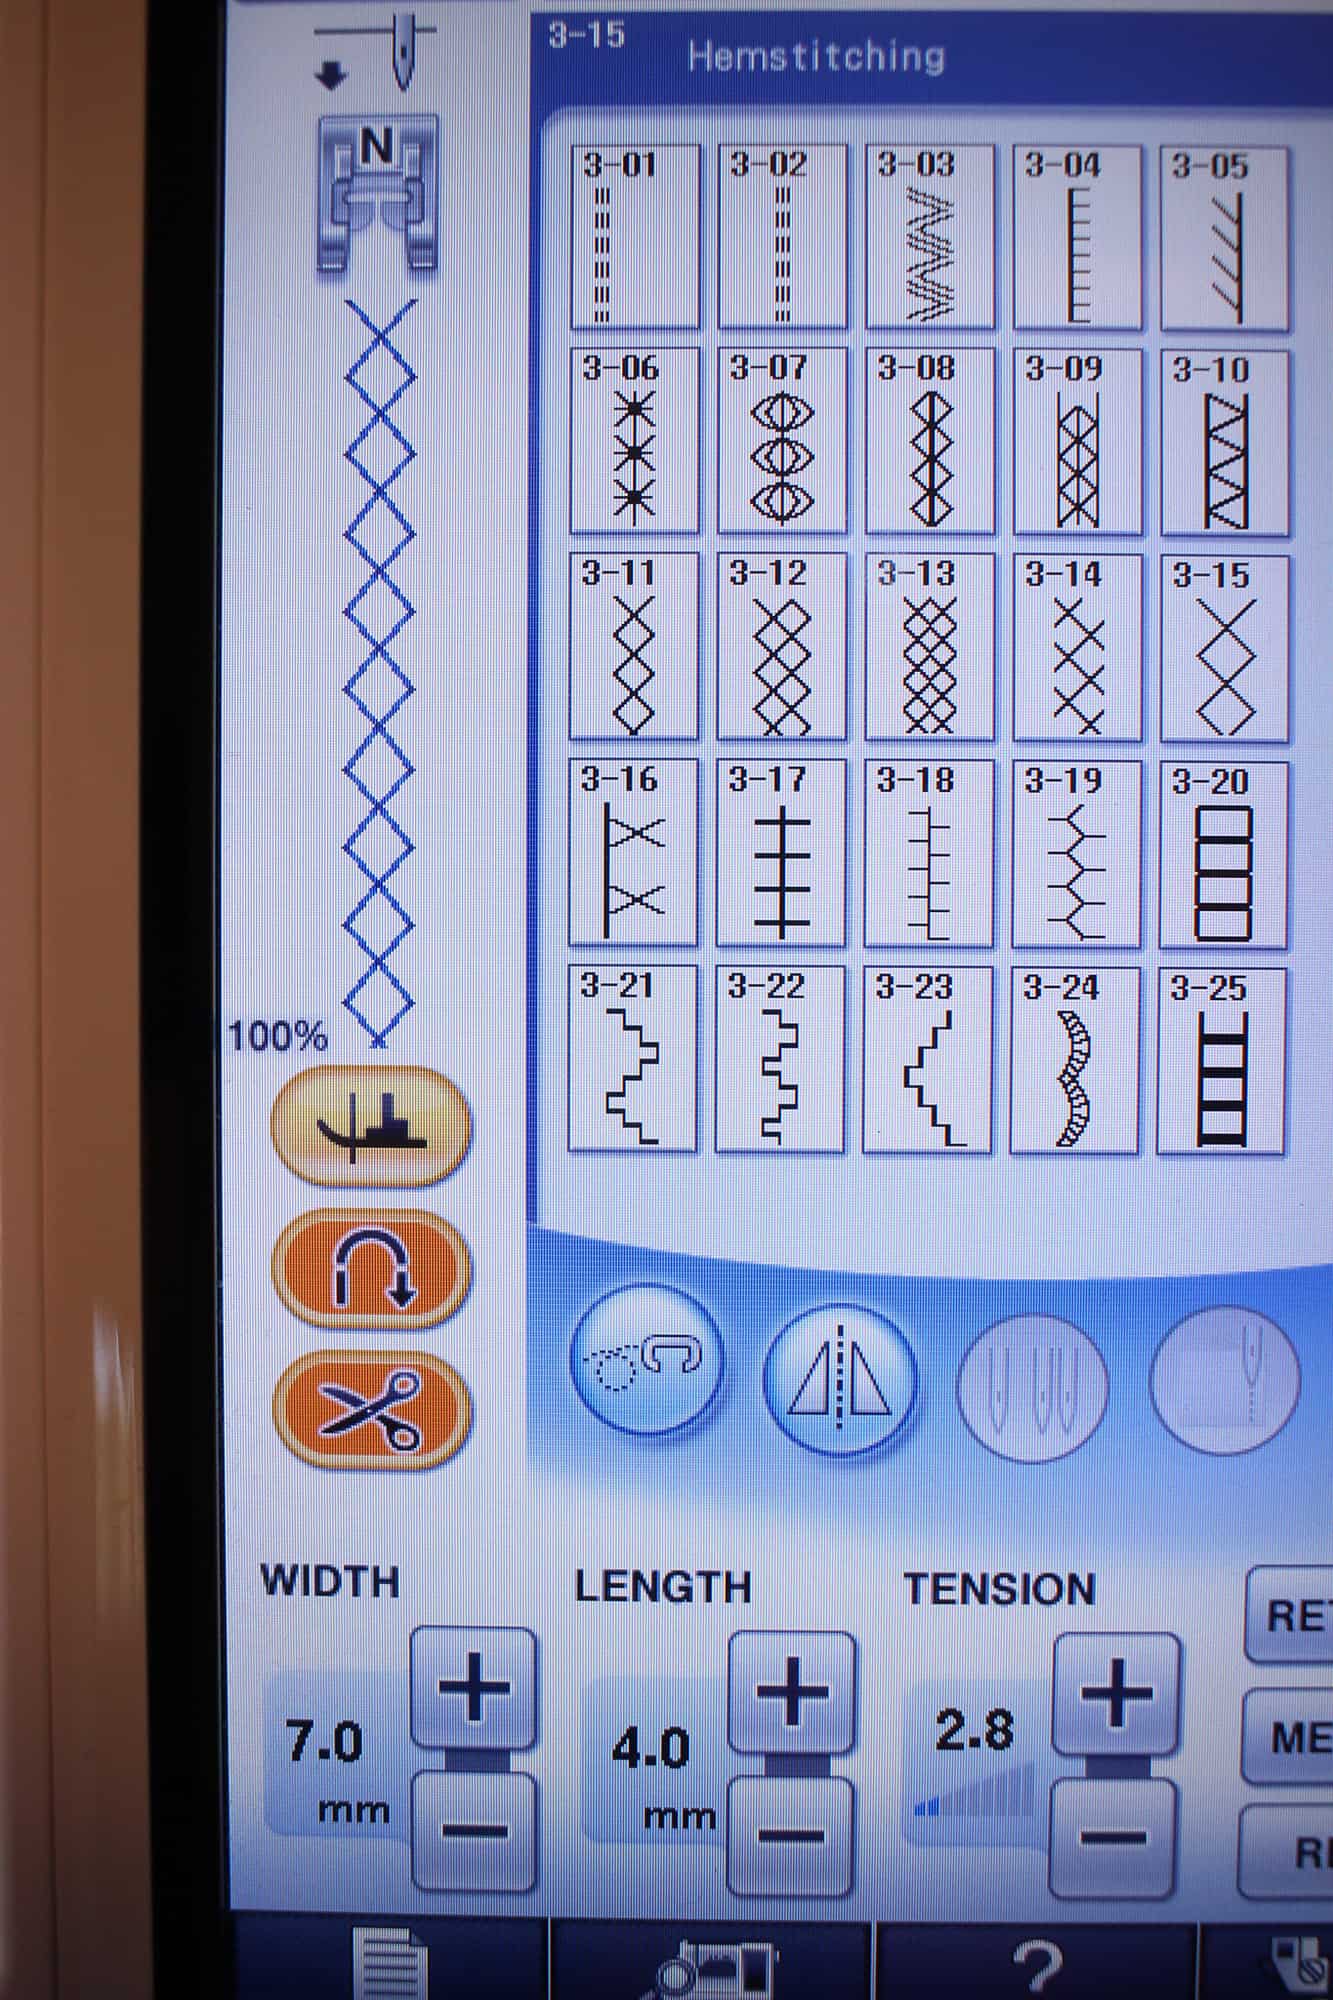
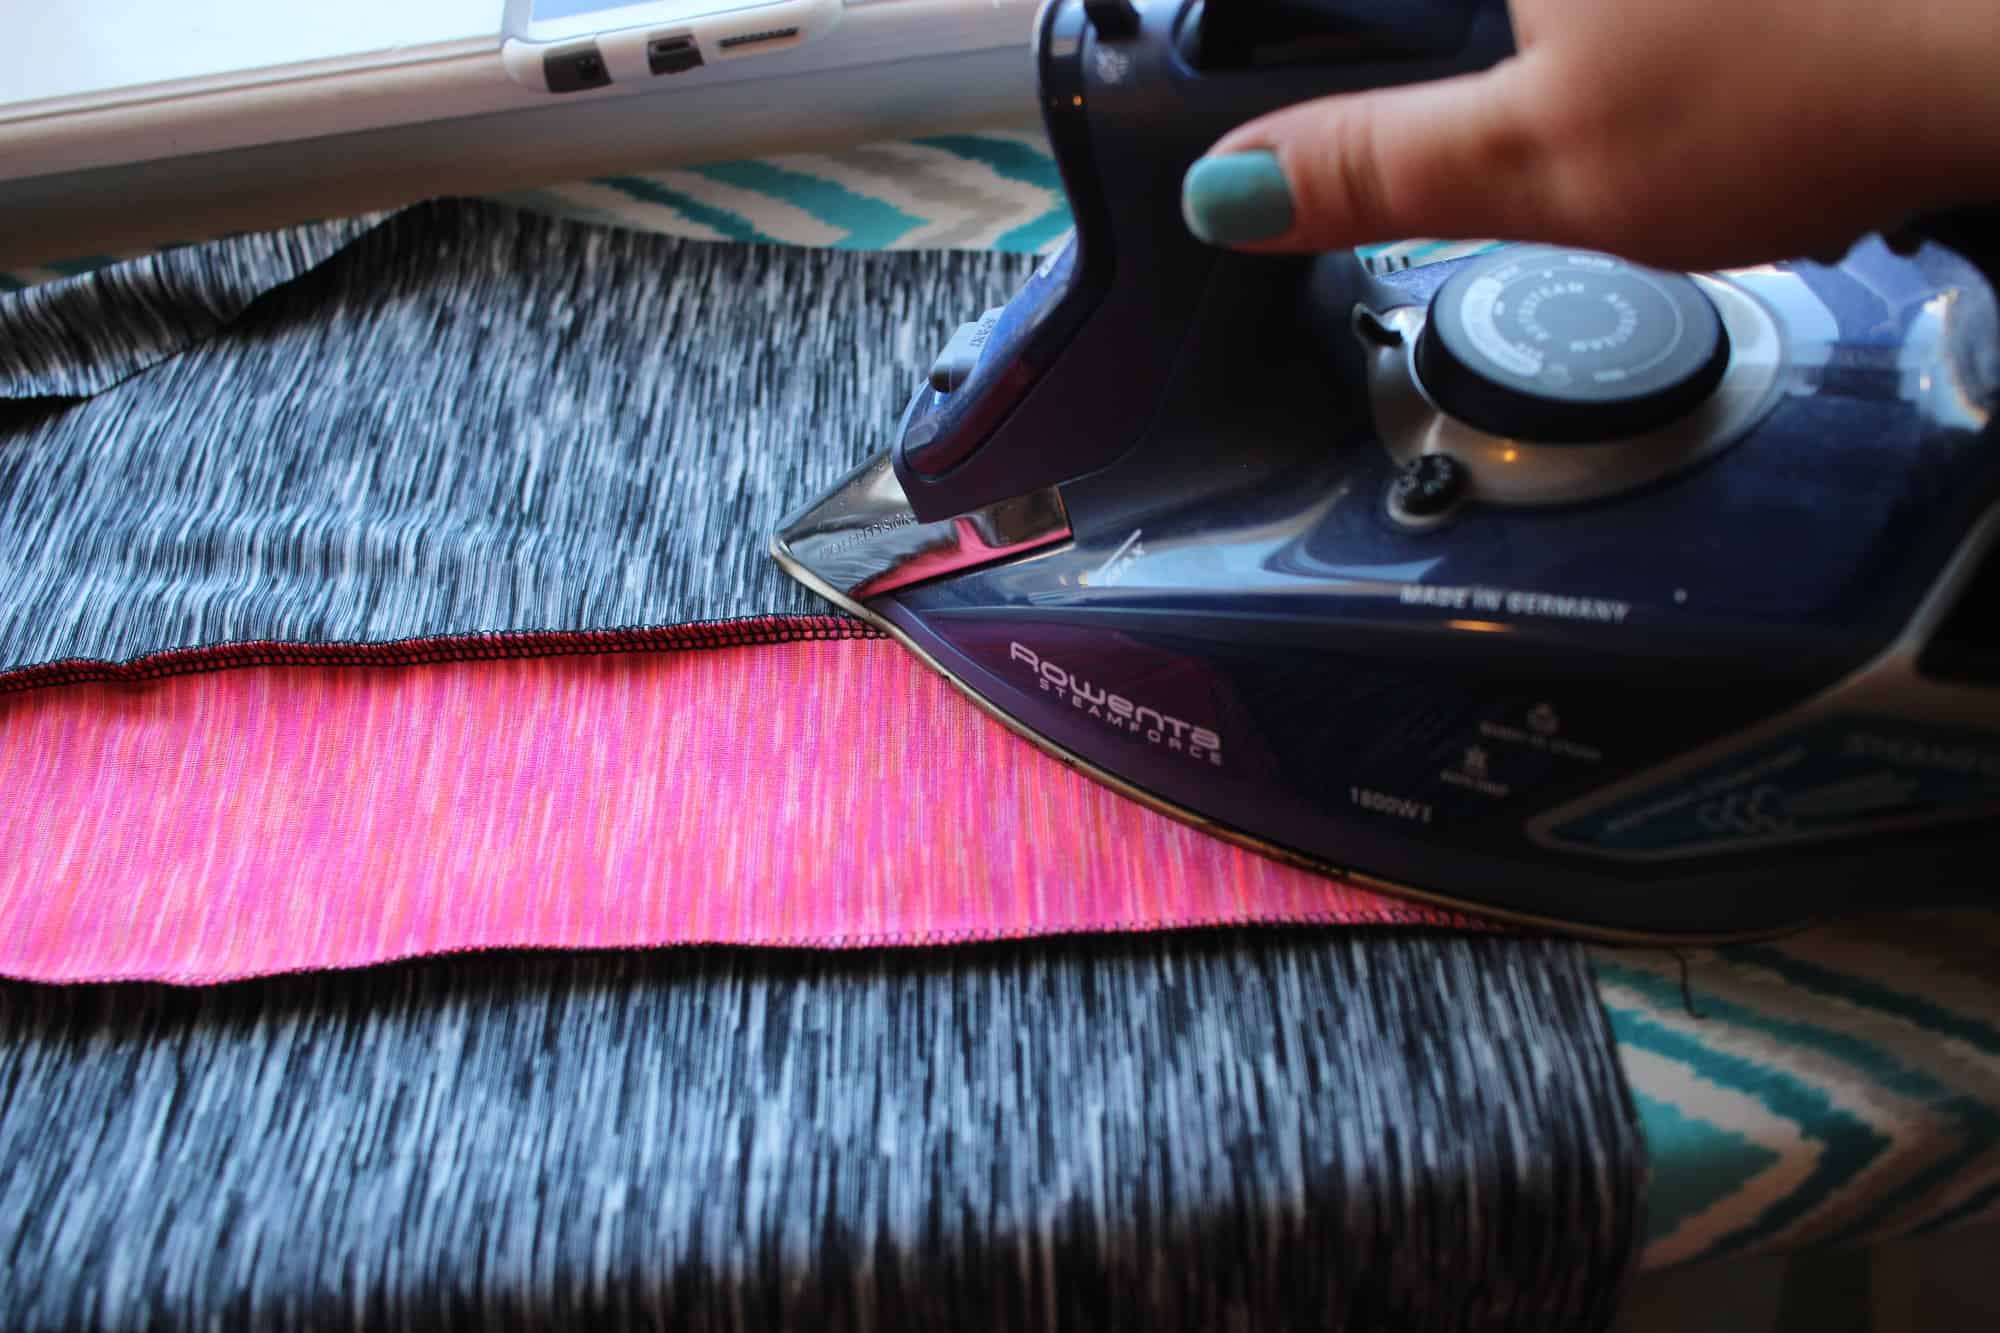
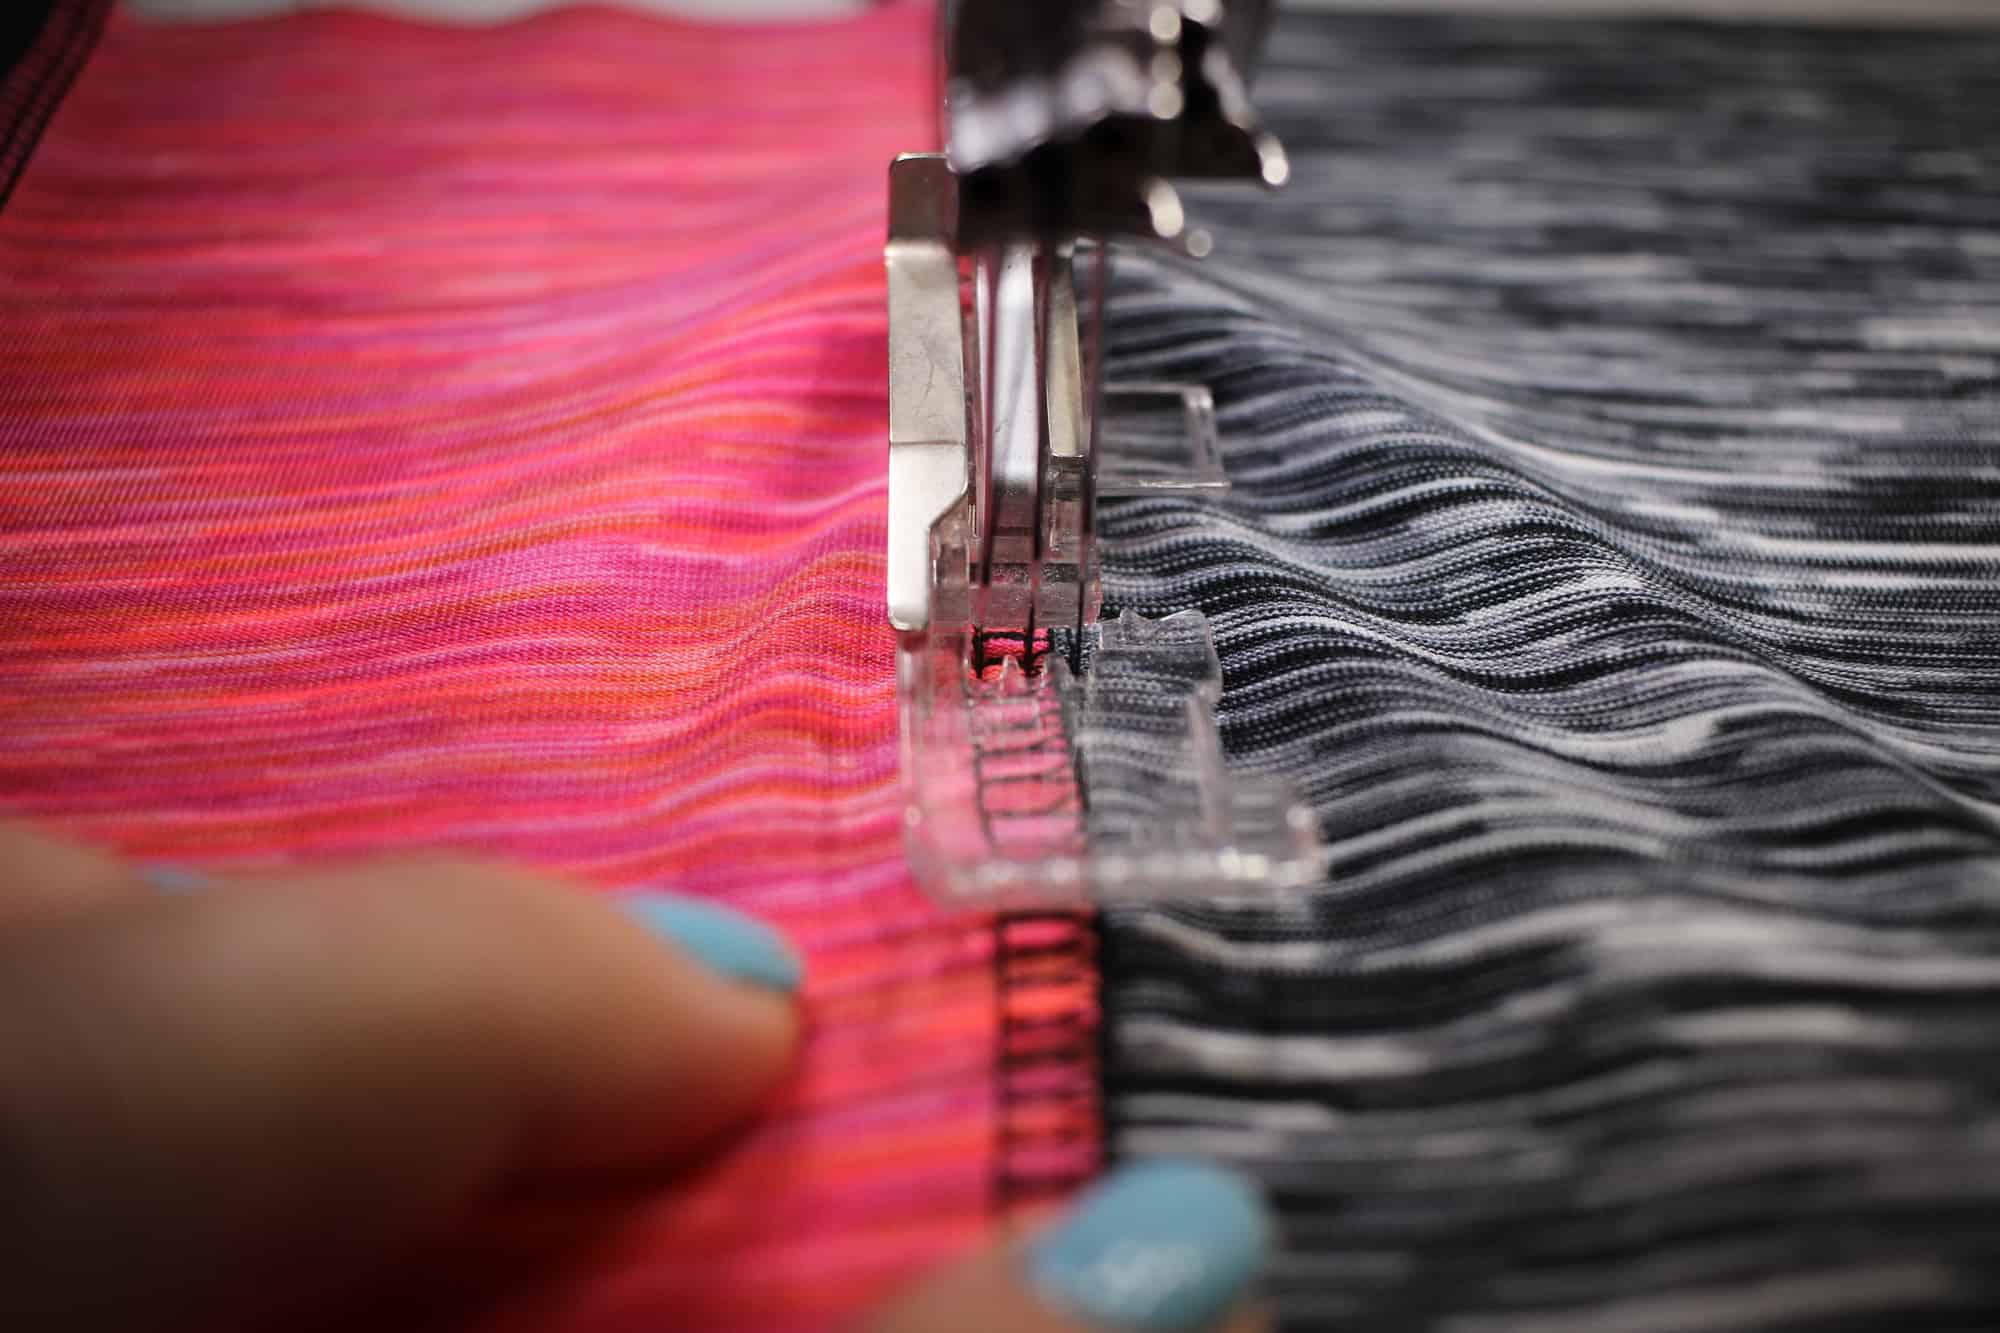
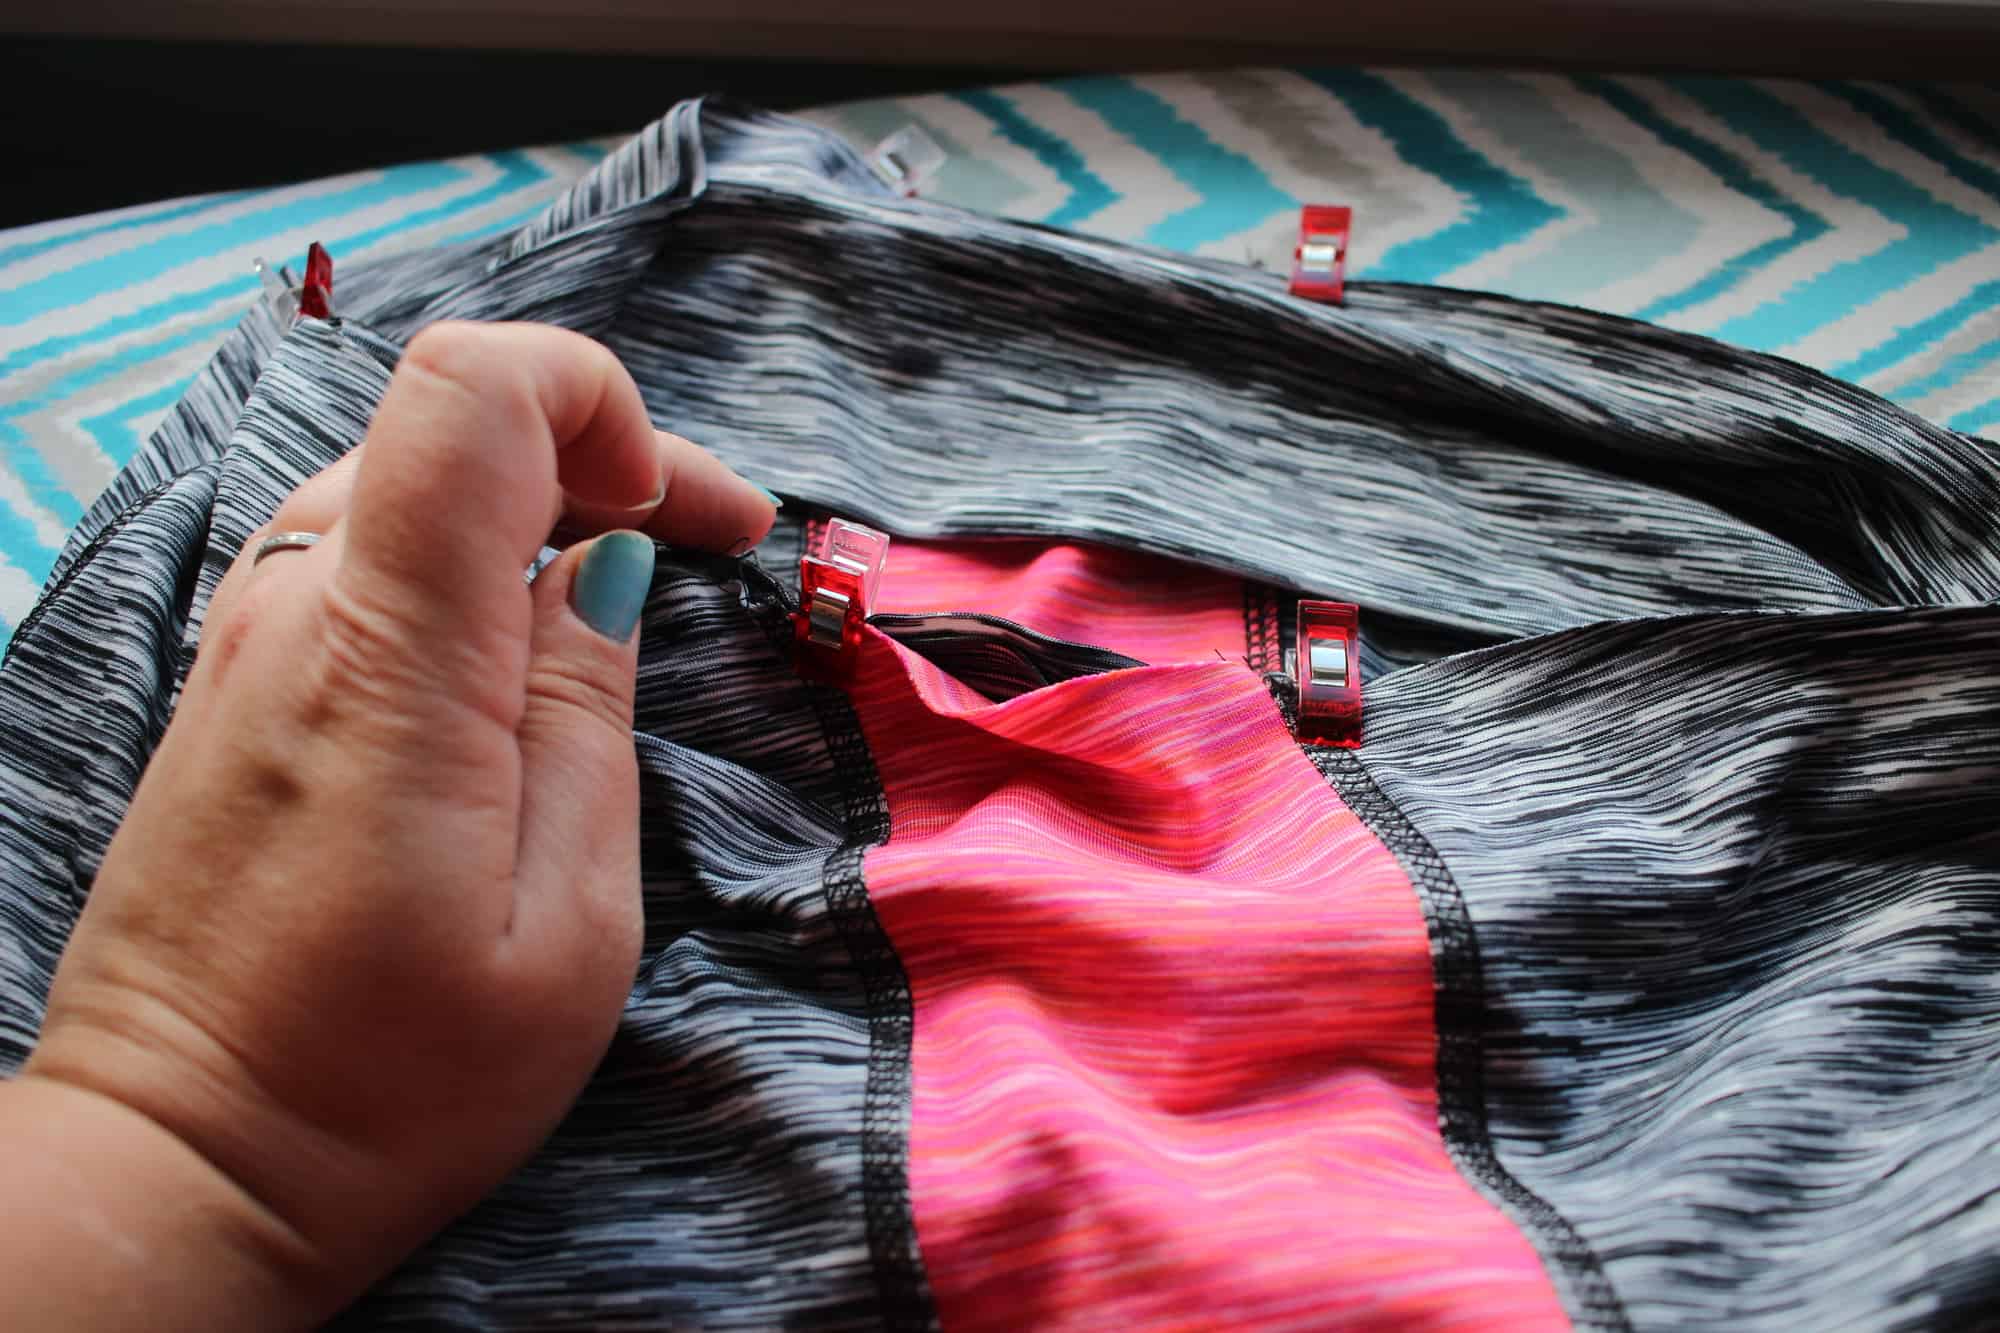
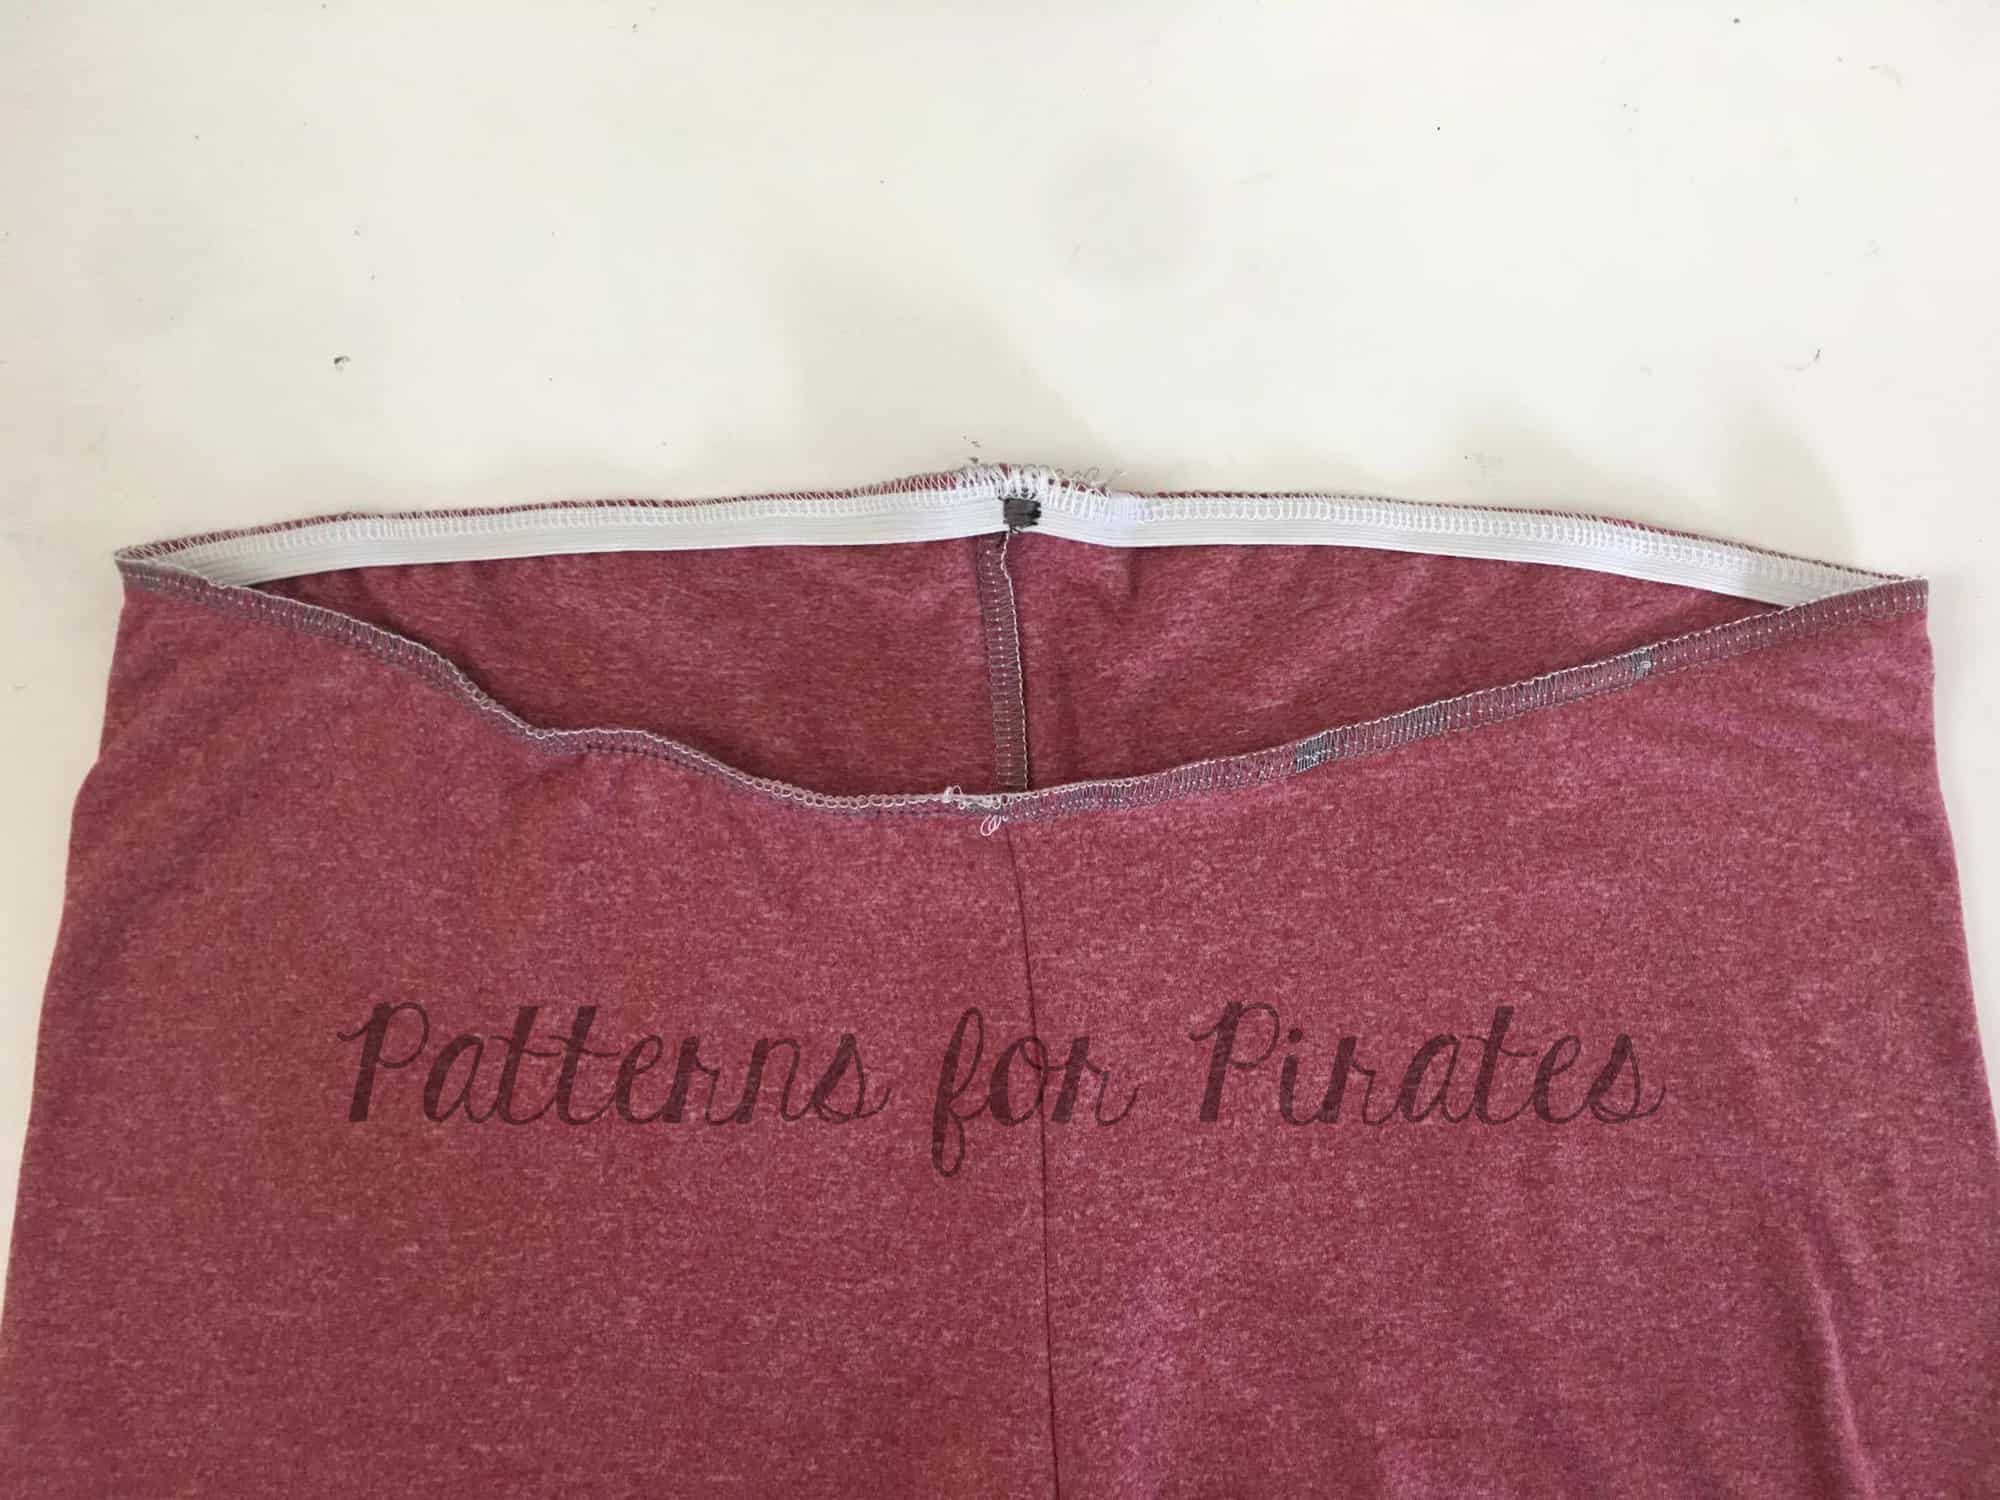
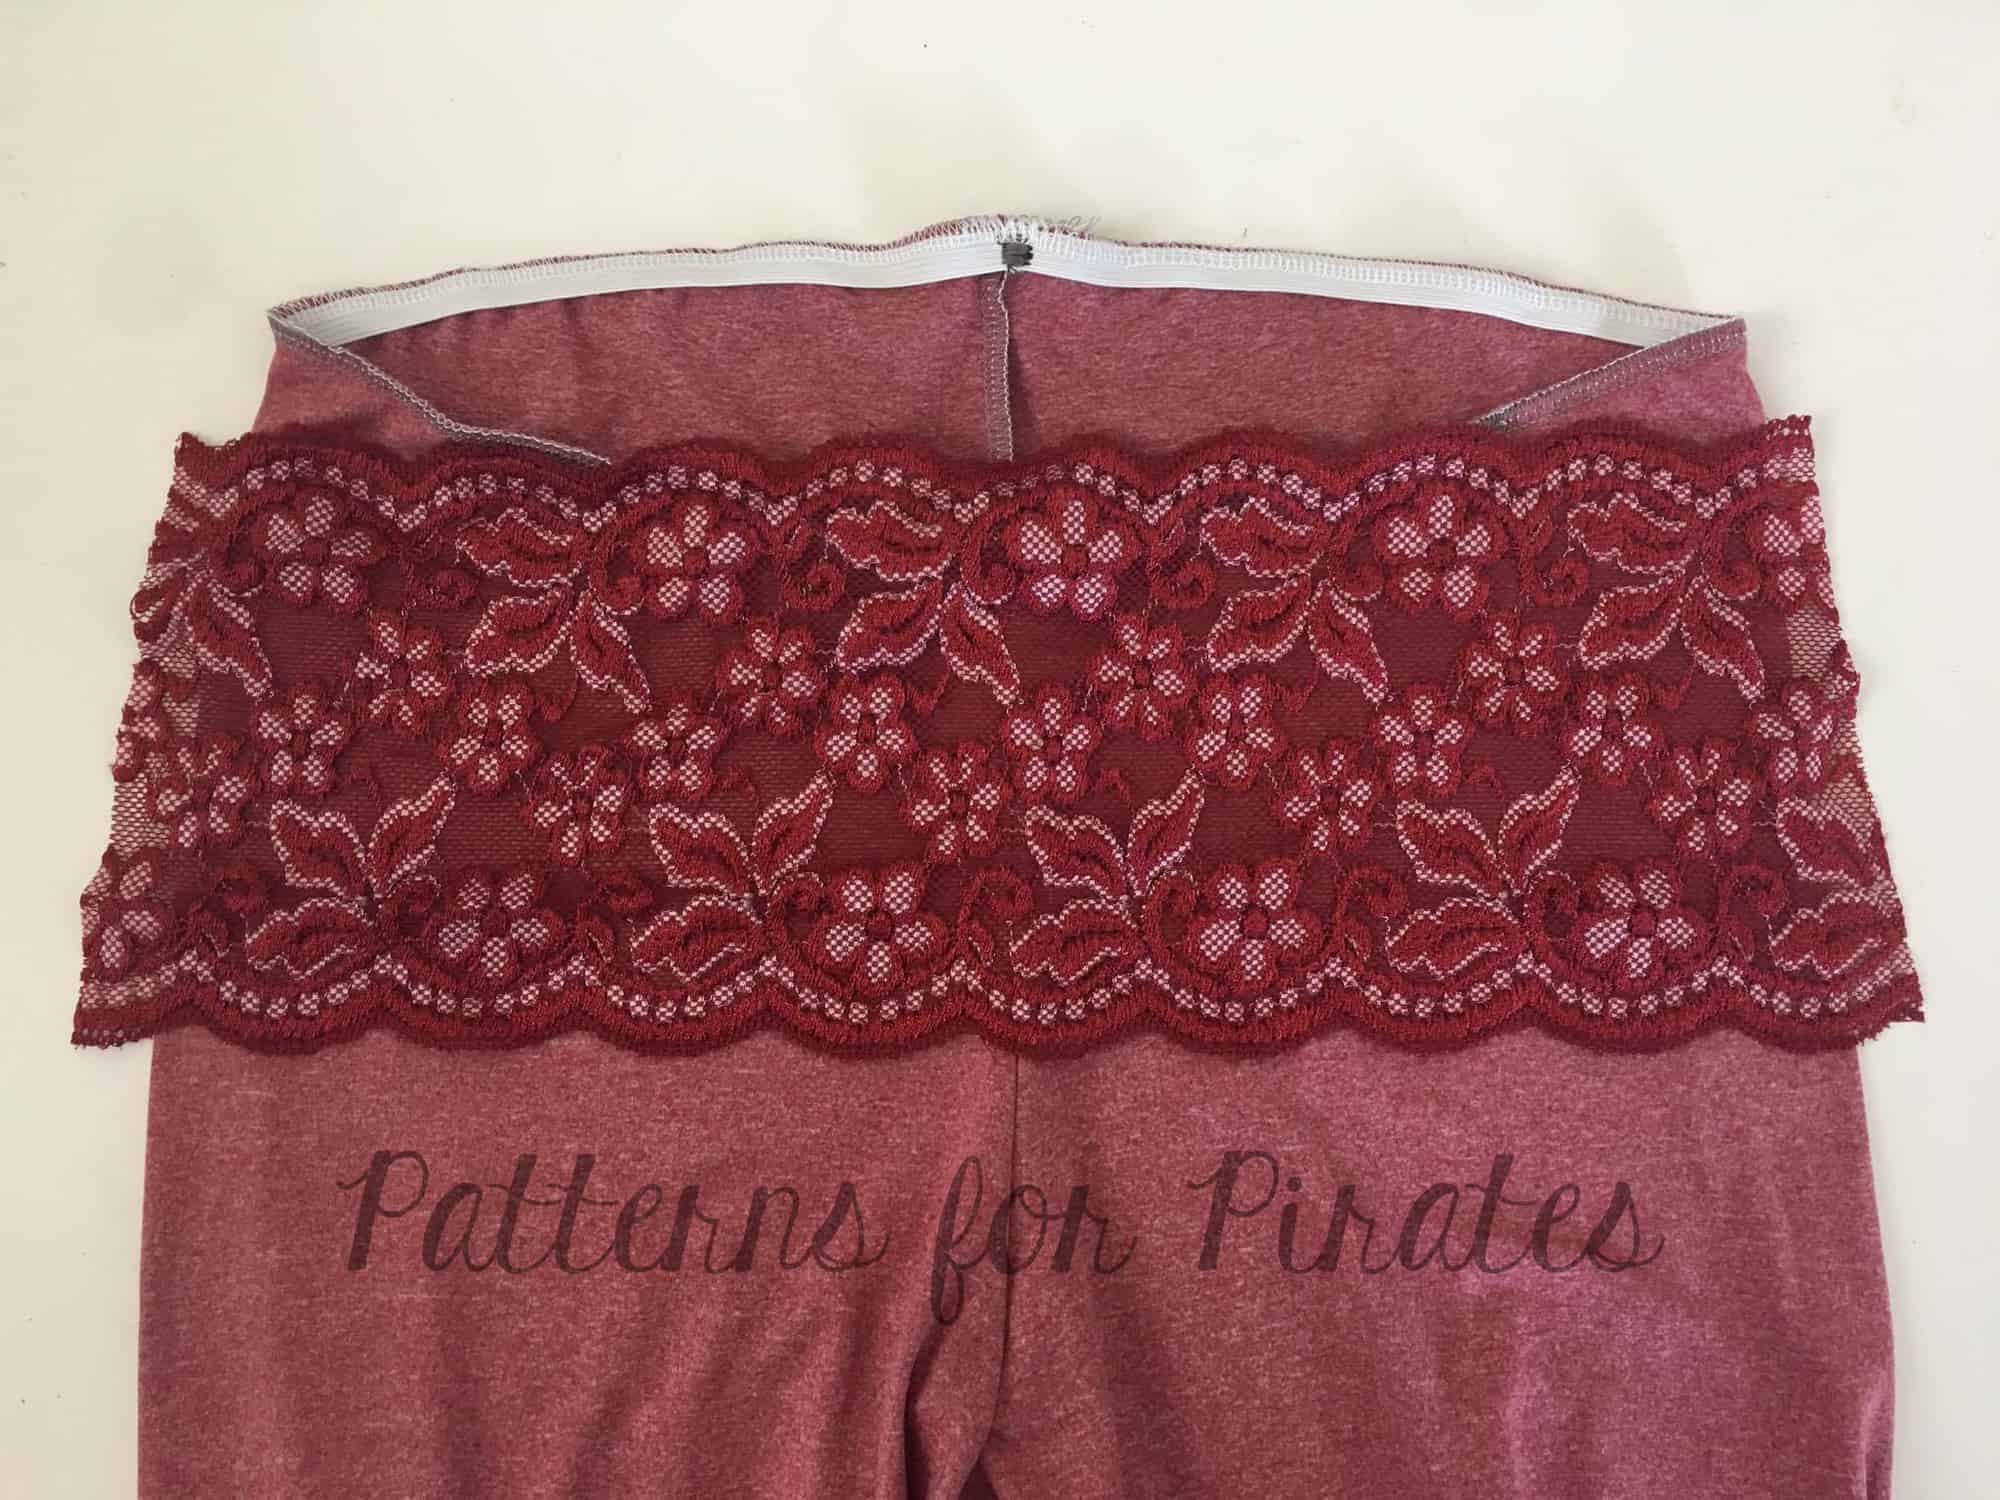
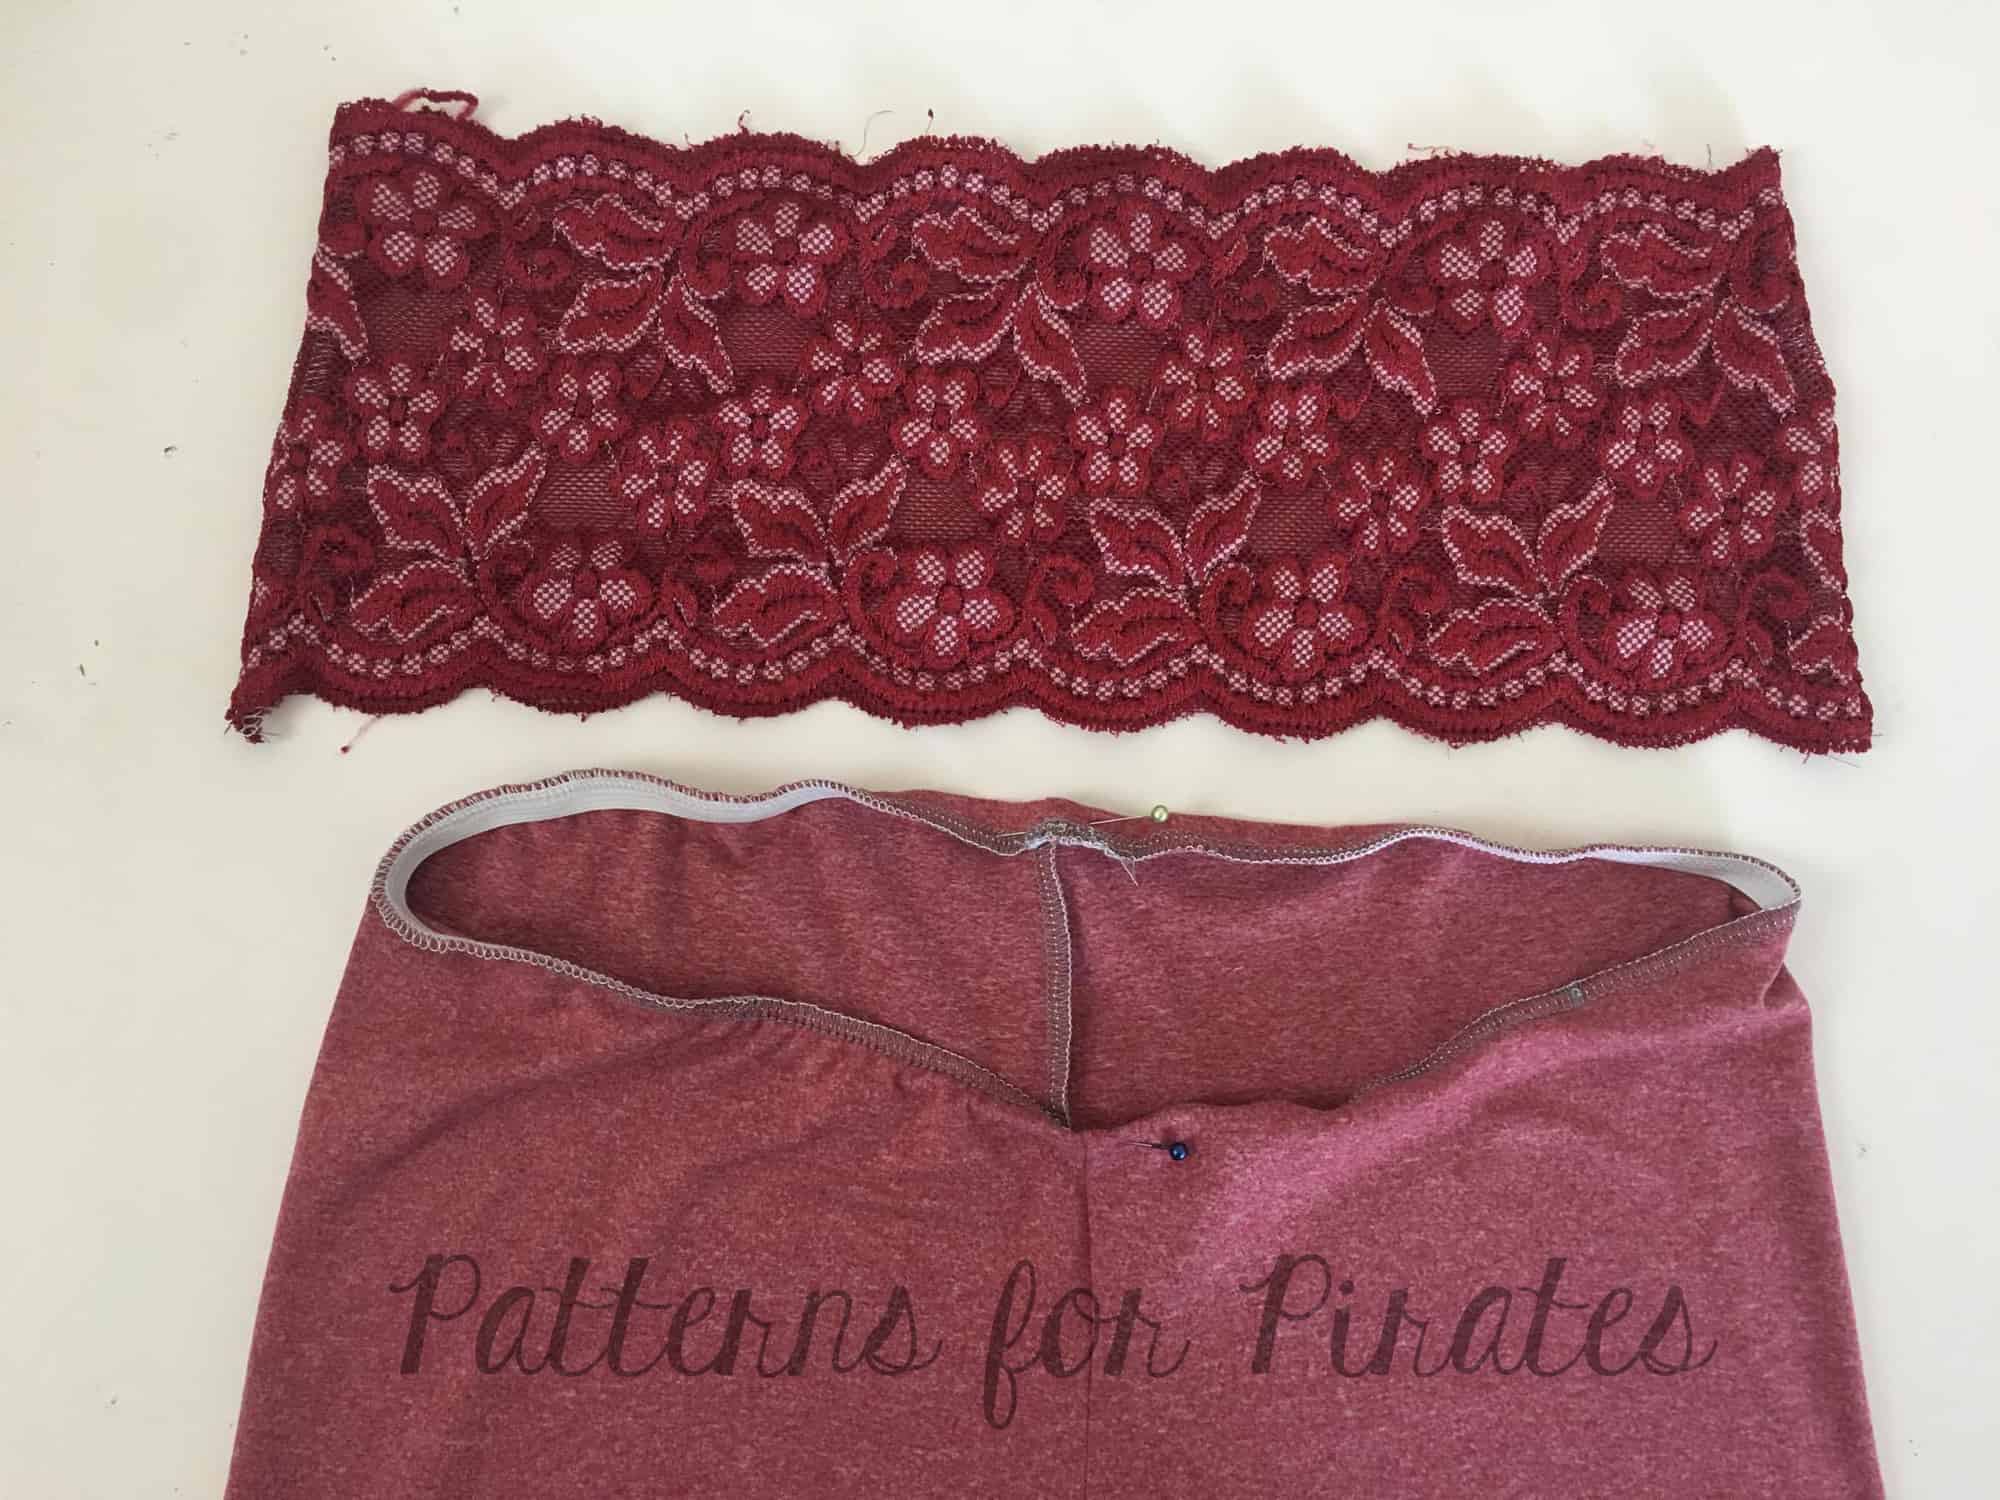
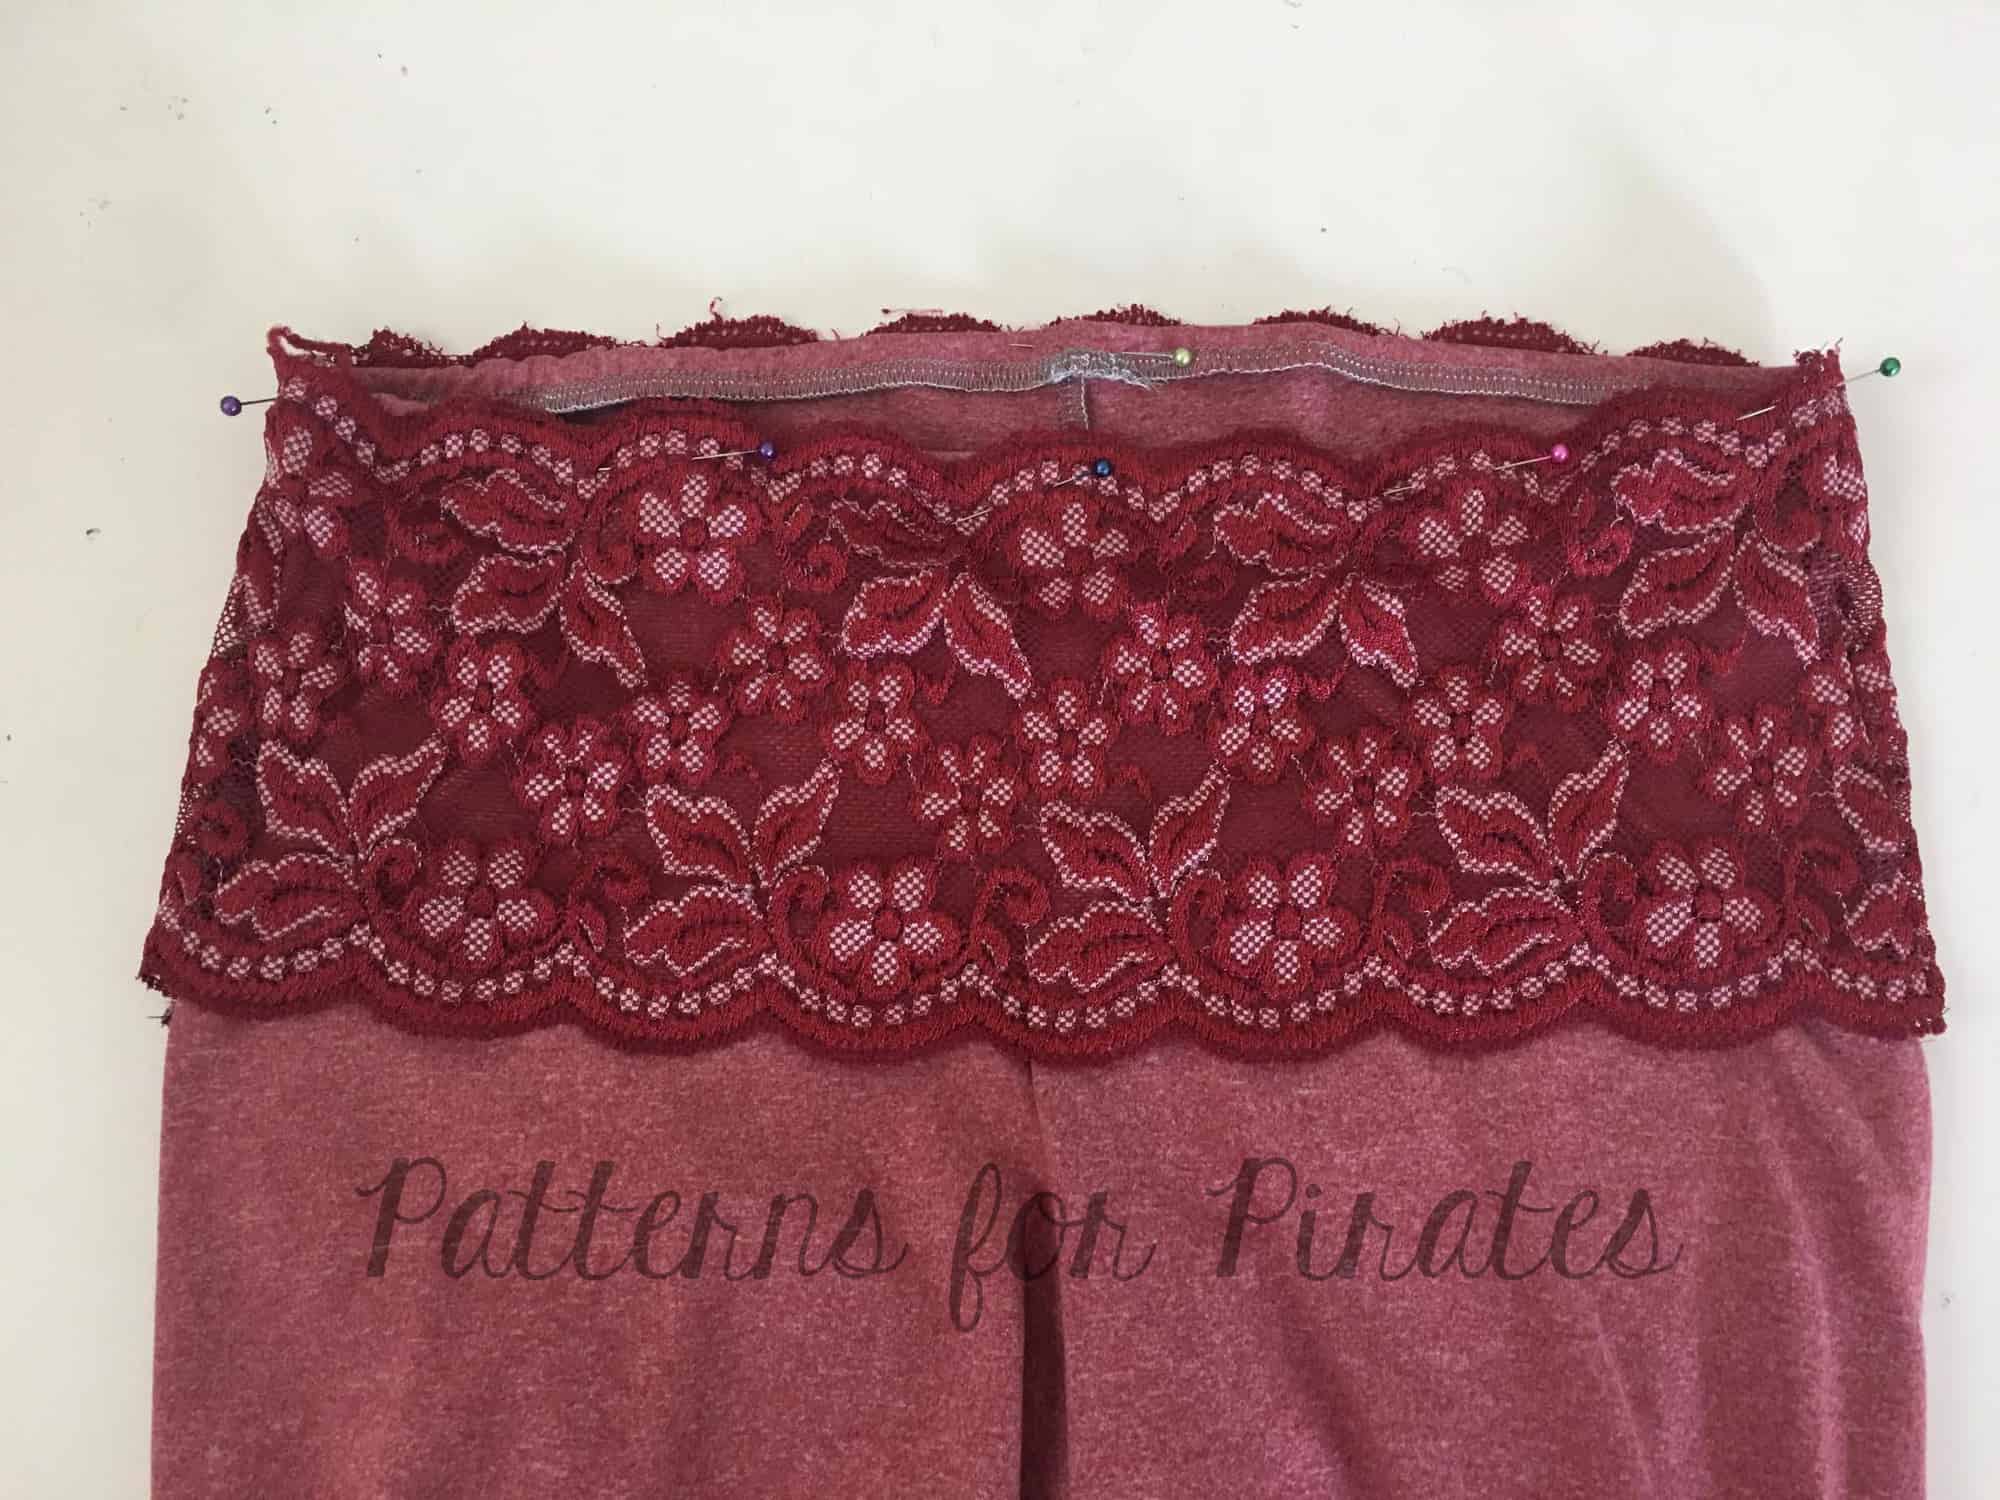
Can’t believe we’re almost at the end of the sew along. Today we’ll be attaching the waistband. Whether you’re doing the high or low rise or the contoured waistband like I did, now is the time to add it to the leggings. This step can also be done with the sewing machine or the serger. If you use a sewing machine, remember to set it for a stretch stitch. A triple stretch stitch will work great!
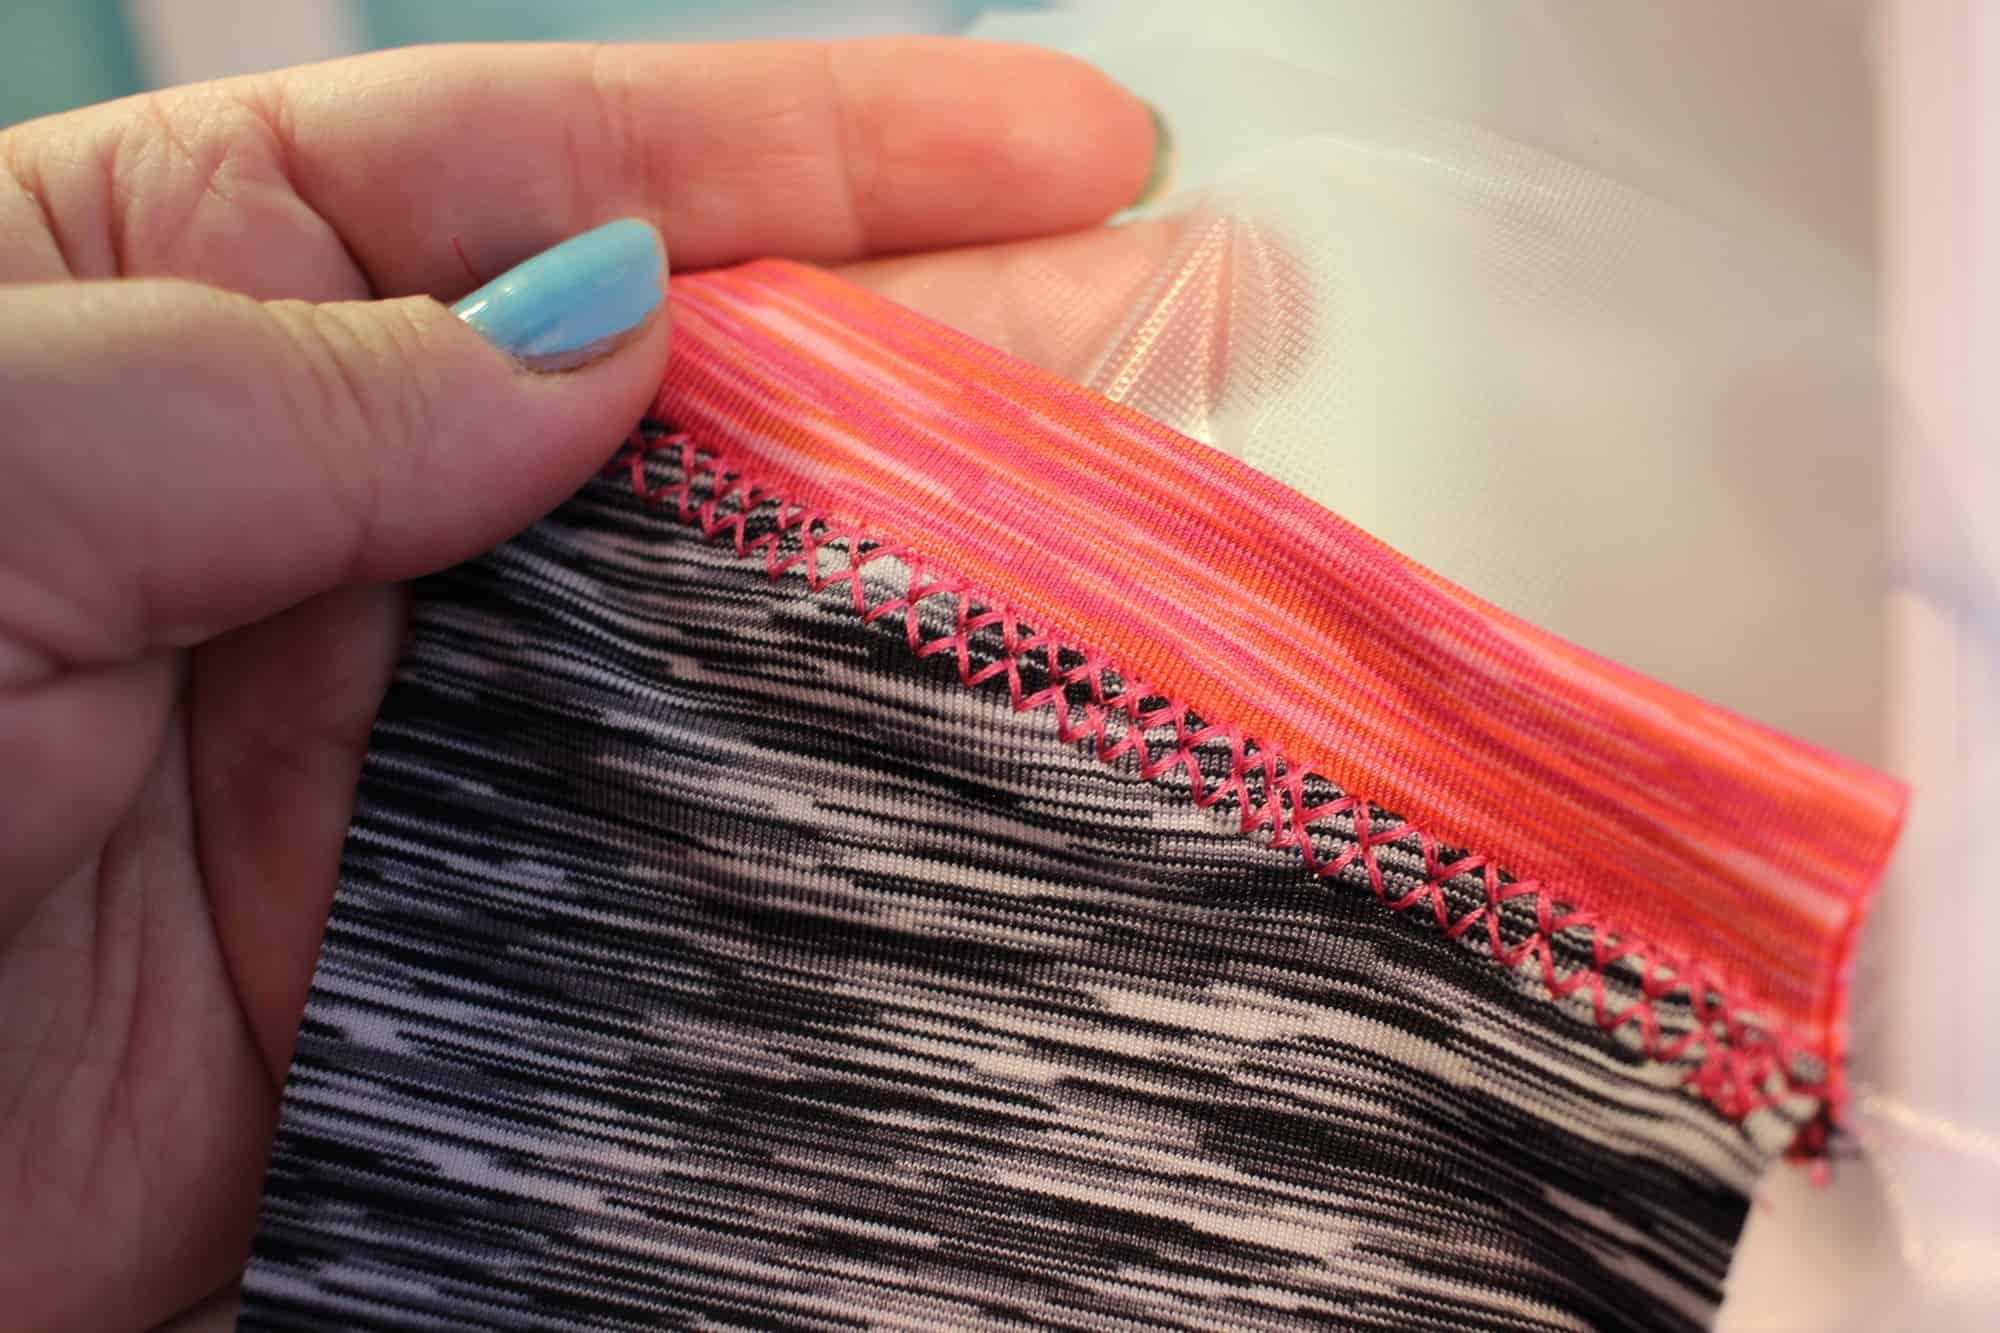
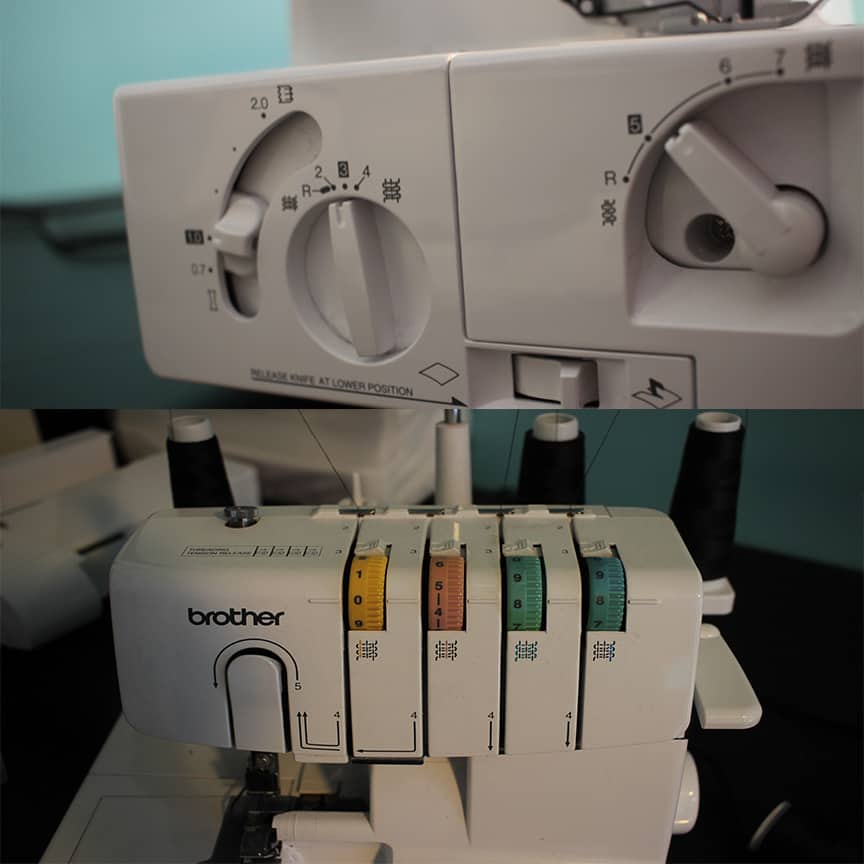
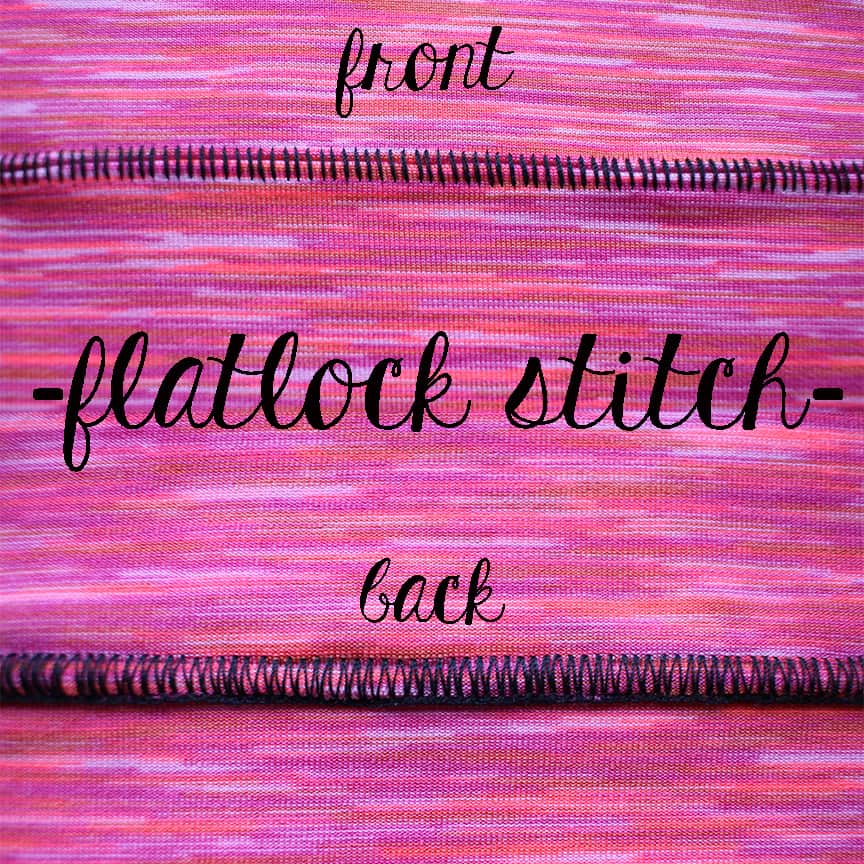
If you are attaching your waistband with your serger you can either do a regular overlock stitch or you can even do a flat lock stitch. Using a flatlock stitch will eliminate the bulk at the seam that you get with an overlock stitch.
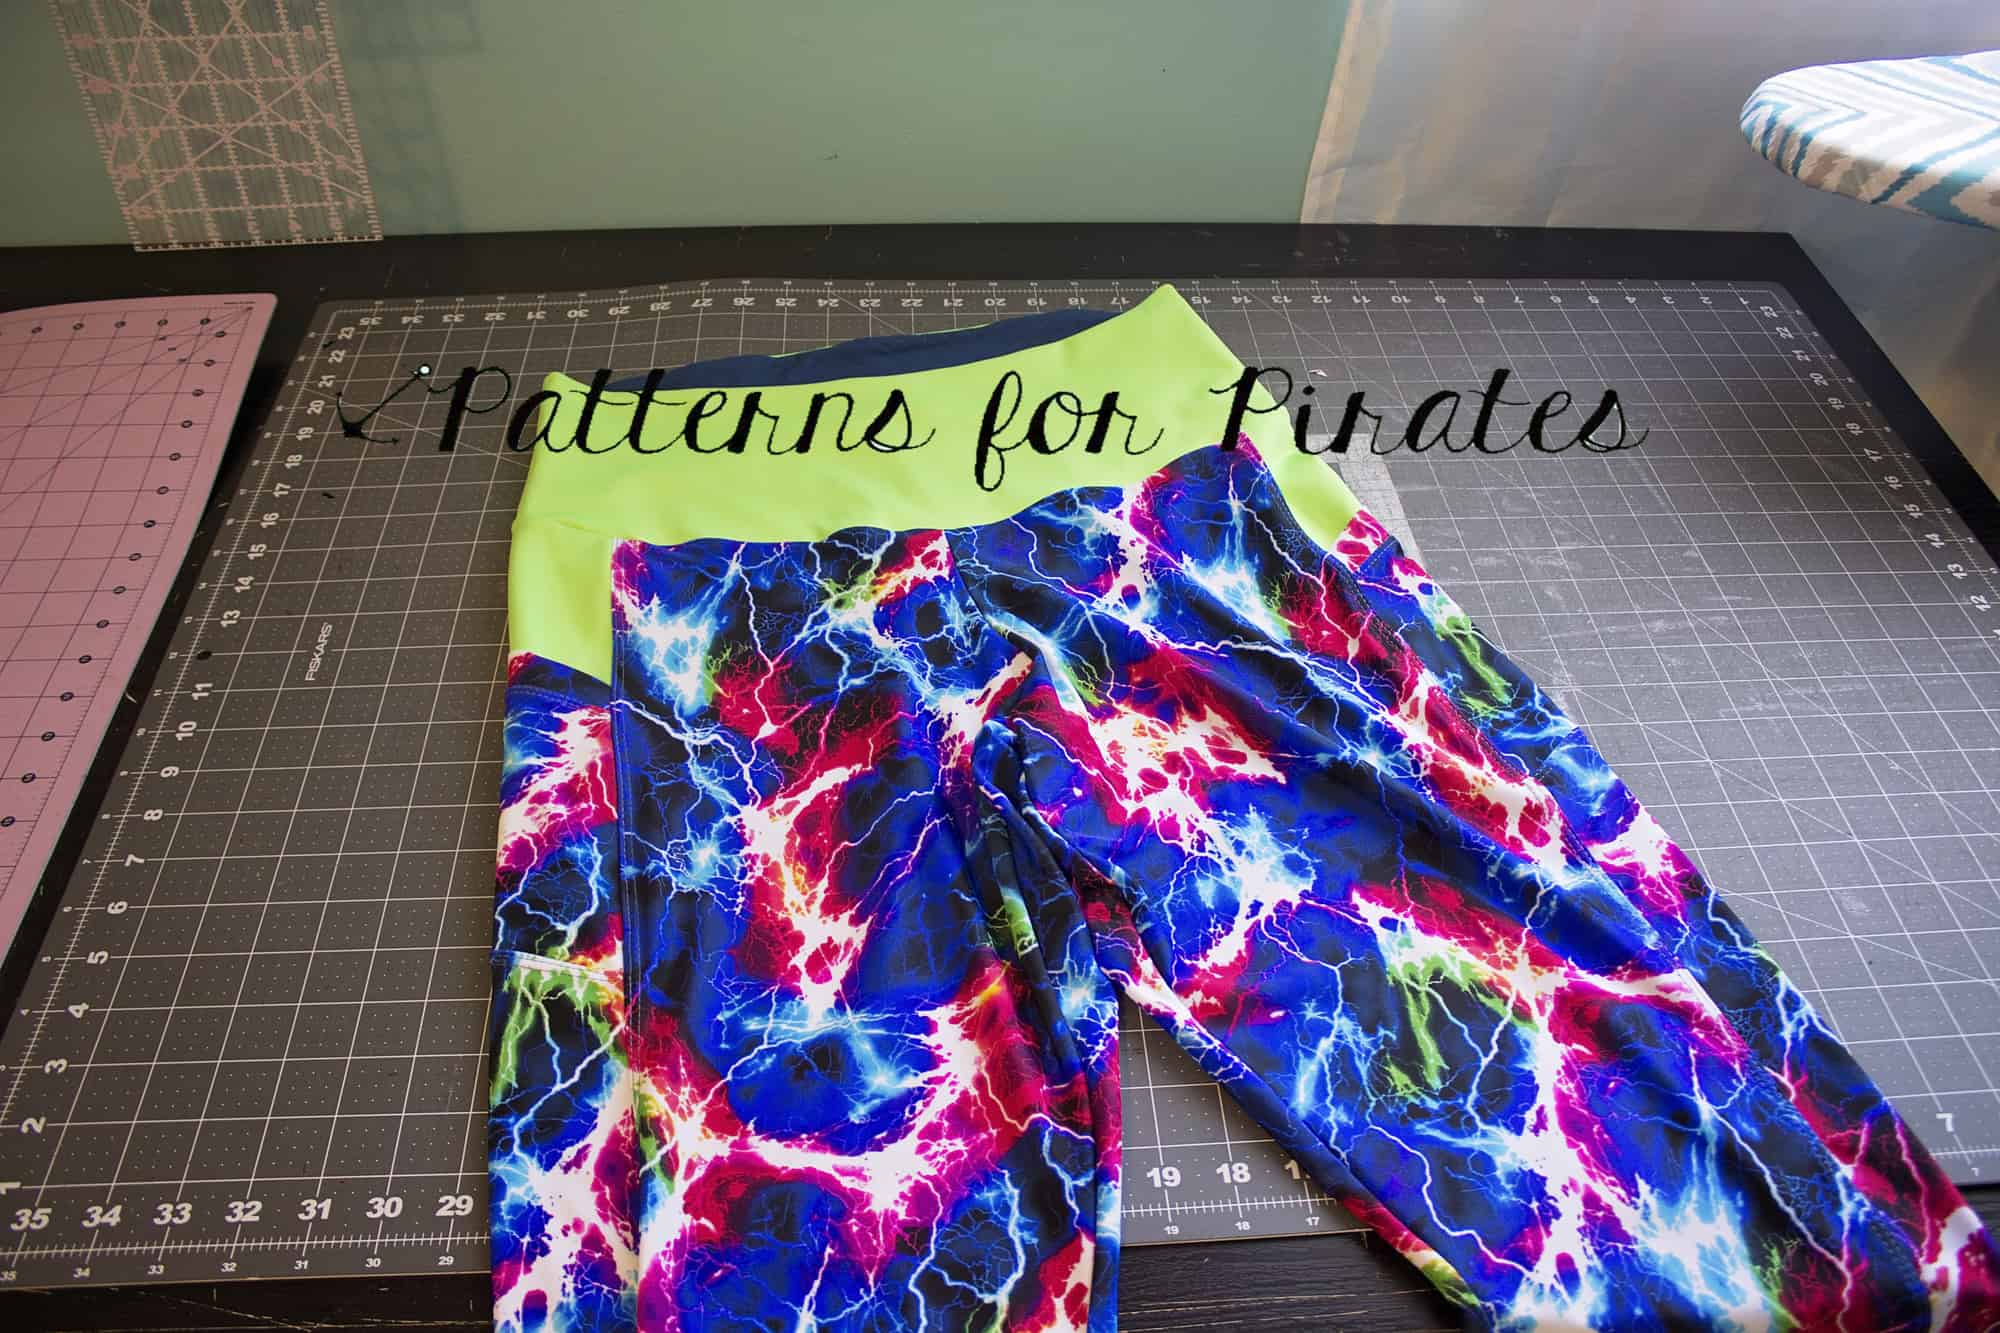
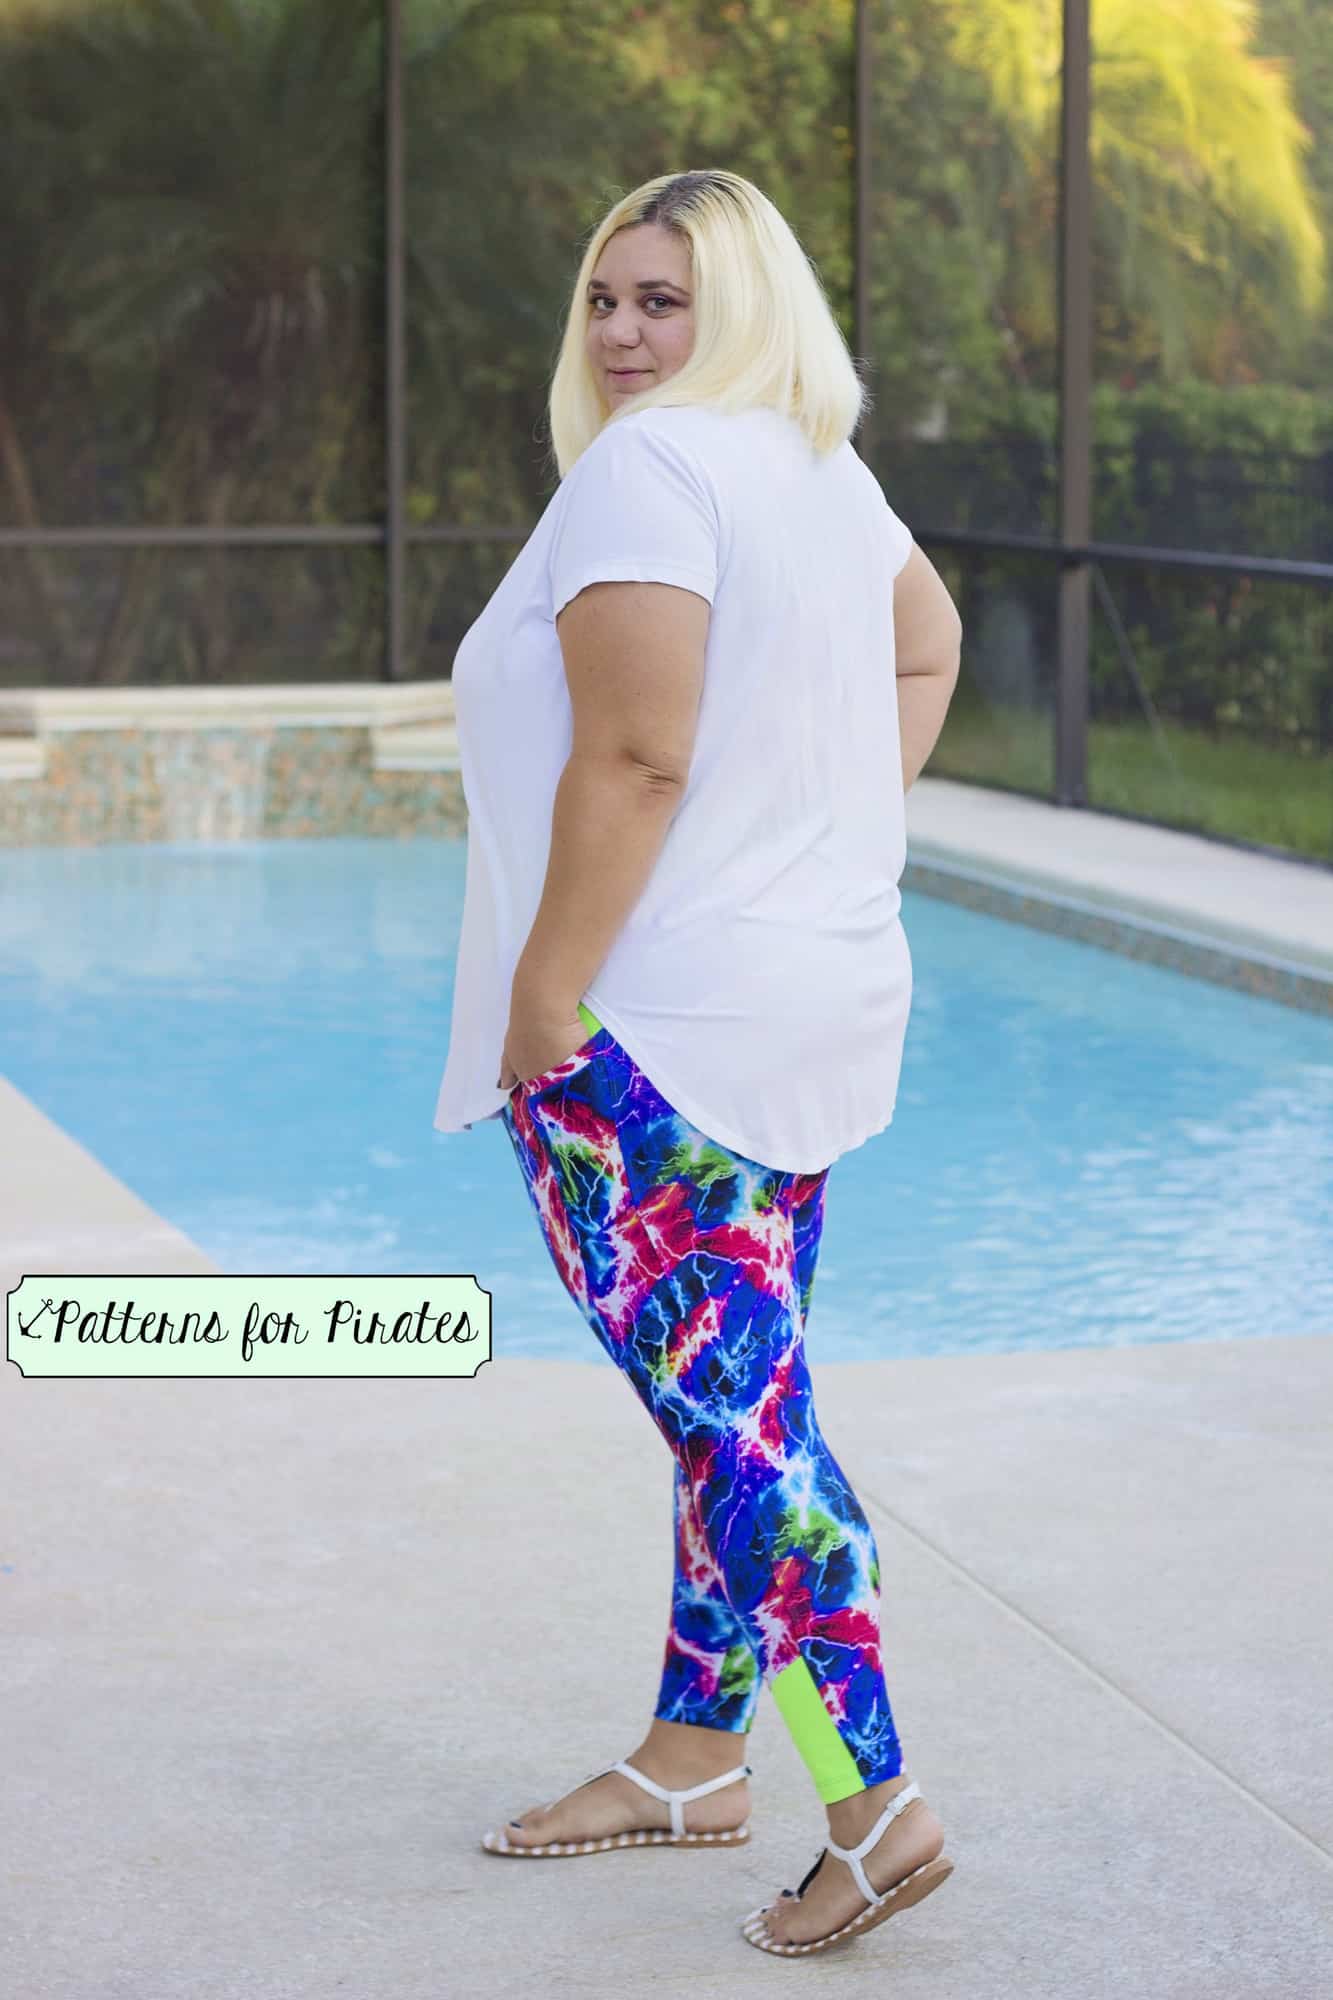
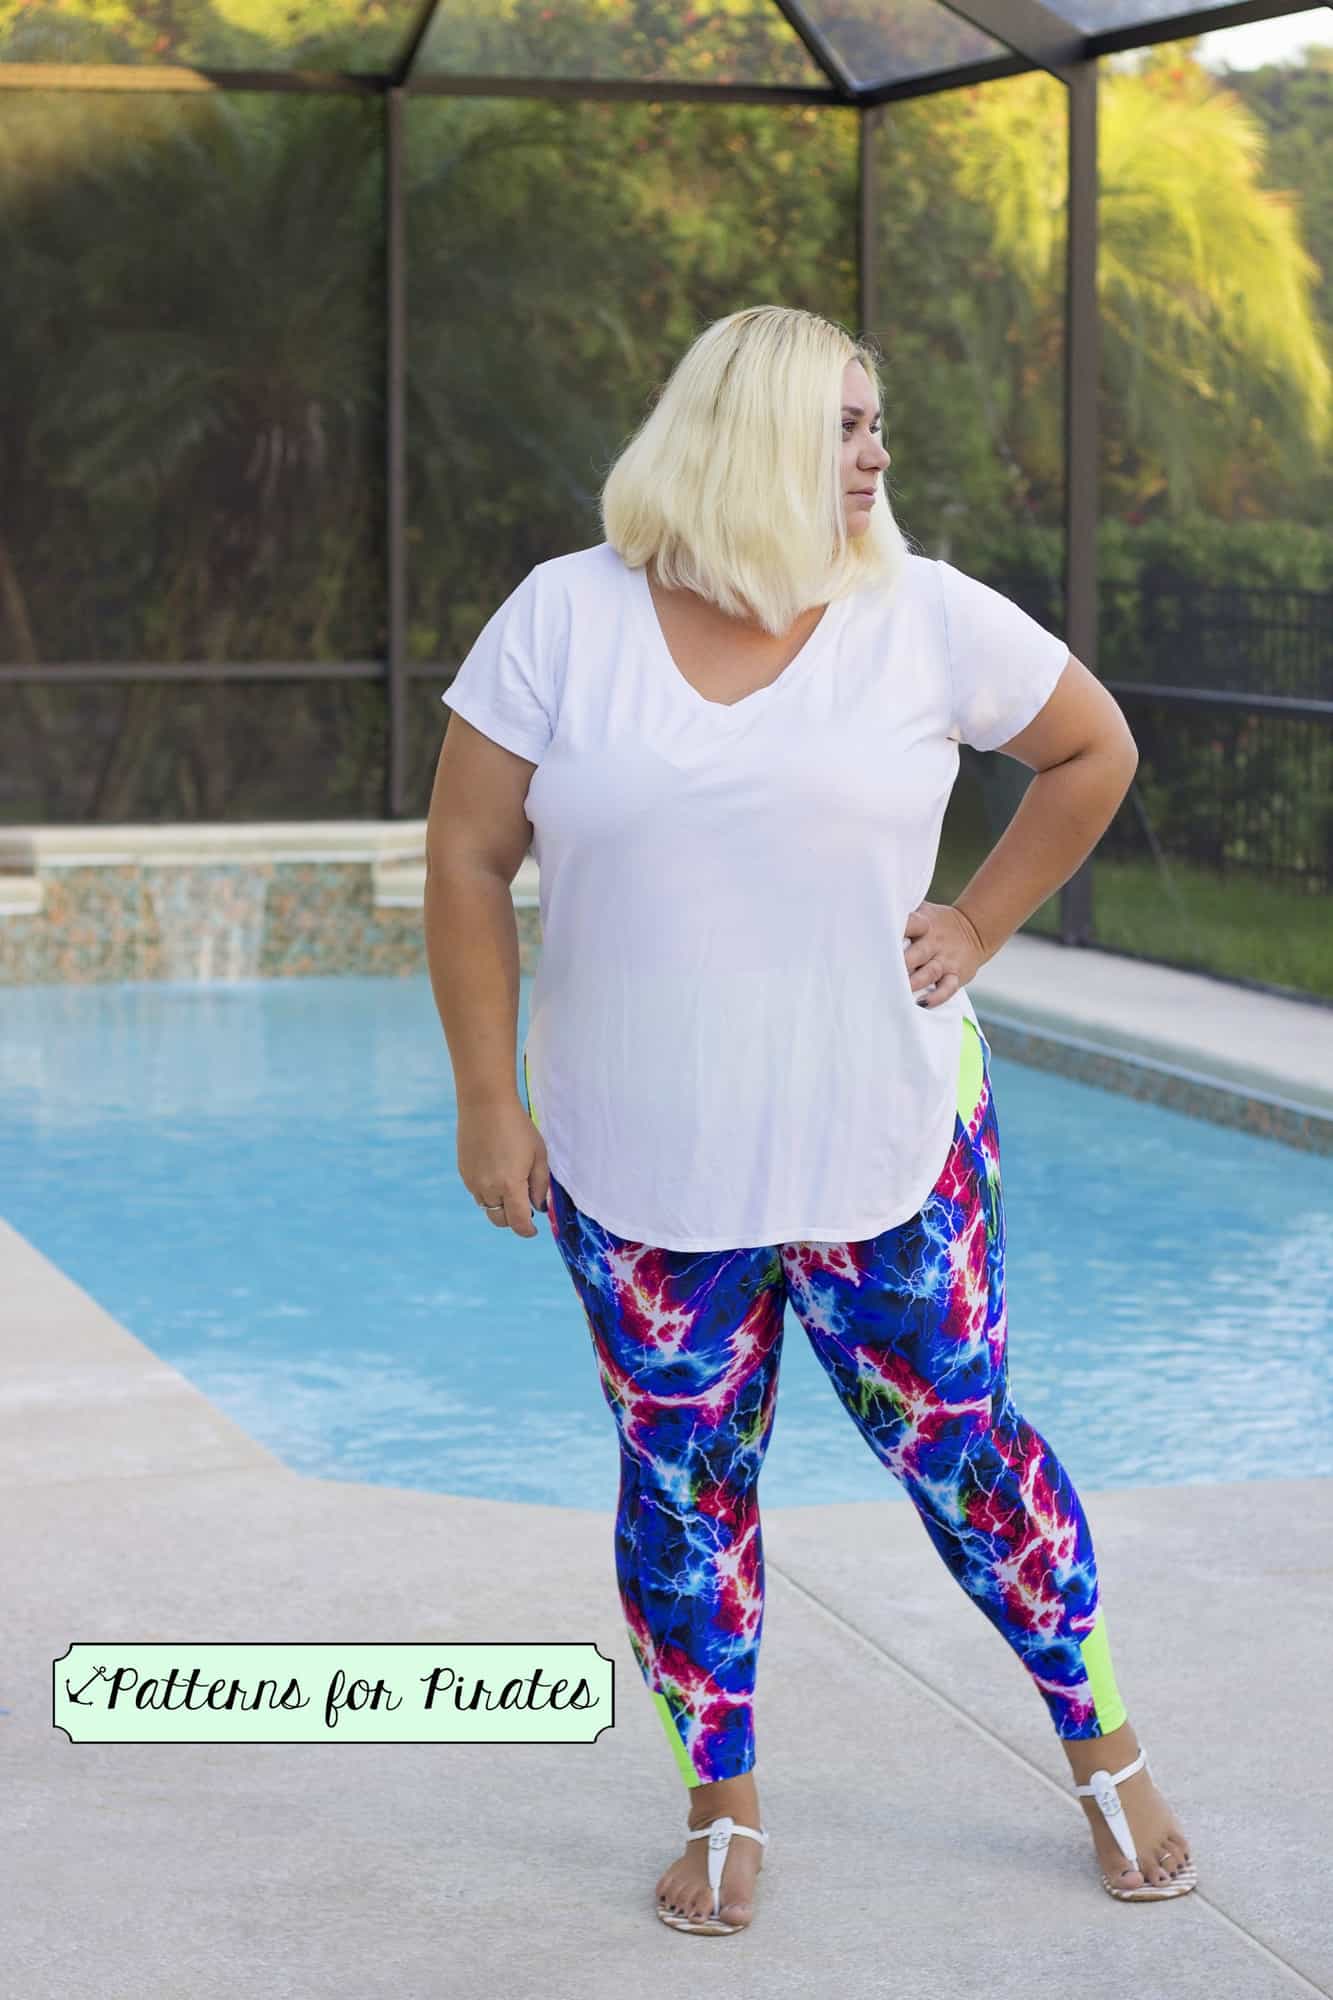
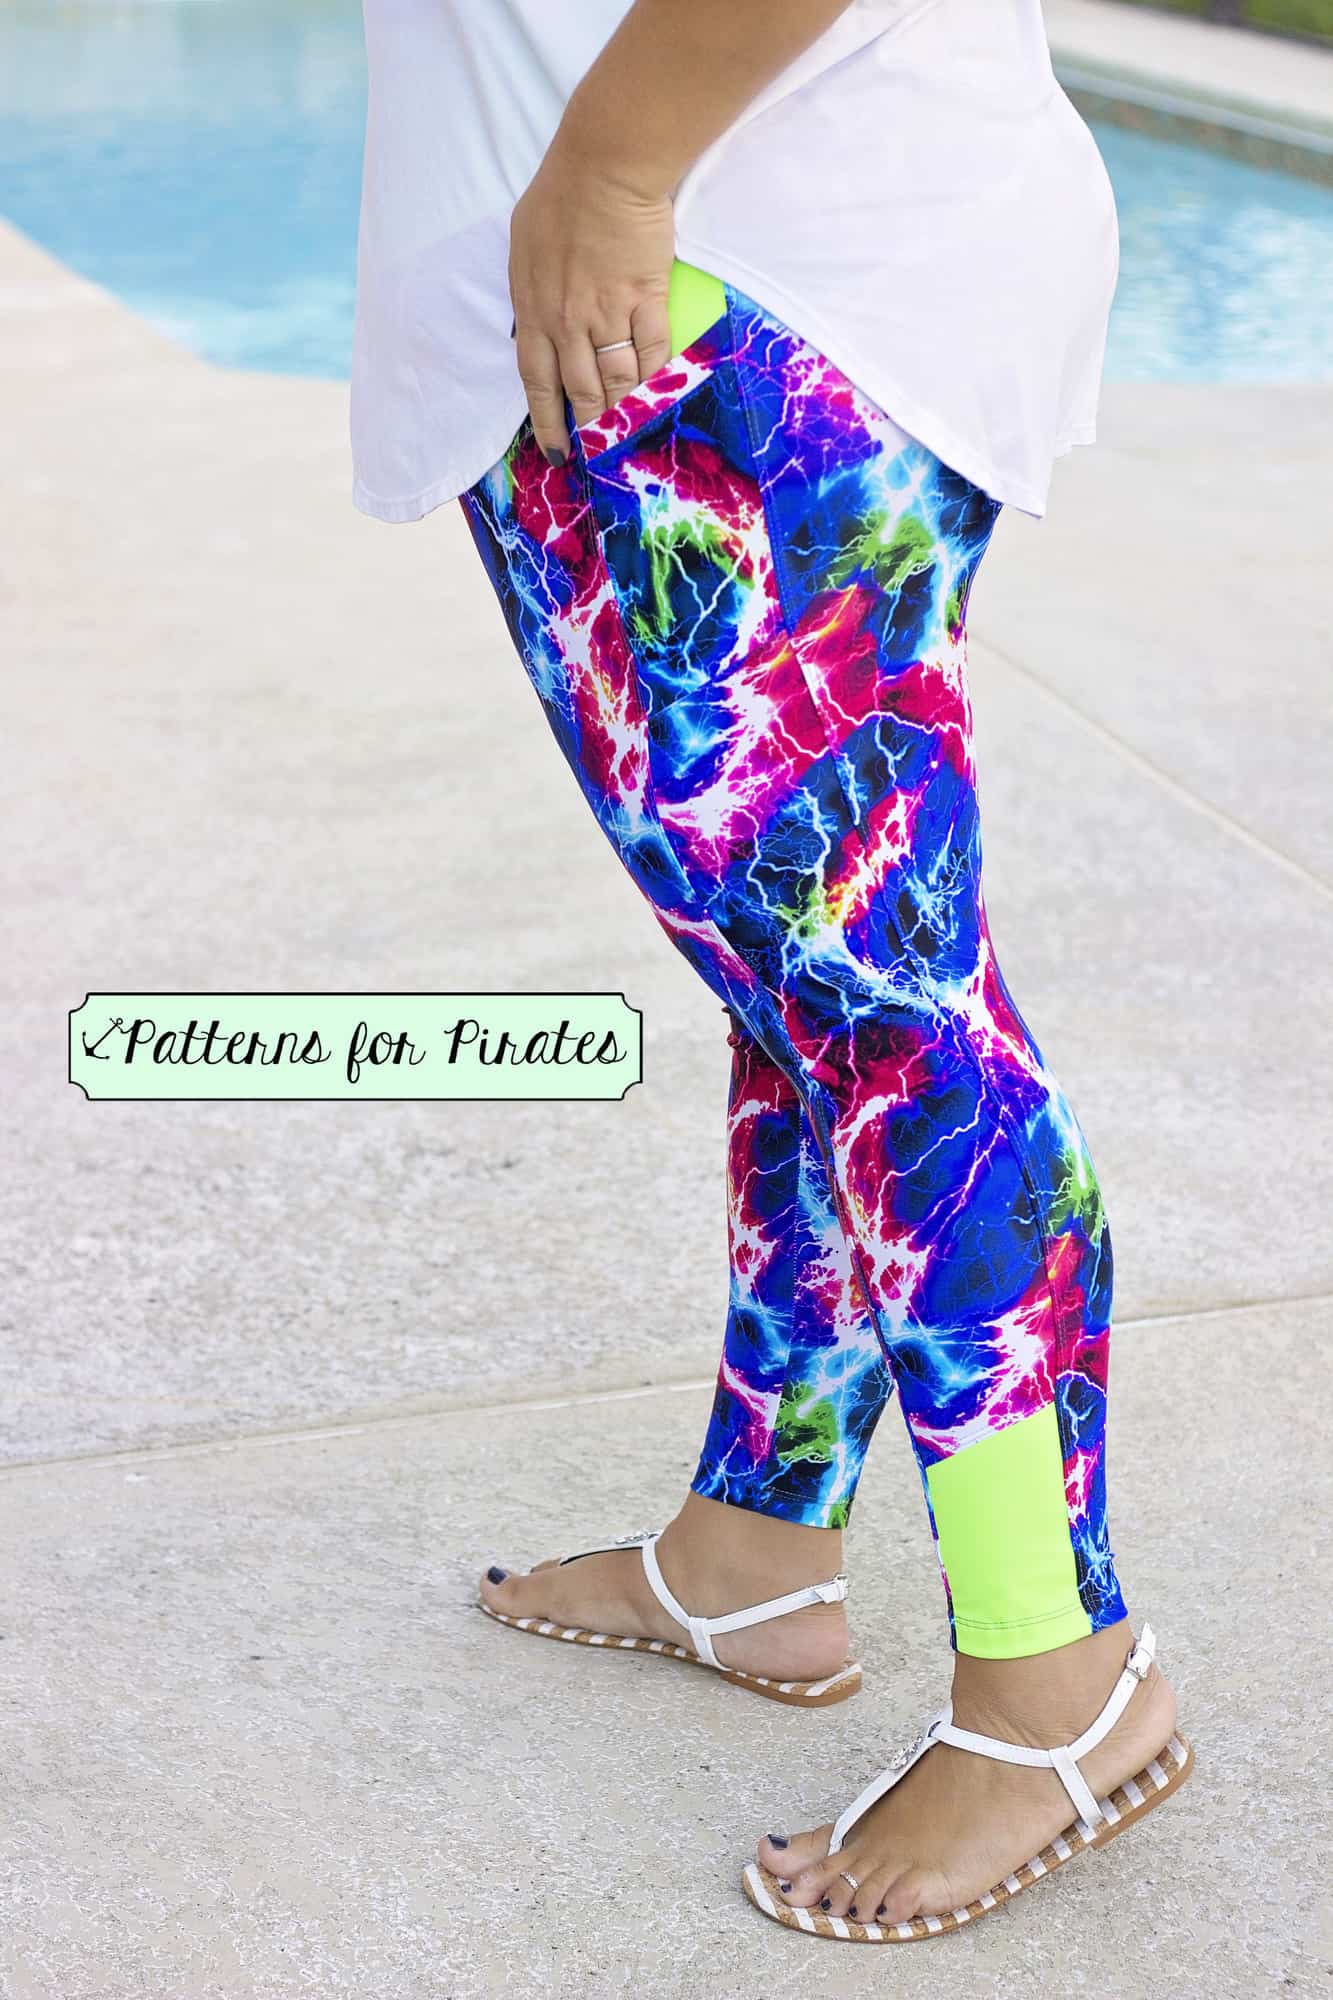
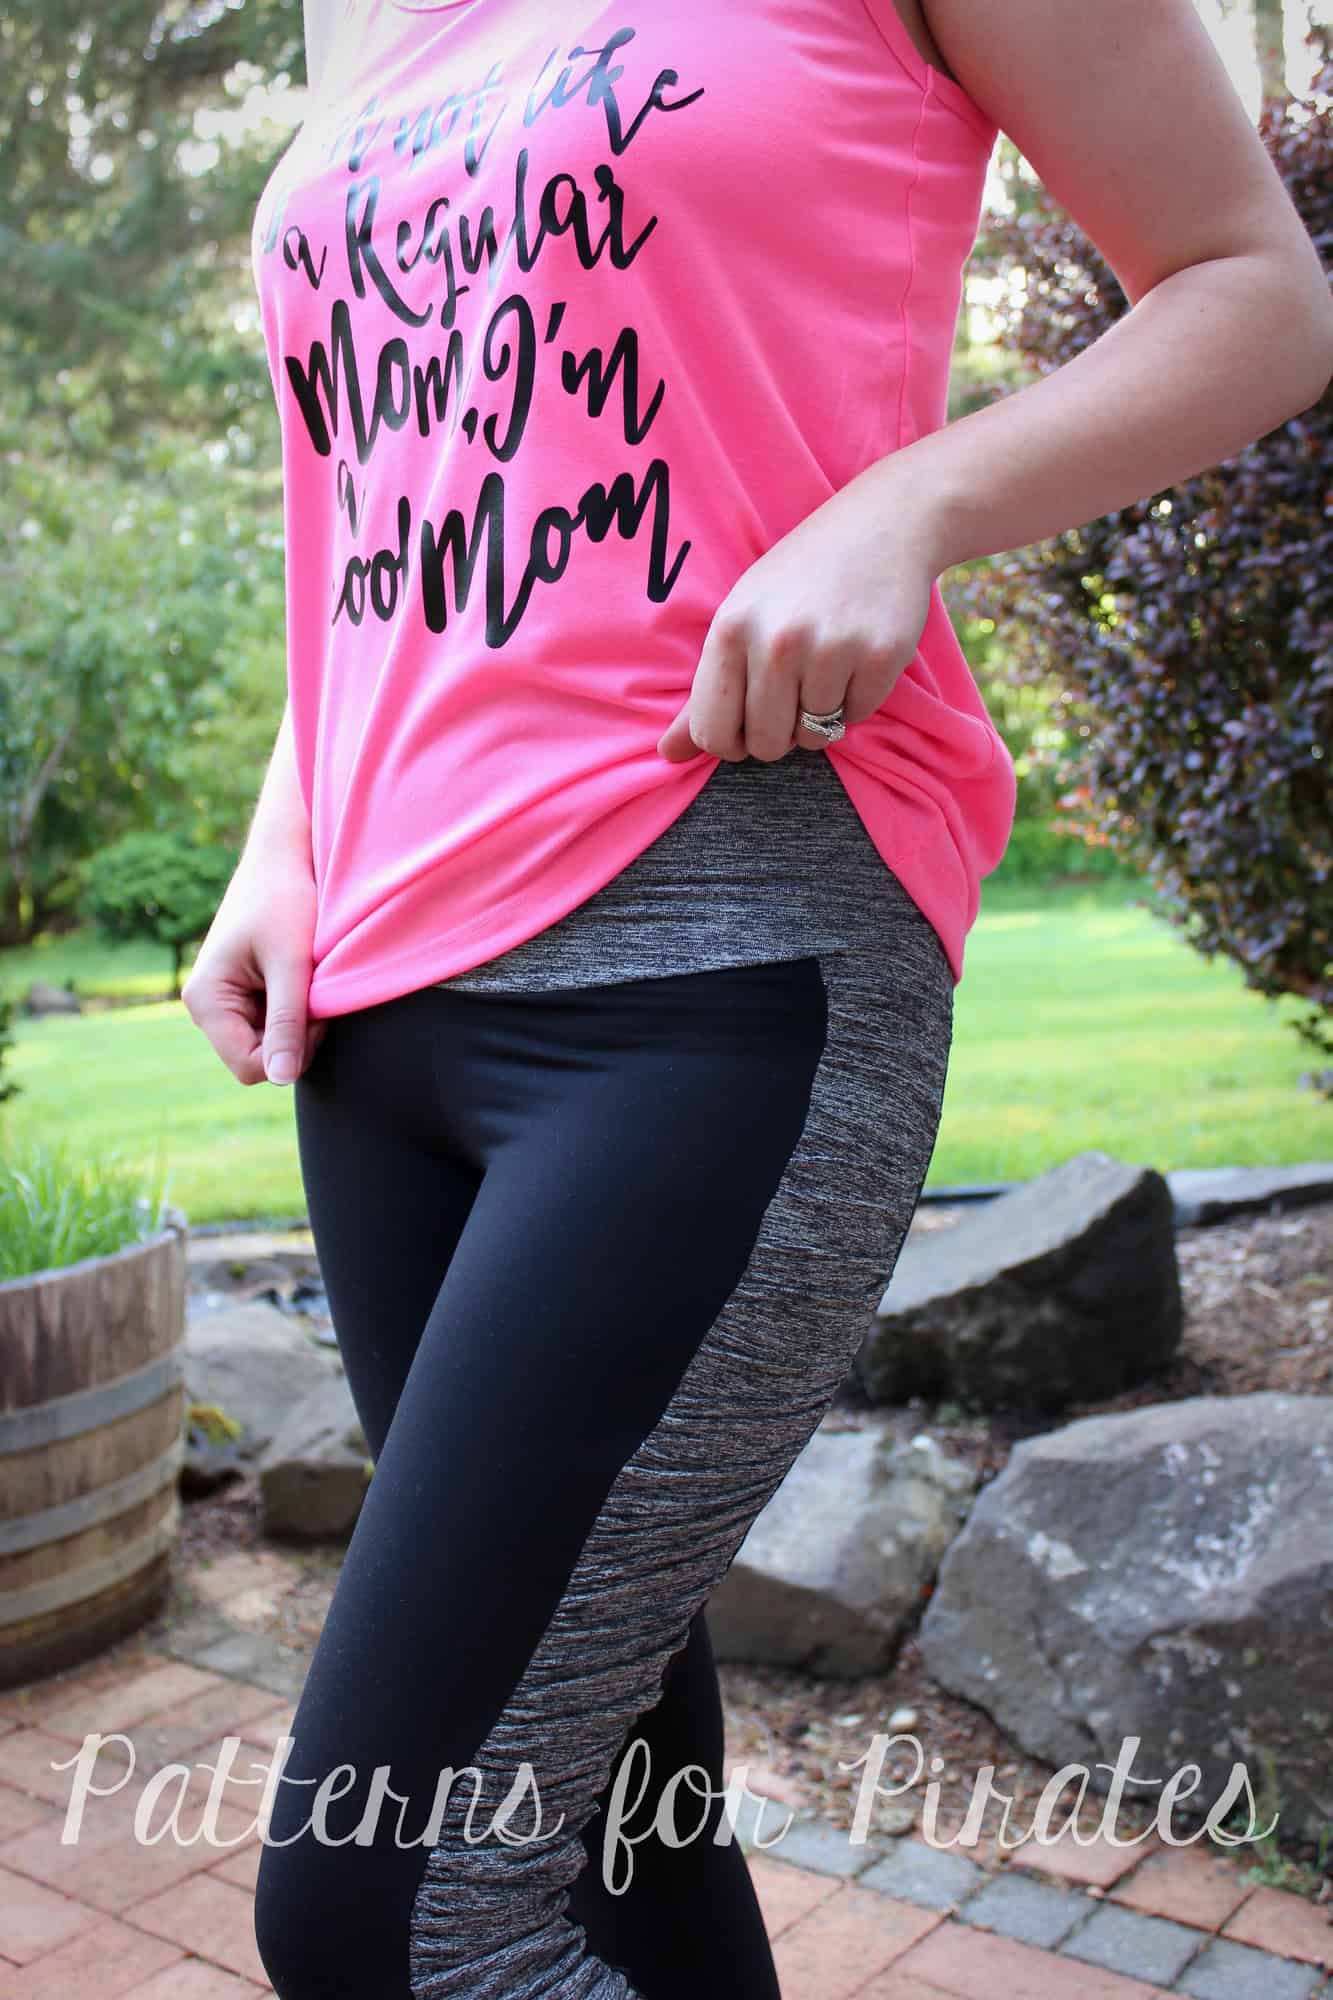
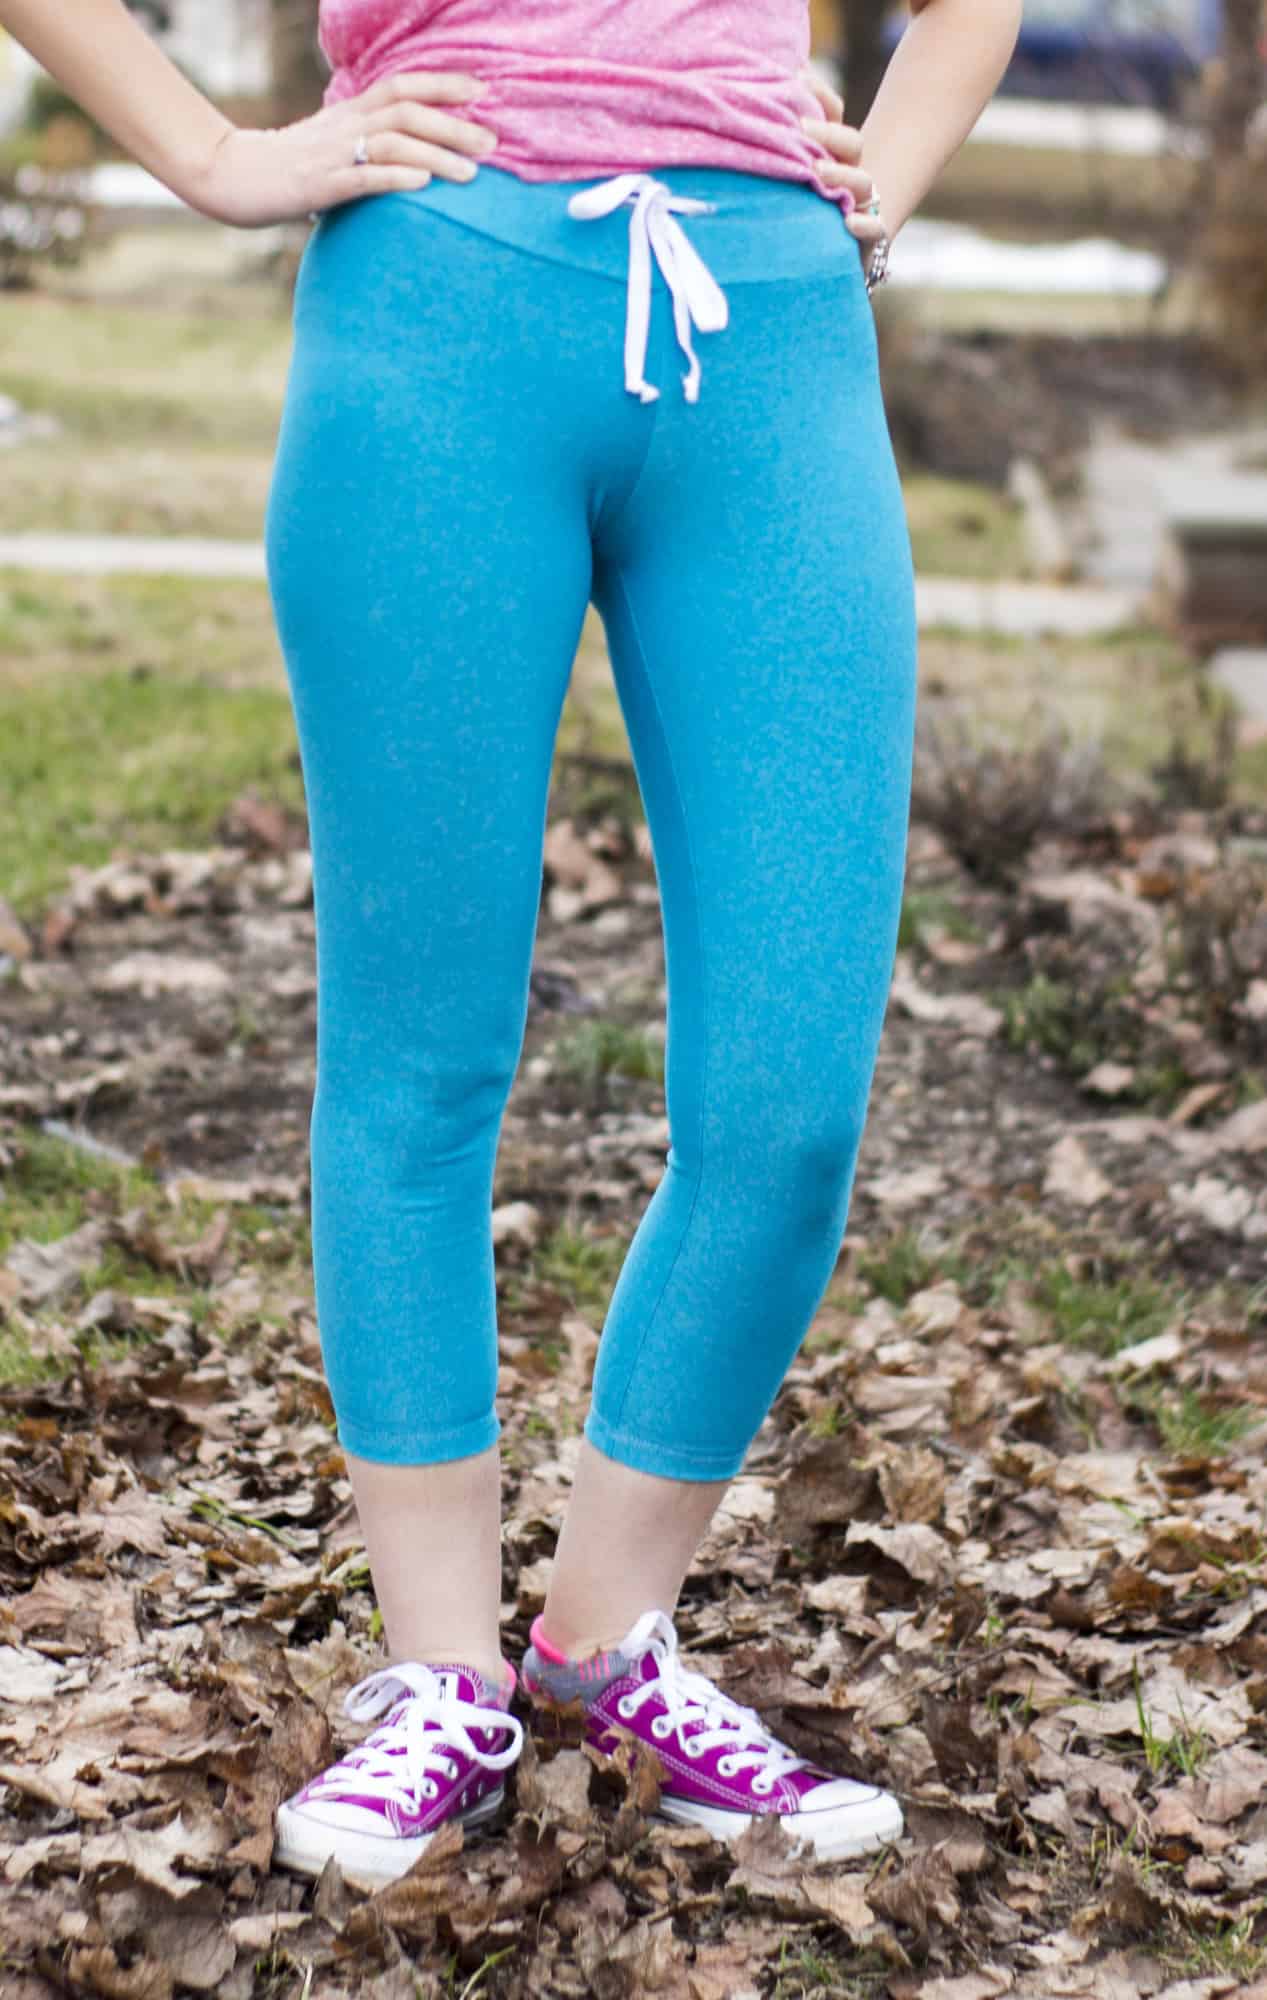
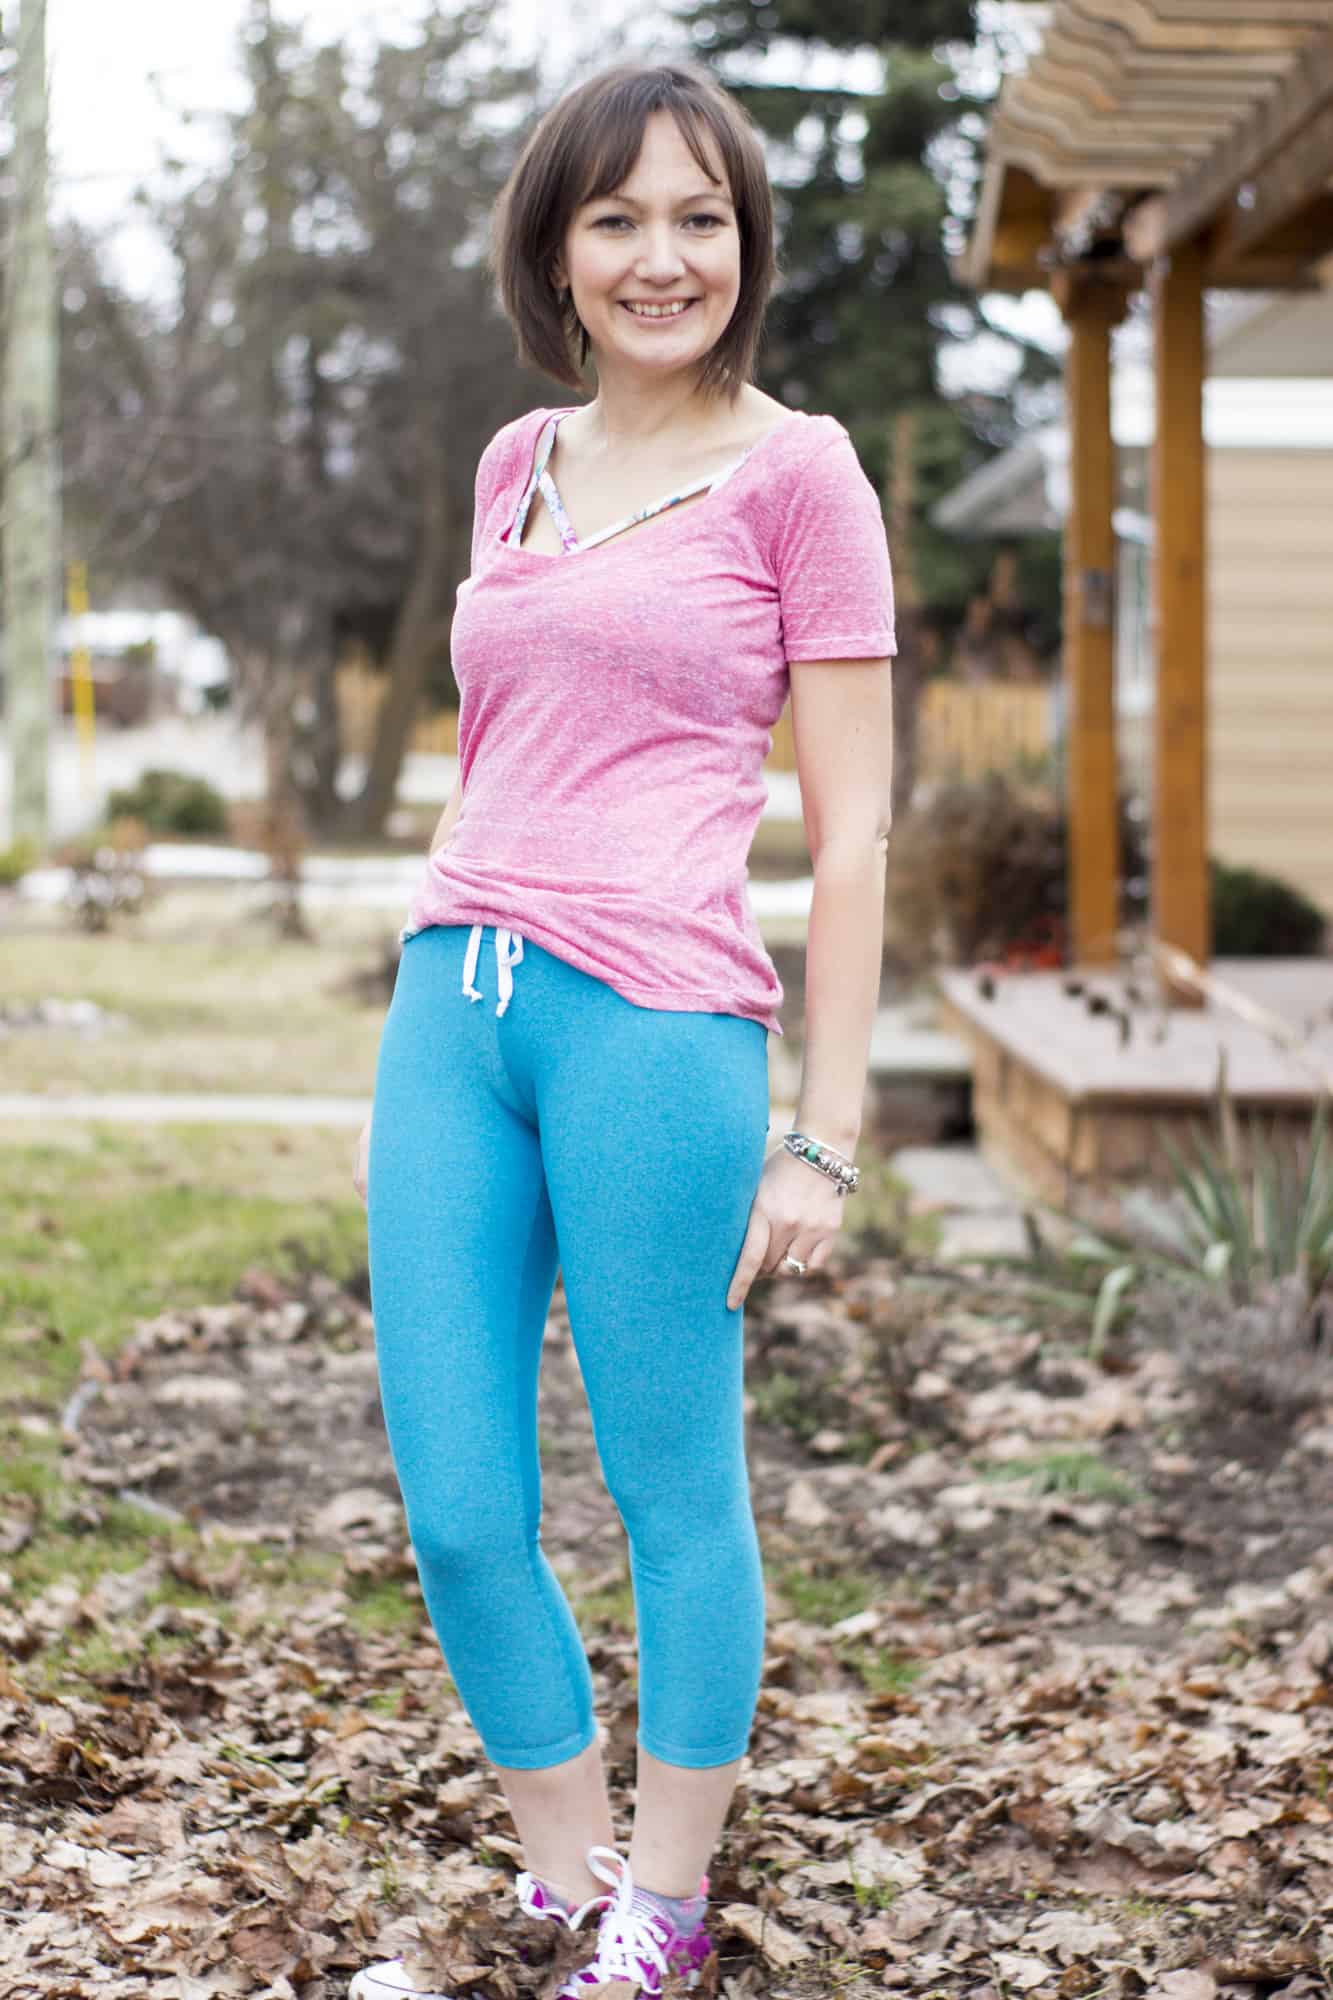
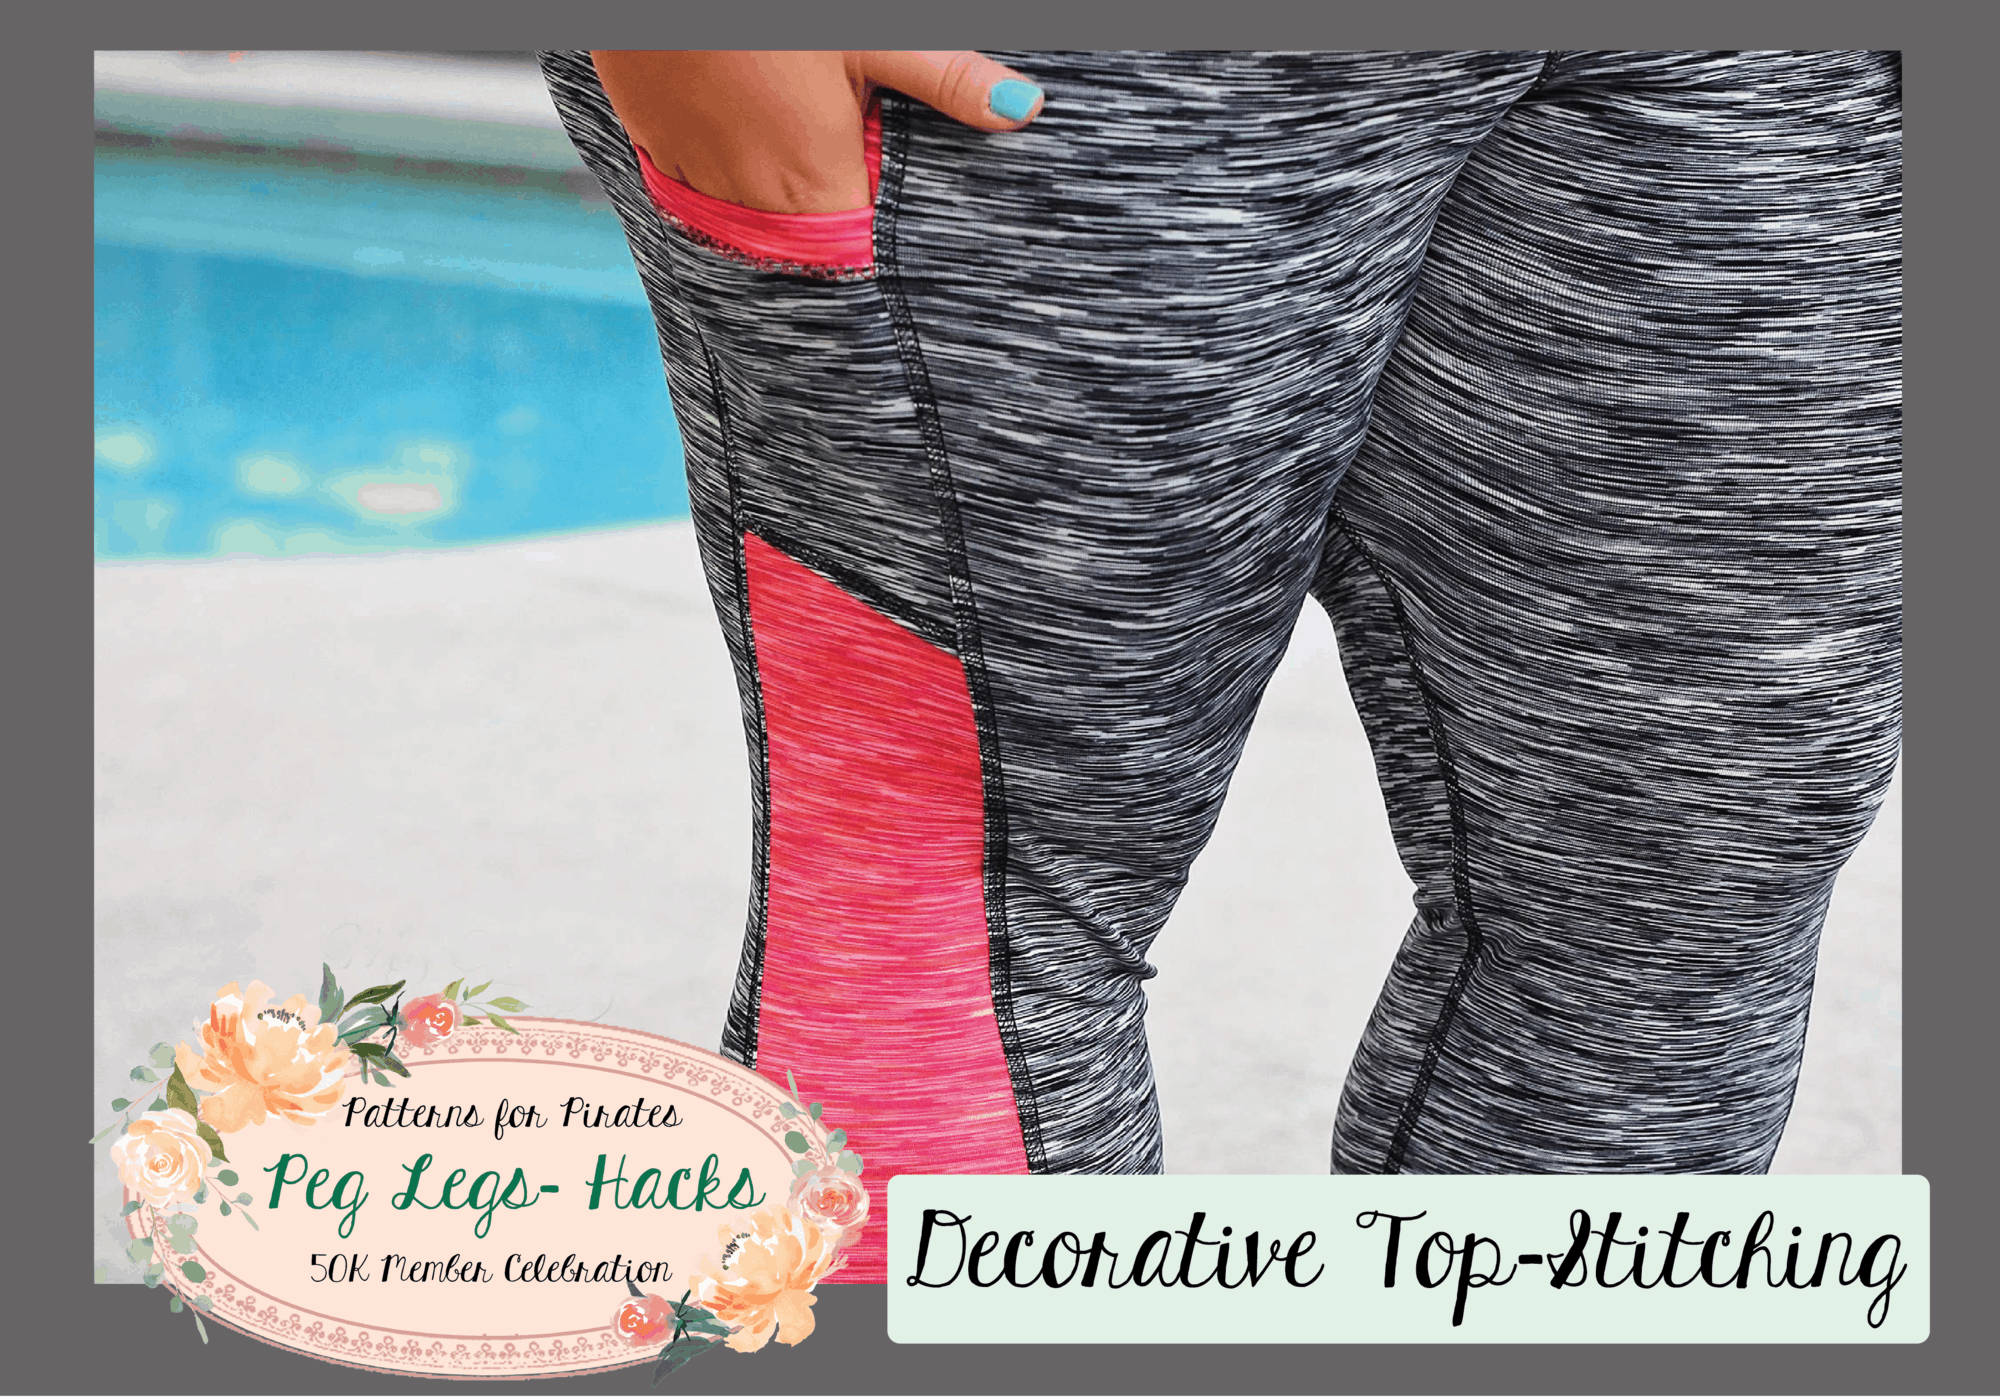
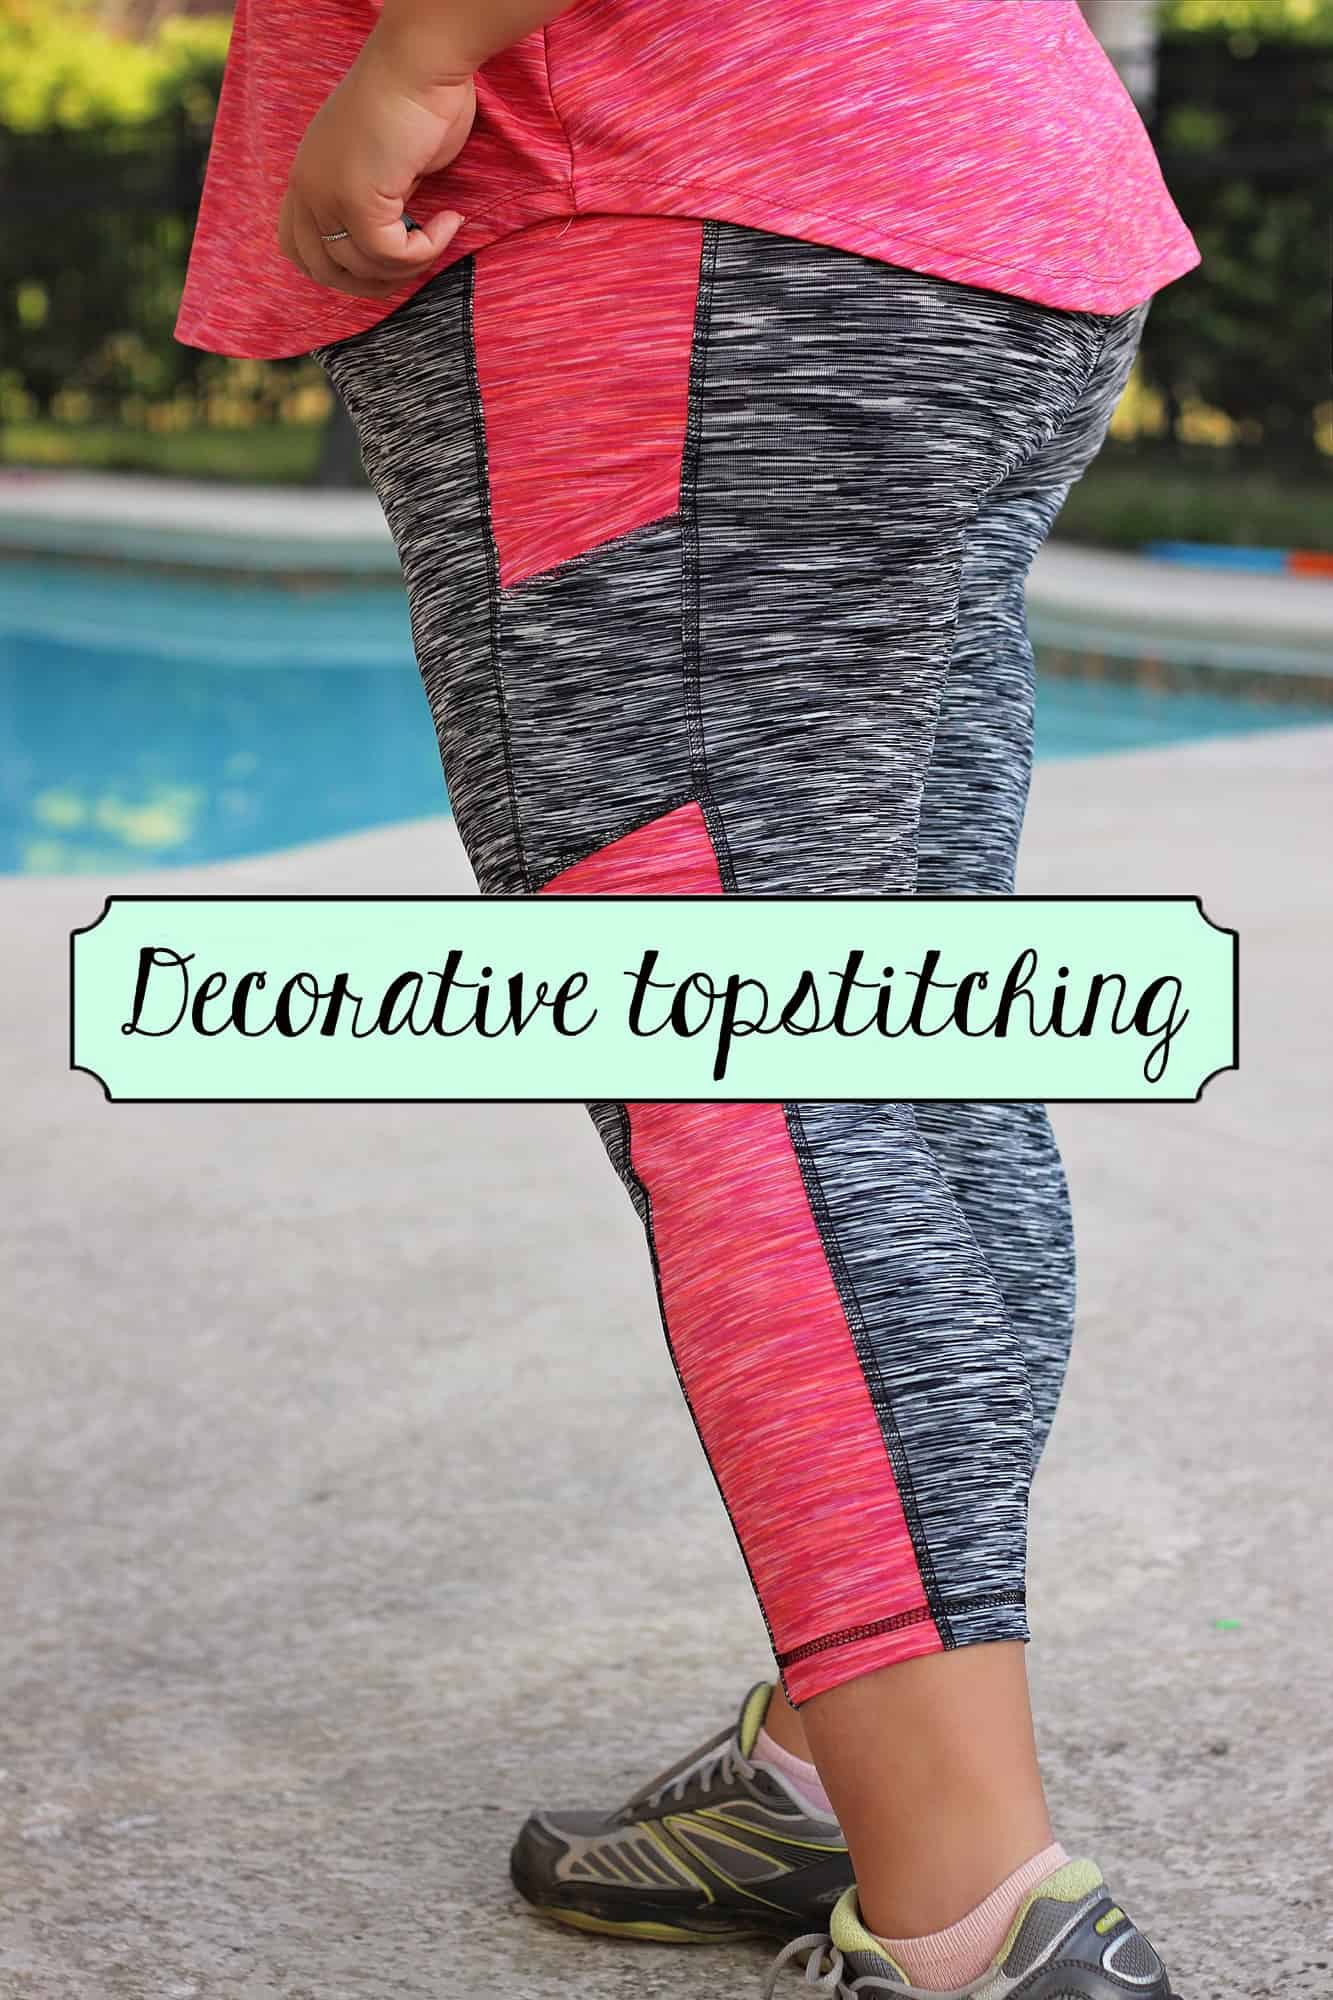
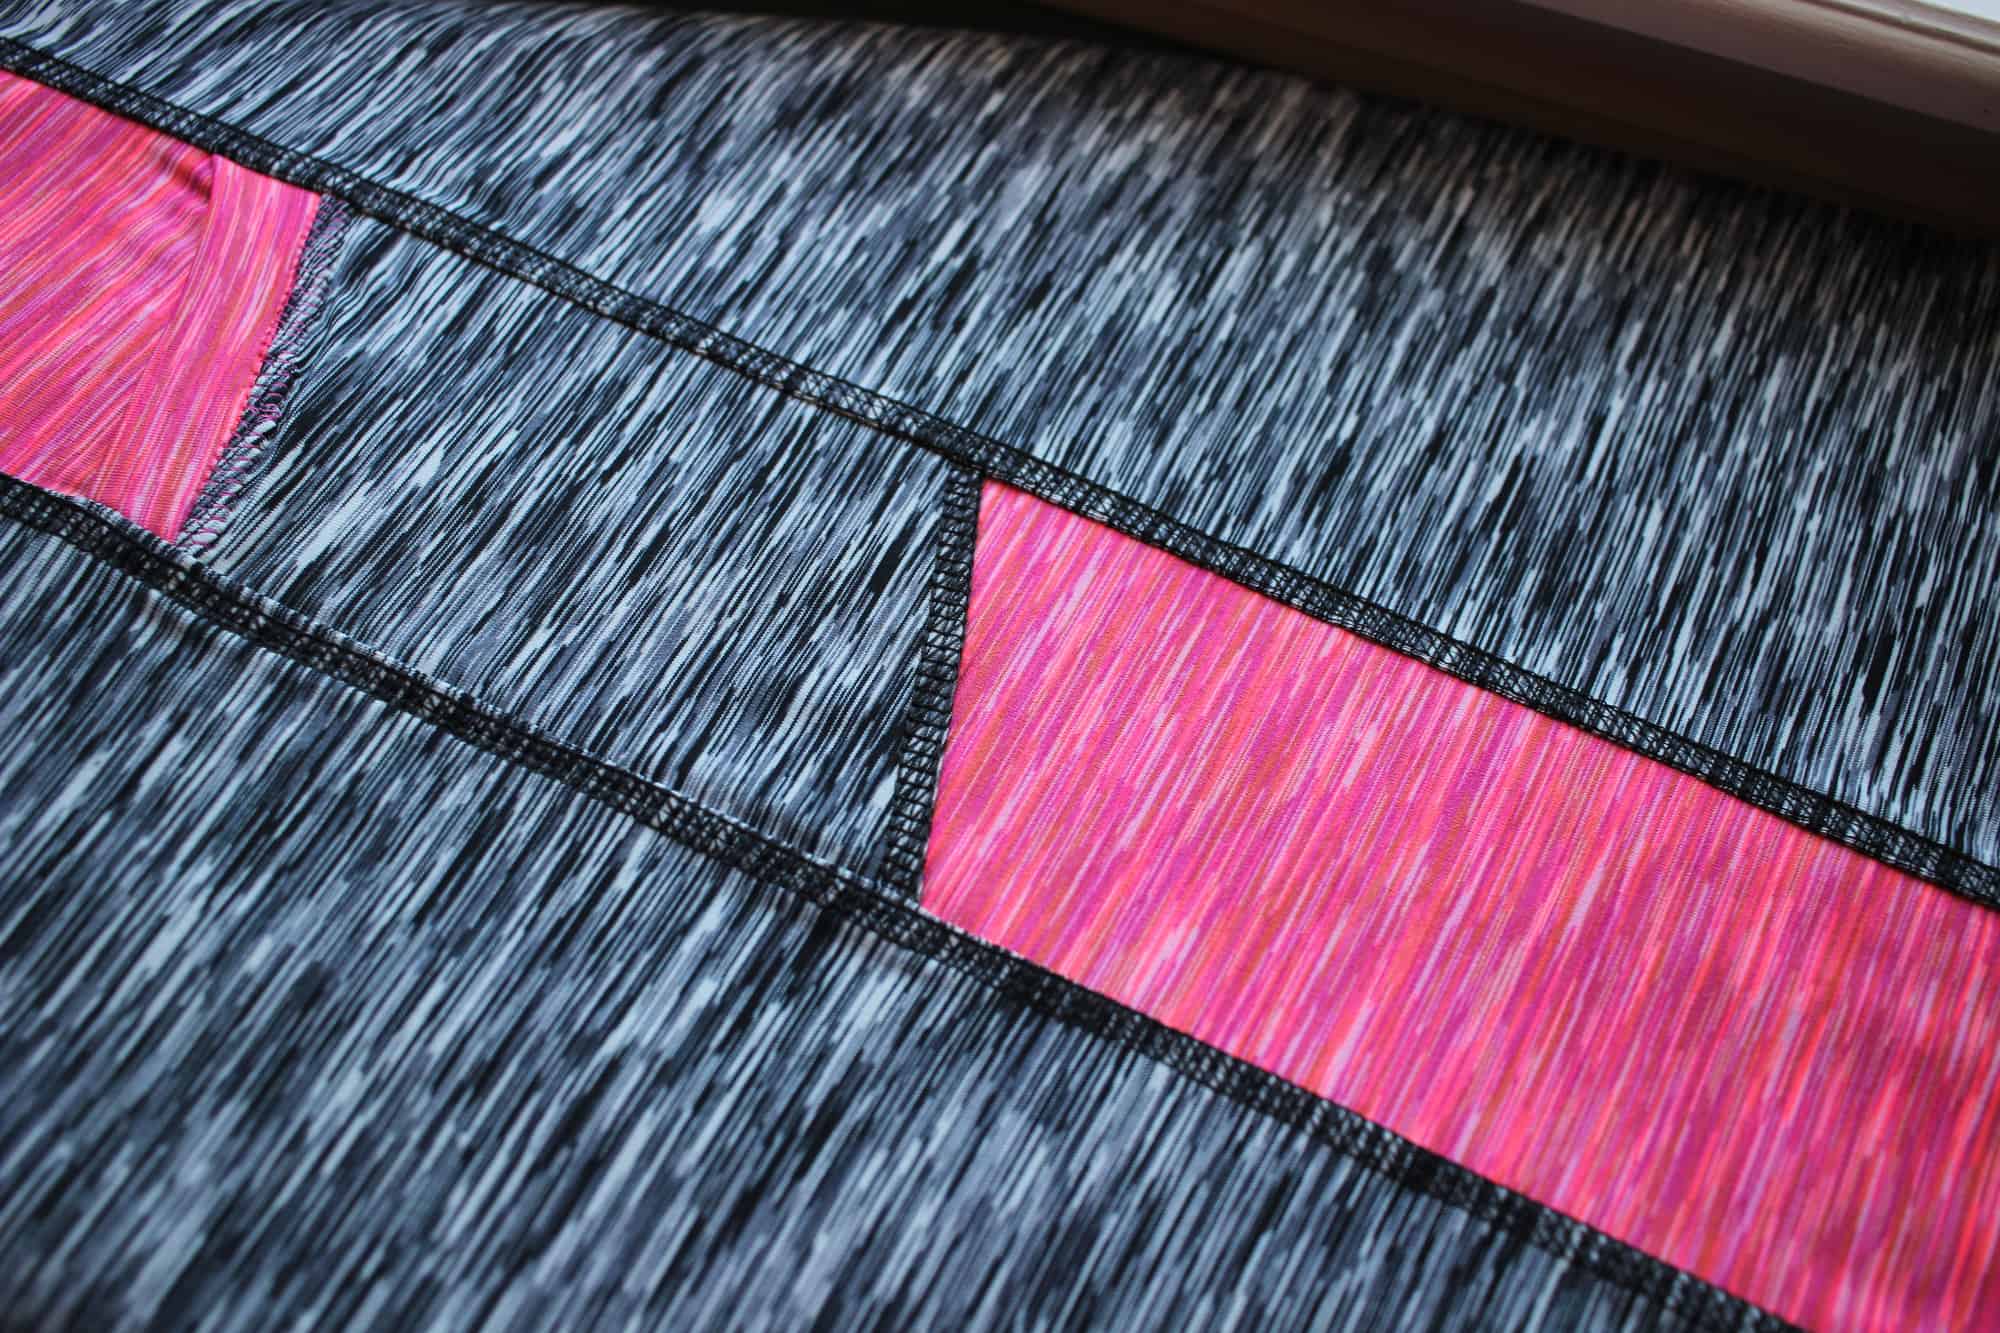
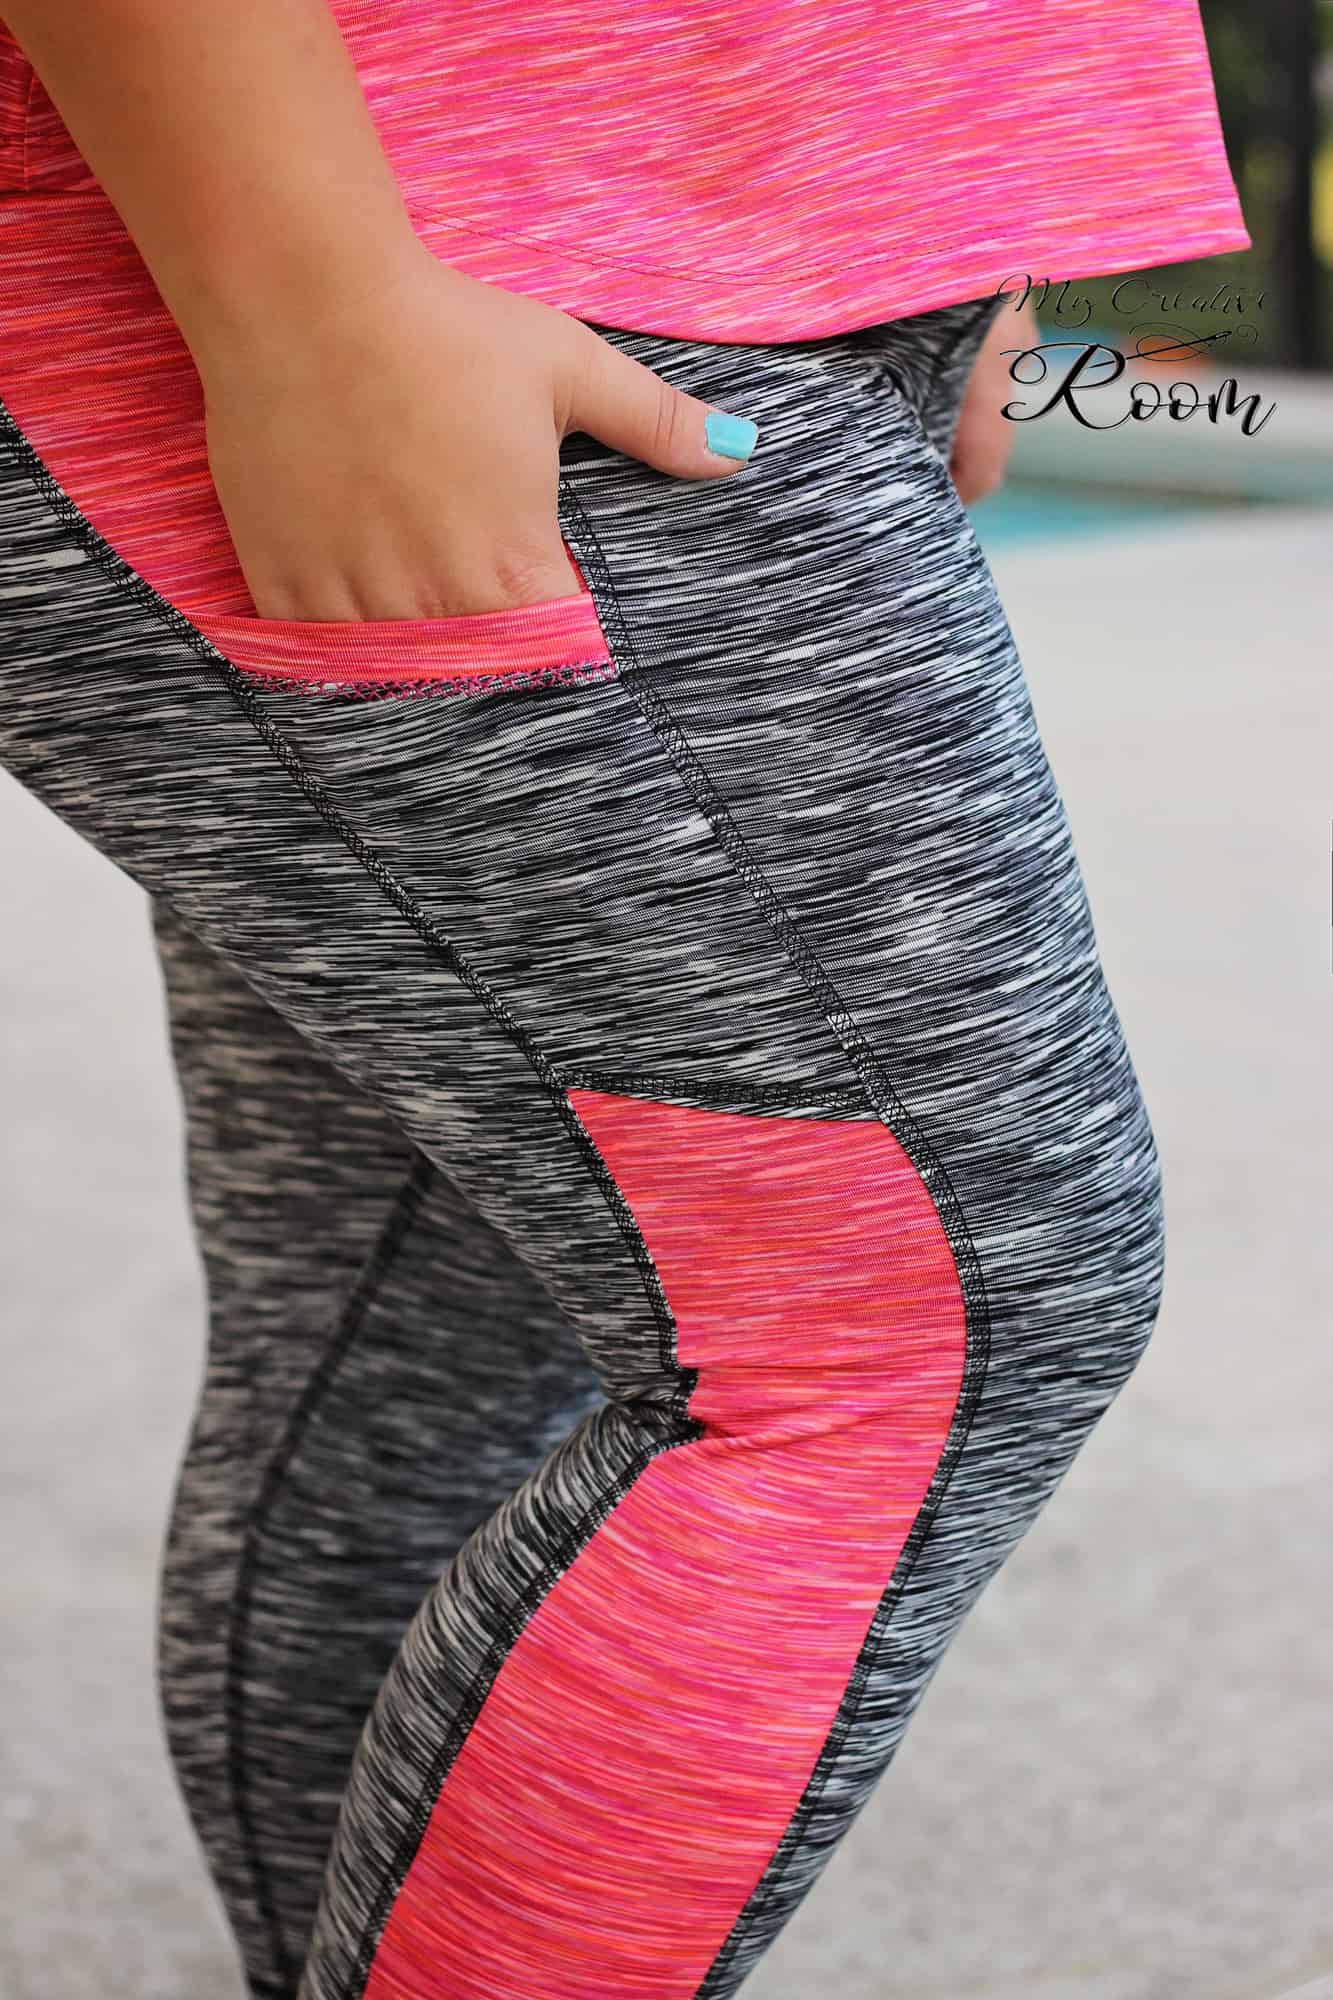
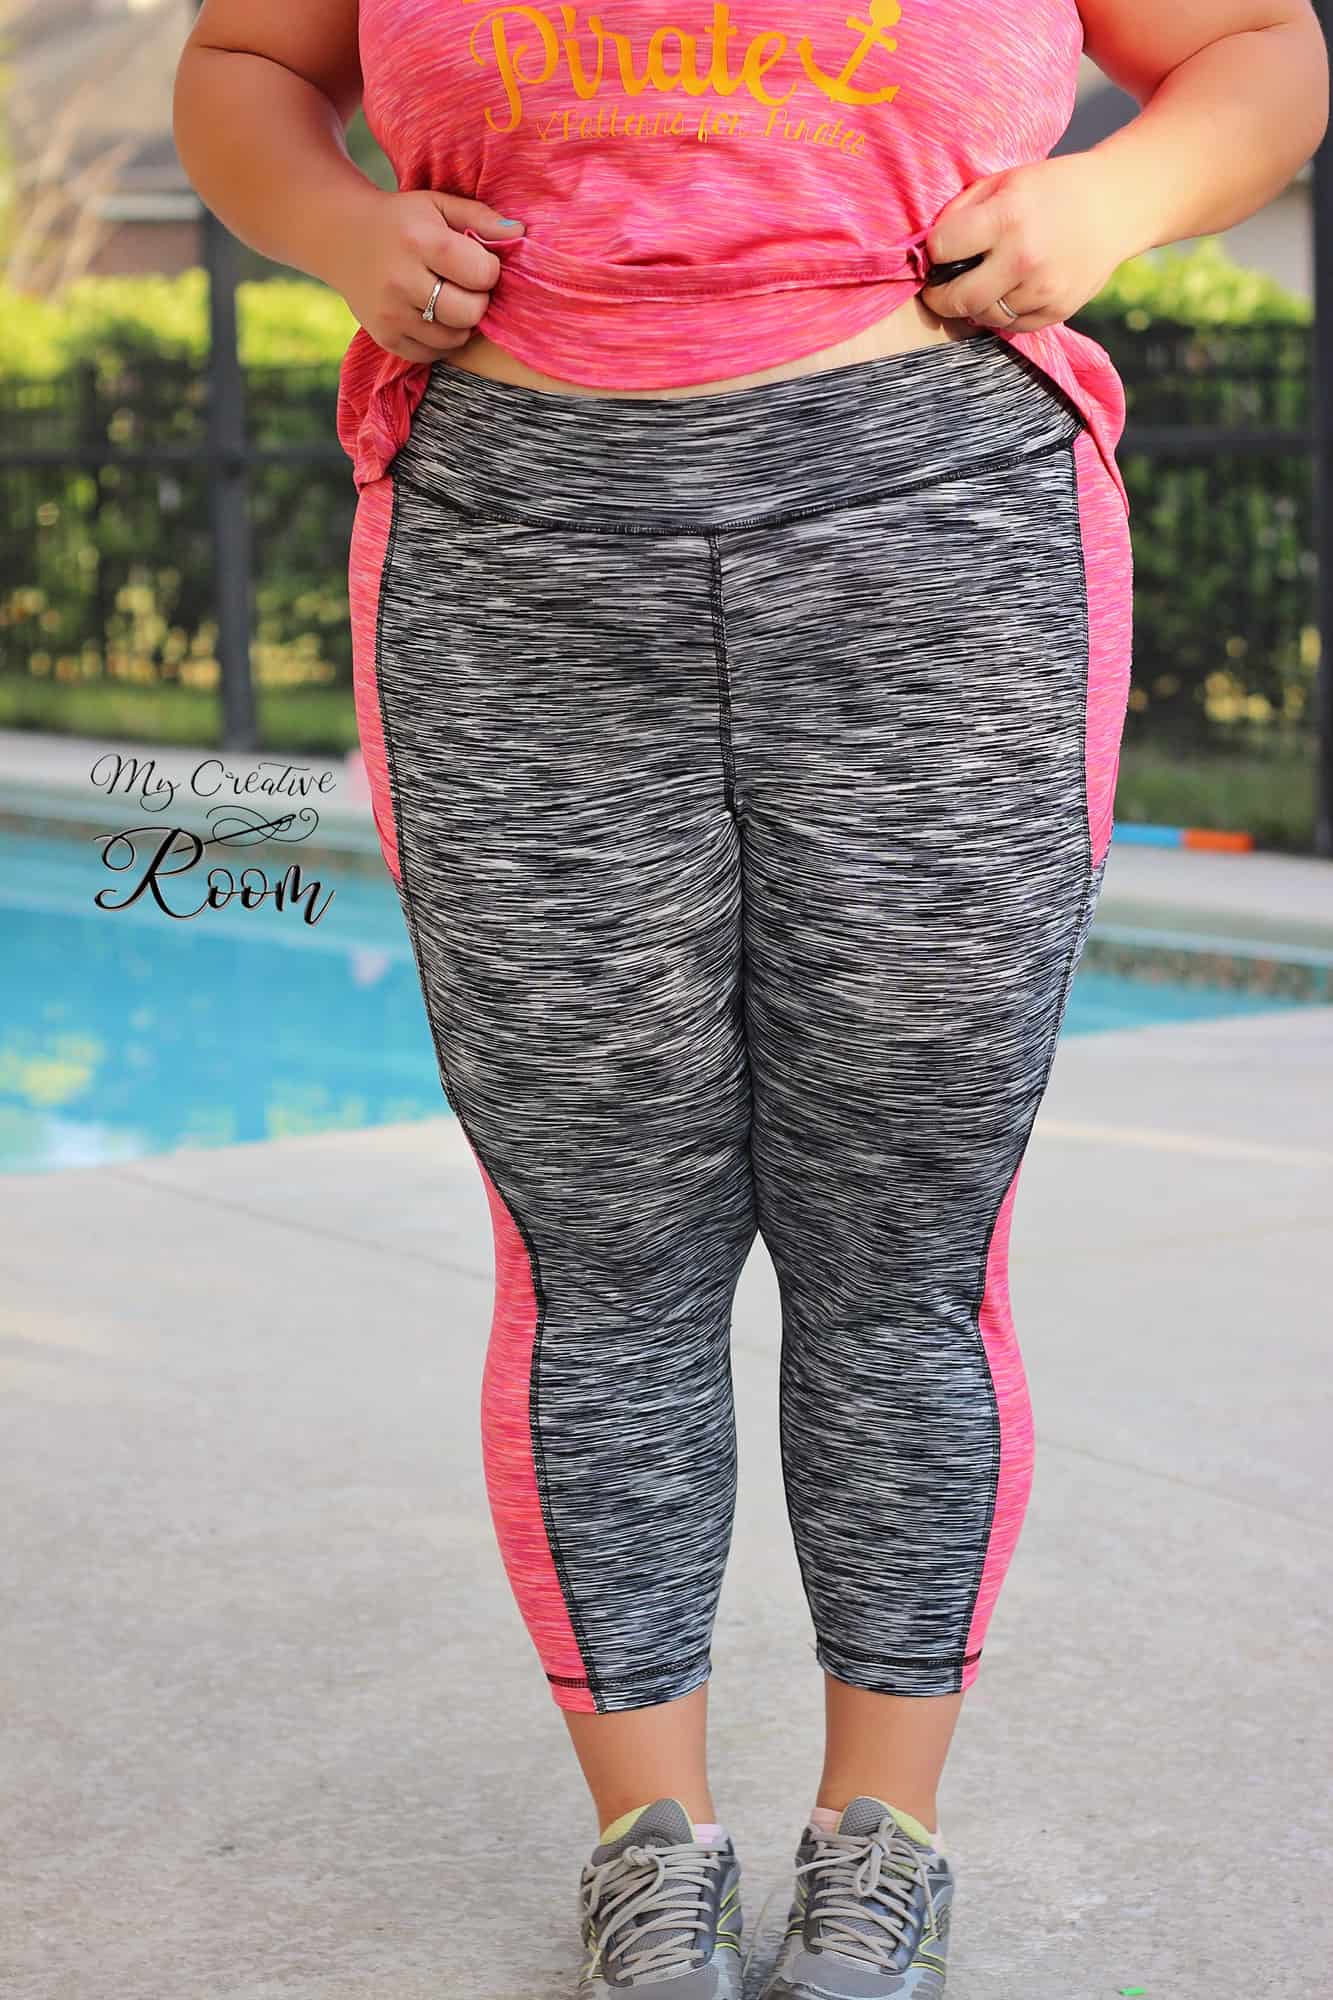
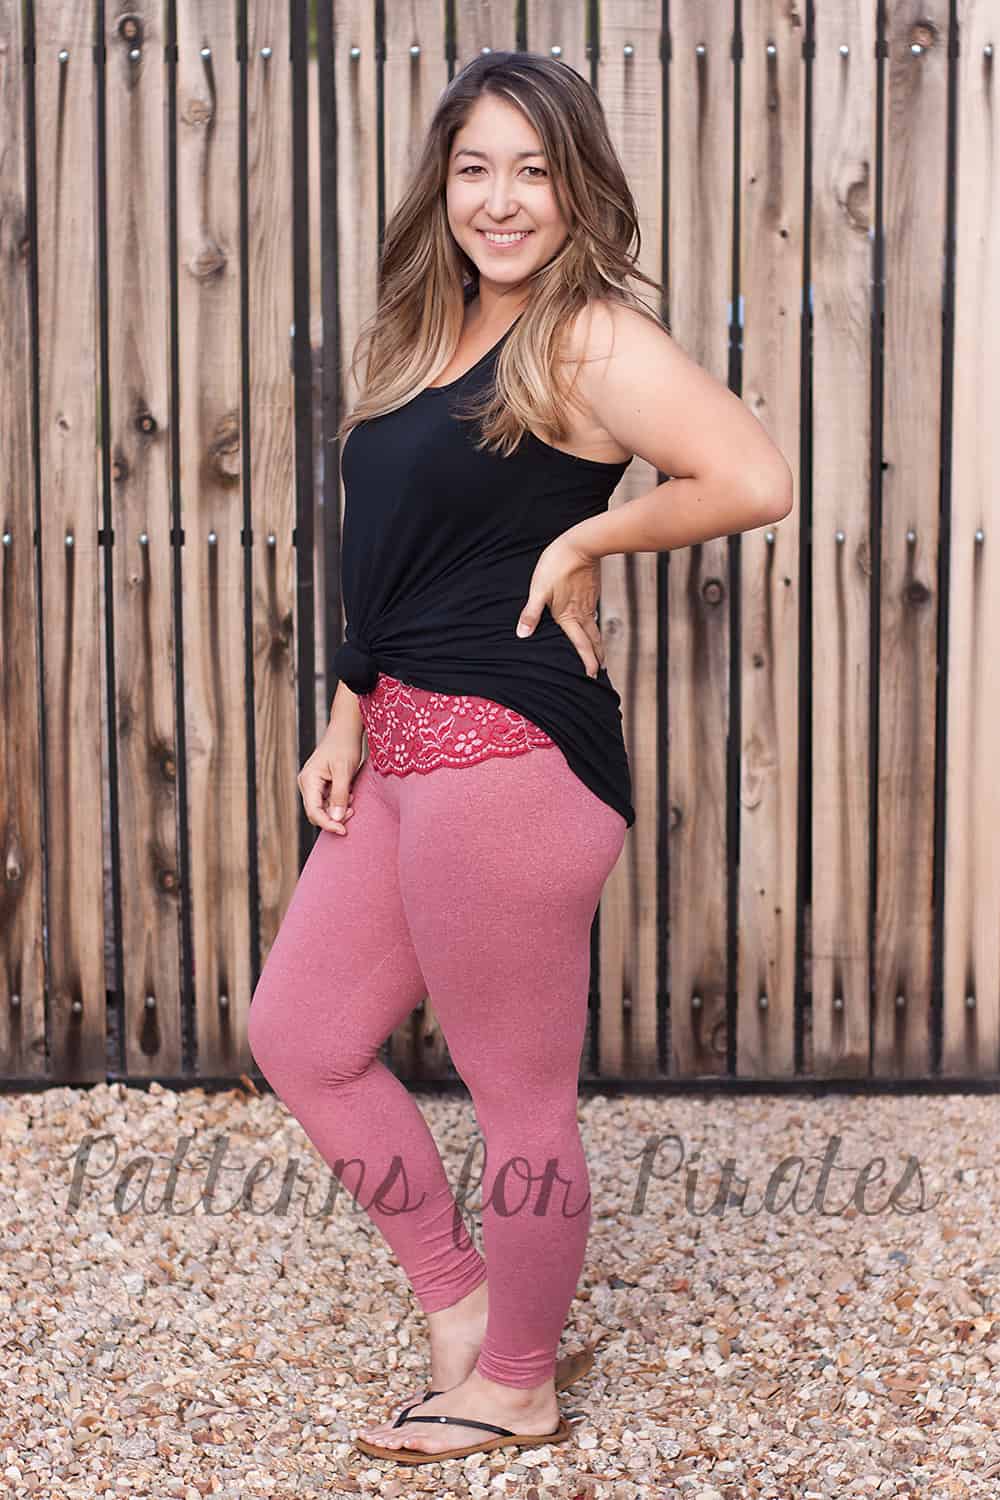
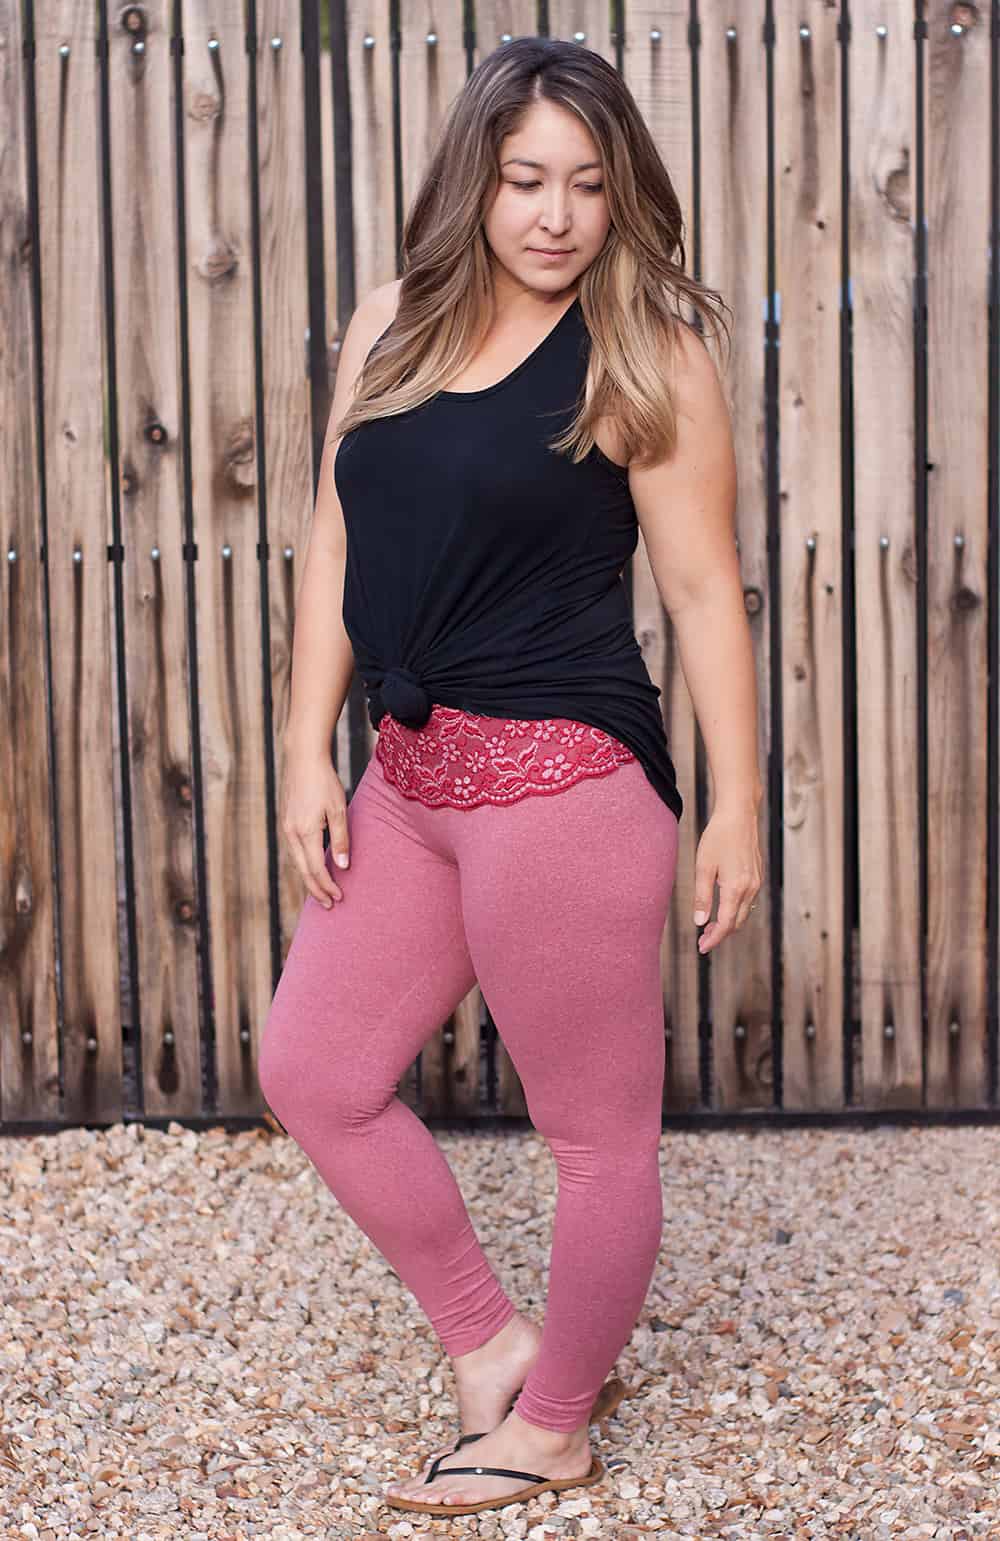
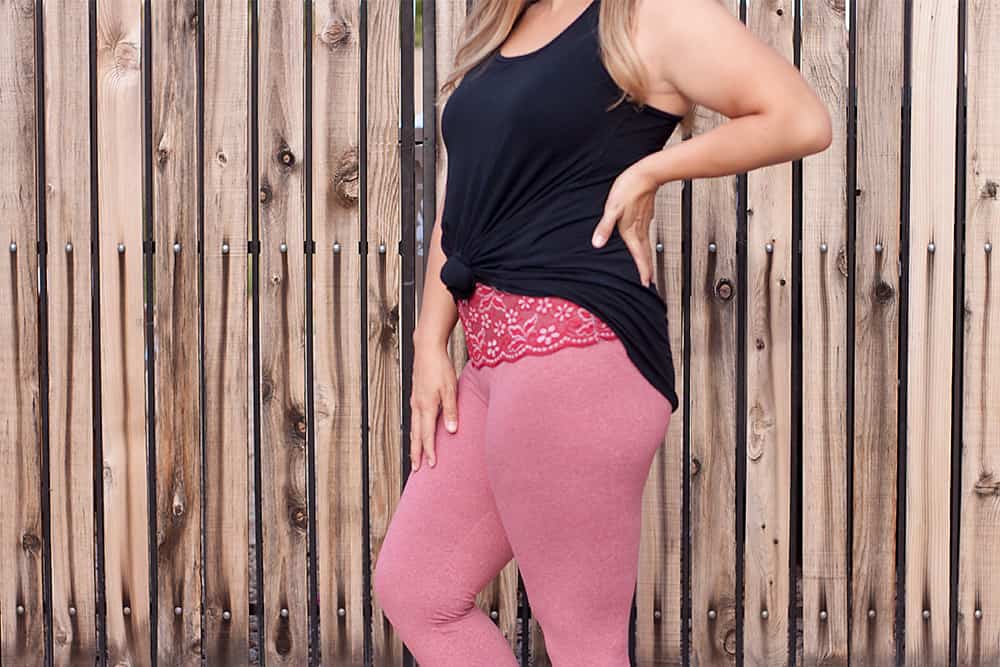
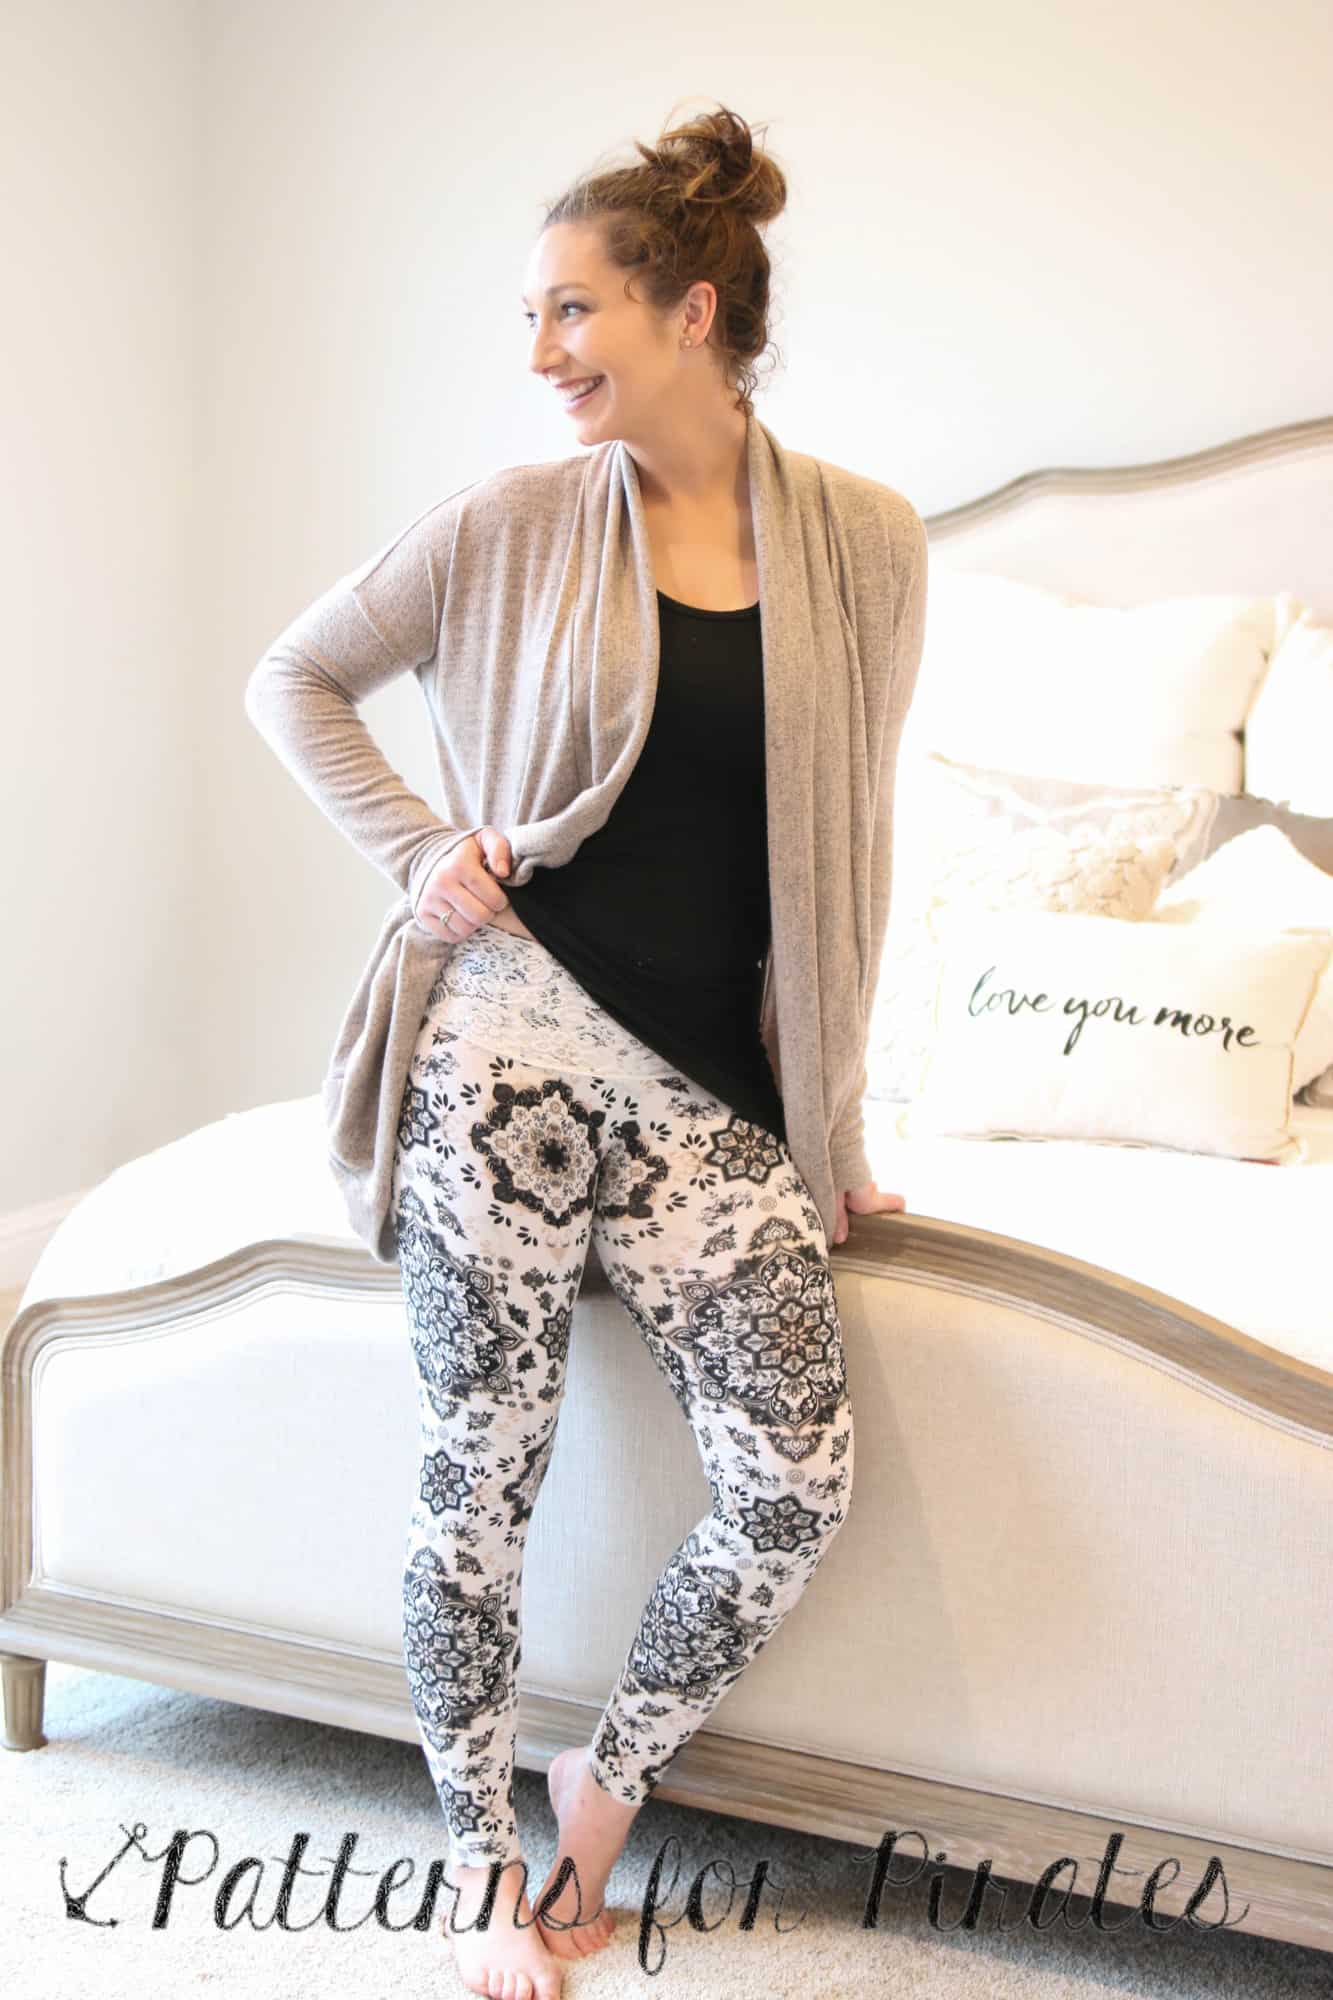
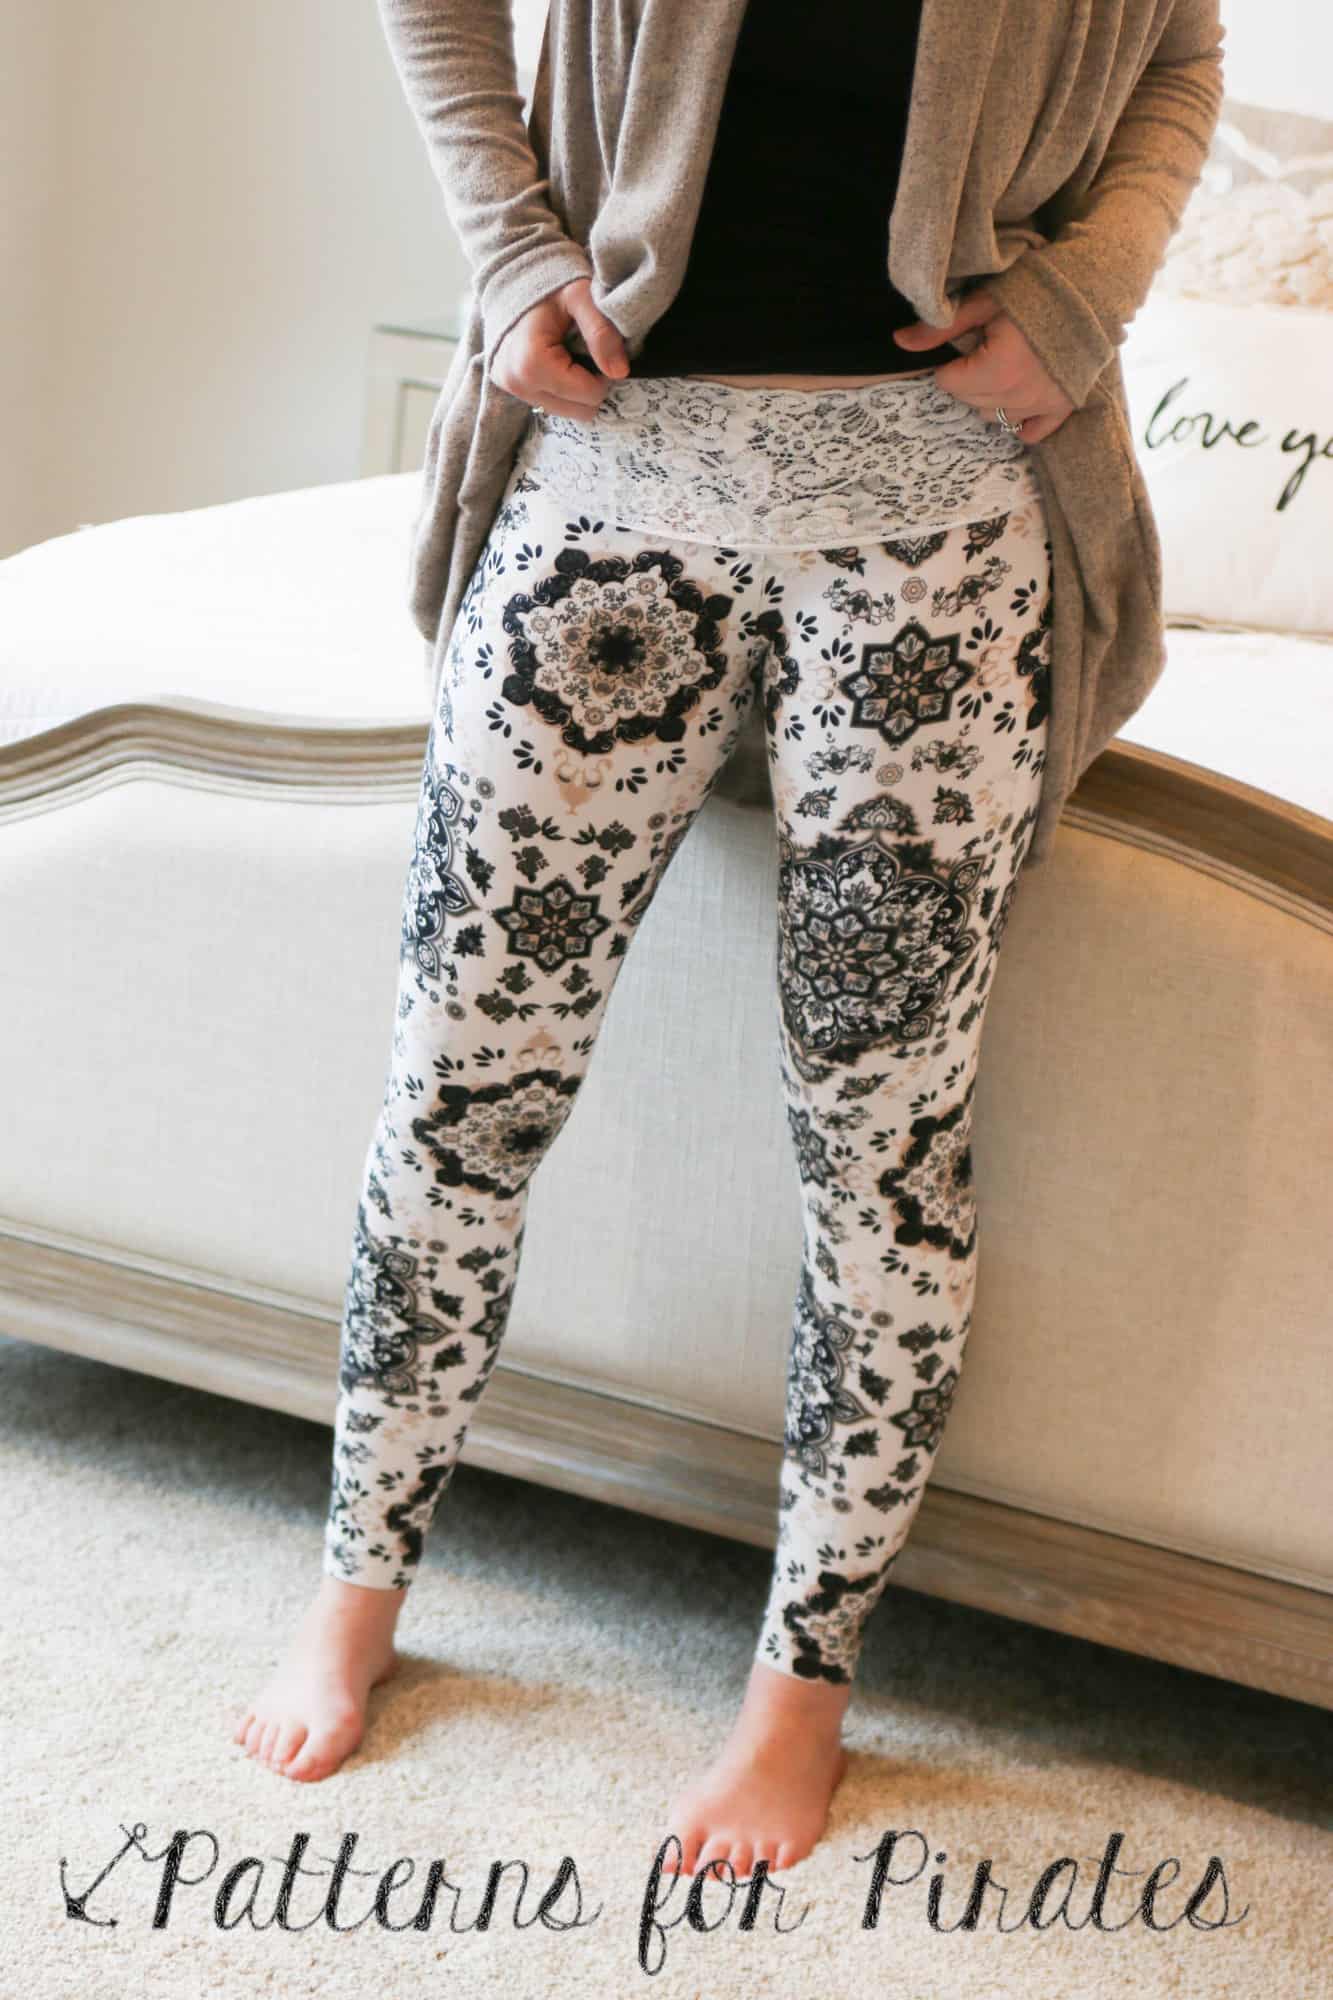
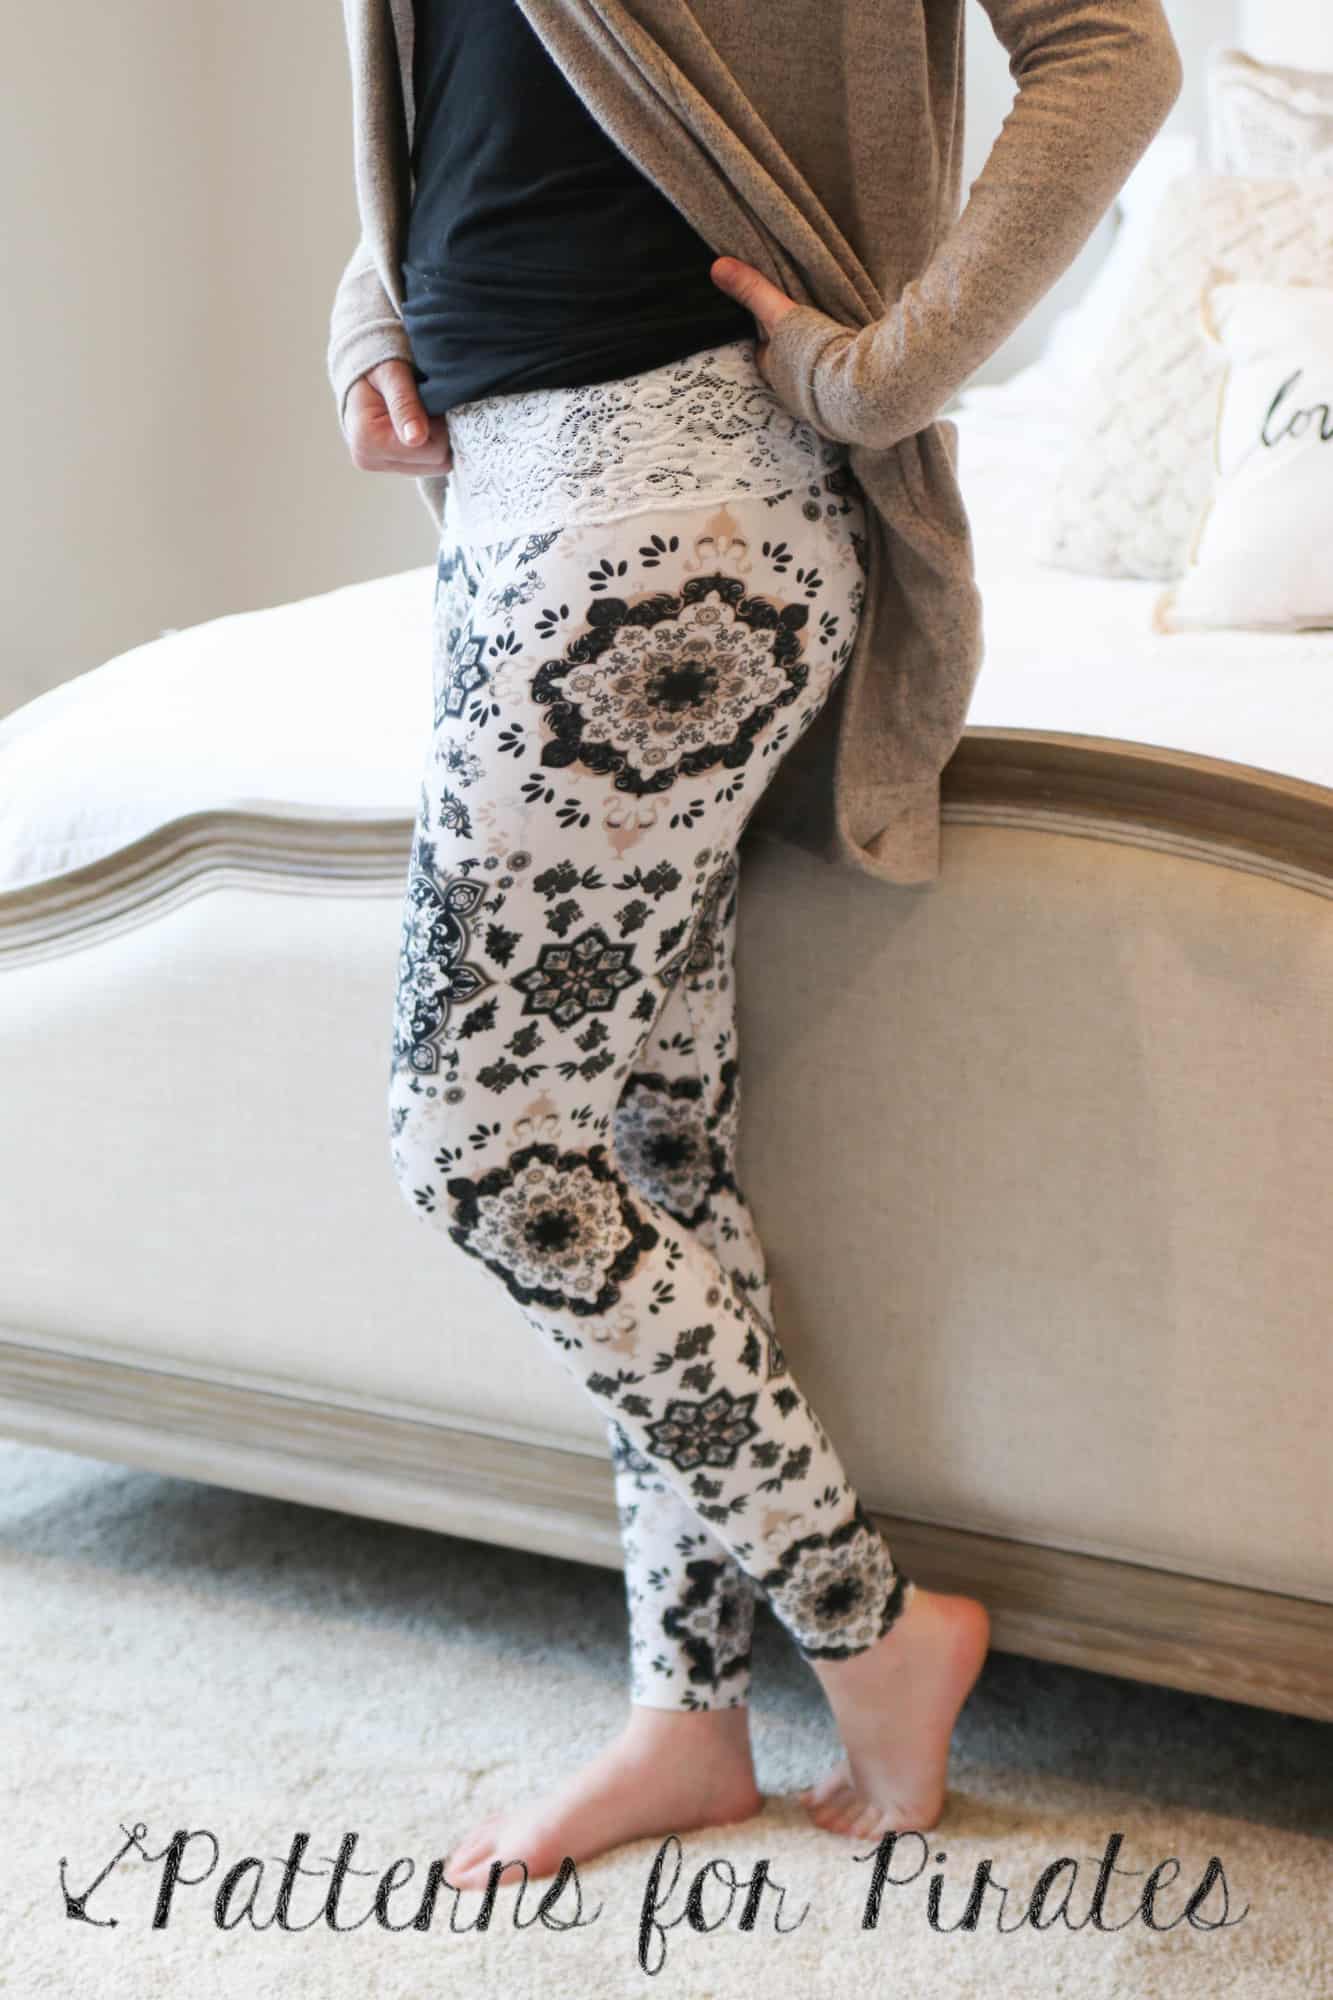
For this sew along I used the new contoured waistband which, let me tell you, is the best thing ever! Best tummy control while still comfortable.
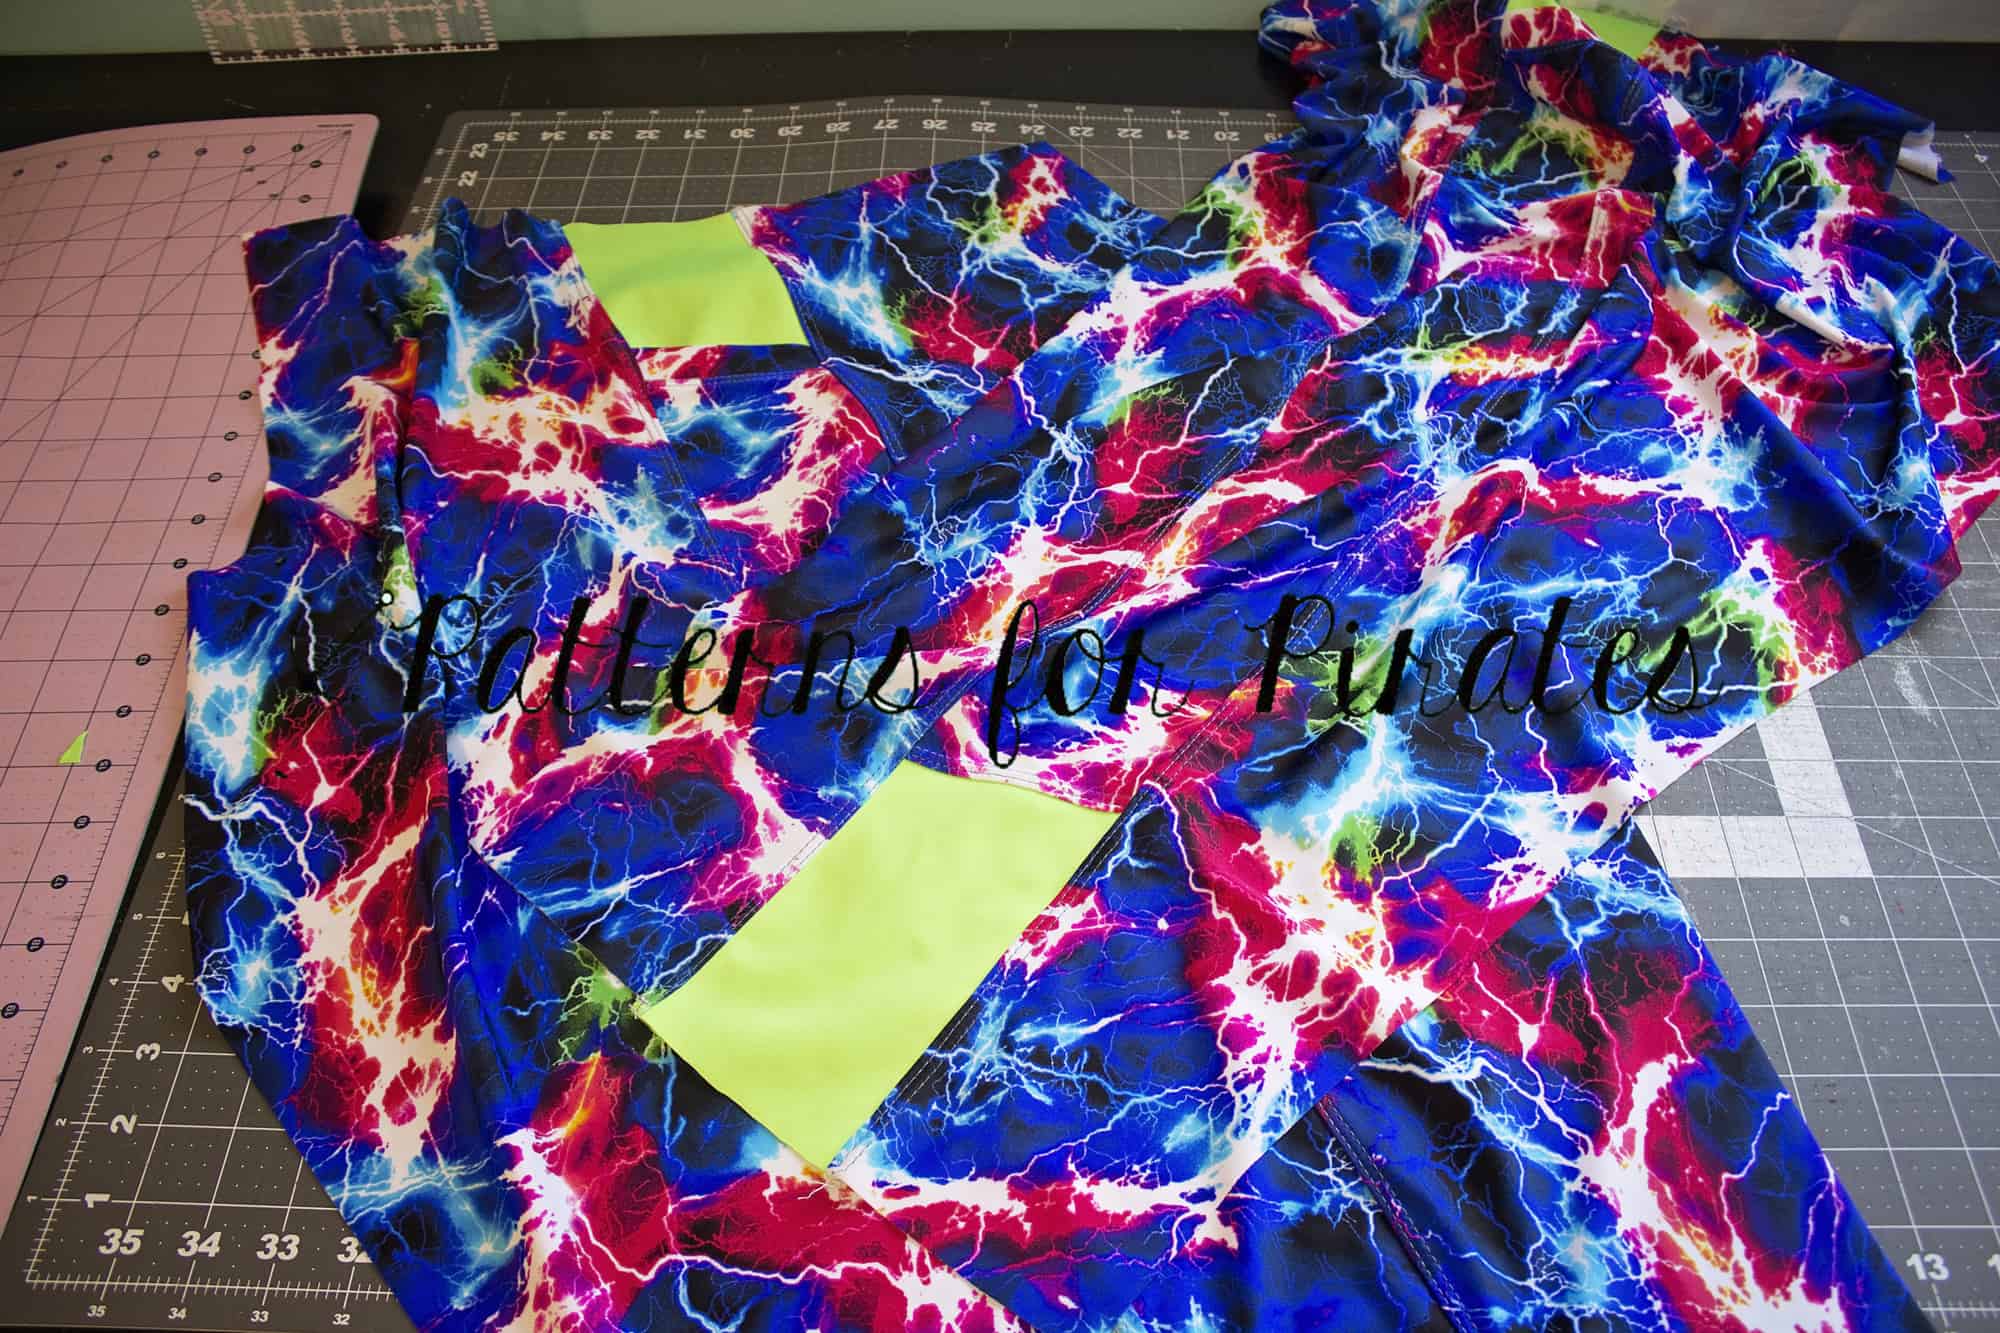
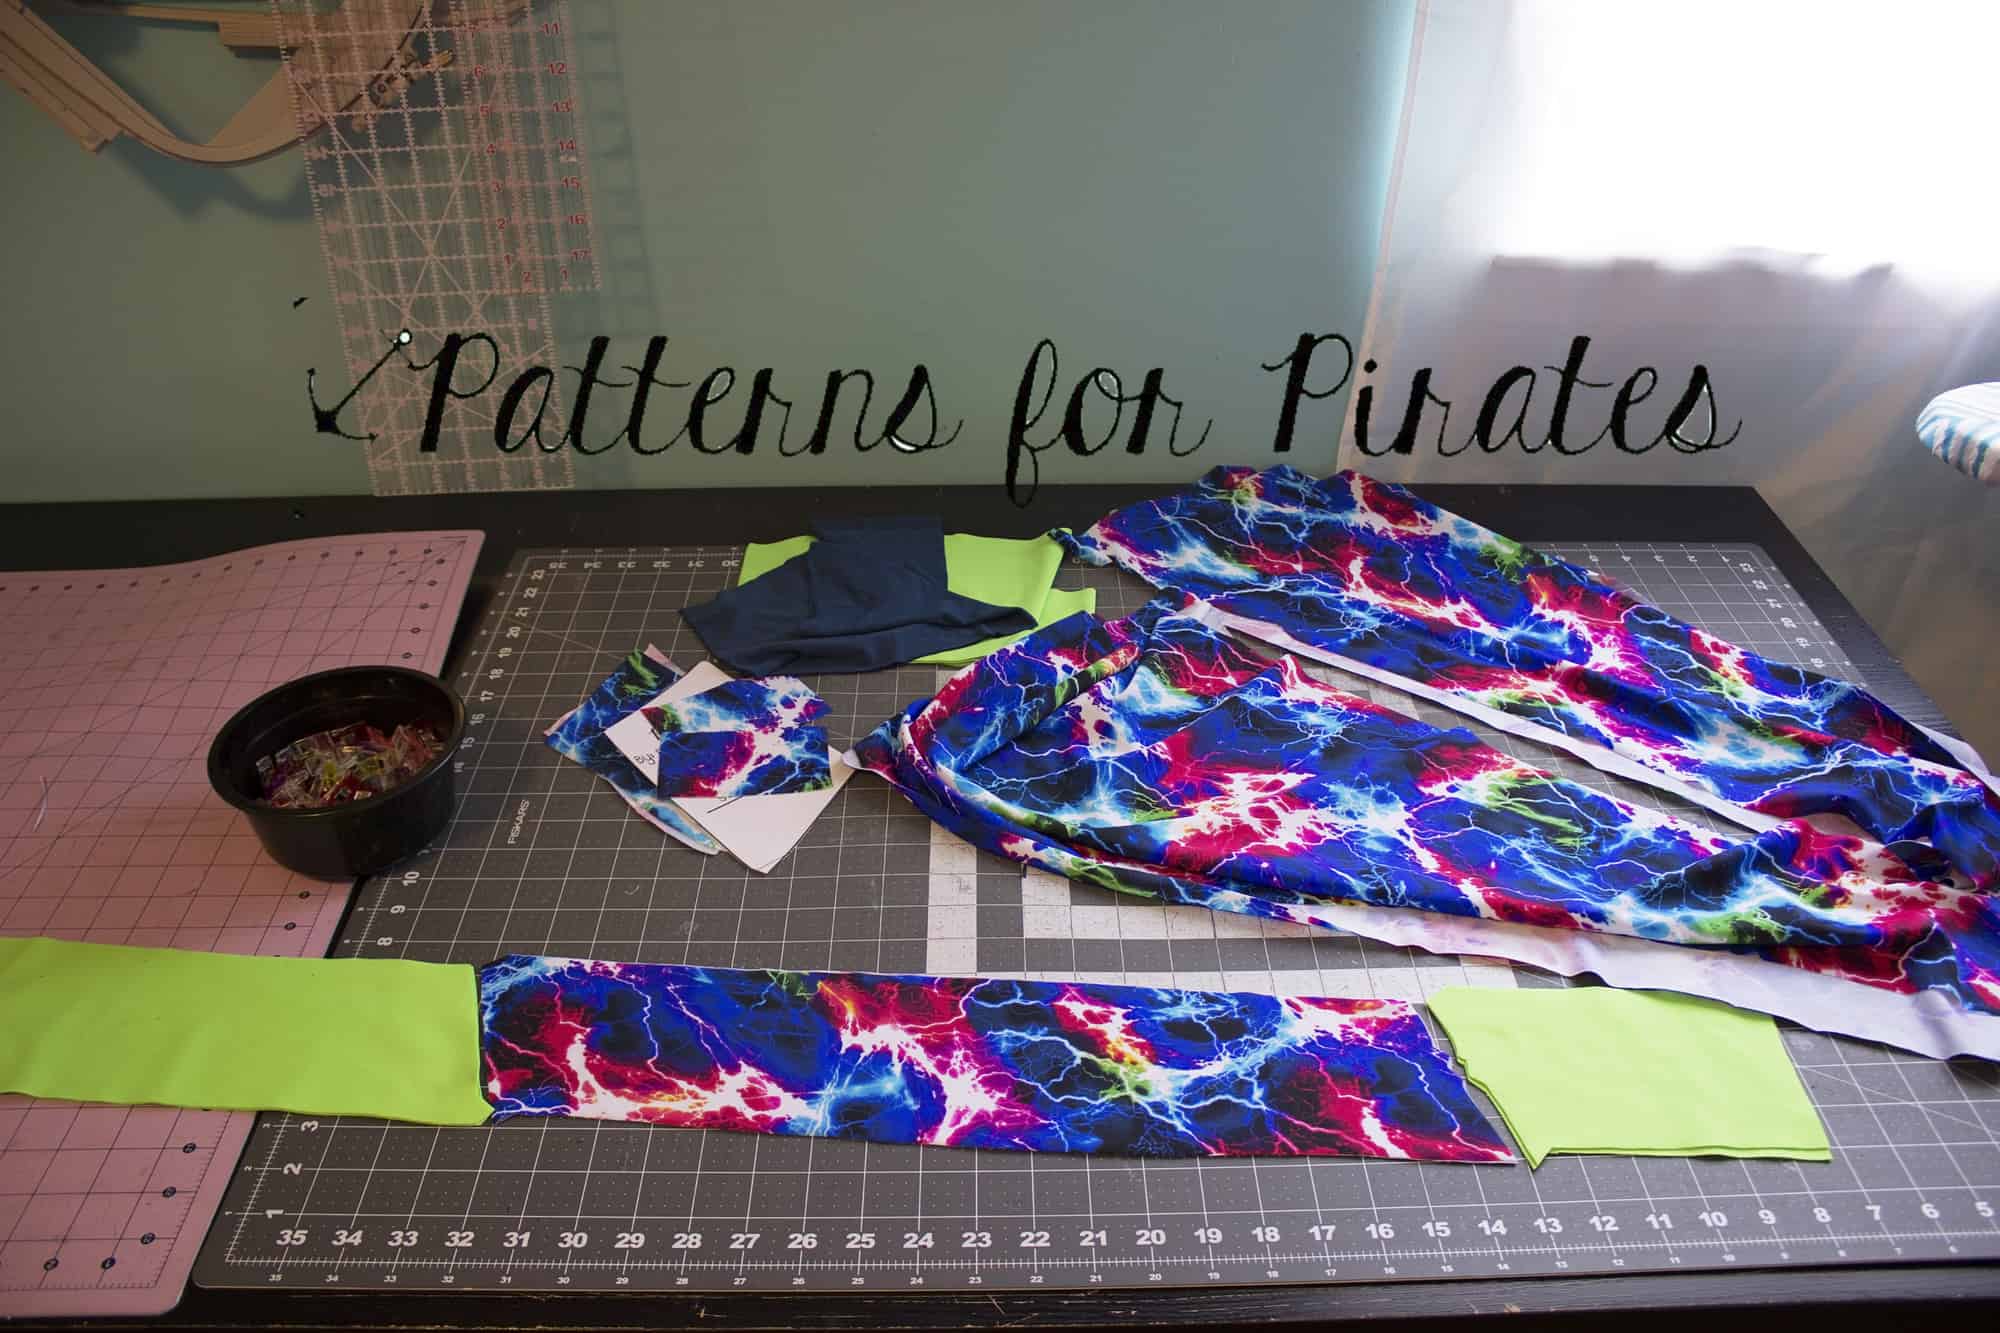
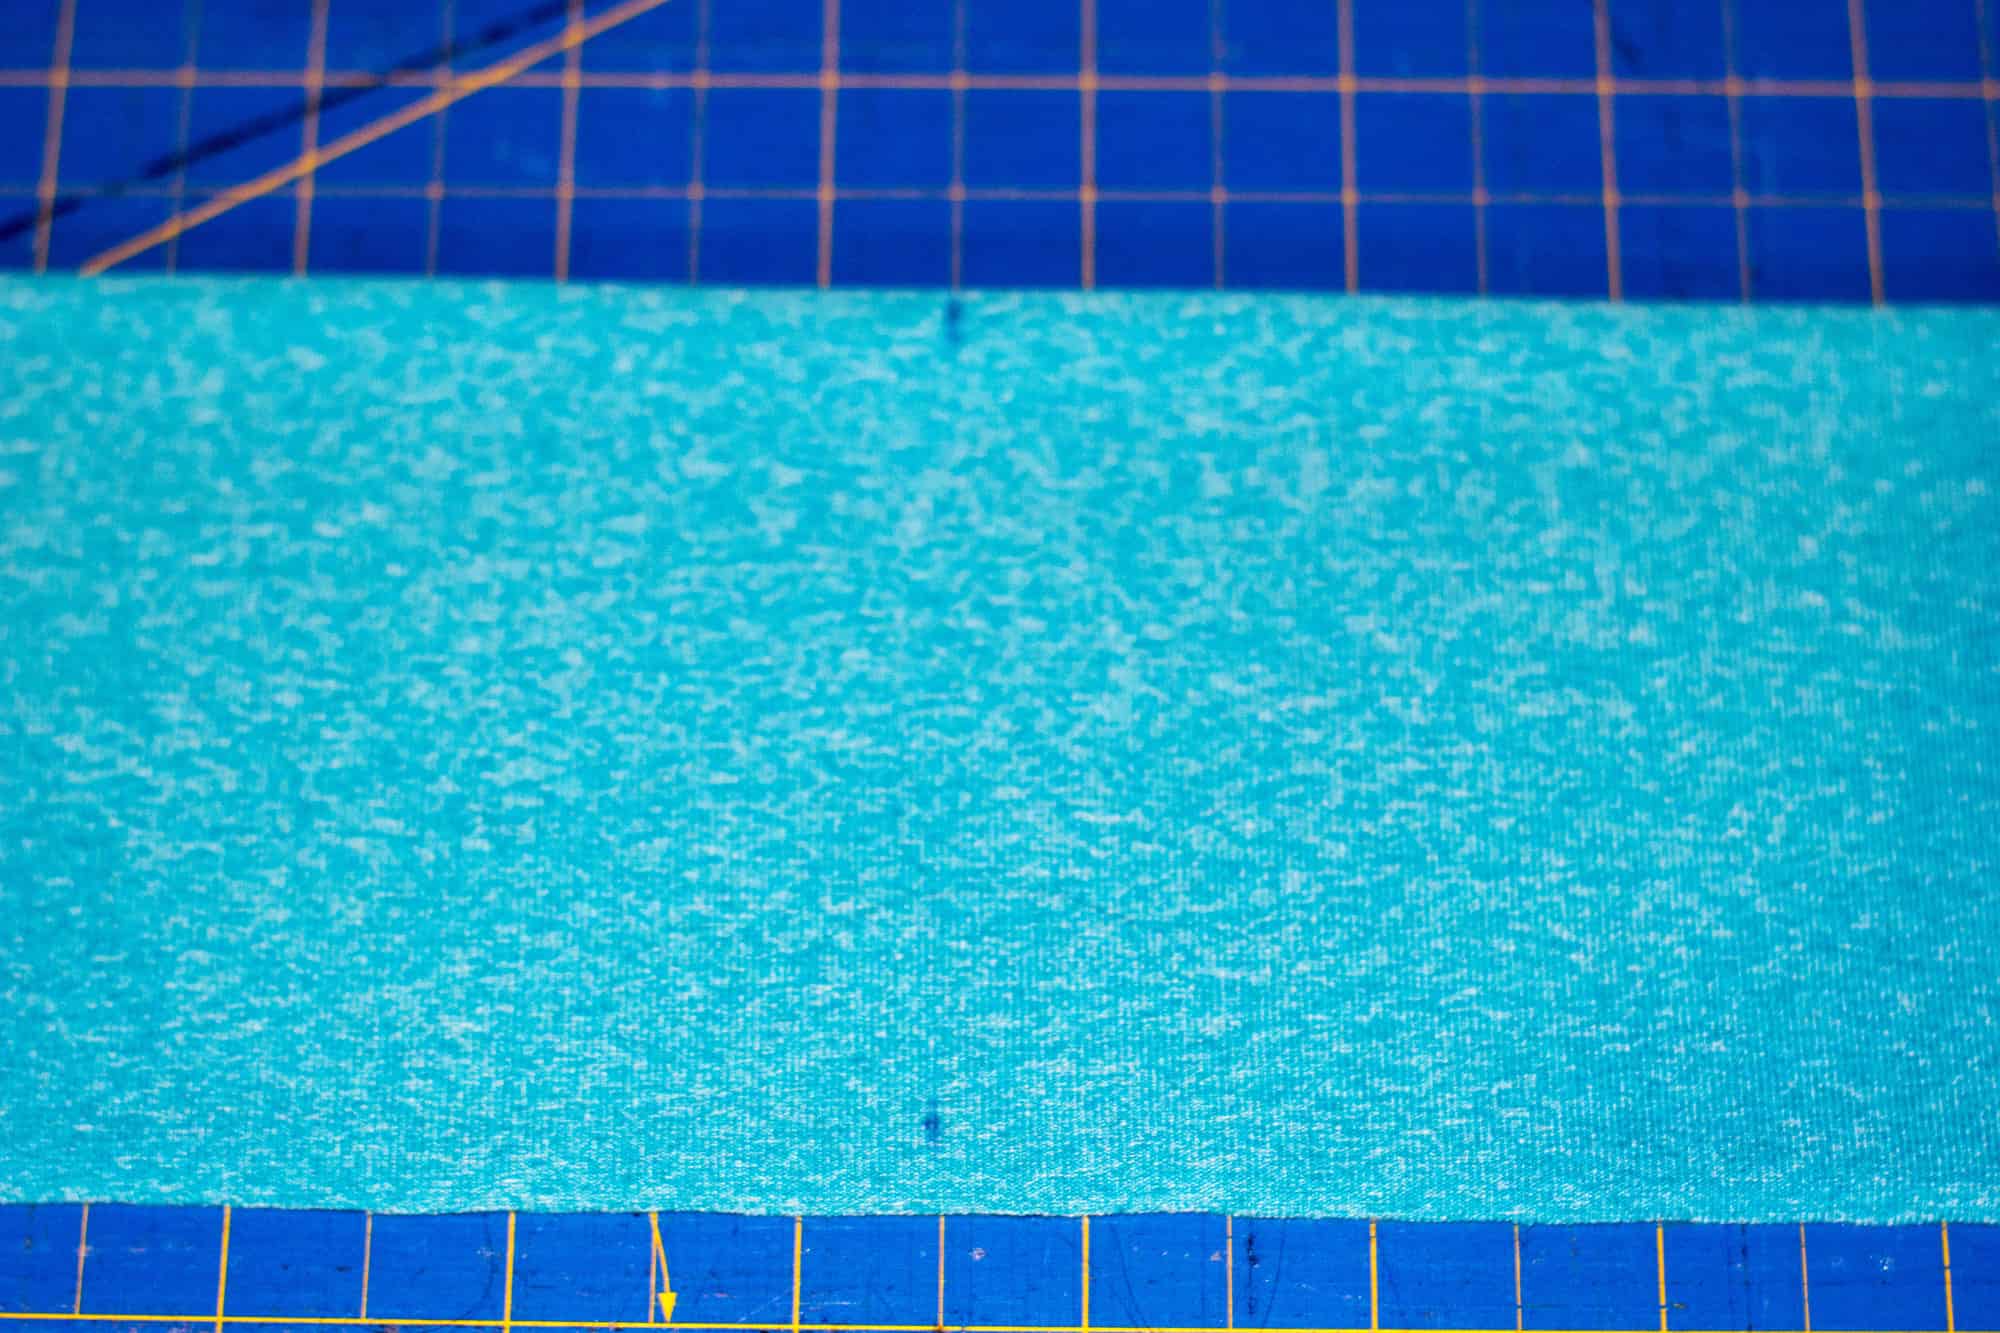
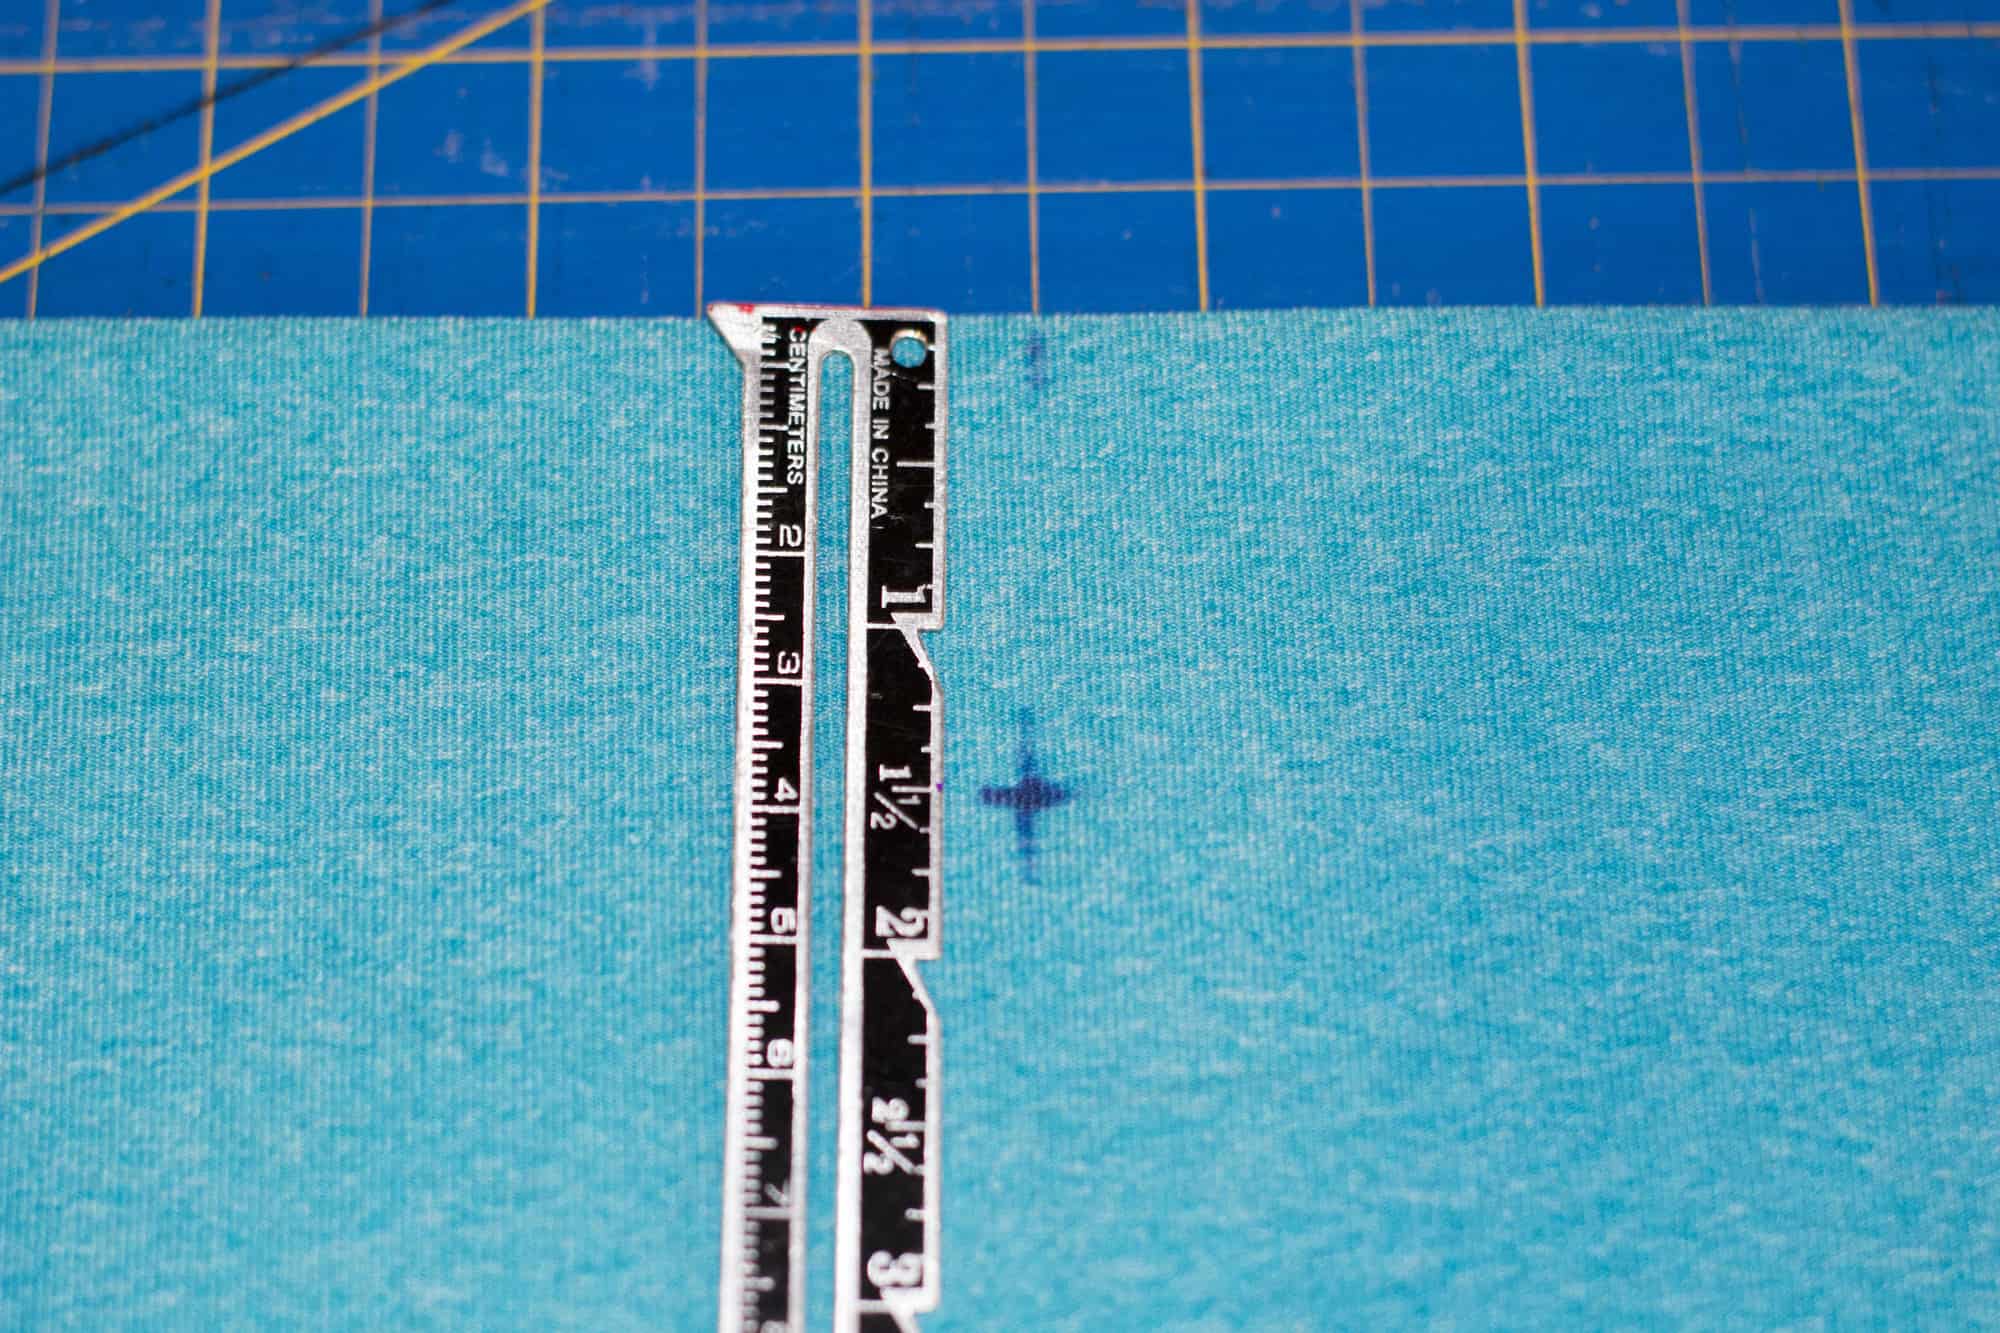
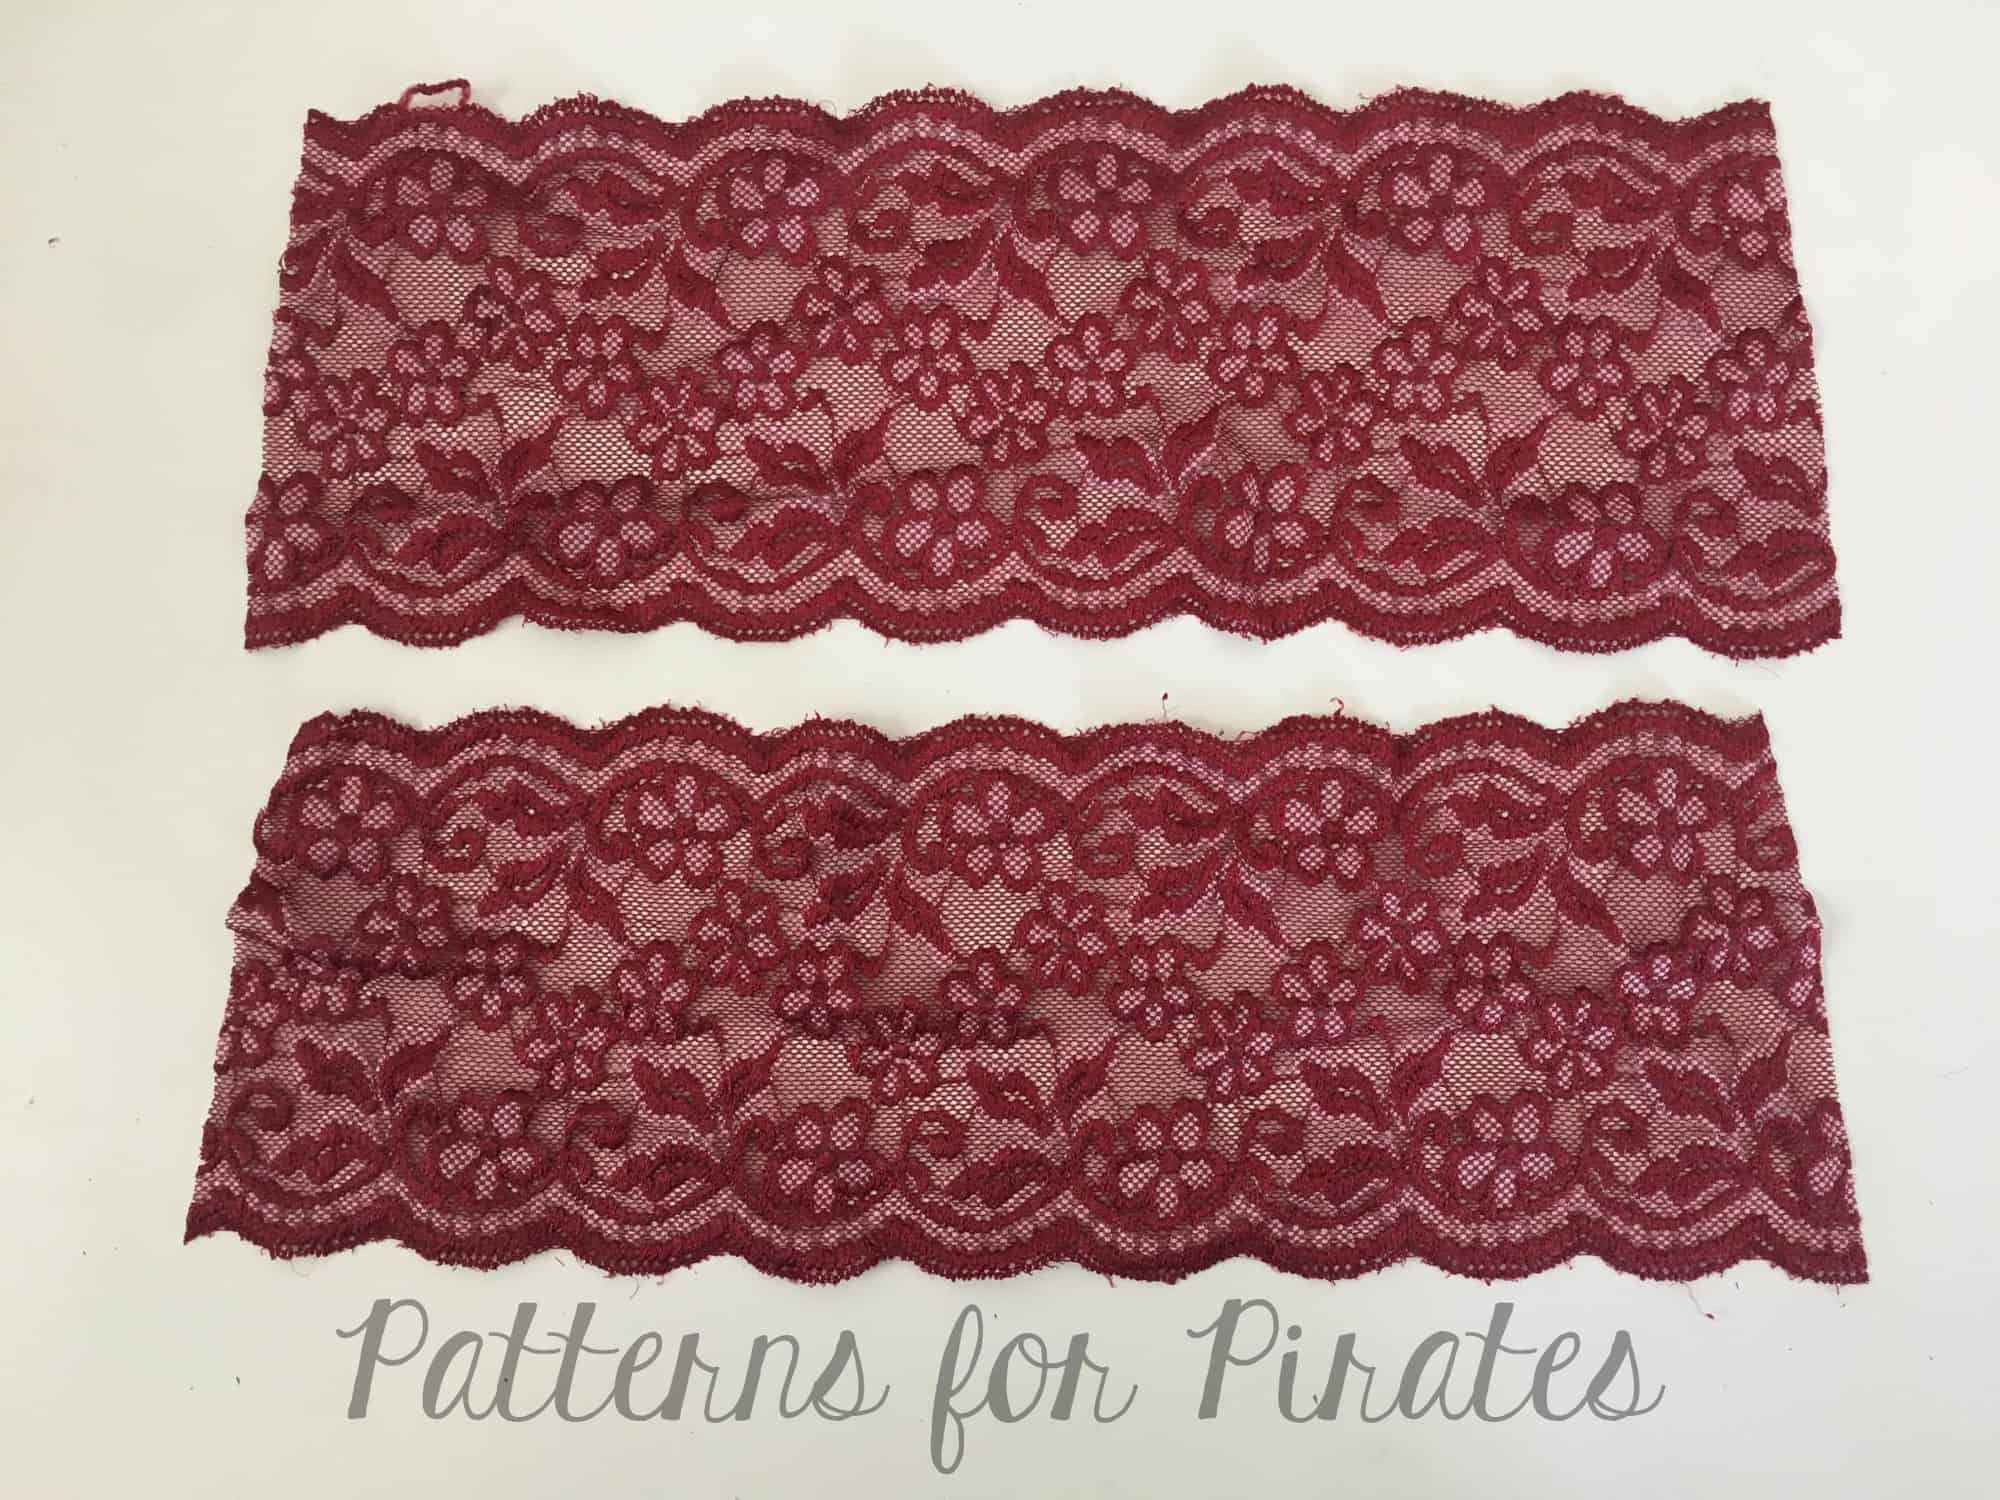
It is very important to cut your fabric along the grain. We have seen some FB comments suggesting to cut the waistbands against the grain for more support. I highly discourage that because your peg legs will loose shape in the wash and will not fit as intended.
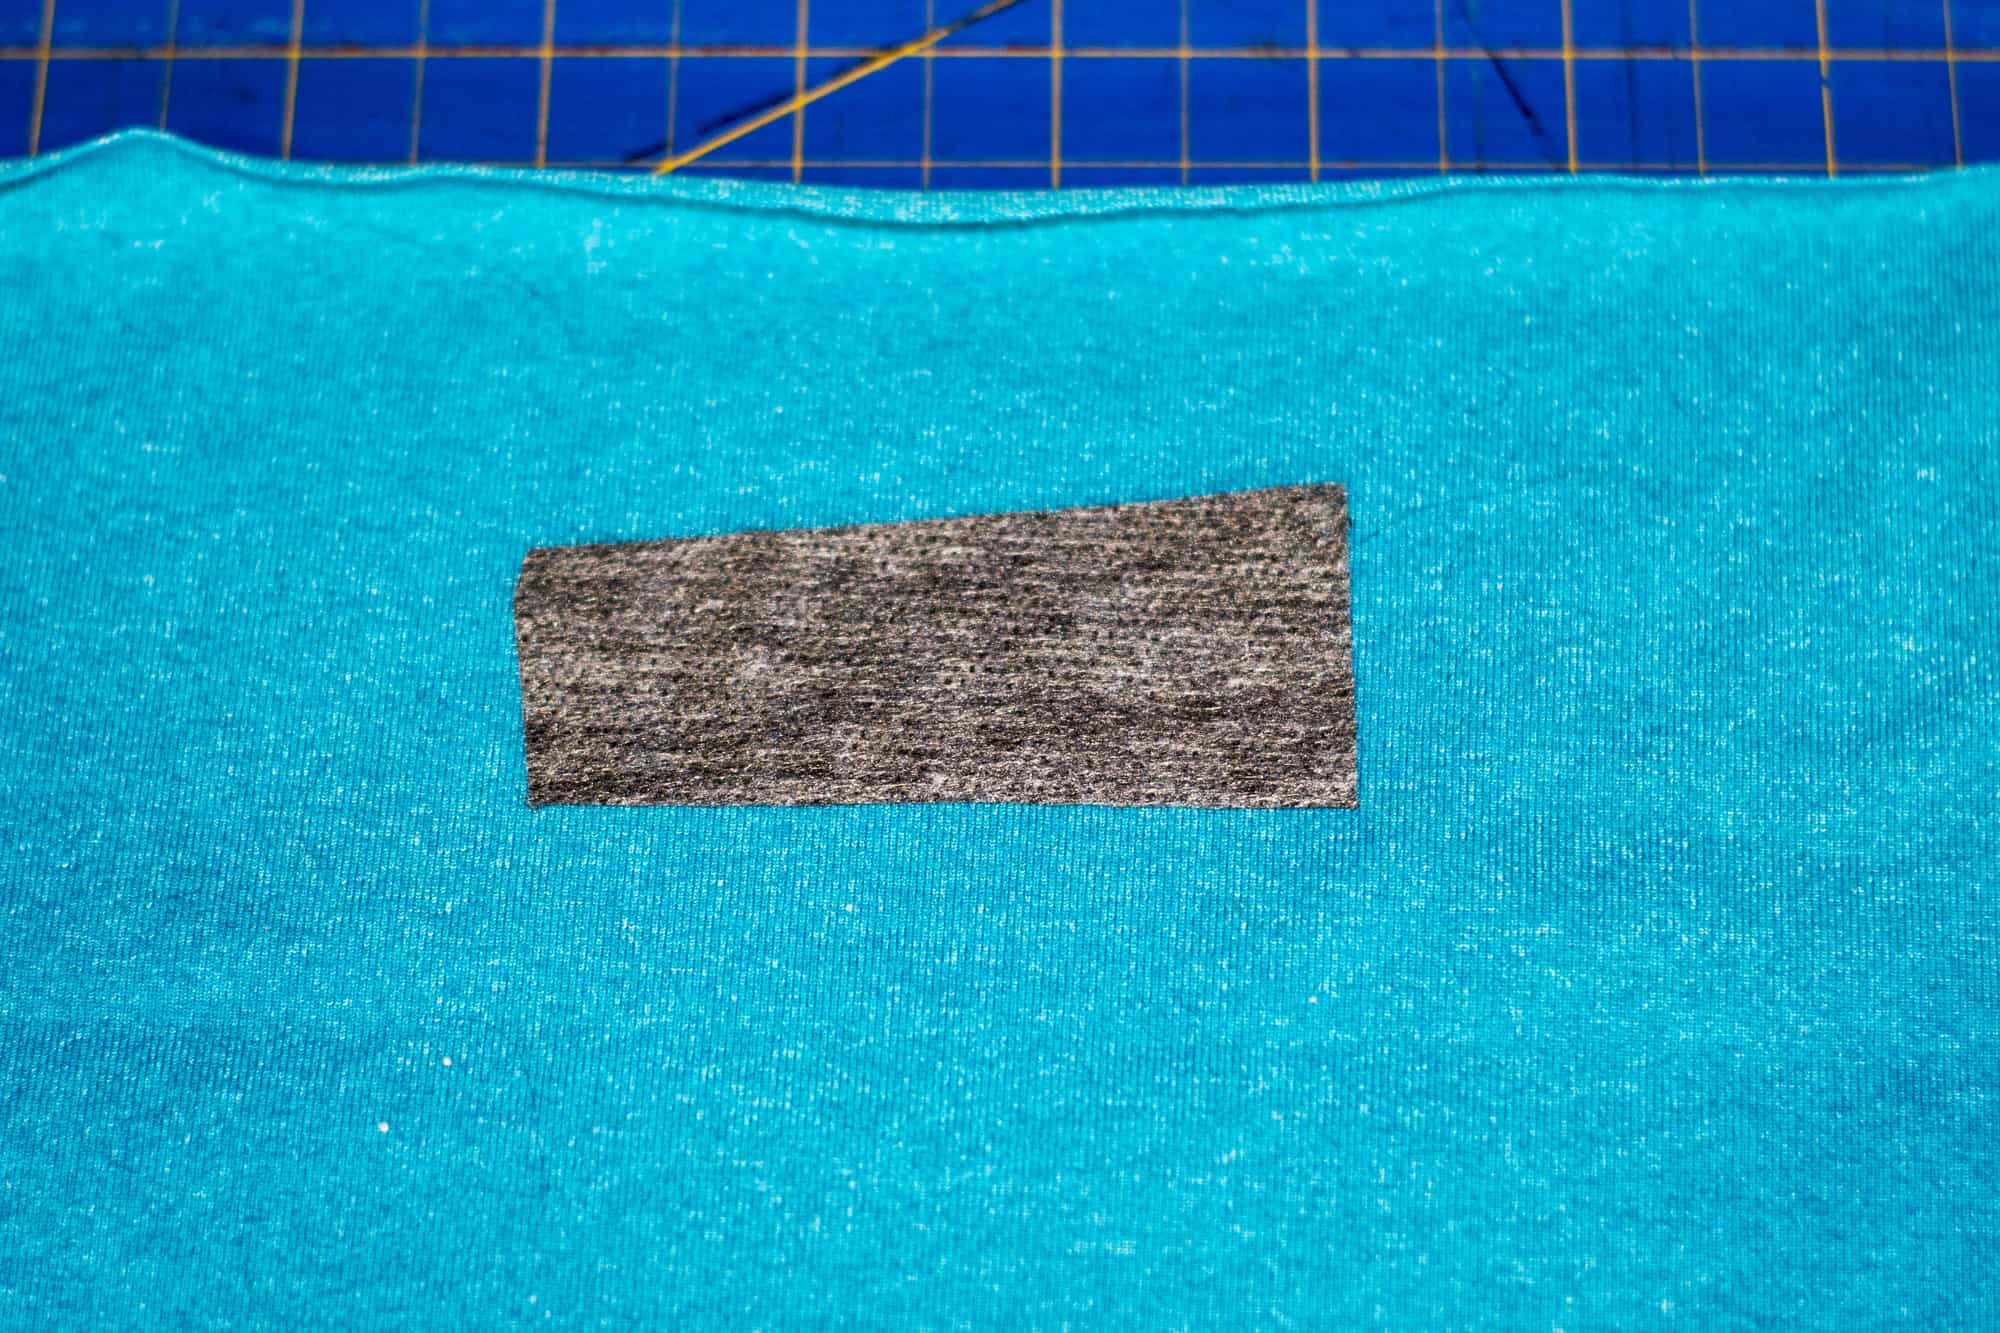
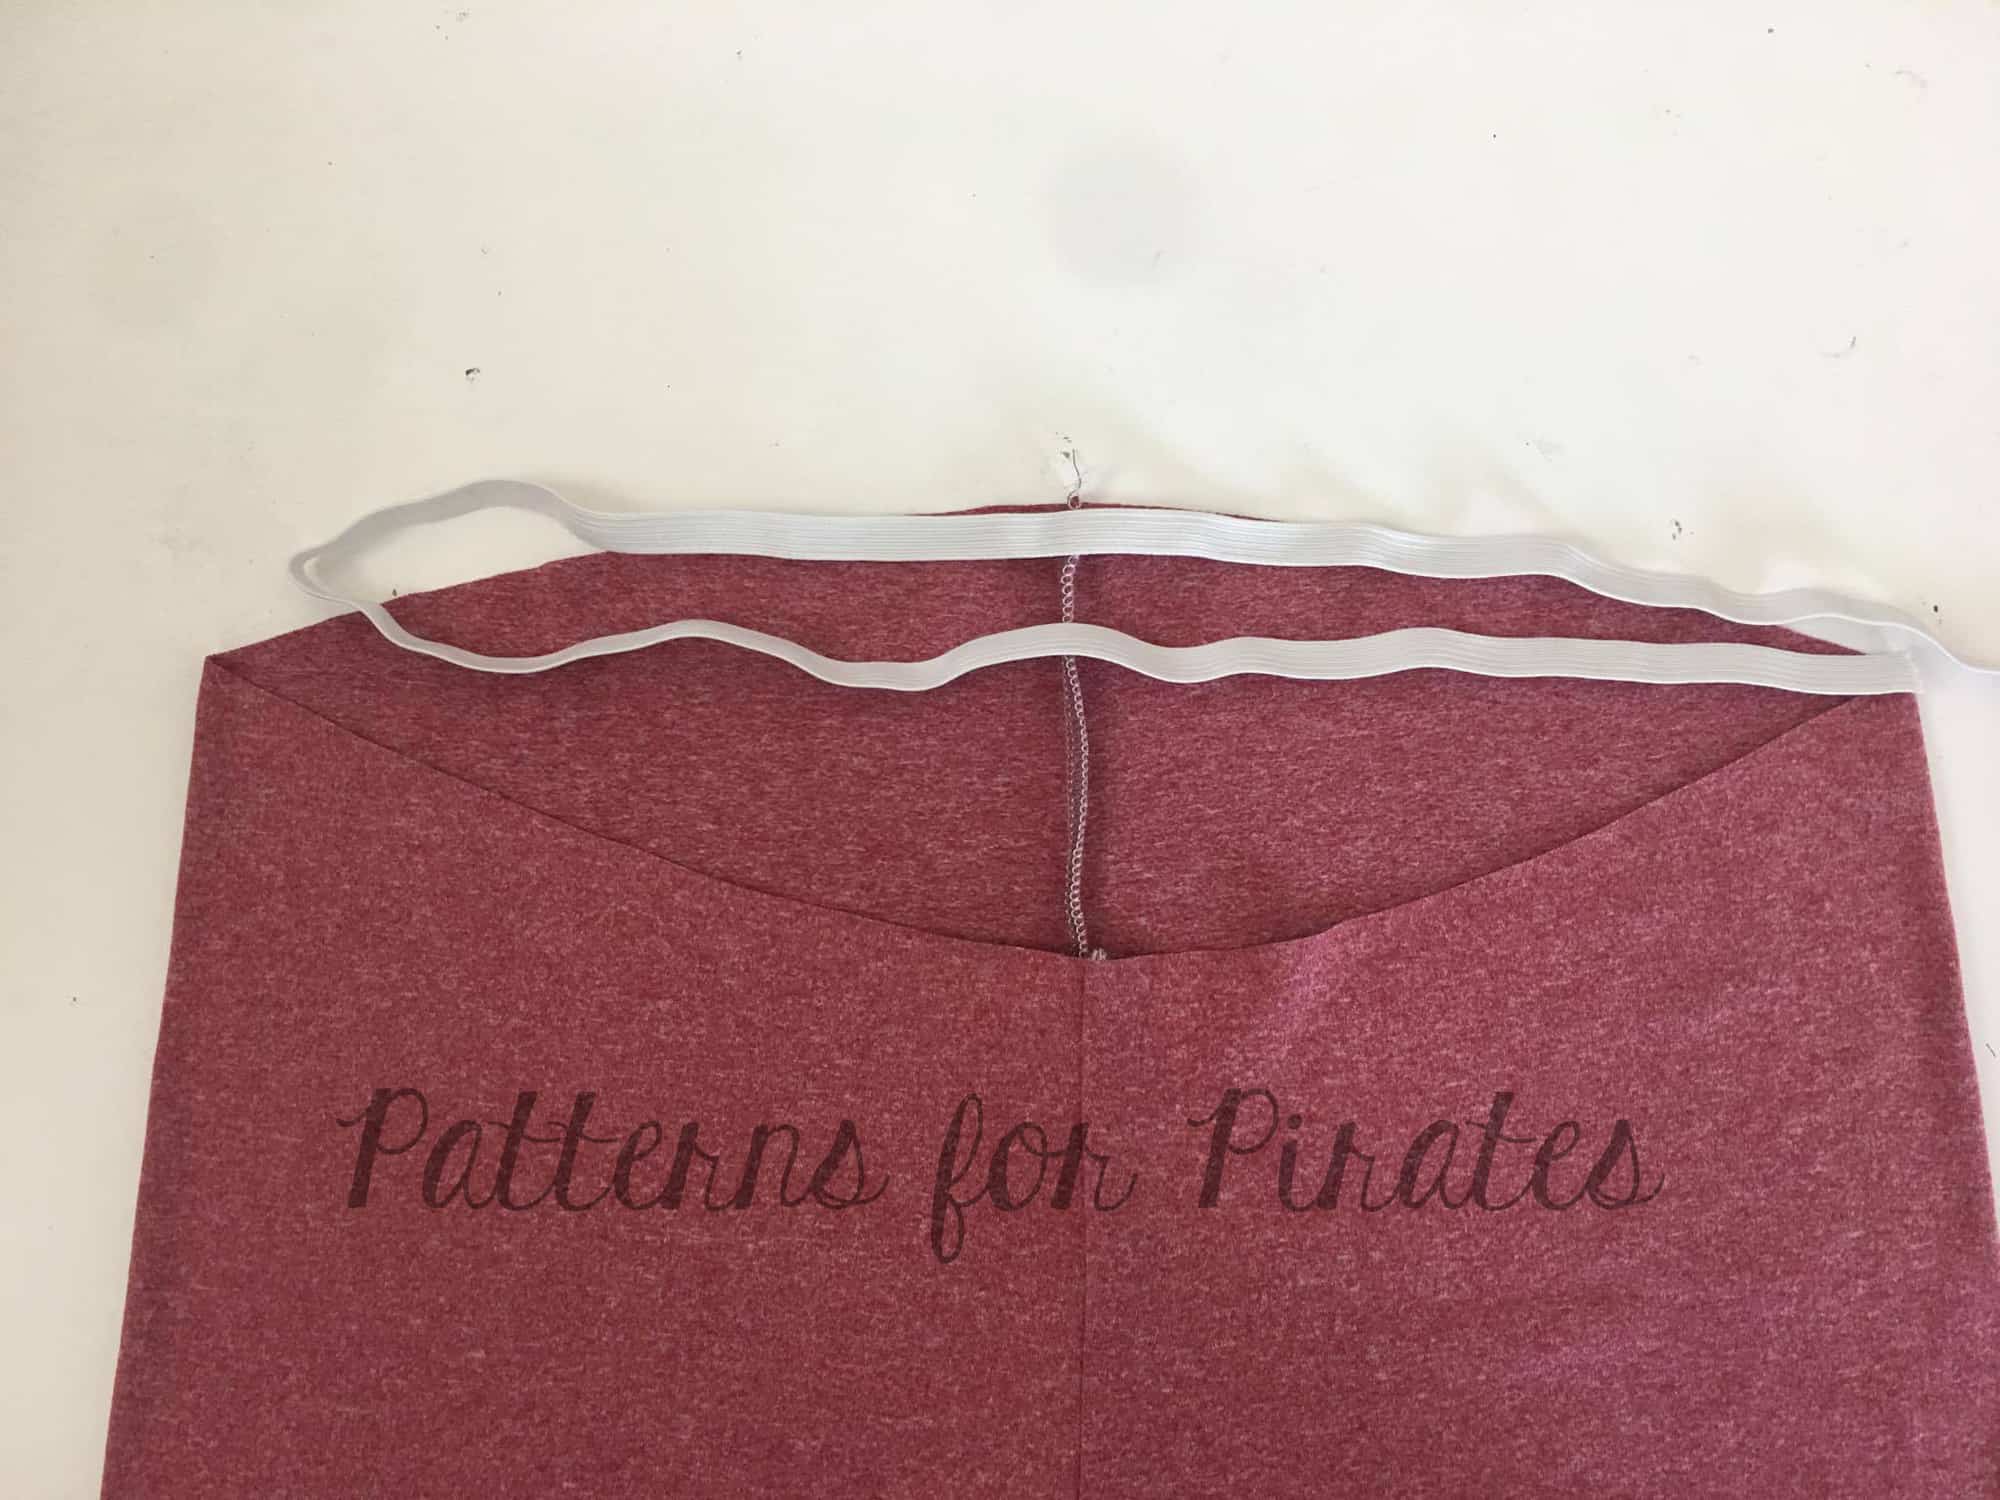
TIP: If you are more of a rectangular shape than hourglass, you can add elastic to the top seam of your contoured waistband.
You can see the waistband construction video here.
Don’t forget to post your final picture in the Peg Legs SAL event and hastag it #peglegsSAL before May 3rd 10 pm EST. Be sure to come back on Wednesday for the Sew Along recap and the winners announcement.