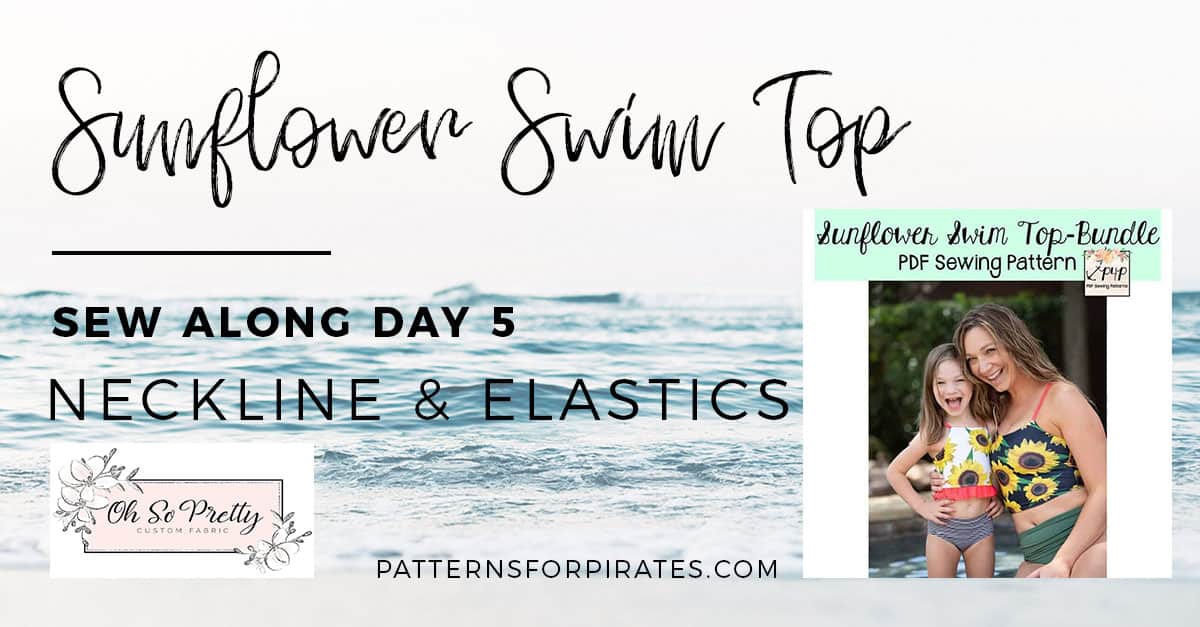
Welcome to day 5 of our Sunflower Swim Top sew along. I reserved today to adding all elastics to the neckline, armcyce and back curves. Another easy day but a very important one. Do not skip sewing elastic in the seams of your swimsuits!
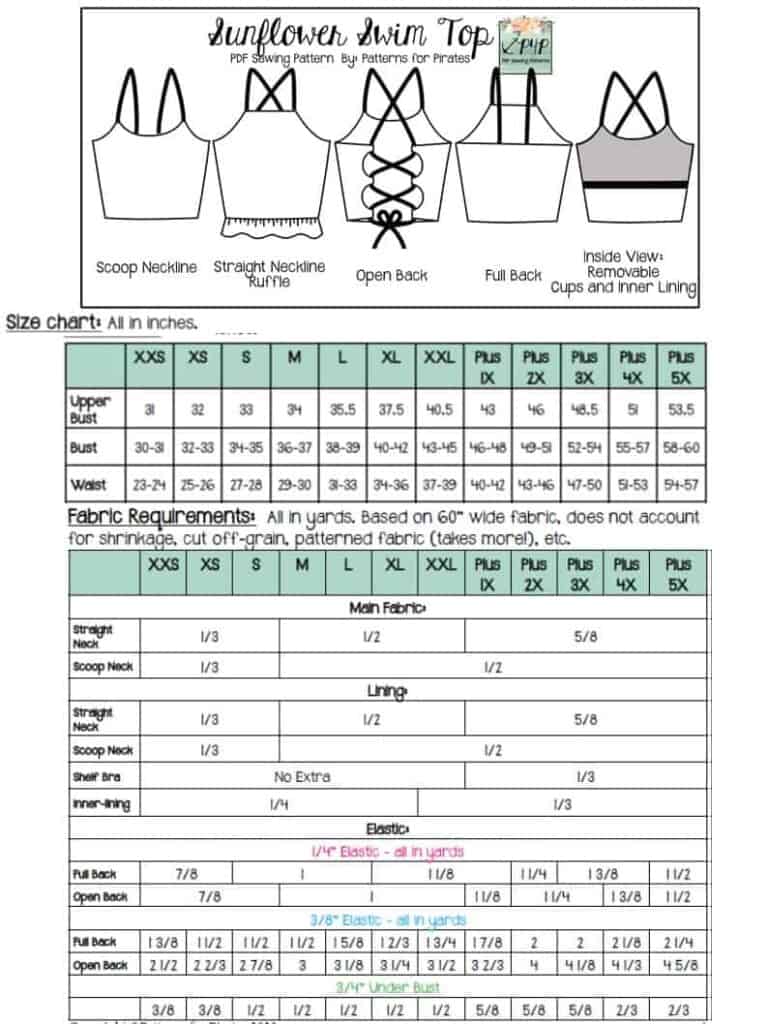
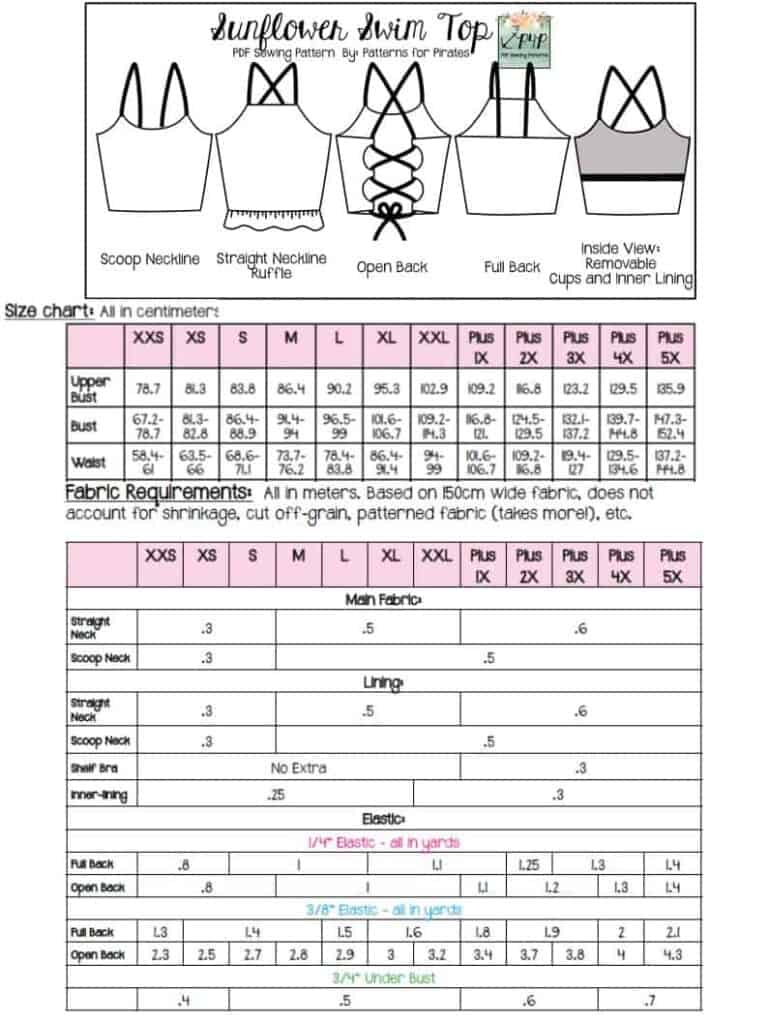
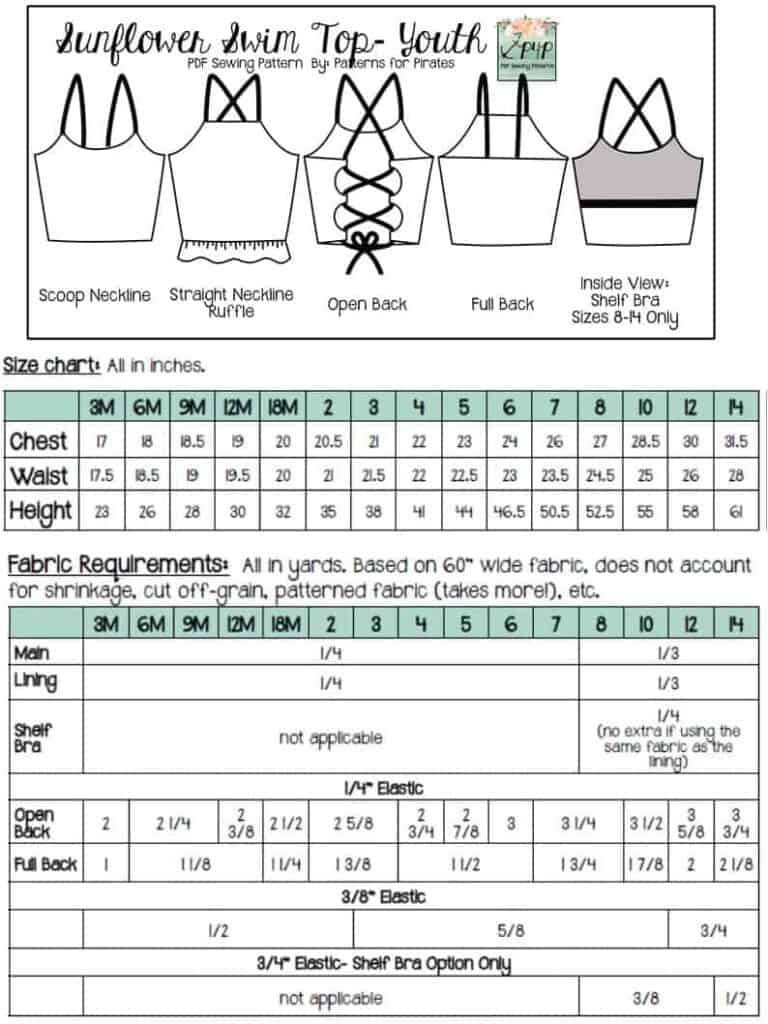
If you are sewing the closed back style, you will have a two elastics to sew, one in the neckline and another one in the armscye and along the top of the back. If you are creating the open back top you should have 1 elastic for then neckline, 2 form the armscye and 4 for the back C curves.
You should stitch the swim elastic along the wrong side of the main print with a stretch stitch on your sewing machine or your serger. Remember to disengage the serger blade! The elastic and edges it goes on should be then same length, no stretching needed.
In today’s video I show you how I add the elastic to the open back Sunflower top. Once you finish your steps, snap a picture of your progress and add it to the comments of day 5 photo of the sew along album. Tomorrow we add the optional ruffle and finish then swim top. See you back here!
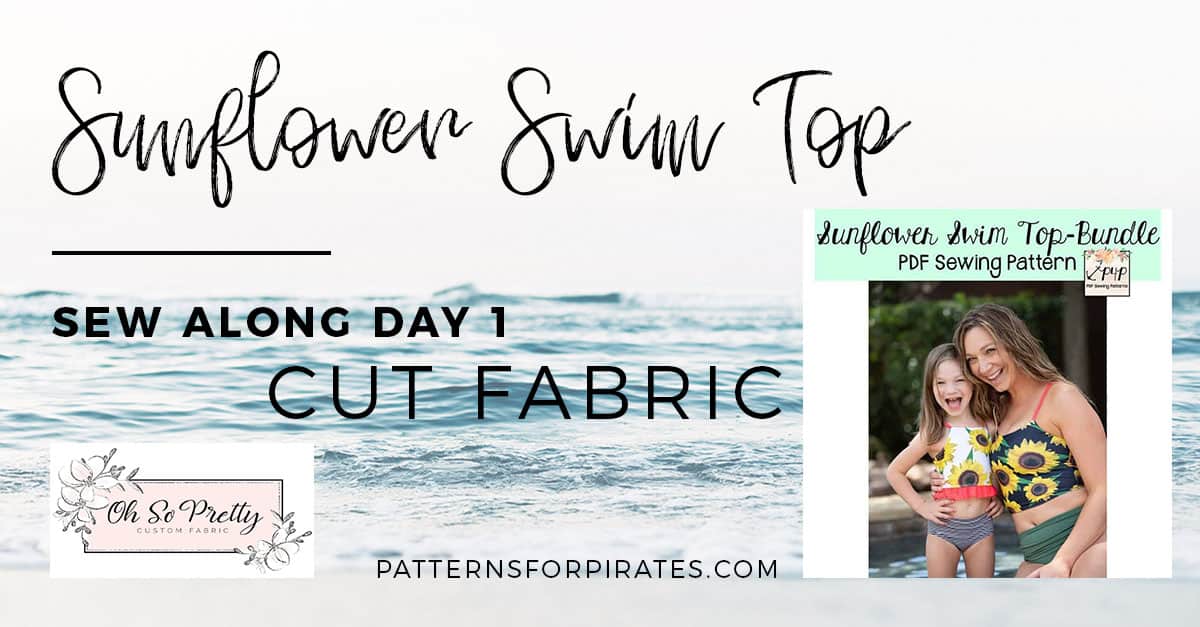
Sunflower Swim Top SAL day 1 | Cut fabric
Sunflower Swim Top SAL day 2 | Shelf bra
Sunflower Swim Top SAL day 3 | Straps and side seams
Sunflower Swim Top SAL day 4 | Attach lining
Sunflower Swim Top SAL day 5 | Neckline and elastics
Sunflower Swim Top SAL day 6 | Add ruffle/hem and finish swim top
Sunflower Swim Top SAL day 7 | Winners announcement