Patterns for Pirates

P4P stylish, modern, wearable patterns

  • Home
  • Blog
    • Frequently Asked Questions
    • Pattern Releases
      • Free Patterns
    • P4P University
      • Fitting
      • Sewing with Stretch, Knit Fabrics
      • Sewing with Woven Fabrics
      • Sewing Machines
    • Sew-A-Longs
    • Fabric for Pirates
    • Pattern Hacks
    • Announcement
      • Blog Tours
      • Contest/Giveaway
  • Shop
  • Bundle Discounts
  • Flash Friday
  • Gift Cards
  • My Account
  • Cart

Lumberjack Sew Along – day 4

January 27, 2022

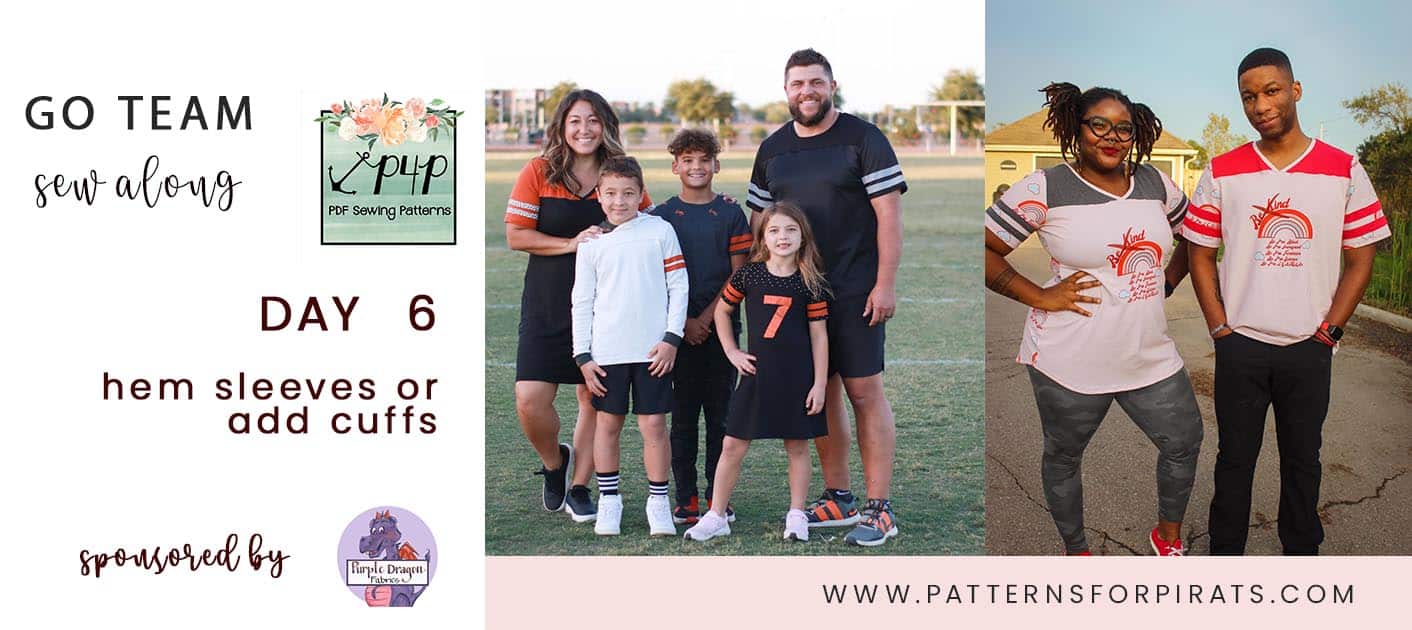
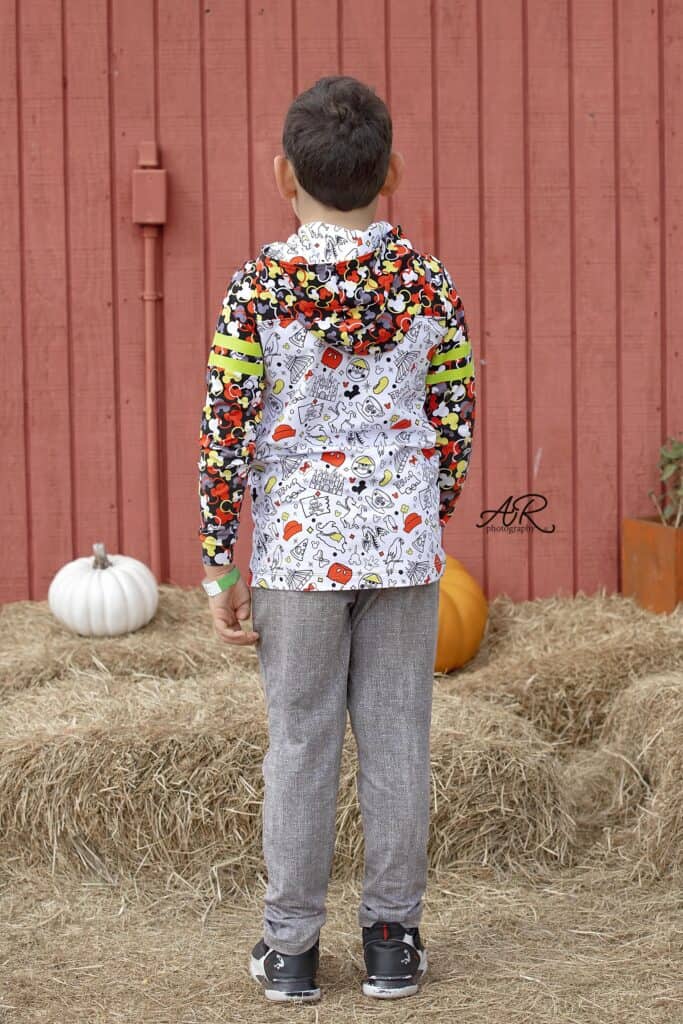
Welcome to the 4th day of the Lumberjack sew along. Today we finish the sleeves with either cuffs. 

Knit cuffs

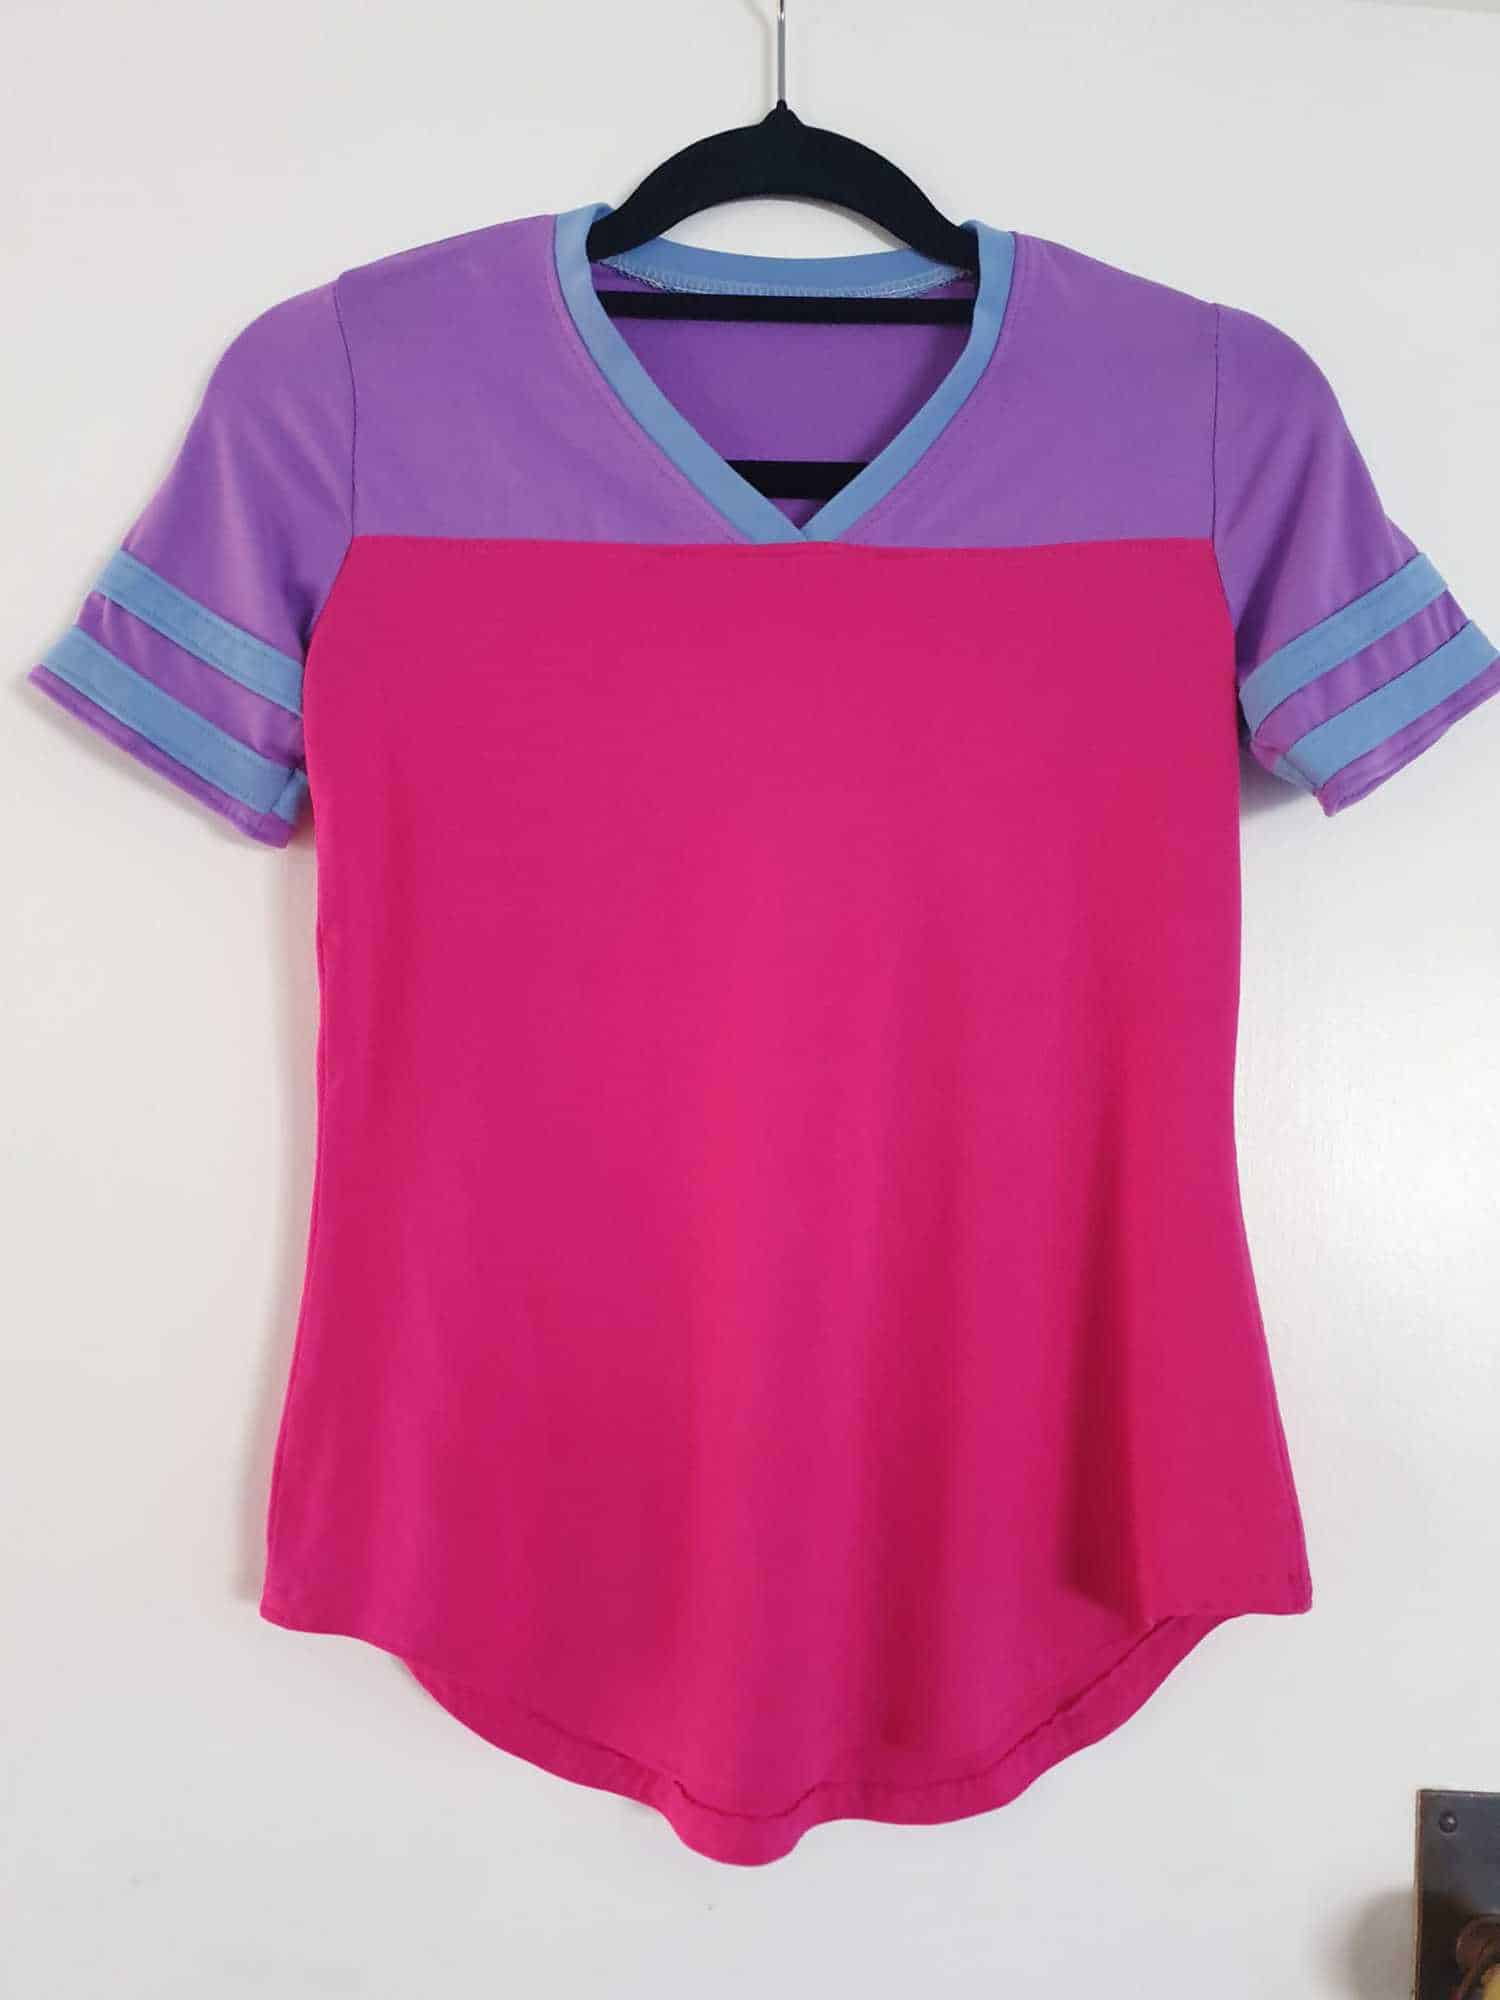
The simplest way to finish the sleeves is with a knit cuff. Make sure that the fabric you use has great recovery and stretch. My favorite bases for cuffs are cotton spandex, rib knit and french terry. It is very important that you follow the grain of the fabric when cutting the cuffs. Lastly, press! Press and press some more! You will love the finished cuffs much better if you press throughout.

Woven cuffs

I opted for the woven cuffs for my Lumberjack. I love the classic look. If you have not done the vertical slits marked on the pattern pieces, now is the time to add them. You will now bind the opening with the fabric piece that is cut on the bias. Remember, the lining is the interfaced piece. 

Tip: Do not skip pressing the lining 1/2″ along the bottom. It will make a world of difference when you stitch the cuff on. 

If you need any visual help, take a look over today’s video. I show you step by step how to add  woven cuffs to your Lumberjack shirt. Once you finish the steps, post a photo of your progress in the comments of day 4 photo of this sew along album. 


Lumberjack Sew along – day 1 | cut fabric

Lumberjack Sew along – day 2 | chest pocket, shoulder seams

Lumberjack Sew along – day 3 | sleeves, side seams

Lumberjack Sew along – day 4 | cuffs

Lumberjack Sew along – day 5 | hood/collar

Lumberjack Sew along – day 6 | hemming, closures

Lumberjack Sew along – day 7 | winners announcement

Filed Under: Frequently Asked Questions, Sew-A-Long, Uncategorized Leave a Comment

Lumberjack Sew Along – day 3

January 26, 2022

Ahoy, pirates! Today, on day 3, we add the sleeves and sew the side seams.

Sleeves

Start by running a basting stitch along the curve of the sleeve. Gently and ever so slightly pull on the basting threads so it creates a faint gather. This will help when easing the sleeves into the sleeve opening. Pin the sleeves to the bodice, matching the shoulder seams with the notches. Stitch down with a 1/2″ seam allowance making sure that there are no puckers or folds along the curve. 

If you are doing the unlined option, finish the raw edge with your serger or a zig zag stitch. If you are sewing the lined option, repeat these steps for the lining. 

Inseam pockets

Before you sew the side seams you have to add the pockets. You will notice that the pattern features two different pocket shapes depending on whether you line or not your Lumberjack. While the unlined pockets may seem “odd” they, are drafted this way so they will be stitched into the front placket. This will ensure that the pocket won’t peek out from under the shirt when worn. 

Make sure that you add the pocket placement slits/marking from the pattern pieces! It’s highly important that you follow the marking instructions. 

Side seams

Once the pockets are sewing in the side seams, place the shirt right sides together matching the underarm points. Sew with a 1/2″ seam allowance. If you opted for the unlined style, finish the raw edge with your serger. If you are doing the lined style, sew the side seams of the lining as well. Place your lining into the main, wrong sides together. Going forward you will treat this as one piece. 

Front placket

Press the front placket along the first fold line, then along the second one. Pin the lining front or the unlined option pockets in the front placket fold. Stitch down and press. 

You can see today’s video below. Once you complete the steps, post a photo of your progress in the comments of day 3 photo of the Lumberjack SAL album. See you back here tomorrow when we will sew the cuffs. 

Lumberjack Sew along – day 1 | cut fabric

Lumberjack Sew along – day 2 | chest pocket, shoulder seams

Lumberjack Sew along – day 3 | sleeves, side seams

Lumberjack Sew along – day 4 | cuffs

Lumberjack Sew along – day 5 | hood/collar

Lumberjack Sew along – day 6 | hemming, closures

Lumberjack Sew along – day 7 | winners announcement

Filed Under: Frequently Asked Questions, Sew-A-Long, Uncategorized Leave a Comment

Lumberjack Sew Along – day 2

January 25, 2022

Welcome to day 2 of the Lumberjack sew along. Today we create and sew the chest pockets and the shoulder seams. This shirt features two optional chest pockets that tie the lumberjack look together. I would not skip them. Judy is showing you some tips to help you sew the chest pocket below.

I sew my chest pockets slightly different so definitely check out today’s video as well. I give you my tips and tricks for achieving a beautiful looking chest pocket. Once you added the chest pockets to the two front pieces, you are ready to sew the shoulder seams. 

If you are doing the lined option, you will be sewing the shoulder seam right sides together of the lining pieces as well as the main. I opted for the unlined style for my Lumberjack shirt so we will be sewing the shoulder seams using the burrito method. First, place the outer yoke and back piece right sides together. Now sandwich the back piece in between the right sides of the outer and lining yoke. Stitch in place and top stitch. Roll the back piece into a “burrito” and bring it up so that the front shoulders are sandwiched in between the RTS of the back yoke lining and main fabric. Stitch and optionally top stitch. 

You can see all these steps in today’s video. Once you complete day 2 steps, post a photo of  your progress in the comments of day 2 photo of the sew along album. See you back her tomorrow for day 3! 

Lumberjack Sew along – day 1 | cut fabric

Lumberjack Sew along – day 2 | chest pocket, shoulder seams

Lumberjack Sew along – day 3 | sleeves, side seams

Lumberjack Sew along – day 4 | cuffs

Lumberjack Sew along – day 5 | hood/collar

Lumberjack Sew along – day 6 | hemming, closures

Lumberjack Sew along – day 7 | winners announcement

Filed Under: Frequently Asked Questions, Sew-A-Long, Uncategorized Leave a Comment

Lumberjack Sew Along – day 1

January 24, 2022

Welcome to the Lumberjack SEW ALONG! 

Let’s get the Lumberjack party started! If you have not purchased the Lumberjack pattern(s) you can grab them here:

Lumberjack Youth

Lumberjack Hourglass 

Lumberjack V figure

And of course, our bundle for the whole family

Before you select which style you are sewing along, take a look at the Round Up Blog where we show you all options available.

Now that you have the patterns it’s time to select which file format you would like to use. Both the Youth and the Adult come in A4 and Letter format to print at home, A0 format to print with a plotter or at a copy shop AND a projector file. If you use the projector file you will not have to print anything!! That’s definitely my favorite way! You can see in today’s video how I use the file to cut the fabric. 

Note: The tutorial is now a separate file from the pattern pieces. 

Let’s start by taking the measurements needed for the best fit. P4P has an amazing blog that gives you tips for accurately taking your measurements. You can read all about it here. If your measurements put you in a different size for chest/waist/hips be sure to check out our P4P University blog and grade to achieve the perfect fit. All 3 Lumberjack shirt patterns have straight side seams and relaxed fit so it is a little more giving when it comes to grading for the waist. 

Let’s talk fabric! The Lumberjack pattern is drafted for woven fabrics like flannel, light weight denim, light weight wool or medium weight cotton woven. For the lining you can use minky, fleece, flannel, french terry, sherpa…pretty much your preferred soft, cuddly fabric. For this sew along I am using a brushed flannel that I got from Joann fabrics. For the closures I am going to add spring snaps. Buttons are an option too 😉


Day 1 video is posted below. Check it out and once you are done cutting your fabric post a picture of it in the comments of the Day 1 photo of the Lumberjack SAL album in the M4M & P4P Sew Along group. If you sew more than one,  post each one in a separate pic!

Lumberjack Sew along – day 1 | cut fabric

Lumberjack Sew along – day 2 | chest pocket, shoulder seams

Lumberjack Sew along – day 3 | sleeves, side seams

Lumberjack Sew along – day 4 | cuffs

Lumberjack Sew along – day 5 | hood/collar

Lumberjack Sew along – day 6 | hemming, closures

Lumberjack Sew along – day 7 | winners announcement

Filed Under: Frequently Asked Questions, Sew-A-Long, Uncategorized 1 Comment

Go Team SAL – day 7

November 2, 2021


Good evening, friends! Thank you everyone who joined us last week for the Go Team sew along. I had so much fun making the two jerseys for my kids. I know you are here to find out the winners so without further ado, here they are!

Congratulations, Mel Goulet! She is our first winner. Mel won a $20 gift card from Patterns for Pirates and a $30 gift card from Purple Dragon Fabrics.


Congratulations go to Naomi McGrath as well! Naomi won a gift card from Made for Mermaids valued at $20 and a $30 gift certificate from Purple Dragon Fabrics.


A huge THANK YOU to our sew along sponsor. Make sure you check out Purple Dragon Fabrics on Facebook to keep up to date with their sales and preorders.


November’s sew along will be hosted by the mermaids so keep an eye on the Facebook group! See you back here in 2022! 

Go Team SAL – day 1 | cut fabric

Go Team SAL – day 2 | shoulder seams & neckline

Go Team SAL – day 3 | yokes

Go Team SAL – day 4 | sleeves

Go Team SAL – day 5 | side seams & hem bottom

Go Team SAL – day 6 | hem sleeves or add cuffs

Go Team SAL – day 7 | winners announcement

Filed Under: Pattern Release, Sew-A-Long, Uncategorized Leave a Comment

Go Team SAL – day 6

October 30, 2021

Welcome to the last day of the Go Team sew along. All we have left to do today is add the cuffs or hem the sleeves. I did both options in today’s  video. The short and 3/4 length sleeve have only a hemmed option. 

  • When creating the cuffs it’s highly important to press the wrong sides together lengthwise. Stitch each cuff, right sides together to create a loop. Take a look over our P4P University Knit Cuffs blog to get some tips and tricks for beautiful cuffs. 
  • If you are doing the hem option, you can use your sewing machine’s twin needles option or your coverstitch as I have. Before you start, take a look over our Hemming blog because we have a few tips for easy and successful hemming. 

All done! Give your shirt or dress a good steam press and pair it with your favorite P4P bottoms for an extra cute look!


Needless to say, my little one loved both of his Mousefetti Go Team jerseys. 💜


Last Go Team sew along video is posted below. Once you complete your dress and/or jersey snap a photo of your finished project and add it to the day 6 photo comments in this SAL album. That is where the P4P team will select the winners. I do encourage you to share your pretty makes in the main P4P Facebook group so everyone can admire them. See you back here on Tuesday for the winners blog!

Go Team SAL – day 1 | cut fabric

Go Team SAL – day 2 | shoulder seams & neckline

Go Team SAL – day 3 | yokes

Go Team SAL – day 4 | sleeves

Go Team SAL – day 5 | side seams & hem bottom

Go Team SAL – day 6 | hem sleeves or add cuffs

Go Team SAL – day 7 | winners announcement

Filed Under: Pattern Release, Sew-A-Long, Uncategorized Leave a Comment

Go Team SAL – day 5

October 29, 2021

We are almost there! We made it to the 5th day and it’s an easy one. Today we sew the side seams and hem the bottom. 

   STOP! Before you pin the side seams, press your memory hem on the bottom of the shirt, both front and back. Trust me, you will thank me for not letting you skip this step. 

Now that you have that covered, pin the sides, right sides together and stitch with a 1/2″ seam allowance. If you opted for the sewing machine, make sure you use a stretch stitch. 

If you chose the dress, you will be hemming the curved edge. We have a P4P University blog with tips for hemming knits. You can read about it here. The most important thing about hemming knits with your coverstitch or sewing machine is to PRESS, press and press some more. If you are finishing the bottom hem using twin needles, a good refresher blog is the P4P University Twin Needles Tips. 

Day 5 video is below. Once you sew the side seams and hem the bottom, post a picture of your progress in the comments of day 5 photo of the Go Team sew along album. You can find the album in the M4M & P4P Sew Along group on Facebook. 

Go Team SAL – day 1 | cut fabric

Go Team SAL – day 2 | shoulder seams & neckline

Go Team SAL – day 3 | yokes

Go Team SAL – day 4 | sleeves

Go Team SAL – day 5 | side seams & hem bottom

Go Team SAL – day 6 | hem sleeves or add cuffs

Go Team SAL – day 7 | winners announcement

Filed Under: Pattern Release, Sew-A-Long, Uncategorized Leave a Comment

Go Team SAL – day 4

October 28, 2021

Welcome to day 4 of the Go Team sew along! Today is the day most of  you have been waiting for, we add the sleeves details. The pattern includes pieces for both strips but we also added measurements for the cut chart in the tutorial. 

Start by pressing the strips hems, two for each strip. If the type of fabric you’re using does not hold the pressed hem (like mine), use a some water soluble double sided tape to keep the hem folded. You can see how in today’s video below. Remember the markings we did on the sleeves on day one? Today we take peel off the paper backing and adhere the strips we made to them.

If you don’t have water soluble double sided tape, you can mark the strip placement on the sleeves with a fabric marker or chalk. Use a ruler and be sure to only mark the inner lines on the strips. Here is a short video with some tips for achieving the perfect strips. 

— If you are doing the HTV hack I mentioned during day 1, today you are fusing the strips to your sleeves. You can do that using a heat press or your iron. If you use your iron, add a hard surface under your sleeves, like a ceramic tile. HTV needs pressure to fuse, not just heat. 

Once the strips are added, pin them to the sleeve opening, matching the shoulder notch to the shoulder seam and the front notch to the front armscye. Sew it down with a 1/2″ seam allowance using a stretch stitch. 

You can see day 4 video below. Don’t forget to add your progress photo to the comments of day 4 photo in the sew along album. See you back here tomorrow when we’ll sew the side seams and hem the bottom. 


Go Team SAL – day 1 | cut fabric

Go Team SAL – day 2 | shoulder seams & neckline

Go Team SAL – day 3 | yokes

Go Team SAL – day 4 | sleeves

Go Team SAL – day 5 | side seams & hem bottom

Go Team SAL – day 6 | hem sleeves or add cuffs

Go Team SAL – day 7 | winners announcement

Filed Under: Pattern Release, Sew-A-Long, Uncategorized Leave a Comment

Go Team SAL – day 3

October 27, 2021


Ahoy, pirates! Welcome to day 3 of the Go Team Sew Along. Today we attach the yokes to the bodice. At the start of the day you should have one piece with the front and back sewn together (with a V neck, crew neckband or hood) and two pieces for the bodice, one front and one back.  

Mark the center of both the front and back bodices. Add a pin or a clip to the center back of the yoke. If sewing the crew or hood style, add one to the front yoke too. Matching the center fronts and center backs place the yoke and bodice right sides together. Sew with a stretch stitch or serger. Top stitch the seam allowance down. you can do this on your sewing machine with a zig zag stitch or a twin needle. Alternatively, you can use your serger. If you need a refresher or you are new to sewing with a twin needle, here is one of our P4P University post to help you with that. 

If you opted for the V neck style, overlap the two front pieces slightly and sew a basting stitch to keep them in place. Place the front of the bodice on the front V neck yoke, sew in place and top stitch. That’s it! You are done for today!

Here is the day 3 video where you can see both the hood and V neck options sewn. Once you finish today’s steps, post a photo of your progress in the day 3 comments of the Go Team sew along album. See you back here tomorrow! 

Go Team SAL – day 1 | cut fabric

Go Team SAL – day 2 | shoulder seams & neckline

Go Team SAL – day 3 | yokes

Go Team SAL – day 4 | sleeves

Go Team SAL – day 5 | side seams & hem bottom

Go Team SAL – day 6 | hem sleeves or add cuffs

Go Team SAL – day 7 | winners announcement

Filed Under: Pattern Release, Sew-A-Long, Uncategorized Leave a Comment

Go Team SAL – day 2

October 26, 2021


Good morning, friends! Today we start sewing our Go Team jerseys or dresses .  Let’s begin by stitching the shoulder seams, right sided together. The pattern follows a 1/2″ seam allowance so if you are using the serger for this step, don’t forget to cut off 1/4″. You can stitch the whole project using your sewing machine, just remember to sew with a stretch stitch.

All Go Team patterns feature 3 necklines: 

+ crew neck

+ V neck

+ hood

If you chose the crew neck, create the neckband first. Don’t forget to press it lengthwise prior to stitching it in a loop. It is very important to follow the pattern’s seam allowance when attaching the neckband to the neckline. If not, you may see that the opening is smaller than needed.

If you opted for the sporty V neck you will not be sewing the neckband in a loop. For this shirt the neckband will be stitch flat. Find the center of the back and the center of the neckband. Pin them in place, matching these center and the two fronts. You will have a small corner of the neckband sticking out on both sides. That’s the way it supposed to look. You can trim these corners today, or wait till we add the yokes tomorrow.

If you are adding the hood, start by stitching the curved part of the hood pieces right sides together. This pattern has an unlined hood. However, if you prefer the look of a lined one, simply cut one more pair of mirrored hood pieces. Instead of hemming the front opening 1/2″, you will place the two hoods right sides together, and stitch along the front opening. Turn your lined hood right sides out and top stitch the seam allowance. 

All you have left to do today is press! Don’t skip pressing your neckline, it will make a world of difference! 

You can see in the video below how I create the V neckline and the lined hood for my kid’s GT Jerseys. Once you finish today’s steps, post a photo of your progress in the comments of day 2 photo of this SAL album. You can find it in our Sew Along group. 

Go Team SAL – day 1 | cut fabric

Go Team SAL – day 2 | shoulder seams & neckline

Go Team SAL – day 3 | yokes

Go Team SAL – day 4 | sleeves

Go Team SAL – day 5 | side seams & hem bottom

Go Team SAL – day 6 | hem sleeves or add cuffs

Go Team SAL – day 7 | winners announcement

Filed Under: Pattern Release, Sew-A-Long, Uncategorized Leave a Comment

  • « Previous Page
  • 1
  • 2
  • 3
  • 4
  • …
  • 17
  • Next Page »

Featured Patterns

  • Mae Top - Bundle Mae Top - Bundle $20.00 Original price was: $20.00.$18.00Current price is: $18.00.
  • Mae Bottom - Bundle Mae Bottom - Bundle $20.00 Original price was: $20.00.$18.00Current price is: $18.00.
  • Loosey Goosey - Bundle Loosey Goosey - Bundle $20.00
  • Bacall Bodysuit Bacall Bodysuit $12.00
  • Privacy Policy
  • Refund Policy
  • Affliliate Program
  • Contact Us
  • About

Copyright © 2025 Patterns for Pirates

Copyright © 2025 · Genesis Framework · WordPress · Log in