Patterns for Pirates

P4P stylish, modern, wearable patterns

  • Home
  • Blog
    • Frequently Asked Questions
    • Pattern Releases
      • Free Patterns
    • P4P University
      • Fitting
      • Sewing with Stretch, Knit Fabrics
      • Sewing with Woven Fabrics
      • Sewing Machines
    • Sew-A-Longs
    • Fabric for Pirates
    • Pattern Hacks
    • Announcement
      • Blog Tours
      • Contest/Giveaway
  • Shop
  • Bundle Discounts
  • Flash Friday
  • Gift Cards
  • My Account
  • Cart

Fall Into Fashion – November 2020

October 31, 2020

Happy Fall, Pirate Friends!! We are beyond thrilled to finally be able to announce what we’ve been working on behind the scenes here at Patterns for Pirates! Get ready for a super fun-filled November — because we sure are!
Each day during the month of November, we are going to be featuring a different Patterns for Pirates pattern.

On that day you can expect:

  • a 24-hour sale for the daily featured pattern.
  • videos and photos from your favorite sewists + bloggers.
  • daily styling inspiration.

We challenged our promo team by asking them to make one item from the daily featured pattern, and style it three (or more!) ways. For the next thirty days, you’ll see our team take something like that a basic t-shirt and make it look sporty, professional, and casual — simply by styling it differently. Or pairing a Wiggle Dress with different items from their closet to dress it up, or dress it down.

I’ve been blown away by everyone’s creativity and fashion know-how and I think you will be as well!

Be sure to keep an eye out each day in the Facebook Group / Page, on Instagram, or at this blog — because that’s where we will be notifying you of the featured pattern, and letting you know how to get your hands on that 24-hour sale price.

We could not have done this without our team of talented, creative, amazing people! Let’s meet each of them!

Judy Hale – Owner and head designer for Patterns for Pirates. Instagram | Facebook | Facebook Group | Website
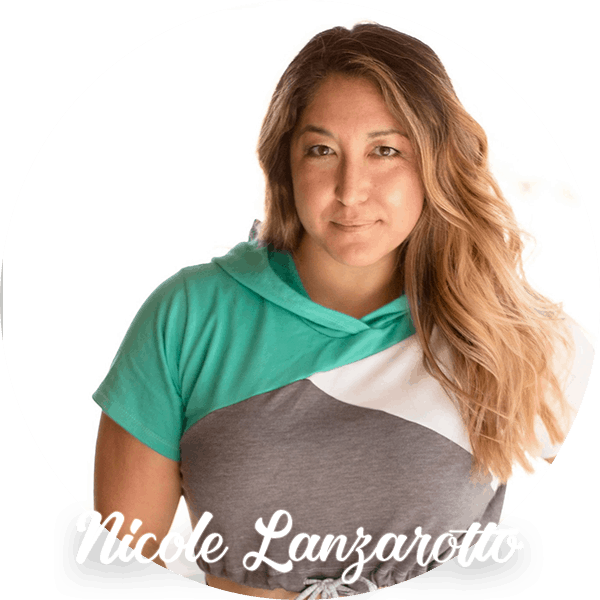
Nicole Lanzarotto – P4P Crew Member and Owner of Edge Apparel and Accessories. Facebook

Alex Radu – P4P Crew Member and blogger at My Creative Room. Instagram | Facebook | YouTube

Ashley Toombs – Designer at Lexi Lee Handmade. Instagram | Facebook

Brad Schultz – Designer at Brad Schultz Design. Instagram
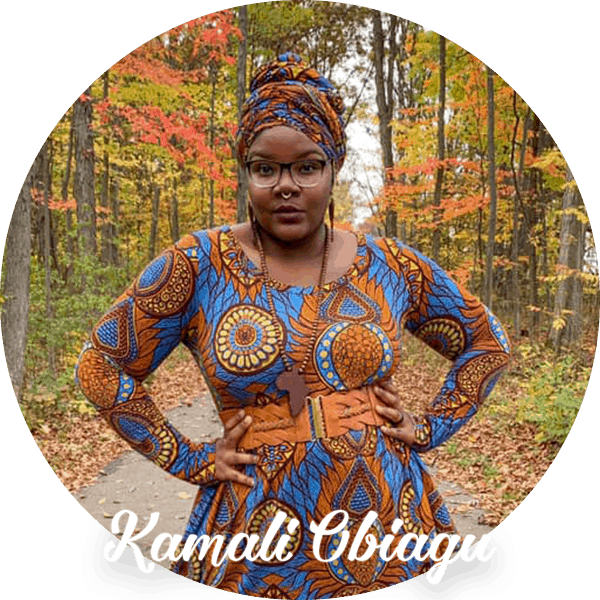
Kamali Obiagu – Blogger at Obiagu Makes. Instagram | Blog

Livia Jonker-Yamada – Blogger at Liviality. Instagram | Blog | Facebook

Katy McKinley – P4P Crew Member and Owner/Blogger at Wild + Wanderful. Instagram | Facebook | Facebook Group | Website + Blog
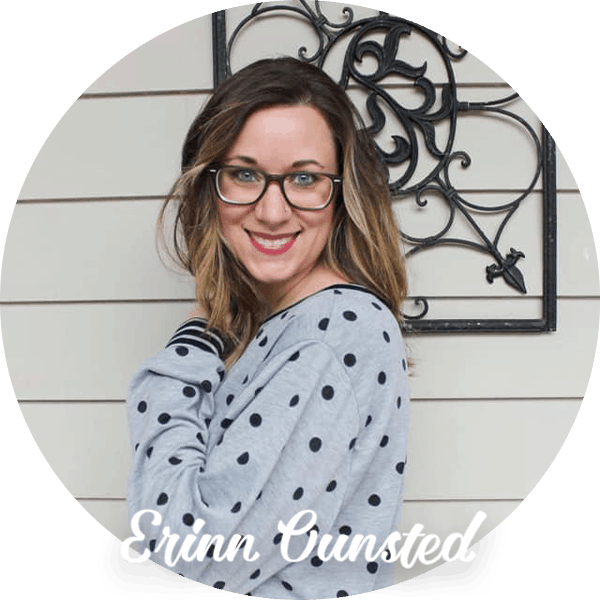
Erinn Ounsted – P4P Crew Member, teacher, blogger at Love Madelynn. Instagram | Blog
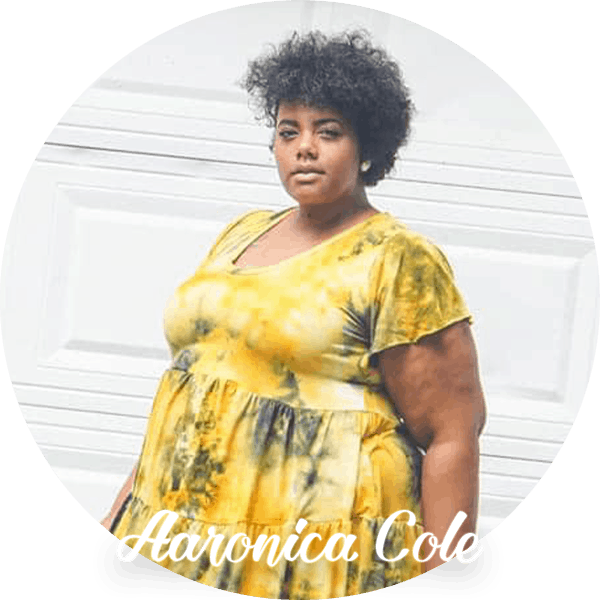
Aaronica Bell Cole – Blogger at Crunchy Mommy Blog and Needle and the Belle. Instagram | Facebook | Blog

Becca Eutsler – Owner of Black Sheep Fabrics. Instagram | Facebook | Facebook Group
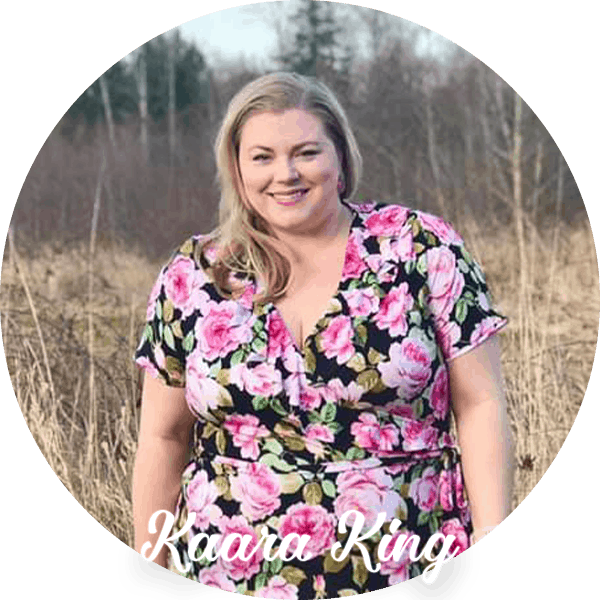
Kaara King – Blogger at Poppie Darling. Instagram | Facebook | Blog
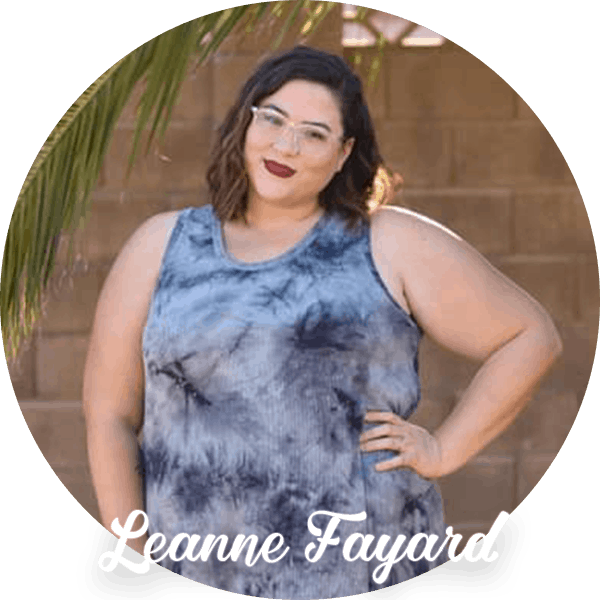
Leanne Fayard – Blogger at Thready for It. Instagram | Blog

Rachel Hopkins – Blogger at Always a Project. Instagram | Blog

We are so looking forward a month full of celebrating fashion, fall, and sewing at Patterns for Pirates. Are you ready for the fun??

Filed Under: Blog Tours, Uncategorized Leave a Comment

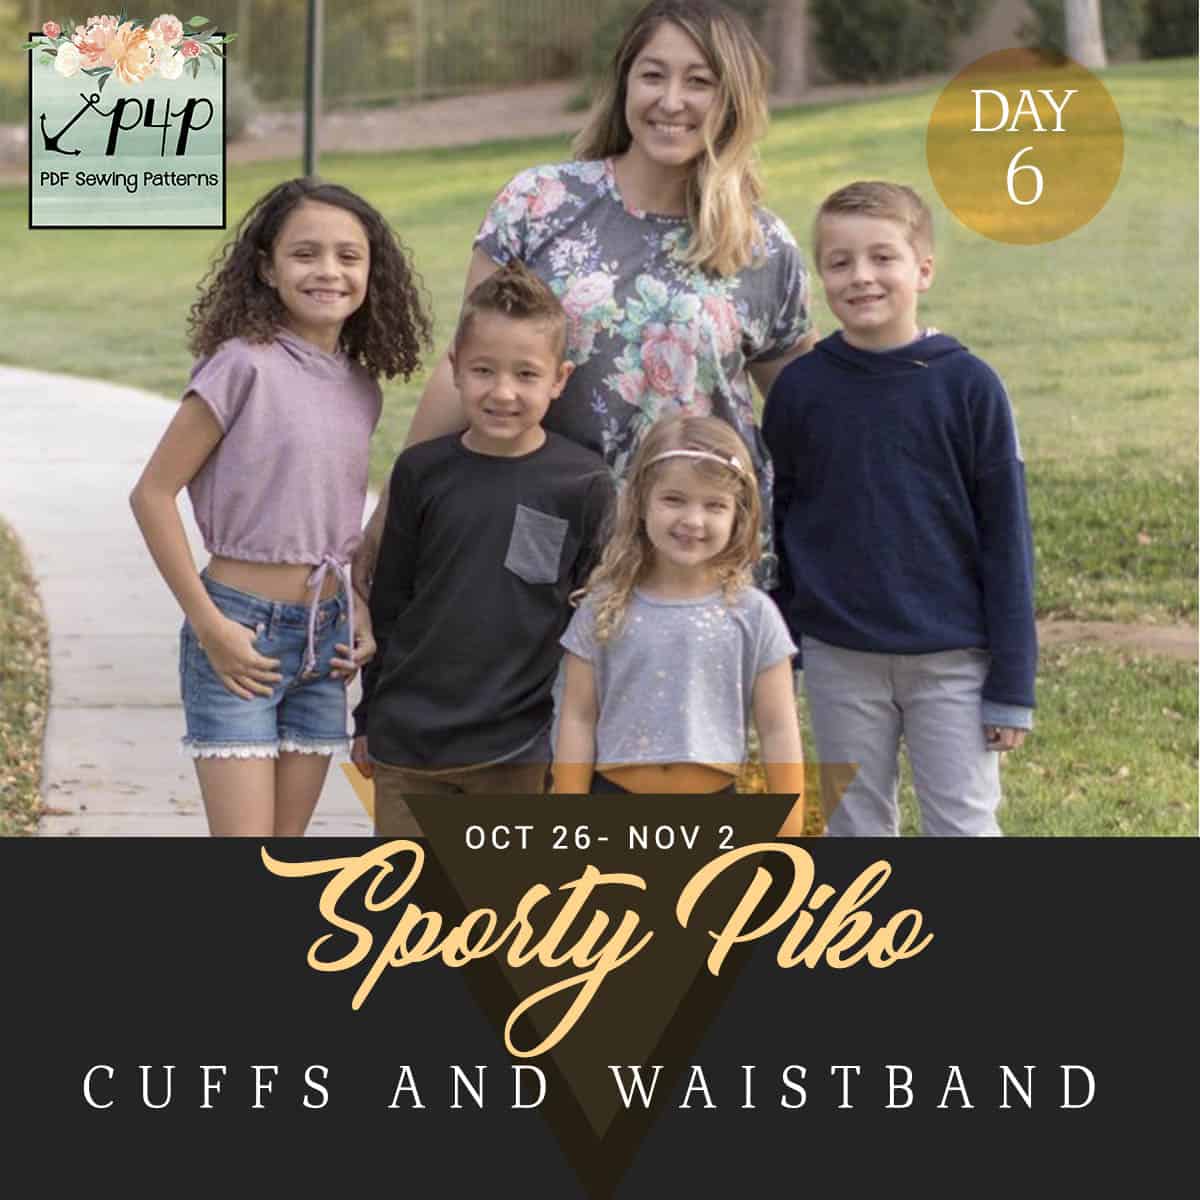
Sporty Piko Sew Along – day 6 (cuffs and waistband)

October 31, 2020

We made it to the last day of the sew along. Today we add the cuffs to the long sleeves and waistband to the shirt option. If you opted for the crop, tunic and short sleeves you finished yesterday so today you just admire your creation. 

When creating the cuffs and waistband it’s highly important to press the wrong sides together lengthwise. Stitch each cuff and the waistband, right sides together to create a loop. Take a look over our P4P University Knit Cuffs blog to get some tips and tricks for beautiful cuffs. When adding the waistband, remember to mark the quarter points on both the raw edge of the waistband and bottom of the shirt. Dana talks about waistbands in the P4P University blog. I highly recommend giving it a look. 


That’s it!! Great job! All you have to do now is post a picture of the completed Sporty Piko in the comments of DAY 6 sew along album in the SAL group. We will select the winners from the pictures in the comments there. Meet us back here on Monday evening for the winners blog. 

Sporty Piko SAL | day 1

Sporty Piko SAL | day 2

Sporty Piko SAL | day 3

Sporty Piko SAL | day 4

Sporty Piko SAL | day 5

Sporty Piko SAL | day 6

Sporty Piko SAL | day 7

Filed Under: Frequently Asked Questions, Sew-A-Long, Uncategorized Leave a Comment

Sporty Piko Sew Along – day 5 (hood and hems)

October 30, 2020

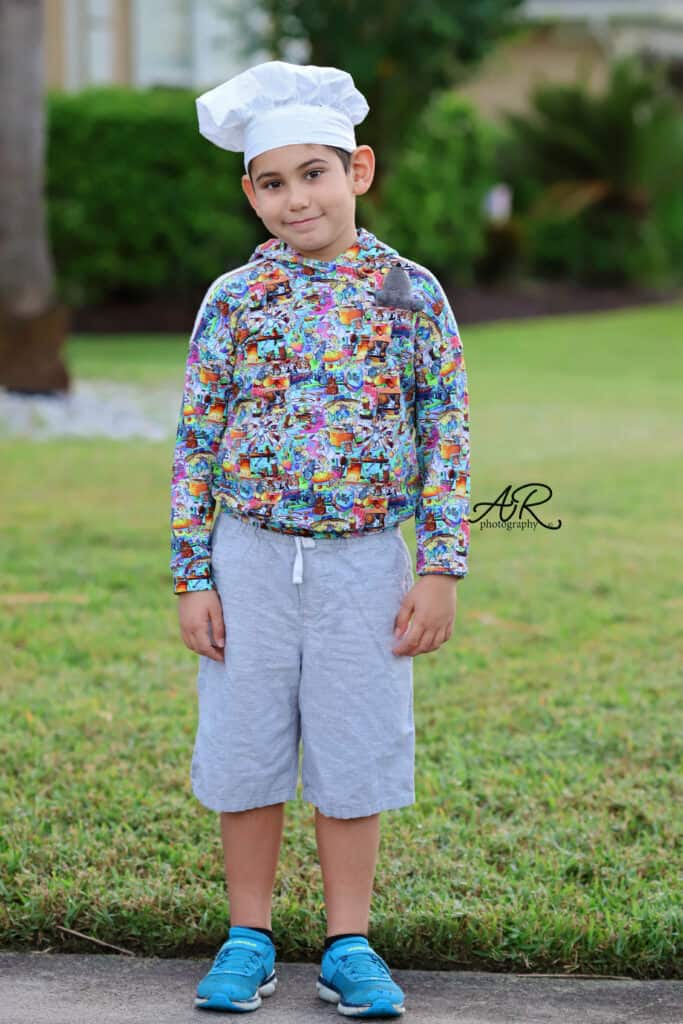
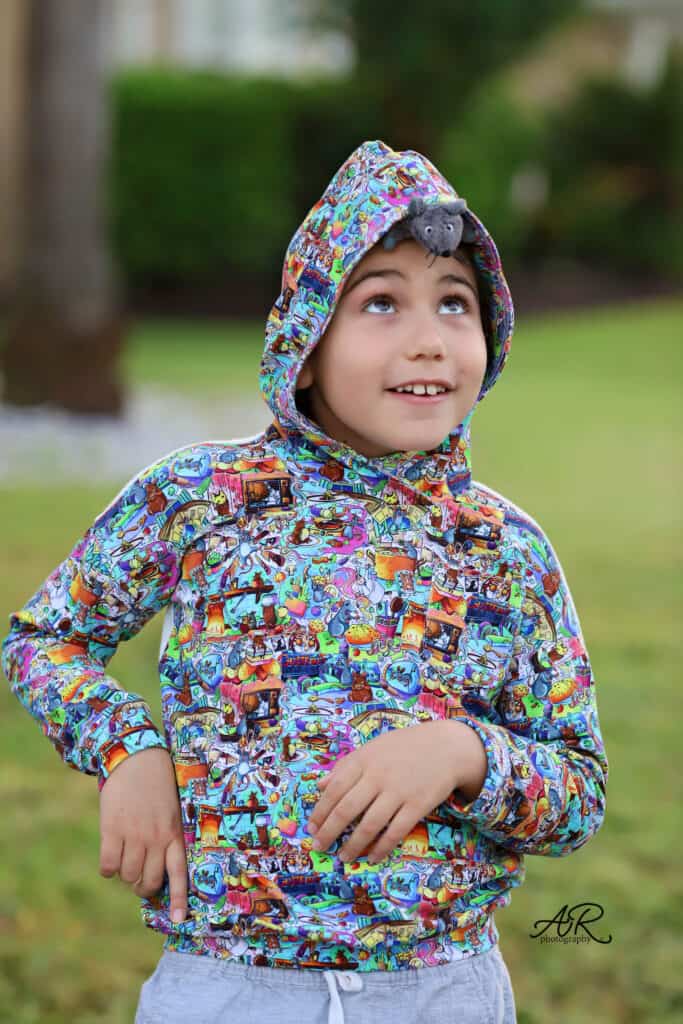
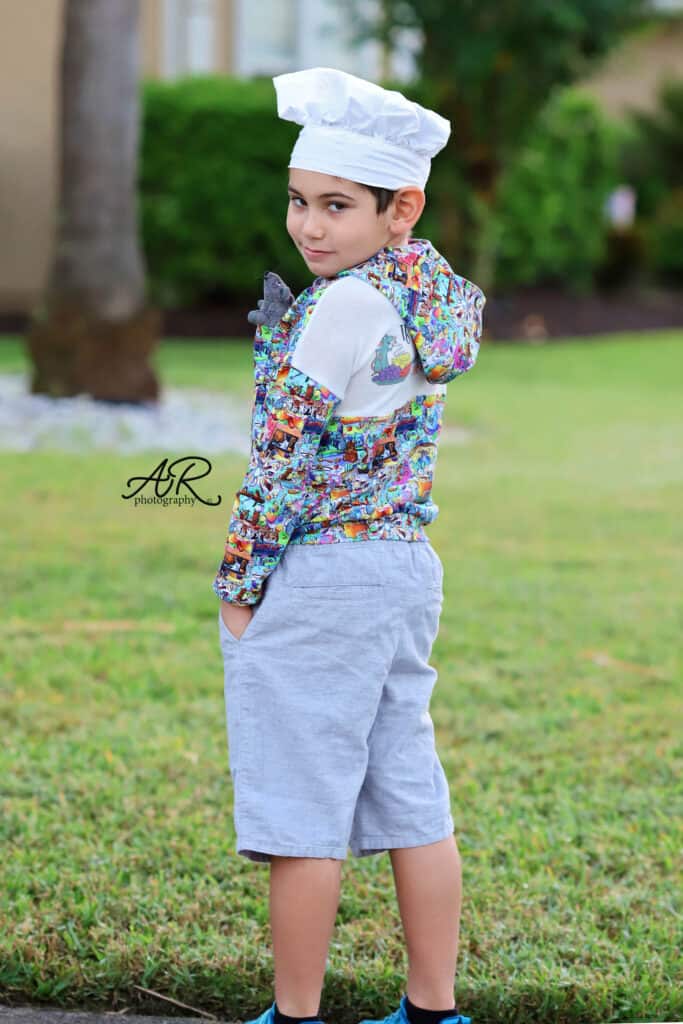
Good morning! Today we create and add the hood as well as hem the short sleeves and crop/tunic length. The hood can be lined or not. My personal preference is lining the hood as it gives it more structure. If you like a more loose hood, definitely go for the unlined option. You will just hem the front before overlapping. I opted for the lined hood so you will see the process in the video below. 

My little one’s Sporty Piko will be the banded shirt style. I will show you how to add those tomorrow.

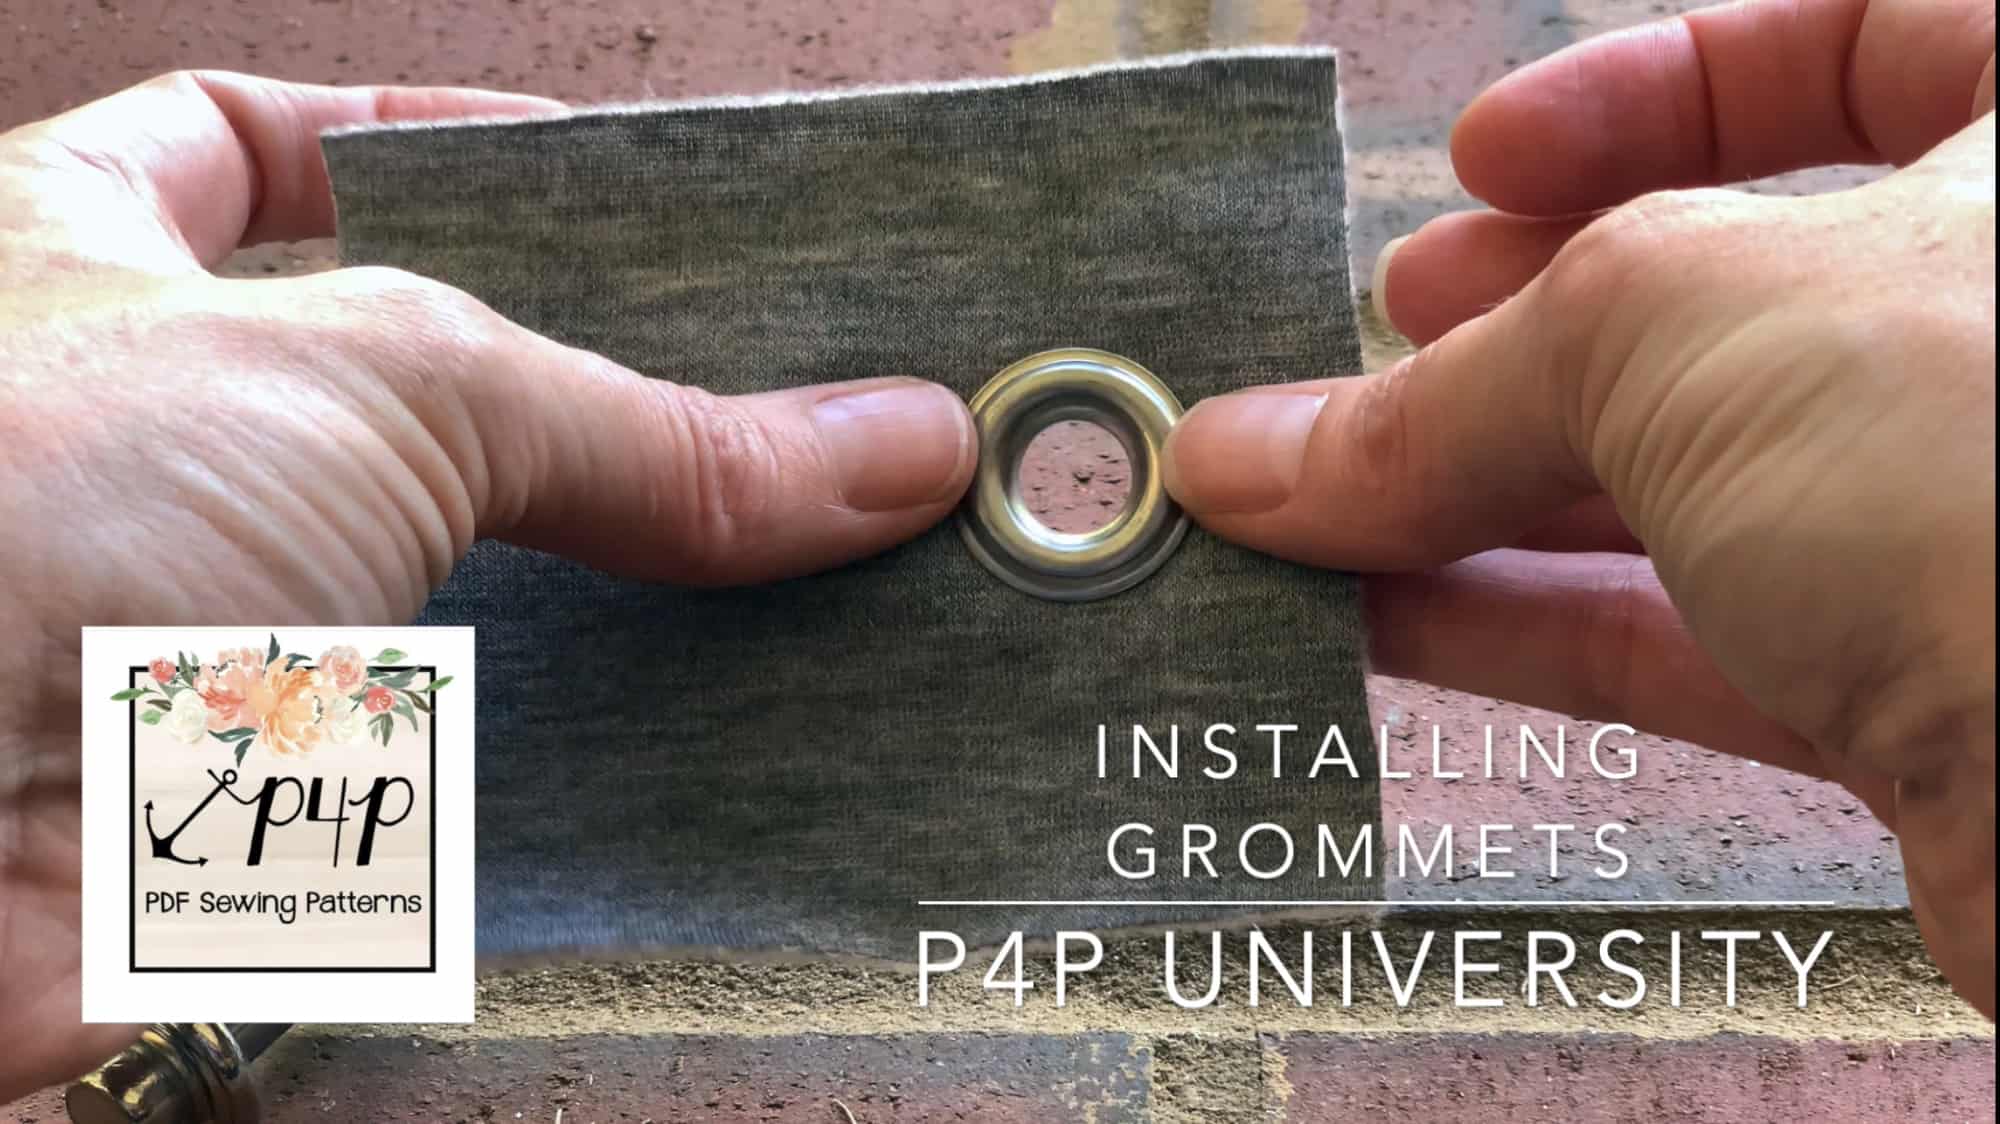
If you are sewing the tunic , you can hem it using your sewing machine’s twin needles option or your coverstitch. Before you start, take a look over our Hemming blog because we have a few tips for easy and successful hemming. If you are finishing the bottom hem using twin needles, a good refresher blog is the P4P University Twin Needles Tips. The crop style hem includes a drawstring and grommets. Be sure to check out our P4P University Grommets blog. Rachel gives you great tips for using them. Katy shows you how to add  elastic in the crop hem and skip the drawstring. Read all about it here. 

Once you complete today’s steps, snap a photo of your progress and add it to the comments of day 5 photo of the sew along album. See you back here tomorrow! 

Sporty Piko SAL | day 1

Sporty Piko SAL | day 2

Sporty Piko SAL | day 3

Sporty Piko SAL | day 4

Sporty Piko SAL | day 5

Sporty Piko SAL | day 6

Sporty Piko SAL | day 7

Filed Under: Frequently Asked Questions, Sew-A-Long, Uncategorized Leave a Comment

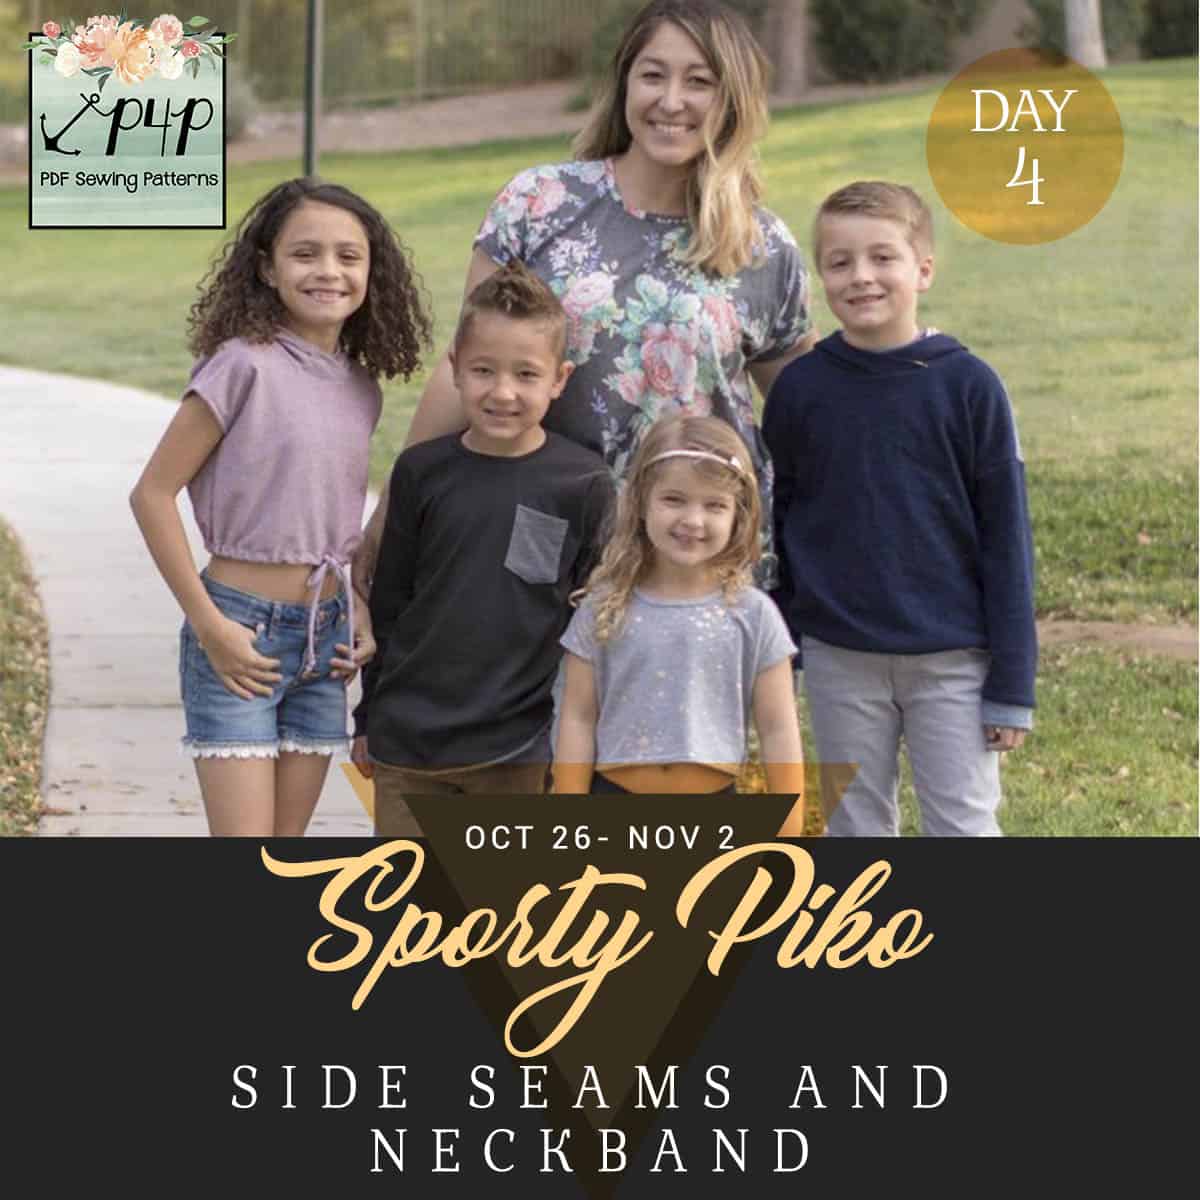
Sporty Piko Sew Along – day 4 (side seams and neckband)

October 29, 2020

Another easy day in the Sporty Piko sew along, but let’s face it…they are all pretty easy. All of us will be sewing the side seams first. Pin the seam, right sides together, matching the under arm, sleeve ends and bottom. Sew with a stretch stitch, or your serger, following a 1/2 ” seam allowance. 

If you are making the hooded option, like I am, you are pretty much done for today. Snap your picture and check in by commenting on the day 4 photo of the sew along album. If you are sewing the neckband option, you will add that now. Take a look over our P4P University Neckbands 101 blog post. The key to a beautiful neckband is using fabric with excellent recovery and quartering the neck opening. If you followed previous sew alongs here on the blog, you have seen how I like to add the neckband to various P4P patterns. By the way, did you know all P4P blogs and videos stay up forever? Check out our YouTube Channel!
Great job so far! Don’t forget to check in for today so you qualify for the prizes!

Sporty Piko SAL | day 1

Sporty Piko SAL | day 2

Sporty Piko SAL | day 3

Sporty Piko SAL | day 4

Sporty Piko SAL | day 5

Sporty Piko SAL | day 6

Sporty Piko SAL | day 7

Filed Under: Frequently Asked Questions, Sew-A-Long, Uncategorized Leave a Comment

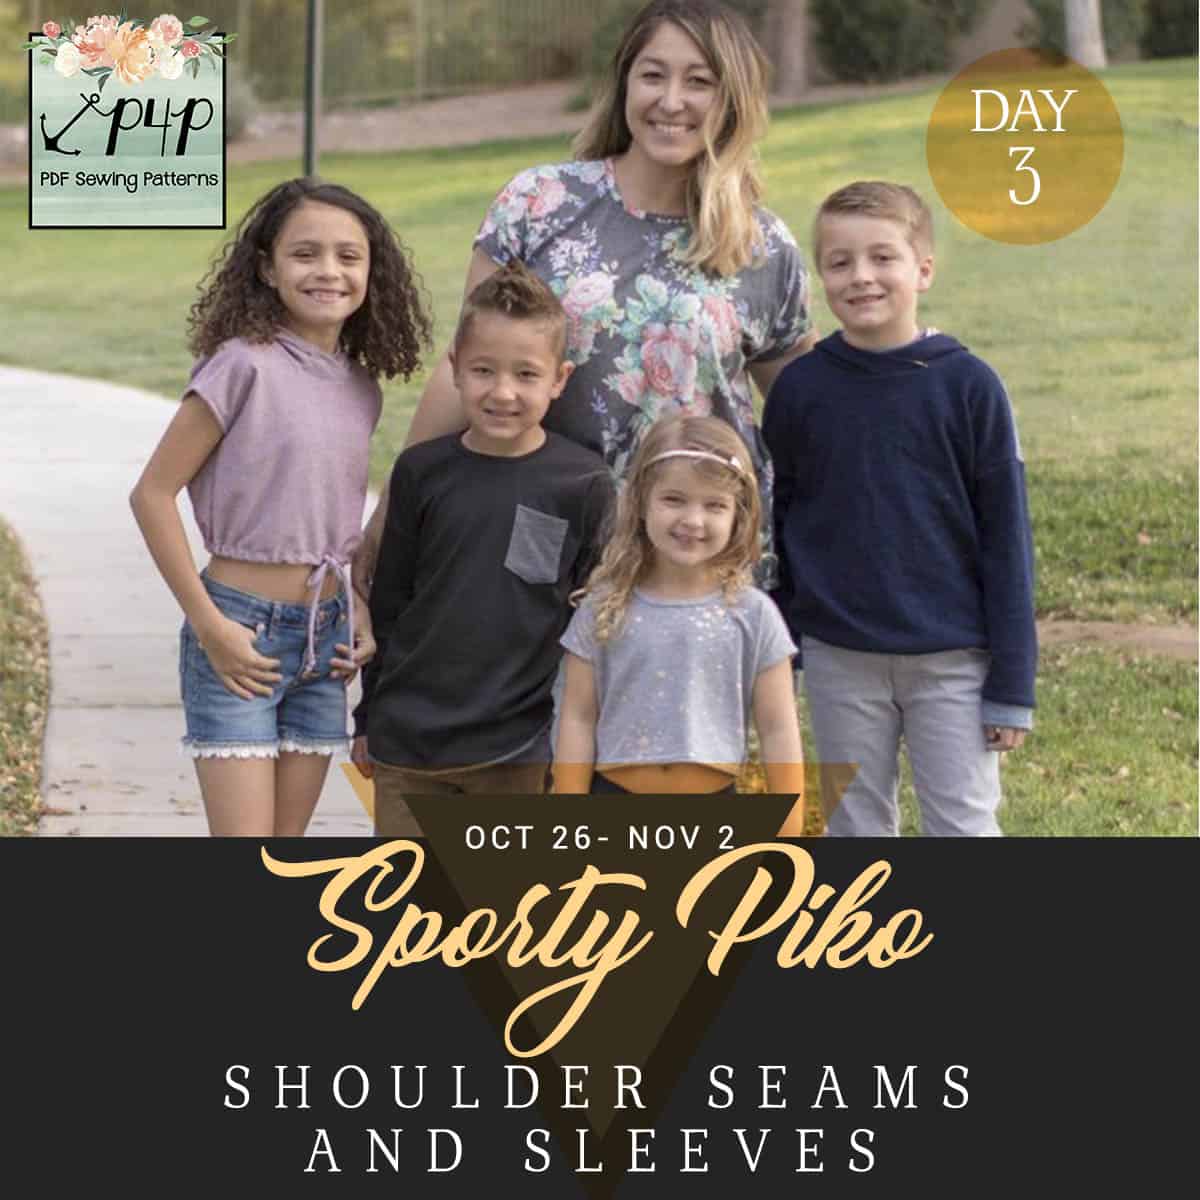
Sporty Piko Sew Along – day 3 (shoulder seams and sleeves)

October 28, 2020

Welcome to day 3 of our Sporty Piko Sew Along. Today’s steps include sewing the shoulder seams and adding the sleeves. Remember, the pattern follows a 1/2″ seam allowance snd it’s highly important to keep that constant. 

Tip: Add clear elastic to the shoulder seams to strengthen them and make sure the shoulders don’t stretch throughout the day. 

When attaching the sleeves start by pinning the center of the raw edge to the shoulder seams, then pin the sides. You will be easing the sleeves in the sleeve opening. Optionally you can top stitch the seam allowance.

I have posted today’s video below. As always, you will be checking in with your progress photo in the day 3 picture comments of the Sporty Piko Sew Along album. 


Sporty Piko SAL | day 1

Sporty Piko SAL | day 2

Sporty Piko SAL | day 3

Sporty Piko SAL | day 4

Sporty Piko SAL | day 5

Sporty Piko SAL | day 6

Sporty Piko SAL | day 7

Filed Under: Frequently Asked Questions, Sew-A-Long, Uncategorized Leave a Comment

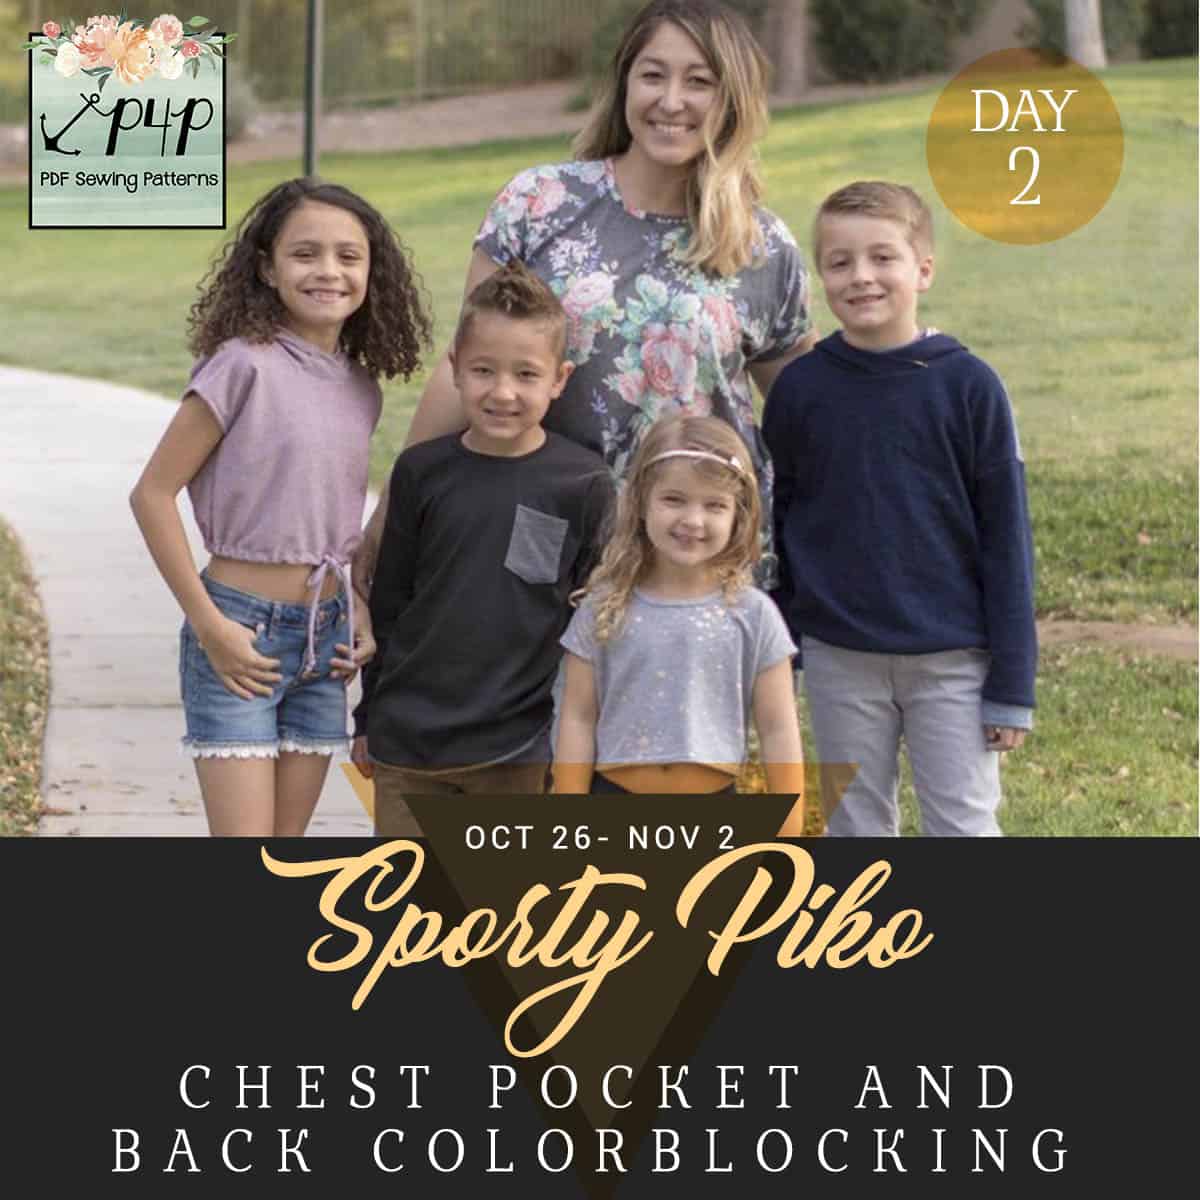
Sporty Piko Sew Along – day 2 (chest pocket, back colorblocking)

October 27, 2020

Good morning, pirates! Today we start sewing our Sporty Piko shirts. First step is to add the optional chest pocket. It is optional but I wouldn’t skip it, it adds a little extra something to the front….plus, you can hide your little treasures in it 😉


The key to getting a nice pocket is pressing! Yes, I know, I know… I say that all the time but it’s true. If you have a favorite woven you would like to use instead of knit, you can do that for the pocket. 

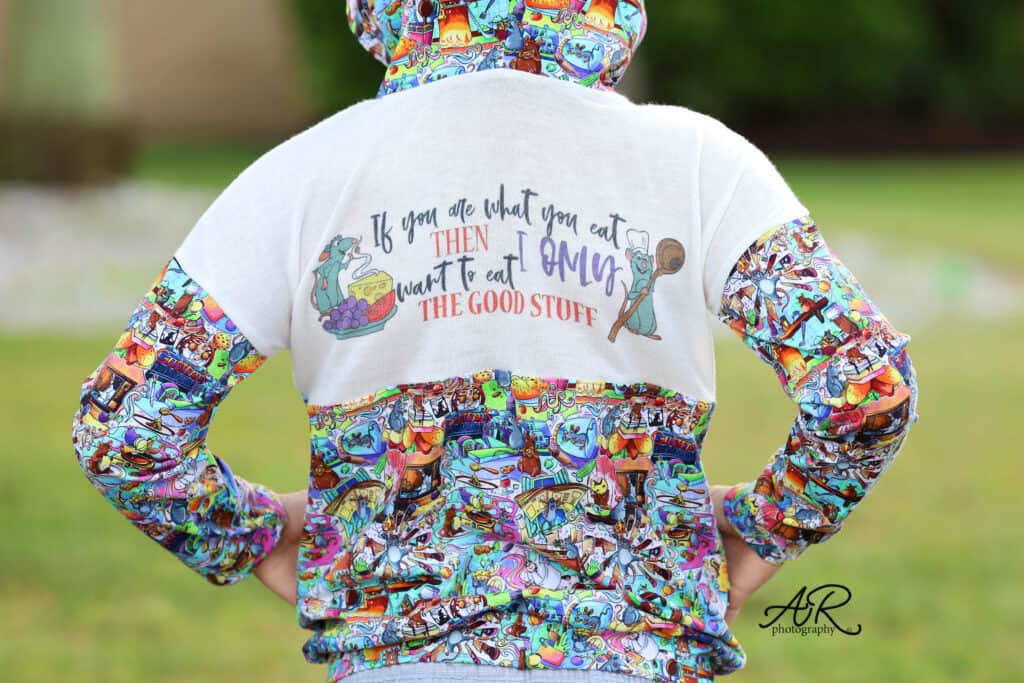
Next and final step of the day is to create the back piece by sewing the top and bottom together. Simply match the center point and pin in place. The two edges are 1:1 ratio so they will match perfectly, no stretching.

Tip: if you plan on adding any embellishments to the top back piece (like HTV, sublimation, iron ons, etc) do that before you sew the pieces together. 


You can see the day 2 video below. Once you complete these steps, post a picture of your progress in the comments of day 2 photo of the sew along album. You can find this album in our SAL group. 


Sporty Piko SAL | day 1

Sporty Piko SAL | day 2

Sporty Piko SAL | day 3

Sporty Piko SAL | day 4

Sporty Piko SAL | day 5

Sporty Piko SAL | day 6

Sporty Piko SAL | day 7

Filed Under: Frequently Asked Questions, Sew-A-Long, Uncategorized Leave a Comment

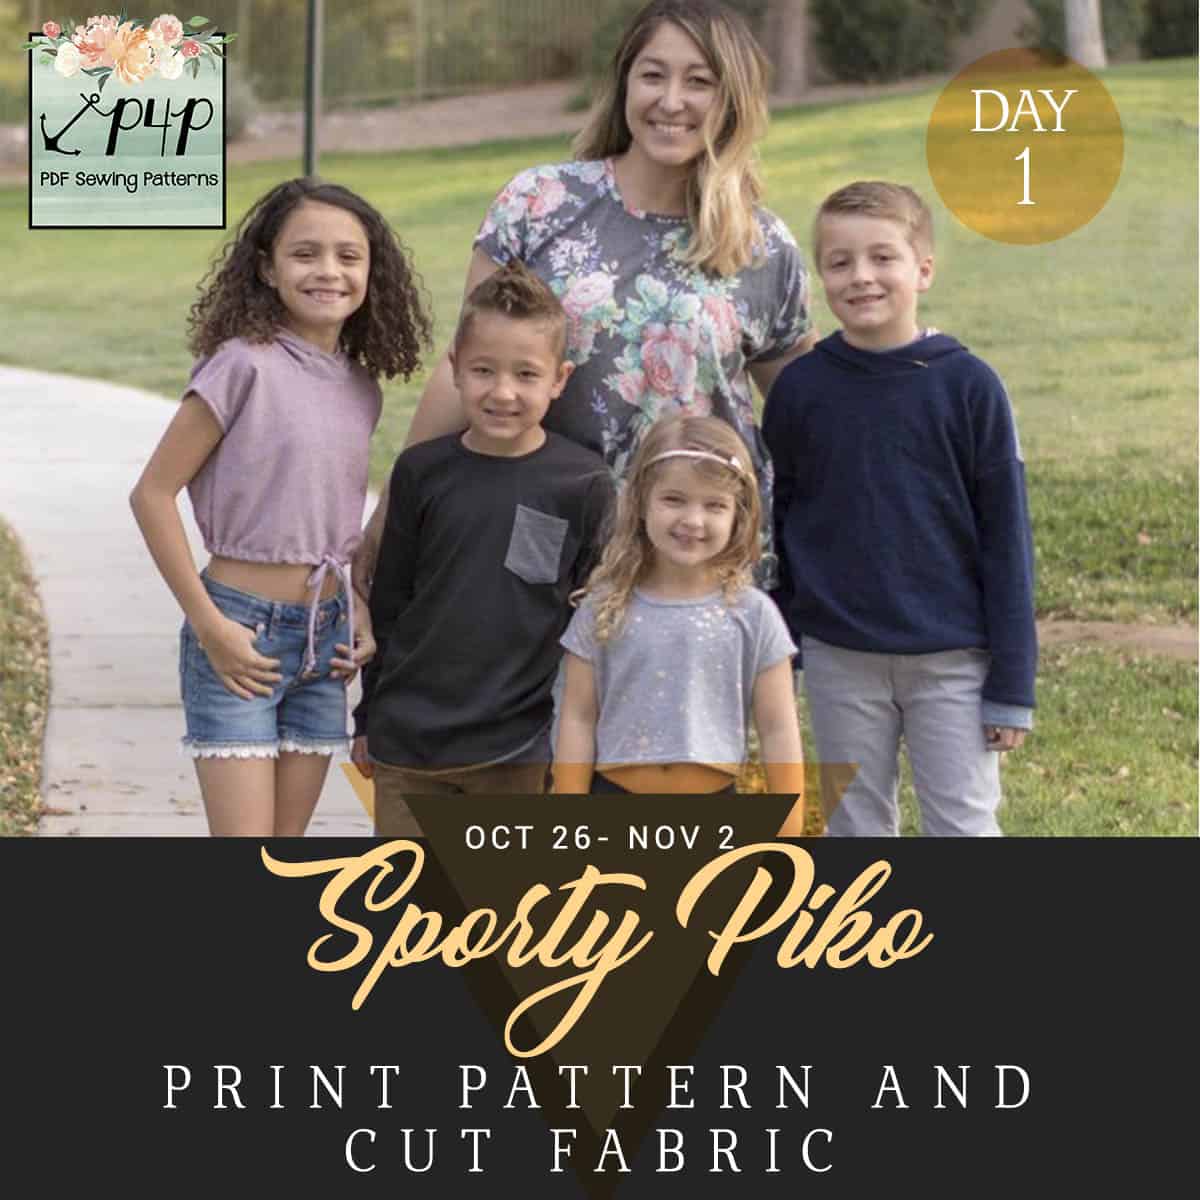
Sporty Piko Sew Along – day 1 (print pattern and cut fabric)

October 26, 2020

Welcome to the Sporty Piko Sew Along!

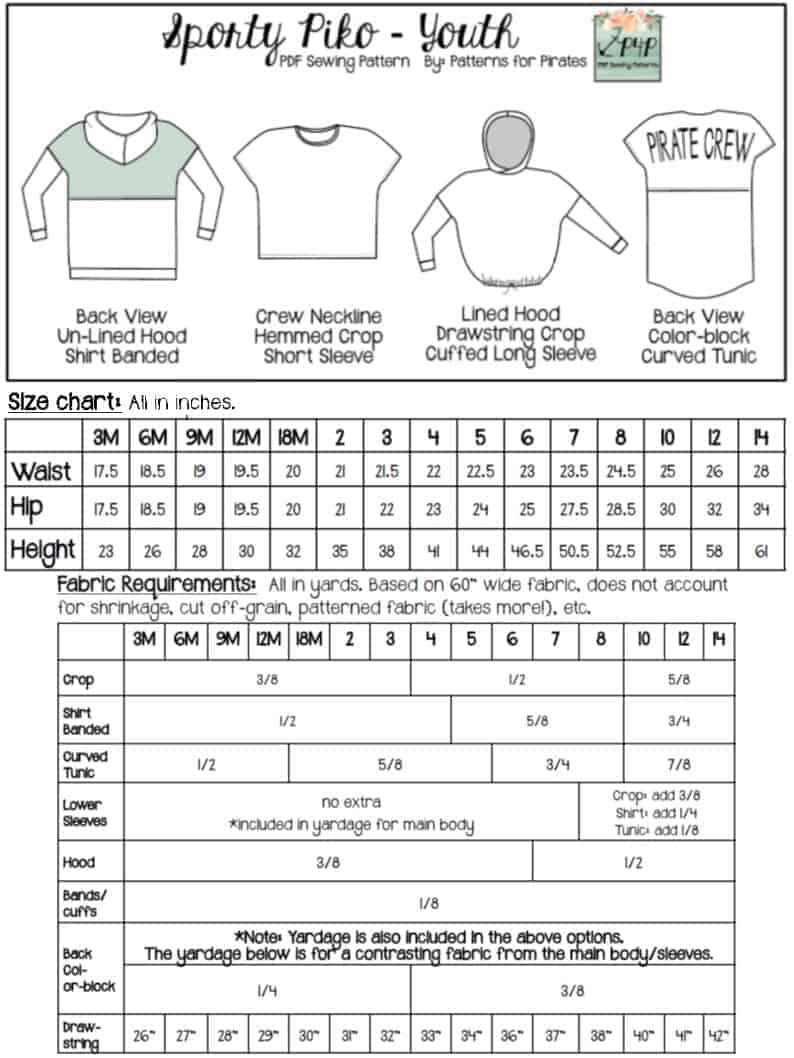
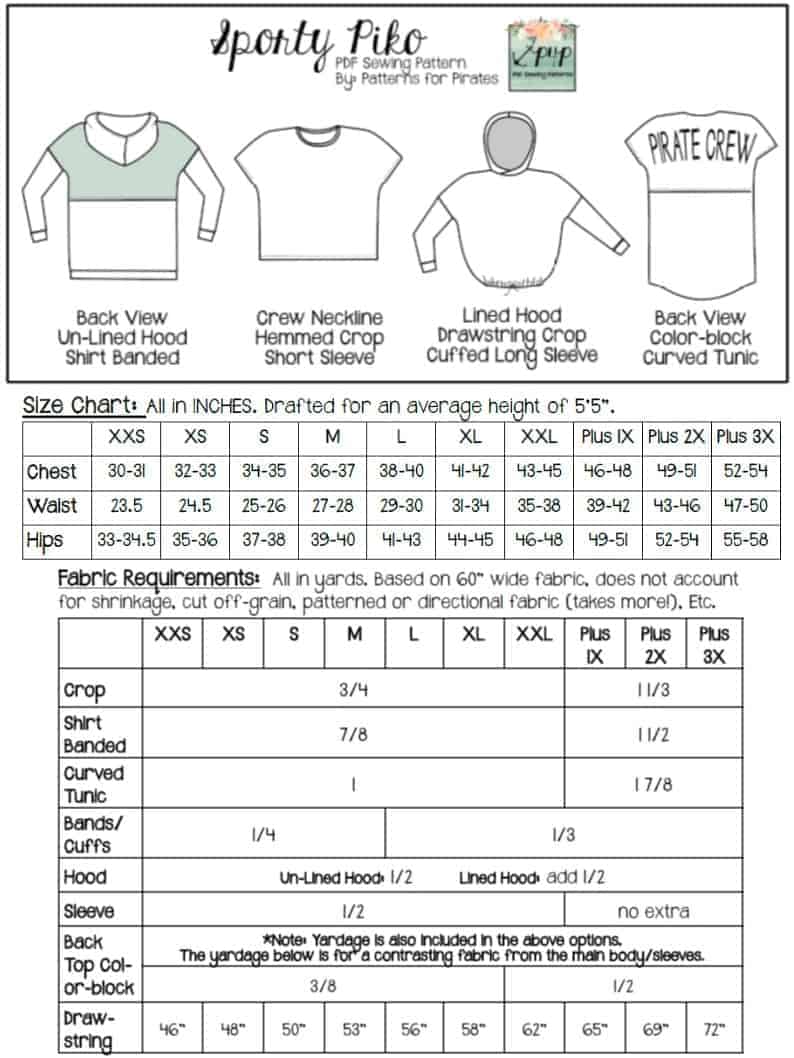
I am happy to sew with you a Sporty Piko this week. The pattern comes in Youth and Adult and you can of course get the bundle and save. If you are still undecided which style to make, our Round Up blog will give you a glance at all options included, from sleeve lengths to necklines. You can also use the Easy Hacks blog for added options.

Let’s start by taking the measurements needed for the best fit. P4P has an amazing blog that gives you tips for accurately taking your measurements. You can read all about it here. If your measurements put you in a different size for chest/waist/hips be sure to check out our P4P University blog and grade to achieve the perfect fit. The Sporty Piko patterns include videos as well. On page 3 you will notice an active button that will take you to the video about adding or removing length. Please refer to it if you are taller or shorter than 5’5″.


Unsure about which knit type will work best for your desired look? Take a look over our P4P University Knit Types blog. We also included a cheat sheet that you can print. If you are like me and sometime are just keen on using a specific print for a specific pattern, read our Different fabric, different fit blog post before you cut your fabric.

The Sporty Piko patterns include a crop, shirt and tunic length. If you would like to make a dress length simply add 8-10 inches length. The simplest way to do that is to cut both the back and the front pattern pieces at the crop cut line, add the extra length there and tape the remainder of the pattern to it. You can see in the video below how to do that. This is my dress hack made with bamboo lycra.


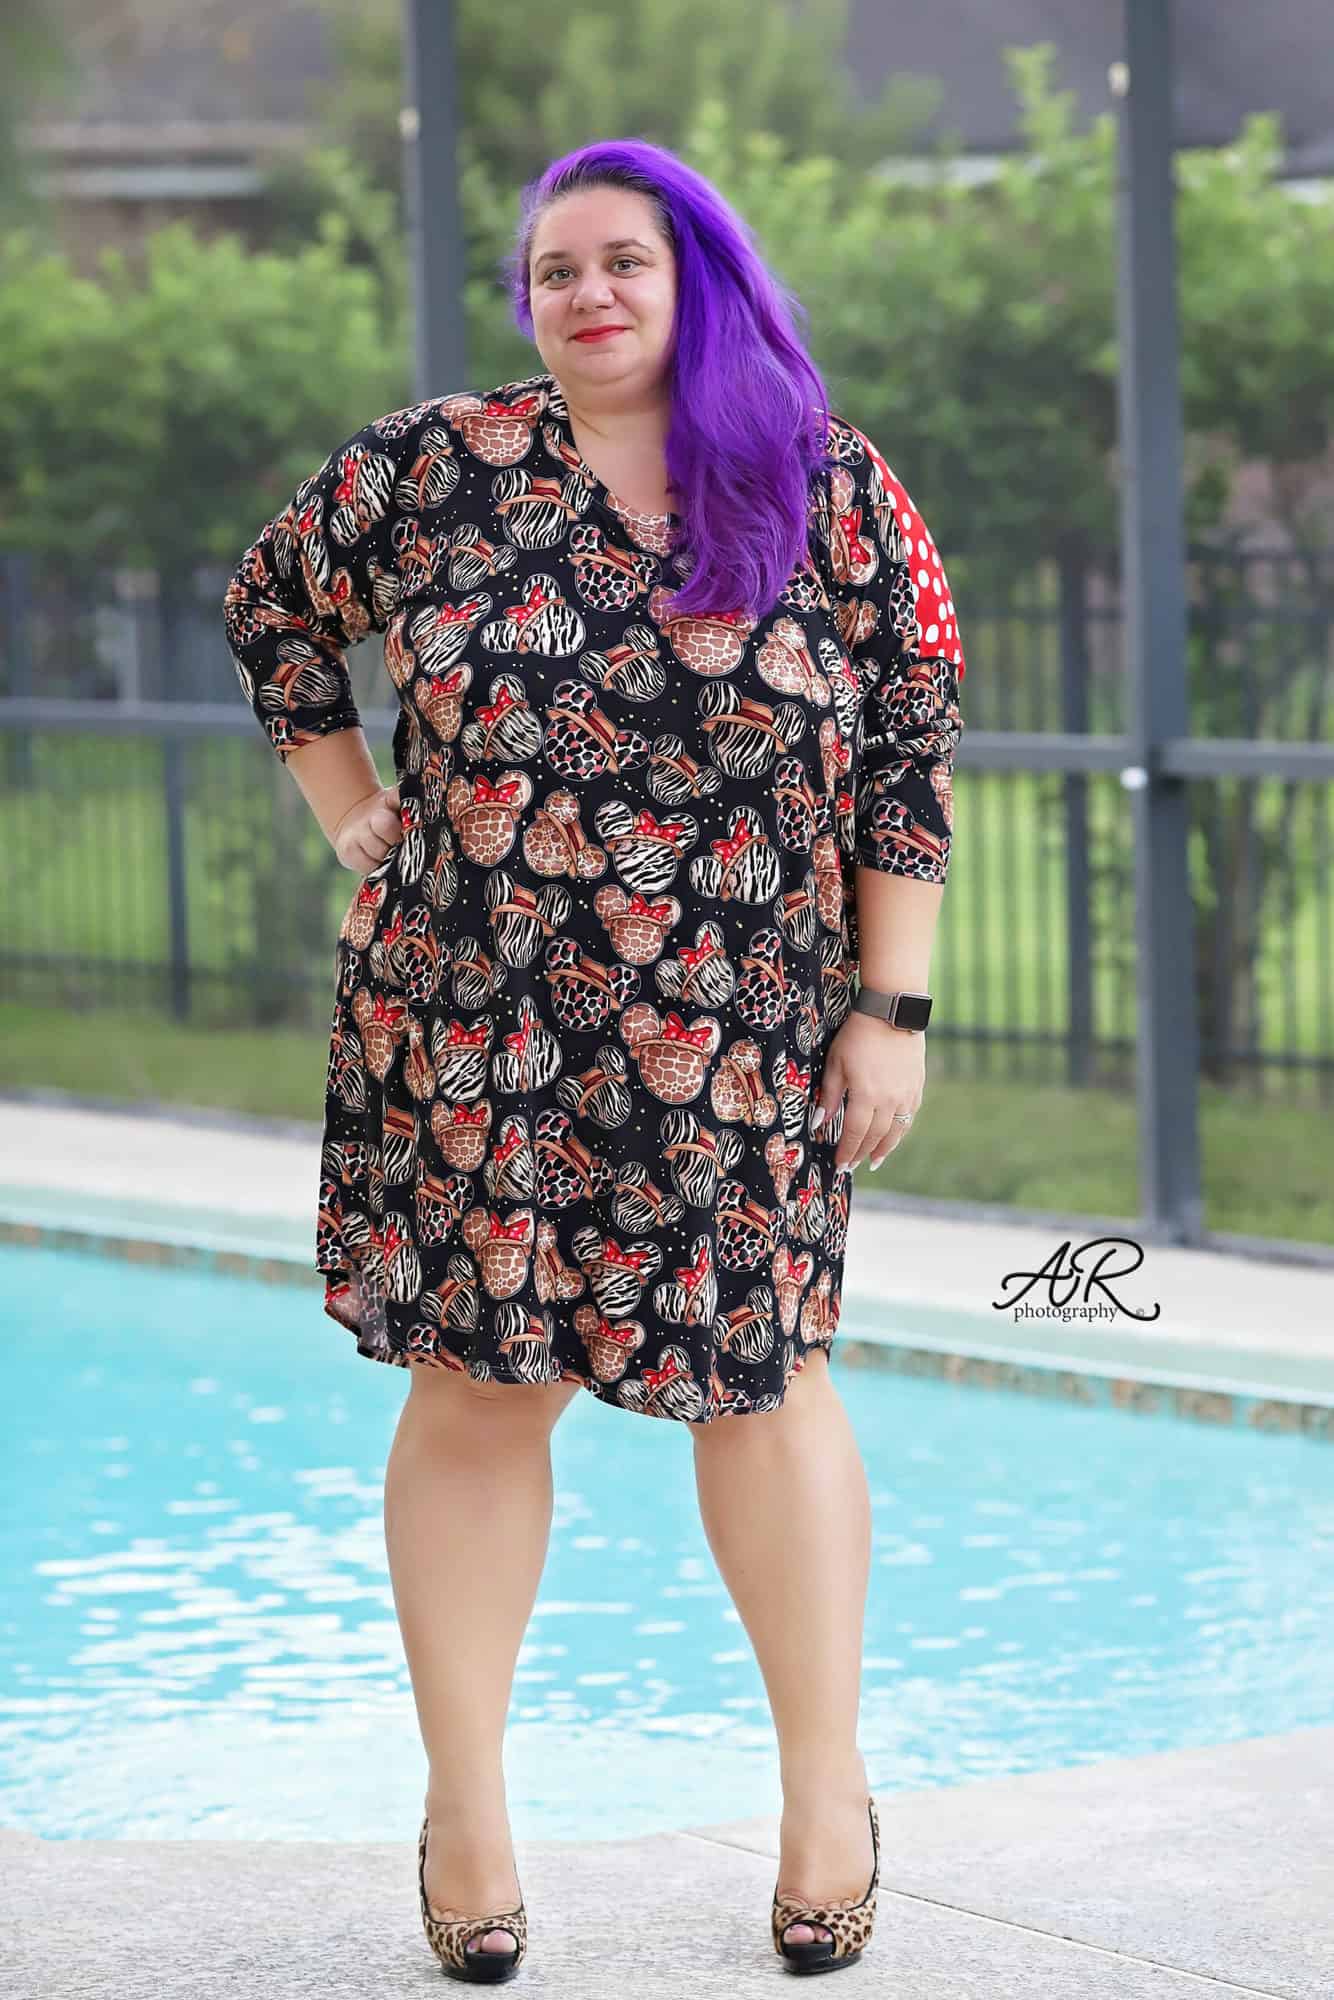
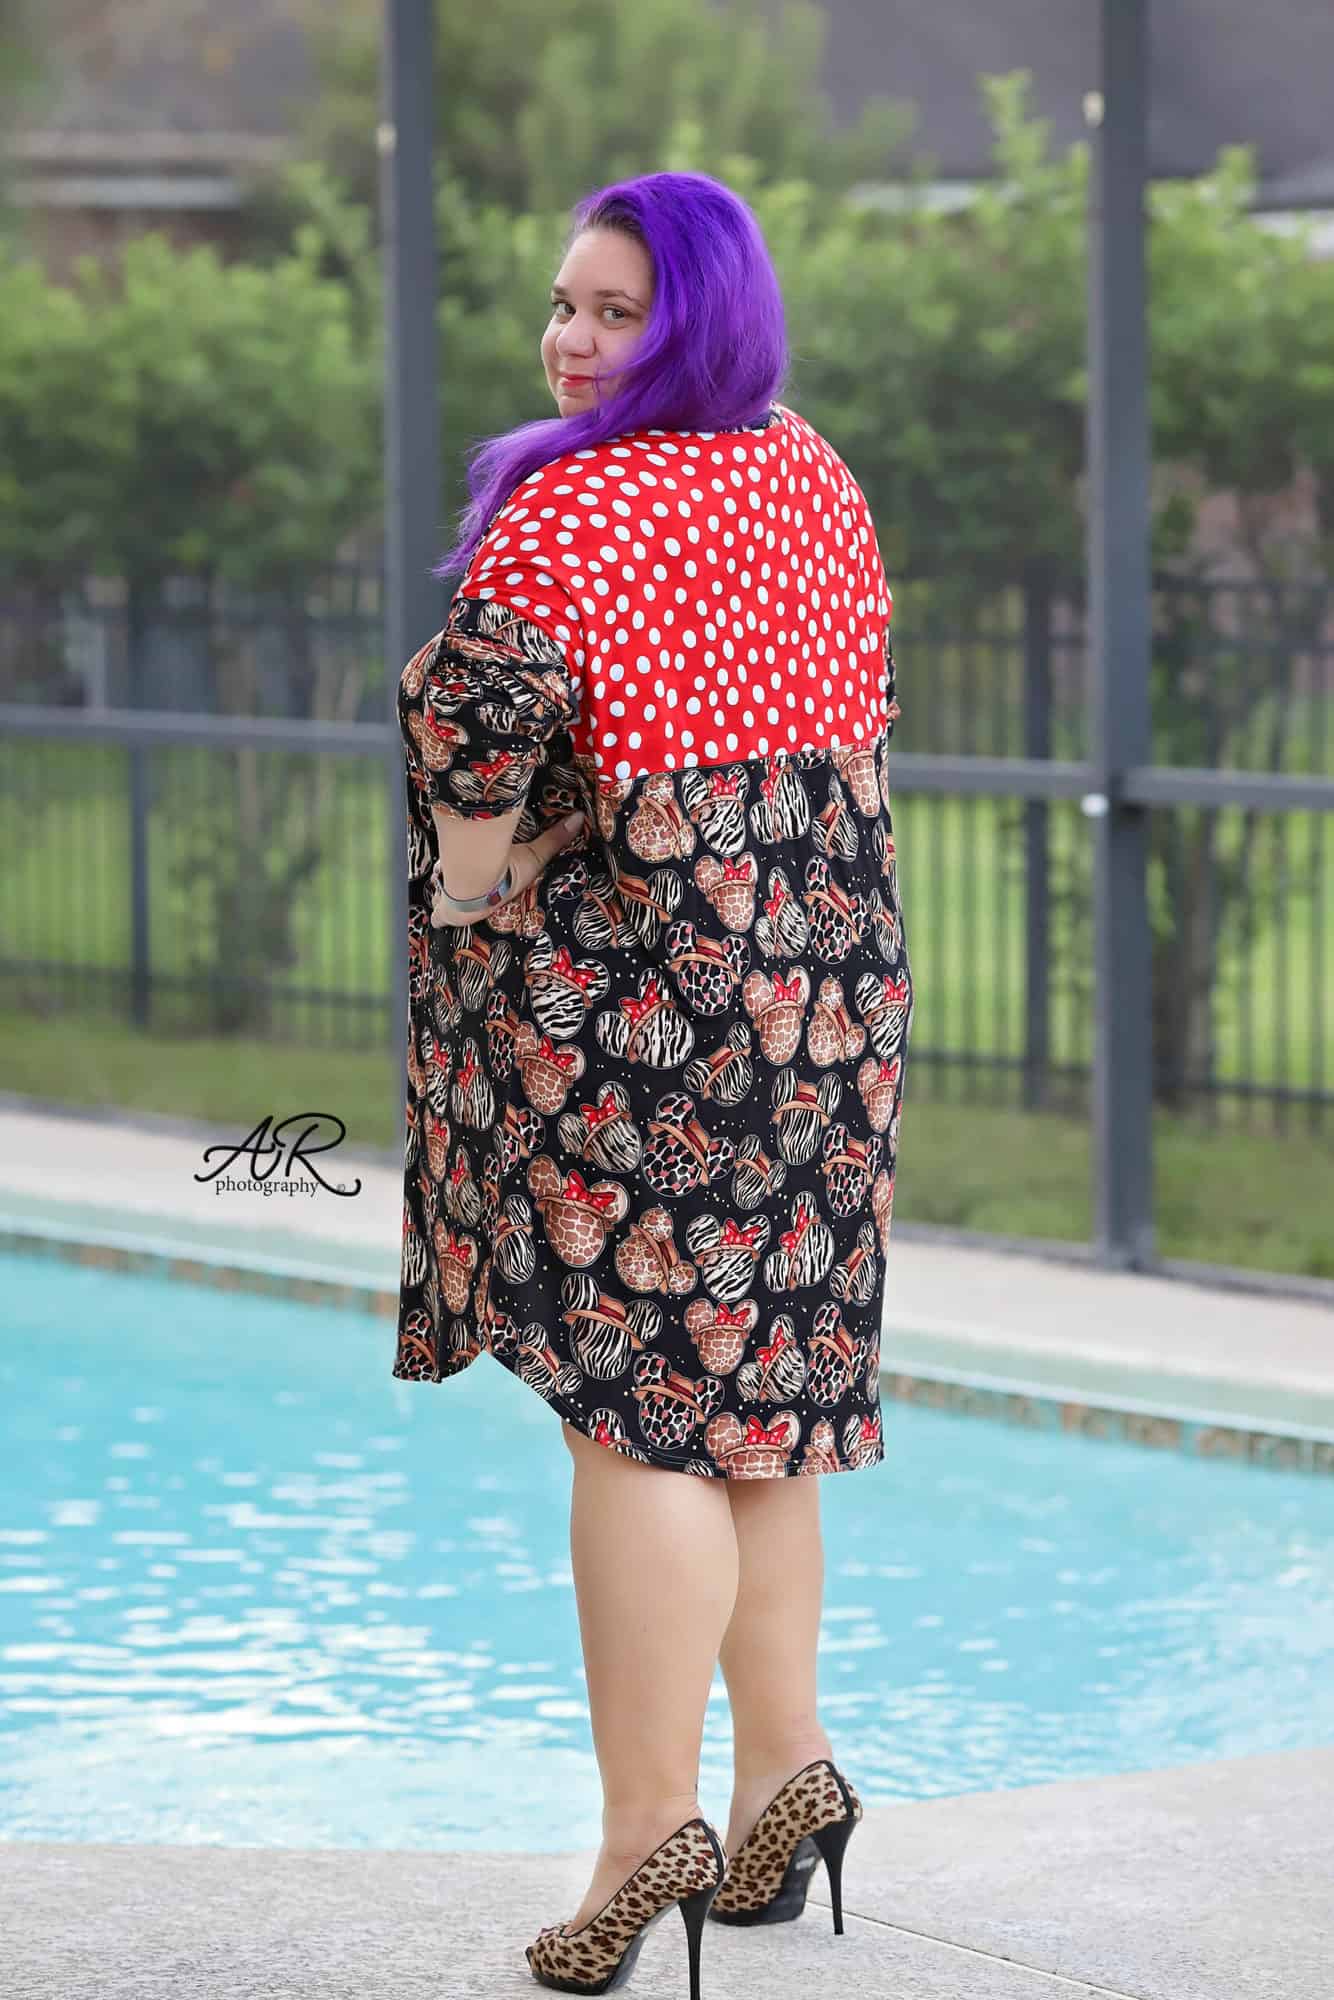
This pattern is drafted from light to medium weight fabrics with 20-30% stretch. The Sporty Piko has an oversized, relaxed fit so using thicker fabric like cotton lycra, french terry or sweatshirt fleece will give you a bulkier, more rectangle look. It would work great for the youth option, though. For my Sporty Piko I will be using a cute custom cotton lycra from Hapa Fabrics. Hapa is this sew along’s sponsor so be sure to check them out and show them some love in their Facebook group.


You can see the day 1 below, including how I use my projector  with the A0 file. Once you cut the fabric, post a picture of your pretty pile in the comments of DAY 1 photo of the Sporty Piko album in the M4M & P4P Sew Along Group.

Sporty Piko SAL | day 1

Sporty Piko SAL | day 2

Sporty Piko SAL | day 3

Sporty Piko SAL | day 4

Sporty Piko SAL | day 5

Sporty Piko SAL | day 6

Sporty Piko SAL | day 7

Filed Under: Frequently Asked Questions, Sew-A-Long, Uncategorized Leave a Comment

P4P University – Grommets

October 16, 2020

Raise your hand if grommets scare you? Have you done everything possible, including skipping that cute drawstring, just to avoid installing eyelets?

I did for years! I even made buttonholes to avoid installing those little metal devils. Buttonholes!

But, I’m here now to show you how truly easy it is to install grommets in your makes. Within the next few minutes, you’ll wonder why you were ever intimidated.

For those who prefer a video tutorial, I’ve got you covered!

If you prefer a written tutorial, read on.

First, the anatomy of a grommet…

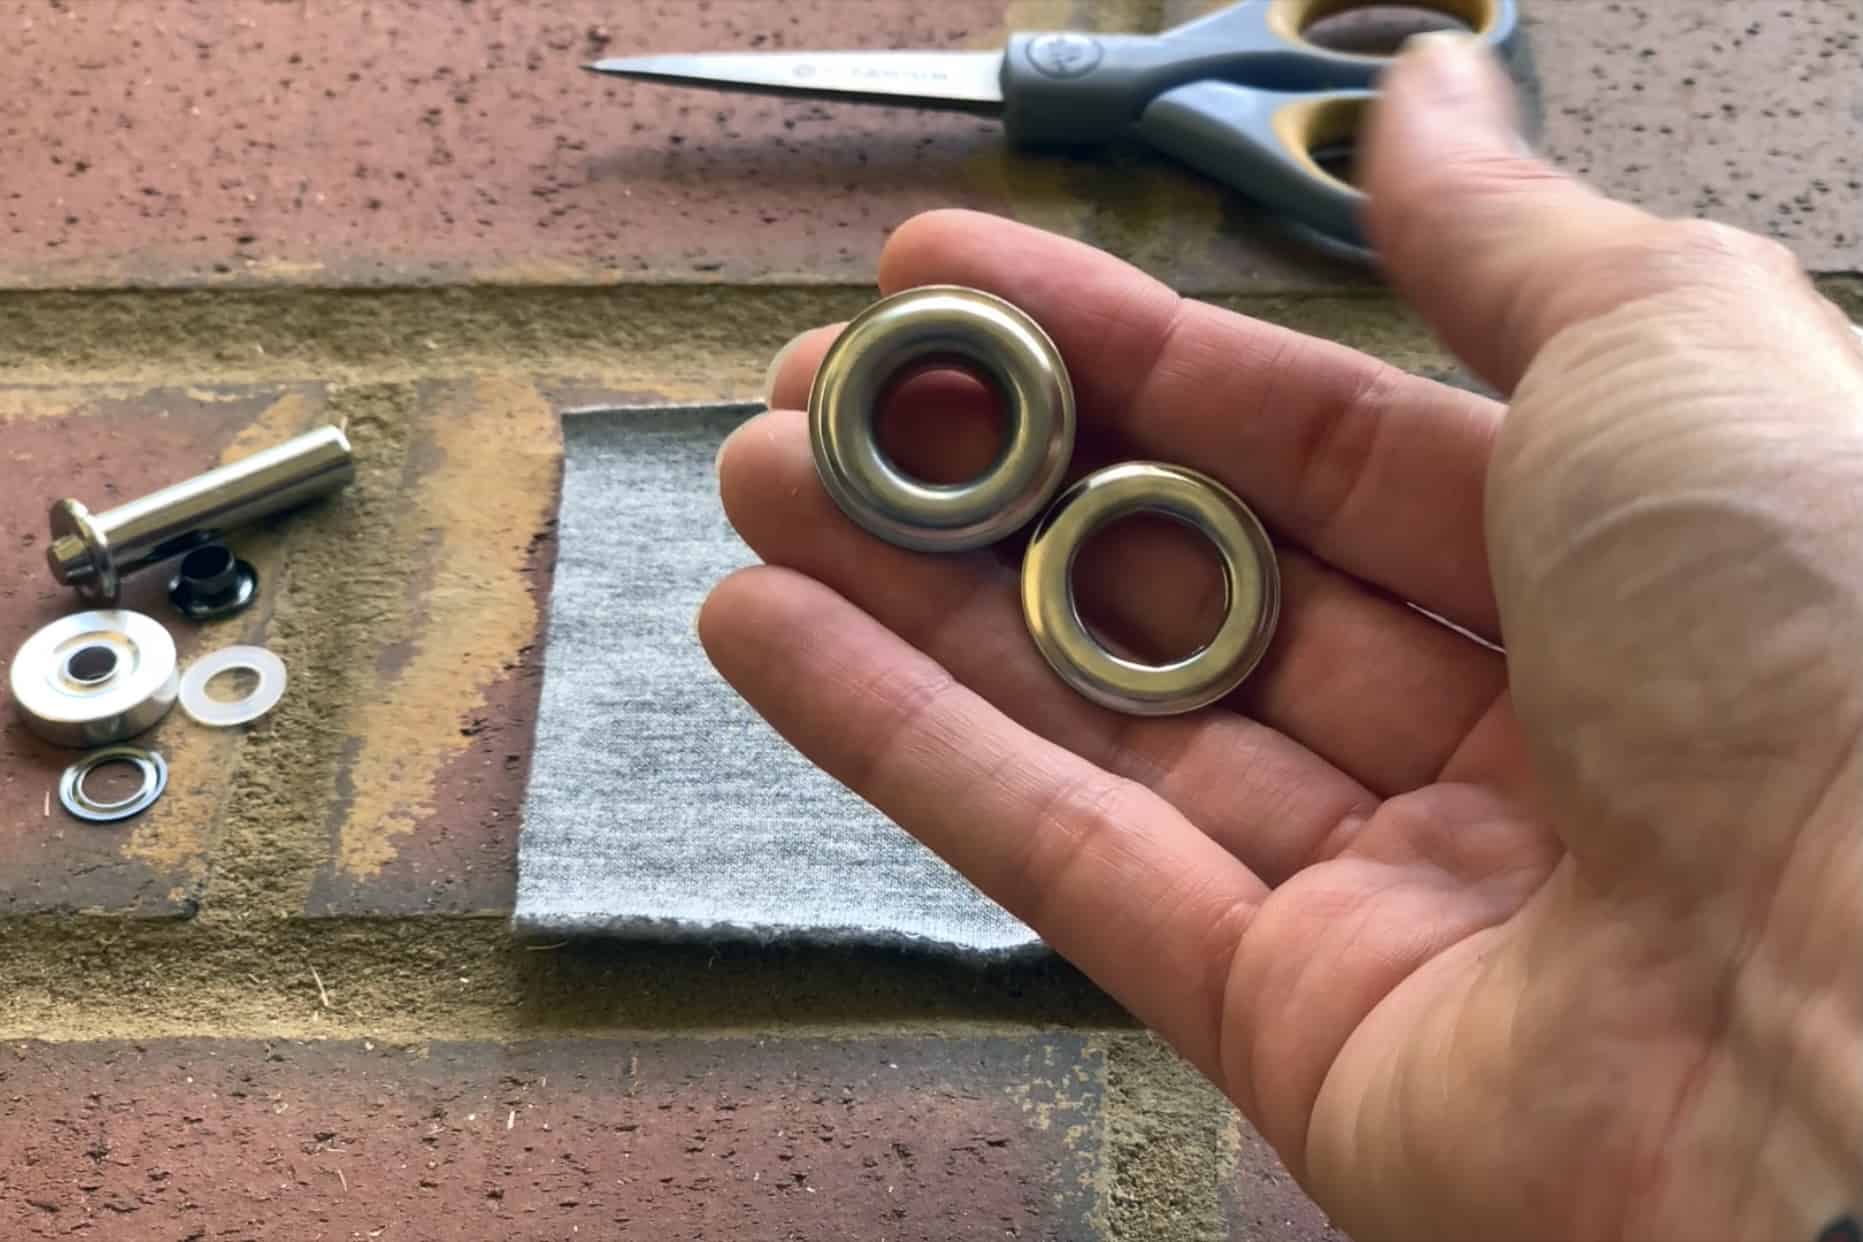
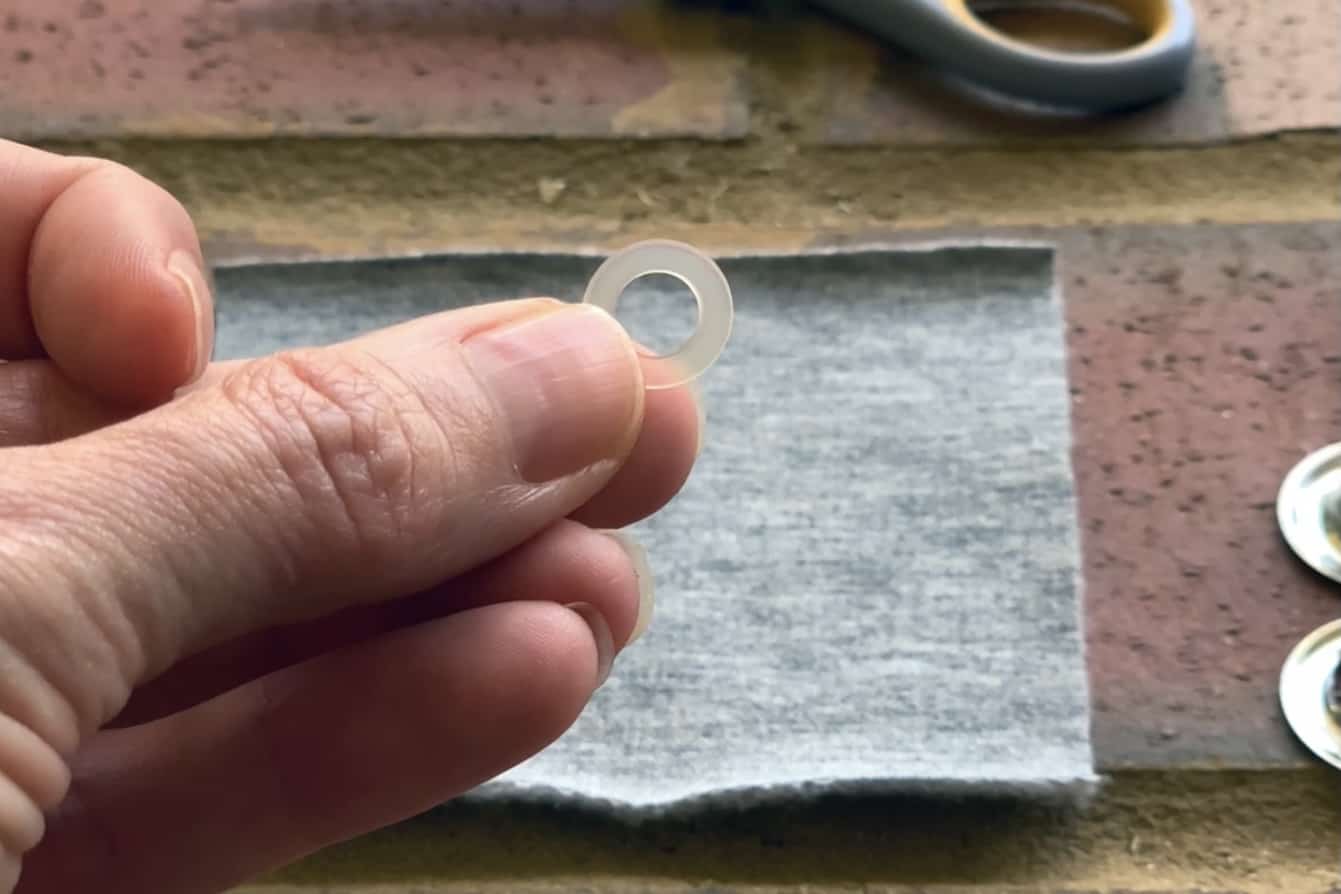
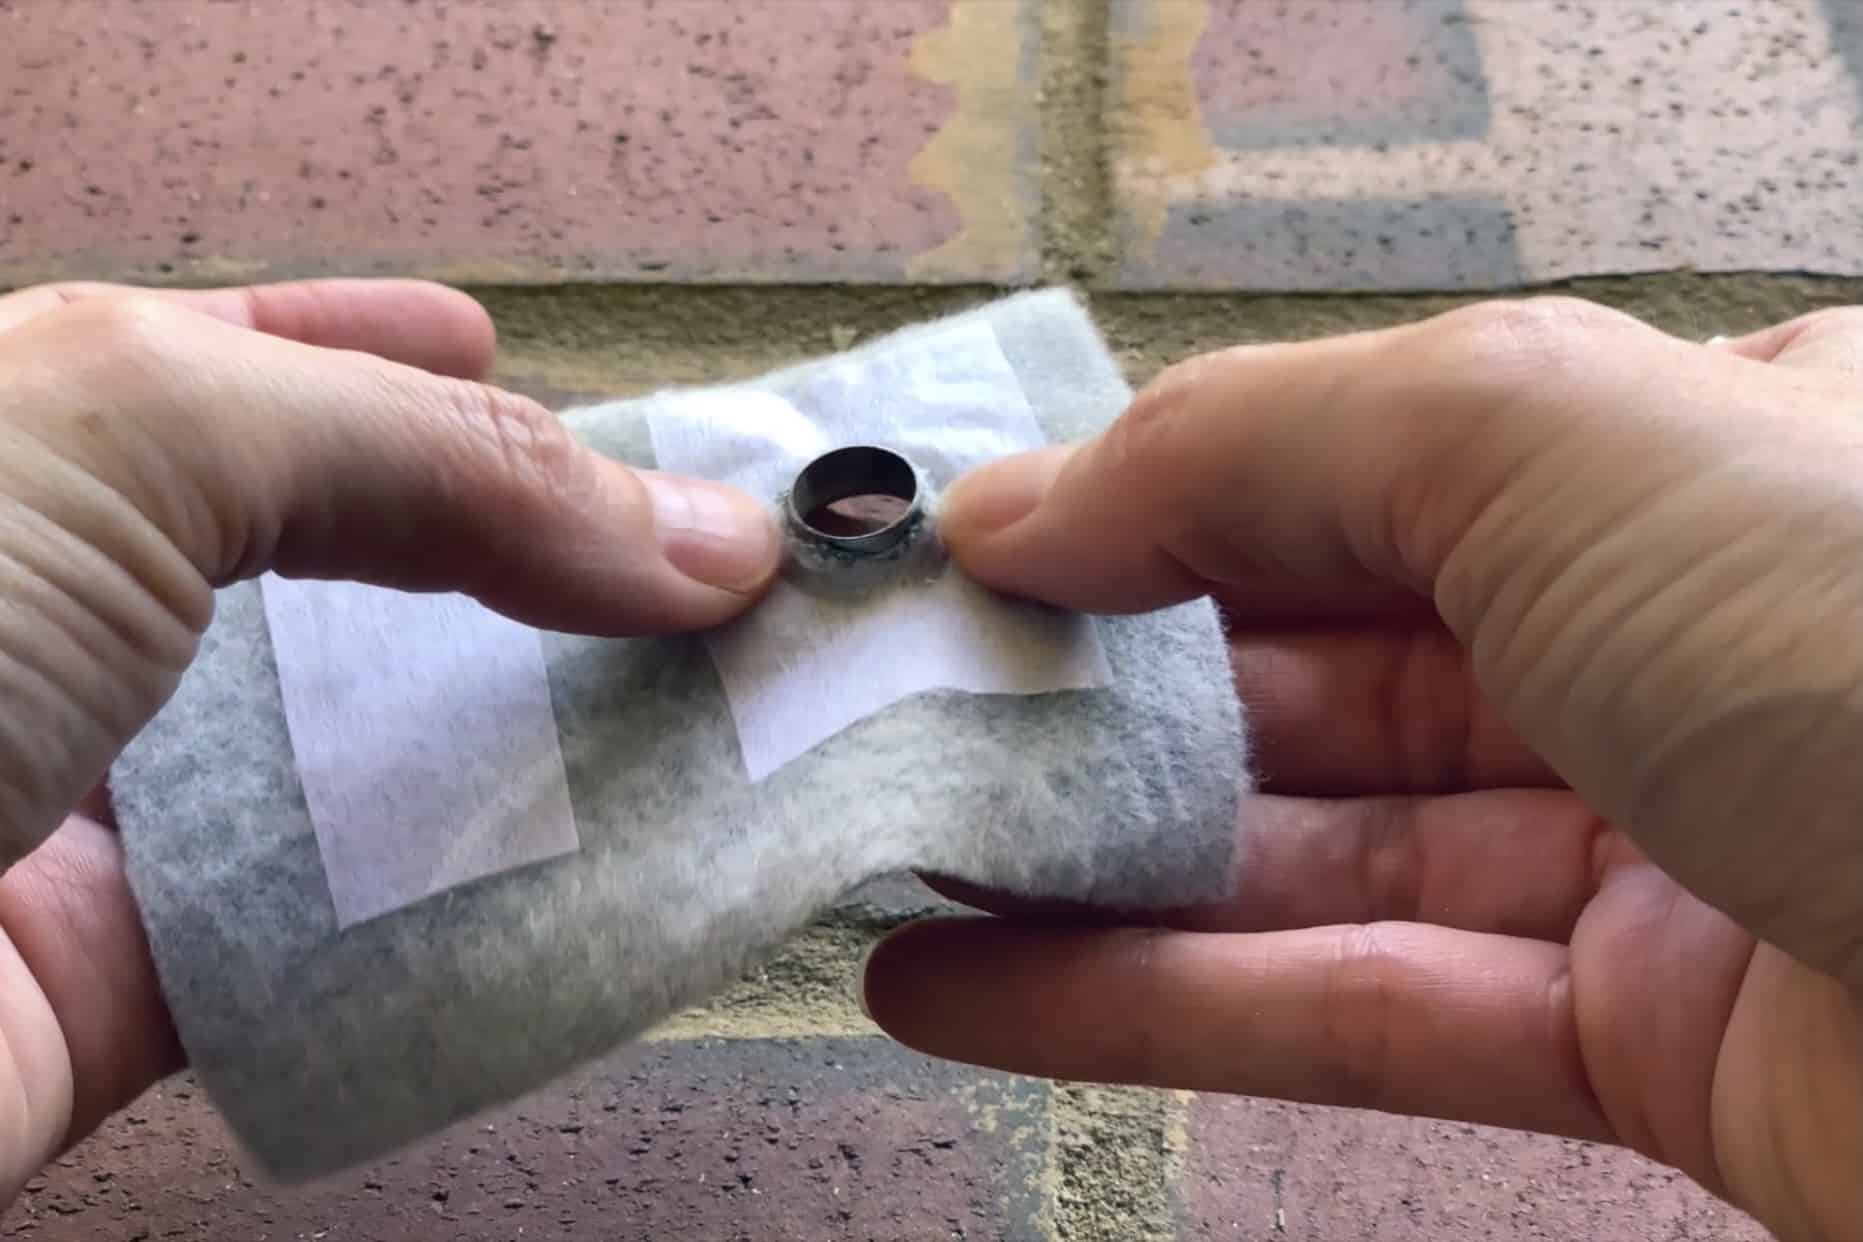
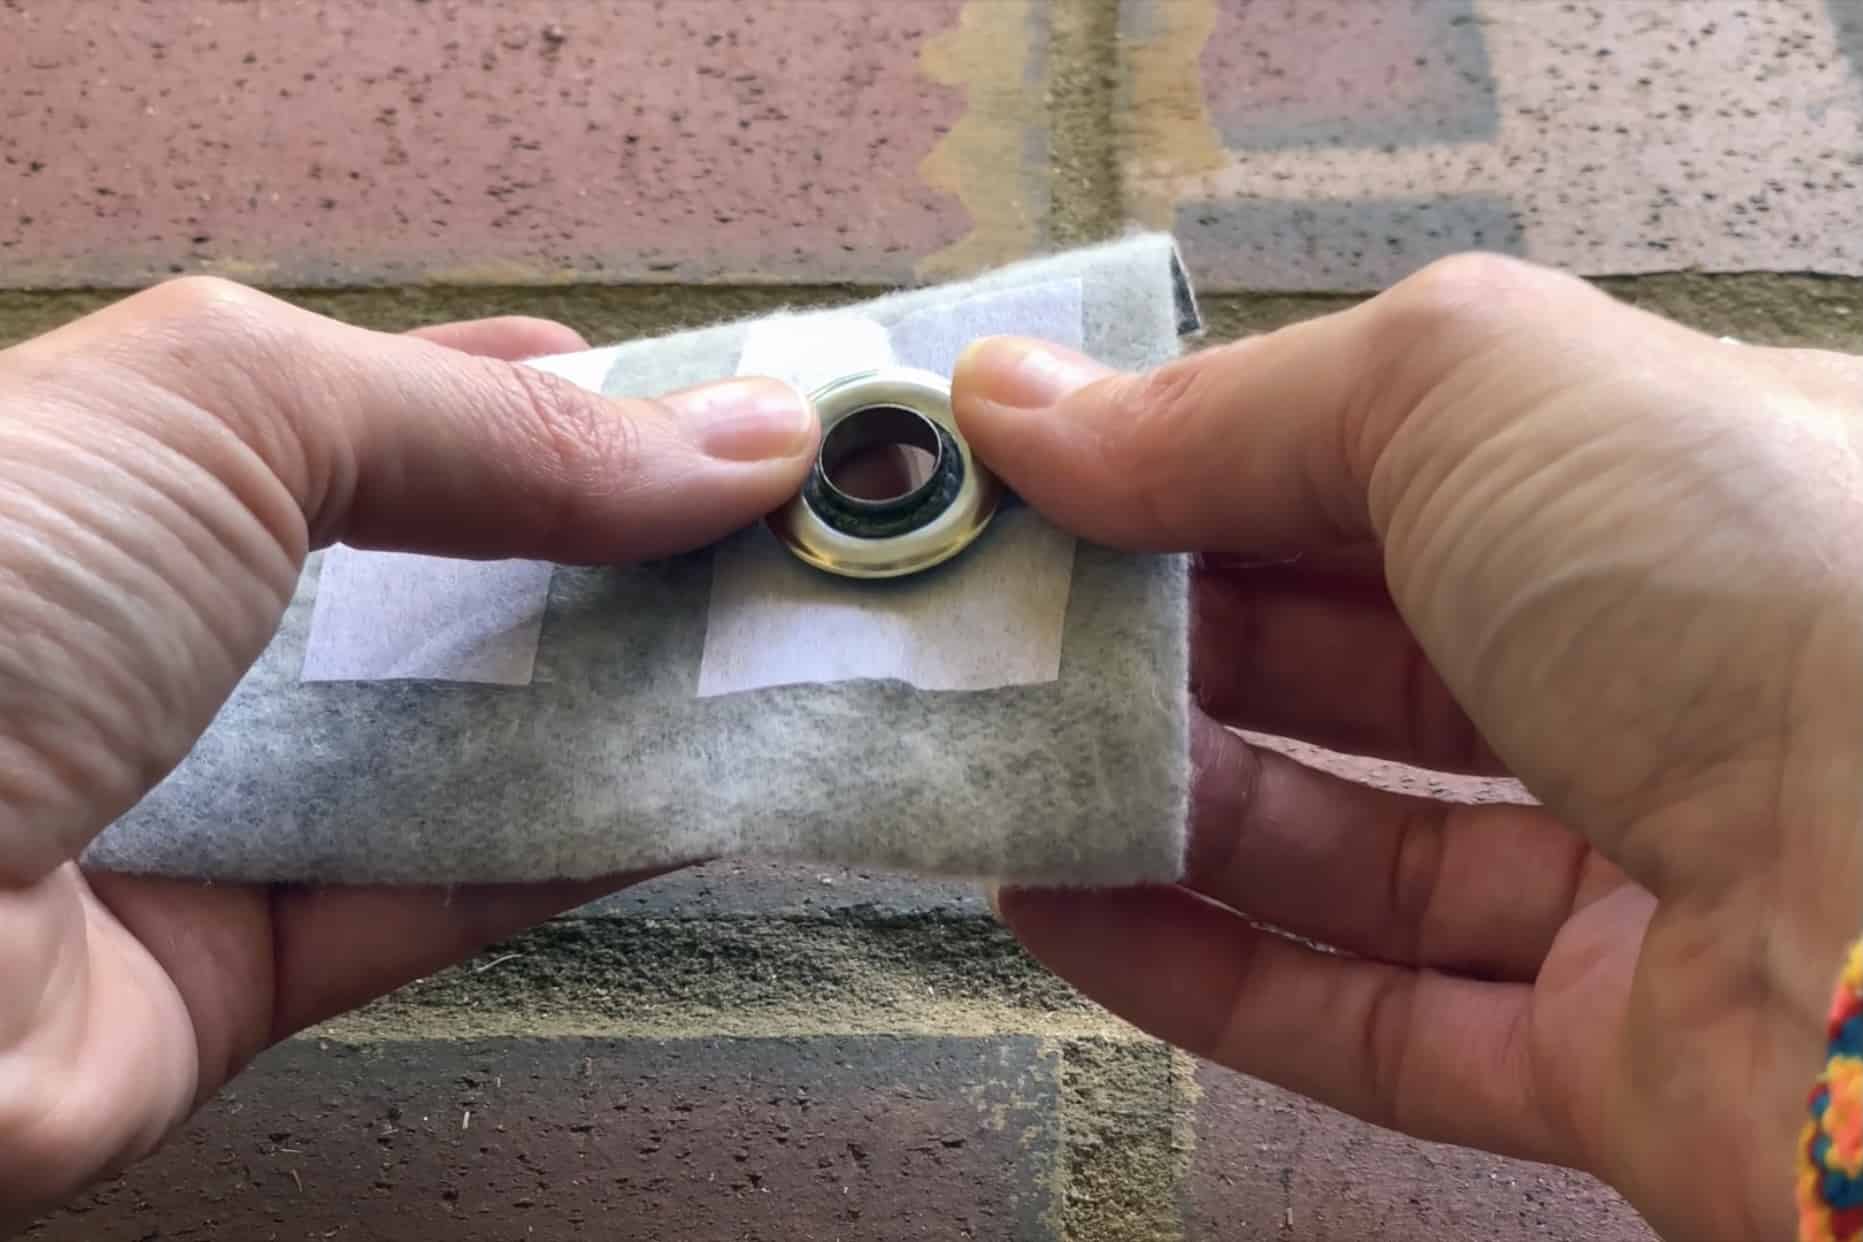
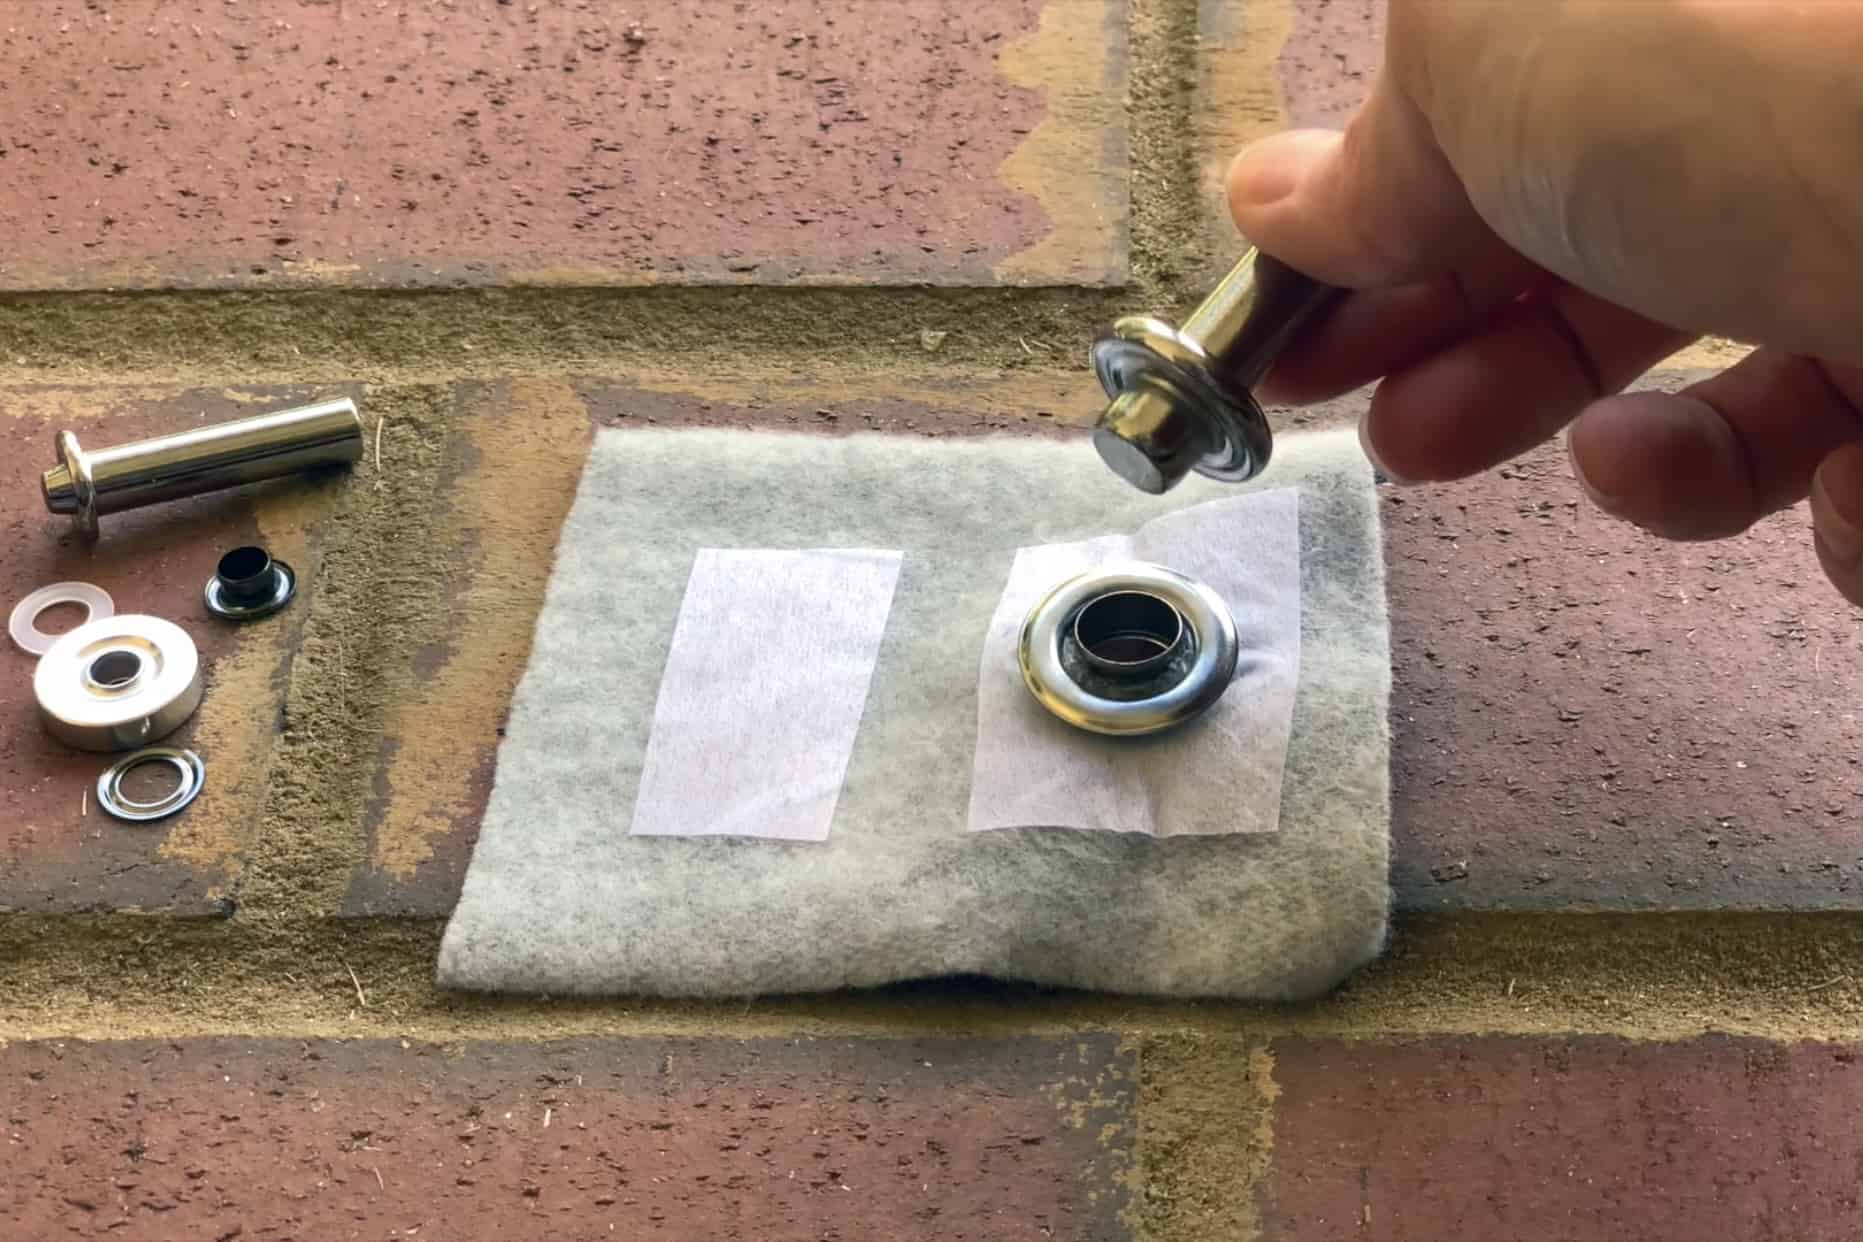
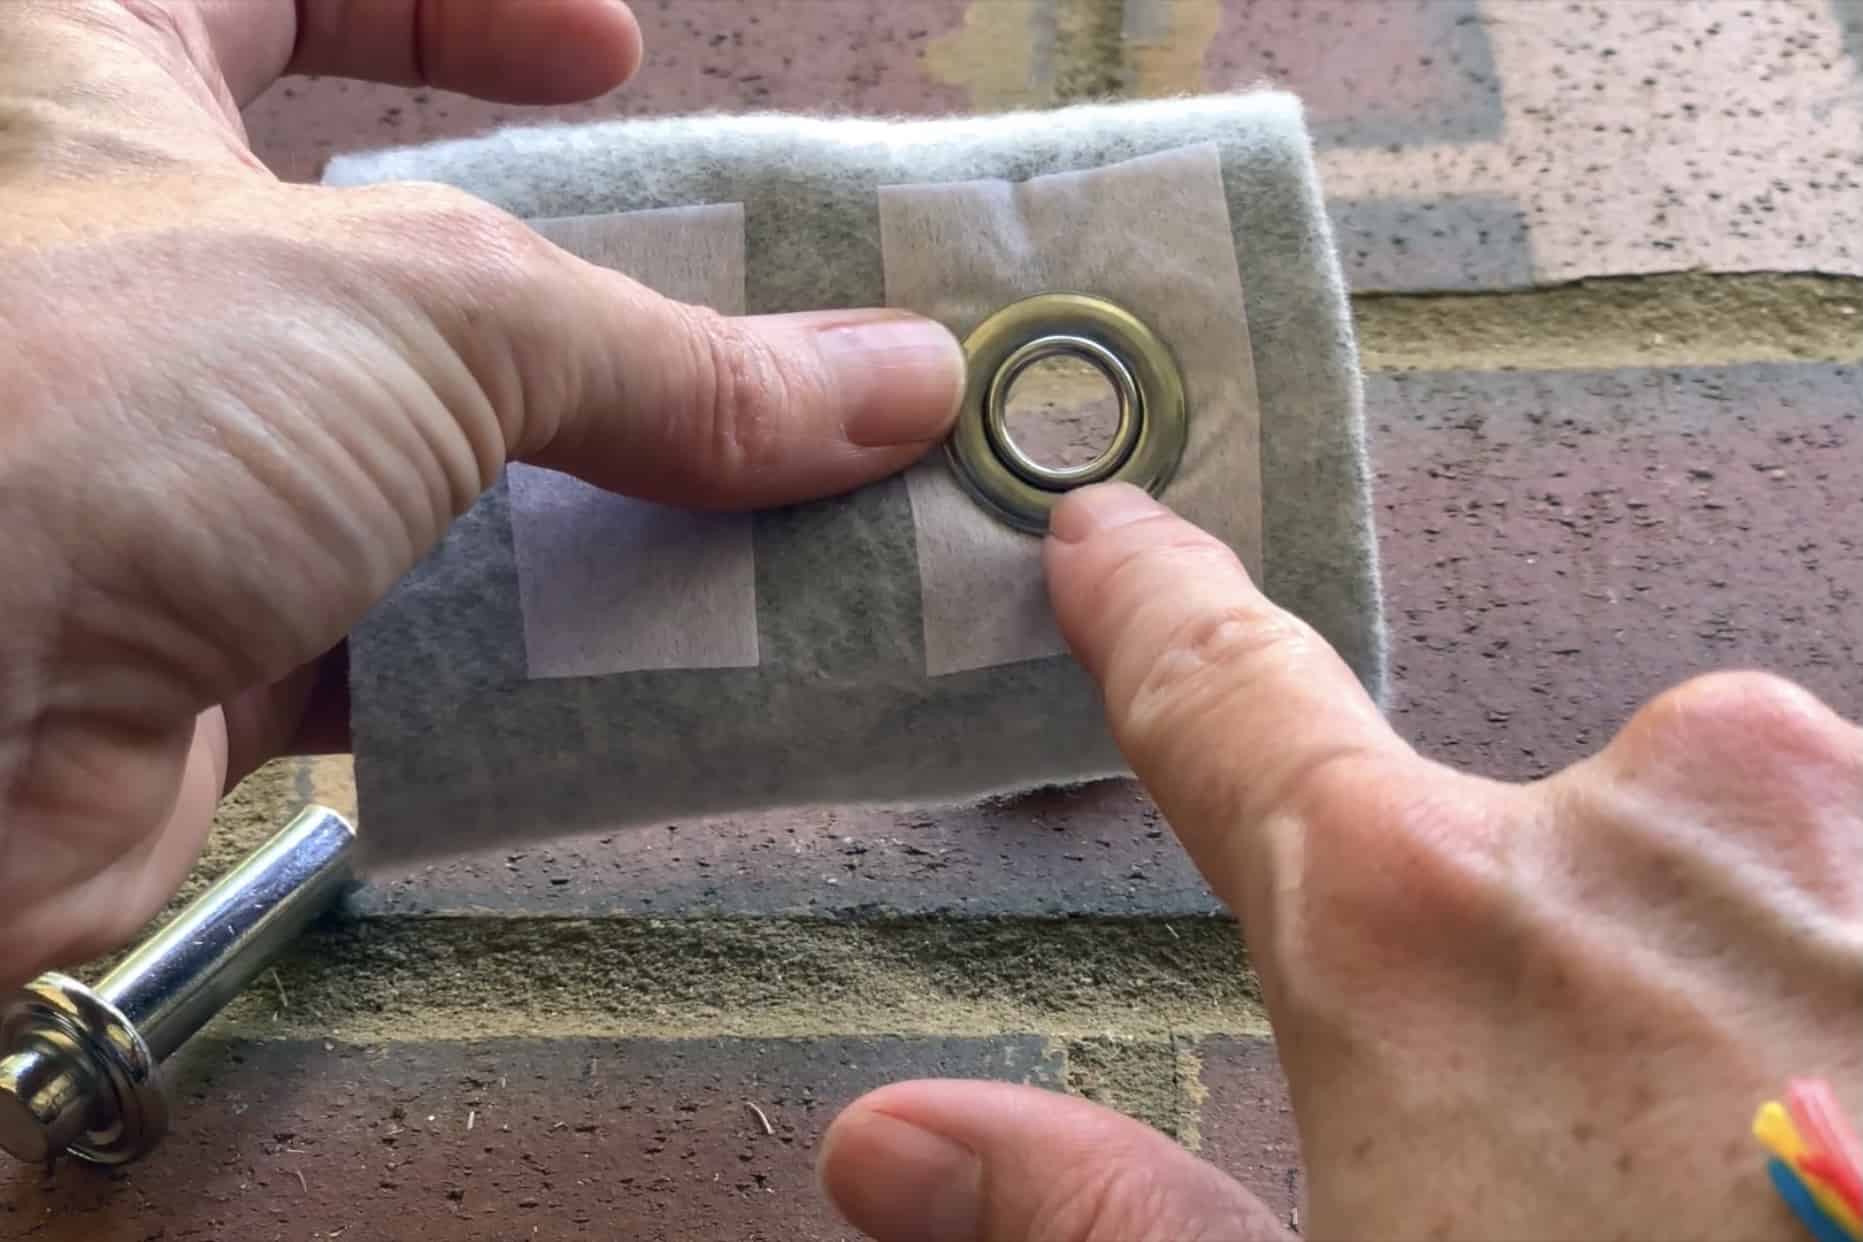
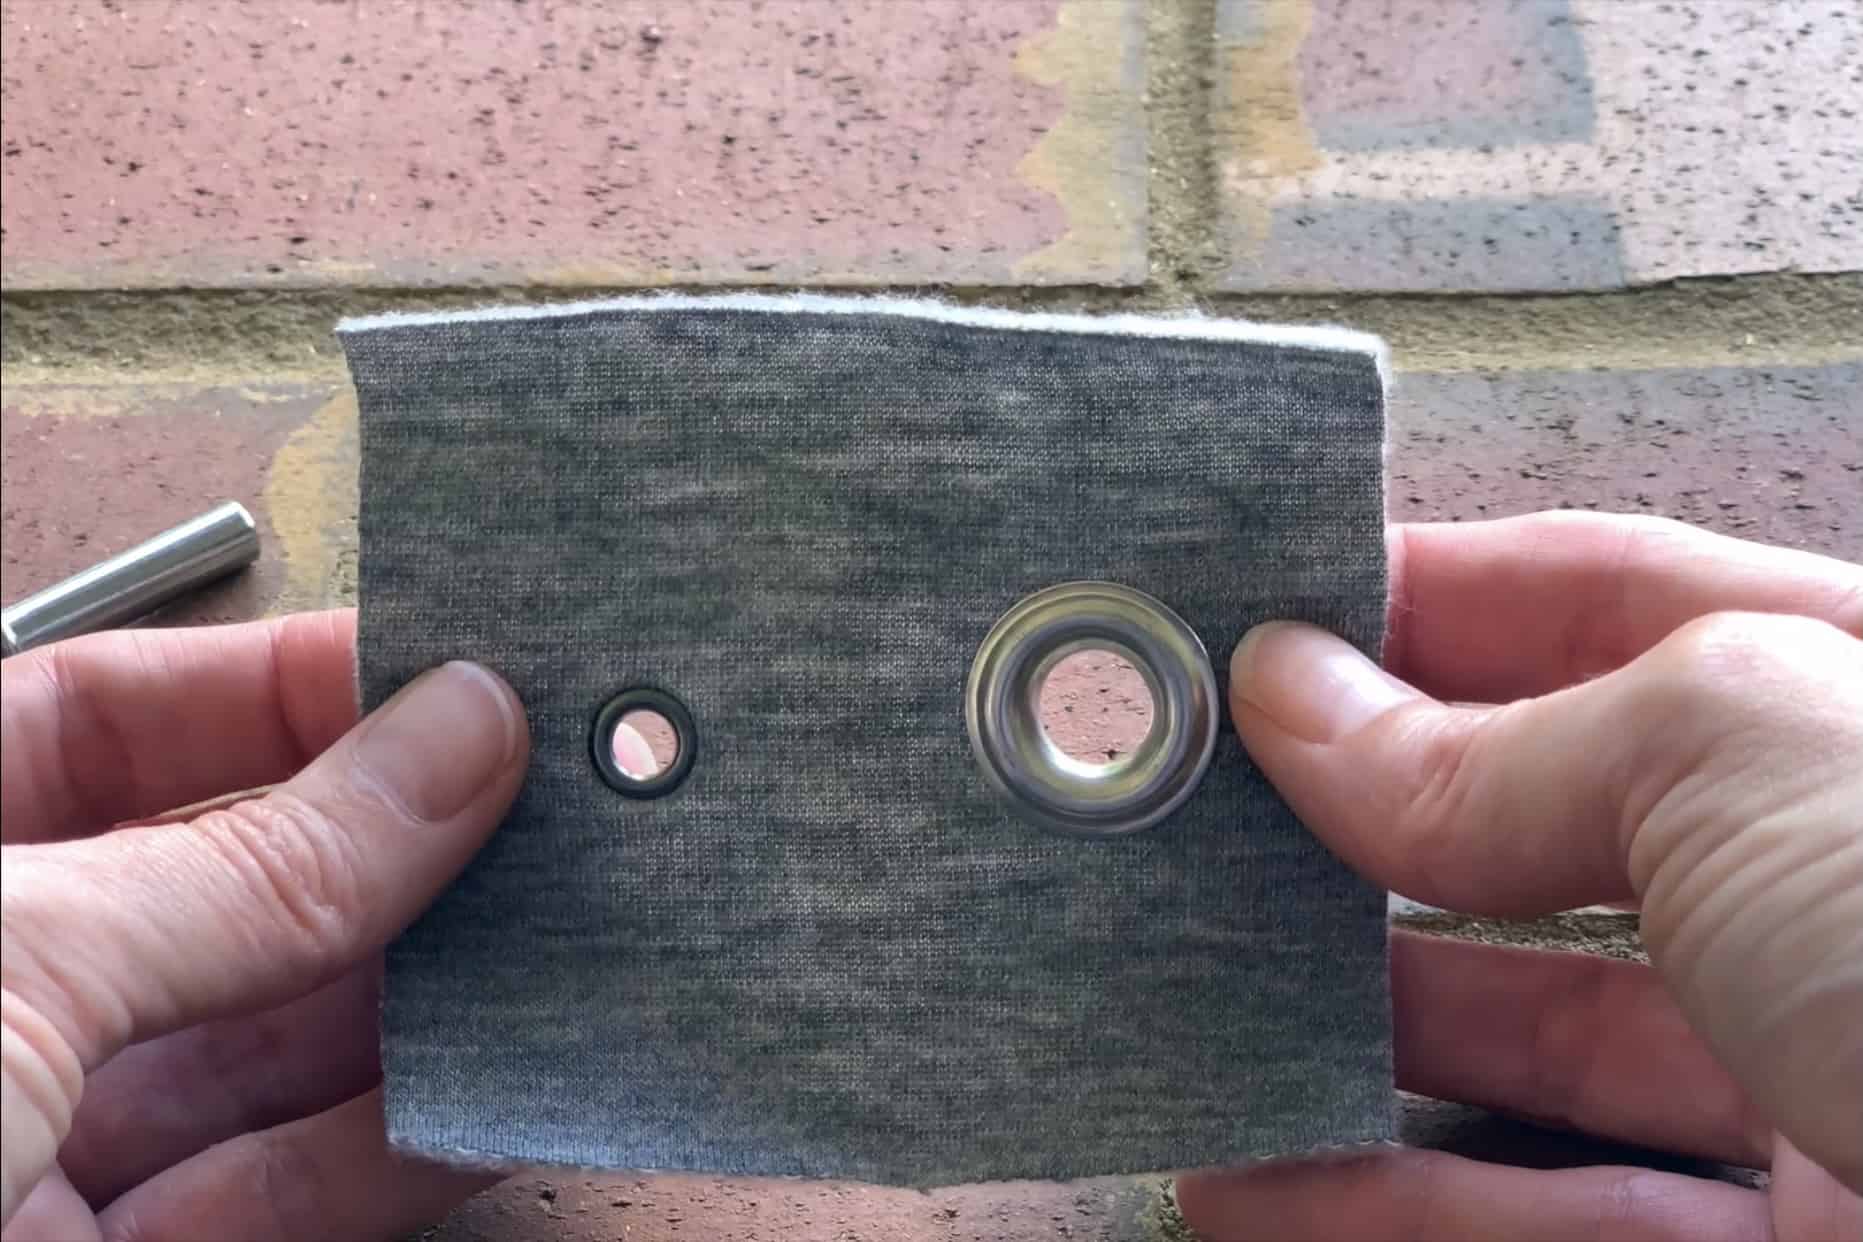
You will have your eyelet – that’s the piece that has a post. It will always be on the right side of your fabric. The backside is called the washer. The larger sizes typically have sharp teeth that help to better secure the grommet in place. The smaller sizes often have a plastic ring that sits between the back of your fabric and the metal washer.

Most grommet kits will also come with an anvil (remember the Coyote and Roadrunner from Looney Tunes?!) and a setting tool. It’s important to use the right anvil for the size of grommet that you are setting.

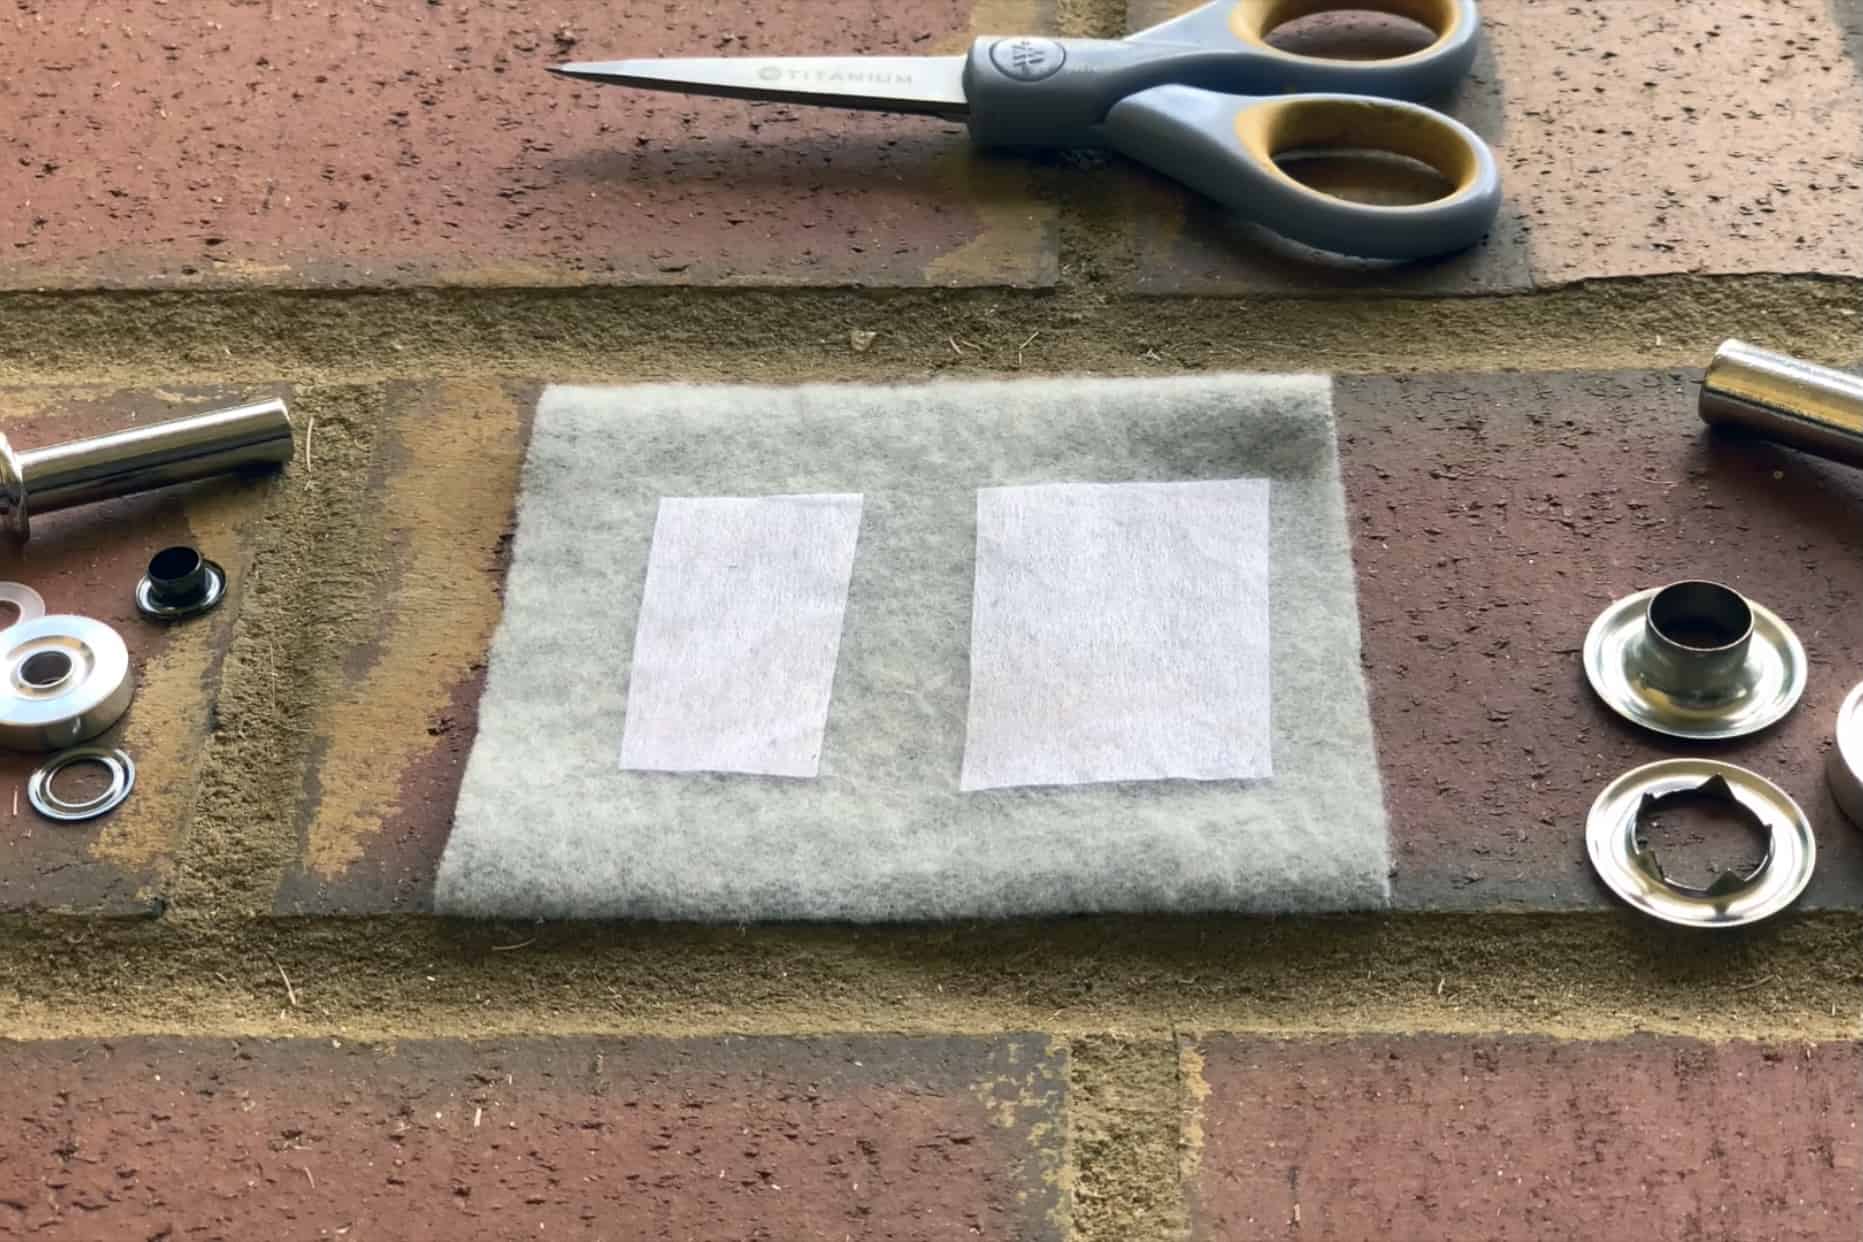
I always iron a bit of interfacing on the backside of where my grommets will be installed. That extra security means that you won’t be replacing a grommet due to your fabric stretching out.

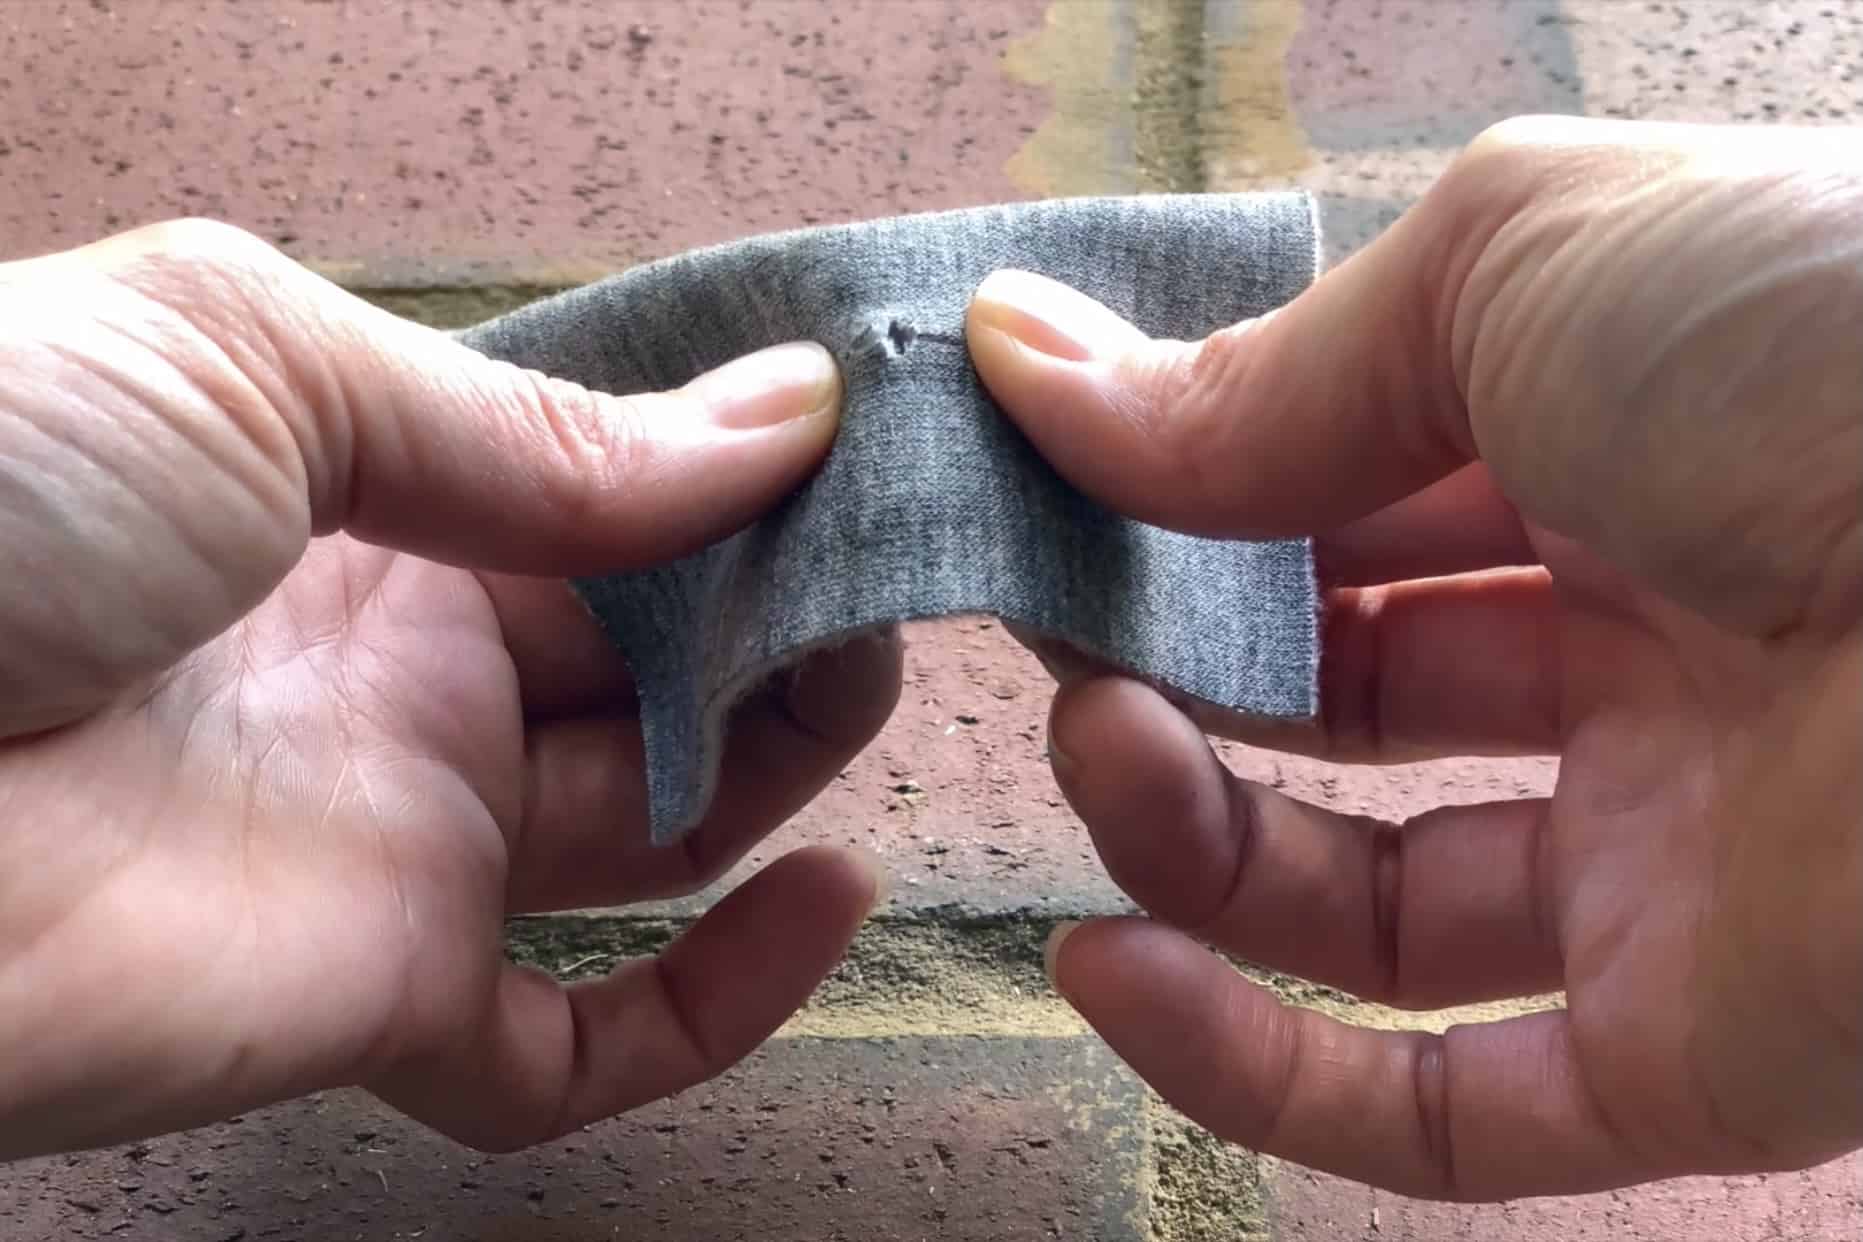
Snip a small “X” where you want to place your grommet, taking care not to make the opening too large. You want it just big enough to push your eyelet post through.

Place your washer around the post of the eyelet. If you are using a smaller eyelet, place the plastic ring under the metal washer.

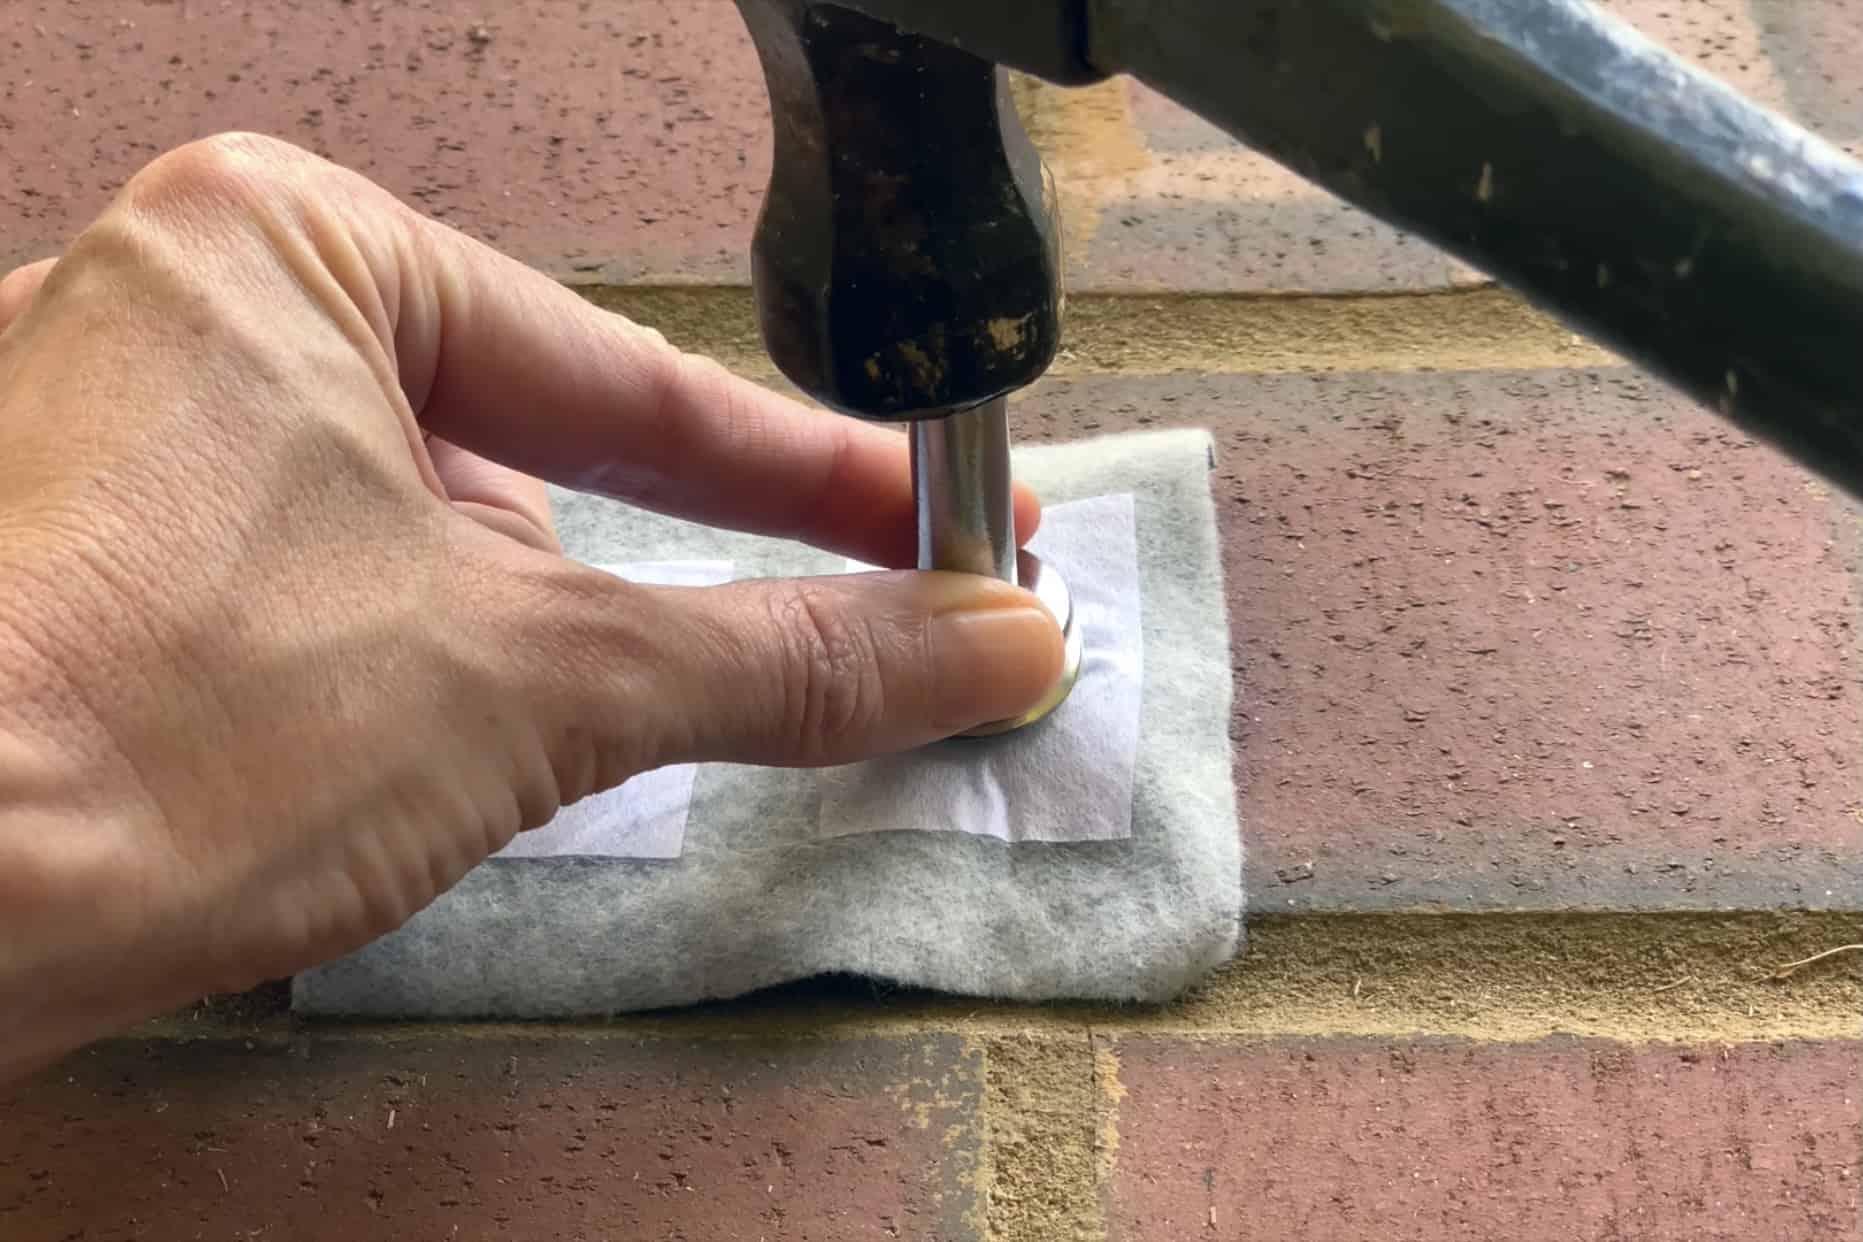
Set your grommet, face down, on top of the anvil and insert your setting tool in the post with the short end.

Give it a few good whacks with your hammer – four or five should do. As you are hammering, the post is actually folding down over the washer and securing it in place.

And that’s it! You’re ready to install your second grommet. You can feel how tight the fit is around your fabric. If it feels too loose, replace your setting tool and strike it with the hammer a couple more times.

Setting grommets is a wonderful garment-making skill to know and it will unleash even more creative possibilities in your future projects.

If there is any detail that I’ve left out of the written instructions, please do watch the video above. Feel free to reach out to me through the P4P Facebook Group, too. I’m happy to answer any questions you may have.

Until next time, happy sewing!

Rachel

Filed Under: Frequently Asked Questions, P4P University, Uncategorized 2 Comments

P4P University – Elastic

September 27, 2020

P4P University – Elastic 101


Hi,  I’m Dana one of the P4P team and I’m here today to talk all about elastic with you! We’ll be covering lots of different types of elastic that you may want to use in your sewing and showing your some examples of what they look like sewn up into finished garments, the times you may want to use them and the stitches I like to use to get the best finish.

To go alongside this blog post, I have filmed a video which you can find on the P4P You Tube channel here:

P4P University Elastics 101 Video

So, first things first, before you sew with any elastic there is one thing you will always want to do with it before you begin – exercise it!  Give it a good tug several times to make sure if it is going to stretch out it does it now and not after you have finished your garment.  There is nothing worse than something which fits great at first and then soon starts to get baggy.


Let’s introduce and cover off some types of elastic you are likely to encounter when home sewing:

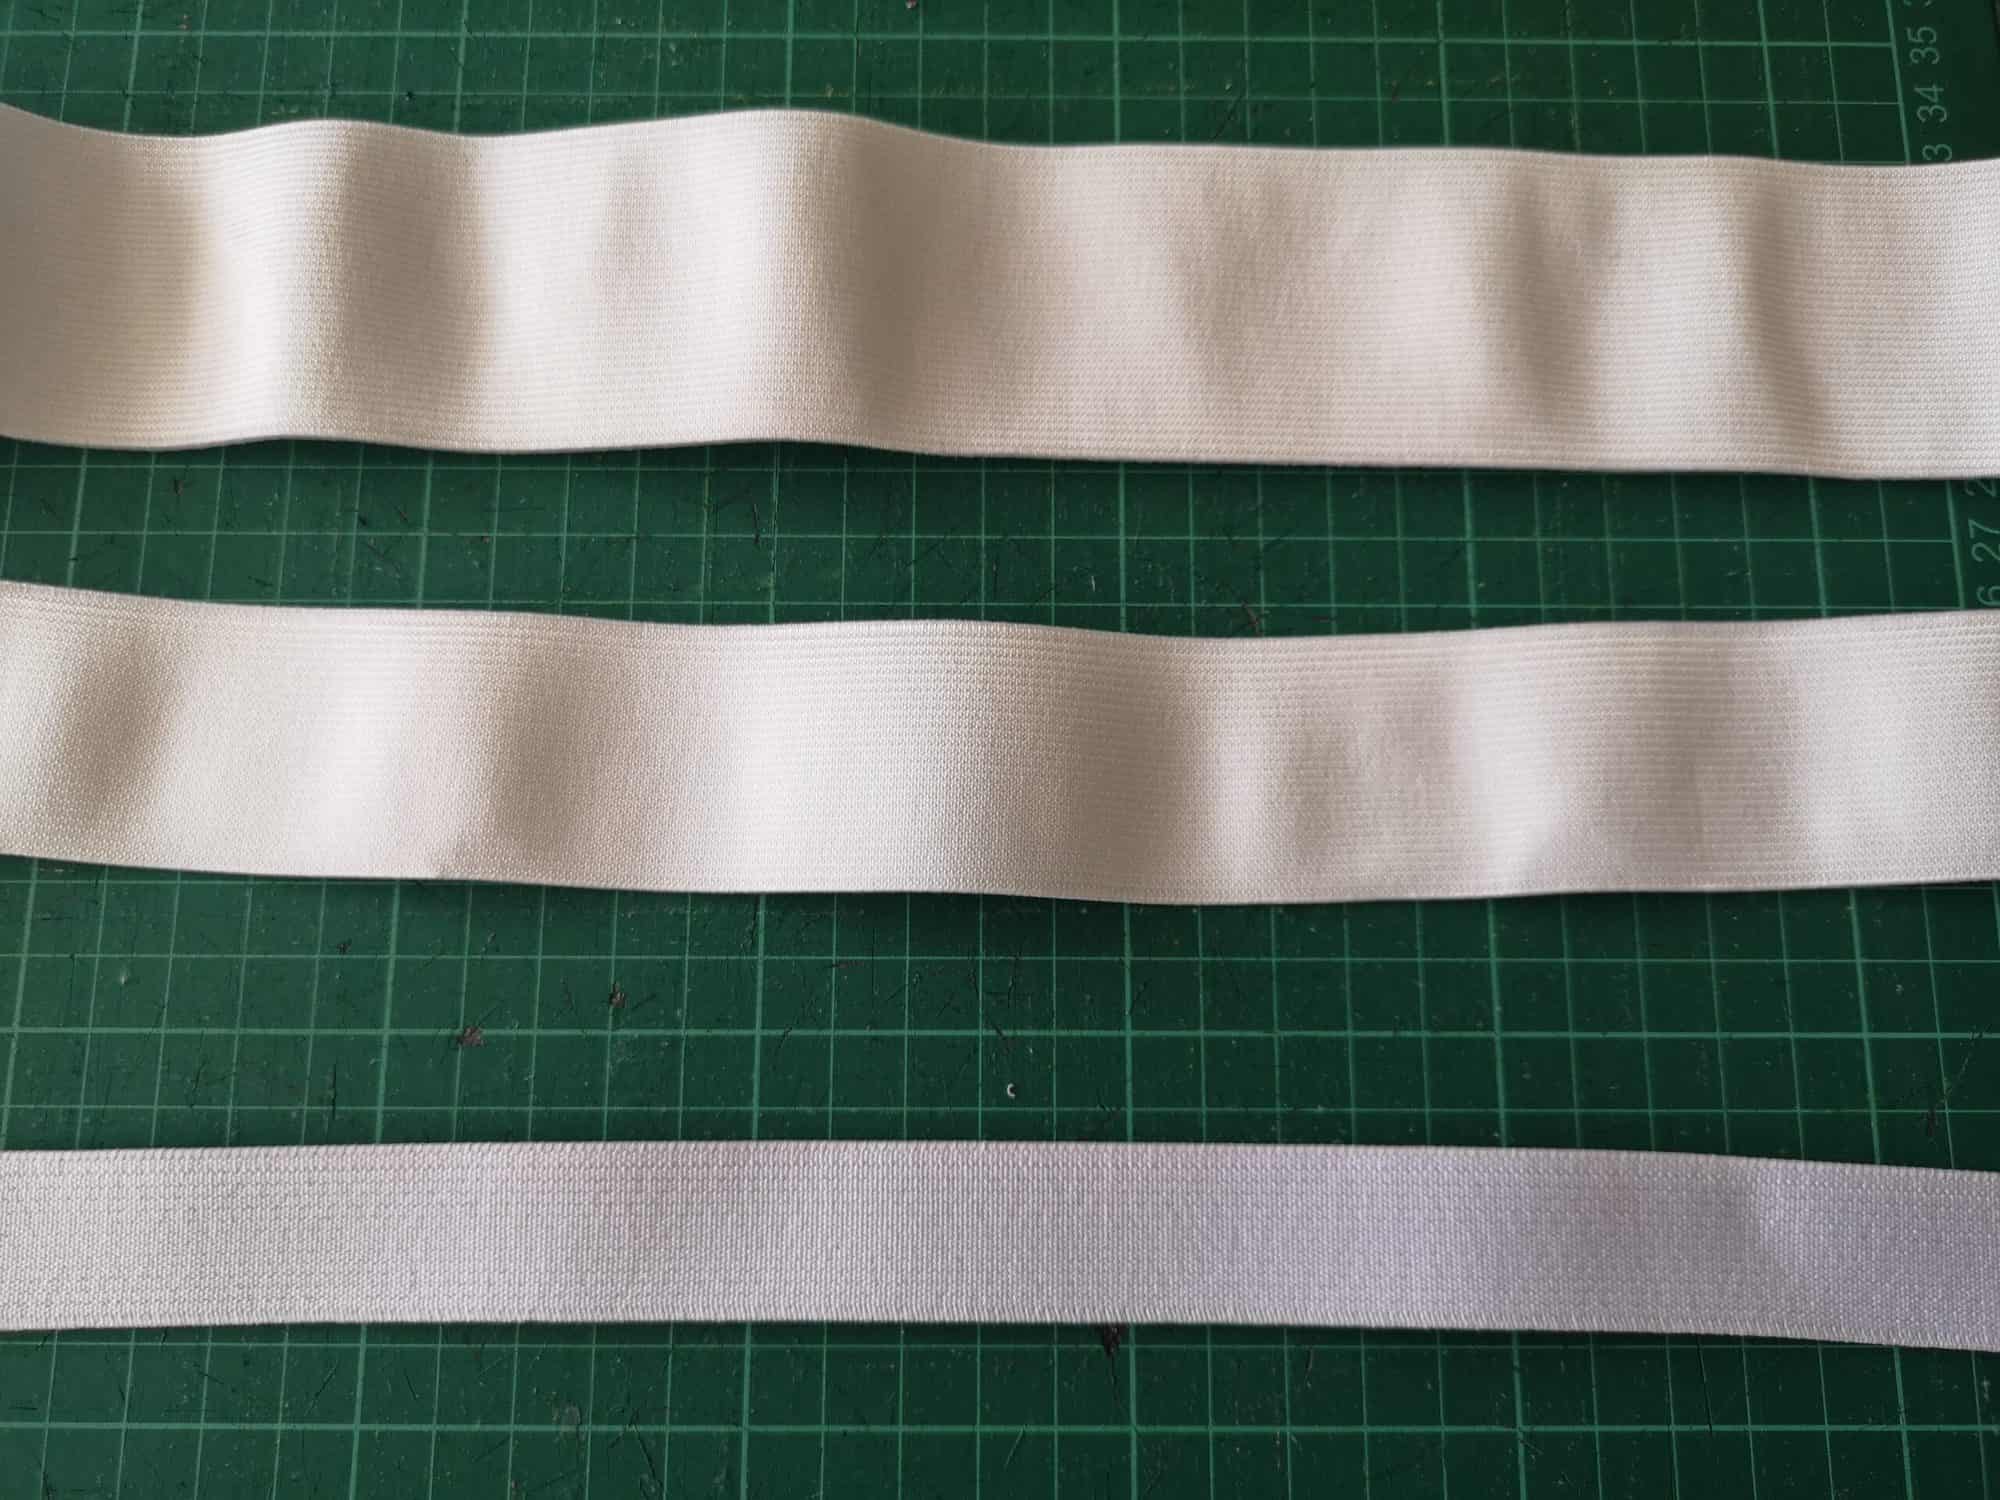
Regular Knit Elastic

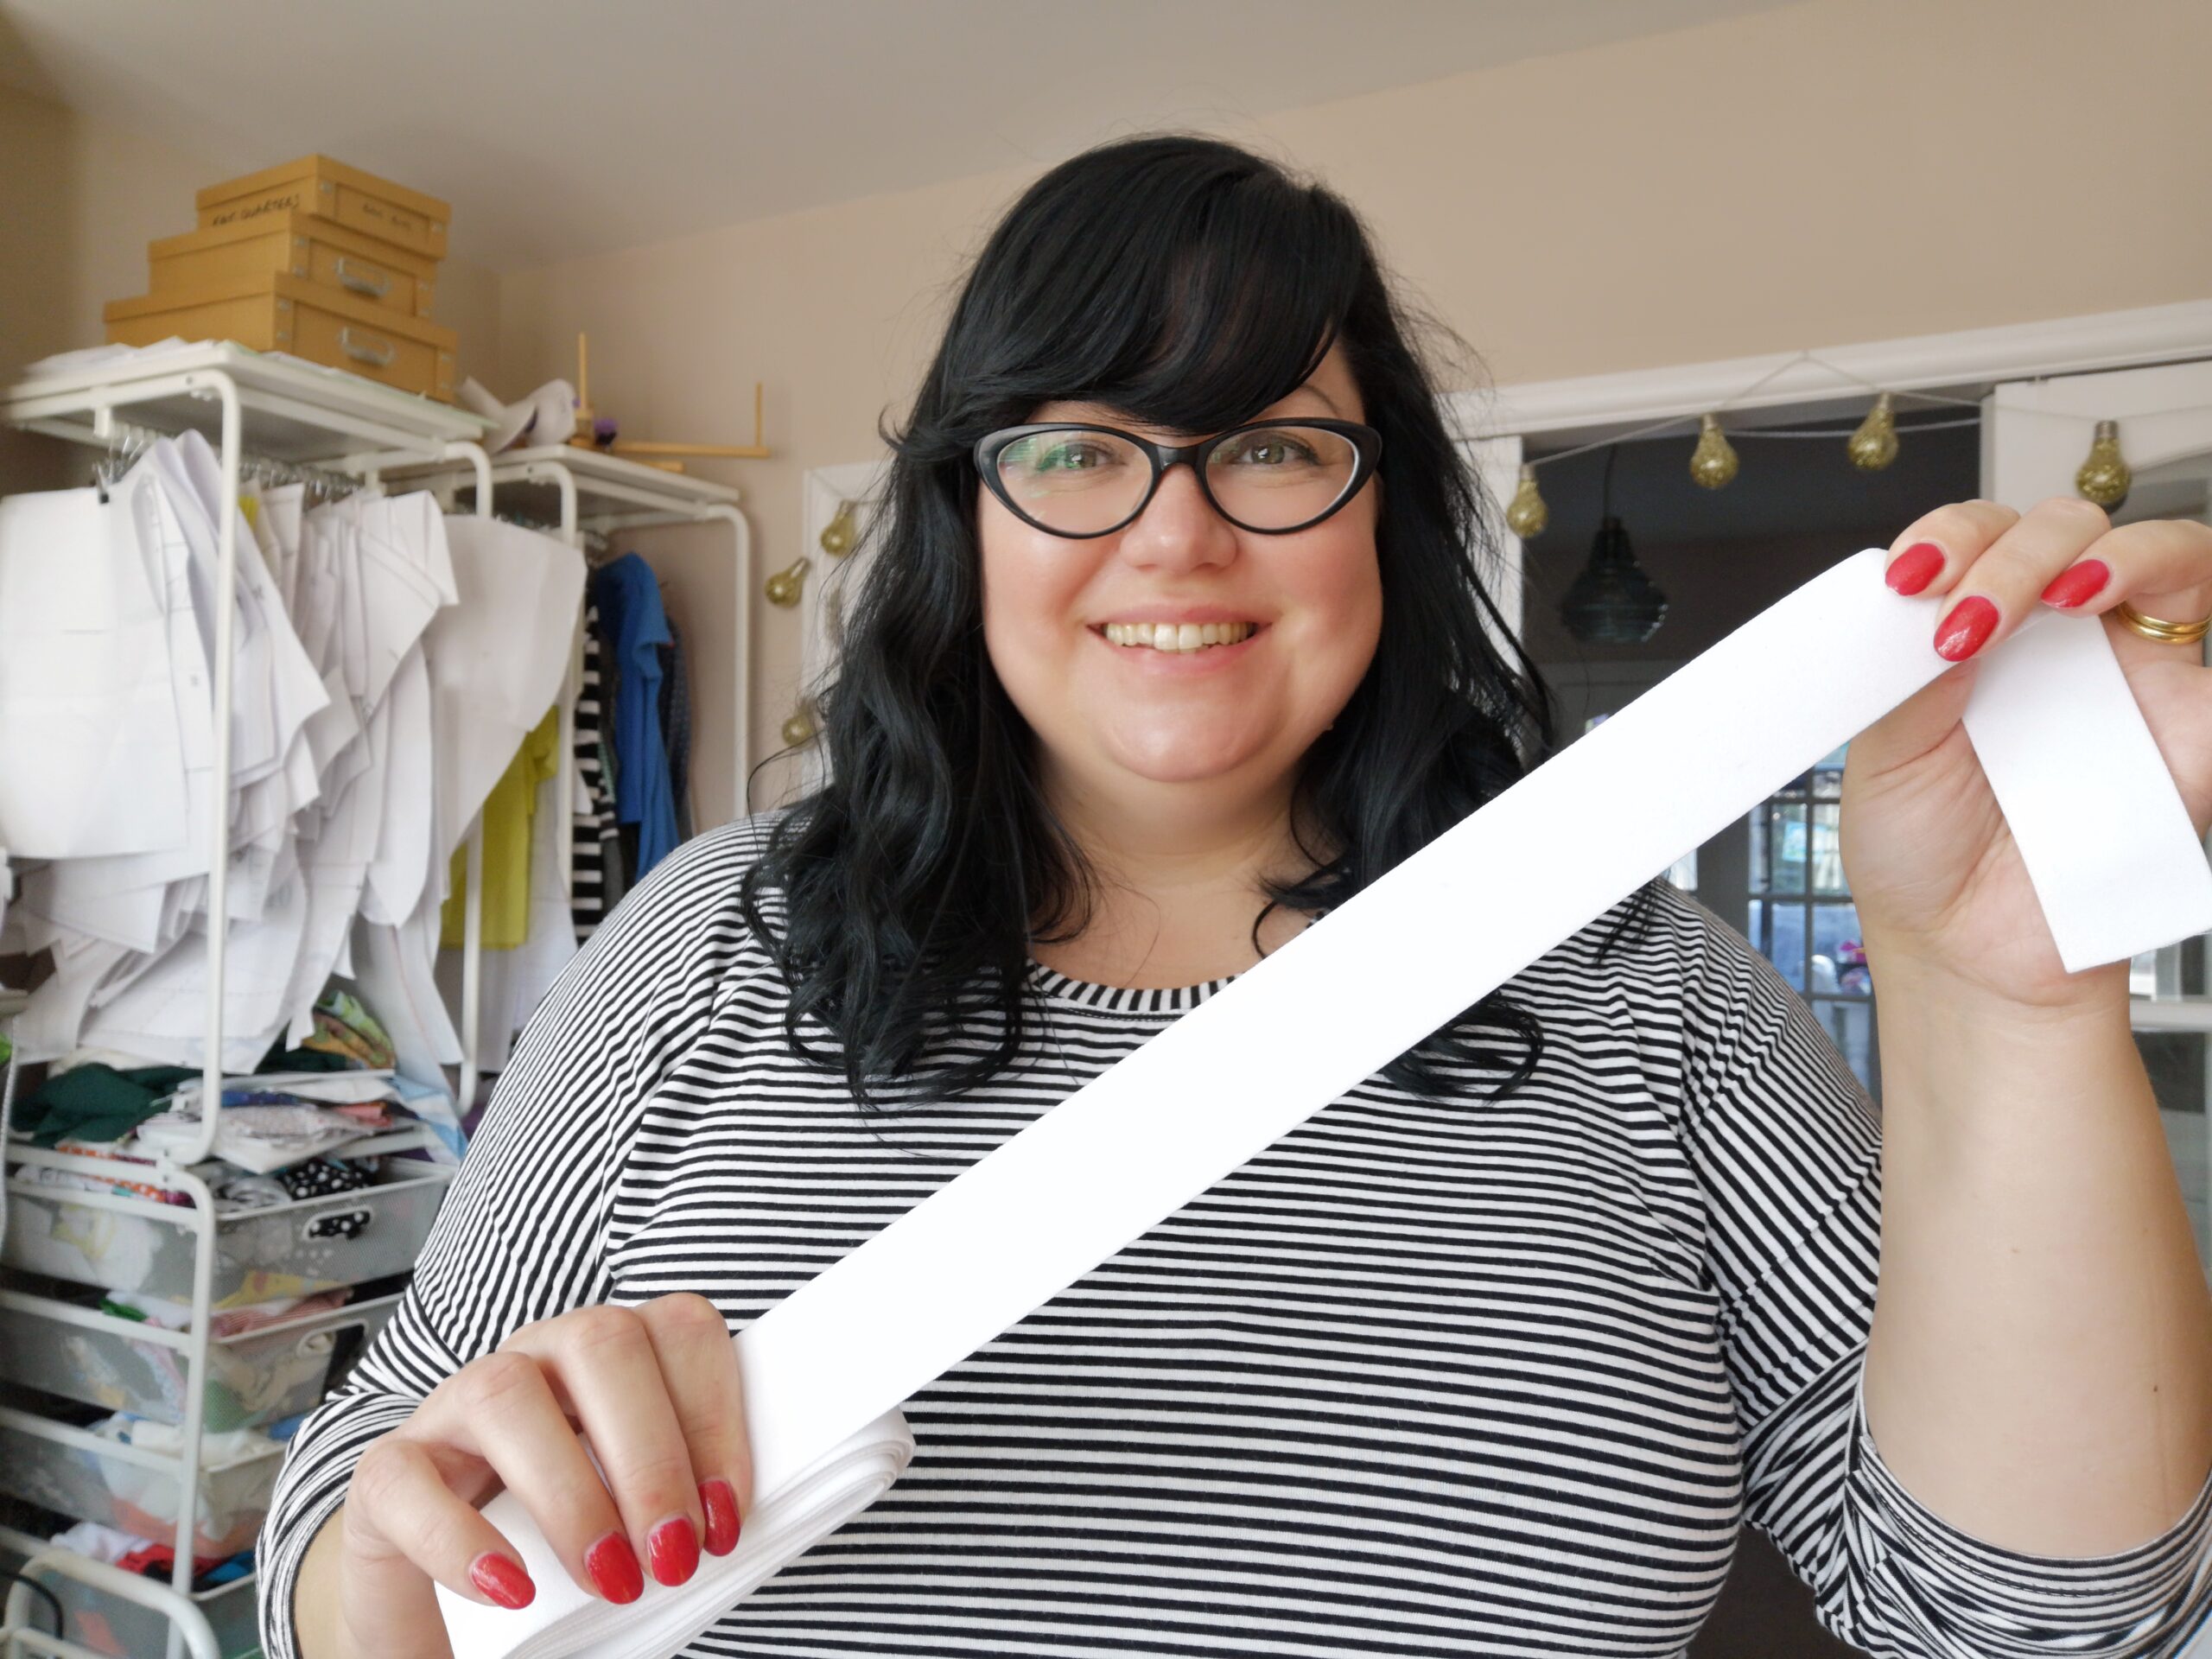
This comes in many different widths, depending on your need.  Pictured are 1″, 1.5″ and 2″ elastics.  Usually white or black in colour, I generally choose white because you can’t see it under lighter coloured fabrics.  This plain version is usually used for something like an enclosed elastic waistband, where the elastic is fed through a casing to form the waistband.  These SOS Pants have an enclosed elastic waistband.  It makes for a soft and comfortable to wear garment.

SOS Pants with enclosed elastic waistband

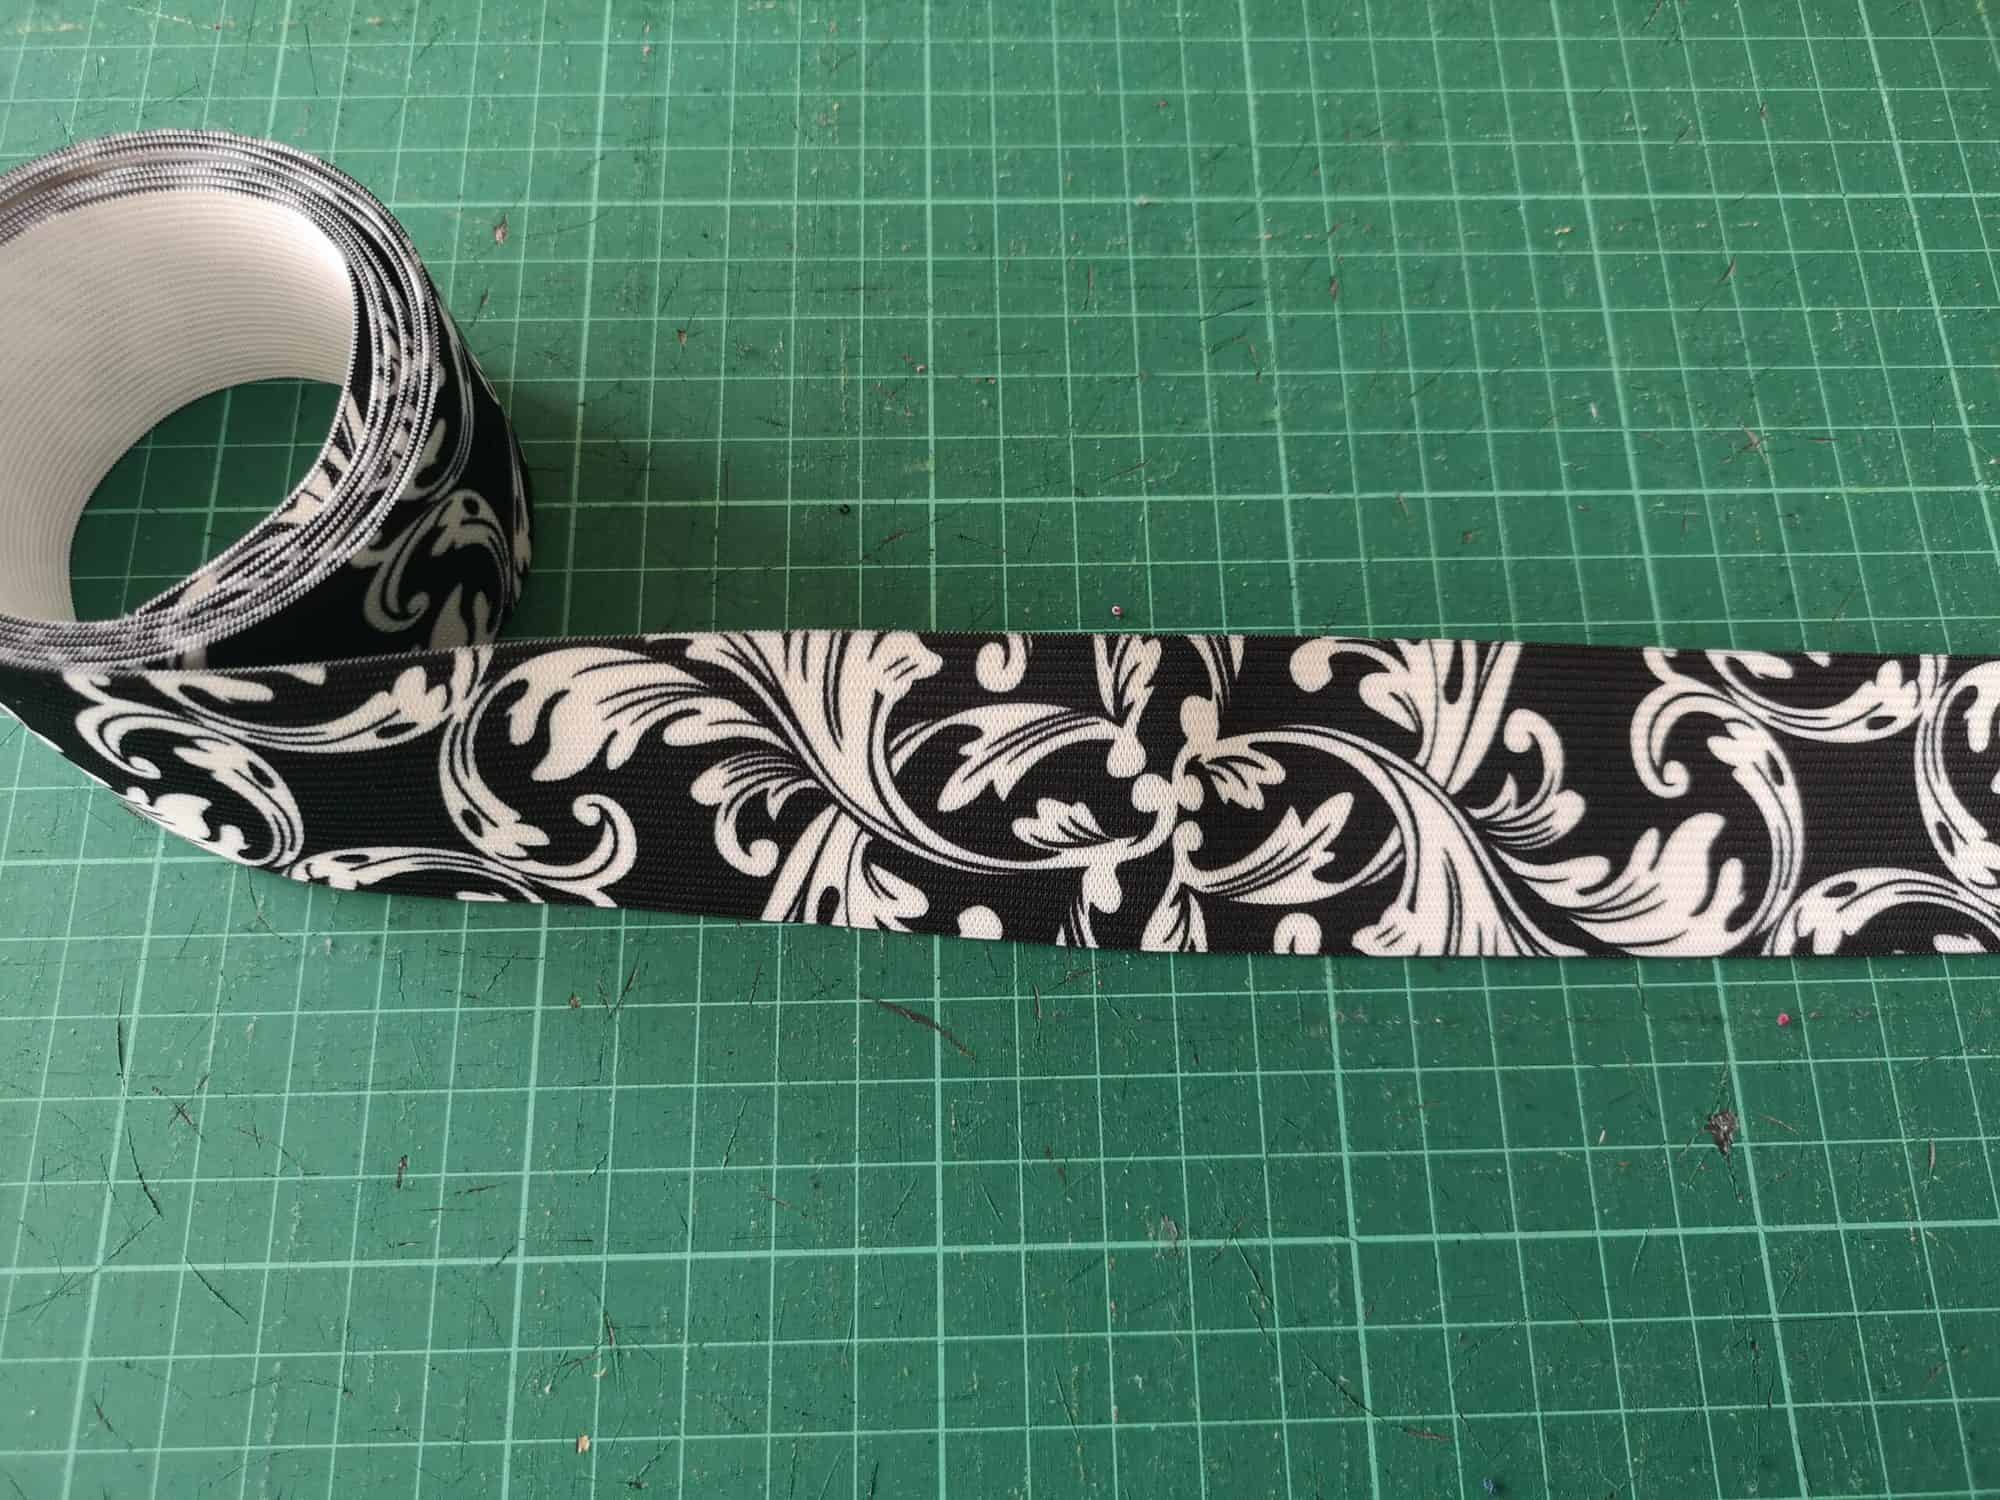
However, you can also find patterned elastics, like this:

Patterned Knit Elastic

and these can be used as a waistband in their own right, just by top stitching in place of a casing.  Super quick and easy way to finish a skirt or pair of shorts!  Just wrap around your waist and cut to size, then butt the short ends and zig zag stitch together to form a loop. Quarter the elastic, quarter the top of the garment and sew right on.

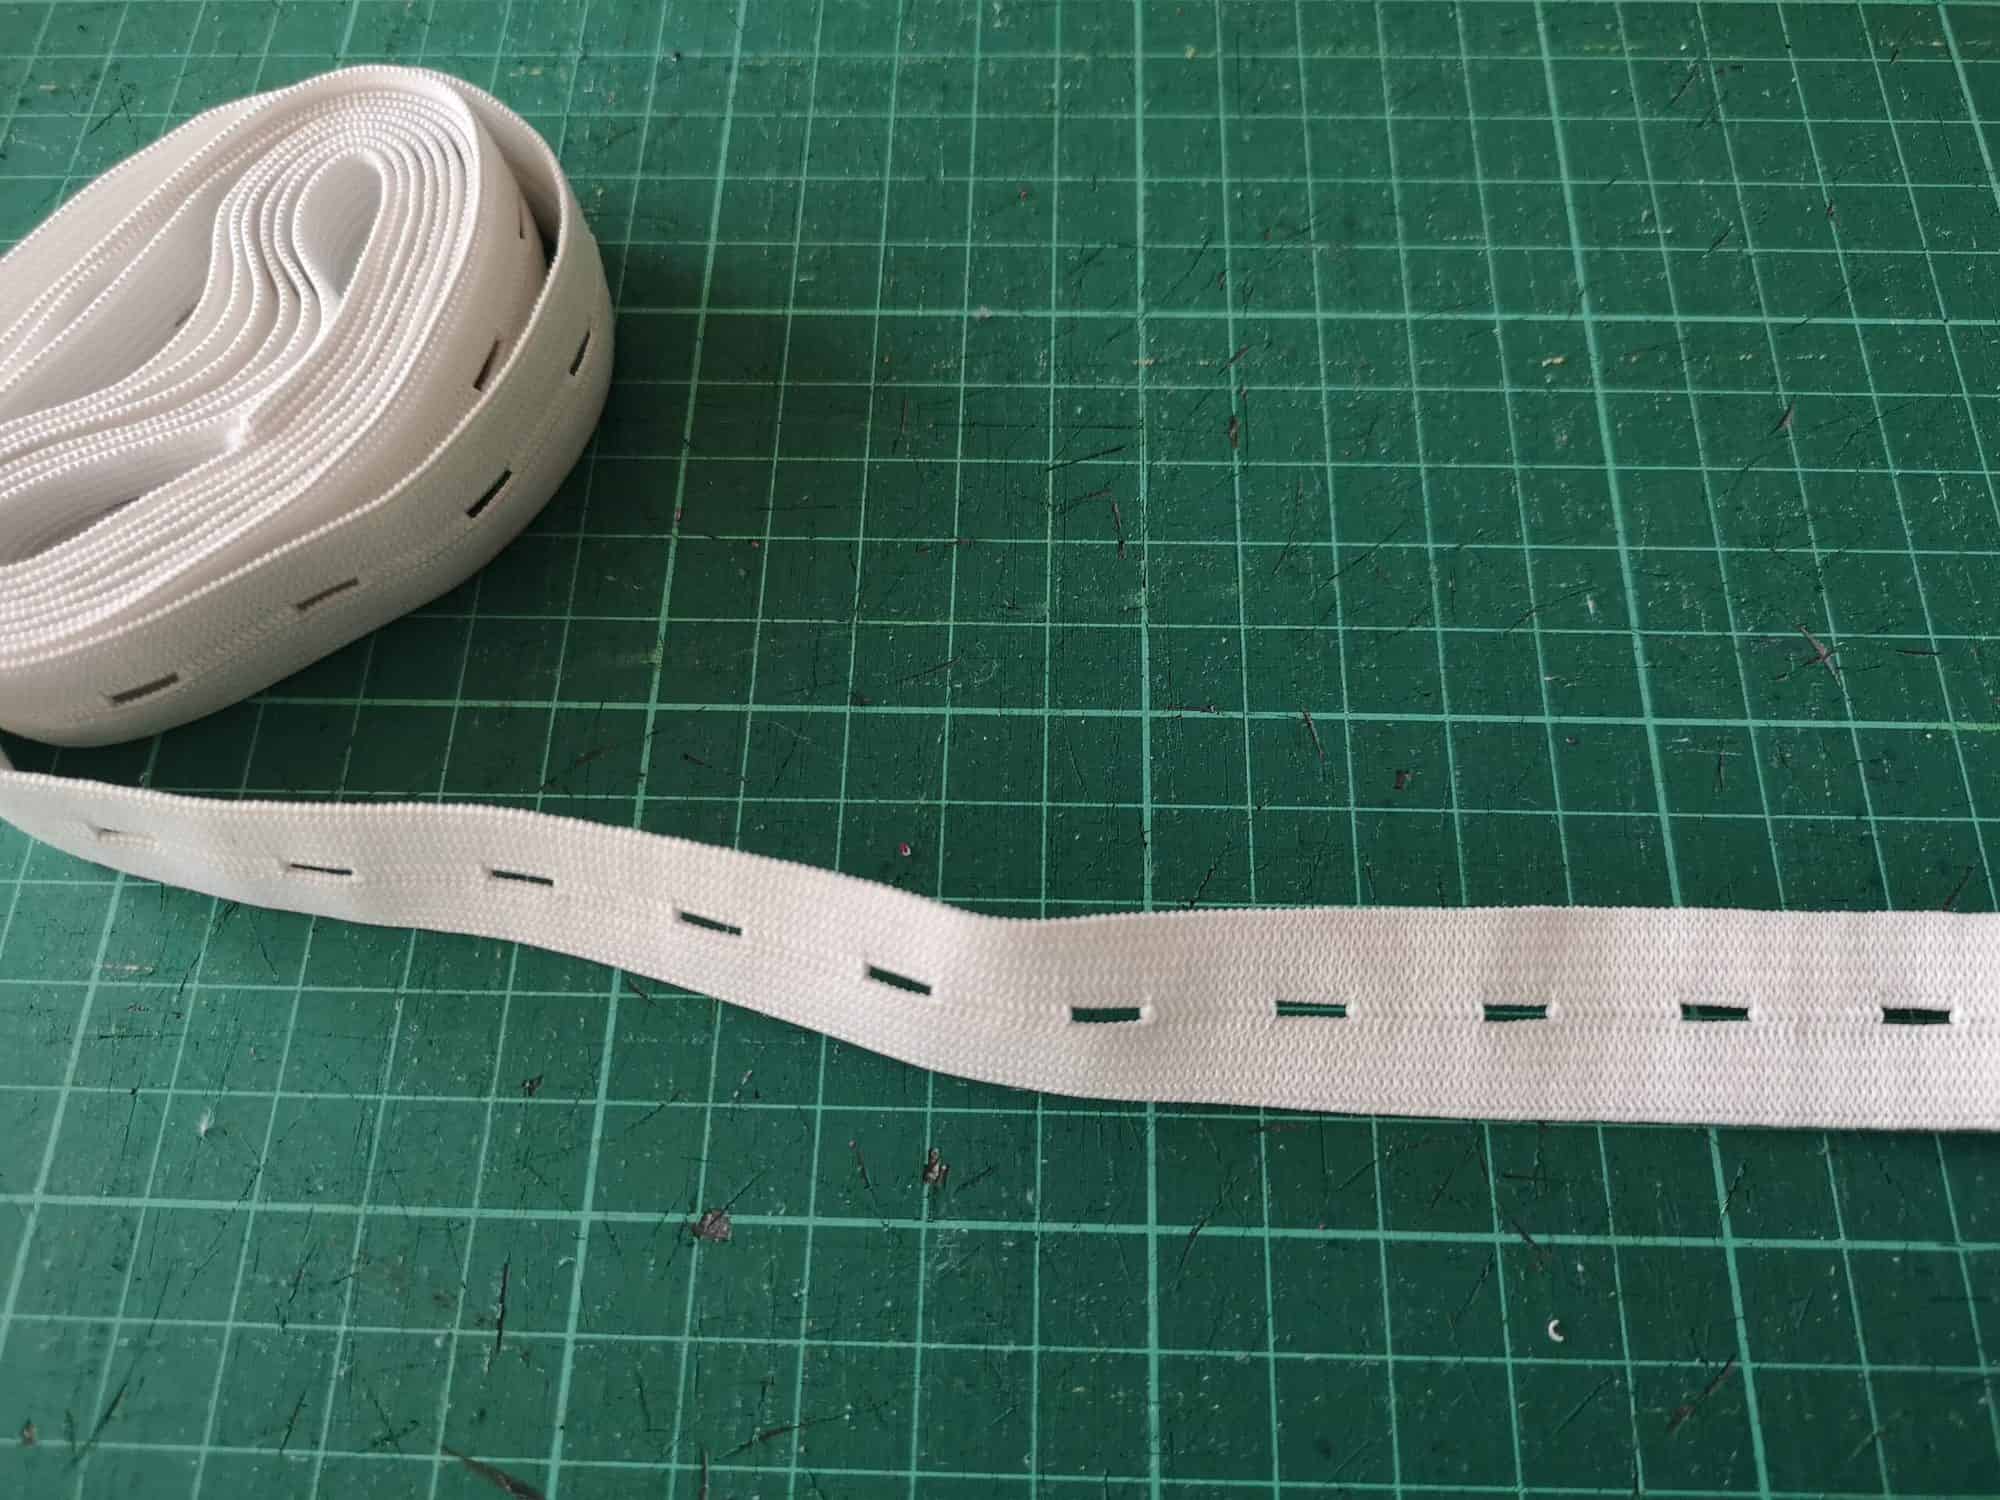
Buttonhole Elastic

This is great if you have small people that keep shooting up overnight, like me! You can use it in a waistband secured with a button, and then unbutton it as they grow.  Great for things with lots of ease drafted in, like the Walk The Planks.  Just remember to cut it a little longer than needed when you first sew it in so you have room to lengthen it.

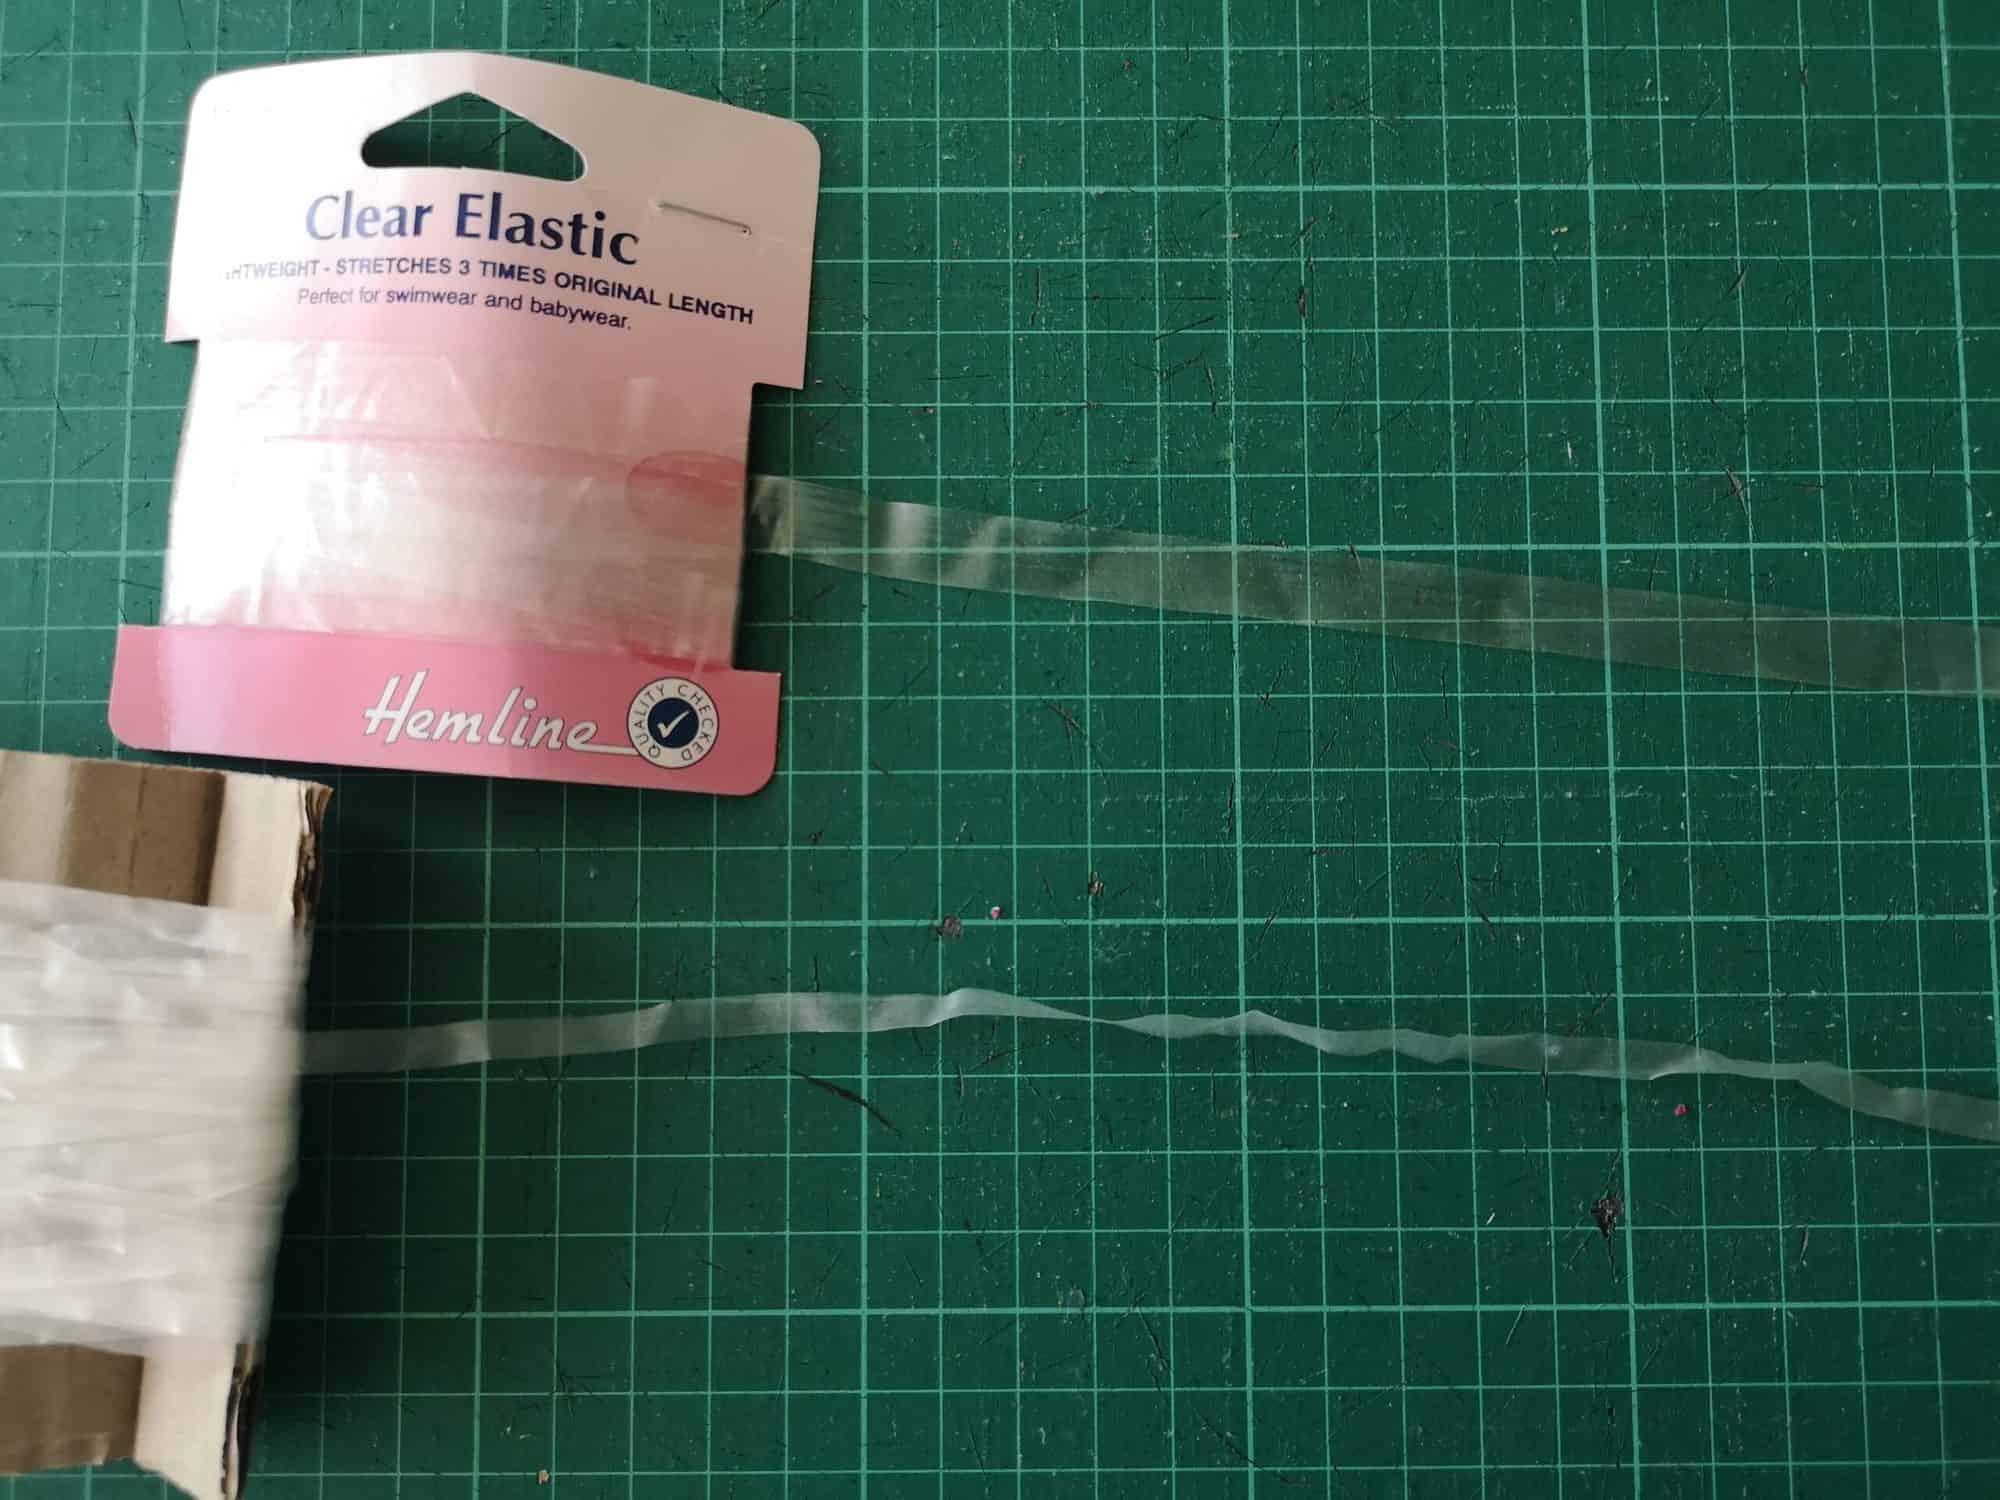
Clear Elastic

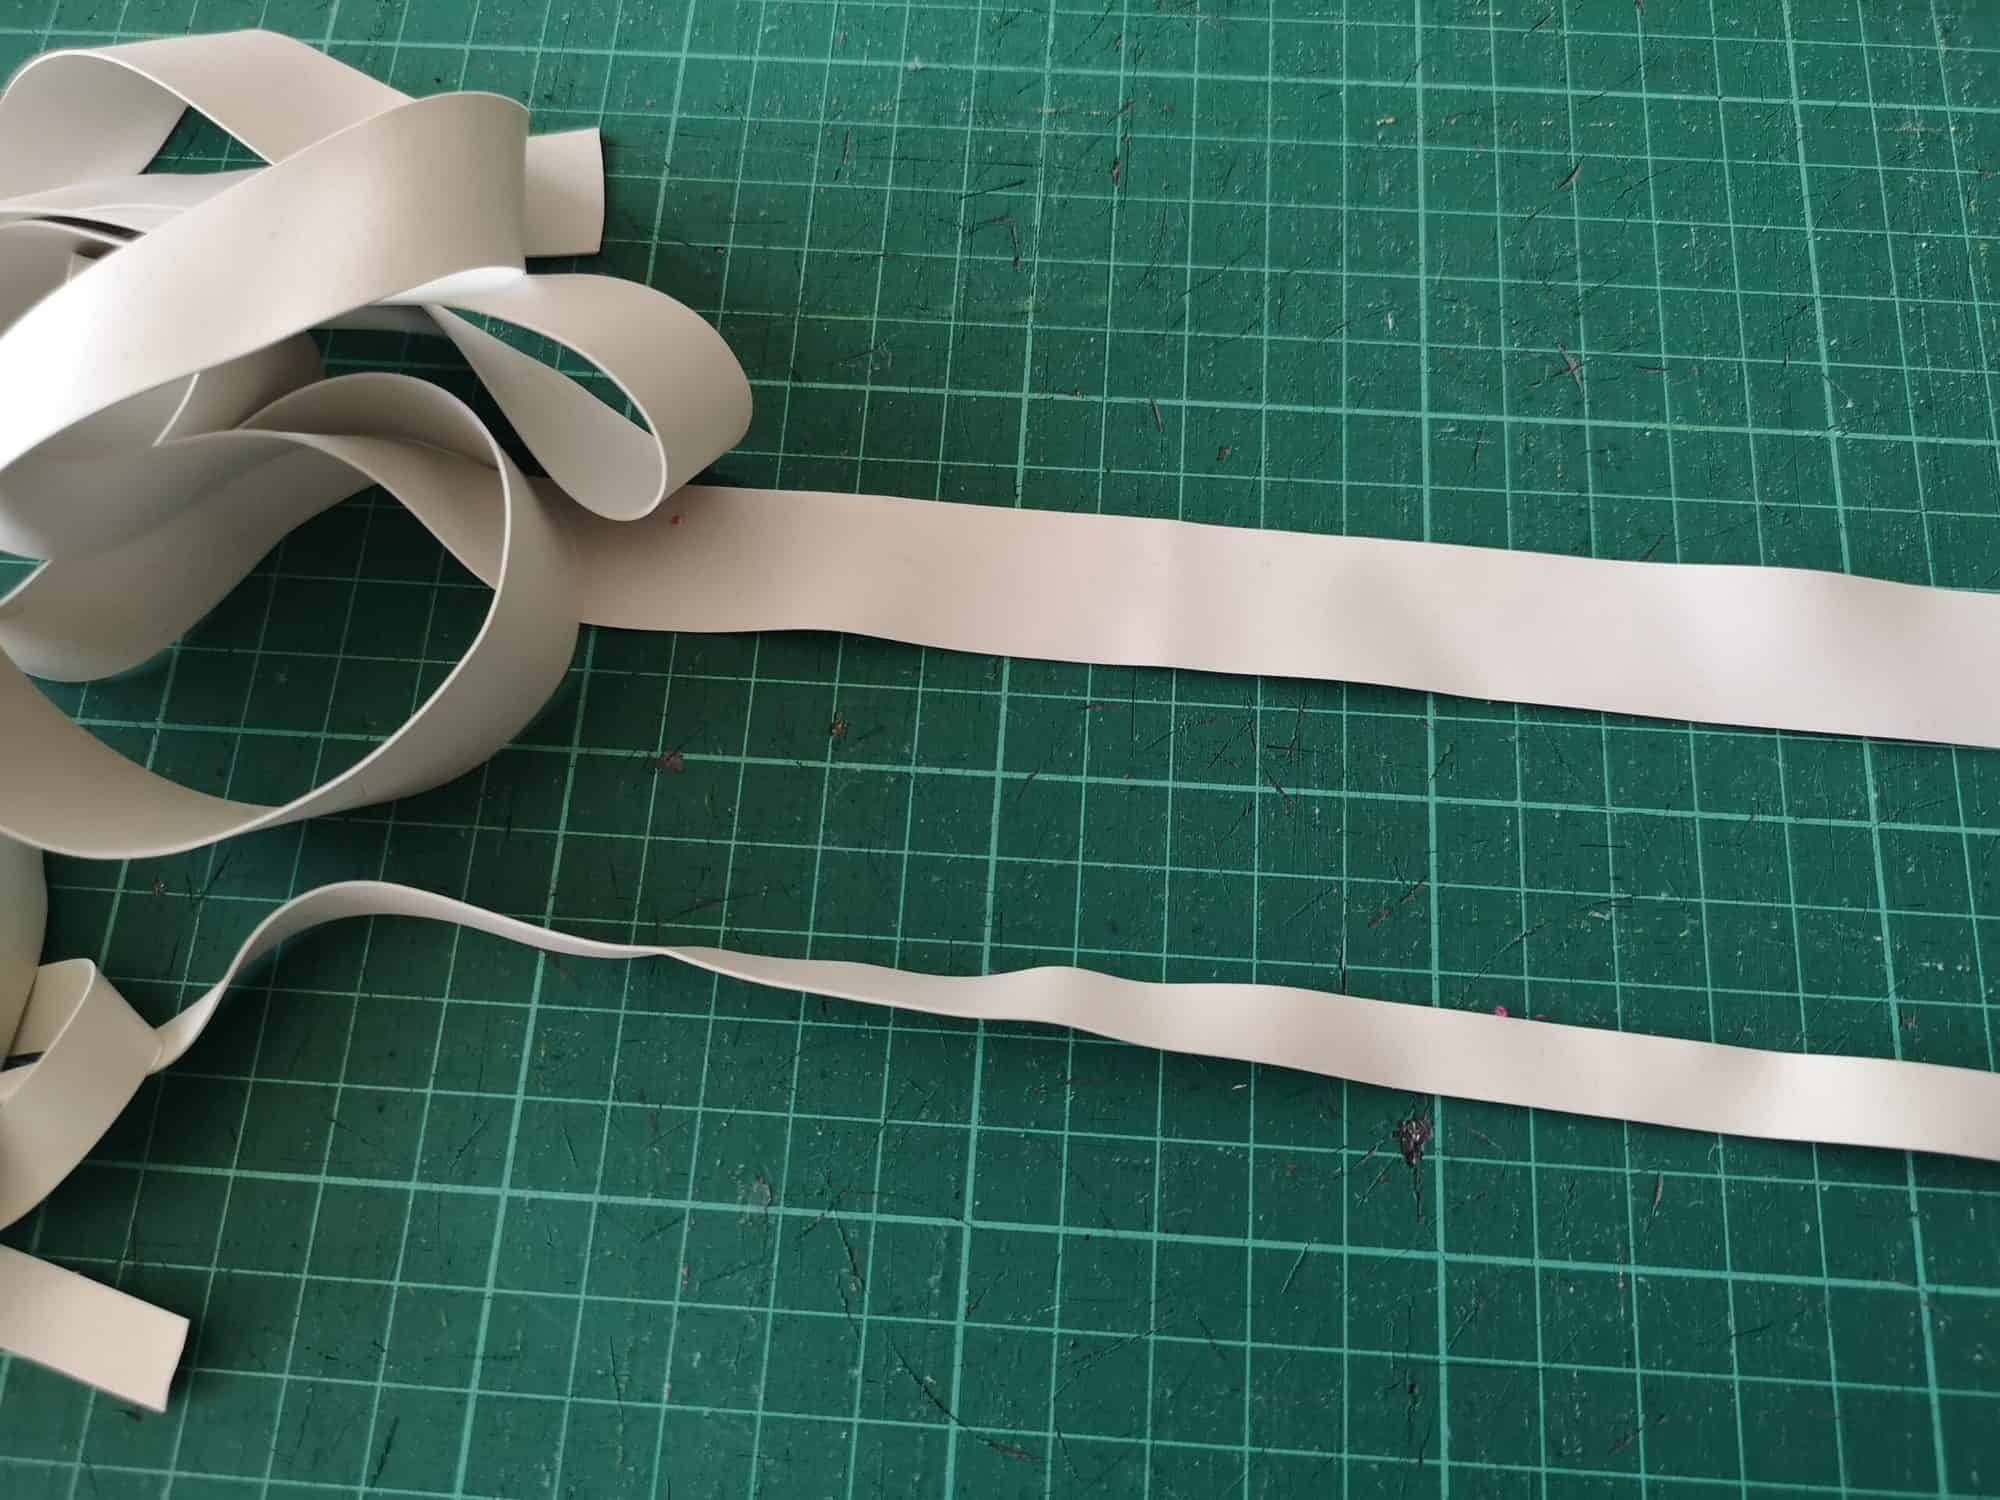
Clear Elastic is one of the things I had never heard of before I started sewing and now it’s the thing I use the most.  I use it for gathering skirts to fit bodices, like the Sweetheart Dress; for stabilizing shoulder seams on lightweight stretchy fabrics like rayon spandex, that have a tendency to grow otherwise; for adding ruching; and for adding extra strength to the seams of stretch fabrics under pressure, like in a sports bra, where it just serge it right on when sewing the seam itself.  Again this comes in different widths, pictures is 3/8″ and 1/4″.

Swim Elastic

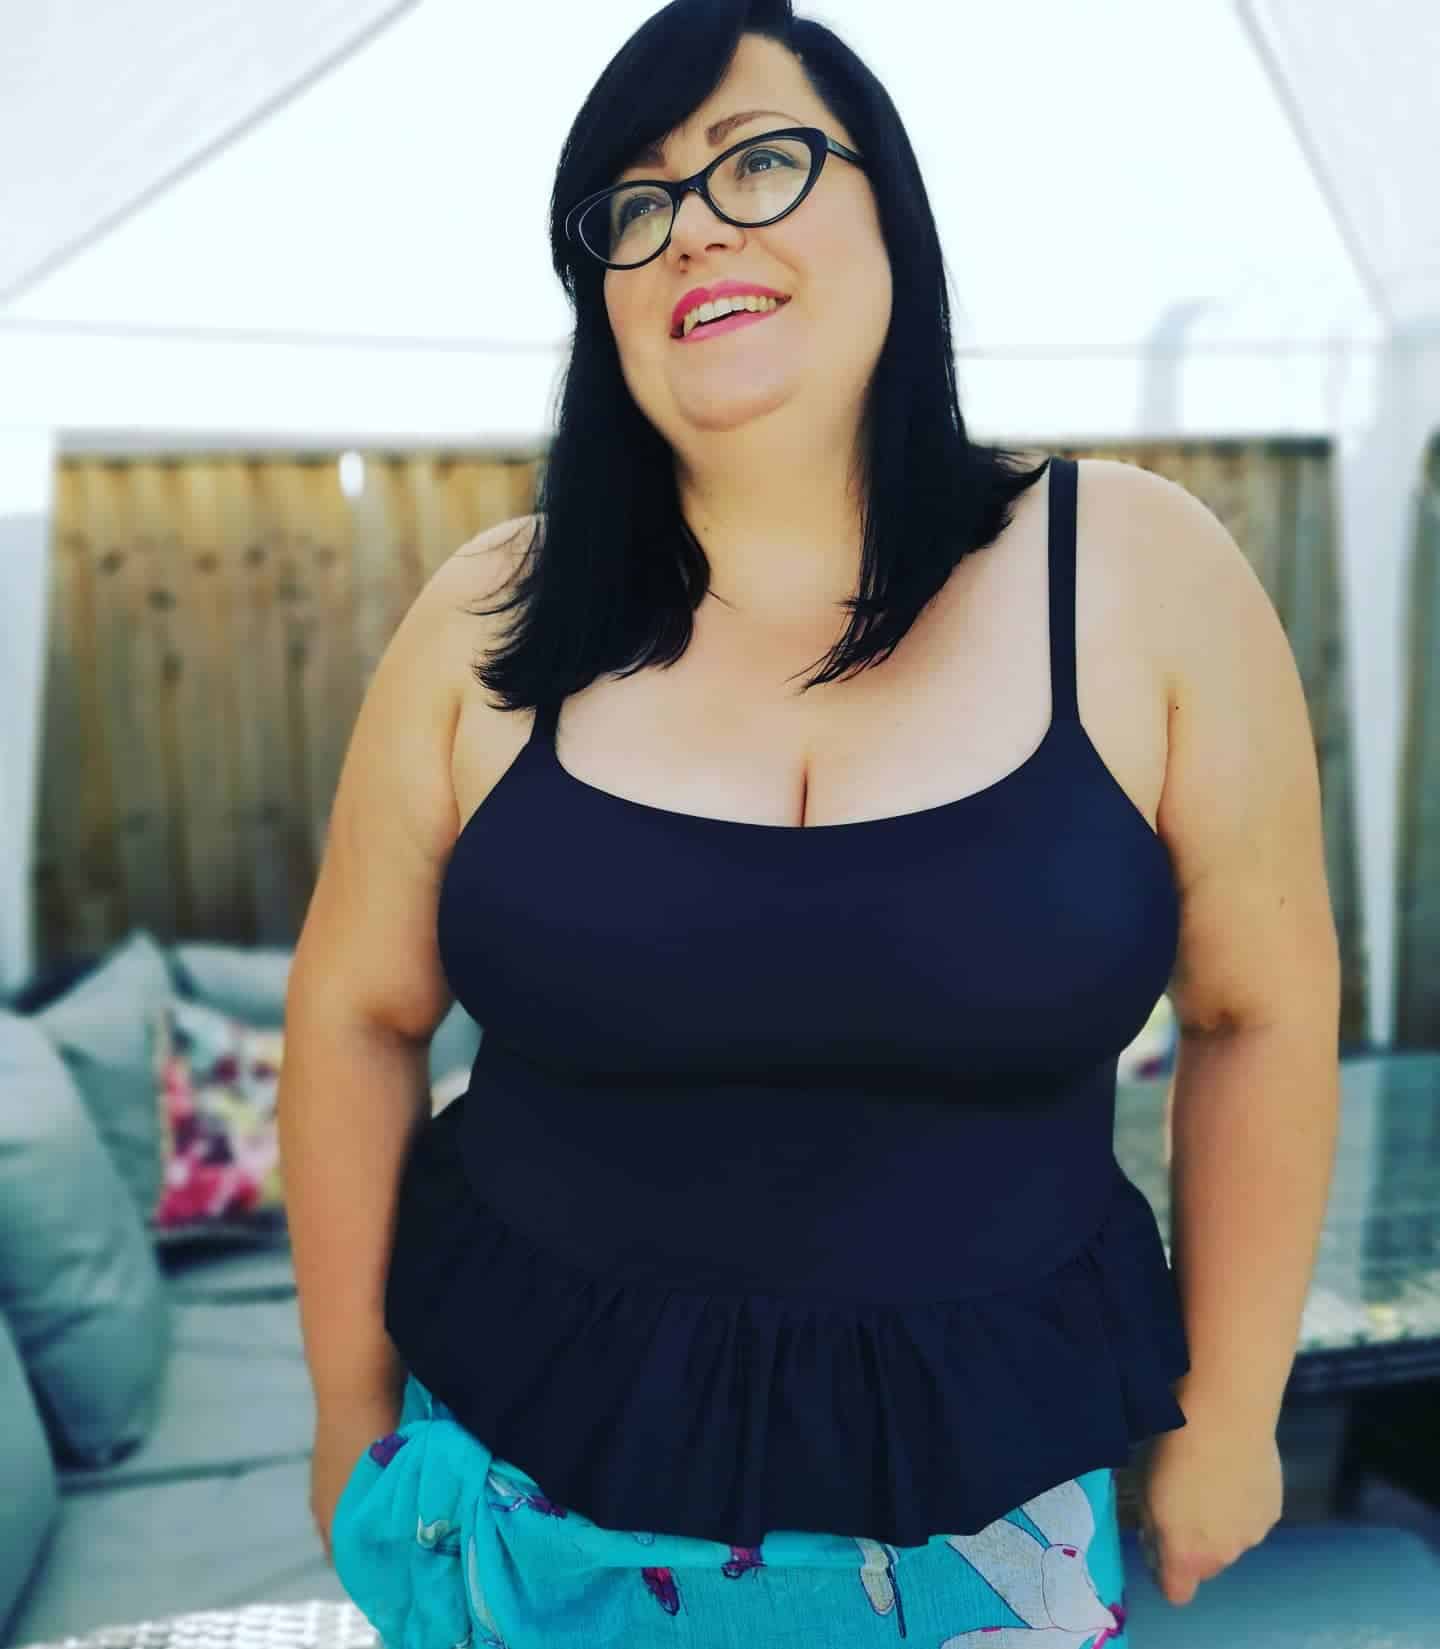
As it’s name suggests Swim Elastic is used in swimwear.  Regular elastic can perish under the combined attack of both strong sunlight and chlorine, so it is best to use this type of elastic in swimwear to ensure it stands up to the test of time.  I often use clear elastic in swimwear too, both work fine, you just don’t want to use a regular knit elastic because when your pull your swimsuit out after a winter in storage you will probably find that the elastic has perished and lost all it stretch. If you’re going to take all that time to make a custom swim suit, you may aswell try and make sure it lasts.

Sunflower Swim Top

I used several different widths of swim elastic in this Sunflower Swim Top to get the best fit for me, including 3/8″, 1/2″ and 1″.

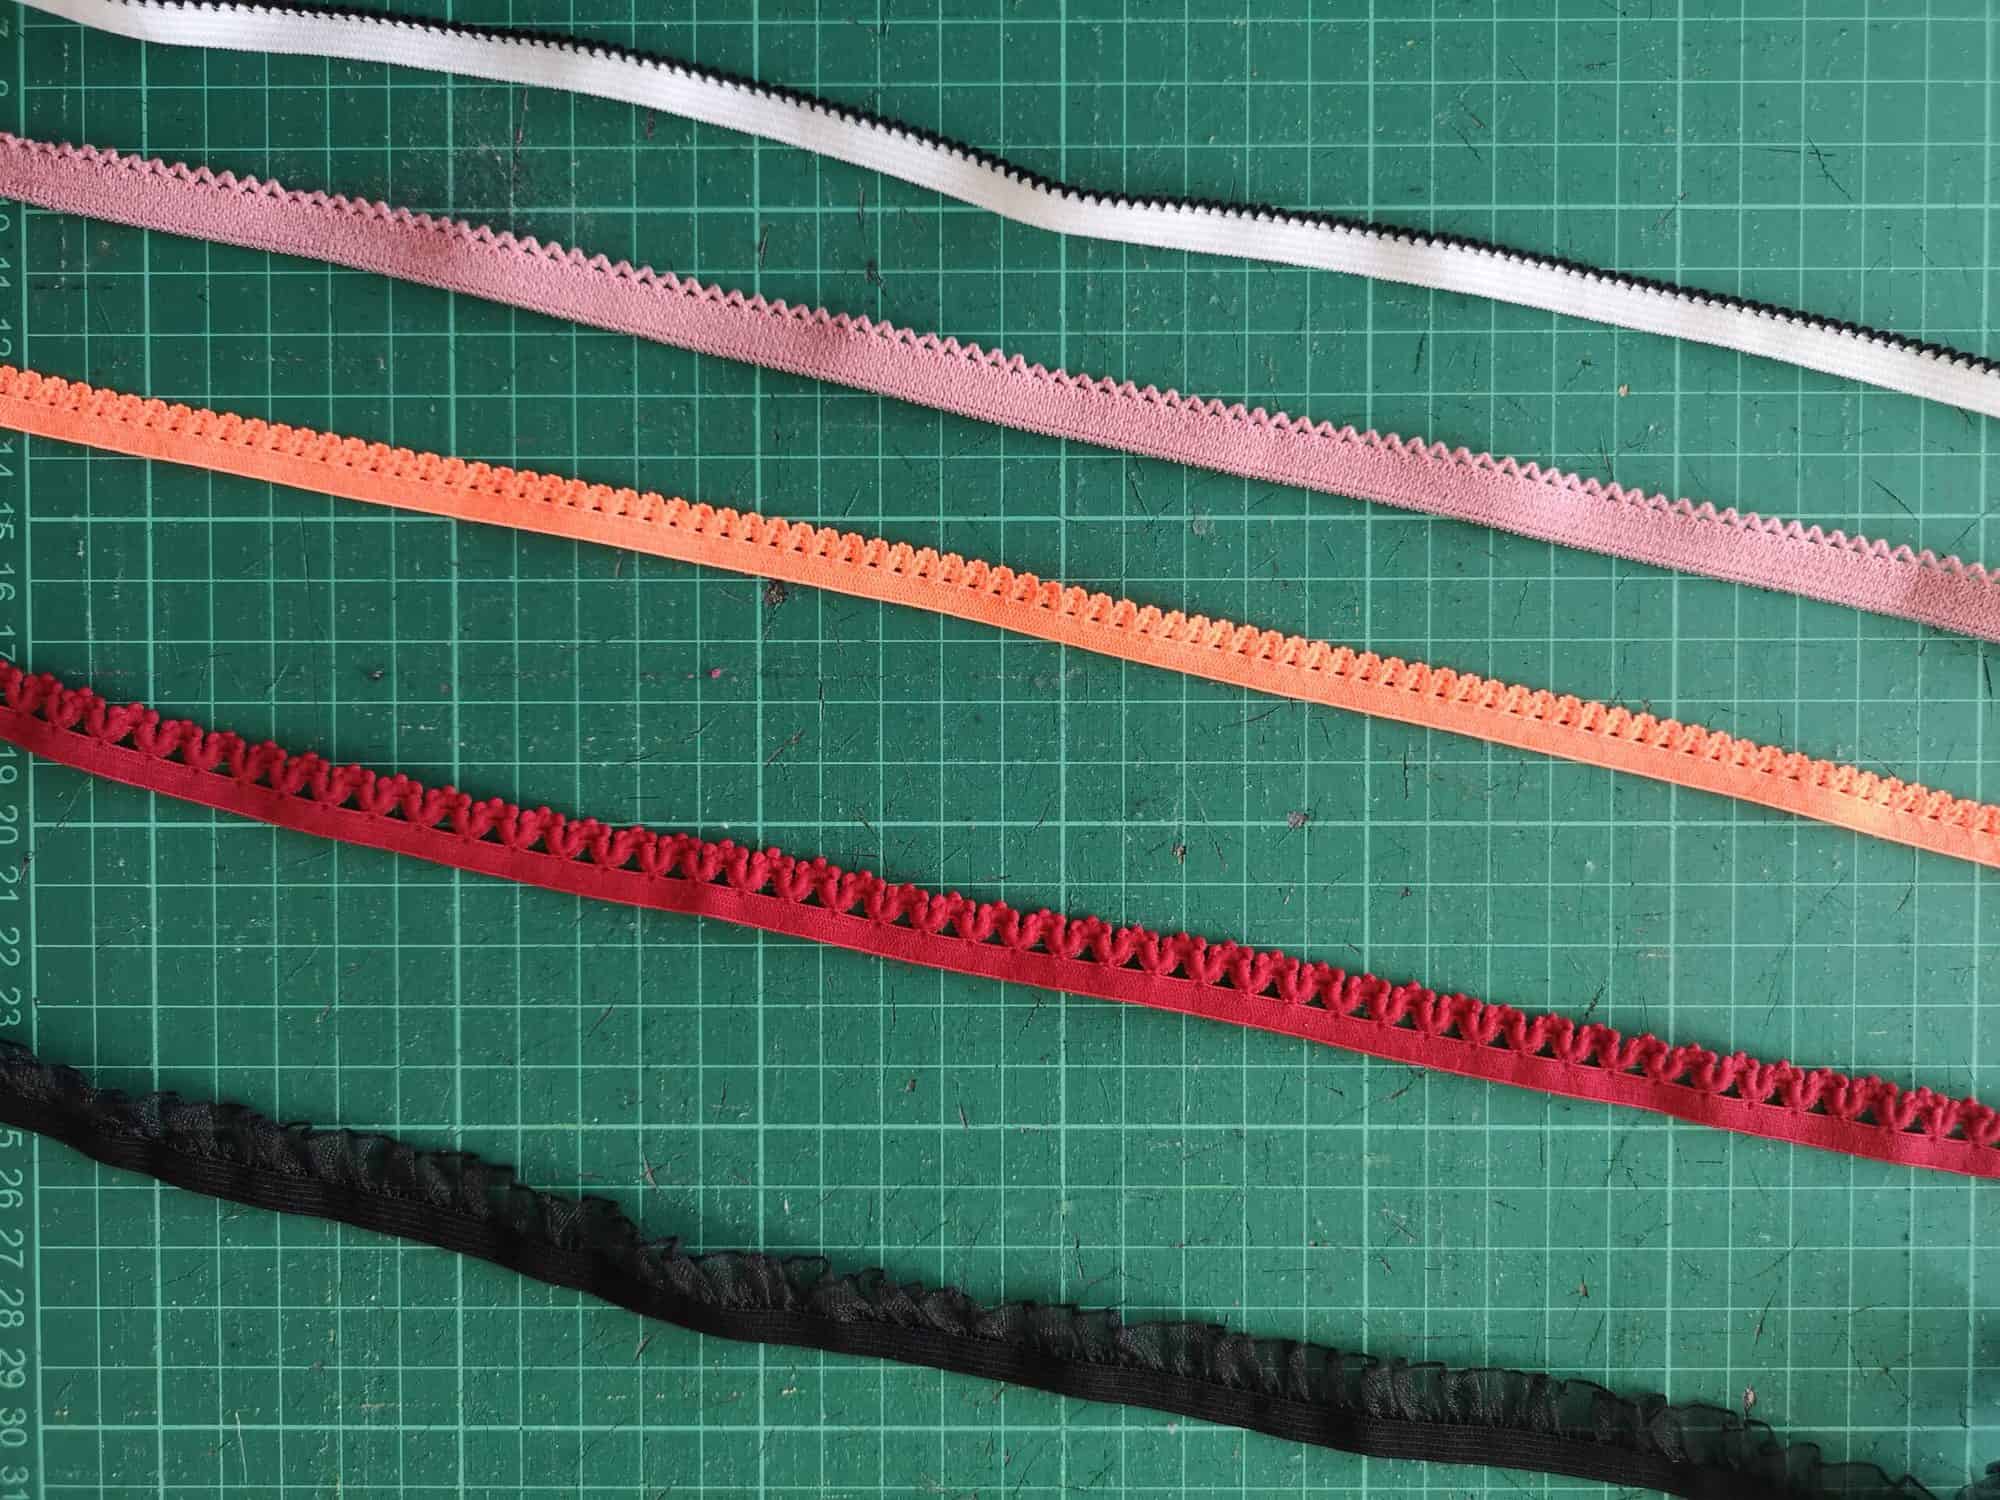
Picot Elastic

Picot Elastic is often thought of as a lingerie elastic, and it’s great for that but I think it’s also really pretty when used to finish the neckline and sleeves of a dress, where you just see the little picots popping out from the inside.

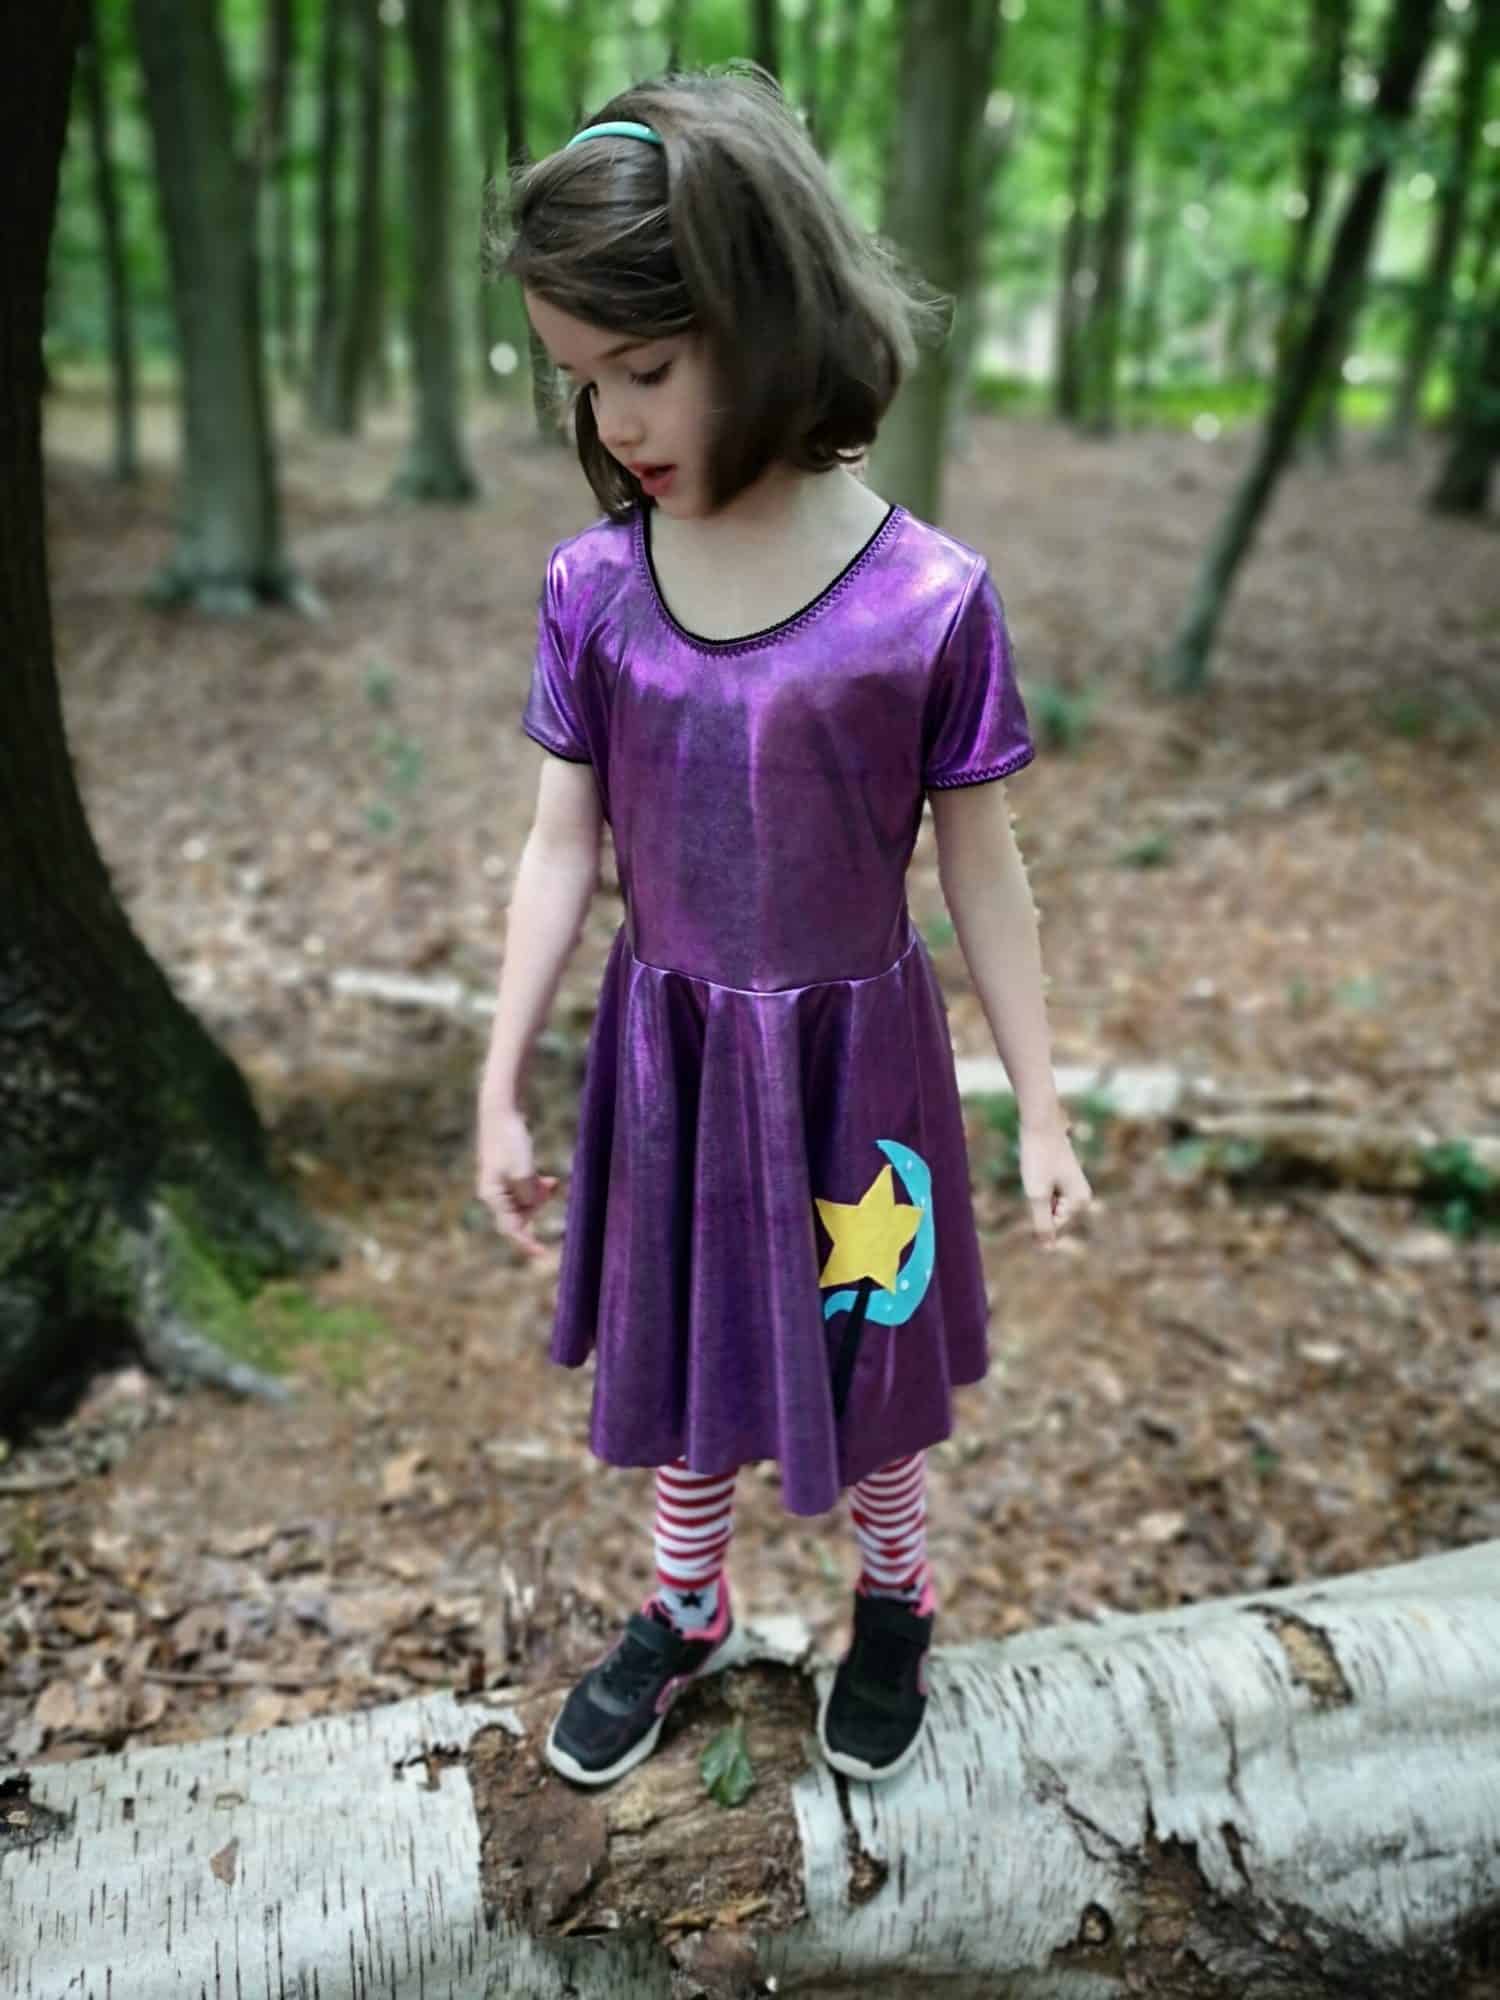
Me Hearties Dress

I used picot to finish the neckline and sleeves of this Trixie Lulamoon dress I made for my daughter’s birthday using the Me Hearties Dress pattern.  I just serged it on right sides together, flipped it down to the inside and then top stitched it with a triple zig zag stitch.  This is my favourite stitch for top stitching elastic because it is a really great stretchy stitch but it is also quite a wide stitch and that helps stop the elastic from flipping up.

Fold Over Elastic

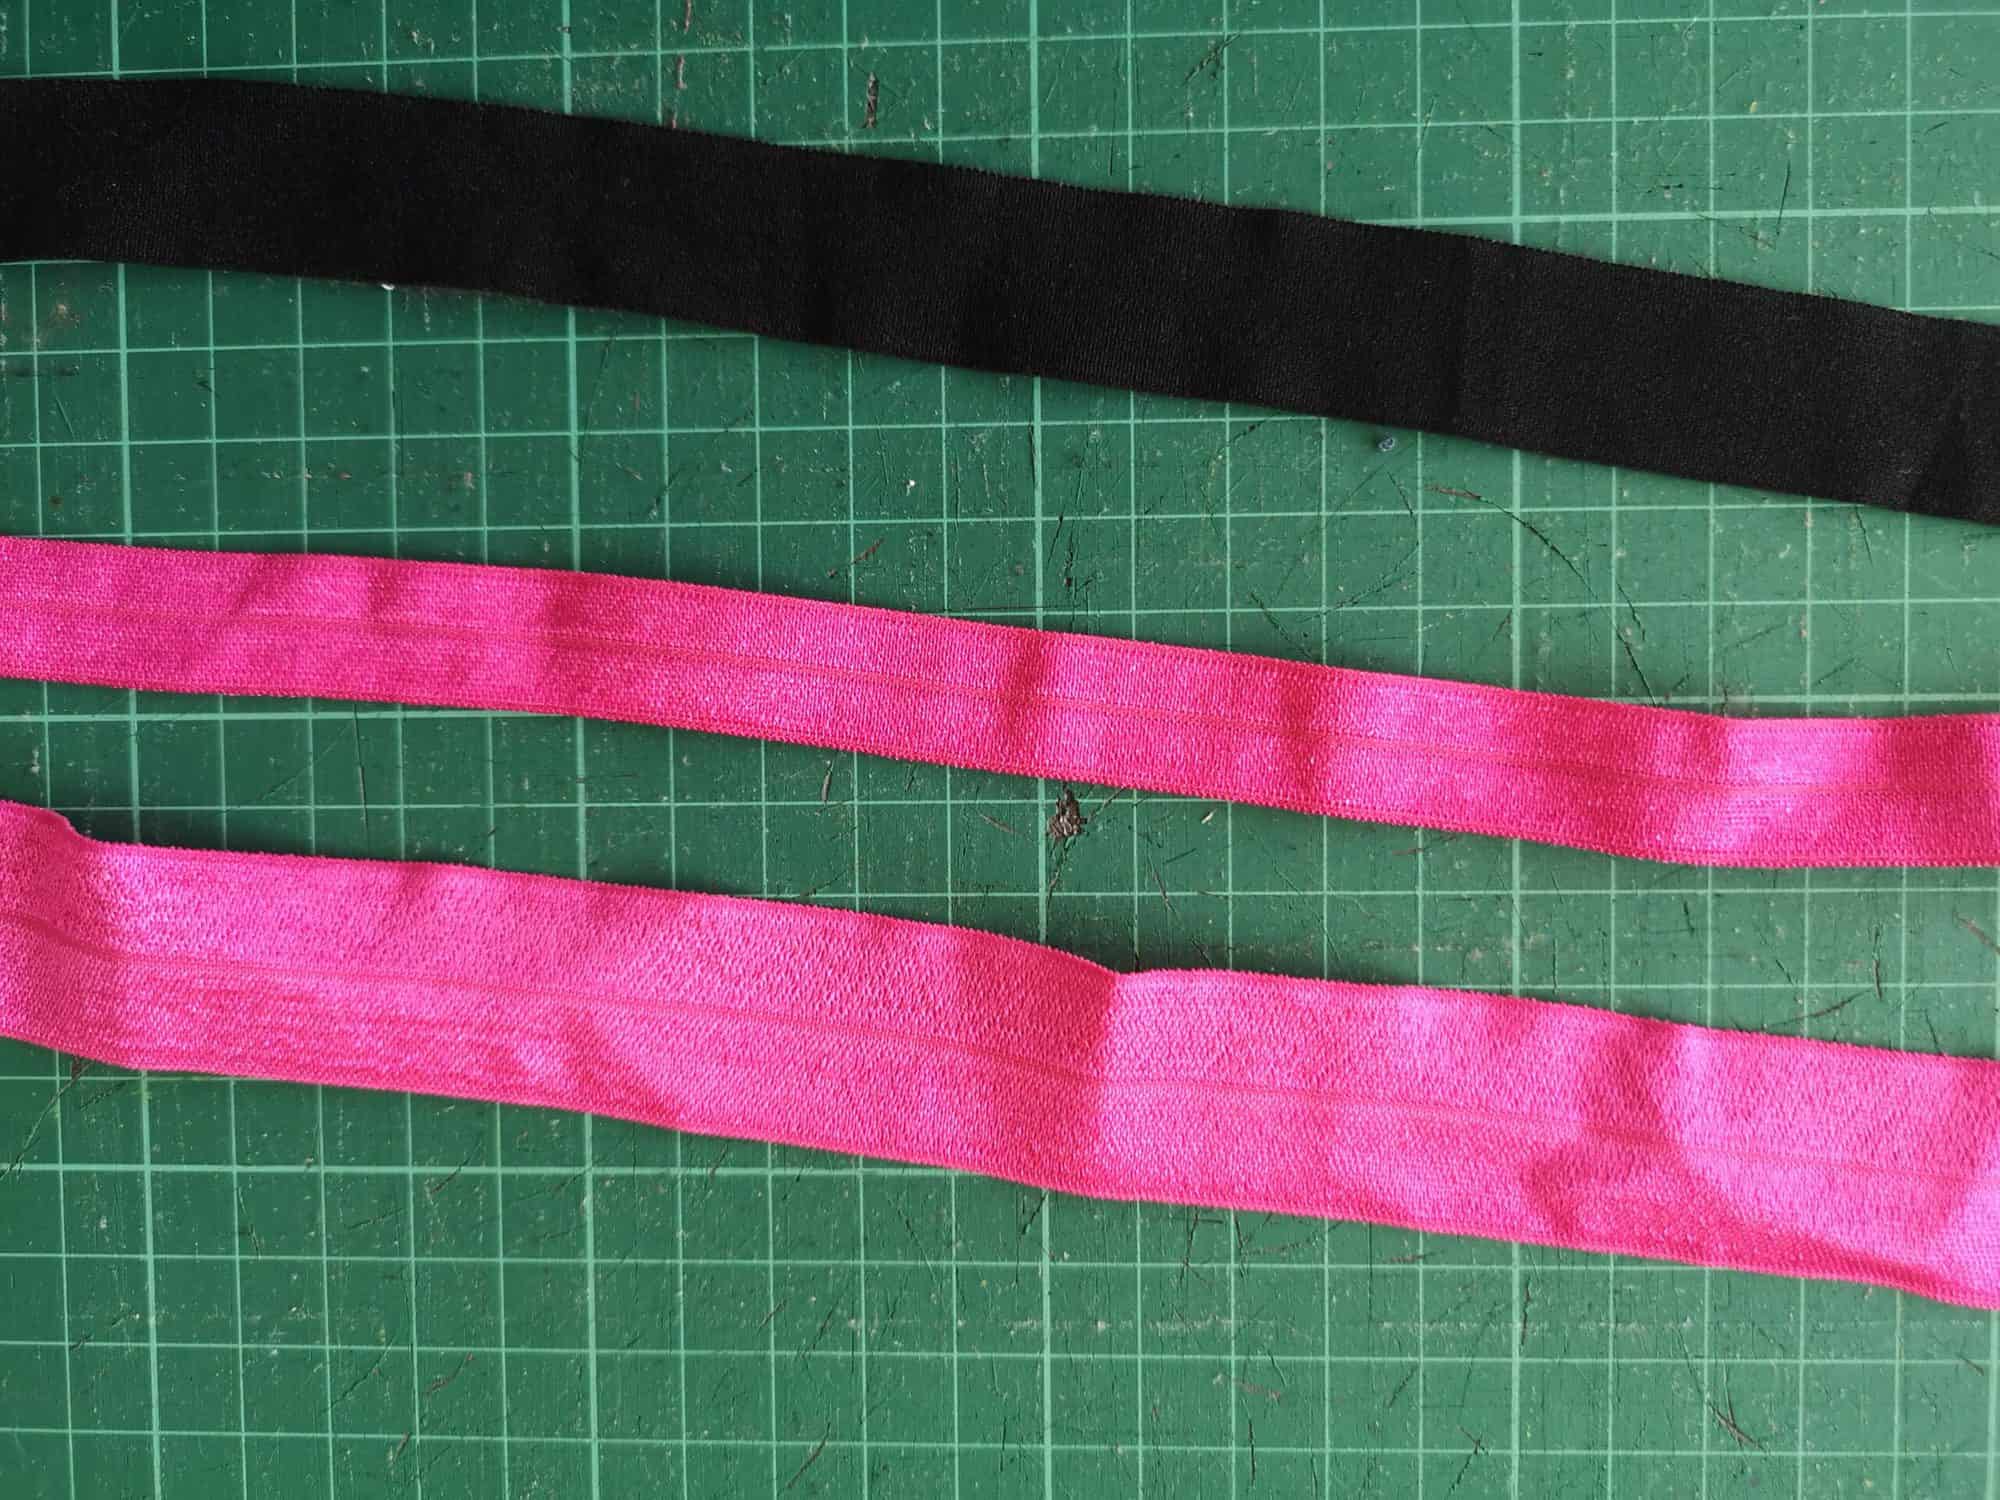
You will often see Fold Over Elastic being abbreviated to FOE in sewing groups, but as you would imagine from its name you fold it over the raw edge of the fabric and top stitch in place. You can either use your coverstitch if you have one, or just sew with a triple zig zag stitch.

Fierce Bra and SOS Pants

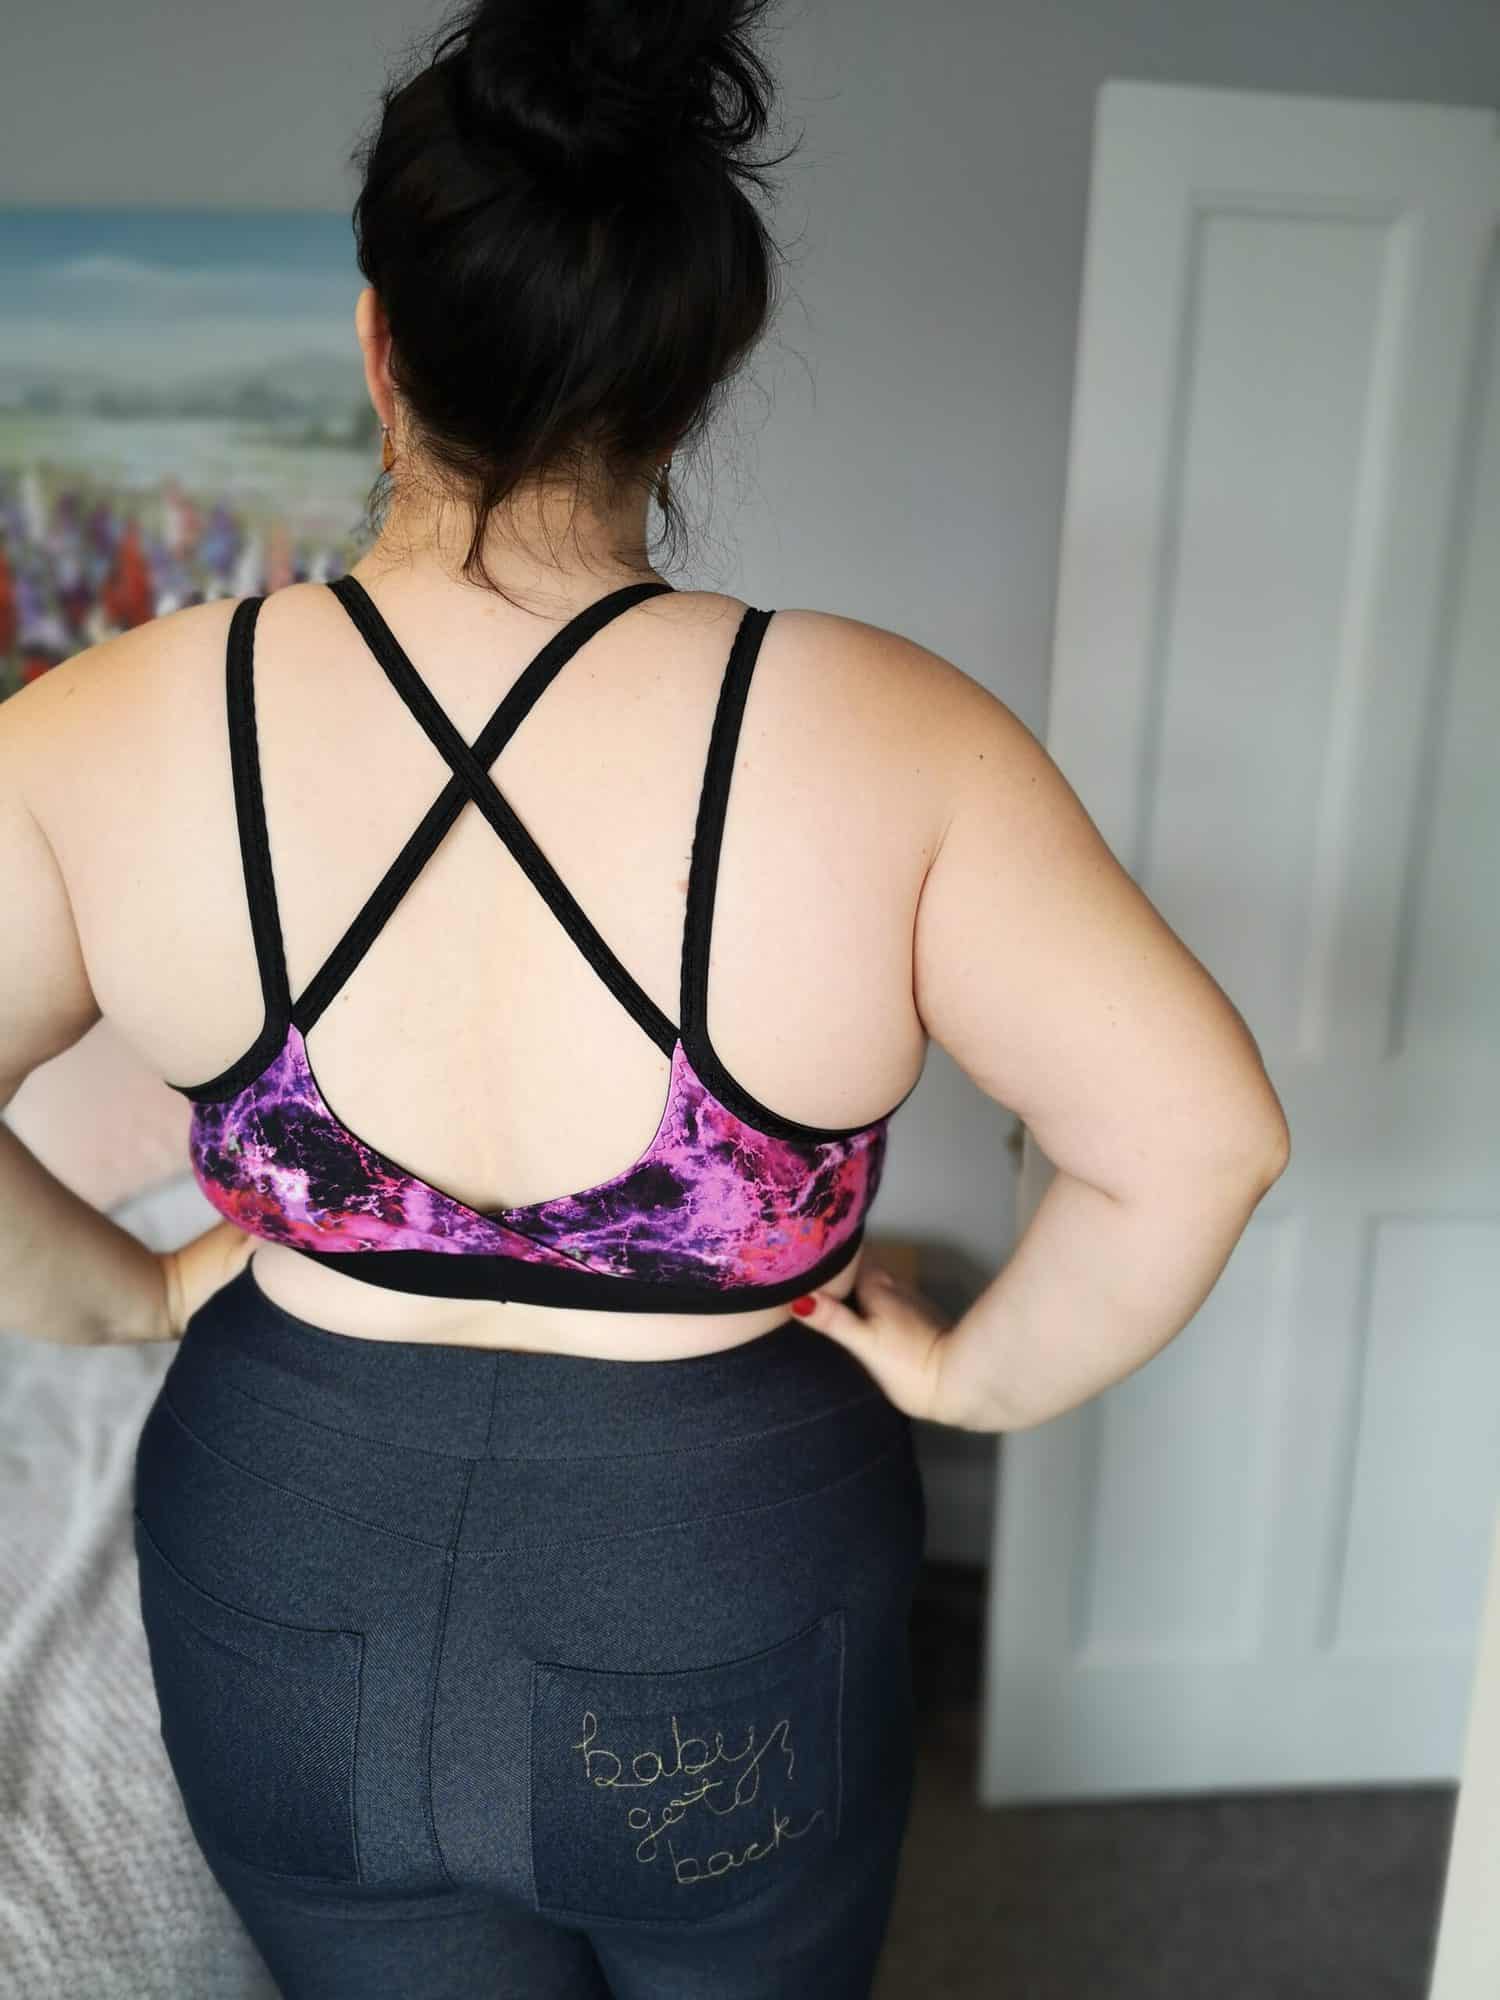
It is used in the Fierce Bra to finish the top raw edge of the bra and also form the straps.  It takes a bit of practise to get used to handling it at first but it a very useful tool to have in your arsenal!

Soft Waistband Elastic

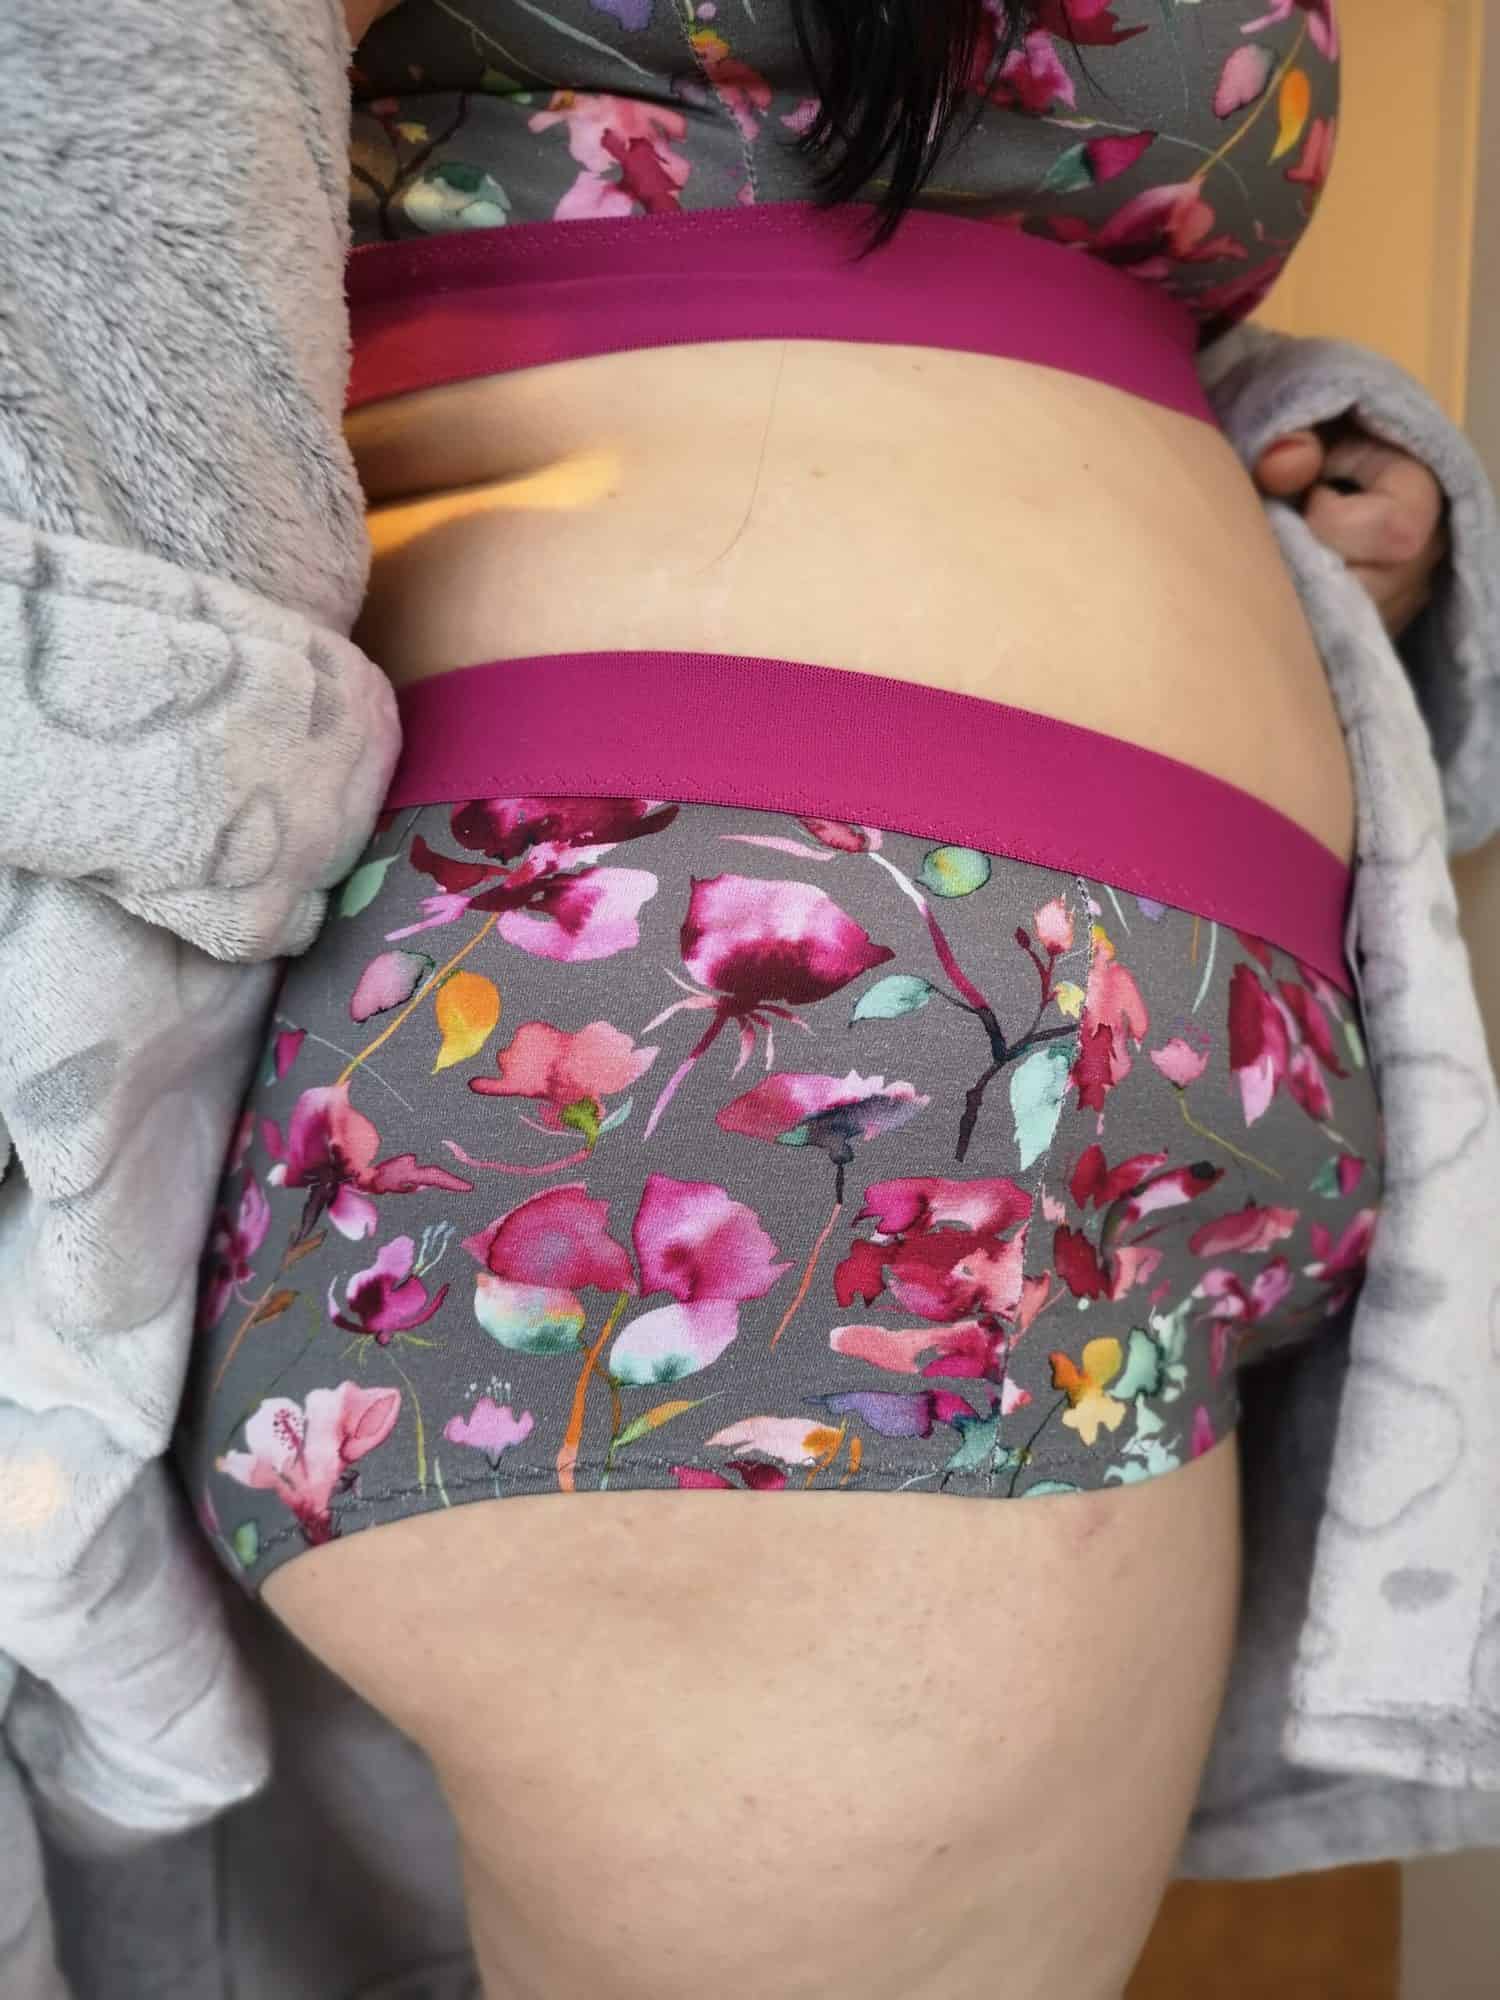
Lastly we’re going to talk about Soft Waistband Elastic.  You will probably recognise this as the type of elastic used on men’s boxers.  It is thick, soft, super stretchy and has great recovery and we use it both as the underbust band on the Fierce Bra and the waistband on the Fierce Undies.

Fierce Bra and Undies

You can either serge or sew the band on like a regular knit band, flip up and top stitch the seam down or you can just sew the band into a loop by butting the short ends together and then topstitch it right onto the top raw edge of the fabric, like in the picture above.  It makes sure your undies don’t shift all day whilst still being super comfortable to wear.  It comes in lots of different colours and some fun printed designs too and is designed to stay visible and not be sewn inside a casing.

Hopefully that has helped give you an idea of the types of elastic you might encounter whilst sewing and what yu may need them for.  Don’t forget to watch the video that accompanies this post for more examples to guide you and…

Happy Sewing!

Dana x

Filed Under: P4P University, Uncategorized Leave a Comment

P4P University- Waistbands

September 21, 2020

Ahoy Pirates! Today, we’re talking waistbands. We’ll cover some of the different types of waistbands that you’ll generally see in P4P patterns, the best fabrics and materials for constructing them, and some helpful tricks and tips to getting the very best results.

Types of Waistbands

There are many different types of waistbands out there in the wide world, but today I’ll cover some of the most common ones you’ll see in apparel sewing and in many P4P patterns.

First off, let’s talk about knit waistbands. These waistbands can be normal or high-rise, and are stretched to fit a garment’s waist.  Knit waistbands will need to be made with knits with excellent stretch and good recovery. You’ll want to look for fabrics like brushed polyester, cotton lycra, or cotton ribbing to make these. This type of waistband is easy to sew, with no casings, elastic or fancy stitching required. Hurray!

Generally with this type of waistband, you’ll line up the short ends of the waistband piece, right sides together, and stitch. Next, flip the waistband so the right side is up, then fold in half lengthwise, wrong sides together, and press. From there, you will quarter the band with pins and attach (more on quartering waistbands and other tips later)!


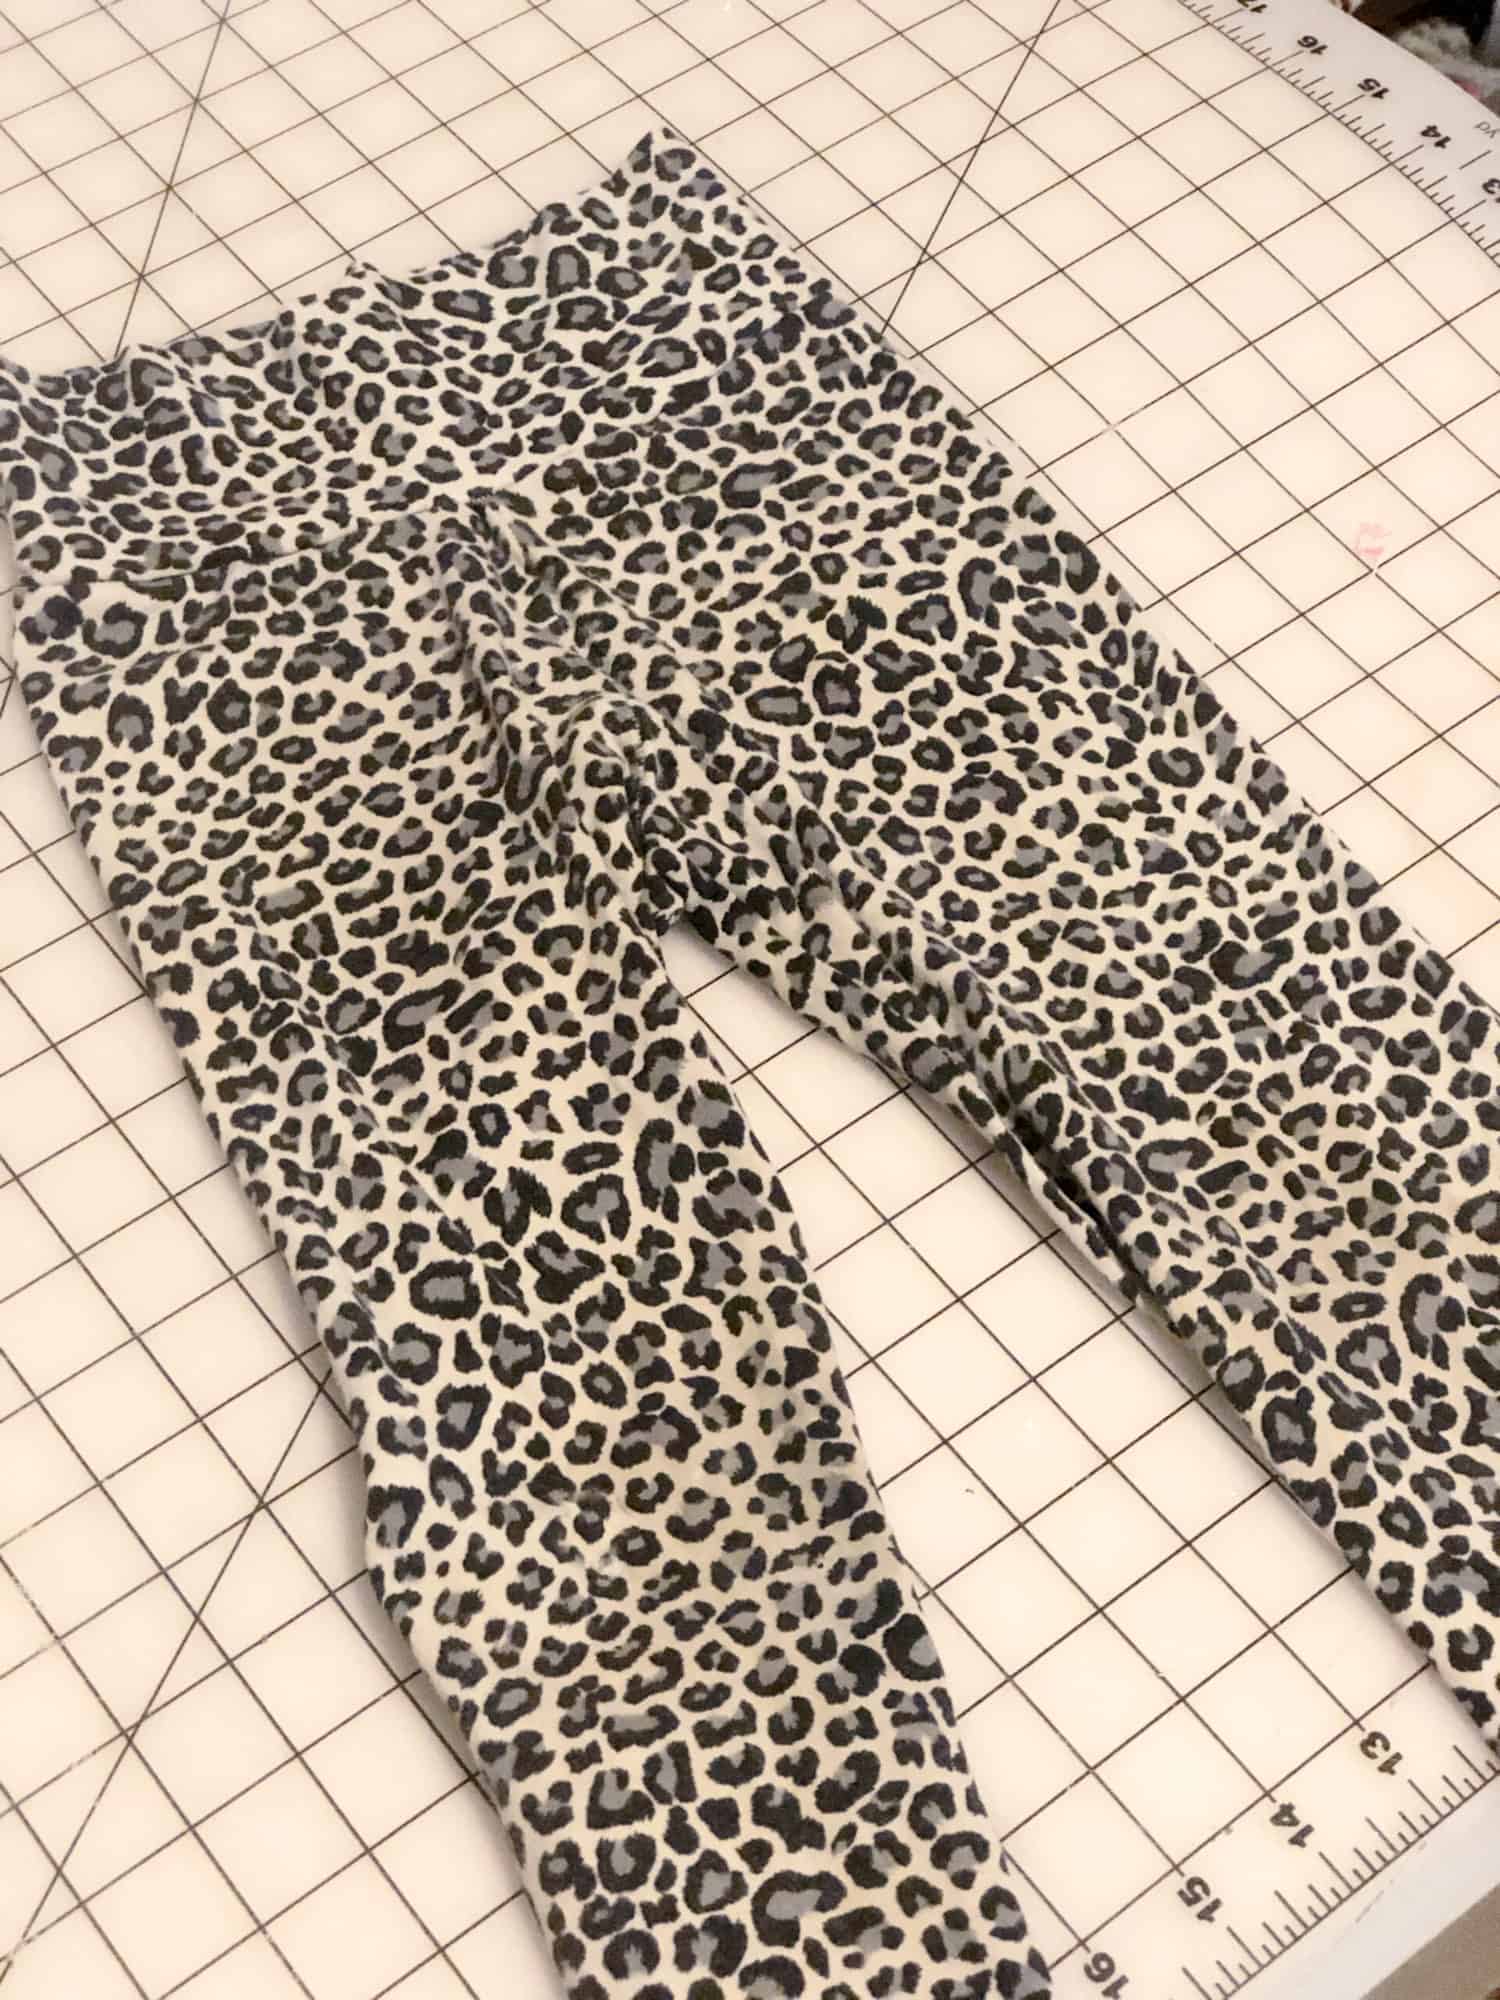
Here, I’ve used double brushed poly to sew a knit waistband onto a pair of Peg Legs. I’ve simply attached it by stretching it evenly, and sewing it to the garment with my serger, although a sewing machine will work just as well. Make sure to use a stretch stitch, like the lightening bolt, at the longest length setting!


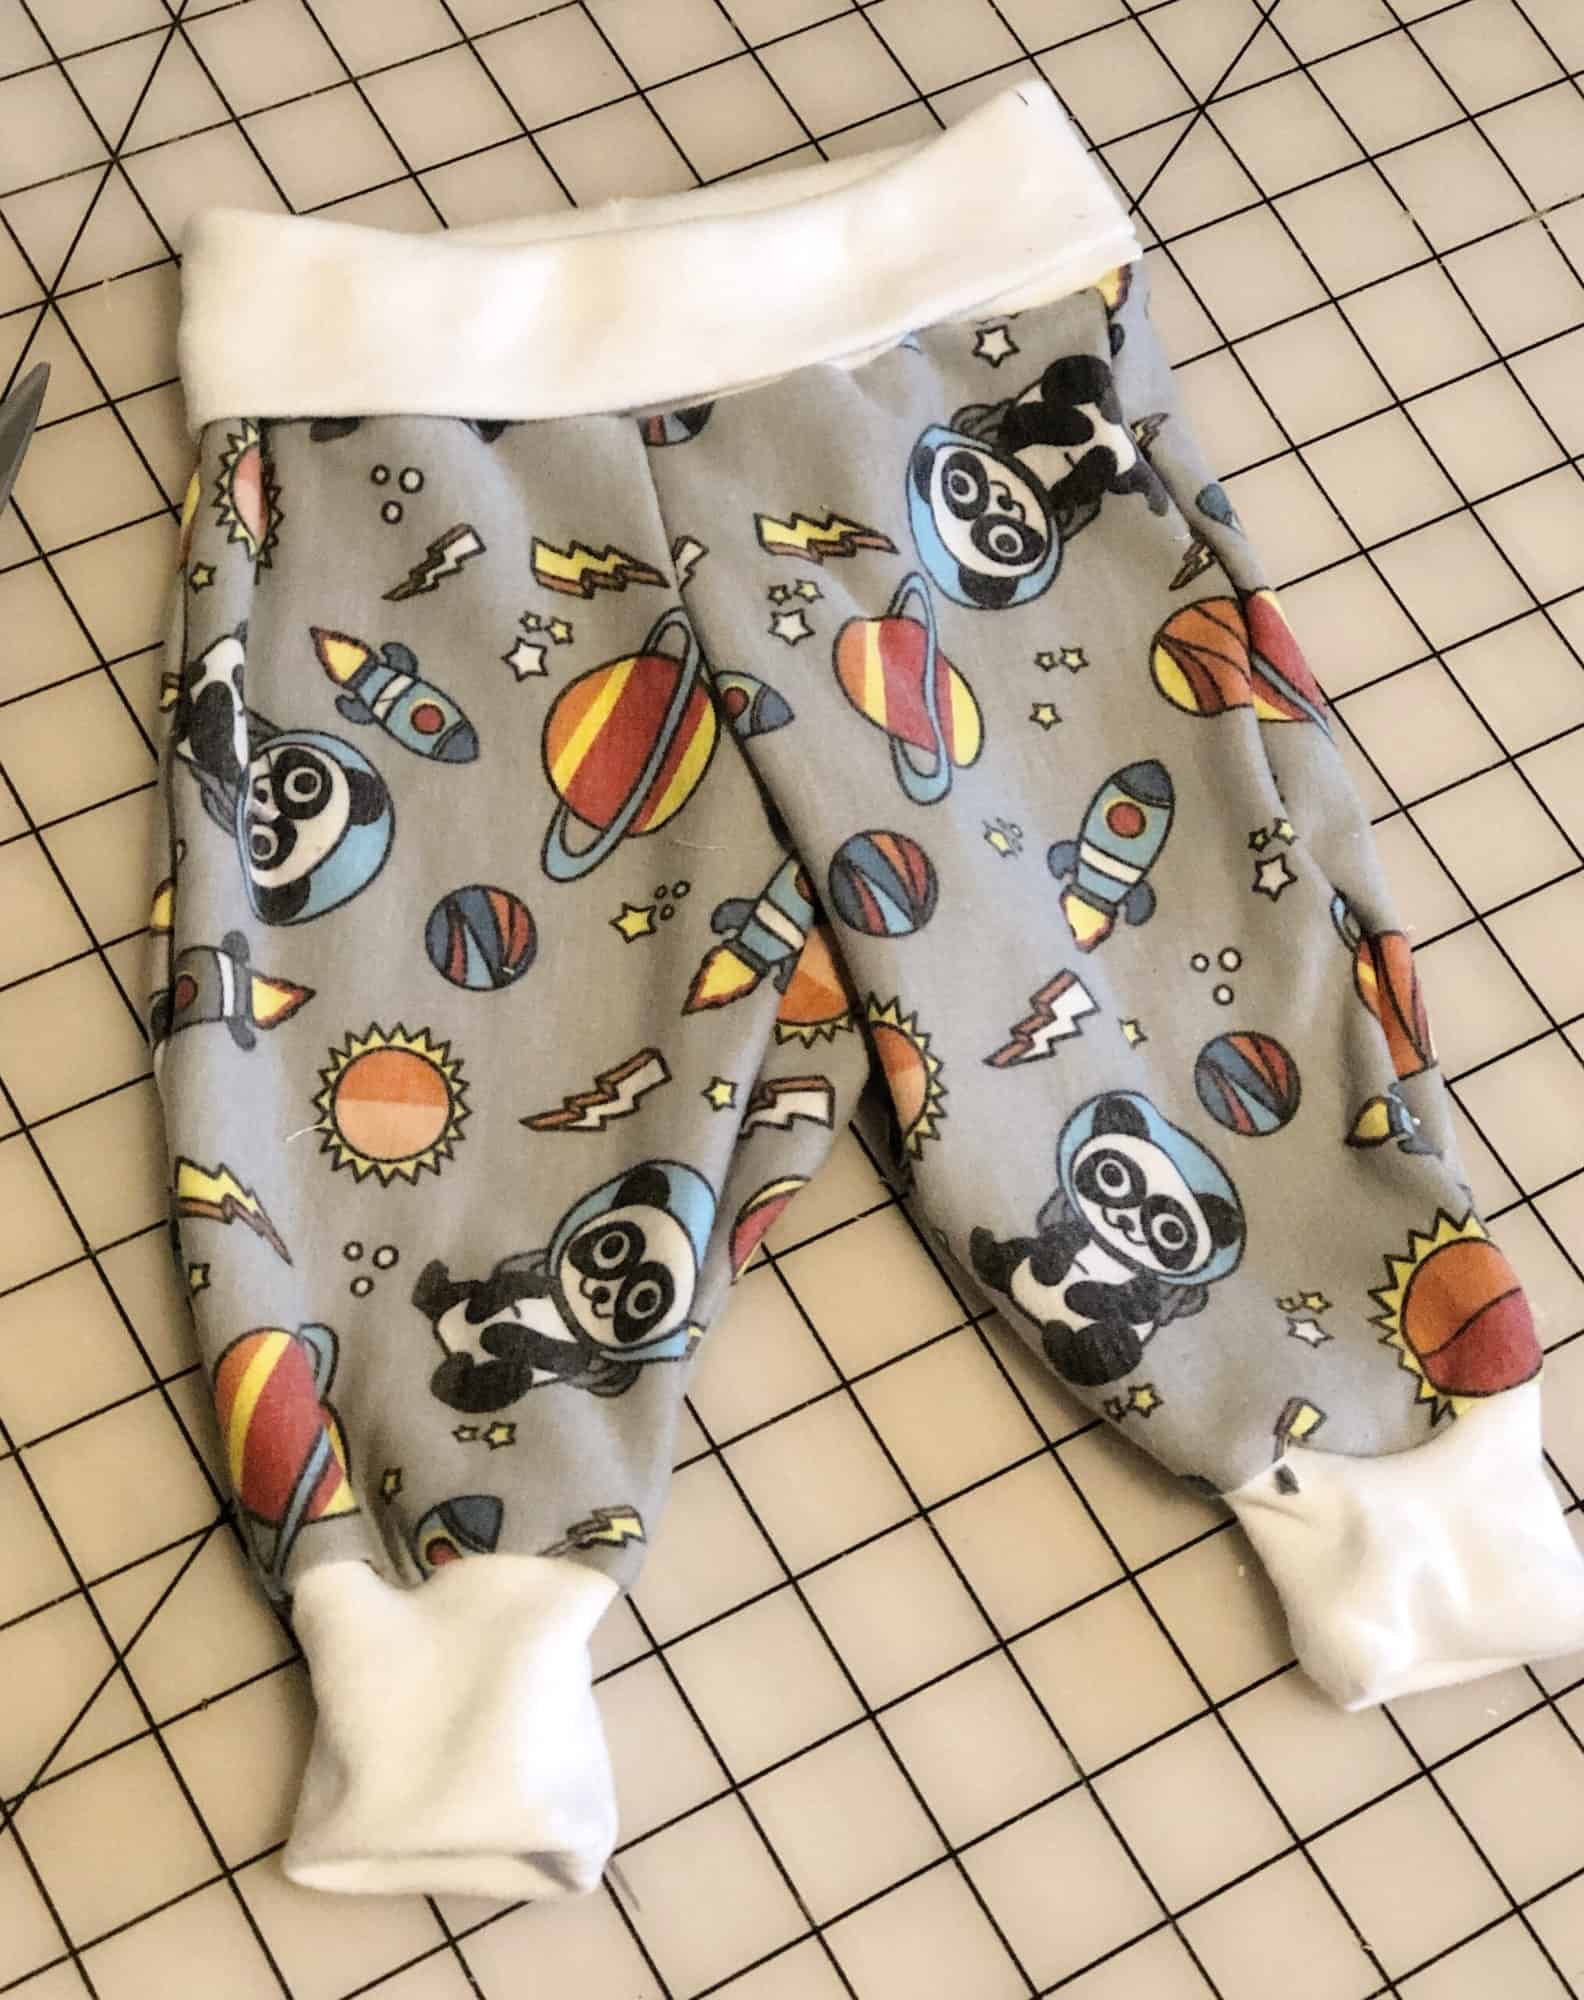
Next up, we have  tall/yoga waistbands. Yoga waistbands are made and constructed similarly to regular knit waistbands, but are simply “taller” and meant to be folded over for a even more comfortable fit. I especially like using yoga waistbands on clothing for children, as they are super comfy to wear! Brushed polyester and cotton lycra are excellent choices for these. I’ve used a yoga waistband here on a pair of Baby Bear Joggers, using brushed polyester.


Next,  we have enclosed elastic waistbands. Generally, this type of waistband is used for knit garments that have a little less vertical stretch or recovery and need a little “help” holding the garment up around the wearer’s waist.

To construct, you will sew together the short ends of the waistband casing, right sides together. Next fold lengthwise, wrong sides together, and press. Set aside. Take your elastic piece, and sew short ends together, using instructions for the specific pattern being used. Generally, you will be instructed to either overlap the two short ends and sew, or “butt up” the ends- pushing them together and sewing with a wide zig-zag stitch, but not overlapping. Next you will slip the elastic loop into your knit waistband casing, and sew together as one piece onto your garment. You may topstitch this seam afterwards, if desired.

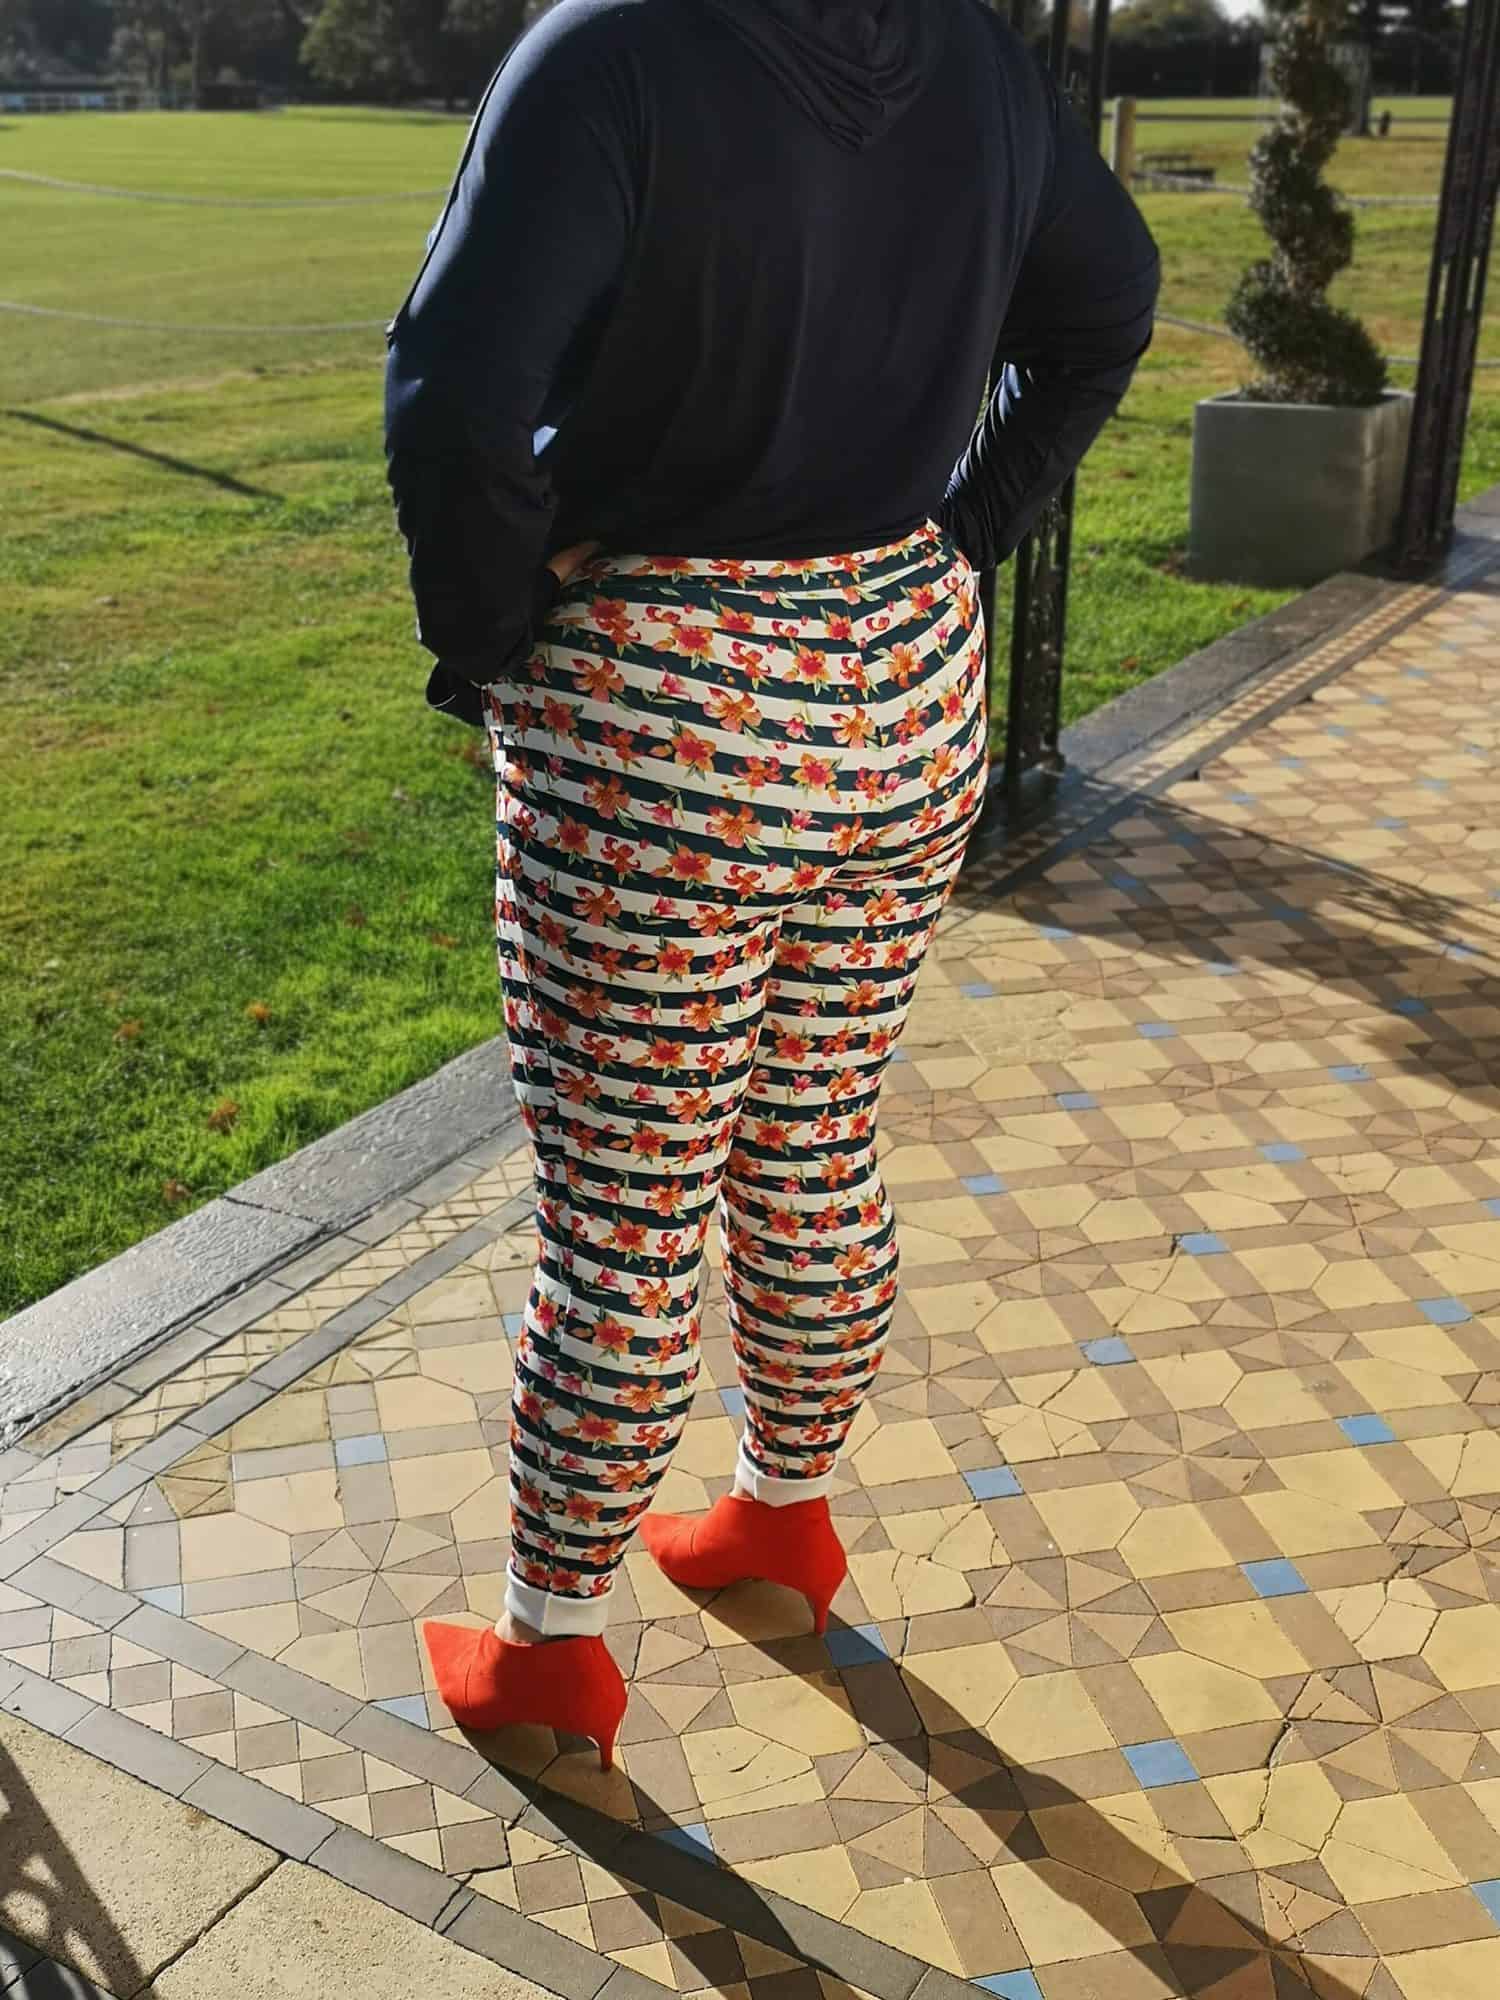
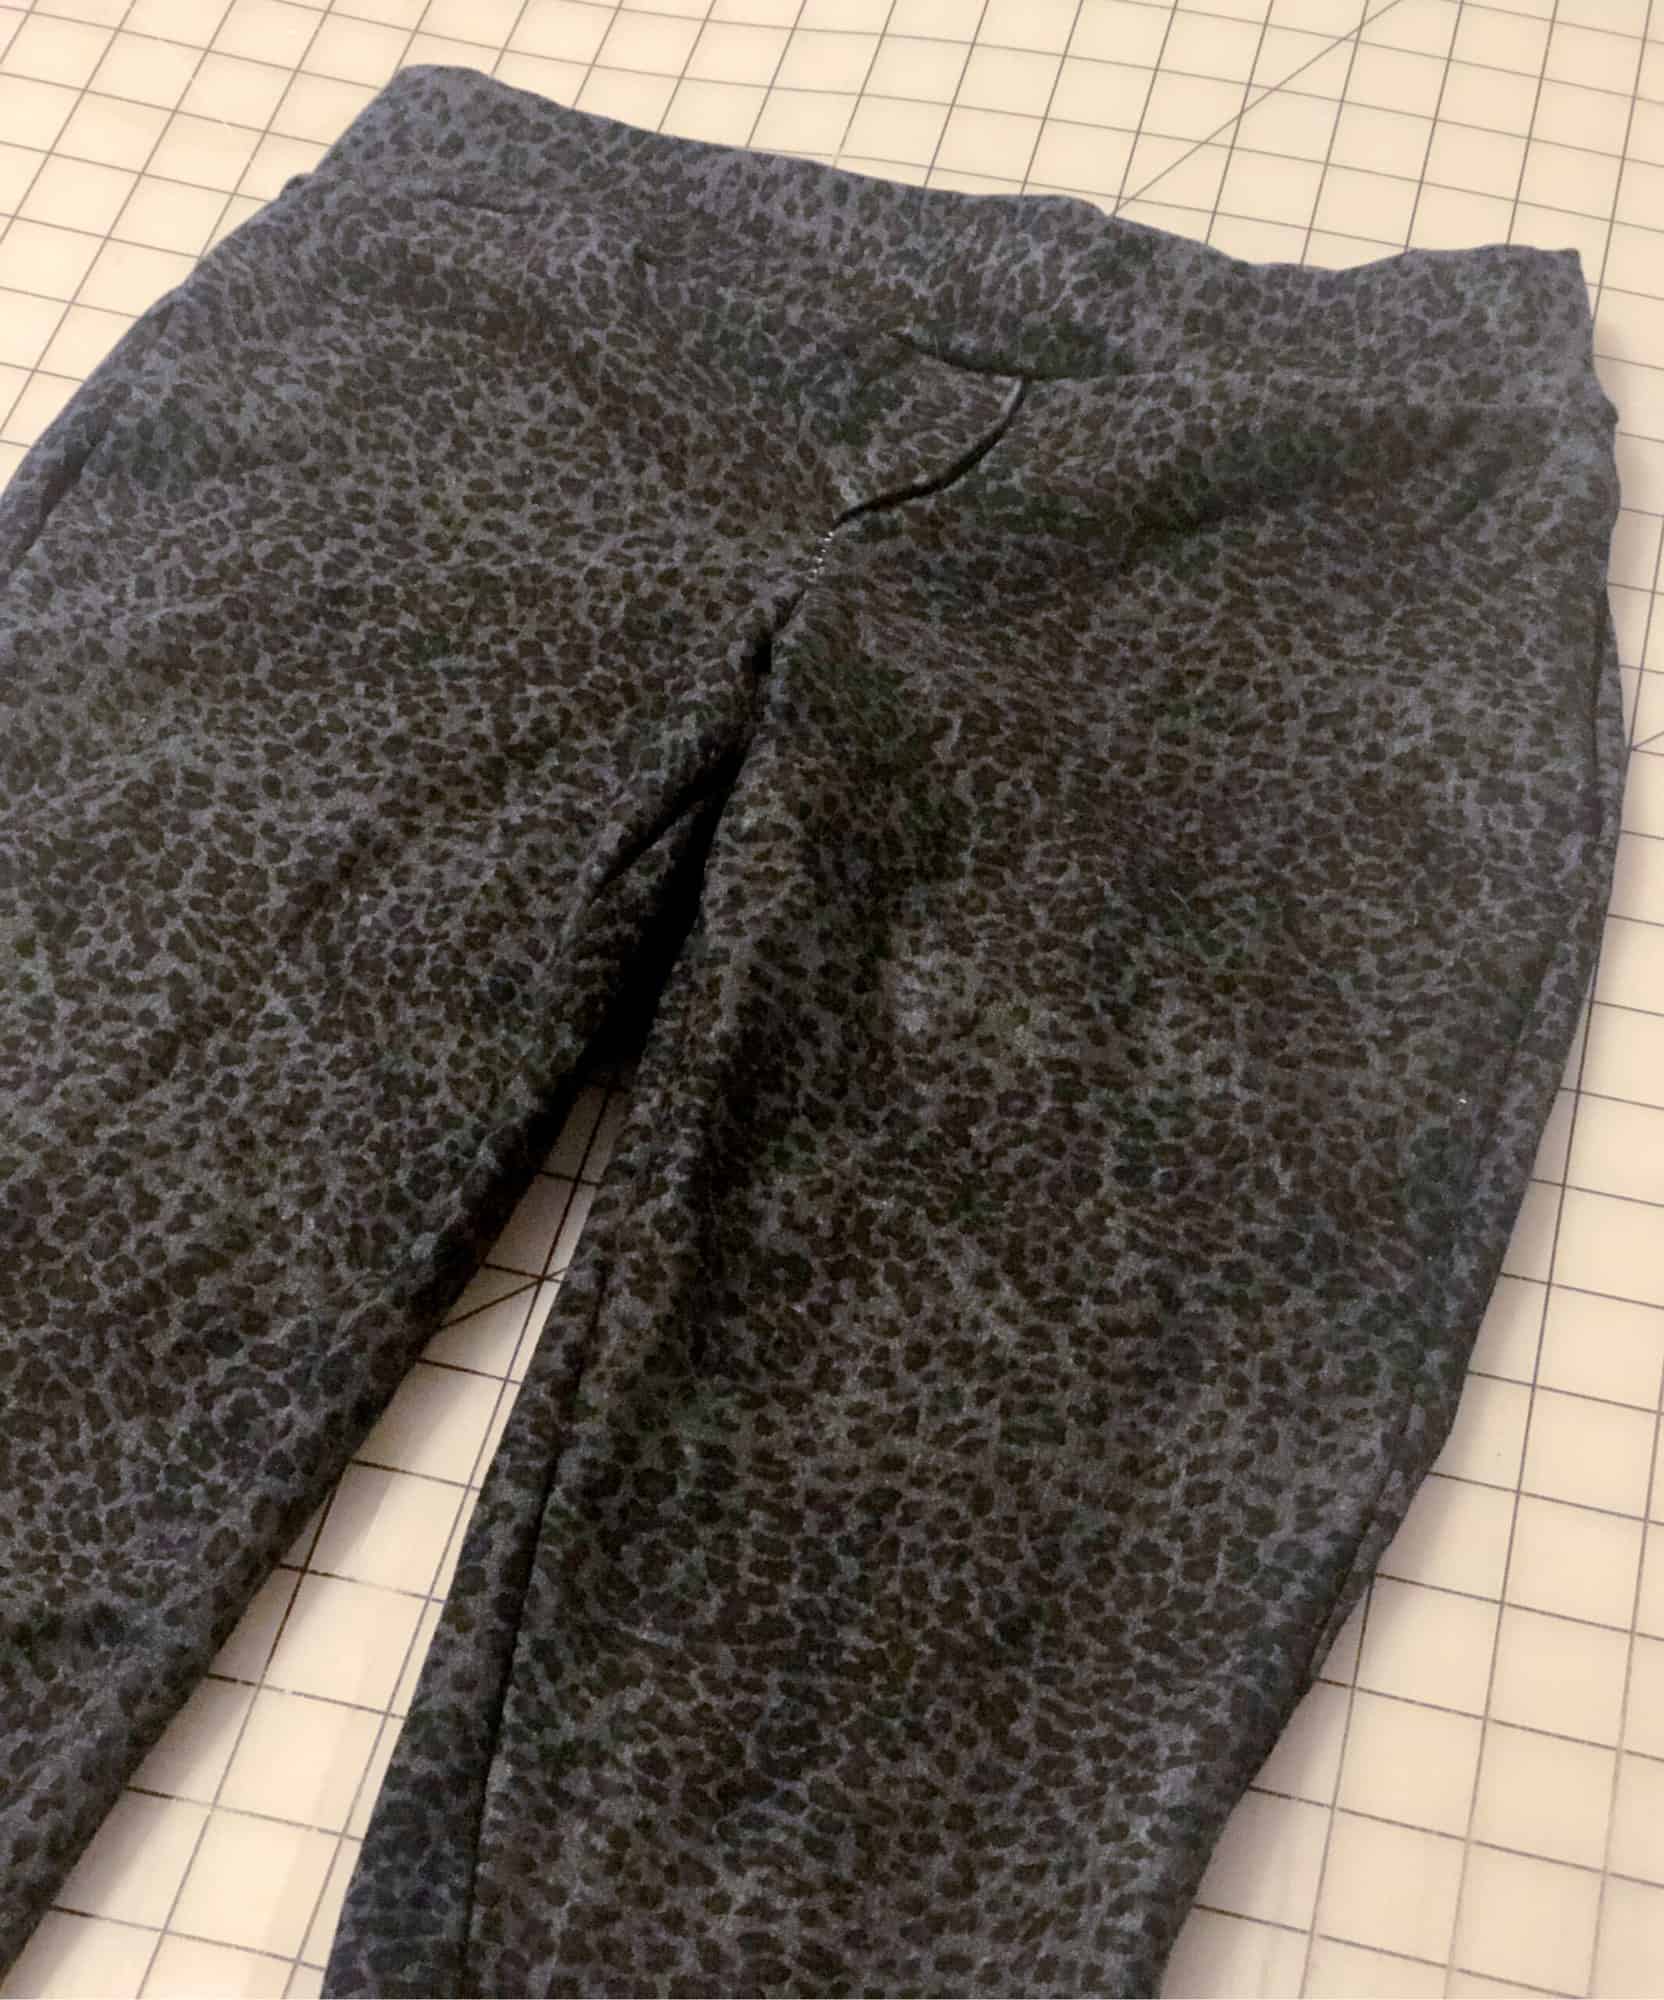
Here, I’ve made a pair of SOS Knit Pants with an enclosed elastic waistband. Although the fabric I used was a jegging material with little vertical stretch, the added elastic I used helps give the little bit of extra “oomph” needed to keep the pants up around my waist and snug-fitting.


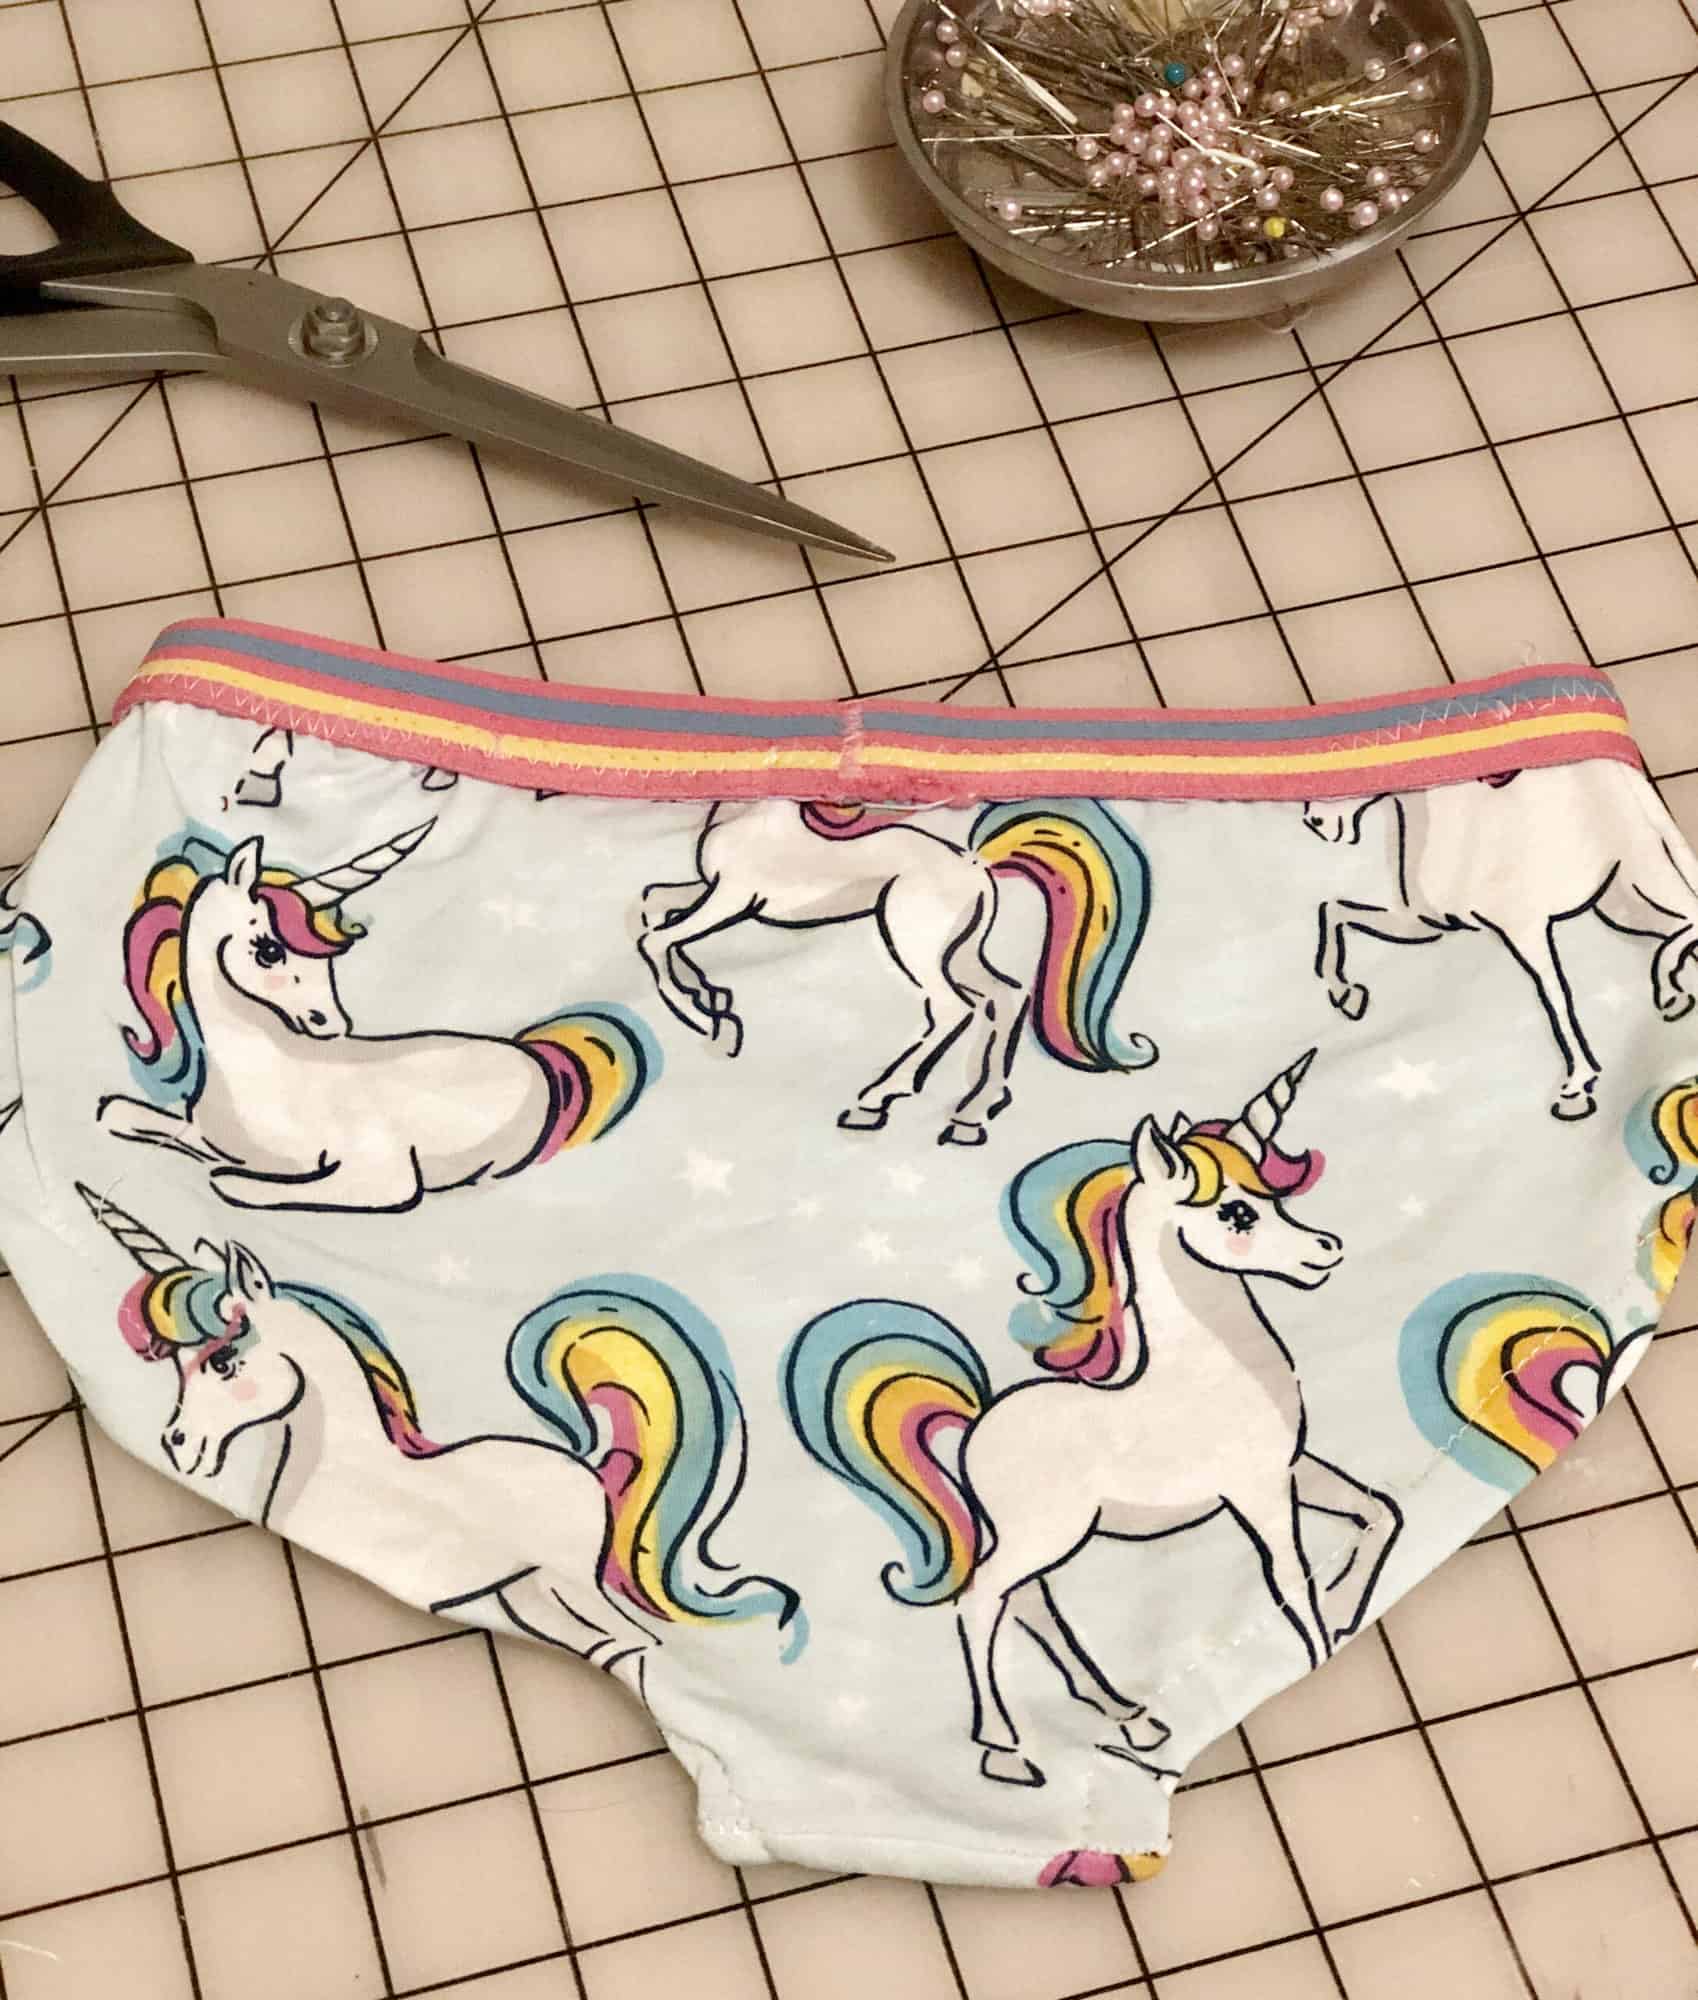
Another style of waistband you’ll see often in apparel sewing is exposed elastic waistbands. These are waistbands that you’ll see in many applications, such as athletic shorts or undergarments. These will be generally created using plush back, underwear, or soft waistband elastics. It’s important to use these types of elastic, especially for undergarments, as they are much more comfortable and soft, and elastic will be up directly against the wearer’s skin.

On patterns such as the Fierce Undies pictured here, the elastic used will be “butted” together before being sewn, not overlapped. This is because overlapping will make the exposed elastic waistband too bulky.


Tips and Tricks

Just as there are many different types of waistbands out there in the sewing world, there are just as many tips to make sewing them easier! Here are just a few to help you along the way:

1. With knit, yoga, and enclosed elastic waistbands, serge or baste the raw edges together once you’ve folded lengthwise, wrong sides together, and before attaching to the garment. This will essentially take those two layers of fabric of the folded waistband and turn them into one, making it easier to attach them to the garment in a clean and professional-looking way. Remember, if you serge the raw edges of your waistband before attaching it to your garment, DO NOT CUT ANY OFF!

2. ALWAYS quarter your waistbands before attaching them to a garment! What is quartering? It’s equally dividing the waistband into fourths, so you can better ensure that the waistband will be evenly stretched across the garment’s waist.  It’s easy to do:

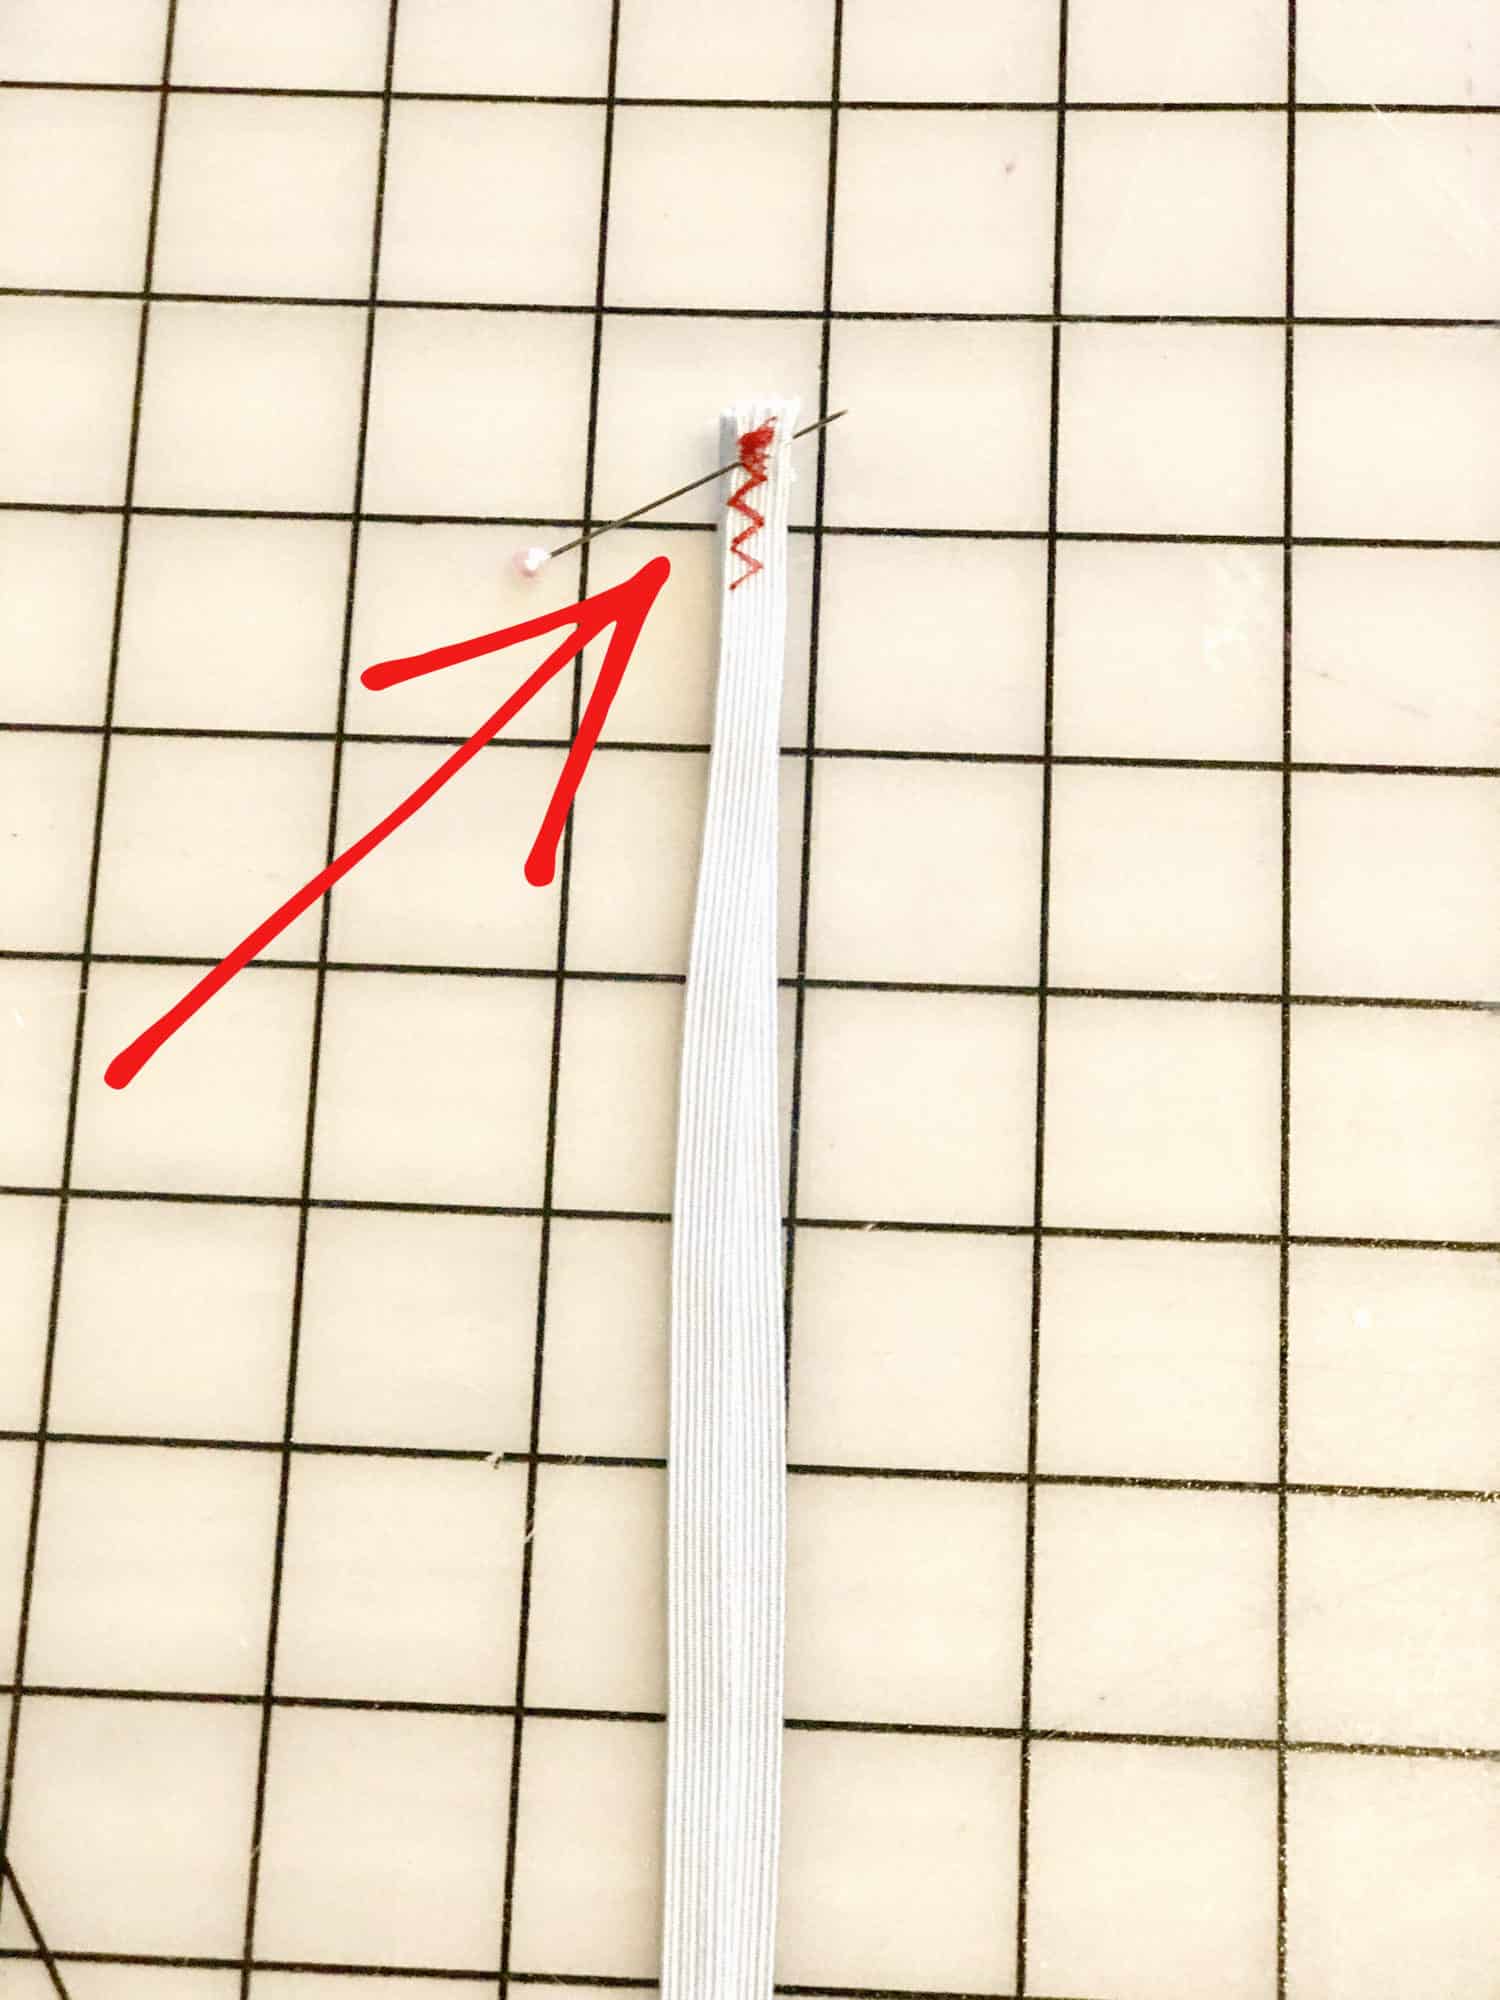
 First, sew the waistband or elastic together at the short ends, as directed by the pattern. Pin or mark the point of the seam.

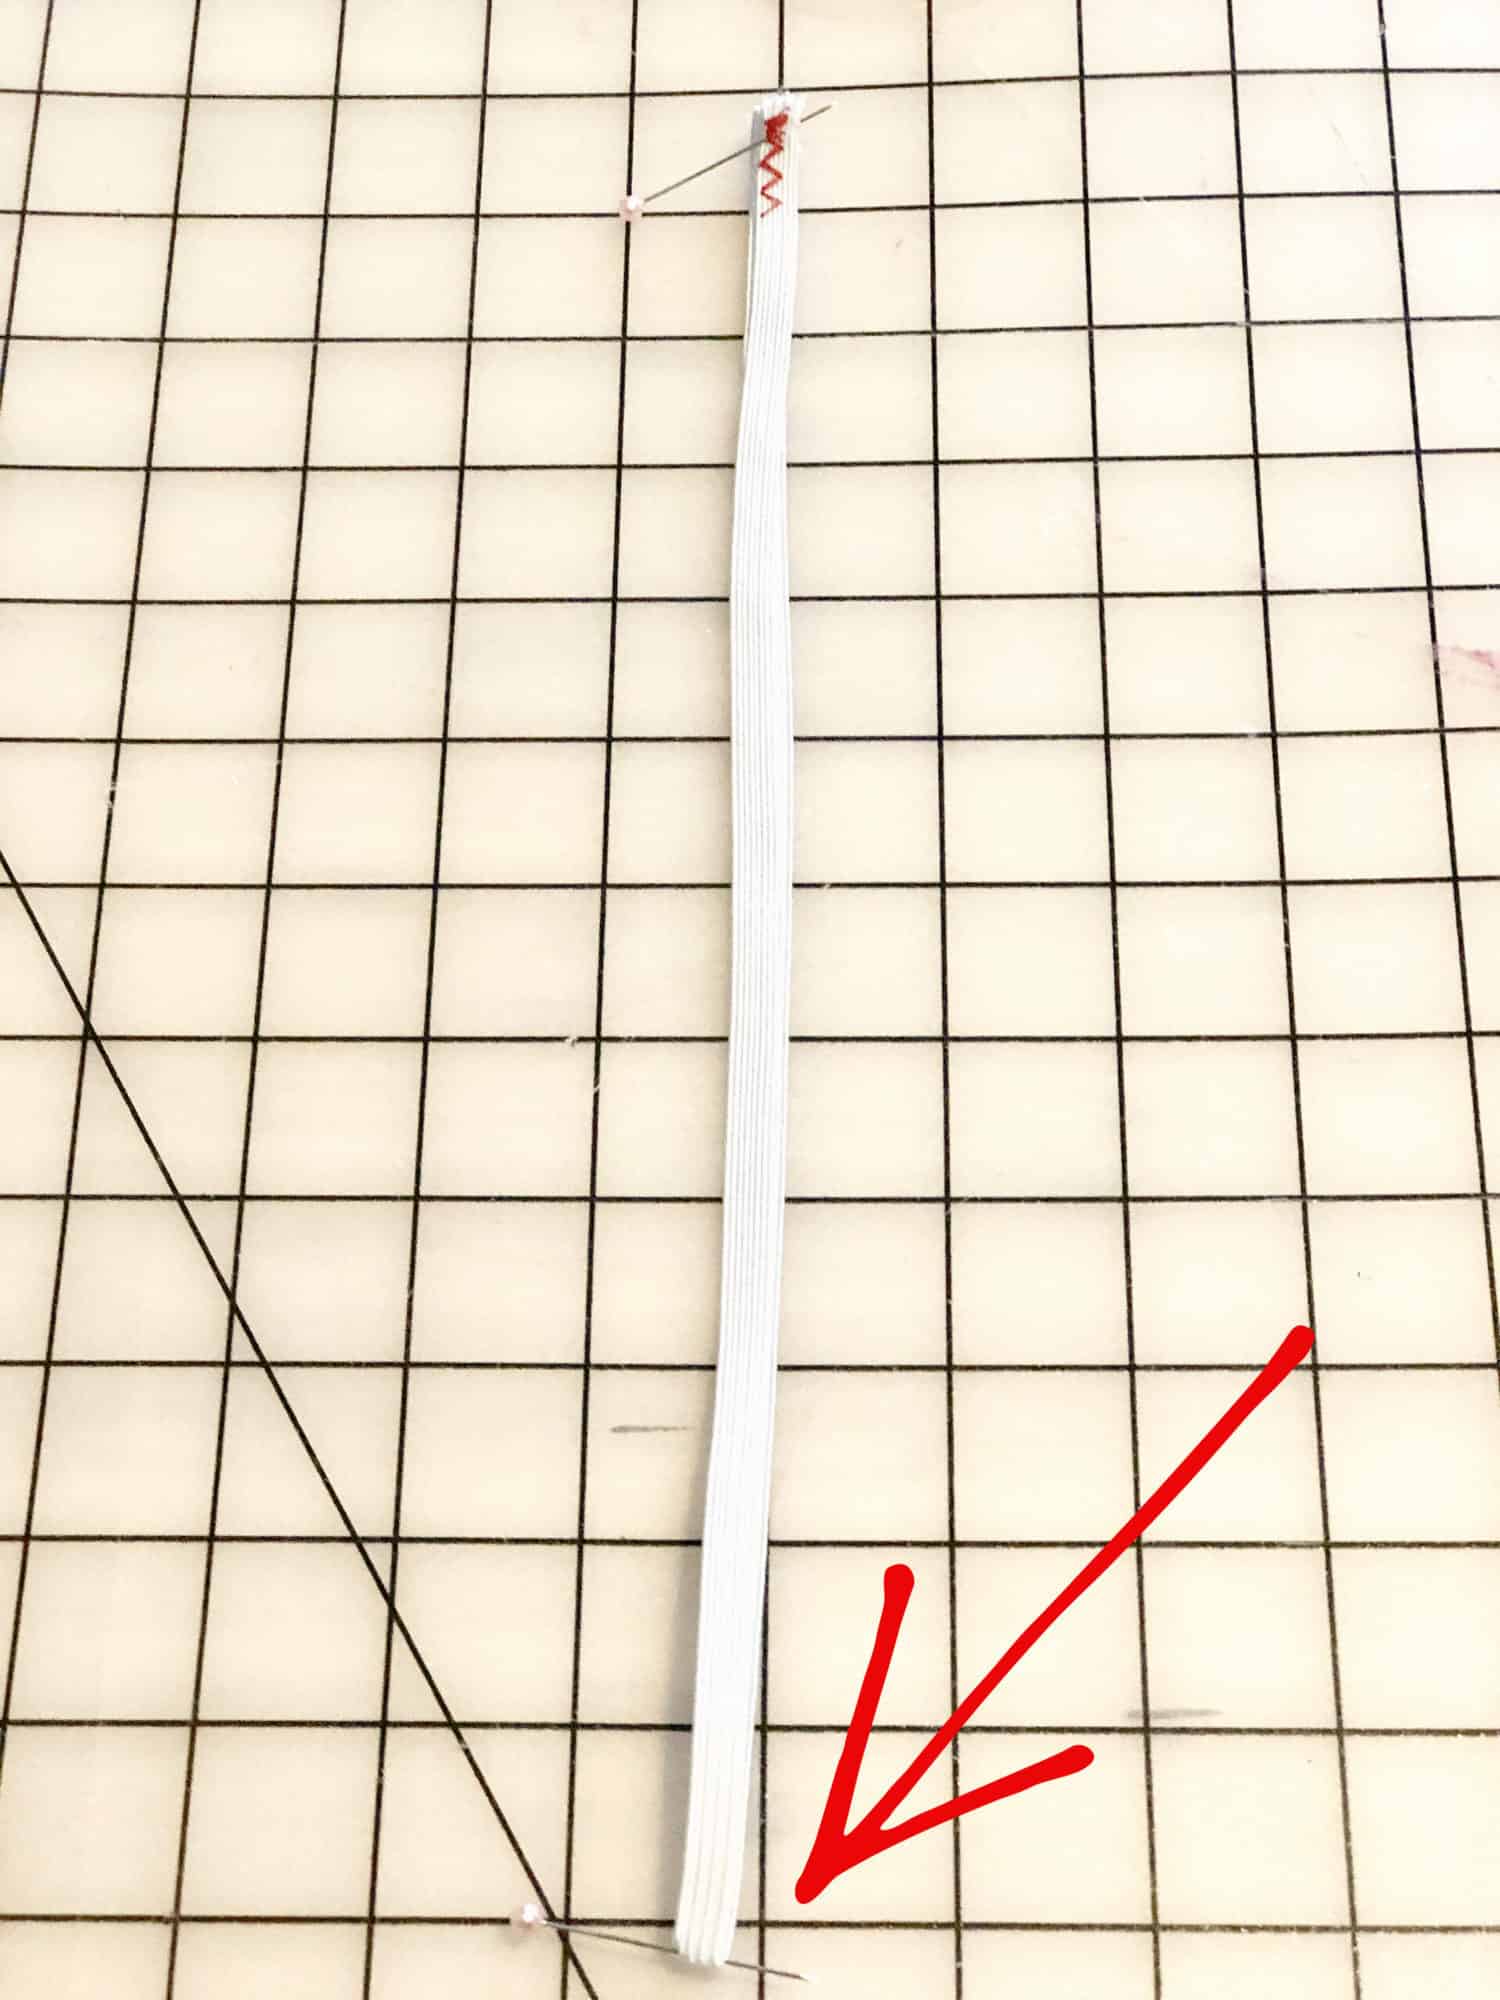
Next,  fold in half to find the half point. Pin or mark the half point.

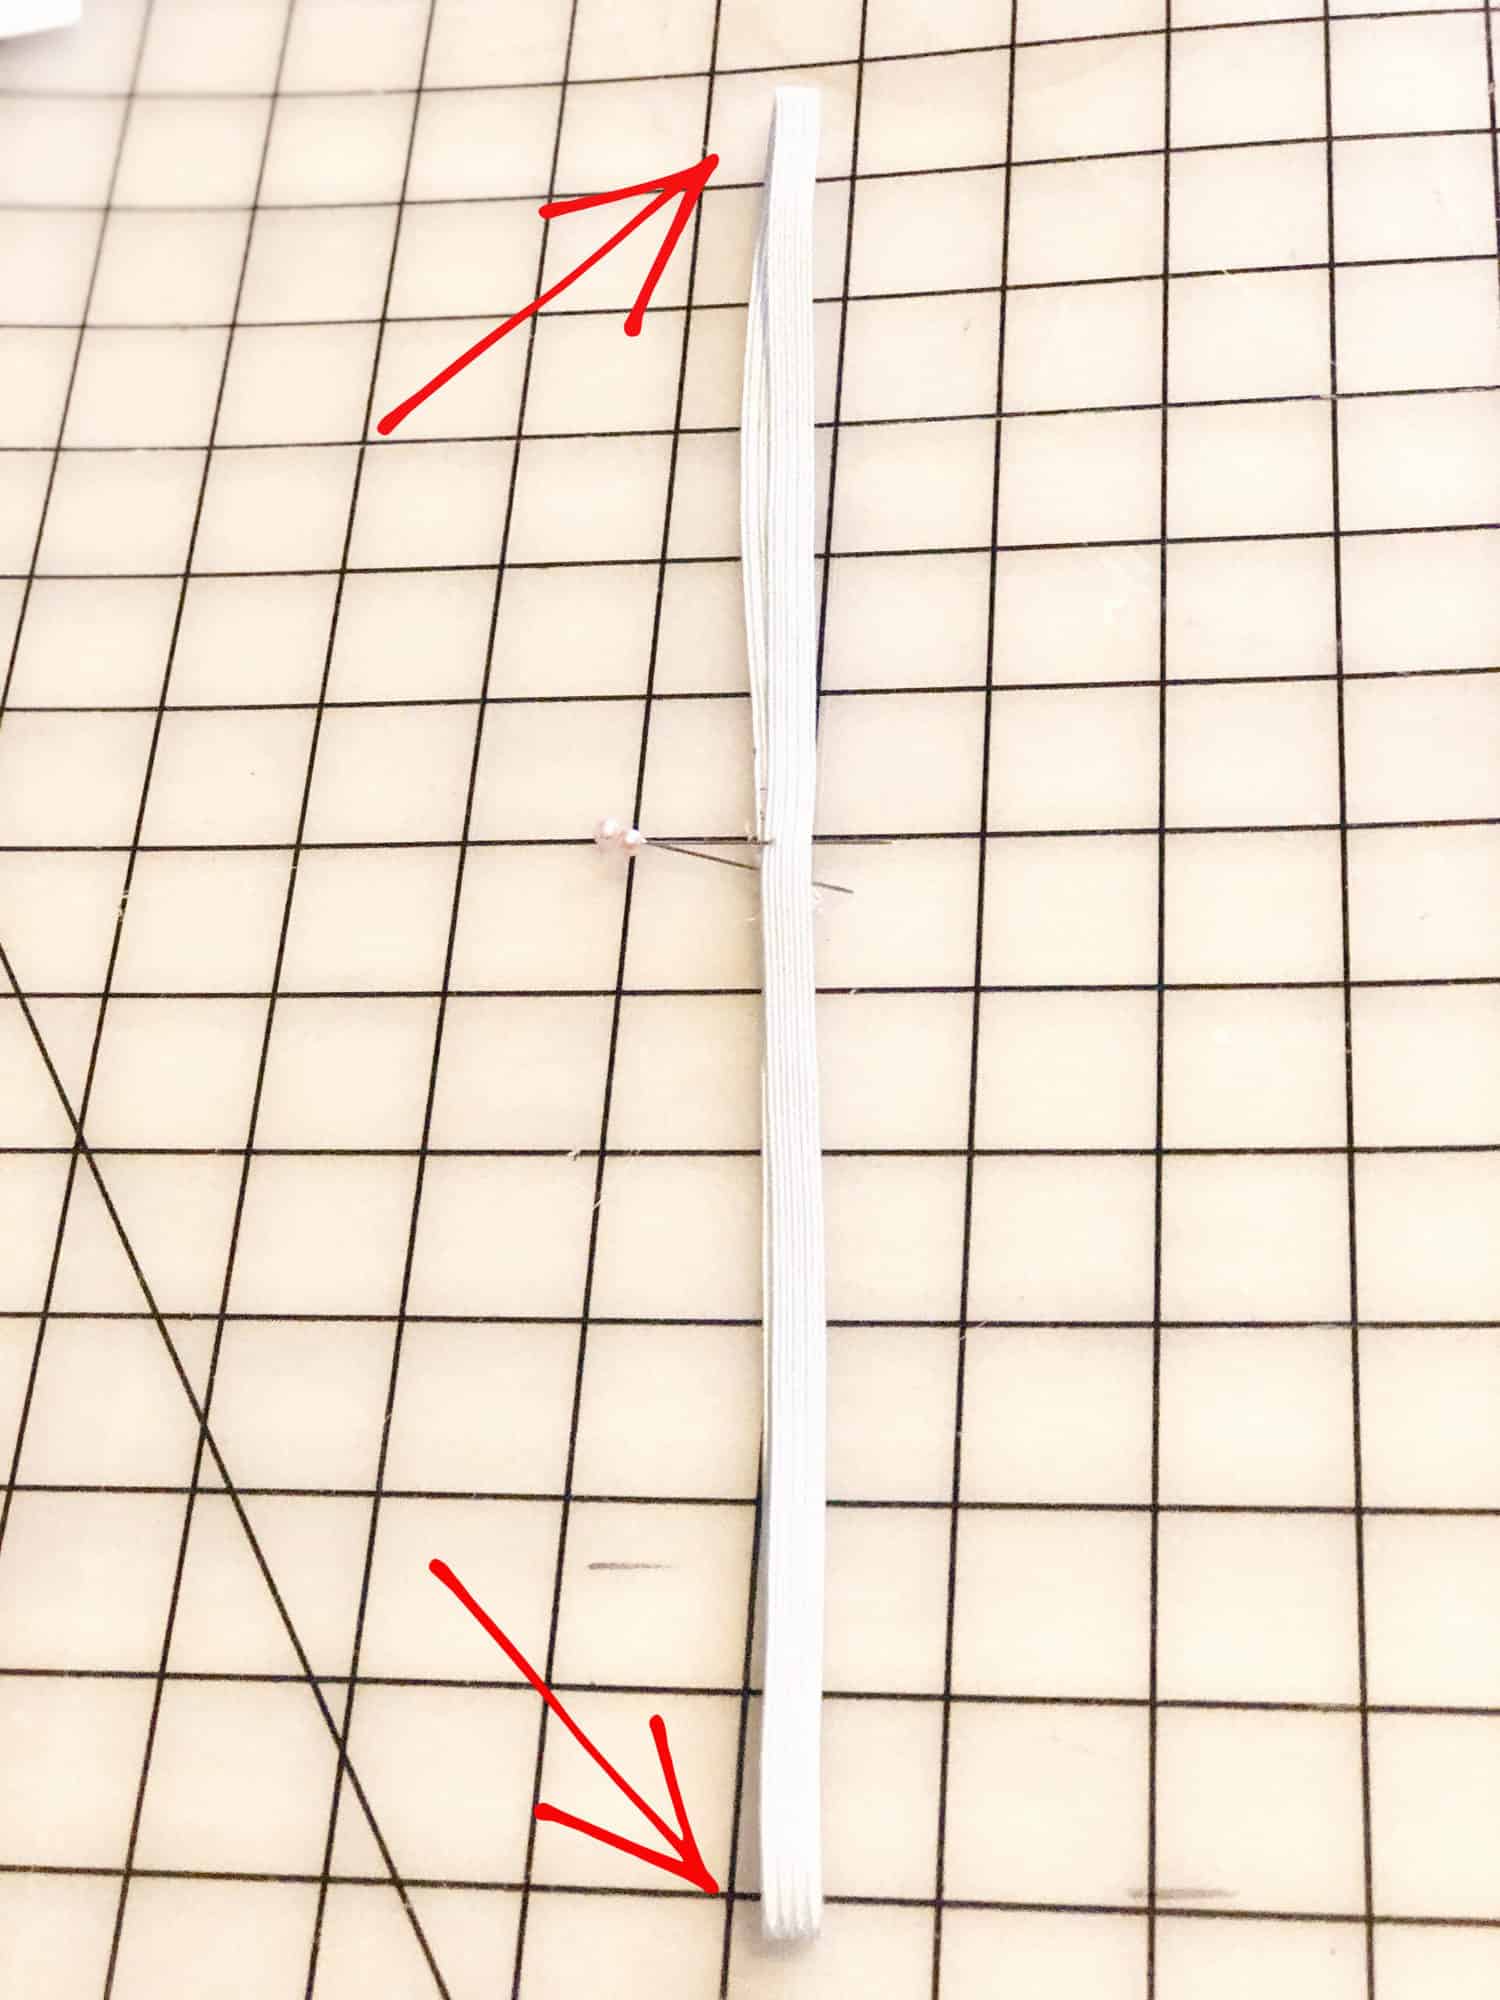
Now, take the two marked points (the seam and half point) and fold the waistband or elastic so that they meet in the center. Pin or mark the folded edges on either side to find the quarter points.

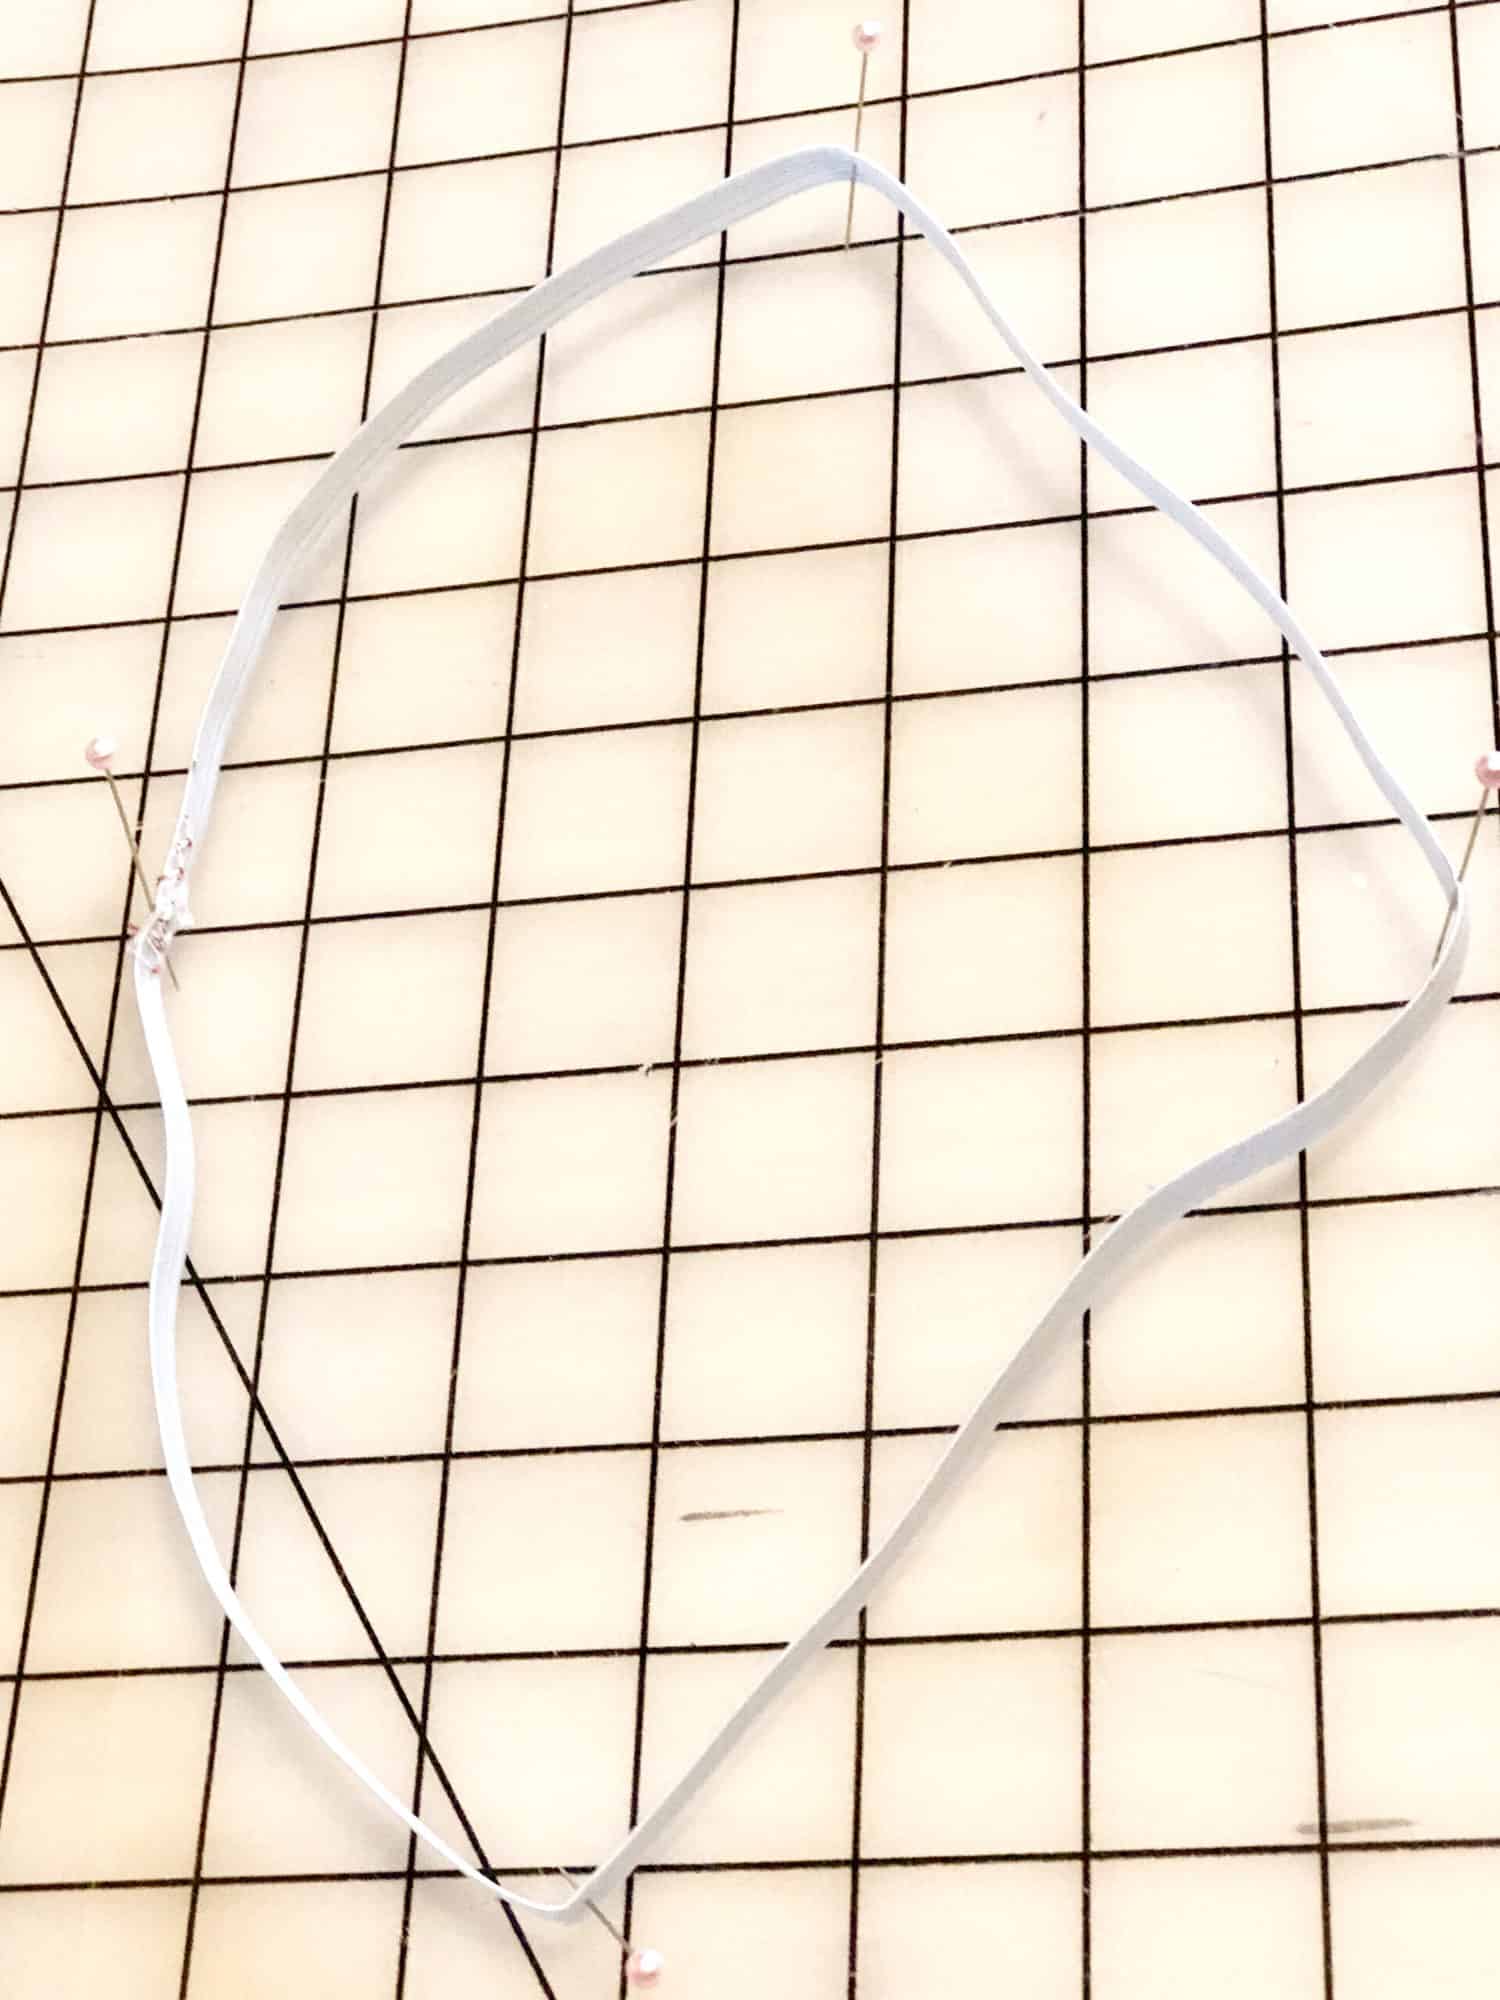
And there you have an evenly quartered waistband! This might sound like an extra step, but trust me, it’s one that will save you time by                          ensuring that you don’t have an unevenly stretched waistband (hello, seam ripper!) and will give you the most professional- looking finish.


3. SAVE your scraps! Especially with youth apparel, waistbands usually take very little fabric, and can be excellent scrap-busters. So next time you make something with a stretchy fabric with great recovery, make sure to stash those extras away for a rainy day!


That’s it for now! Just a few examples of some of the waistbands you’ll encounter while sewing some gorgeous, handmade apparel. No matter which waistband is required for your pattern, always make sure to quarter those bands, have fun, and share your beautiful makes with us over at Patterns for Pirates’ Facebook page!

Caitlin

Filed Under: Frequently Asked Questions, P4P University, Uncategorized Leave a Comment

  • « Previous Page
  • 1
  • …
  • 8
  • 9
  • 10
  • 11
  • 12
  • …
  • 29
  • Next Page »

connect with me

  • Email
  • Facebook
  • Instagram
  • Pinterest
  • YouTube
Privacy & Cookies: This site uses cookies. By continuing to use this website, you agree to their use.

To find out more, including how to control cookies, see here: Cookie Policy
  • Privacy Policy
  • Refund Policy
  • Contact Us
  • About

Copyright © 2026 Patterns for Pirates

Copyright © 2026 · Genesis Framework · WordPress · Log in