Patterns for Pirates

P4P stylish, modern, wearable patterns

  • Home
  • Blog
    • Frequently Asked Questions
    • Pattern Releases
      • Free Patterns
    • P4P University
      • Fitting
      • Sewing with Stretch, Knit Fabrics
      • Sewing with Woven Fabrics
      • Sewing Machines
    • Sew-A-Longs
    • Fabric for Pirates
    • Pattern Hacks
    • Announcement
      • Blog Tours
      • Contest/Giveaway
  • Shop
  • Bundle Discounts
  • Flash Friday
  • Gift Cards
  • My Account
  • Cart

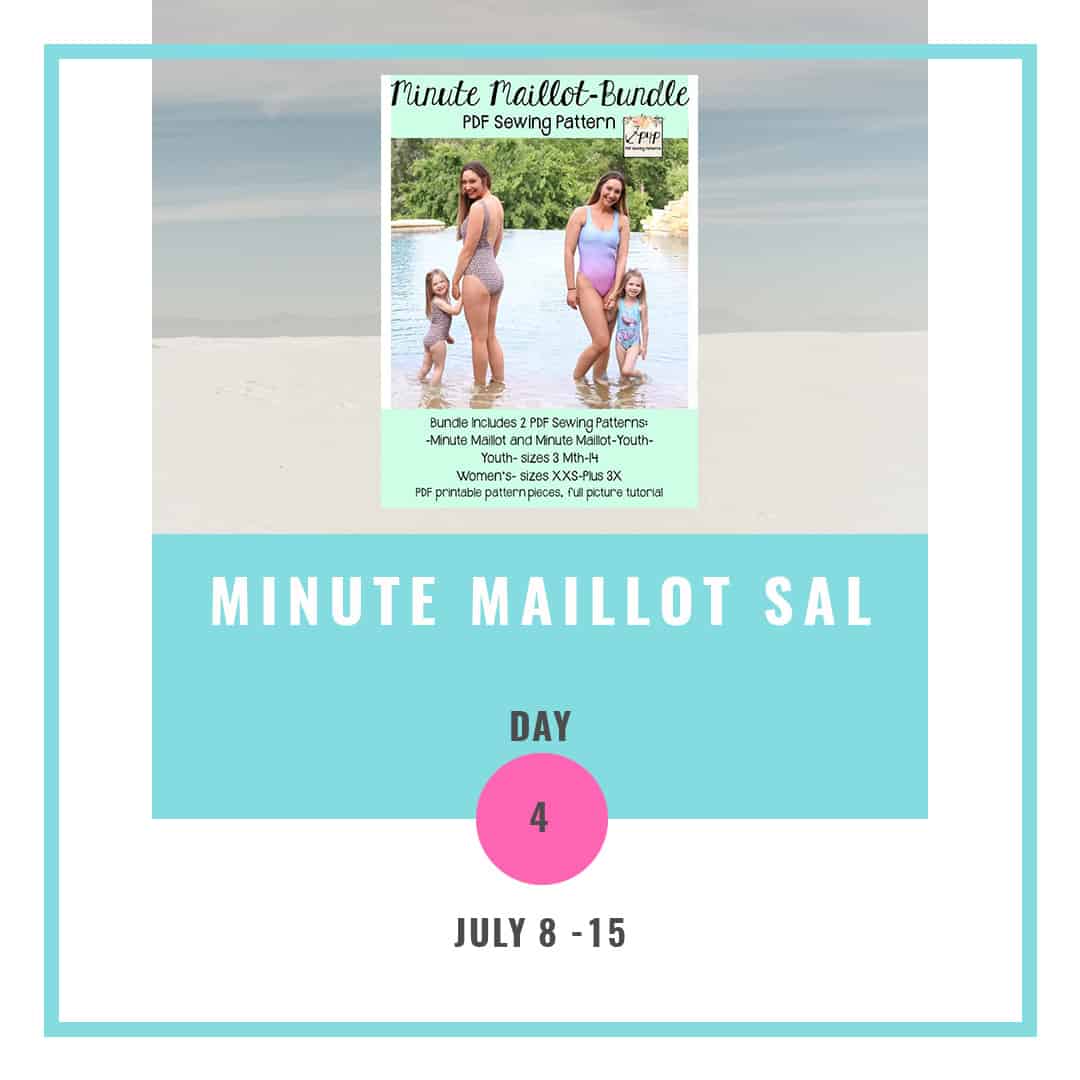
Minute Maillot SAL – day 4 (sew shoulder seams)

July 11, 2019

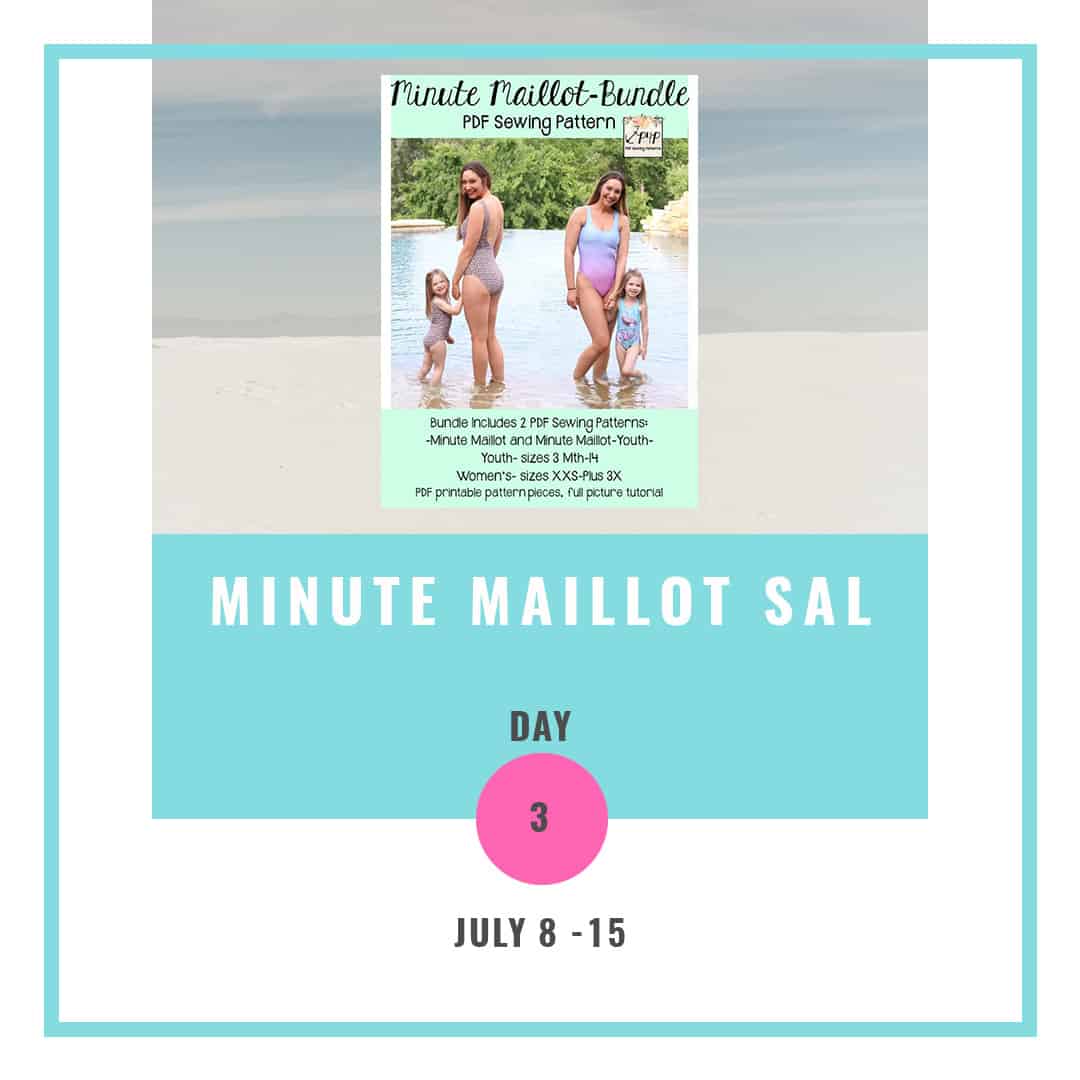
Good morning, friends! Today is a short, quick sewing day. We are only sewing the shoulder seams. You can do this step on your sewing machine using a triple stretch stitch or a lightning bolt stitch or you can use your serger.

The most important thing is to layer the pieces exactly as instructed in the tutorial. This is imperative to ensure that the seam allowance in enclosed and feels comfortable against your skin. If you are adding the bust lining AND full lining you will have 6 layers at the shoulder seam, instead of 4.

Below is today’s video. Once you finish your steps post a picture in the comments of day 4 photo of the Minute Maillot SAL album in the Sew Along group.

Minute Maillot SAL | Day 1

Minute Maillot SAL | Day 2

Minute Maillot SAL | Day 3

Minute Maillot SAL | Day 4

Minute Maillot SAL | Day 5

Minute Maillot SAL | Day 6

Minute Maillot SAL | Day 7

Filed Under: Sew-A-Long, Uncategorized Leave a Comment

Minute Maillot SAL – day 3 ( sew bust lining / prepare ruffles)

July 10, 2019

Ahoy, pirates! On day 3 of our sew along we sewing the bust lining if you are making the adult Minute Maillot and/or prepping the ruffles if you are doing the youth swim suit. You will need the bust lining if you do not want to fully line your MM or if you want to add cups to a fully lined one.

Bust lining

Note: If you are sewing the low back option you will have 3 pieces for the bust lining, one for the front and two mirrored ones for the back. For the mid and high back the bust lining is only two pieces, one front and one back.

For extra support, I have decided to add cups to my bust lining. The cups should be sewn to the wrong side of the bust lining, this way when worn, they will be sandwiched between the main print and the lining.

Ruffles

Tip: When gathering the ruffles use two rows of stitching 1/4″ away from each other. This will yield uniform gatherings and a “back up” should the one of the stitching break.

Take a look over the day three video below and post  picture of your progress in the comments of day 3  picture of the Minute Maillot SAL album.


Minute Maillot SAL | Day 1

Minute Maillot SAL | Day 2

Minute Maillot SAL | Day 3

Minute Maillot SAL | Day 4

Minute Maillot SAL | Day 5

Minute Maillot SAL | Day 6

Minute Maillot SAL | Day 7

Filed Under: Sew-A-Long, Uncategorized Leave a Comment

Minute Maillot SAL – day 2 (cut fabric and gather supplies)

July 9, 2019

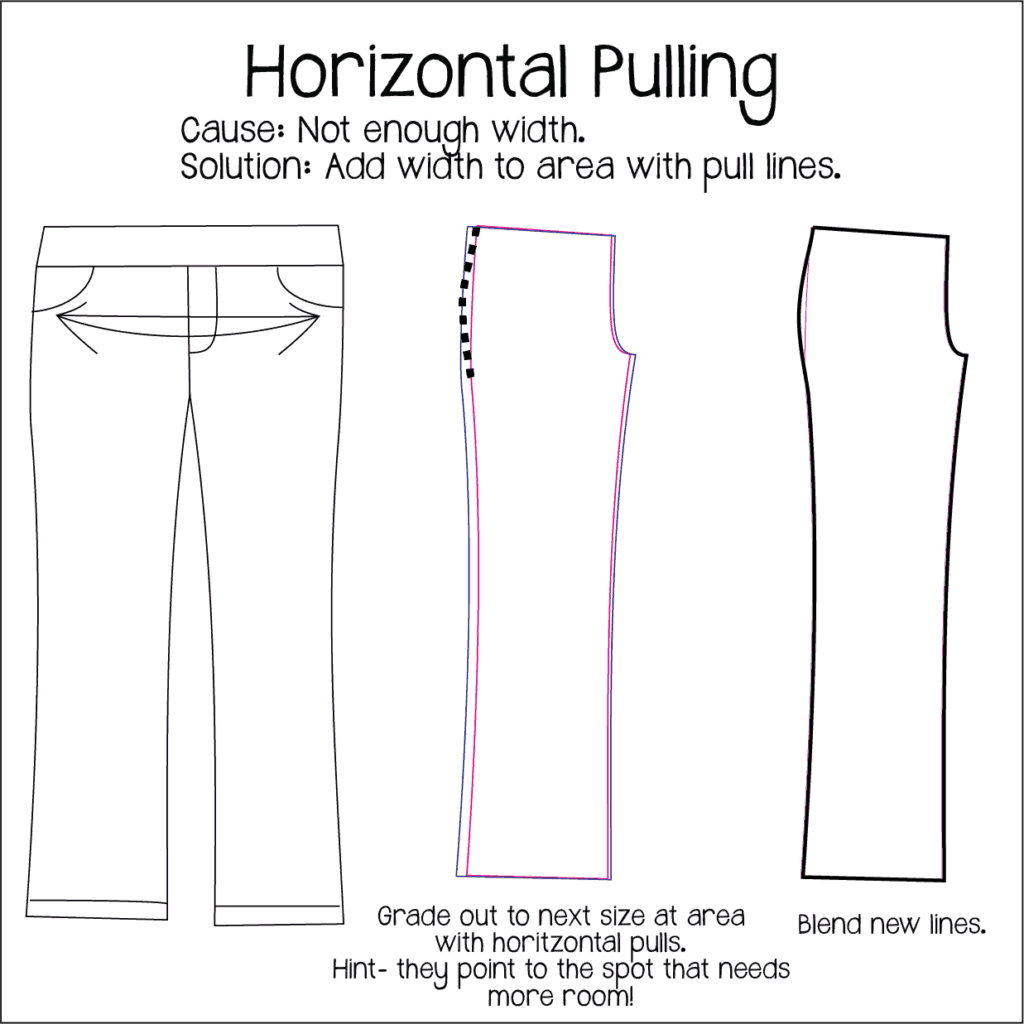
Welcome to day 2 of our Minute Maillot sew along. Today we will be choosing the fabric, cutting it and gathering all necessary notions. To make the MM you will need swim fabric, lining, swim elastic and optionally power mesh or swim cups.

Judy made this very in depth video about various swim fabric, notions and how to accurately take your measurements to create the perfect custom swim suit. I highly encourage you to watch it:

For my Minute Maillot I decided to go with a gorgeous nylon swim I got from Boho Fabrics. I will be making the low back, mid front, high leg option with a bust lining. I am using solid black swim, also from Boho, for lining and cotton swim elastic for the arms, legs and neckline.

The Day 2 video is posted below. Check it out and once you are done cutting your fabric post a picture of your prepped fabric in the comments of the Day 2 photo of the SOS SAL album in the M4M & P4P Sew Along group.
Minute Maillot SAL | Day 1

Minute Maillot SAL | Day 2

Minute Maillot SAL | Day 3

Minute Maillot SAL | Day 4

Minute Maillot SAL | Day 5

Minute Maillot SAL | Day 6

Minute Maillot SAL | Day 7

Filed Under: Sew-A-Long, Uncategorized Leave a Comment

Minute Maillot SAL – day 1 (print and cut pattern)

July 8, 2019

Welcome to the Minute Maillot

Sew Along!

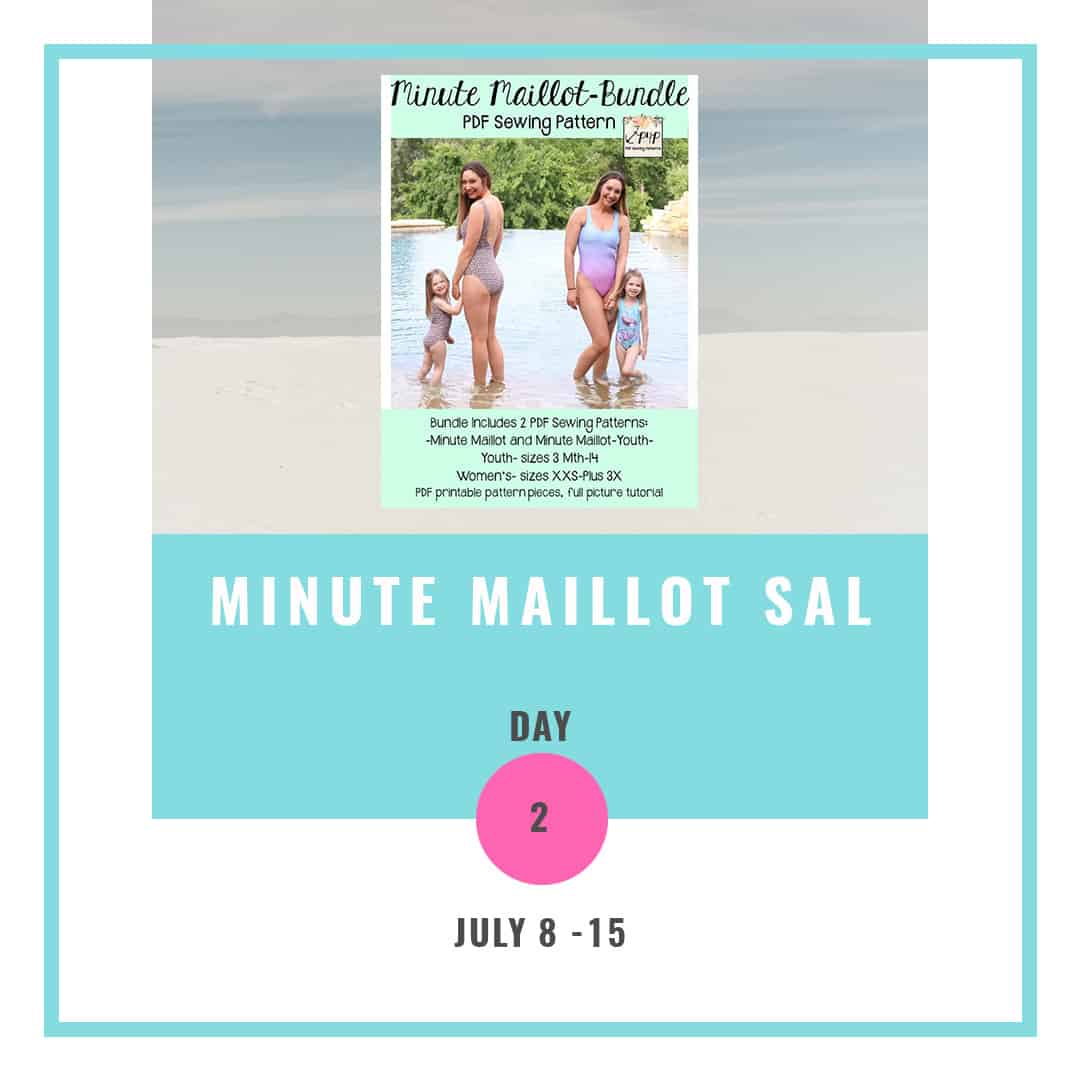
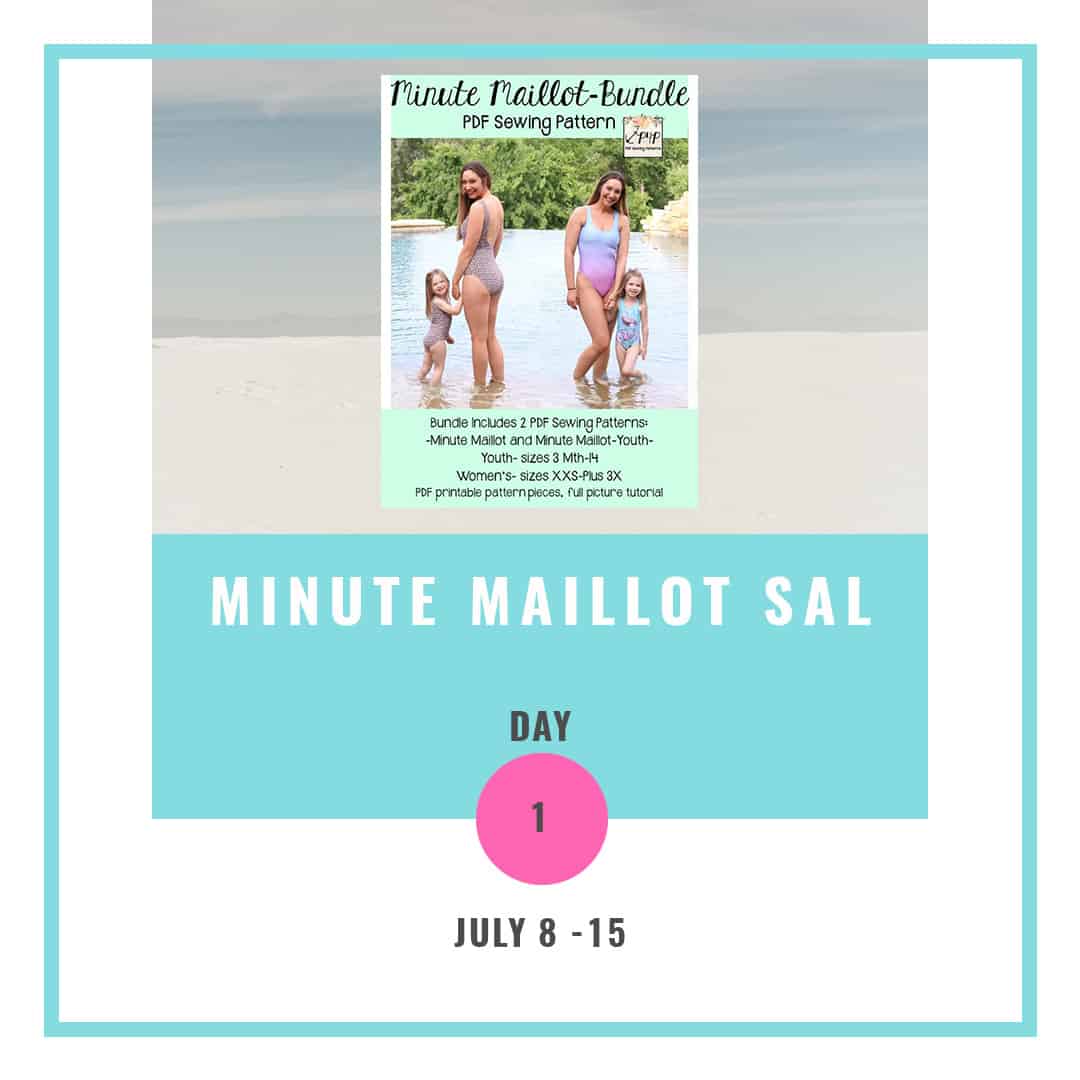
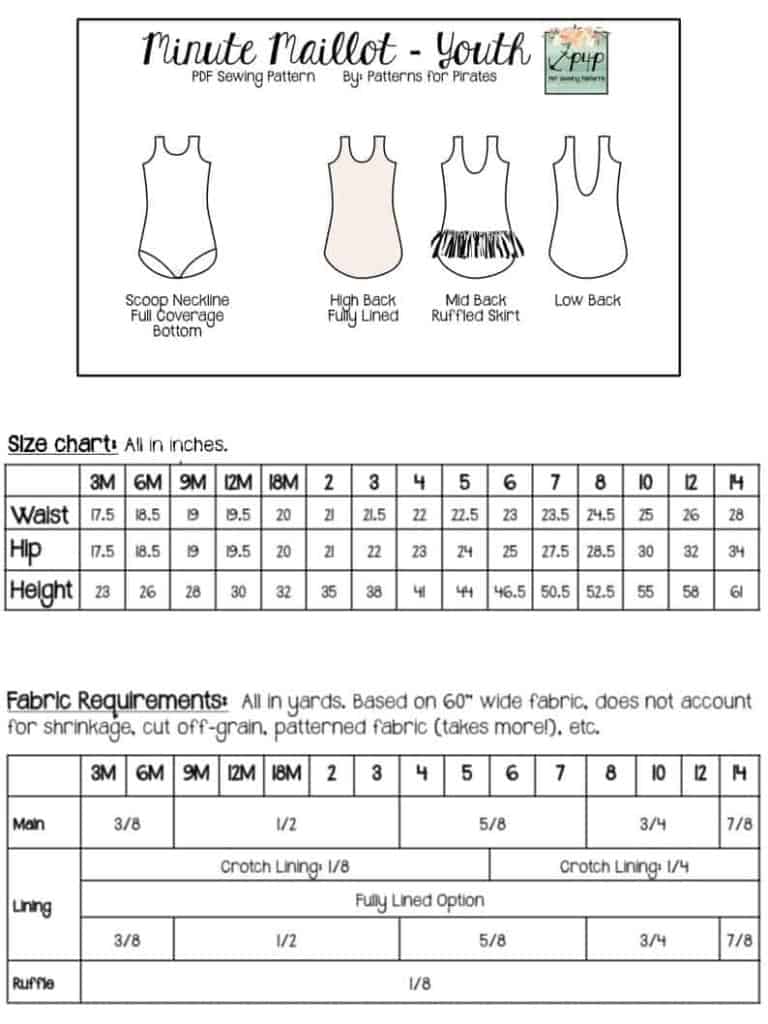
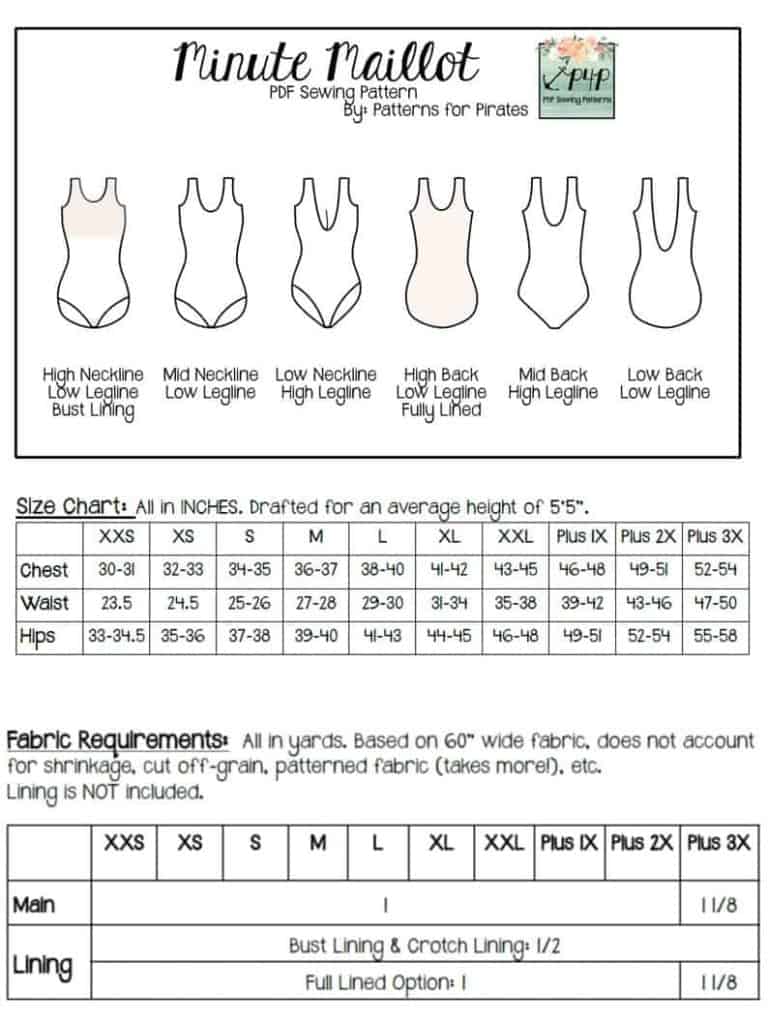
Day 1 is for purchasing the patterns, printing and cutting the size(s) you need. If you plan on sewing for yourself you can get the Minute Maillot here, if you’re sewing for your little one, the Youth MM can be purchased here and if you’re sewing for both of you (just think of the mommy and me matching outfits!) you can get the bundle.

This Sew Along will take place in our M4M & P4P Sew Along group so be sure to join the group not only for the exclusive discount code available for the patterns but also to post your progress this week. As always all daily posts will be here on the blog but you’ll be checking in with your completed steps in the group.

This sew along is sponsored by Boho Fabrics. Emily has graciously offered our pirates and mermaids a discount. Code MAILLOT20 (valid until July 14th) will save you 20% off swim fabrics, notions and mesh in case they needed other supplies for the perfect suit 😊 (Happy hour bundles are excluded from the sale code since they are already discounted )


Now that you have your pattern printed, time to cut the correct size(s). Patterns for Pirates drafts for 5’5″ height for the Women pattern so do not forget to adjust for height too. For swimwear, especially one piece swim suites like the Minute Maillot it’s important to measure your trunk as well. Measure inside shoulder, across your bust, down through your legs, over the booty and back up and over the shoulder.

P4P has an amazing blog that gives you tip for accurately taking your measurements. You can read all about it here. If your measurements put you in a different size for bust/waist/hips be sure to check out our P4P University blog and grade to achieve the perfect fit.

The Basics of Sewing Swim blog post has a lot of useful information, especially if you’re making swimwear for the first time.

Check out the day 1 video below and then comment “done” on the Day 1 picture of the SOS knit pants SAL album in the sew along group. We don’t allow pictures of the pattern pieces so this will count as your day 1 check in. Let’s get started!


Minute Maillot SAL | Day 1

Minute Maillot SAL | Day 2

Minute Maillot SAL | Day 3

Minute Maillot SAL | Day 4

Minute Maillot SAL | Day 5

Minute Maillot SAL | Day 6

Minute Maillot SAL | Day 7

Filed Under: Sew-A-Long, Uncategorized 6 Comments

SOS sal day 2 (cut fabric)

May 16, 2019


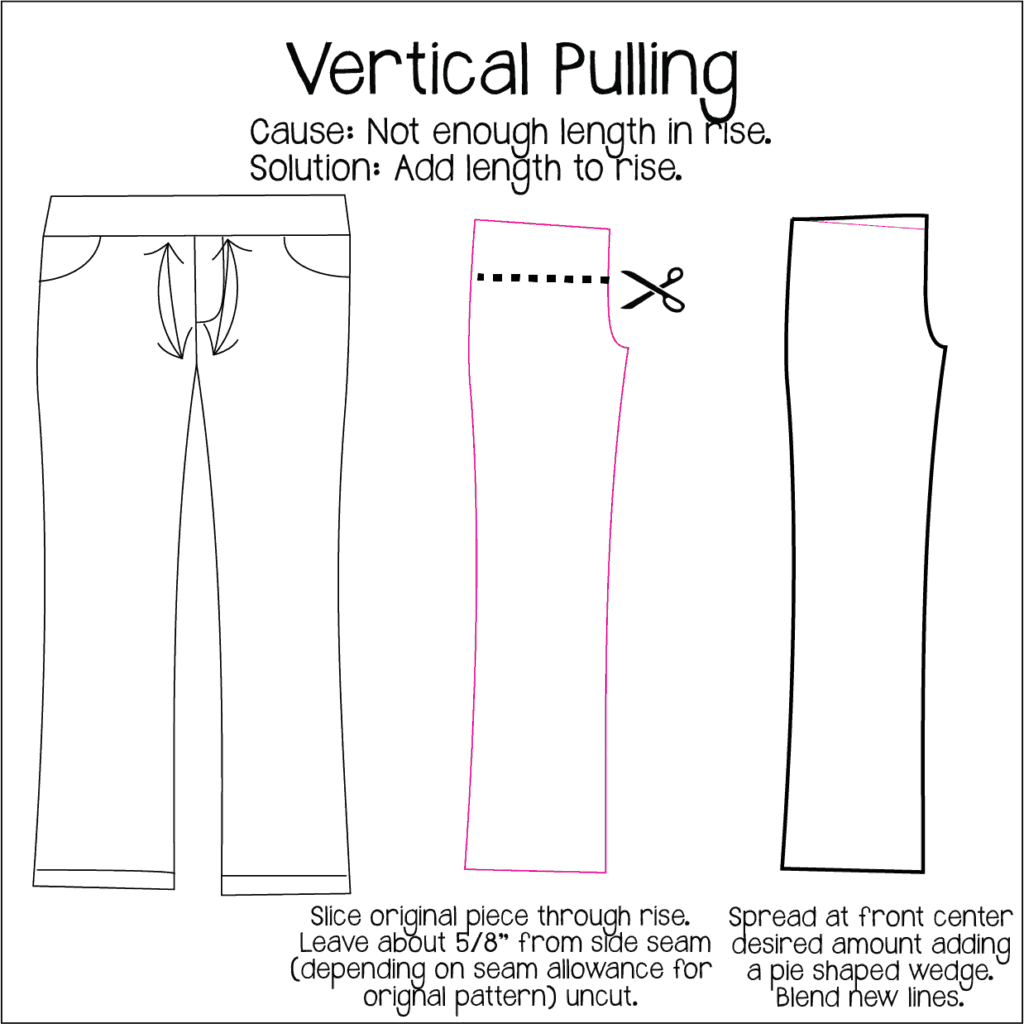
Welcome to day 2 of our SOS knit pants sew along. Today we will be choosing the fabric, cutting it and gathering all necessary notions. You should have your pattern pieces ready from yesterday. If you haven’t removed the top part of the pocket on the front pieces, now is the time to do it.

But first let’s talk a little about the right fabric for the SOS pants. As you can see in the video below I am using a gorgeous athletic knit from Kammie Lou Lou for my SOS skinny pants. This poly base knit is custom printed and the perfect medium weight. For the straight leg I absolutely love French Terry or Baby French Terry for a casual/sporty feel and ponte for a more elegant look. I highly encourage you to avoid thinner knits like double brushed poly, low weight cotton spandex or bamboo spandex.

Custom Brushed Poly
Jacquard
Baby French Terry
Jeggings
Athletic poly

Kammie Lou Lou is this sew along’s sponsor too, so one of you will be getting a $75 Gift Card to the retail shop so you can treat your to some gorgeous custom printed fabric.


You will also need 1″ or 1.25″ elastic for the waistband. Not all elastic is the same, so keep that in mind when you choose knit elastic vs no roll elastic.

The Day 2 video is posted below. Check it out and once you are done cutting your fabric post a picture of your prepped fabric in the comments of the Day 2 photo of the SOS SAL album in the M4M & P4P Sew Along group.
 

SOS sew along | Day 1 – Print and cut pattern

SOS sew along | Day 2 – Cut fabric

SOS sew along | Day 3 – Back: pocket, yoke, inseam

SOS sew along | Day 4 – Front: pocket, inseam

SOS sew along | Day 5 – Leg inseam, side seam, hem

SOS sew along | Day 6 – Waistband

SOS sew along | Day 7 – Winners announcement

Filed Under: Frequently Asked Questions, Sew-A-Long, Uncategorized Leave a Comment

SOS sal day 1 (print and cut pattern)

May 15, 2019

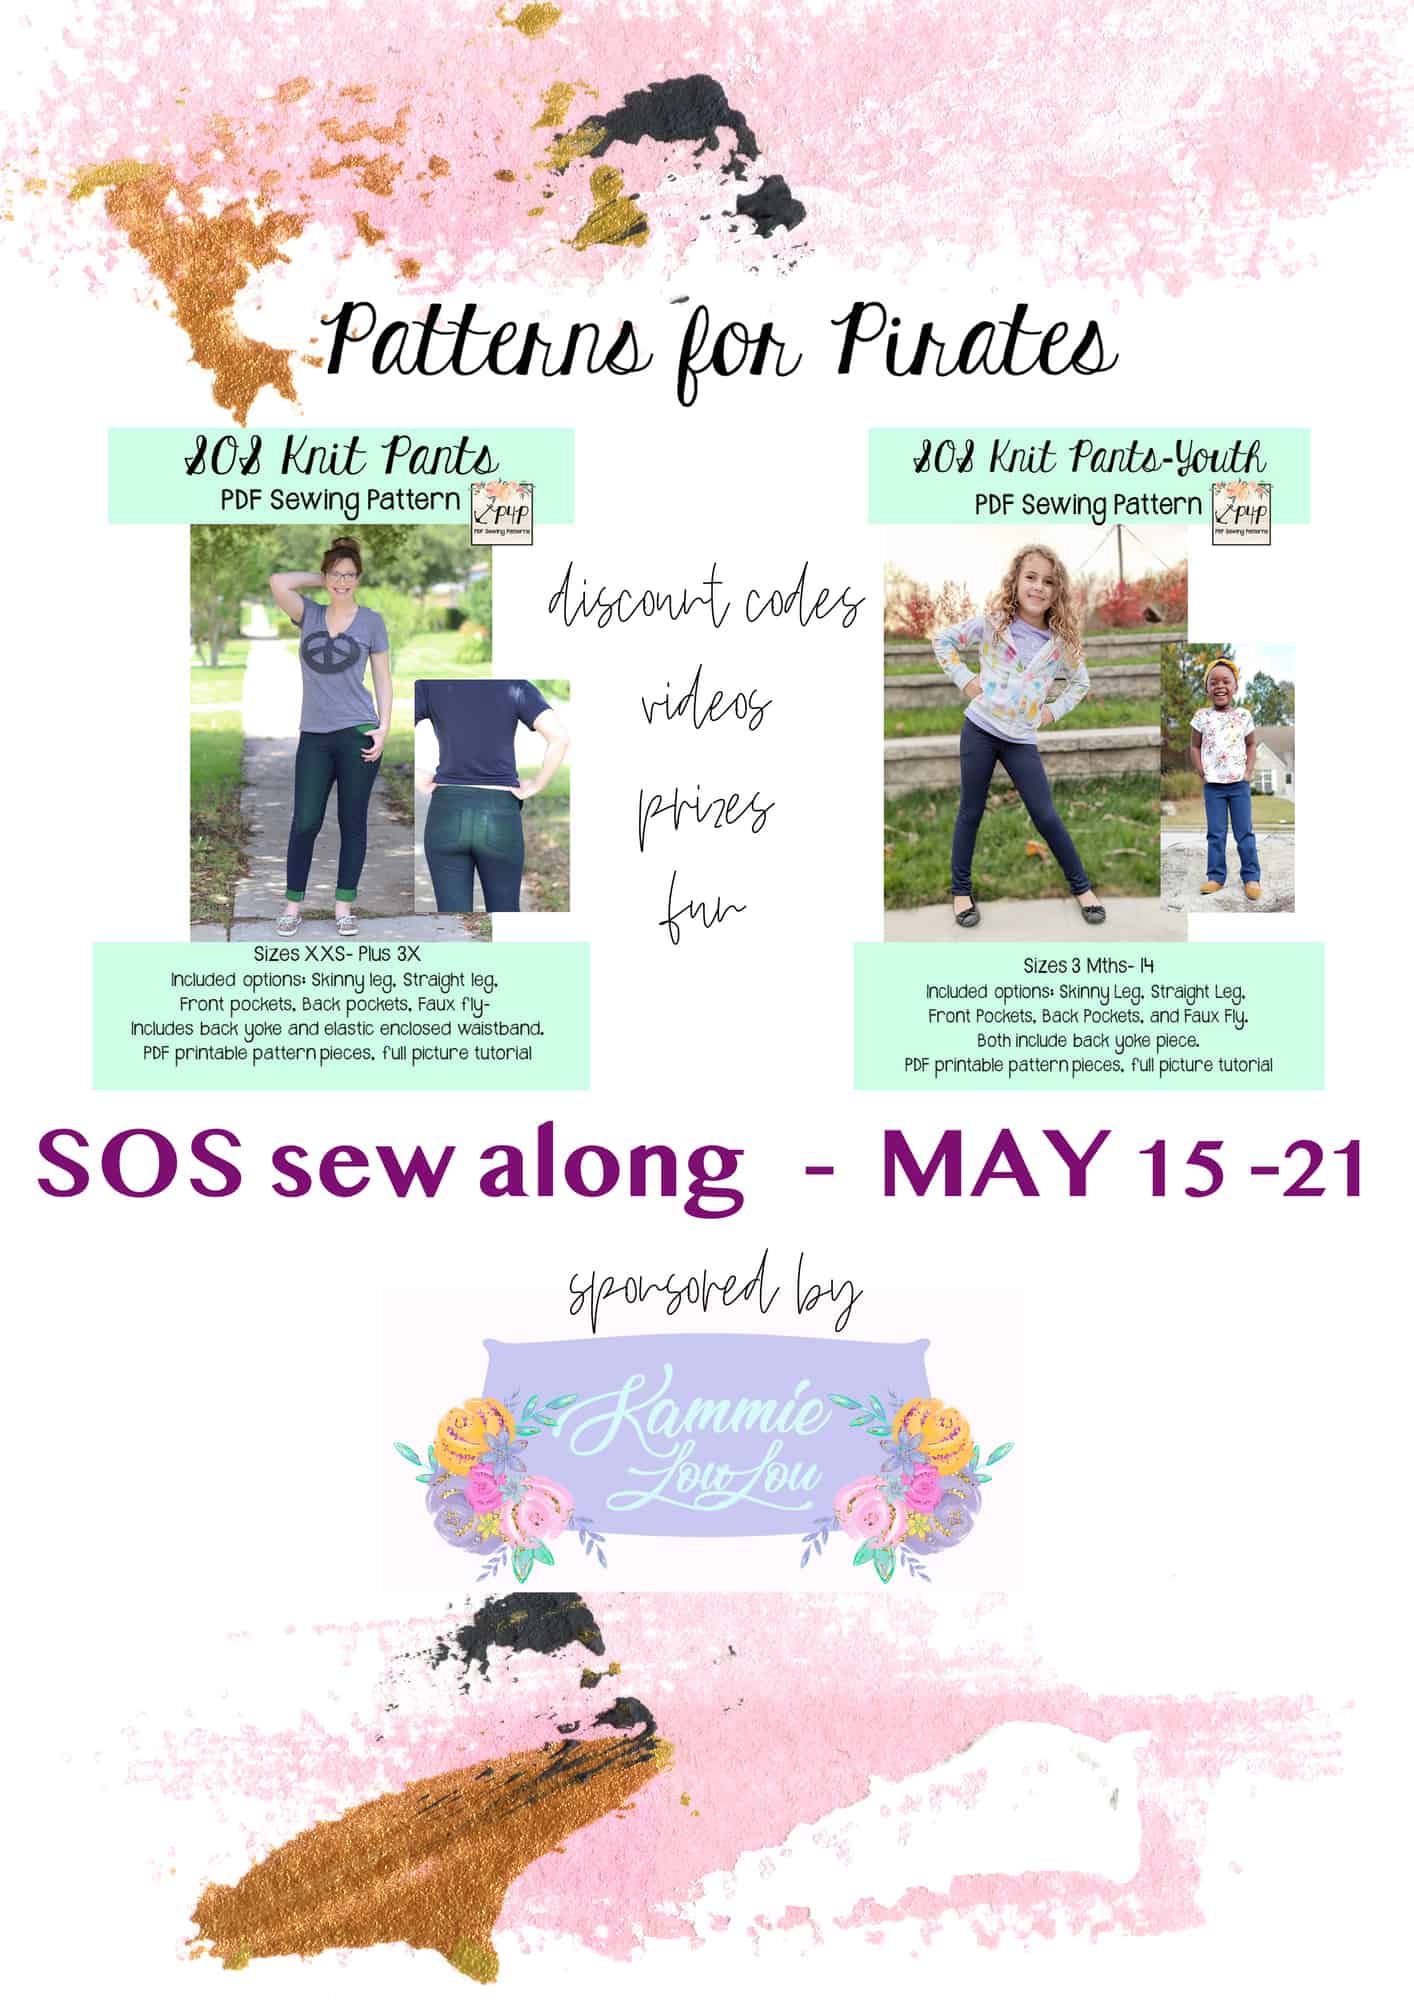
Welcome to the SOS knit pants

Sew Along!

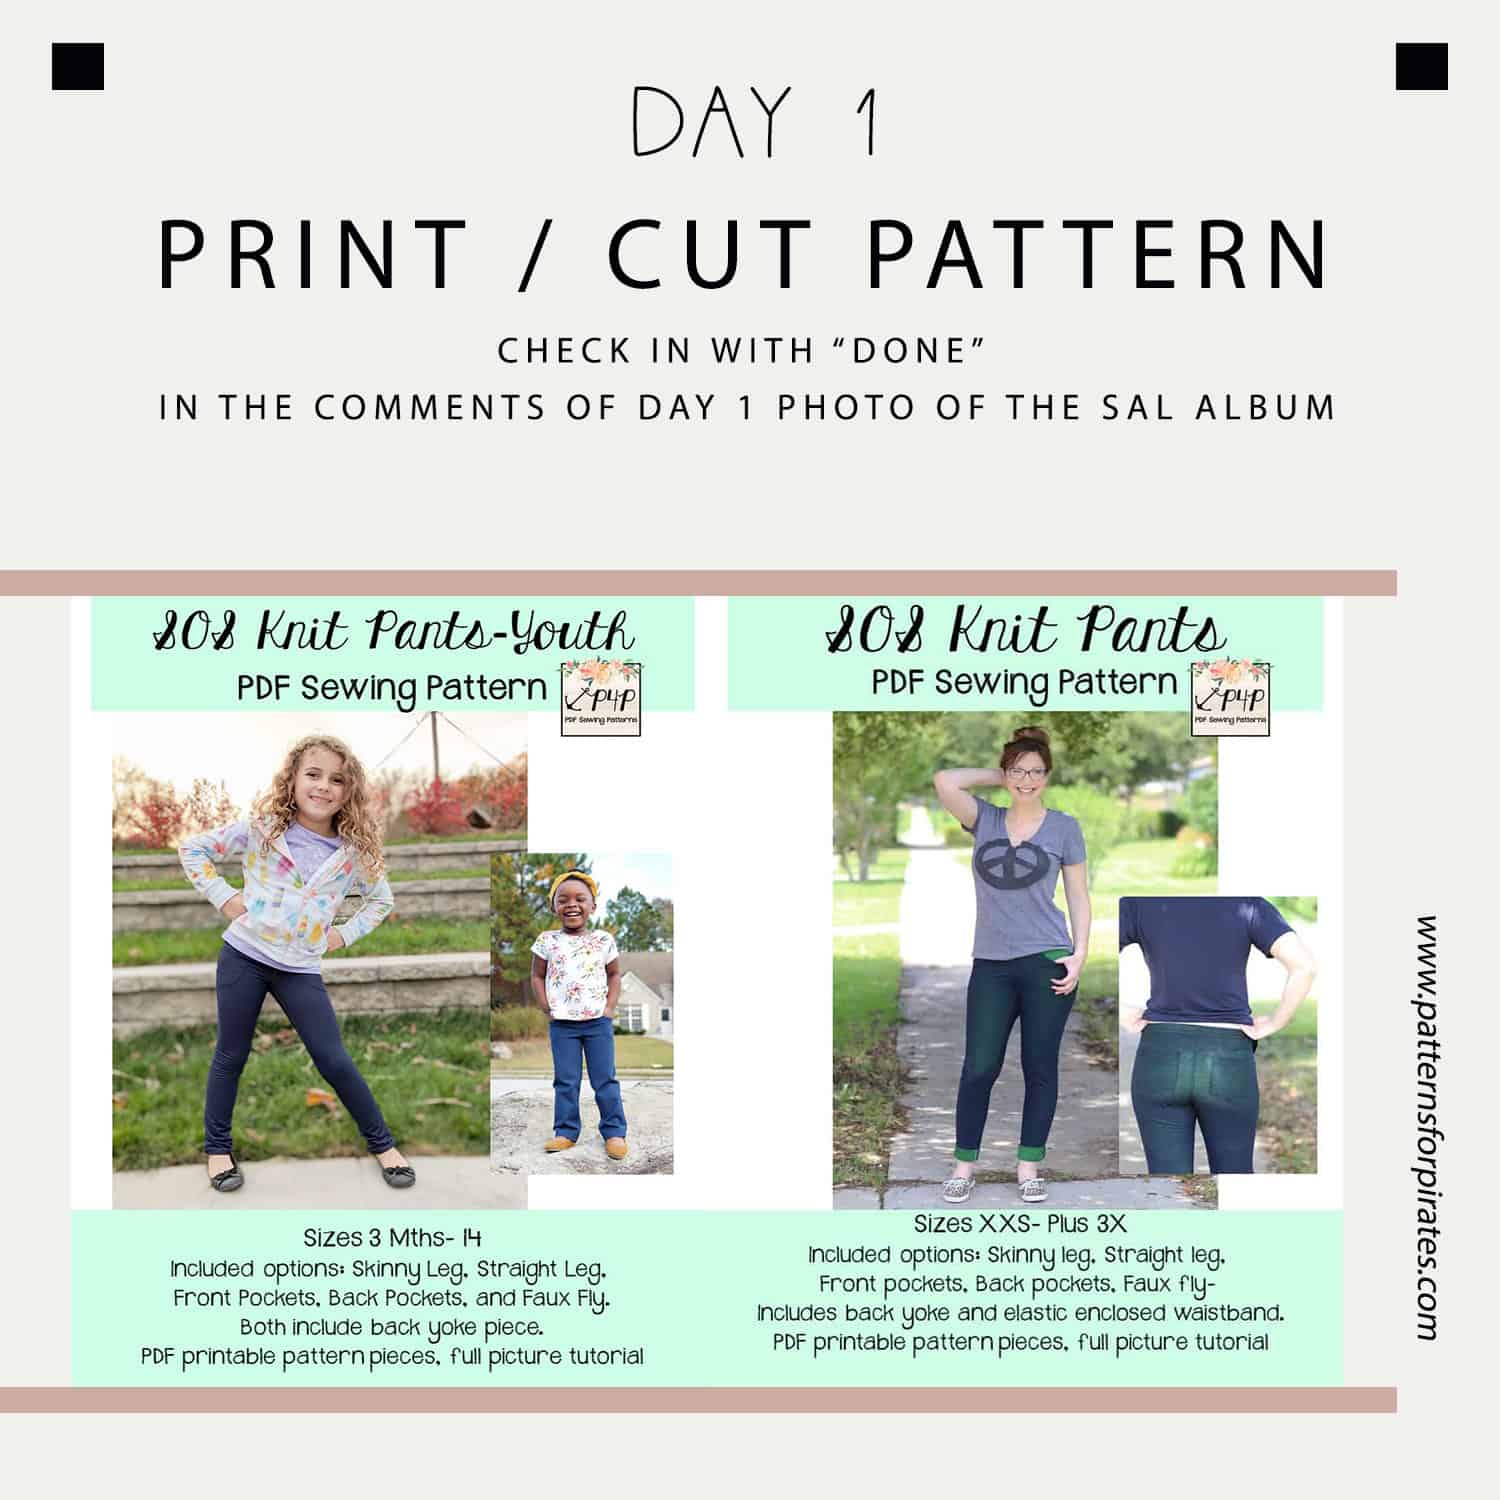
Day 1 is for purchasing the patterns, printing and cutting the size(s) you need. If you plan on sewing for yourself you can get the SOS Knit Pants here, if you’re sewing for your little one, the Youth SOS pants can be purchased here and if you’re sewing for both of you (just think of the mommy and me matching outfits!) you can get the bundle.

This Sew Along will take place in our M4M & P4P Sew Along group so be sure to join the group not only for the exclusive discount code available for the patterns but also to post your progress this week. As always all daily posts will be here on the blog but you’ll be checking in with your completed steps in the group.

The SOS Sew Along is sponsored by Kammie Lou Lou fabrics and Stacy has graciously offered our pirates and mermaids 10% off retail with code “Sal10″.

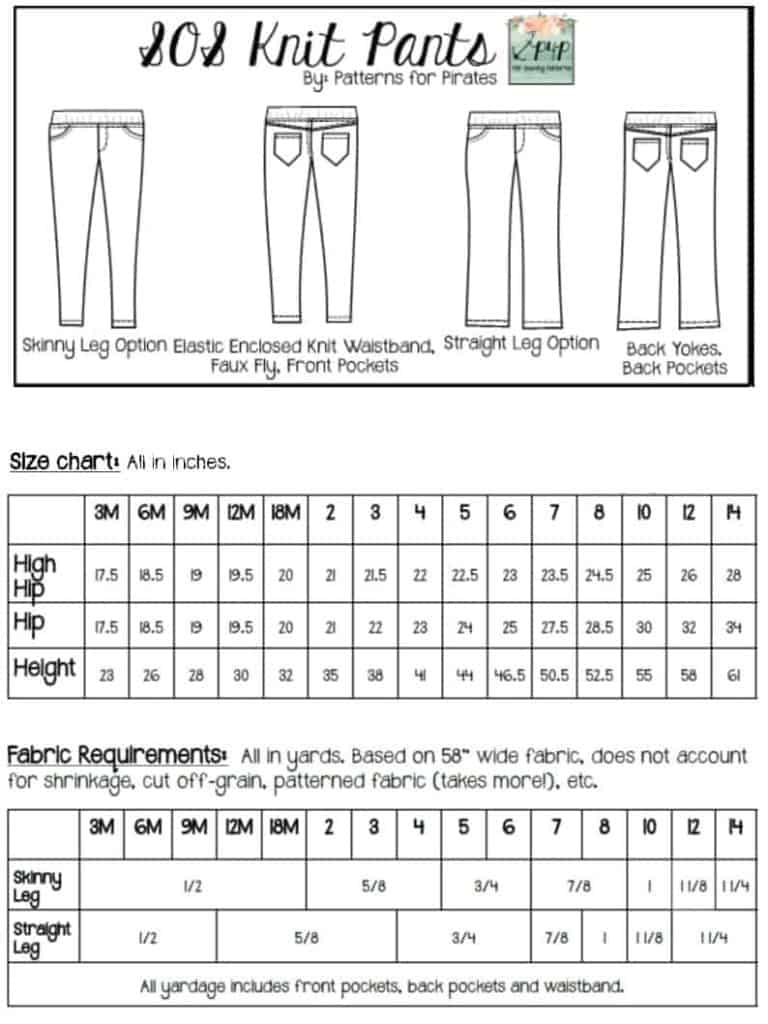
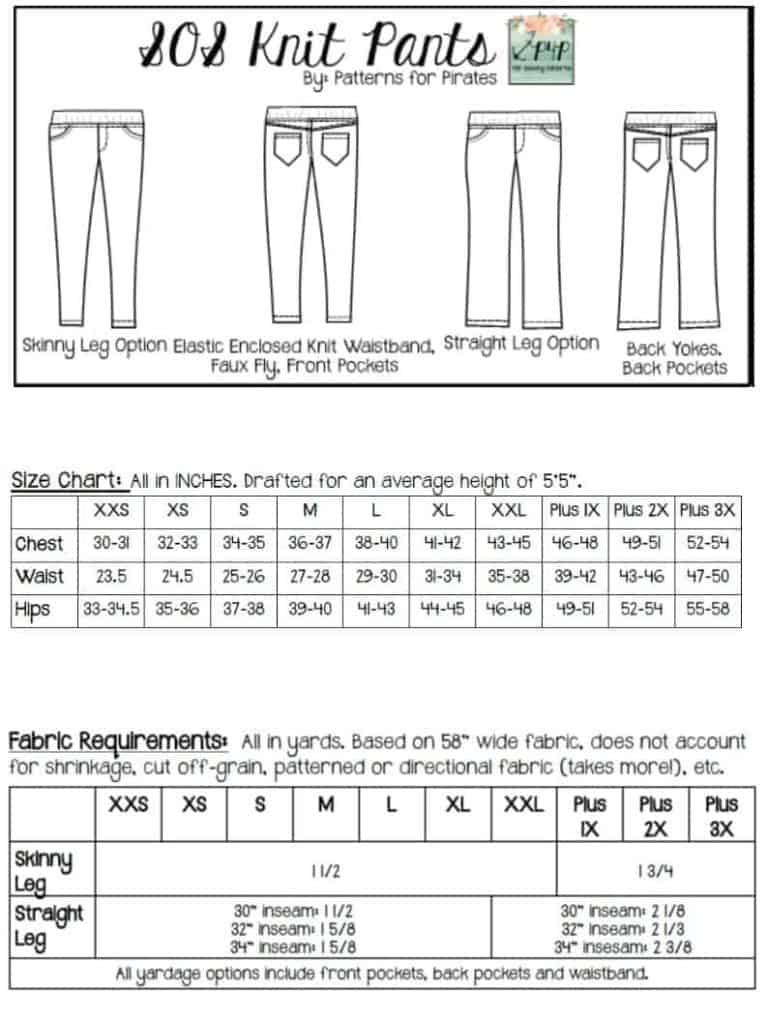
Now that you have your pattern printed, time to cut the correct size (s). Patterns for Pirates drafts for 5’5″ height for the Women pattern so do not forget to adjust for height too. Make sure to check your inseam against the finish inseam of the style pants you chose. I am 5’5″ BUT my crotch to ankle inseam  is 28″ so I have to remove 2″ from the skinny pants since the finished inseam is 30”.


You will need your waist, hips and calf measurements in order to choose the correct pants. P4P has an amazing blog that gives you tip for accurately taking your measurements. You can read all about it here. If your measurements put you in a different size for waist/hips be sure to check out our P4P University blog and grade to achieve the perfect fit.

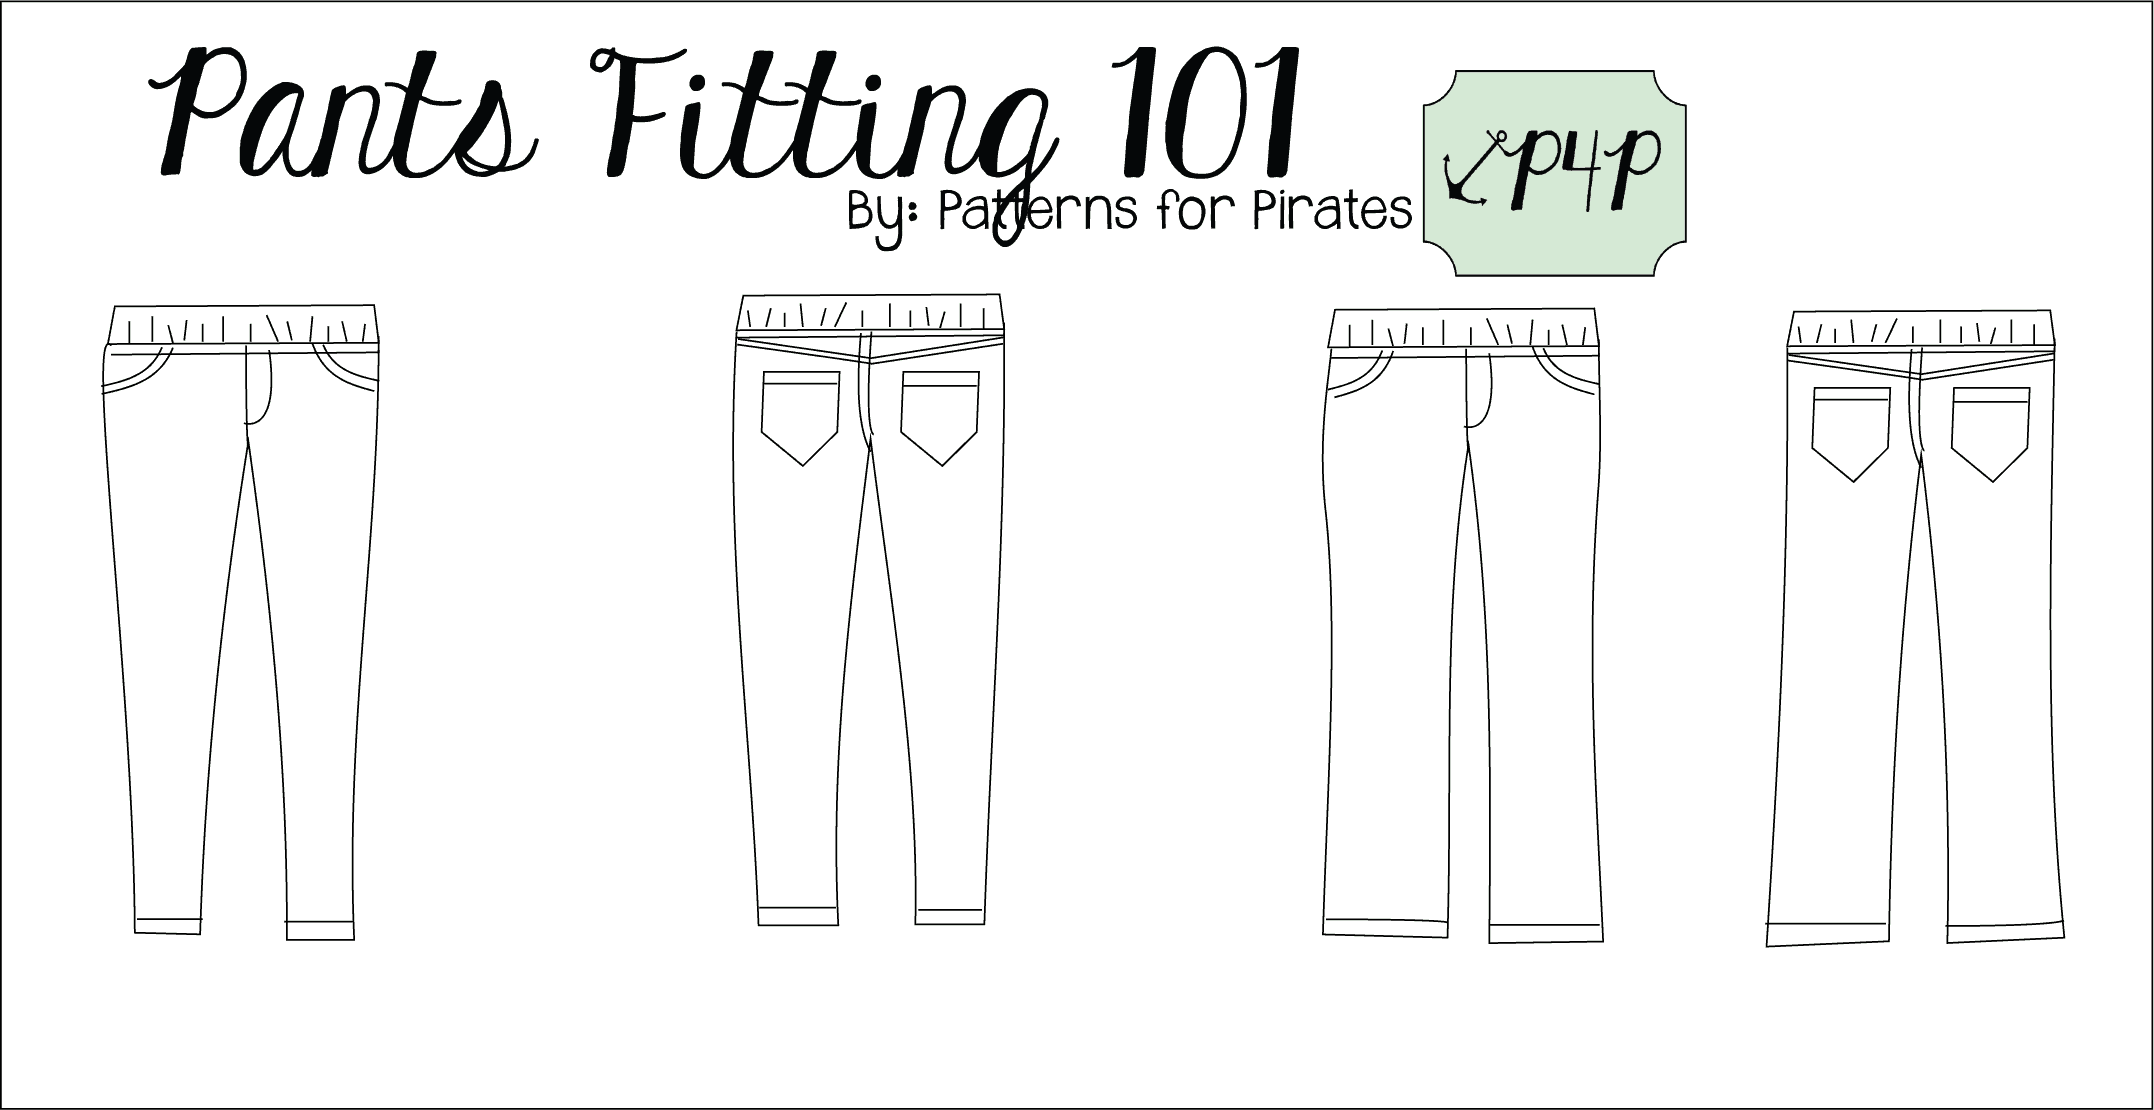
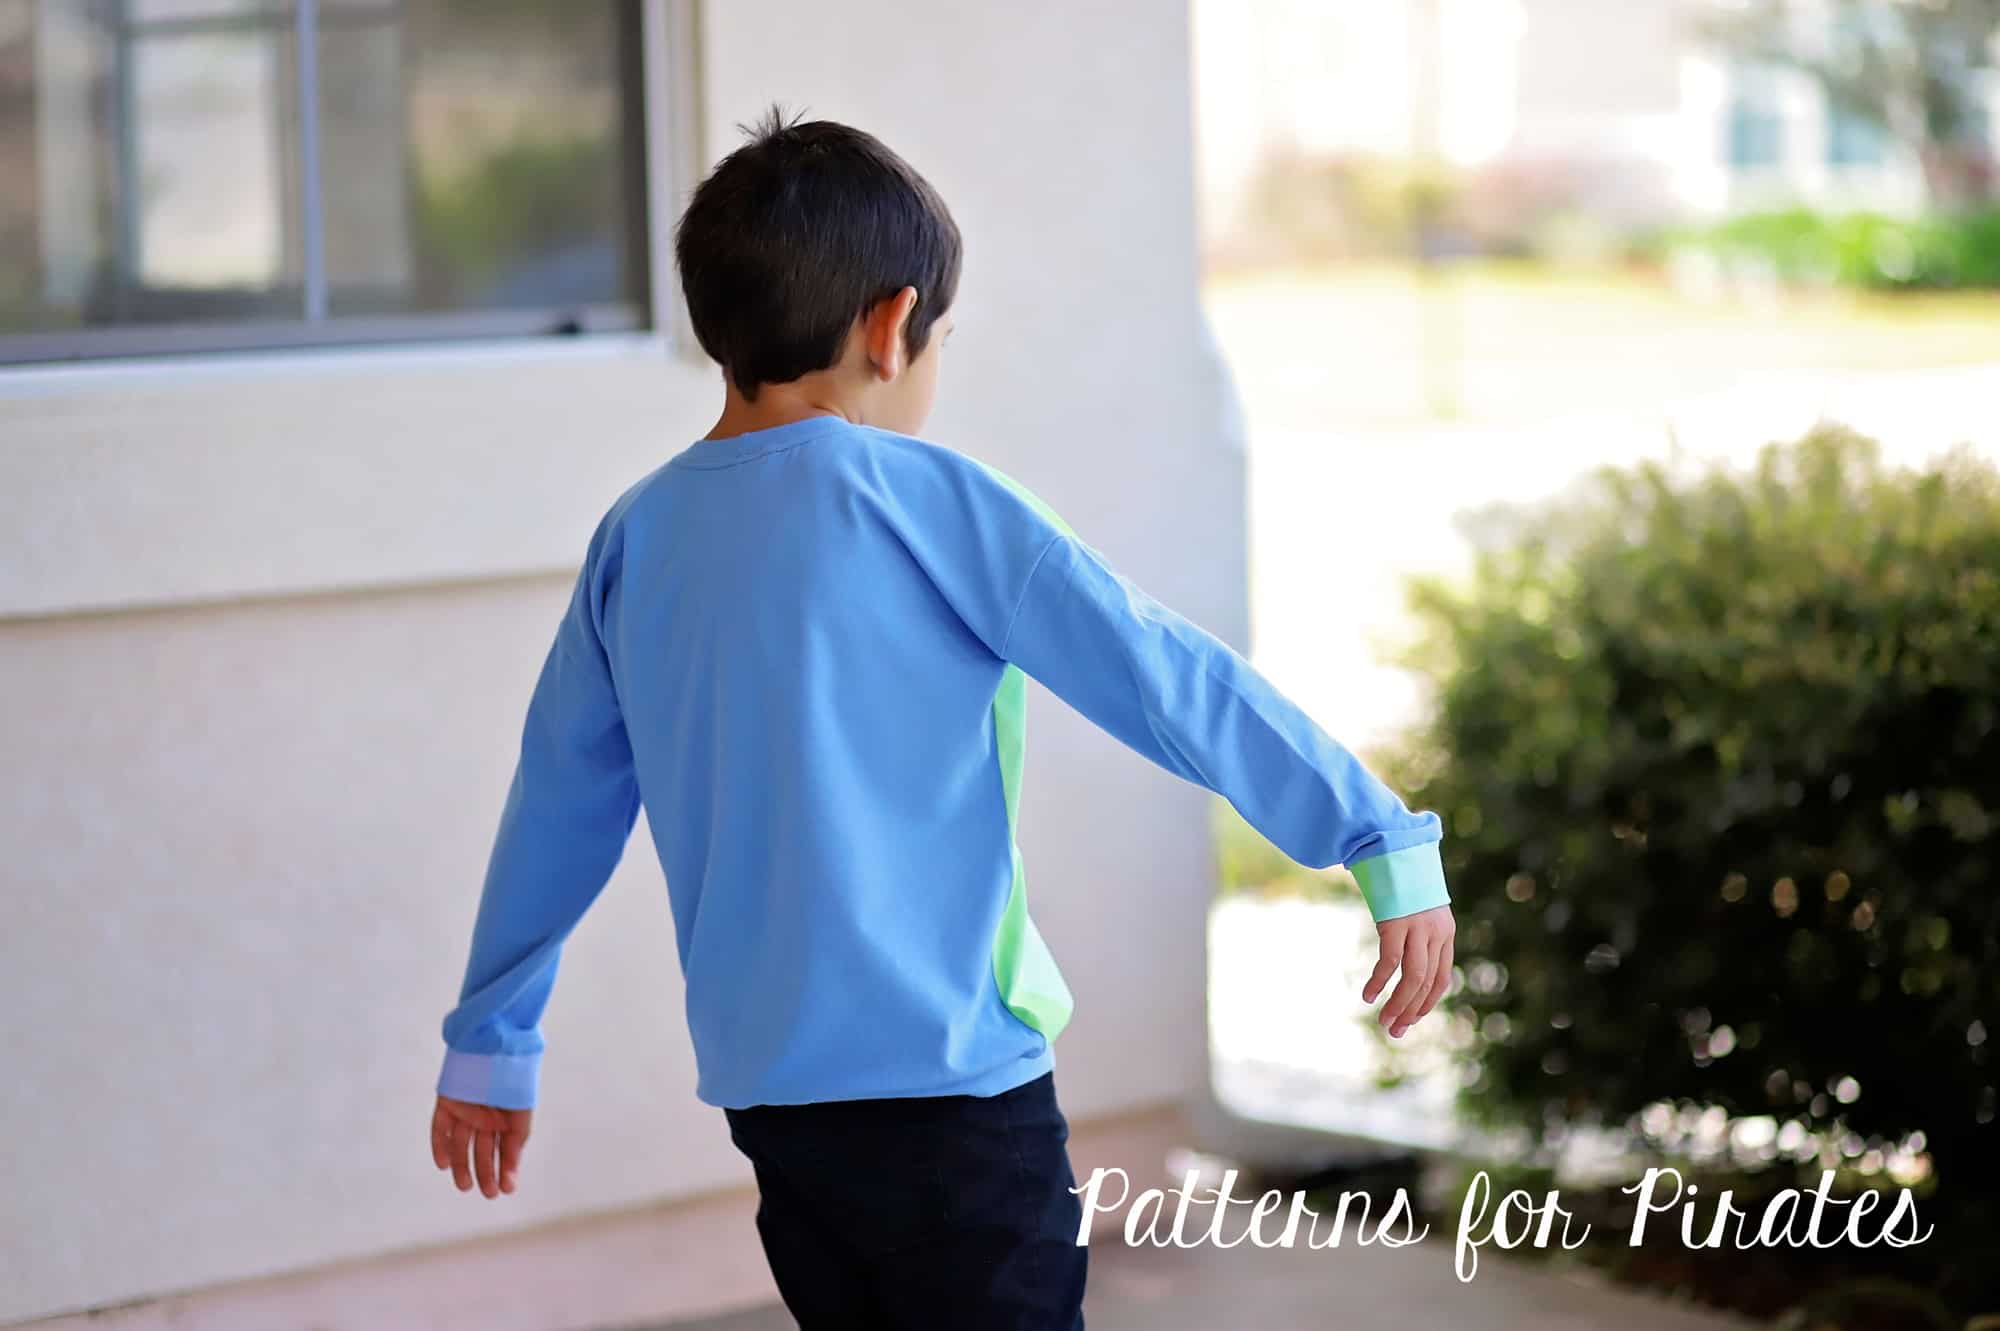
We always recommend making a muslin with the same type of fabric you plan to use for your “real” pair to make sure you get the perfect fit. Judy put together a great P4P University Blog that talks about pants and their wrinkles. You can read in there about some easy fixes for common problems.

Check out the day 1 video below and then comment “done” on the Day 1 picture of the SOS knit pants SAL album in the sew along group. We don’t allow pictures of the pattern pieces so this will count as your day 1 check in. Let’s get started!
SOS sew along | Day 1 – Print and cut pattern

SOS sew along | Day 2 – Cut fabric

SOS sew along | Day 3 – Back: pocket, yoke, inseam

SOS sew along | Day 4 – Front: pocket, inseam

SOS sew along | Day 5 – Leg inseam, side seam, hem

SOS sew along | Day 6 – Waistband

SOS sew along | Day 7 – Winners announcement

Filed Under: Frequently Asked Questions, Sew-A-Long, Uncategorized 4 Comments

P4P University- Pants and Their Wrinkles

May 14, 2019

We get a lot of questions about fitting, wrinkles and pull lines and how to fix those when sewing for different body types.  Pants seem to cause a lot of anxiety for some sewists when it comes to the crotch area and the lines they can see there, but it isn’t too complicated as it seems.

First, lets talk about wrinkles and pull lines in general.  You will never have a garment that will never have any in any position.  Meaning a garment is drafted and fitted to look great in one main position (usually standing up straight with feet slightly apart for pants).  So, if you’re only getting wrinkles or pull lines when moving a certain way don’t worry! A garment can’t be perfectly drafted and fitted to every movement you’re going to be in.  I often see that sewists are worried about this though… “I have wrinkles when I sit” is a very common plea for help… but the truth is you should! You need that extra length when you’re standing and it will wrinkle or bunch when you’re not using that length when sitting.


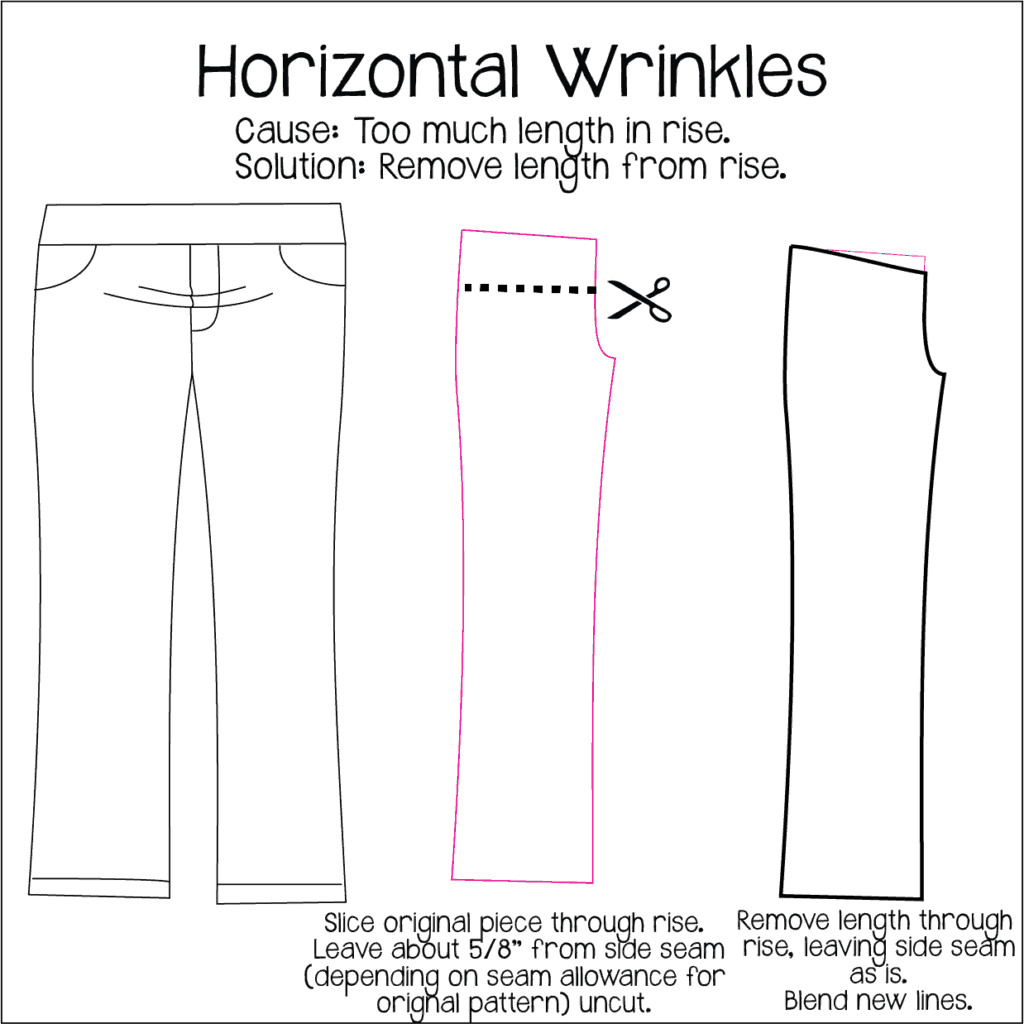
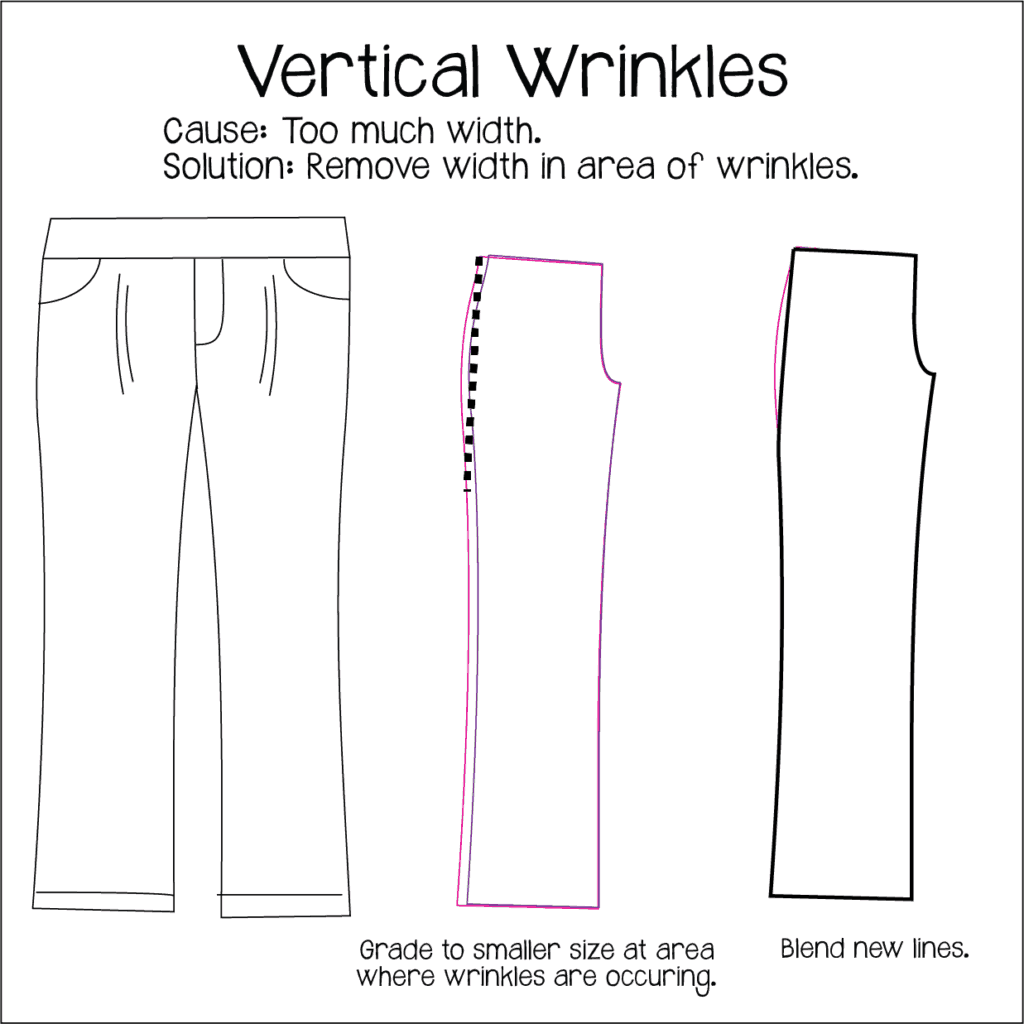
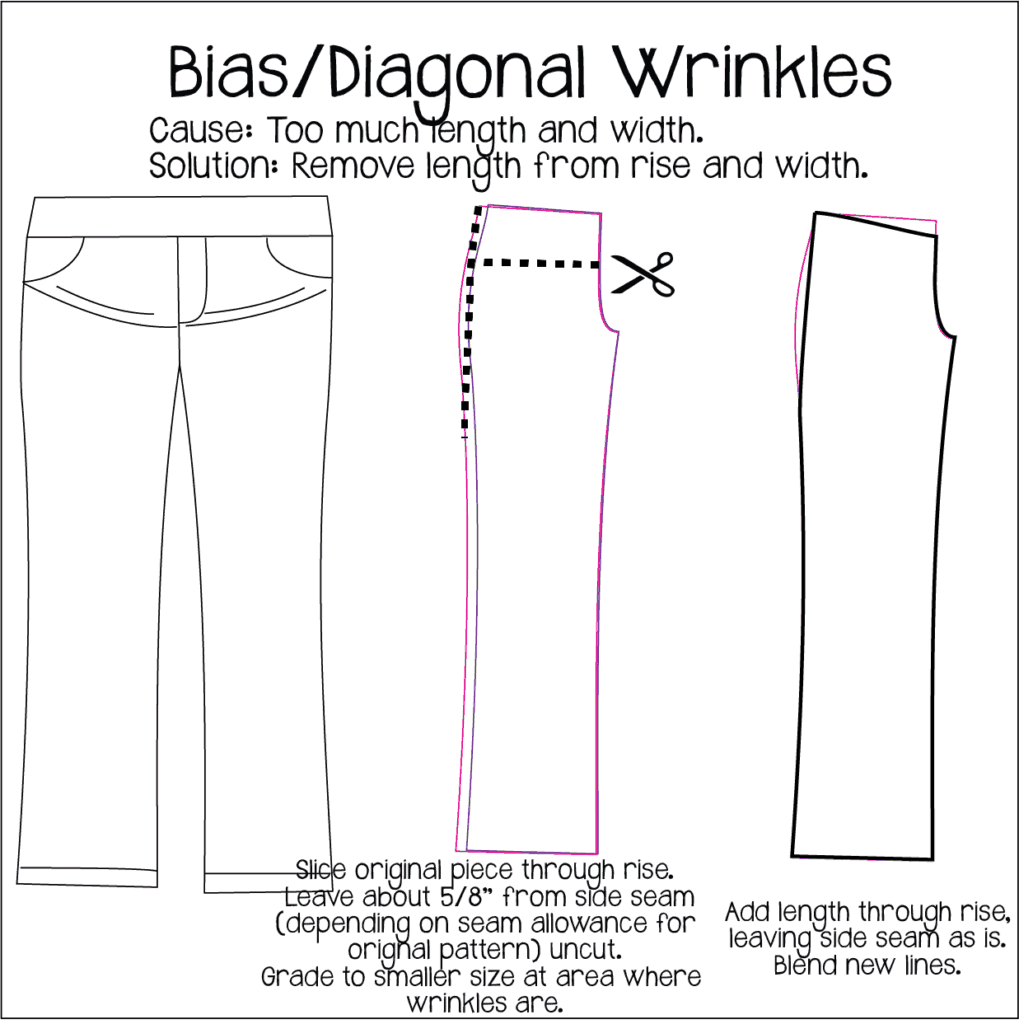
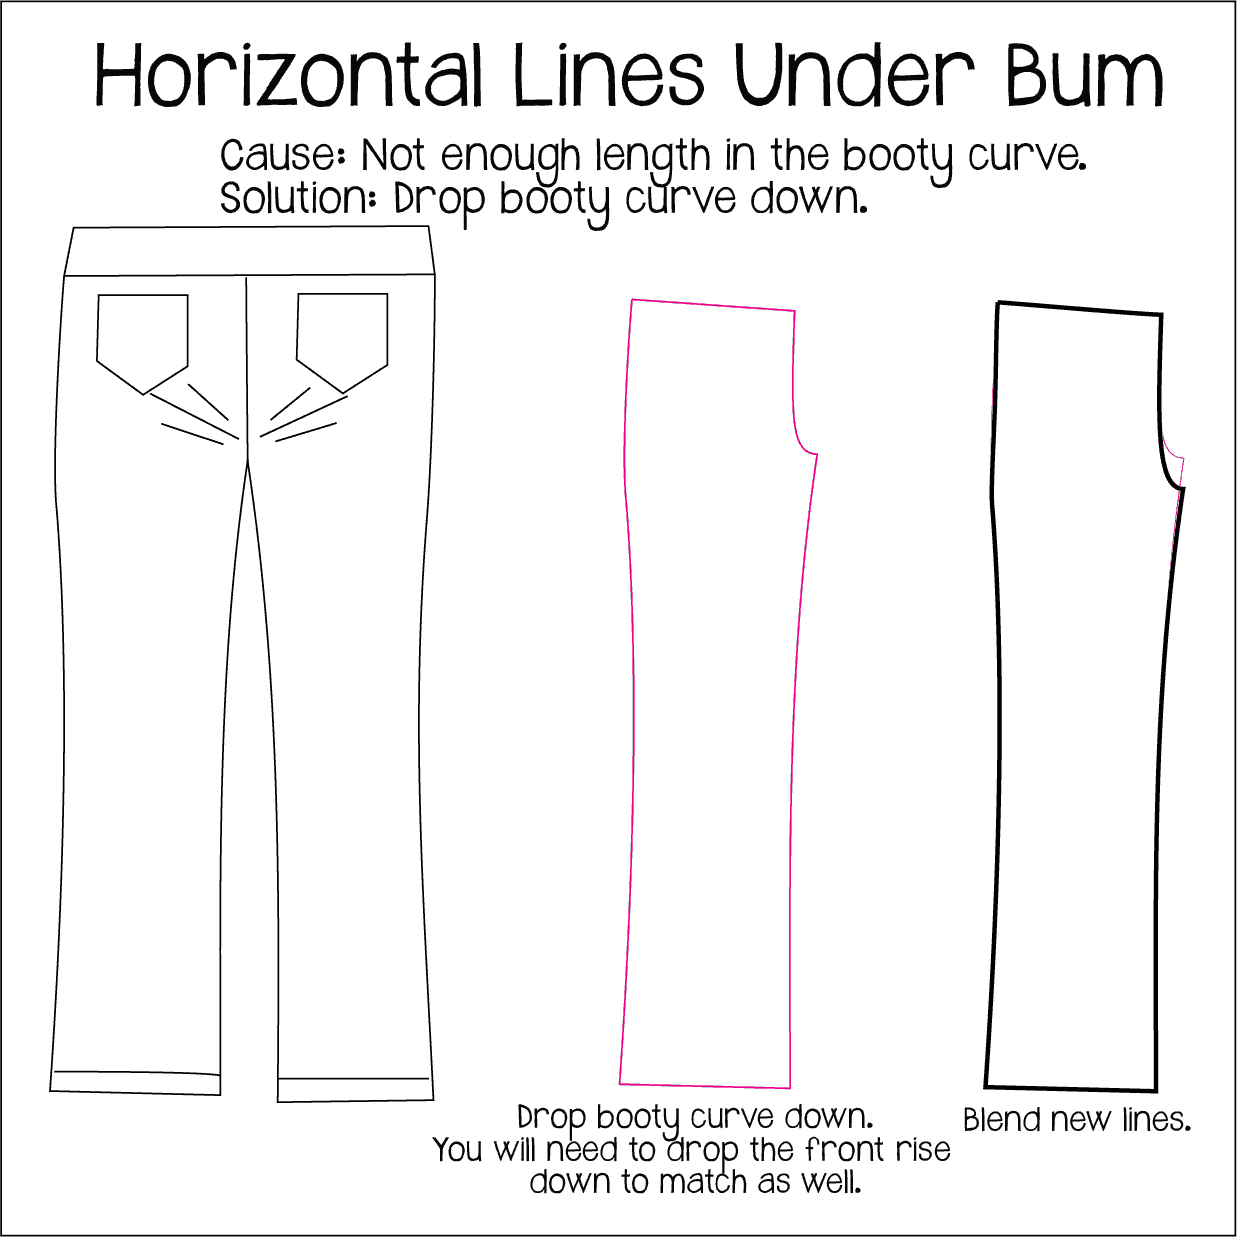
But, if you’re fitting pants and you’re having wrinkles or pull lines when just standing straight then you’ll want to alter the pattern for a better fit.  Lets go over some wrinkles and pull lines and what you would need to do to fix them.  I have the issue on the left, followed by how you would alter the pattern in the middle, and to the right what your new pattern piece will look like against the old one (old pattern in pink and new altered in black).

When you have wrinkles this indicates that you have too much fabric somewhere and it is bunching up.  Pinching out the excess will show you exactly where the extra fabric is coming from usually and if it is horizontal, vertical, or both that needs to be taken out.

When you have pull lines this indicates that there is not enough fabric somewhere and it is straining.  If you’re unsure you can unpick to let the tension out and see if the lines go away.  The gap that your seam spreads would be the amount your pattern needs to not strain.  You can unpick along the side seam to check for horizontal pulling or along the top waistband for vertical.  You might need both as well if you’re getting bias pulling.


The same goes for booty with wrinkling vs pull lines and vertical vs horiztonal.   But, I wanted to touch on a common fit issue I see asked about, which is pulling under the bum.  This is generally when your booty is a bit lower then the pant is drafted for.  Lowering the booty curve will help elevate that straining and pull lines.


Pants aren’t all that scary 🙂 Once you learn the basics you can alter the pattern for your perfect fit easily!  Good luck!

Filed Under: Fitting, P4P University, Uncategorized Leave a Comment

Spring Time, Sale Time!

April 2, 2019

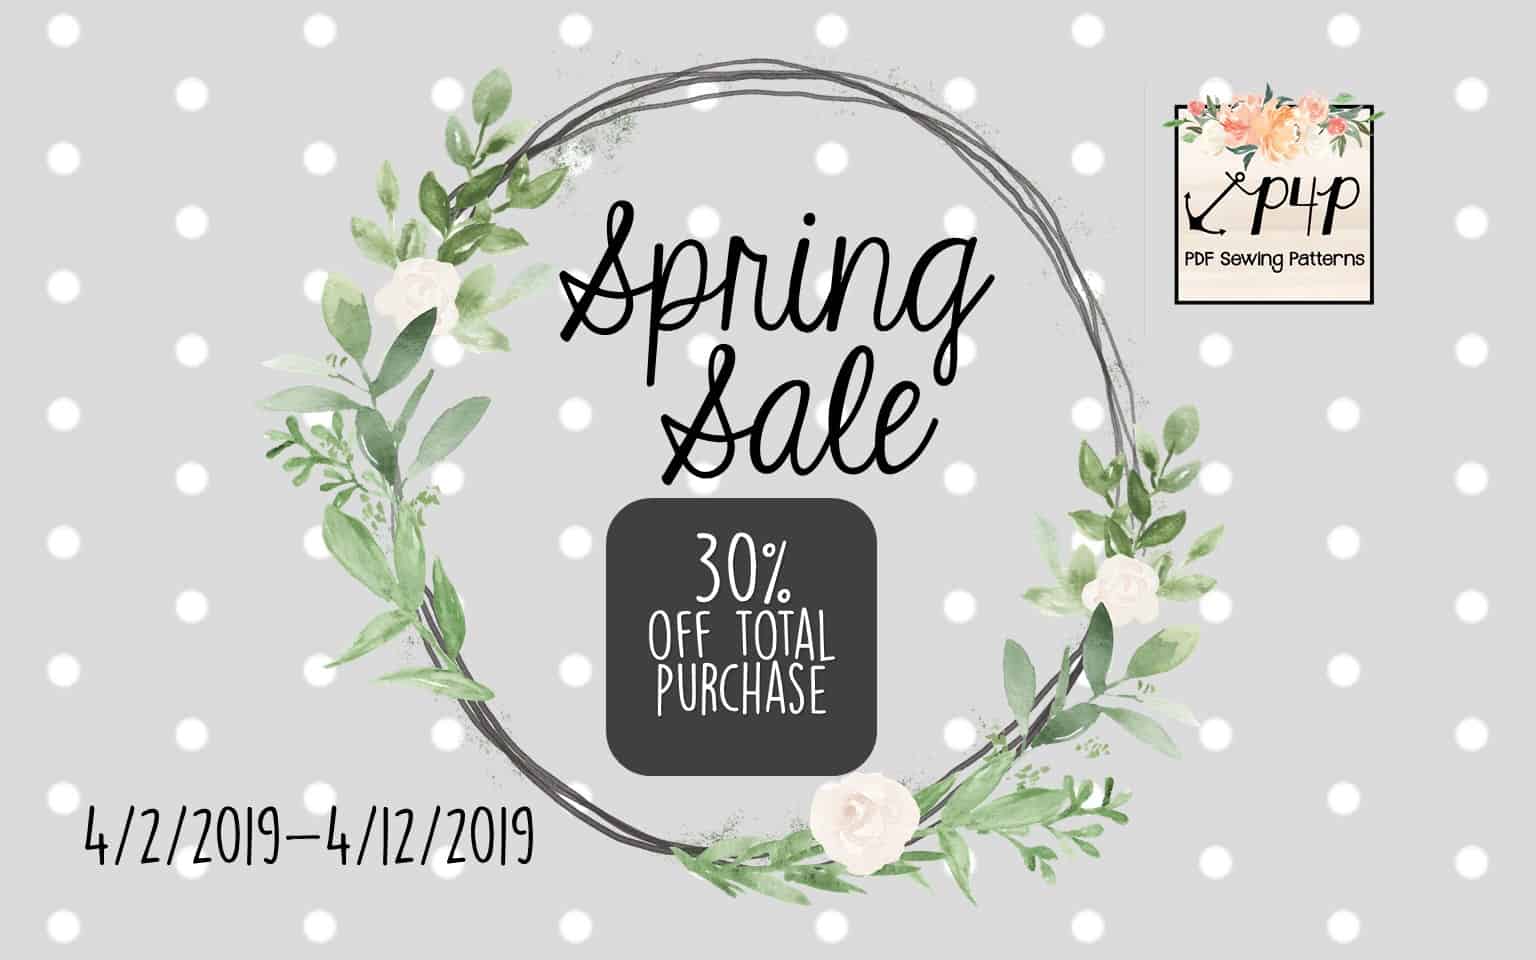
Spring time is here…and with it flowers are blooming and sales are happening!

Please enjoy our Spring Sale 4/2/2019-4/12/2019 (11:59PM US Central Time Zone) with code: springtime for 30% off your total purchase! The code will pop up on  your checkout page and you can just click to apply 🙂 So no need to worry about jotting it down or trying to remember it exactly!

We only have site wide sales 2-3 times a year, so grab the patterns you’ve been eyeing while you have the chance! <3

Have fun shopping and then sewing!


Filed Under: Announcement, Uncategorized Leave a Comment

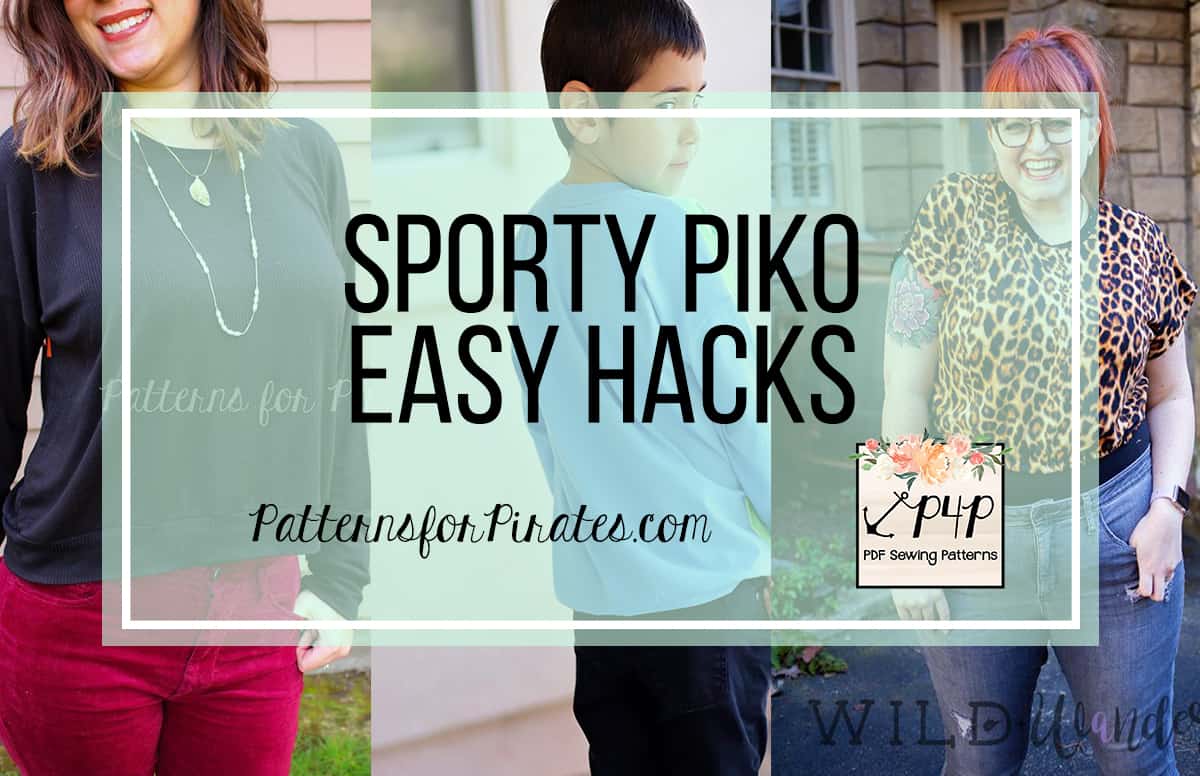
Sporty Piko – easy hacks

March 29, 2019

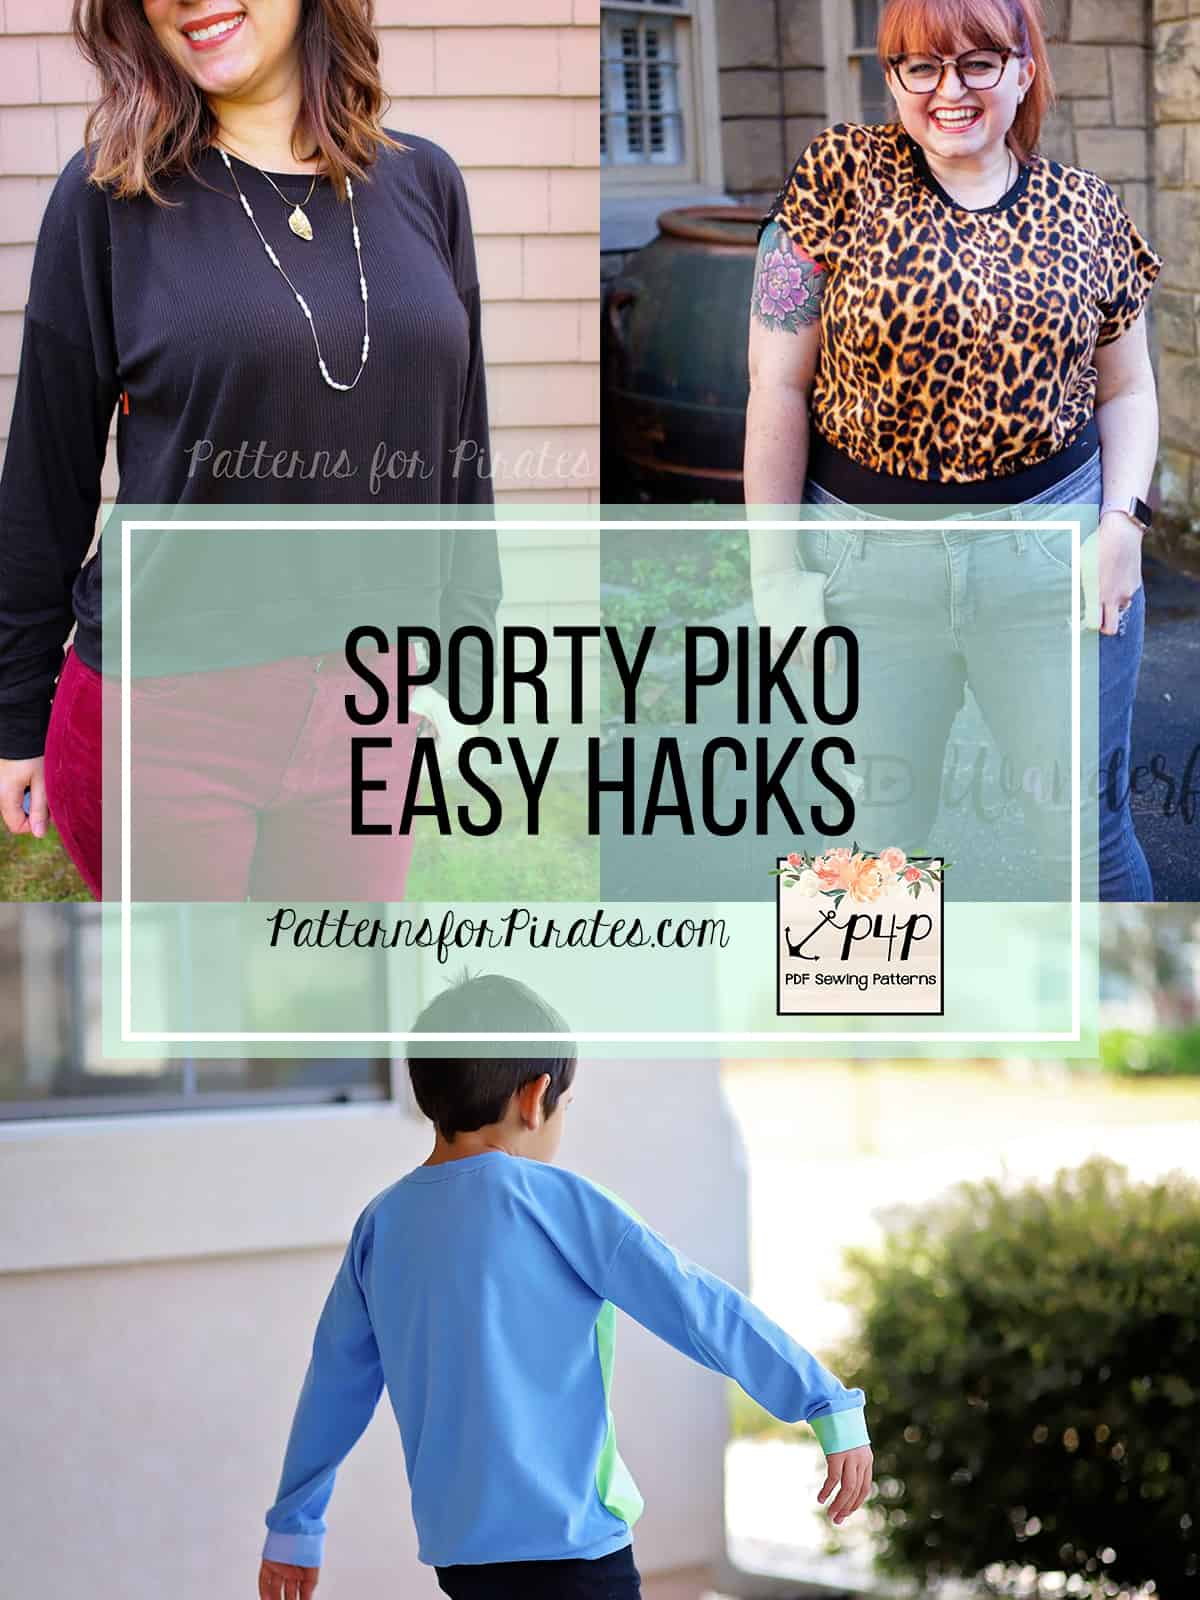
Ahoy, matey! As with most of our new releases, the P4P blog team has some easy hacks ready for you to help achieve even more looks. First stop by the shop and grab the Sporty Piko and Youth Sporty Piko, then let’s get started.

….

Solid Back

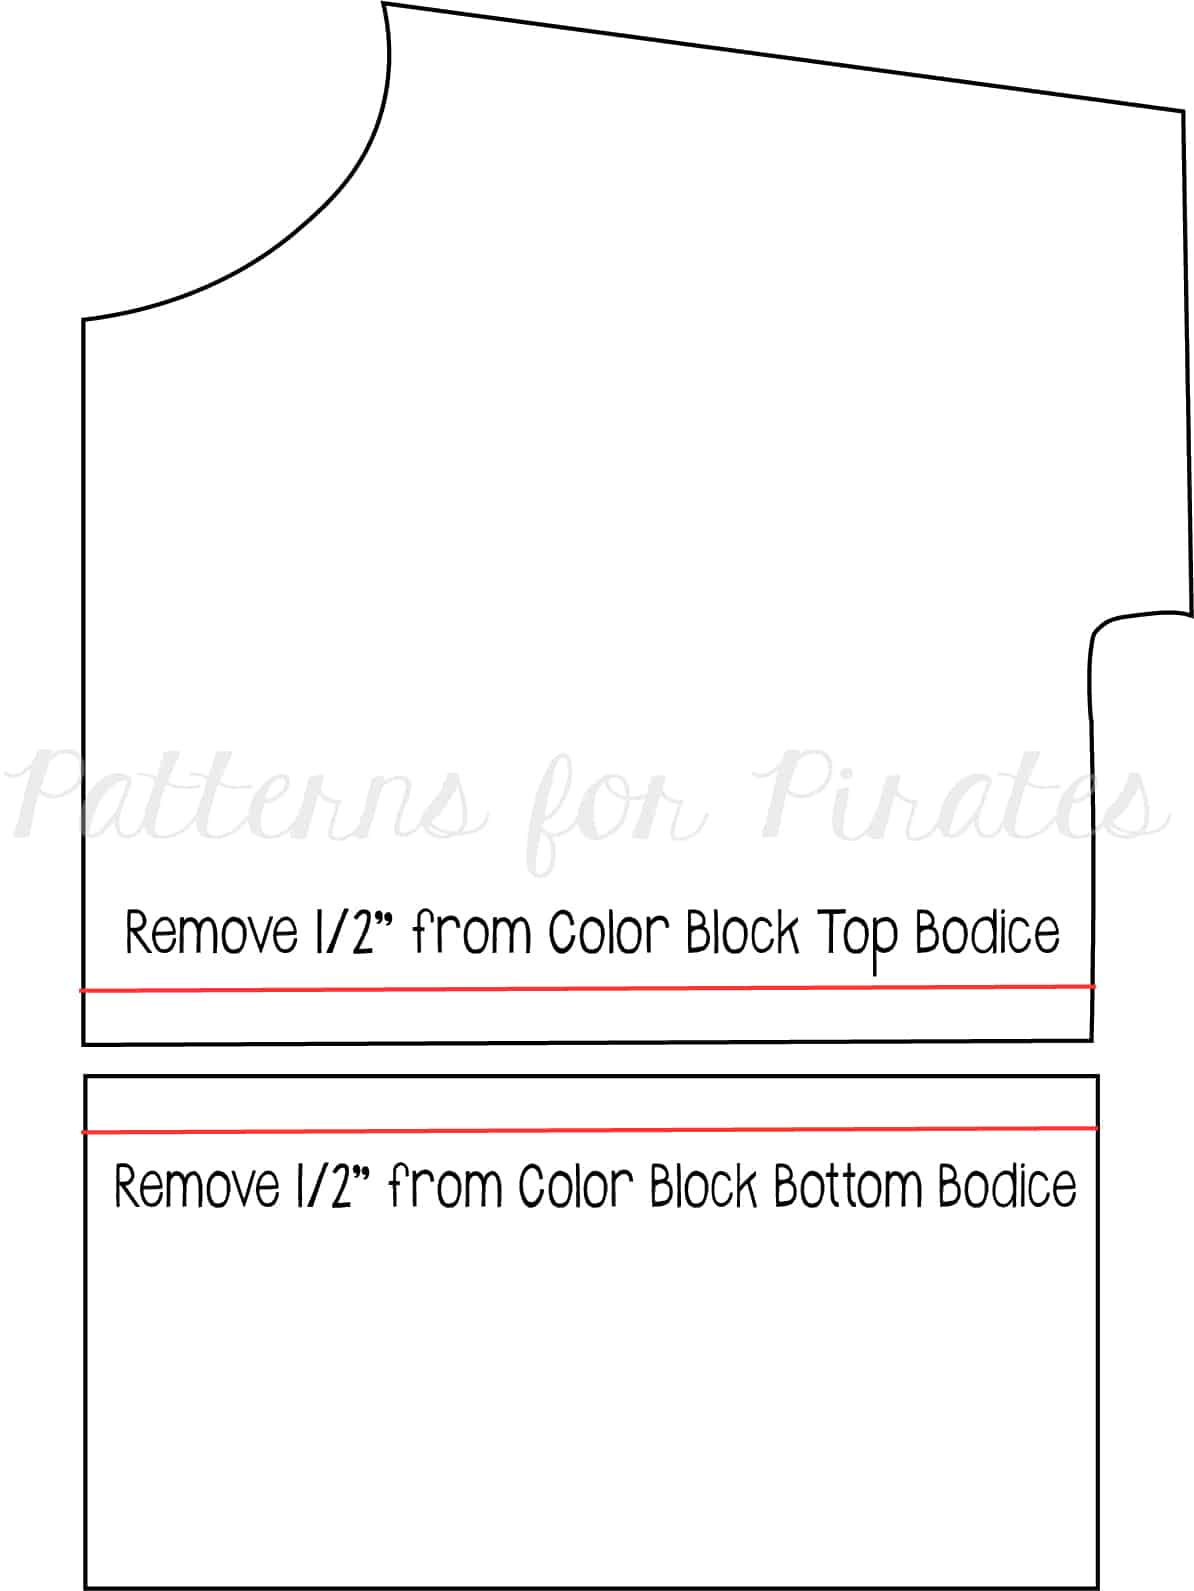
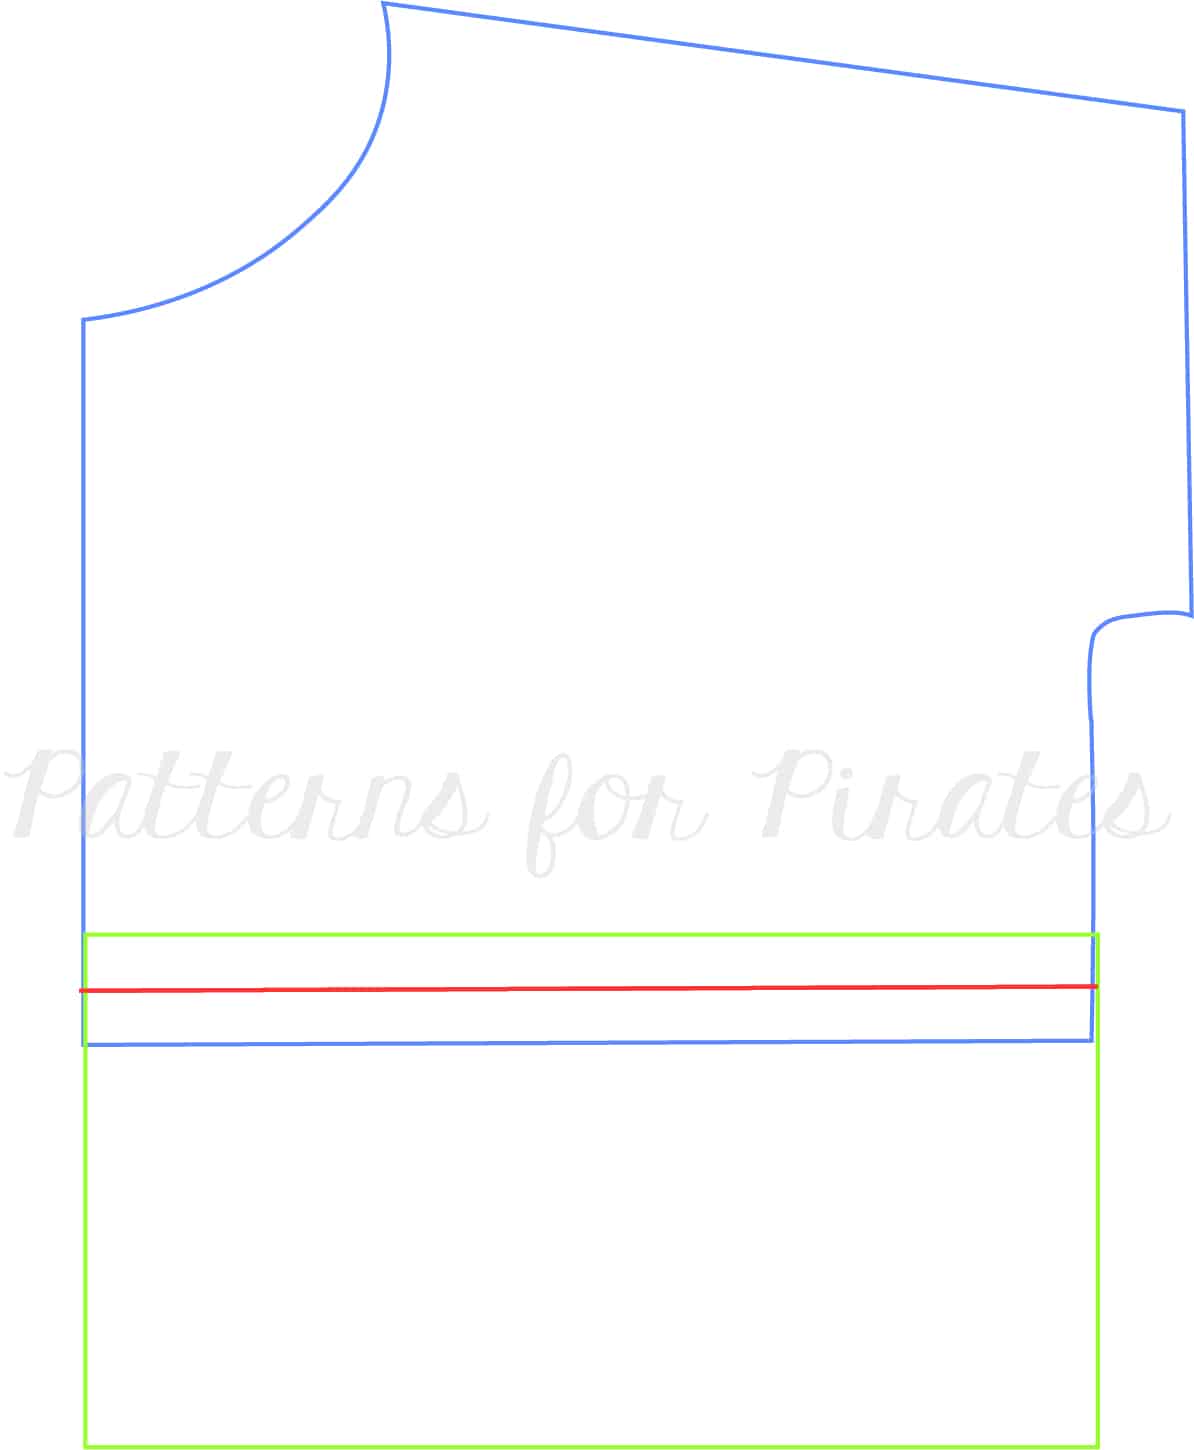
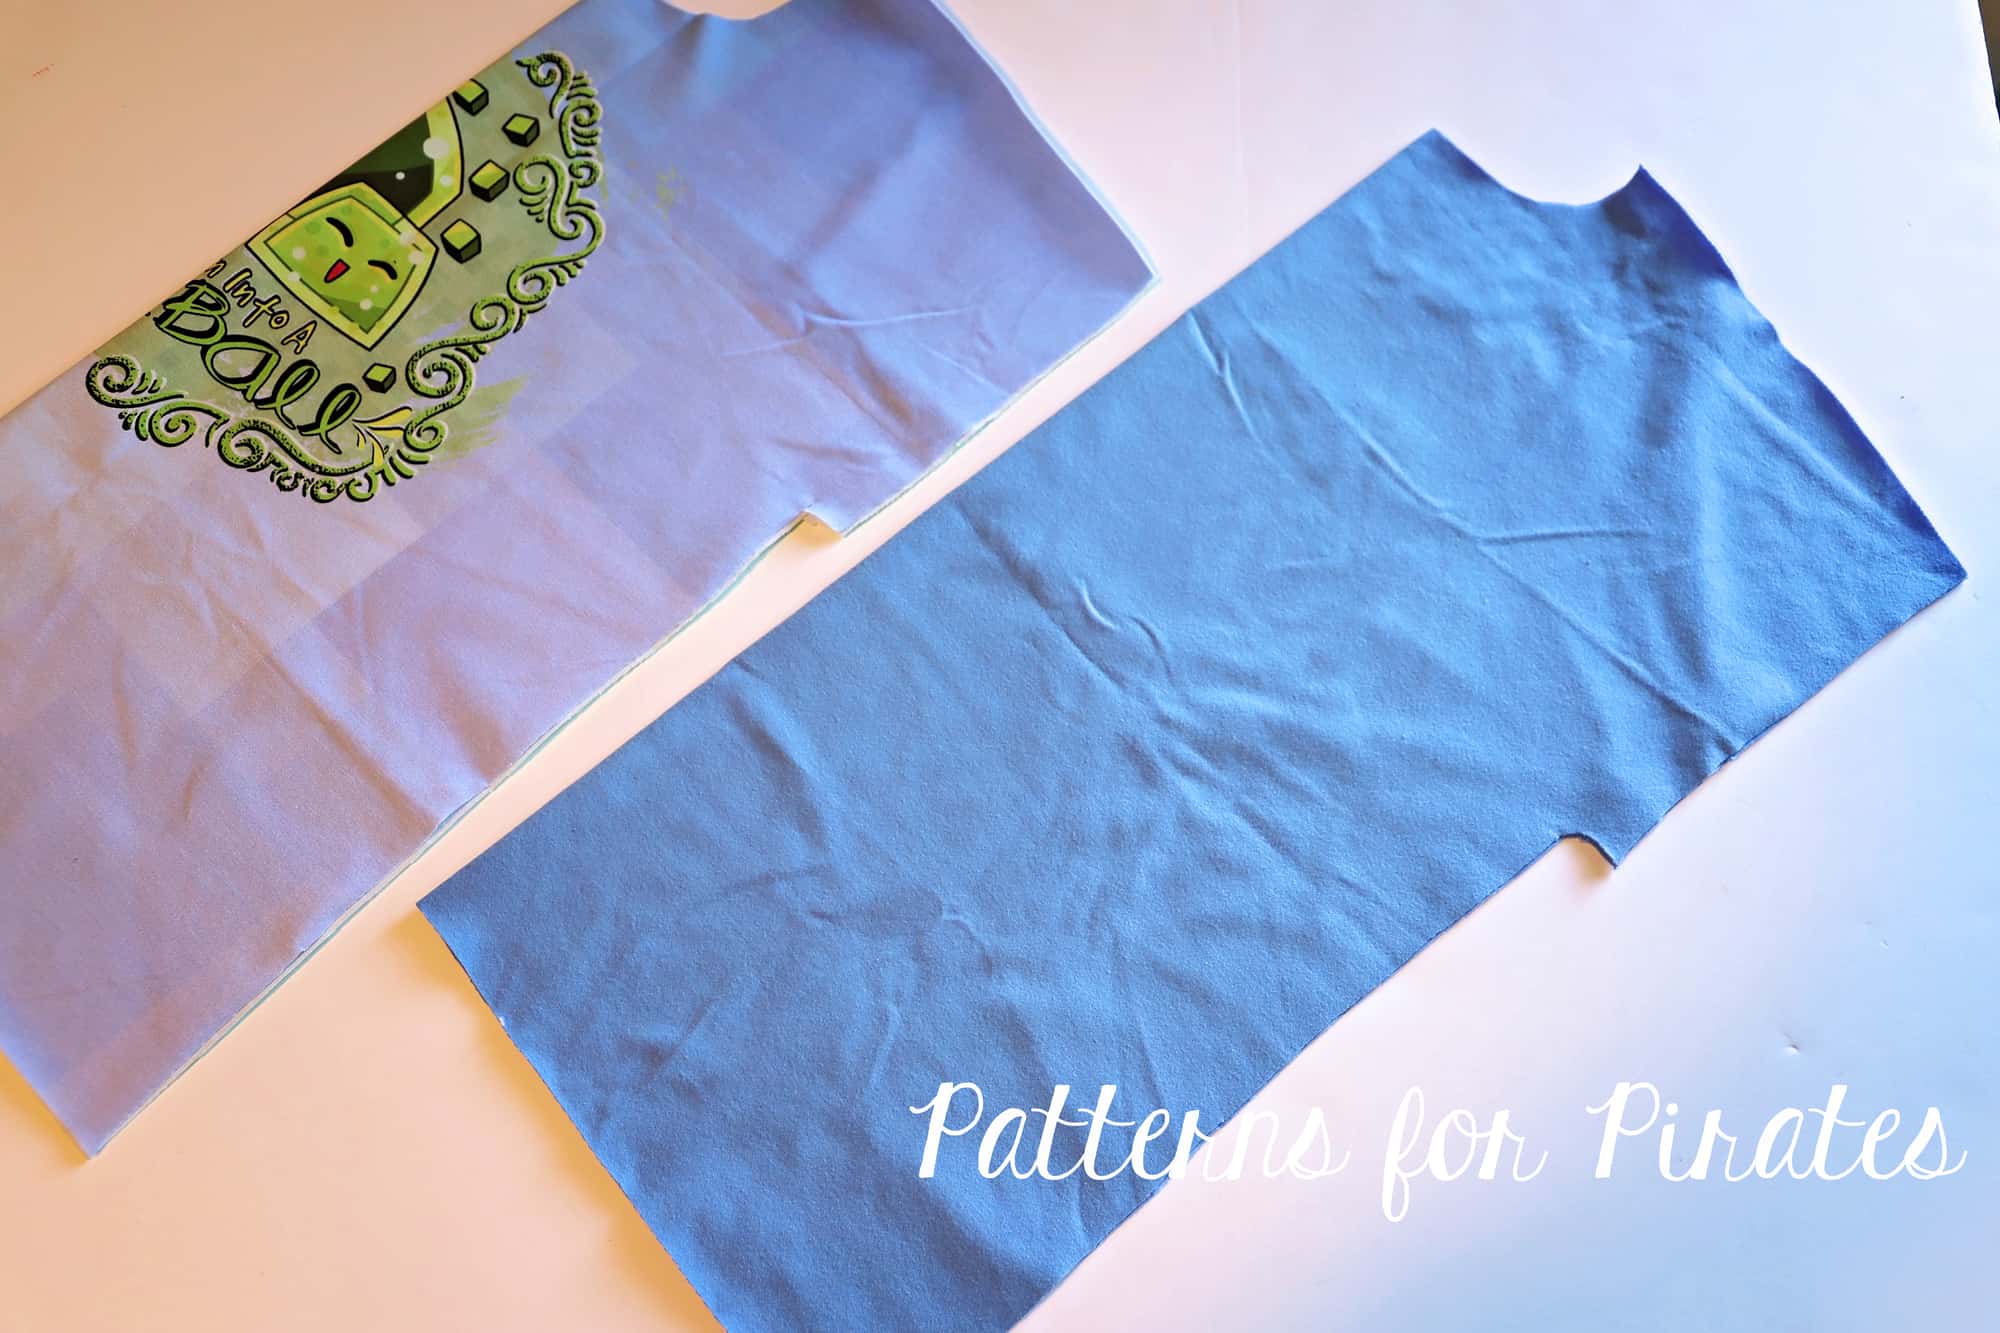
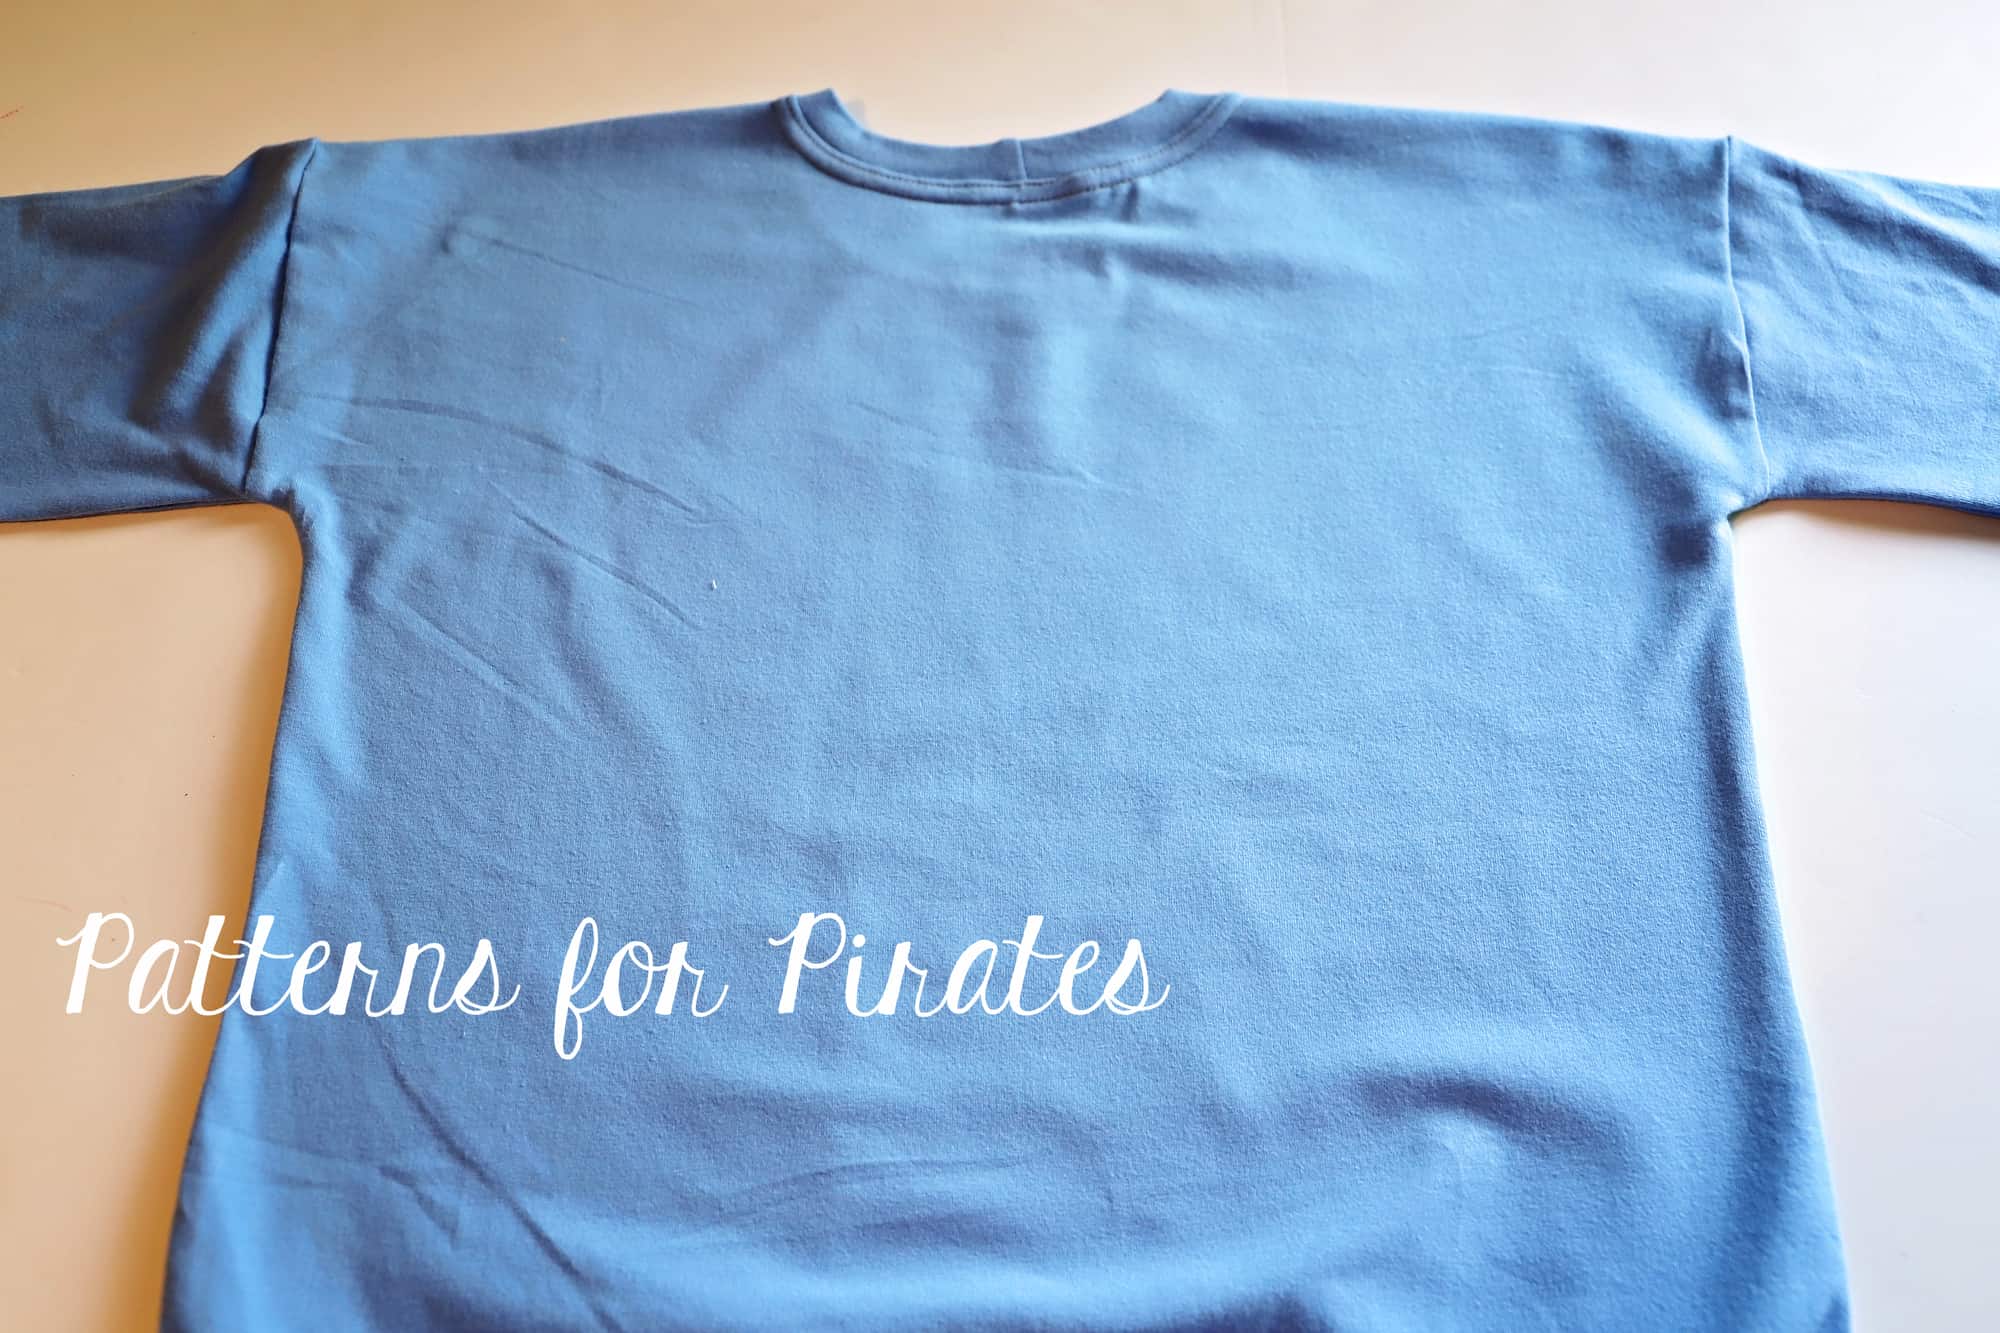
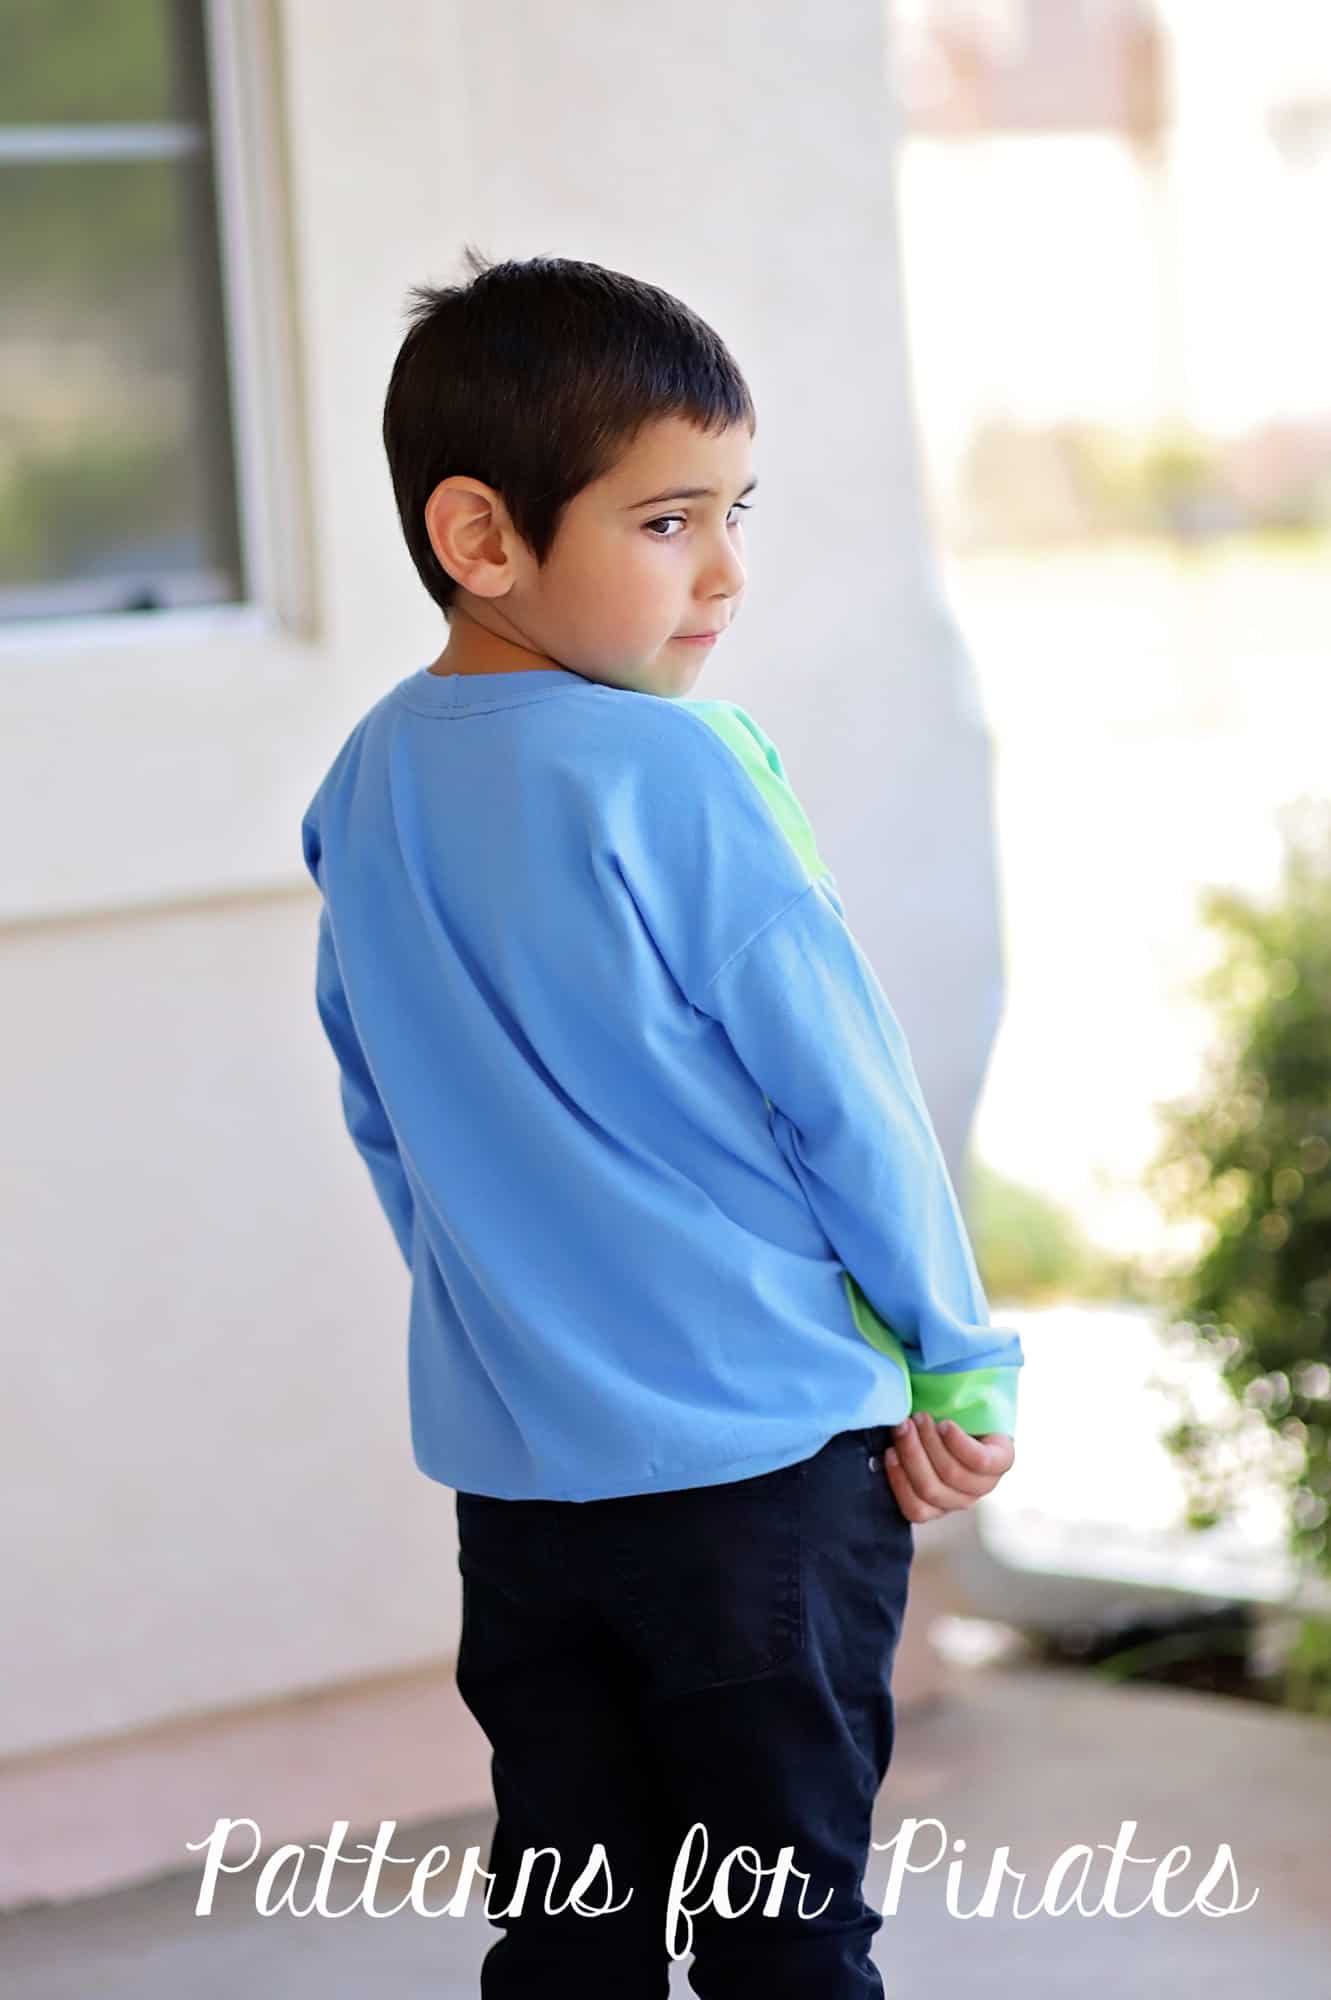
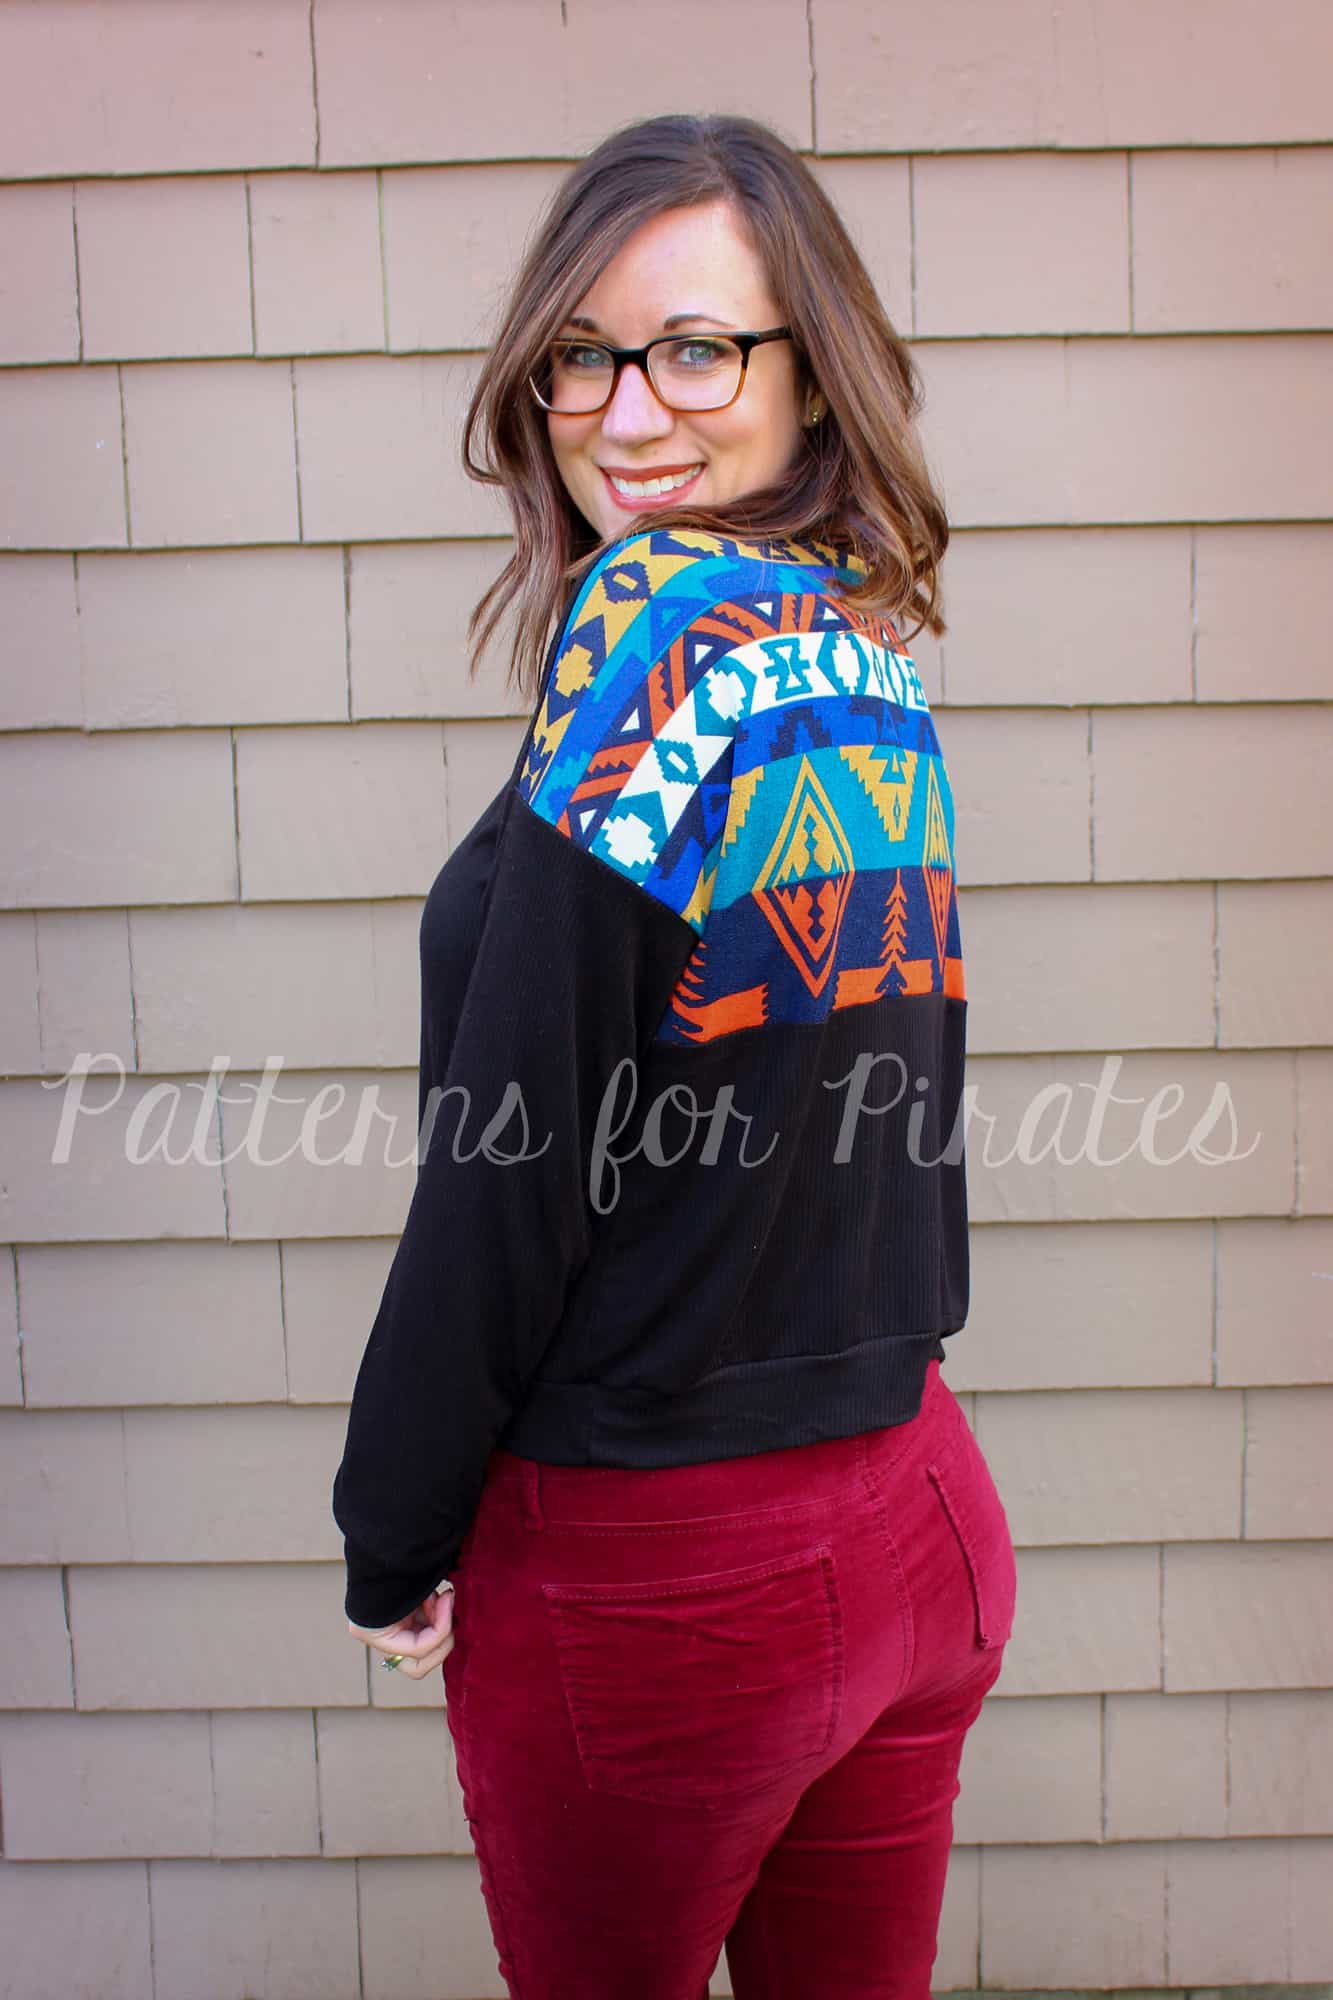
You might have noticed that both the Sporty Piko and the Youth SP feature a color blocked back to allow for multiple prints or color fabric to be showcased. Well, what if you want a solid back without the horizontal seam? Super easy hack!

Start by printing your preferred style. Now grab the two back pieces. At this point you can do one of two things- remove the 1/2″ seam allowance from each piece and tape together (shown in first picture). Shown in the second picture, you could also fold each piece up 1/2″ and butt the two pieces together, matching the FOLD line and the side seam and …boom! There you have your new back pattern piece.


Cut your pattern pieces and sew the shirt as per the tutorial. Simply skip the steps that show you how to sew the two back pieces.

Tadah! All done! One more option to add to the Sporty Piko styles.

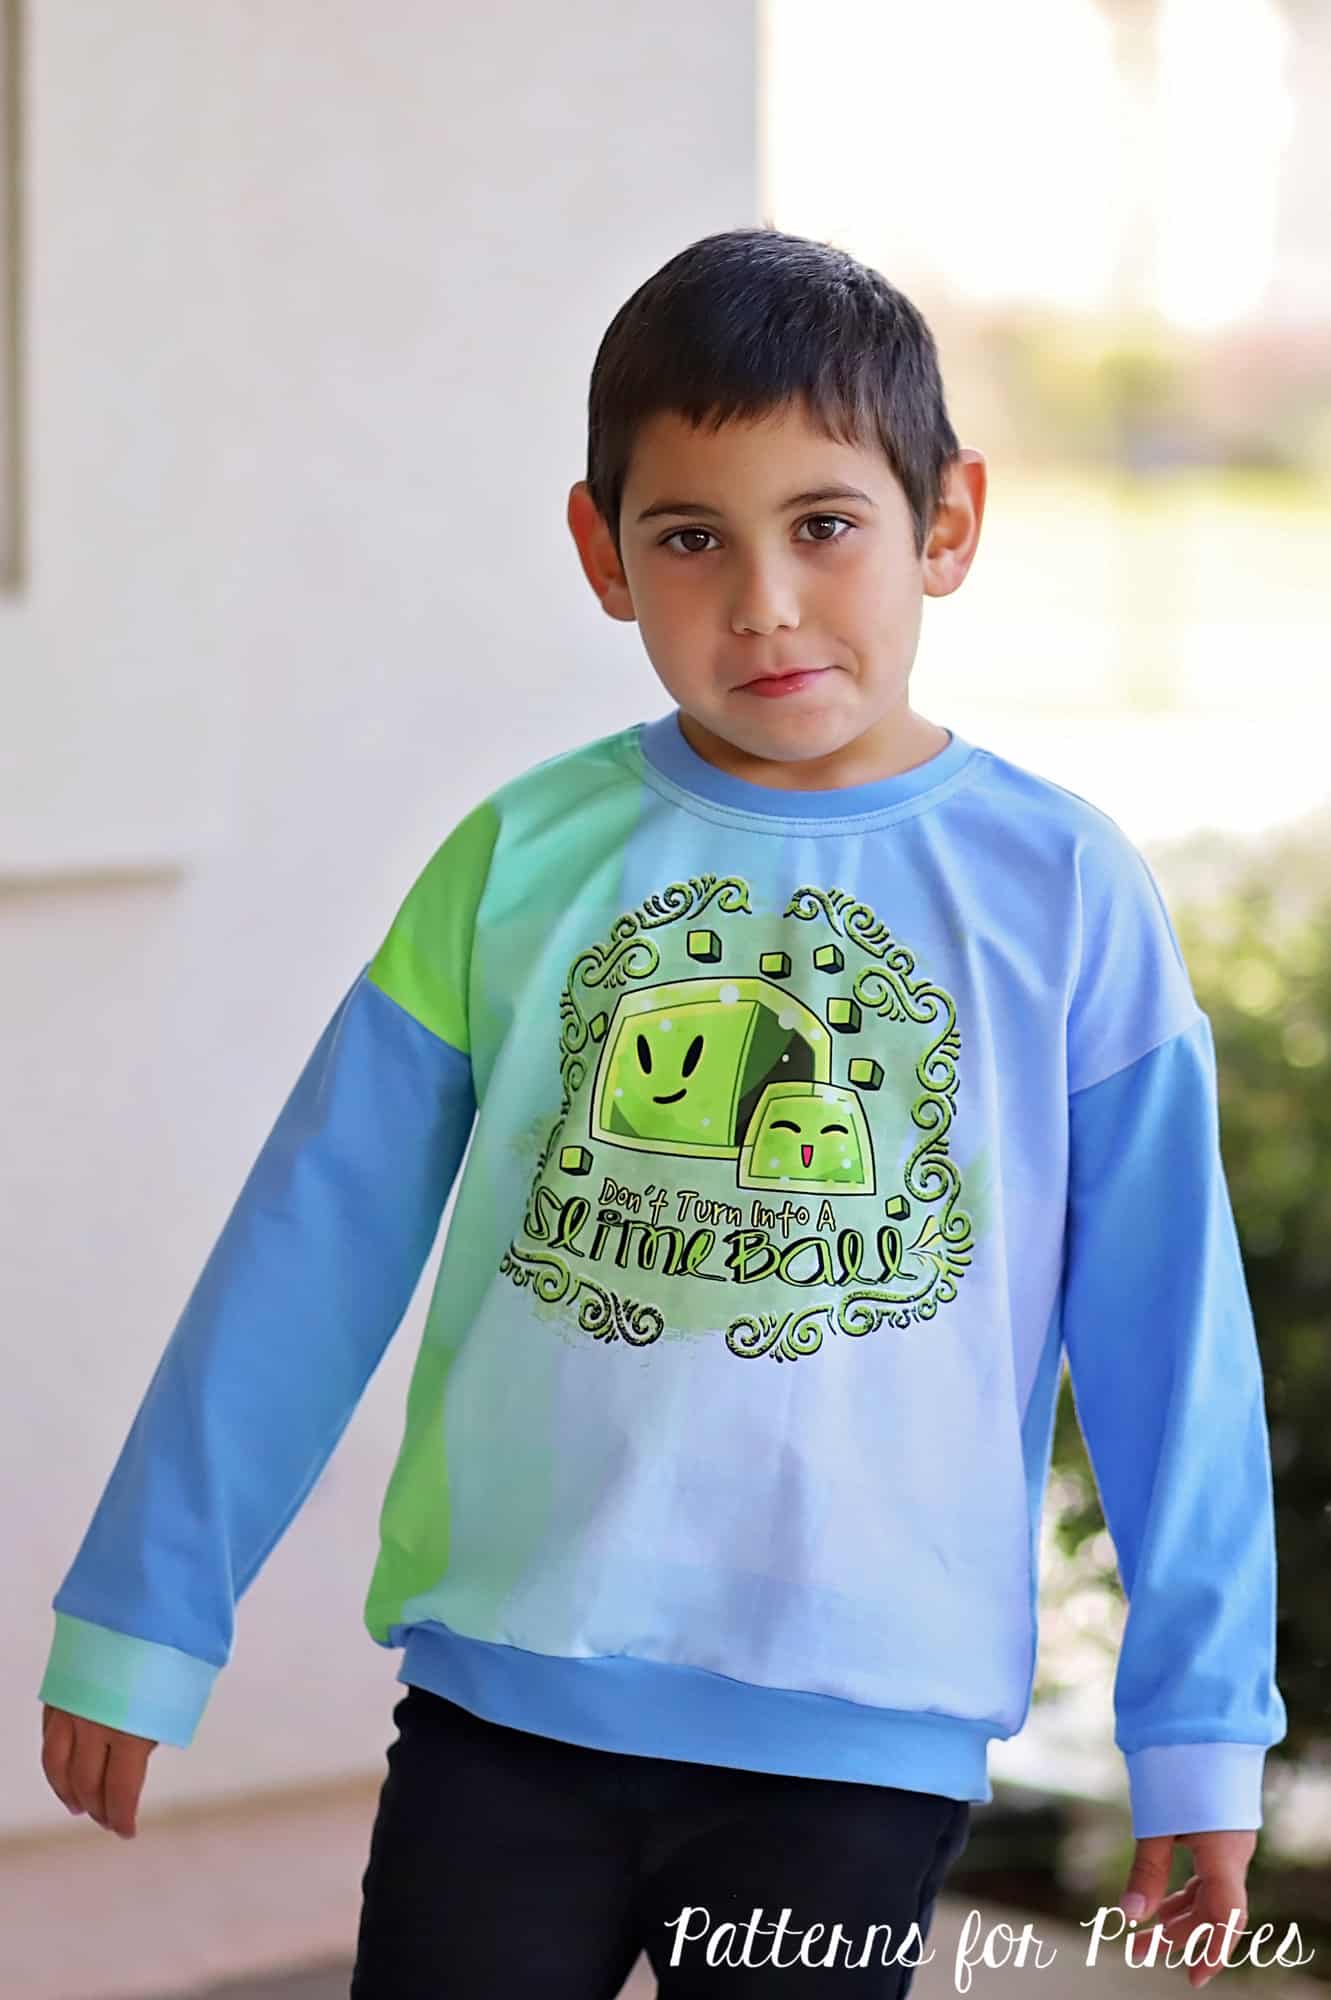
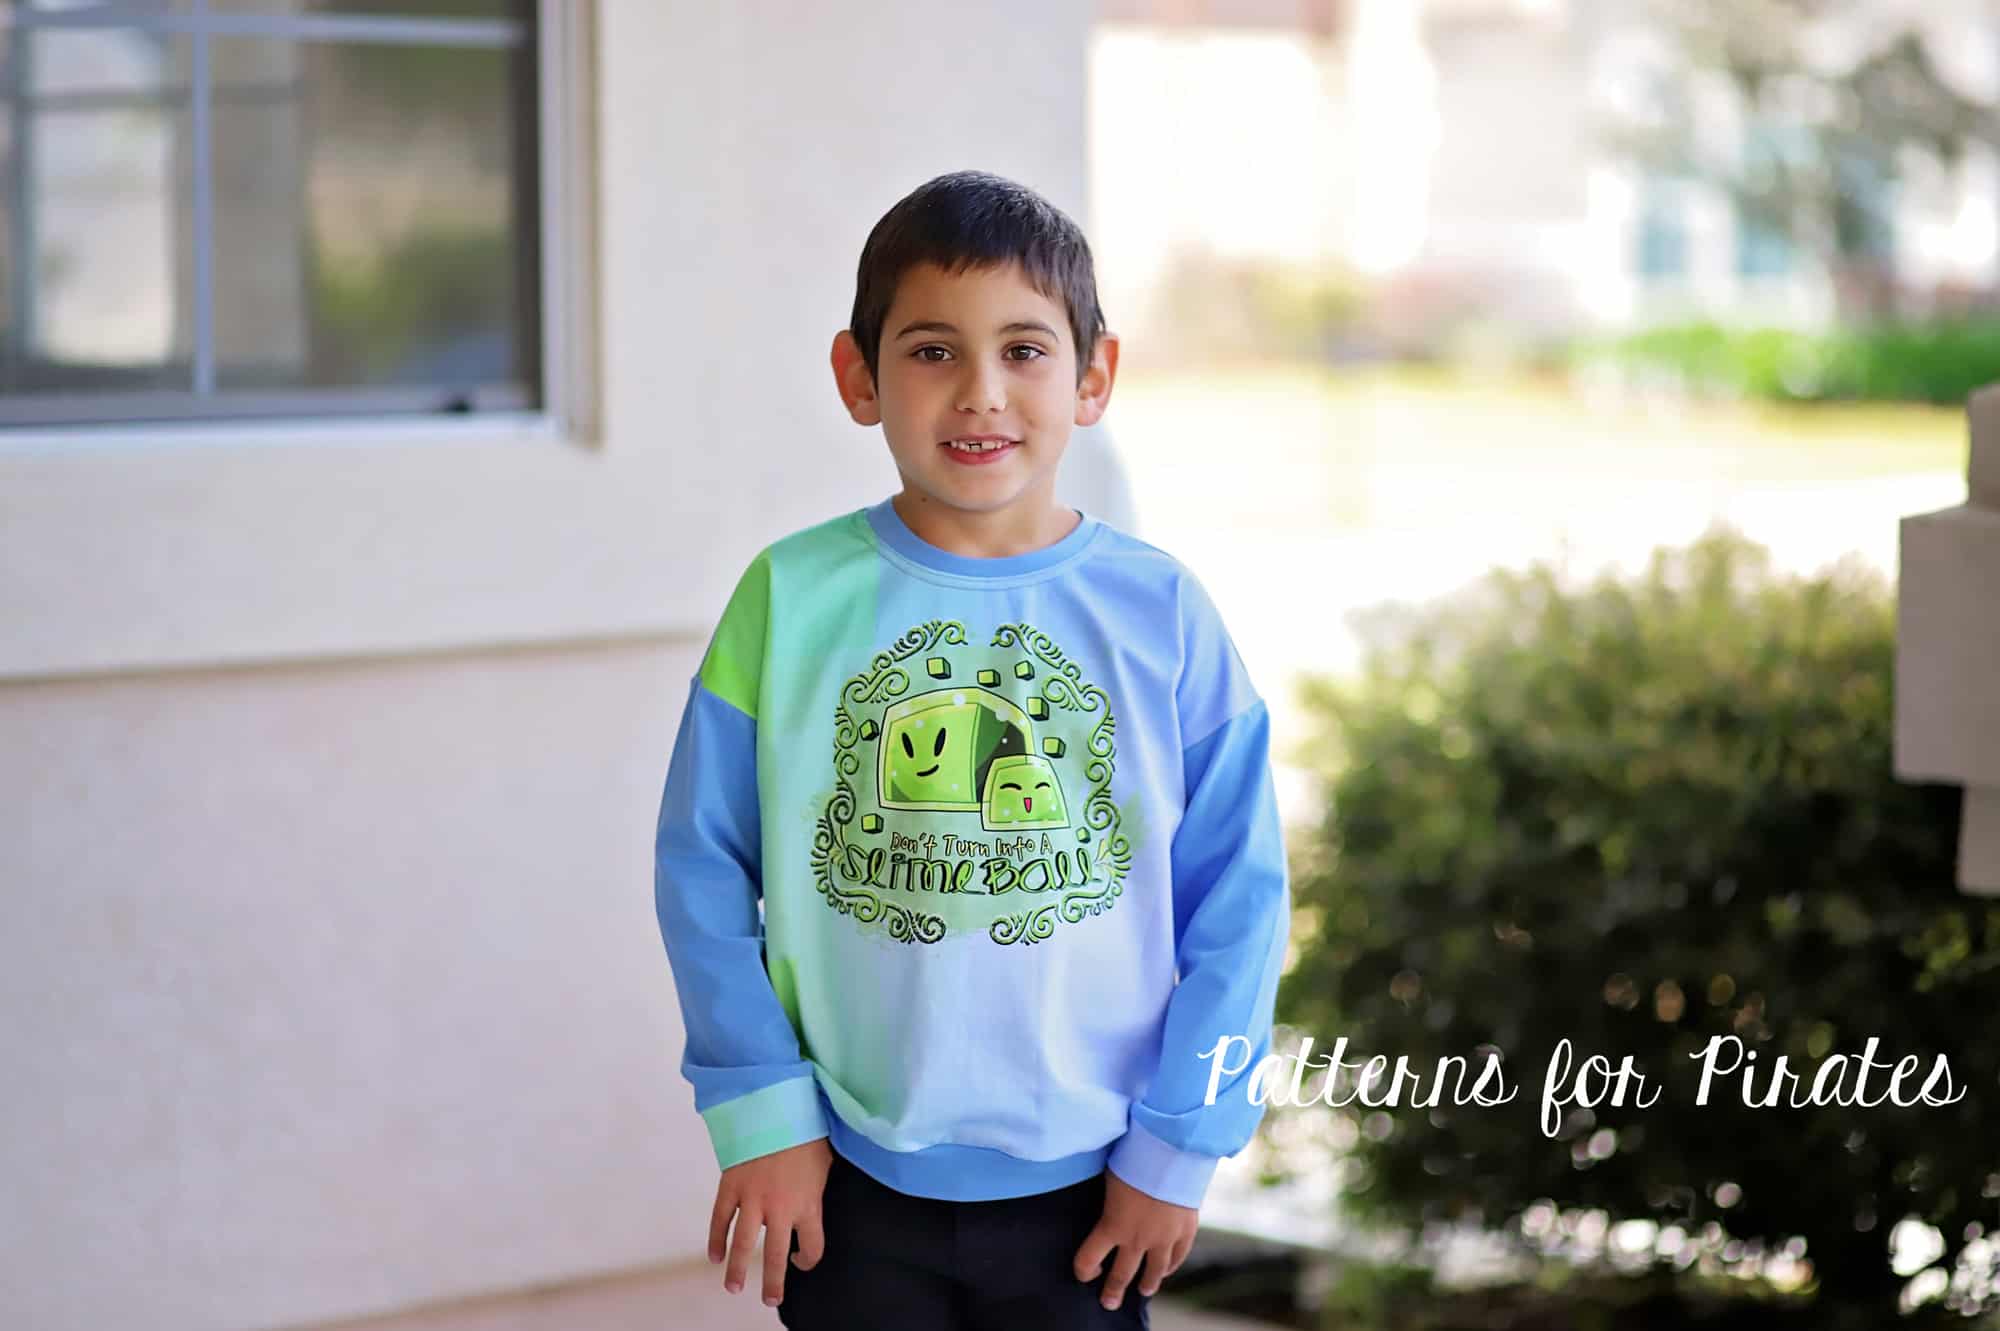
My little man absolutely loves his new shirt but if you want to treat yourself to an adult Sporty Piko with a solid back, simply follow the same steps and enjoy!


P4P Sporty Piko- solid back hack

…..

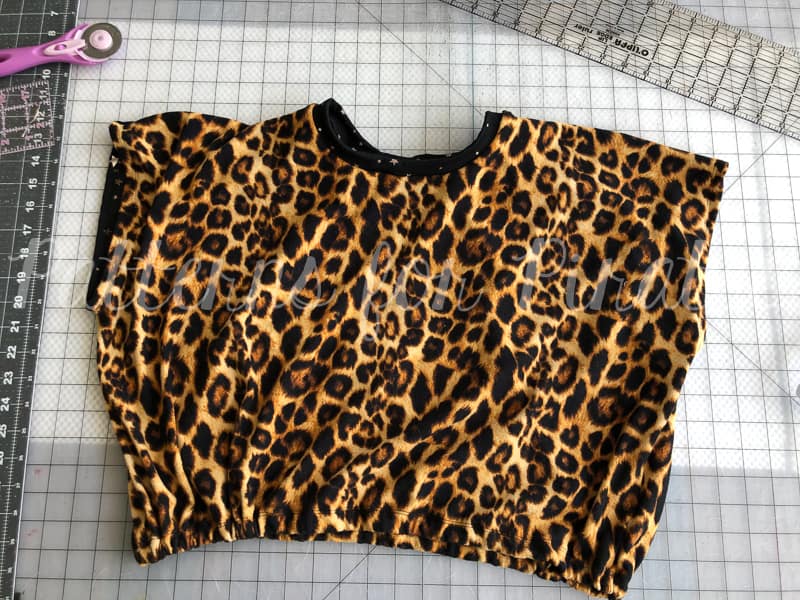
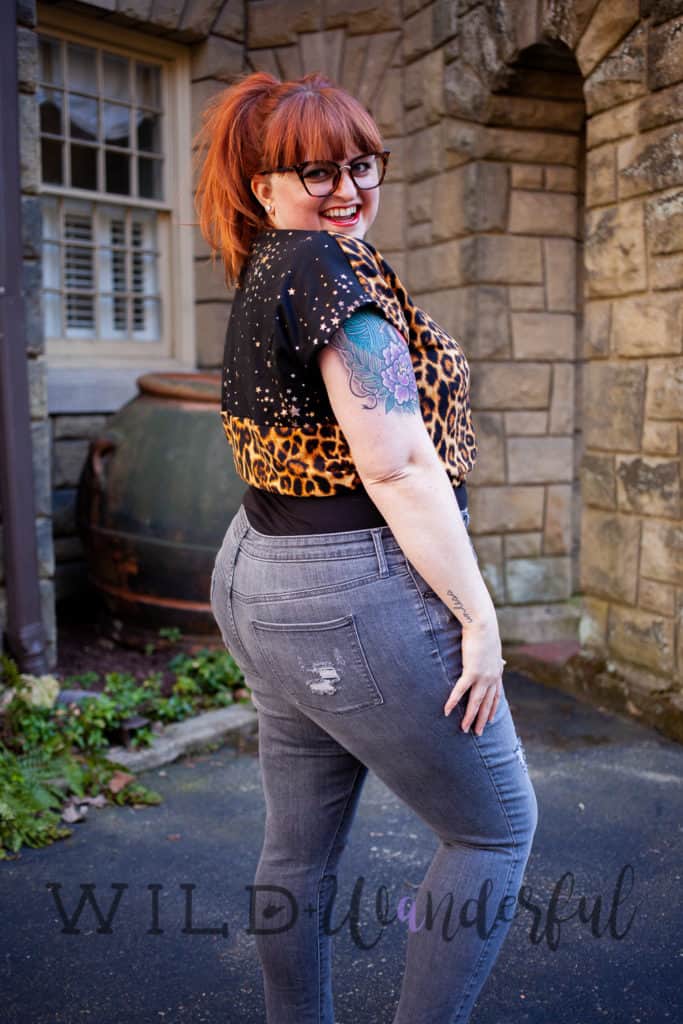
Elastic crop top

Maybe you want a cute crop but aren’t interested in fussing with the drawstring option?  I’ve got you covered!

Follow all of the instructions for the crop option, including the 1″ hem.

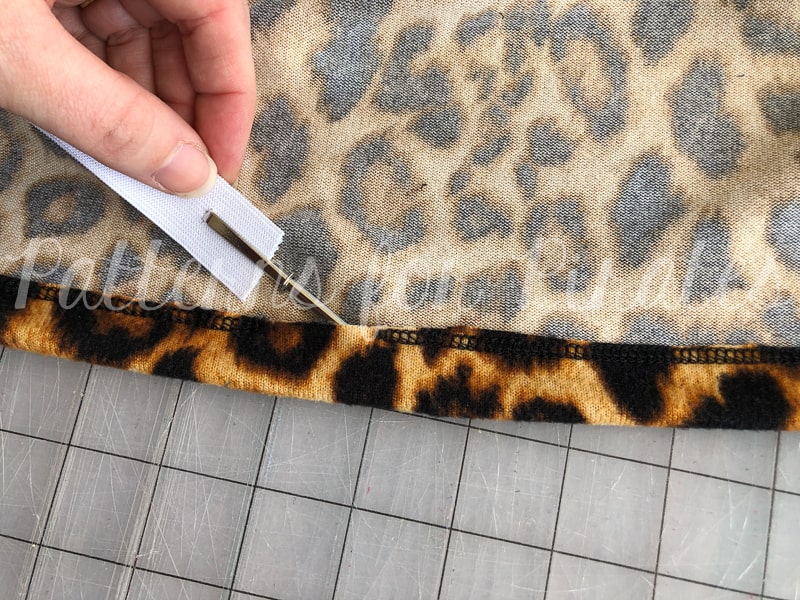
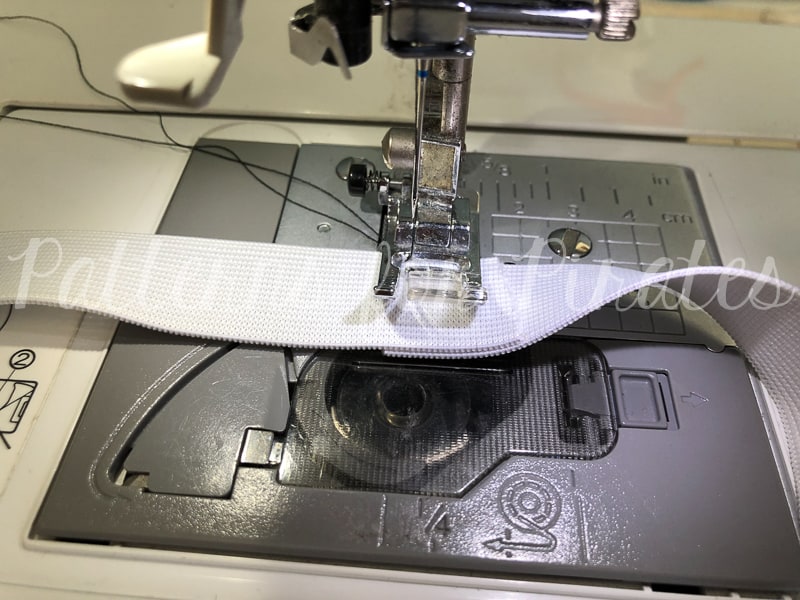
Top stitch around the entire folded edge, leaving around a 3″ opening to thread the elastic through.  (I like to position my opening on the back portion of my items, but it’s really a personal preference.

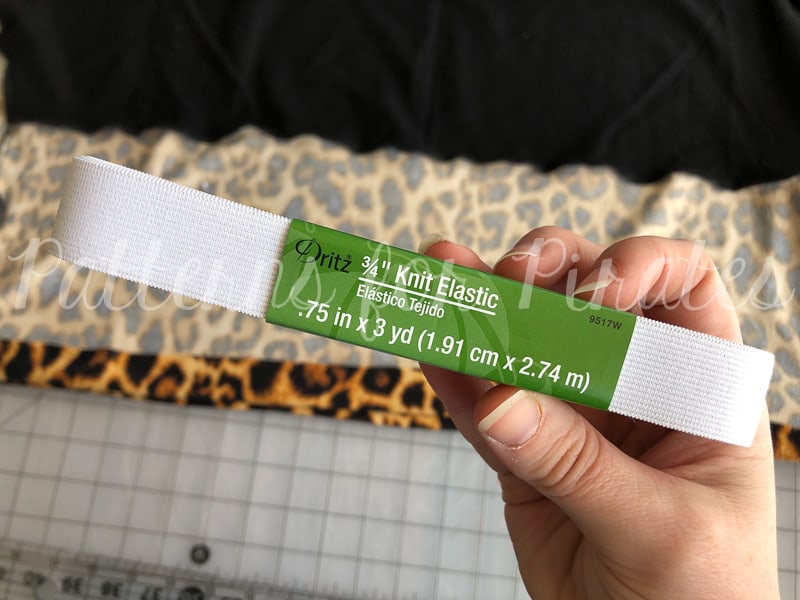
Using 3/4″ knit elastic, cut a length that is your waist measurement, minus 2″.

Feed the elastic through the opening.

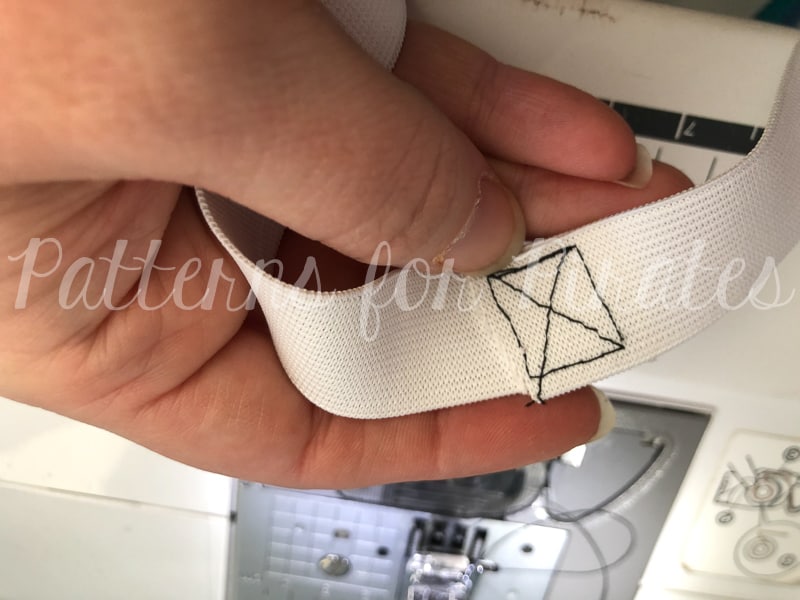
Overlap the raw edges of the elastic, being careful not to twist it, by 1″.  Sew the overlapped pieces together, using a stretch stitch.

Close up the opening of the bottom hem, and enjoy your new crop!


…..

Banded crop top

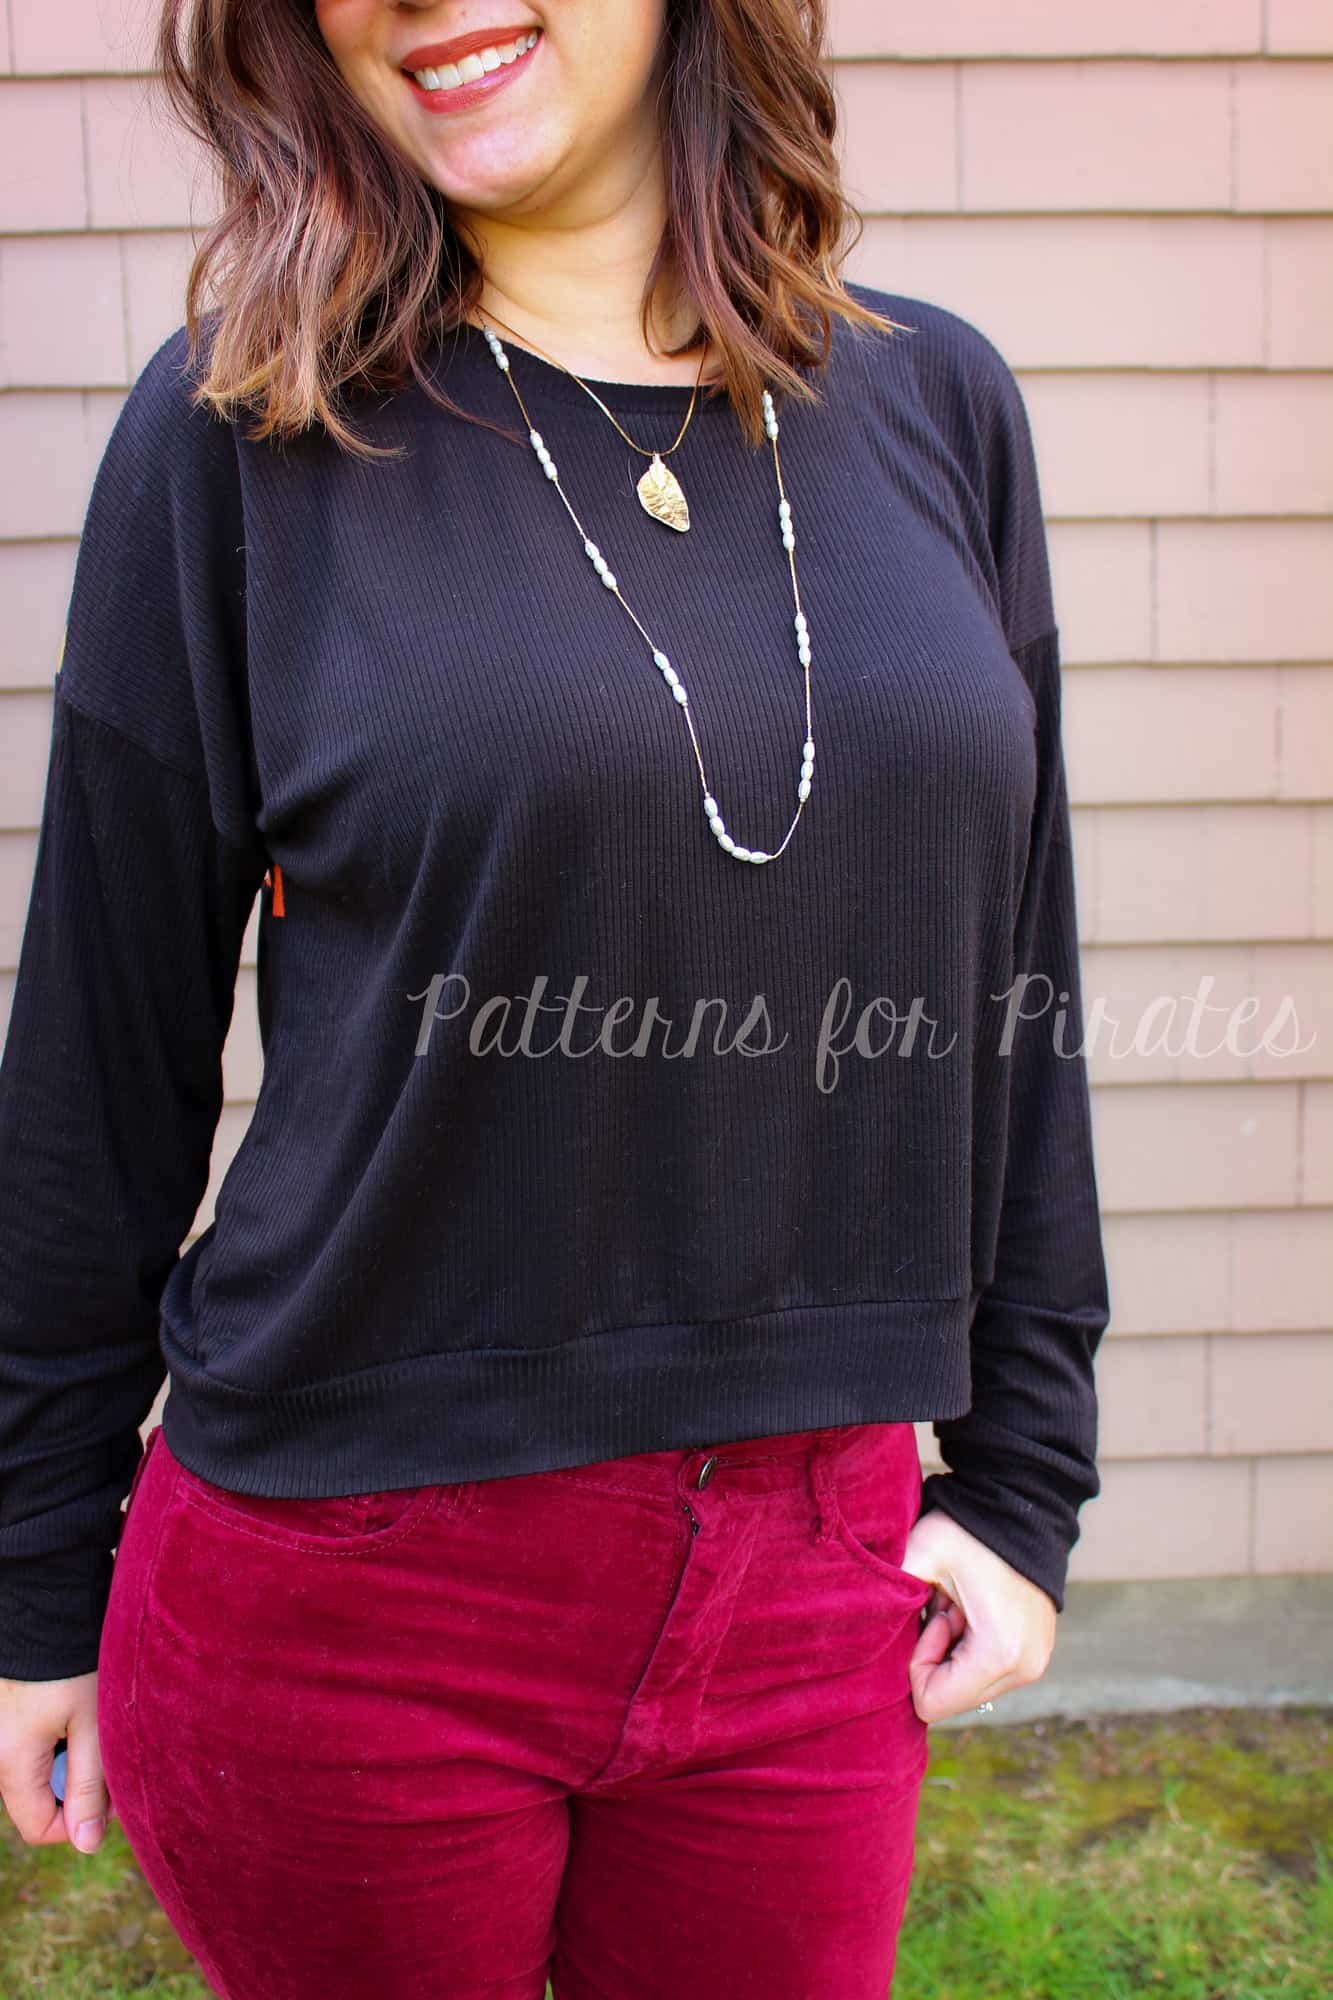
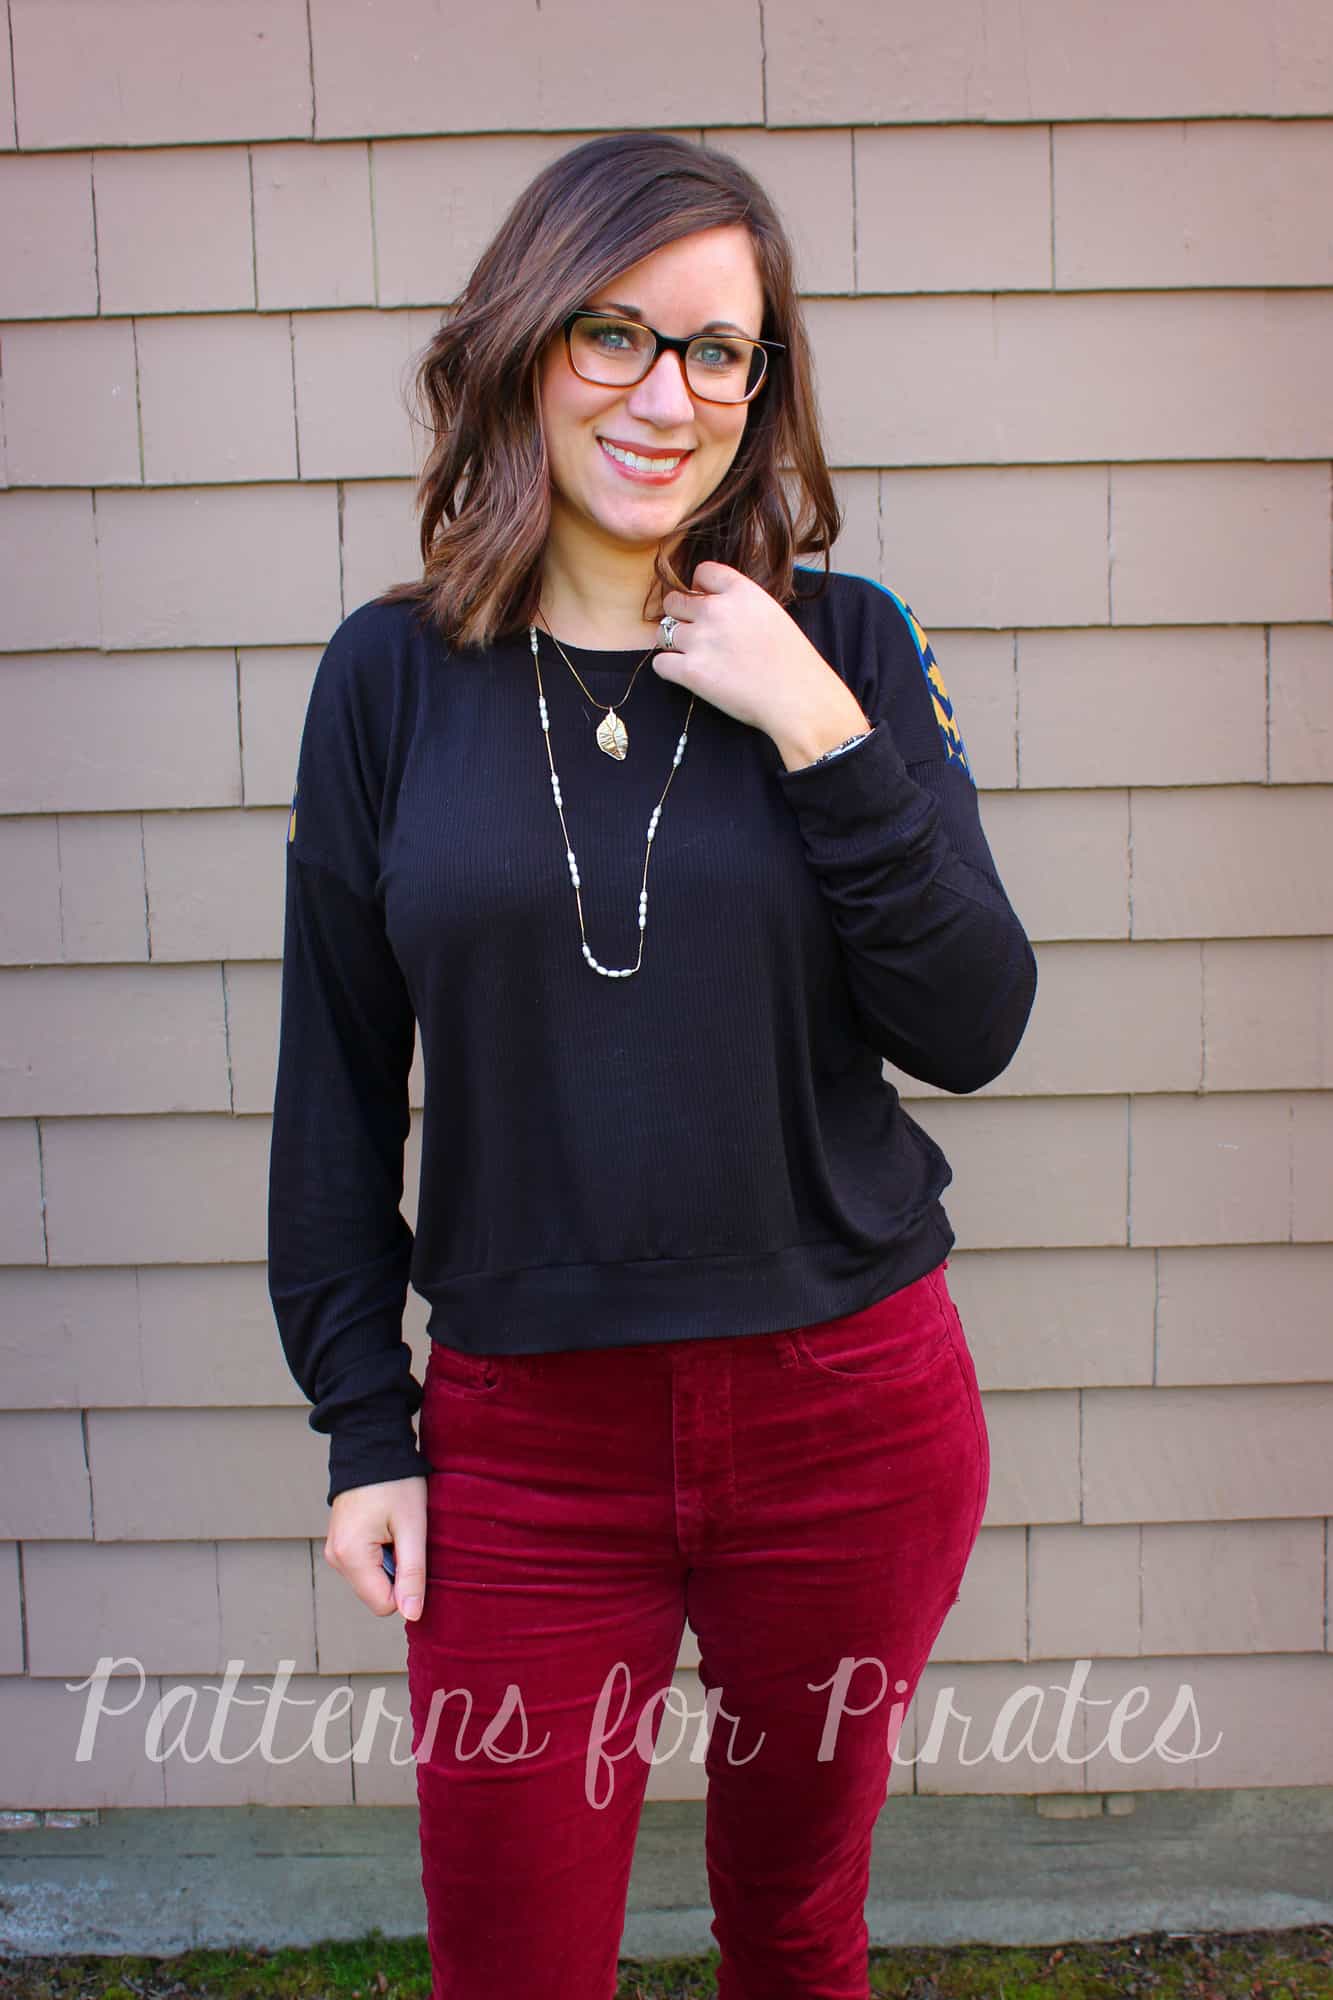
Elastic… draw string… and now we’re bringing to you a third option to finish off your crop top versions- a banded option. This is a quick and easy way to finish off your top, especially for those of us who are opposed to the dreaded finishing hem! 🙂

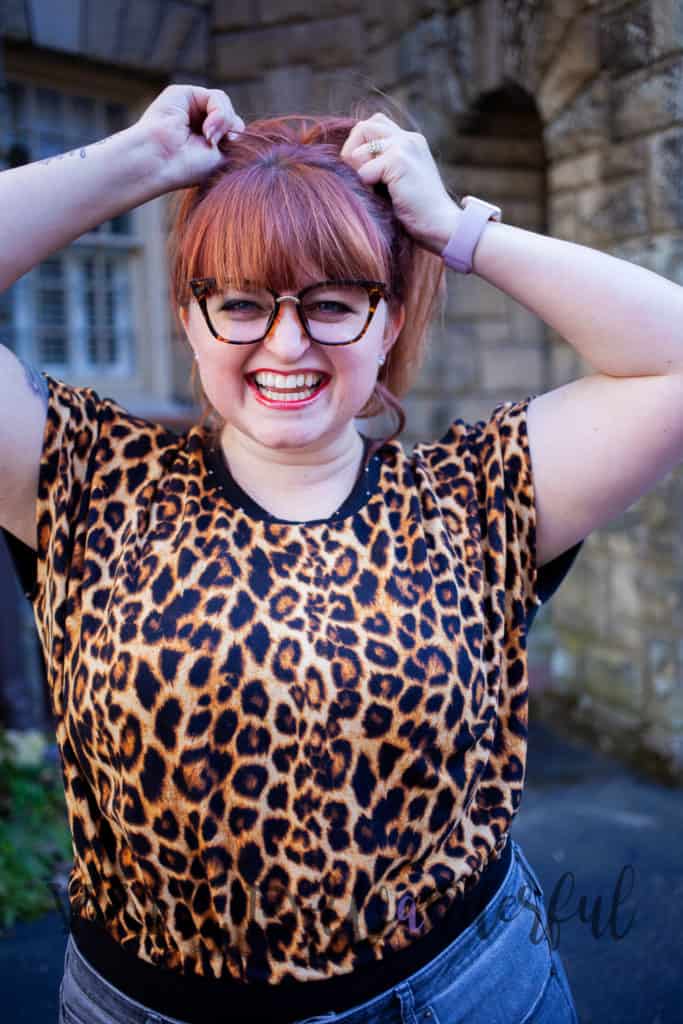
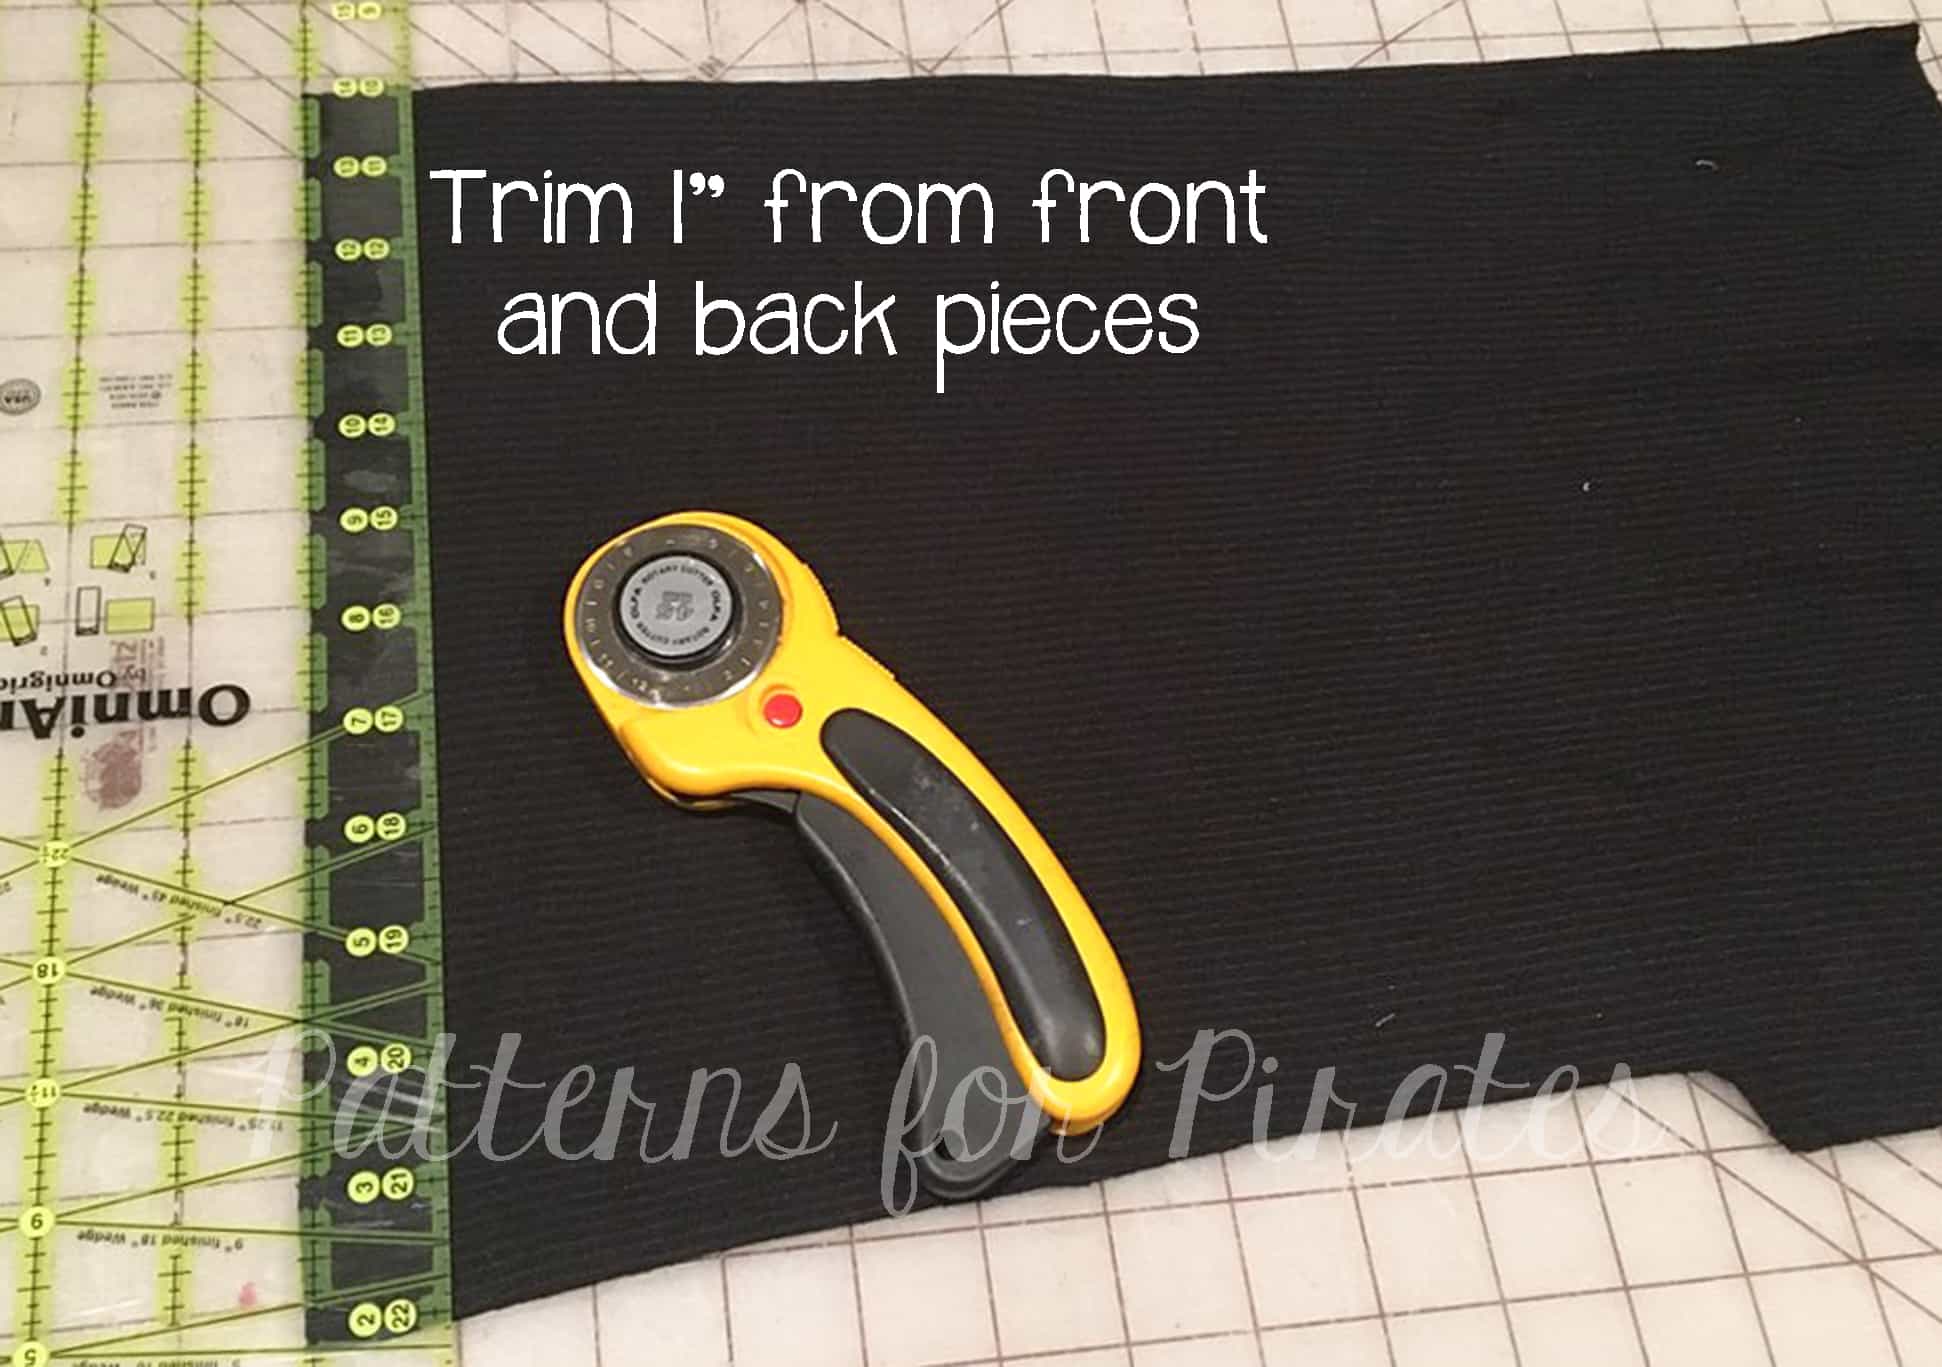
To create this look, you will need to cut out all of your pieces needed for the cropped version, as well as a band (discussed later). Once you’ve cut out your pieces, you will want to trim 1″ off of both the front and back pieces (everything else will remain the same).

Assemble your shirt as per the pattern directions. Once you’ve completed your shirt, it is now time to attach the band. You will want to measure the total bottom hem of your shirt. To calculate the final width of your band, you will take your total measurement x 90%. Then add 1″ for the seam allowance. For the women’s version, I recommend a length of 4″ and for the youth, a length of 3-4″, depending on where you would like the finished length to be.

Using the instructions for the banded version in the tutorial, attach your bad. That’s it! Go off and enjoy that new shirt you’ve just finished up using one of our three finishing options.

~Erinn and Nicole


Now that you got your patterns and looked over our easy hacks, time to sew! Remember to share your creations in the P4P Facebook group so we can all admire them.

Filed Under: Frequently Asked Questions, Pattern Hacks, Pattern Release, Uncategorized 4 Comments

Sporty Piko :: New Pattern Release!

March 29, 2019

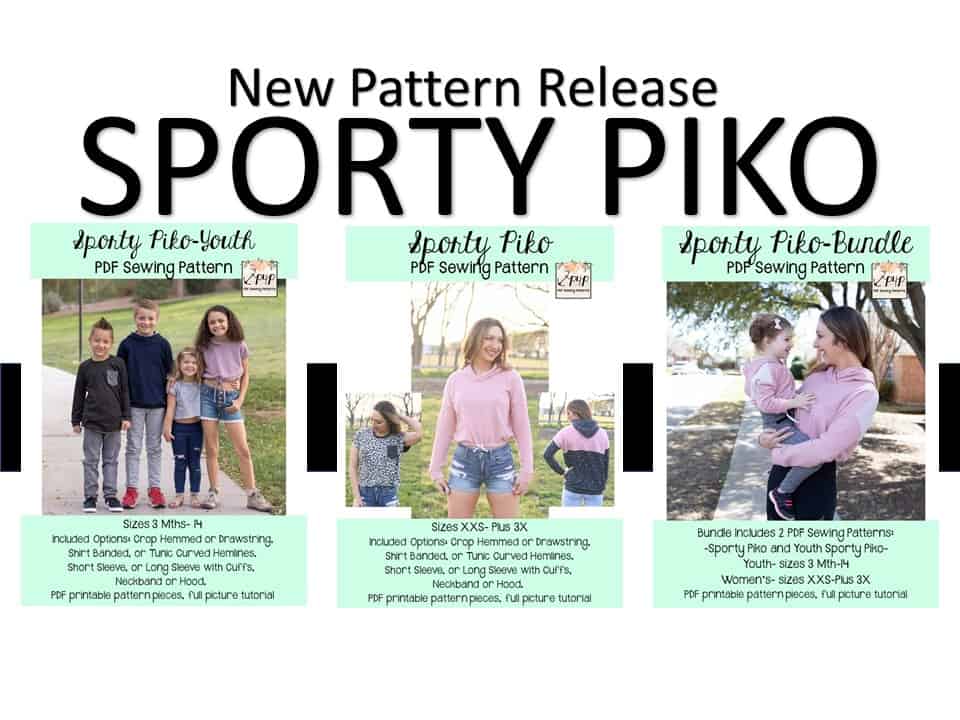
I’m so excited to share our new releases with you today! The Sporty Piko has quickly been filling up my closet! You can get such a great variety of looks with this pattern <3

You wont believe all these looks can come from just one pattern! The Sporty Piko and Sporty Piko- Youth will have you asking, “How many Sporty Pikos is TOO MANY?” 😉


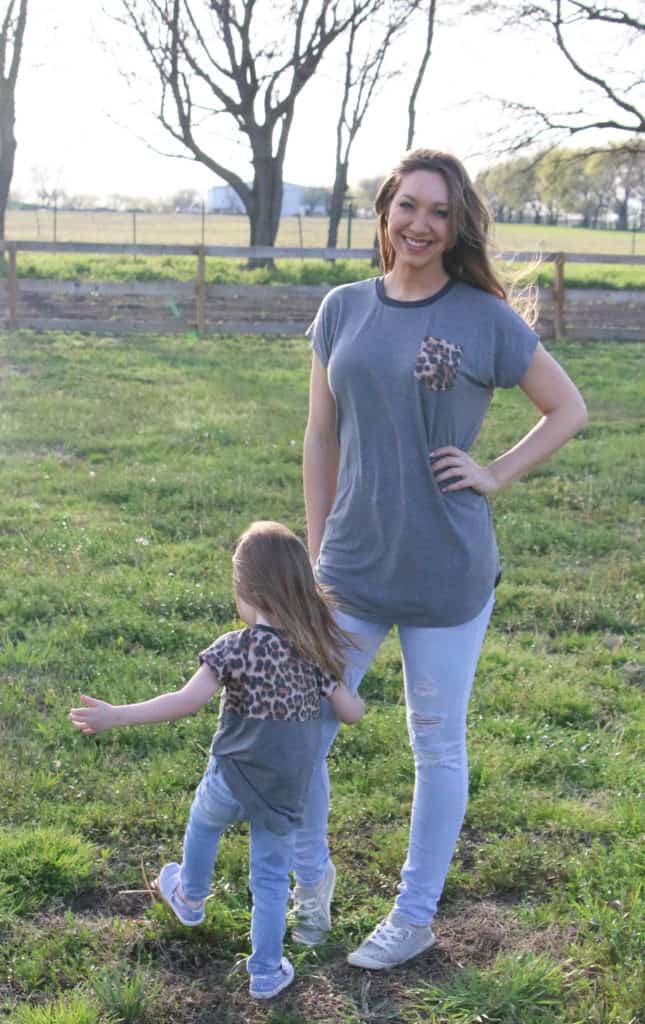
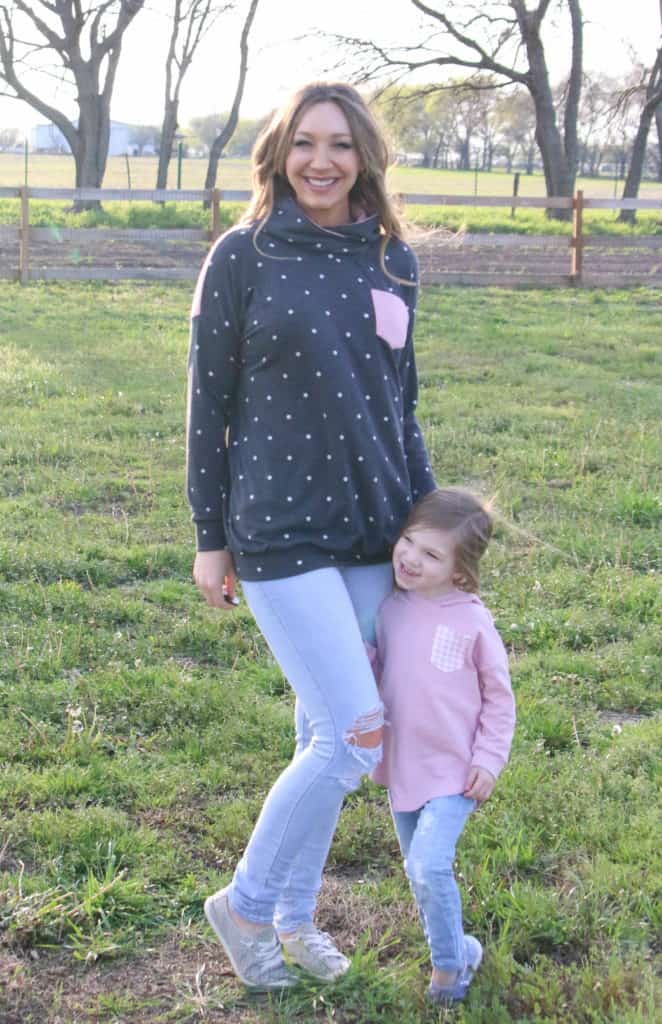
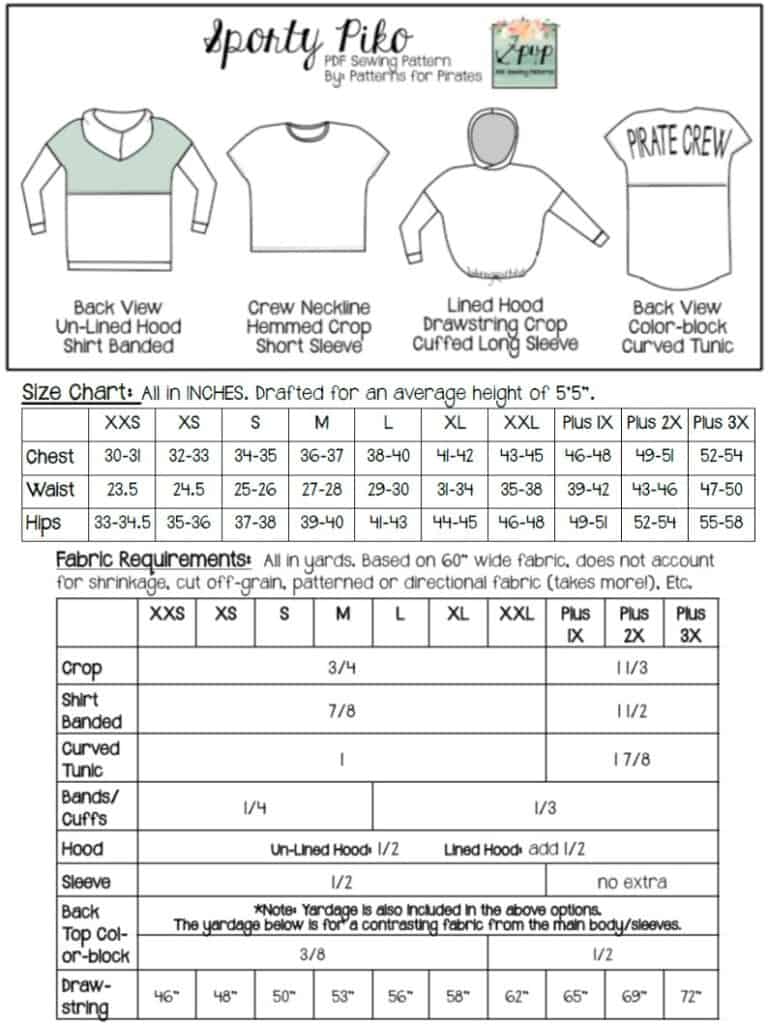
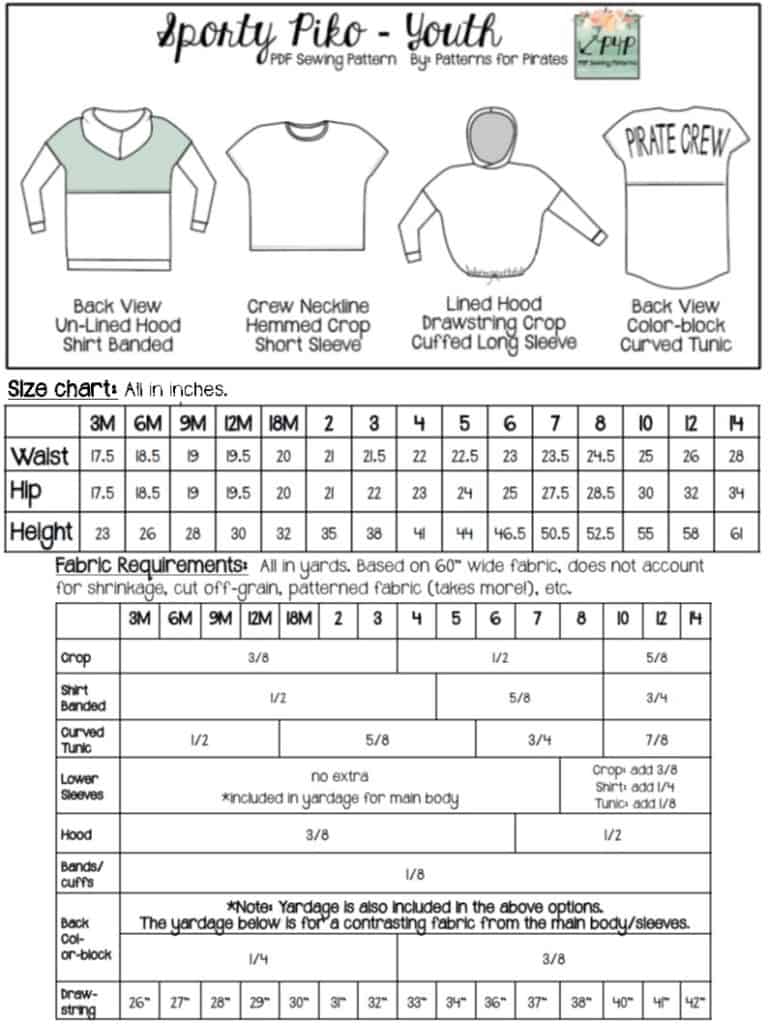
These patterns are drafted for a stretch knit fabric, but you are open to so many different types depending on what look you’re going for.  Want an everyday tee?  A hemmed option paired with  drapey jersey will give you that look.  Or are you going for a sweatshirt feel?  Try a french terry paired with the hood, drawstring or banded option for that more sporty style.

Sporty Piko in a jersey with soft drape
Sporty Piko in a french terry

Both the adult and youth versions have a very loose, relaxed, even oversized fit.  They are drafted with two sleeve lengths (short and long sleeve with cuffs), a large size range (XXS – Plus 3X in women’s and 3M – 14 in youth), have multiple length options (crop hemmed, crop with drawstring, shirt banded and curved tunic), two choices to finish off the neckline (traditional neckband and a hood) as well as a fun, optional front chest pocket.  The back has a yoke at the top you can play up or down depending on fabric choices.


The Sporty Piko can make a great athletic top or a basic everyday tee too.  They’re so quick and simple to sew up you will have a stack in no time!

Sporty Look Sporty Piko
Everyday Tee Look Sporty Piko


**Want to learn more about how to measure yourself for this pattern?  We’ve got you covered with an in-depth blog HERE.  And in case you’re new to Patterns for Pirates and PDF patterns in general, we have a great blog full of new user tips HERE to help you get started!  As with all of our current releases and updates, the pdfs now include our layers feature and can be found in Letter, A4 and A0 sizes.  And for even more helpful fun, we have a *free* printable that you can use to help record your measurements as you take them.

Let’s take a quick look at the different options!

SHORT SLEEVE

Short Sleeve Sporty Piko
Short Sleeve Option Sporty Piko
Short Sleeve Sporty Piko

LONG SLEEVE WITH CUFF

Long Sleeve Sporty Piko

CROP HEMMED OR DRAWSTRING

Cropped Hemmed Sporty Piko
Cropped Drawstring Sporty Piko

Cropped Hemmed Sporty Piko
Crop Drawstring Sporty Piko

SHIRT BANDED OR CURVED TUNIC

Curved Tunic Sporty Piko
Shirt Banded Sporty Piko

NECKBAND OR HOOD

Neckband Sporty Piko
Hood Sporty Piko
Hood Sporty Piko

FRONT CHEST POCKET

Front Chest Pocket Sporty Piko

BACK VIEW

Back View Sporty Piko

The most difficult thing will be to decide what option to sew up first!  Go grab your pattern(s) now and go ahead and plan one of each!

SPORTY PIKO | SPORTY PIKO YOUTH | SPORTY PIKO BUNDLE

Need more convincing?  Just take a look at this pattern on all of the amazing shapes and sizes of our testers, and get a look at more examples of all the options in our albums in the P4P Facebook group! Sporty Piko Album | Sporty Piko-Youth Album

And if that didn’t give you enough options, make sure to check out the hacks post to help take your patterns even further.

The release sale (no code needed) will be through Saturday, April 6, 2019 (11:59PM US Central Time Zone).

Happy Sewing, pirates!

Filed Under: Pattern Release, Uncategorized Leave a Comment

  • « Previous Page
  • 1
  • …
  • 14
  • 15
  • 16
  • 17
  • 18
  • …
  • 29
  • Next Page »

connect with me

  • Email
  • Facebook
  • Instagram
  • Pinterest
  • YouTube
Privacy & Cookies: This site uses cookies. By continuing to use this website, you agree to their use.

To find out more, including how to control cookies, see here: Cookie Policy
  • Privacy Policy
  • Refund Policy
  • Contact Us
  • About

Copyright © 2026 Patterns for Pirates

Copyright © 2026 · Genesis Framework · WordPress · Log in