Patterns for Pirates

P4P stylish, modern, wearable patterns

  • Home
  • Blog
    • Frequently Asked Questions
    • Pattern Releases
      • Free Patterns
    • P4P University
      • Fitting
      • Sewing with Stretch, Knit Fabrics
      • Sewing with Woven Fabrics
      • Sewing Machines
    • Sew-A-Longs
    • Fabric for Pirates
    • Pattern Hacks
    • Announcement
      • Blog Tours
      • Contest/Giveaway
  • Shop
  • Bundle Discounts
  • Flash Friday
  • Gift Cards
  • My Account
  • Cart

Grandpa Cardi/Cpt Mack’s Cardigan SAL – day 7 (winners announcement)

January 22, 2019

Thank you for joining me last week for the January sew along. We absolutely loved seeing your daily progress and your finished cardigans! Don’t forget to show them off in the main Patterns for Pirates group too so everyone can ohhh and ahhhh at them 🙂

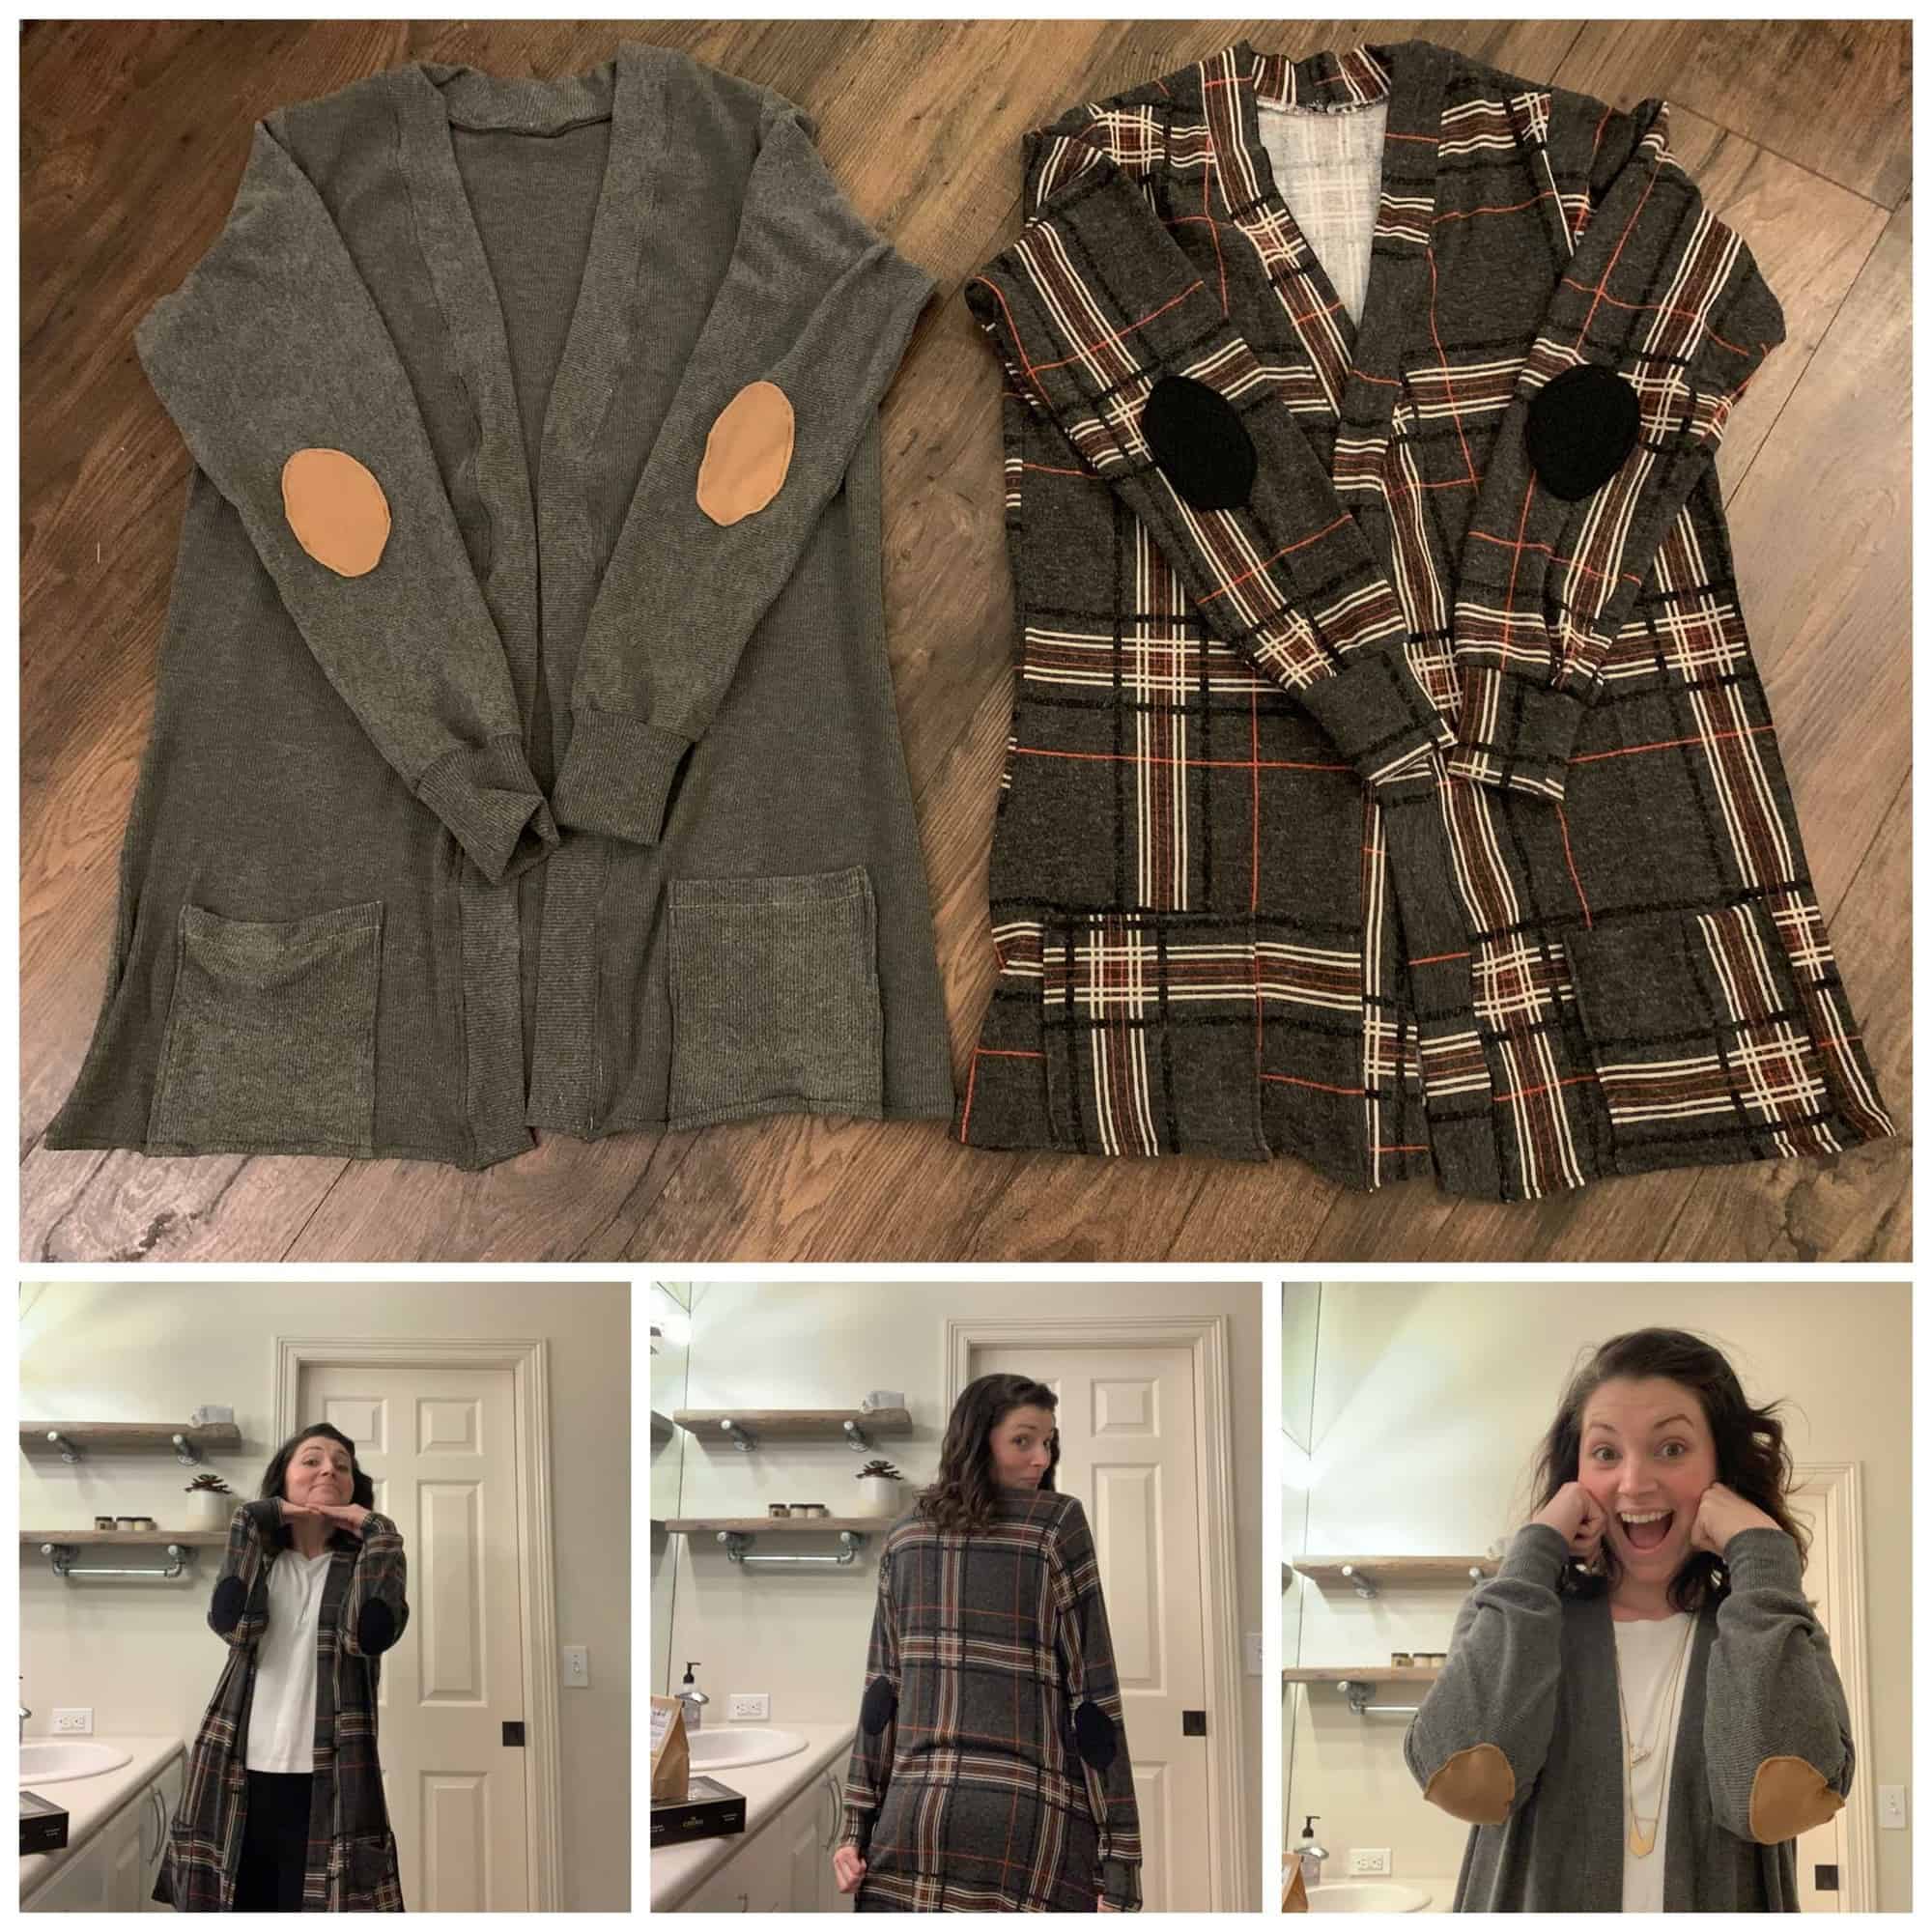
Without further ado…the SAL winner is: Christian Muffoletto

.
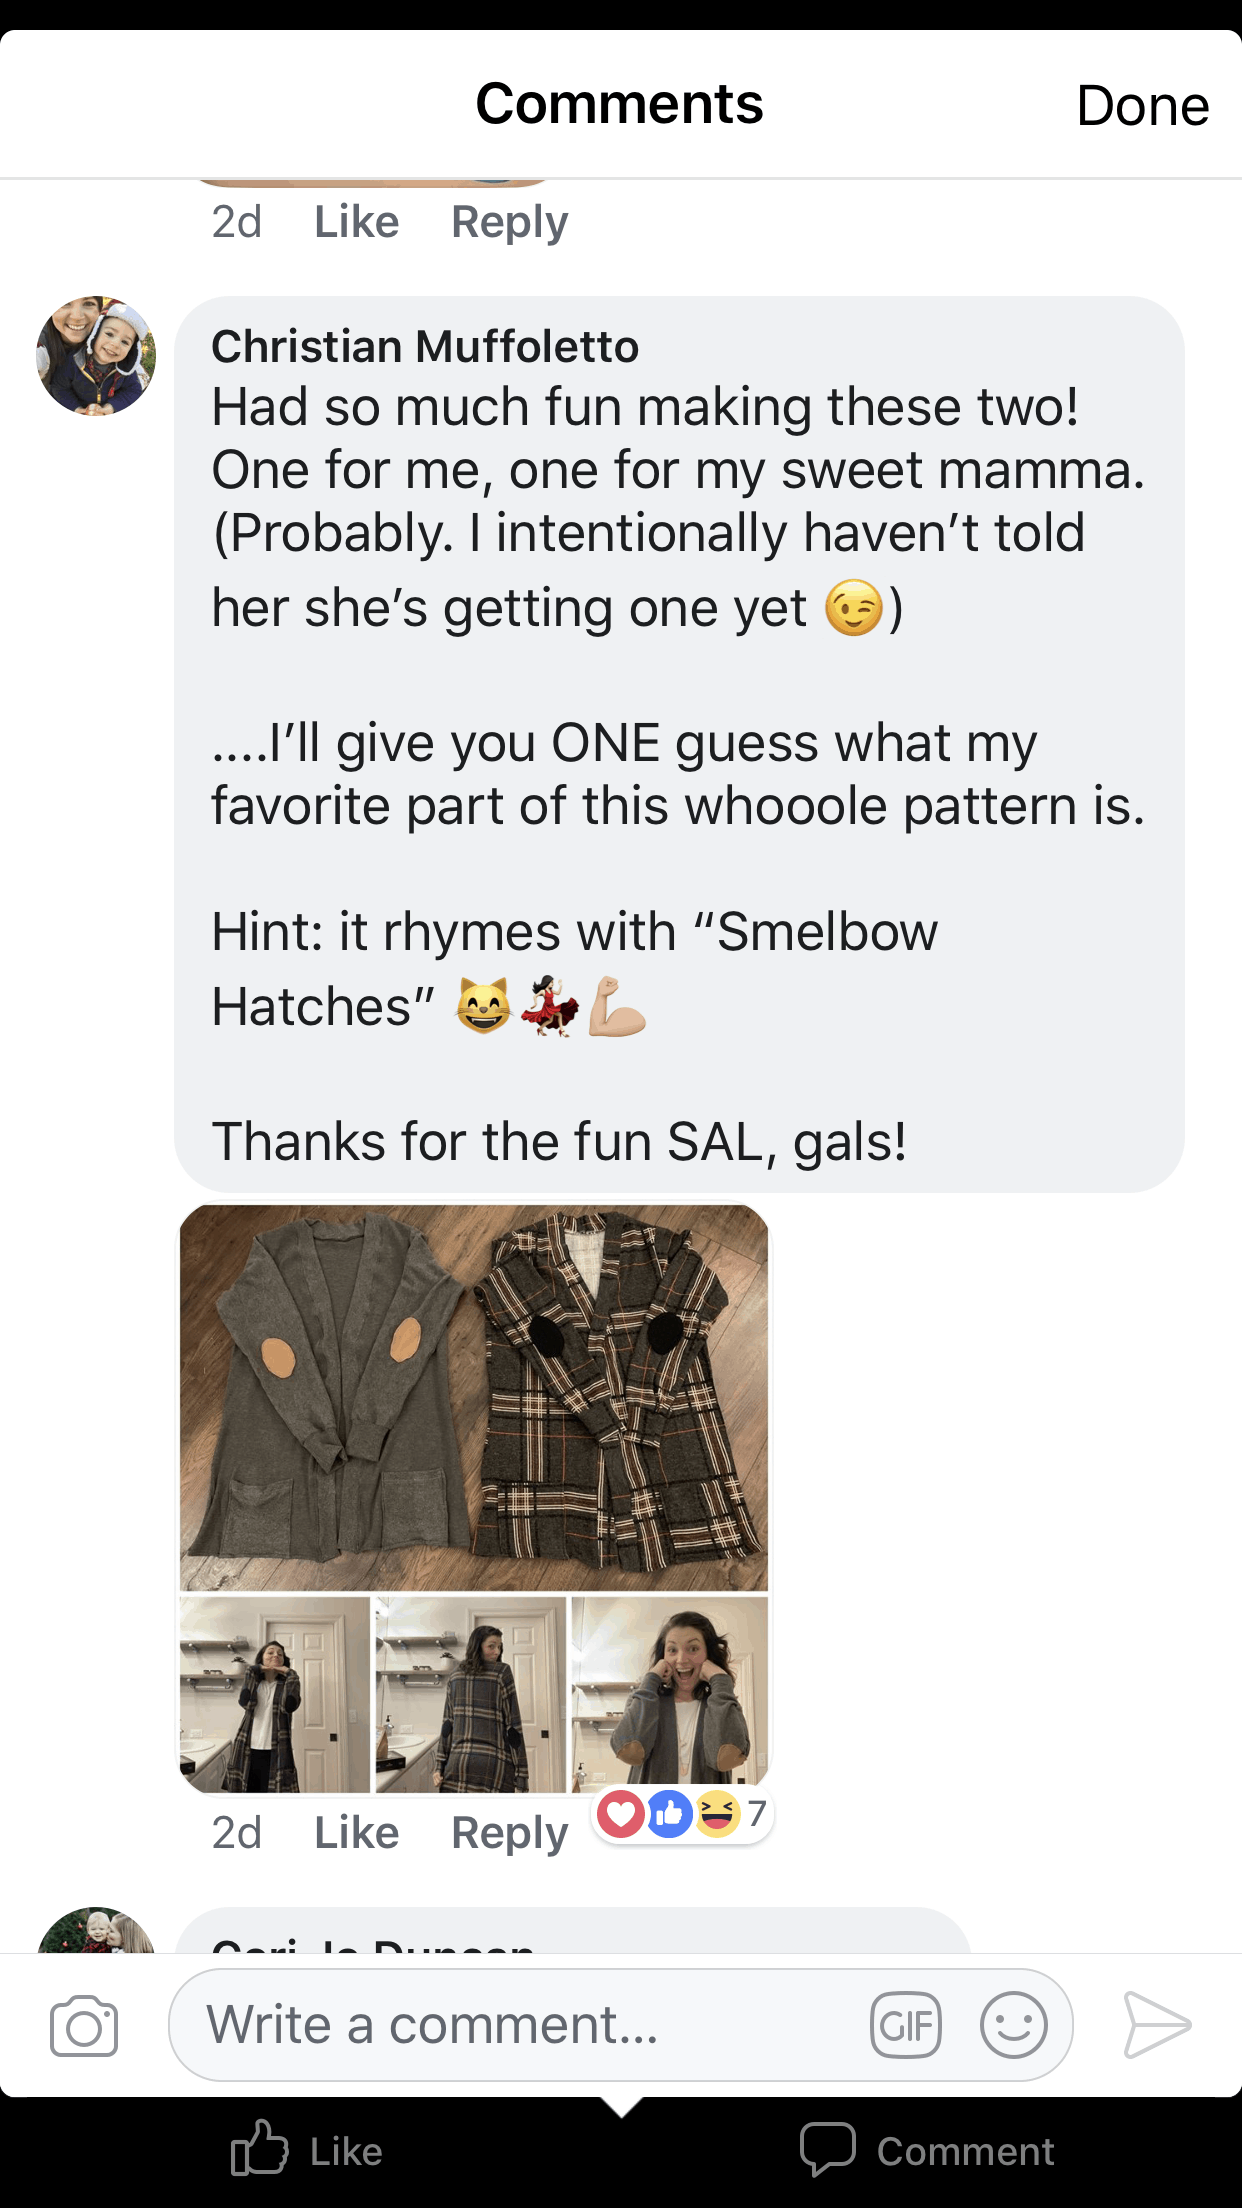
Congratulations, Christian! You won a $50 gift card to Sincerely Rylee Fabrics and a $20 store credit to Patterns for Pirates.
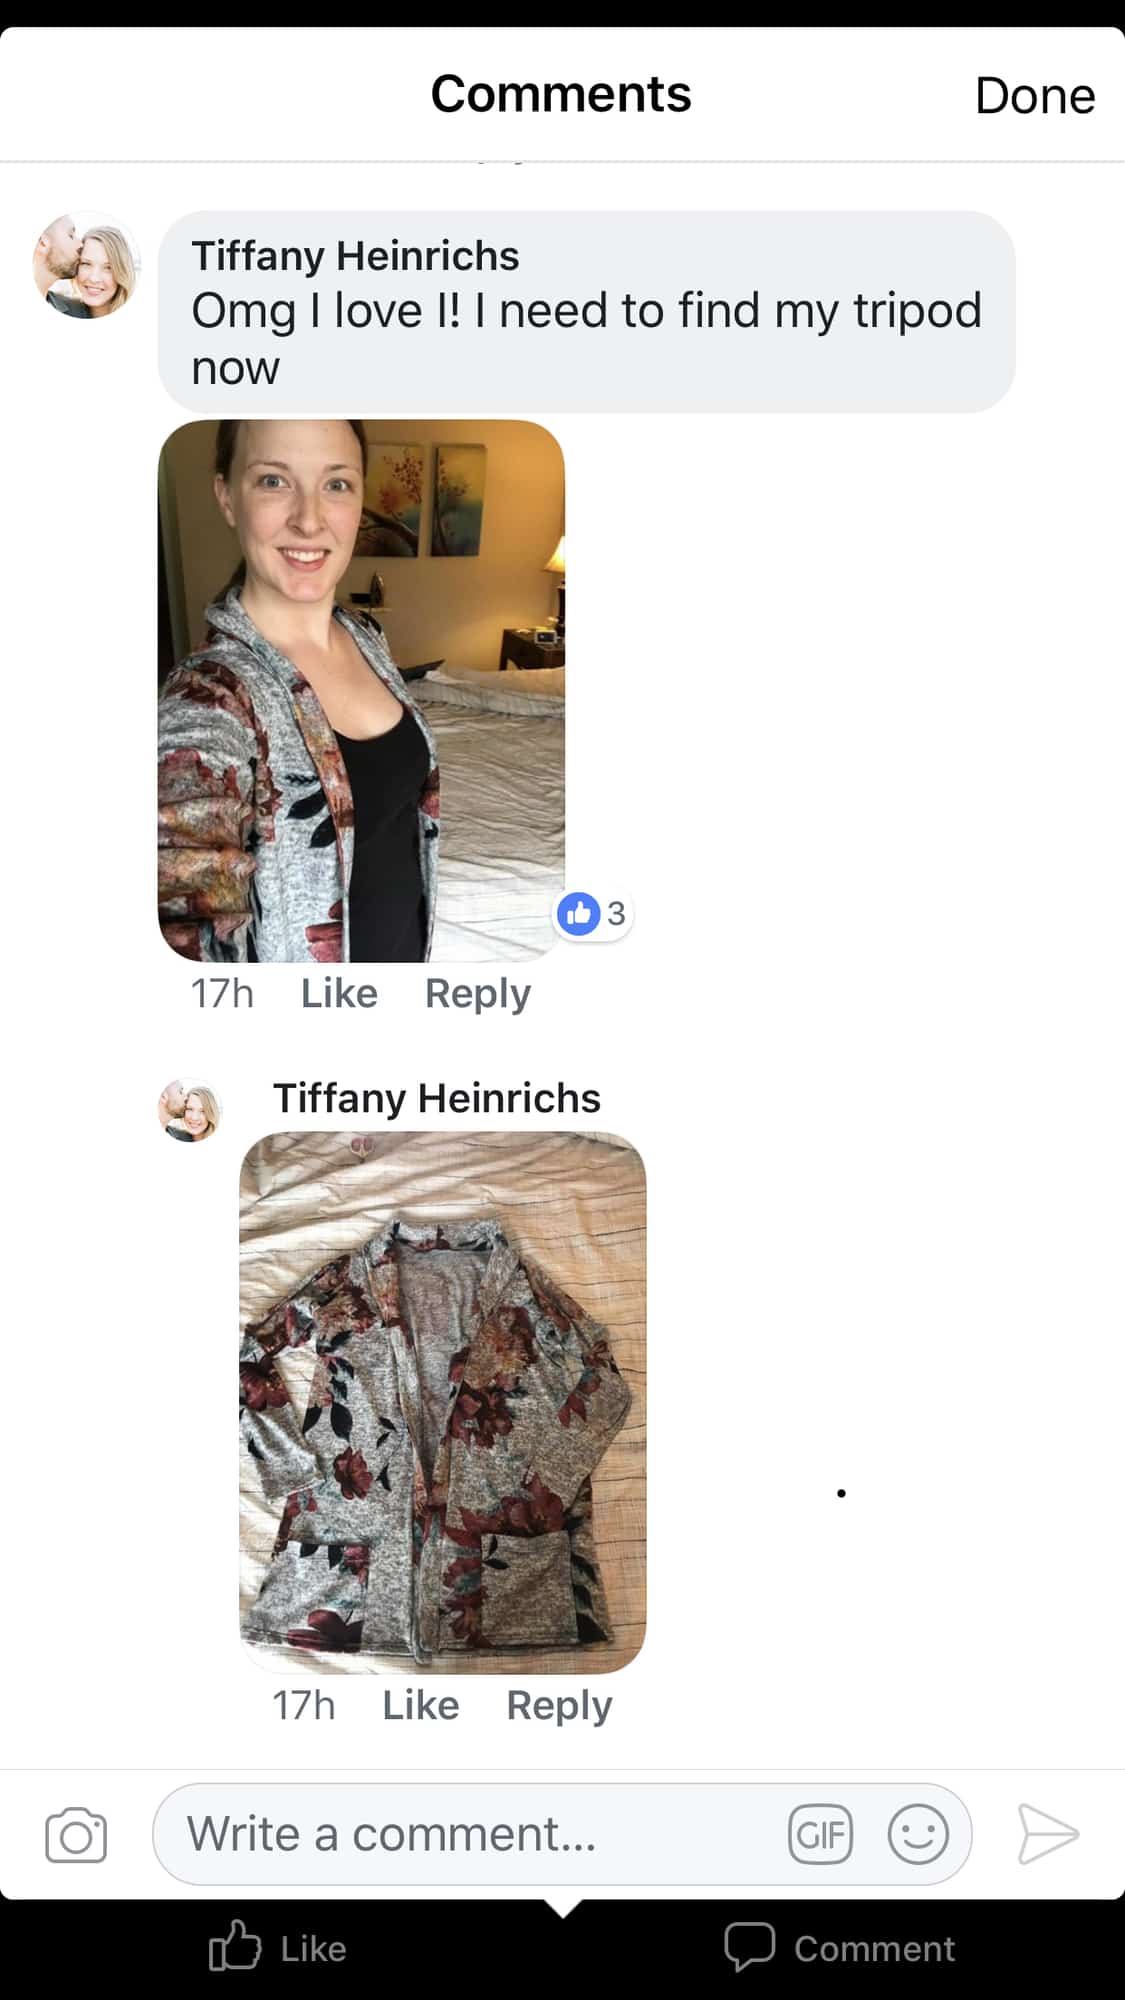
We picked a second winner too. Congratulations Tiffany Heinrichs! You won a $20 gift card to Made for Mermaids.
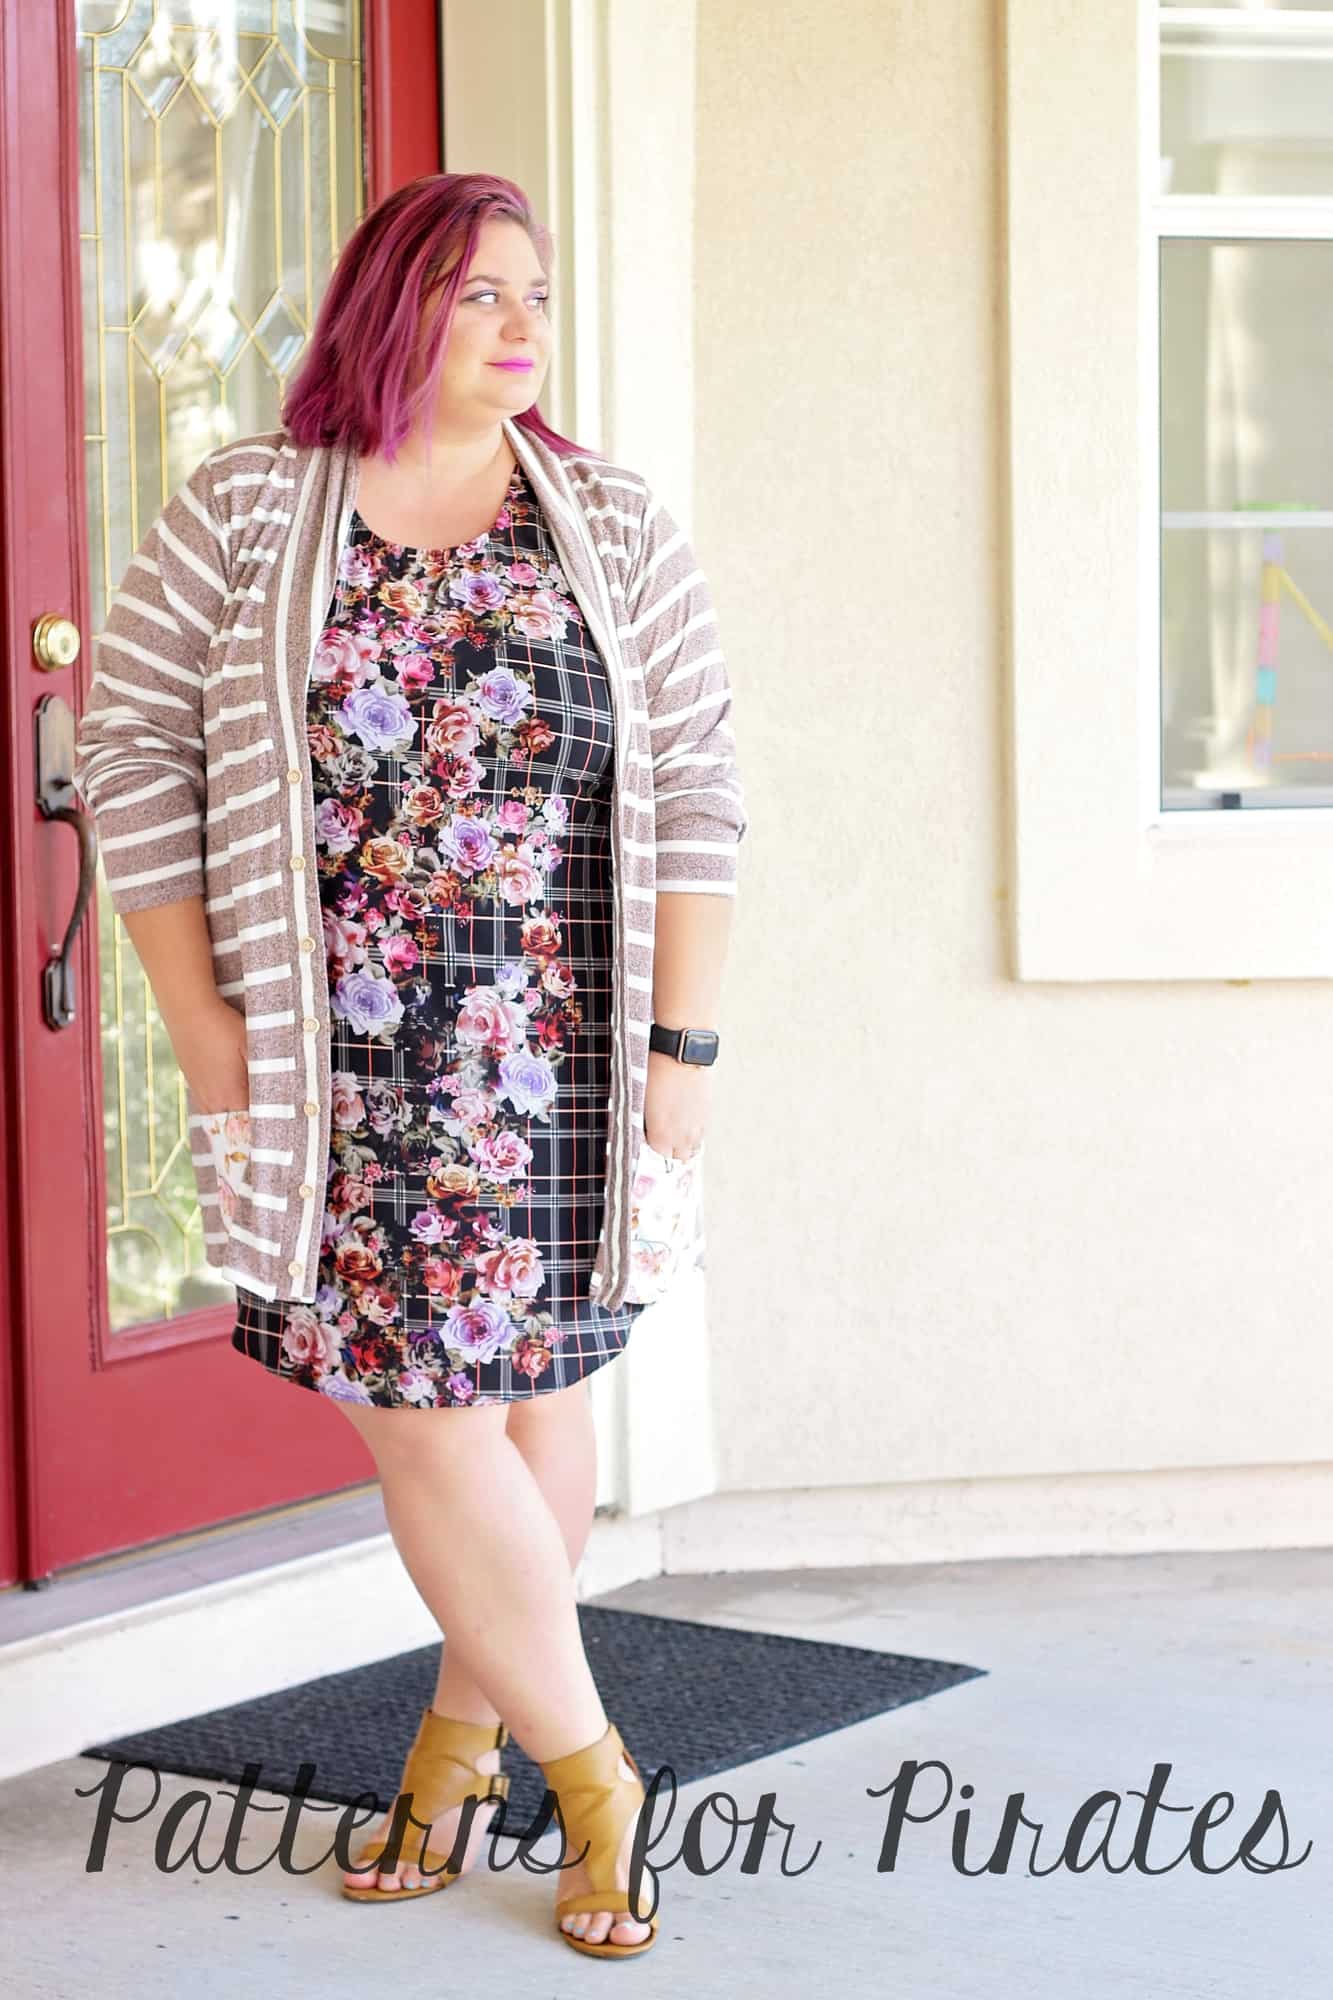
A huge thank you to our sew along sponsor, Sincerely Rylee who provided the fabric I used for the Grandpa Cardi as well as the prize.

Stay tuned for our February sew along announcement! The Mermaids have planned an amazing SAL for you in the M4M & P4P sew along group.

Grandpa Cardi | Cpt Mack’s Cardigan Sew along  – Day 1 (Print & cut pattern)

Grandpa Cardi | Cpt Mack’s Cardigan Sew along  – Day 2 (choose and cut fabric)

Grandpa Cardi | Cpt Mack’s Cardigan Sew along  – Day 3 (pockets and elbow patches)

Grandpa Cardi | Cpt Mack’s Cardigan Sew along  – Day 4 (shoulder seams and add sleeves)

Grandpa Cardi | Cpt Mack’s Cardigan Sew along  – Day 5 (finish sleeves and bottom edge)

Grandpa Cardi | Cpt Mack’s Cardigan Sew along  – Day 6 (collar/shawl and buttons)

Grandpa Cardi | Cpt Mack’s Cardigan Sew along  – Day 7 (winners announcements)

Filed Under: Sew-A-Long, Uncategorized Leave a Comment

Grandpa Cardi/Cpt Mack’s Cardigan SAL – day 6 (add neckband/shawl and optional buttons)

January 19, 2019

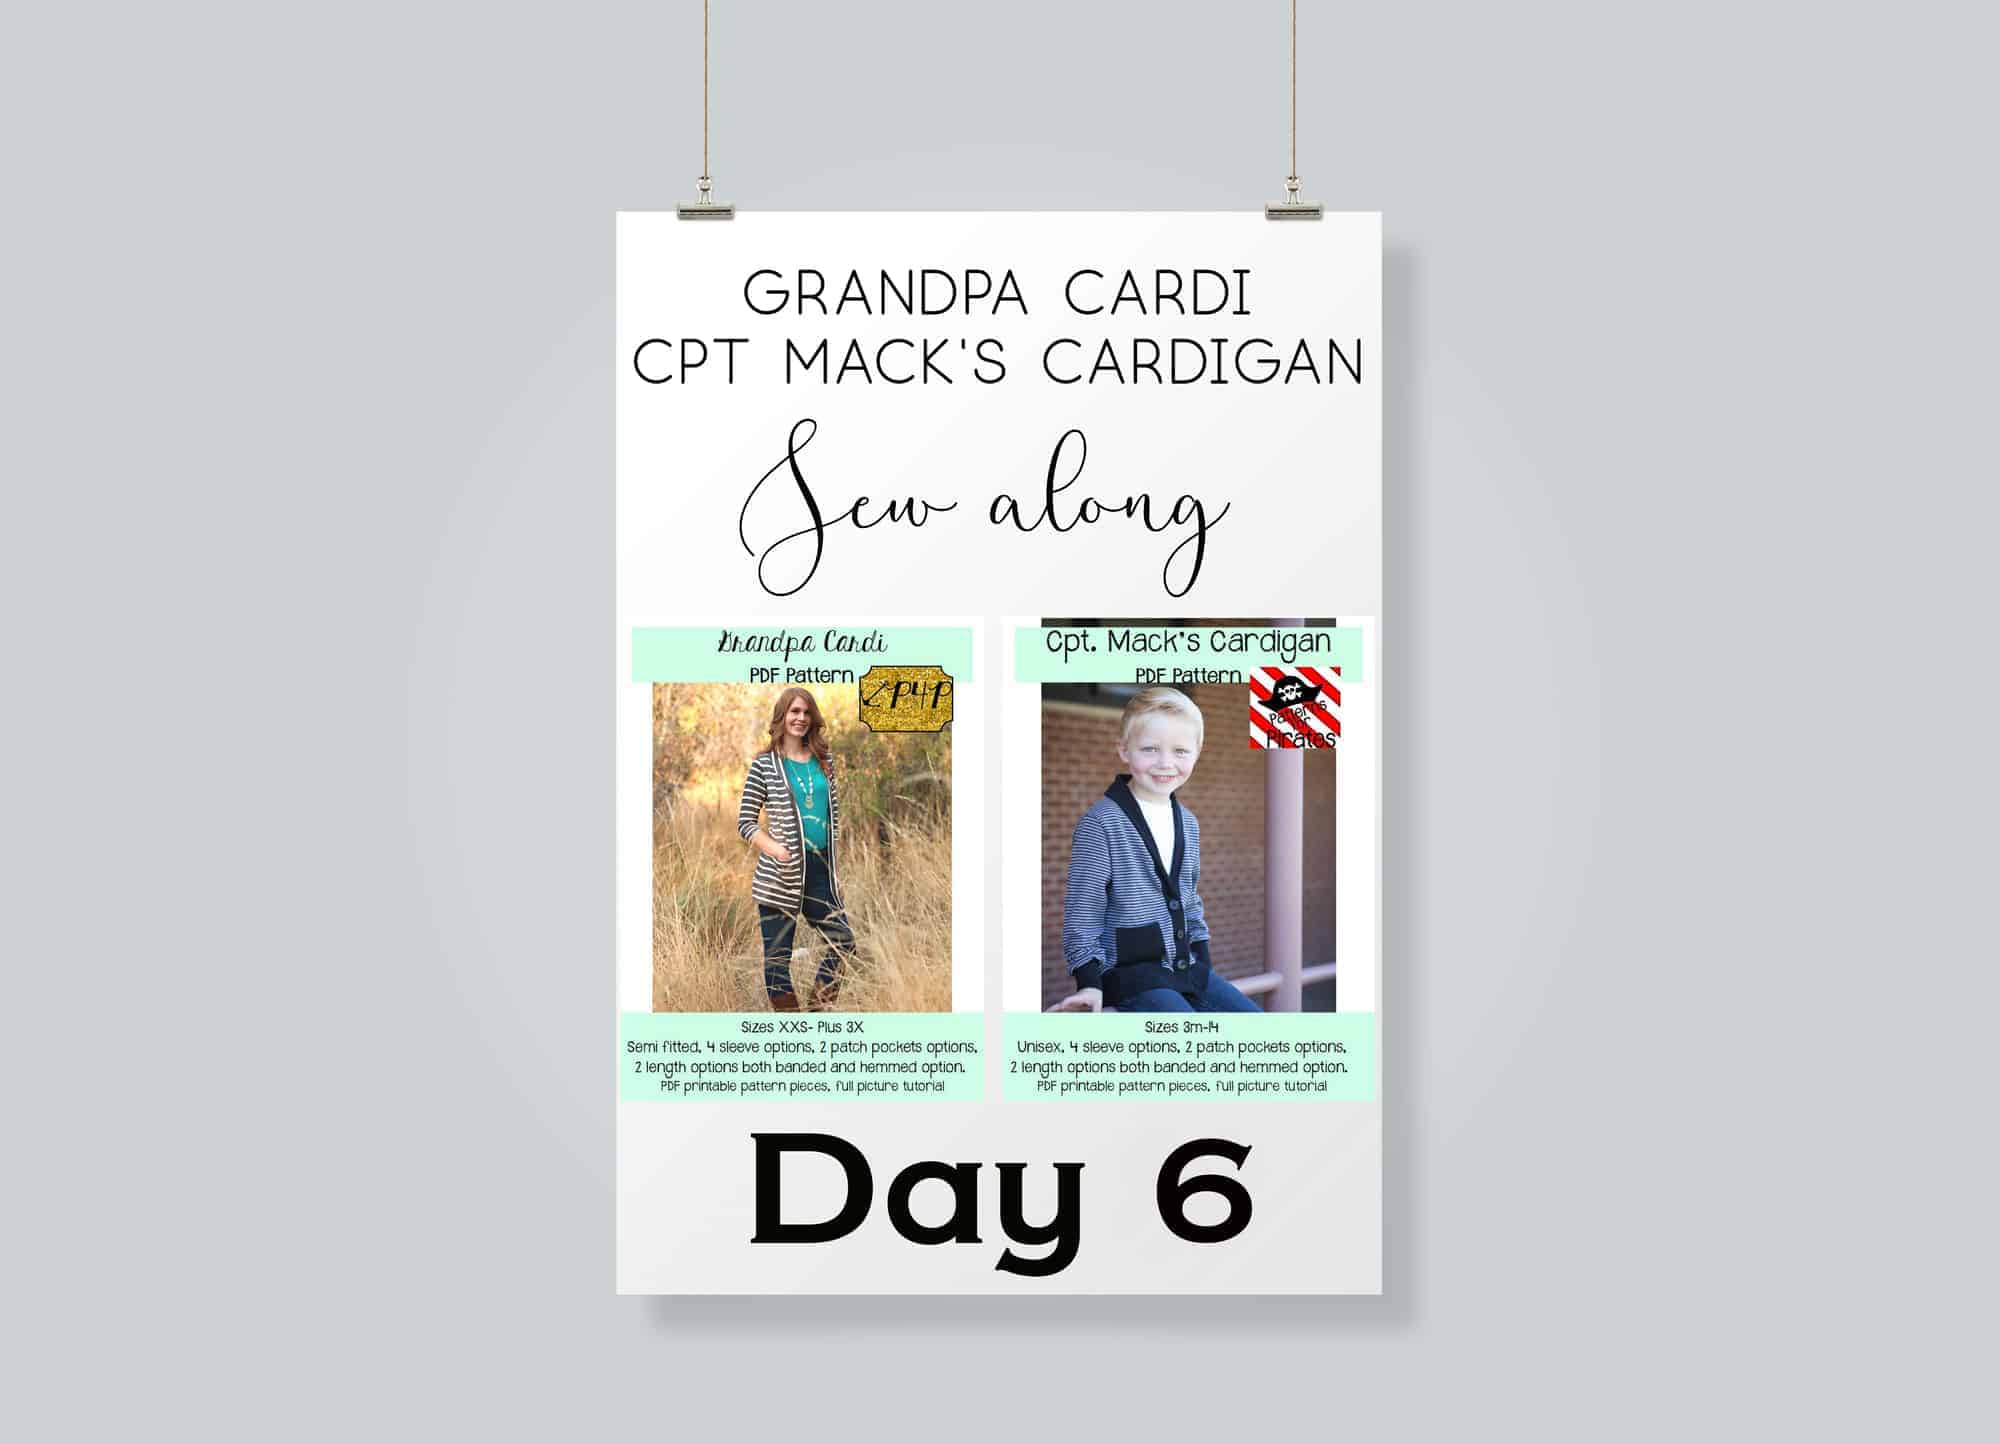
Ahoy, pirates!! We made it to the last steps of this sew along. What a fantastic week! All we have left to do now is add the neckband or the shawl and the optional buttons/snaps. I am adding the shawl option to my cardigan so I will have 4 pieces vs only two for the neckband option.

If you plan on adding buttons or snaps I highly recommend interfacing the front with light weight knit interfacing. In a pinch ultra light weight woven one will work too. It’s very important that you cut the neckband or shawl according to the grainline and stretch direction. Take a look over the video below to see how I attached the shawl neckband.


I decided to add buttons to my cardigan’s front to I also did a quick video of those steps. Grab your seam ripper, marking pens and let’s get started on this last finishing touch. Our P4P University – buttons/buttonholes blog post covers a lot of useful tips to conquer this somewhat scary task.

We have some fun hacks to the Grandpa cardi and Cpt Mack’s on the blog as part of the #P4Pcardiweek we had a couple of years ago. One of these hacks shows you how to add ribbon tie closures to the cardigan instead of buttons. Read all about it here.

All done!! Great work, everyone! Remember to add a picture of your completed cardigan in the day 6 comments of the Grandpa Cardi/Cpt. Mack’s Cardigan SAL photo album in the SAL group. Tomorrow is catch up day and on Monday evening we will announce the winners here on the blog.


Grandpa Cardi | Cpt Mack’s Cardigan Sew along  – Day 1 (Print & cut pattern)

Grandpa Cardi | Cpt Mack’s Cardigan Sew along  – Day 2 (choose and cut fabric)

Grandpa Cardi | Cpt Mack’s Cardigan Sew along  – Day 3 (pockets and elbow patches)

Grandpa Cardi | Cpt Mack’s Cardigan Sew along  – Day 4 (shoulder seams and add sleeves)

Grandpa Cardi | Cpt Mack’s Cardigan Sew along  – Day 5 (finish sleeves and bottom edge)

Grandpa Cardi | Cpt Mack’s Cardigan Sew along  – Day 6 (collar/shawl and buttons)

Grandpa Cardi | Cpt Mack’s Cardigan Sew along  – Day 7 (winners announcements)
Filed Under: Frequently Asked Questions, Sew-A-Long, Uncategorized Leave a Comment

Grandpa Cardi/Cpt Mack’s Cardigan SAL – day 5 (finish sleeves and bottom edge)

January 18, 2019

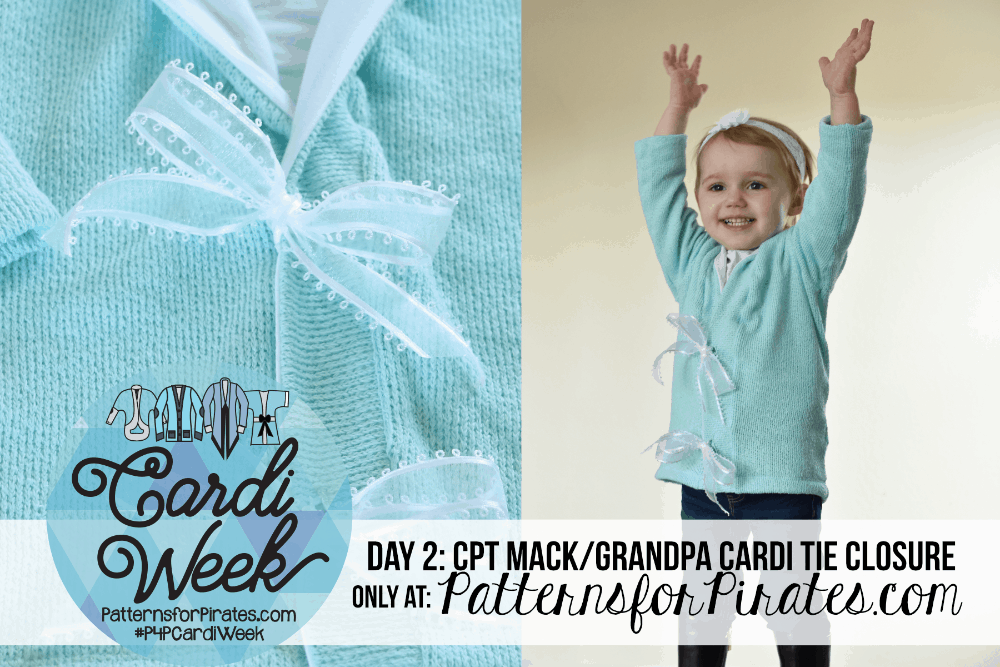
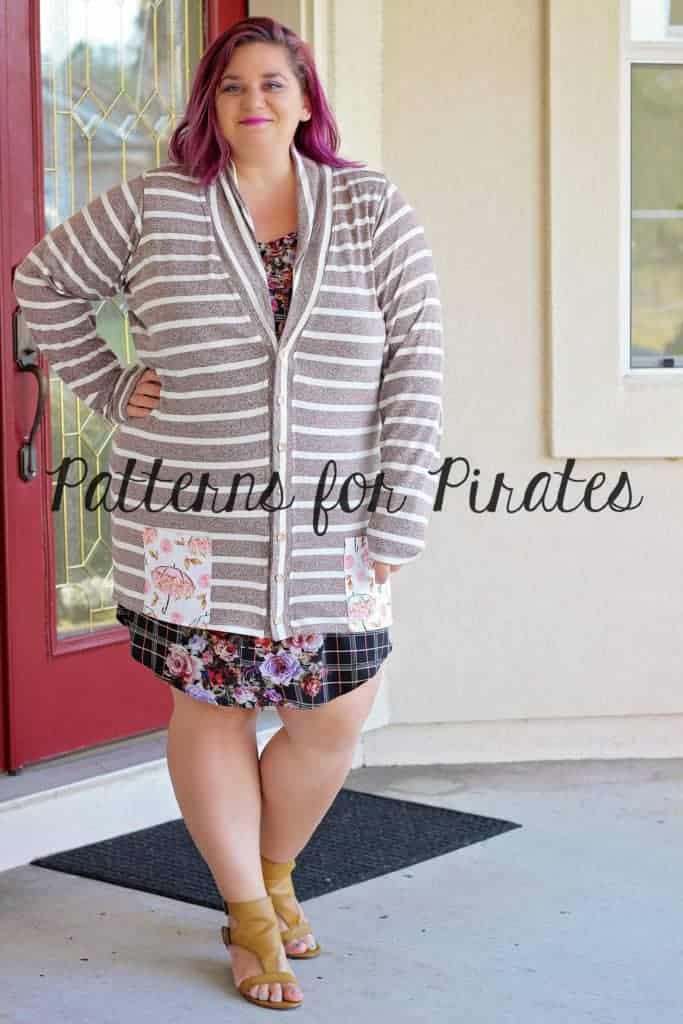
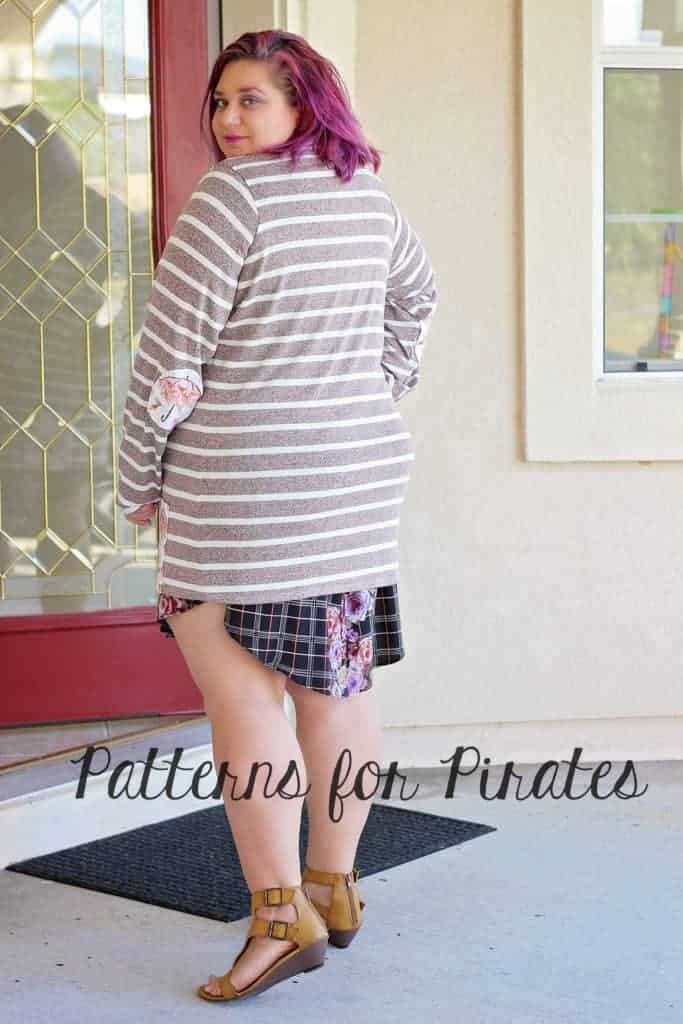
FriYAY! One more sewing day left and we’ll be all done. Today we focus on finishing the sleeves and the bottom hem. Both the women and youth cardigans include options for a banded or hemmed bottom edge finish as well as cuffs or hemmed sleeves. My cardigan is a tunic length with hemmed sleeves.

If you are sewing a banded cardigan your waistband lengthwise, wrong sides together before you attach it, press  and steam it after too!

If you went for the hemmed sleeves all you have to do is hem them 1/2″ allowance using either a zig zag stitch, a triple stretch stitch or your coverstitch. Remember that memory hem we did a few days ago? It makes hemming so easy now.

If you chose the sleeves cuffs take a look over our Knit Cuffs 101 blog post and once again, don’t forget to press. In this video I am hemming both the sleeves and the bottom edge. Once you finish, post your progress in the day 5 picture comments of the Cardigan Sew Along album in the M4M & P4P Sew Along group.

Grandpa Cardi | Cpt Mack’s Cardigan Sew along  – Day 1 (Print & cut pattern)

Grandpa Cardi | Cpt Mack’s Cardigan Sew along  – Day 2 (choose and cut fabric)

Grandpa Cardi | Cpt Mack’s Cardigan Sew along  – Day 3 (pockets and elbow patches)

Grandpa Cardi | Cpt Mack’s Cardigan Sew along  – Day 4 (shoulder seams and add sleeves)

Grandpa Cardi | Cpt Mack’s Cardigan Sew along  – Day 5 (finish sleeves and bottom edge)

Grandpa Cardi | Cpt Mack’s Cardigan Sew along  – Day 6 (collar/shawl and buttons)

Grandpa Cardi | Cpt Mack’s Cardigan Sew along  – Day 7 (winners announcements)
Filed Under: Frequently Asked Questions, Sew-A-Long, Uncategorized Leave a Comment

Grandpa Cardi/Cpt Mack’s Cardigan SAL – day 4 (sew shoulder seams and add sleeves)

January 17, 2019

And just like that we made it to day 4! Today we sew the shoulder seams, add the set in sleeves and sew the side seam. By the end of today your project will look like a cardigan 😉  When attaching the sleeves it is very important to match the notch to the shoulder seam, pin in place and then match the side seams and pin in place.

TIP: If you’re doing a hemmed sleeve now would be a good time to press your memory hem. This will make it so much easier to hem later on. 

The Grandpa Cardi and Cpt. Mack’s Cardigan patterns follow a 1/2″ seam allowance so be sure to not deviate from it when you sew the shoulder seams RST or when you attach the sleeves.

Watch the day 4 video below and be sure to post a picture of today’s progress in the day 4 photo comments of the Cardigan SAL album in the M4M & P4P Sew Along Group.

Grandpa Cardi | Cpt Mack’s Cardigan Sew along  – Day 1 (Print & cut pattern)

Grandpa Cardi | Cpt Mack’s Cardigan Sew along  – Day 2 (choose and cut fabric)

Grandpa Cardi | Cpt Mack’s Cardigan Sew along  – Day 3 (pockets and elbow patches)

Grandpa Cardi | Cpt Mack’s Cardigan Sew along  – Day 4 (shoulder seams and add sleeves)

Grandpa Cardi | Cpt Mack’s Cardigan Sew along  – Day 5 (finish sleeves and bottom edge)

Grandpa Cardi | Cpt Mack’s Cardigan Sew along  – Day 6 (collar/shawl and buttons)

Grandpa Cardi | Cpt Mack’s Cardigan Sew along  – Day 7 (winners announcements)
Filed Under: Frequently Asked Questions, Sew-A-Long, Uncategorized 2 Comments

Grandpa Cardi/Cpt Mack’s Cardigan SAL – day 3 (sew pocket and elbow patches)

January 16, 2019

Good morning, pirates! Today’s sew along is all about details. We are addin pockets and elbow patches. This is the time to get creative! Use some cute accent fabric, like sequins or faux leather or go classic and match the pockets with the main fabric.

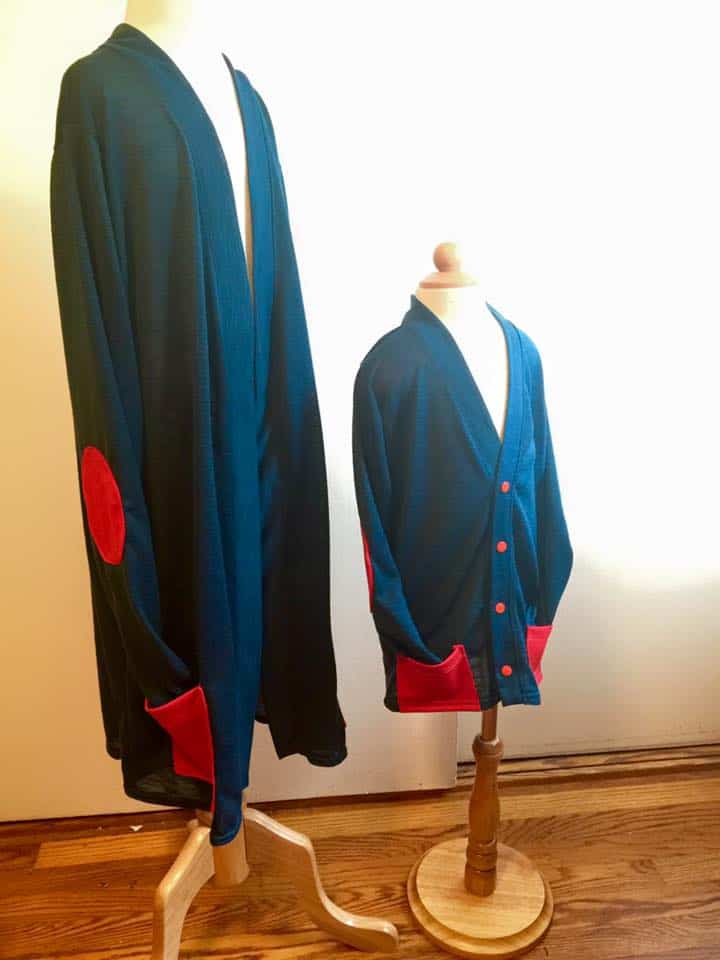
The patterns include two options for the pocket, a hemmed and banded one. The banded one is a great alternative if you’re not the biggest hemming knits fan, plus it gives you the option to incorporated some more accent fabrics too. As I mentioned yesterday, the elbow patches will add a fun detail to your cardigans. Whether you’re making one for yourself and or one for your little, add a pop of color or texture to your patches! You’ll love it!

Tip: When adding the elbow patches mark the left arm and the right arm to make sure that you will not have the pockets on the inside of your arm vs the elbow. 

If you have chosen to make your cardigan with sweater knits, go over our Sweater knits blog post where I am giving you some wasy tricks to work with this fabric base.

Watch the videos below and  post a picture of your pockets and added elbow patches in the day 3 photo comments of the Cardigan SAL album.

Grandpa Cardi | Cpt Mack’s Cardigan Sew along  – Day 1 (Print & cut pattern)

Grandpa Cardi | Cpt Mack’s Cardigan Sew along  – Day 2 (choose and cut fabric)

Grandpa Cardi | Cpt Mack’s Cardigan Sew along  – Day 3 (pockets and elbow patches)

Grandpa Cardi | Cpt Mack’s Cardigan Sew along  – Day 4 (shoulder seams and add sleeves)

Grandpa Cardi | Cpt Mack’s Cardigan Sew along  – Day 5 (finish sleeves and bottom edge)

Grandpa Cardi | Cpt Mack’s Cardigan Sew along  – Day 6 (collar/shawl and buttons)

Grandpa Cardi | Cpt Mack’s Cardigan Sew along  – Day 7 (winners announcements)
 

Filed Under: Frequently Asked Questions, Sew-A-Long, Uncategorized Leave a Comment

Grandpa Cardi/Cpt Mack’s Cardigan SAL – day 2 (pick and cut fabric)

January 15, 2019

Welcome to day 2 of our Grandpa Cardi/Cpt Mack’s Cardigan sew along. Today we will be choosing the fabric and cutting it. You should have your pattern pieces ready from yesterday.

But first let’s talk a little about the right fabric for this pattern. As you can see in the video below I am using a gorgeous rose gold sweater knit from Sincerely Rylee for my Grandpa Cardi. This my favorite knit type for this pattern. For Cpt Mack’s I like the structured look of cotton lycra. These two cardigans can be made with virtually any knit fabric since they only require 20% stretch.

Sincerely Rylee is this SAL’s sponsor too, so one of you will be getting a $50 Gift Card to their shop so you can treat your to some gorgeous sweater knits (and not only) too.

If you are unsure about which knit type will work best for your desired look, take a look over our P4P University Knit Types blog. Judy also included a cheat sheet that you can print. If you are like me and sometime are just keen on using a specific print for a specific pattern, read our Different fabric, different fit blog post before you cut your fabric.

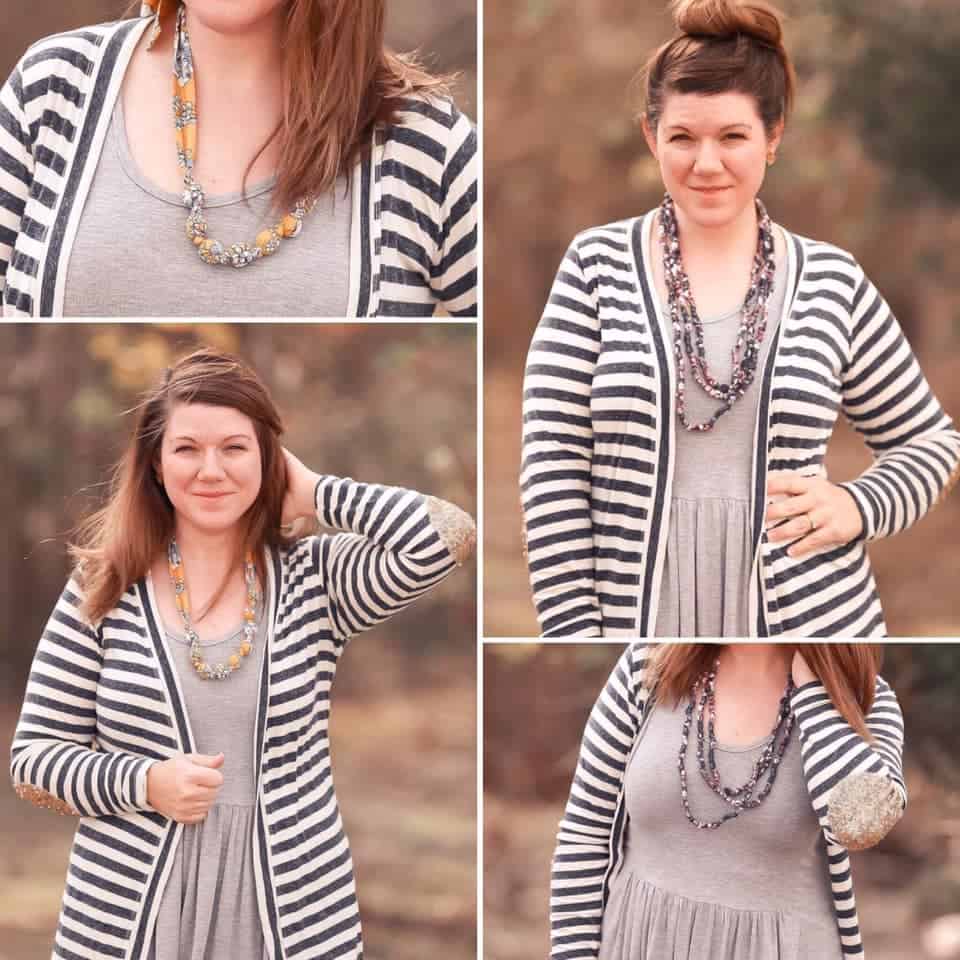
Writing this blog brought back some memories…the set below is my first ever Grandpa cardi/Cpt Mack’s cardigan I ever made. It’s a thin sweater knit from Joann and I still wear it today. My little man wore his at school for two years. It makes an great uniform piece too.

Got some sequins fabric you absolutely love? Use them for the elbow patches. Colleen’s Grandpa cardi is to die for…afterall, who doesn’t need a fancy elbow pocket patch?

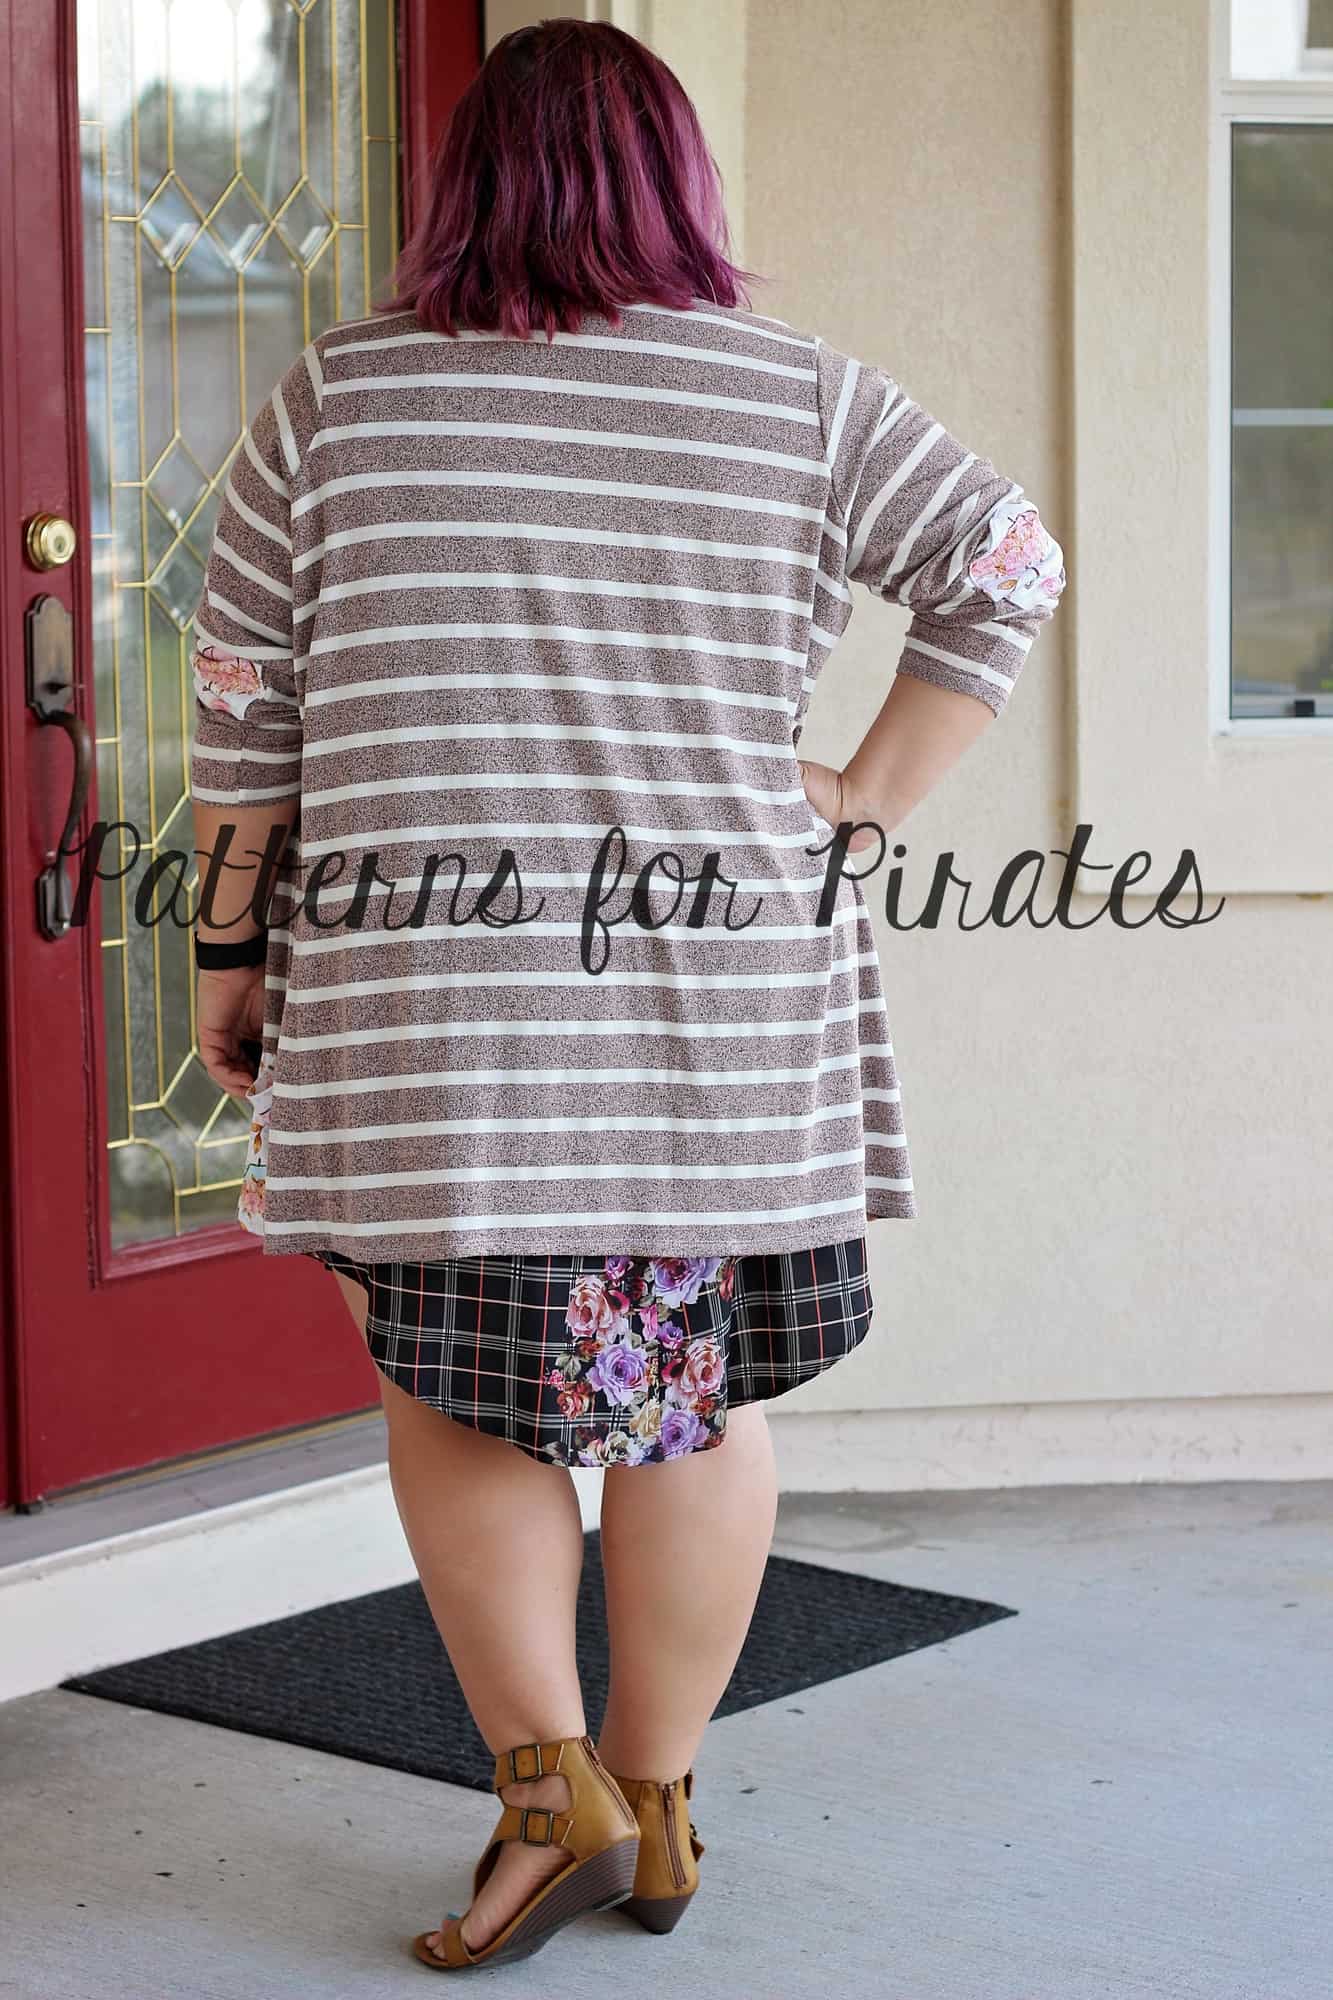
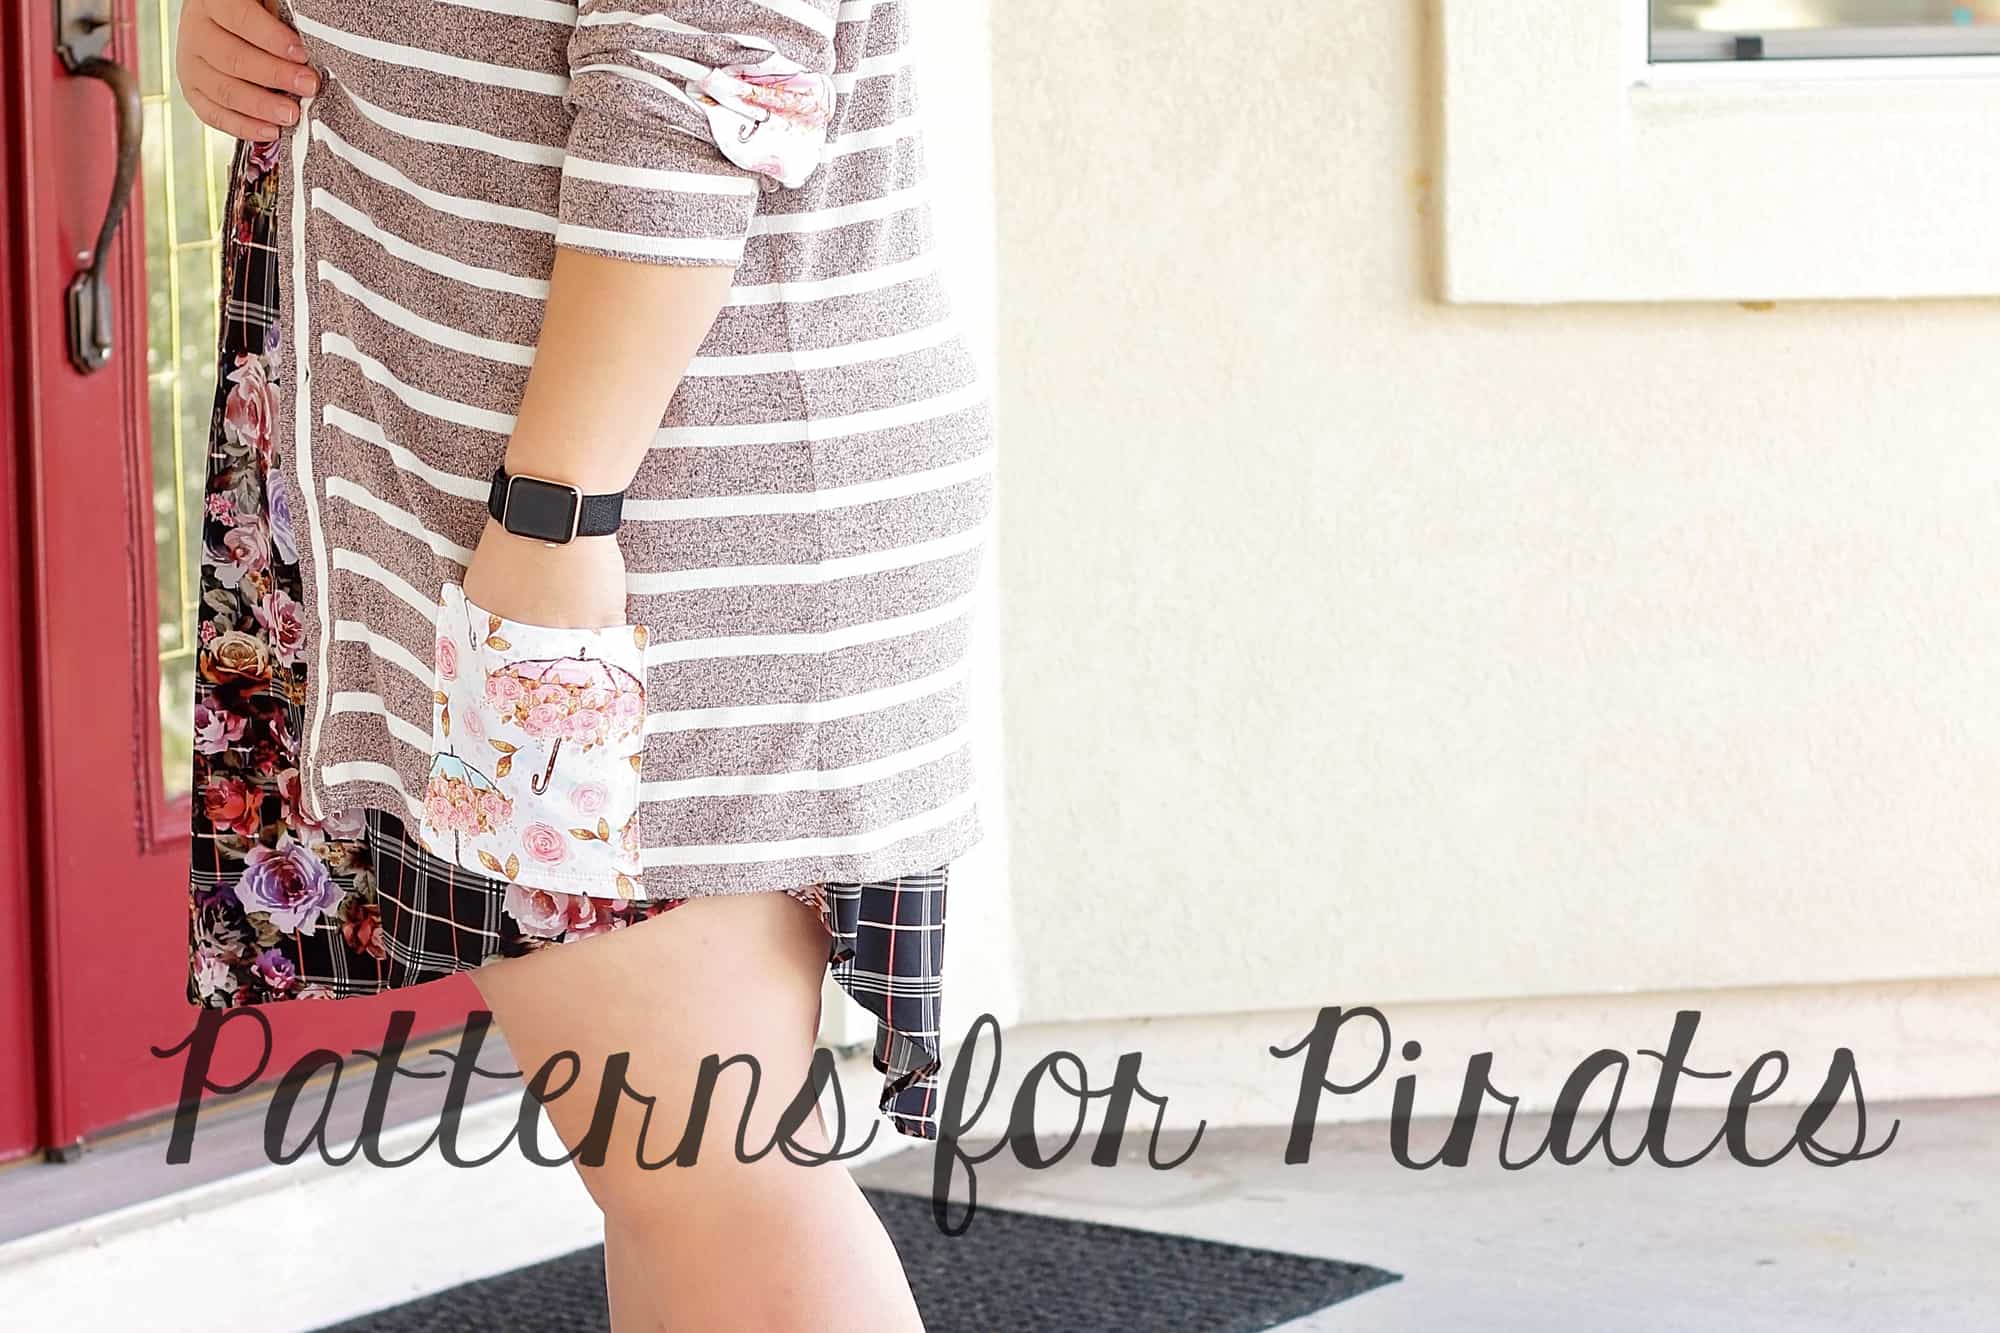
For my cardigan I decided to add bamboo lycra shoulder patches and pockets. I’m using a rose gold striped main fabric so I chose a gold and roses print for the patches. Get it Get it? 😉

The Day 2 video is posted below. Check it out and once you are done cutting your fabric post a picture of it in the comments of the Day 2 photo of the Grandpa Cardi/ Cpt Mack’s SAL album in the M4M & P4P Sew Along group.

Grandpa Cardi | Cpt Mack’s Cardigan Sew along  – Day 1 (Print & cut pattern)

Grandpa Cardi | Cpt Mack’s Cardigan Sew along  – Day 2 (choose and cut fabric)

Grandpa Cardi | Cpt Mack’s Cardigan Sew along  – Day 3 (pockets and elbow patches)

Grandpa Cardi | Cpt Mack’s Cardigan Sew along  – Day 4 (shoulder seams and add sleeves)

Grandpa Cardi | Cpt Mack’s Cardigan Sew along  – Day 5 (finish sleeves and bottom edge)

Grandpa Cardi | Cpt Mack’s Cardigan Sew along  – Day 6 (collar/shawl and buttons)

Grandpa Cardi | Cpt Mack’s Cardigan Sew along  – Day 7 (winners announcements)
Filed Under: Frequently Asked Questions, Sew-A-Long, Uncategorized 1 Comment

Grandpa Cardi/Cpt Mack’s Cardigan SAL – day 1 (print and cut pattern)

January 14, 2019

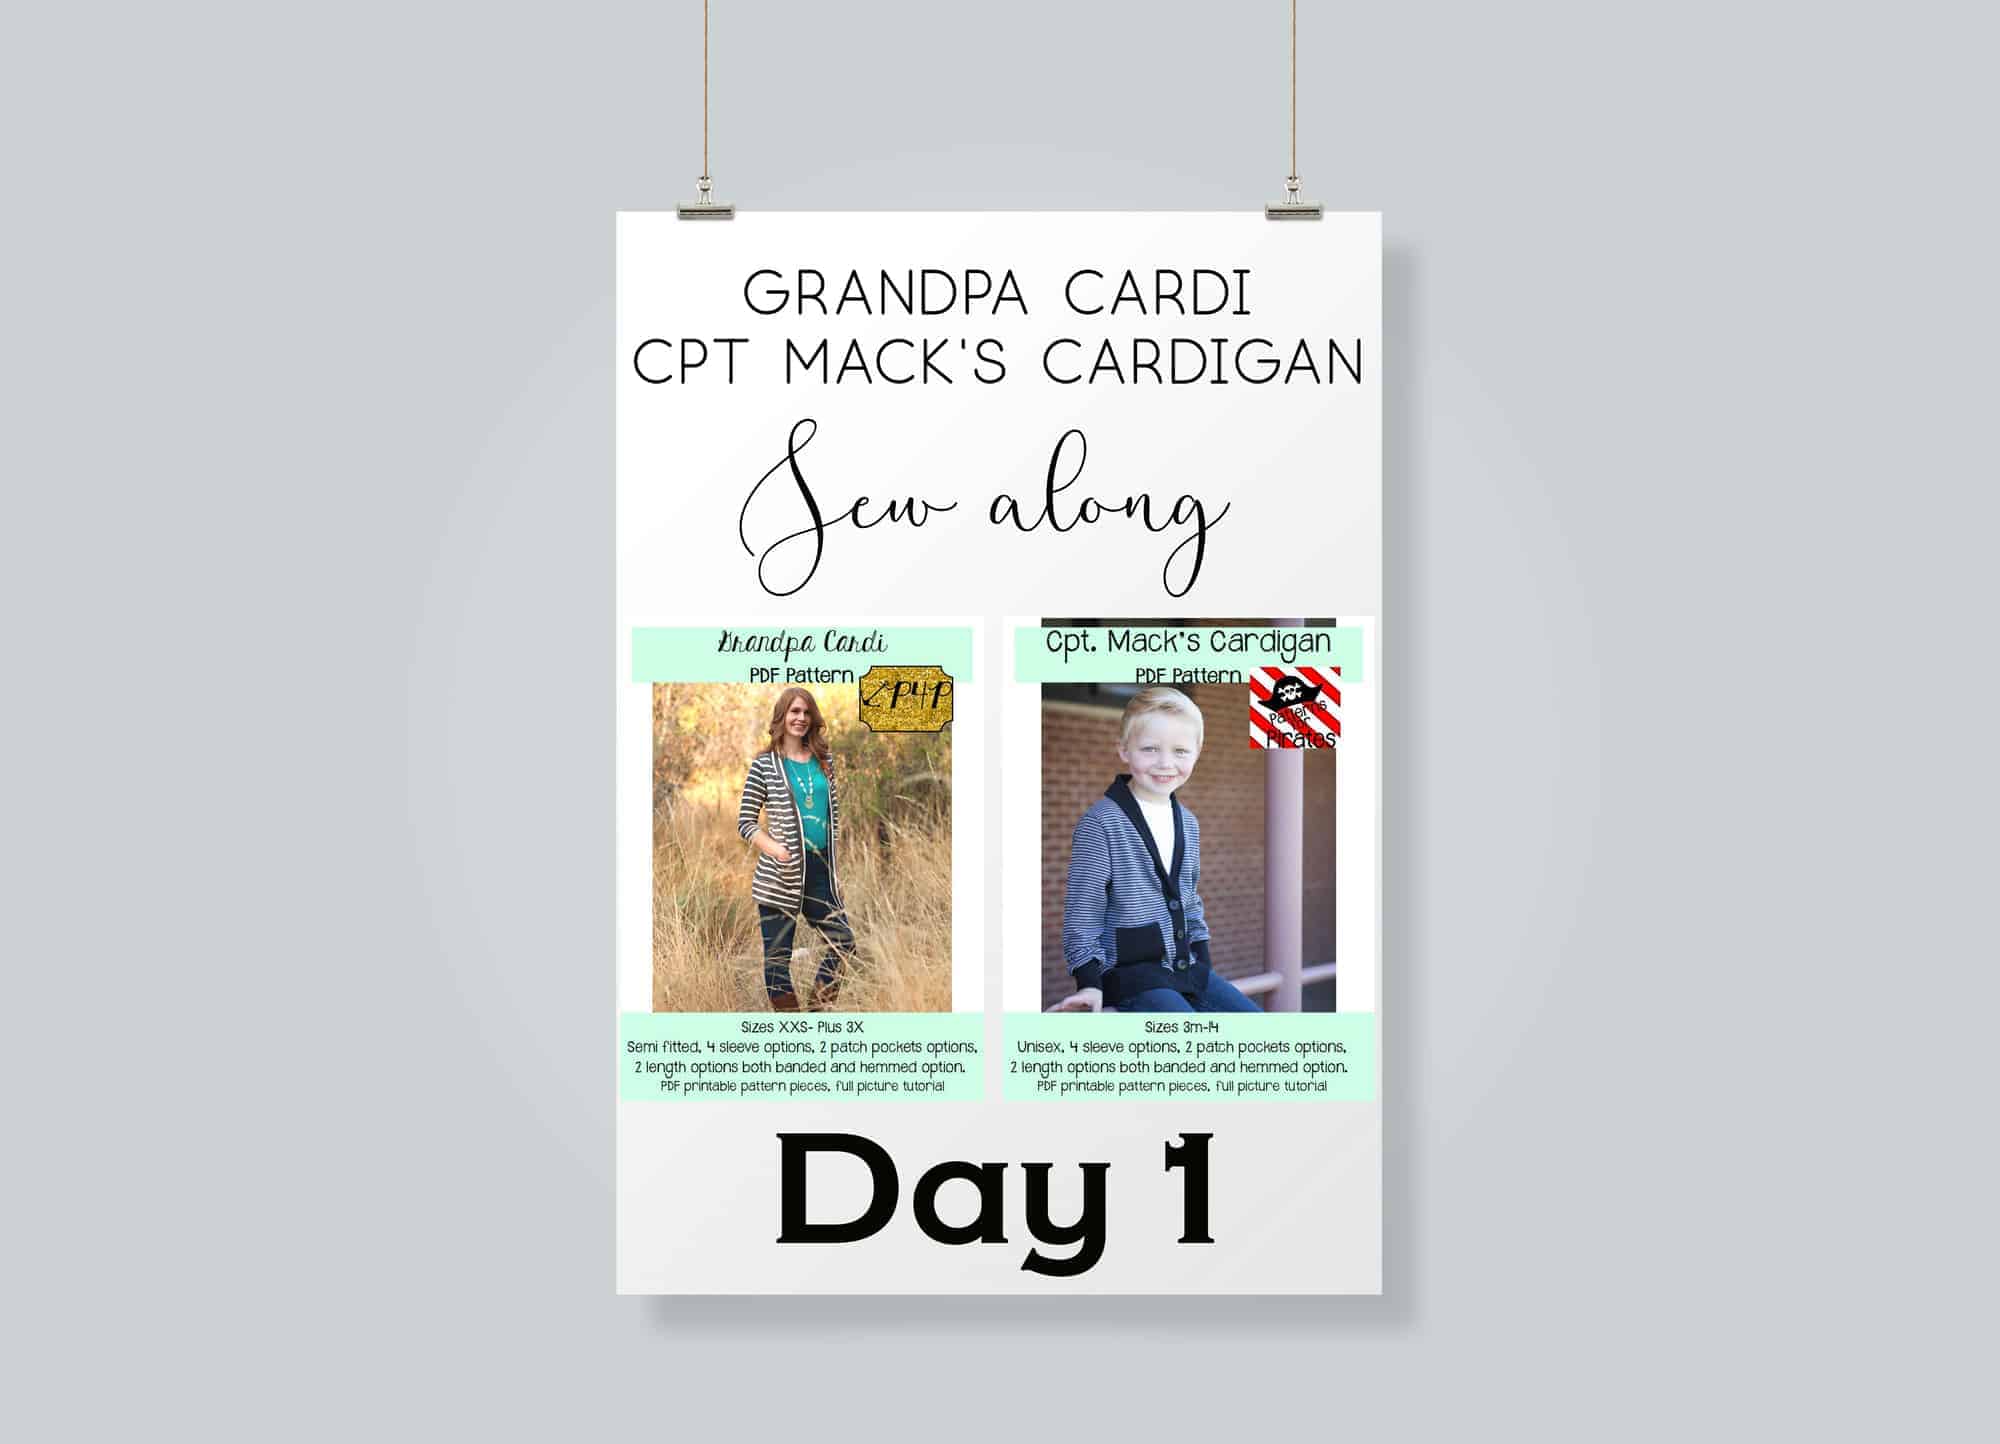
Welcome to the Grandpa Cardi / Cpt. Mack’s Cardigan Sew Along!

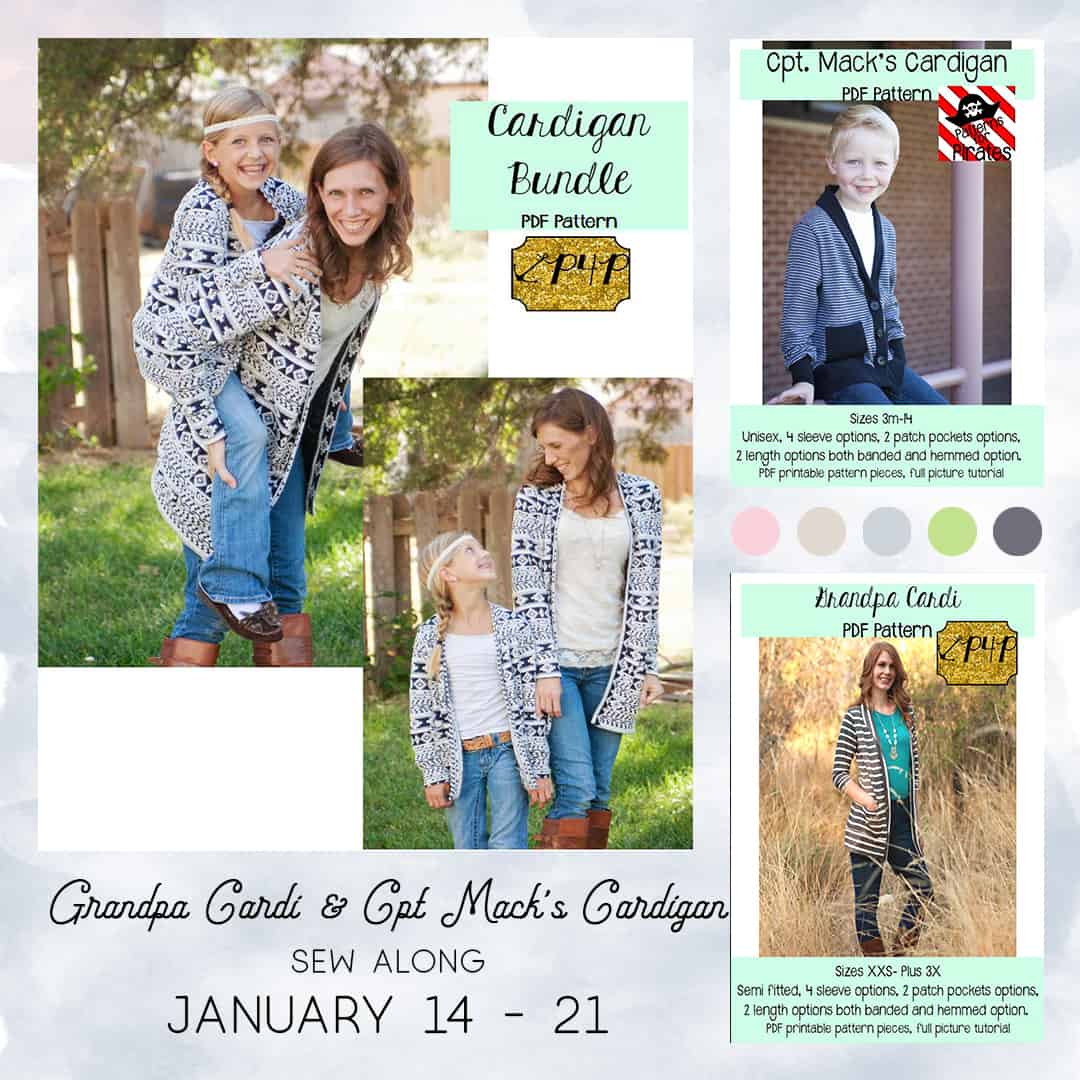
Day One is reserved to purchasing the patterns, printing and cutting the size(s) you need. If you plan on sewing for yourself you can get the Grandpa Cardi  here, if you’re sewing for your little one, the Cpt. Mack’s Cardigan can be purchased here and if you’re sewing for both of you (just think of the mommy and me matching outfits!) you can get the bundle.

This Sew Along will take place in the new M4M & P4P Sew Along group so be sure to join the group not only for the exclusive discount code available for the Grandpa Cardi and Cpt. Mack’s Cardigan patterns but also to post your progress this week.

Now that you purchased the pattern(s), print the size needed. In order to do that it is very important that you take your most accurate measurements.

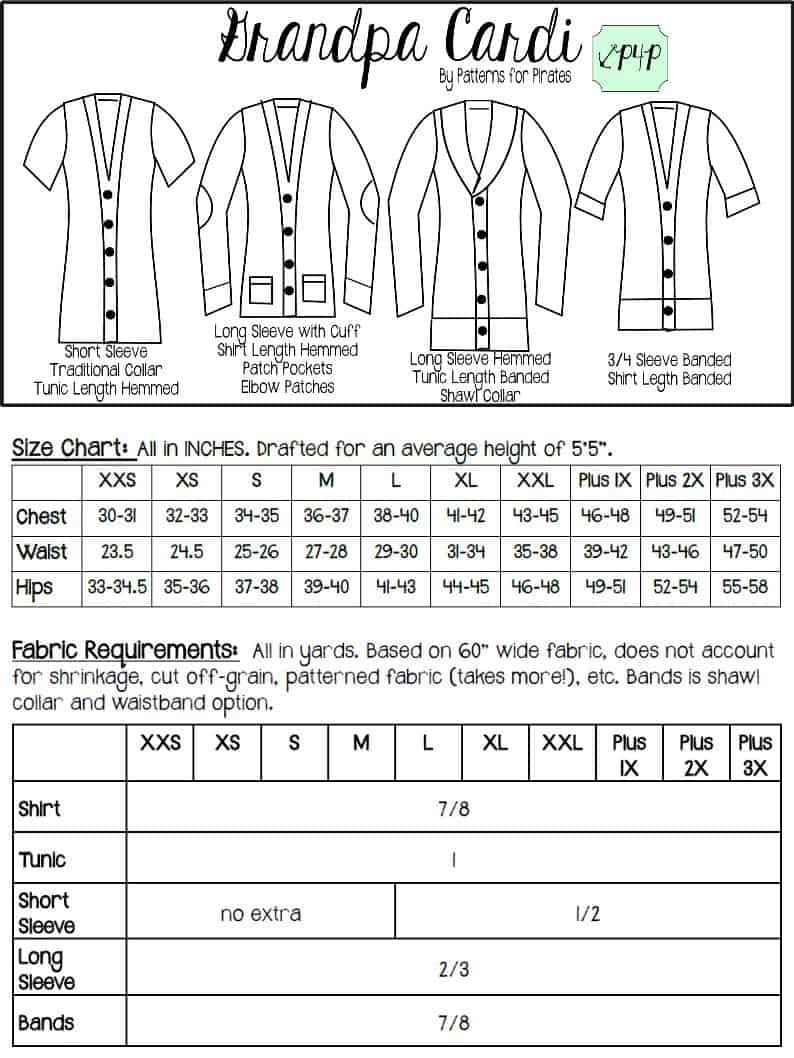
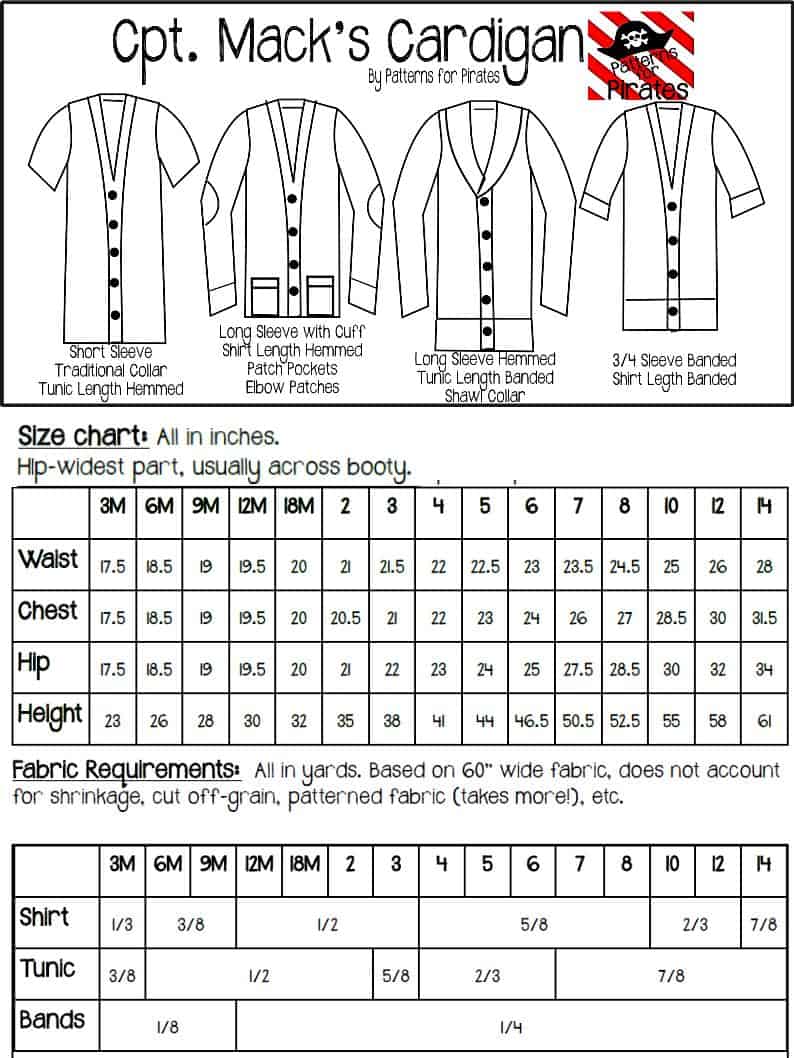
You will need your waist, hips and chest measurements in order to choose the correct cardigan size. P4P has an amazing blog that gives you tip for accurately taking your measurements. You can read all about it here. If your measurements put you in a different size for chest/waist/hips be sure to check out our P4P University blog and grade to achieve the perfect fit.

Check out the day 1 video below and then comment “done” on the Day 1 picture of the Cadigan SAL album in the sew along group. We don’t allow pictures of the pattern pieces so this will count as your day 1 check in.


Grandpa Cardi | Cpt Mack’s Cardigan Sew along  – Day 1 (Print & cut pattern)

Grandpa Cardi | Cpt Mack’s Cardigan Sew along  – Day 2 (choose and cut fabric)

Grandpa Cardi | Cpt Mack’s Cardigan Sew along  – Day 3 (pockets and elbow patches)

Grandpa Cardi | Cpt Mack’s Cardigan Sew along  – Day 4 (shoulder seams and add sleeves)

Grandpa Cardi | Cpt Mack’s Cardigan Sew along  – Day 5 (finish sleeves and bottom edge)

Grandpa Cardi | Cpt Mack’s Cardigan Sew along  – Day 6 (collar/shawl and buttons)

Grandpa Cardi | Cpt Mack’s Cardigan Sew along  – Day 7 (winners announcements)

Filed Under: Frequently Asked Questions, Sew-A-Long, Uncategorized 4 Comments

Naughty Nice + Sugar Spice PJs :: Easy Hacks

December 7, 2018

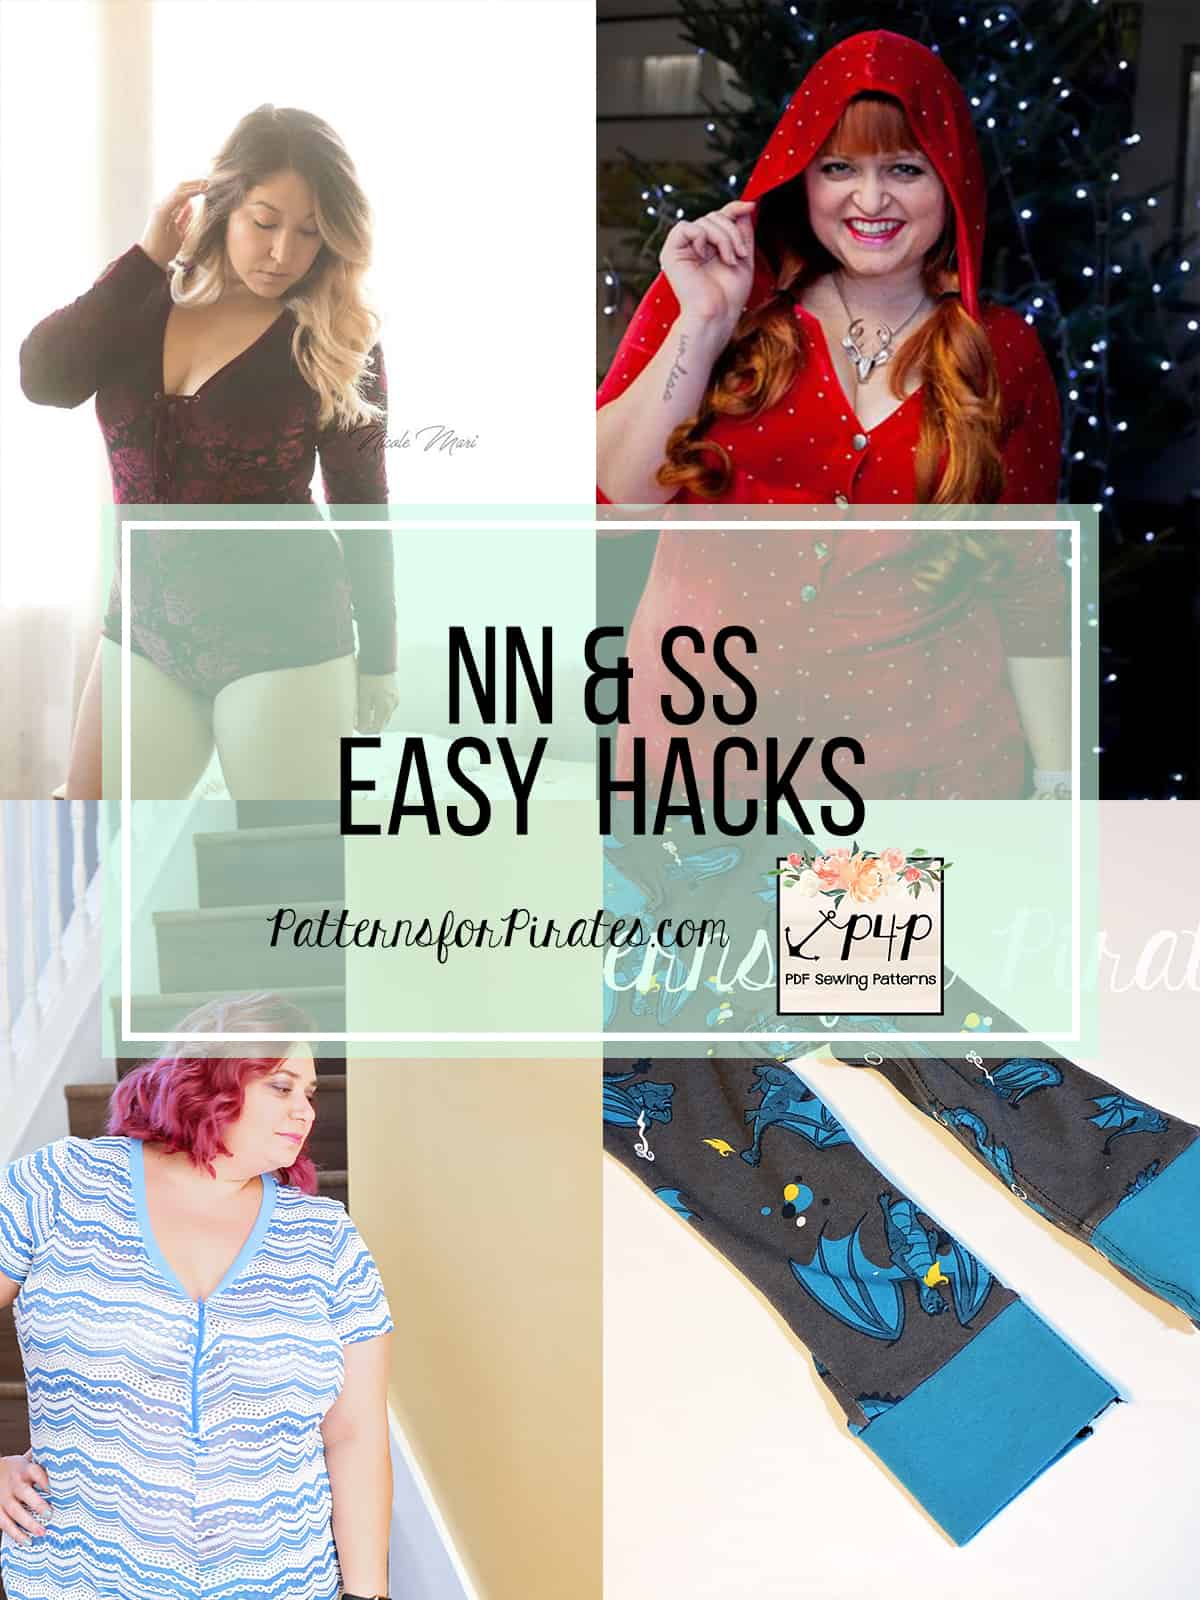
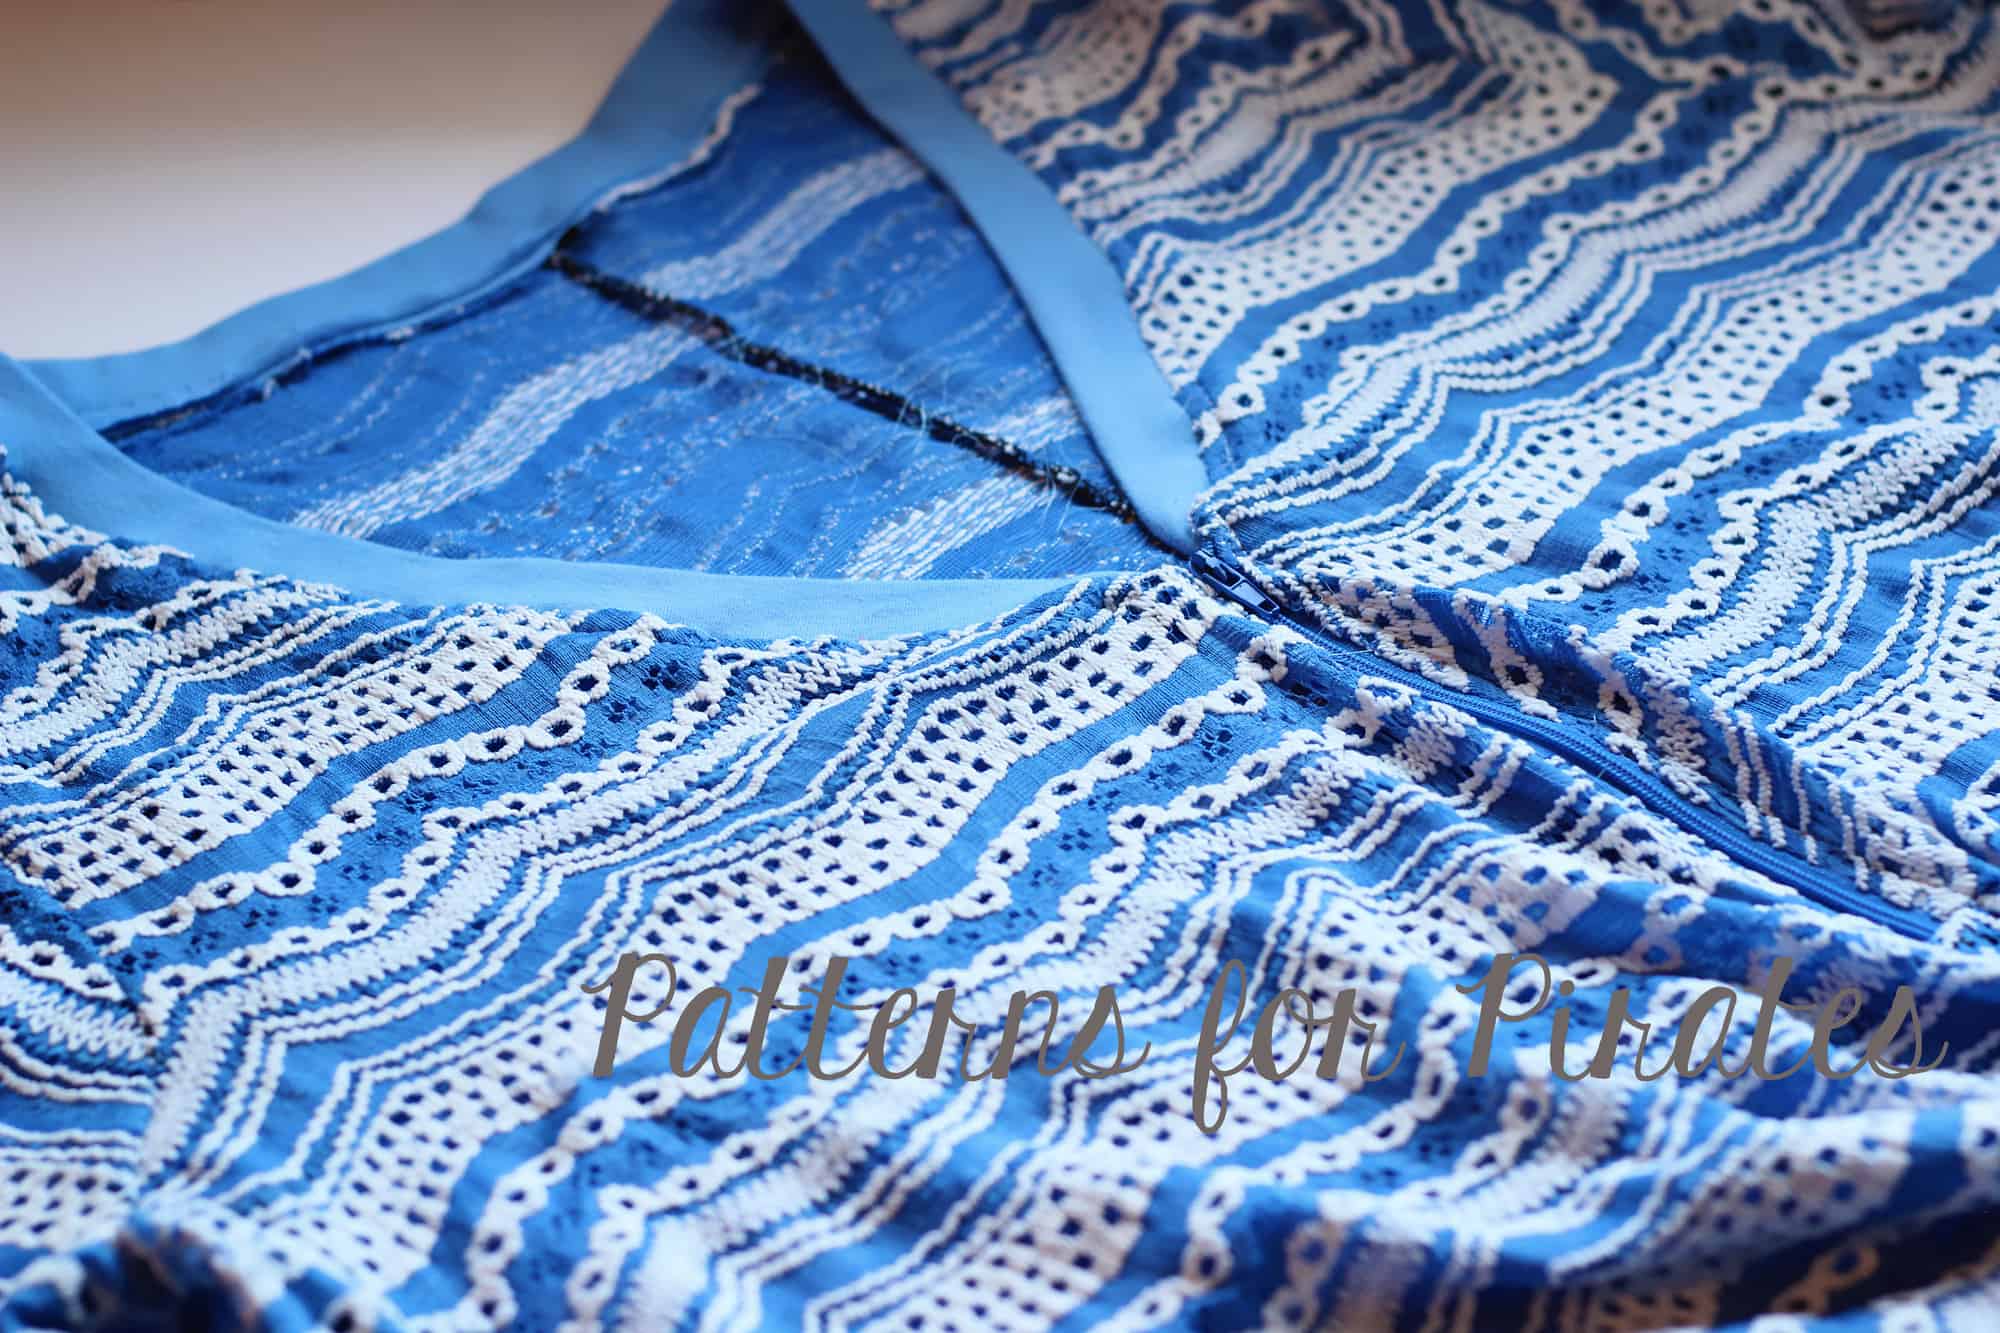
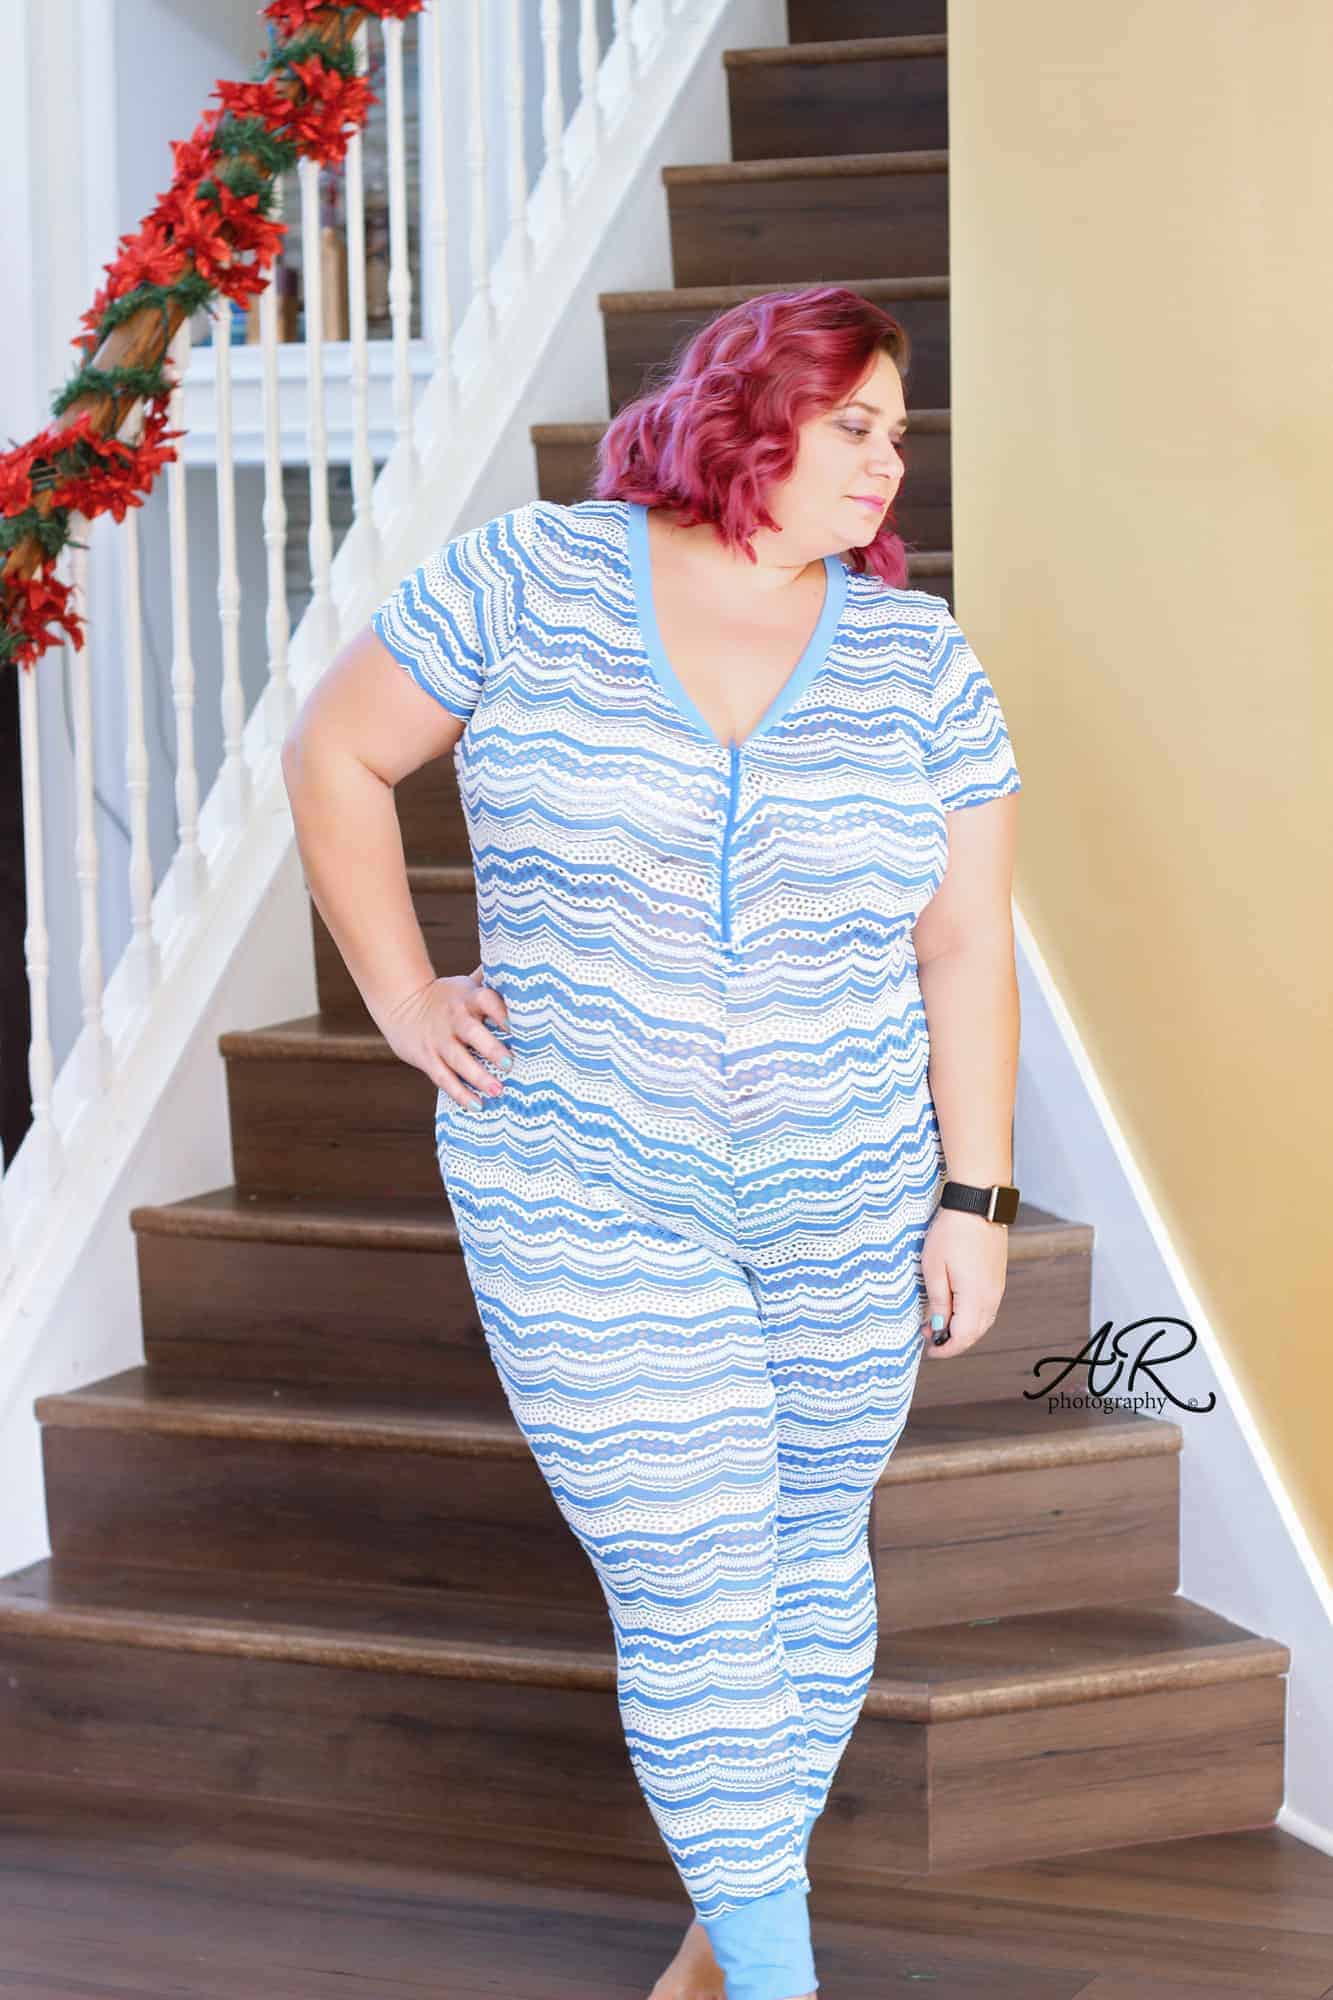
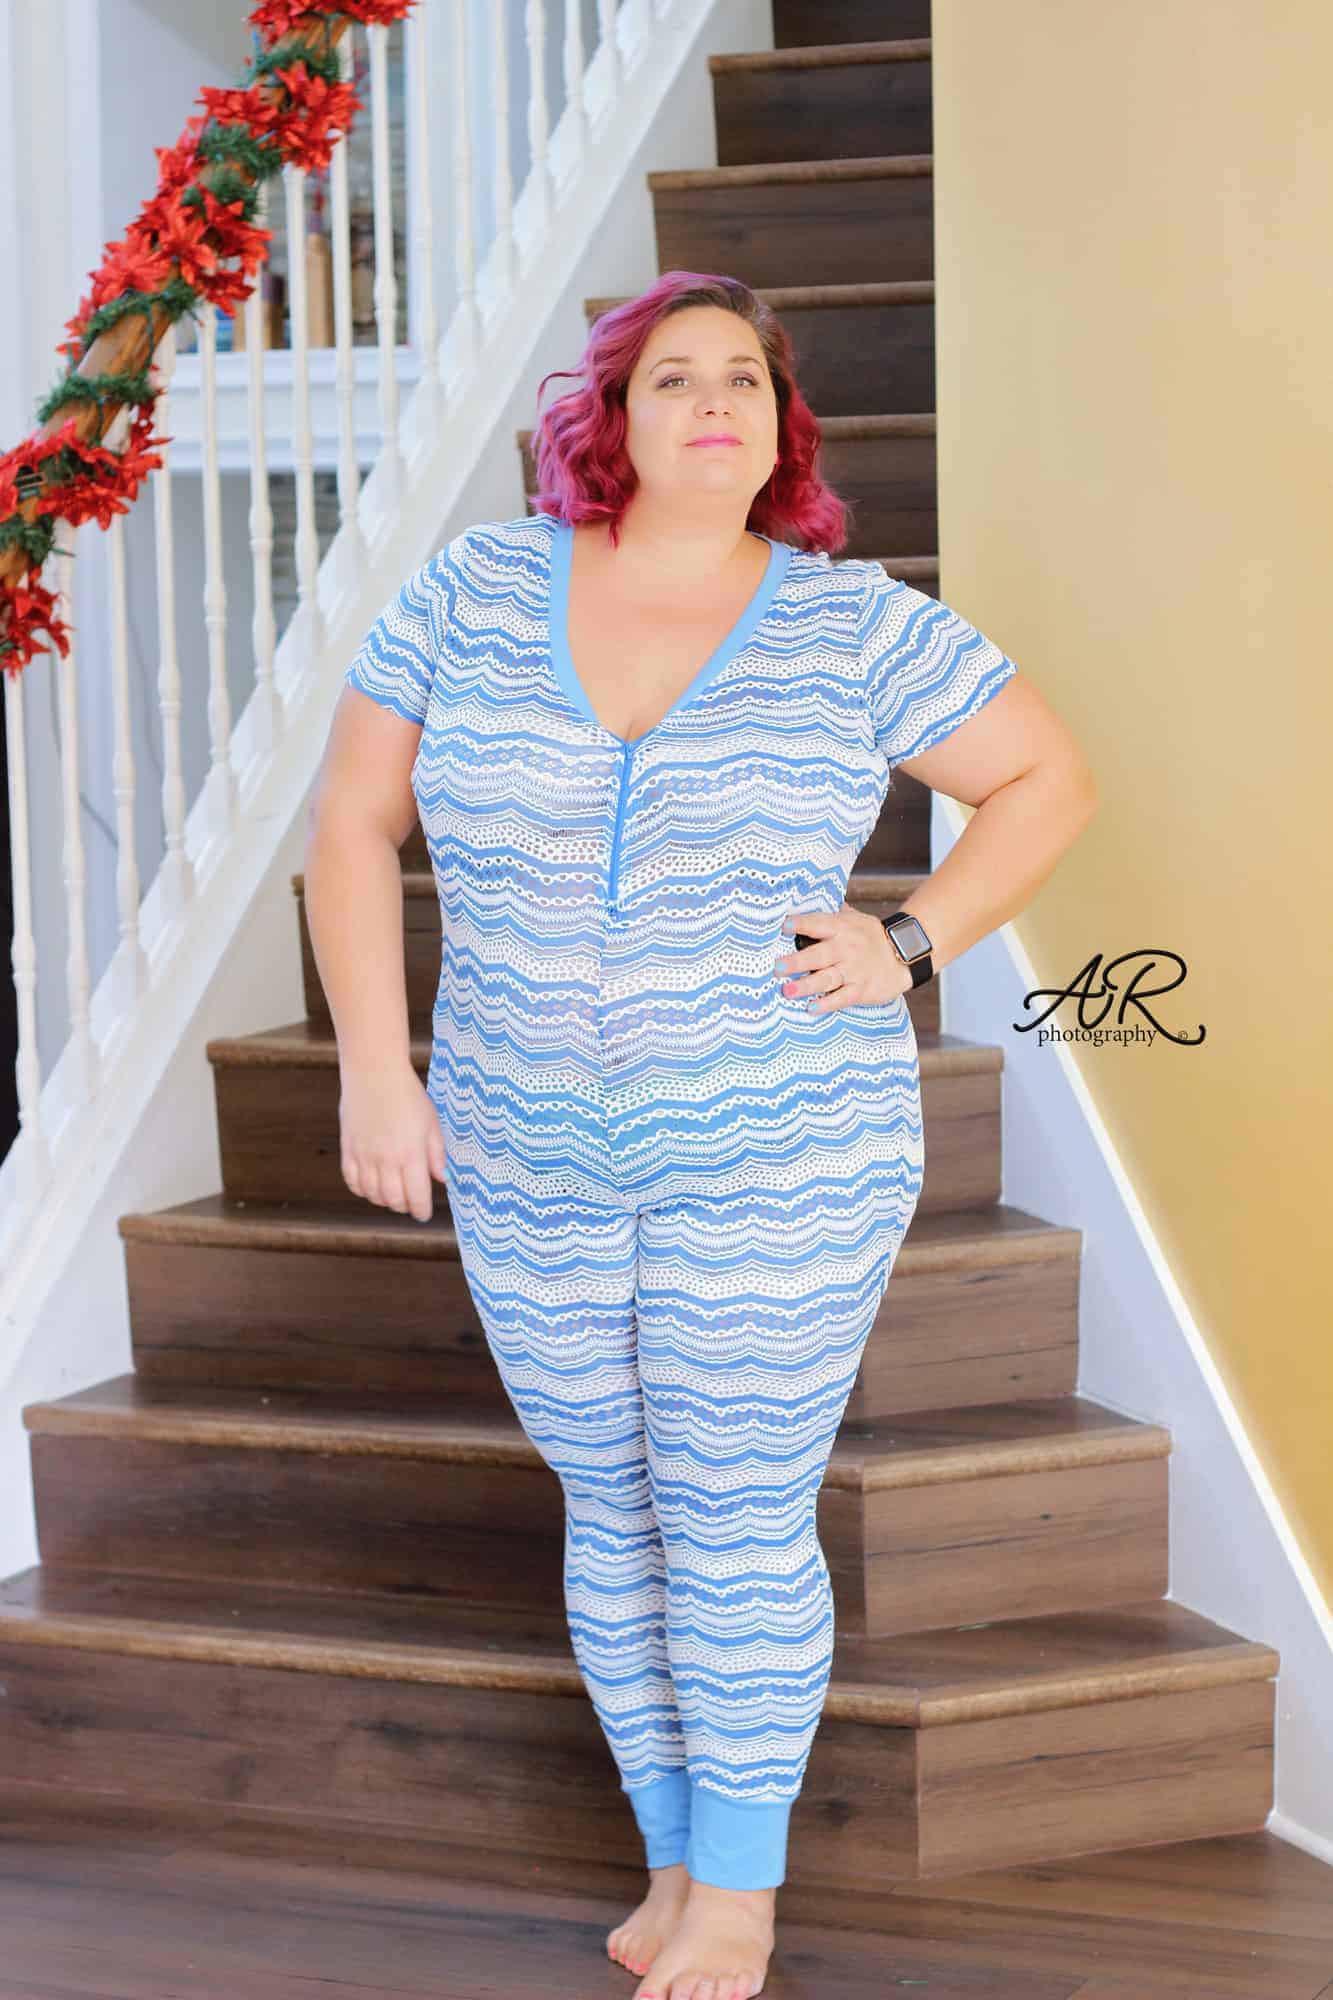
Our newest pajama patterns are just so perfect for the holiday season, aren’t they? So if it’s a party, let’s make it a pajama party with some easy hacks that will add even more options to the Naughty Nice and Sugar Spice PJs you’ll be making.

….

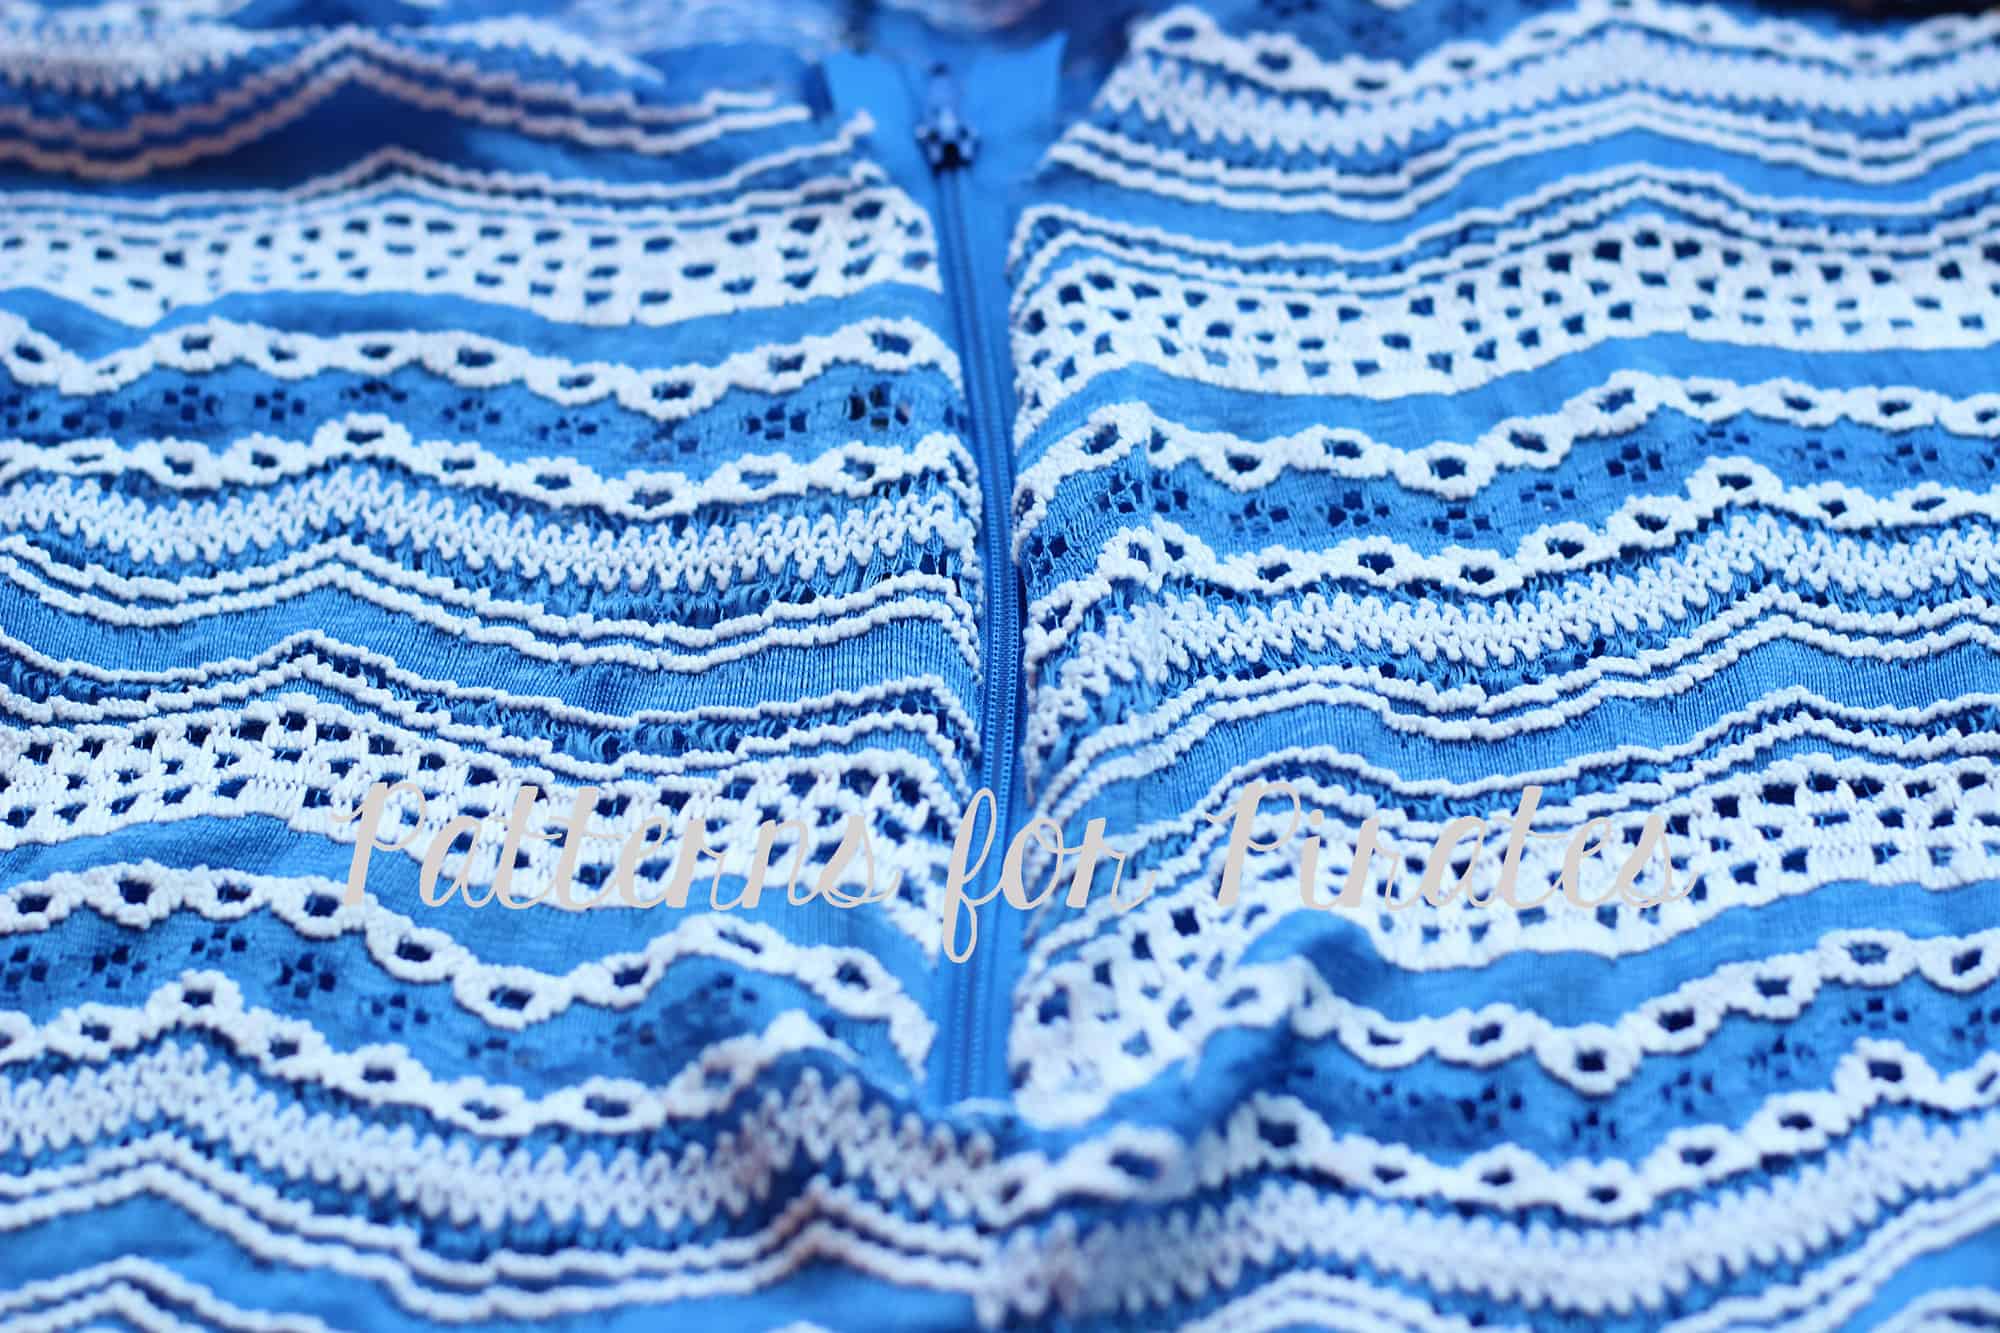
Zipper


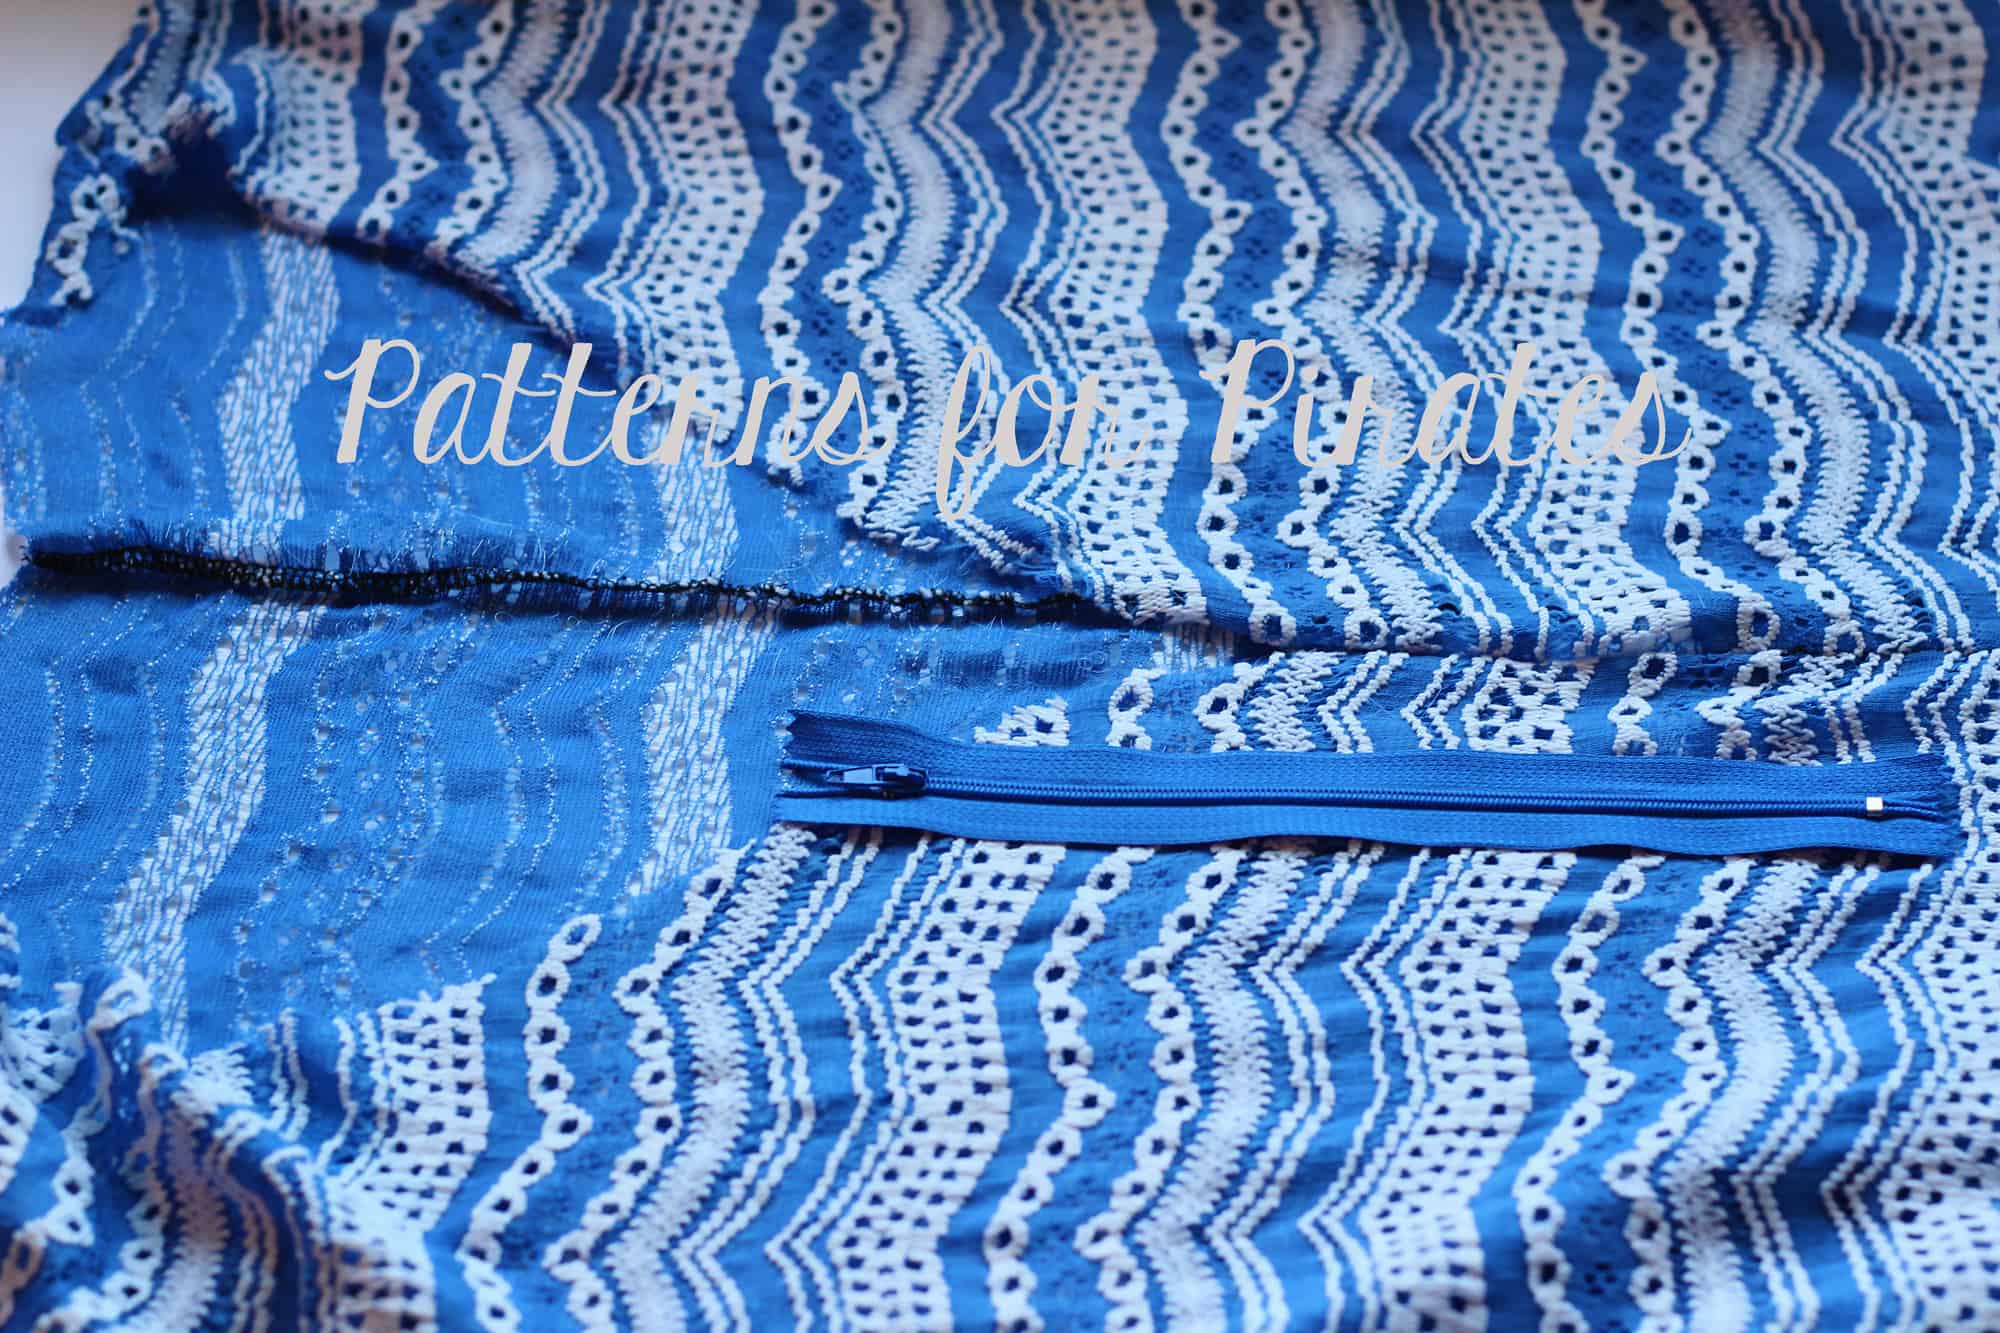
Let’s start by switching the front of the Naughty Nice pajamas from a button/snap placket to a fun zipper. Fear not, it’s super easy! I personally find the zipper to take less time than adding all the snaps or buttons. Grab a 9″ zipper and let’s get started.

Sew the pajama as instructed in the tutorial, except for the neckband. You won’t be using the one in the tutorial, you’ll make a new neckband.

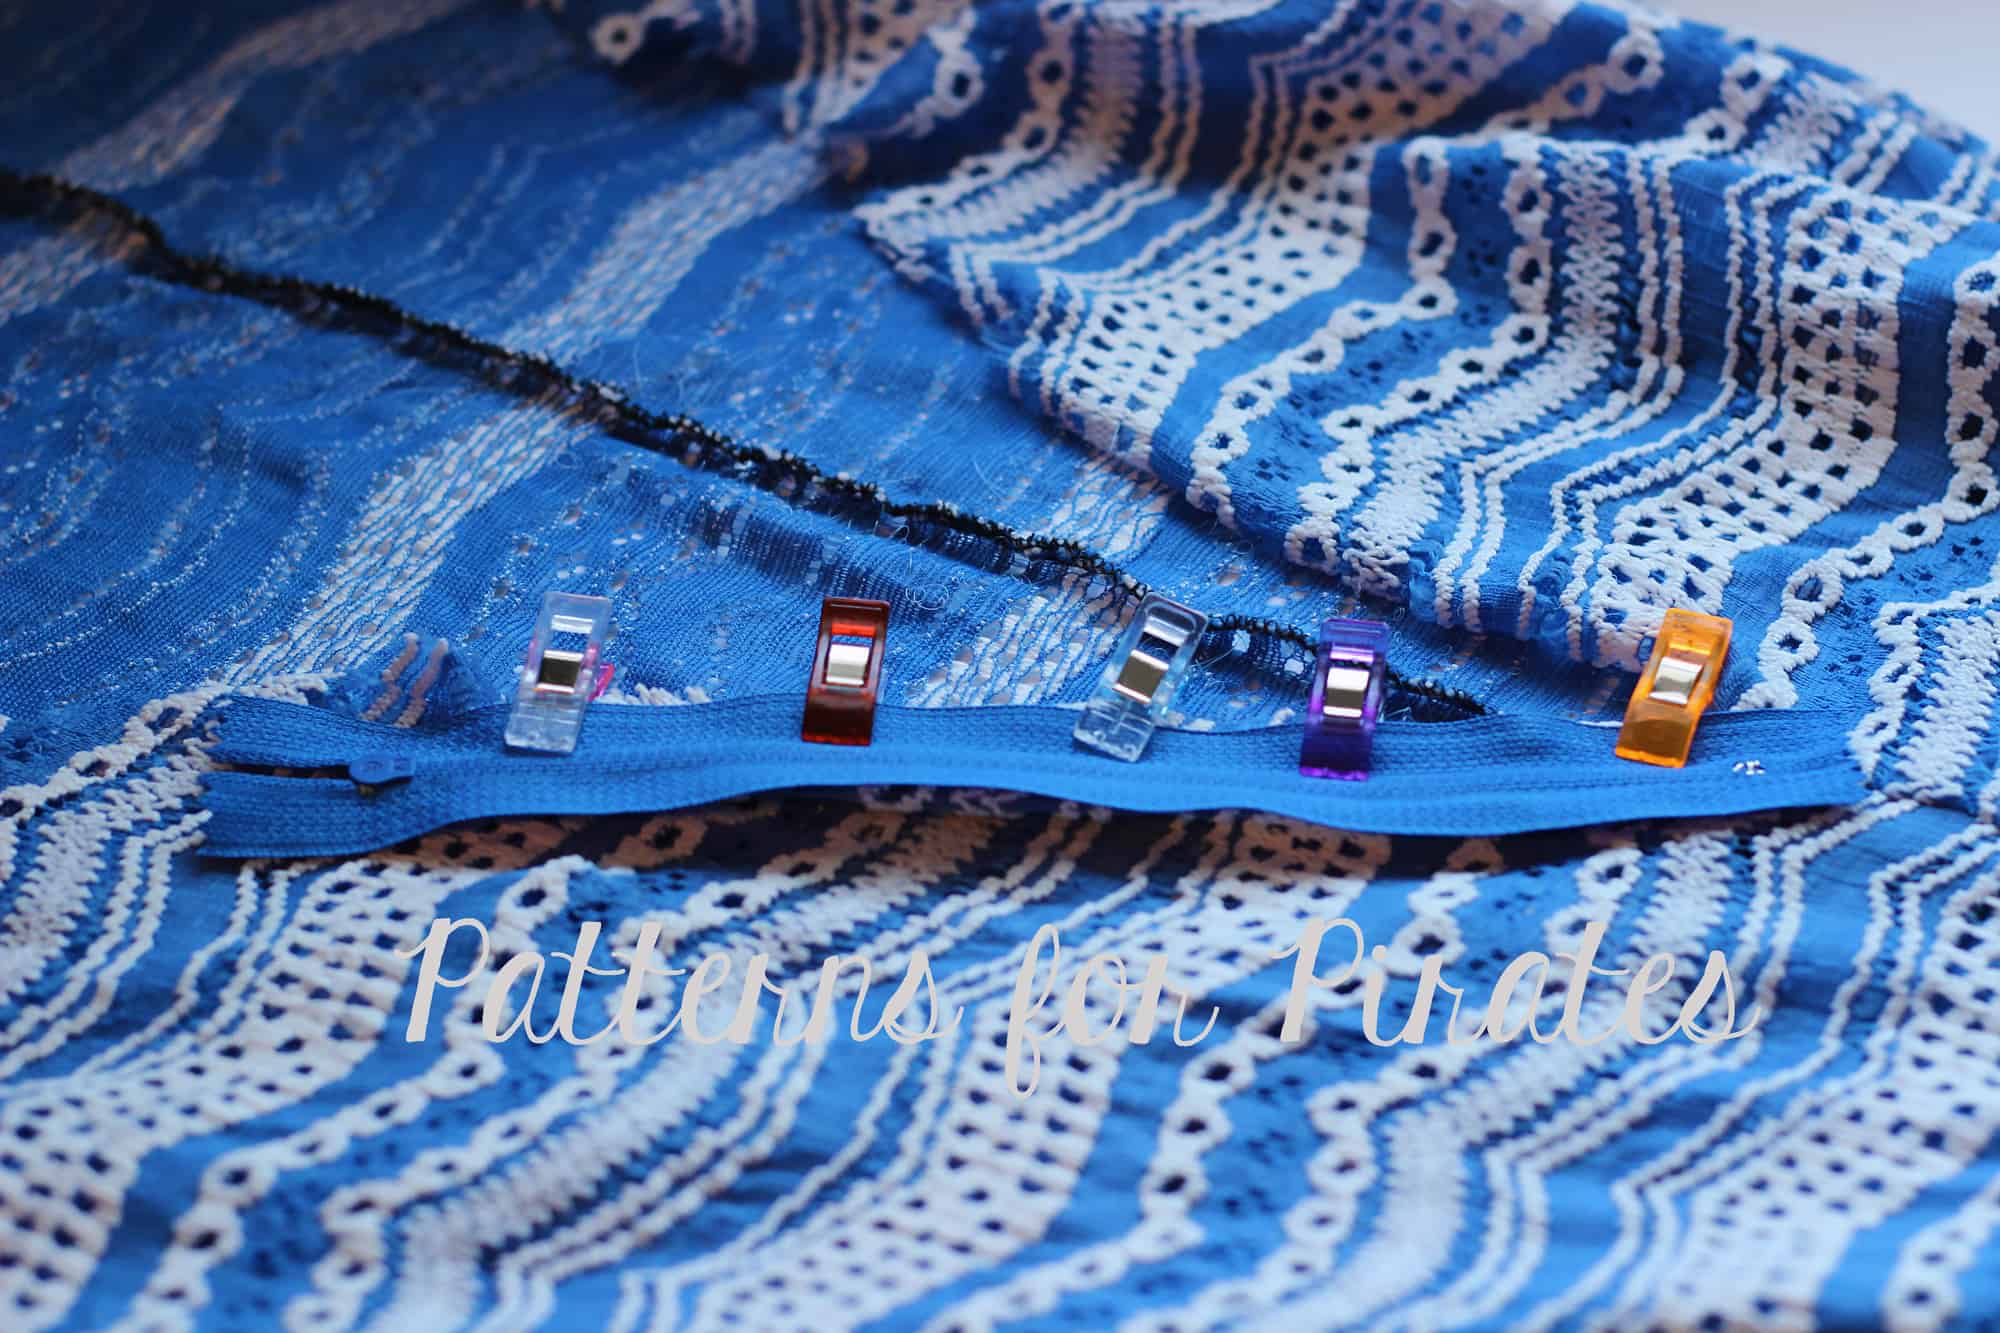
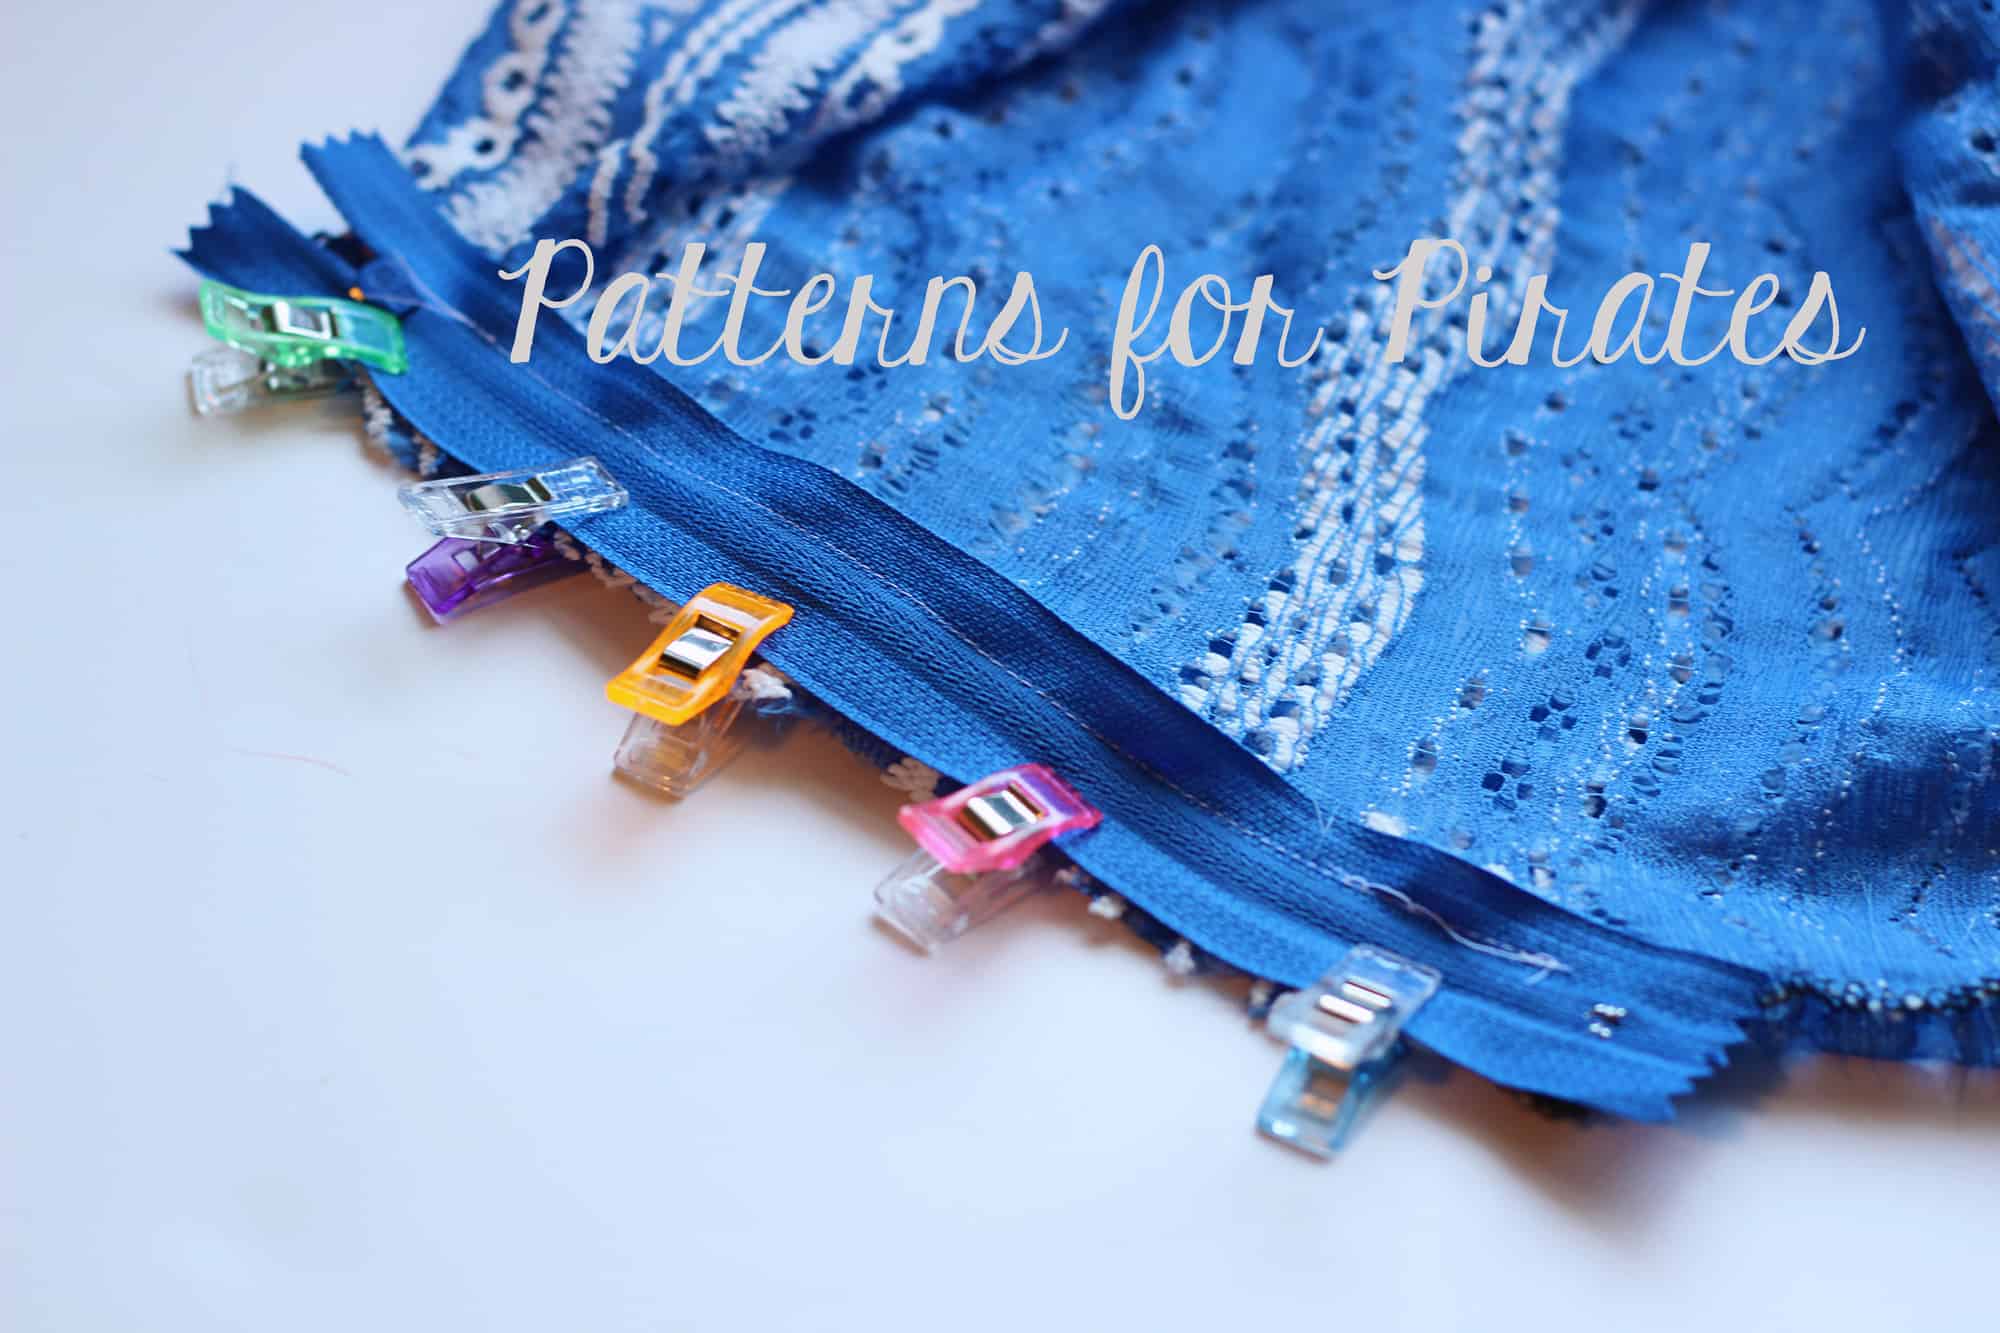
Lay your zipper right side down on the front opening. The to of the sipper will be at the curve. Sew it as close to the zipper teeth as possible. Using a zipper foot will make this easy.

Repeat the process on the other side of the zipper.

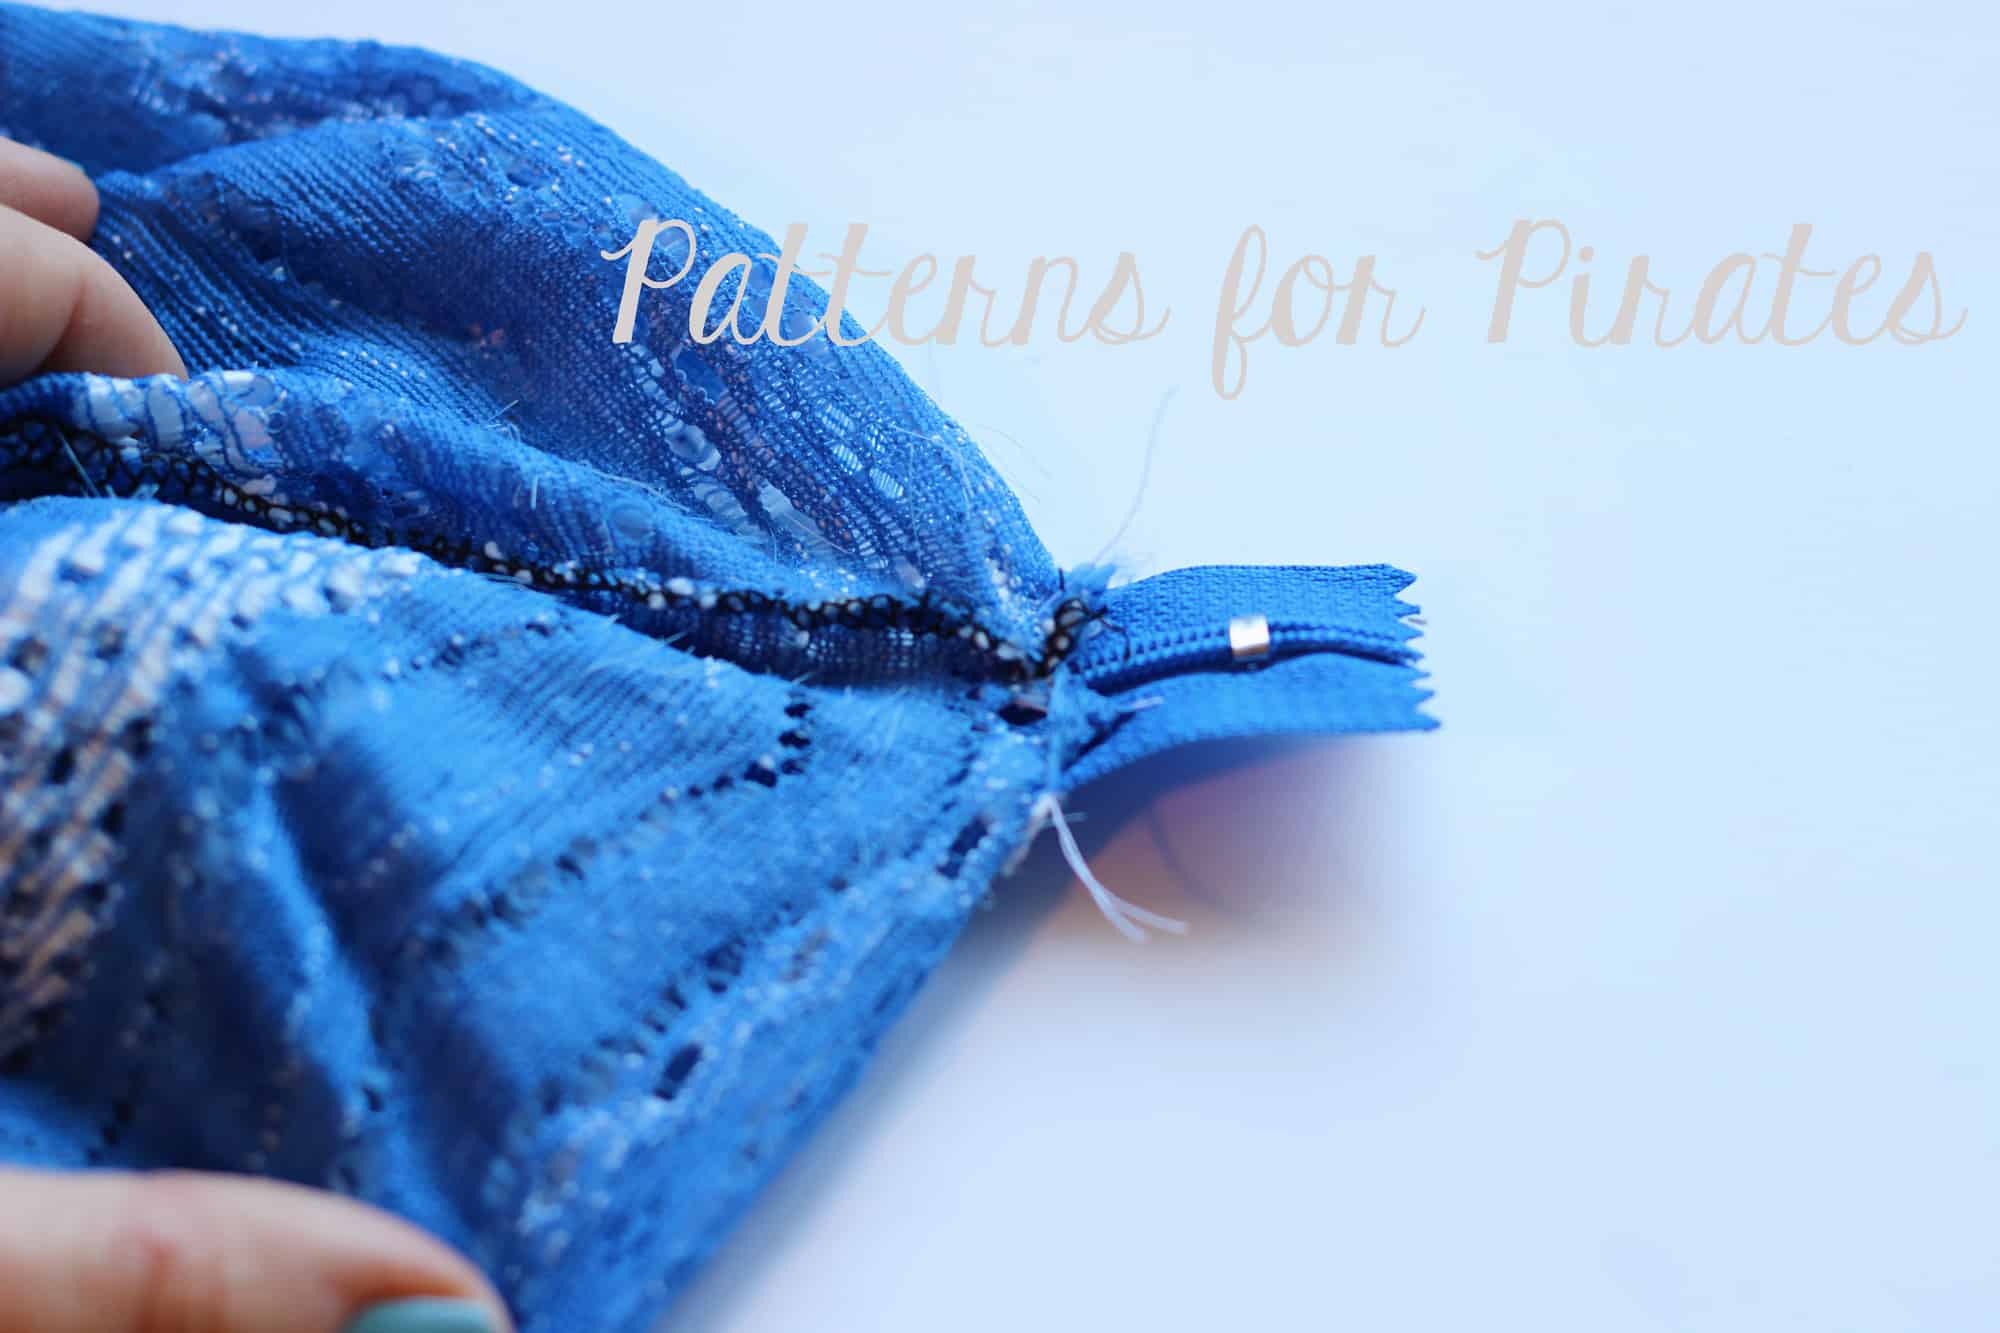
On the wrong side of the fabric, sew a straight stitch where the fabric and zipper meet and remove excess zipper.

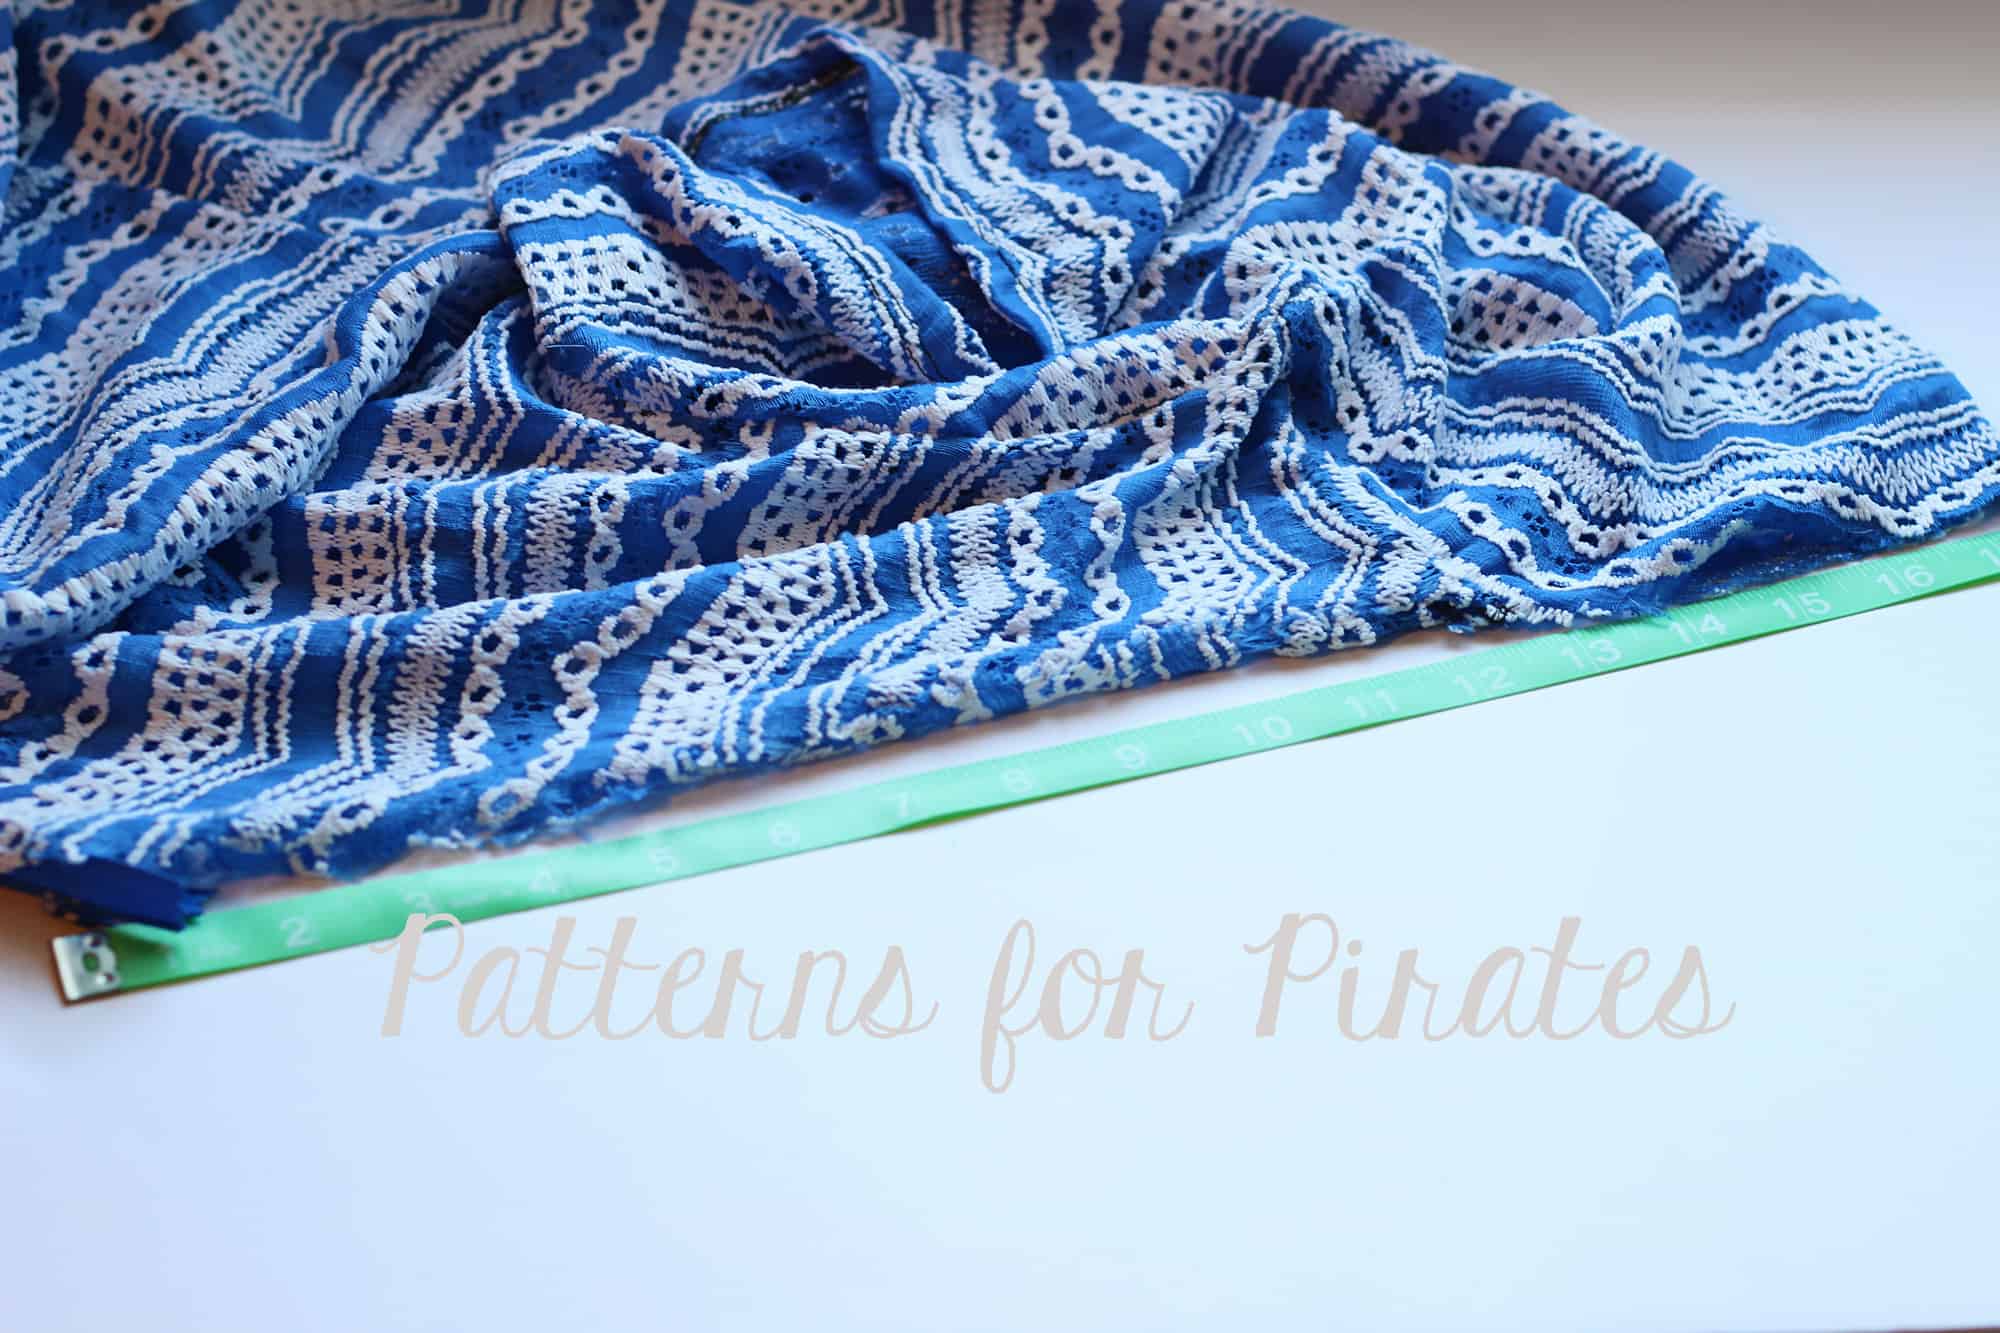
Now that we added the zipper we need to create a new neckband. With the zipper closed measure the neck opening. I like to lay mine flat but you can measure anyway you feel comfortable.

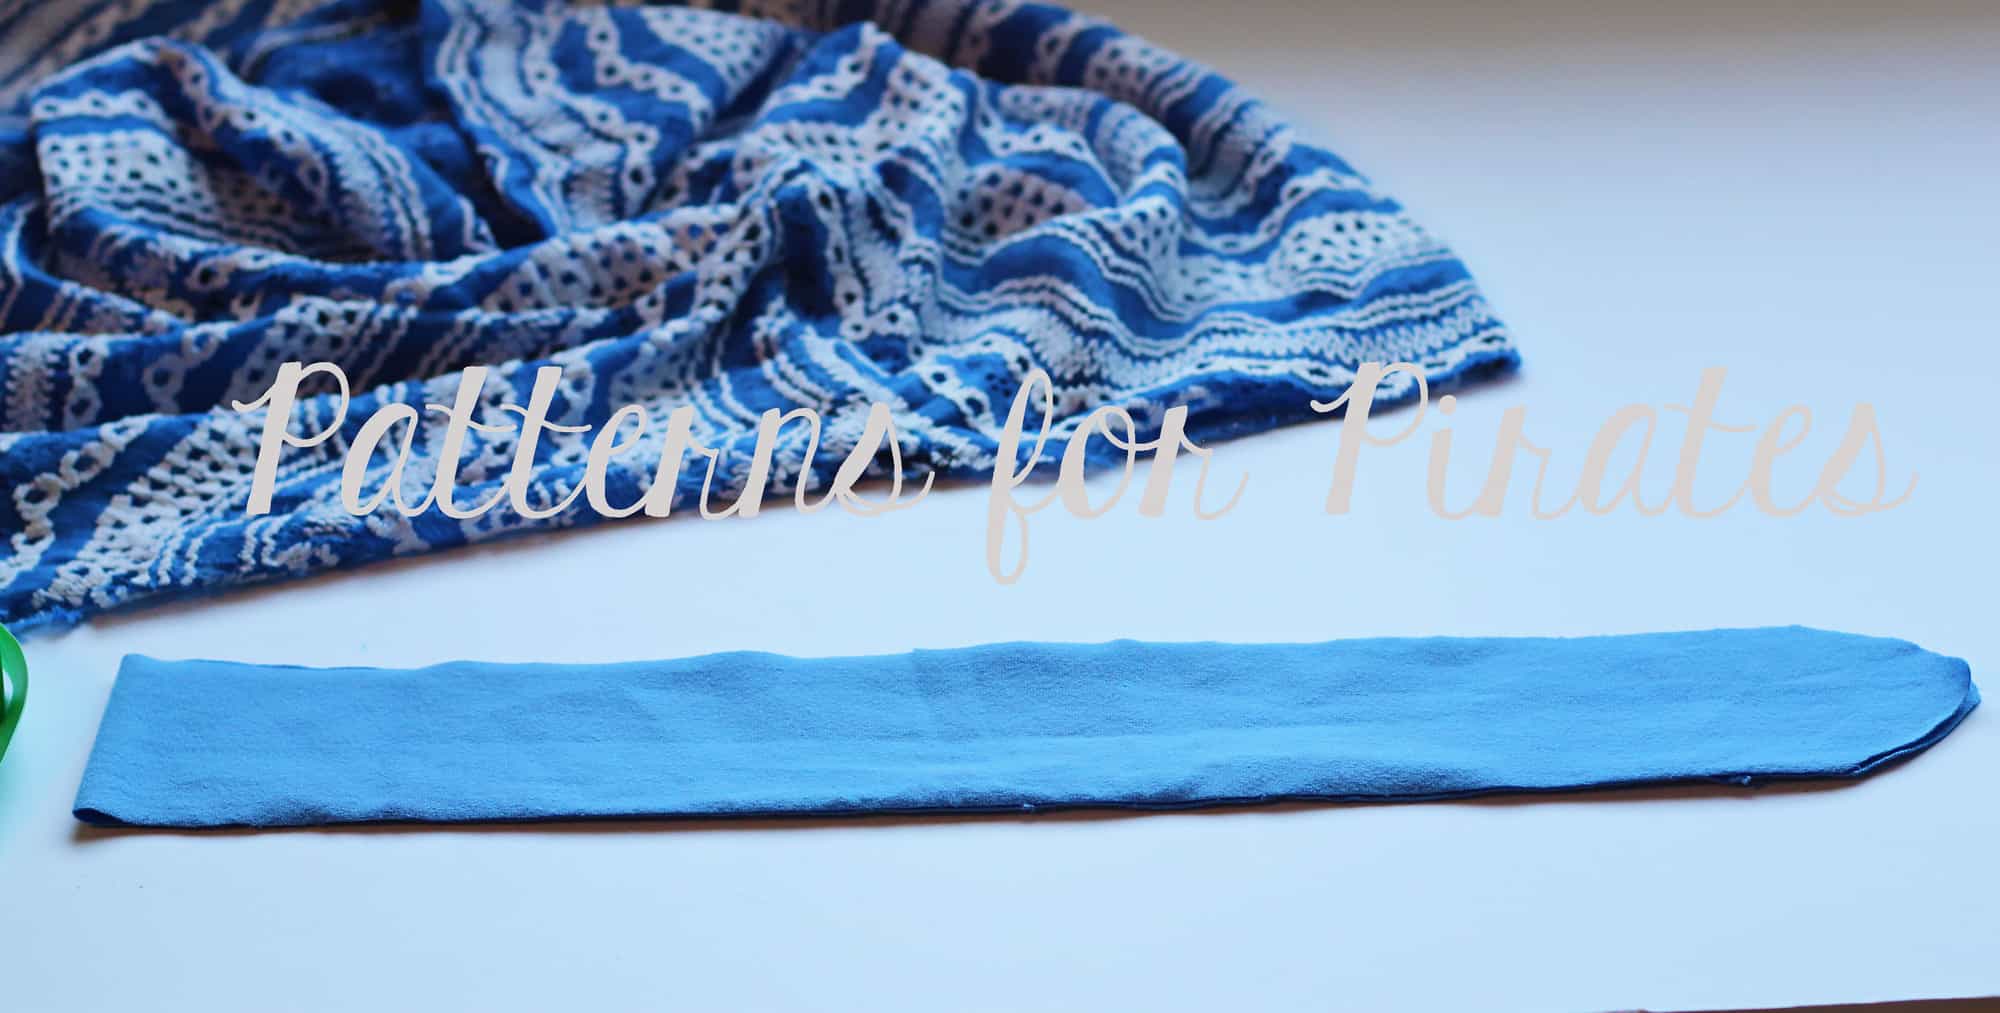
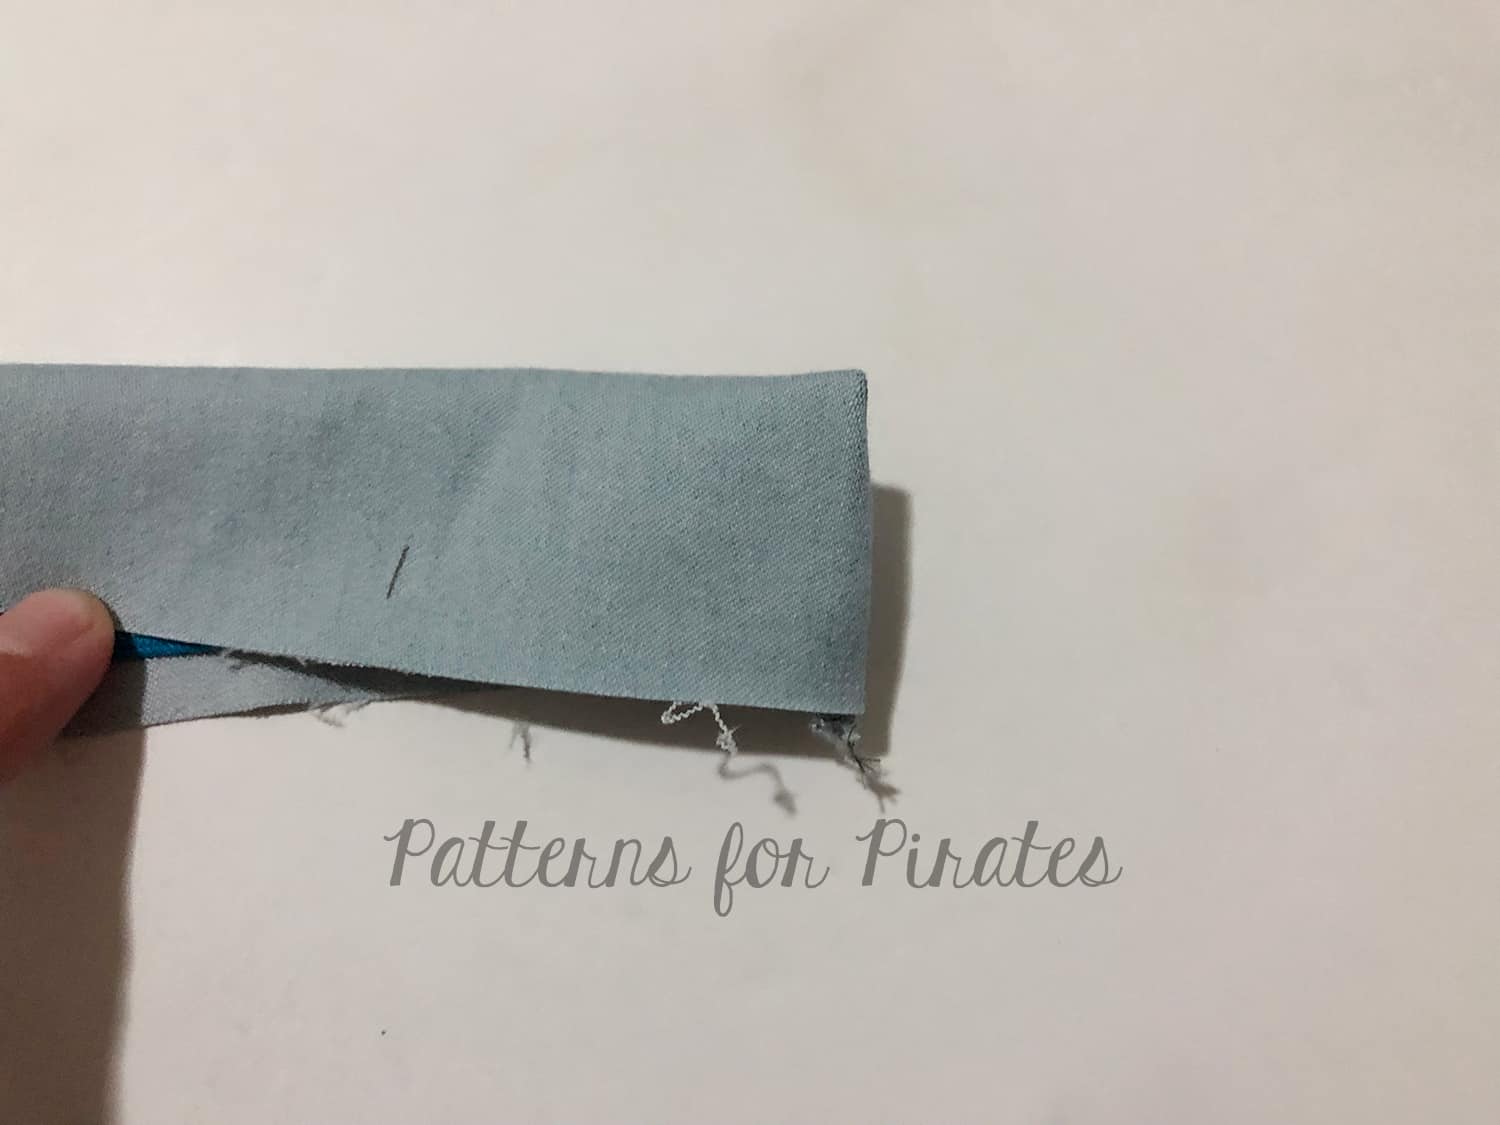
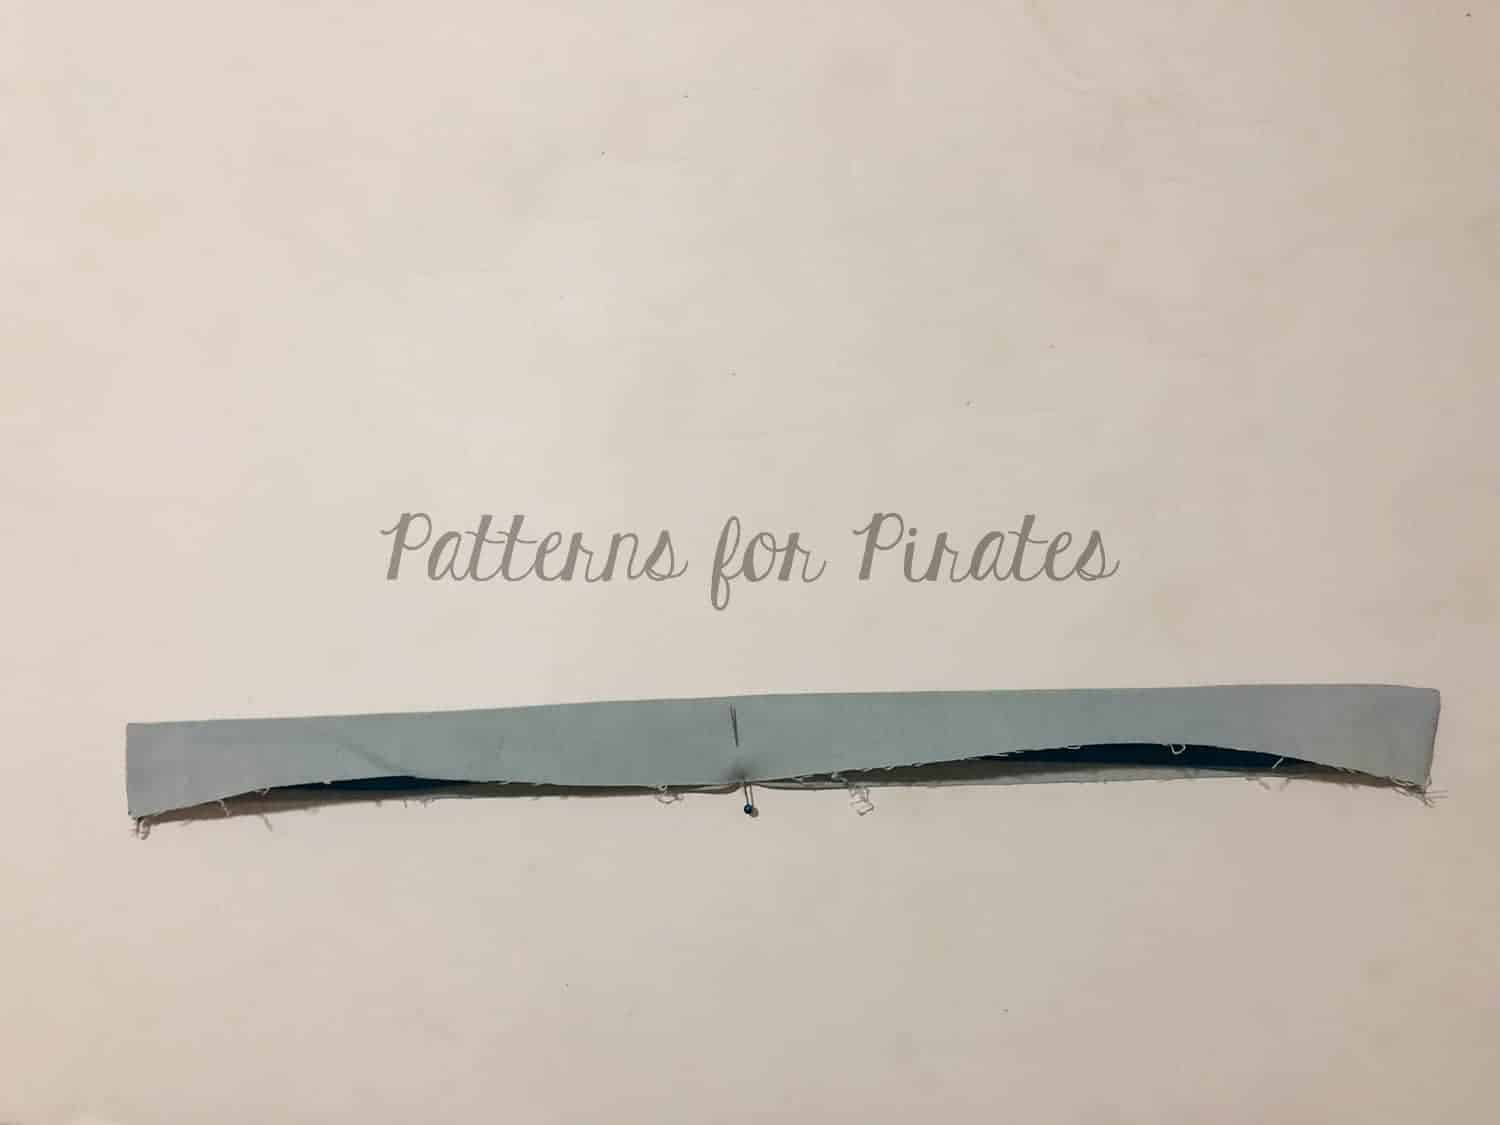
Cut your neckband 85% of the neckline opening plus 1″ for seam allowance by 2.5 inches. Fold your neckband widthwise and round your open edge to resemble a henley neckband. Open then neckband and fold it lengthwise, wrong sides together. Give it a good press and mark the back and the quarter points.

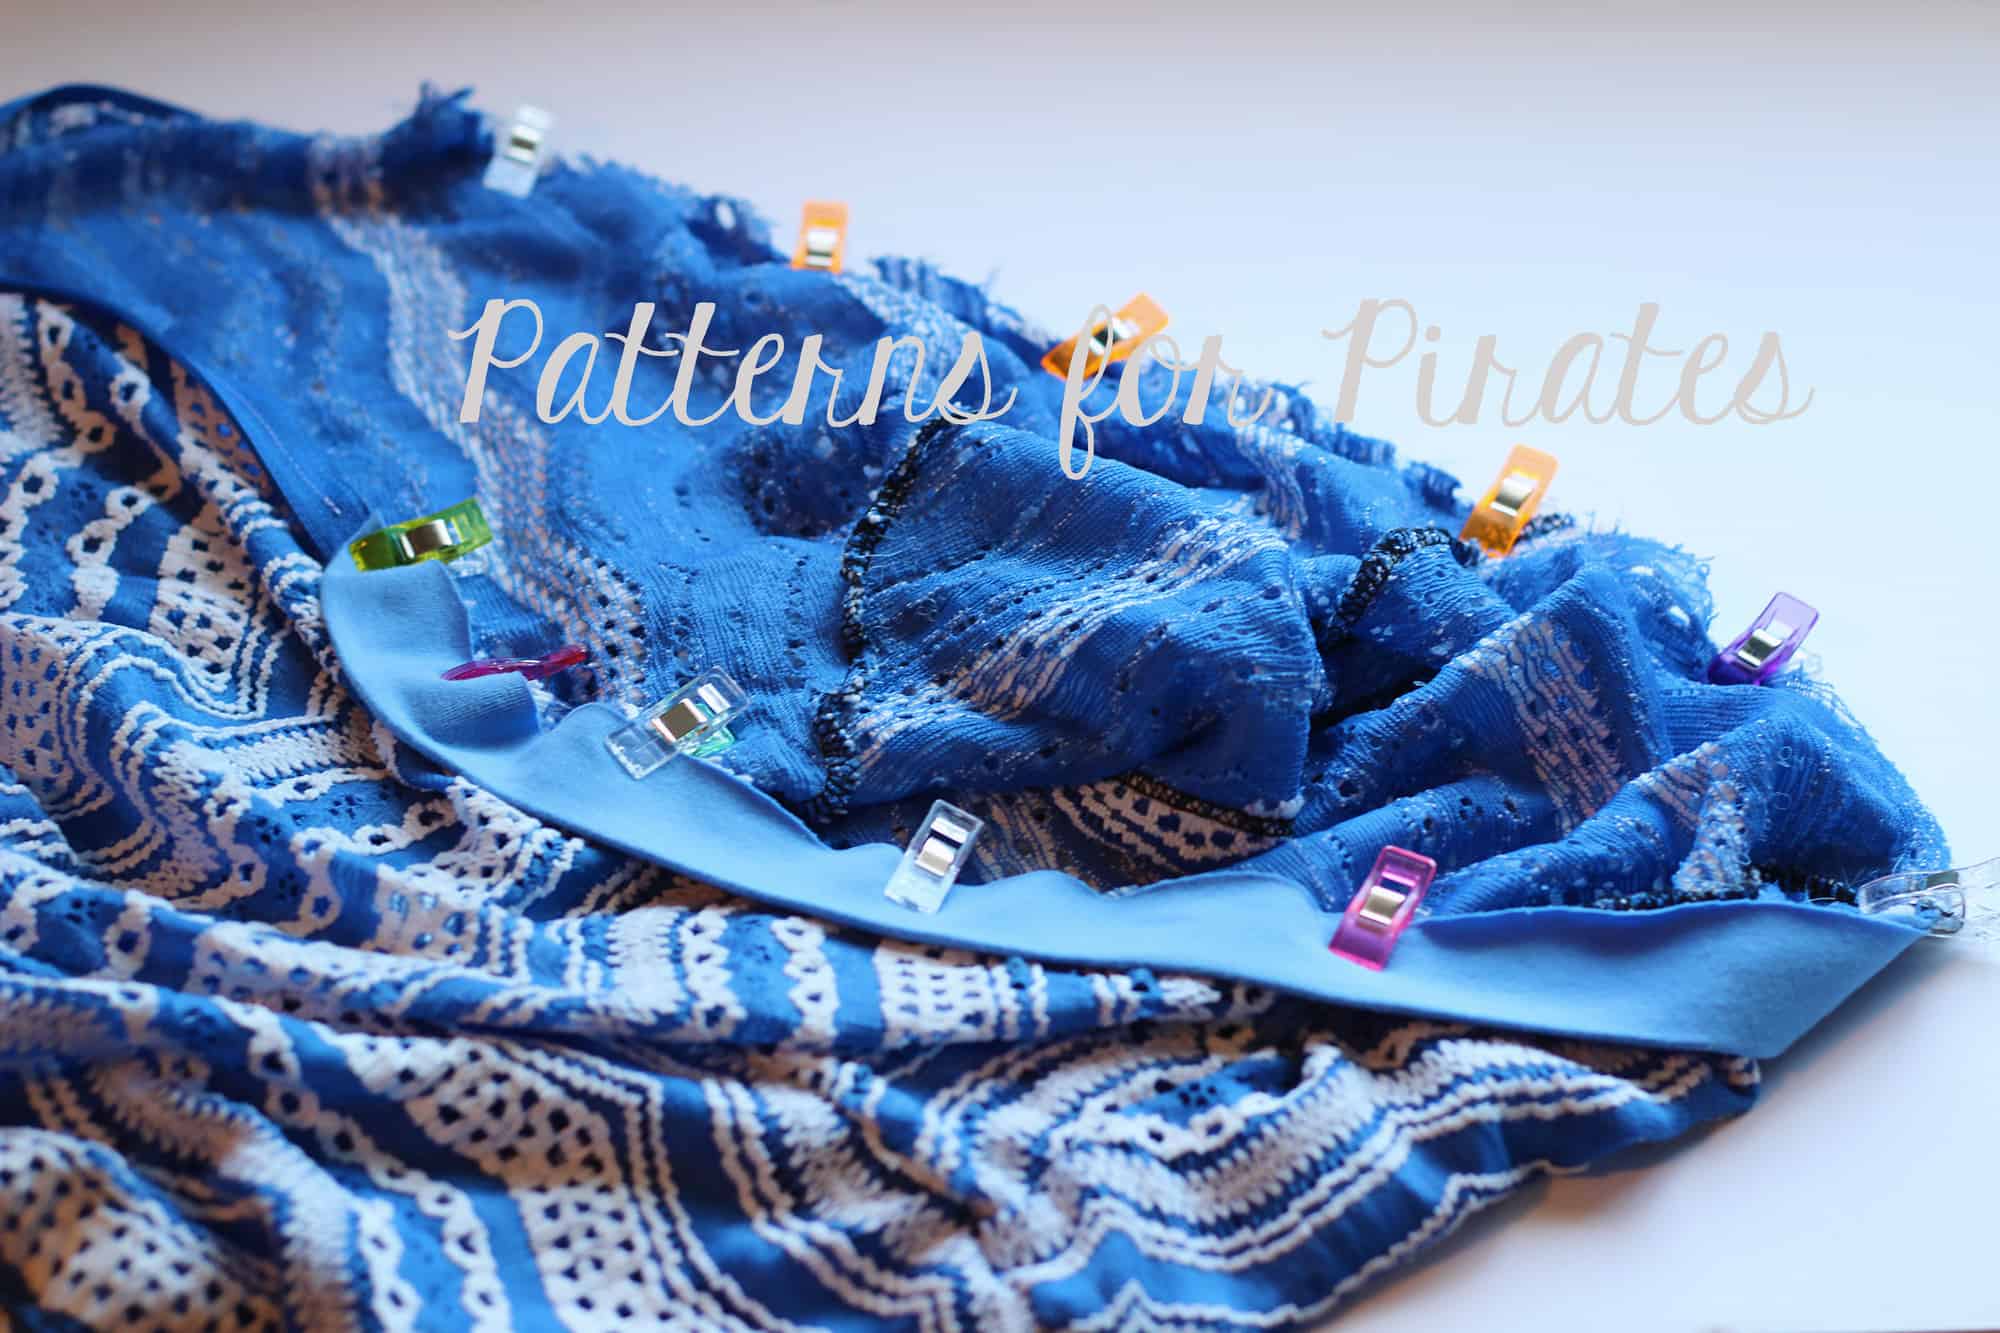
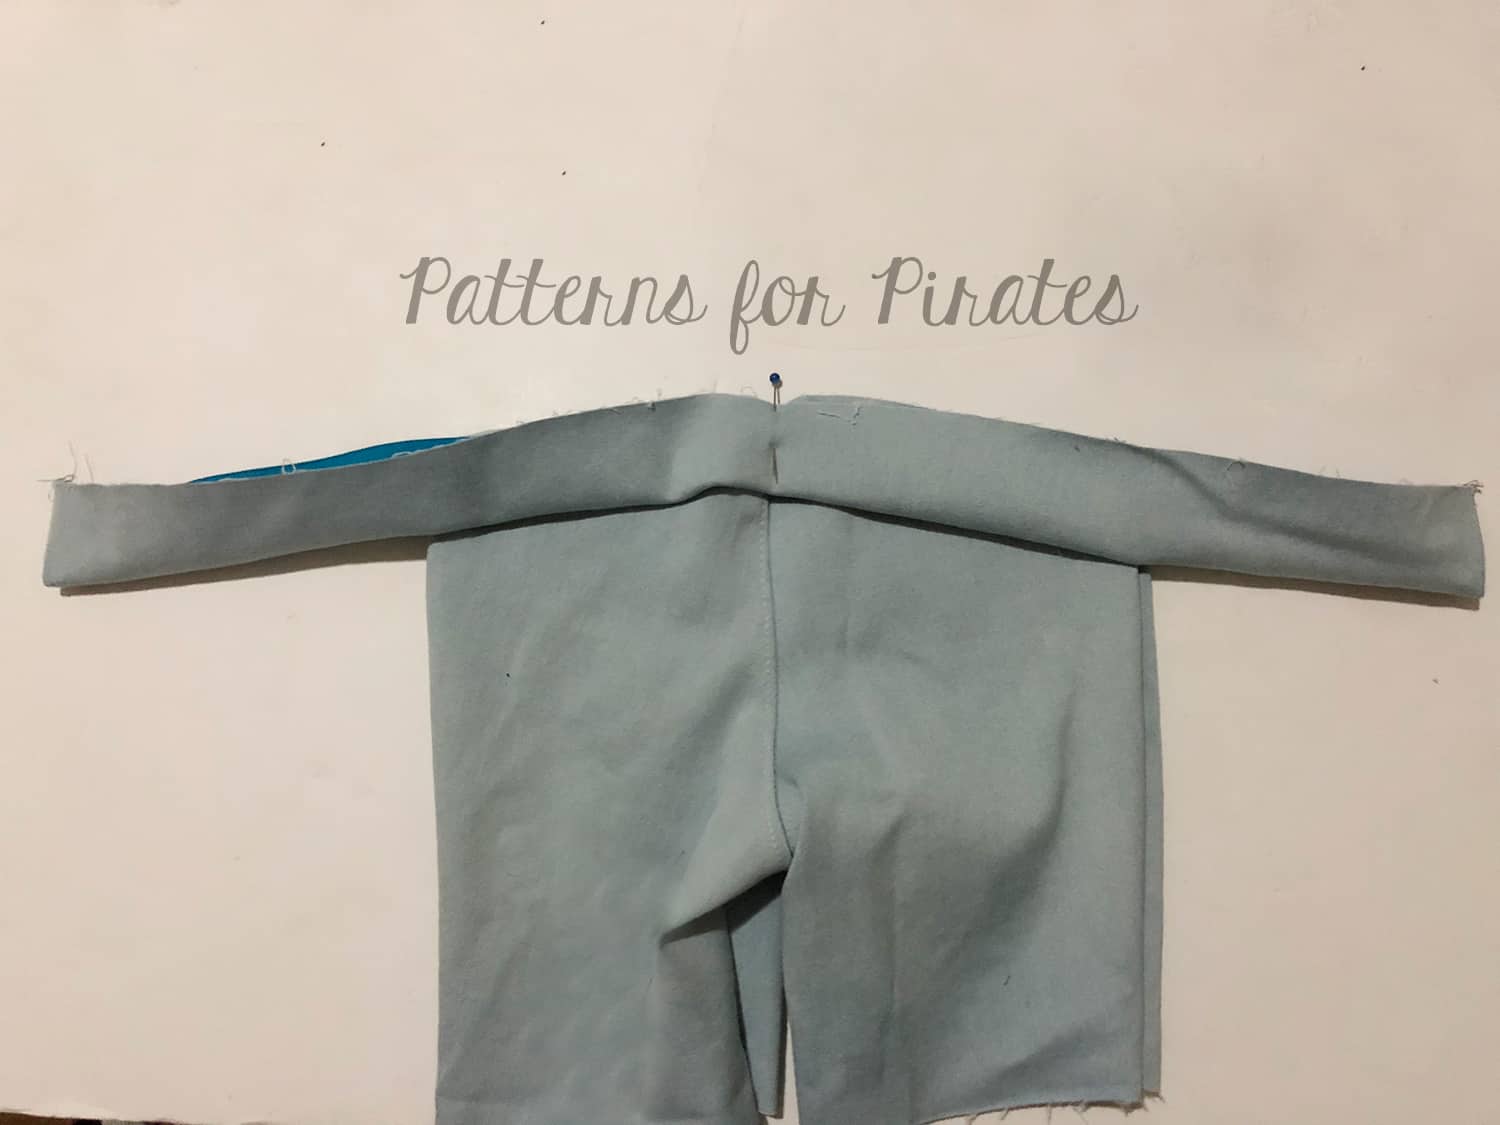
Mark the quarter points on the neckline opening. With the zipper open, pin (or clip) the neckband in place.
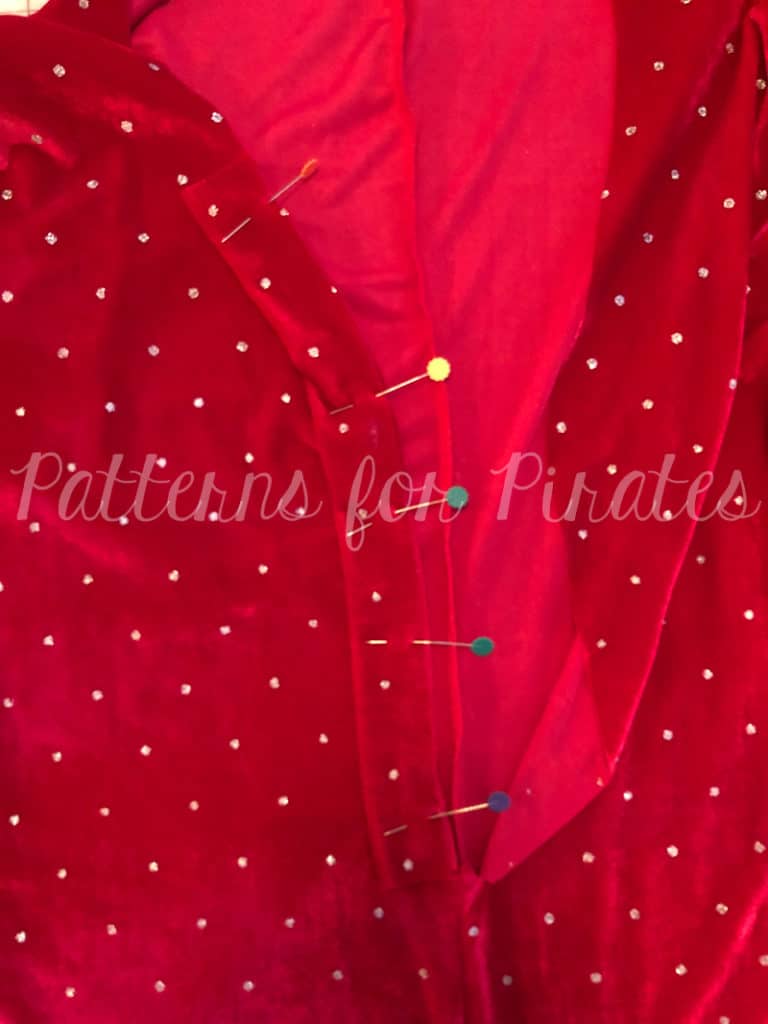
Attach the neckband using a stretch stitch. Optionally, top stitch. I actually like to topstitch around the neckline and zipper right now, using a continuous stitch.

All done! You can use the same technique to add a front zipper to the Sugar and Spice PJs too. You will just have to adjust the zipper length.


…..

Lace Up Front

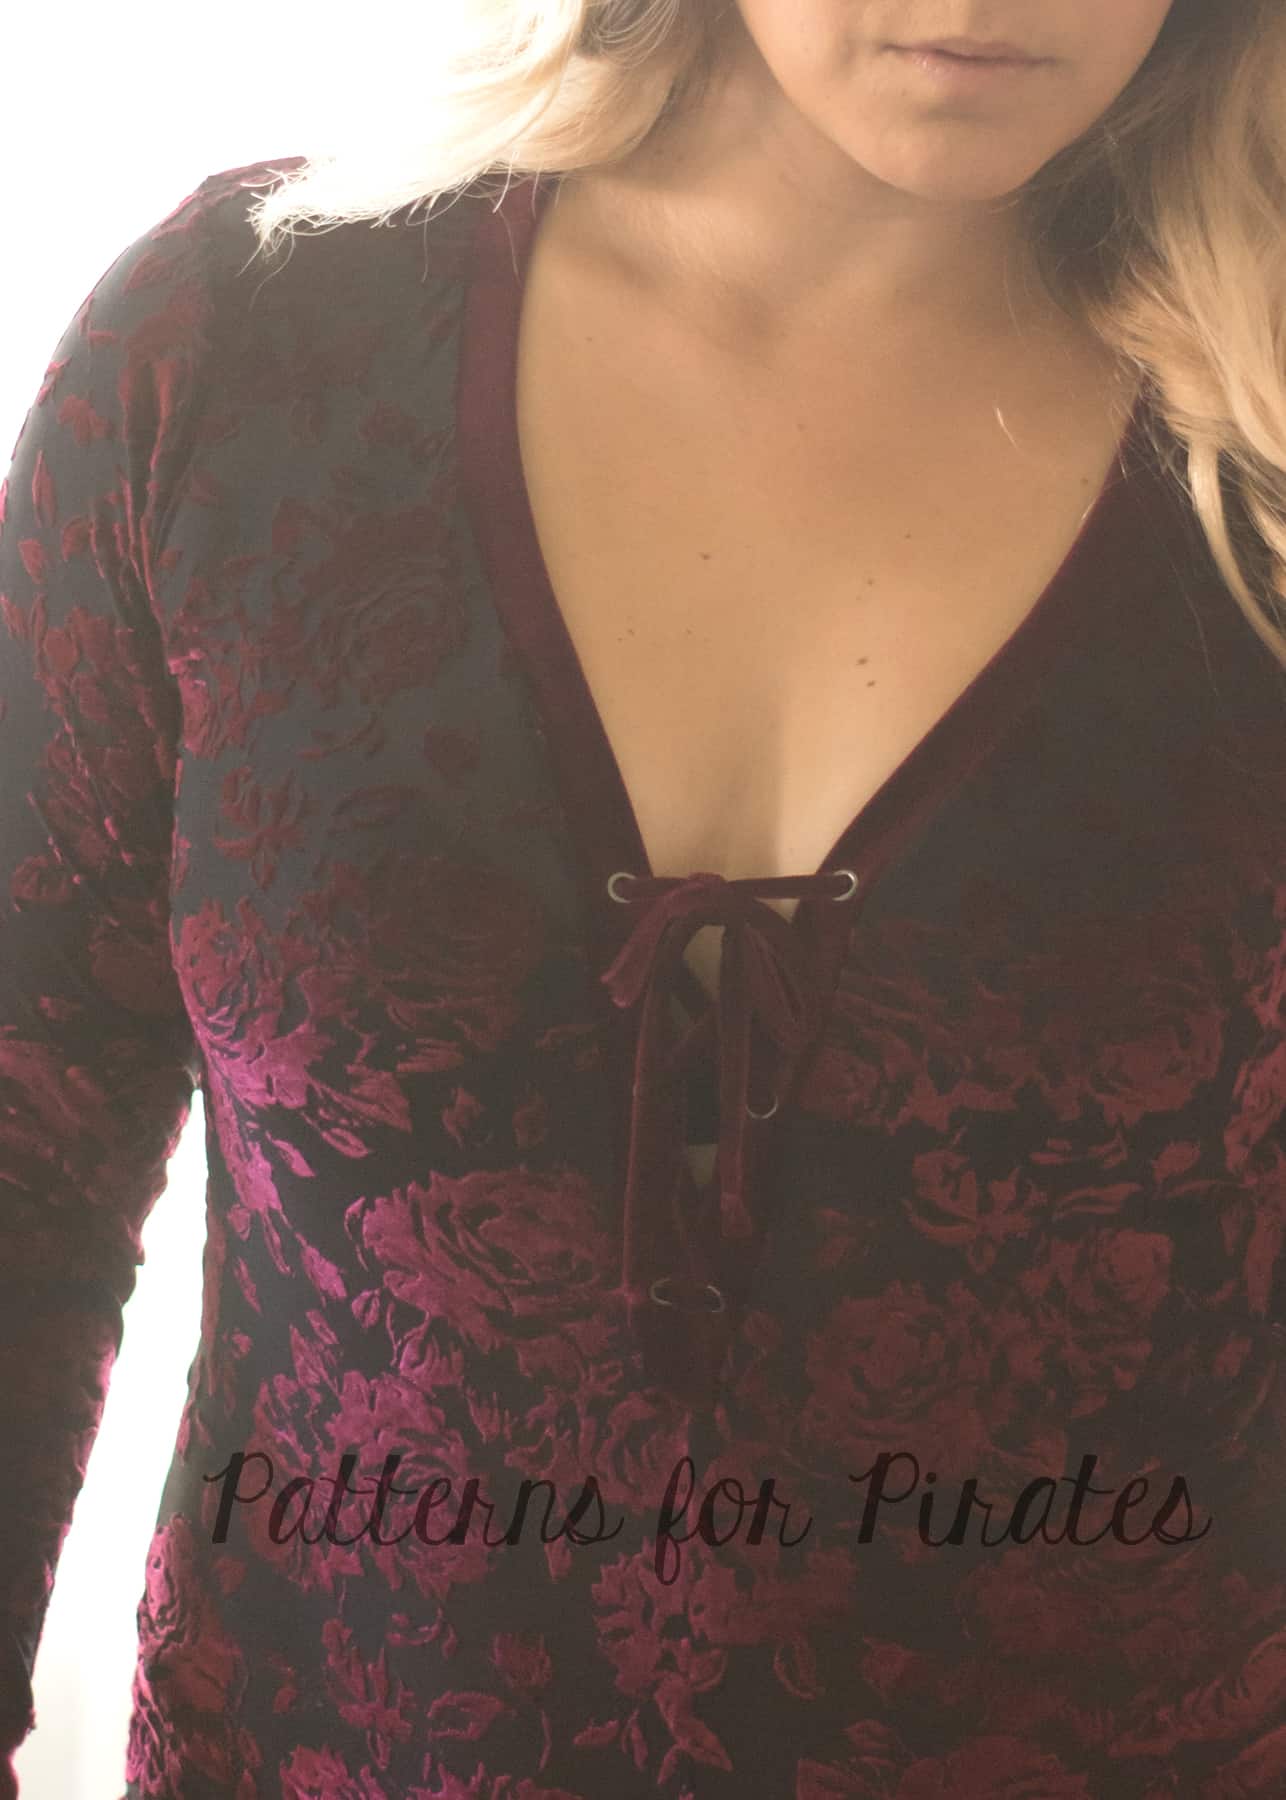
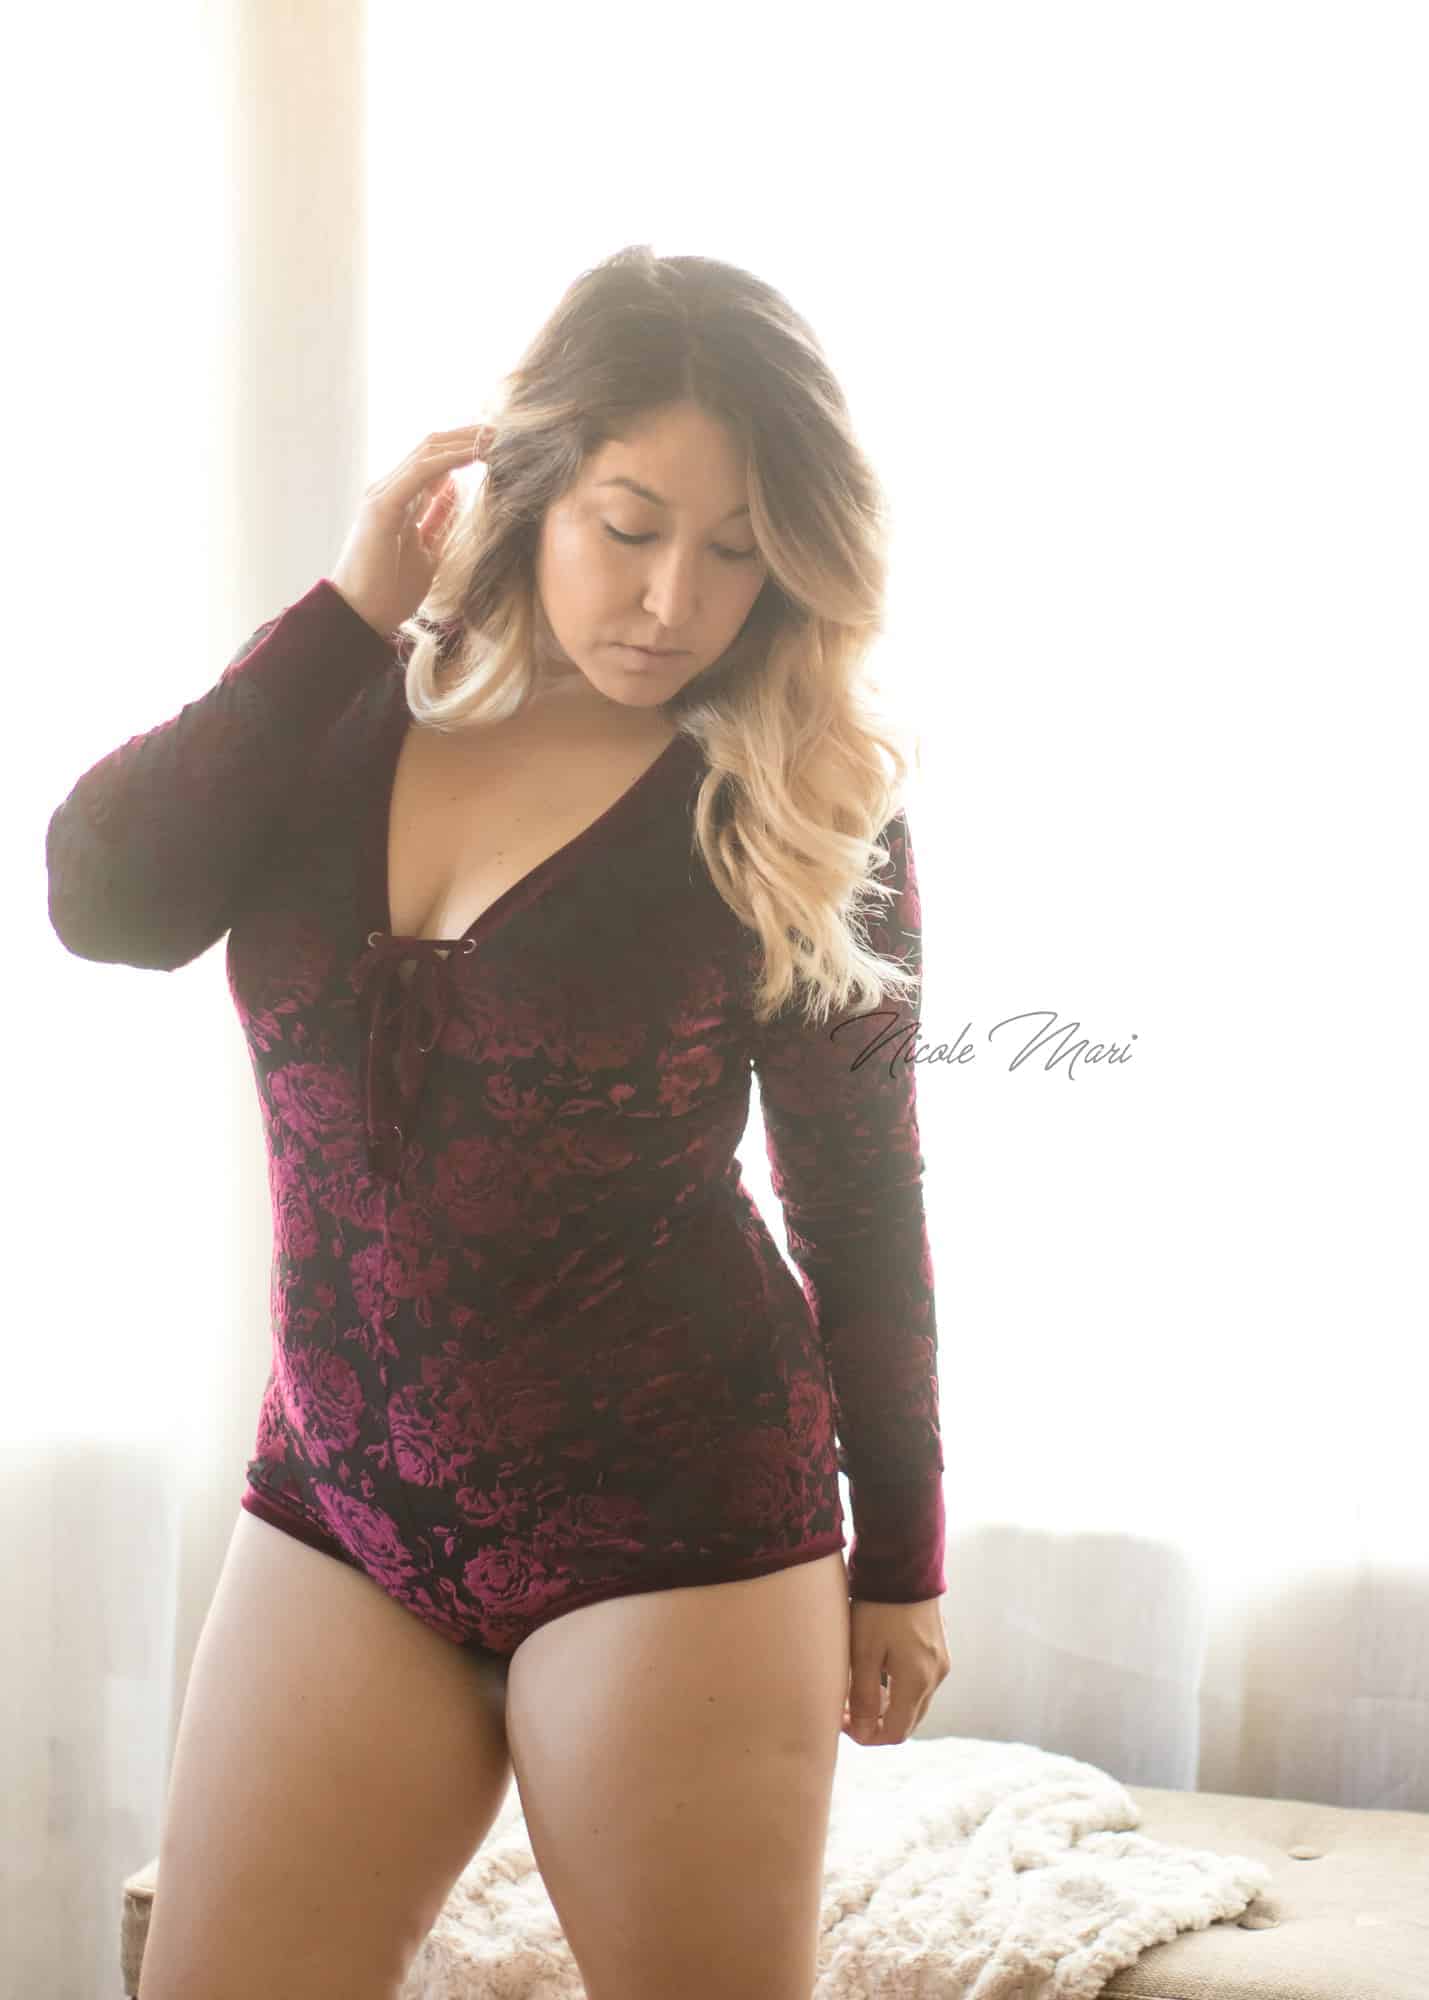
Want to spice up the naughty version or just want some extra fun detail? Instead of snaps or buttons, use grommets/eyelets on the front neckline.  Use as many or as little as you prefer.  I chose to do 4 spaced about 1.5″ apart.  Use drawstring, ribbon, lace or our knit fabric to create the string and lace it up!


…..

Hood

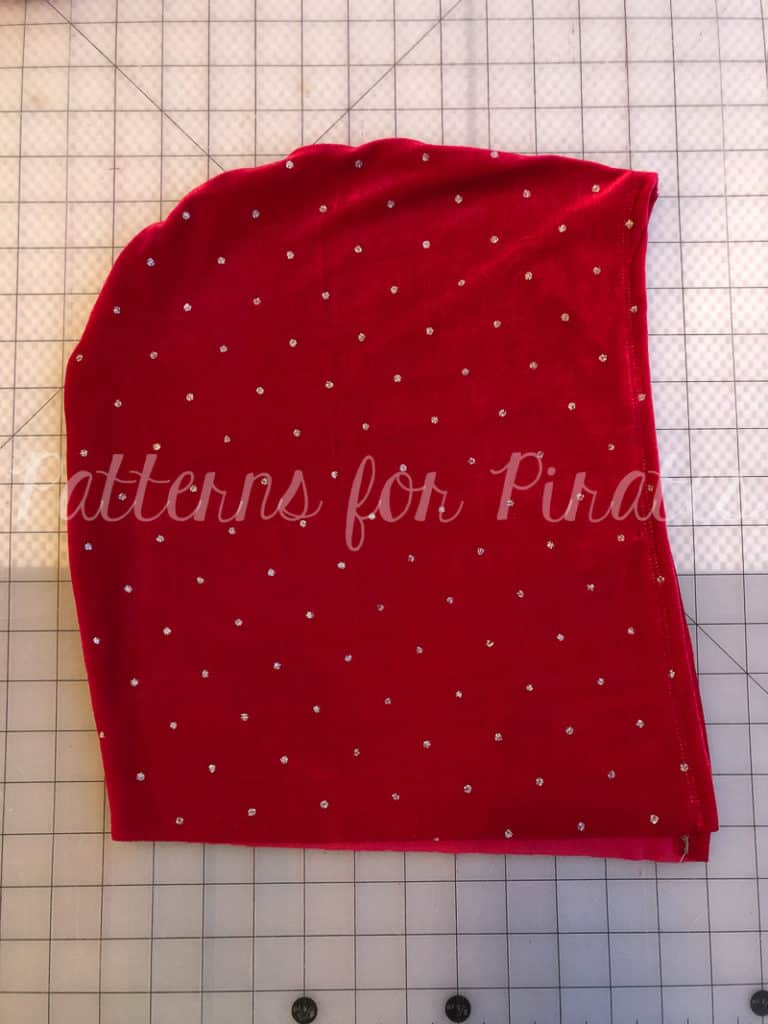
When I was searching for inspiration for my Naughty Nice PJs, I kept coming across hooded versions of this same style pajama.  I’m not sure how comfortable a hood would be to sleep in, but to have a little extra coziness around you while you’re lounging around?  Sign me up!  Plus, I think this pattern will translate so amazingly well for costumes next Halloween, and a hood is always a good thing to be able to attach for those as well.

You can use your favorite hood piece from any pattern.  I chose to use the Women’s Henley hood piece.

Assemble your hood piece like you normally would.  I chose not to line mine and hem it instead.

You’ll need to take two measurements:
— The width of the bottom edge of your hood, where it will attach to your PJs.
— The full length of the neckline + placket opening.

You won’t be using the neckband piece that comes with the pattern.  Instead, you’ll need to do a little more math.

(Neckline Opening Measurement – Hood Width Measurement) / 2 + 1″ Seam Allowance
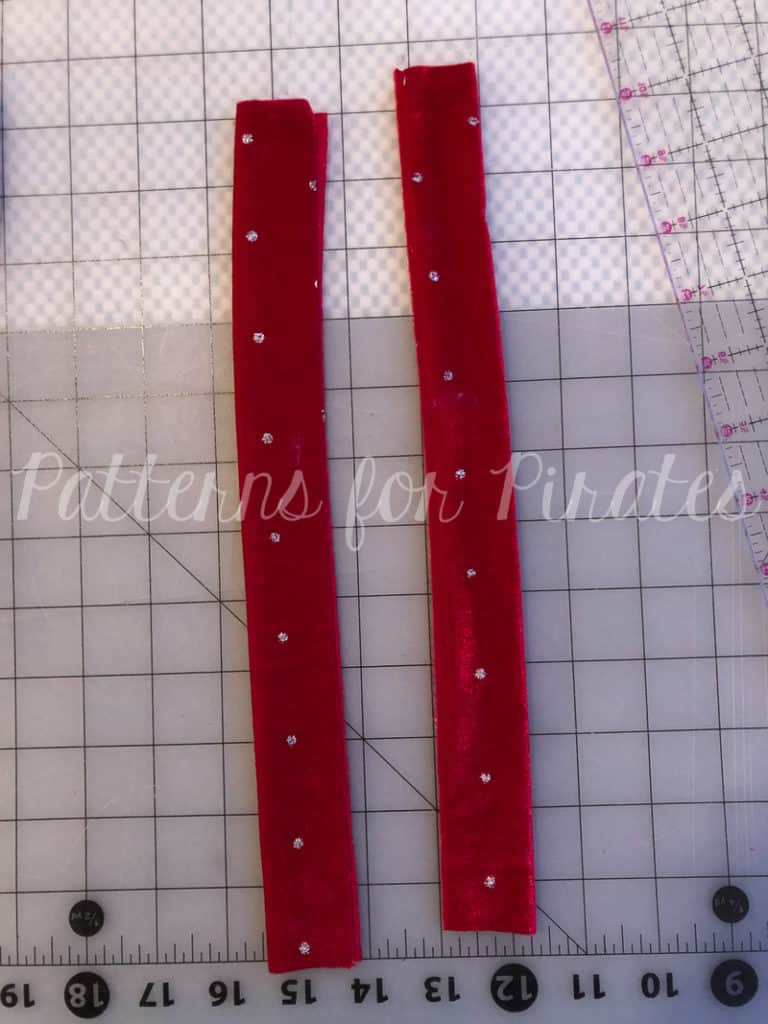
This will give you your new placket piece length.  You’ll want two of them, for either side of the openings.

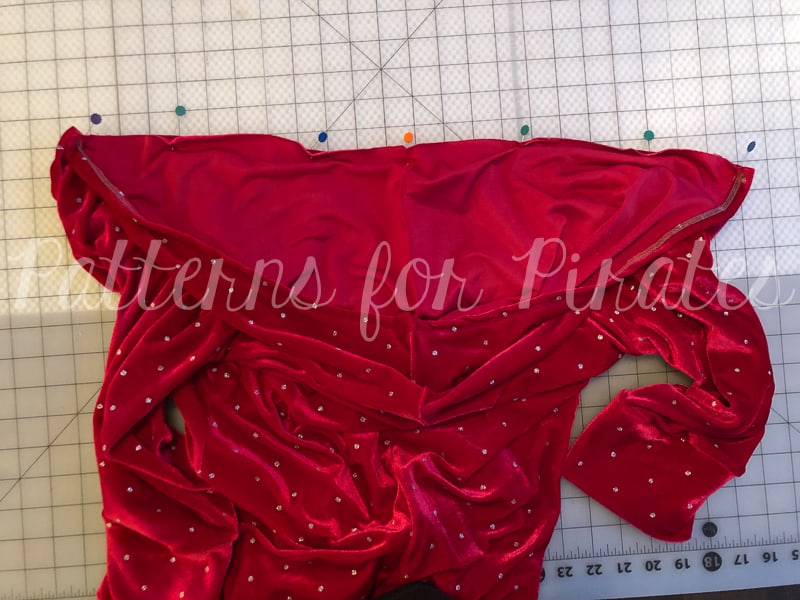
With your placket pieces folded in half (wrong sides together), pin it along the front placket opening and stitch.  Repeat with the second placket piece on the opposite side.  Follow the instructions just like the Naughty Nice / Sugar Spice patterns call for, to finish the bottom of your placket pieces.

With right sides together, align your hood piece along the raw edges of the neck opening.  Pin and stitch.  You’re done!


…..

Leg Placket


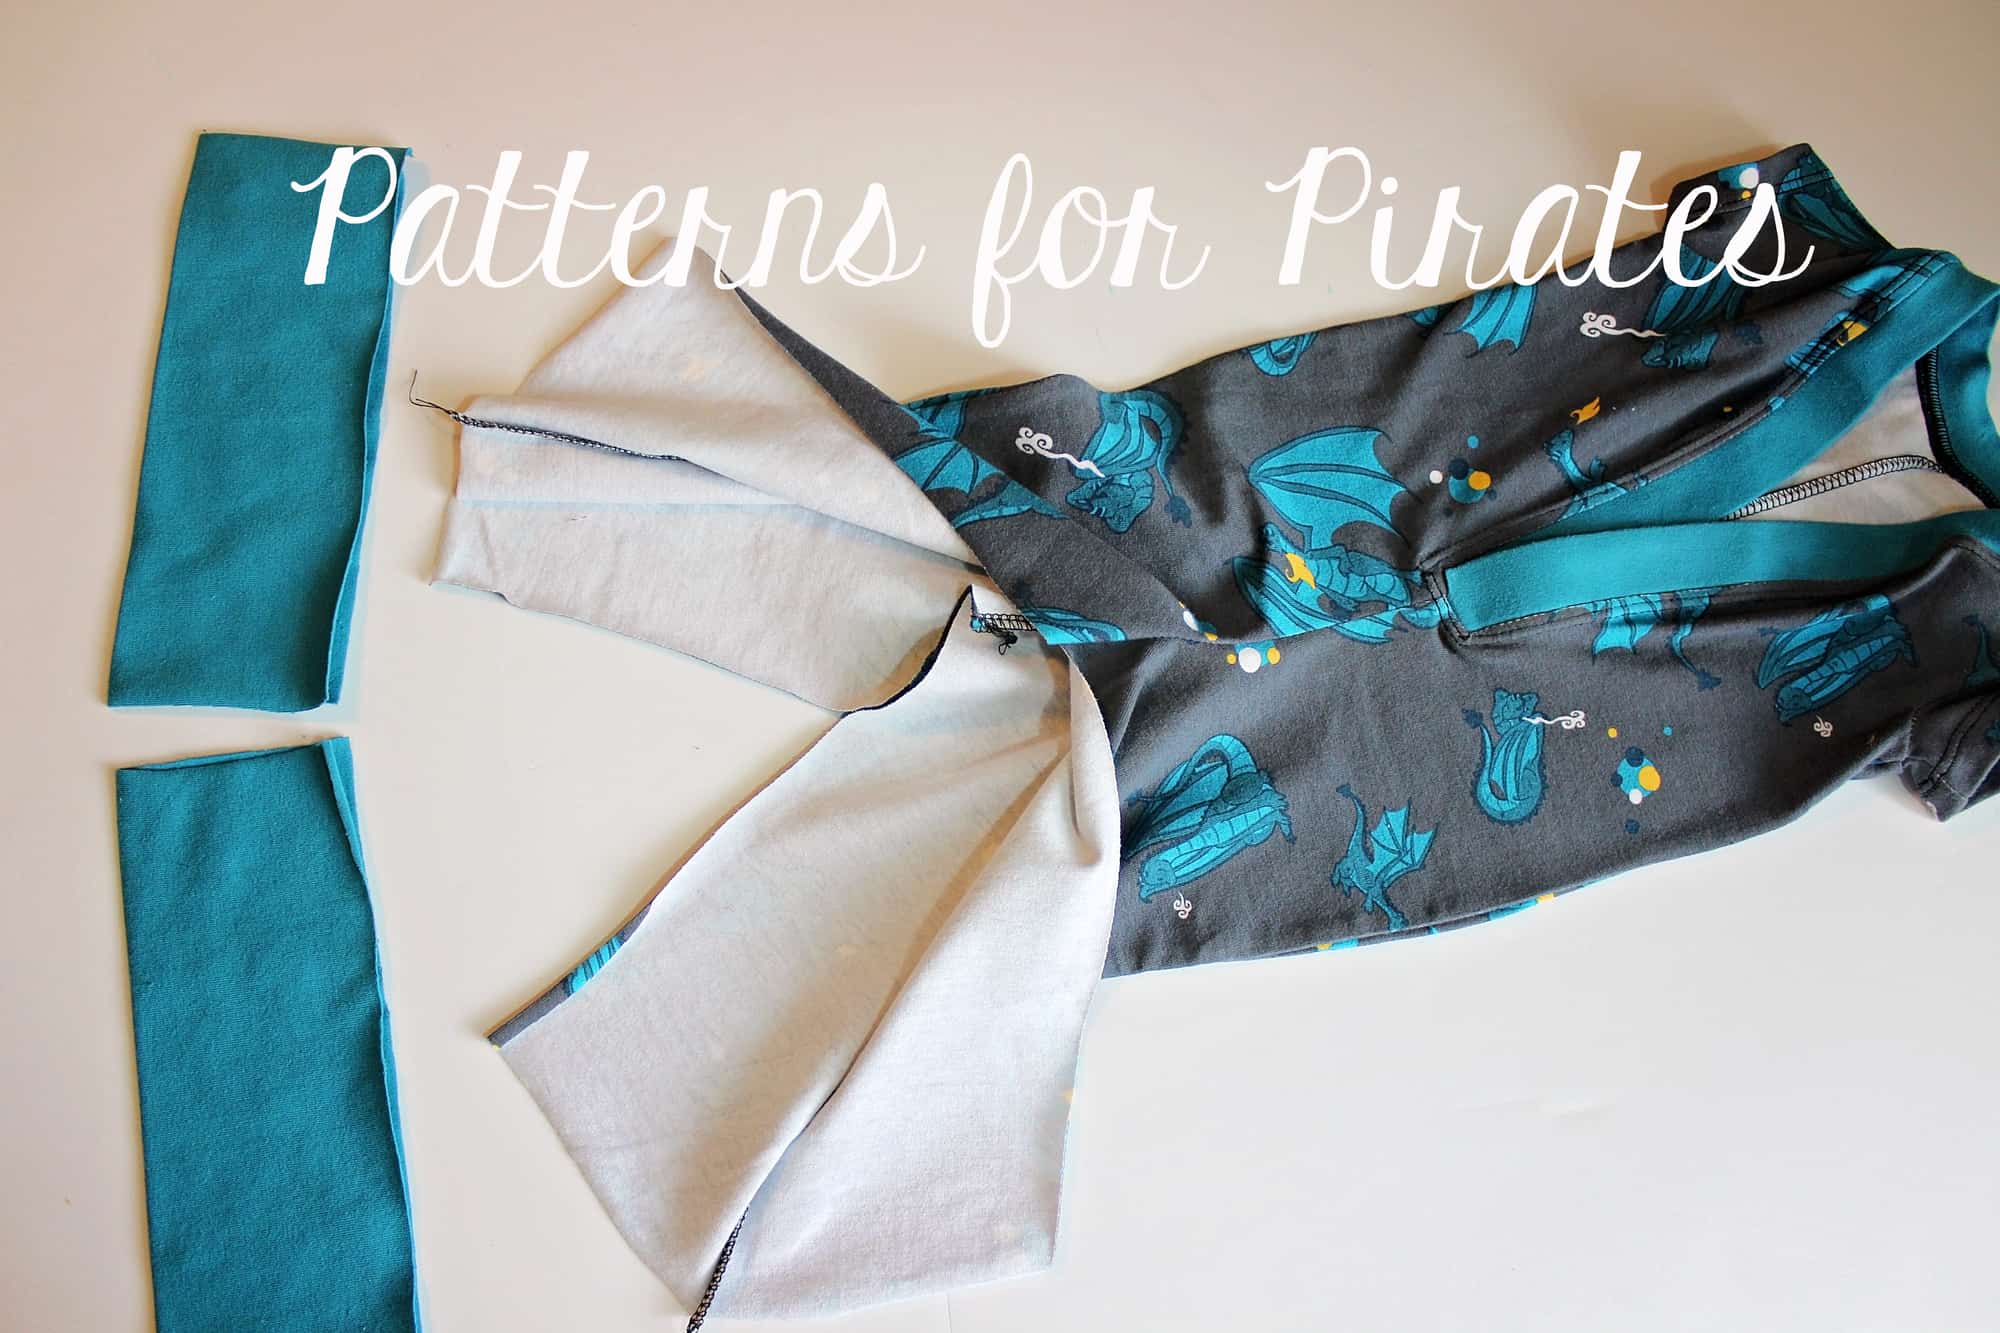
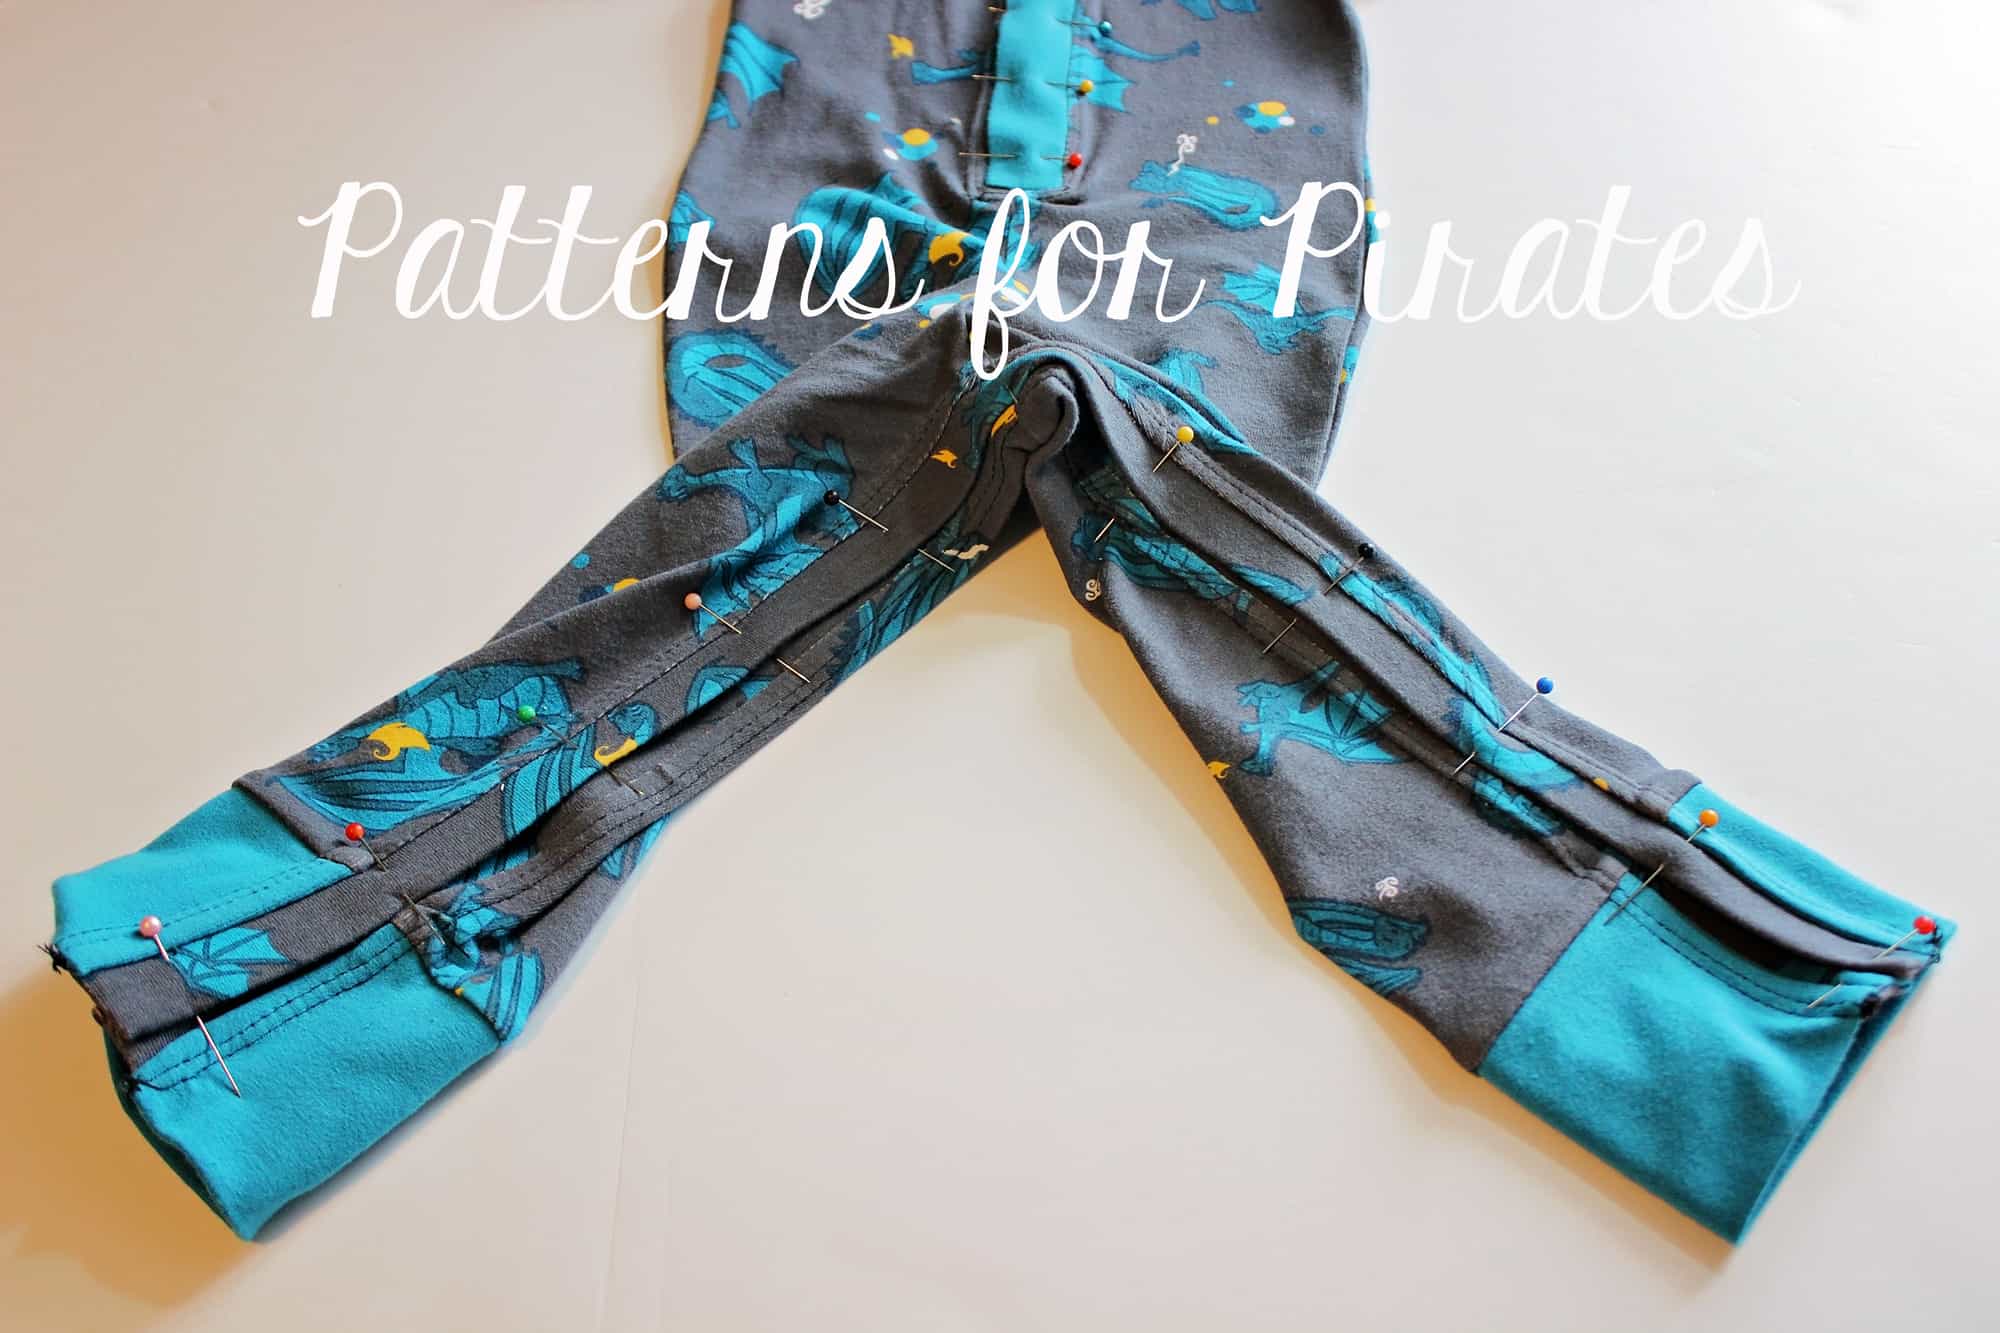
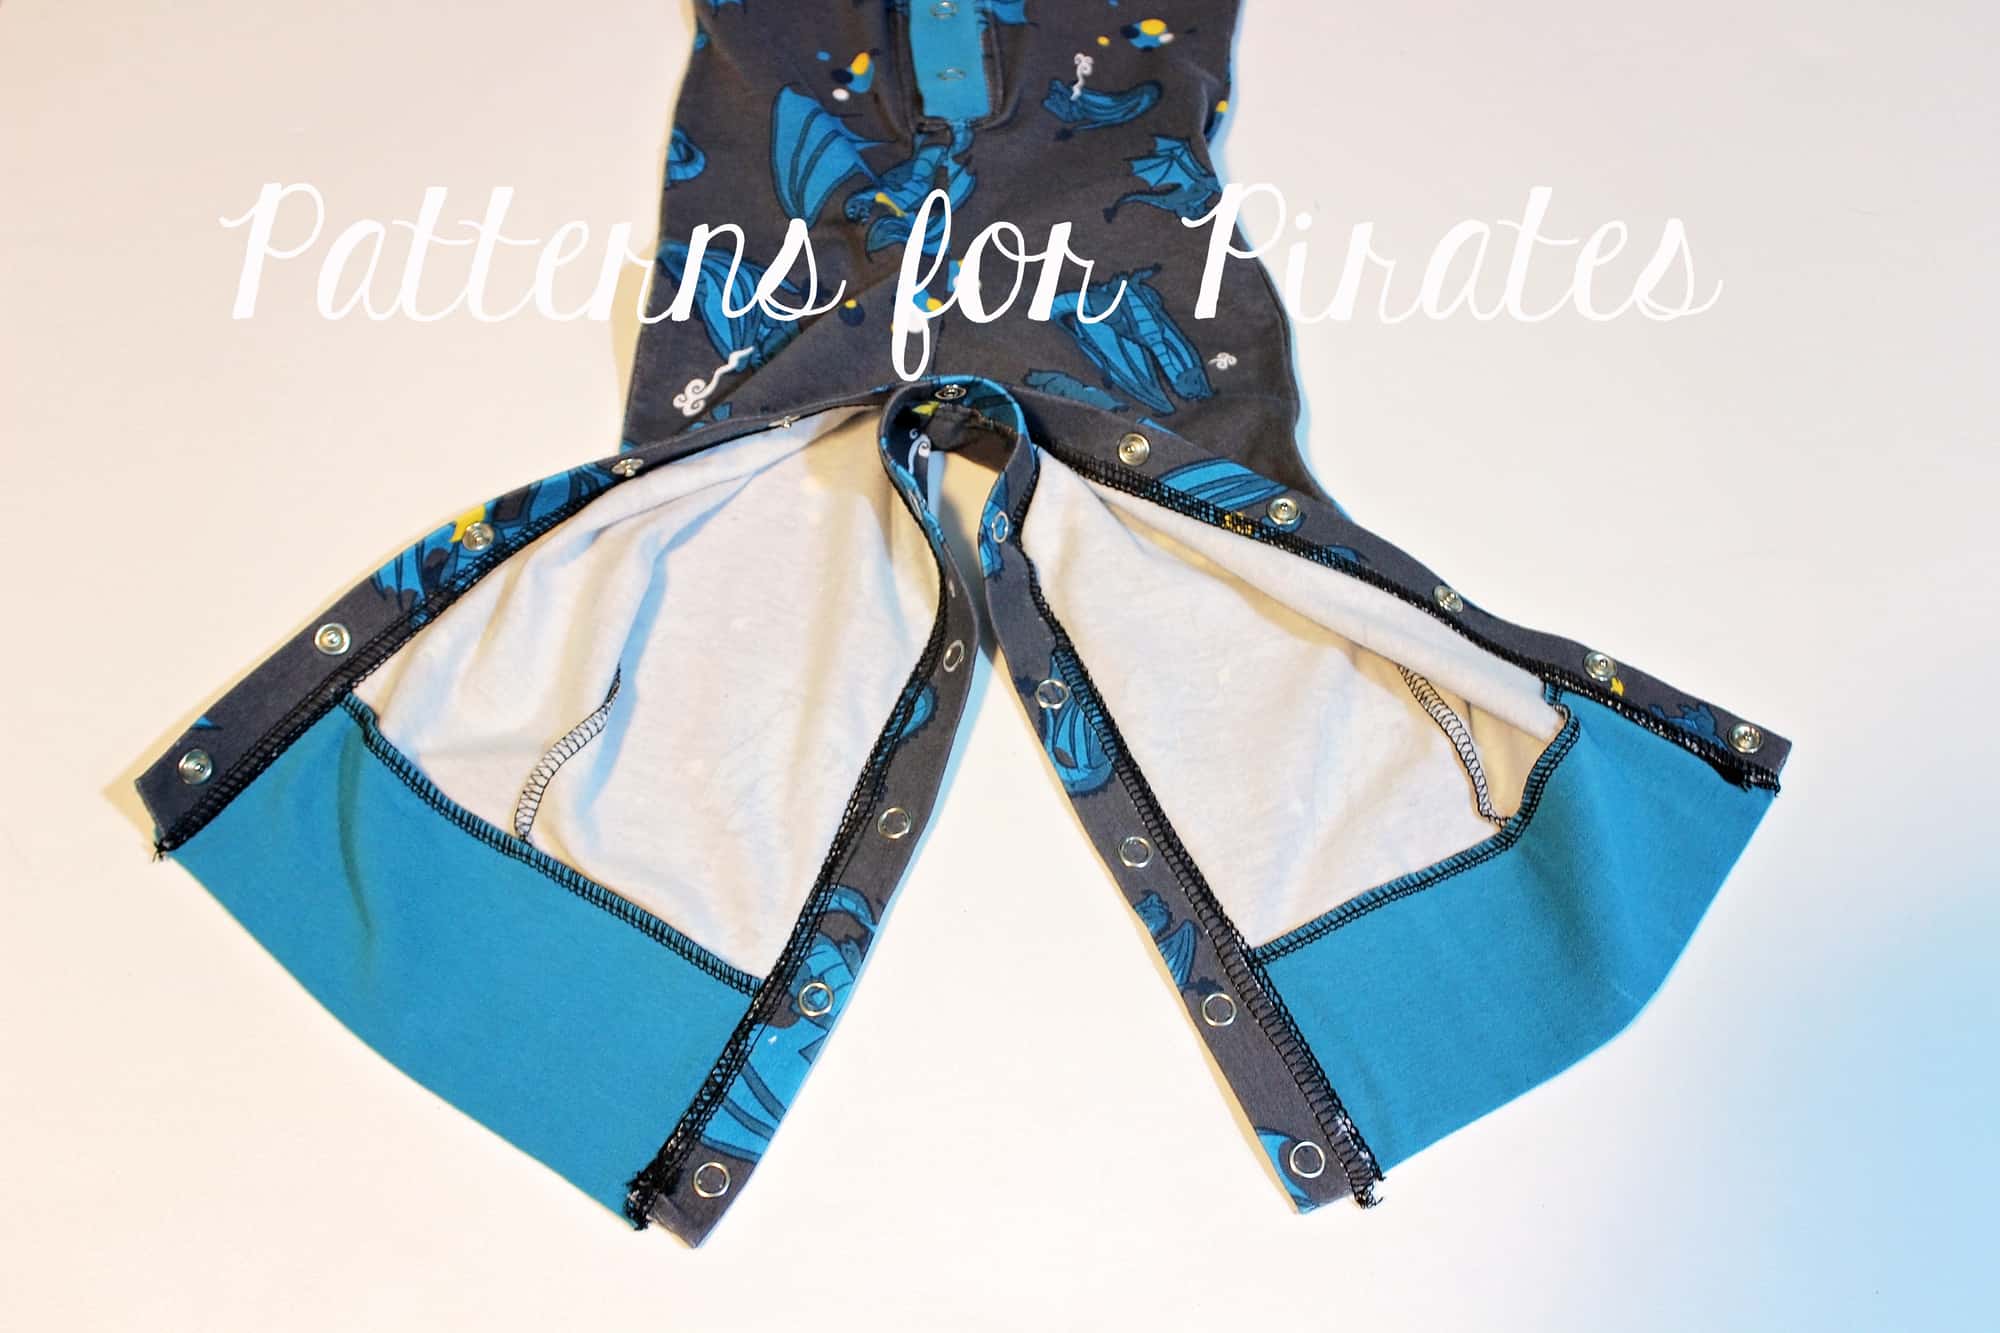
The last easy hack we wanted to show you is geared towards the Sugar and Spice. We all know how changing a bitty’s diaper can be difficult when they get all wiggly, especially in the middle of the night. So I wanted to show you how to add leg plackets to make changing a little easier.

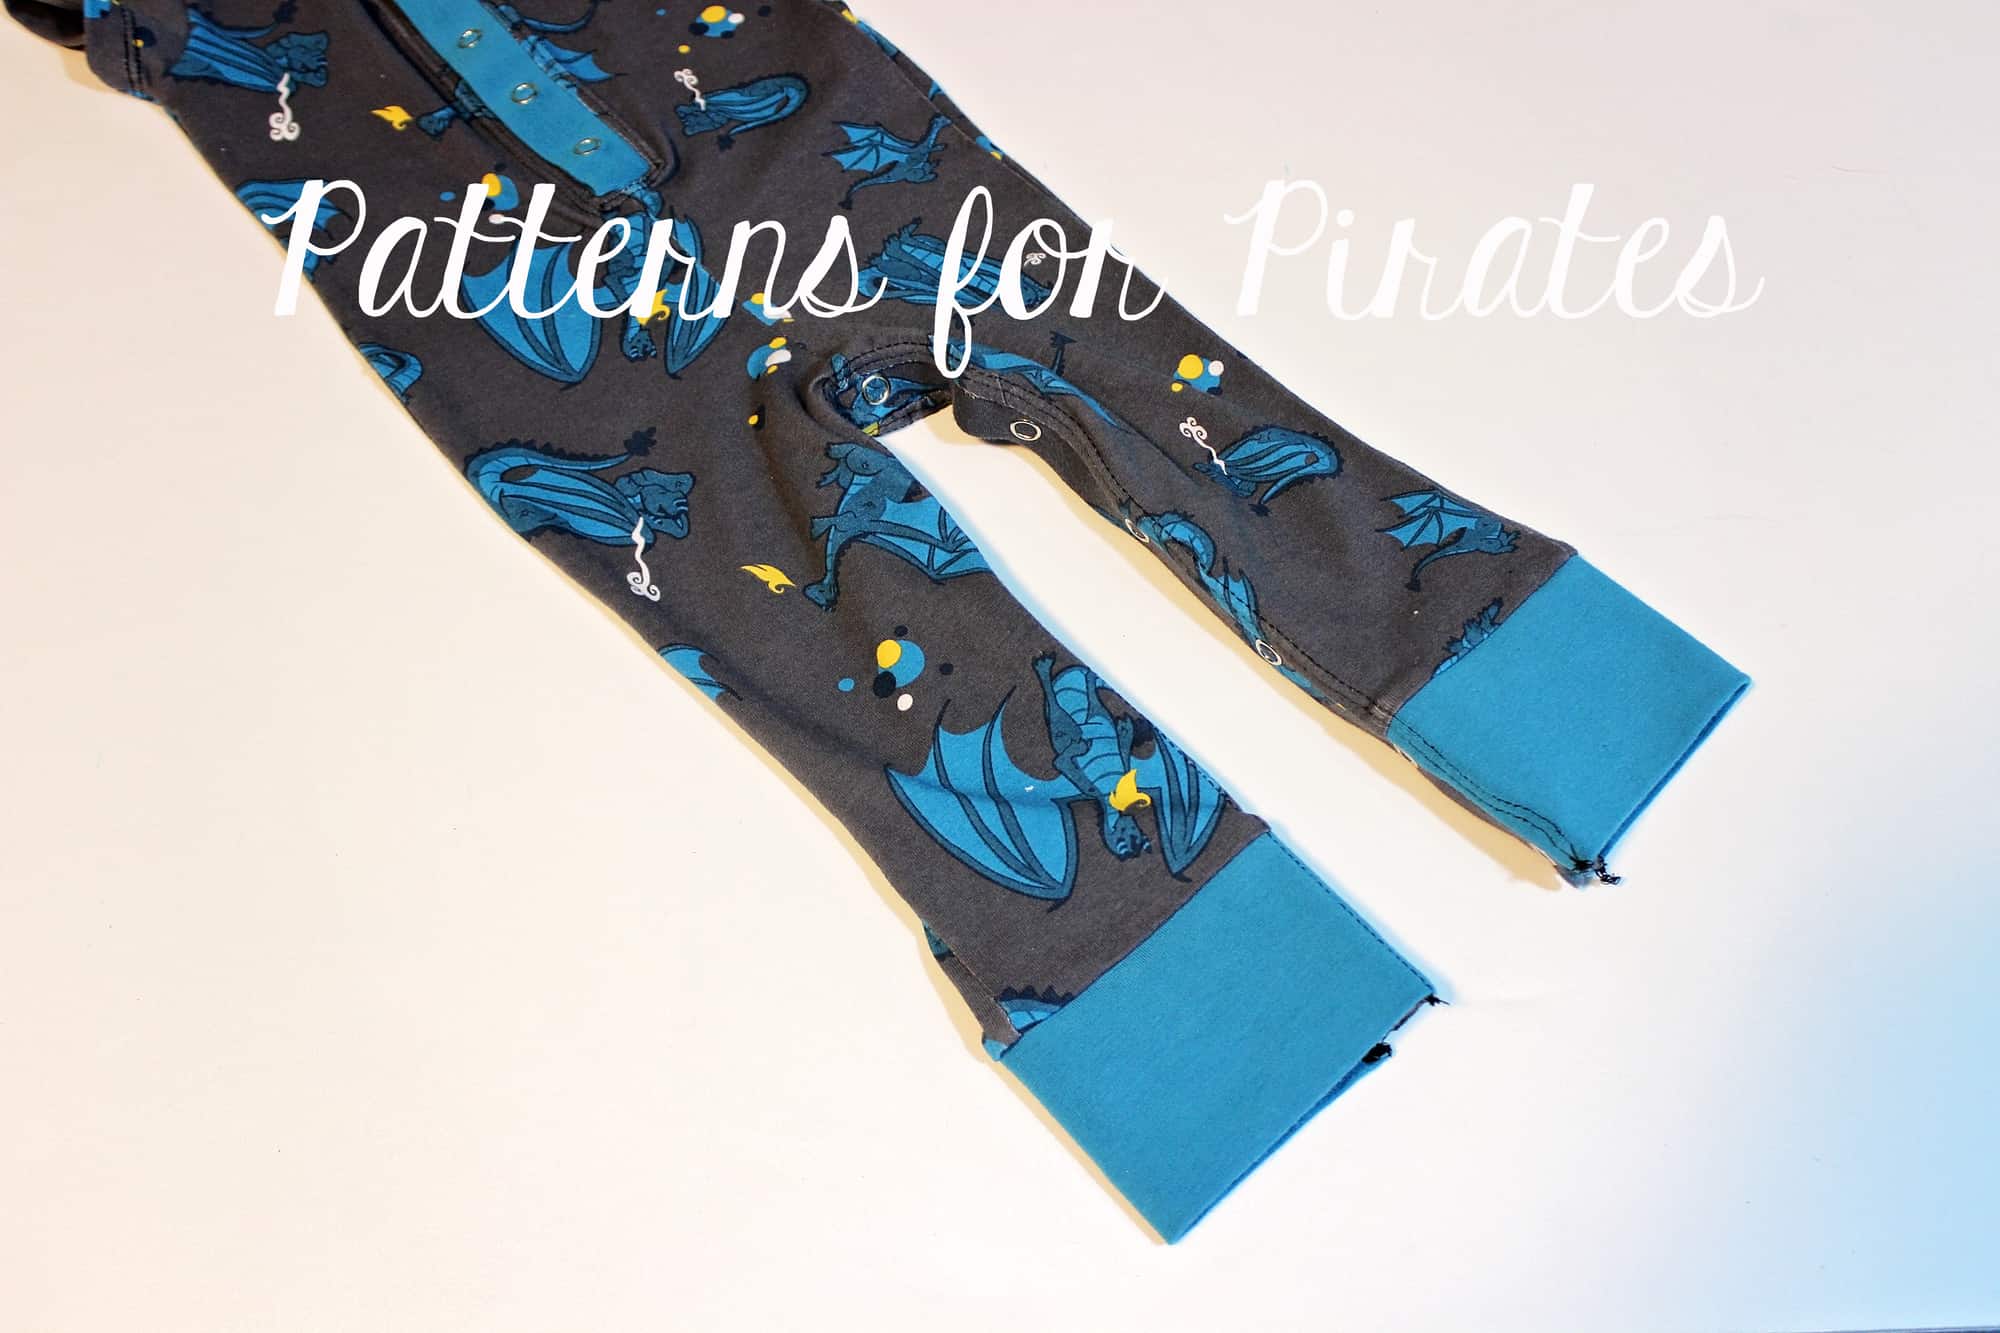
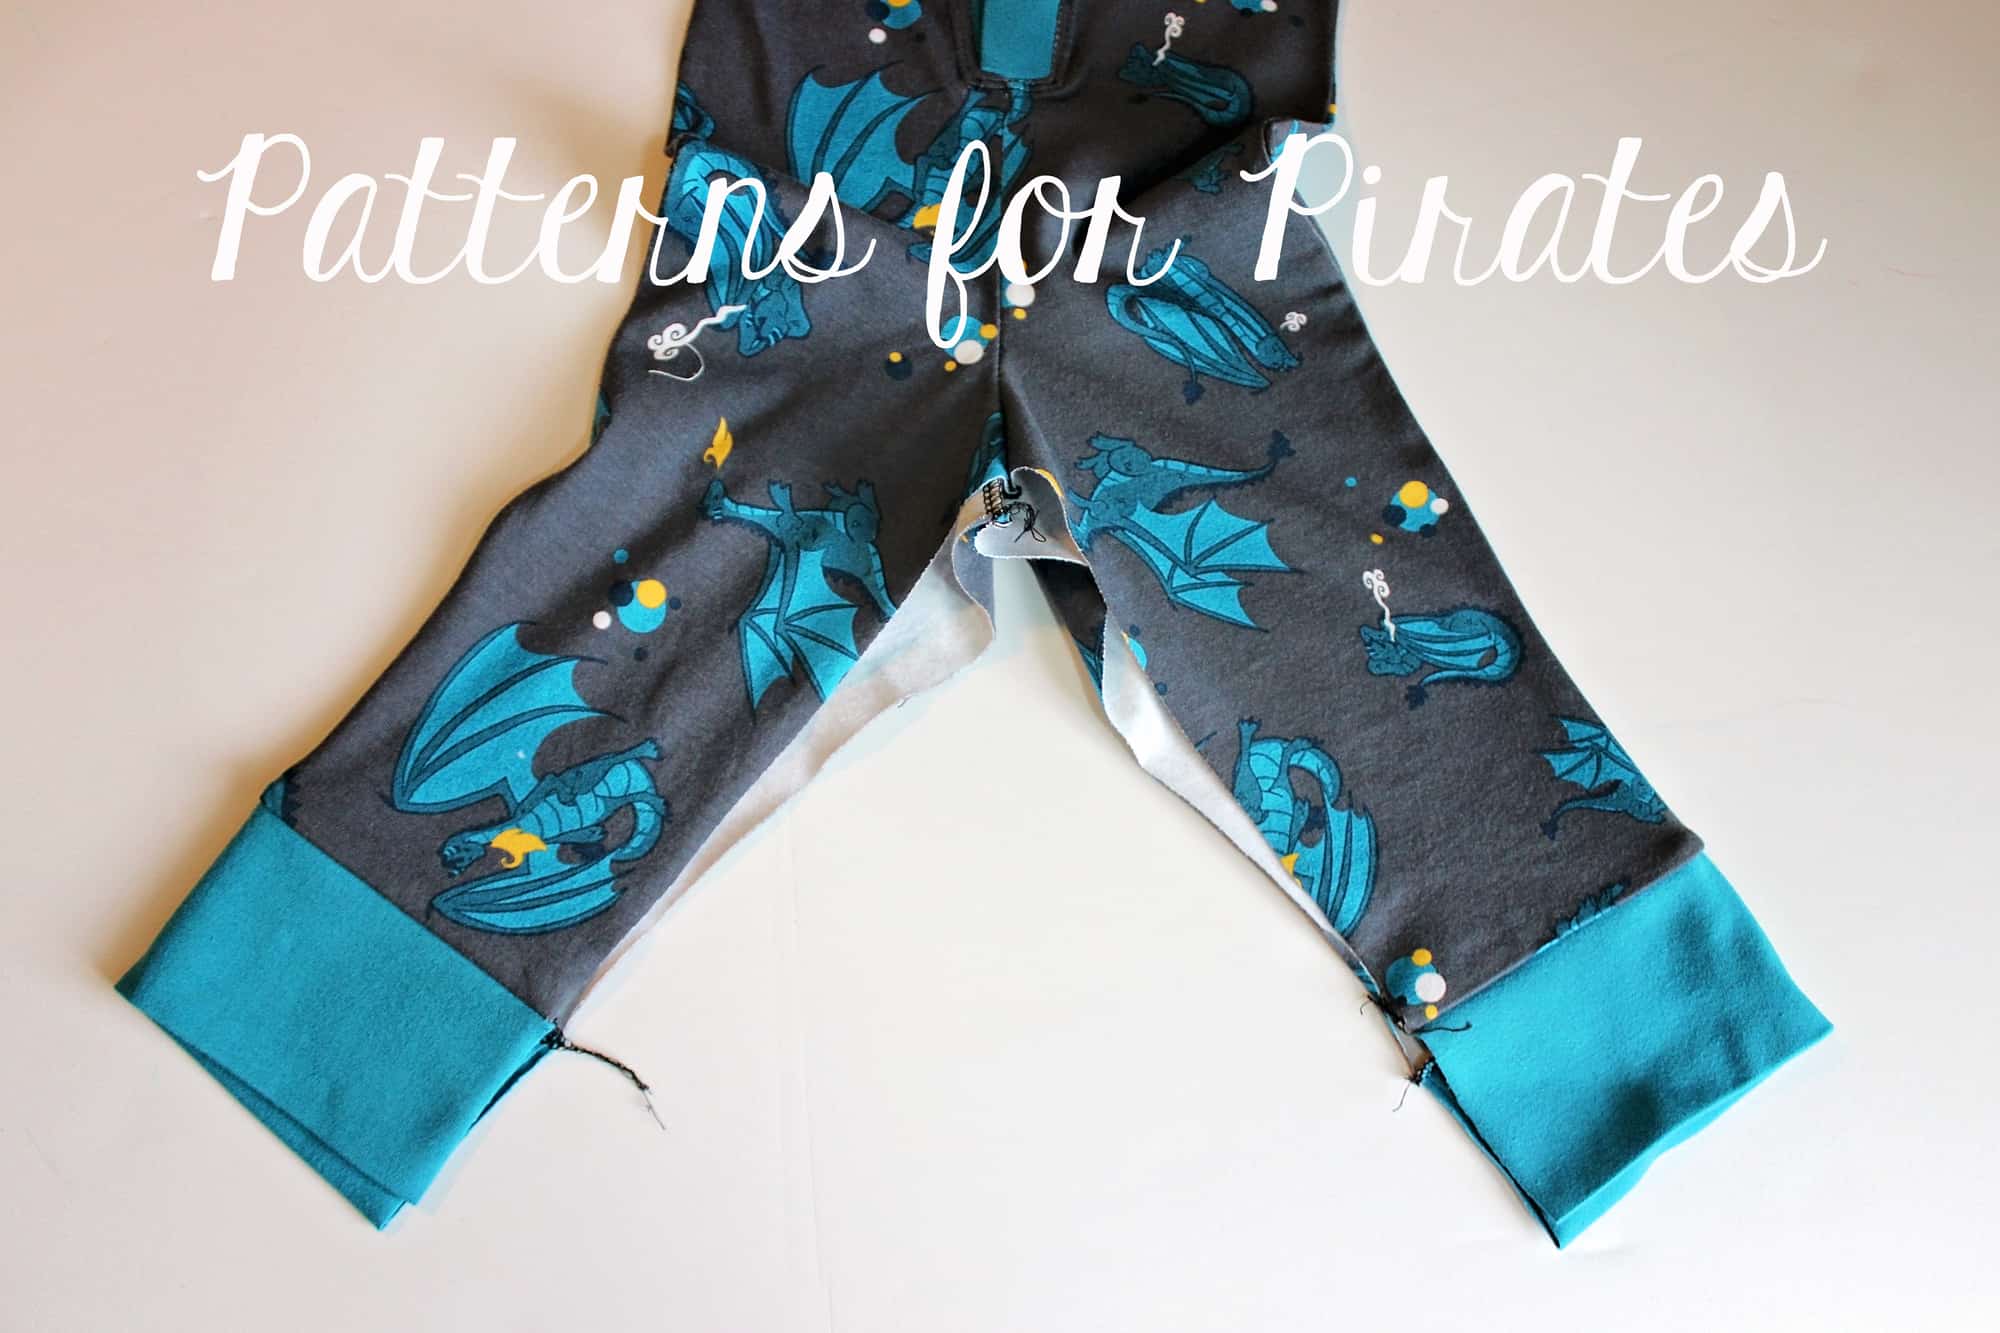
Make the pajamas as instructed in the tutorial but do not stitch the inseam. Instead, add the cuffs flats, right sides together.

Once you add the cuffs, your pajama legs will look like this.

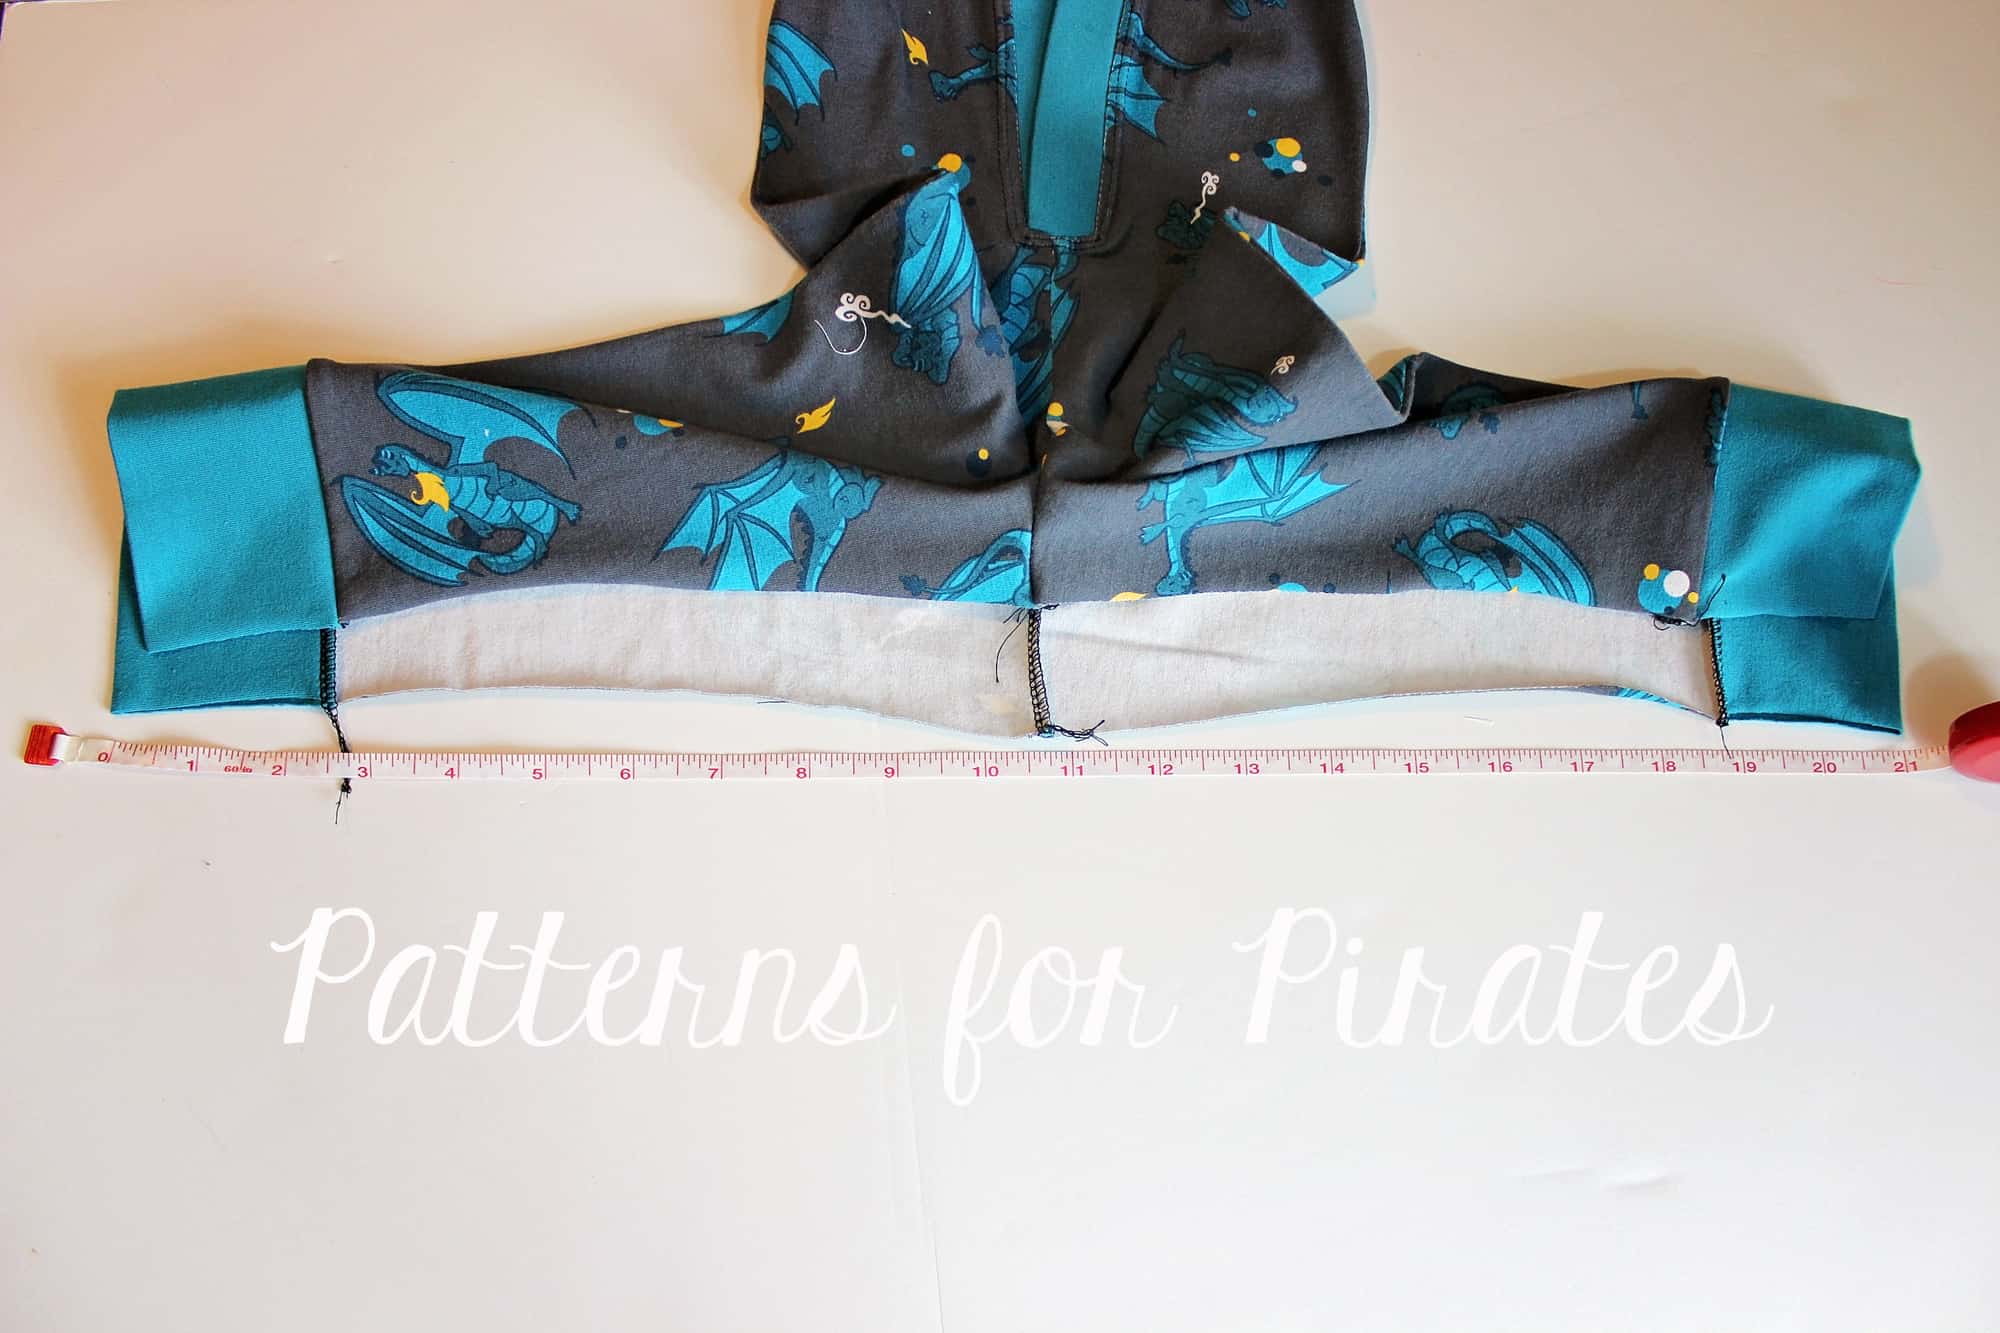
Open the PJ legs and measure the front and back inseams.

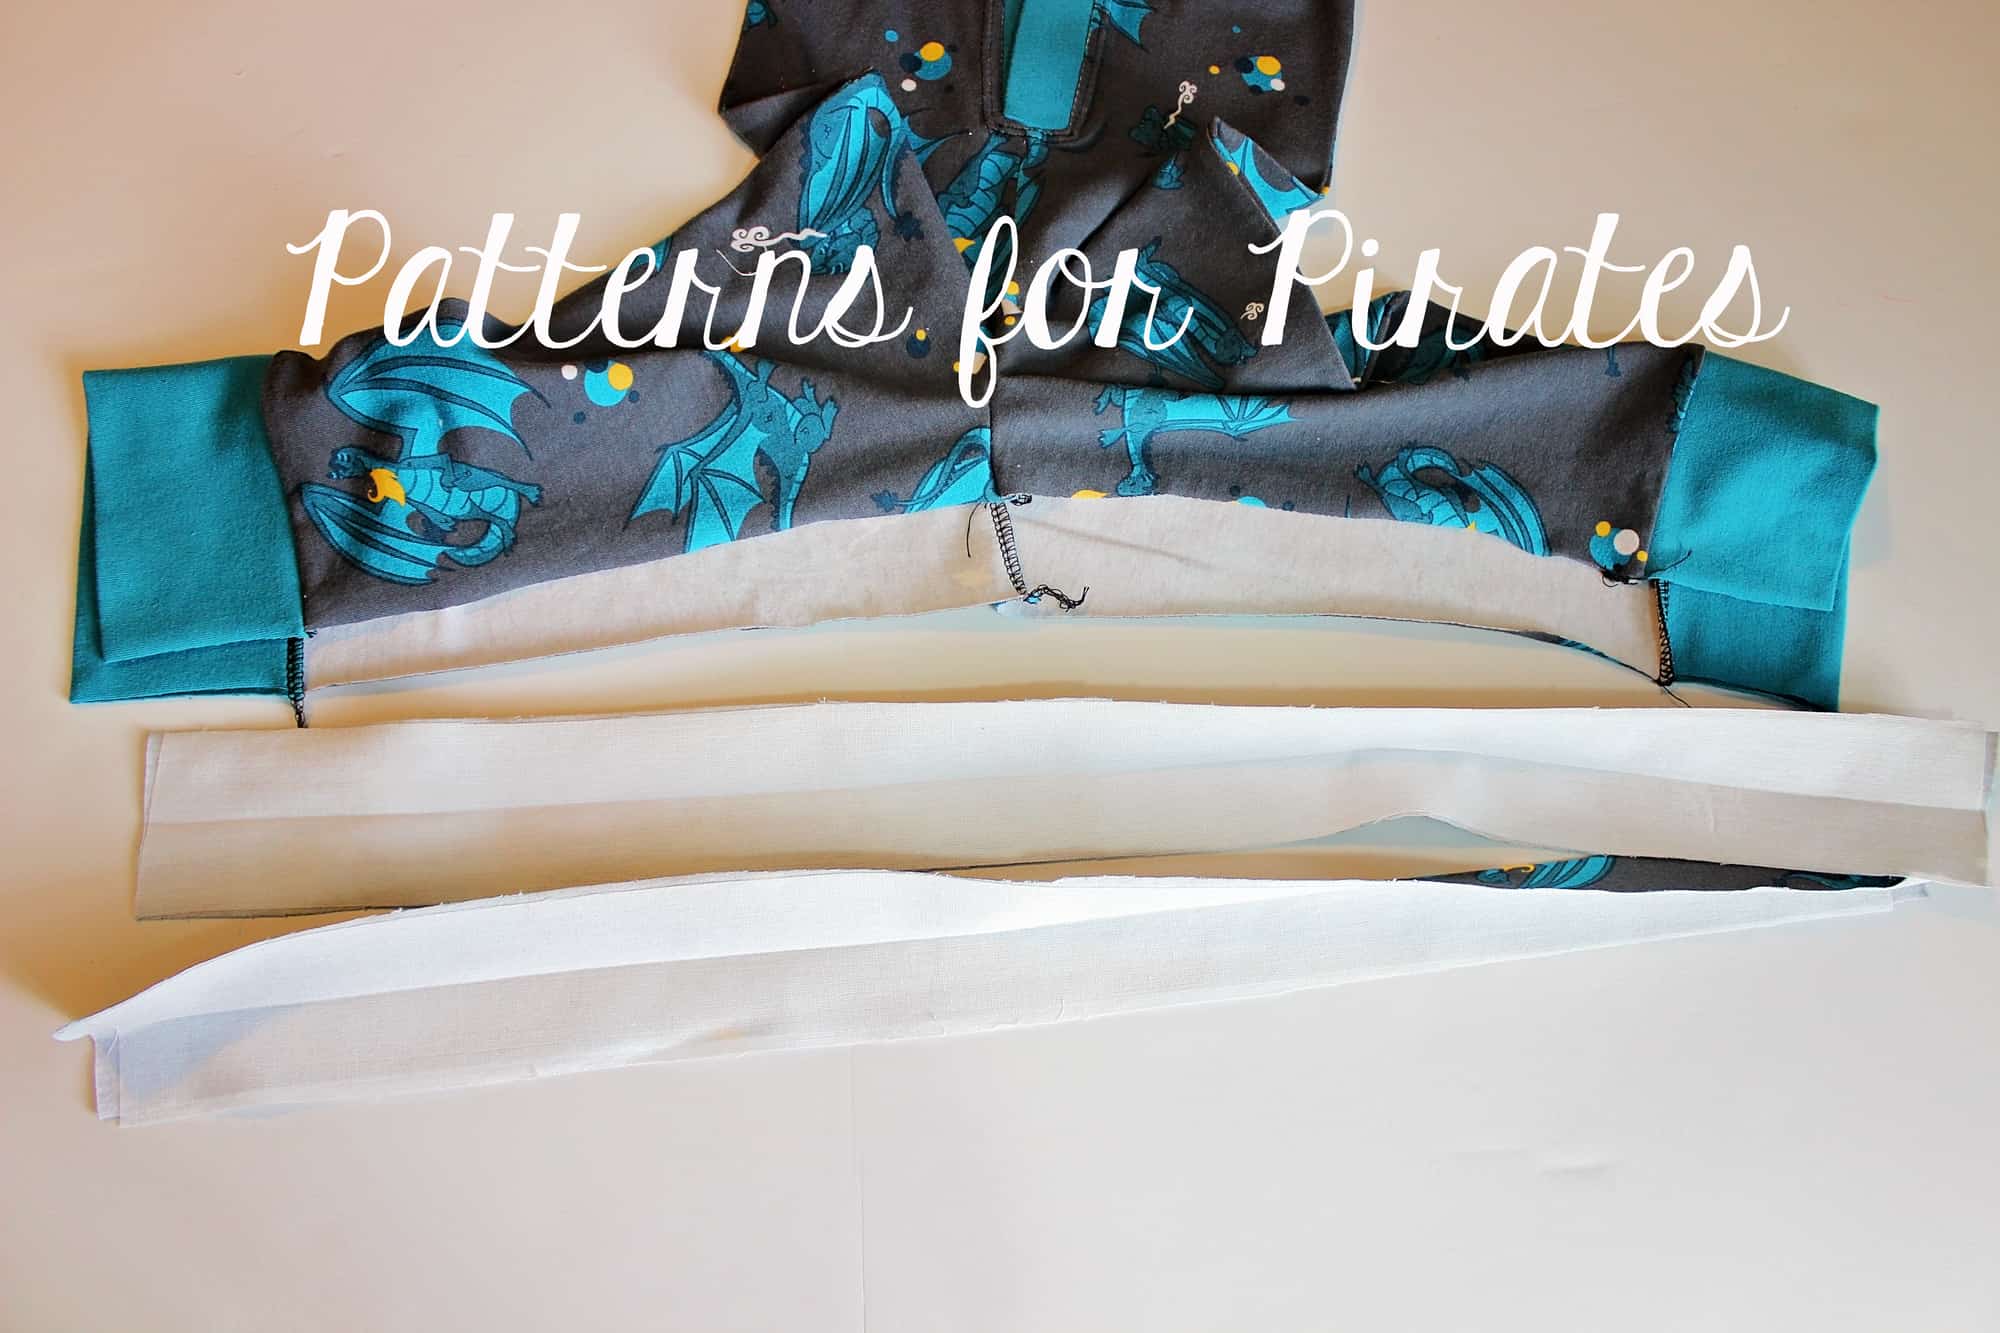
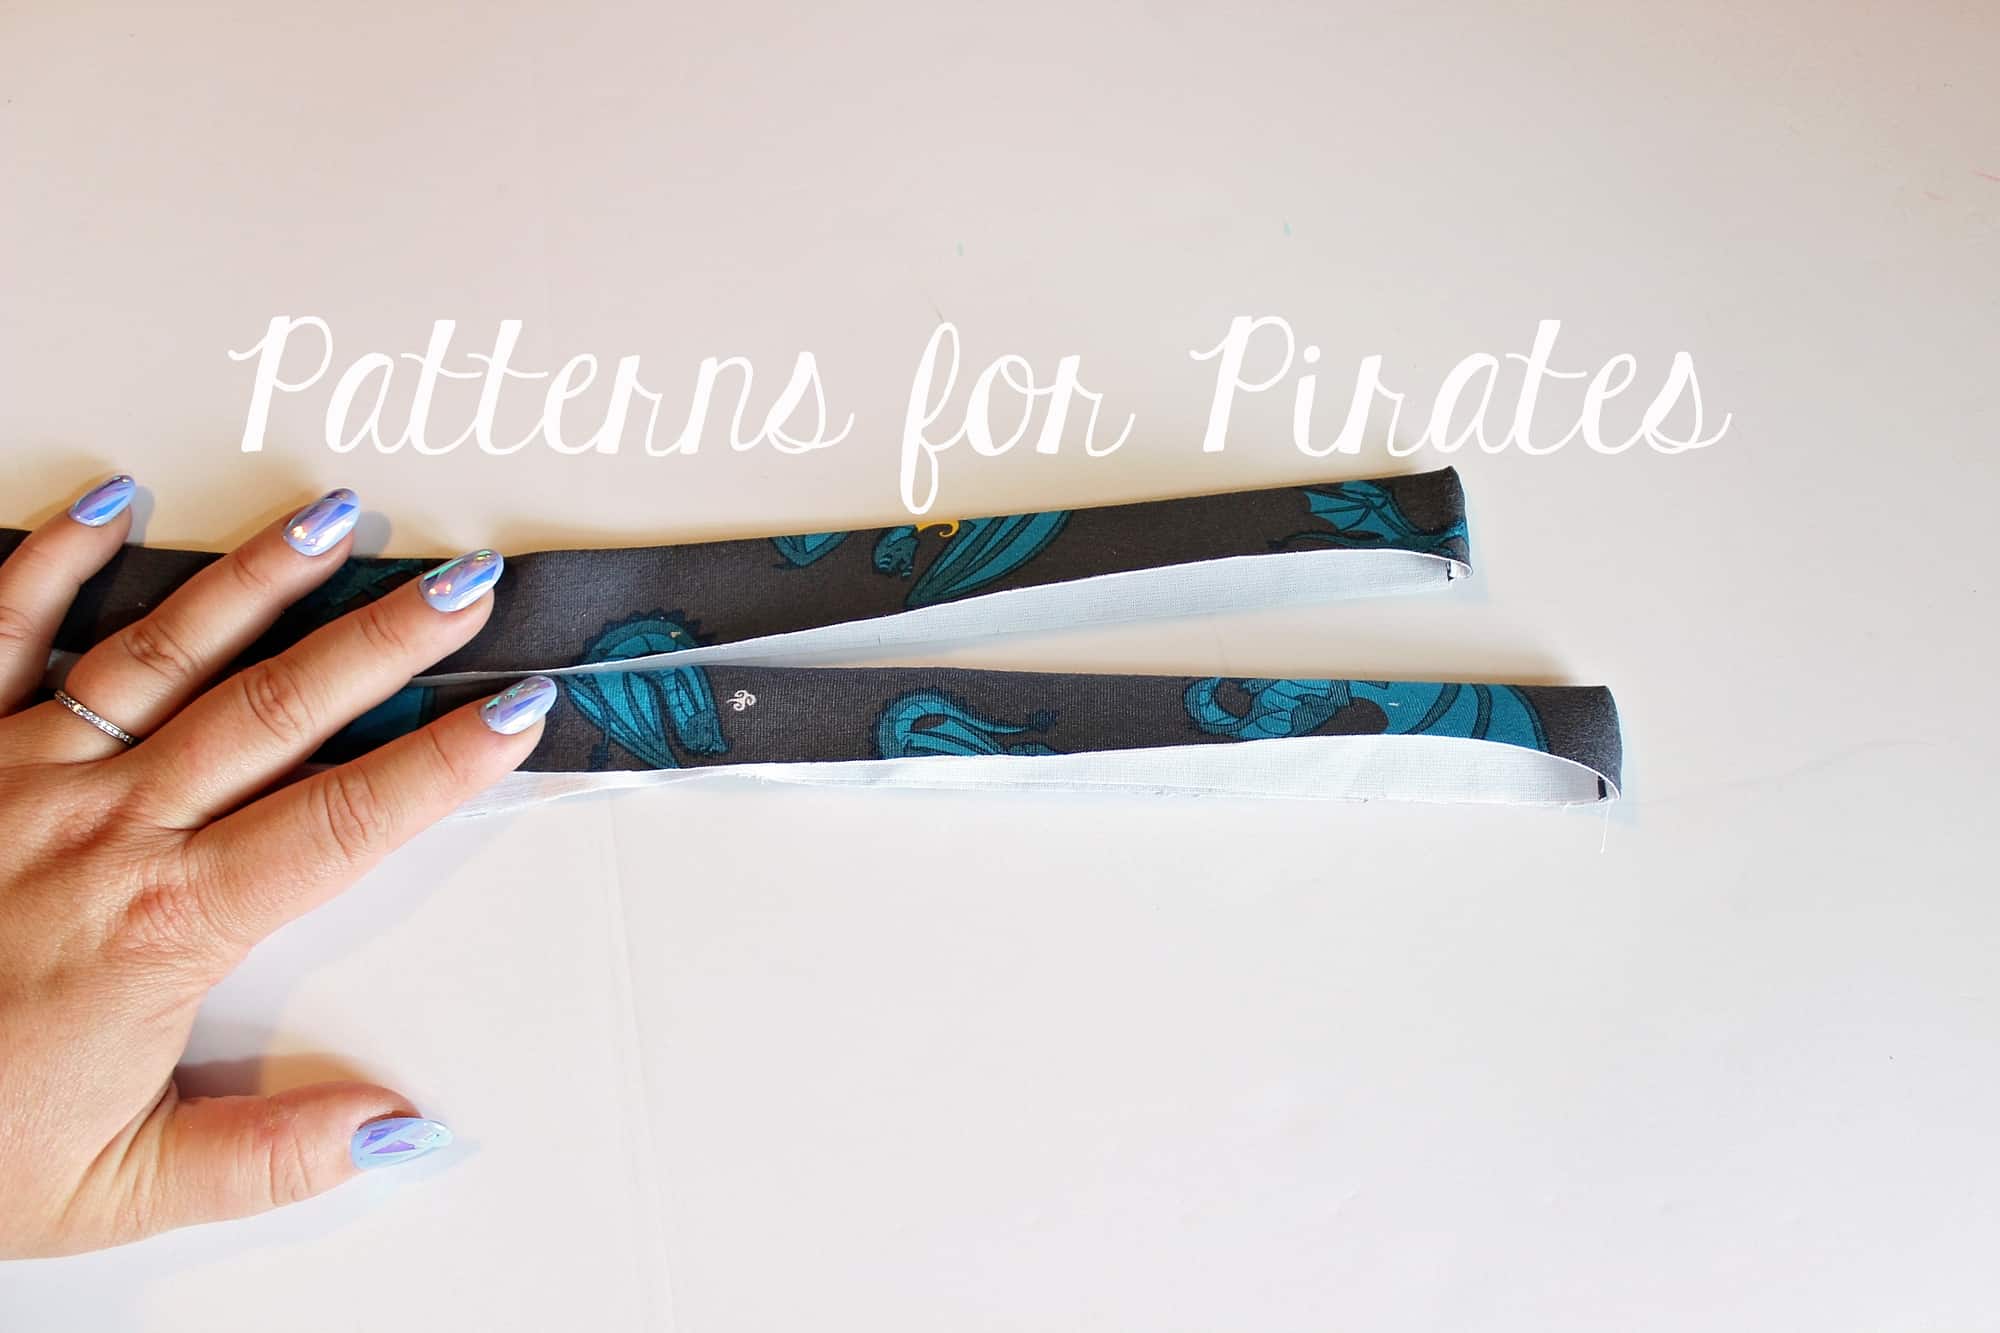
Cut two strips of fabric and interfacing that will be the measured length plus 1″ by 2″ width. Add the interfacing to the placket, fold and press lengthwise.

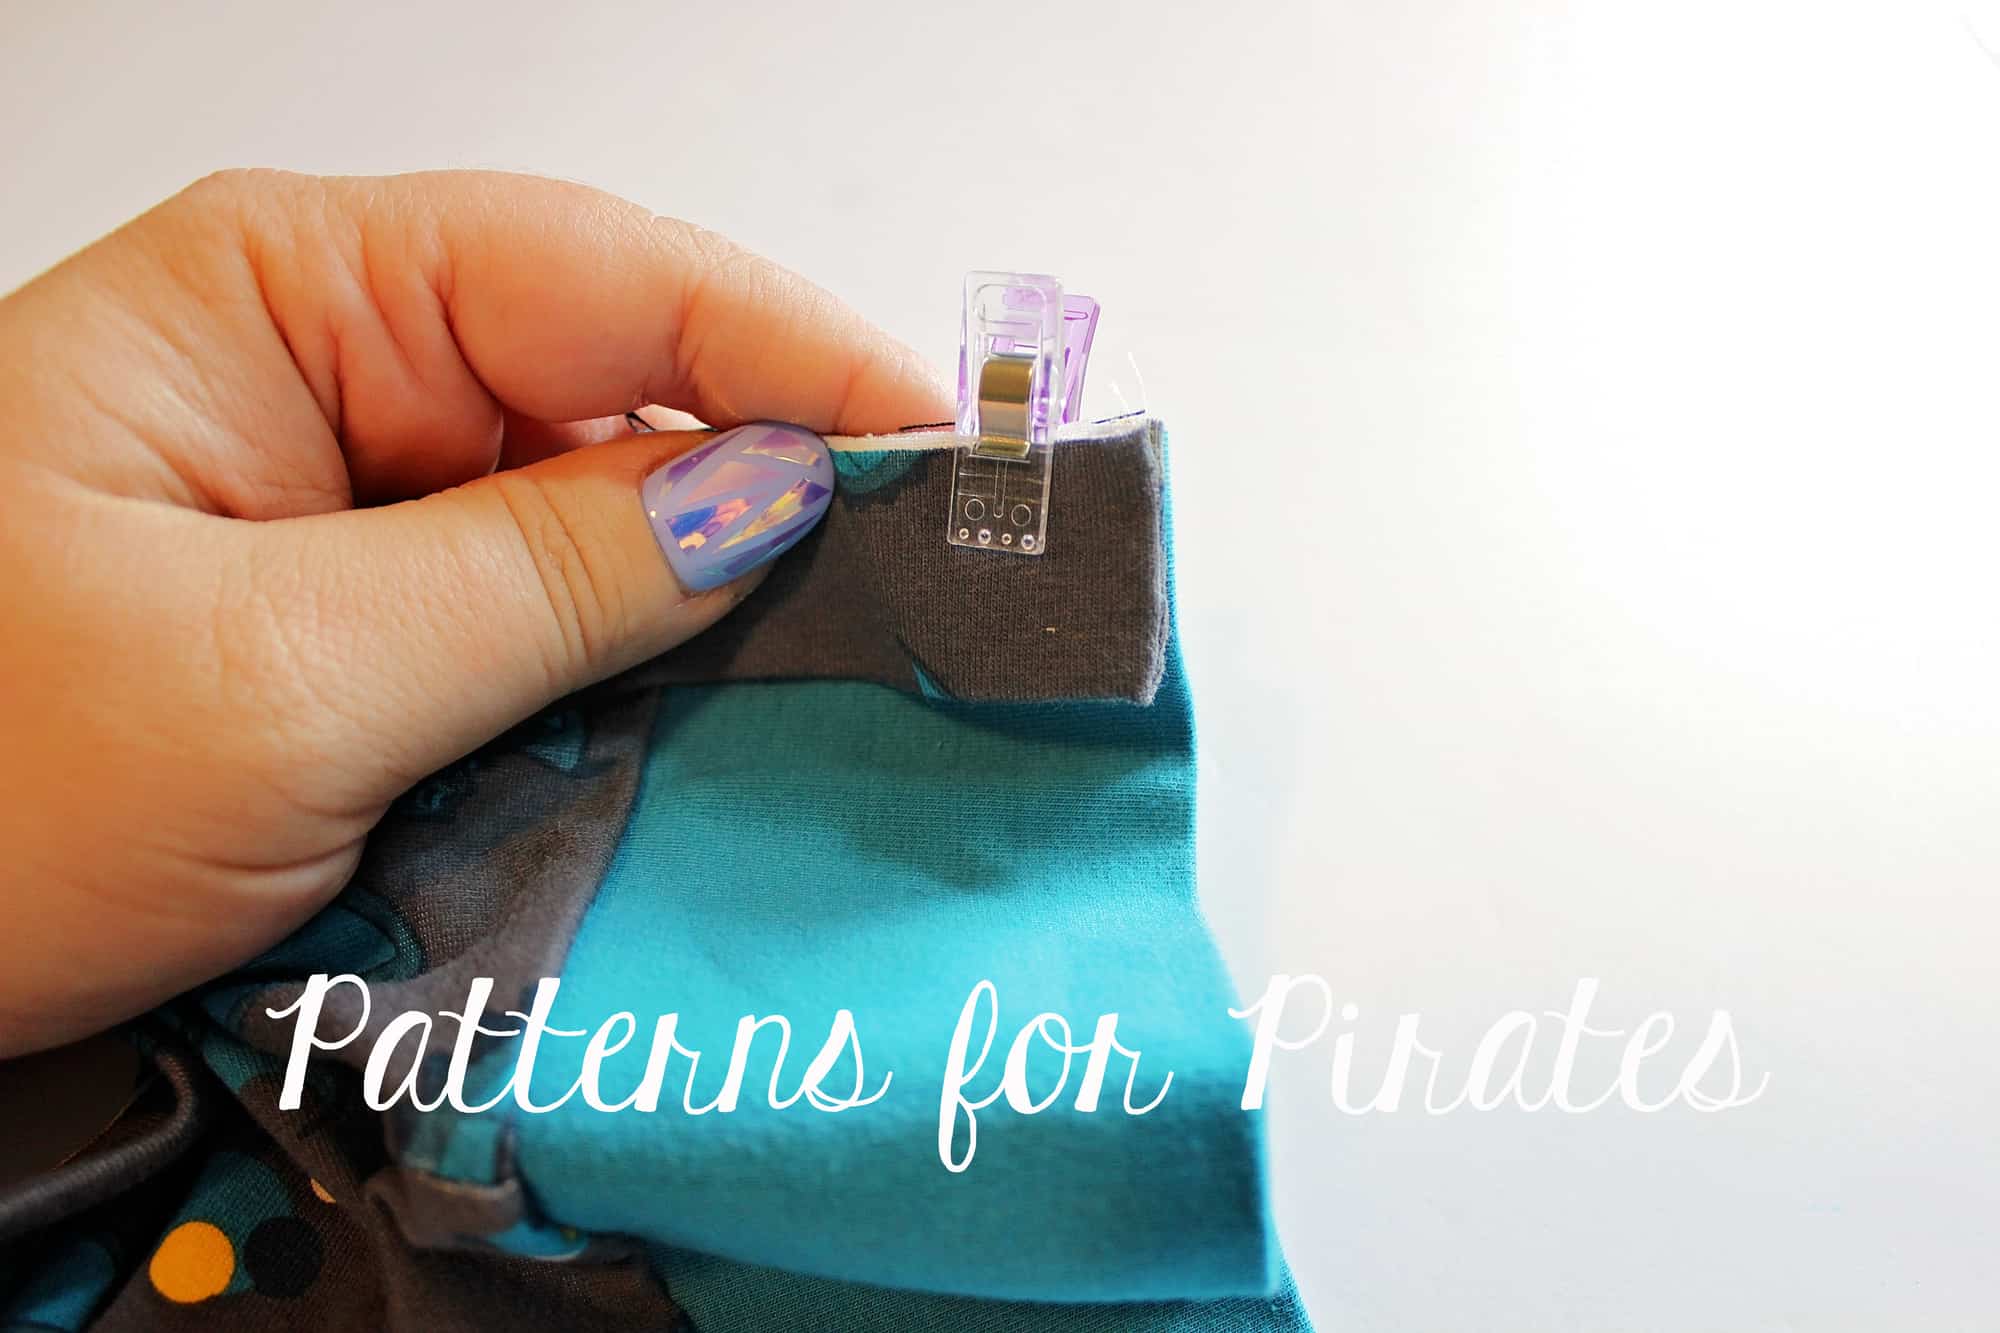
Fold the placket pieces right sides together and sew a stitch along each short end. Use a 1/2″ seam allowance. Cut the seam allowance to about 1/8″ and turn outside out. Press.

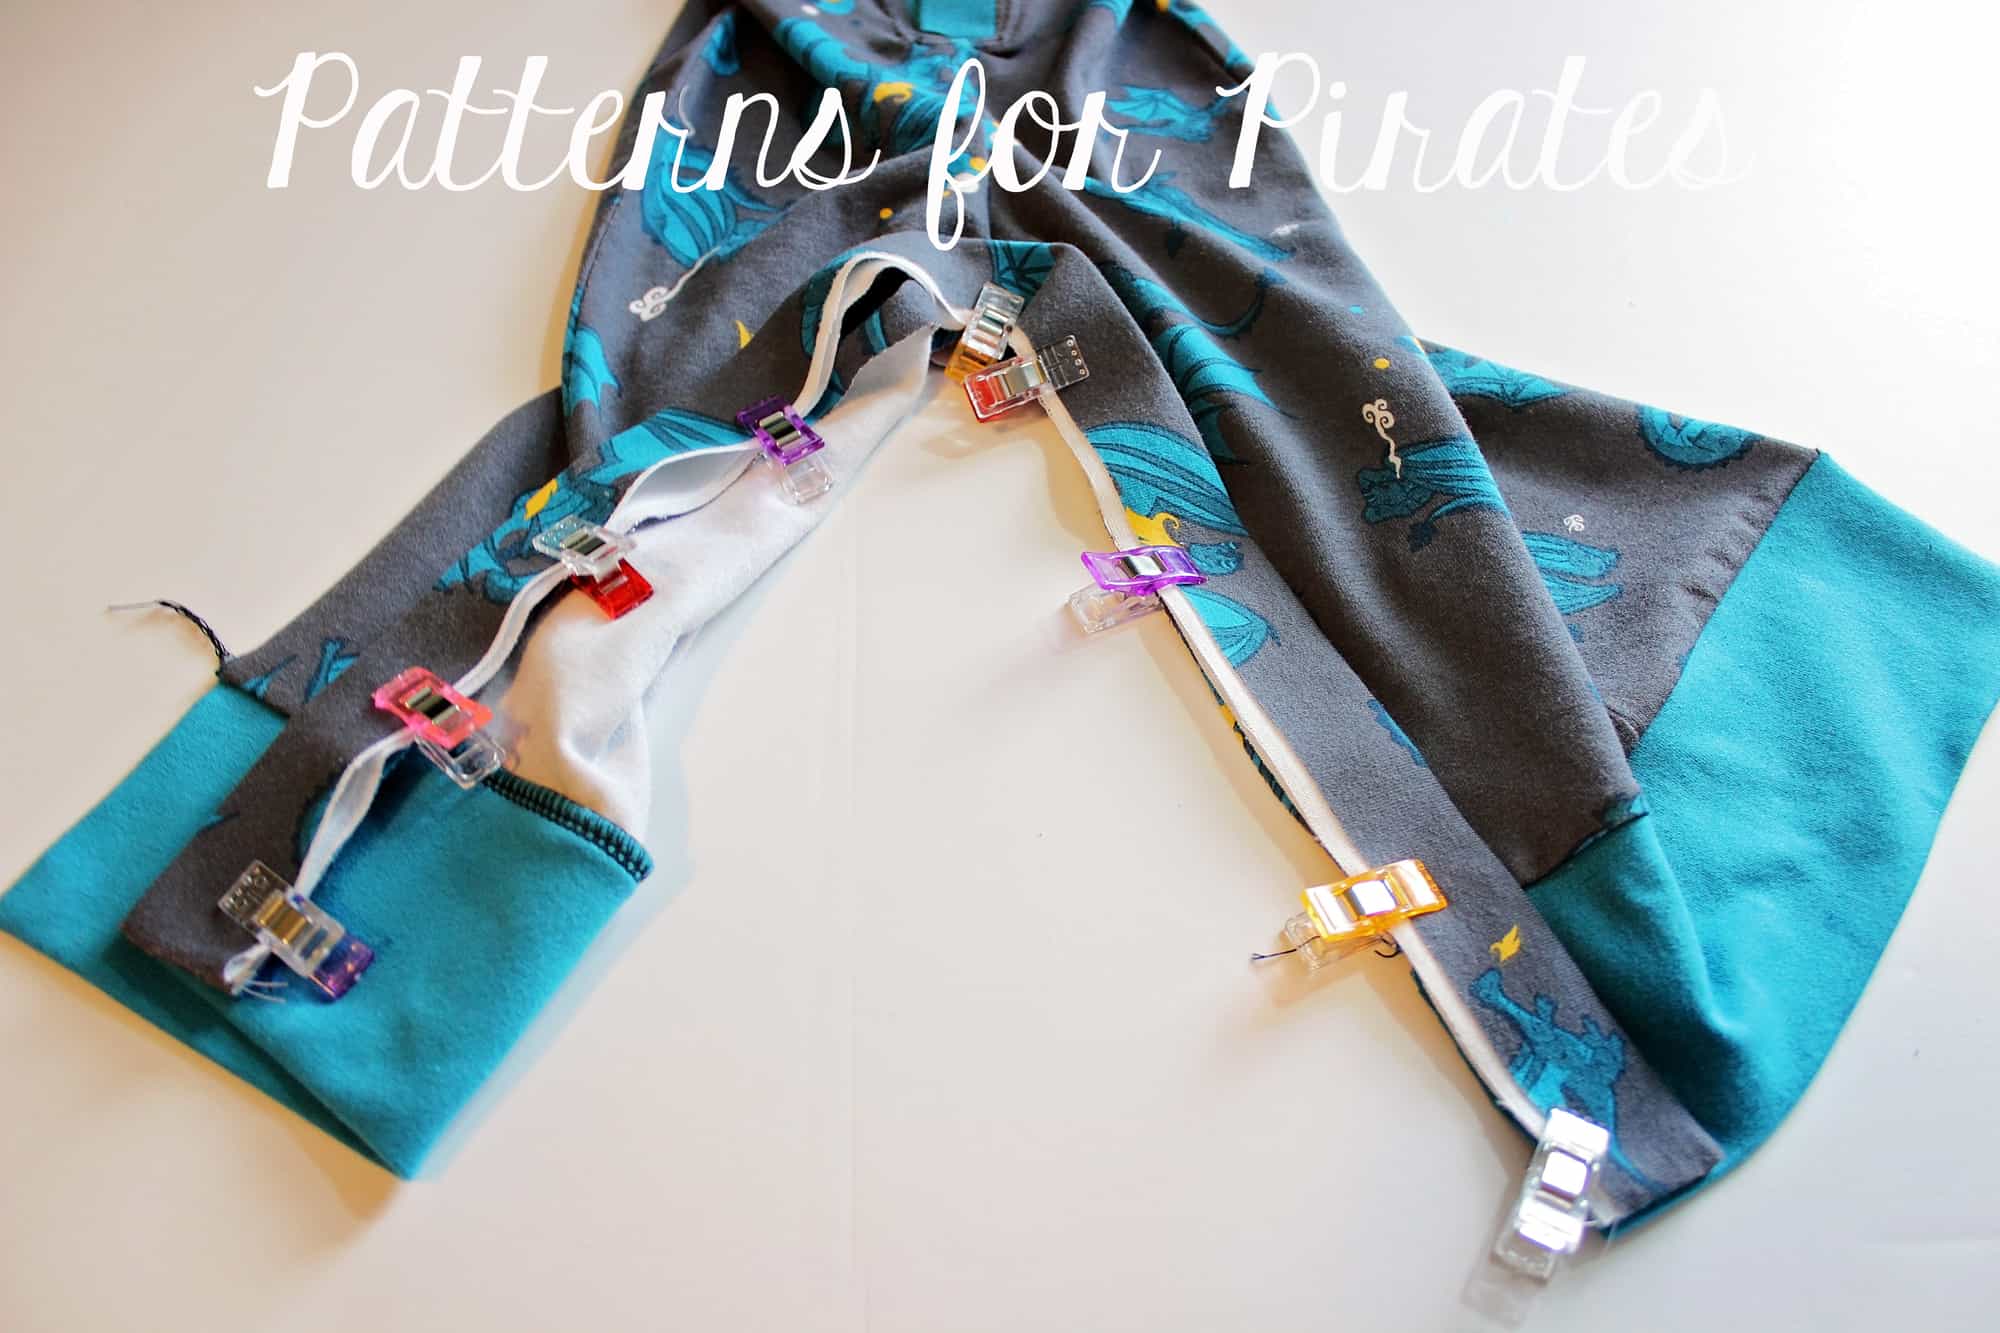
Pin each placket strip to the leg opening, making sure you match the front placket to the front opening and the back placket to the back.

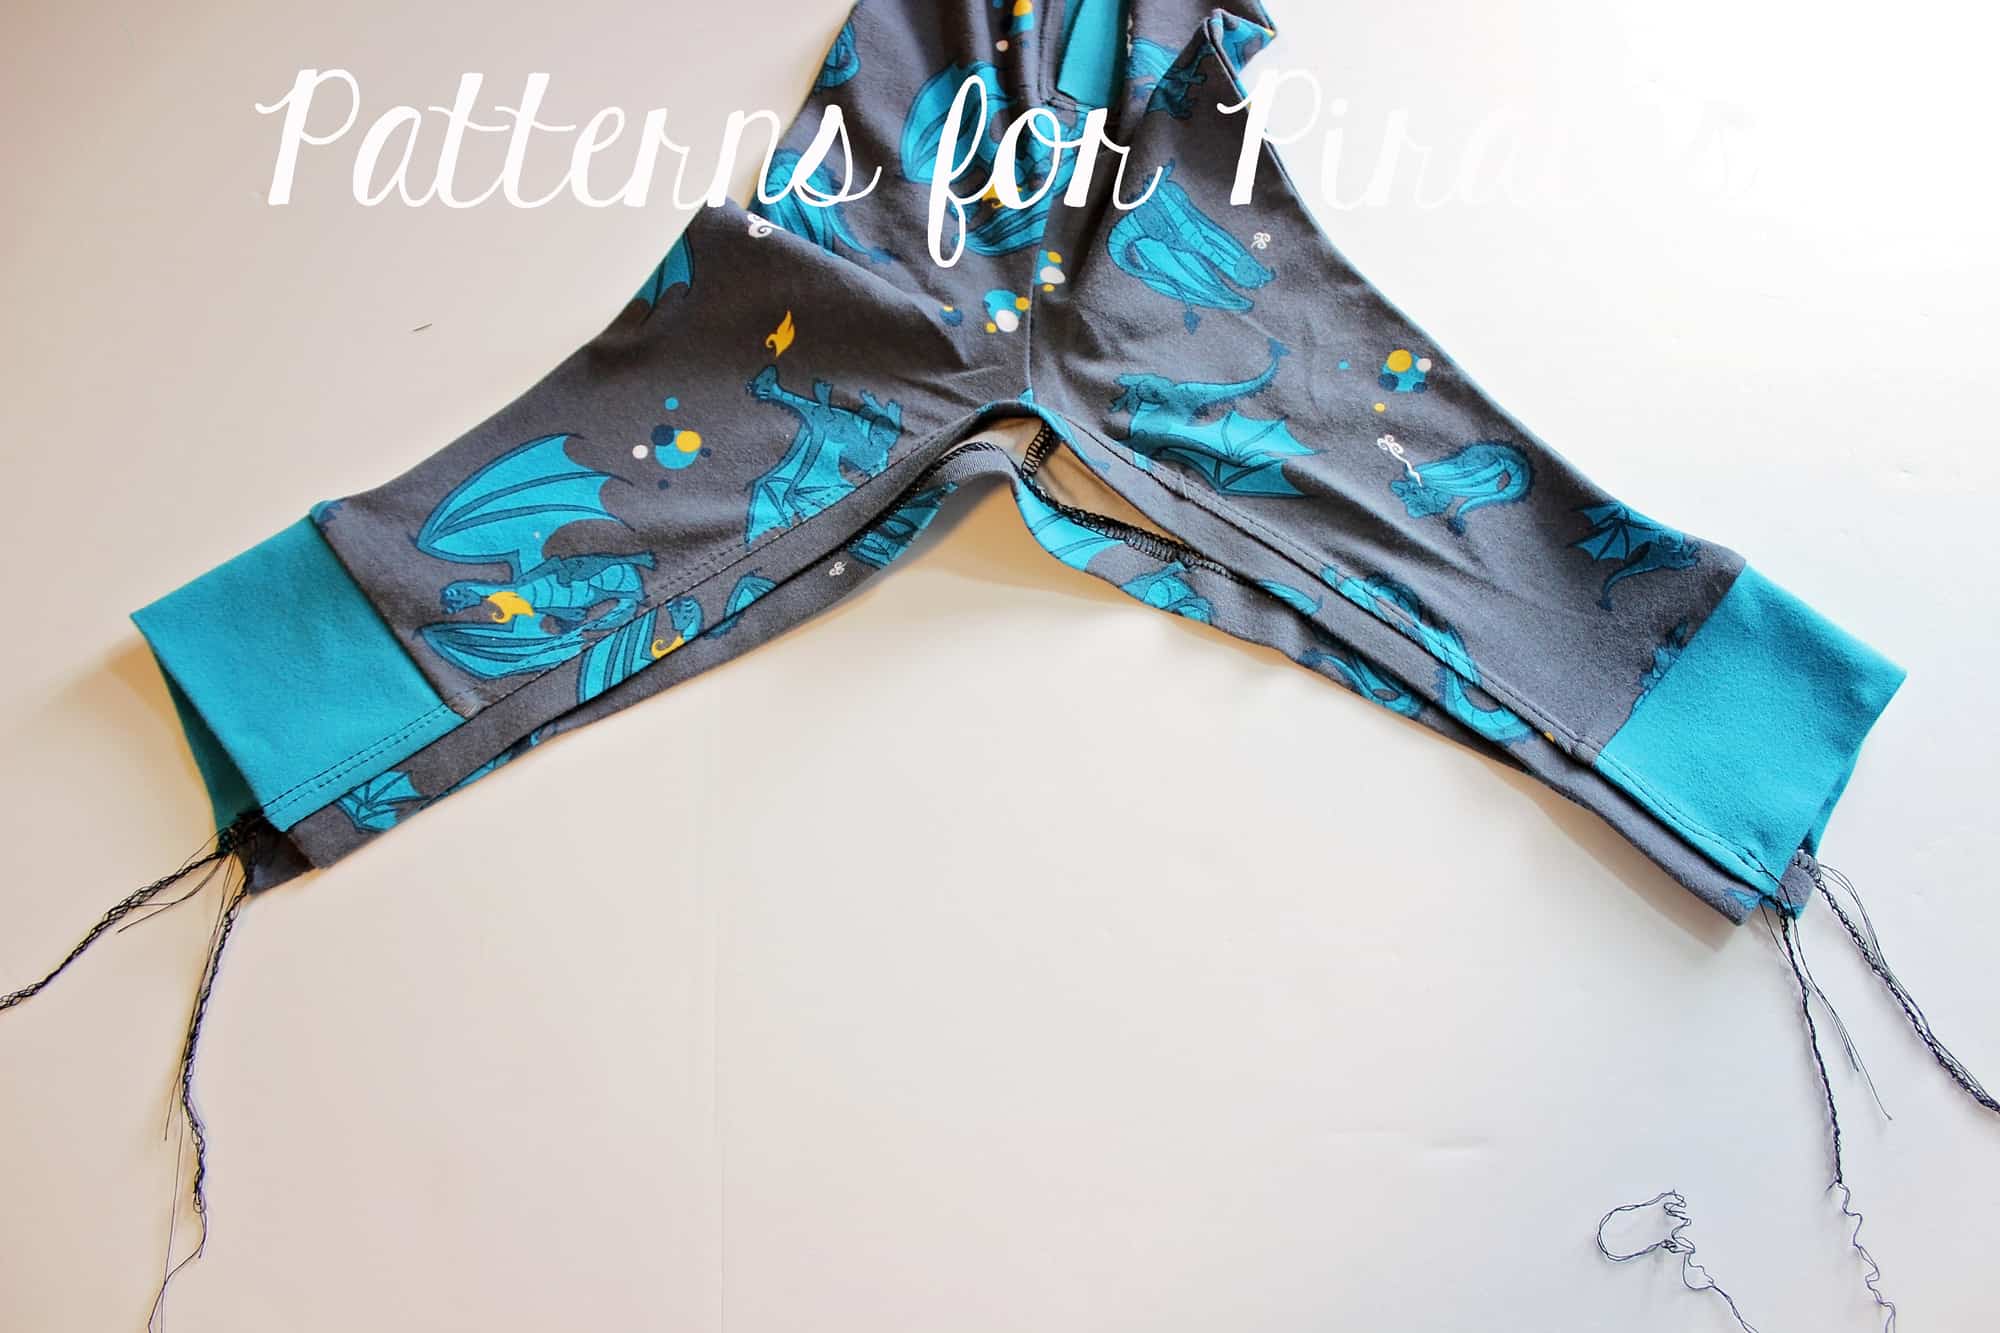
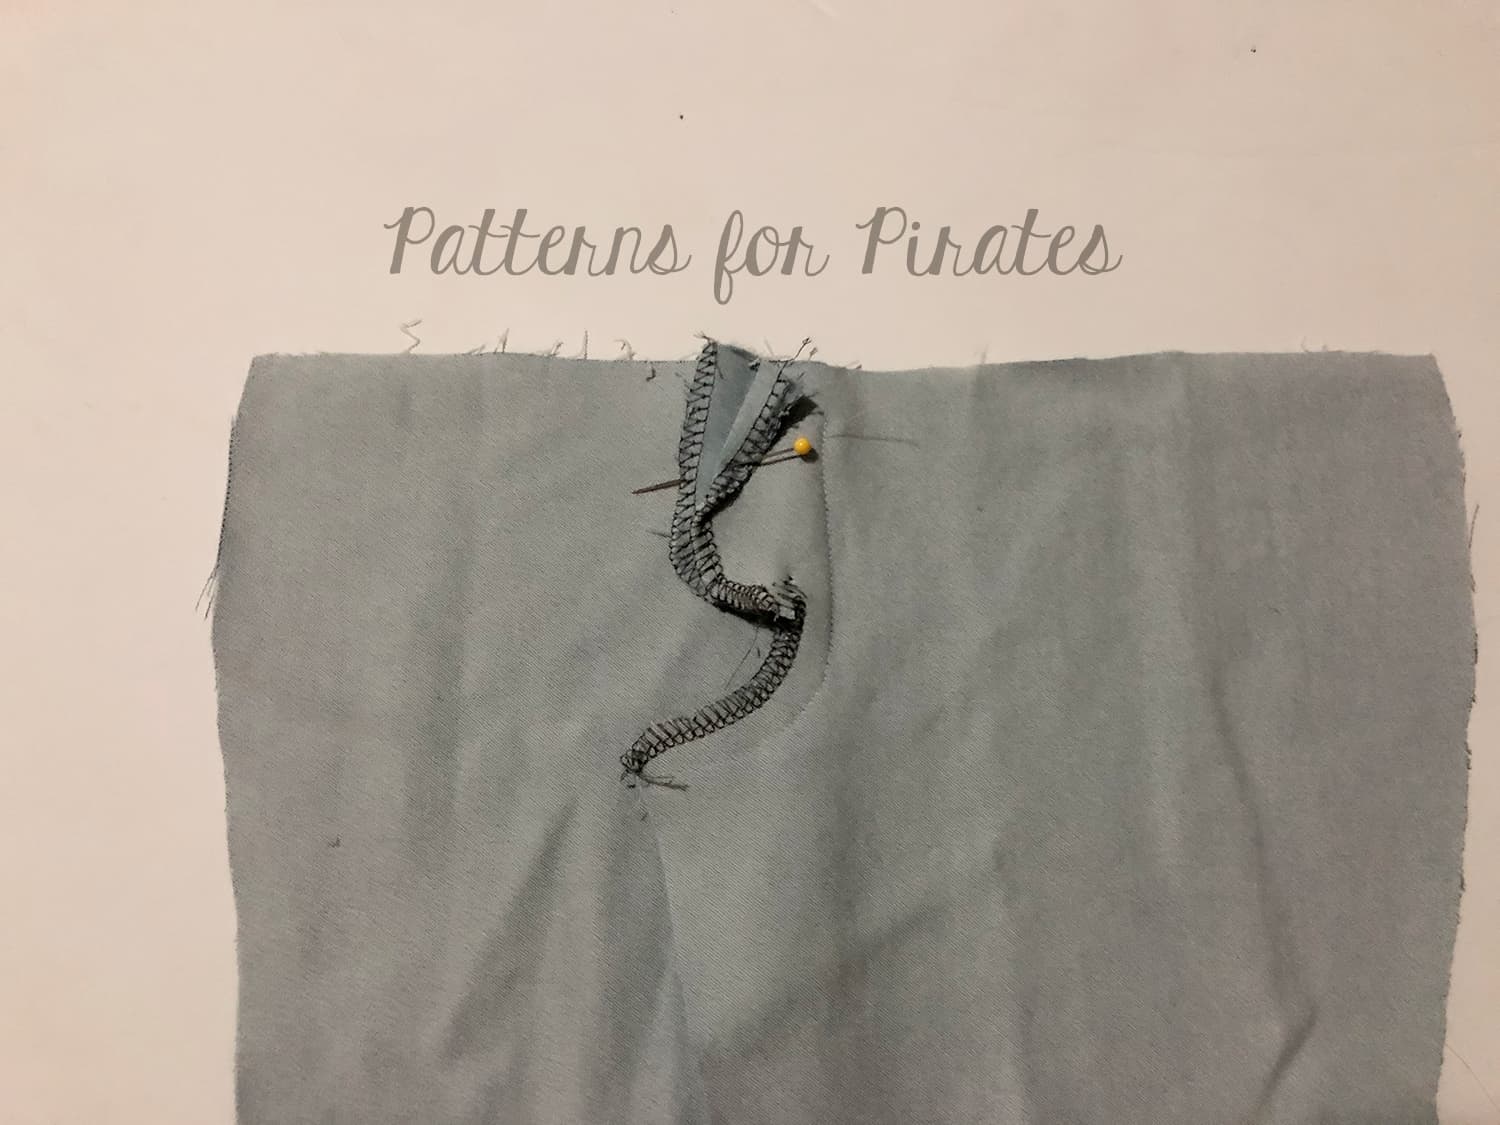
Stitch in place and top stitch. If you used a serger to add your plackets, take a look over this blog to see how to finish the serger tails.

All you have to do now is add your snaps. Space them about 1 – 1.5″ apart from each other.

All done! Now you have easy diaper change Sugar Spice Pajamas!

There you have it, 4 easy hacks to give your pajamas even more options! We can’t wait to see what your Naughty Nice and Sugar Spice Pajamas will be. Post your creations in the P4P group!

Alex, Nicole and Katy

Filed Under: Pattern Hacks, Pattern Release, Uncategorized 1 Comment

SOS Knit Pants -easy hacks

November 16, 2018

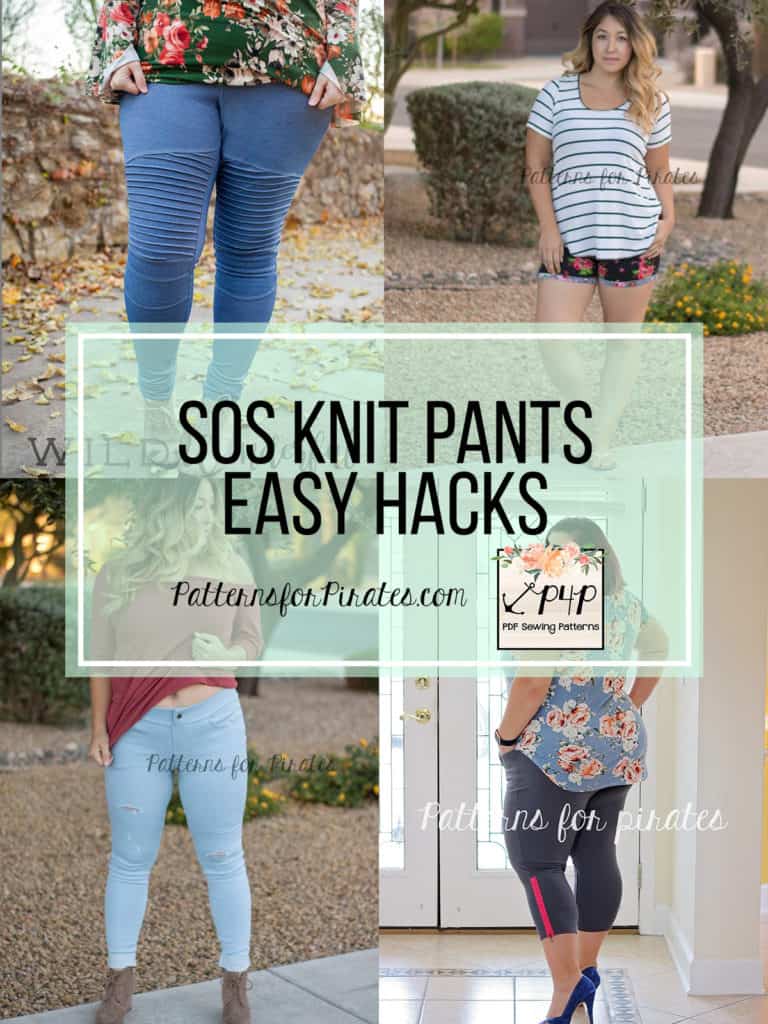
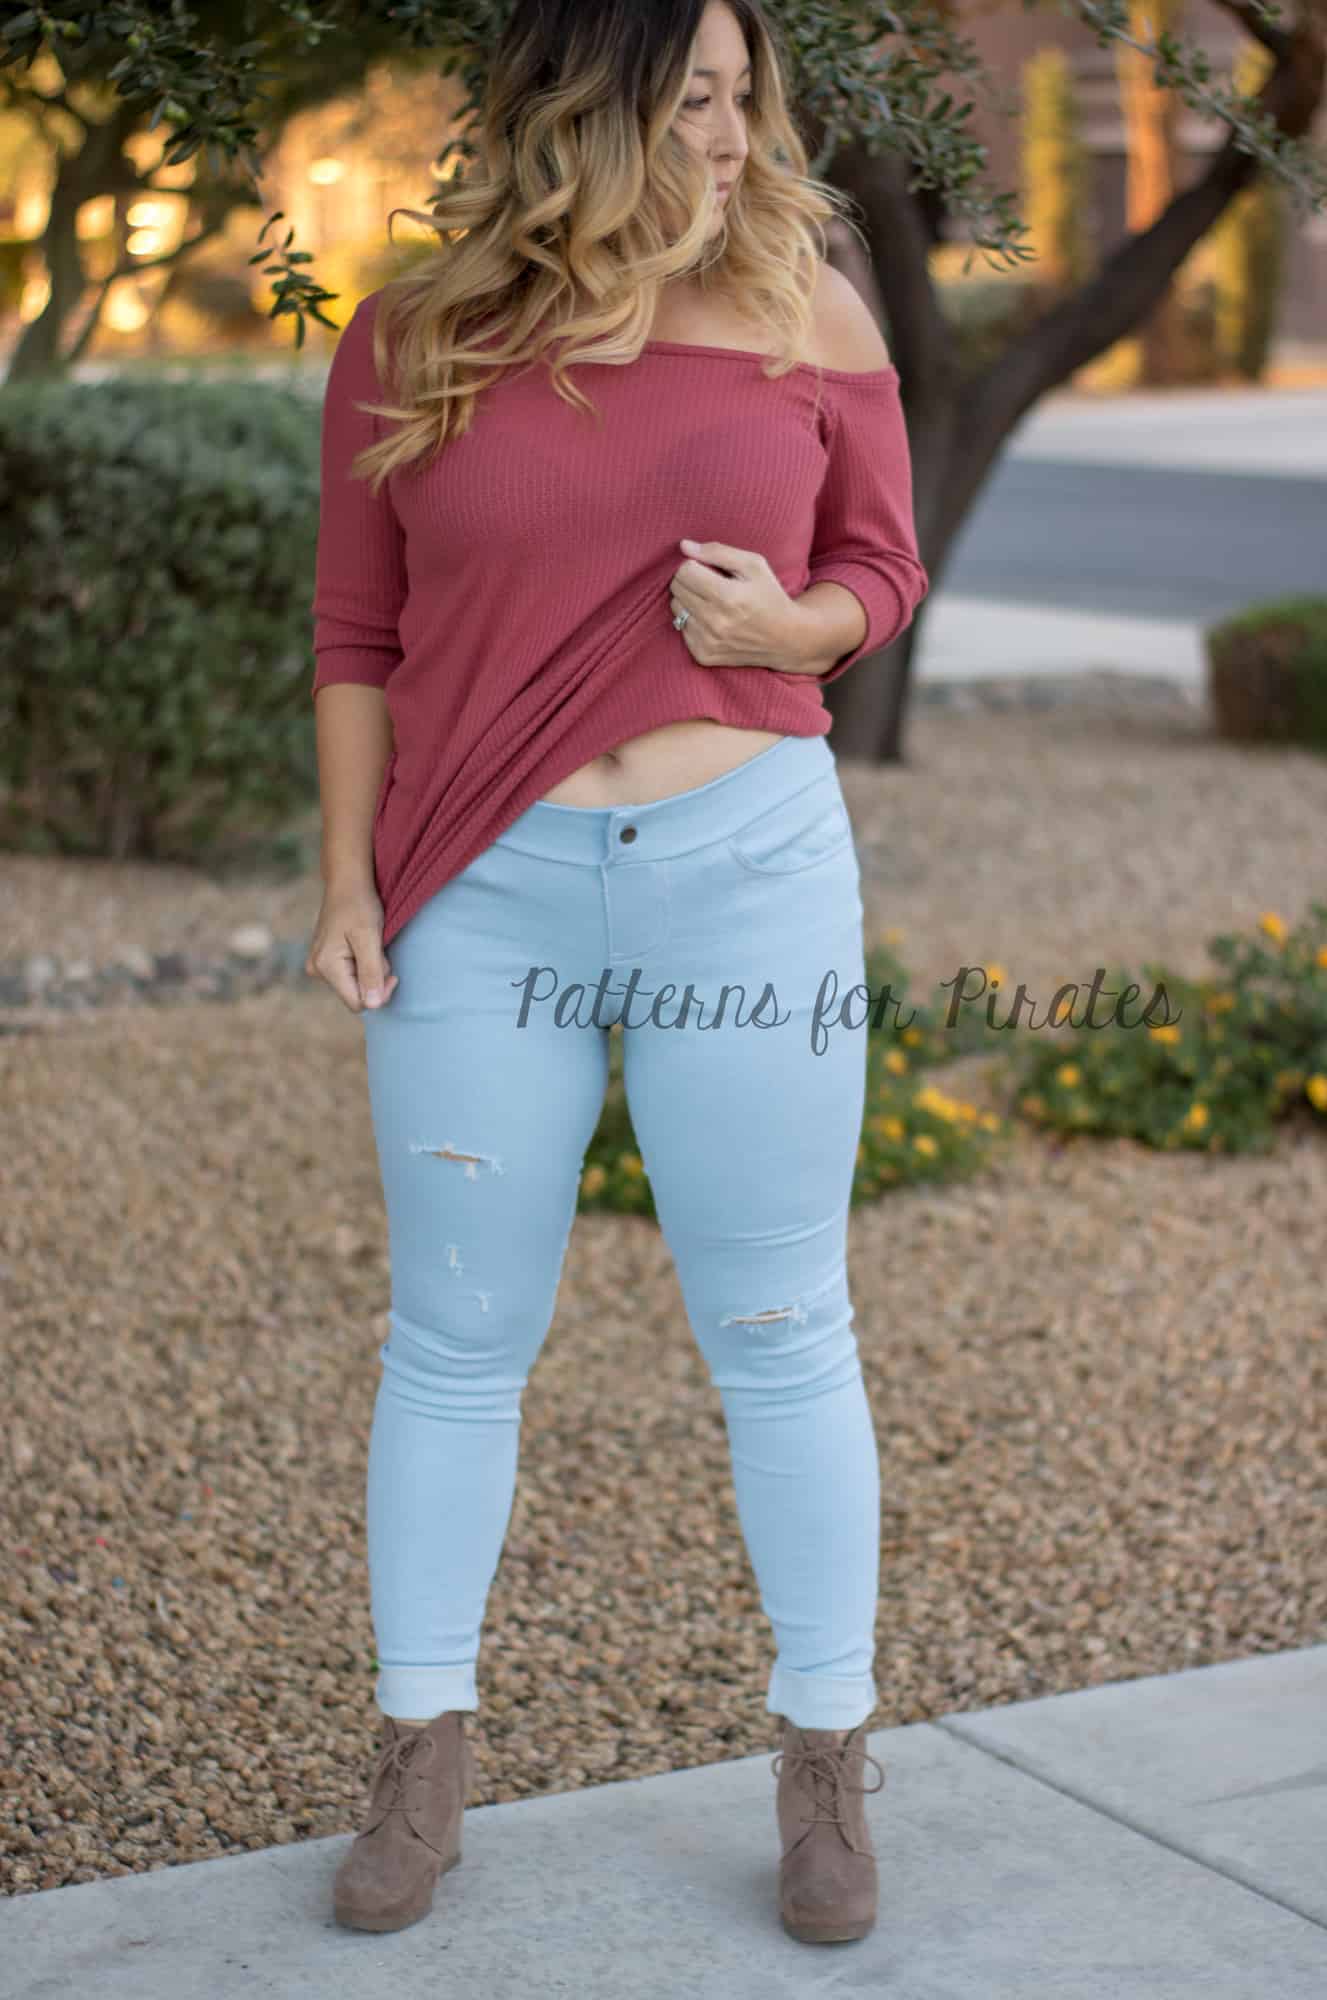
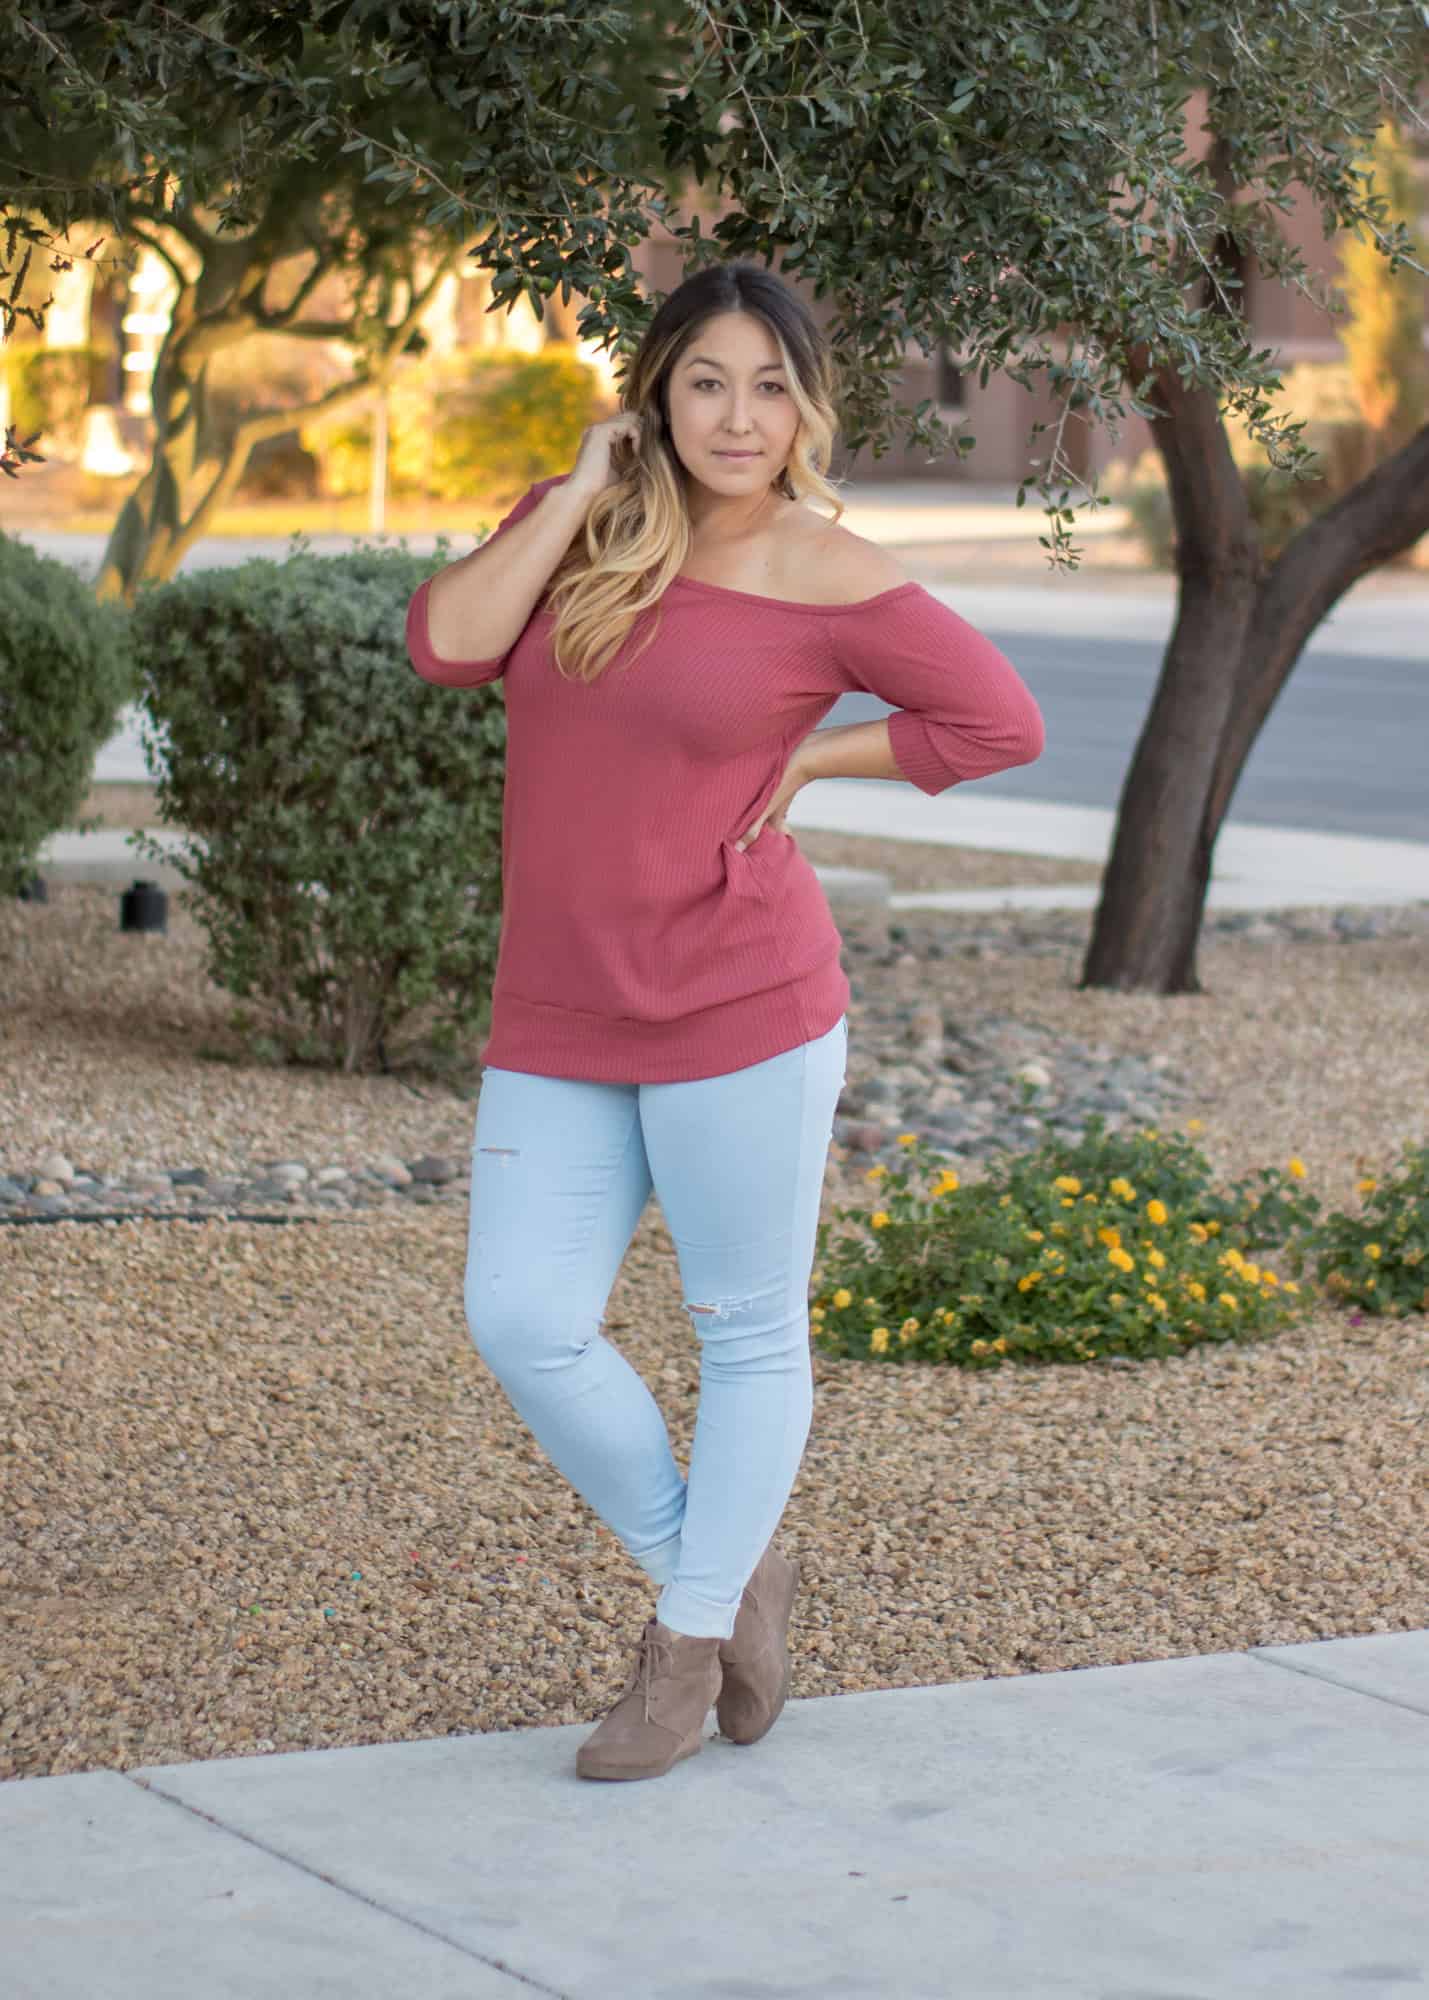
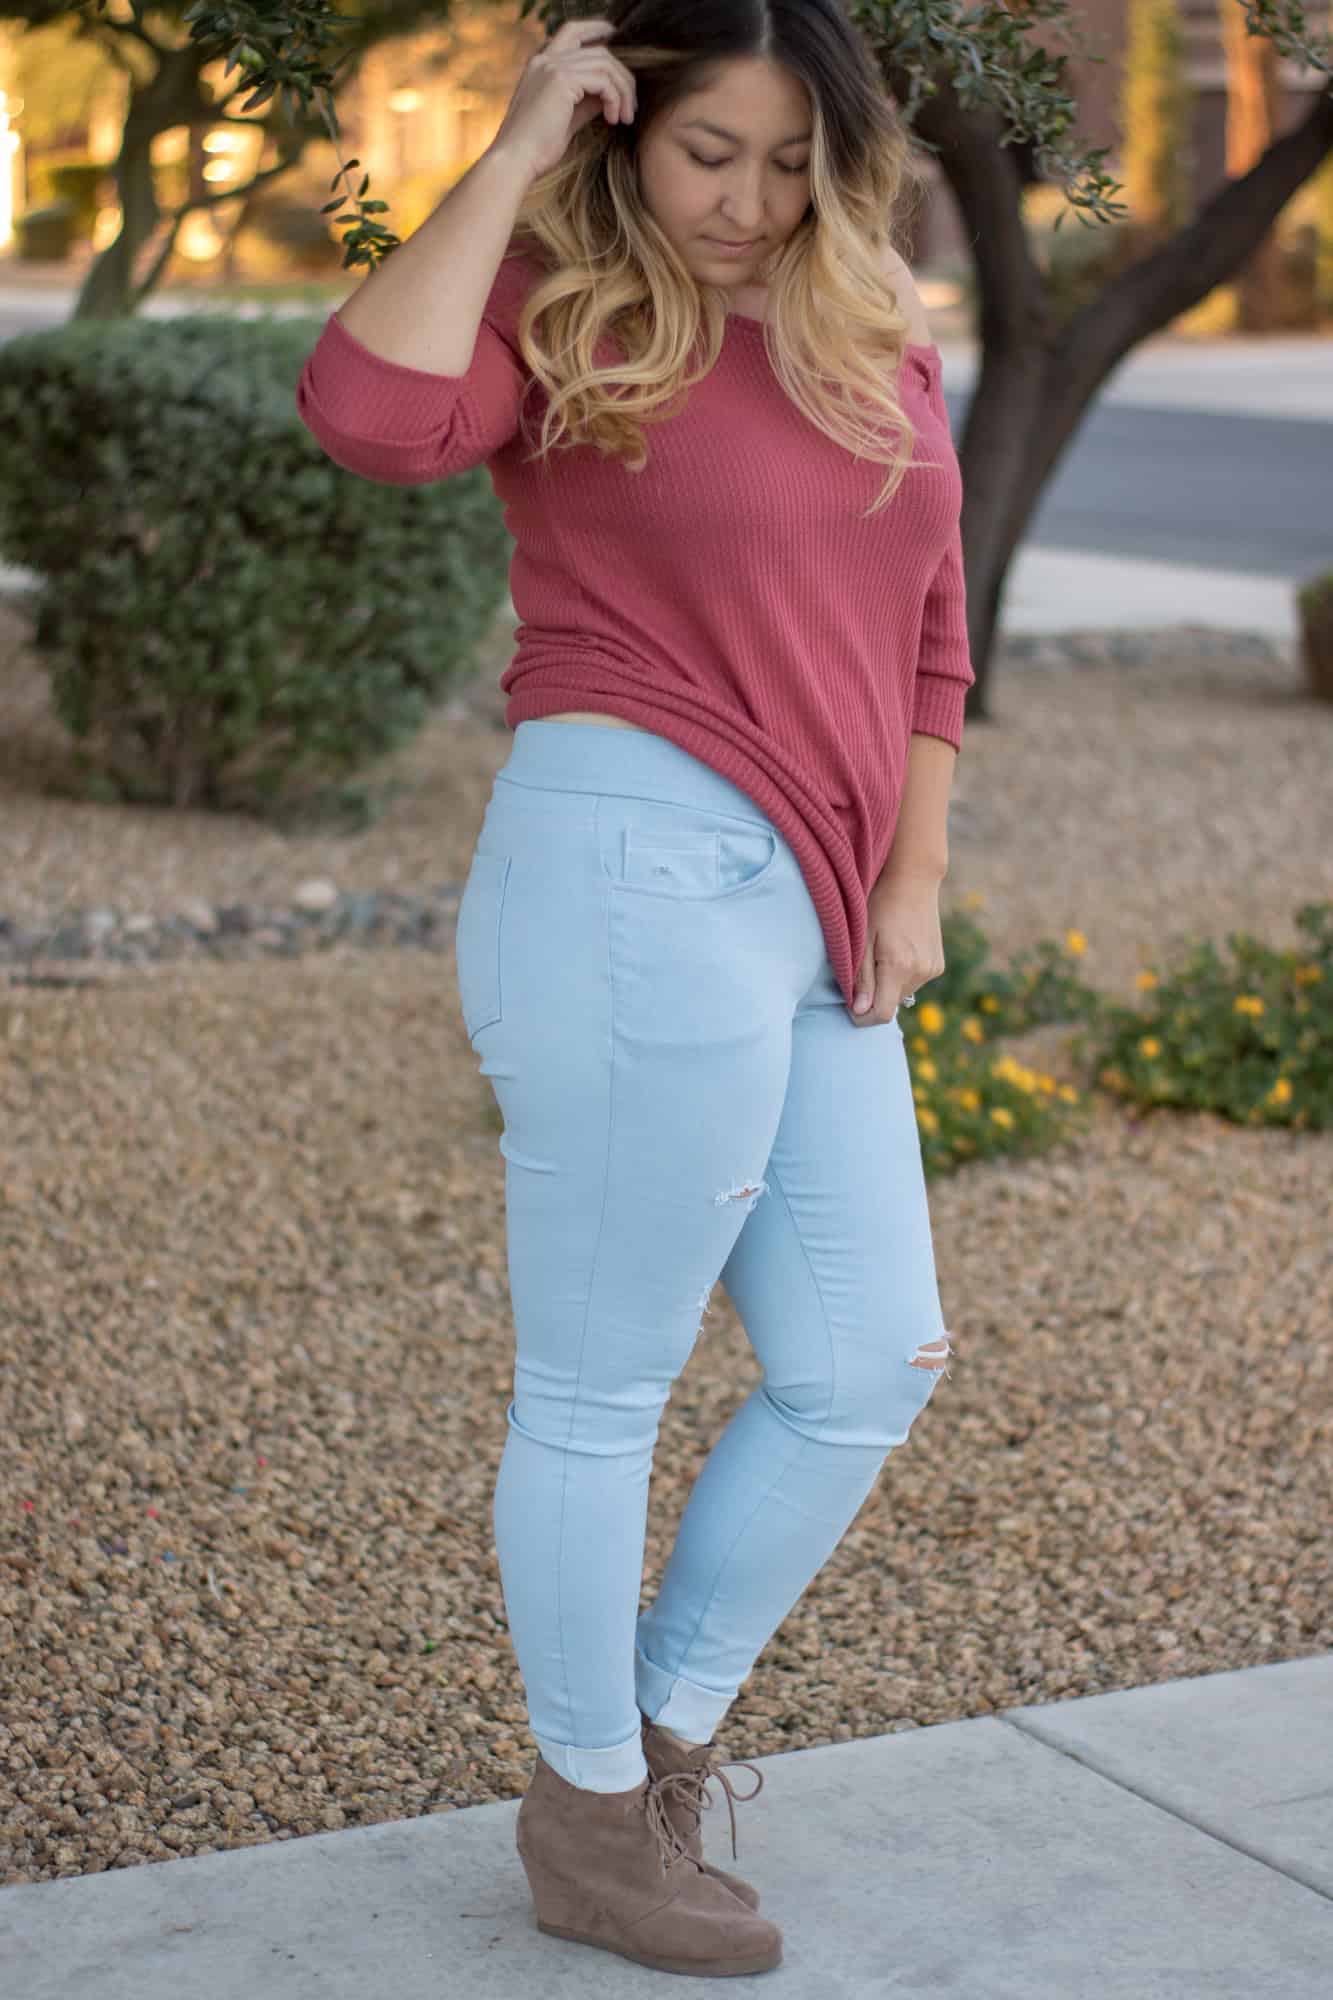
Not only did the SOS Knit Pants get a facelift but we also released the mini version and added a few easy hacks. Here are some of the P4P team’s favorite mods you can do to get even more looks.

…..

Moto Hack


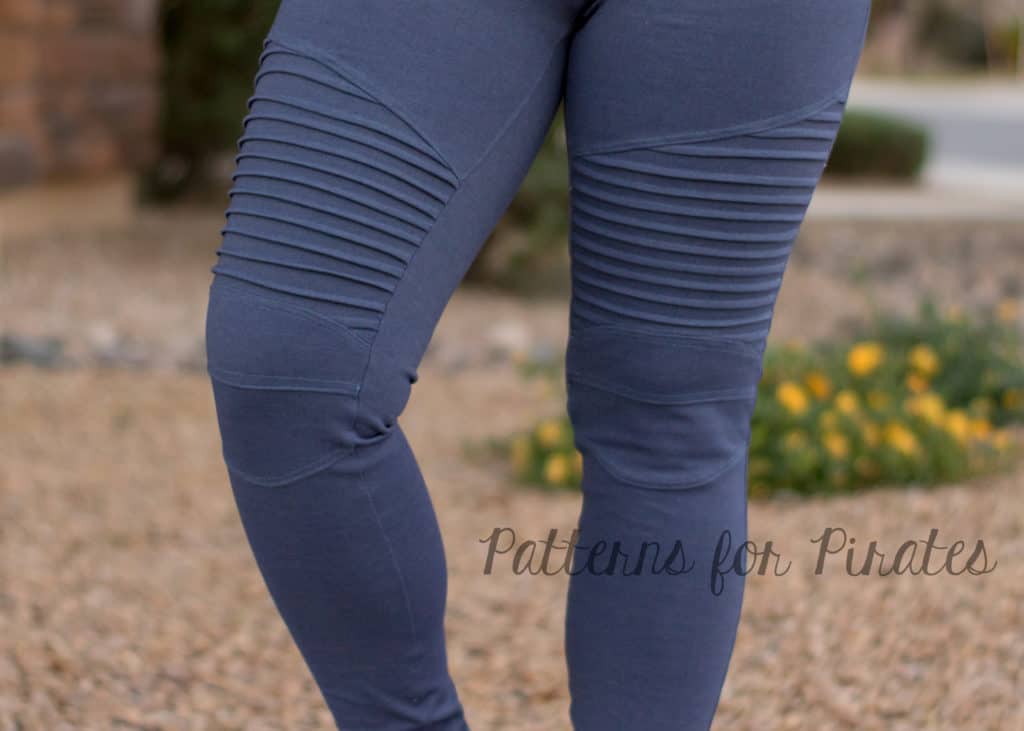
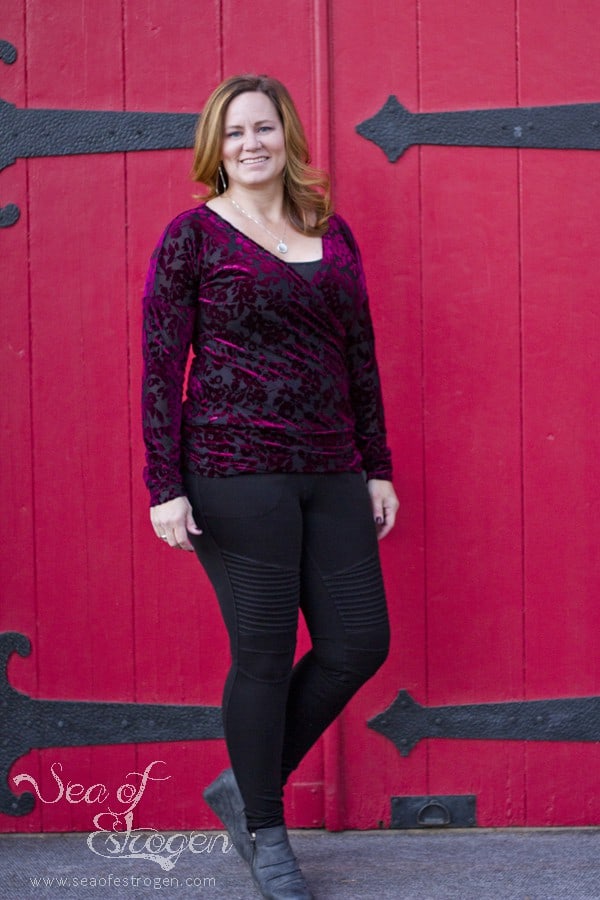
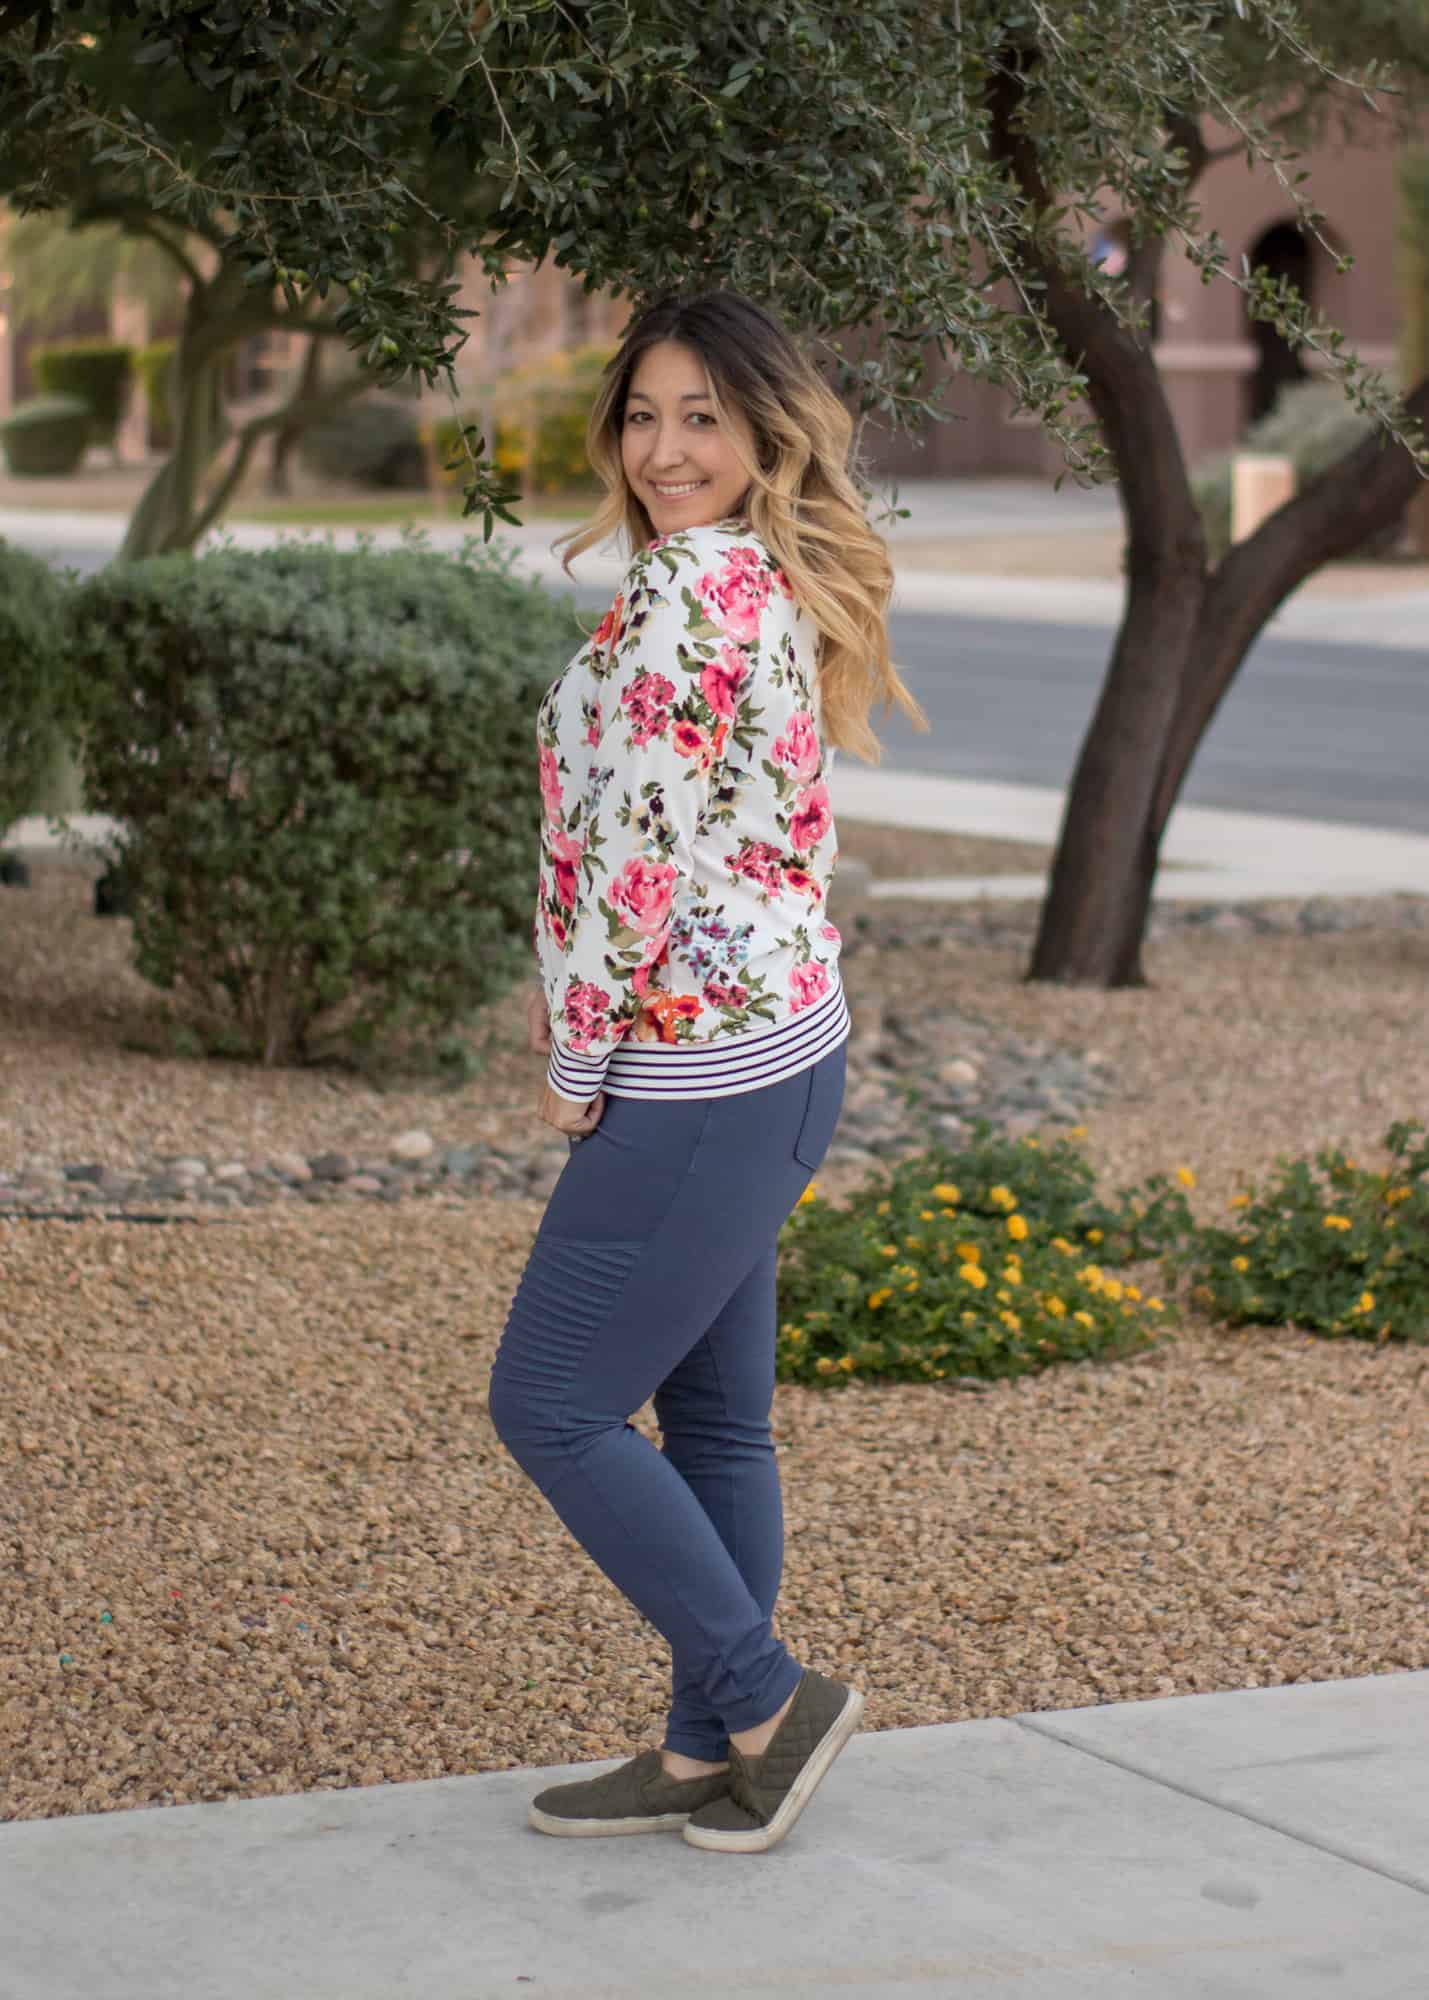
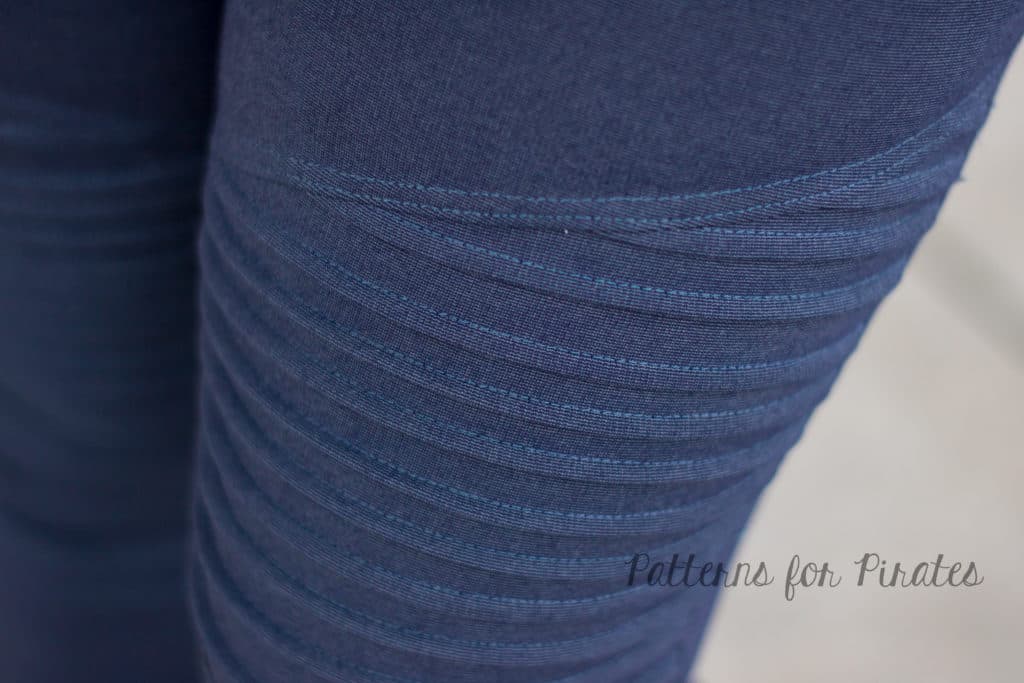
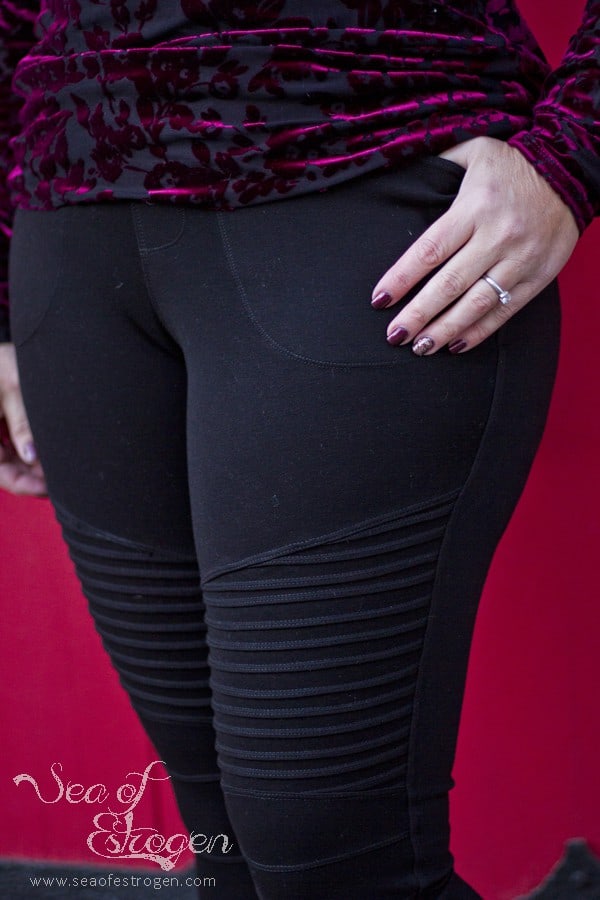
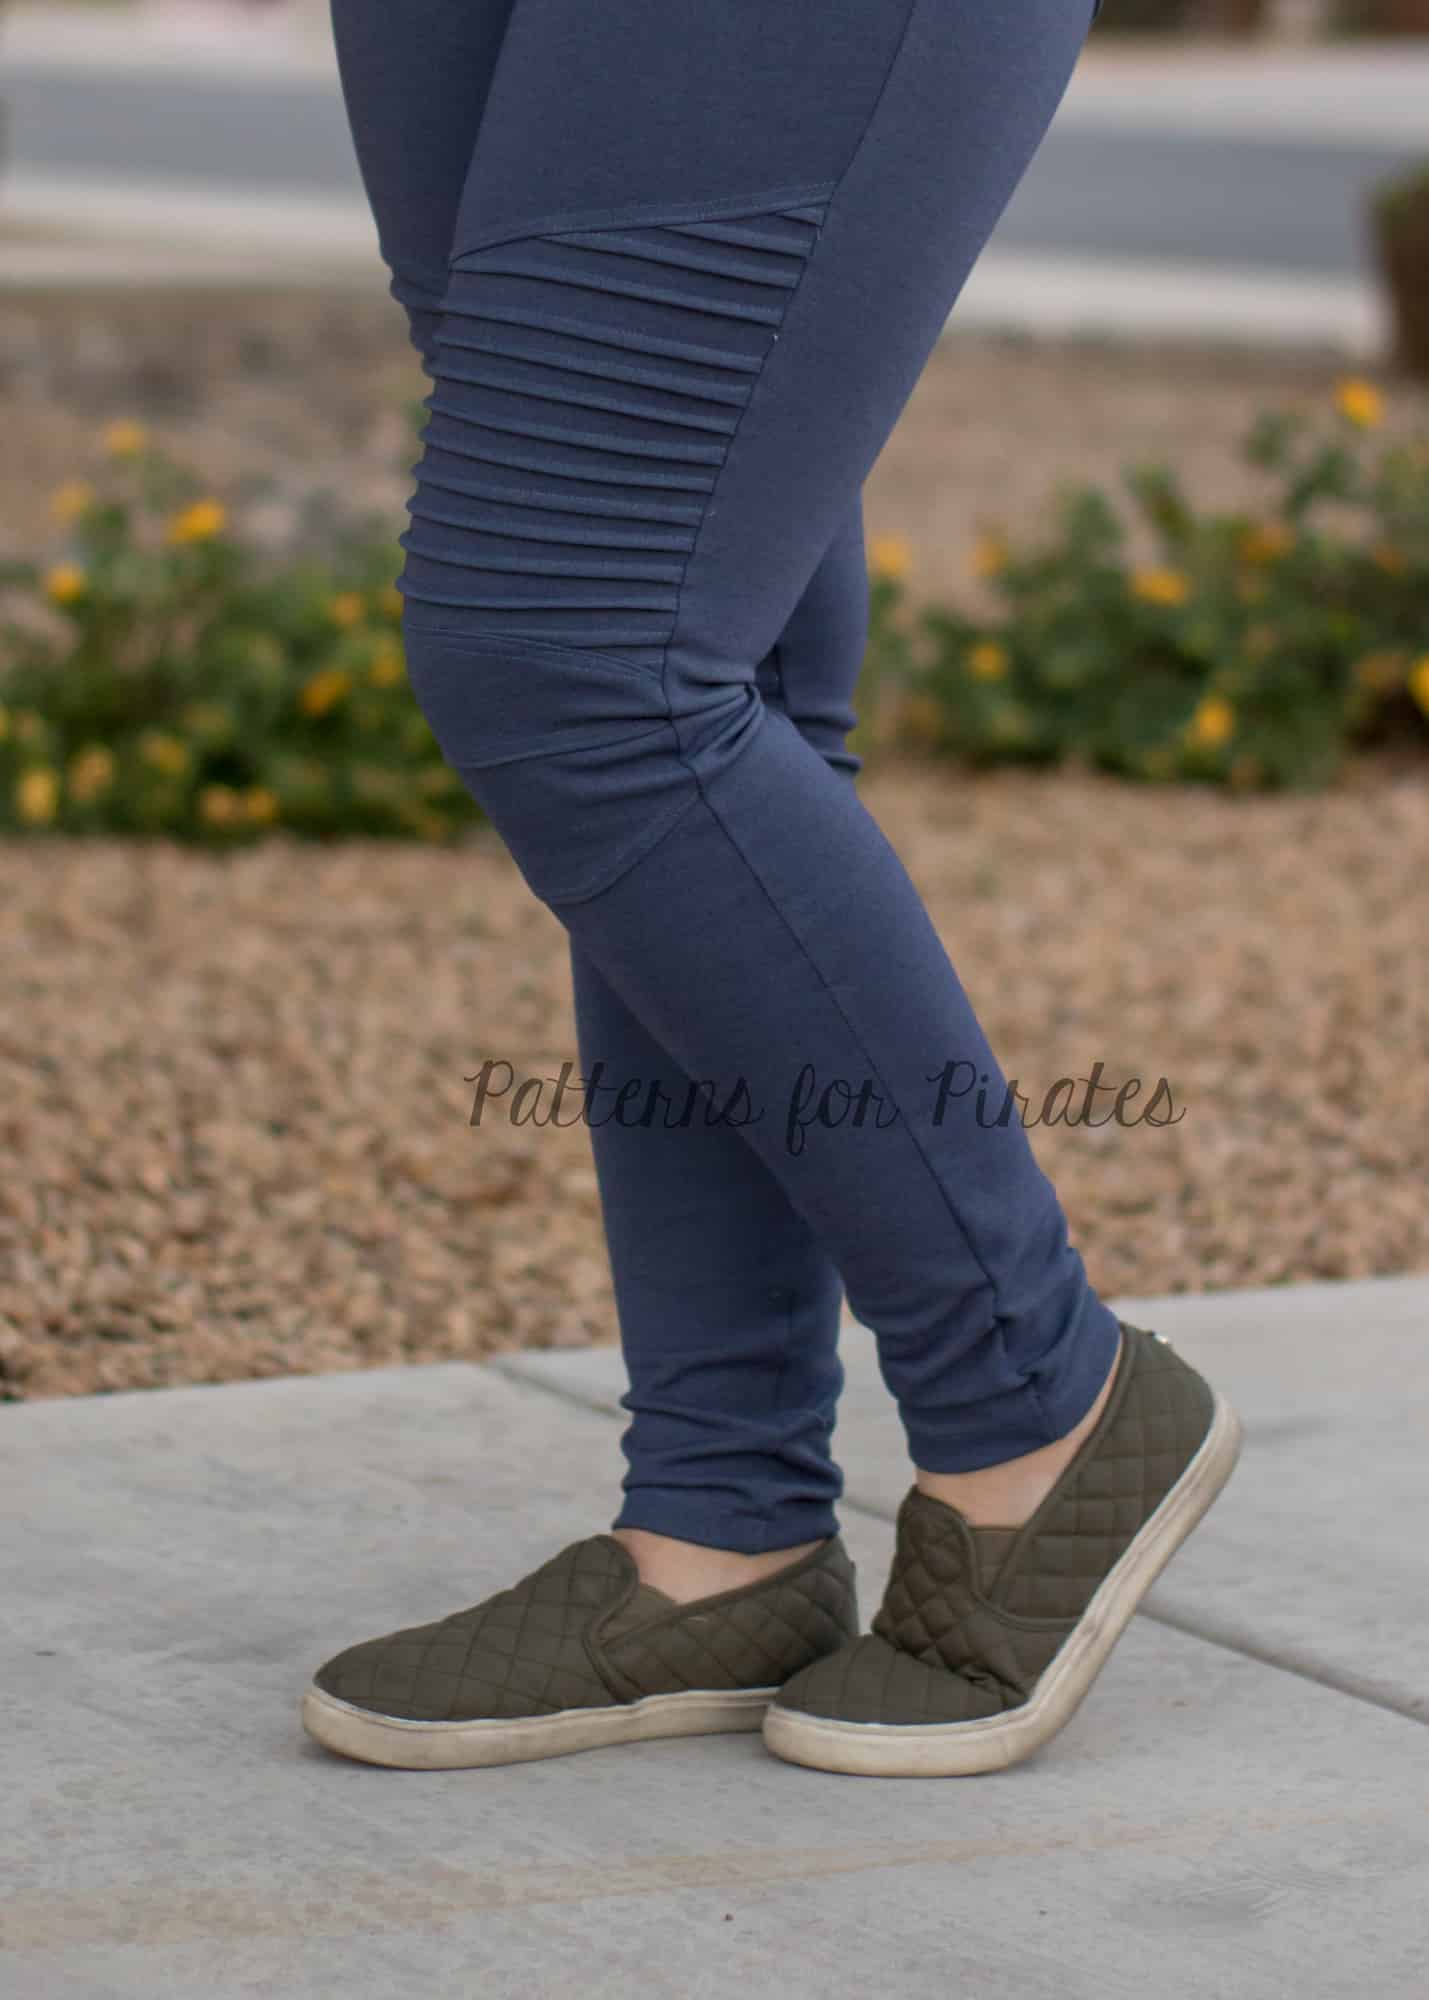
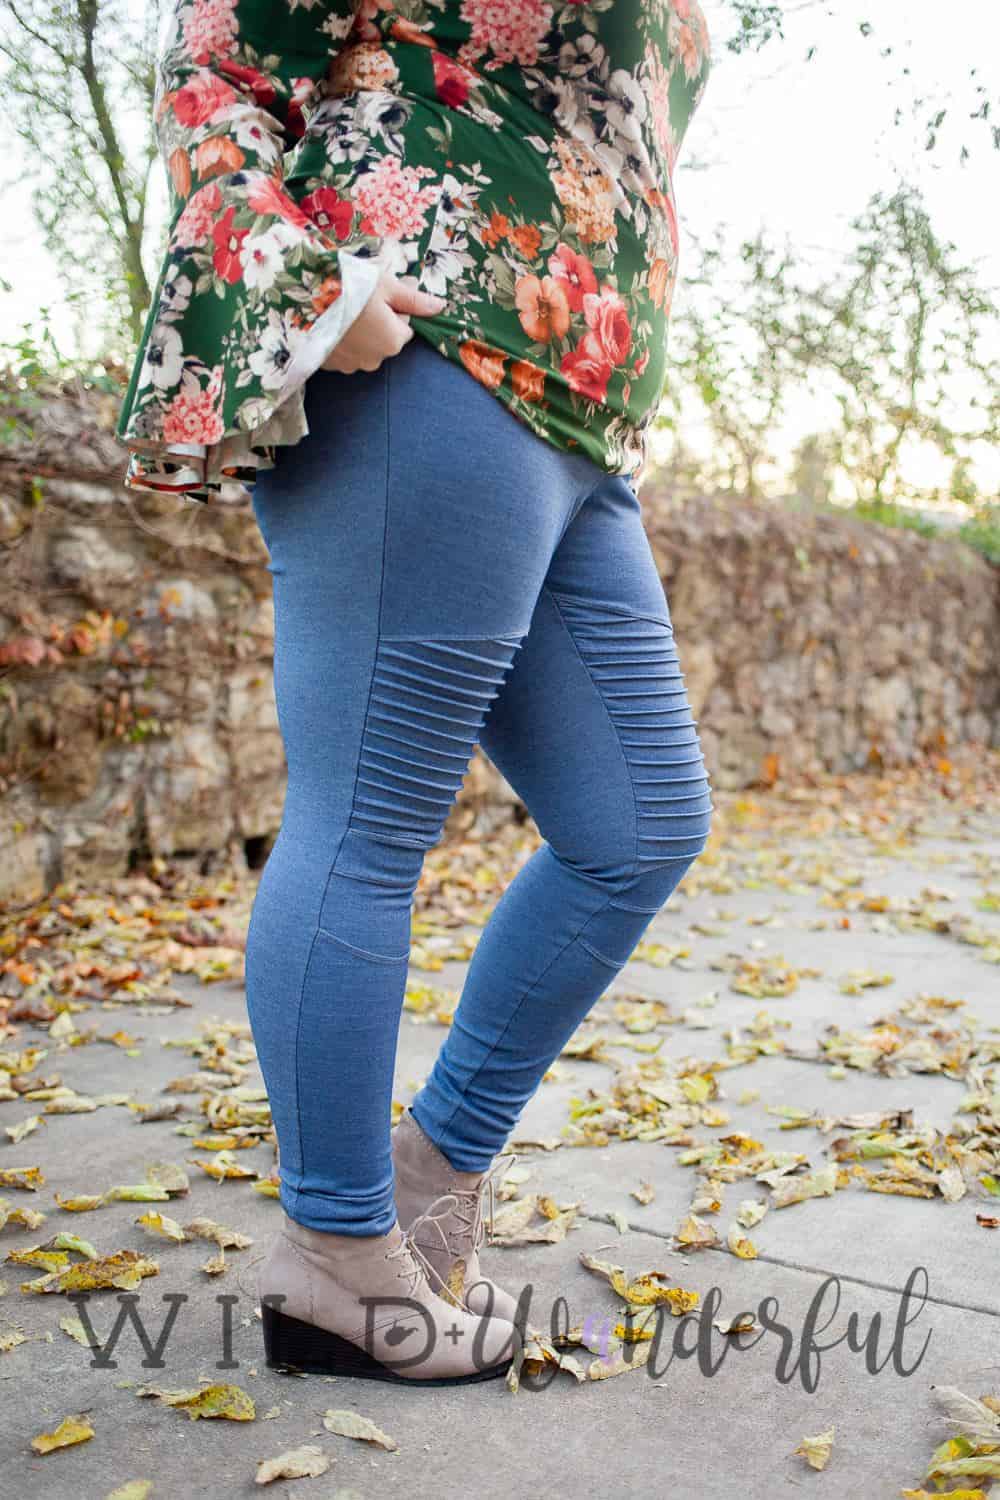
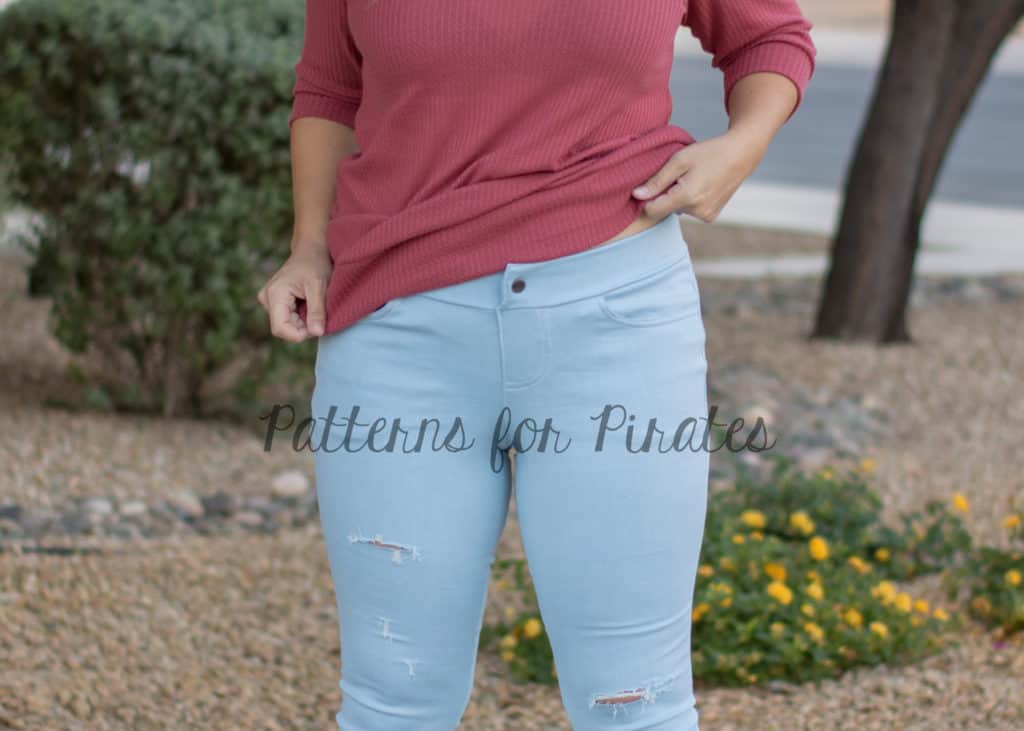
The SOS Knit Pants have been around awhile and there seems to be a never-ending request for a Moto style option.  With the revamp of the original pattern, we thought, what better time to take the Moto for a spin.  Rather than trying to make you figure out the pieces on your own, we decided to provide a full step by step tutorial, including pattern pieces…for FREE!  You can “purchase” the Moto Hack HERE.   These are definitely not a “quick-sew”, so be prepared to spend some time stitching all those pin-tucks, but seriously… how amazing are the final results!  (This is for the women’s version only at this time but don’t worry…we plan on releasing the same hack for the girls’ soon!)

Jeggings


…..

Contour Waistband

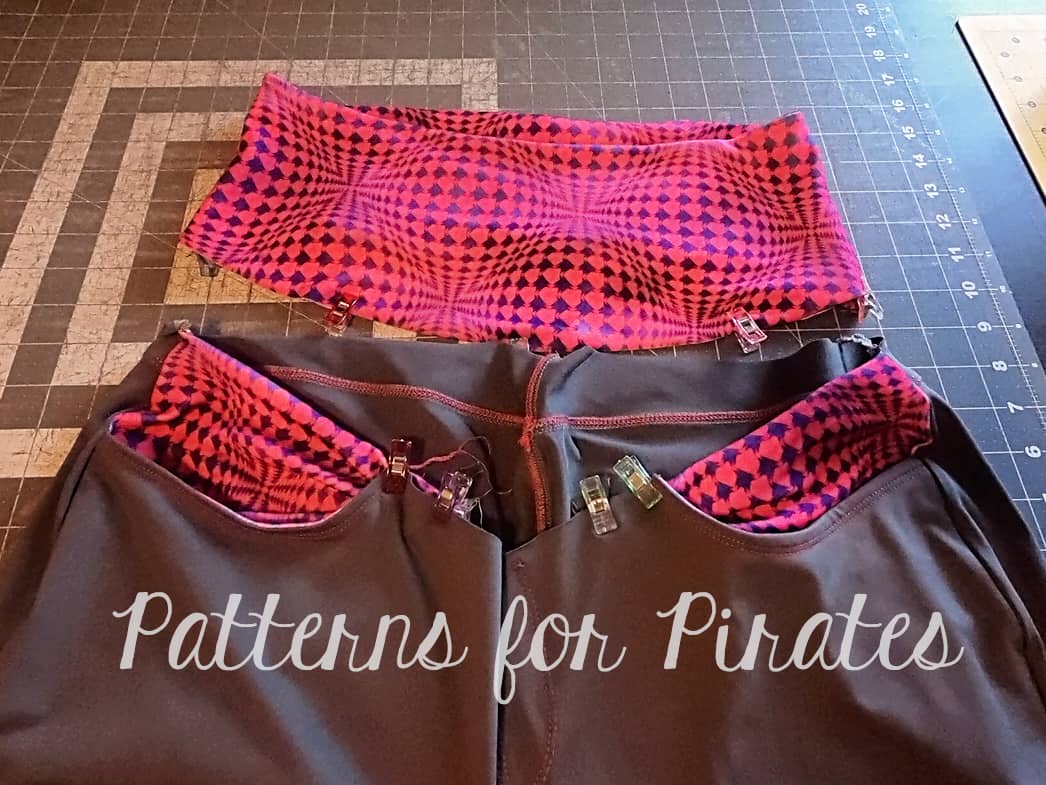
Admit it, you’ve been thinking about using the Peg Legs contour waistband that’s included in the free Add-On with all our pants patterns, haven’t you? Well, I have, so I wanted to show you how easy it is to replace the SOS elastic waistband with the contour one.

Cut your SOS Knit Pants fabric pieces without the elastic and the knit waistband. Print and cut the contour waistband included in the Peg Legs Add-On. Sew the knit pants and the contour waistband as instructed in their respective tutorials.

Tip: If you would like the extra tummy control you can add a layer of power mesh in between the lining and the main fabric of the contour waistband.

For my contour waistband, I used custom brushed poly so it is pretty thick. The lining is the same fabric so I did not add any power mesh.

Attach the contour waistband to the SOS pants the same way you would attach it to the Peg Legs.

Tadah! All done. All you have left to do now is enjoy your new contour waistband SOS knit pants.

Note: please note that the rise on the contour waistband SOS will finish a little higher than the original pattern.

…..

Shorts


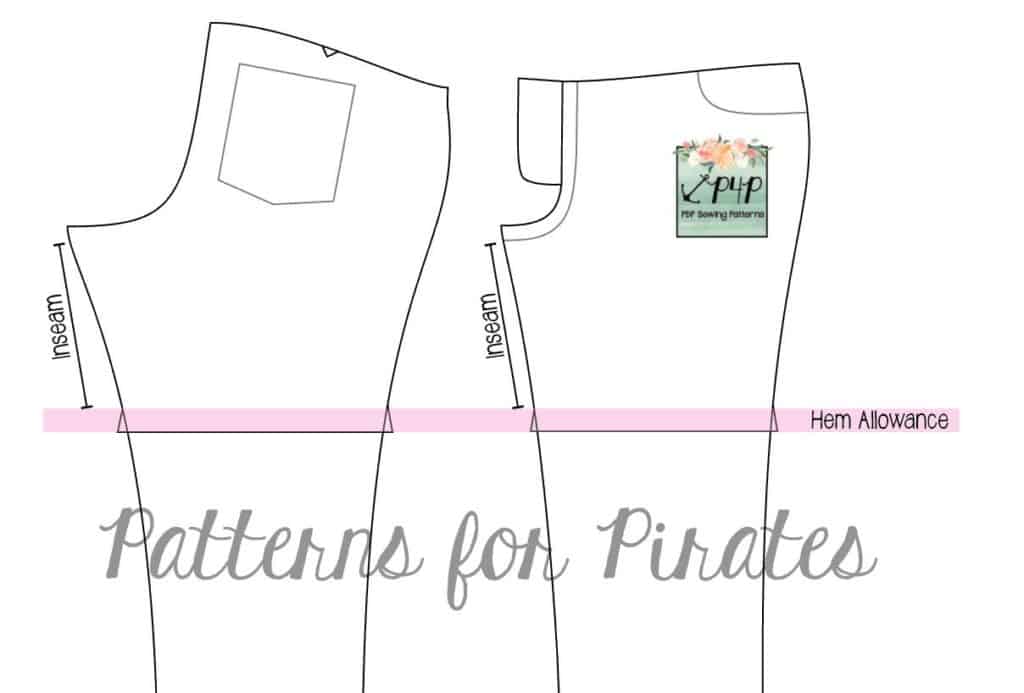
SOS Knit Shorts is one of the most popular requests and probably one of the easiest modifications.  Determine your desired inseam and preferred hem allowance.  I chose to keep the 1″ hem (1/2″ folded twice) as shown in the pattern and a  5″ inseam.

Measure the length of your inseam, starting 1/2″ from the pattern line (for seam allowance) to your desired length.  Draw a horizontal line across the leg for both front and back.  Now that you have adjusted your inseam length we will make our hem gauge for the hem. Cutting the outward notch will allow the hem to lay flat once folded.  The angle of the gauge should be a mirror image of the seam just above it so that when its turned under it will lay flush.  Again, my hem allowance is 1″, if you choose to do a narrower or wider hem, you will want to make your hem gauge to match the same length of your hem allowance. This is super easy and can be done both skinny and straight leg options.  Now, you can customize your pants to any shorts length!


…..

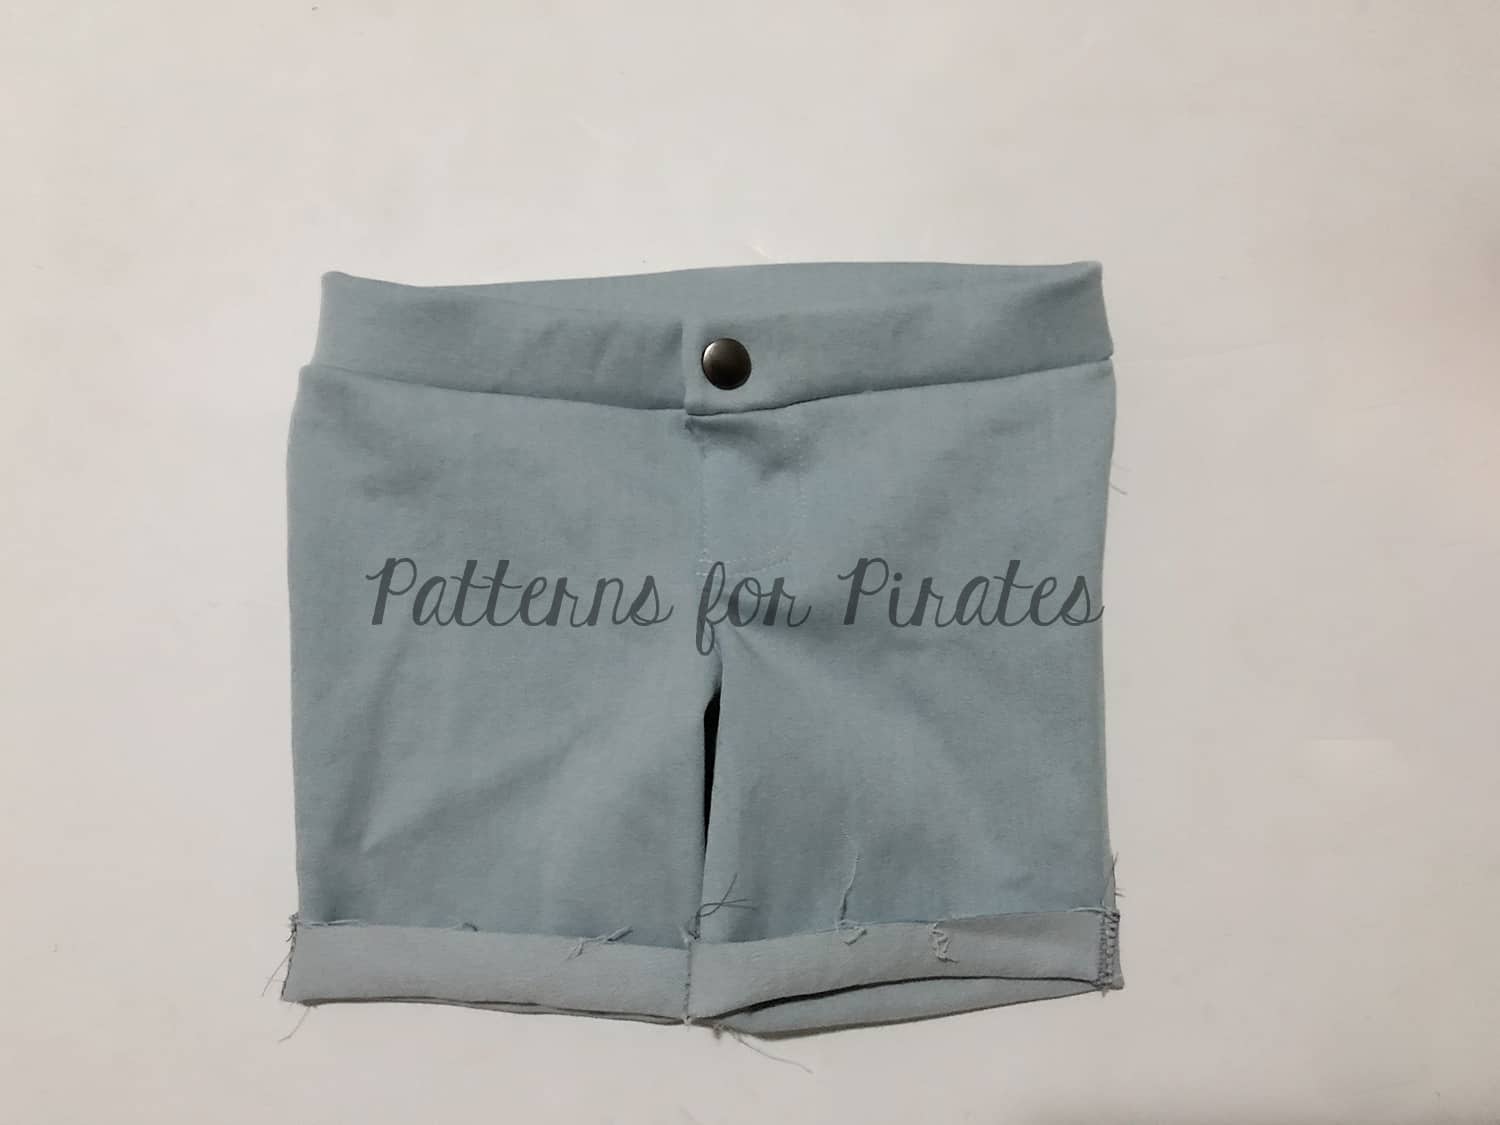
Button/Snap Waistband


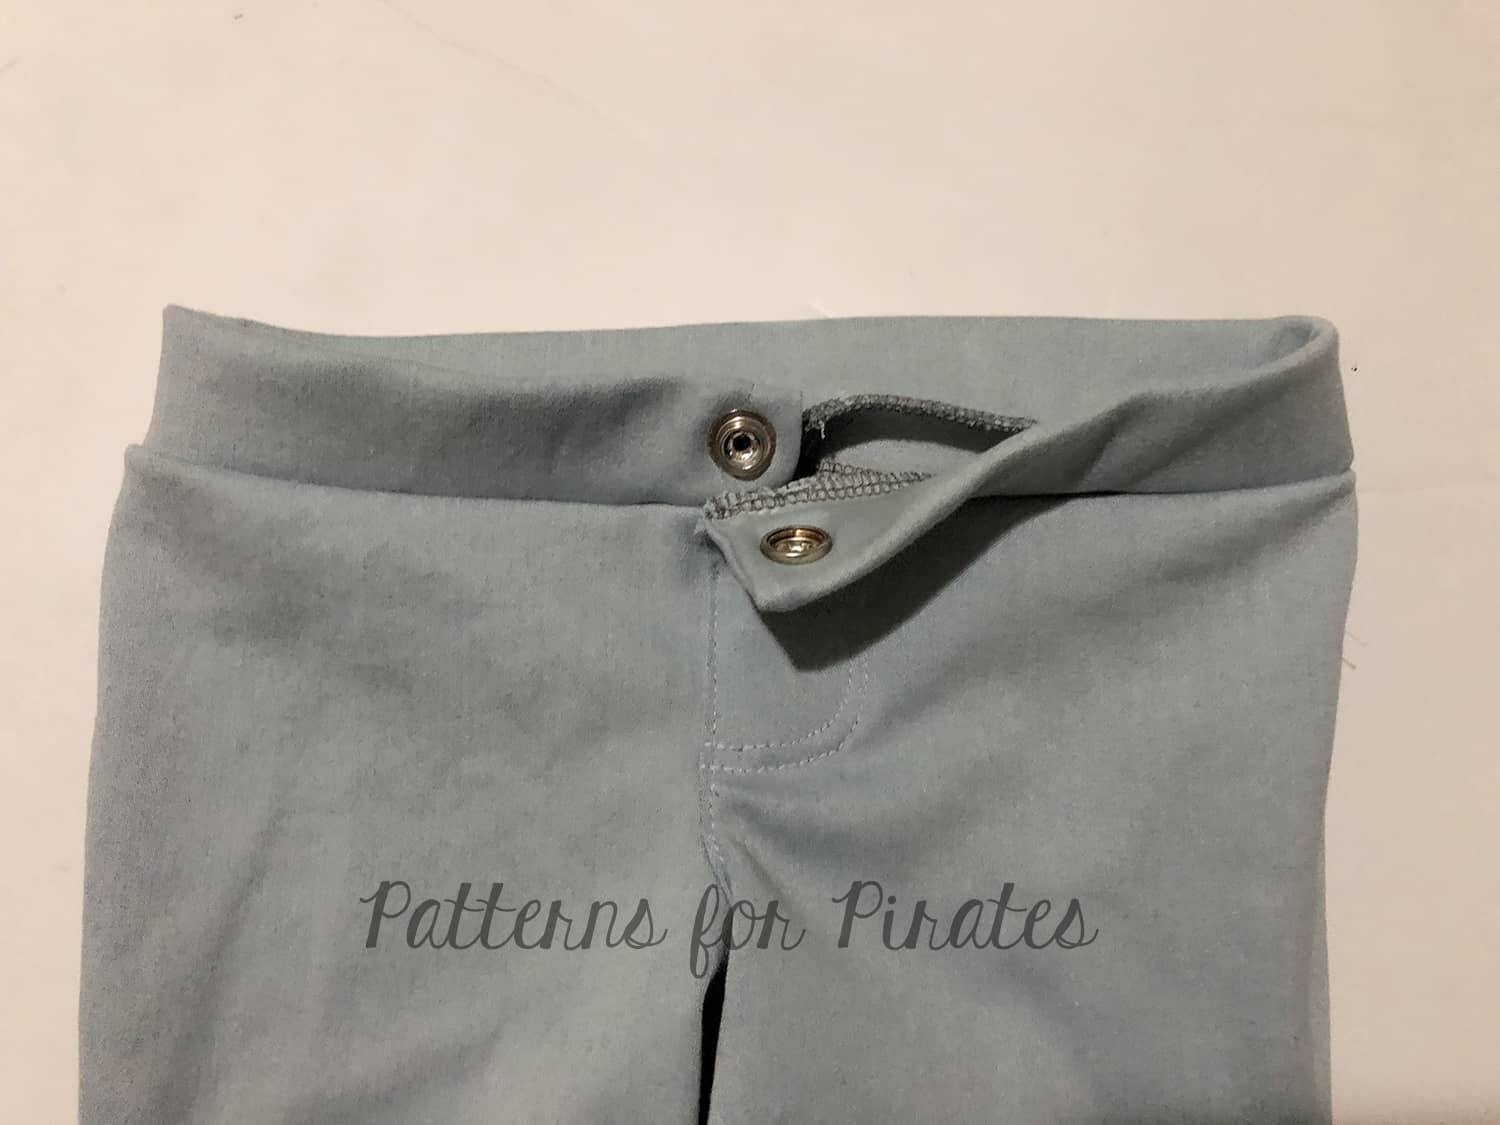
Most of the time, everyone raves about a “jean” with an elastic waistband that was accomplished with the SOS… I mean, other than leggings or sweats, what could possibly be more comfortable and look like real pants?  With a few simple steps, we’re going to transform the SOS to mimic real pants with a semi-functional waistband to give you an even more RTW jean/pant look!


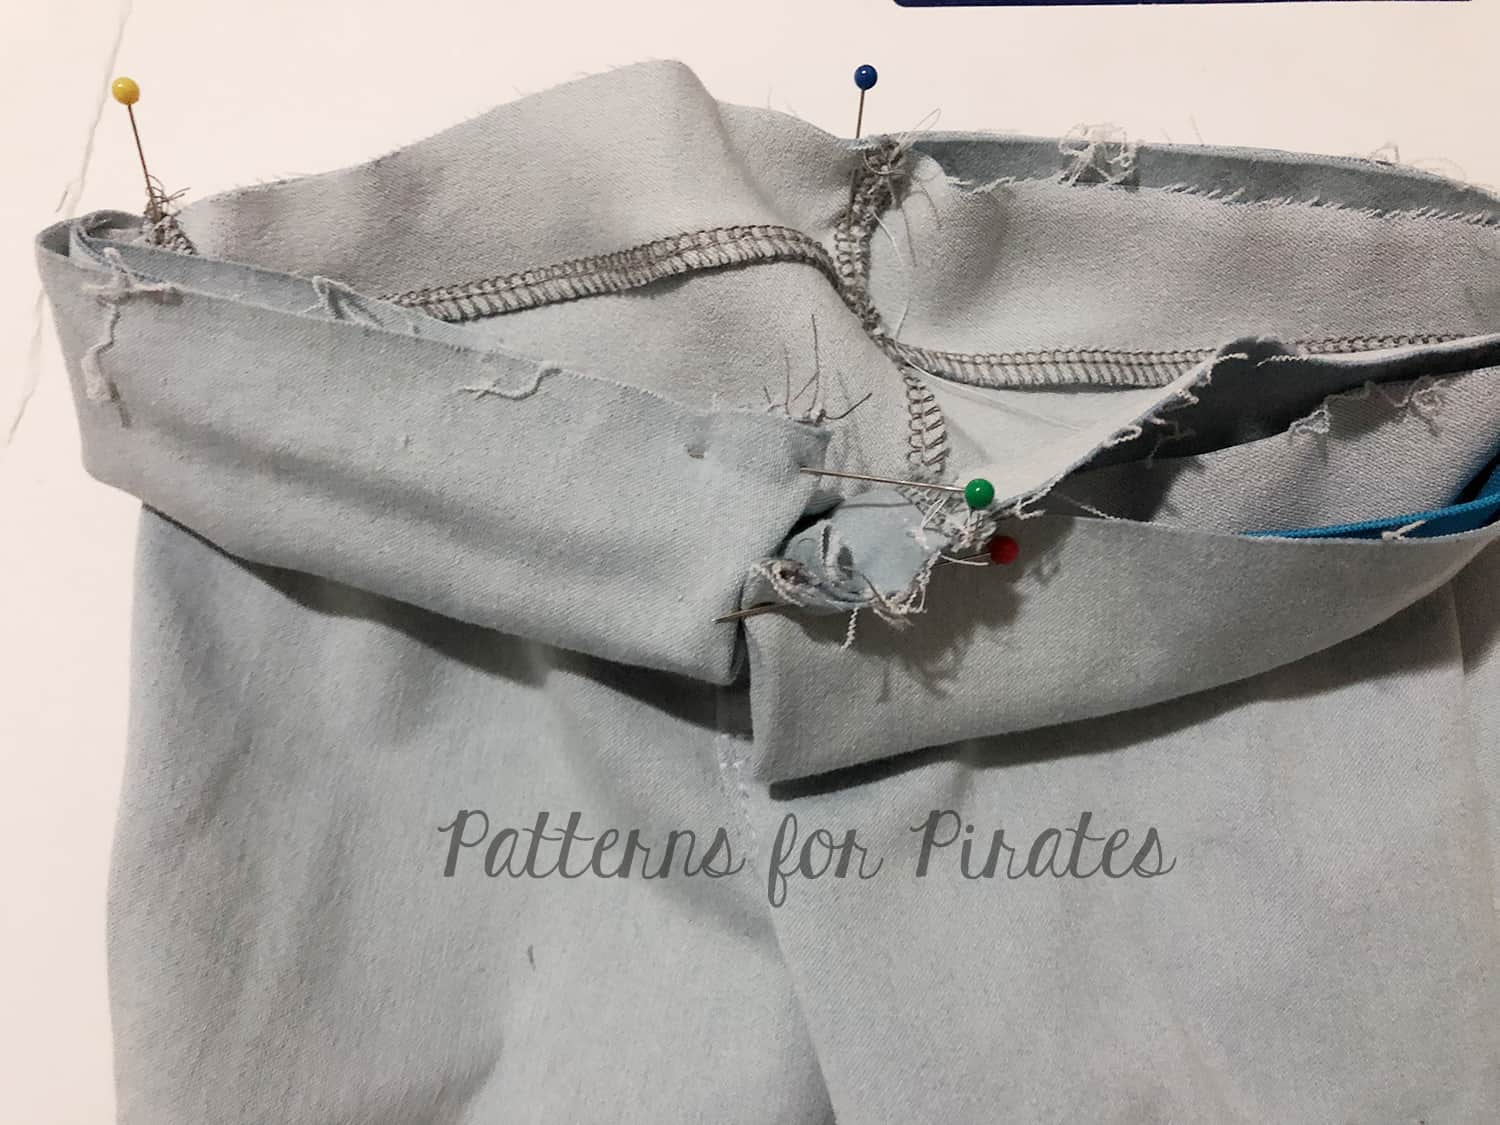
First, add 1″ to the waistband and elastic measurements.  You’ll need that little extra so that the waistband overlaps one another.  Construct you pants as instructed in the tutorial except as follows:

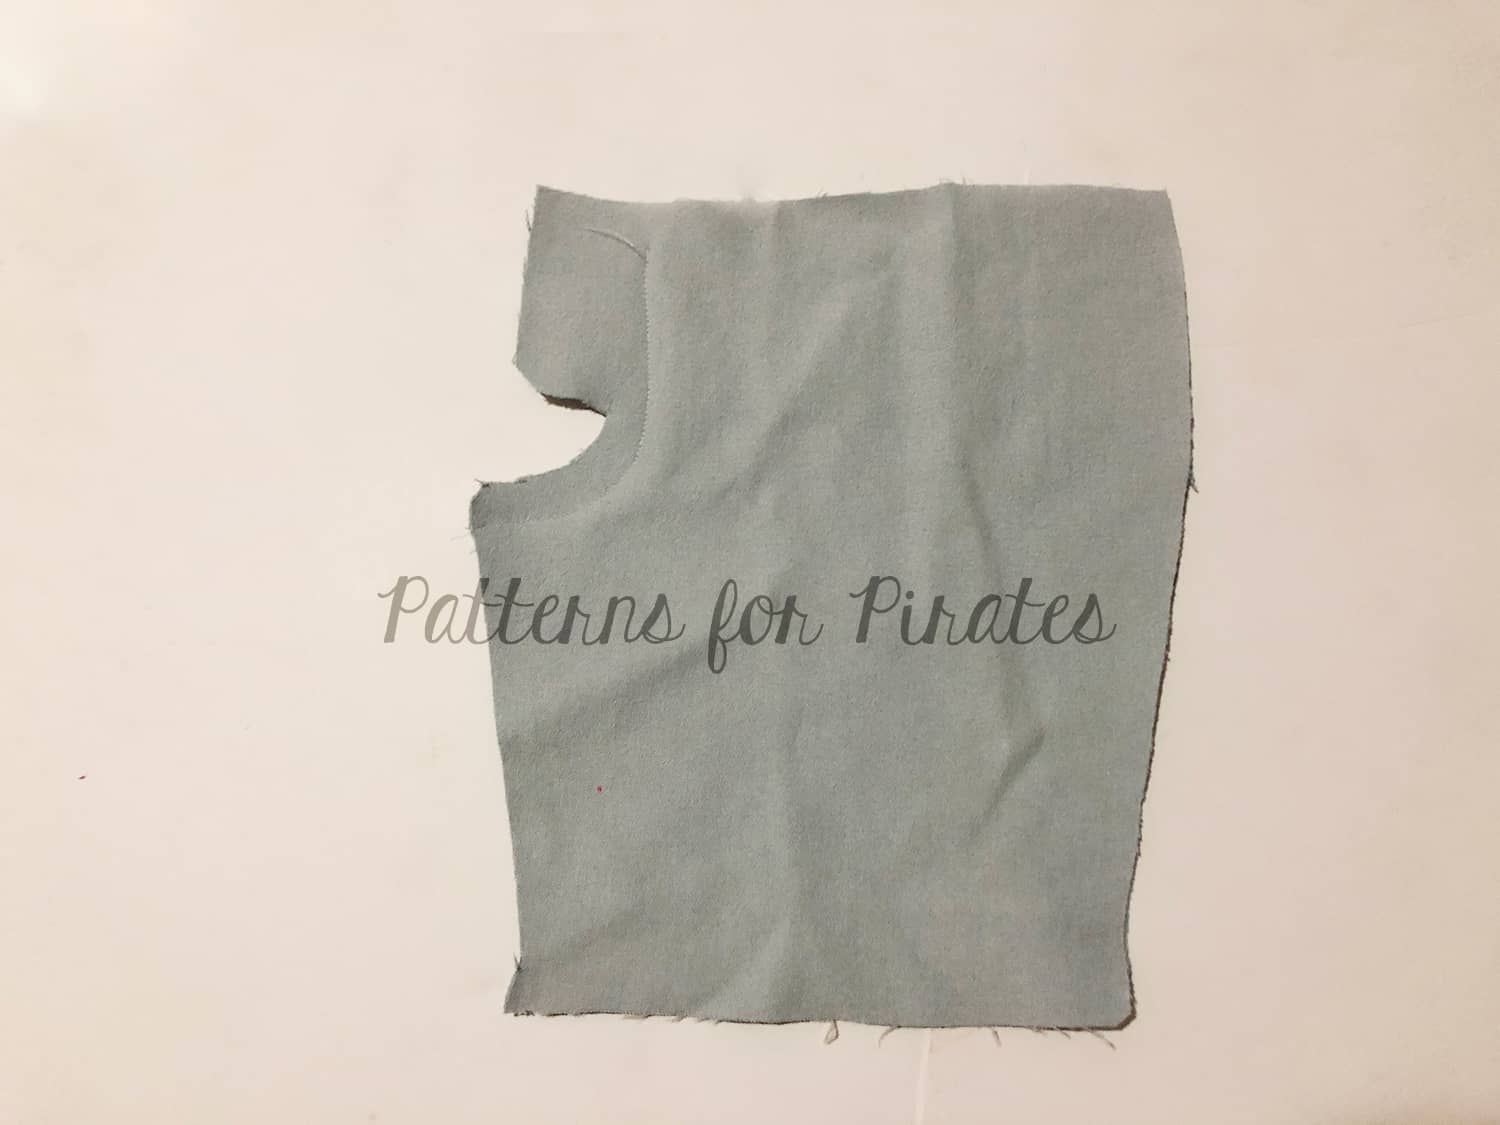
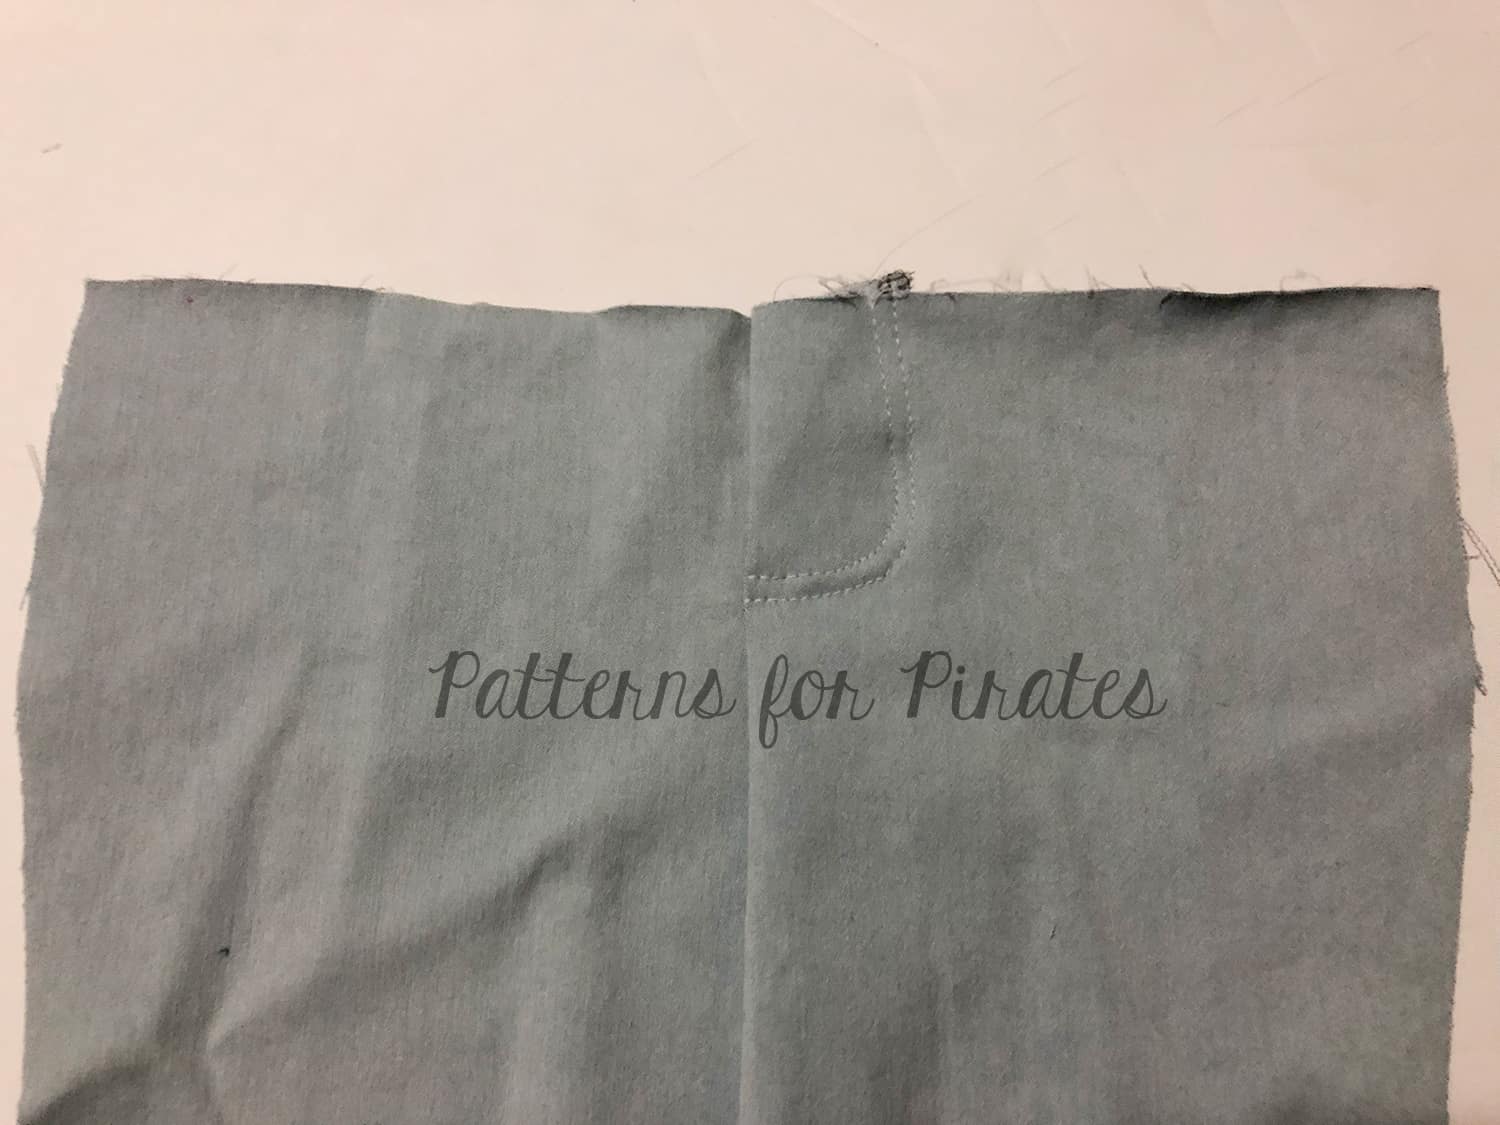
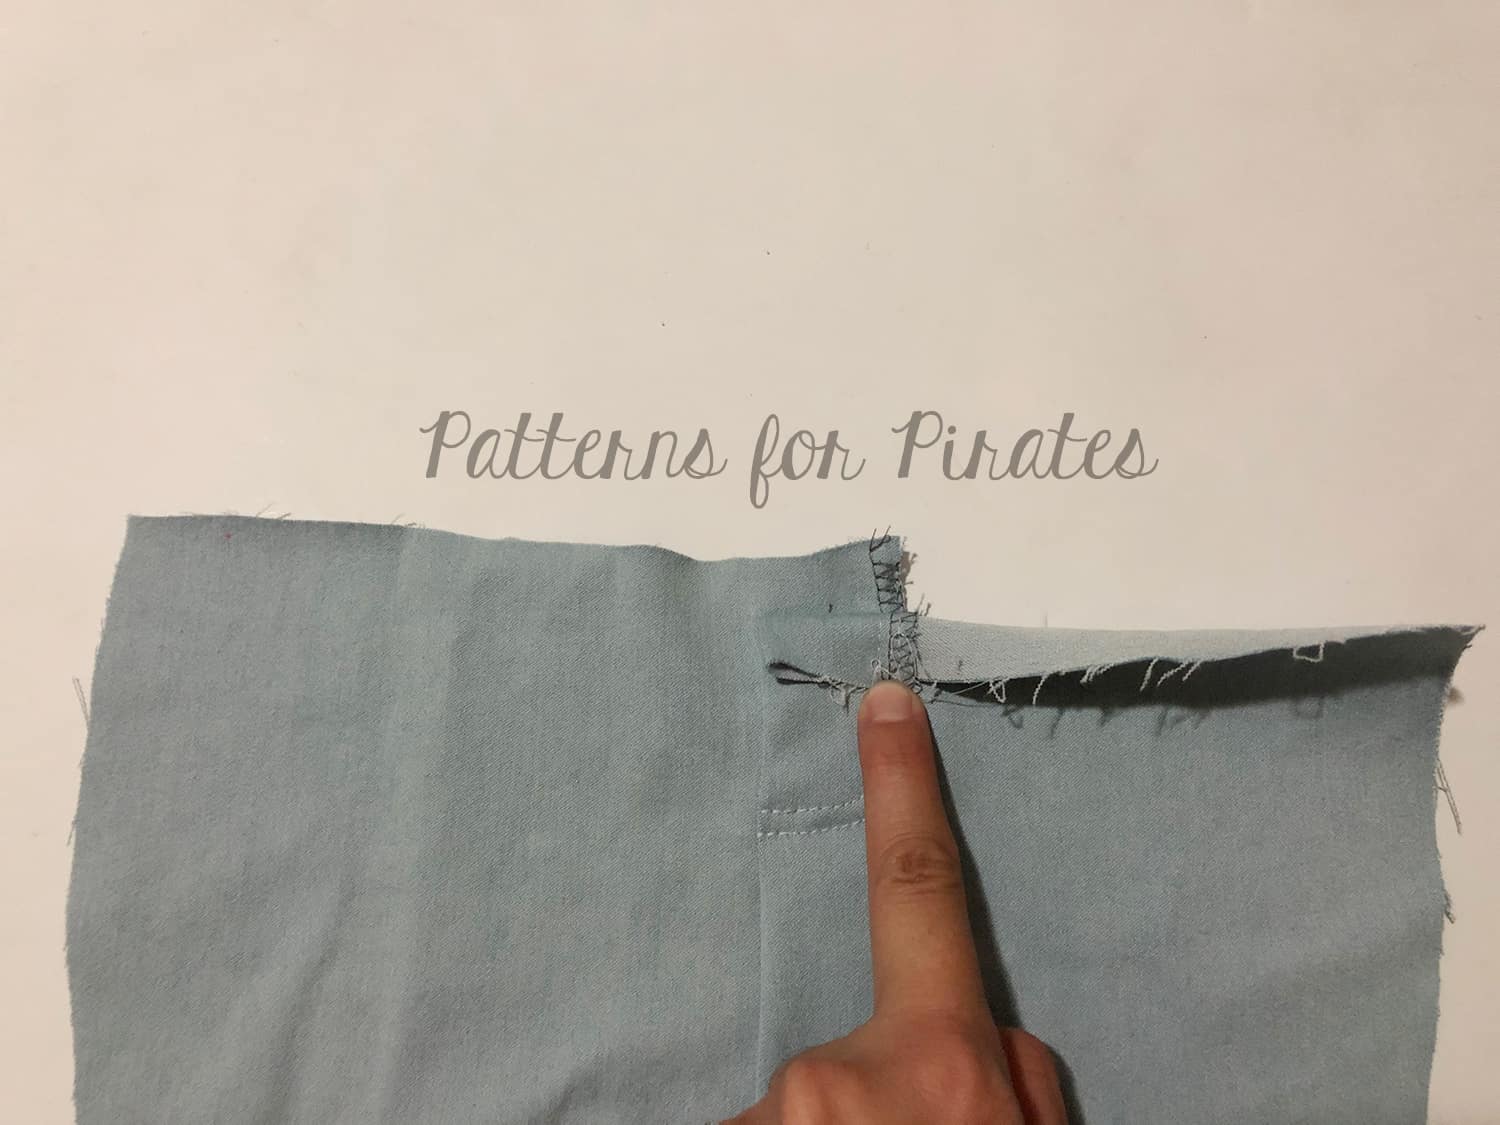
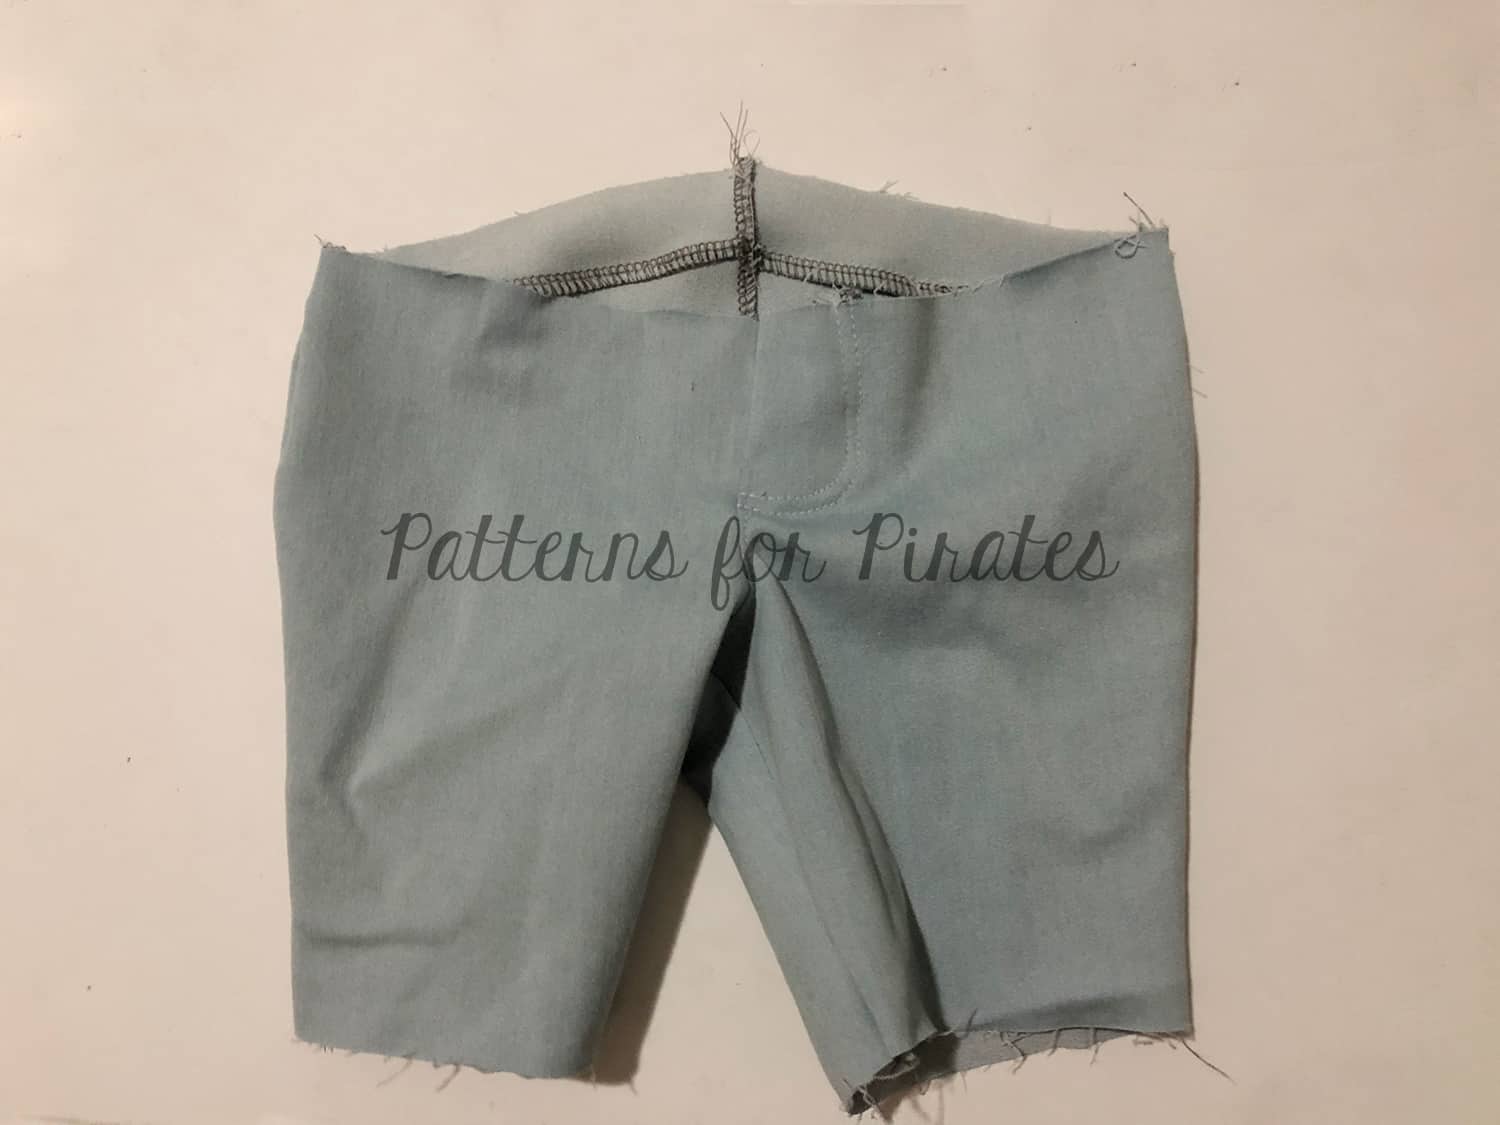
Starting 3/4″ from the top edge, stitch front crotch seam.
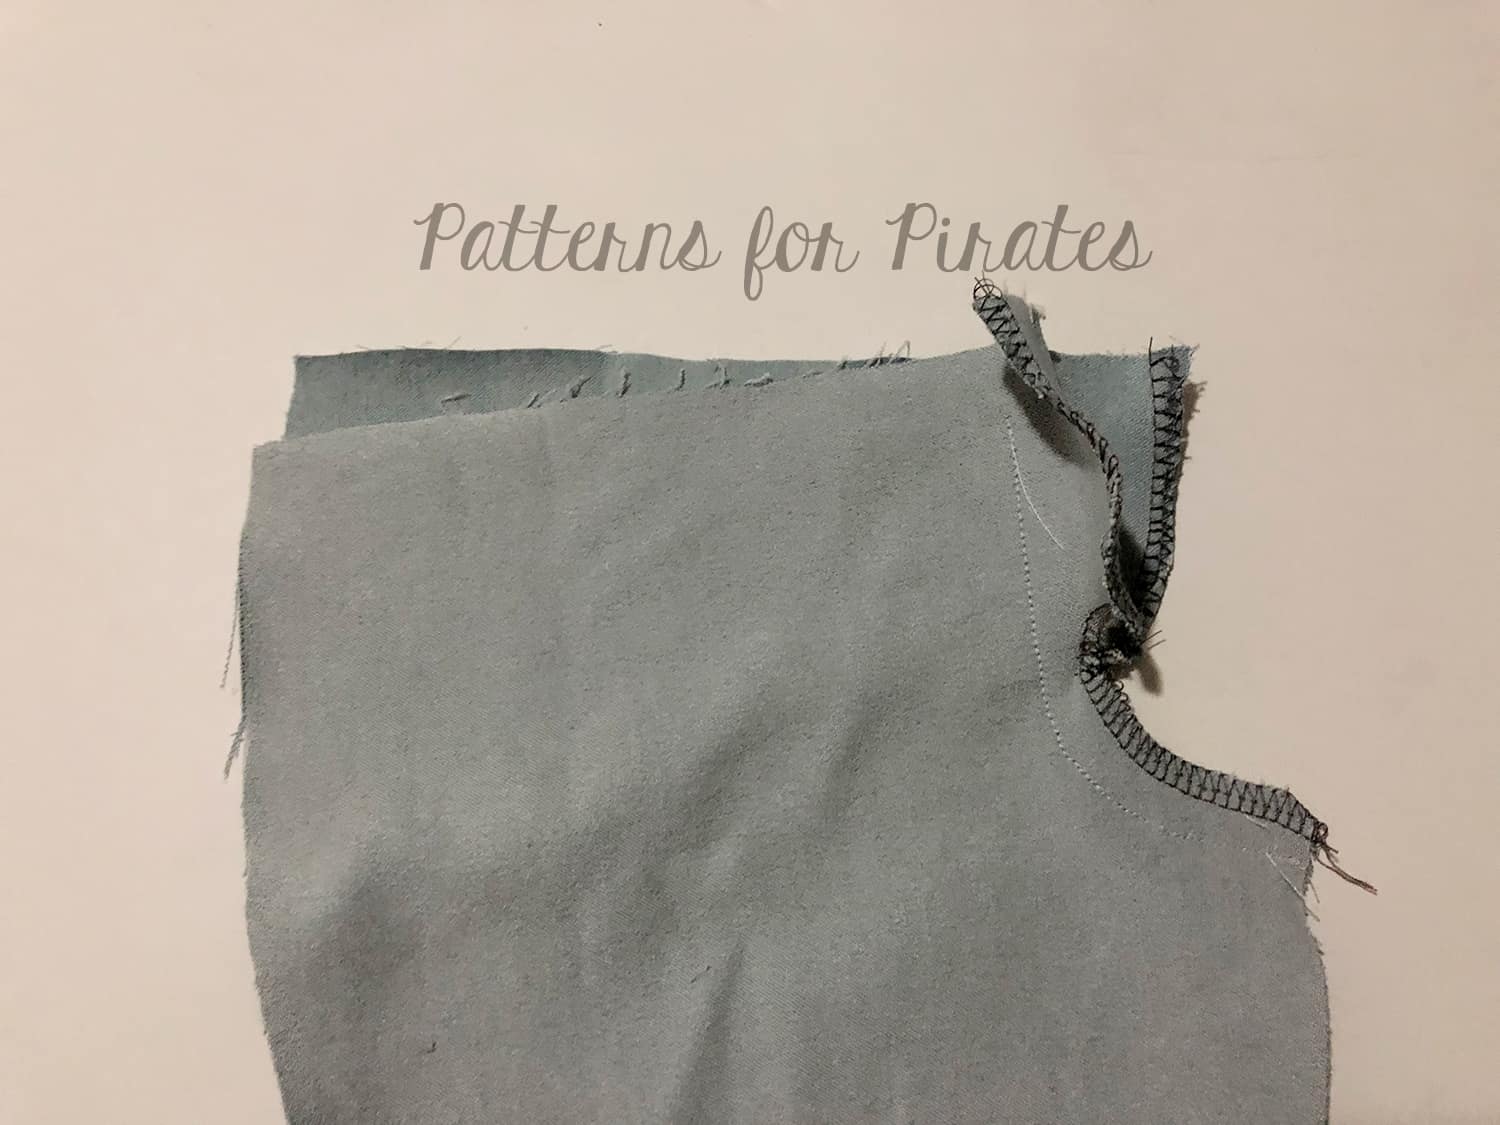
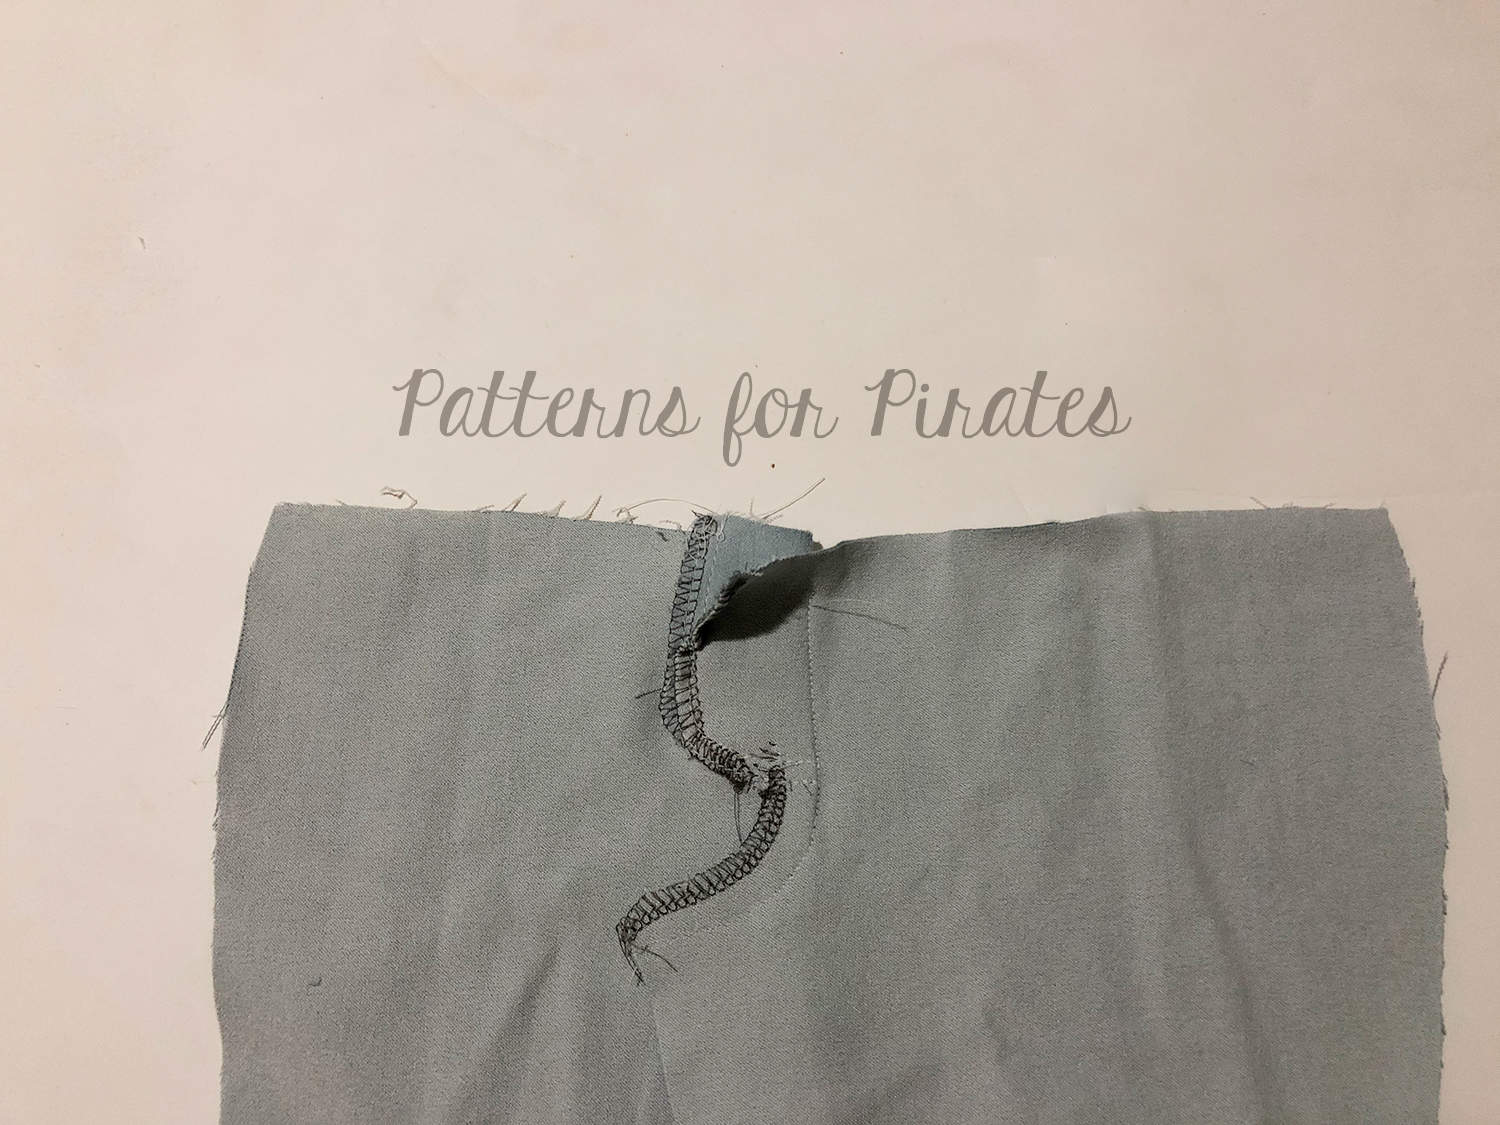
If you choose to finish the raw edge of the faux fly, finish each separately and do not sew together.
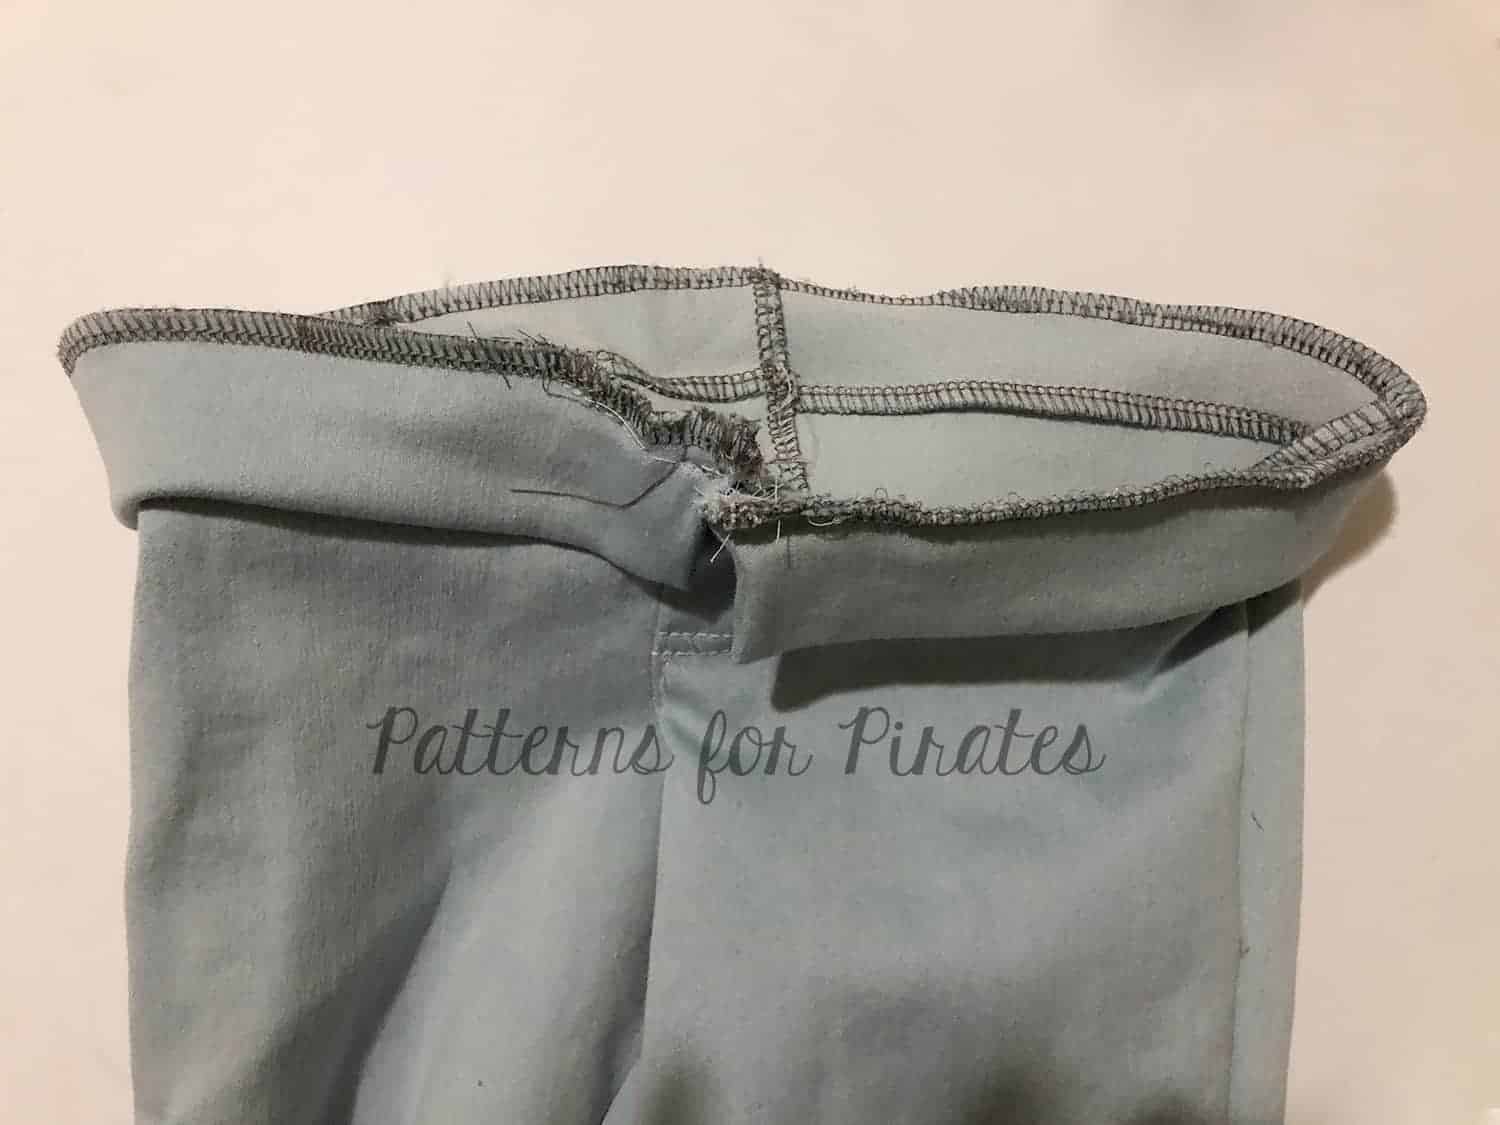
With wrong side facing up, press faux fly to wearer’s left and fold the top fly piece wrong sides together 3/8″.
Top stitch faux fly, being careful not to catch the portion of the faux fly piece you previously folded.

Complete construction of the main pants as shown in the tutorial.
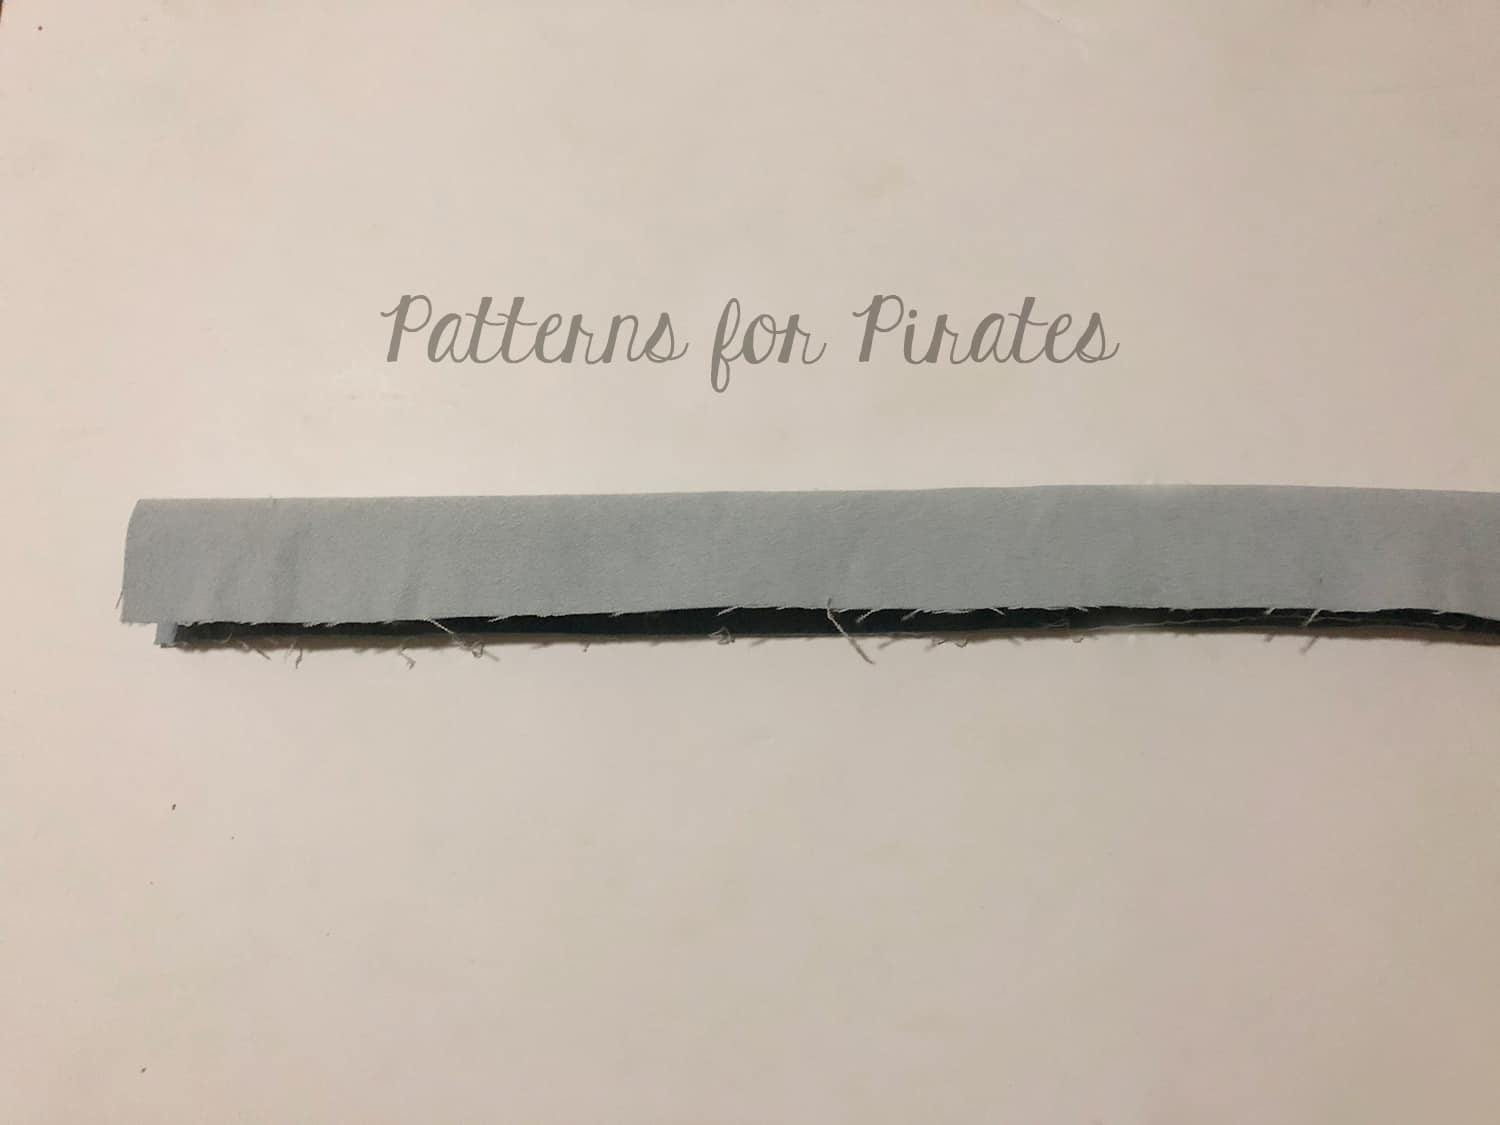
Fold waistband right sides together.

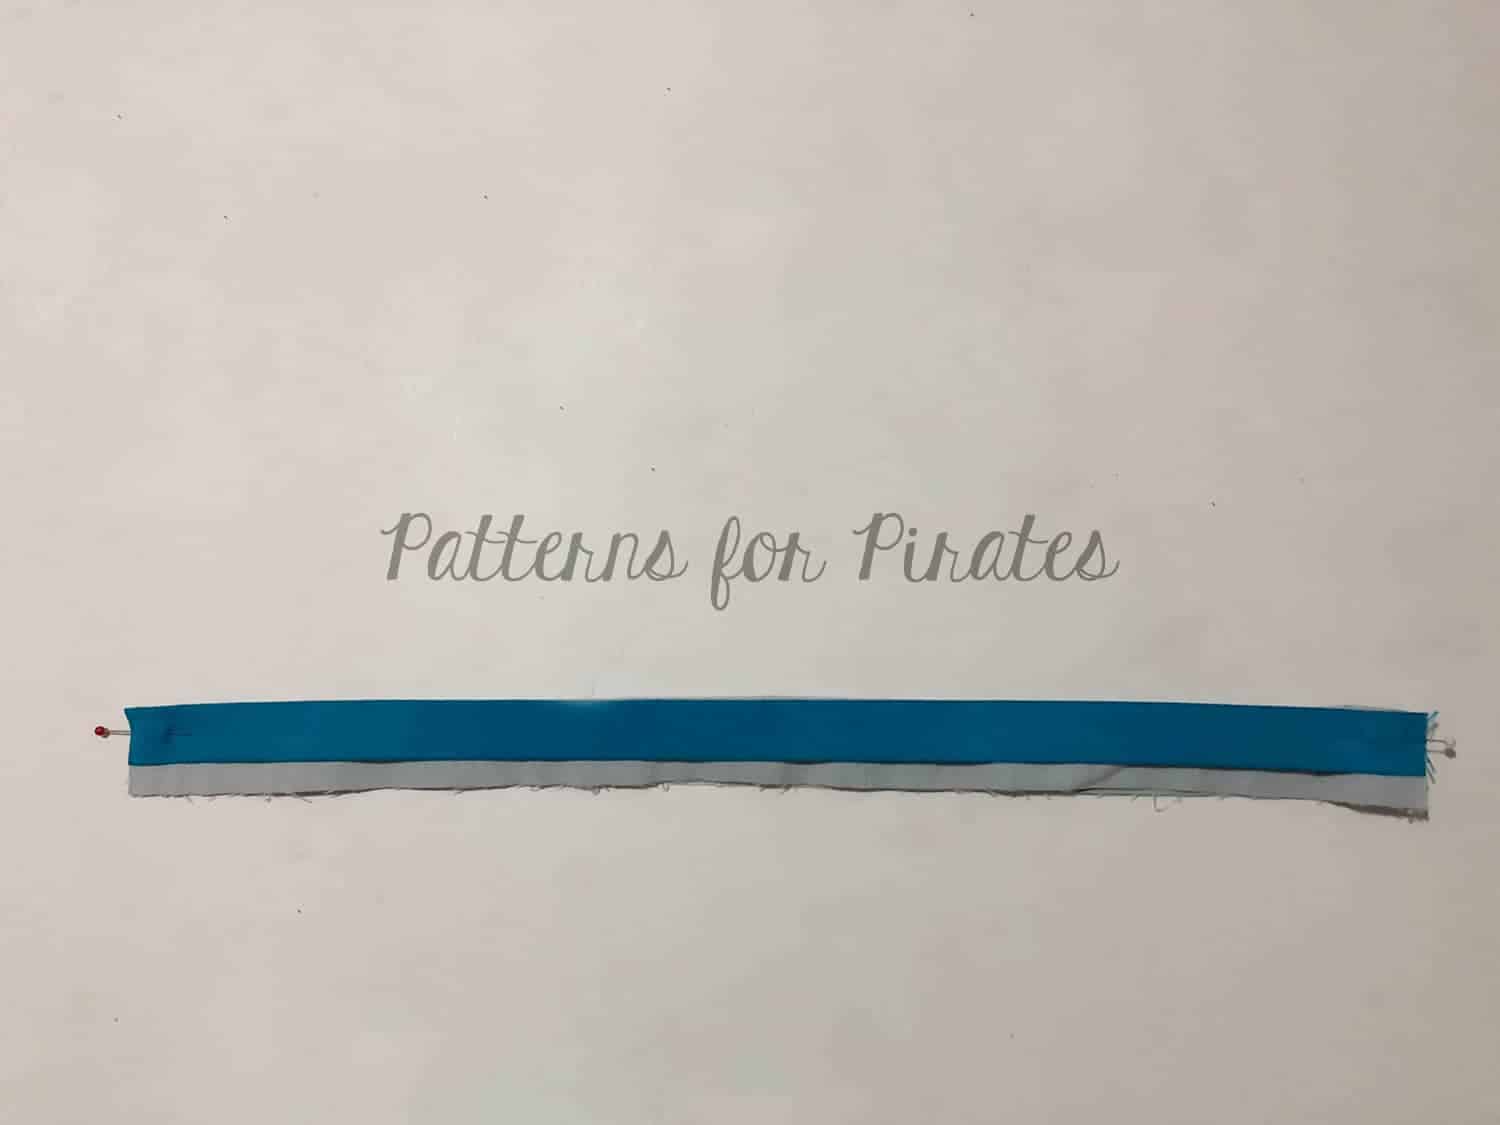
Aligning the elastic with the folded edge of the waistband, pin or clip in place at each end.
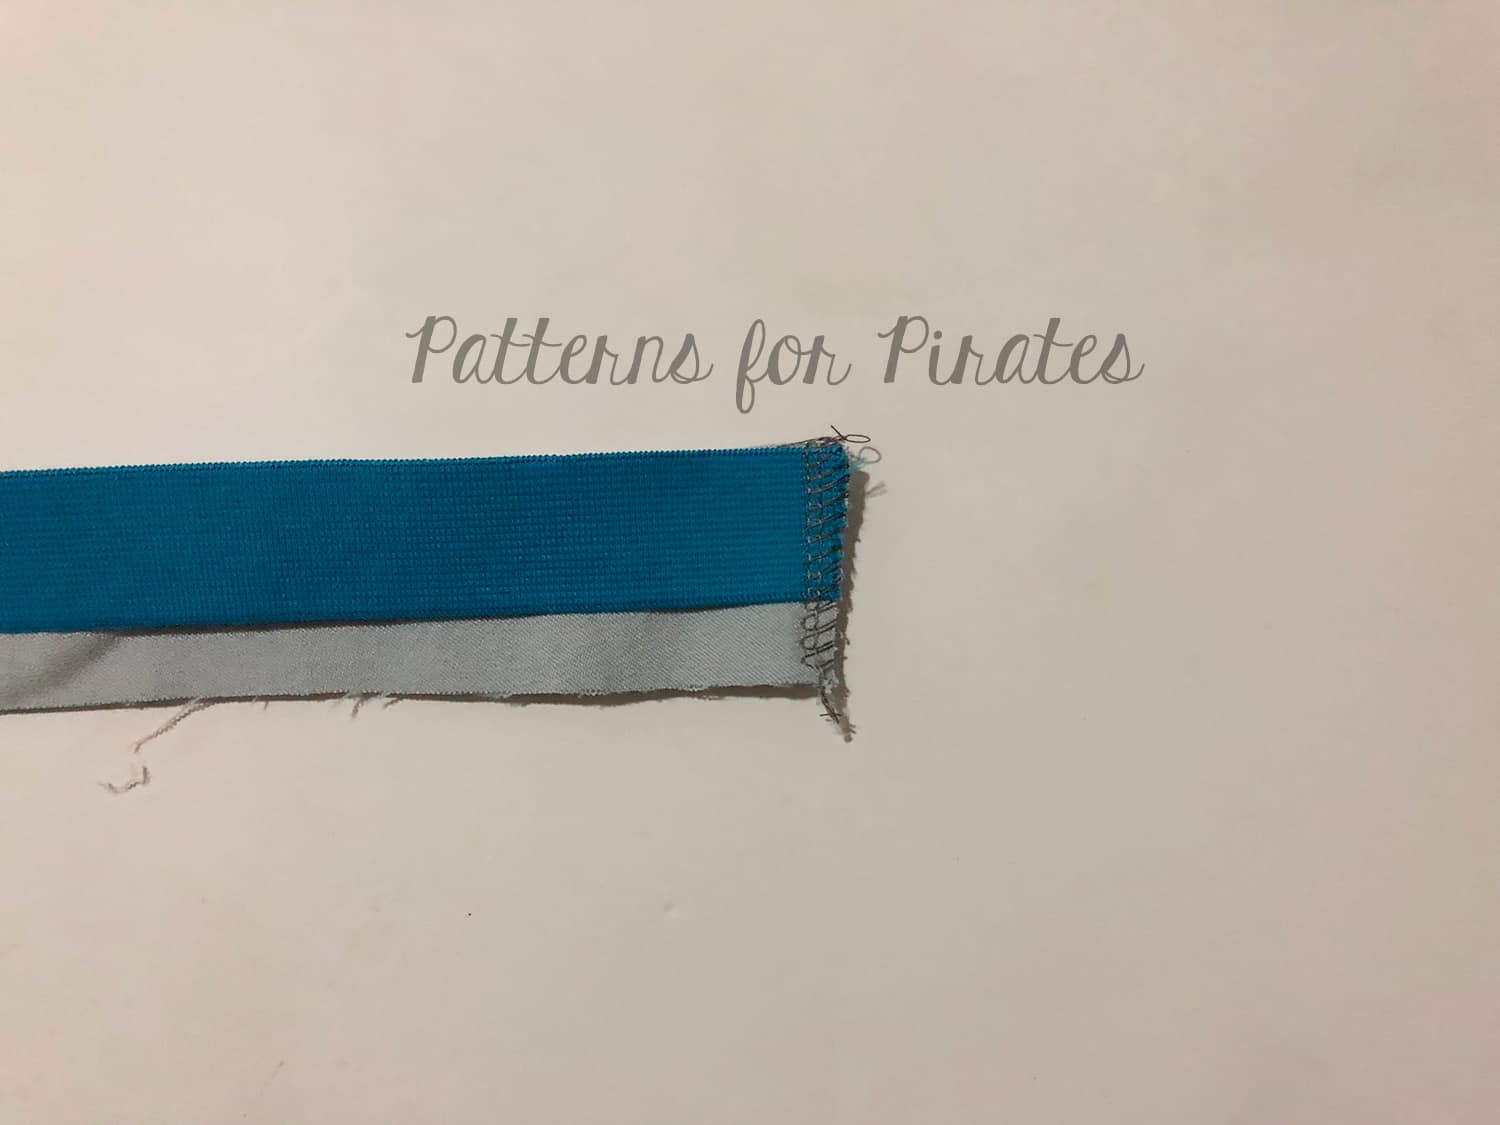
Stitch with 1/4″ seam allowance along short end.
Turn waistband right side out.
Find center of waistband.

Match center of waistband with back center seam of pants.
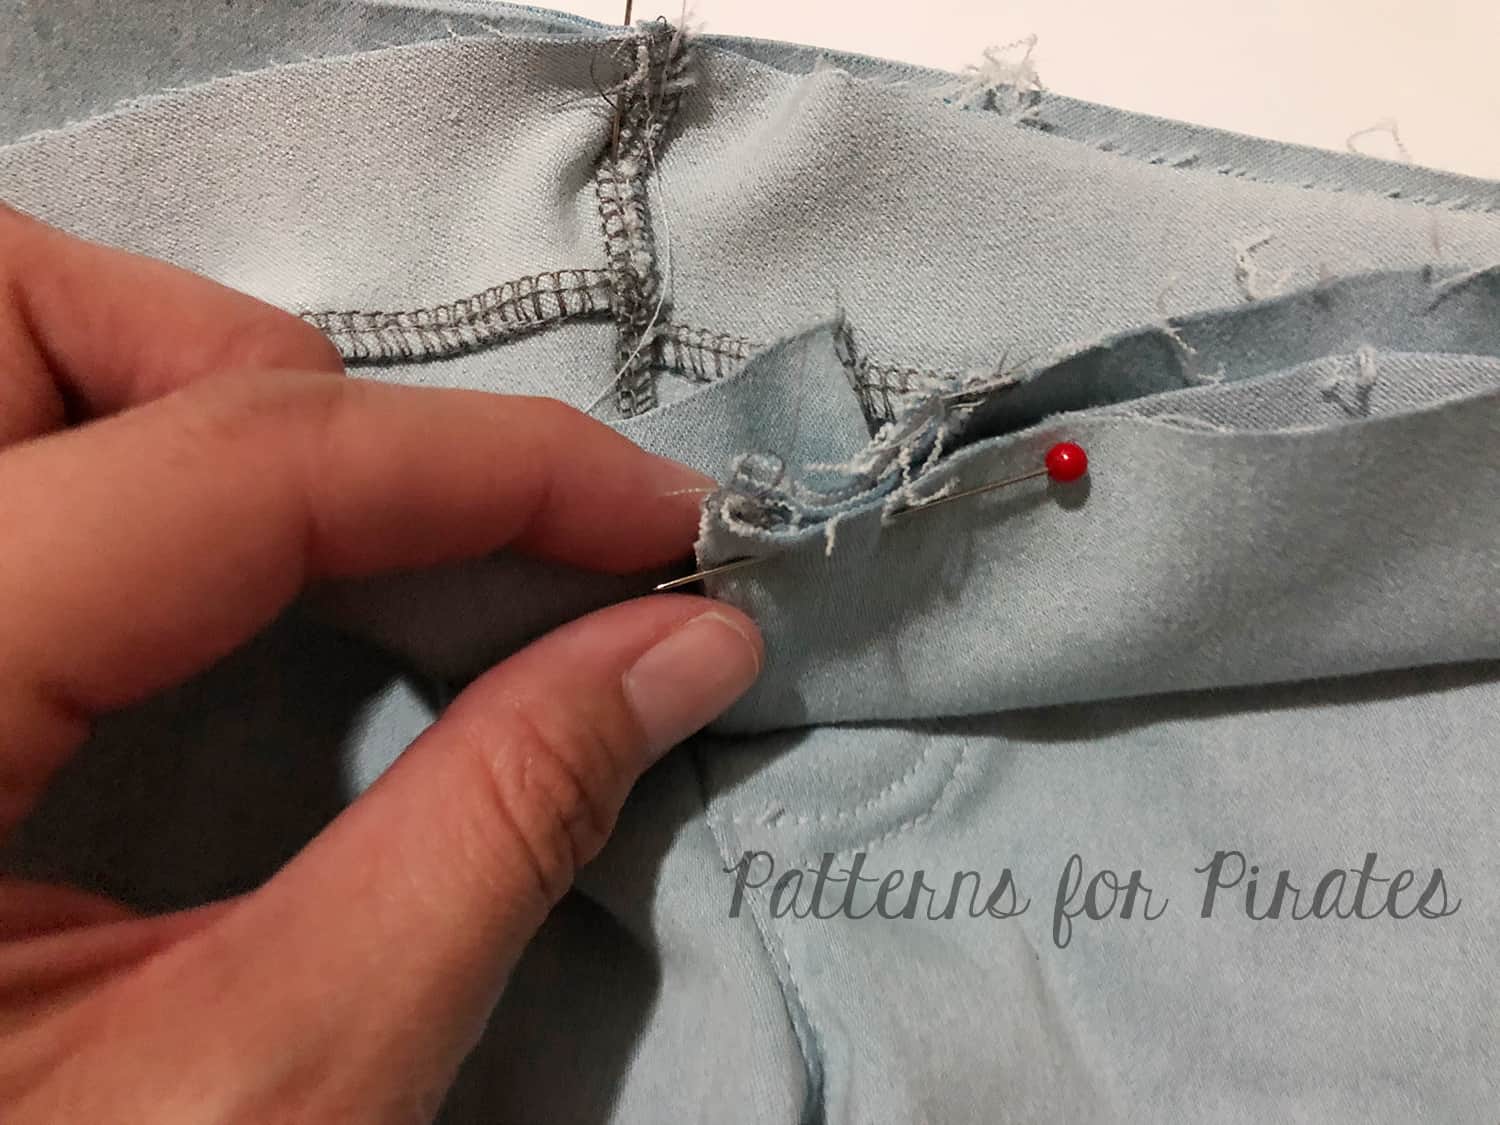
Match the waistband with the center from seamline. The top fly will be folded and not stitched here.
Continue pinning waistband to pants.
Stitch.

Add a snap or button and top-stitch fly closed along the center seam.

Jacquard

…..

Zipper Accents

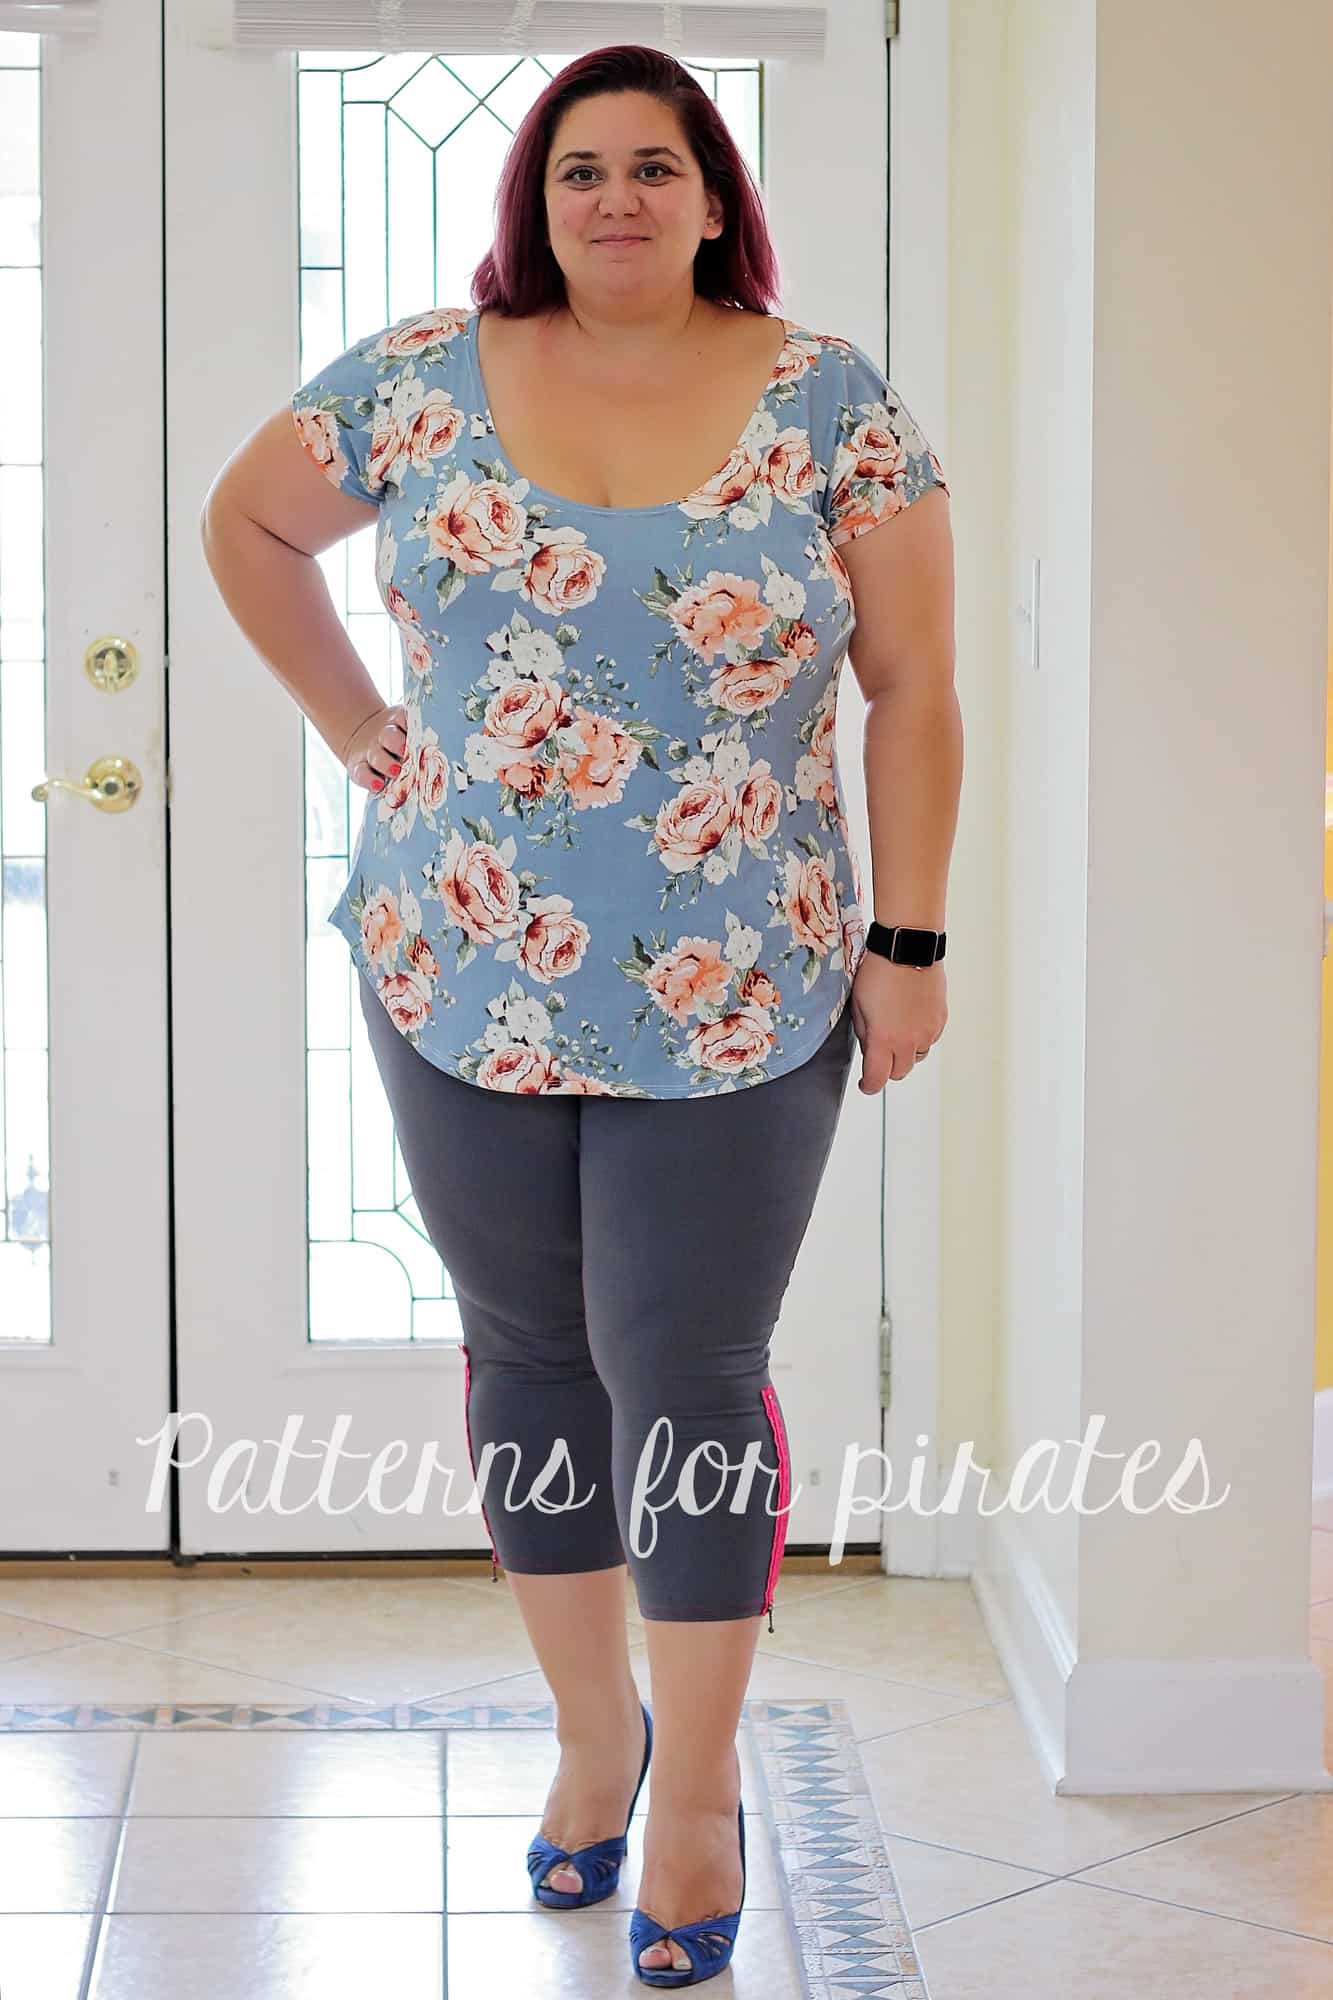
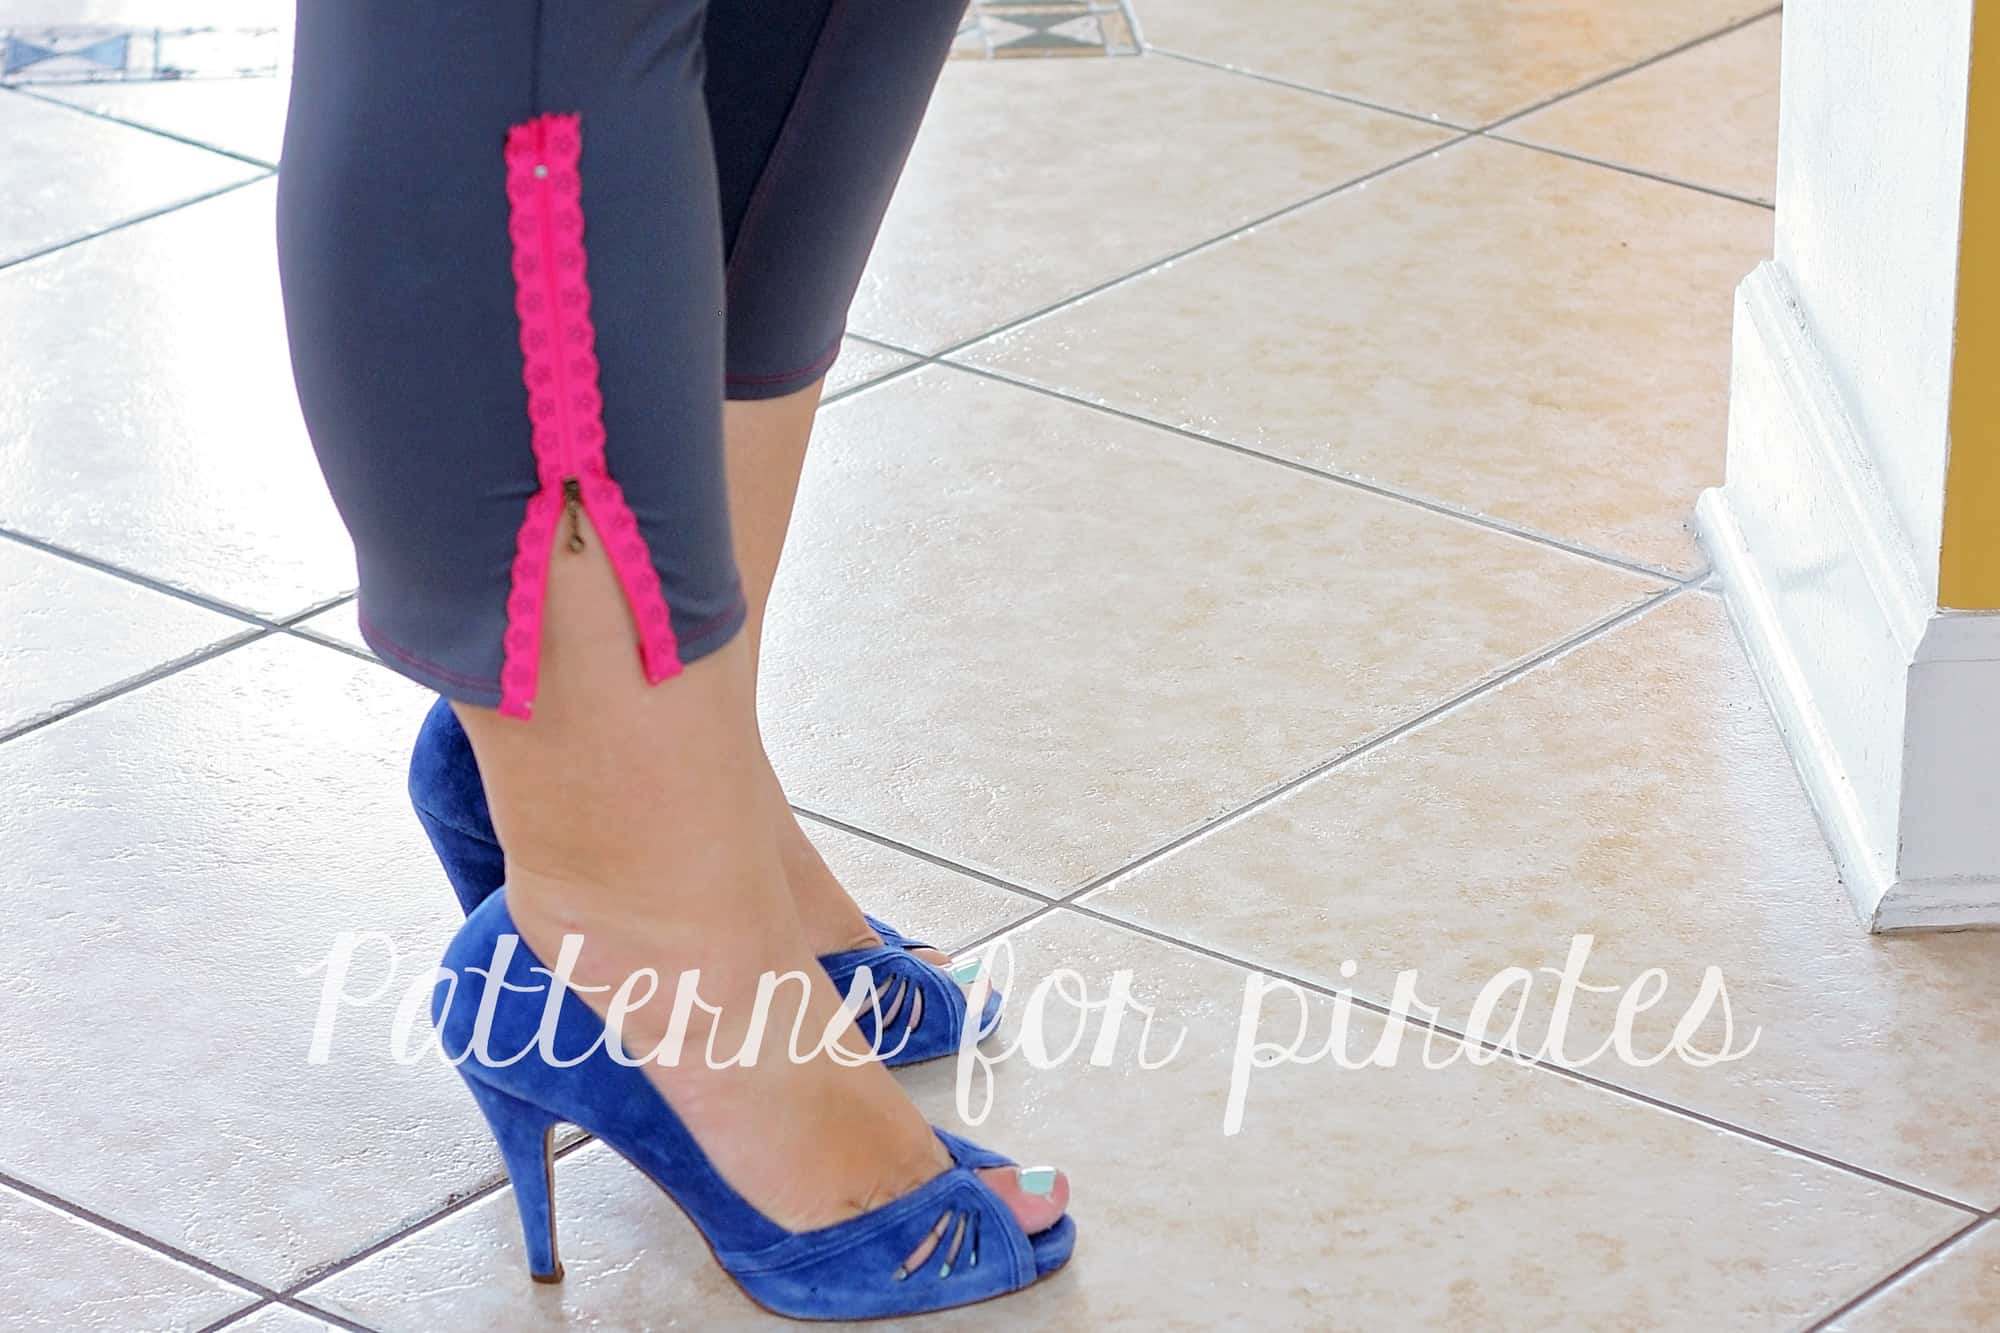
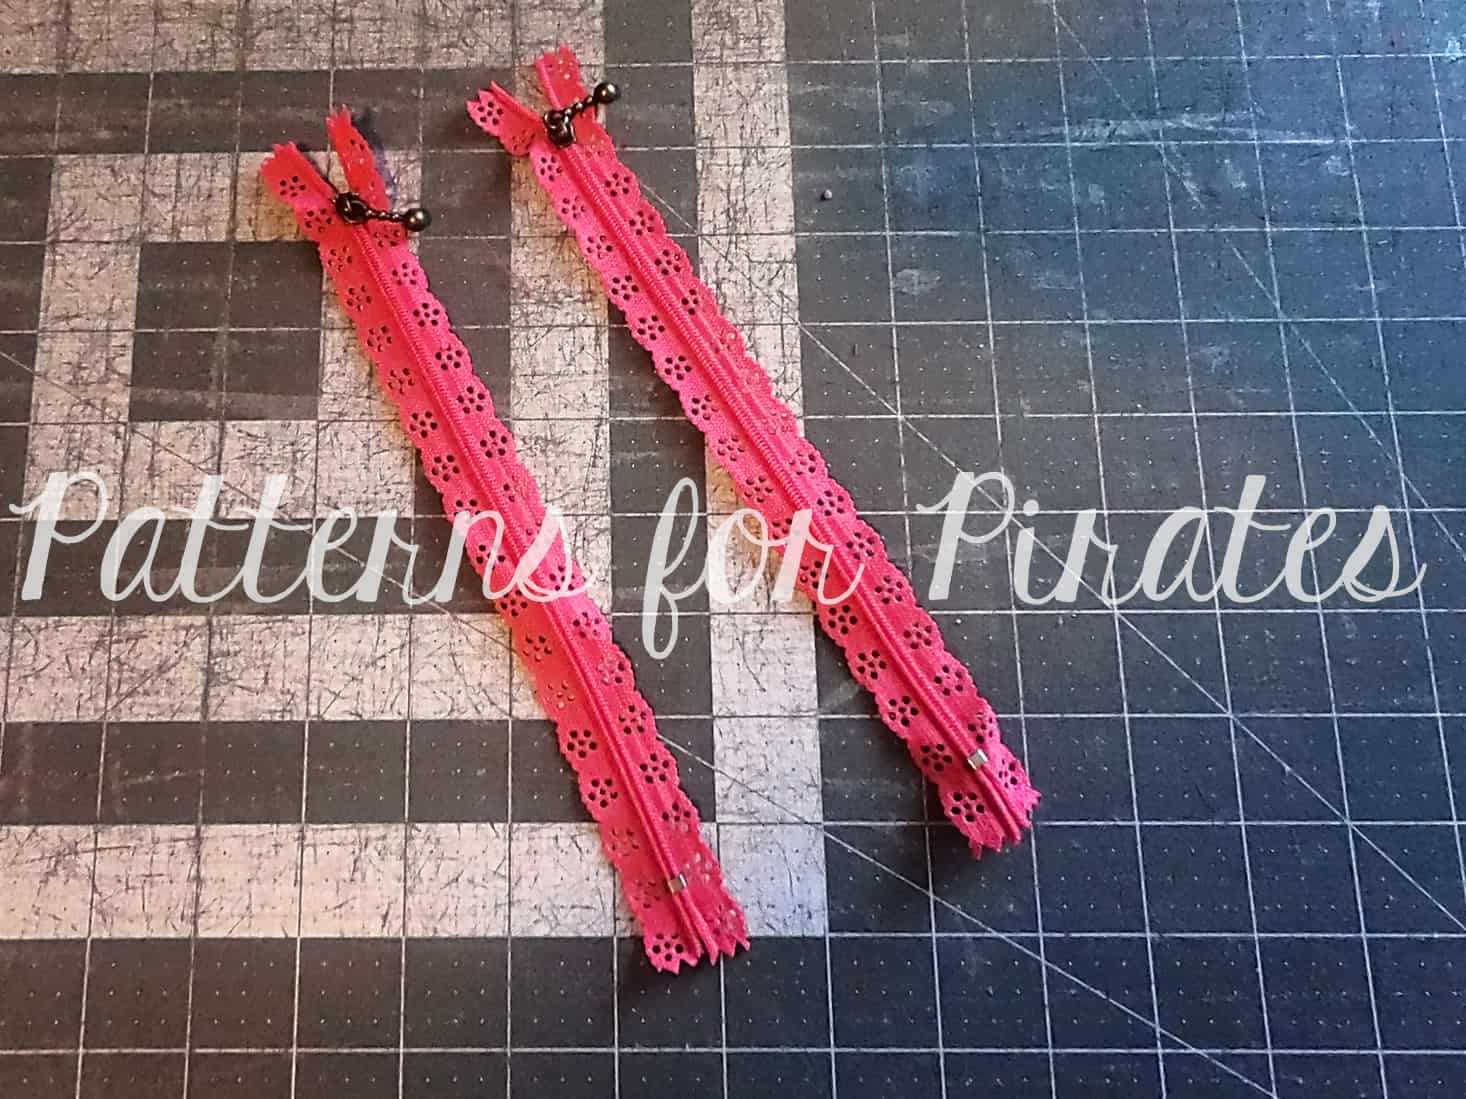
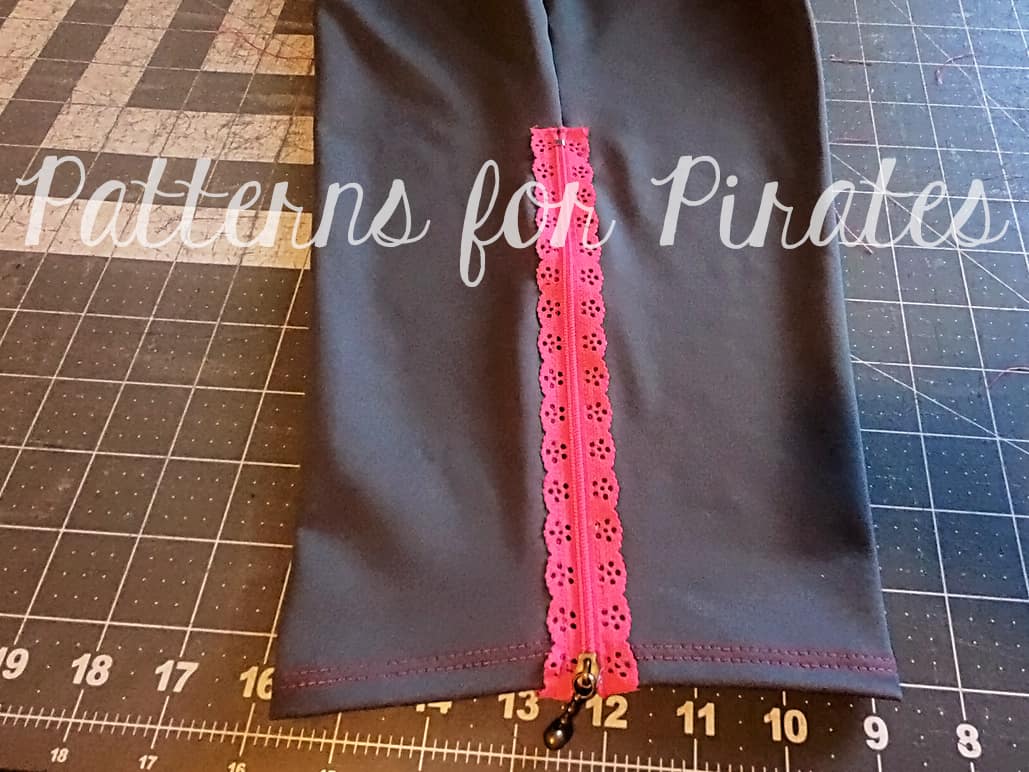
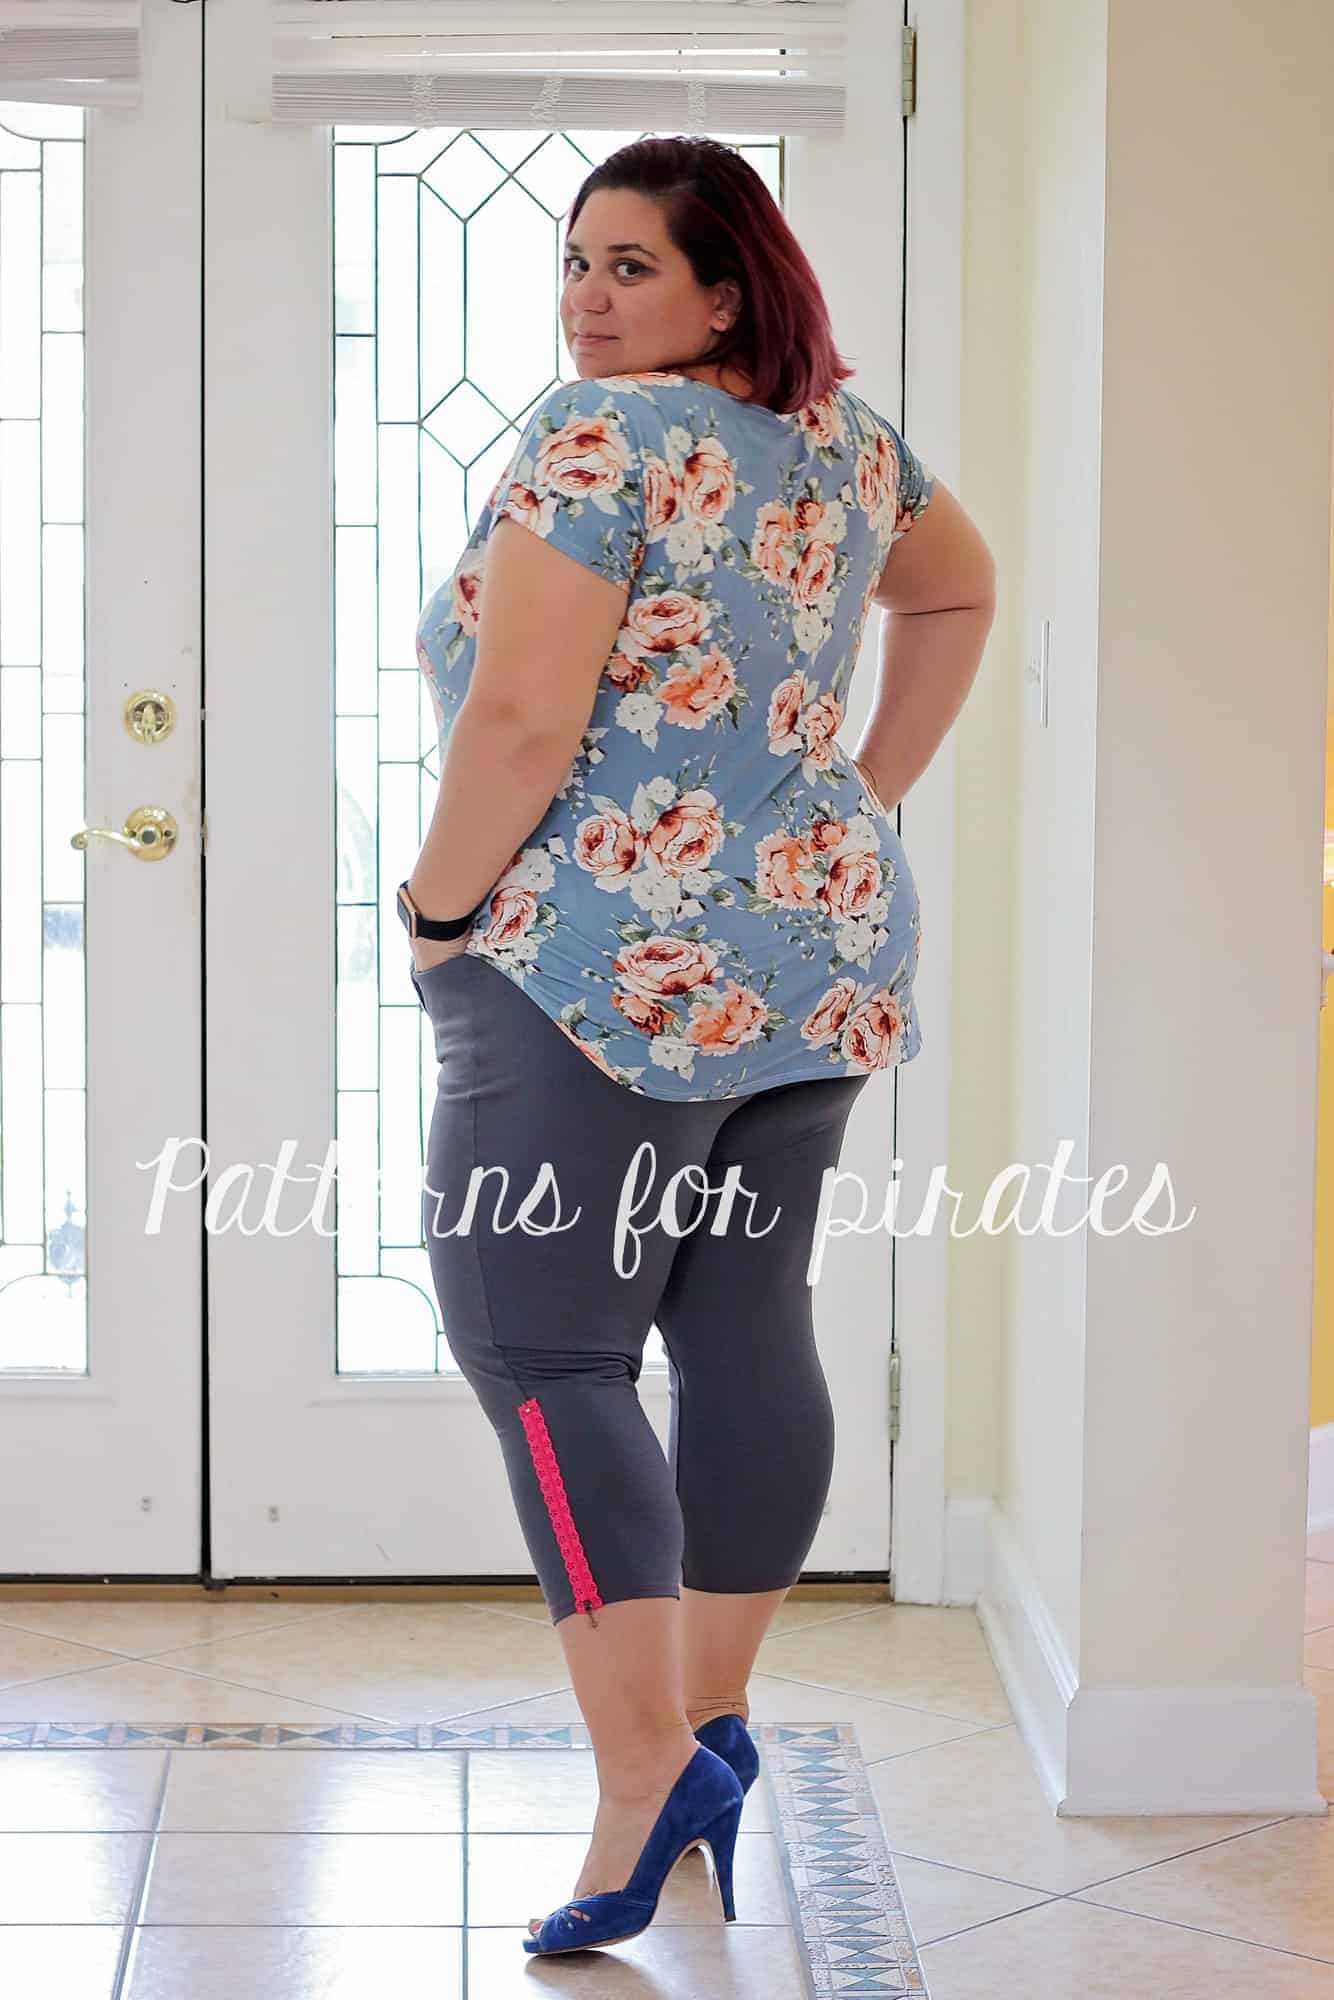
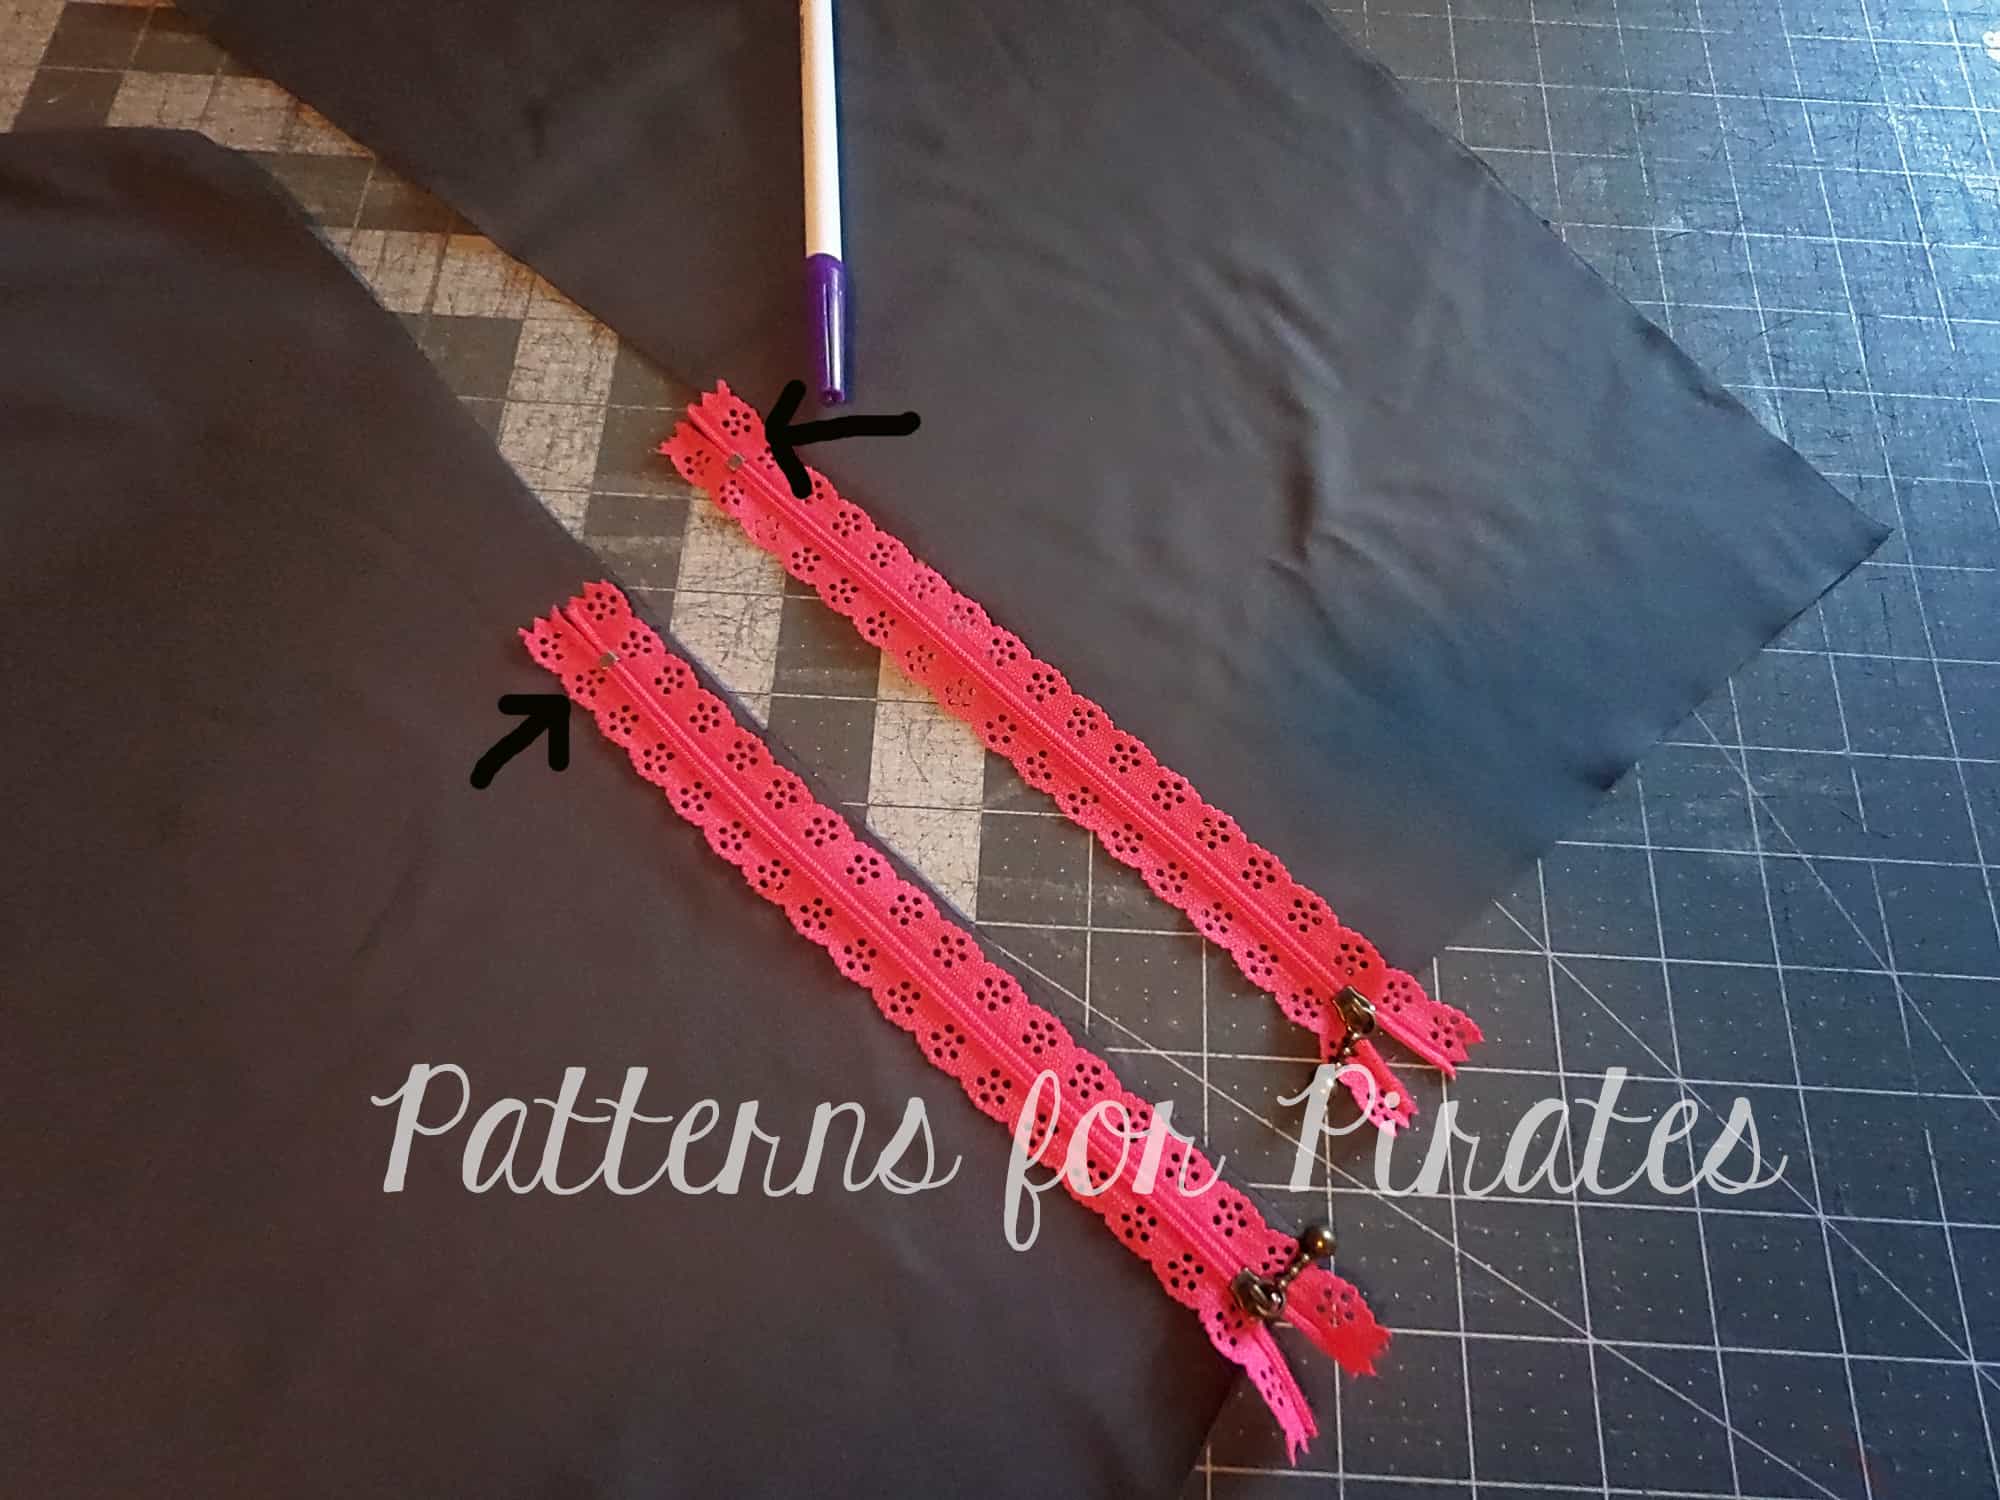
The SOS just screamed for a zipper detail so I made myself a pair using some pretty decorative lace zippers. Here’s how to achieve this look.

Print and cut the SOS knit pants pattern pieces and grab two lace zippers. I used 9″ ones. I did cut a calf length instead of the pattern’s ankle length because I had a remanent of this grey athletic fabric that I really, really wanted to use. It’s very easy to make 3/4 length SOS pants…just cut both the front and the back leg at the calf marking instead.

Using a fabric pen or tailor chalk, mark the top of the zipper on both the front and back side seam.

We will now be changing the construction of the pants a little. Sew the pockets and crotch curves as instructed in the tutorial. Sew the inseam next. Hem your SOS pants using a coverstitch or twin needles.

Now that the inseam and hem are done, you will sew the side seams. Using your serger or a stretch stitch sew the side seam, front and back, right sides together and STOP AT THE MARKED POINT. Using a basting stitch, sew from the marked point to the hem.

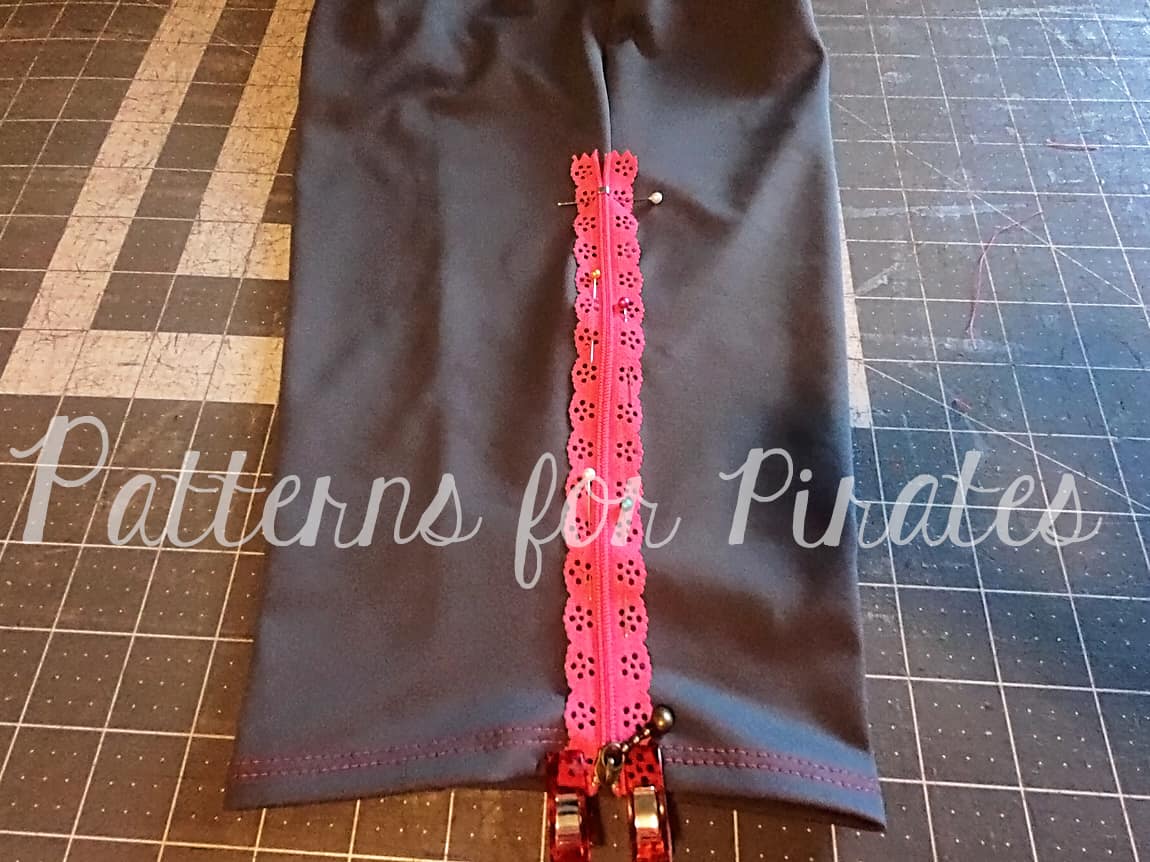
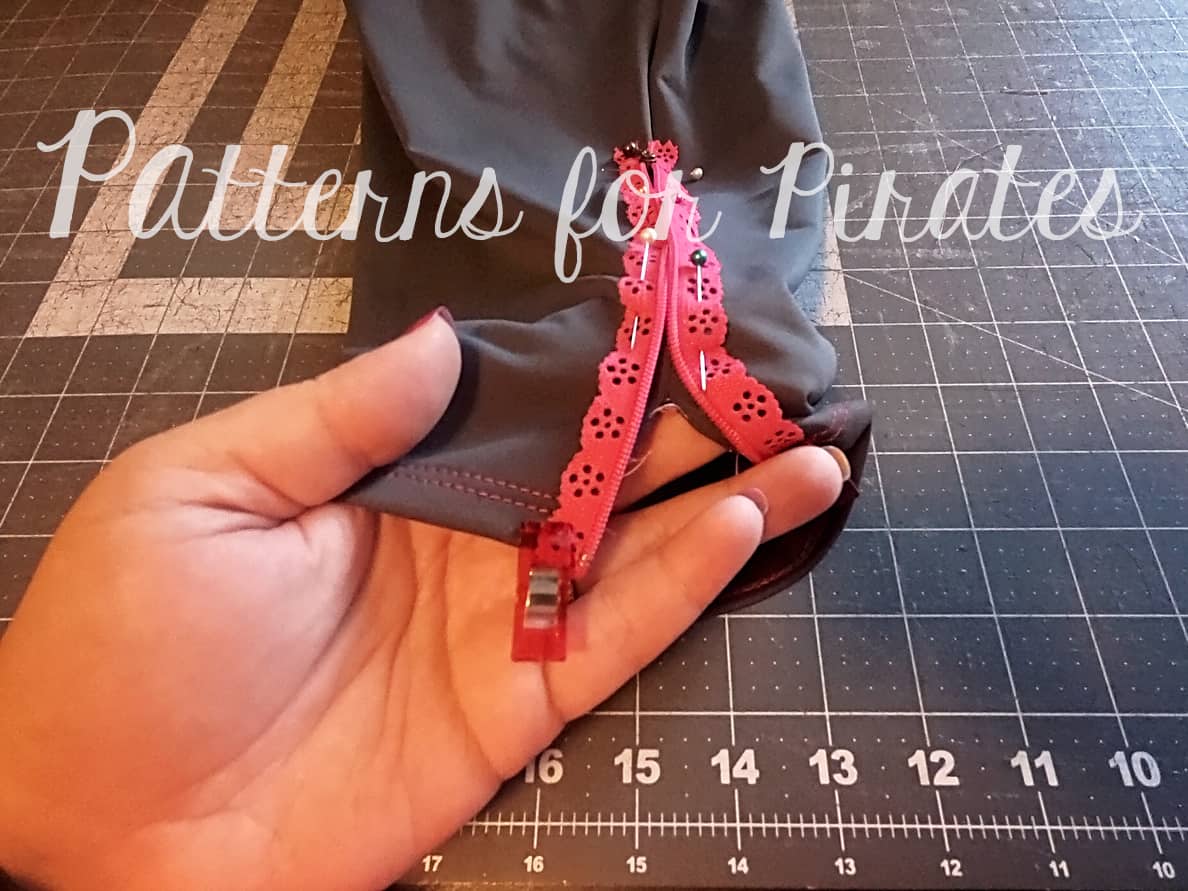
Place your zipper on the right side of the pants and pin pit n place. It is important to have the zipper teeth on the side seam.

Remove the basting stitches to make it easier to sew the zipper in place.

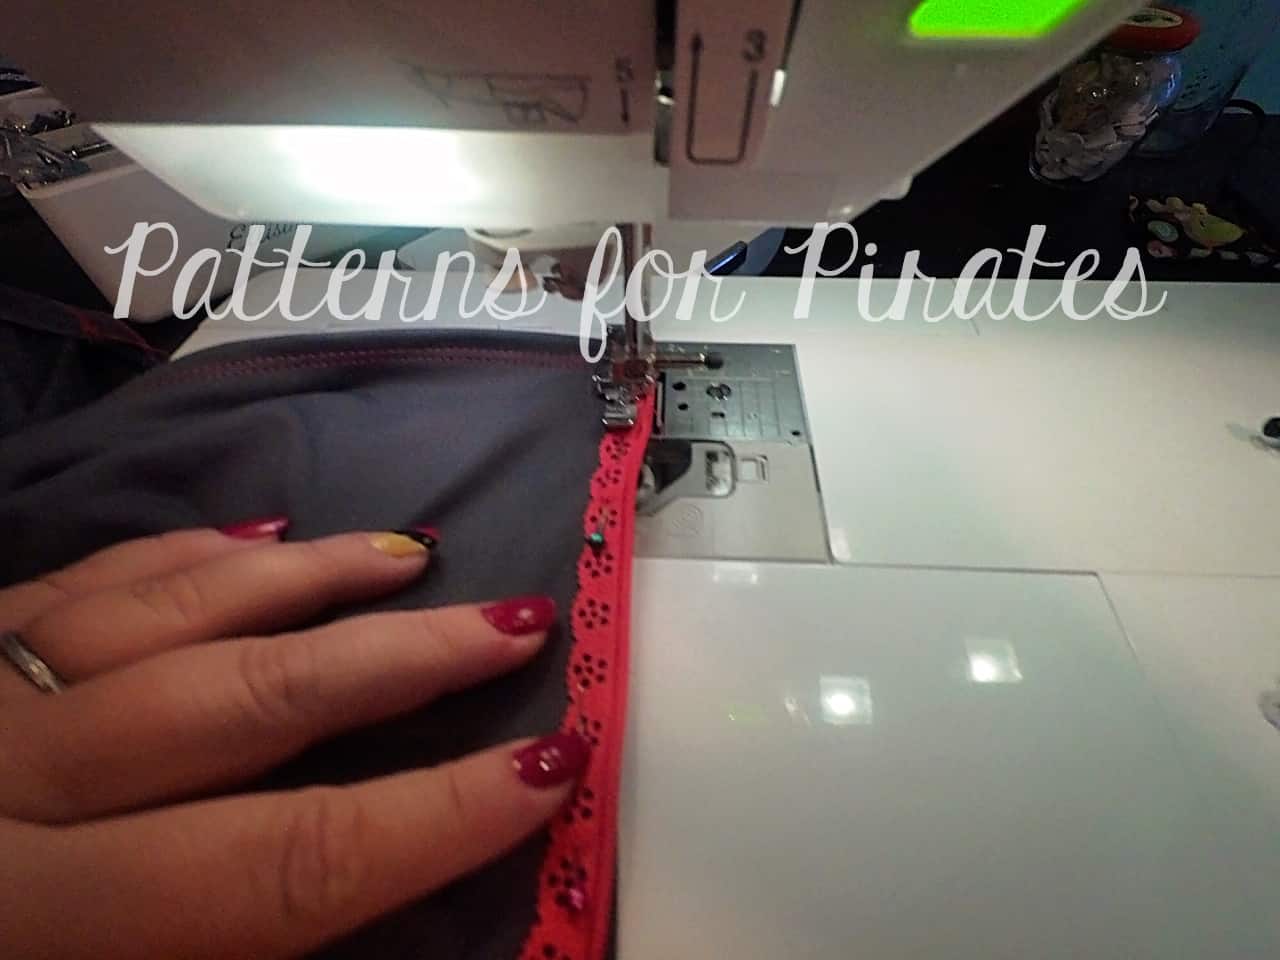
Using a zipper foot and a straight stitch, sew the zipper on, making sure you fold the lace under the hem.

All done! Now go to Pinterest for some more zipper skinnies inspiration, order yourself some lace zippers and get creating!


How’s that for more options? We hope you love the hacks as much as we do.  Sew up a pair of SOS Knit Pants using one of our hacks?  Be sure to share in the Facebook Group or tag us on Instagram (@patternsforpirates).


Alex, Katy & Nicole

Filed Under: Frequently Asked Questions, Pattern Hacks, Pattern Release, Uncategorized 12 Comments

Baby Set with Nancy’s Notions

October 30, 2018

This post was created in partnership with Nancy’s Notions.  All opinions are my own.

Today’s blog is a rare occasion here on the P4P site… Generally I don’t do a lot of sponsored posts, but when Nancy’s Notions contacted me to do a little show off for their 2018 holiday blogger gift program I just couldn’t resist. I grew up watching Nancy on PBS with my mom and was honored to hear from them <3

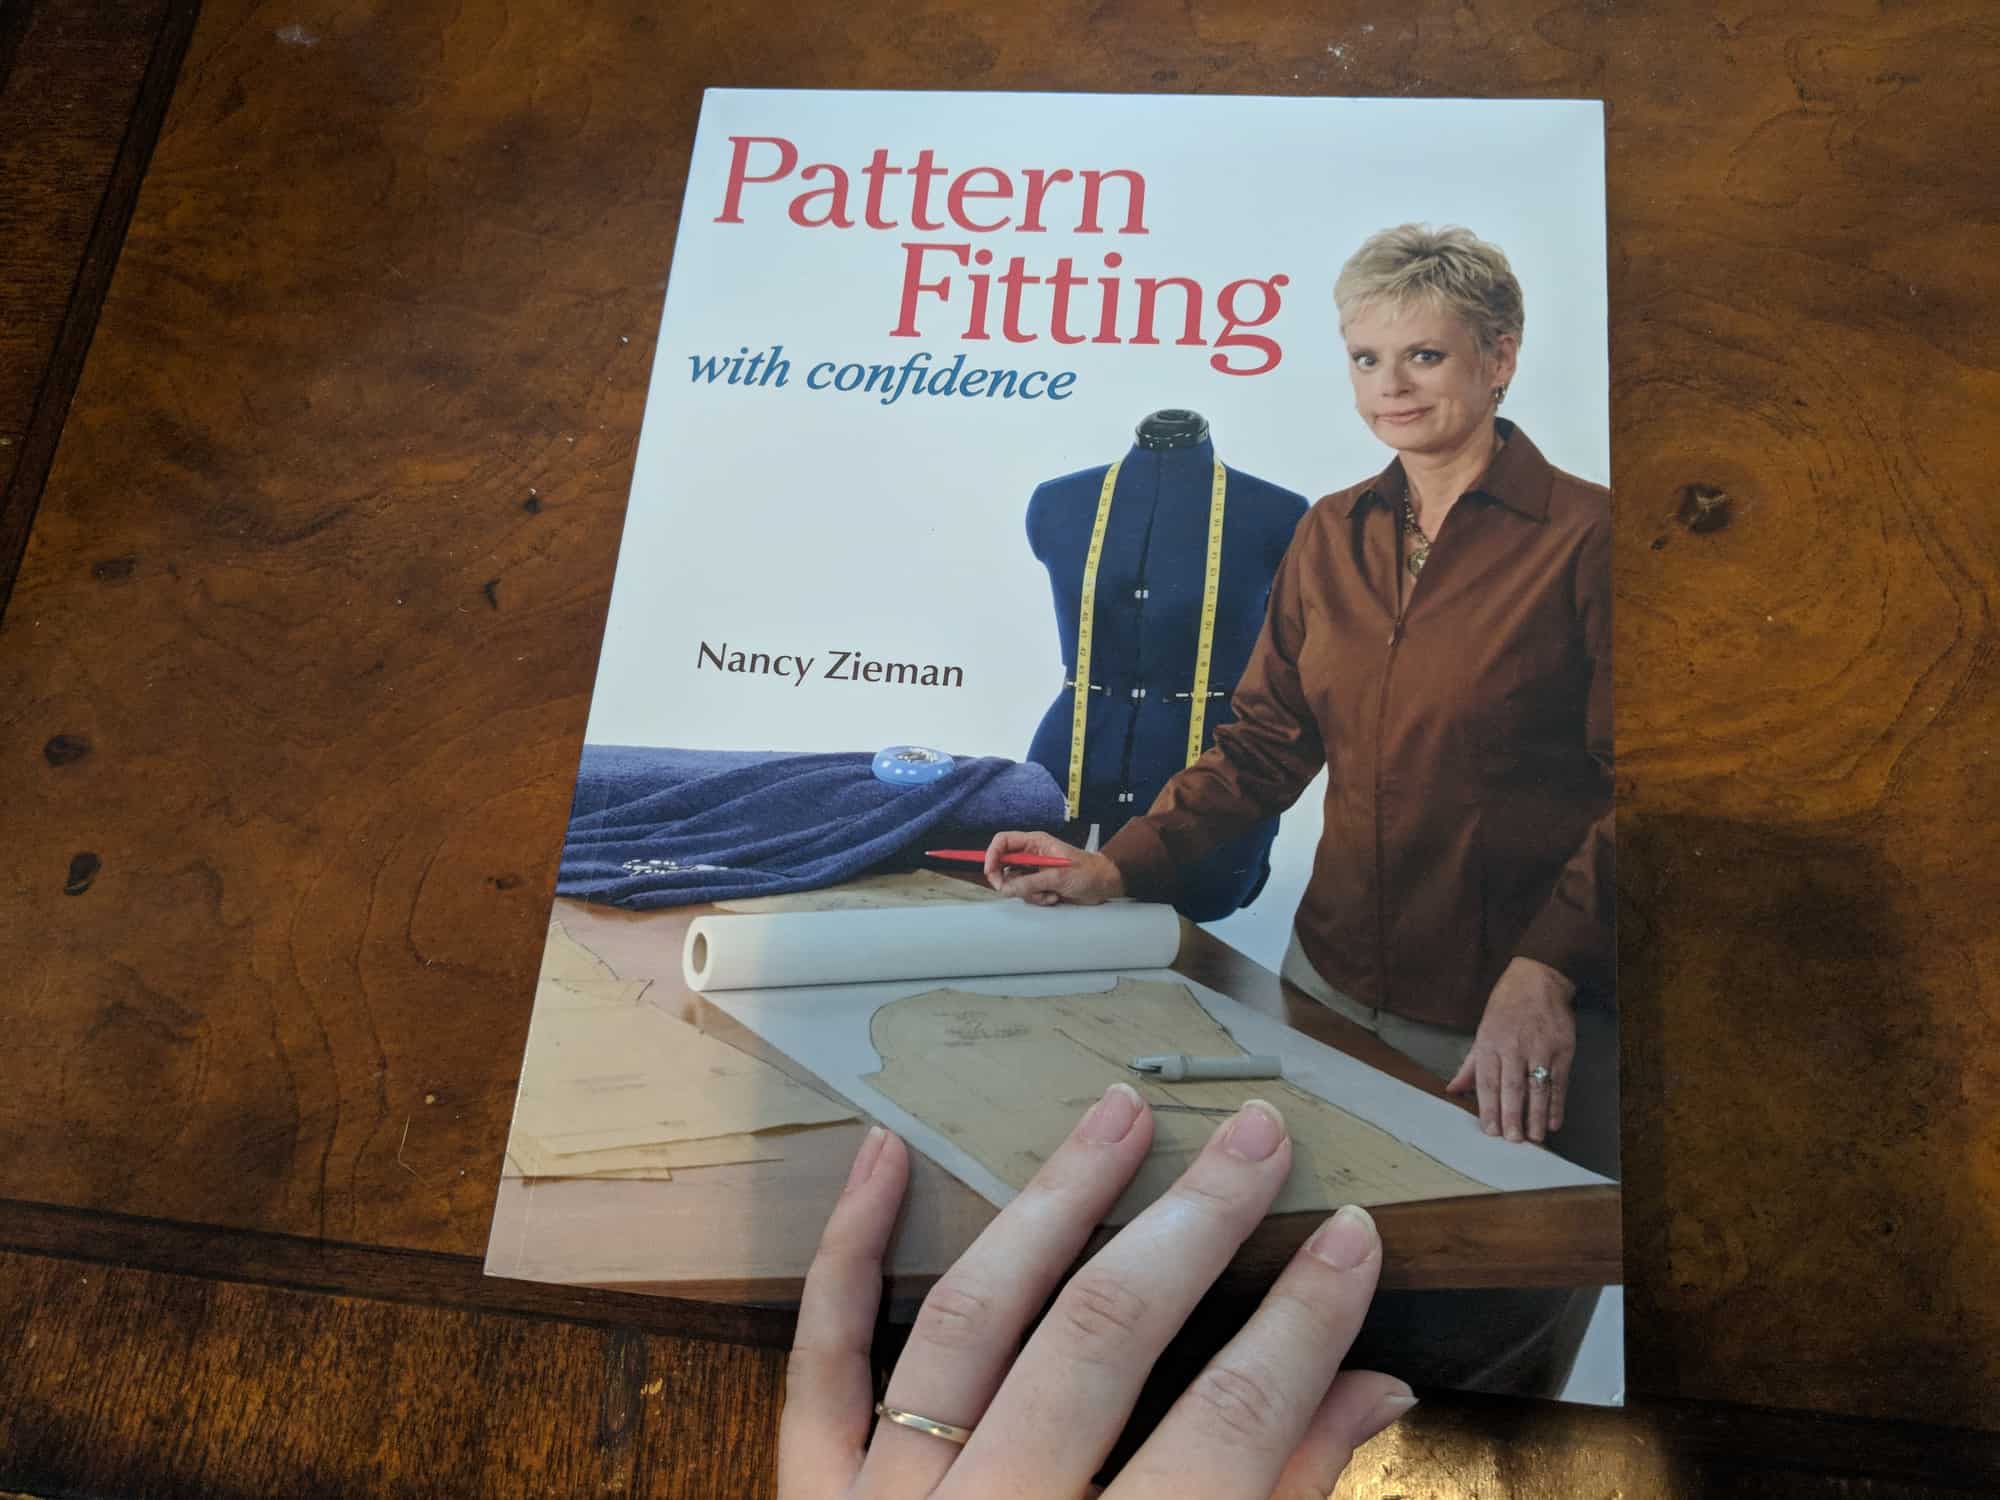
Nancy is absolutely a great sewing icon who taught so many so much! I still have her fitting book sitting right on my desk 🙂

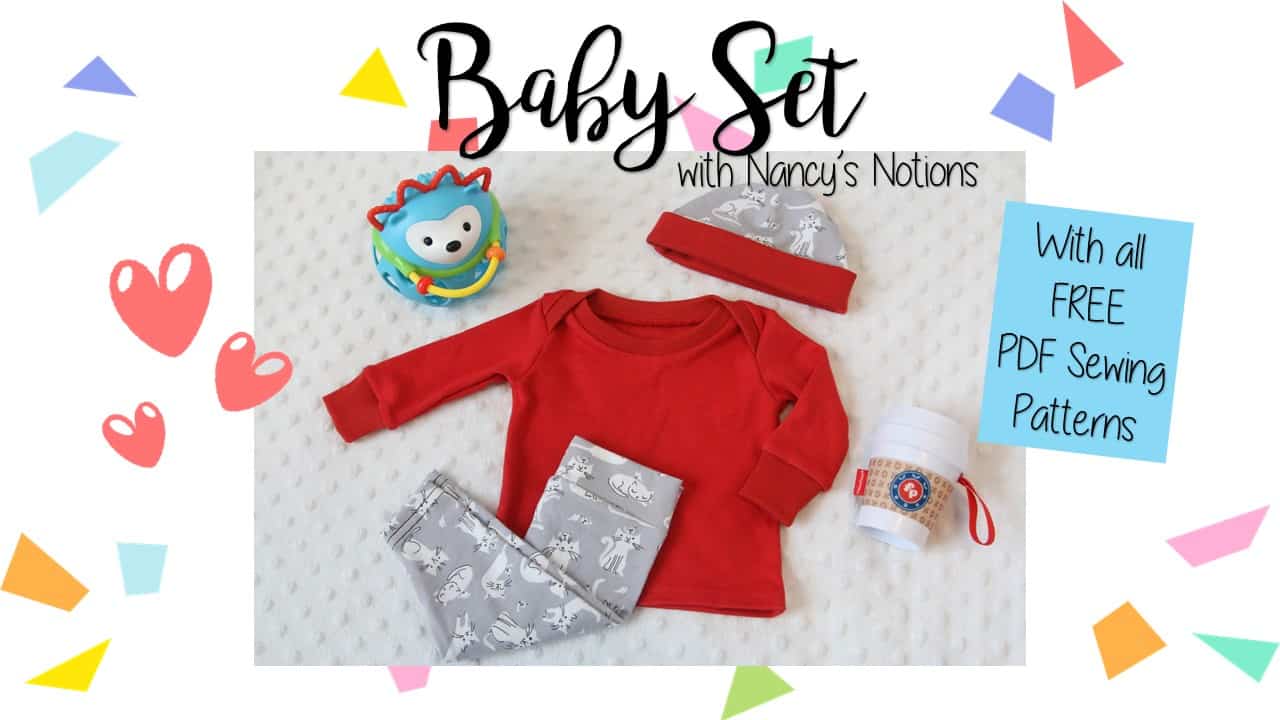
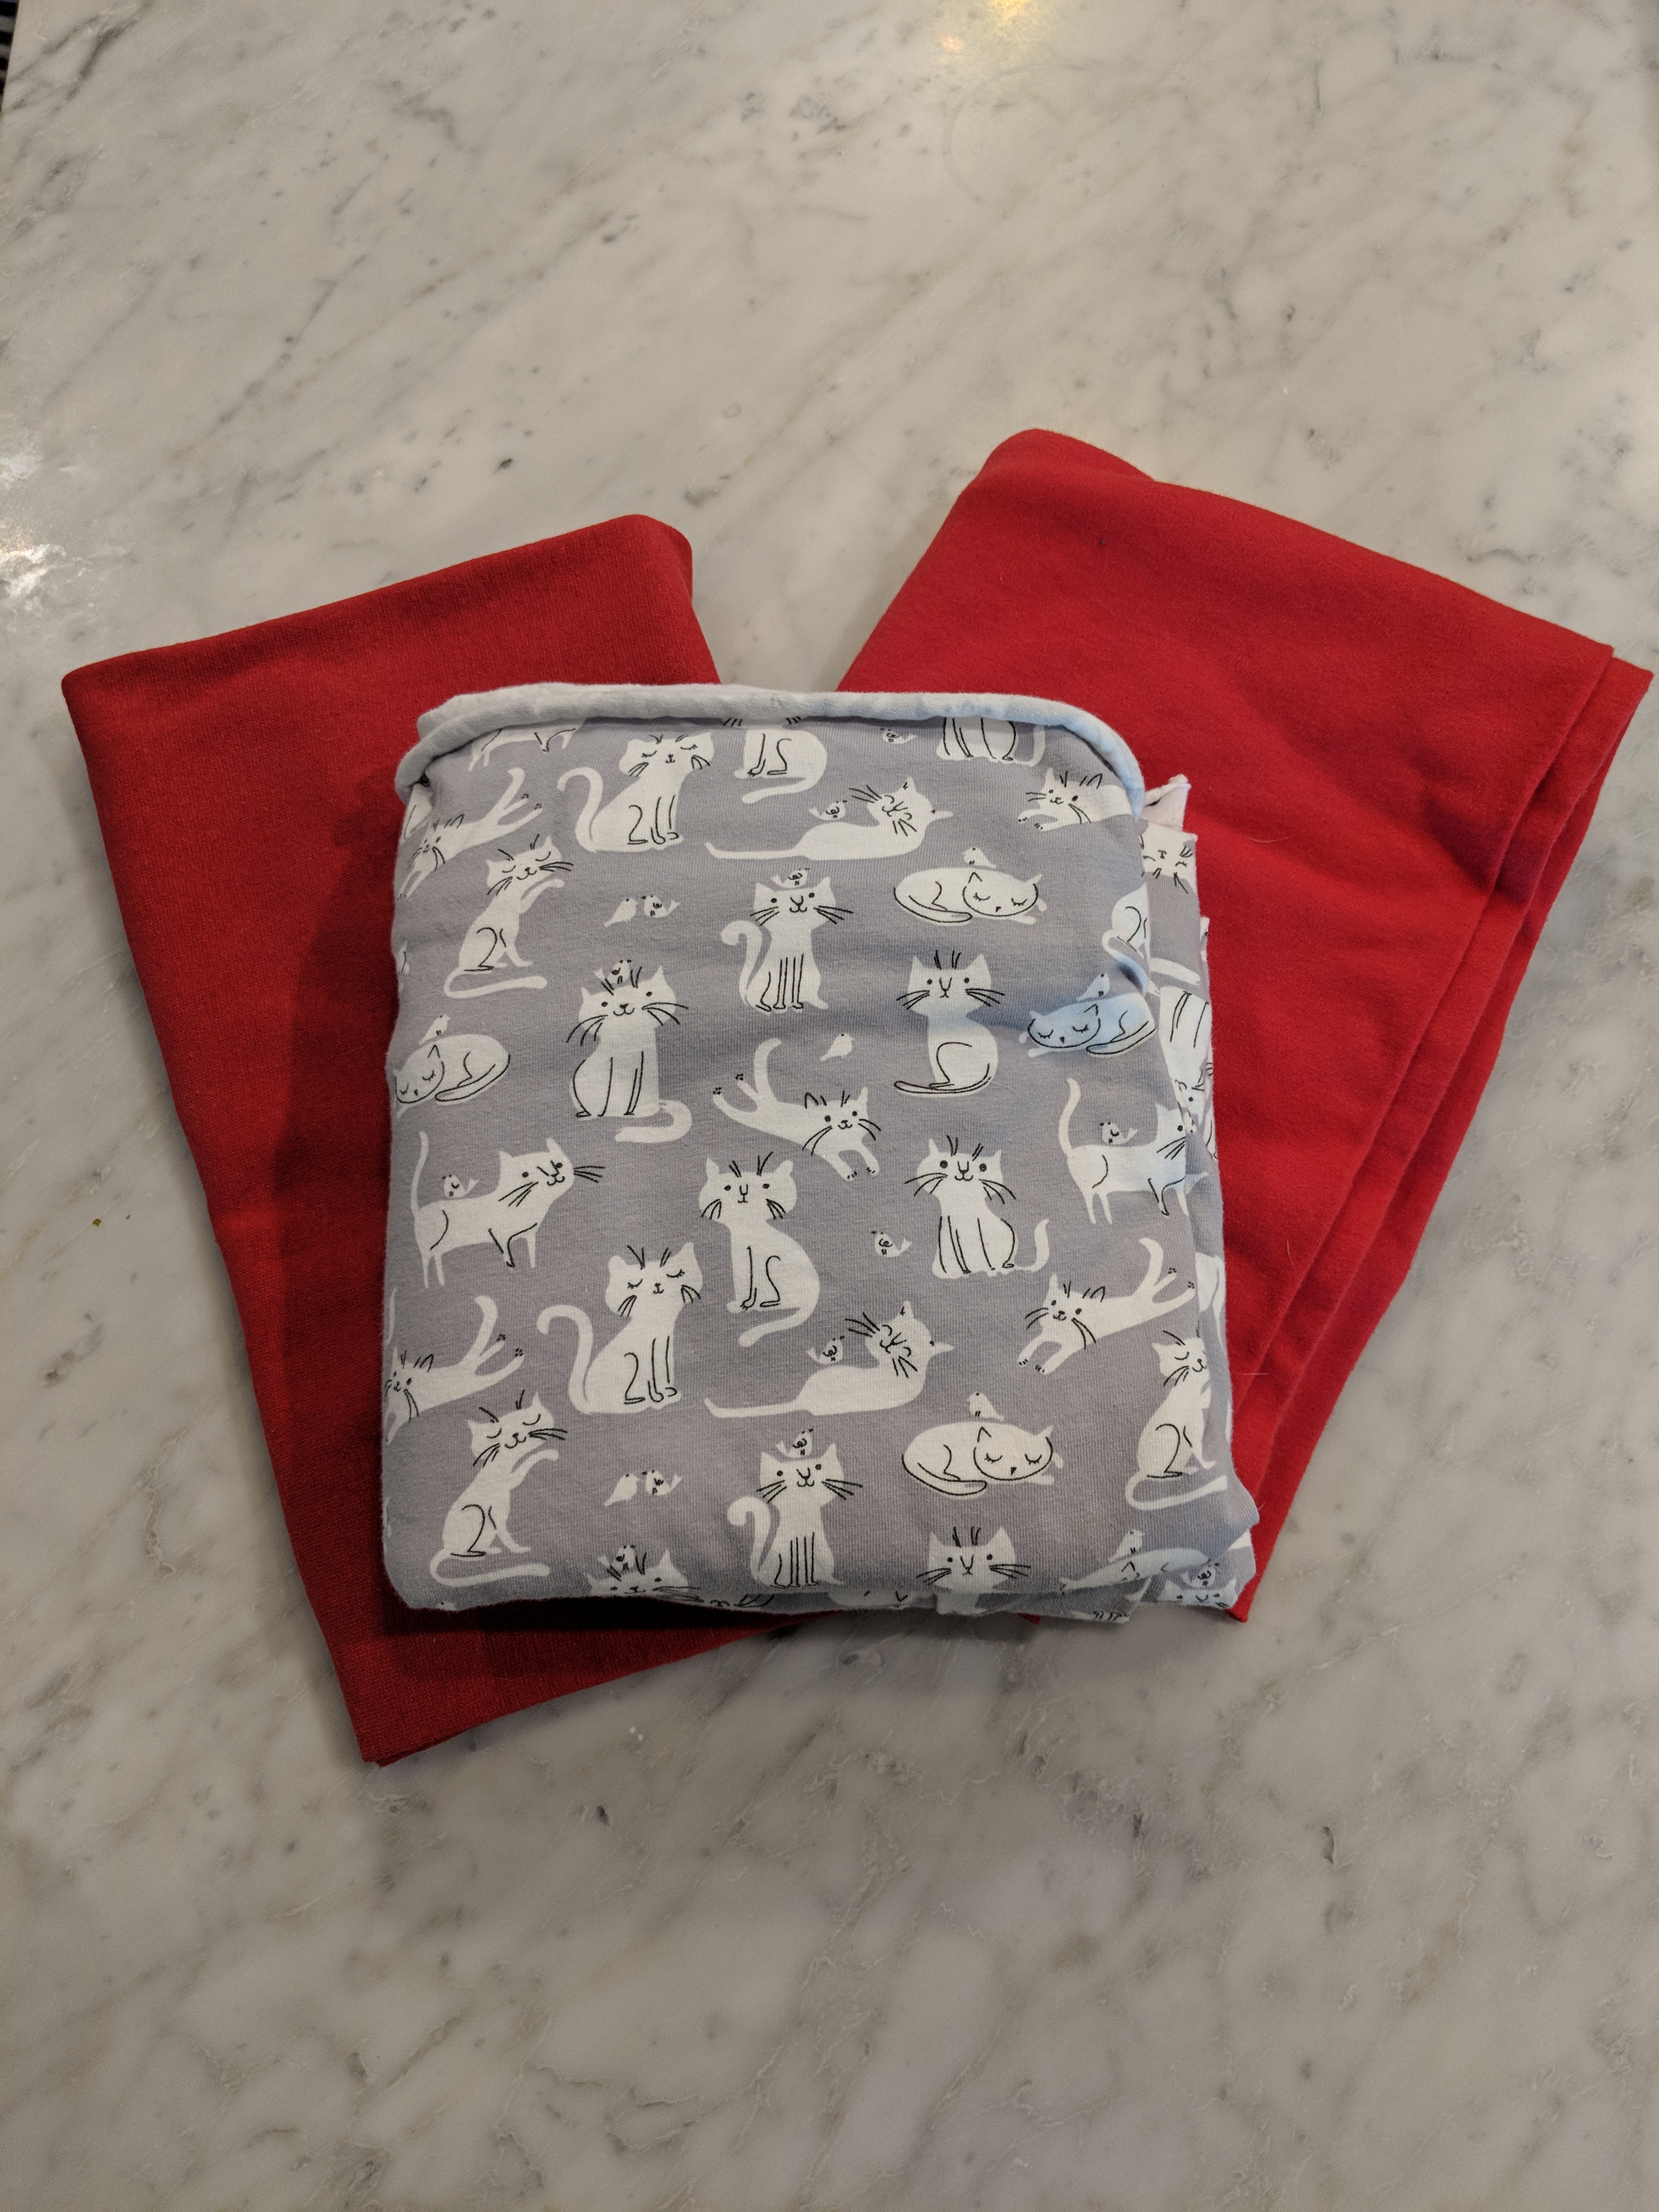
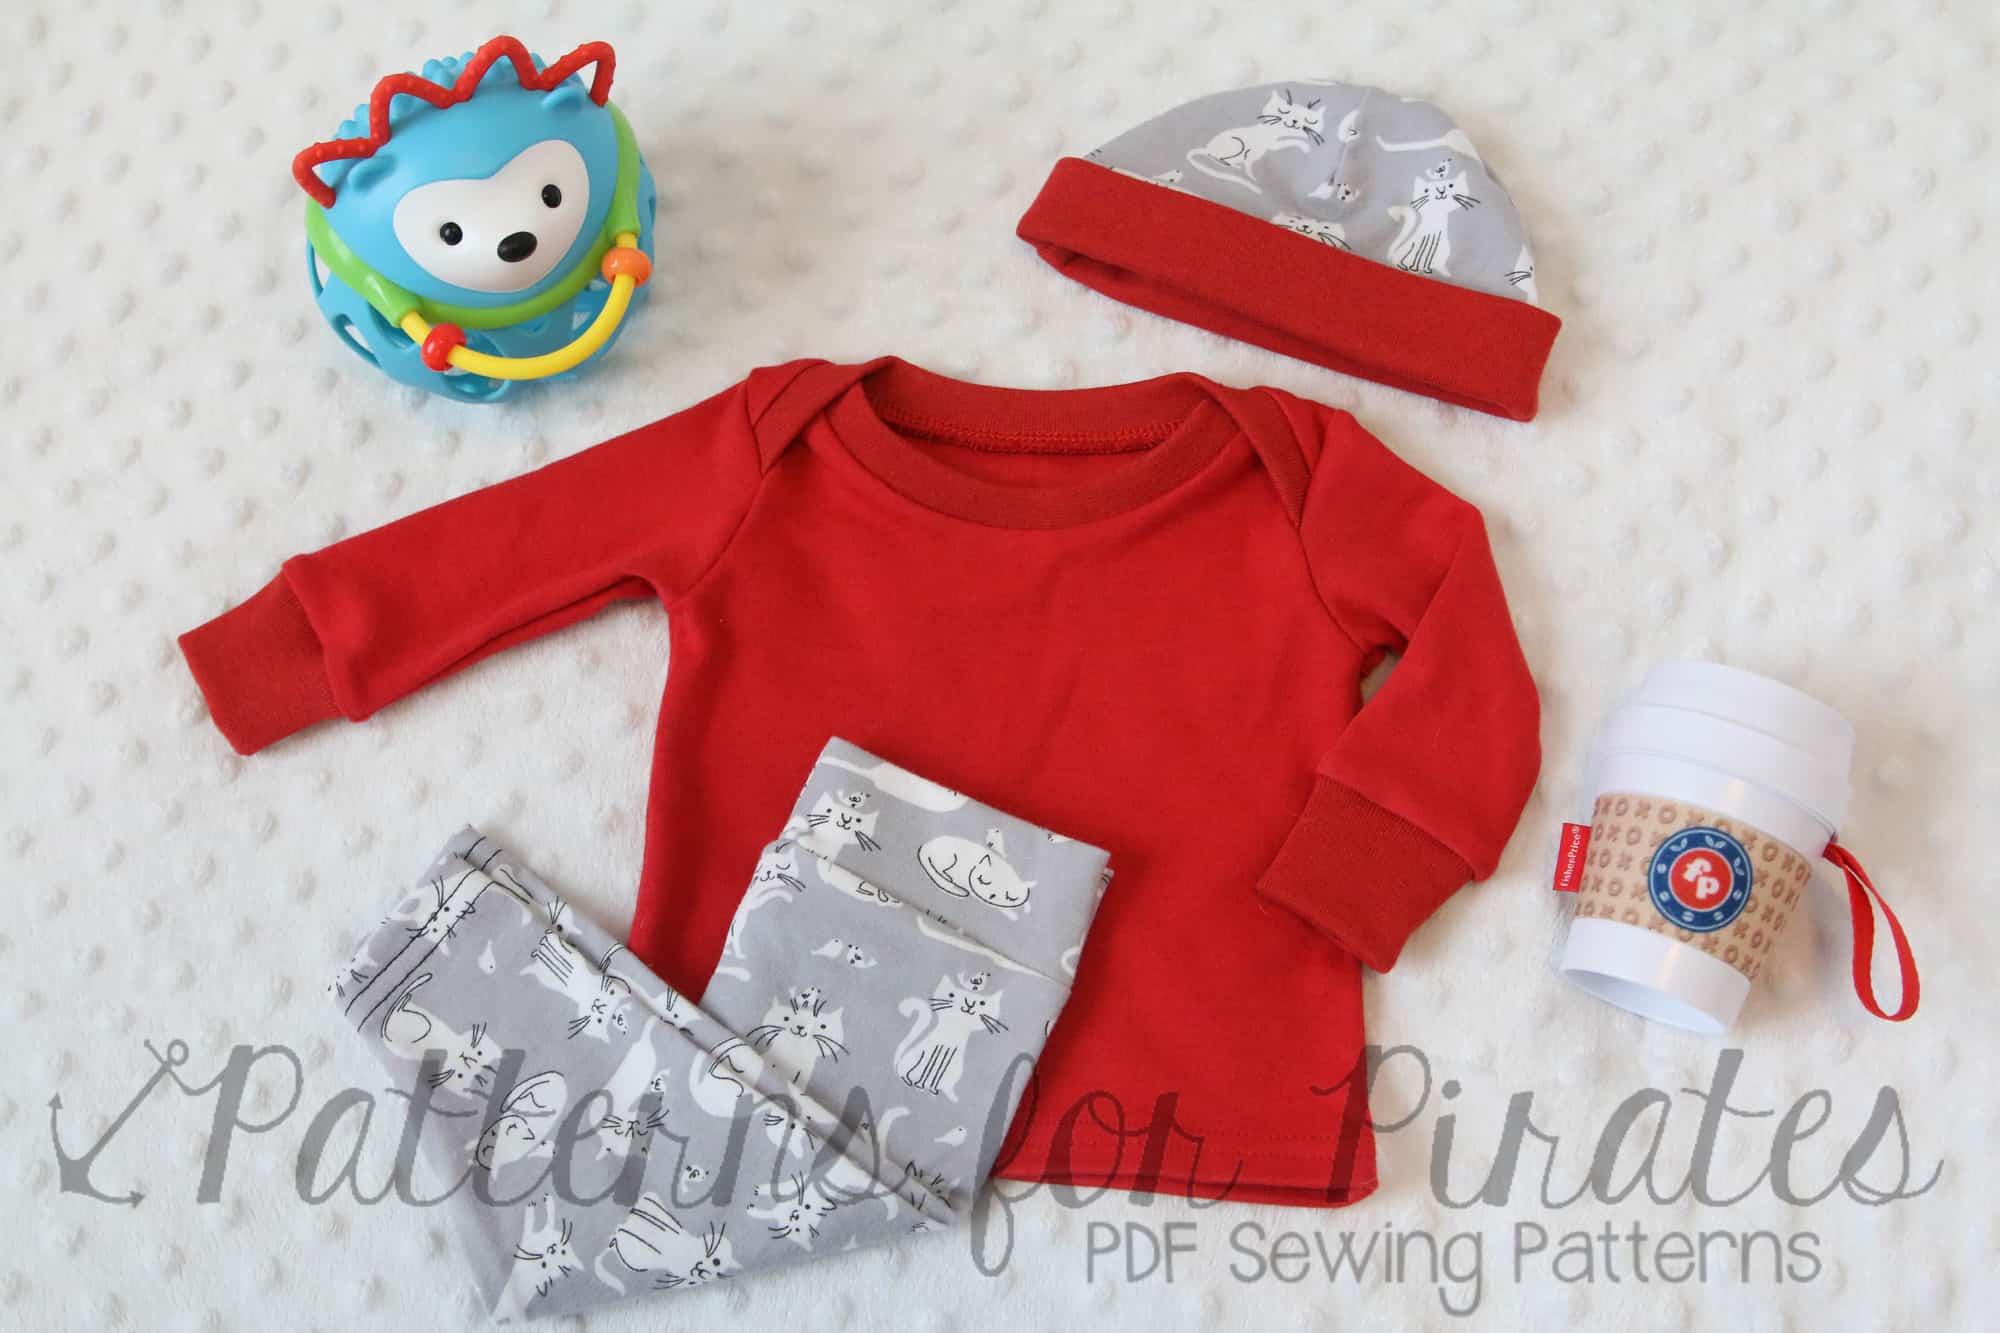
They sent me some adorable kitty fabric, red interlock and red ribbing to match.

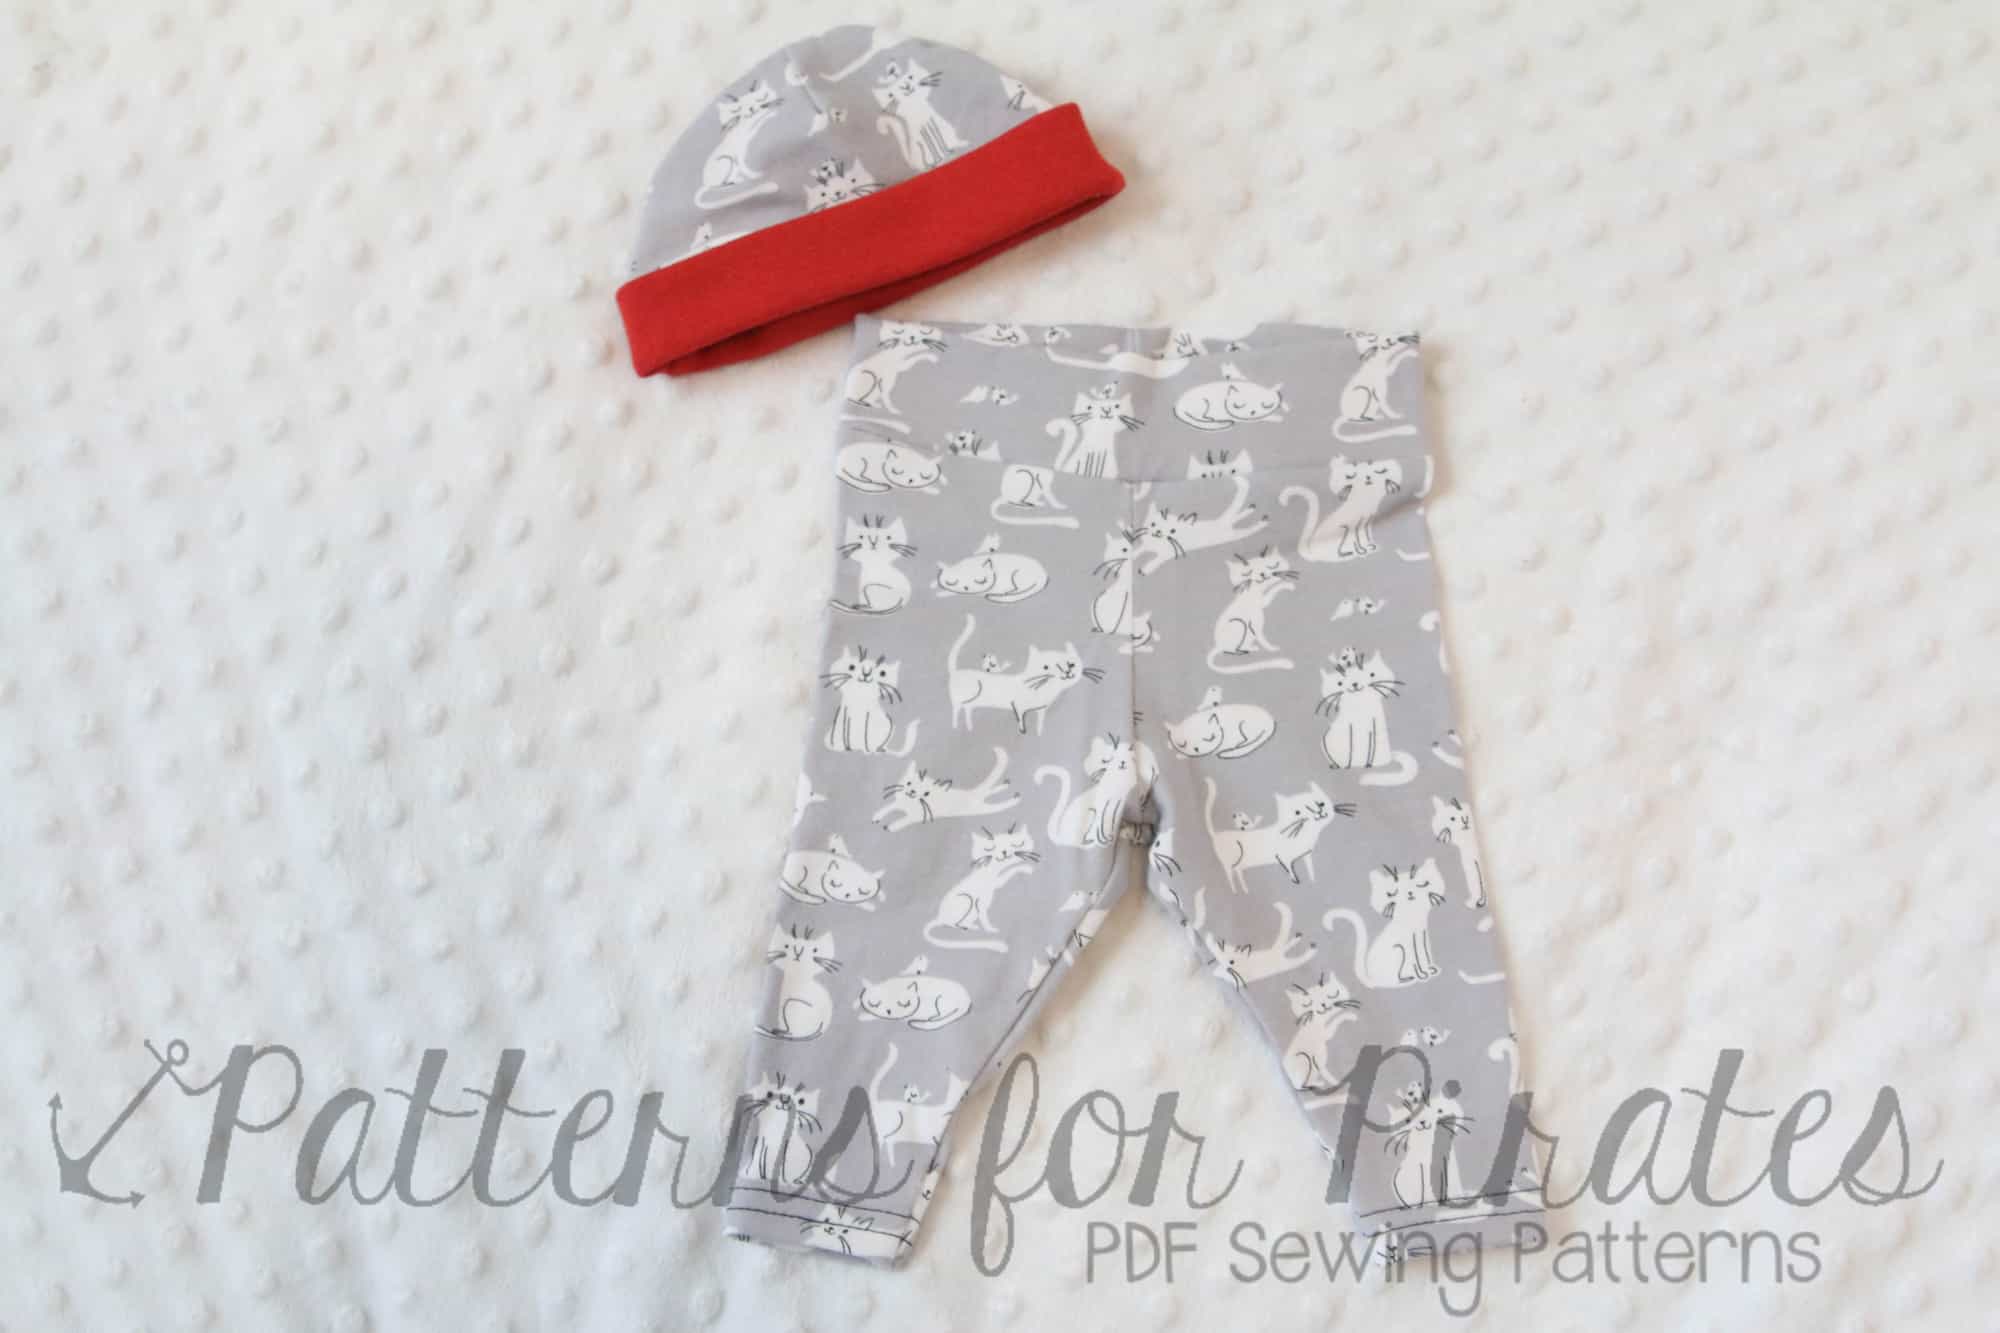
The kitty fabric is a cotton spandex – perfect for baby clothing since it’s natural fibers, soft and easy to get on and off with the high stretch.

I used it for the Petite Pegs and part of the Teeny Beanie.

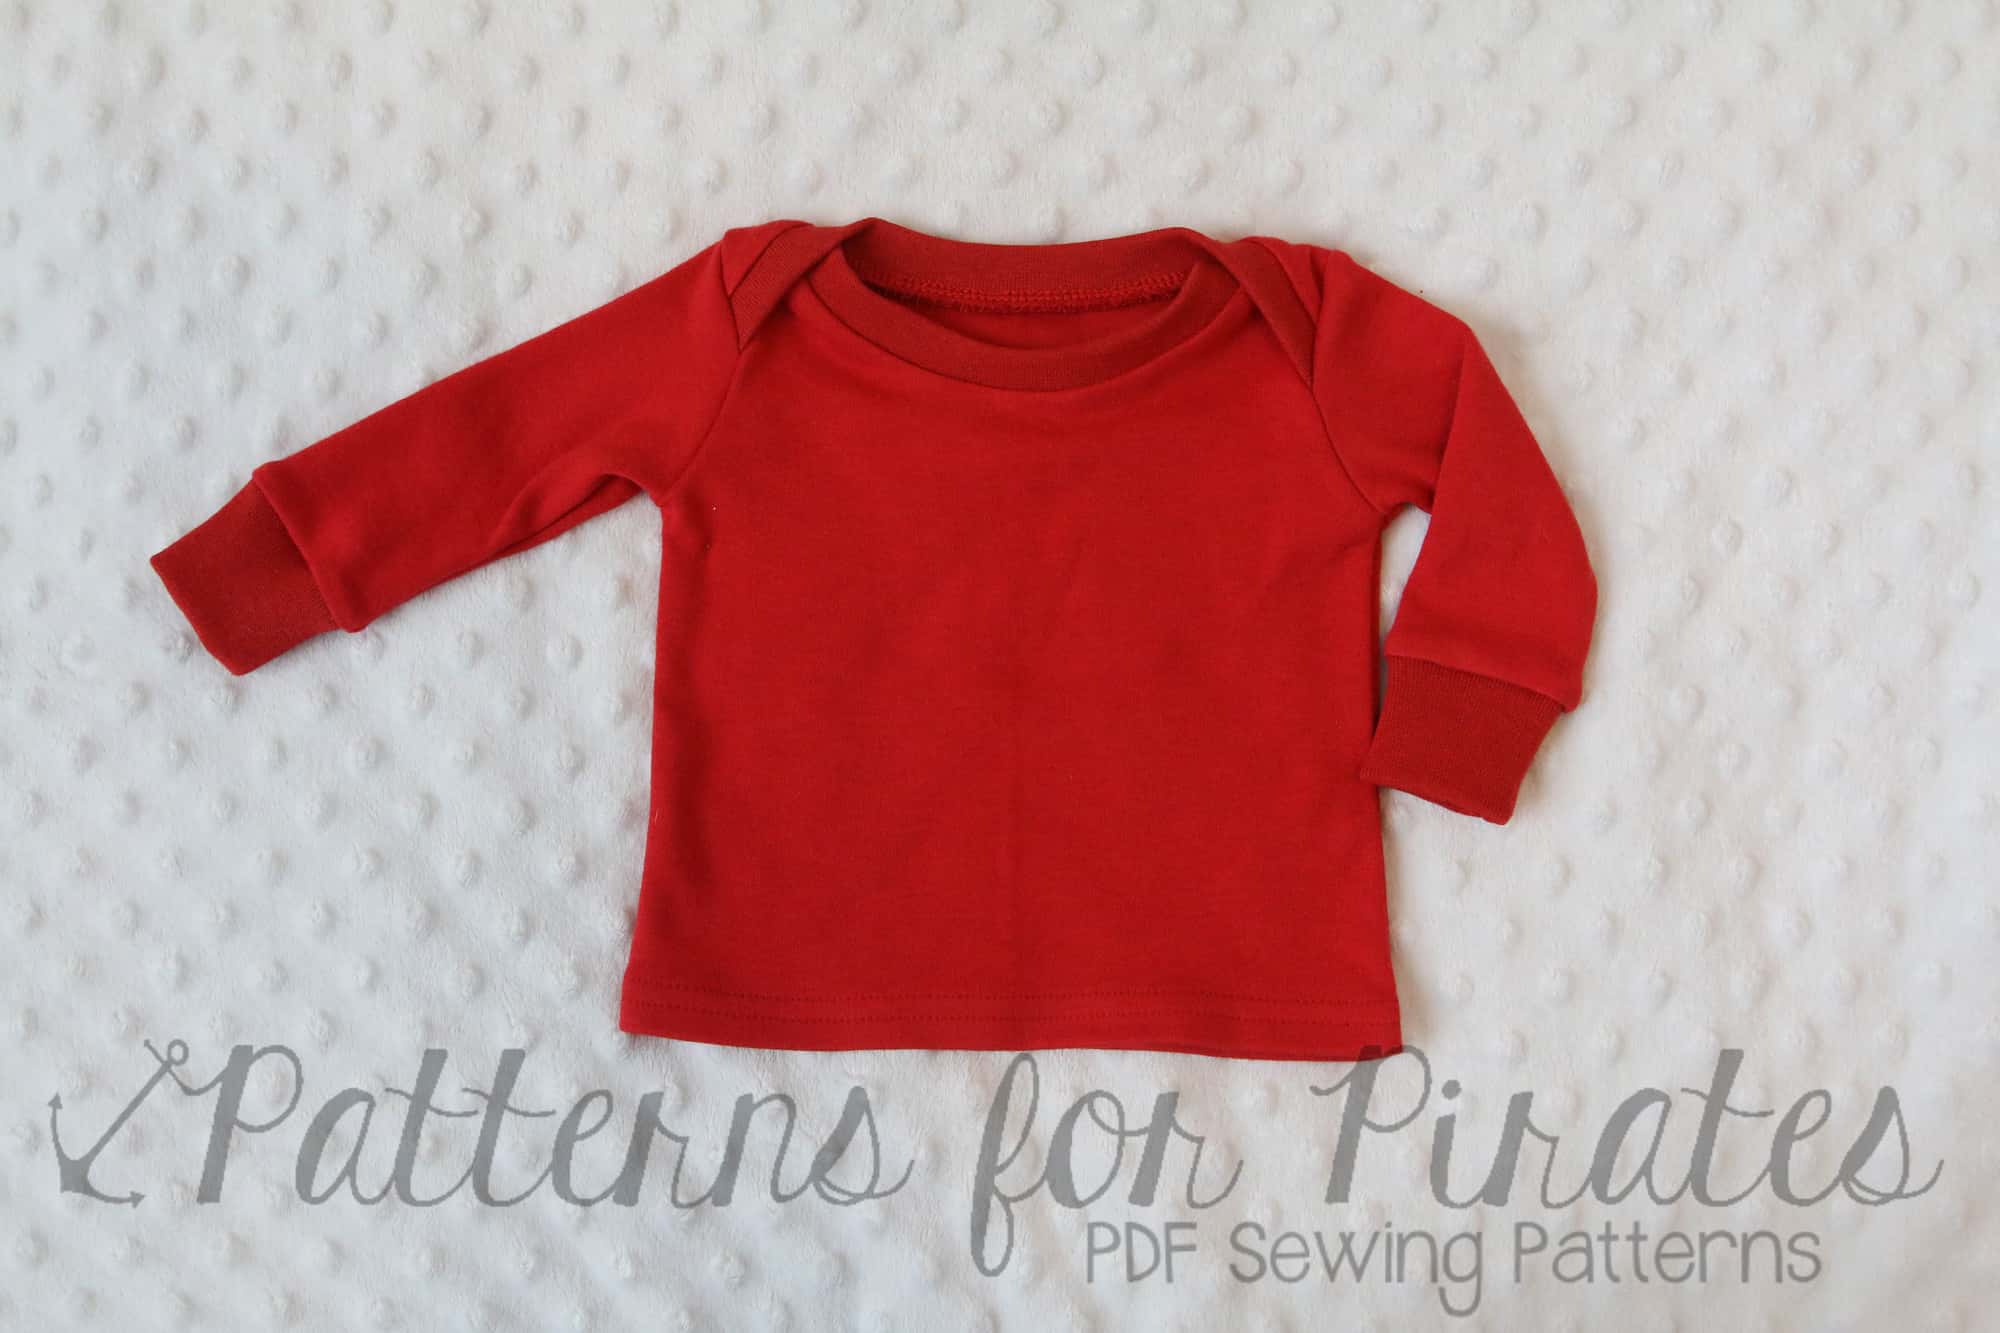
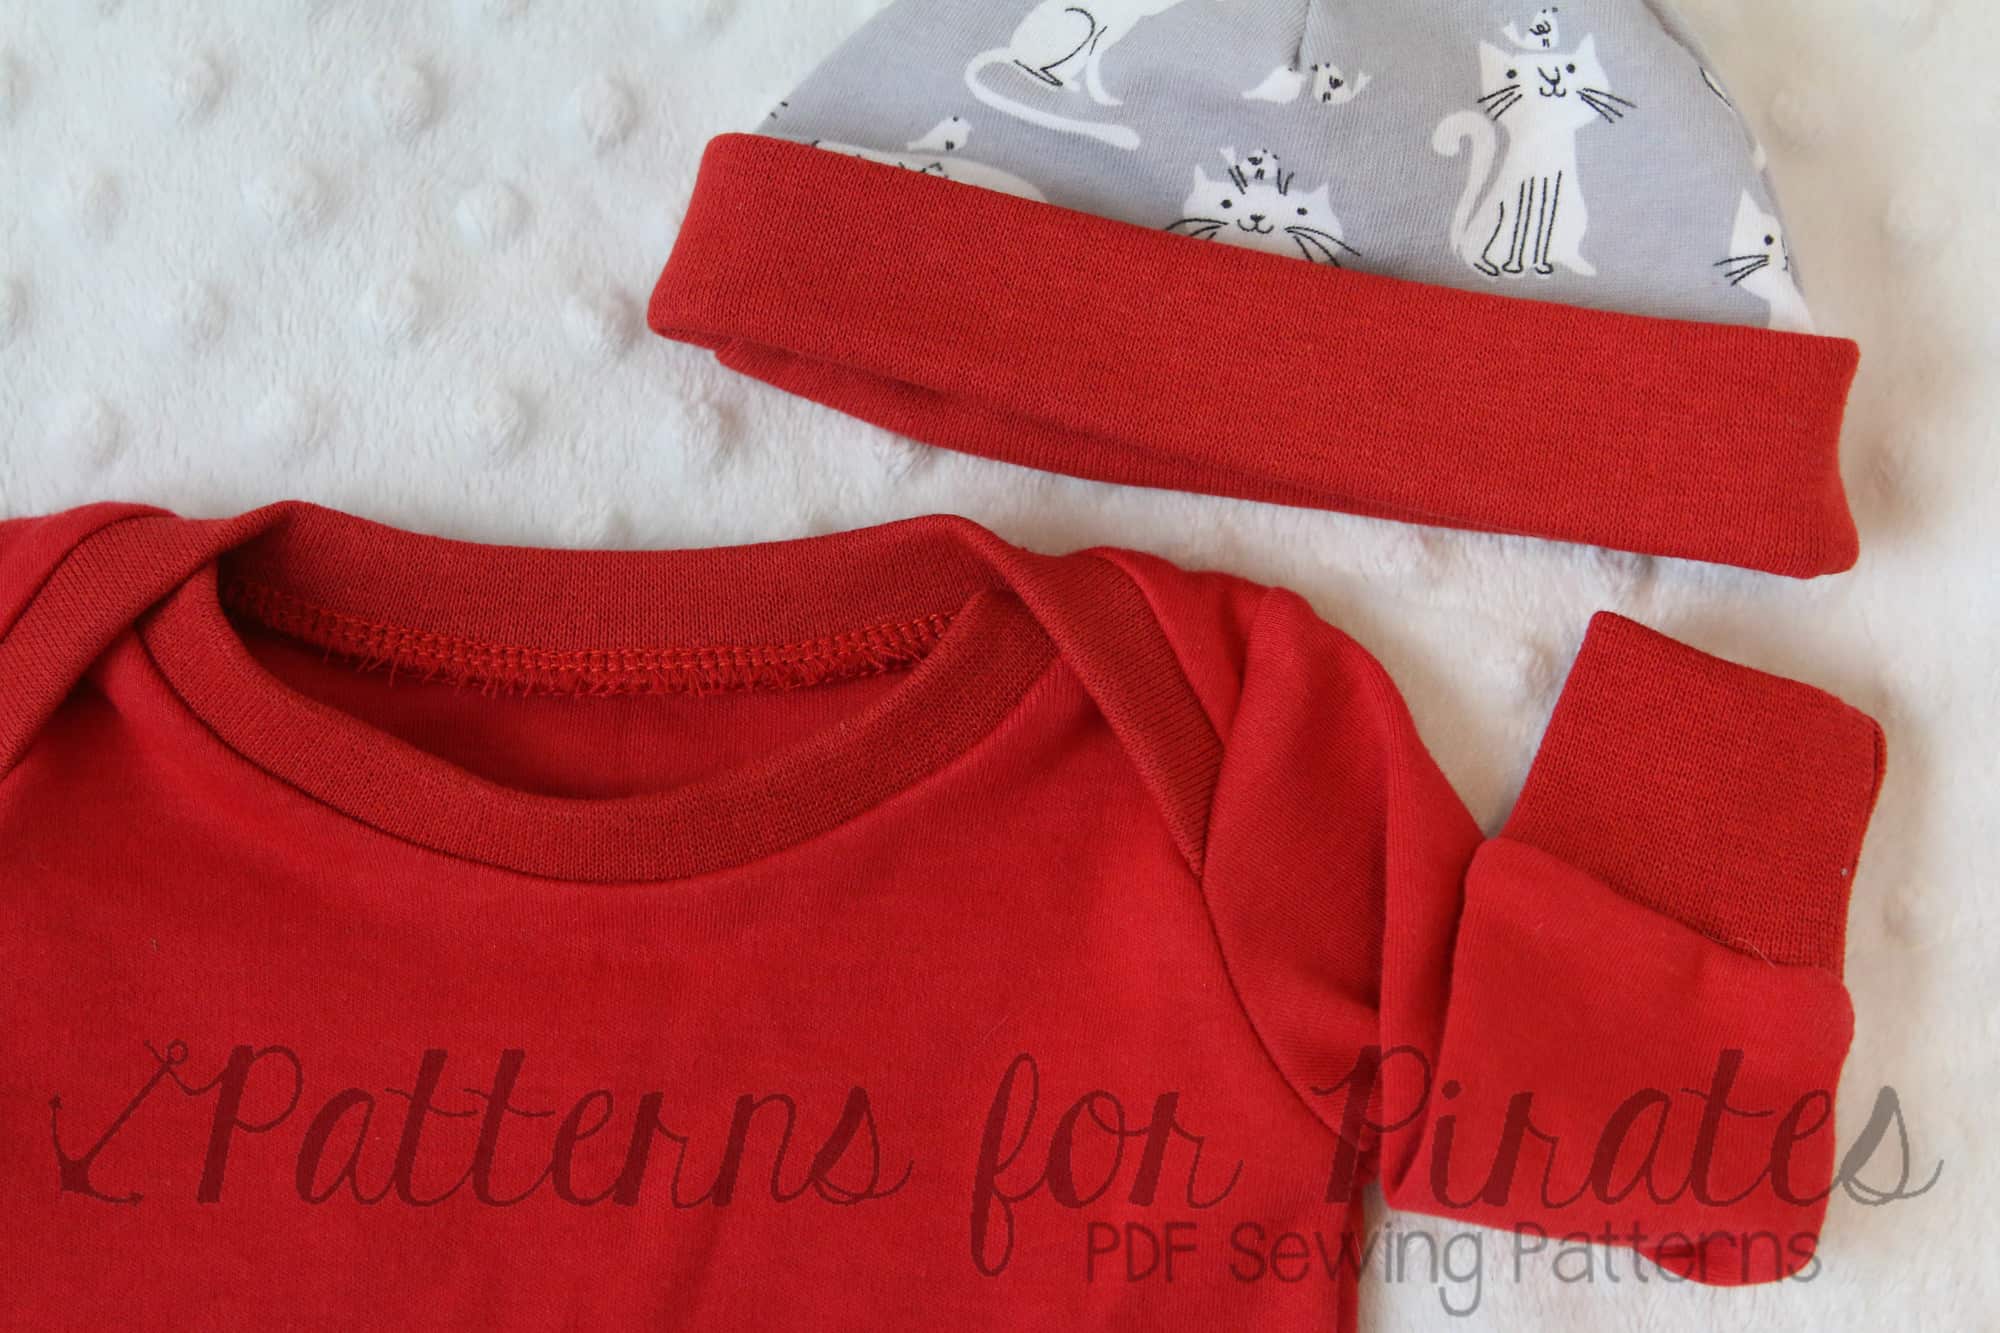
The red interlock I used for the main body of the Wee Lap Tee and the matching driving worked perfectly for the neckband, wristbands, and the band for the hat as well.

Although Nancy’s Notions has been a go to shop for quilters  they’re starting to carry more and more apparel items as well! So, if you’ve never checked them out or haven’t looked in their shop for apparel sewing in some time I’d click on over and check it out.  You can use this code for free shipping on orders $49 or more as well: 189501-1121 🙂

All the patterns I used for this baby set you can find in our freebie section here on the site! A great little gift for a baby shower or an easy and quick basic set to fill up baby’s wardrobe!

It’s part of Nancy’s Notion’s Holiday Blogger Gift Program 2018!

Filed Under: Blog Tours, Sewing Techniques, Uncategorized 3 Comments

  • « Previous Page
  • 1
  • …
  • 16
  • 17
  • 18
  • 19
  • 20
  • …
  • 29
  • Next Page »

connect with me

  • Email
  • Facebook
  • Instagram
  • Pinterest
  • YouTube
Privacy & Cookies: This site uses cookies. By continuing to use this website, you agree to their use.

To find out more, including how to control cookies, see here: Cookie Policy
  • Privacy Policy
  • Refund Policy
  • Contact Us
  • About

Copyright © 2026 Patterns for Pirates

Copyright © 2026 · Genesis Framework · WordPress · Log in