Patterns for Pirates

P4P stylish, modern, wearable patterns

  • Home
  • Blog
    • Frequently Asked Questions
    • Pattern Releases
      • Free Patterns
    • P4P University
      • Fitting
      • Sewing with Stretch, Knit Fabrics
      • Sewing with Woven Fabrics
      • Sewing Machines
    • Sew-A-Longs
    • Fabric for Pirates
    • Pattern Hacks
    • Announcement
      • Blog Tours
      • Contest/Giveaway
  • Shop
  • Bundle Discounts
  • Gift Cards
  • My Account
  • Cart

X Factor Sew Along – day 4

August 27, 2020

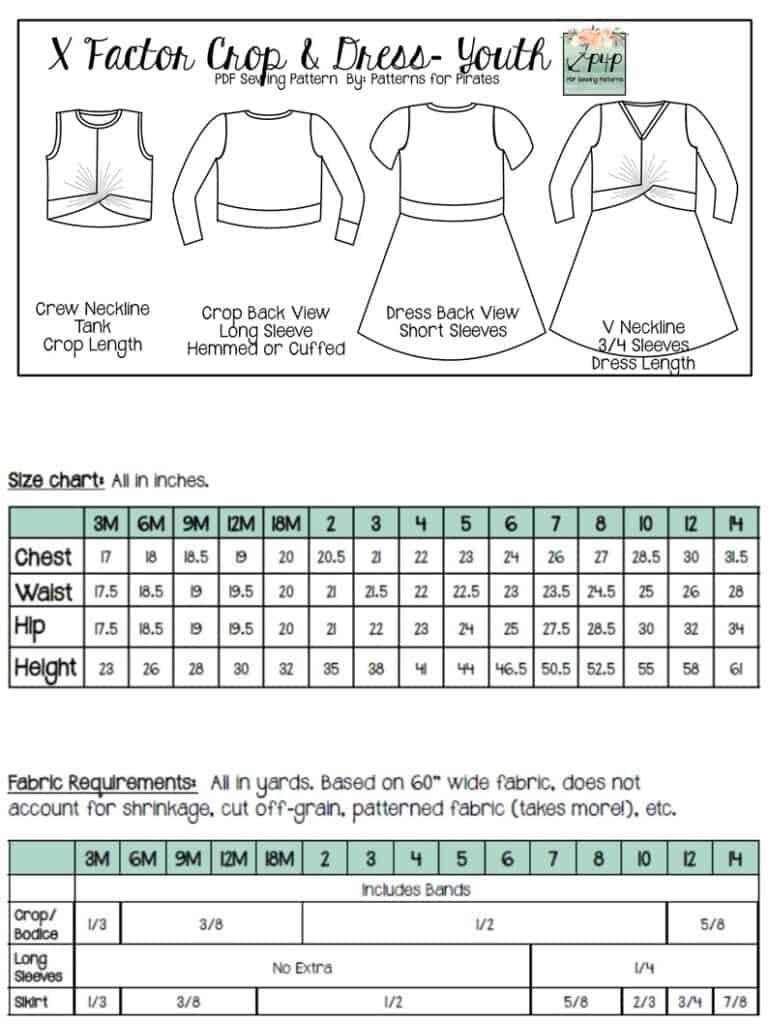
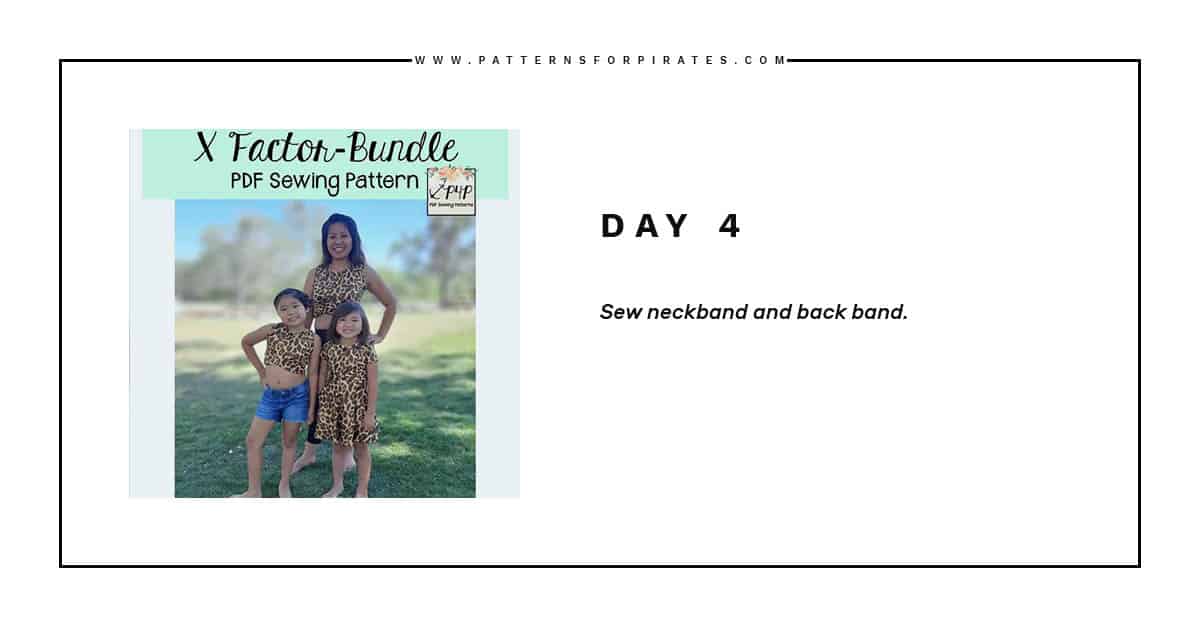
Day 4 is here! Today we add the neckband and the back band.  If you are new to sewing with knits or simply would like a refresher, take a look over our P4P University Neckbands 101 blog post. This blog shows you how to create the crew neck.  The most important thing to keep in ming when creating and adding the crew neckband is to press, press, press! 

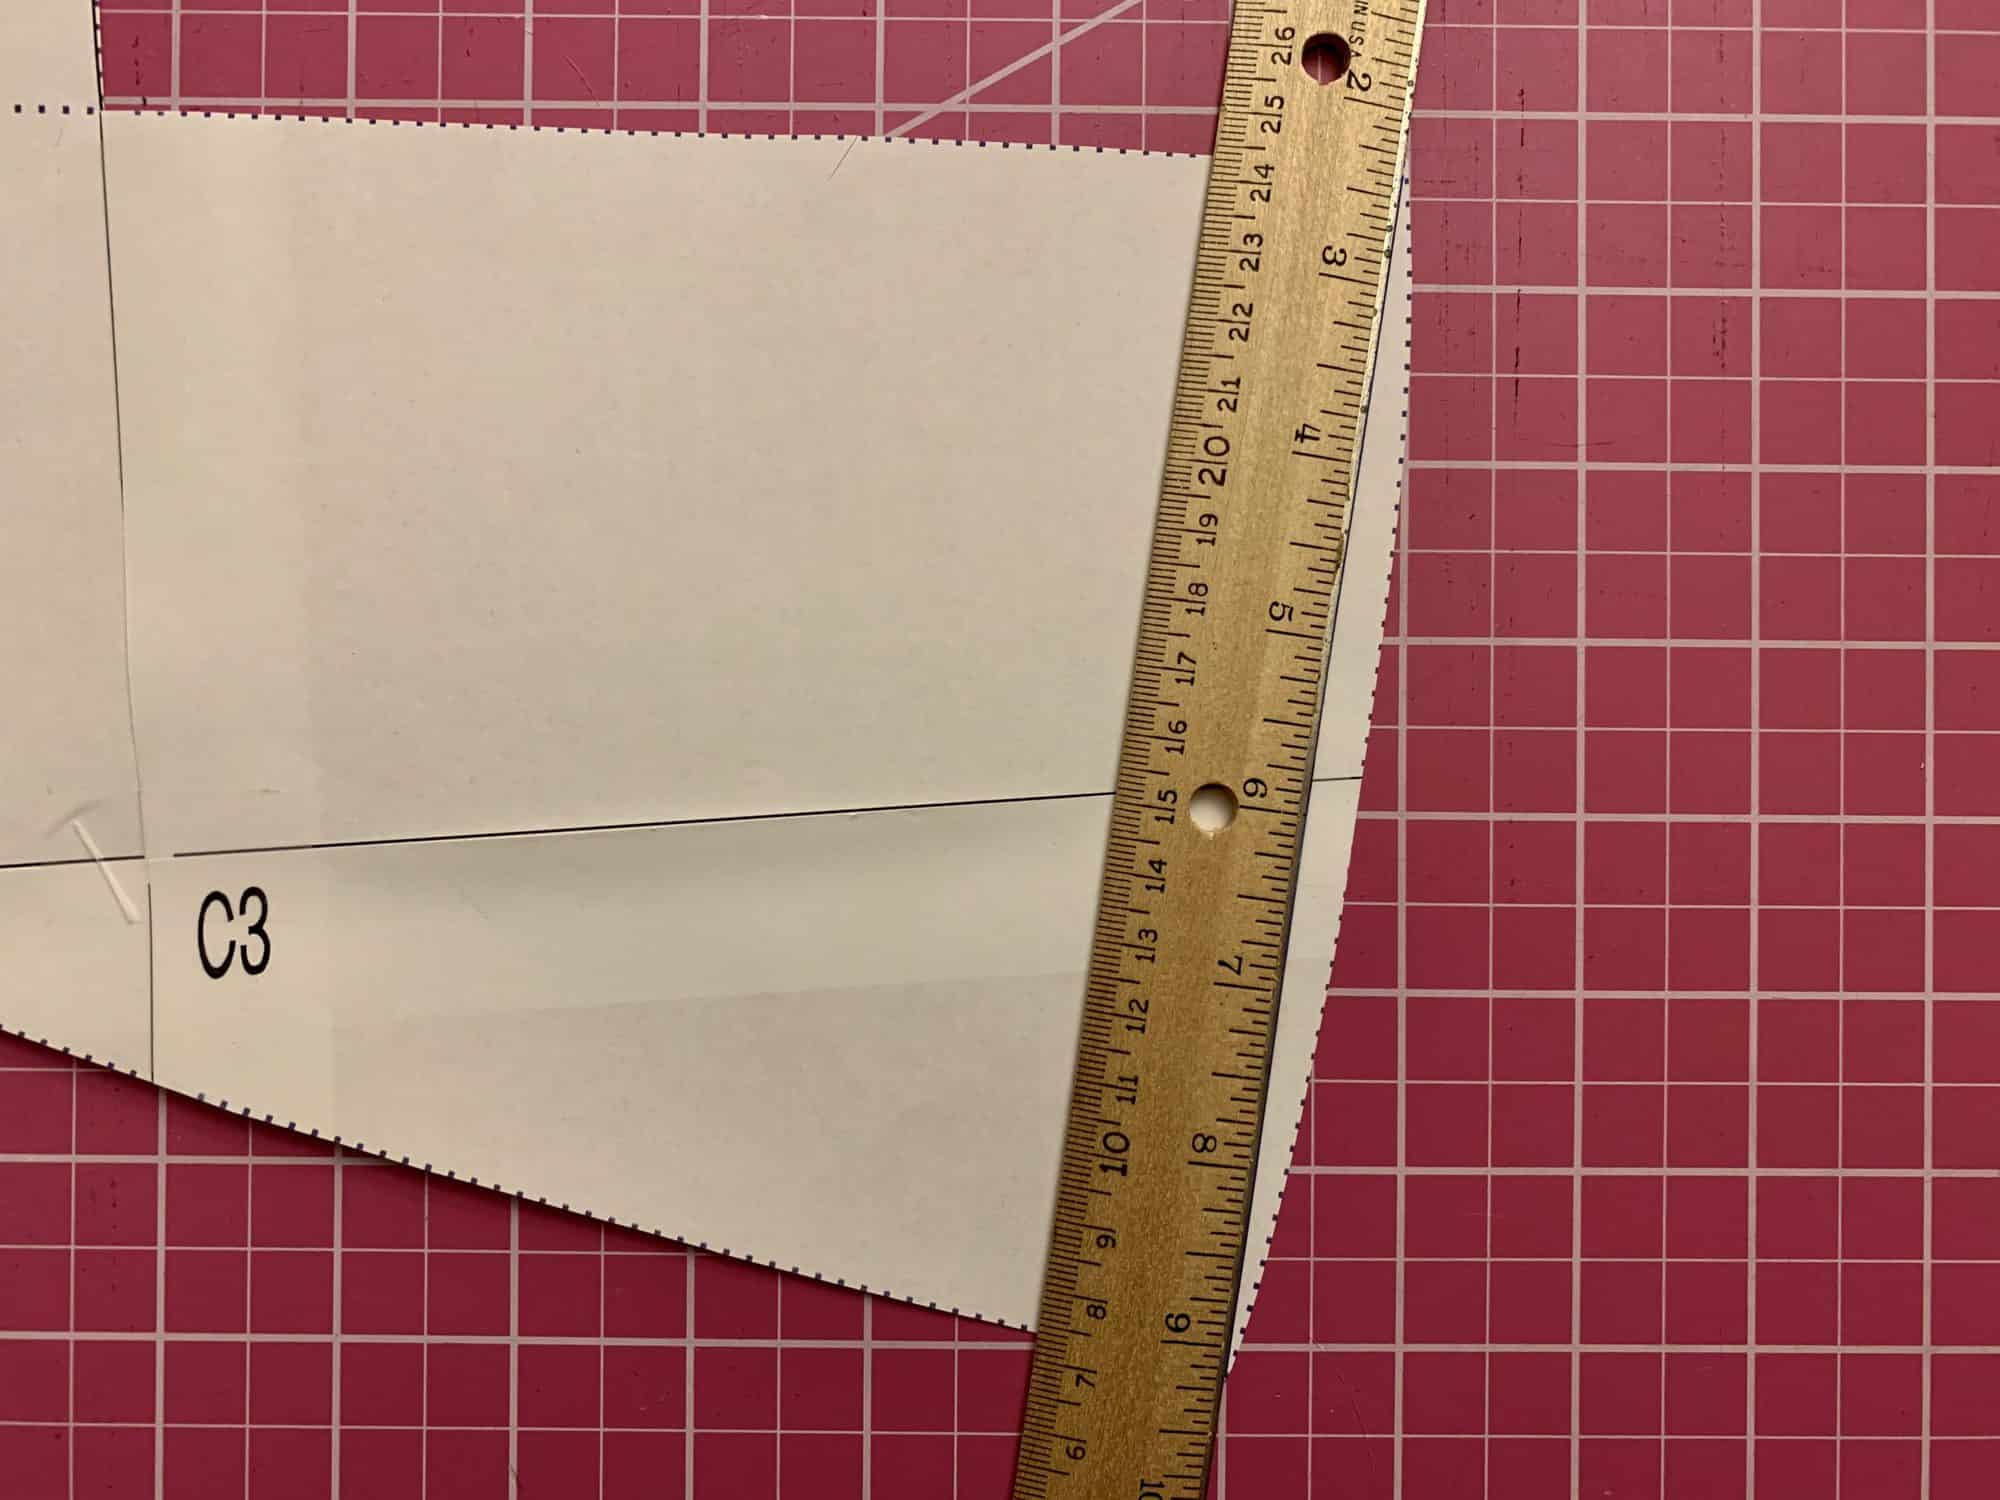
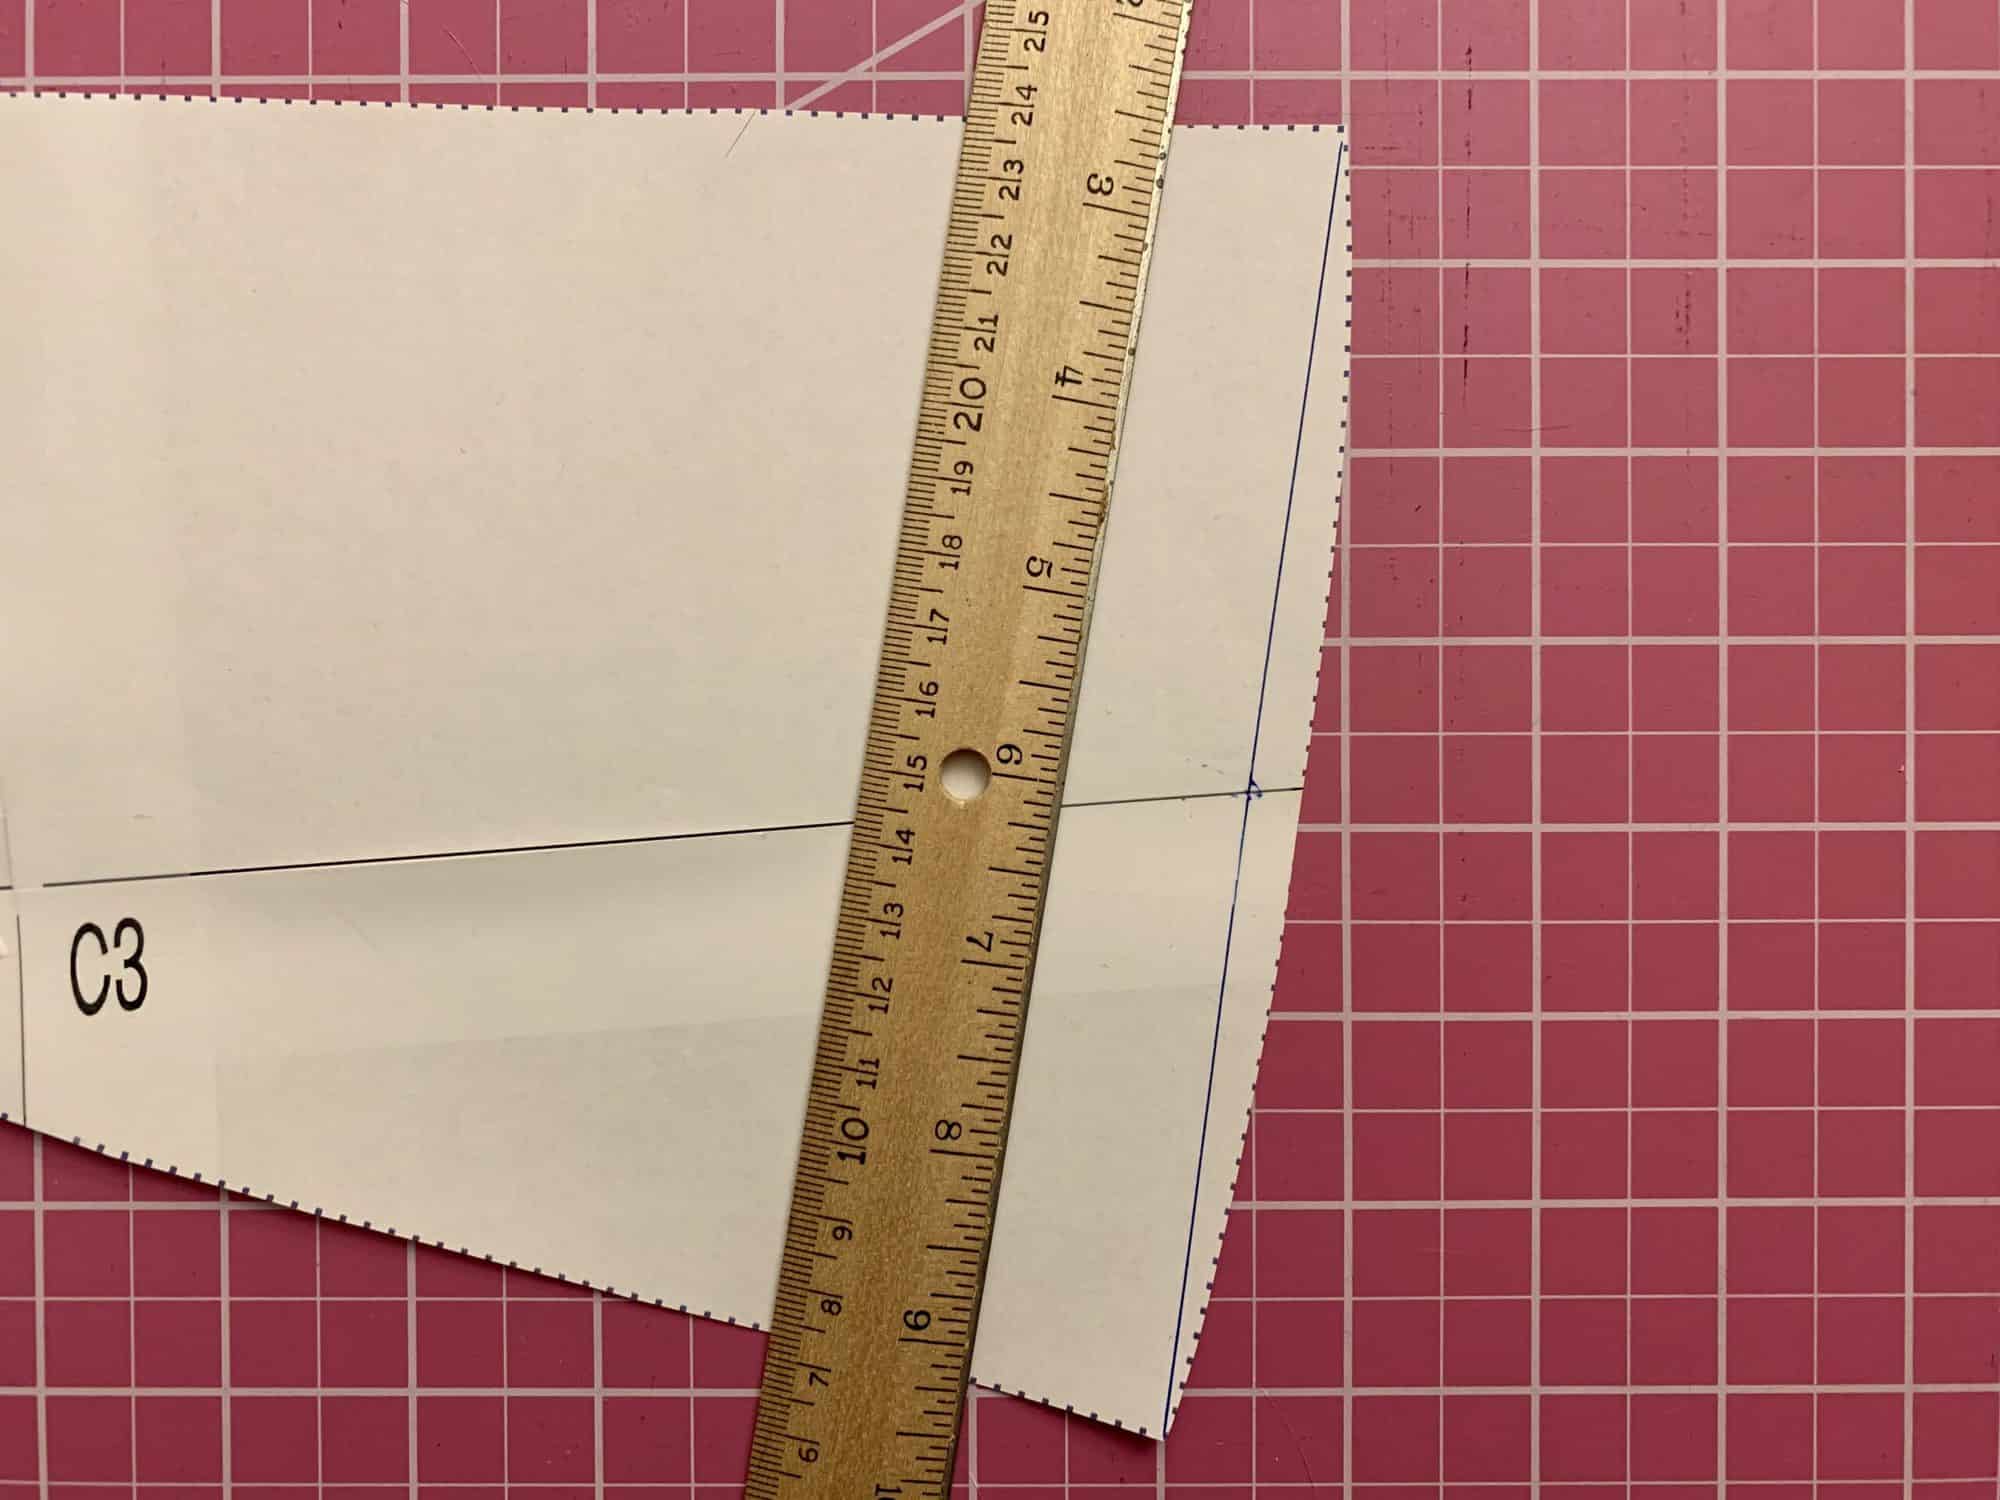
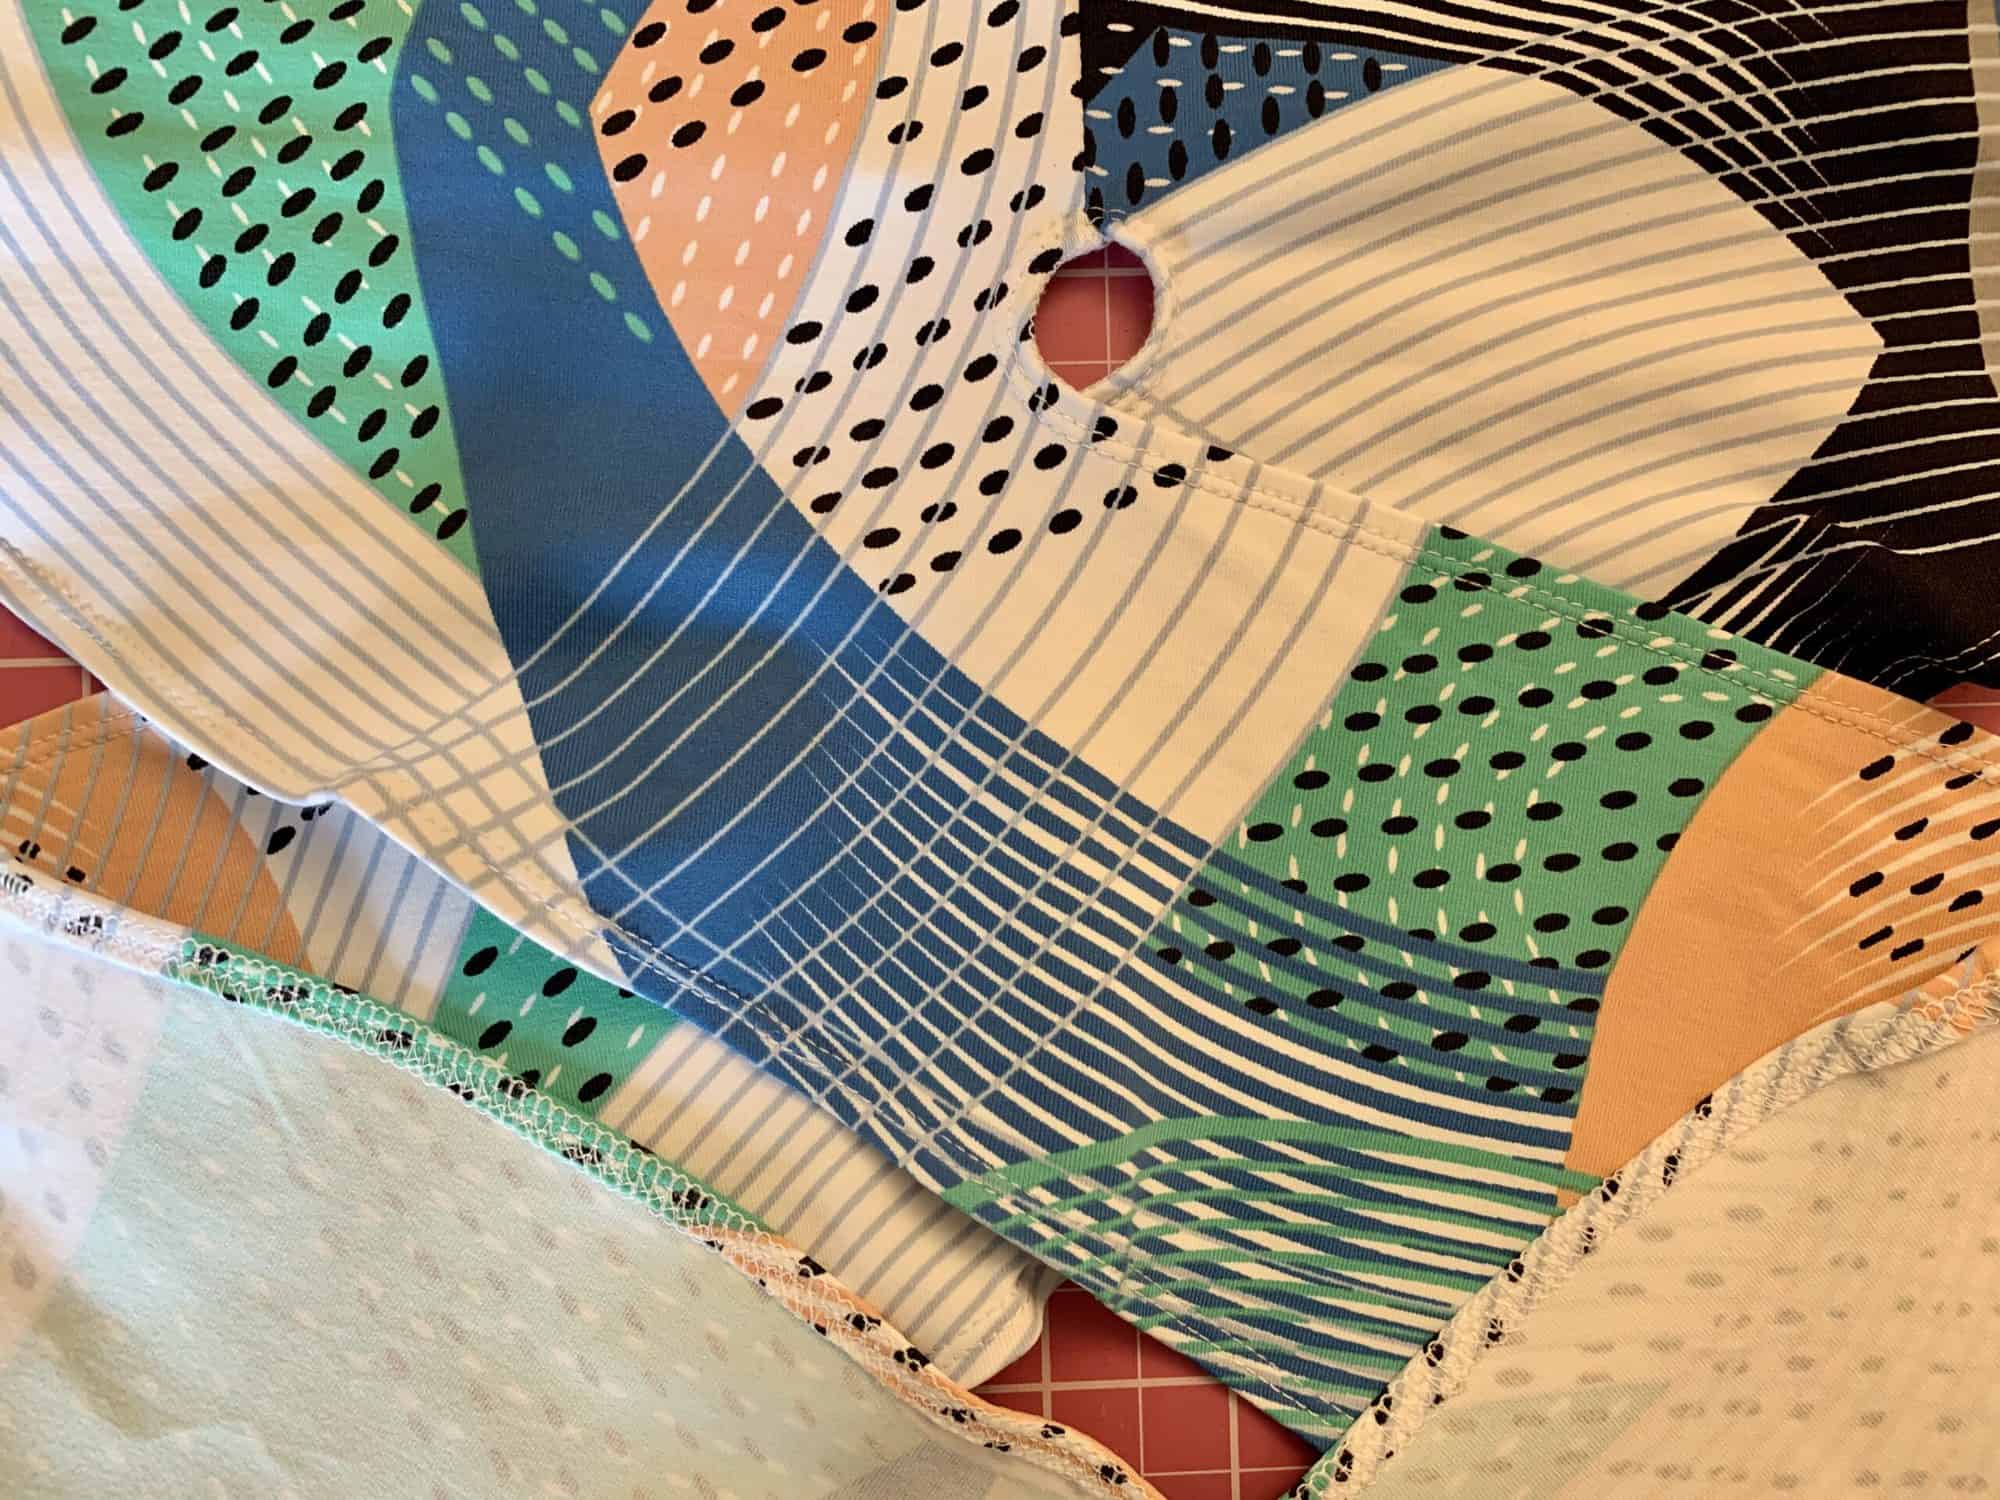
In the Day 4 video below I walk you through creating and adding the V neckband. This is a slightly different way of creating the neckband than I showed in the P4P University V neckband blog. This time we will overlap the ends creating the V point that way. I highly encourage you to add the V part of the neckline with the sewing machine, instead of a serger. It will make for a more precise stitch and a neater look.

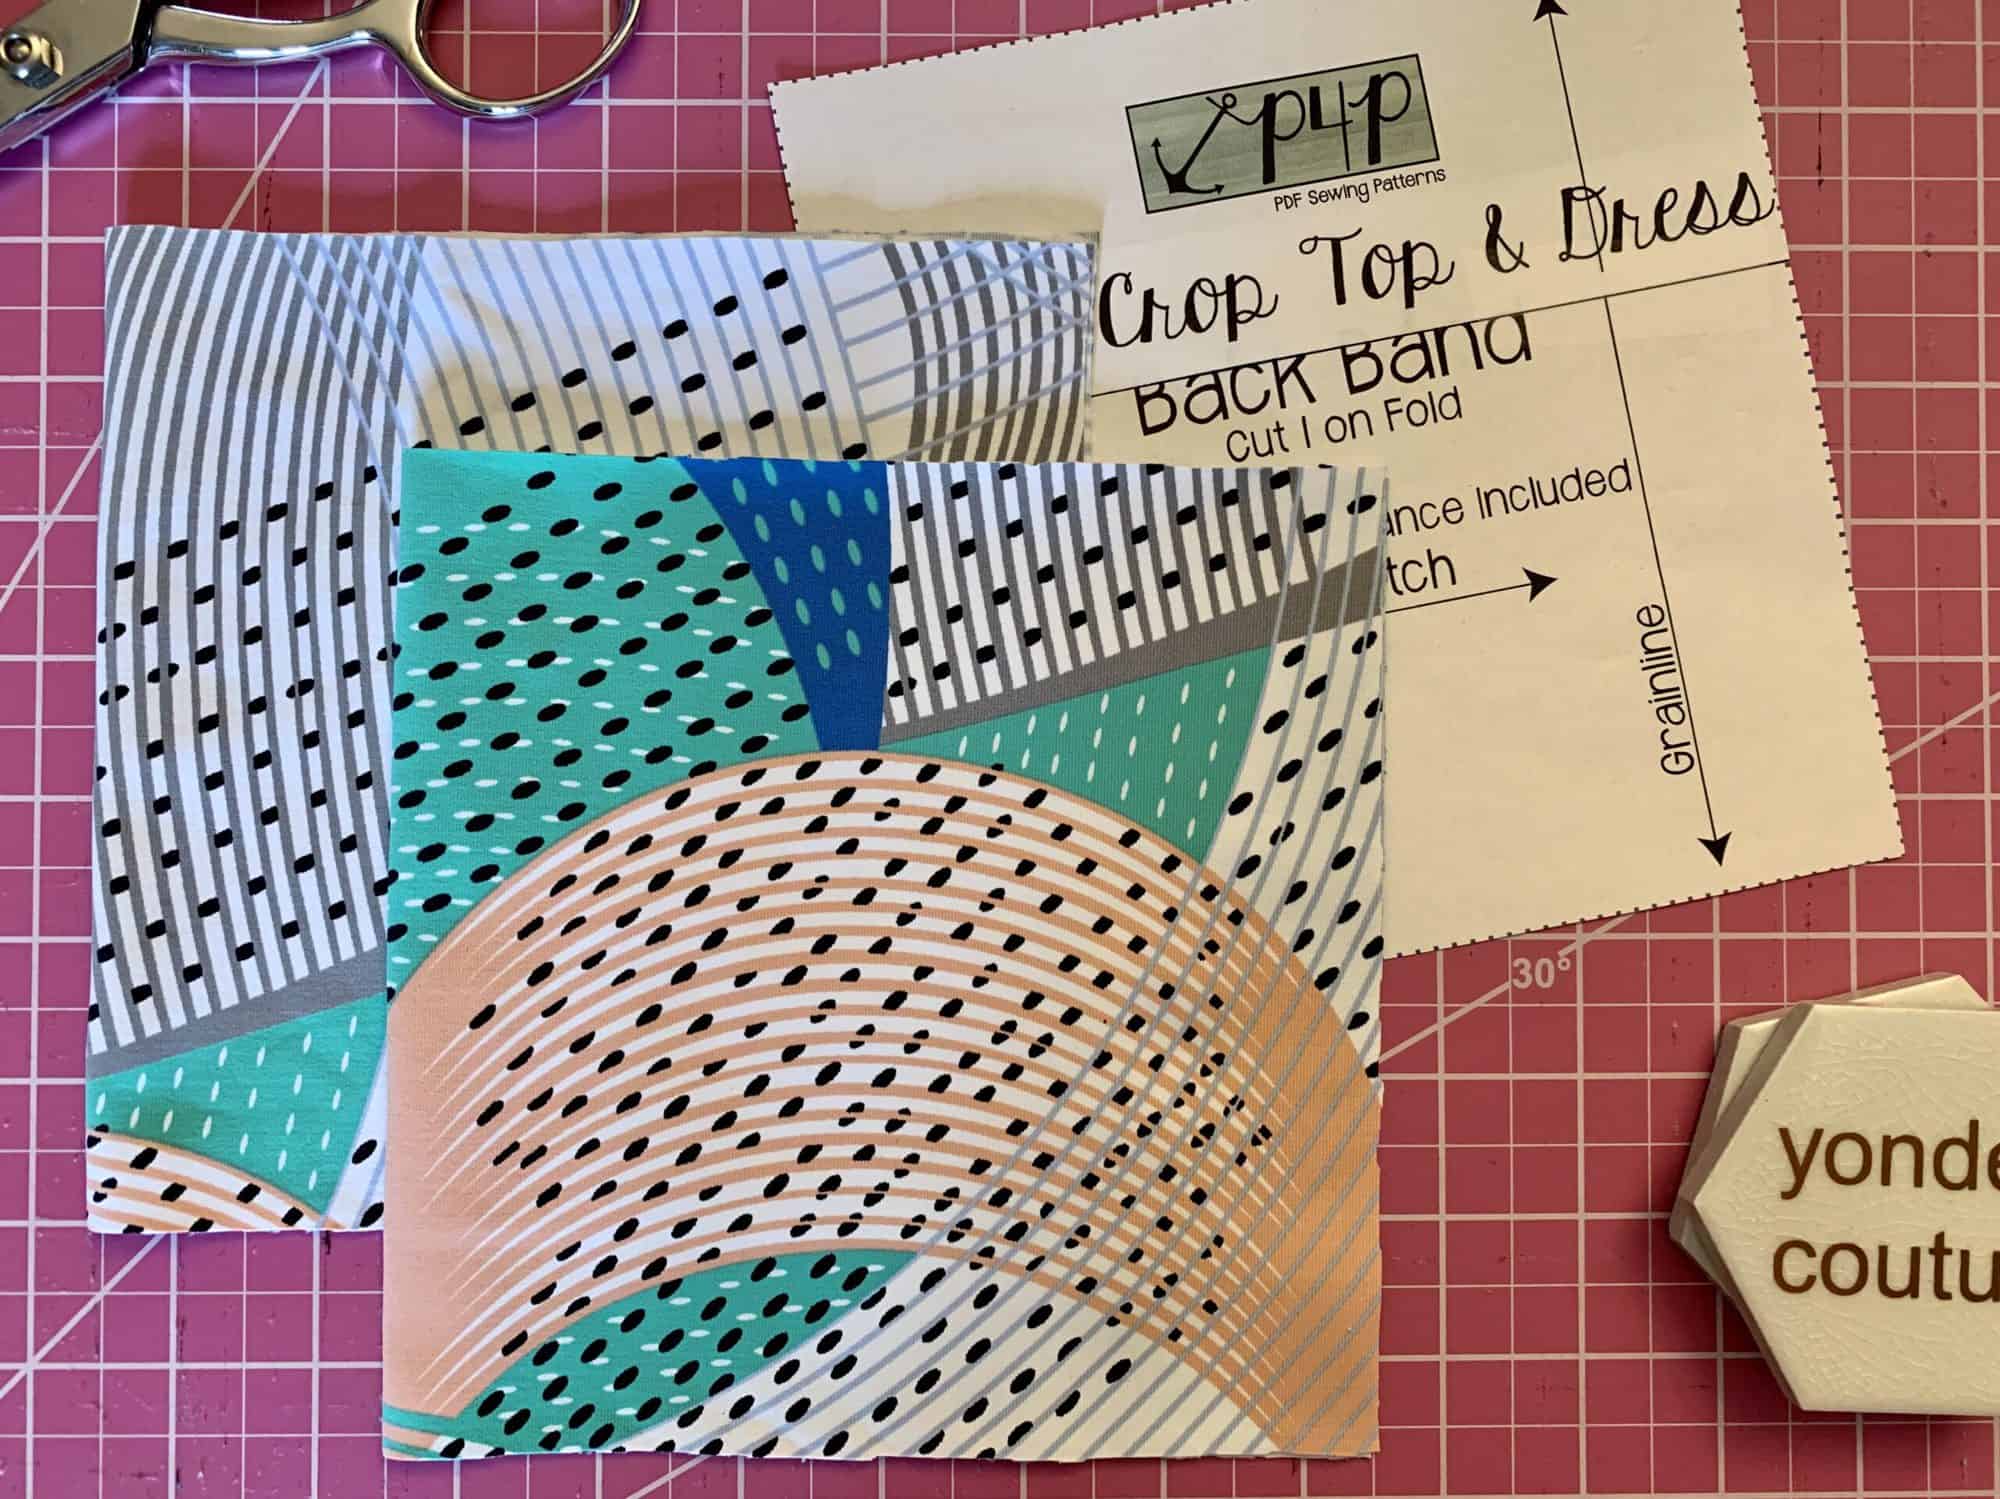
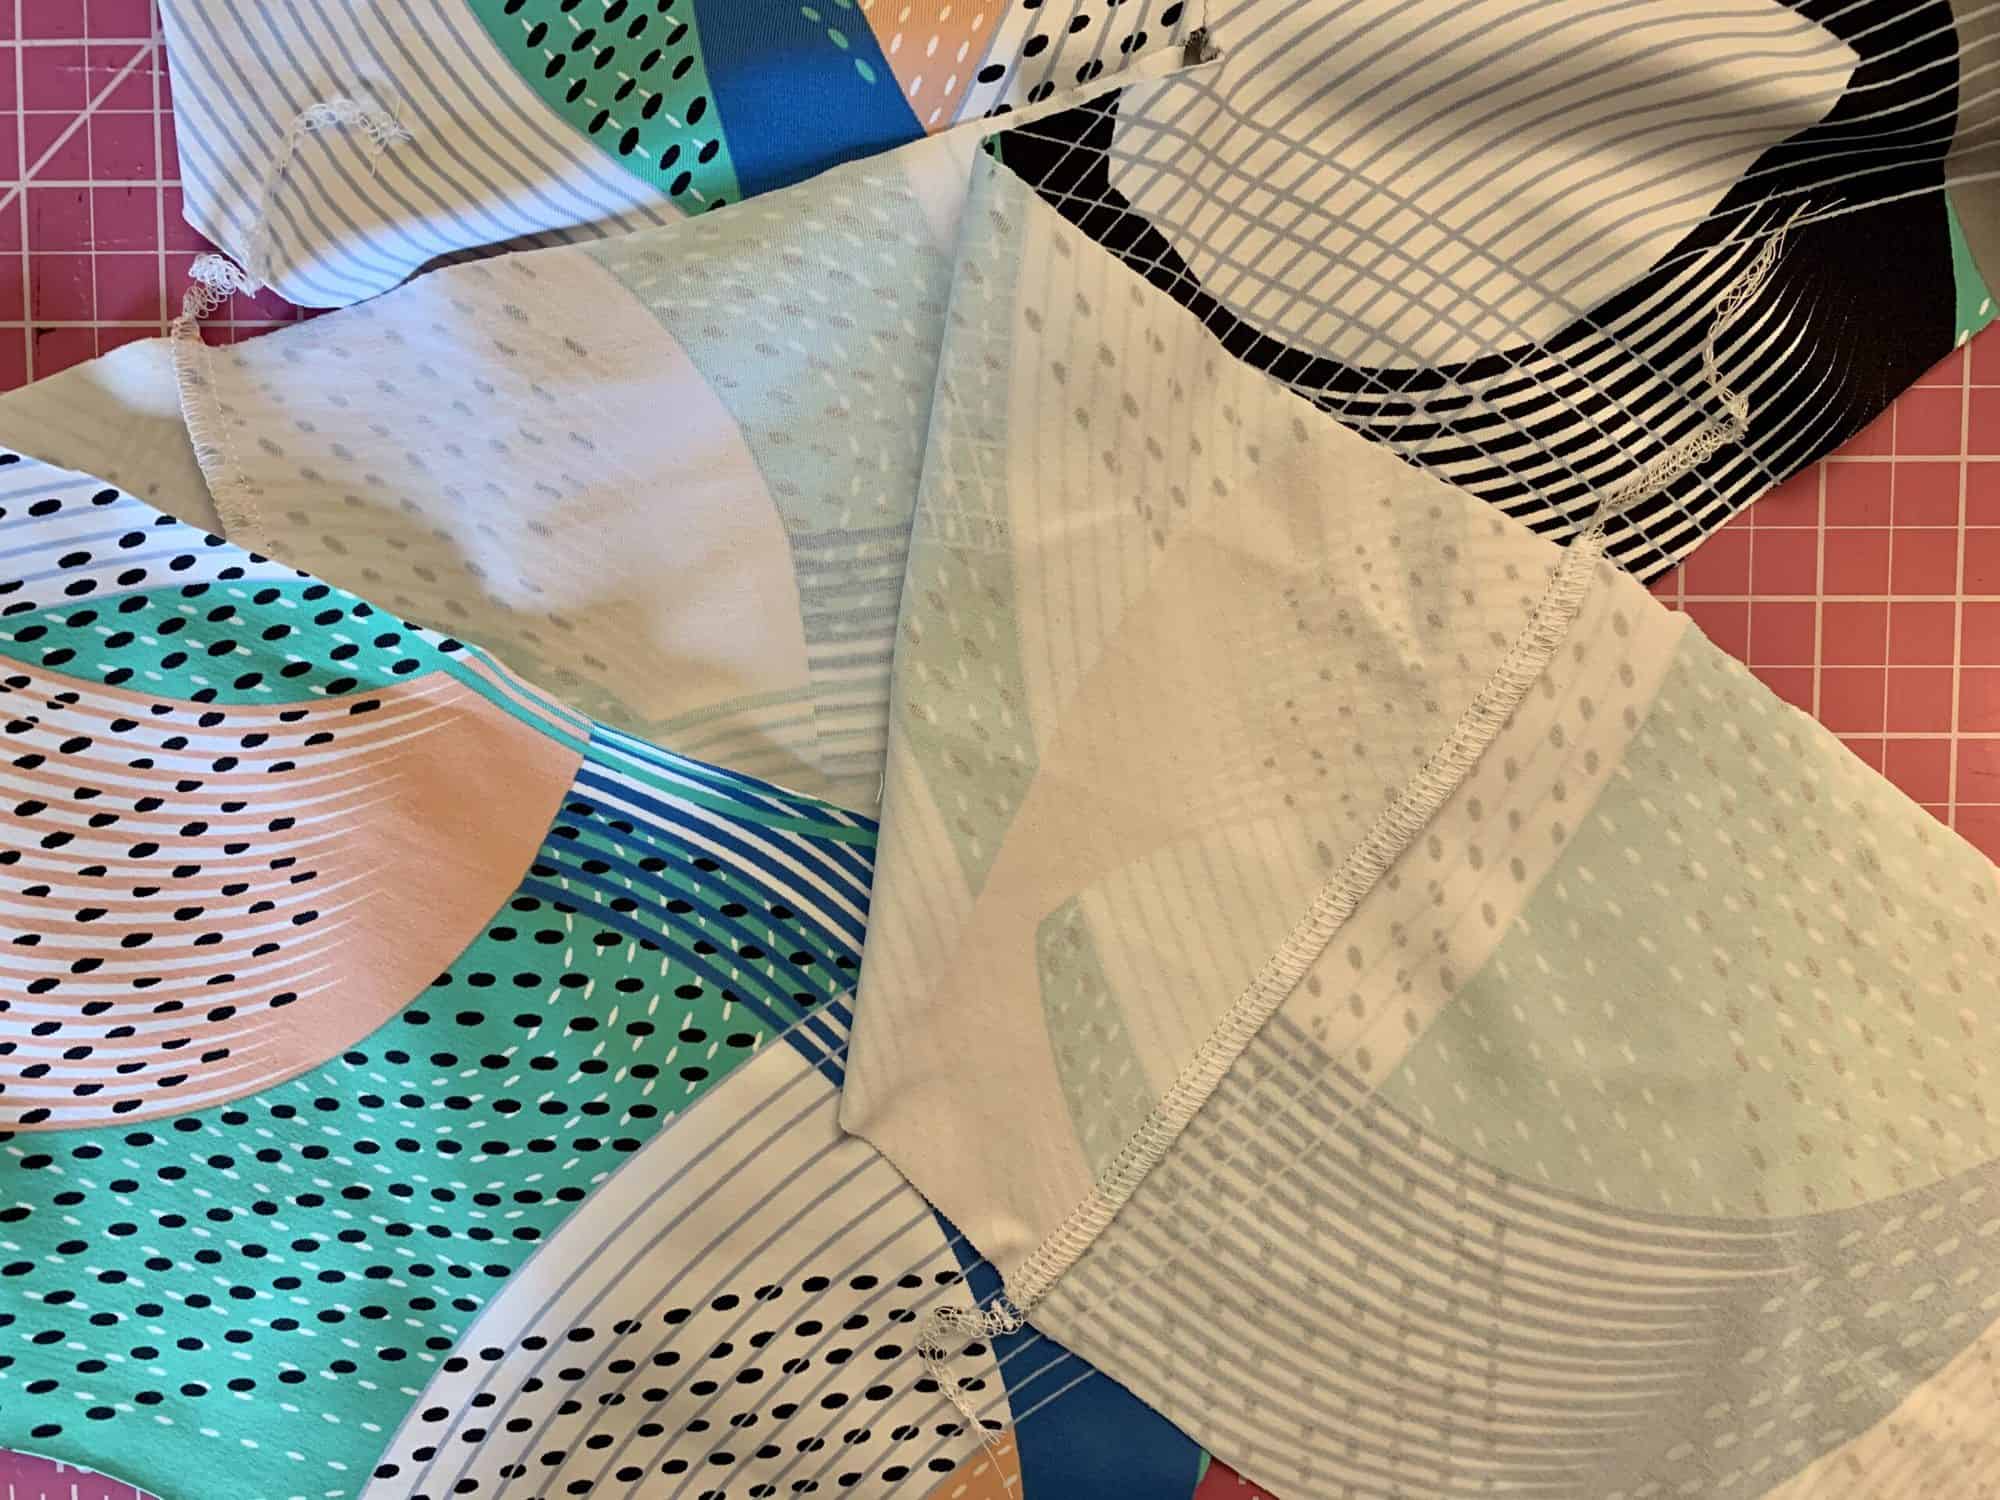
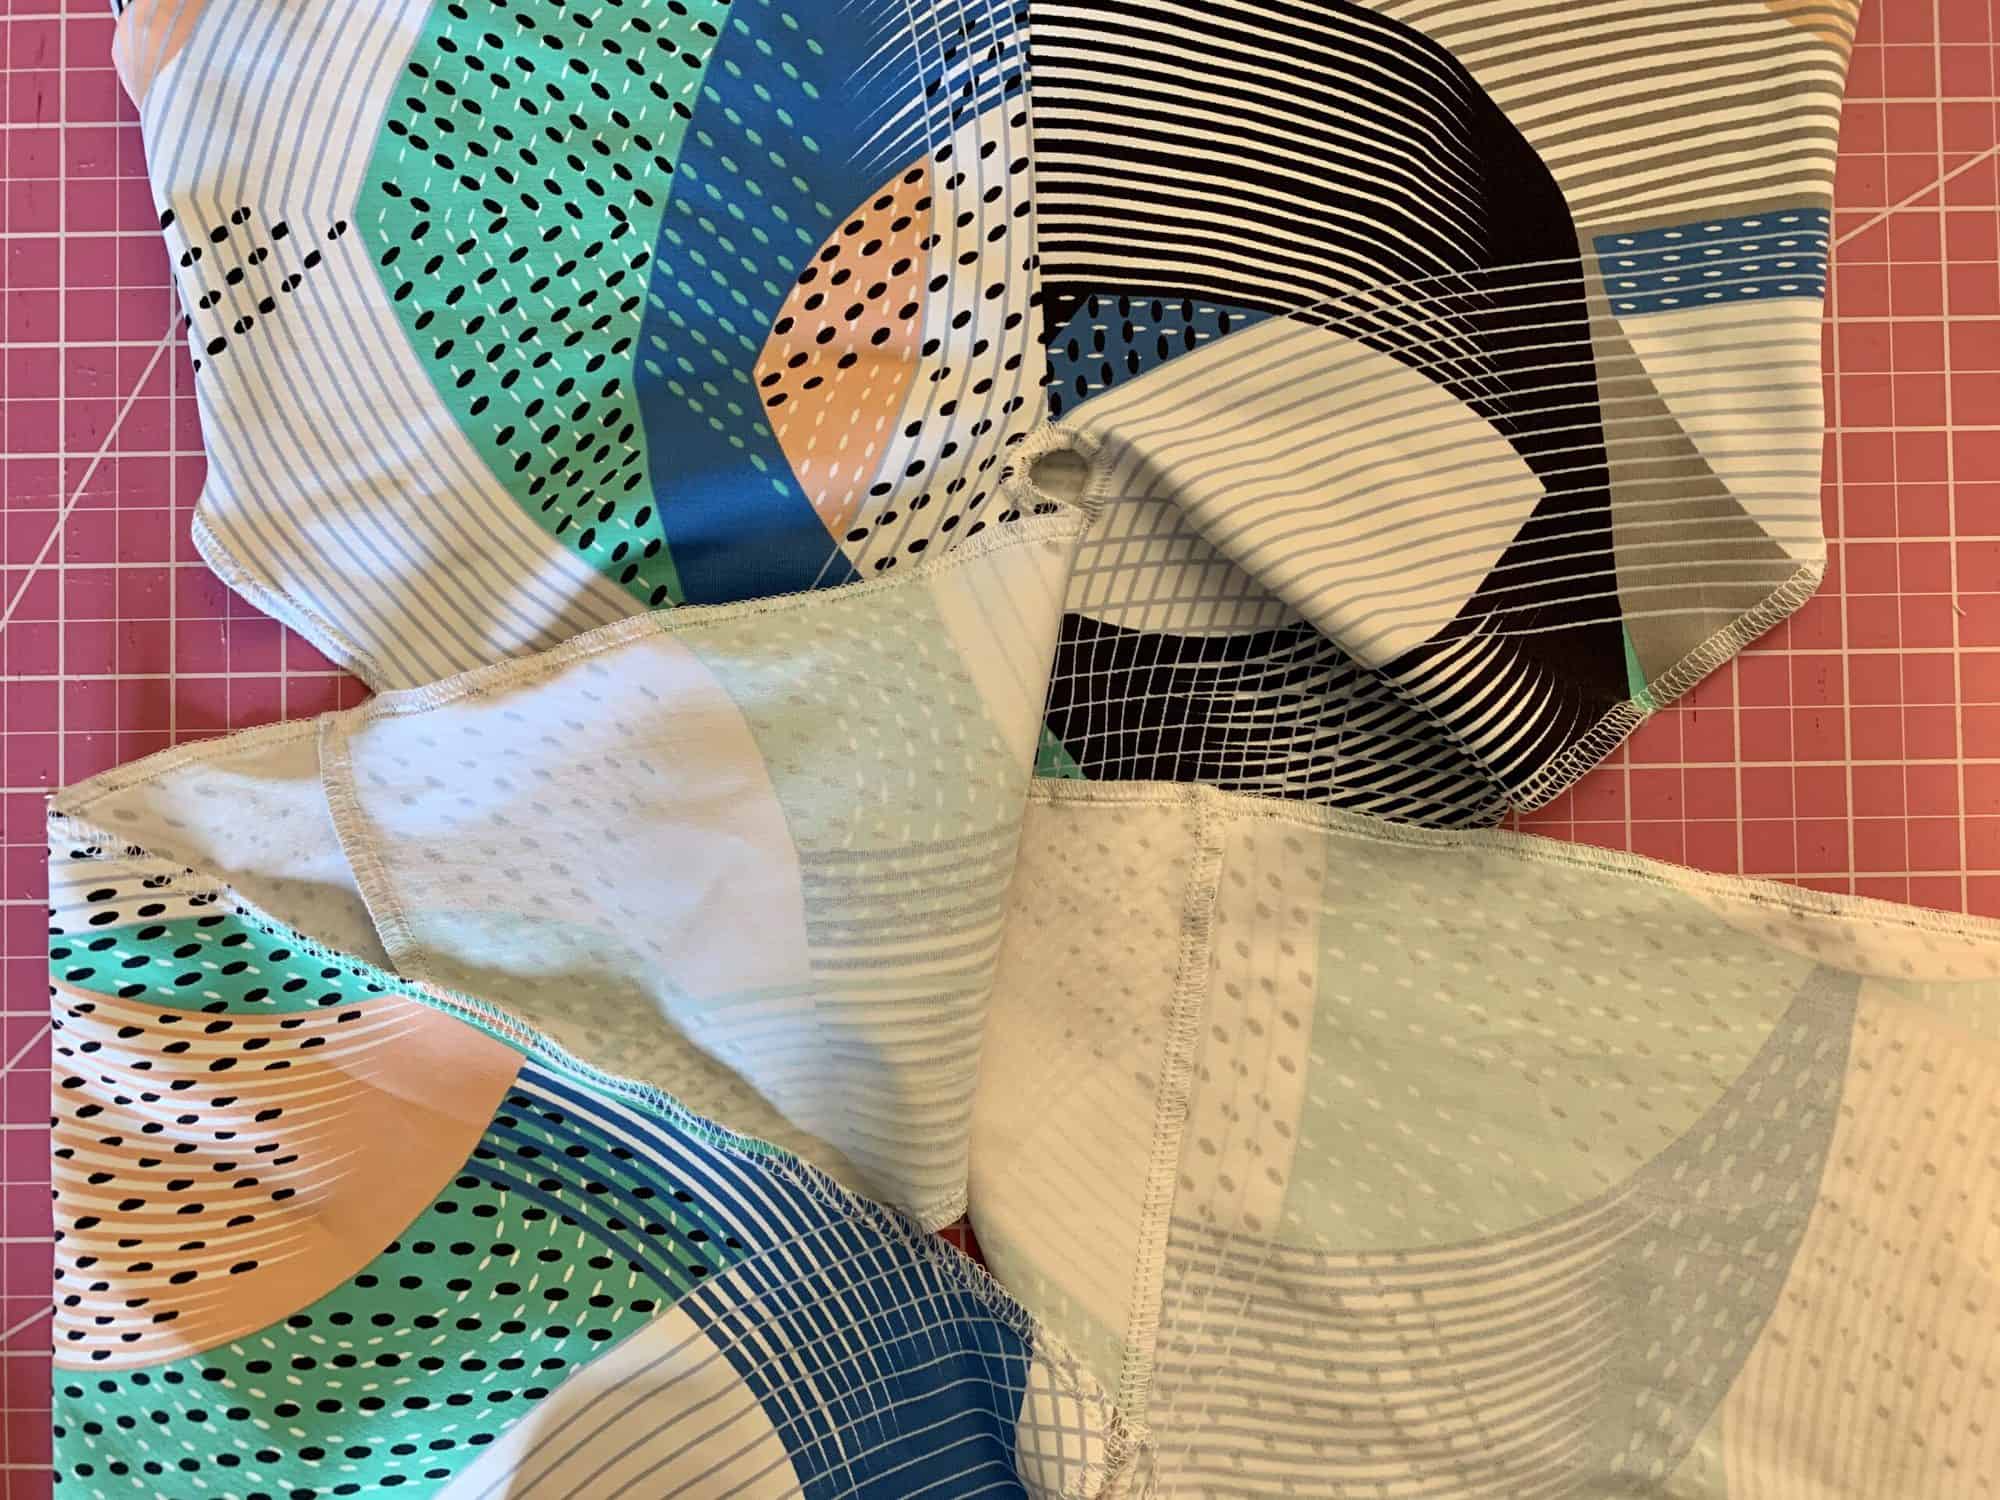
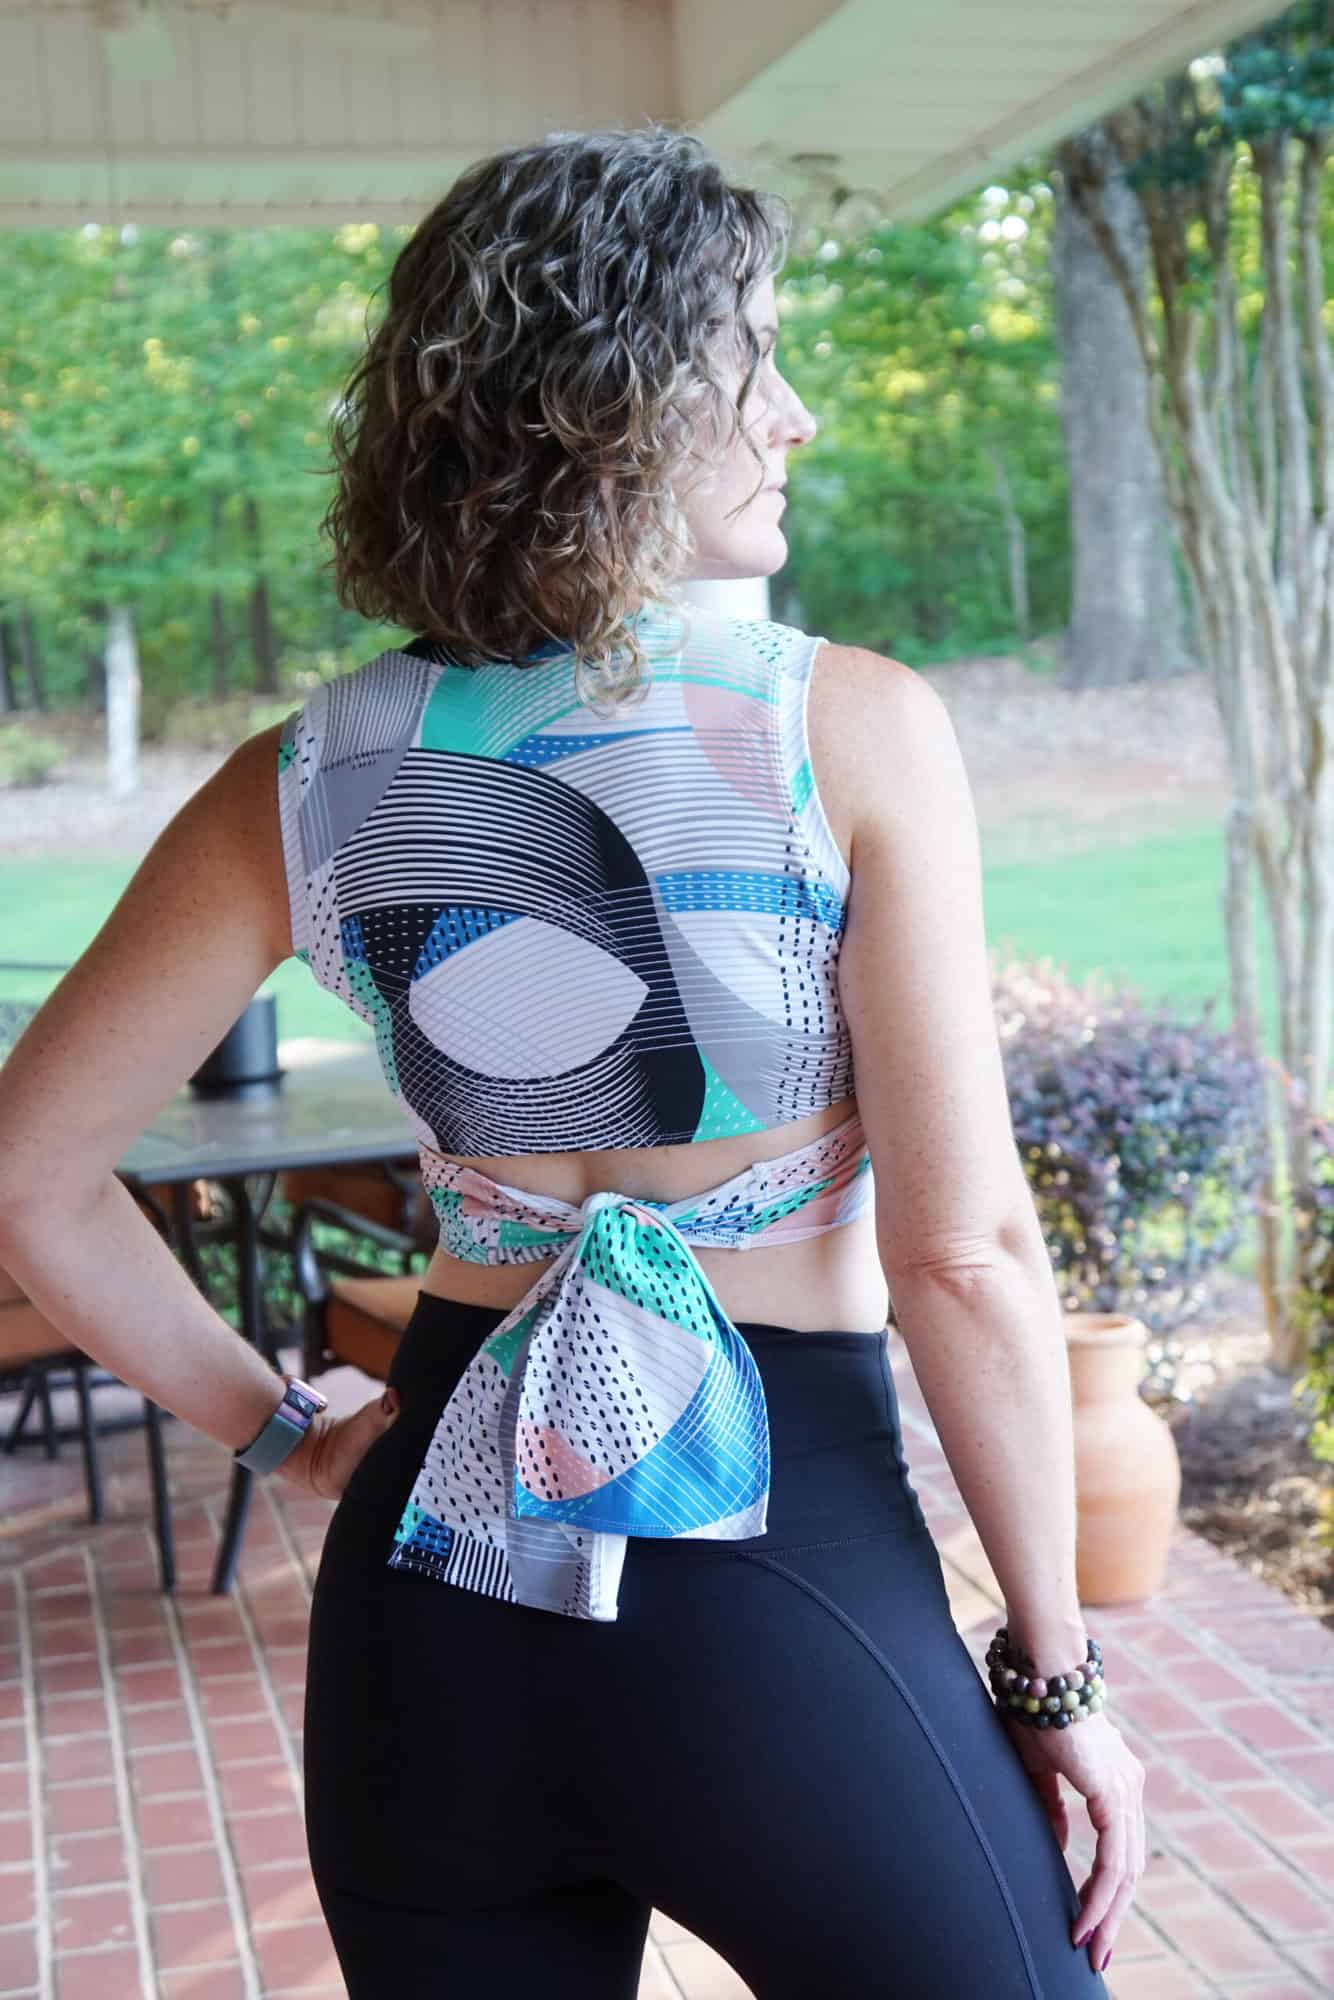
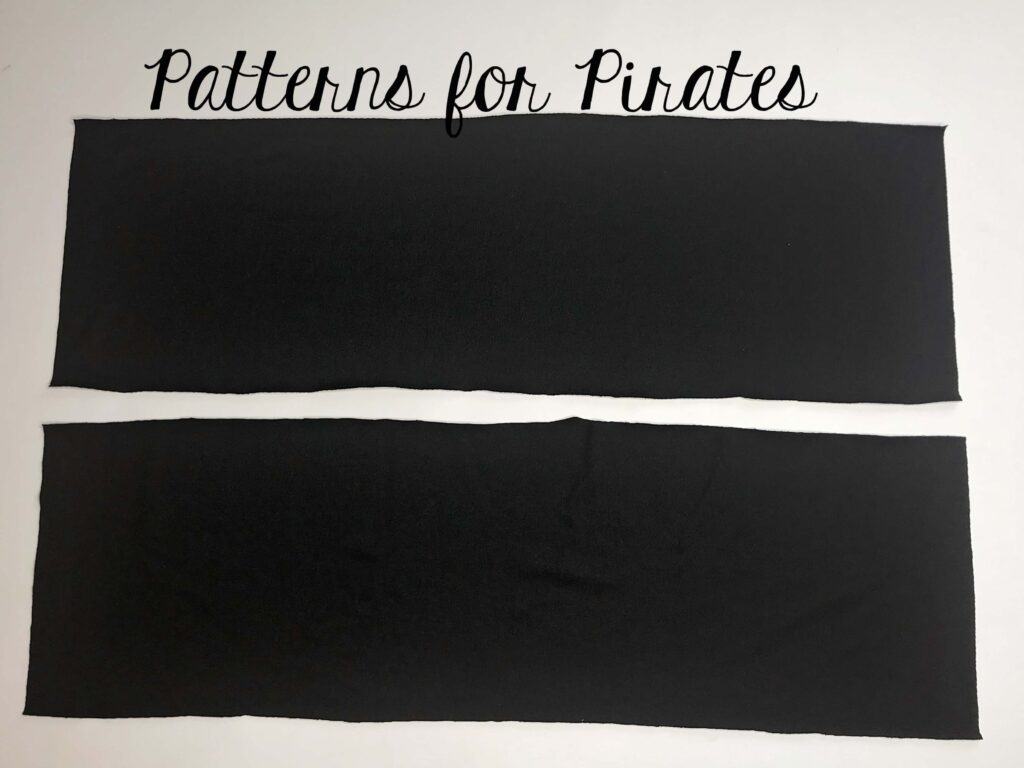
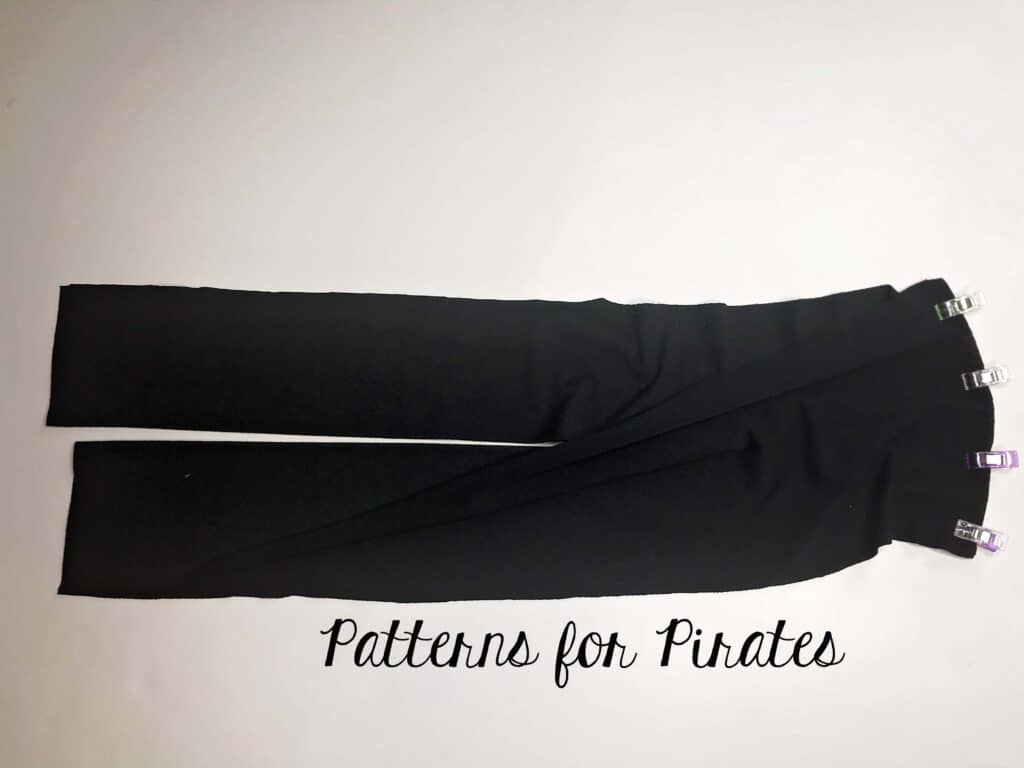
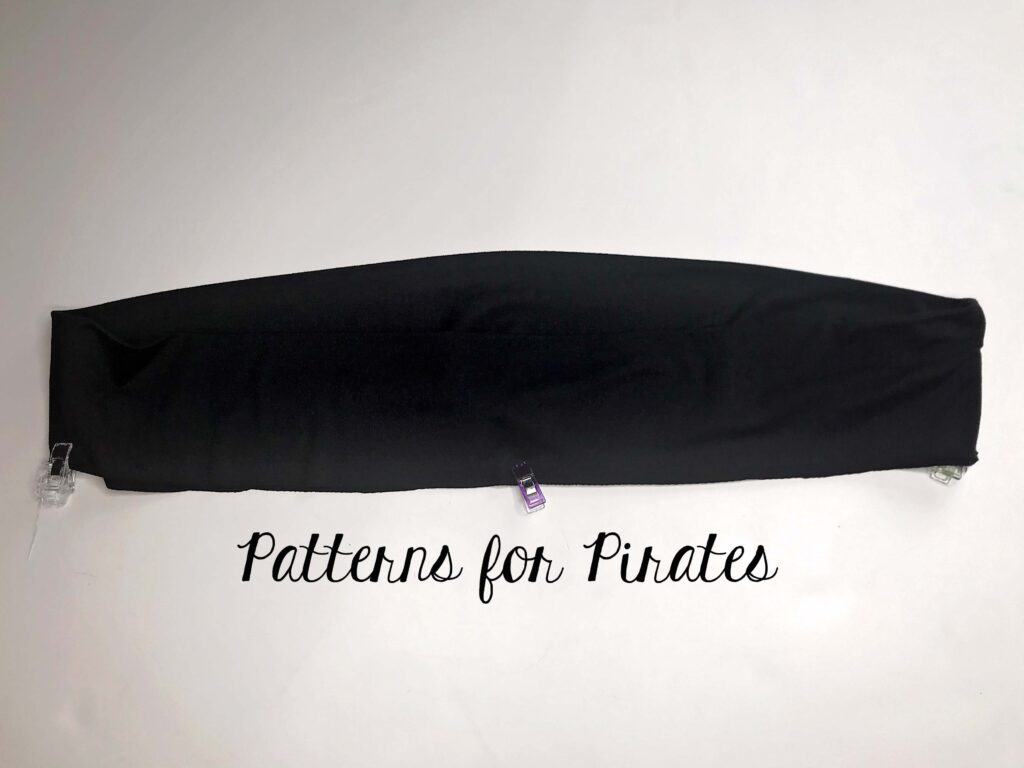
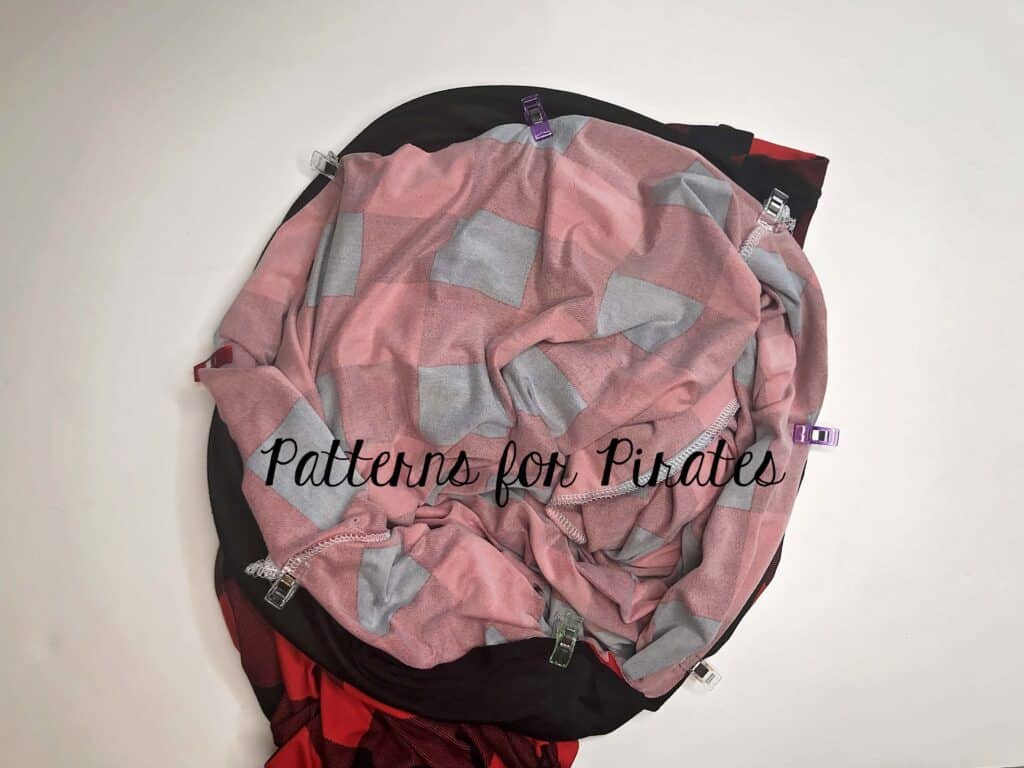
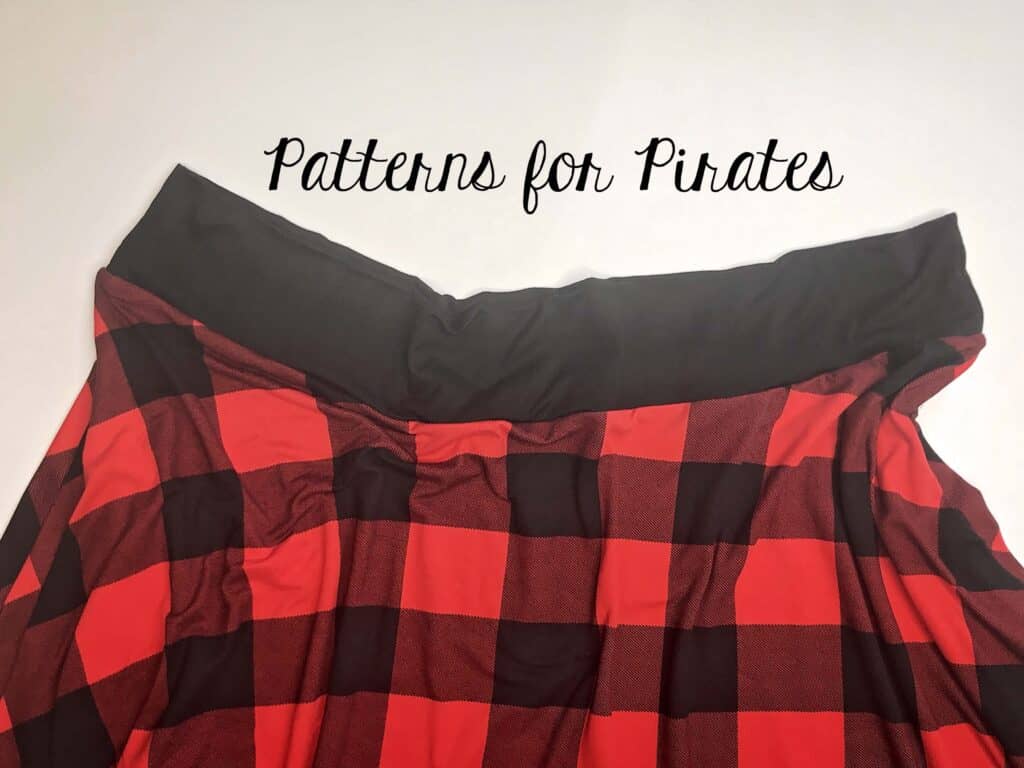
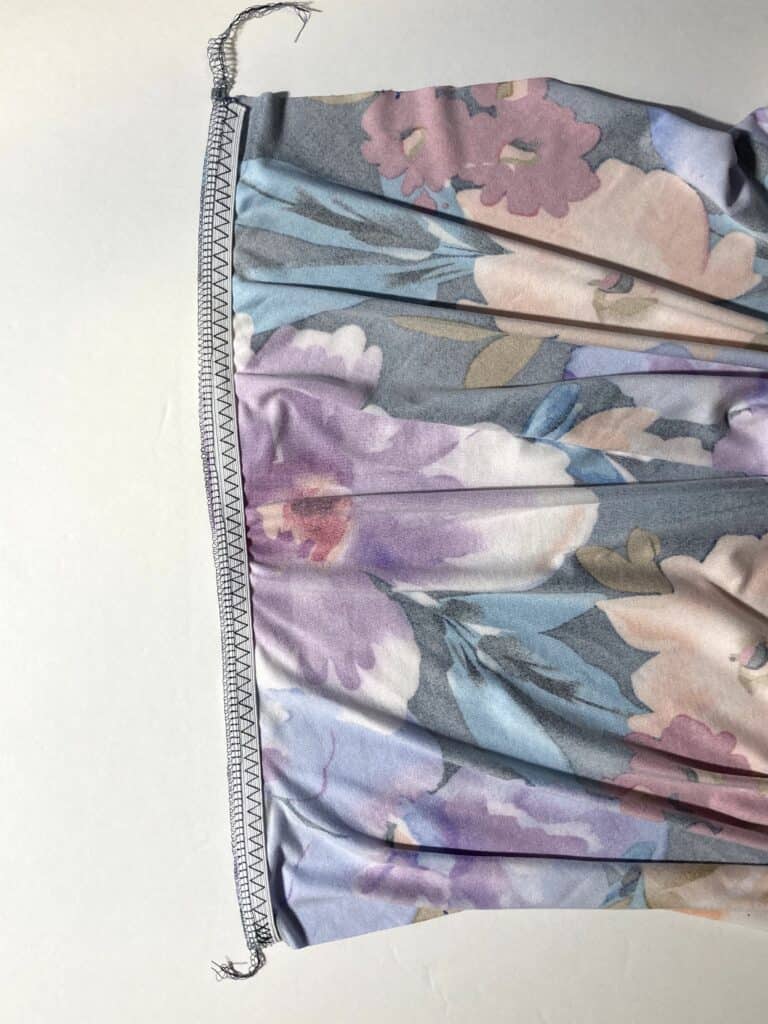
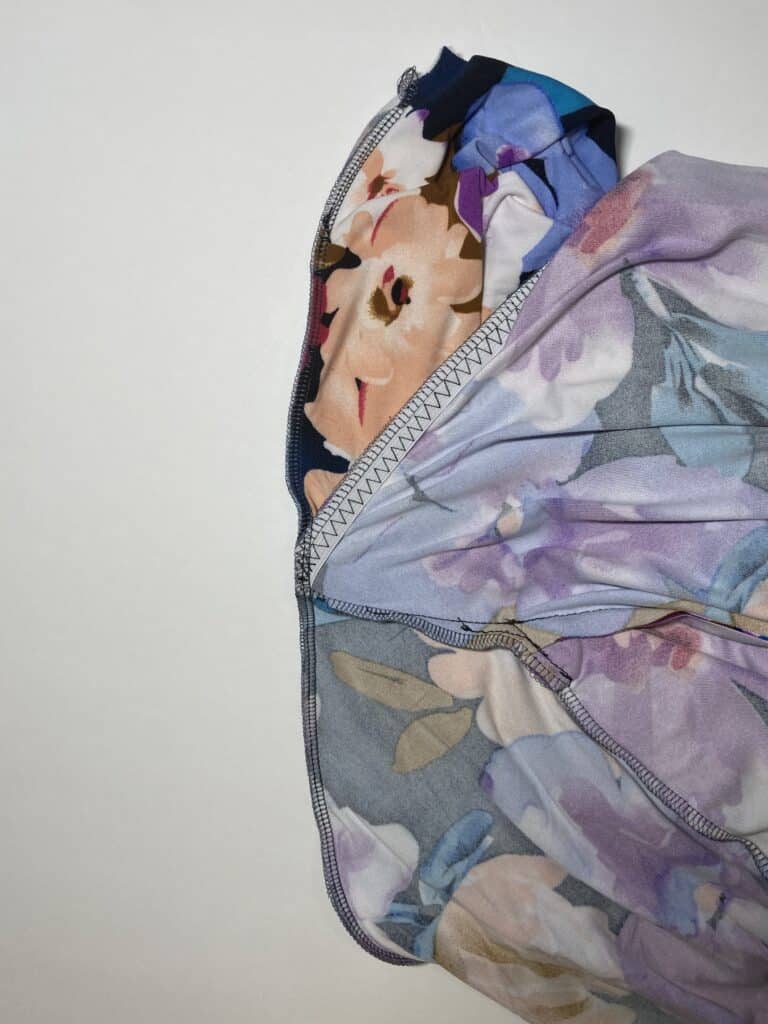
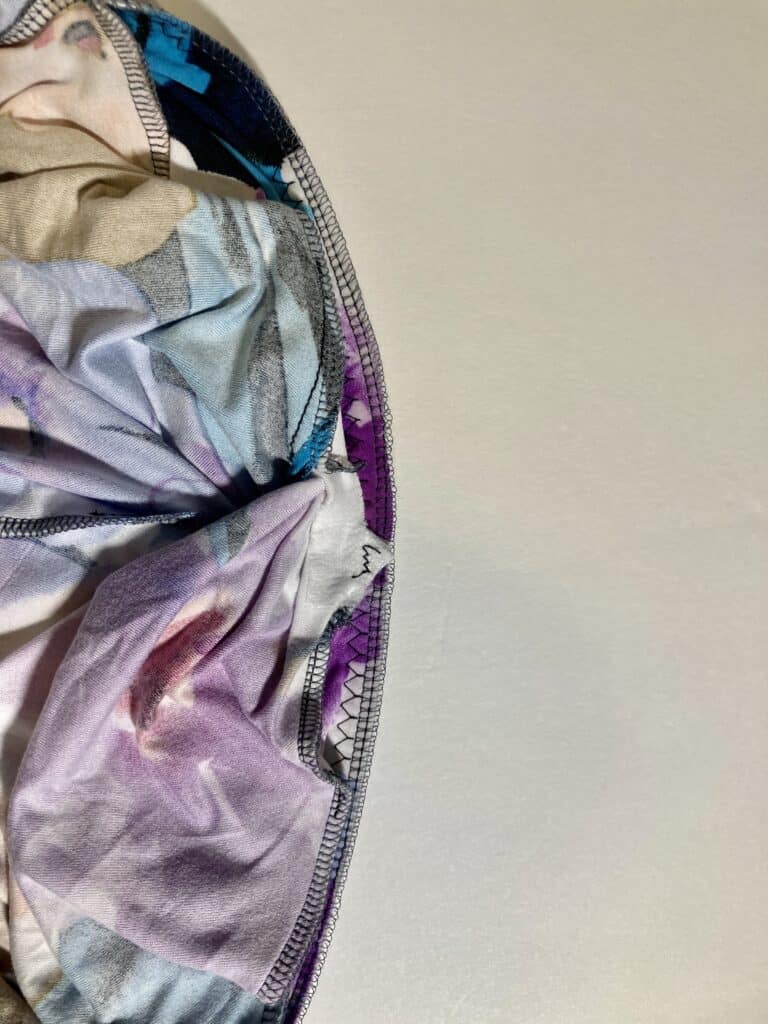
Last step is to stitch the back band to the front one. Keep in mind that the front band is attached to the bodice. Overlap the parts that will become the waistband one time (doesn’t matter if you overlap left on top of right or vice versa).  With the right sides together sew the side seams of the band following the 1/2″ seam allowance. 

Don’t forget to add your check in photo to the comments of Day 4 in the X Factor sew along album. See you back here tomorrow! 


X Factor SAL | day 1

X Factor SAL | day 2

X Factor SAL | day 3

X Factor SAL | day 4

X Factor SAL | day 5

X Factor SAL | day 6

X Factor SAL | day 7

Filed Under: Frequently Asked Questions, Sew-A-Long, Uncategorized Leave a Comment

X Factor Sew Along – day 3

August 26, 2020

Ahoy, pirates! Today’s steps include adding the sleeves or armbands (for the tank option) and sewing the side seams. I have decided to make a long sleeve dress to wear on chillier Florida days. 

  • For the short, 3/4 and long sleeves start by pressing a memory a 1/2 hem. If you are doing the cuffed long sleeves style, you will not be needing the memory hem. 
  • If you opted for the tank style, start by pressing the bands lengthwise, wrong sides together. Open them up and sew the short ends to create a loop. 

Tip: when pinning the sleeved to the arm opening start with the shoulder seam, then pin the two outer corners. This will make easing the sleeves into the opening very easy. There shouldn’t be any stretch, but you will ease the concave curve into the convex one. 

When adding the arm bands to the tank option, you want to avoid stretching the band too much on the front and back. The most stretch should be at the armpit and shoulder. This will help ensure that the bands lay nicely when worn. 

Day 3 video is below. As always, don’t forget to add your progress photo to the comments of today’s check in photo in the sew along album. 


X Factor SAL | day 1

X Factor SAL | day 2

X Factor SAL | day 3

X Factor SAL | day 4

X Factor SAL | day 5

X Factor SAL | day 6

X Factor SAL | day 7

Filed Under: Frequently Asked Questions, Sew-A-Long, Uncategorized Leave a Comment

X Factor Sew Along – day 2

August 25, 2020

Welcome to day 2 of our X Factor Sew along. Today is a pretty easy and quick day. We sew the front seam of the bodice and the shoulder seams. Place the two mirror front bodice pieces right sides together, matching the center seam. Using your sewing machine, stitch a couple of inches at the bottom with a 1/2 seam allowance. You can sew the rest of the front seam with the serger if you prefer. 

Once this step is completed you will sew the shoulder seams right sides together, following a 1/2″ seam allowance. 

Tip: Add clear elastic to the shoulder seams to strengthen them and make sure the shoulders don’t stretch throughout the day. 

We have included two FULL pattern sew ups in the tutorial (see page 7). Judy has covered all options in the two videos so you can always refer to them throughout the week. 

Upon completion of today’s steps snap a picture of your progress and add it to the day 2 check in photo comments in the X factor SAL album located in the P4P & M4M sew along group.


X Factor SAL | day 1

X Factor SAL | day 2

X Factor SAL | day 3

X Factor SAL | day 4

X Factor SAL | day 5

X Factor SAL | day 6

X Factor SAL | day 7

Filed Under: Frequently Asked Questions, Pattern Release, Sew-A-Long, Uncategorized Leave a Comment

X Factor Sew Along – day 1

August 24, 2020


Welcome to the X Factor Crop and Dress sew along! 

In the next 6 days we will be sewing together the newest P4P pattern. Join us for a chance to win some fabric and pattern money and have fun alongside our community! If you have not purchased your copy yet, you can buy the adult X Factor here, the youth one here, or you can get the bundle and save. If you are still undecided which style to make, our Round Up blog will give you a glance at all options included, from sleeve lengths to necklines. You can also use the Easy Hacks blog for added options.

Let’s start by taking the measurements needed for the best fit. P4P has an amazing blog that gives you tips for accurately taking your measurements. You can read all about it here. If your measurements put you in a different size for chest/waist/hips be sure to check out our P4P University blog and grade to achieve the perfect fit. The X Factor patterns include videos as well. On page 3 you will notice an active button that will take you to the video about adding or removing length. Please refer to it if you are taller or shorter than 5’5″. 


Unsure about which knit type will work best for your desired look? Take a look over our P4P University Knit Types blog. We also included a cheat sheet that you can print. If you are like me and sometime are just keen on using a specific print for a specific pattern, read our Different fabric, different fit blog post before you cut your fabric. 

The P4P team has started adding Projector Files to our new patterns. If you are looking to skip printing, buying rims of paper and ink, this new innovative way of cutting your patterns may be the option for you. I am using a mix of printed and projected pattern pieces for my dress. 

The X Factor is drafted for high and 4 way stretch knit fabric. My personal recommendations are rayon spandex, bamboo lycra, ITY, Cupro and double brushed poly. You can also use athletic knit and certain sweater knits. During this sew along I will be making the V neck dress style using a stunning Mily Mae Fabrics burgundy bamboo spandex. MMF is also this sew along’s sponsor so two lucky winners will receive gift certificates to their shopping website. 


You can see the first video below, including how I use my projector file for the bodice. Once you cut the fabric, post a picture of your pretty pile in the comments of DAY 1 photo of the X Factor album in the M4M & P4P Sew Along Group. 


X Factor SAL | day 1

X Factor SAL | day 2

X Factor SAL | day 3

X Factor SAL | day 4

X Factor SAL | day 5

X Factor SAL | day 6

X Factor SAL | day 7

Filed Under: Frequently Asked Questions, Sew-A-Long, Uncategorized Leave a Comment

X Factor Top and Dress Easy Hacks

July 28, 2020


…..

Mini or Peplum options


First easy hack that we waned to show you is how to shorten the X Factor dress to a peplum top or mini dress. For my example I decided to make a running dress with a mini skirt. I used swim fabric for this cute green dress.

You will start by grabbing the skirt pattern and marking your new cut lines, one for peplum and one for mini skirt. I used the Sweetheart dress skirt as my guide since that one includes all 3 option. The Sweetheart skirt is a full circle while the X Factor one is a half circle. Lay the X Factor pattern piece on top of the Sweetheart pattern matching the bottom edge. 


Mark the new cutting line starting with the “fold” edge. Using a French curve, or if you have a steady arm, just your hand, draw the two new curves. Make sure that you keep a constant distance from the bottom edge on both sides of the pattern. If you do not have the Sweetheart dress pattern you can measure 5″ up from the bottom for the Mini or 10.25″ up for the Peplum option. 


Once you created your new pattern piece, cut your fabric and sew the dress a instructed in the tutorial. I skipped hemming my swim skirt so mine final mini look is 1″ longer than intended. Your dress, your call! 😉


…..

Tie Back

Crop tops are back in a big way and the X Factor Crop is such a standout! It will take you from the gym to date night (if you’re not too sweaty, of course!)… there aren’t many garments that can do that!

The Patterns for Pirates team always loves to give you even more options. I’m so excited to share with you a tie-back hack for the X Factor! And, it really couldn’t be simpler.

Assemble and cut your preferred pattern pieces. For this make, I chose the cropped tank.

Modifications are so simple!

You will square up the cross-over pieces of the Front Bodice…


And cut 2 of the Back Band pieces (on the fold).

Assemble the top per the pattern instructions, stopping at the step for attaching the Back Band.

From here, you’ll attach your two band pieces, one to each end of the bodice cross-over.

At this step, I serged all of my edges. That is a matter of preference! You can leave them raw if you prefer.

Finally, finish all edges with a narrow hem.

Throw your top on, tie it up, and get ready to turn heads… no matter where you are! You can even experiment with tying and wrapping your top in different ways.

You’ve got the X Factor!!


…..

Separates


We couldn’t let this Easy Hacks series end without a separates option, especially since the top is already a stand alone pattern. So for the separated you just need to finish the skirt waist without attaching it to the top. You can do that in various ways. I opted for a simple waistband. I cut 2 of the back band pieces. After pressing them wrong sides together, open them back up and sew the two ends RST to create a loop. 


If your waistband piece has excellent recovery and stretch you can continue marking the quarter points. If you’re not sure, I would add 1-1.5″ wide elastic in the waistband to make sure it stays on throughout the day. 


Mark the skirt quarter point and pin the waistband to it matching said points. Attach the waistband using your favorite stretch stitch. All done. You just created a half circle skirt that pairs beautifully with the X Factor Crop top and not only. 


…..

Nursing friendly  


Last but certainly not least Djem is showing us how to modify the X Factor dress to make it nursing friendly. 


Prep the front bodice, add lightweight interfacing to the triangle notches. Complete the bodice per tutorial. 

Add elastic to the top of the front skirt using a zigzag stitch. Measure the top of the front skirt and multiply by 90% to get the elastic measurement. I found 1/2” and 3/8” wide elastic to work nicely. Optionally, serge the top of the skirt, without cutting anything off, to have a nicer finish. Continue with the tutorial for the pockets and sewing the skirt side seams. 
 

  Now the fun part! When attaching the skirt to the bodice, drop the front of the skirt at the side seams. 
 

 Find the center of the front skirt and mark. Sew the triangle notches on the bodice together with a stretch stitch. Pin or clip the bodice notches with the center of the front skirt. 

 Tack the bodice notches and skirt together. Keep your tack on the elastic. 

Voilà! 
Processed with Focos

Filed Under: Frequently Asked Questions, Pattern Hacks, Pattern Release, Uncategorized Leave a Comment

Runabout SAL – day 7 (winners announcement)

June 30, 2020

Good evening, pirates!! I know you have been waiting for the winners blog so I won’t keep you in suspense much longer. Allow me to express how proud I am of every single one of you. I have seen so many new participants as well as seasoned sewists, everyone being so encouraging and helpful. YOU ROCK!

Without further ado…. 🥁

Congratulations Ashley Haley!  Ashley is our first winner, her prizes include a $20 gift card for Patterns for Pirates and a mystery Bamboo Lycra PFRE from Coordiknit Nonsense Fabrics (winner pays shipping). 


Our second winner is Felisha Jones! Felisha won a $20 gift card to Made for Mermaids and a free yard of fabric from Coordiknit. 


A big “thank you” to our sew along sponsor! You can check them out on Facebook and on their website. 


Thank you so much for joining me this past week. I’m excited to see you all back in August. In the meantime, stay tuned for the mermaids’ announcement regarding our next sew along. 

Runabout Romper & Dress SAL day 1 | Print pattern and cut fabric

Runabout Romper & Dress SAL day 2 | Add chest pocket, sew shoulder seams and add neckband

Runabout Romper & Dress SAL day 3 | Sew side seams and add tank armband/dolman sleeves

Runabout Romper & Dress SAL day 4 | Add pockets, side seam skirt or shorts/joggers and inseam

Runabout Romper & Dress SAL day 5 | Hem skirt/shorts or add cuffs to joggers

Runabout Romper & Dress SAL day 6 | Add waistband and show off your creations

Runabout Romper & Dress SAL day 7 | Winners announcements

Filed Under: Frequently Asked Questions, Sew-A-Long, Uncategorized 2 Comments

Runabout SAL – day 6 (add waistband)

June 27, 2020

Ahoy, pirates! Last sewing day is here! Today we create the waistband and attach the bodice to the skirt, shorts or joggers. Start by adding the grommets to the center of the main front waistband. These are for the faux drawstring. This step is completely optional but it yields a very cute result. I wouldn’t skip it.

Tip: if you don’t have any grommets handy, you can make two big buttonholes instead.  

Once you finish the decorative steps, sew the waistbands main and lining in a loop. You will notice that the waistband has 2 main pieces for sizes 2x and up. This is only to accommodate the most common width of fabrics.  You will see in the video below how I create the elastic opening. You will proceed to pin together the waistband main and lining wrong sides together.  Attach the waistband top to the bodice and bottom to the skirt/shorts/joggers, matching the center and side seams. 

All you have left to do now is thread the elastic through. All done!!! 


You can see the last sew along video here. Once you finish your outfit, snap a picture and post it in the comments of day 6 photo of the Runabout Romper and Dress. We will be picking our two winners on Monday evening and announcing them here on the blog. Great job, everyone!

Runabout Romper & Dress SAL day 1 | Print pattern and cut fabric

Runabout Romper & Dress SAL day 2 | Add chest pocket, sew shoulder seams and add neckband

Runabout Romper & Dress SAL day 3 | Sew side seams and add tank armband/dolman sleeves

Runabout Romper & Dress SAL day 4 | Add pockets, side seam skirt or shorts/joggers and inseam

Runabout Romper & Dress SAL day 5 | Hem skirt/shorts or add cuffs to joggers

Runabout Romper & Dress SAL day 6 | Add waistband and show off your creations

Runabout Romper & Dress SAL day 7 | Winners announcements

Filed Under: Frequently Asked Questions, Sew-A-Long, Uncategorized Leave a Comment

Runabout SAL – day 5 (hem skirt/shorts or add cuffs to joggers)

June 26, 2020

We made it to day 5 of the Runabout Romper Sew Along. Today is probably the easiest day. We are finishing the bottoms by hemming or adding the cuffs. 

I opted for the dress do I will be hemming the curved edge. We have a P4P University blog with tips for hemming knits. You can read about it here. The most important thing about hemming knits with your coverstitch or sewing machine is to PRESS, press and press some more! 

If you are sewing the joggers will will add ankle cuffs. Mark the quarters of the ankle opening and the cuffs. Stitch the cuffs on, matching the quarter point, making sure that you stretch the cuff but not the jogger. 

Tomorrow we will be working on the waistband and finishing the project. Watch the video below and when you finished today’s steps, post a picture of your progress  in the day 5 comments of the RRD album.See you soon! 


Runabout Romper & Dress SAL day 1 | Print pattern and cut fabric

Runabout Romper & Dress SAL day 2 | Add chest pocket, sew shoulder seams and add neckband

Runabout Romper & Dress SAL day 3 | Sew side seams and add tank armband/dolman sleeves

Runabout Romper & Dress SAL day 4 | Add pockets, side seam skirt or shorts/joggers and inseam

Runabout Romper & Dress SAL day 5 | Hem skirt/shorts or add cuffs to joggers

Runabout Romper & Dress SAL day 6 | Add waistband and show off your creations

Runabout Romper & Dress SAL day 7 | Winners announcements

Filed Under: Frequently Asked Questions, Sew-A-Long, Uncategorized 1 Comment

Runabout SAL – day 4 (add pockets, side seam skirt or shorts/joggers and inseam)

June 25, 2020

Welcome to day four of our sew along! Today we start working on the bottom part. Whether you are sewing the romper or the dress today you are adding the pockets and sewing the side seam. Additionally, you will also be stitching the inseam of the joggers and shorts. 

Tip: double check that you cut the correct pockets before you start sewing. You might have noticed that there are two pockets and pocket lining patterns. One is for the skirts and shorts and one is for the joggers. You can’t switch them around.

If you are sewing the skirt you will be stitching the side seams with your serger or your sewing machine. Be mindful of the side split directions if you opted for the maxi style. 

If you are creating joggers or shorts, you will be sewing each leg at a time. This will give your crotch seam the most strength. 

The day 4 video is below. Once you get the steps done, post a picture in the comments of day 4 photo of the RRD album in the FB group. This will count as your check in for today. See you back here tomorrow !


Runabout Romper & Dress SAL day 1 | Print pattern and cut fabric

Runabout Romper & Dress SAL day 2 | Add chest pocket, sew shoulder seams and add neckband

Runabout Romper & Dress SAL day 3 | Sew side seams and add tank armband/dolman sleeves

Runabout Romper & Dress SAL day 4 | Add pockets, side seam skirt or shorts/joggers and inseam

Runabout Romper & Dress SAL day 5 | Hem skirt/shorts or add cuffs to joggers

Runabout Romper & Dress SAL day 6 | Add waistband and show off your creations

Runabout Romper & Dress SAL day 7 | Winners announcements

Filed Under: Frequently Asked Questions, Sew-A-Long, Uncategorized Leave a Comment

Runabout SAL – day 3 (side seams and tank bands/dolman sleeves)

June 24, 2020

Welcome to day 3 of our sew along! Today is a pretty easy day. We will finish the bodice by sewing the side seams and finishing the sleeves. 

  • if you are creating the tank style, you will be adding the arm bands the exact way you added the neckband yesterday
  • if you are doing the short sleeve option, you will be be hemming the sleeve as I am
  • if you are getting ready for cooler temperatures and sewing the long sleeves, you will be adding cuffs. The tutorial shows you how to add the sleeves in the round. 

The word of the day is PRESS! Press and steam all your hems and cuffs, you want to make sure it looks great! Plus, hemming is a lot easier if you pressed before, I promise you! 

You can see in the video below how I am a sewing the side seams and hemming the short dolman sleeves. When you complete these steps add a picture of your progress to the comments of day 3 of the RRD sew along album. 

Runabout Romper & Dress SAL day 1 | Print pattern and cut fabric

Runabout Romper & Dress SAL day 2 | Add chest pocket, sew shoulder seams and add neckband

Runabout Romper & Dress SAL day 3 | Sew side seams and add tank armband/dolman sleeves

Runabout Romper & Dress SAL day 4 | Add pockets, side seam skirt or shorts/joggers and inseam

Runabout Romper & Dress SAL day 5 | Hem skirt/shorts or add cuffs to joggers

Runabout Romper & Dress SAL day 6 | Add waistband and show off your creations

Runabout Romper & Dress SAL day 7 | Winners announcements

Filed Under: Frequently Asked Questions, Sew-A-Long, Uncategorized Leave a Comment

  • « Previous Page
  • 1
  • …
  • 3
  • 4
  • 5
  • 6
  • 7
  • …
  • 17
  • Next Page »

Newest Patterns

  • Uptown Joggers - Youth $10.00 $8.50
  • Uptown Joggers $12.00 $10.50
  • Uptown Joggers - Bundle $20.00 $18.00
  • Notch Top & Dress $12.00
  • Notch Top & Dress - Youth $10.00
  • Privacy Policy
  • Refund Policy
  • Affliliate Program
  • Contact Us
  • About

Copyright © 2023 Patterns for Pirates

Copyright © 2023 · Genesis Framework · WordPress · Log in