Patterns for Pirates

P4P stylish, modern, wearable patterns

  • Home
  • Blog
    • Frequently Asked Questions
    • Pattern Releases
      • Free Patterns
    • P4P University
      • Fitting
      • Sewing with Stretch, Knit Fabrics
      • Sewing with Woven Fabrics
      • Sewing Machines
    • Sew-A-Longs
    • Fabric for Pirates
    • Pattern Hacks
    • Announcement
      • Blog Tours
      • Contest/Giveaway
  • Shop
  • Bundle Discounts
  • Gift Cards
  • My Account
  • Cart

Sunshine Dress- A Mash made in heaven

July 28, 2016

mashes

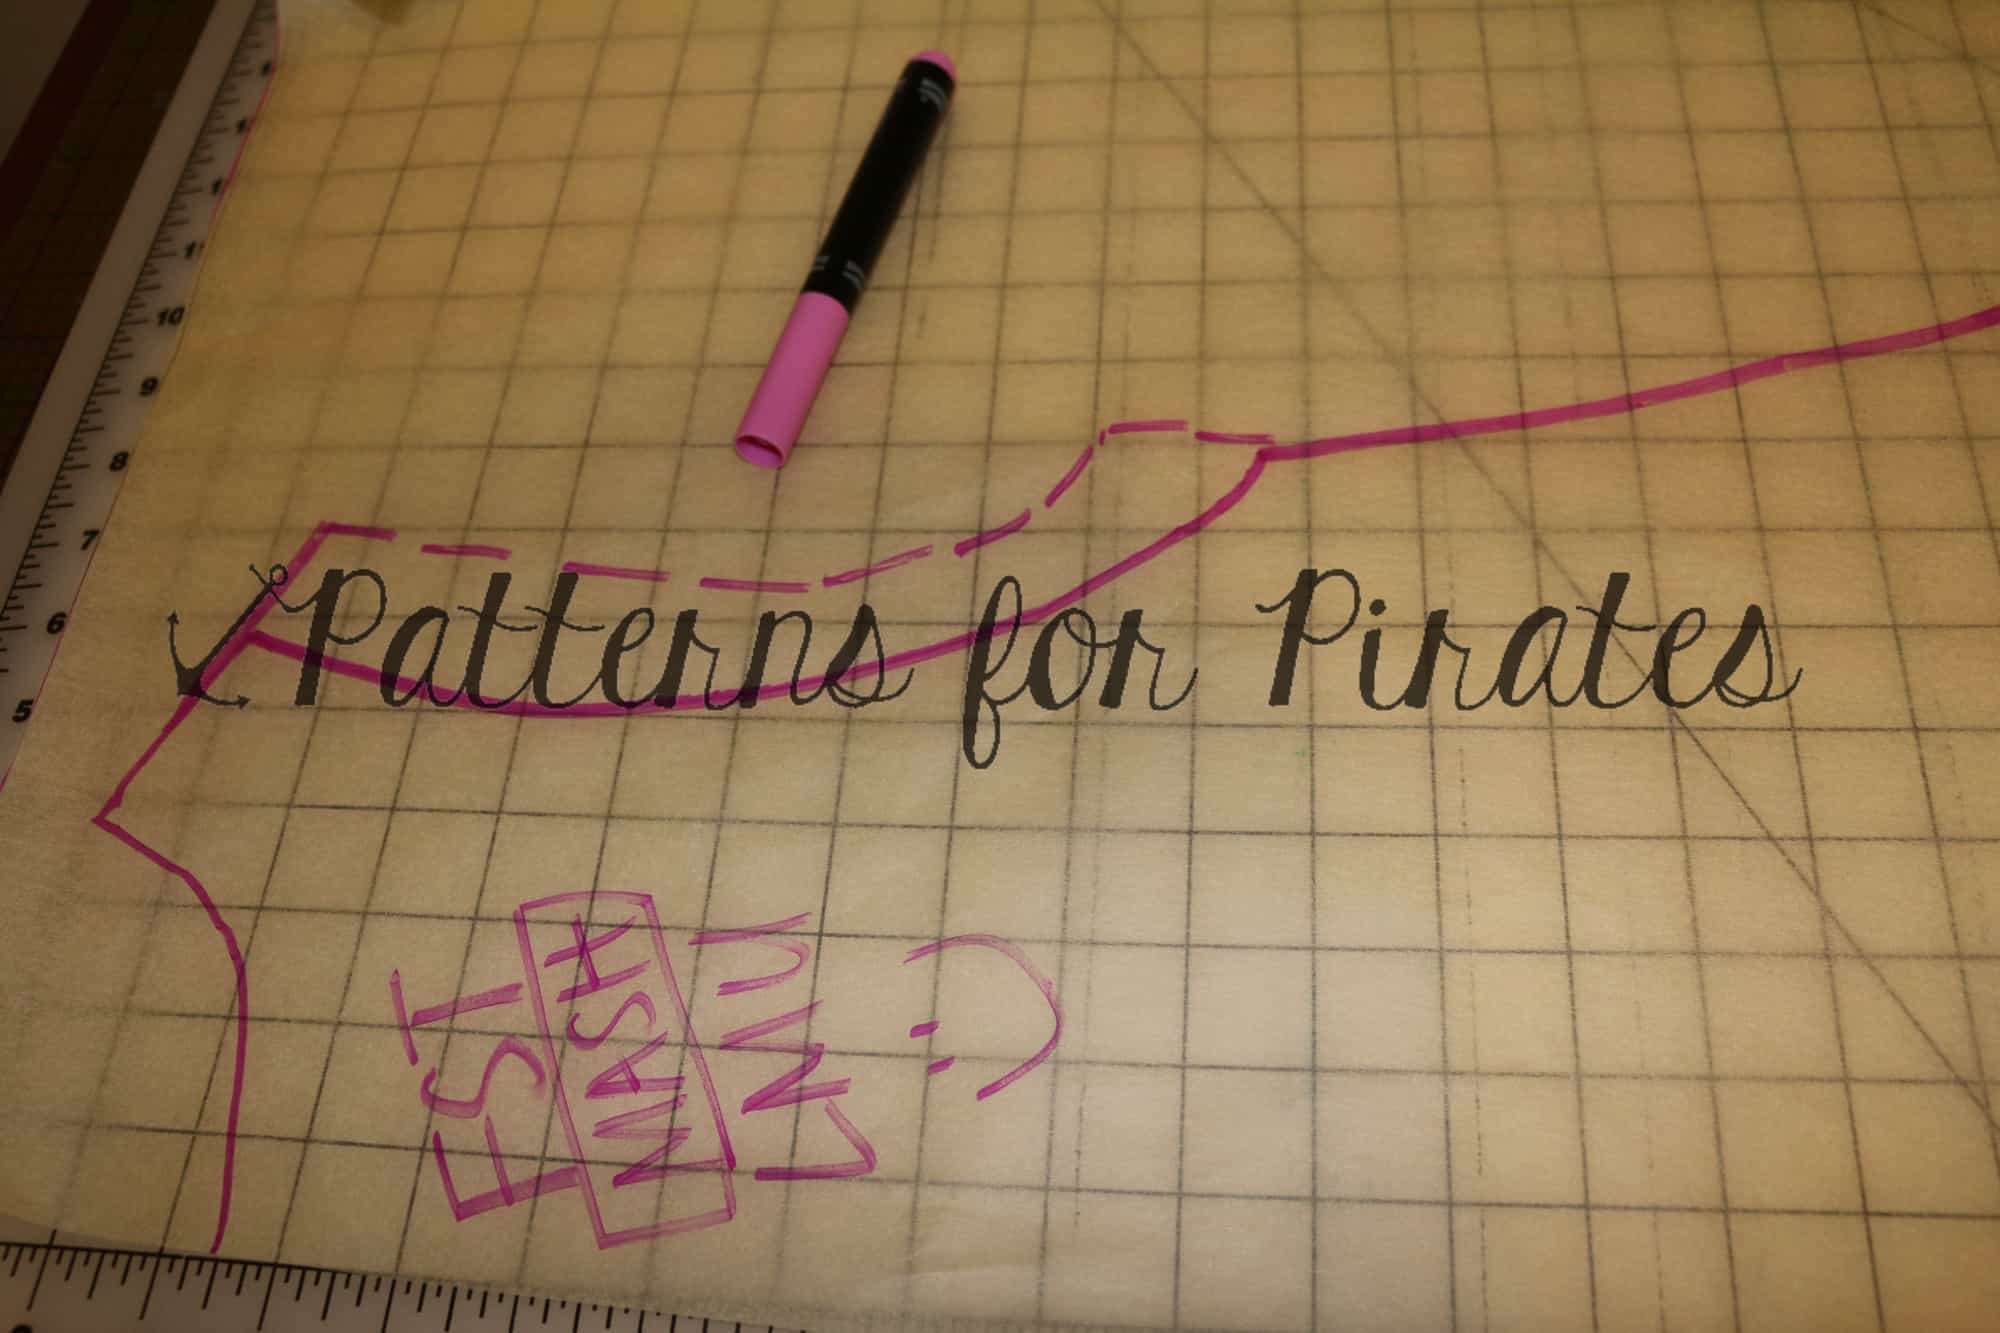
Some patterns are a mash made in heaven 😉

Here are some of our favorite mashes with the new Sunshine Dress pattern!

adding sleeves promo pic

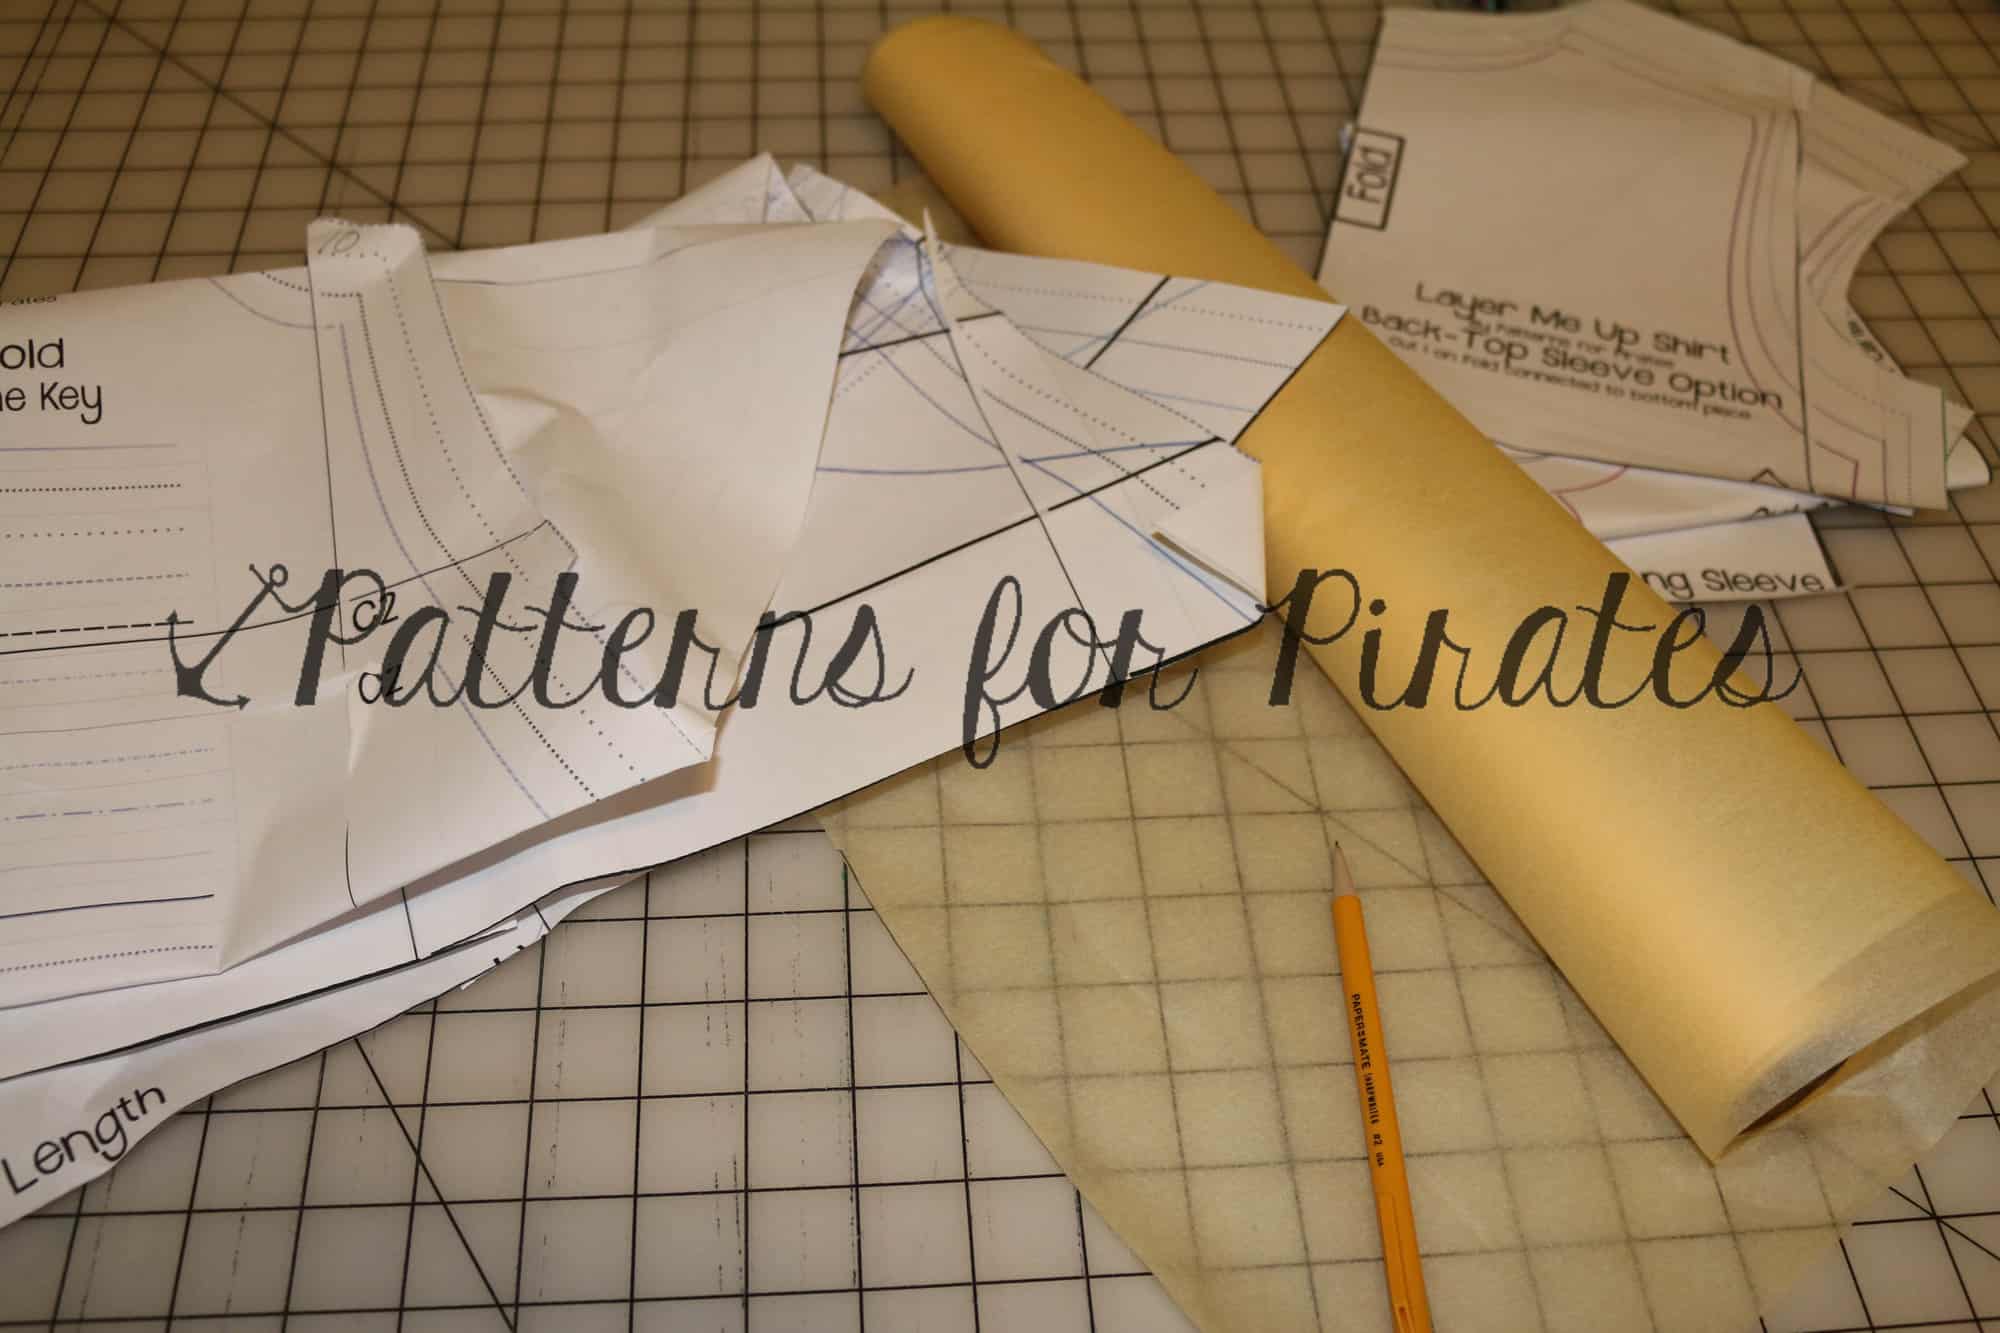
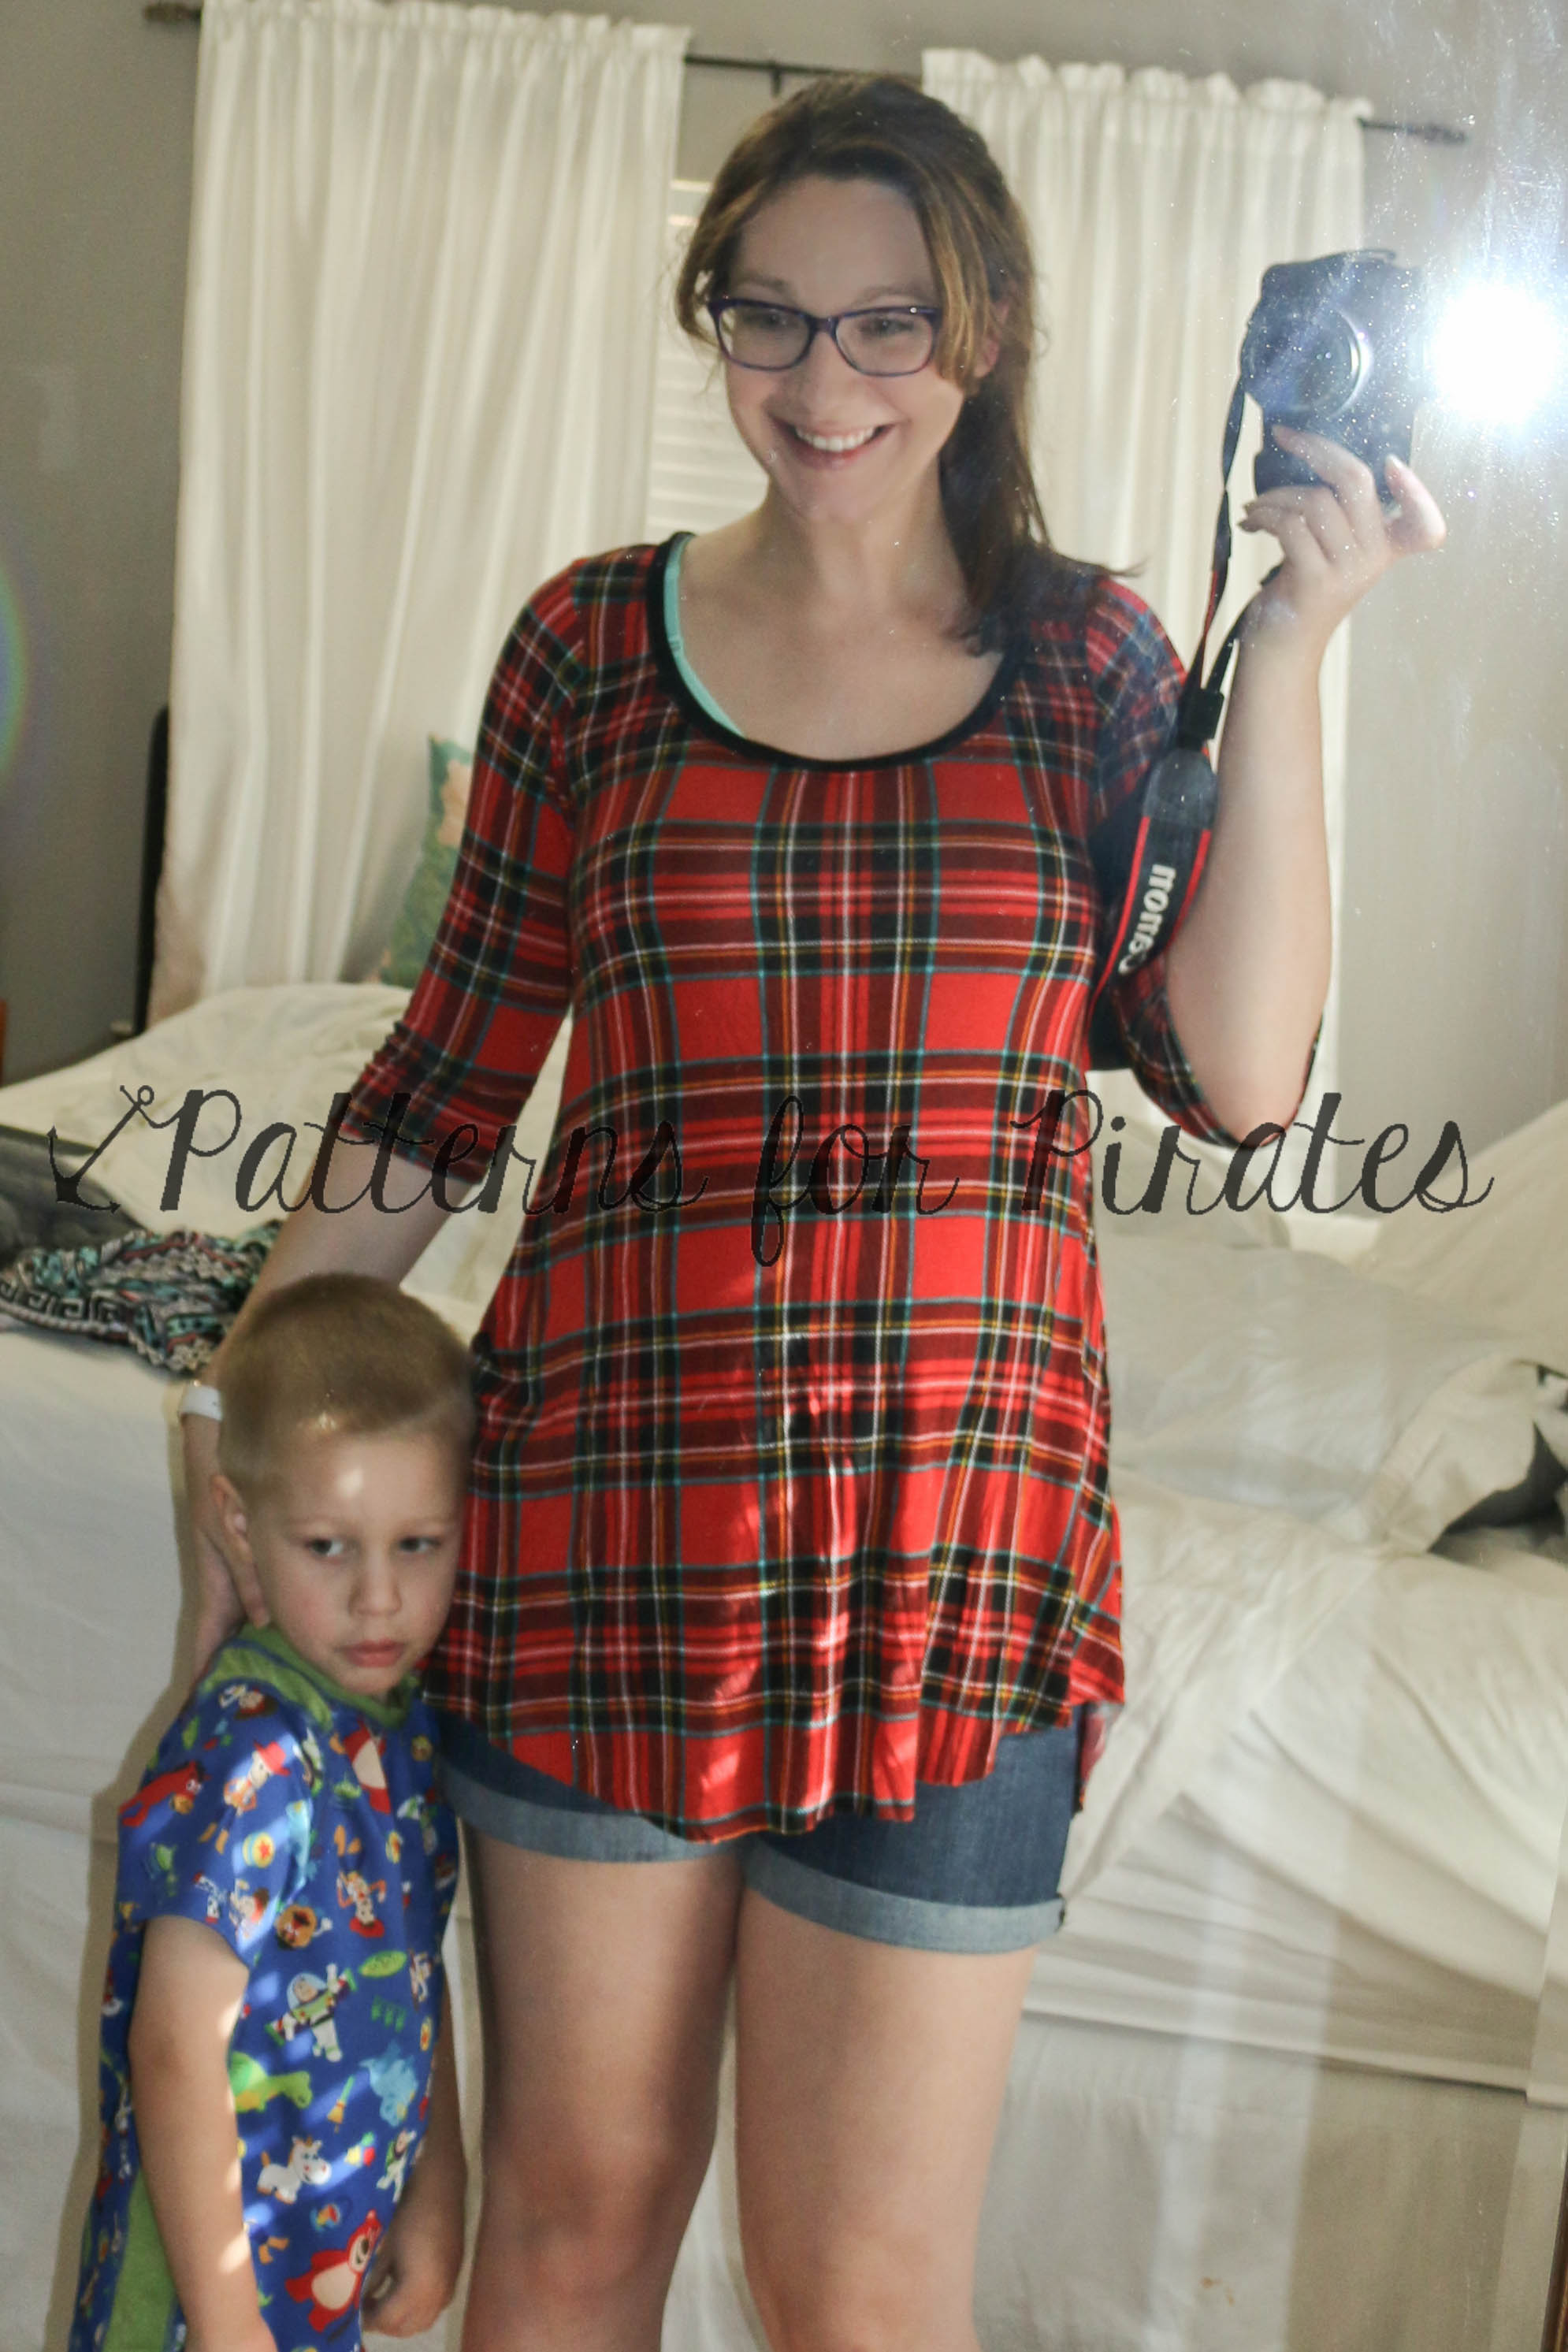
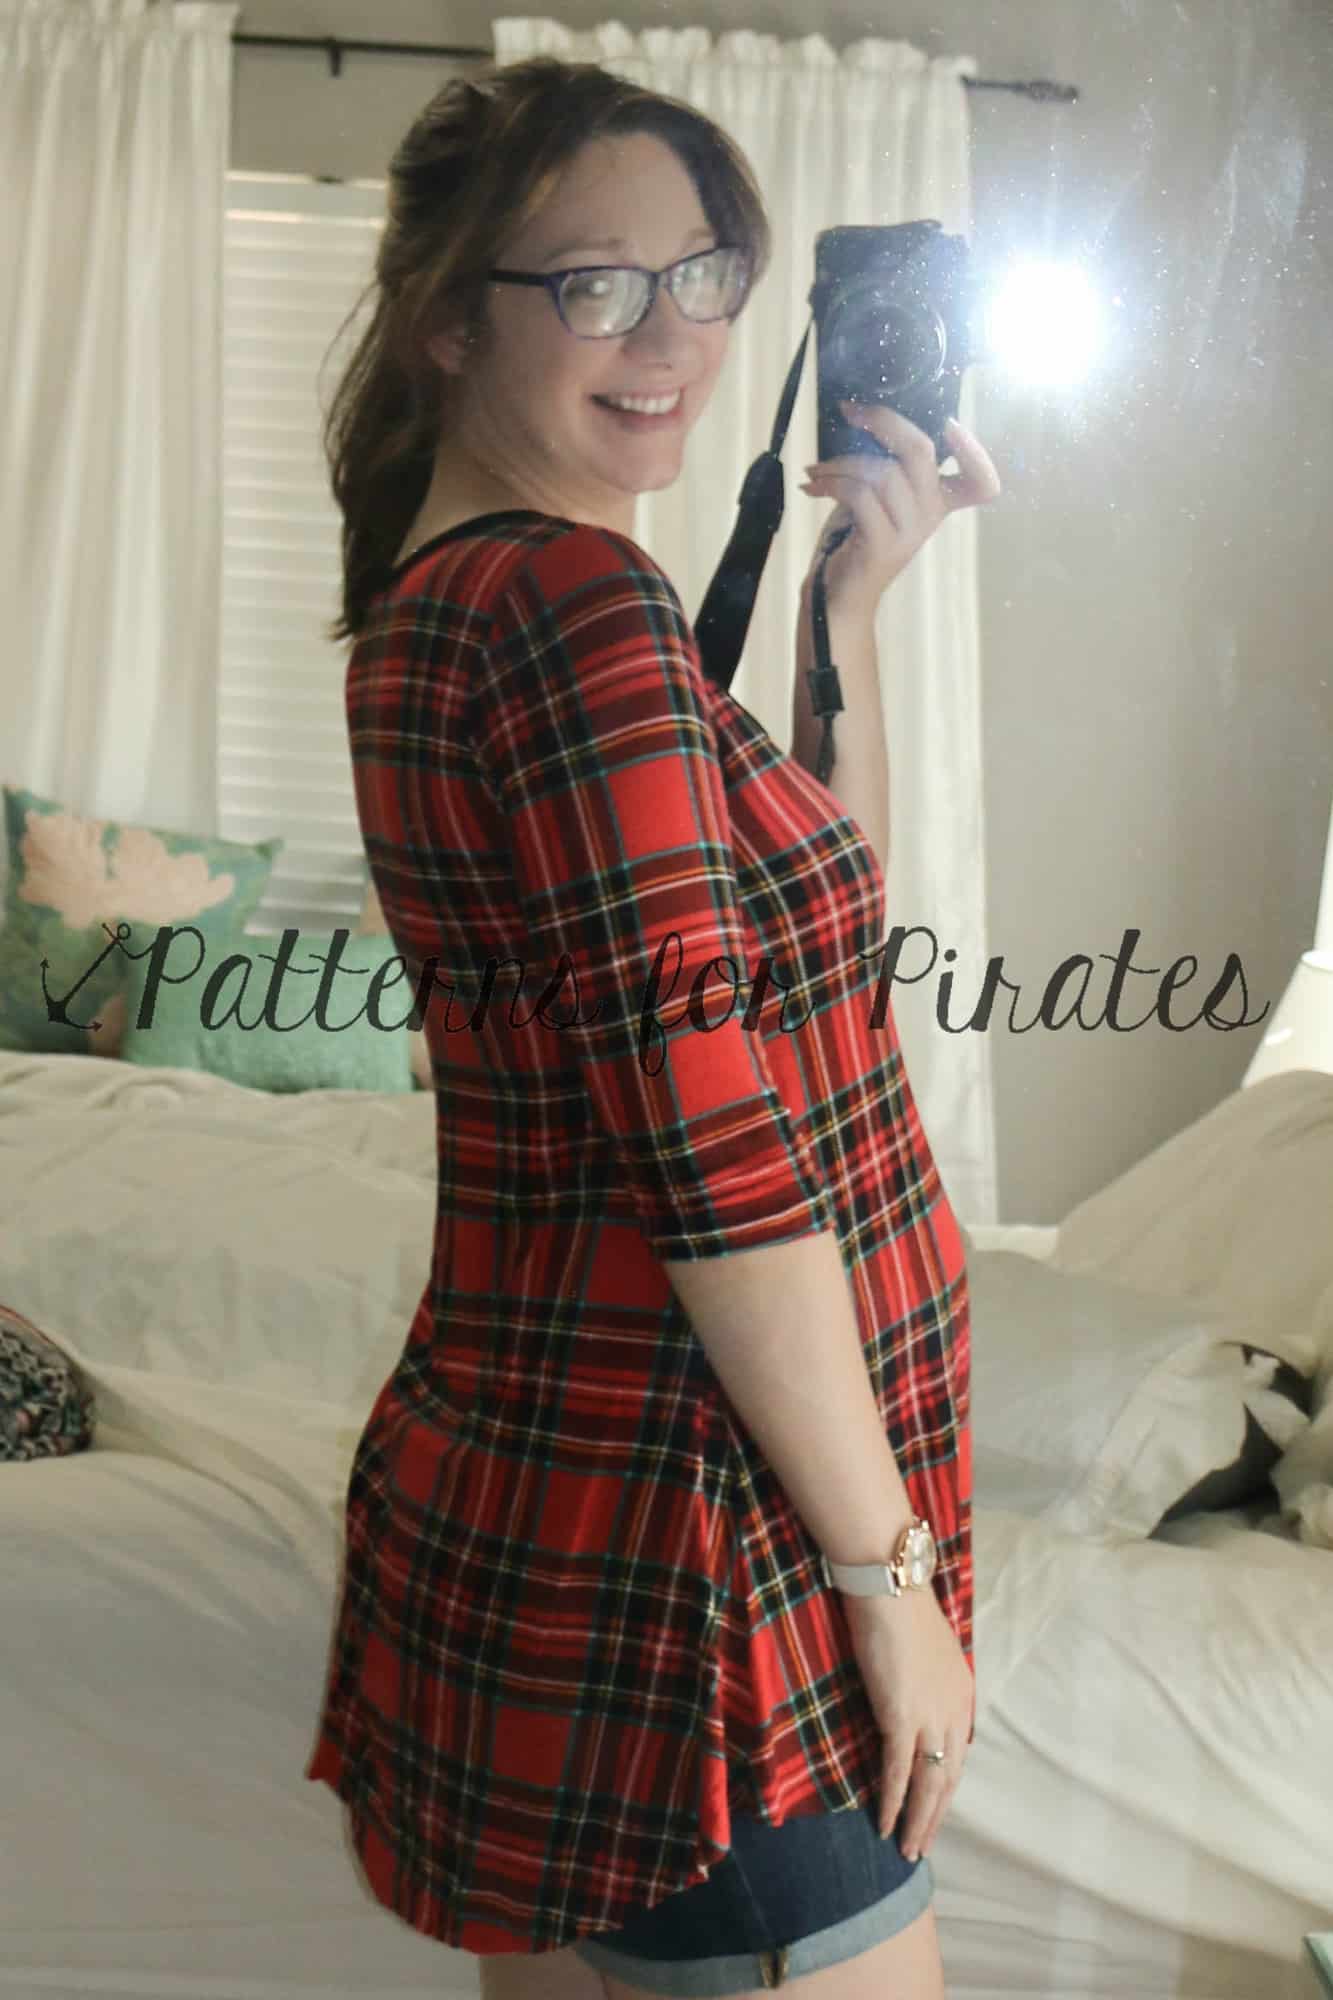
Adding sleeves is an easy hack! You will need your Sunshine Dress bodice pieces and  a bodice and sleeve from another pattern you like.  Here I used the Layer Me Up Shirt, because I thought the tight fit sleeve would look great with this bodice.

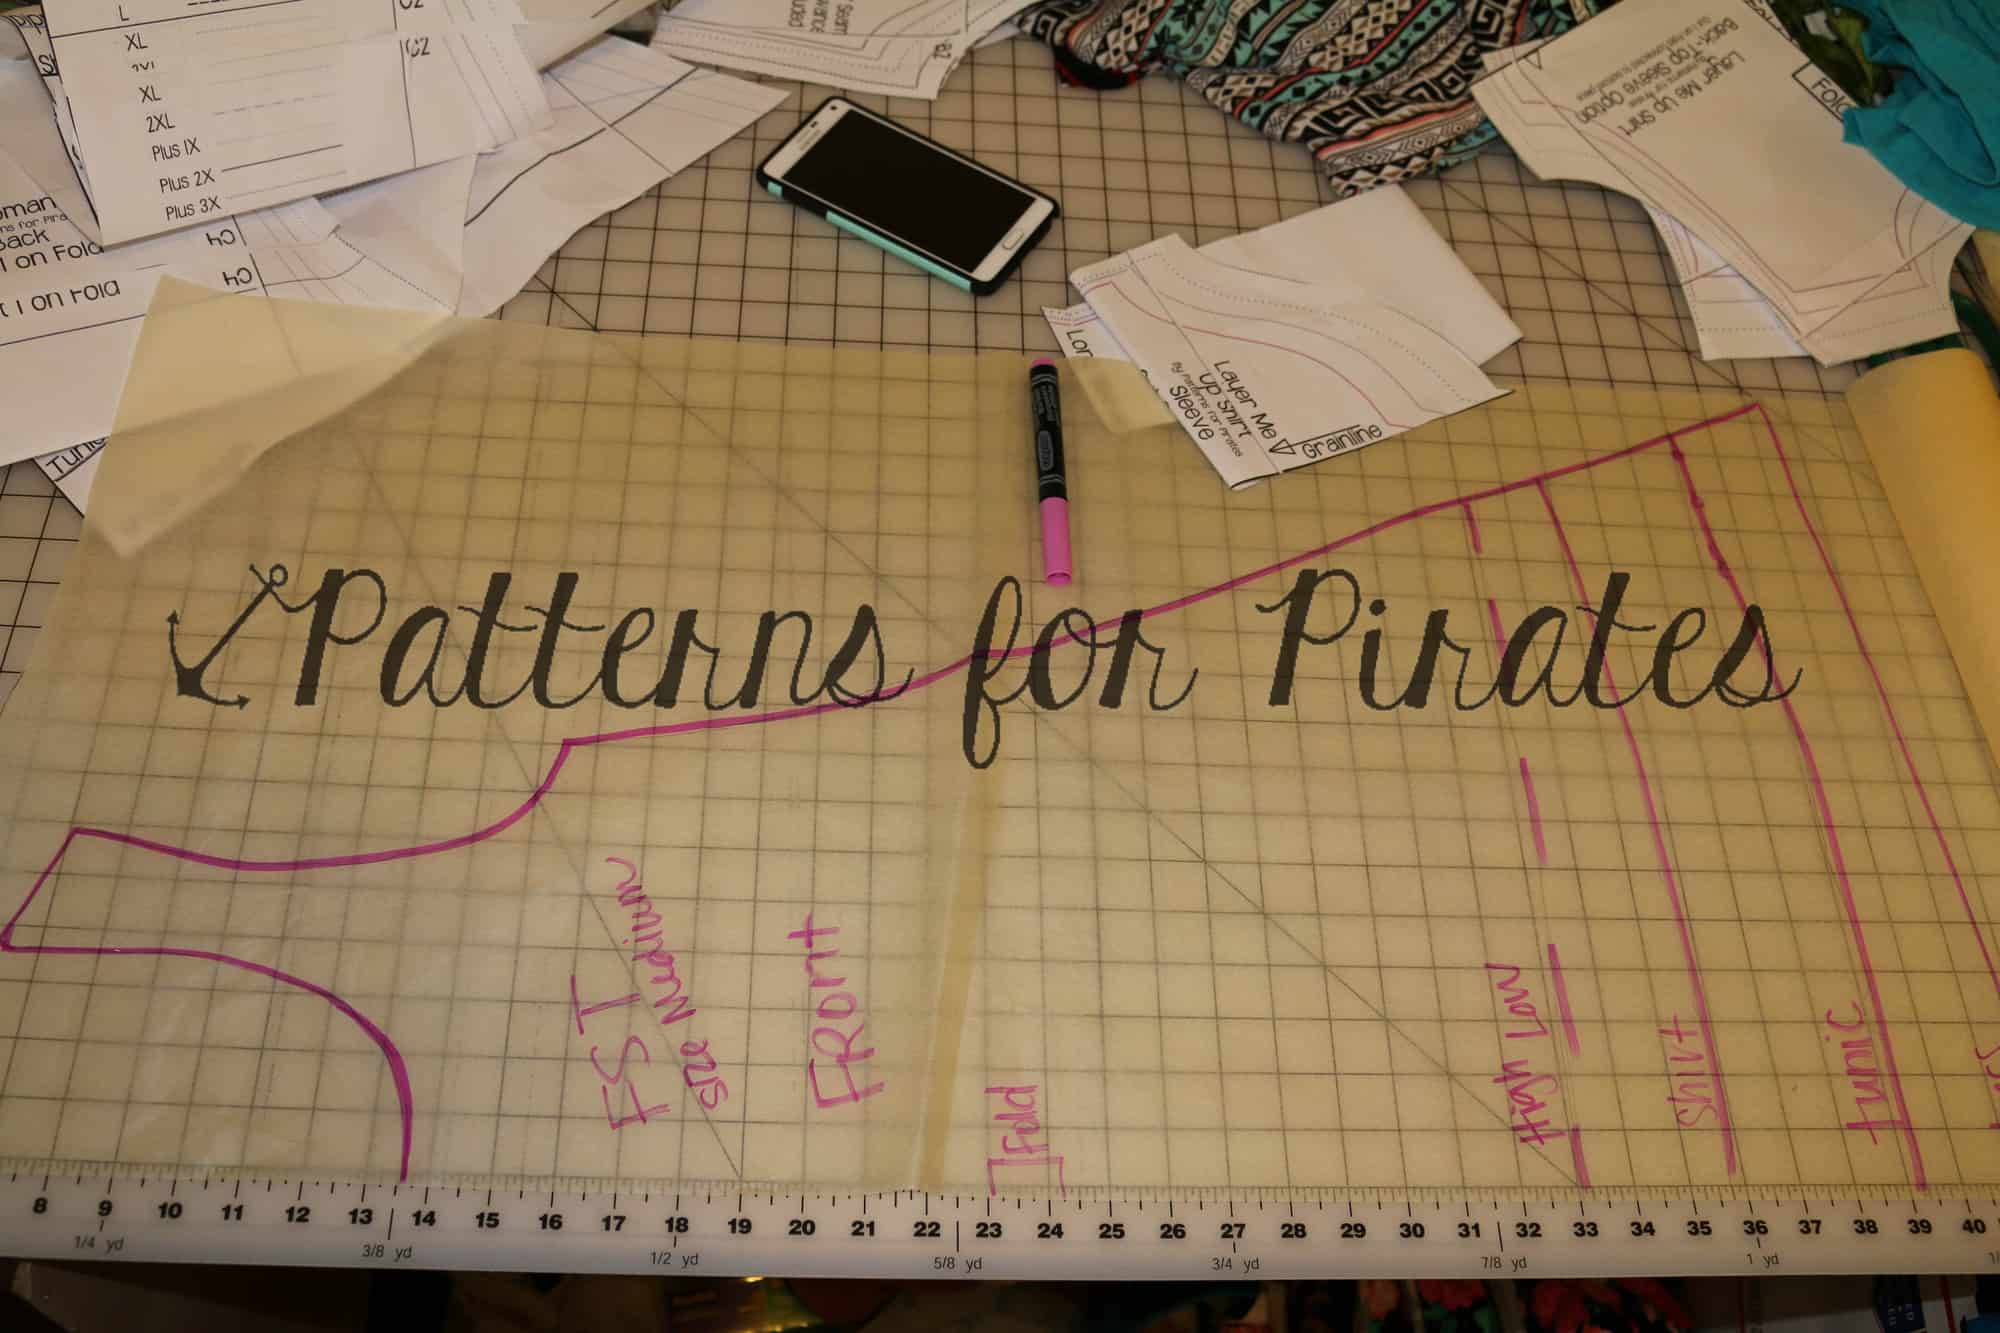
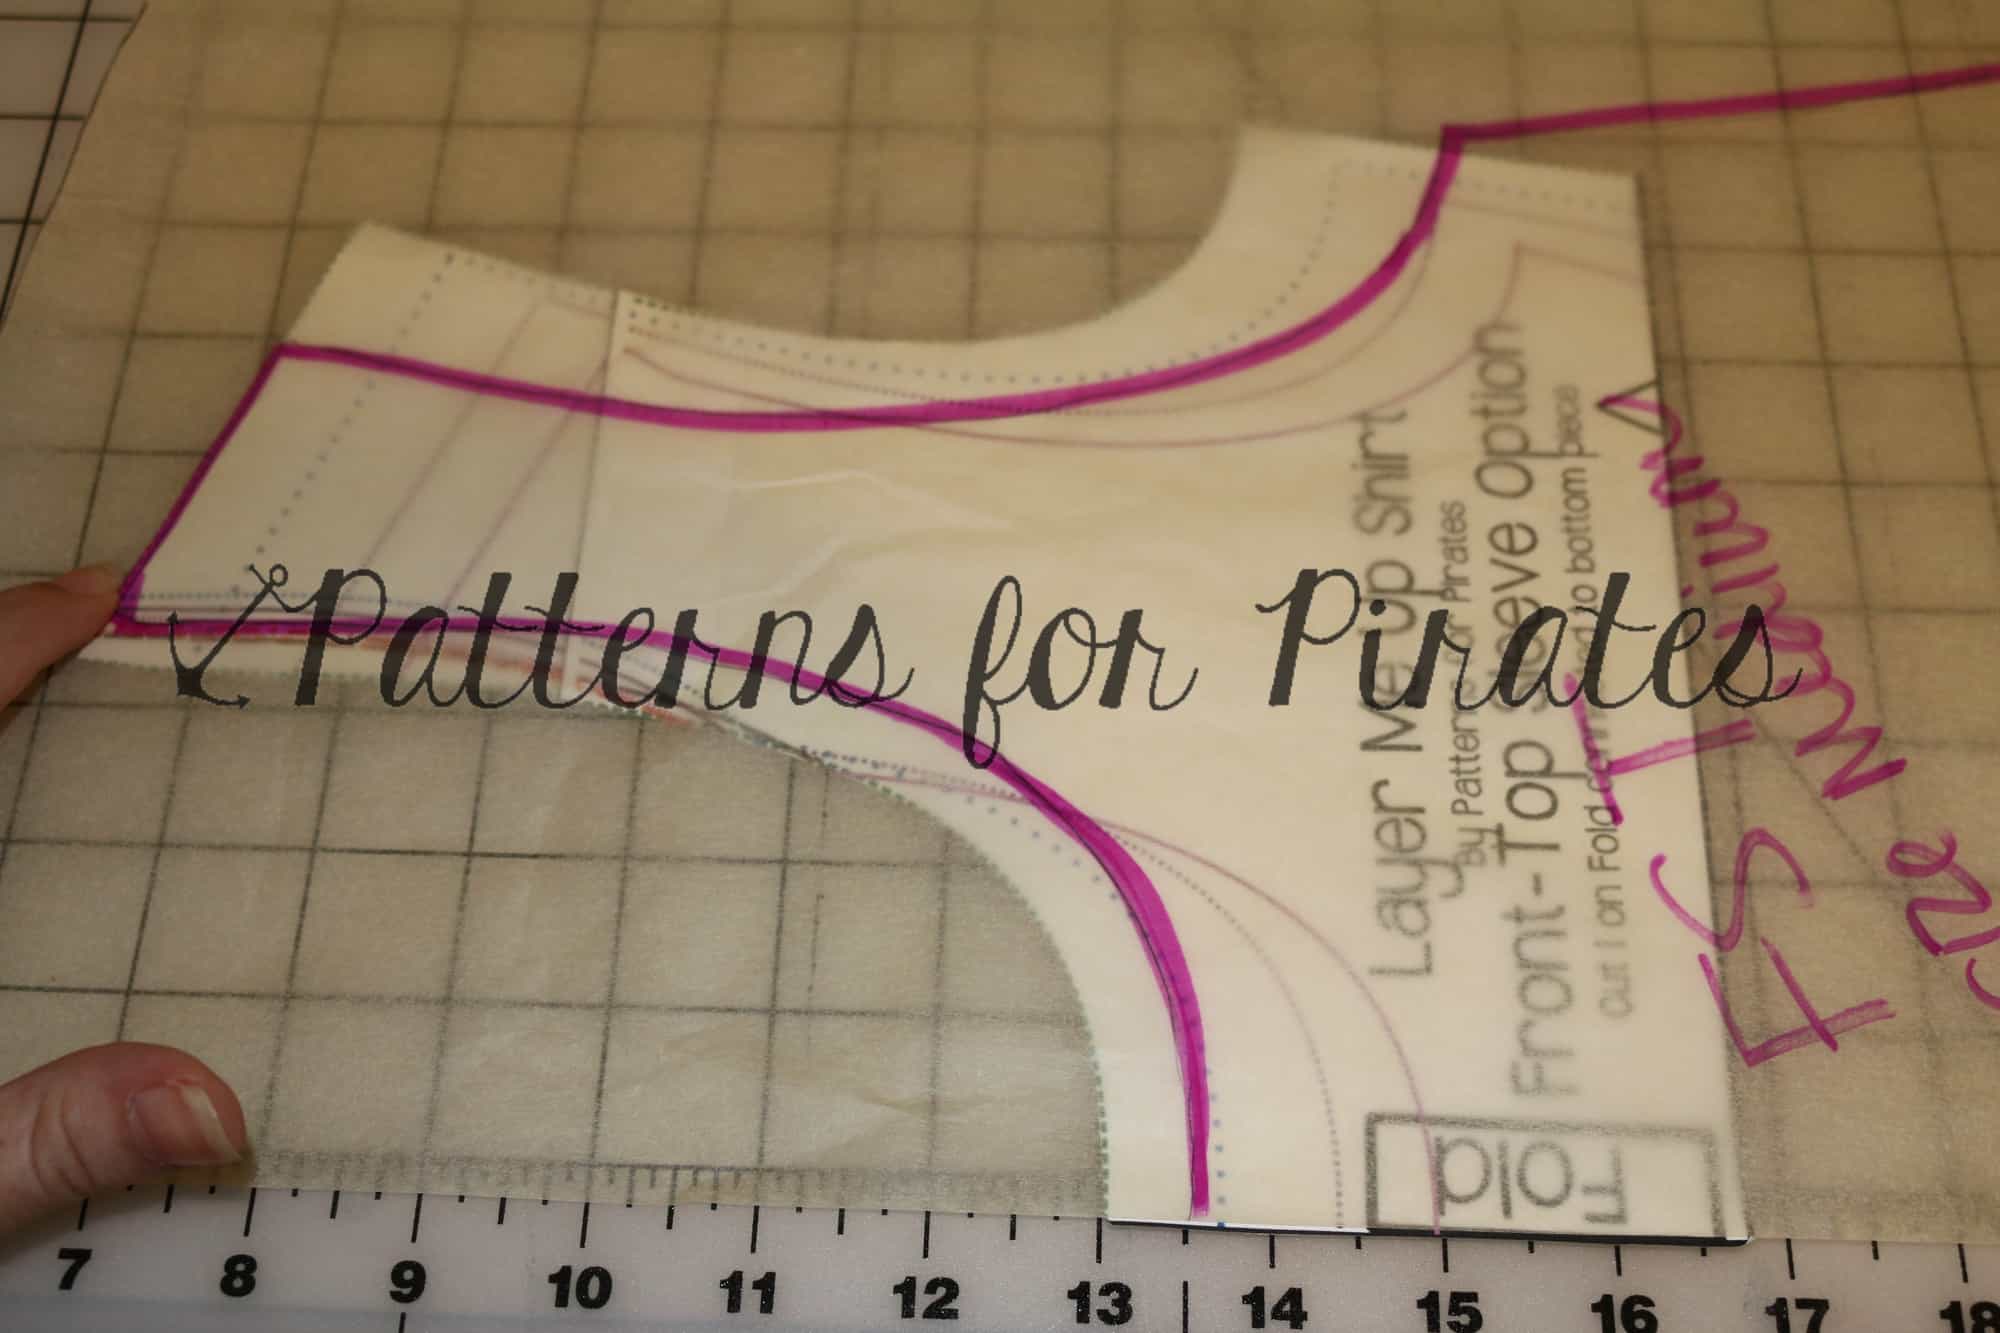
You will trace the shoulder and armsyce of the sleeved shirt (Layer Me Up here) onto the bodice of the Sunshine Dress.  Aline your shoulders and trace your new armsyce (in yellow).

adding sleeves 1 adding sleeves 2

Cut out the sleeves from the Layer Me Up Pattern in whatever length you’d like and attach in the flat after attaching neckband on Sunshine.

Sew down side seams and along sleeves layering the Sunshine the same as the original tutorial.

IMG_7740

Now you just need to finish your sleeves. You can hem or band according to the Layer Me Up tutorial.

Wah-lah… now you can take your Sunshine Dress into the colder seasons easily!

IMG_8567-2


sweetheart

Here is a super simple mash! Nothing but taking the skirt of the Sweetheart Dress and attaching it to the Sunshine bodice! Easy, peasy, lemon squeezey!

13700985_10154366193649666_8034708204045006946_o 13710656_10154366193669666_7520341654172218256_o 13717360_10154366193644666_4270184735177396283_o


boundless

Did you see the SUNSHINE dress that just released? The dress not only featured 3 bodices but the skirt is perfect for a mash up with other P4P patterns. In the blog today I’ll show you how I made myself a Boundless dress with a Sunshine skirt.

Start by printing and cutting the Boundless top according to your measurements. Use the waist cut line and not the empire one. If you use the empire cut line your sunshine skirt pockets will be too high on your torso. If you like the sleeveless look be sure to add lining too. For my dress I preferred to add short sleeves and not line the bodice. My dress is 100% cotton lycra (95%/5%) so it’s pretty thick. Plus this 100 degrees weather we’ve been having would not work well with a lined top. Am I right? ☺

IMG_9629

For the Sunshine skirt I used the above knee cut chart. The length is very similar to the Boundless knee length so the look would not change. I don’t know about you but I am a big fan of pockets…inseam pockets, outside pockets, welt pockets….you name it…I love it! So when it came time to make the Sunshine skirt the choice was obvious, I cut my pockets with a coordinating fabric so they pop.

Sew your bodice according to the pattern and your choice of style (sleeveless, short sleeve, long sleeve etc). Since I did not line my bodice I just hemmed my neckline with ½ inch fold. Remember the tips I gave you in my last blog?  Pin,pin, pin and iron your fabric and you will have a perfectly looking neckline for your unlined bodice.

IMG_9630

When making your Sunshine skirt, be sure to follow the instruction in the Sunshine pattern. I like to use the elastic gathering method shown in the Boundless pattern but if you add pockets to the Sunshine skirt then that would not work well. You want to avoid gathering your pockets so just use gathering stitches.

IMG_9631
If you did not add pockets to the skirt then the elastic gathering method will work great for this skirt too. Once you gathered the skirt to fit the width of your bodice you can go ahead and attached the two.

Tadah! You now have your very own Boundless/Sunshine dress perfect for year round wear. I hope to many, many Sunshine dresses and Sunshine mash-up dresses in the group (insert link) so be sure to show them off. Sew like a Pirate!


IMG_9654

IMG_9644

Filed Under: Pattern Hacks 11 Comments

Siren and Hello Sailor Hacks

April 25, 2016

swim hacks

We couldn’t help ourselves to a few hacks to the new Siren Swim Top and Hello Sailor Swim Bottoms during testing!  We loved them so much we decided to share a few of our favorite quick and easy mods.

The Double Strap Hack: (My favorite! I couldn’t stop using this one 😉    )

IMG_1473IMG_1412 P4P PDF Patterns Siren Swim Top double crossover strap

This one is super simple and quick! You have 4 straps per cutting instructions.  Instead of sewing them right sides together to create 2 straps, we sewed each strap folded in half width-wise down the long edge.

IMG_6678

Turn right sides out.

IMG_6680

And place both side by side on the top pick ups.

IMG_6683

IMG_6684

The Double, Straight and Cross Strap Hack:

IMG_1126

Then we had even more fun doing one set of straight straps and one set of criss-cross straps… cute right?!?!? Just baste and double check you have them all placed correctly before finalizing the stitching! I slipped swim elastic inside this navy/white top straps for more support.  It also keeps the straps in place and hold their shape (not get folded or wrinkled up).

IMG_1089


Fringe Hack:

The only change during construction is that I did not sew the flounce into the side seam.

IMG_6761

Once the top was compete I began in the center and used my rotary blade and clear quiting ruler to cut 1/4″ strips up to the seam line.  I continued all across the top, keeping my slits straight. I wont lie though, it was REALLY late and I was tired… I threw the ruler aside and went at it all crazy!

IMG_6762 IMG_6763

I went back with scissors and clipped all the way up through the pick ups (I couldn’t get my roatary up that far without cutting through the main top pieces. IMG_6764 IMG_6767

It was crazy windy on our picture day with my cousin (isn’t she the cutest?!?!) so we only caught a few where the fringe wasn’t wildly blowing around! You could do the slits as small as your patience allows for and you could also tug them a bit to let the knit curl to hide some imperfections too! It’s a fun, flirty mod! I hope you don’t mind the other watermark on her pictures, my amazing sister took these photos and edited for me :).

IMG_1249 IMG_1315


Double Flounce Hack:

Creating the double flounce is as simple as cutting 2 of the front and back flounce pieces.  I just kind of eyeballed  how much shorter I wanted the top layer flounce but ended up cutting about 1.5″ off the front and 1″ off the back. Depending on your size, you could also use a smaller size length as a guide.   Be sure to keep the side seams the same length on both the front and back flounce of the layer you cut.  For construction, I basted the two layers together to help keep them together as it is a little trickier to stitch 5 layers of fabric.

P4P Siren Swim Top Double Flounce Hack


HELLO SAILOR BOTTOMS

Piping Detail Hack:

This adds a bit of visual interest to those paneled options! Just cut strips at least as long as your seam where your front center and front side panels meet. The width is a personal preference, but you will need double what you’d like your finished width, plus double the seam allowance (3/4″).  I choose 1/4″ finished width for mine, so I cut a strip 1 1/4″ wide.

IMG_6724

Fold strip width-wise and place right sides together matching raw edges along seam where front center and side panel meet.

IMG_6727

Then place side panel on top and stitch with normal 3/8″ seam allowance. (You will be stitching through 4 layers of fabric)

IMG_6728

I choose to top-stitch mine down along the folded edge.

IMG_6731

I love the little, simple detail!

IMG_1032


Separate Skirt Cover Up Hack:

I created a separate skirt for my cousin to use as a cover up! I just cut 1 extra waistband than the pattern calls for and sewed it to the skirt just like the waistband (folded with right sides together along the top raw edge.)

Now she can slip on the skirt when she’s walking around and take it off when she’s ready to really go swimming 🙂

IMG_1241

IMG_1309


One-Piece Hack:

For some, a two piece suit is not their style, so we hacked the Siren Swim Top and Hello Sailor to create an on trend one piece. You will construct your top and bottom as in the tutorial but will not attach your bottom band of the top or the waistband of the bottoms.  I chose to keep the bottom band of the top for extra support, but you can omit if you choose.  We will be connecting the top and bottom with a connector piece so you do not need the waistband of the bottoms.  Try on your top and bottom.  p4p pdf patterns siren swim top hello sailor one piece hack

To determine the length of the connector piece, measure the distance between the raw edge of your top and the top edge of your bottoms at center front and center back.  You may need to find someone to help you with the back ;). Add double the seam allowance (0.75″)  My gap was about 3″ so the length of my connector piece was 3.75″.  I used the waistband measurement for the width of the band as I wanted it to be held tight there.   Note: if your hip is much wider than your under-bust and waist, it will be difficult to pull up over your hips so you may need to shimmy it on!


Connecting the top and bottom is the same construction as the bottom band and waistband but you will be using the connector piece instead.  Stitch short ends of the connector piece and bottom band.  On the bottom band only, fold with wrong sides together.

p4p pdf patterns siren swim top hello sailor one piece hack


Matching raw edges and wrong side facing up, slip bottom band over connector piece.  You should have 3 layers of fabric.  Mark in 1/4s and with right sides together, match raw edges of the connector piece to the Siren Top.  Stitch.  Flip open and press seam down.


p4p PDF patterns Siren Top and Hello Sailor One Piece Hack


Turn your Hello Sailor bottoms inside out. Matching raw edges of the connector piece, with right sides together, slip your Siren Top inside the bottom. Be sure to match the front of your top with the front of your bottoms. Stitch.


P4P PDF patterns Siren Swim Top Hello Sailor One Piece Hack P4P PDF patterns Siren Swim Top Hello Sailor One Piece Hack


Filed Under: Pattern Hacks 12 Comments

FST/LMU Mash Up

August 5, 2015

So you LOVE the loose a-line fit of the Free Spirit Tank, but would love it with sleeves?

Here is how you take the Layer Me Up Shirt to add sleeves 🙂

First… grab both patterns, some tracing paper and a pencil.

Trace your size of the Free Spirit Tank.

Place your Layer Me Up – SLEEVED BODICE piece matching on fold and at the top shoulder. Make sure you’re matching the front with the front 😉

Don’t worry about the neckline, although if you wanted it higher/tighter you could trace off the neckline from the Layer Me Up 🙂 Now just trace the armsyce from the Layer Me Up.

Repeat with the back pieces!

Now you can use any sleeve option from the Layer Me Up Shirt.

Here is mine I made for the fall!

Little guy wanted in 😉 Please excuse the no make up, mom hair, sports bra look!! It’s what I’m sporting most days though! 😉

I can’t wait to pair it with some leggings for the fall and winter! 🙂 It will be perfect right after baby girl comes!

Filed Under: Pattern Hacks 10 Comments

  • « Previous Page
  • 1
  • …
  • 3
  • 4
  • 5

Newest Patterns

  • Notch Top & Dress $12.00 $10.50
  • Notch Top & Dress - Youth $10.00 $8.50
  • Notch Top & Dress - Bundle $20.00 $18.00
  • Friendly City Sweater $12.00
  • Friendly City Sweater - Youth $10.00
  • Privacy Policy
  • Refund Policy
  • Affliliate Program
  • Contact Us
  • About

Copyright © 2023 Patterns for Pirates

Copyright © 2023 · Genesis Framework · WordPress · Log in