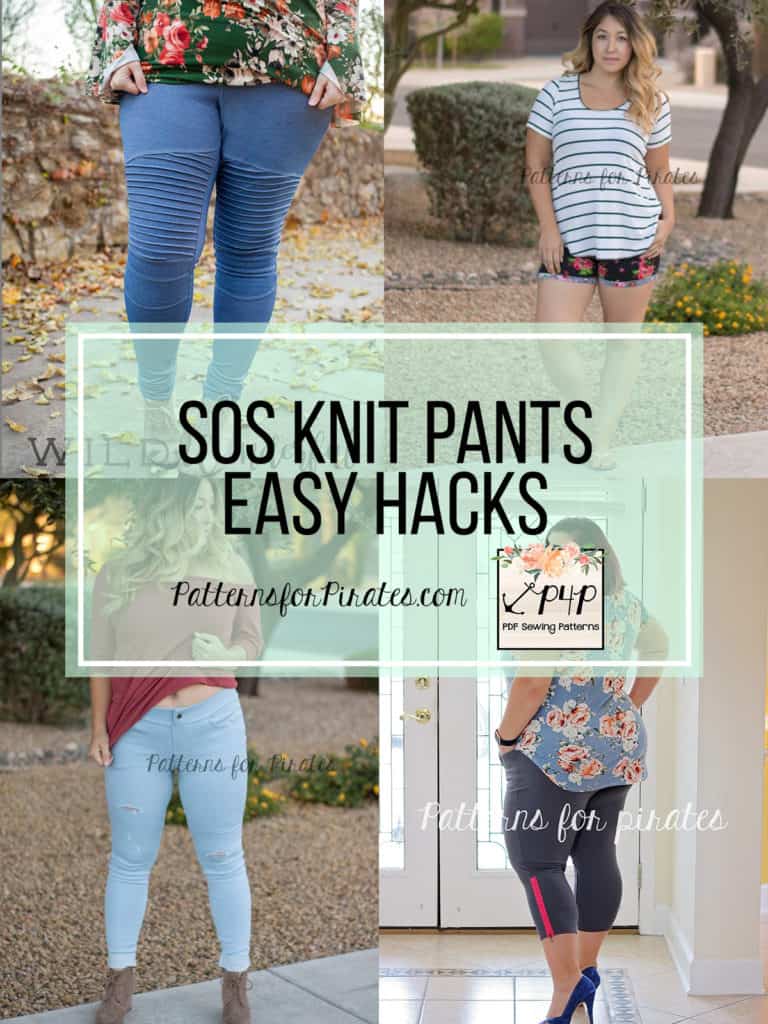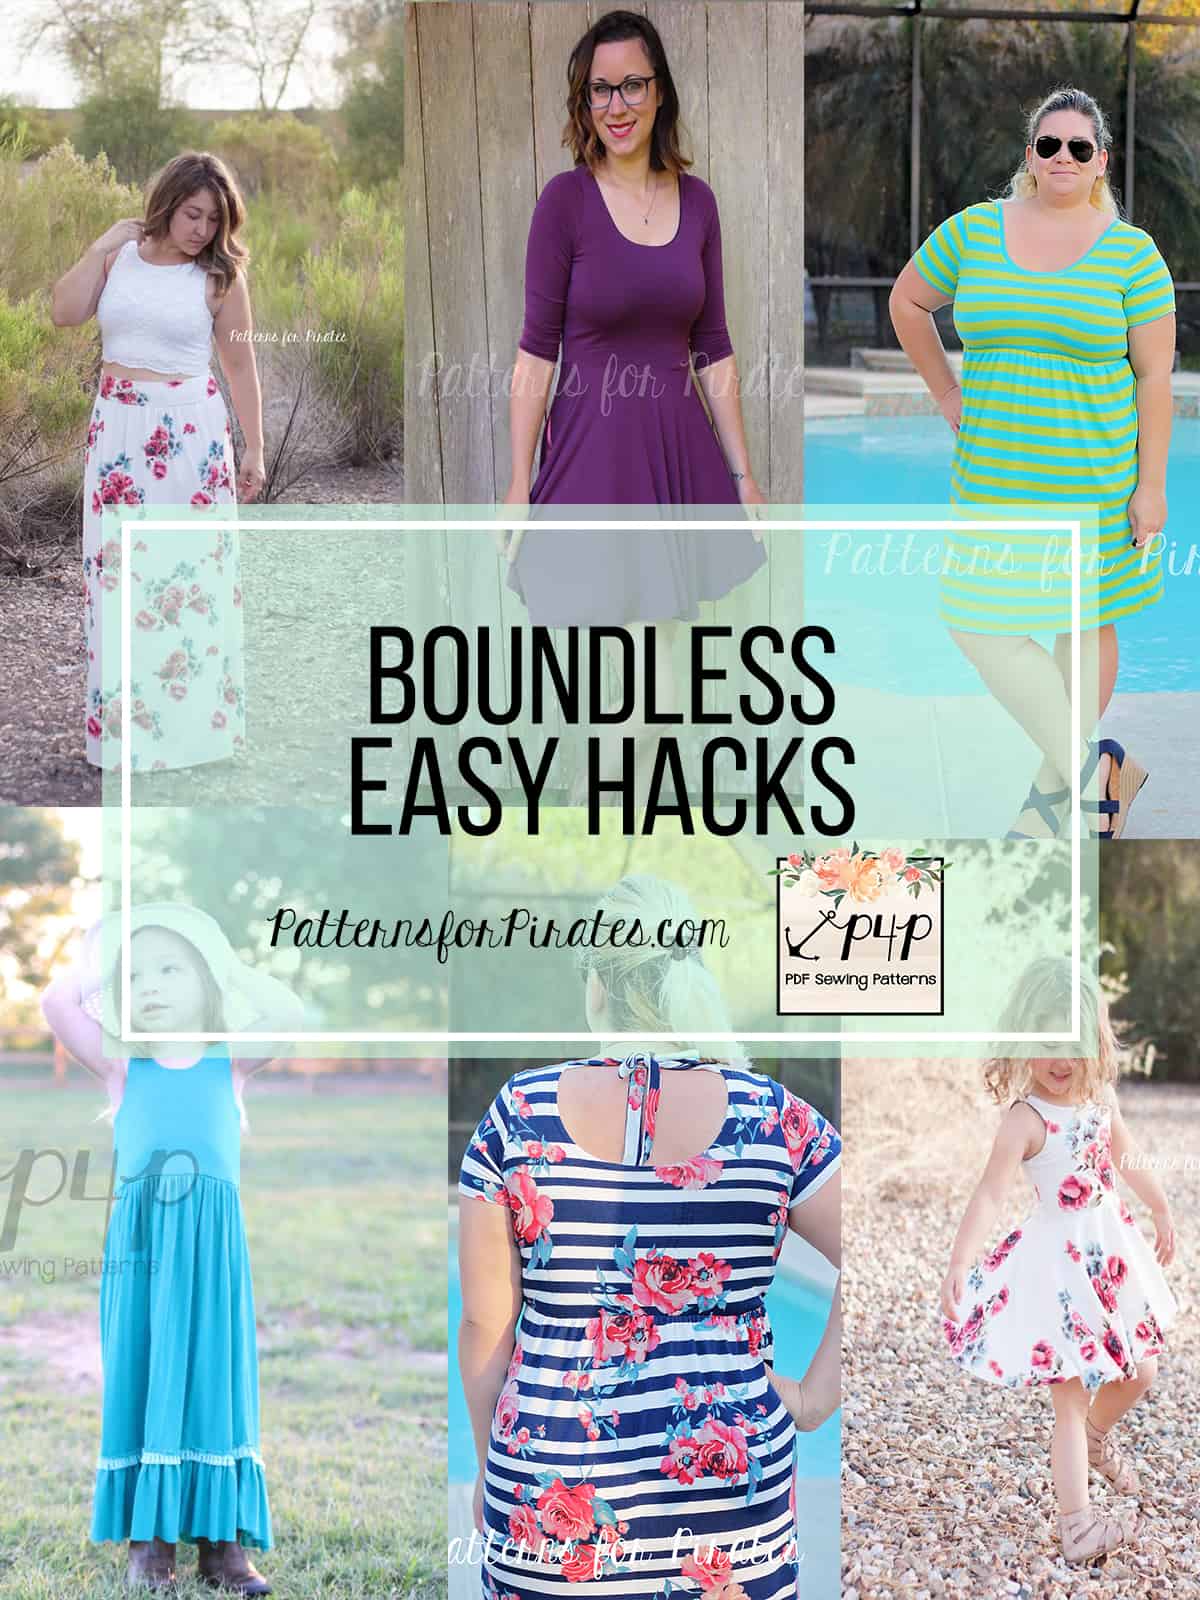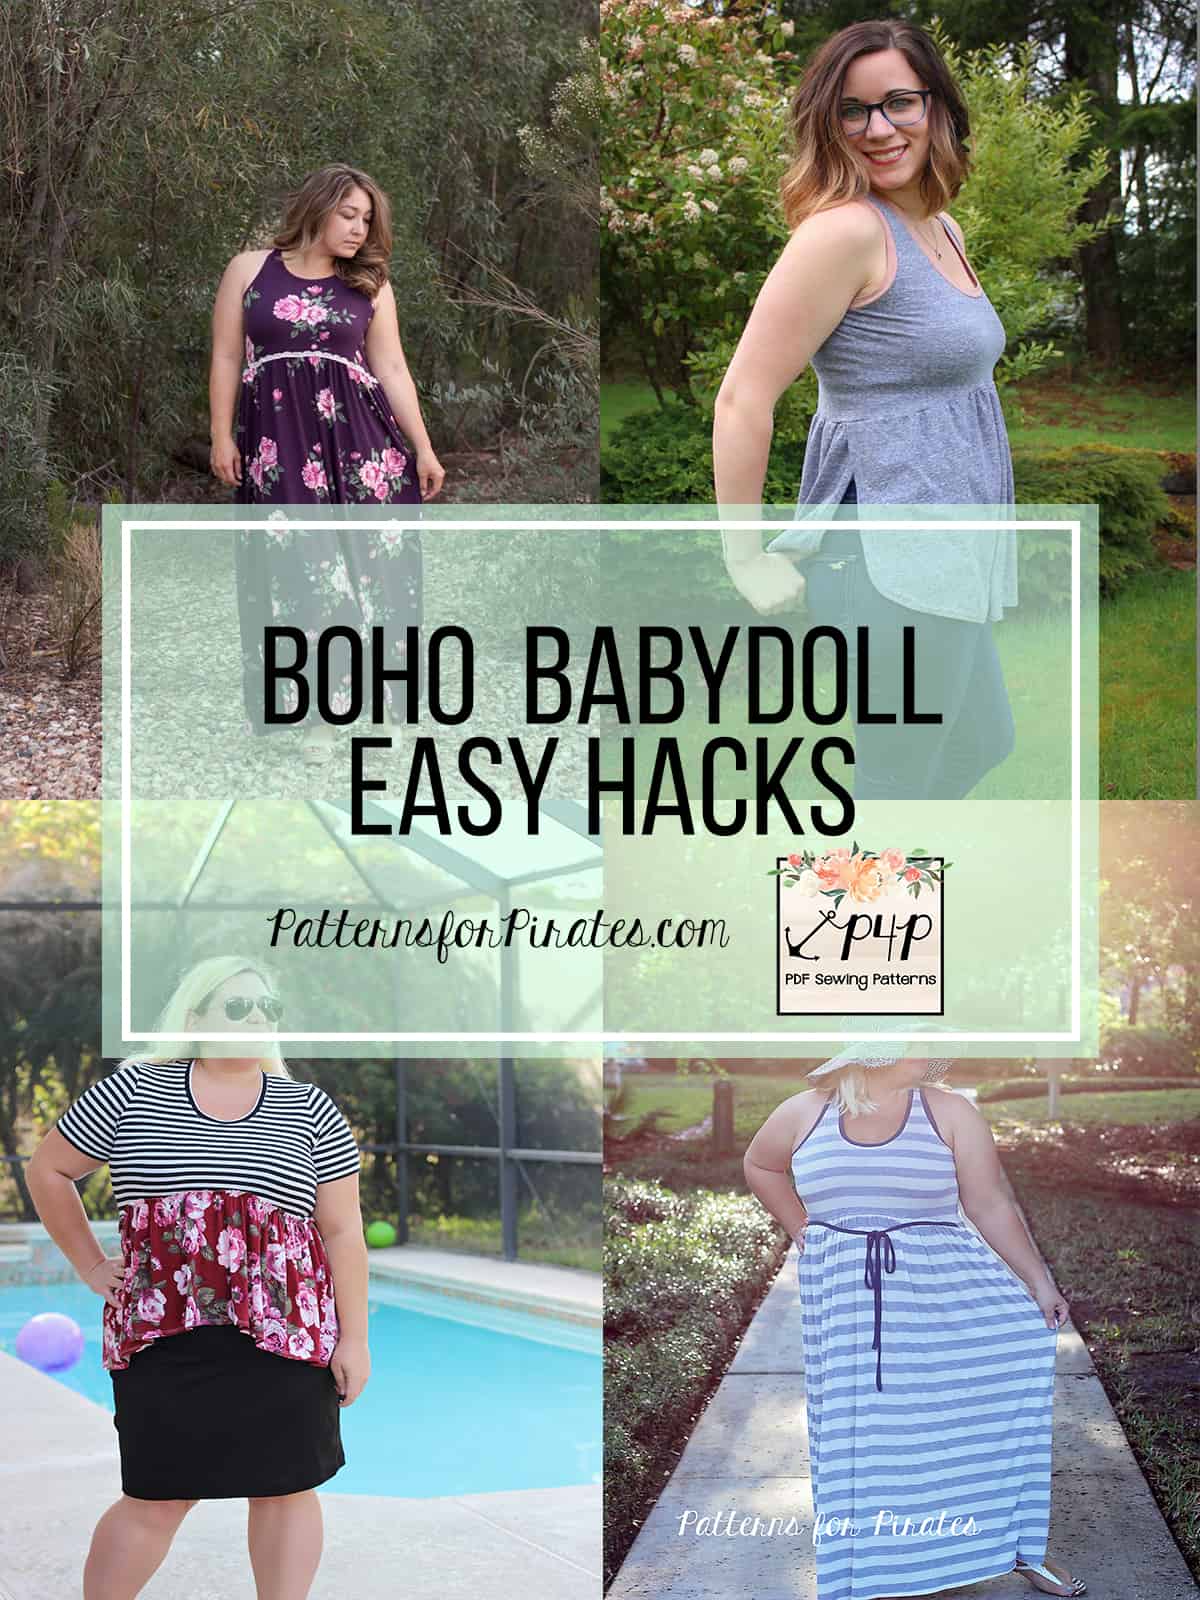
Ahoy, matey! As with most of our new releases, the P4P blog team has some easy hacks ready for you to help achieve even more looks. First stop by the shop and grab the Sporty Piko and Youth Sporty Piko, then let’s get started.
….
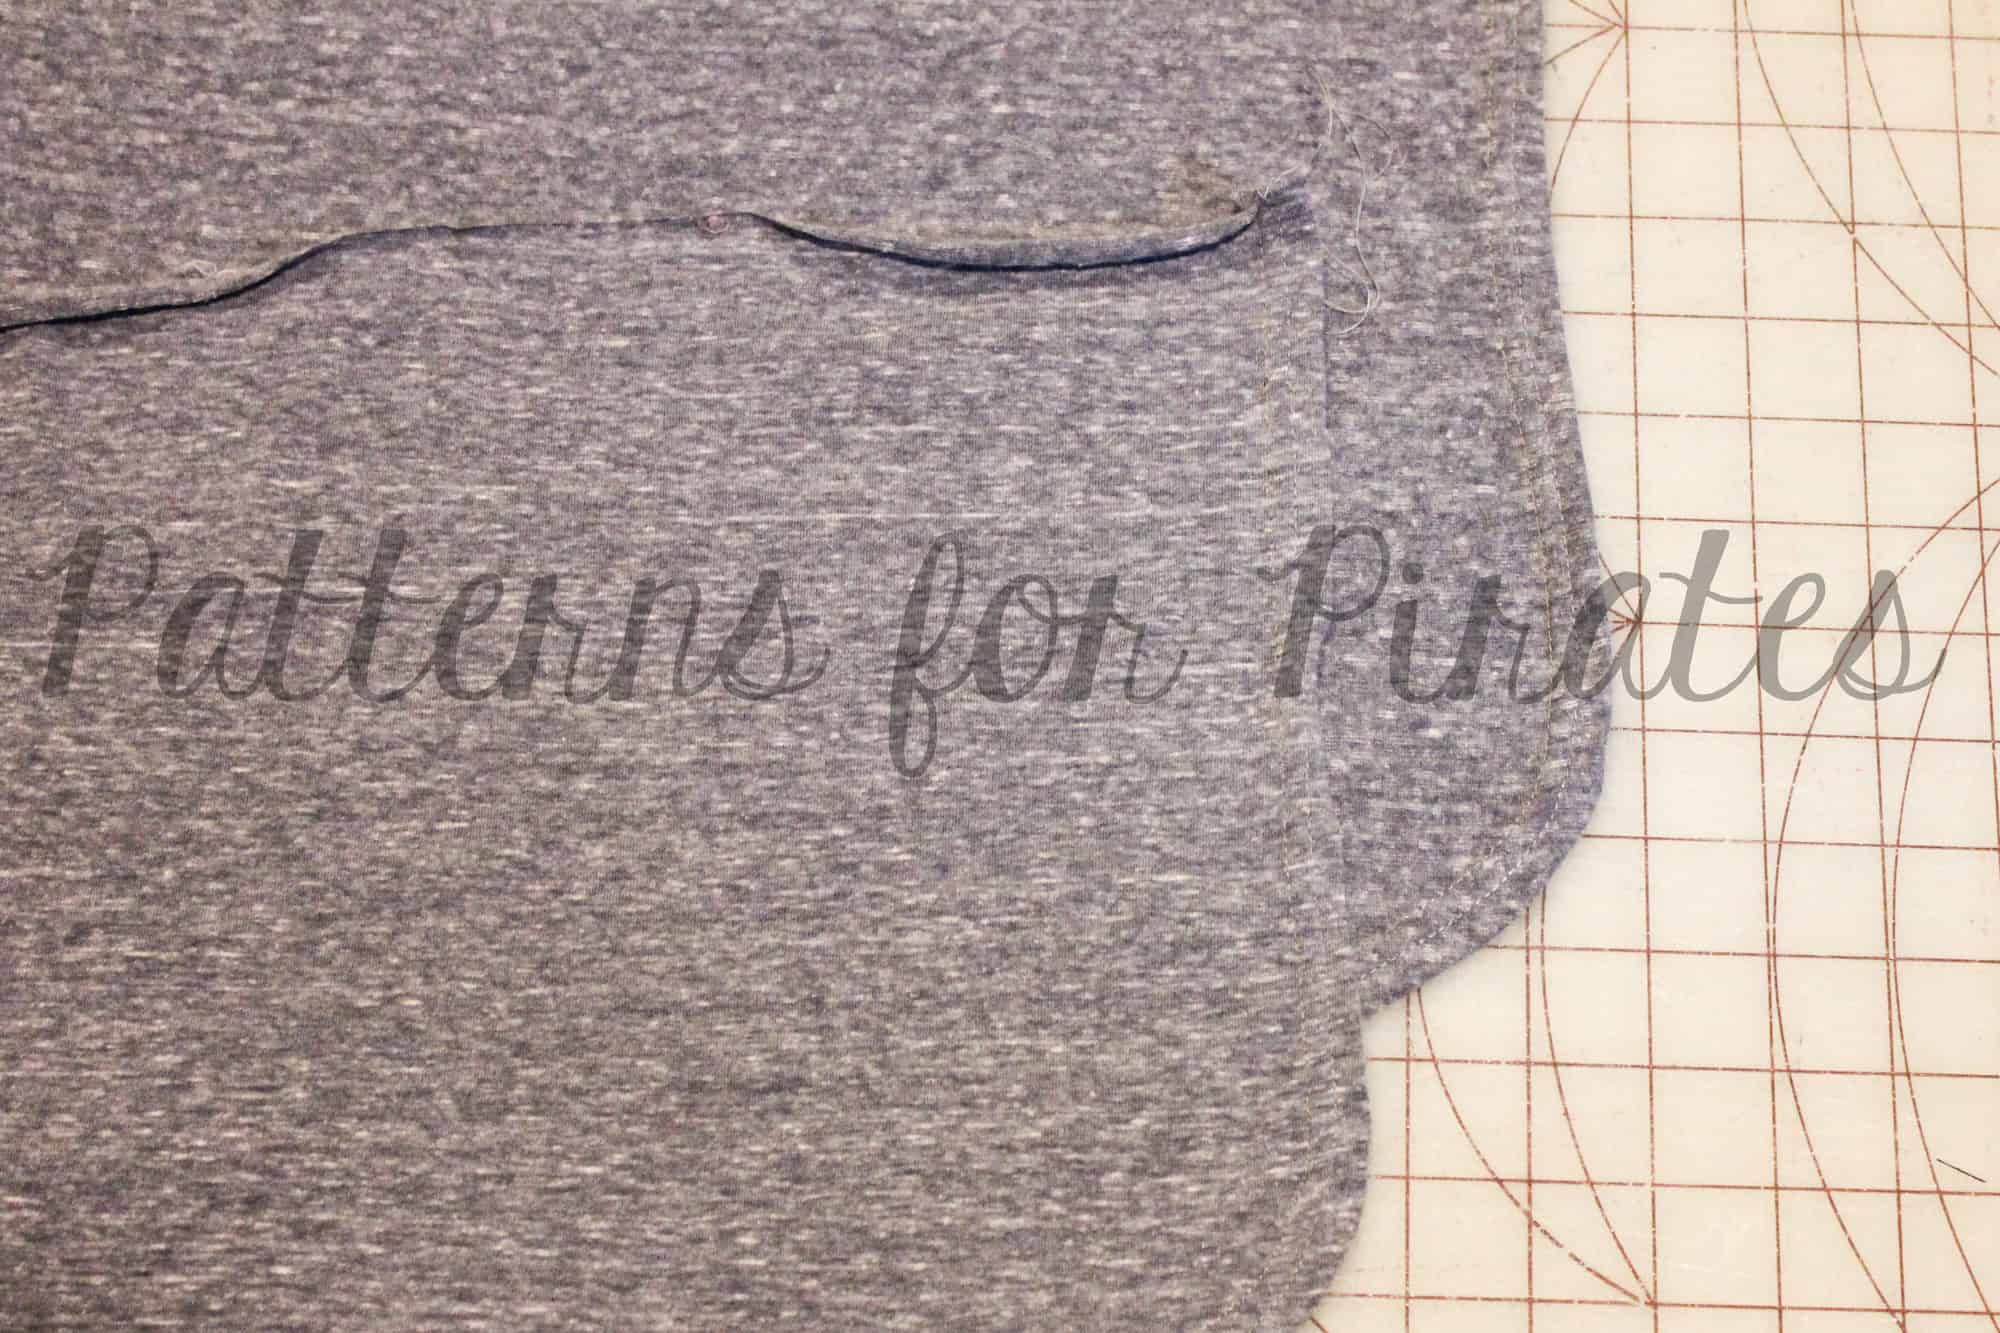
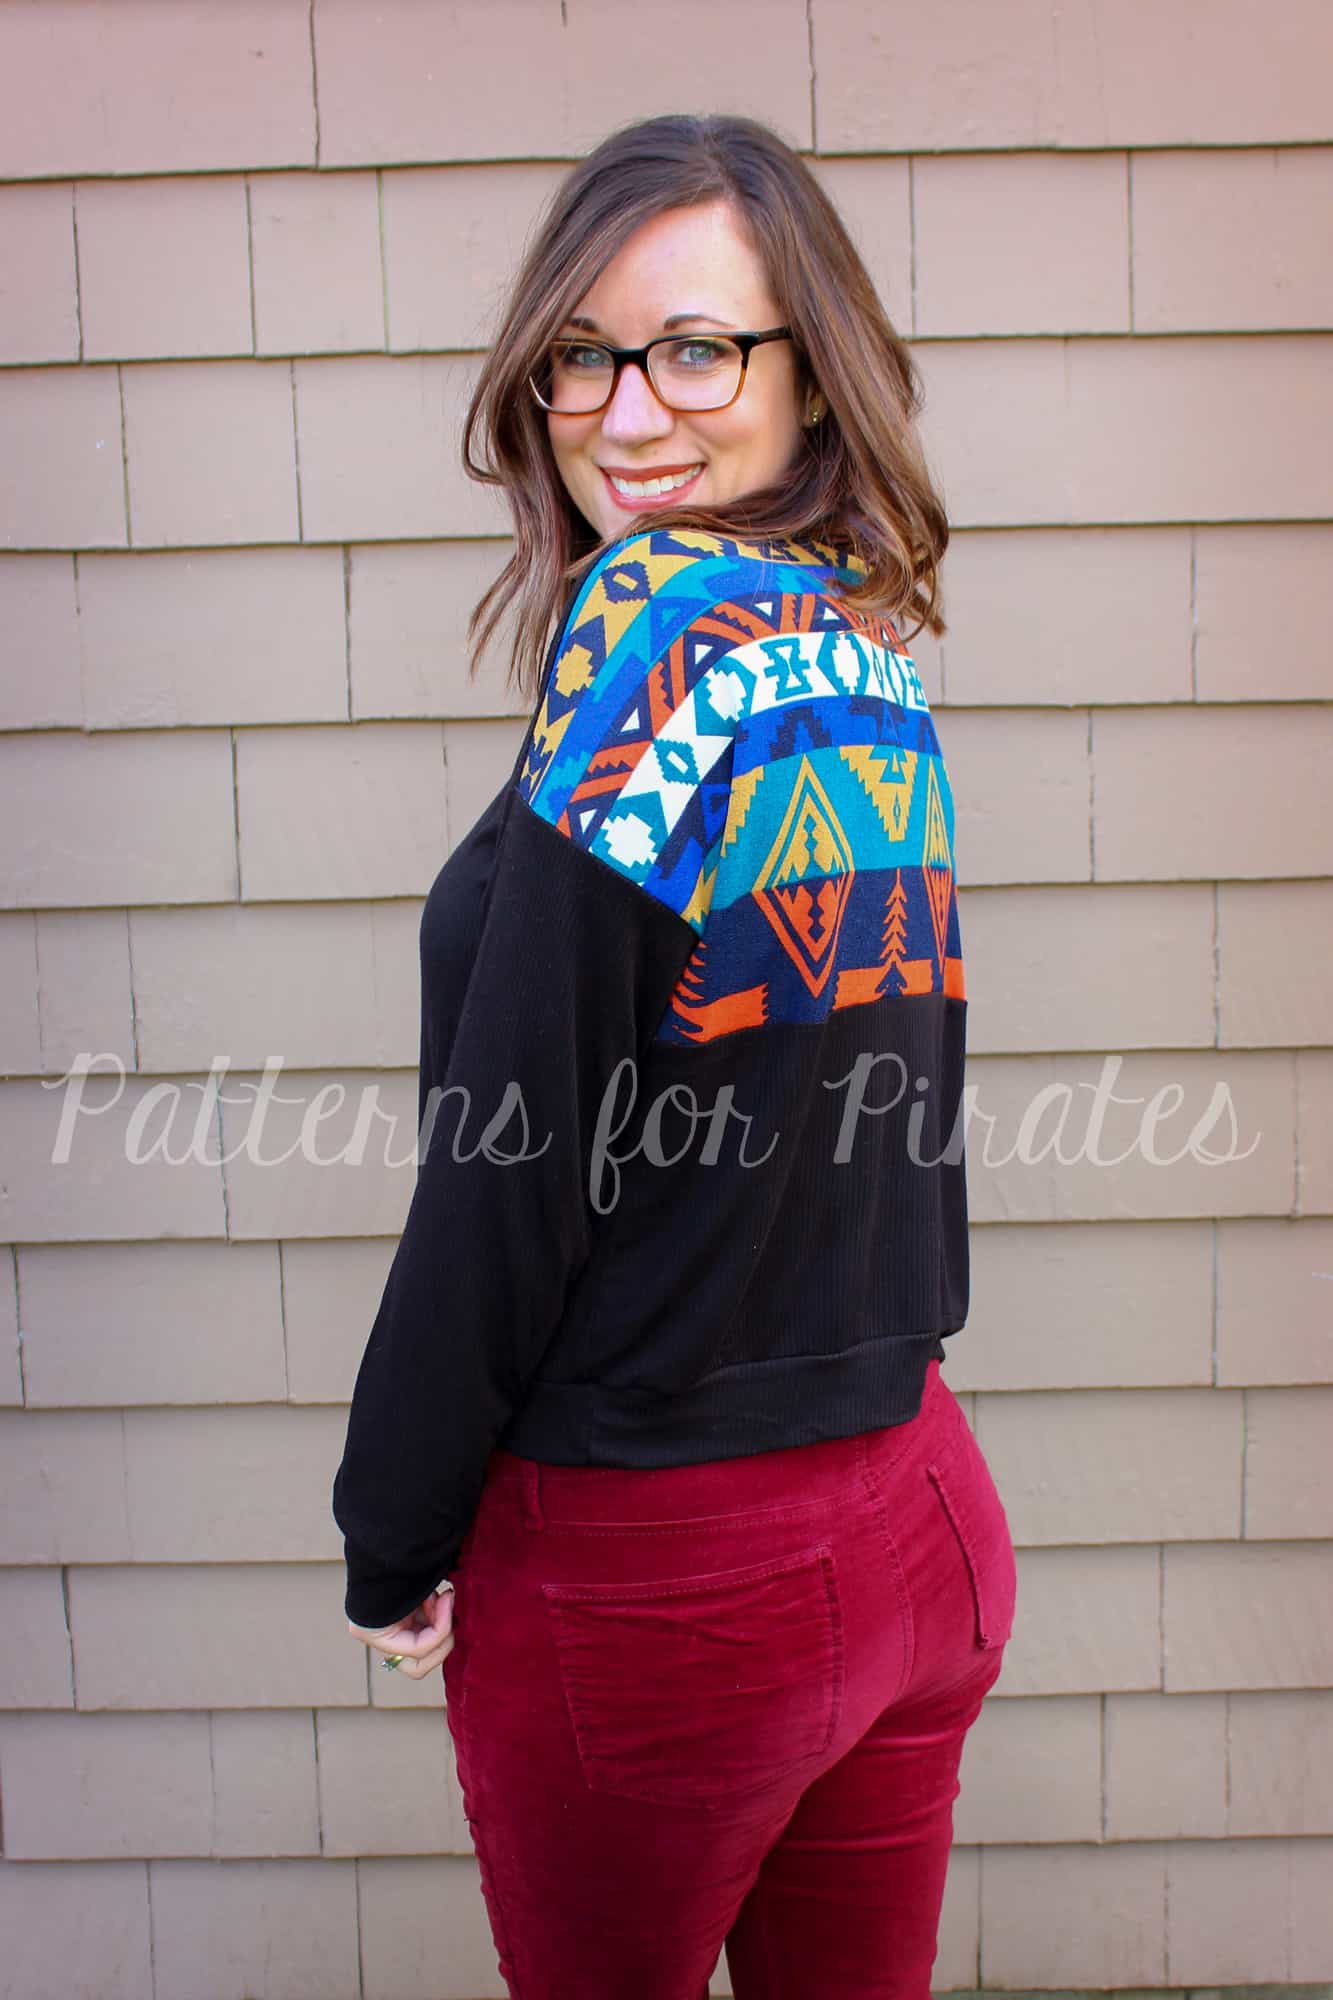
Solid Back
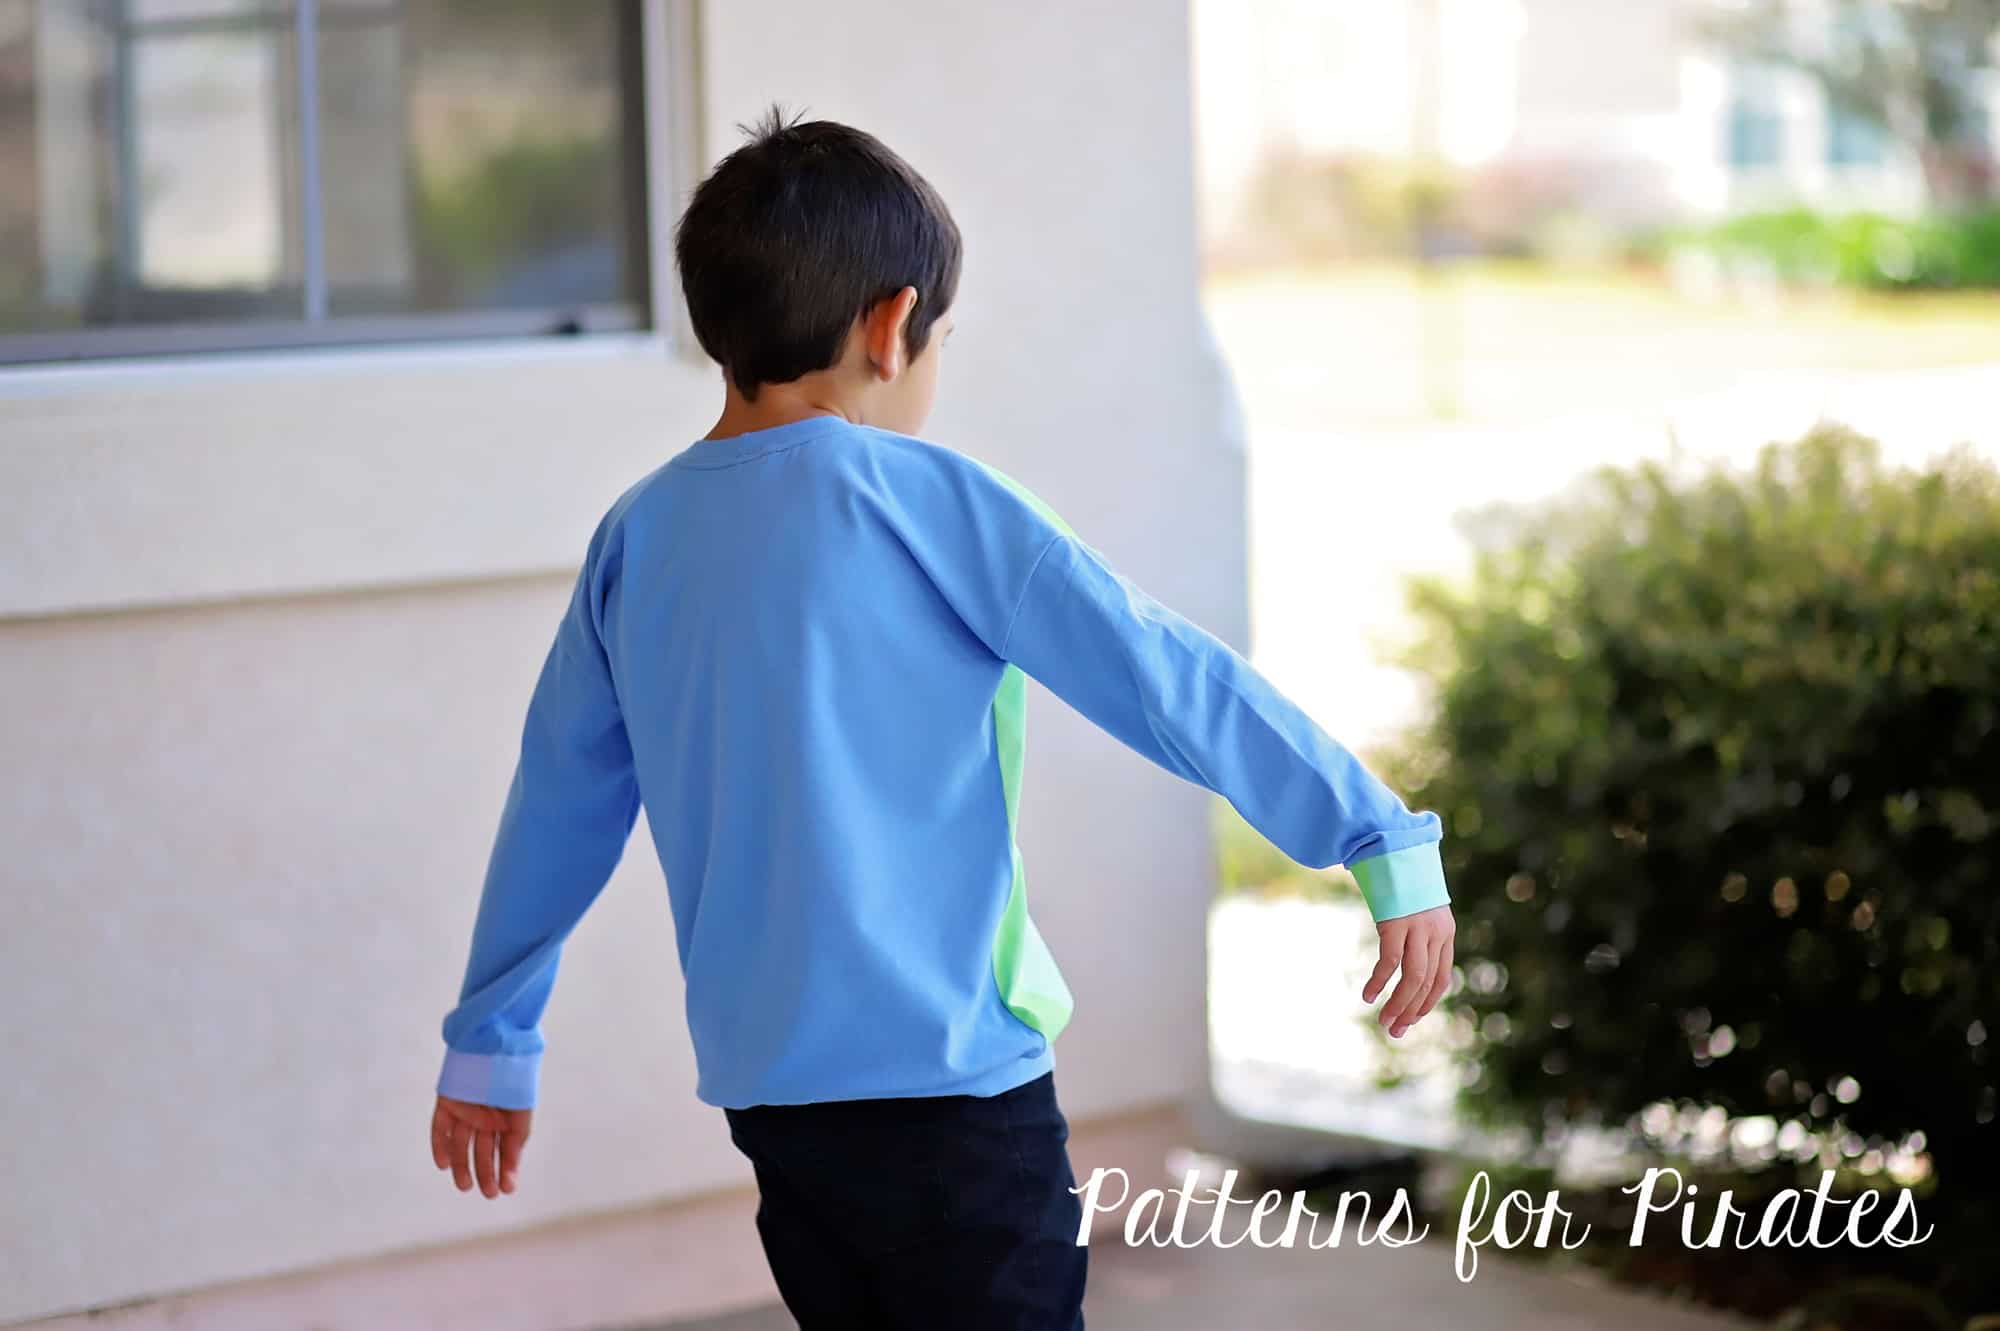
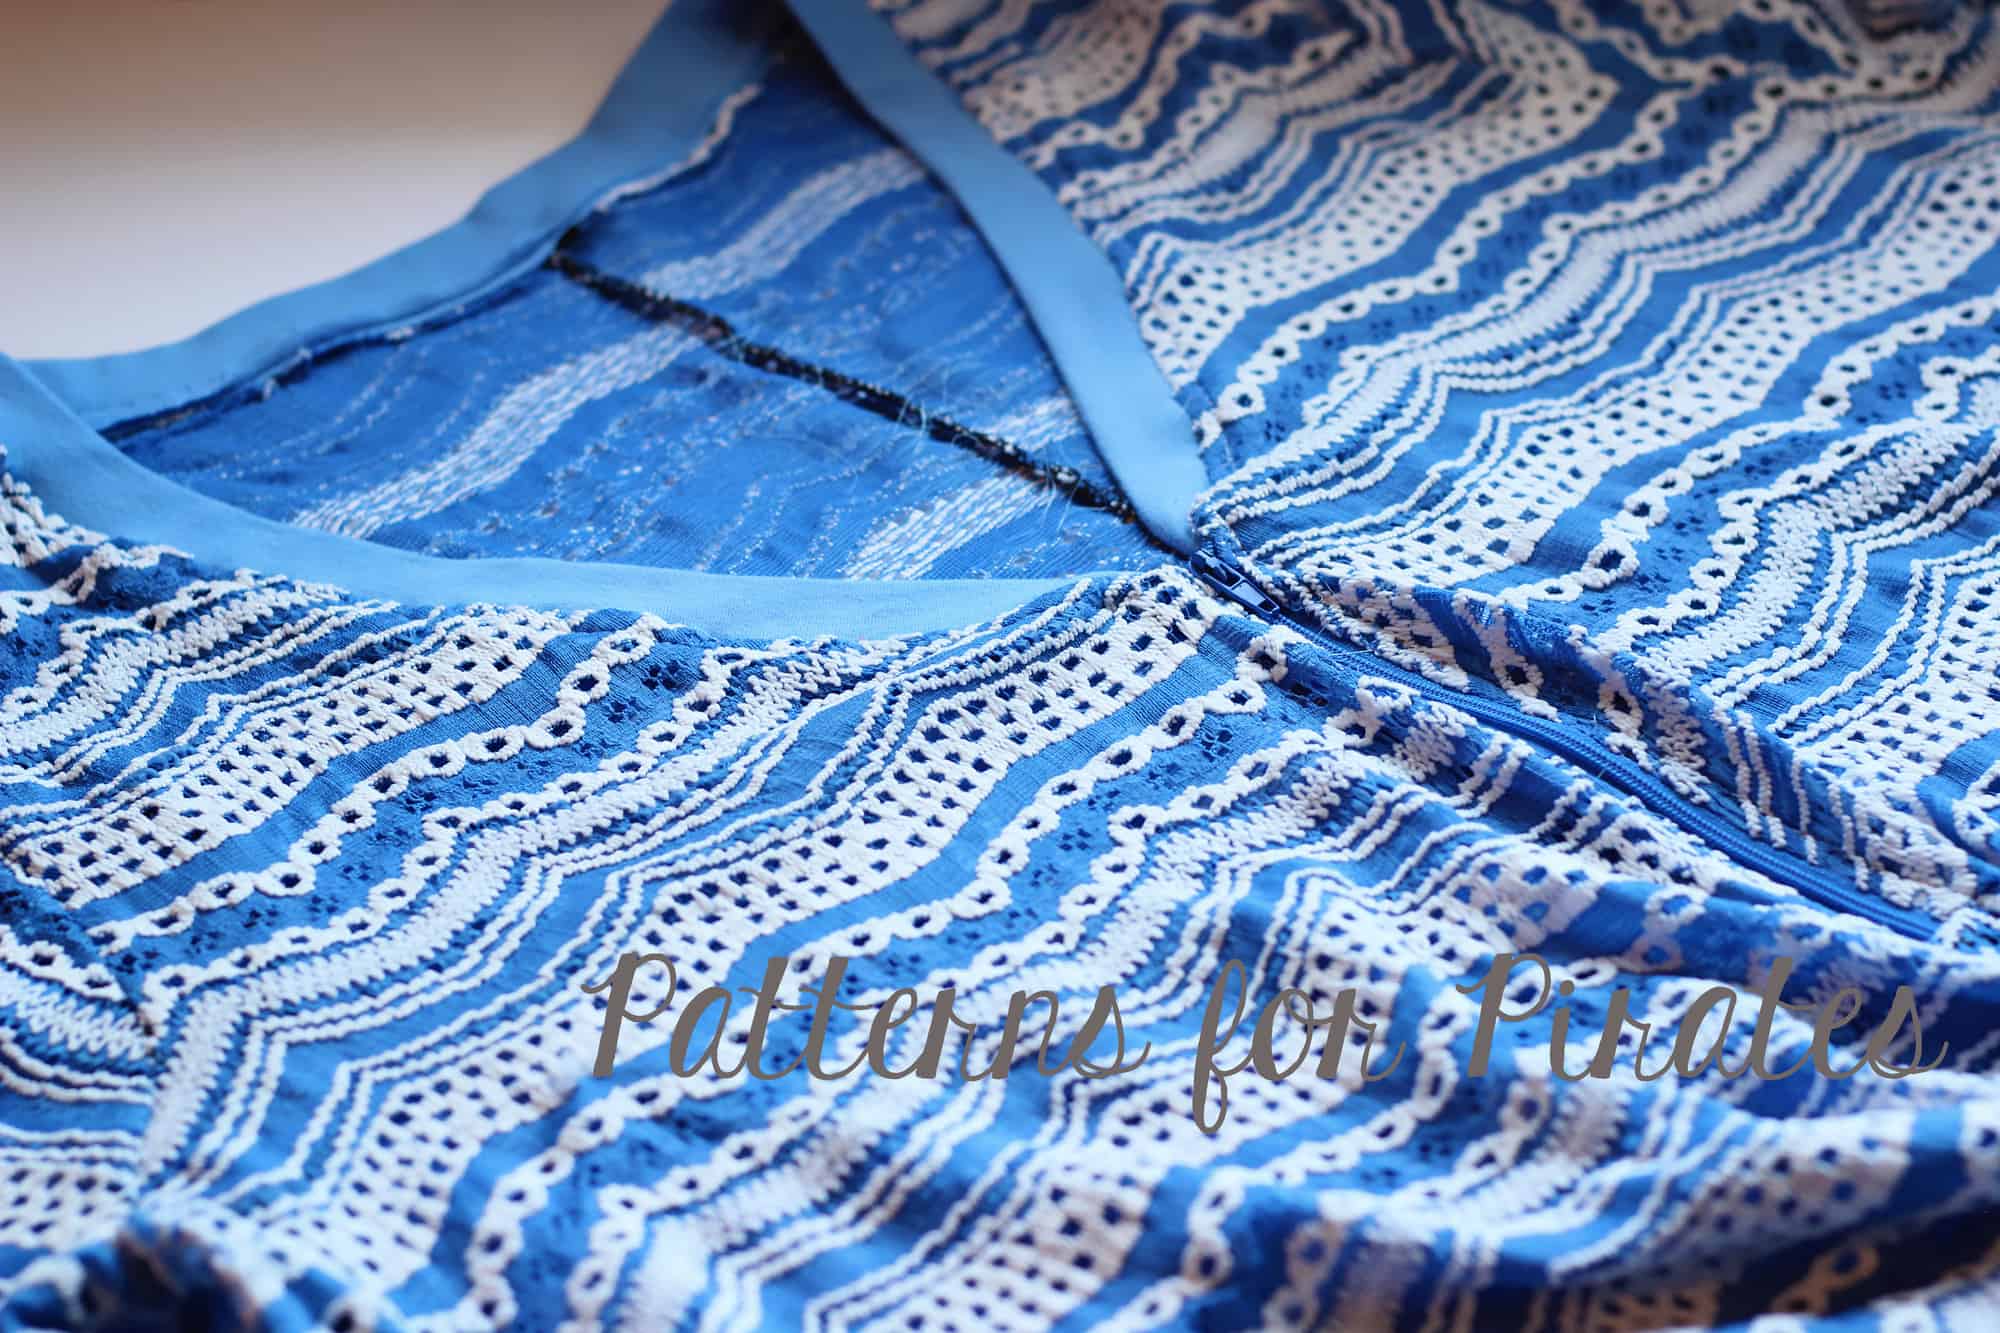
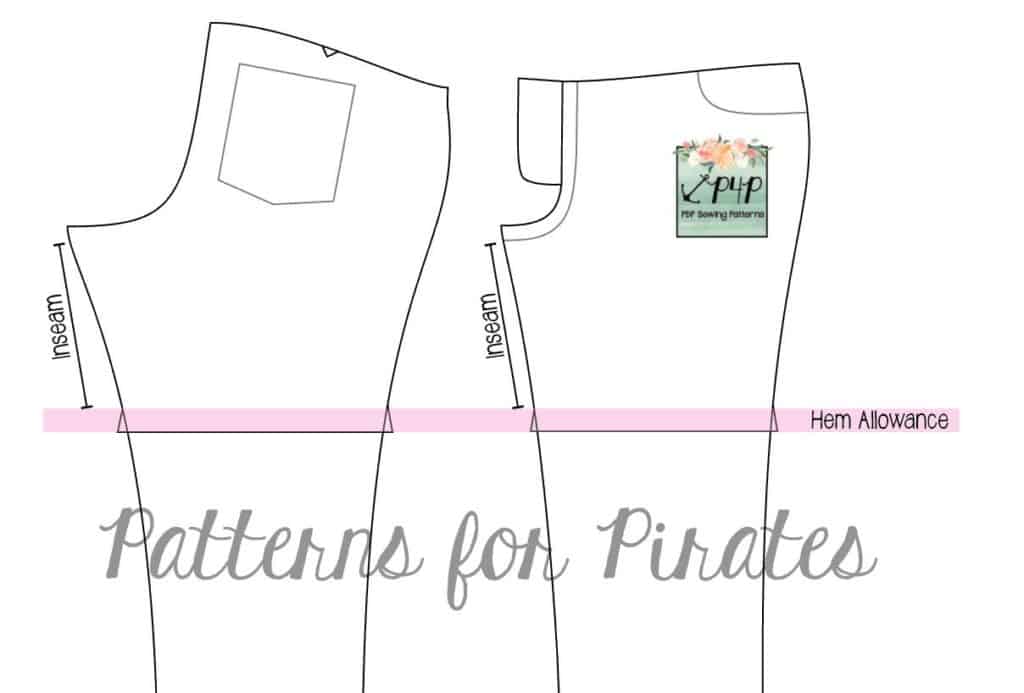
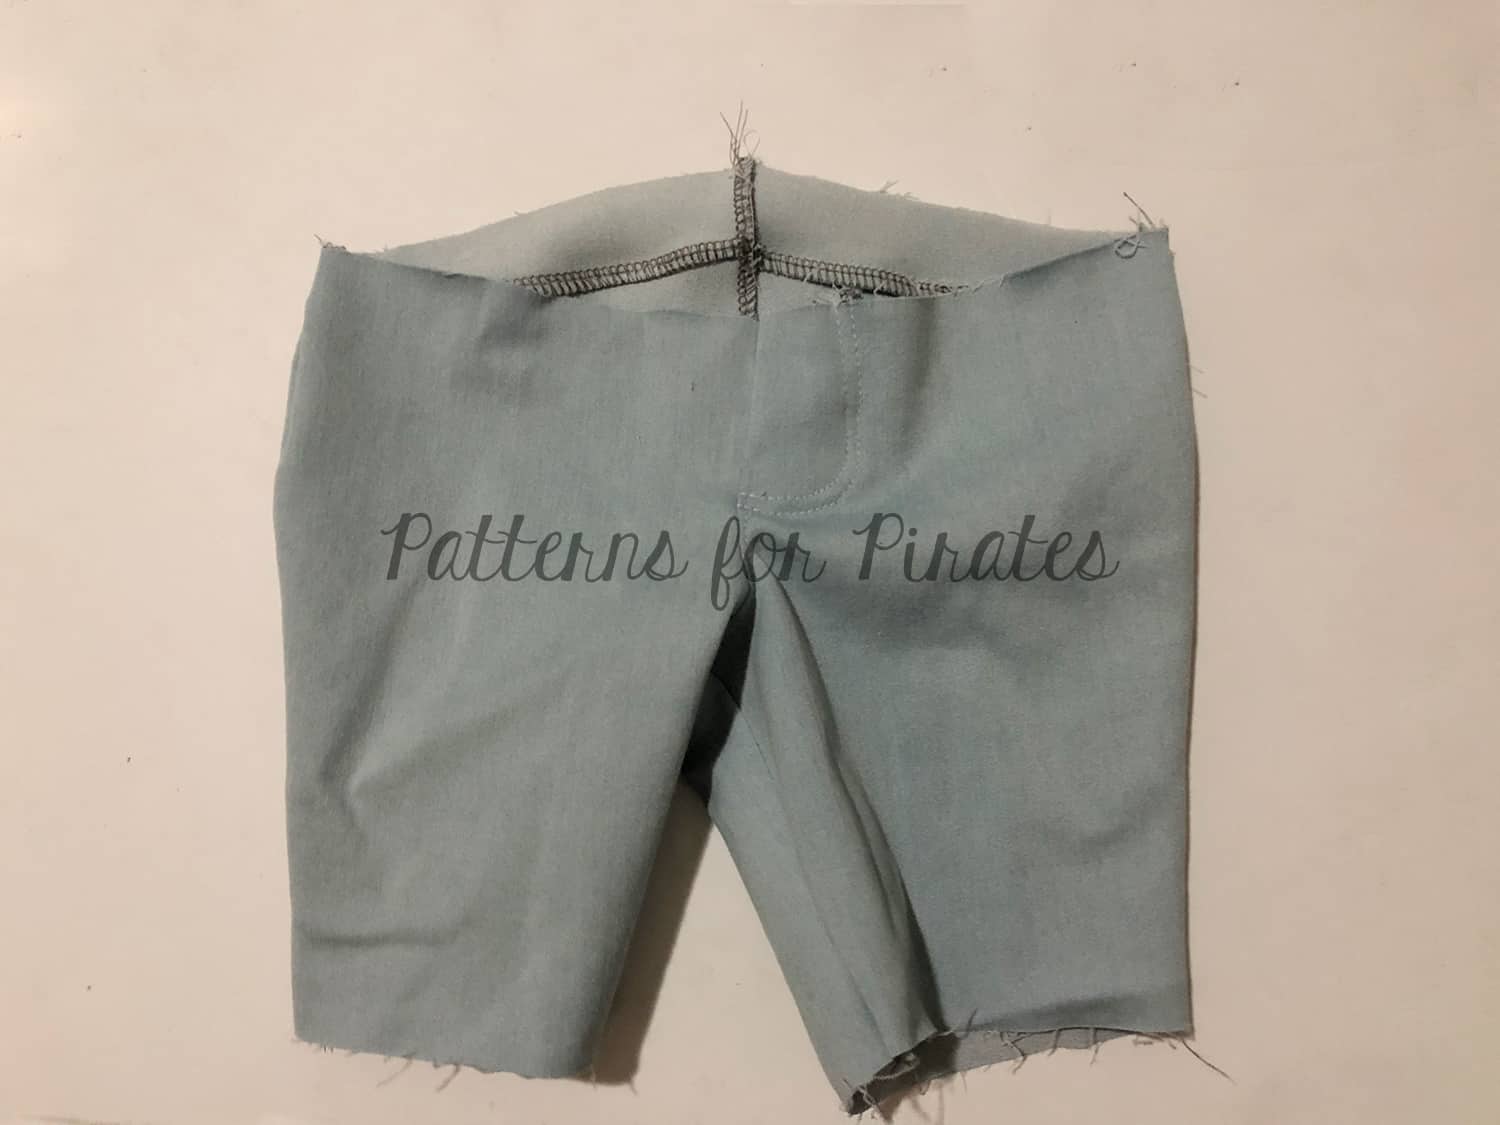
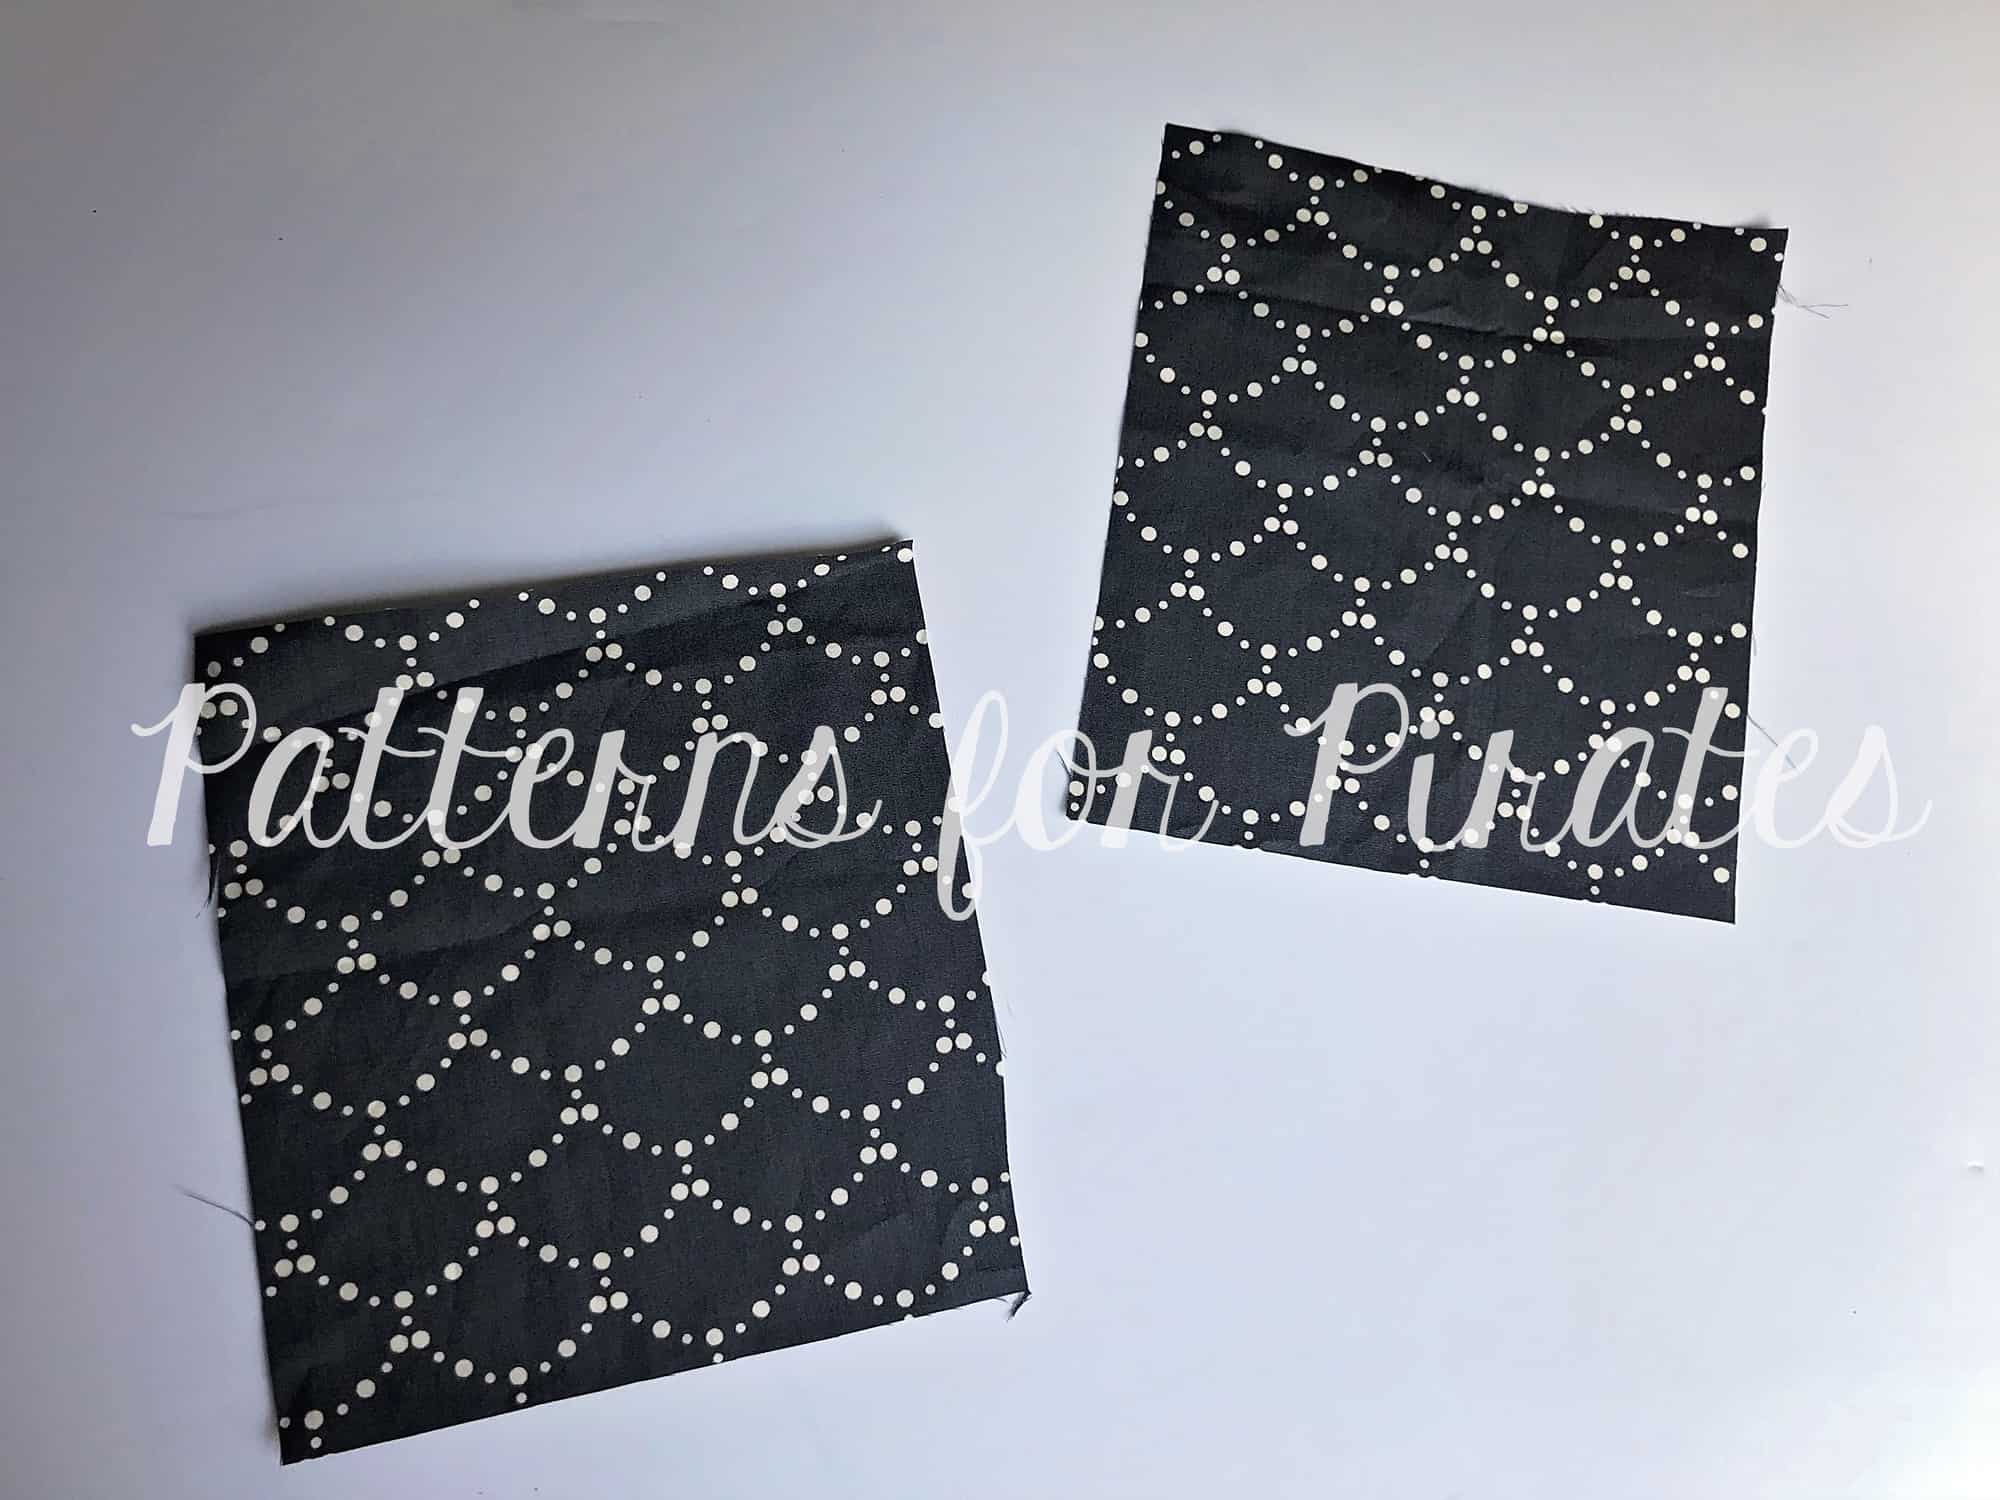
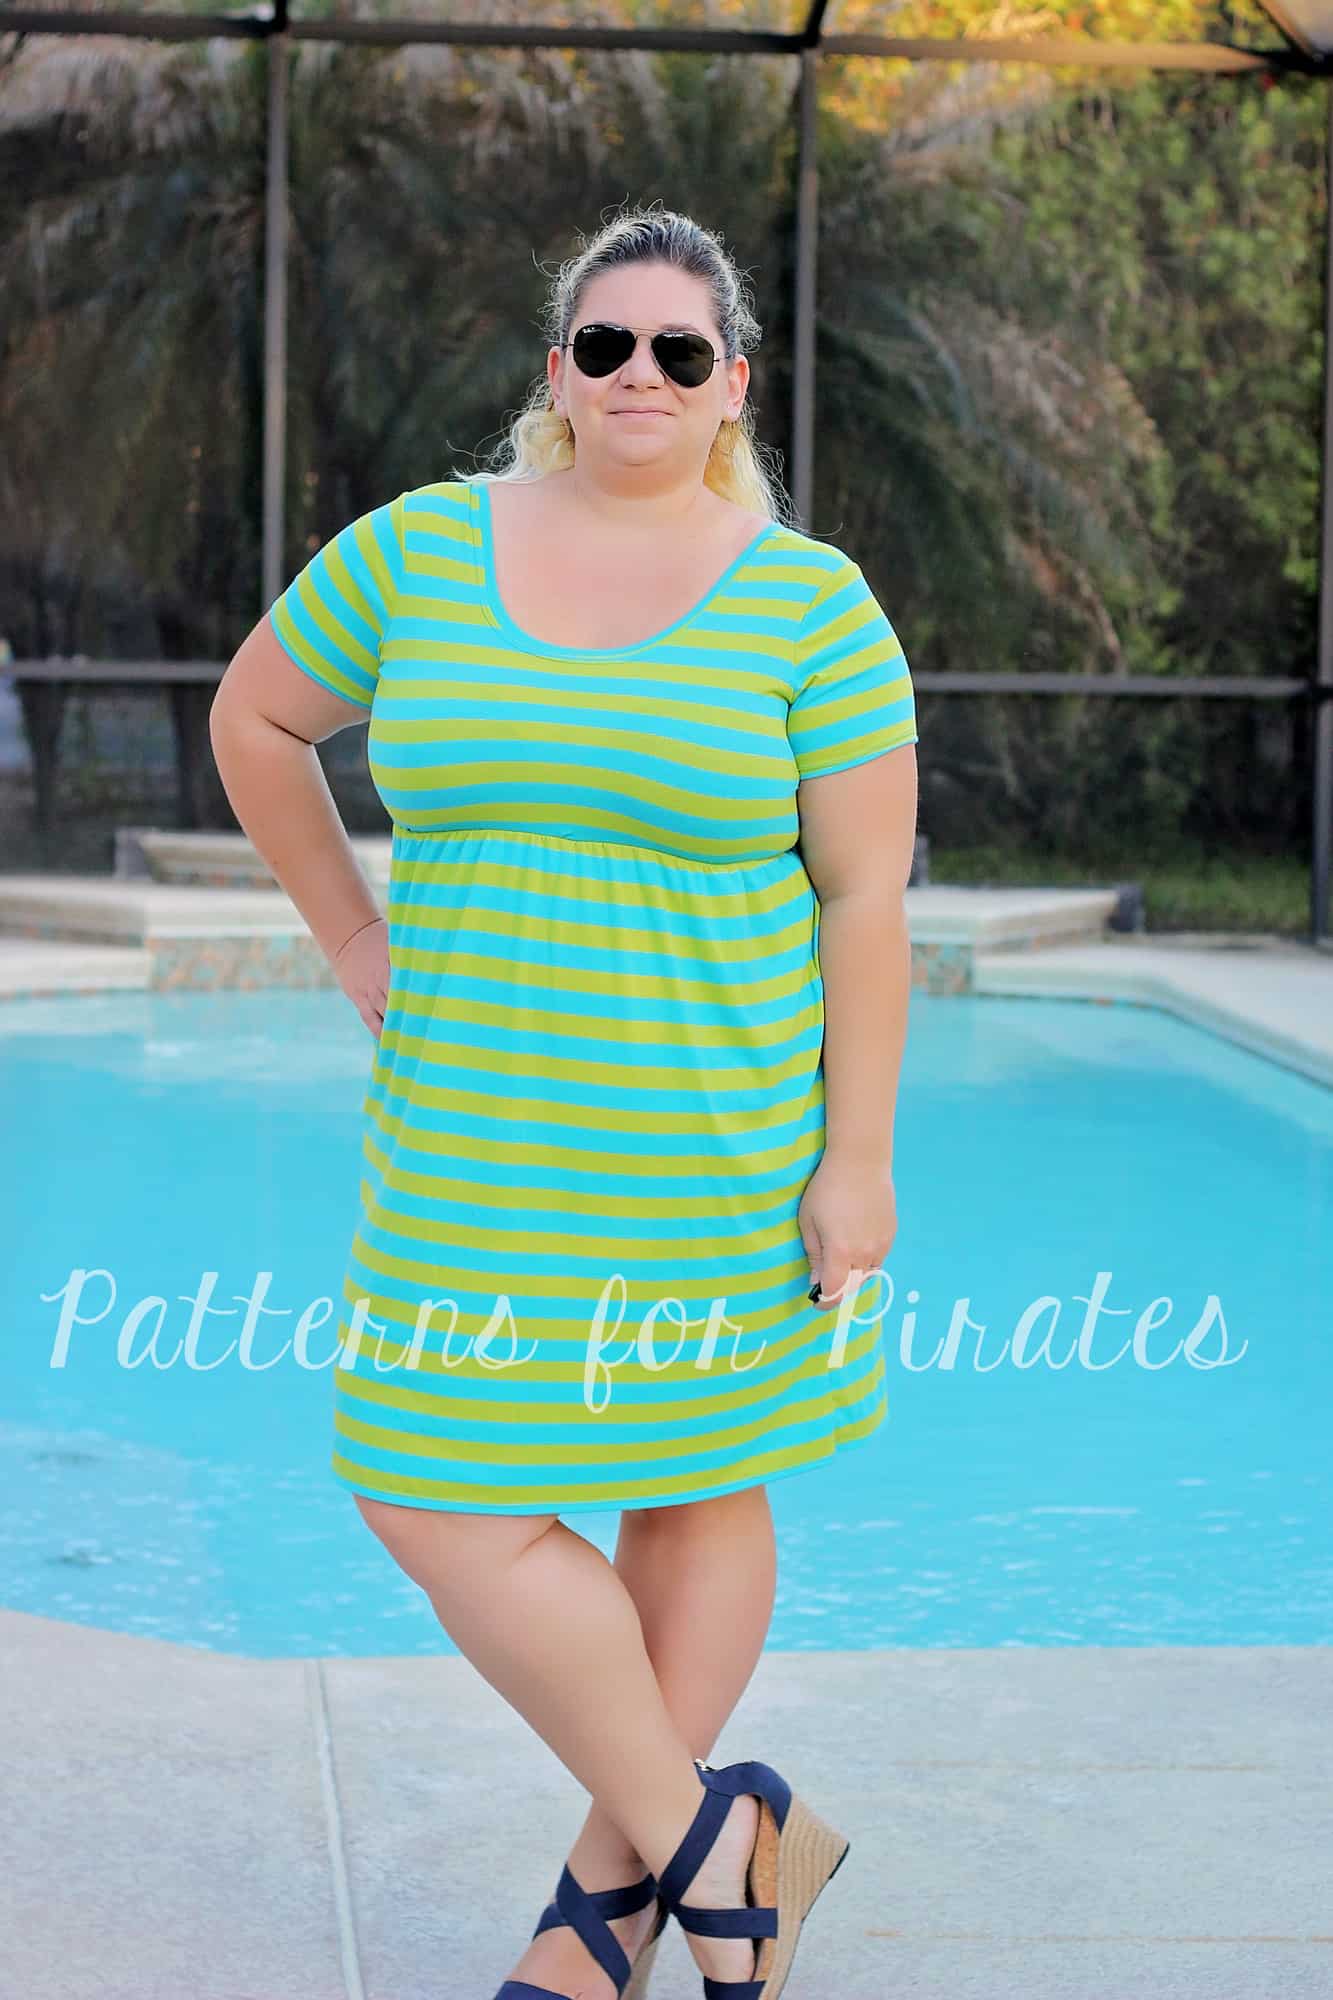
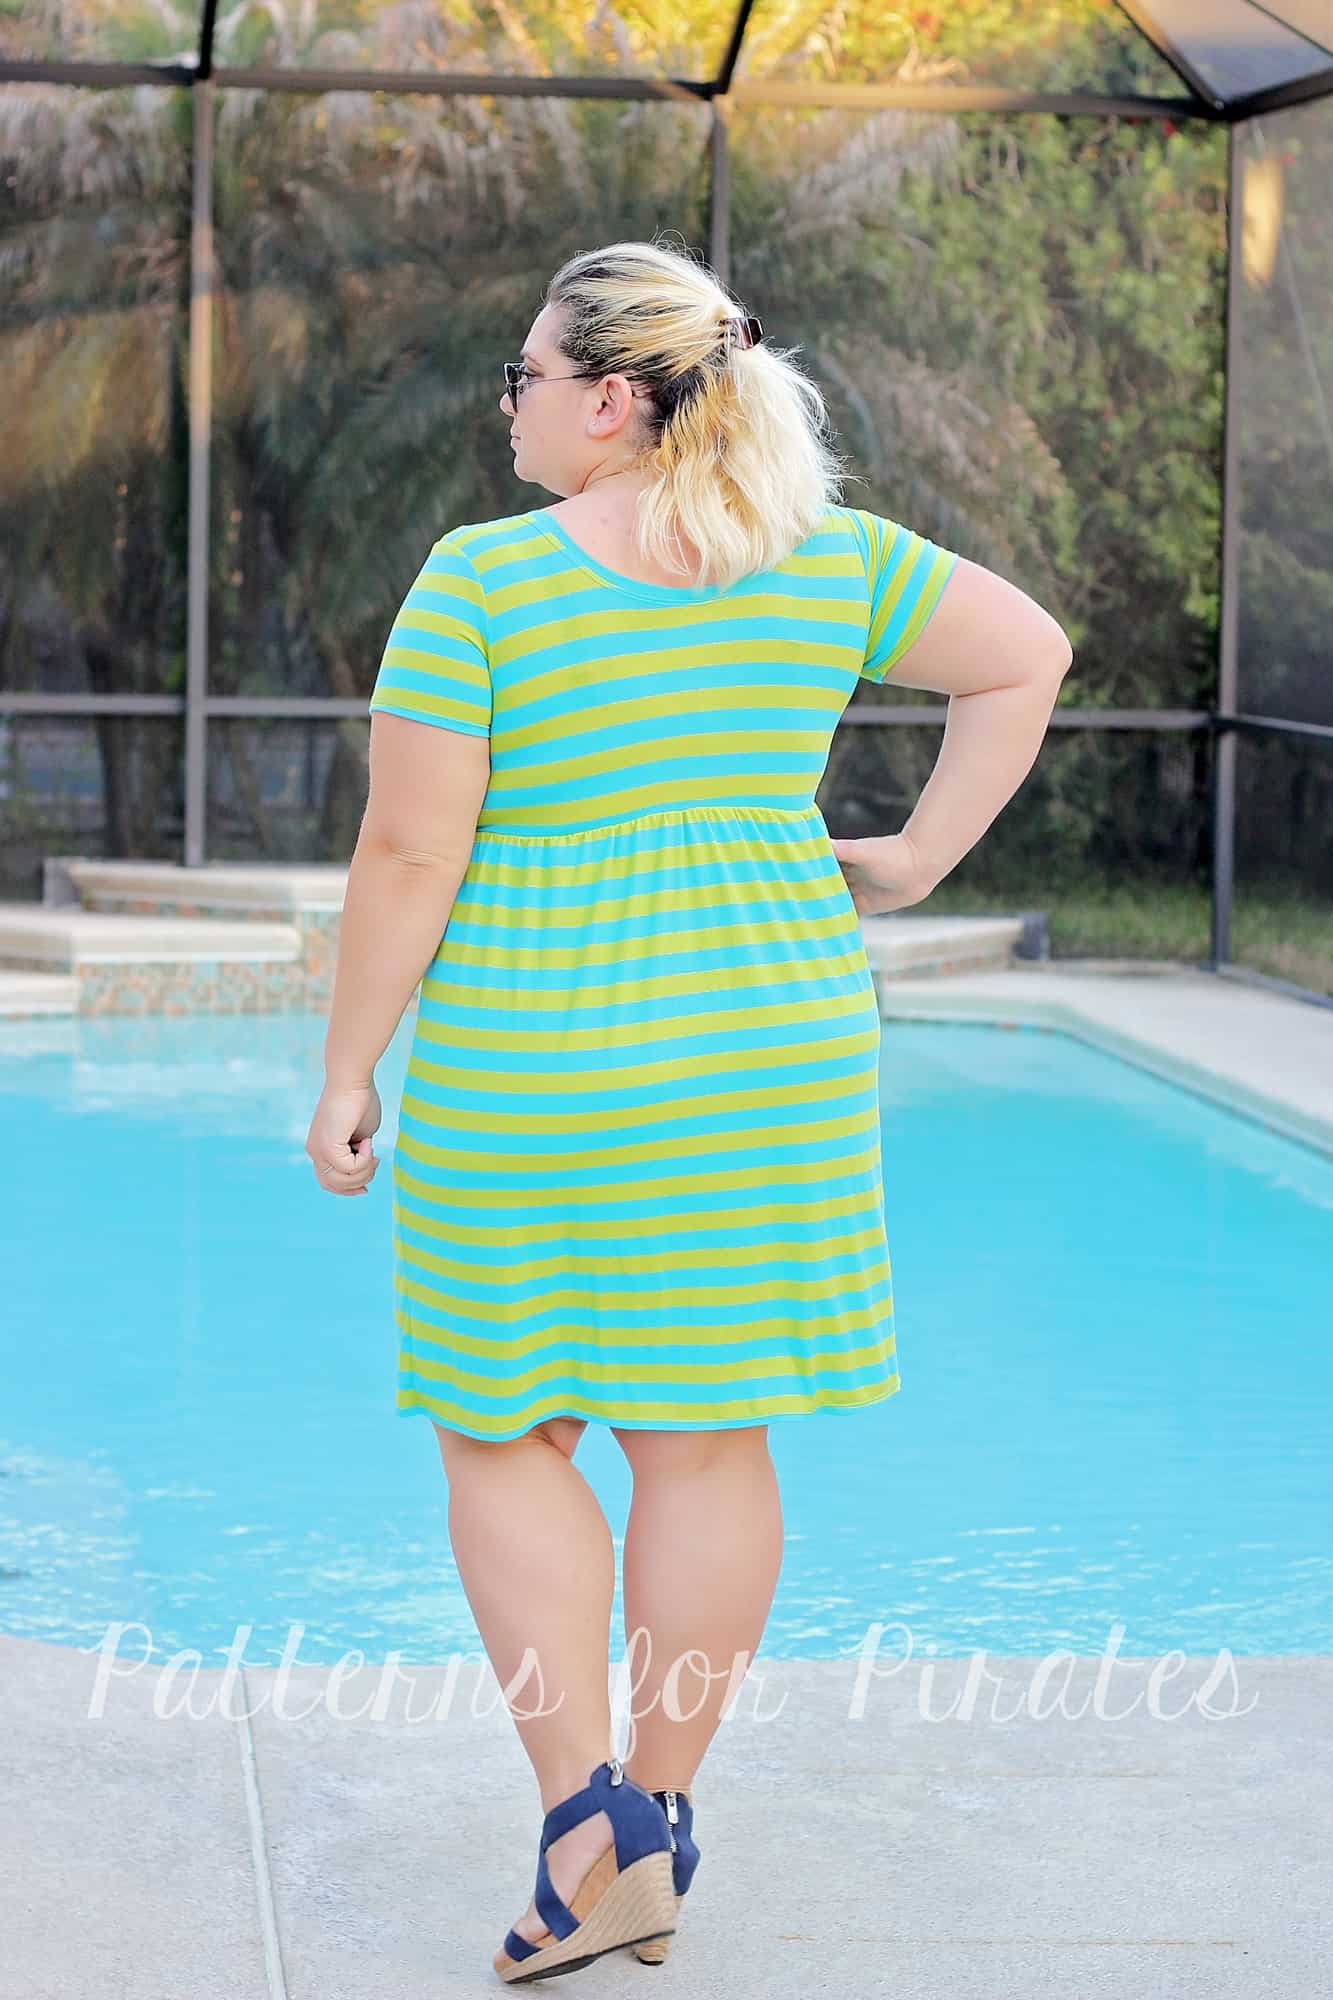
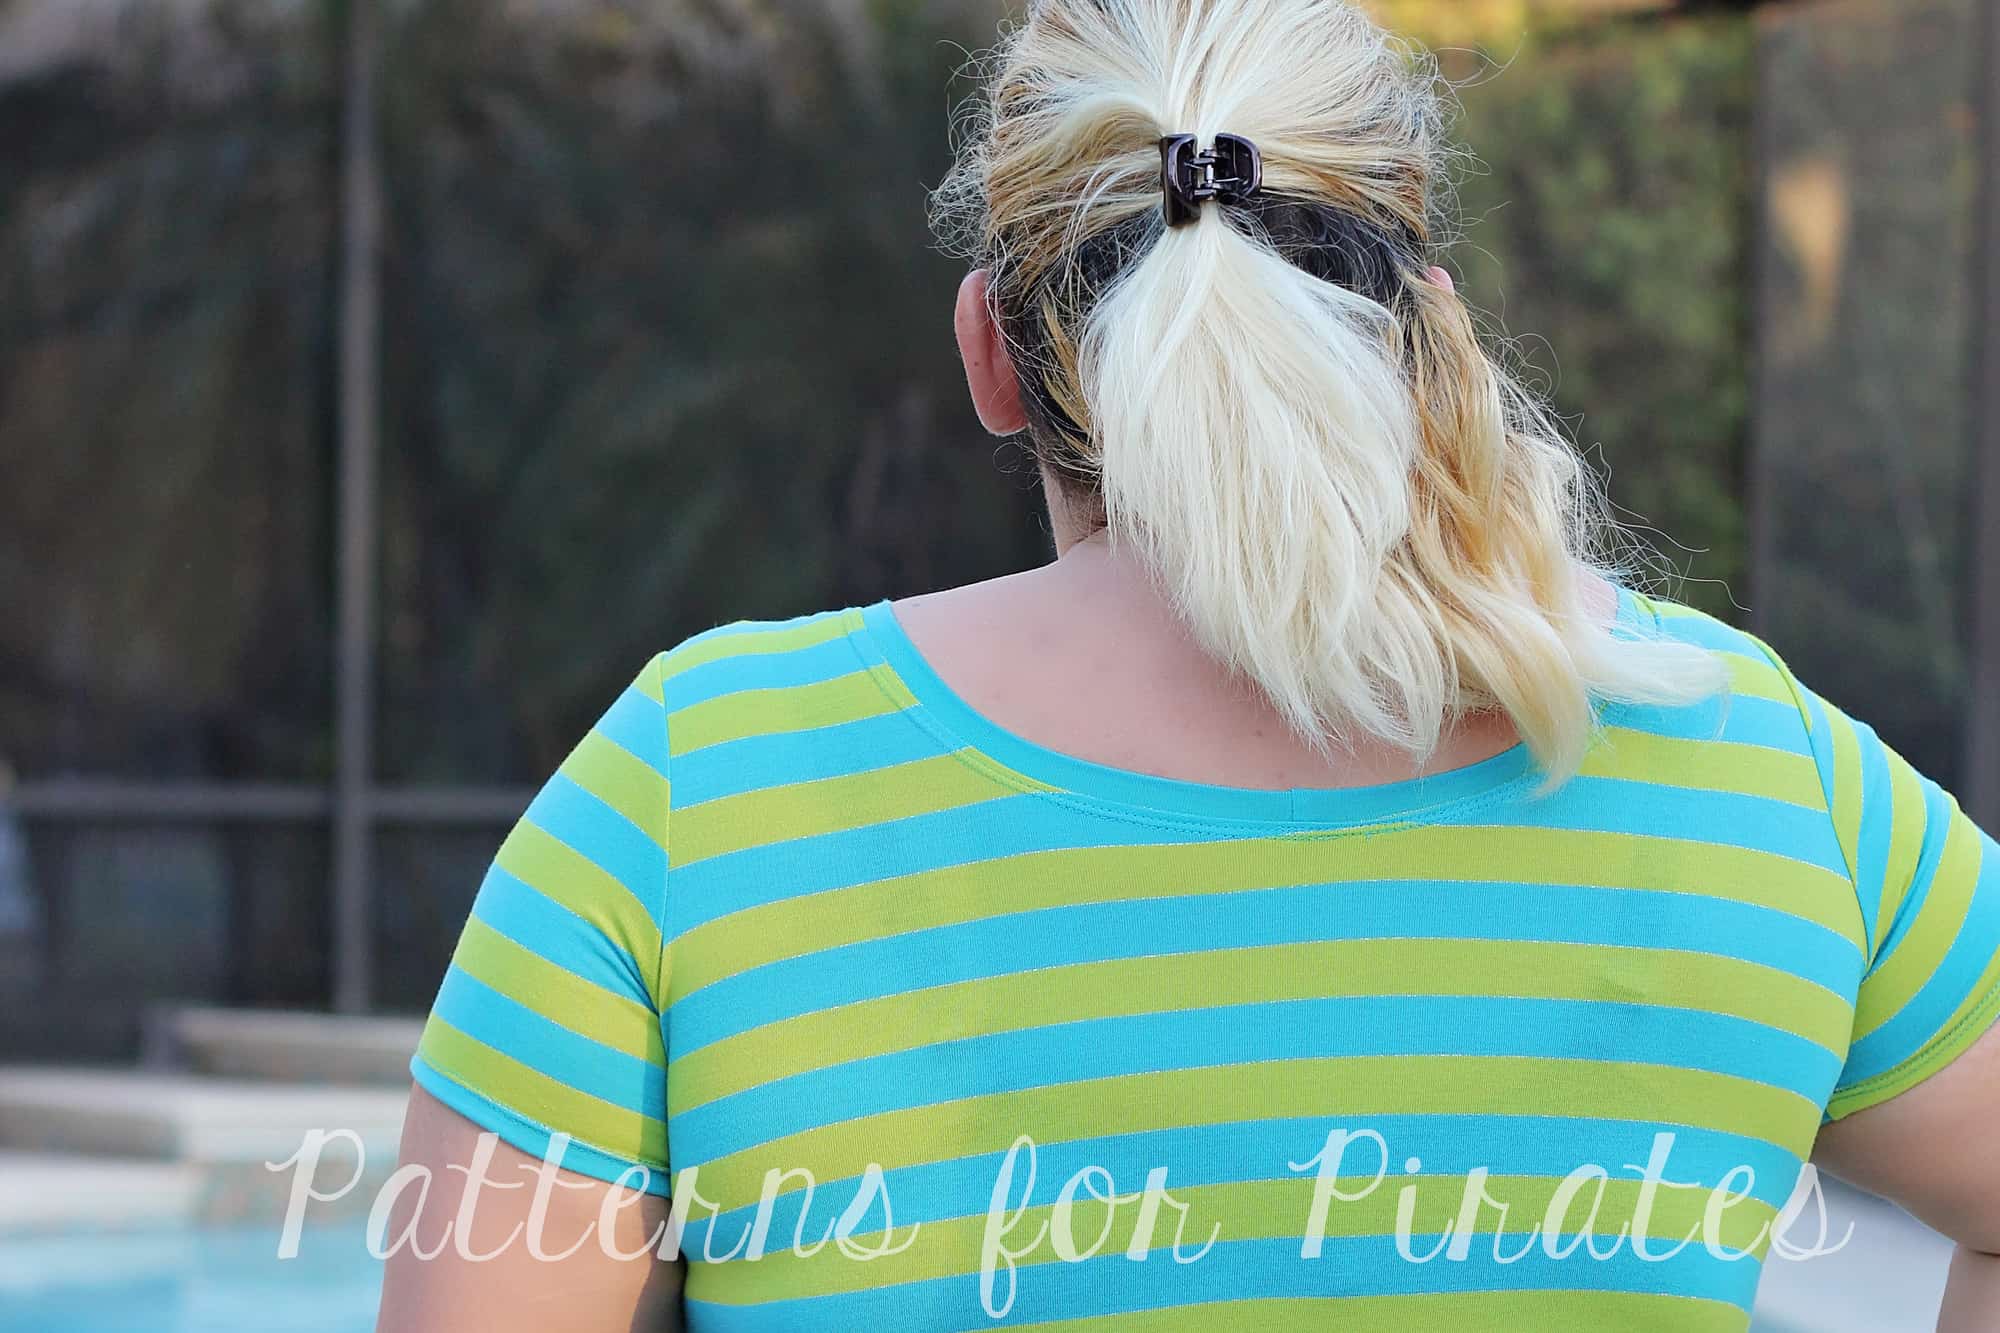
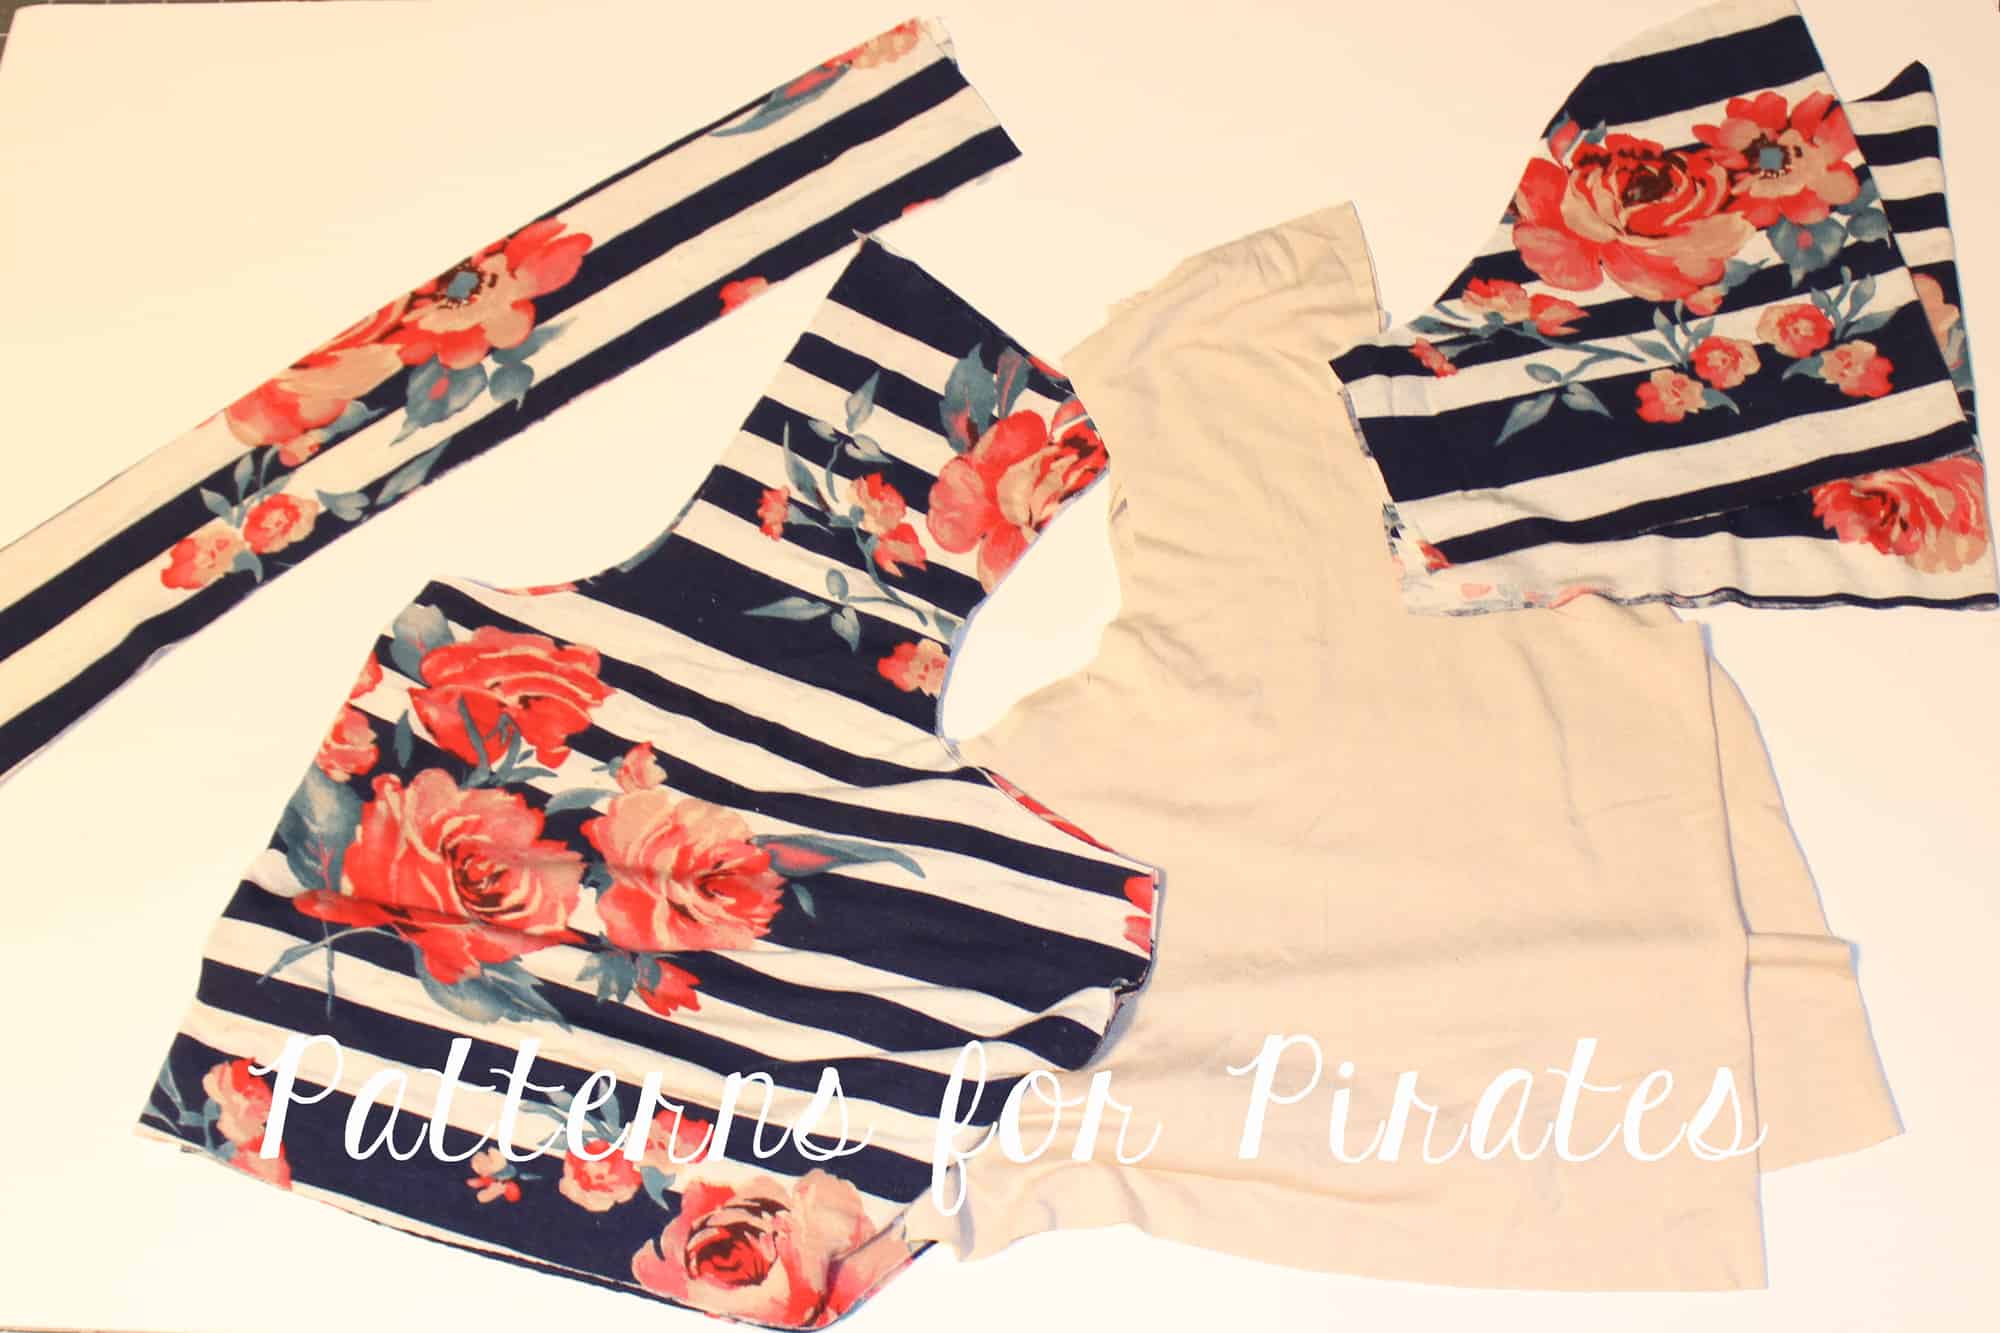
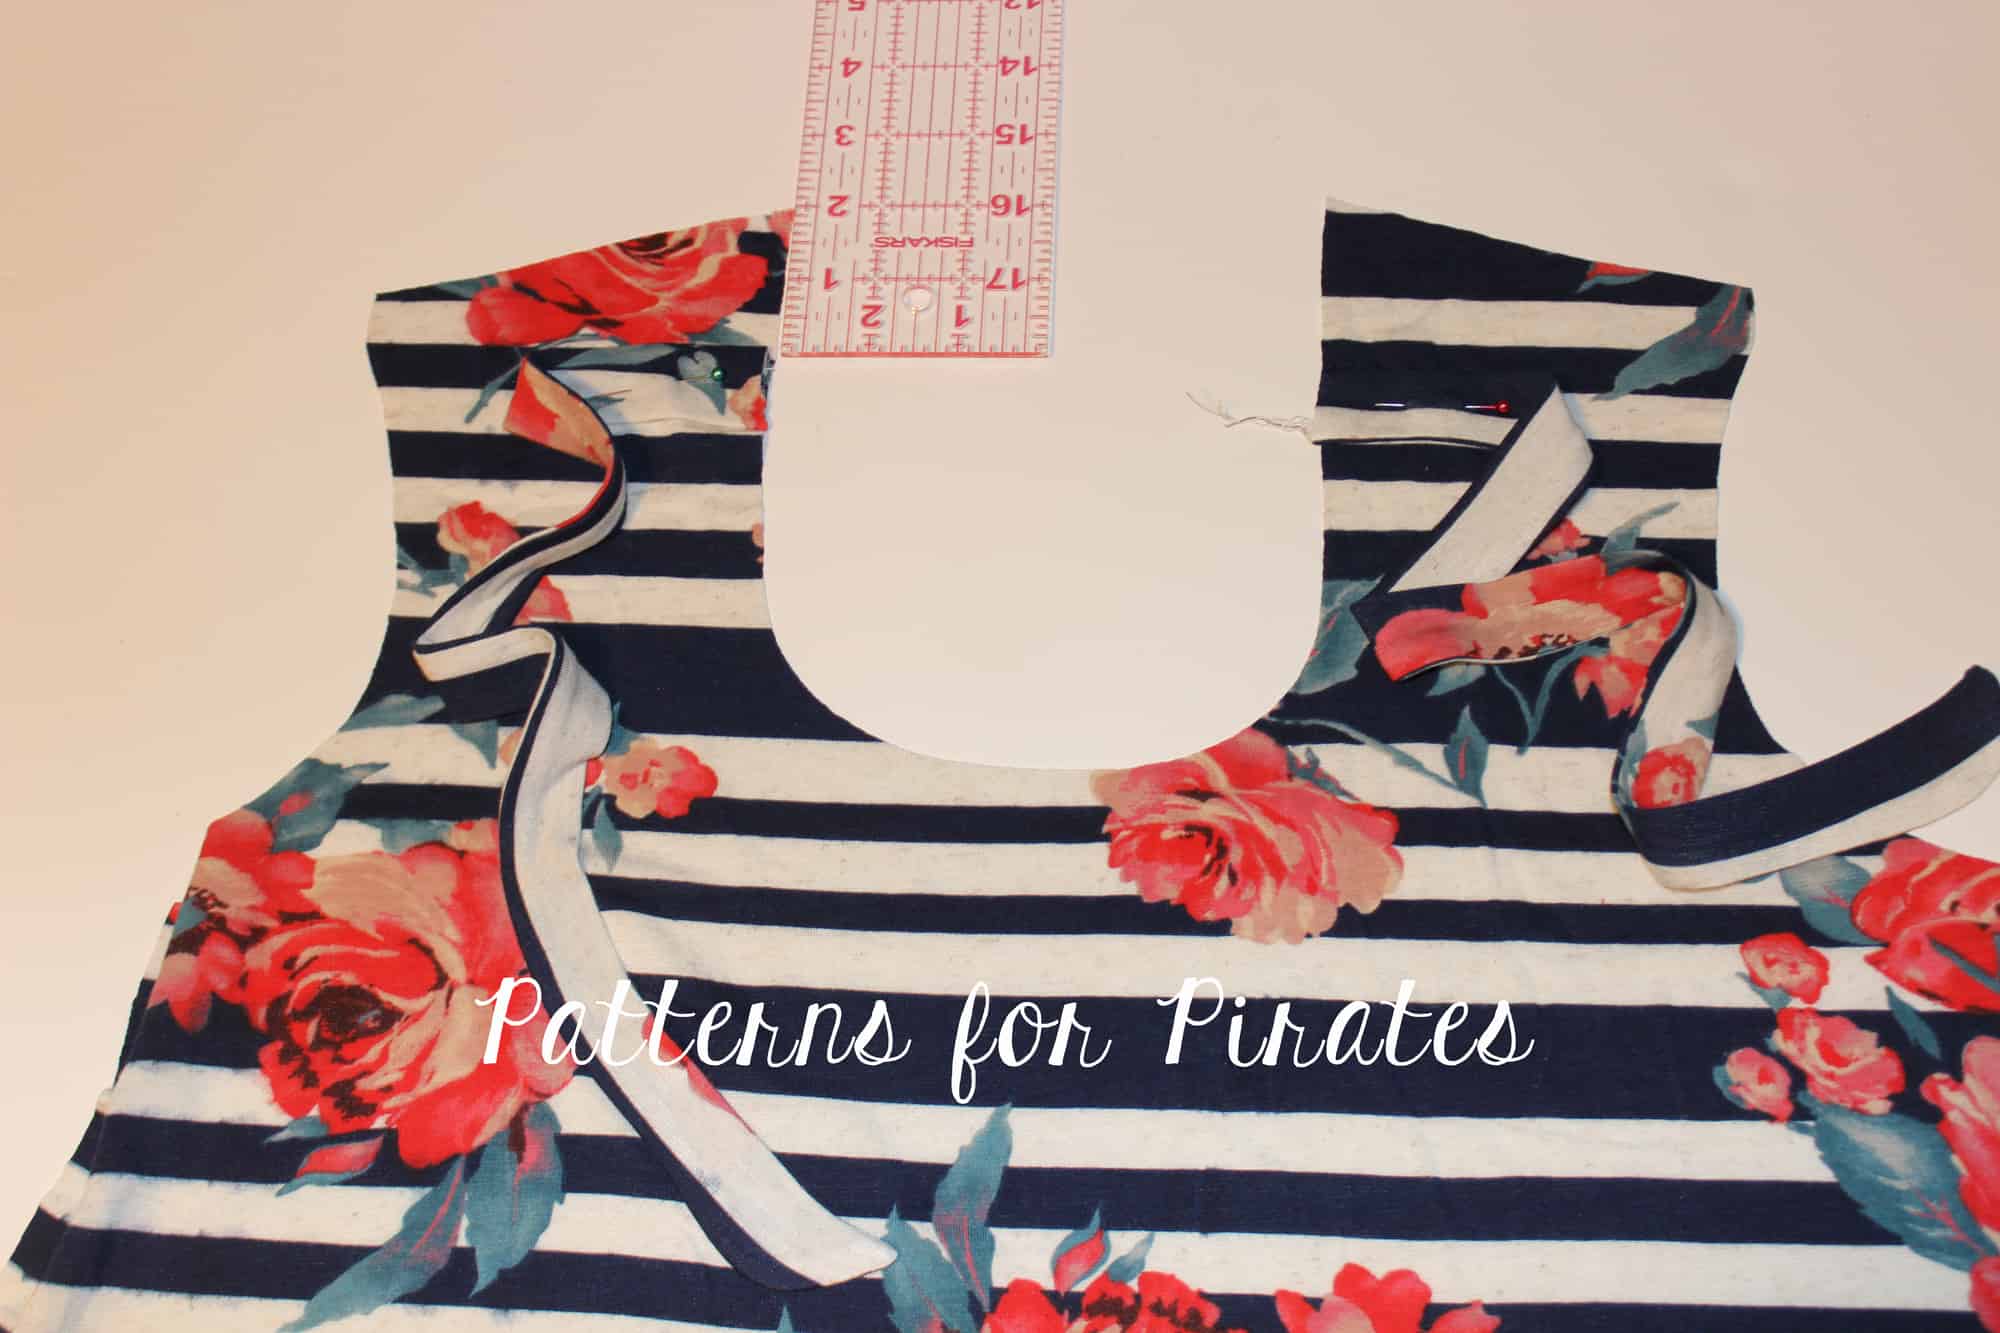
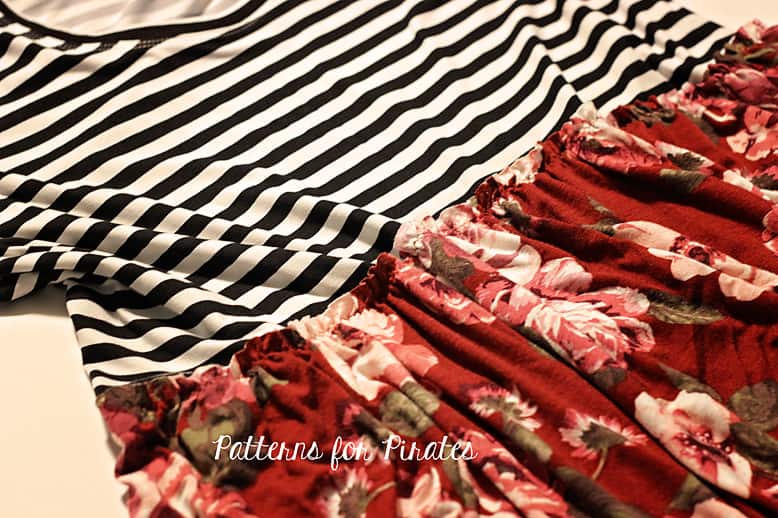
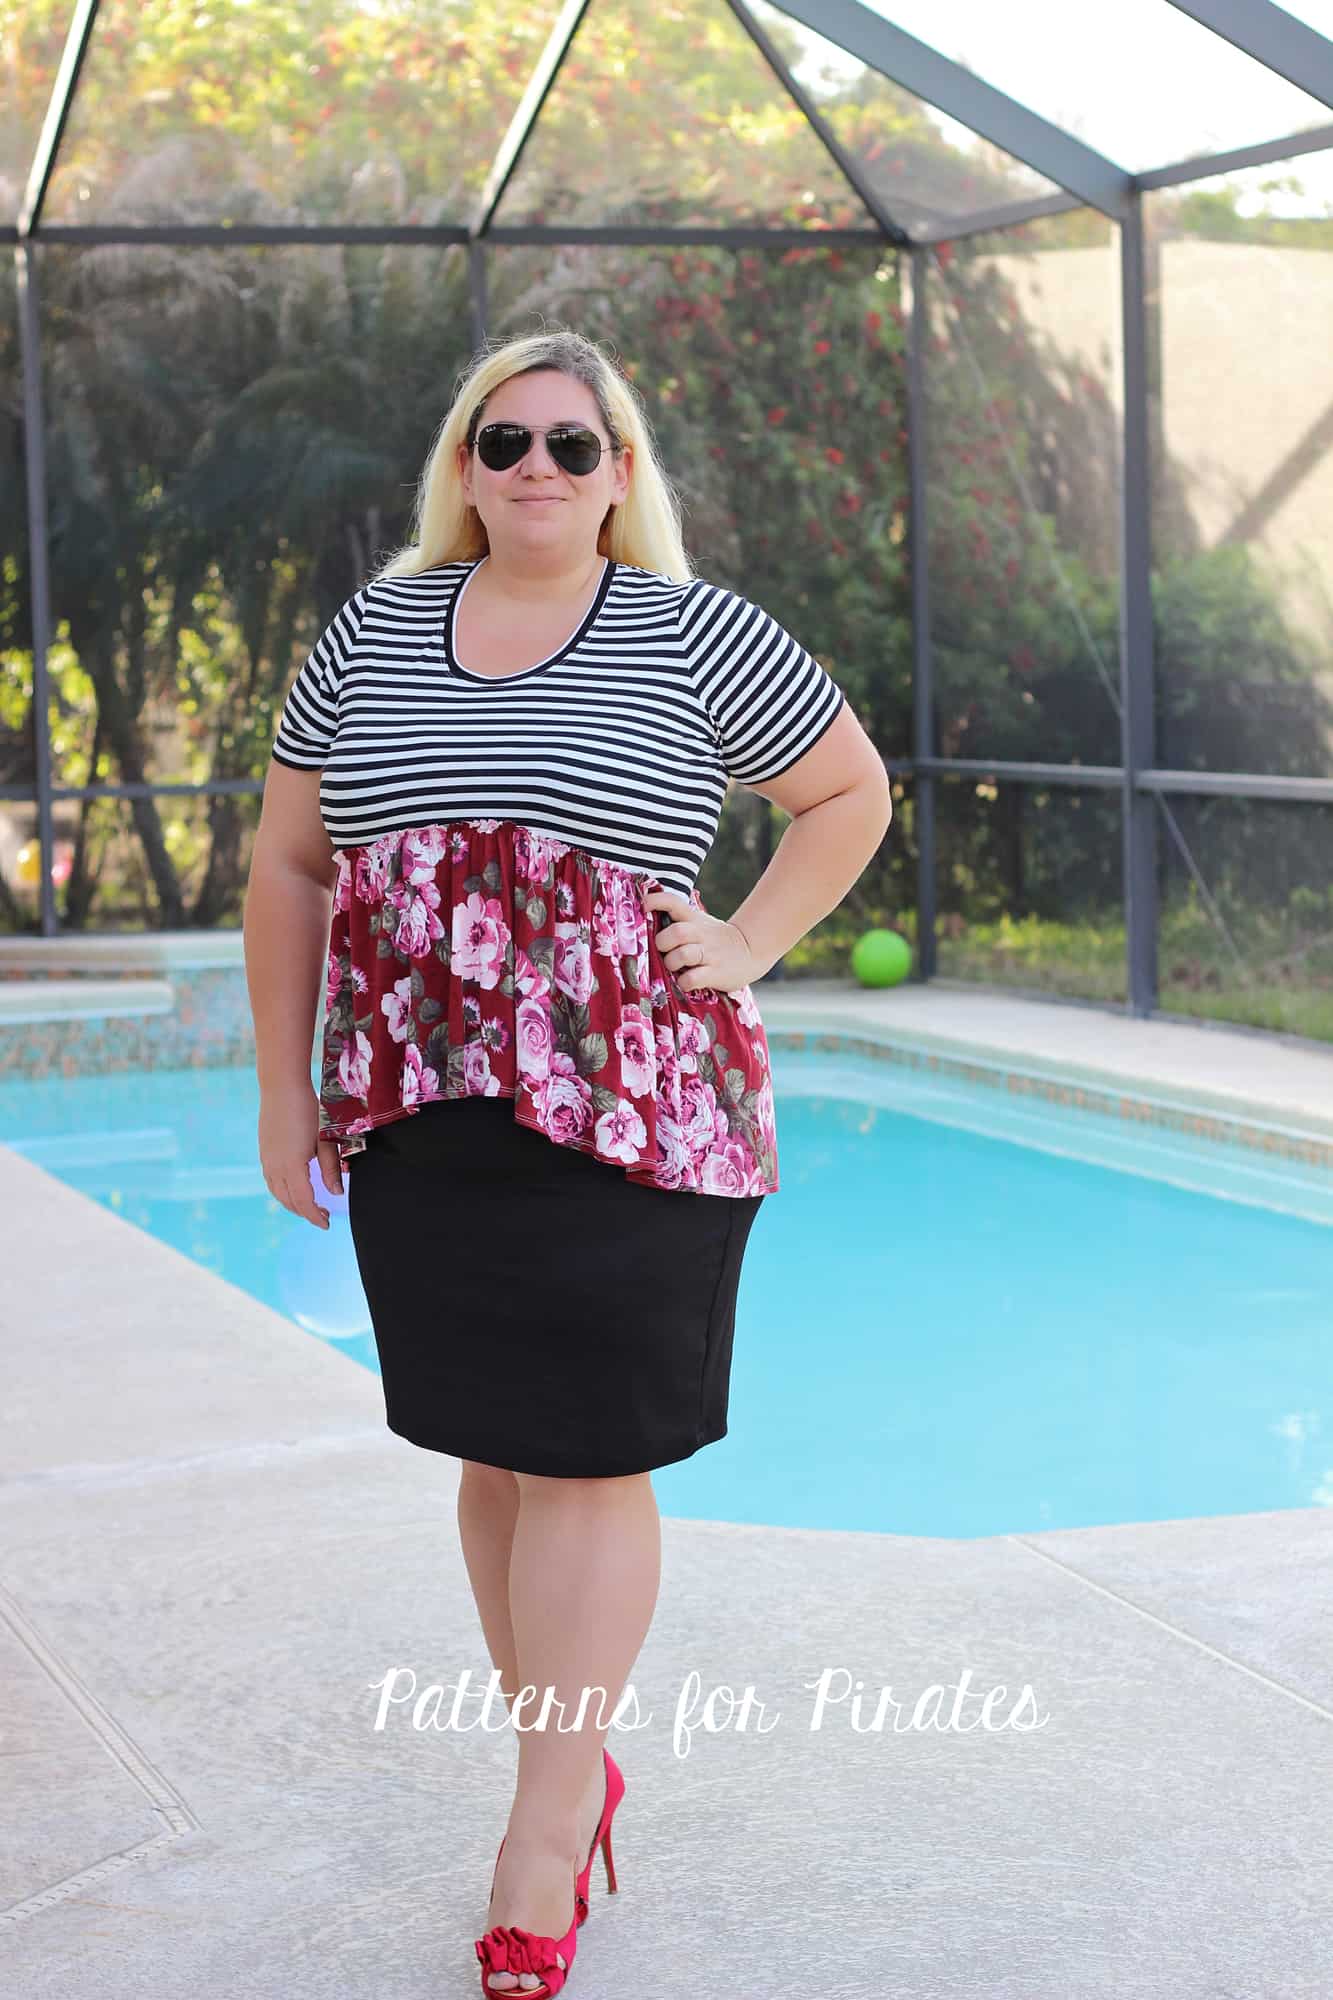
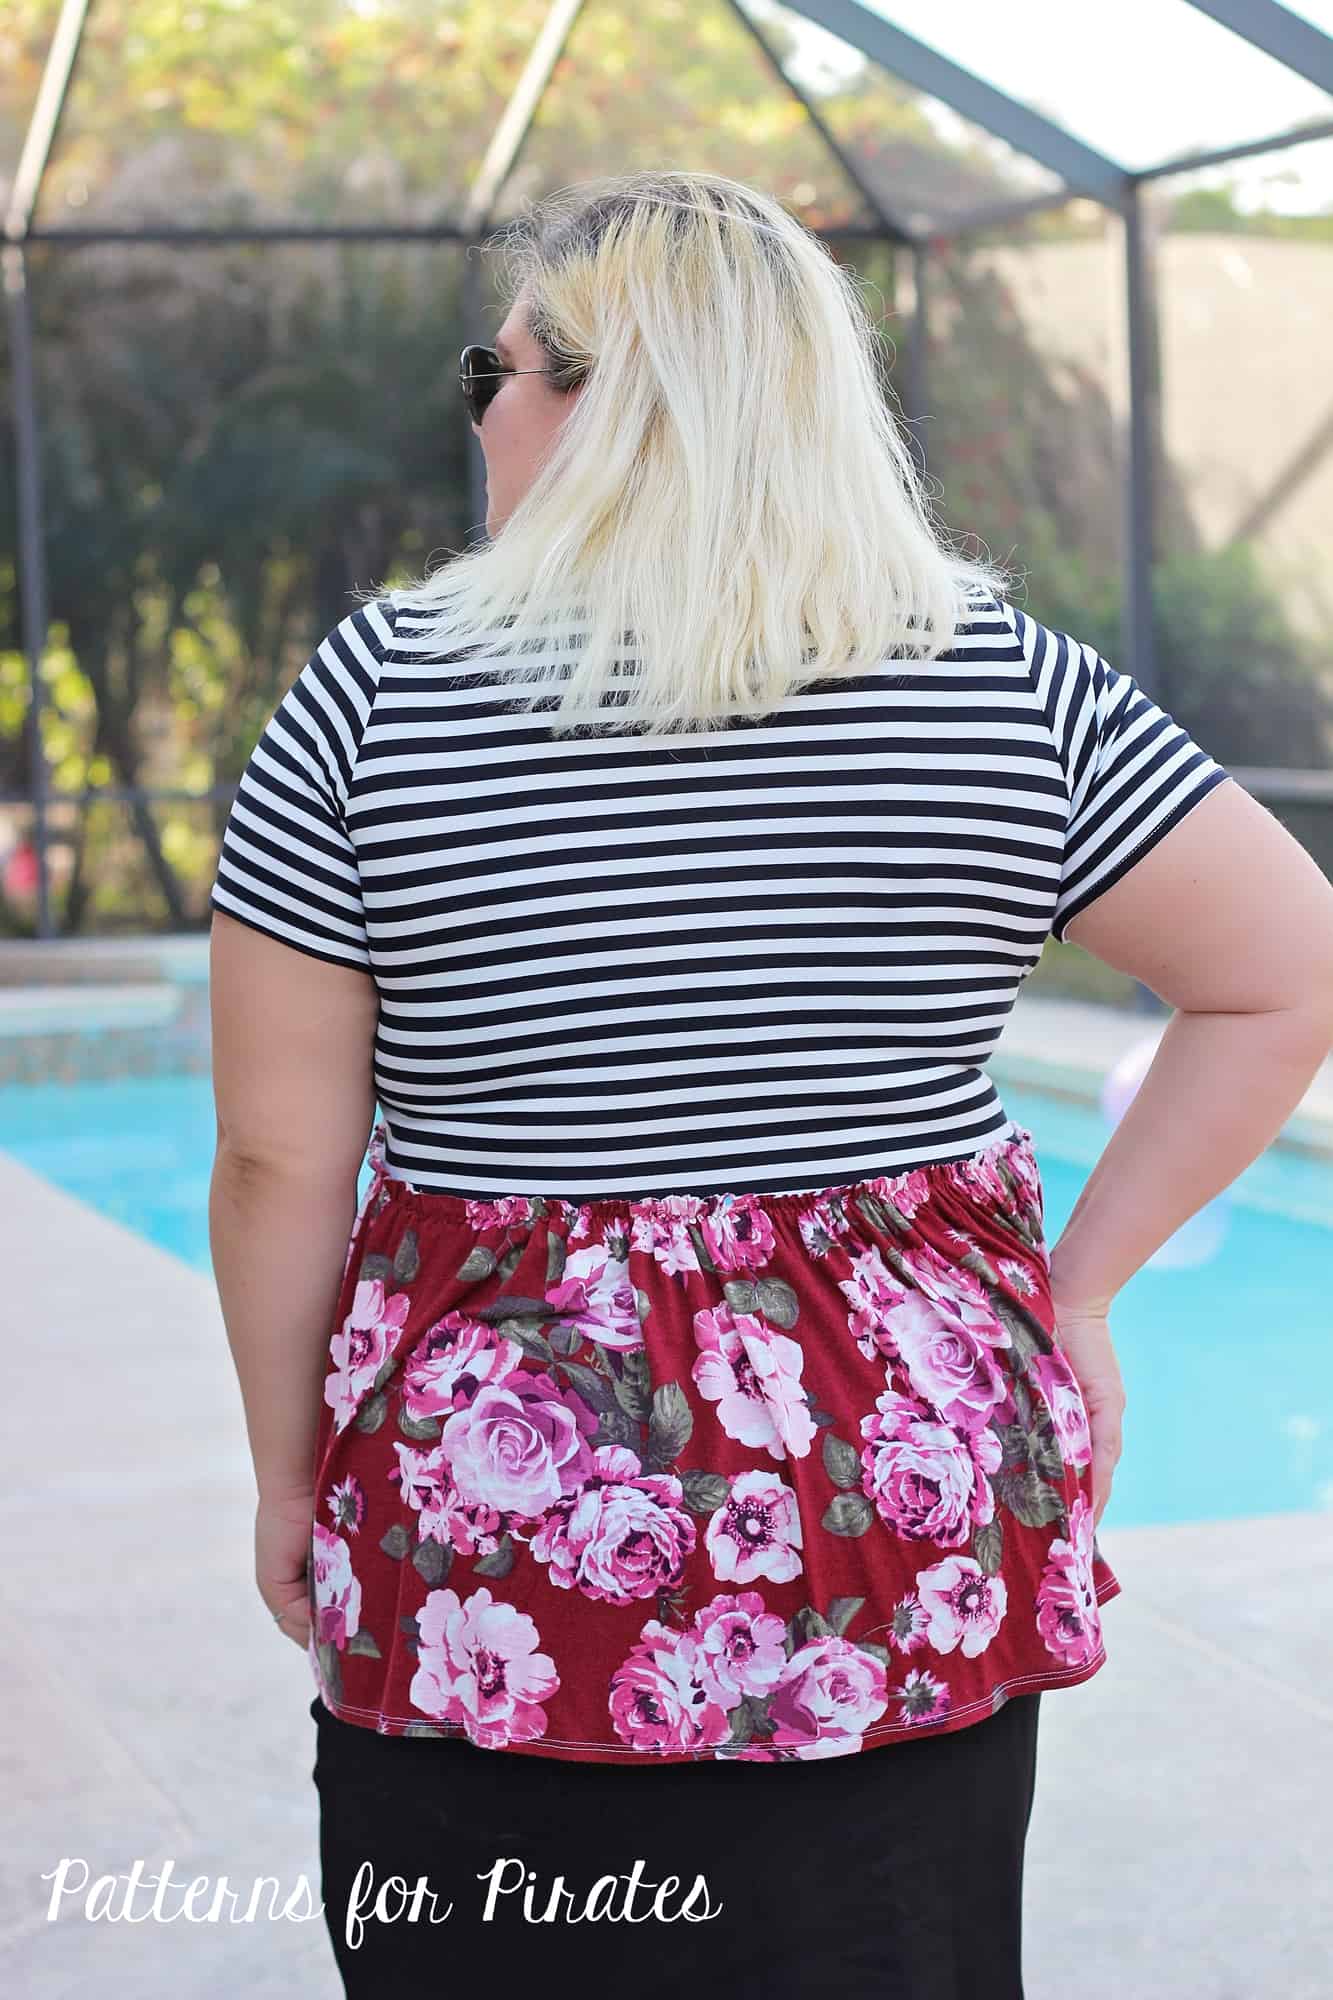
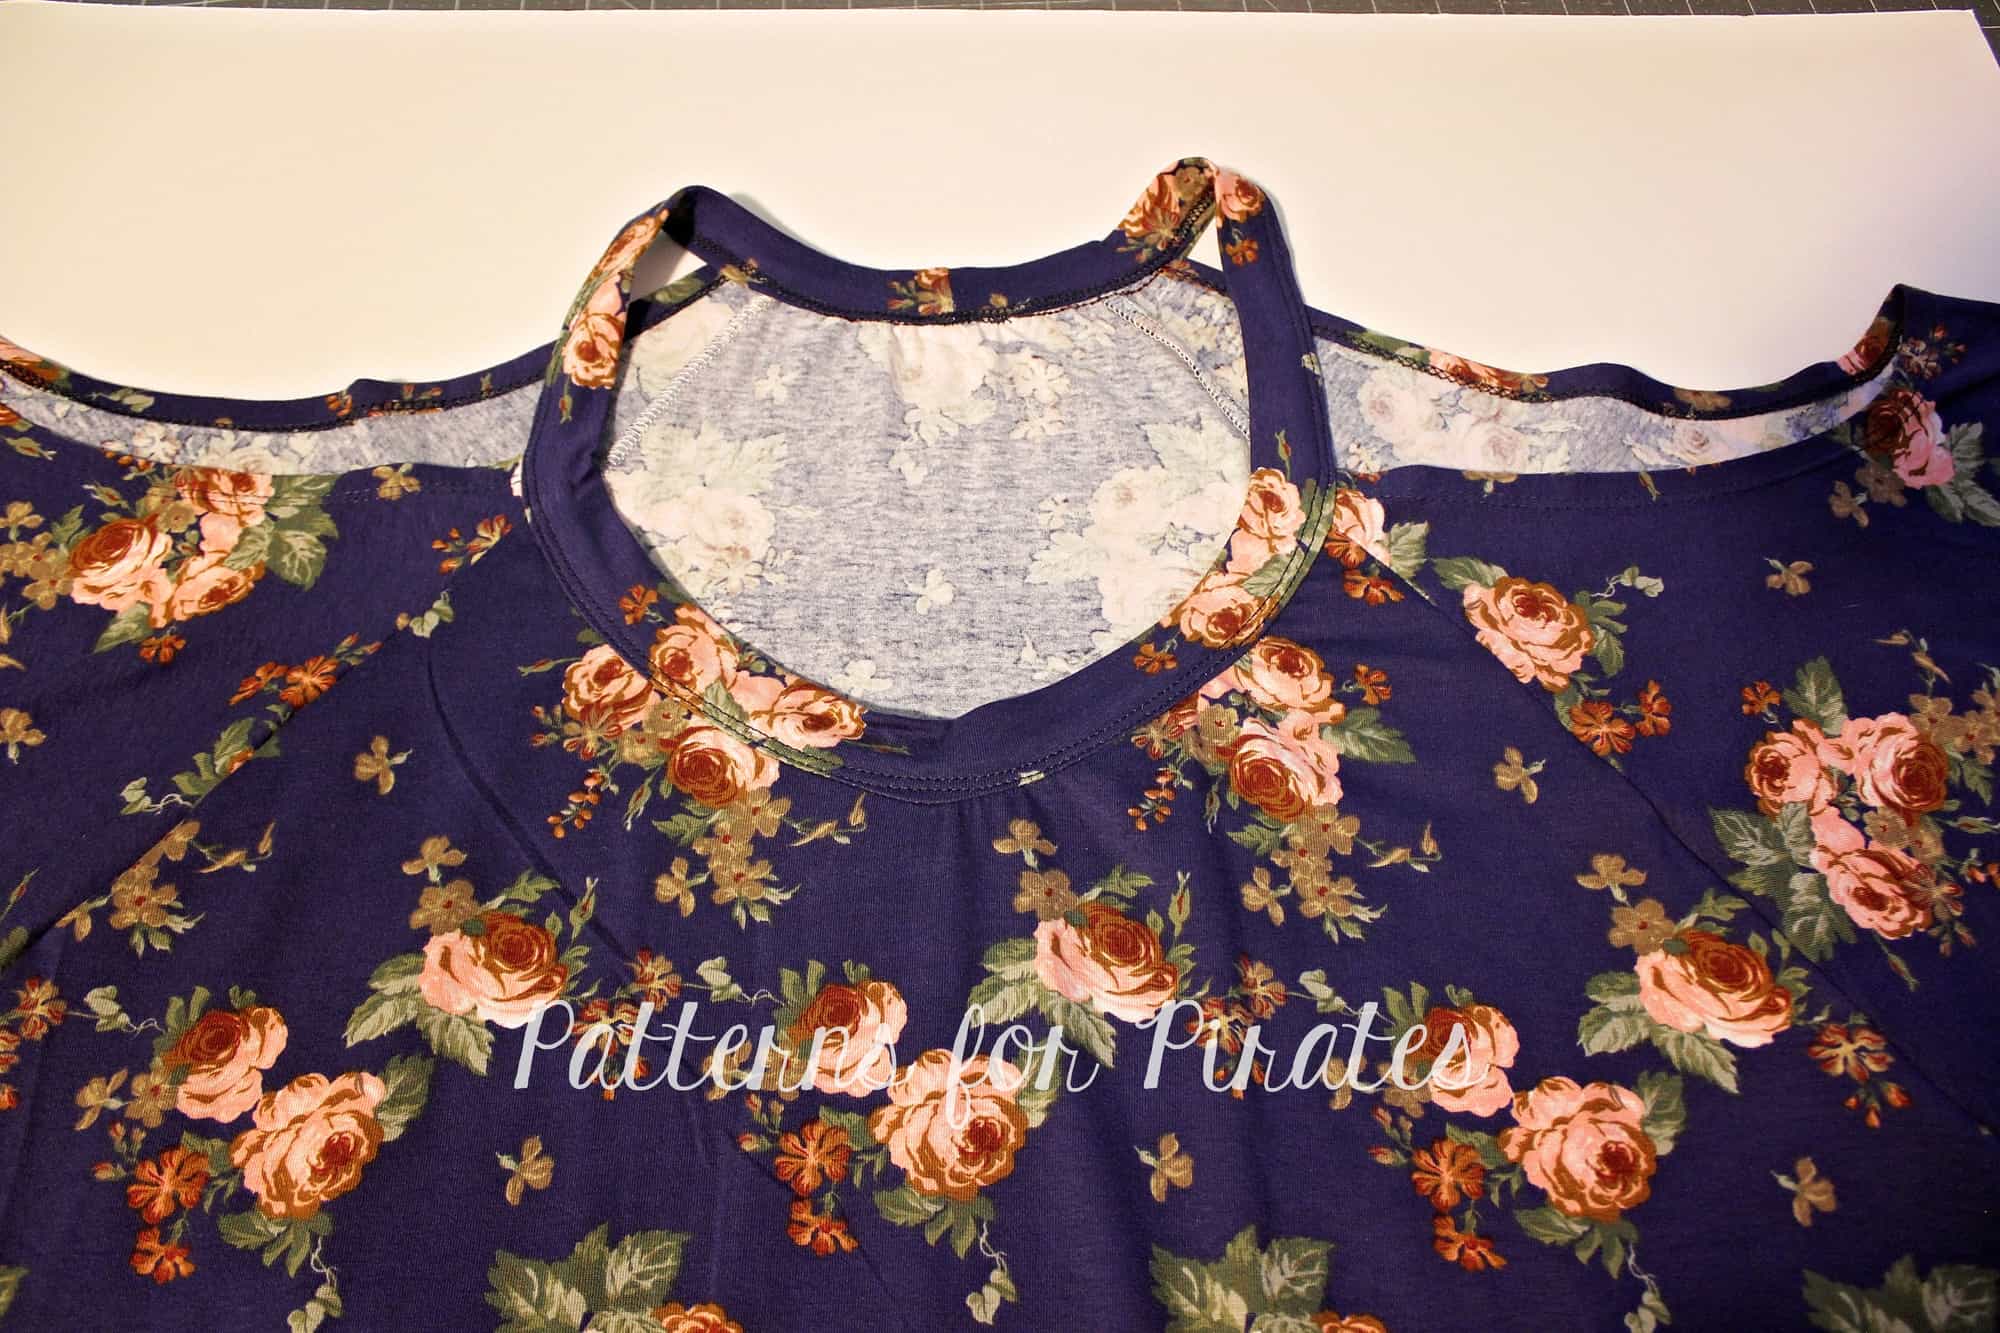
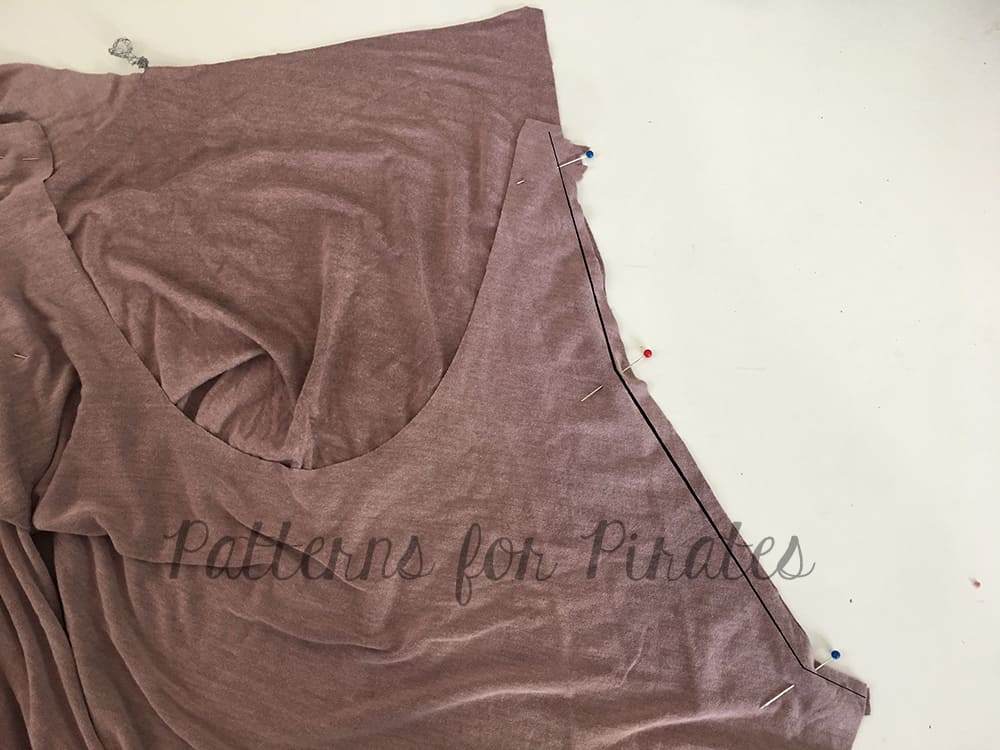
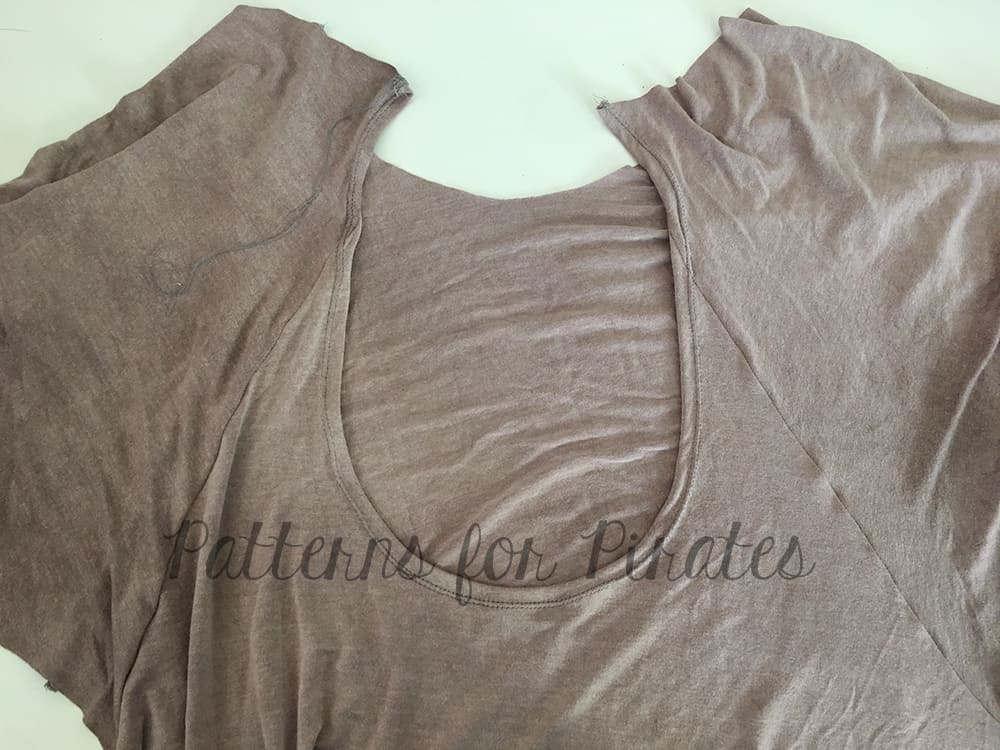
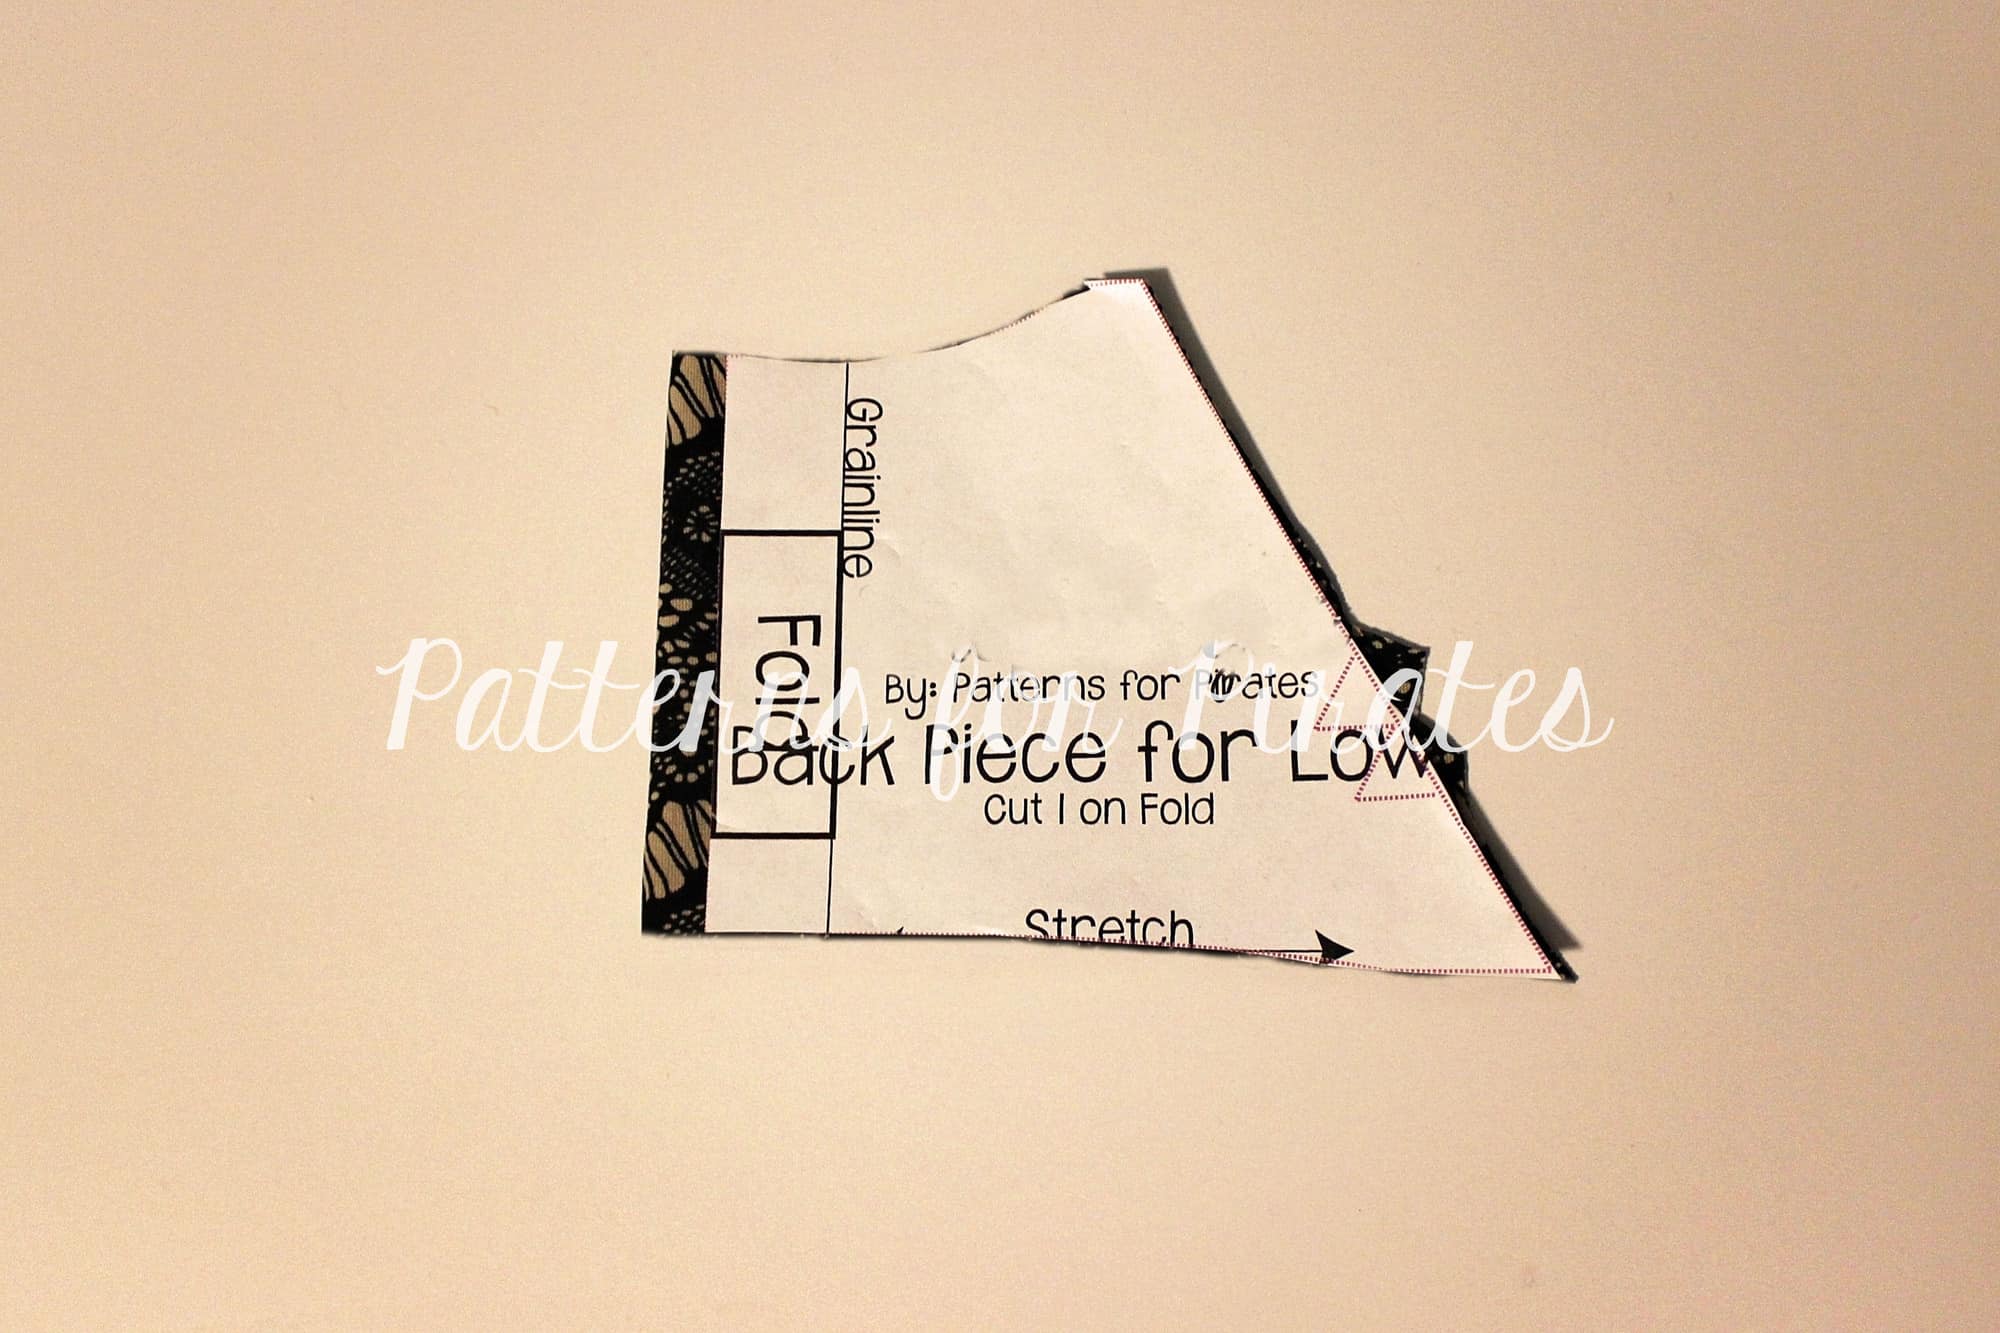
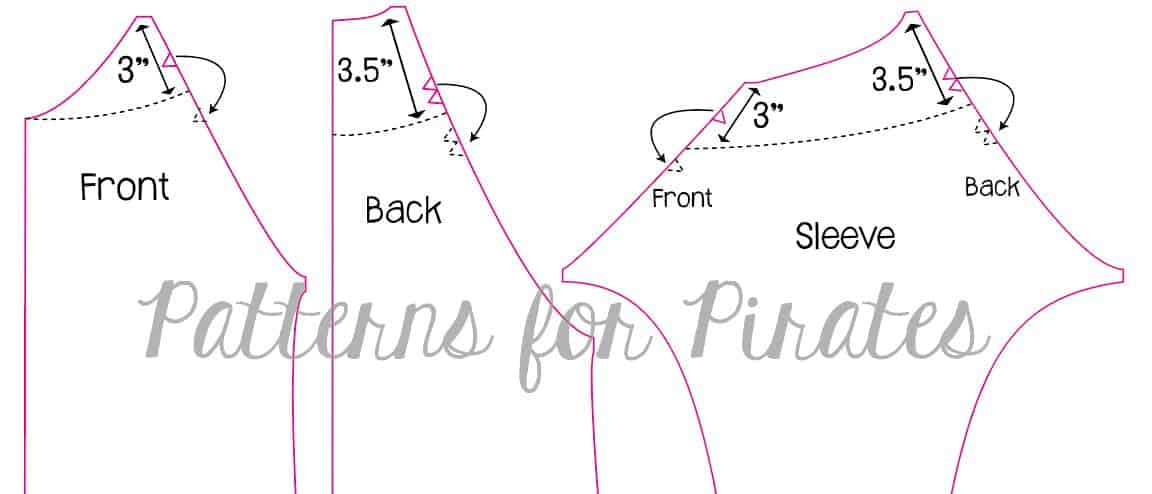
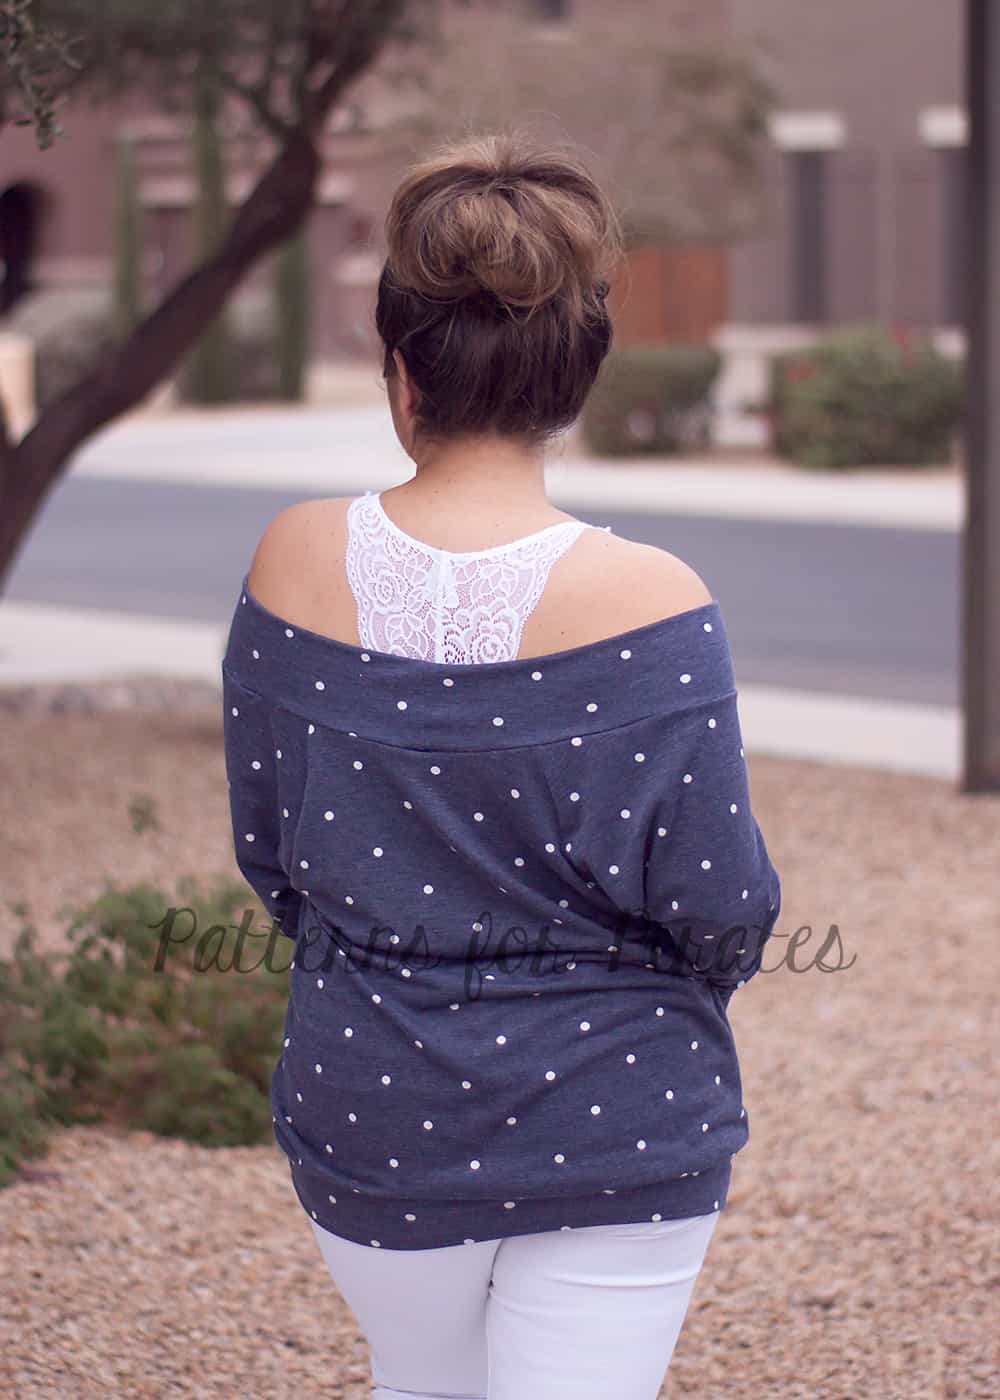
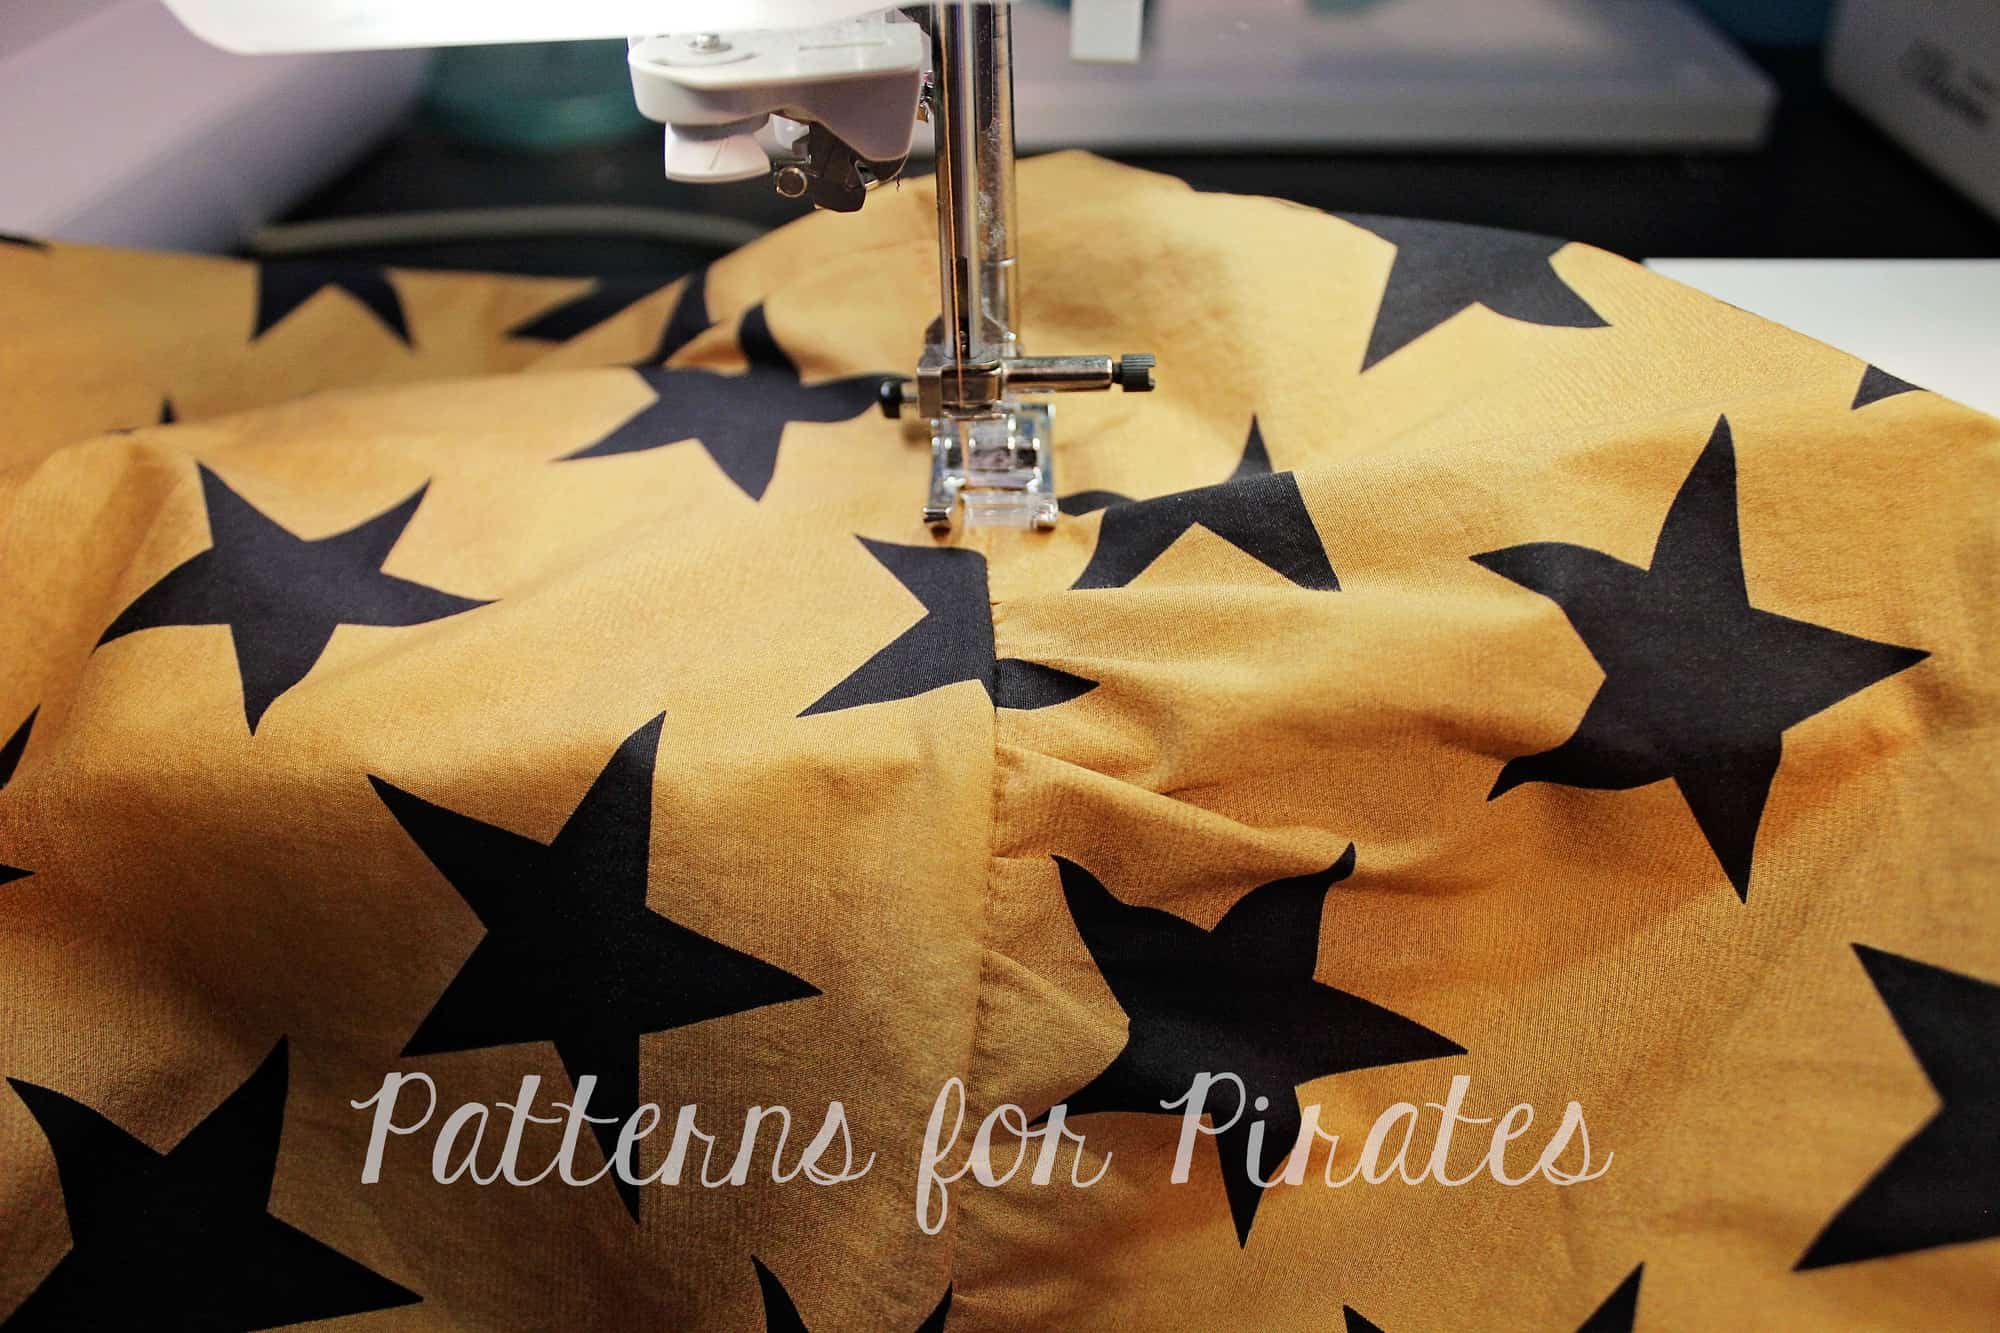
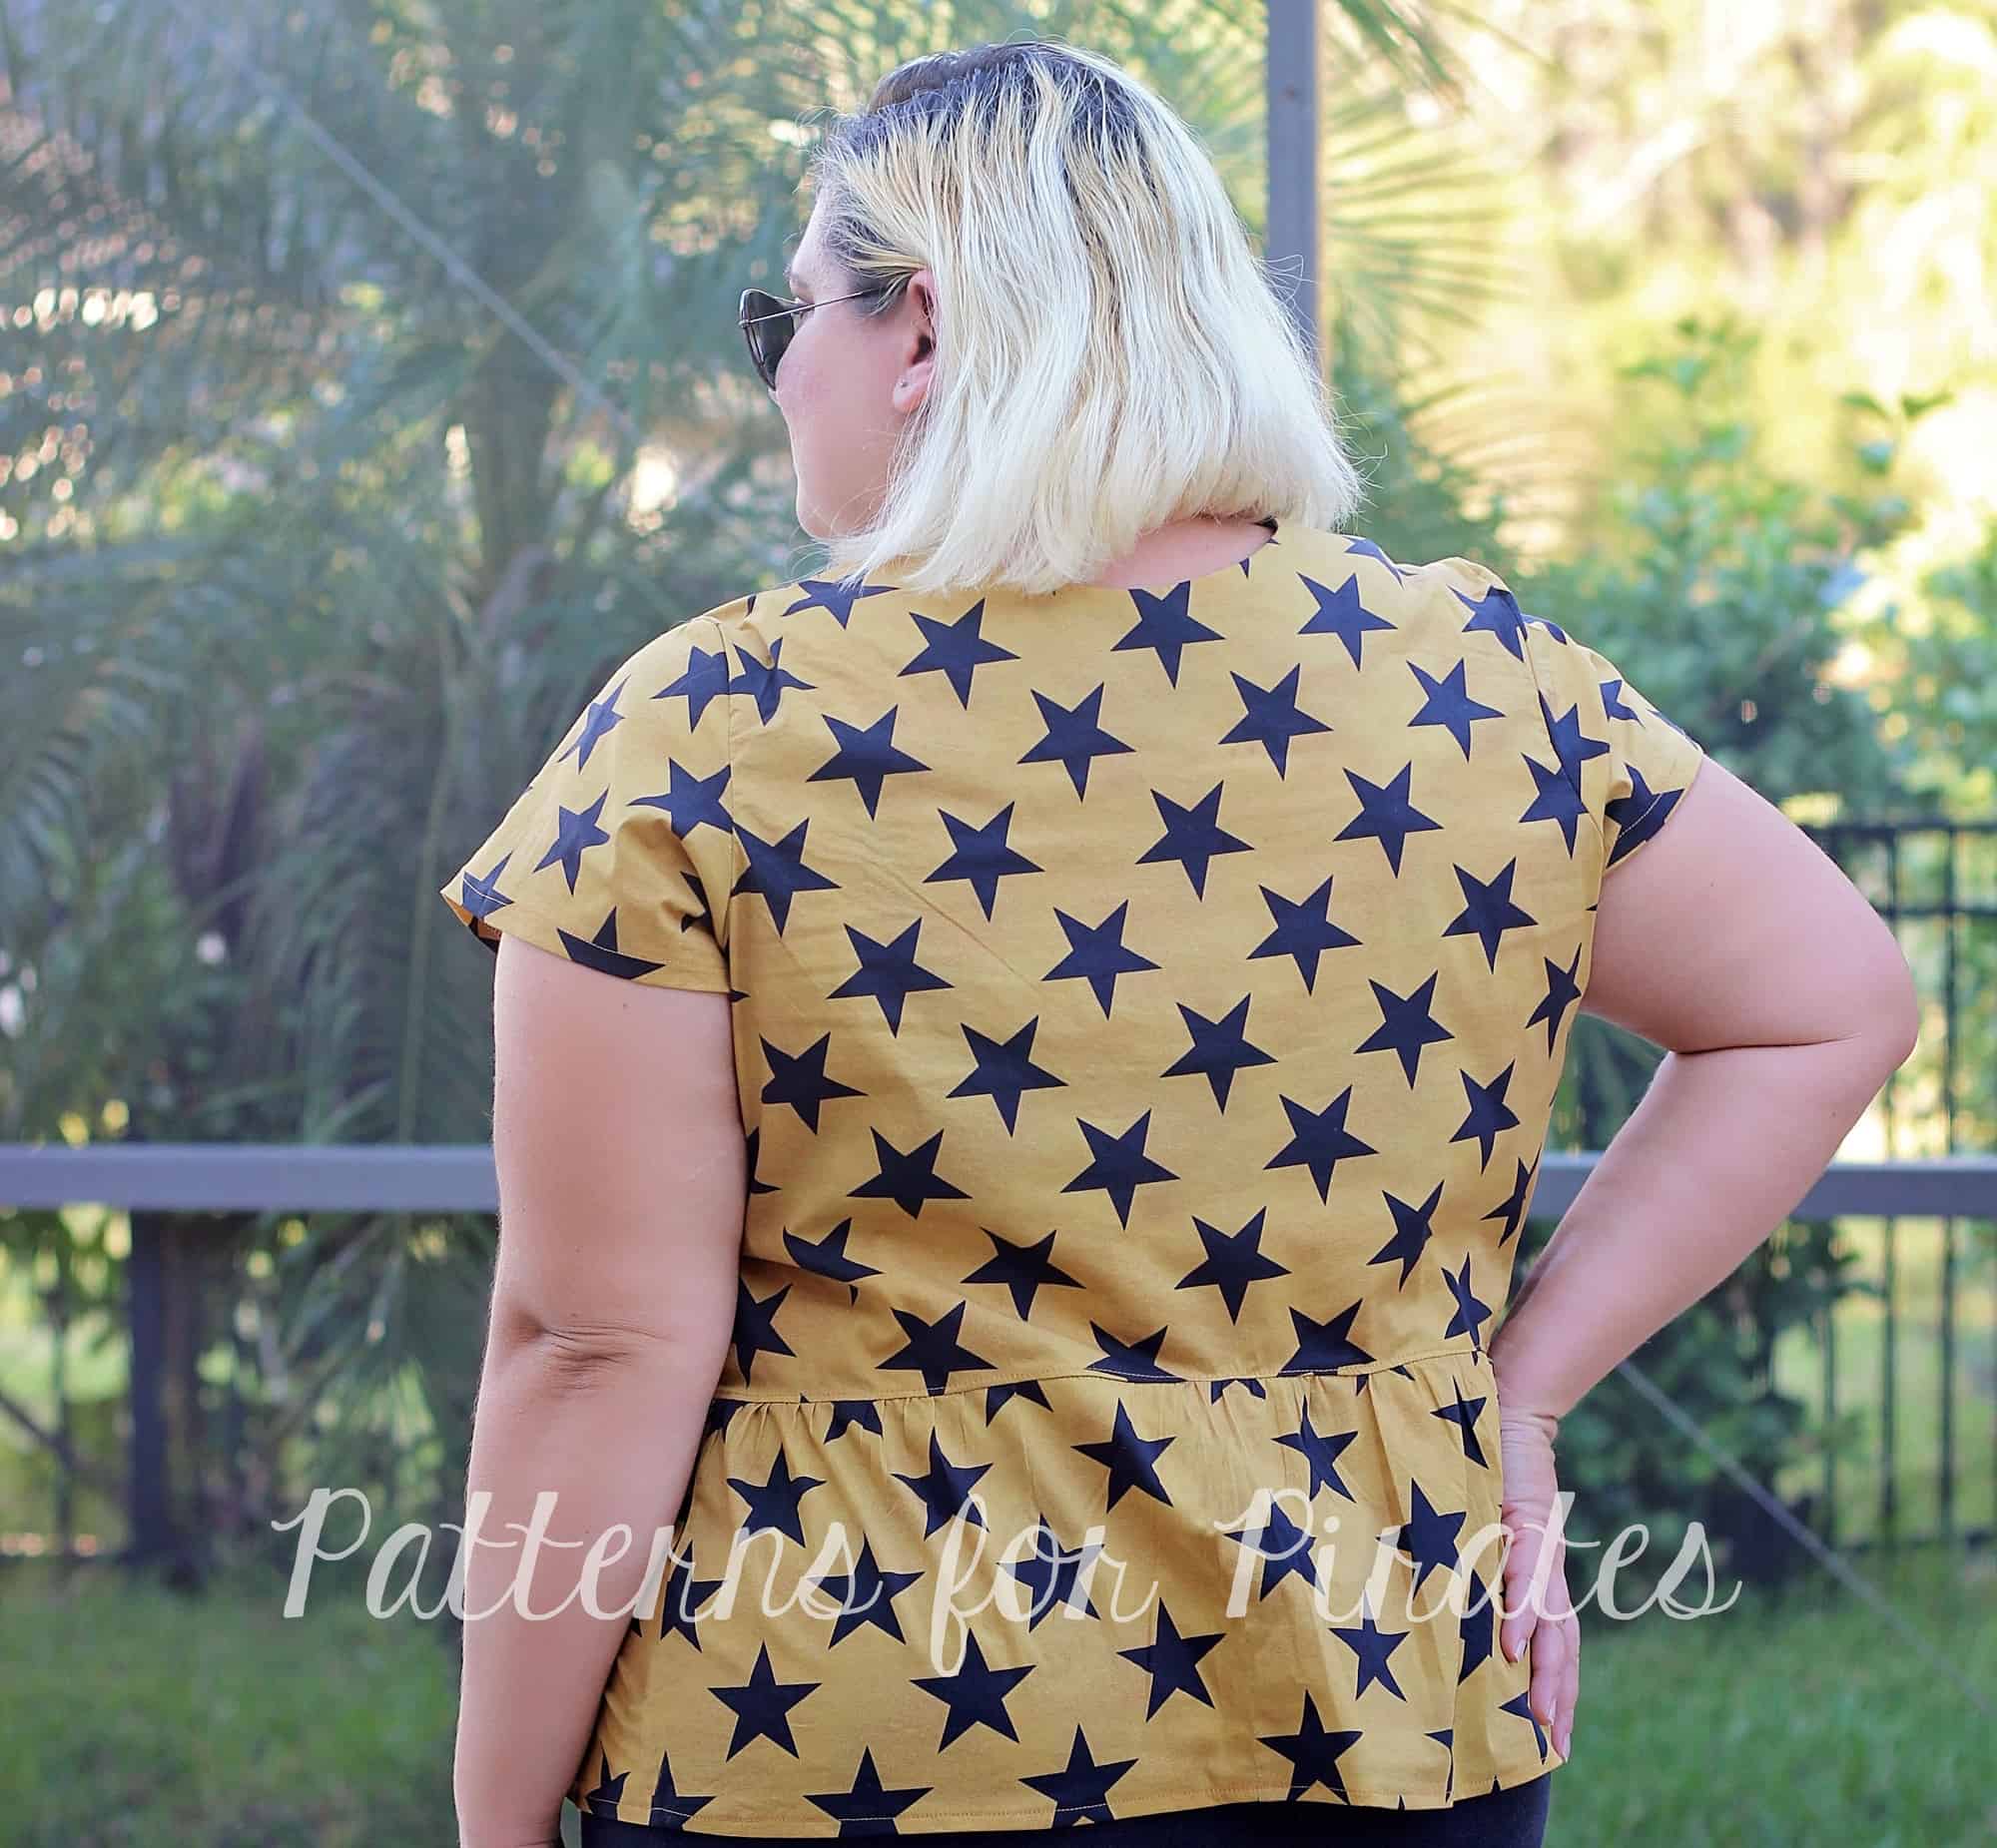
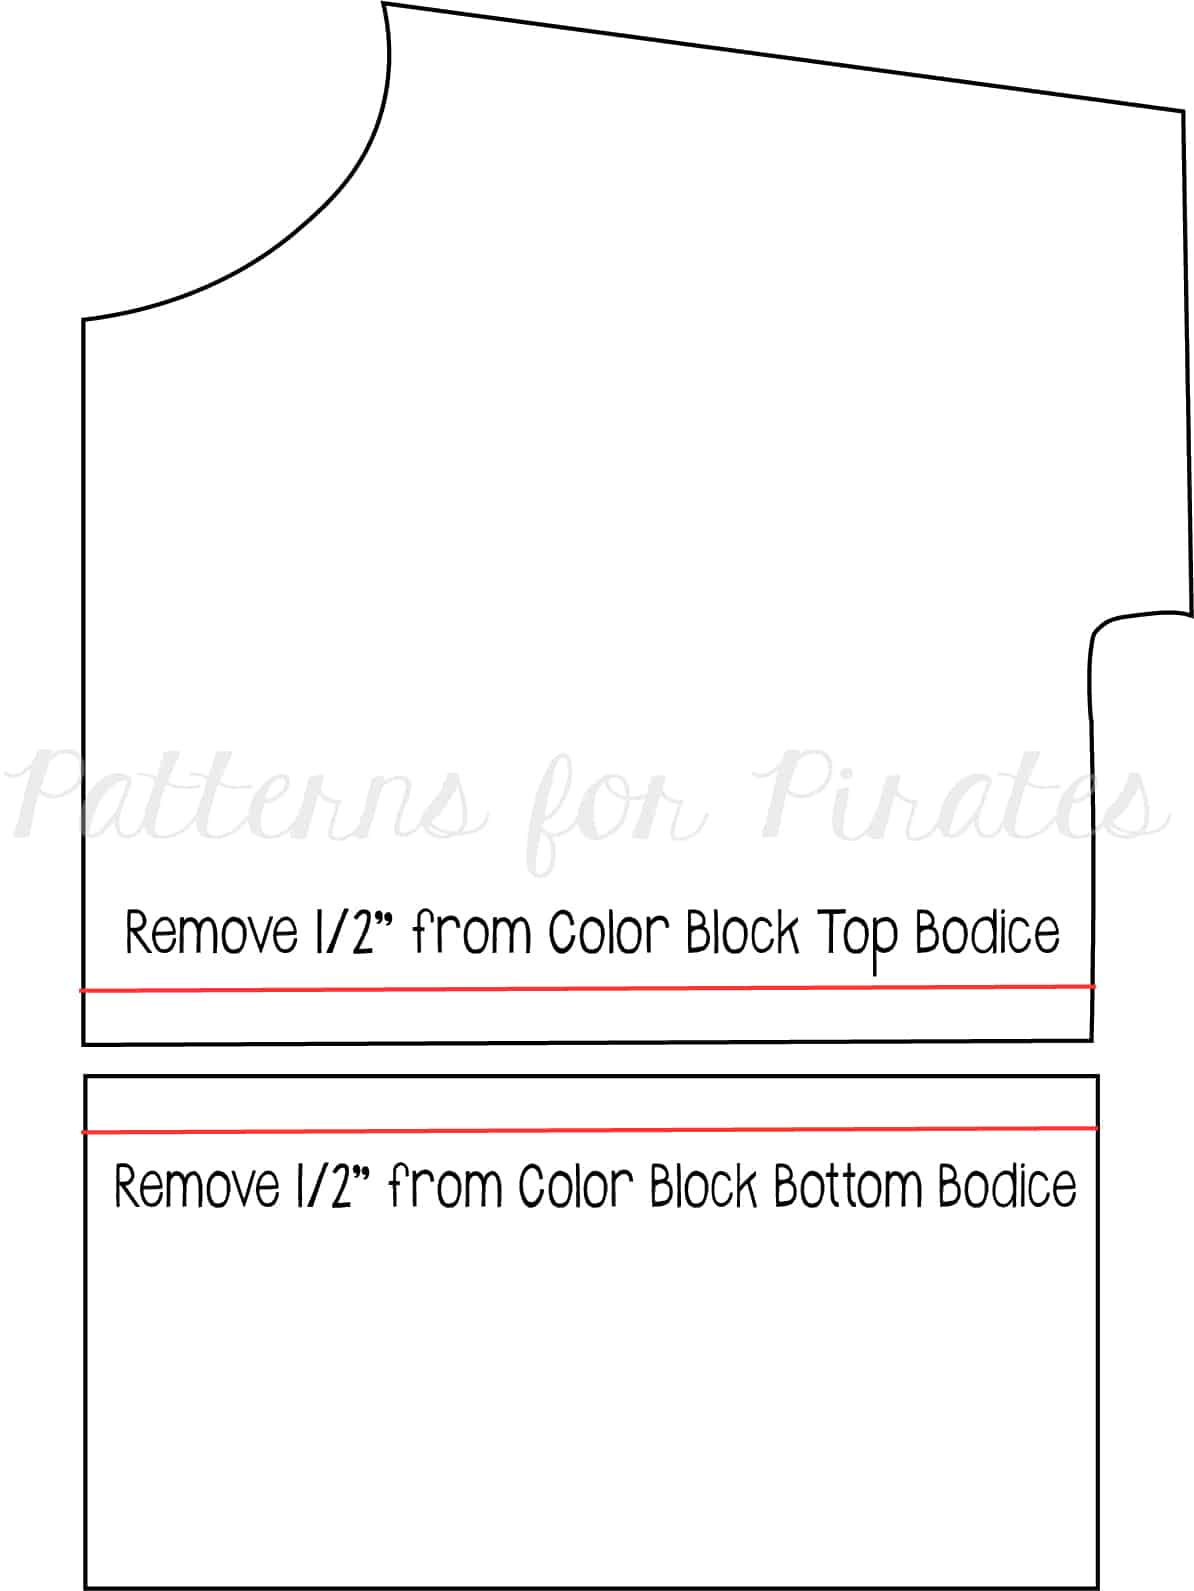
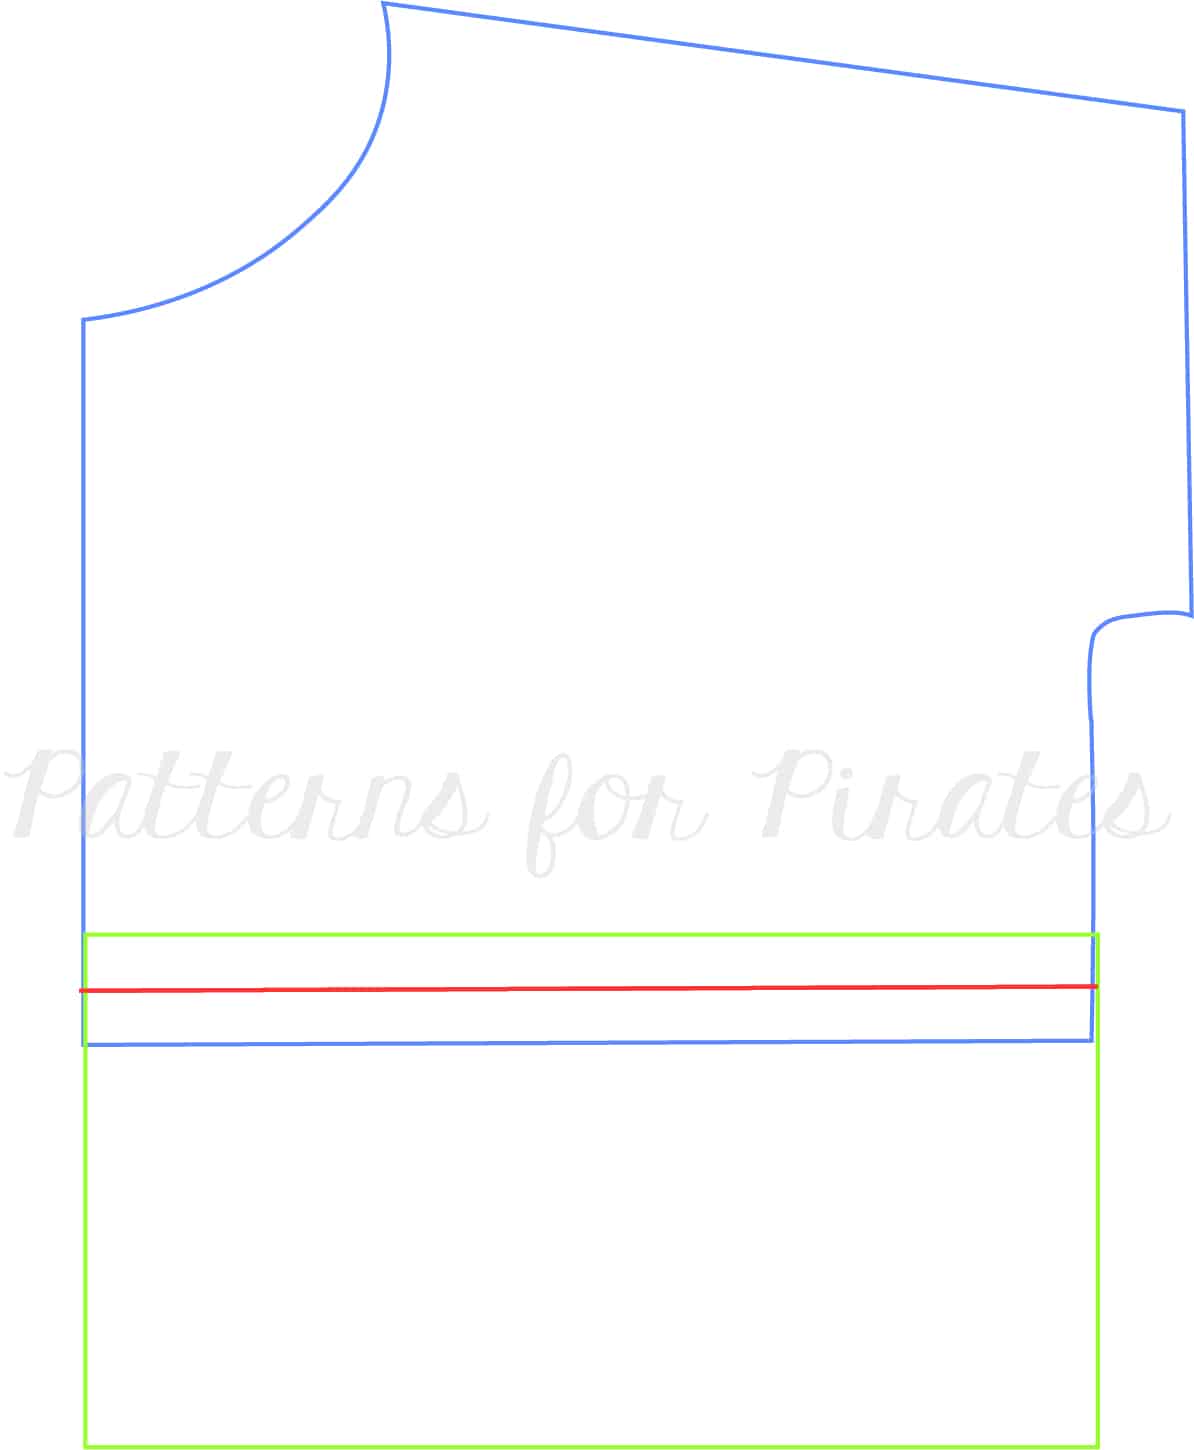
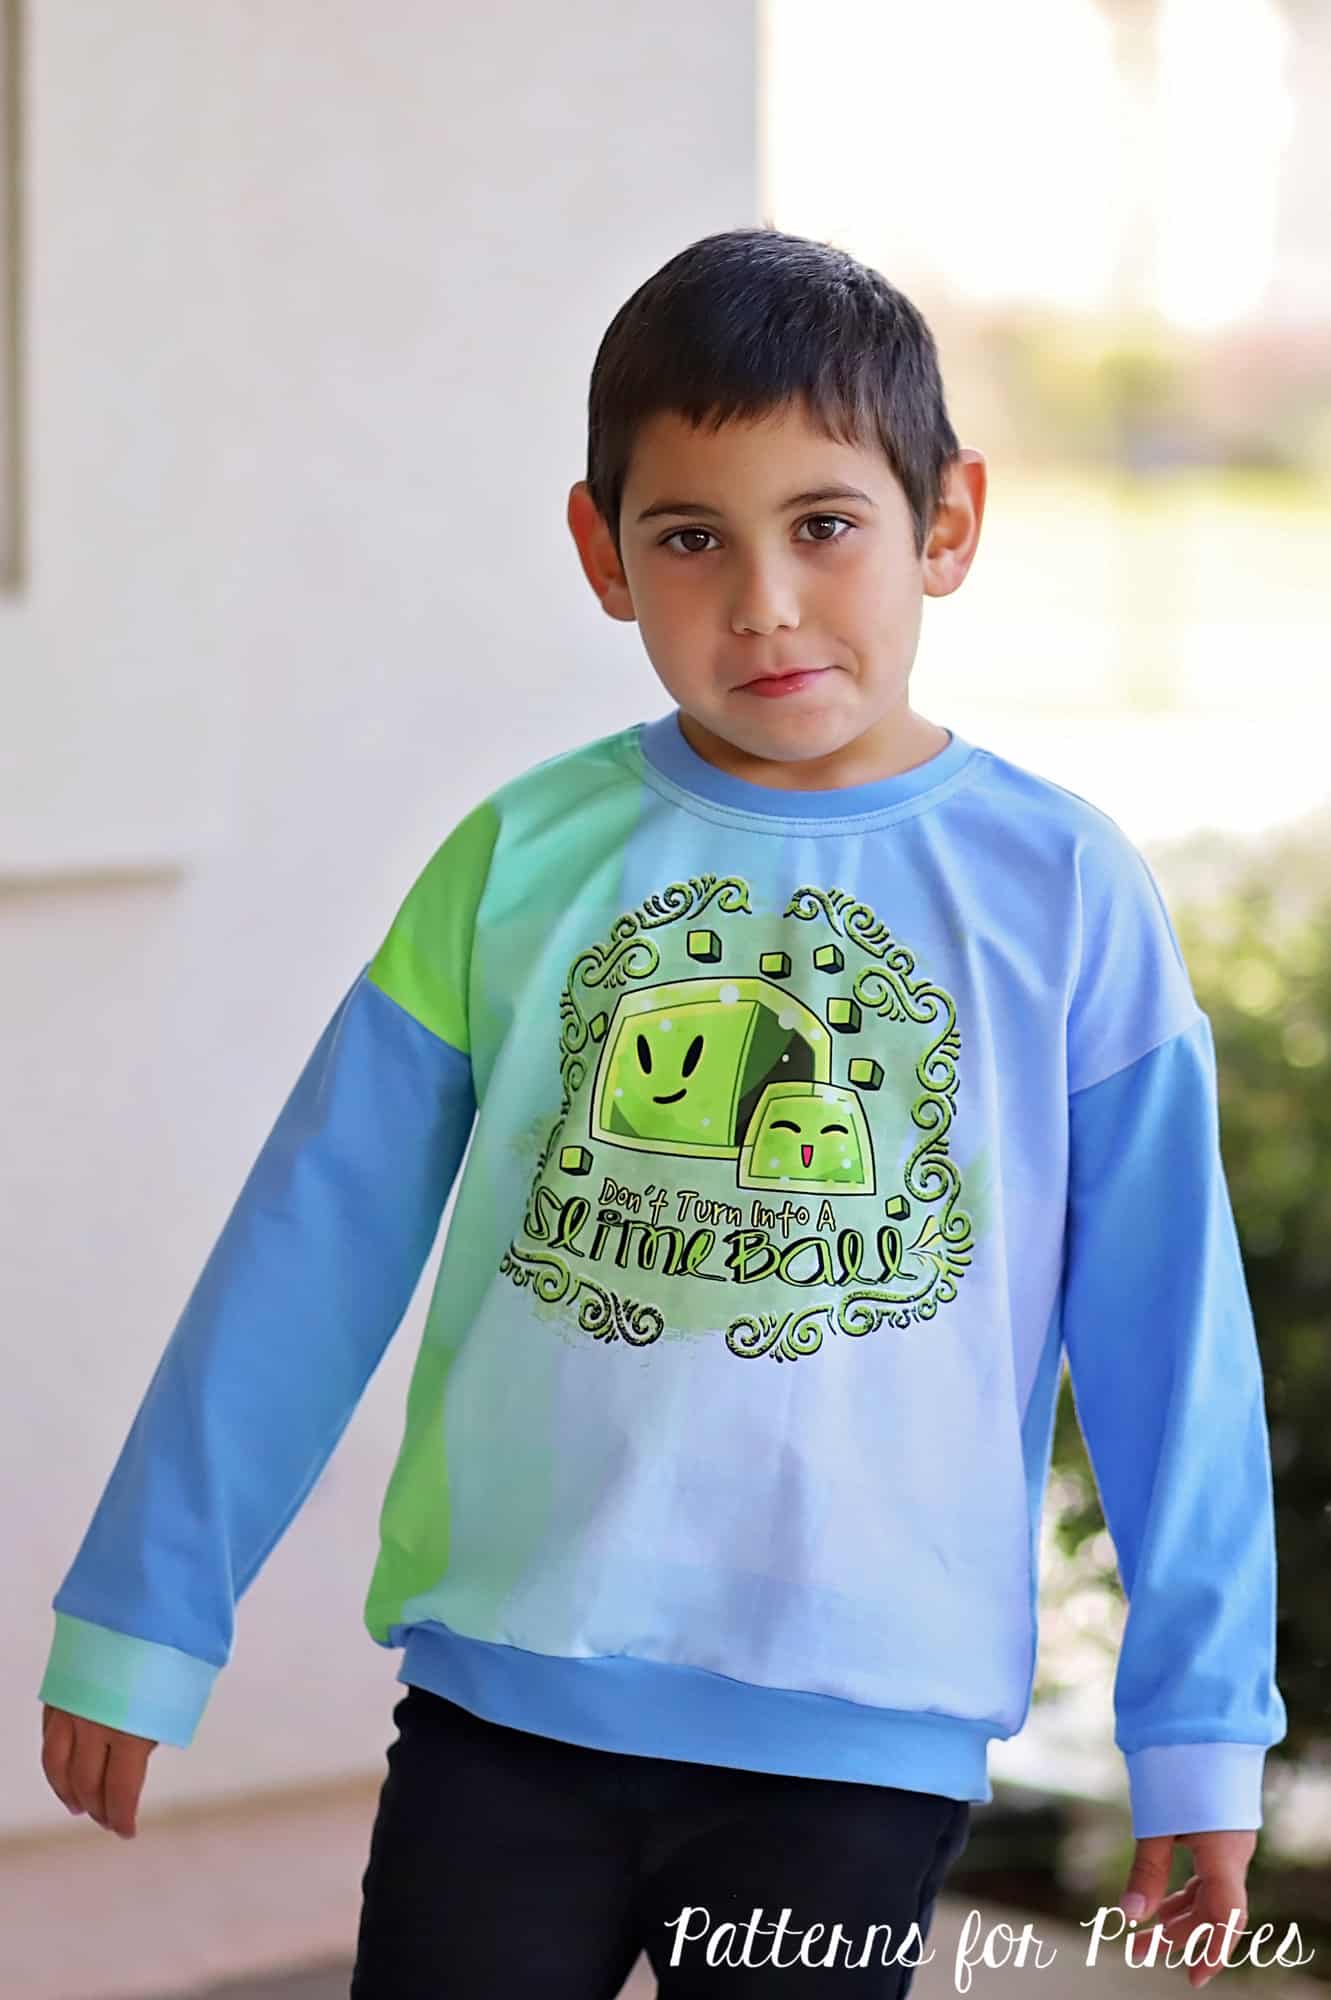
You might have noticed that both the Sporty Piko and the Youth SP feature a color blocked back to allow for multiple prints or color fabric to be showcased. Well, what if you want a solid back without the horizontal seam? Super easy hack!
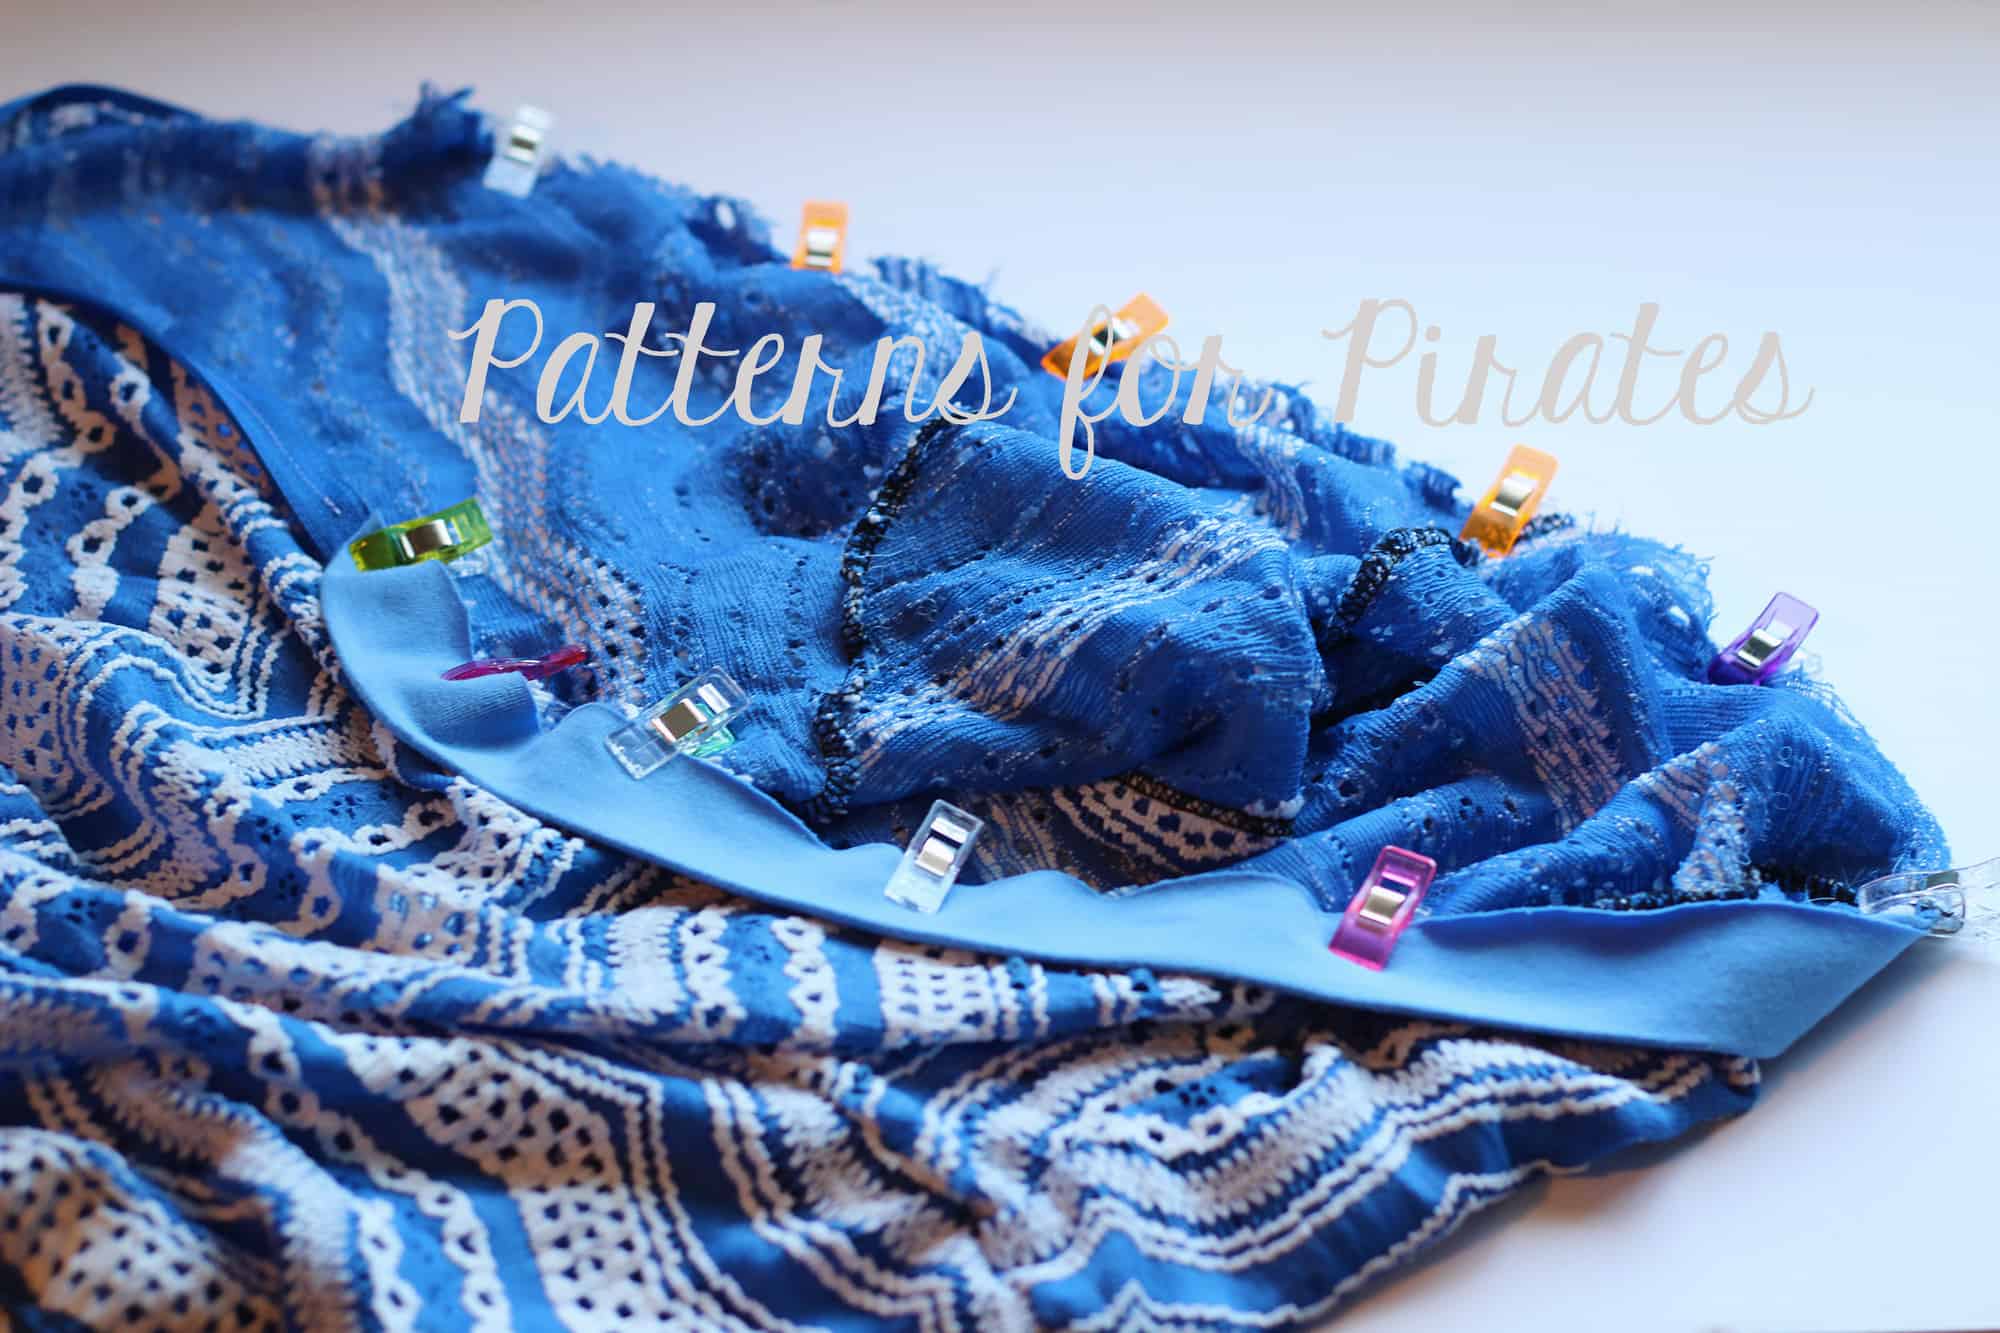
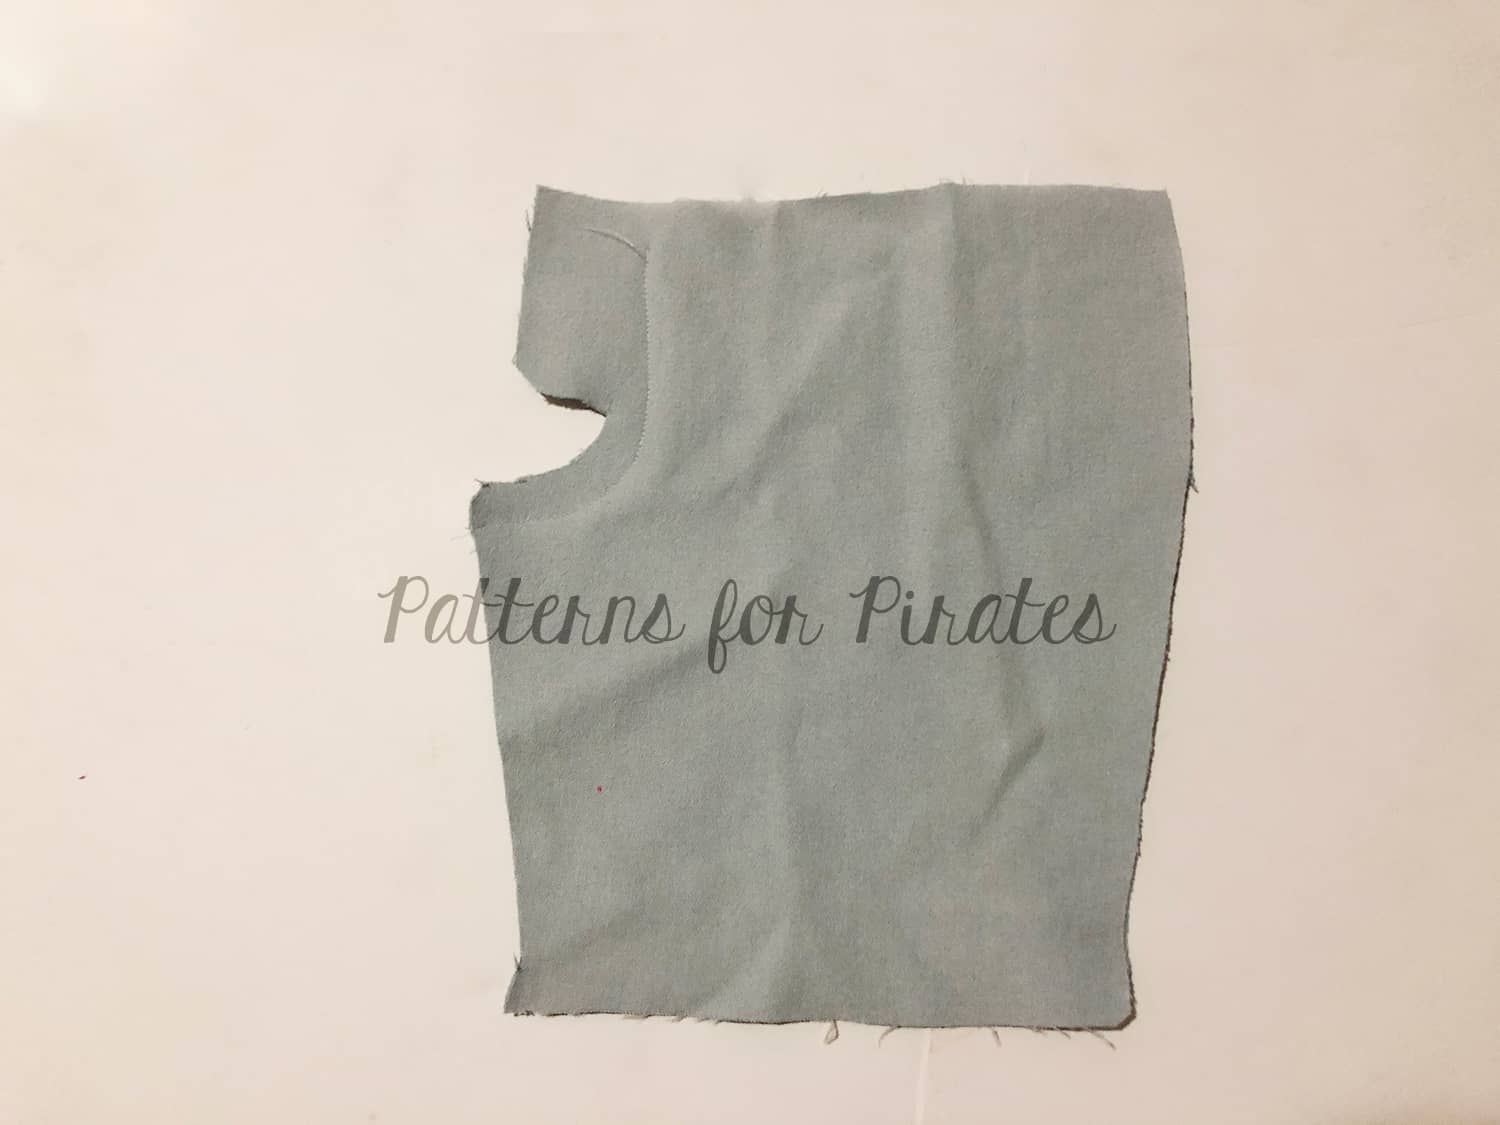
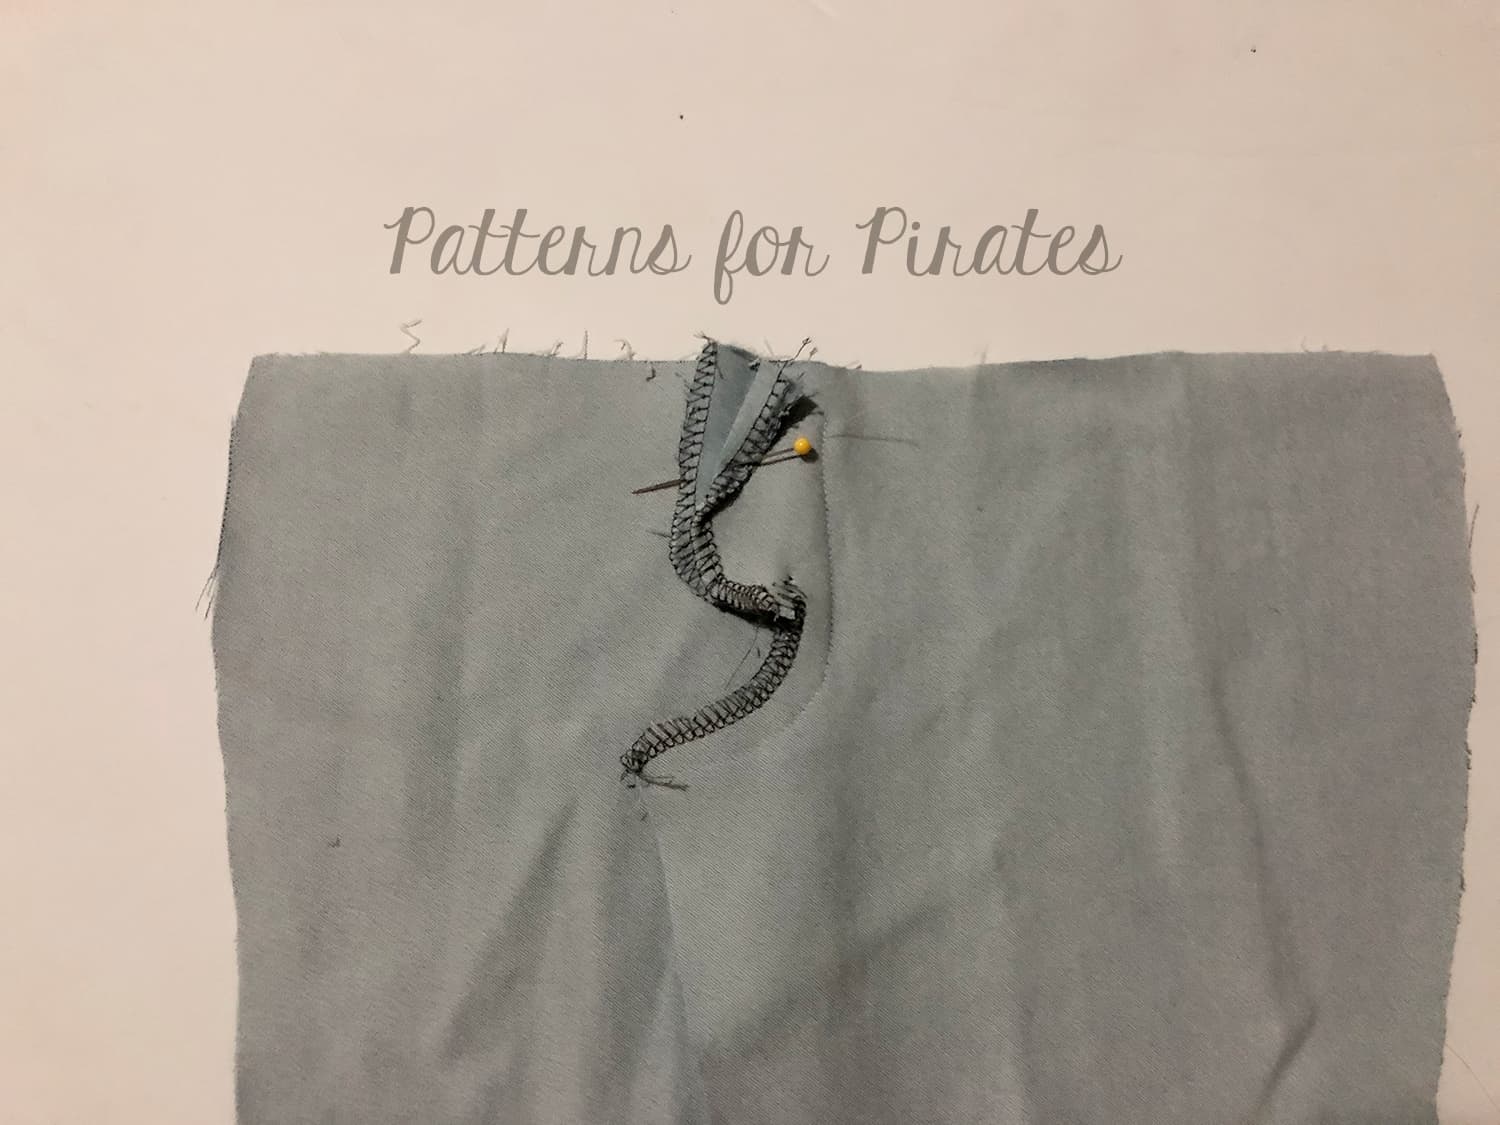
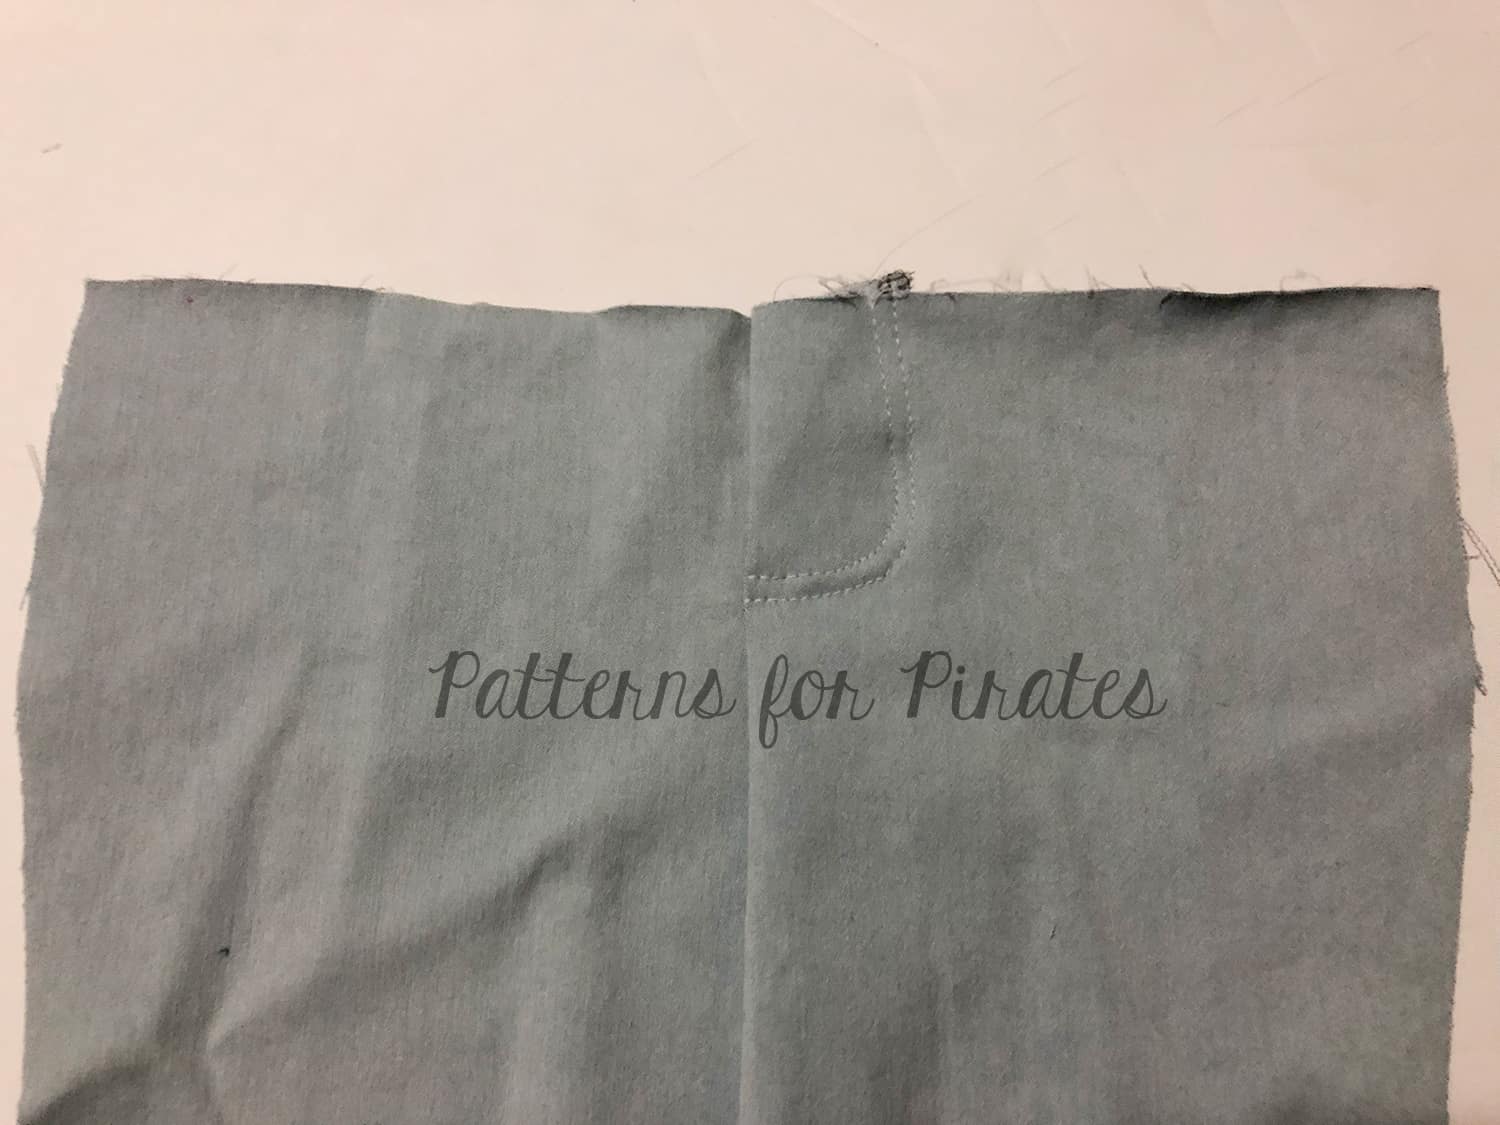
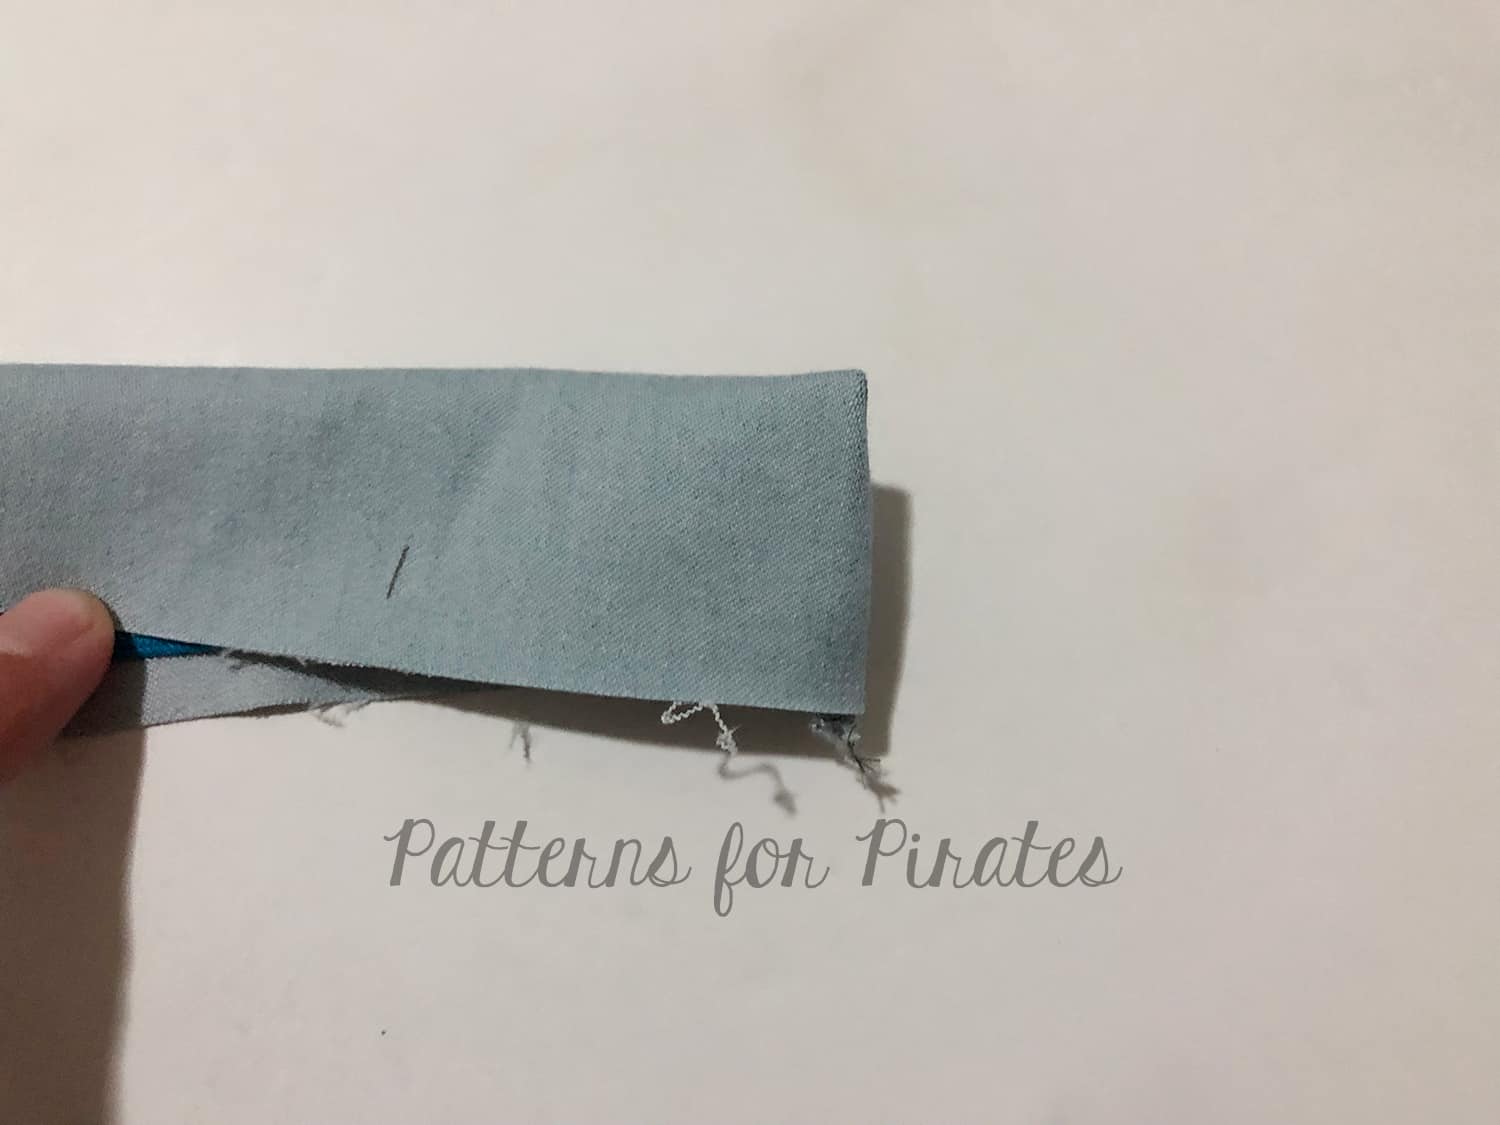
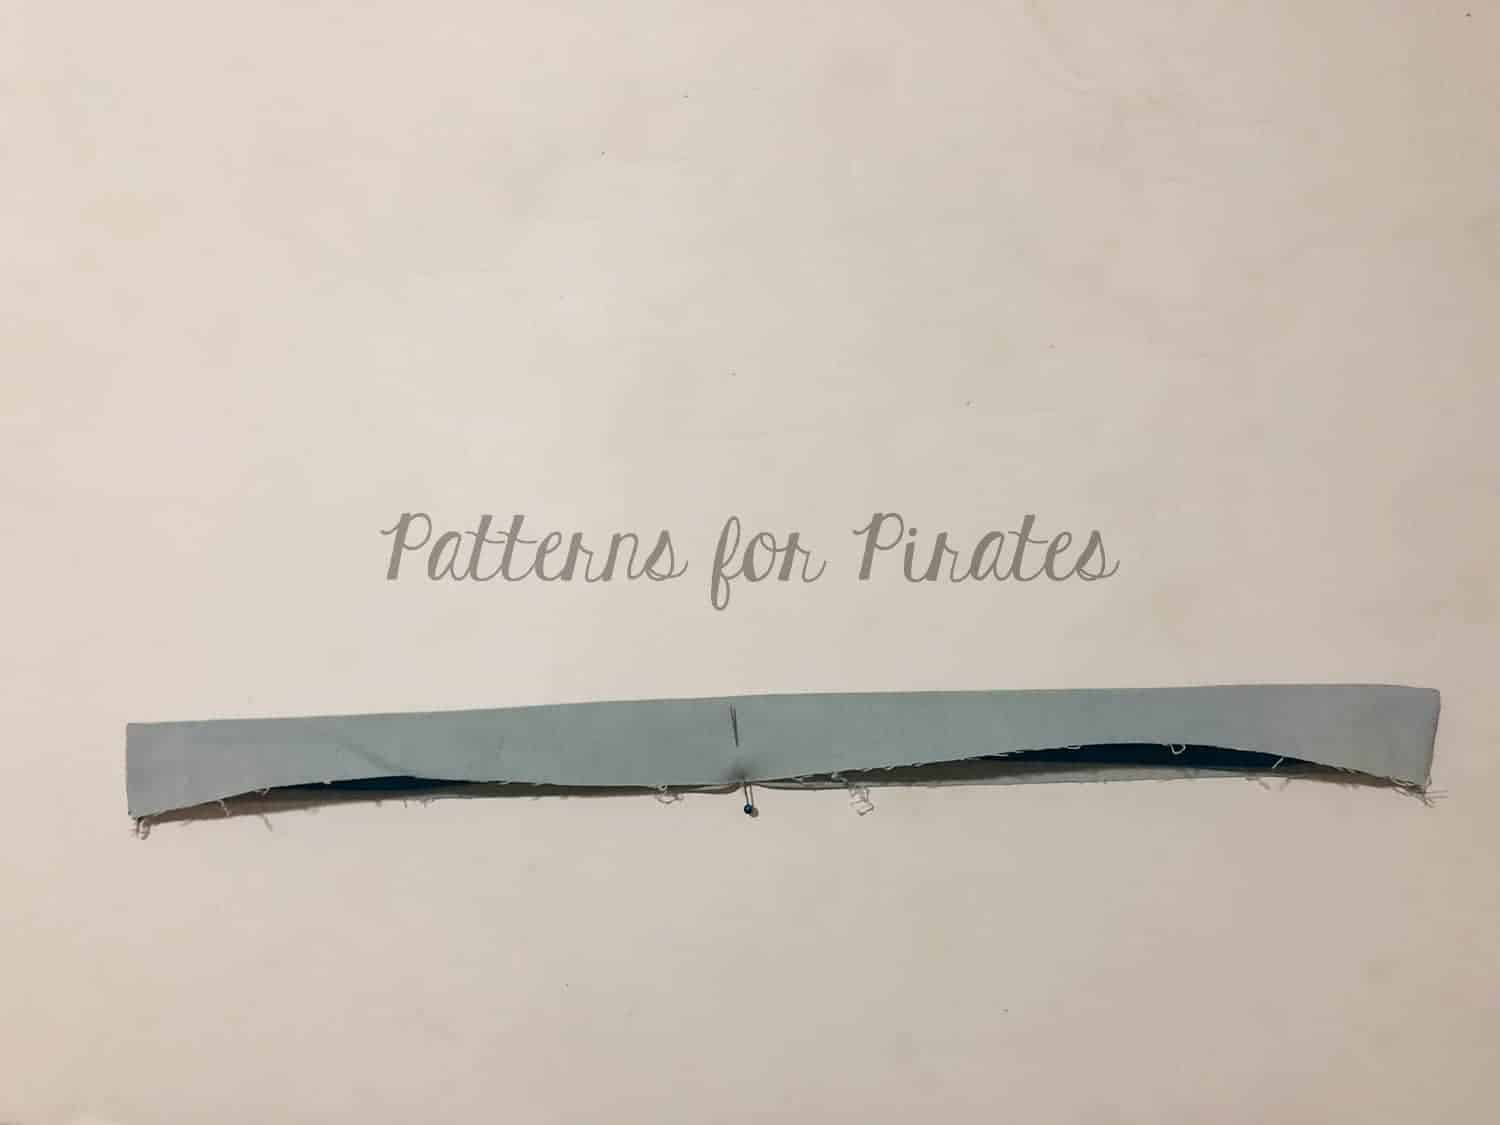
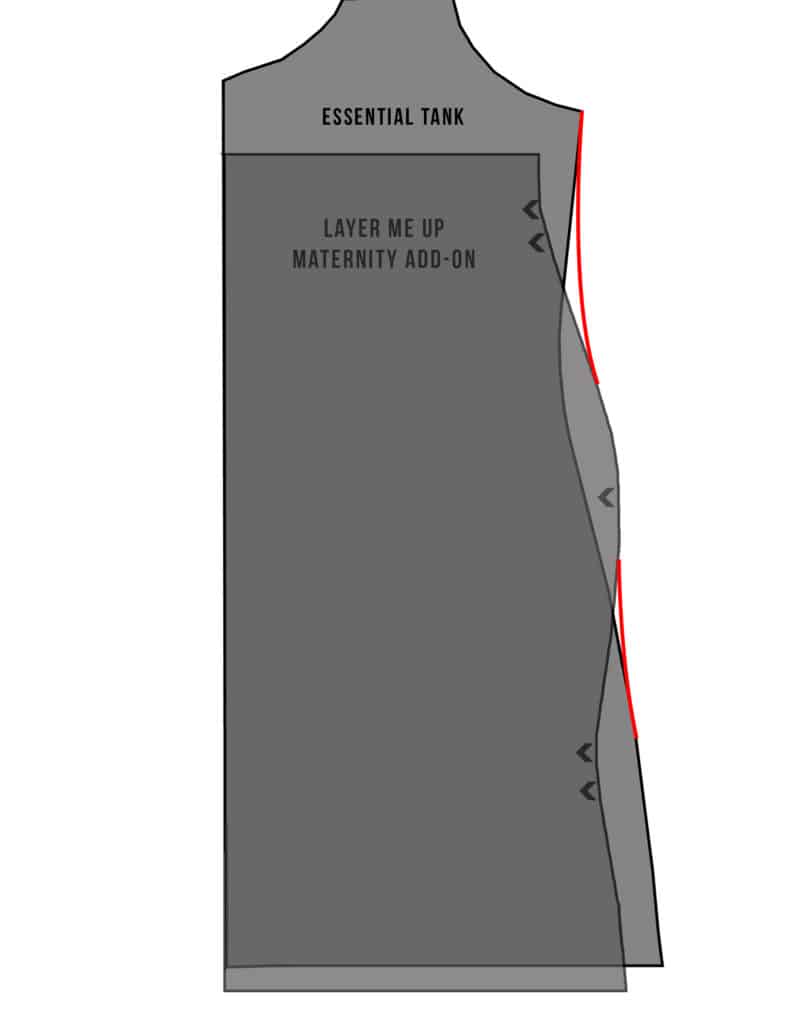
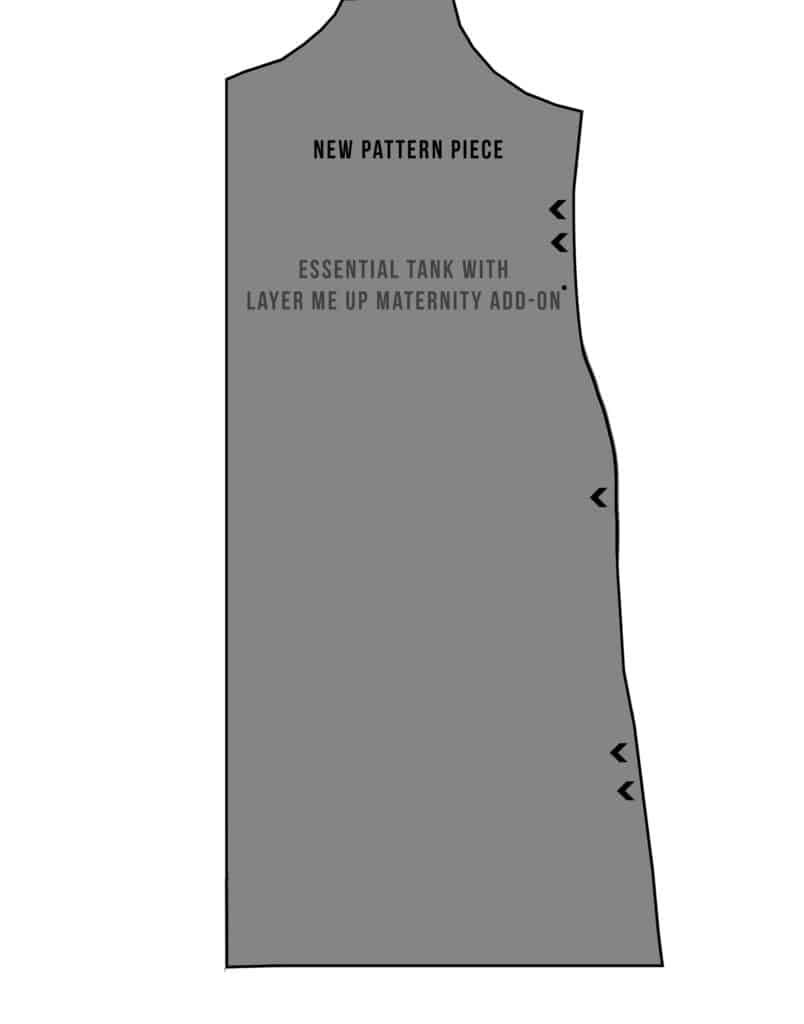
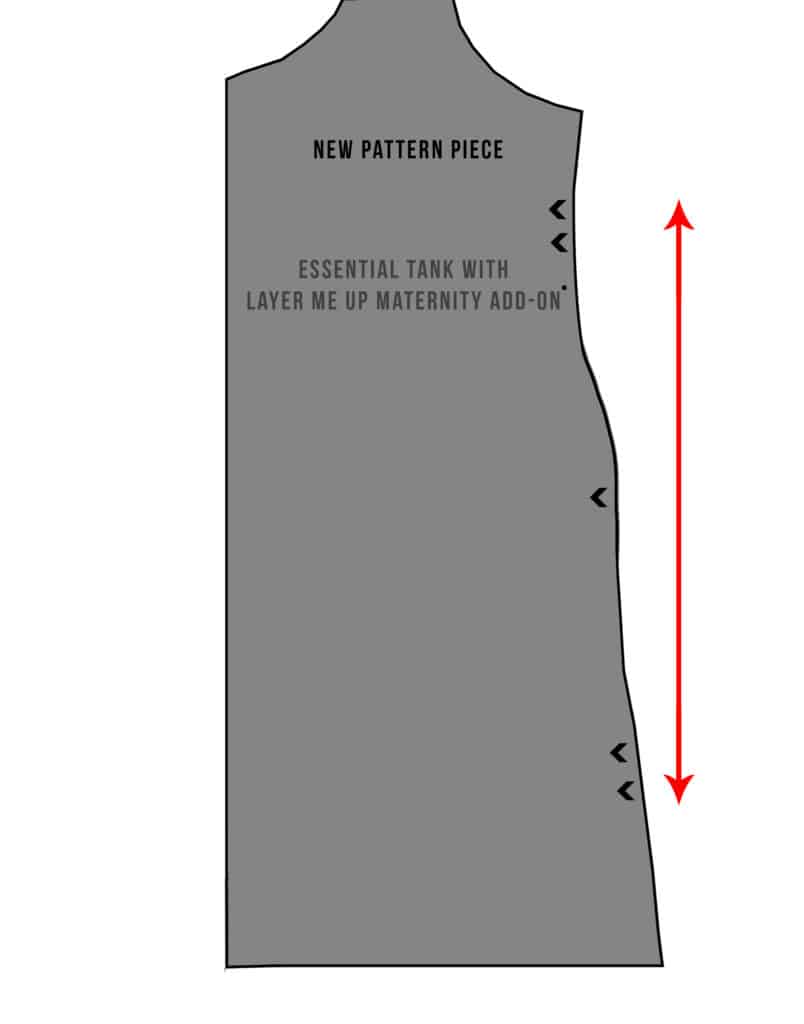
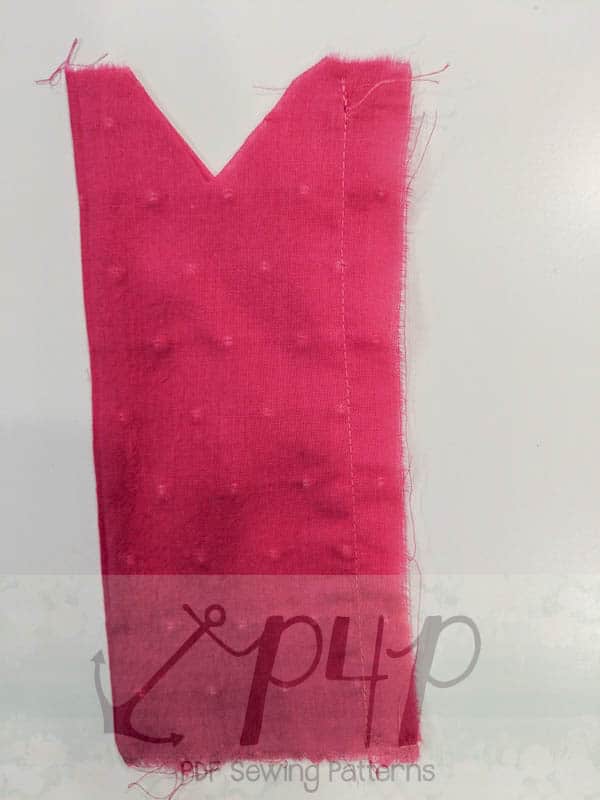
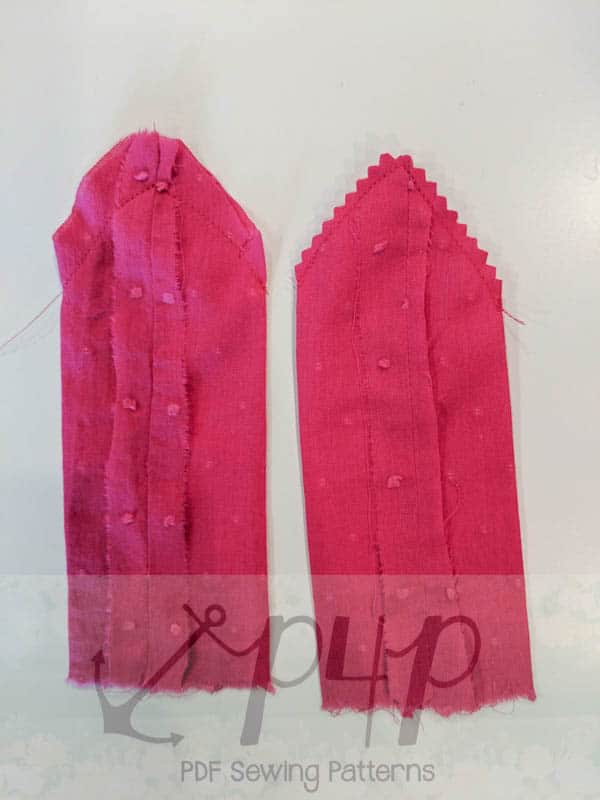
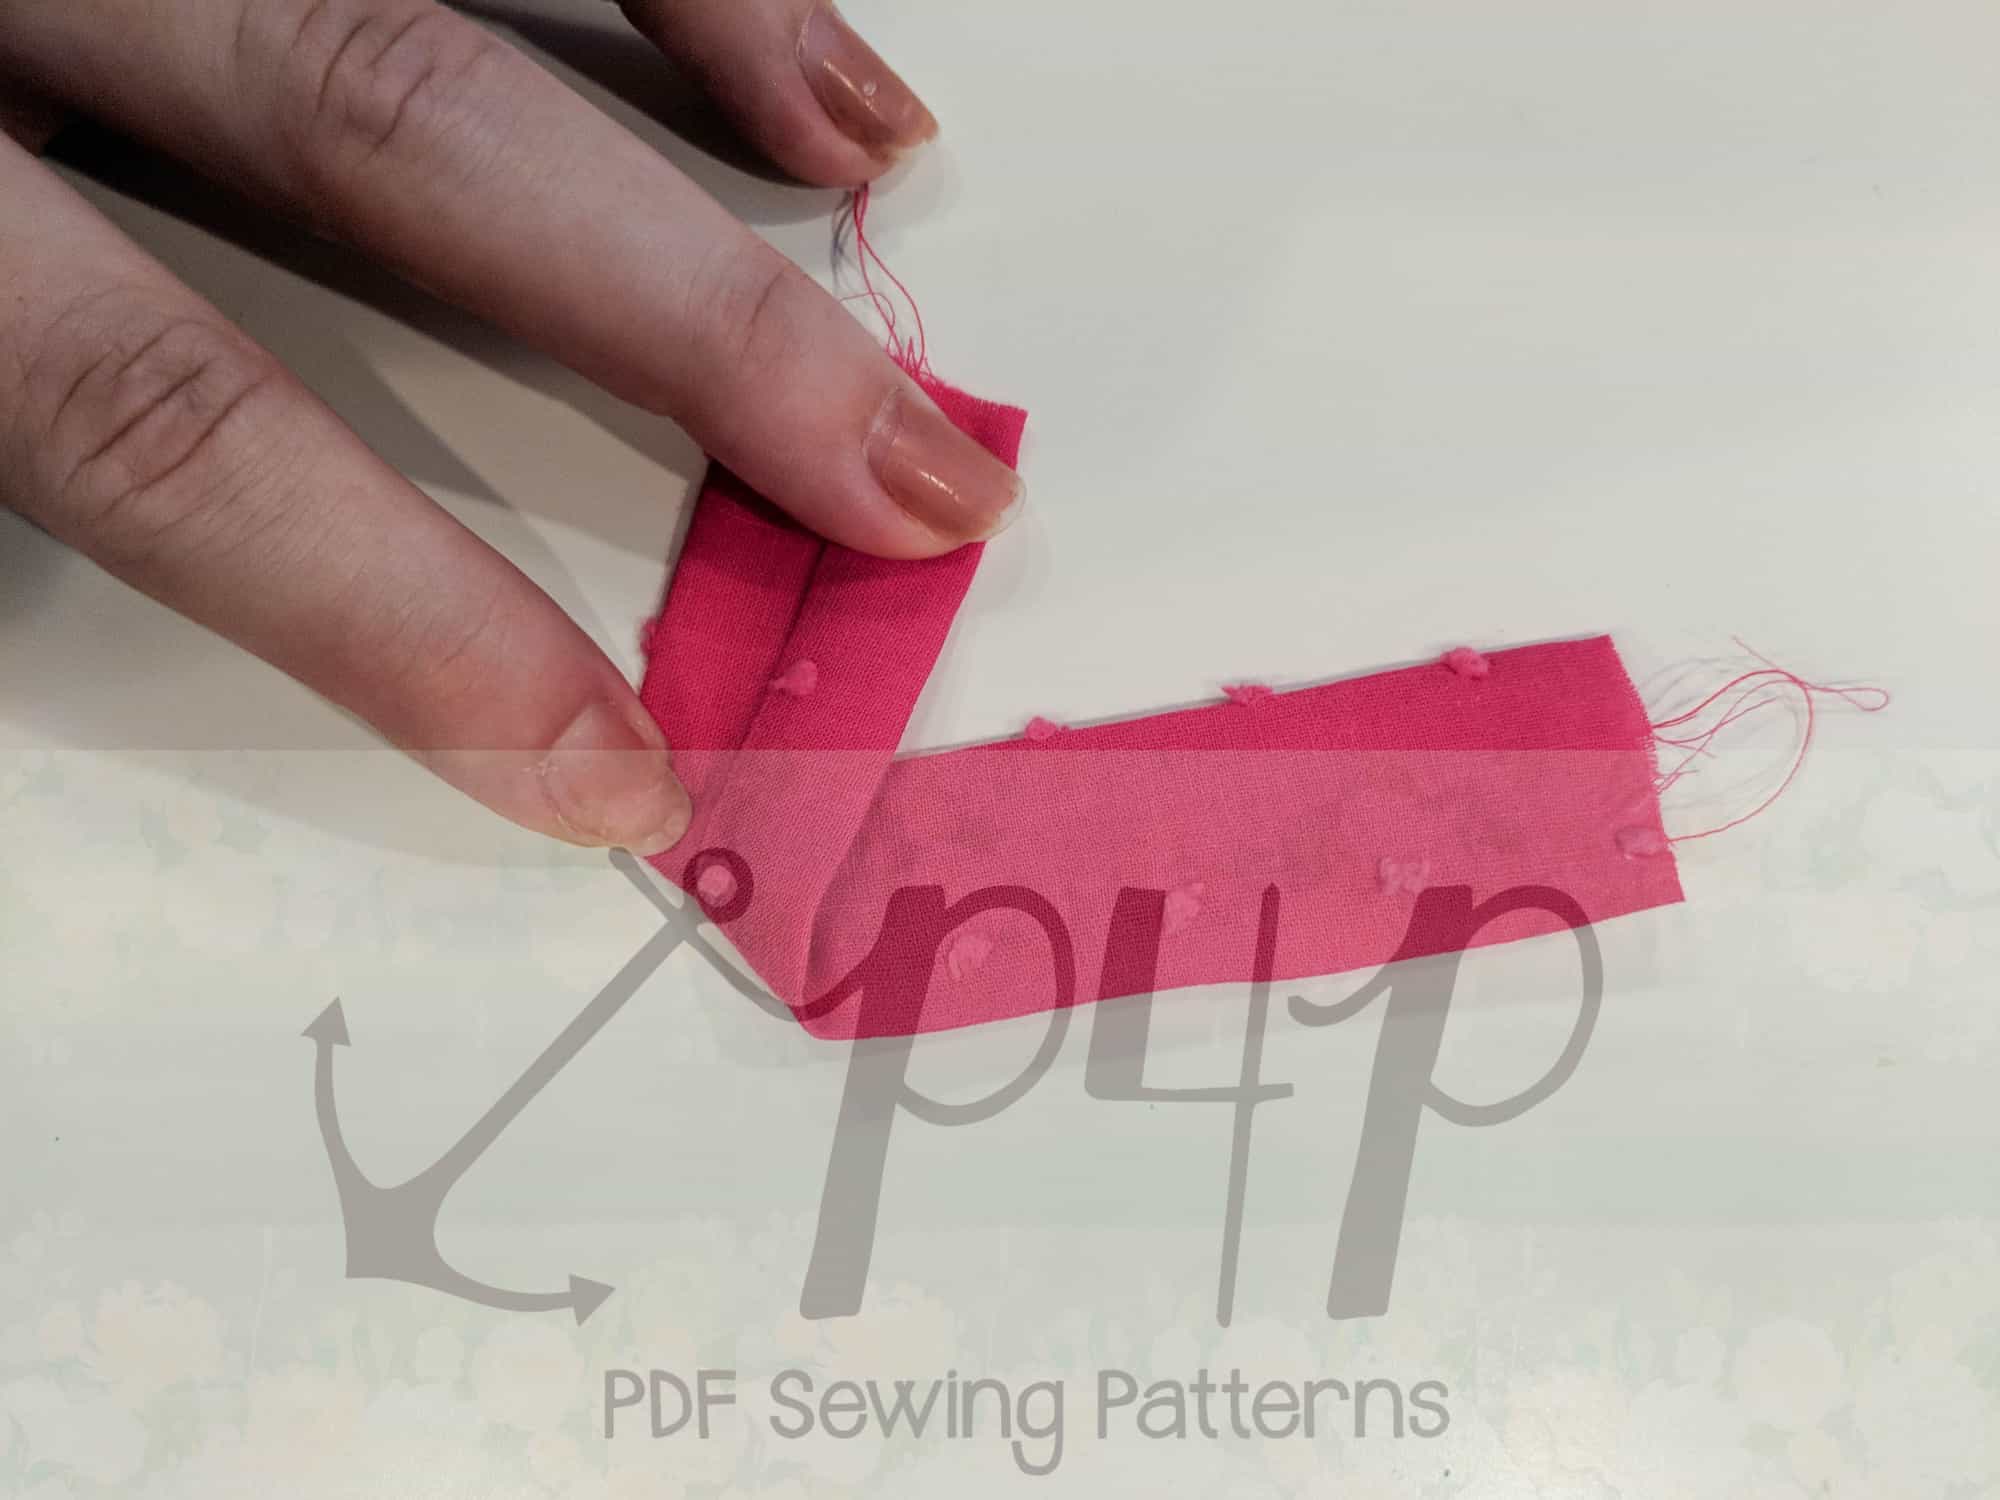
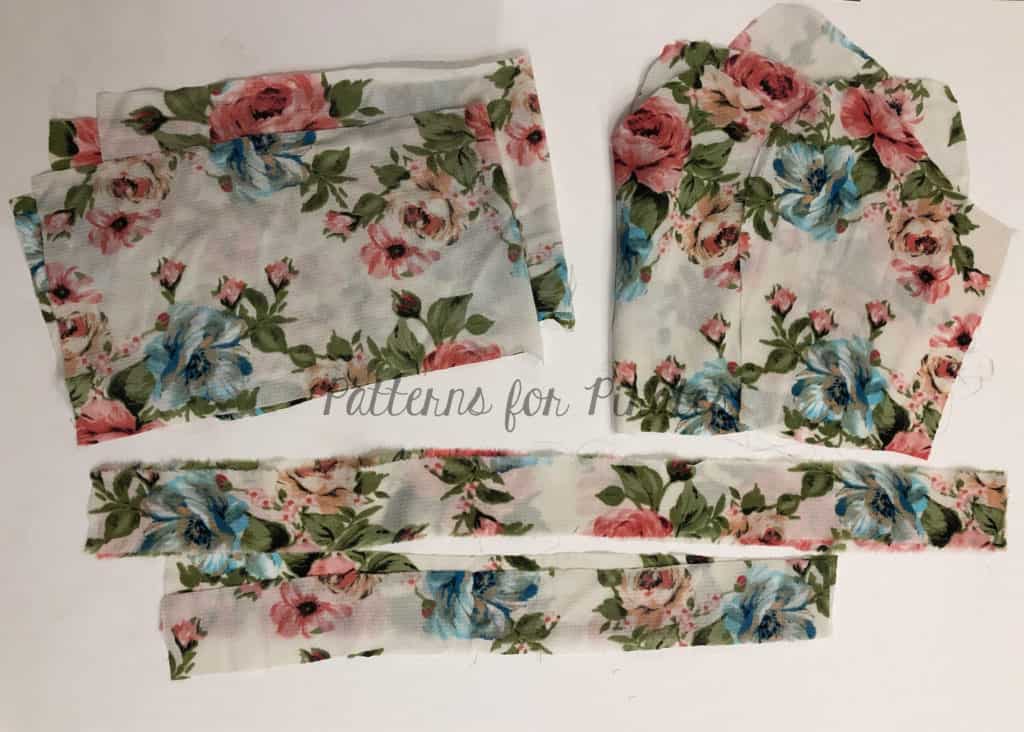
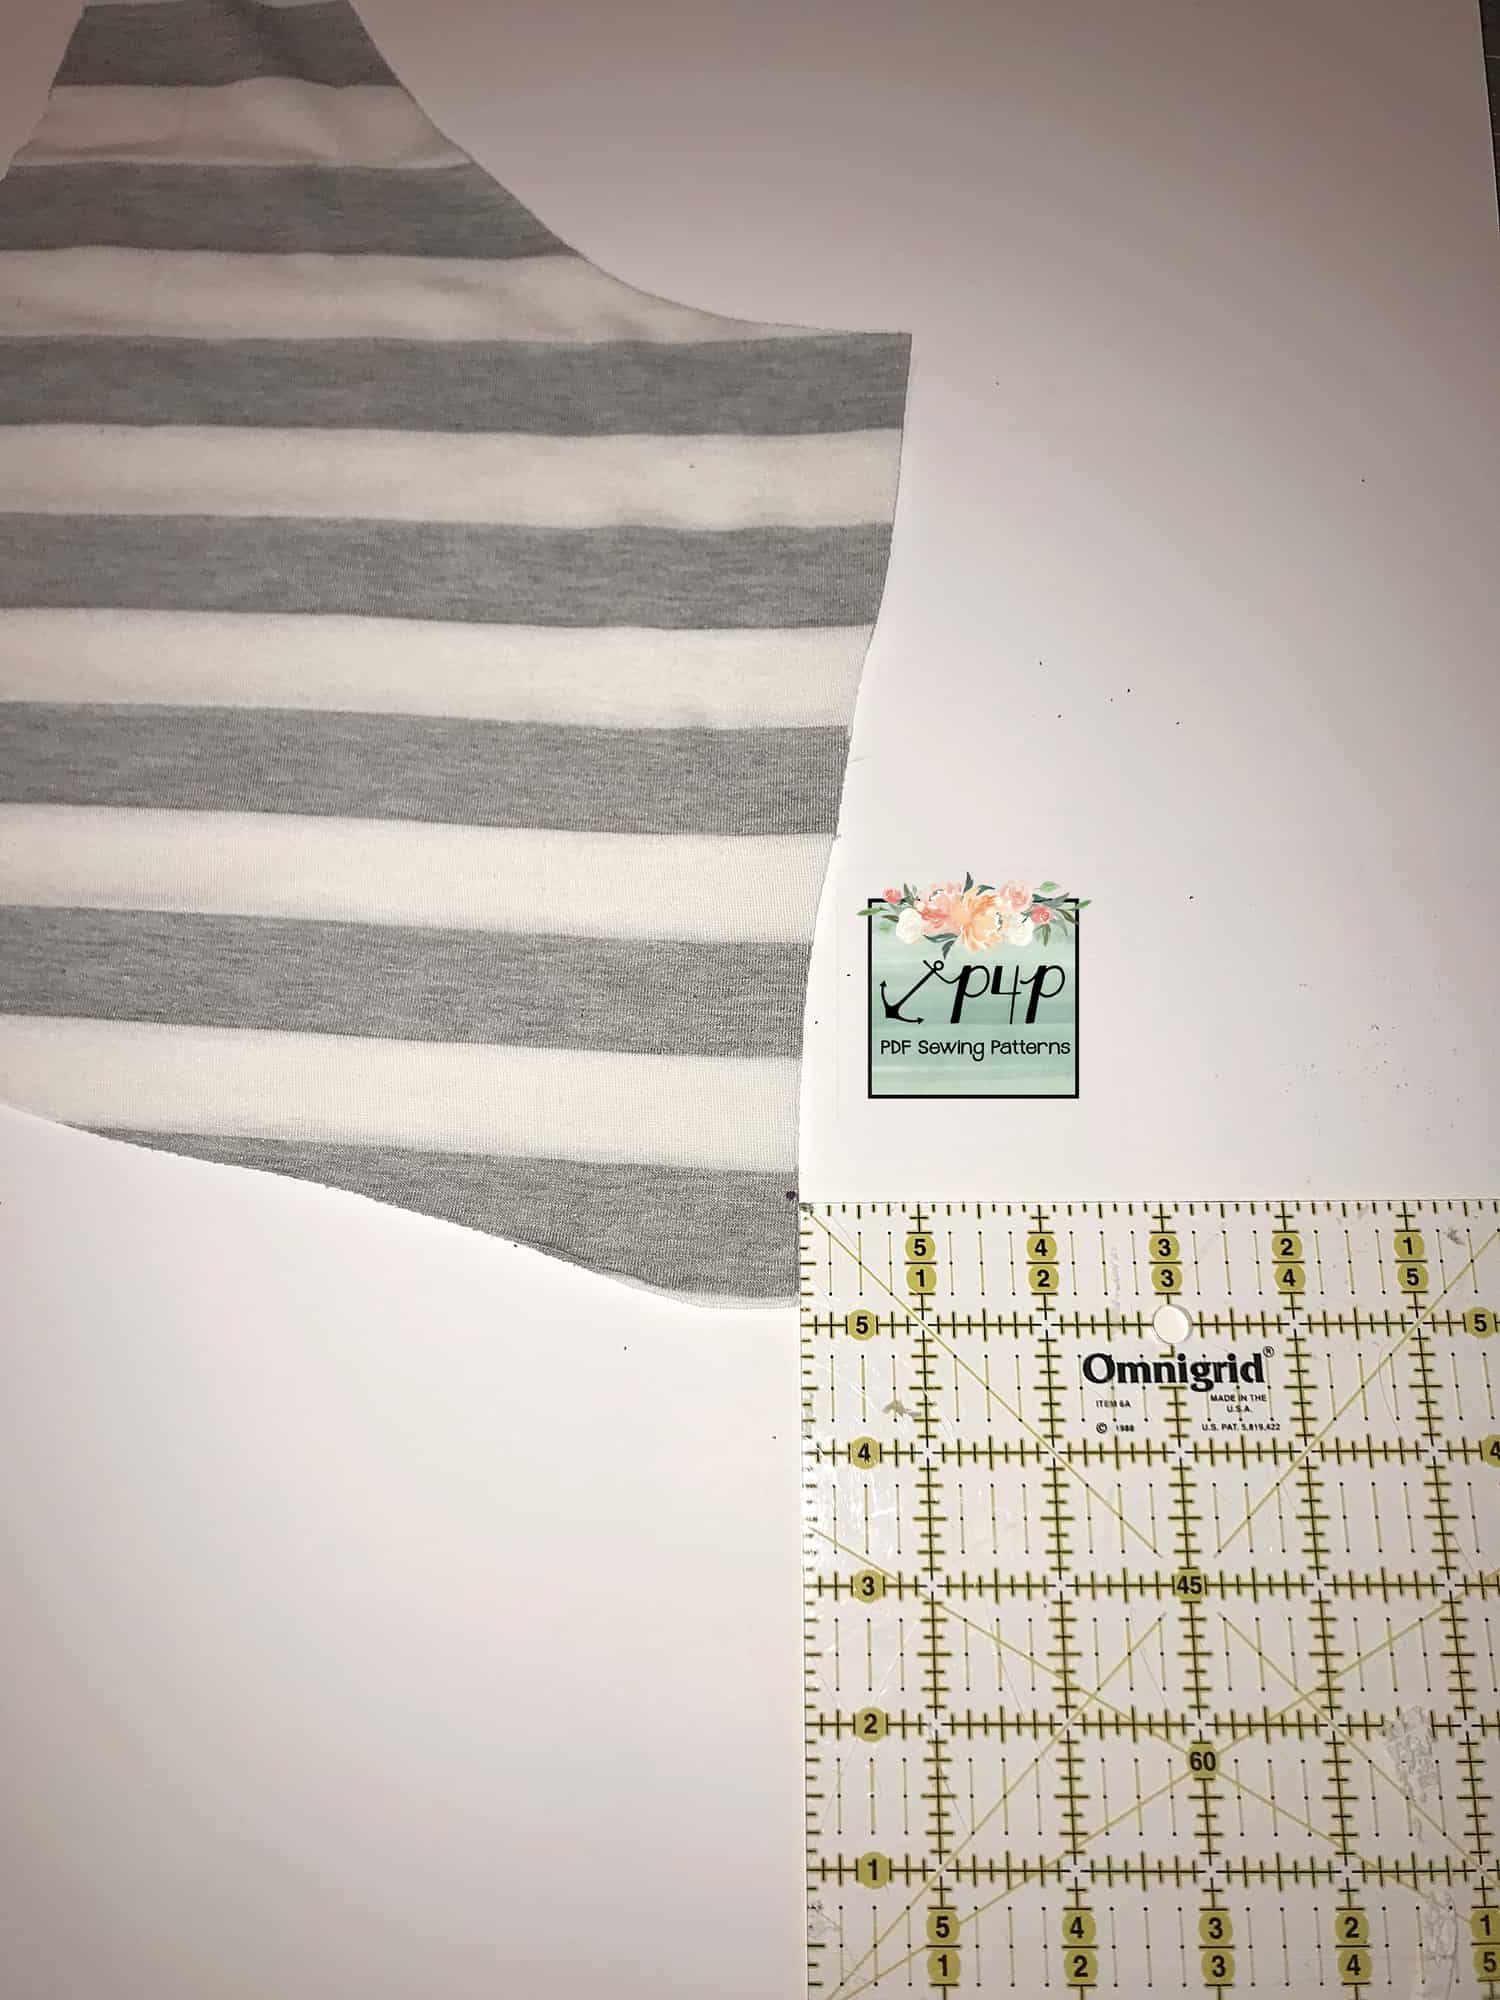
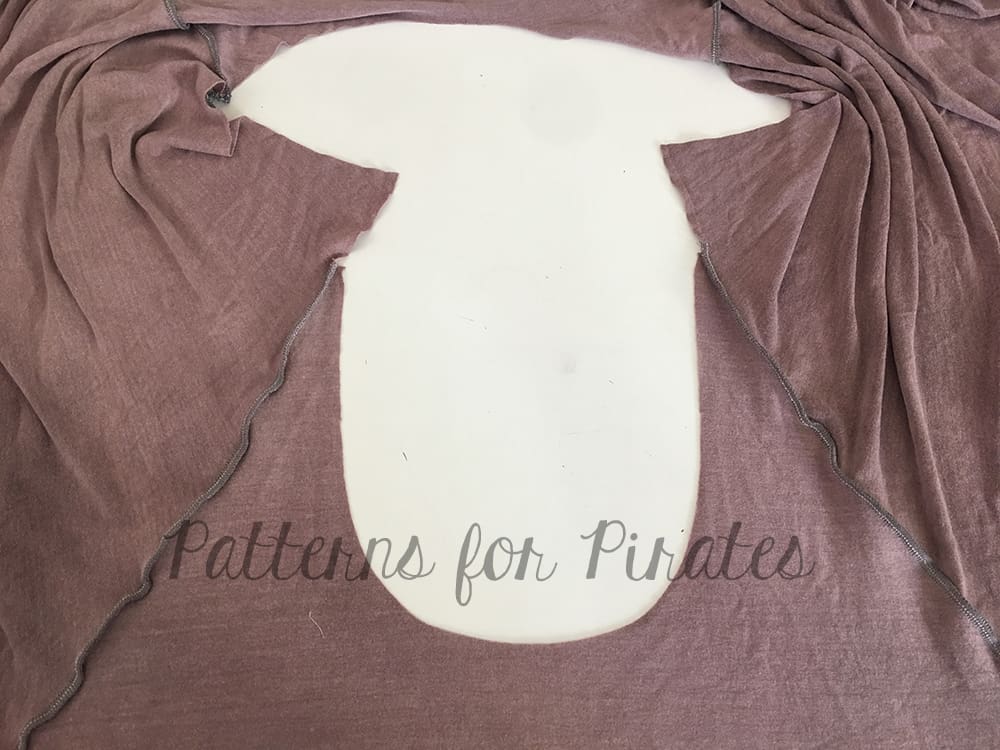
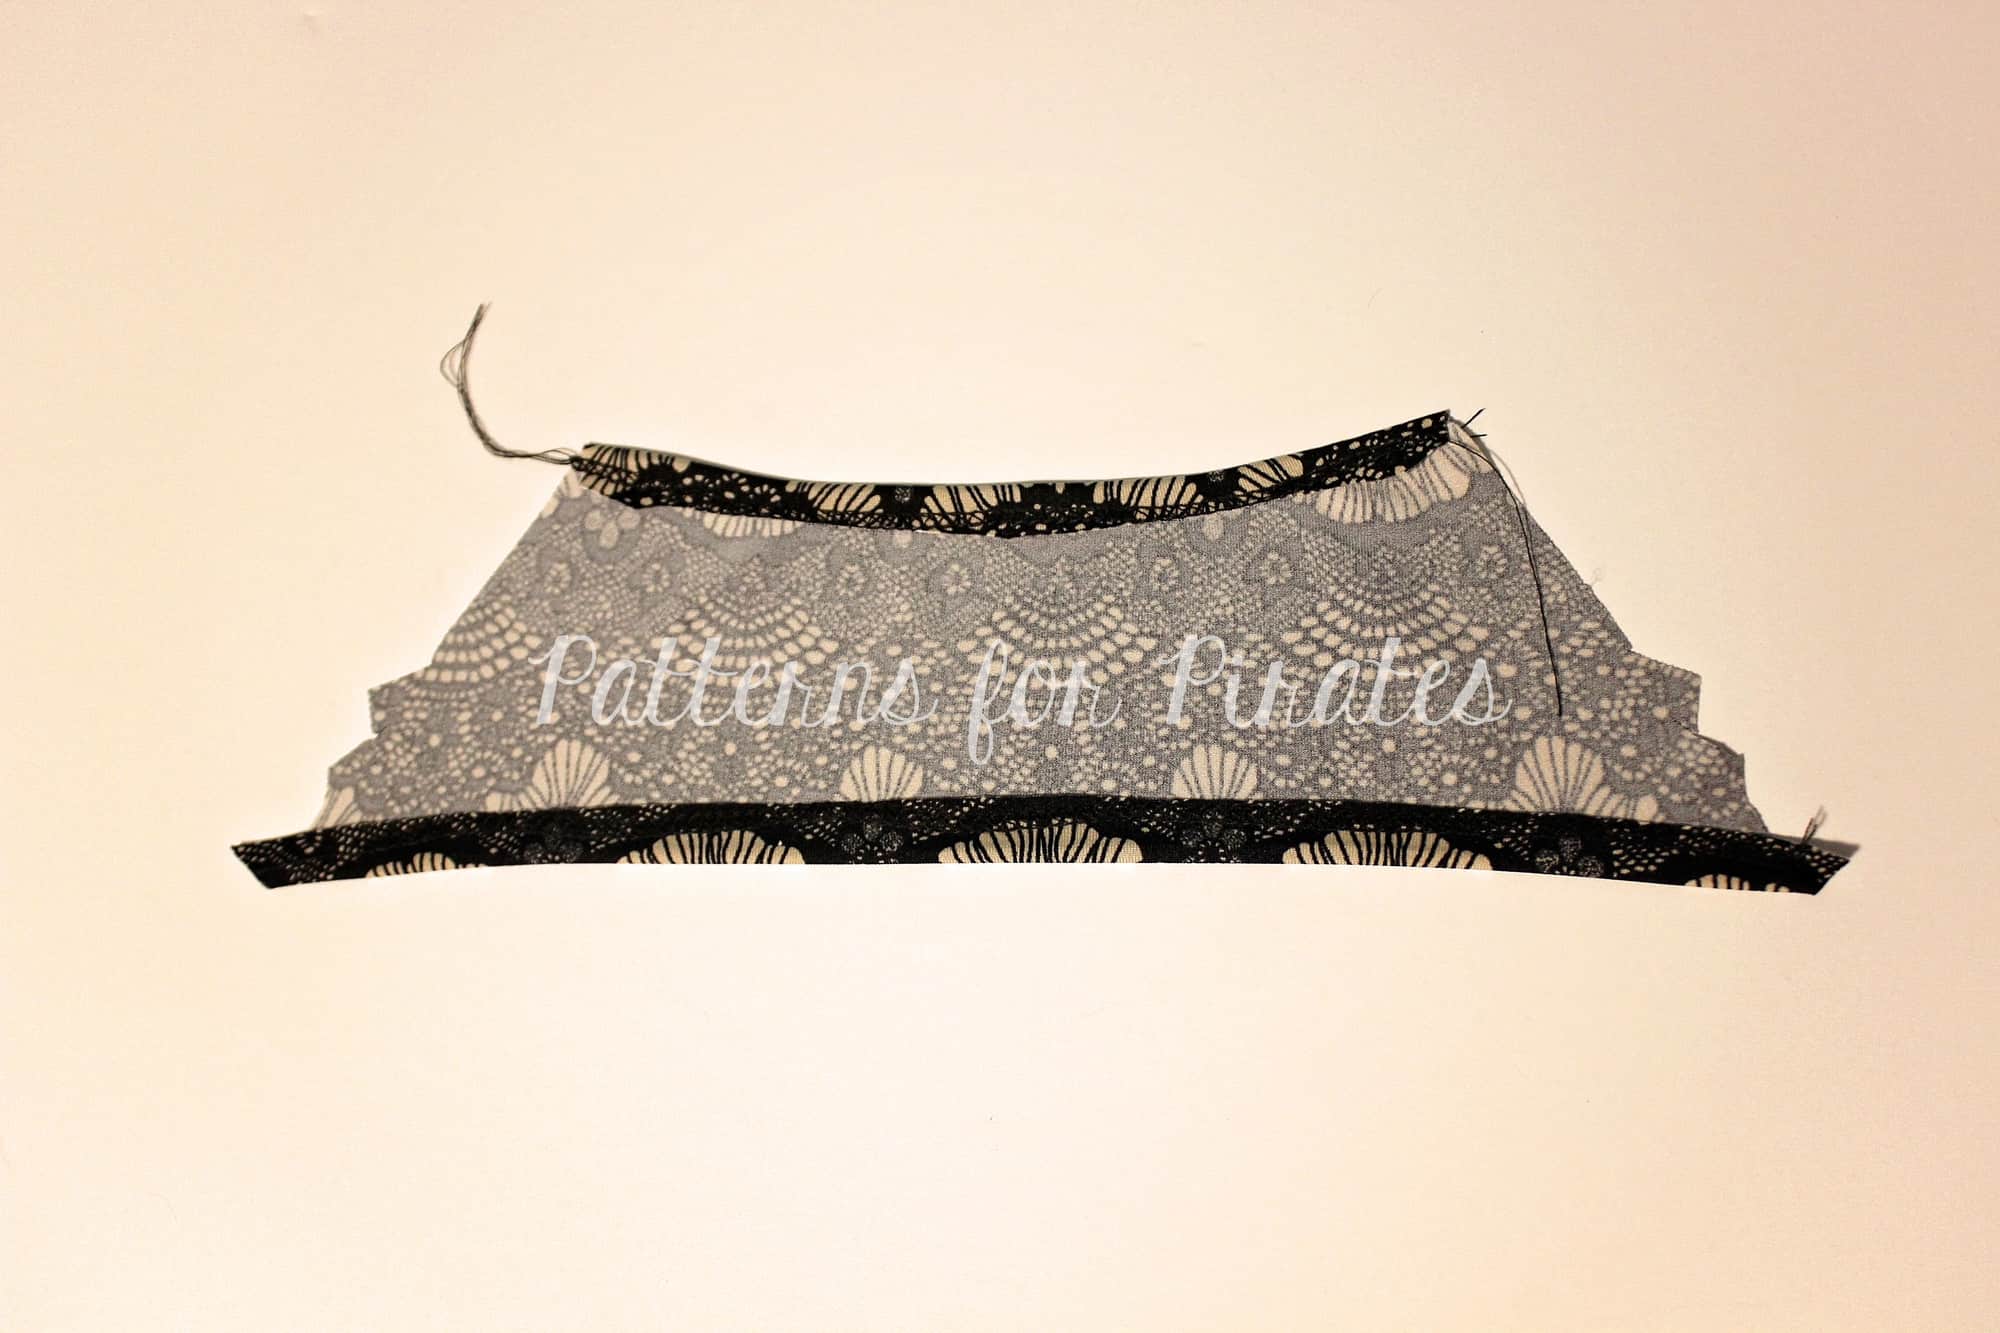
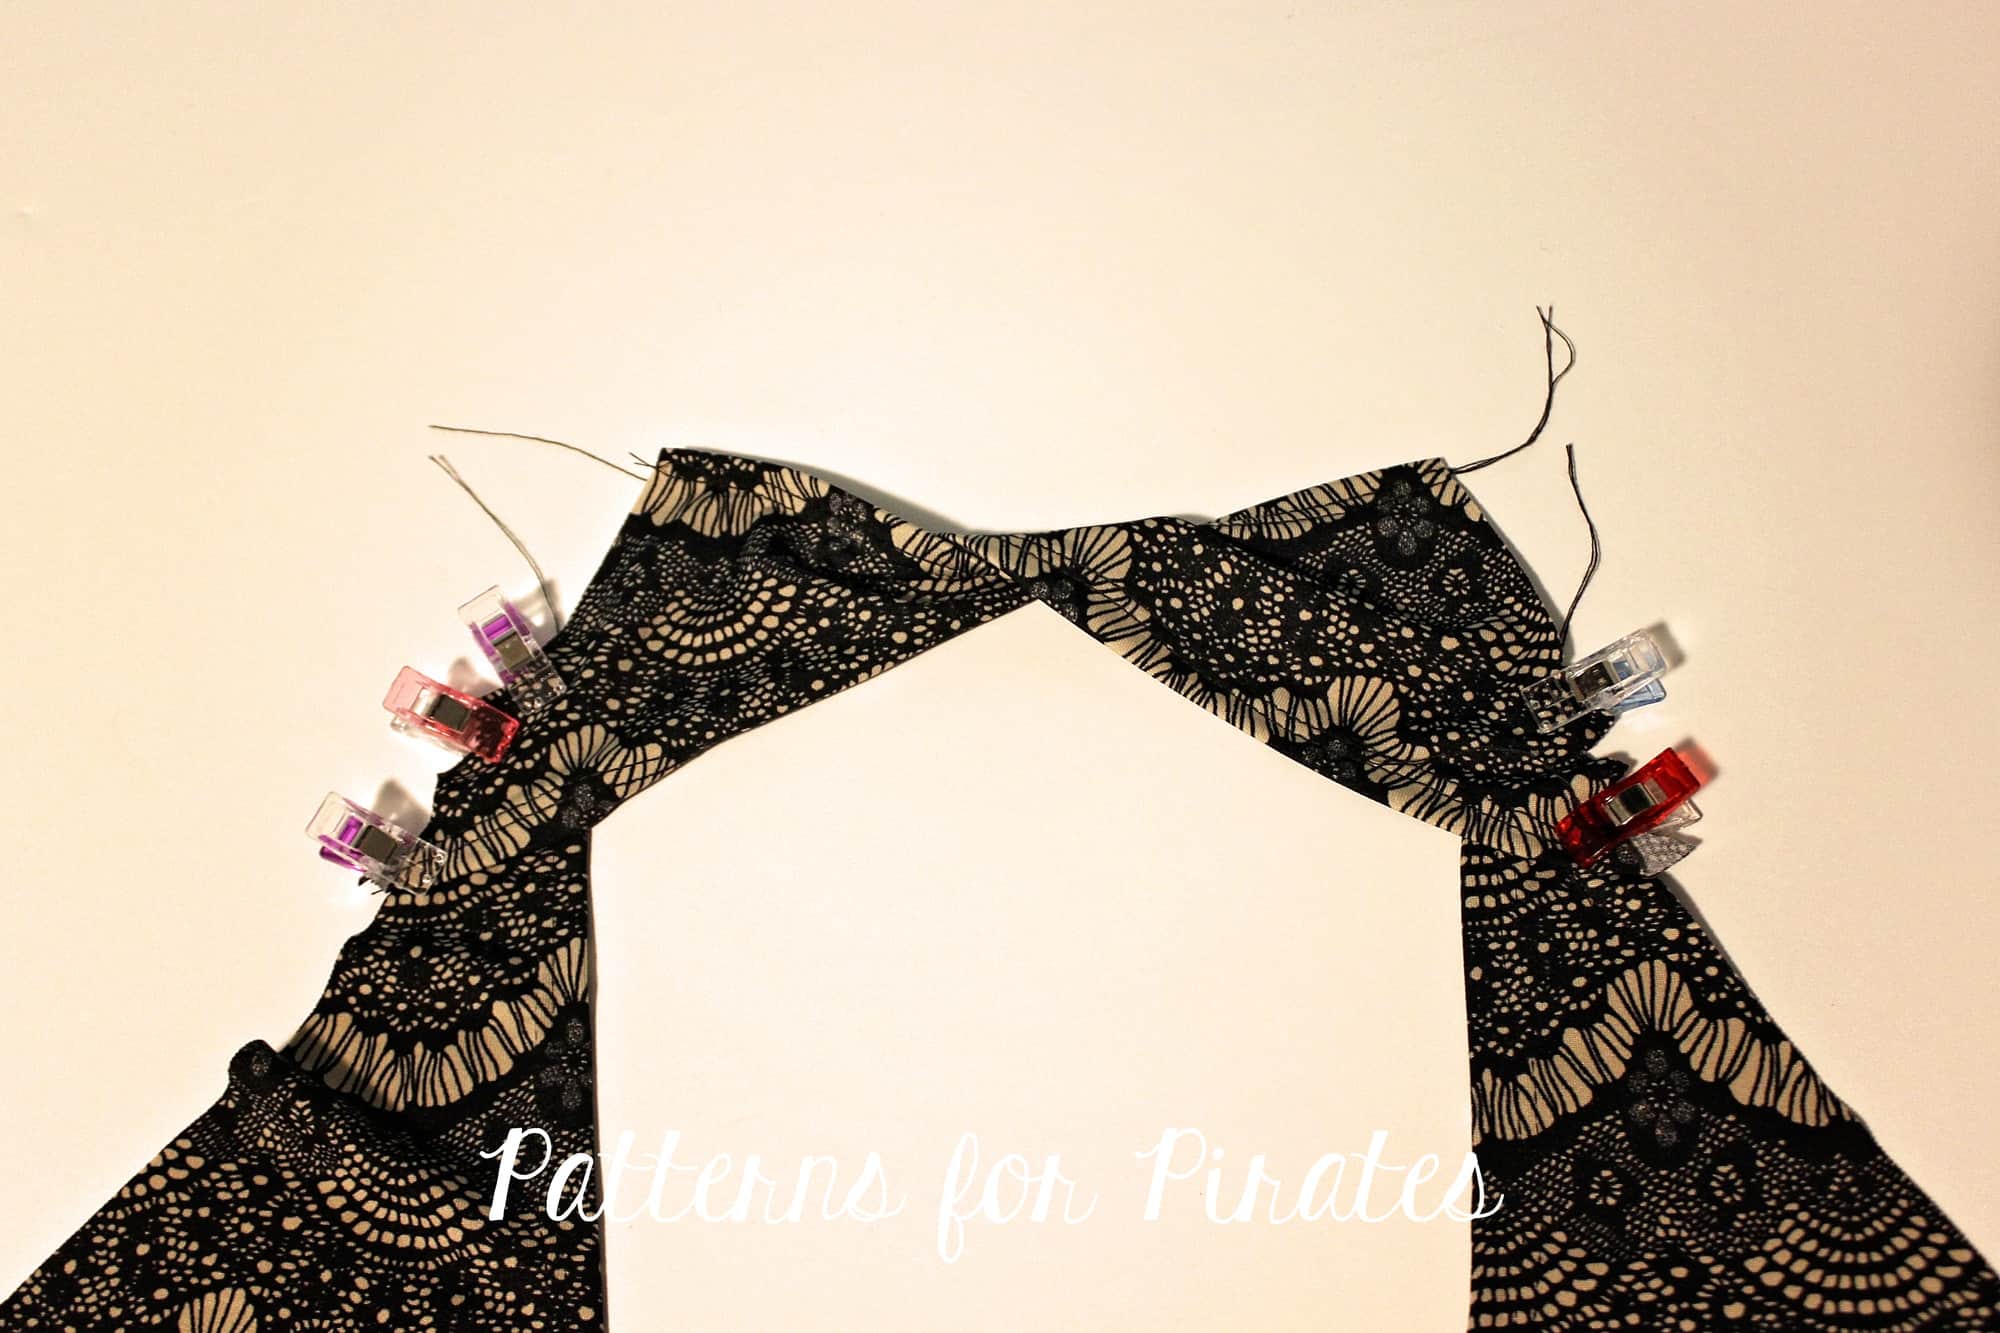
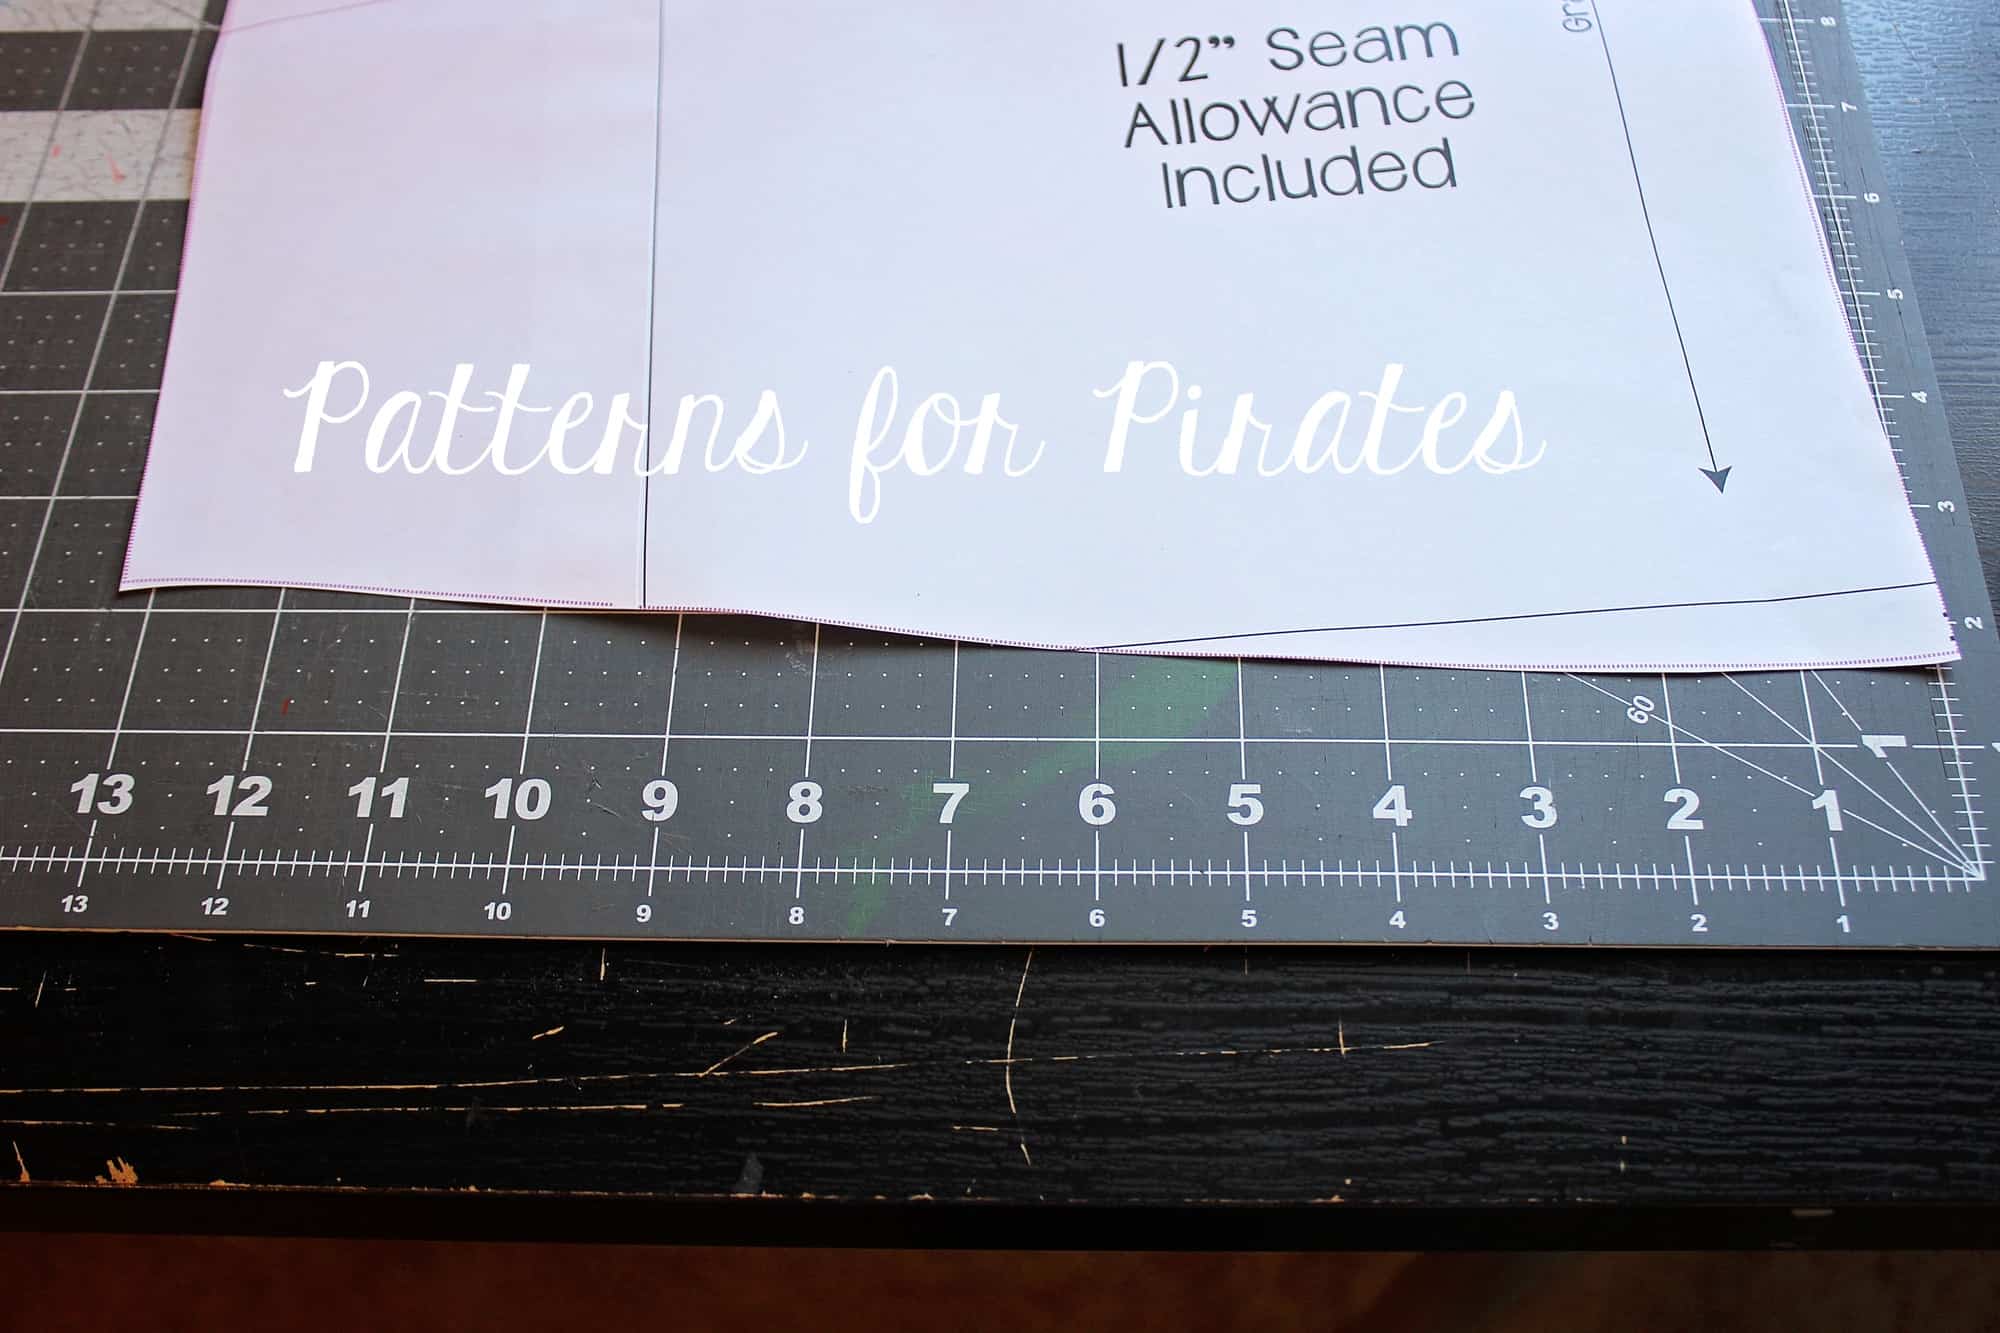
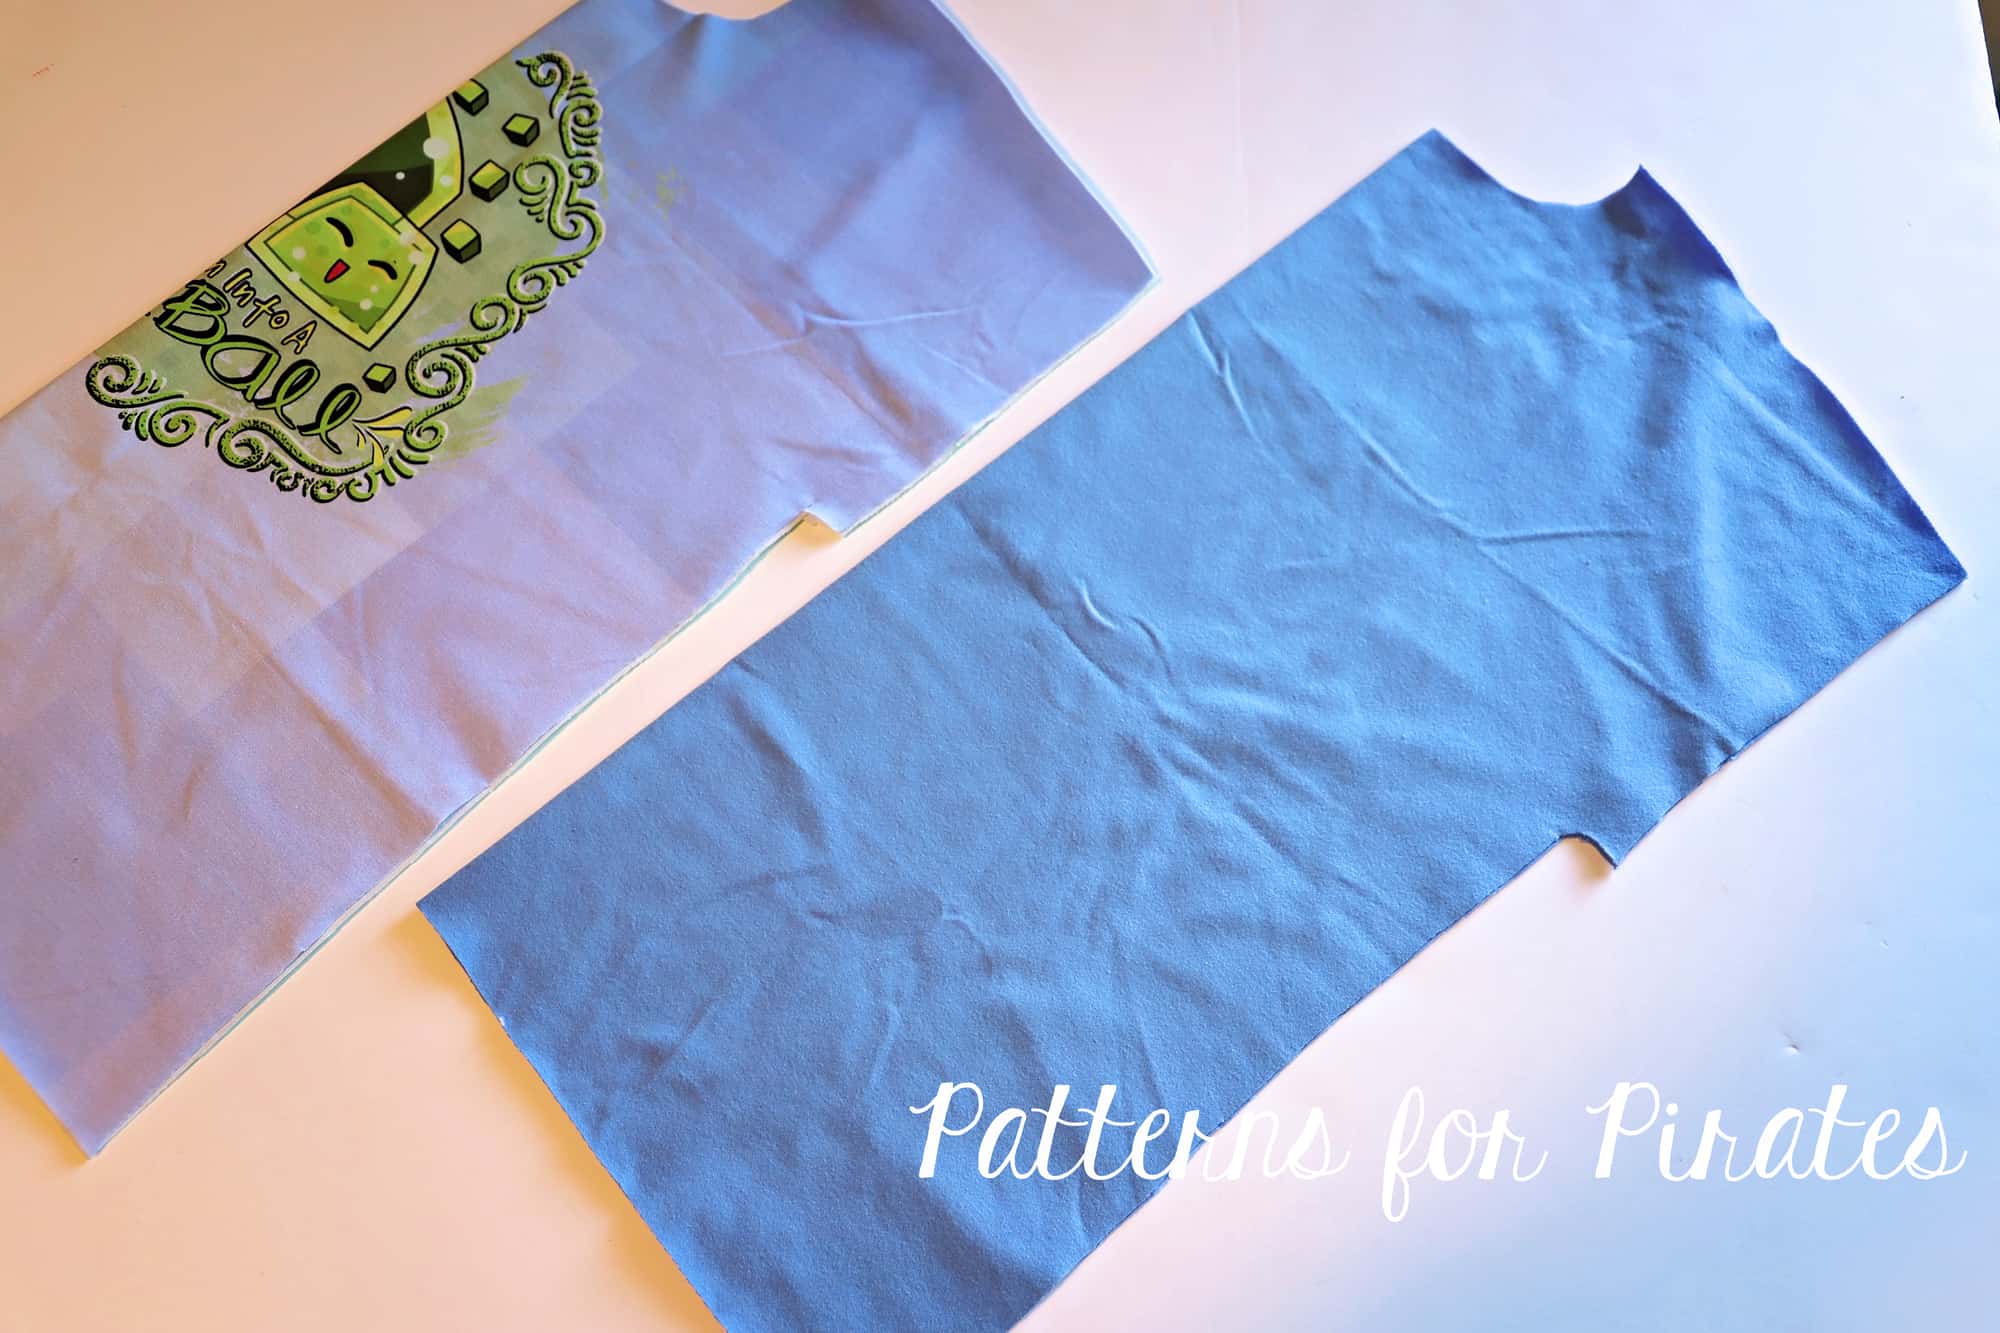
Start by printing your preferred style. Now grab the two back pieces. At this point you can do one of two things- remove the 1/2″ seam allowance from each piece and tape together (shown in first picture). Shown in the second picture, you could also fold each piece up 1/2″ and butt the two pieces together, matching the FOLD line and the side seam and …boom! There you have your new back pattern piece.
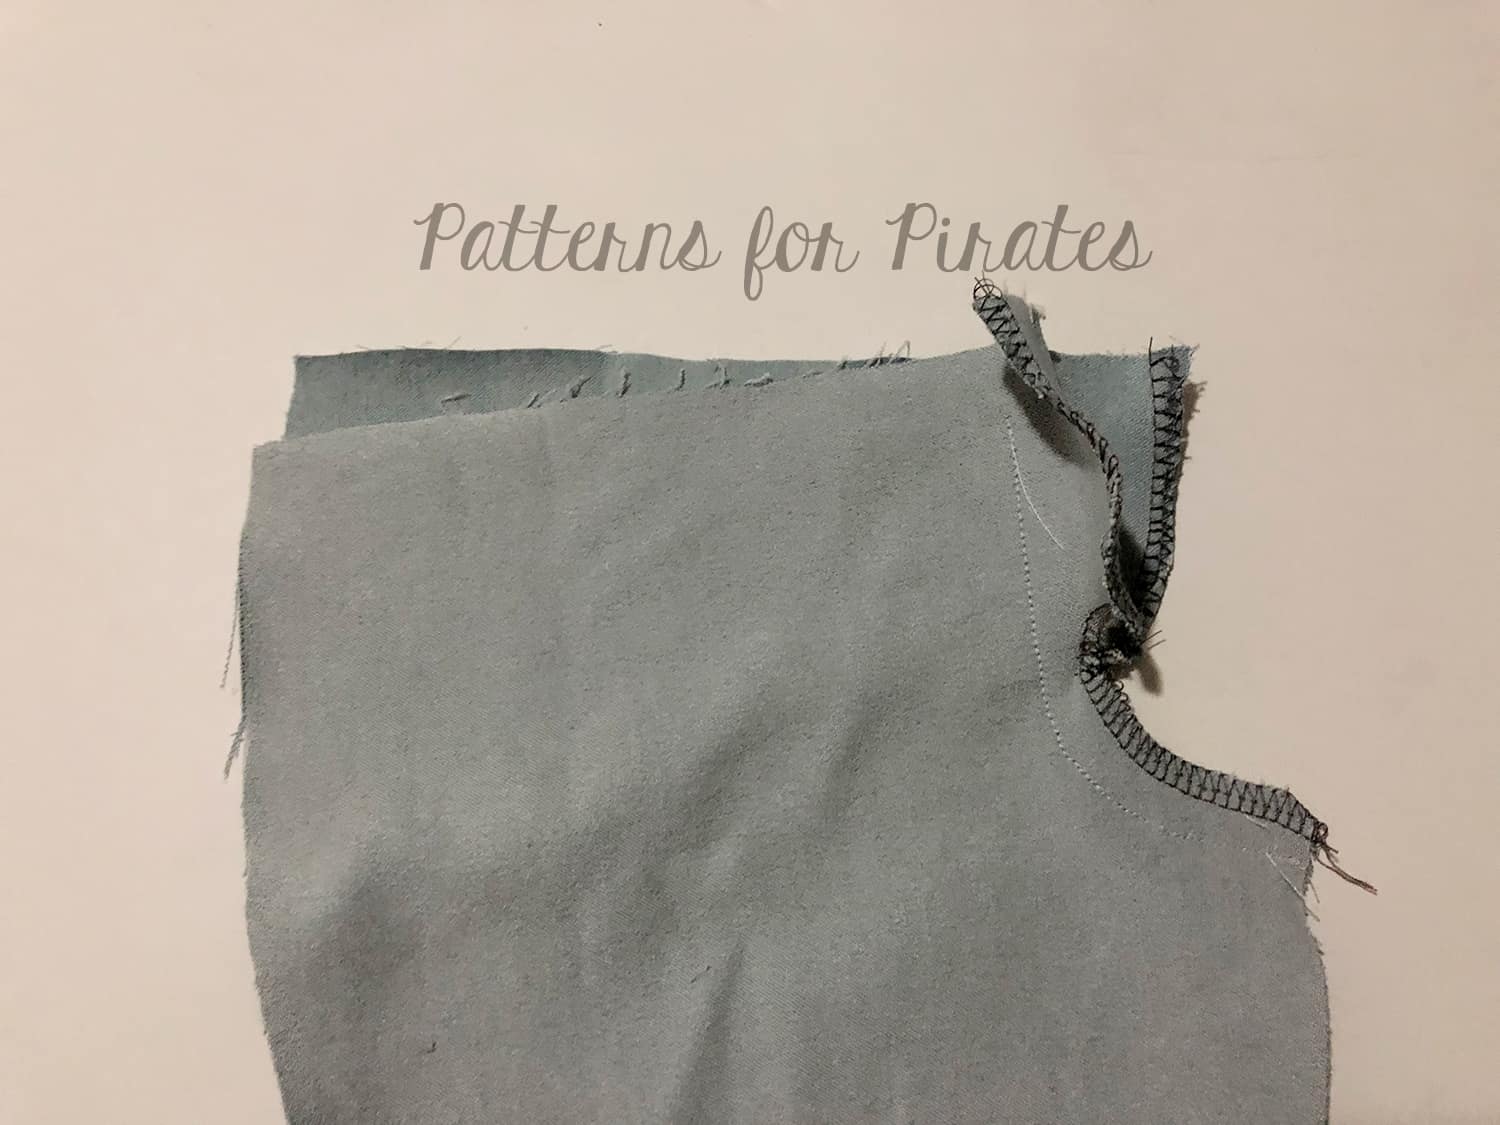
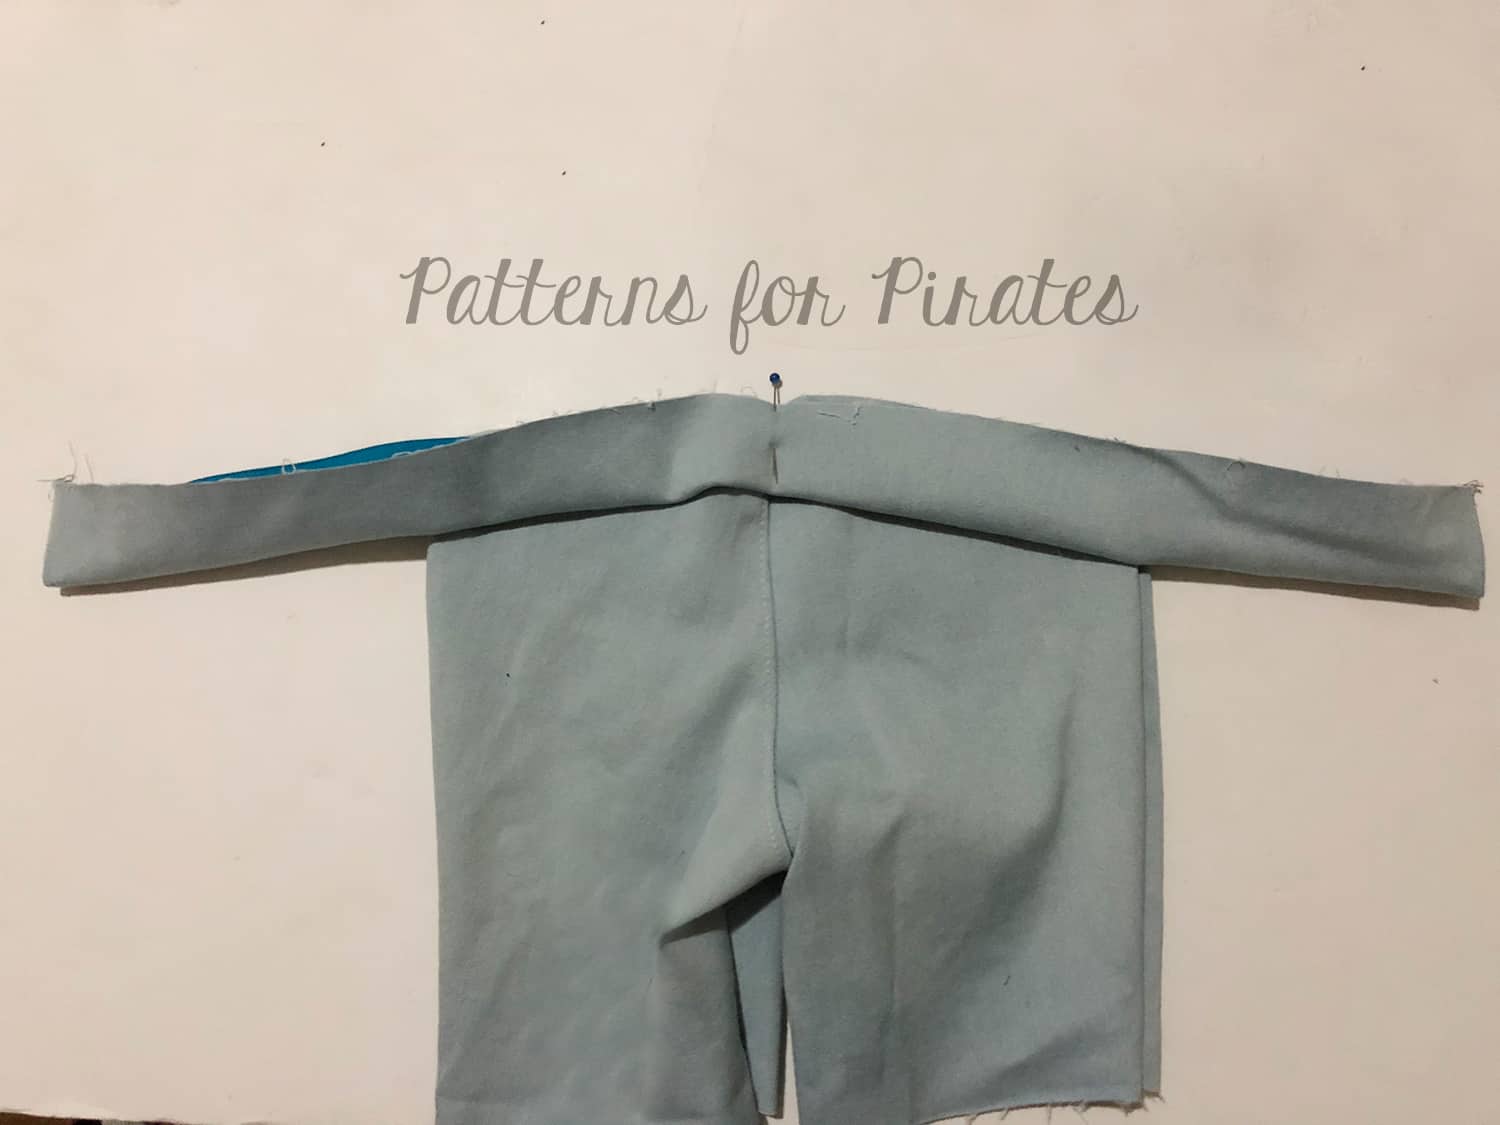
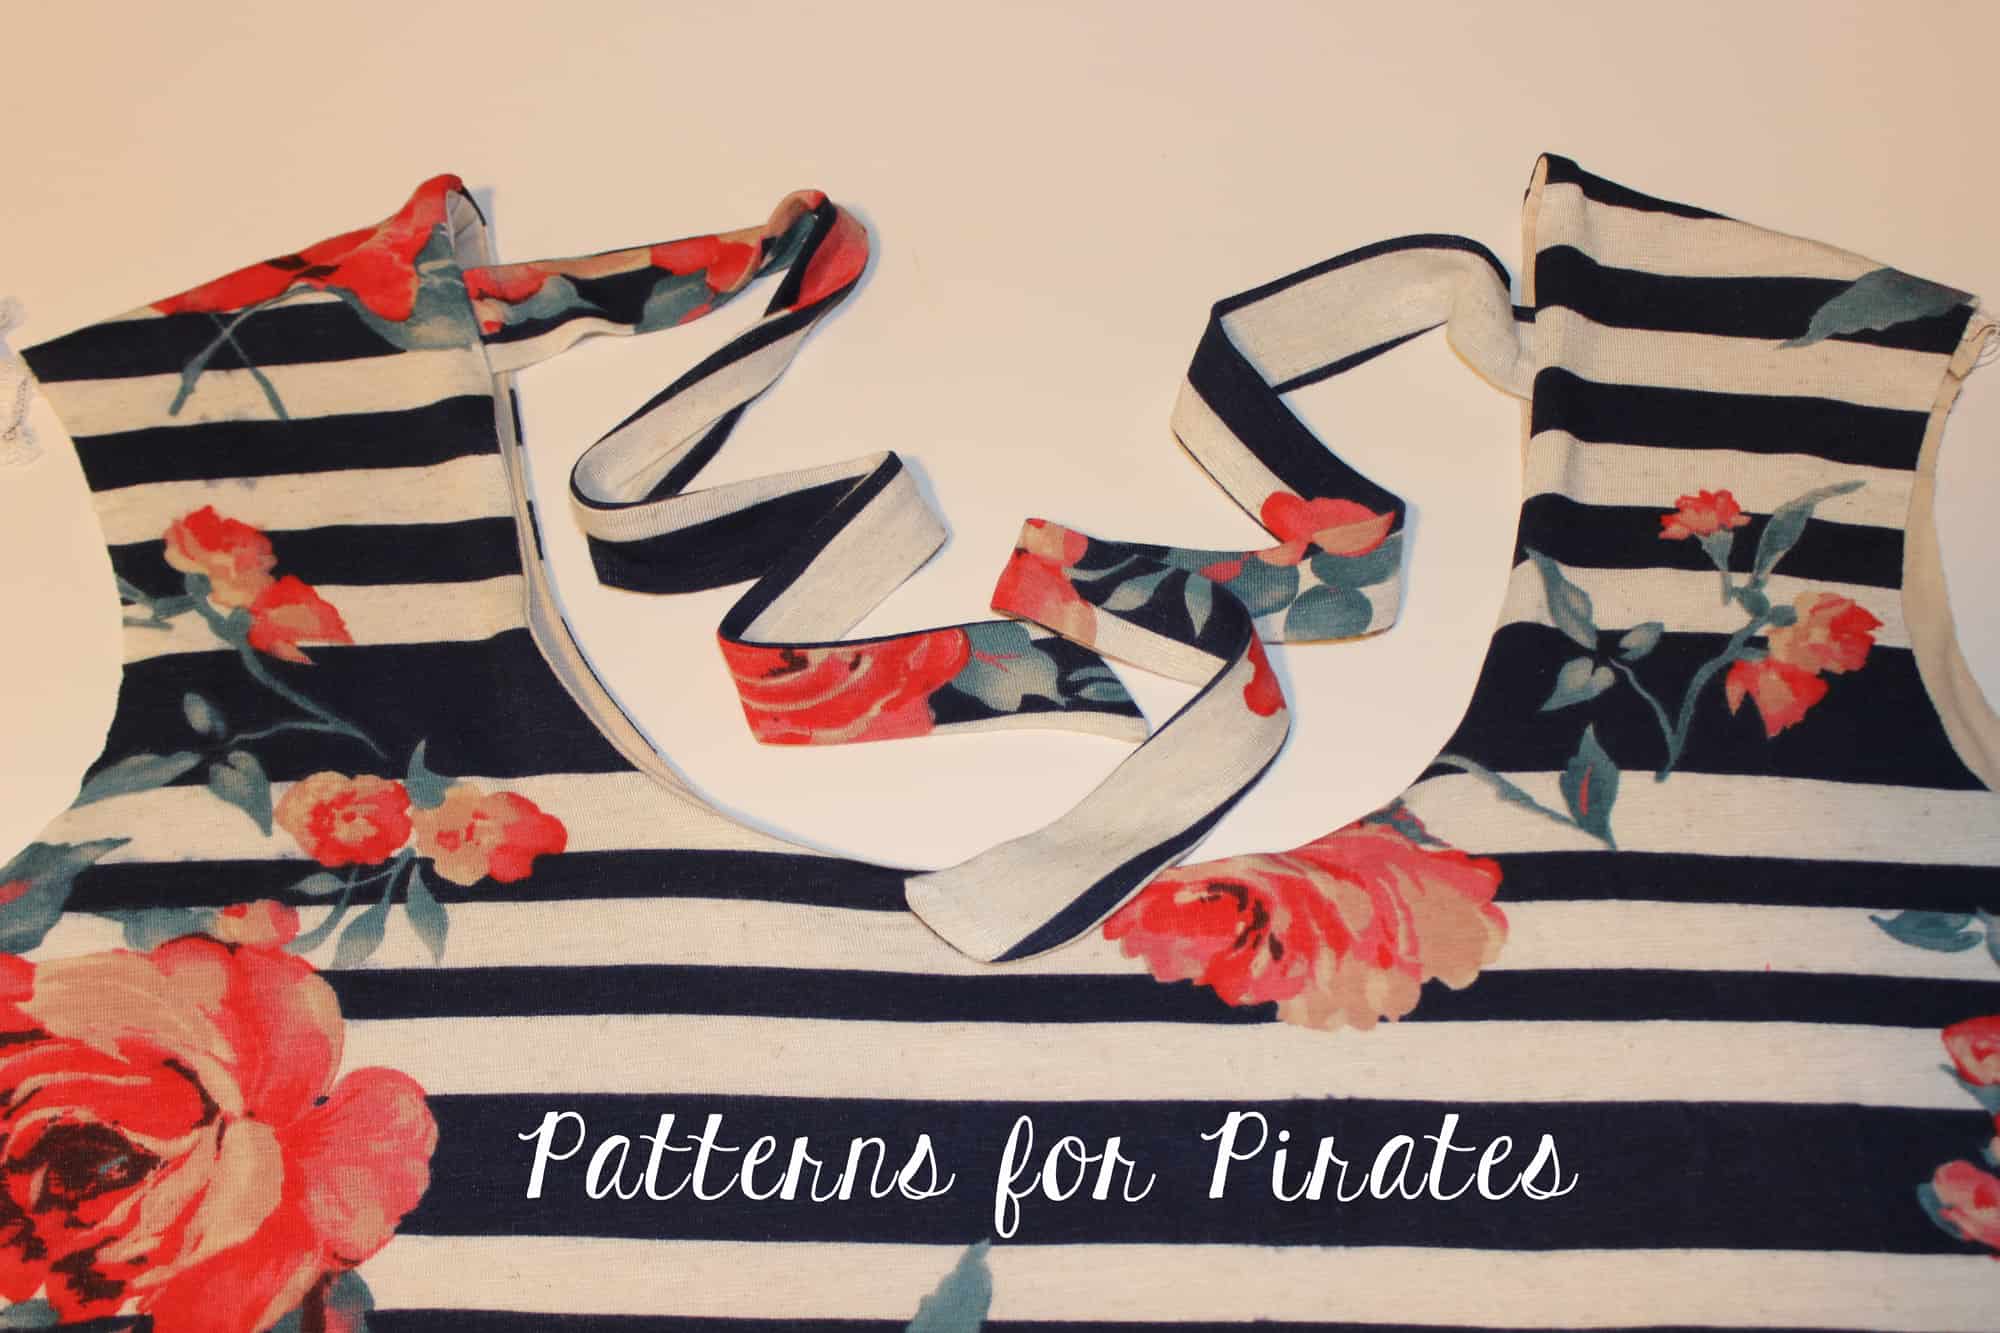
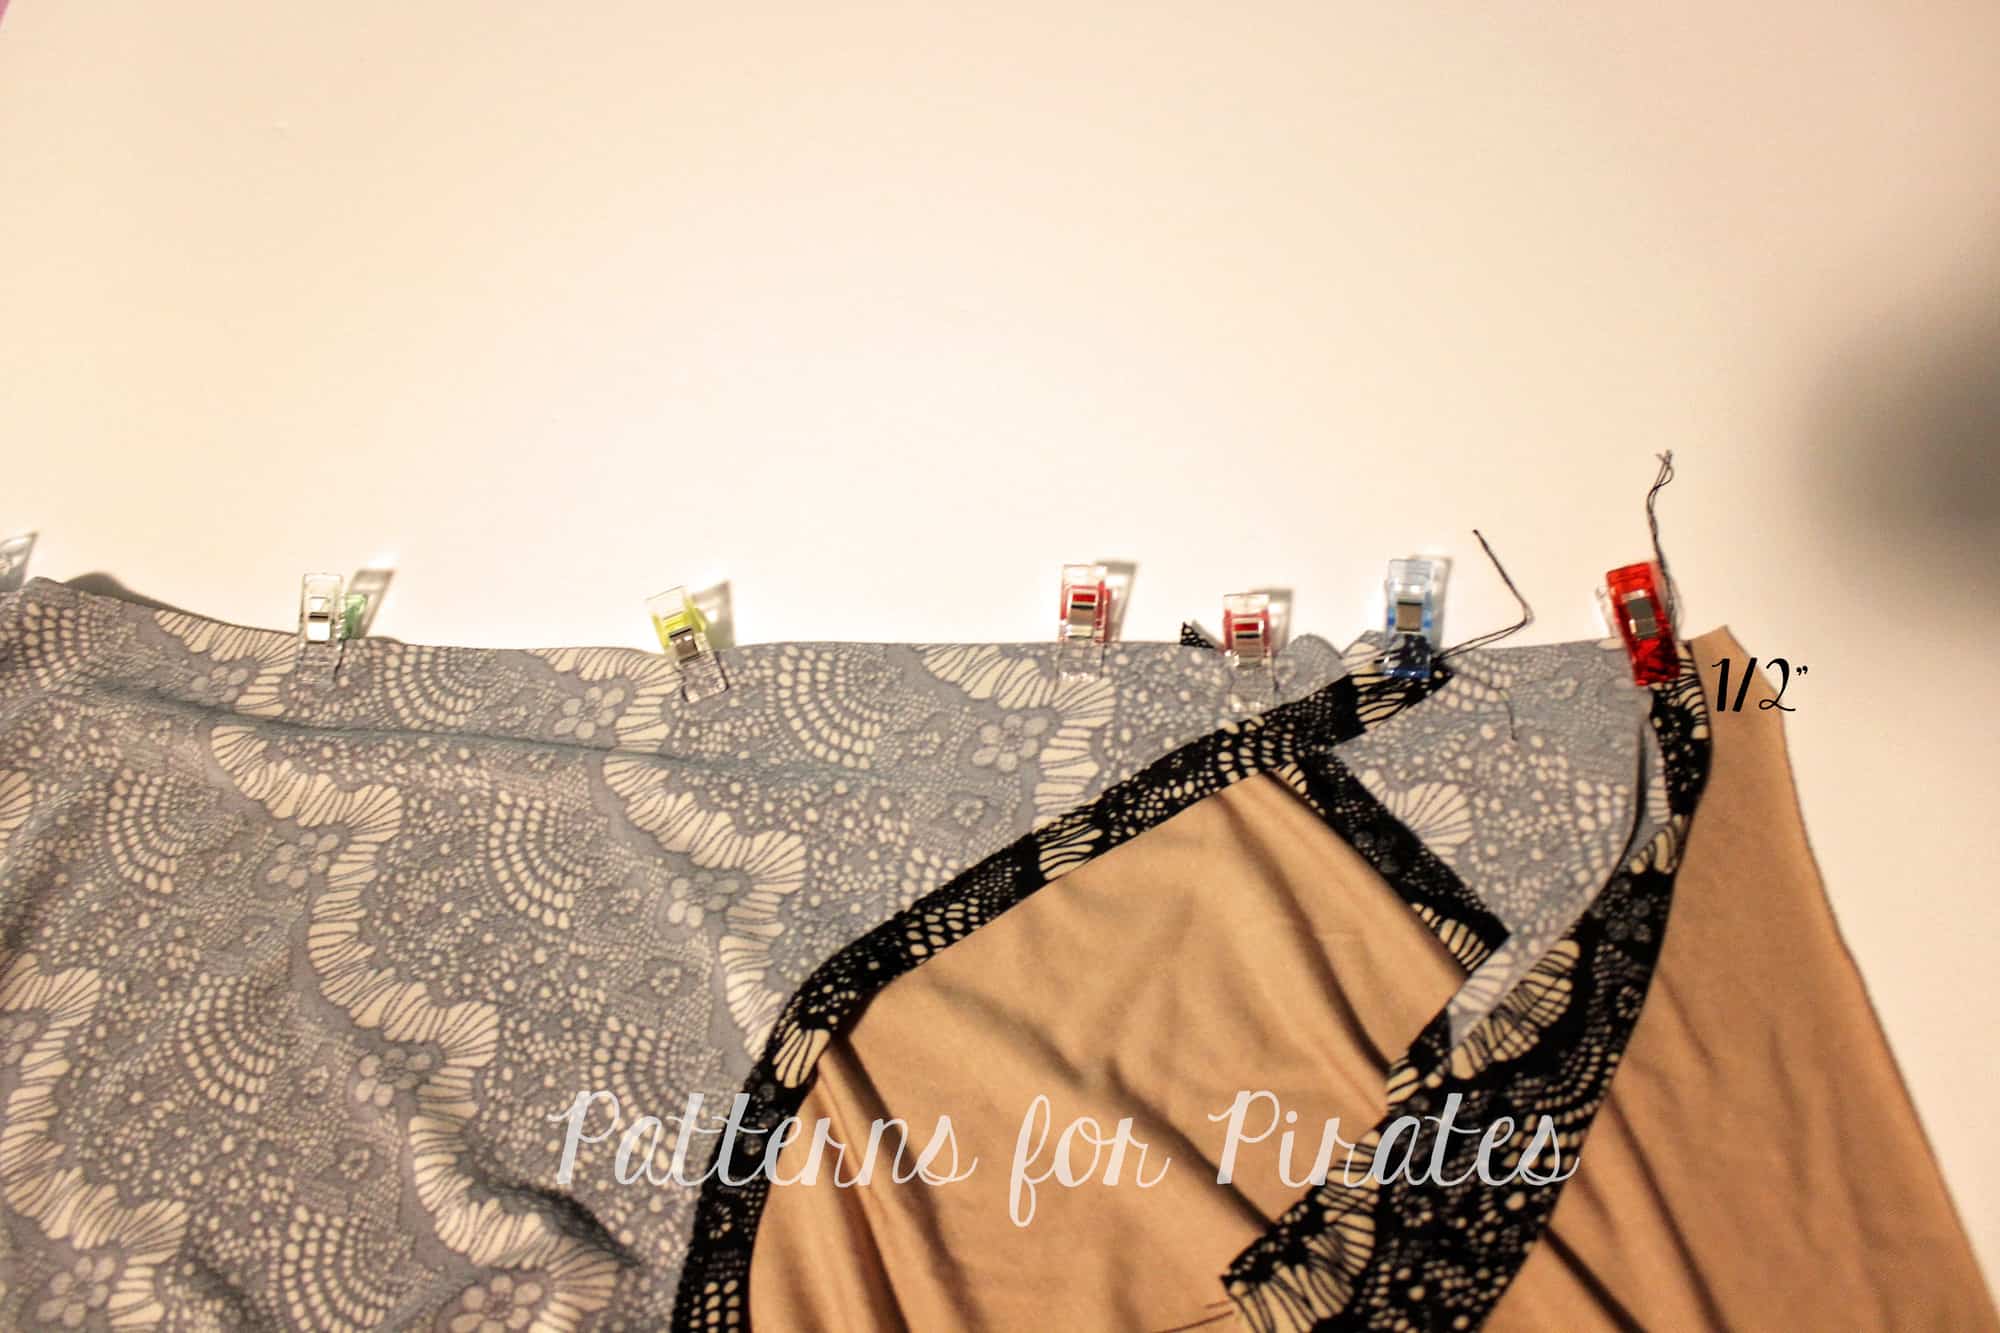
Cut your pattern pieces and sew the shirt as per the tutorial. Simply skip the steps that show you how to sew the two back pieces.
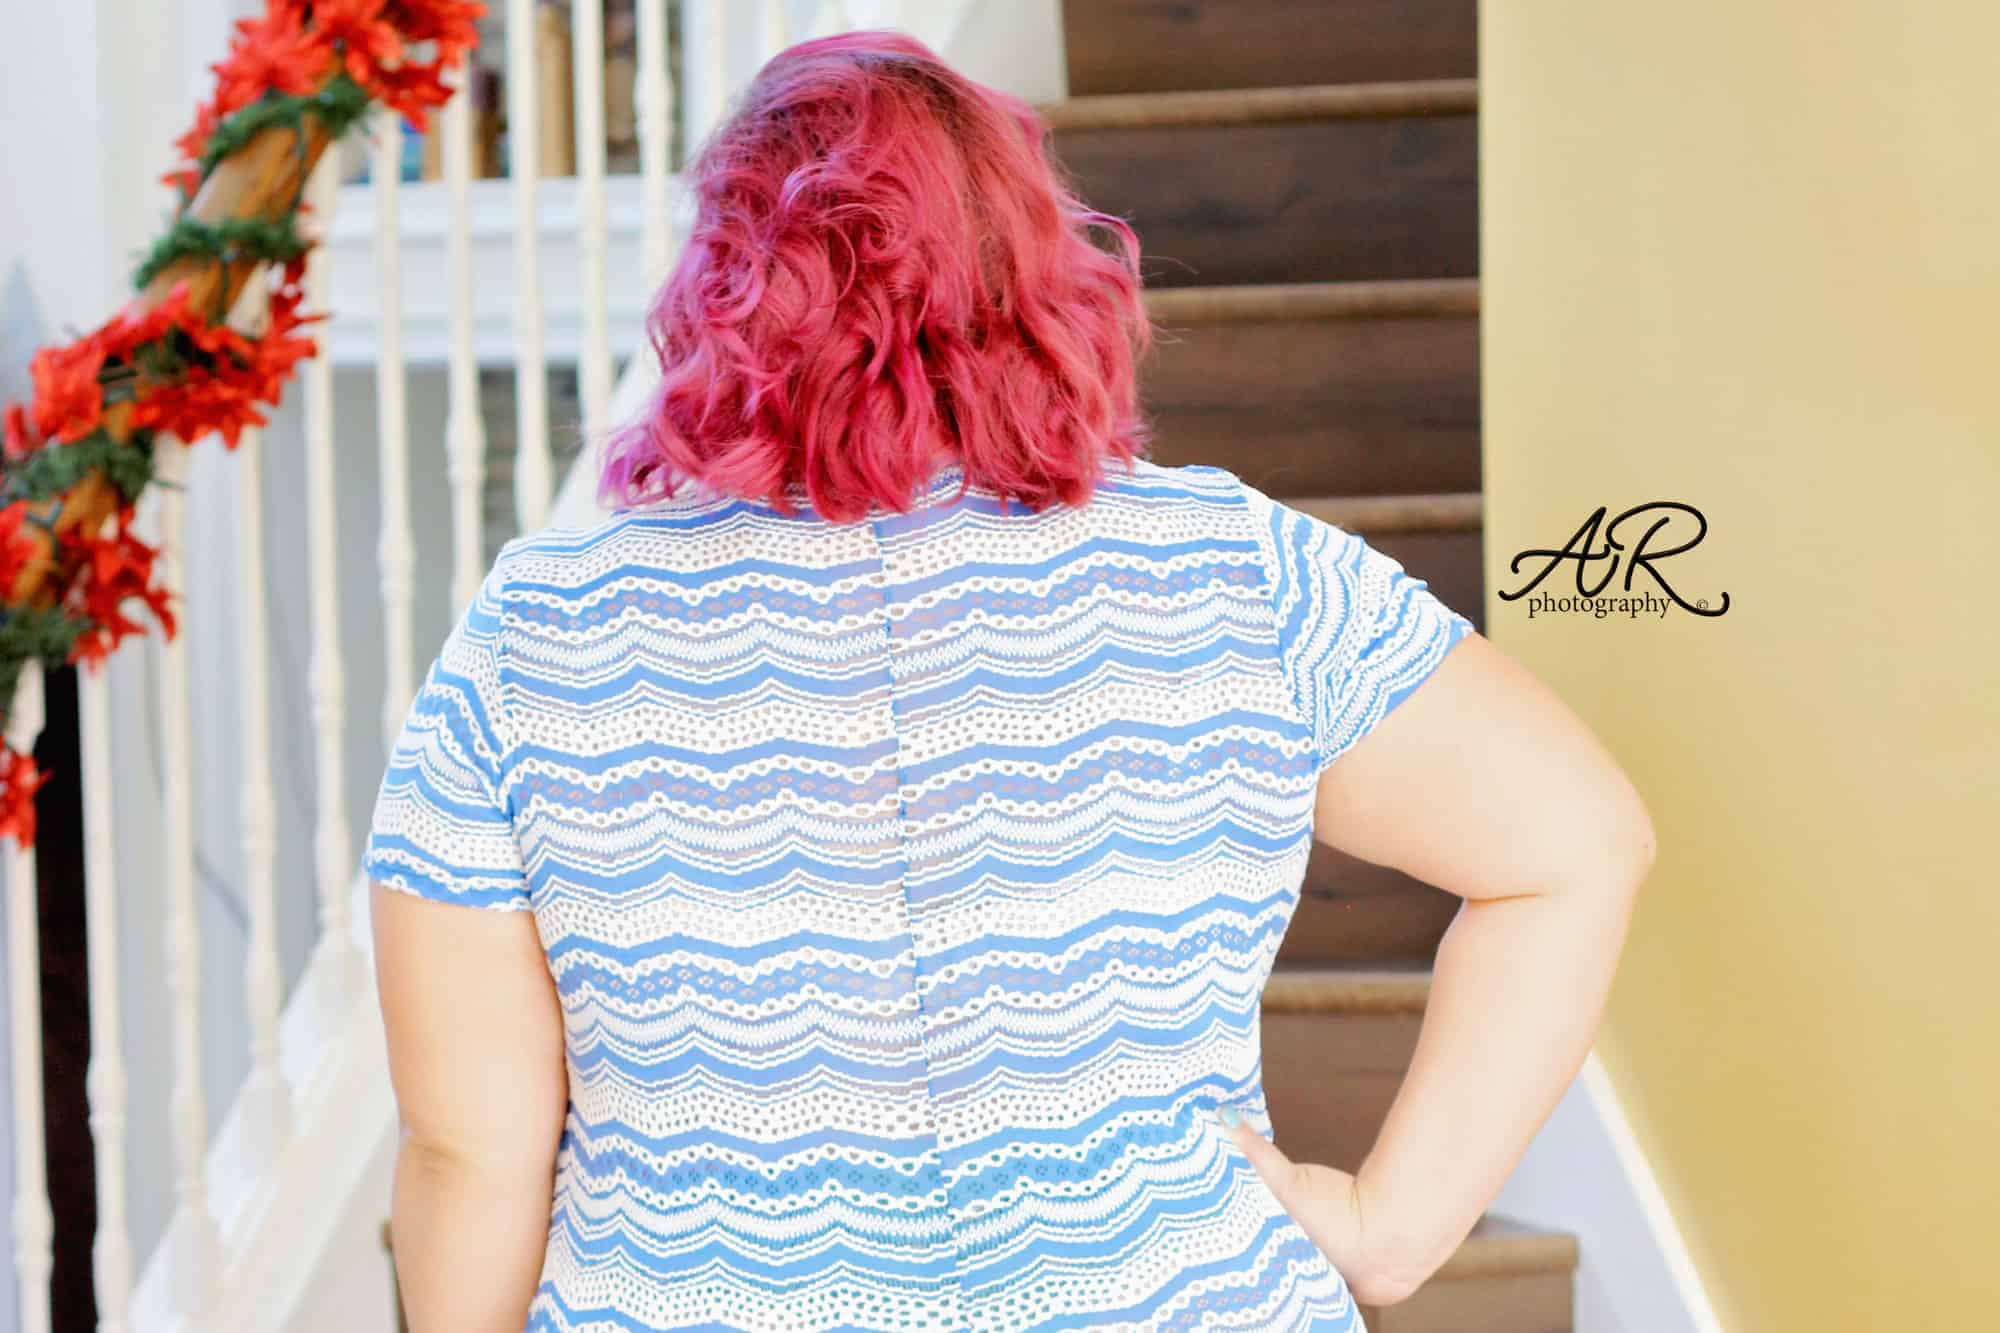
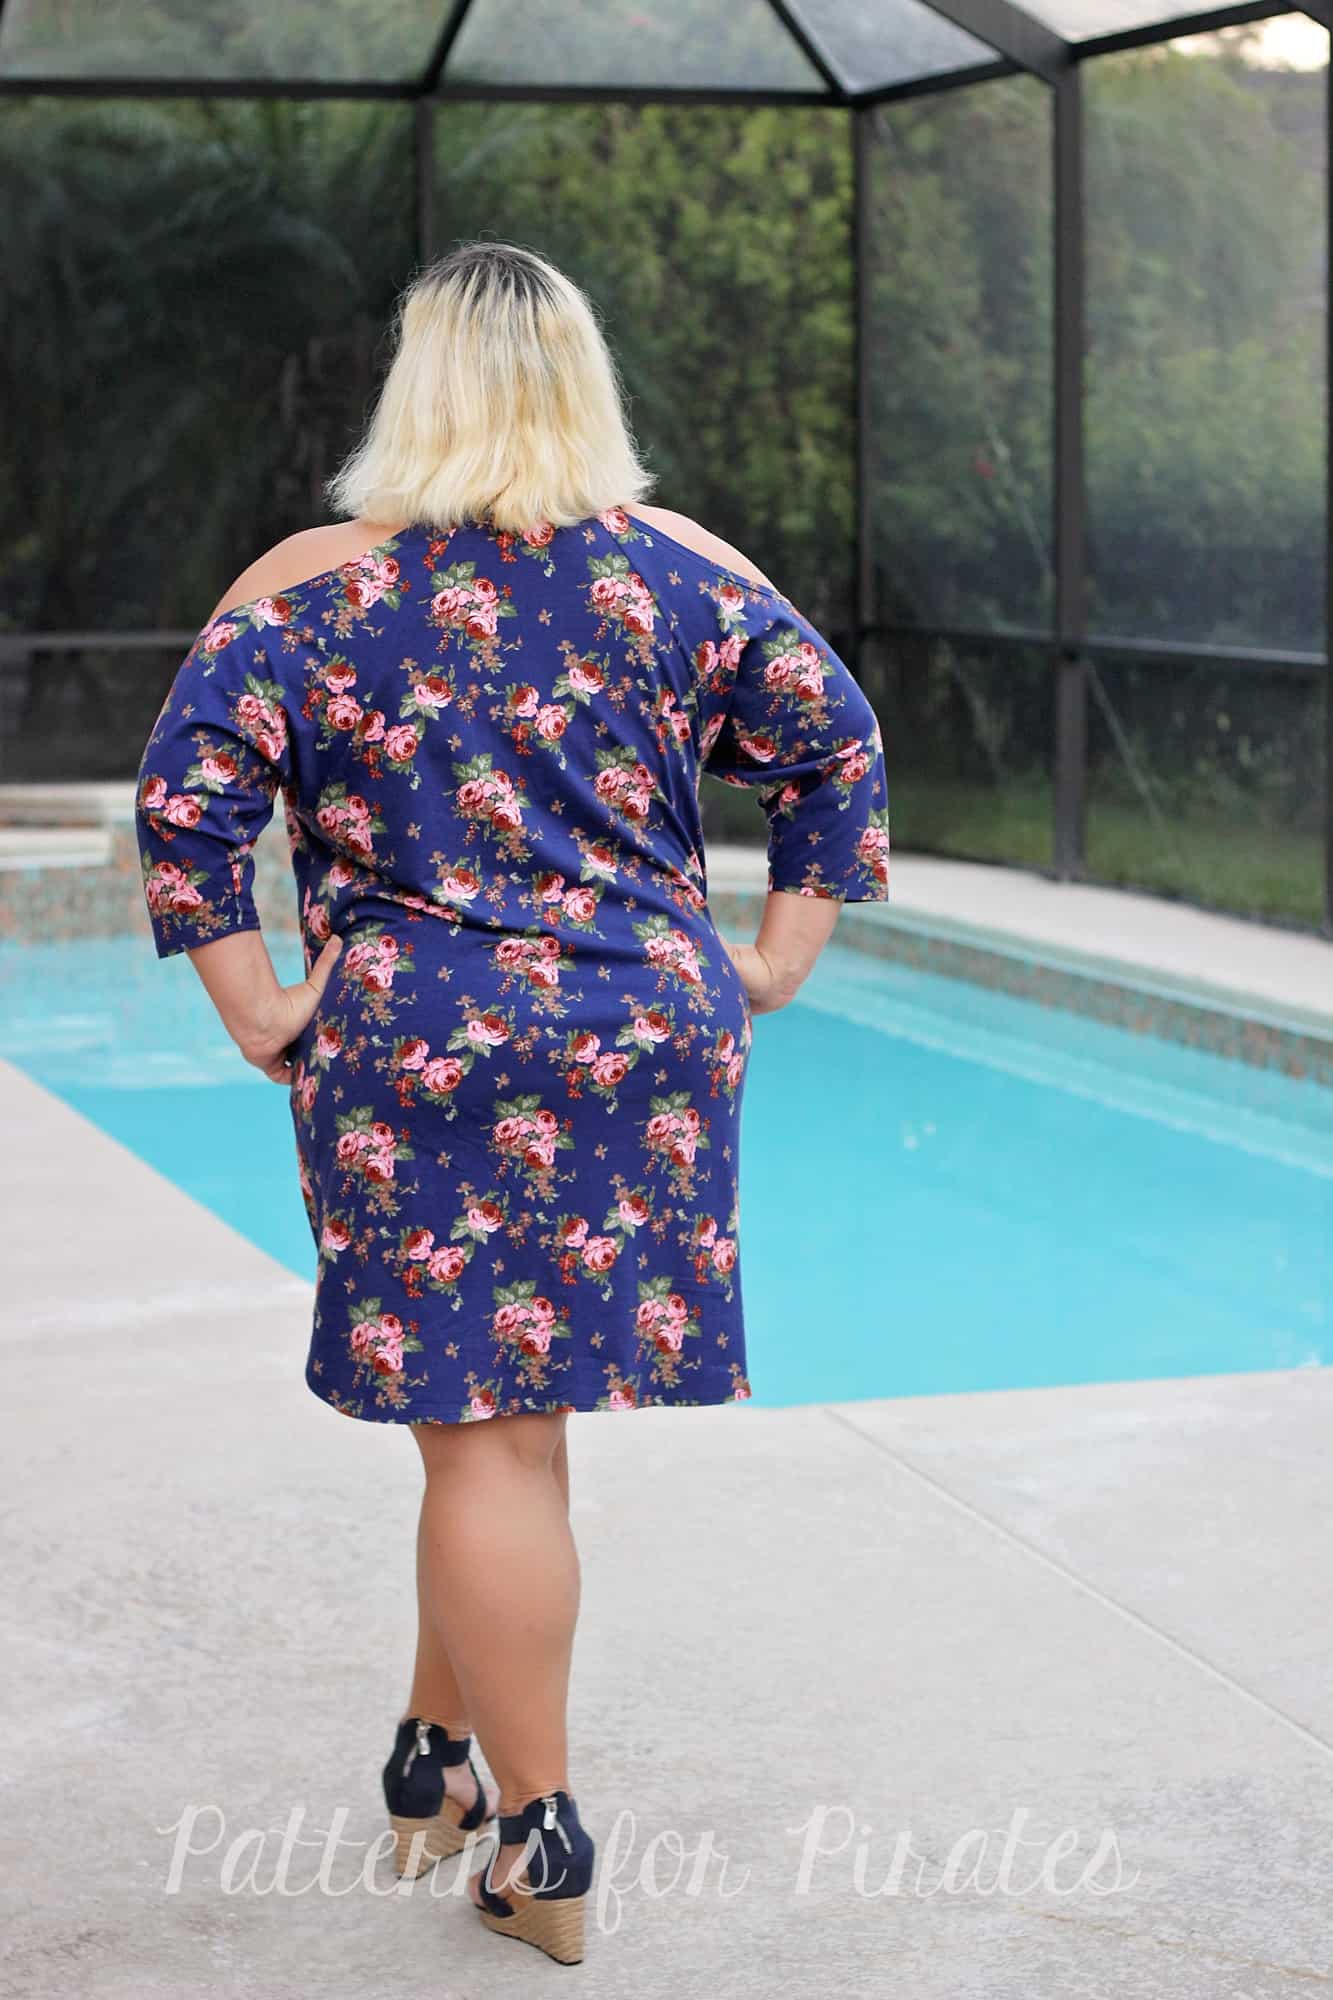
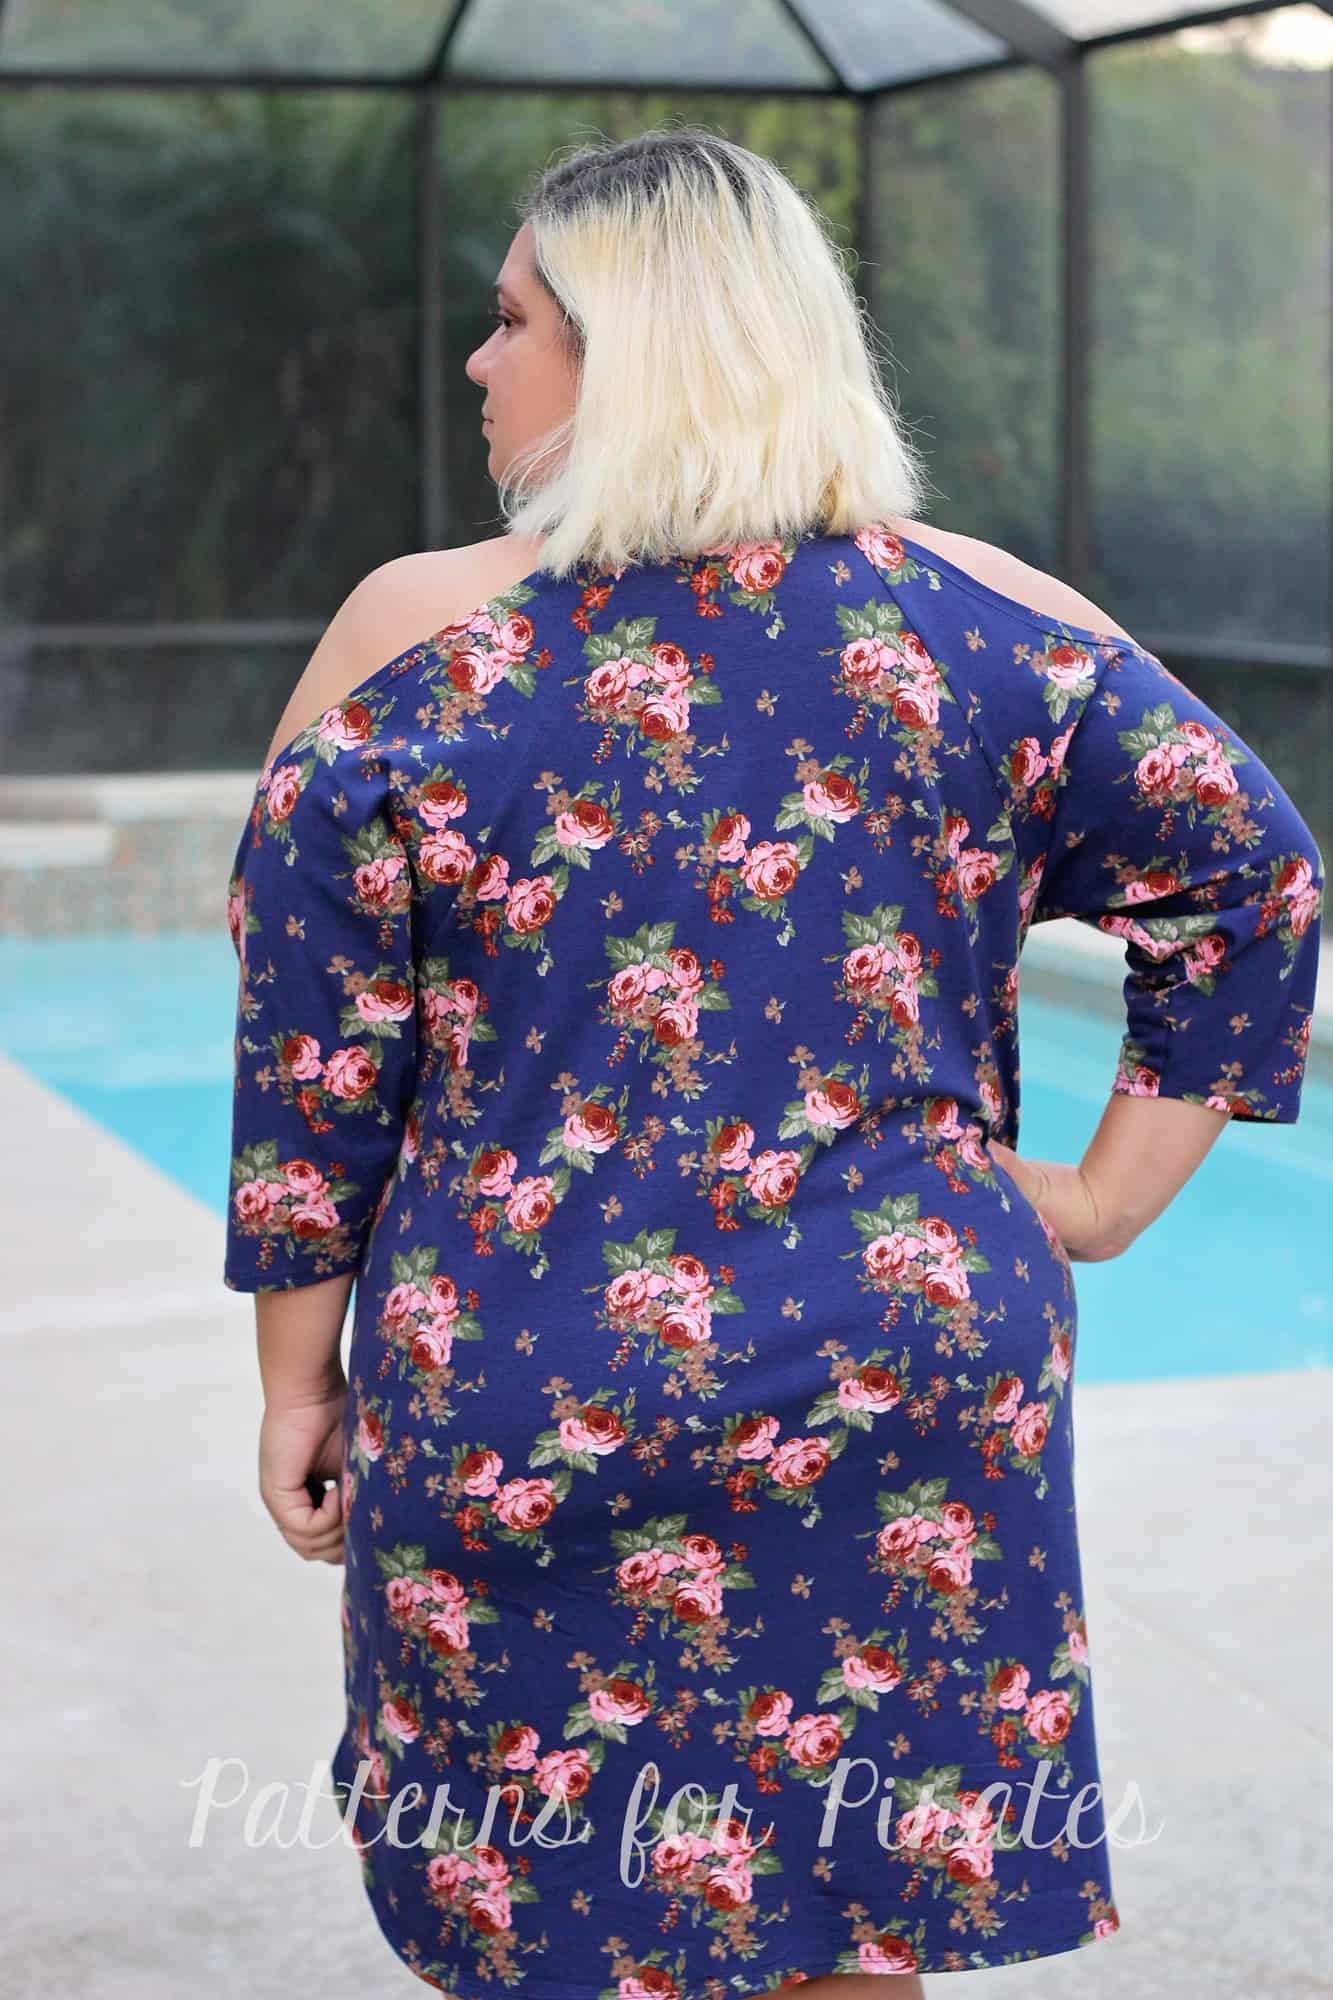
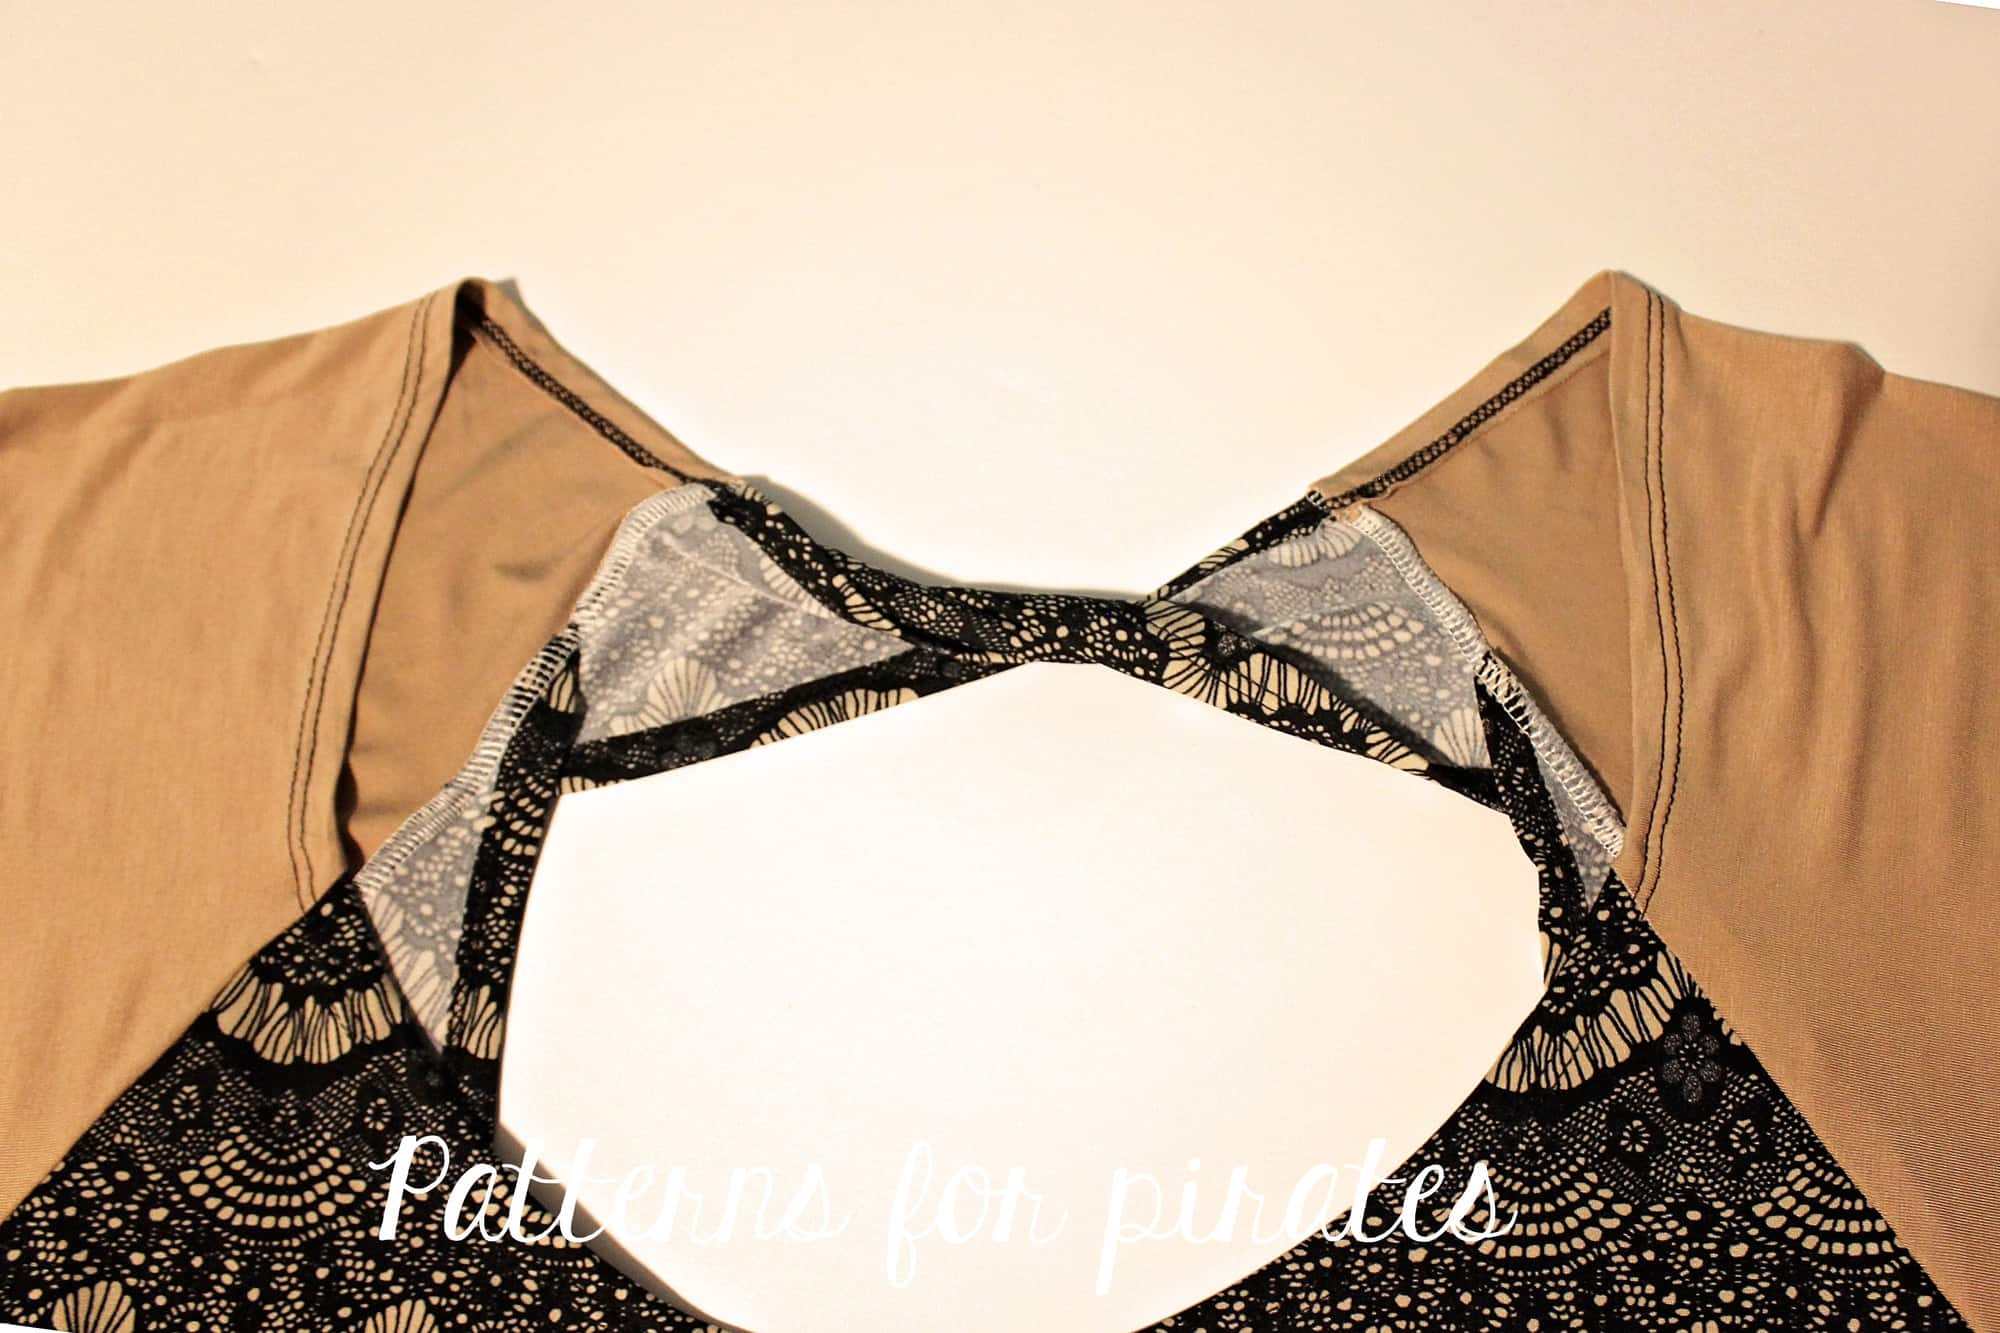
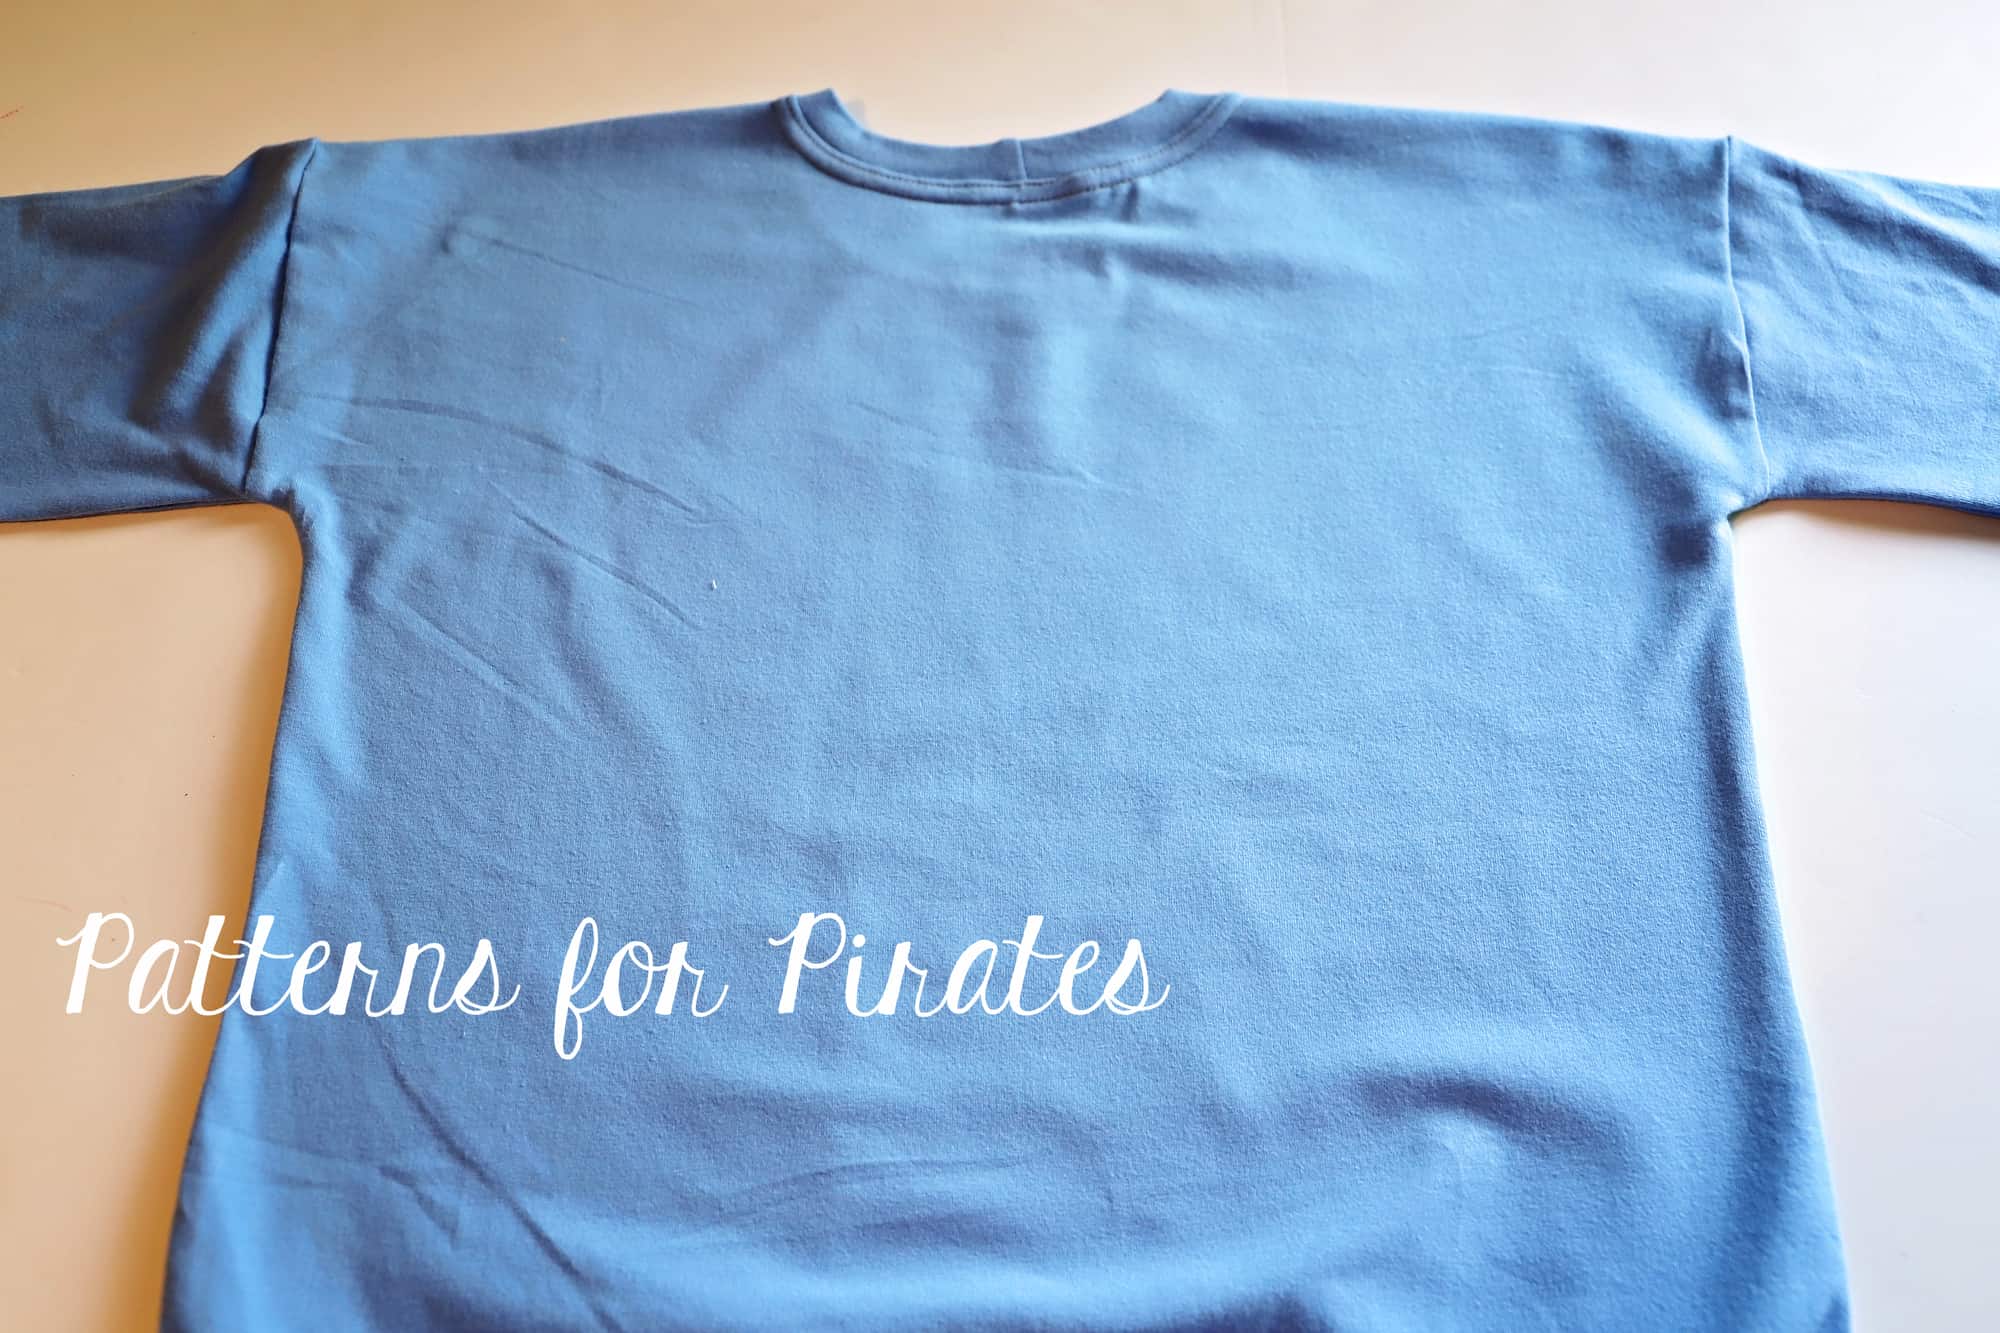
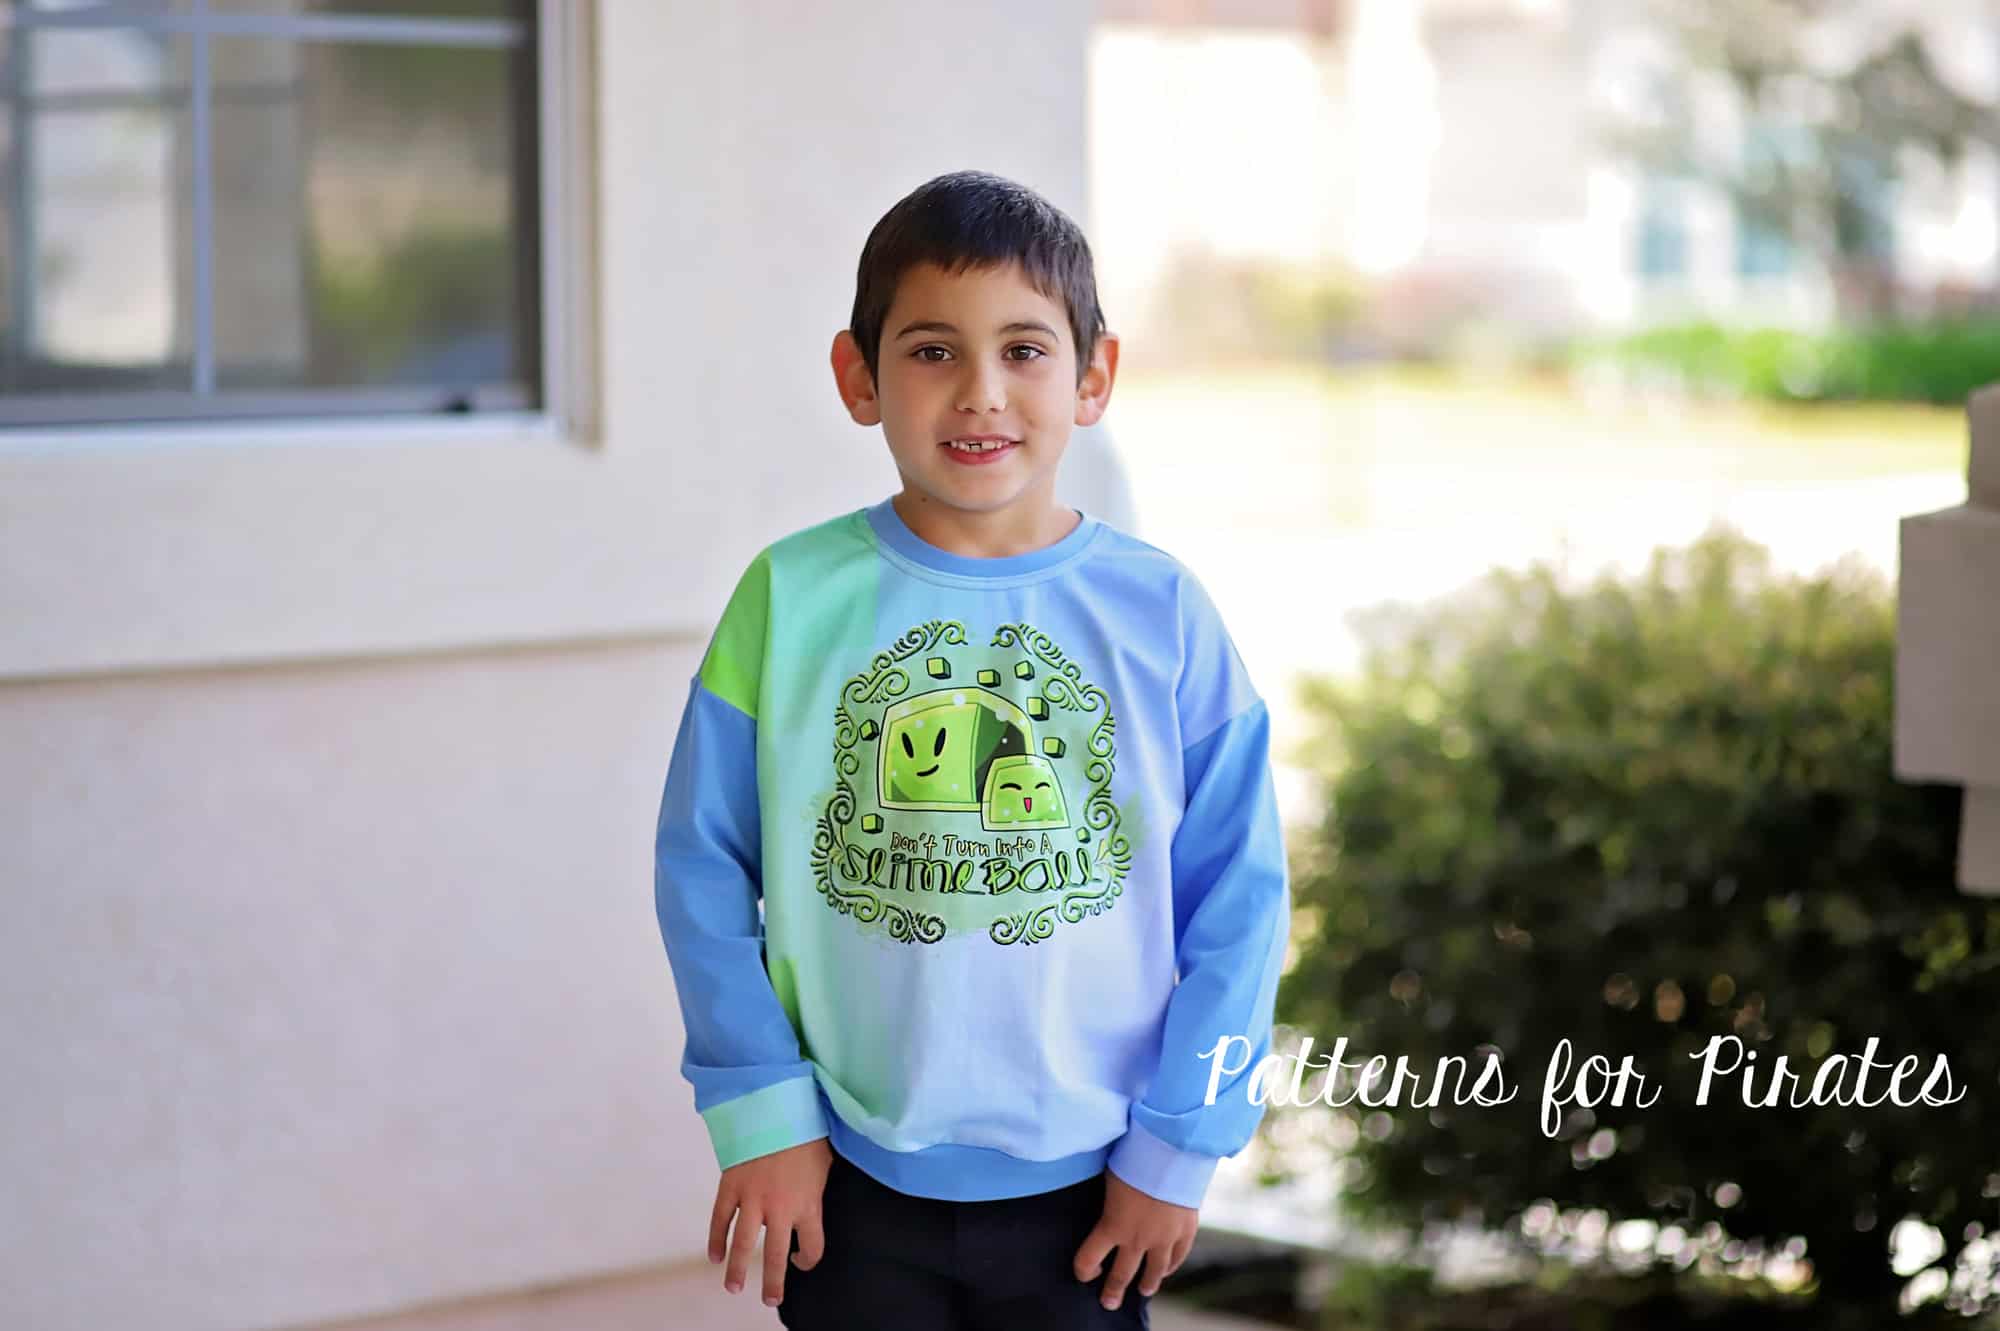
Tadah! All done! One more option to add to the Sporty Piko styles.
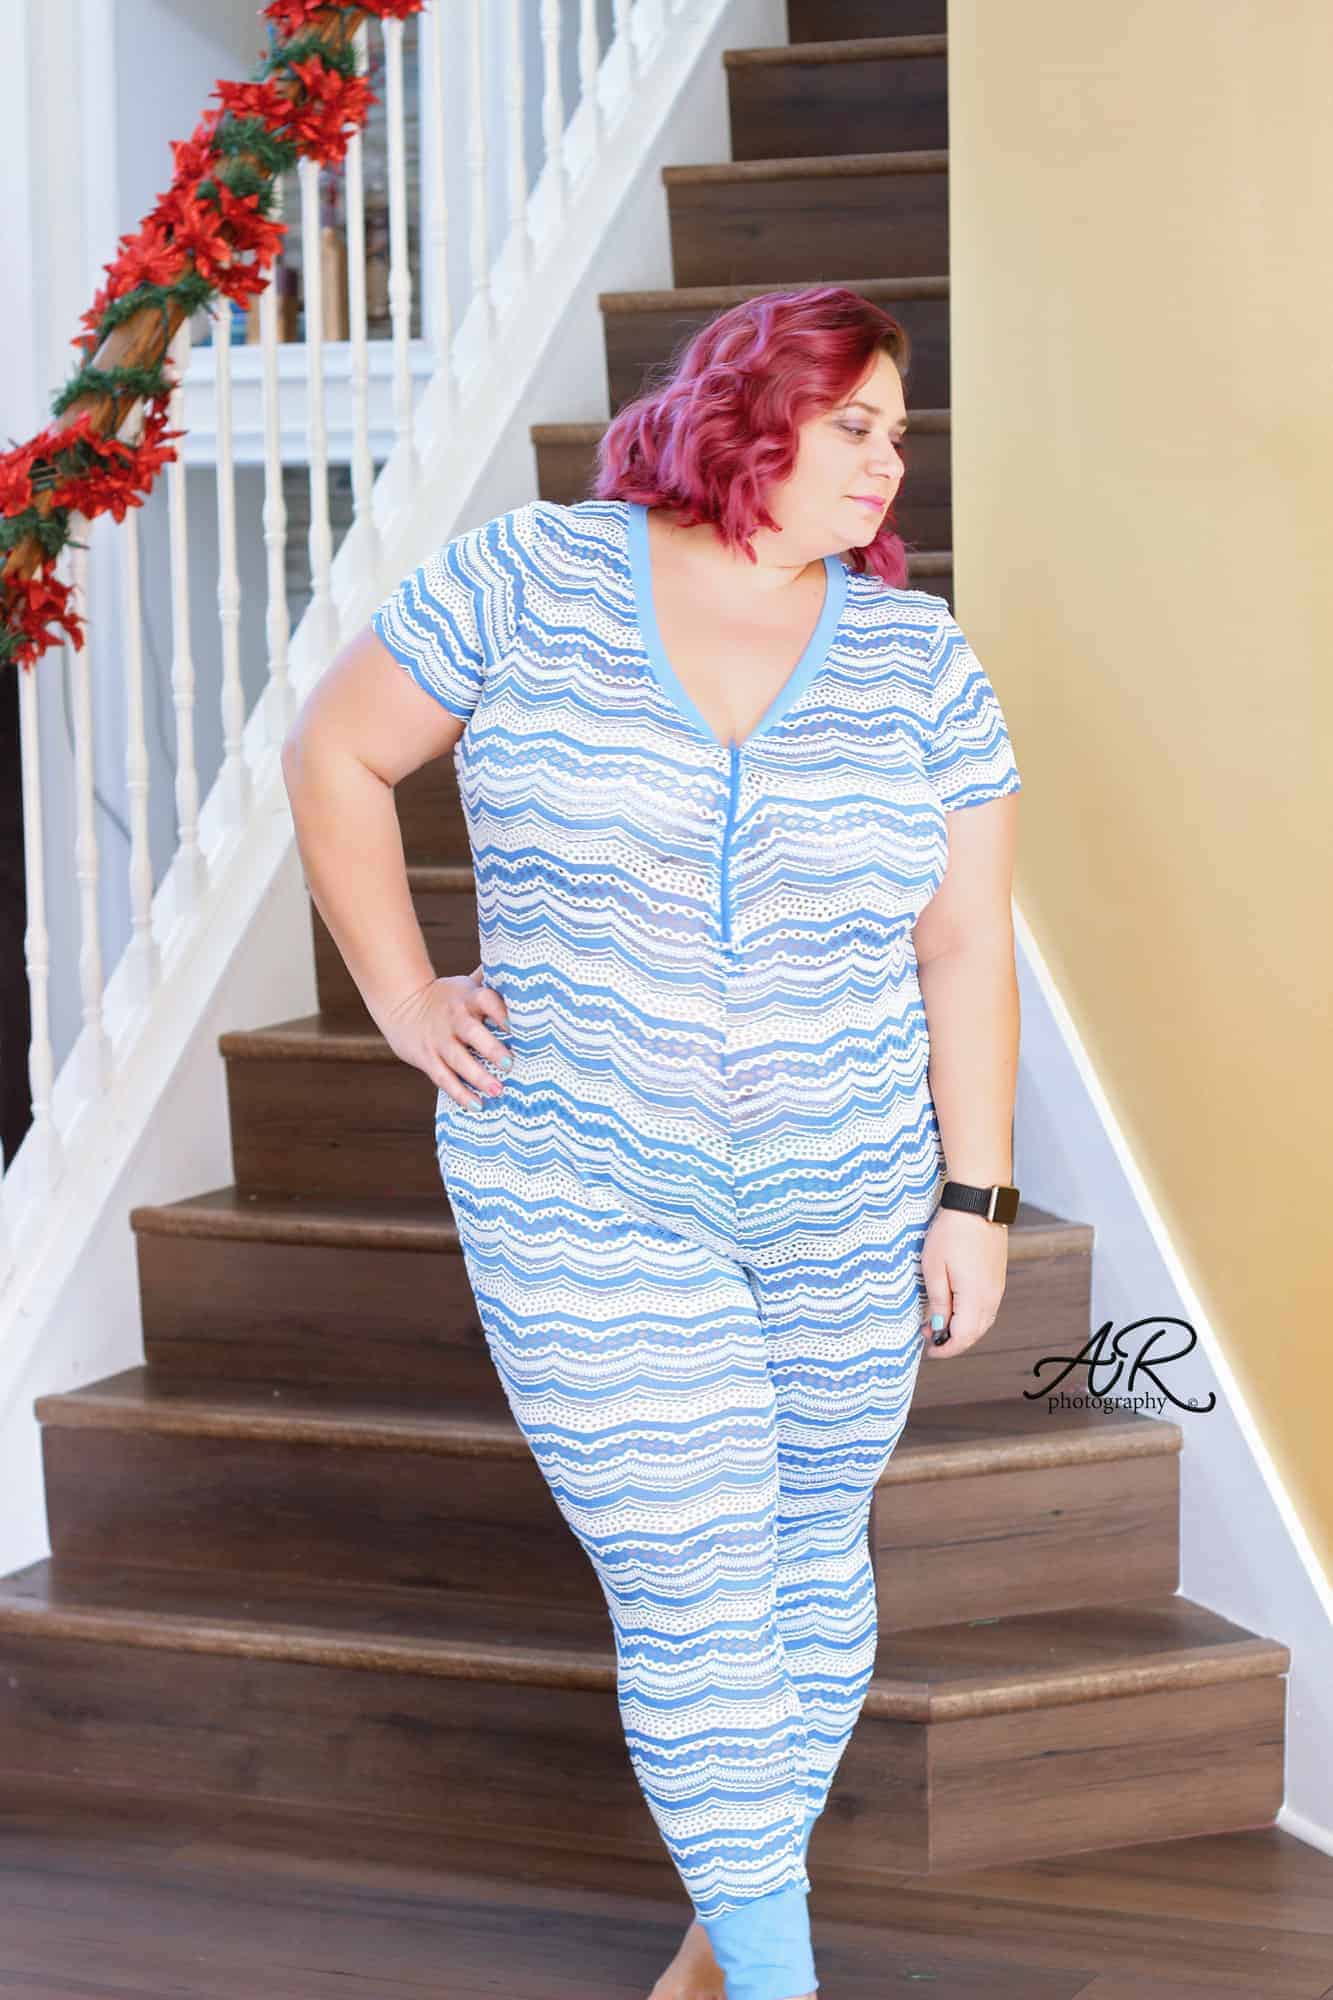
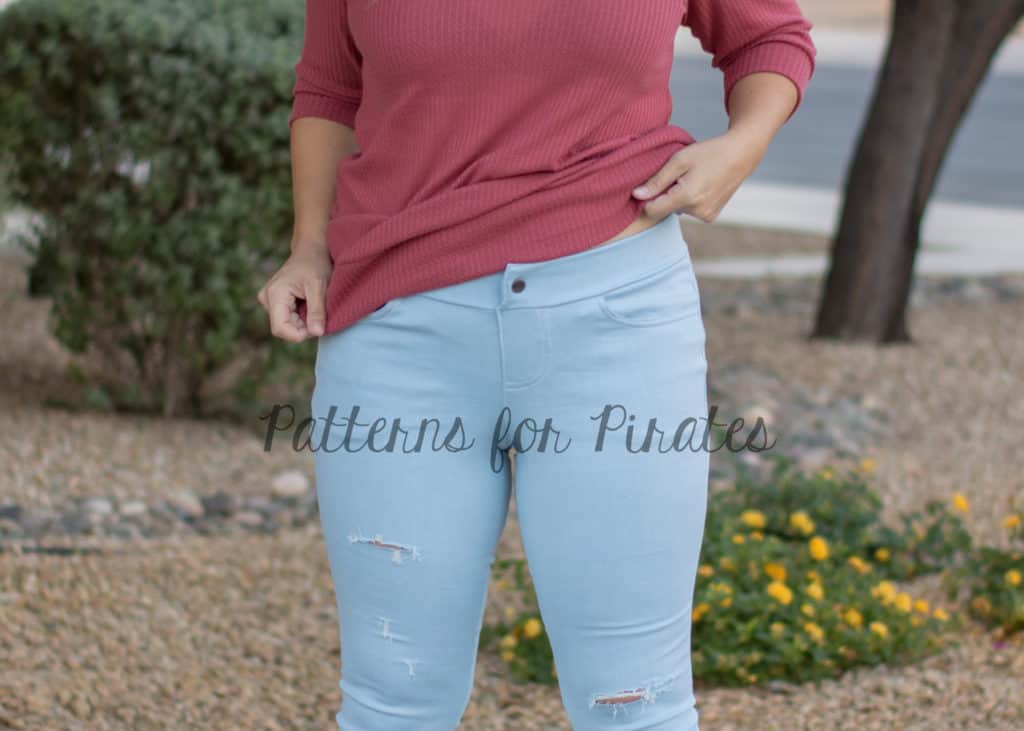
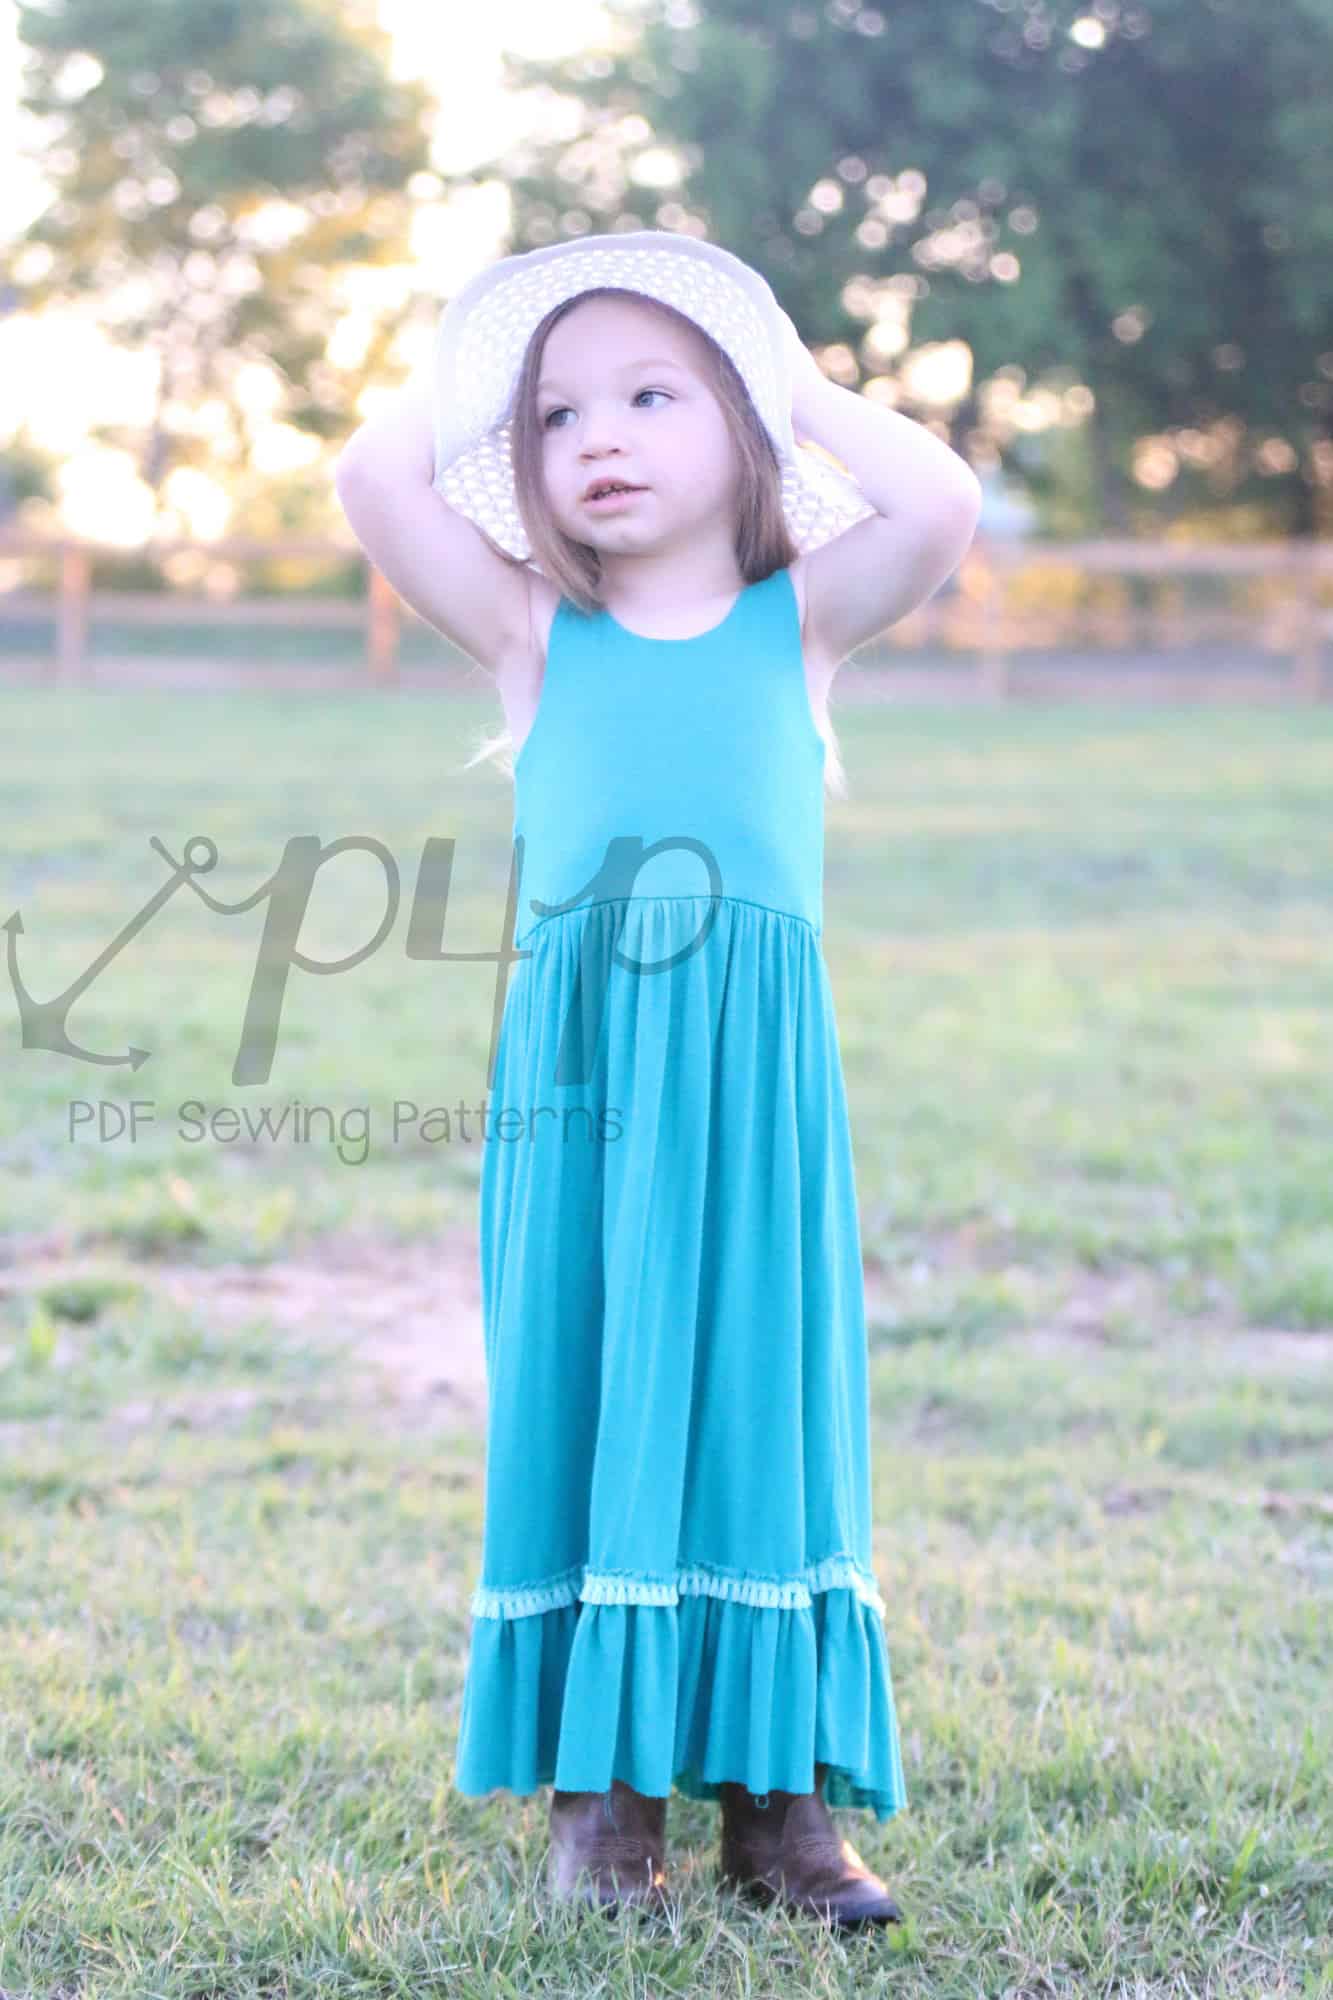
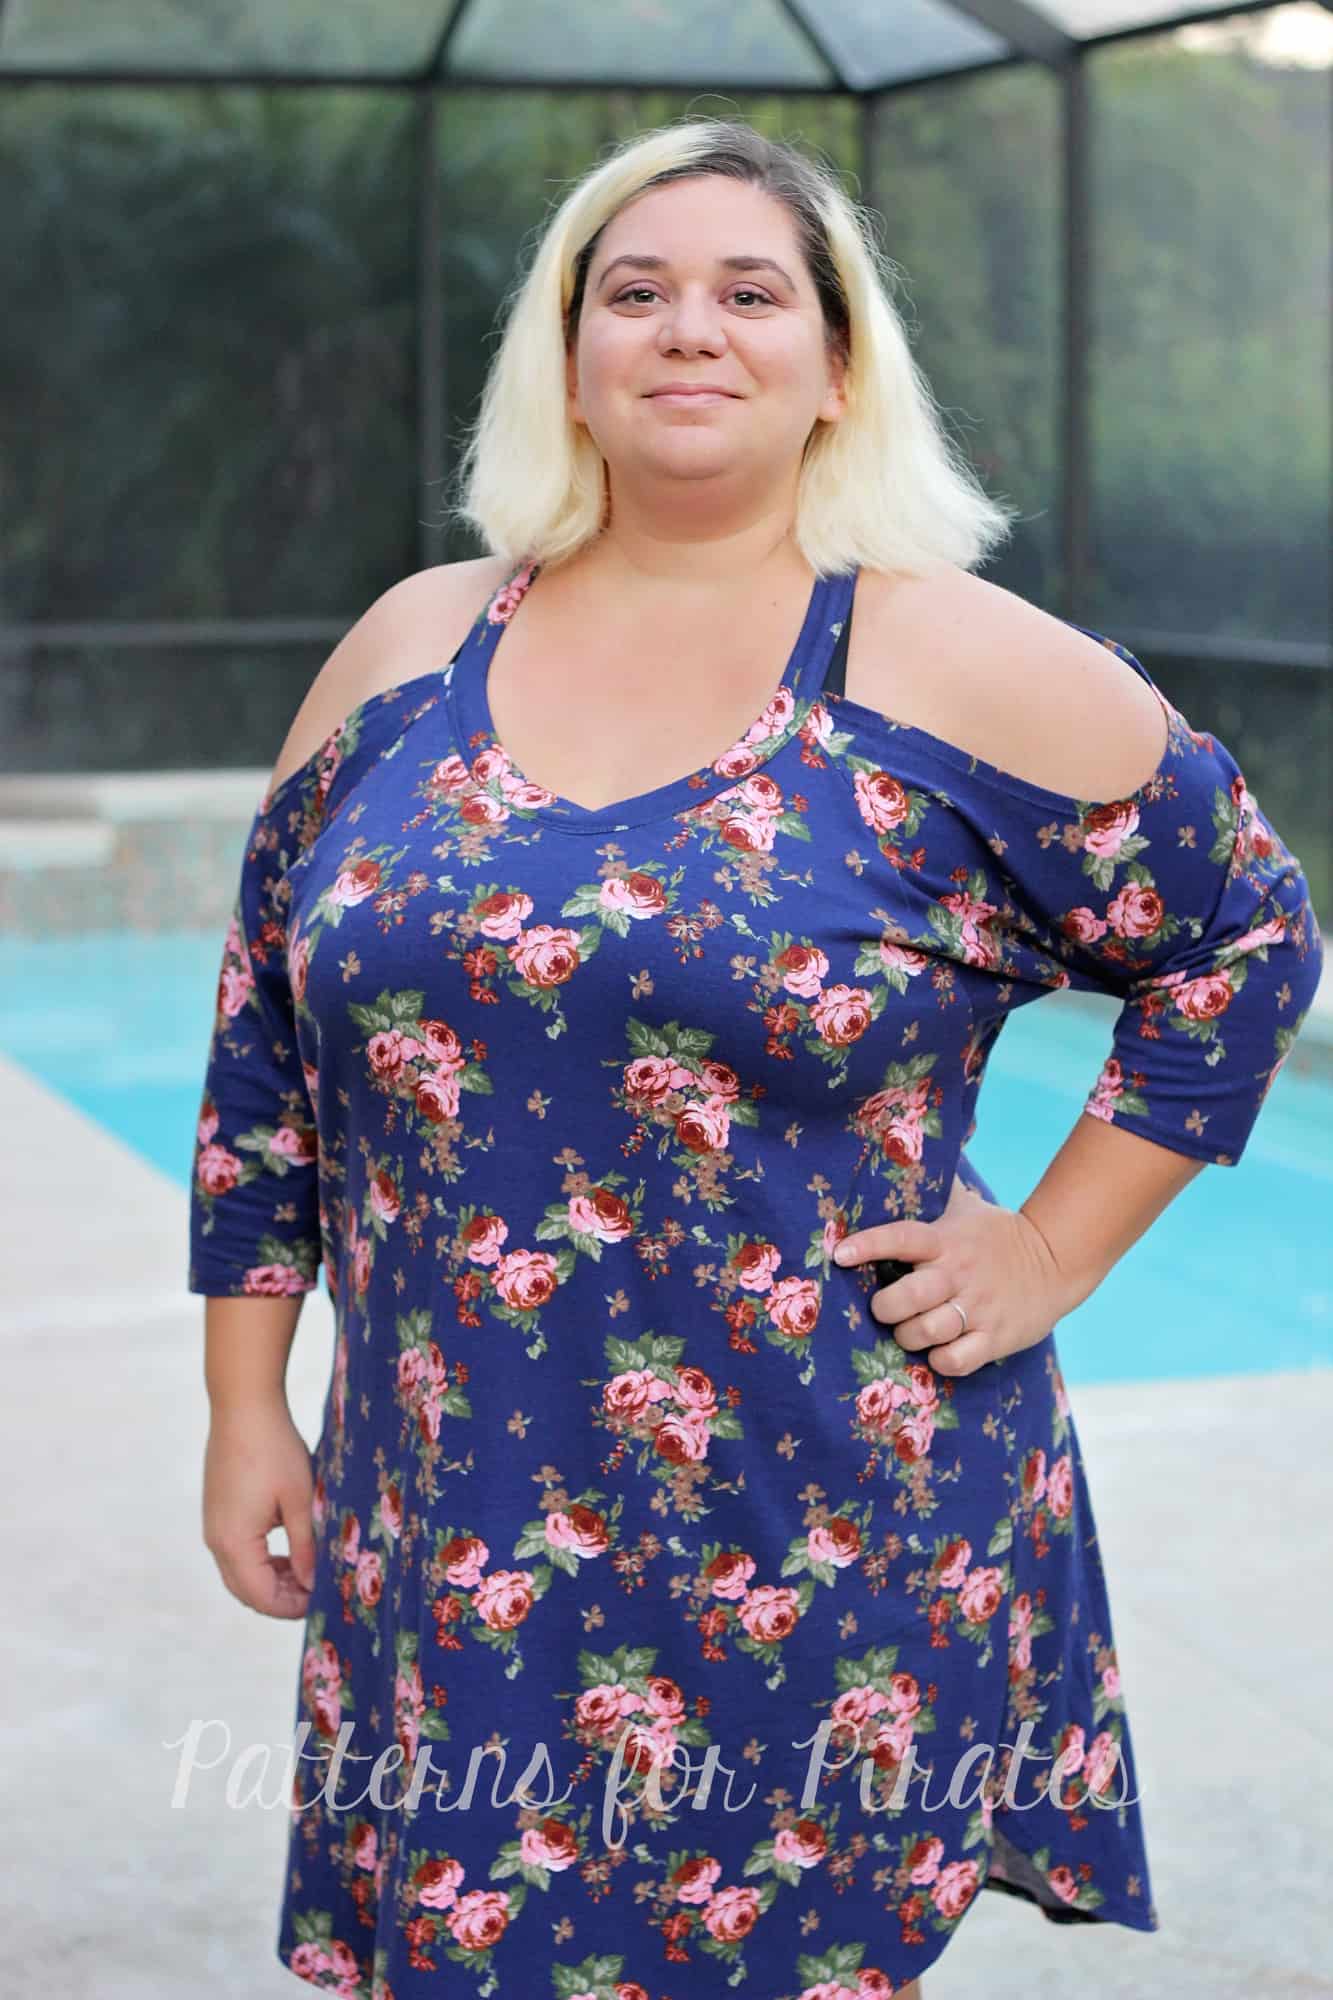
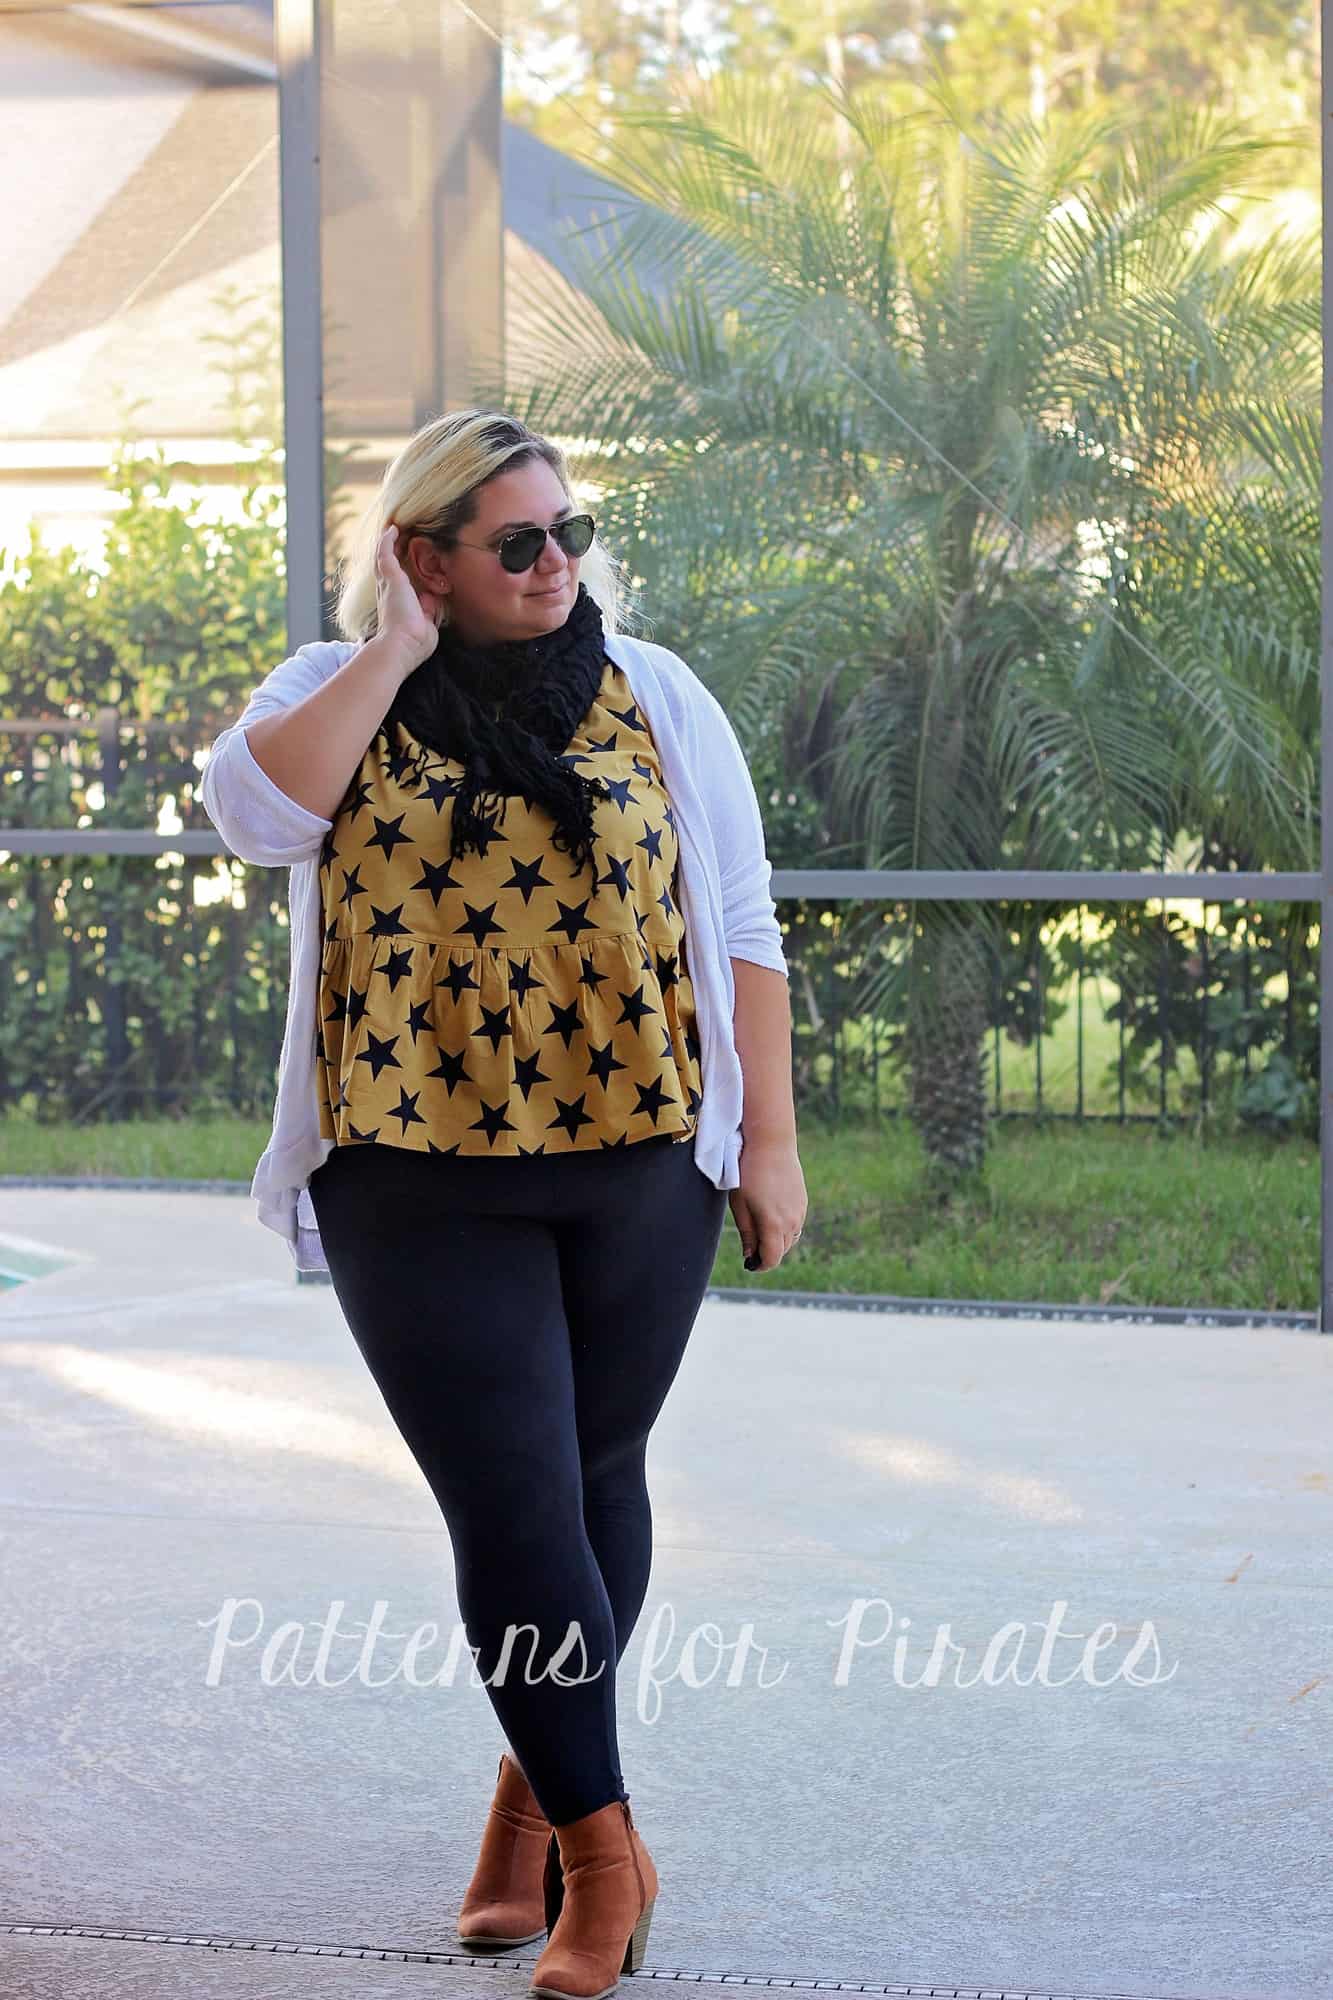
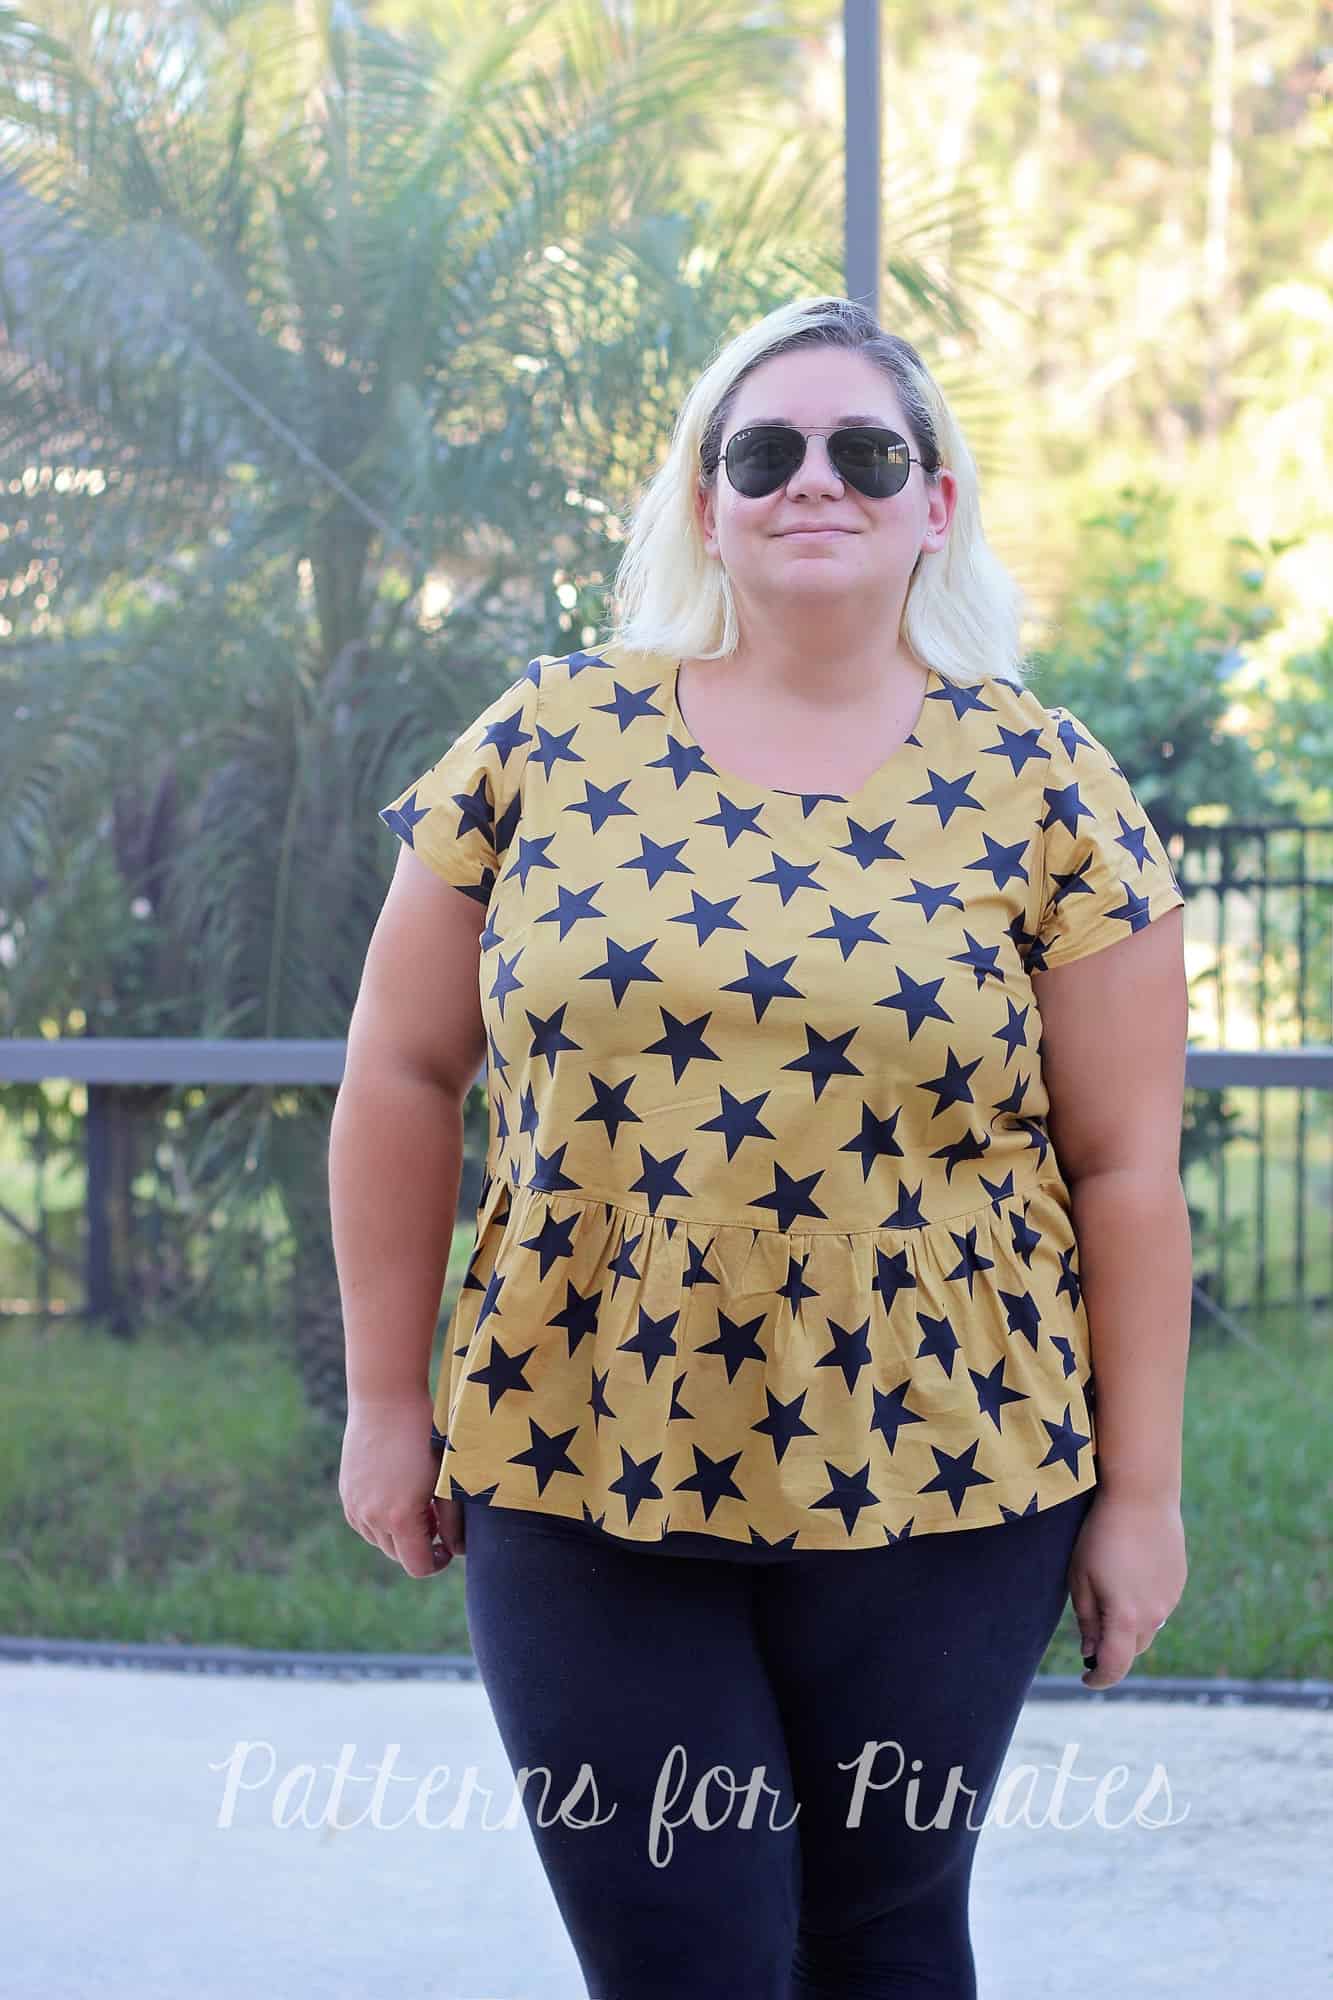
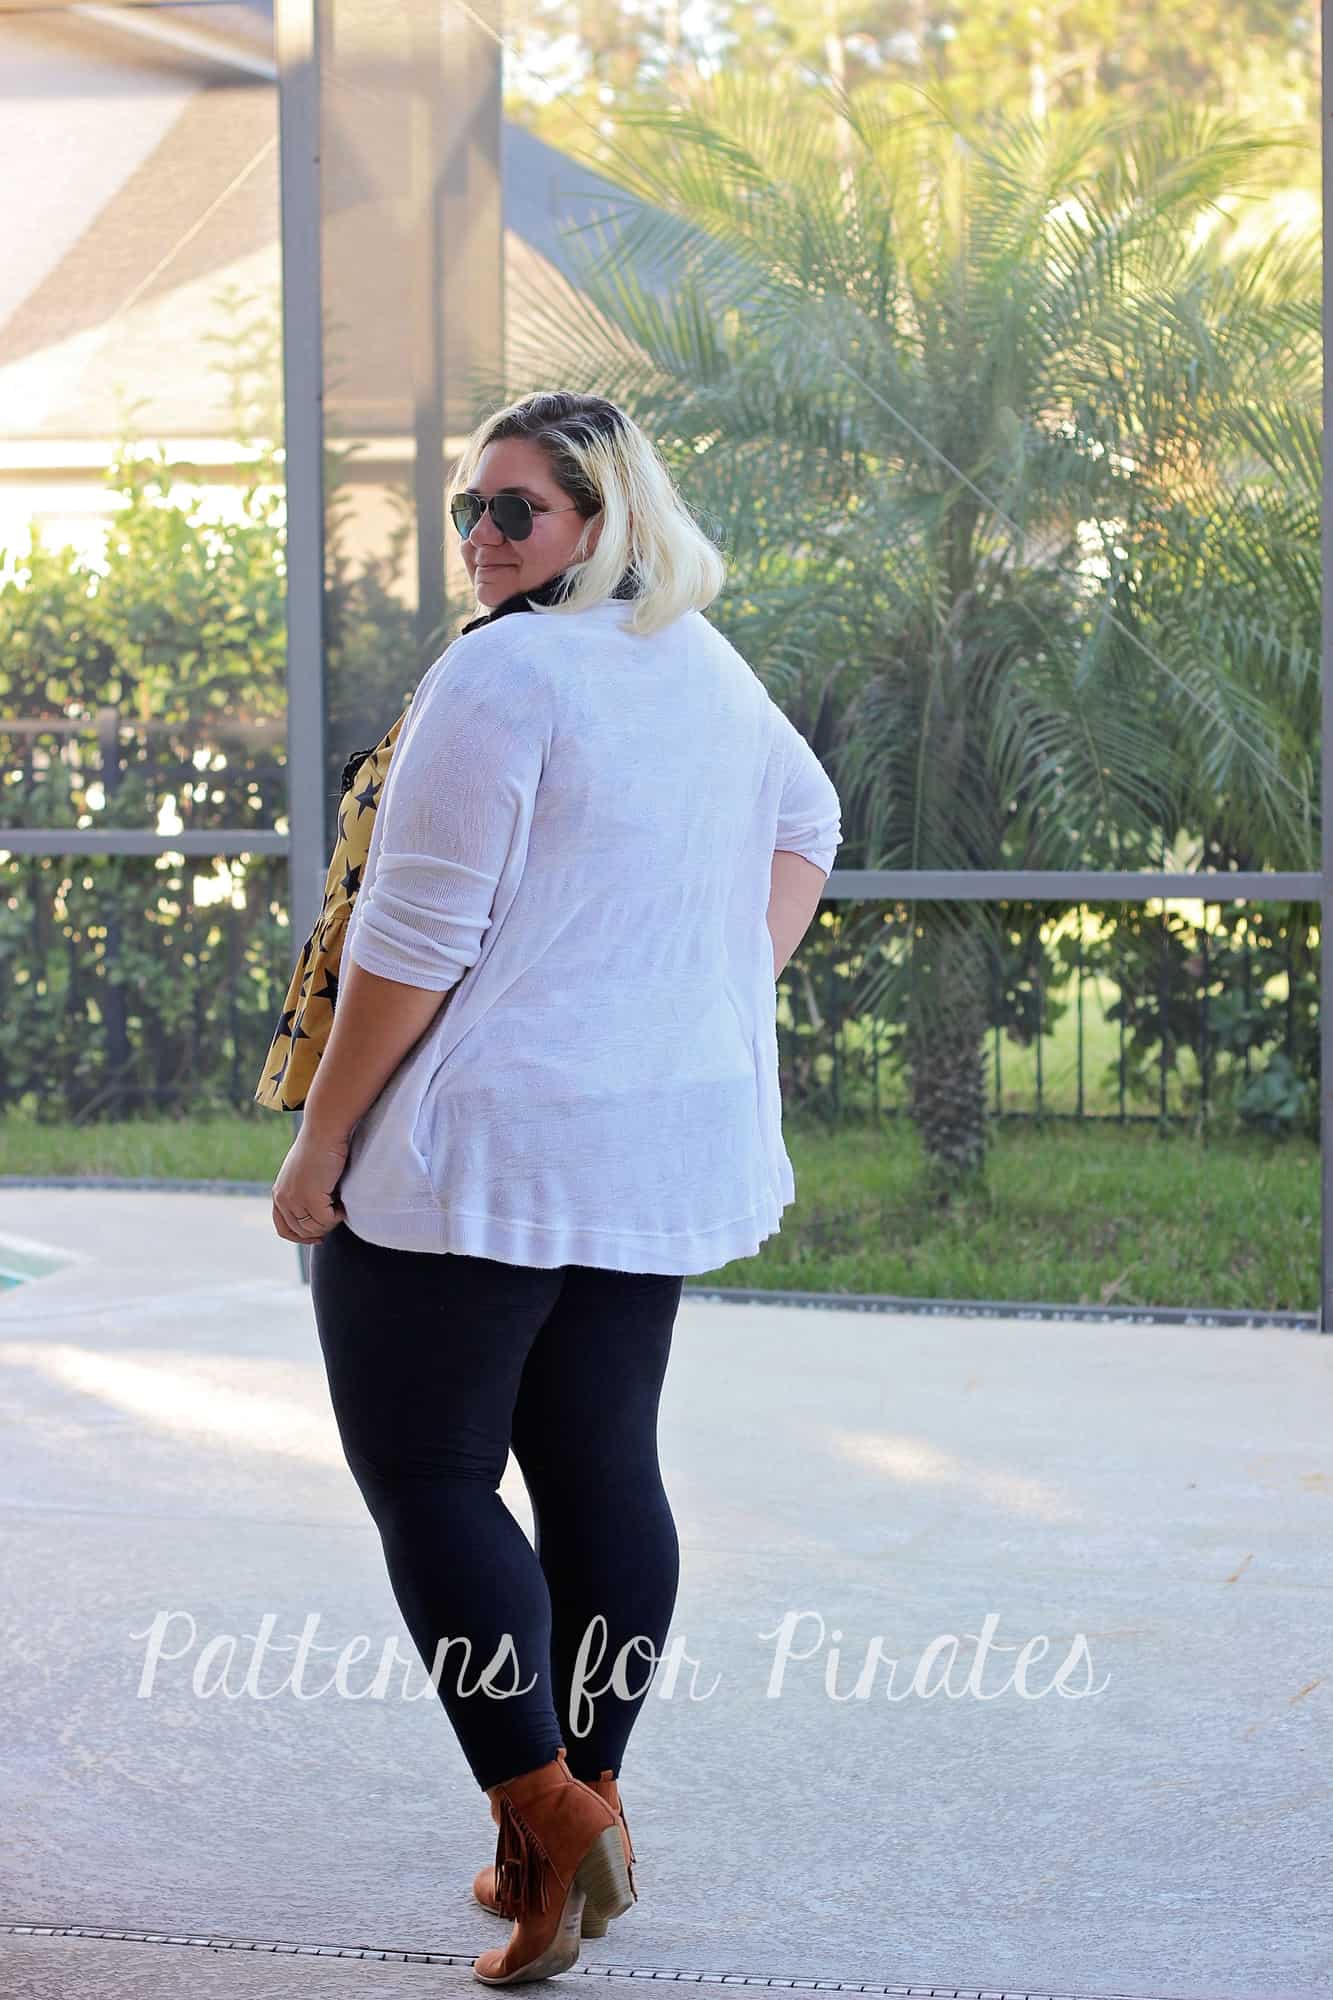
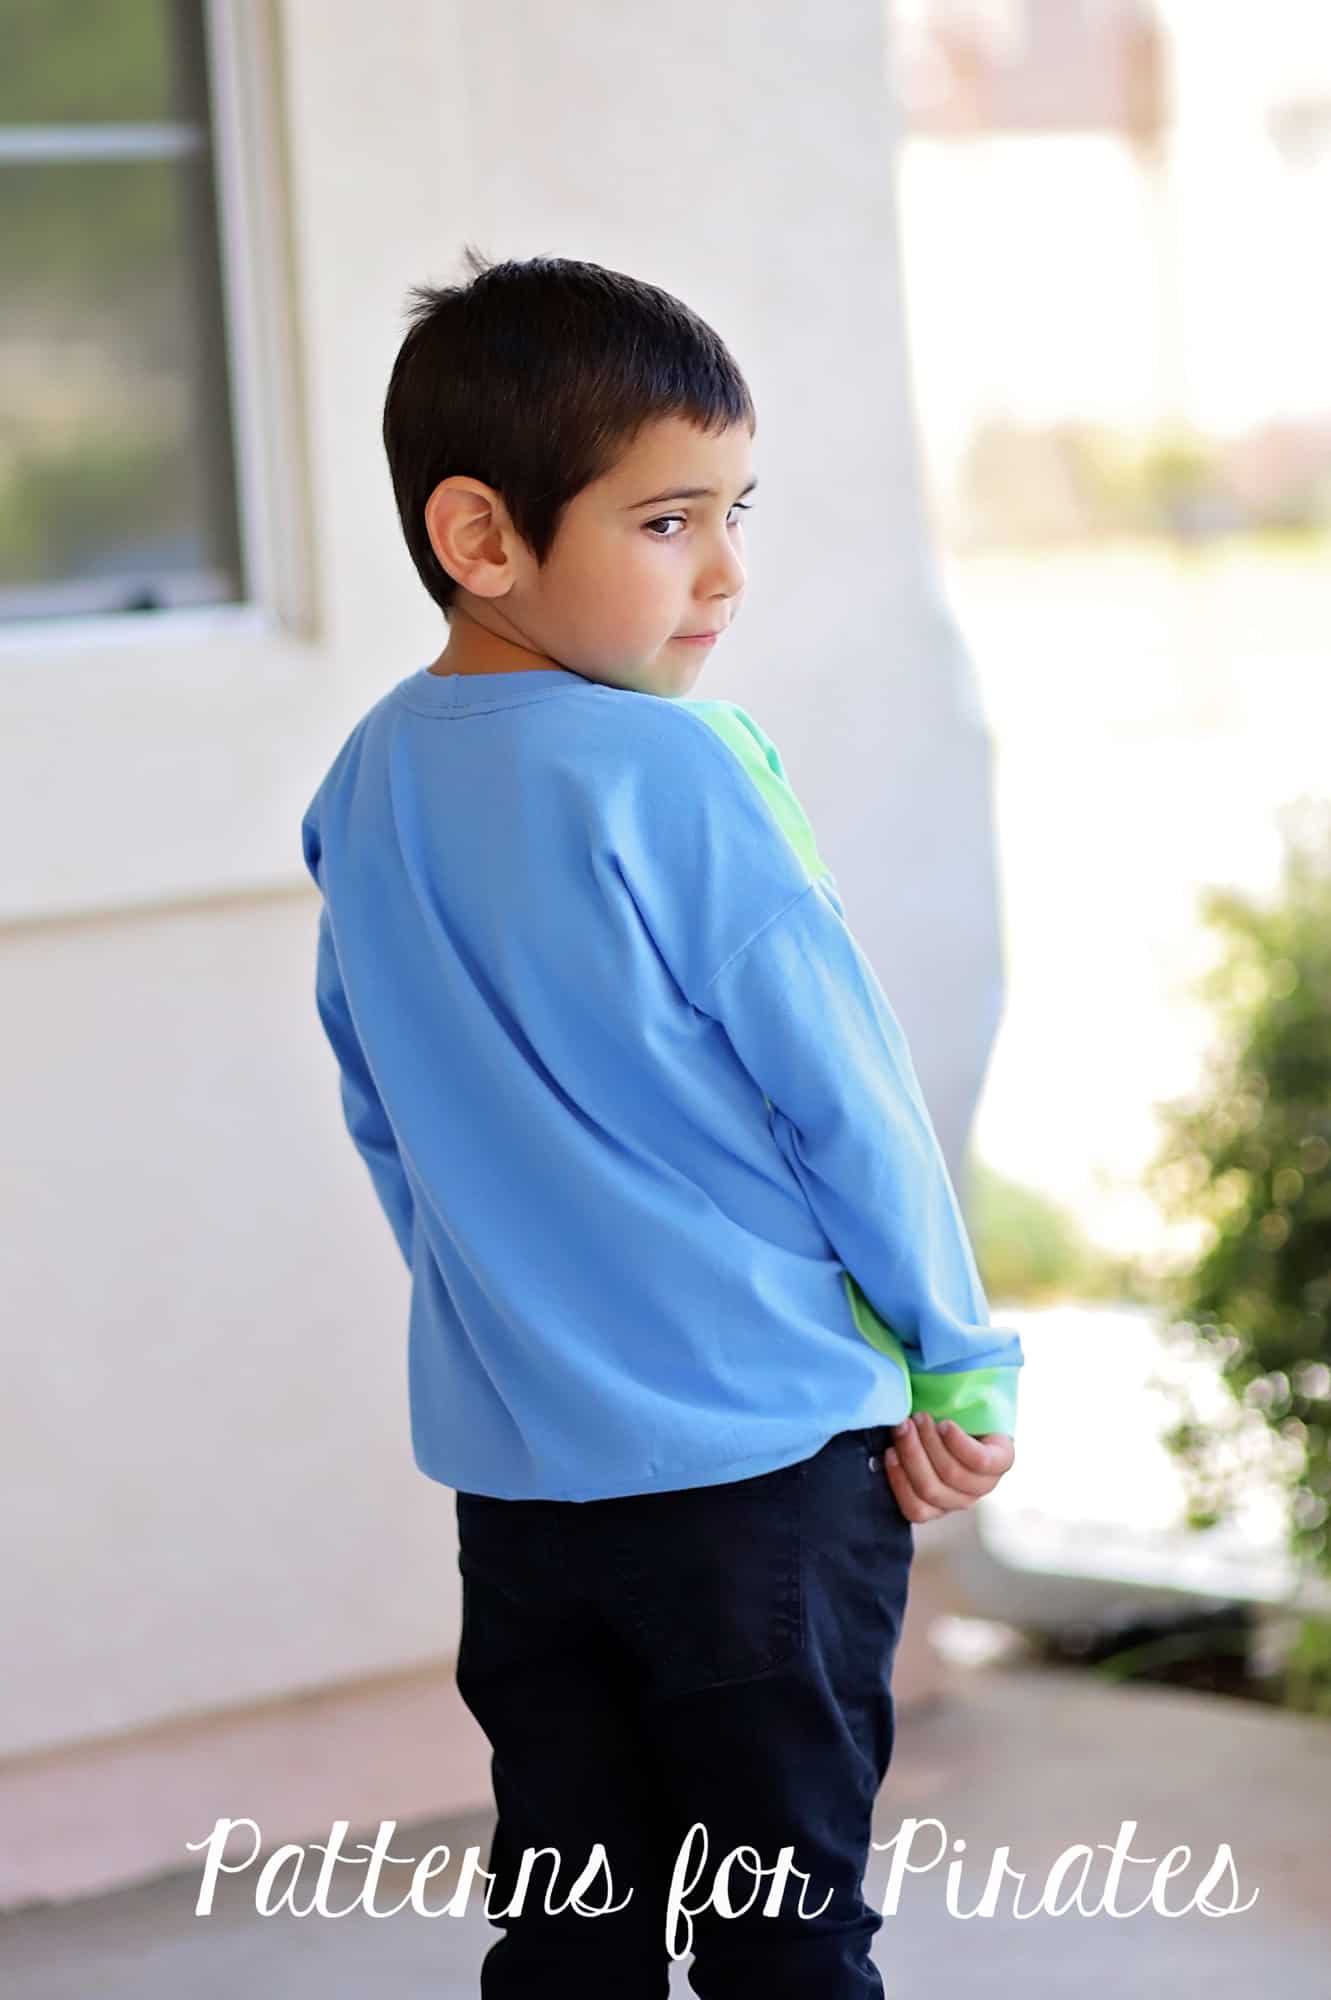
My little man absolutely loves his new shirt but if you want to treat yourself to an adult Sporty Piko with a solid back, simply follow the same steps and enjoy!

-

- P4P Sporty Piko- solid back hack

-
- P4P Sporty Piko- solid back hack
…..
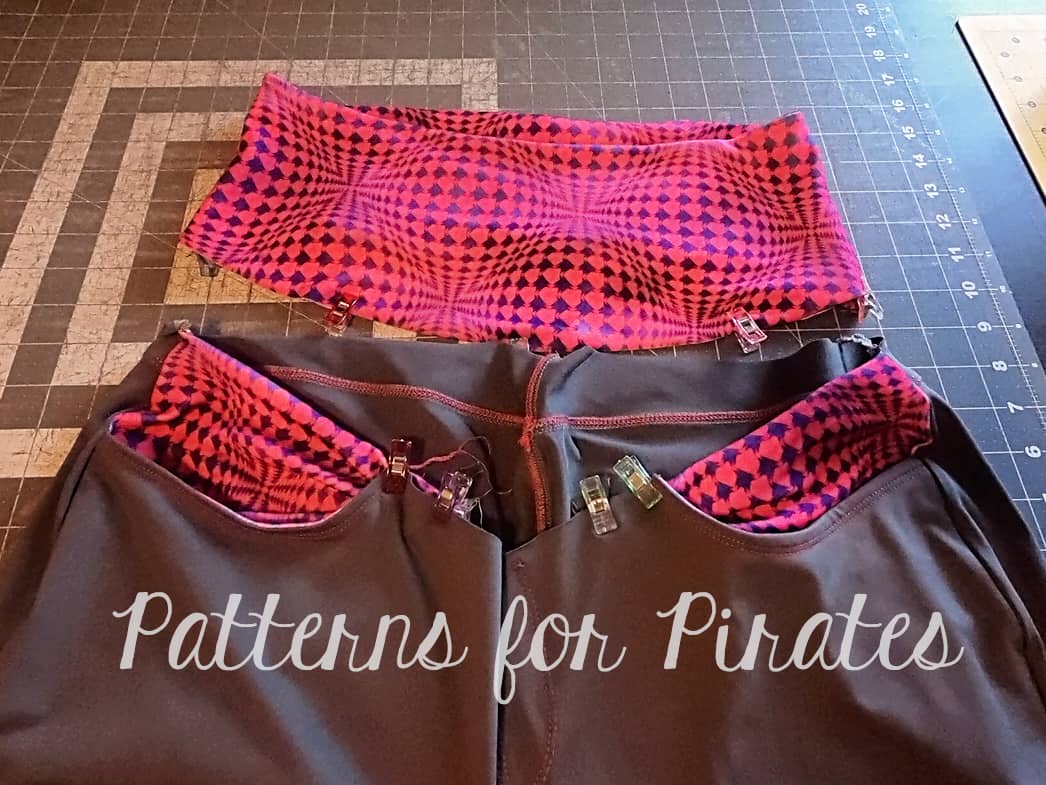
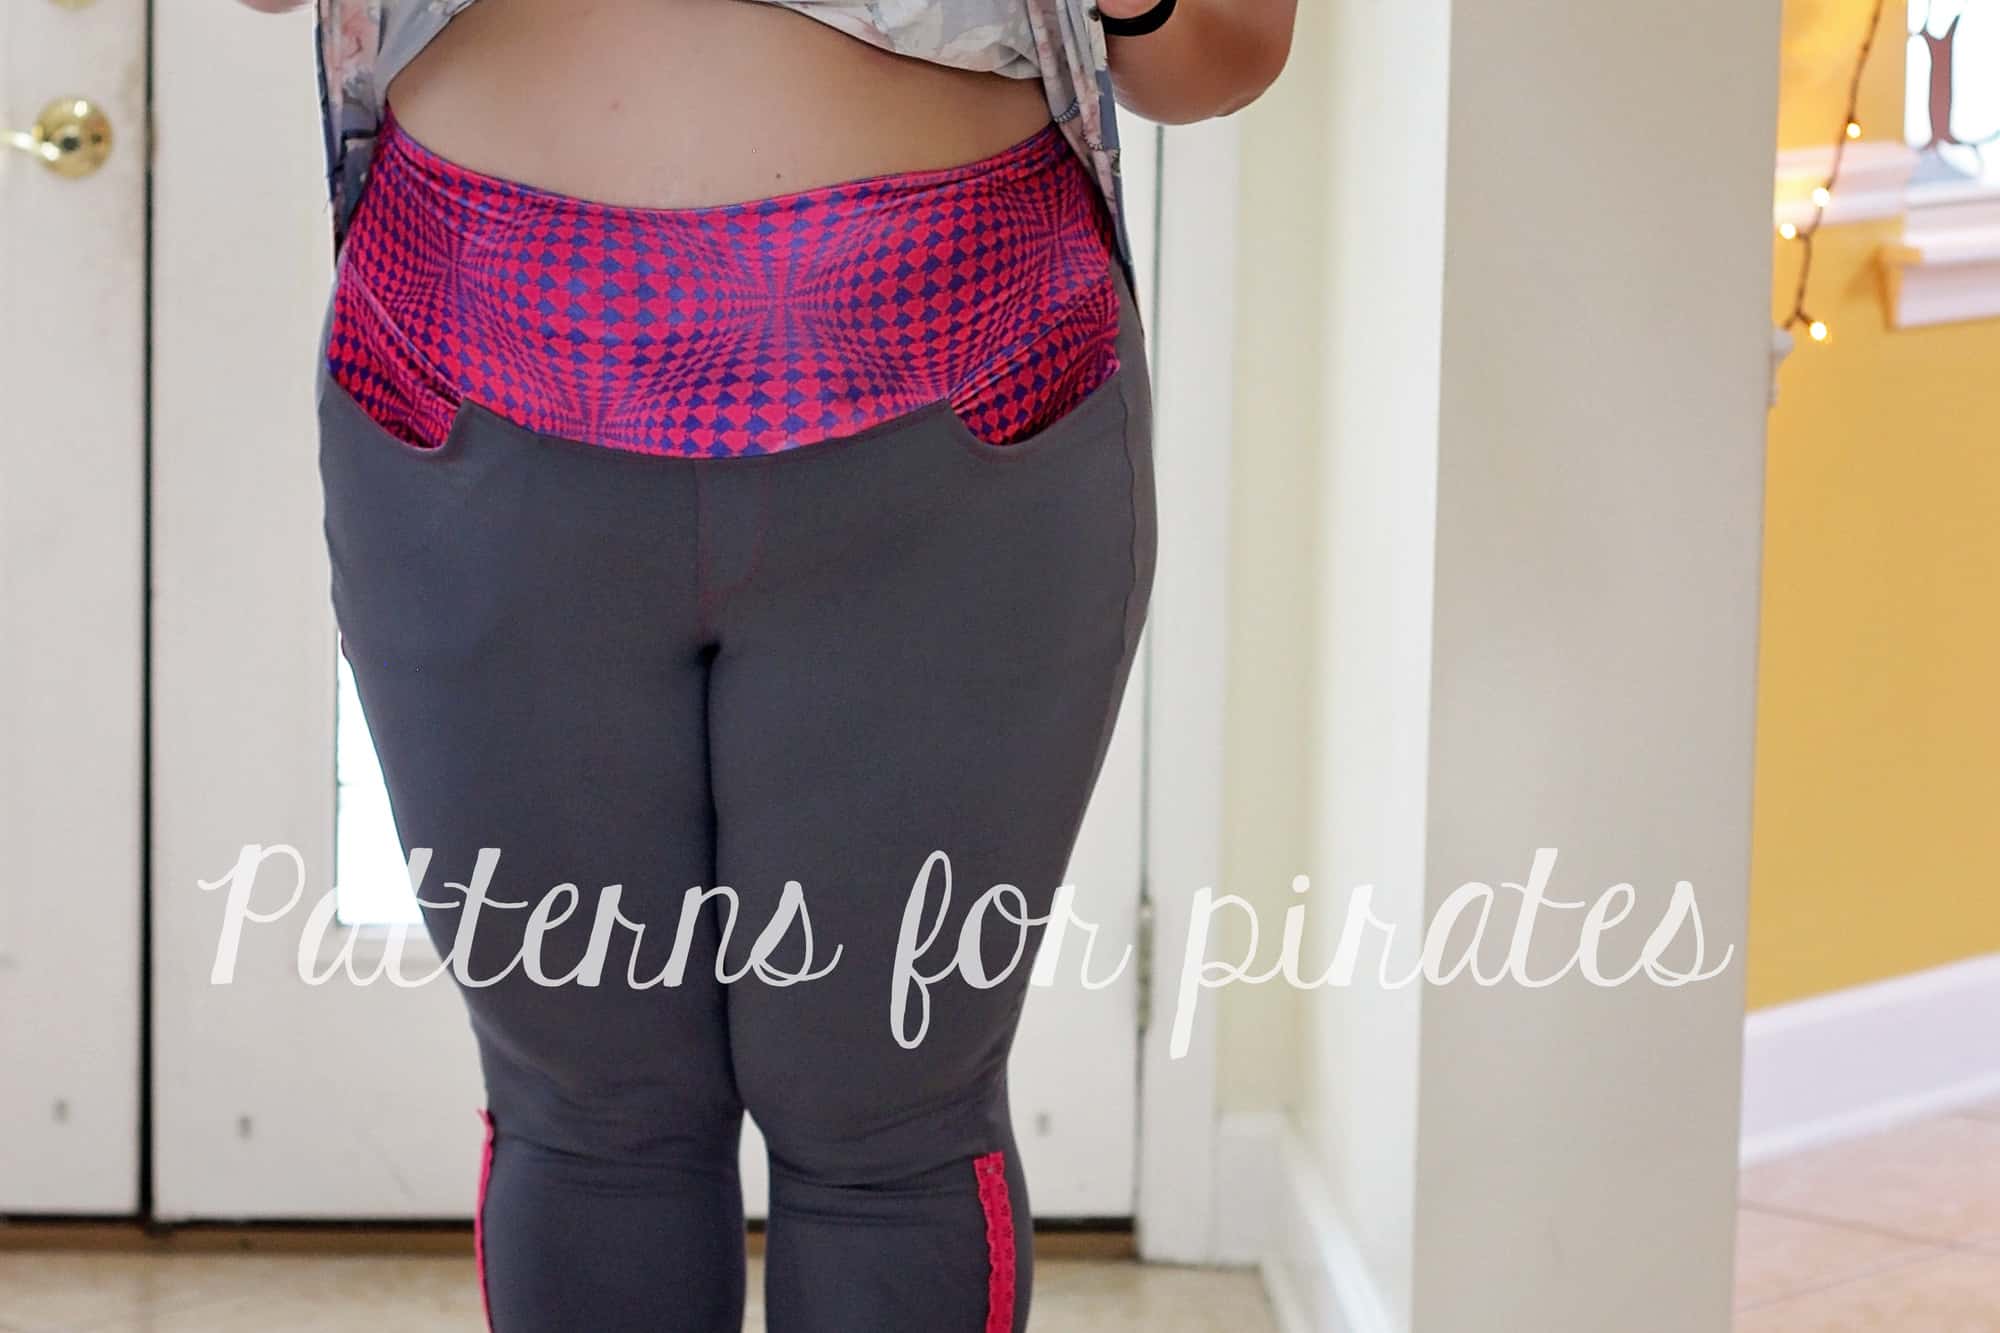
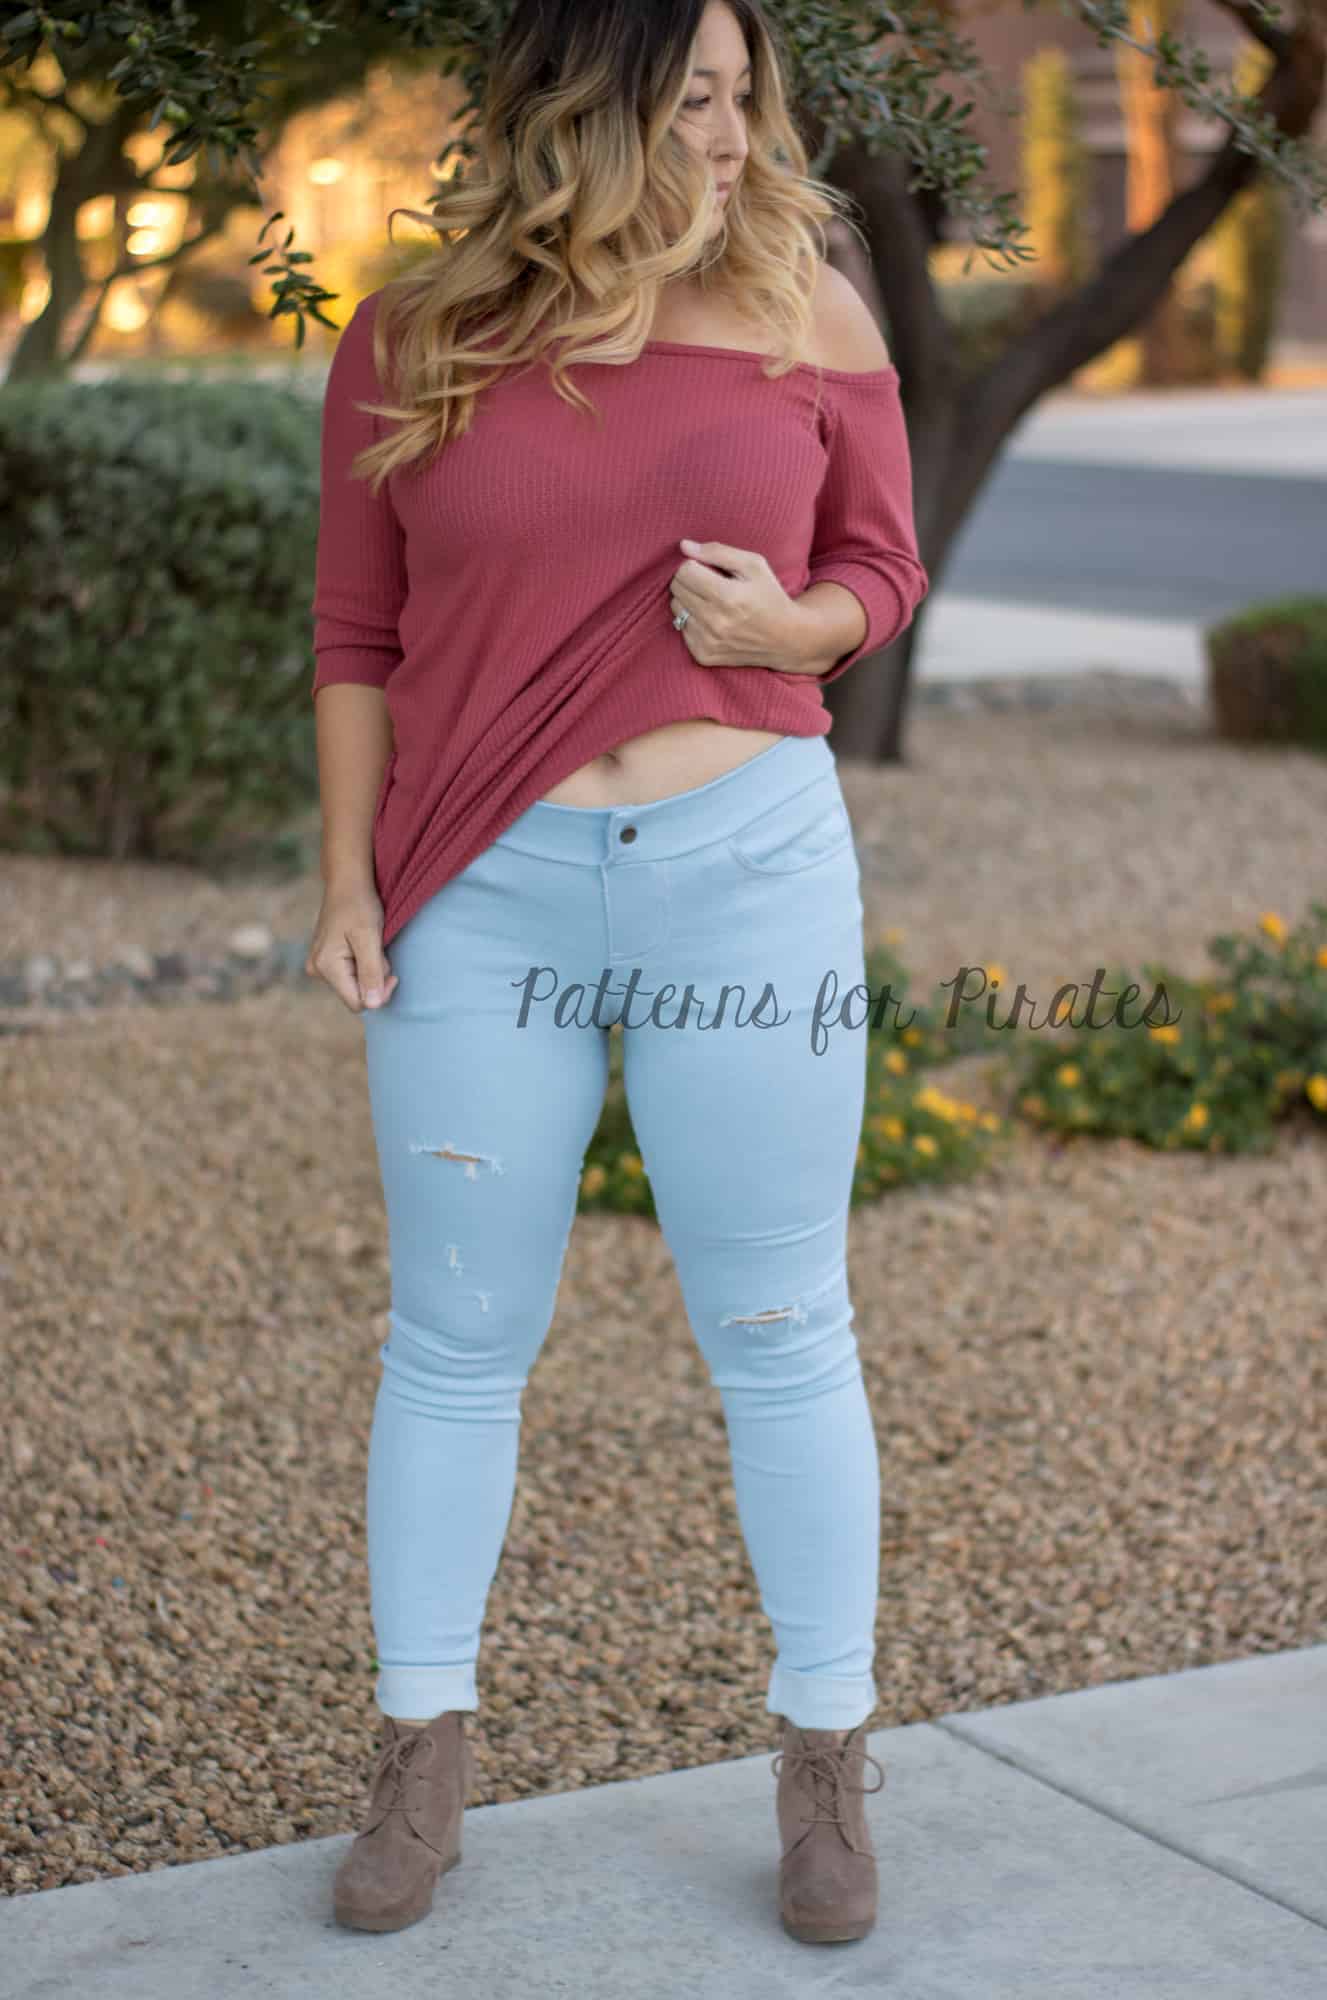
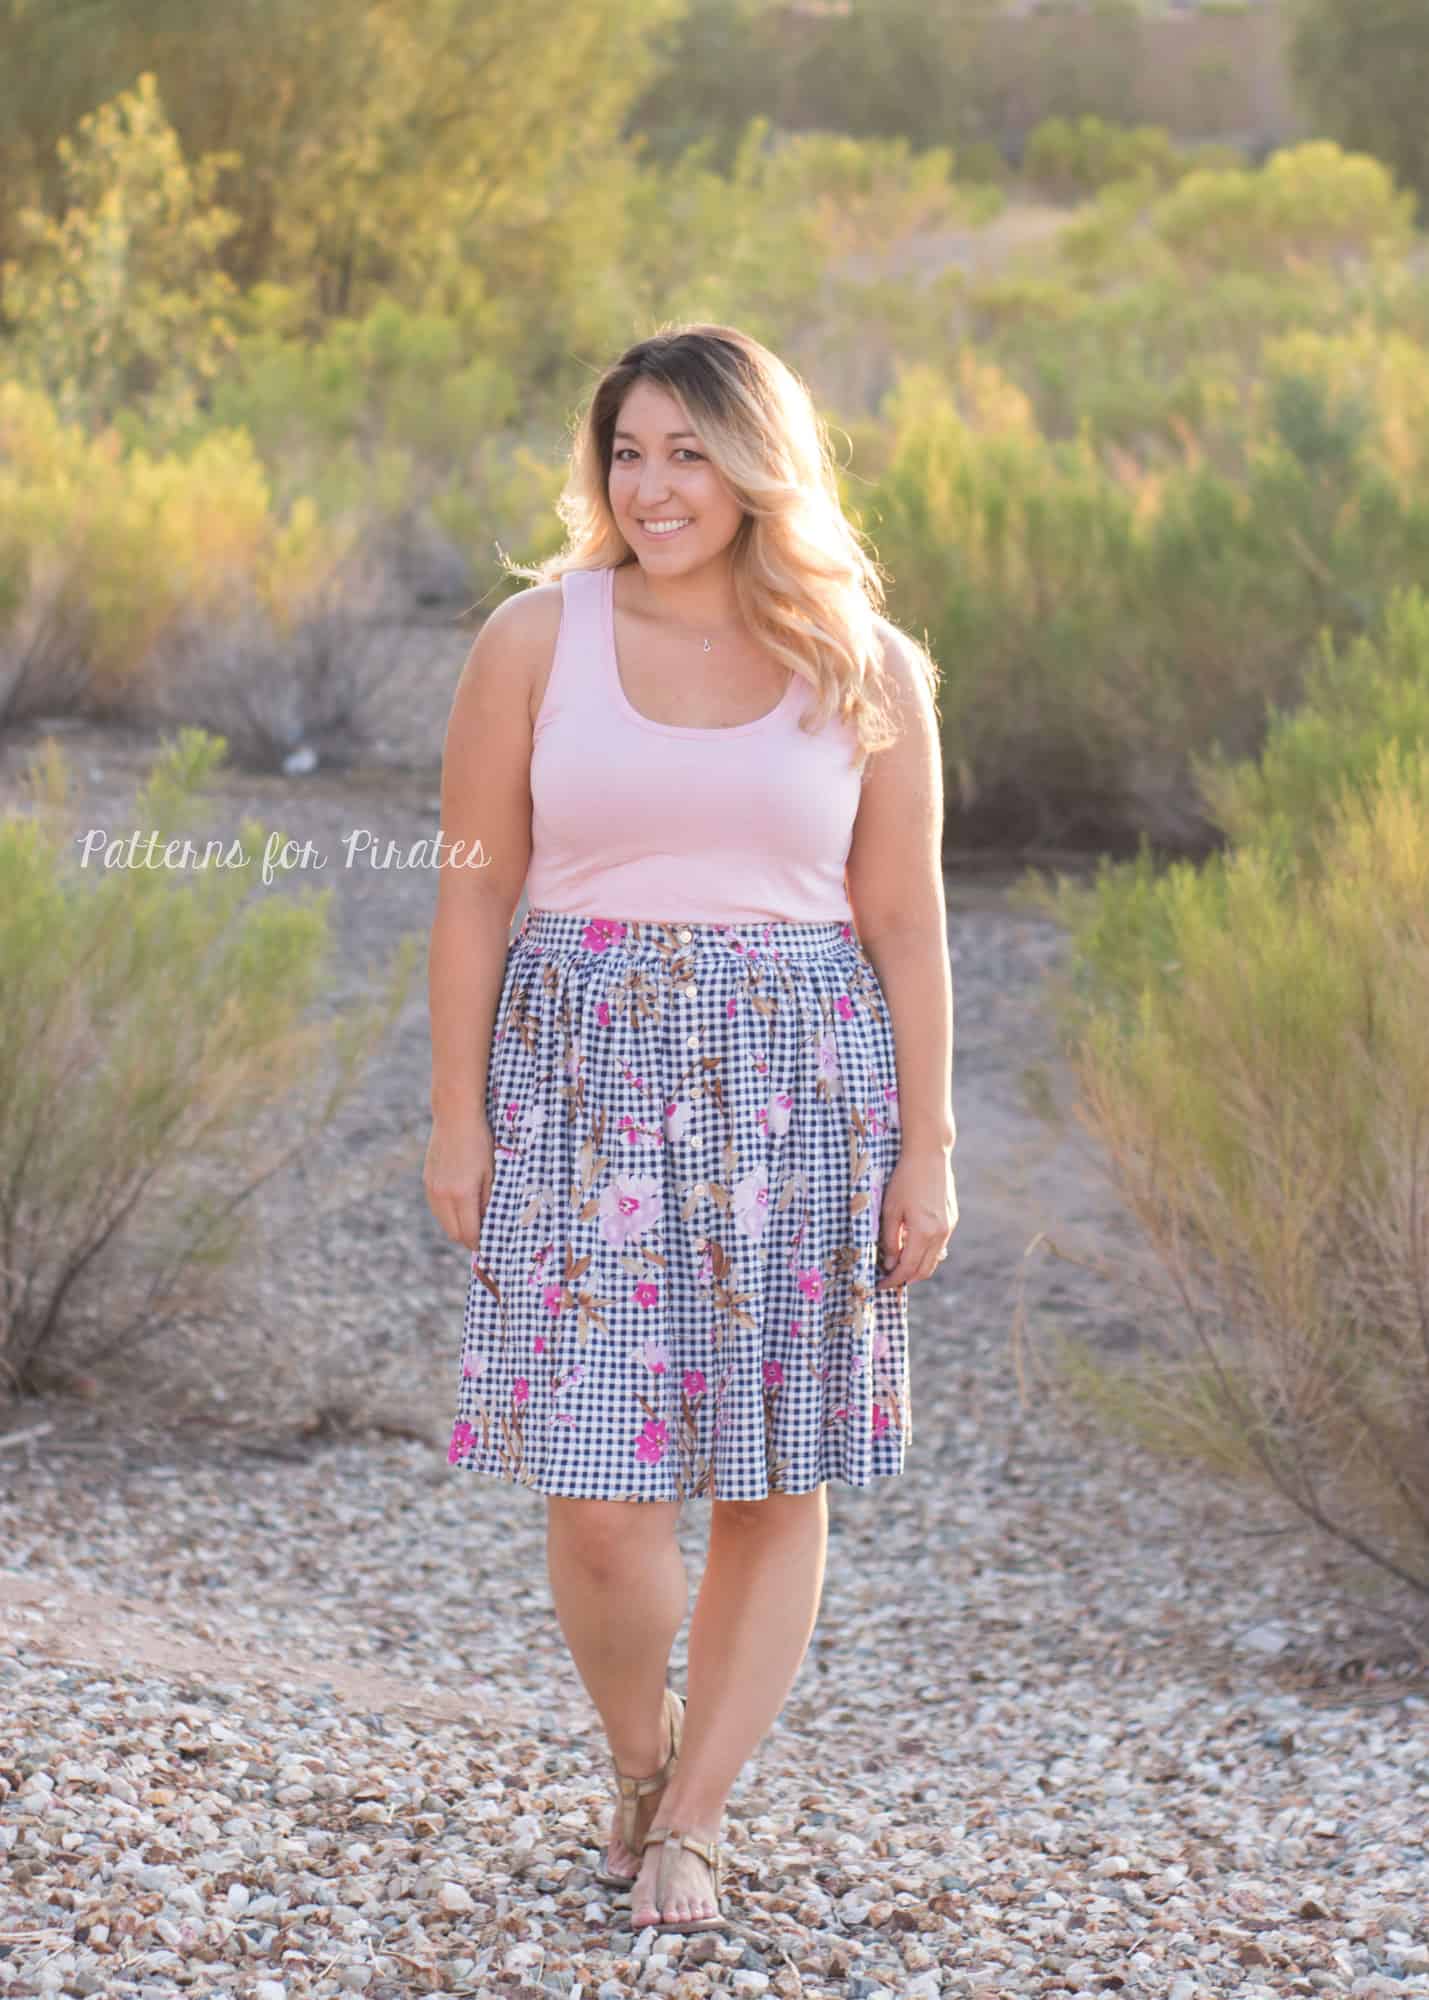
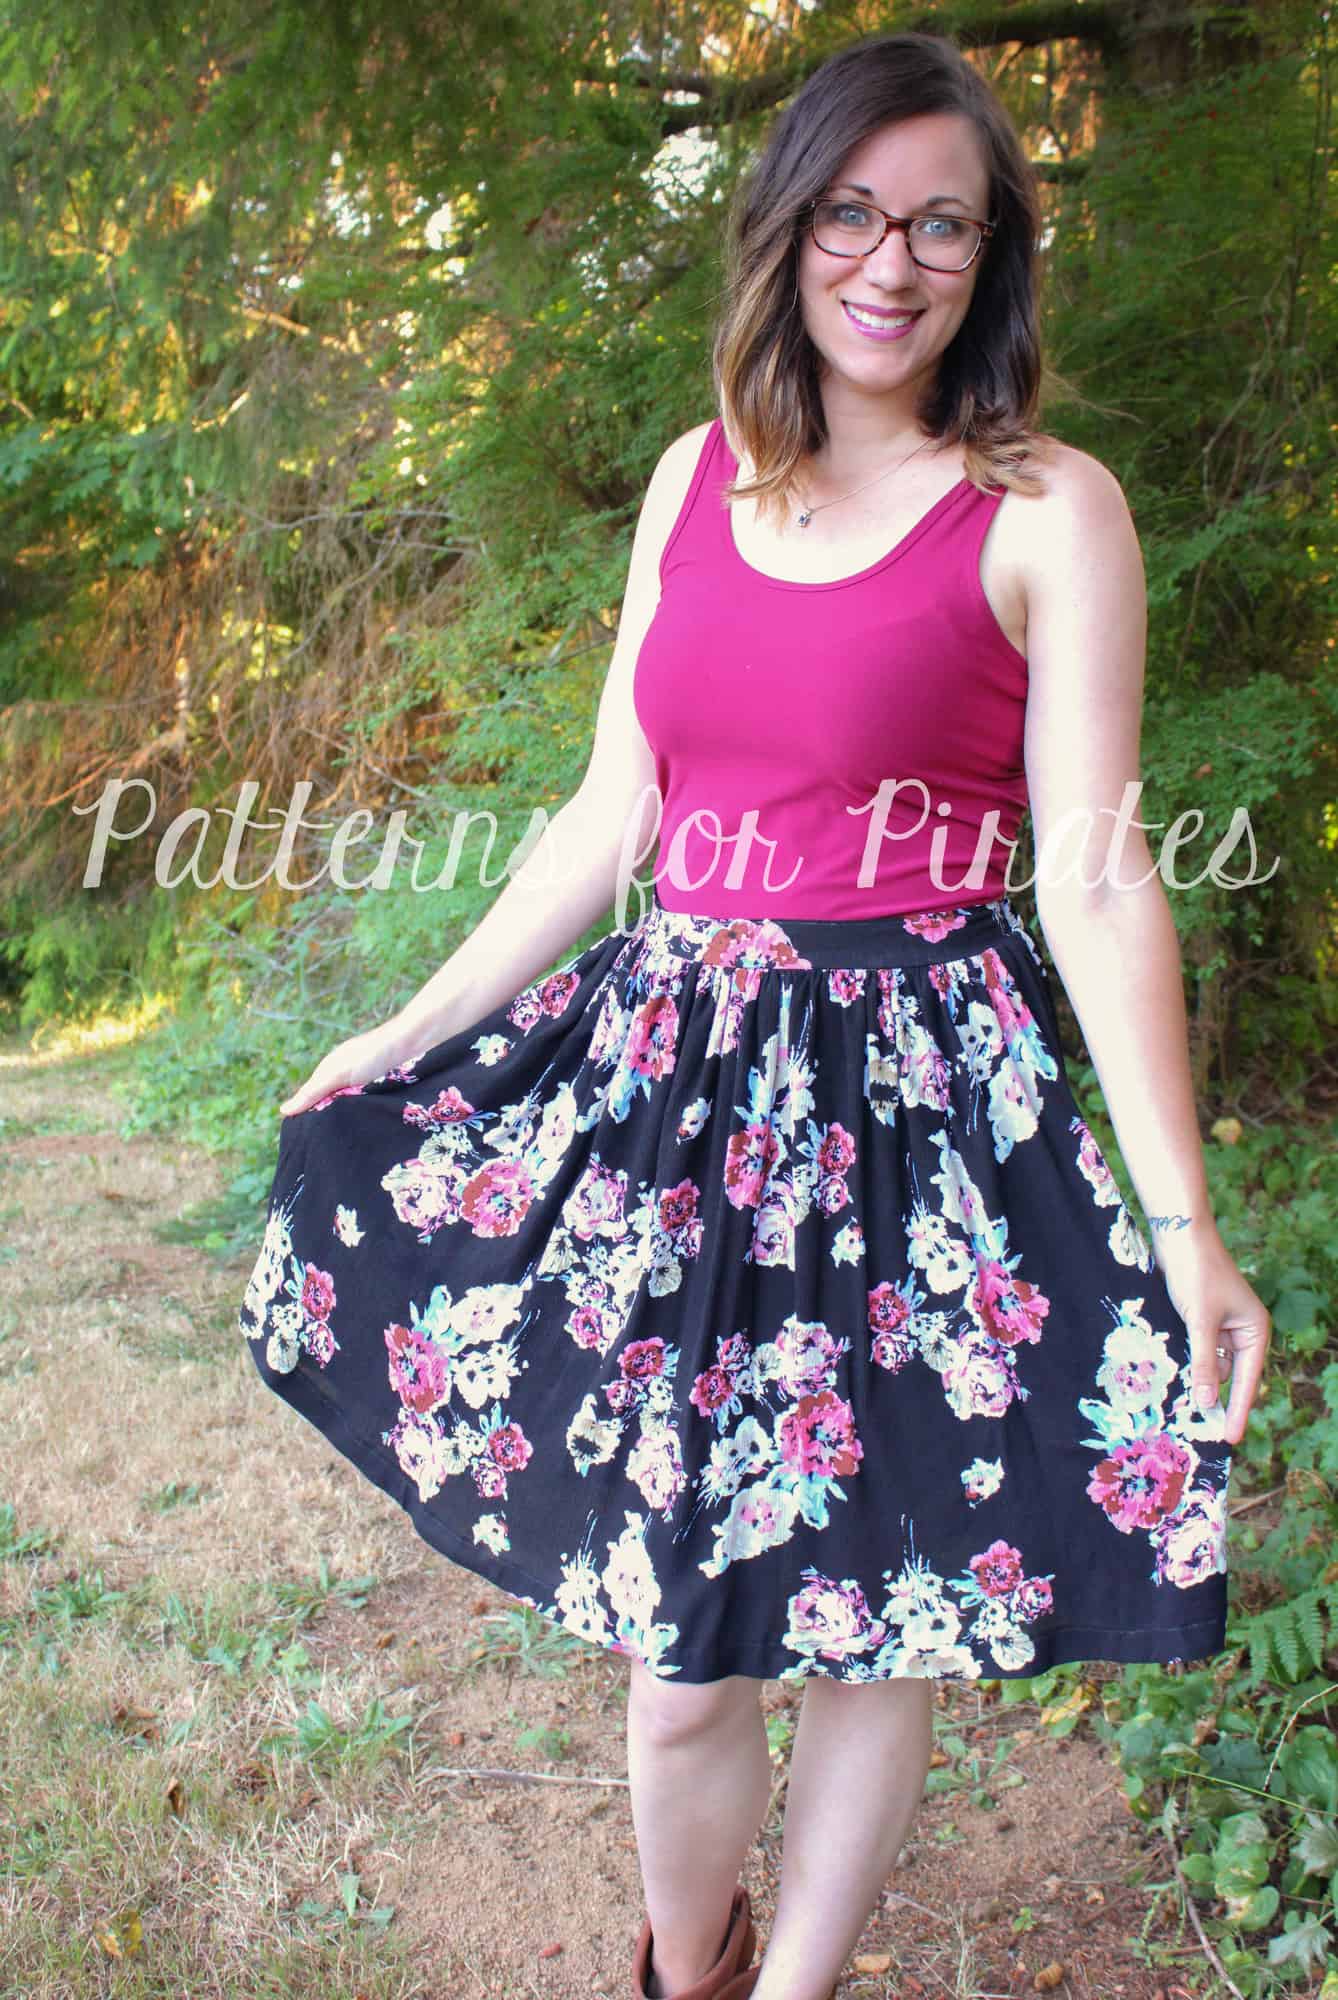
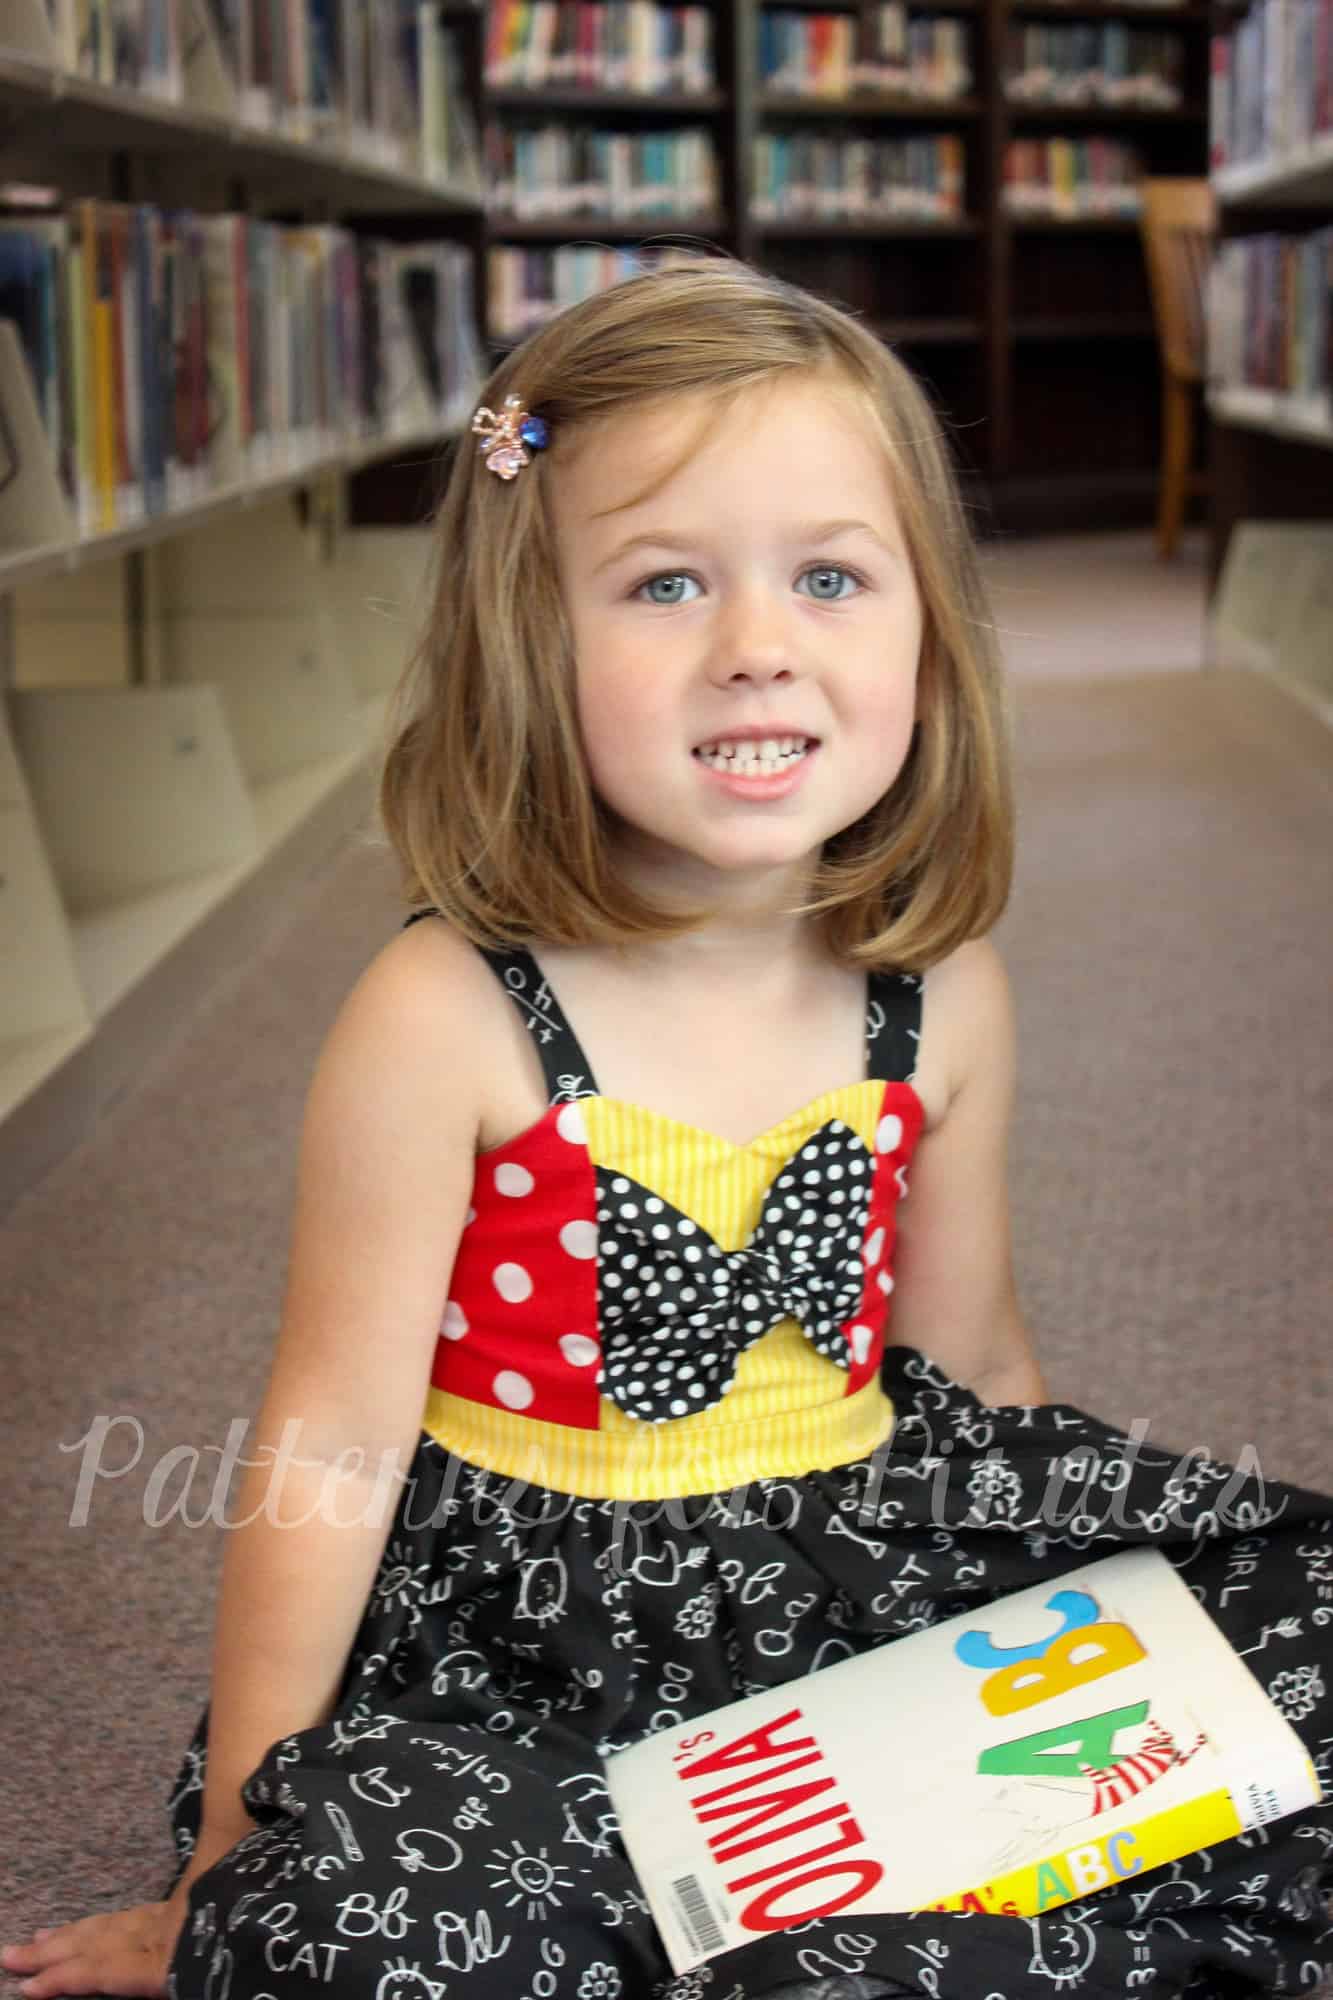
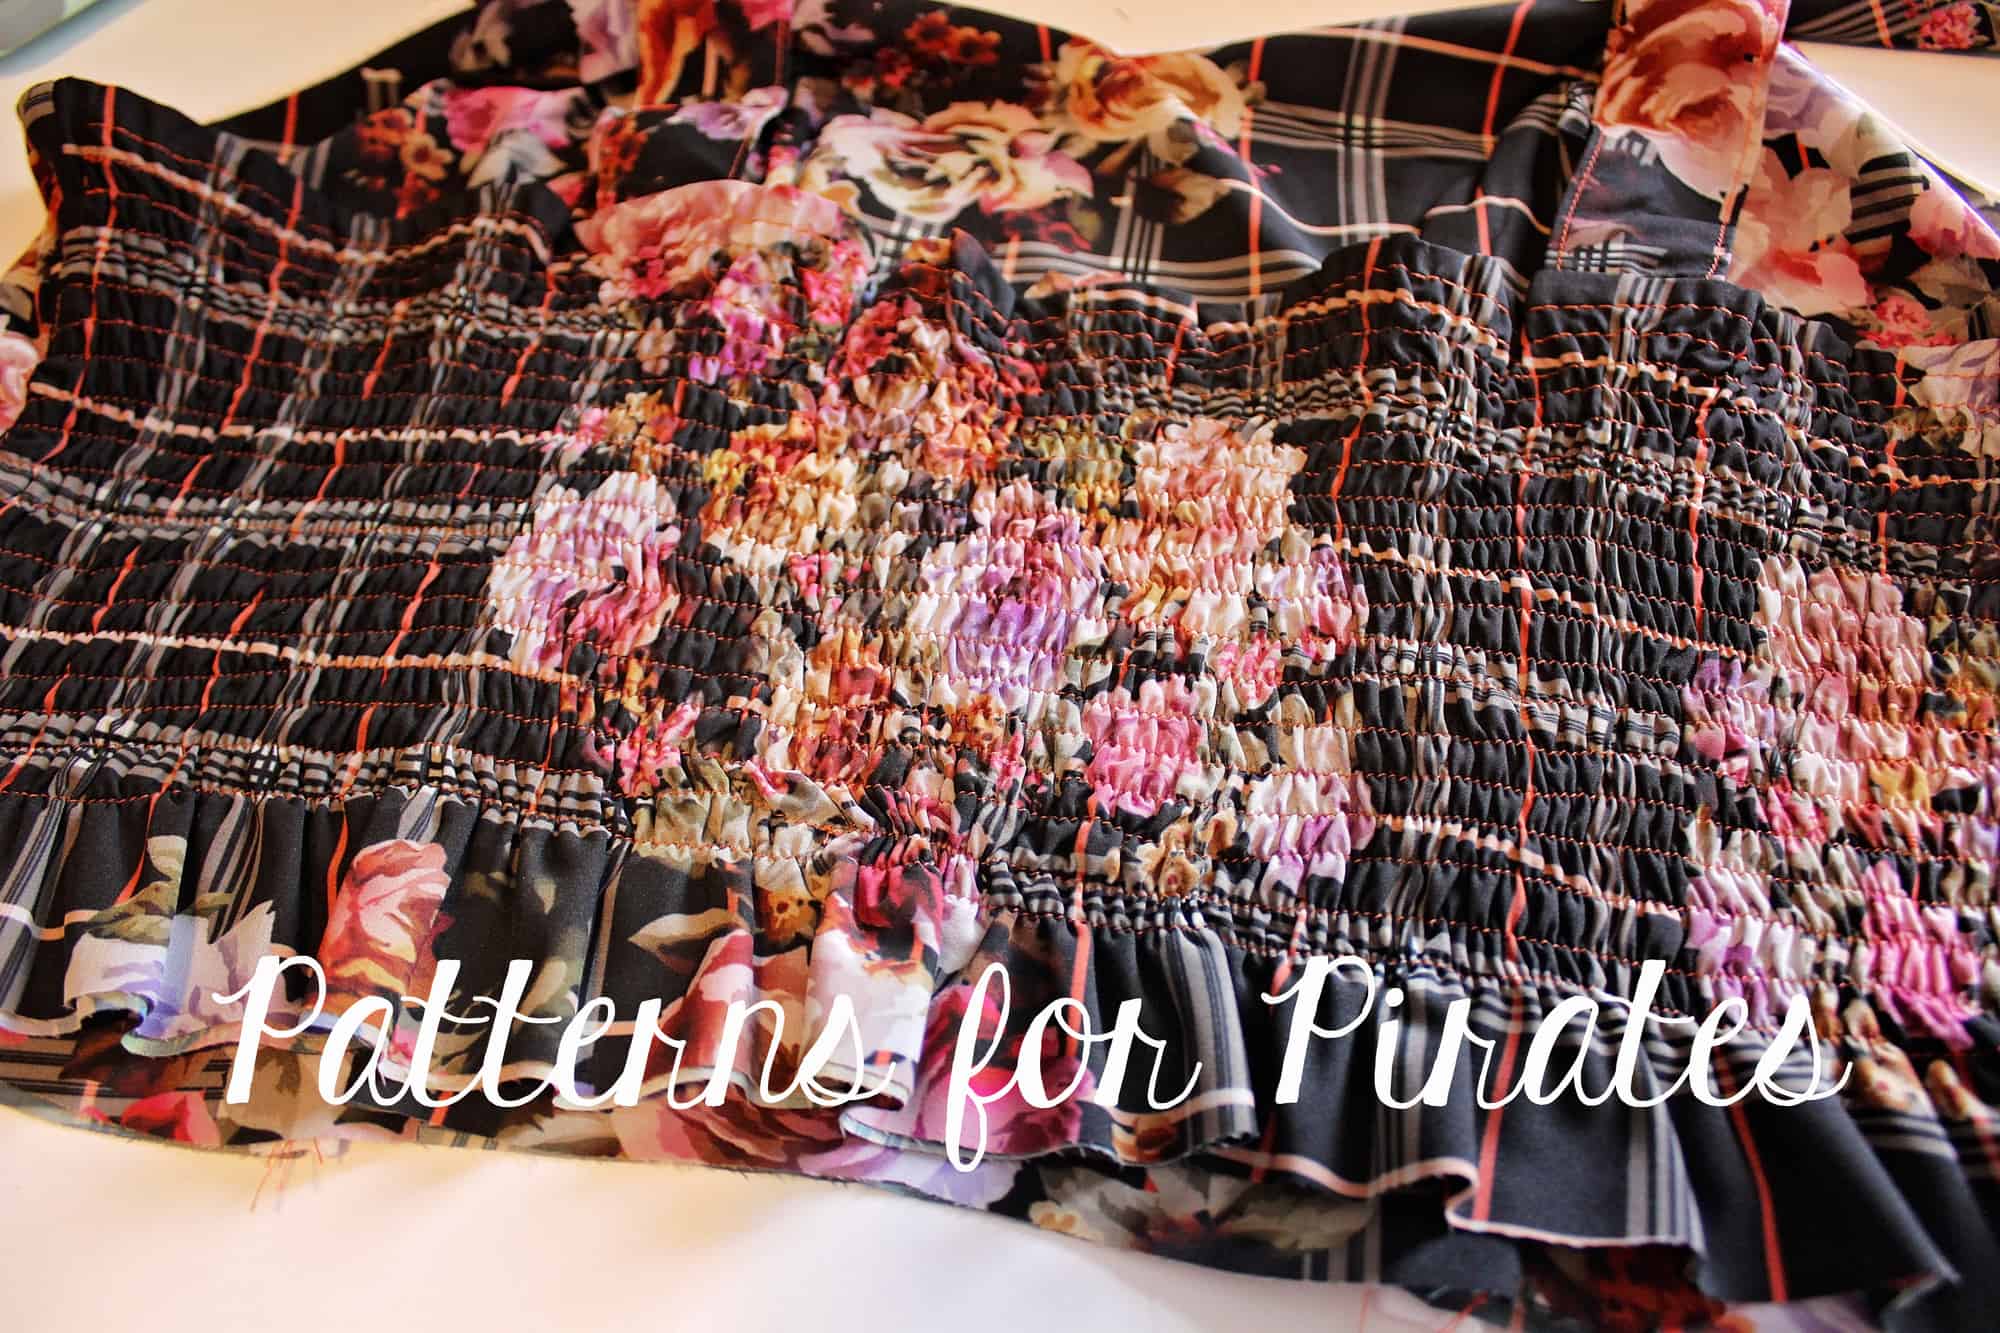
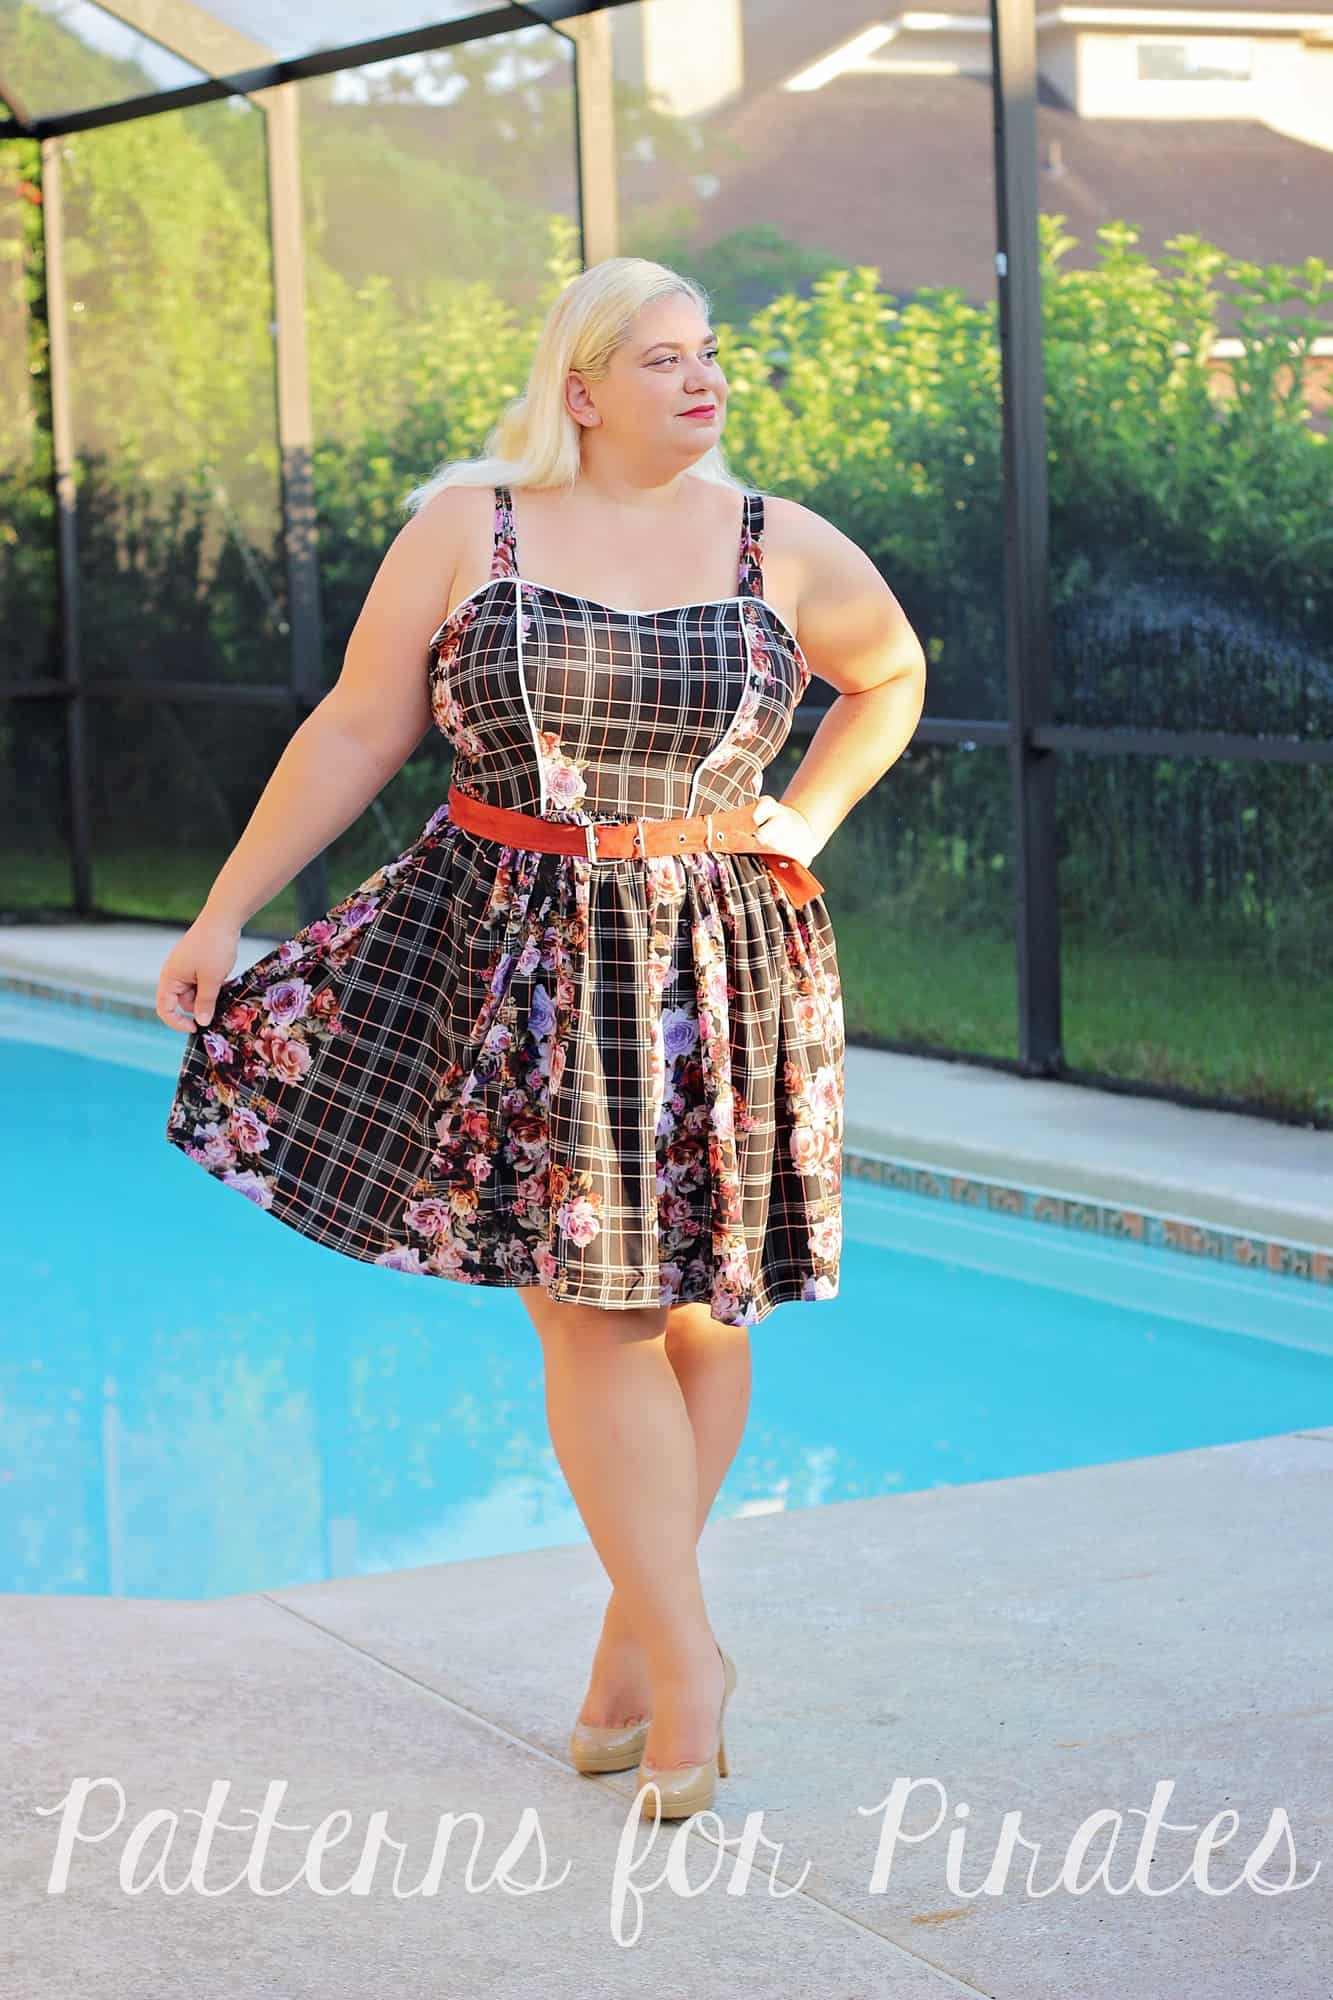
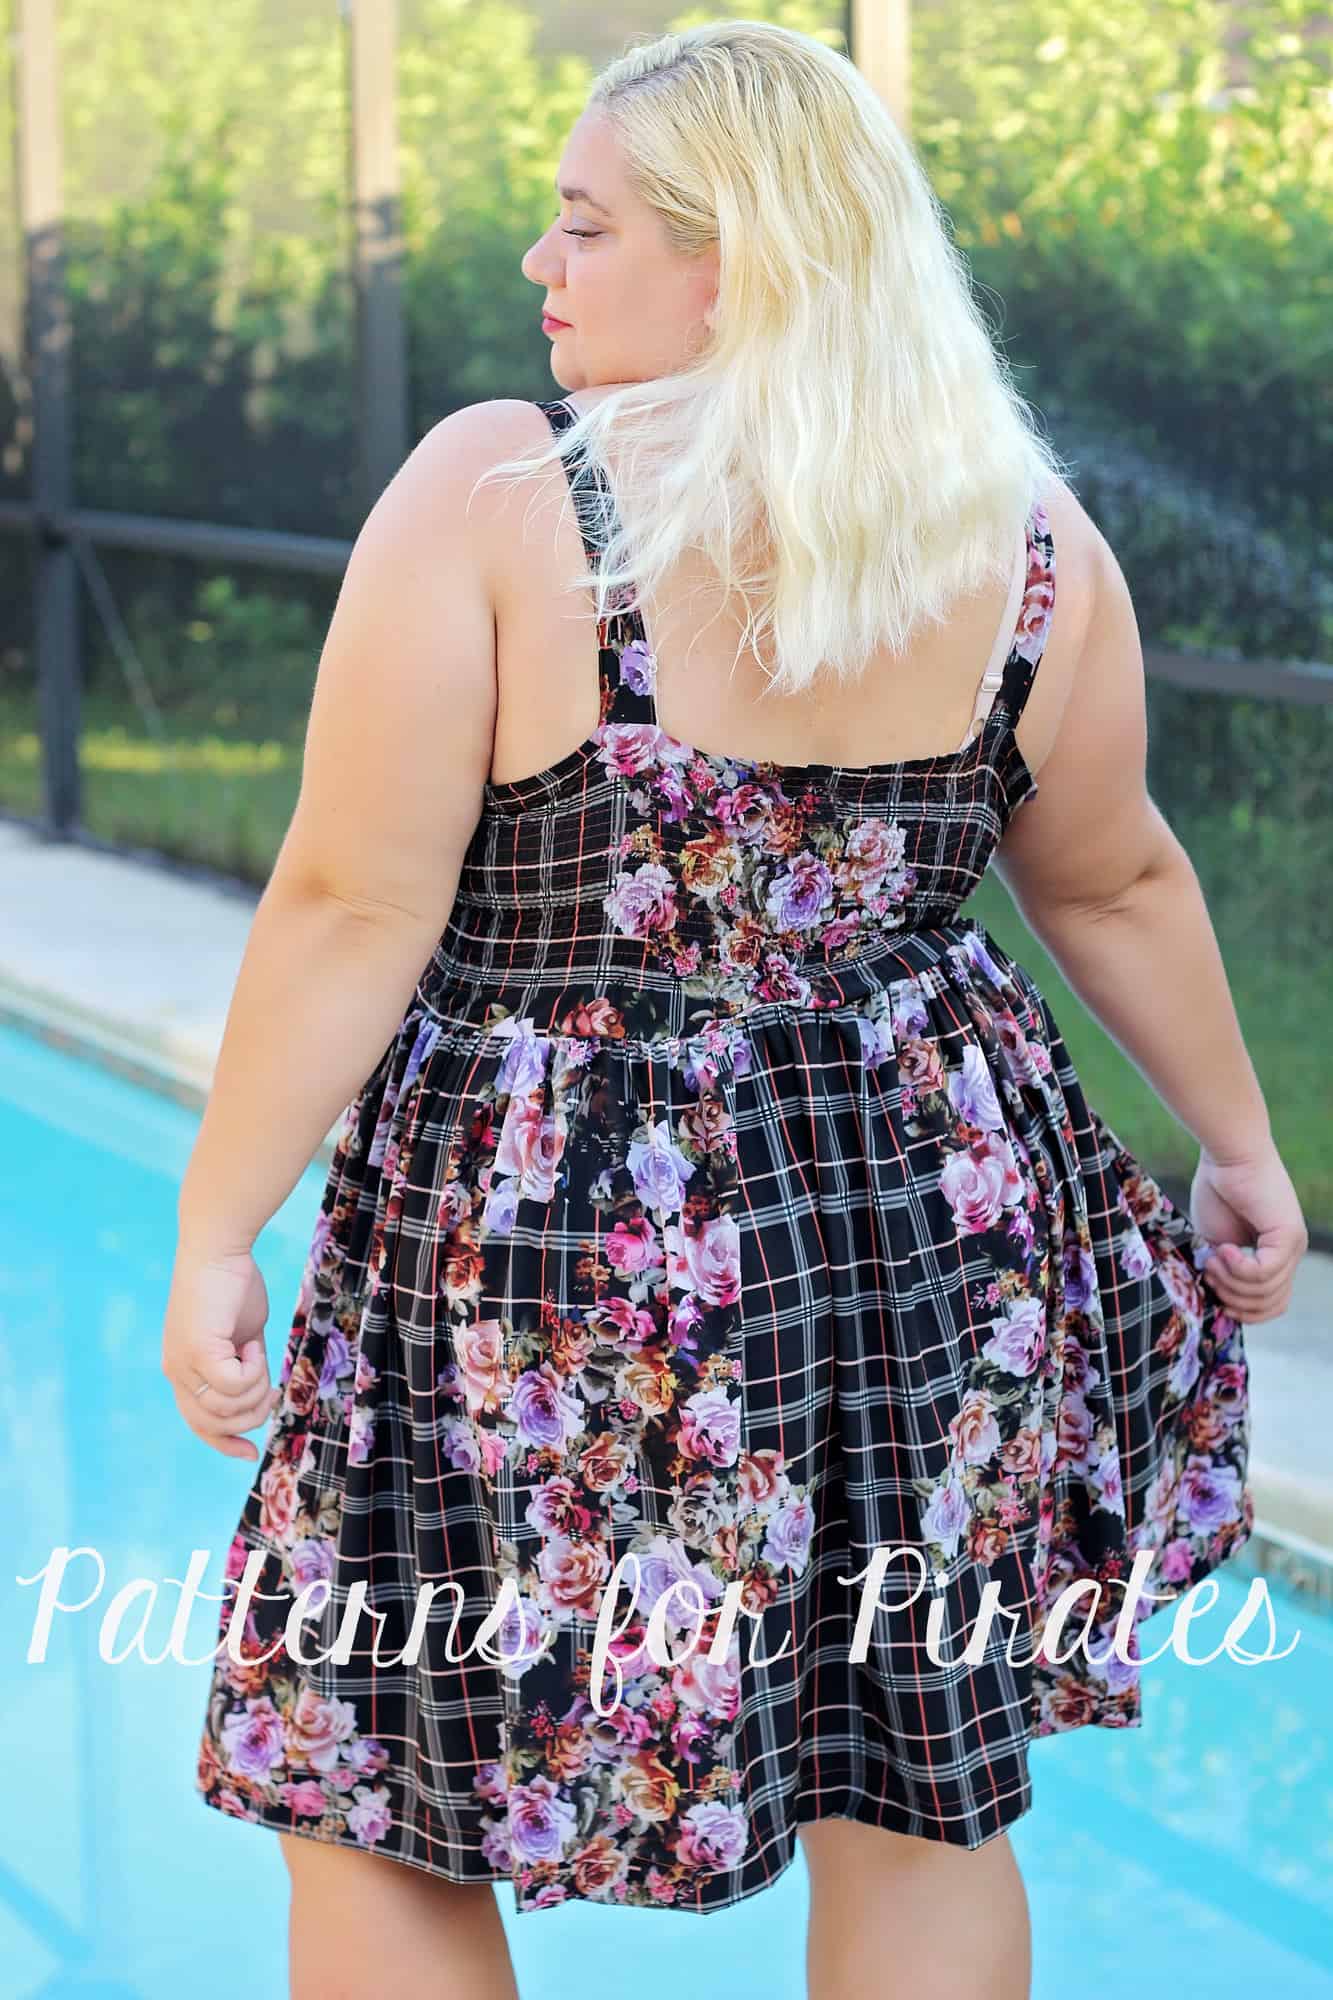
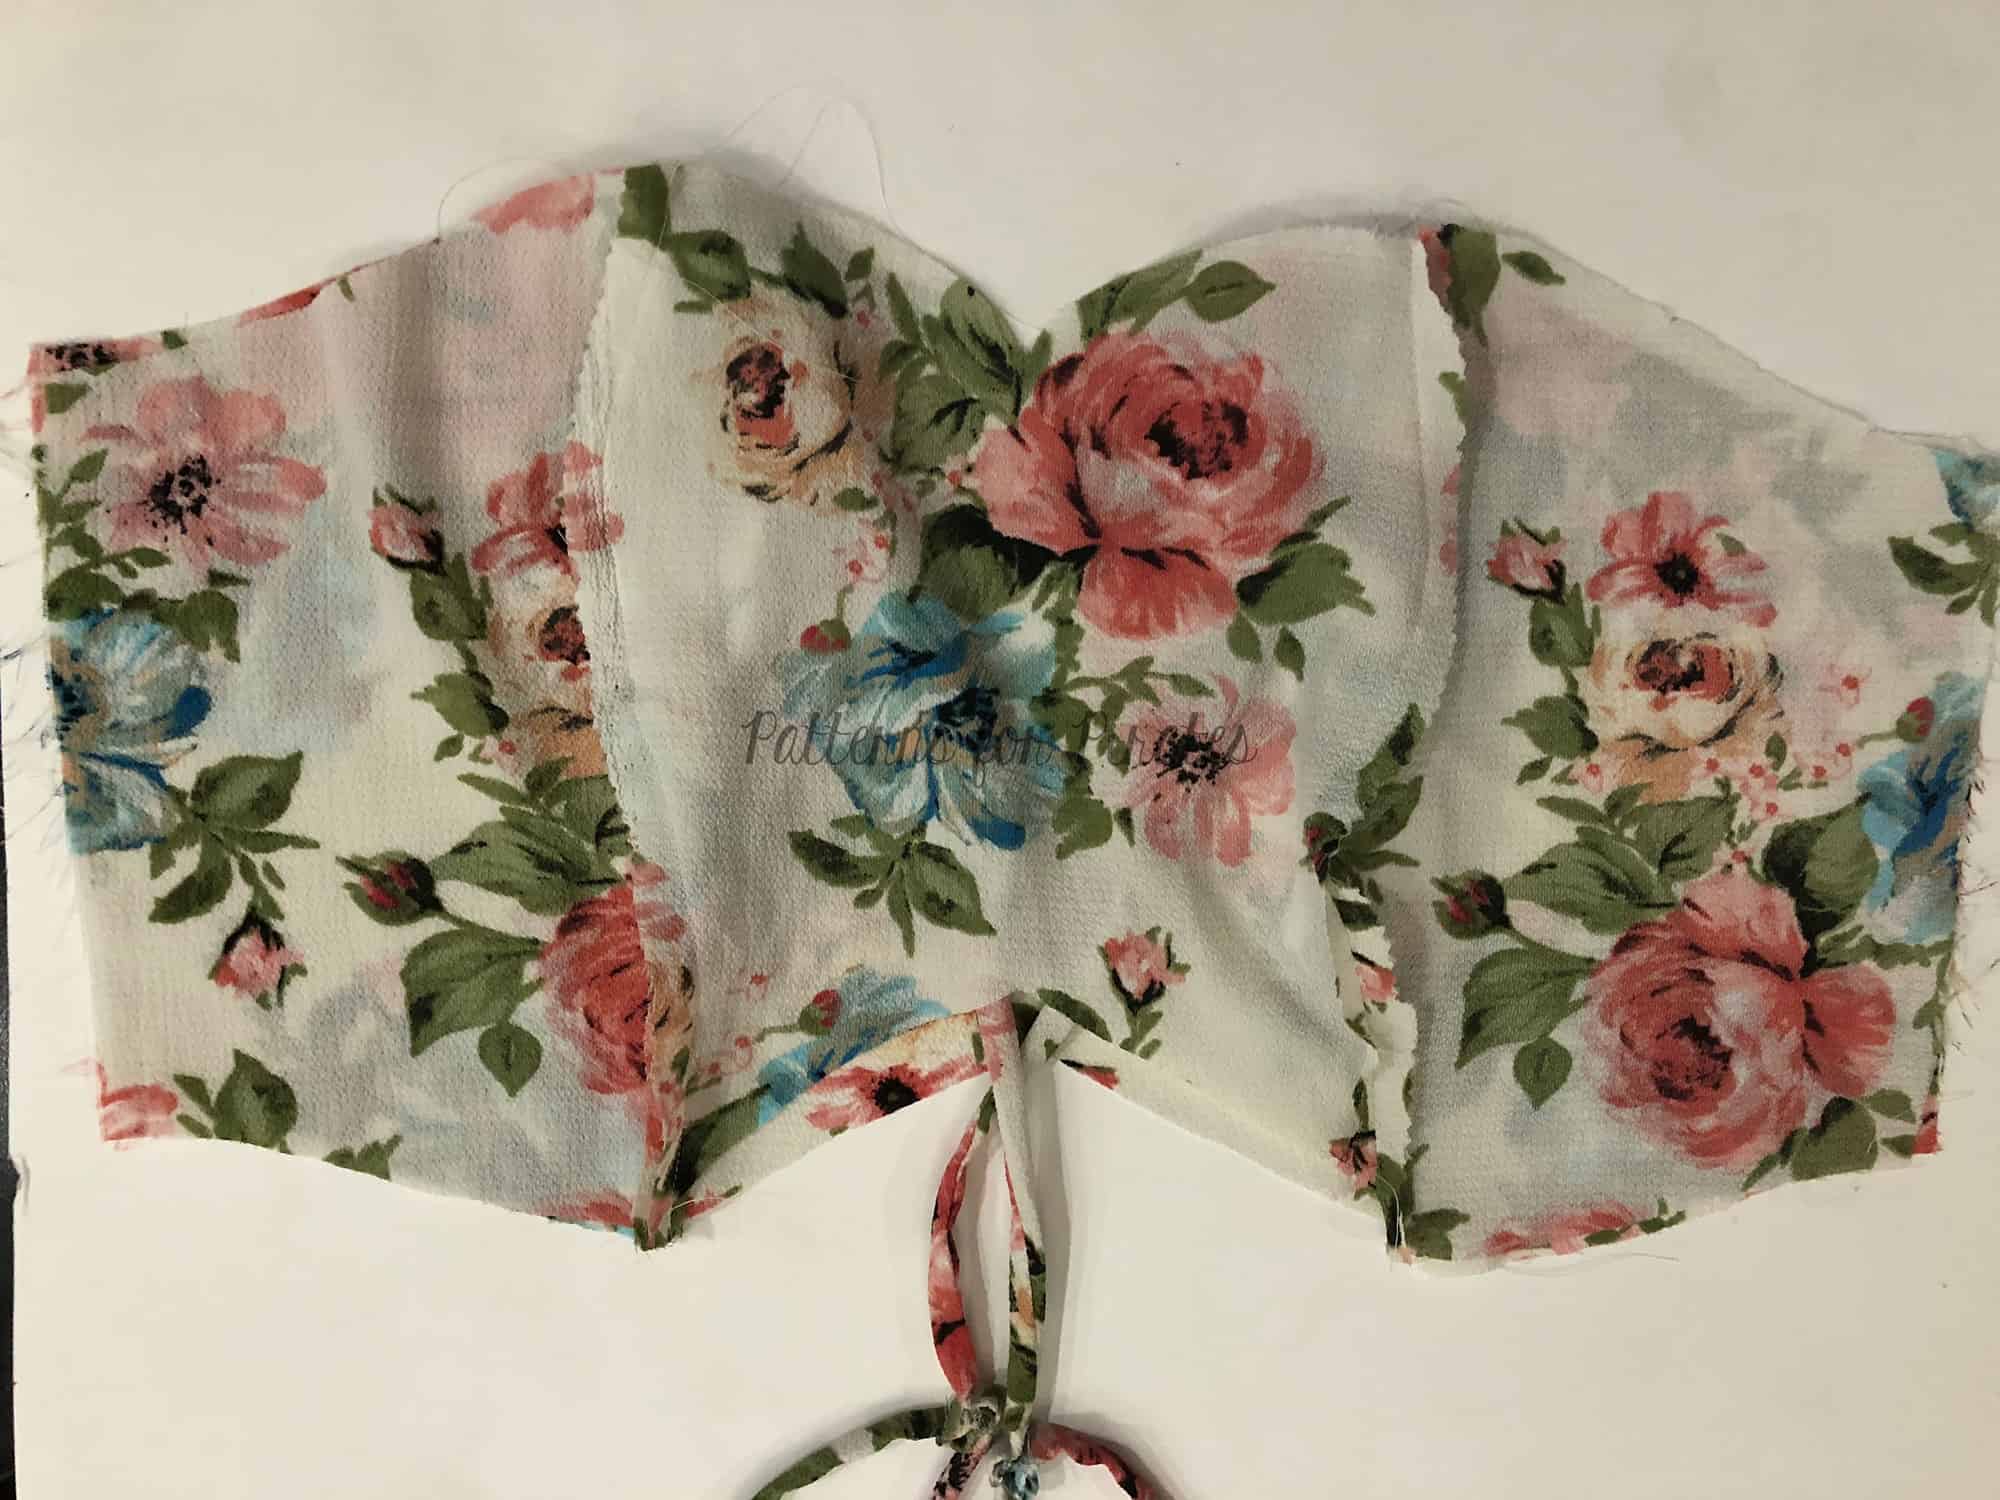
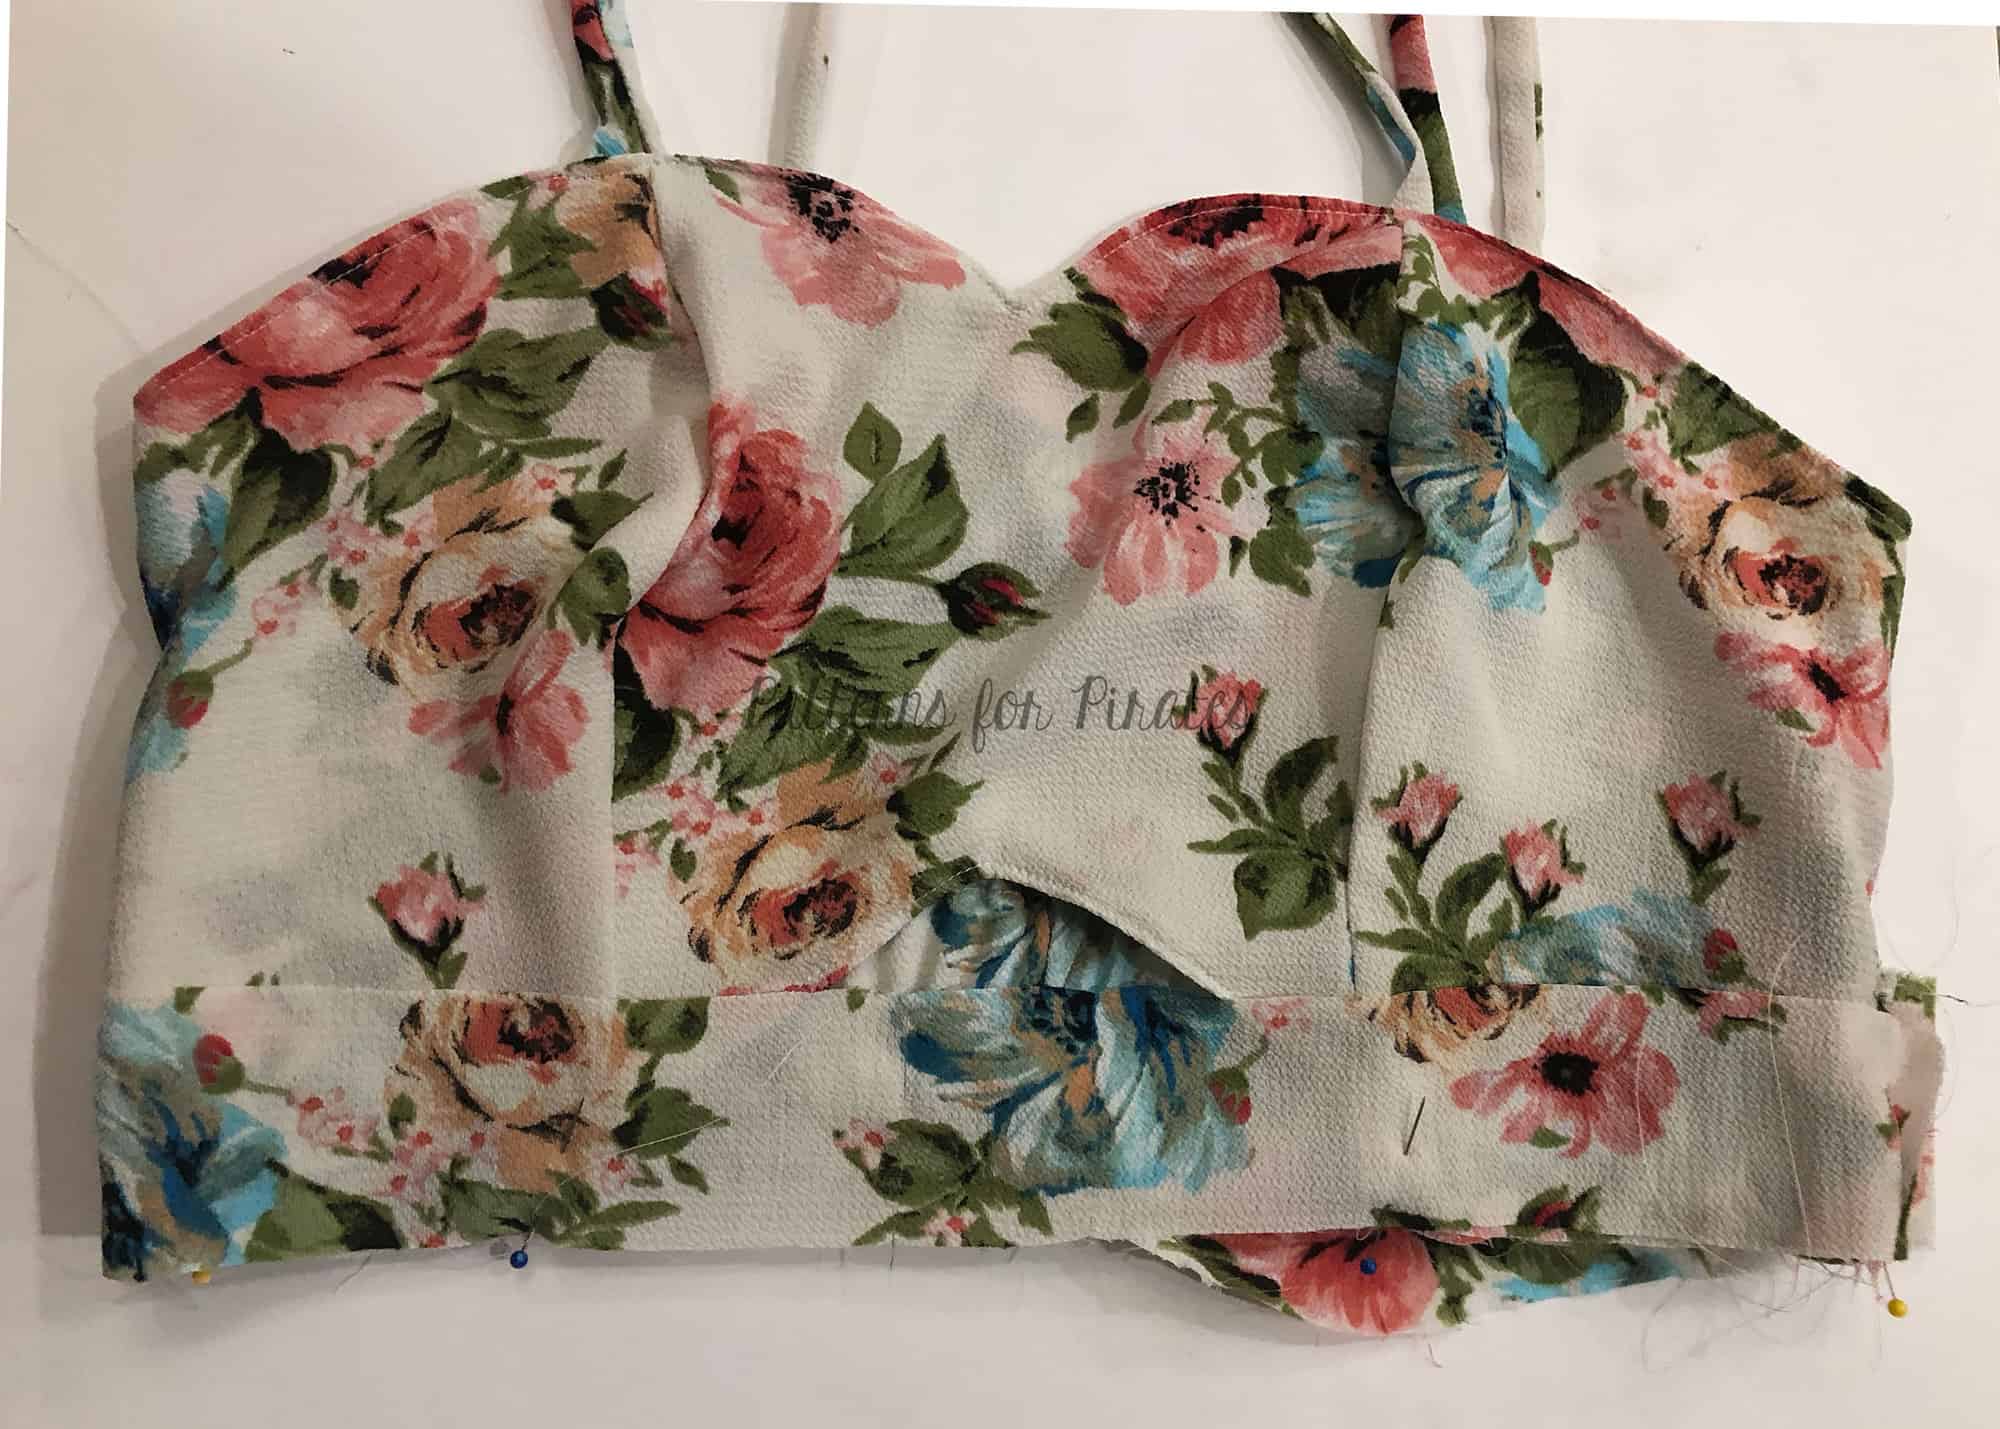
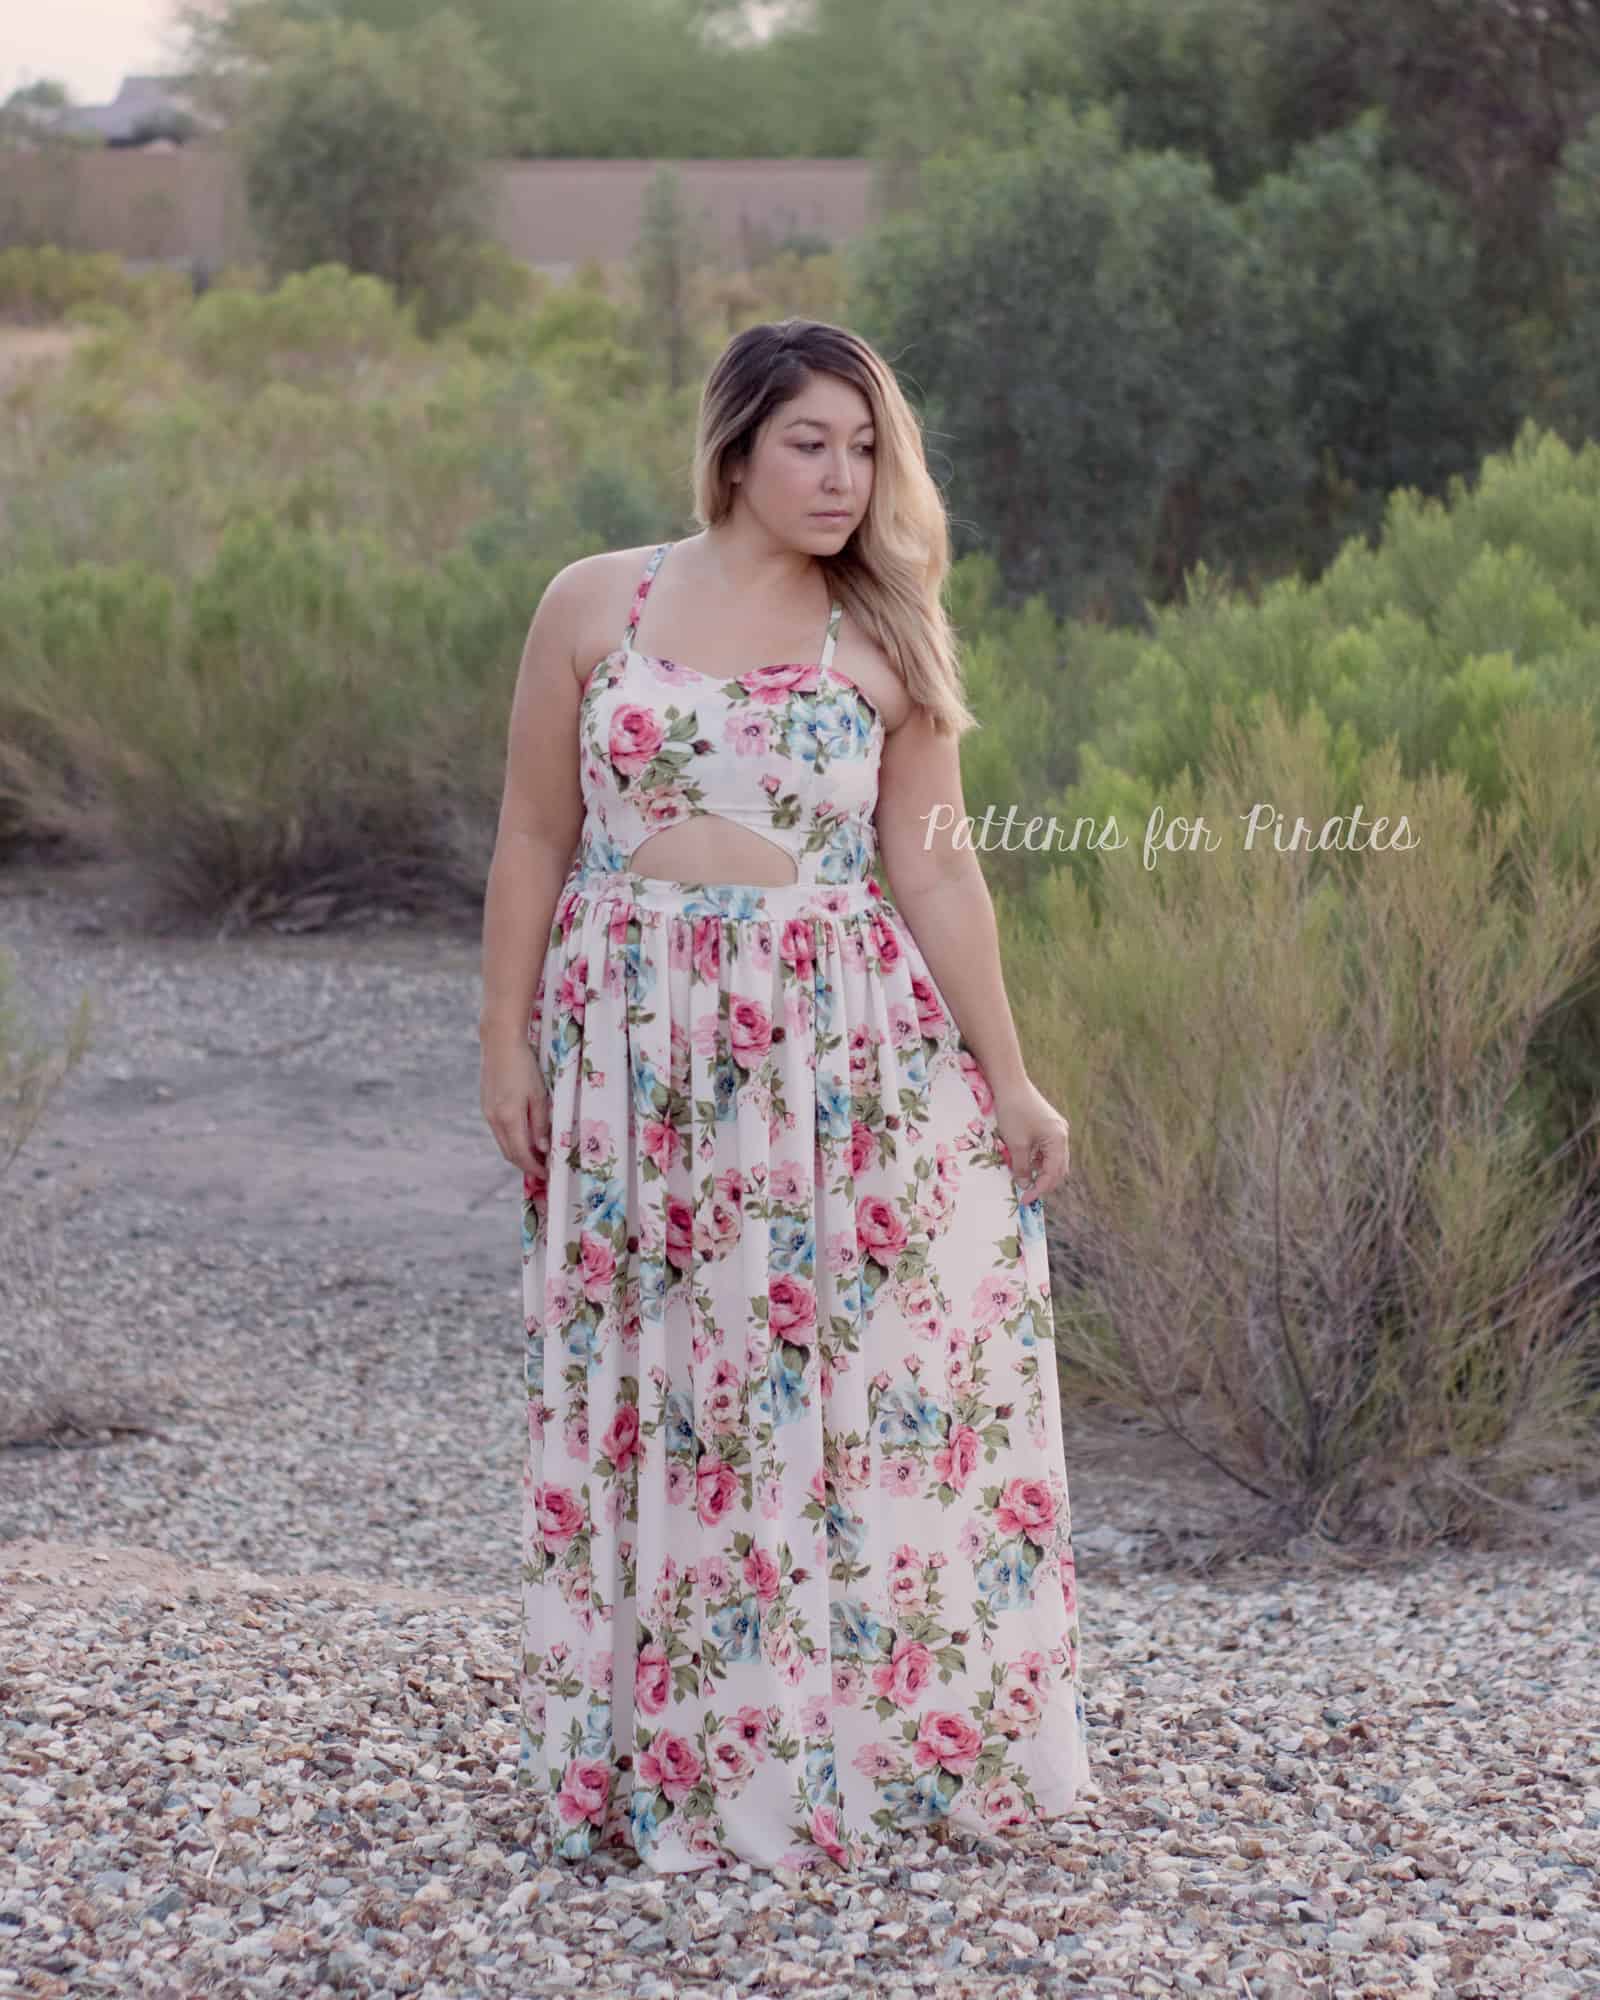
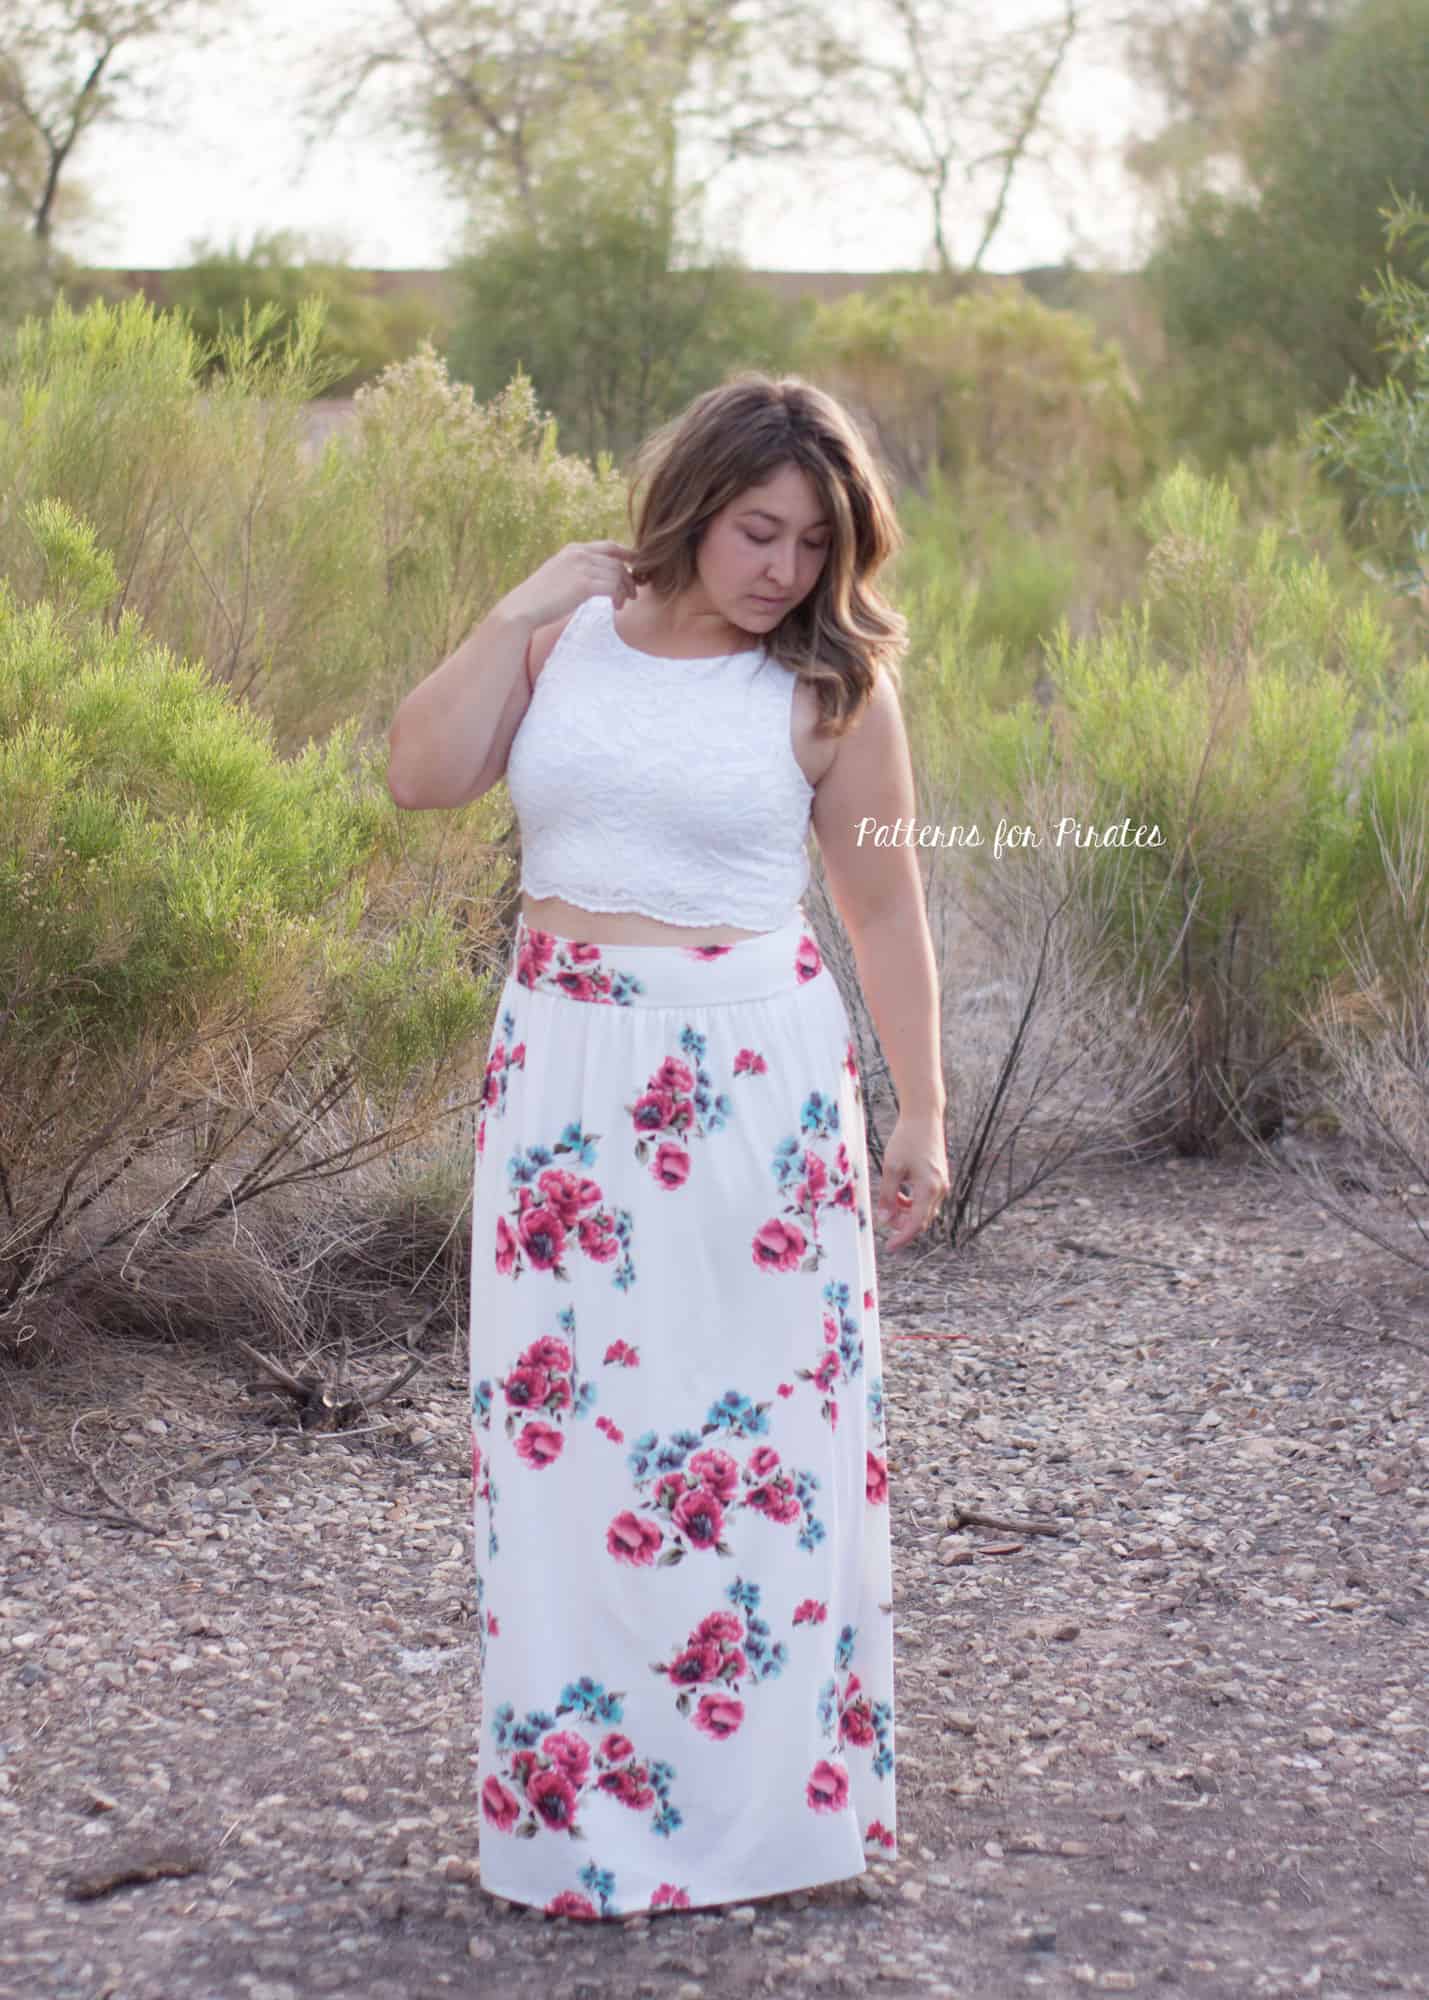
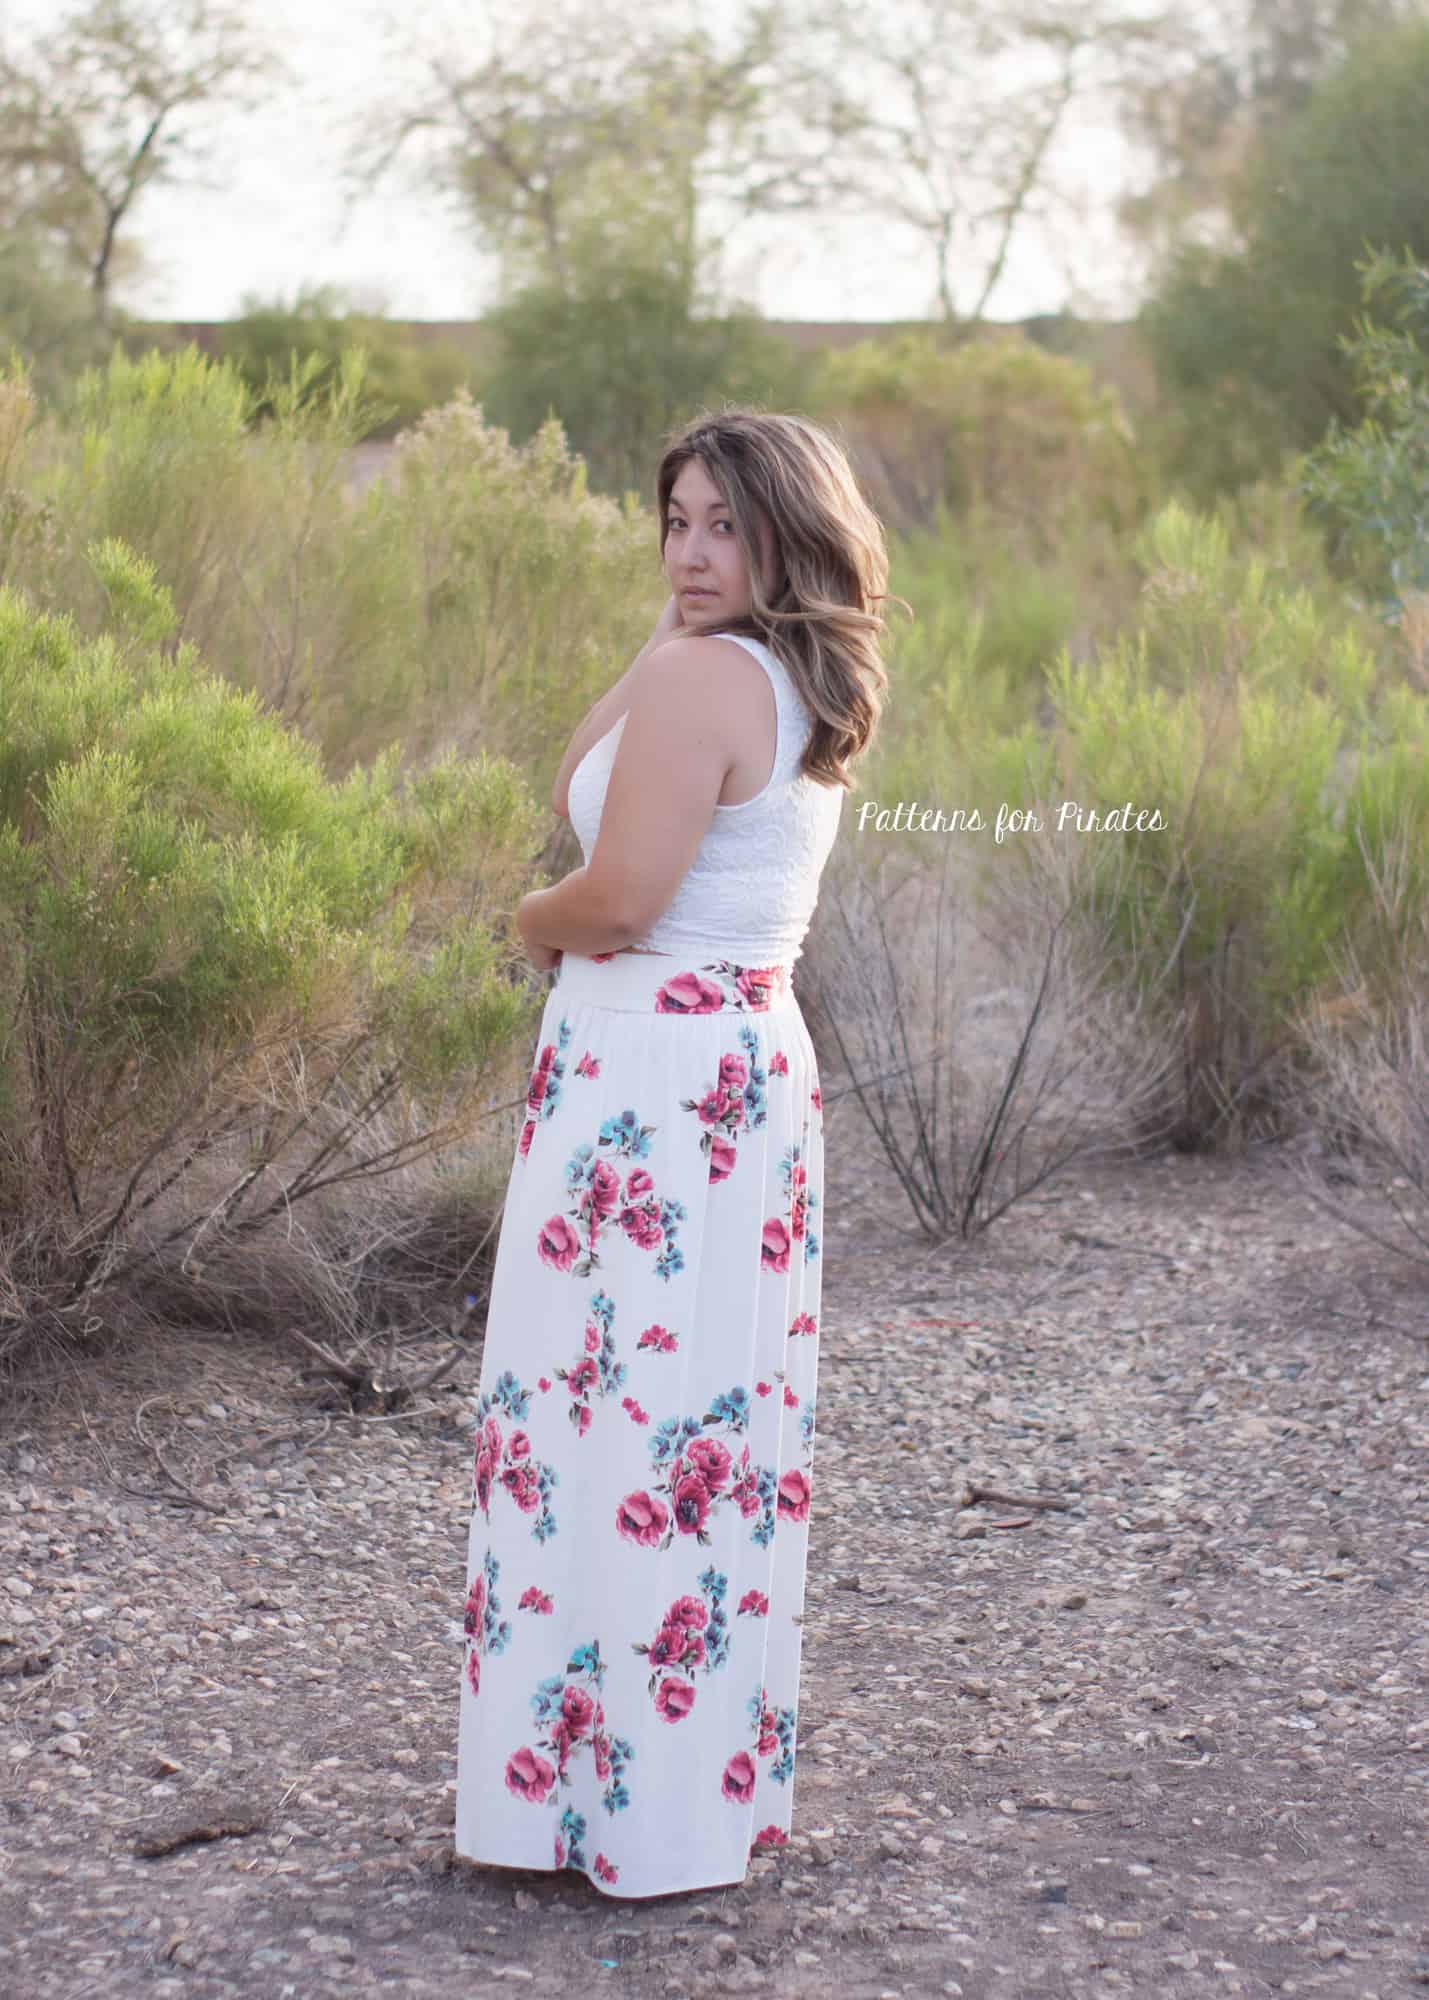
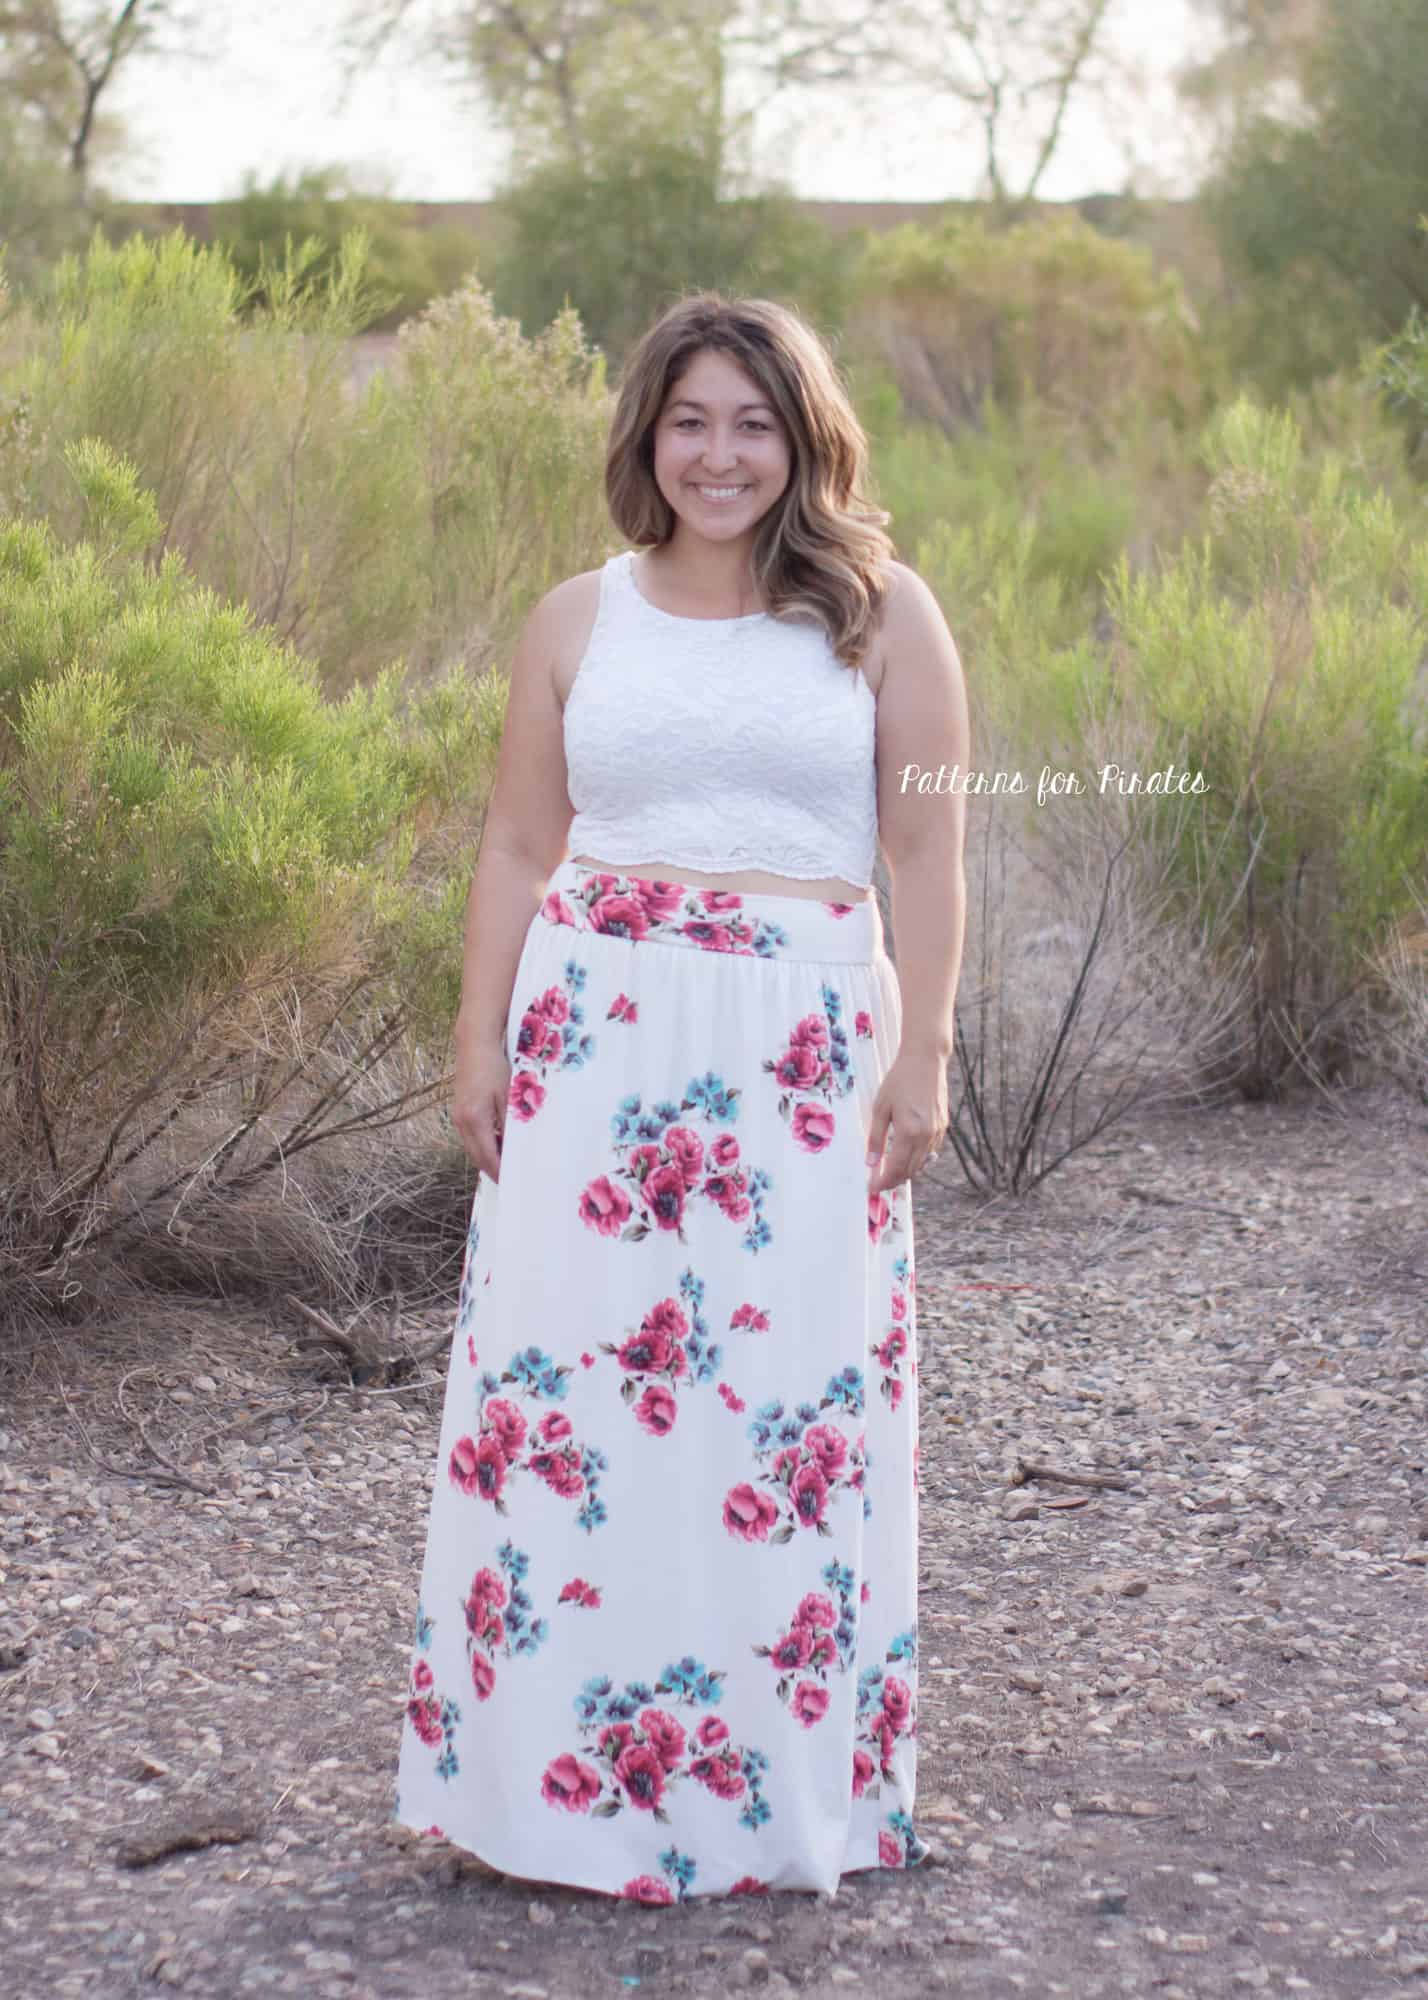
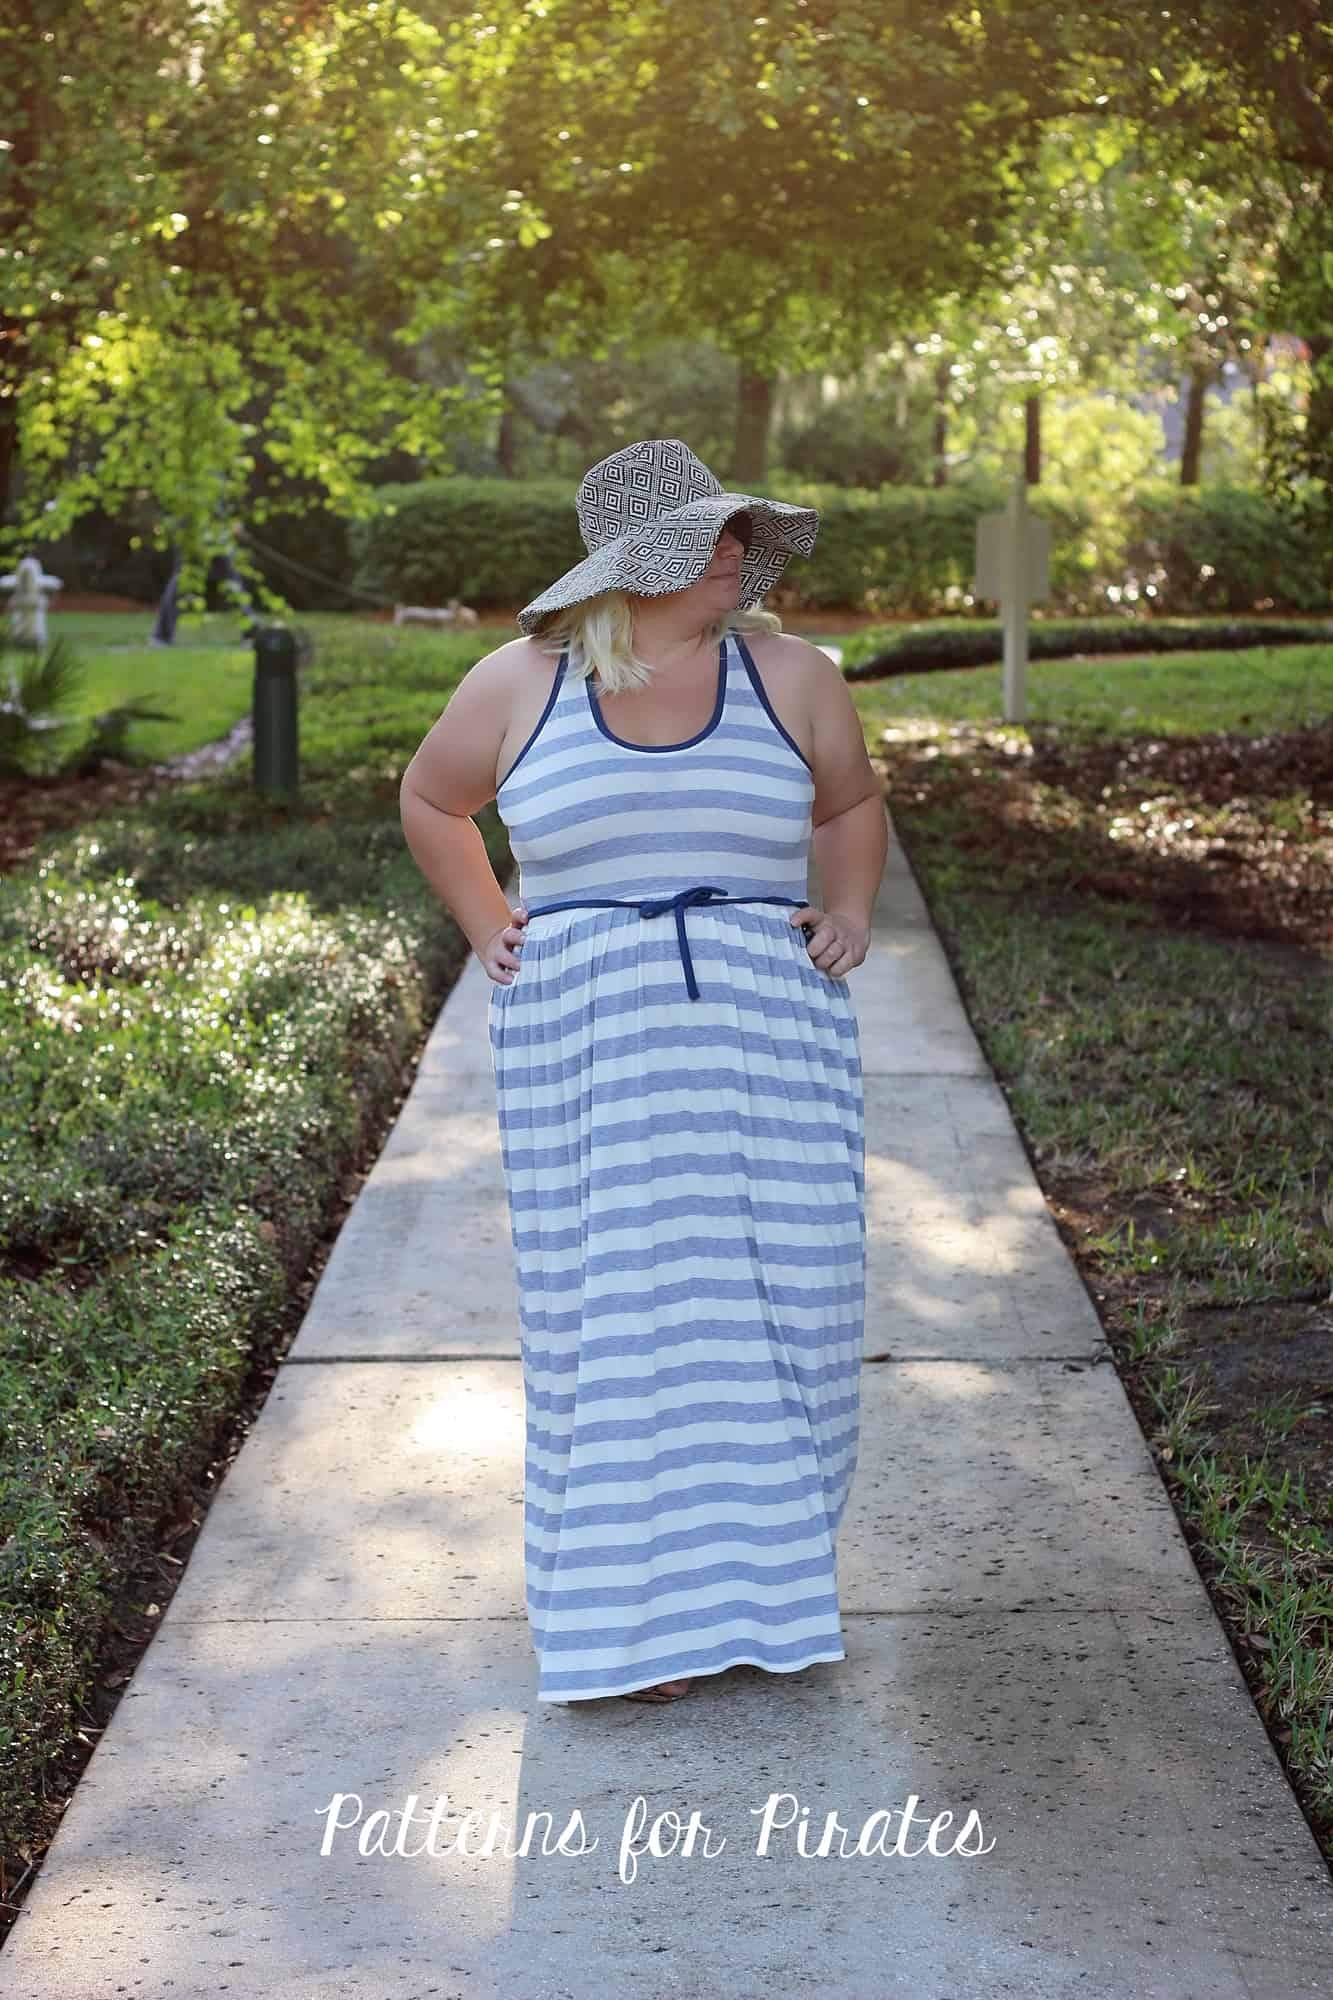
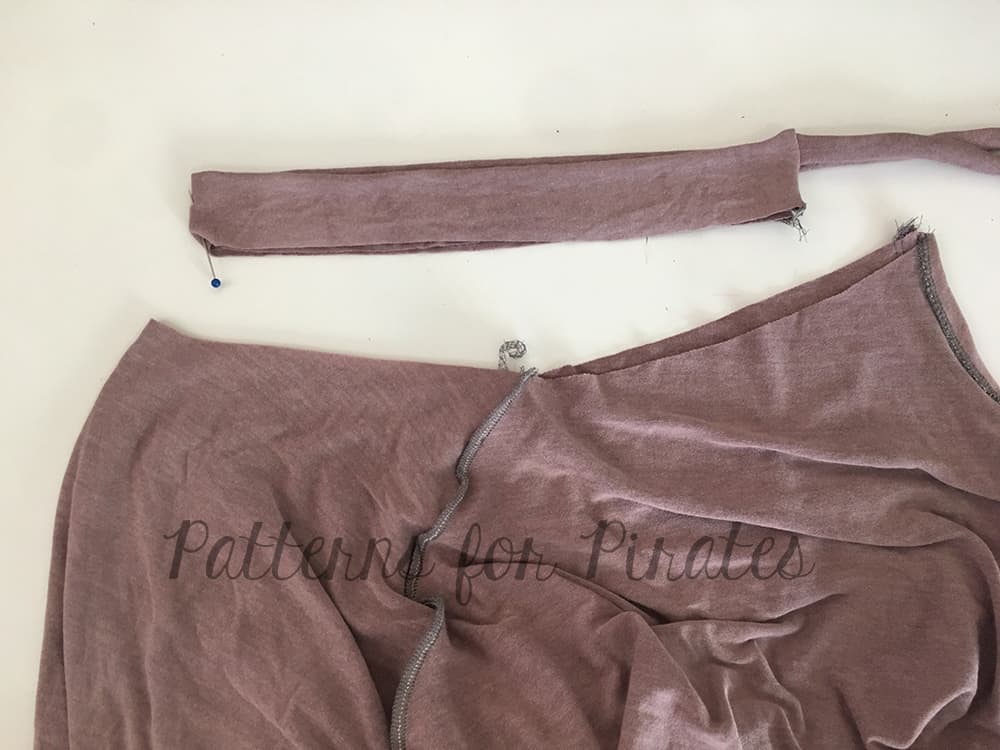
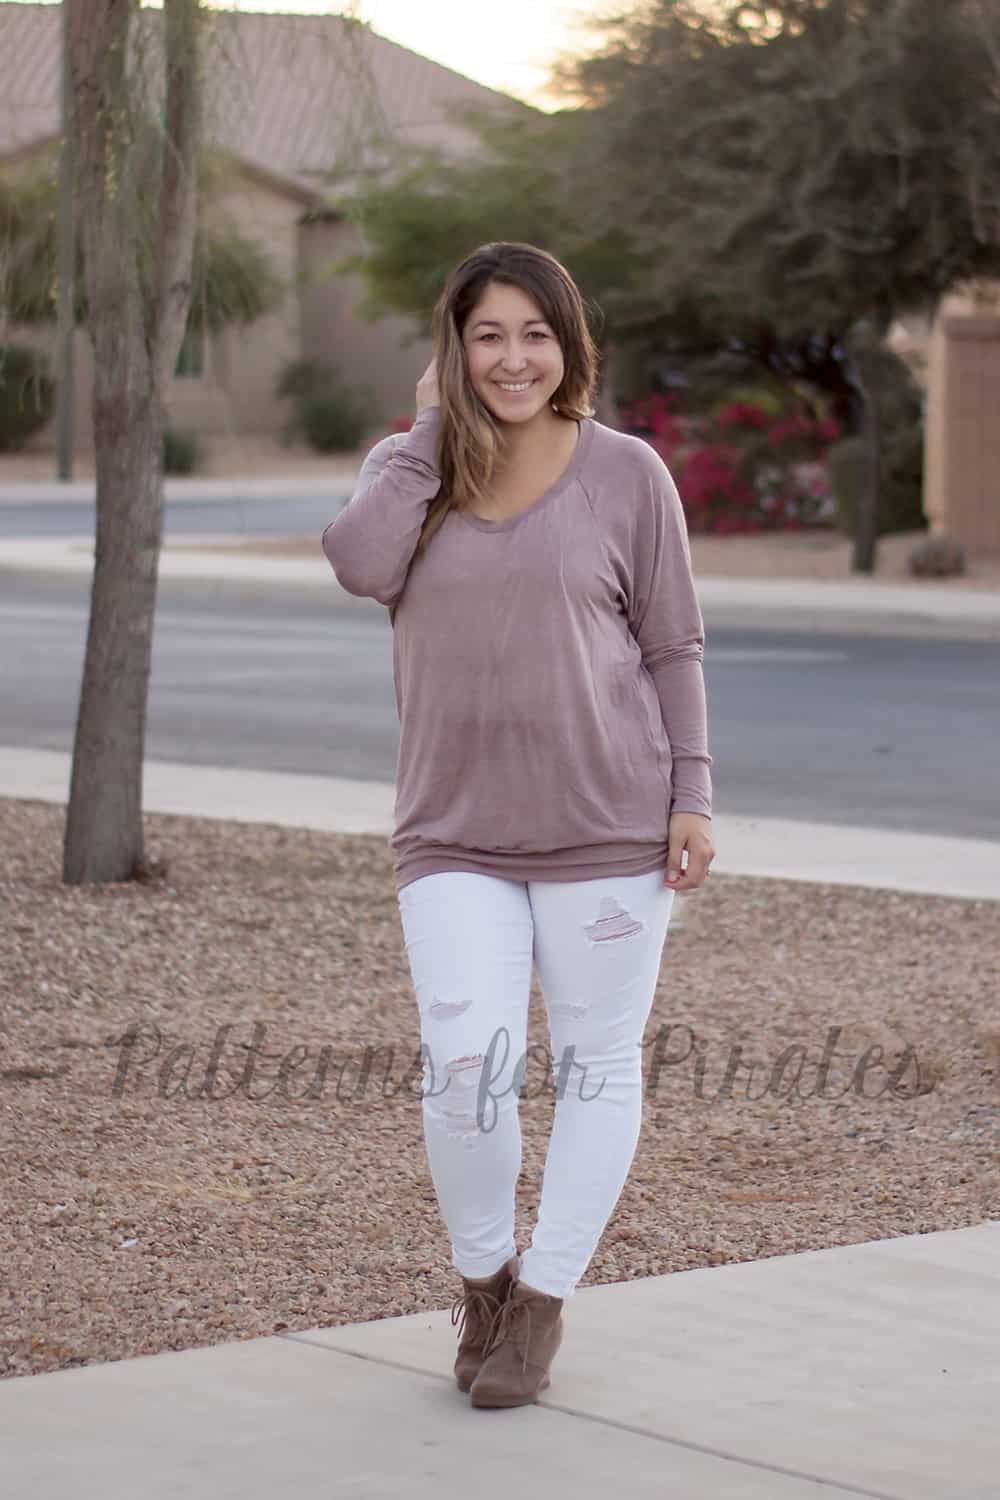
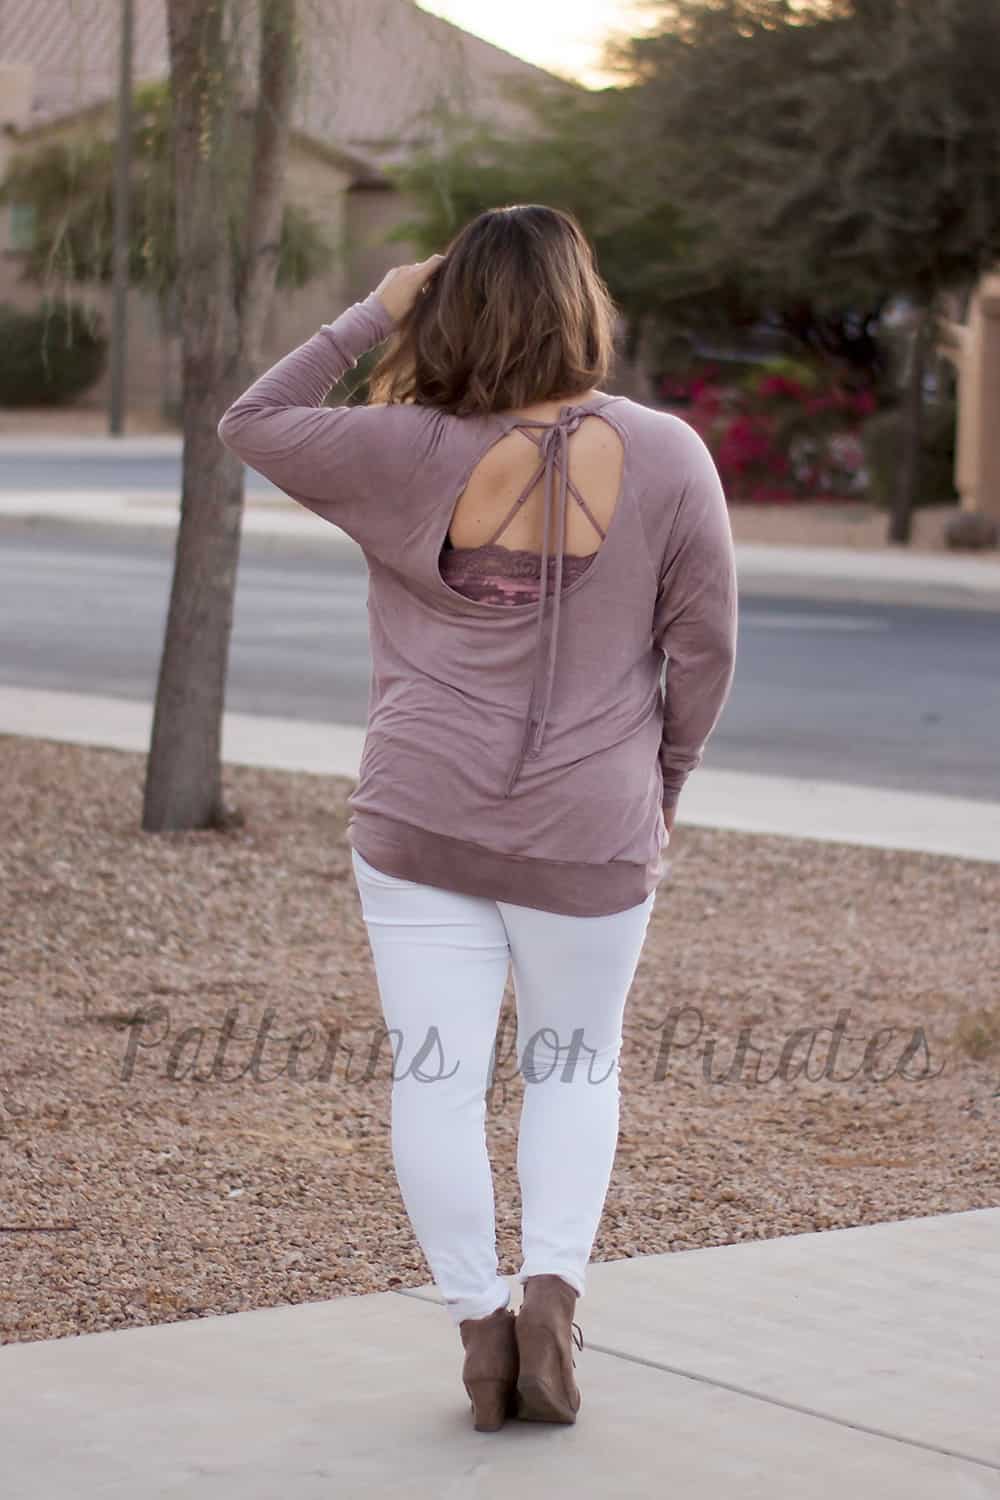
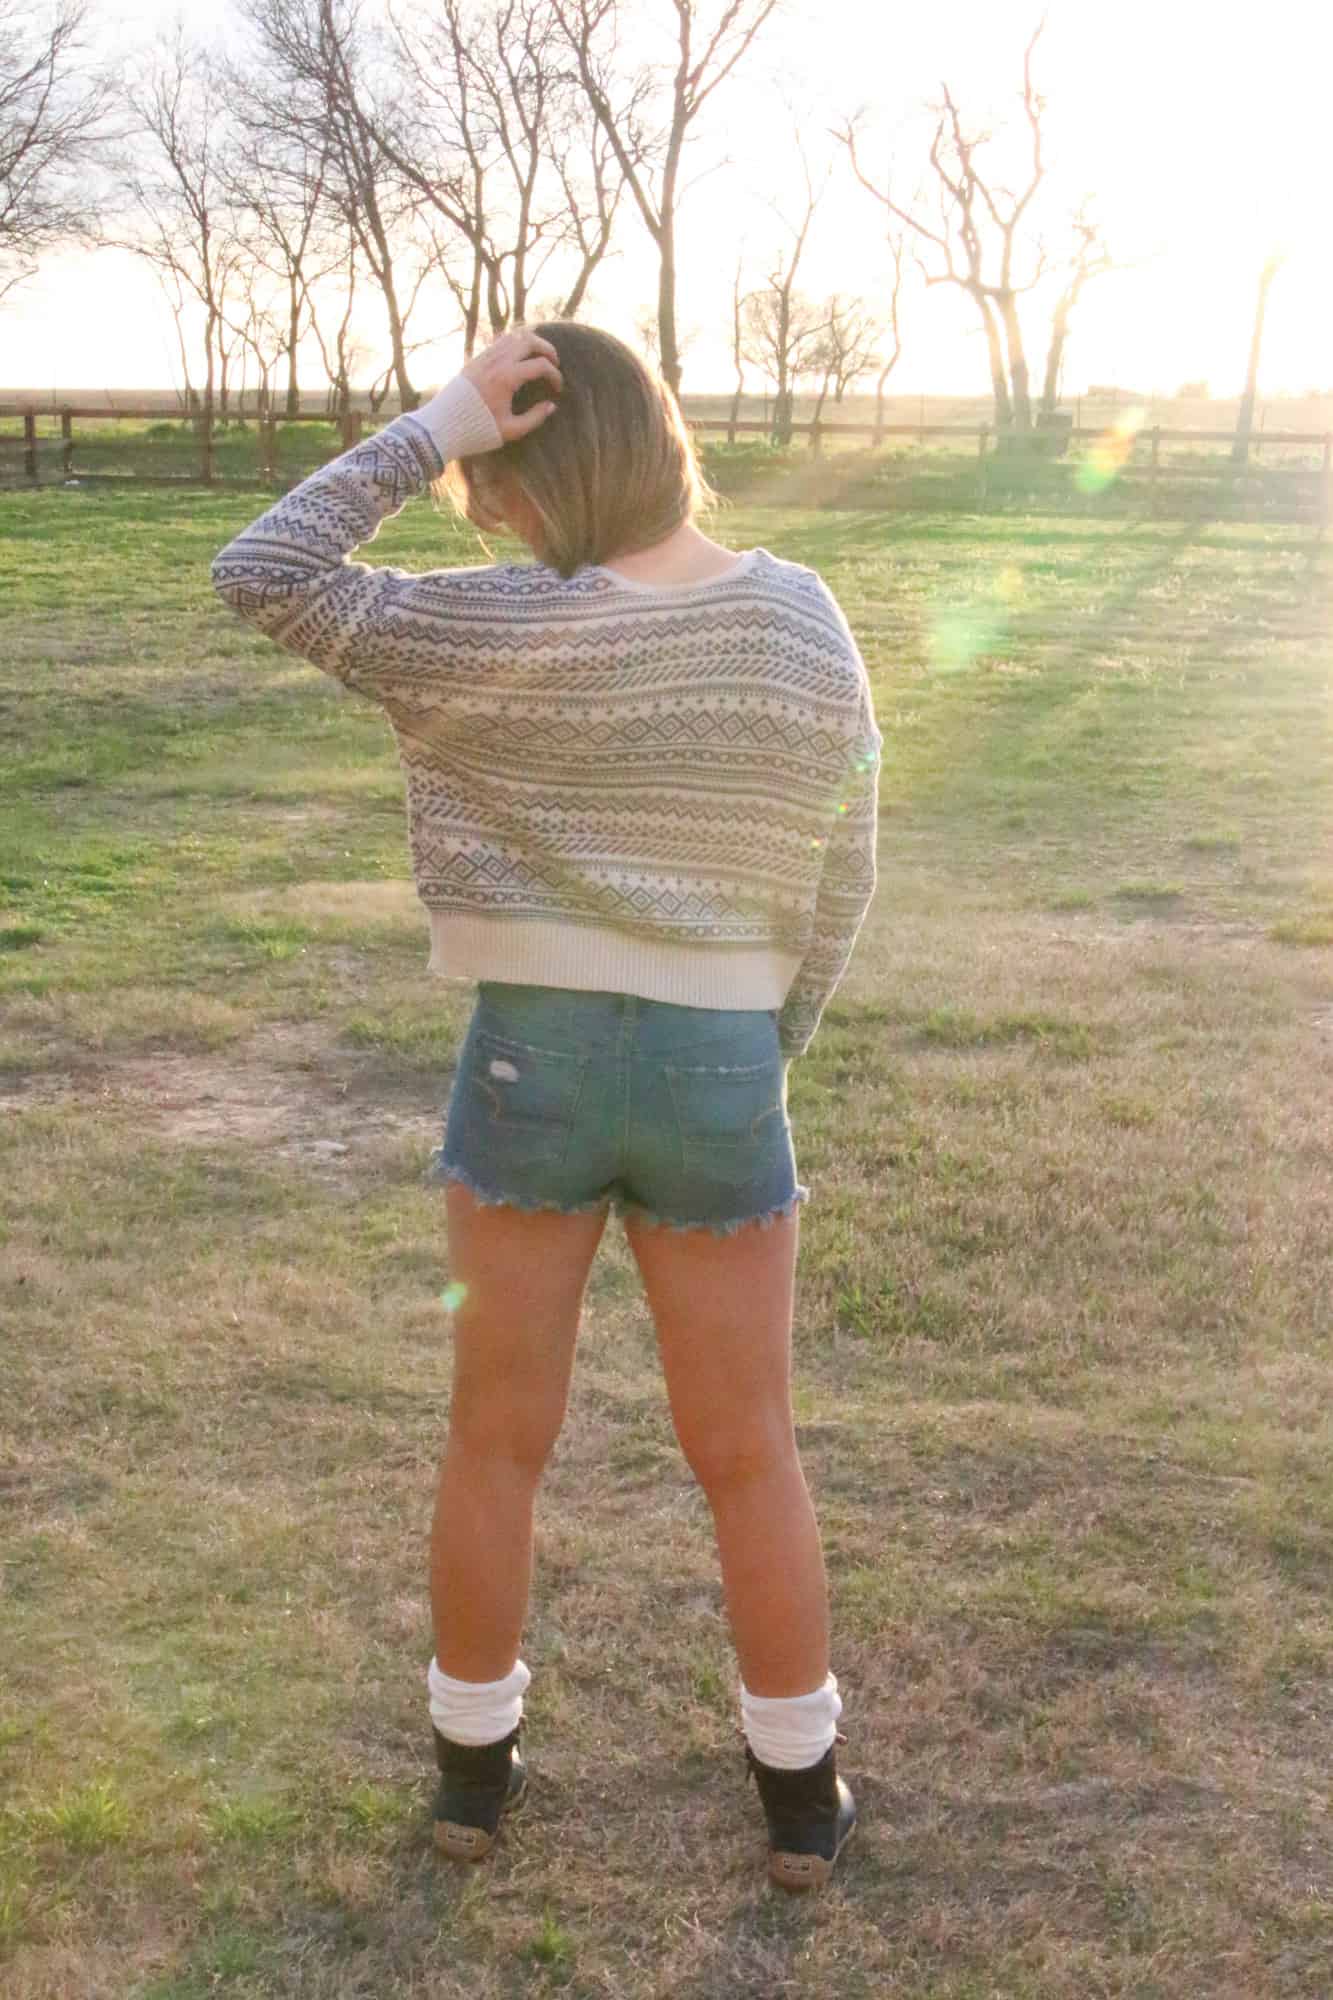
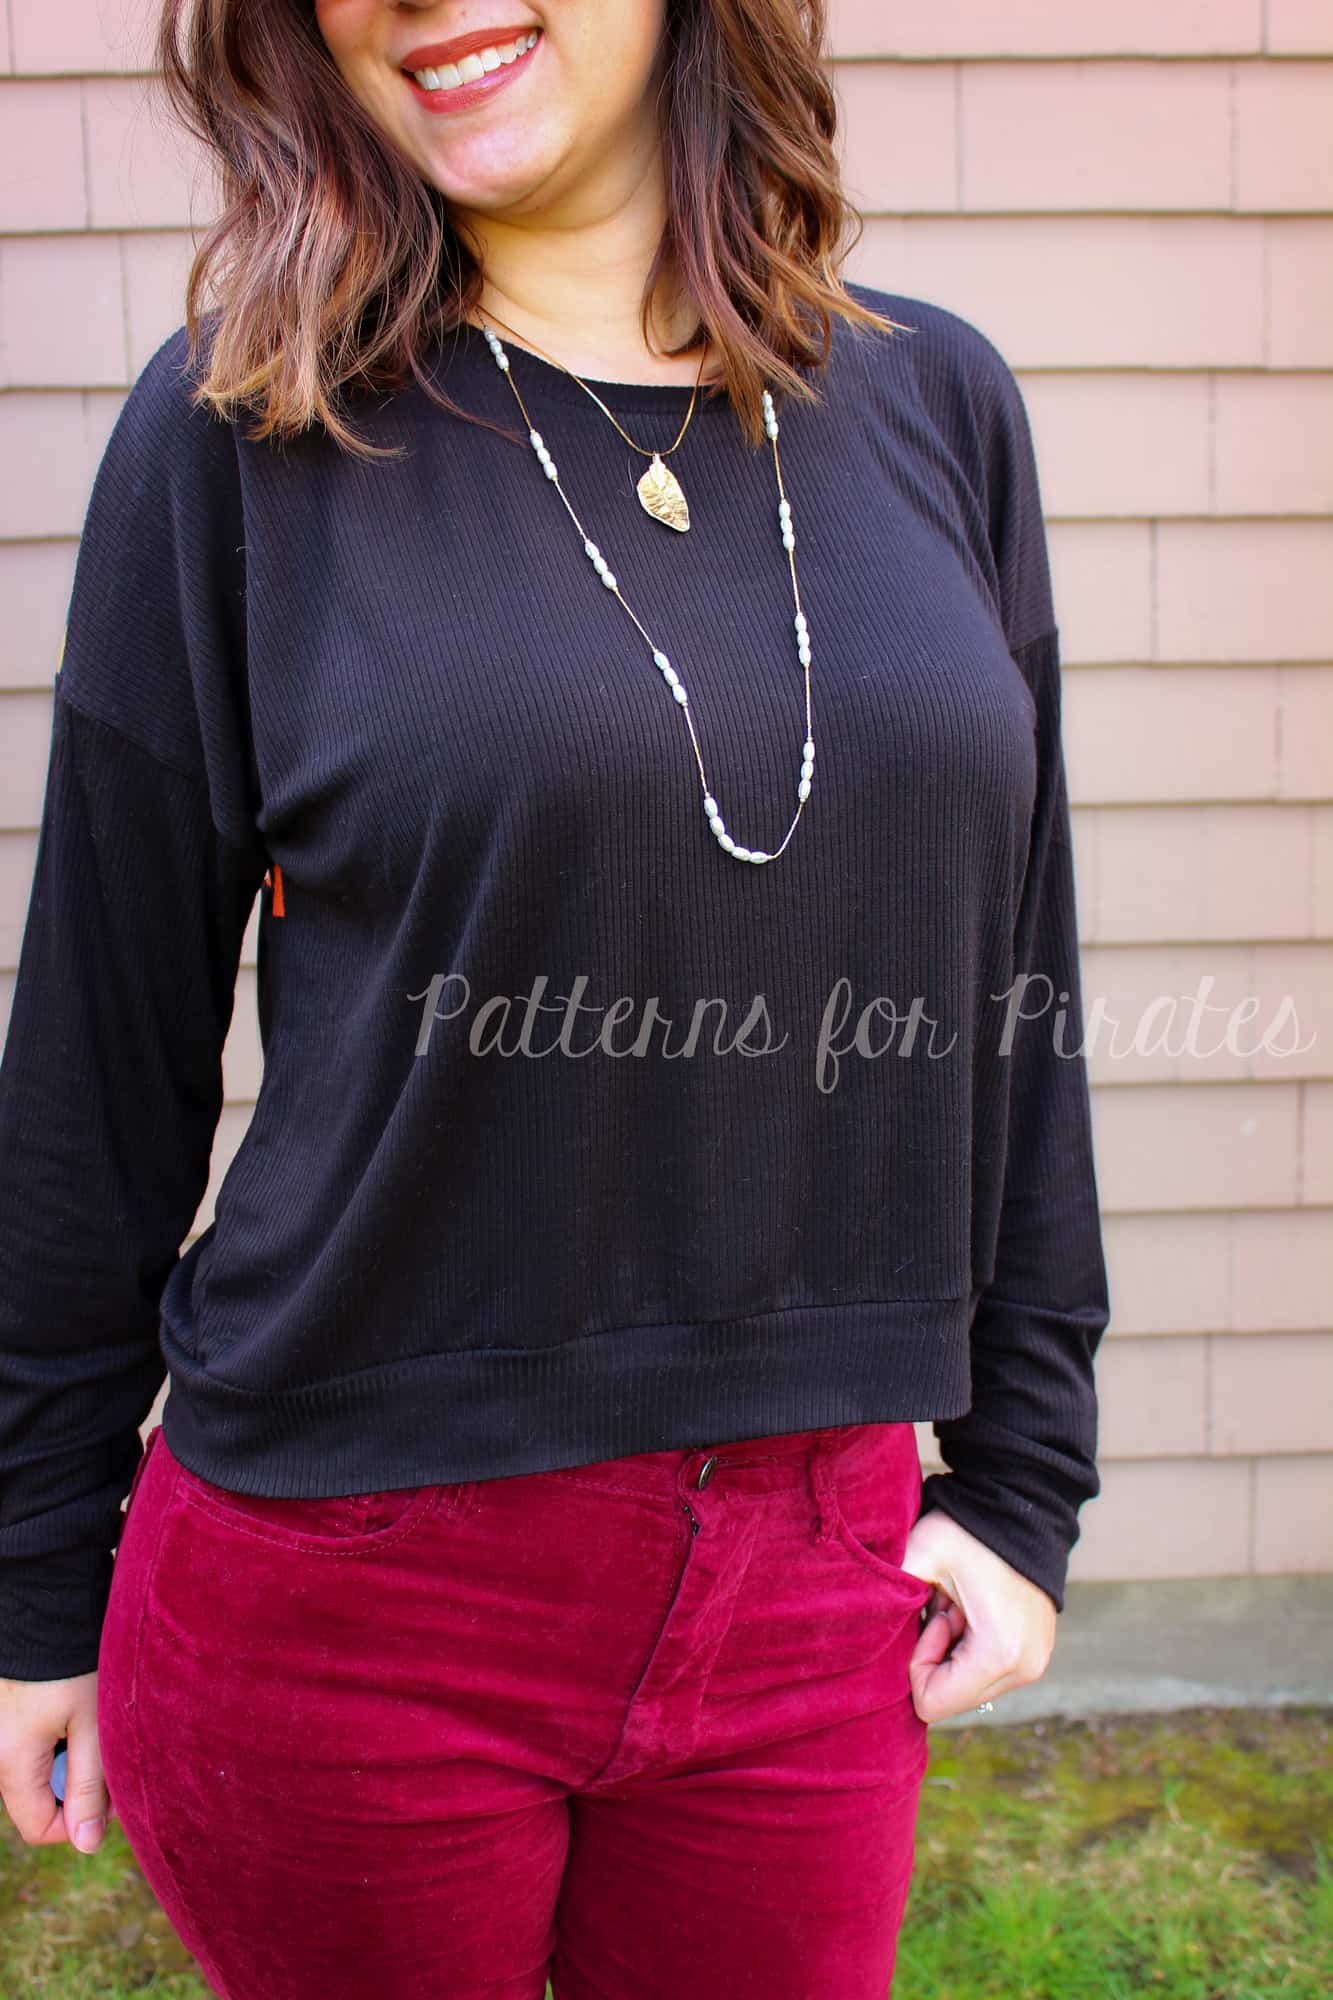
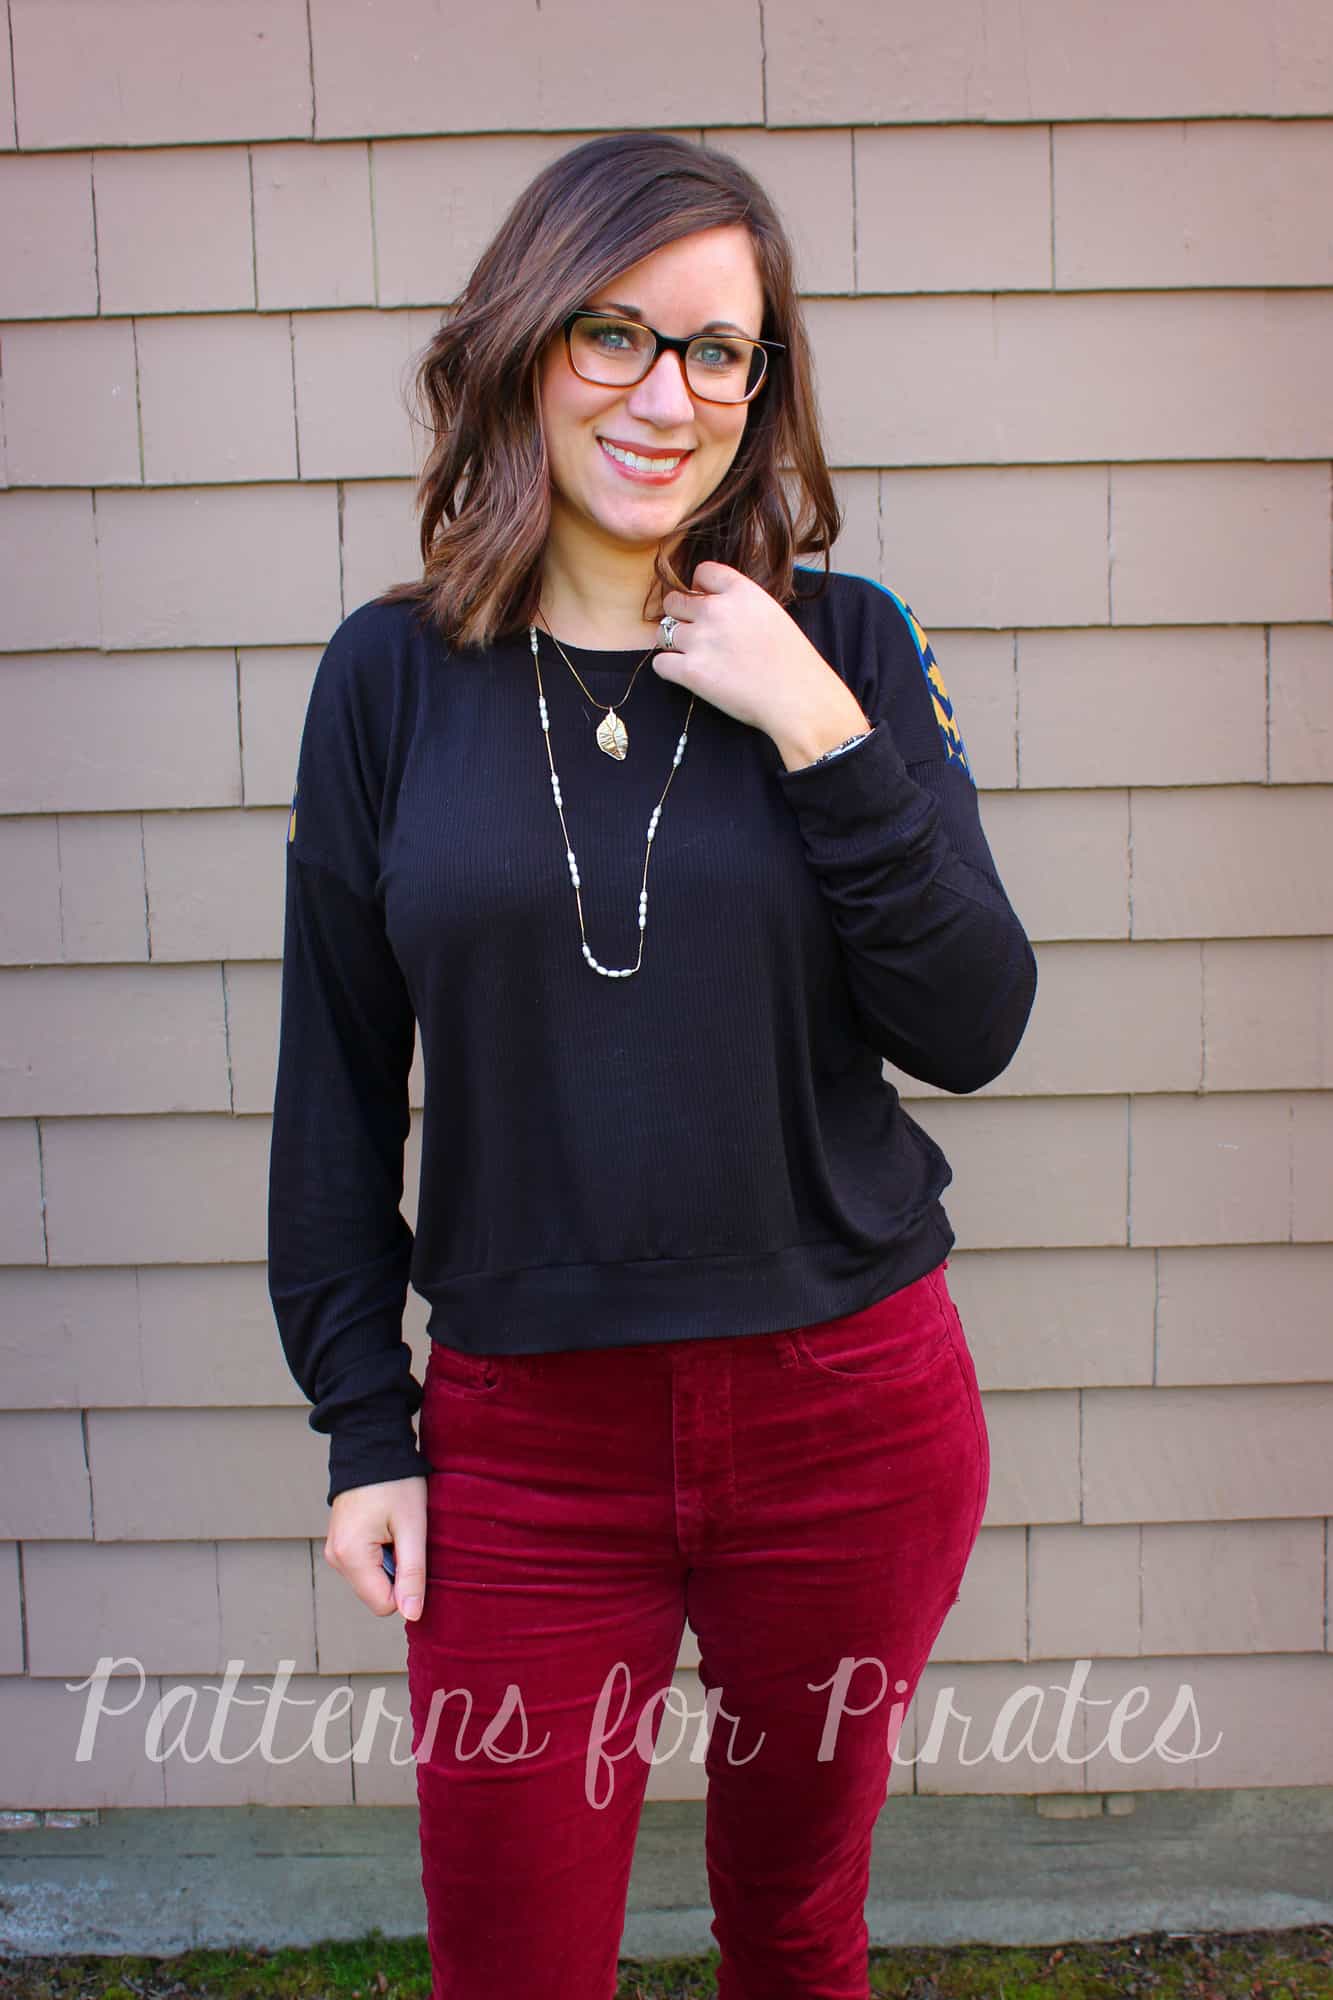
Elastic crop top
Maybe you want a cute crop but aren’t interested in fussing with the drawstring option? I’ve got you covered!
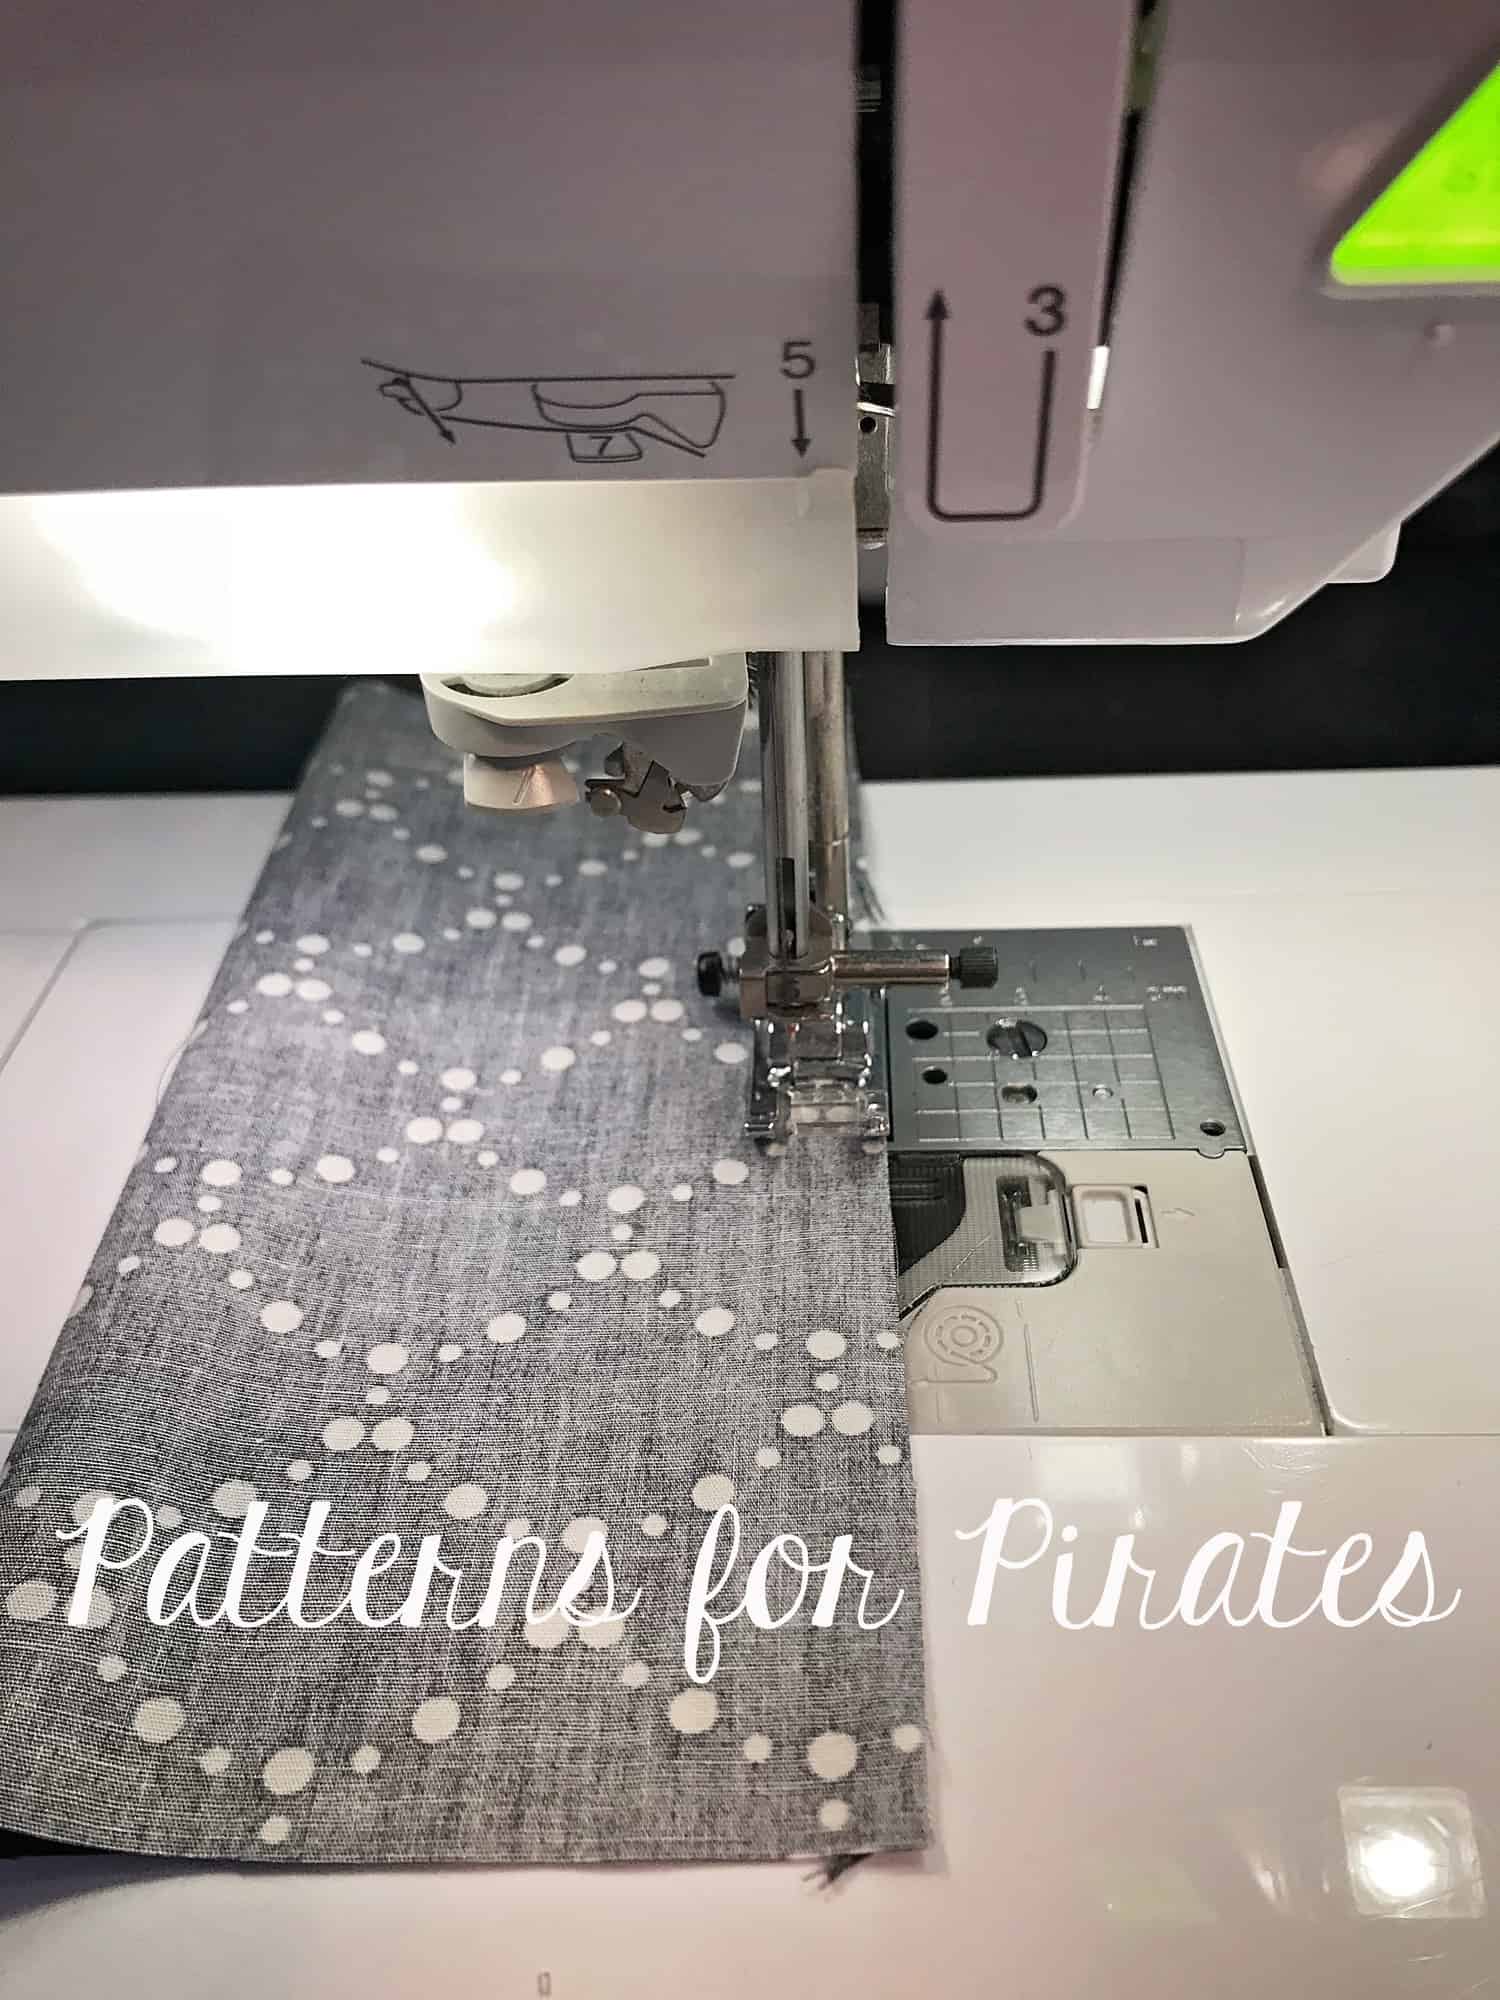
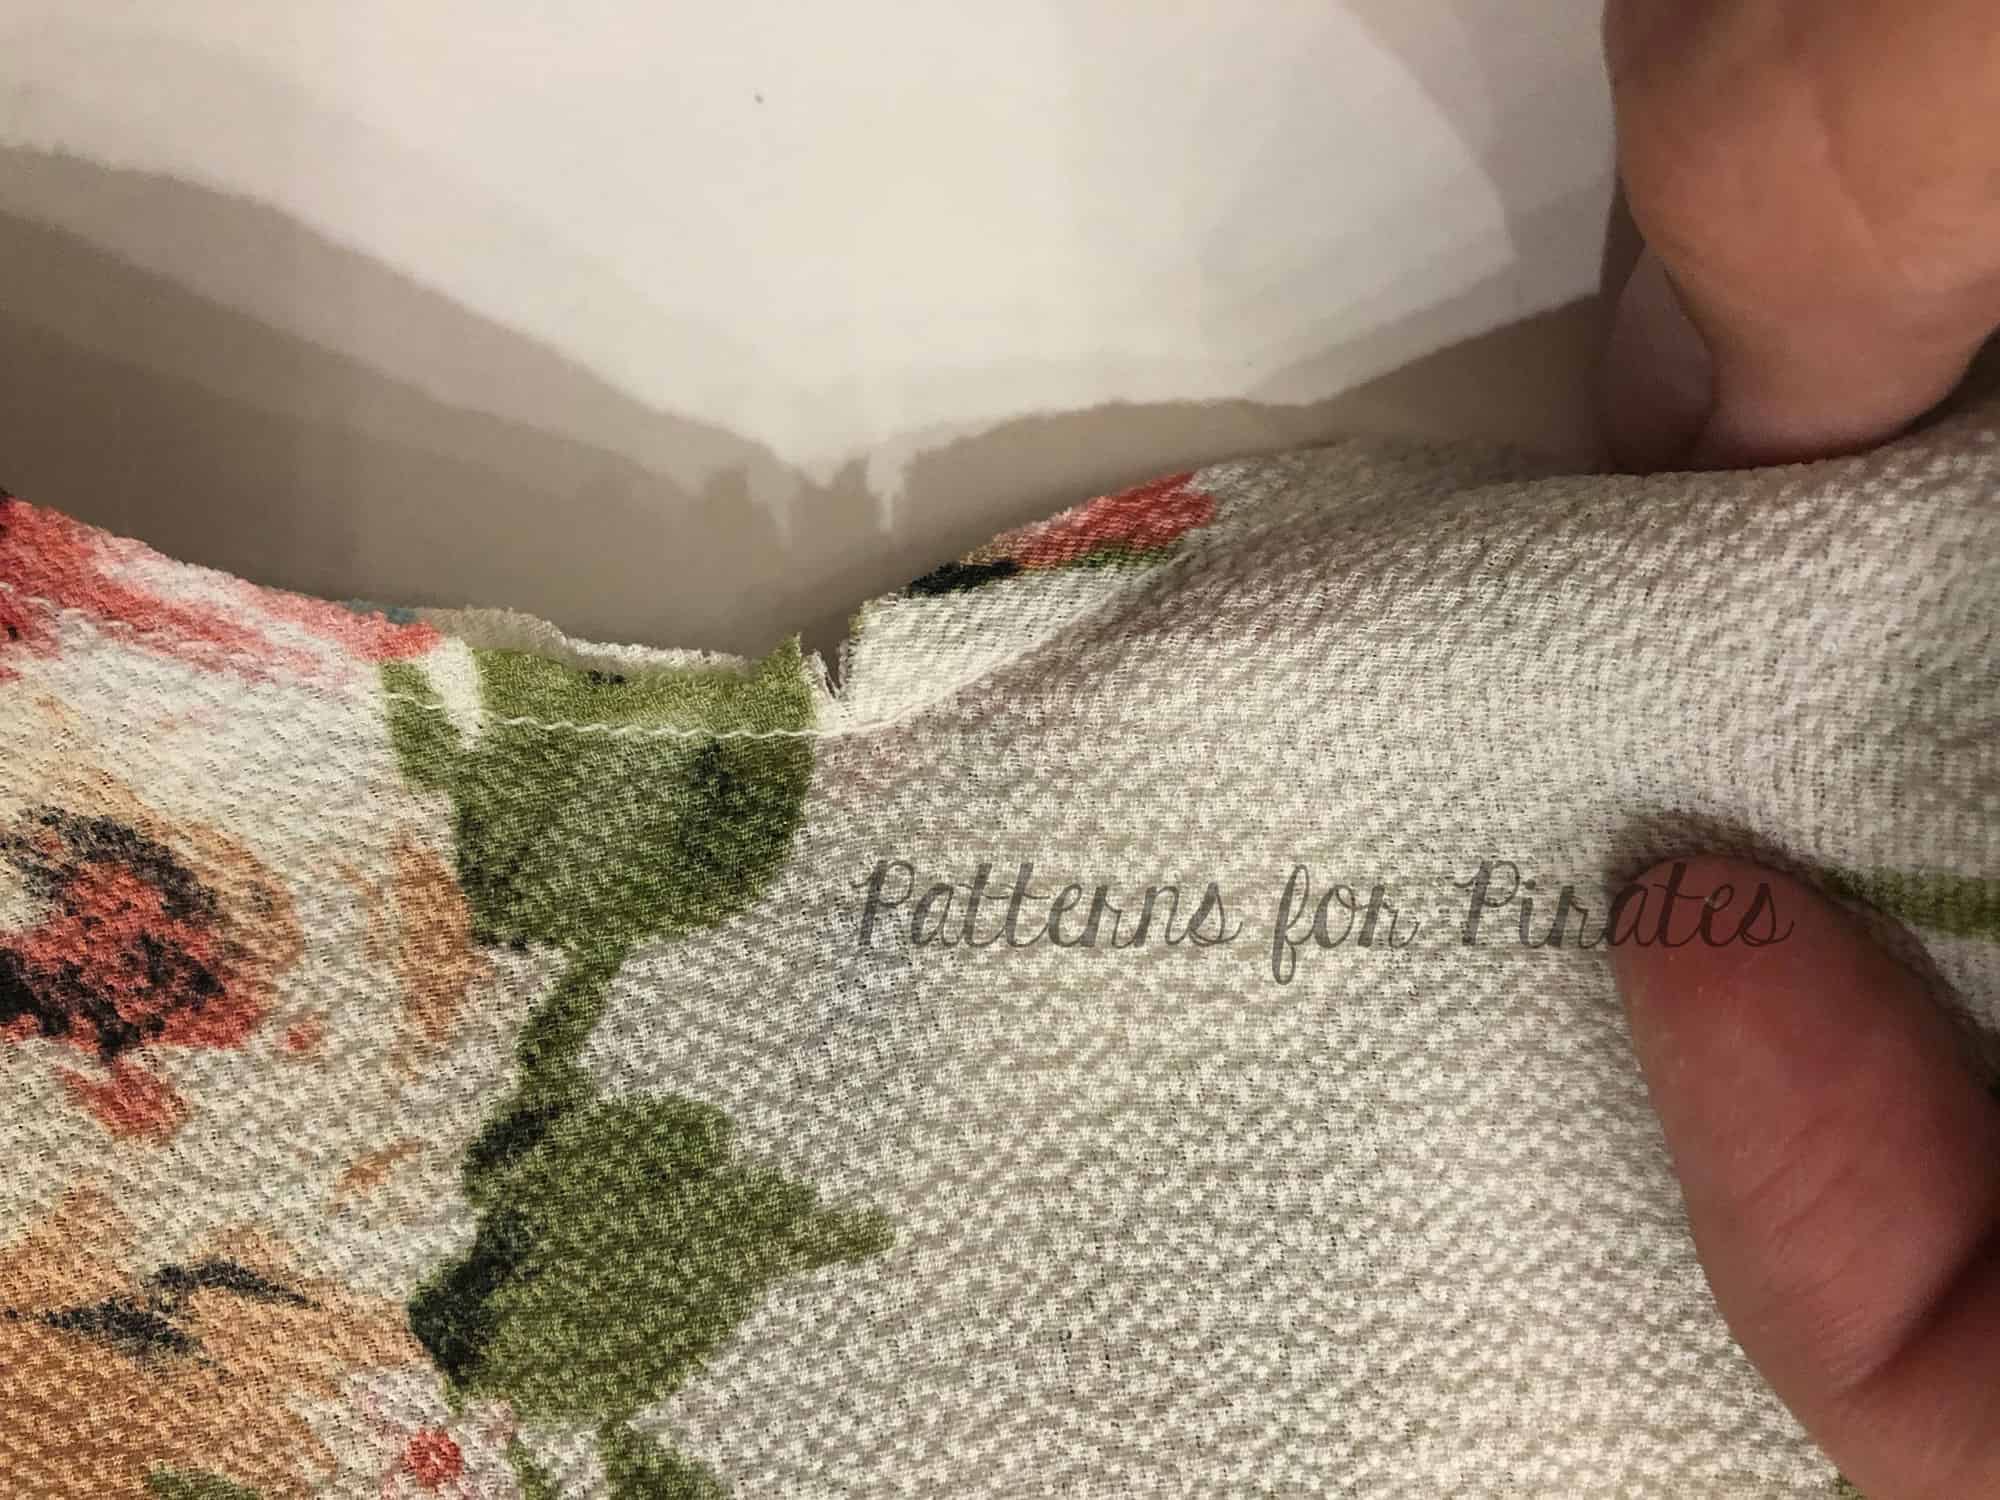
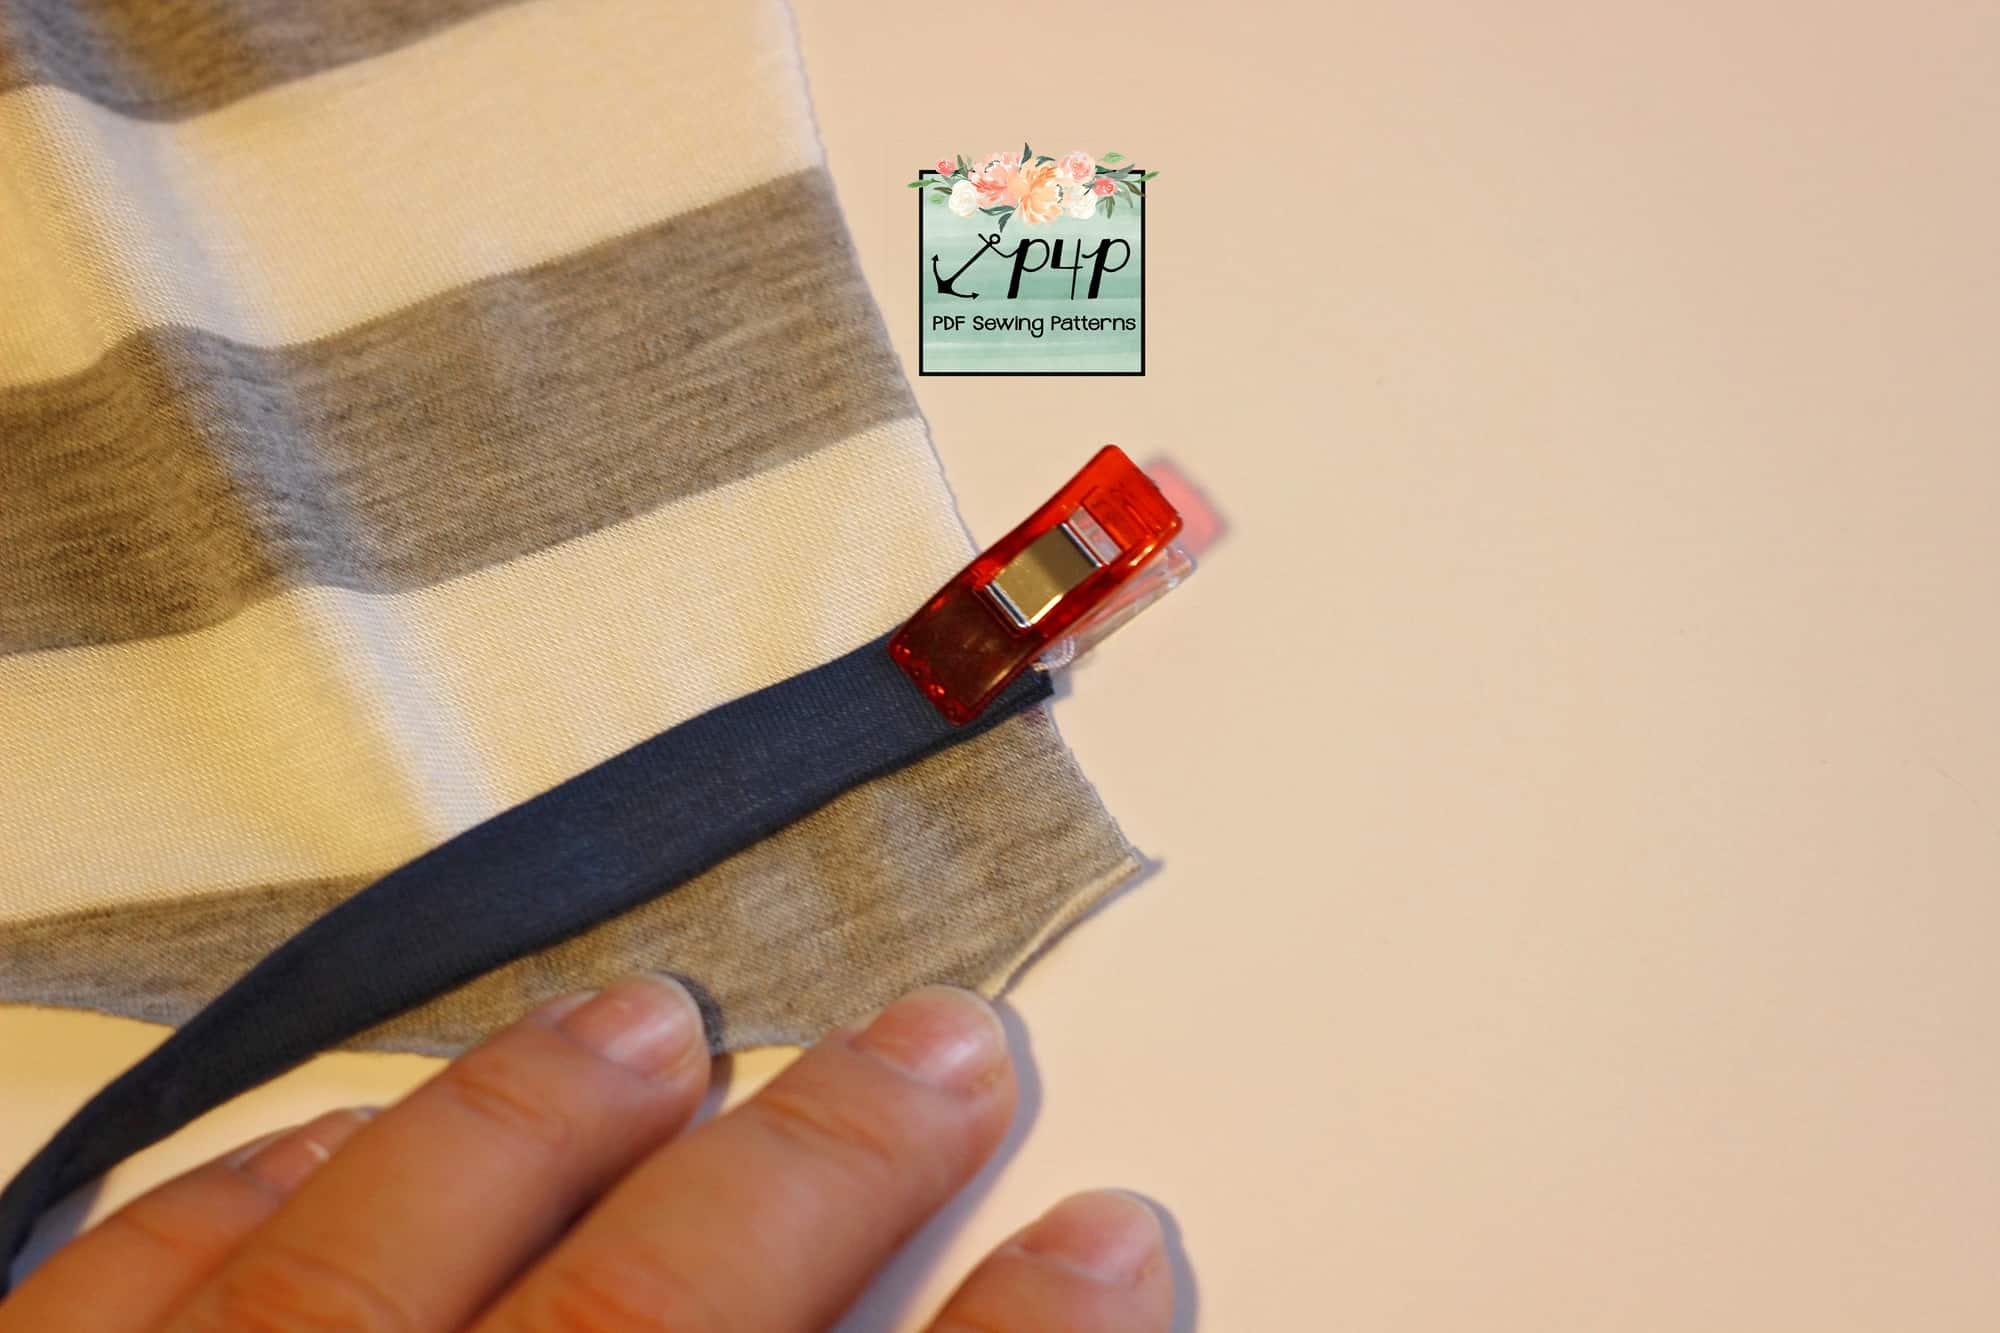
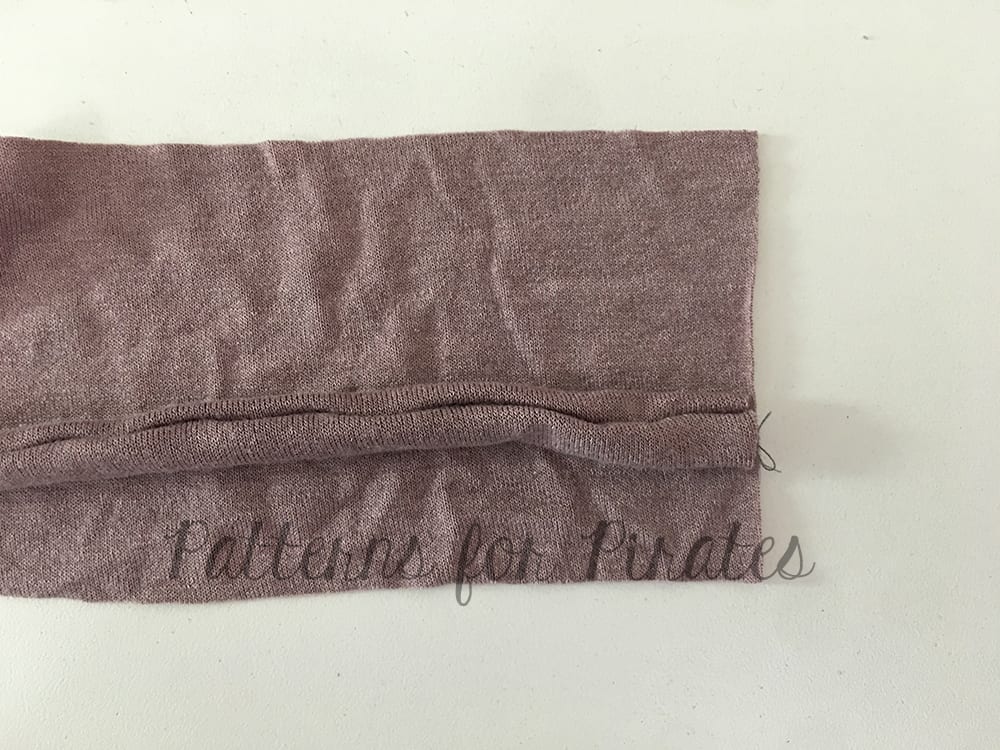
Follow all of the instructions for the crop option, including the 1″ hem.
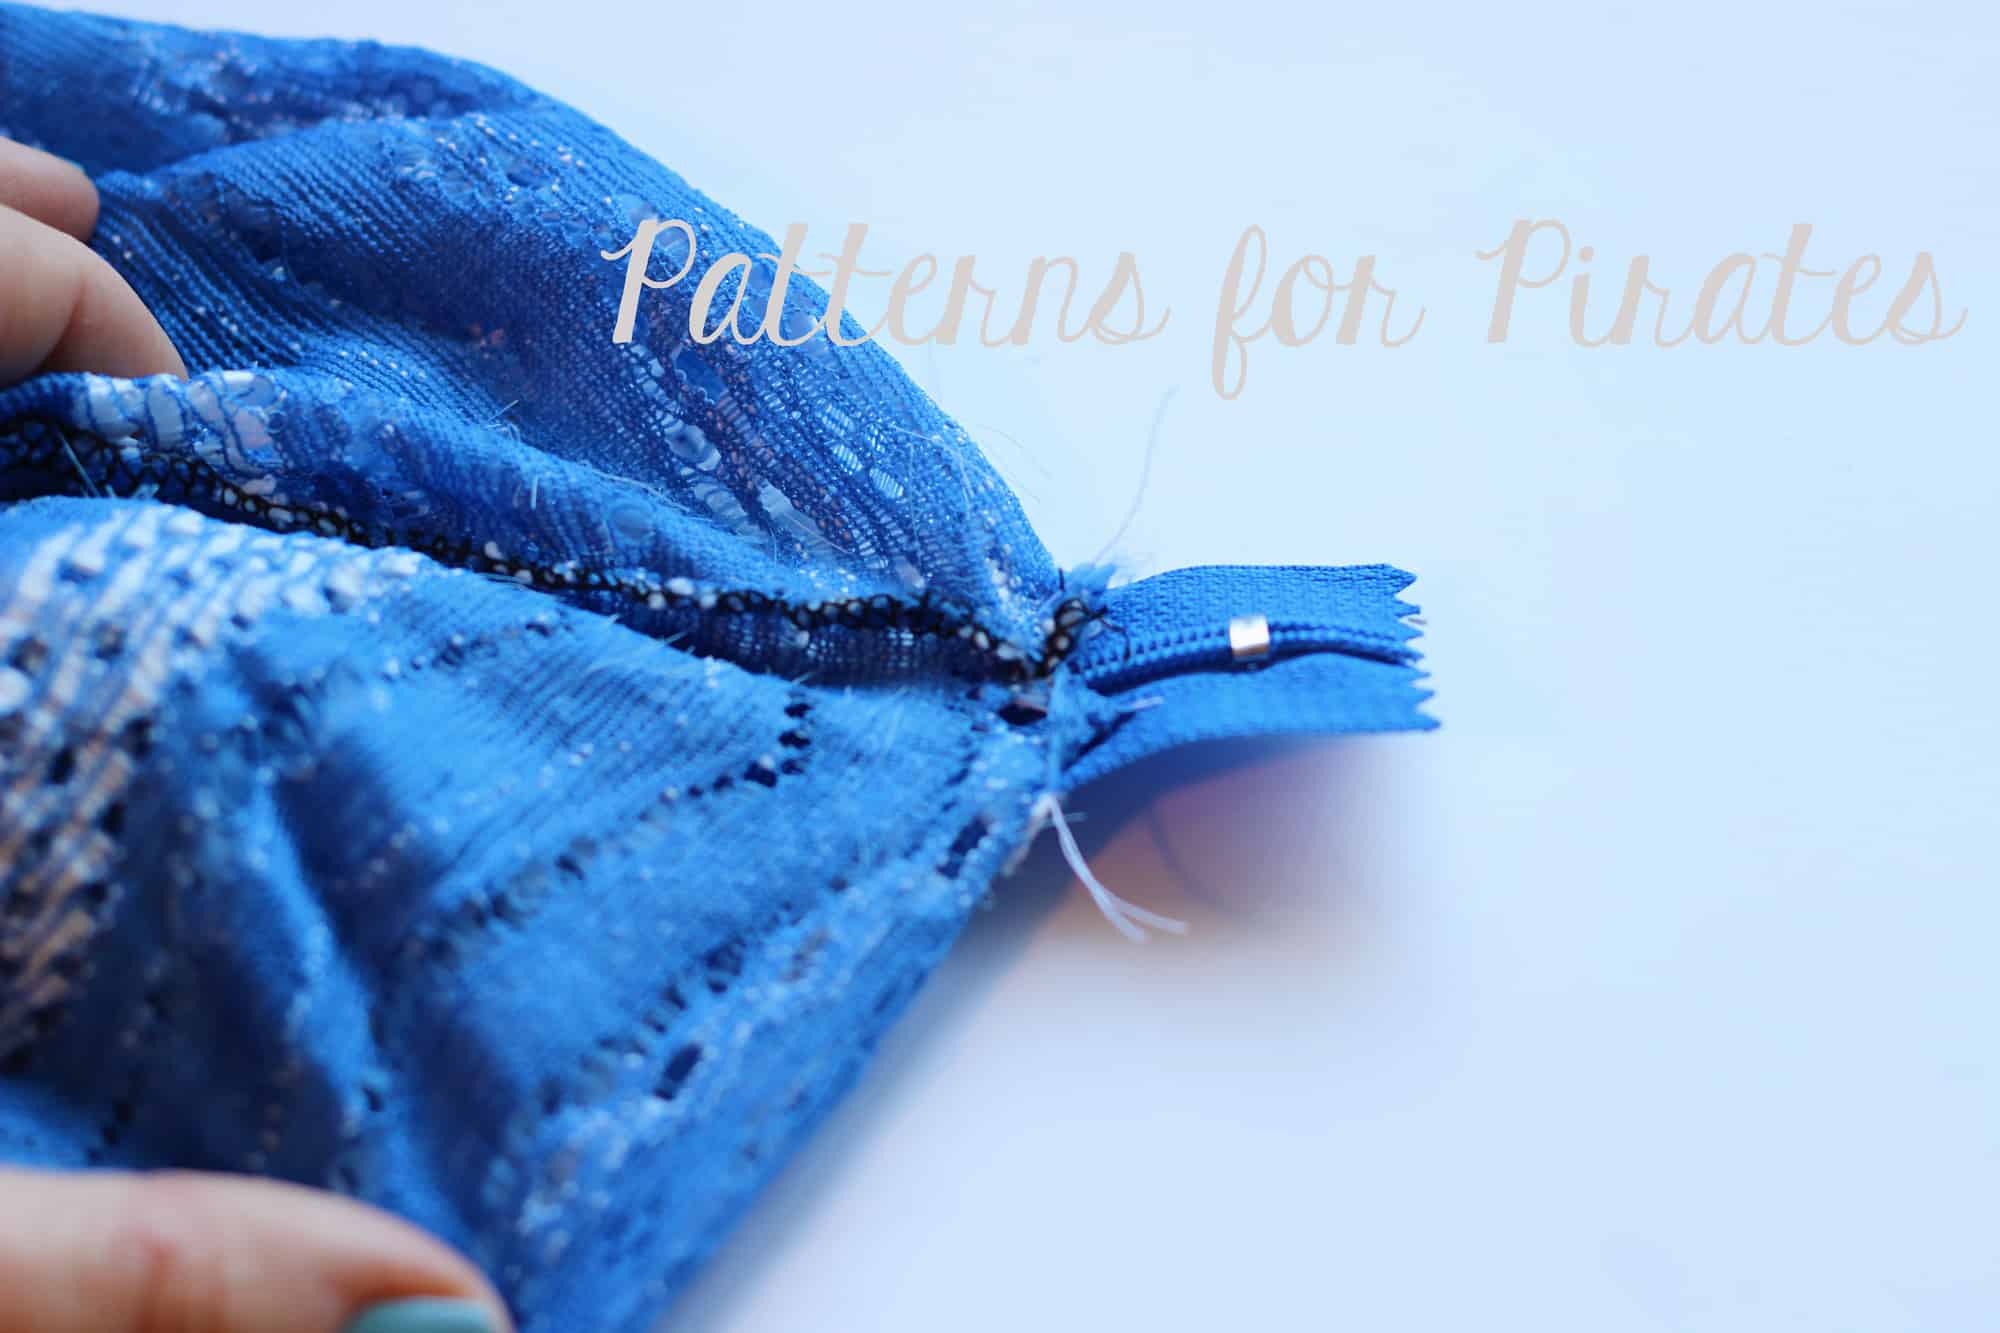
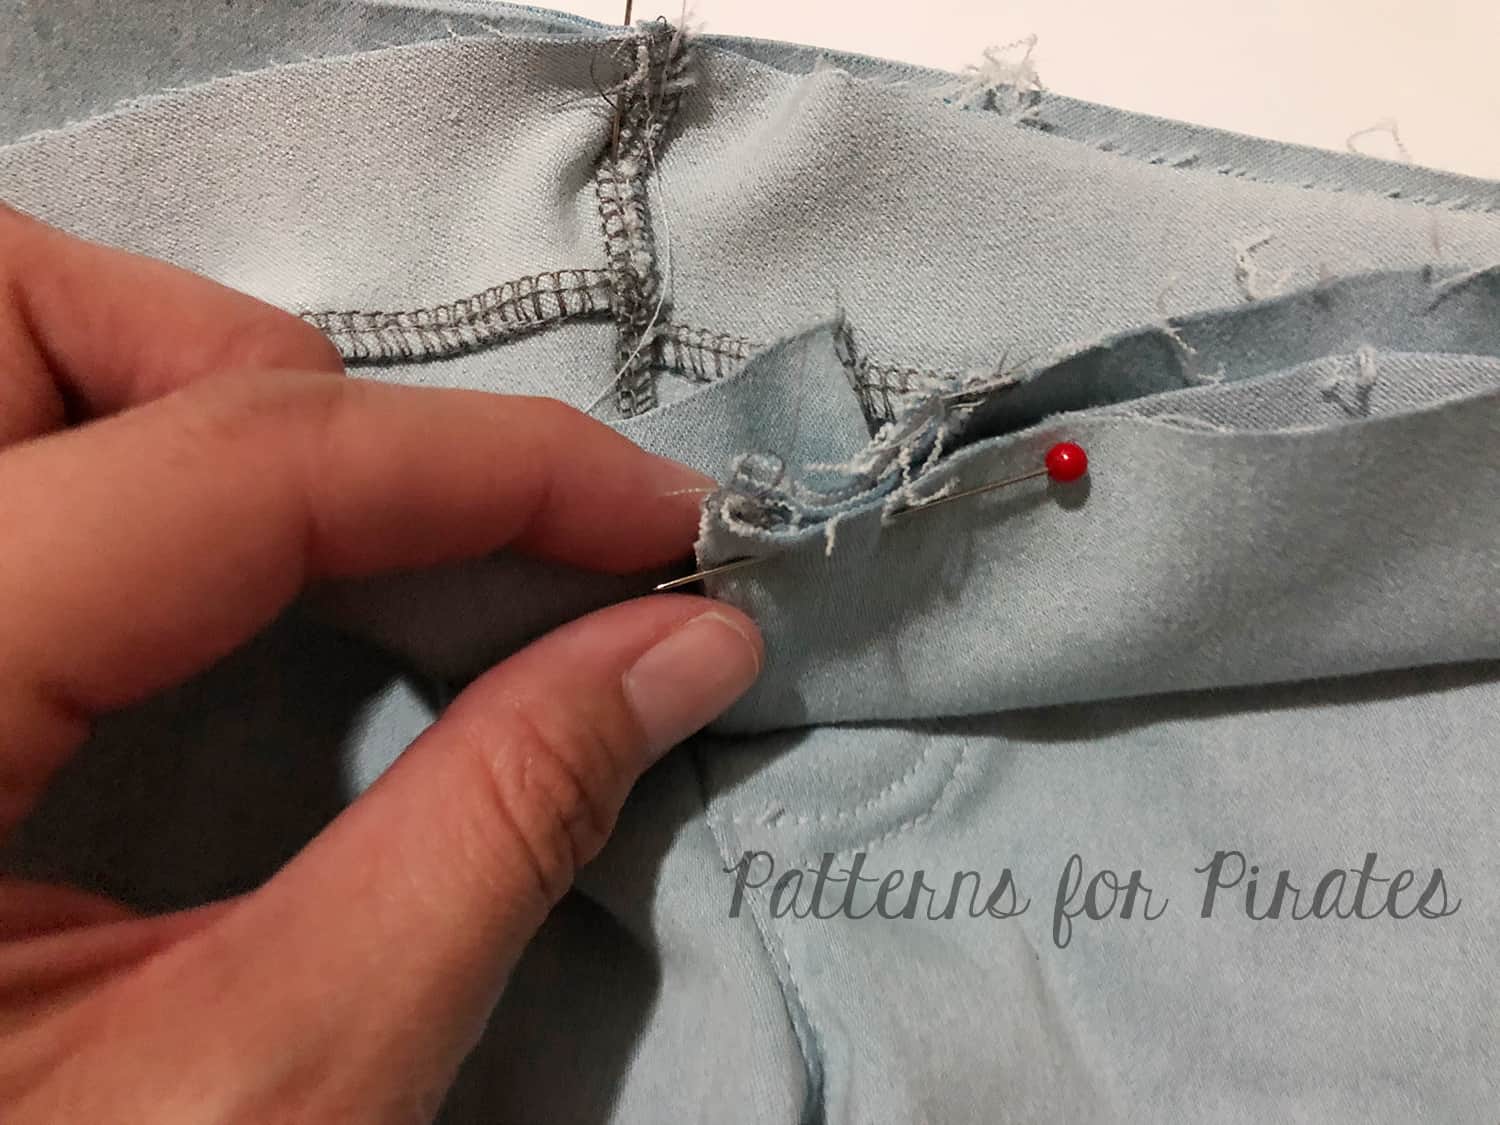
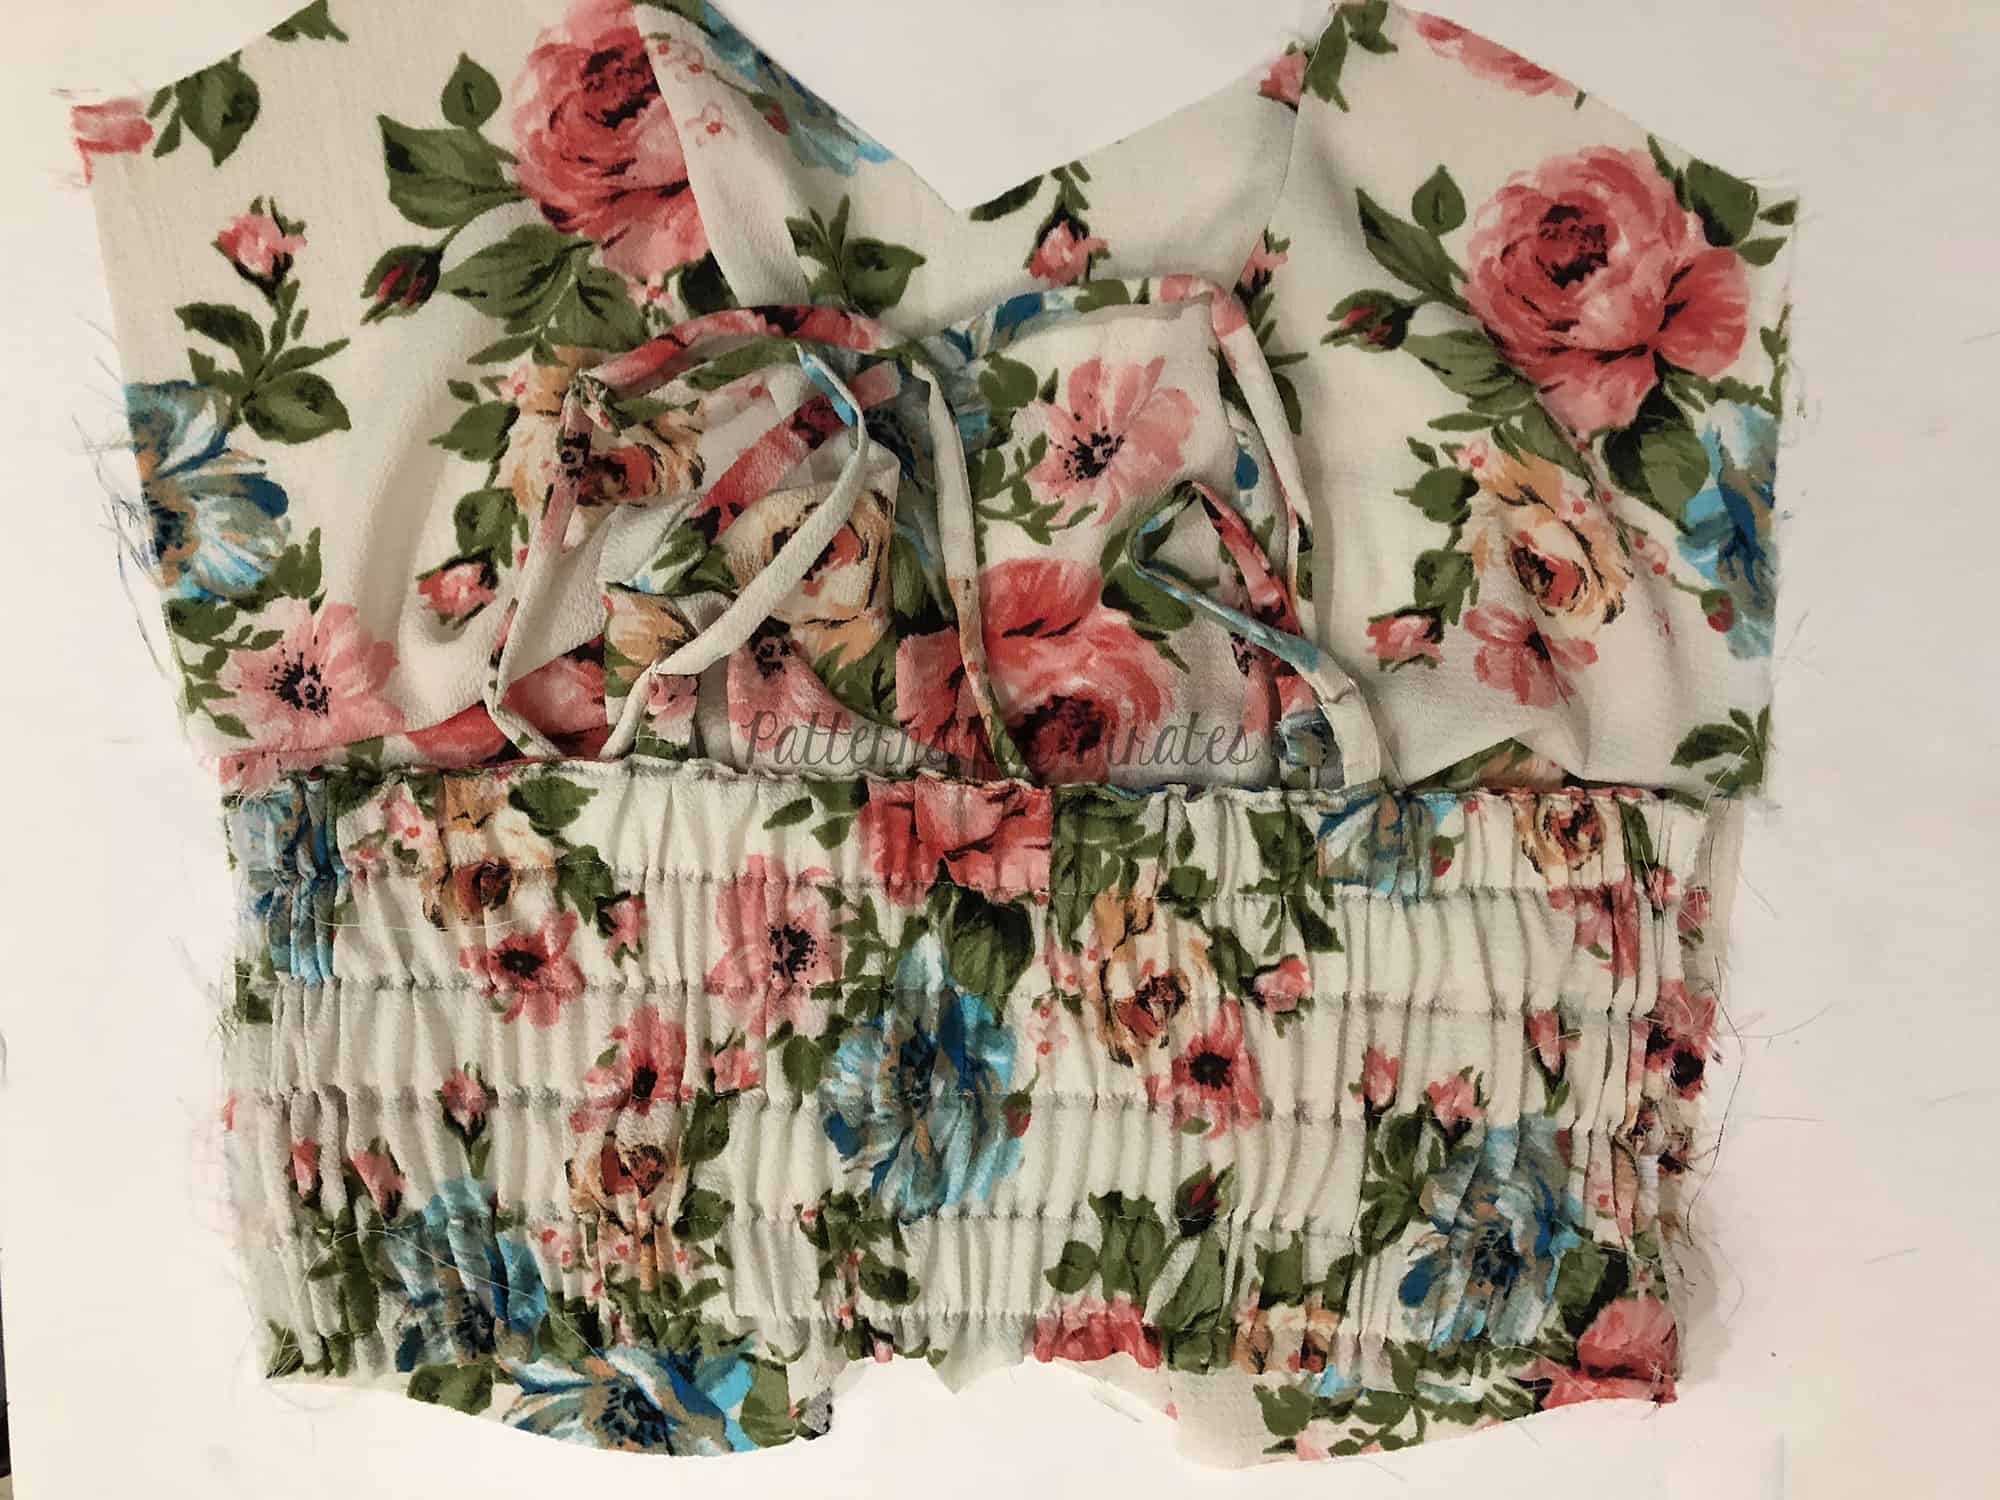
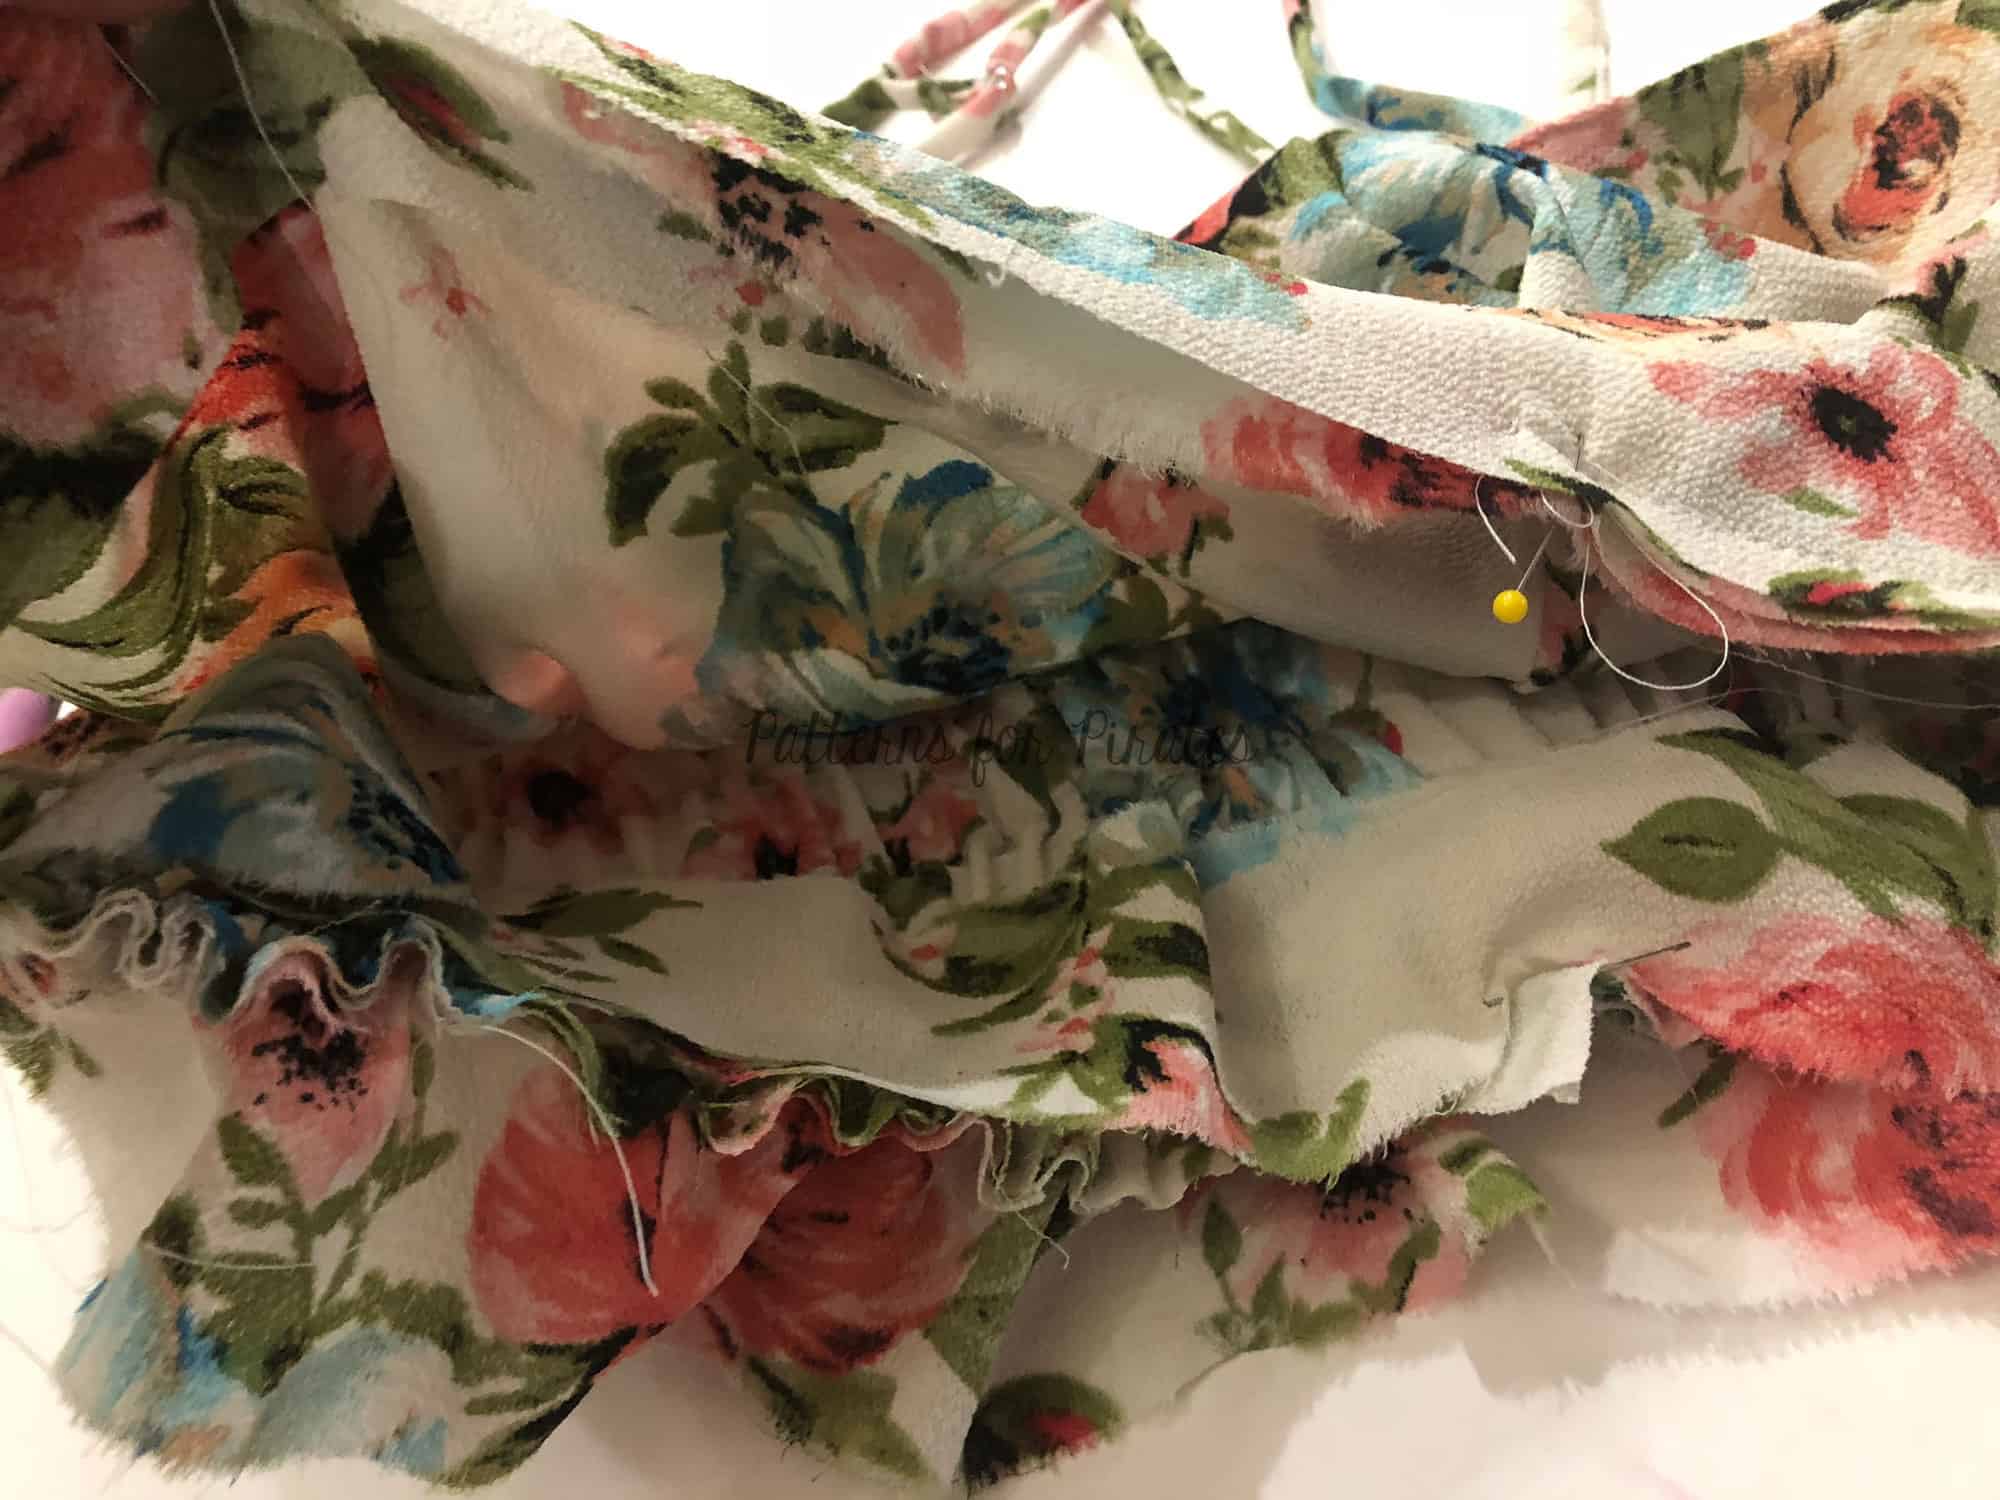
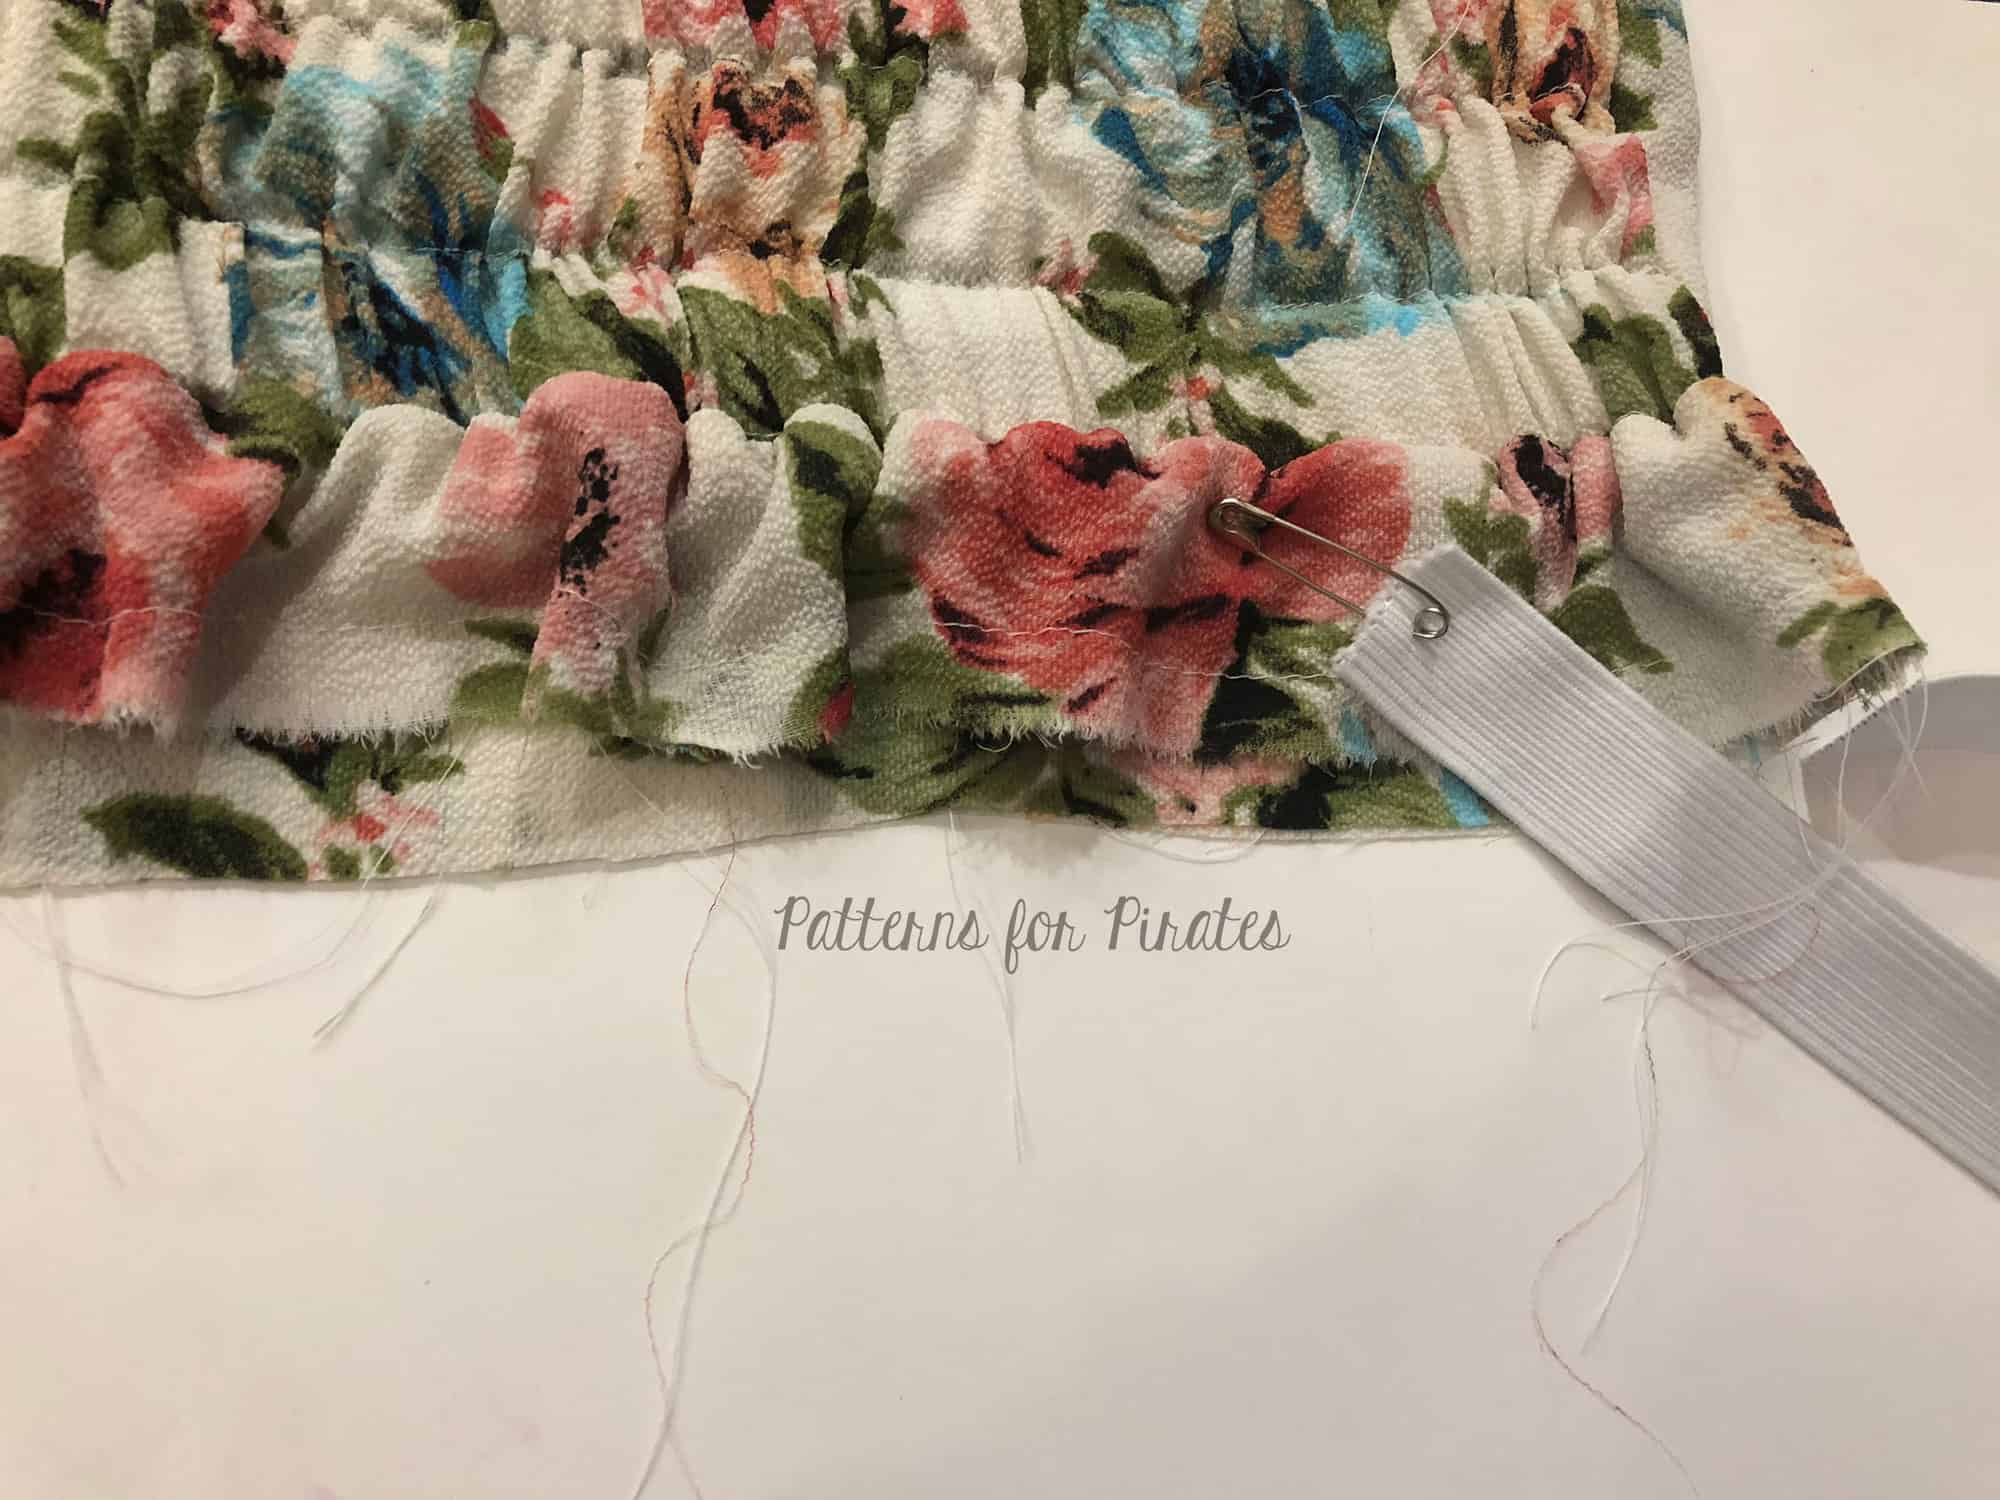
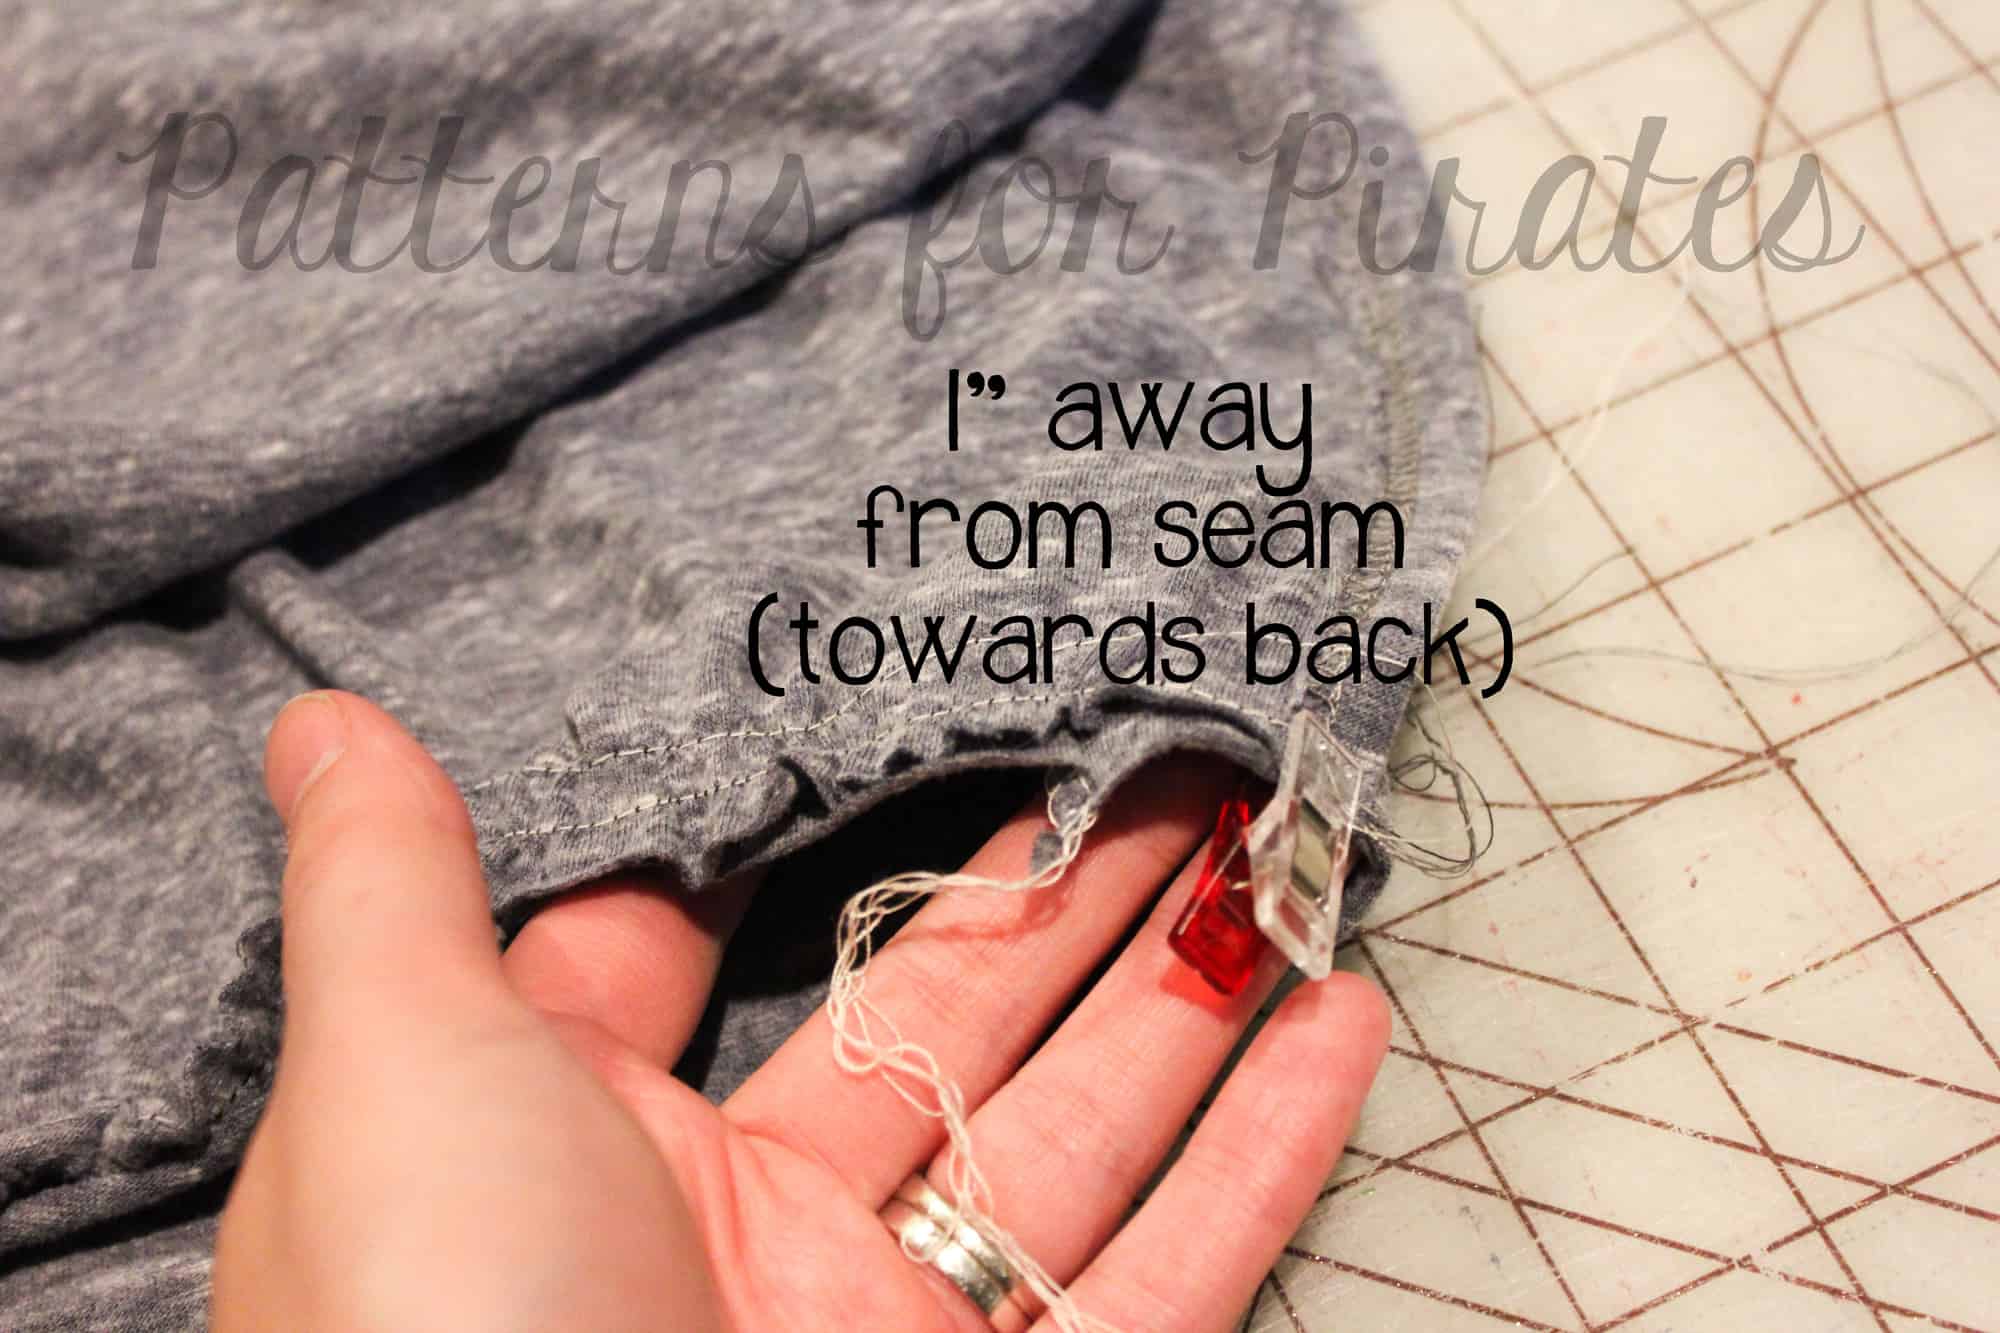
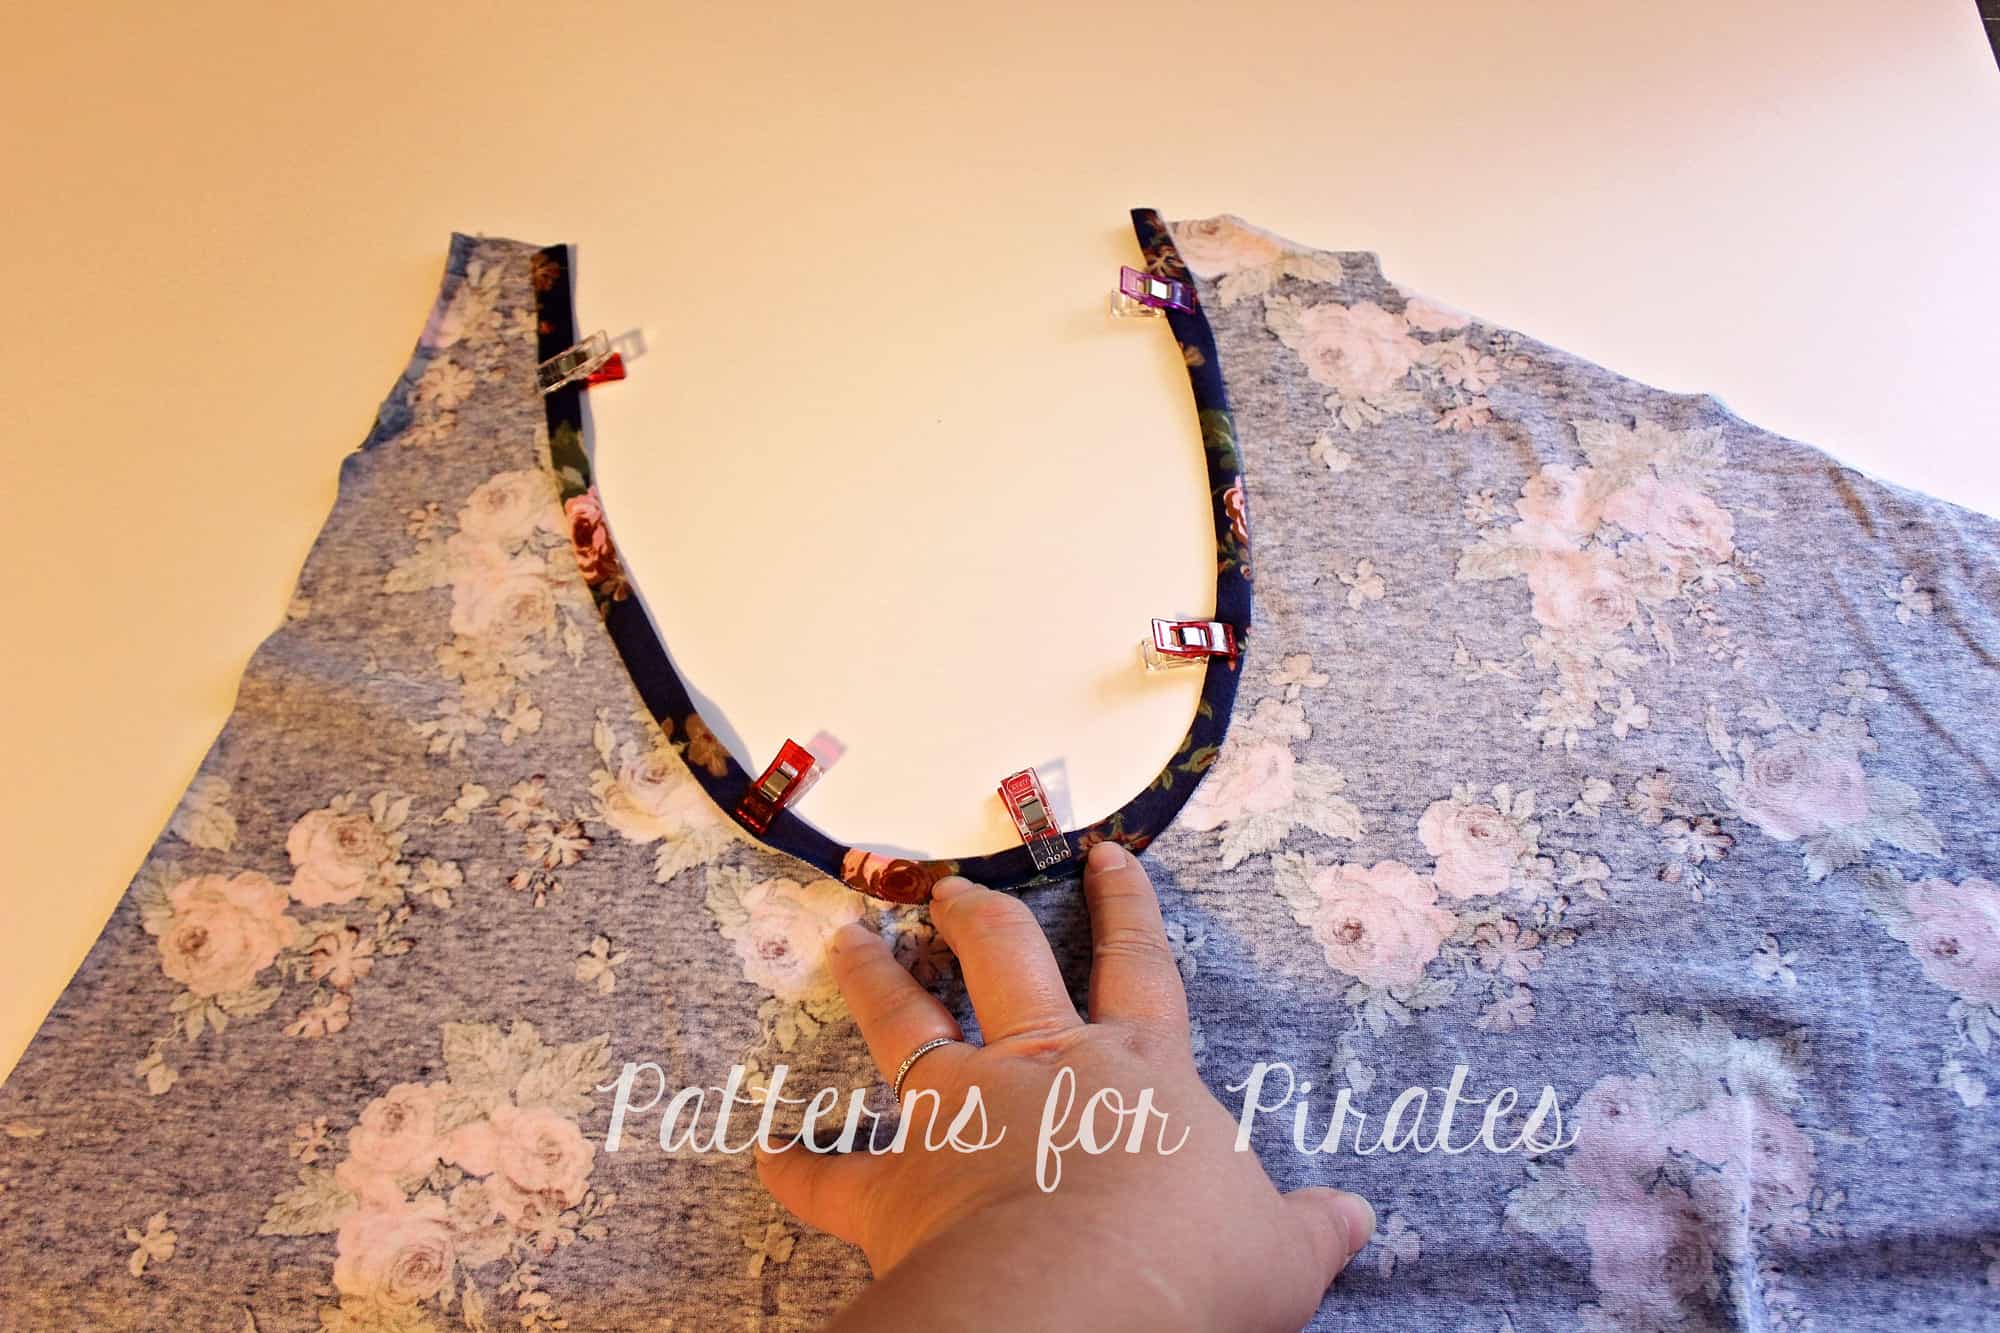
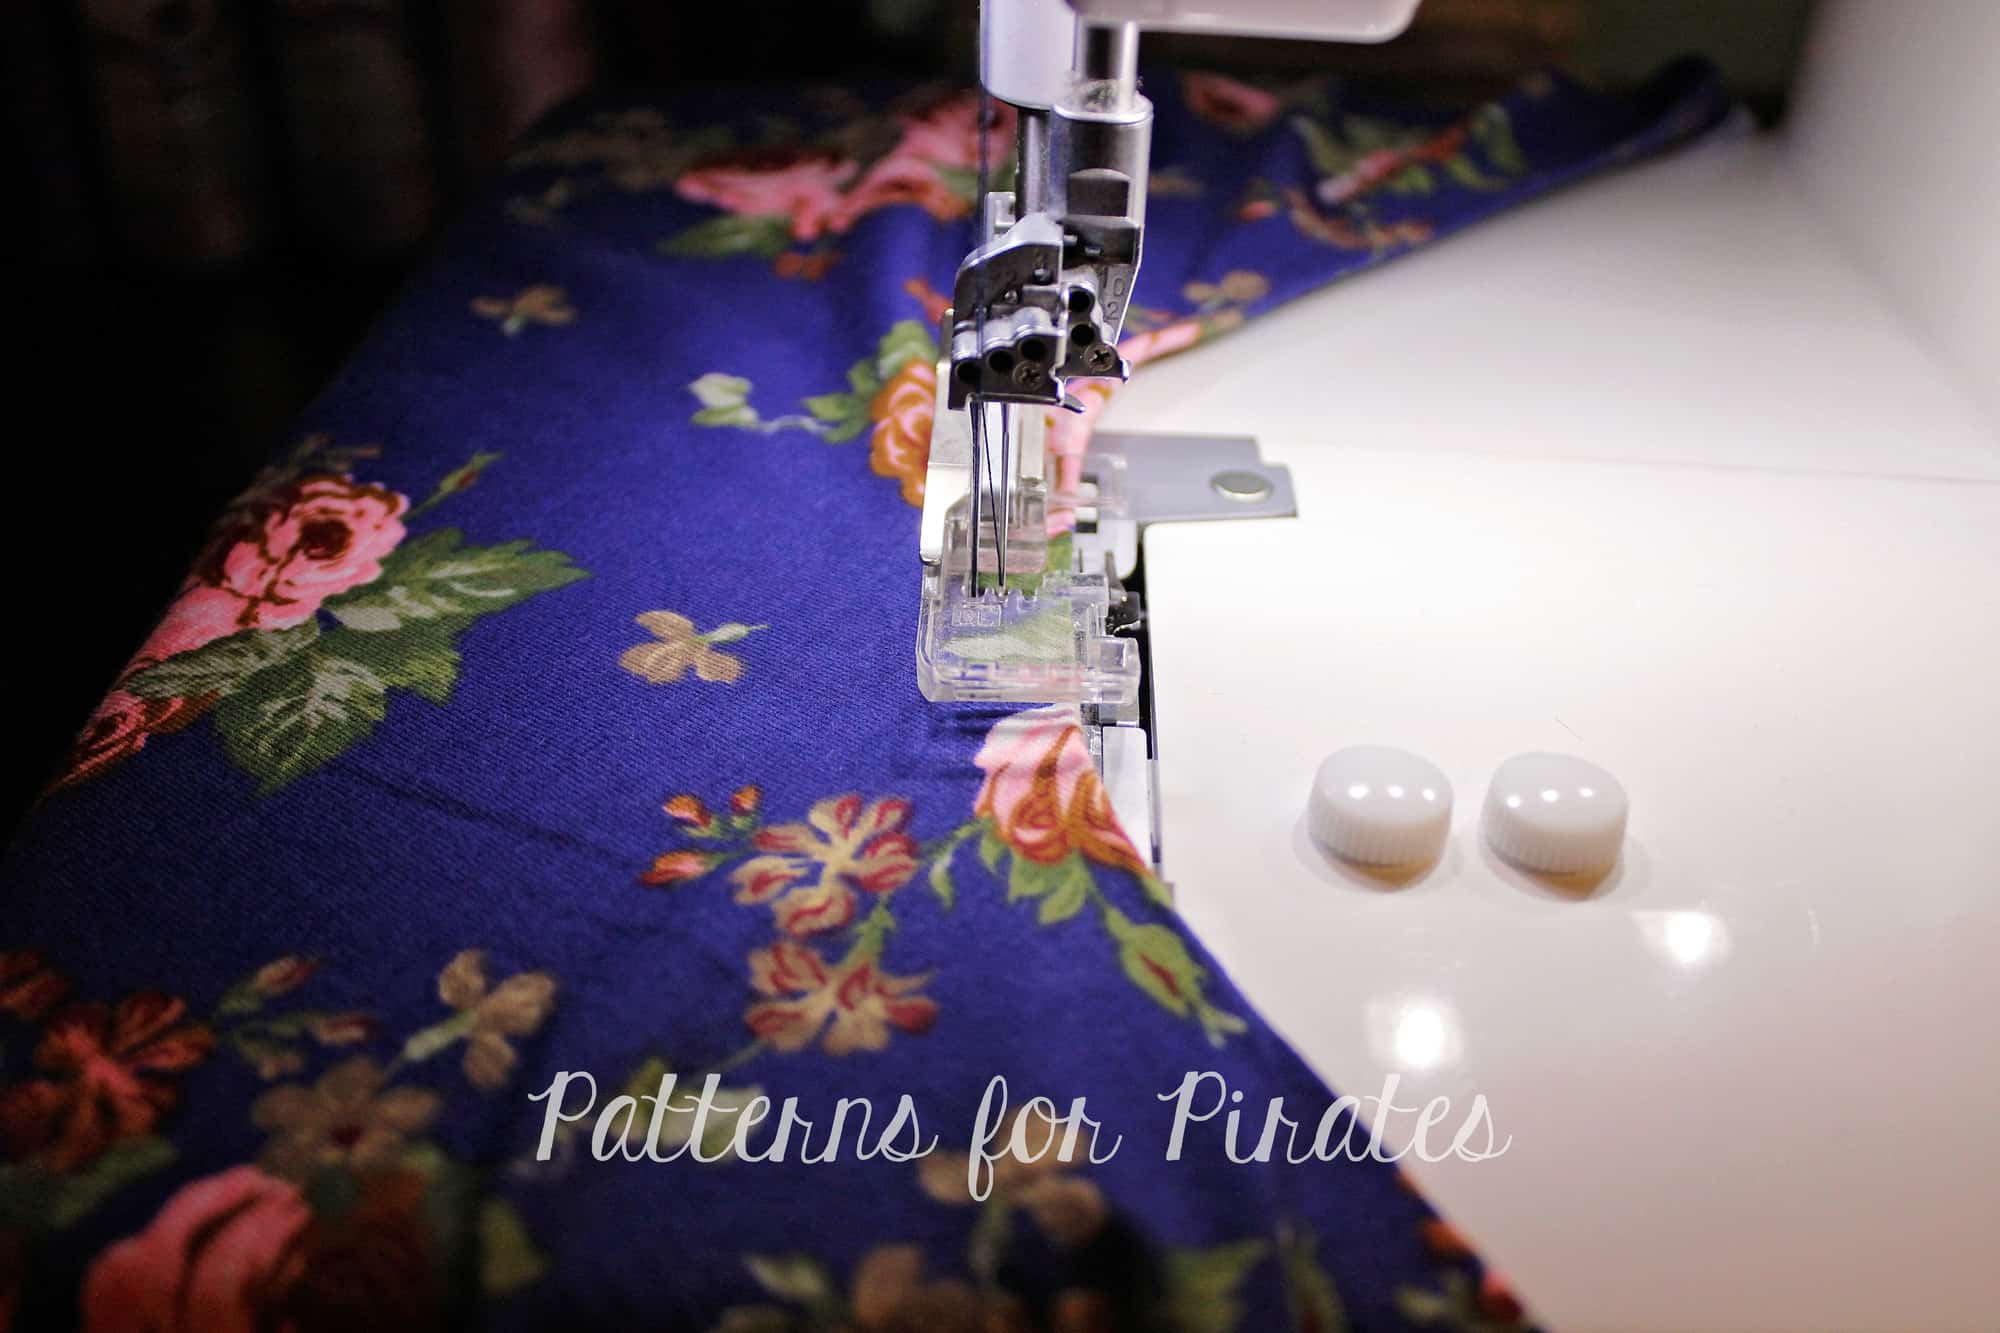
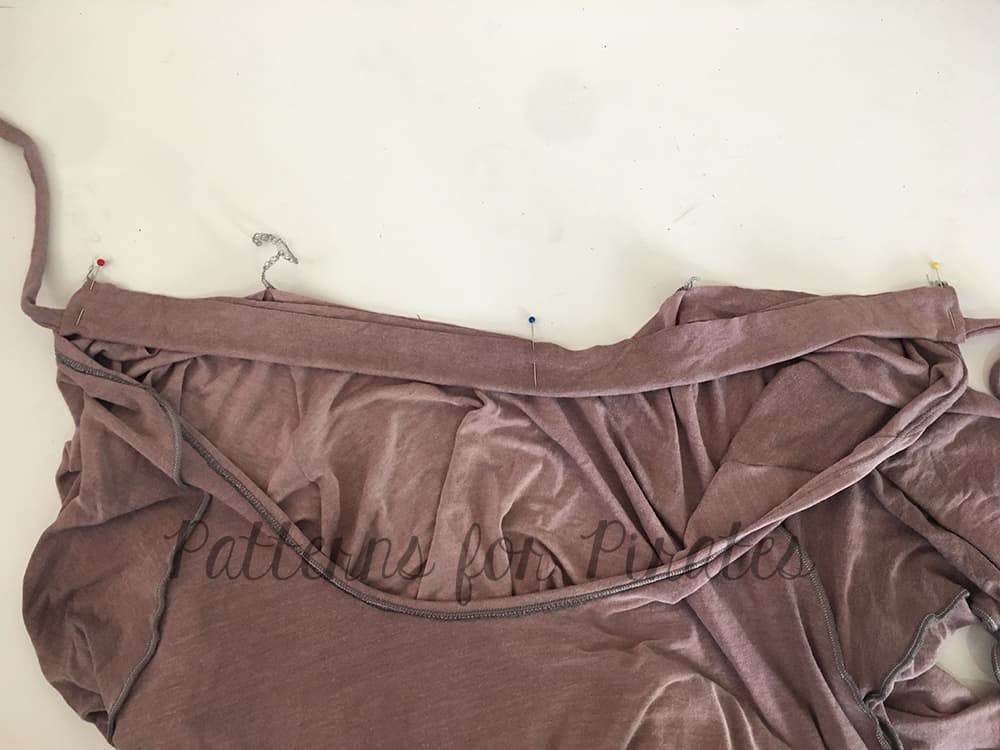
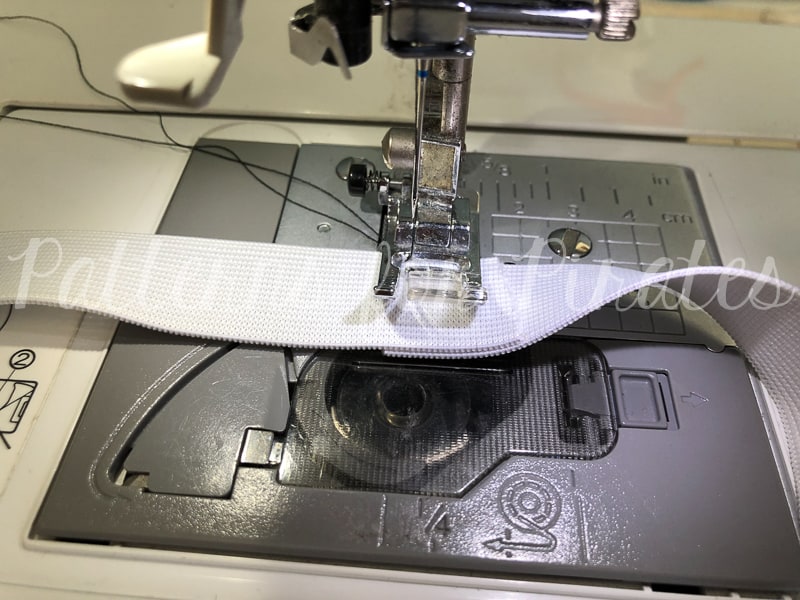
Top stitch around the entire folded edge, leaving around a 3″ opening to thread the elastic through. (I like to position my opening on the back portion of my items, but it’s really a personal preference.
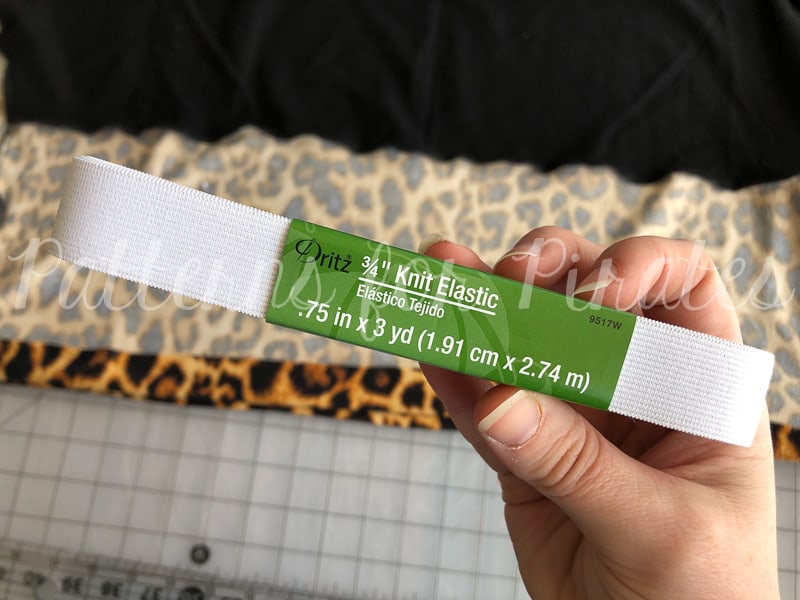
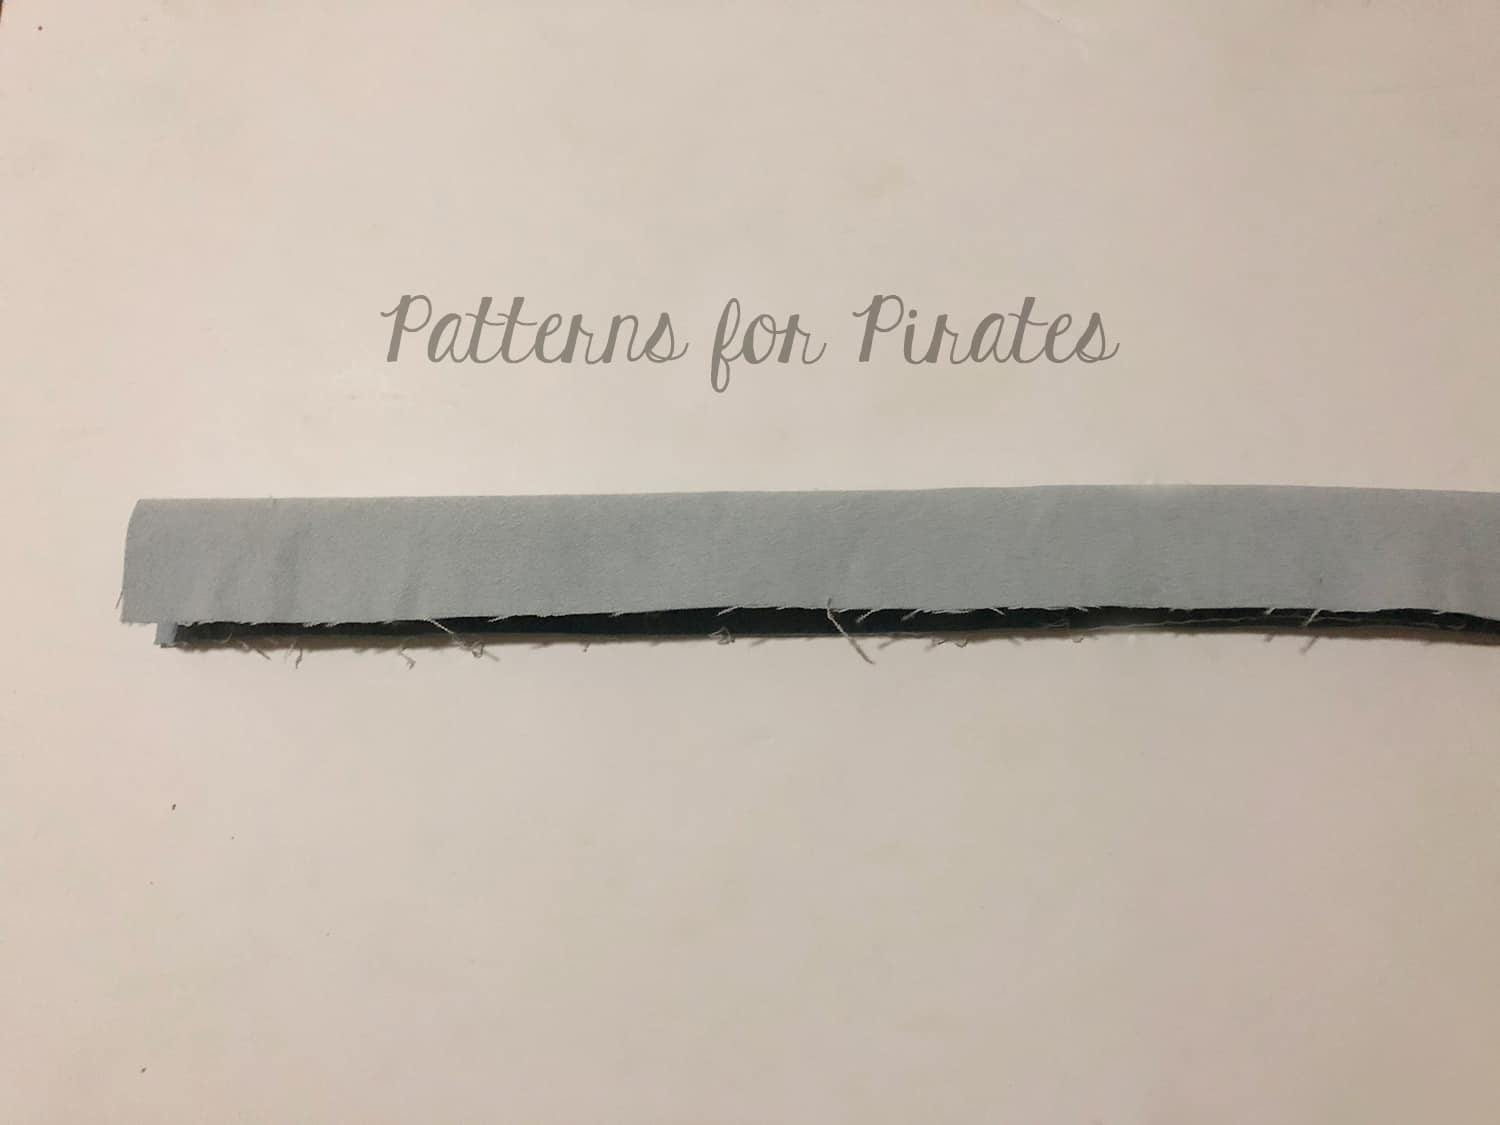
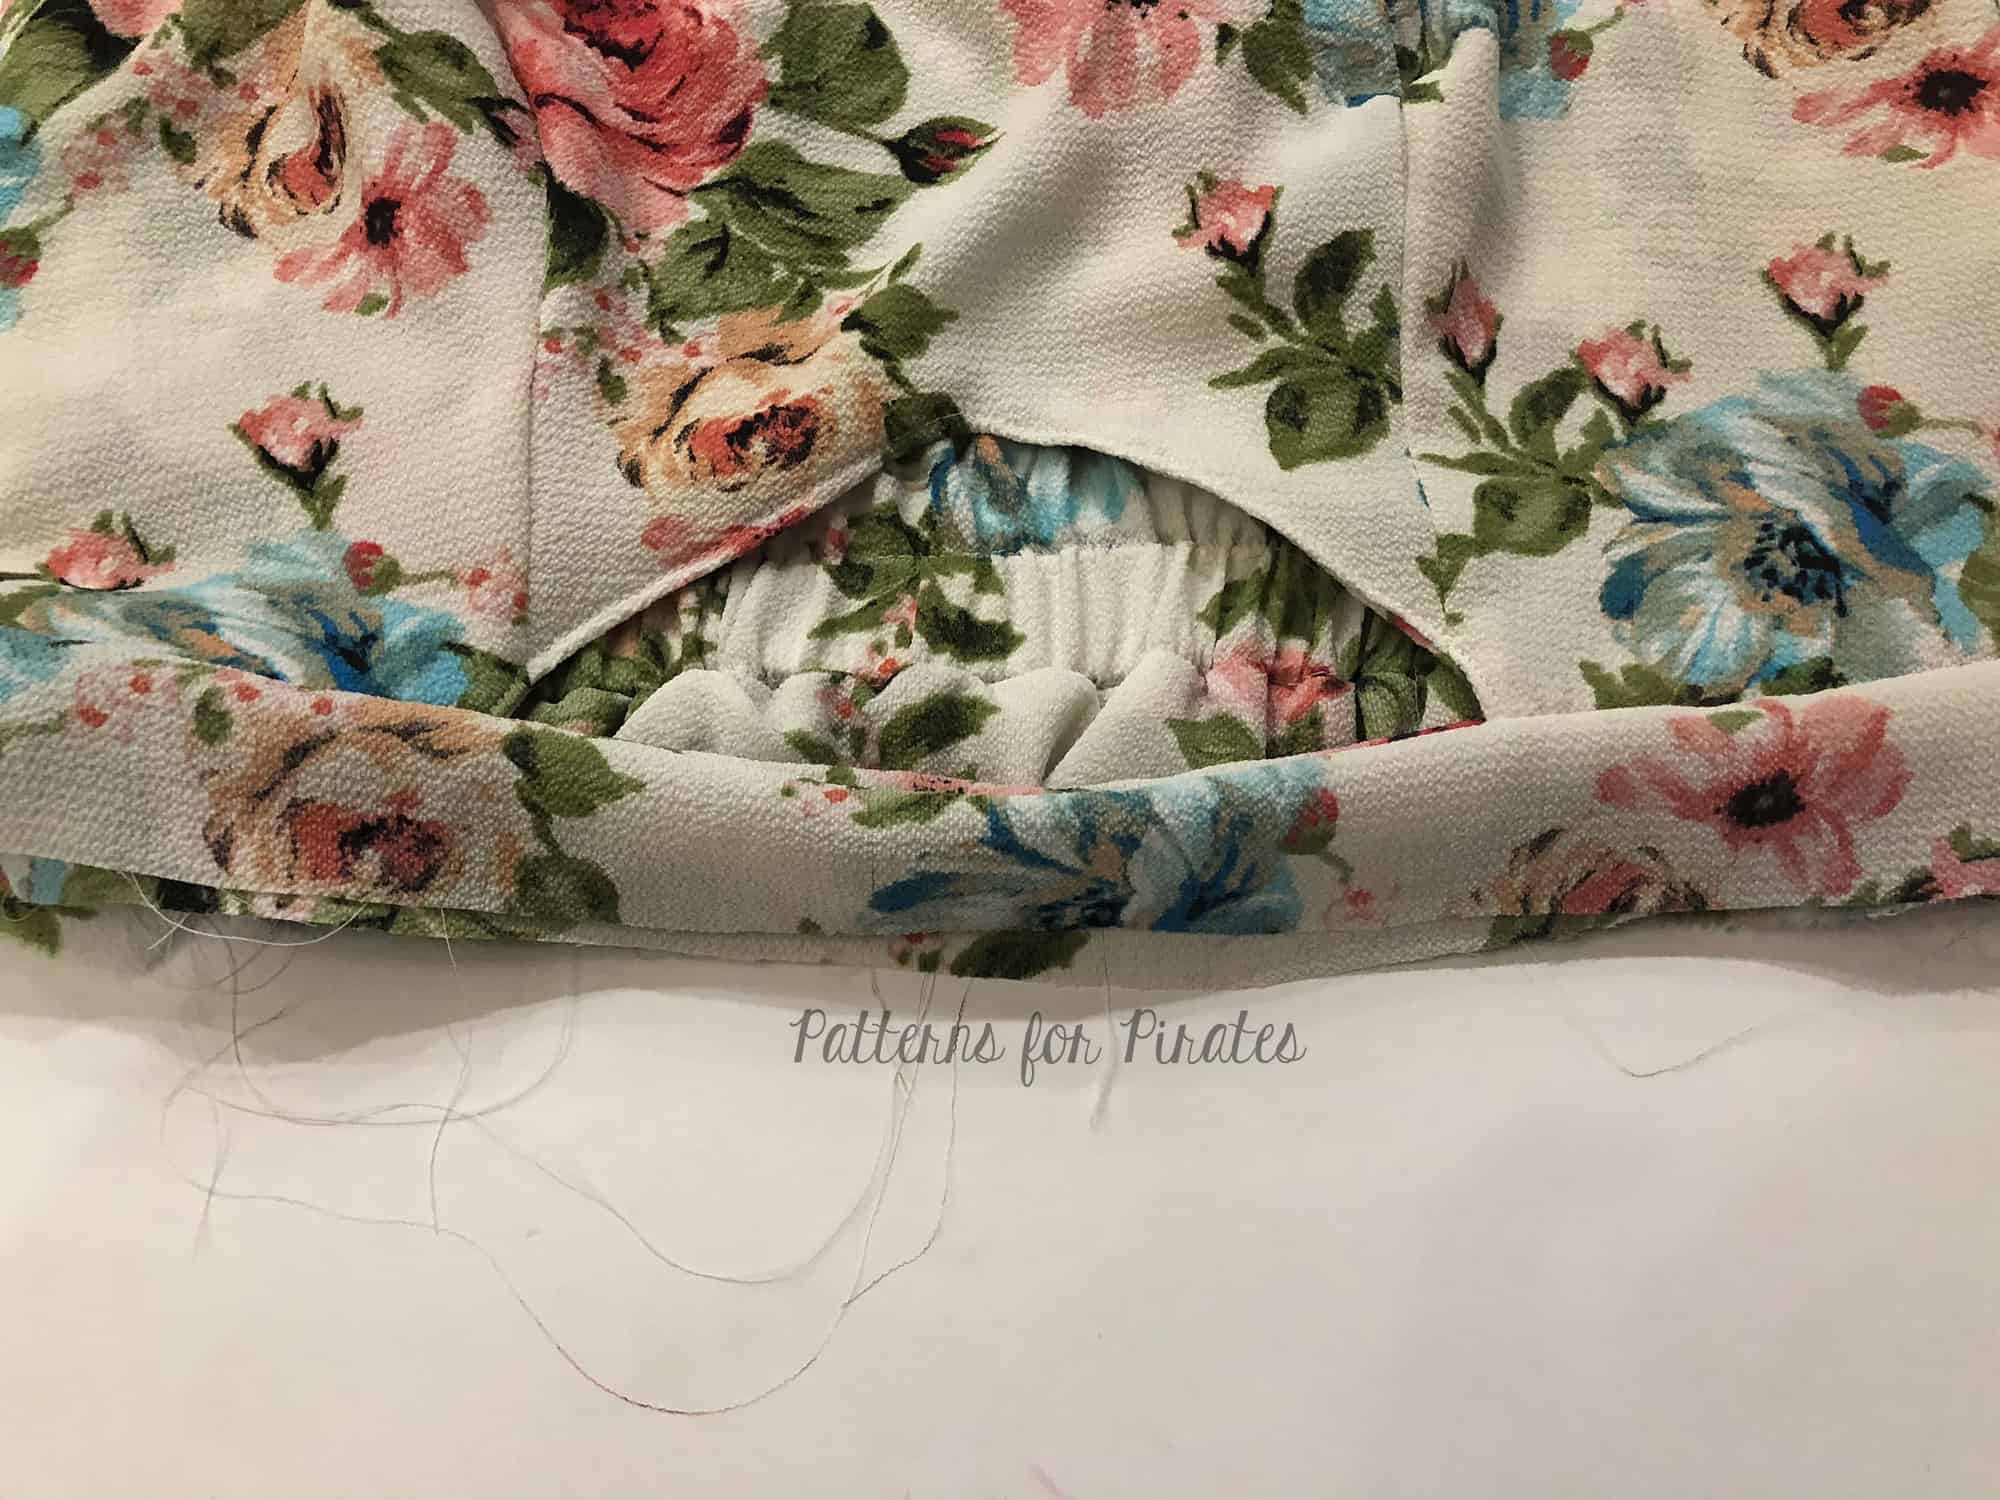
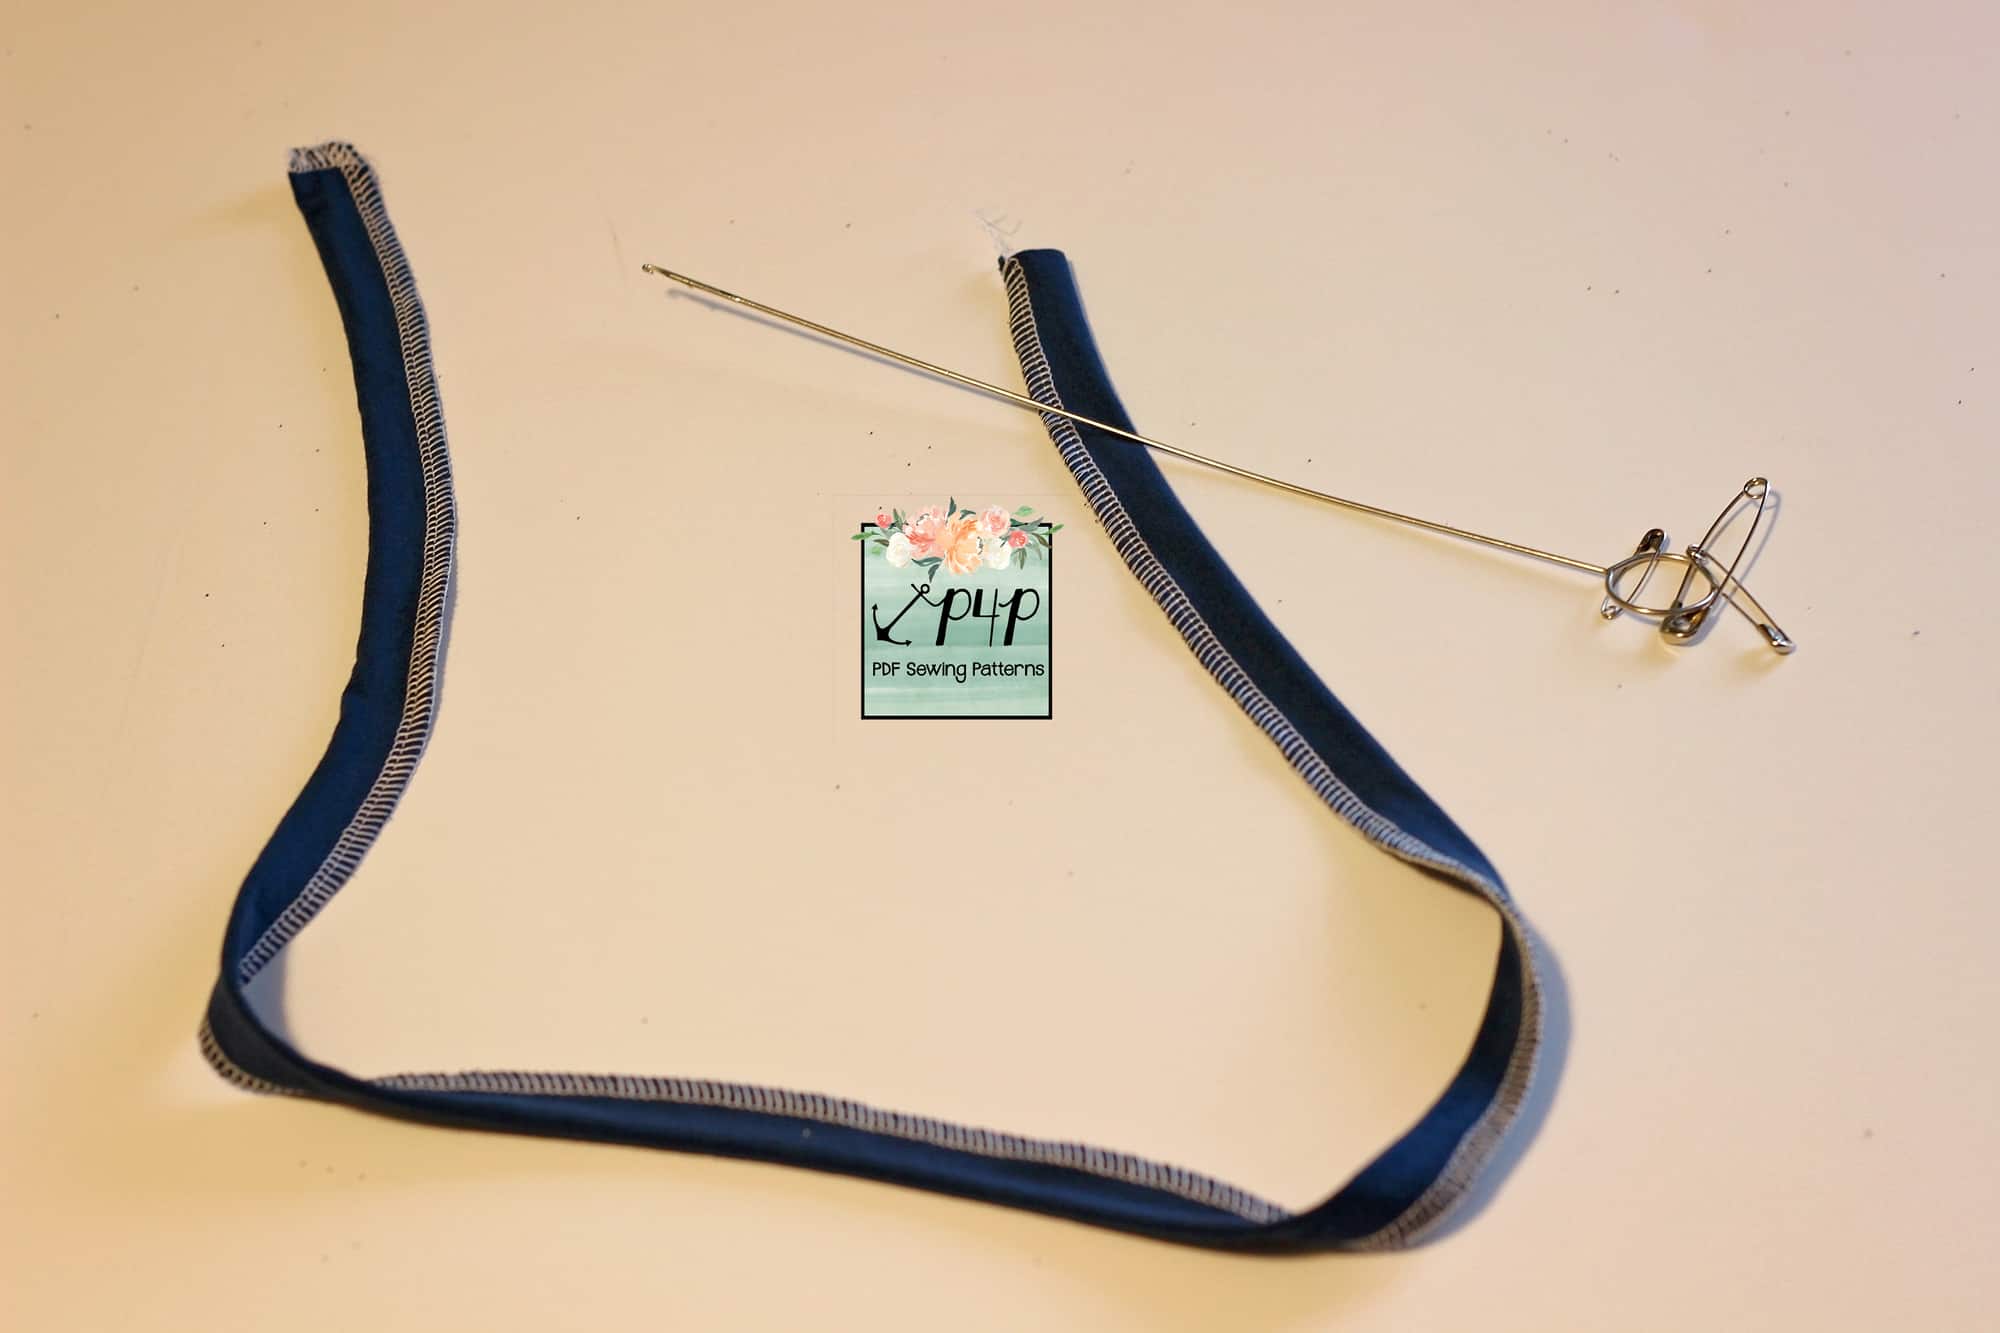
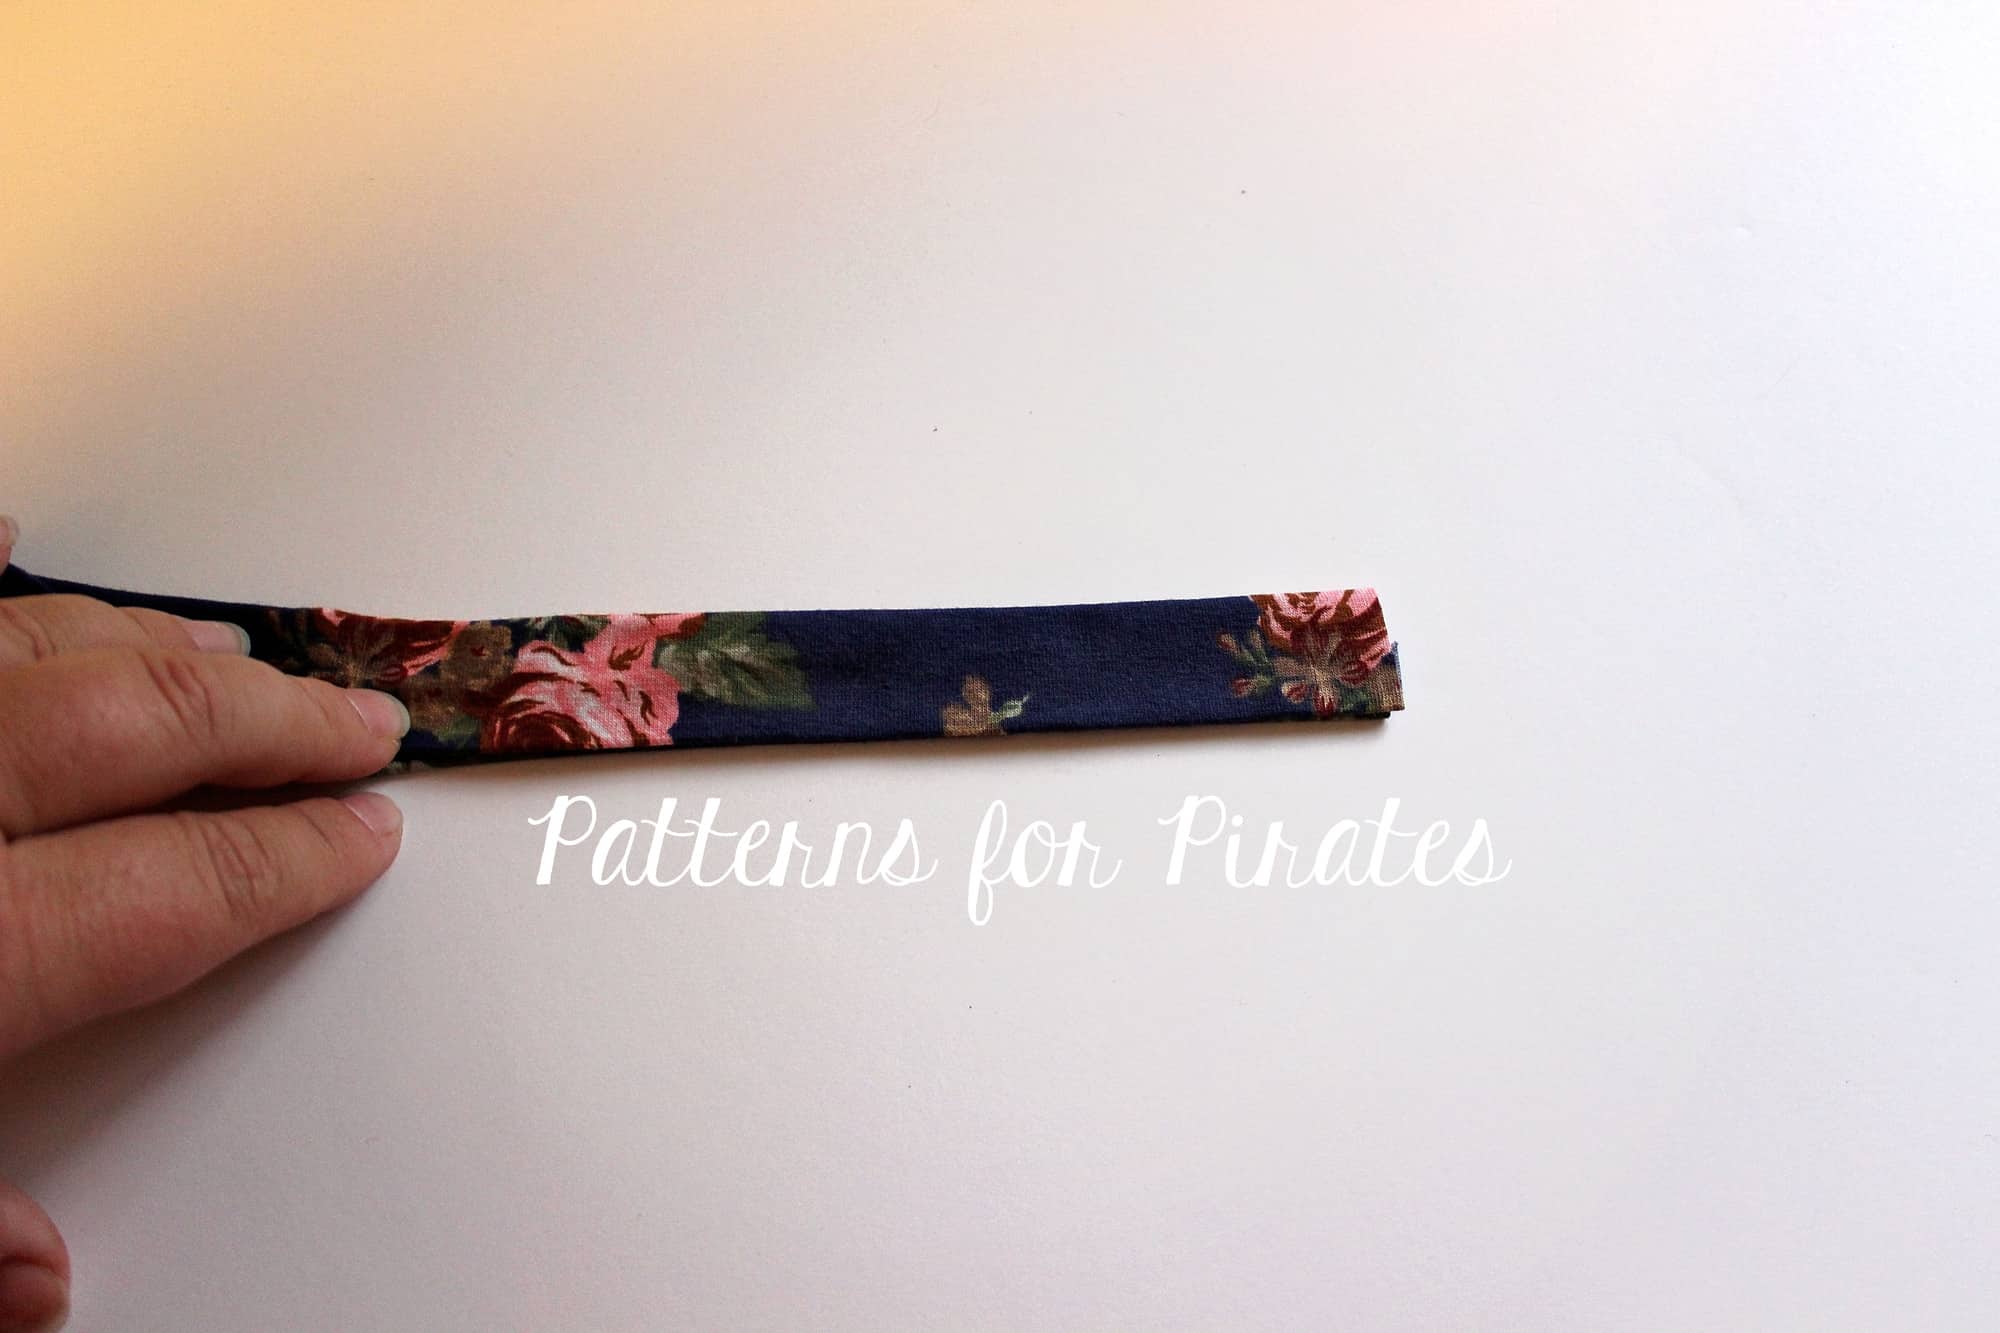
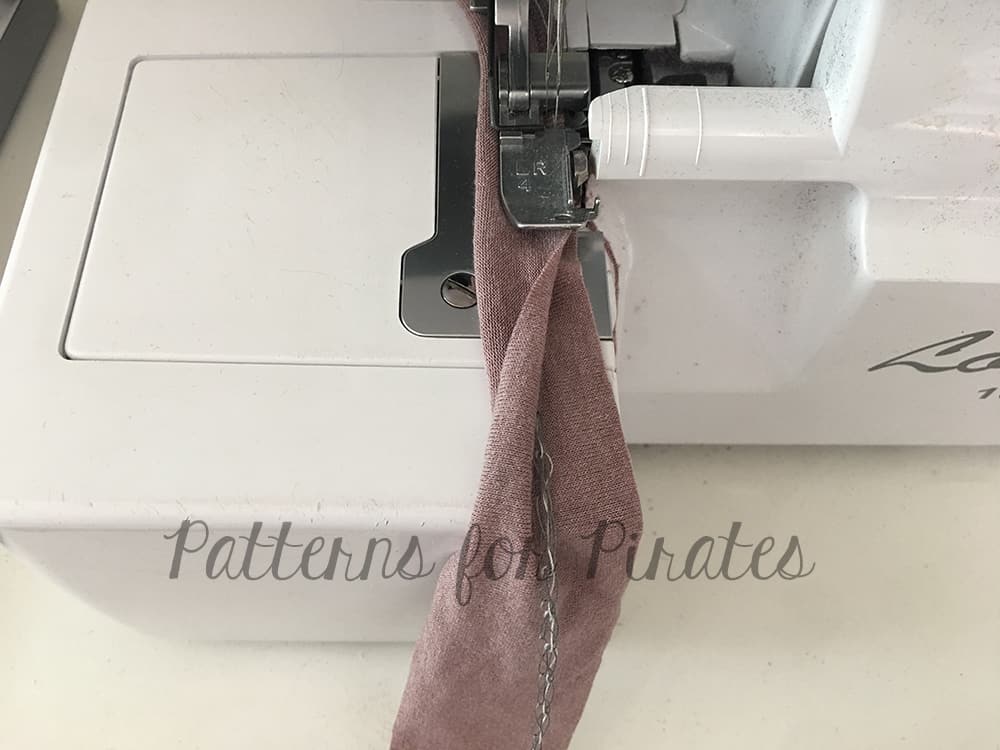
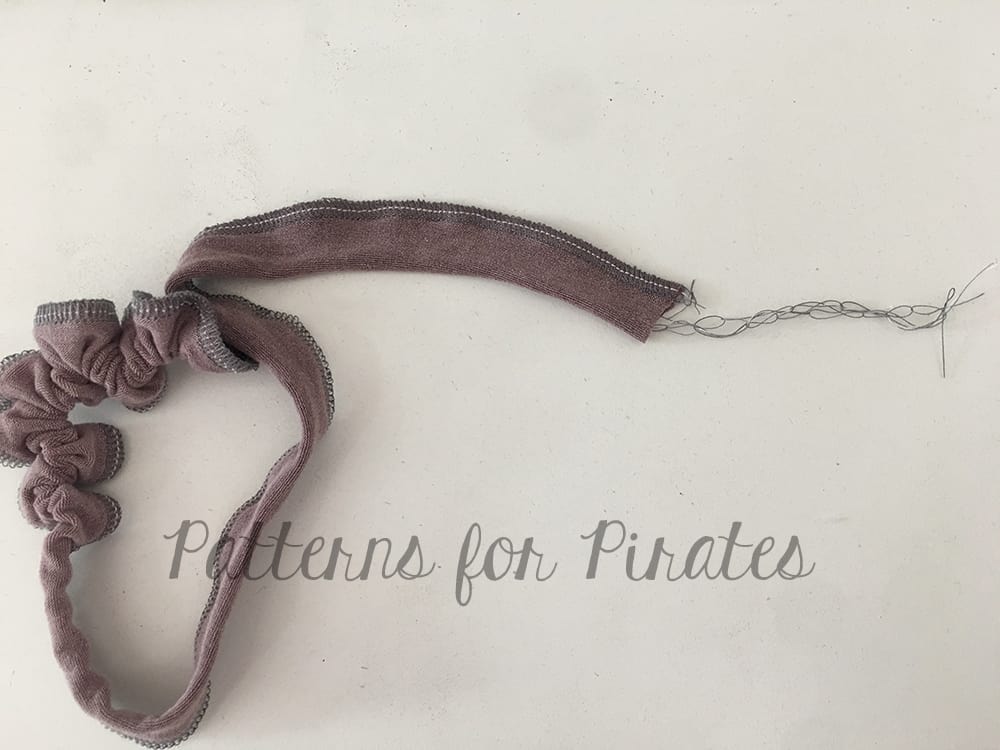
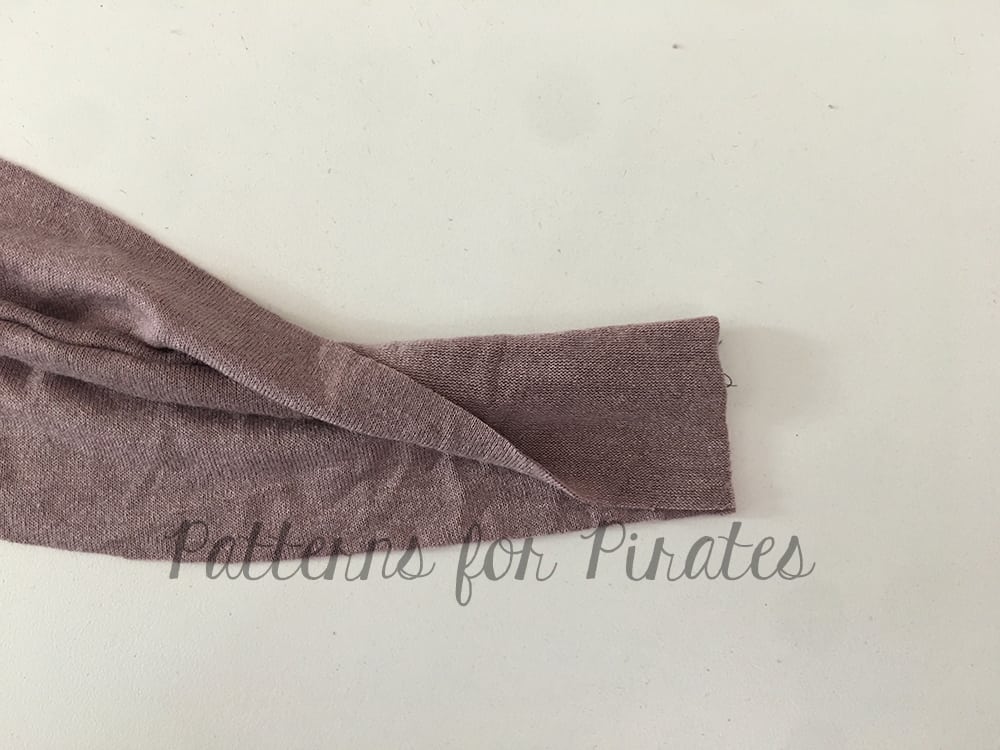
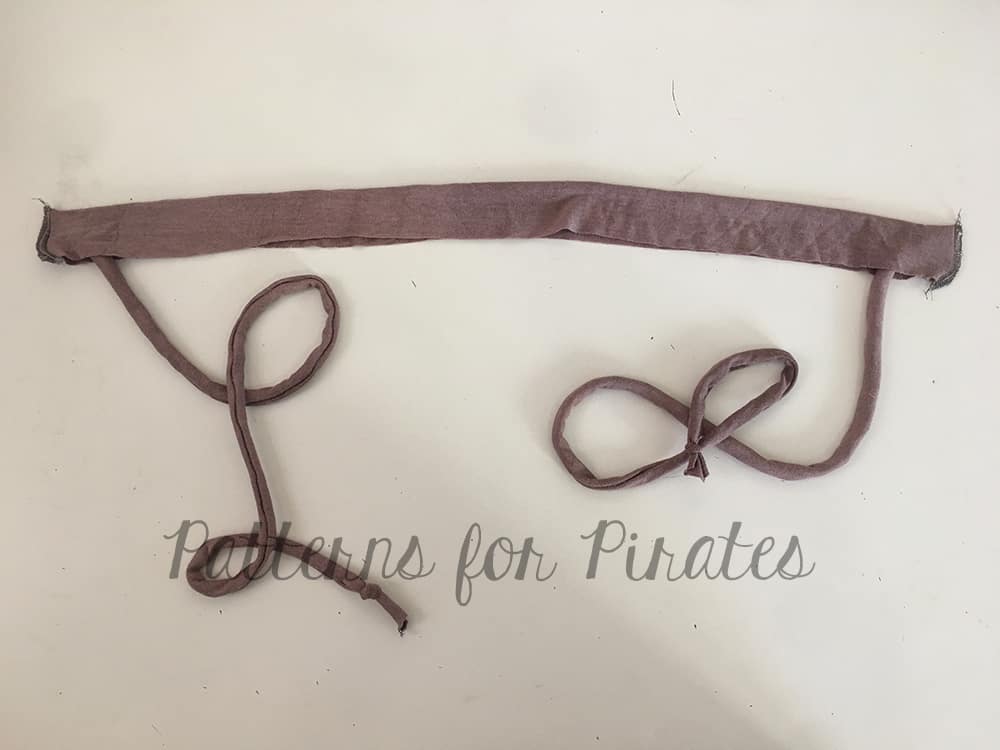
Using 3/4″ knit elastic, cut a length that is your waist measurement, minus 2″.
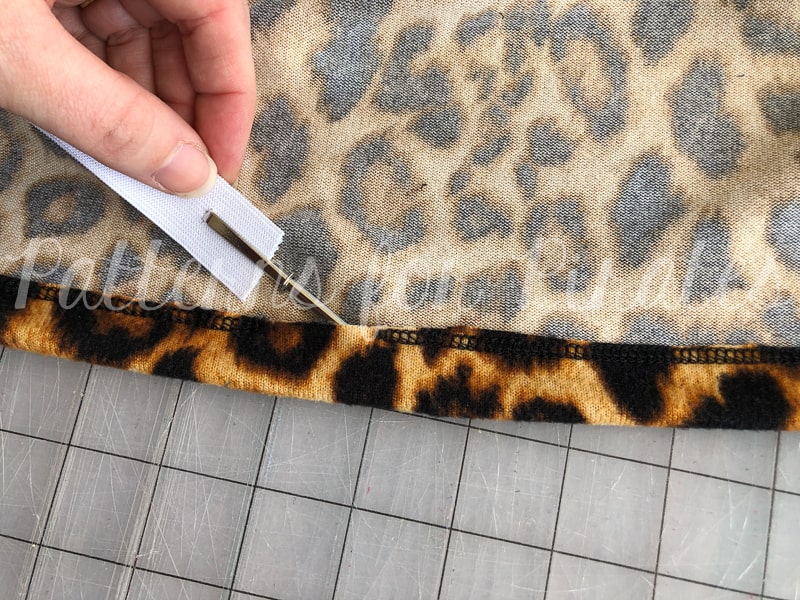
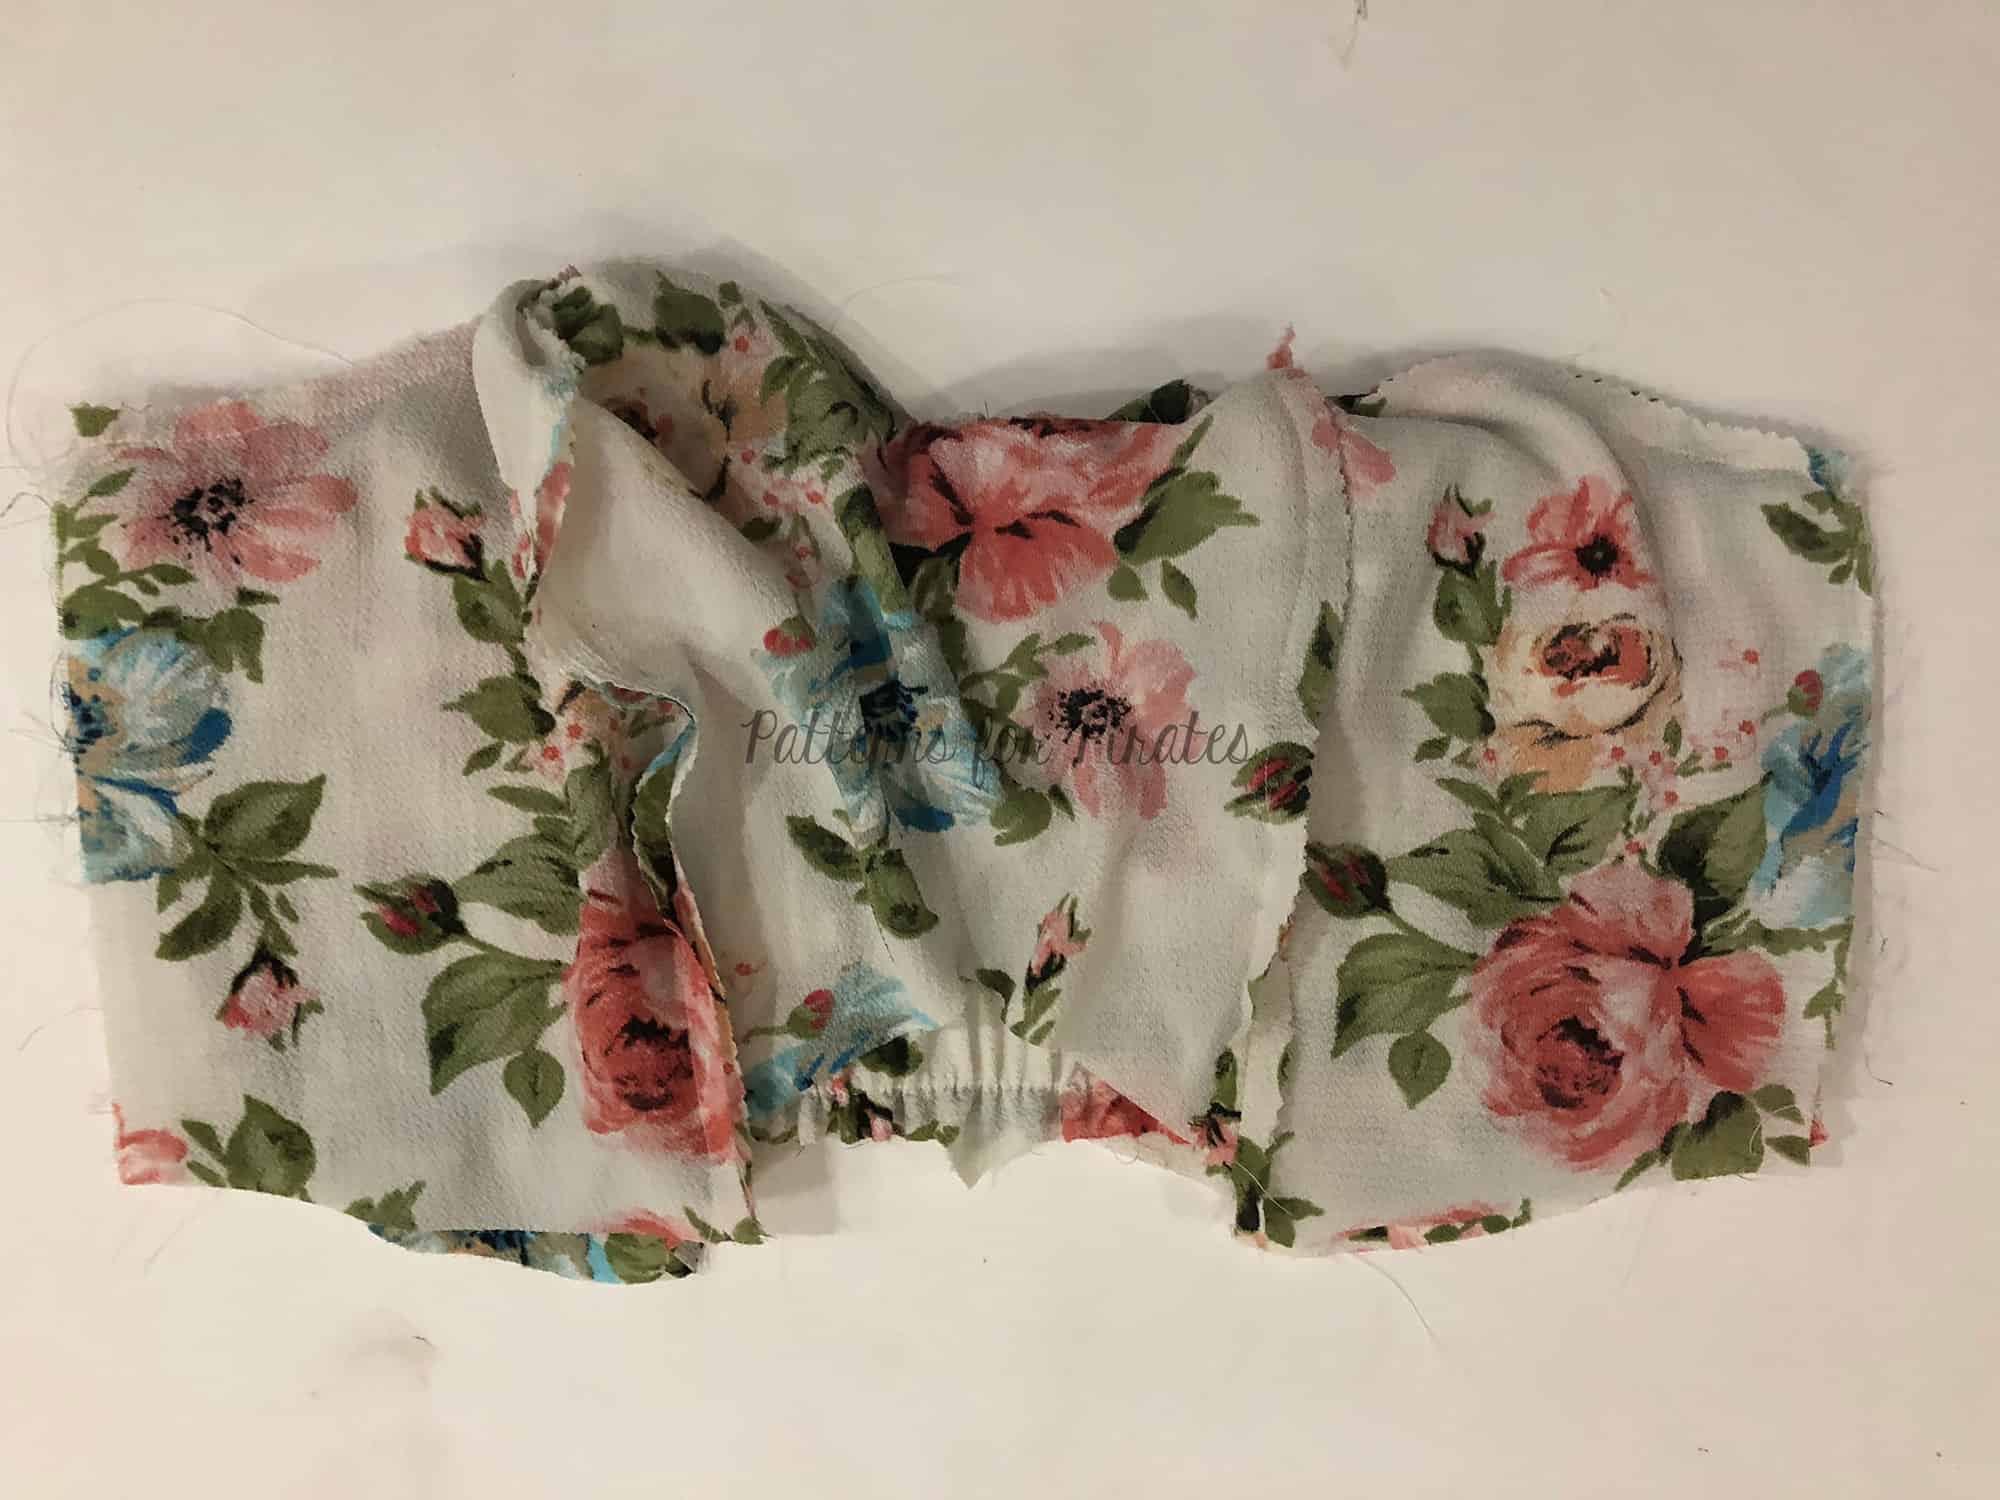
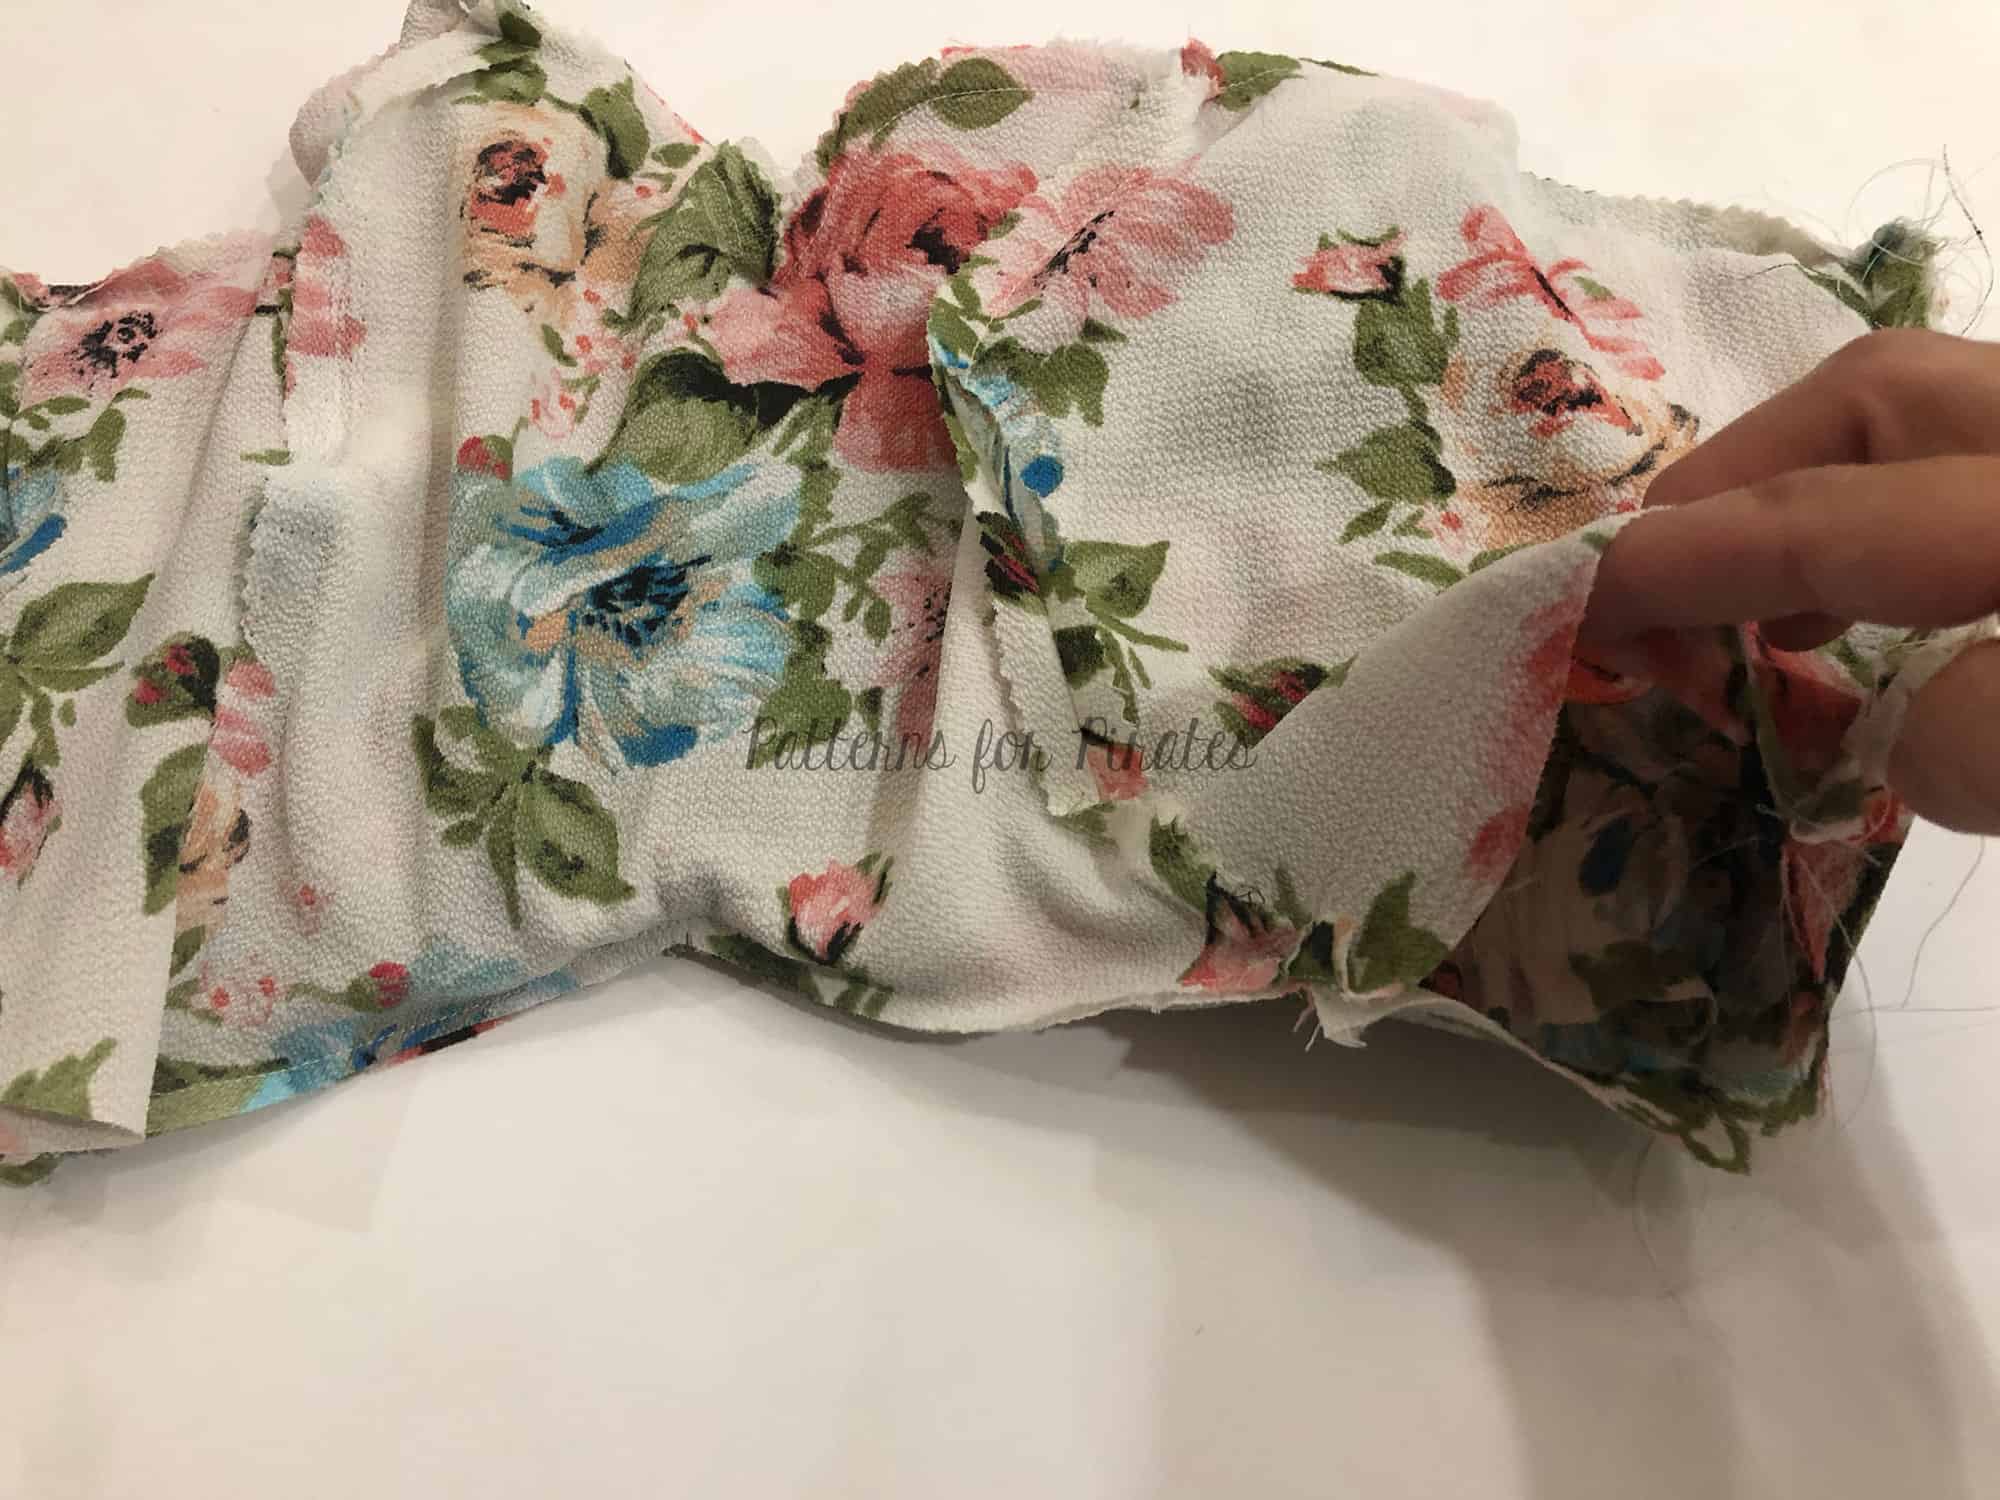
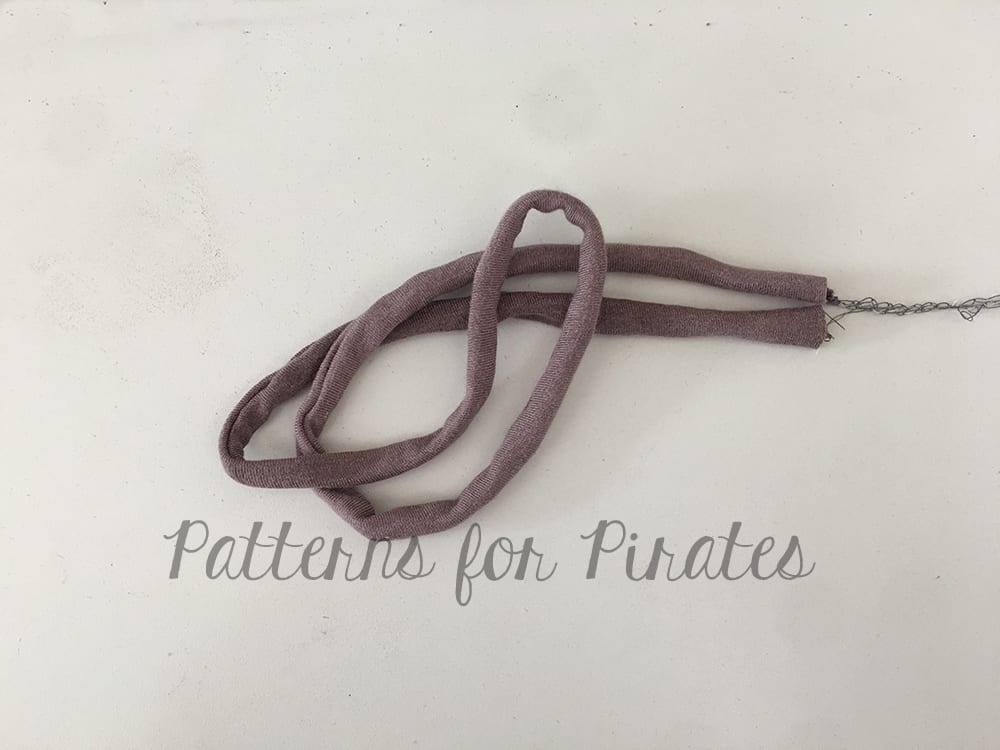
Feed the elastic through the opening.
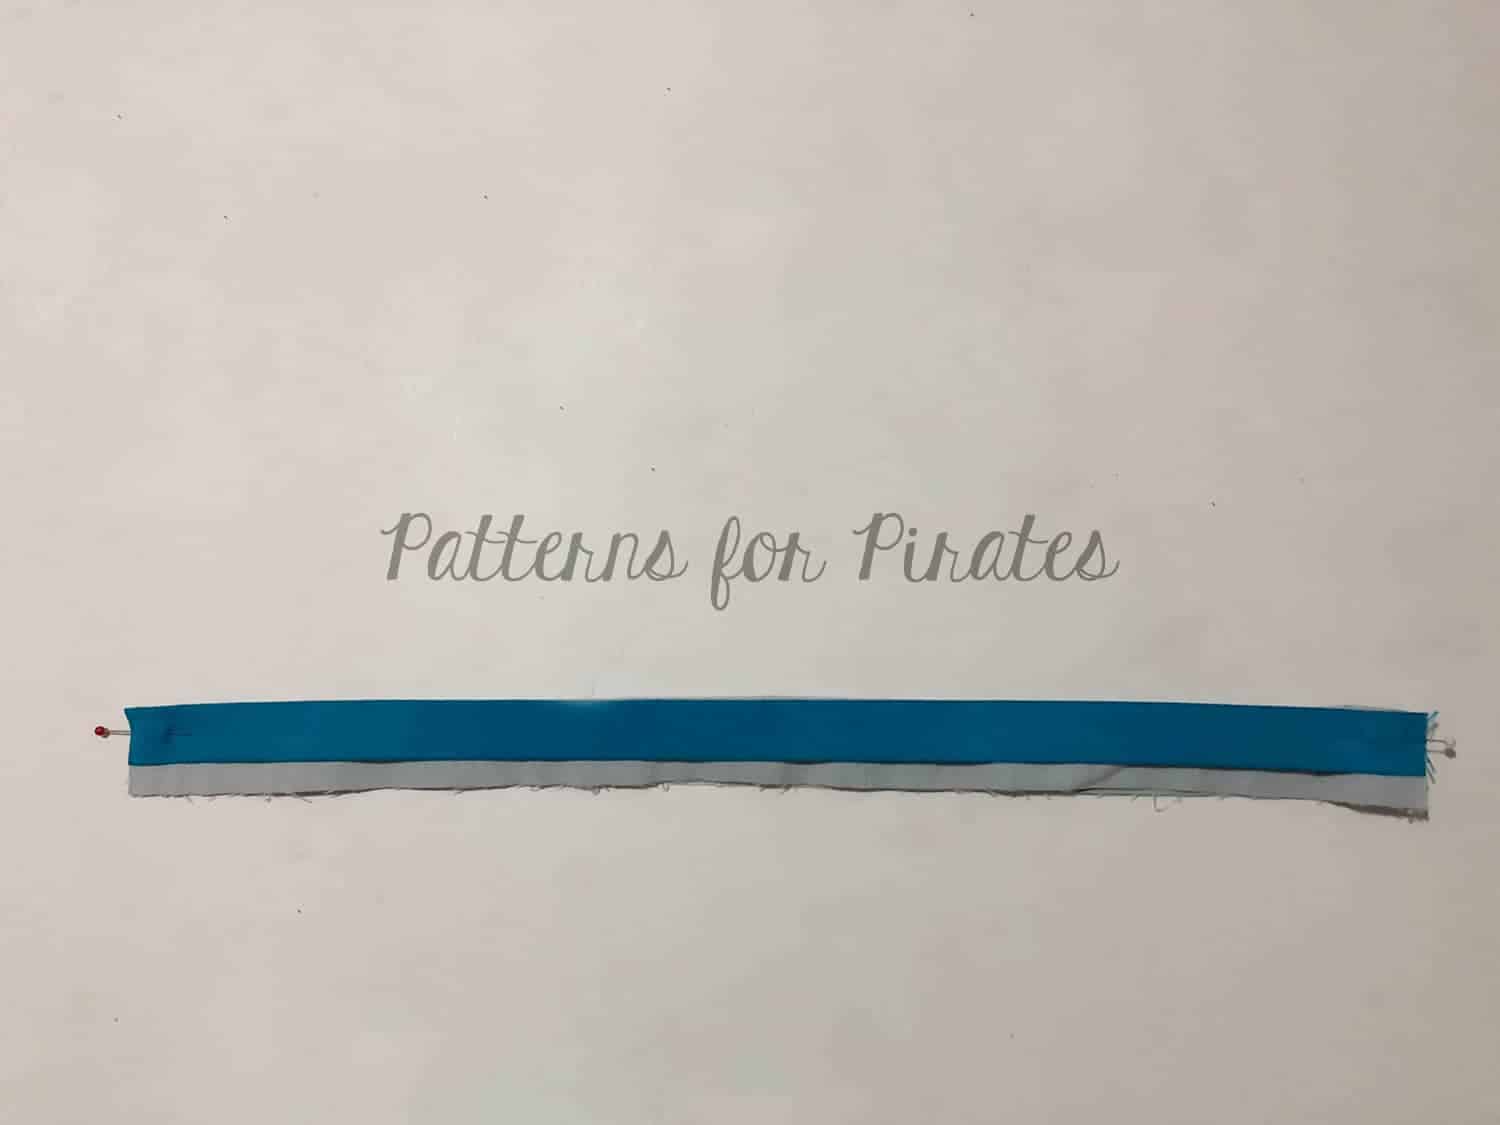
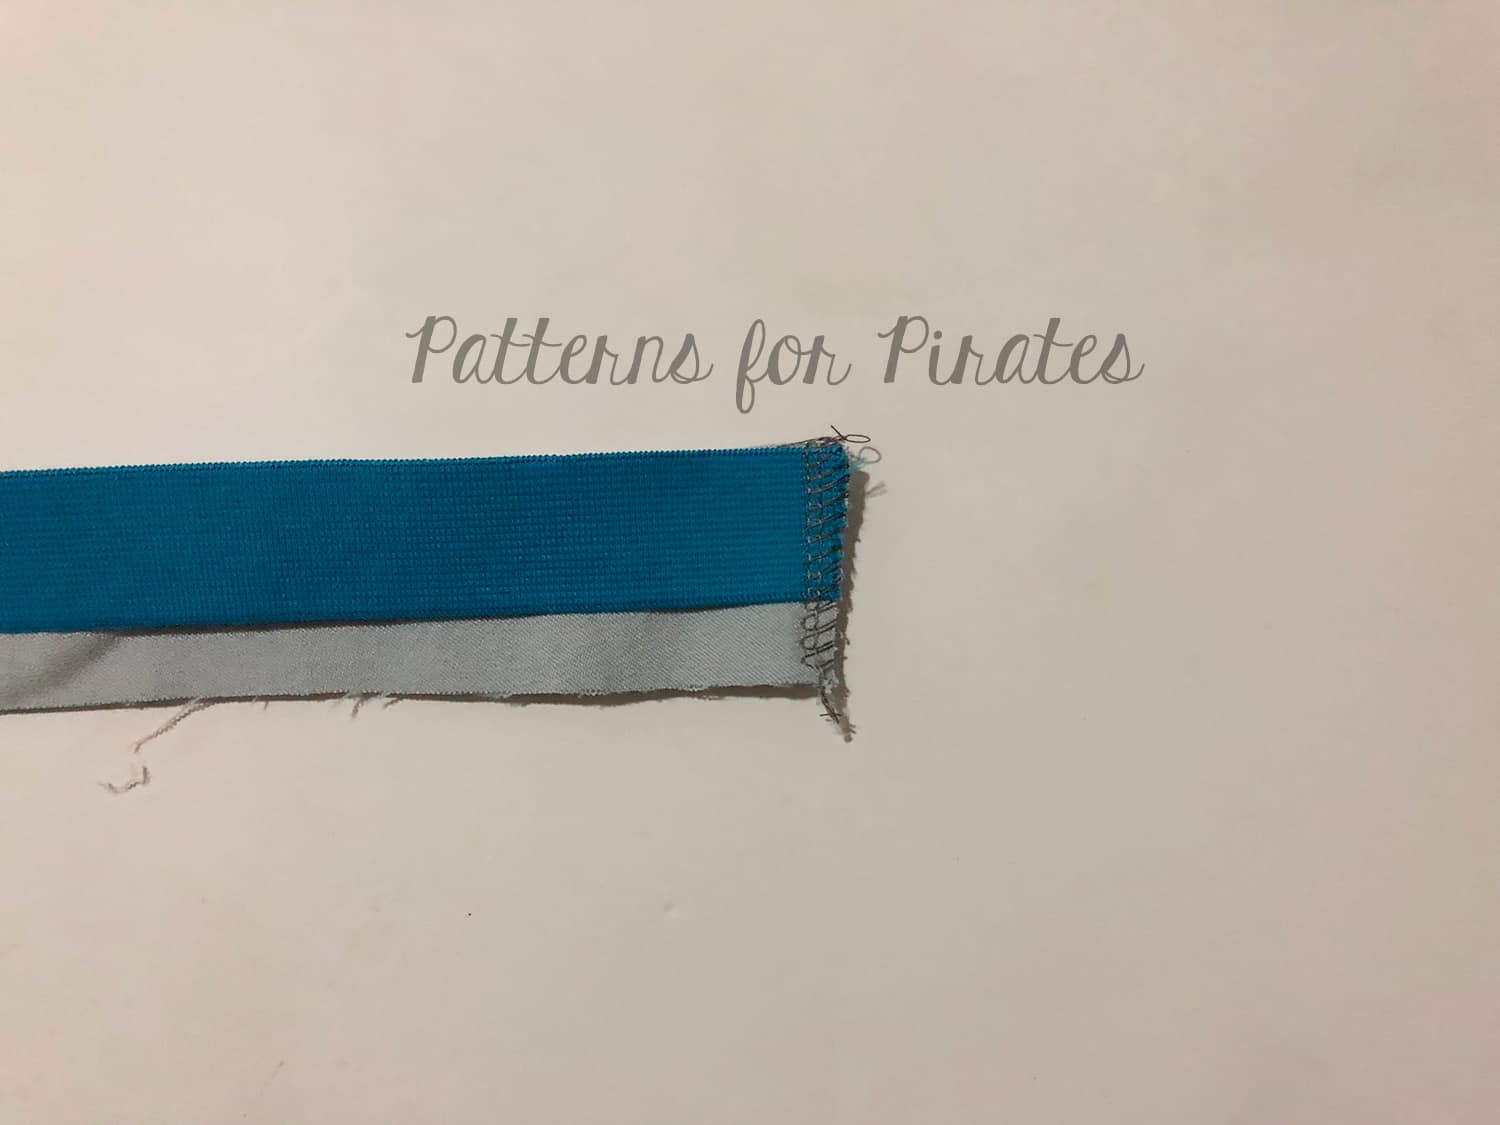
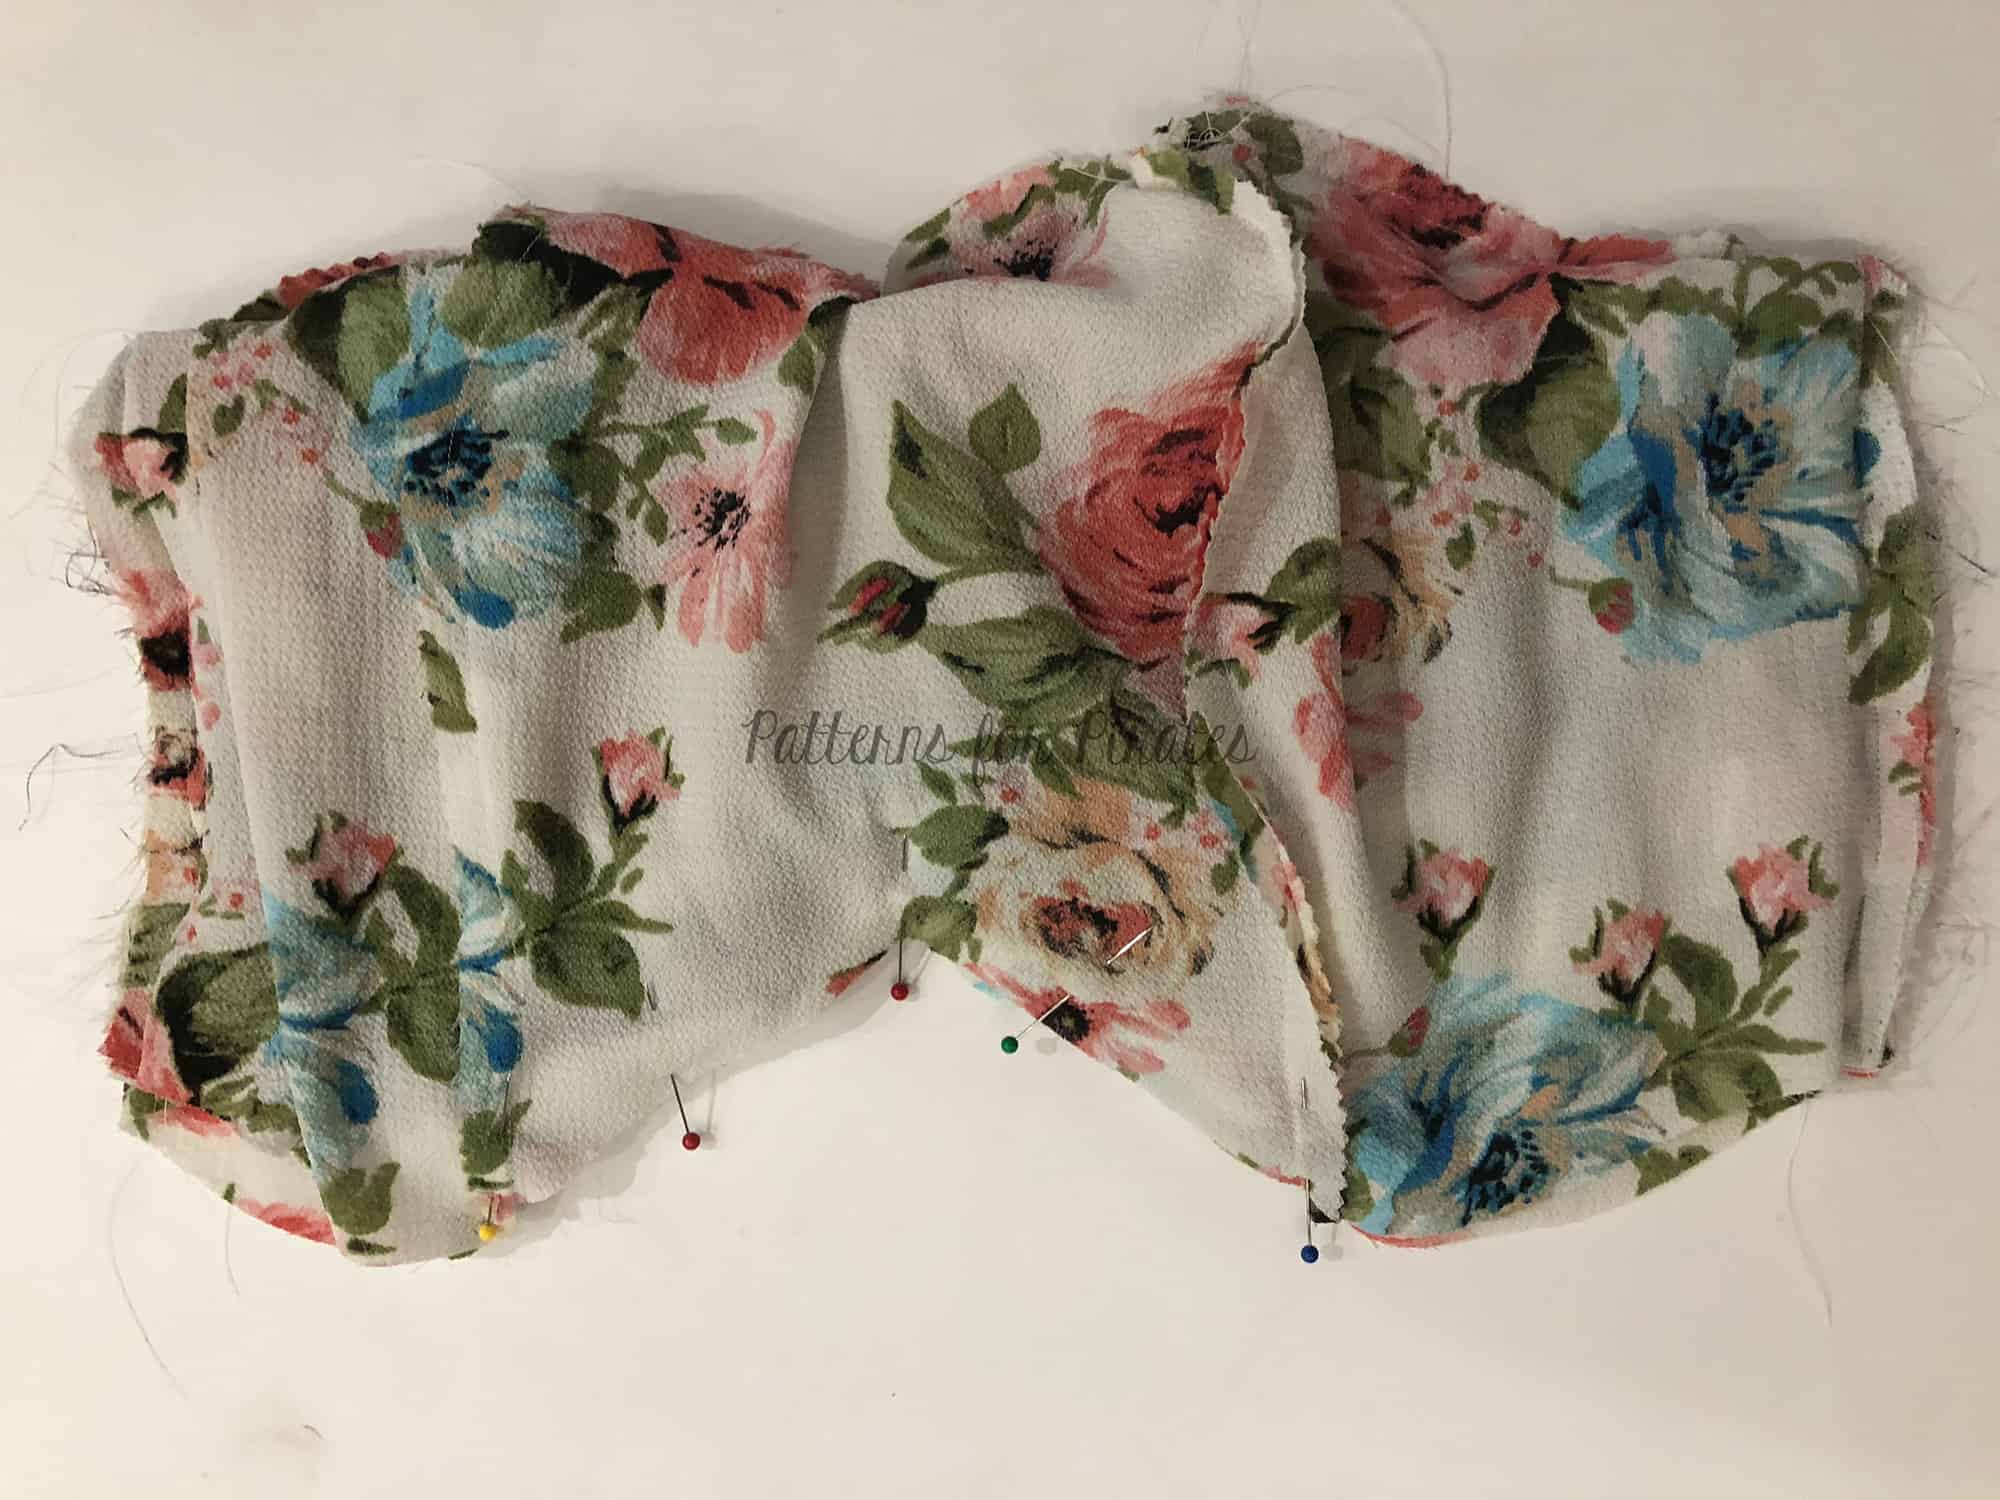
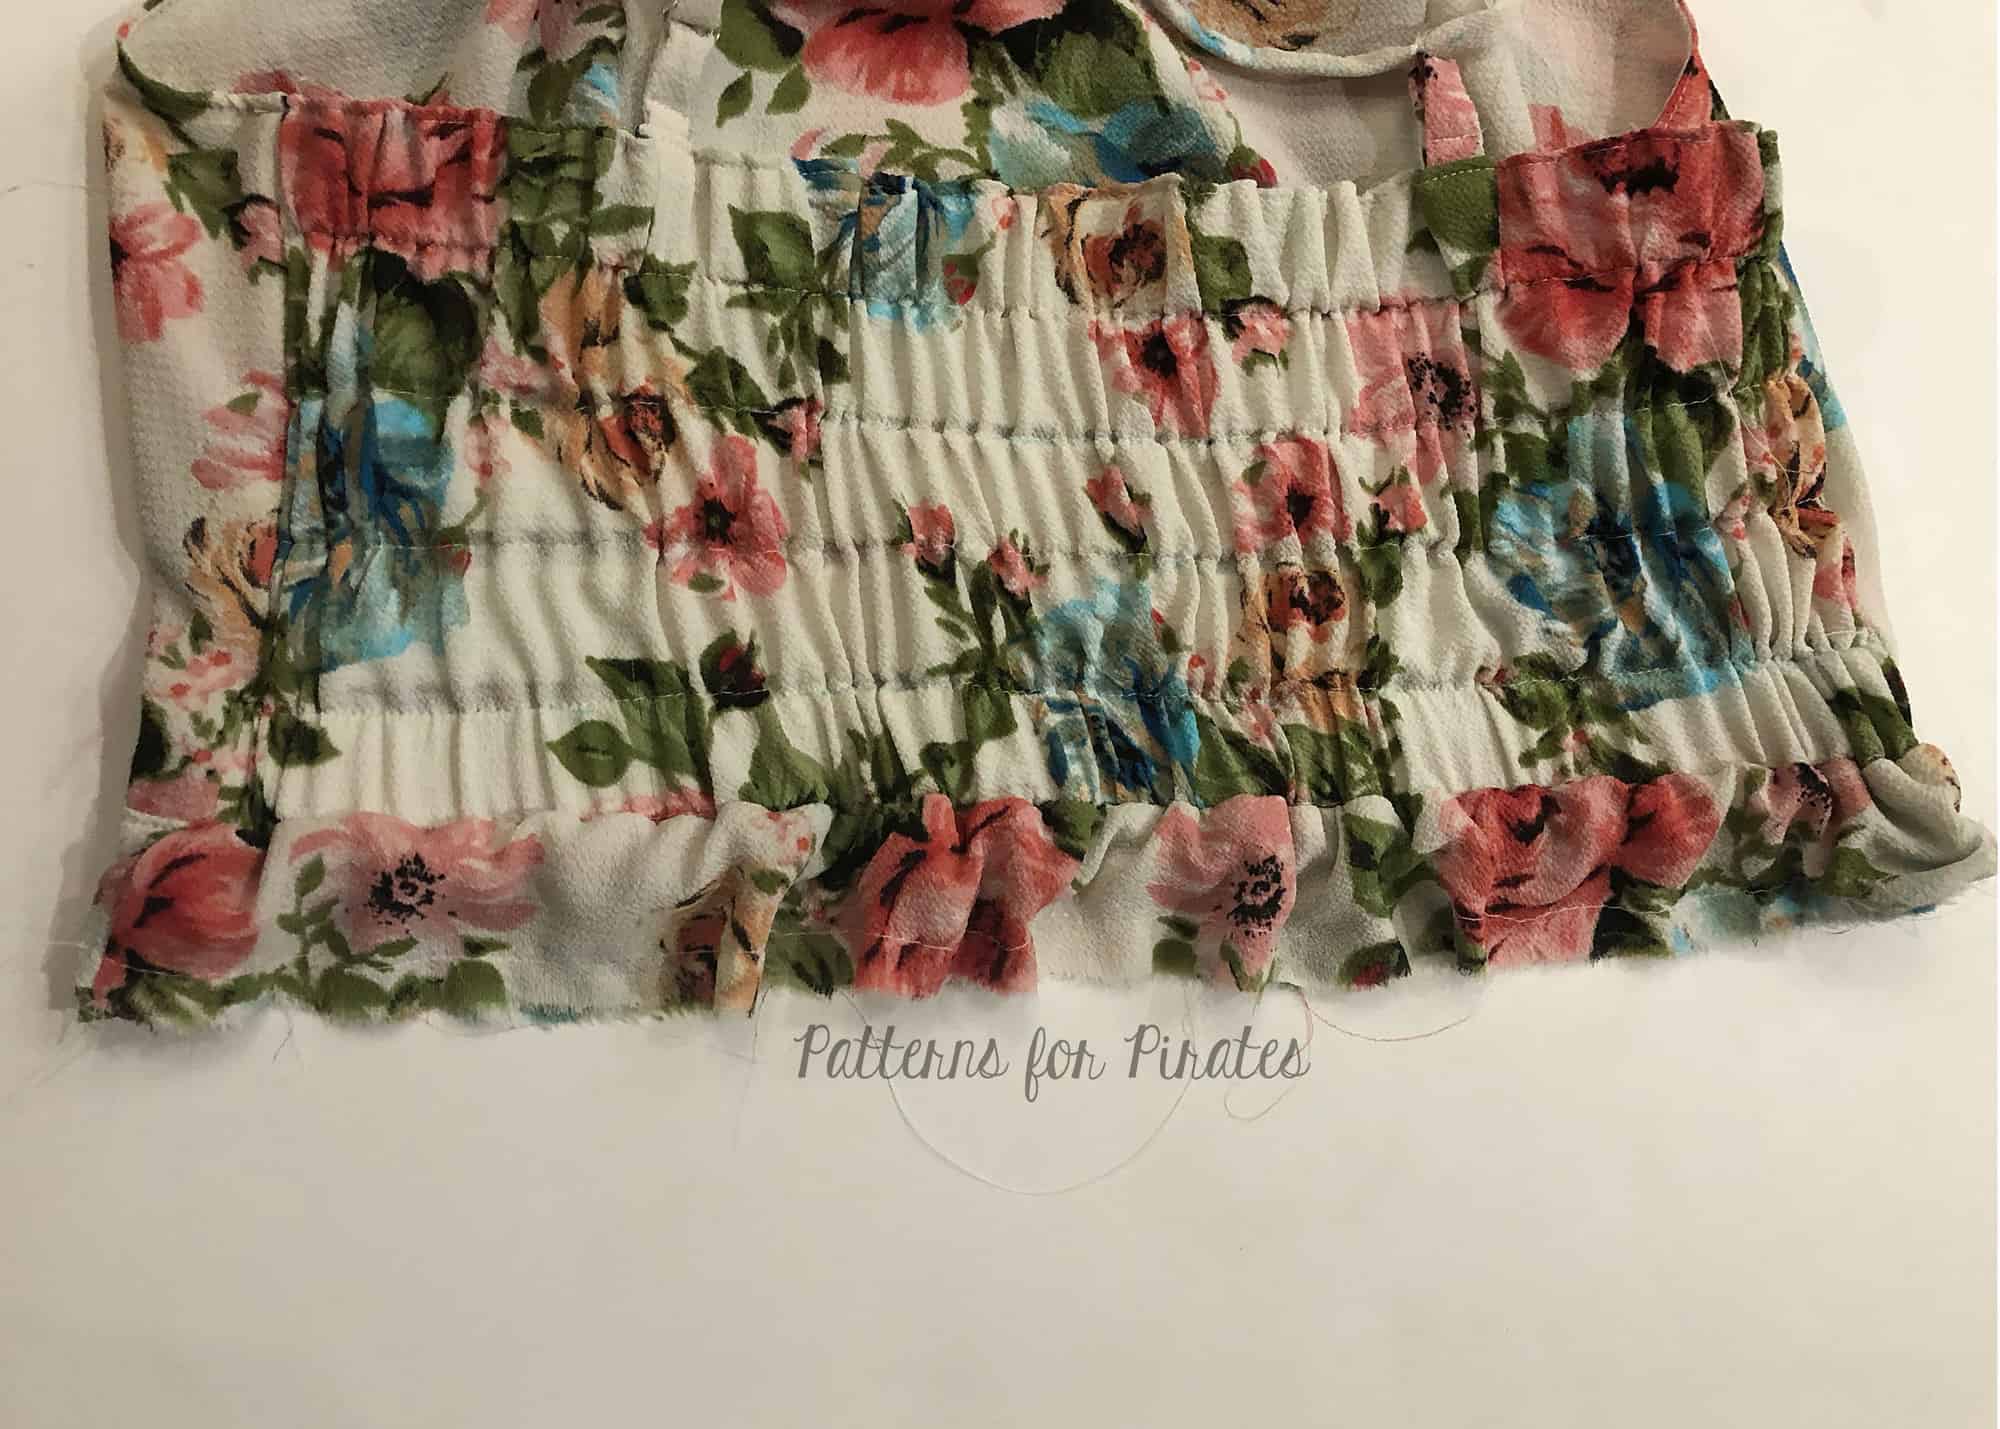
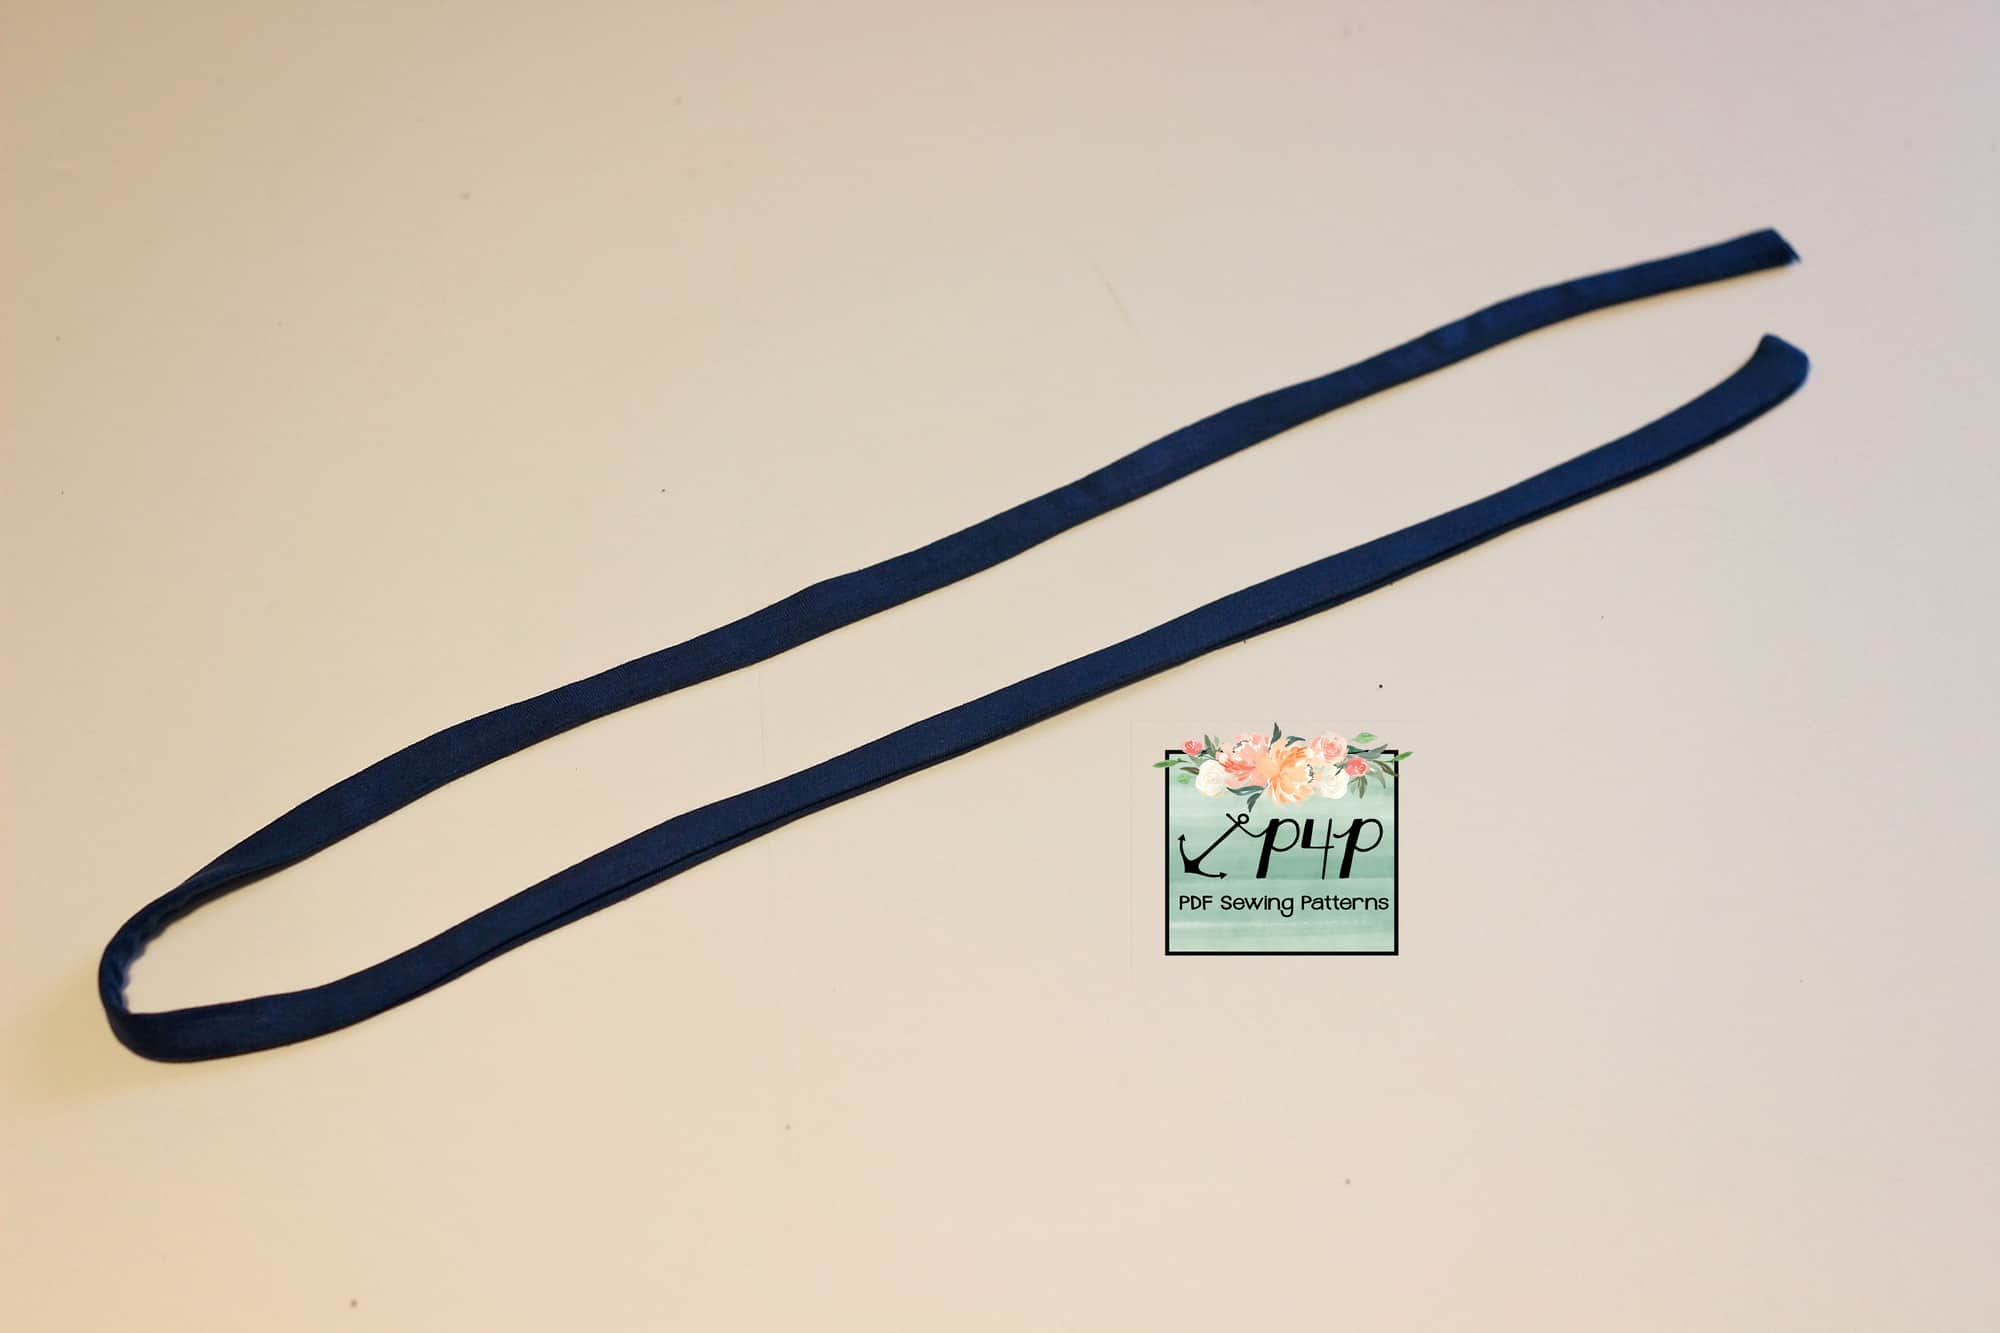
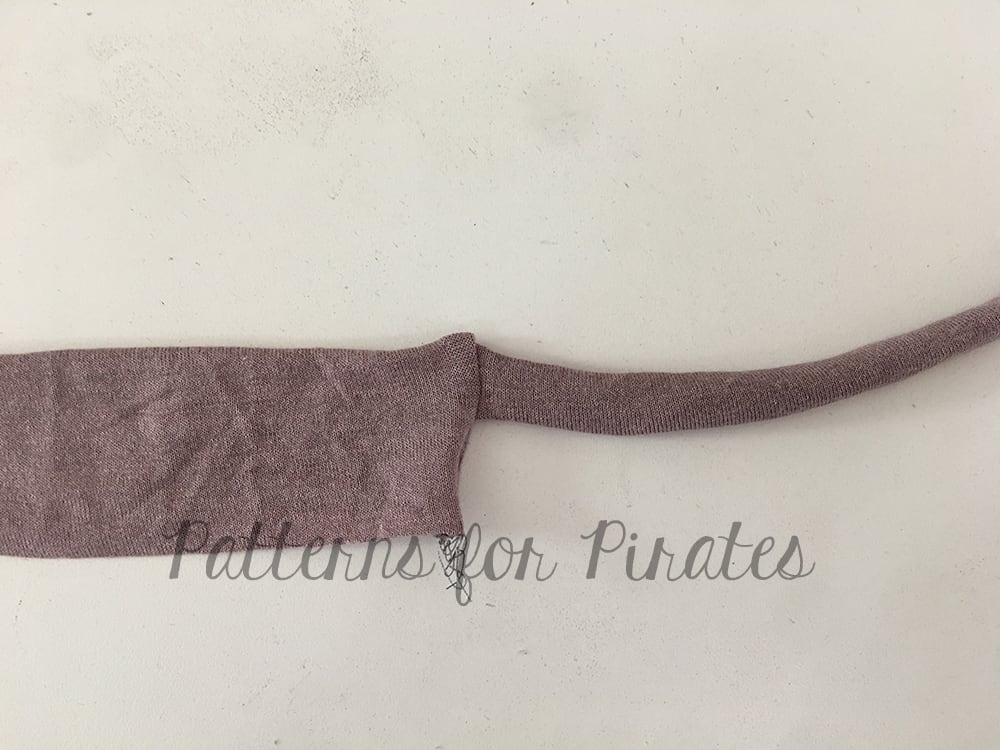
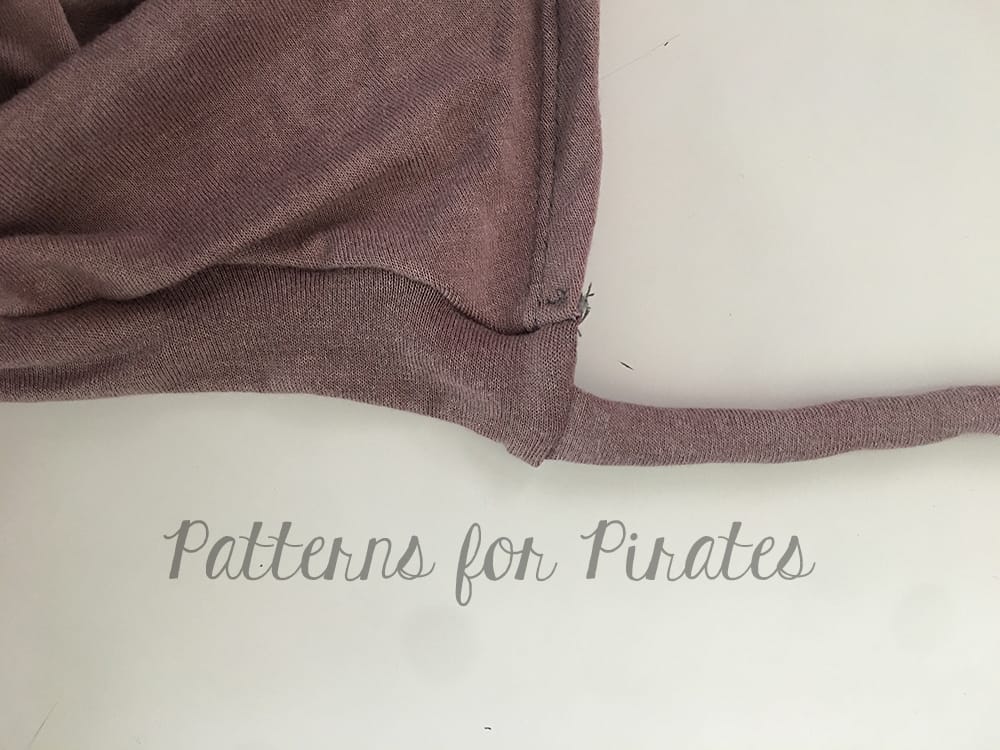
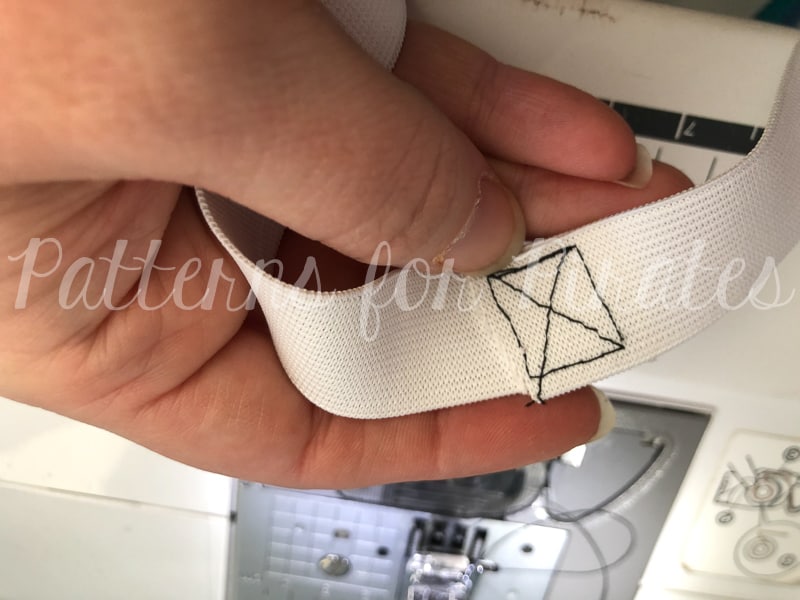
Overlap the raw edges of the elastic, being careful not to twist it, by 1″. Sew the overlapped pieces together, using a stretch stitch.
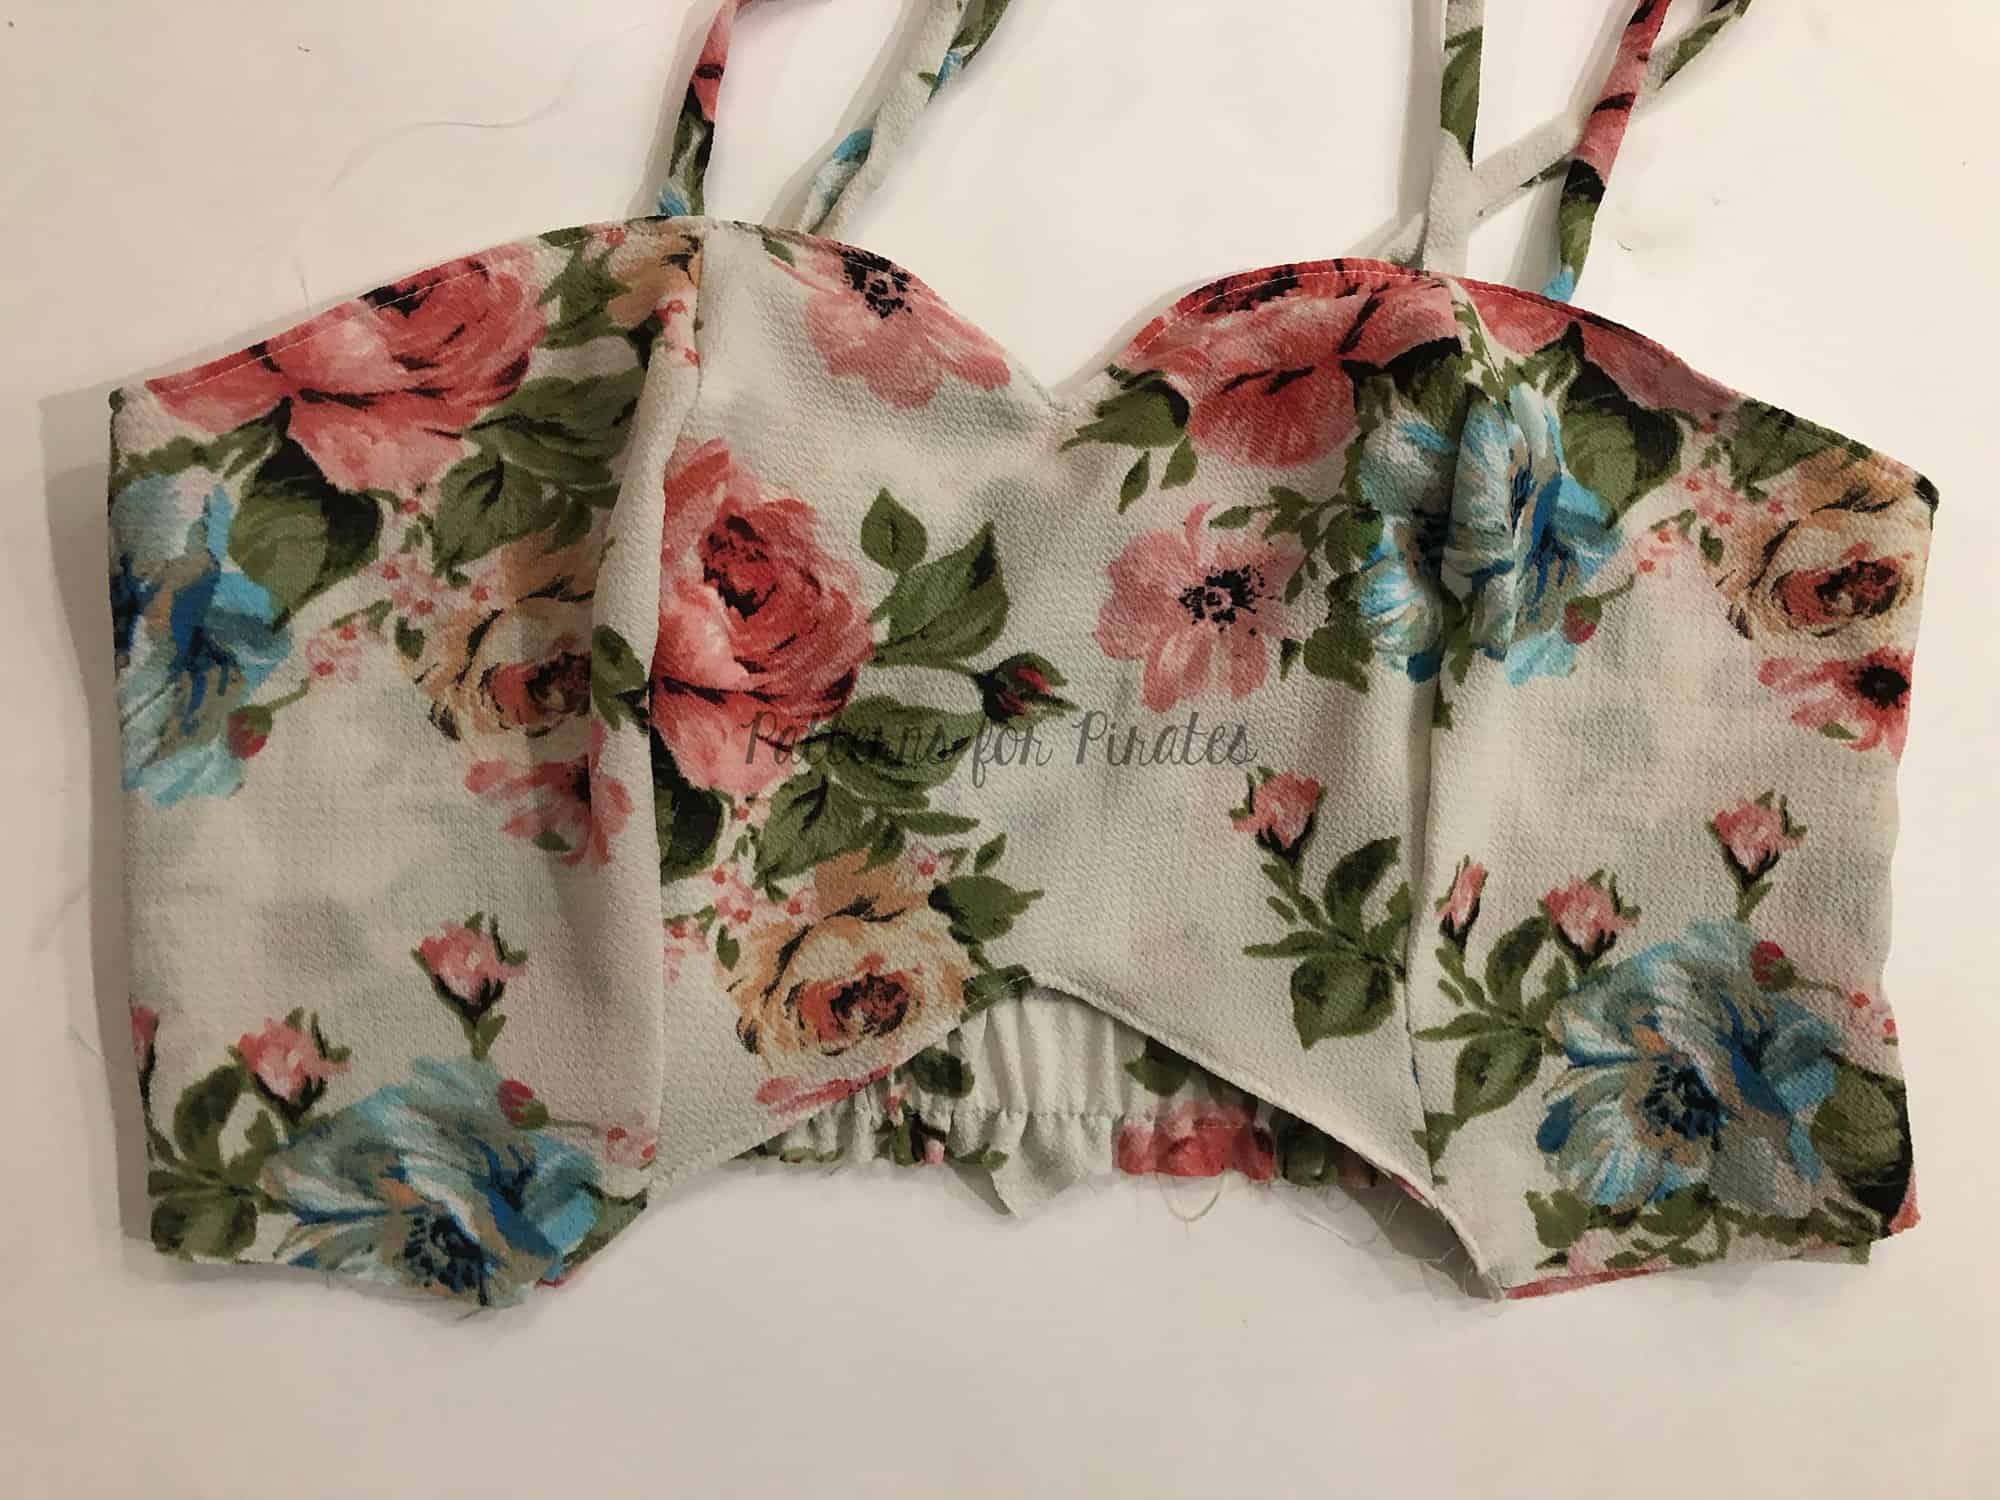
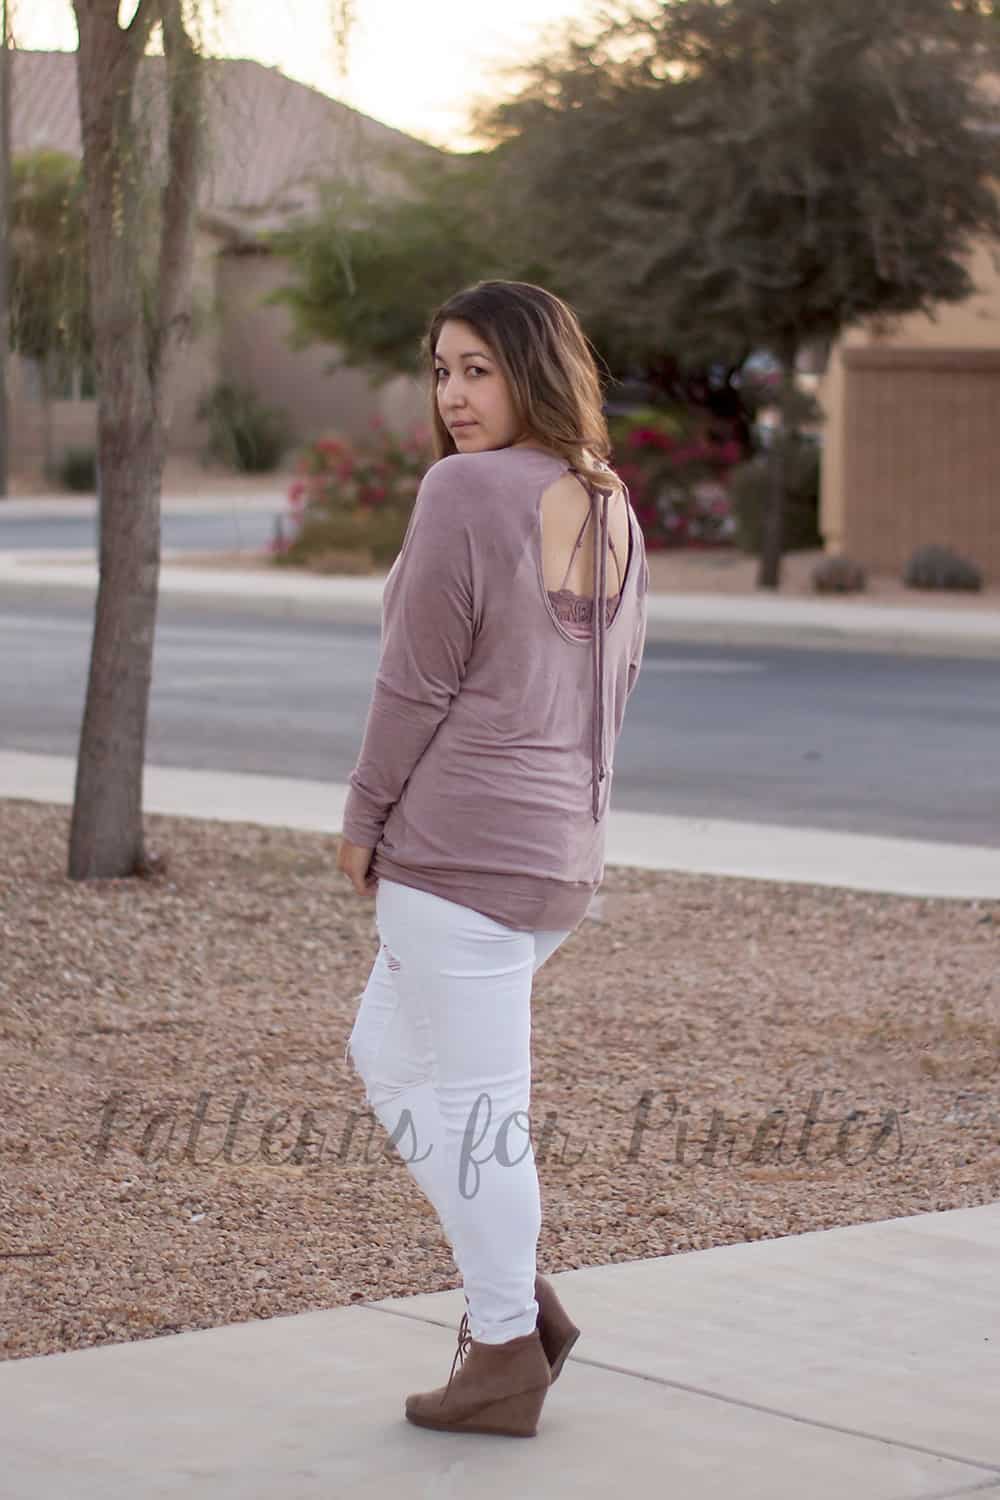
Close up the opening of the bottom hem, and enjoy your new crop!


…..
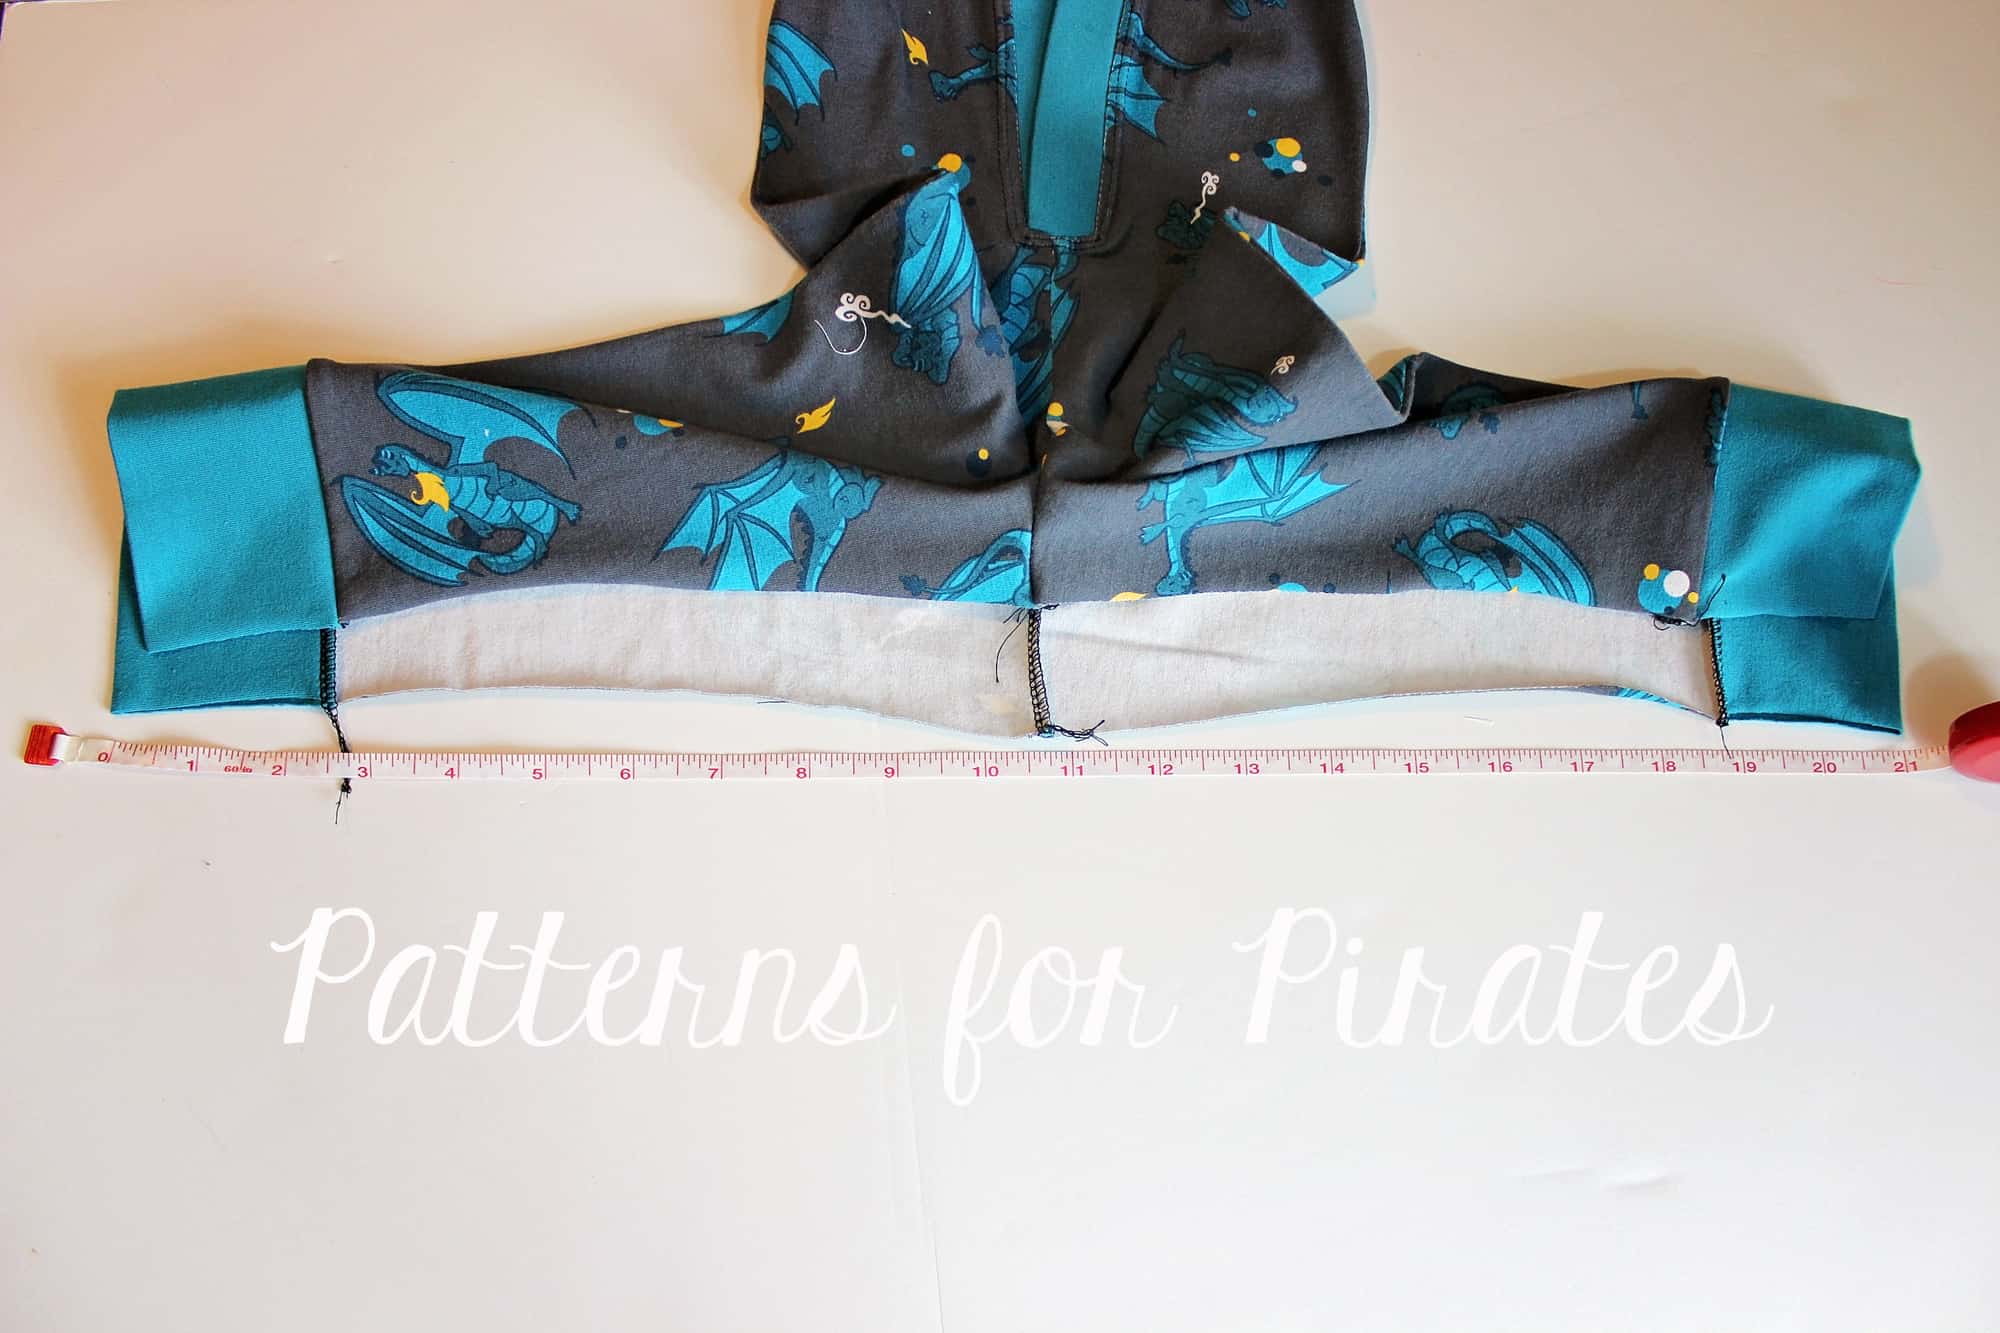
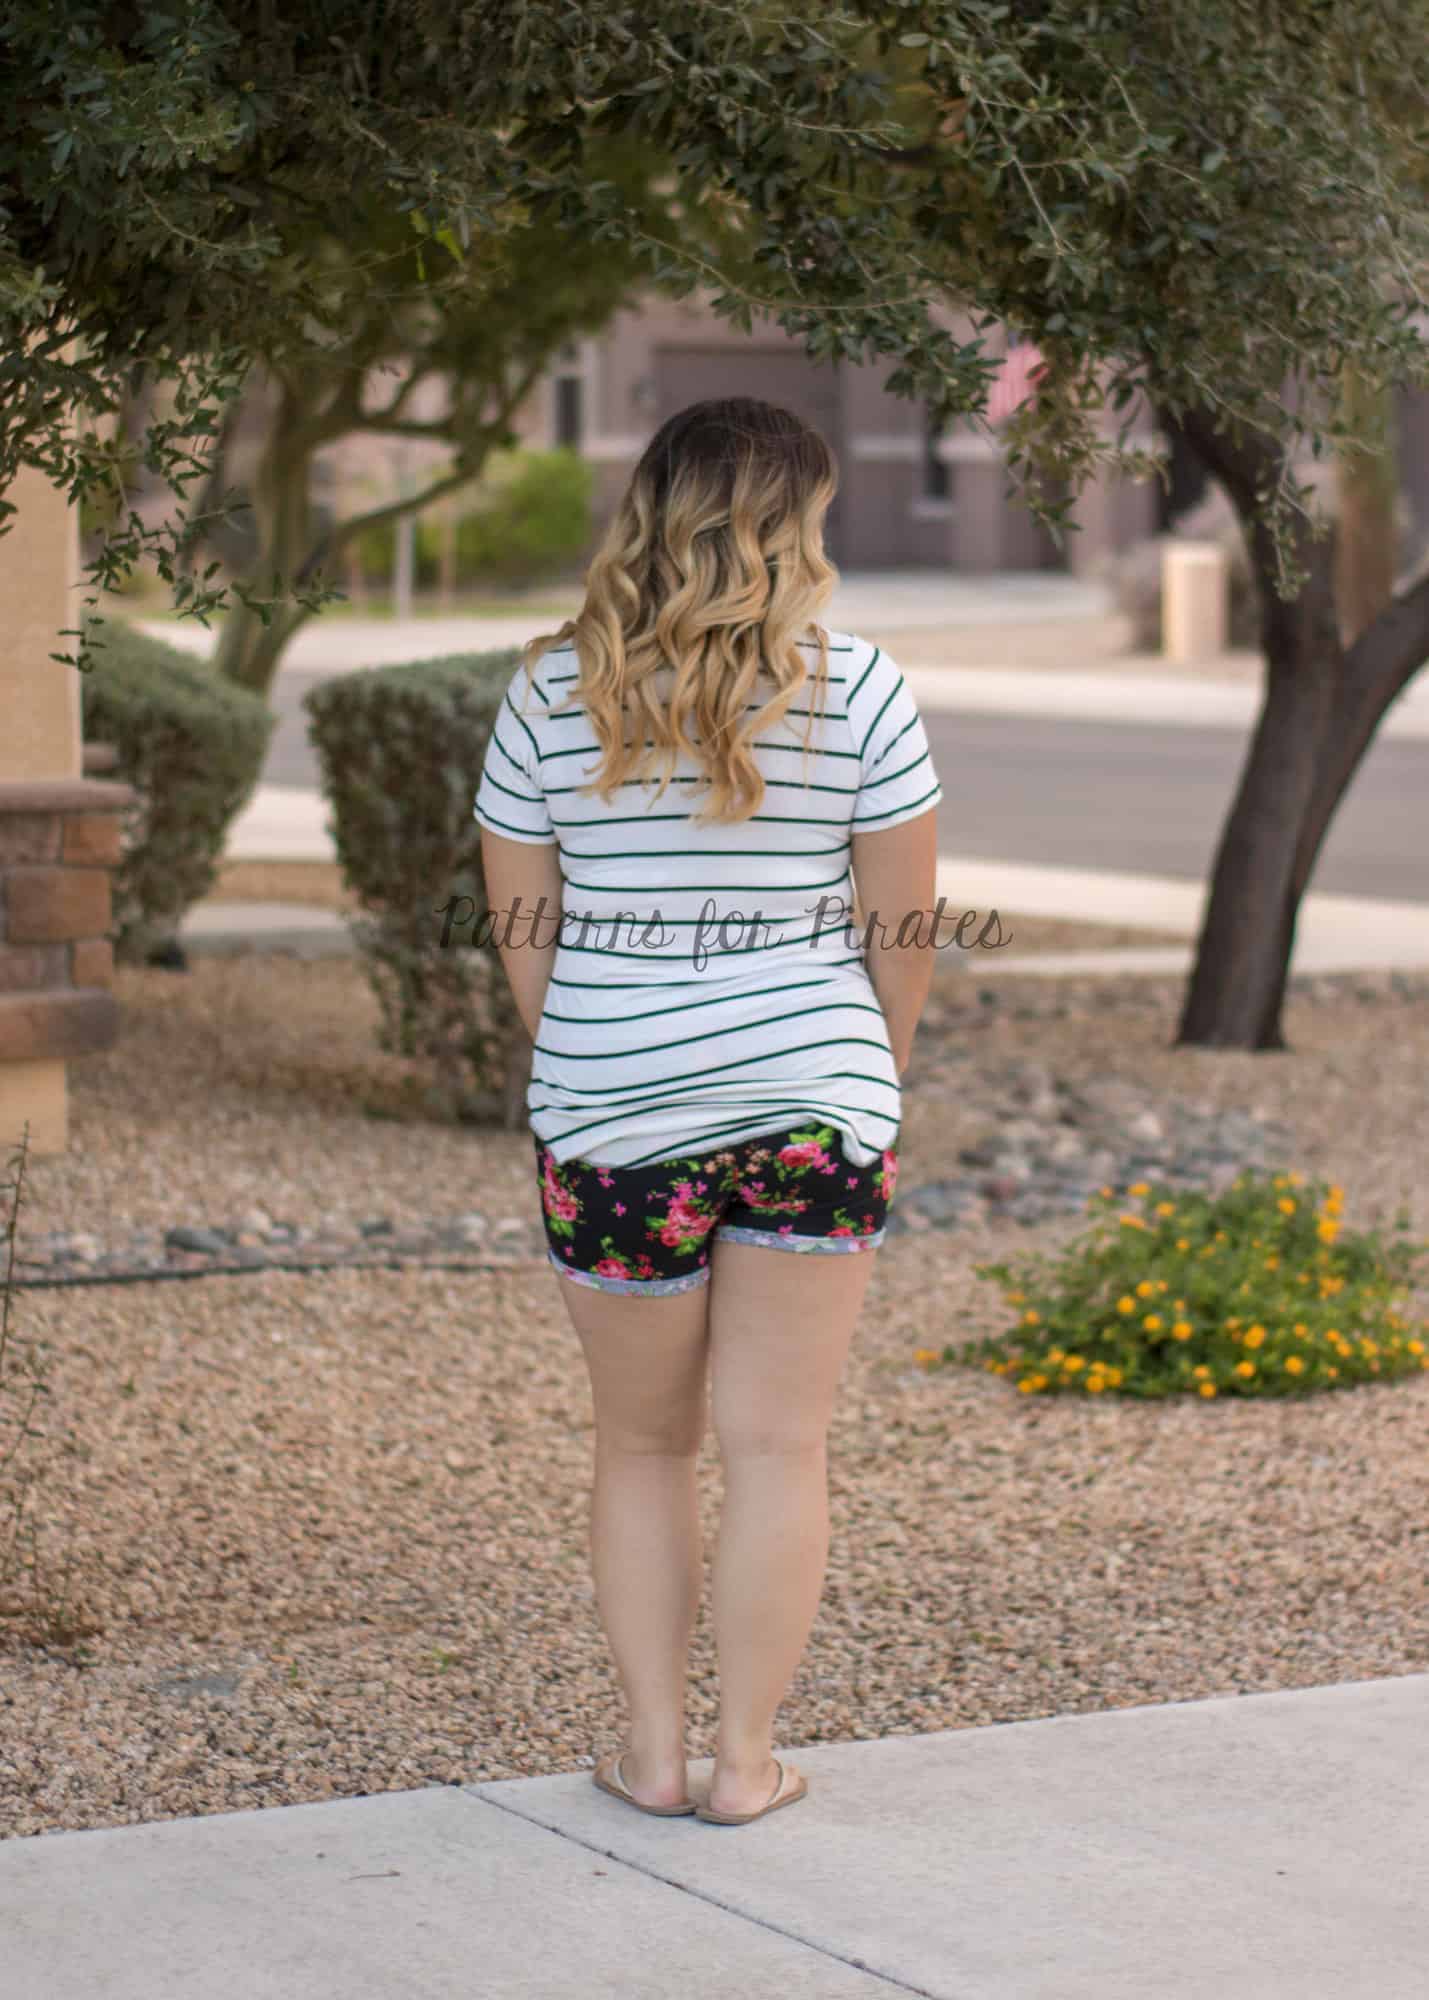
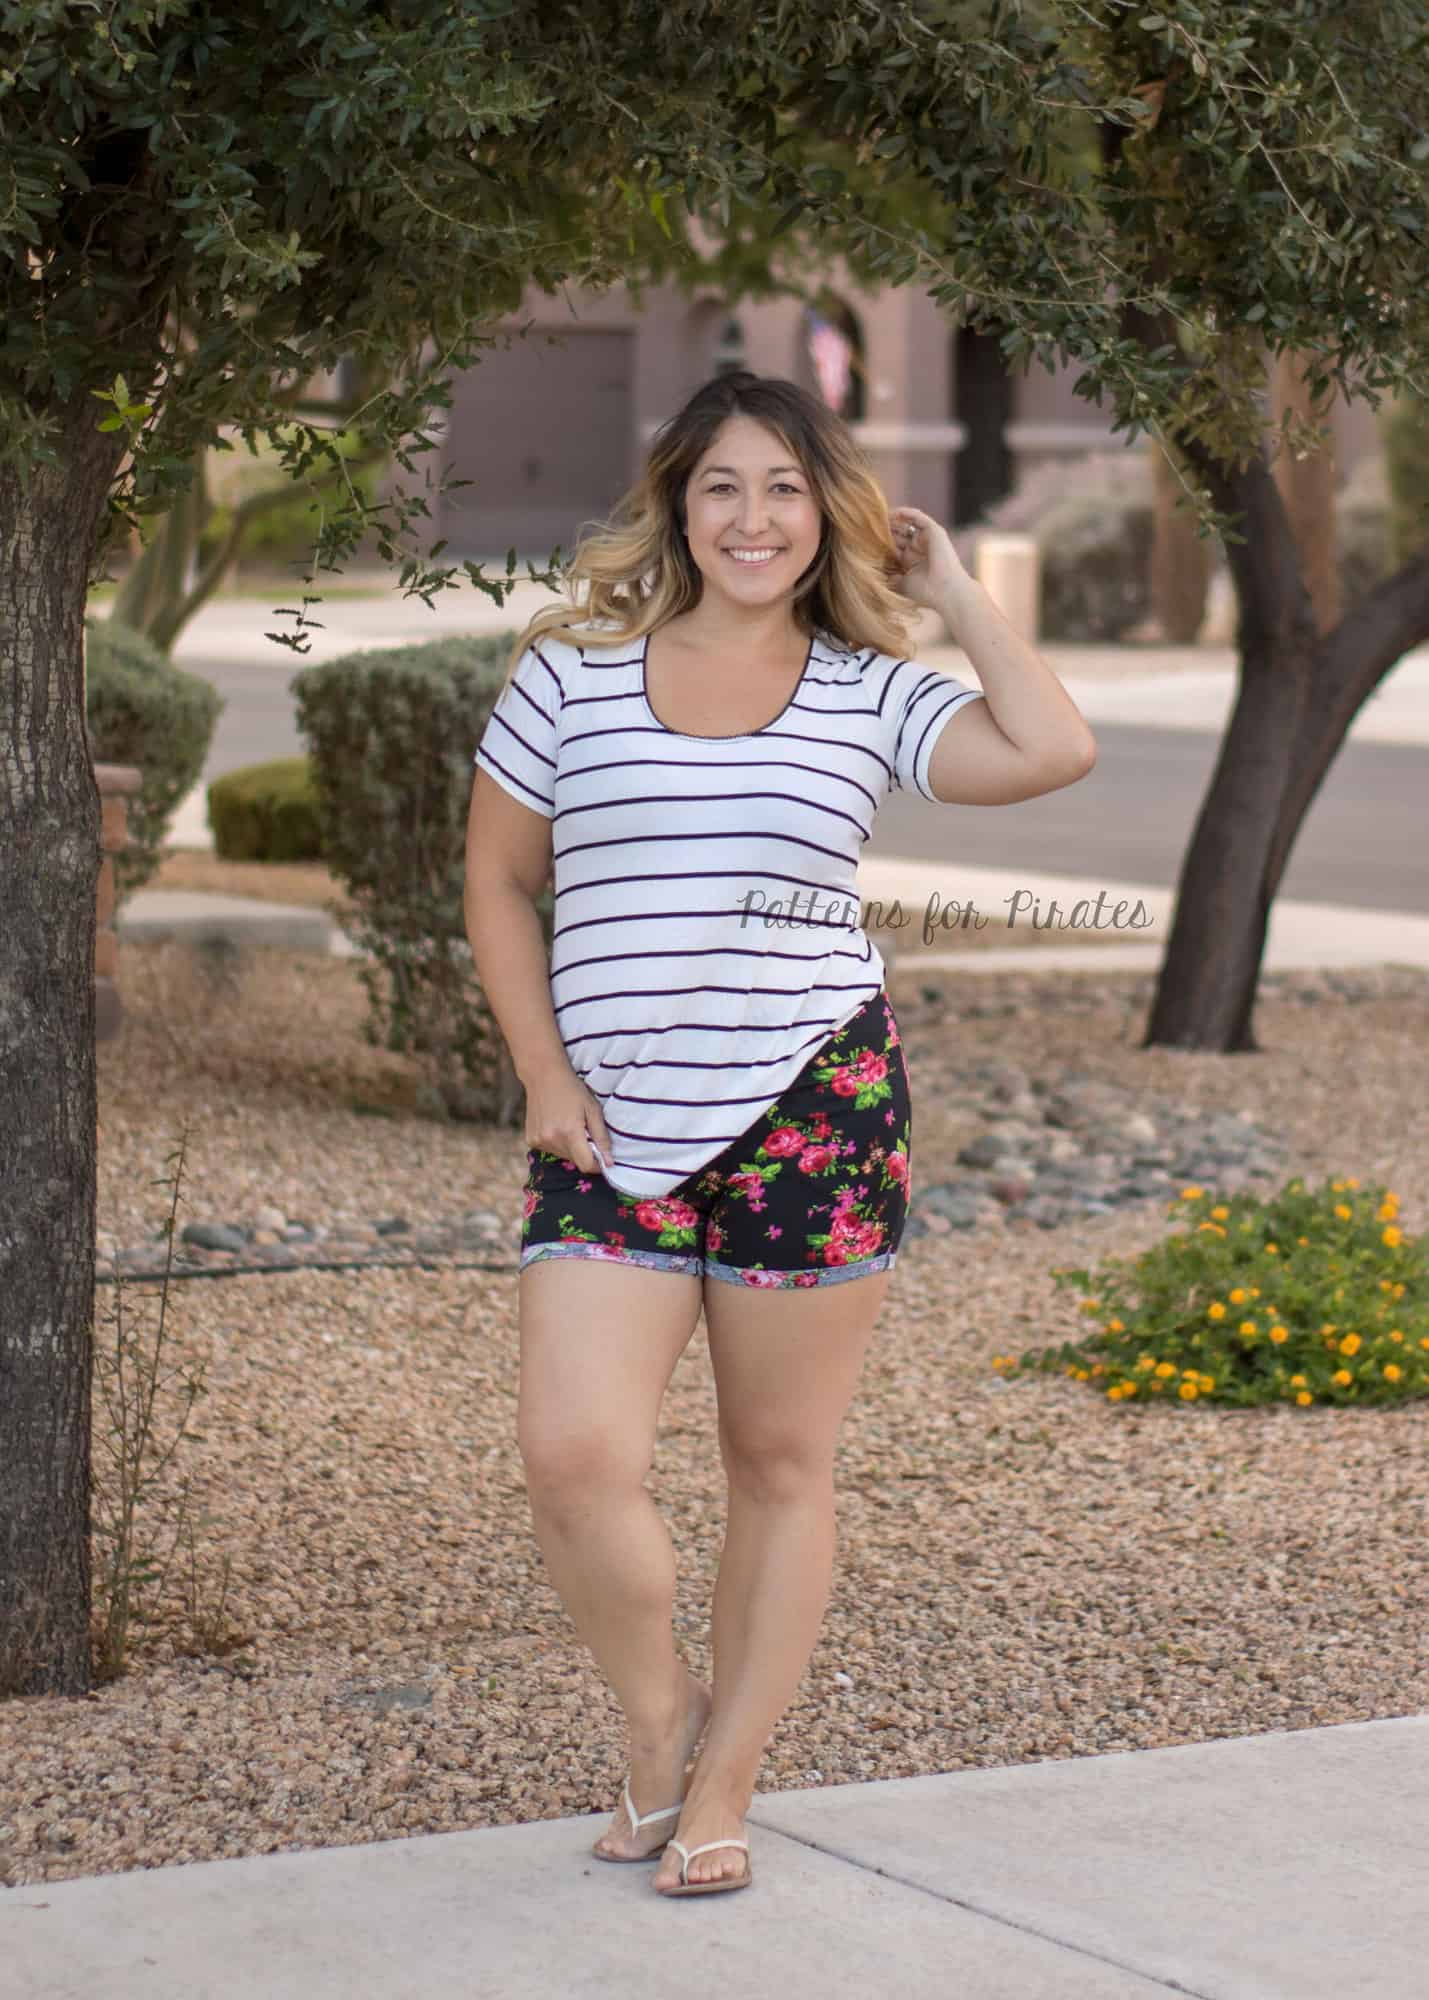
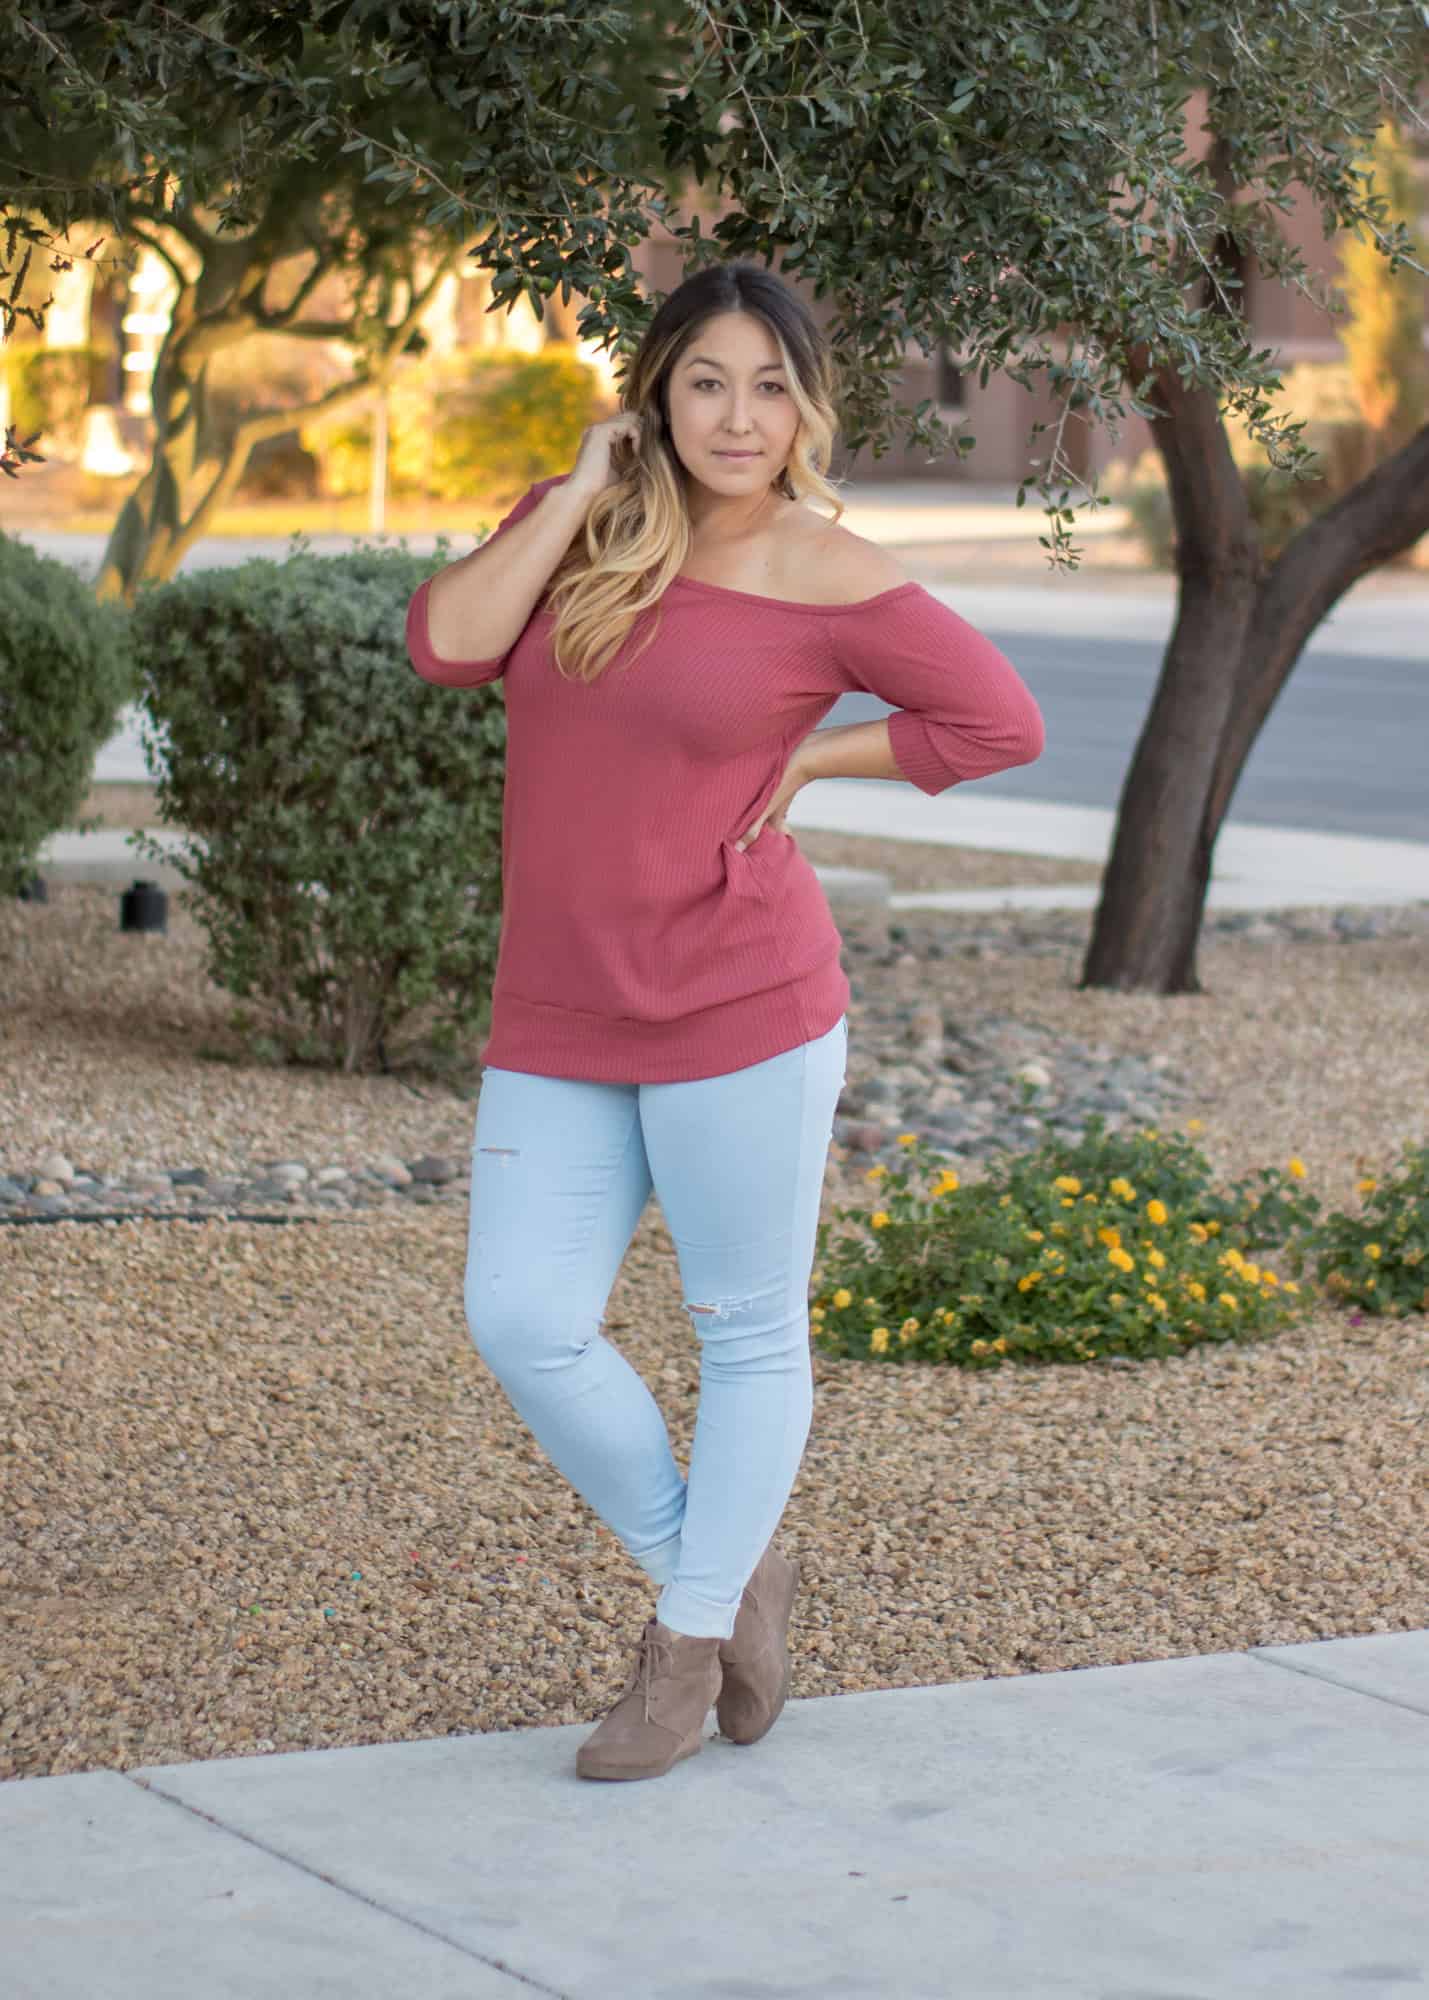
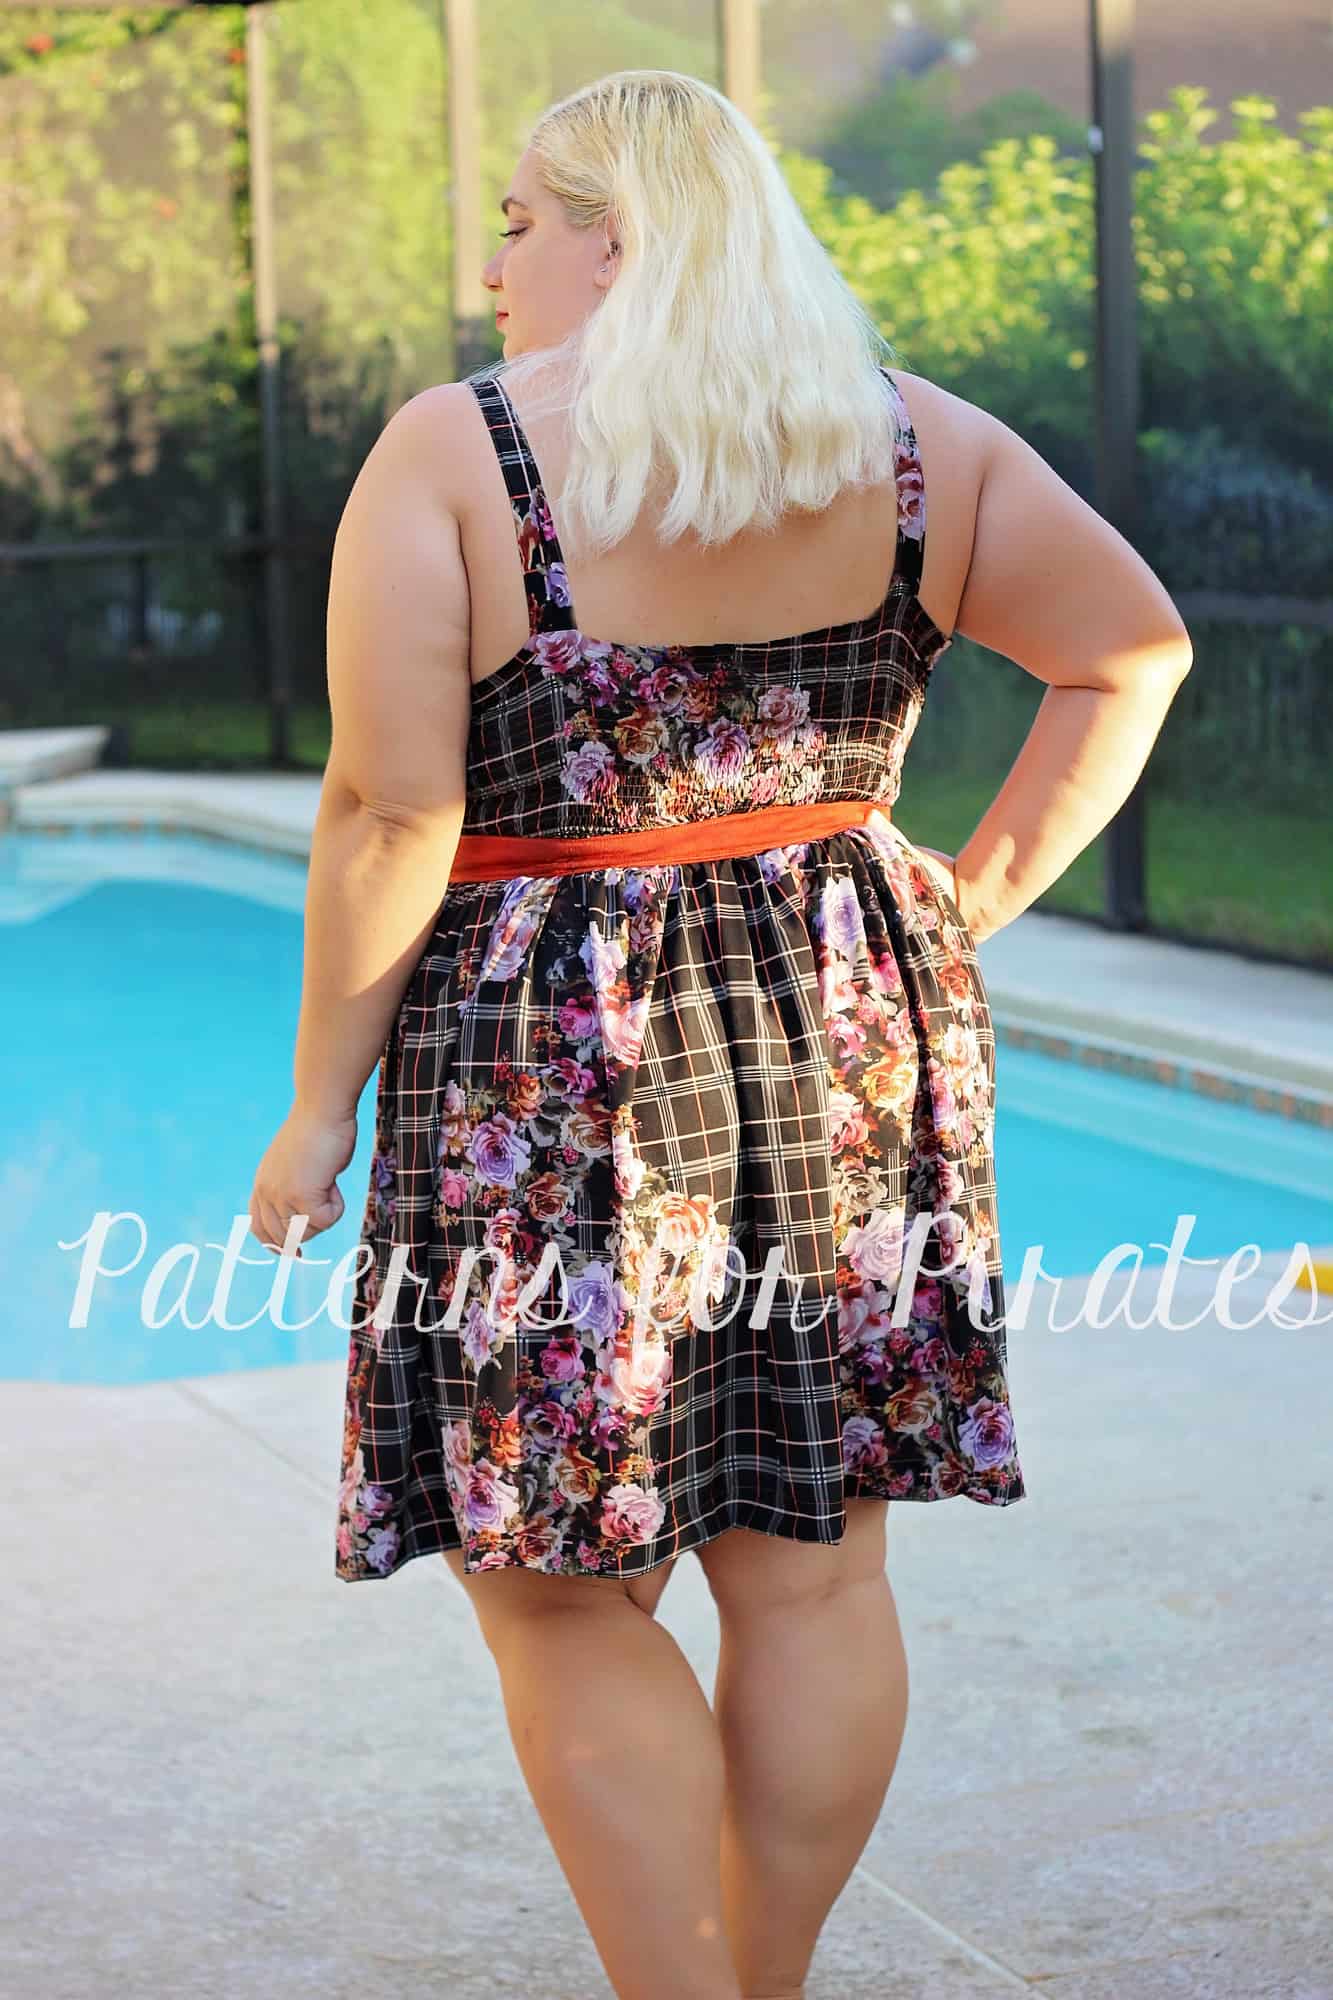
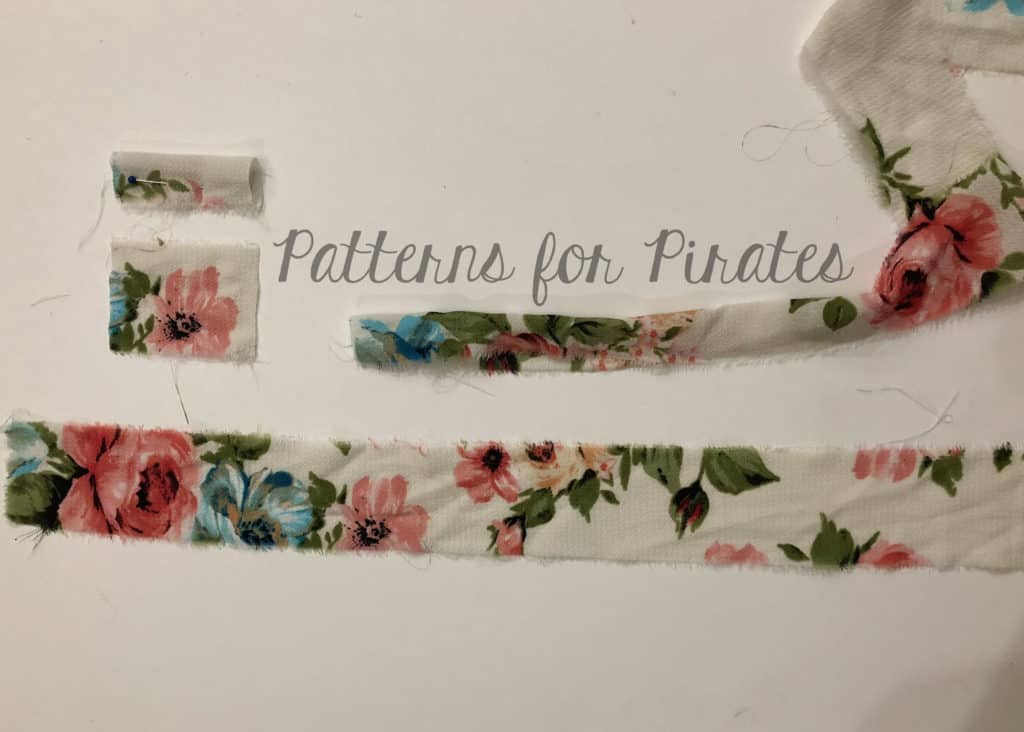
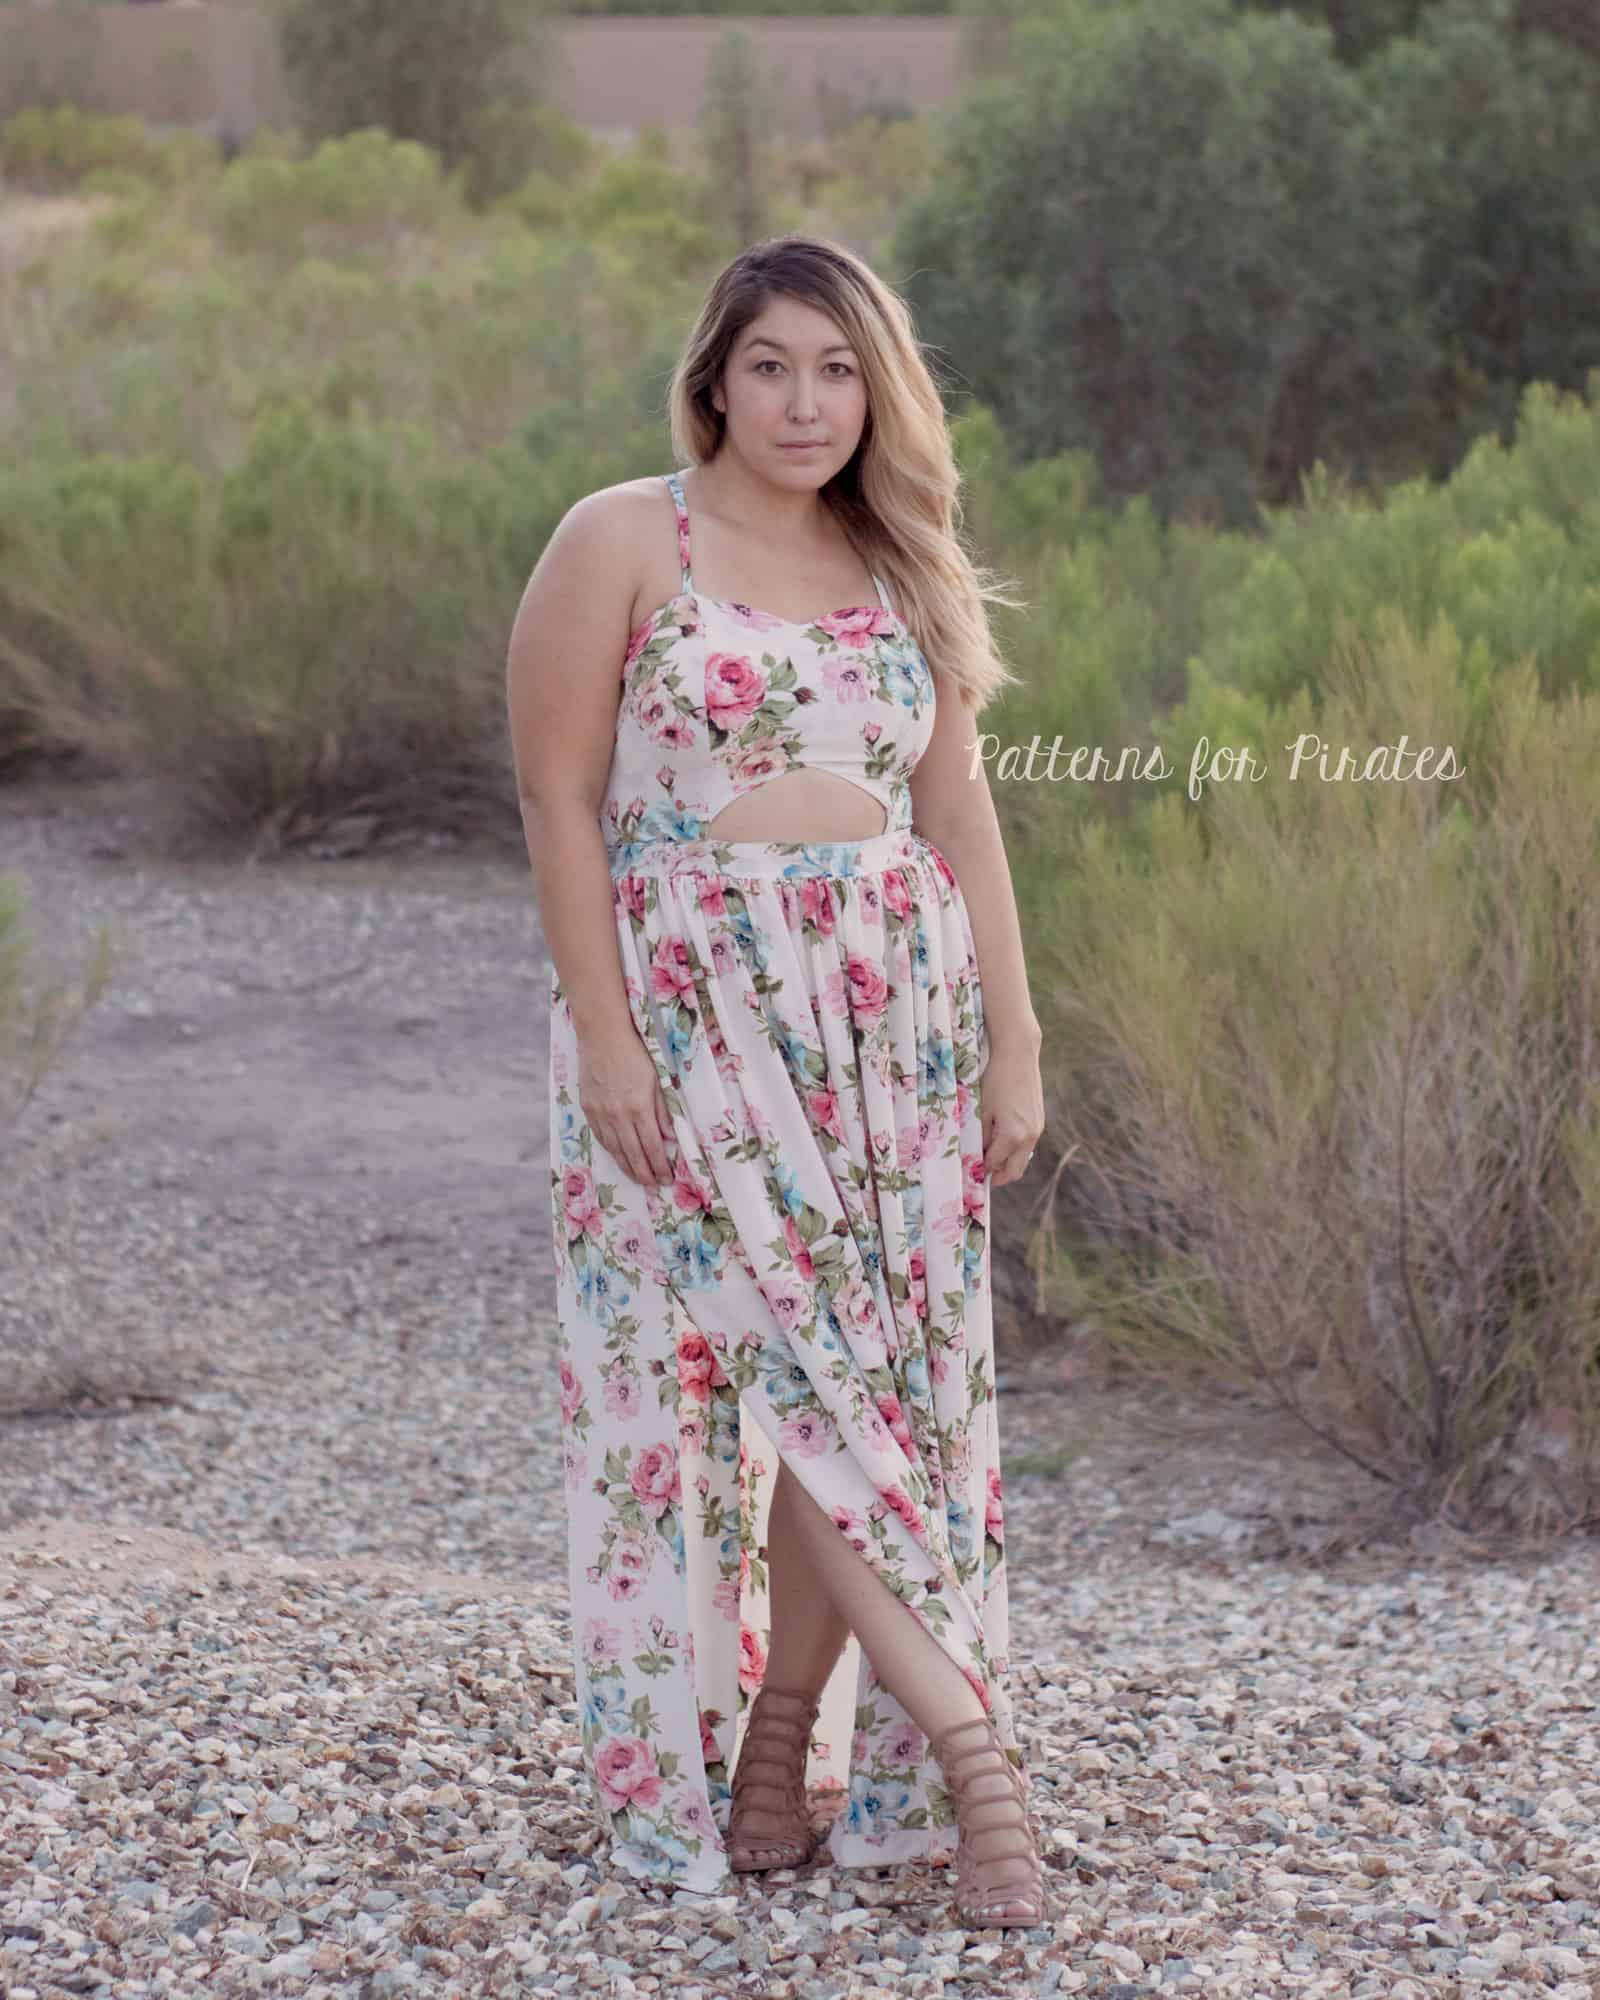
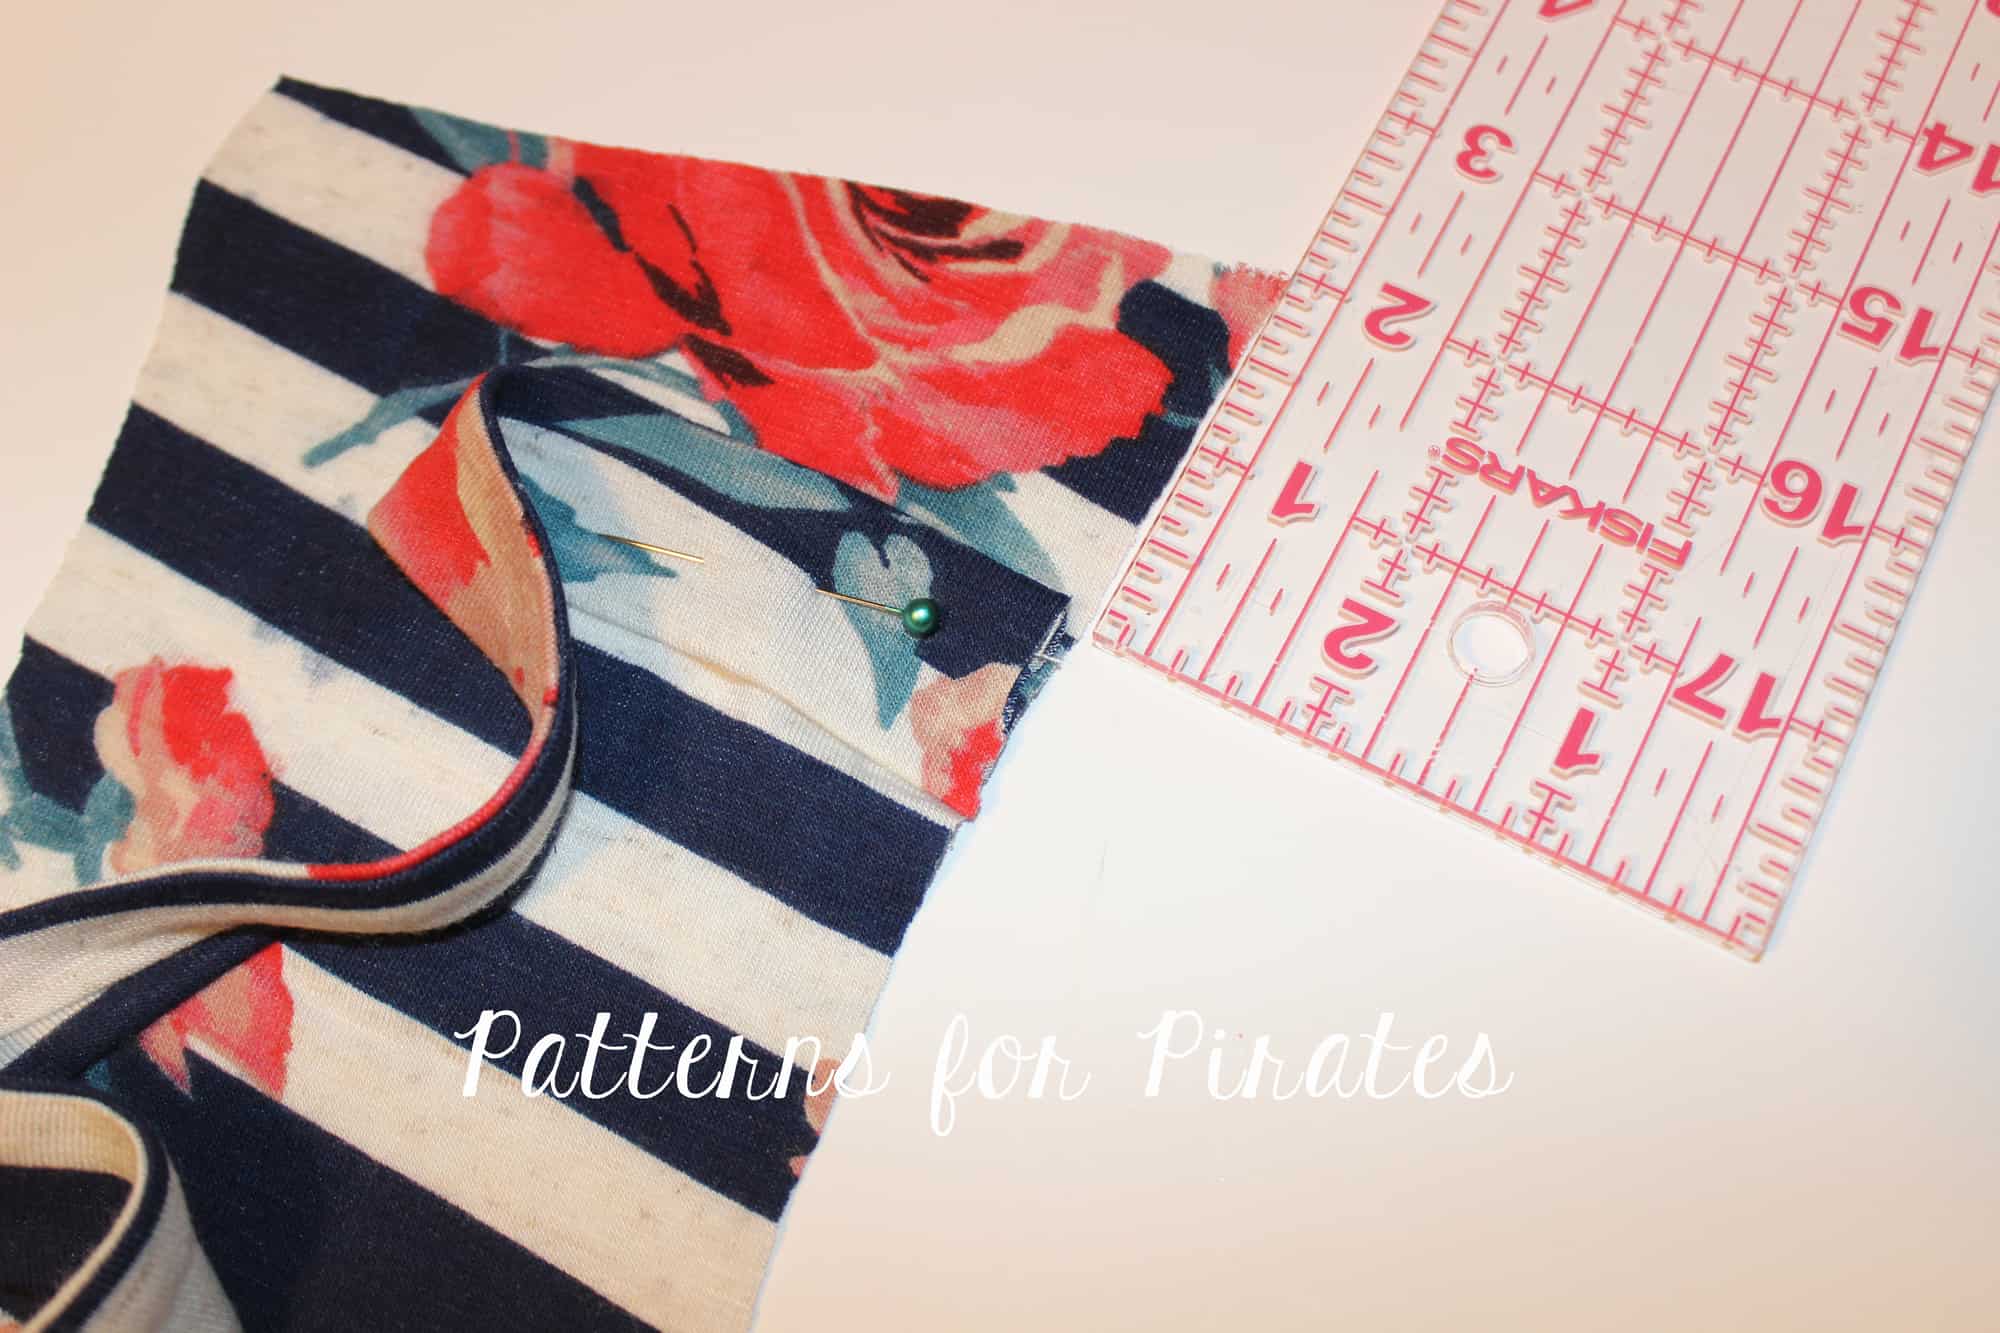
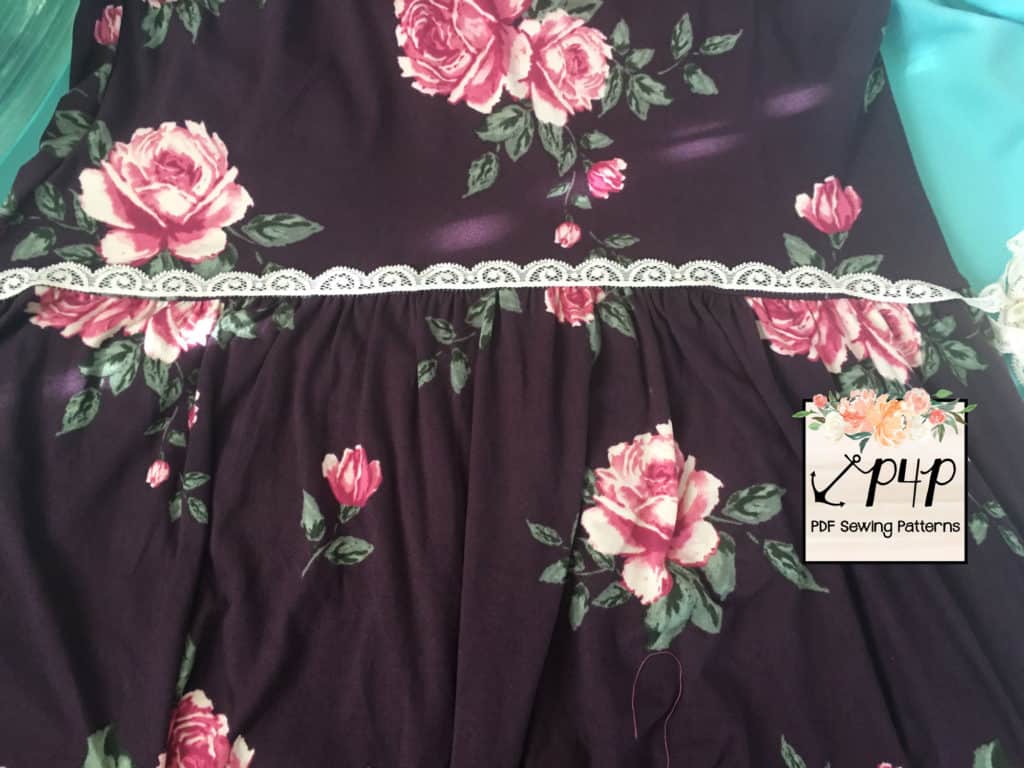
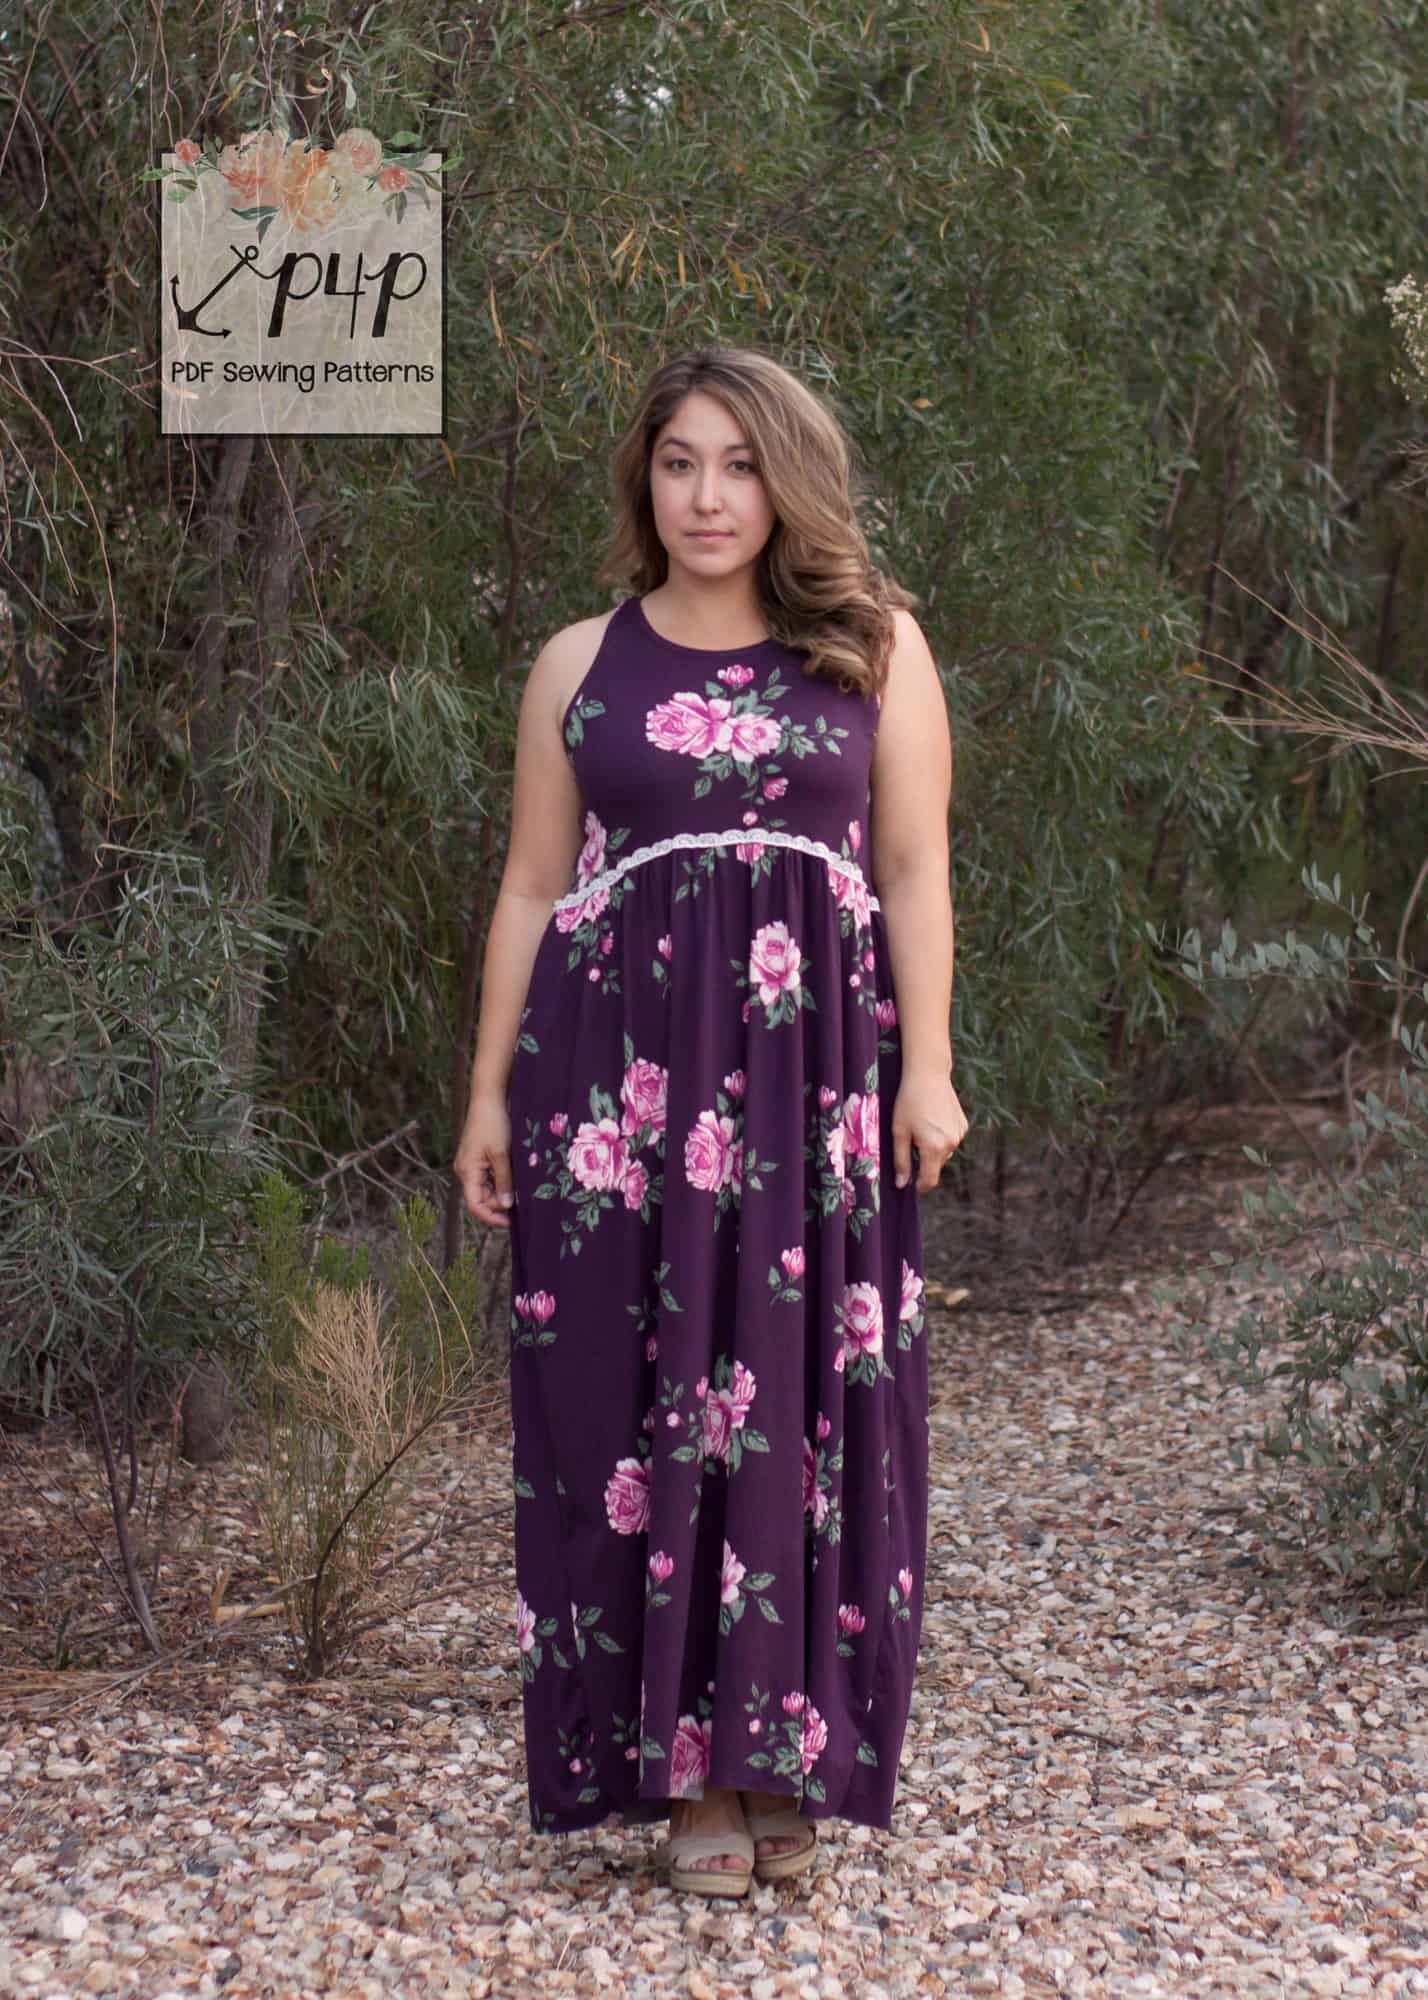
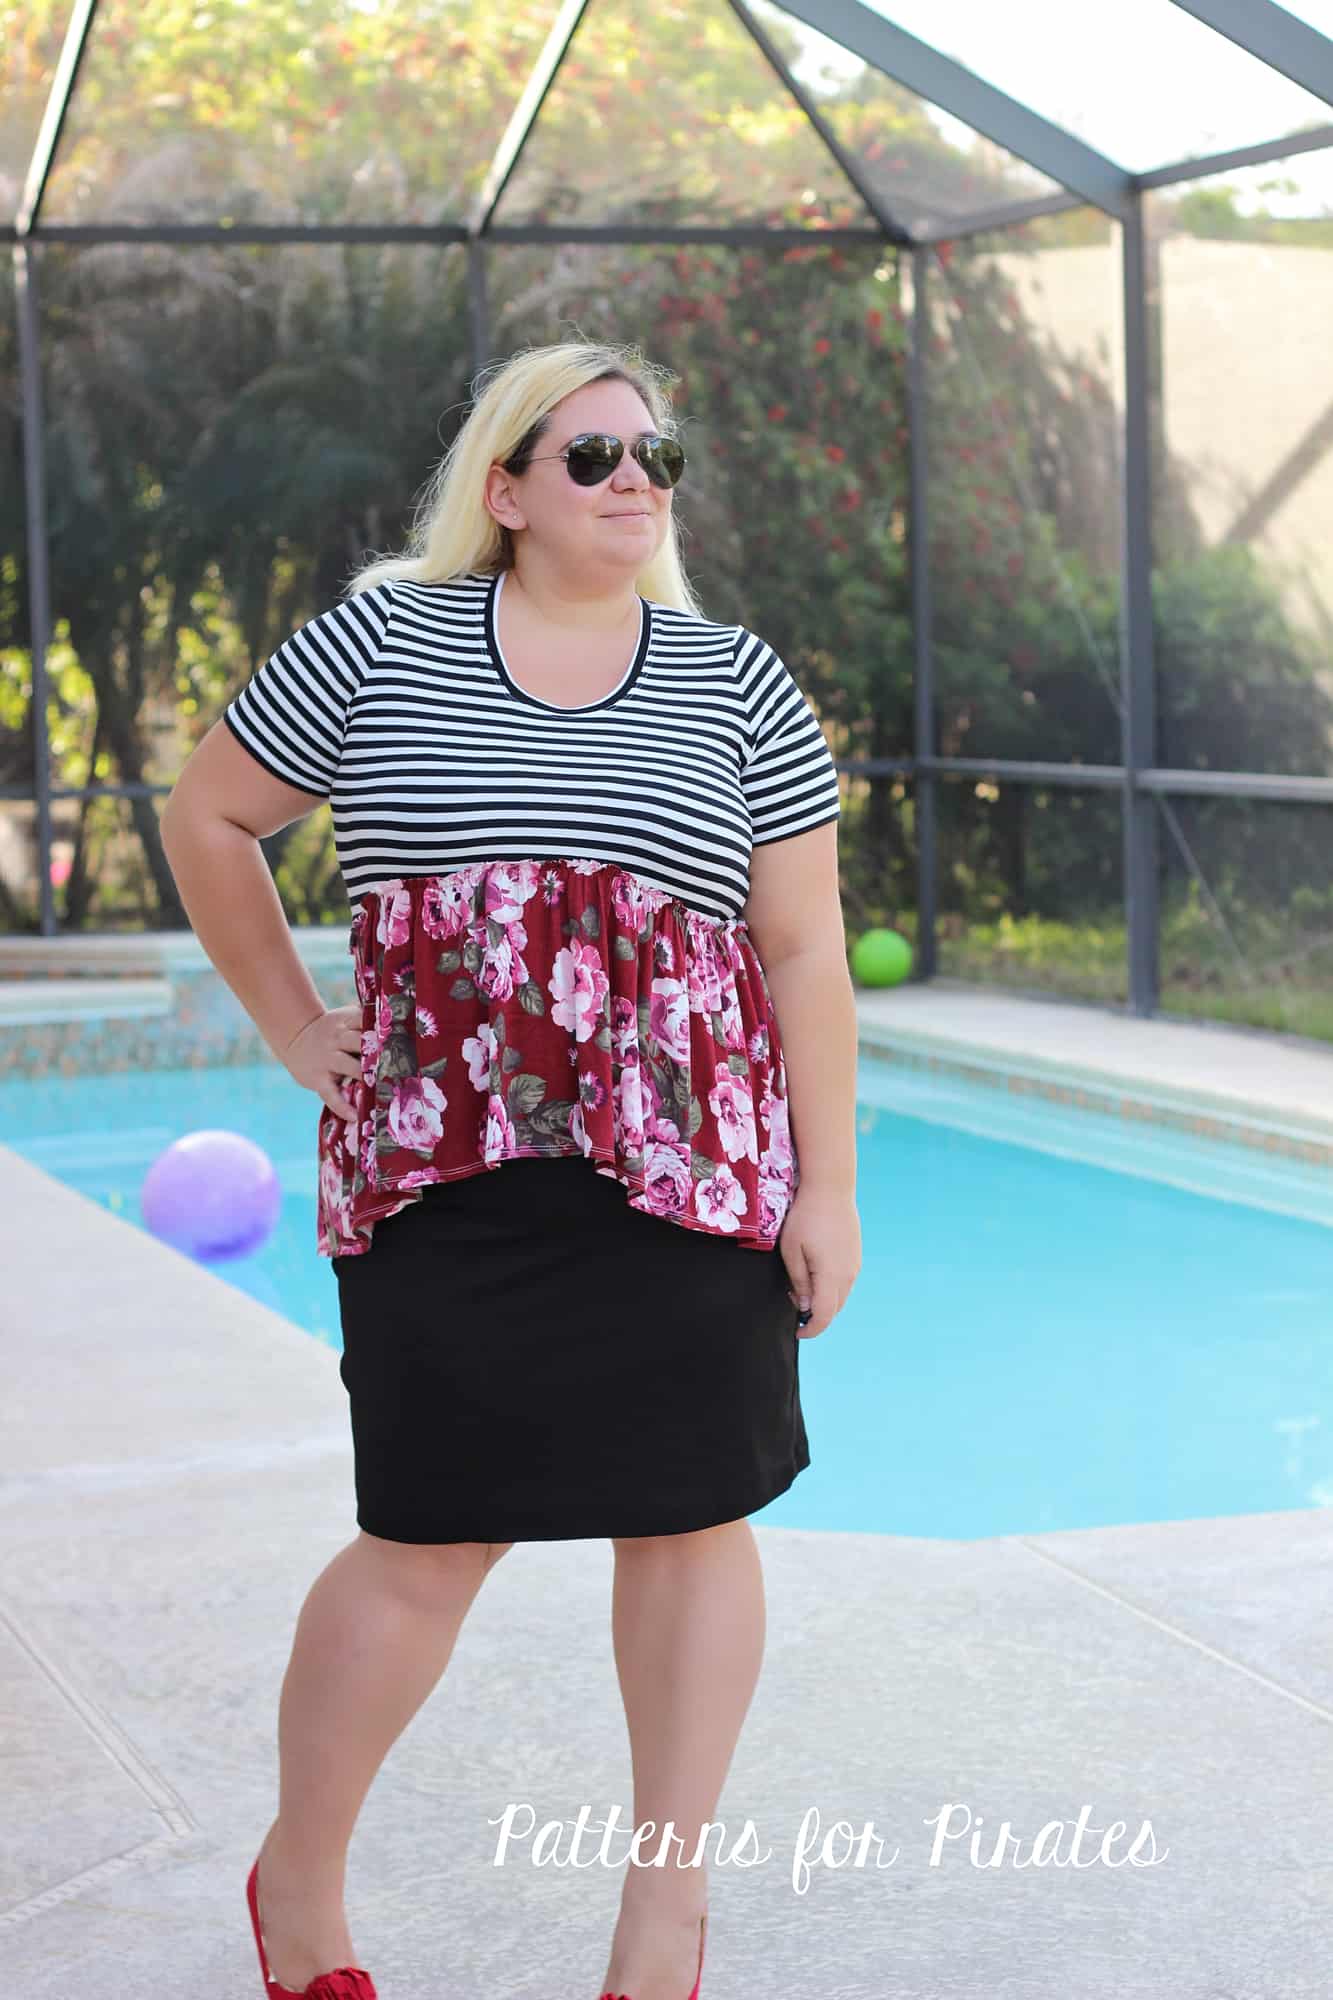
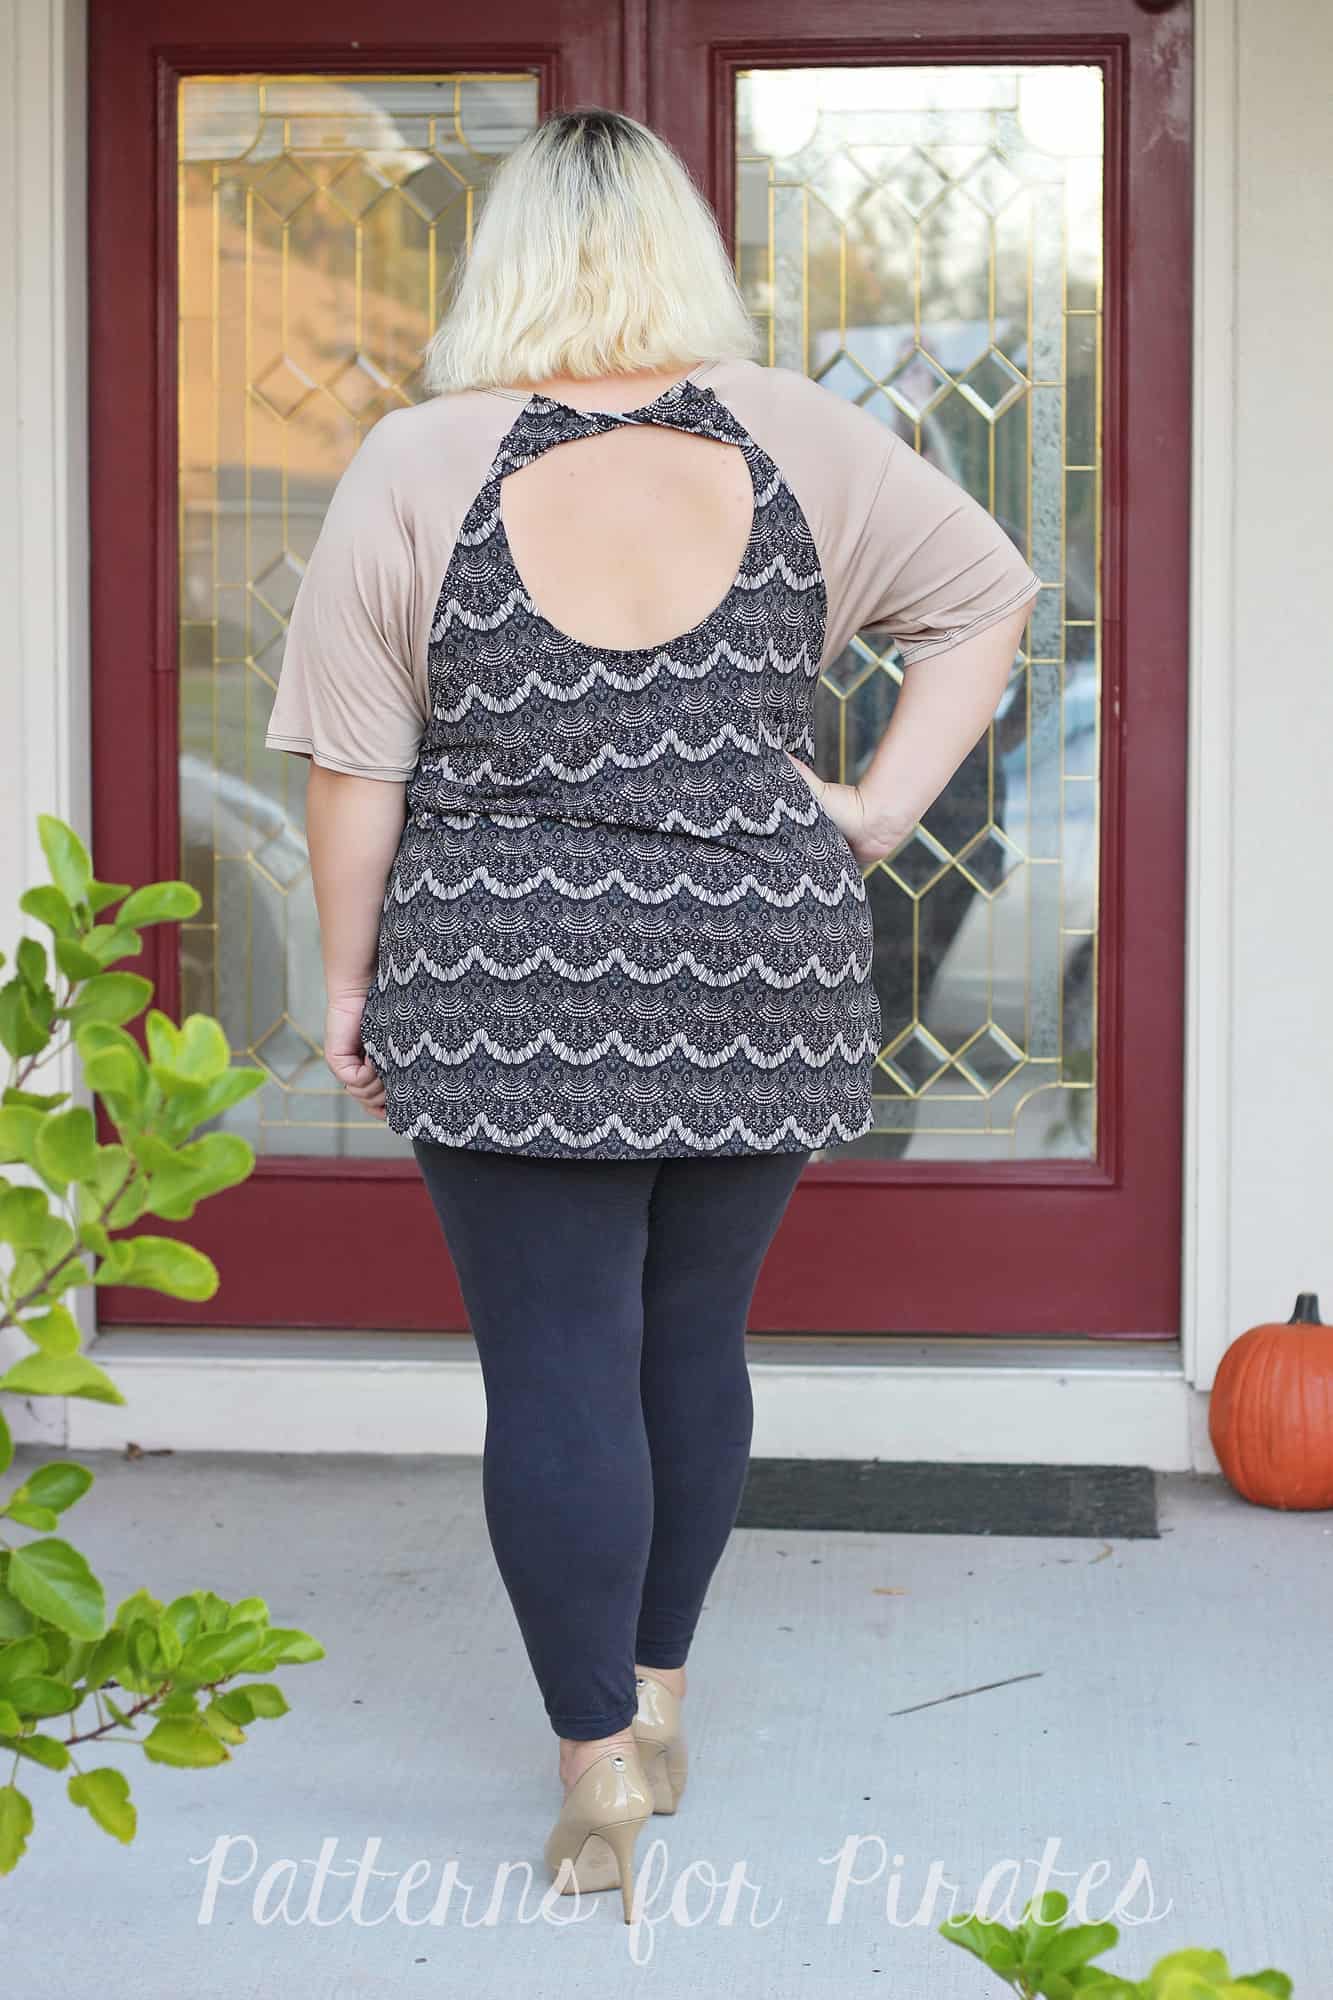
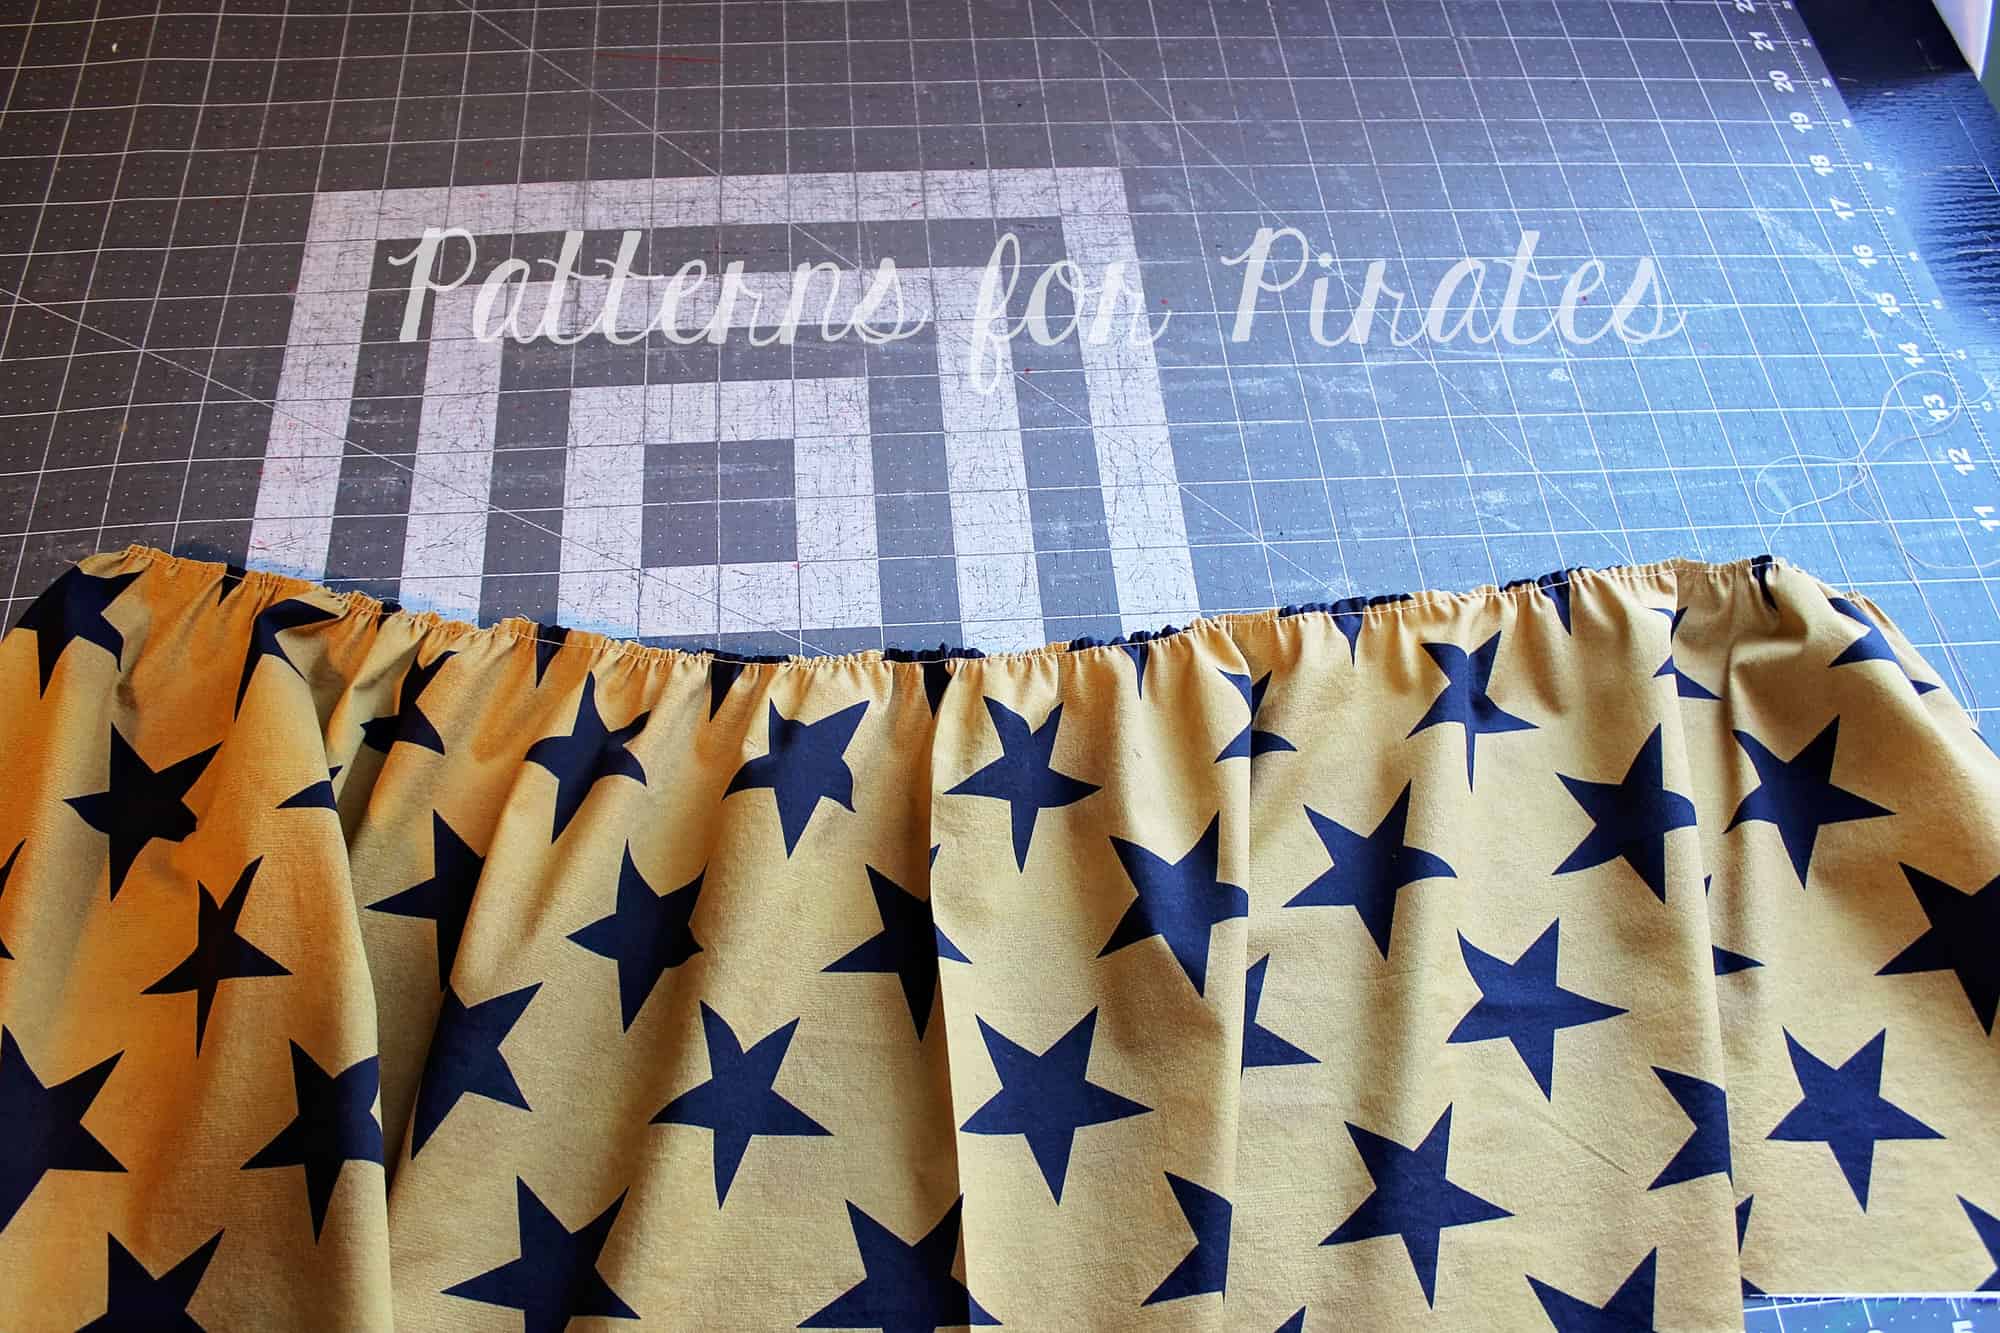
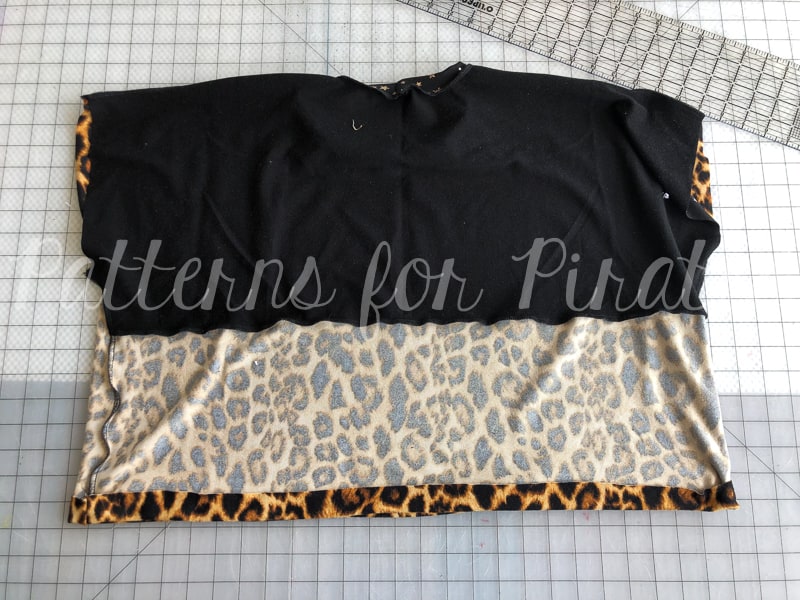
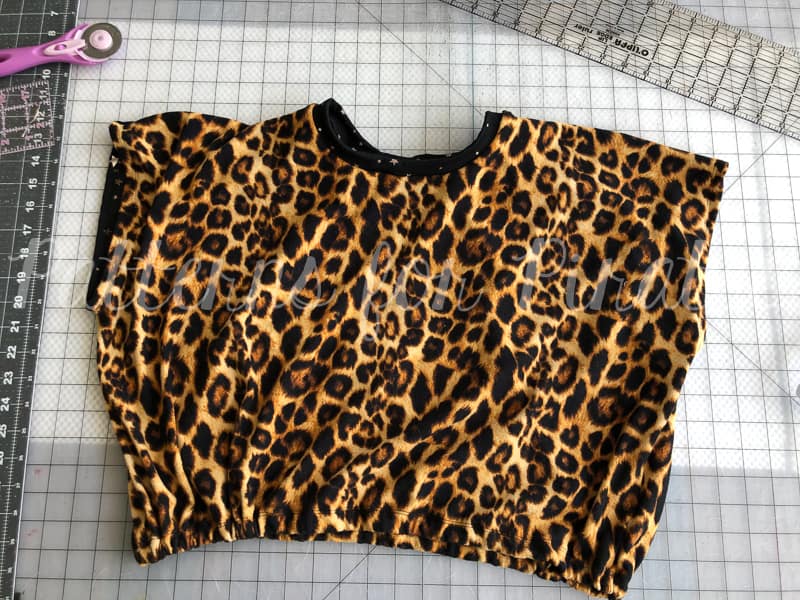
Banded crop top
Elastic… draw string… and now we’re bringing to you a third option to finish off your crop top versions- a banded option. This is a quick and easy way to finish off your top, especially for those of us who are opposed to the dreaded finishing hem! 🙂
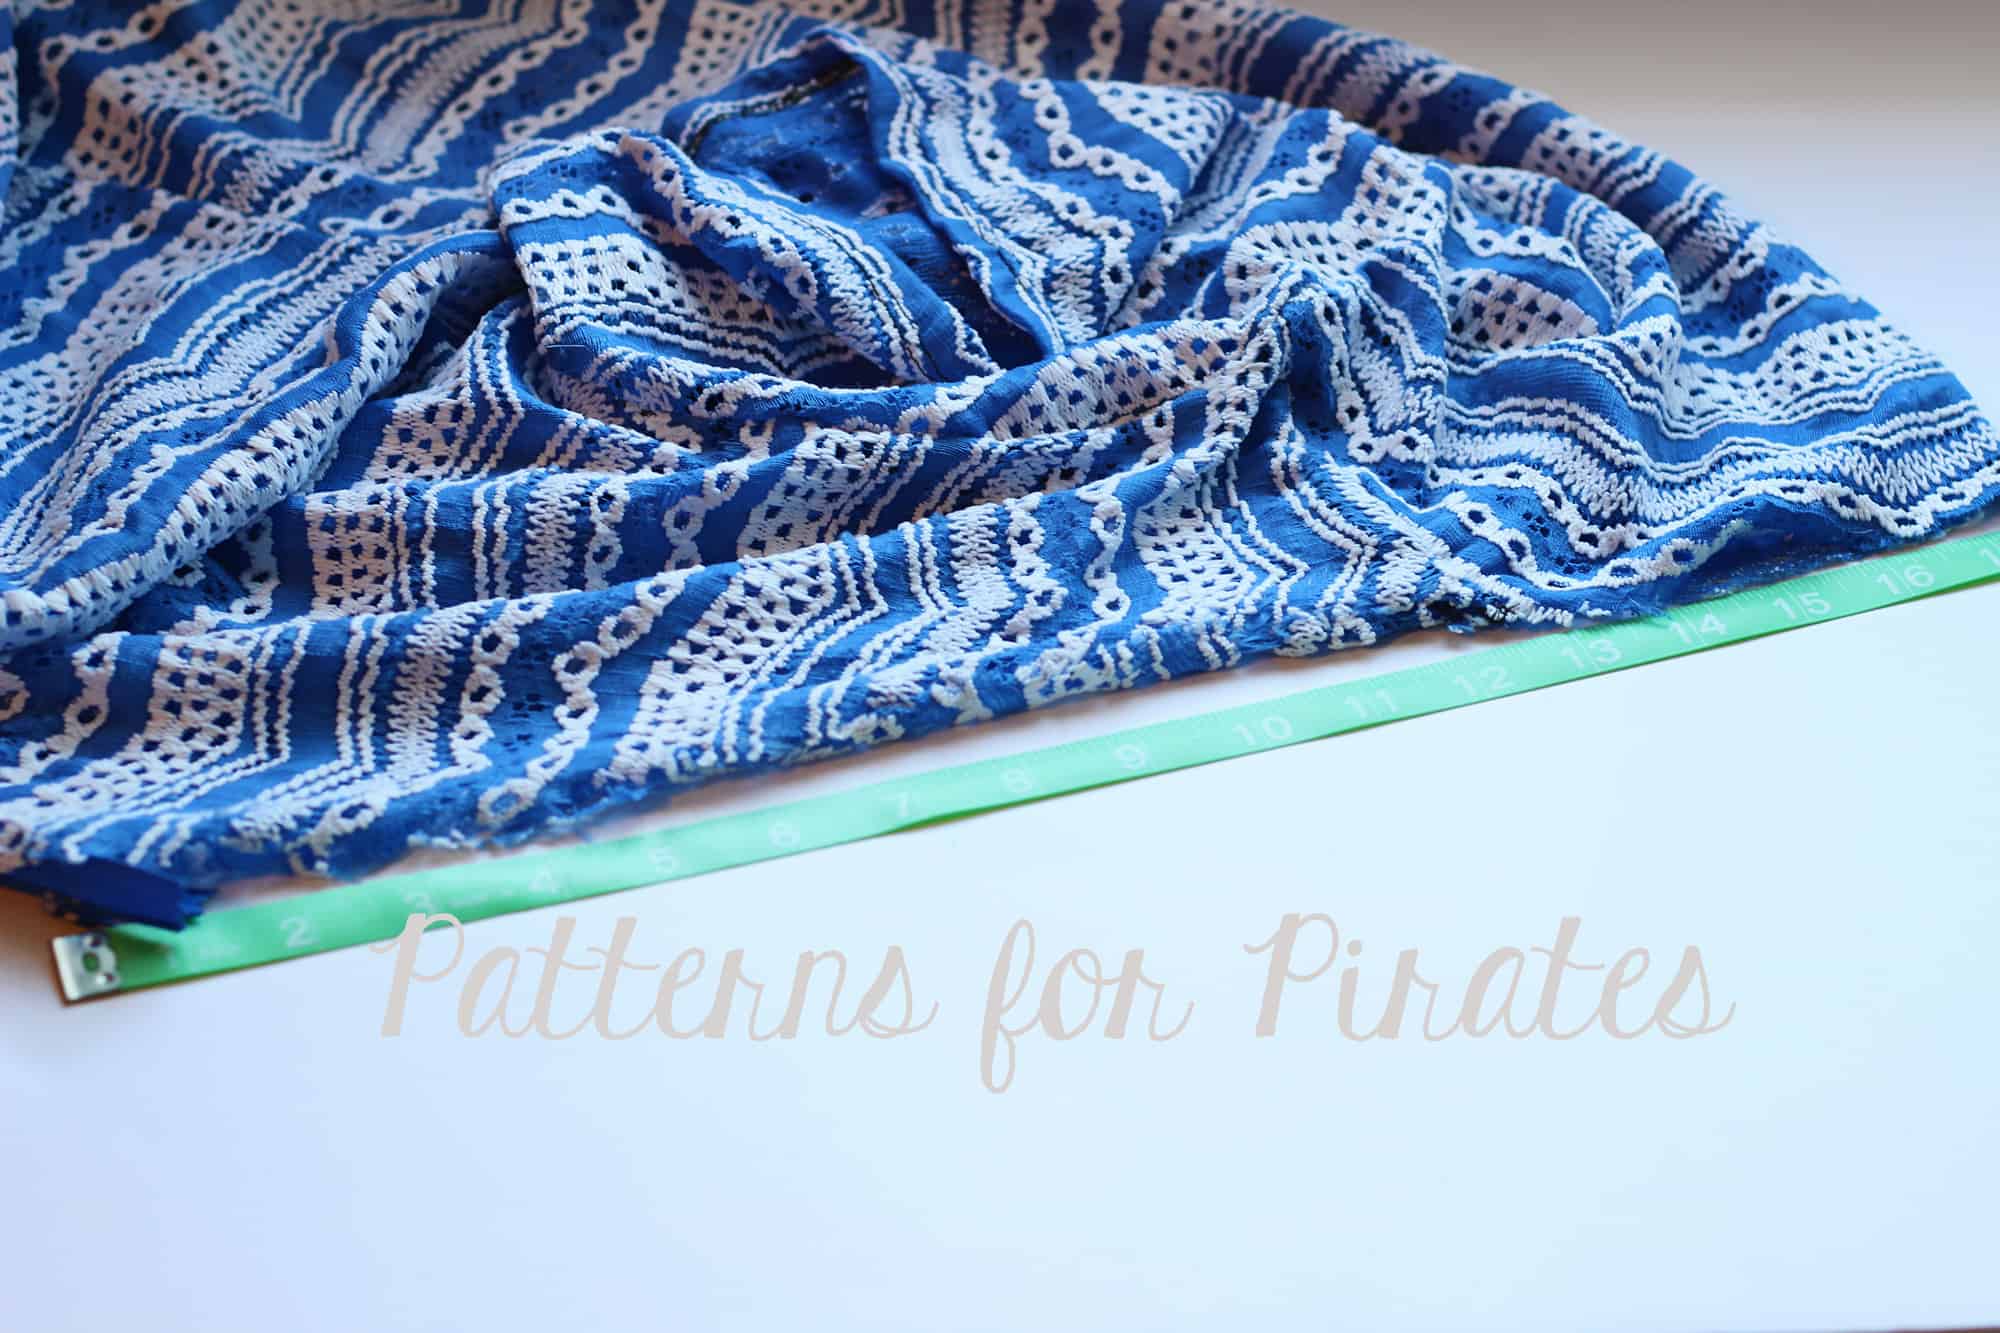
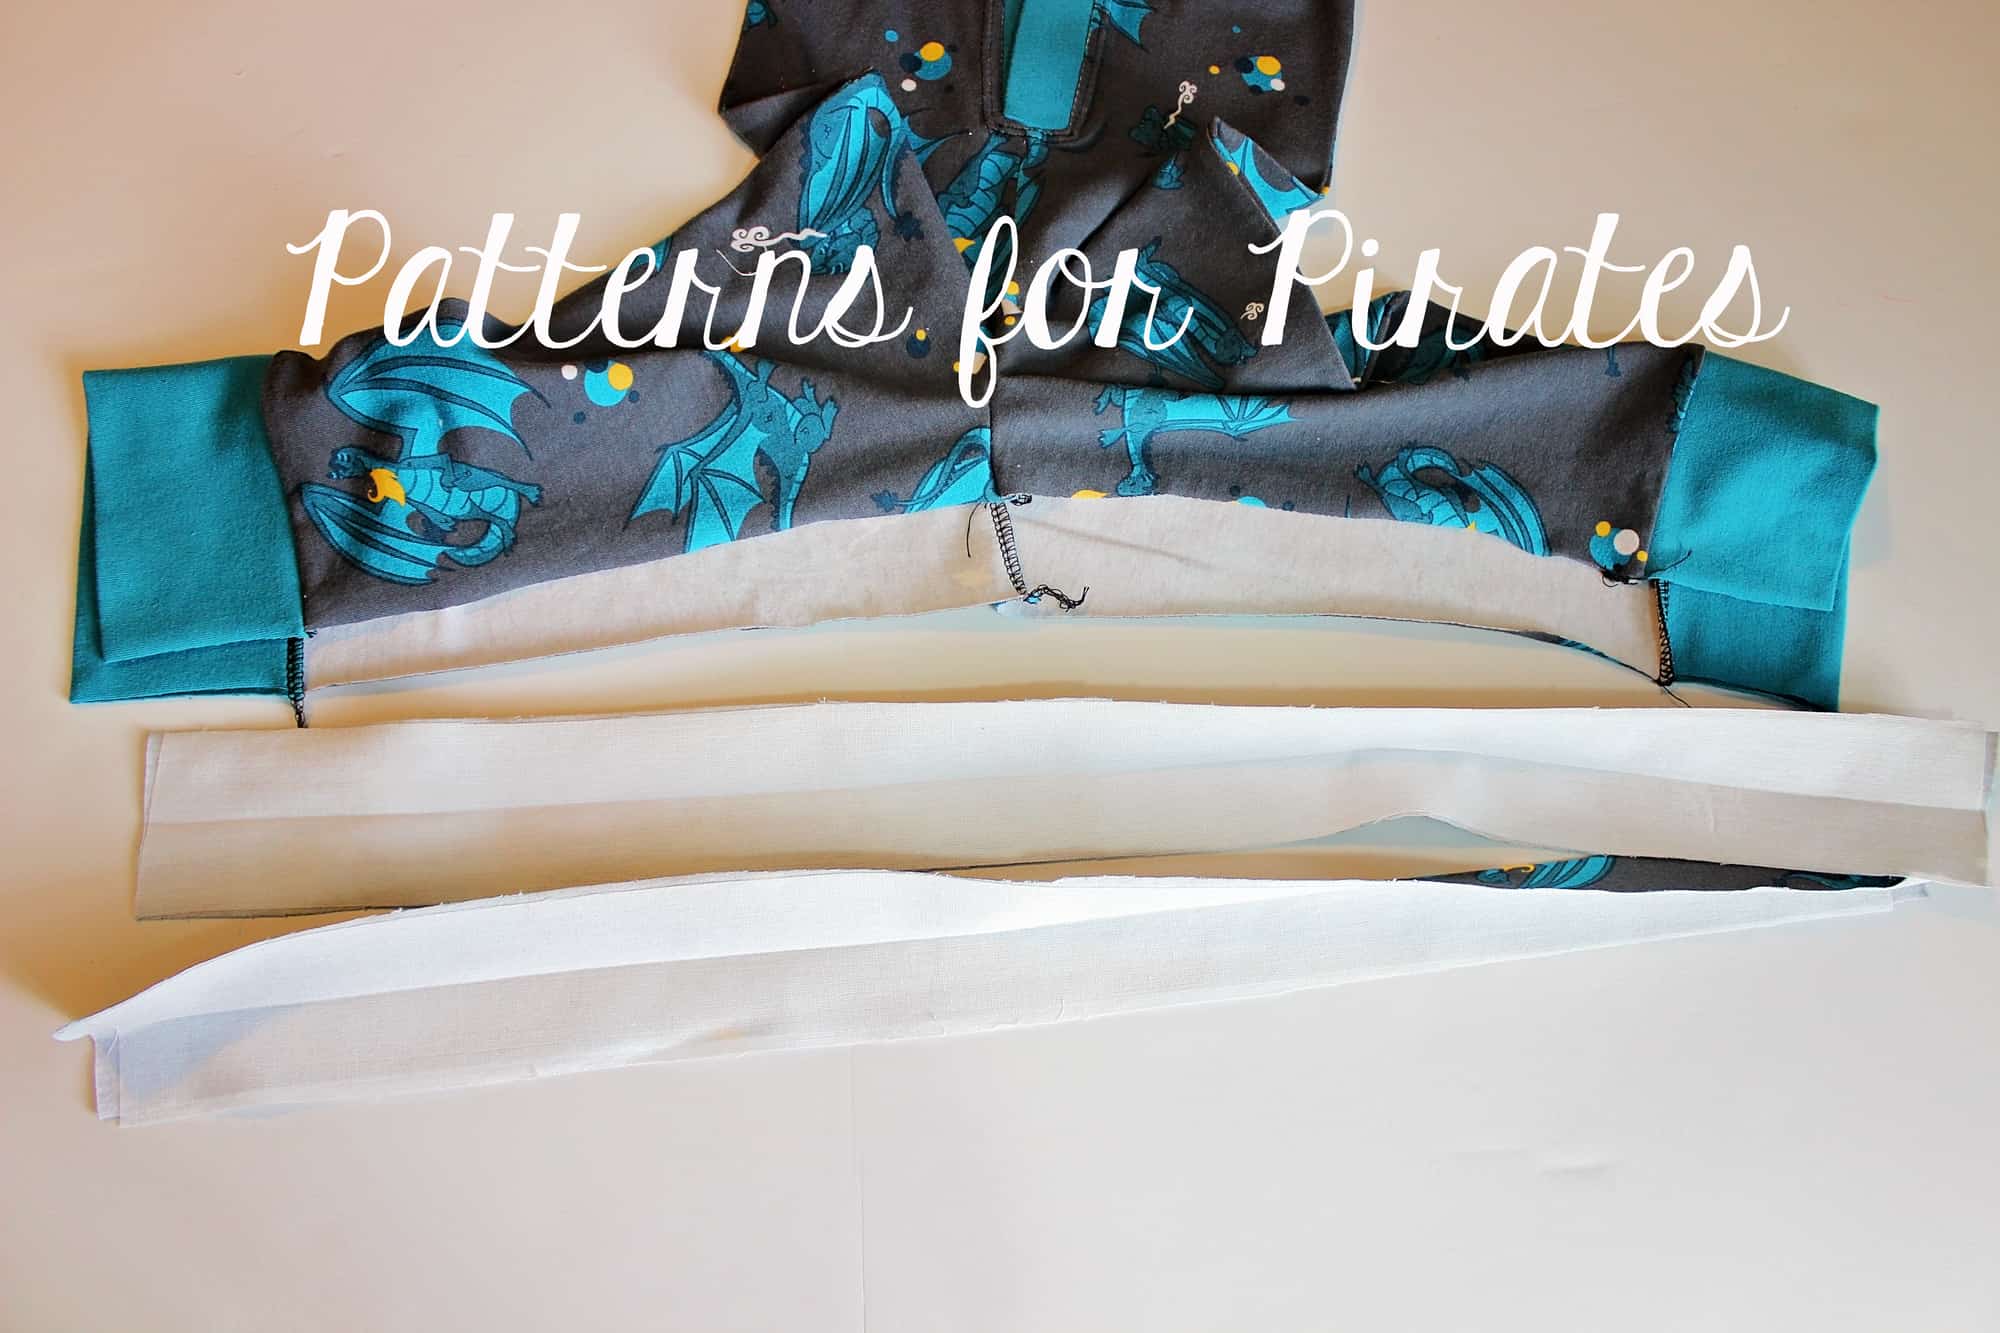
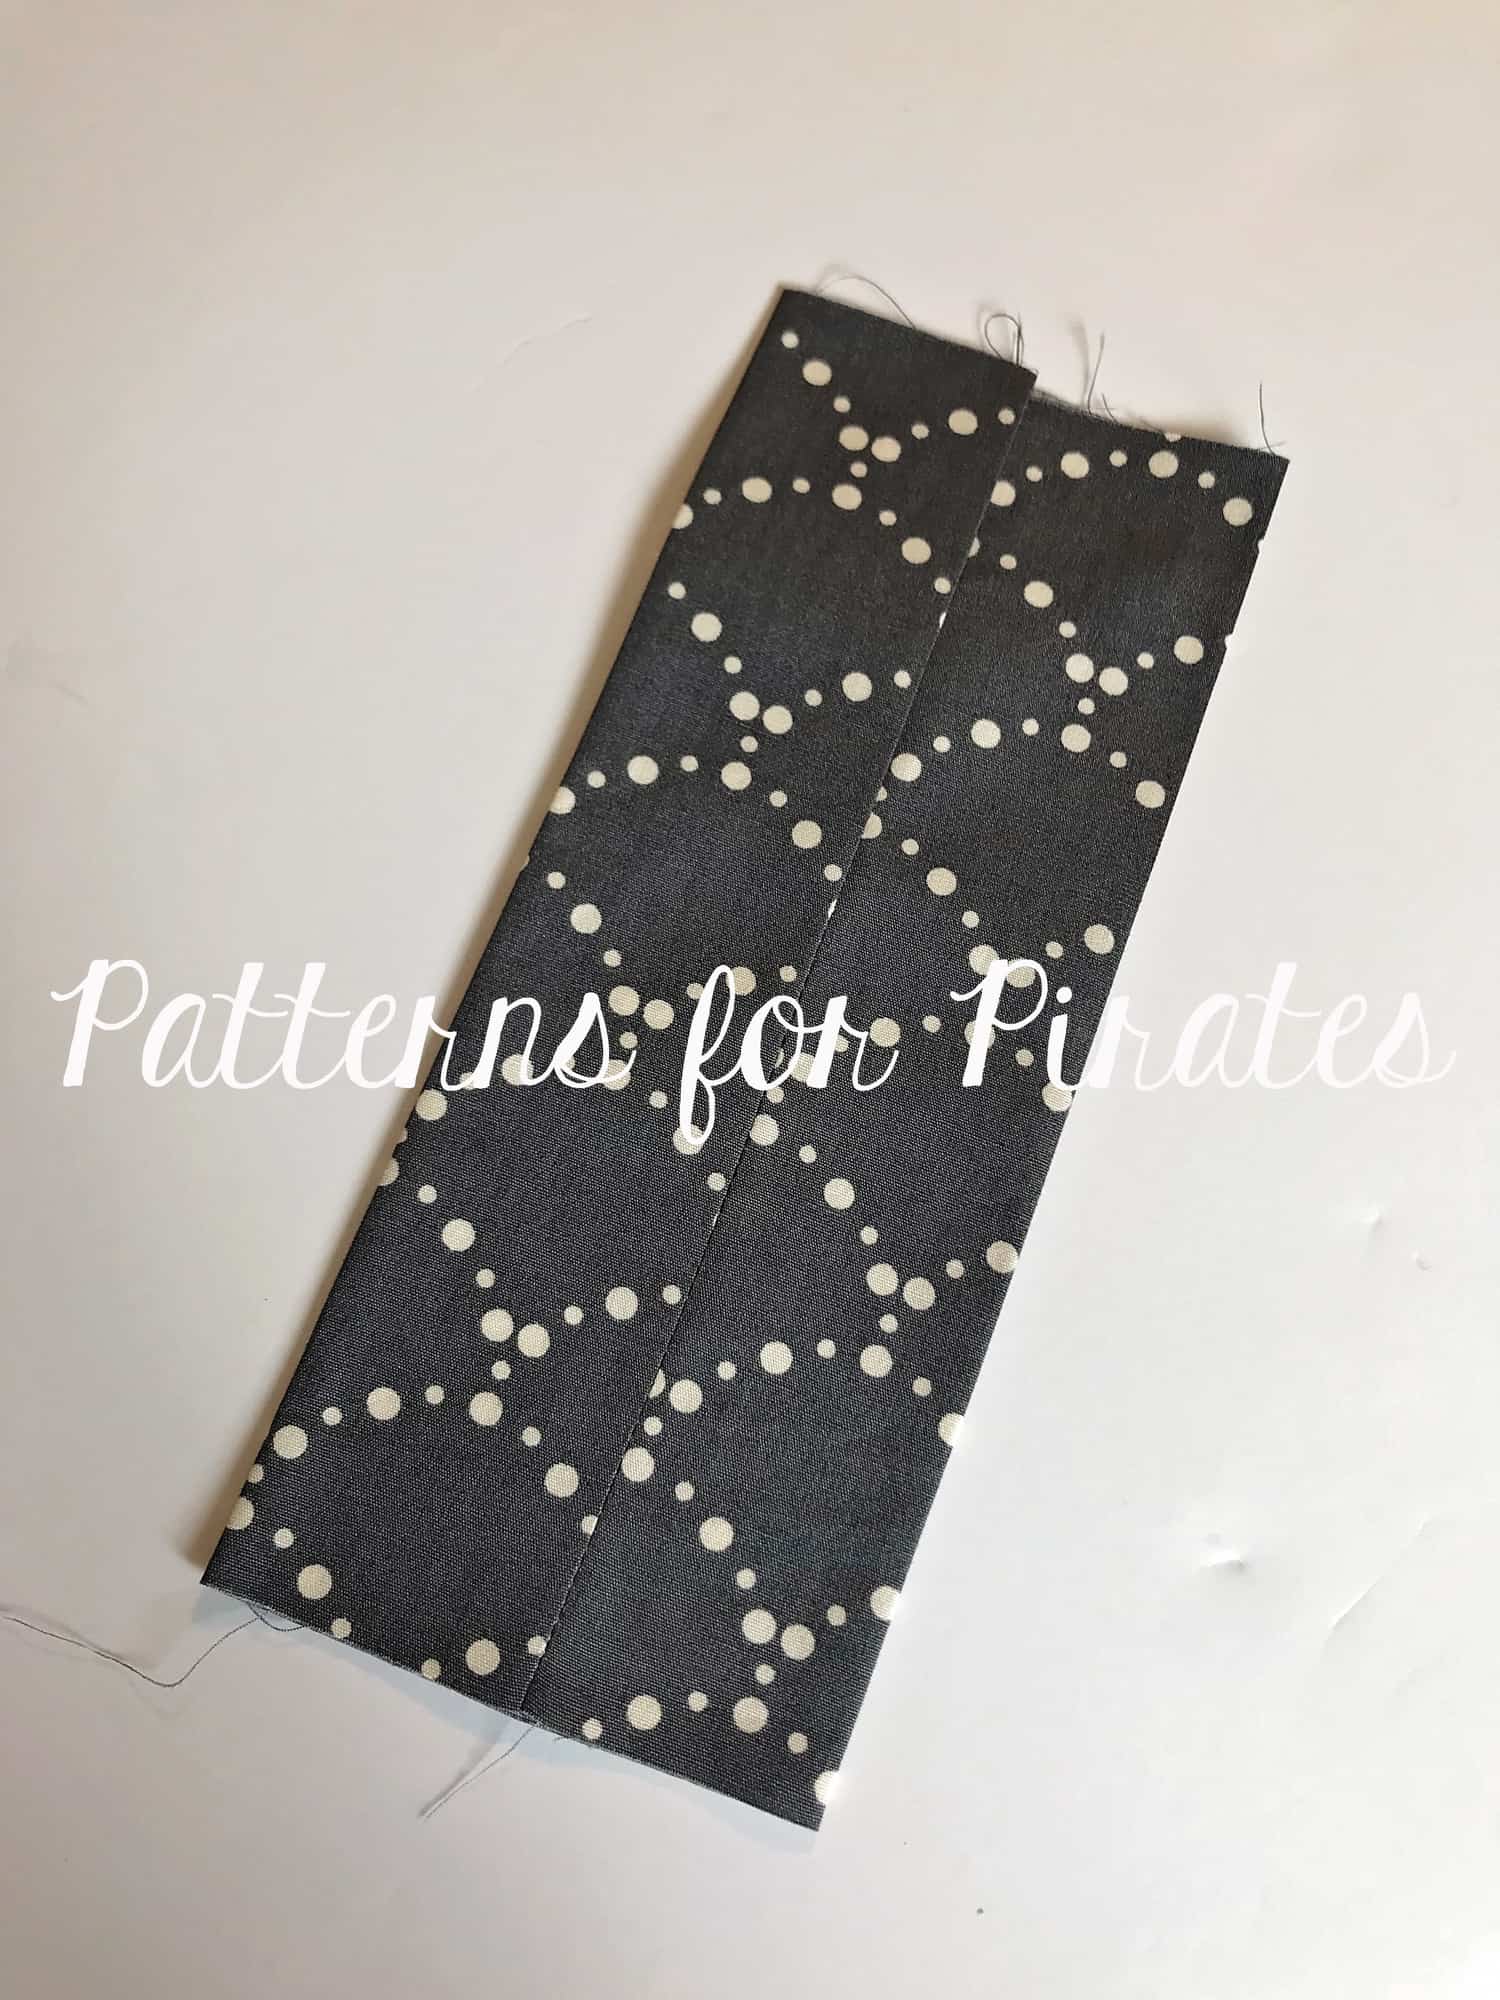
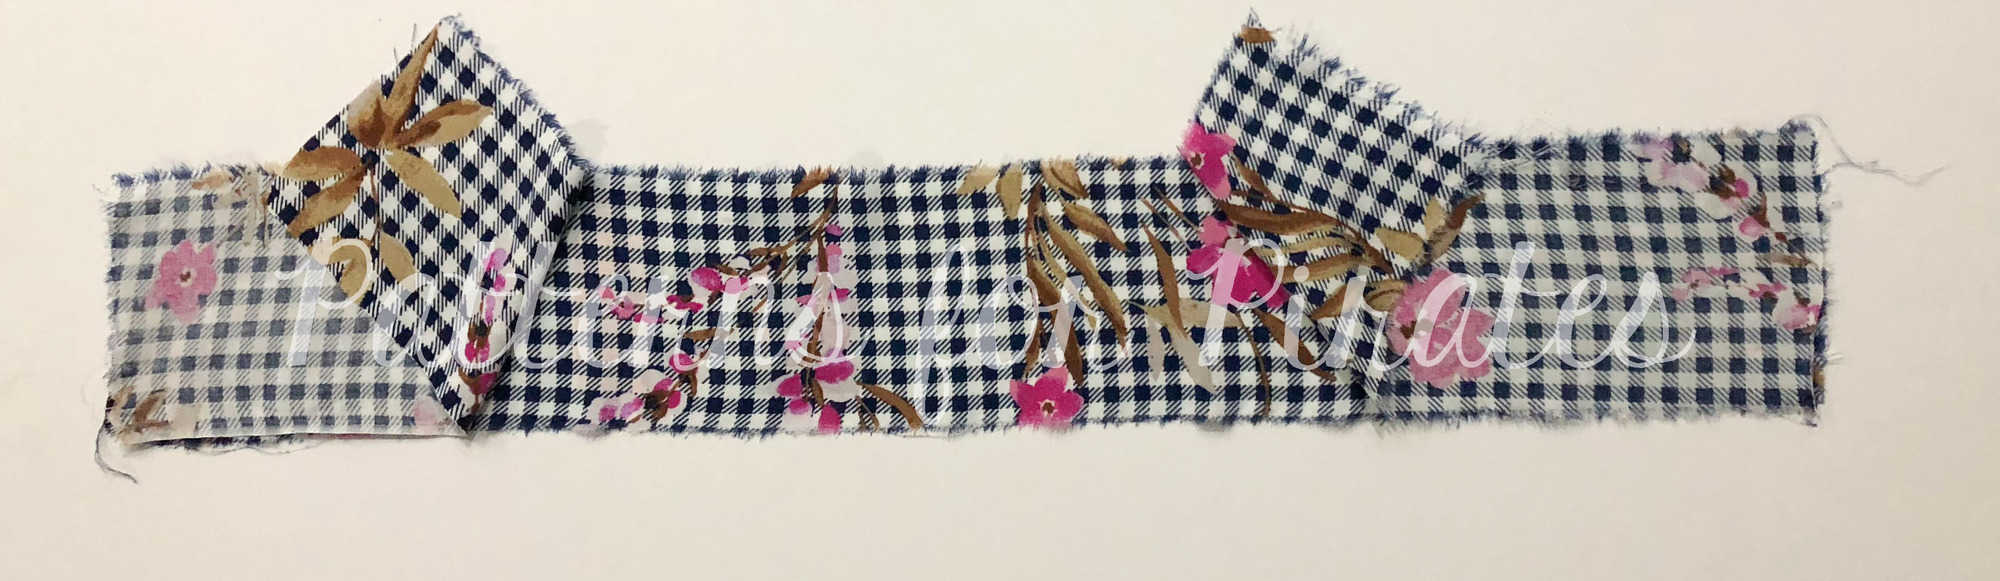
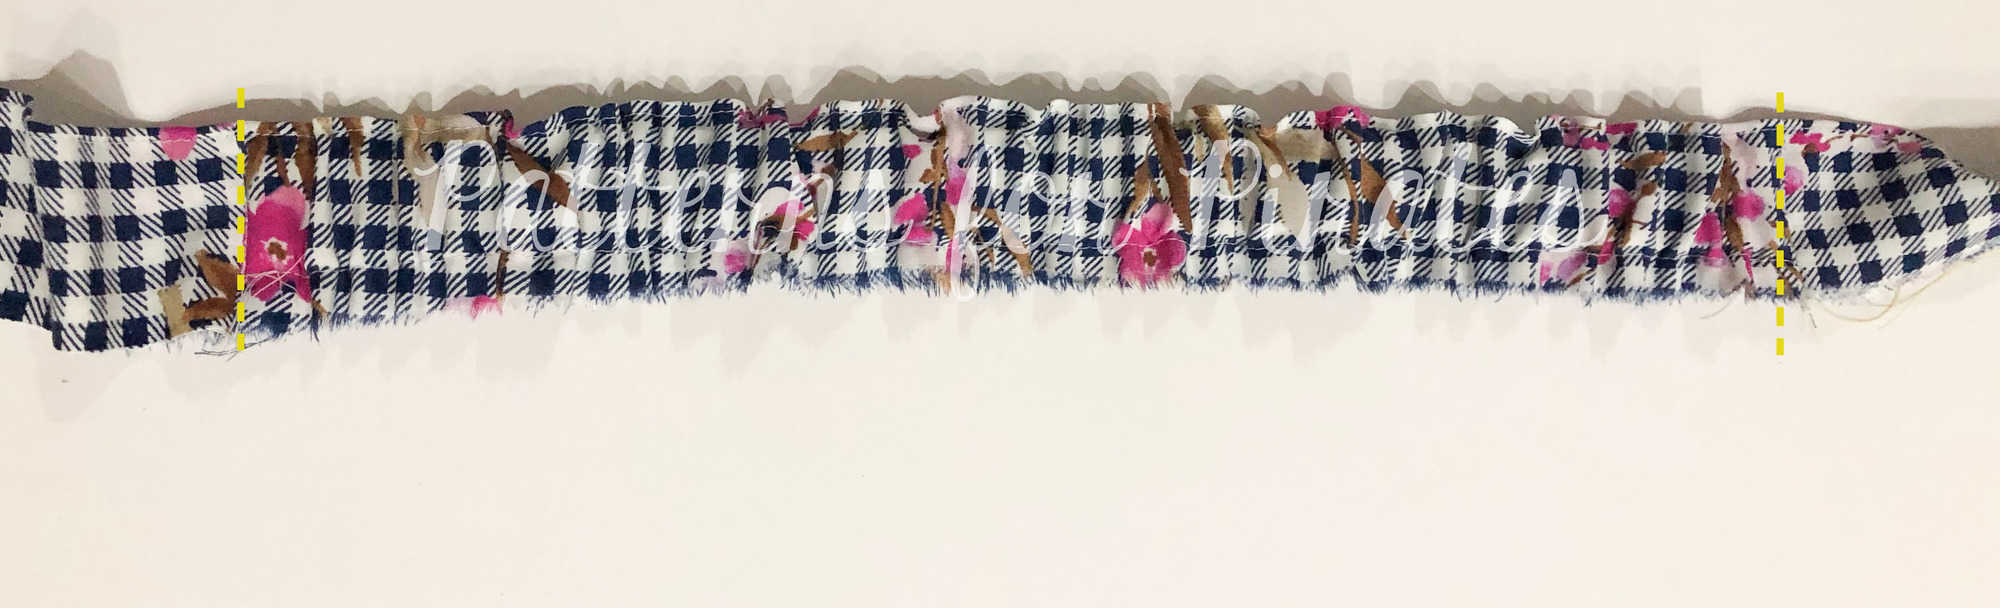
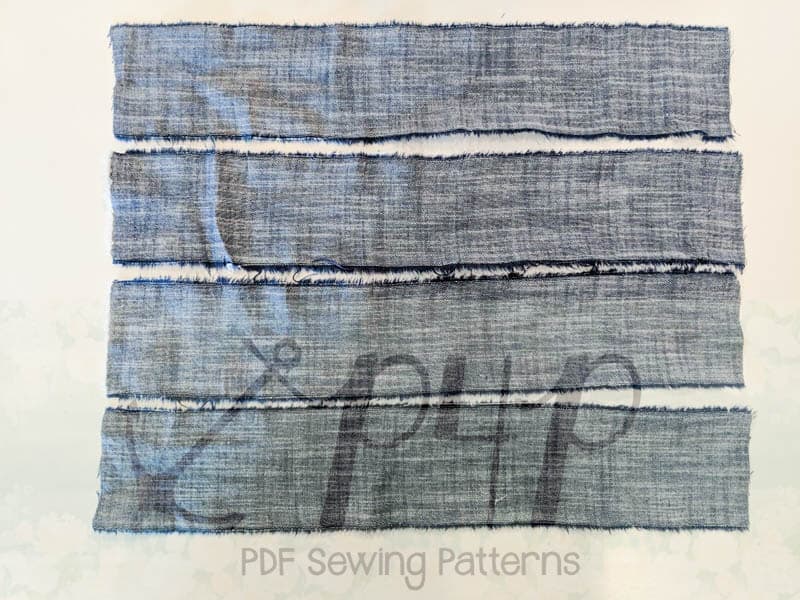
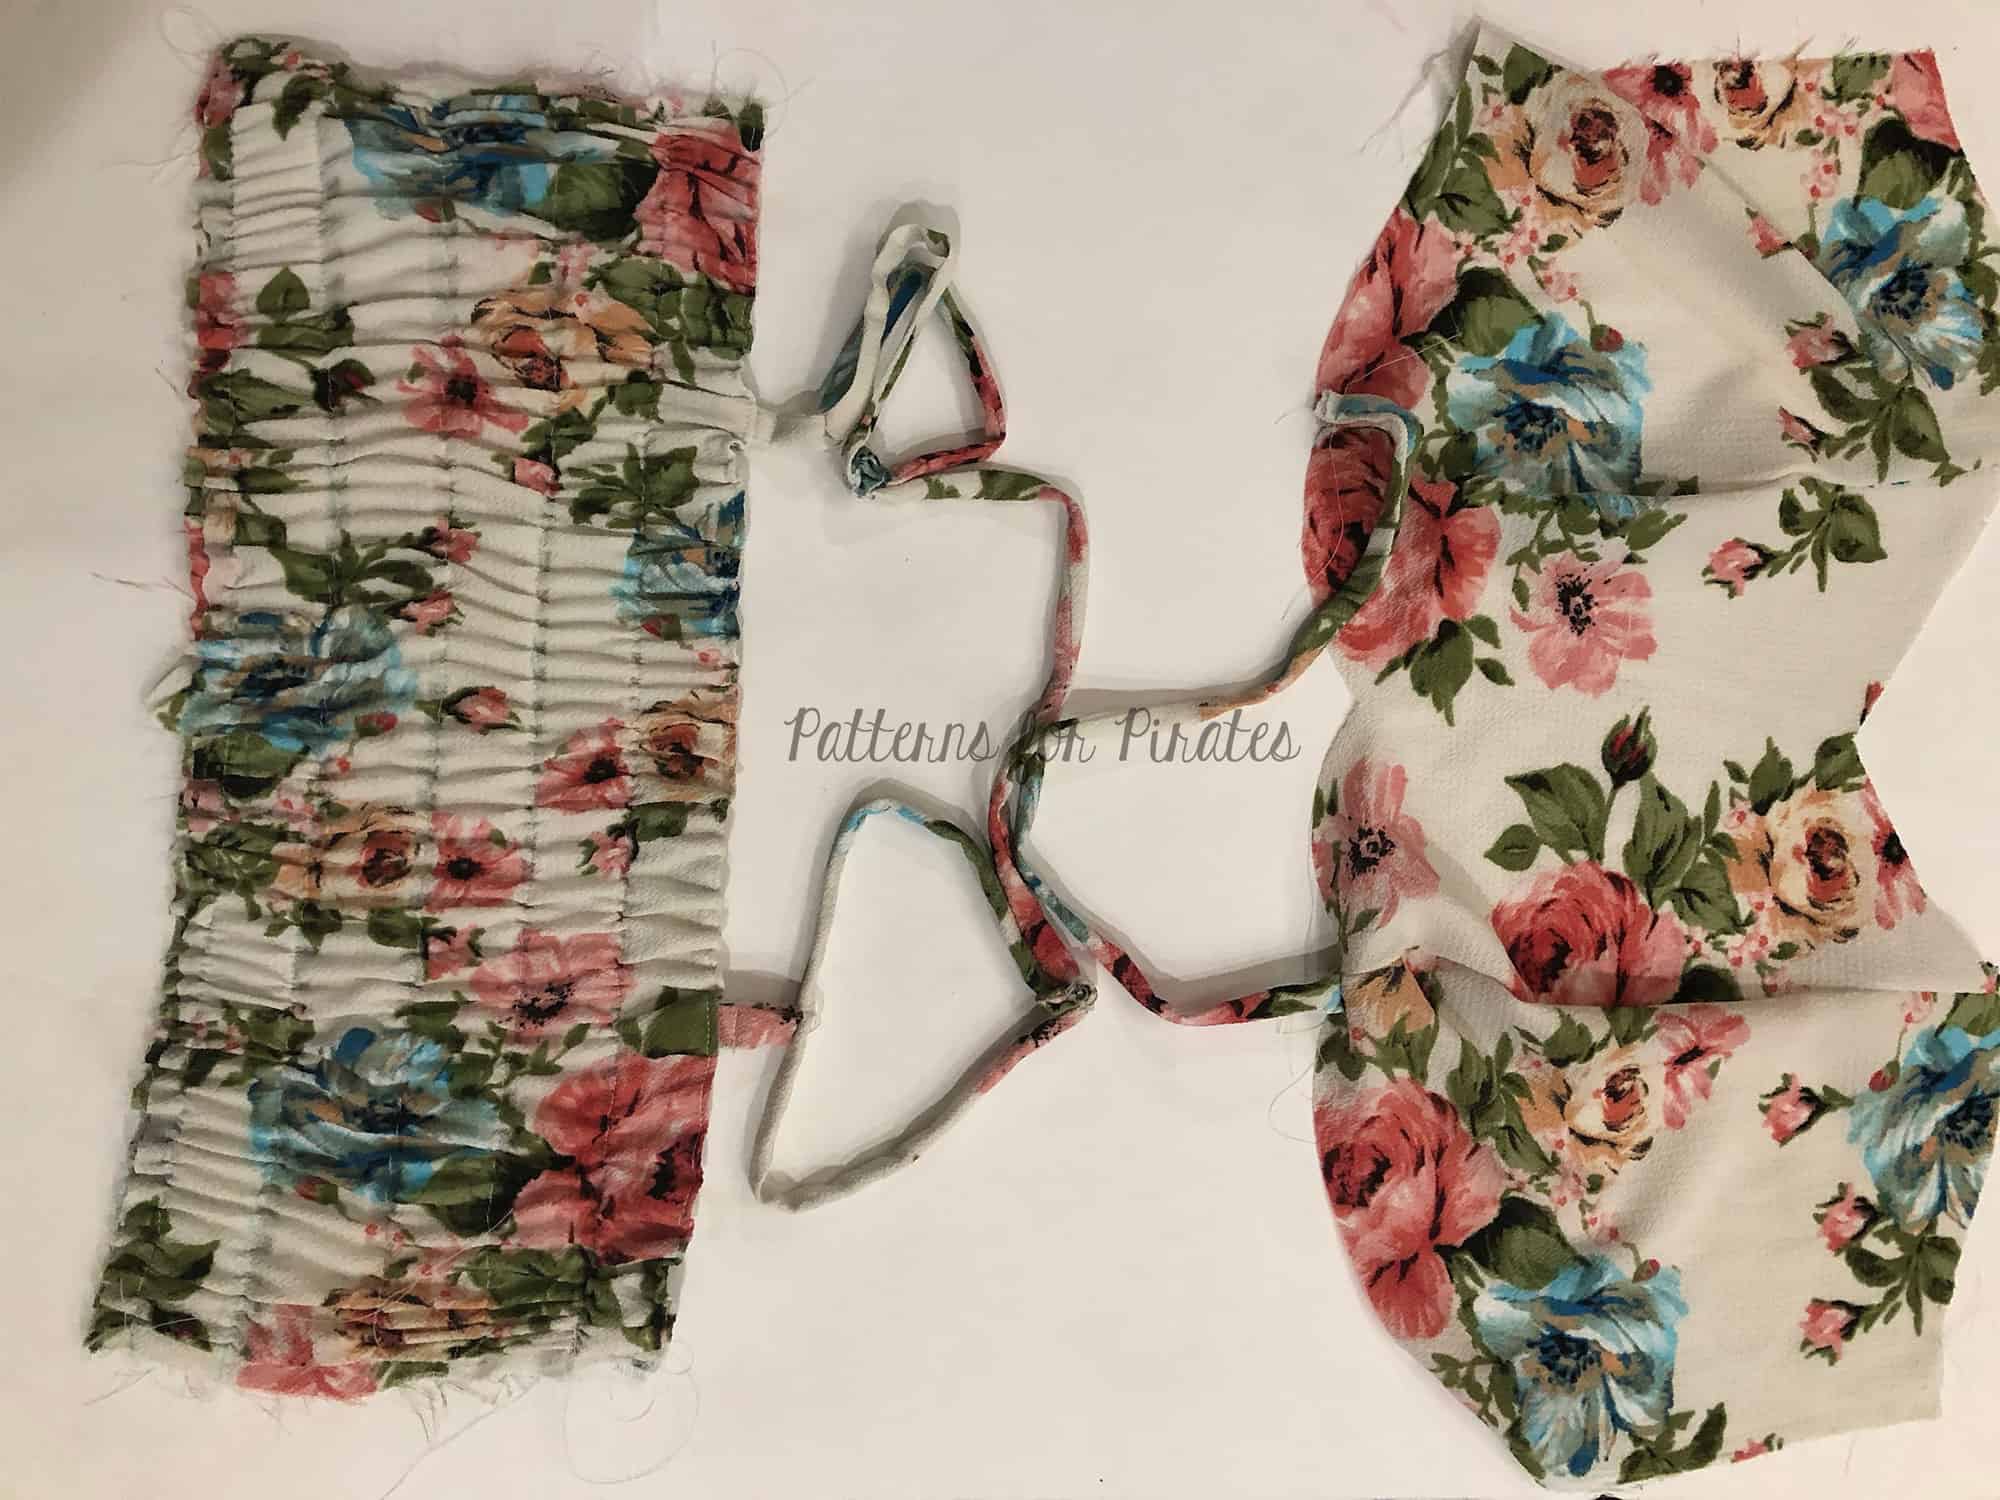
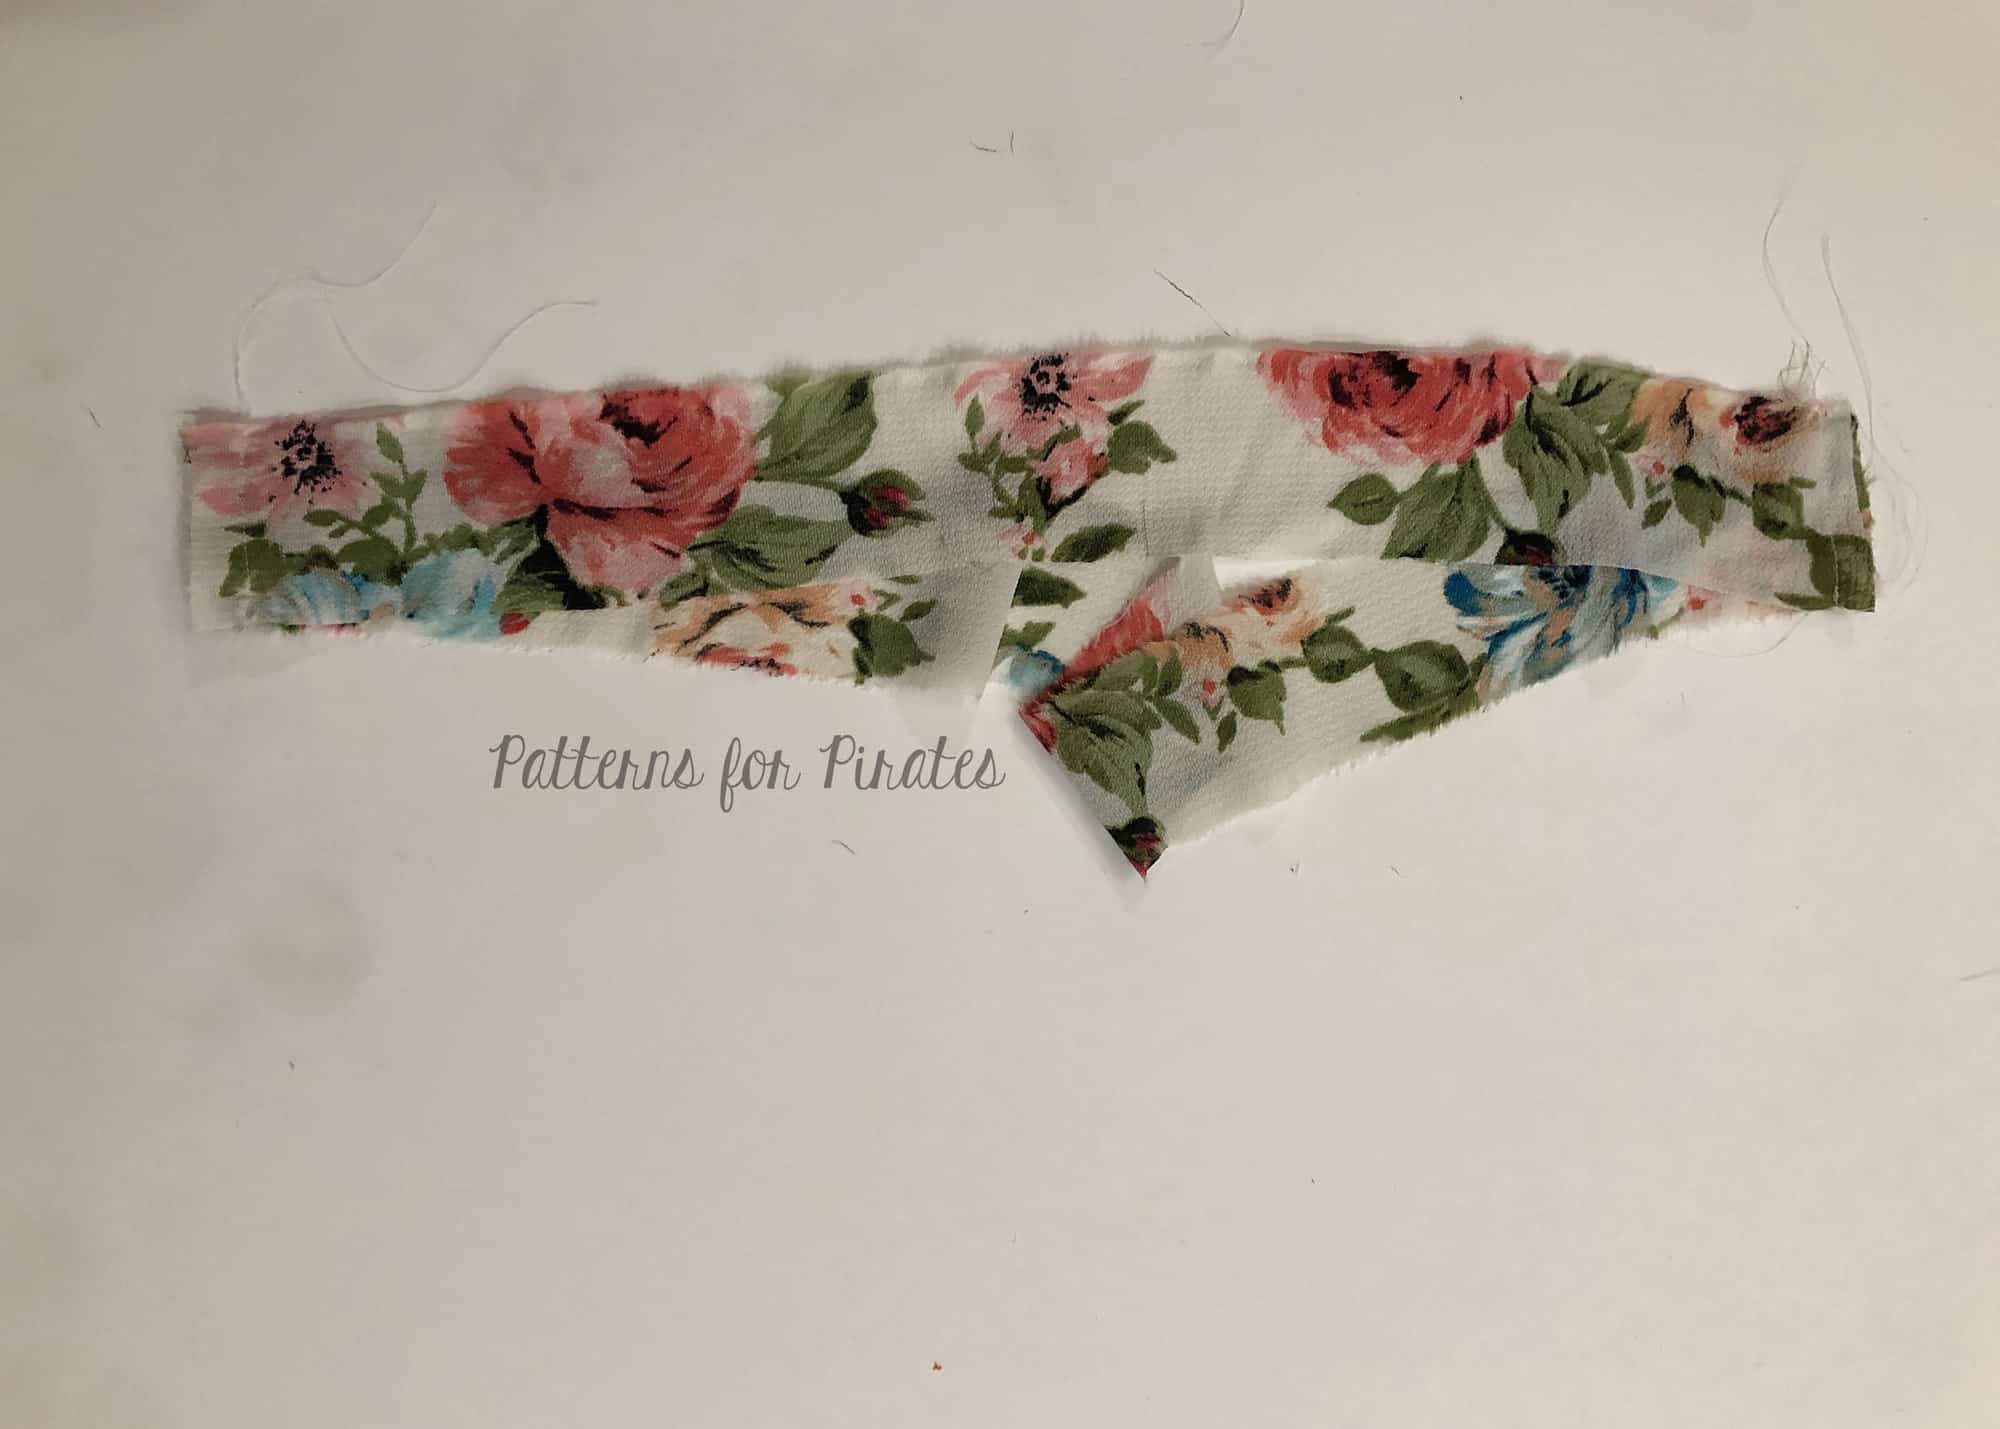
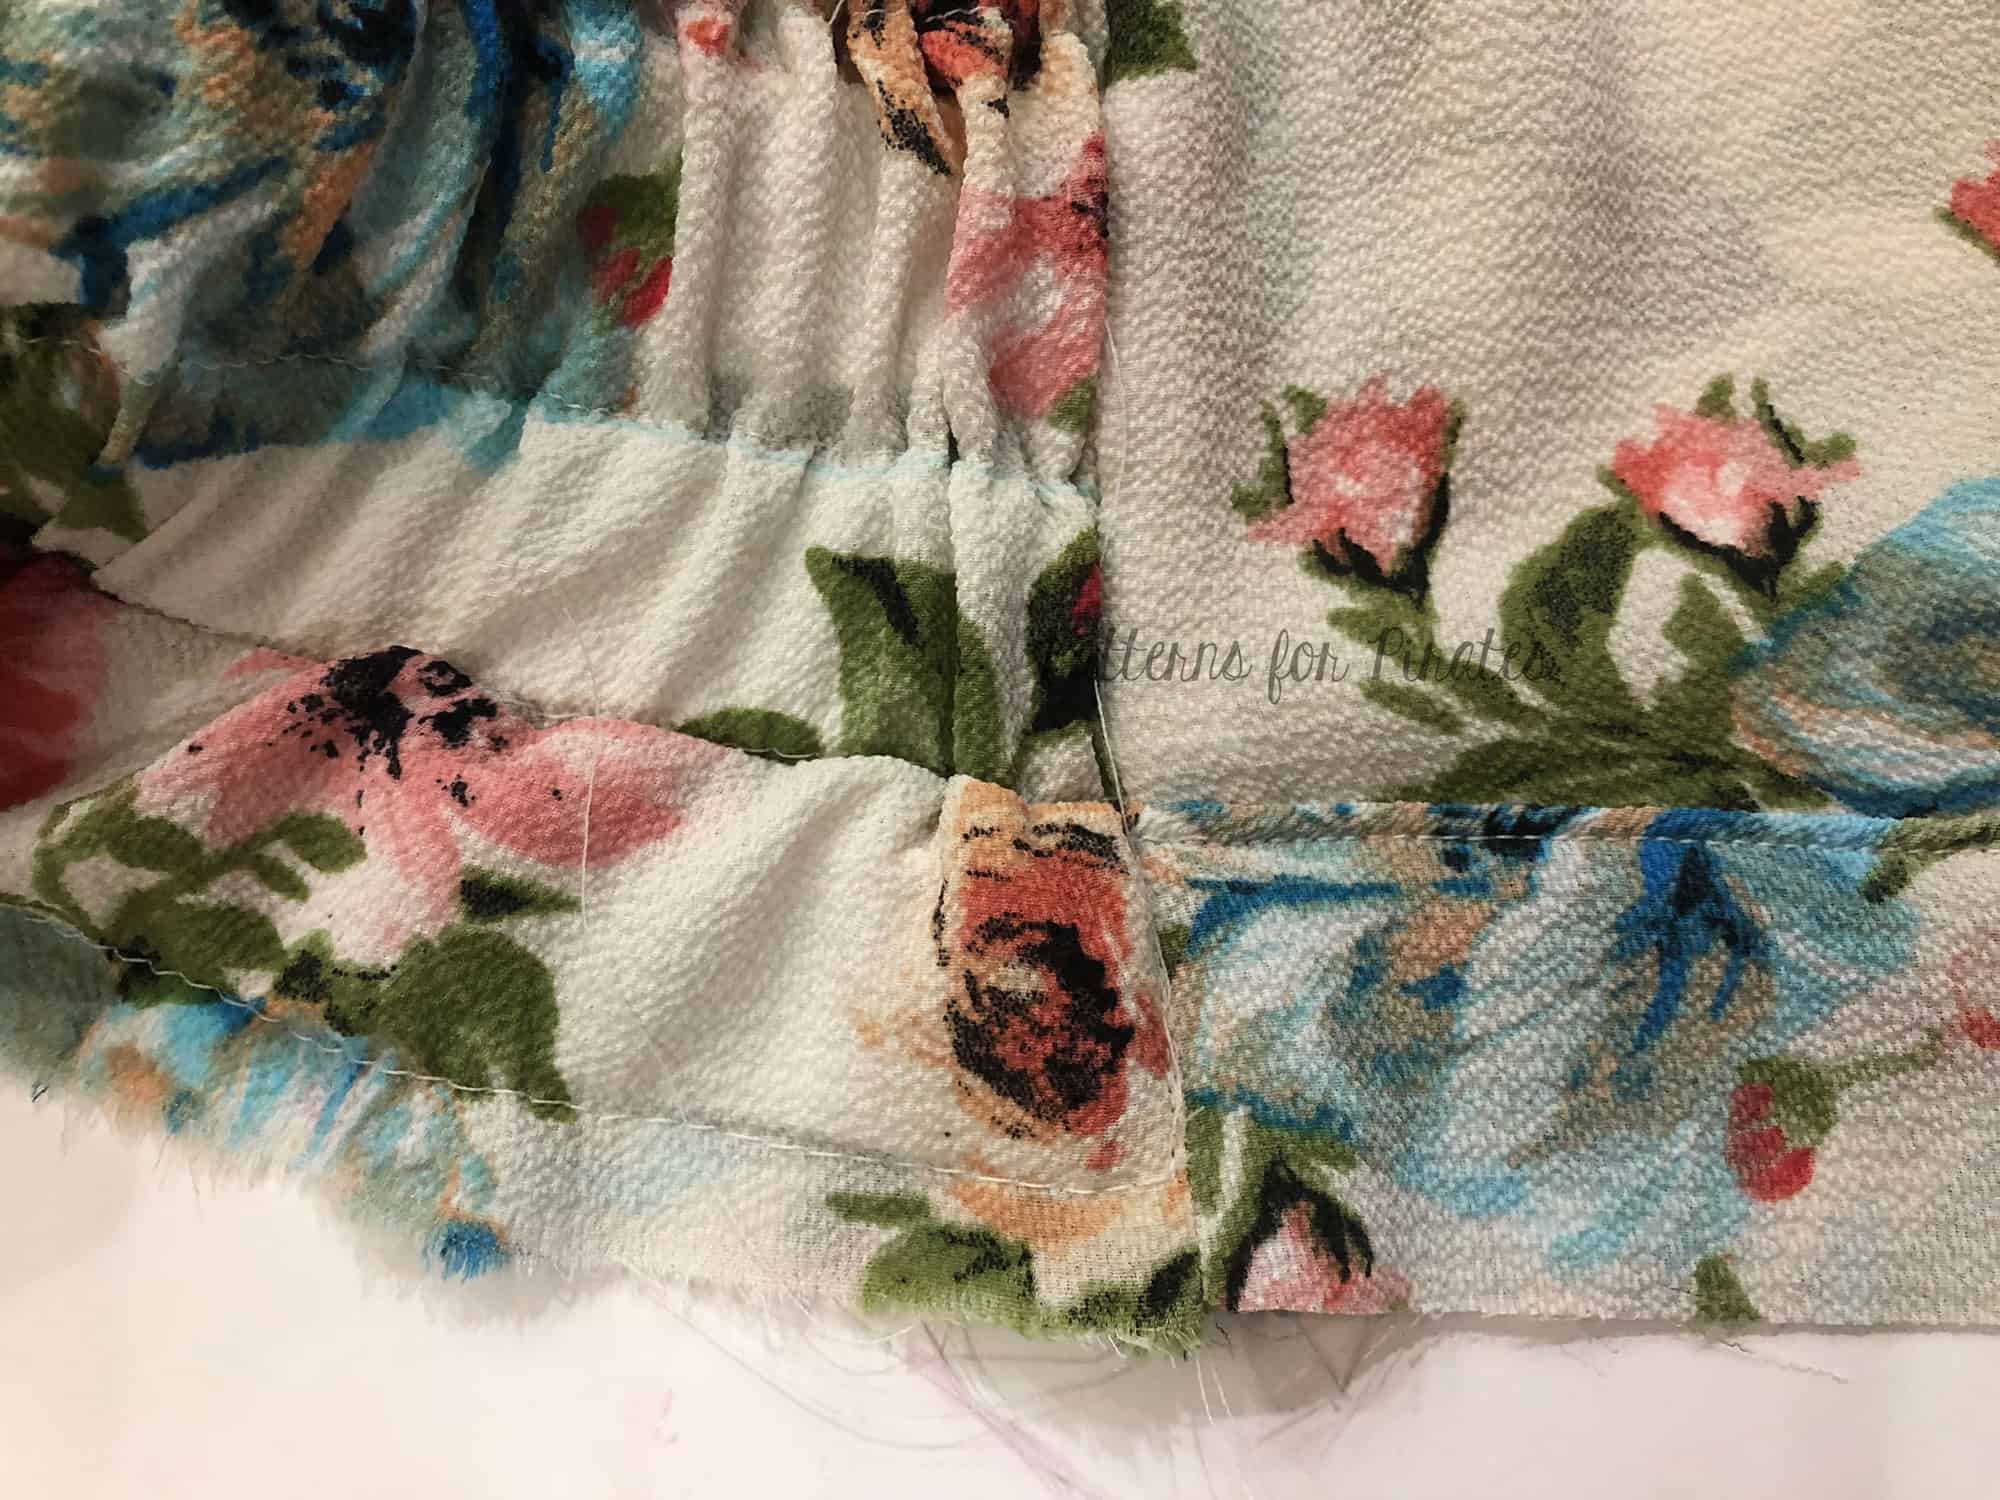
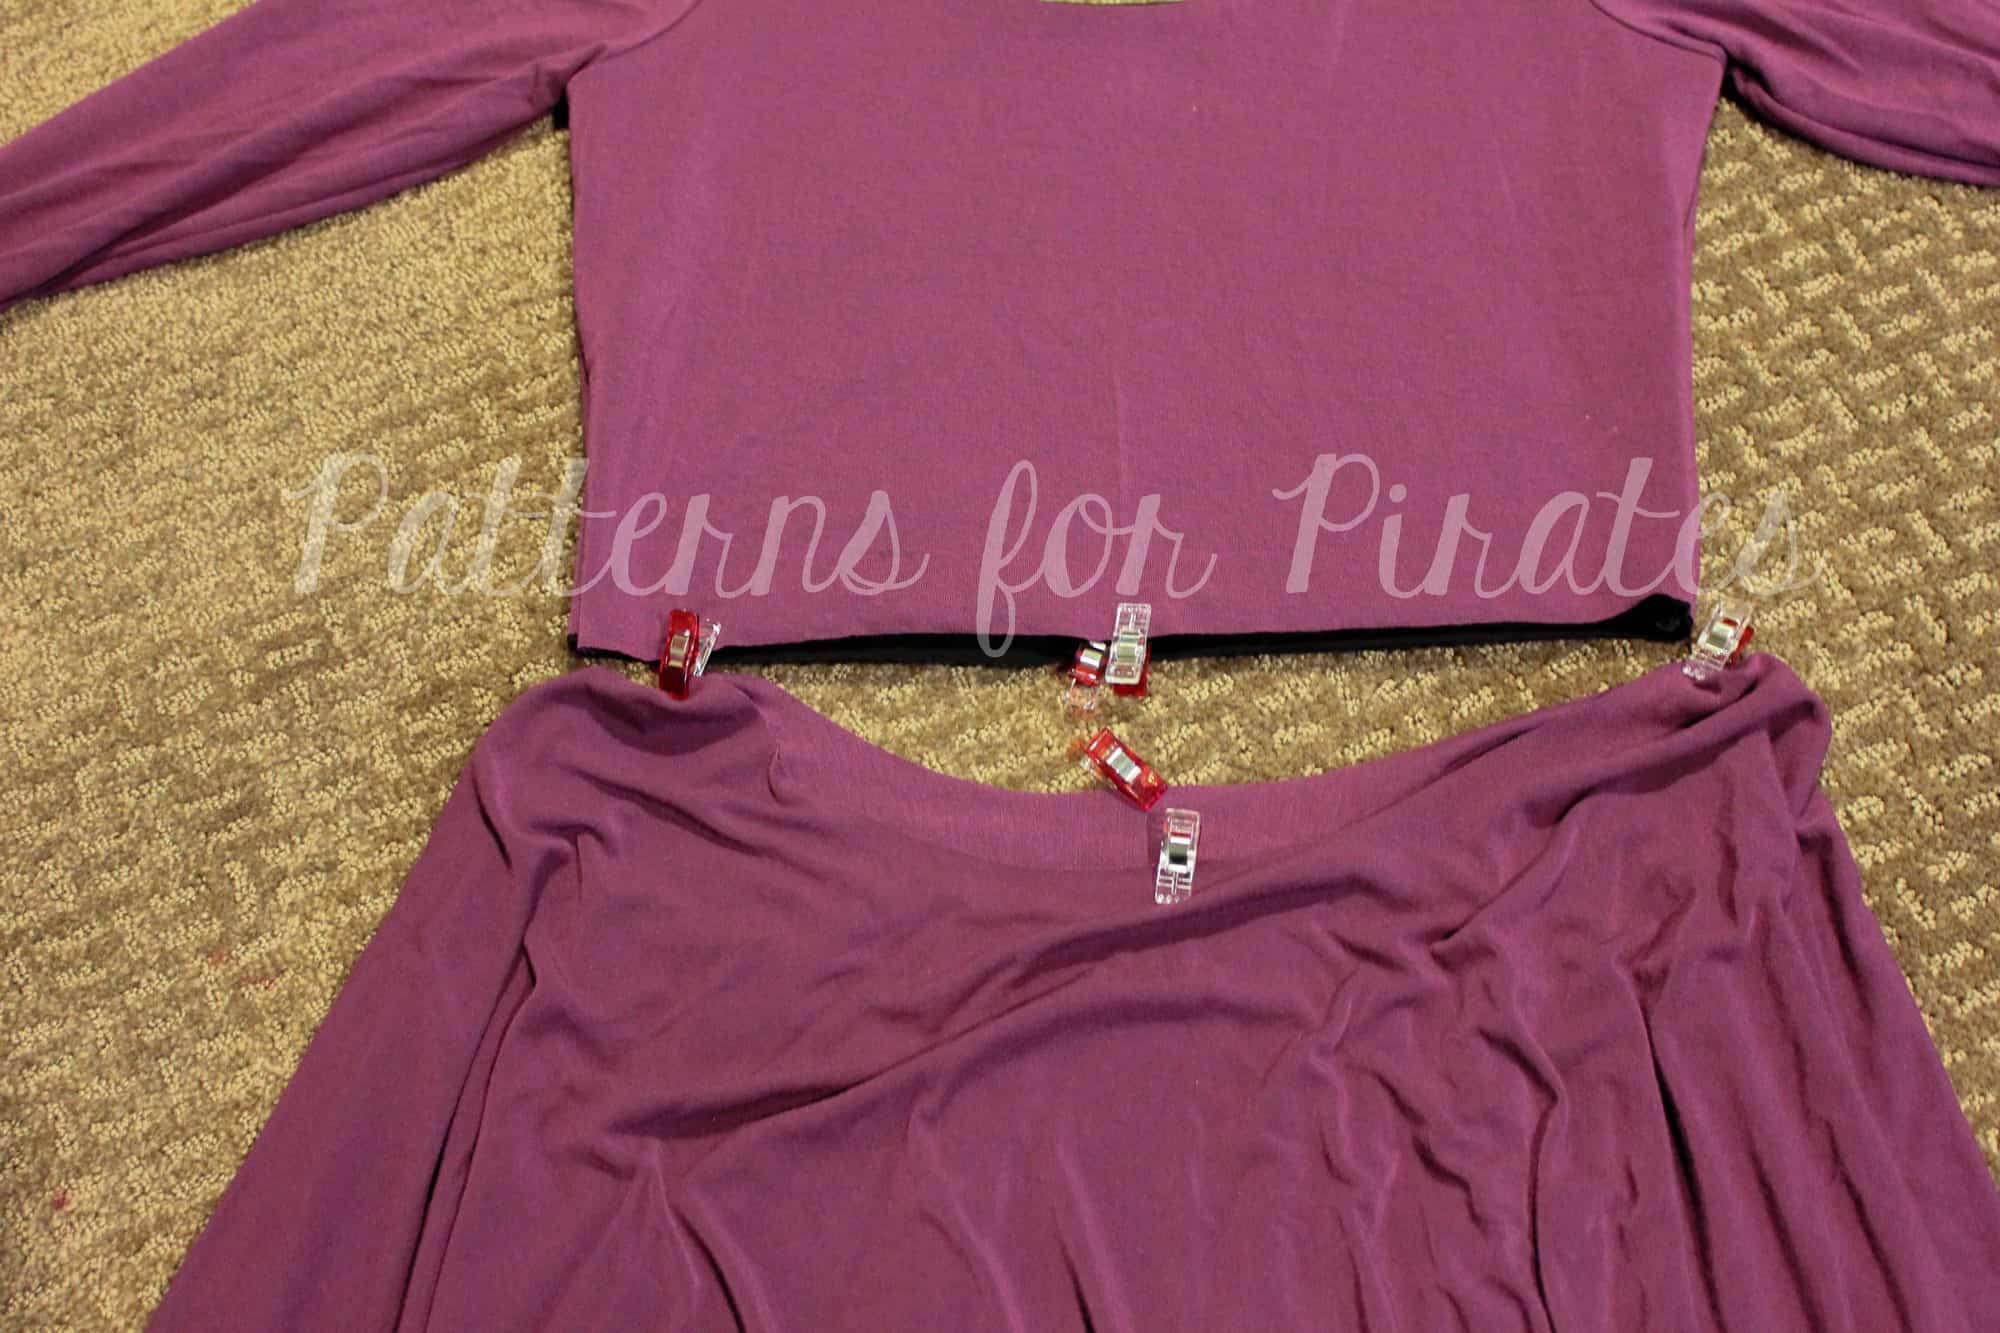
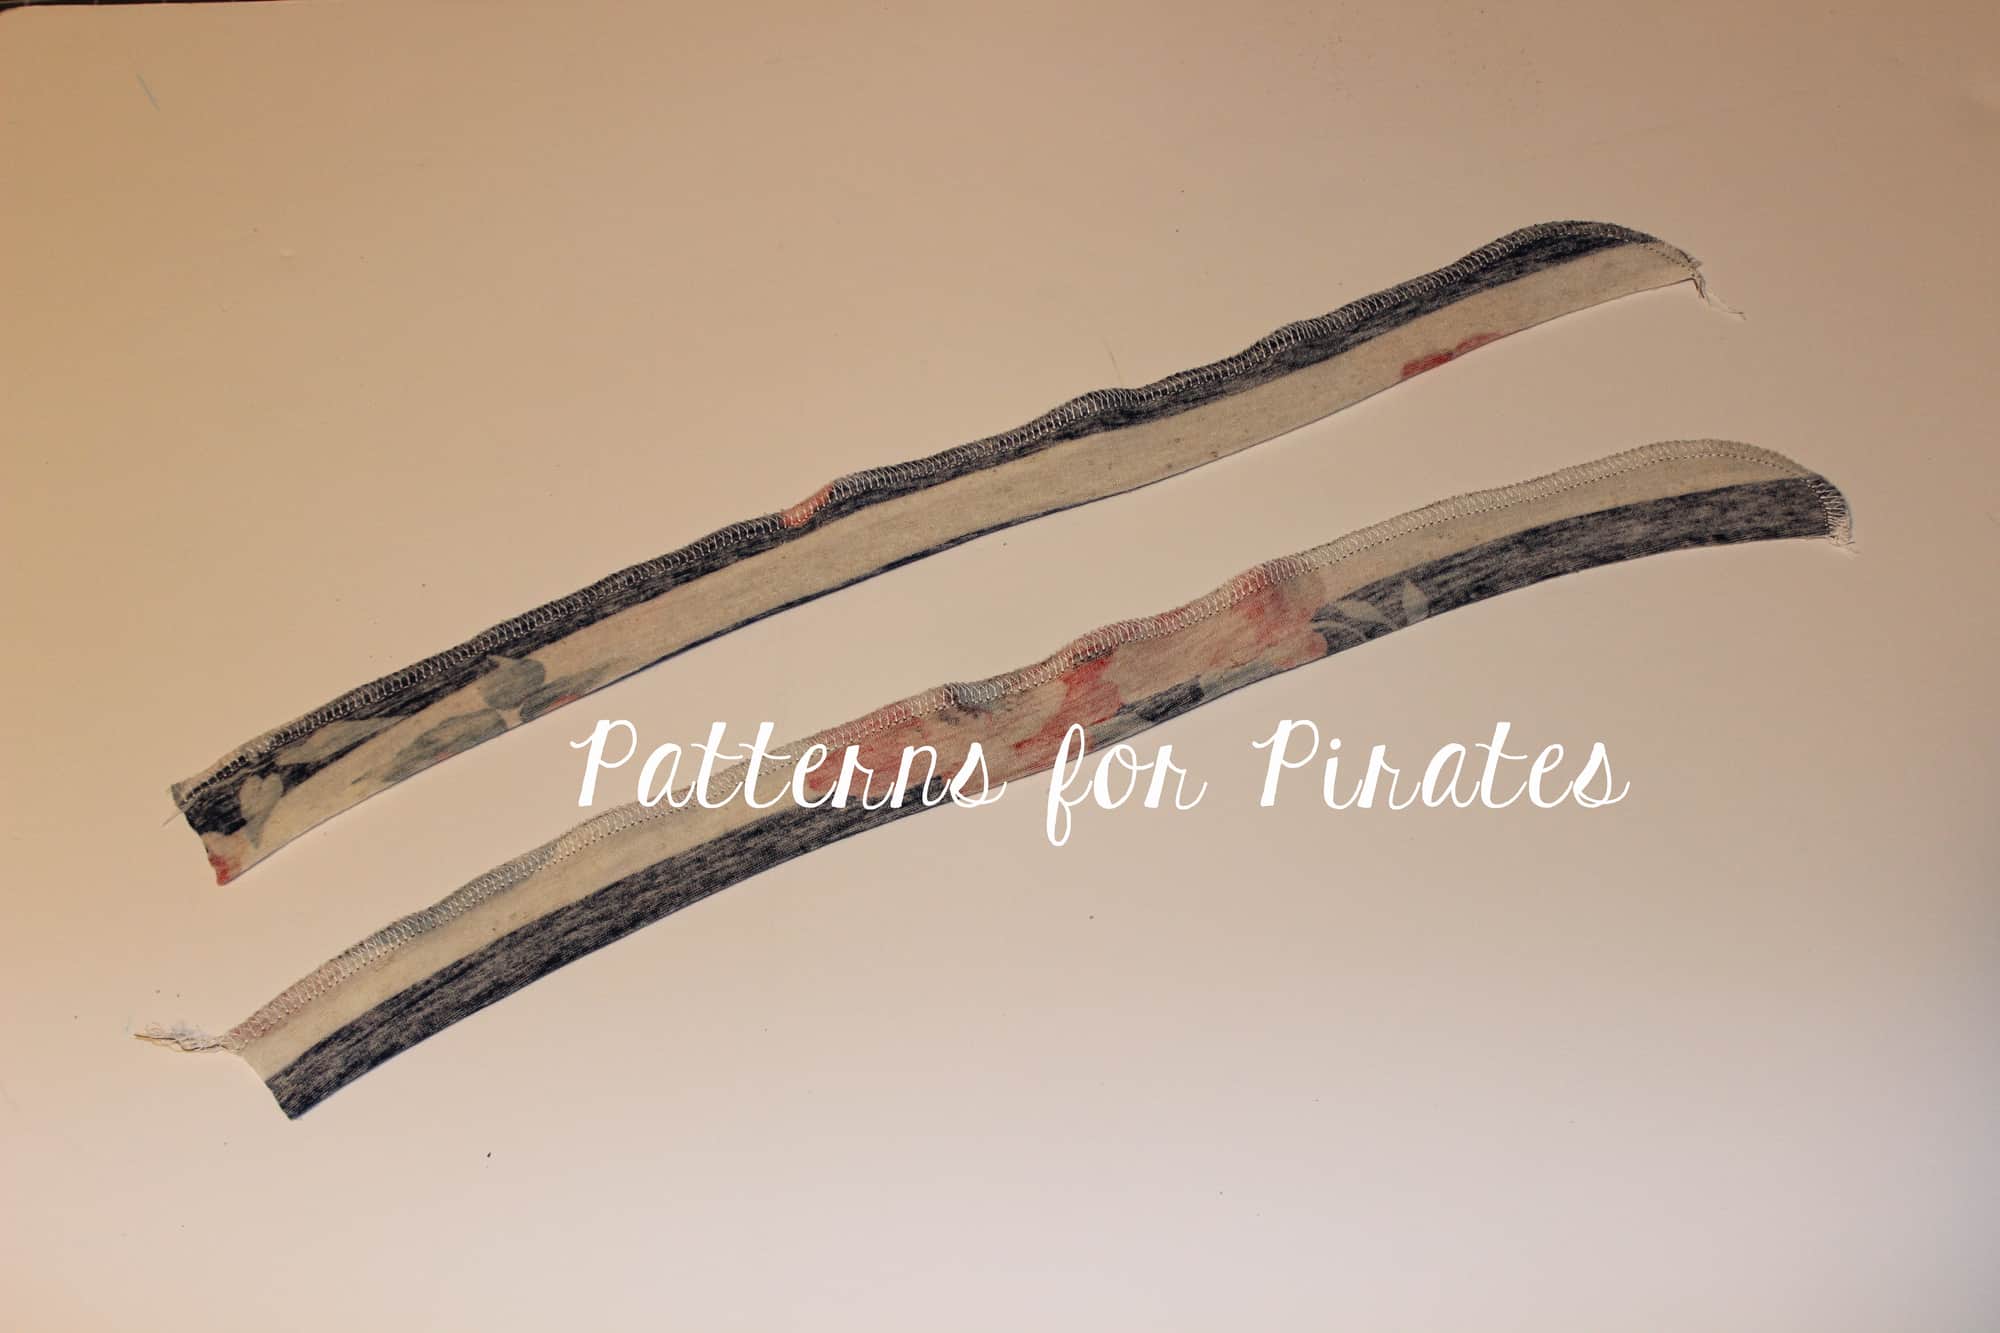
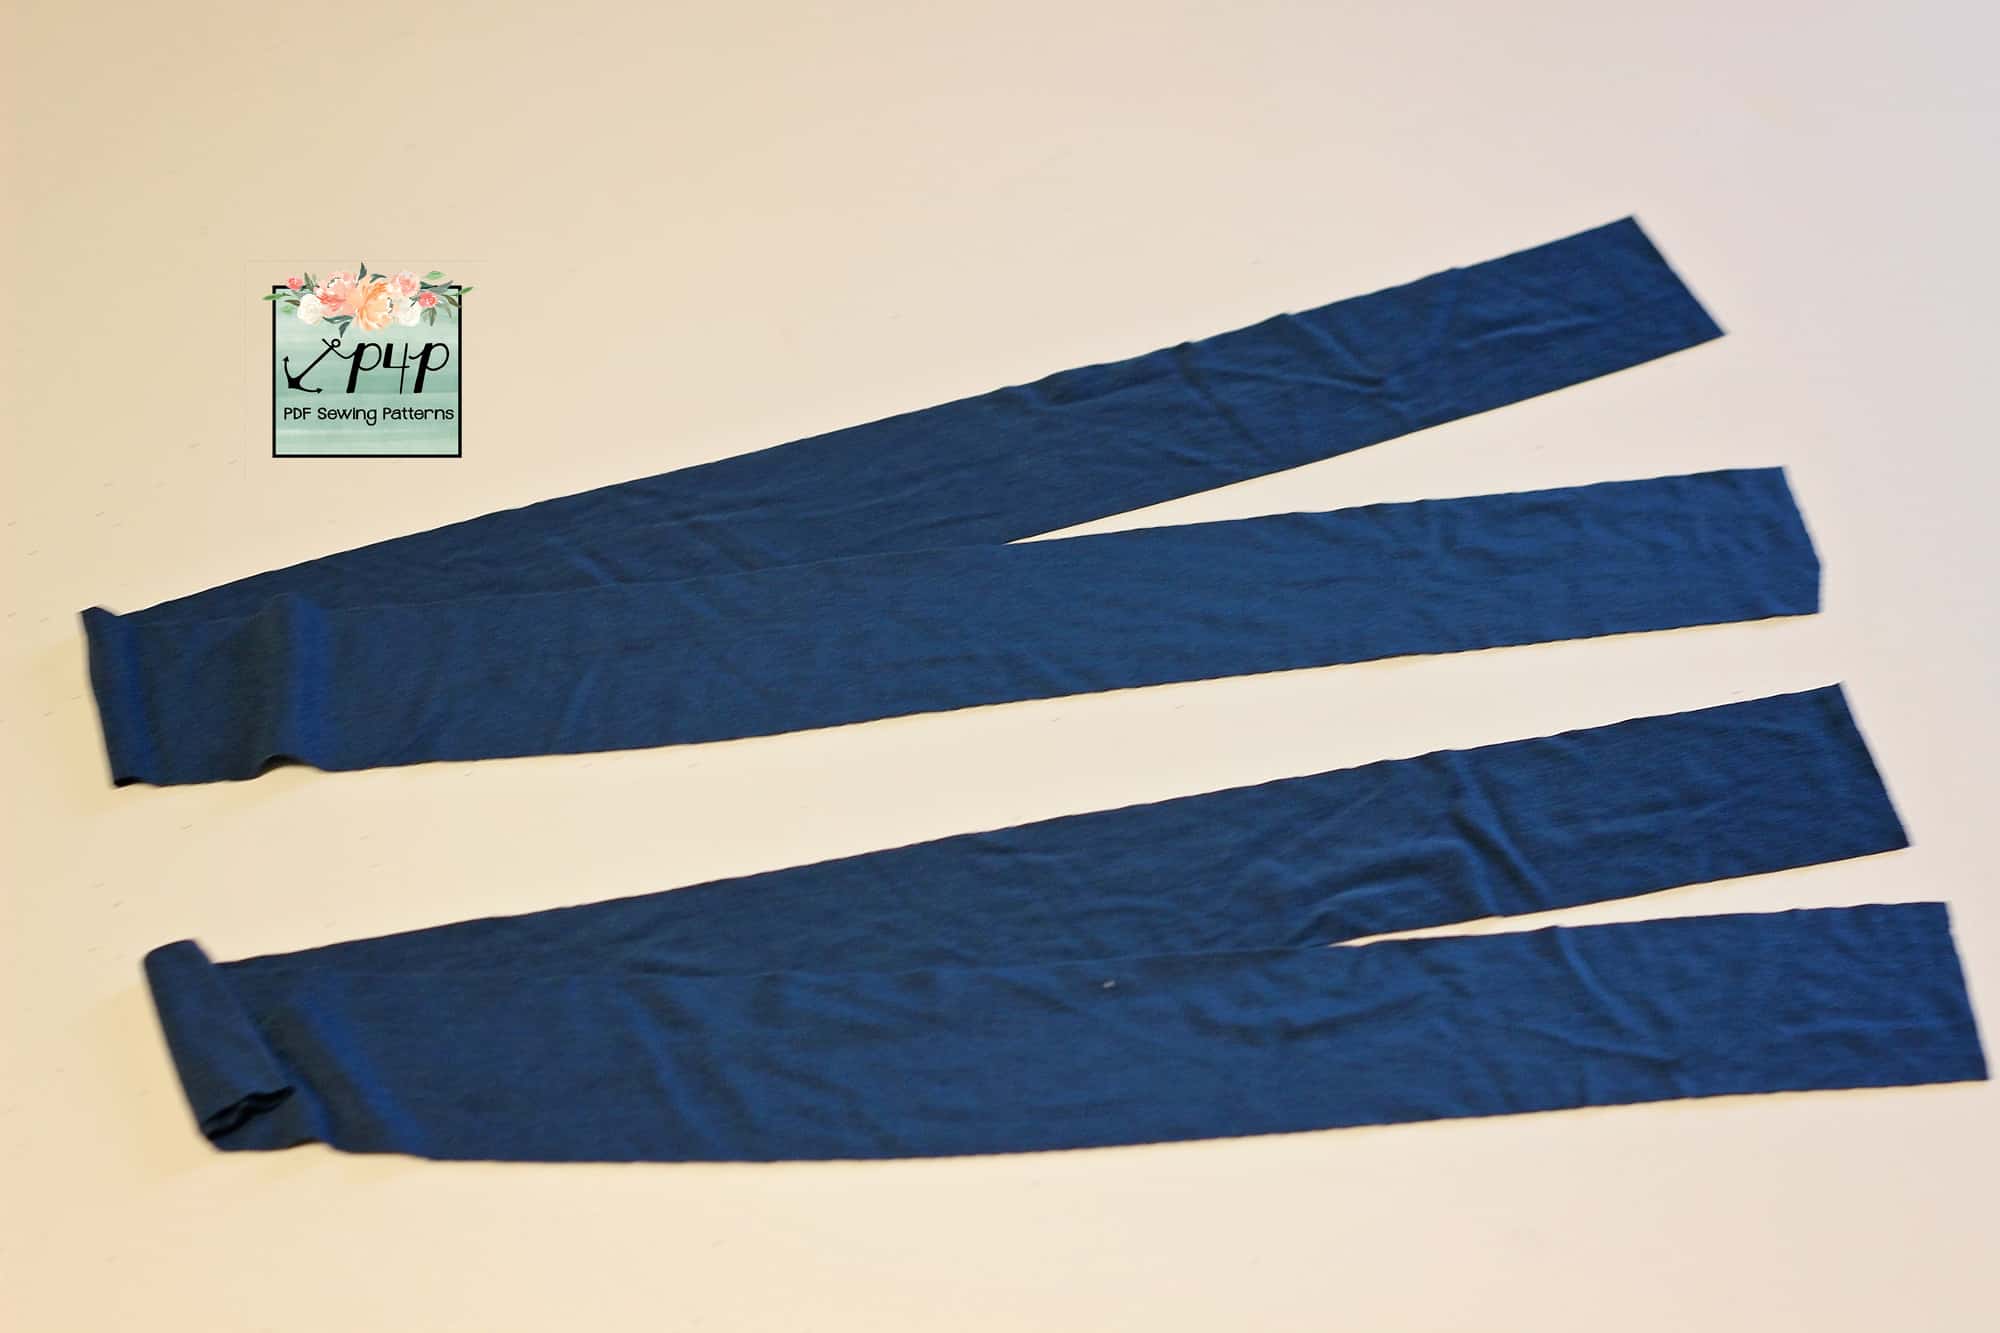
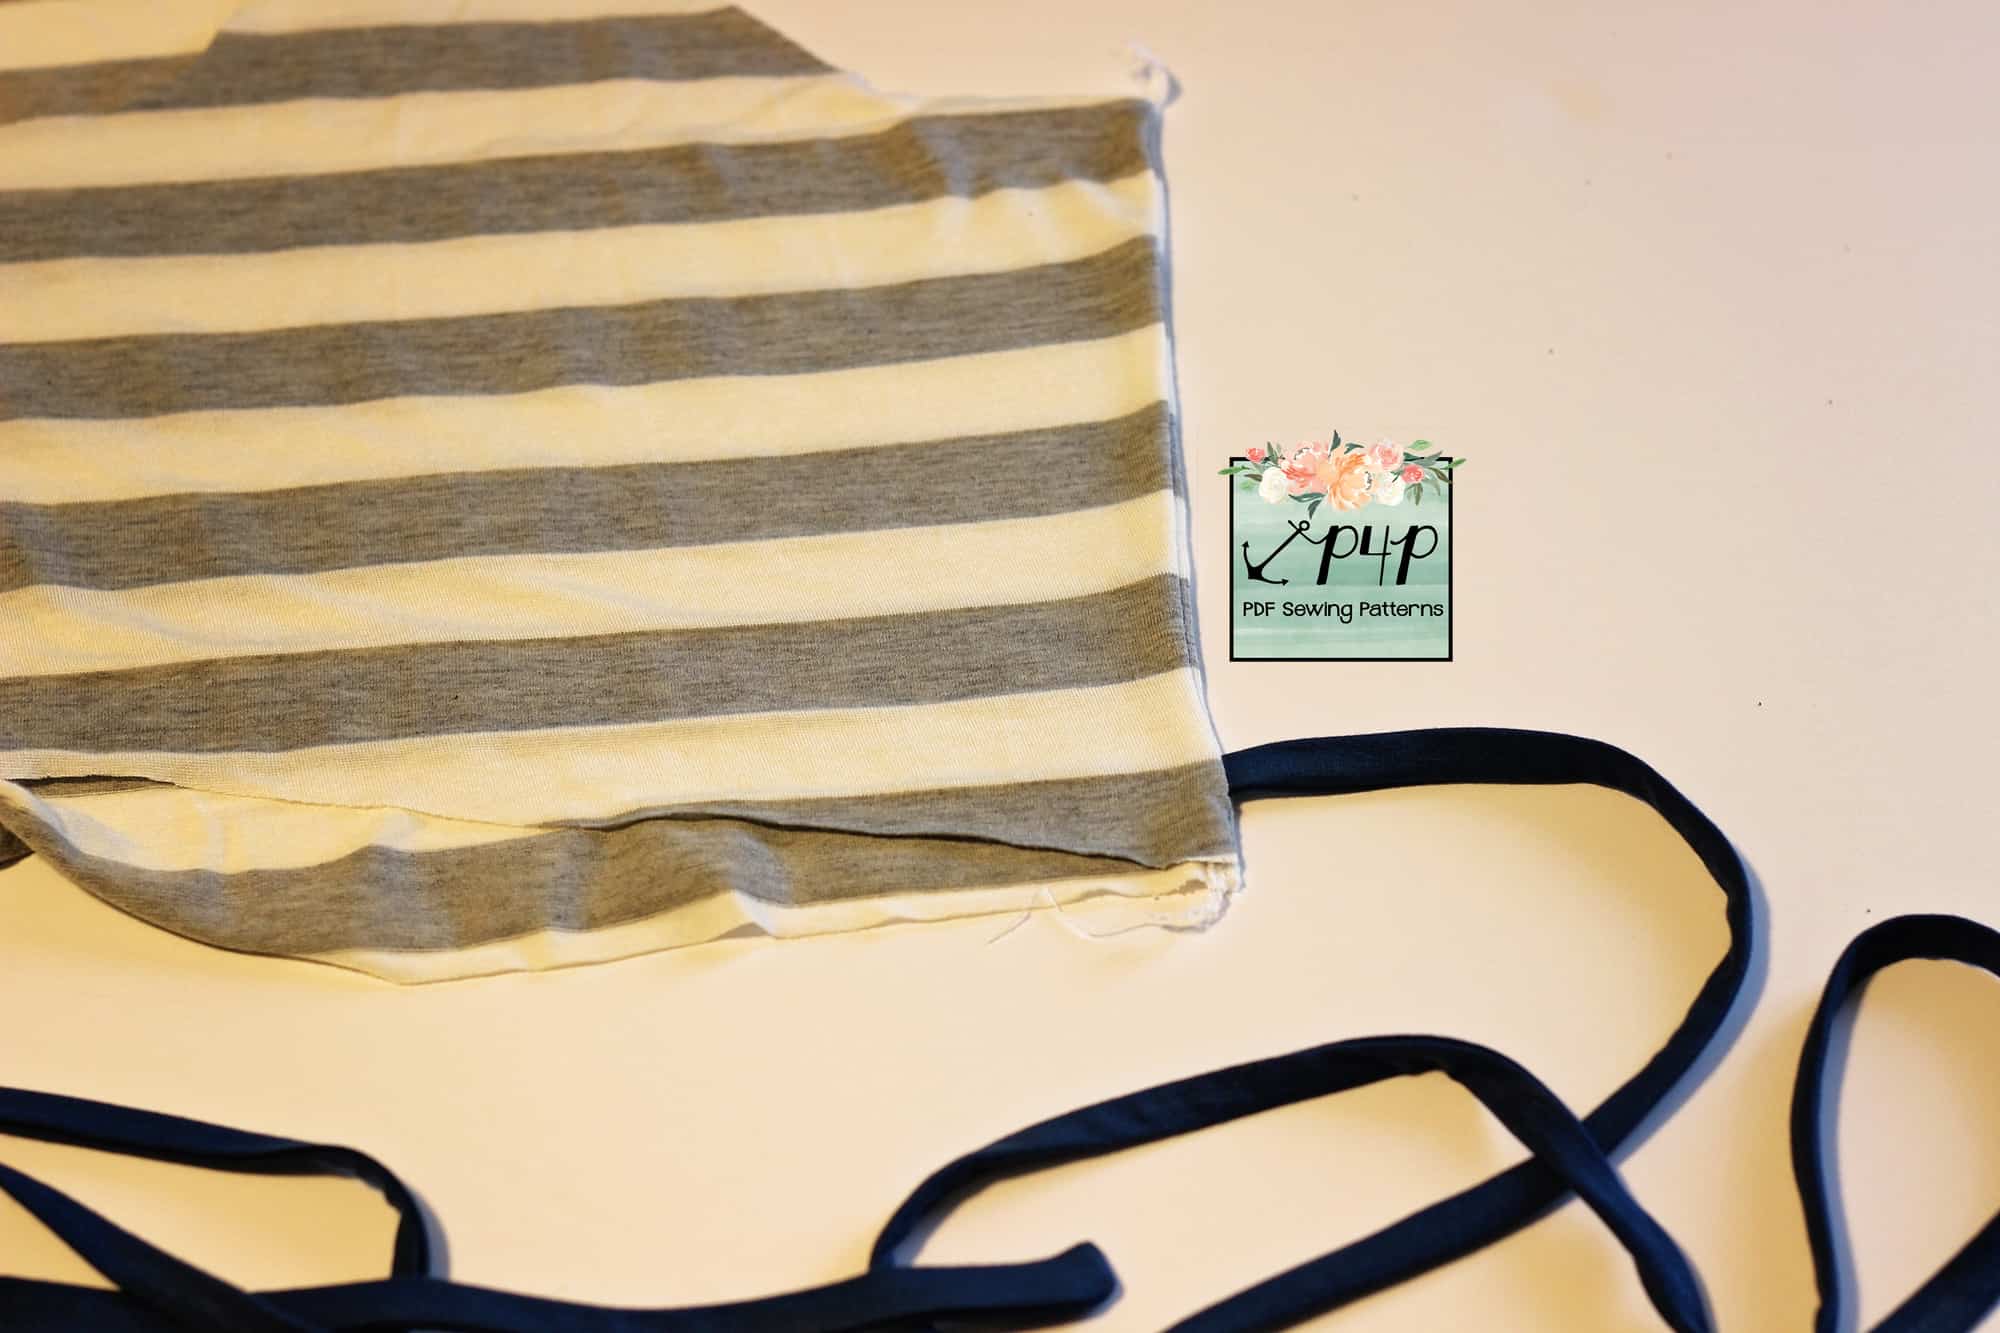
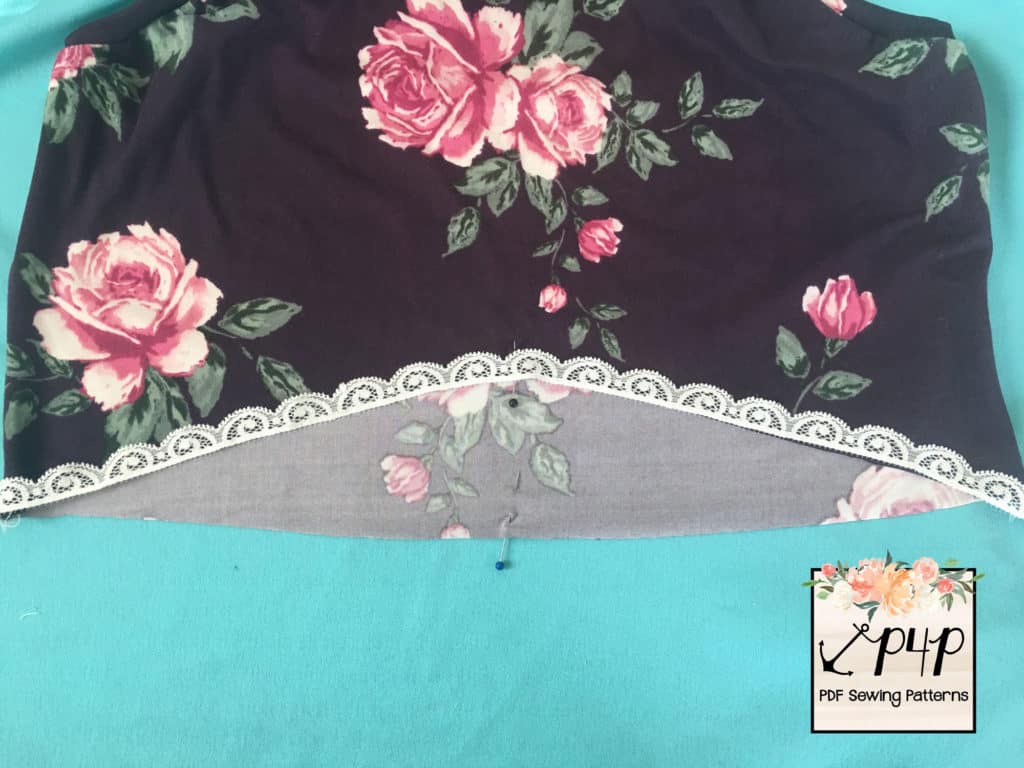
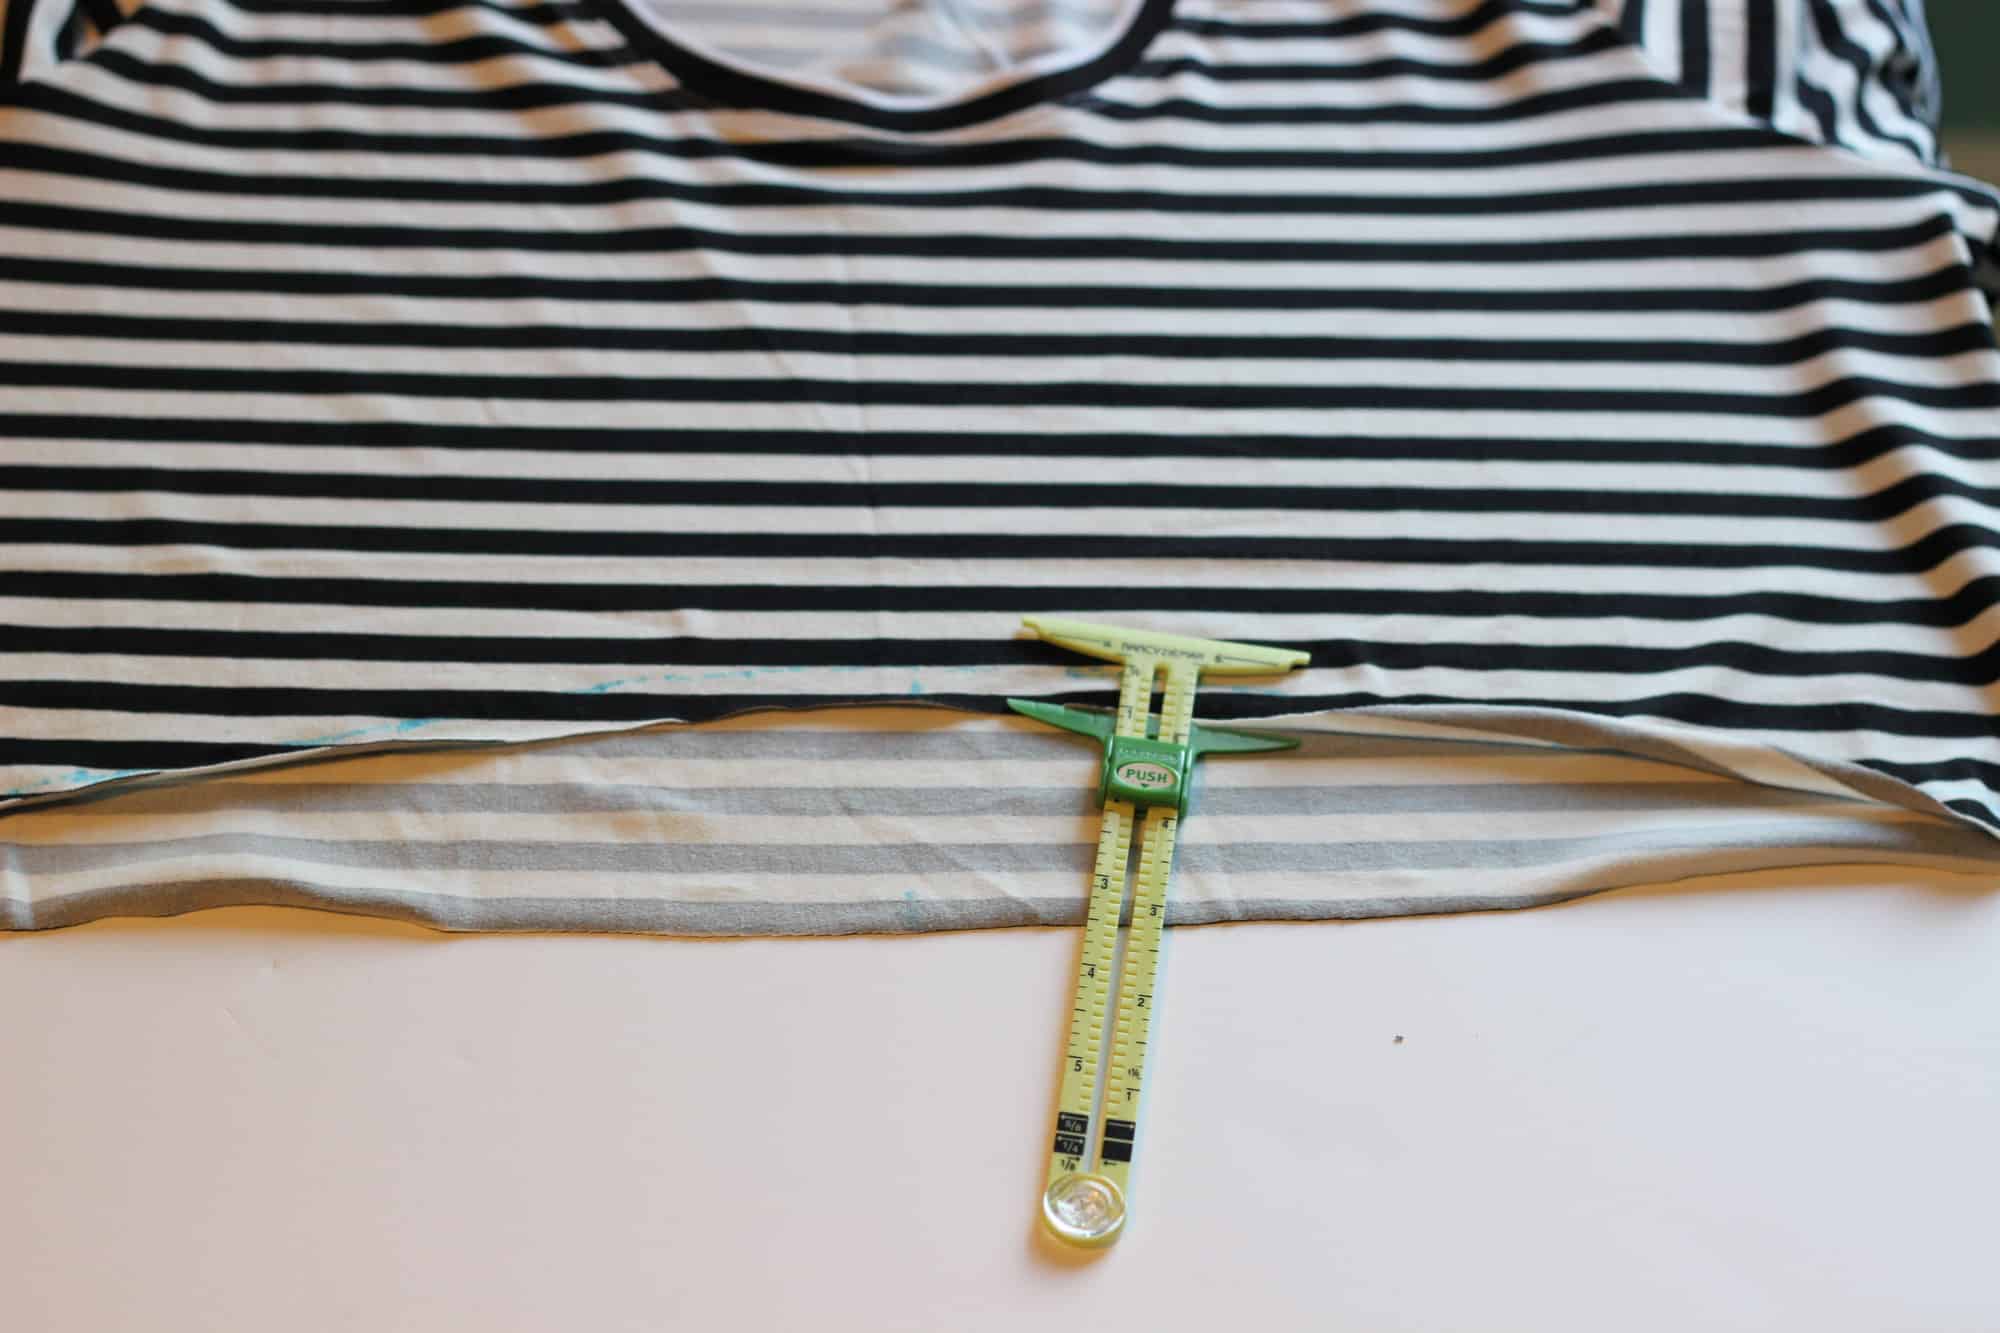
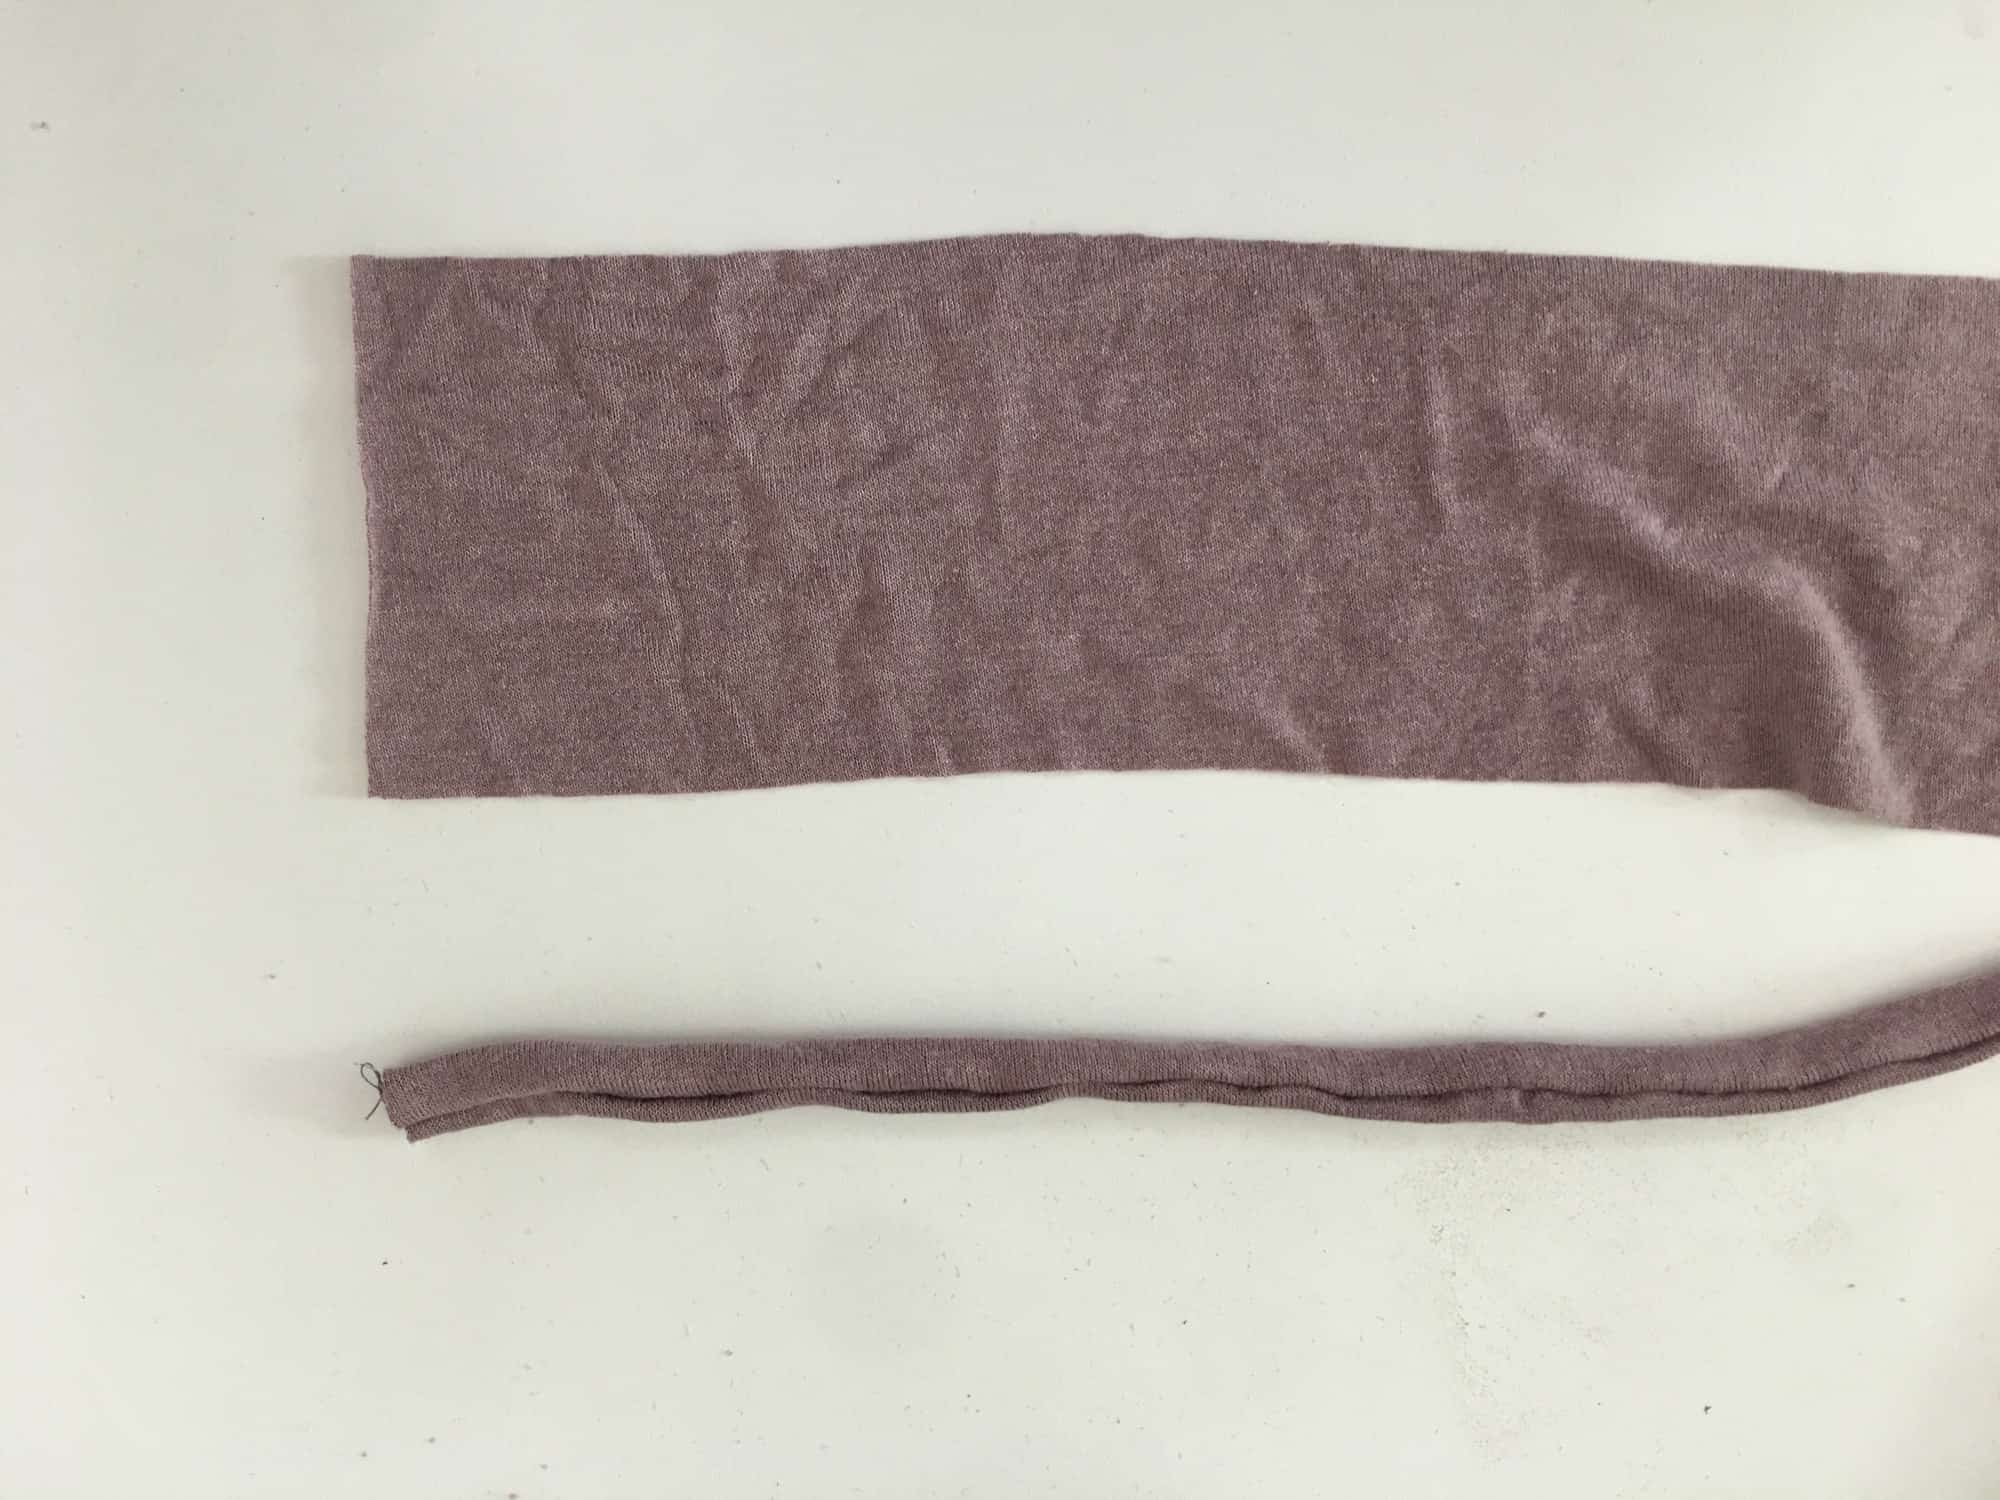
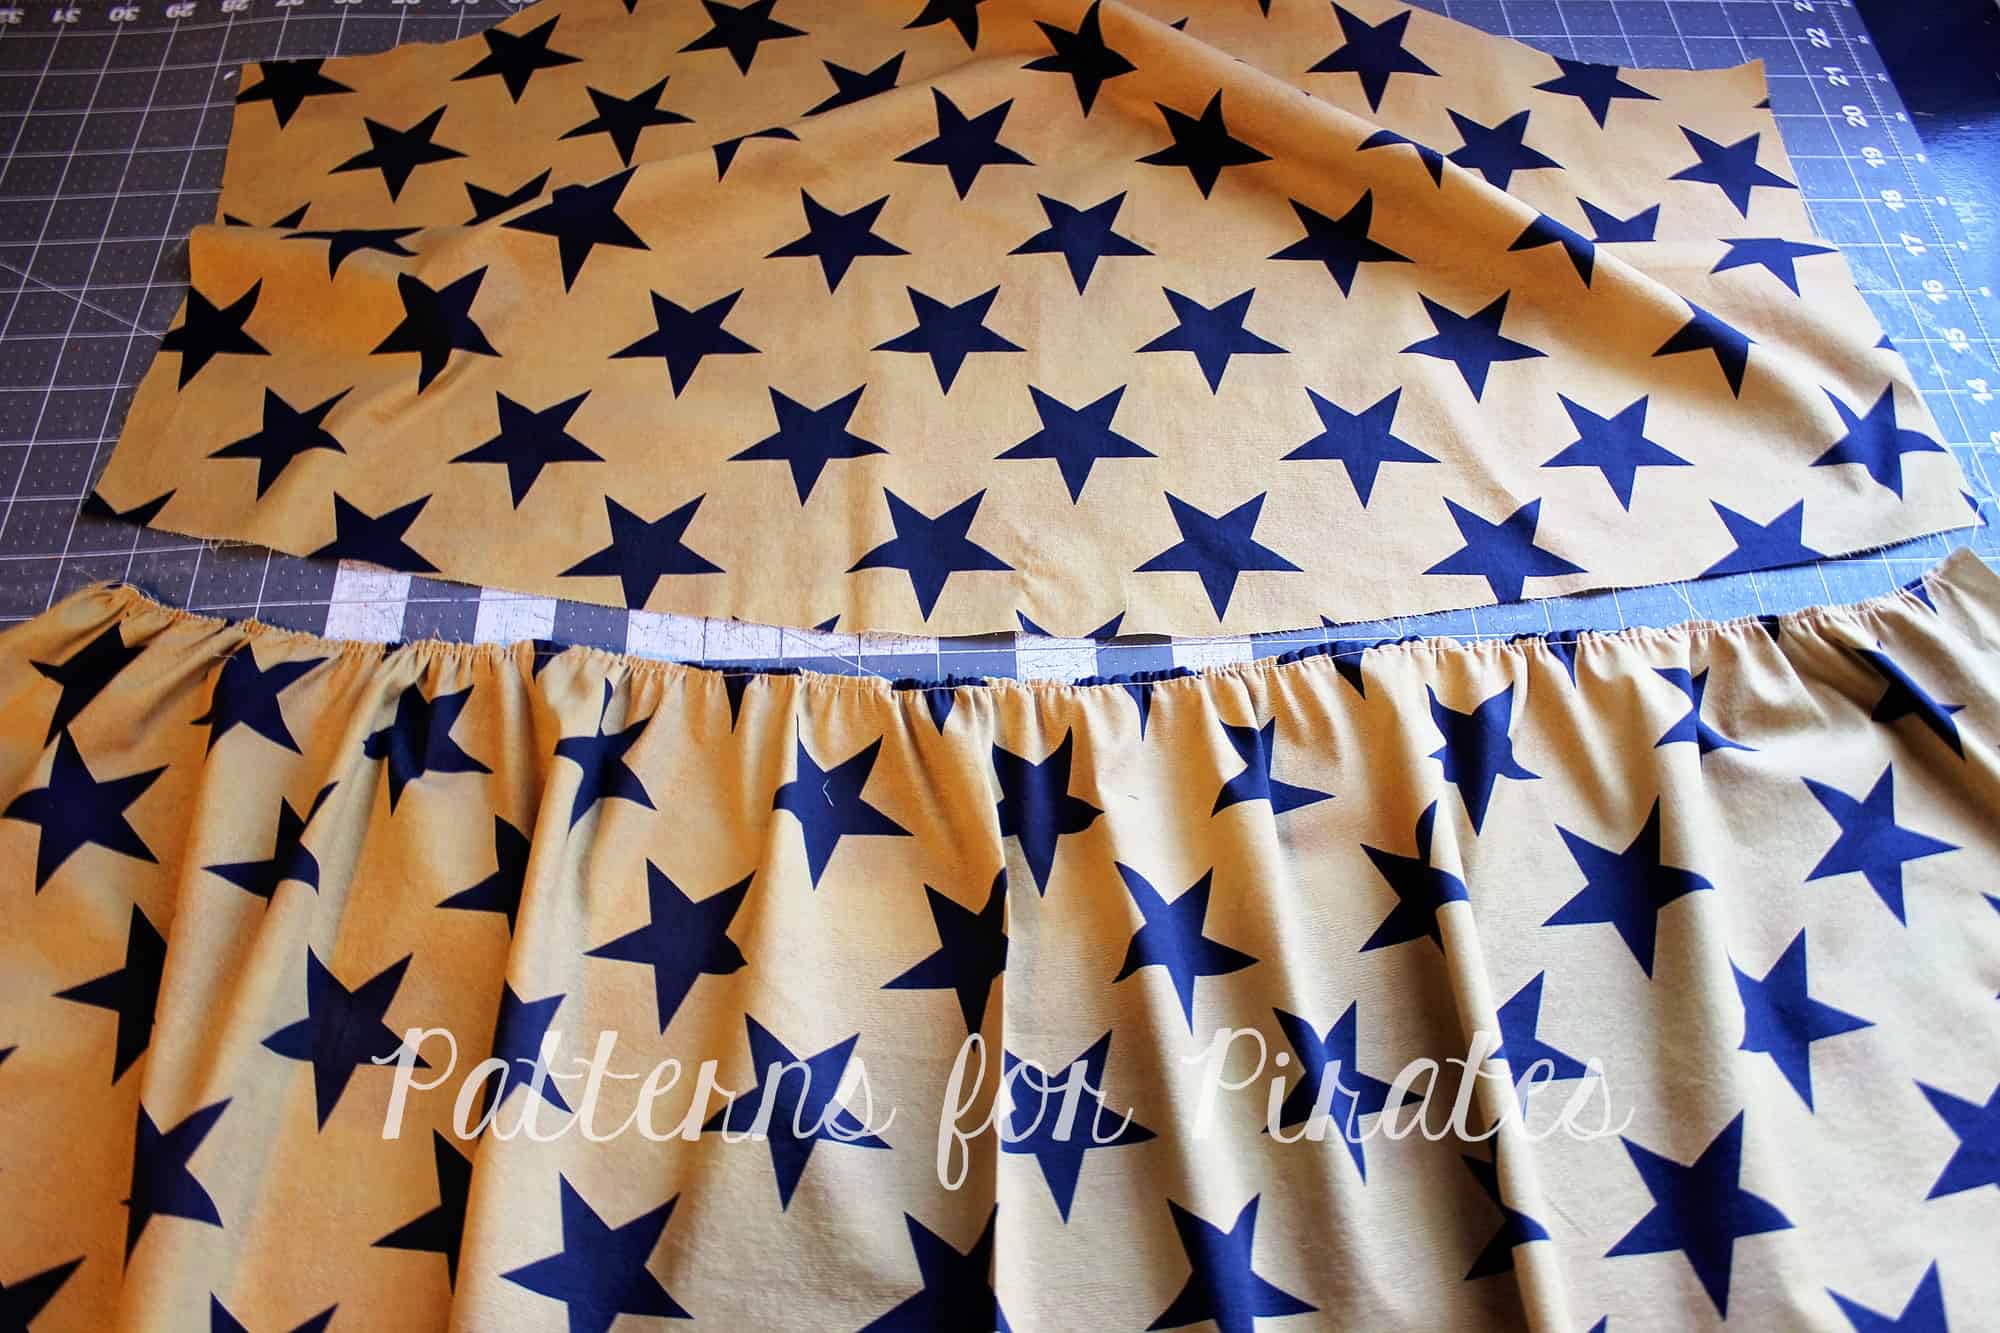
To create this look, you will need to cut out all of your pieces needed for the cropped version, as well as a band (discussed later). Once you’ve cut out your pieces, you will want to trim 1″ off of both the front and back pieces (everything else will remain the same).

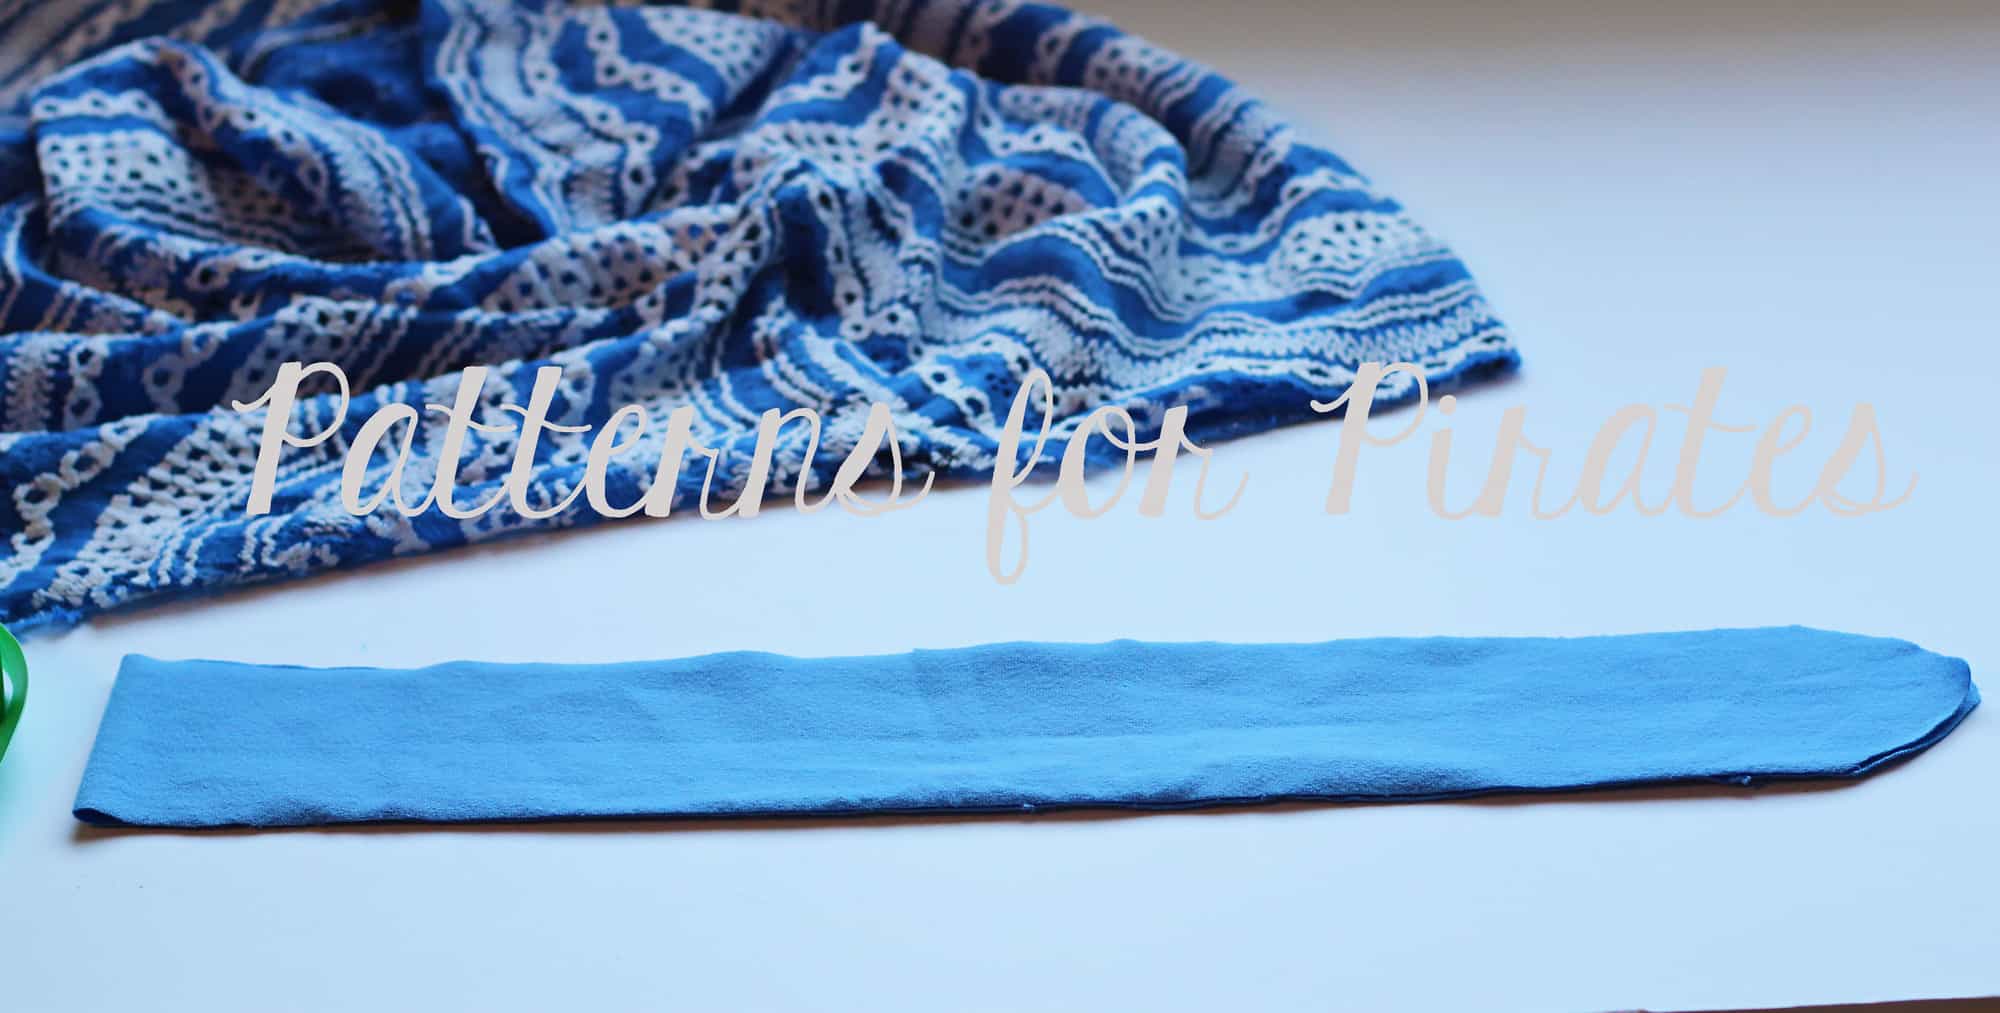
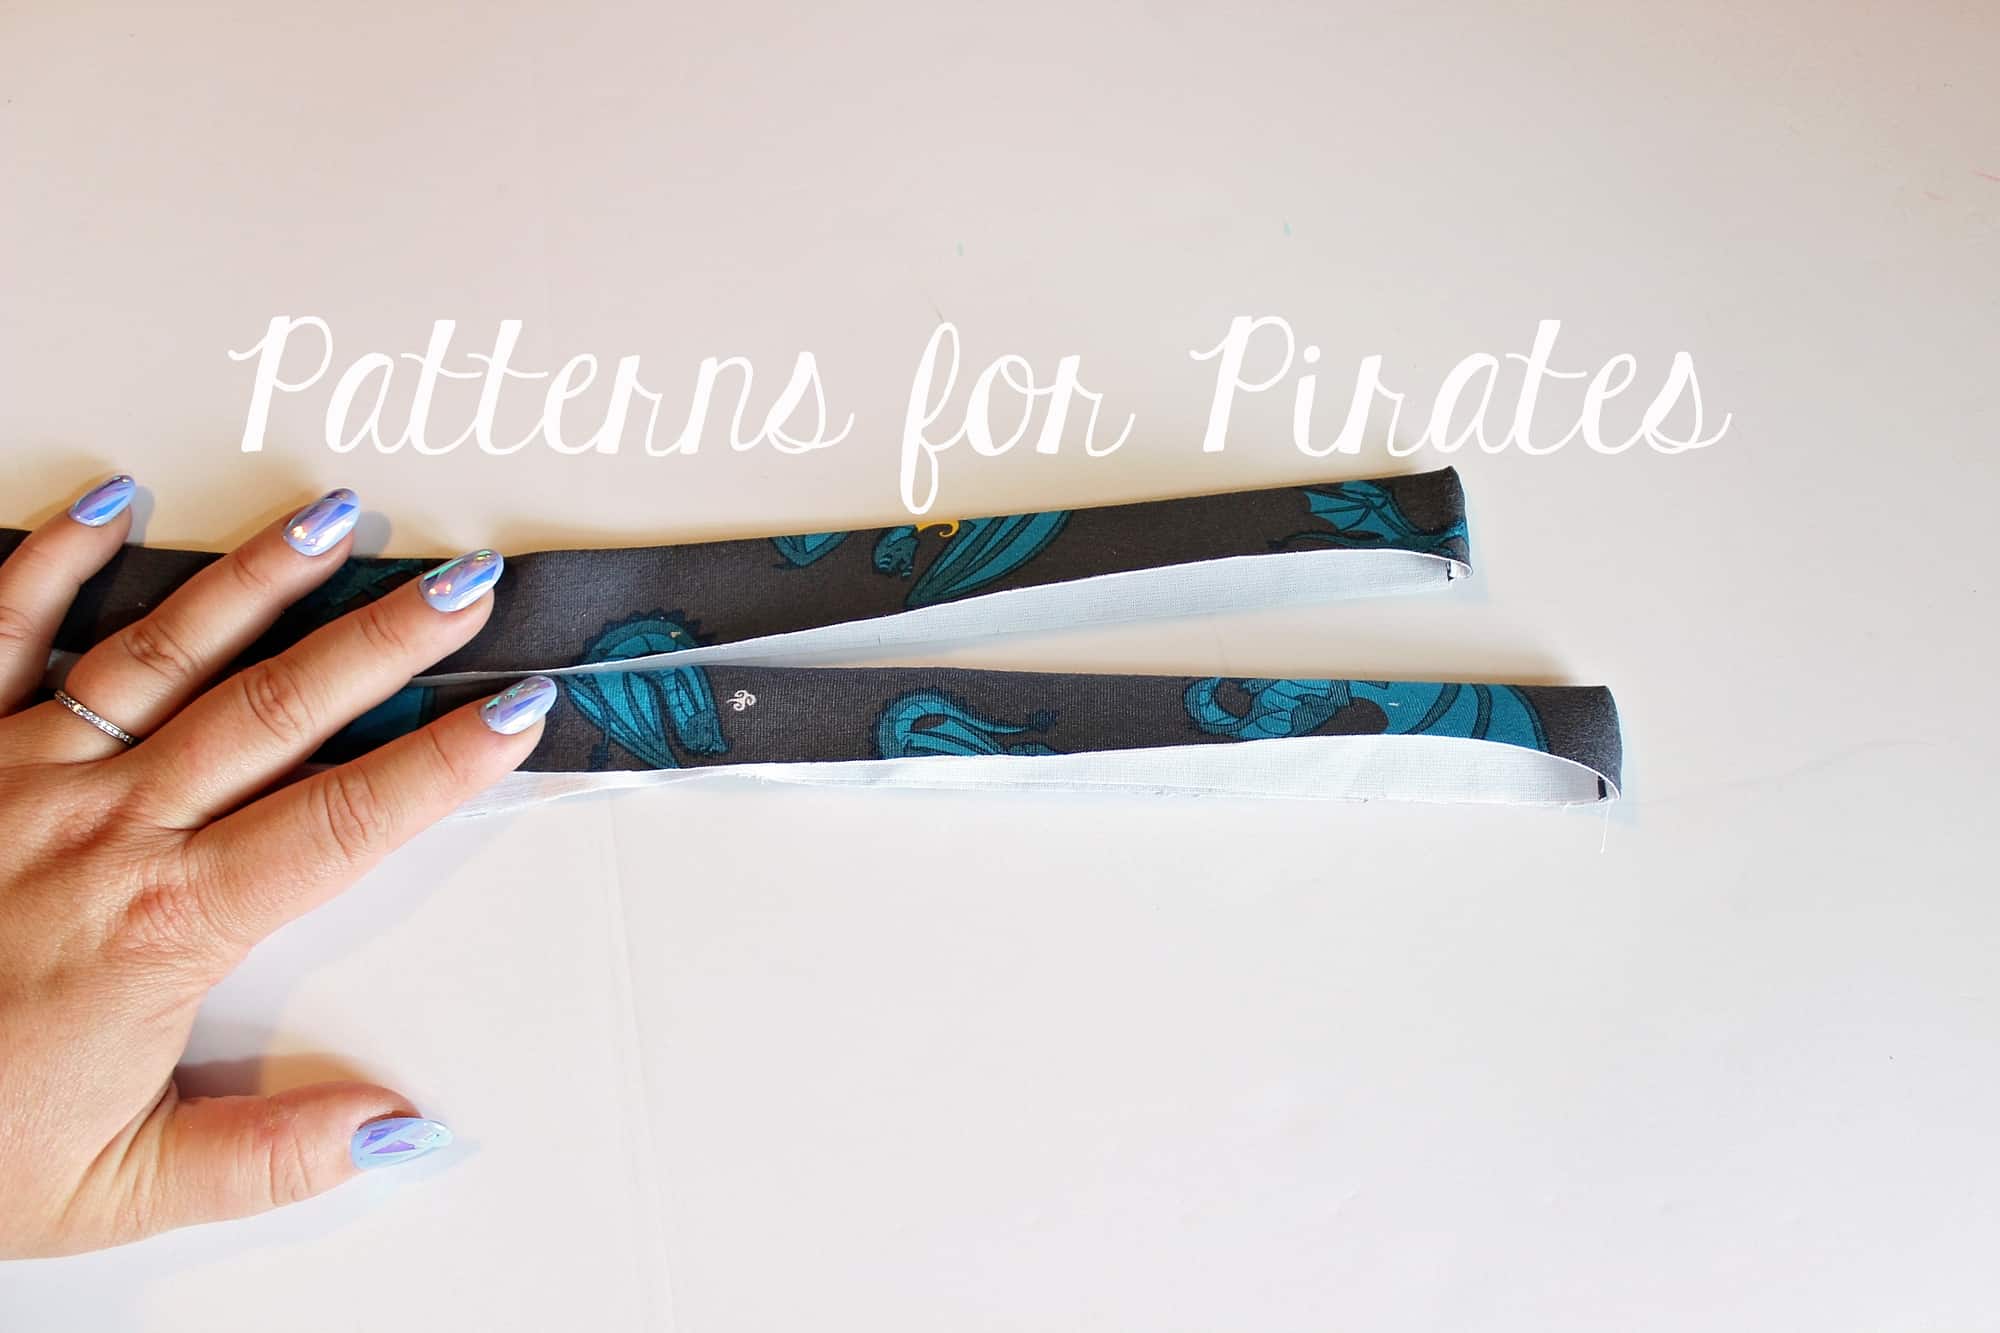
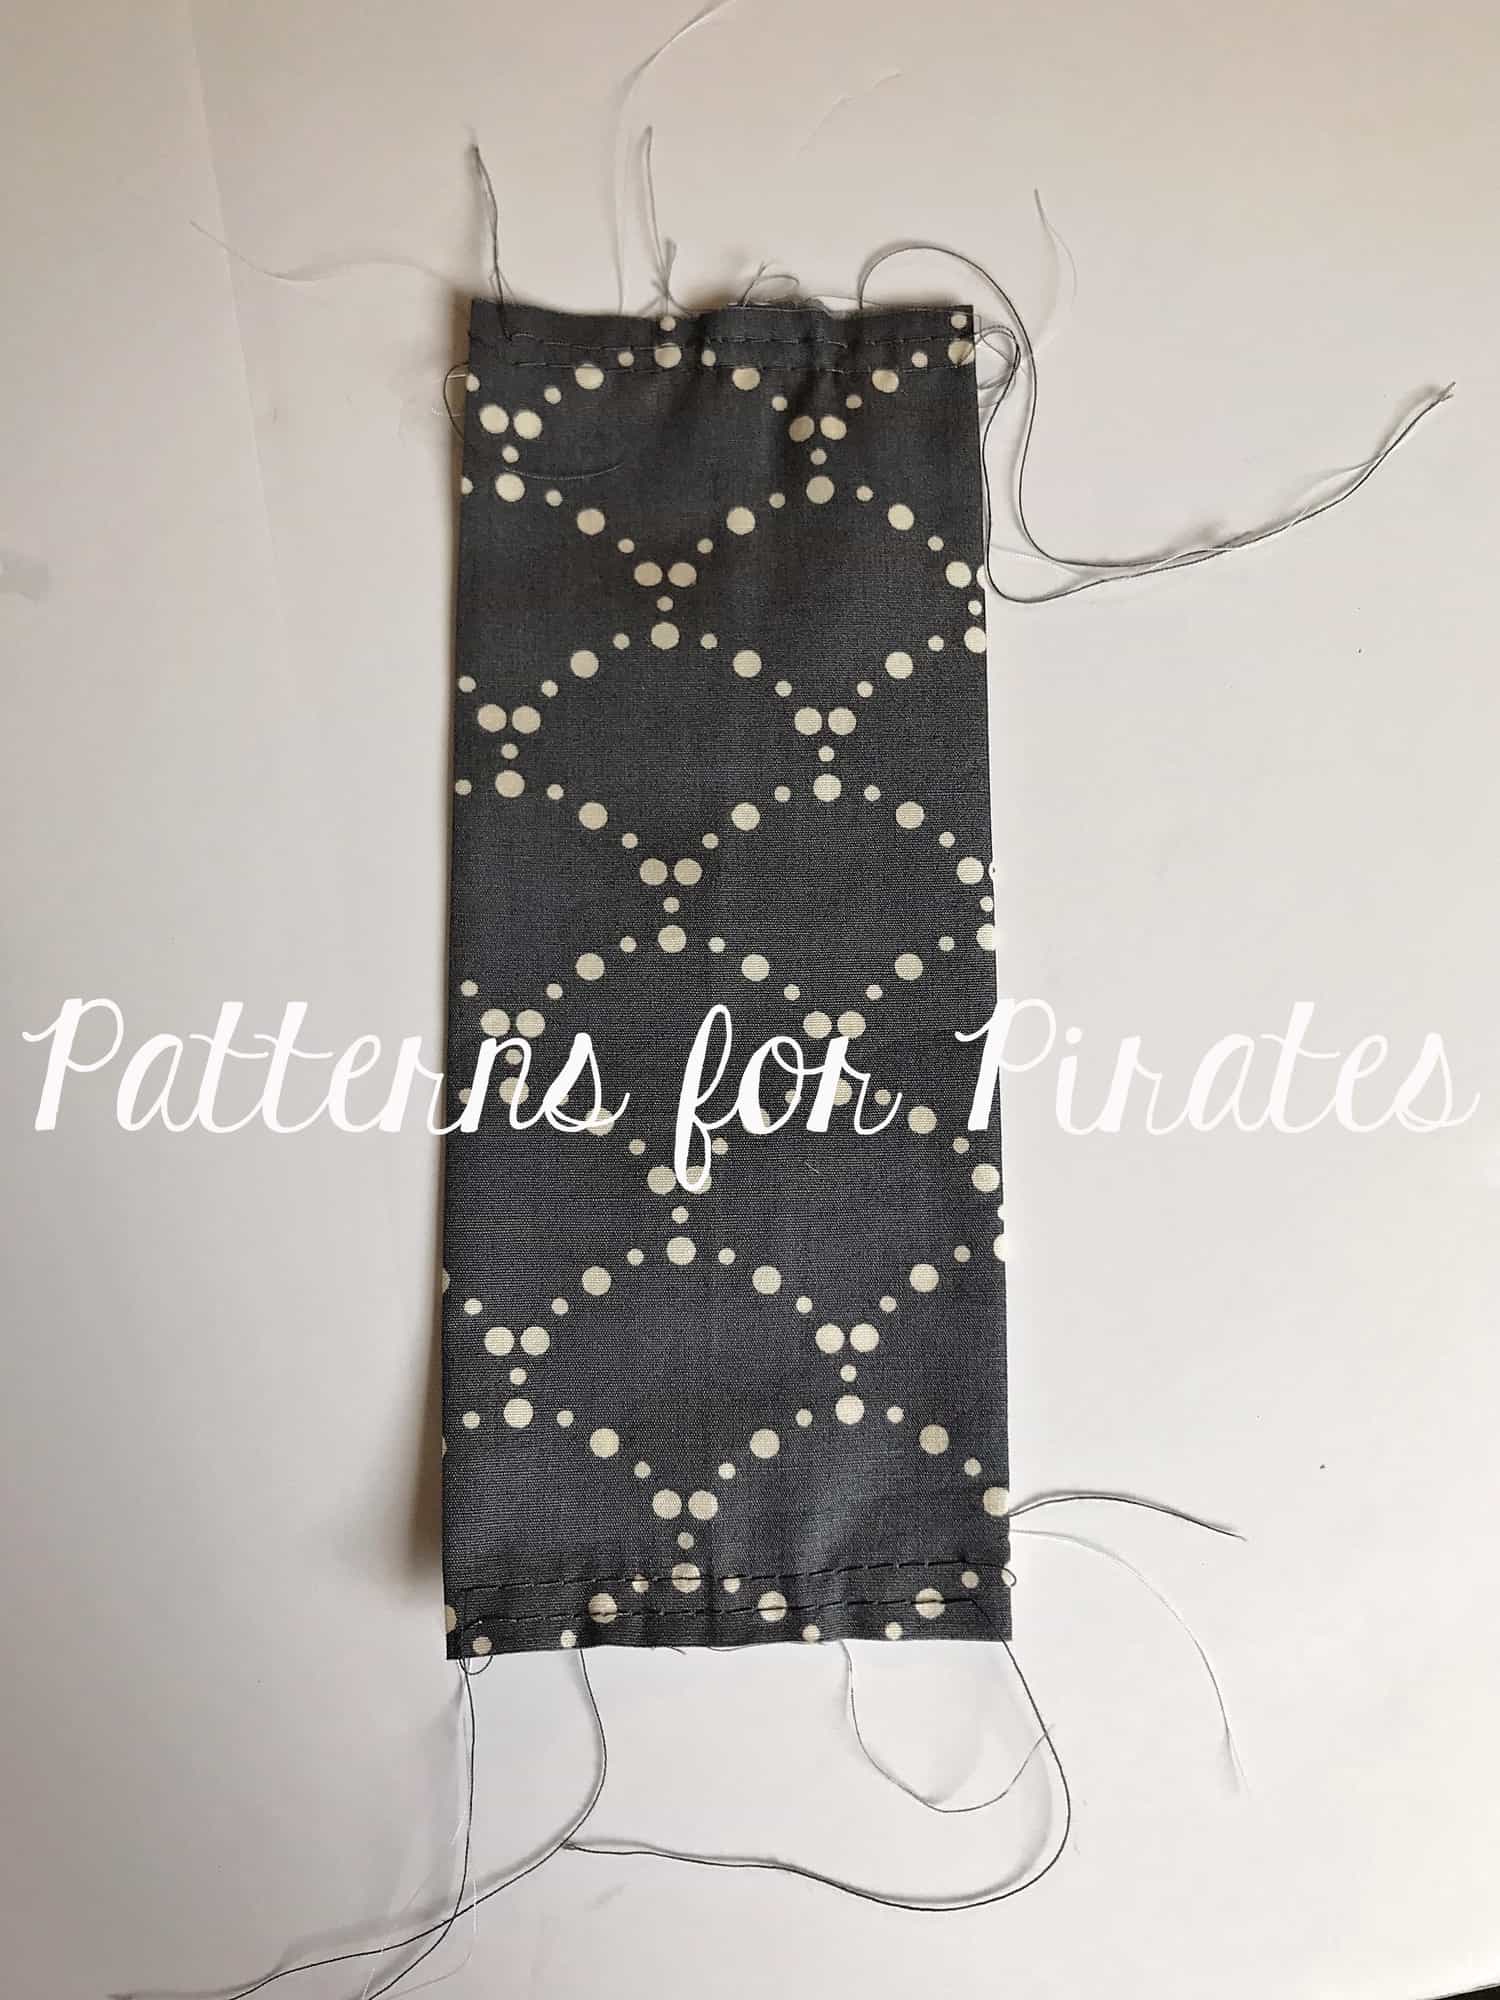
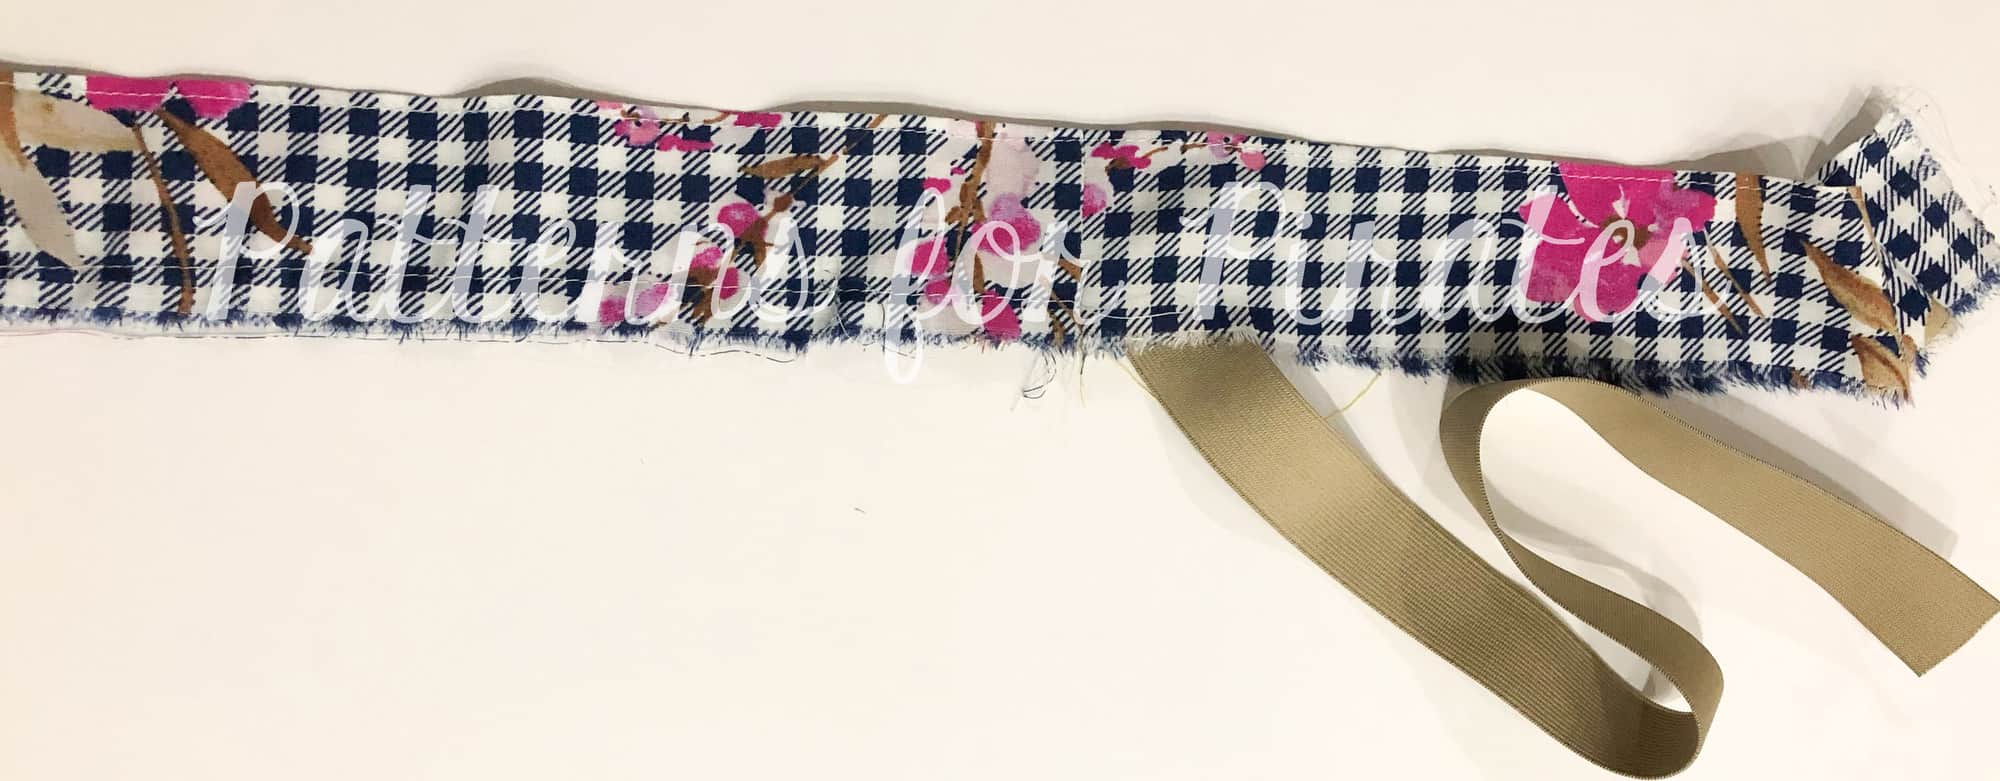
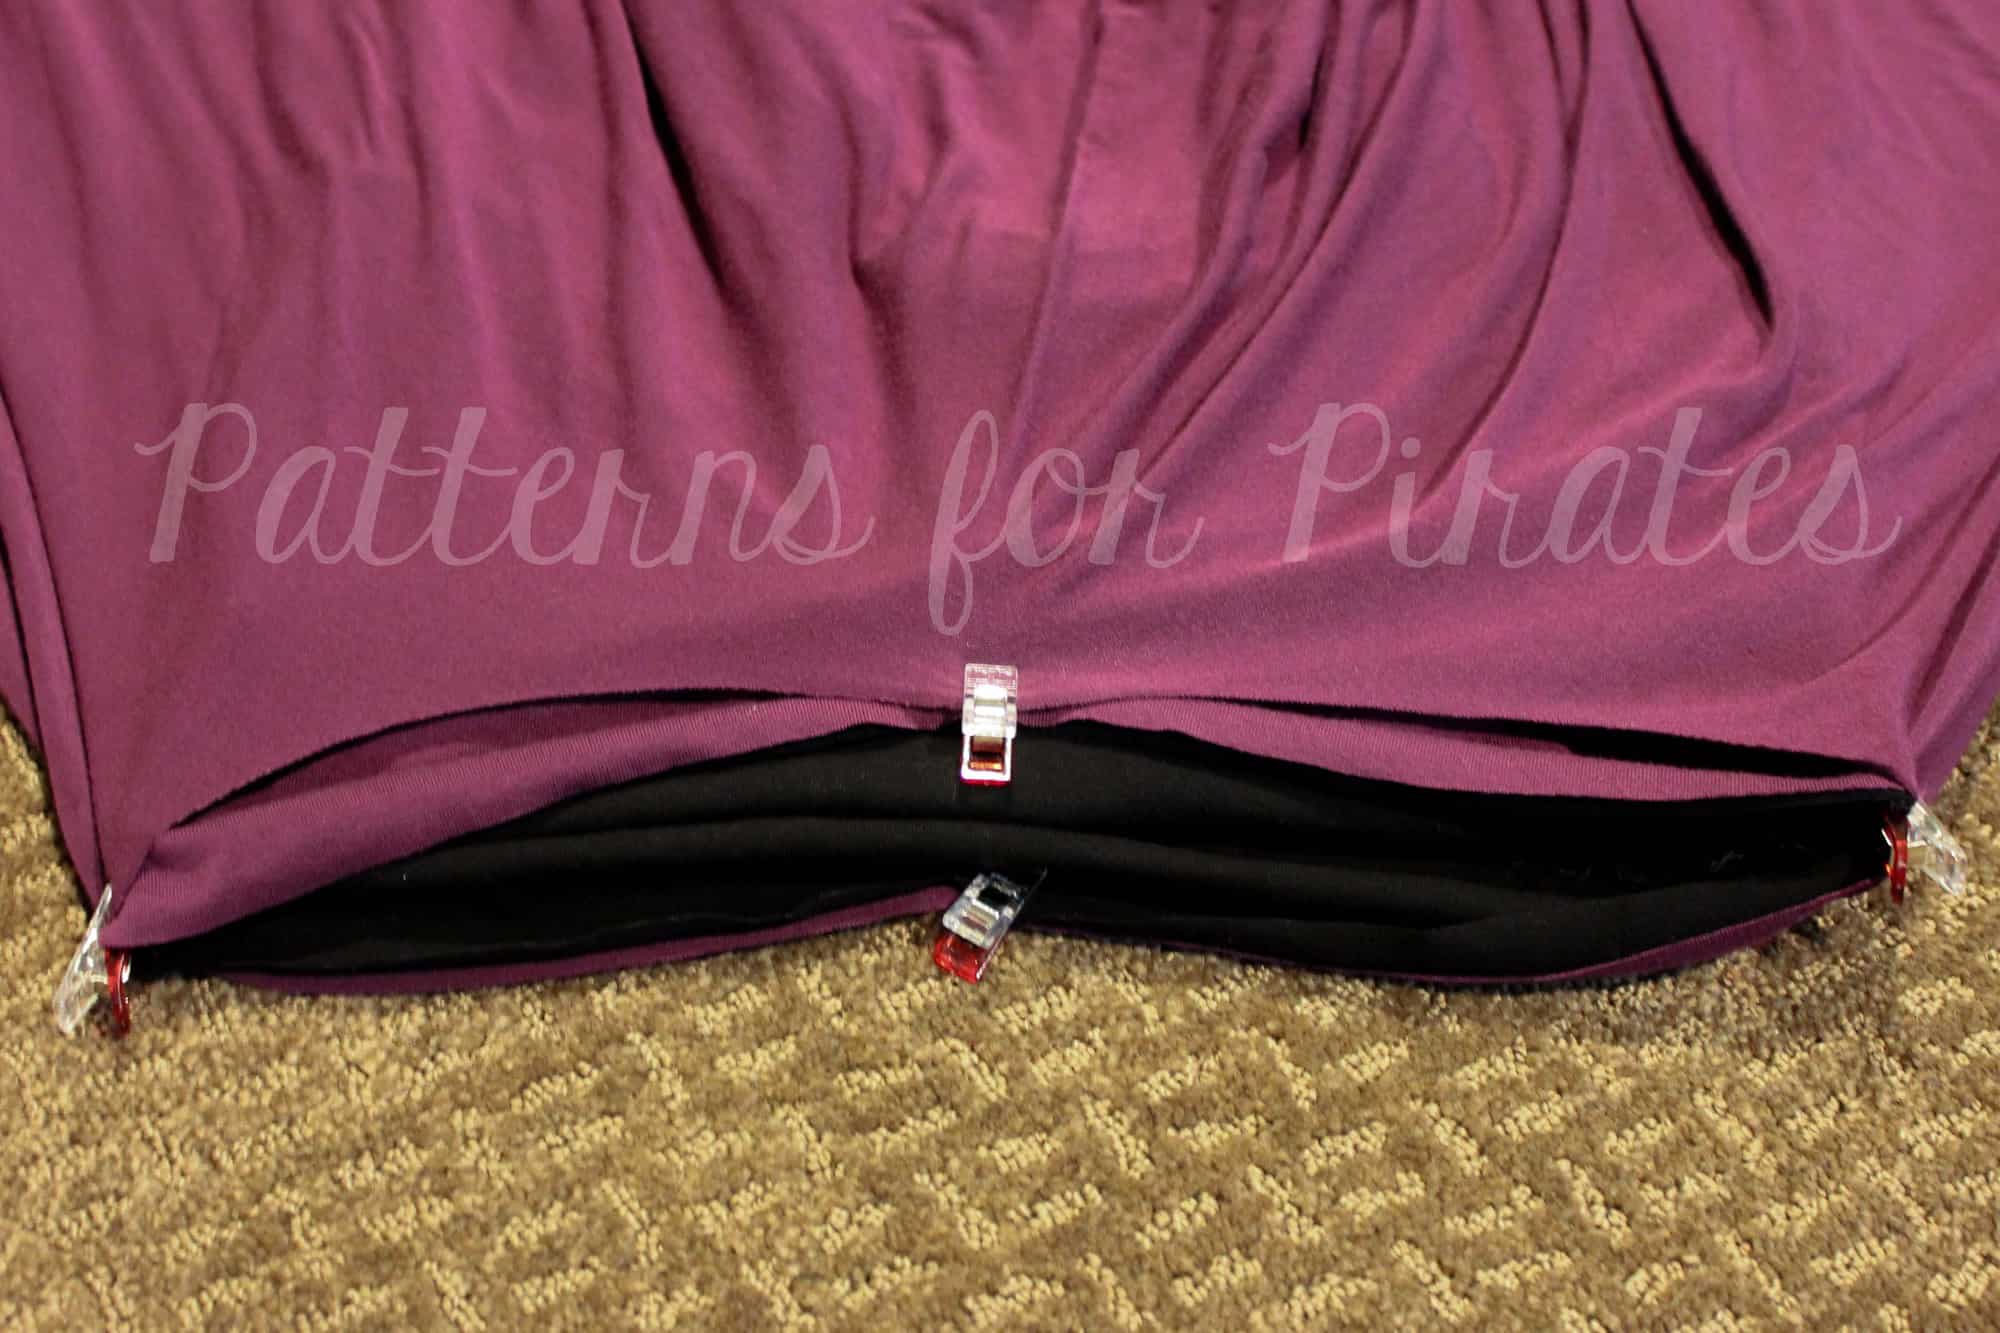
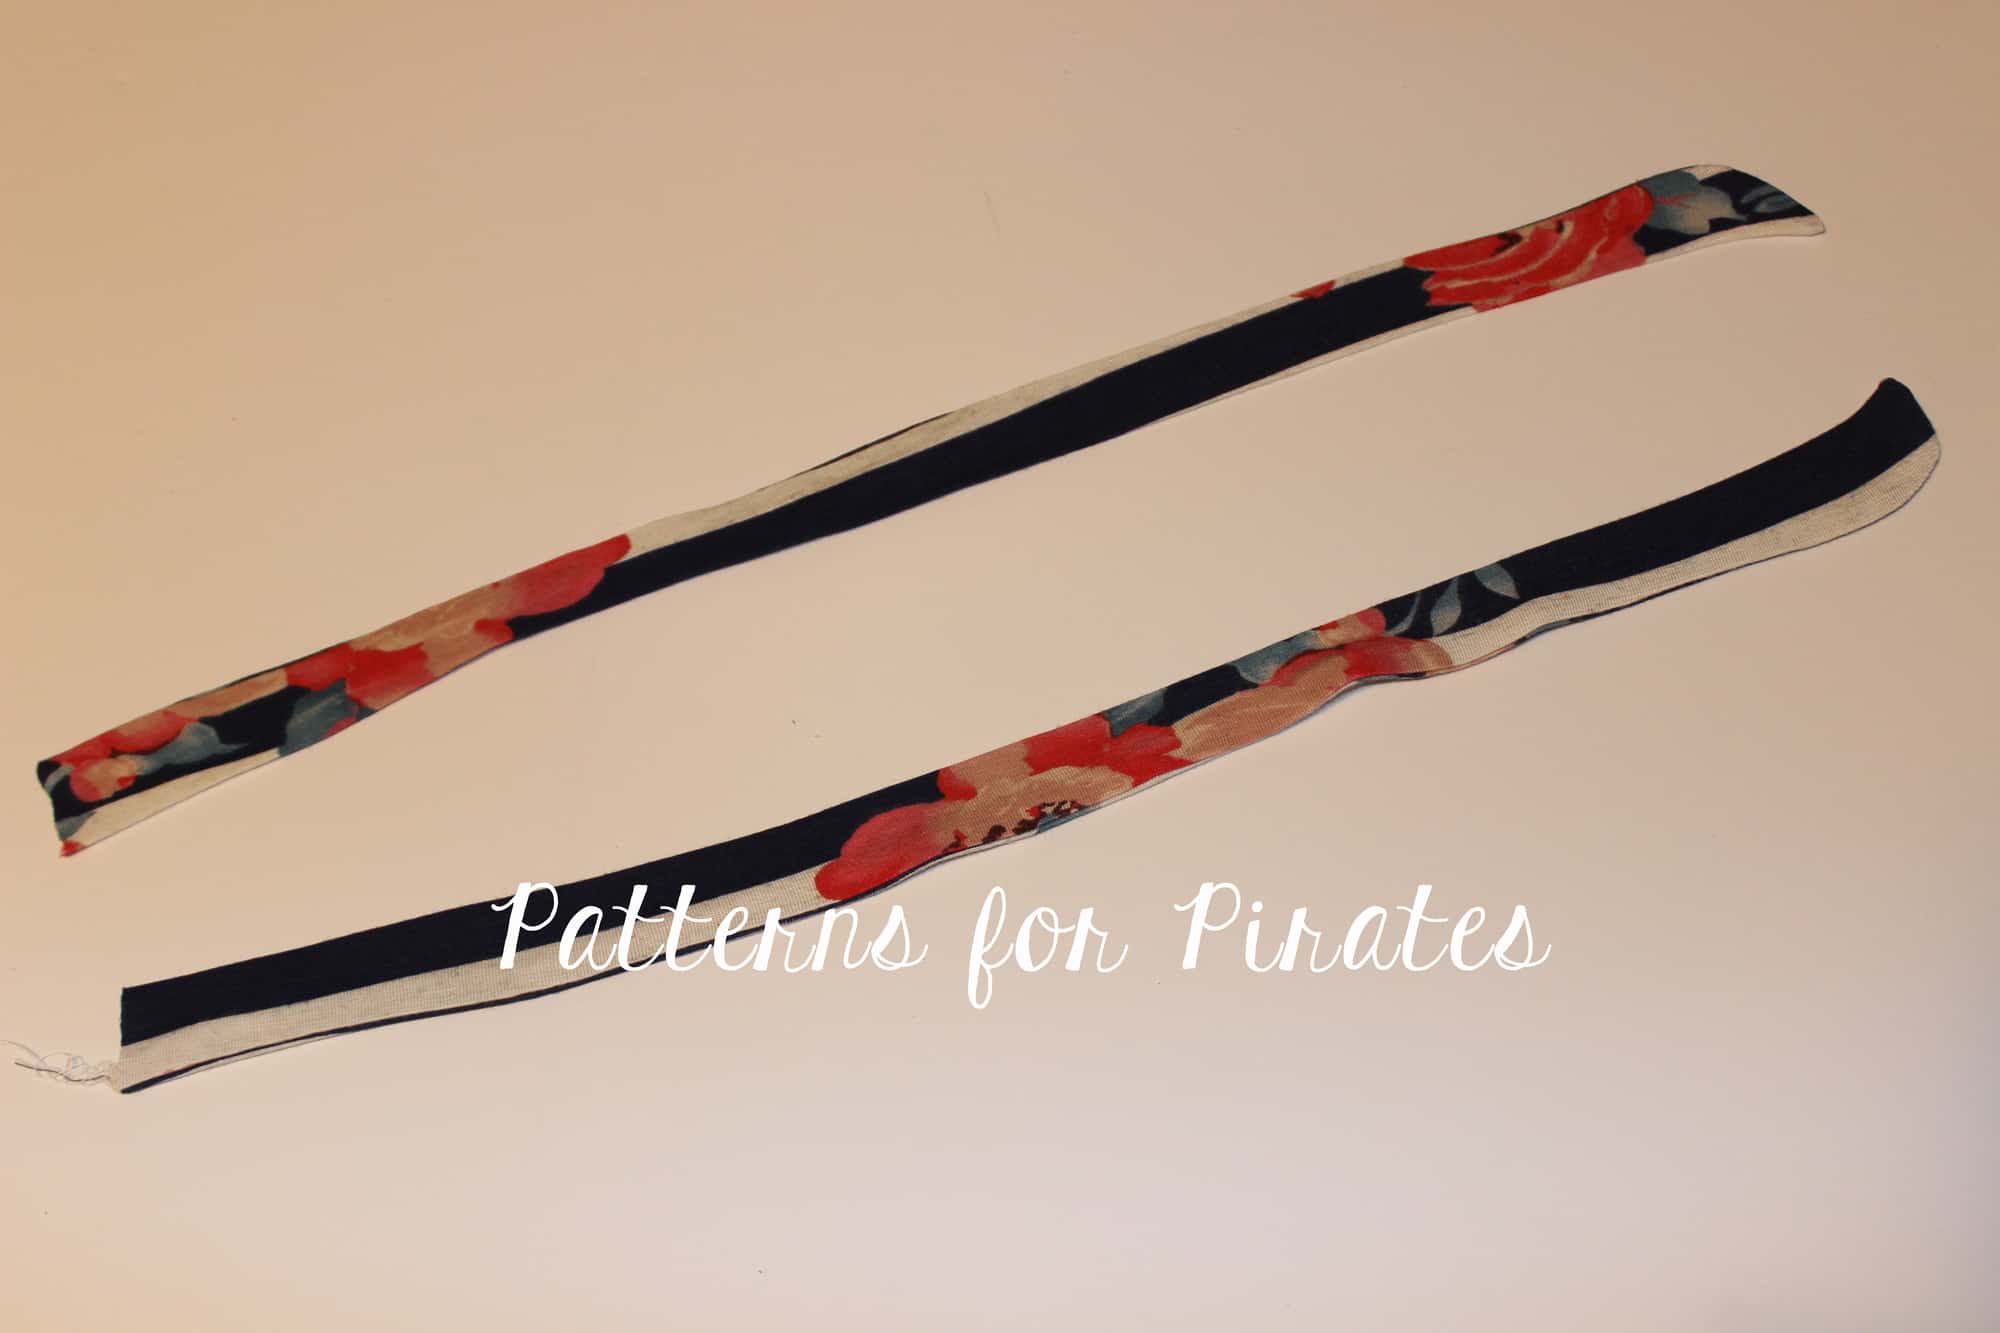
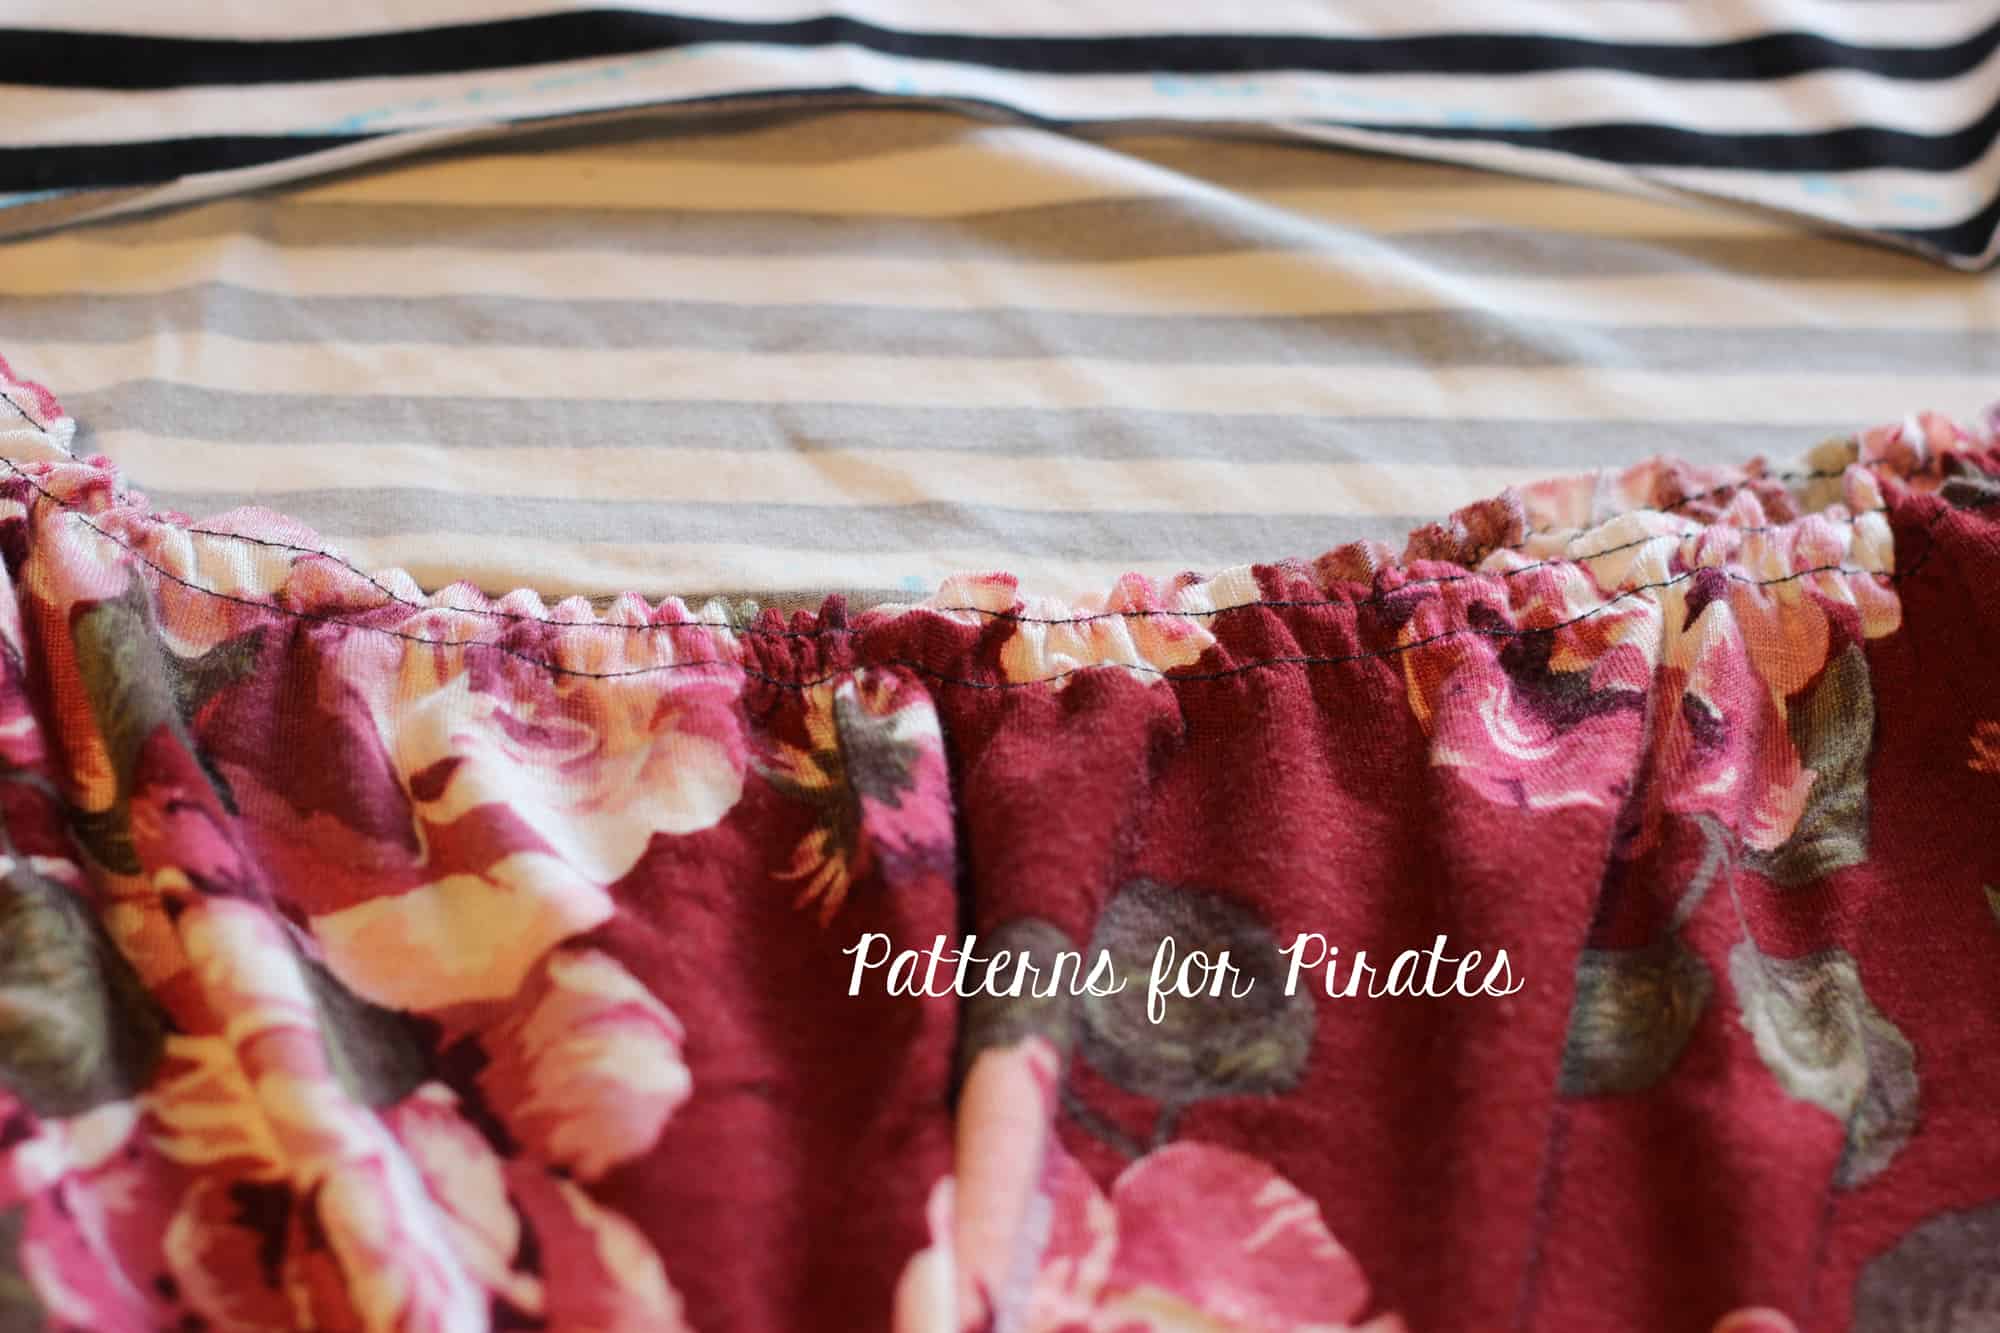
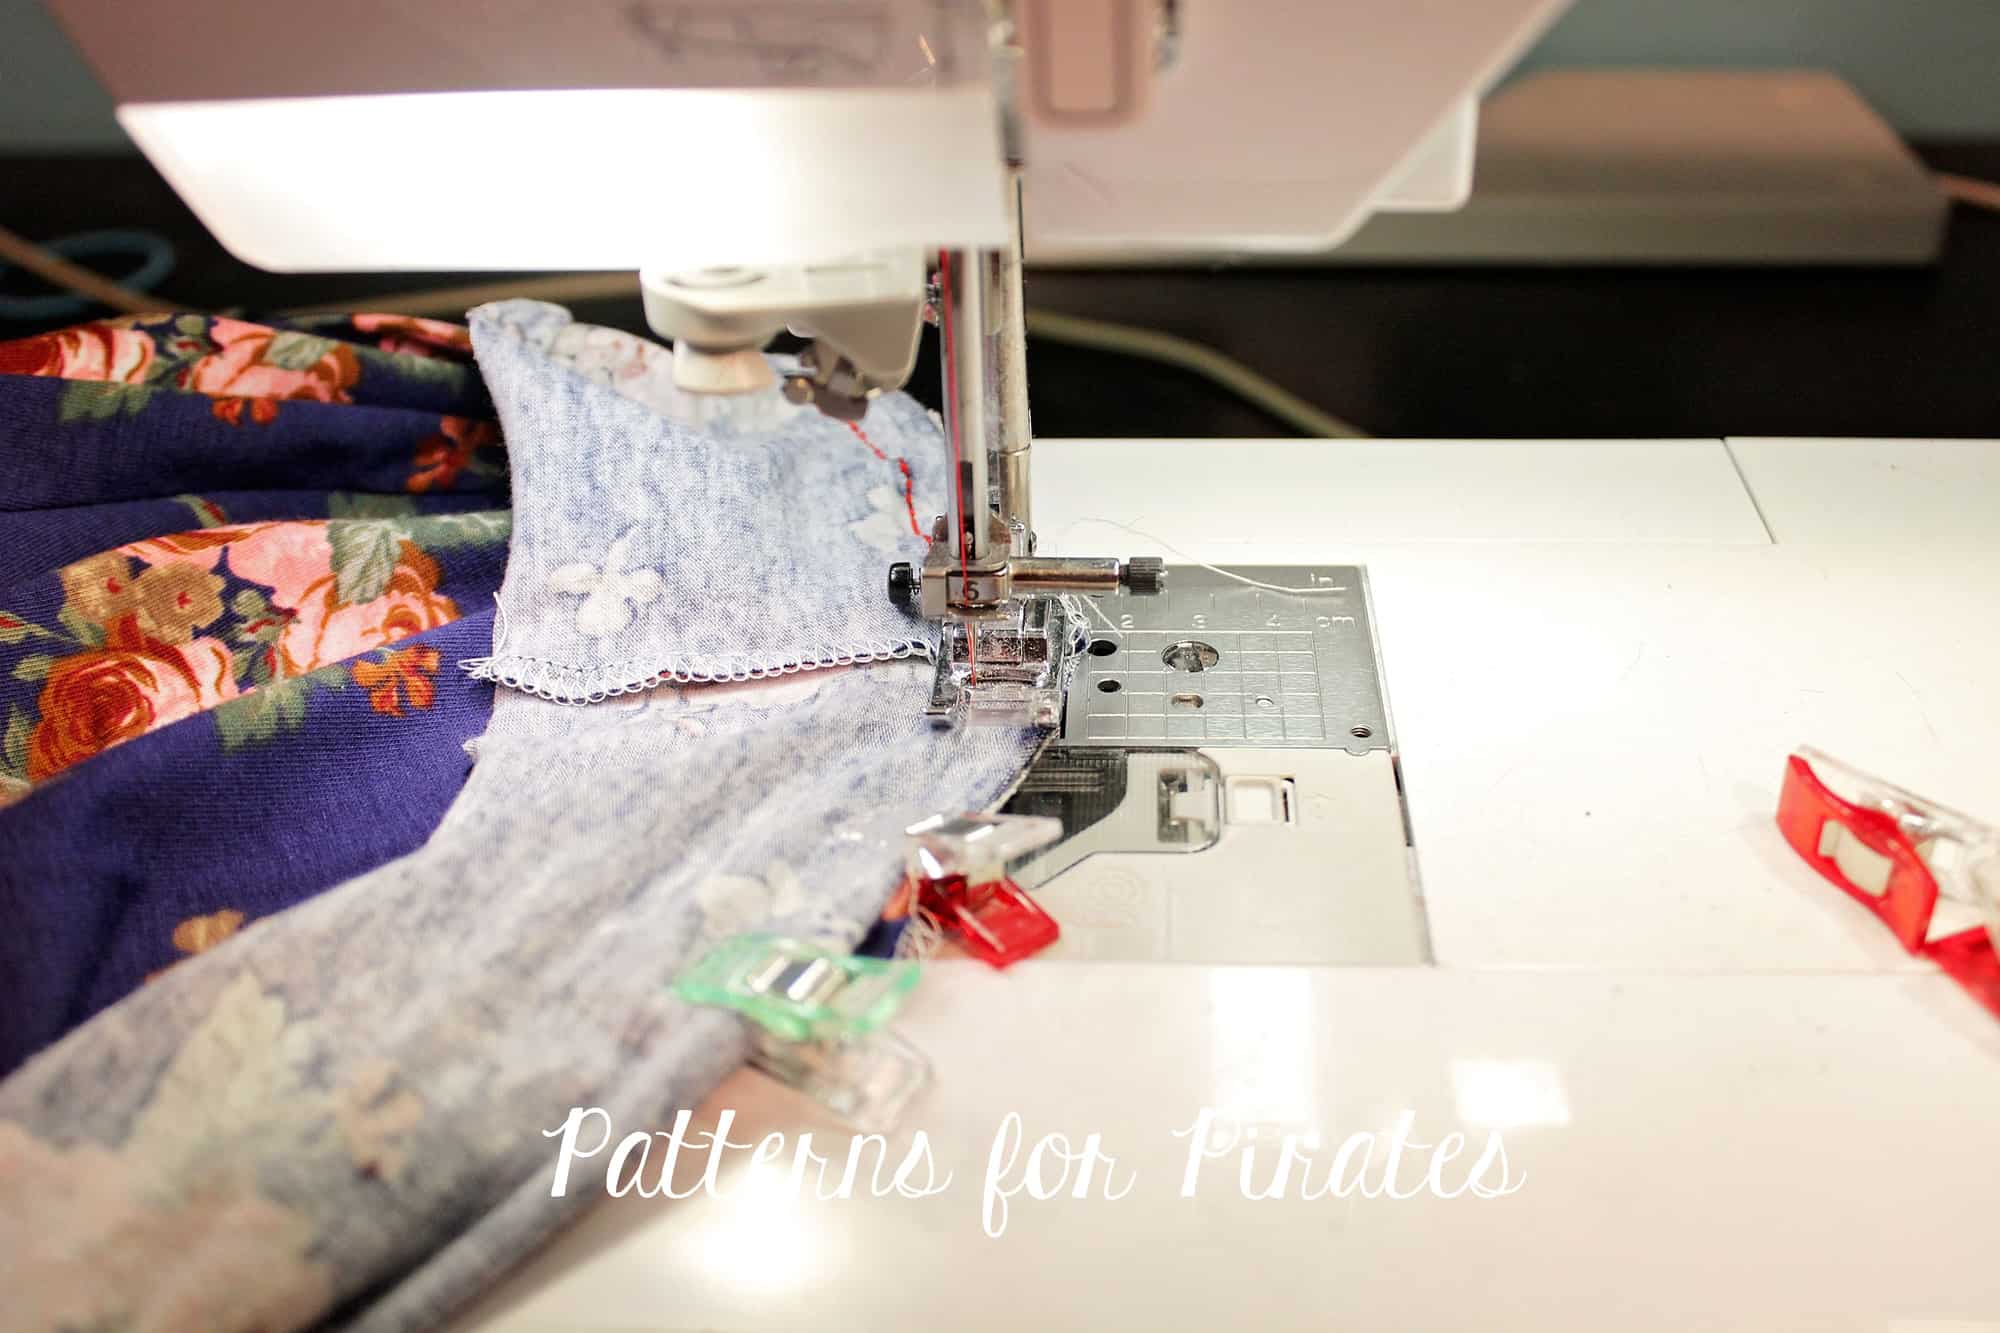
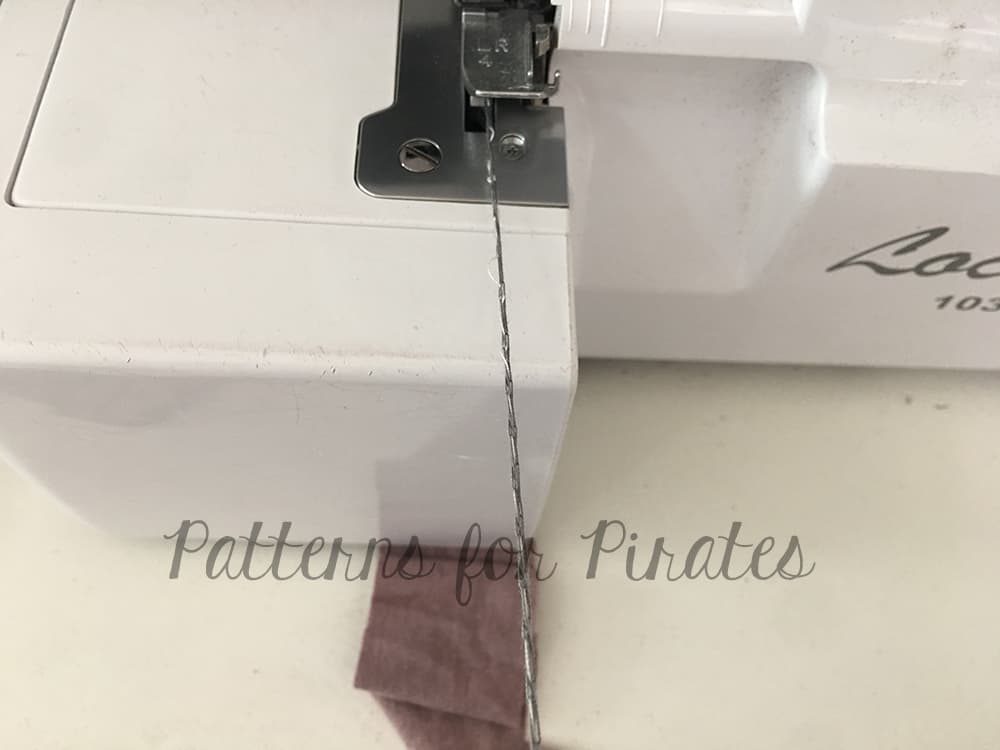
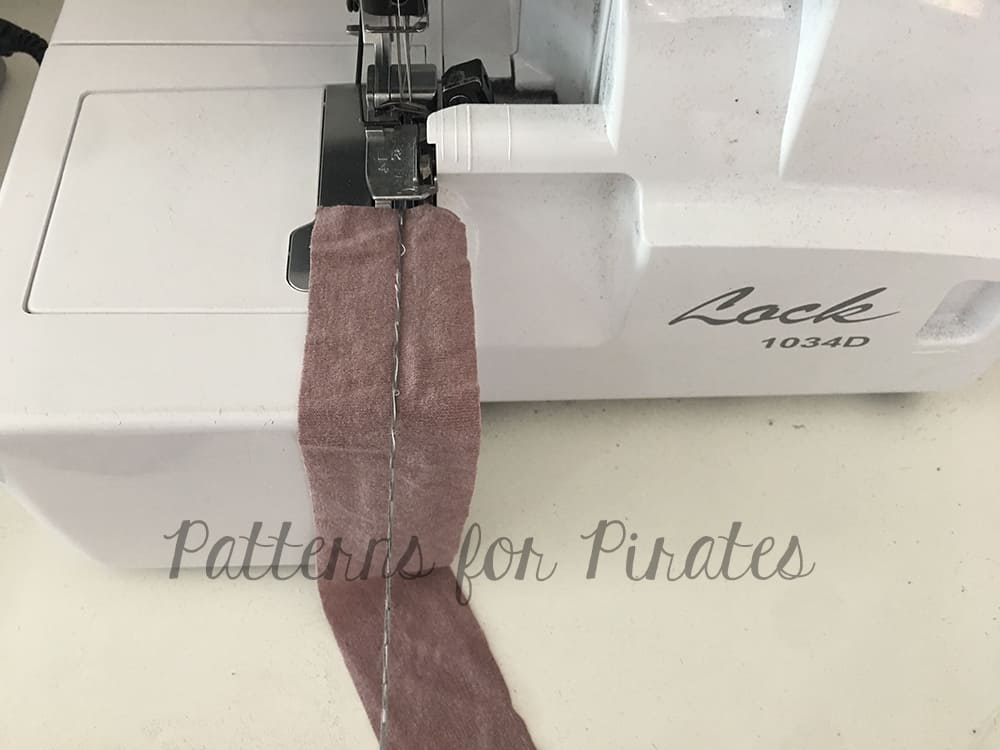
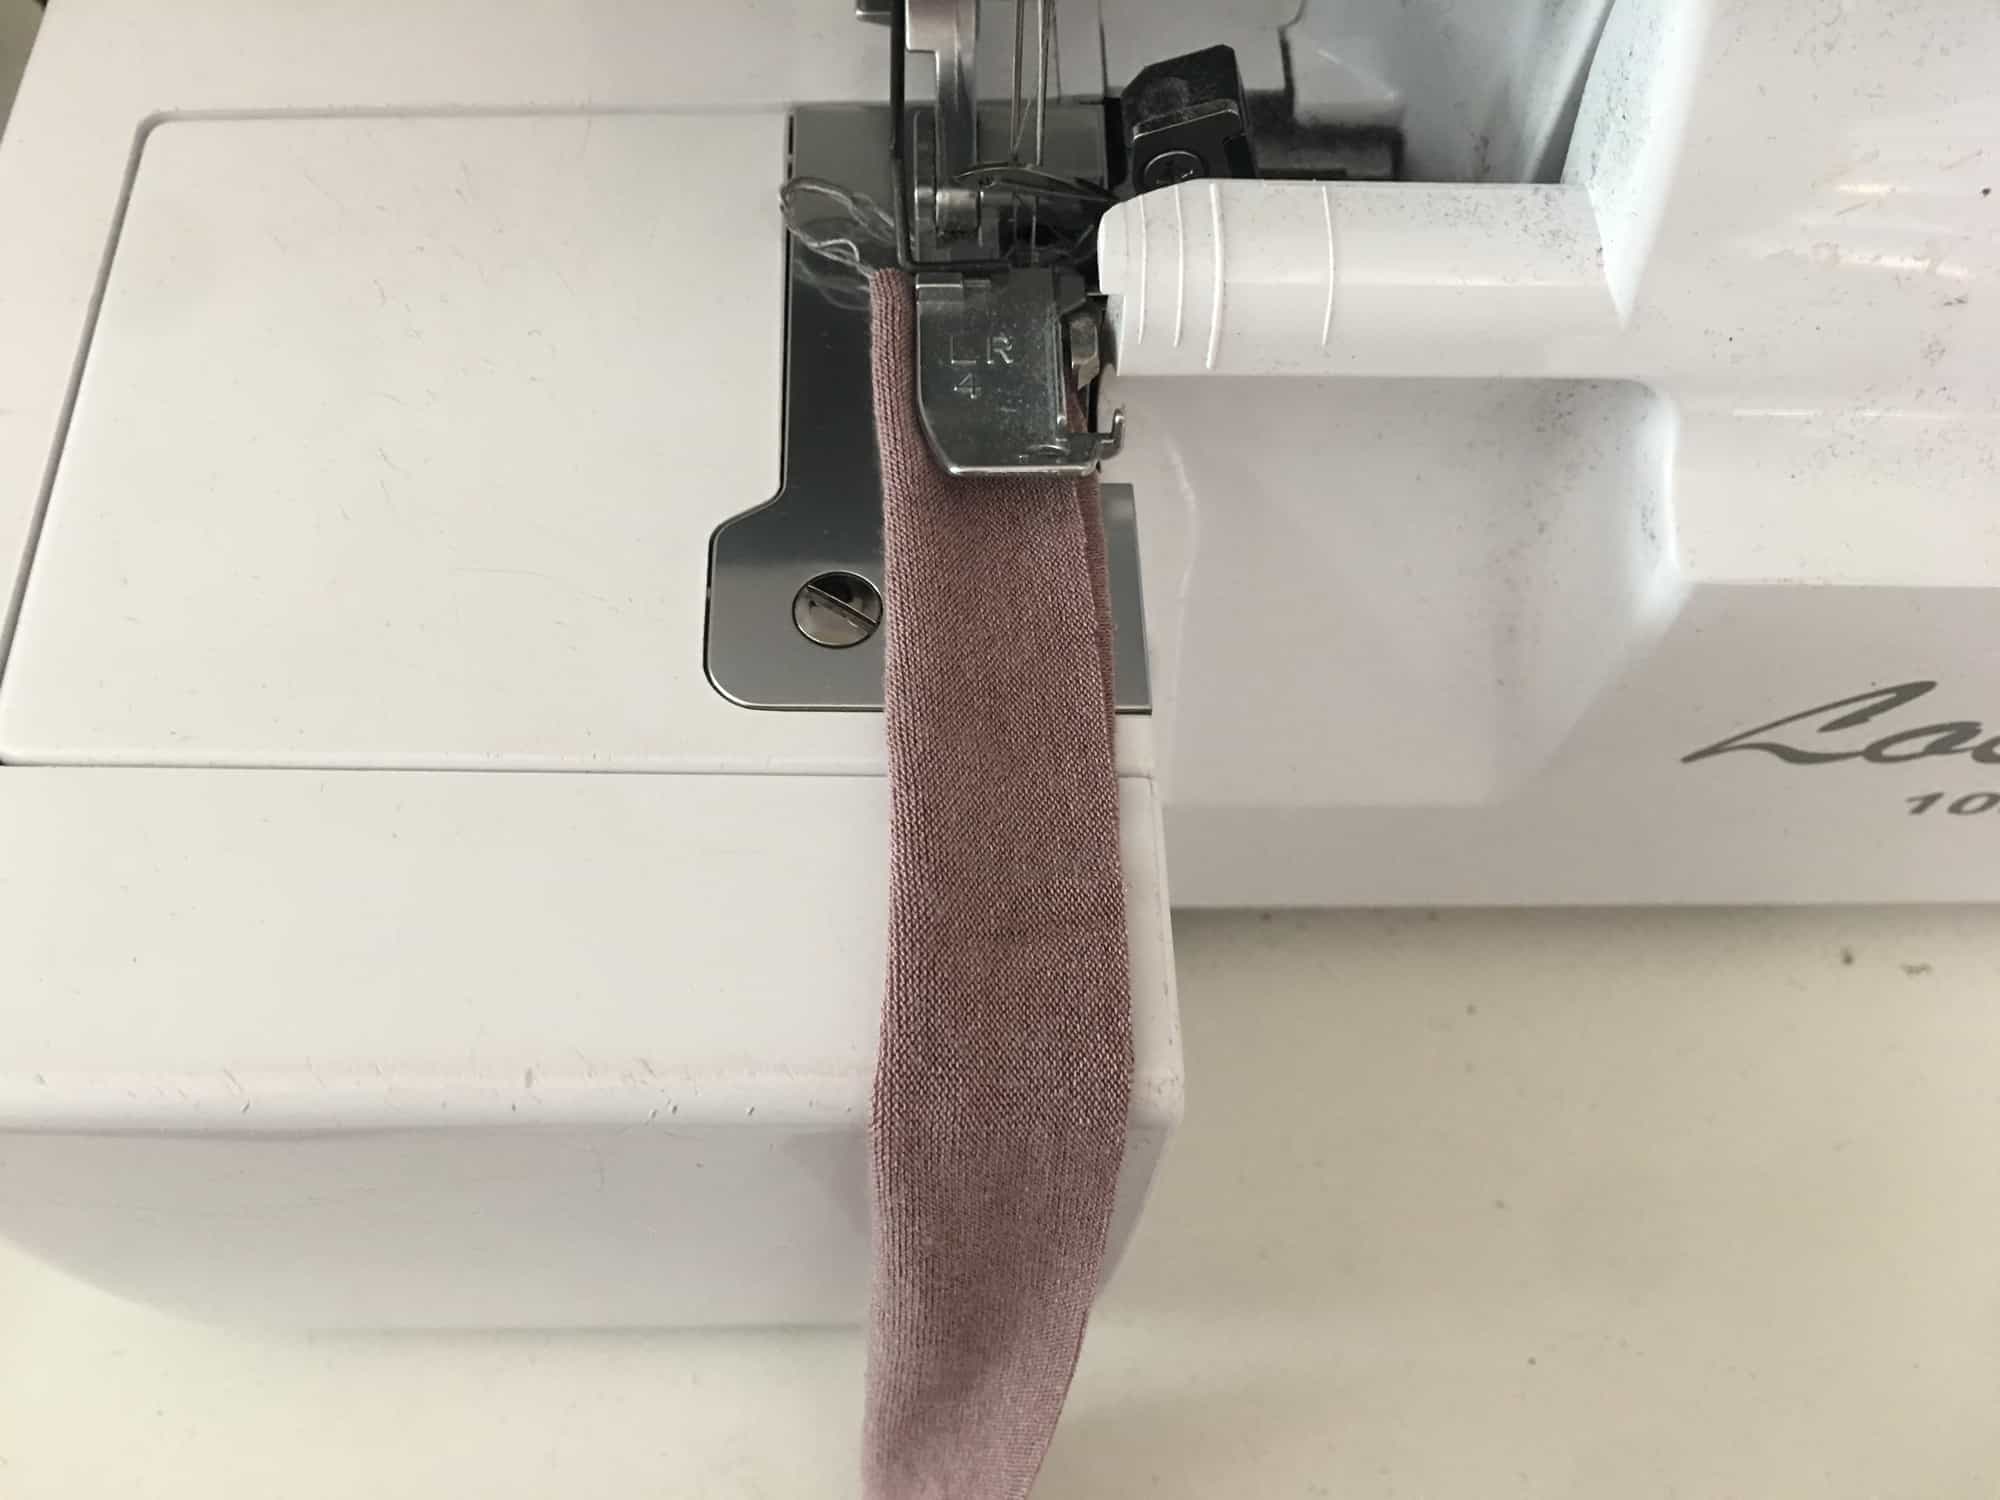
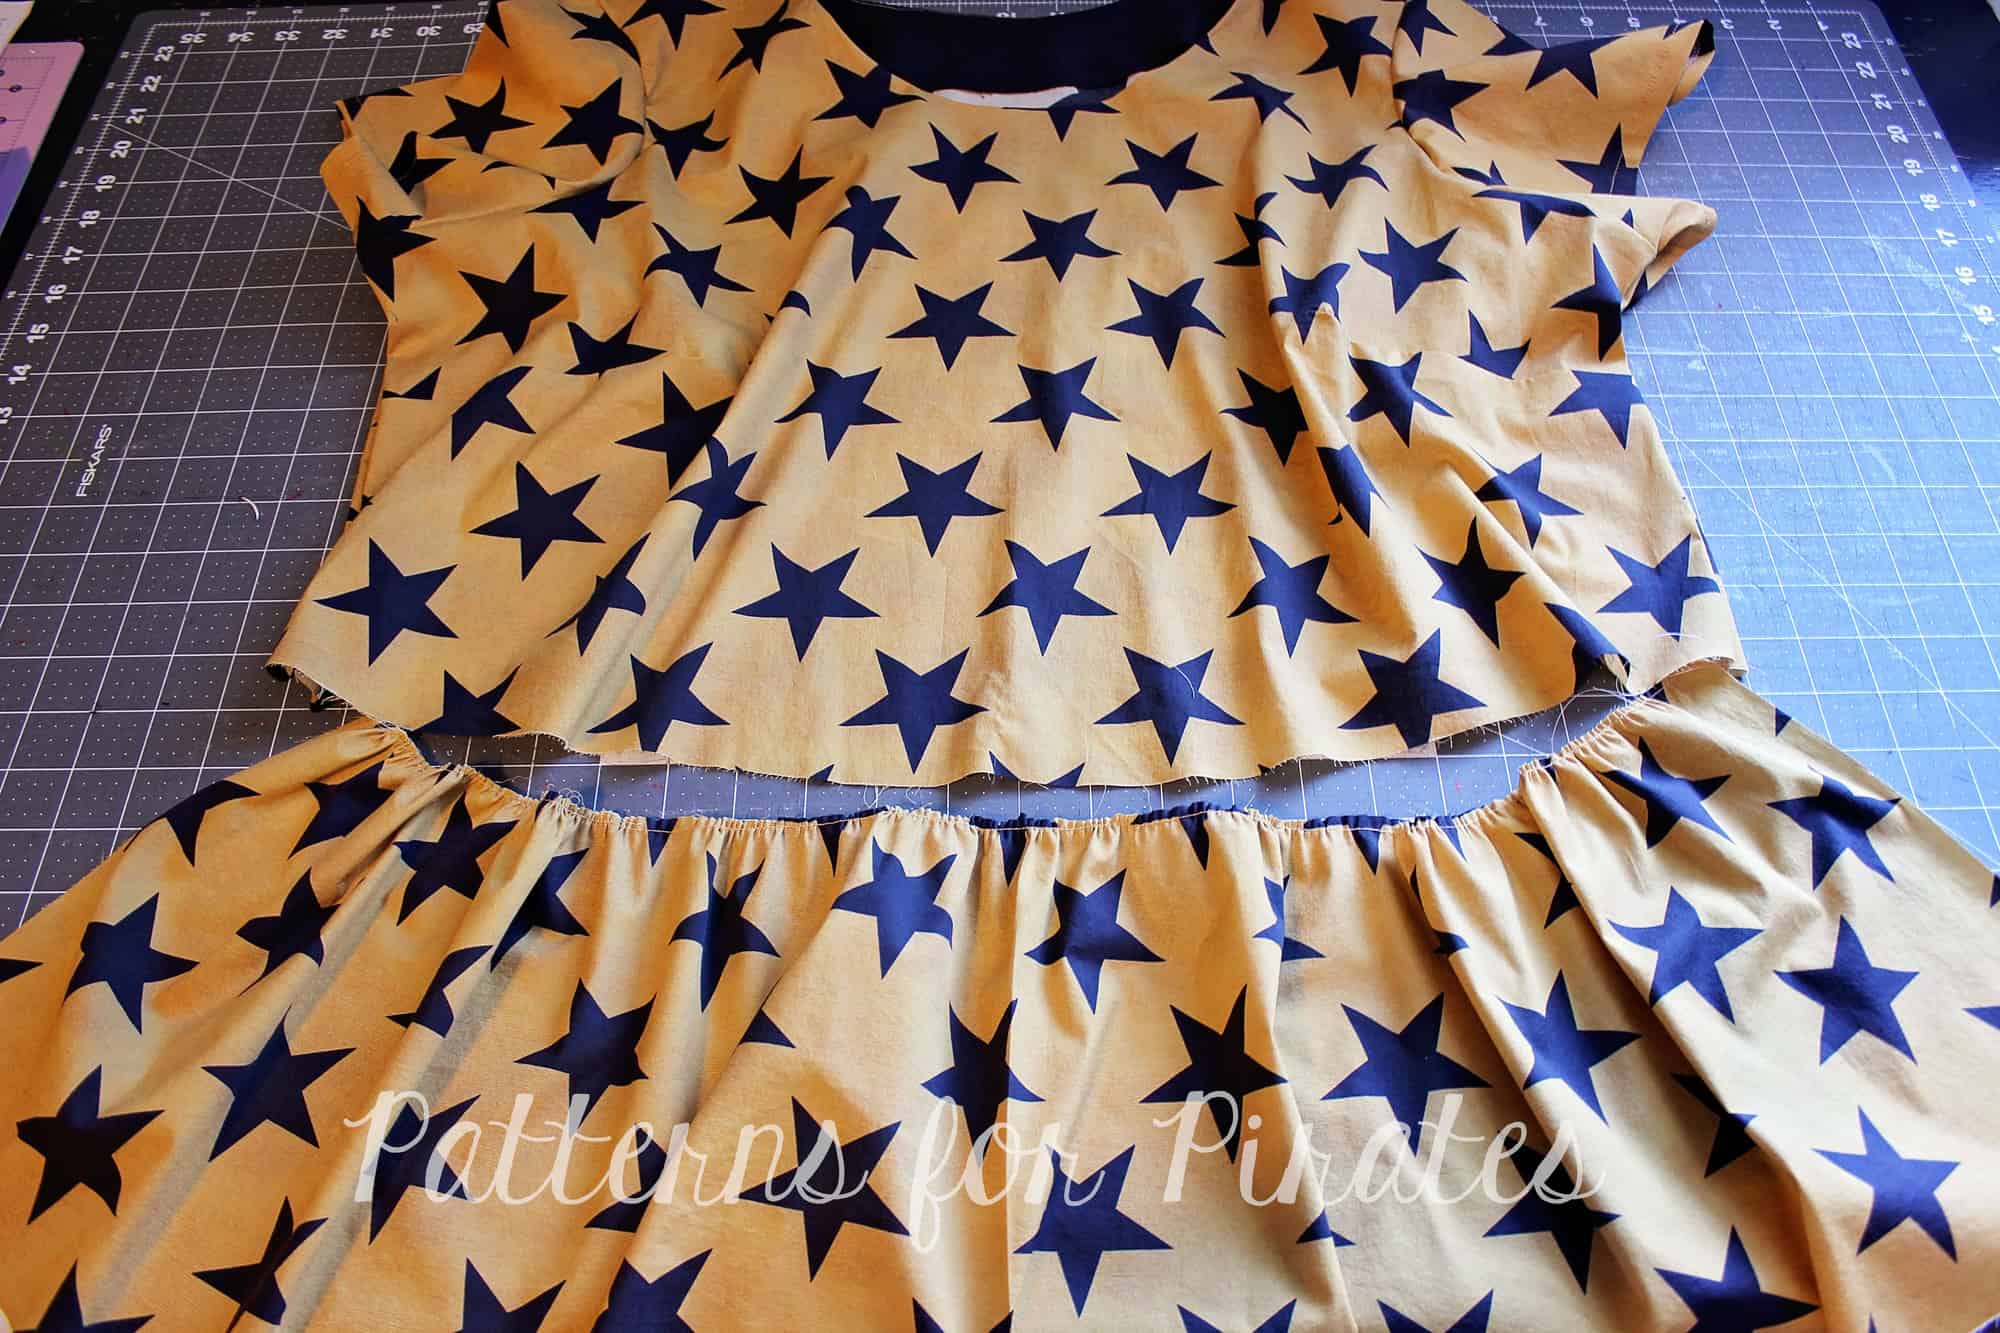
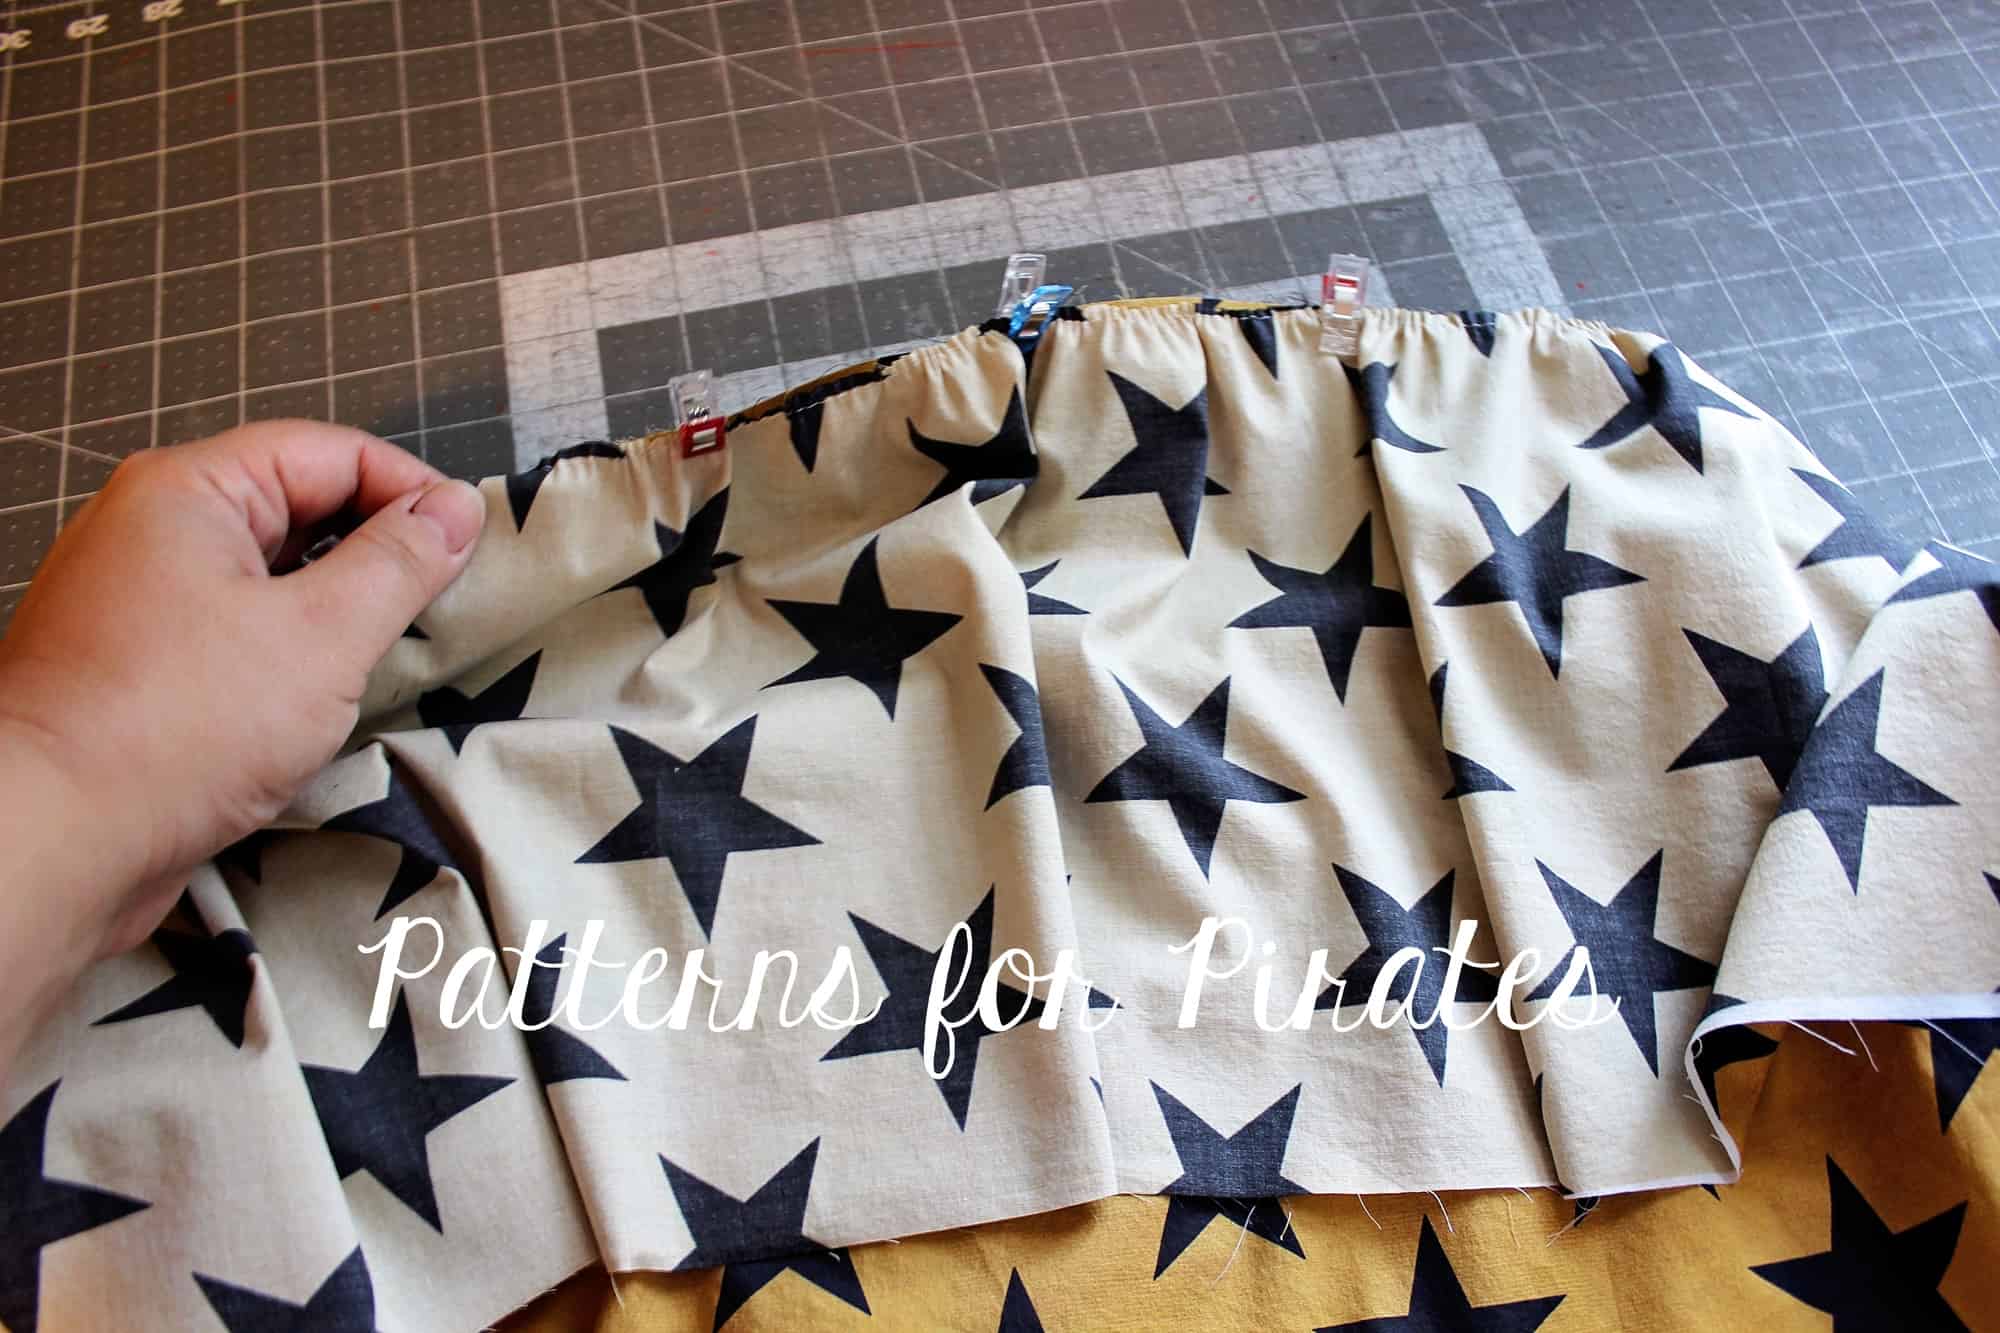
Assemble your shirt as per the pattern directions. Once you’ve completed your shirt, it is now time to attach the band. You will want to measure the total bottom hem of your shirt. To calculate the final width of your band, you will take your total measurement x 90%. Then add 1″ for the seam allowance. For the women’s version, I recommend a length of 4″ and for the youth, a length of 3-4″, depending on where you would like the finished length to be.

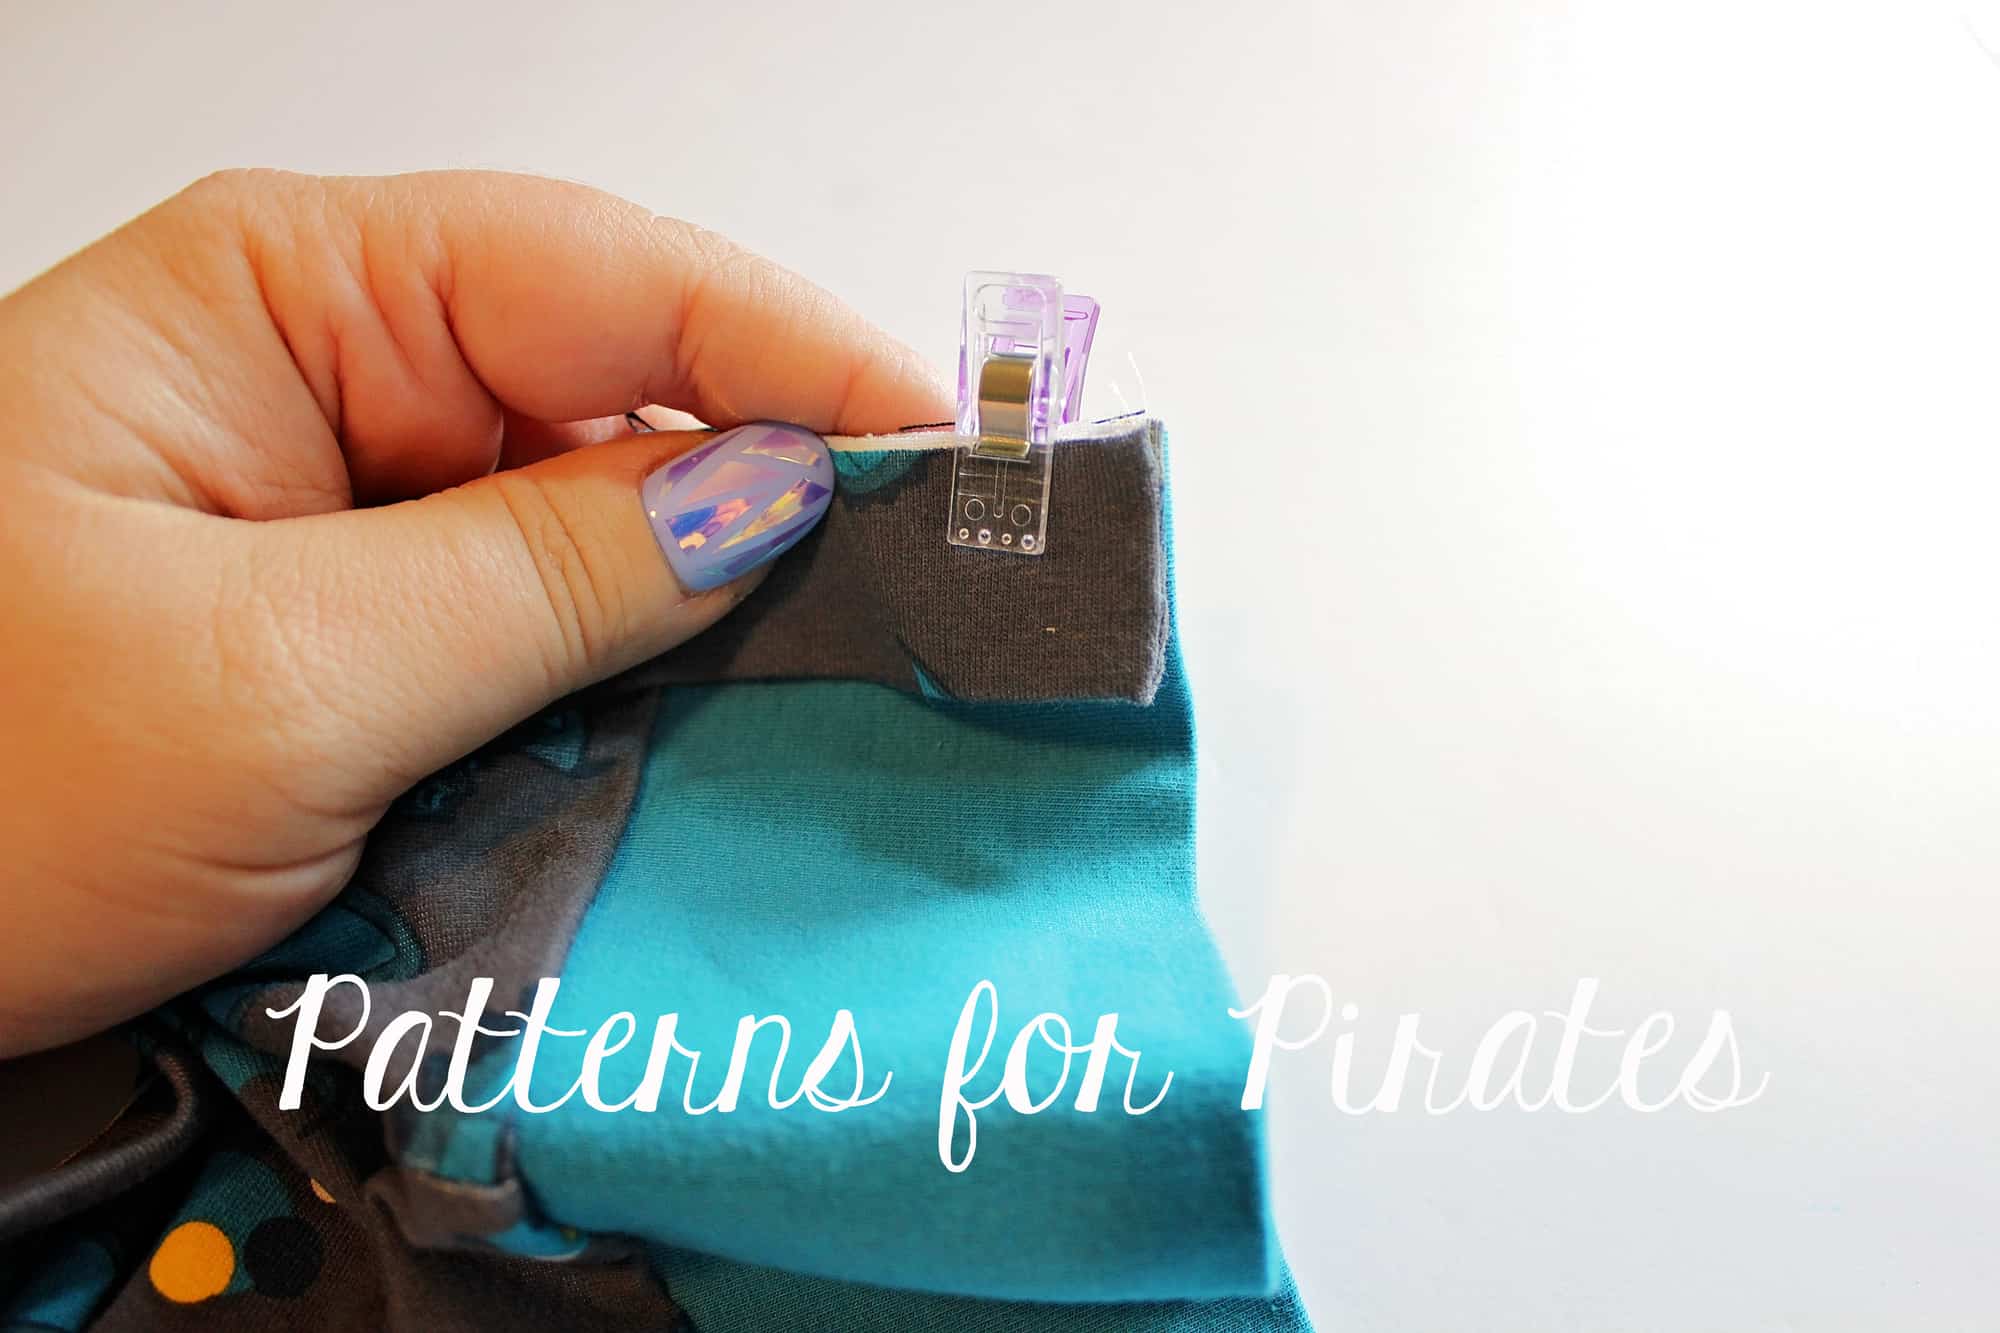
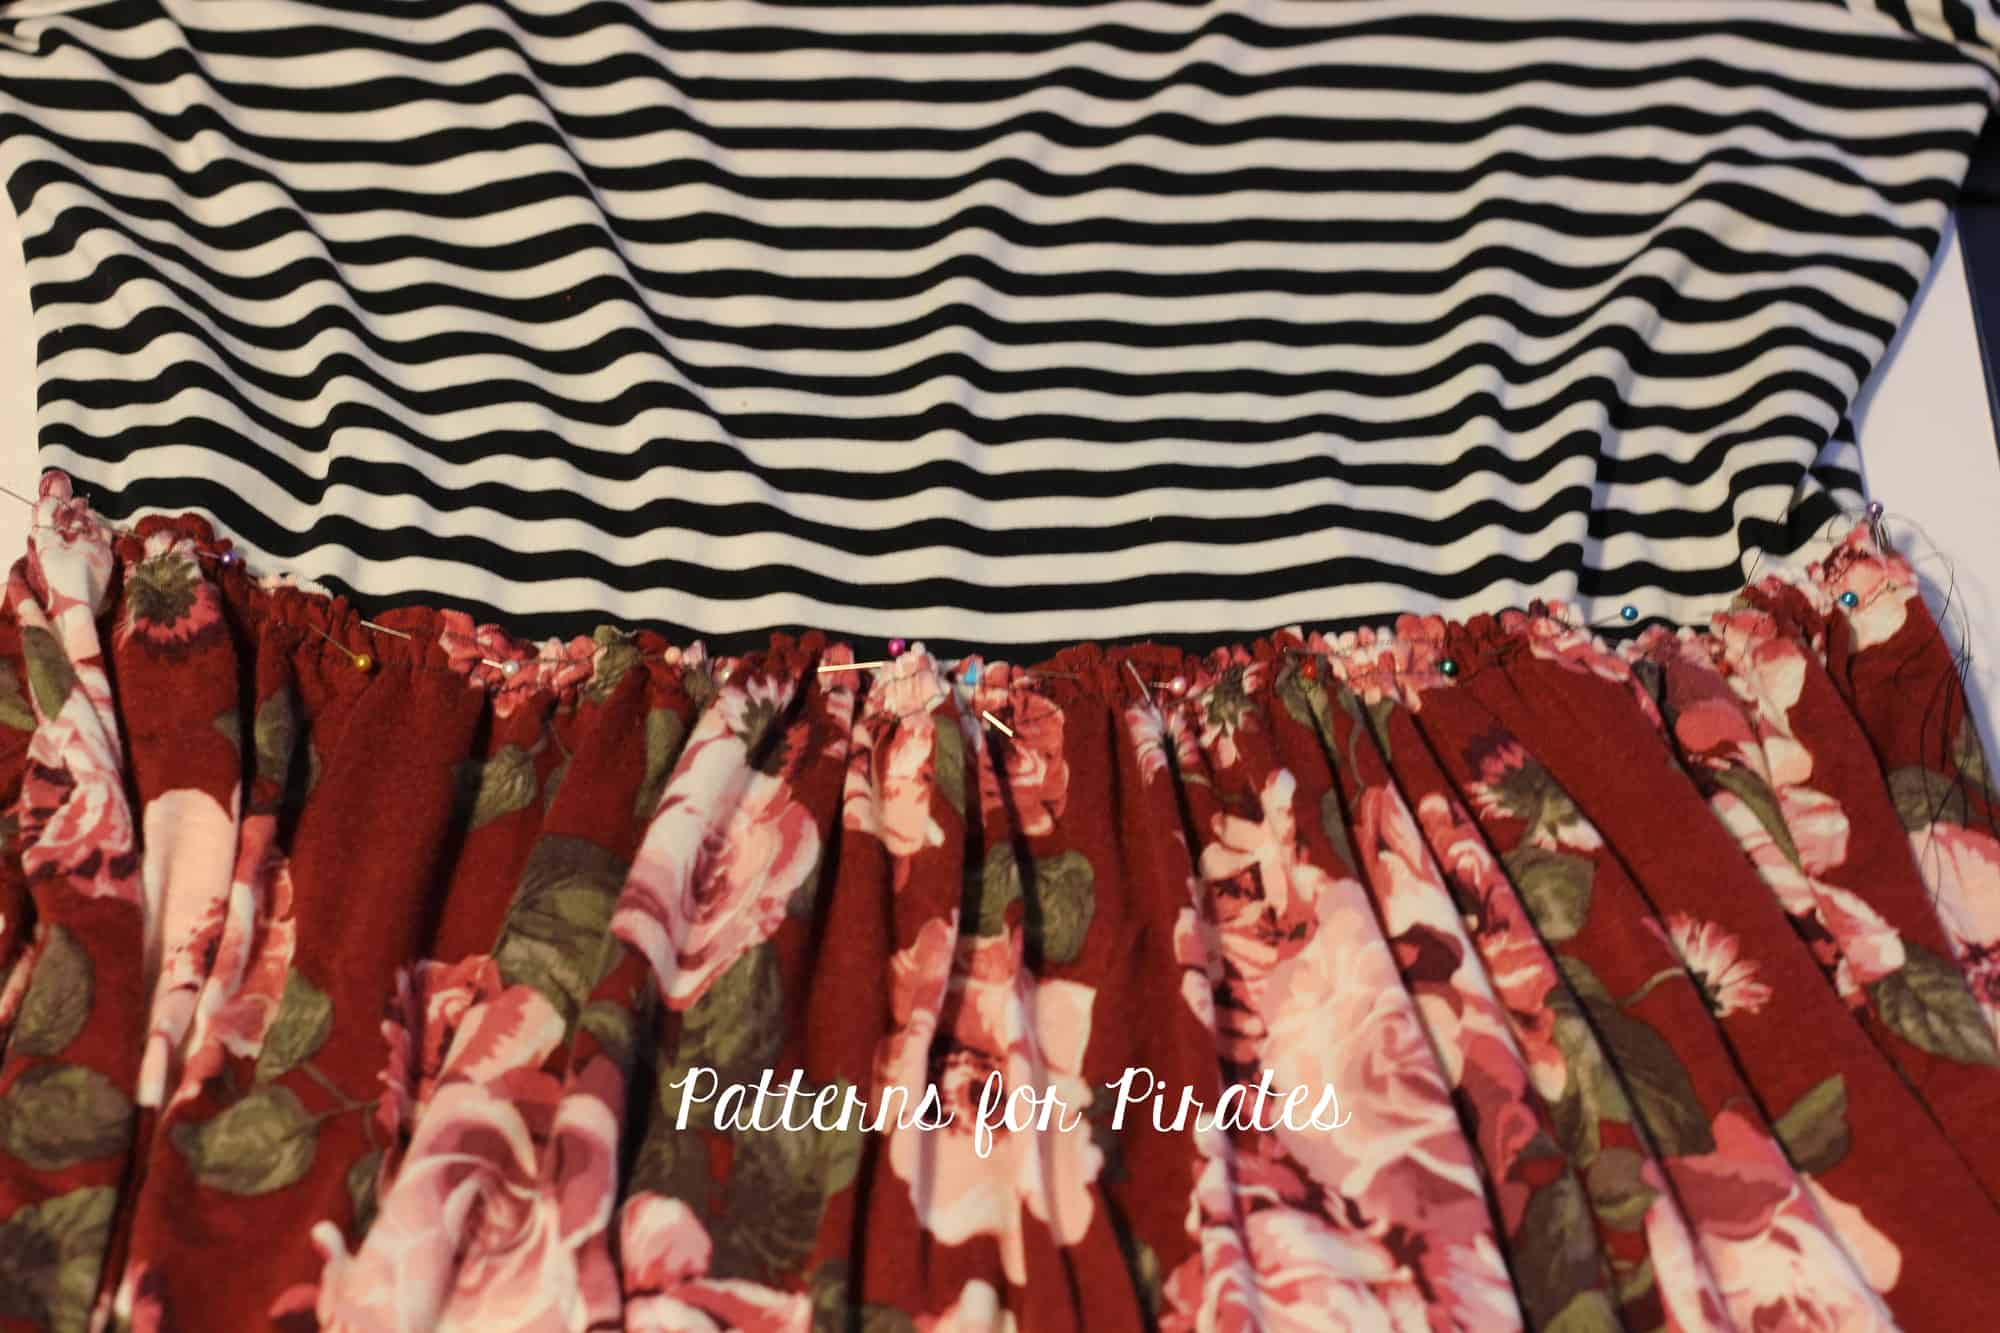
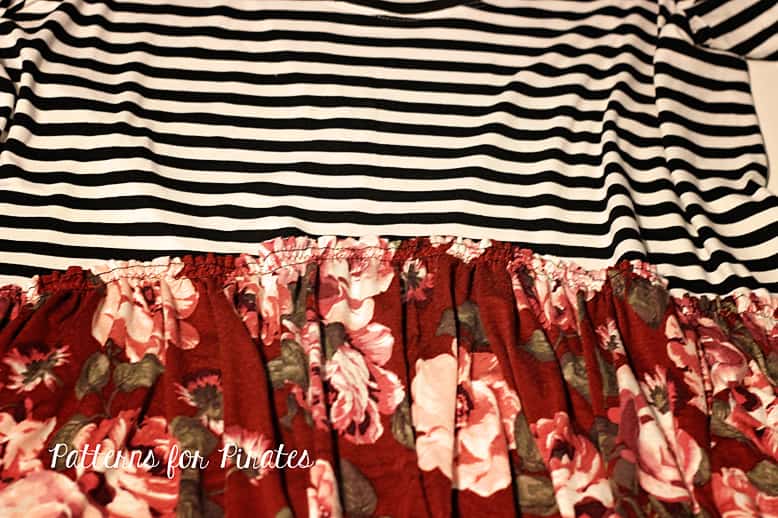
Using the instructions for the banded version in the tutorial, attach your bad. That’s it! Go off and enjoy that new shirt you’ve just finished up using one of our three finishing options.
~Erinn and Nicole

Now that you got your patterns and looked over our easy hacks, time to sew! Remember to share your creations in the P4P Facebook group so we can all admire them.