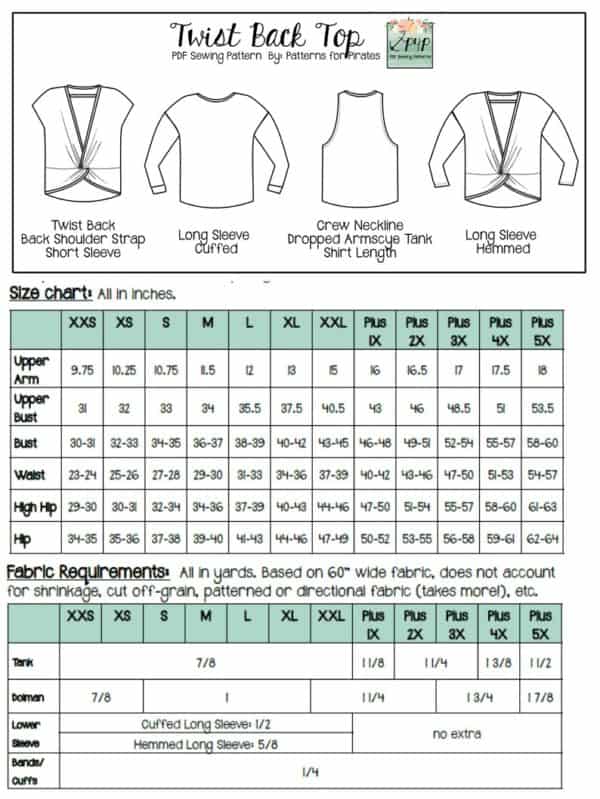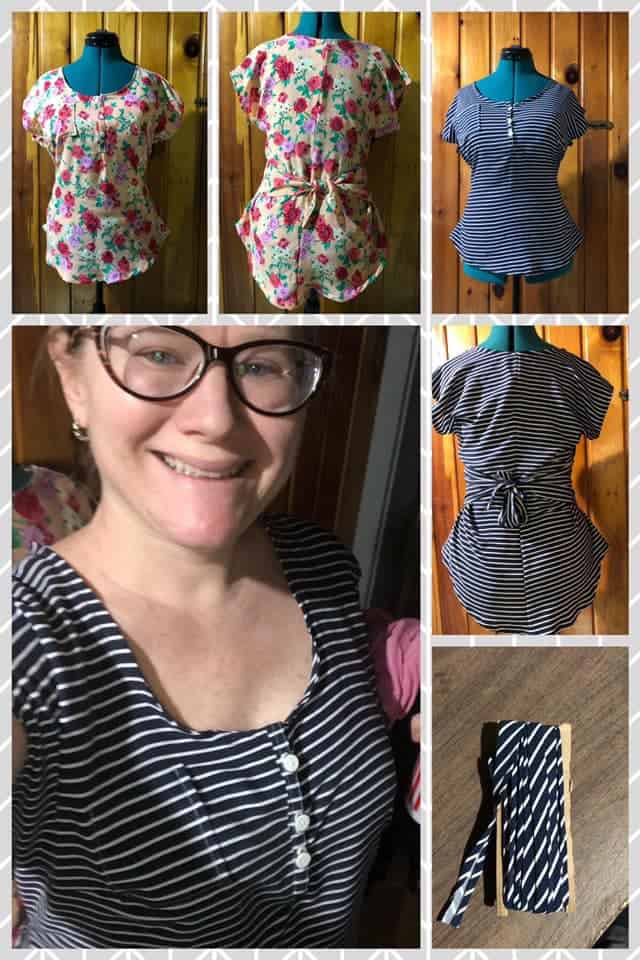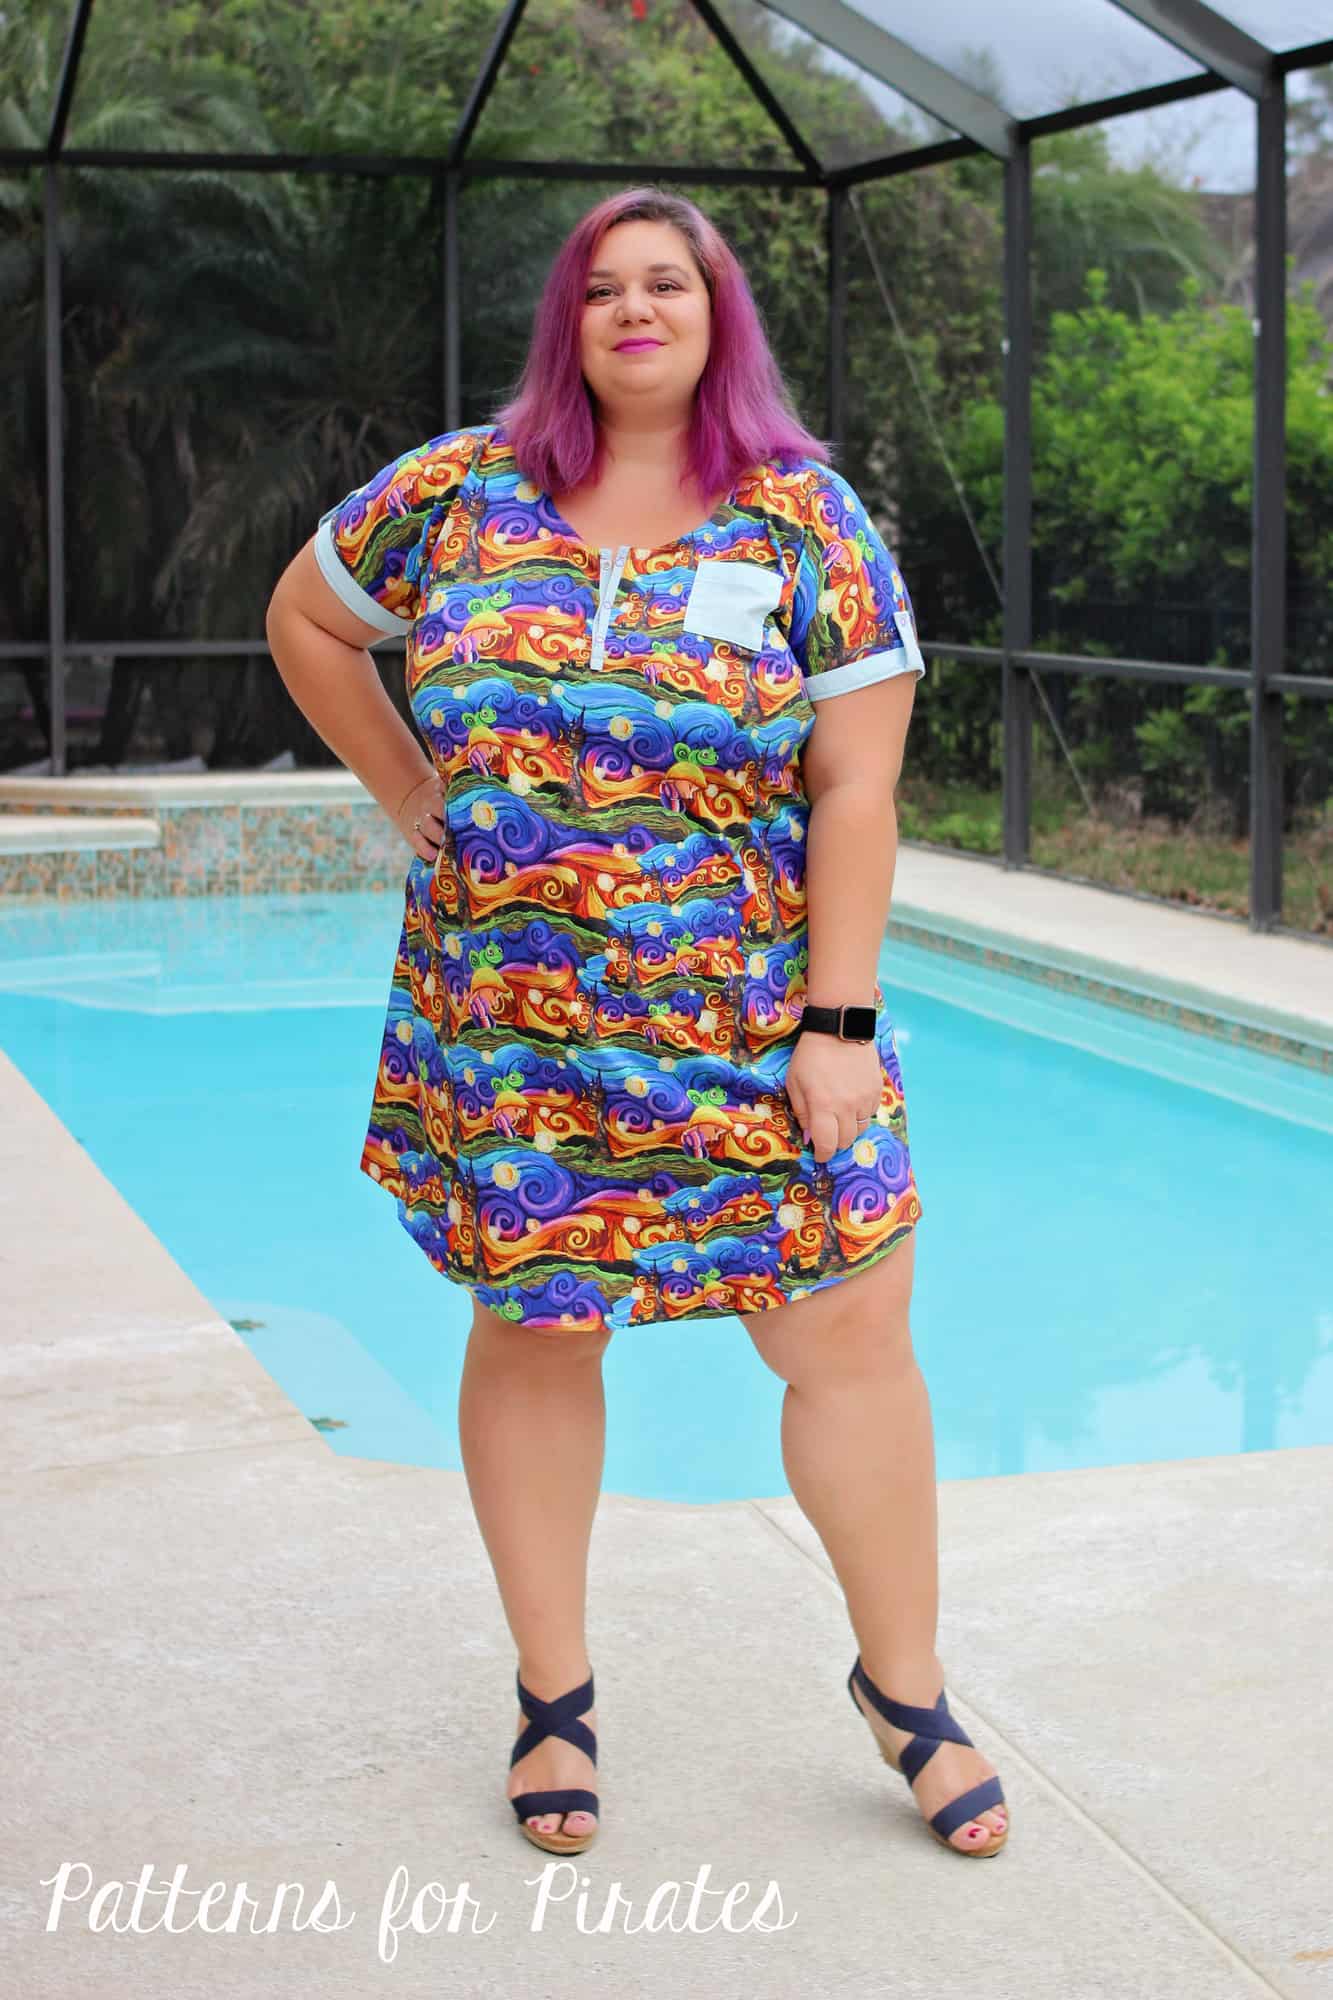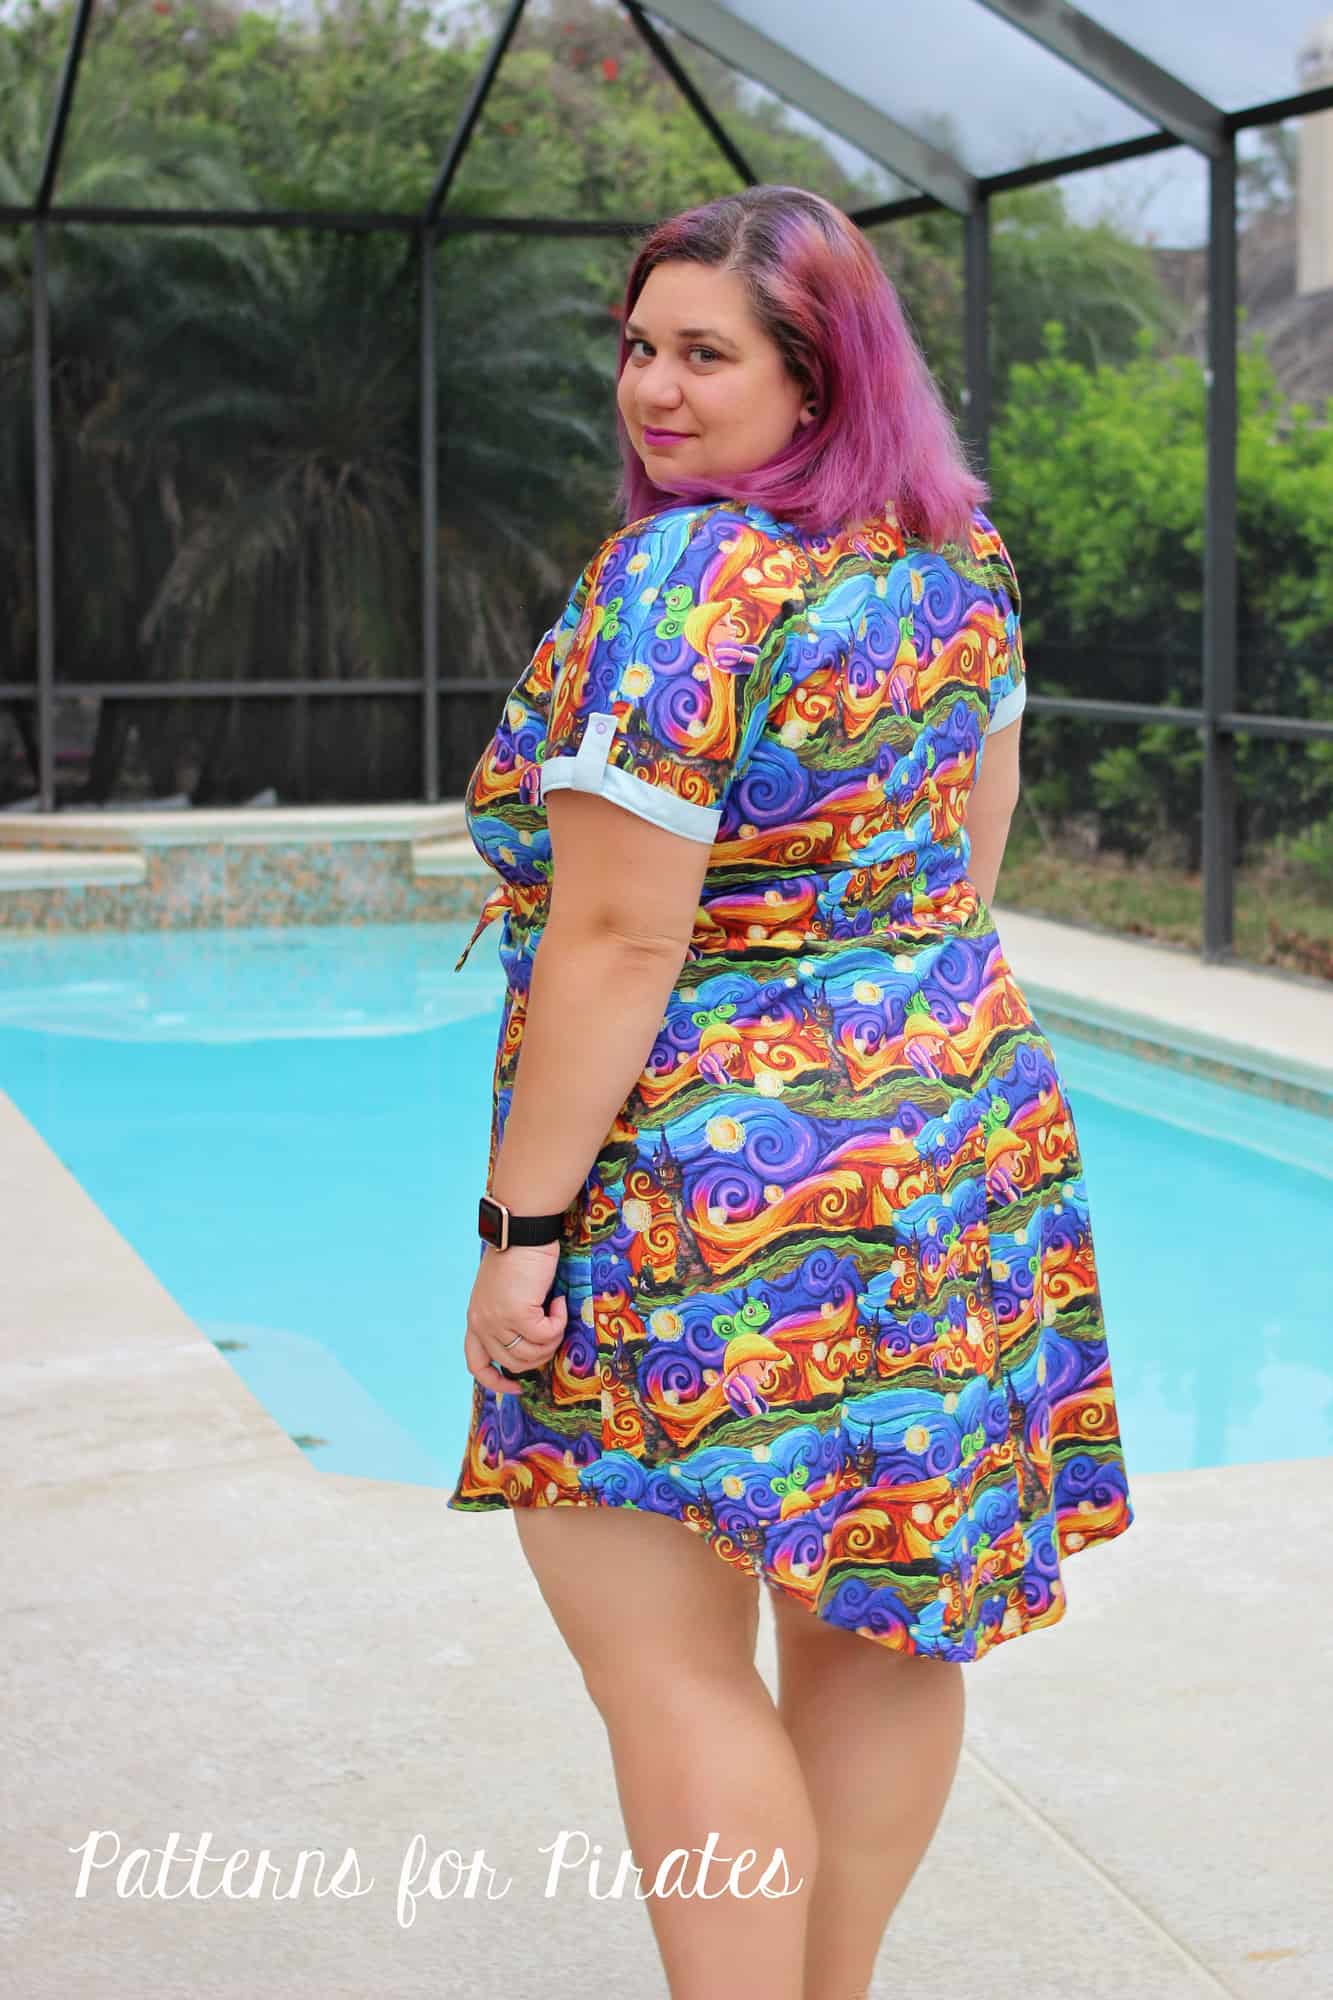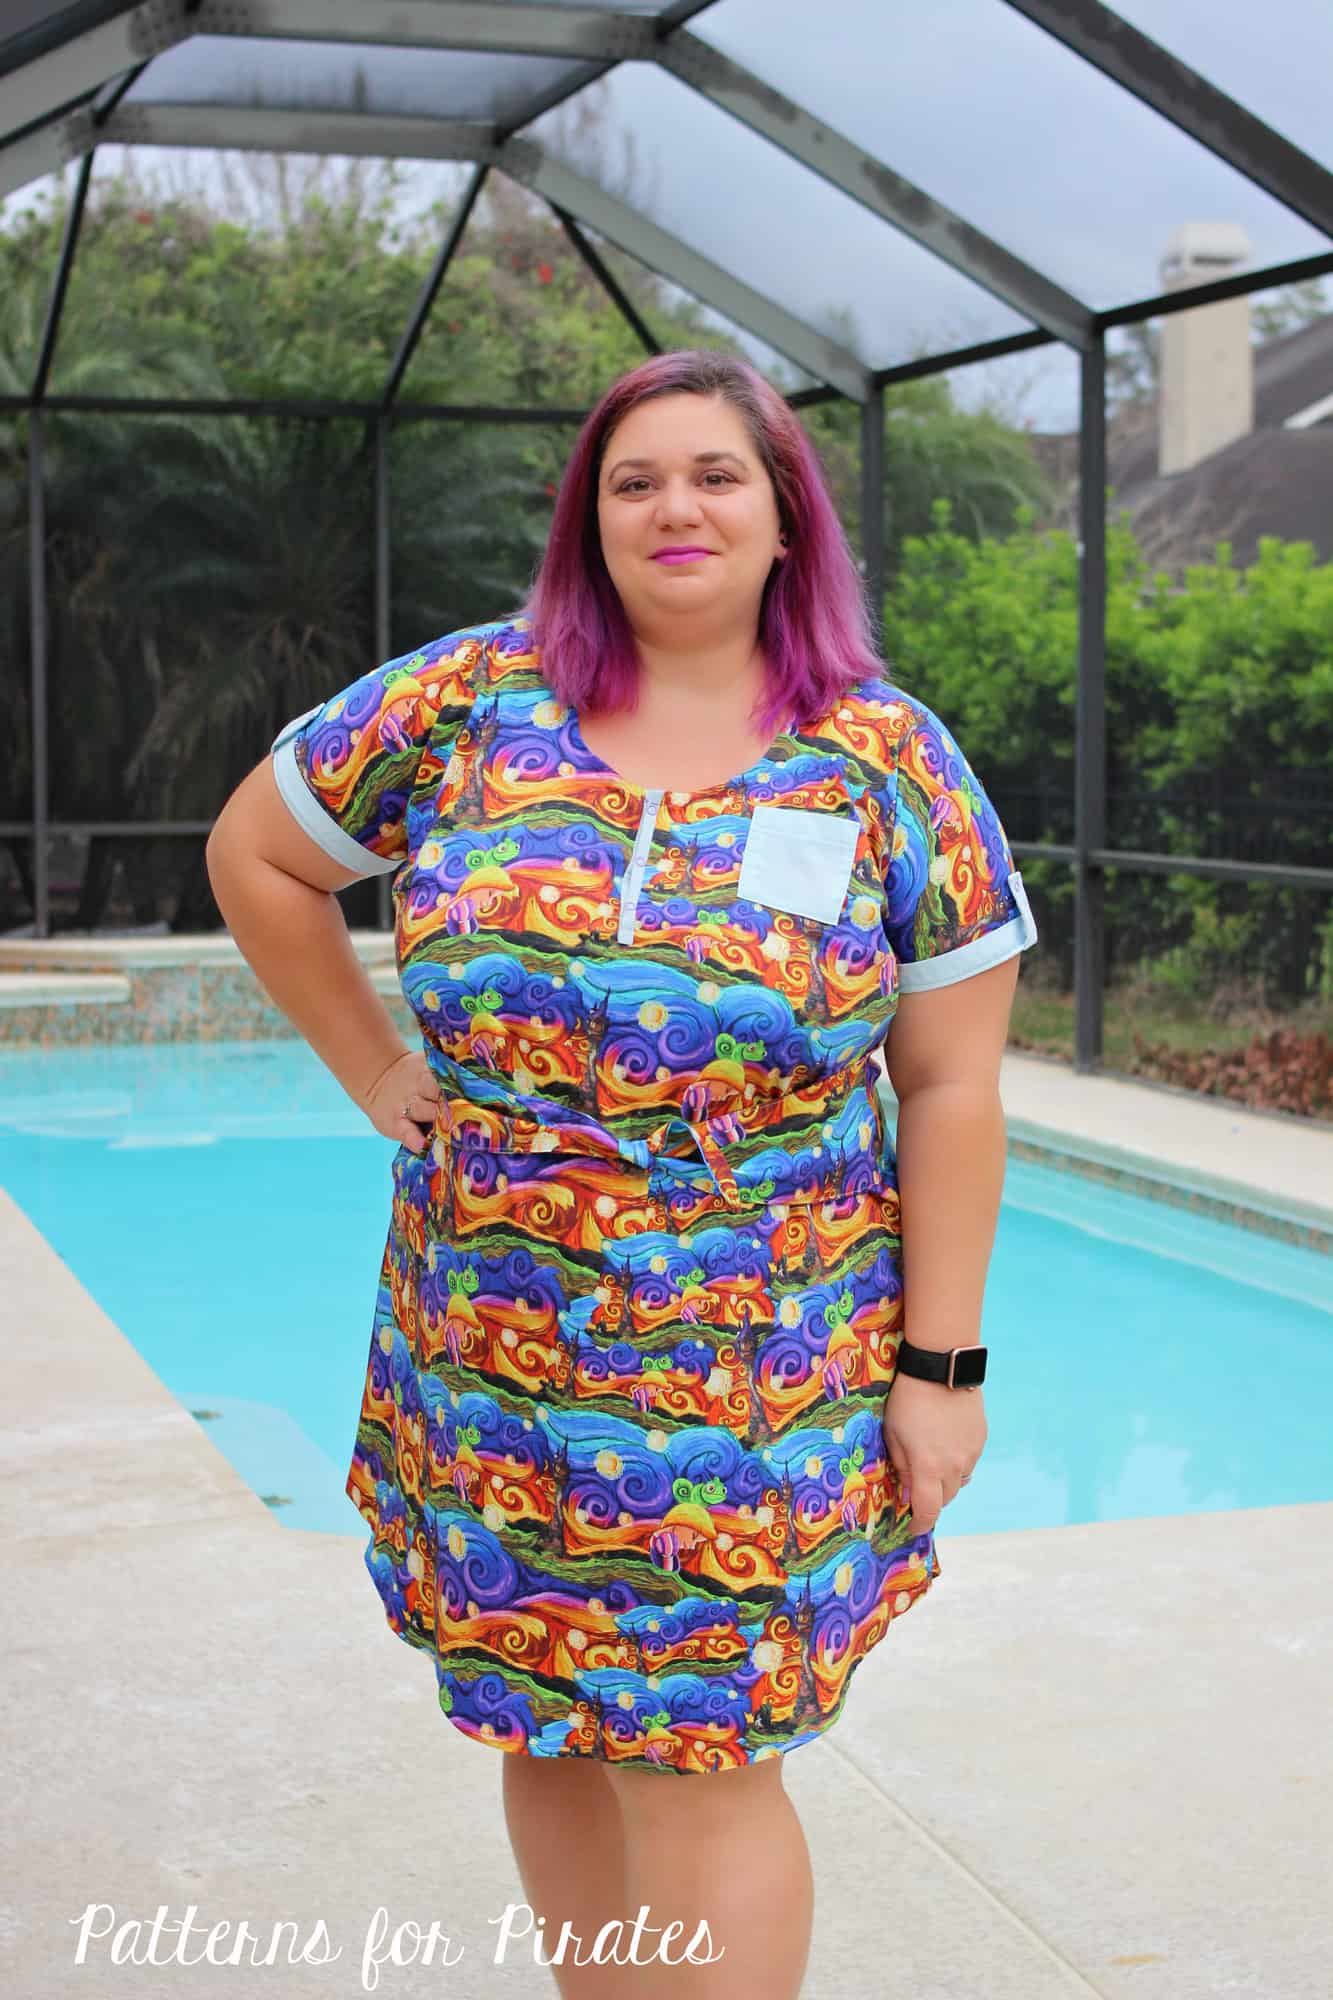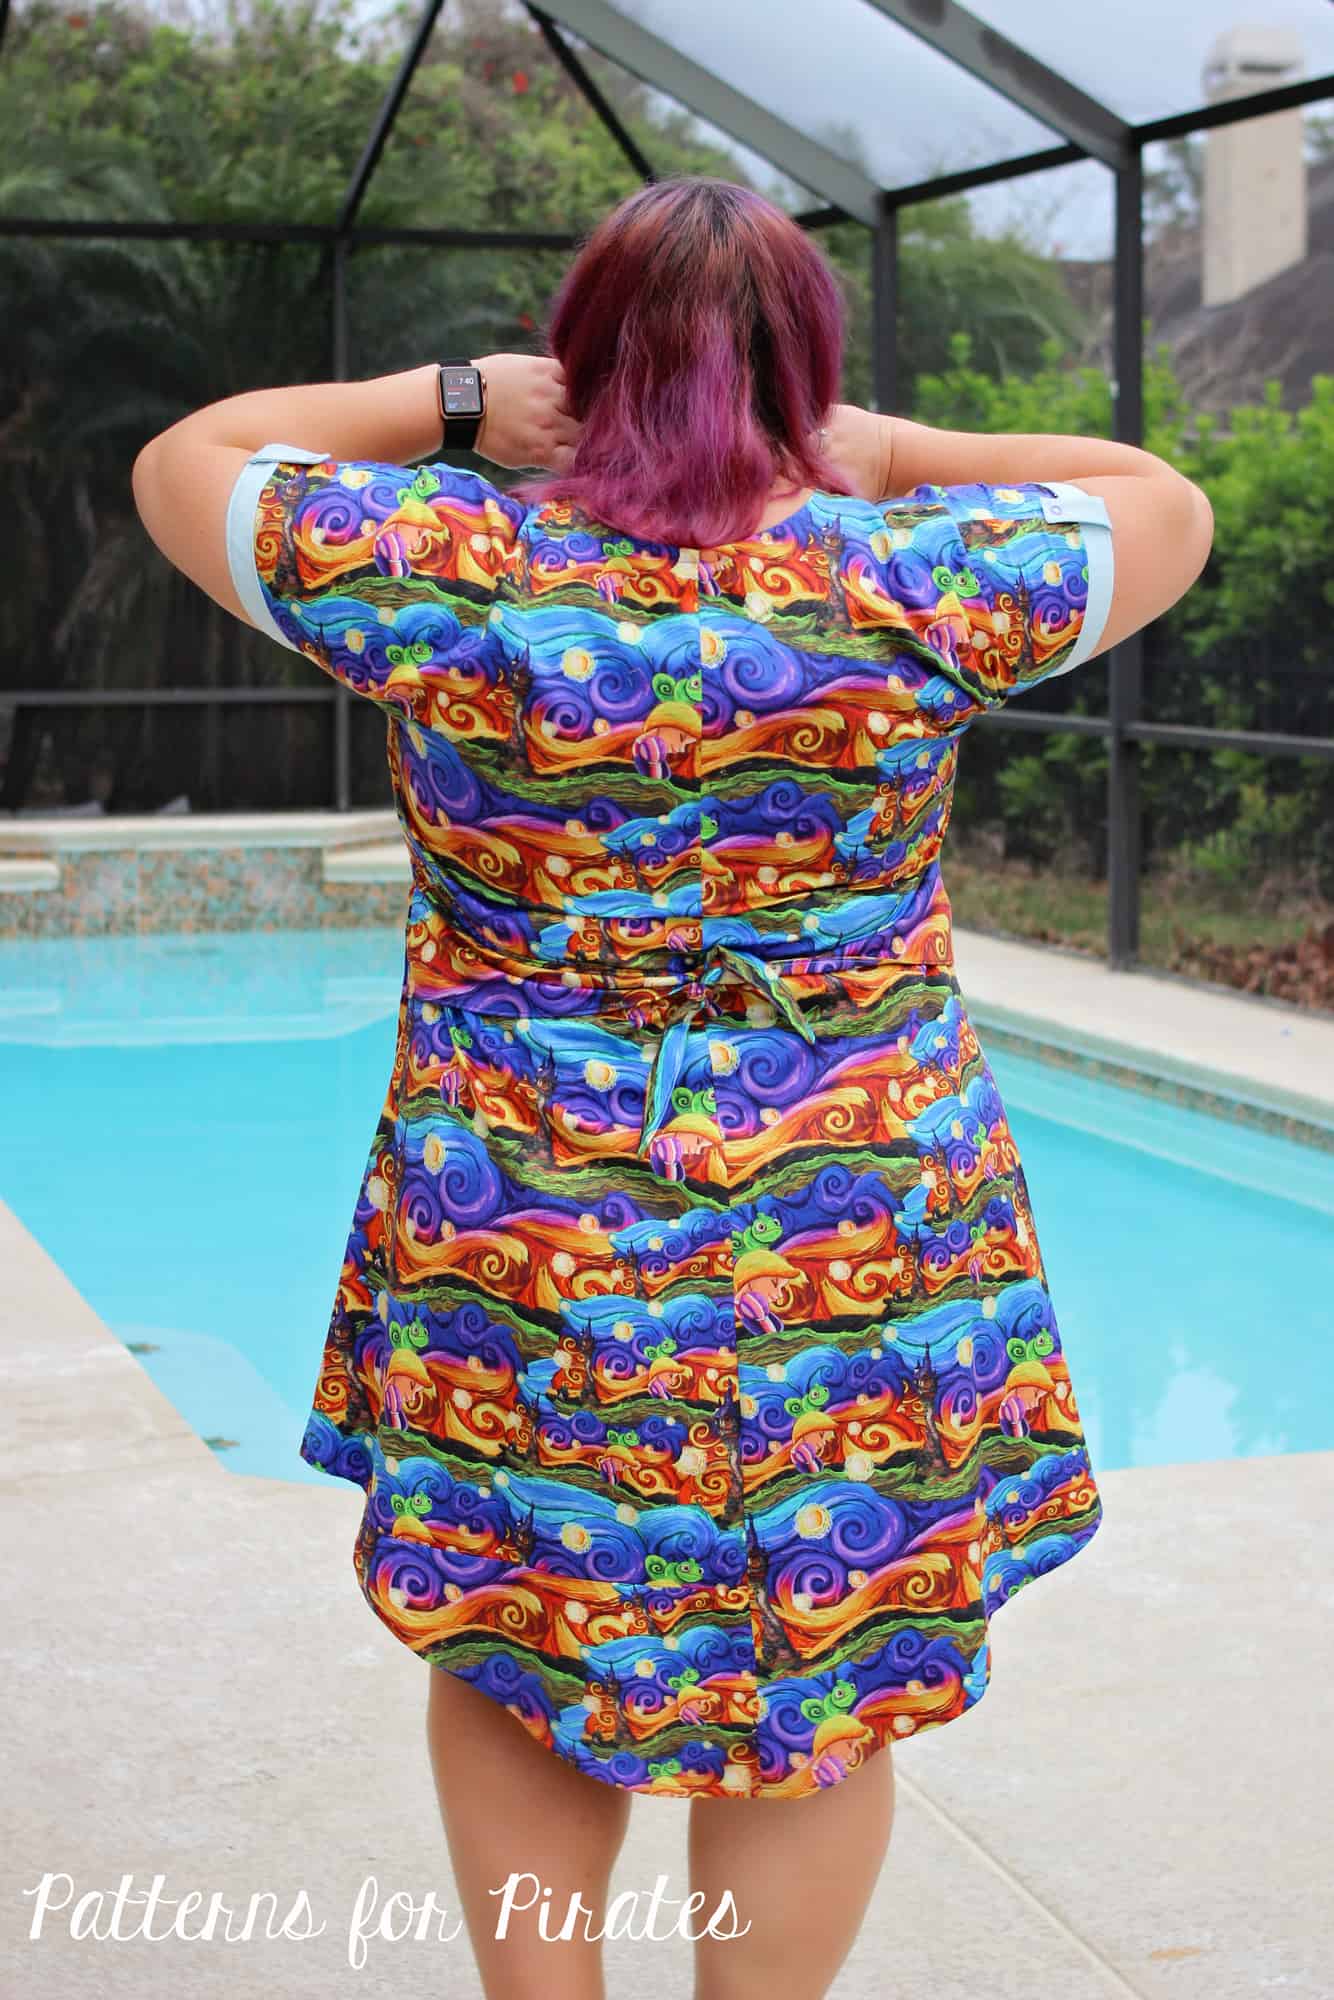
Let’s start sewing! Today is a pretty quick day. Today we sew the shoulder seams together, making sure to follow the 1/2 inch seam allowance. If you have opted for the sleeves option, as I have, today we are adding them too.
With the fabrics right sides together, match the shoulder seam with the notch on the sleeve curve. Pin the sides of the sleeves first and then easy the rest of the sleeve in the armcyse. Sew it in place with a 1/2″ seam allowance.
Watch the day 3 video below and be sure to post a picture of today’s progress in the day 3 photo comments of the Boho Babydoll album in the M4M & P4P Sew Along Group.
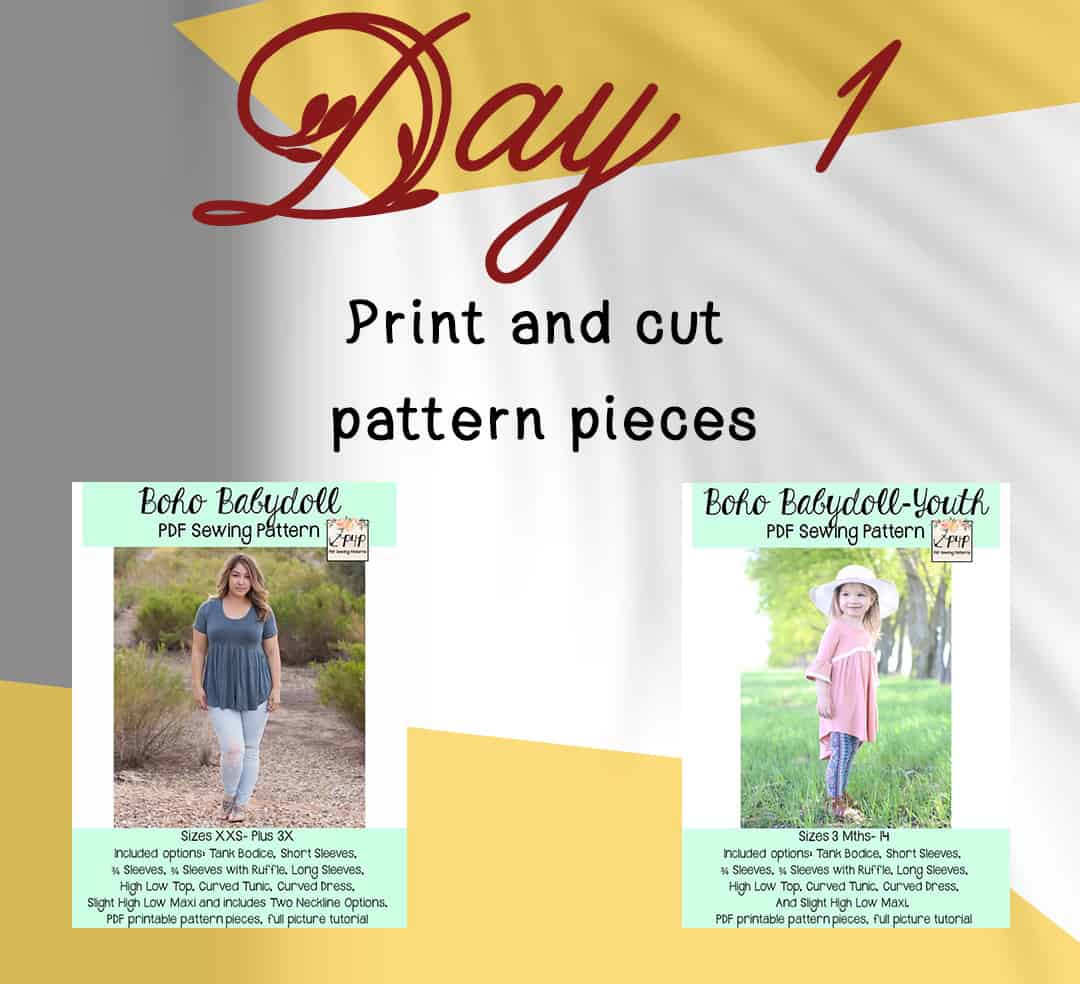
Boho Babydoll Sew Along | Day 1 (print and cut pattern)
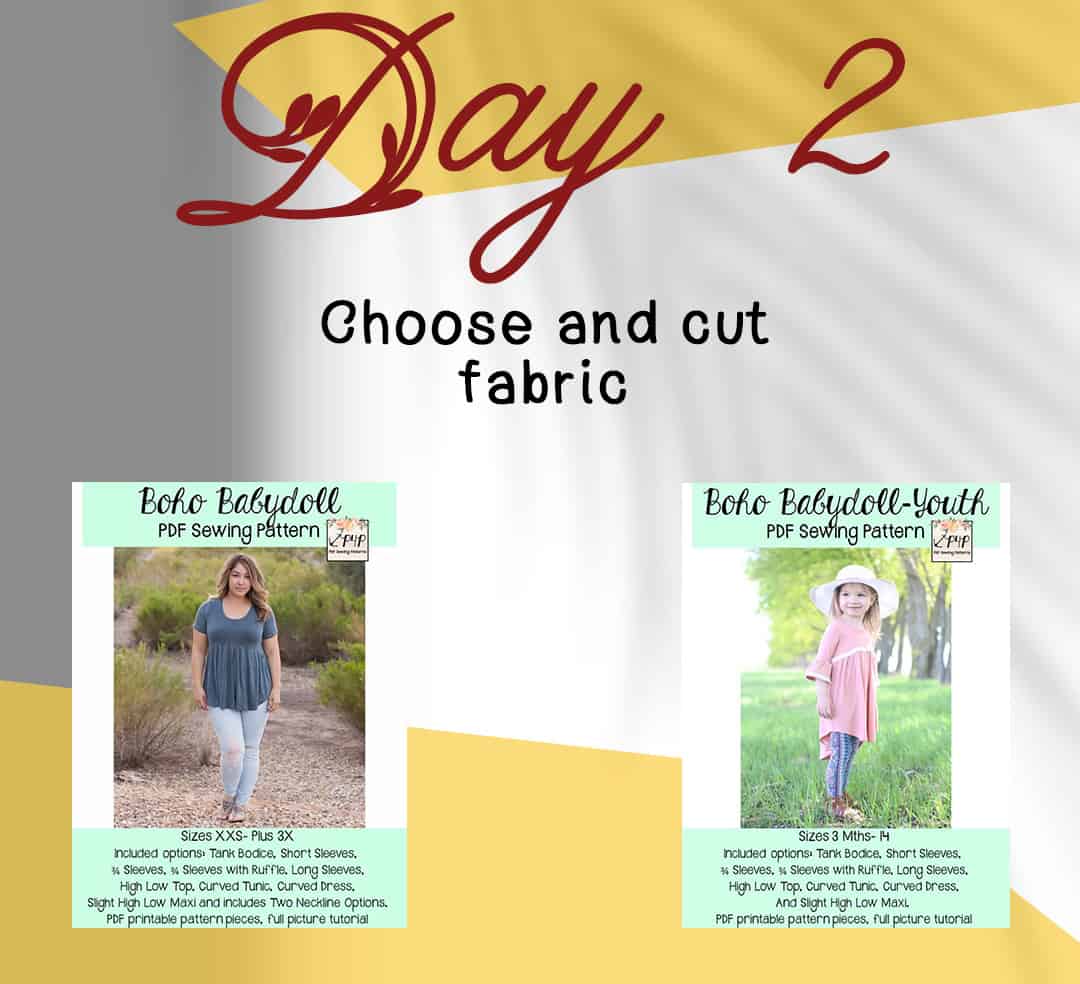
Boho Babydoll Sew Along | Day 2 (choose and cut fabric)
Boho Babydoll Sew Along | Day 3 (sew shoulder seams and sleeves)
Boho Babydoll Sew Along | Day 4 (Sew side seams, add neckband and armbands)
Boho Babydoll Sew Along | Day 5 (prepare skirt and attach it)
Boho Babydoll Sew Along | Day 6 (hem skirt and sleeves)
Boho Babydoll Sew Along | Day 7 (winners announcement)