Patterns for Pirates

P4P stylish, modern, wearable patterns

  • Home
  • Blog
    • Frequently Asked Questions
    • Pattern Releases
      • Free Patterns
    • P4P University
      • Fitting
      • Sewing with Stretch, Knit Fabrics
      • Sewing with Woven Fabrics
      • Sewing Machines
    • Sew-A-Longs
    • Fabric for Pirates
    • Pattern Hacks
    • Announcement
      • Blog Tours
      • Contest/Giveaway
  • Shop
  • Bundle Discounts
  • Flash Friday
  • Gift Cards
  • My Account
  • Cart

Brunch Blouse|Bitty Brunch Blouse SAL day 2 (cut fabric)

March 12, 2019


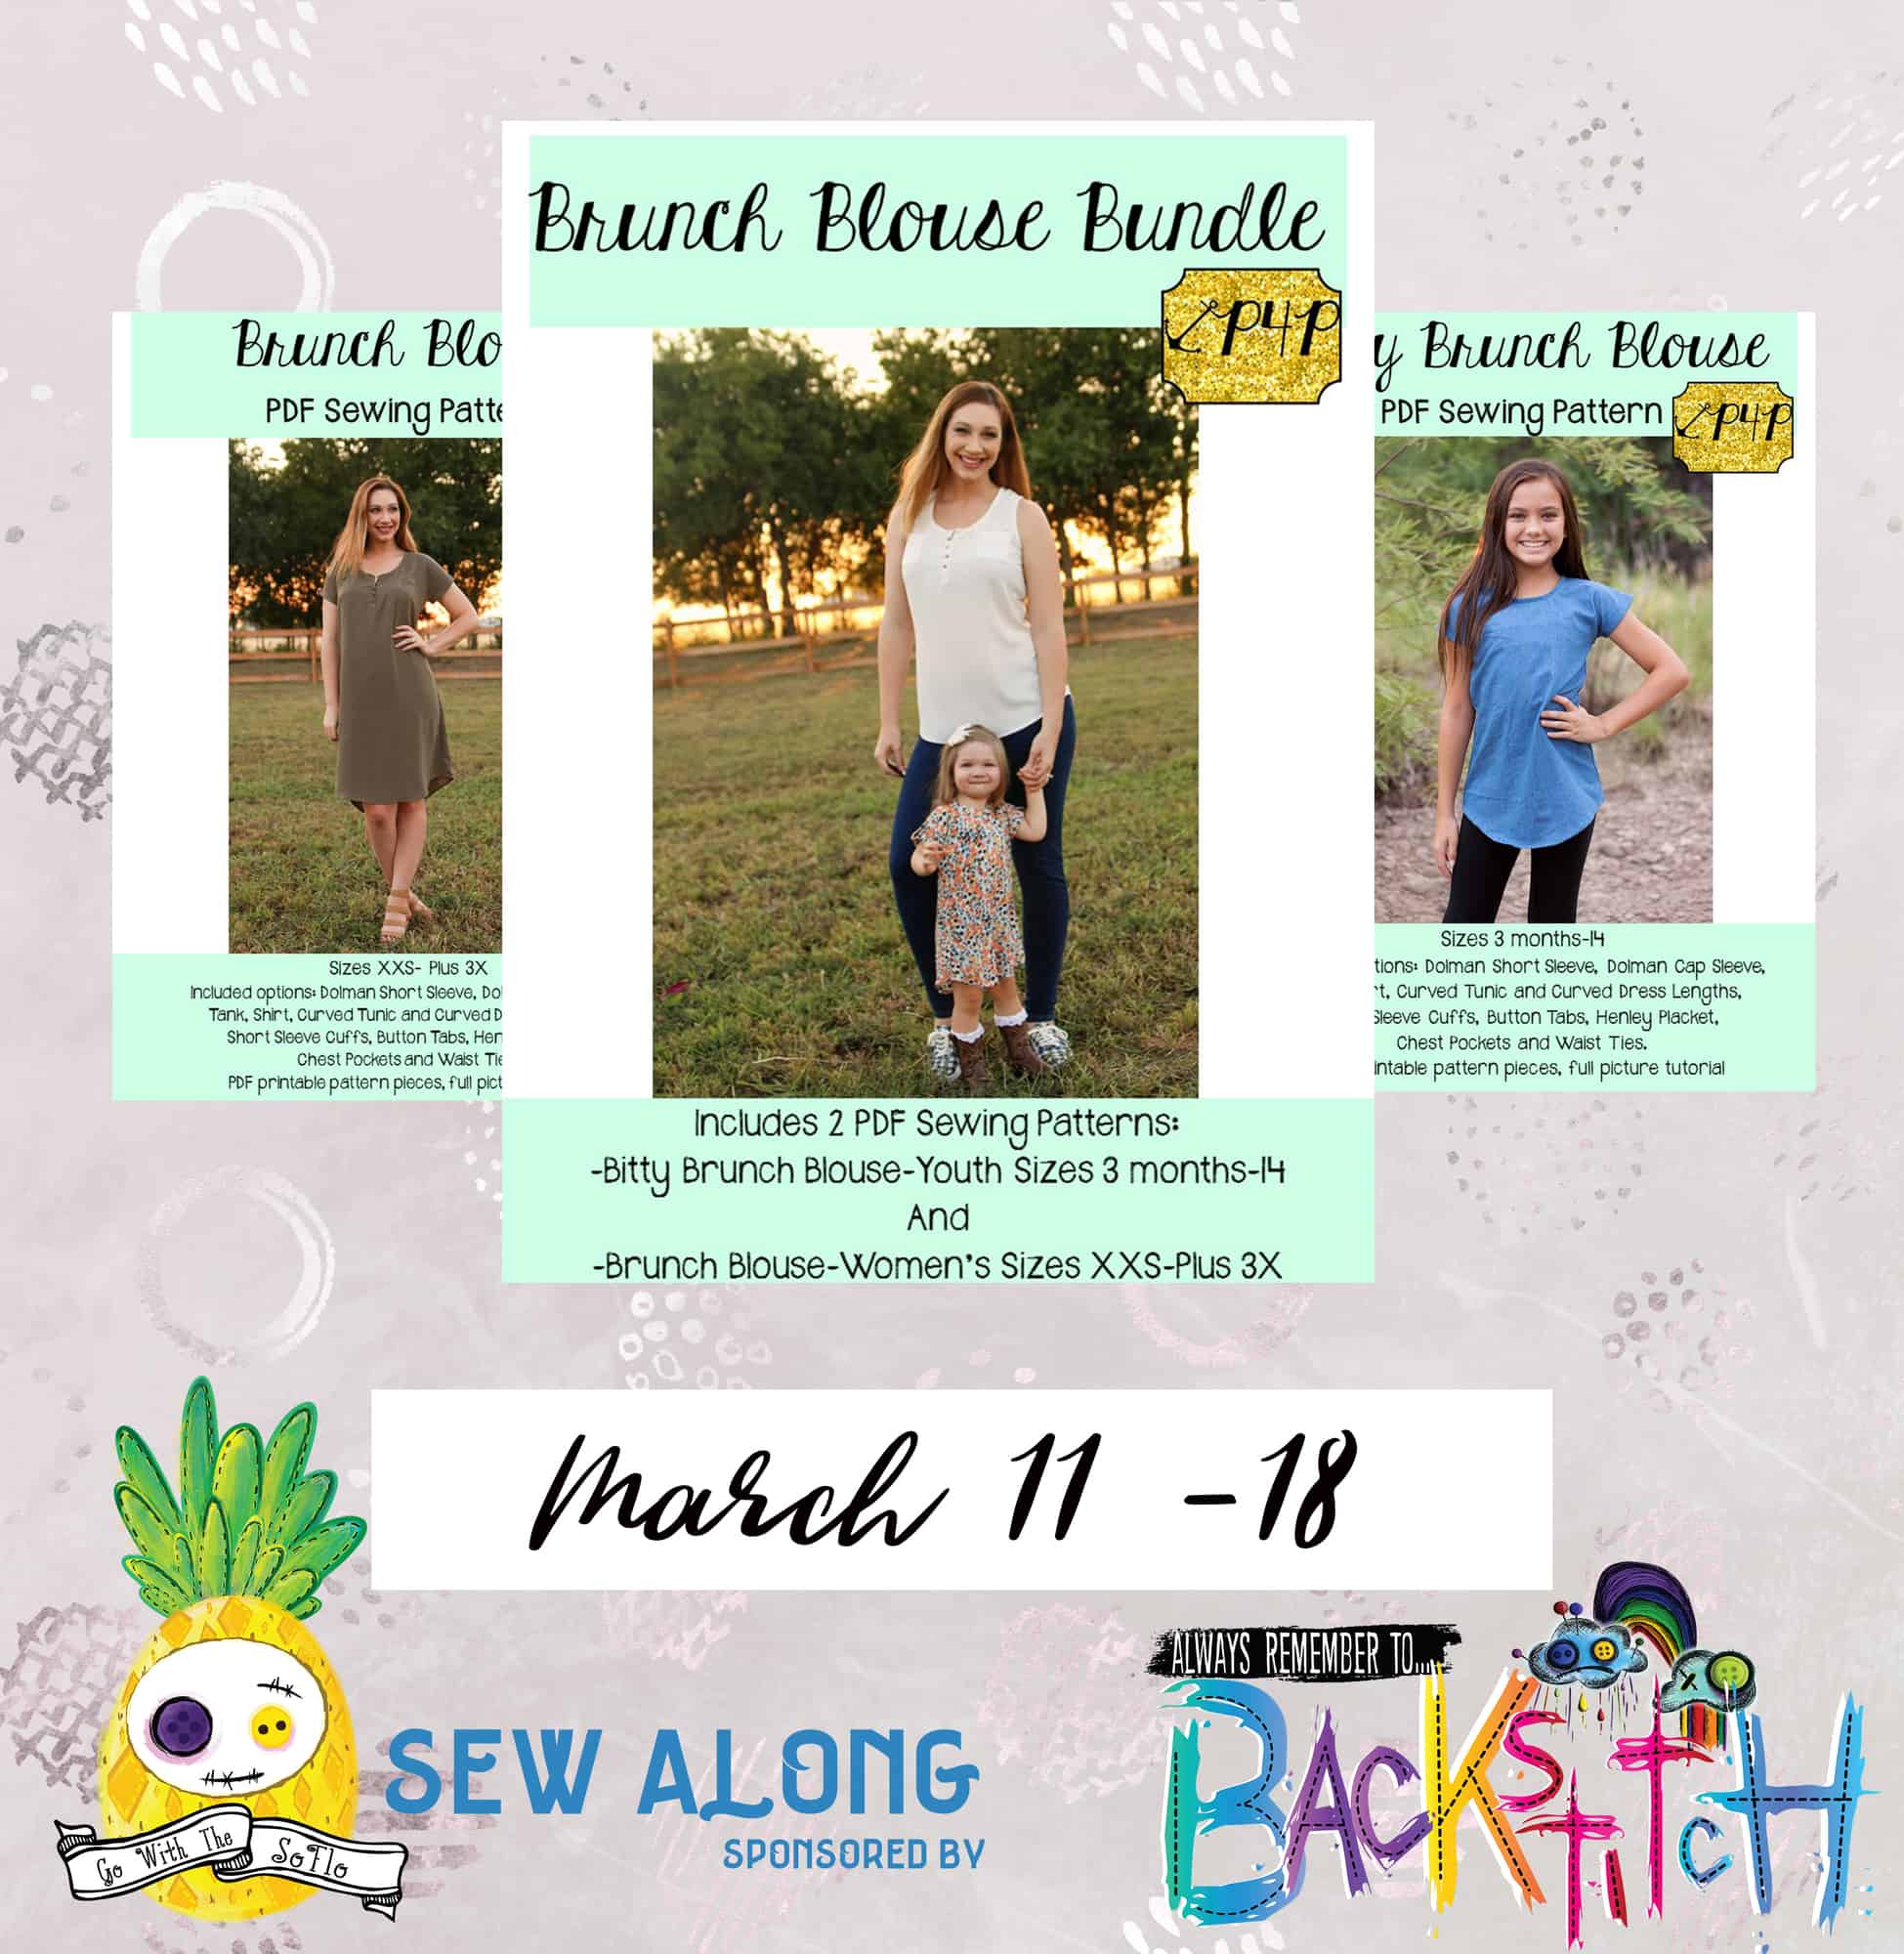
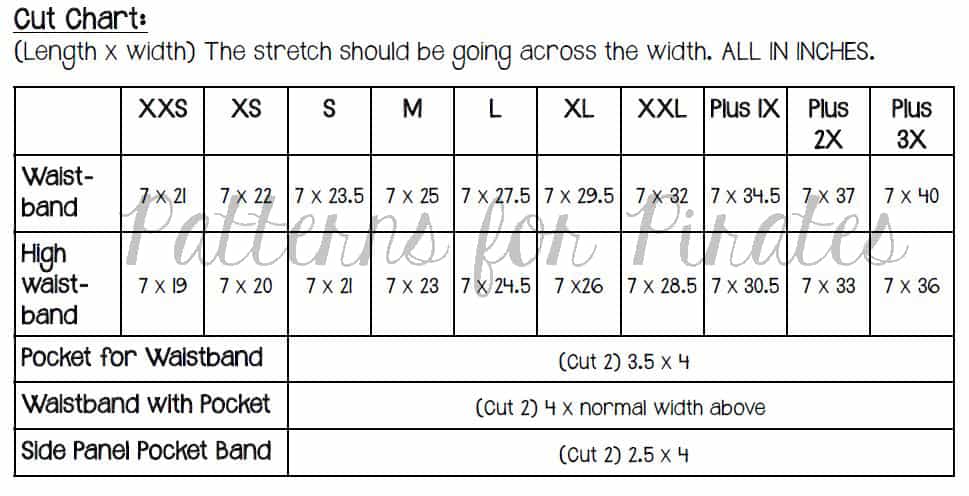
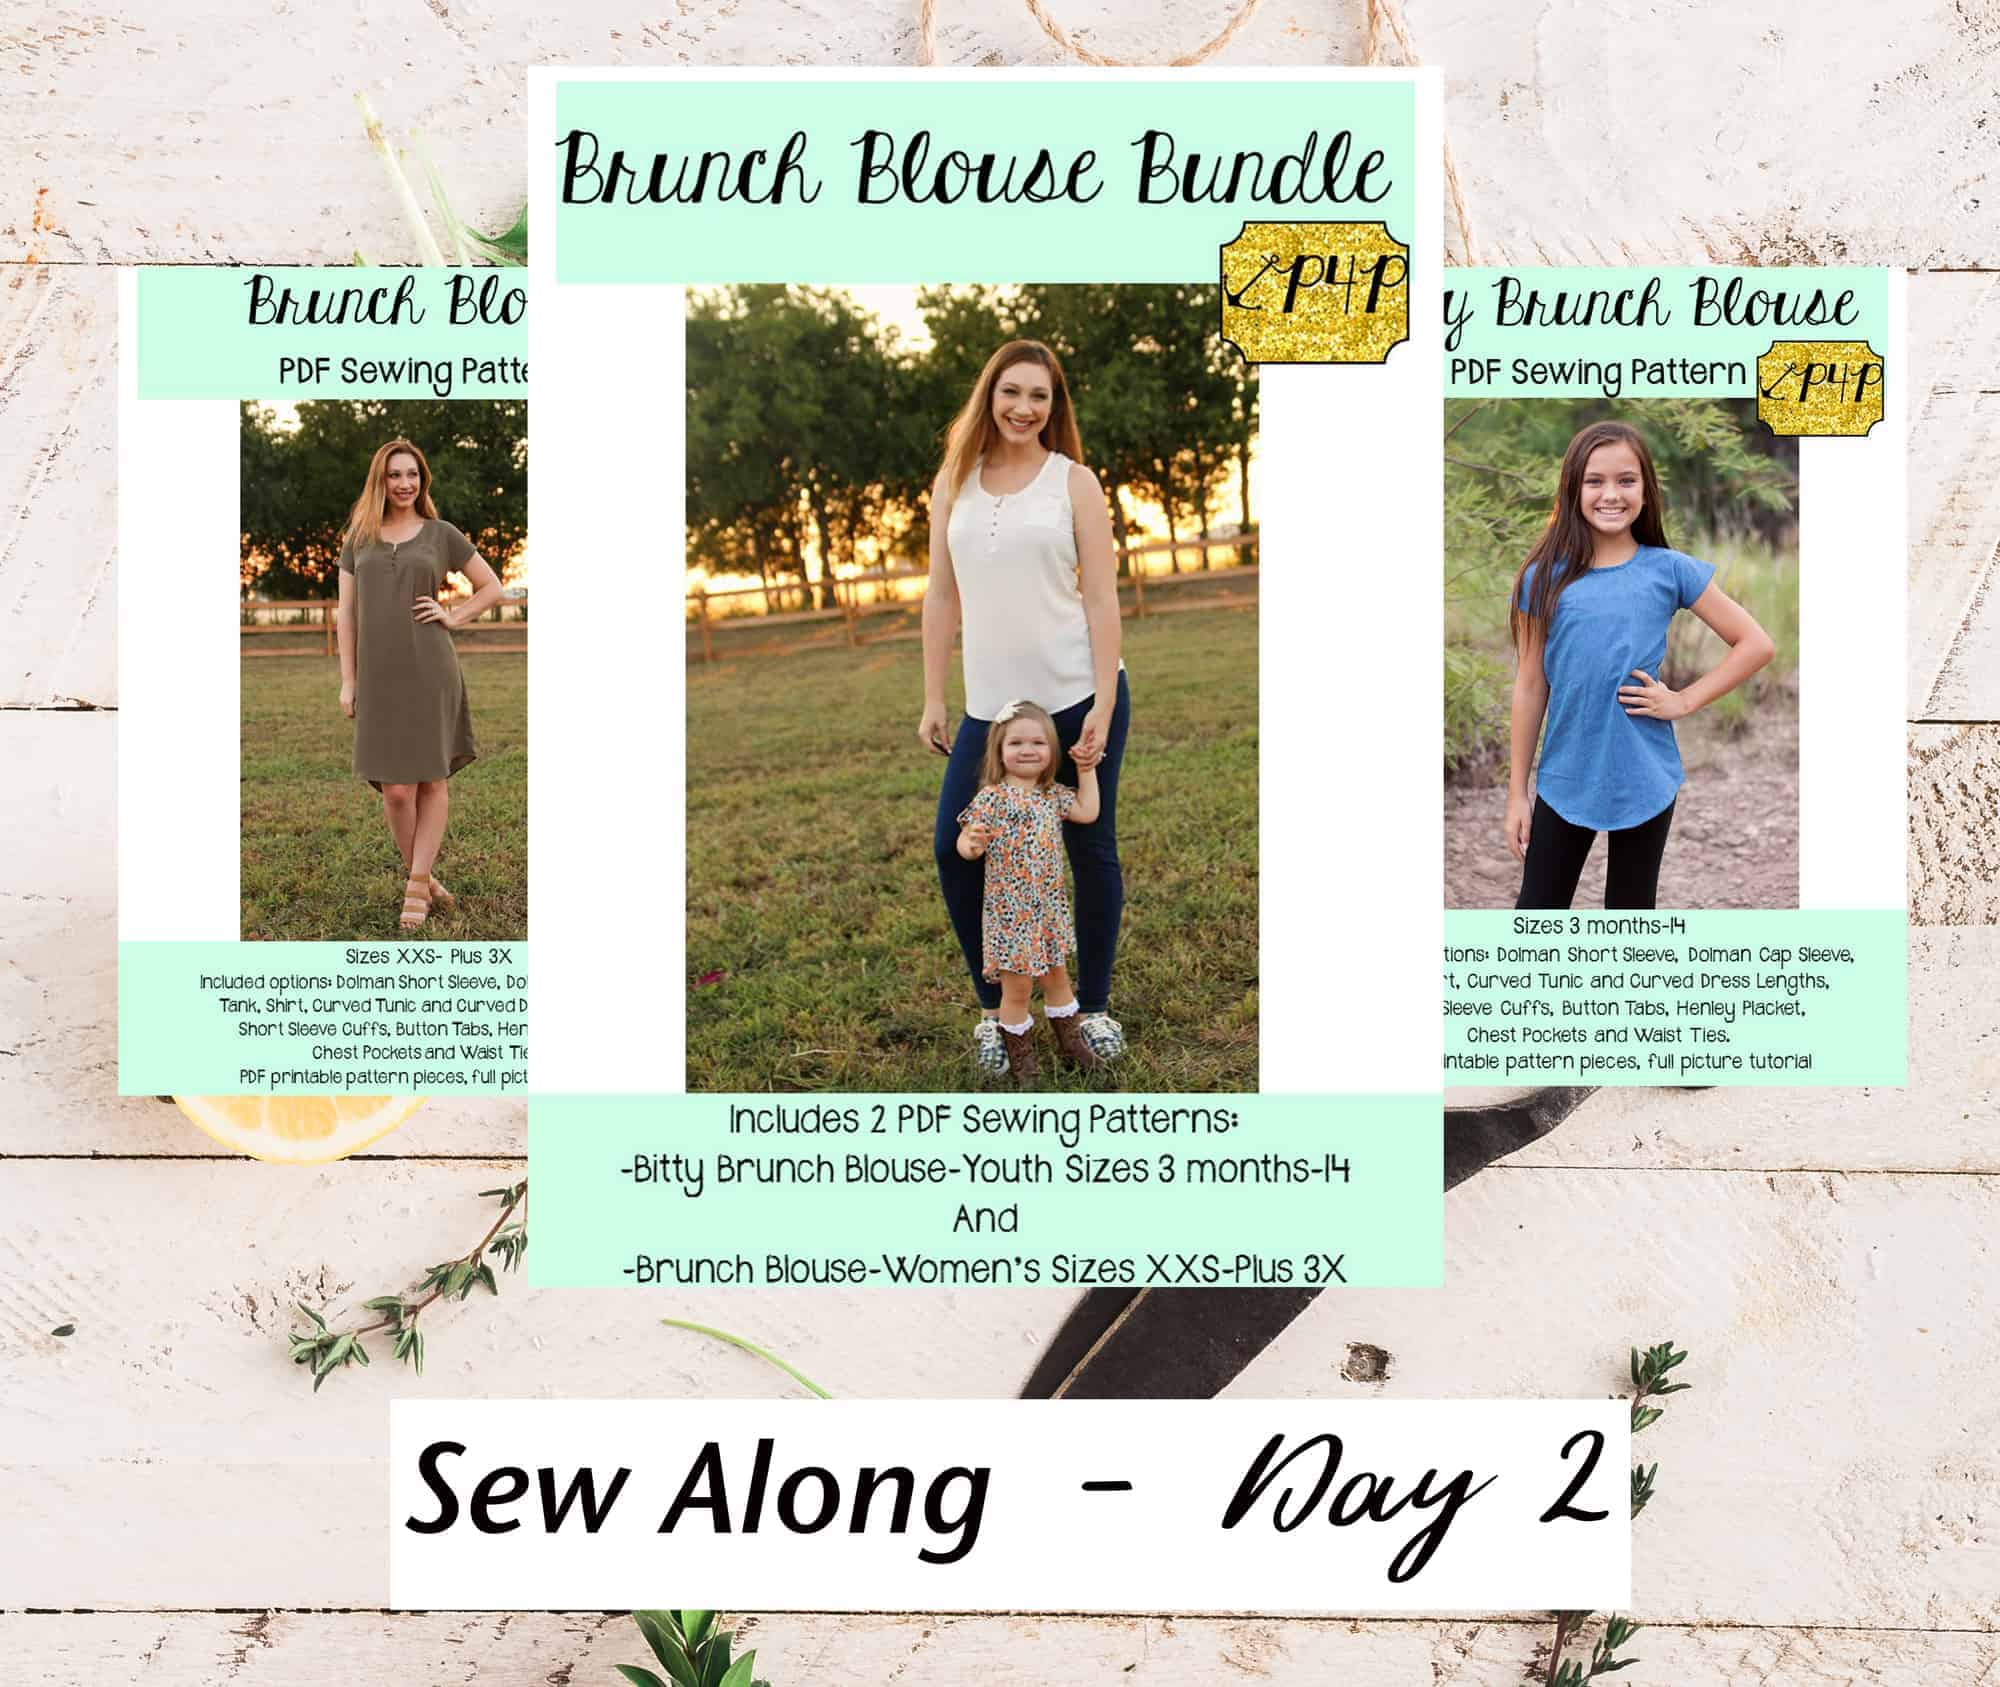
Welcome to day 2 of our Brunch and Bitty Brunch  sew along. Today we will be choosing the fabric, cutting it and gathering all necessary notions and accessories. You should have your pattern pieces ready from yesterday.

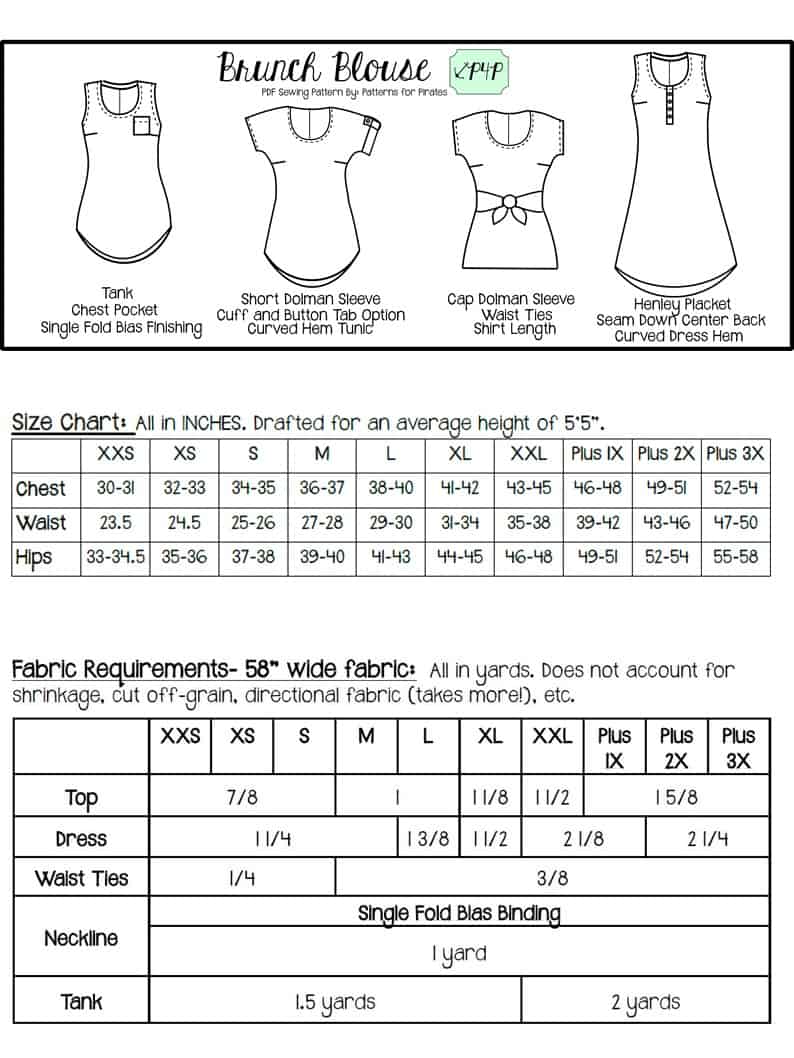
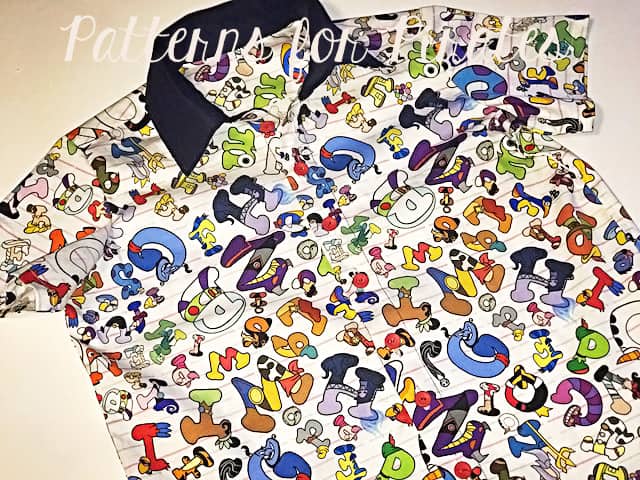
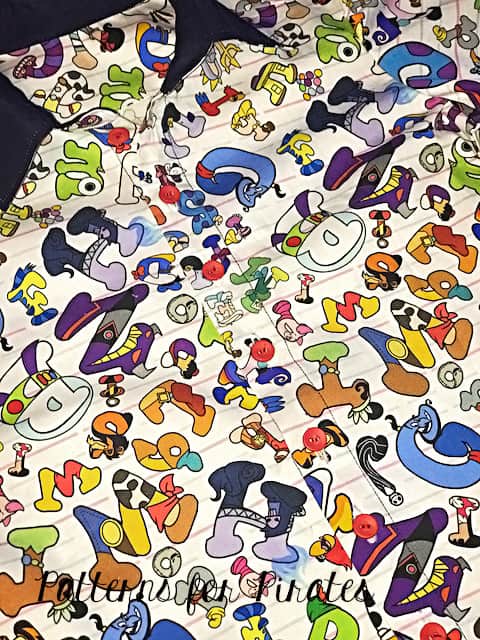
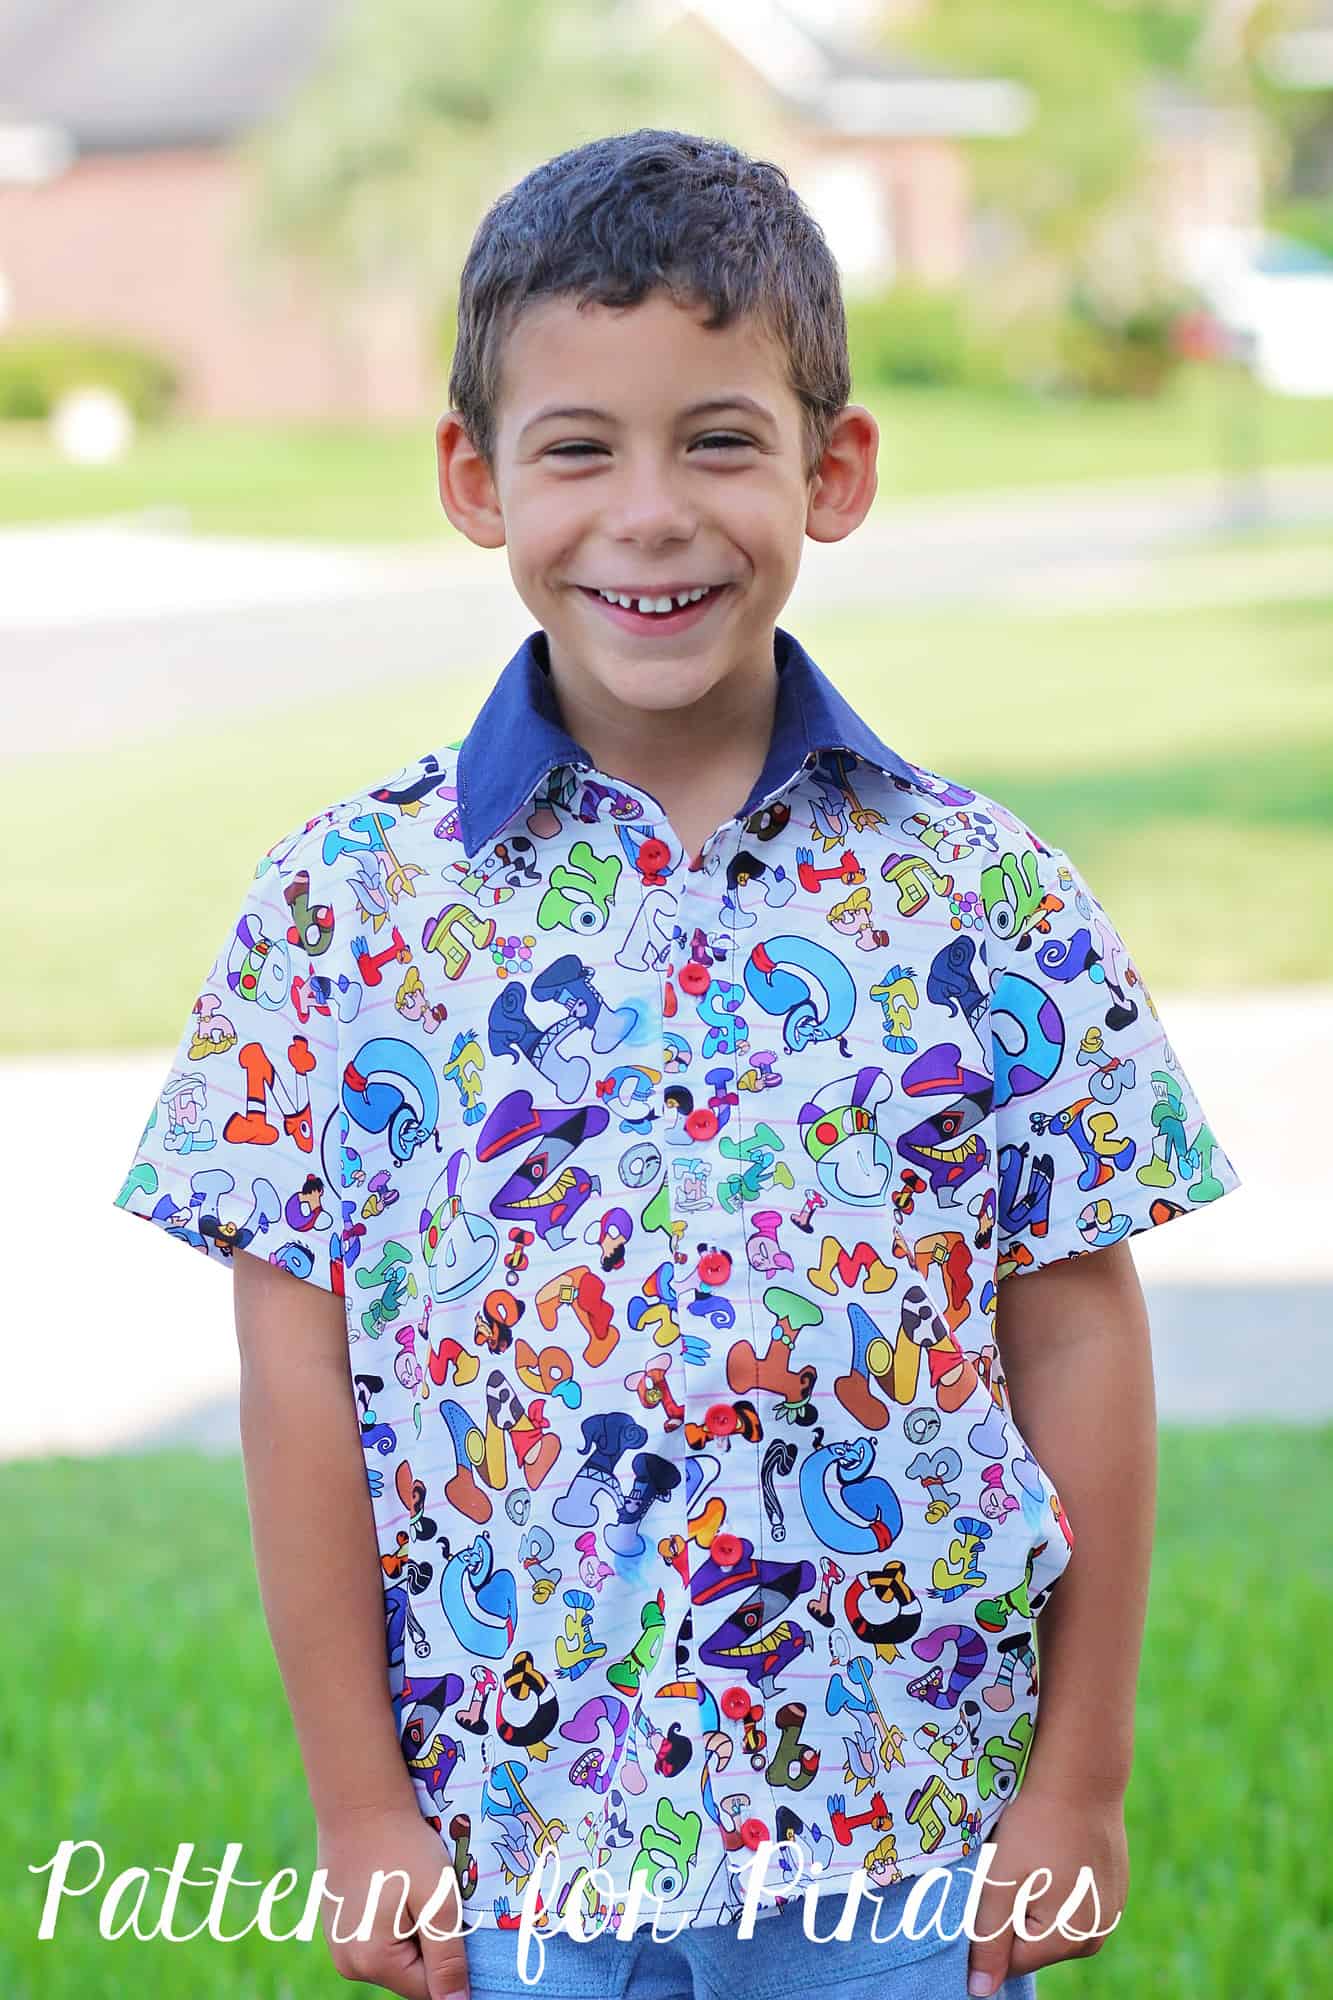
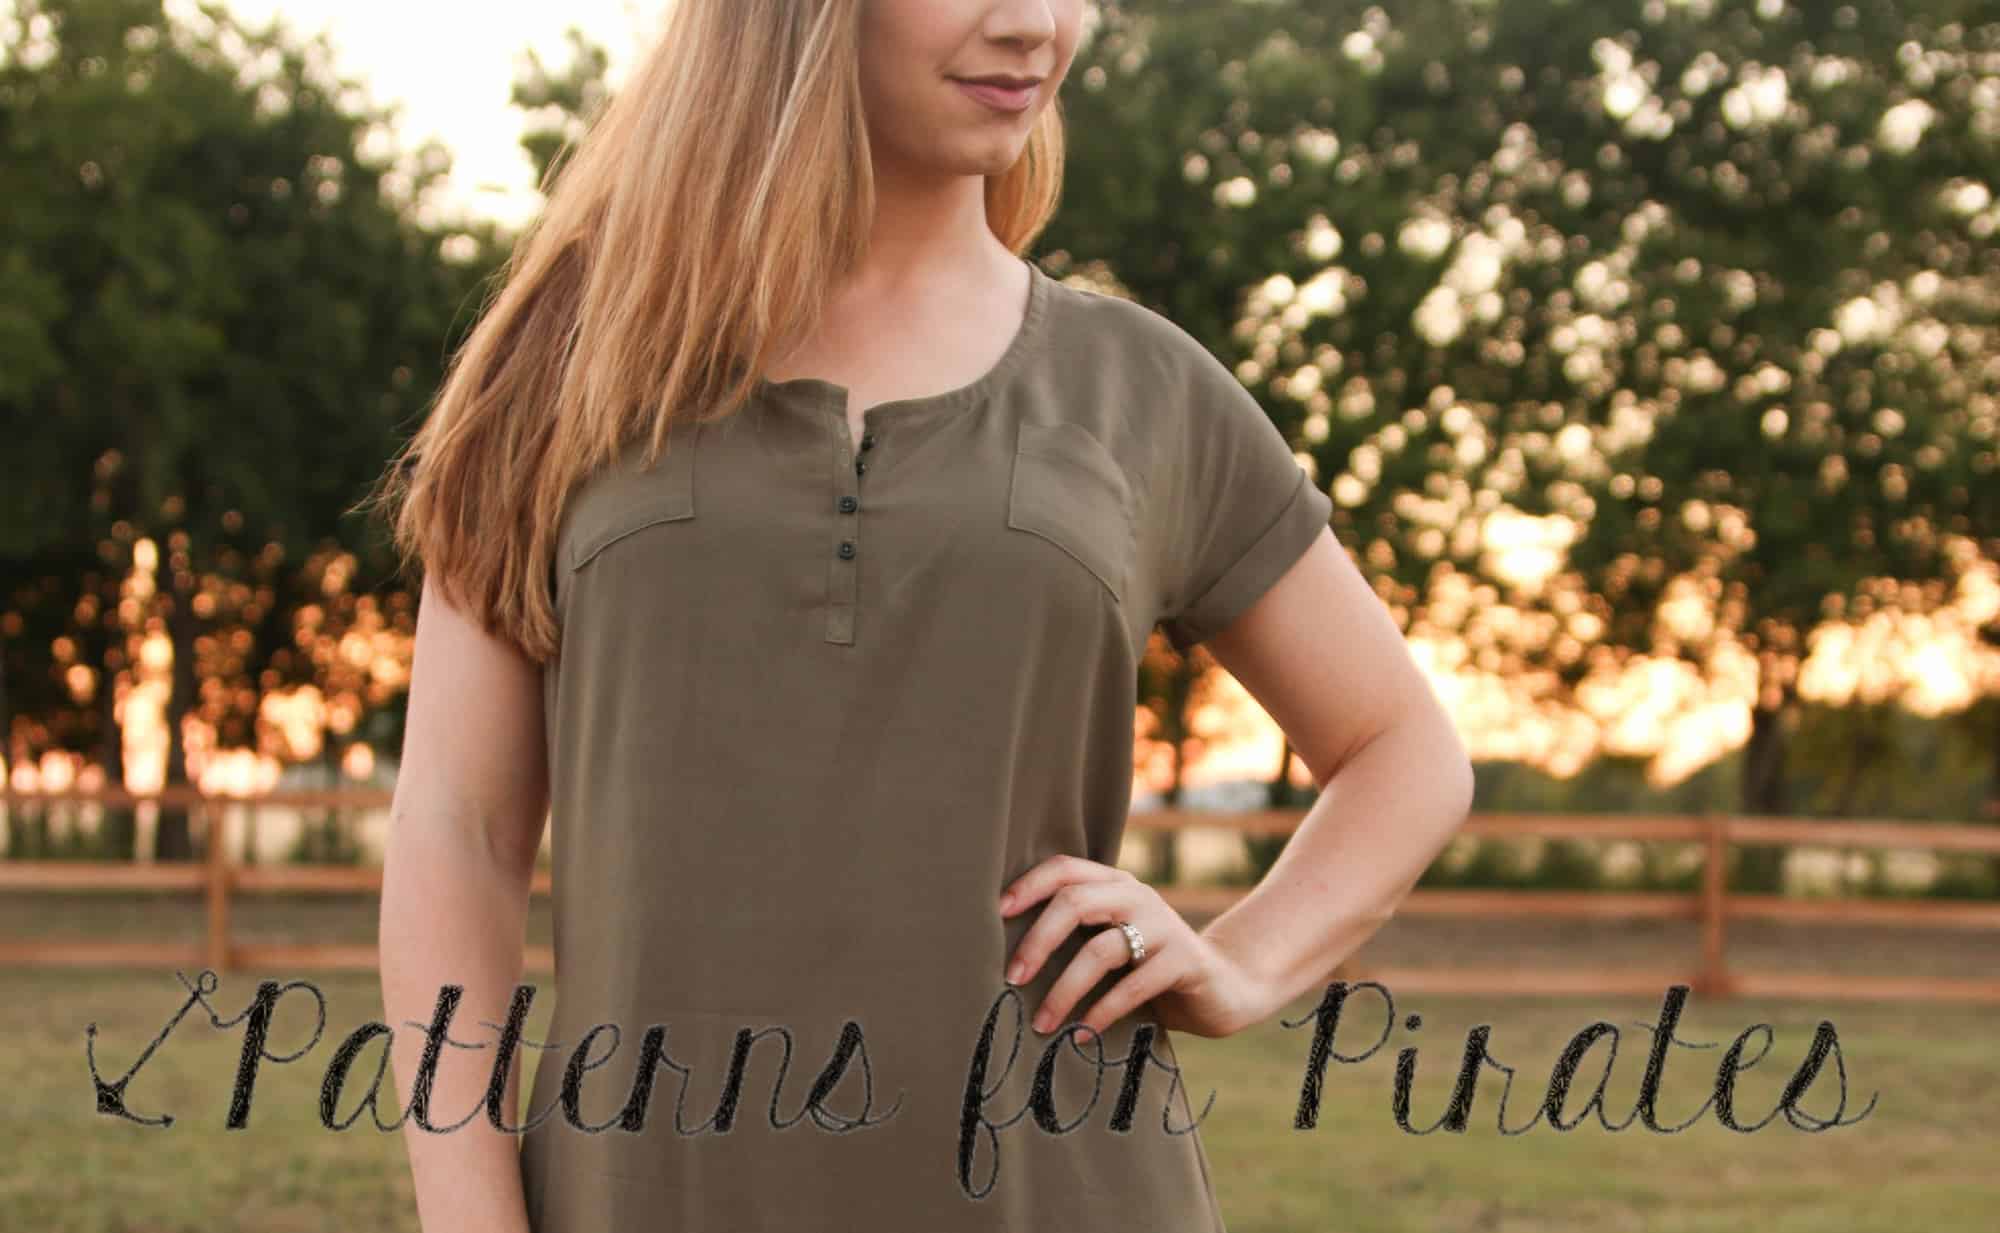
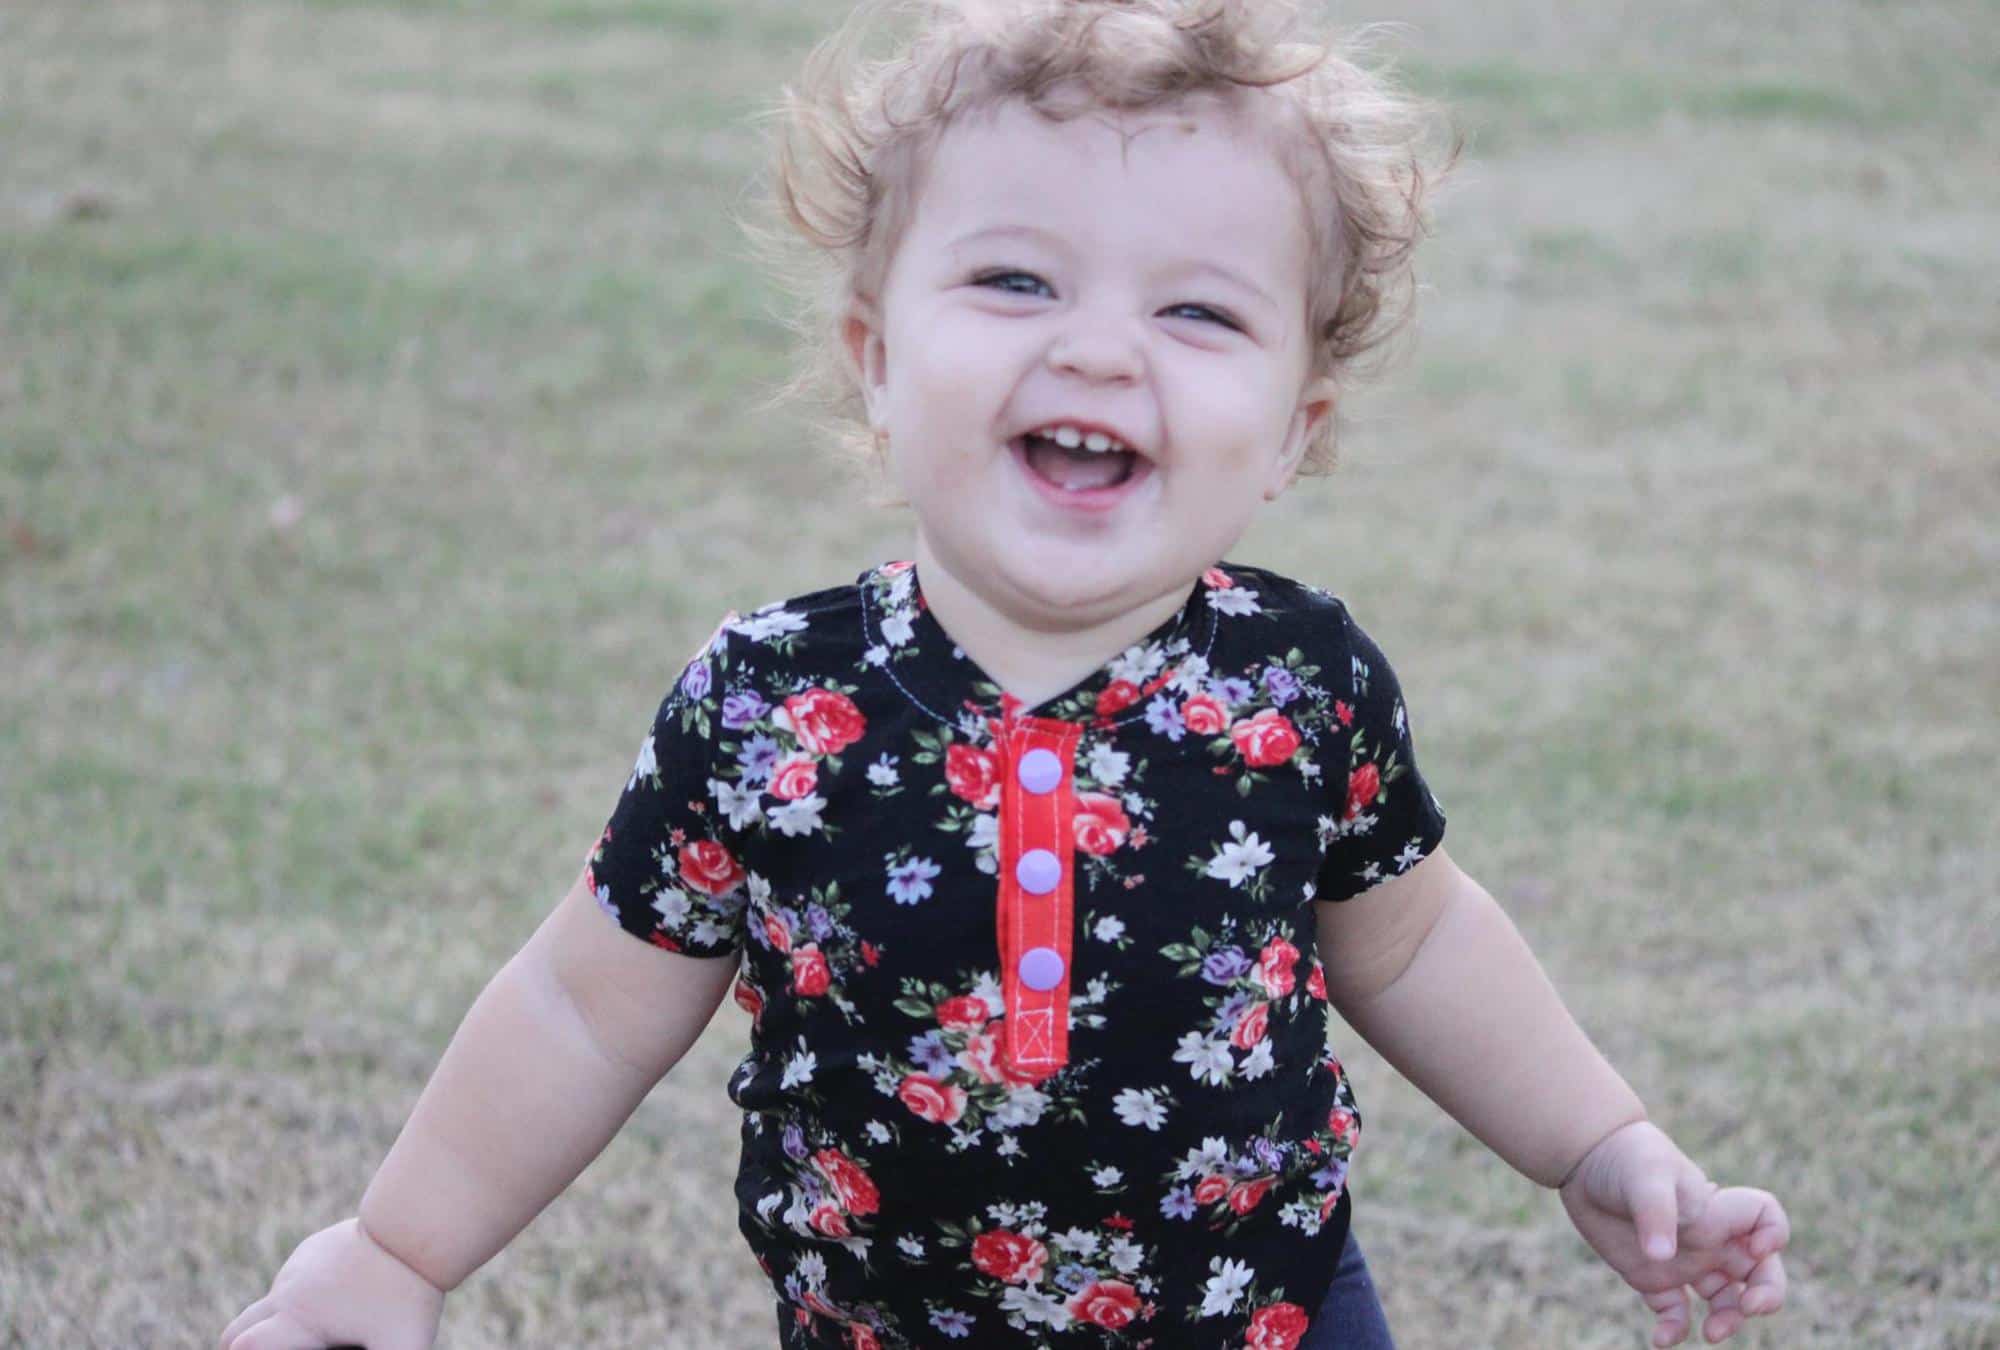
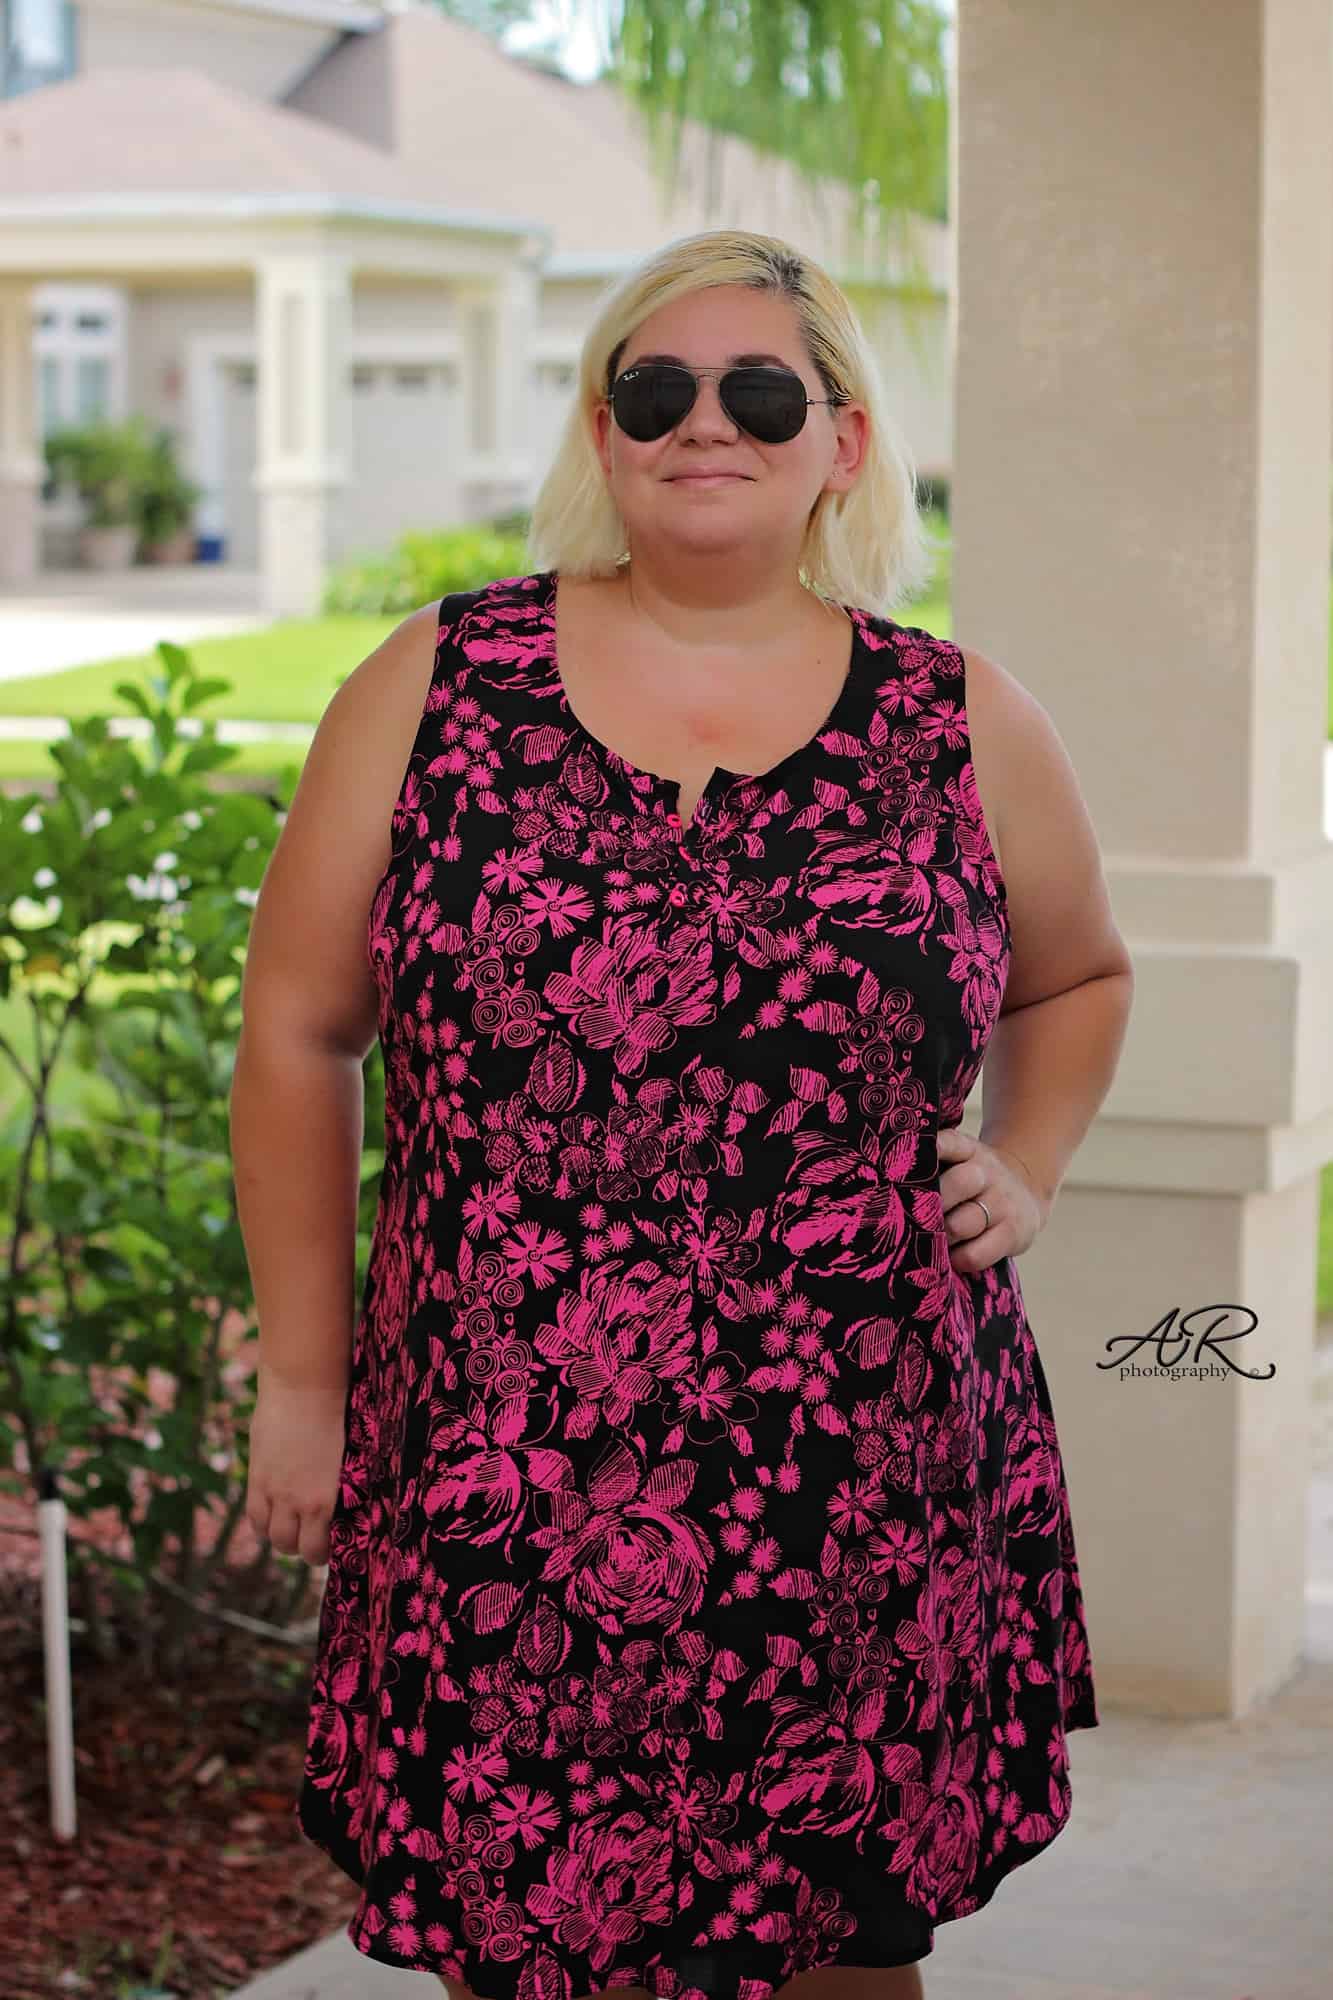
But first let’s talk a little about the right fabric for this pattern. As you can see in the video below I am using a gorgeous woven from Backstitch Fabrics for my Brunch Blouse. This woven is custom printed and the perfect weight. For the women’s blouse I absolutely love rayon fabric and chiffons. I highly encourage you to avoid quilter cottons because they do not have the necessary drape to make the top or dress flattering….and we all want that, am I right? You can get away with good quality quilter cotton for the Bitty Brunch though.


Backstitch SoFlo is this sew along’s sponsor too, so one of you will be getting a $50 Gift Card to the shop shop so you can treat your to some gorgeous custom printed woven fabric. Our second winner will receive a $25 gift card to Backstitch SoFlo too.

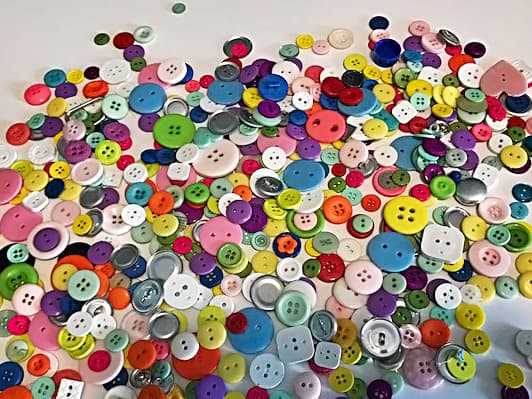
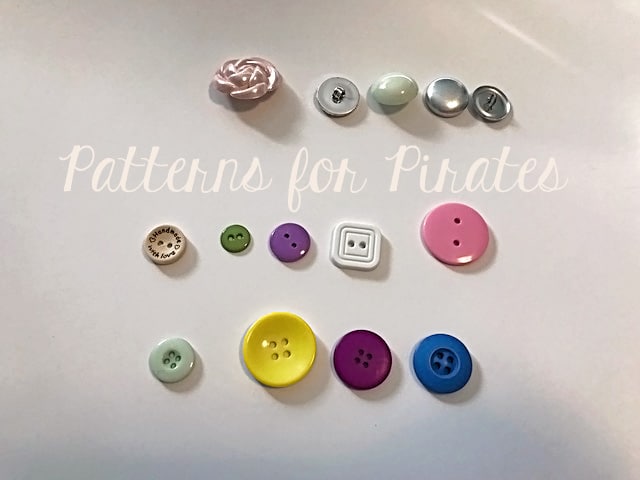
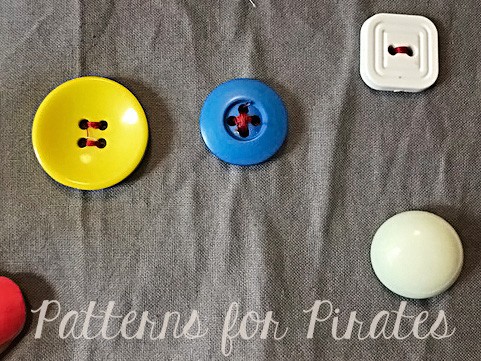
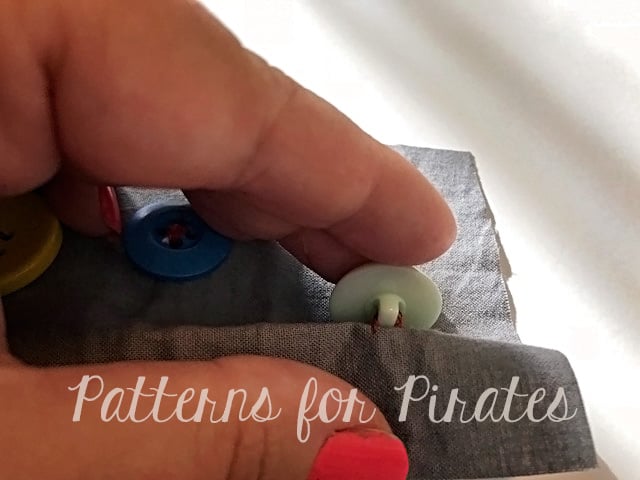
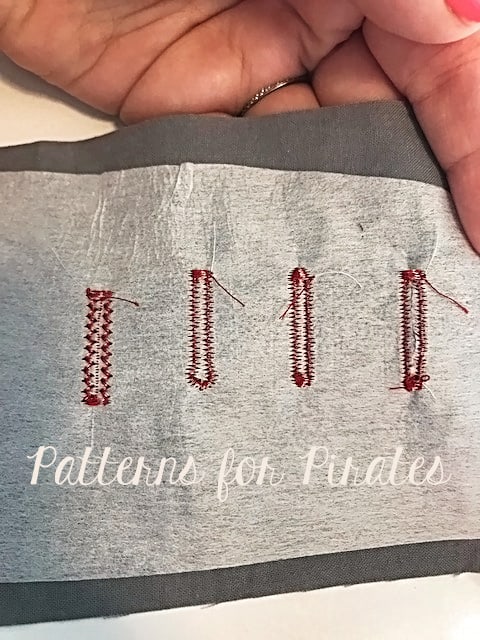
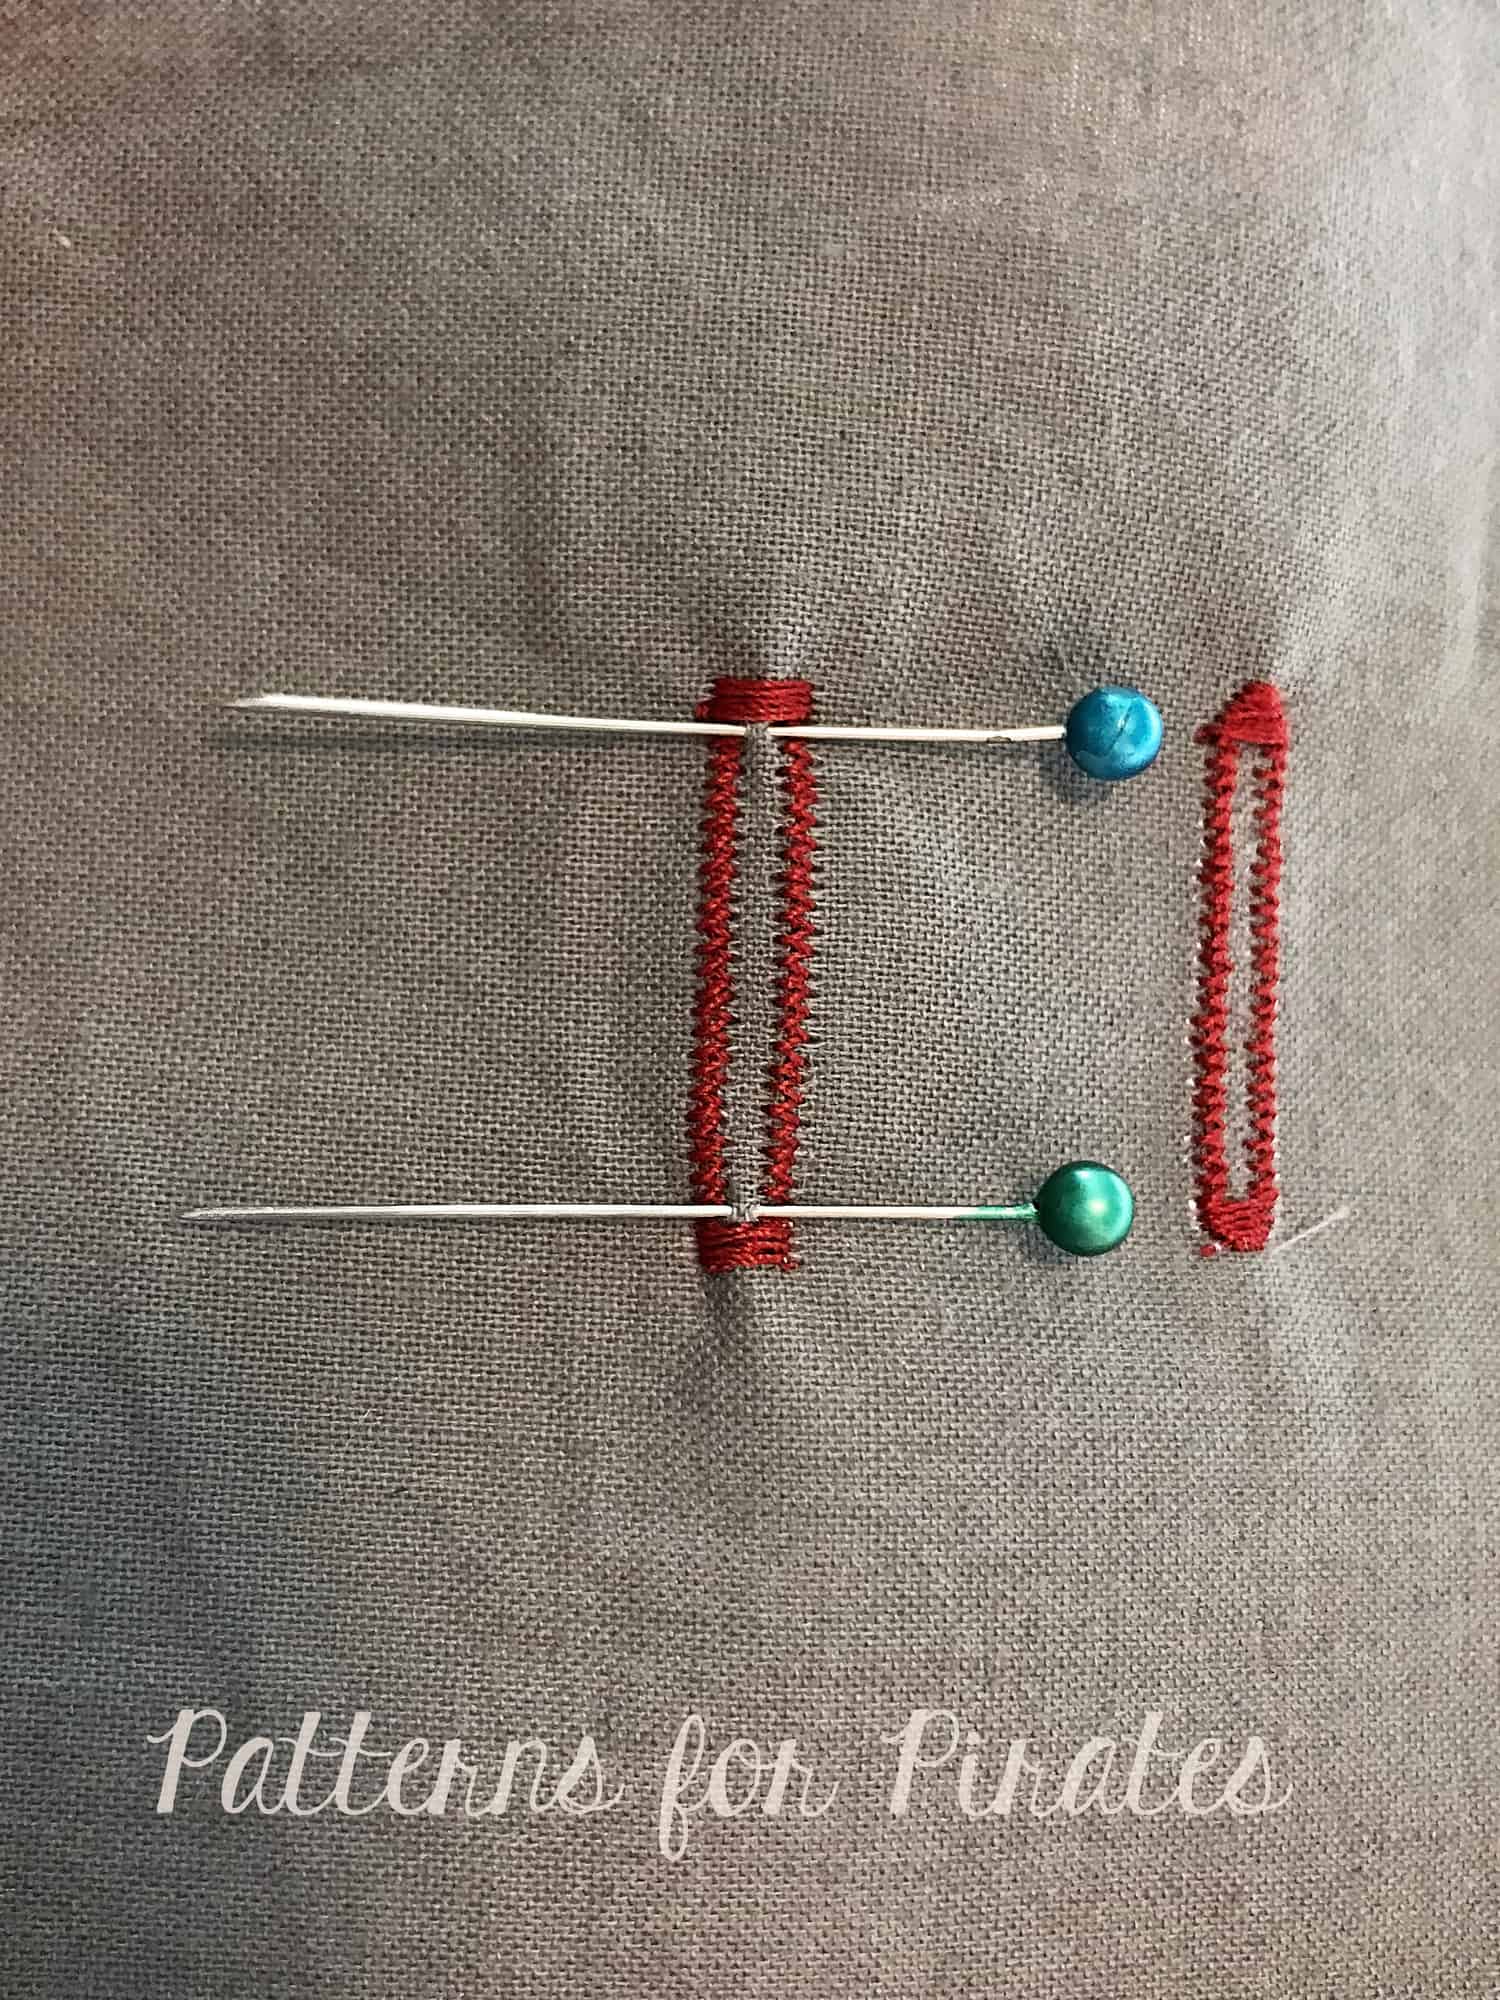
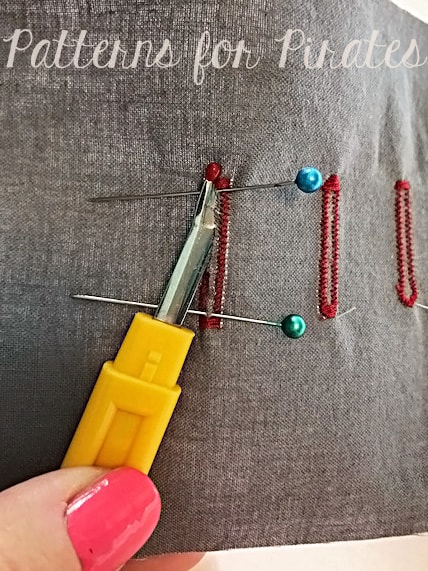
If you picked the henley style option you will also need buttons or snaps. My recommendation for buttons or snaps is smaller size ones. The placket finished width is aprox 1/2 inch so your buttons must be smaller than this.

The Day 2 video is posted below. Check it out and once you are done cutting your fabric post a picture of your prepped fabric in the comments of the Day 2 photo of the Brunch Blouse/Bitty Brunch Blouse SAL album in the M4M & P4P Sew Along group.

Brunch Blouse|Bitty Brunch Blouse SAL day 1 (print pattern)

Brunch Blouse|Bitty Brunch Blouse SAL day 2 (cut fabric)

Brunch Blouse|Bitty Brunch Blouse SAL day 3 (darts and placket)

Brunch Blouse|Bitty Brunch Blouse SAL day 4 (pocket/waist ties/back seam)

Brunch Blouse|Bitty Brunch Blouse SAL day 5 (shoulder/side seams)

Brunch Blouse|Bitty Brunch Blouse SAL day 6 (neckband)

Brunch Blouse|Bitty Brunch Blouse SAL day 7 (finish sleeves/hem)

Brunch Blouse|Bitty Brunch Blouse SAL day 8 (winners announcement)

Filed Under: Frequently Asked Questions, Sew-A-Long, Uncategorized Leave a Comment

Brunch Blouse|Bitty Brunch Blouse SAL day 1 (print pattern)

March 11, 2019


Welcome to the Brunch Blouse and Bitty Brunch Blouse

Sew Along!

Day One is reserved to purchasing the patterns, printing and cutting the size(s) you need. If you plan on sewing for yourself you can get the Brunch Blouse here, if you’re sewing for your little girl, the Bitty Brunch Blouse can be purchased here and if you’re sewing for both of you (just think of the mommy and me matching outfits!) you can get the bundle.

This Sew Along will take place in our M4M & P4P Sew Along group so be sure to join the group not only for the exclusive discount code available for the patterns but also to post your progress this week. As always all daily blog posts will be here on the blog but you’ll be checking in with your completed steps in the group.

Now that you purchased the pattern(s), print the size needed. In order to do that it is very important that you take your most accurate measurements. The Brunch Blouse and Bitty Brunch Blouse are drafted for woven fabric (no stretch) so if you need to grade for multiple sizes, please do not skip this step.

You will need your waist, hips and chest measurements in order to choose the correct blouse size. P4P has an amazing blog that gives you tip for accurately taking your measurements. You can read all about it here. If your measurements put you in a different size for chest/waist/hips be sure to check out our P4P University blog and grade to achieve the perfect fit.

Check out the day 1 video below and then comment “done” on the Day 1 picture of the Brunch/Bitty Brunch Blouse SAL album in the sew along group. We don’t allow pictures of the pattern pieces so this will count as your day 1 check in. Let’s get started!

Brunch Blouse|Bitty Brunch Blouse SAL day 1 (print pattern)

Brunch Blouse|Bitty Brunch Blouse SAL day 2 (cut fabric)

Brunch Blouse|Bitty Brunch Blouse SAL day 3 (darts and placket)

Brunch Blouse|Bitty Brunch Blouse SAL day 4 (pocket/waist ties/back seam)

Brunch Blouse|Bitty Brunch Blouse SAL day 5 (shoulder/side seams)

Brunch Blouse|Bitty Brunch Blouse SAL day 6 (neckband)

Brunch Blouse|Bitty Brunch Blouse SAL day 7 (finish sleeves/hem)

Brunch Blouse|Bitty Brunch Blouse SAL day 8 (winners announcement)

Filed Under: Frequently Asked Questions, Sew-A-Long, Uncategorized 4 Comments

Grandpa Cardi/Cpt Mack’s Cardigan SAL – day 3 (sew pocket and elbow patches)

January 16, 2019

Good morning, pirates! Today’s sew along is all about details. We are addin pockets and elbow patches. This is the time to get creative! Use some cute accent fabric, like sequins or faux leather or go classic and match the pockets with the main fabric.

The patterns include two options for the pocket, a hemmed and banded one. The banded one is a great alternative if you’re not the biggest hemming knits fan, plus it gives you the option to incorporated some more accent fabrics too. As I mentioned yesterday, the elbow patches will add a fun detail to your cardigans. Whether you’re making one for yourself and or one for your little, add a pop of color or texture to your patches! You’ll love it!

Tip: When adding the elbow patches mark the left arm and the right arm to make sure that you will not have the pockets on the inside of your arm vs the elbow. 

If you have chosen to make your cardigan with sweater knits, go over our Sweater knits blog post where I am giving you some wasy tricks to work with this fabric base.

Watch the videos below and  post a picture of your pockets and added elbow patches in the day 3 photo comments of the Cardigan SAL album.

Grandpa Cardi | Cpt Mack’s Cardigan Sew along  – Day 1 (Print & cut pattern)

Grandpa Cardi | Cpt Mack’s Cardigan Sew along  – Day 2 (choose and cut fabric)

Grandpa Cardi | Cpt Mack’s Cardigan Sew along  – Day 3 (pockets and elbow patches)

Grandpa Cardi | Cpt Mack’s Cardigan Sew along  – Day 4 (shoulder seams and add sleeves)

Grandpa Cardi | Cpt Mack’s Cardigan Sew along  – Day 5 (finish sleeves and bottom edge)

Grandpa Cardi | Cpt Mack’s Cardigan Sew along  – Day 6 (collar/shawl and buttons)

Grandpa Cardi | Cpt Mack’s Cardigan Sew along  – Day 7 (winners announcements)


Filed Under: Frequently Asked Questions, Sew-A-Long, Uncategorized Leave a Comment

Go To Jacket – SAL day 3 (sew pockets)

October 10, 2018

Welcome to day 3 of the Go To Jacket Sew along! Today is dedicated to adding pockets. The pattern features two styles, patch and inseam. I will be sewing the inseam one on my kids’ jacket and the kanga on my women one. The inseam pockets will have two openings, one at the side seam and a cool hidden one on the inside of the jacket. Today’s steps are pretty easy and as always, be sure to post in the SAL group if you have any questions.

Watch the videos below for and  post a picture of your pockets in the day 3 photo comments of the Go To Jacket SAL album.

Inseam pockets:

Kanga pockets:

Go To Jacket Sew Along

Day 1: Print + Cut Pattern

Day 2: Choose + Cut Fabric

Day 3: Sew Pockets

Day 4: Sew Shoulder Seams + Attach Sleeves

Day 5: Attach Neckband / Hood

Day 6: Add waistband + Finish Sleeves

Day 7: Add Zipper

Day 8: Recap + Catch Up

Day 9: Winners Announcement

Filed Under: Frequently Asked Questions, Sew-A-Long, Uncategorized 2 Comments

P4P University – Buttons and Buttonholes

June 26, 2018

Ohh the dreaded buttons and button holes!!! Well…fear them no more. Today on the blog I wanted to talk to you about buttons and how easy it can be to add buttonholes to your projects.


Buttons

I am sure you noticed a few styles of buttons while walking around the notions sections of you favorite fabric store. The most commonly used buttons are 2-hole ones, 4-hole buttons and shank buttons.

  • 2 hole buttons are usually used for decorative purposes or for items that will not require a heavy use of the buttons. That being said, I personally prefer the look of the 2 hole button for day to day wear so I just reinforce the stitching to make it more durable.
  • 4 hole buttons will yield a sturdier construction. You can sew them on using an ” X “ style stitch or a ” = ” style. Either one of the methods can be done using a sewing machine or hand sewing.
  • Shank buttons are buttons that once sewn will not lay flushed with the fabric. They have a shank that will allow for some space between the button and the garment. These style buttons can be used for decorative purposes but they are mainly used when adding buttons to coats or heavy jackets.

You can sew buttons by hand or using your sewing machine. All 3 types of buttons listed above can be sewn by hand while only the 2 hole and 4 hole buttons can be sewn with the machine.

Note: when using a 4 hole button it is generally preferred to add a thread shank so there is some space between the button and the fabric. That can only be achieved by hand sewing.

In the video below I am showing you how to attach two-hole buttons with your sewing machine and different button feet available.


Buttonholes

Now that we have added buttons, we need to add button holes. Here are some must-does when adding buttonholes.

Always interface!

The key to successful buttonholes is interfacing the fabric. Whether you are using knit, light weight of medium weight woven always interface the areas you plan on adding buttonholes. Light to medium weight interfacing would work best.

Chose the right buttonhole style for your fabric! 

You might have noticed that your machine has quite a few options for button holes.

The one I use most is the squared one (as you can see in the video below) because I sew mainly medium weight fabrics. This buttonhole is also used for home decor sewing. If you use light weight fabrics, silks or chiffons, use the “oval” buttonhole, the one that has a round top and bottom.

If you are sewing coats or heavy weight jackets you will want to use a keyhole buttonhole because it will make pulling a thicker button through it much easier. When sewing knit outfits, if you need to preserve the stretch of the fabric around the buttonhole then the “knit buttonhole” is the one to use. It features a wider zig zag or a criss-cross stitch.

All you have to do now is make a slit in the fabric to allow for the button to pull through the hole. I like to use my seam ripper for that (make sure it’s not dull!!) and mark the top and bottom ends of the hole with pins as shown below.

This will help prevent any unwanted snips of the thread.

In the next video you can see the buttonhole foot in action.

Now that we have all that covered and hopefully you feel more confident sewing buttons and buttonholes, go sew some Henley and Lumberjack shirts and Brunch Blouses and be sure to show them off in the P4P group.

Filed Under: P4P University, Sewing Machines, Sewing Techniques, Uncategorized 3 Comments

How to shorten zippers

February 23, 2018


Ahoy pirates! Today on the blog I wanted to show you how to shorten different style zippers. With the new Go-To Jacket patterns releasing, you will be playing around with various size zippers so I find that it’s easier to just stock up on longer zippers (30-36″) and then shorten them based on your needs.

*Plastic separating zippers

Let’s talk about plastic separating zippers first. They are my favorite zipper style for kids and women casual wear. And shortening them is a peace of cake. There’s no need for any fancy tool or muscles 😉

Simply grab a pair of scissors that you do NOT use to cut fabric, a measuring tape and a lighter. Measure the length of the zipper you need for your jacket, mark it on both sides of the separating zipper. Move the zipper pull down and cut the desired length. Follow the instructions I give you in the video below to create a “zipper stop”.

Note: since you’re working with an open flame (if you don’t have a hot knife) please be extra cautious and avoid having your little ones “help out” 🙂

TIP: Always measure 3 times before cutting the zipper, just to be sure. 

*Metal Separating Zippers

The other separating zipper you may use for hoodies or jackets is a metal zipper. Walmart always carries them so, on a pinch, it’s a good alternative for plastic zippers.

Shortening a metal zipper is more time consuming and it requires a little bit of elbow grease and more tools but it’s totally doable. Just grab those non fabric scissors, a measuring tape and some long nose pliers and watch the video below.

TIP: Mark on both sides of the zipper where the waistband meets the bodice, the pockets and the hood. This will make it a lot easier to make sure that everything matches when you zip up the jacket.

*All purpose zippers

If you are making a Wiggle dress  and you need to shorten the all purpose zipper you are using you will only need your scissors, a measuring tape and some thread. Simply mark on the BOTTOM of the zipper (not the top as you did for separating zippers) where you would like for the zipper pull to stop.

Sew by hand a zipper stop at the mark you just made. Simply sew back on forth over the zipper teeth a few times. You can certainly use your sewing machine for this step but I find it easier to just hand sew the thread zipper stop. Cut the zipper 1″ below  the thread zipper stop you just created and seal your zipper ribbon with a lighter. Optionally, remove the plastic teeth below the thread zipper stop. Tadah! You have shortened your AP zipper in minutes.


Now that you have shortening zippers all figured out, go and sew all the Go To Jackets and make sure to post them in the Patterns for Pirates group!

Filed Under: P4P University, Sewing Techniques 6 Comments

Pattern Markings 101

December 19, 2017

Many moons ago, I can remember calling my mom in a panic. I had printed out my first pattern for a garment, assembled it, and then just stared at all of the markings! Even though I’d sewn quilts for years before, this was my first attempt at making clothes and the pattern looked like a map in which I had no clue how to follow. After my “what did I get myself into” talk with her, she slowly walked me through each question I had and now after all these years we’ve come full circle and I’m making clothes for her!

Like many people, you will probably experience (or already have!) the “What have I done?” moment in sewing and question why you started a project to begin with. Have no fear! We’re here to help. We decided it was time to break that map down for you and help you learn how to navigate through the amazing world of garment sewing. In this post, you’ll find a description of all the key terms and symbols you might expect to see when starting your sewing adventures! So let’s get those patterns printed, assembled and let the fun begin! (If you’re staring at all of those pages you’ve just printed- don’t worry there either! Click here for our First Time User Tips, which includes how to assemble patterns).

Grainline

The grainline tells you which direction the grain of your fabric should run. The grainline will run parallel between the selvages, or finished edges of your fabric. There are usually printer markings, contrasting trims, solid colors, etc found on the selvage. Typically, your grainline will have the less amount of stretch in knit fabric. A few weeks ago, Roberta shared some details and information about grainlines, why they’re important, and much more. You can check that out here. 

Stretch

The stretch of your fabric will run perpendicular to the grainline/selvage and will be the direction with the most stretch. As you can see in the picture below, the stretch is running the opposite way as the grainline. It is extremely important to have the right direction of stretch when it comes to the fit of your garment. The stretch will go around your body for most pattern pieces and is accounted for when the ease of a pattern is drafted (read more about ease here). For example, if a pattern is drafted with negative ease (finished measurements are smaller than your body) and you have the stretch going in the wrong direction, chances are, it won’t fit.

Fold

If a pattern piece is symmetrical on both sides, you will notice the center with a “FOLD” marking. This is commonly found on pieces such as the bodice, back, or sleeve in which both the left and right sides have the same appearance. You will want to fold your fabric wide enough for your pattern piece and align this marking to the fold of the fabric. To help conserve fabric, I like to fold it just wide enough for the pattern piece (shown above). A common error can be to fold the fabric exactly down the middle, leaving wasted material.

Notches

You might have noticed small triangles on some pattern pieces. These notches serve several different purposes. One of the purposes is to help distinguish the back from the front. For example, something like a raglan style top can easily get mixed up when assembling. These notches will help keep the front  with the front and back with the back. The second purpose is to help with alignment. By matching these notches up, your pieces will be in the correct position.

TIP: I always cut my notches out rather than in as to avoid accidentally cutting too far into the seam allowance.

Hem Gauge

You will typically find a hem gauge on both the sleeves and bottom edges. This is usually a triangular shape that notches out. It will mark the correct allowance for your hem. This is particularly useful when creating a memory hem. All you will need to do is fold your fabric up to this notch, press and unfold. Once you’ve sewn the seams, you will still have your pressed fold in place with the correct seam allowance.


Cut Chart

Most Patterns for Pirates patterns will include a cut chart. The cut chart is typically found within the first few pages of the tutorial and will give measurements for any rectangular pieces. For example, items like neckbands, cuffs, waistbands and elastic would all be found here. Some designers will included these as actual pattern pieces, however by providing a cut chart, you are able to save on both paper and ink. When cutting these pieces, I find it easiest to do so using a quilters ruler and rotary cutter.

Hopefully these tips help! Remember that we are always here to help, especially in our Facebook group. If you’re not a already a member, be sure to join so that you can ask questions and share all of your amazing Patterns for Pirates creations!

~ Erinn

Filed Under: Frequently Asked Questions, P4P University, Sewing Techniques, Uncategorized 2 Comments

P4P University – plackets

September 13, 2017


Ohhh….plackets! Why are you so scary? Today on the blog I’m hoping to change that perceptions of them and help you face this fear.

What are plackets?

Plackets are basically just a slit or an opening in the fabric that allows for garments to be easily put on or taken off. Sometimes plackets are purely decorative. You can find them on sleeves, on pants, back of skirts and neckline. You can have a placket on the back of the neckline or on the front. The most common neckline front plackets are for Henley or Polo style shirts. On this blog I will be using the new Brunch Blouse placket but you can certainly utilize the same principles for a Yo Ho Henley or a Women or Men Henley shirt too.


Interfacing? Yay or nay?

My first tip/recommendation is to always use light weight interfacing for the placket piece. Simply fuse a piece of interfacing to the wrong side of the pattern piece. You can get away with not using any if you’re making a woven pattern but even so, the result will be so much better if you do add it. Interfacing will help stabilize your piece which in turn will make it a lot easier to sew. ALWAYS use interfacing for knit plackets!

Mark and press!

As you can see in the video above, I use a tailor chalk to mark the pressing and sewing lines on the back of the placket piece. You can use a soluble fabric pen or a fabric marker too.

If you have a tailor clapper now would be a good time to use it. It will defiantly come in handy and help keep those pressing marks firm. Spray starch will help too!

Sew slowly!

Make sure you pin a lot and catch any notches that need to be enclosed! This may be the most tedious part of adding a front neckline placket so it is well worth paying extra attention and sewing slowly.

Enjoy the fruits of your labor! 🙂

Now that you took the time to create the perfect placket, show it off! Be proud of your achievement and don’t let sewing techniques intimidate you! Speaking of showing off…don’t forget to brag about your Henleys and Brunch Blouses in the P4P group.


Filed Under: P4P University, Sewing Techniques, Uncategorized 4 Comments

50K Fan Celebration :: Exposed Elastic PegLegs Hack

April 24, 2017

Want to make your Peg Legs even easier? How about skipping the band? Today we have an easy hack for you- adding an exposed elastic band.

There are so many types of elastic available in a variety of colors and designs, as well as a multiple widths. For this hack, you will want to first determine how high you would like your band to come. When I was looking for mine, I searched online for “boxer elastic”  knowing that I wanted a large band and this gave me the biggest variety. I finally decided on one that was 5″ tall.

I chose to cut my Pegs as a low rise since the elastic I chose will add quite a bit of height. You can determine which rise is best for you, keeping in mind how tall your elastic is. You will then want to assembly your Peg Legs as per the tutorial until you reach the step of attaching the band.

For the width of my band, I used the cut chart as a guide. I added 2″ to this, as my elastic did not have the same amount of stretch as a fabric band would have had (you can always take more off if you need to, should your band be too large when attaching). Fold band in half width-wise, with wrong sides together, and stitch to create an elastic circle.

Mark both your elastic band and Pegs into even quarters, then slip band around waist of Peg (with right sides together), aligning quarter points. You will want to make sure that you will have to slightly stretch the band, not the waist of the Pegs. If you do not have to stretch, unpin and remove a small amount from the waistband. It is important to have the band stretch slightly to help hold the Pegs up!

Once you have the elastic waistband and Pegs clipped/pinned together, serge or sew around the waist as you would when attaching a fabric band using a 0.5″ seam allowance. Once attached, if you serged the elastic together in the first step, you will need to finish your seam. I prefer to weave my thread back through using a large needle, however you can also use one of the methods Alex described here. The last step is to hem your Pegs according to the tutorial directions and you’re all finished! Enjoy! ~Erinn


We are celebrating reaching 50K fans in our Facebook group!  To make it a party, our beloved PegLegs pattern just got an update AND some new add-ons.  Before you go running to your machine to sew up your own leggings, make sure to read our PegLegs 101 blog post.  This way, you’ll have all the the information you’ll need to make the perfect pair before you even cut into your gorgeous fabric.

But wait, there’s more!  After any good party is an after-party.  We are taking it one step further and sharing some easy hacks that’ll bring even more flavor to your favorite leggings pattern!  We hope you check them out, make your new favorite pair of leggings, and know that we appreciate every single one of you amazing sewing guys and gals!

Here are our hacks / tutorials / latest tricks:

Lace Waistband Alternative | Drawstring Waistband Tutorial
Exposed Elastic Waistband | Stirrup Pant Hack
Ruched Ankles Adjustment | Decorative Topstitching Tutorial
Ruched Side Panel Hack

Filed Under: Pattern Hacks, Uncategorized Leave a Comment

50K Fan Celebration :: Drawstring Waistband PegLegs Hack

April 21, 2017

Today I’m sharing a quick cute hack to your peg legs to add a drawstring to your waistband.  I wear peglegs all year round and the drawstring changes up the look just a bit.  Let’s get started.

  1. First you sew your legs together as per the pattern.
  2. Before we start the waistband we are going to make some markings.  I am using a disappearing ink pen from my fabric store to mark mine.  I folded my waistband in half to find the center and marked the center with my pen in a few spots.  Next I found folded the fabric long sides together to mark where I wanted my buttonholes.  I wanted my buttonholes in the middle of my waistband. Your waistband is 7 inchs wide so folded it is 3.5 inchs but the bottom .5 inch is your seam allowance therefore I measured 1.5 inchs down from the top fold and marked that as being the center right across the other mark that I had made.  Now I have a little cross right marked.

3. Buttonholes can be a bit of a pain on knits so I added a little piece of interfacing on the back, I didn’t actually iron it on to my fabric I just wanted something to give it a bit of stability, a tear away stabilizer would also do the trick or you can iron on a piece of knit interfacing.  I happened to have a bit of regular interfacing sitting here so that is what I used. I sewed the buttonholes on either side of my cross .25 inch from the center. I just did a really small buttonhole, it doesn’t need to be big cause you are just threading through some drawstring.  Now for all those people that hate sewing buttonholes not to worry knits don’t fray so you can always just cut some little slits in the waistband if that is the option you choose make sure to iron on some knit interfacing thou, it would prevent the knit from stretching out while wearing them.


4. Once you have the buttonholes are done we are going to create a casing for your drawstring.  First you are going to match the short sides of your waistband as the pattern directs and sew them together, fold the waist band in half and then your going to sew all the way around about .25 of an inch above the waistband and below the waistband. Now you can mark your lines here that you are going to sew but I’m a rebel and just went for it by sewing 1.25 inchs from my fold, for the second row of stitching I sewed .5 down from the first line I made.  Once your casing is all done just attach the waistband to your legs as normal.

5. Now you just need to add your drawstring.  I used 50 inchs of drawstring on the xxs size and I just tied off each end but you could certainly fold the ends over and hem the edges of your drawstring.  I like to just put the drawstring around me and leave long tails and then insert it into my casing try it them on and you can always cut the drawstring shorter so start with a long piece and then cut them the length you like best.  Remember you have to leave your drawstring fairly loose or you won’t be able to pull your leggings on! I figured this out while trying mine on! Another simple solution to use elastic for most of your drawstring, I would use 1/4 inch or 3/8 inch elastic.  You could cut your elastic slightly shorter then your drawstring and then sew drawstring onto each end of your elastic and thread it through your casing, it would give you just a bit more give when pulling them on and off.


I hope you try adding some drawstring in your peglegs and don’t forget to show them off in our Facebook group! – Angela


We are celebrating reaching 50K fans in our Facebook group!  To make it a party, our beloved PegLegs pattern just got an update AND some new add-ons.  Before you go running to your machine to sew up your own leggings, make sure to read our PegLegs 101 blog post.  This way, you’ll have all the the information you’ll need to make the perfect pair before you even cut into your gorgeous fabric.

But wait, there’s more!  After any good party is an after-party.  We are taking it one step further and sharing some easy hacks that’ll bring even more flavor to your favorite leggings pattern!  We hope you check them out, make your new favorite pair of leggings, and know that we appreciate every single one of you amazing sewing guys and gals!

Here are our hacks / tutorials / latest tricks:

Lace Waistband Alternative | Drawstring Waistband Tutorial
Exposed Elastic Waistband | Stirrup Pant Hack
Ruched Ankles Adjustment | Decorative Topstitching Tutorial
Ruched Side Panel Hack

Filed Under: Free Pattern, Pattern Hacks, Uncategorized 1 Comment

  • « Previous Page
  • 1
  • 2
  • 3
  • 4
  • 5
  • 6
  • Next Page »

Featured Patterns

  • Mae Top - Bundle Mae Top - Bundle $20.00 Original price was: $20.00.$18.00Current price is: $18.00.
  • Mae Bottom - Bundle Mae Bottom - Bundle $20.00 Original price was: $20.00.$18.00Current price is: $18.00.
  • Loosey Goosey - Bundle Loosey Goosey - Bundle $20.00
  • Bacall Bodysuit Bacall Bodysuit $12.00
  • Privacy Policy
  • Refund Policy
  • Affliliate Program
  • Contact Us
  • About

Copyright © 2025 Patterns for Pirates

Copyright © 2025 · Genesis Framework · WordPress · Log in