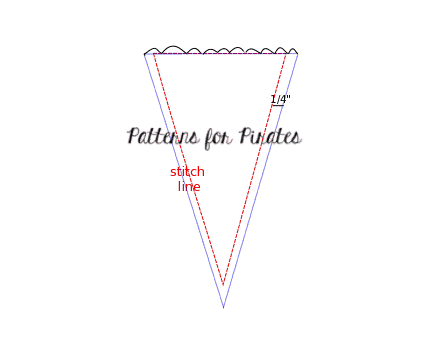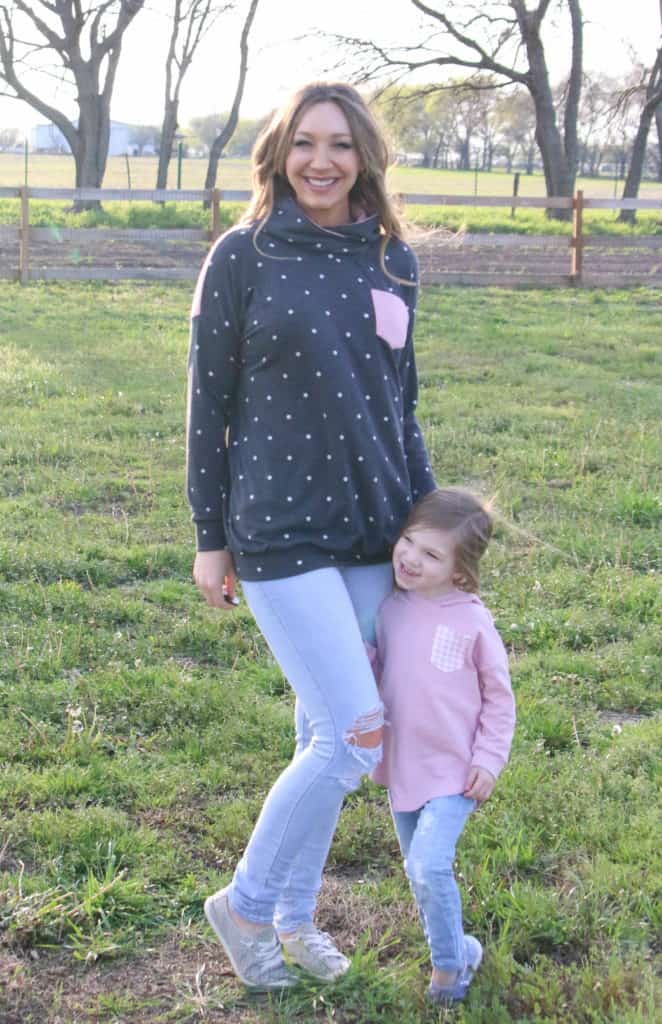
Welcome to the second day of our sew along! Today we start working on the bodice. First we will tackle the chest pocket. This is a great opportunity to add an accent fabric or a pop of color to your Runabout romper or dress. The pattern features a simple rectangle pocket that you simply hem prior to attaching. You can see in today’s video I opted to line it instead.
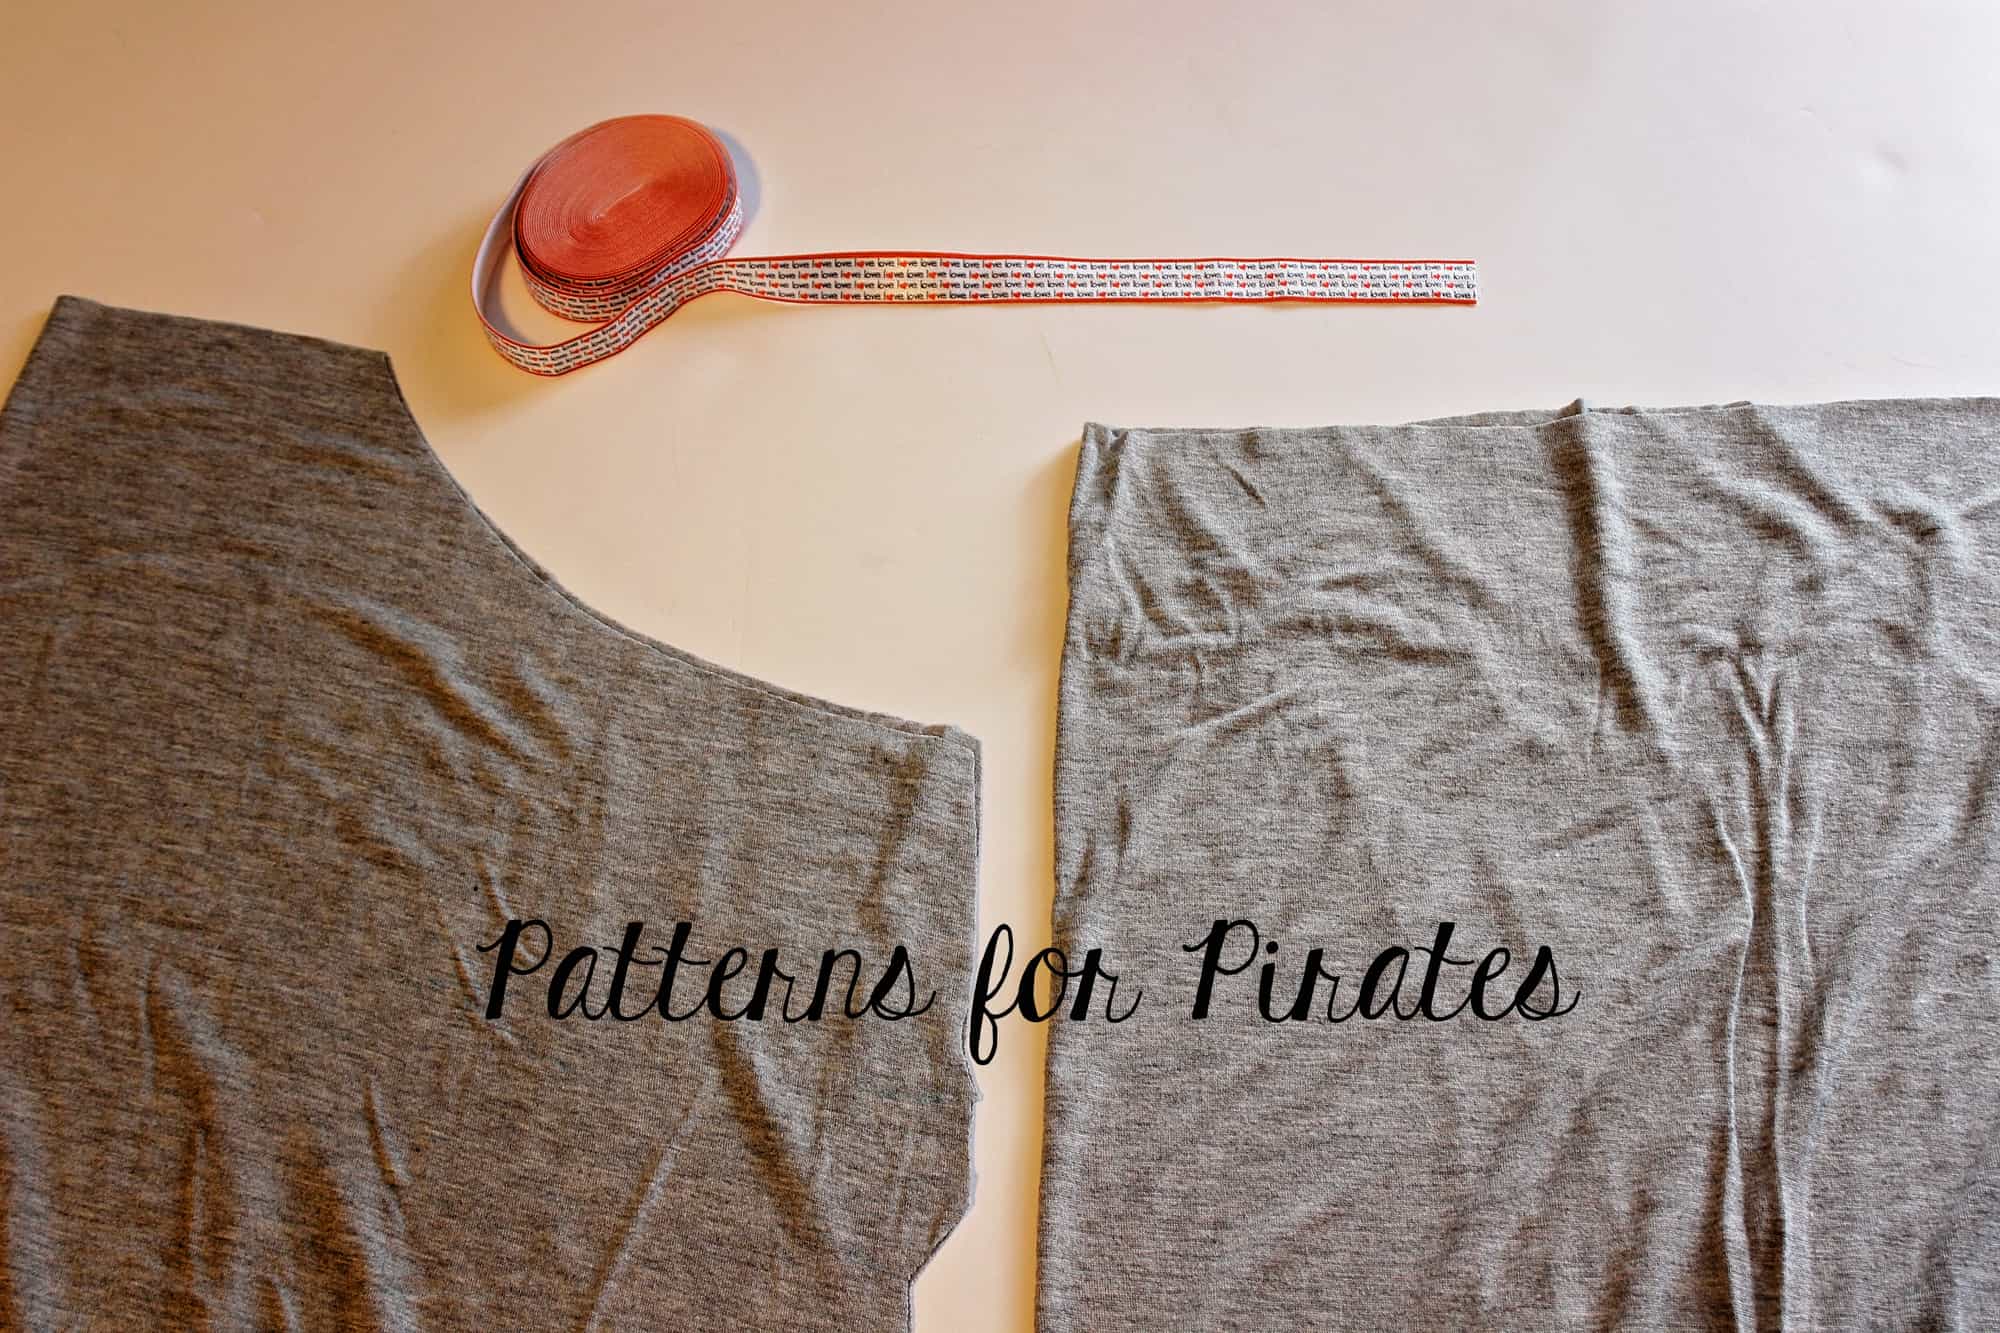
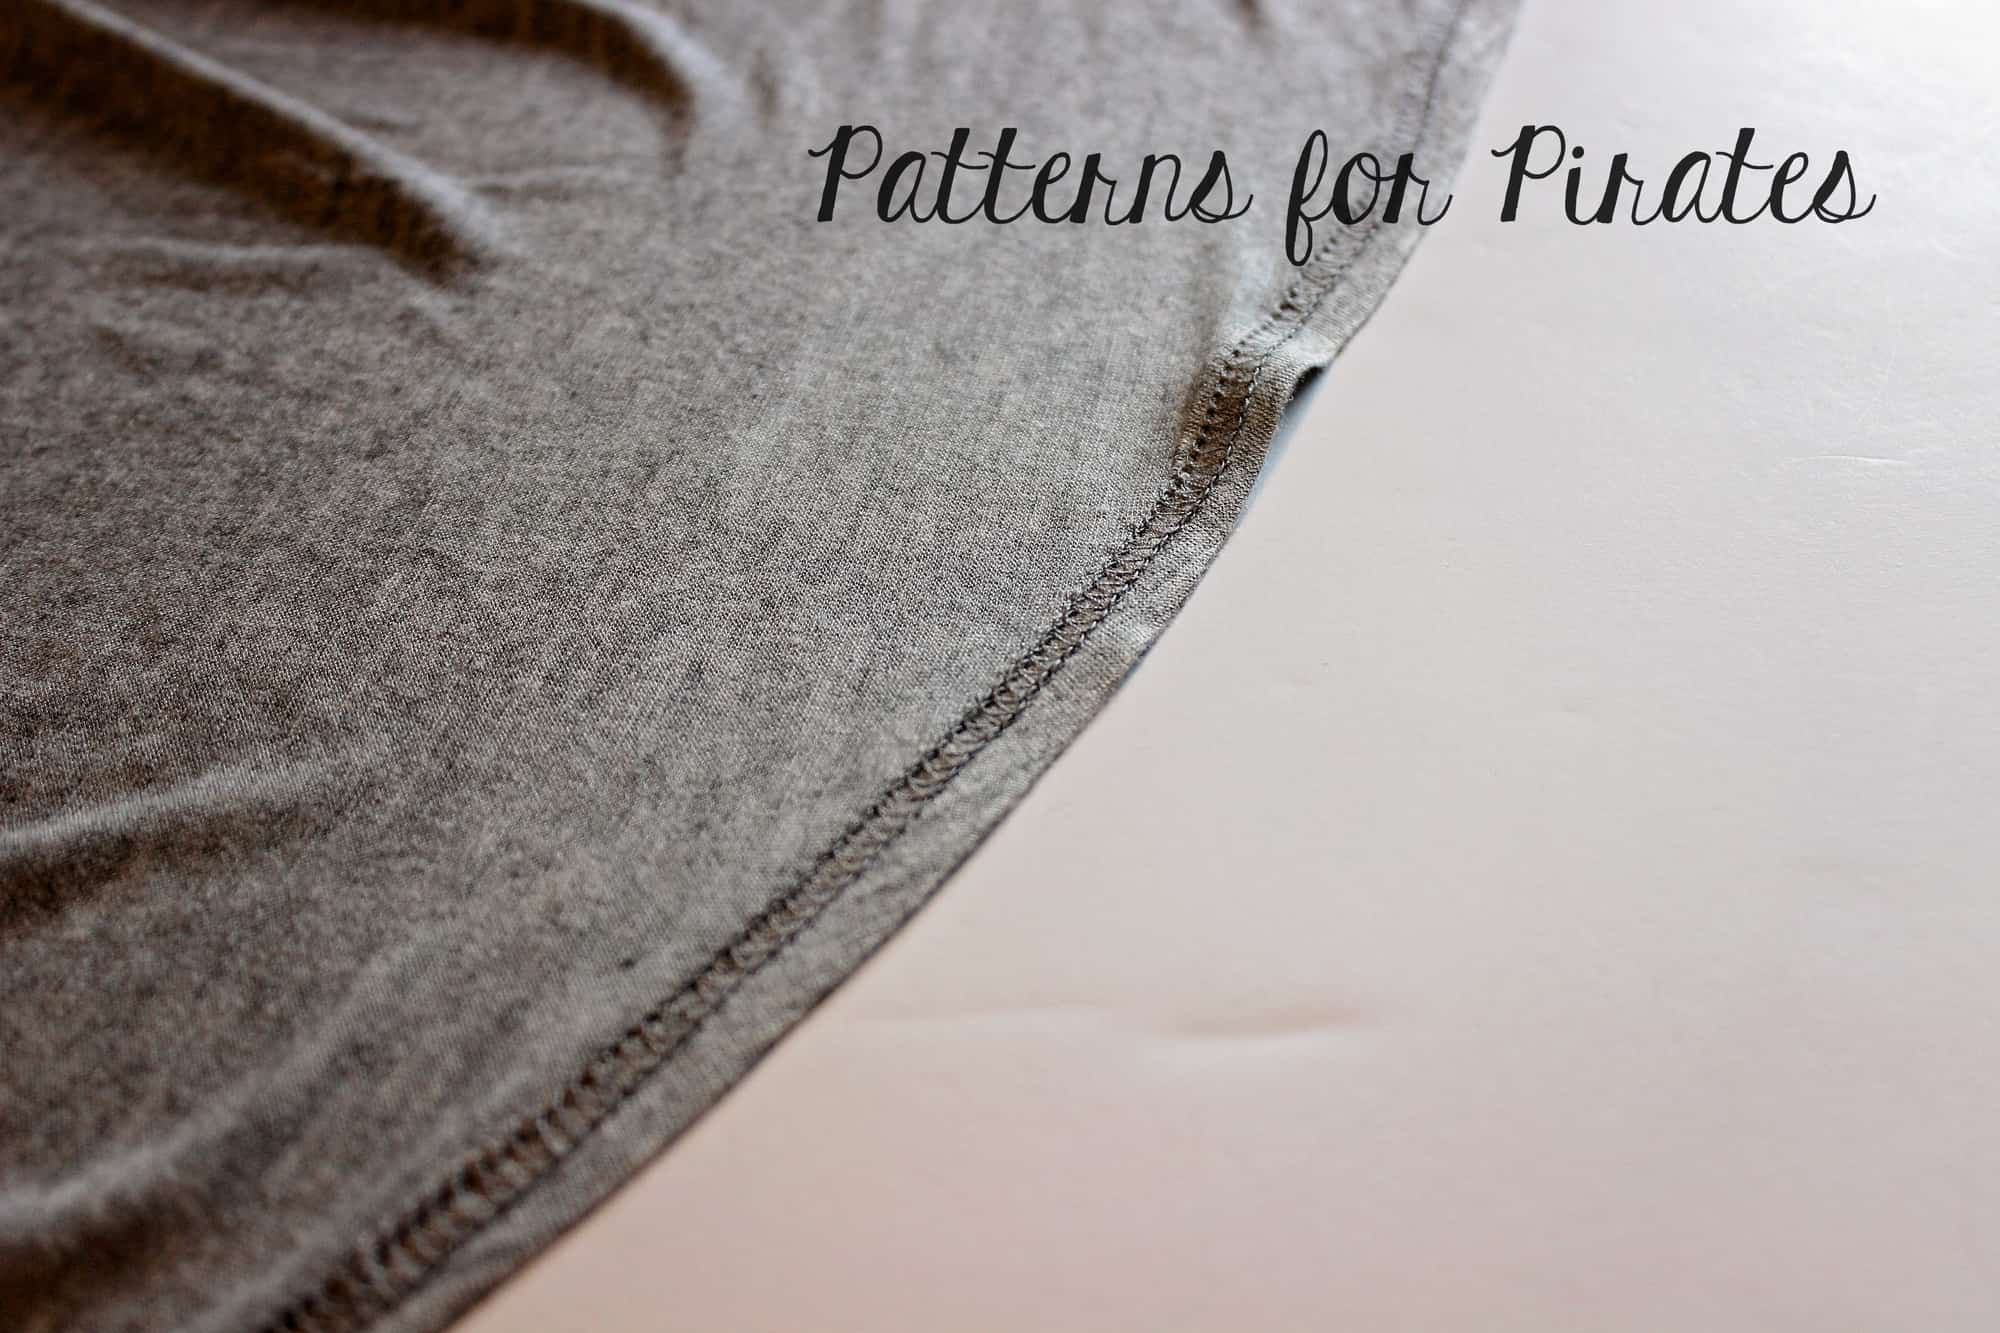
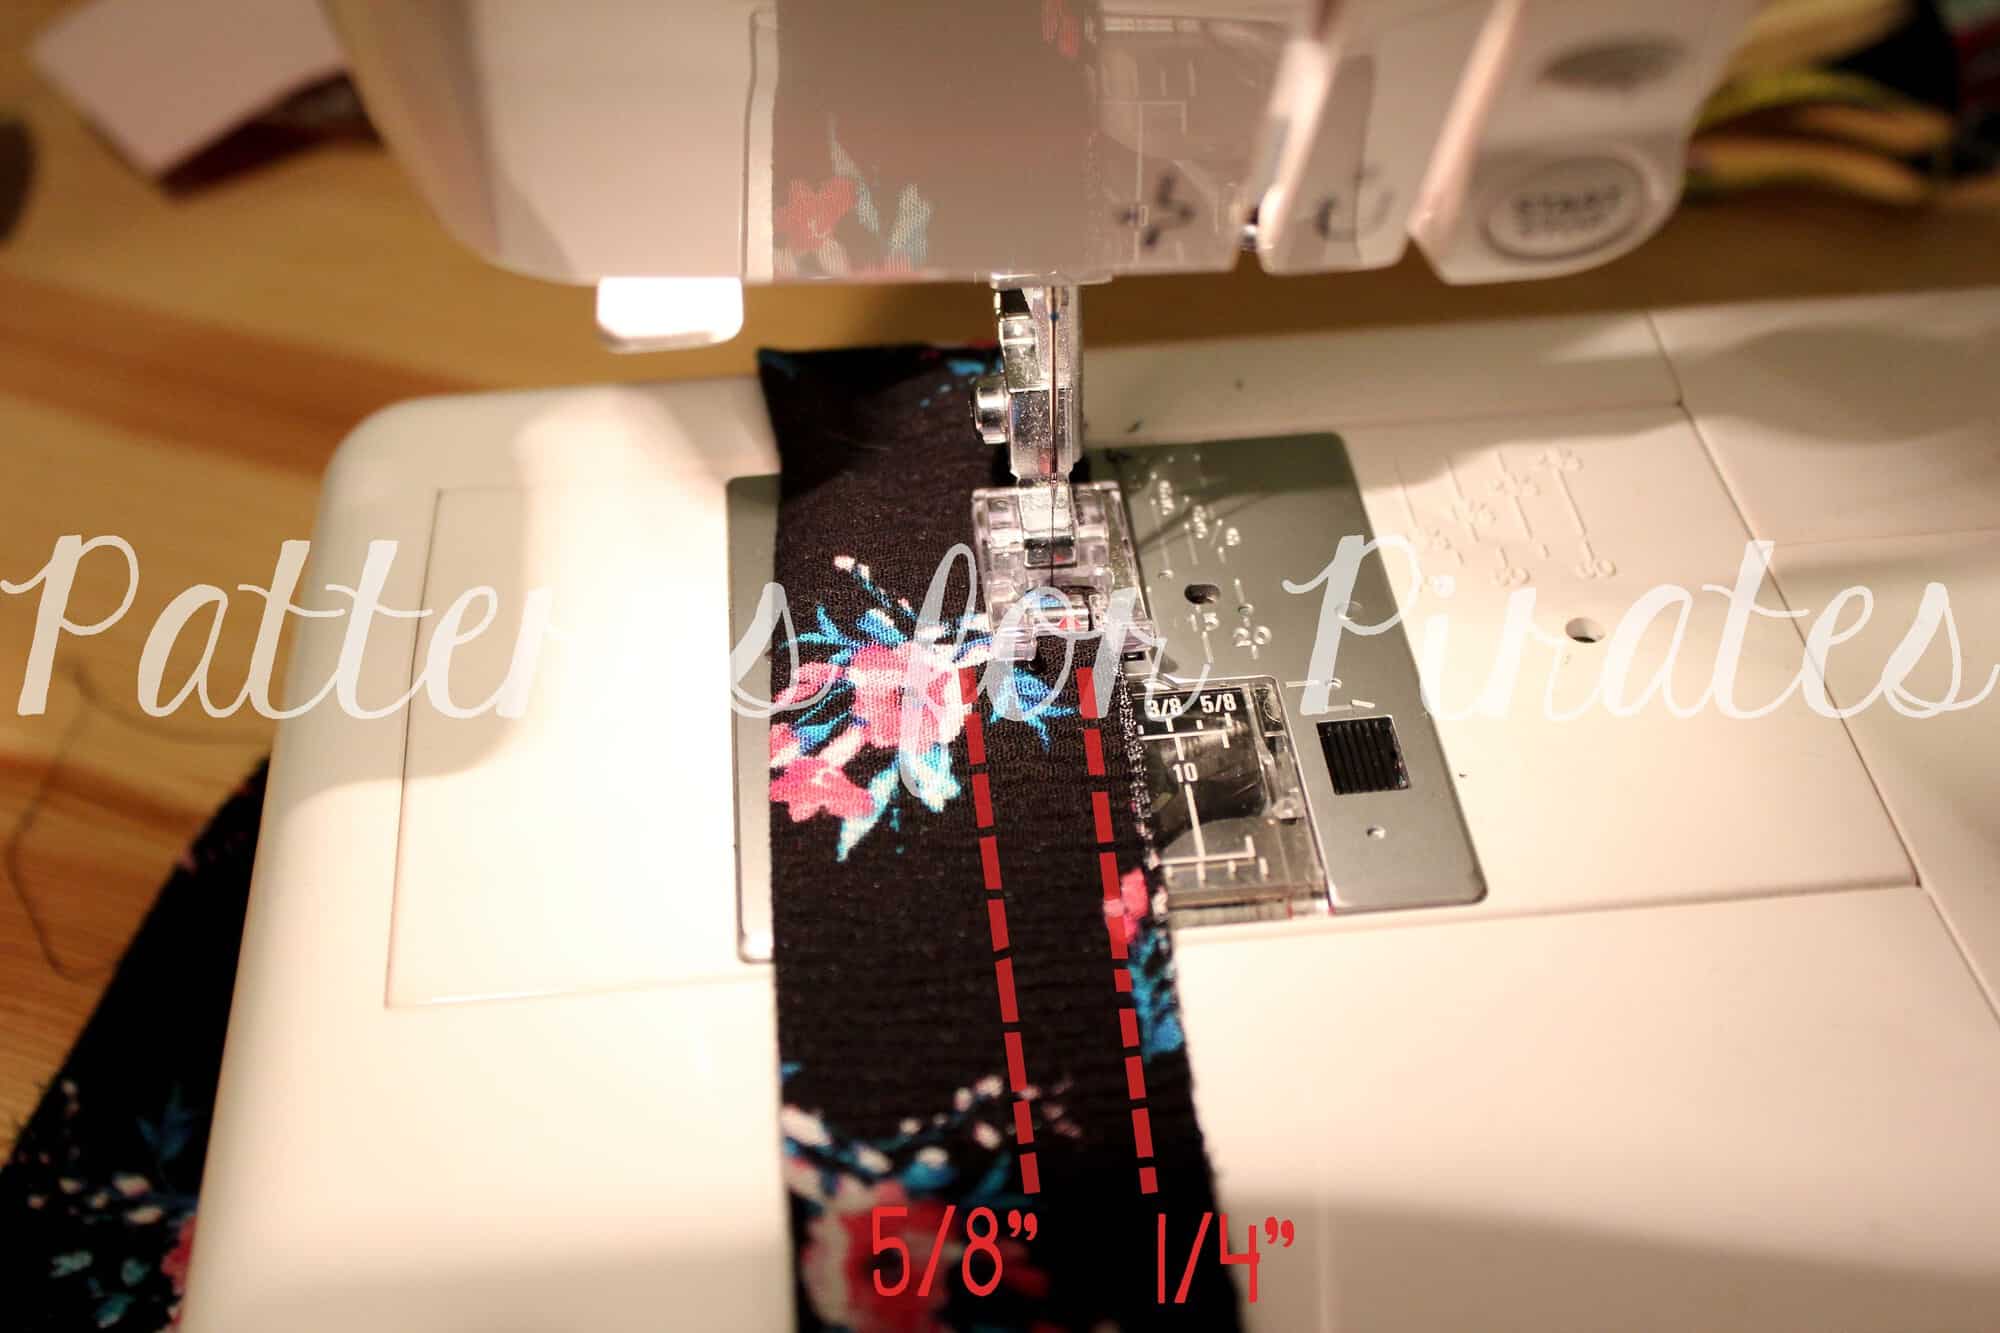
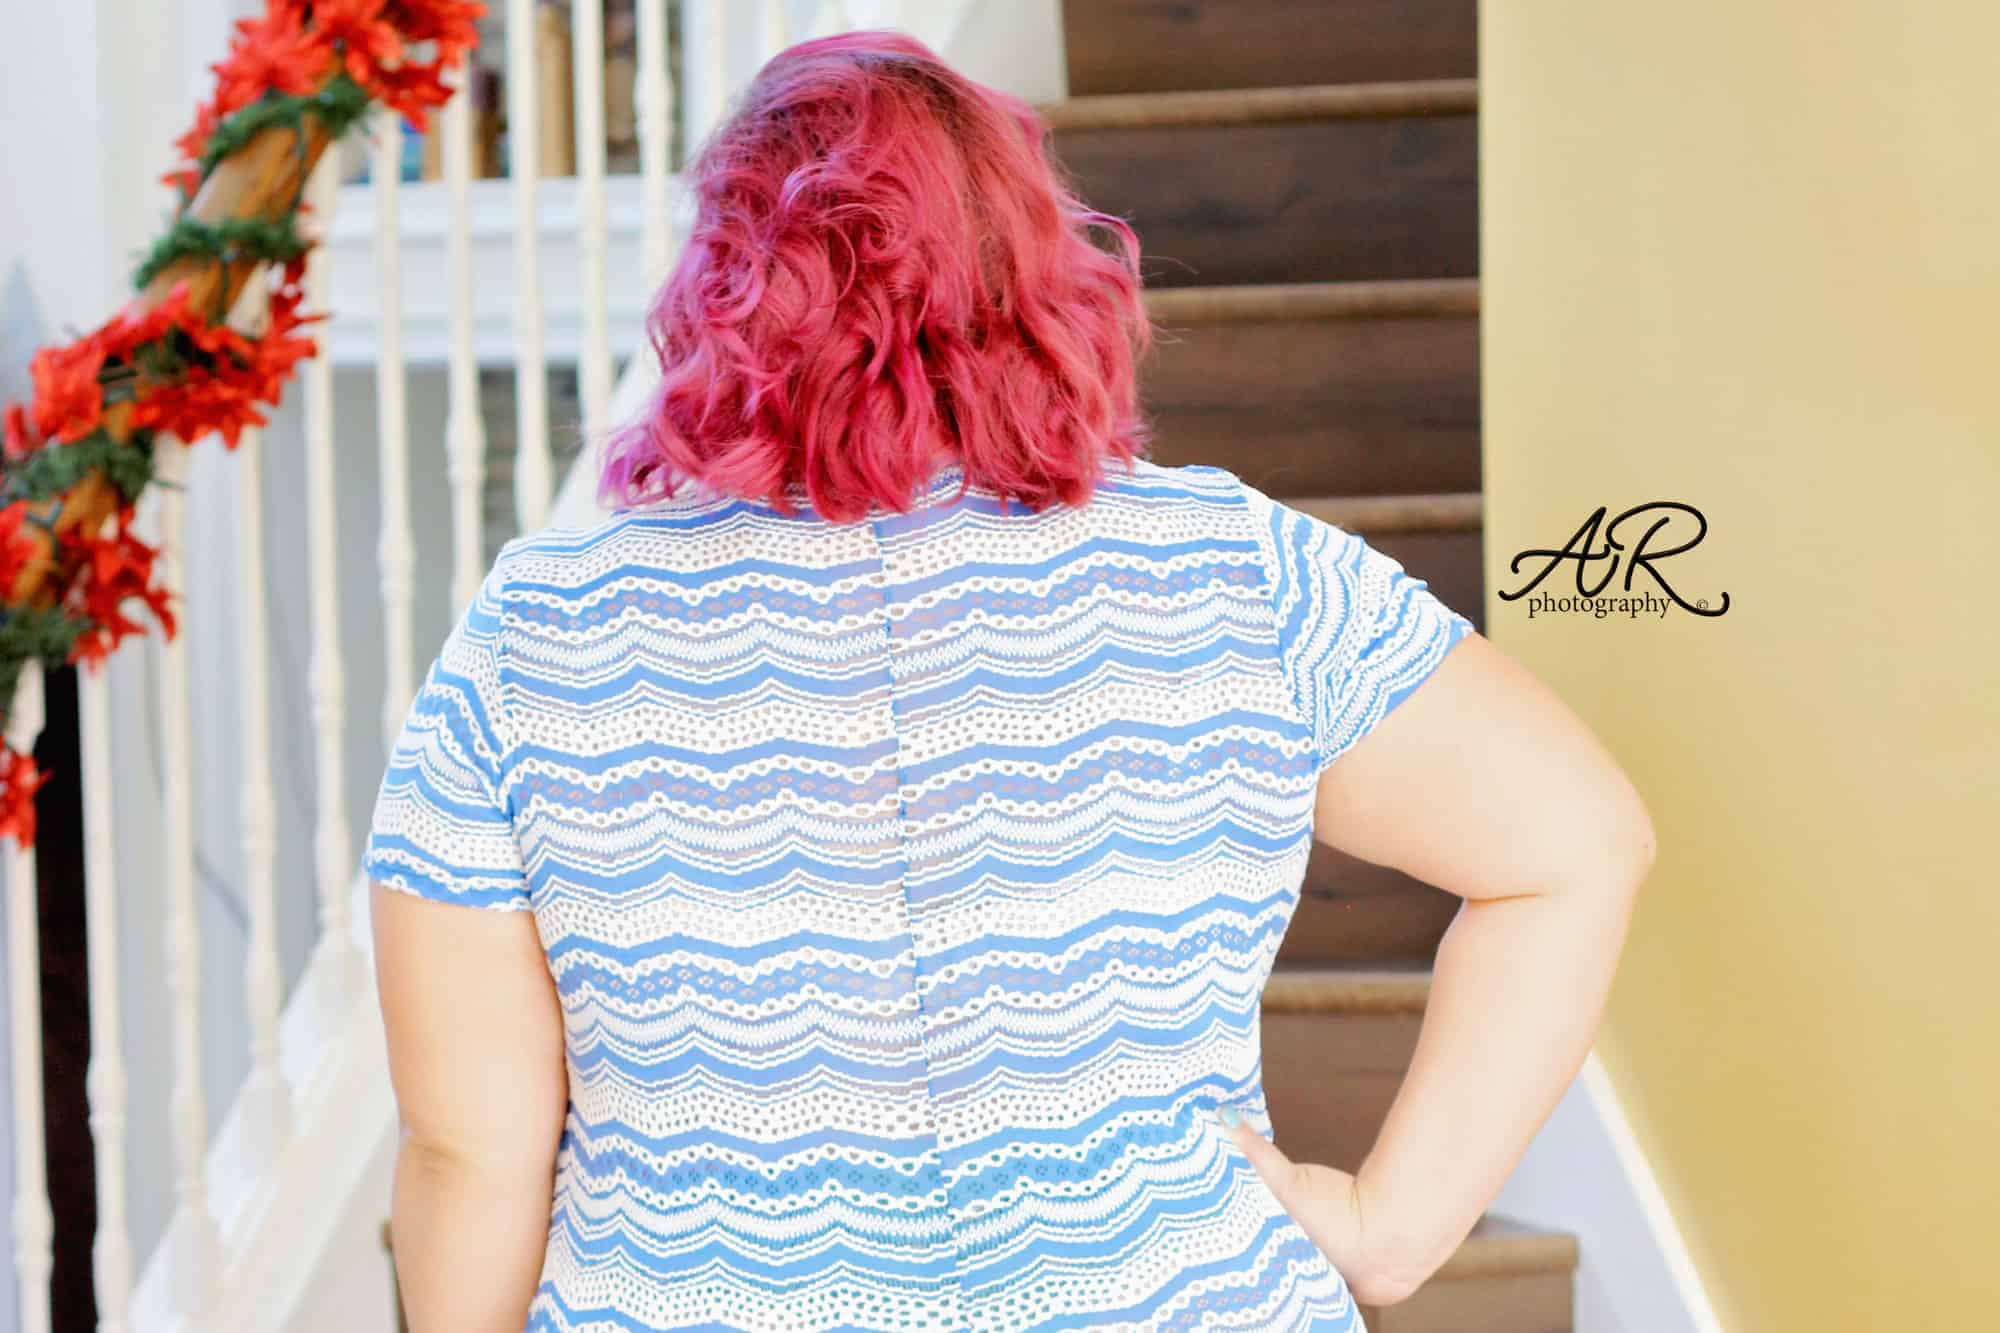
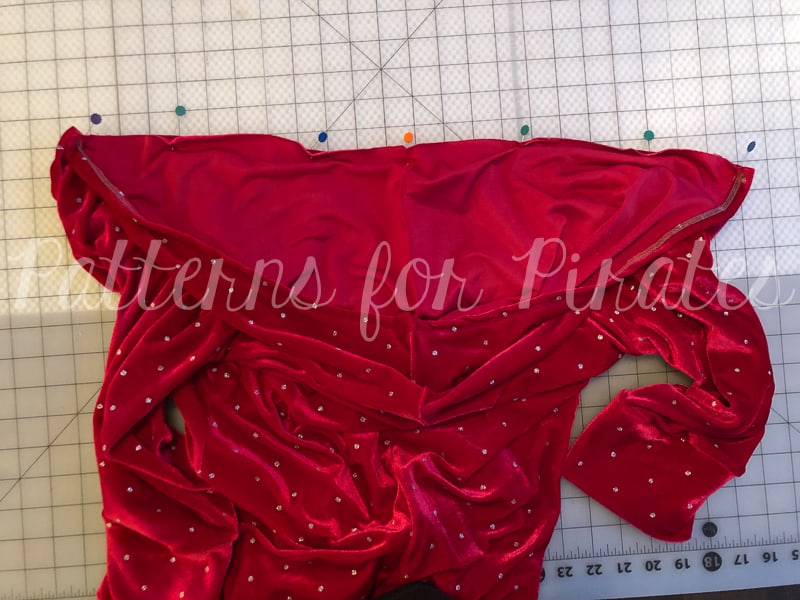
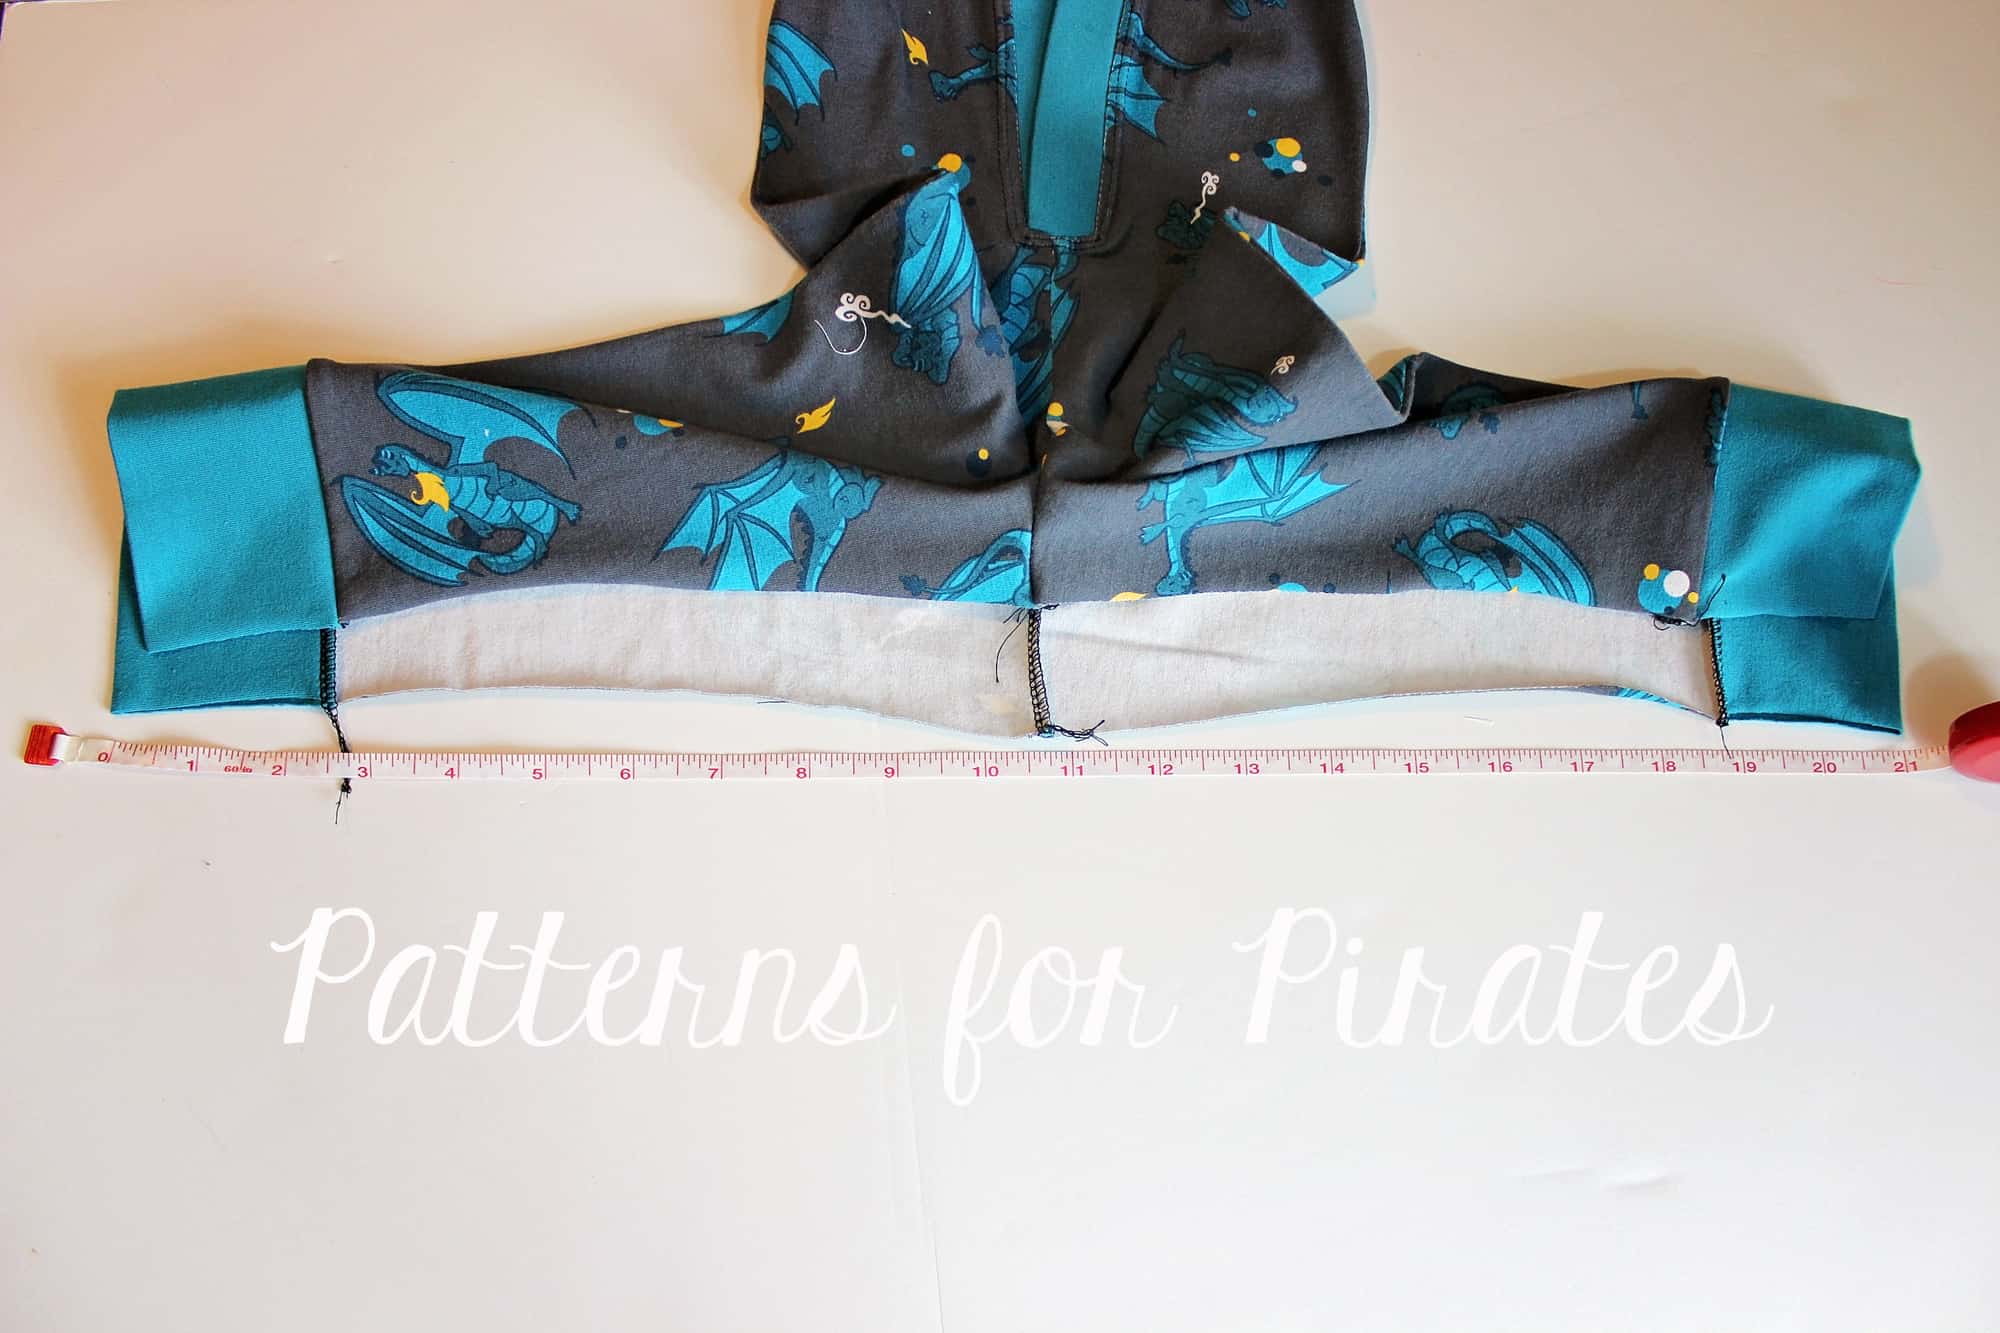
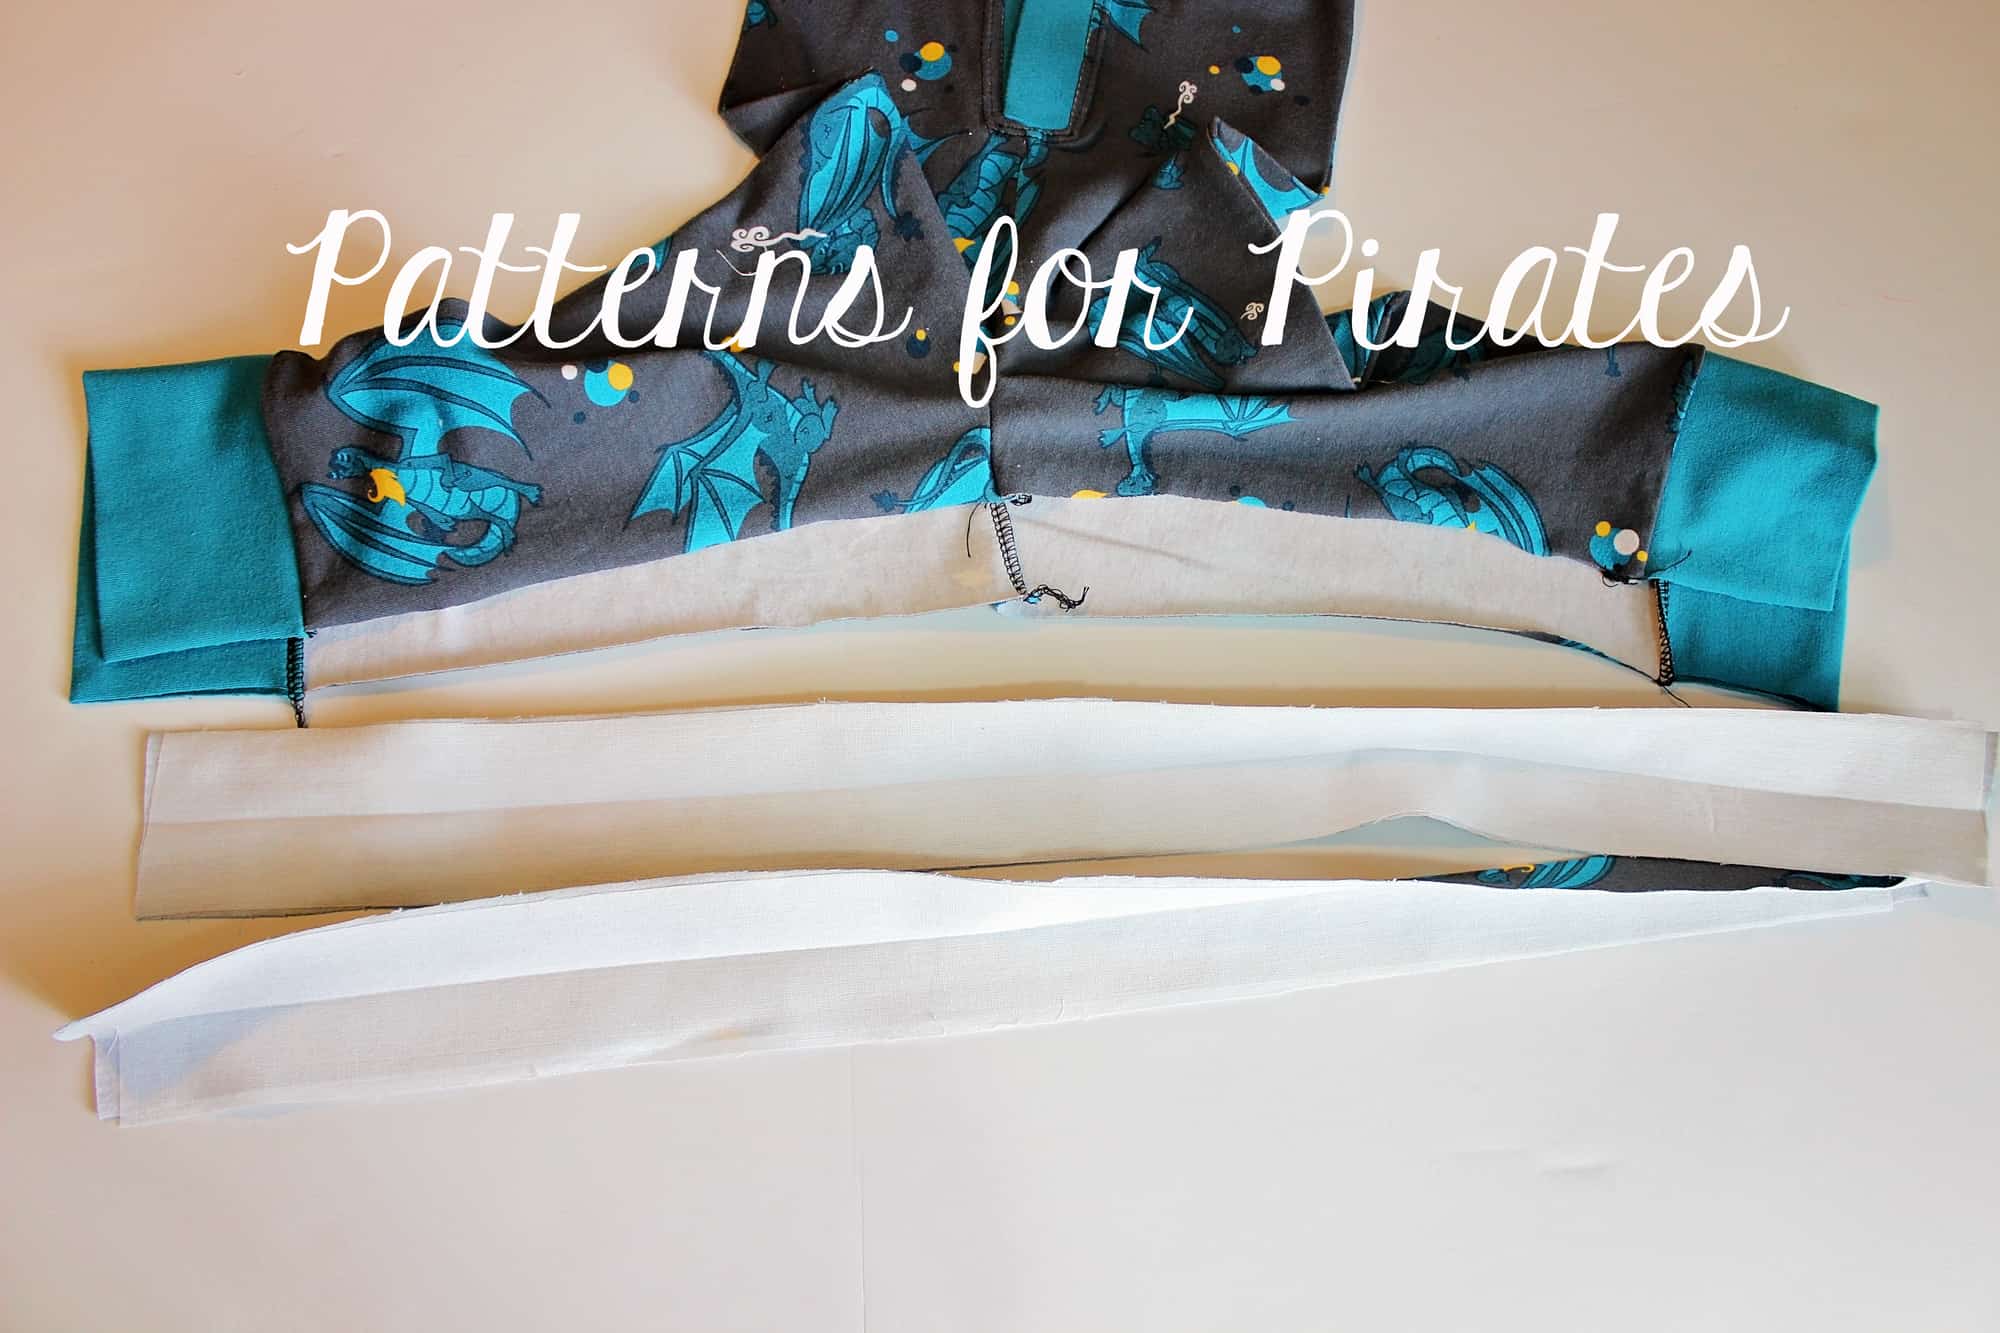
Once this step is completed you will sew the shoulder seams right sides together, following a 1/2″ seam allowance.
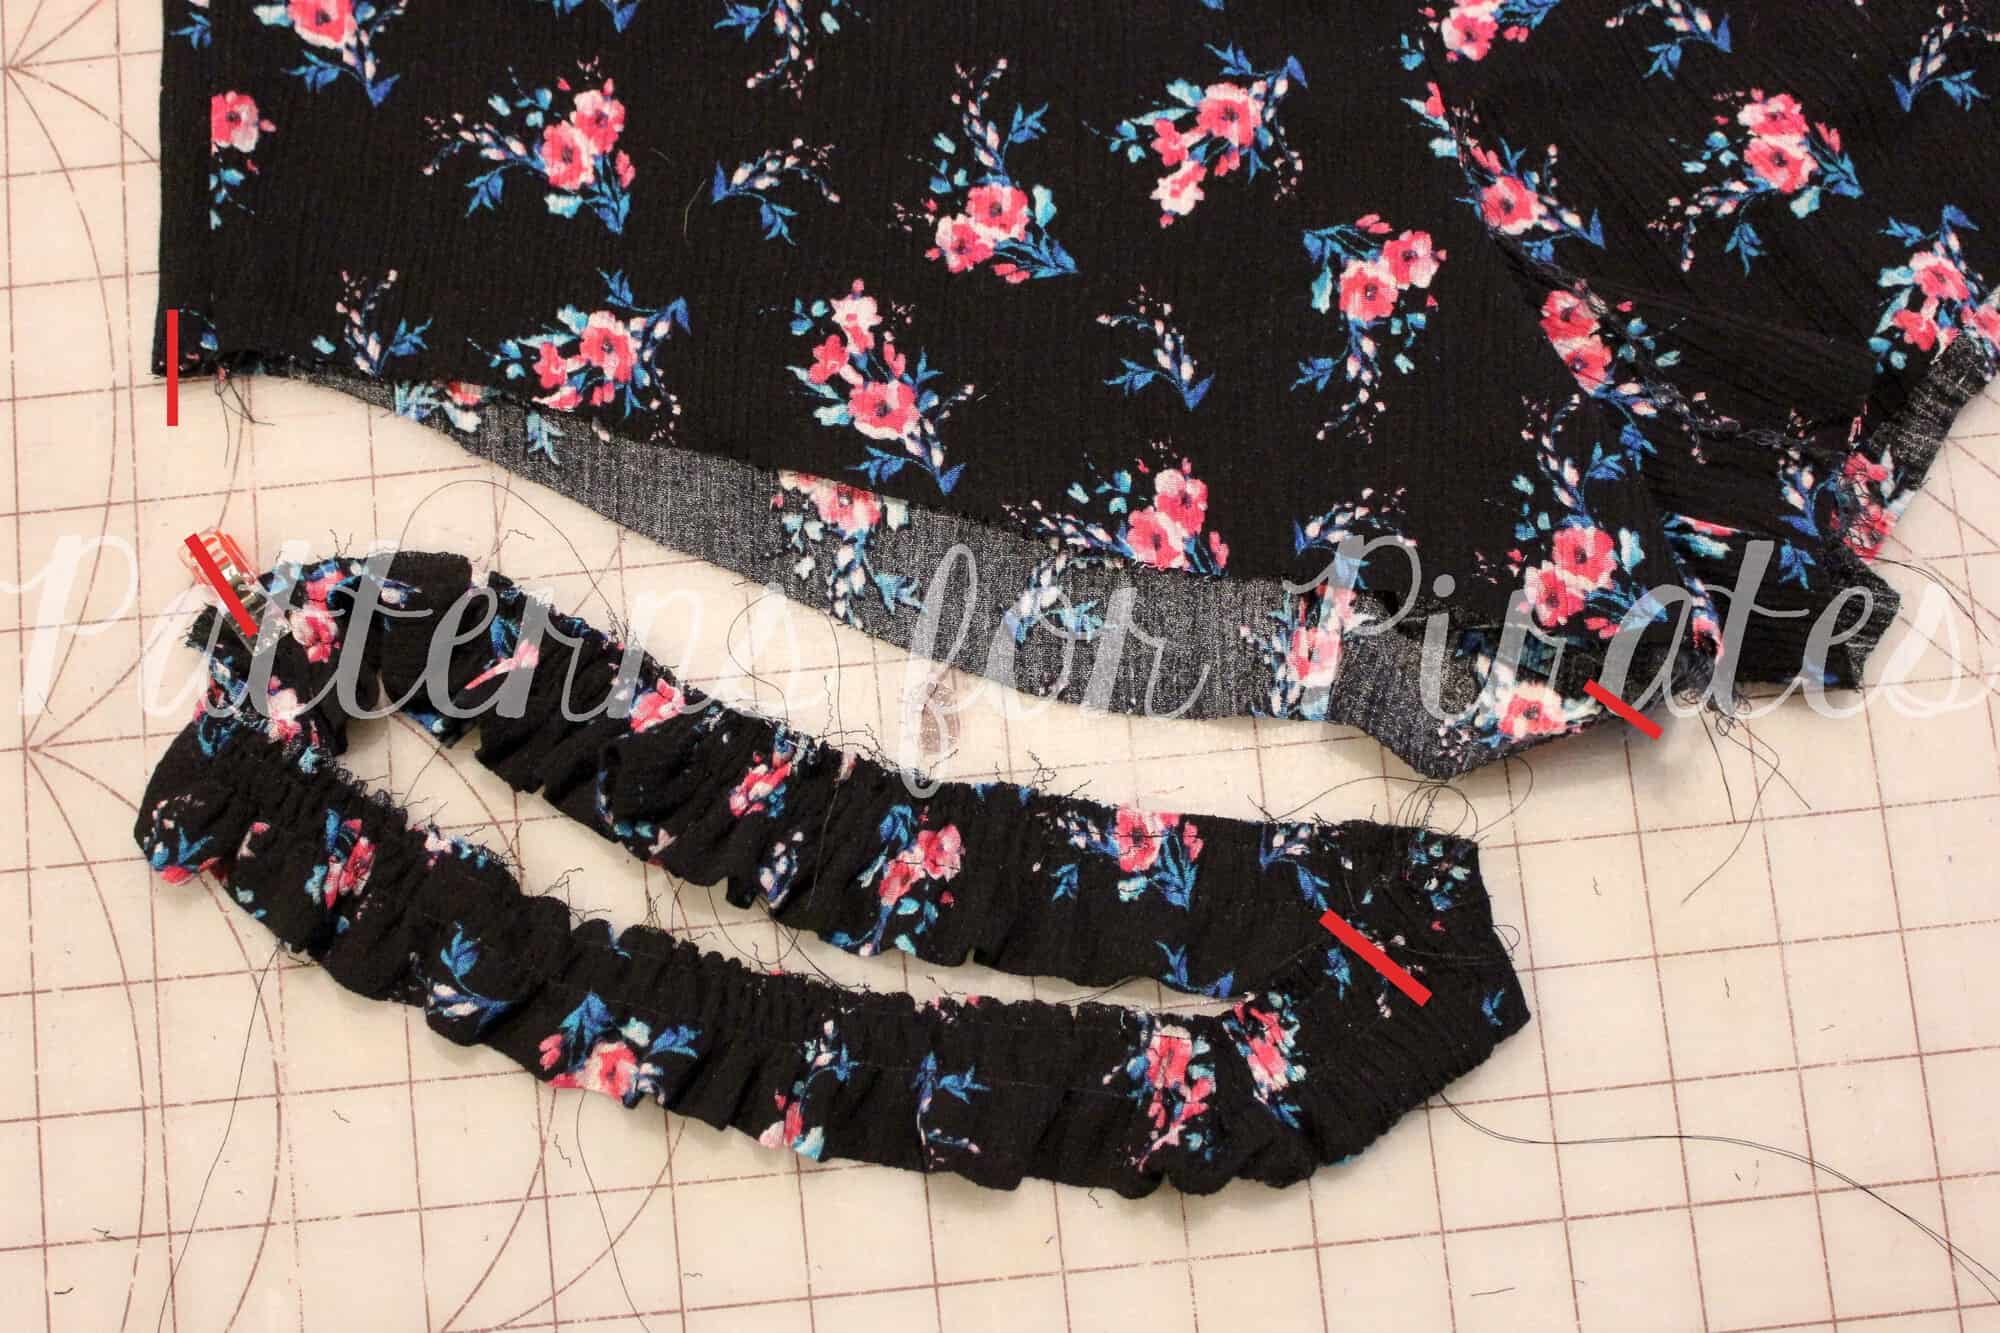
Tip: Add clear elastic to the shoulder seams to strengthen them and make sure the shoulders don’t stretch throughout the day.
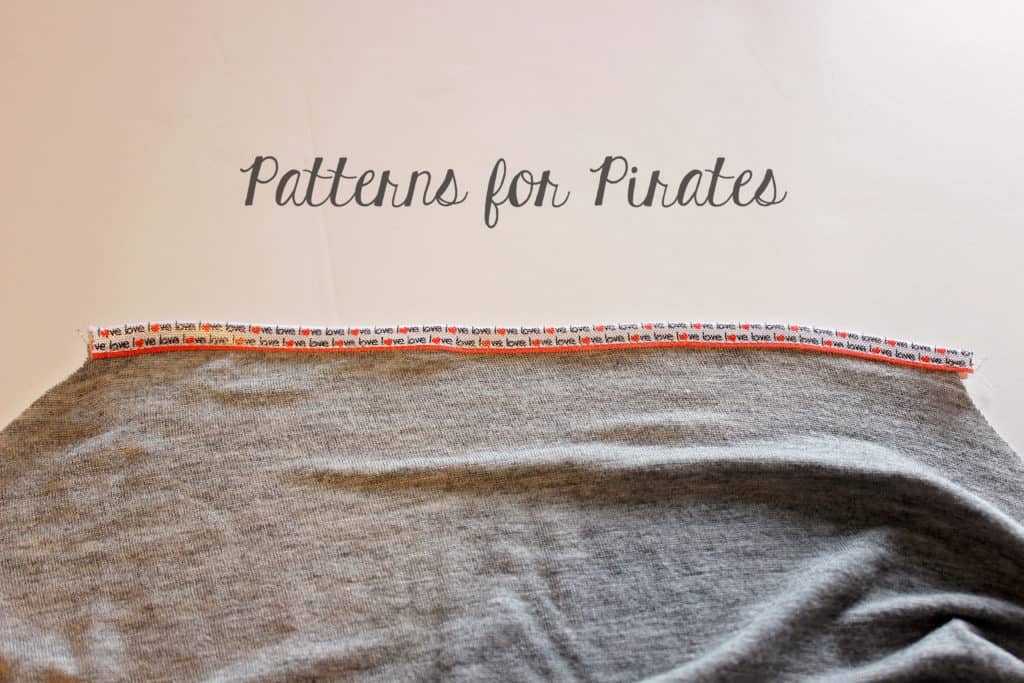
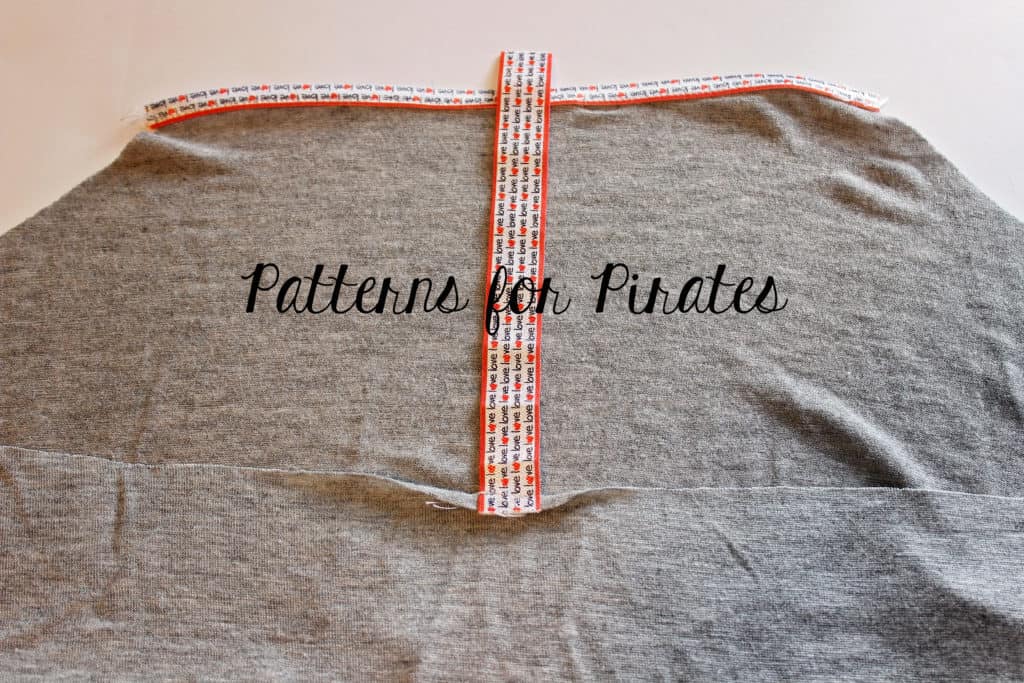
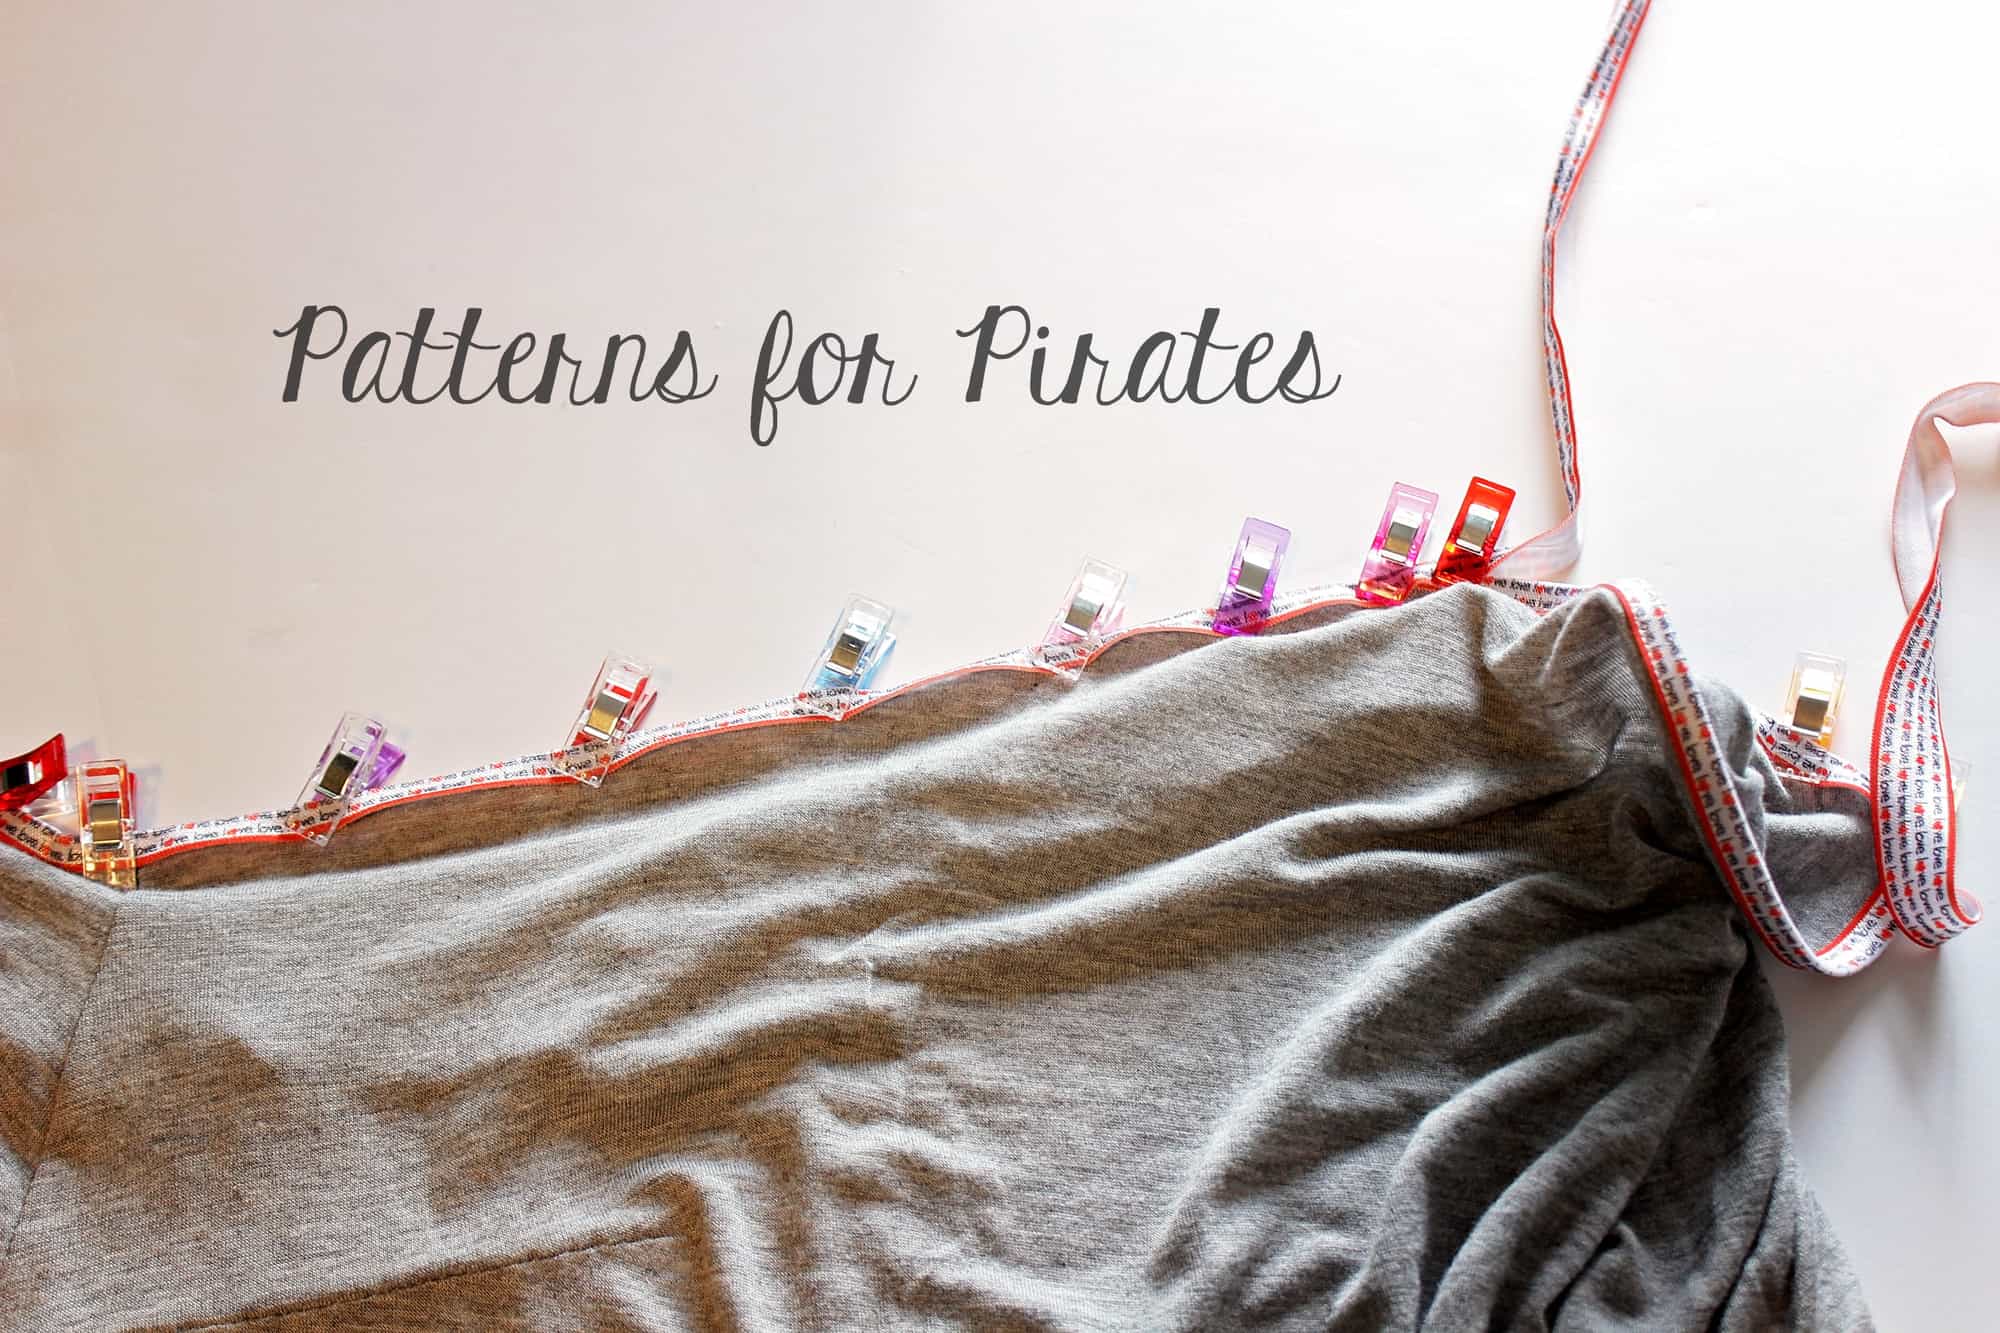
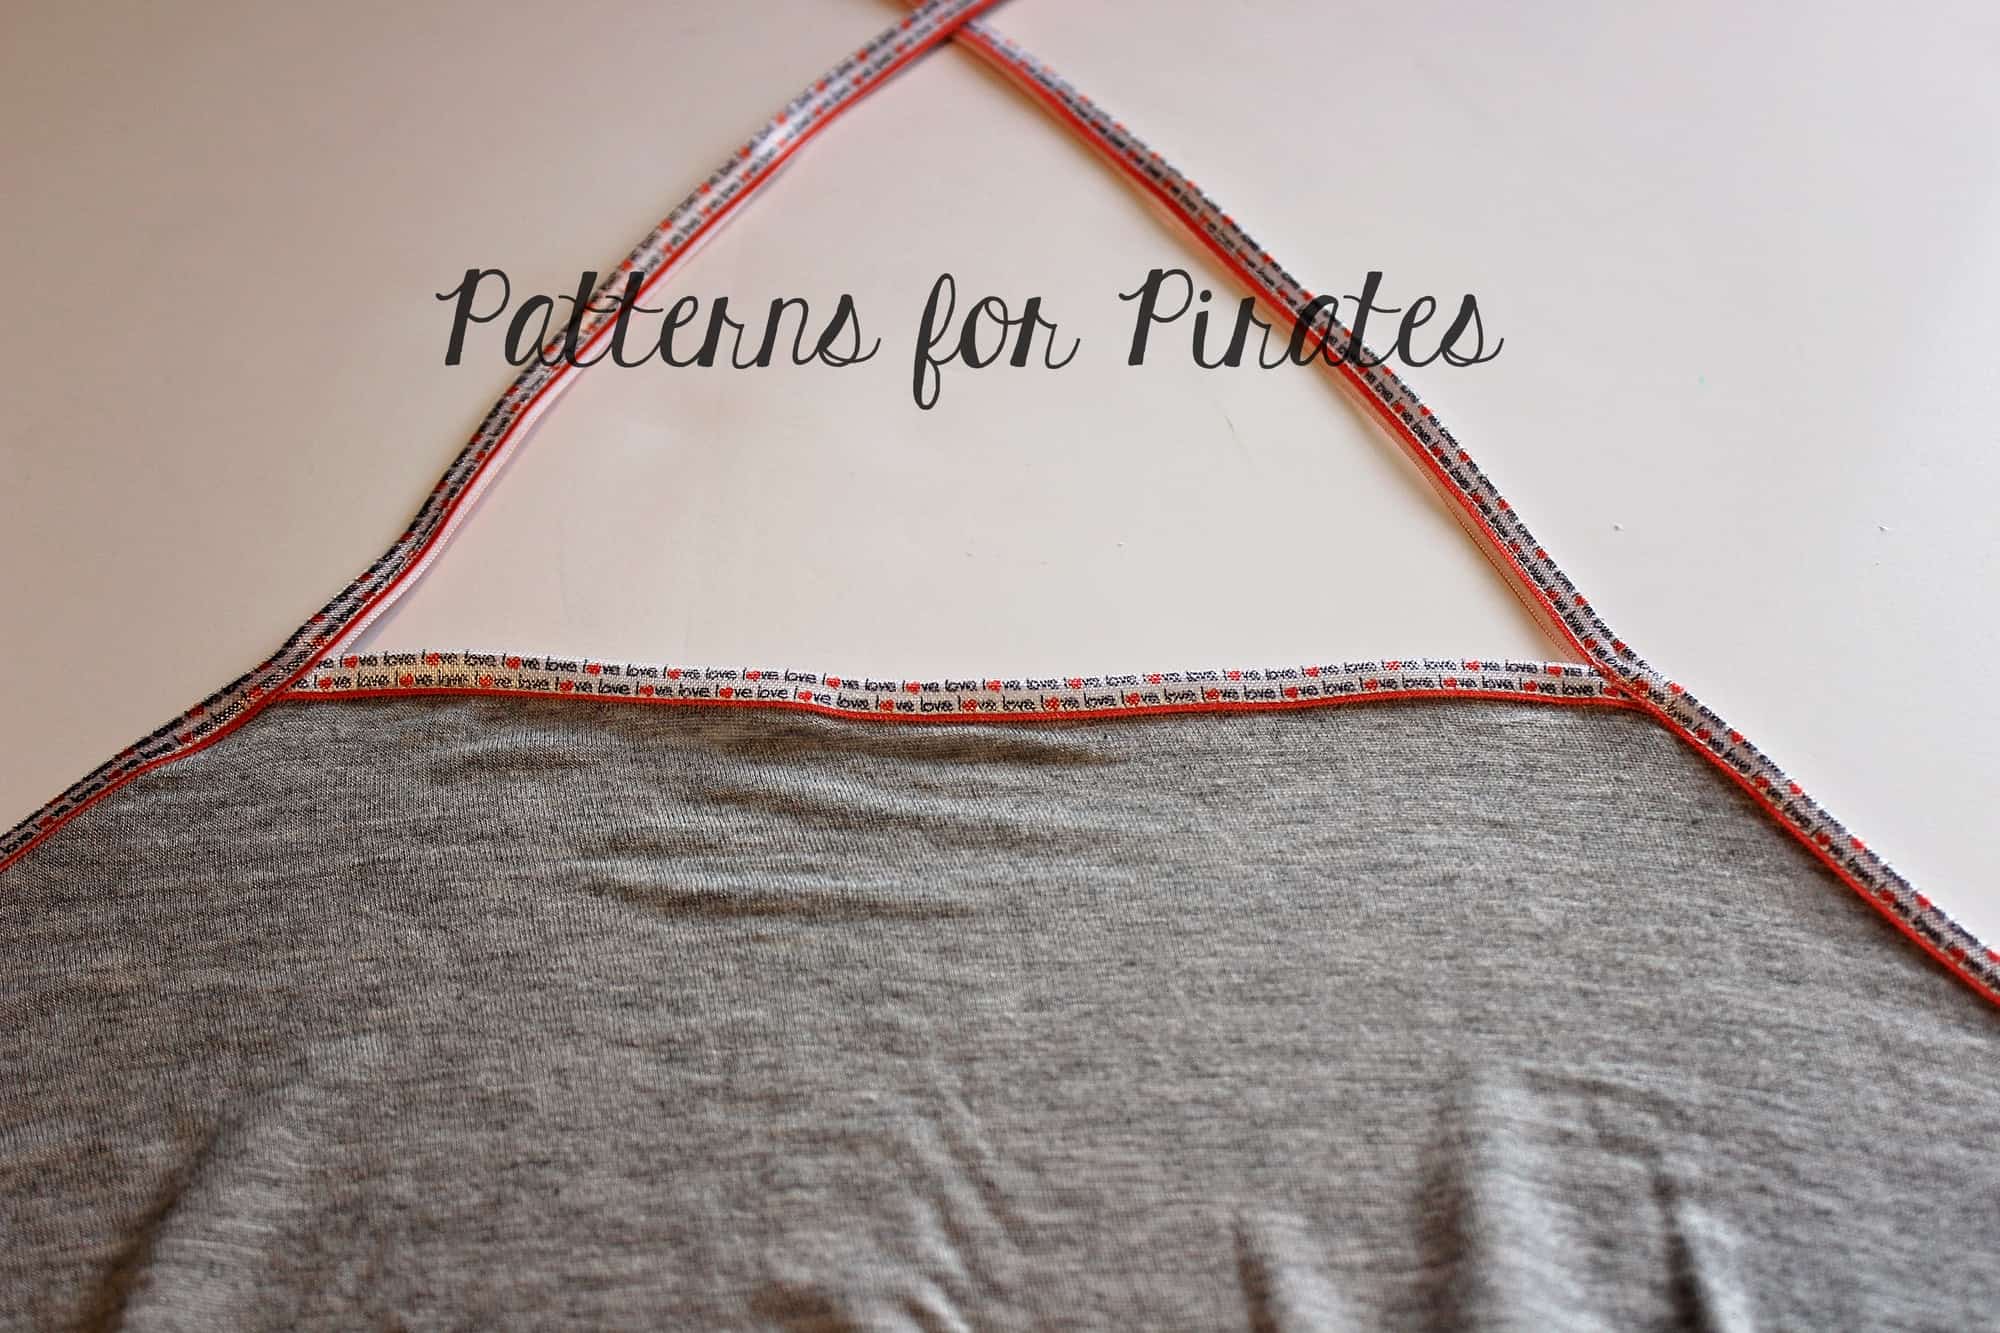
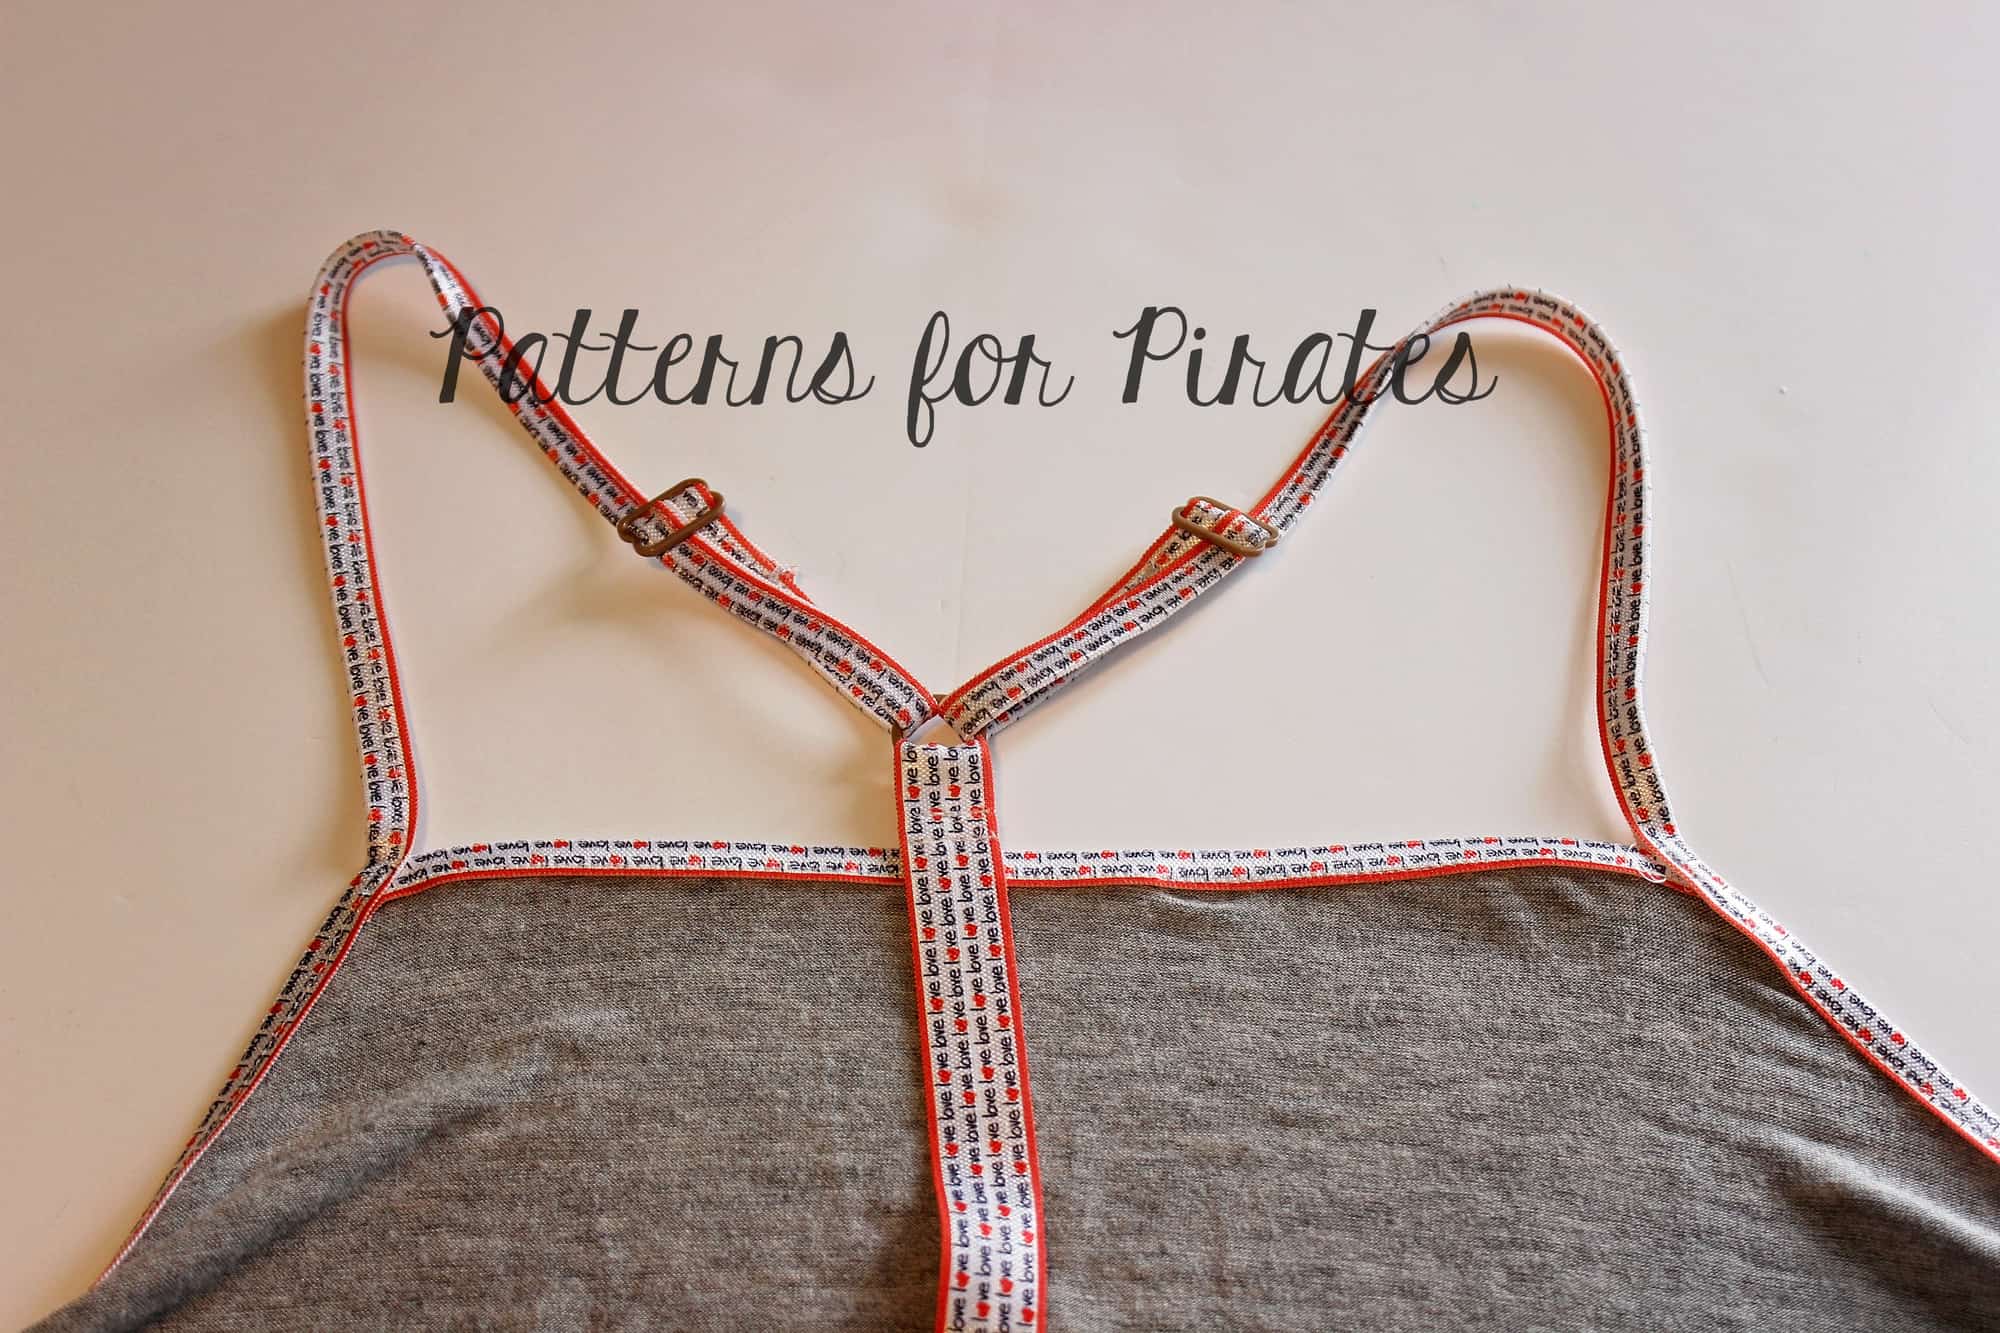
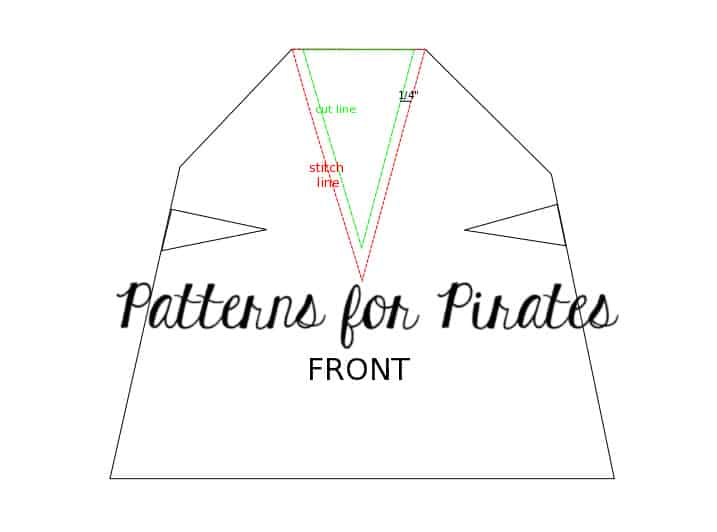
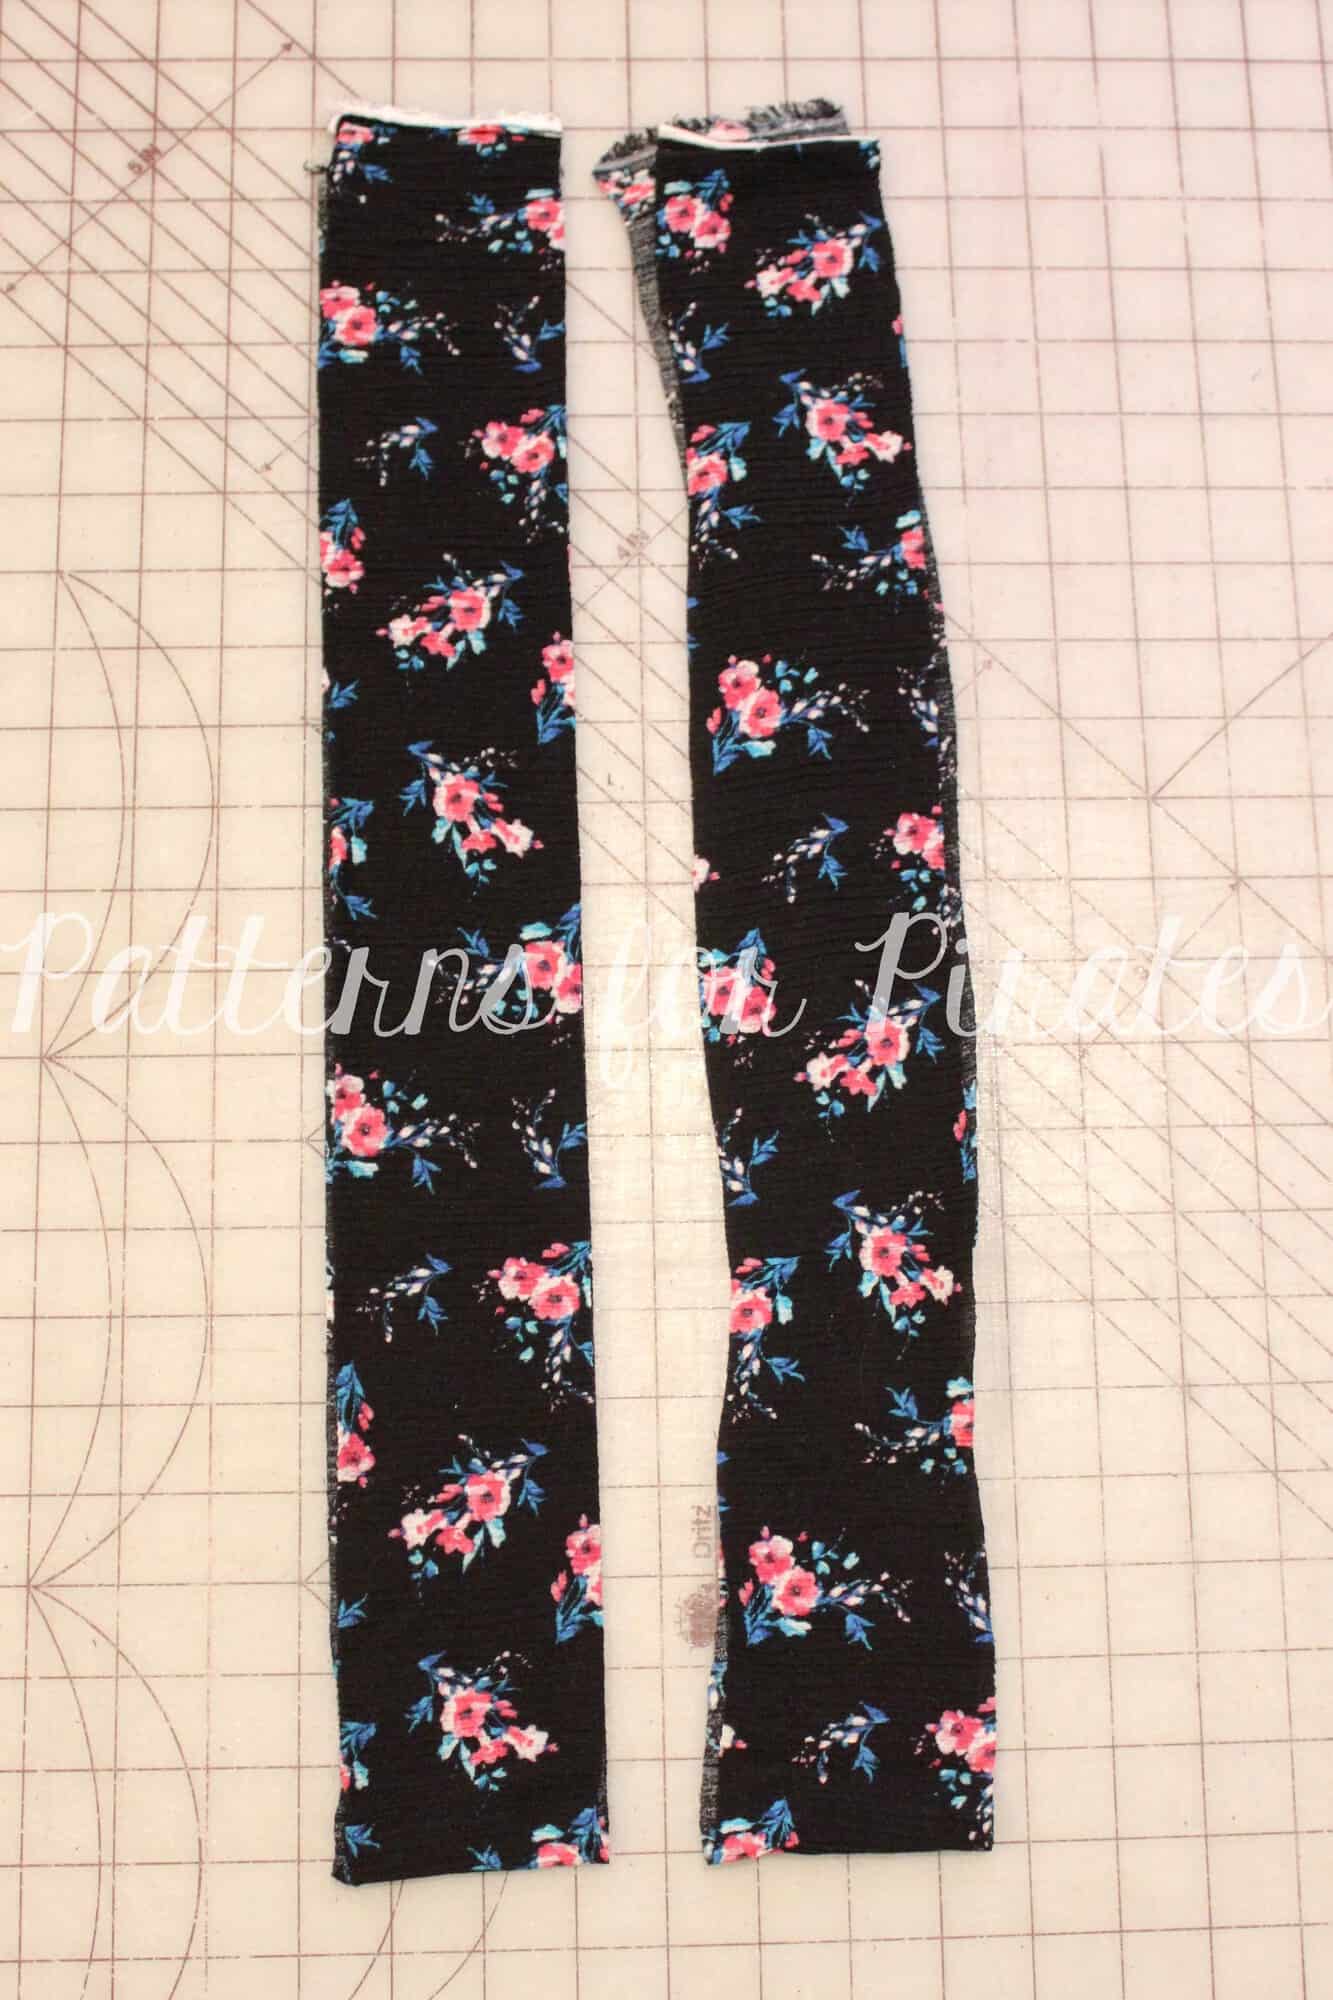
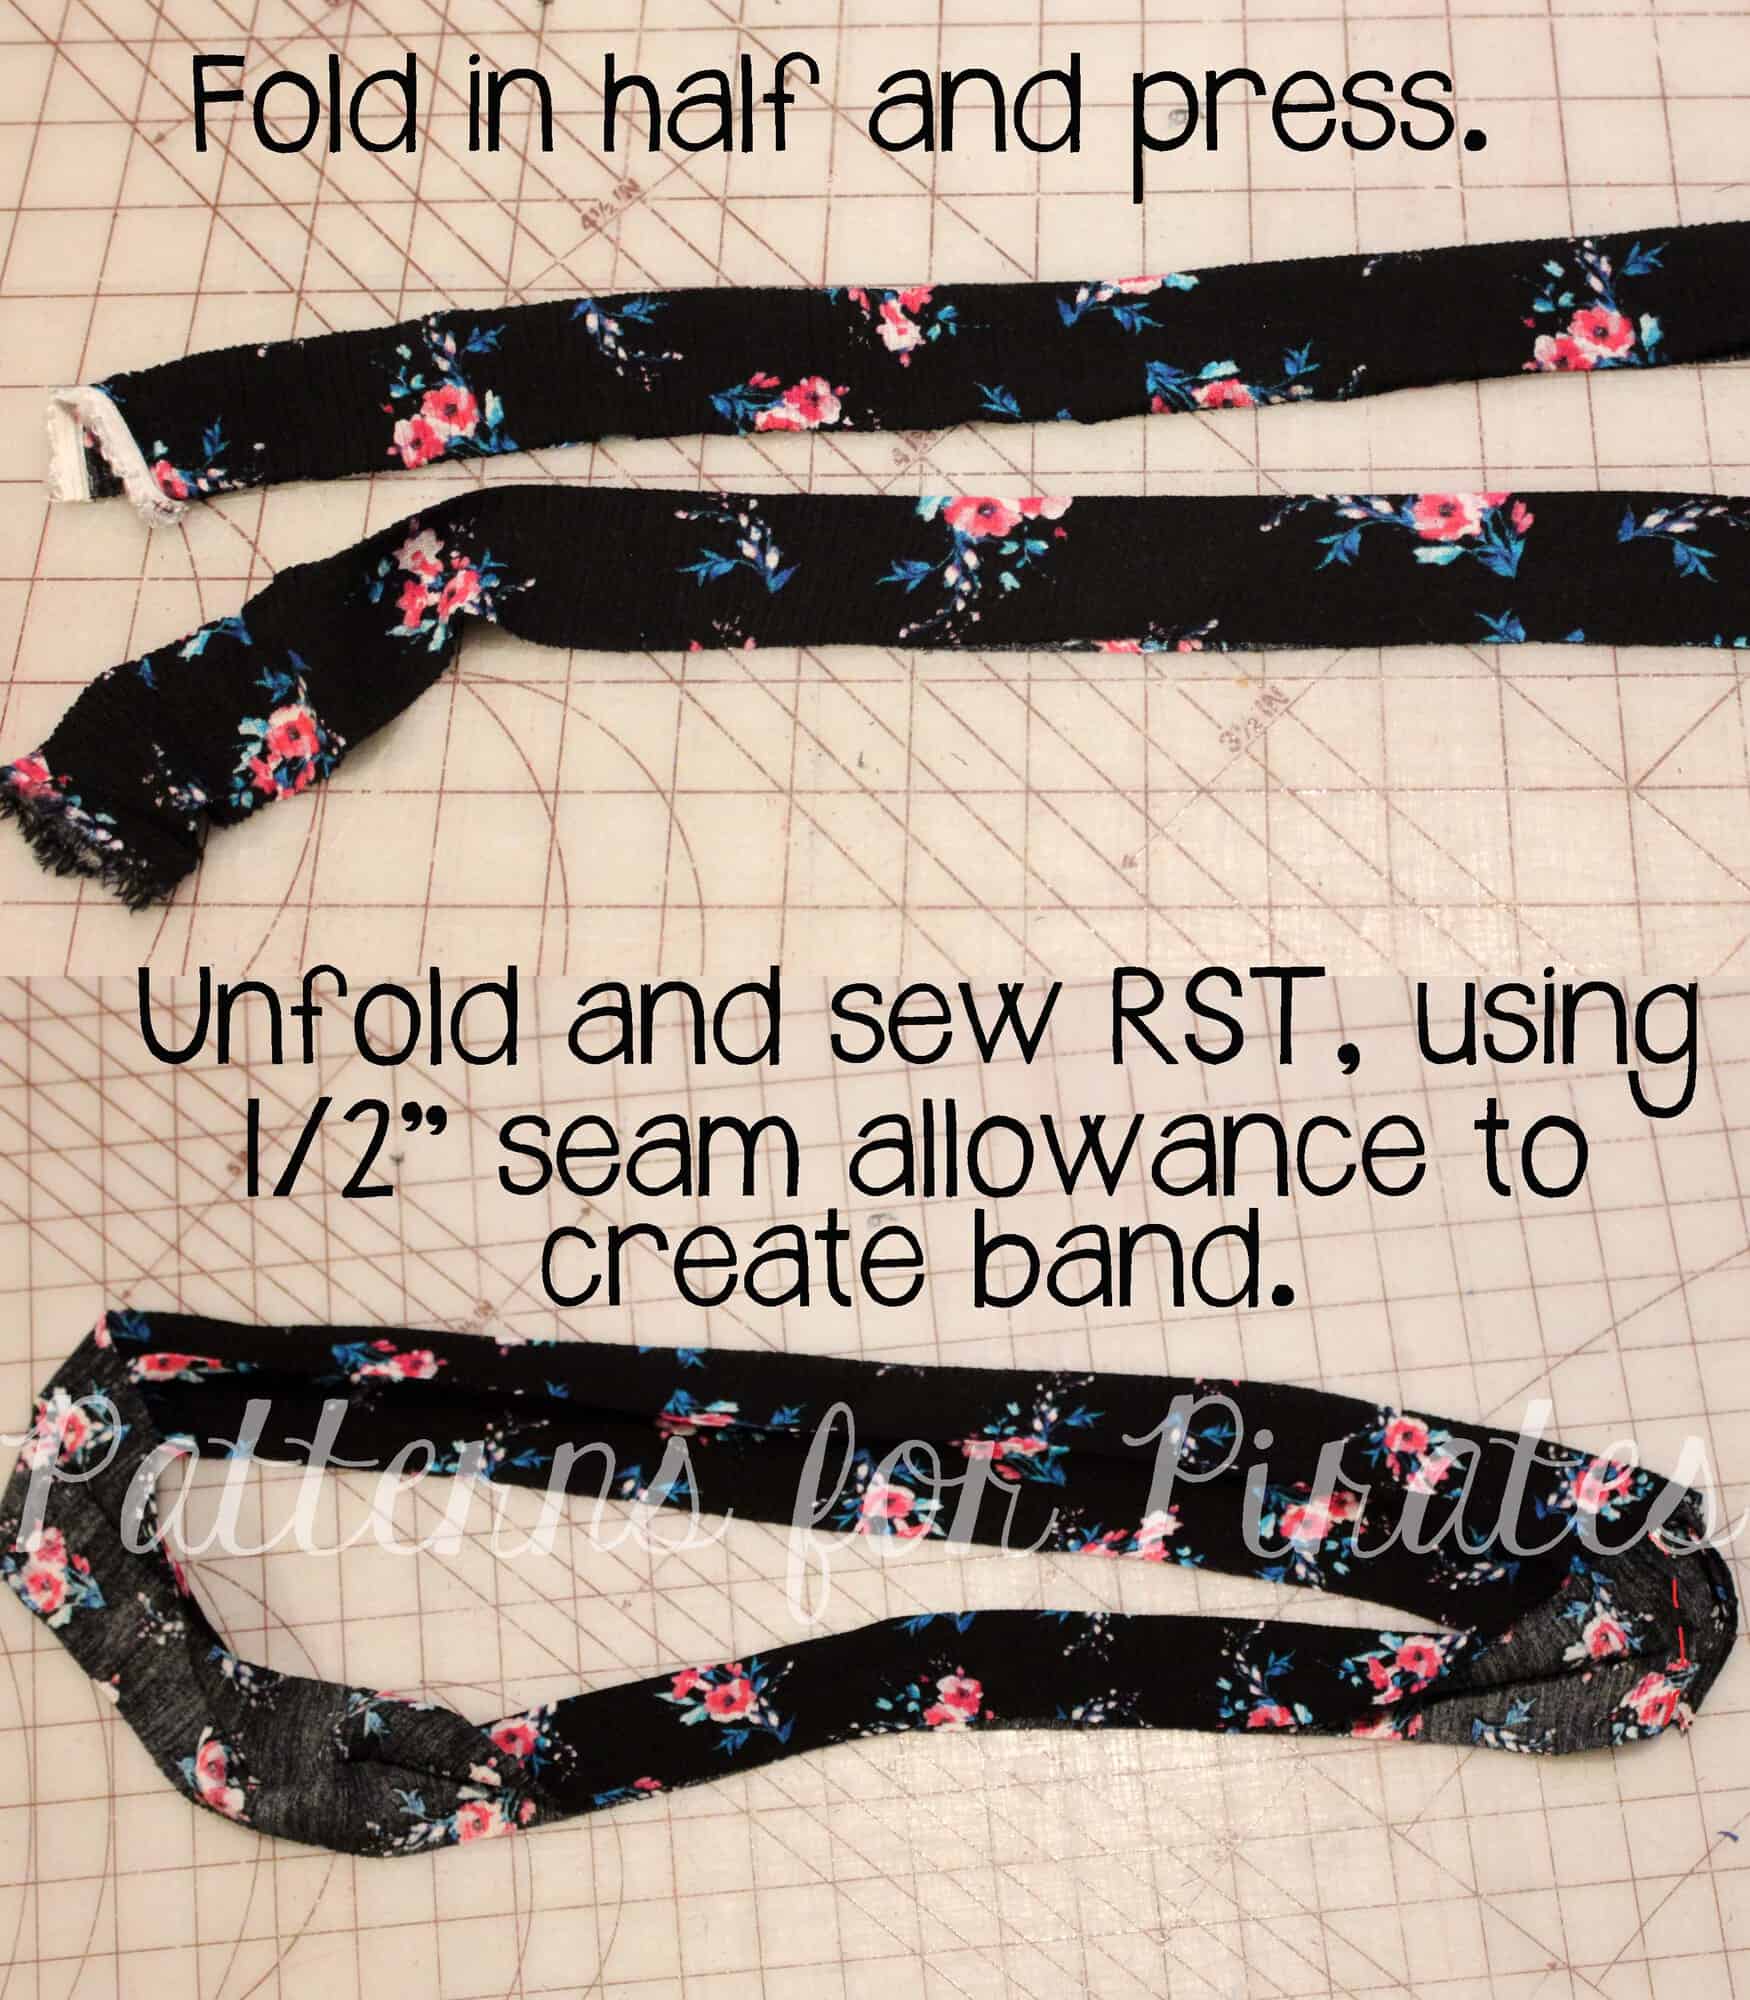
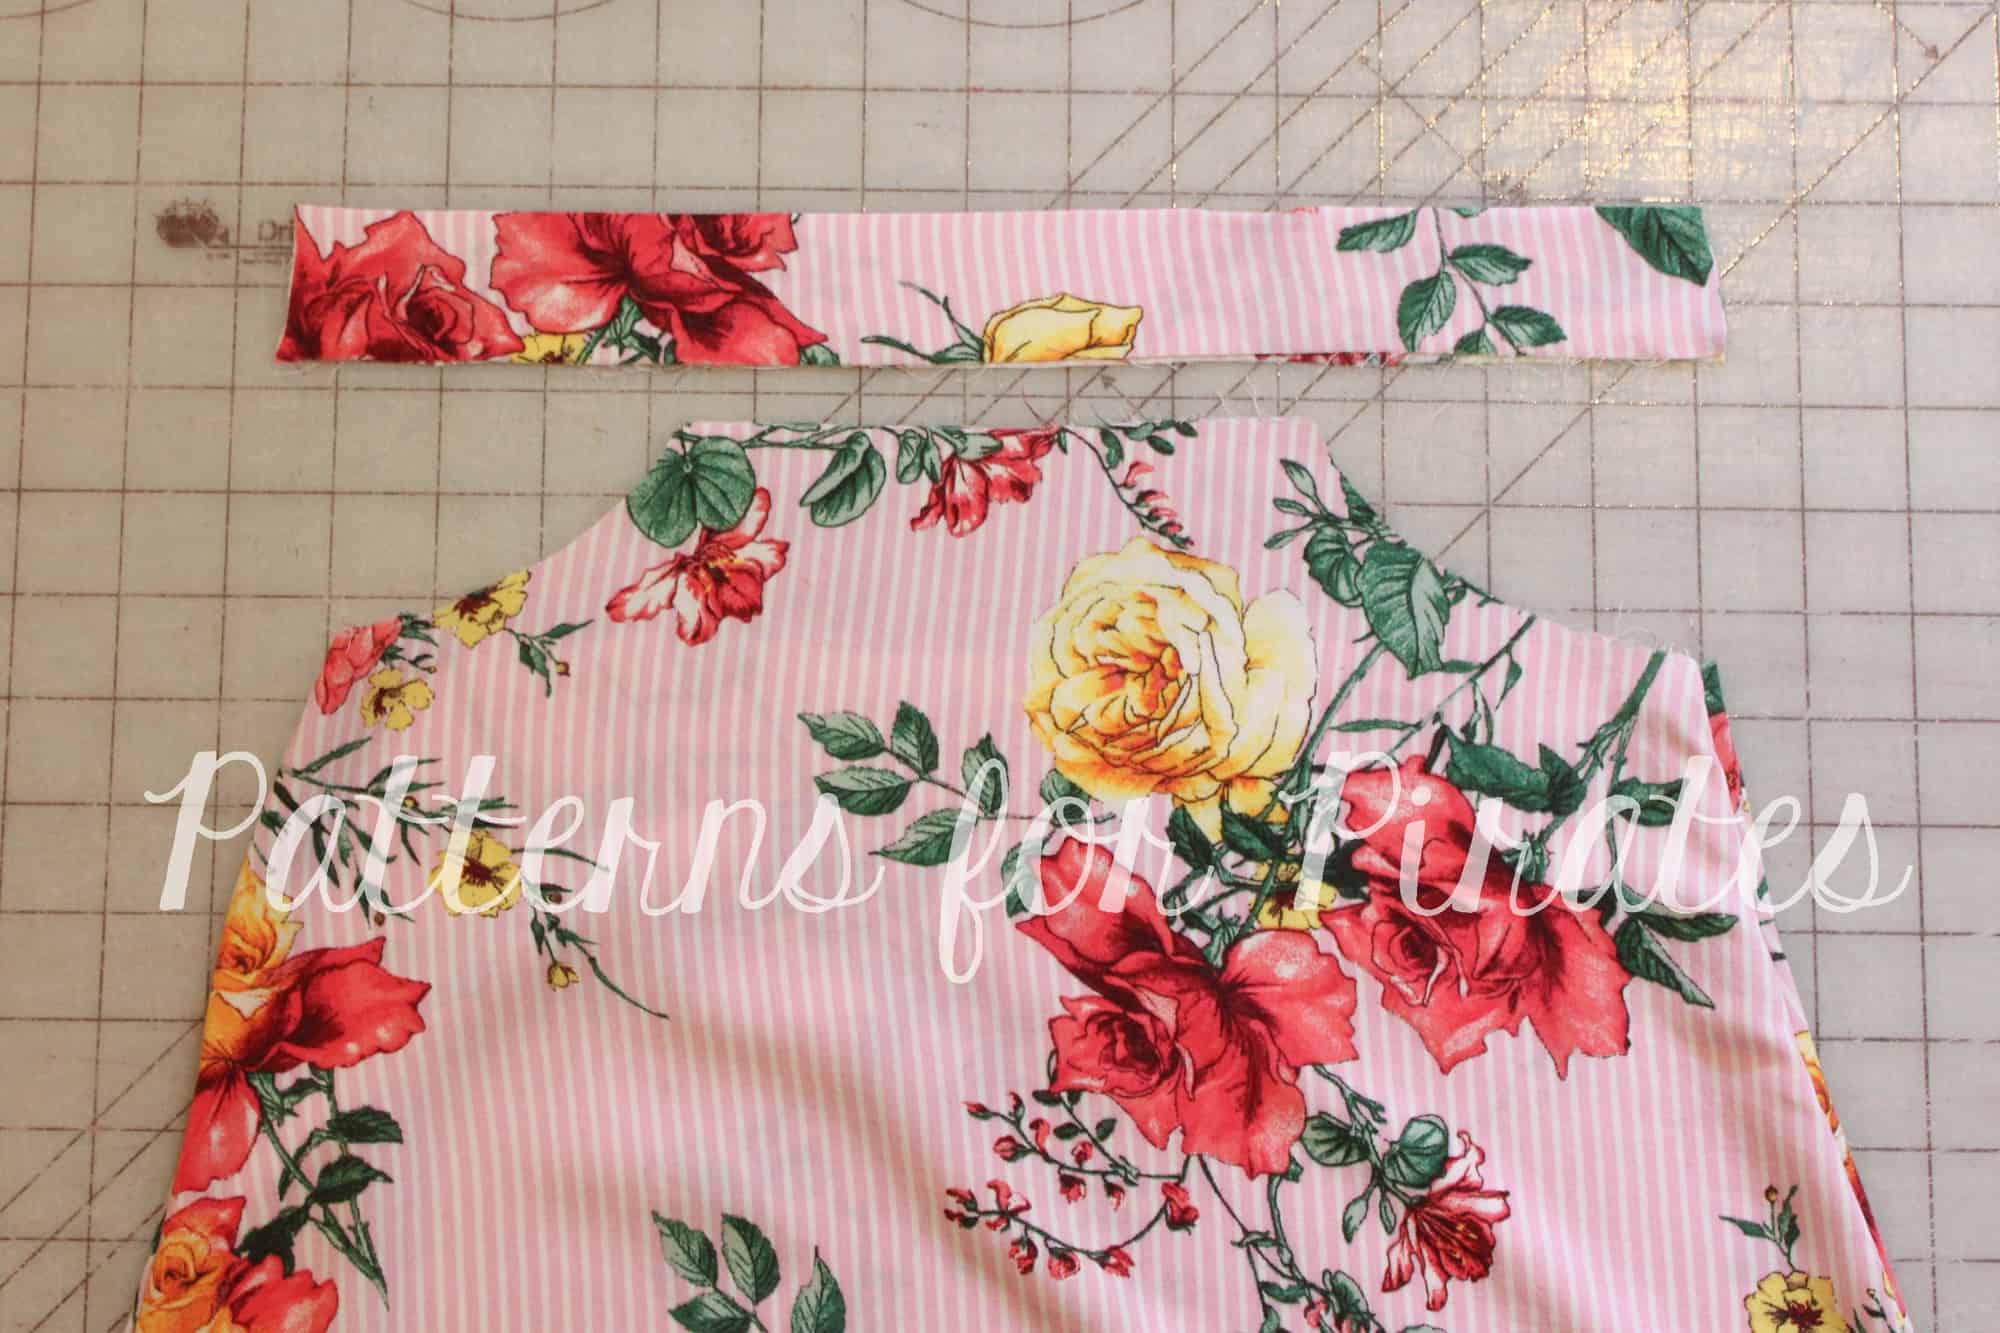
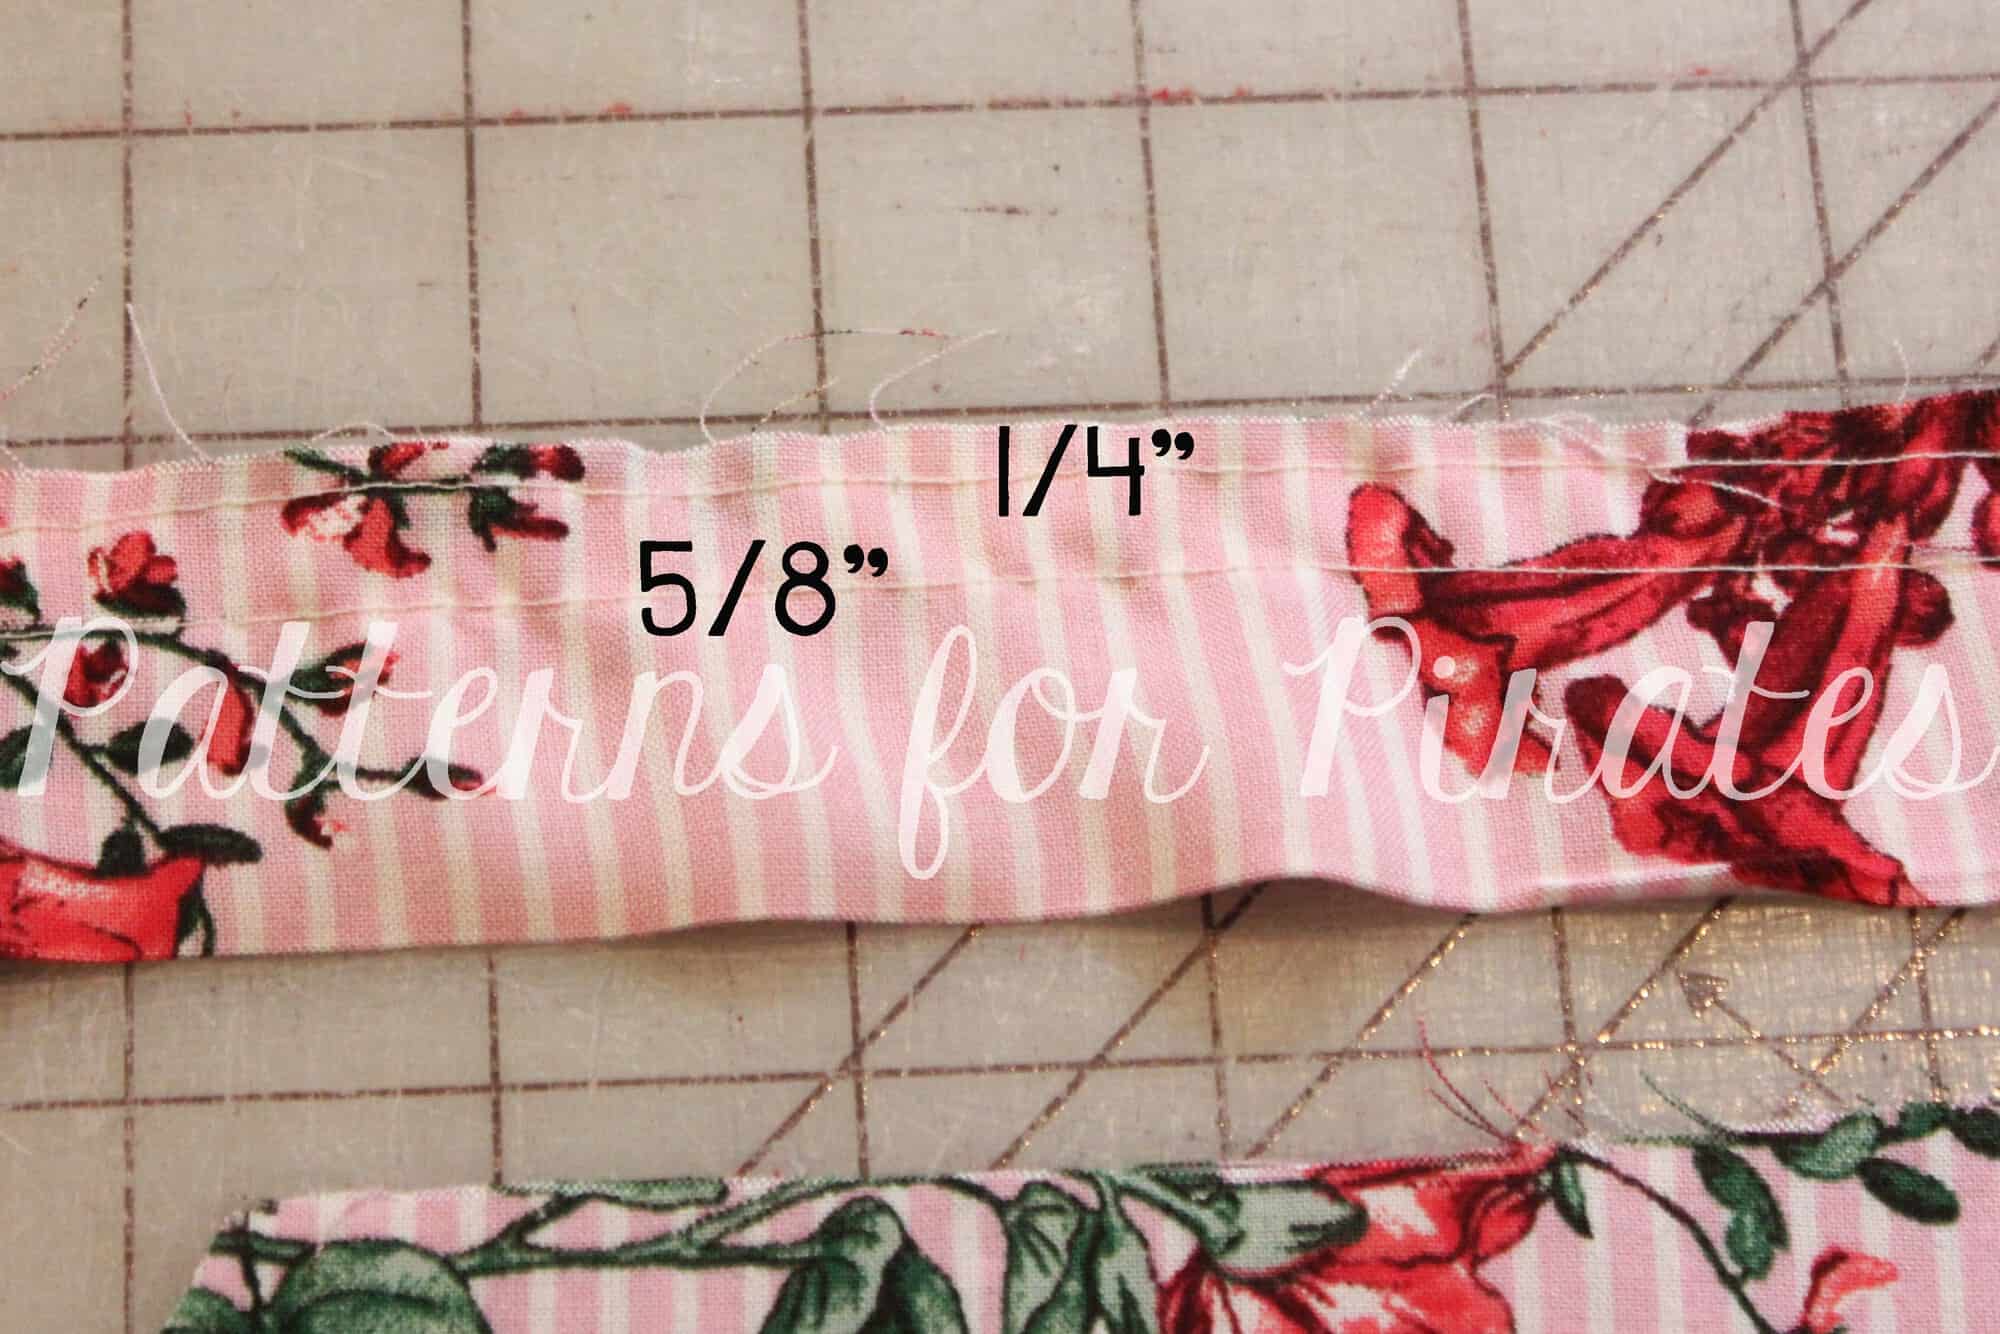
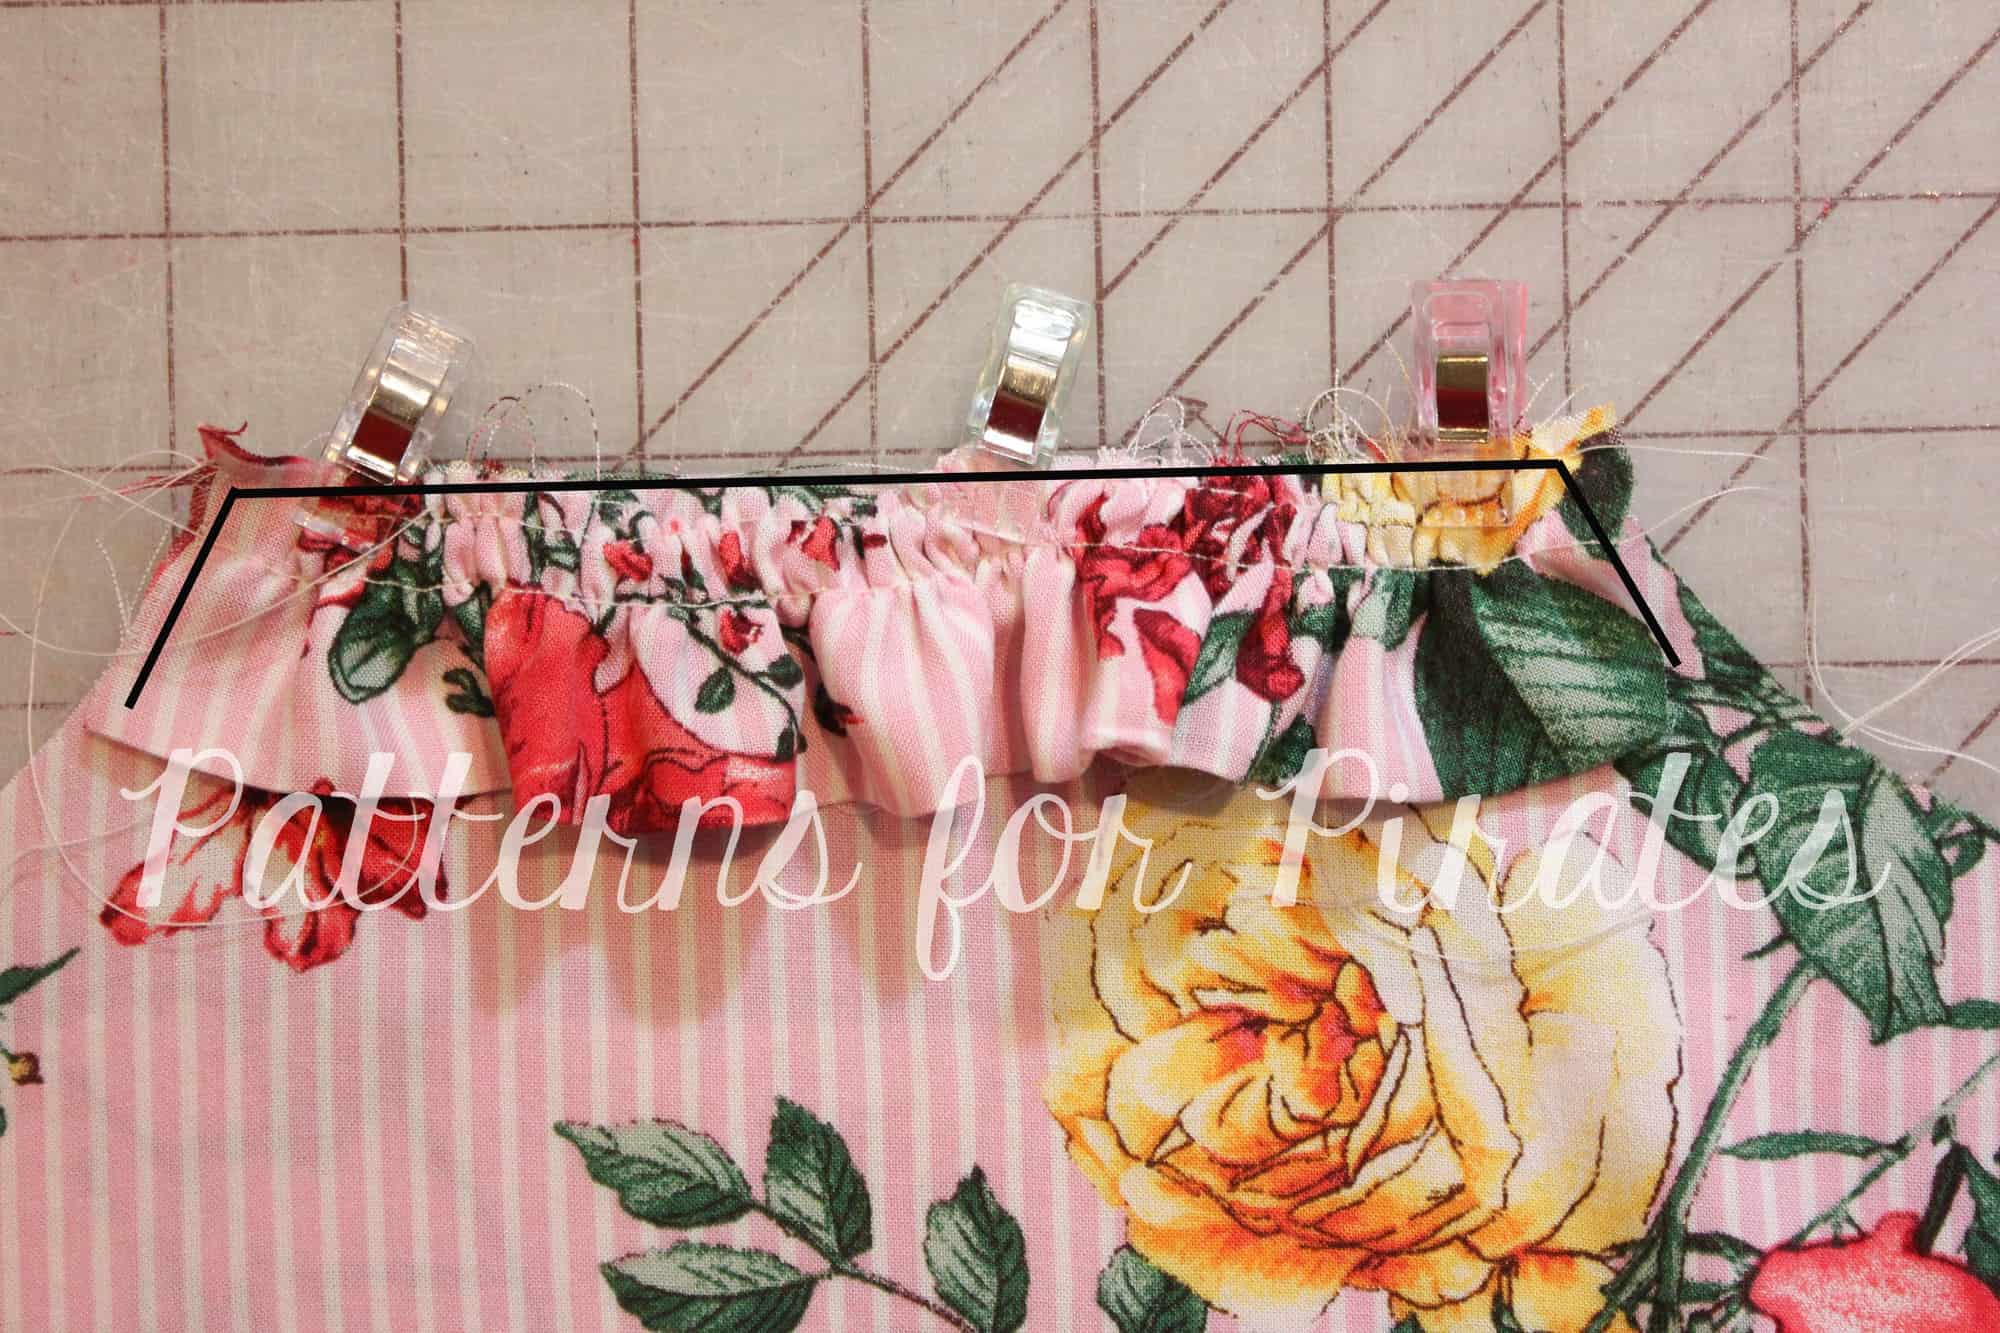
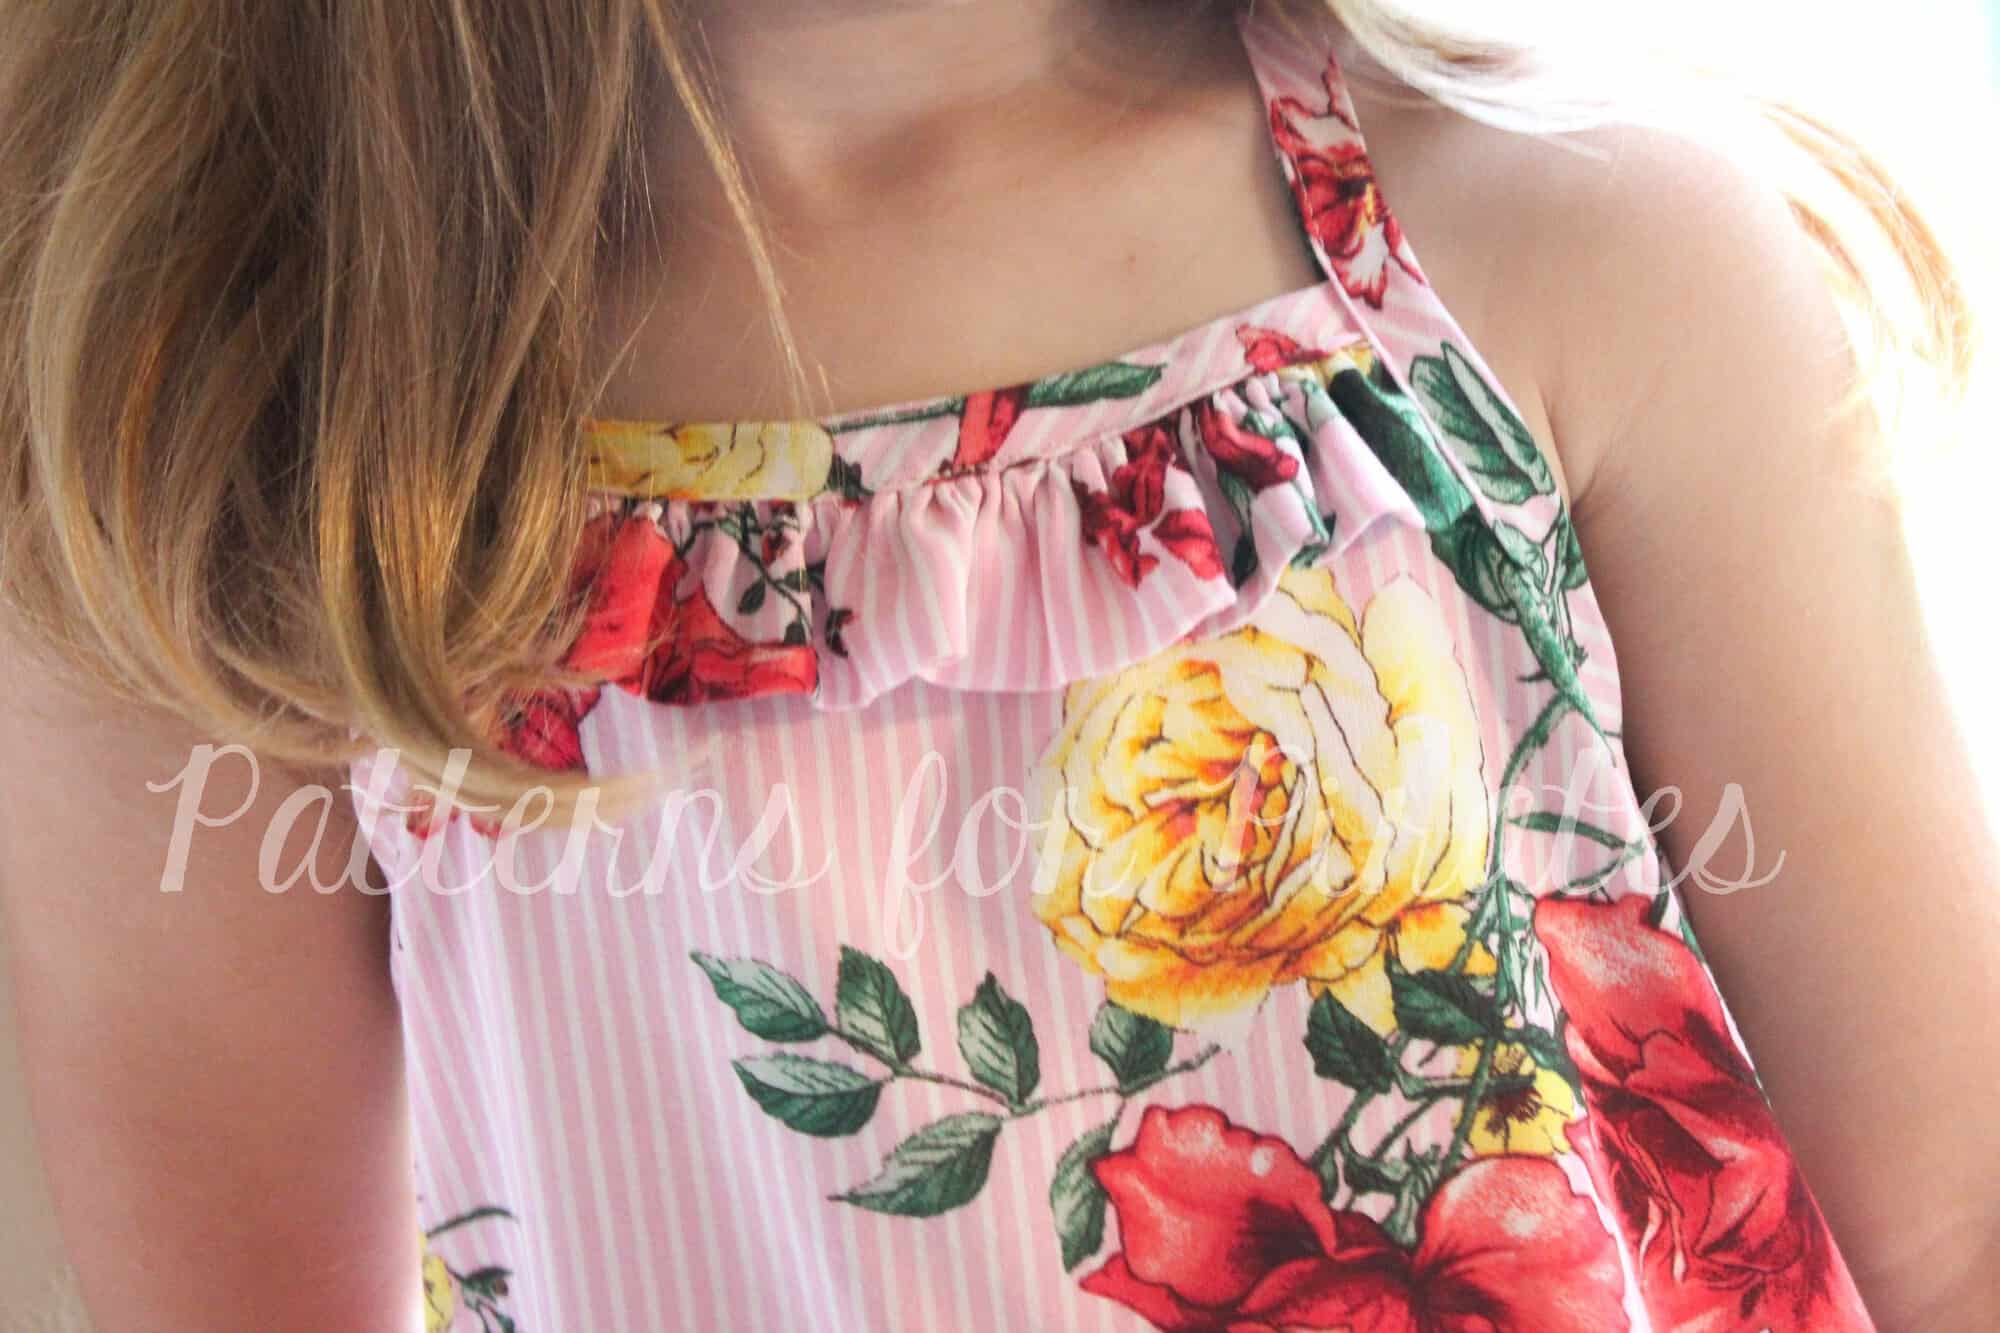
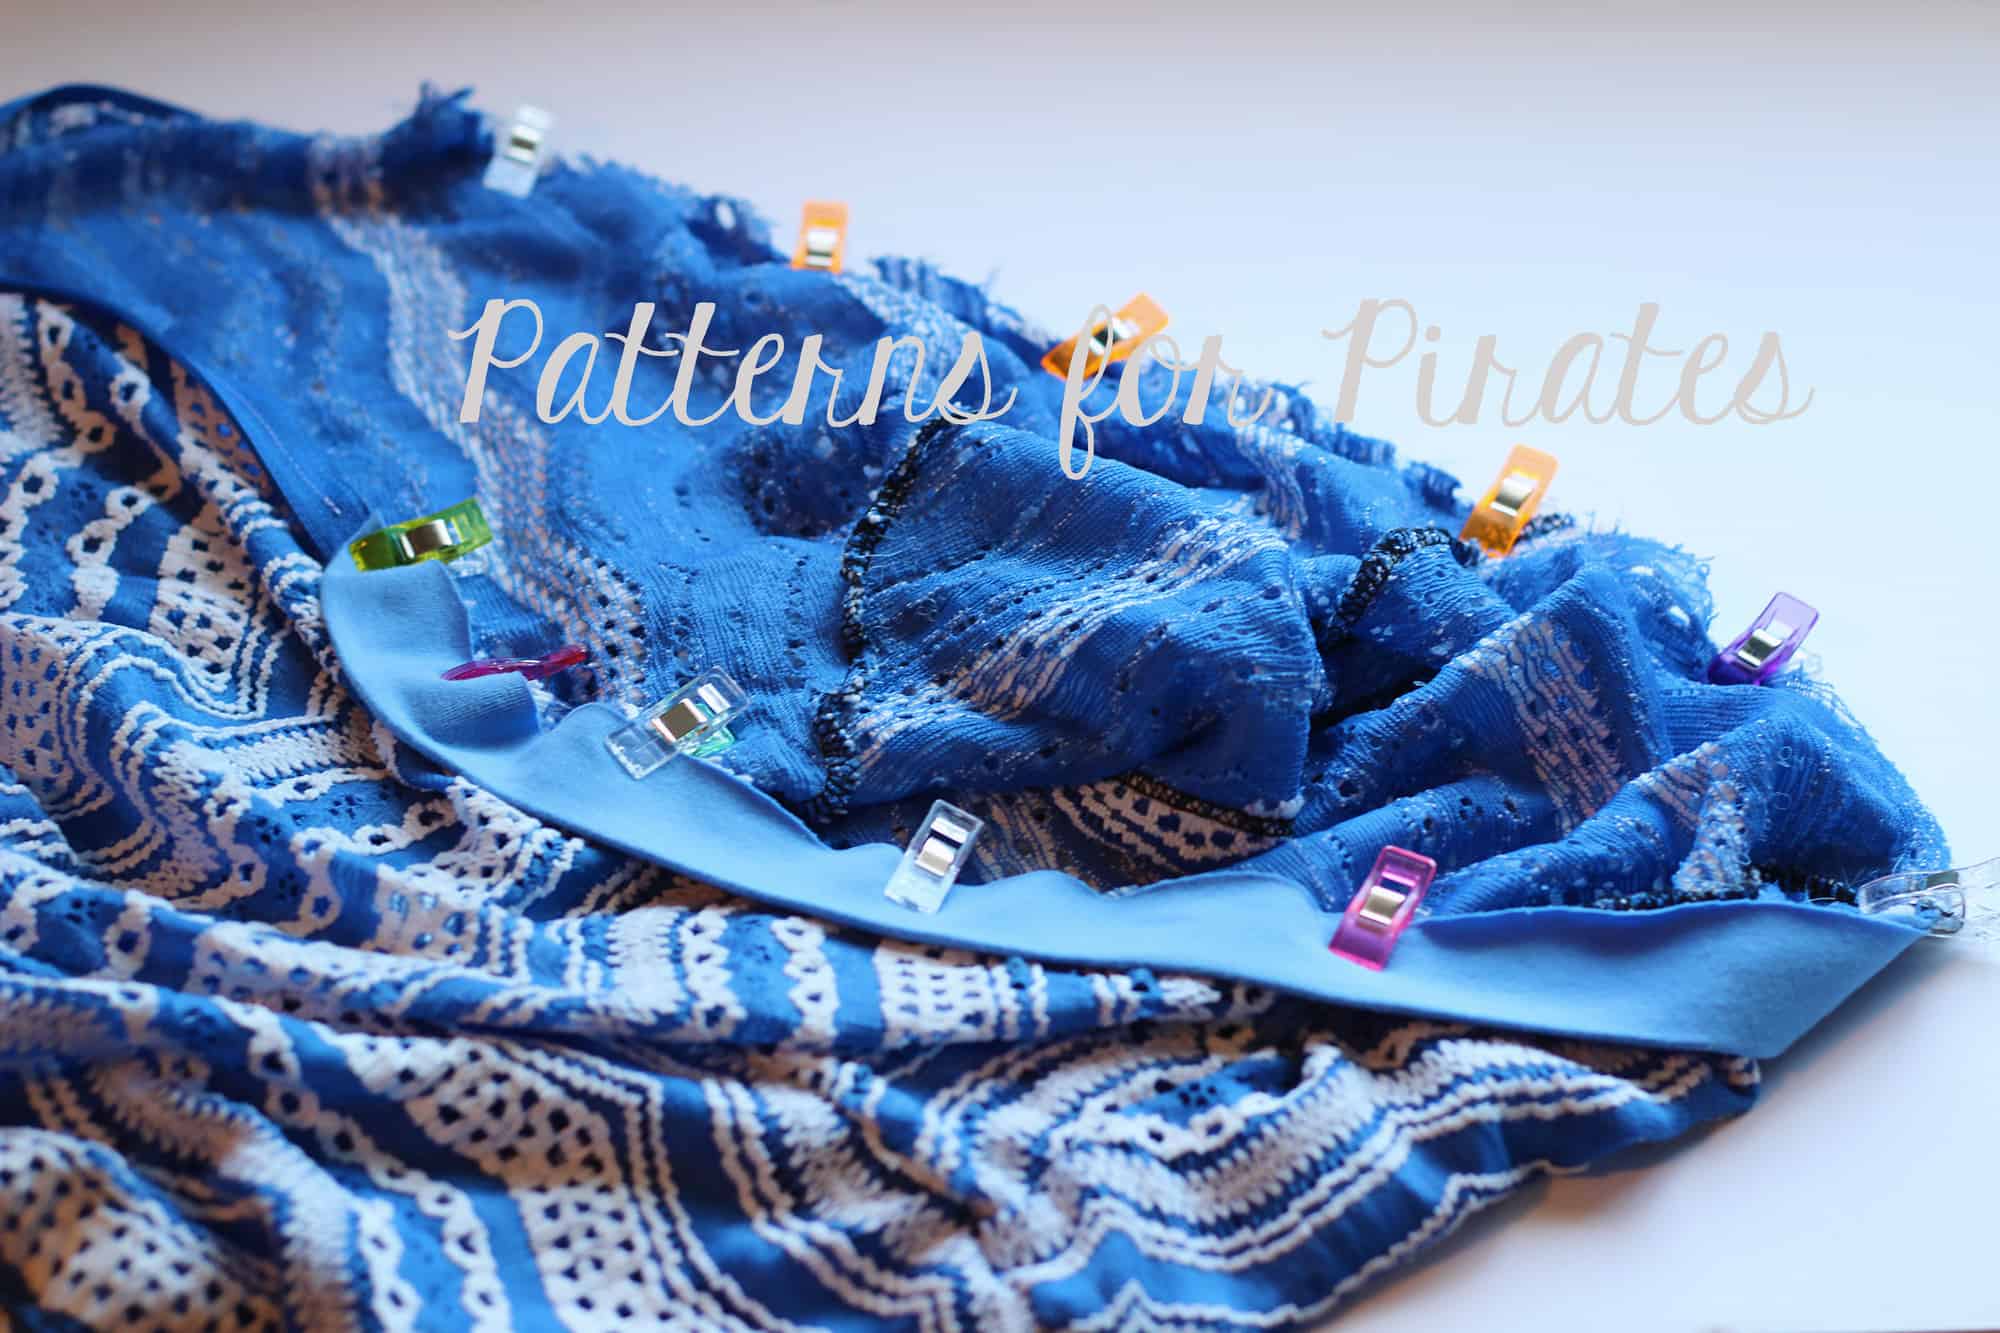
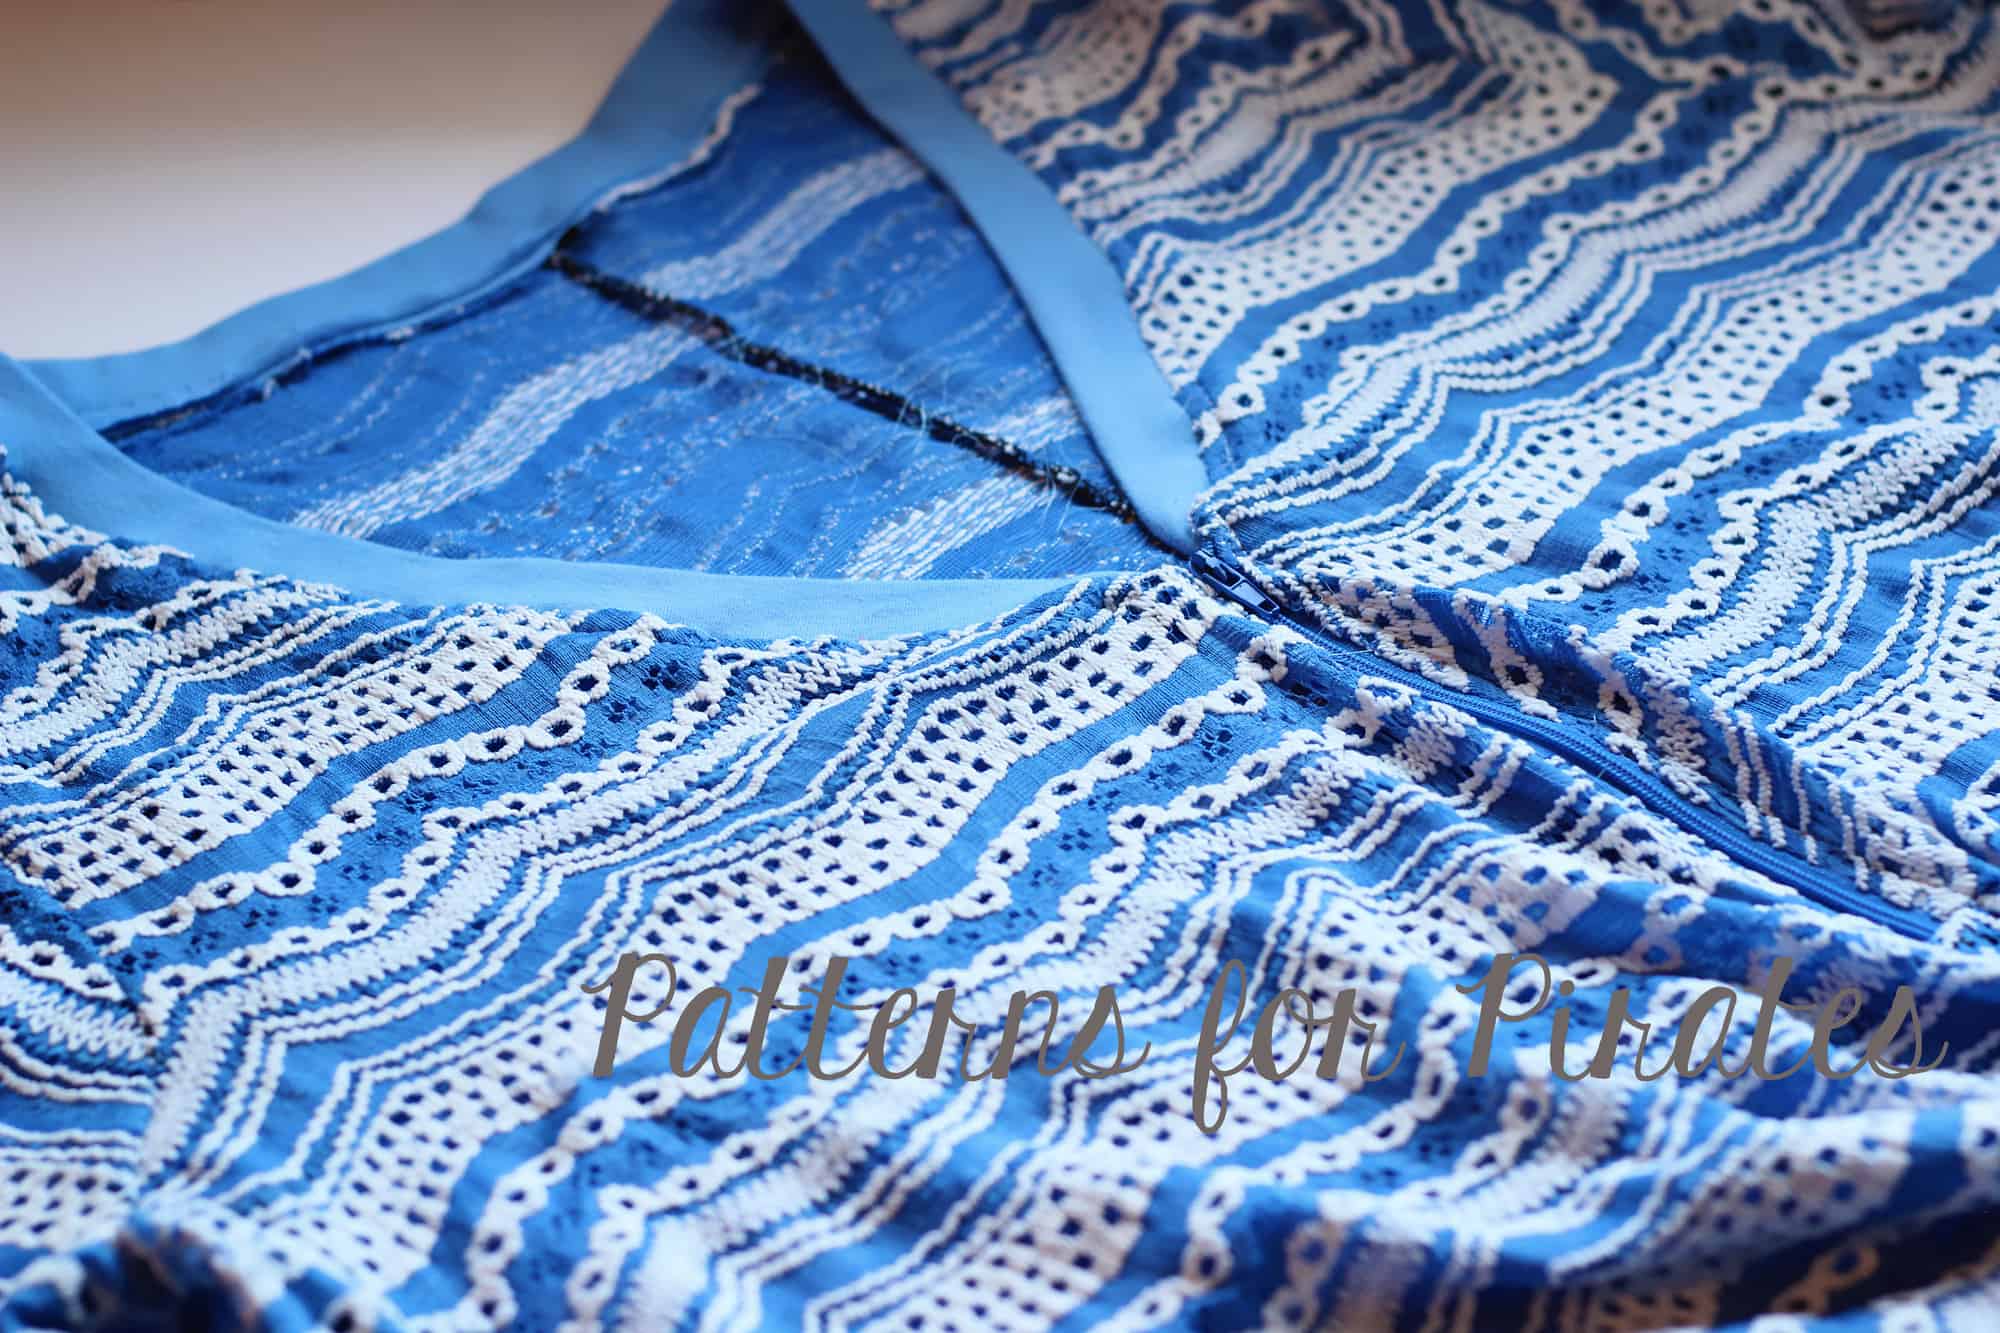
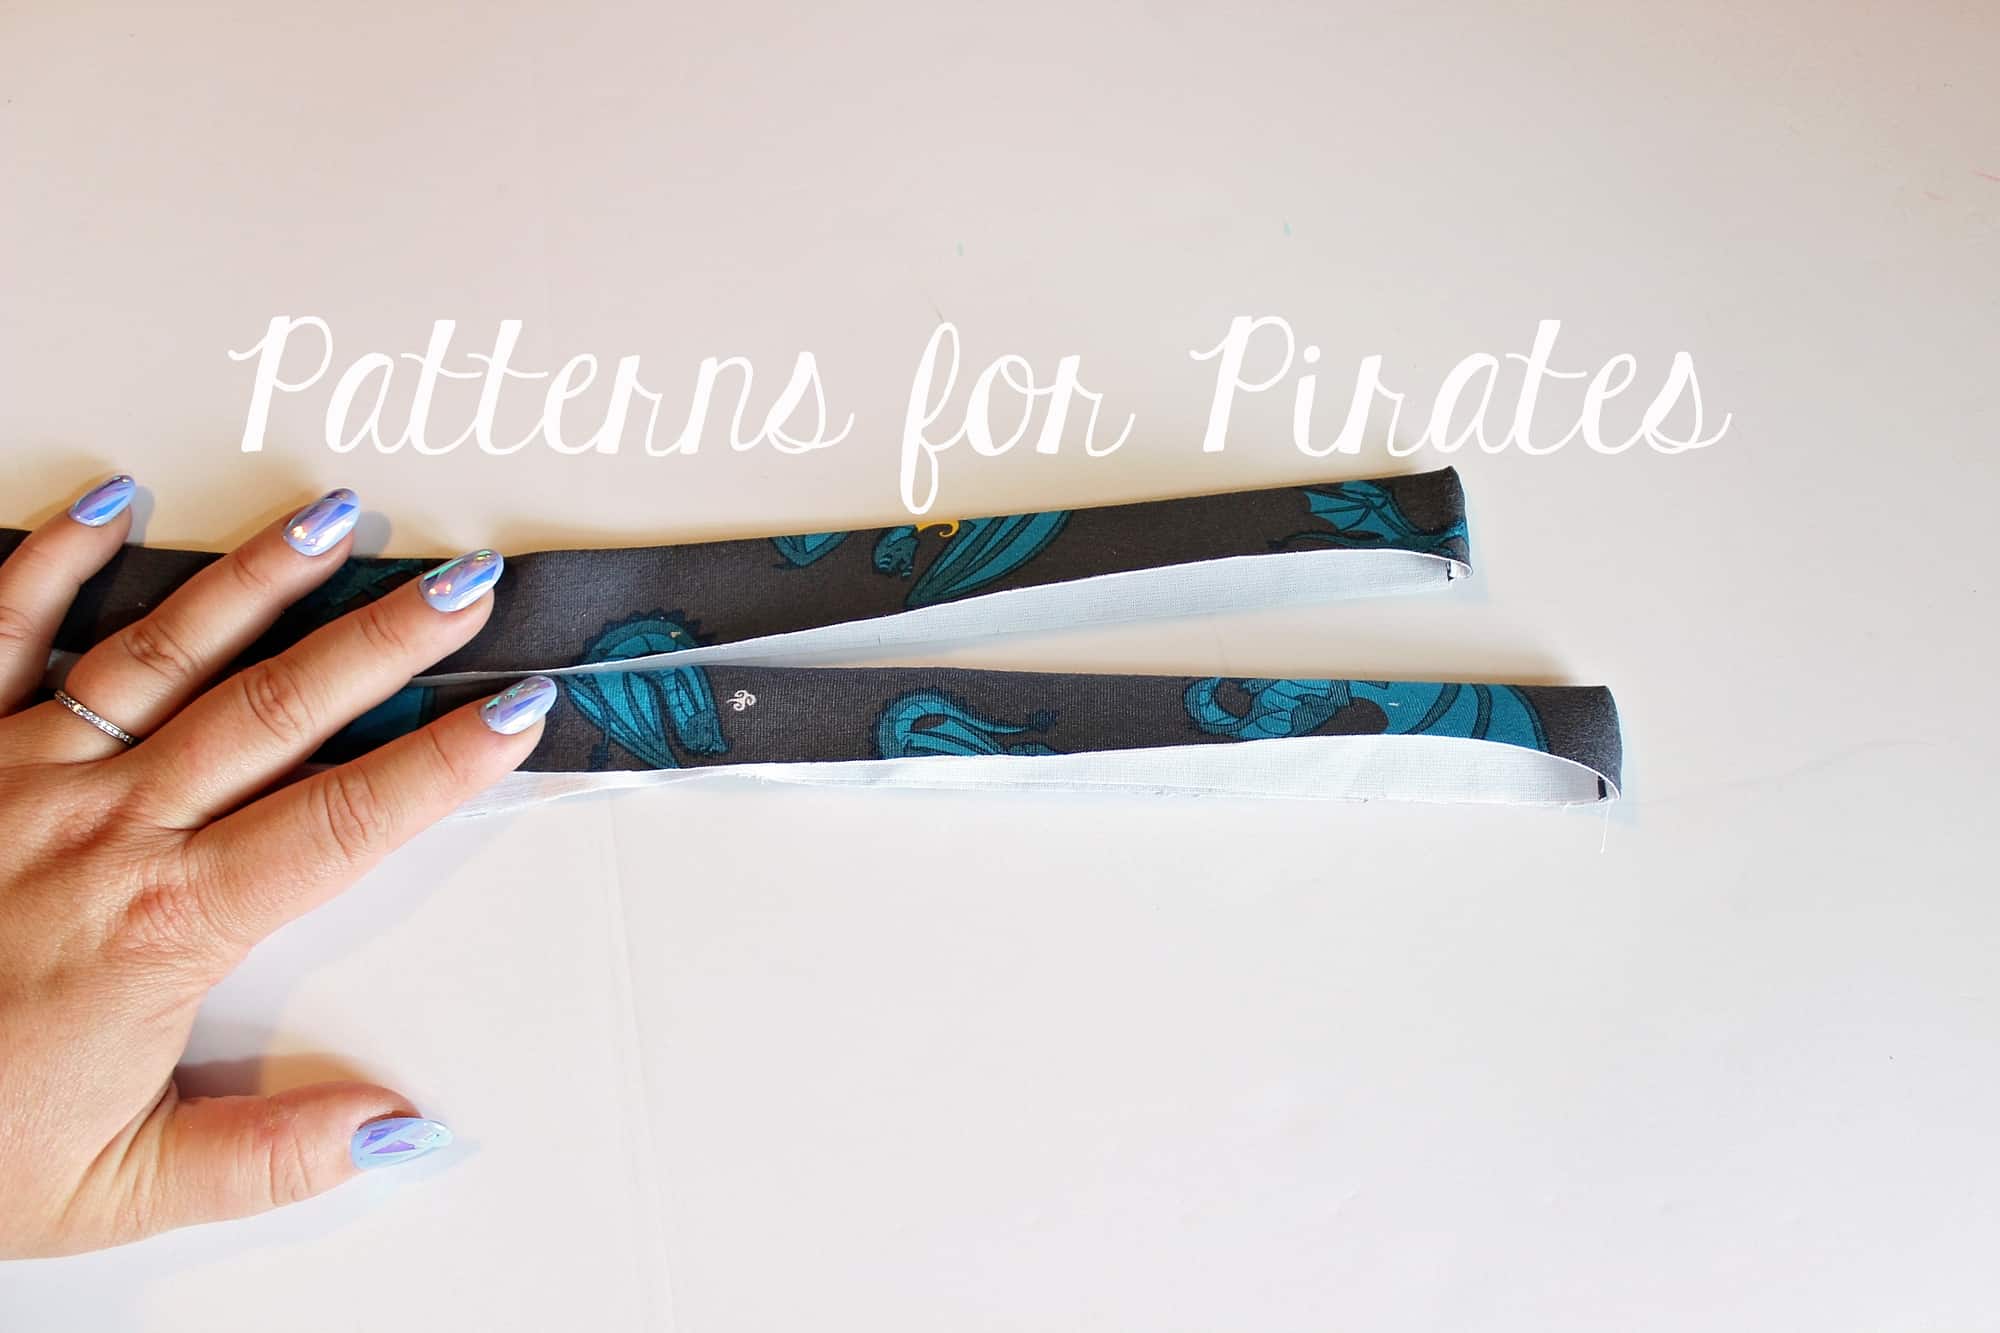
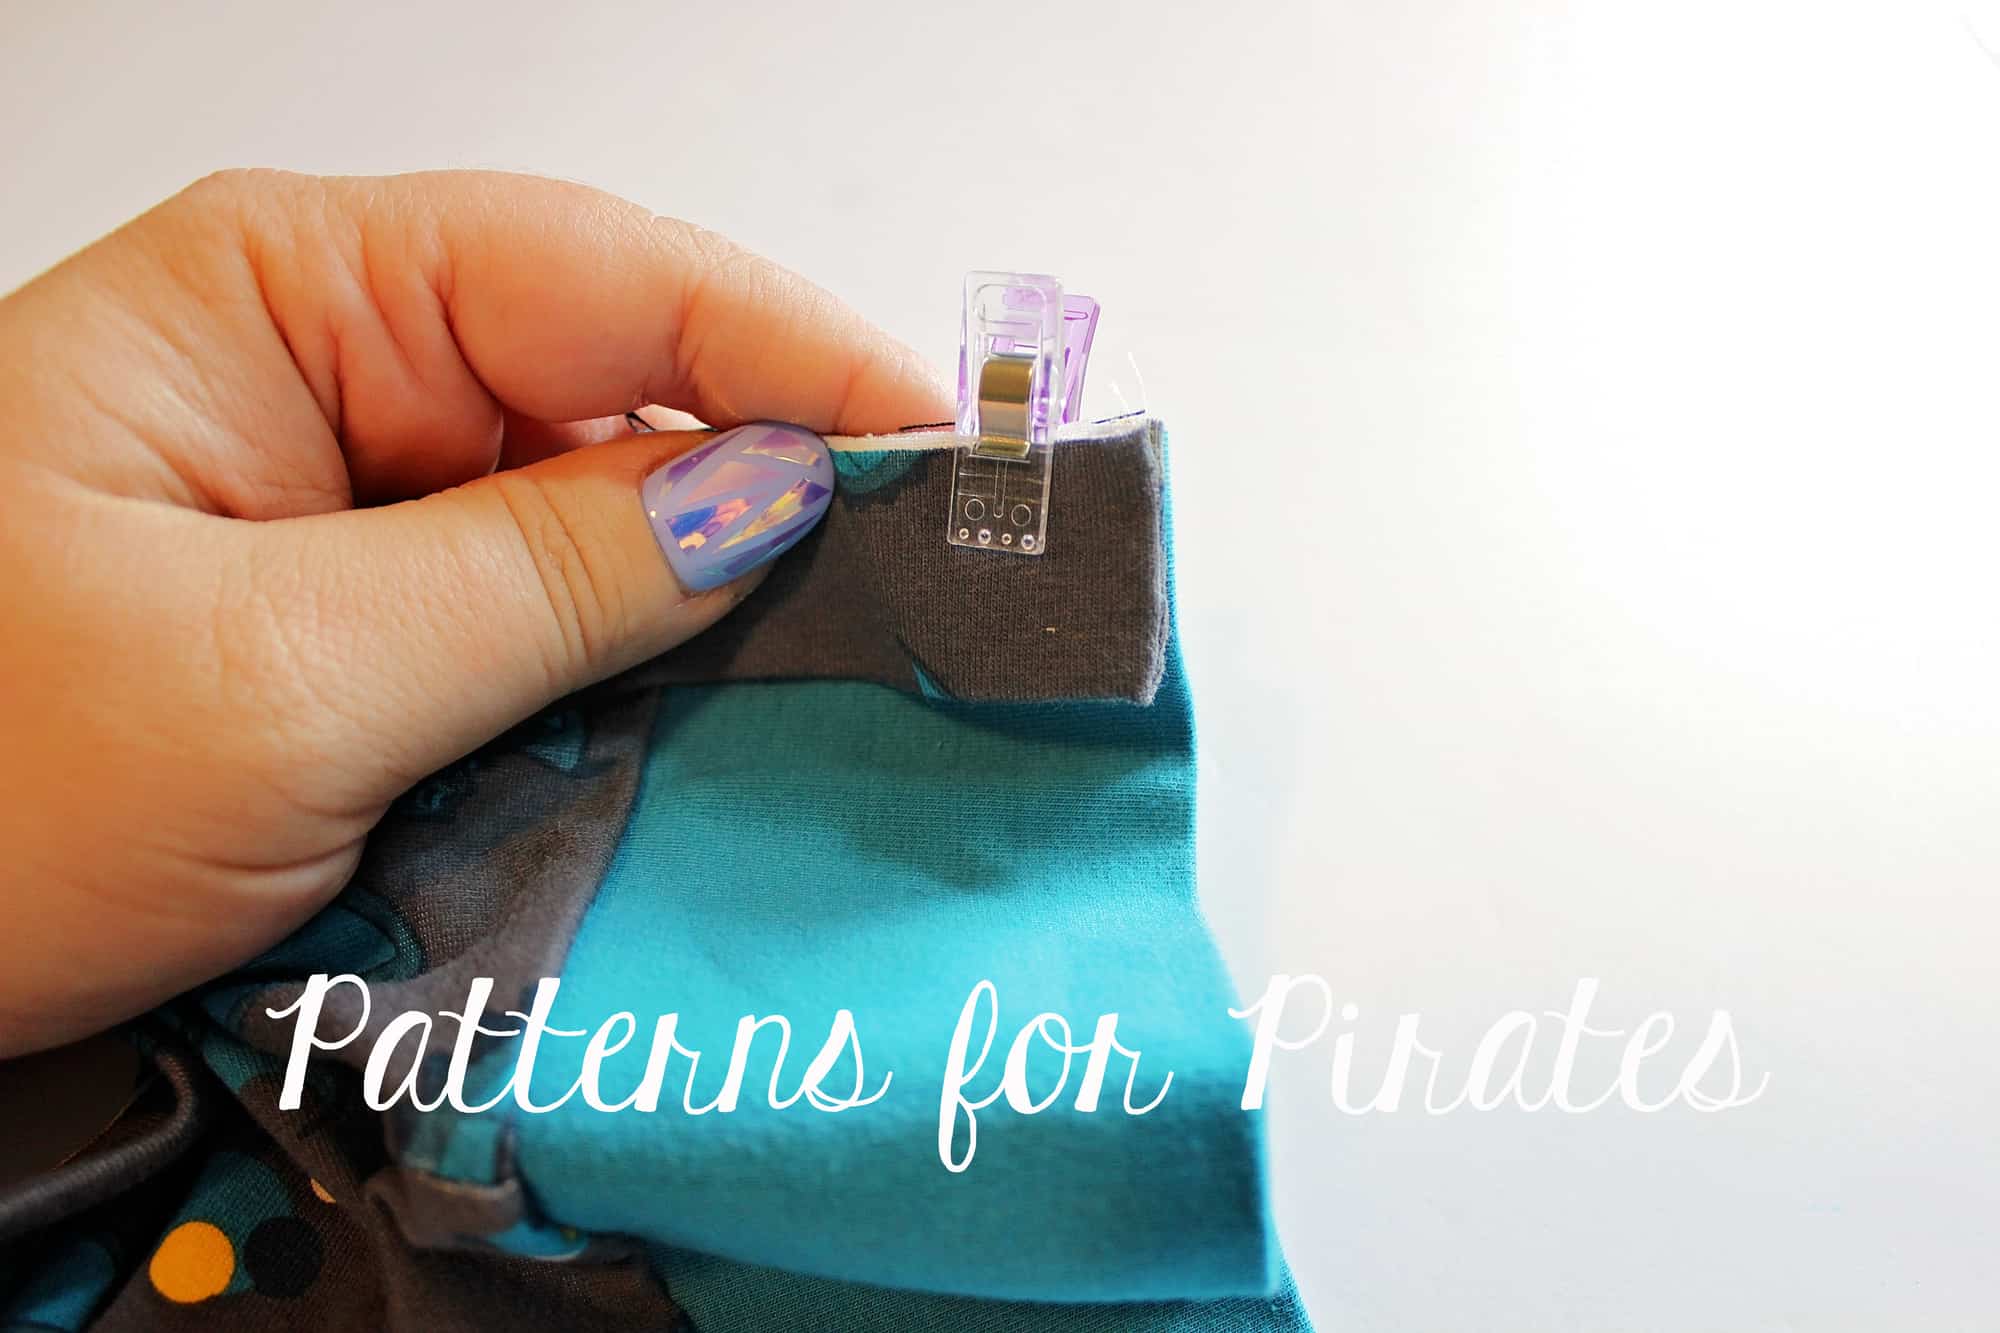
The last part for today’s progress is to add the neckband. You are basically following the same technique regardless of the style neckline you decided to do. If you are new to sewing with knits or simply would like a refresher, take a look over our P4P University Neckbands 101 blog post.
Once you finish today’s steps snap a picture of your progress and add it to the day 2 photo comments on the Runabout SAL album in the P4P & M4M group.
Runabout Romper & Dress SAL day 1 | Print pattern and cut fabric
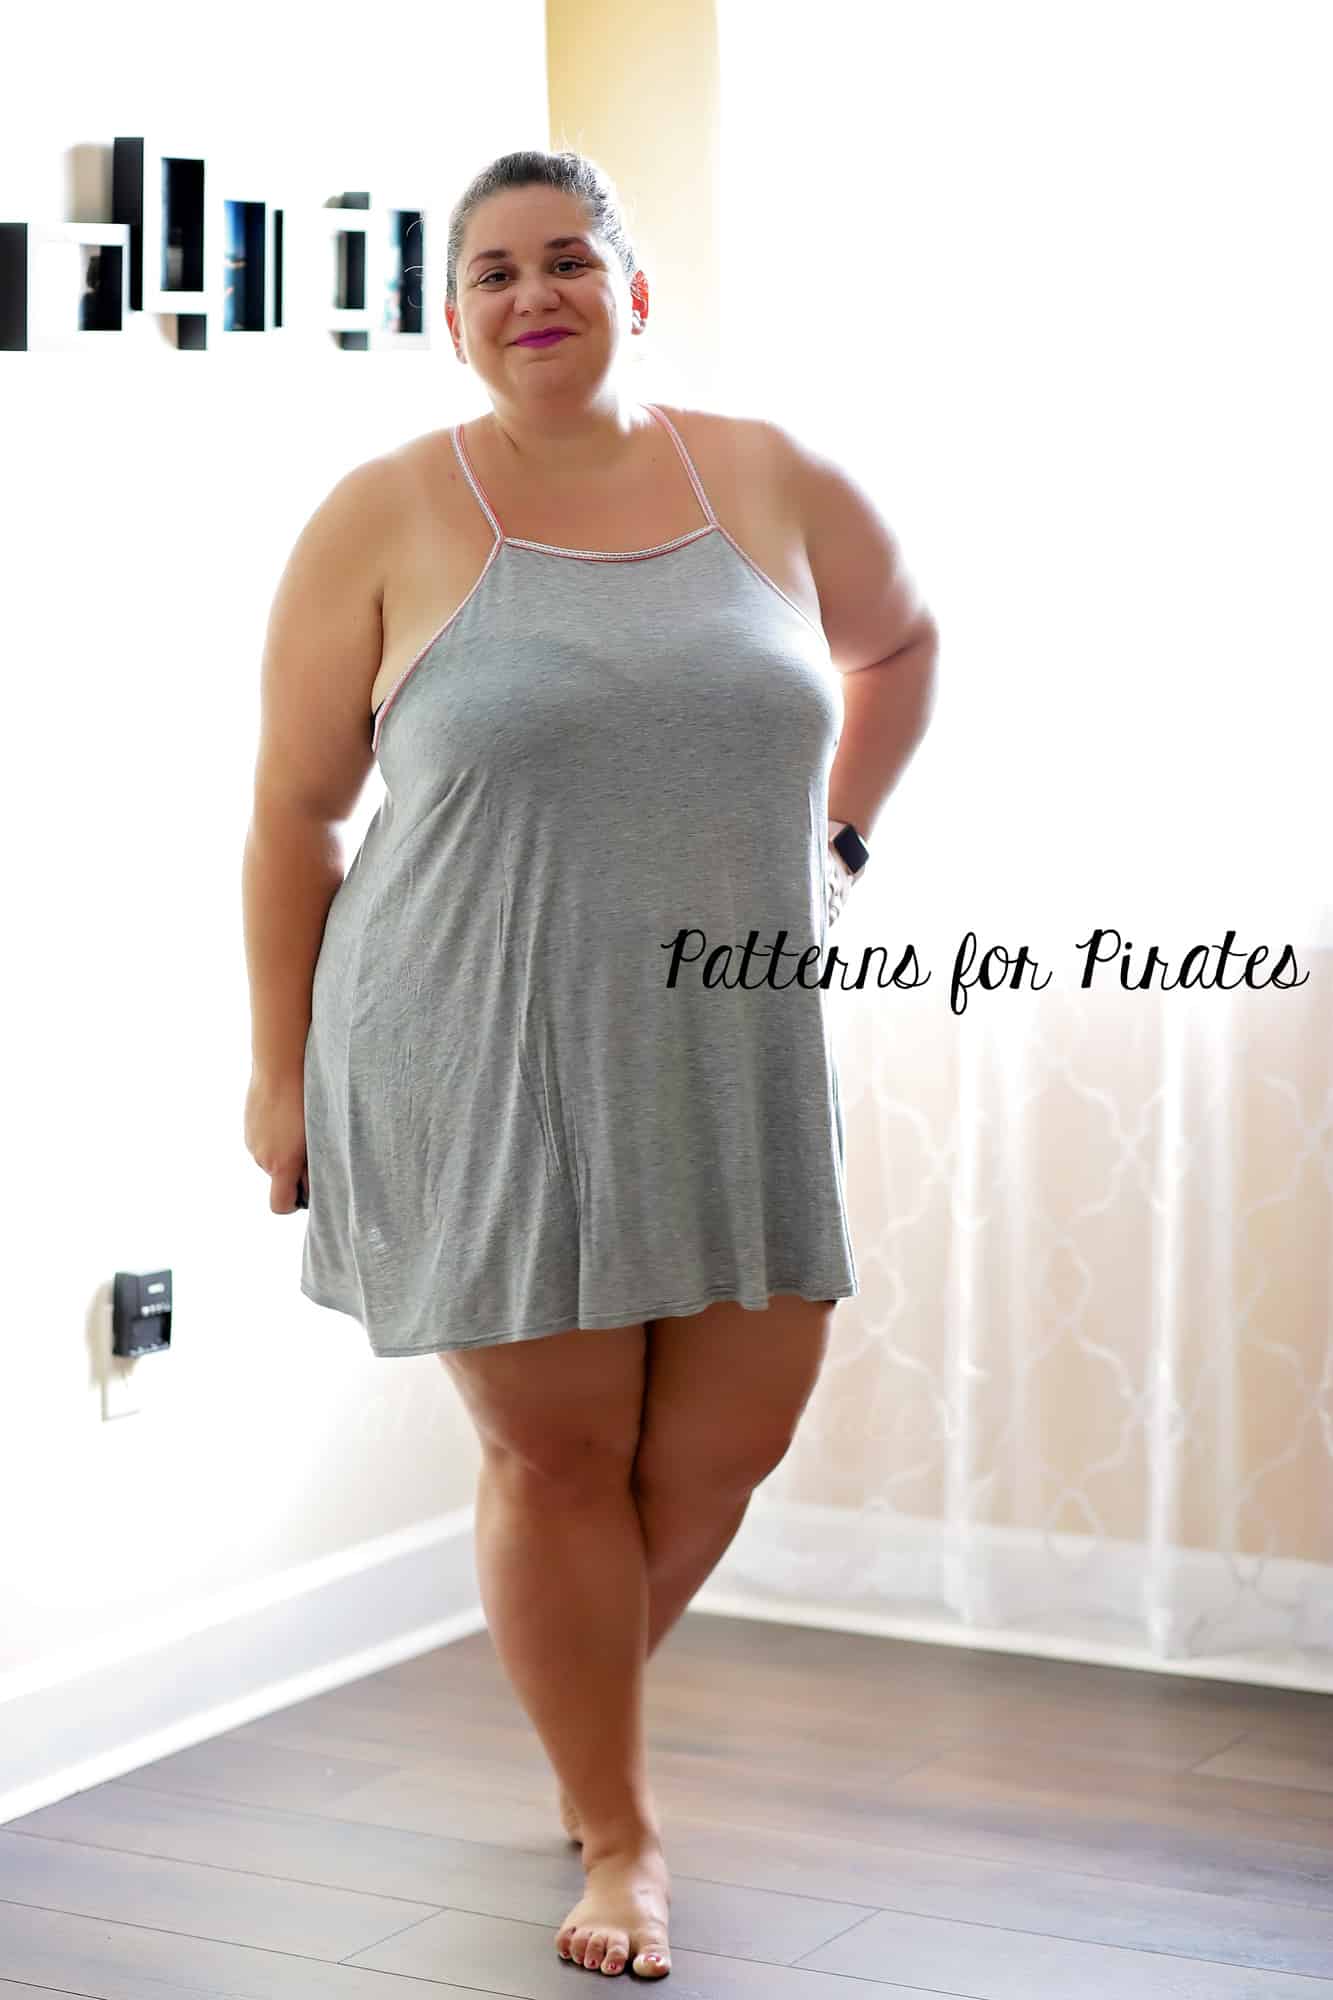
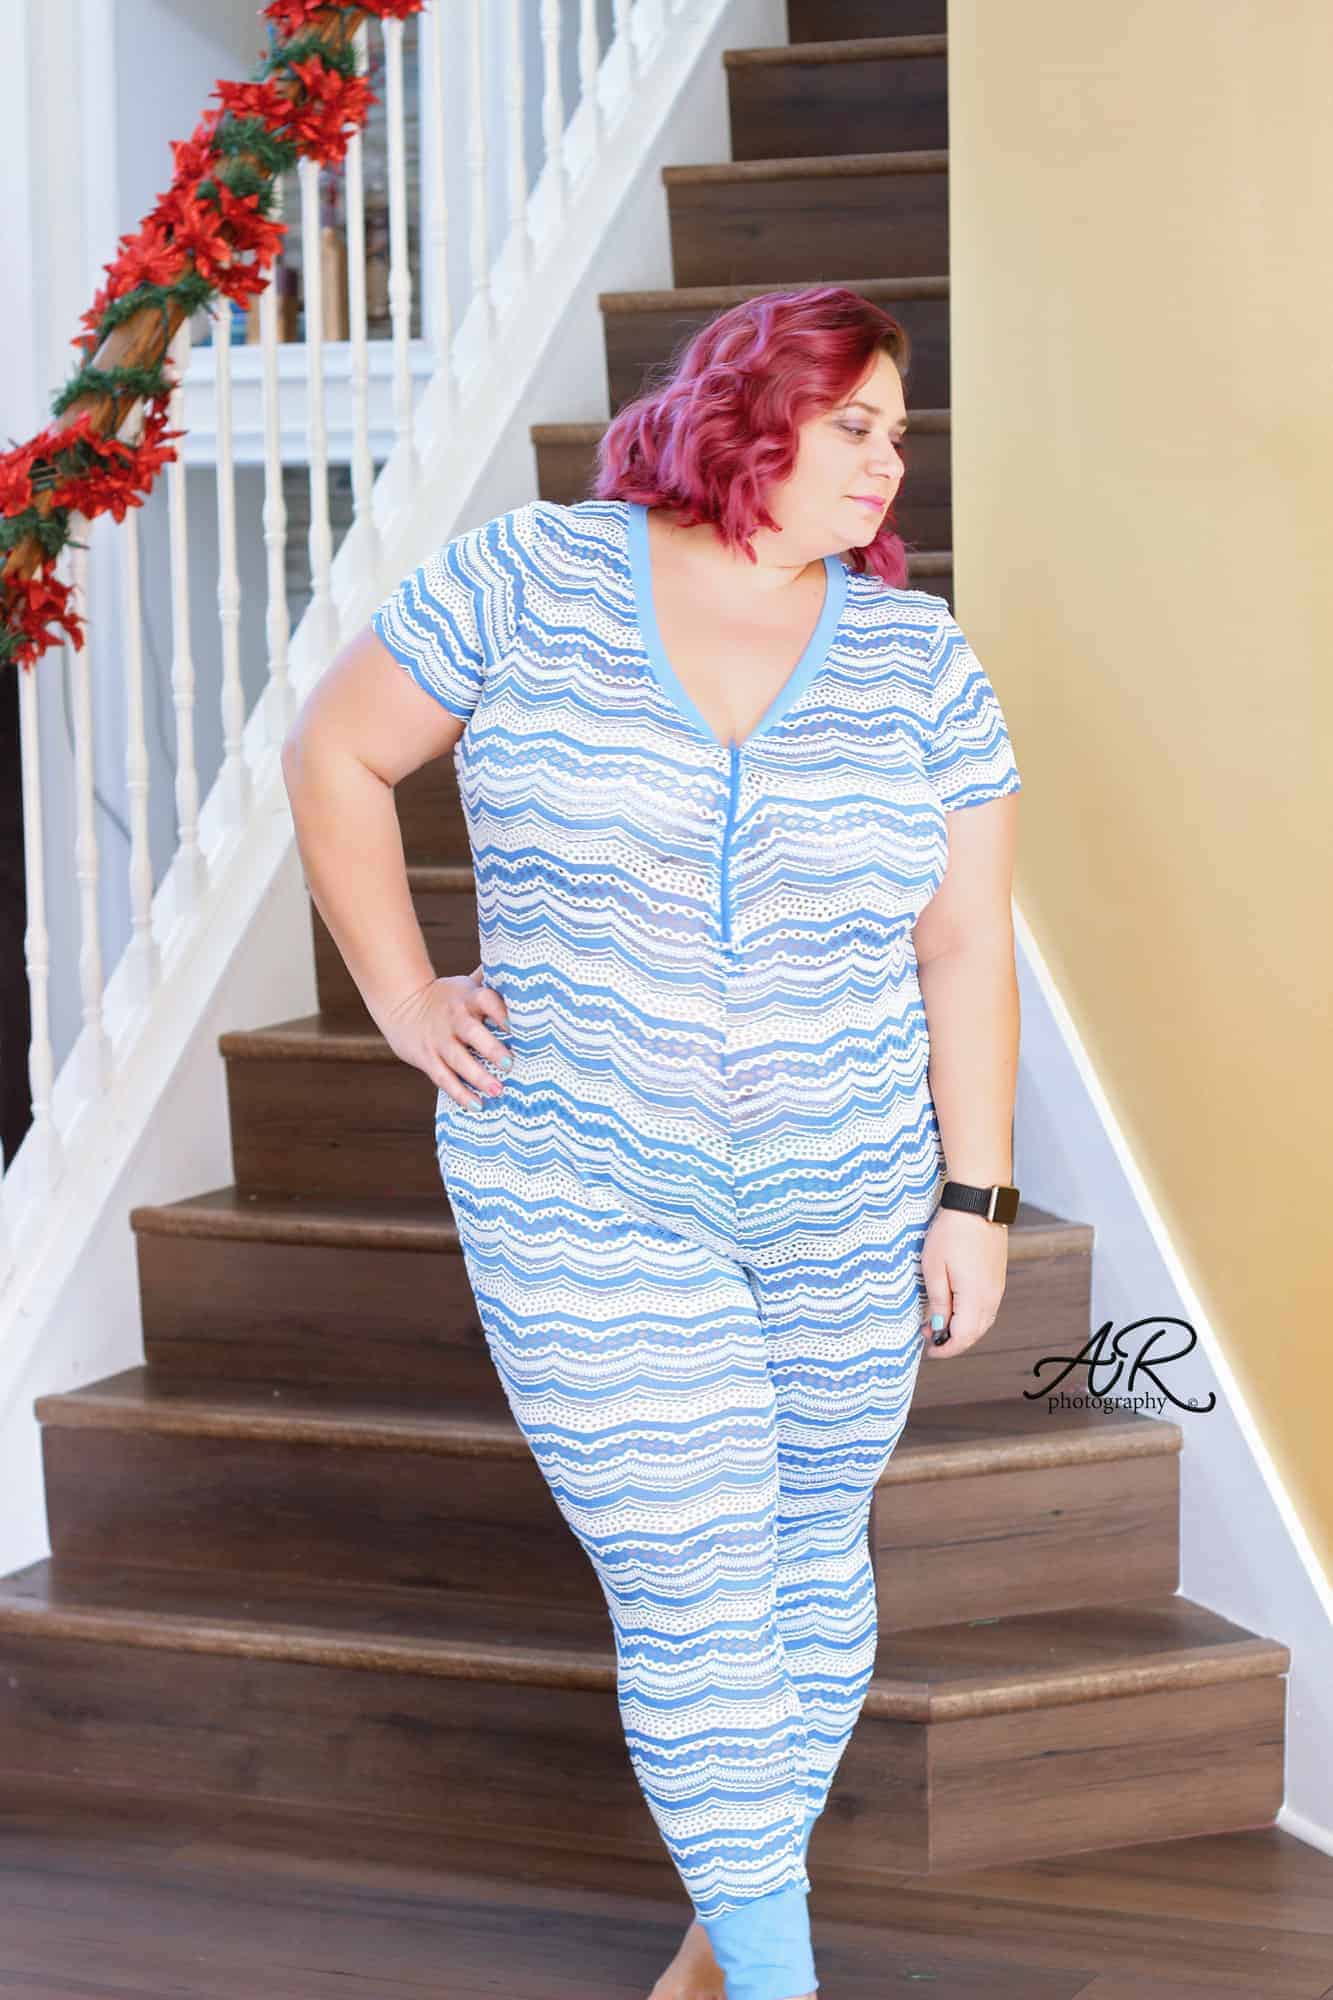
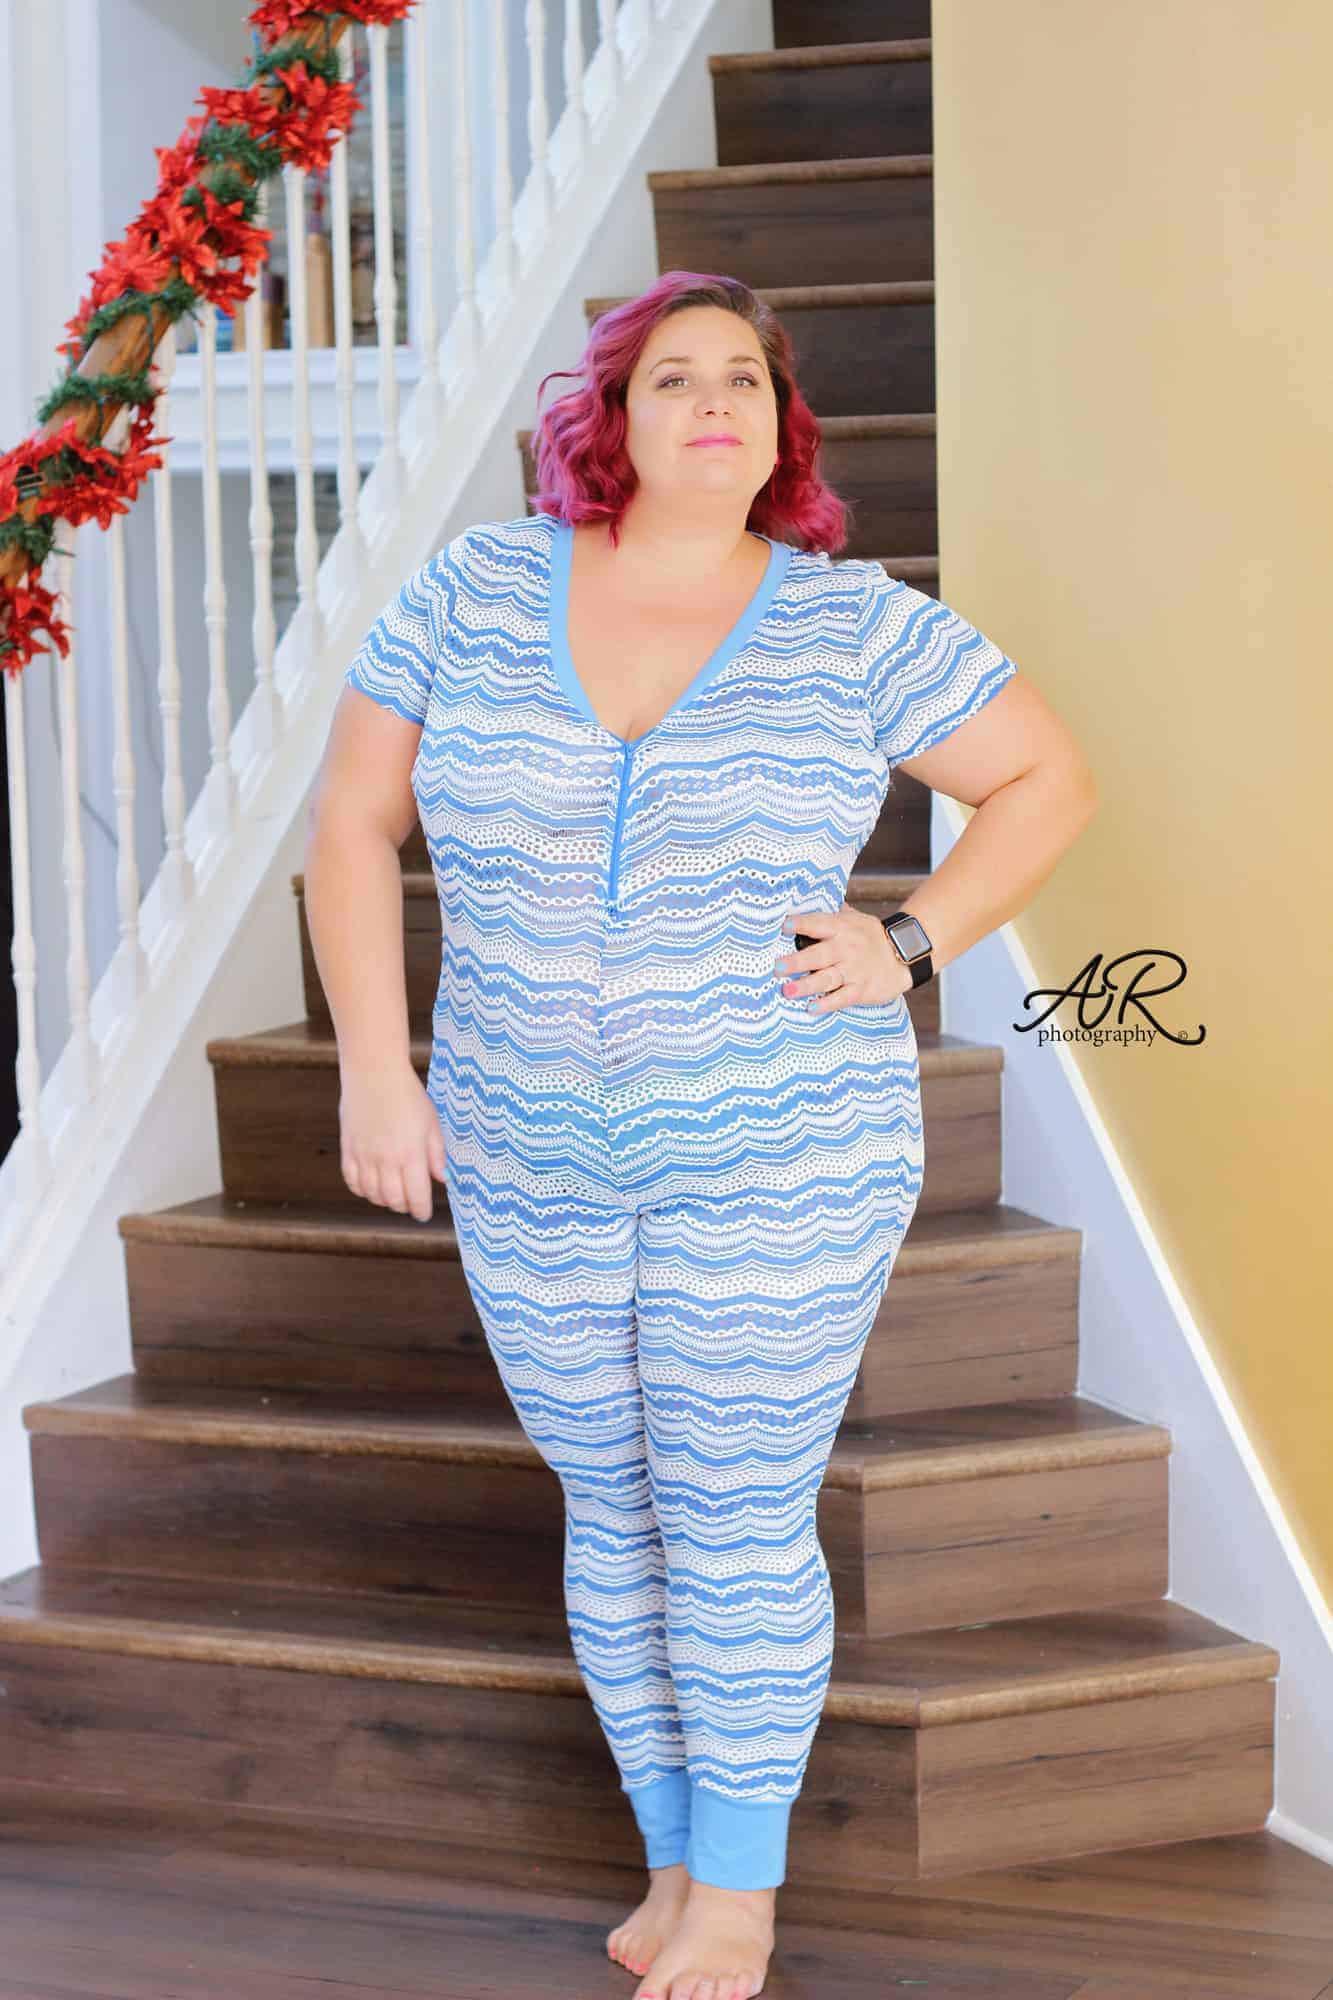
Runabout Romper & Dress SAL day 2 | Add chest pocket, sew shoulder seams and add neckband
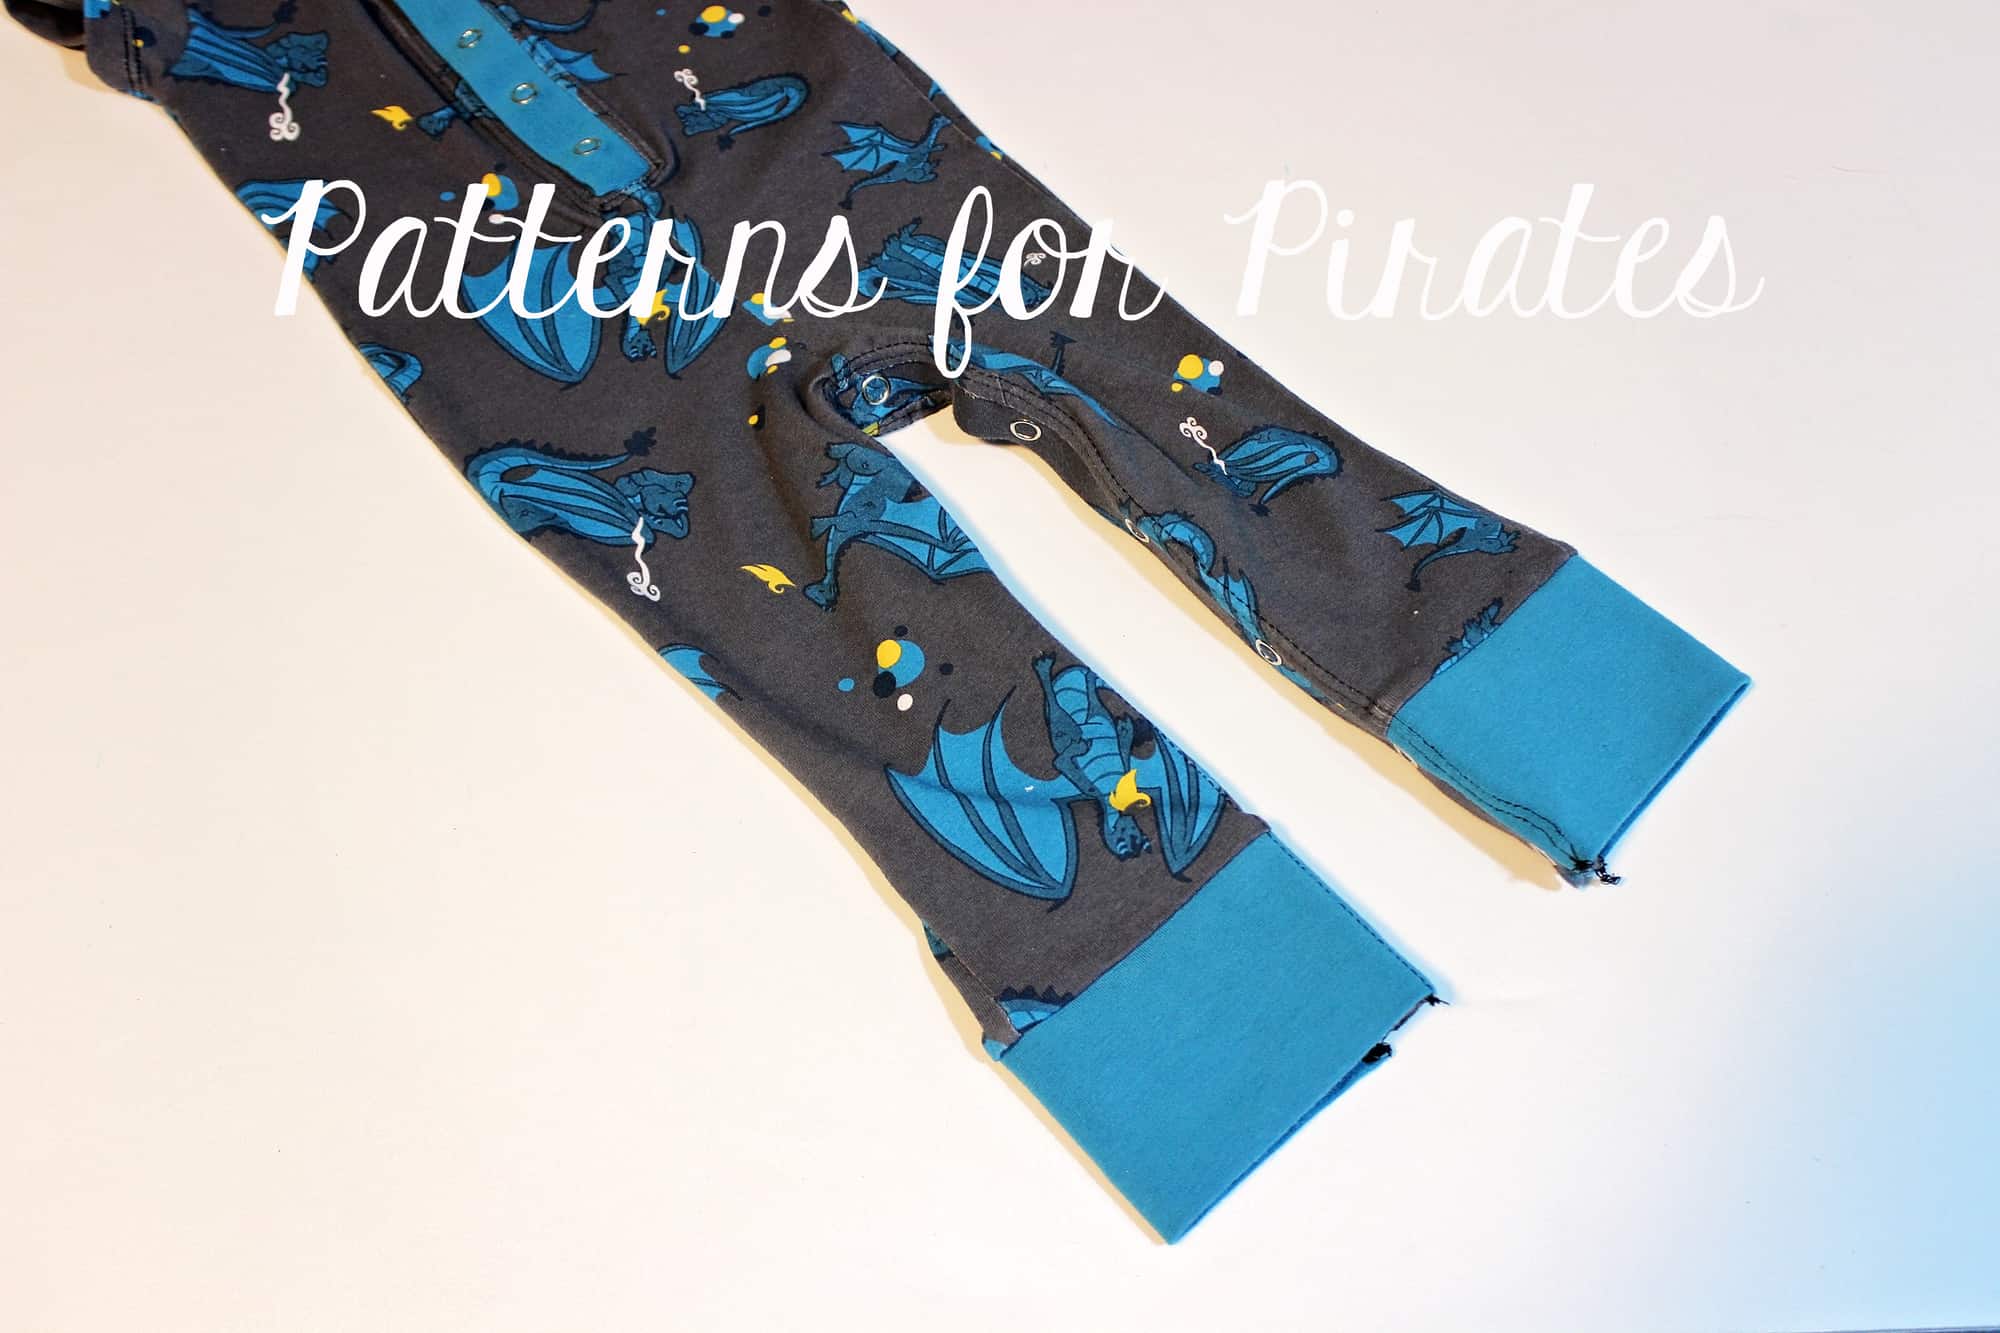
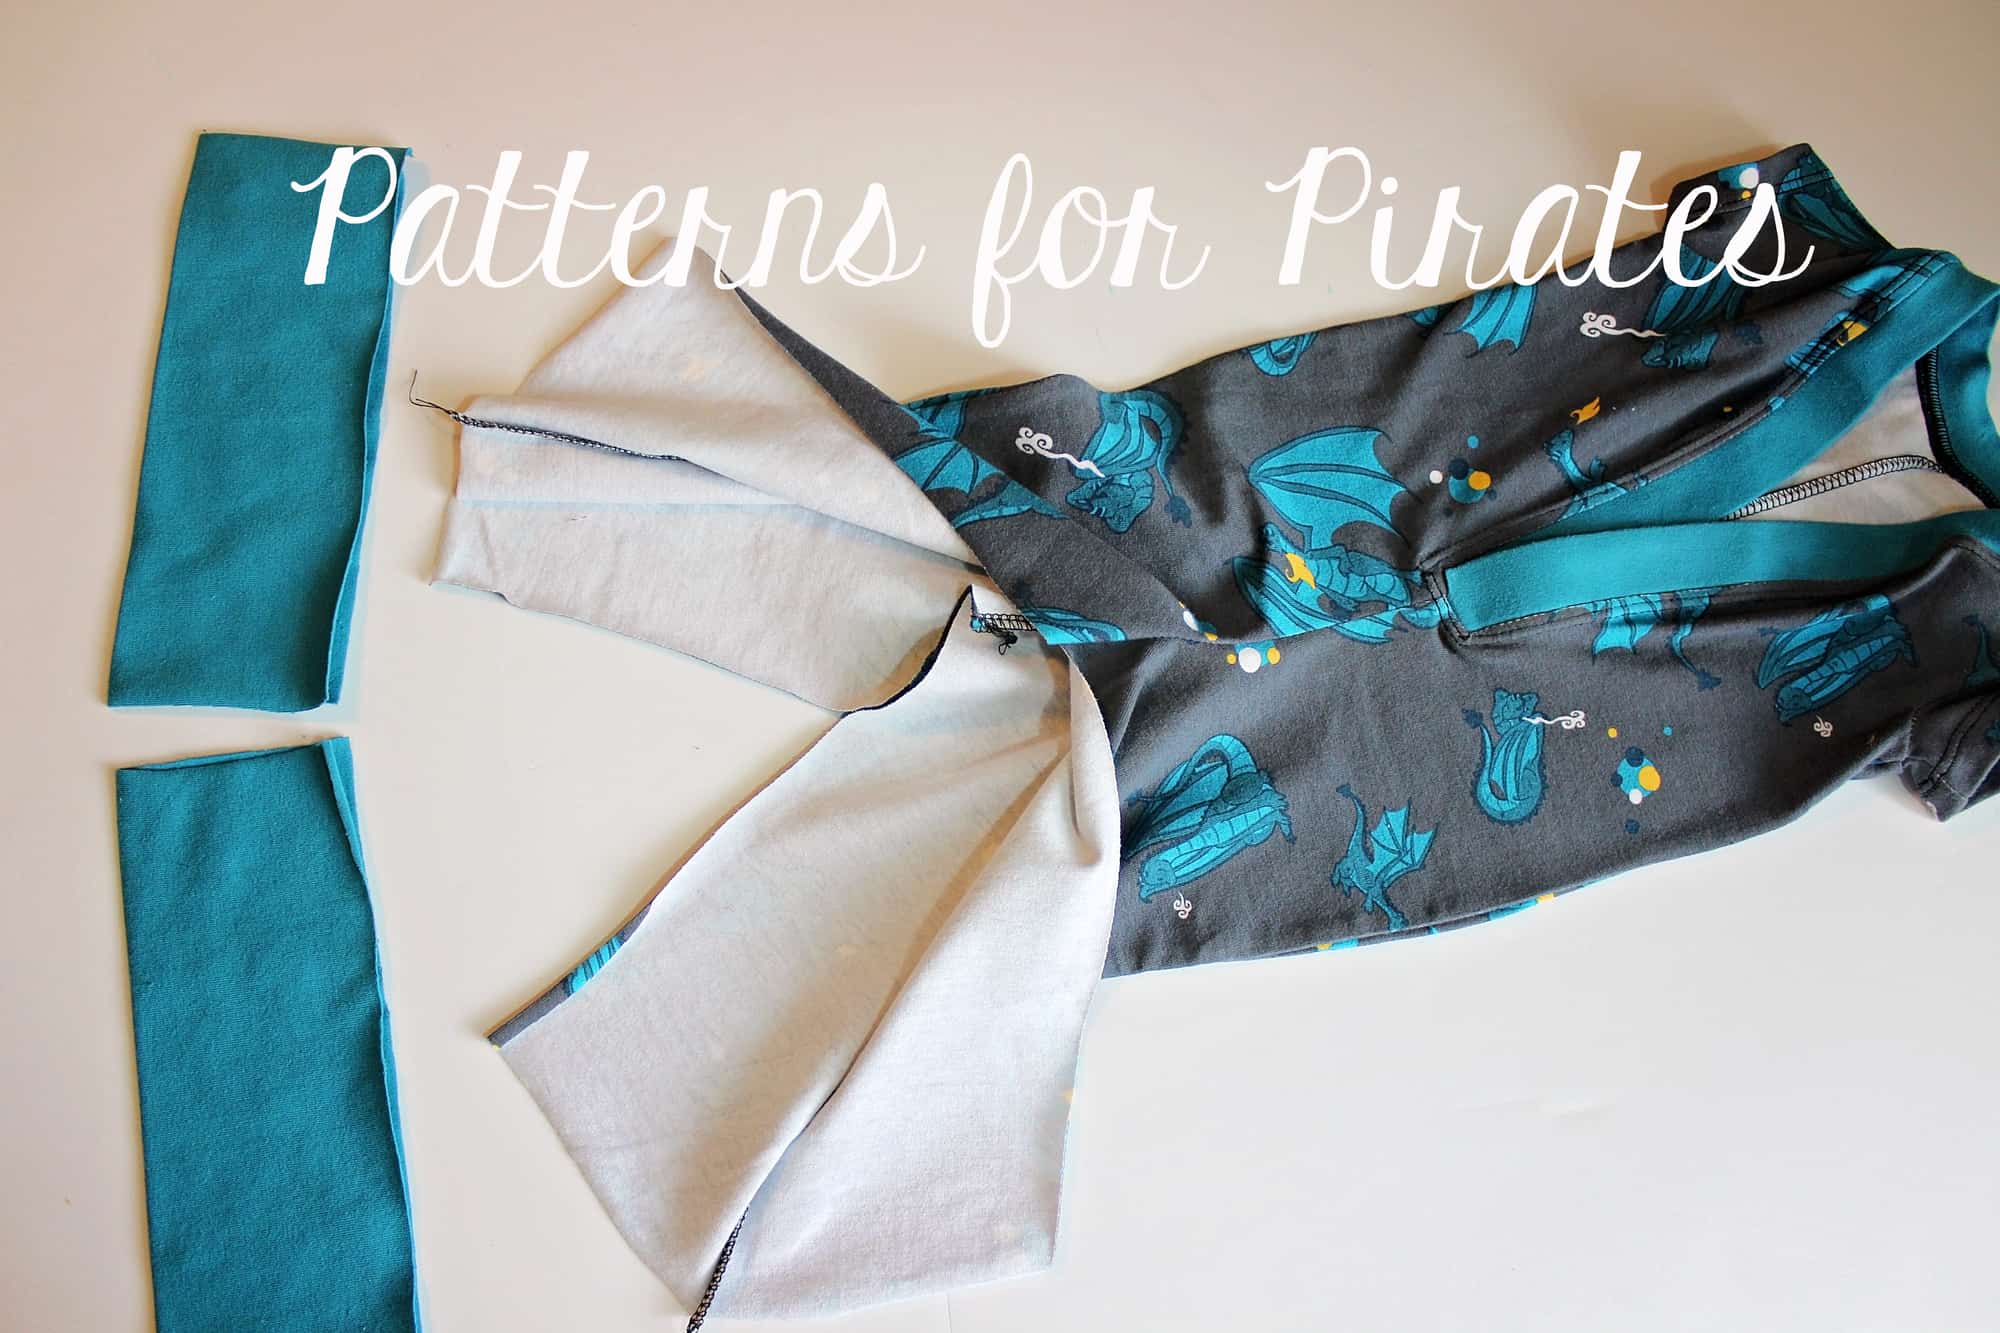
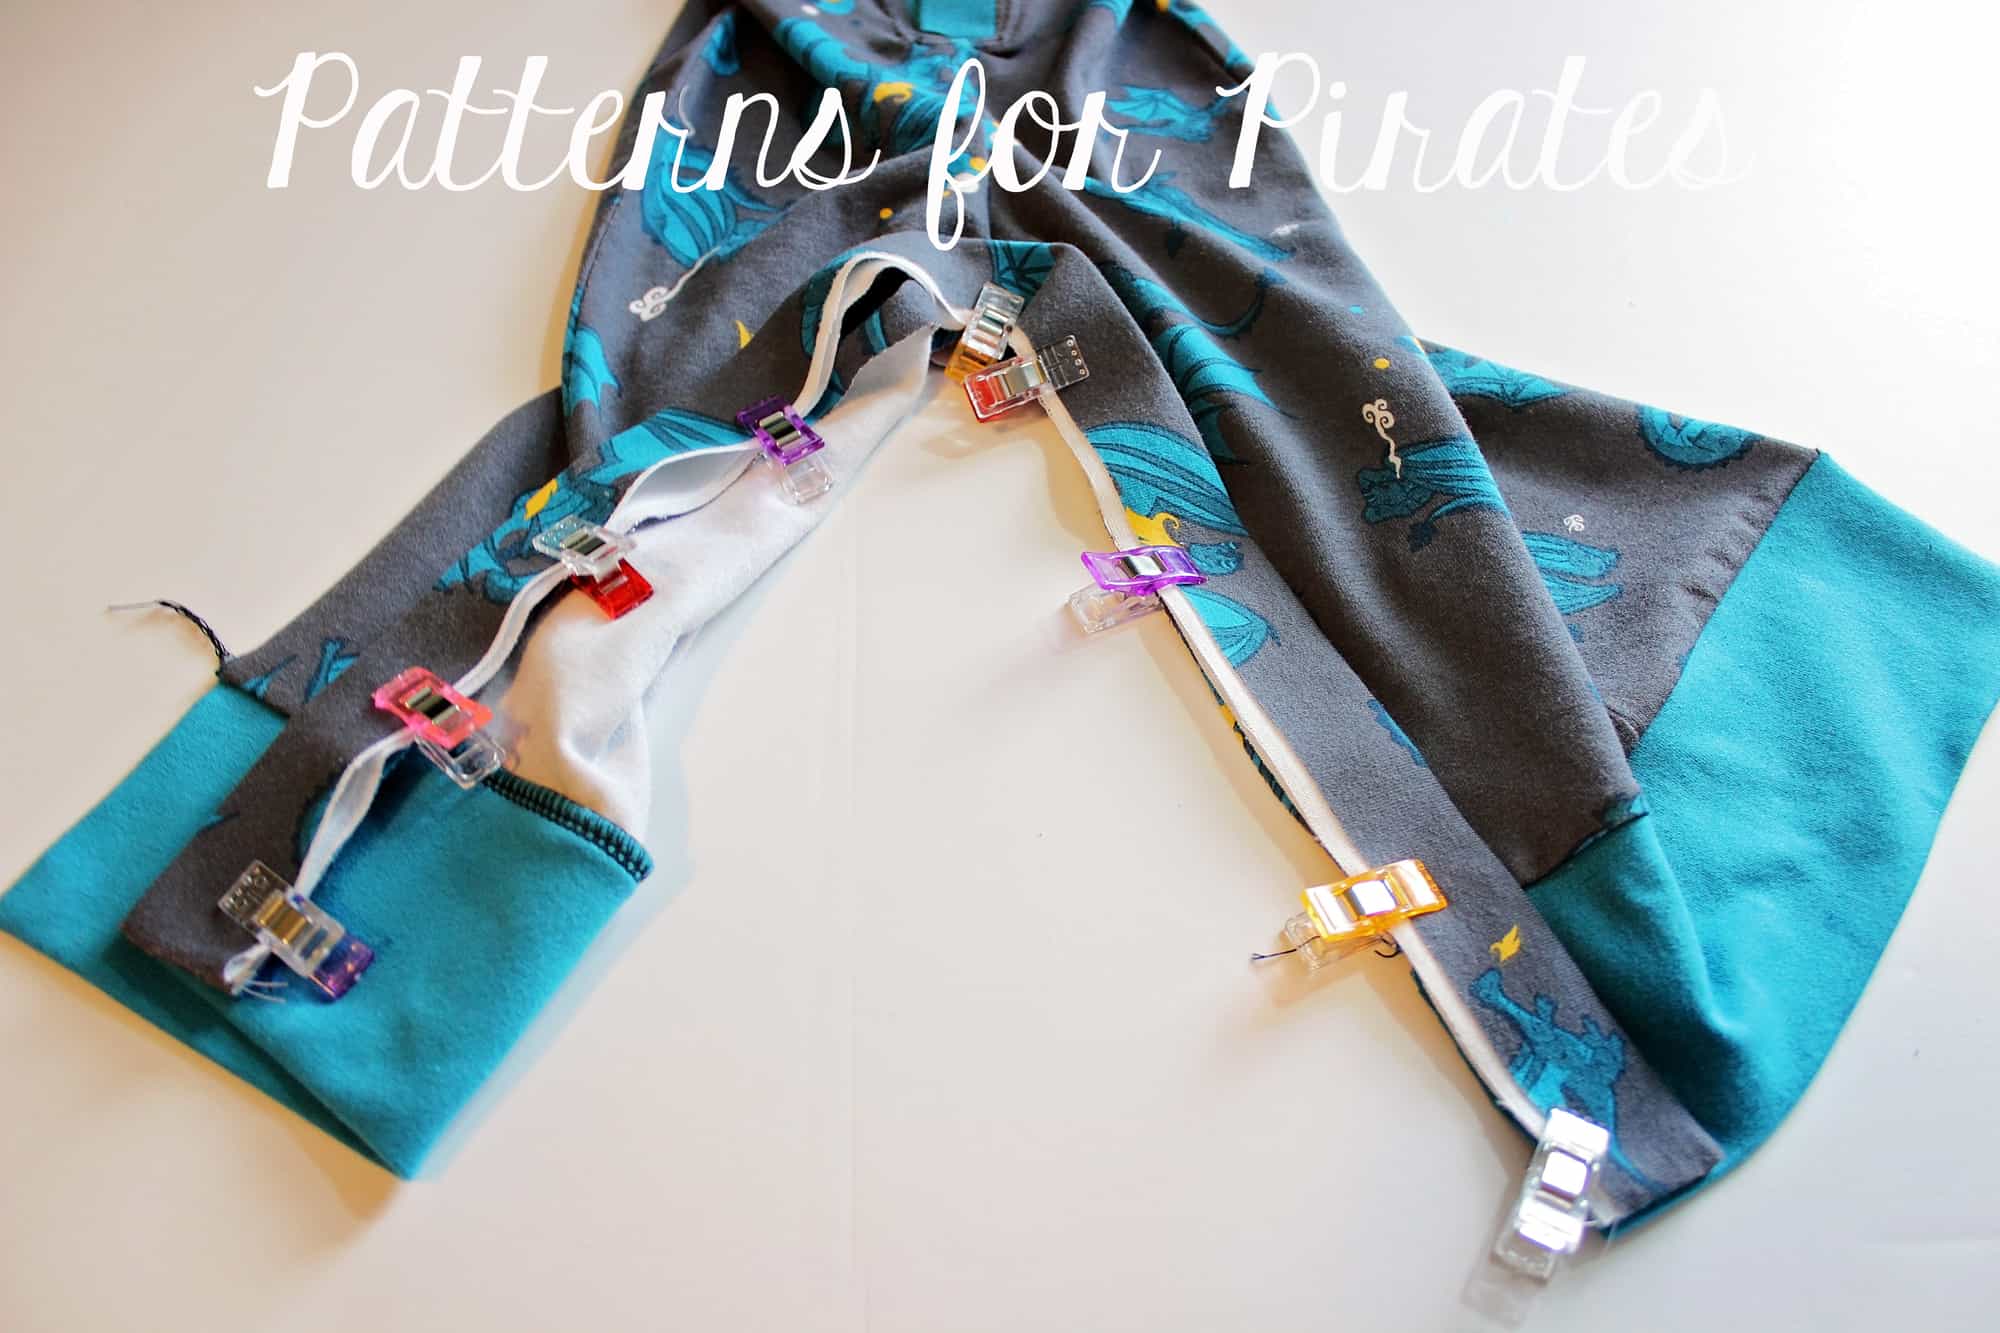
Runabout Romper & Dress SAL day 3 | Sew side seams and add tank armband/dolman sleeves
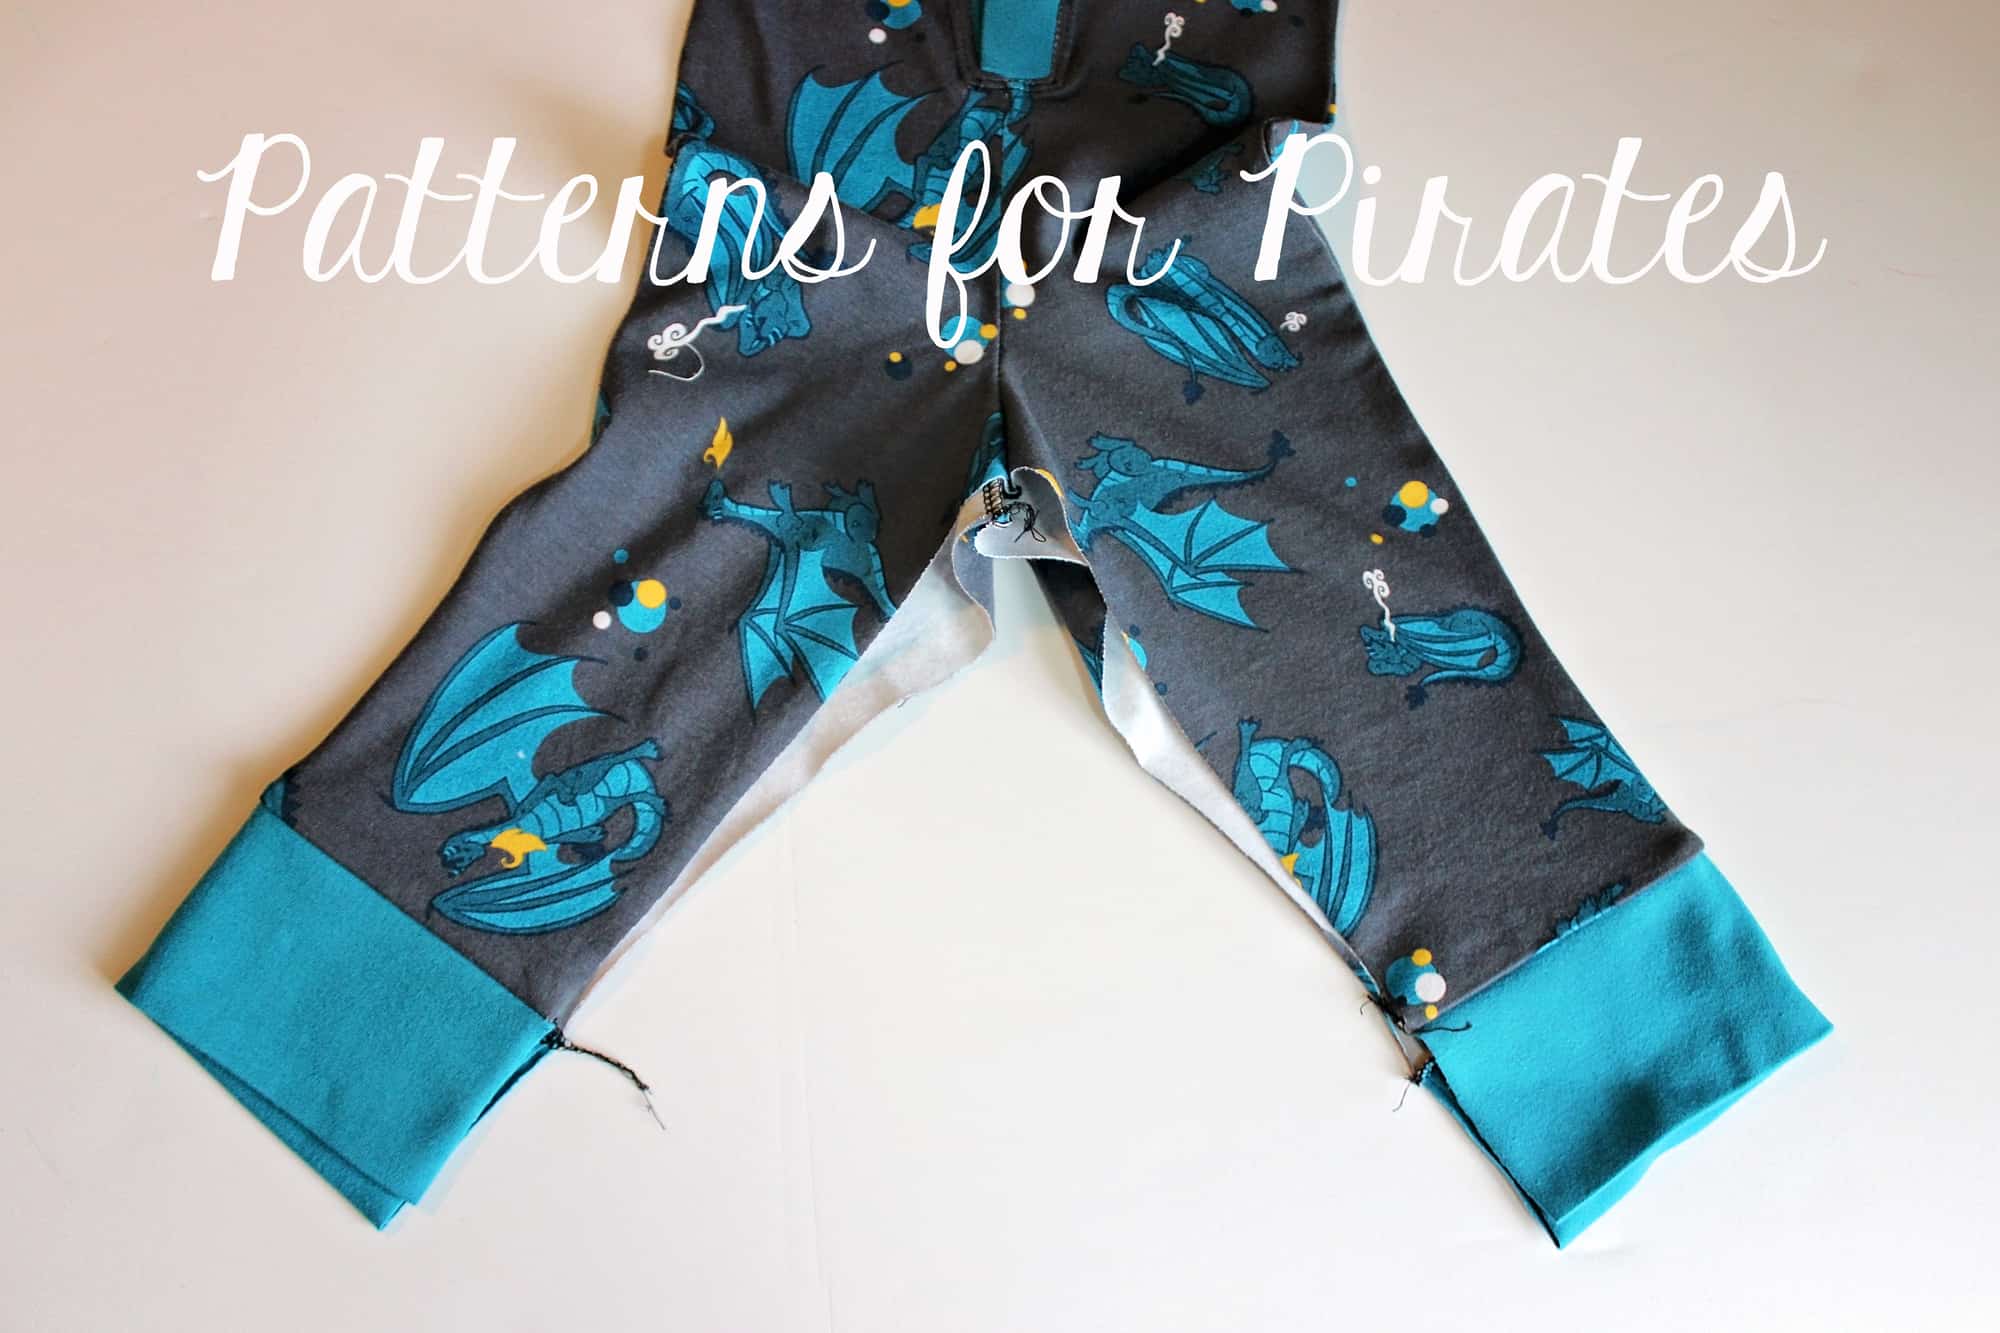
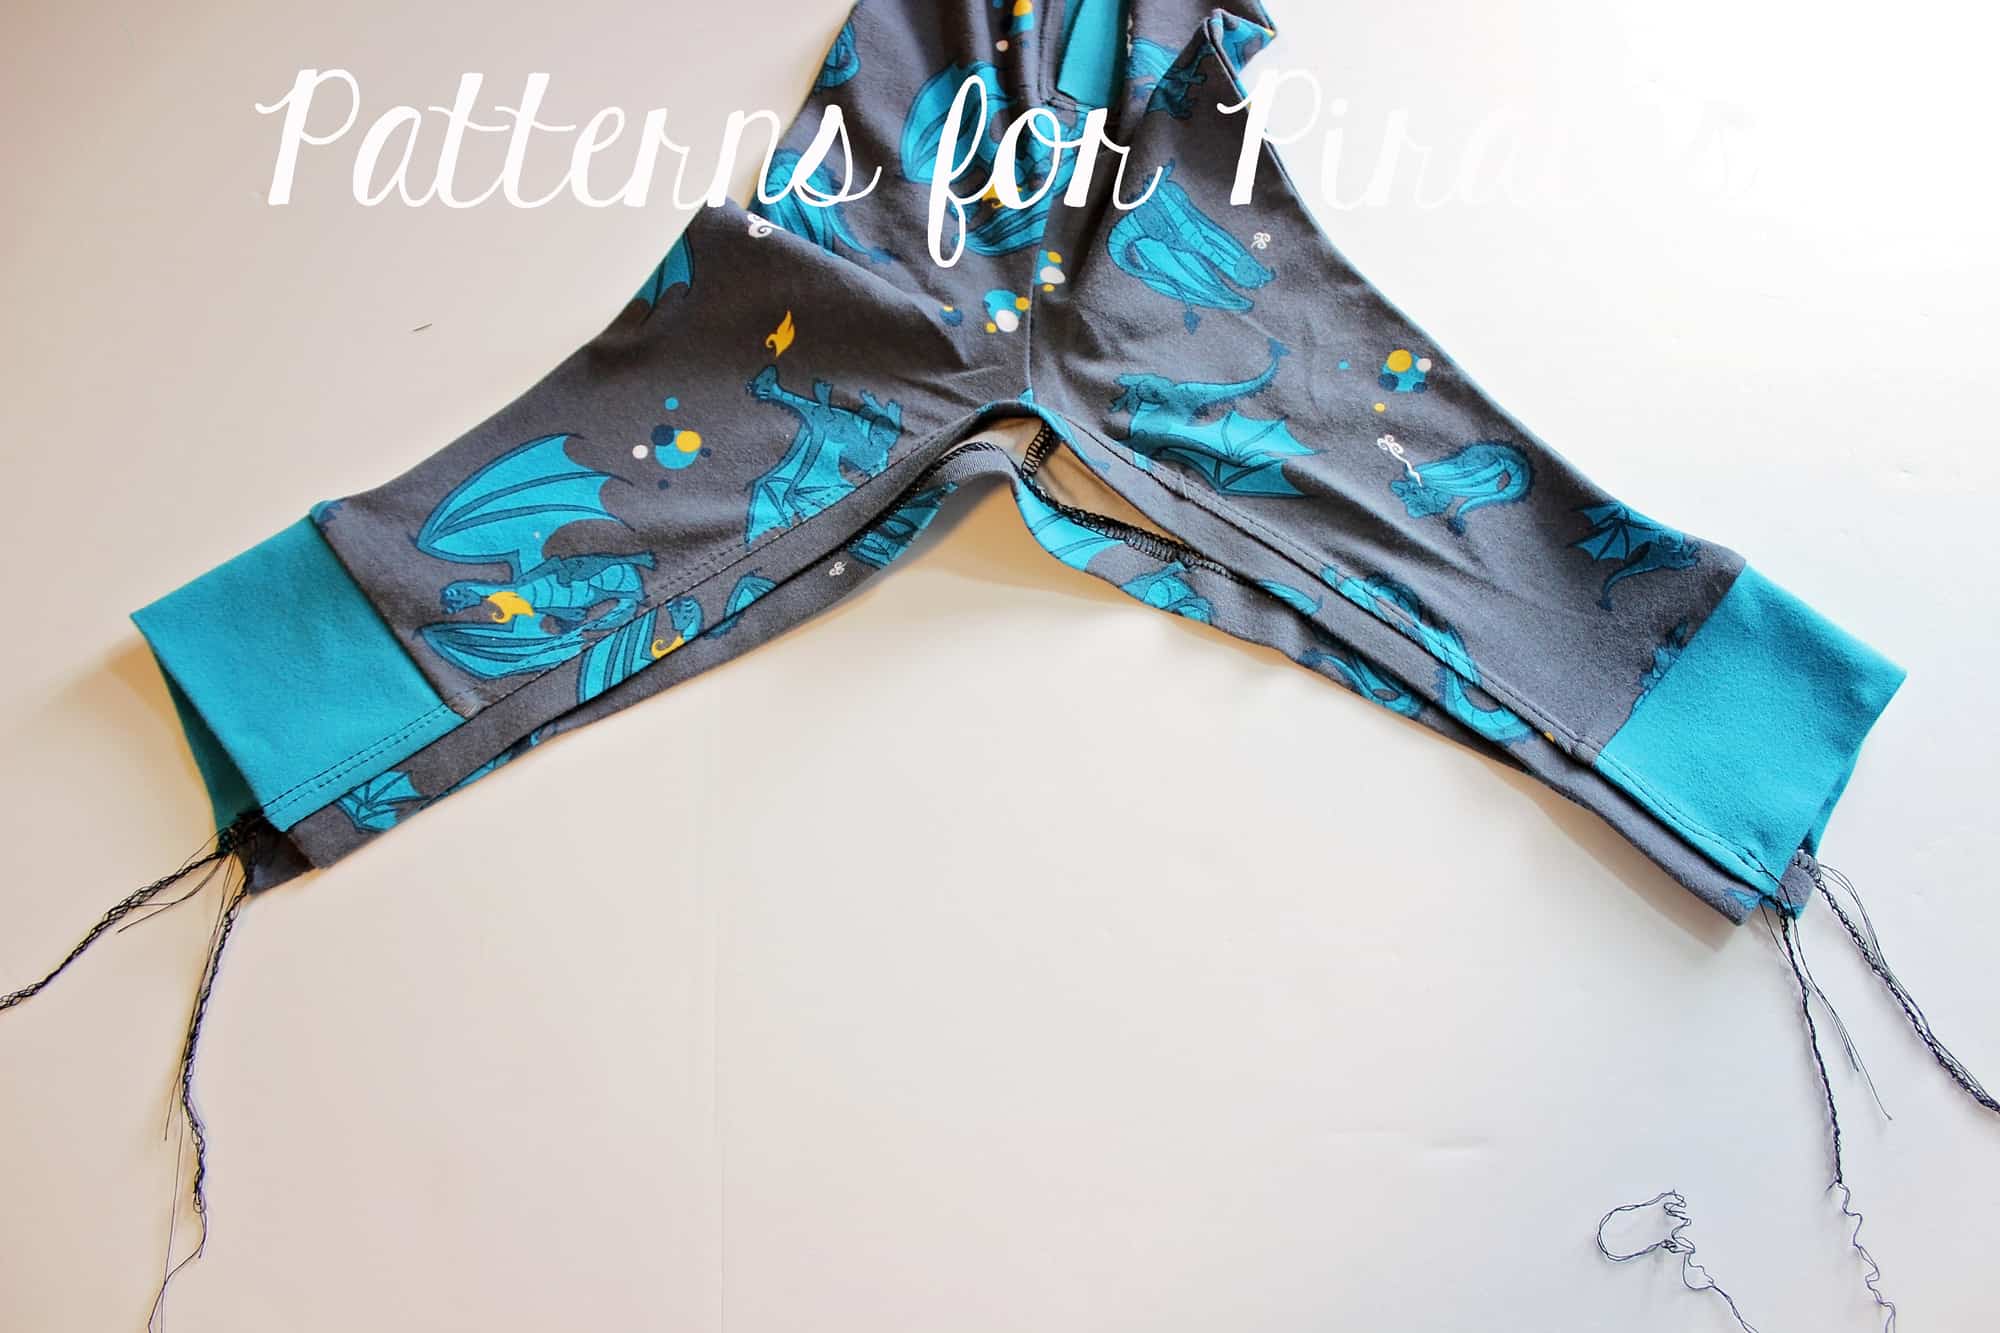
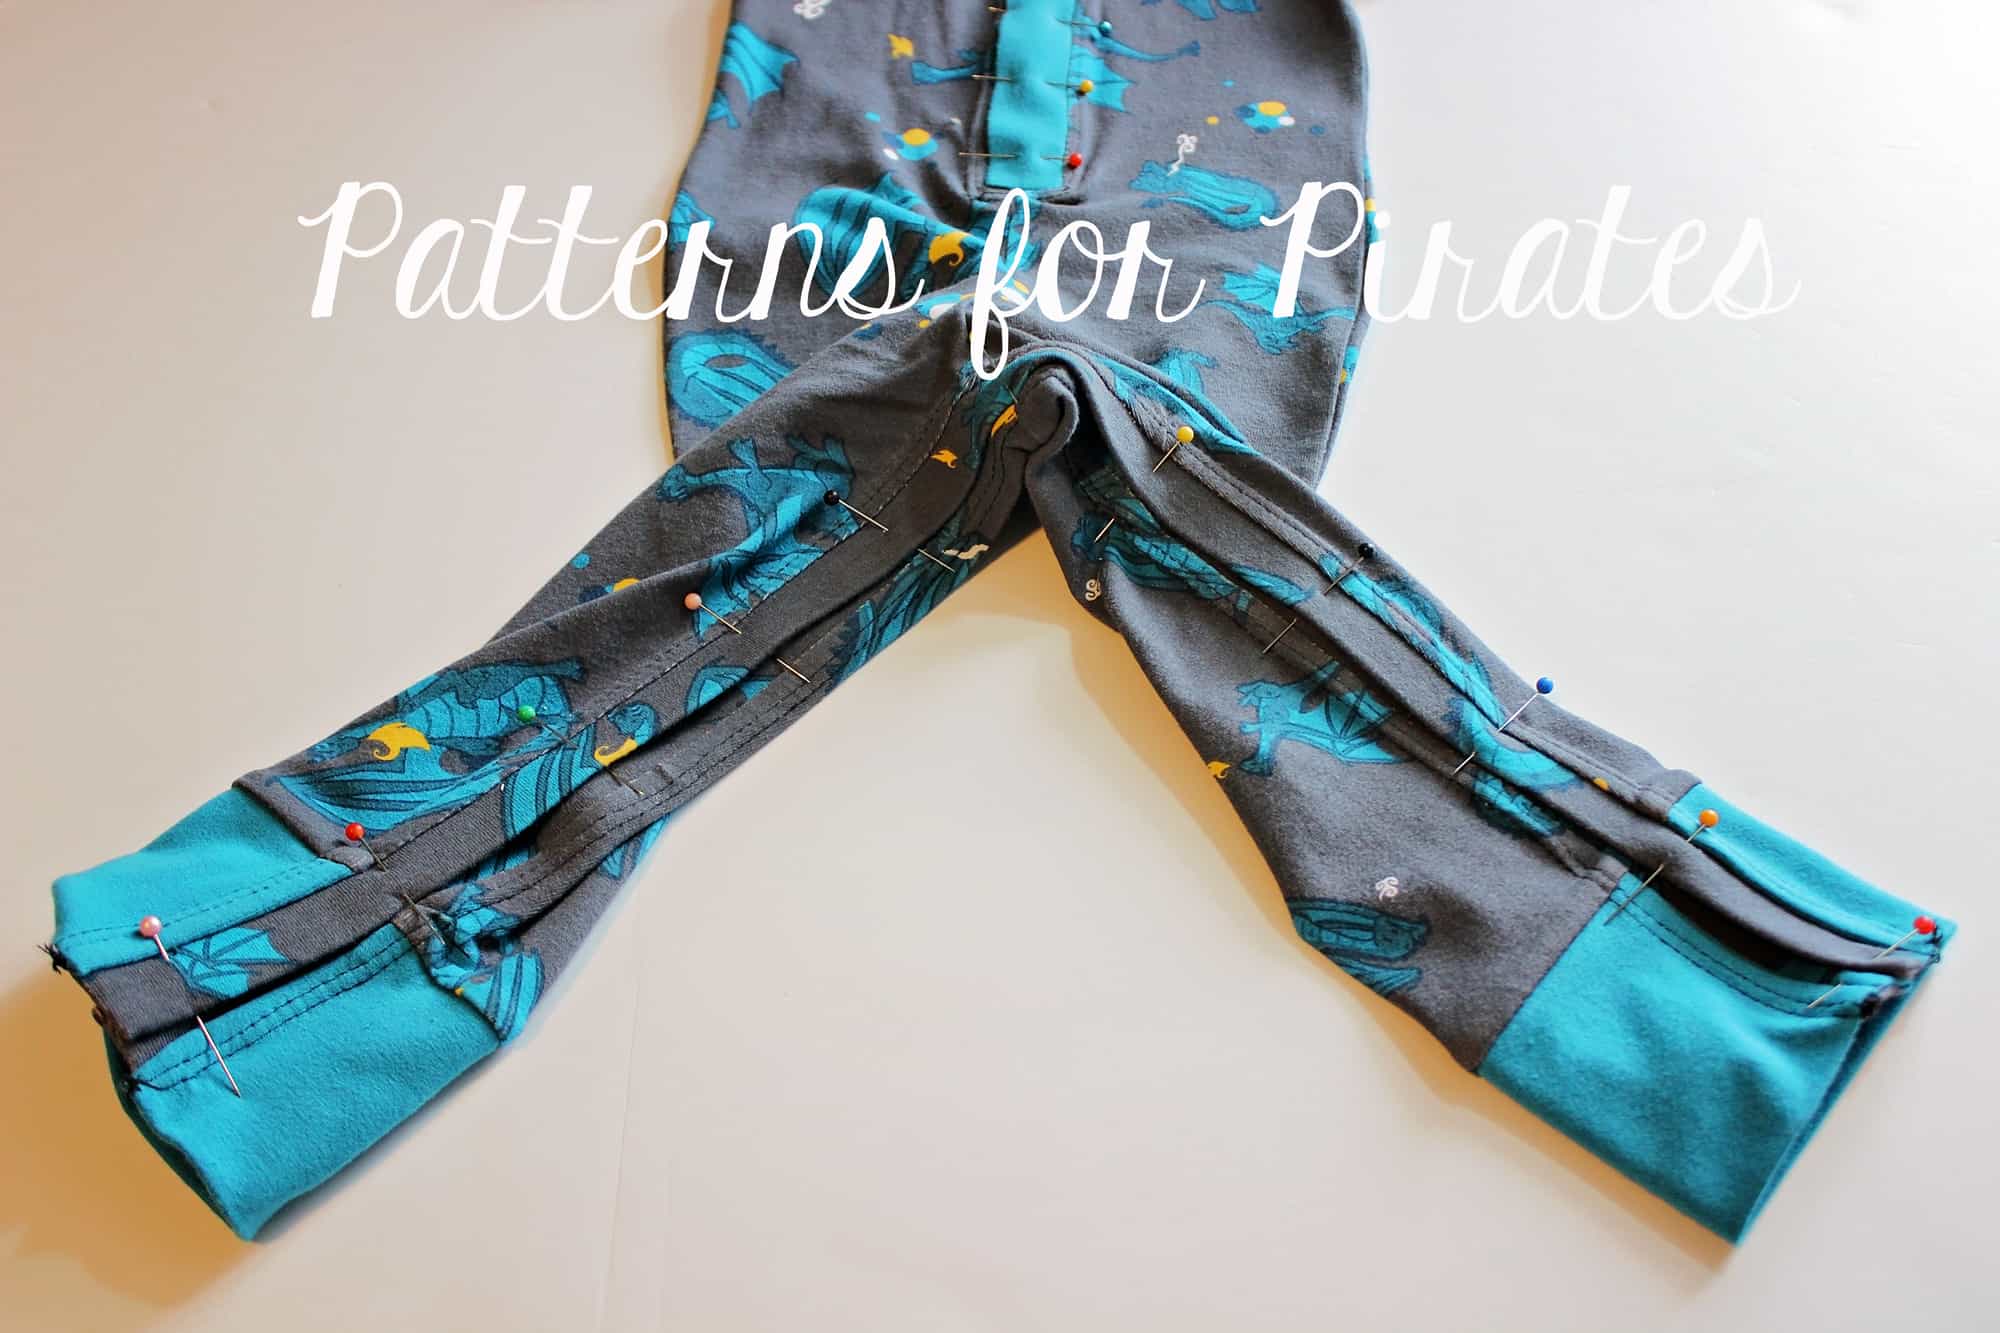
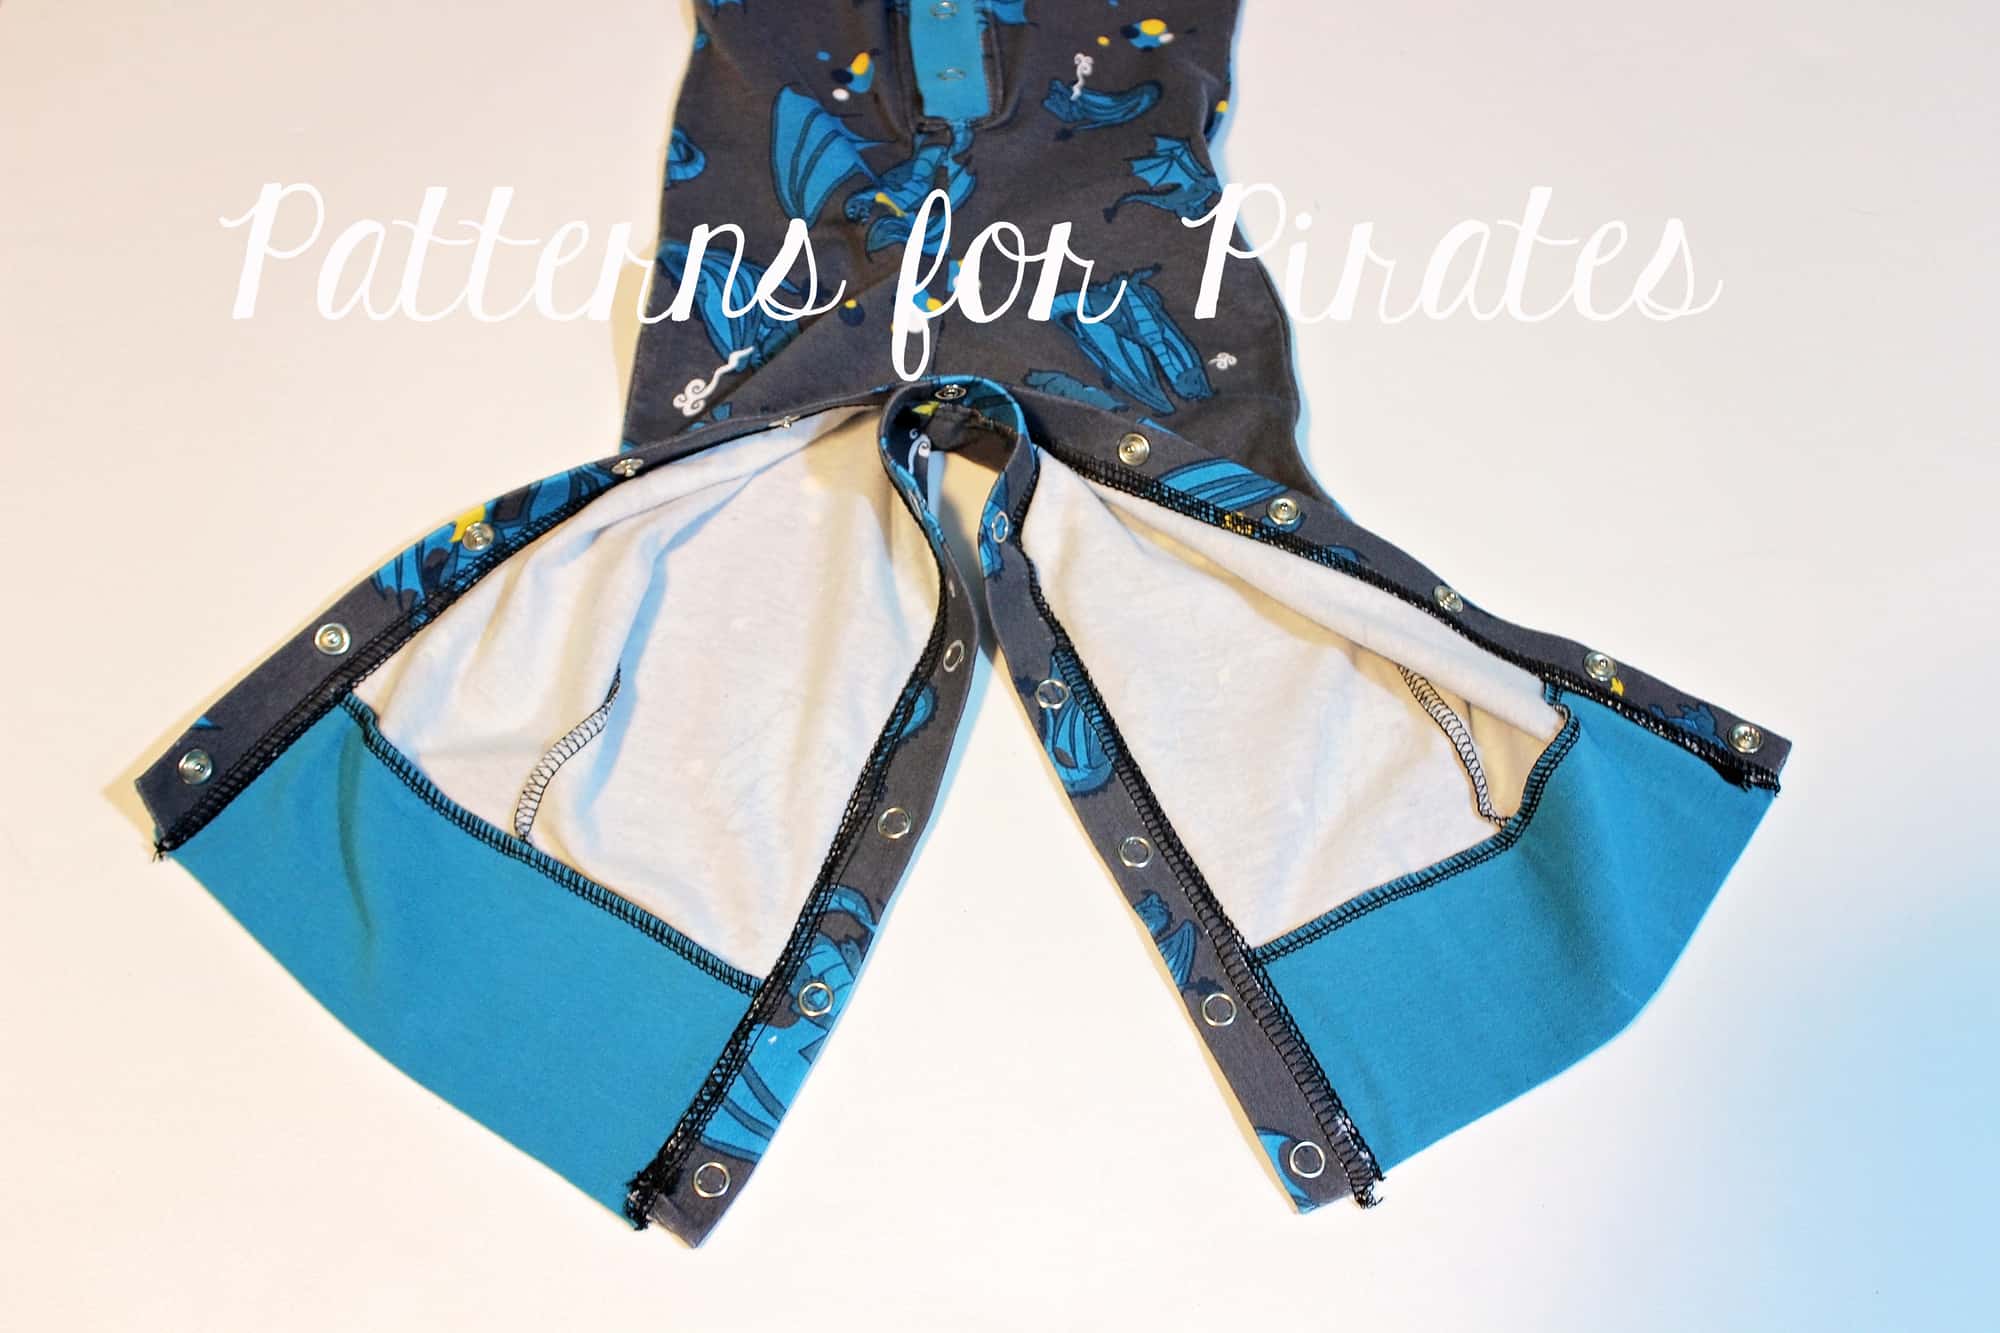
Runabout Romper & Dress SAL day 4 | Add pockets, side seam skirt or shorts/joggers and inseam
Runabout Romper & Dress SAL day 5 | Hem skirt/shorts or add cuffs to joggers
Runabout Romper & Dress SAL day 6 | Add waistband and show off your creations
Runabout Romper & Dress SAL day 7 | Winners announcements