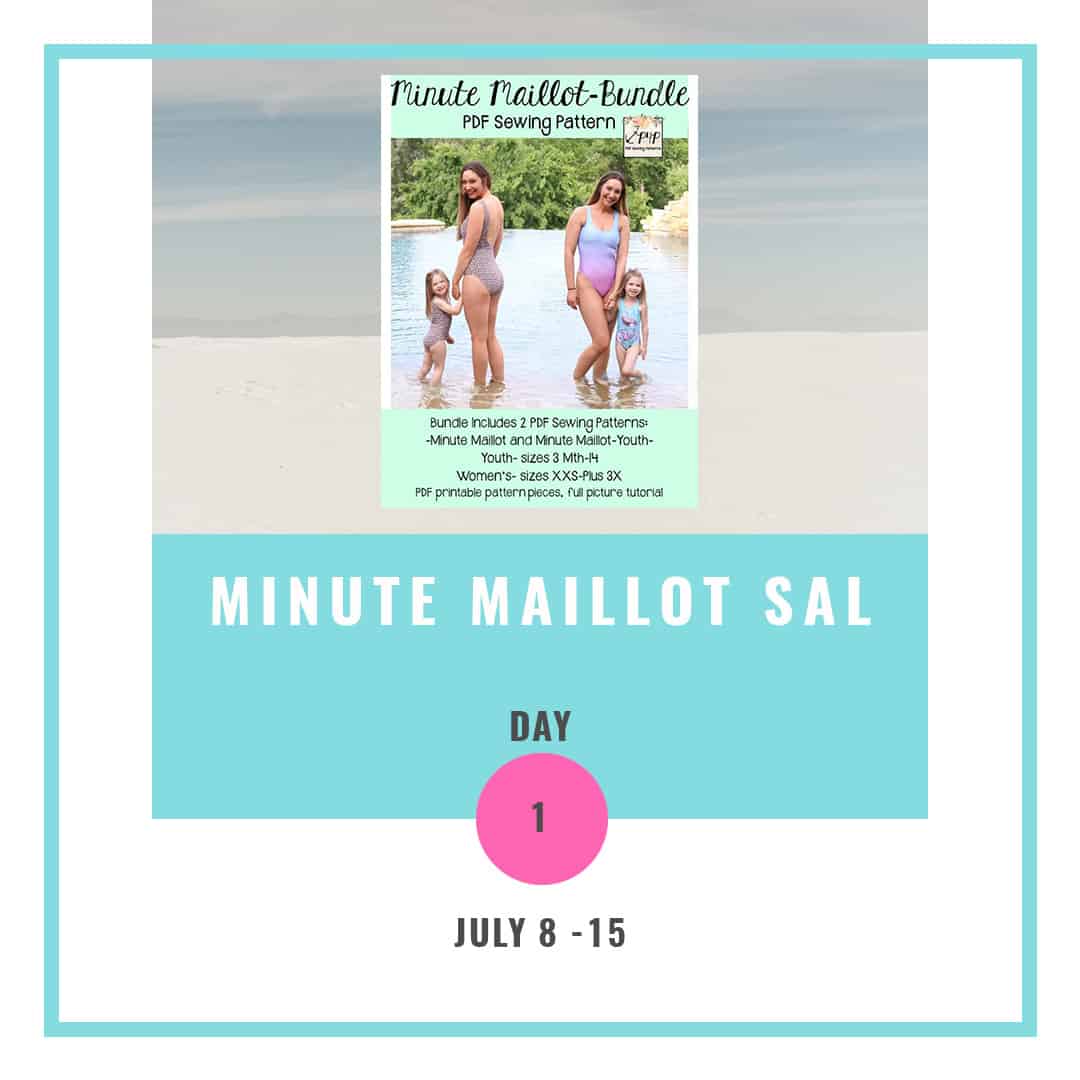
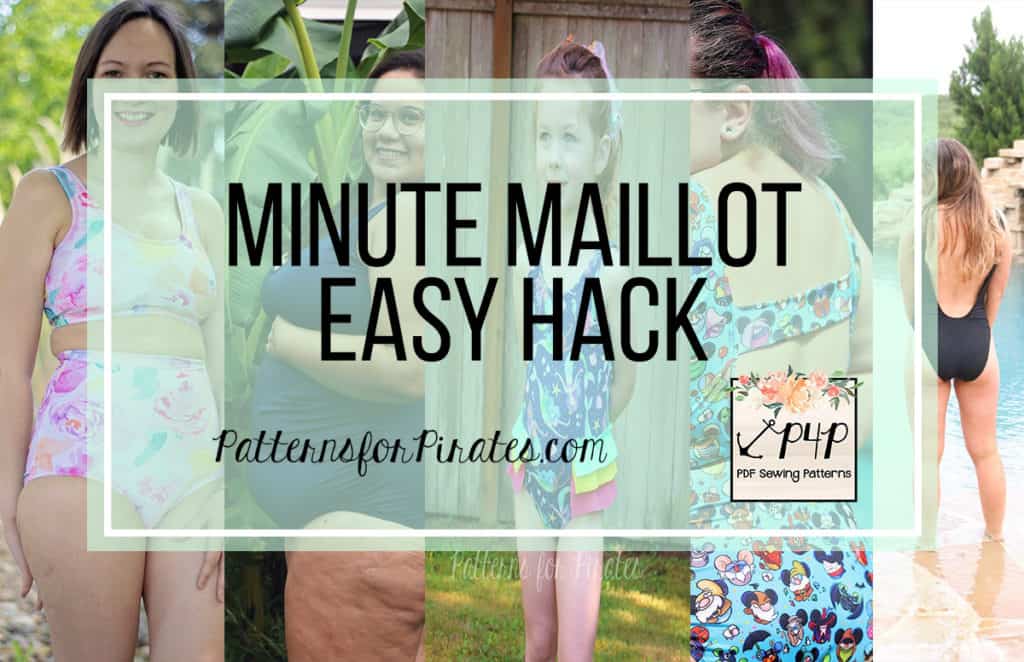
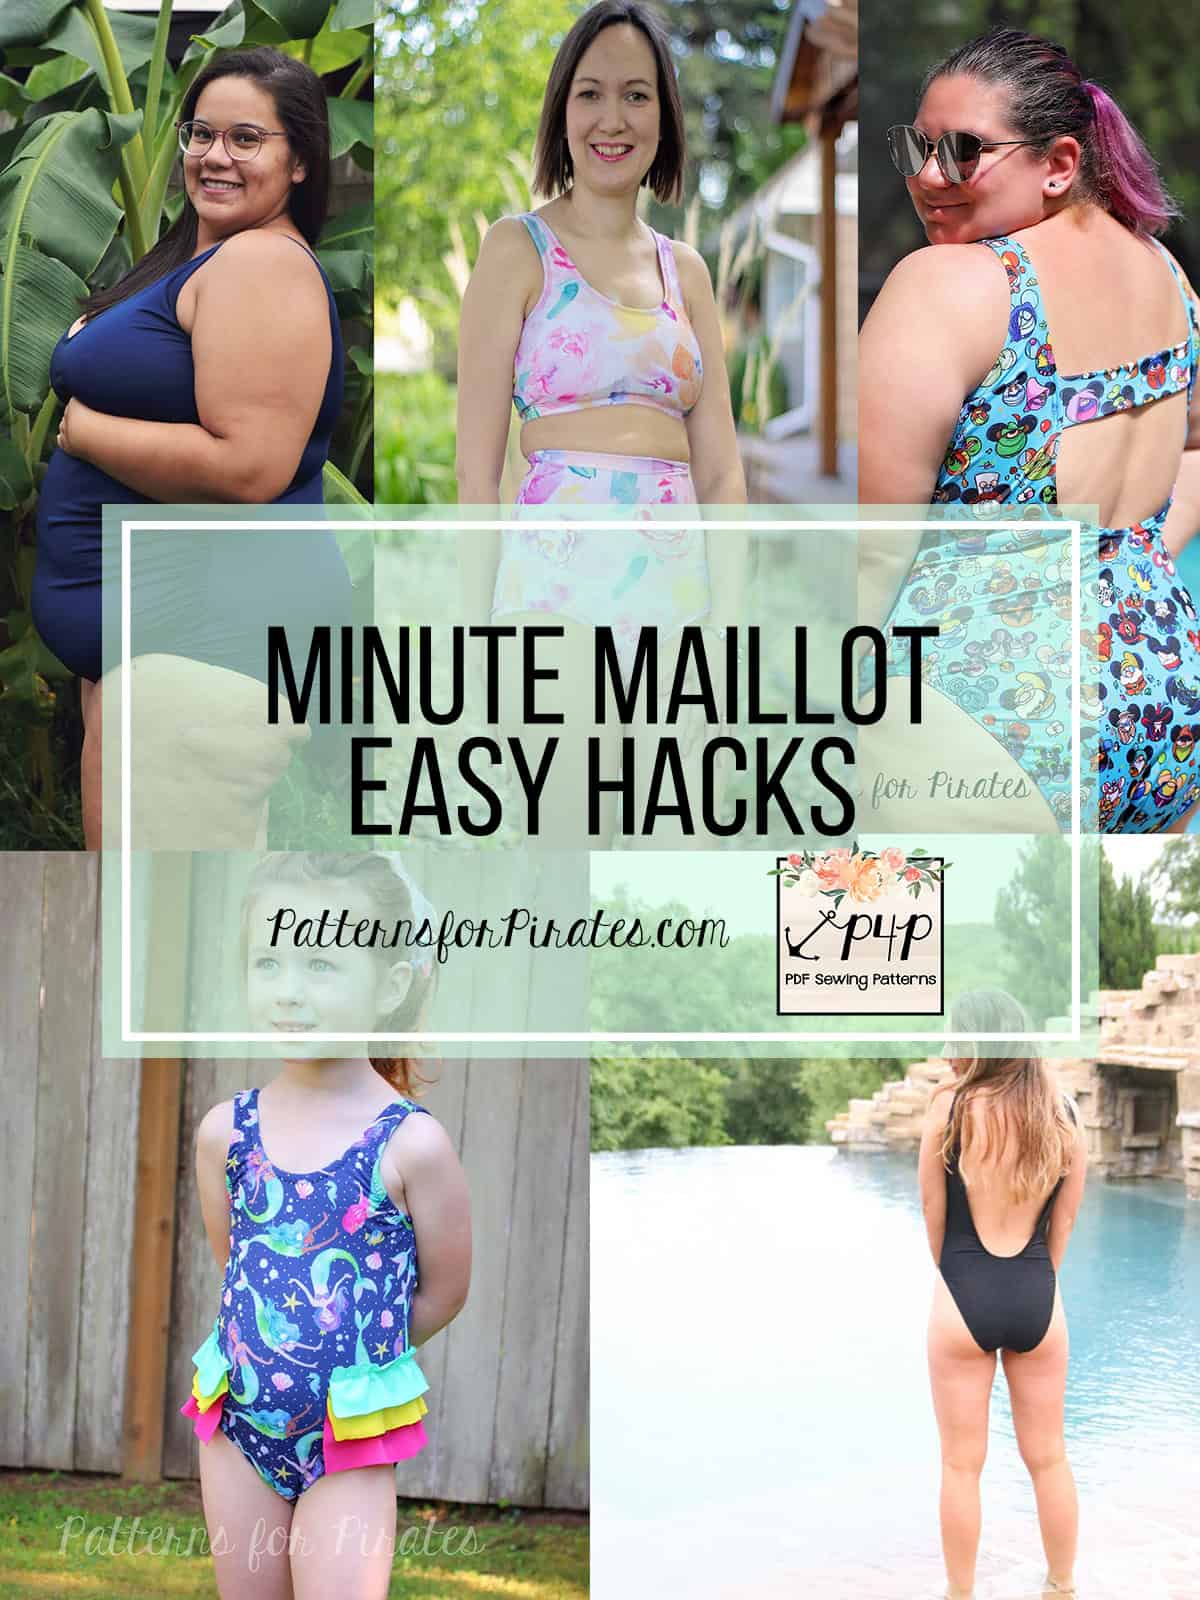
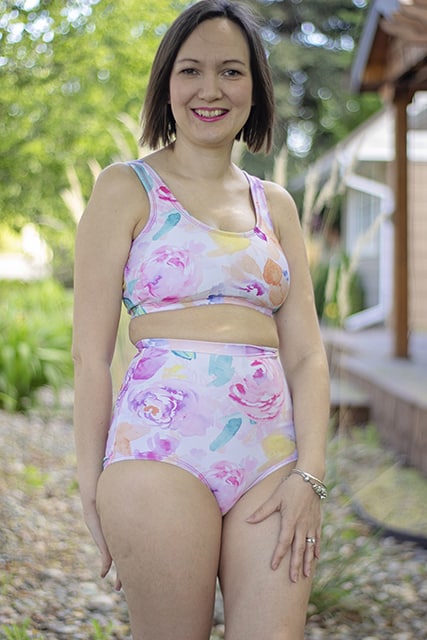
Welcome to the Minute Maillot
Sew Along!
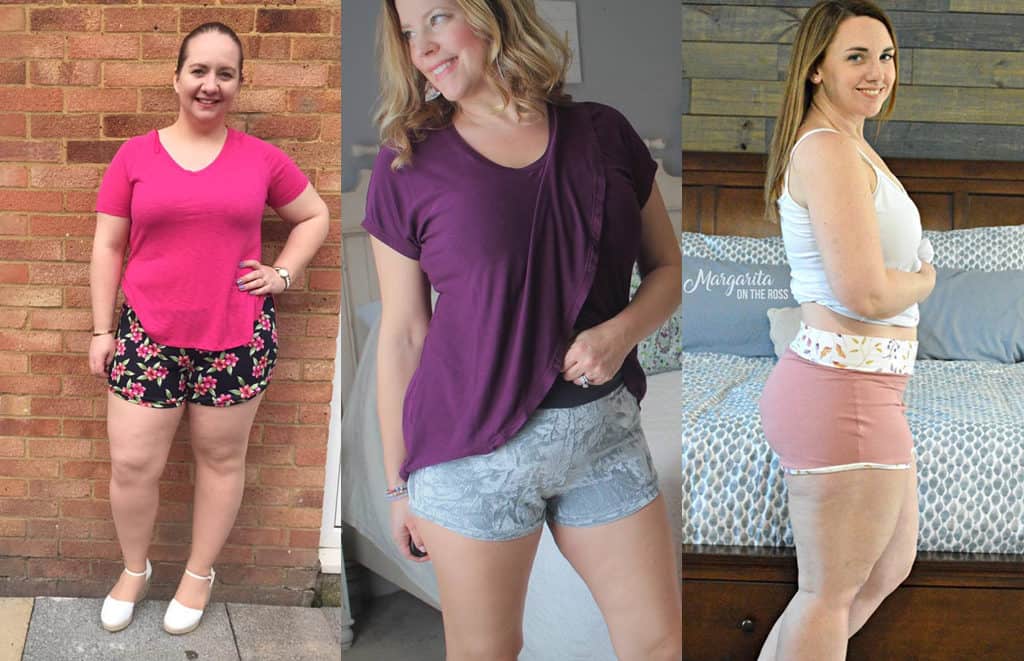
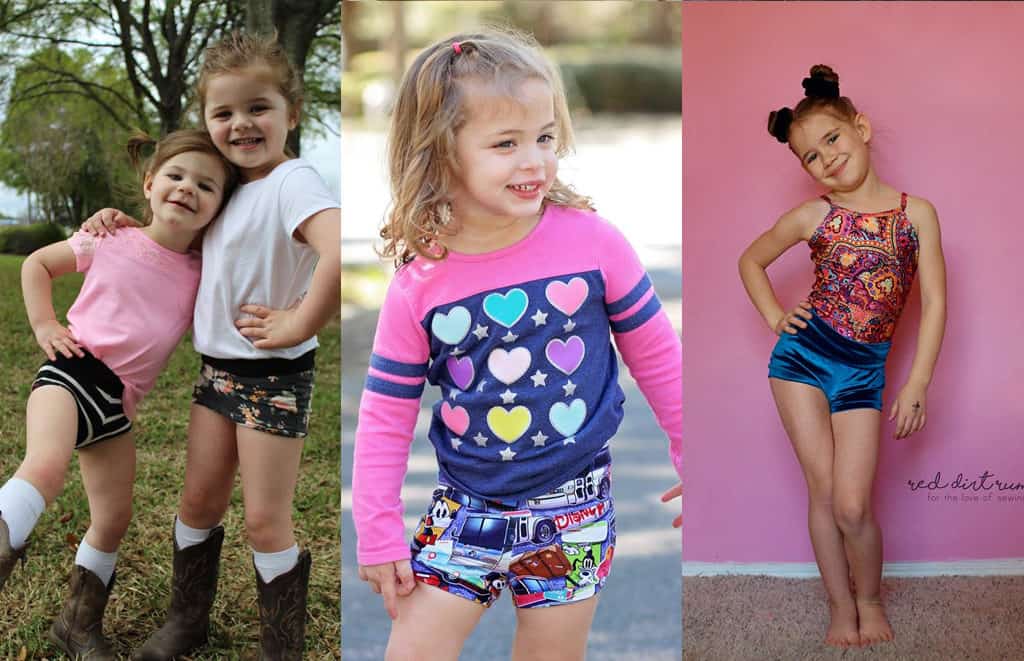
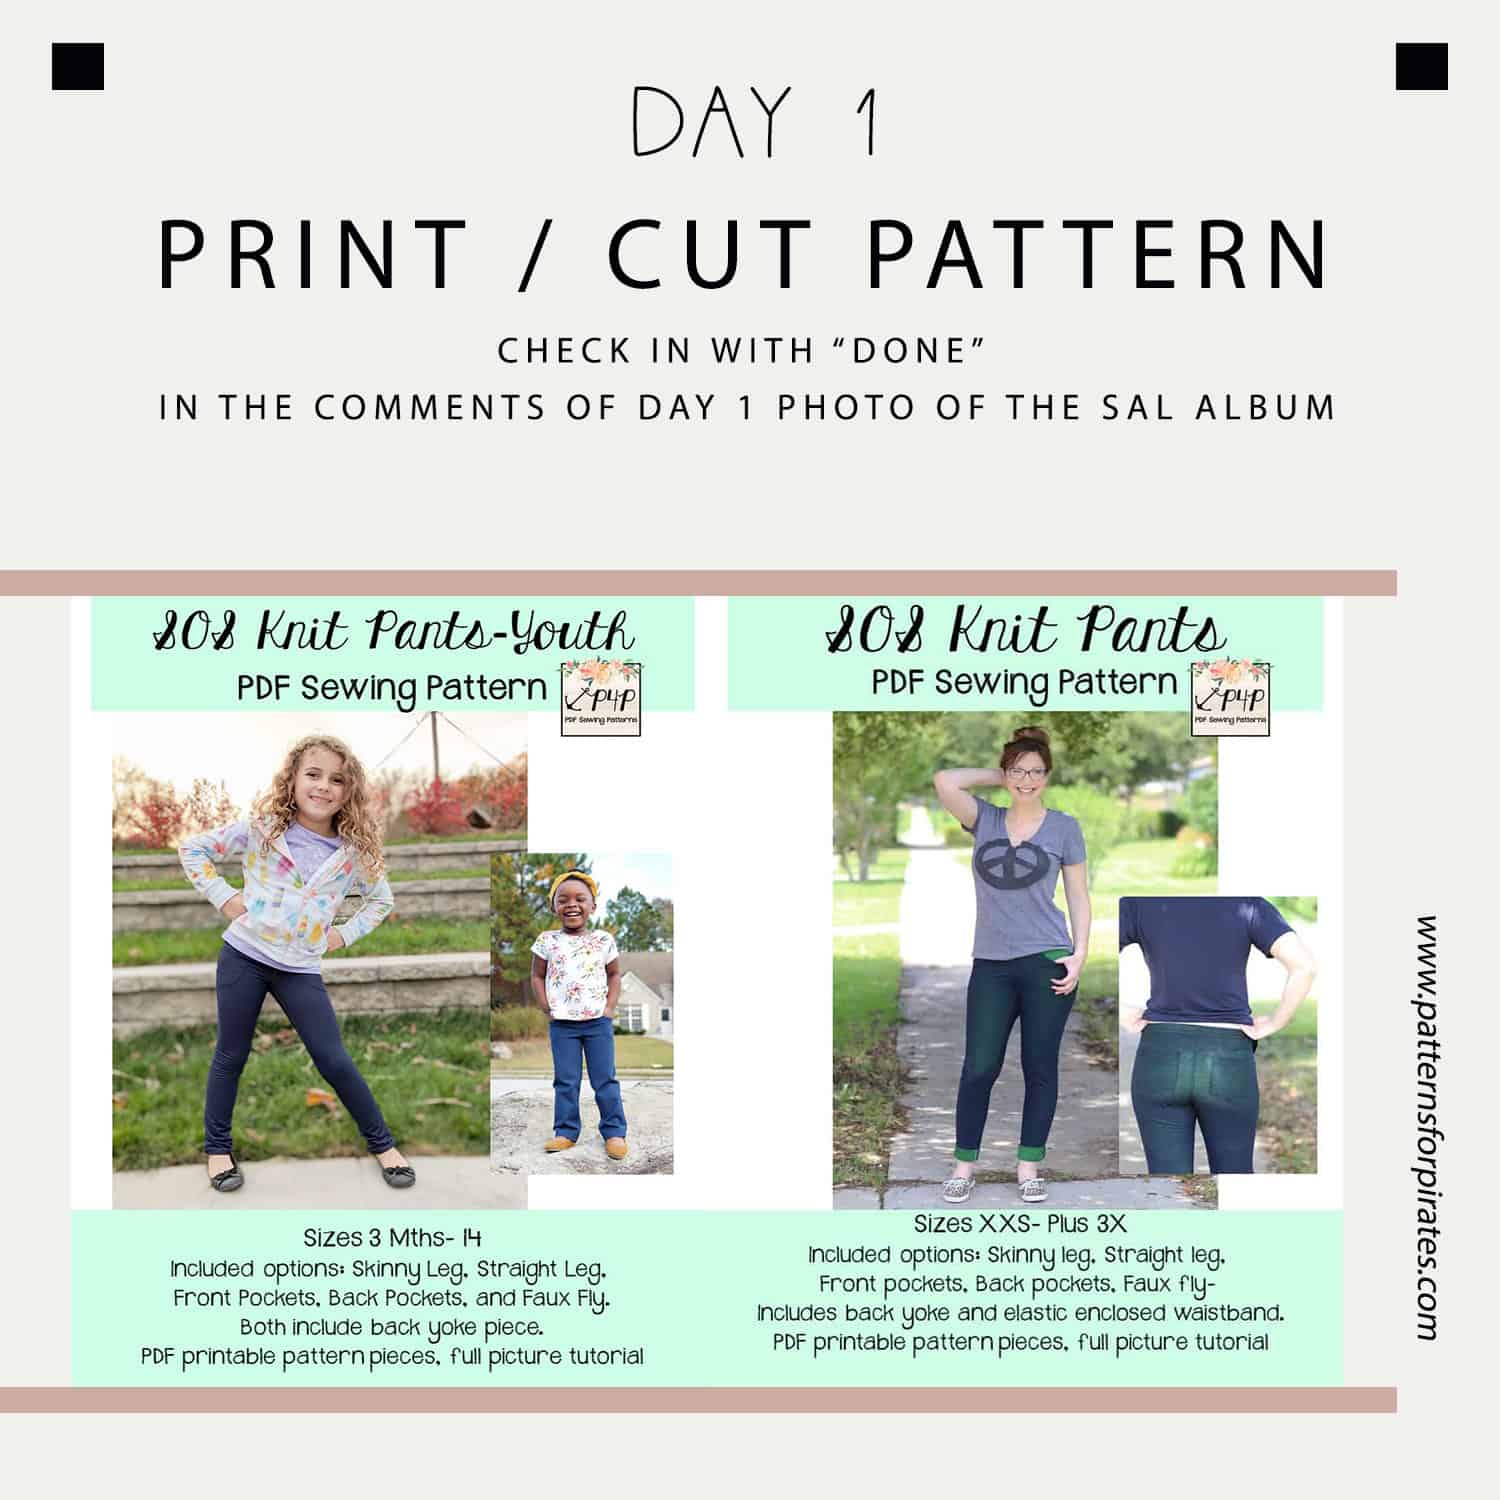
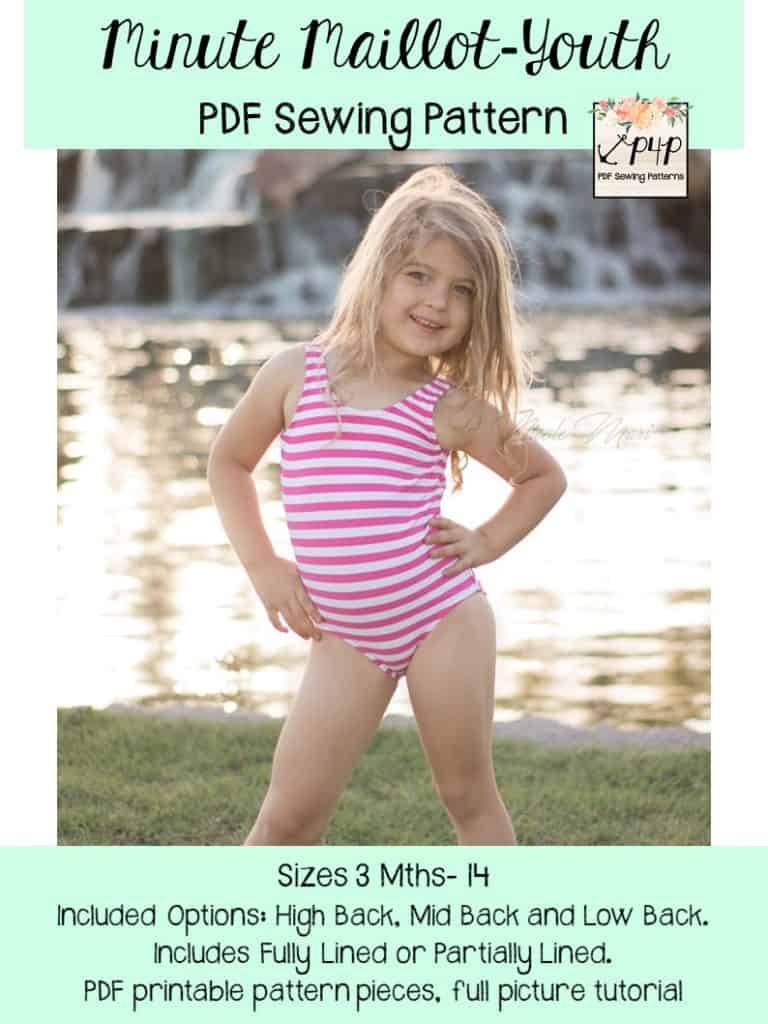
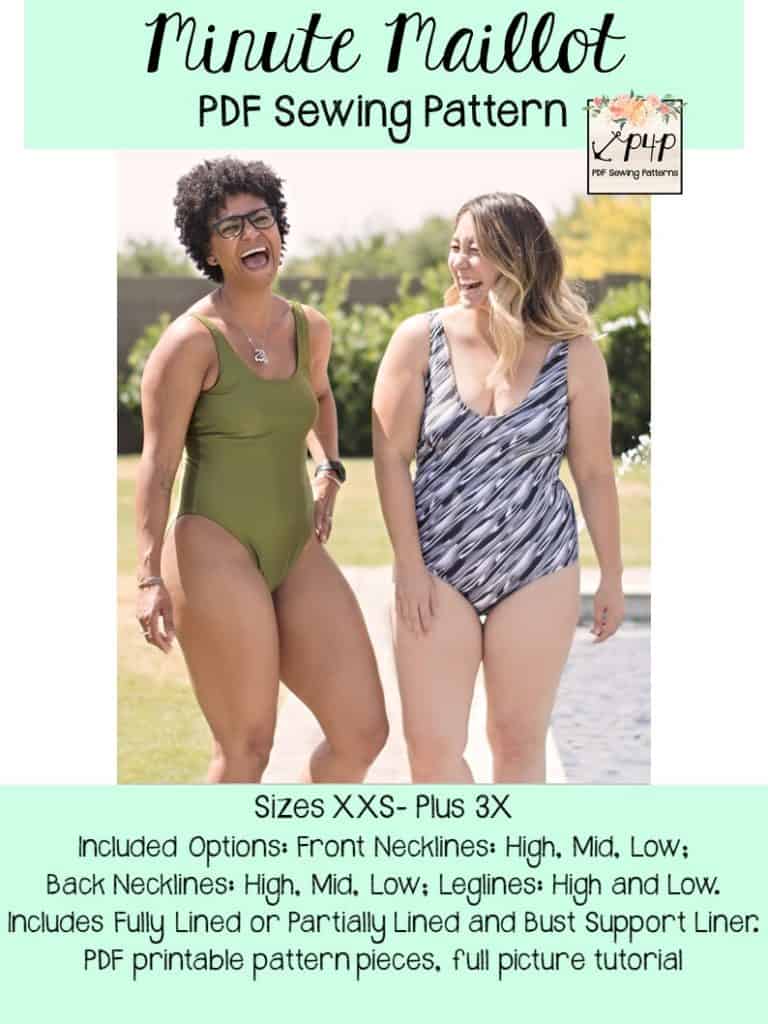
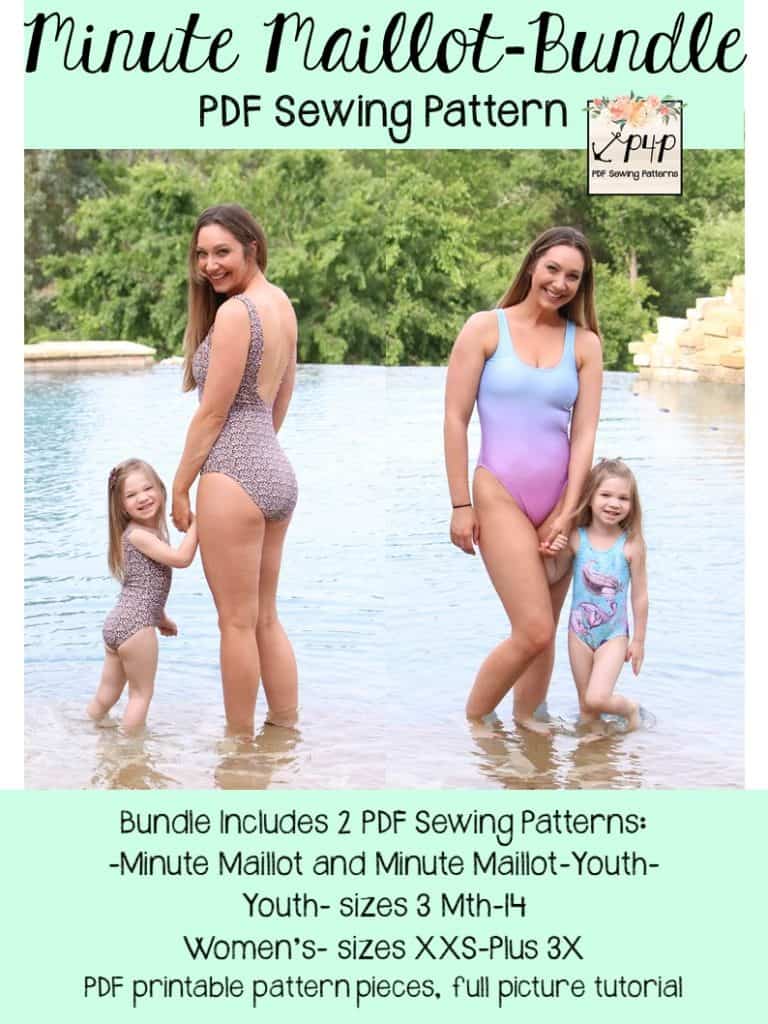
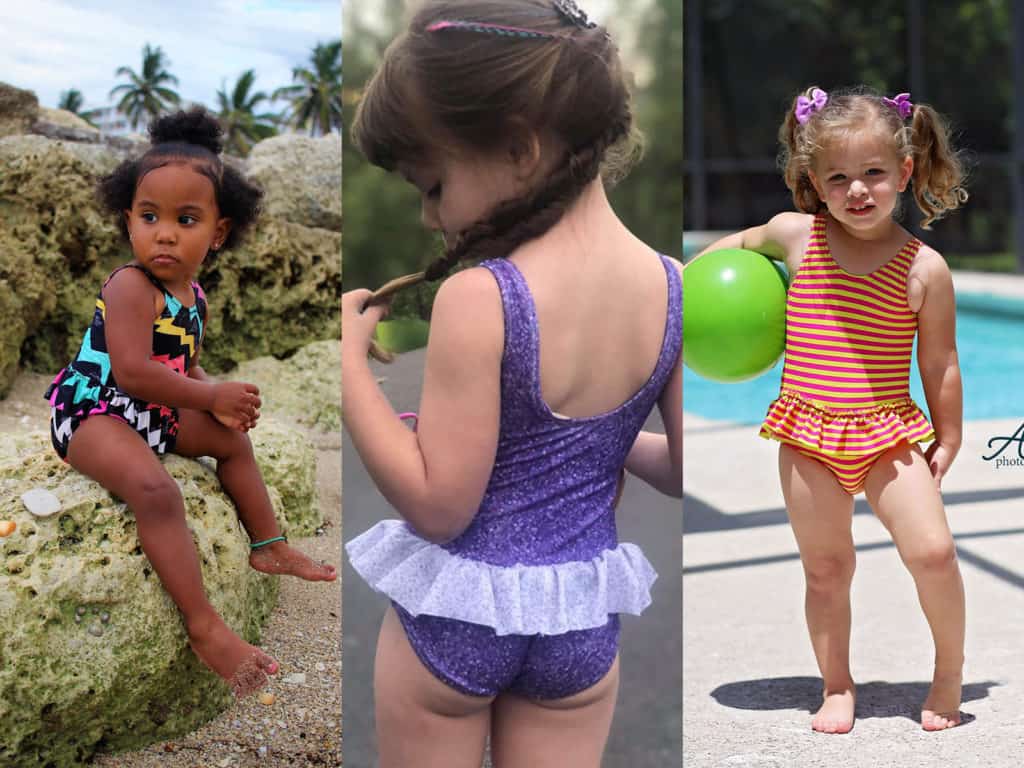
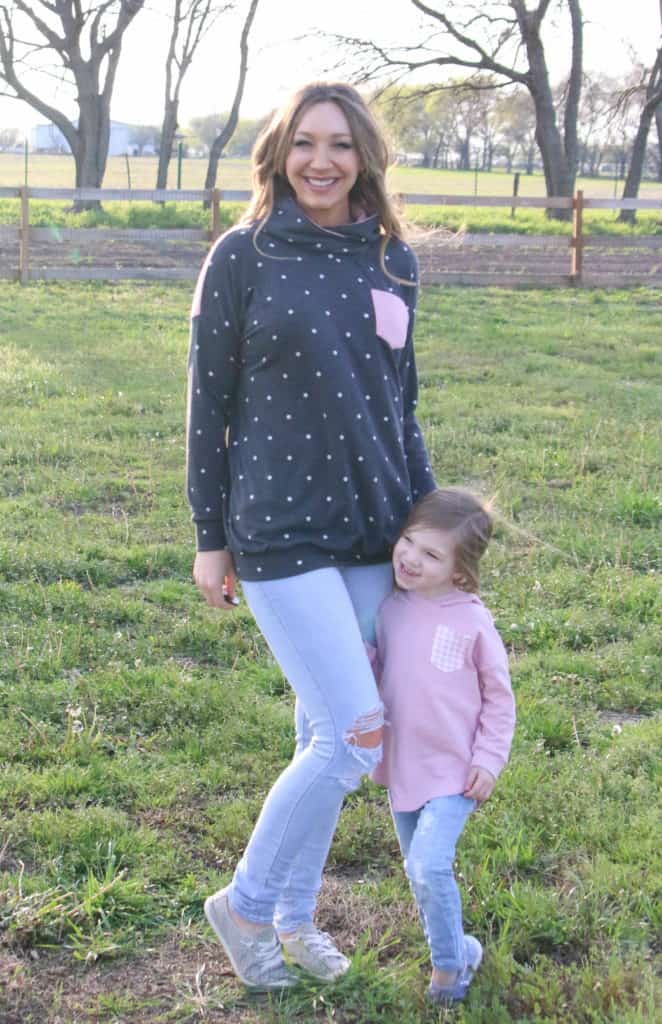
Day 1 is for purchasing the patterns, printing and cutting the size(s) you need. If you plan on sewing for yourself you can get the Minute Maillot here, if you’re sewing for your little one, the Youth MM can be purchased here and if you’re sewing for both of you (just think of the mommy and me matching outfits!) you can get the bundle.
This Sew Along will take place in our M4M & P4P Sew Along group so be sure to join the group not only for the exclusive discount code available for the patterns but also to post your progress this week. As always all daily posts will be here on the blog but you’ll be checking in with your completed steps in the group.
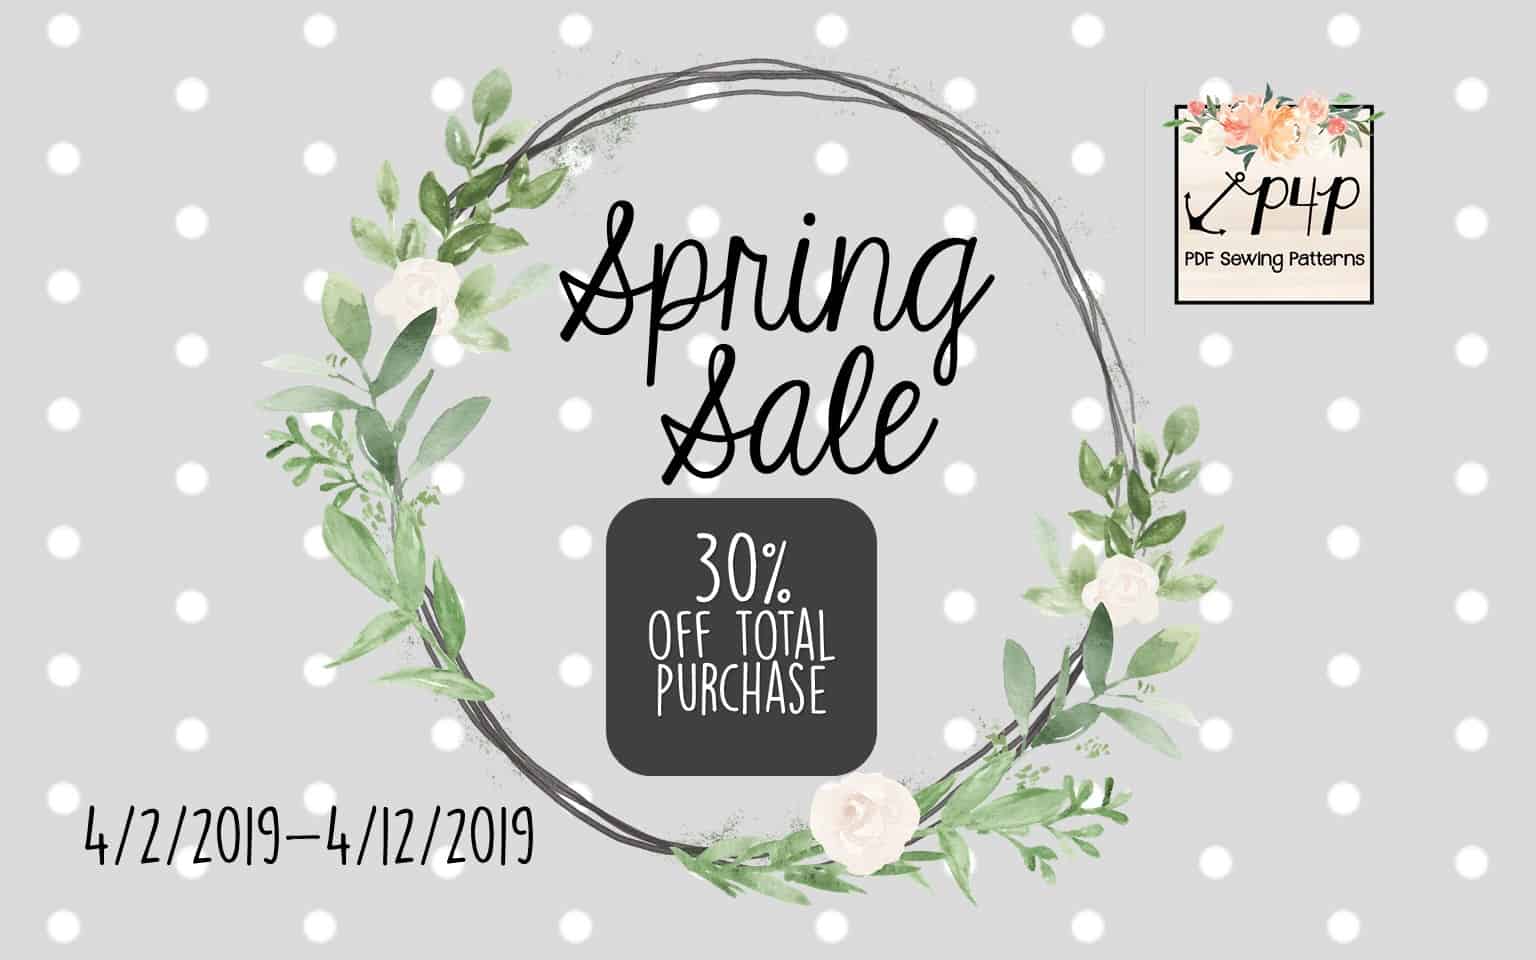
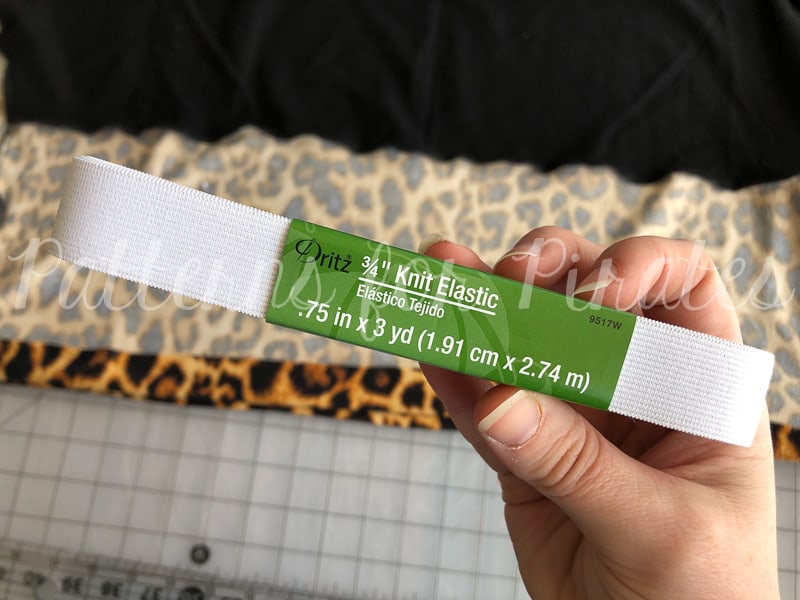
This sew along is sponsored by Boho Fabrics. Emily has graciously offered our pirates and mermaids a discount. Code MAILLOT20 (valid until July 14th) will save you 20% off swim fabrics, notions and mesh in case they needed other supplies for the perfect suit 😊 (Happy hour bundles are excluded from the sale code since they are already discounted )
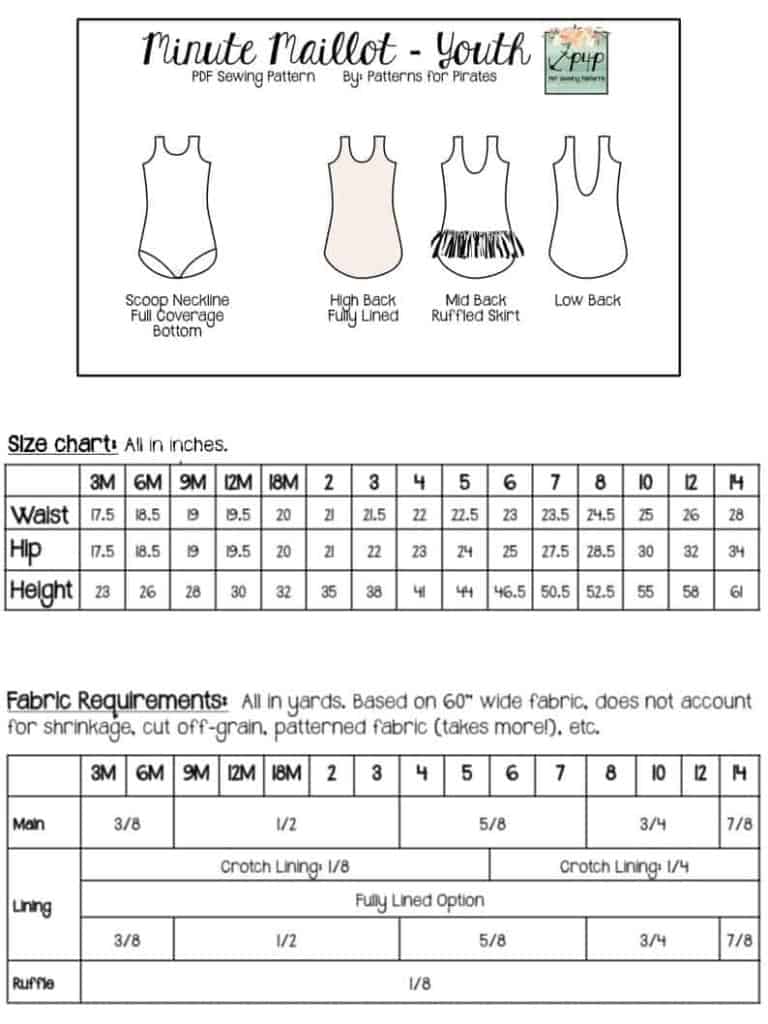
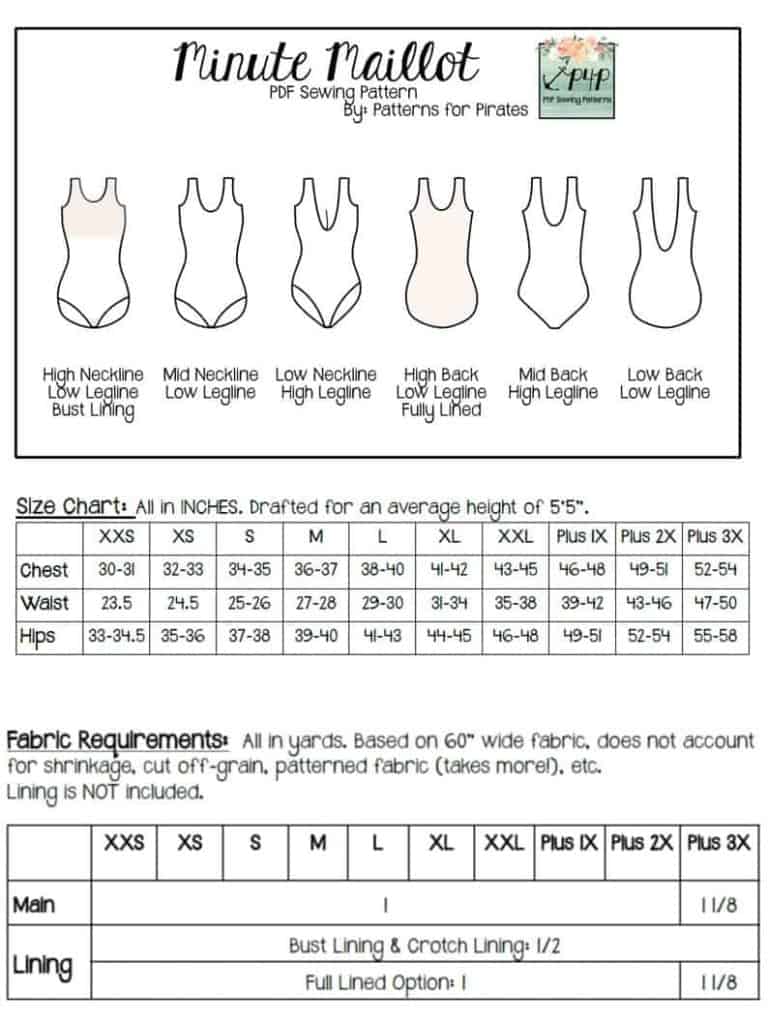
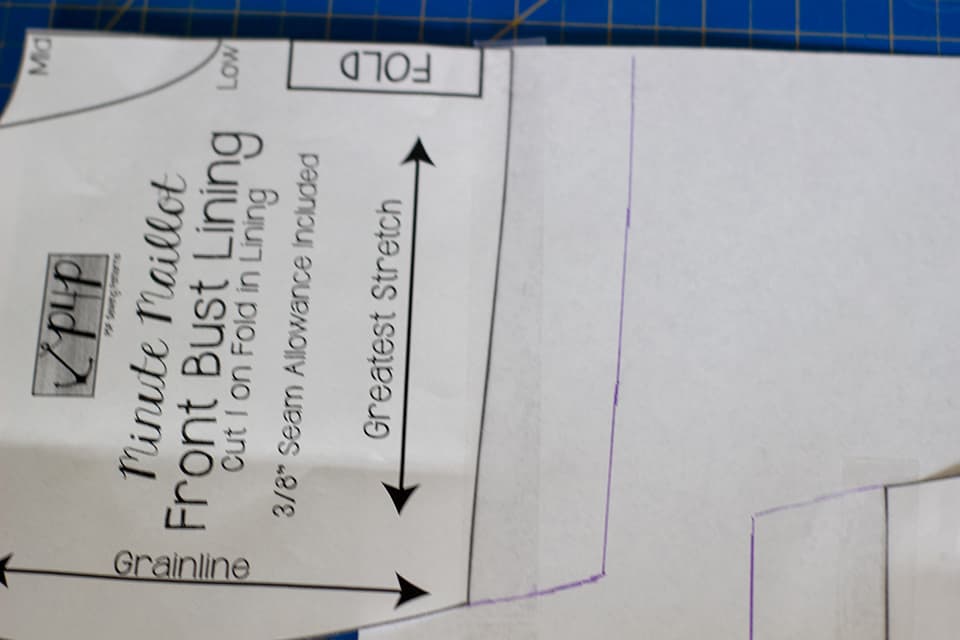
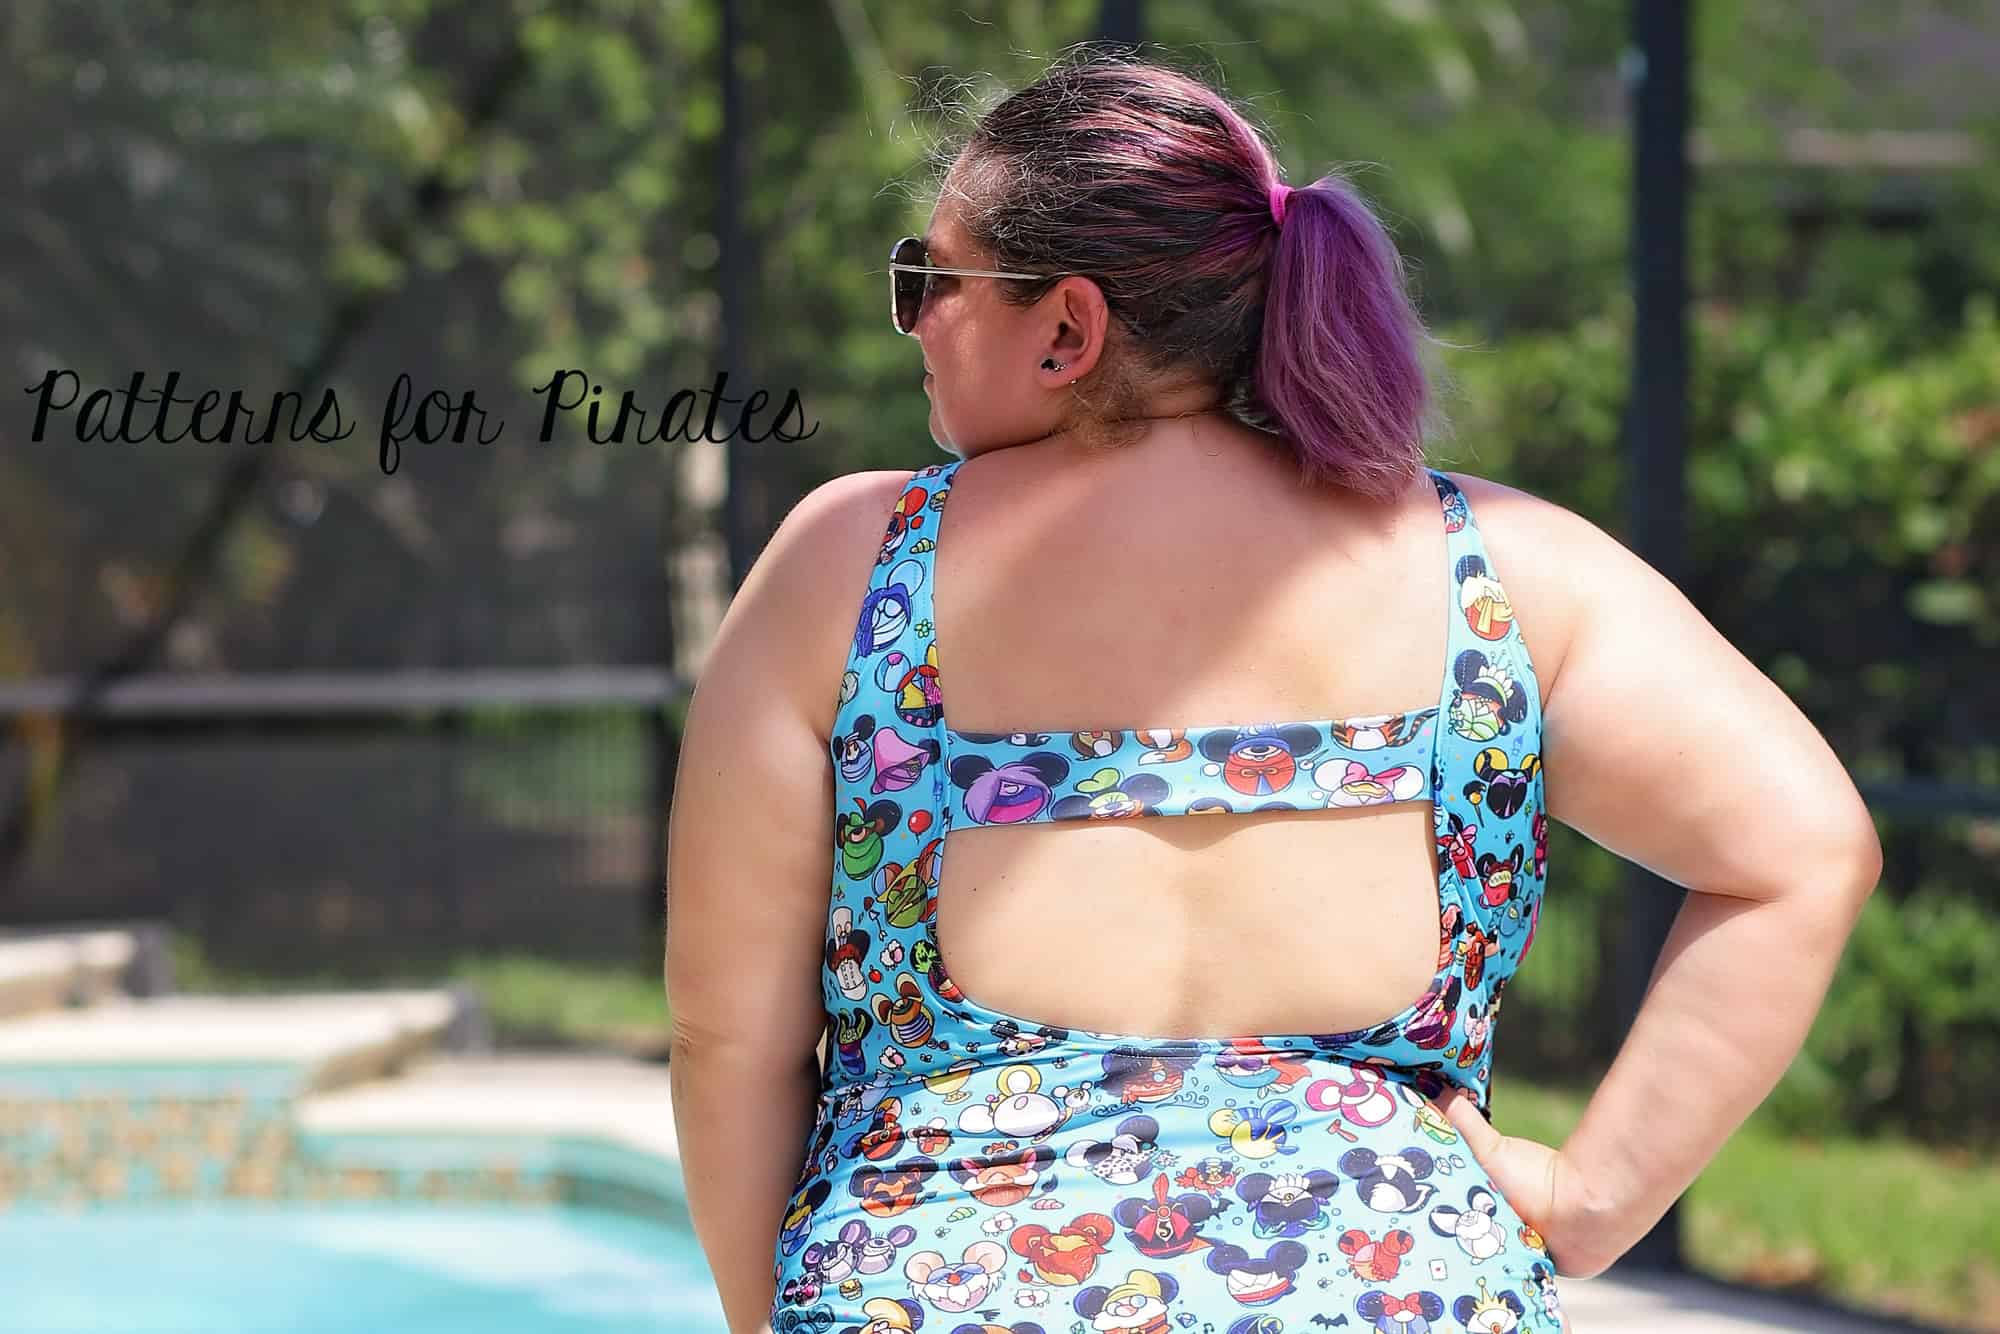
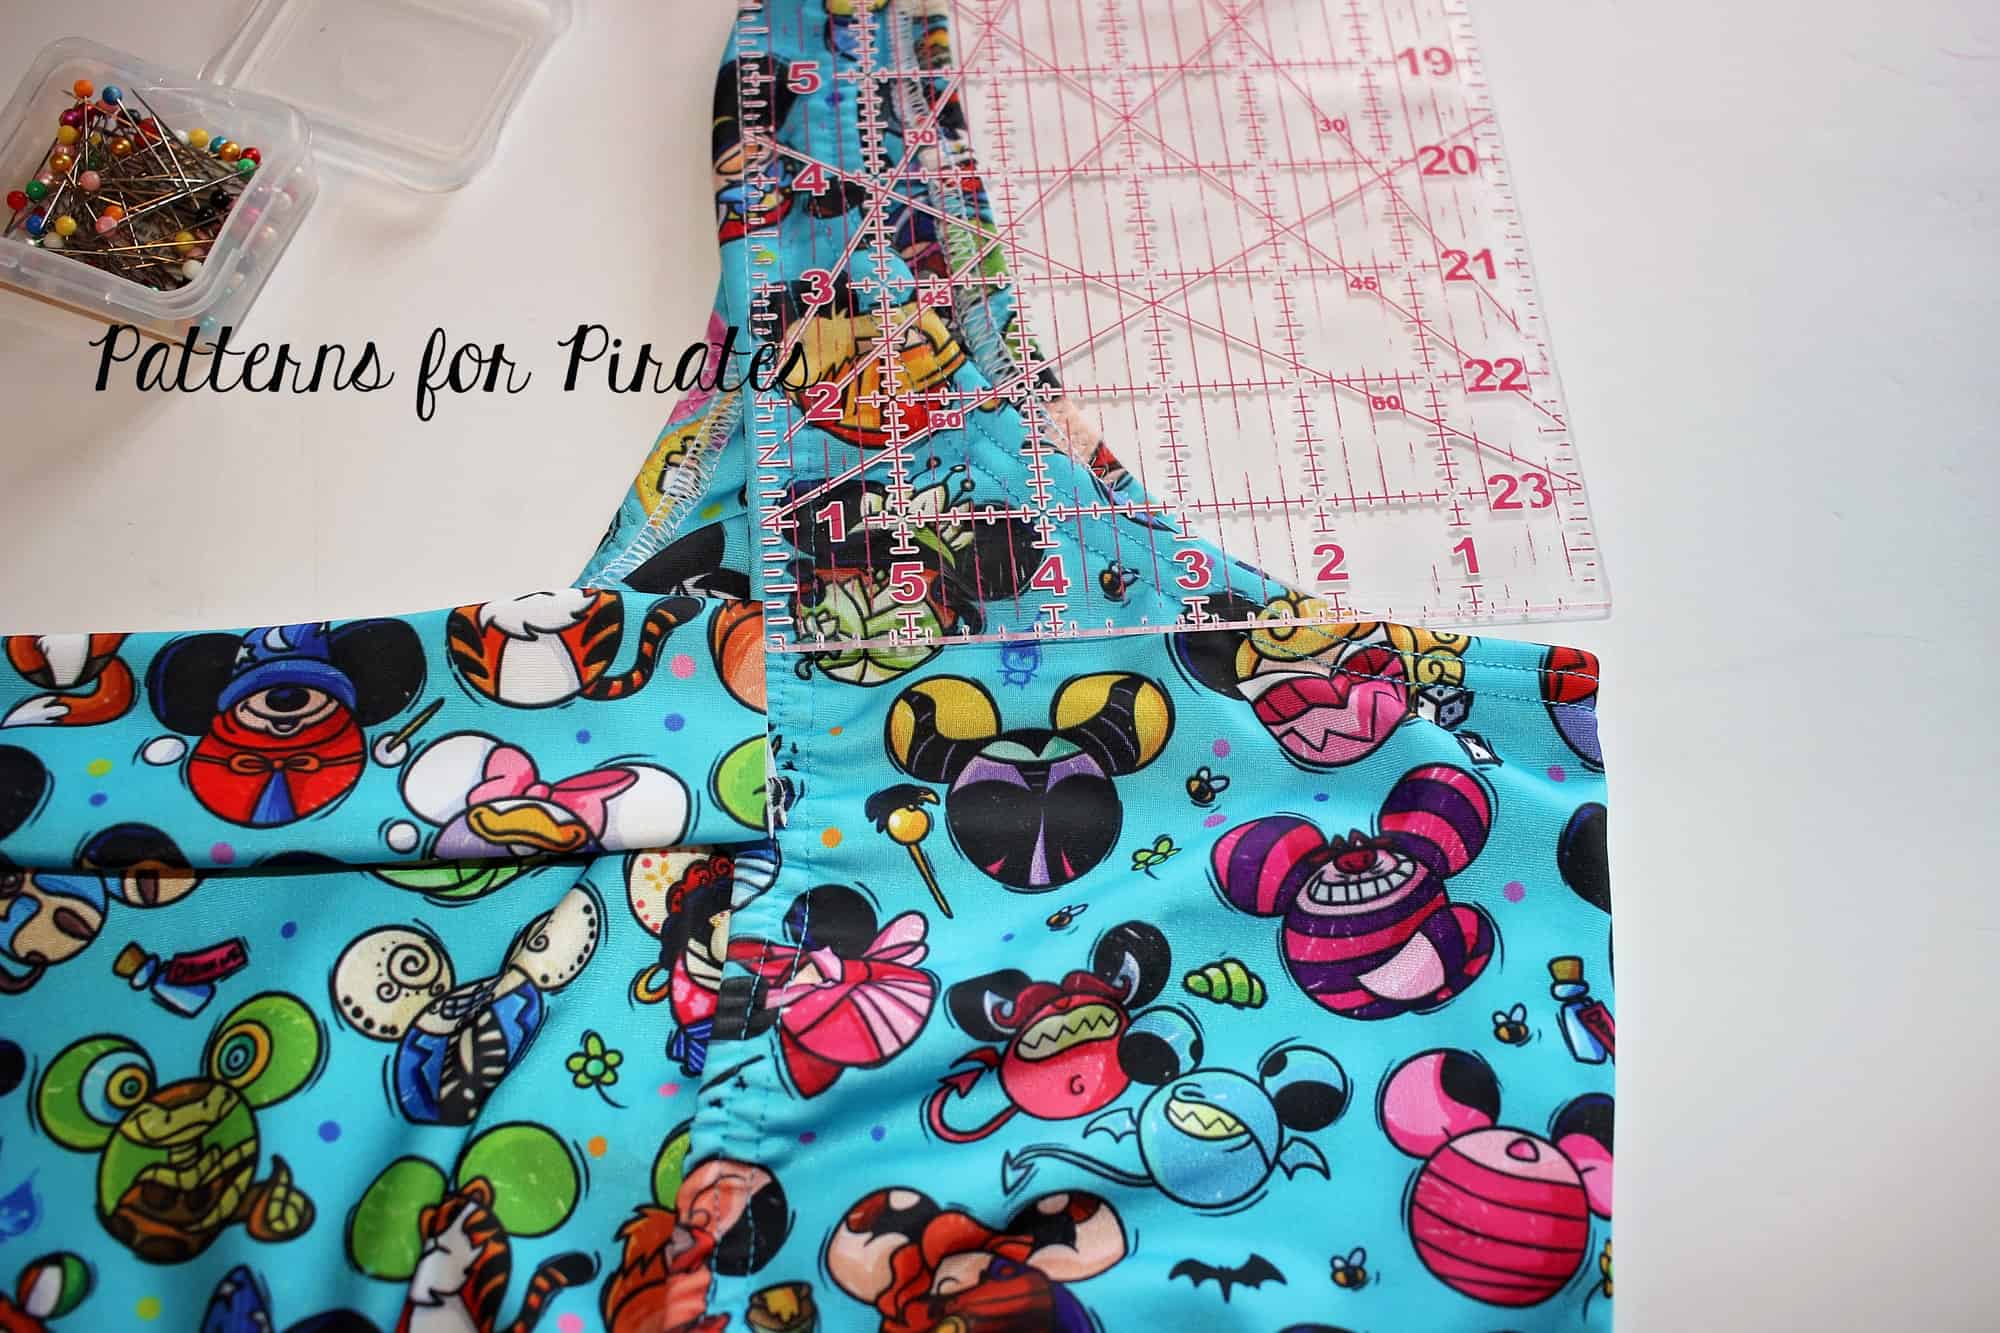
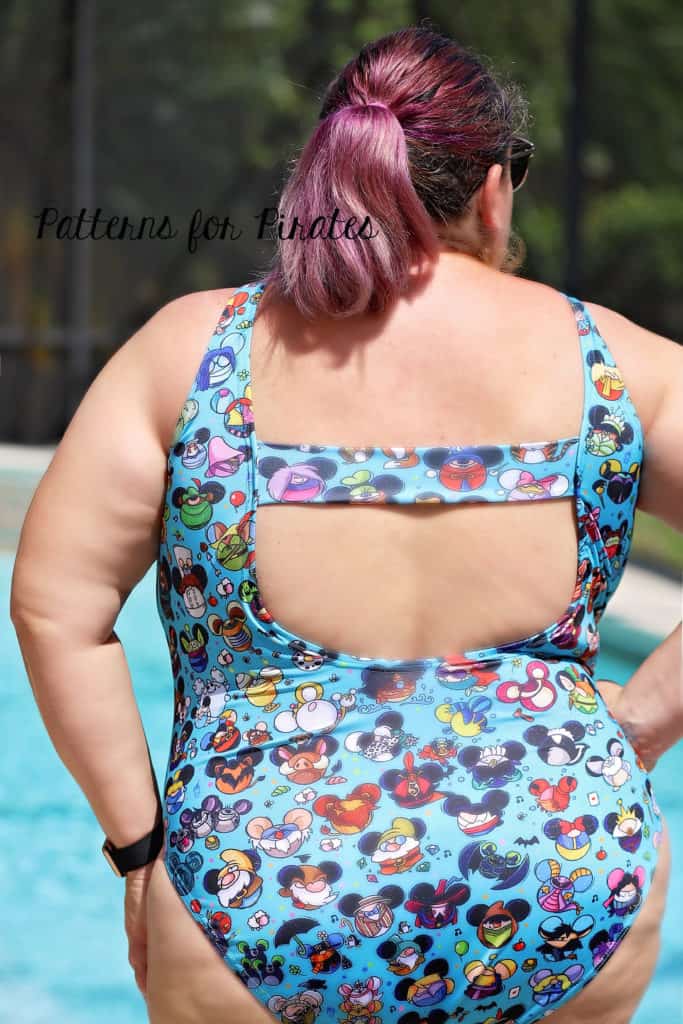
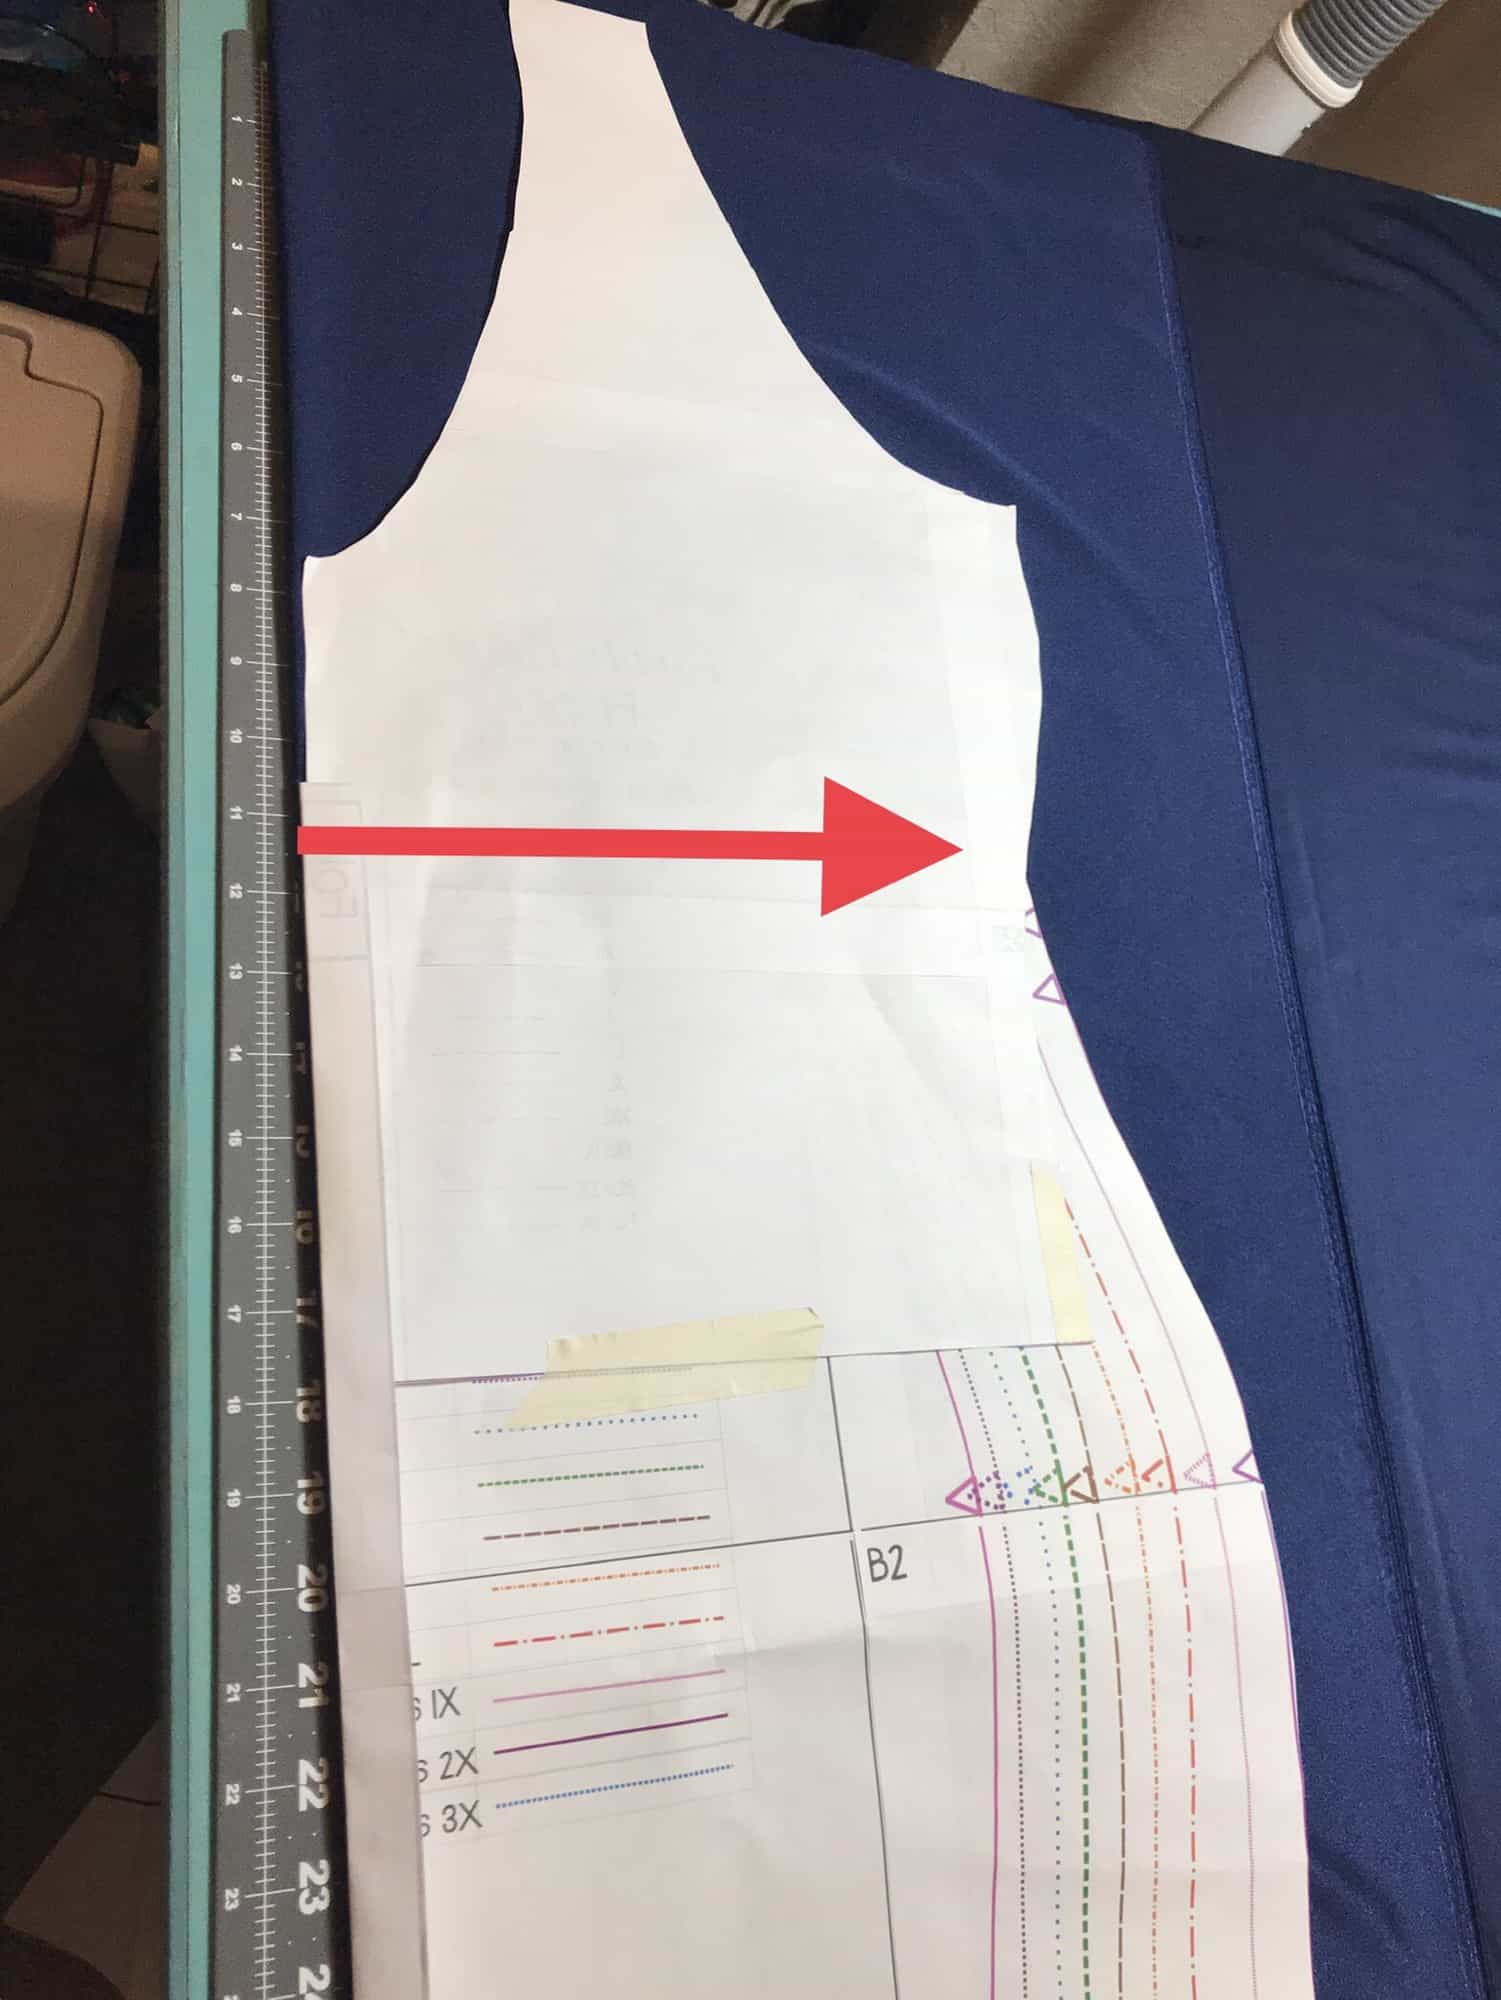
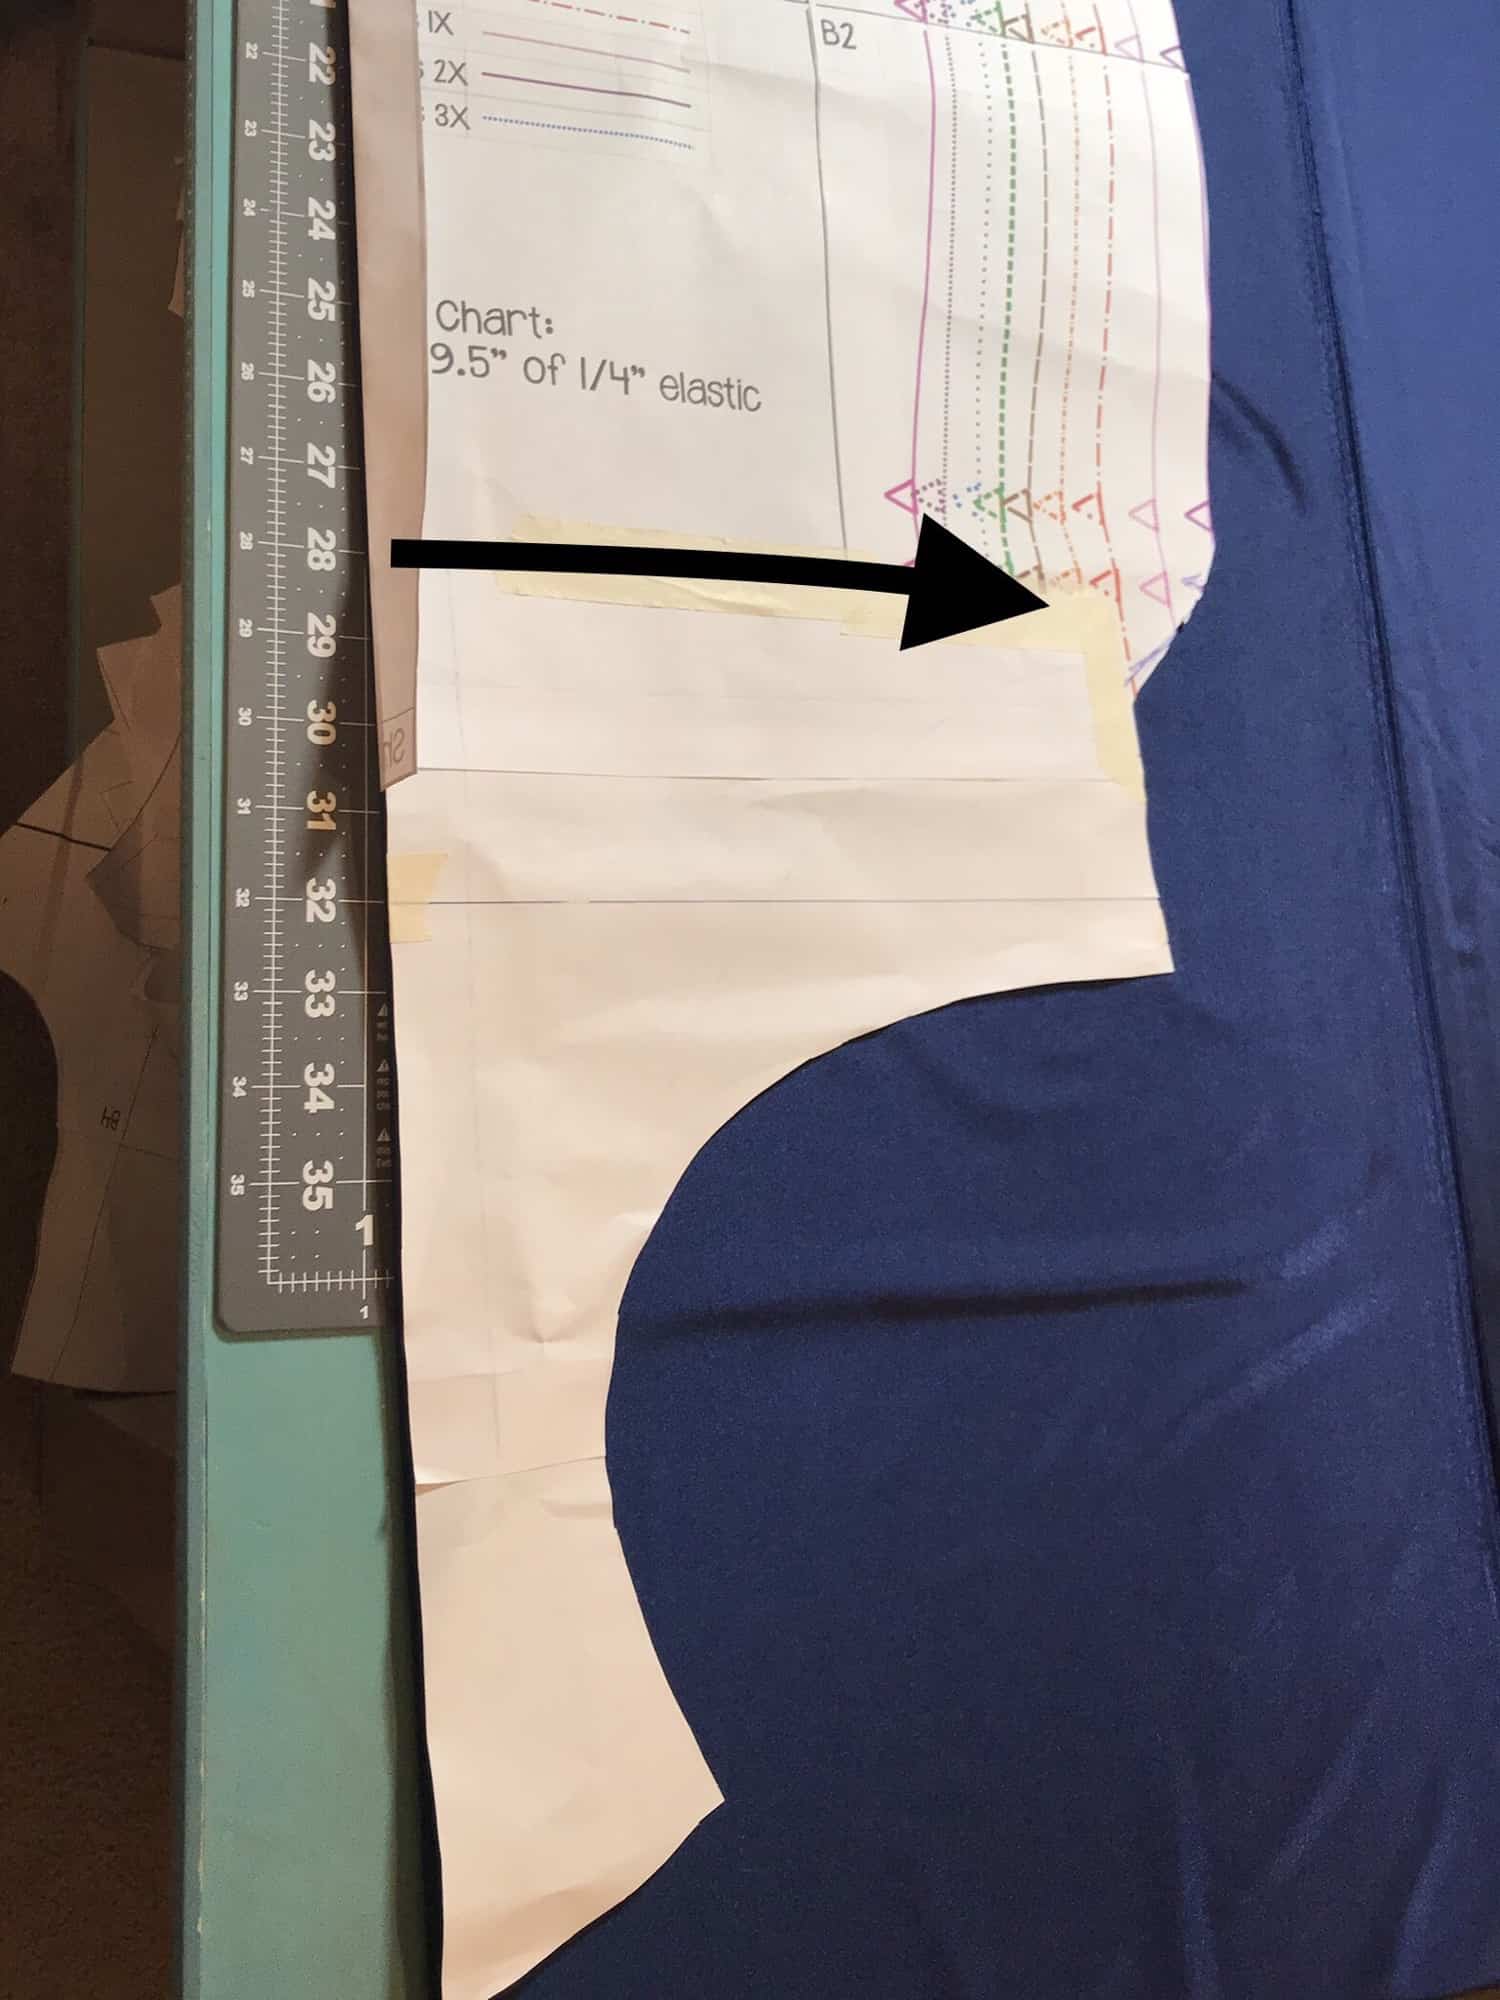
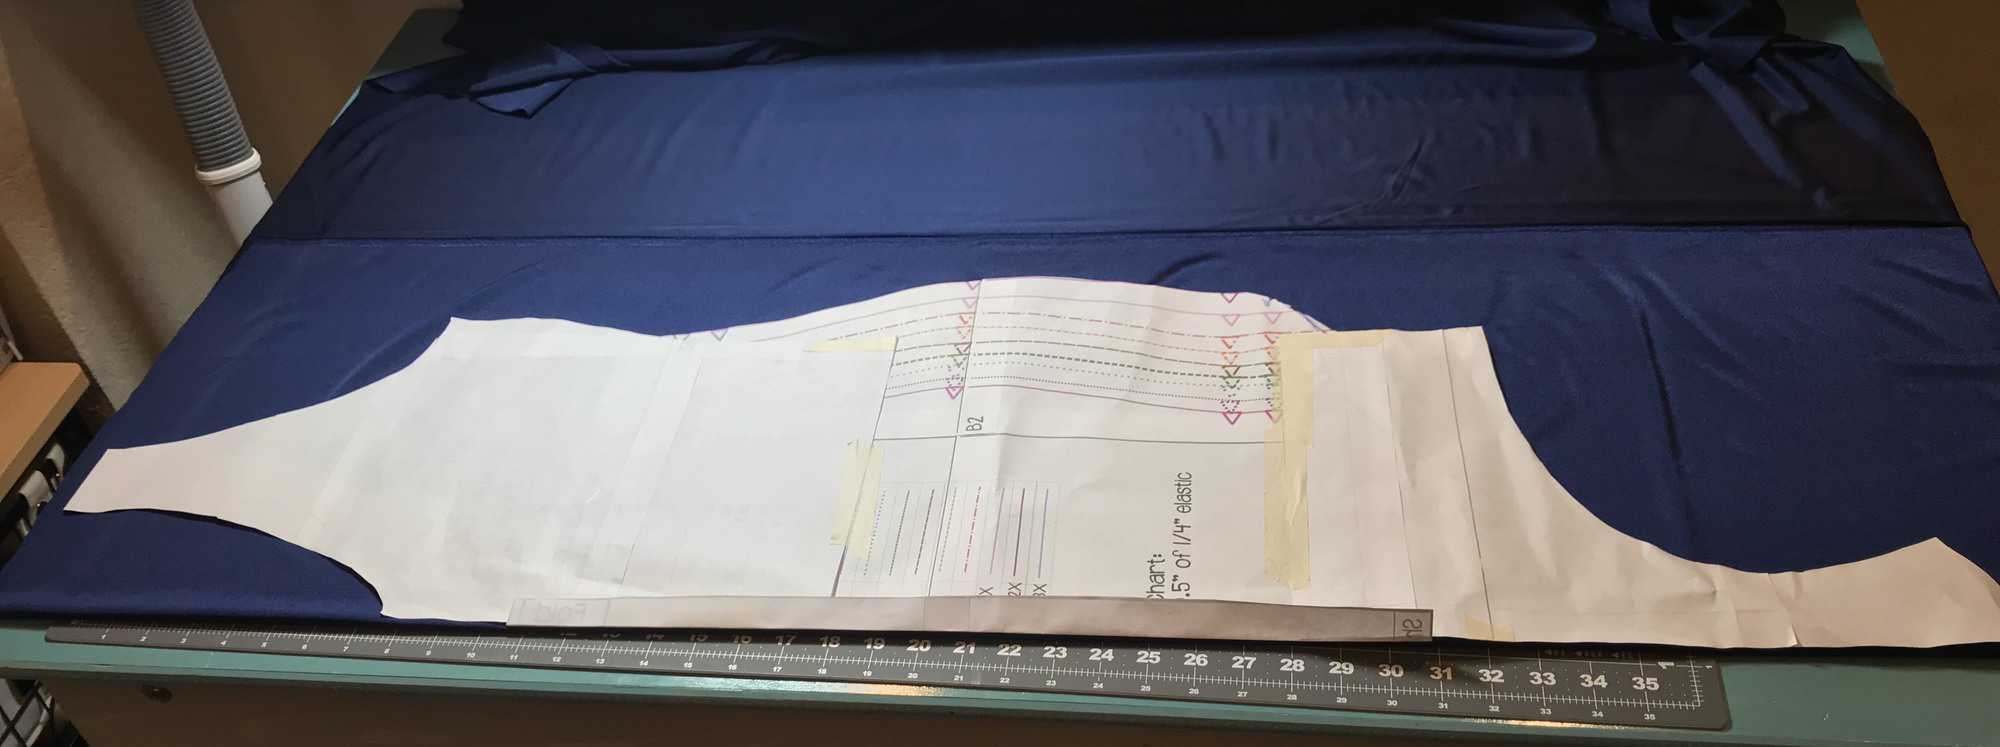
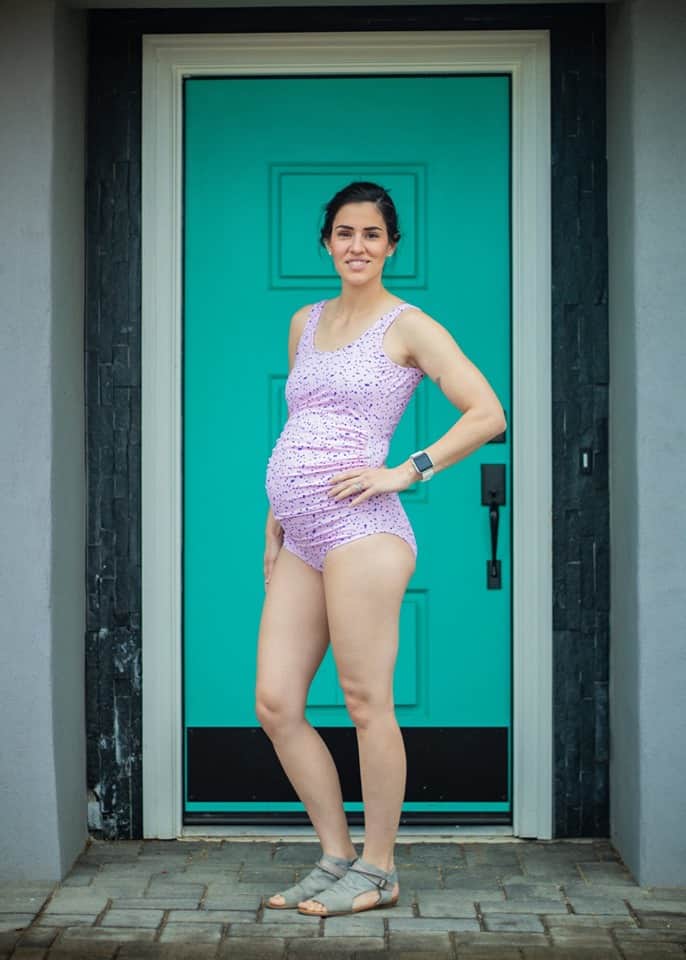
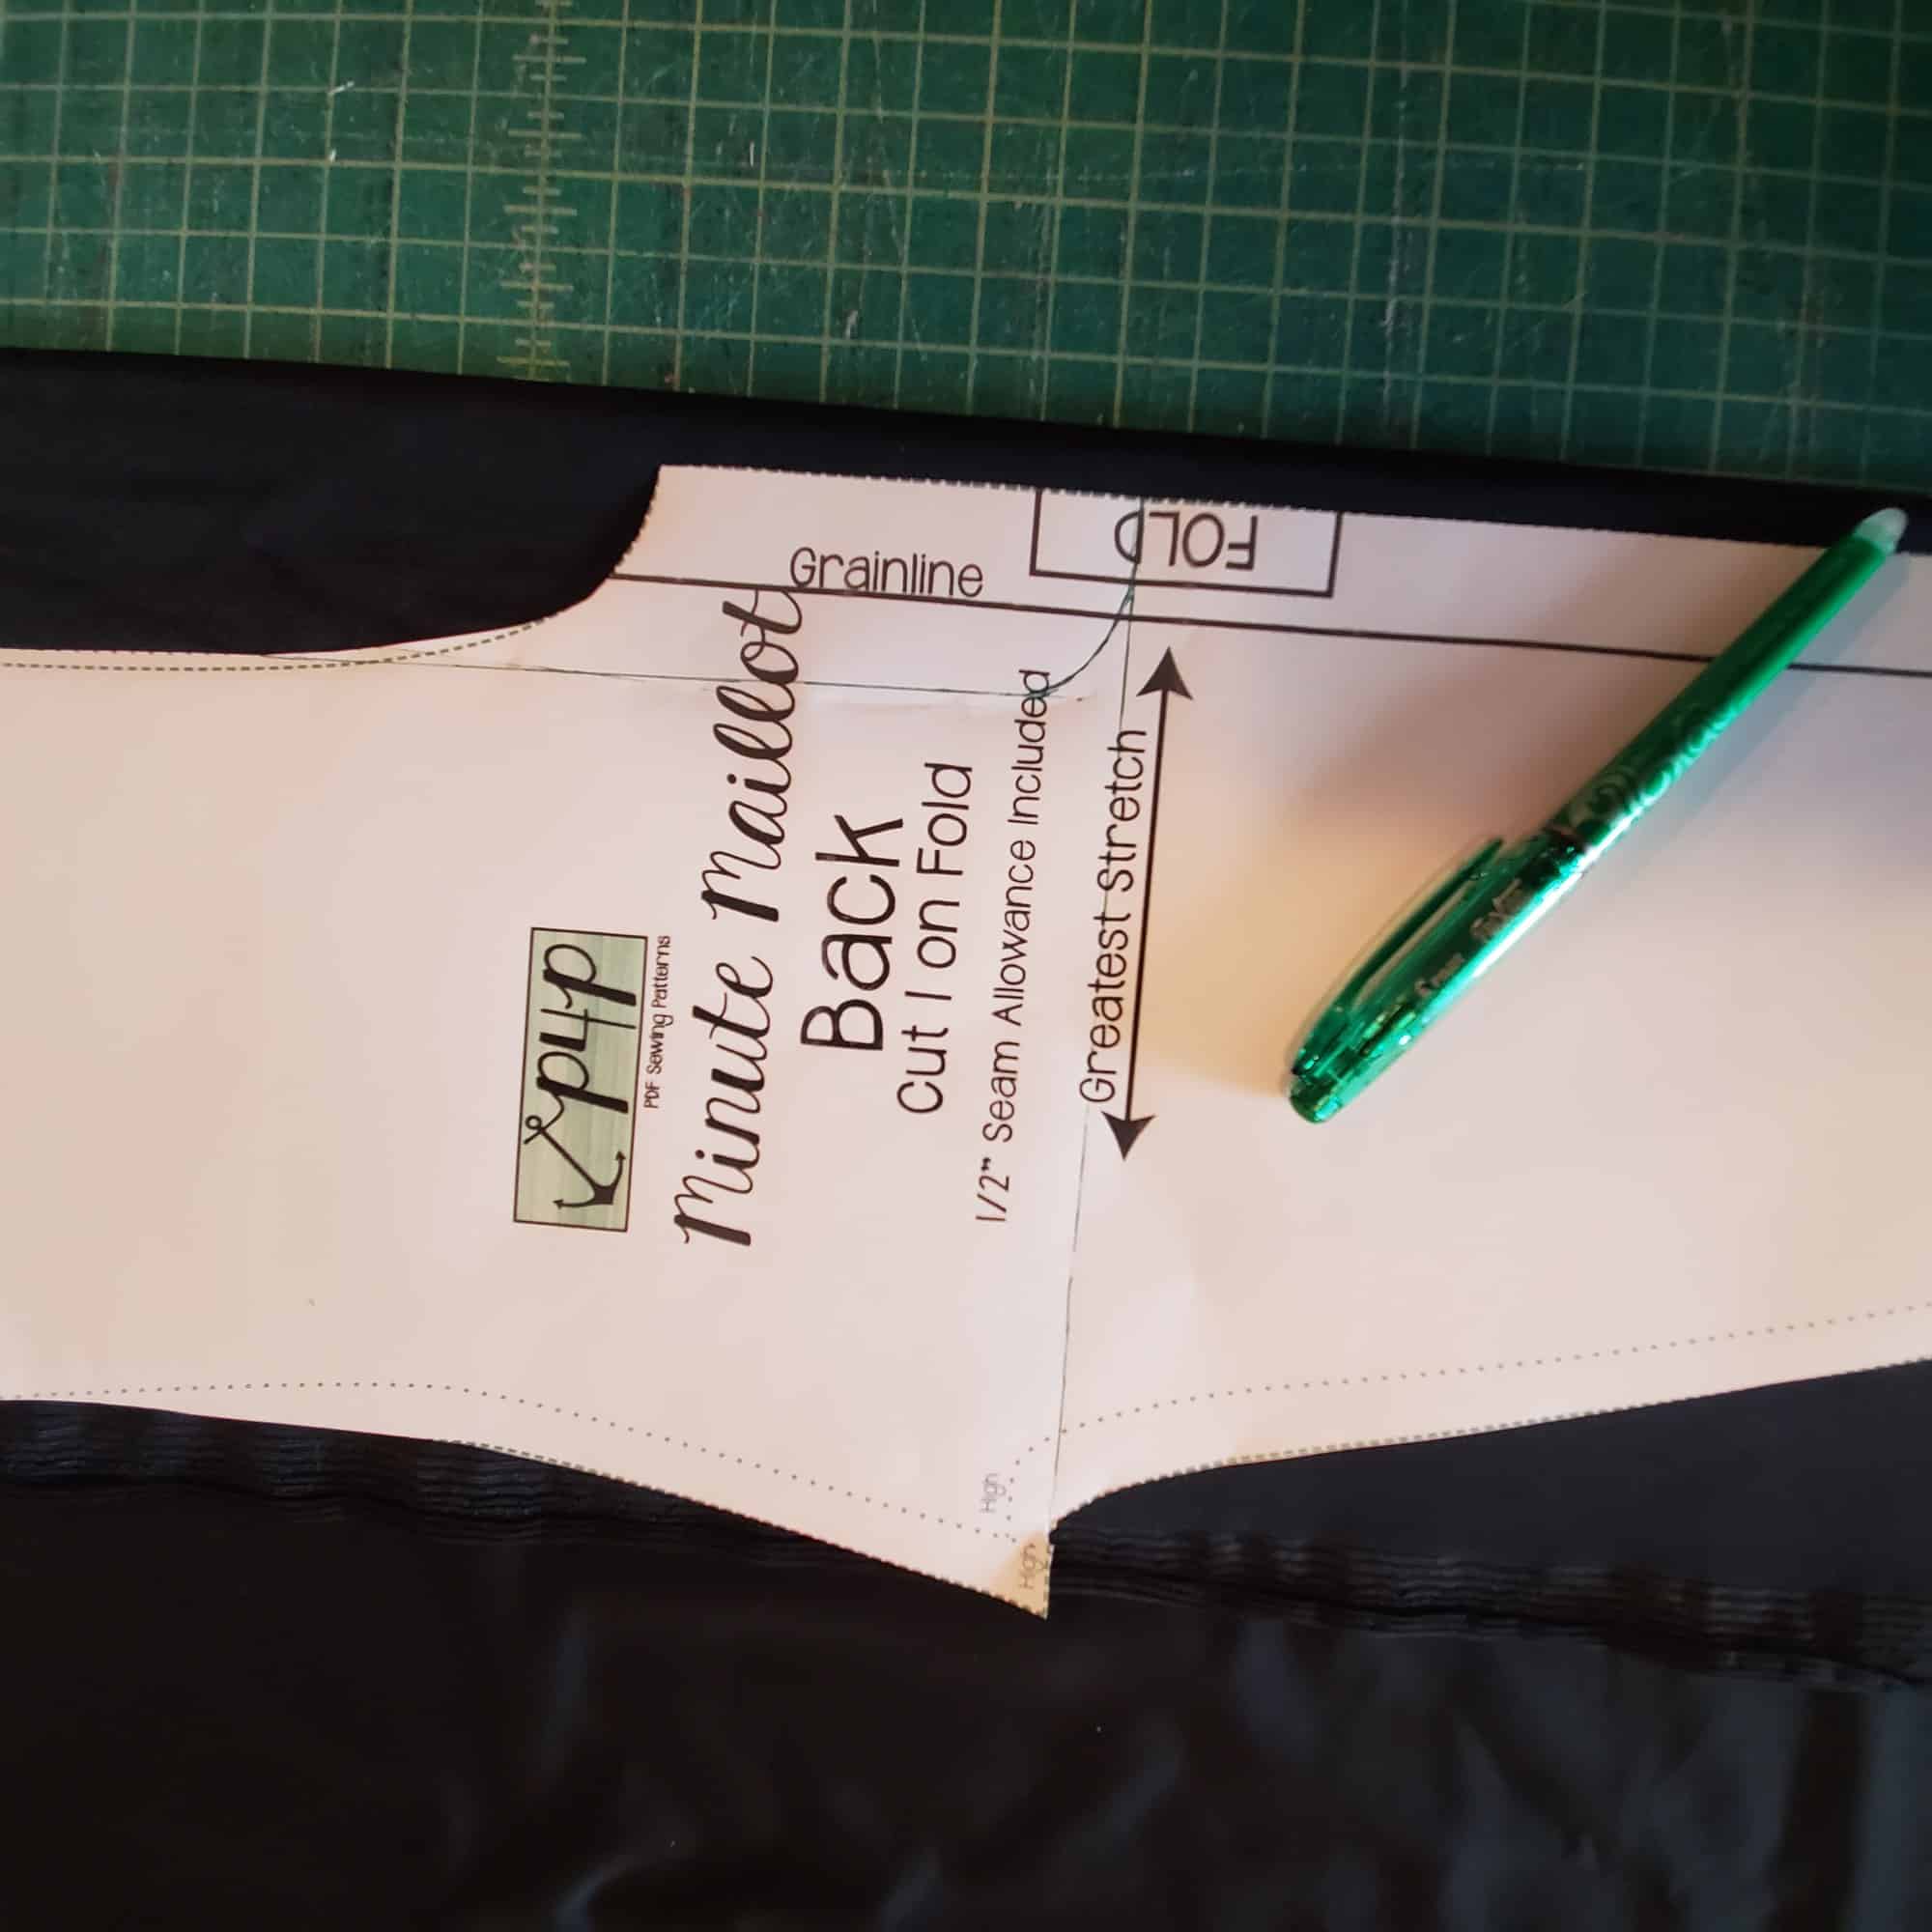
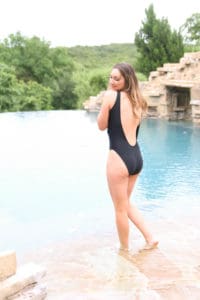
Now that you have your pattern printed, time to cut the correct size(s). Patterns for Pirates drafts for 5’5″ height for the Women pattern so do not forget to adjust for height too. For swimwear, especially one piece swim suites like the Minute Maillot it’s important to measure your trunk as well. Measure inside shoulder, across your bust, down through your legs, over the booty and back up and over the shoulder.
P4P has an amazing blog that gives you tip for accurately taking your measurements. You can read all about it here. If your measurements put you in a different size for bust/waist/hips be sure to check out our P4P University blog and grade to achieve the perfect fit.
The Basics of Sewing Swim blog post has a lot of useful information, especially if you’re making swimwear for the first time.
Check out the day 1 video below and then comment “done” on the Day 1 picture of the SOS knit pants SAL album in the sew along group. We don’t allow pictures of the pattern pieces so this will count as your day 1 check in. Let’s get started!

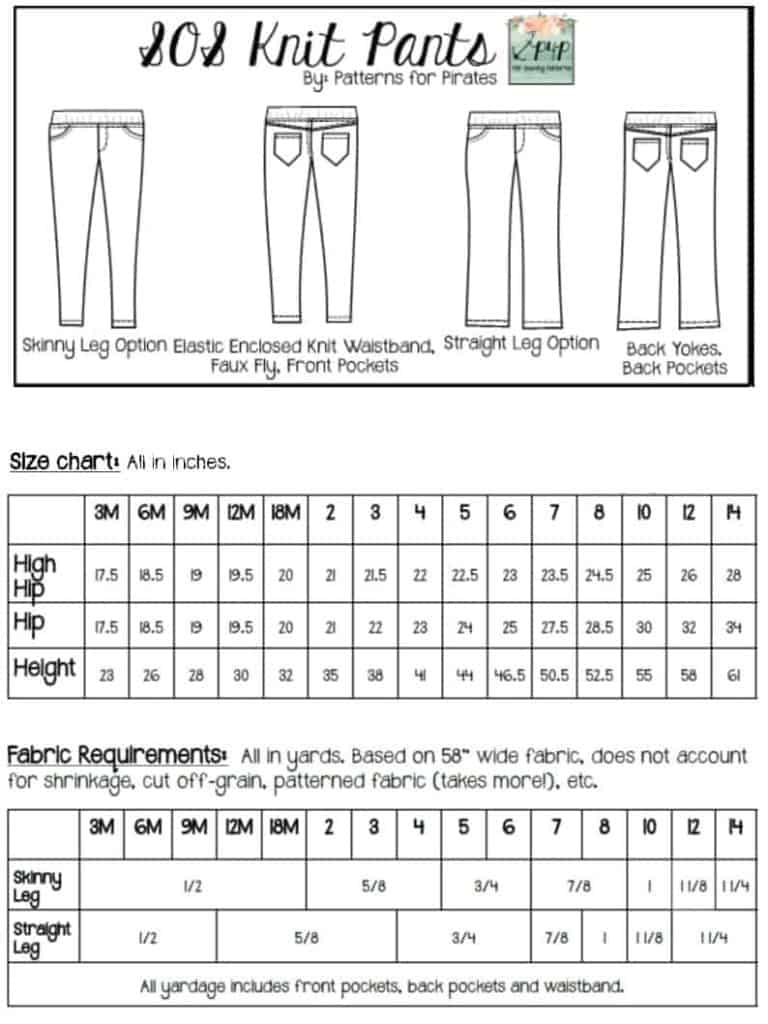
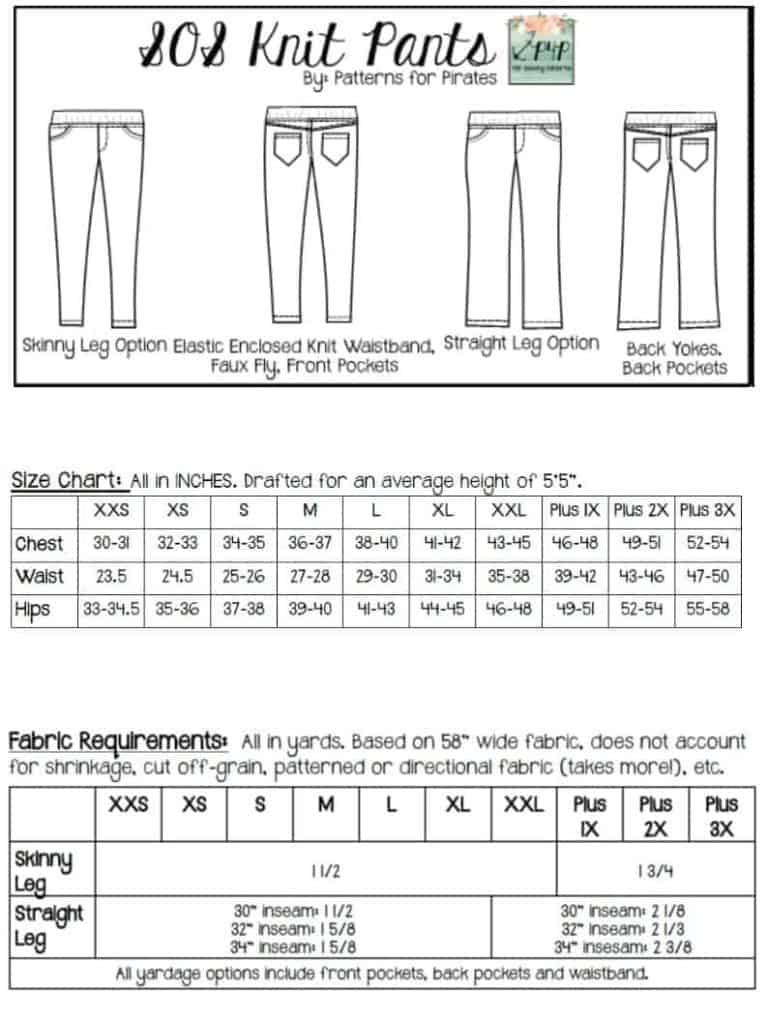
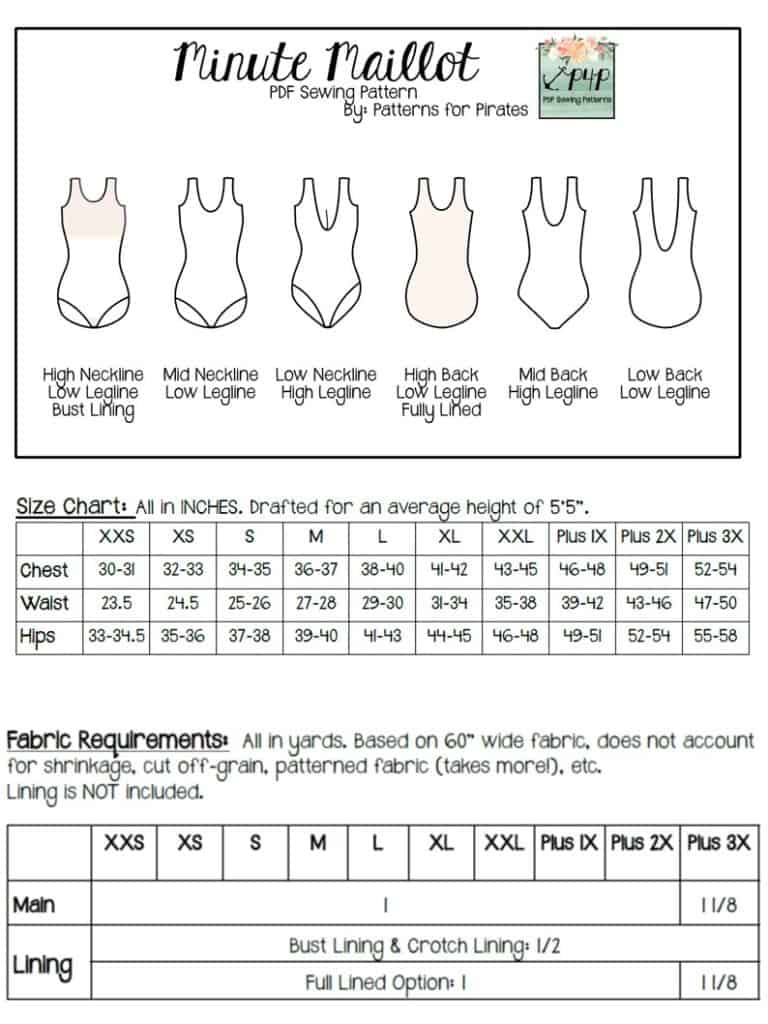


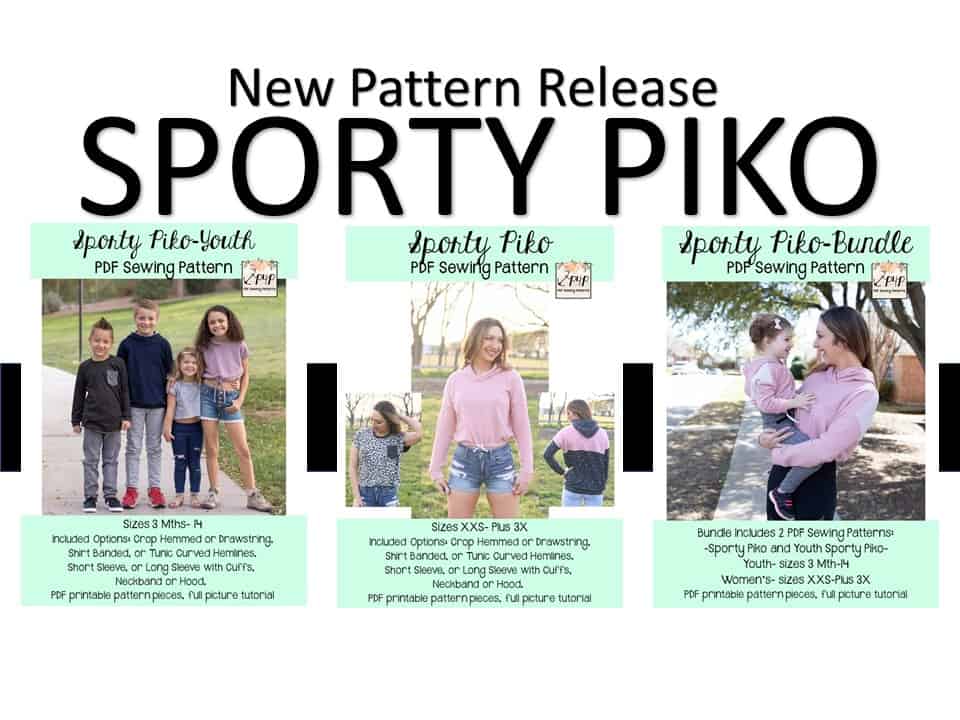
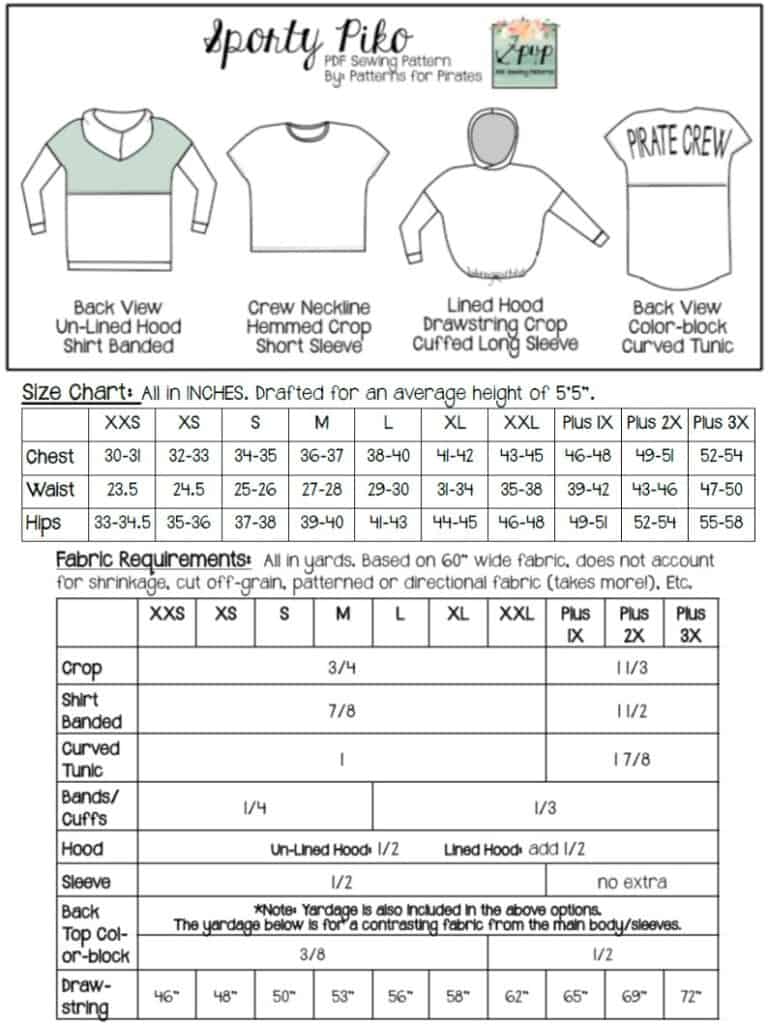
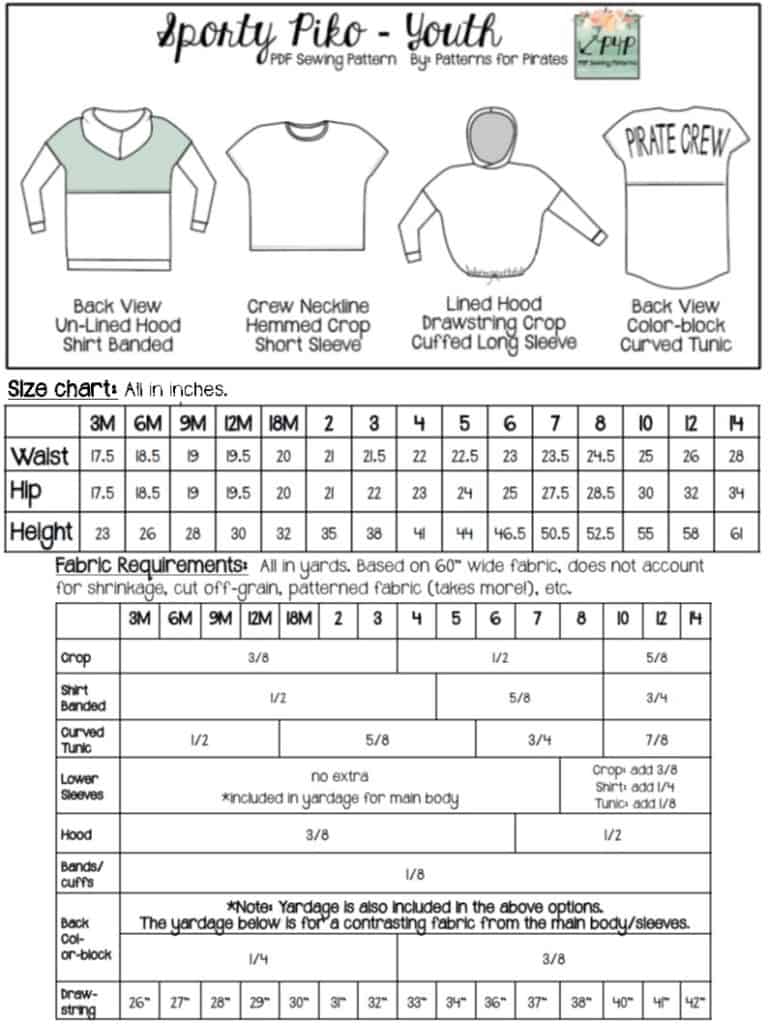
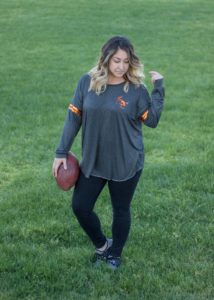


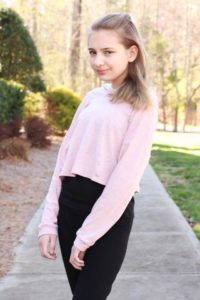
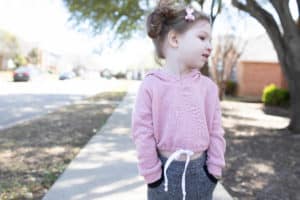
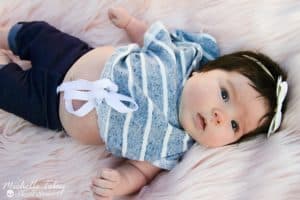

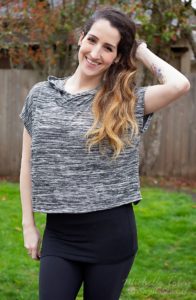
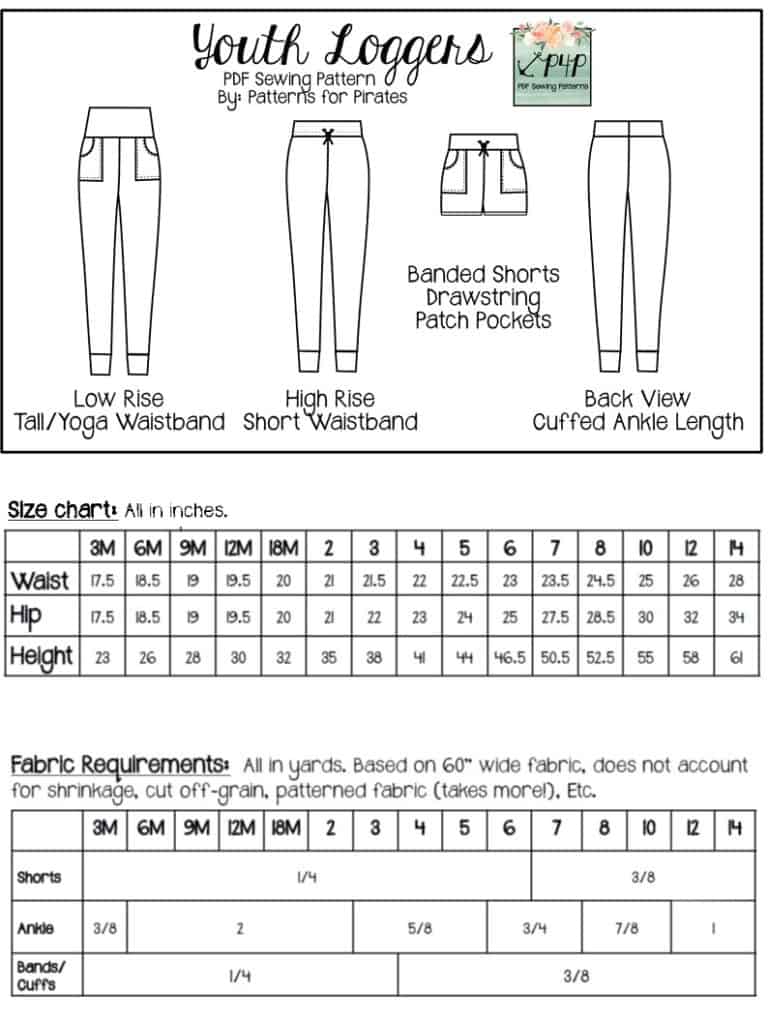
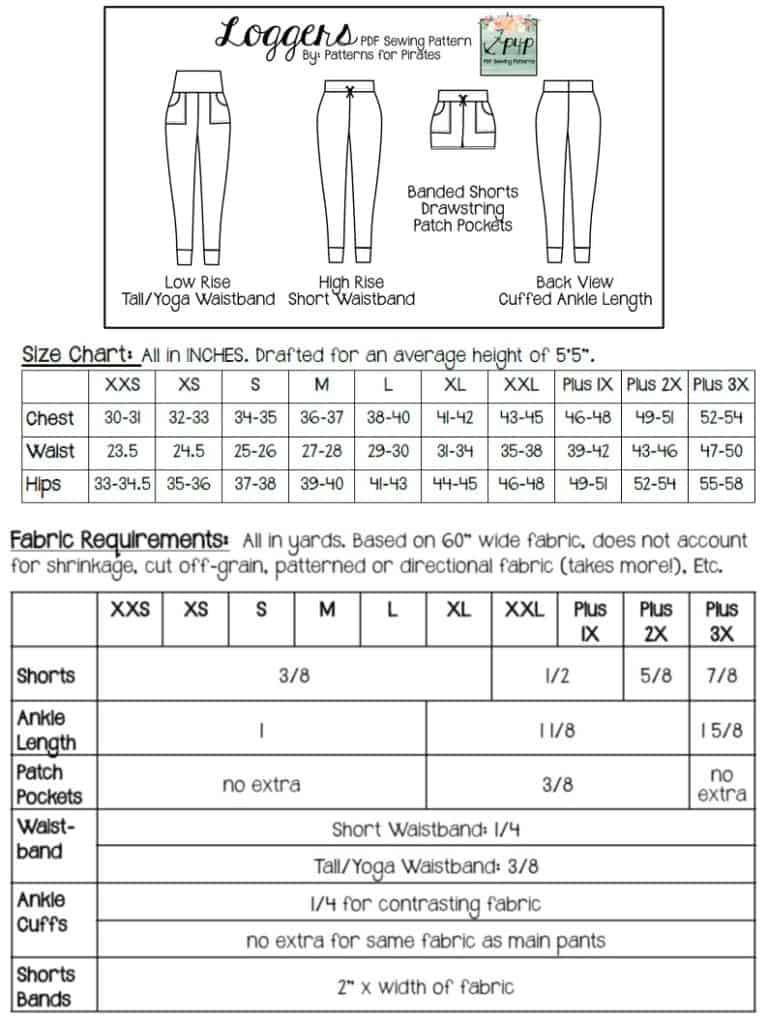
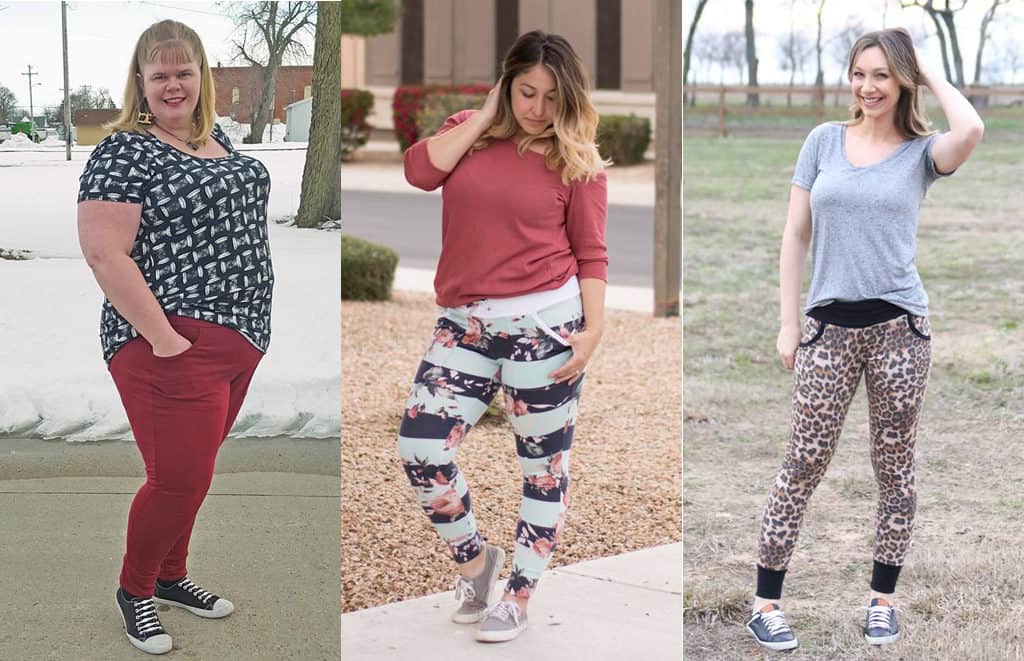
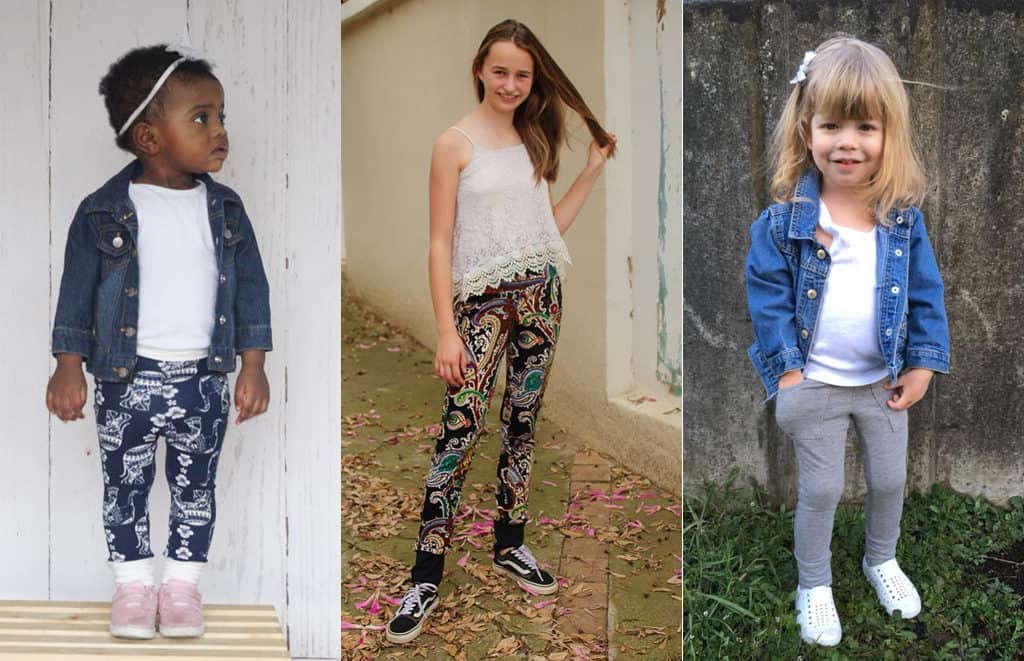
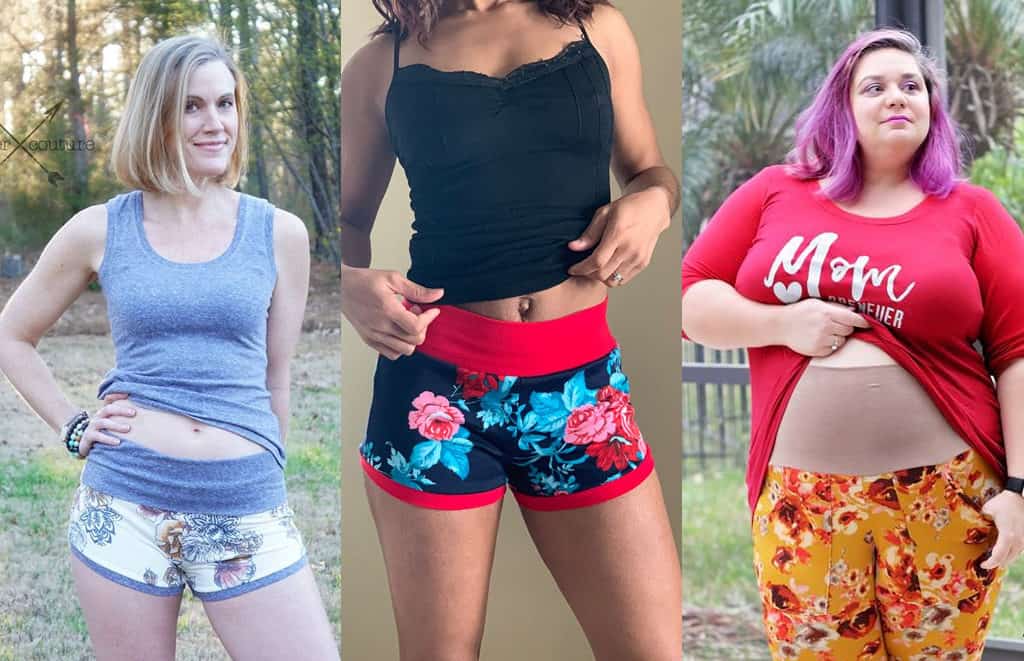
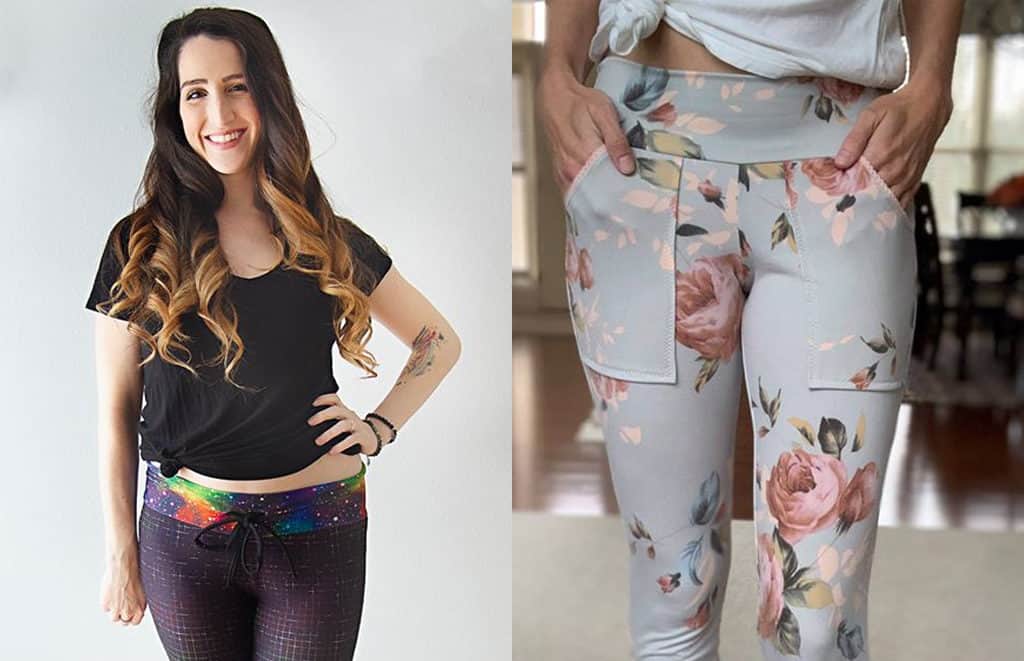
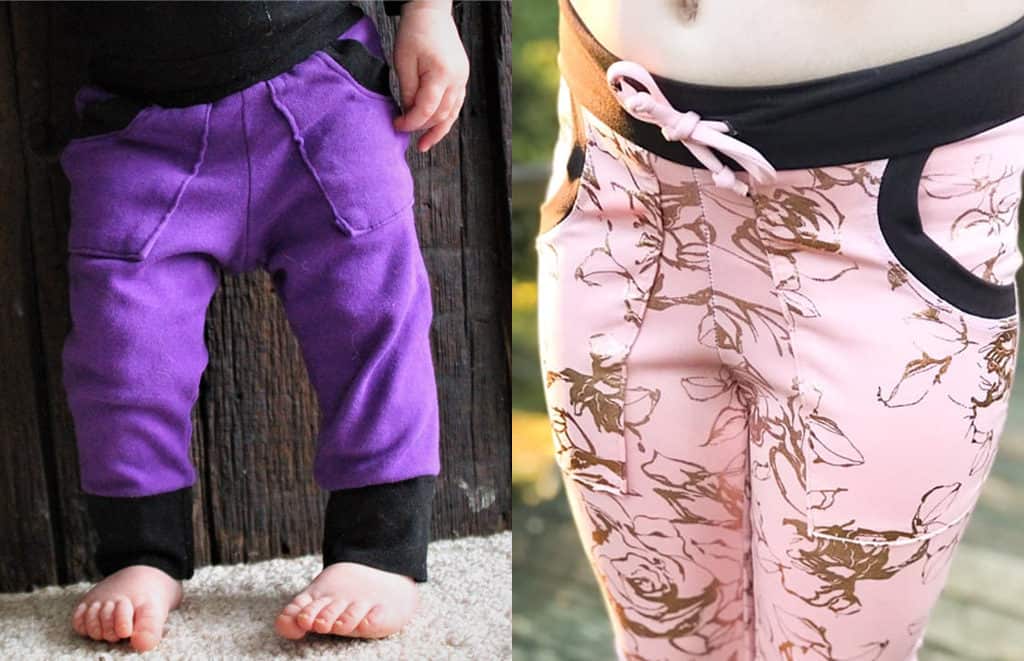
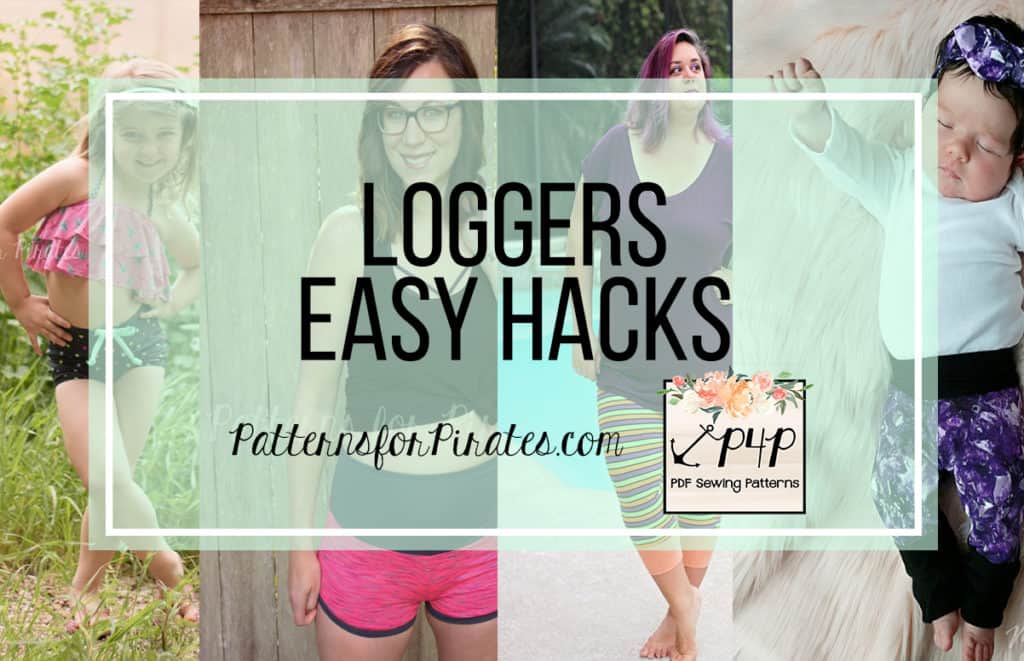
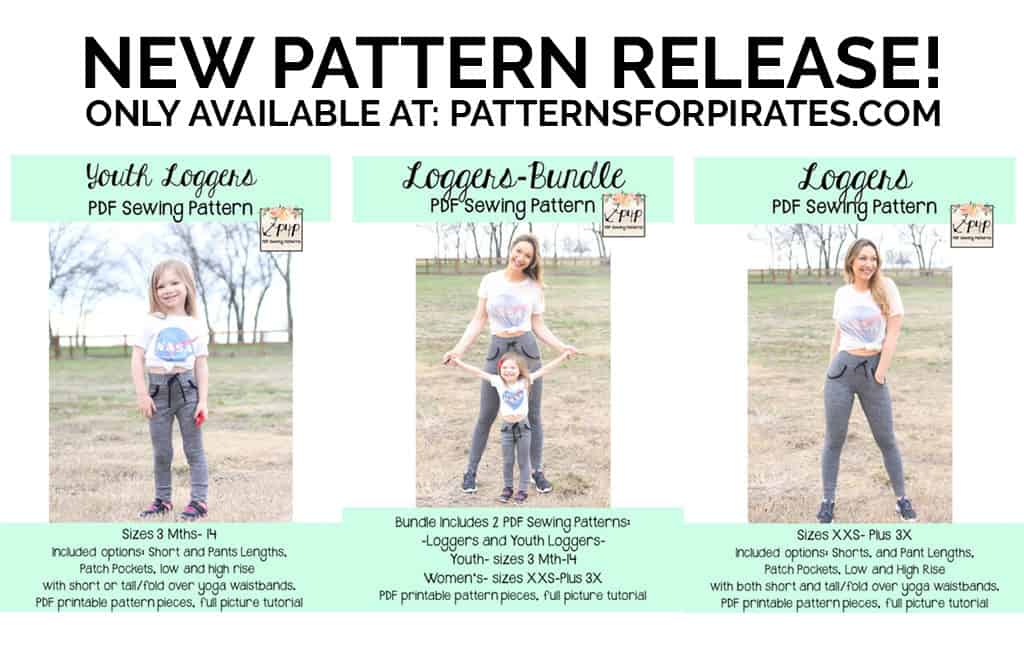 These patterns are drafted for a stretch knit fabric with a 40-50% horizontal stretch, and you will want some vertical stretch for wearing comfort. Both the adult and youth versions feature a tighter pant with cuffs and optional pockets on the pant length. They are drafted in two lengths (shorts and pants), a large size range (XXS – Plus 3X in women’s and 3M – 14 in youth), have two rises (high and low), two waistbands (short or tall/fold over yoga) as well as an optional drawstring.