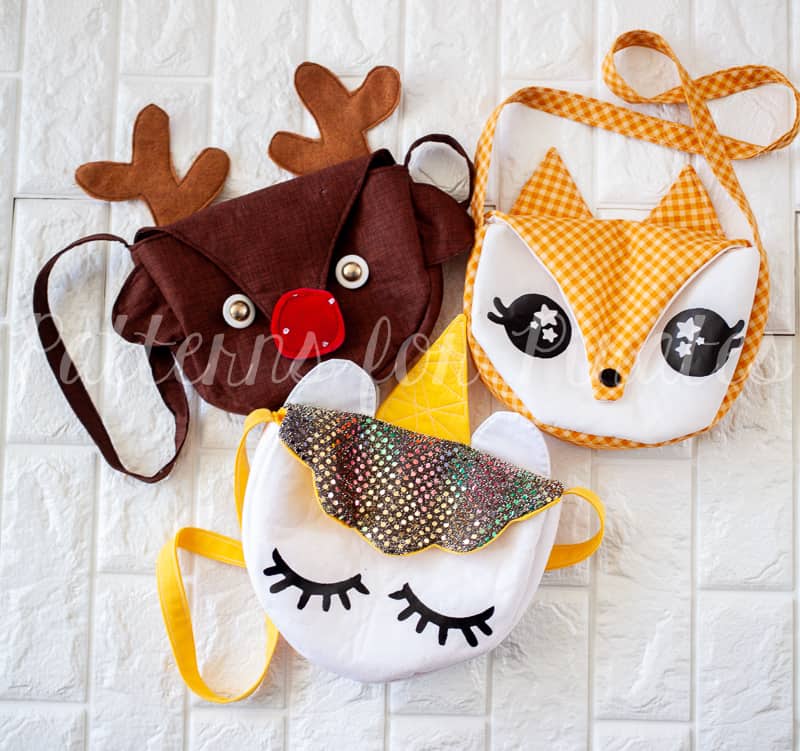
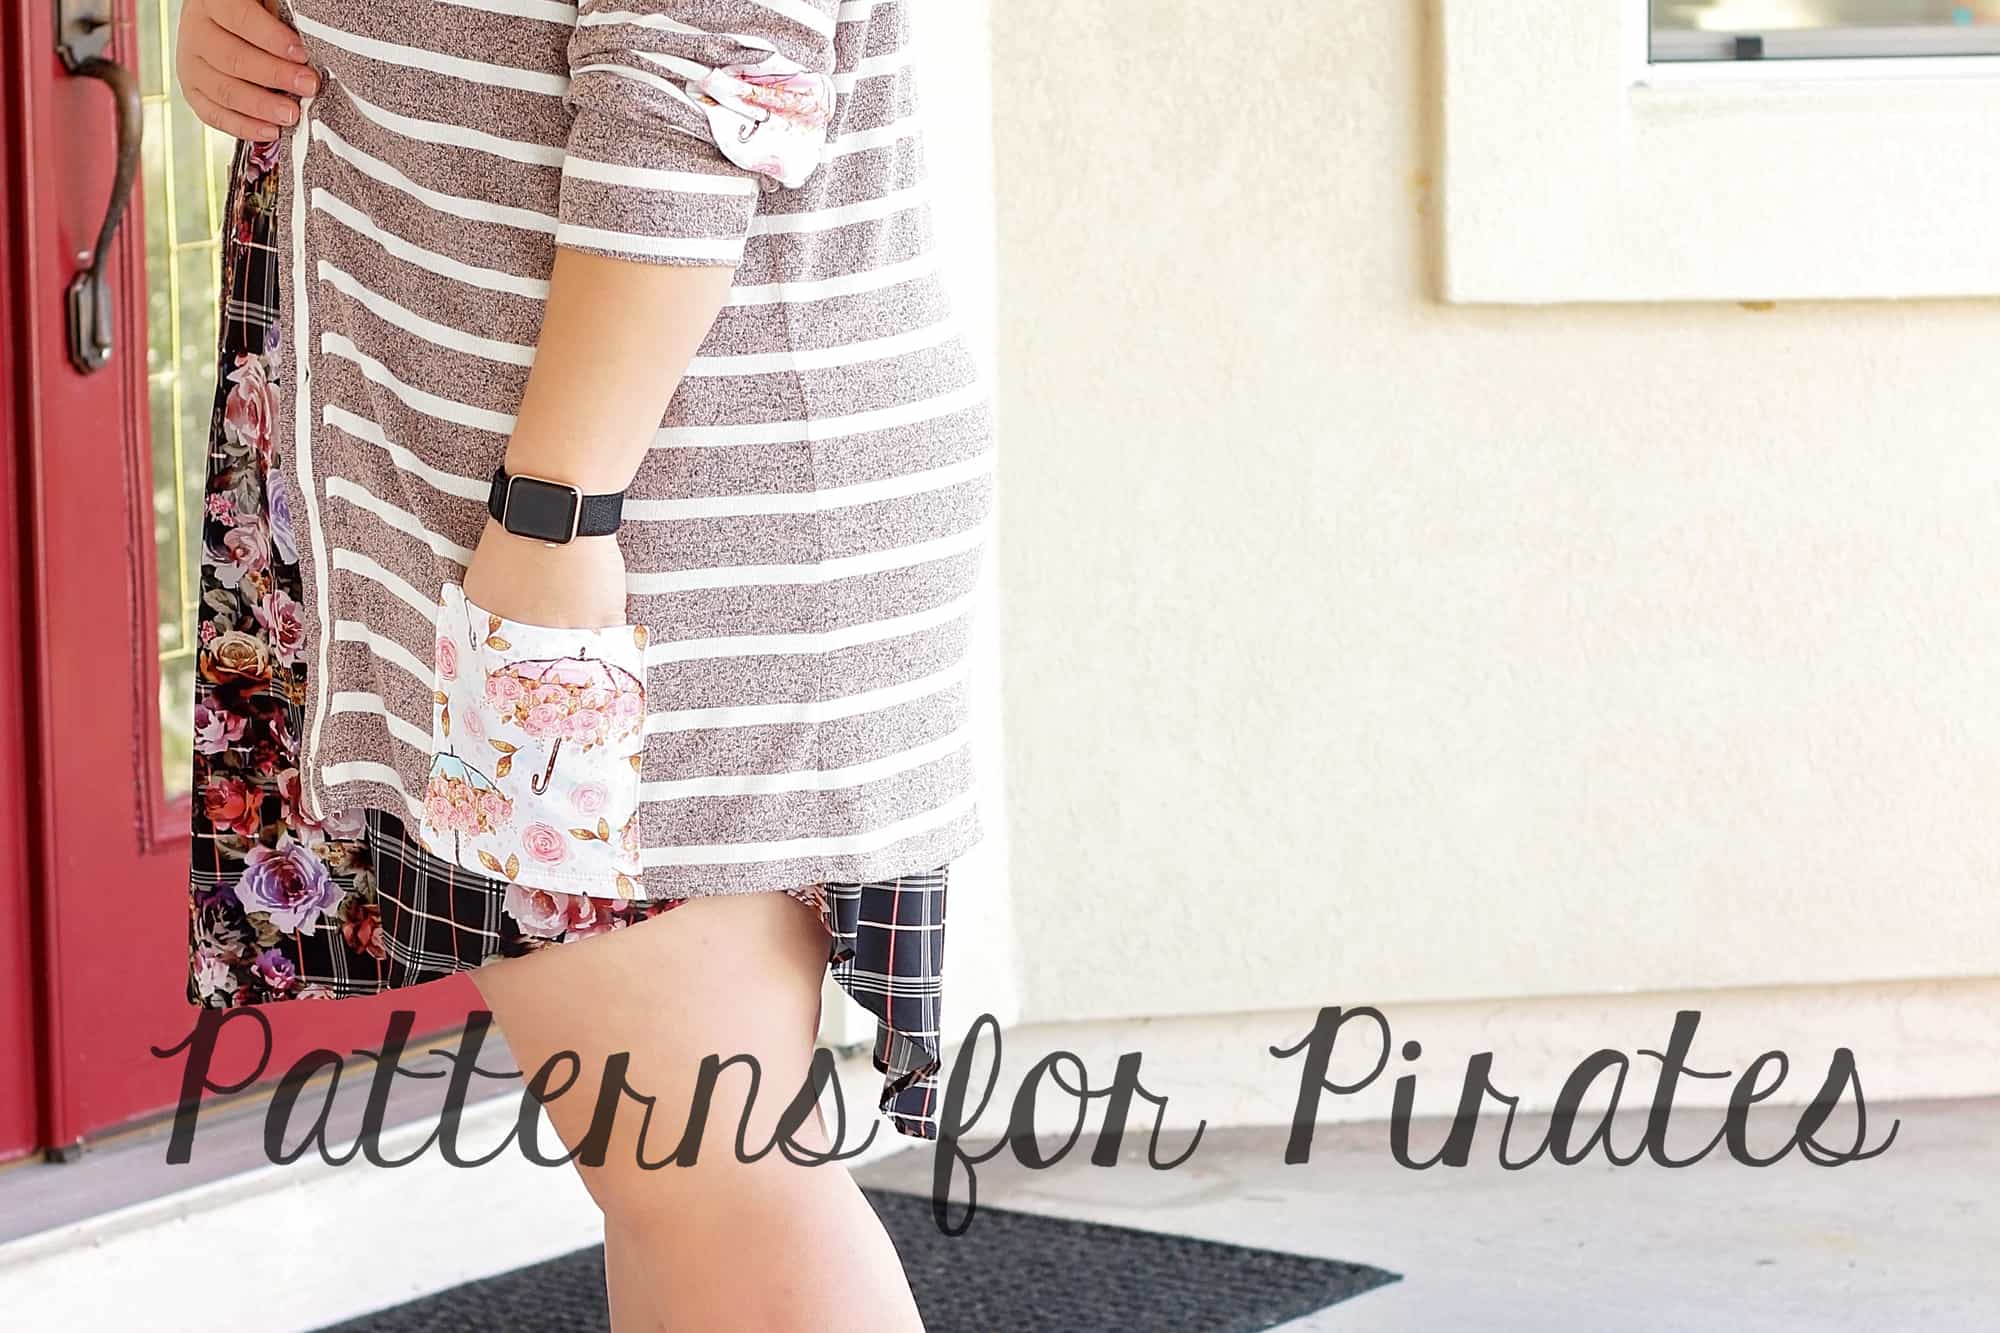
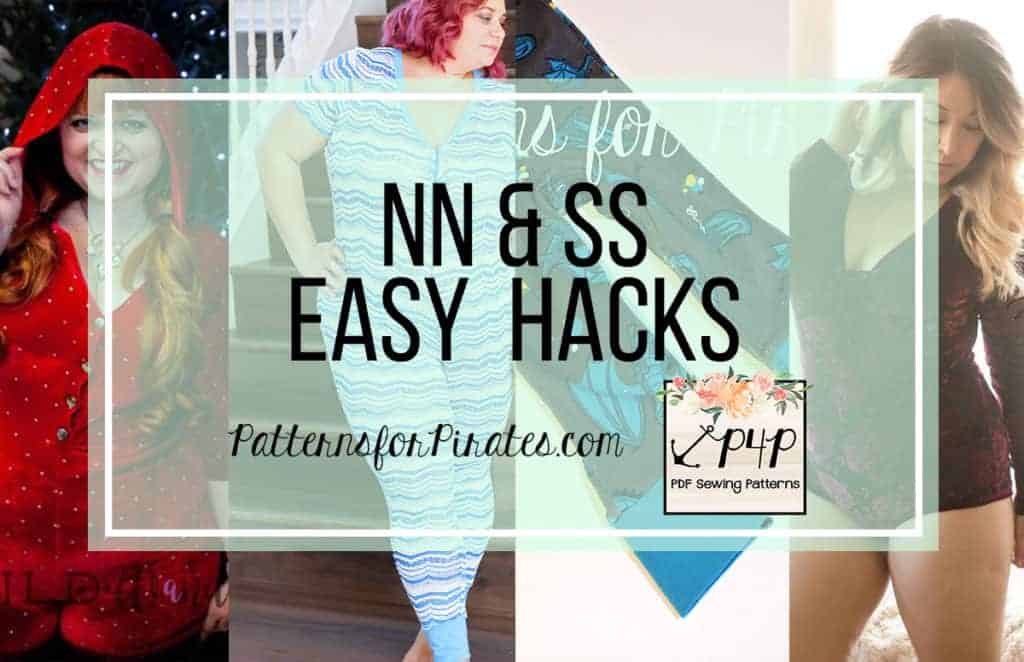
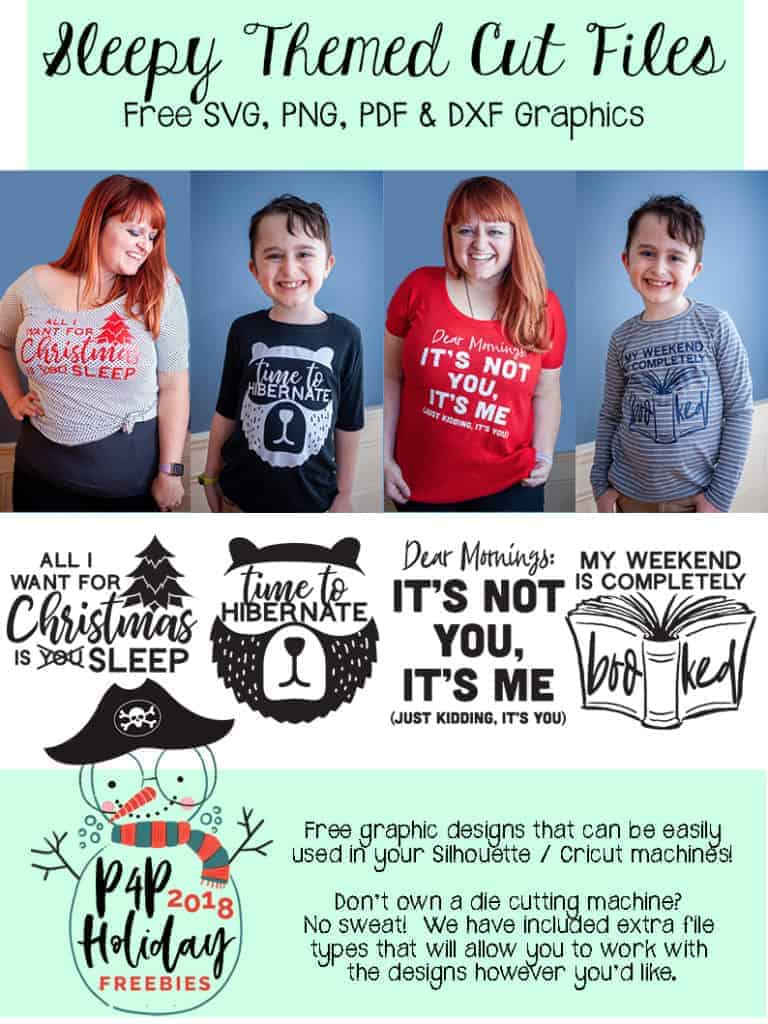
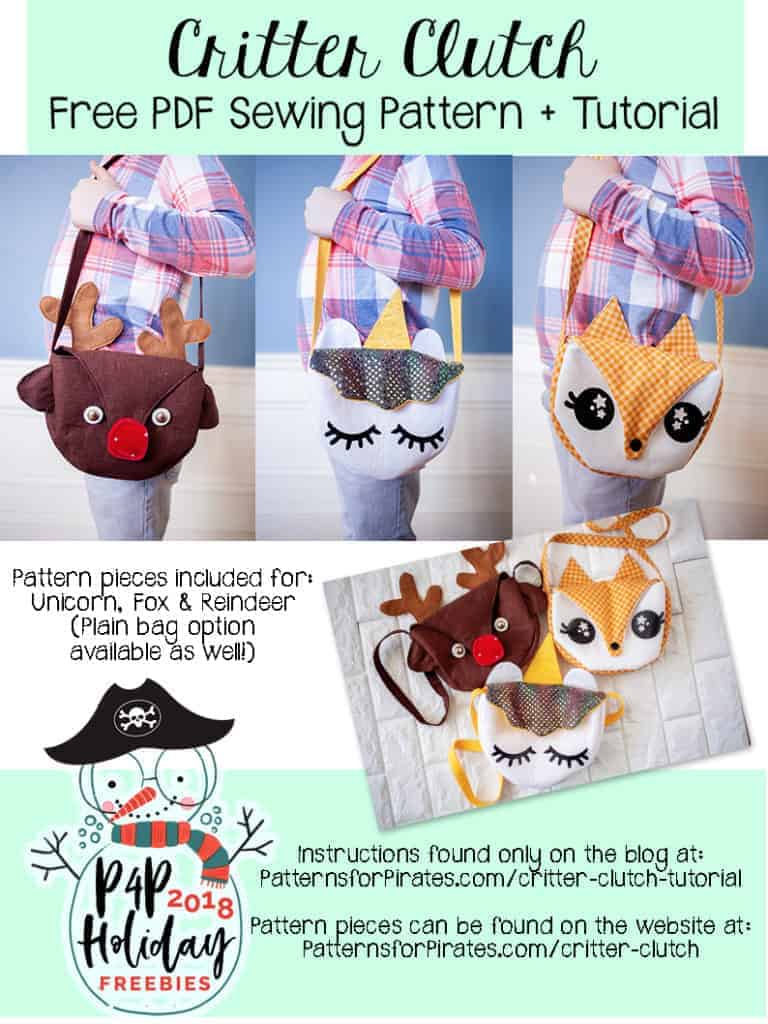
Is there anything more fun than a pattern release day? Maybe when it’s not one pattern, but it’s THREE! We’ve got tees for the whole family, y’all!


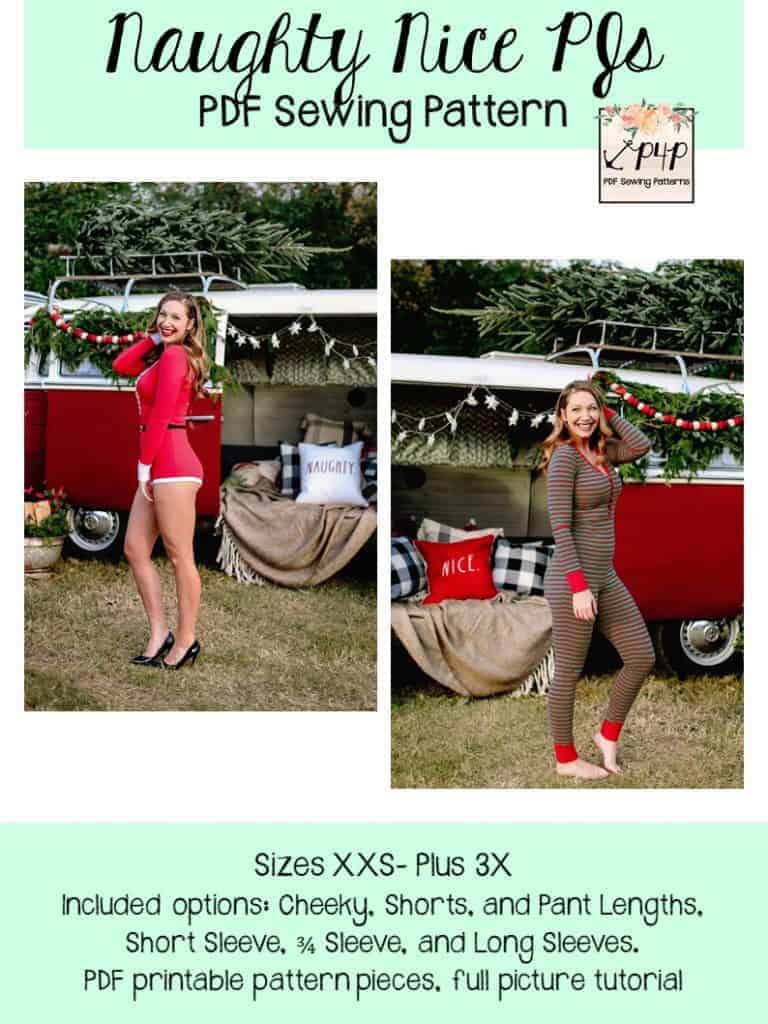
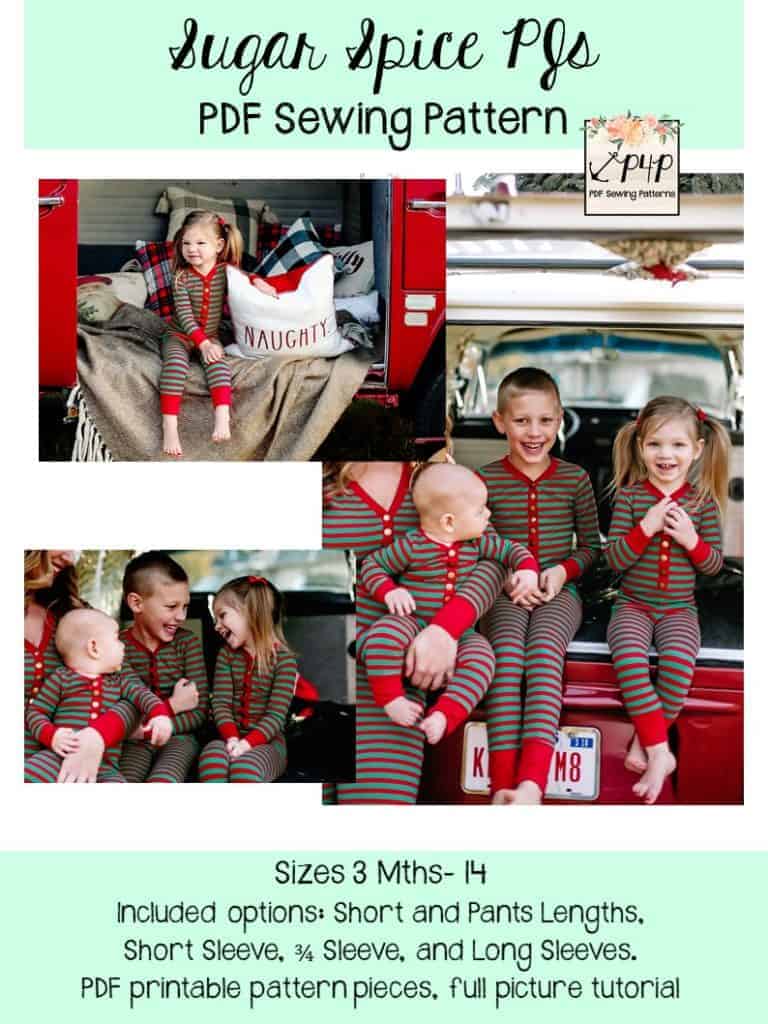
The patterns are drafted for knit fabrics and are each packed full of options.
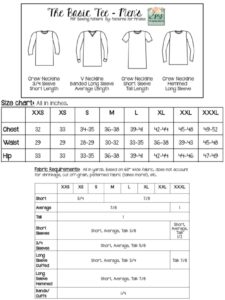
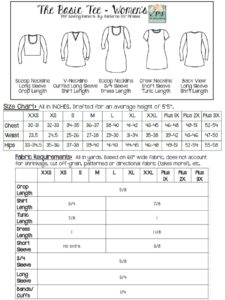
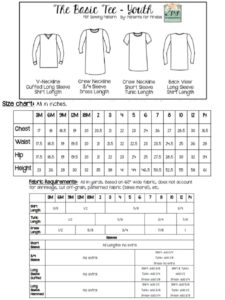
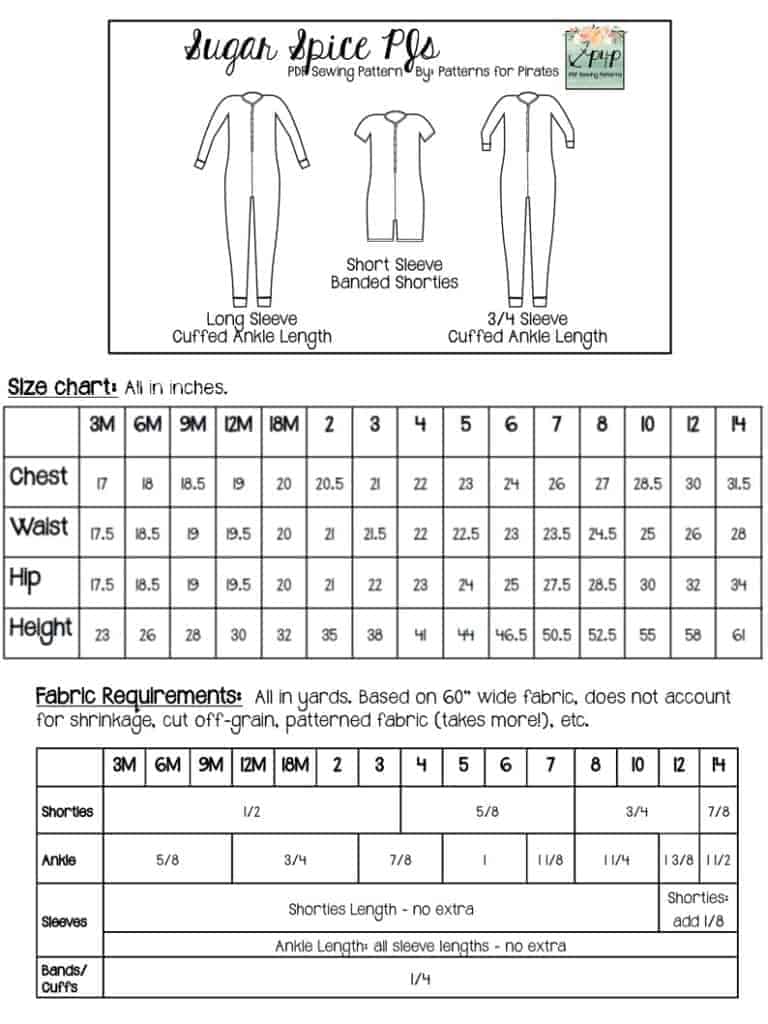
**Want to learn more about how to measure yourself for these pattern? We’ve got you covered with an in-depth blog HERE. And in case you’re new to Patterns for Pirates and PDF patterns in general, we have a great blog full of new user tips HERE to help you get started! And, as with all of our current releases and updates, the pdfs now include our layers feature and can be found in Letter, A4 and A0 sizes.
Let’s give a quick rundown of the options!
-

- Short Sleeve

-

- 3/4 Sleeve

-

- Long Sleeve
-
- Short Sleeve

-
- 3/4 Sleeve

-

- Long Sleeve Cuffed

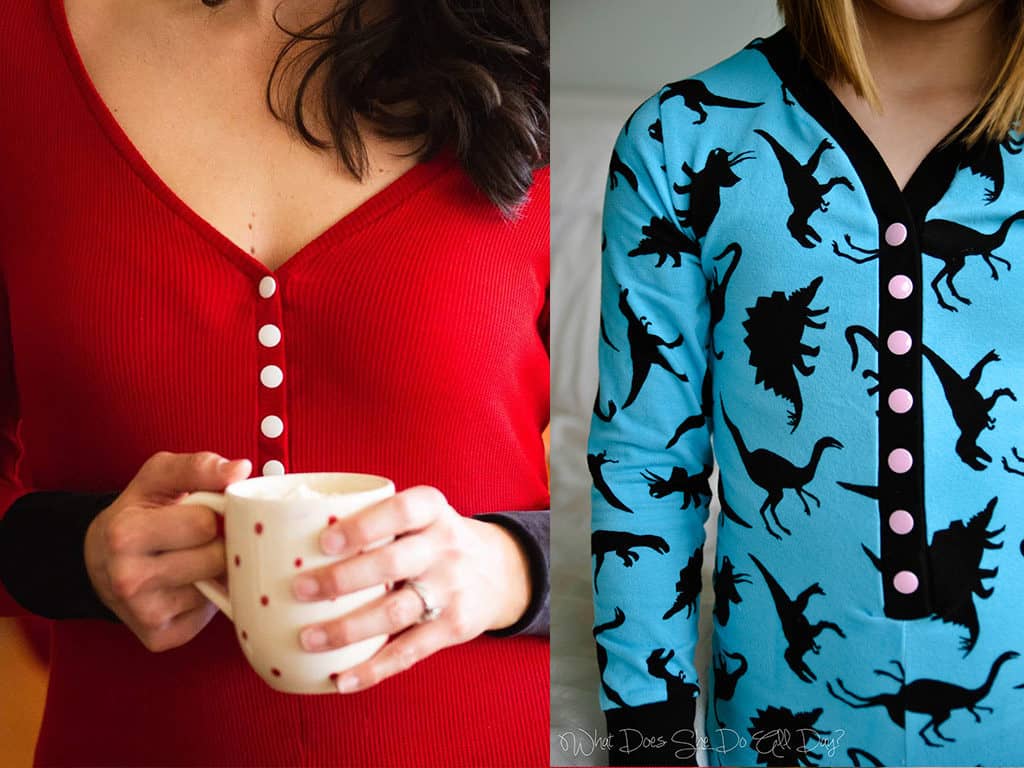
NECKLINE OPTIONS
-

- Crew

-
- V Neck

-
- Crew

-

- Scoop

-
- V Neck

-

- Crew

-
- V Neck

HEM LENGTHS
-
- Shirt

-
- Tunic

-
- Dress

-
- Crop

-
- Shirt

-
- Tunic

-
- Dress

Are you ready to make your new favorite shirts for yourself and/or the family? What are you waiting for?
THE BASIC TEE – Women’s | THE BASIC TEE – Men’s | THE BASIC TEE – Youth | THE BASIC TEE – Bundle
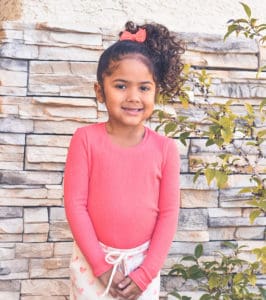
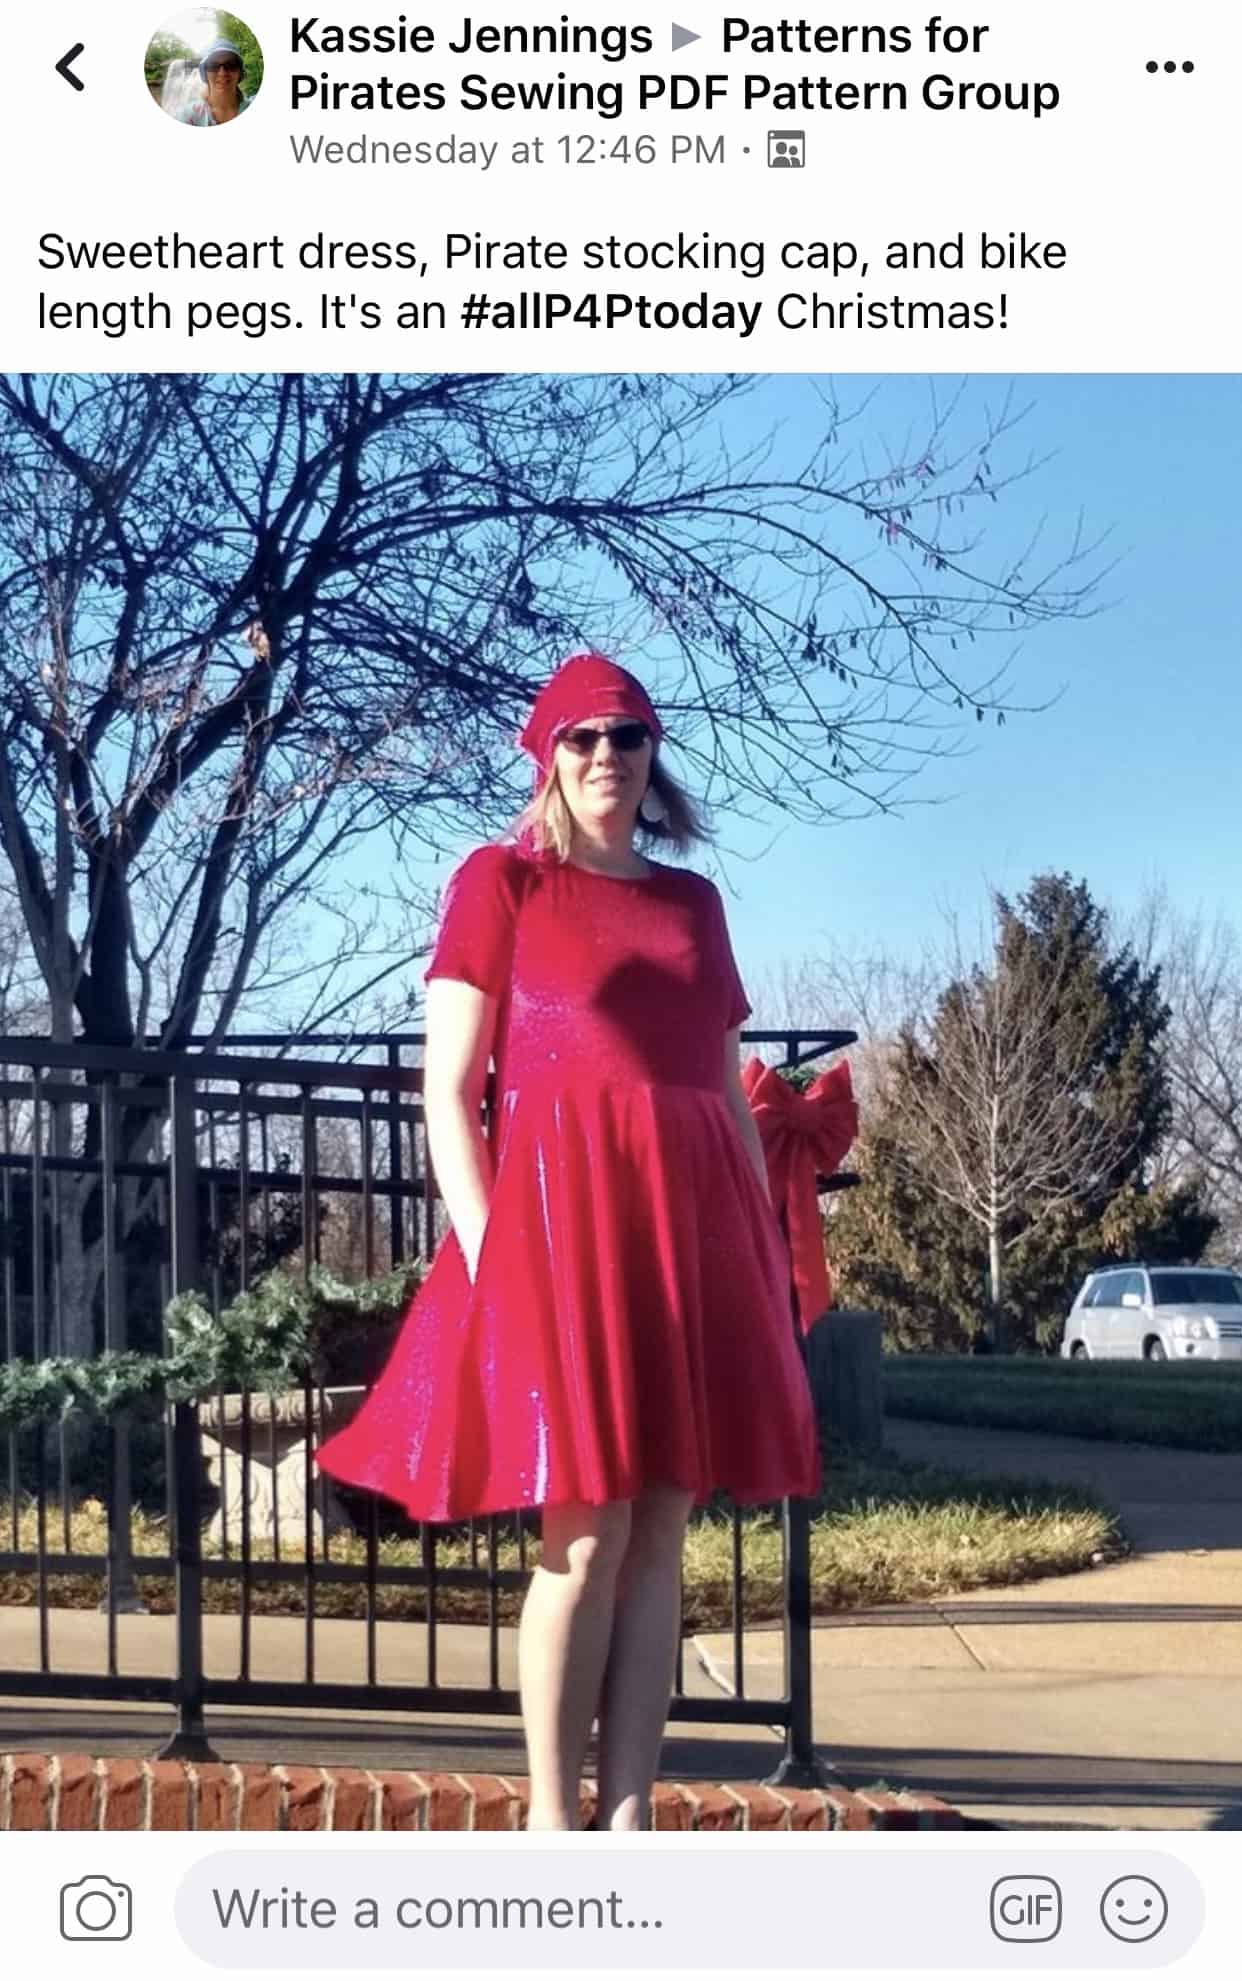
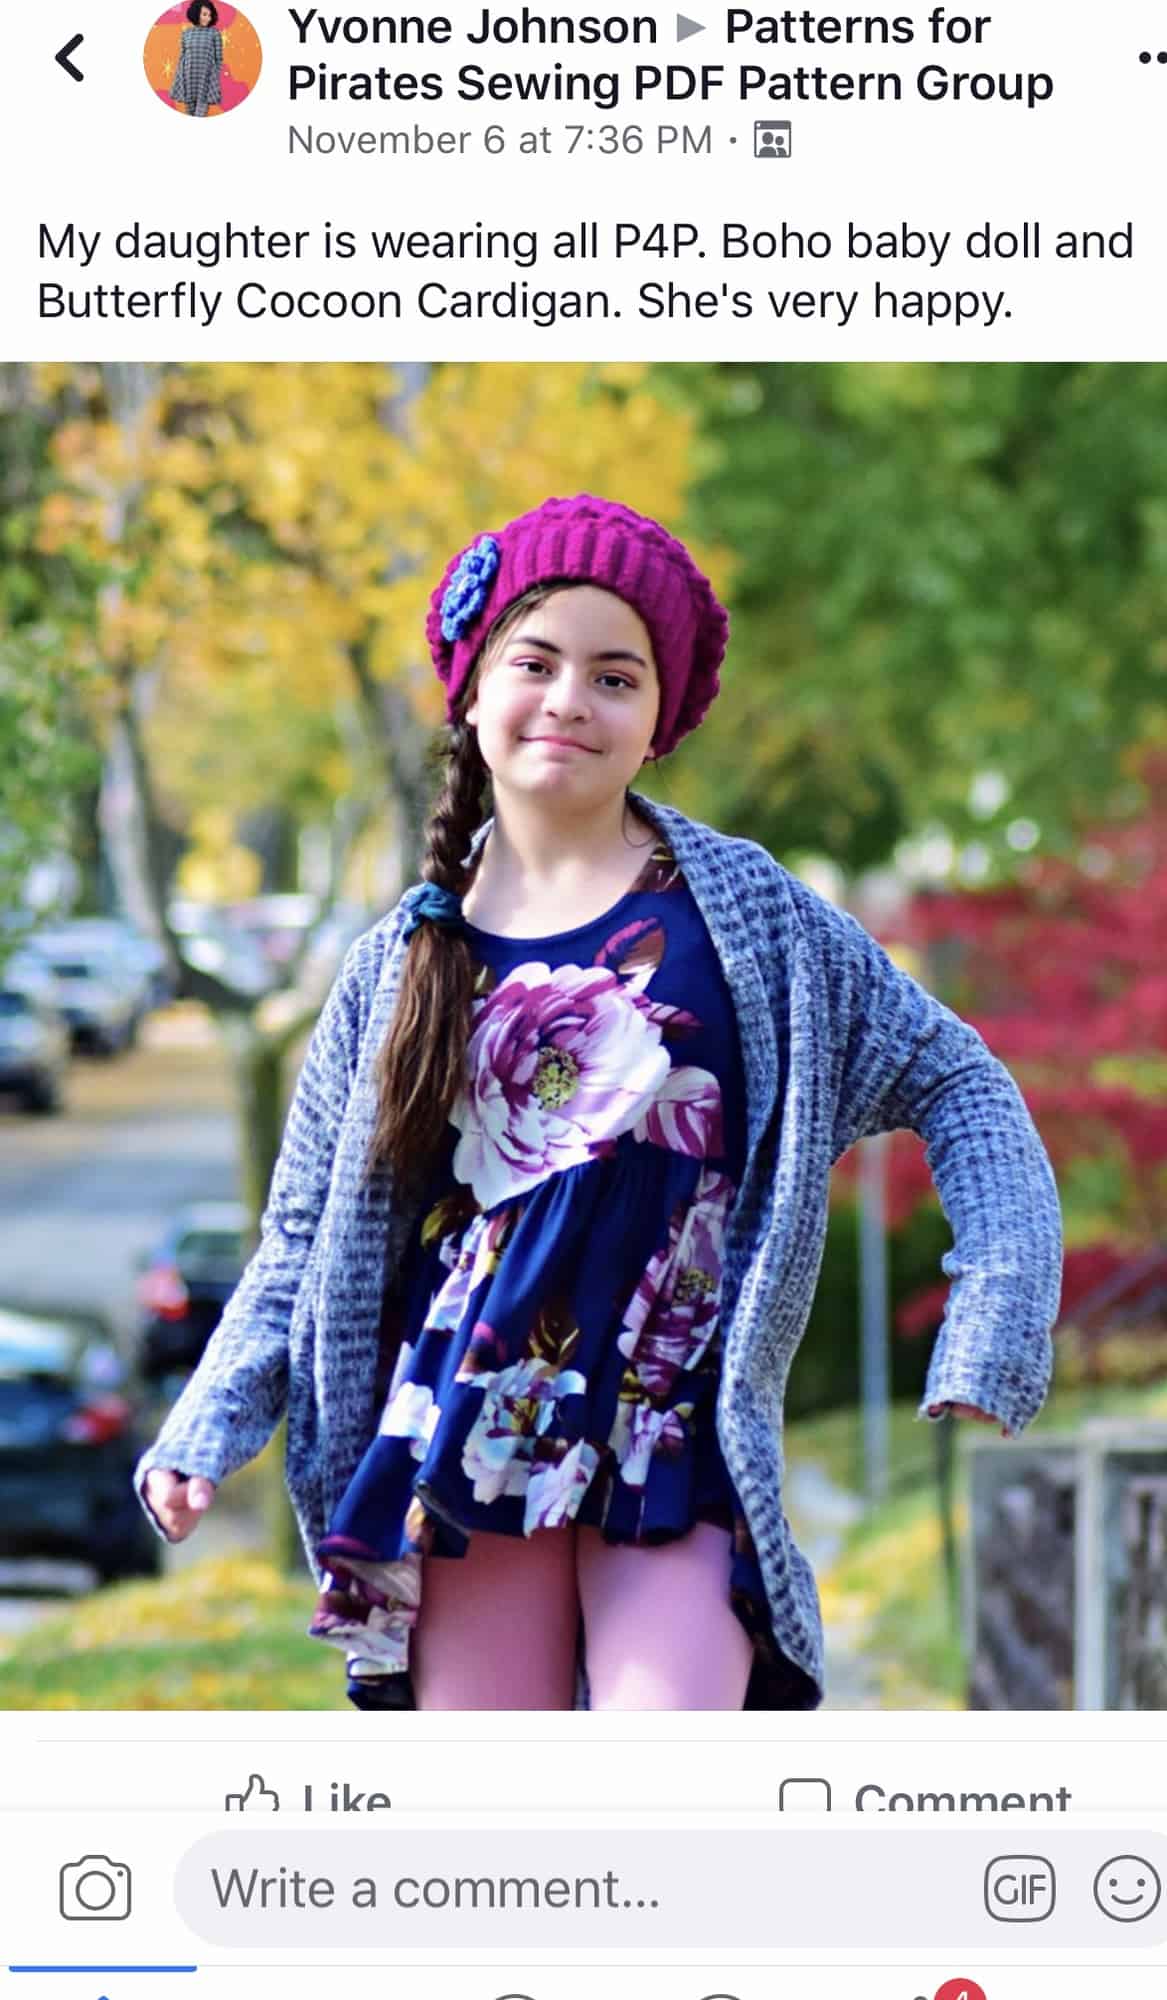
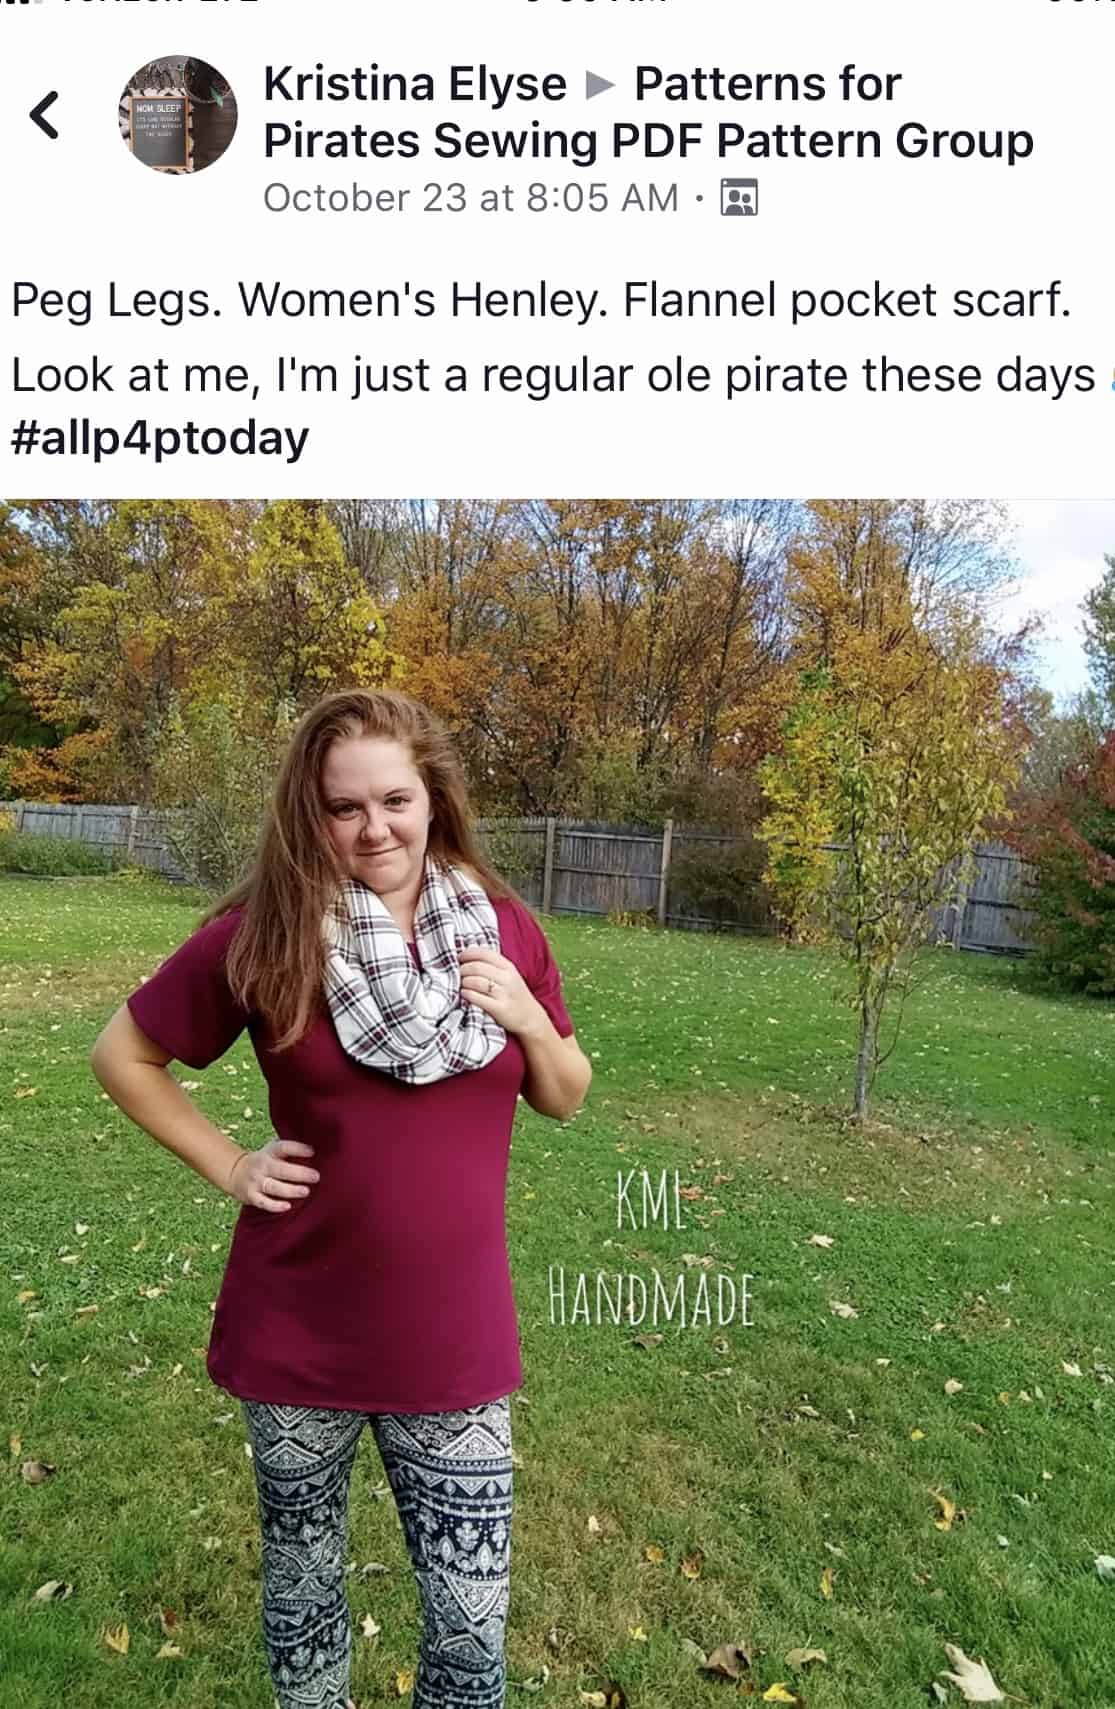
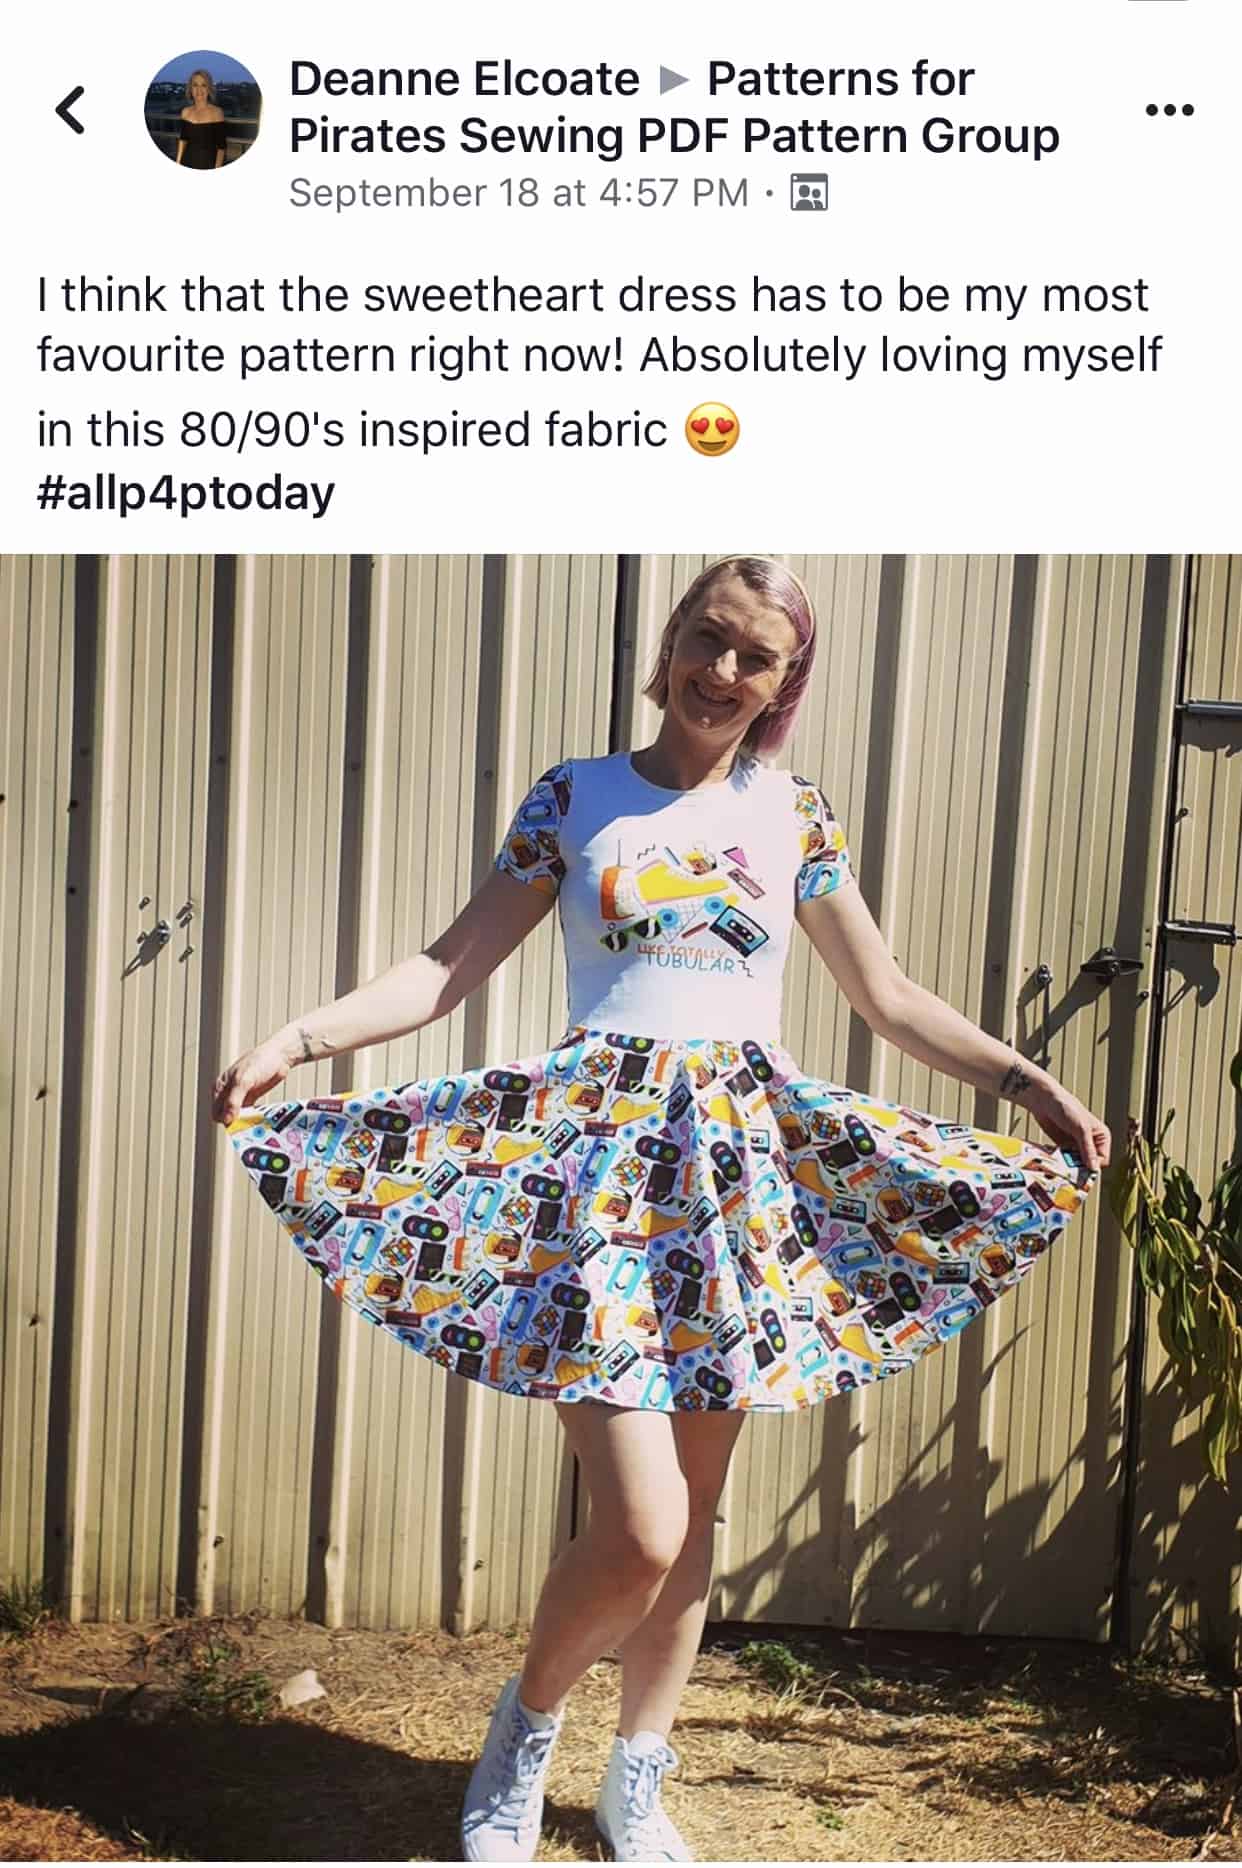
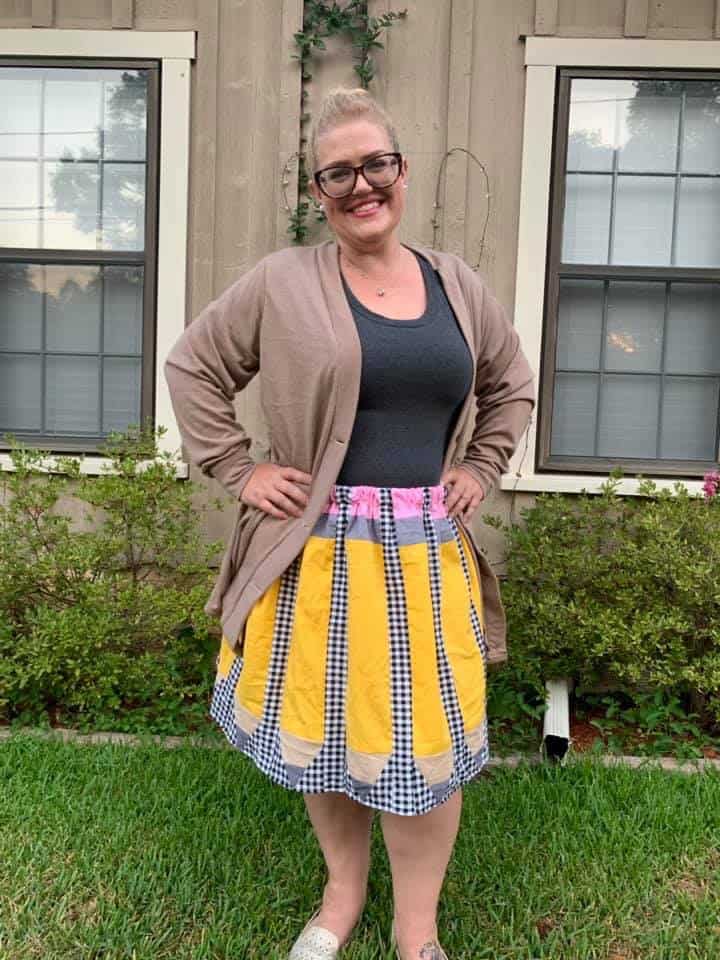
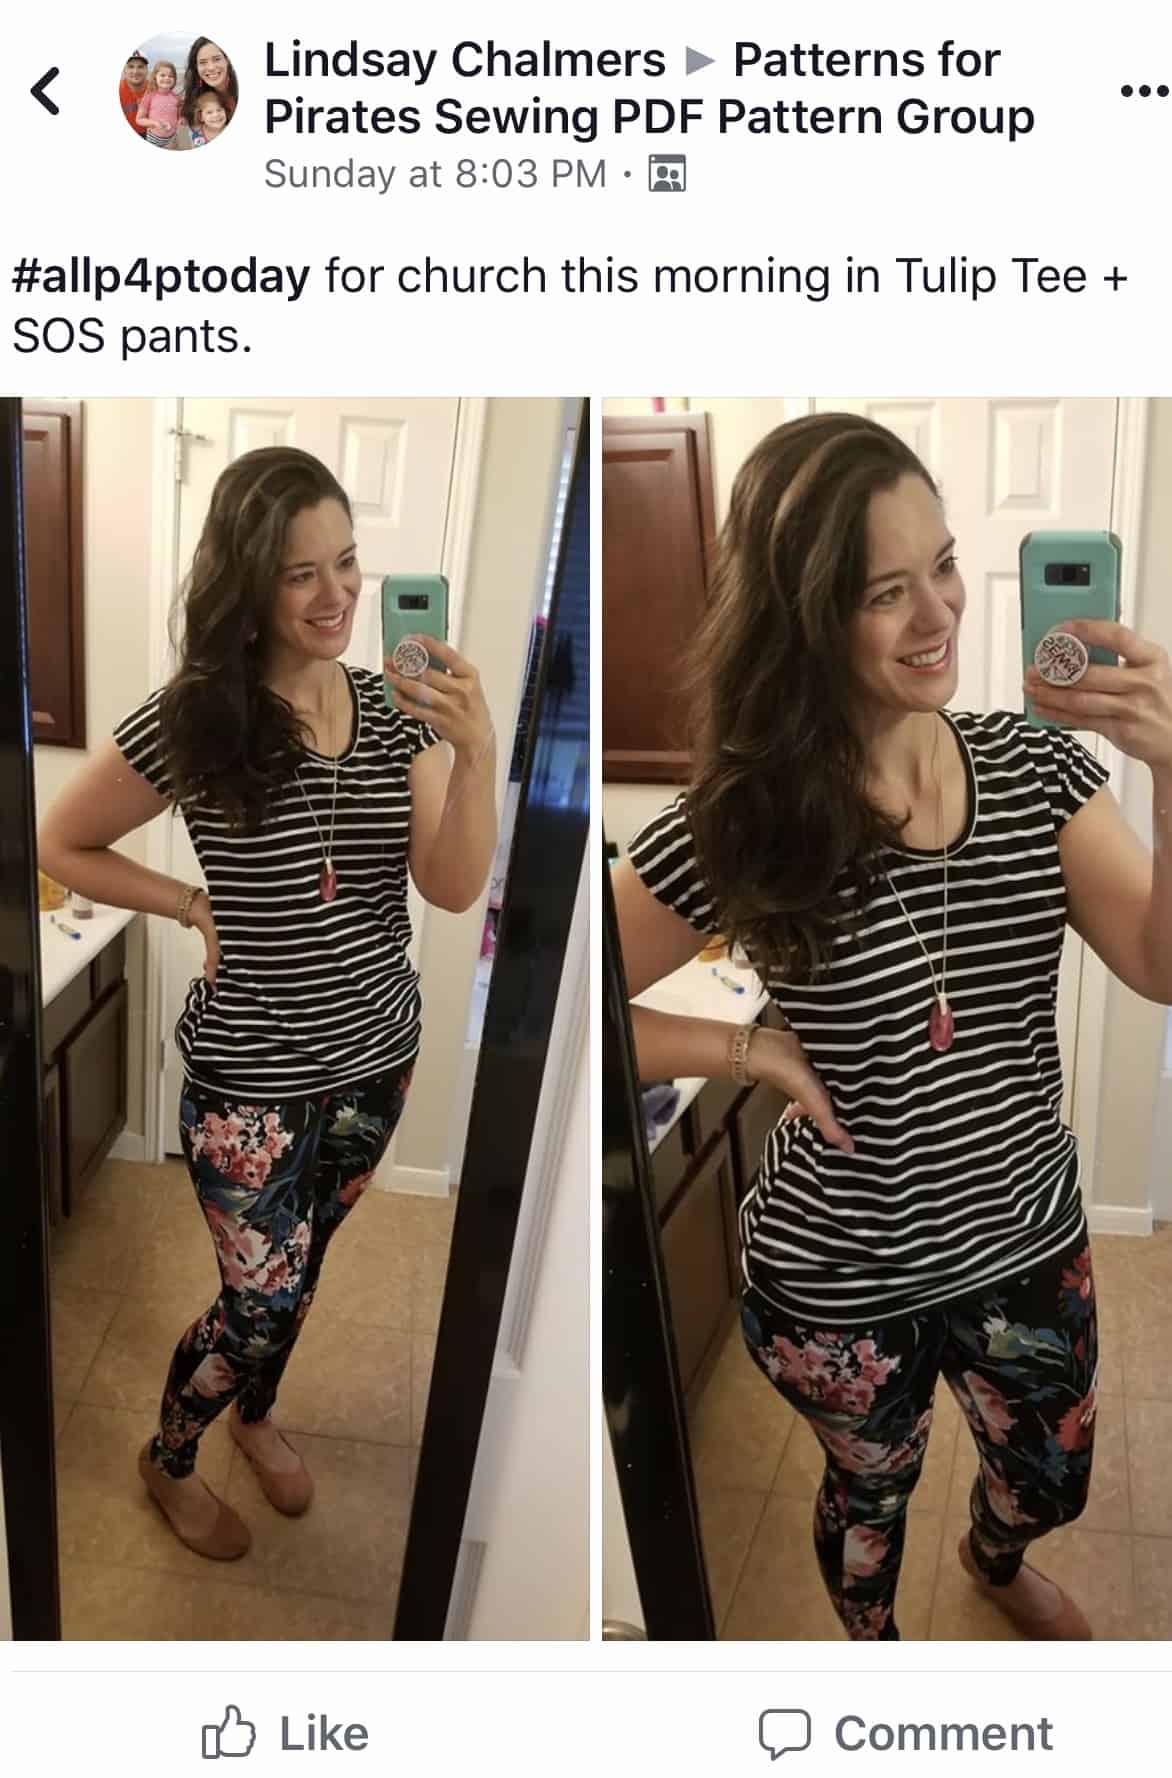
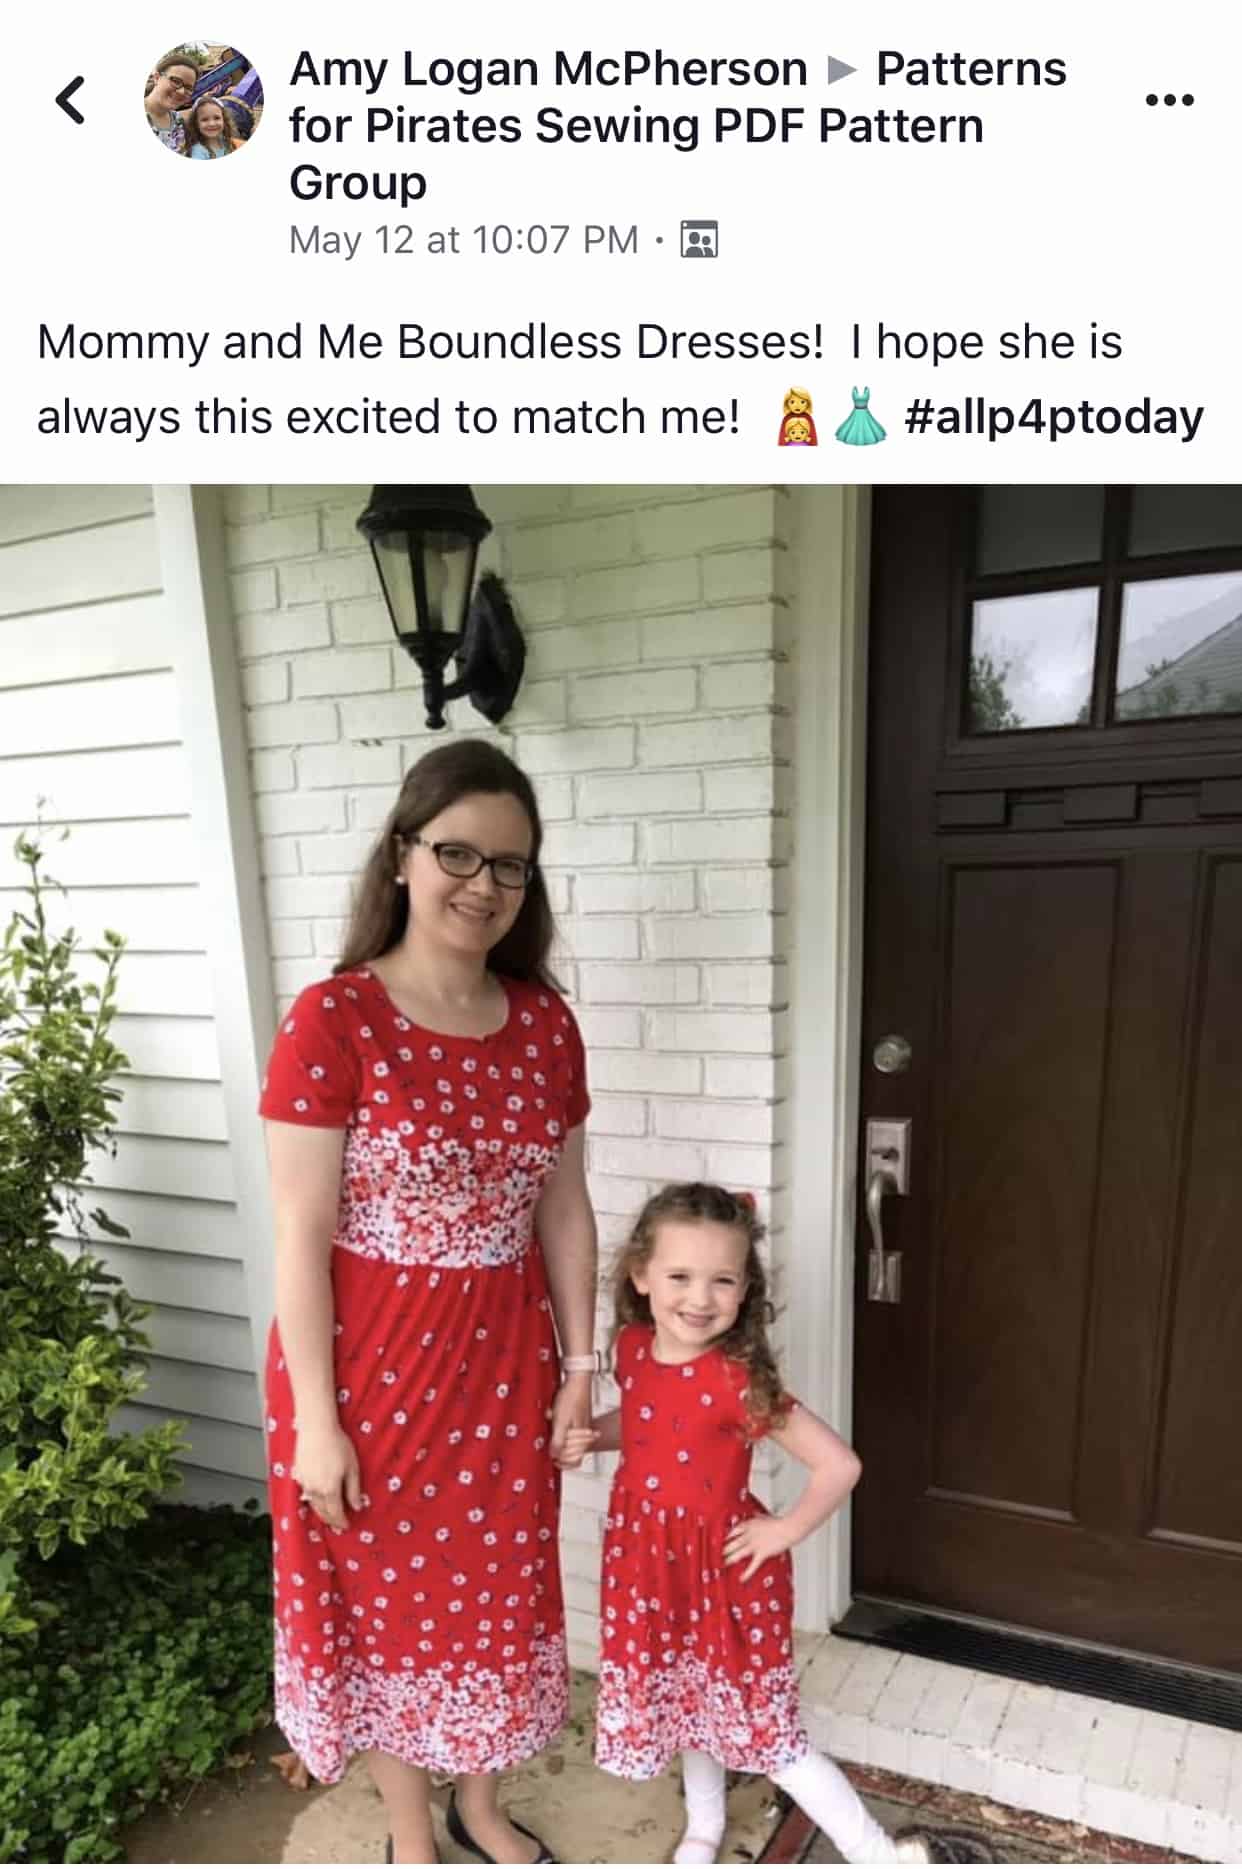
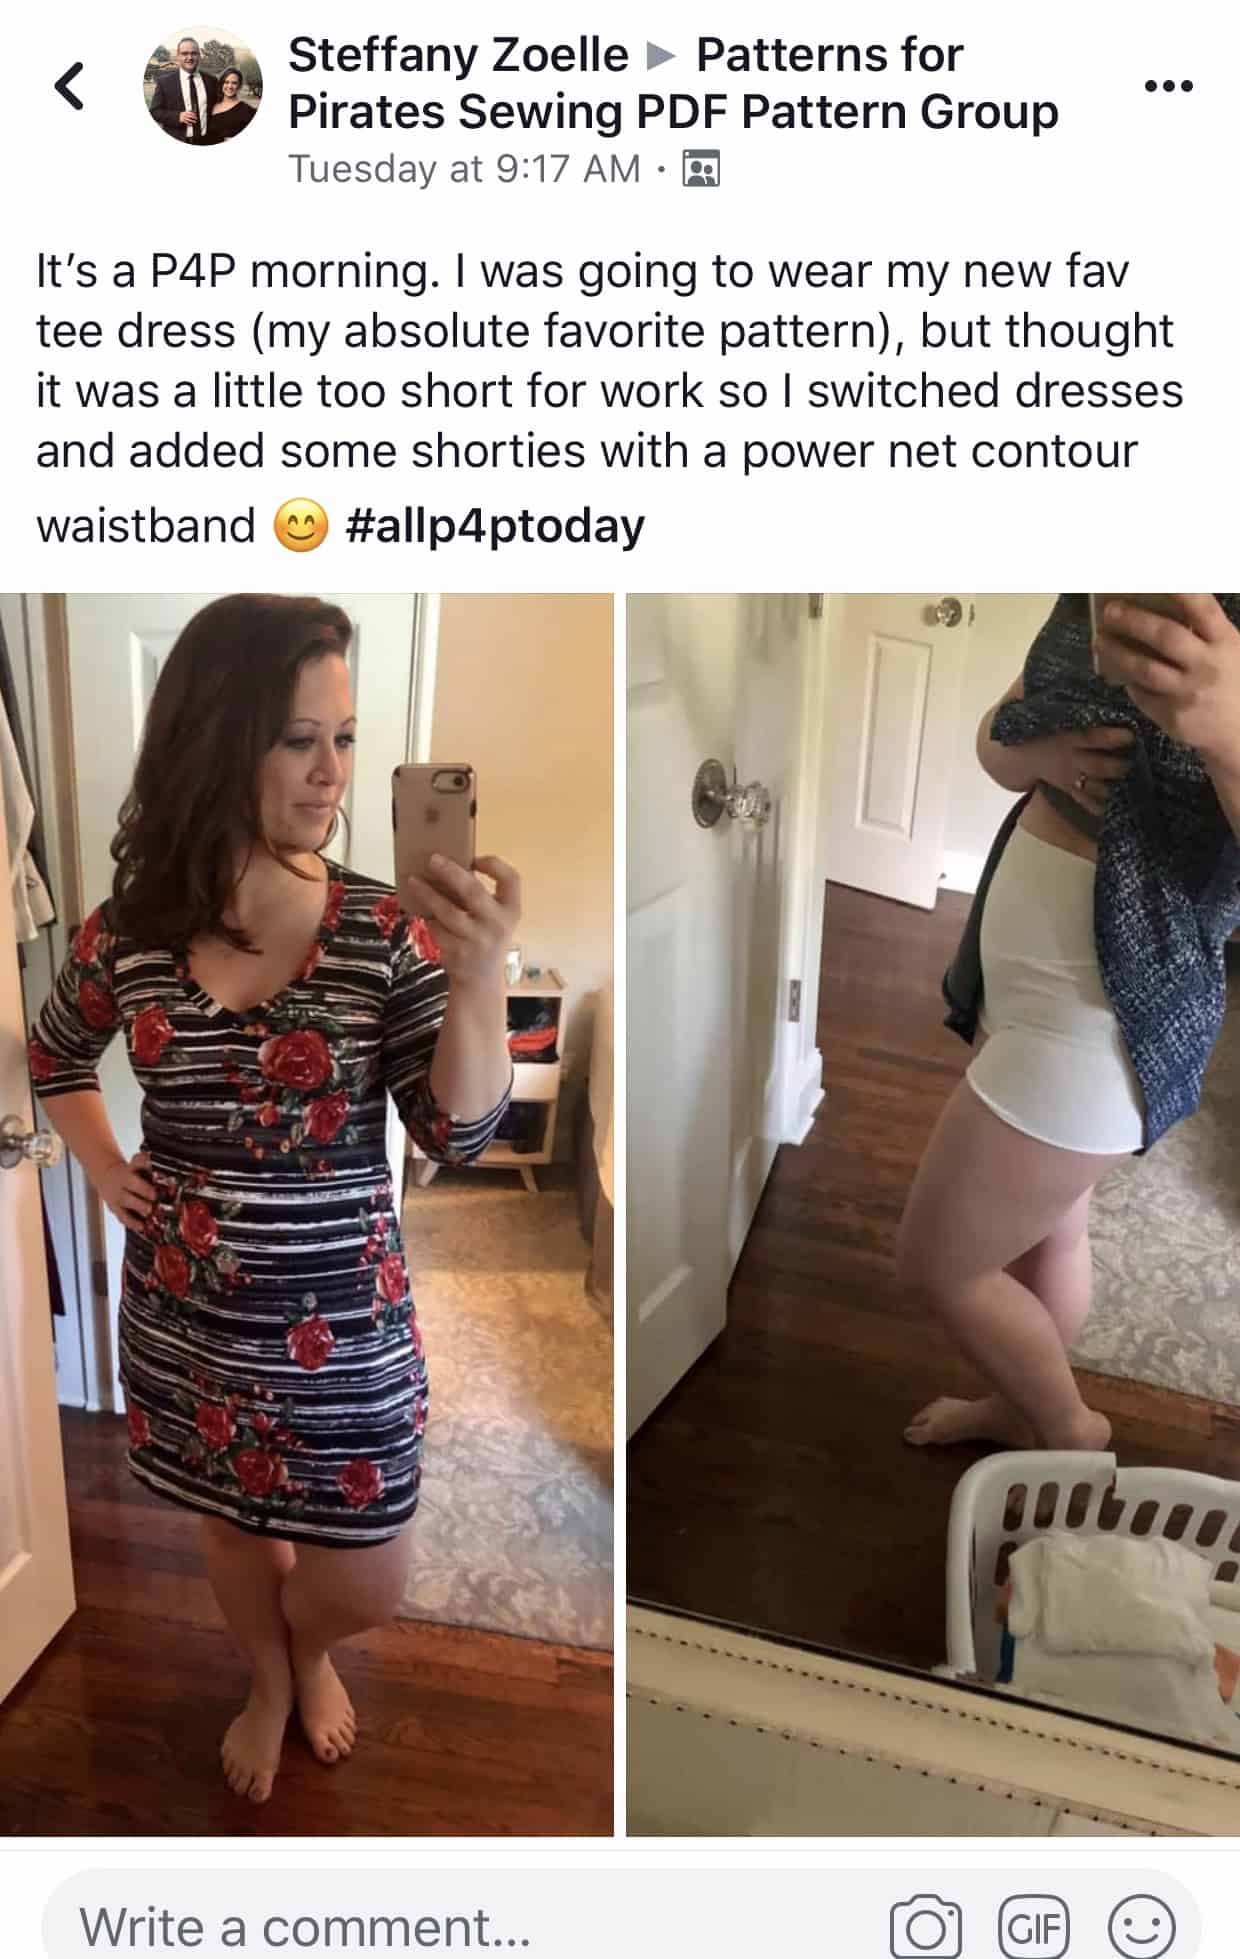
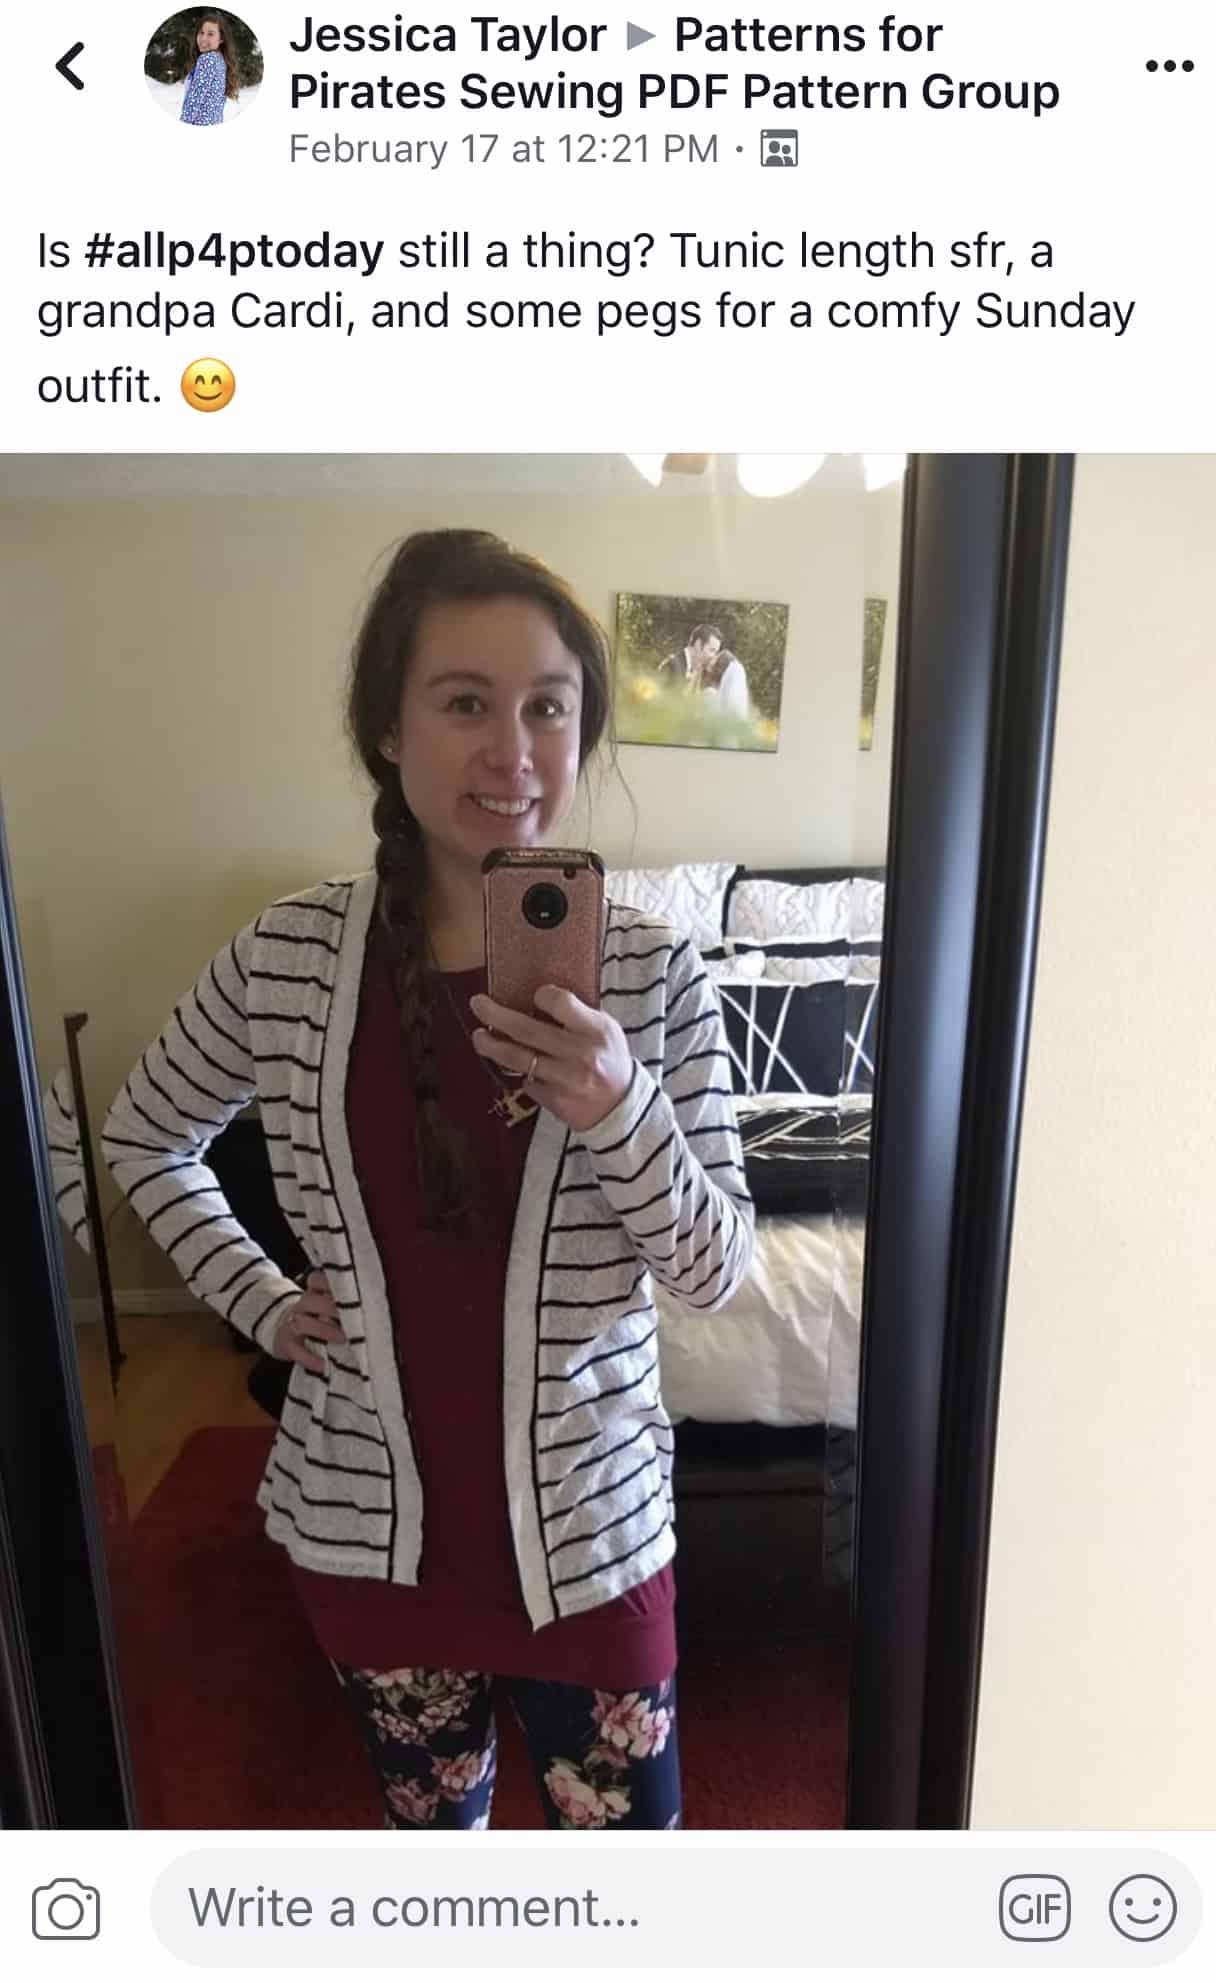
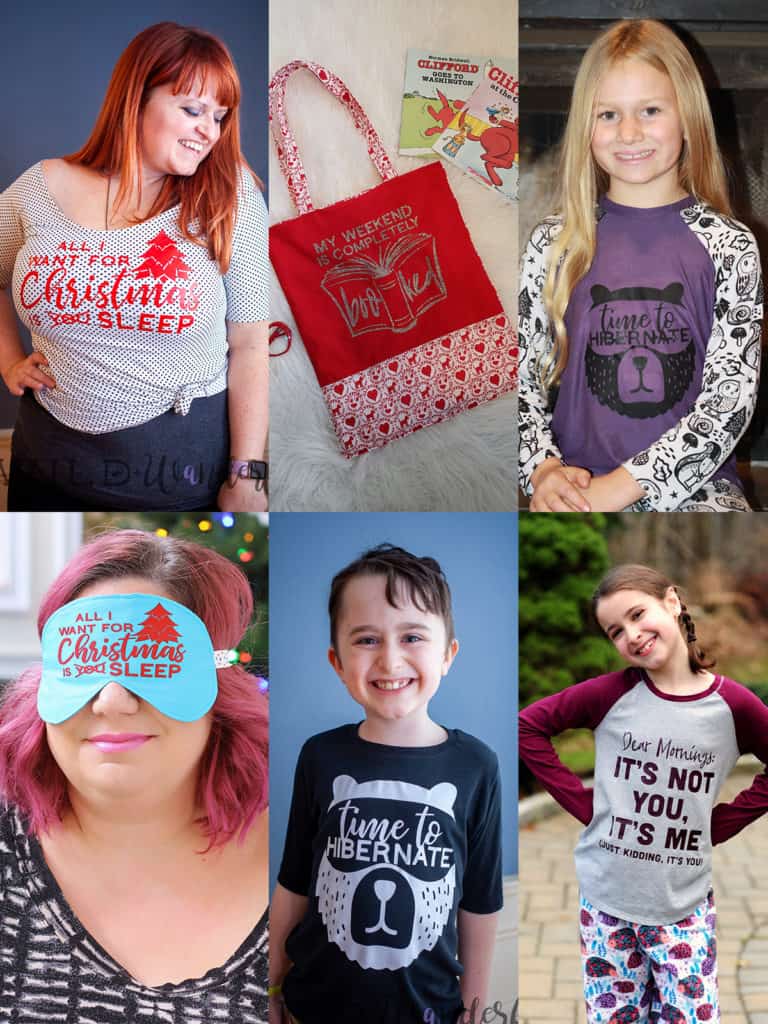
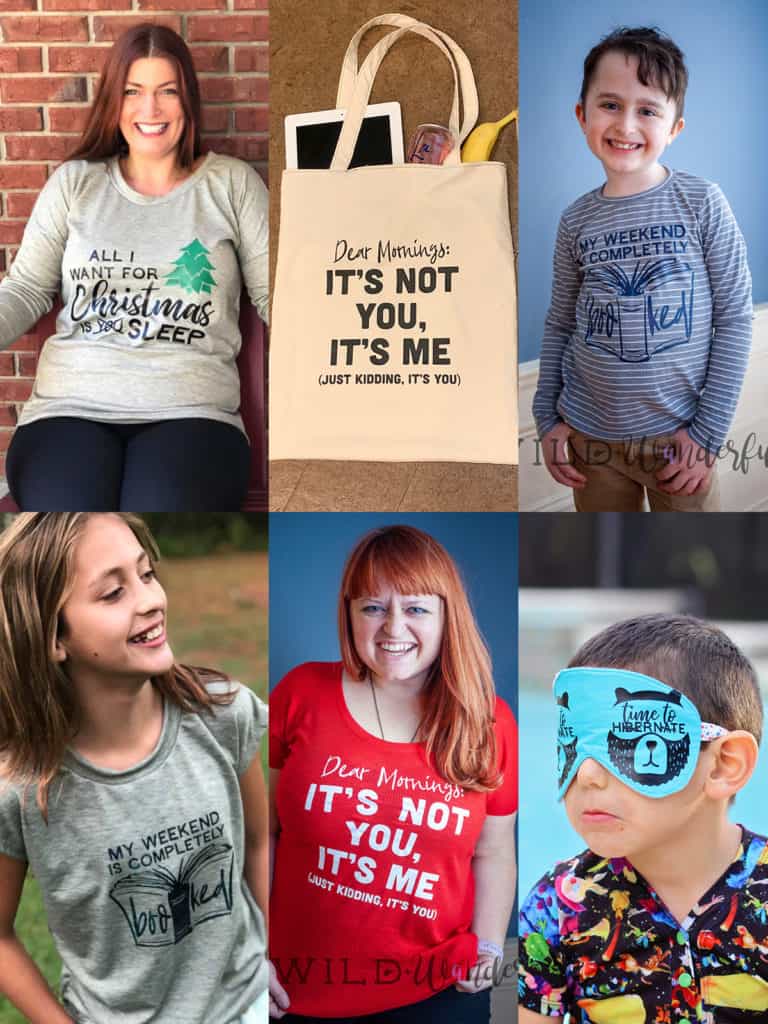
Need more convincing? Just take a look at this pattern on all of the amazing shapes and sizes of our testers, and get a look at more examples of all the options in our albums in the P4P Facebook group! The Basic Tee: Men’s / Women’s / Youth
The release sale (no code needed) will be through Monday, February 11, 2019 (11:59PM US Central Time Zone).
Happy sewing, Pirates!


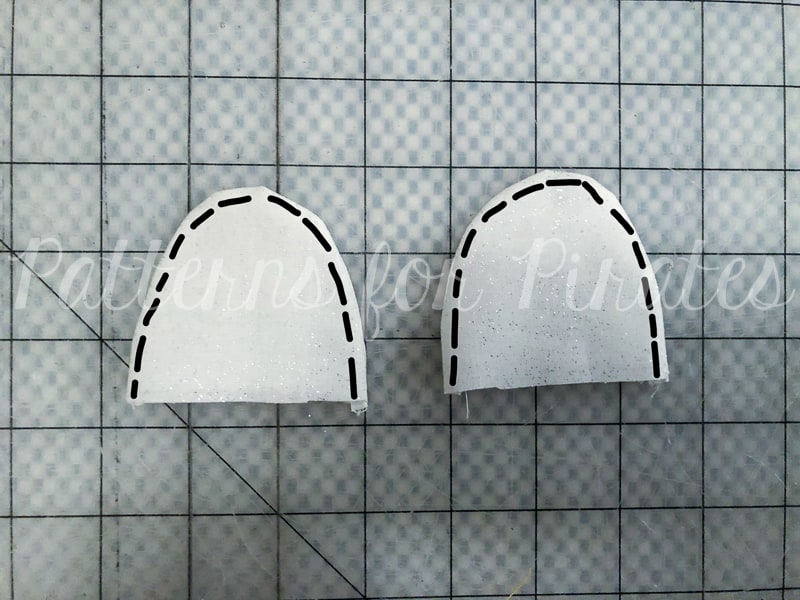
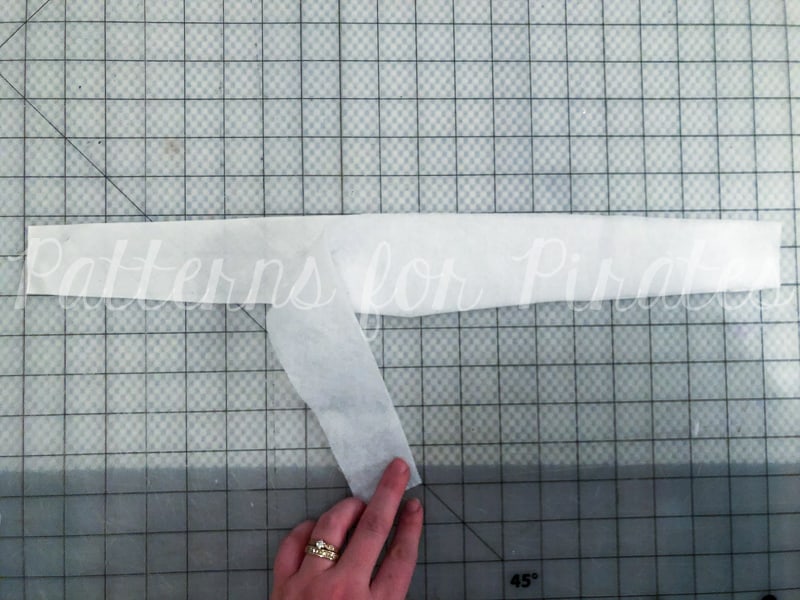
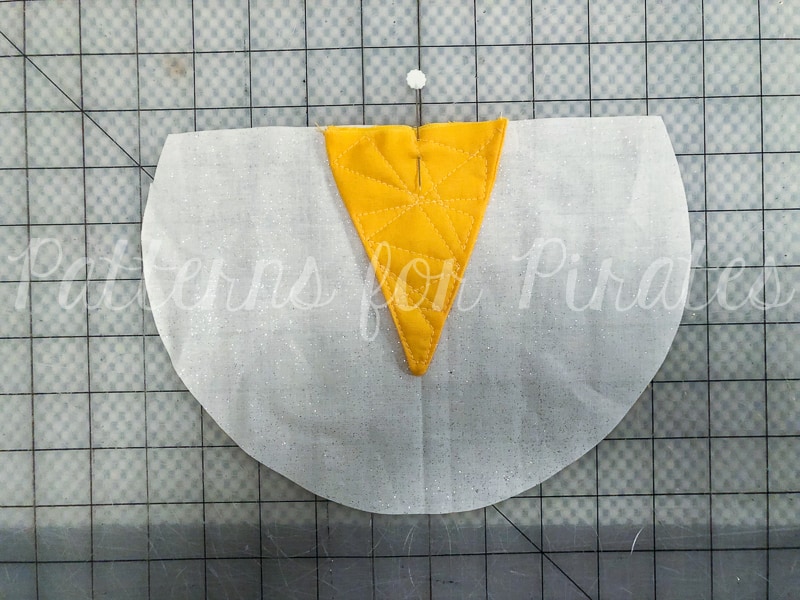
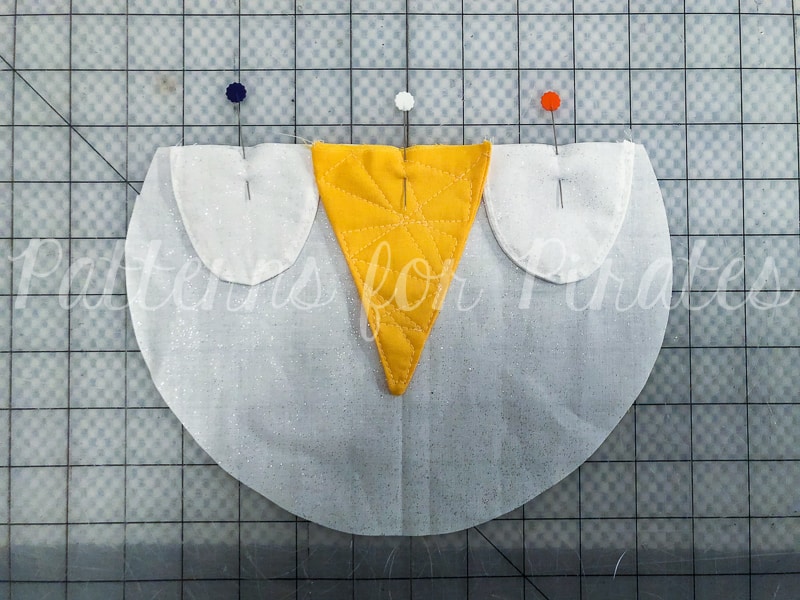
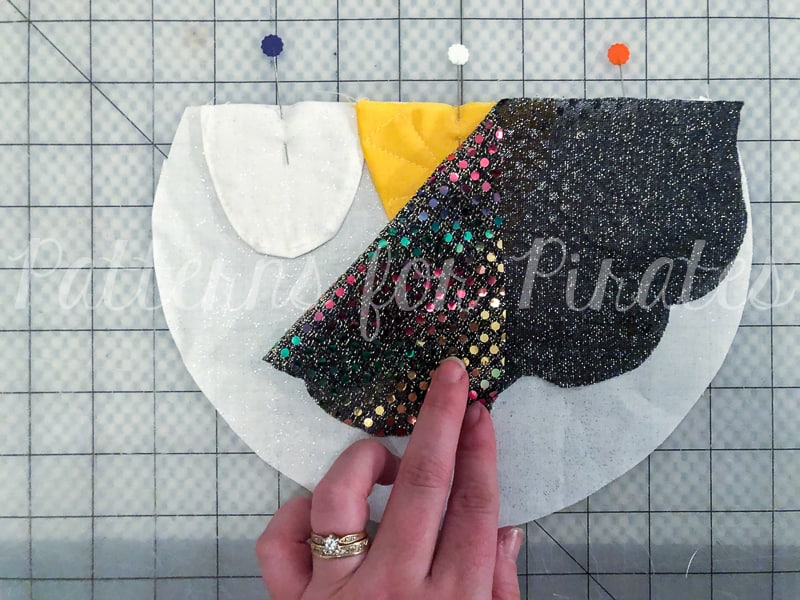
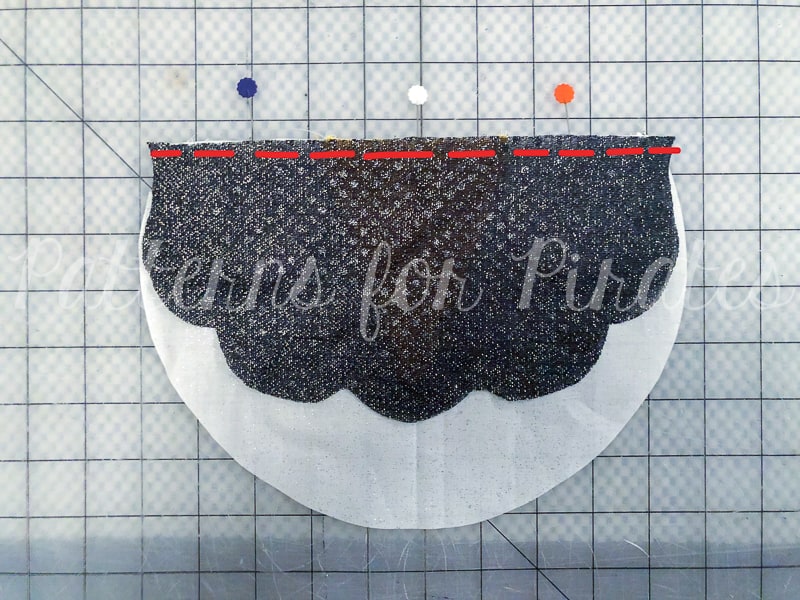
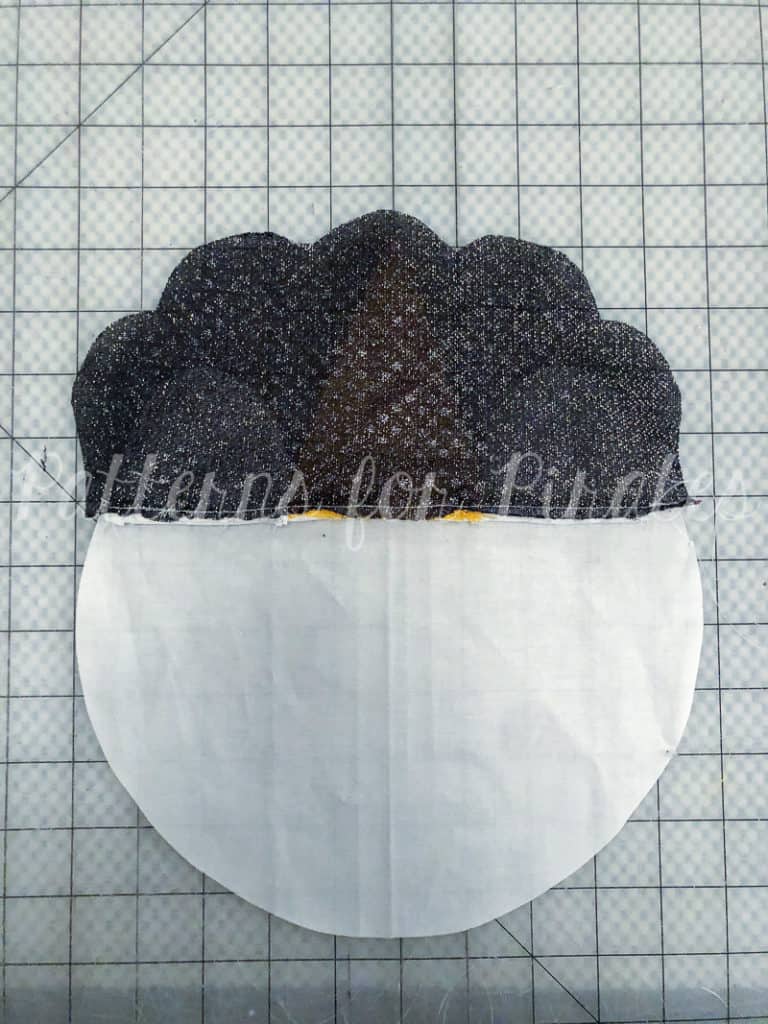
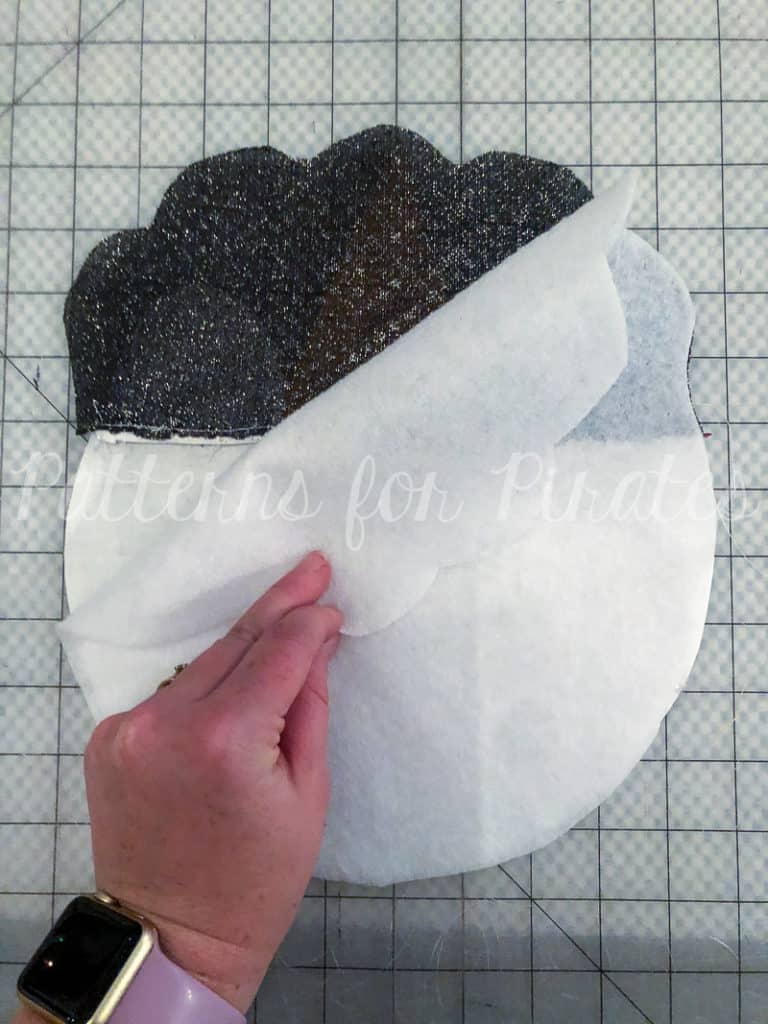
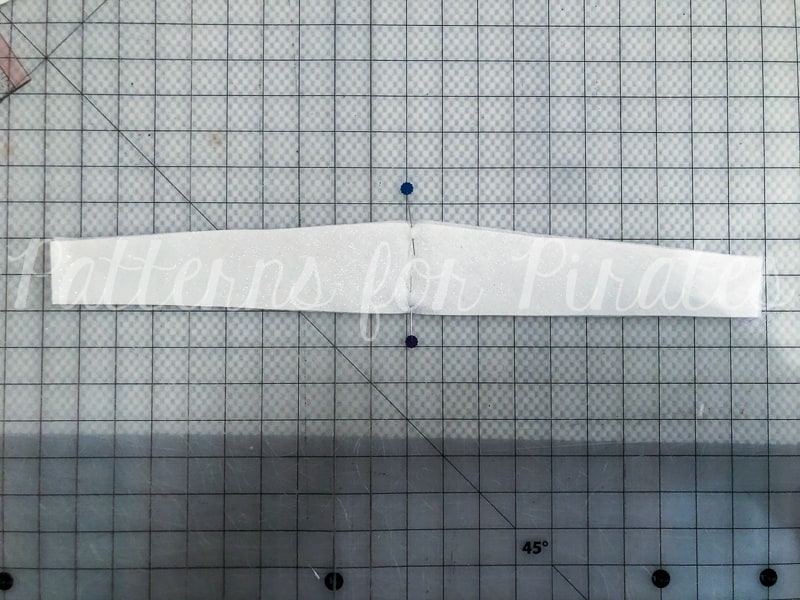
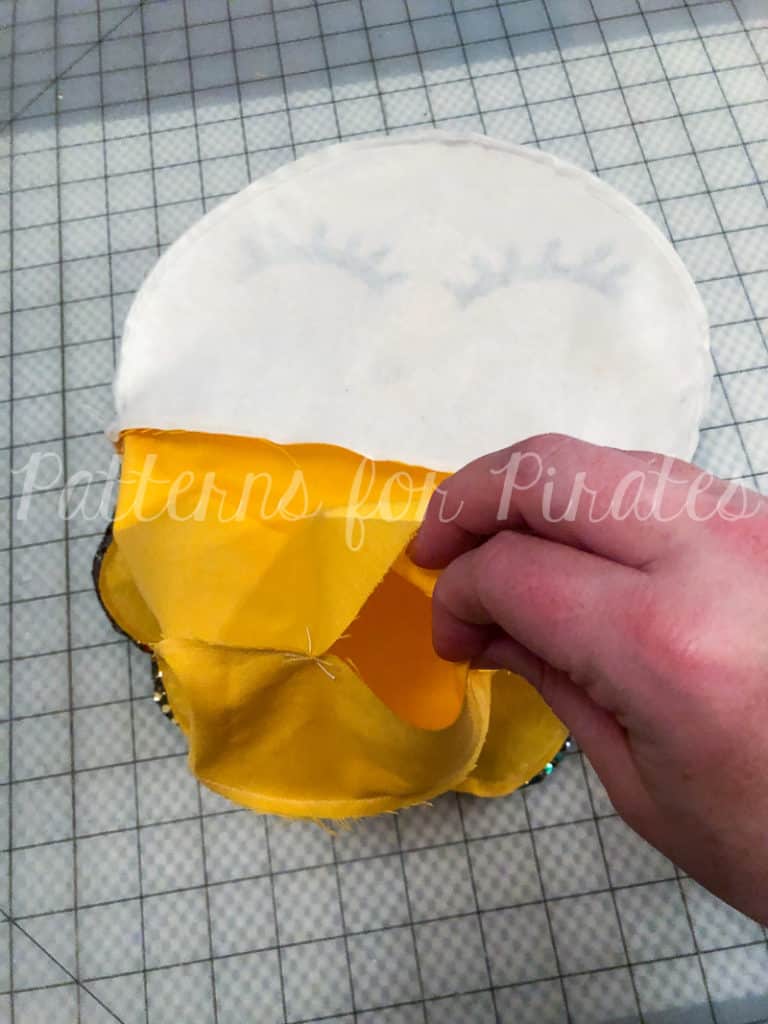
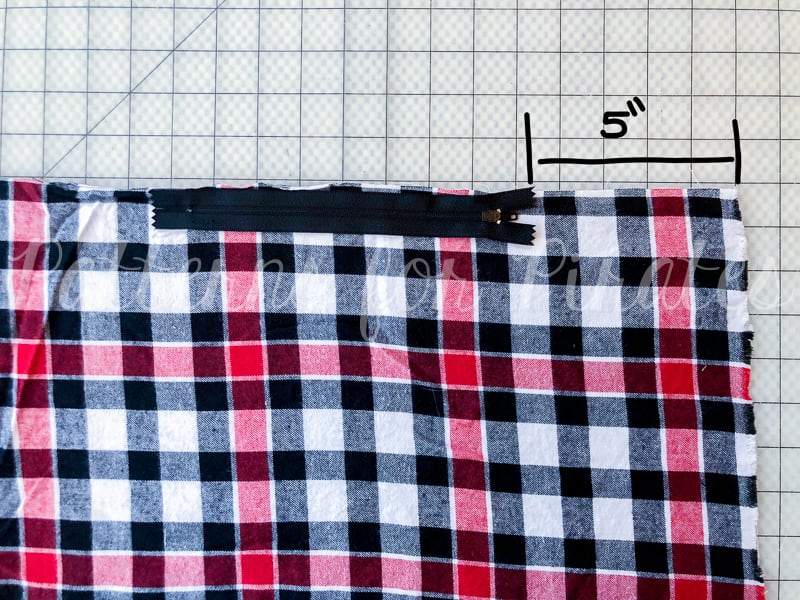
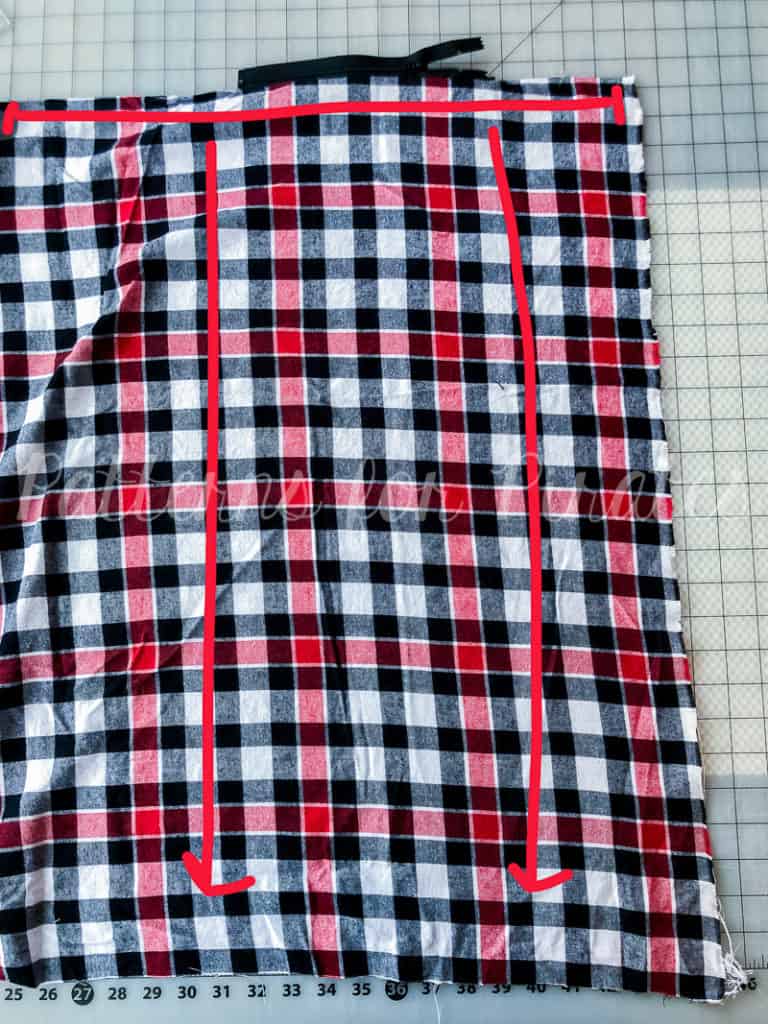
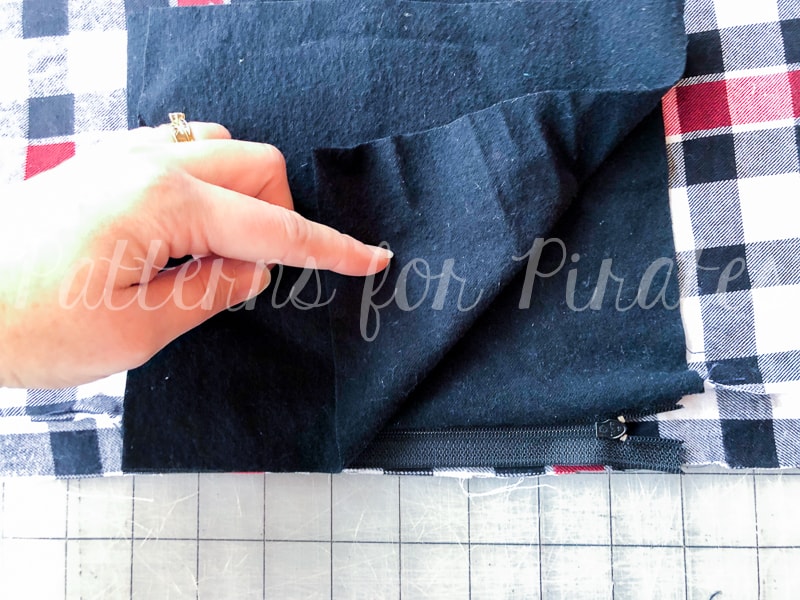
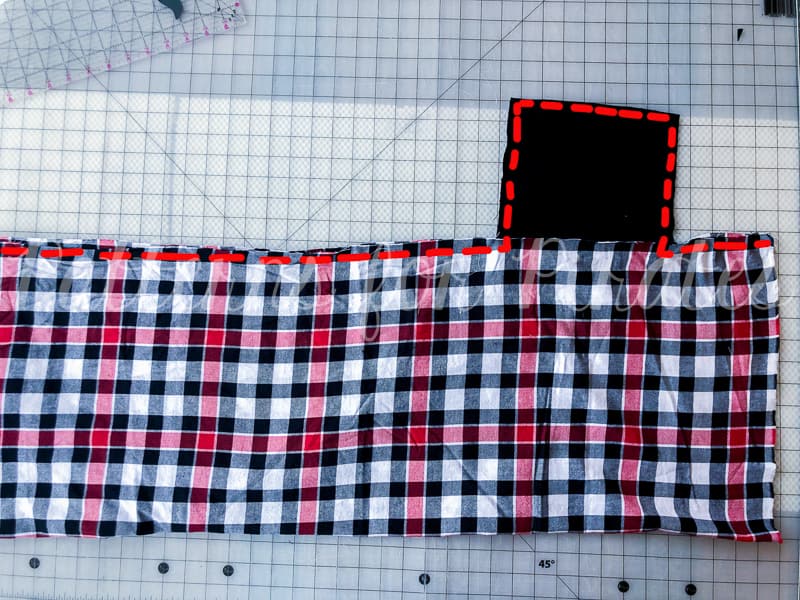
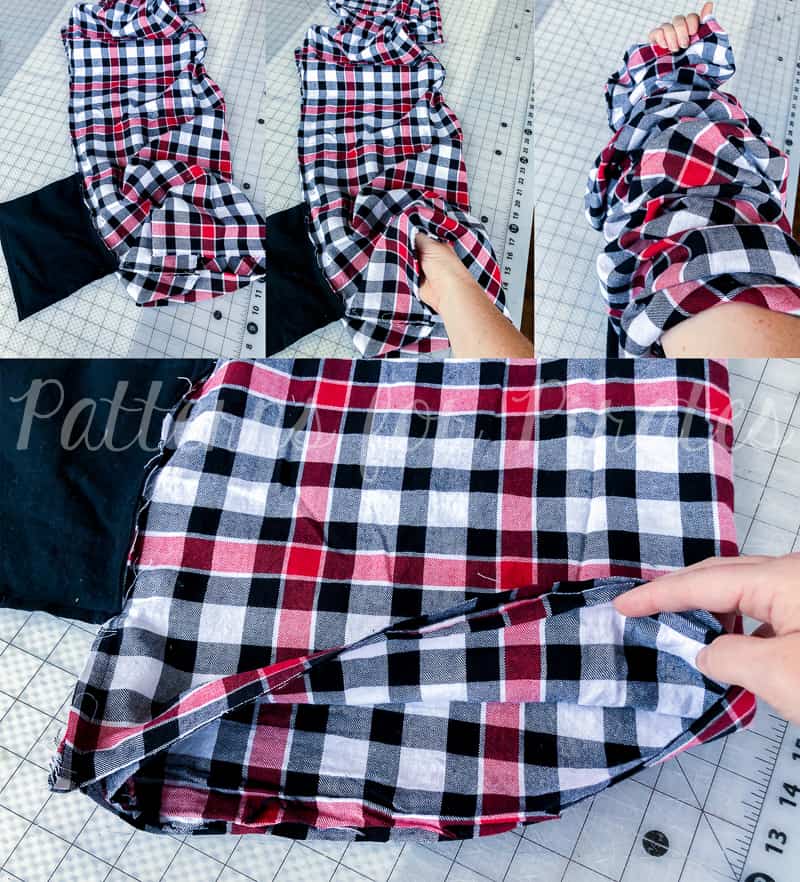
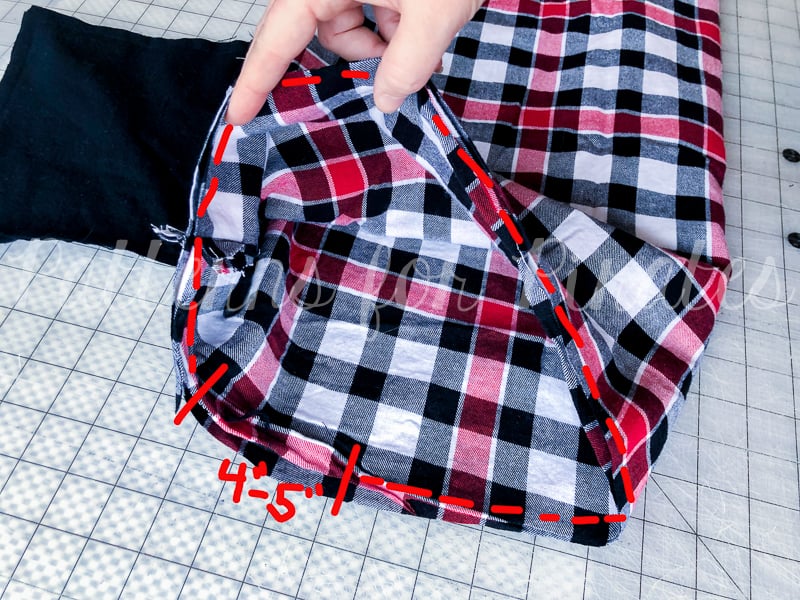
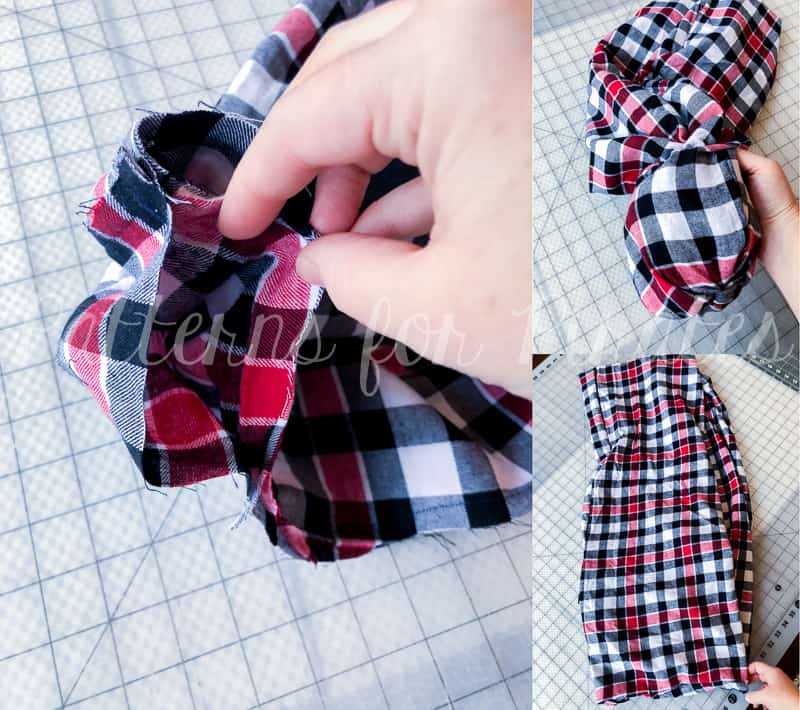
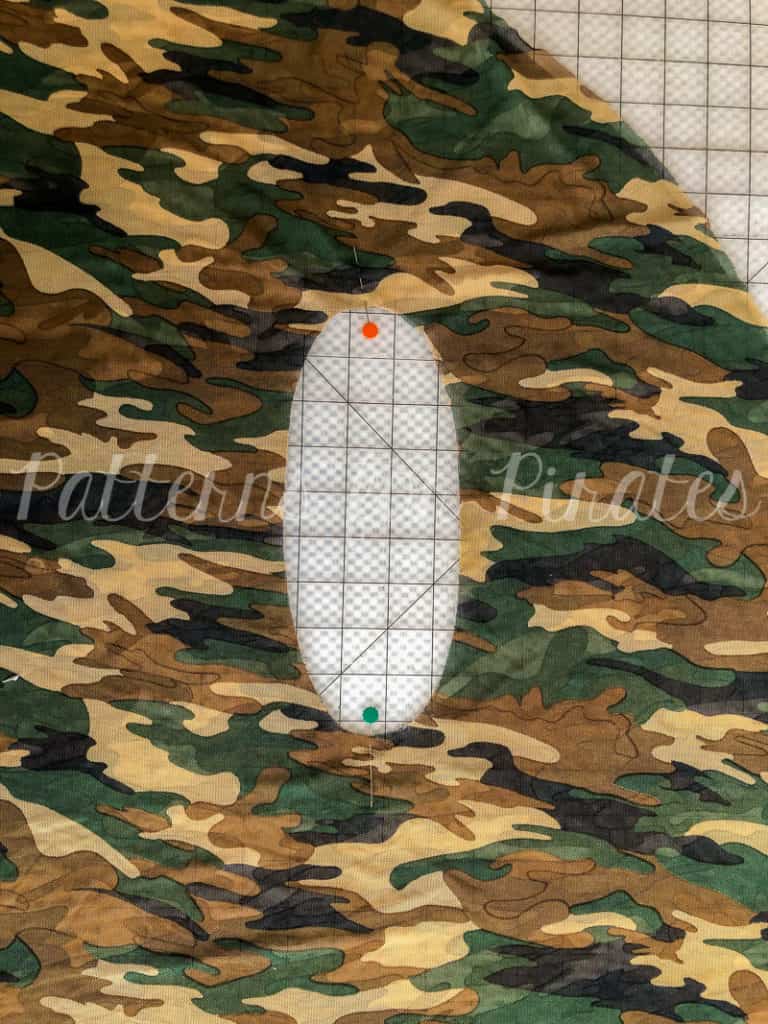
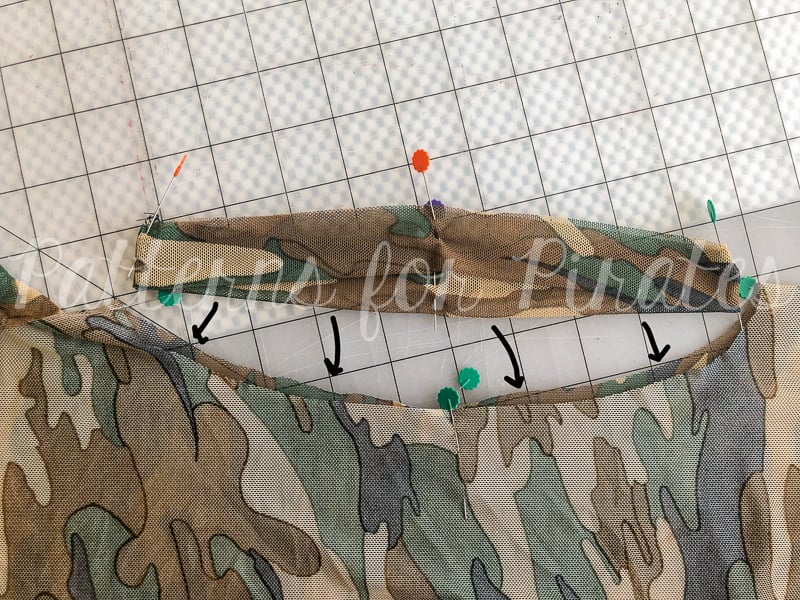
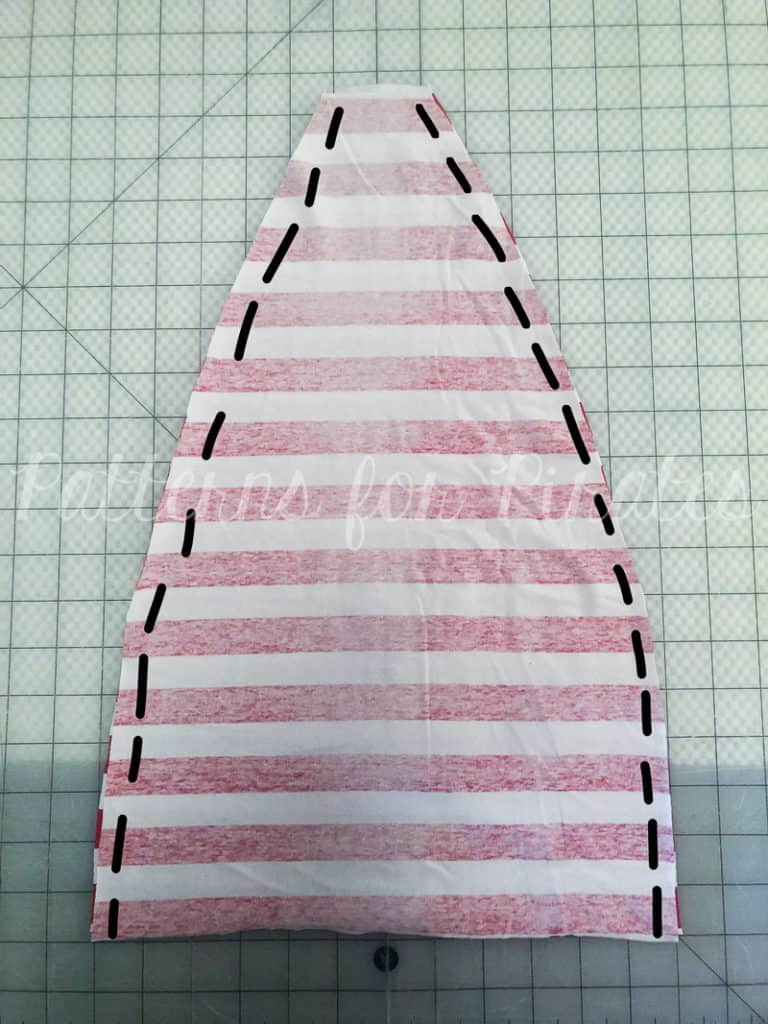
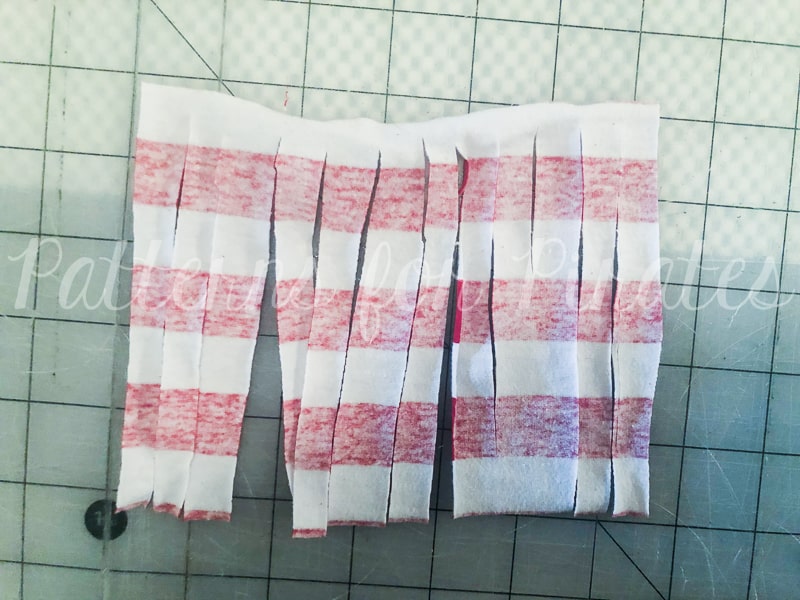
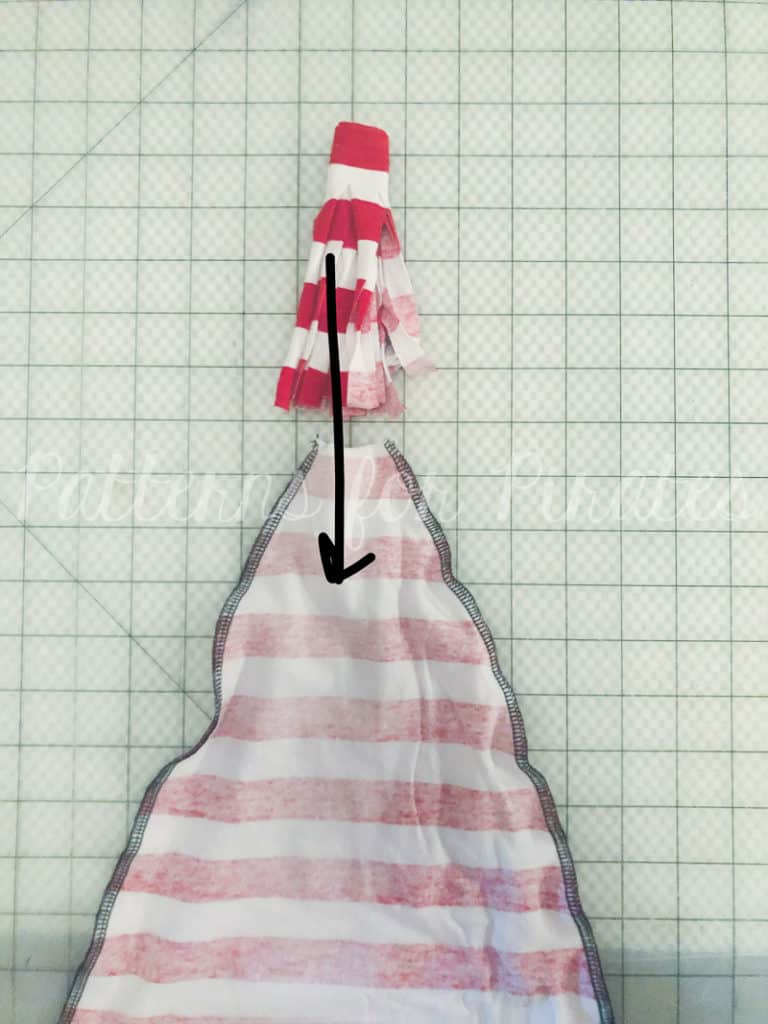
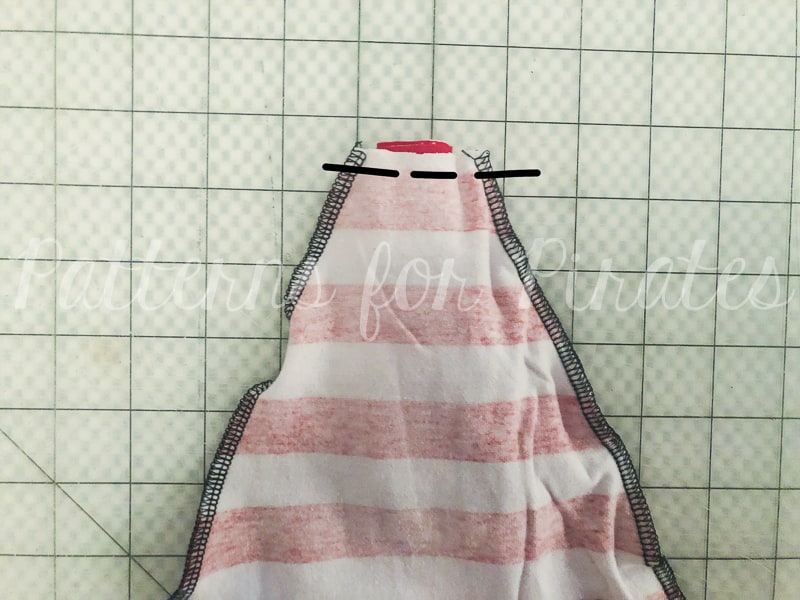
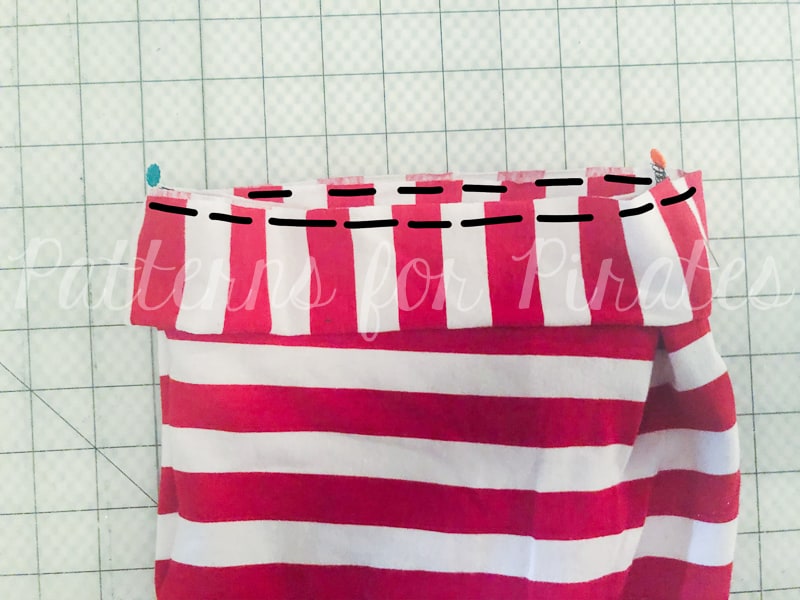
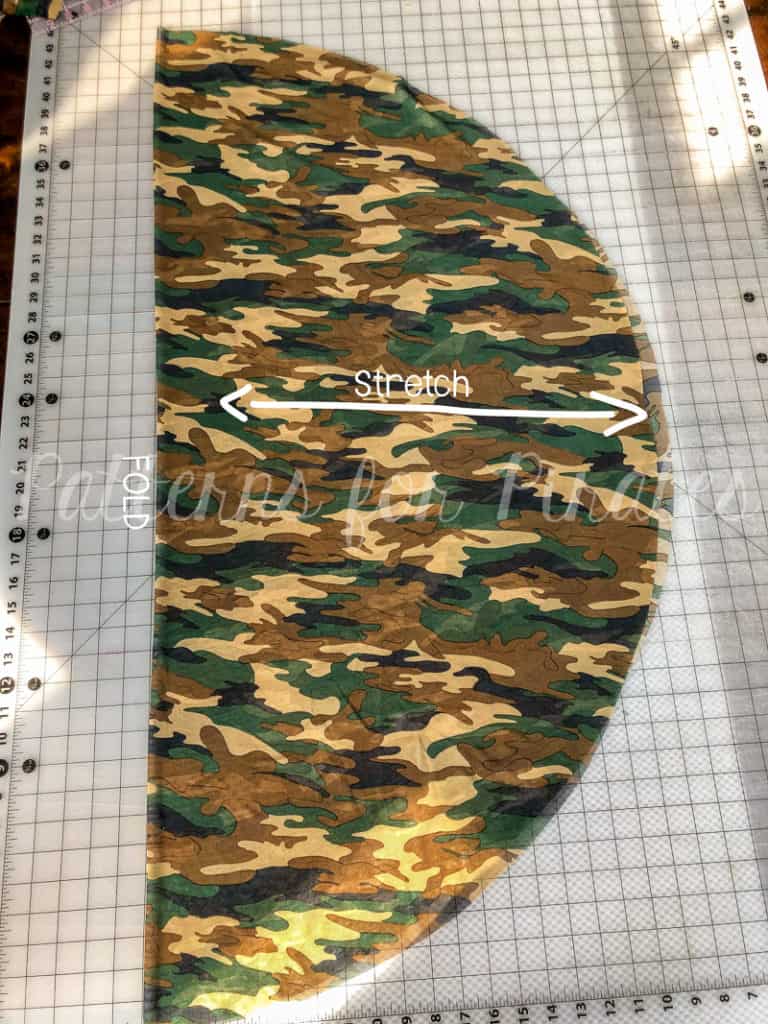 Grab your pattern piece, realign it along the top, and cut our your arm openings.
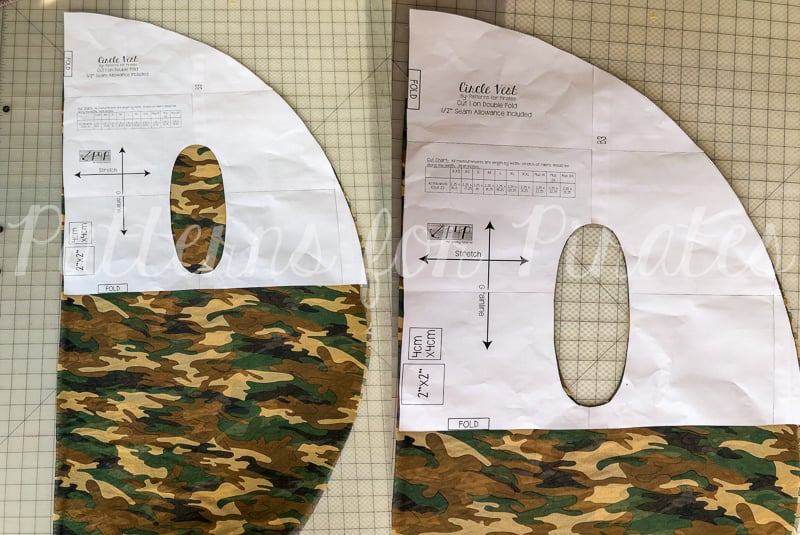


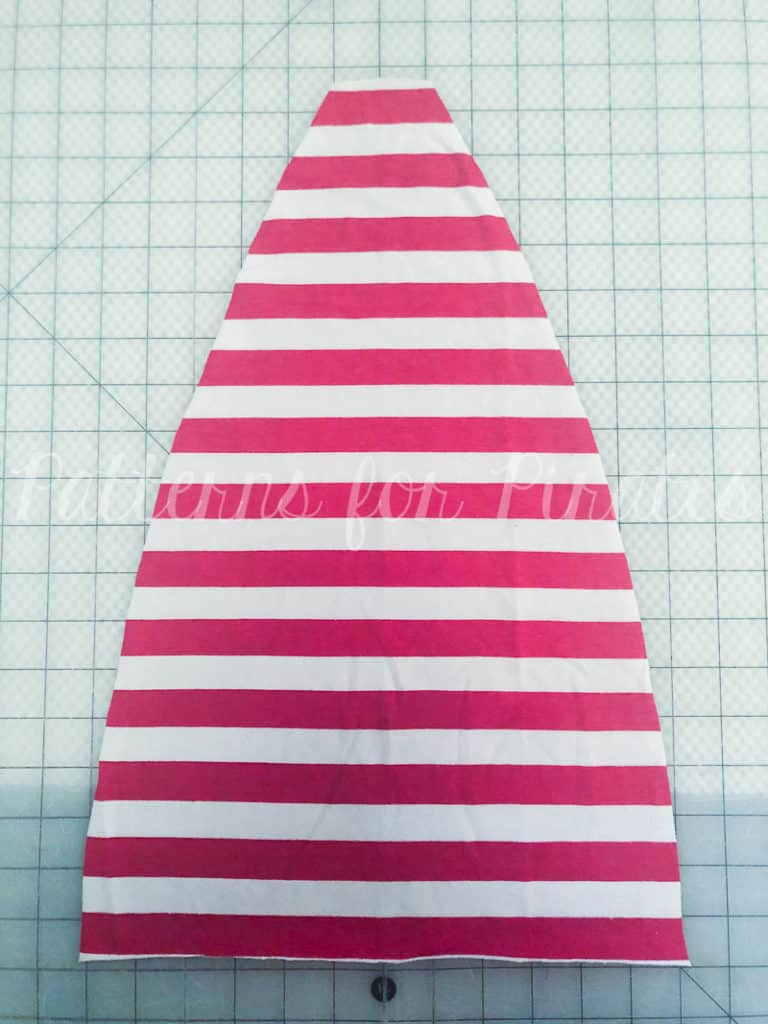


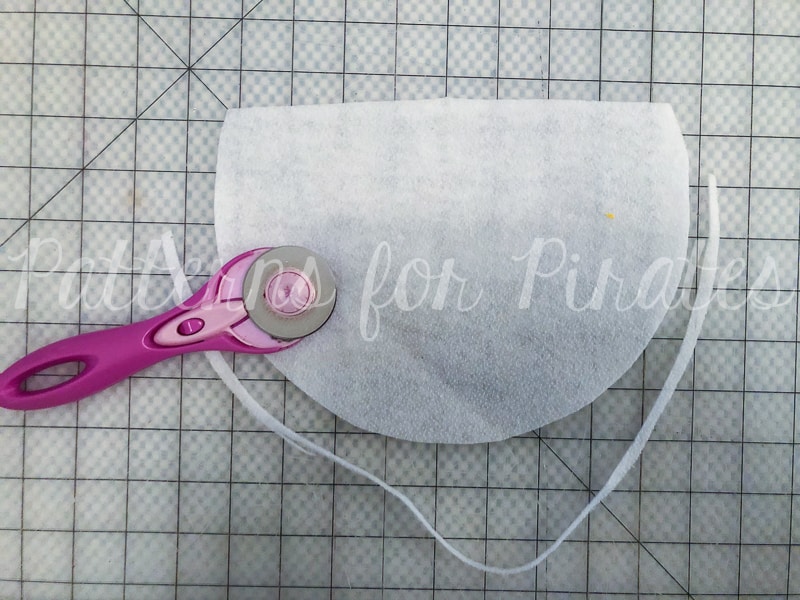
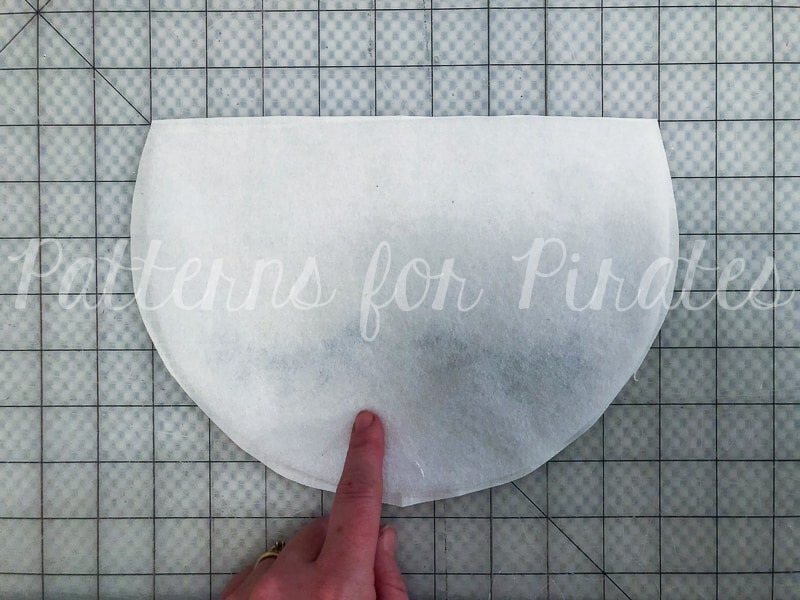
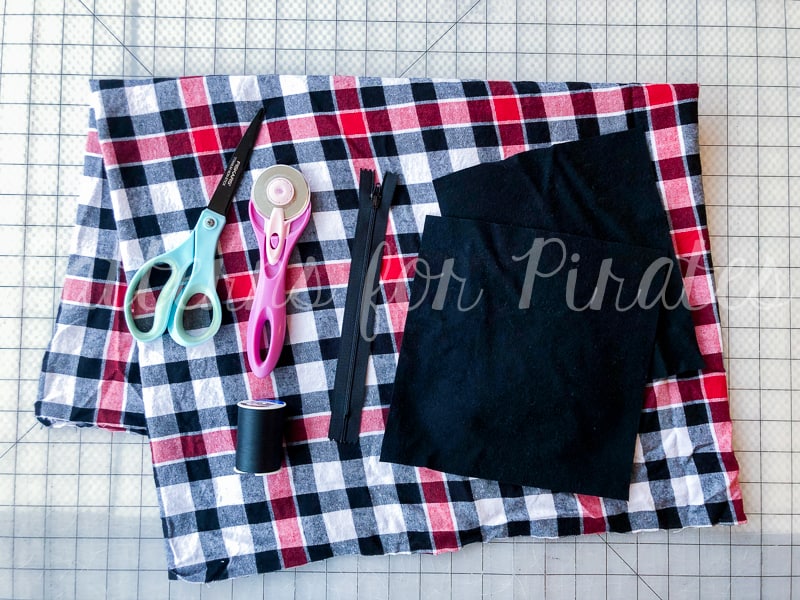
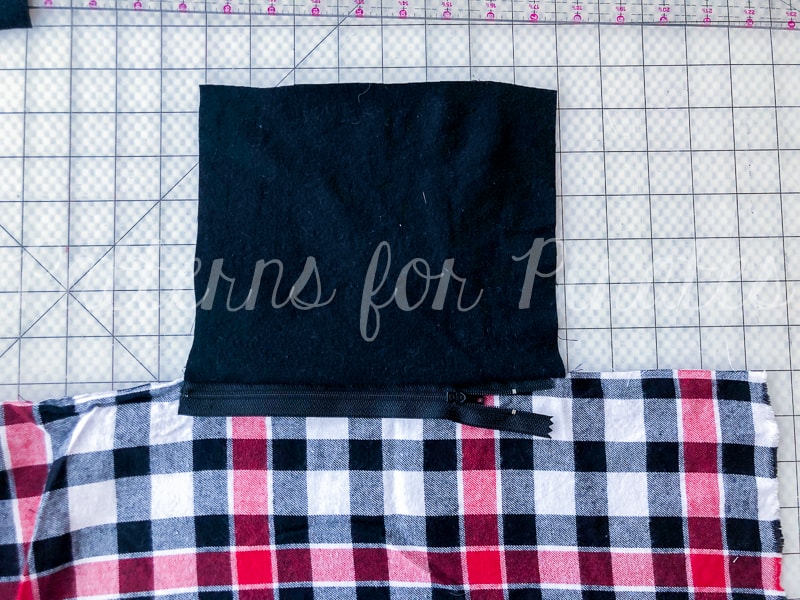
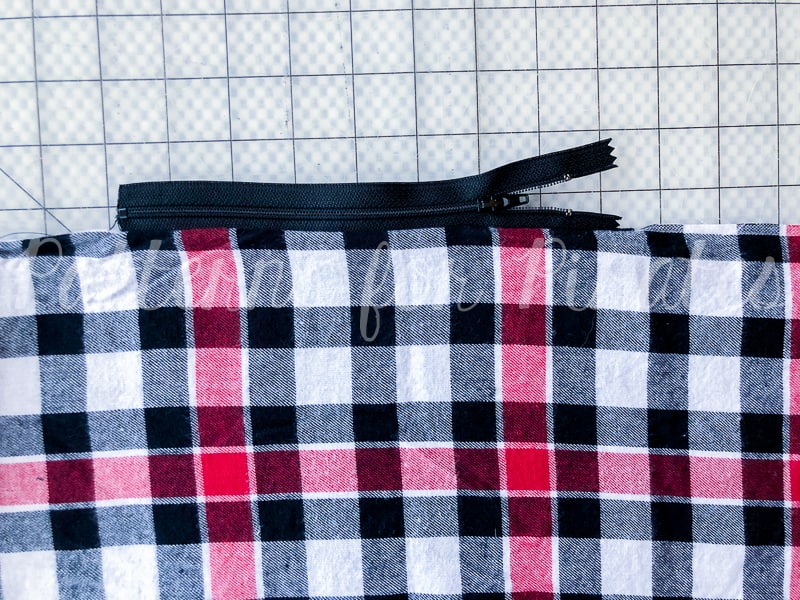
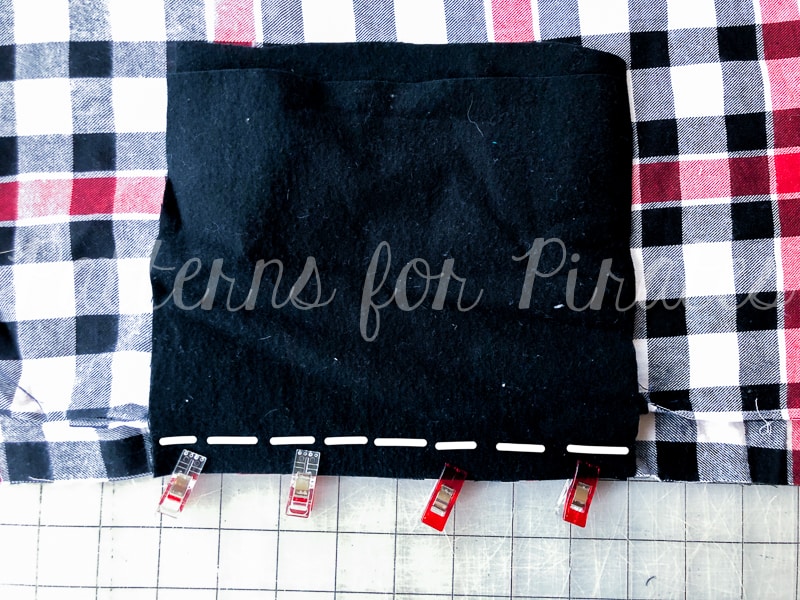
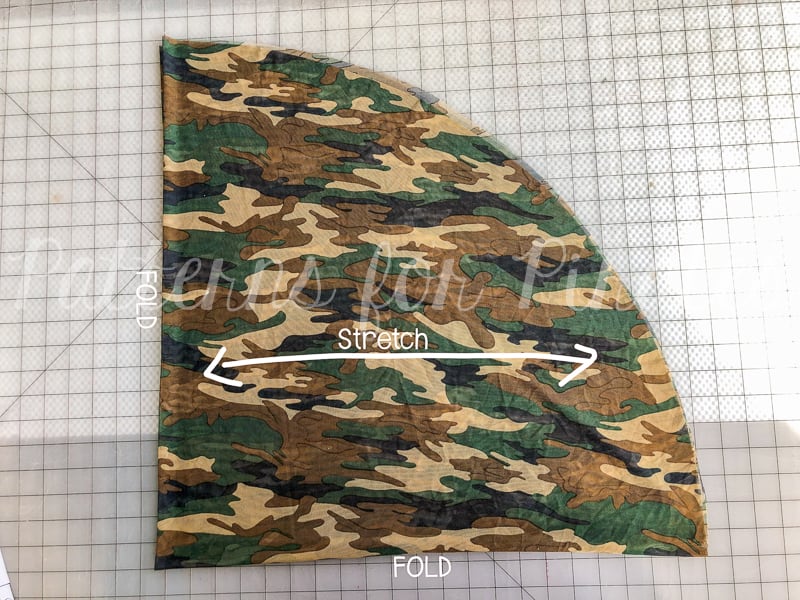
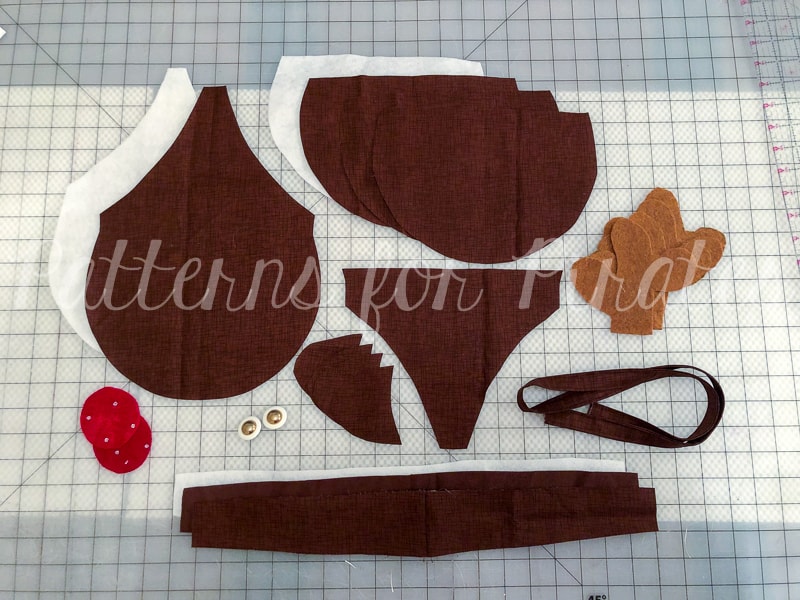
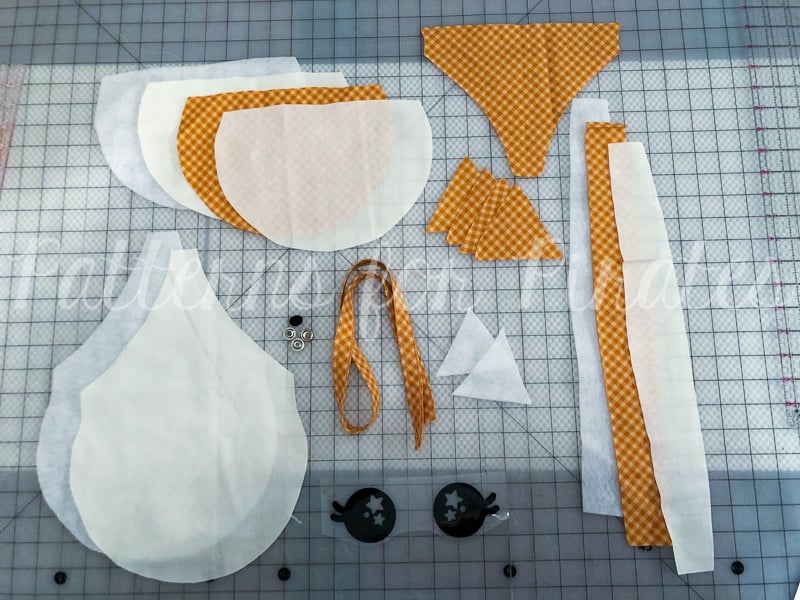
 You will need:
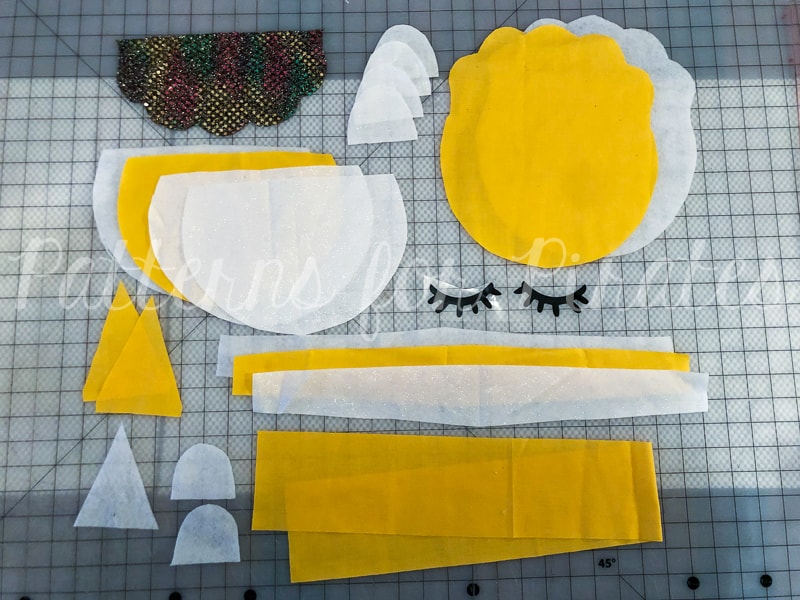
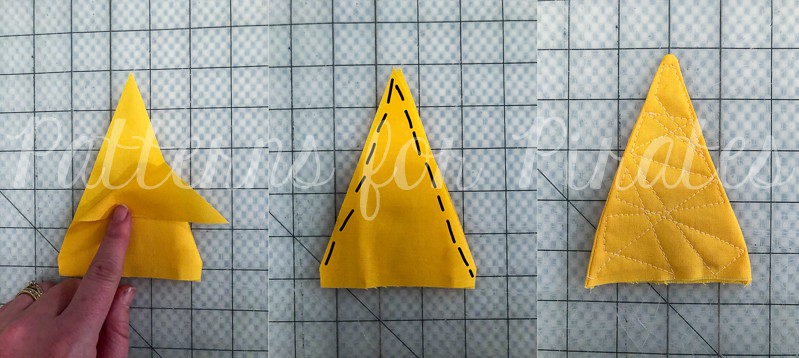
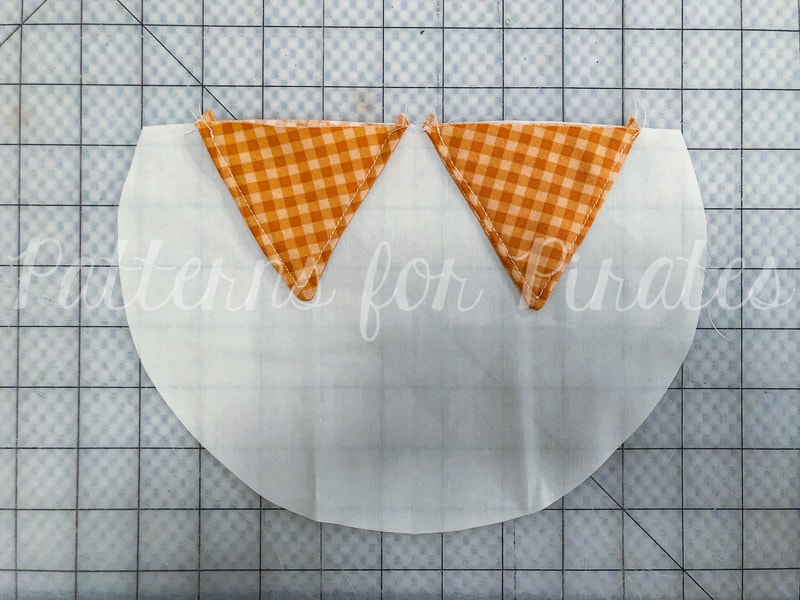
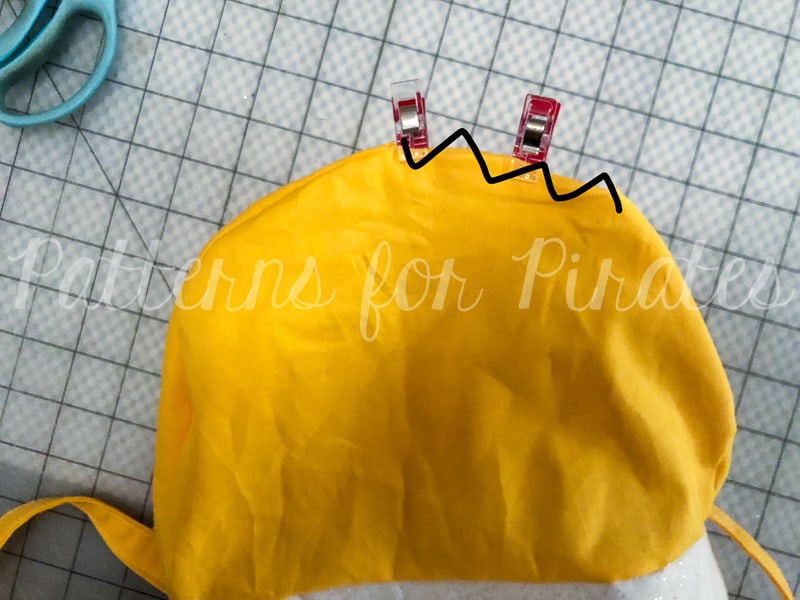
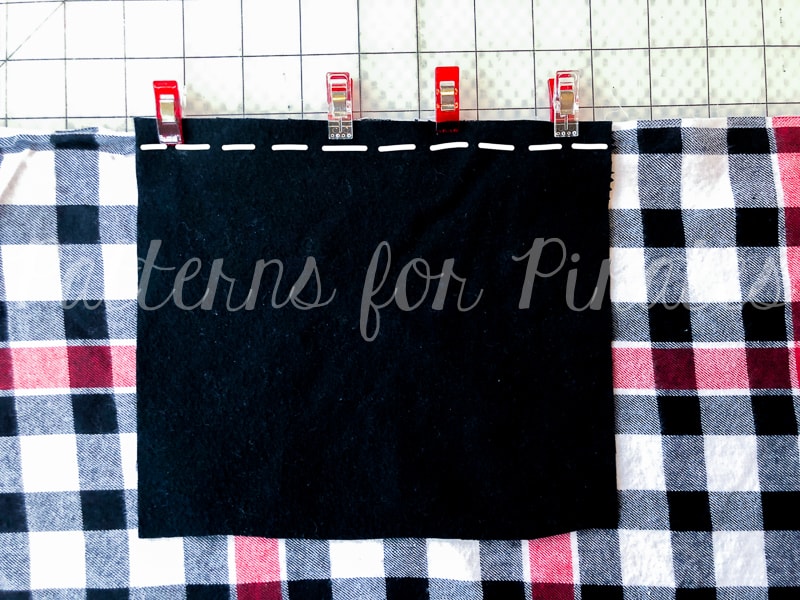
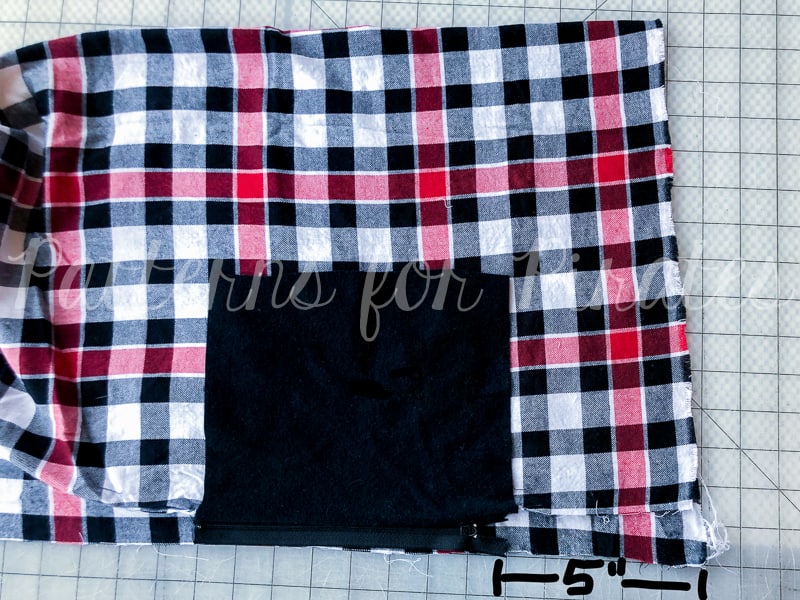
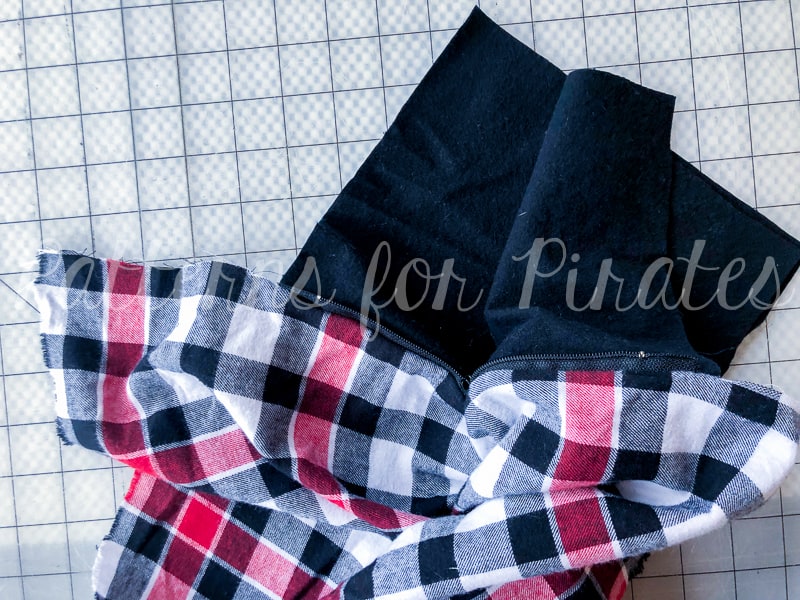
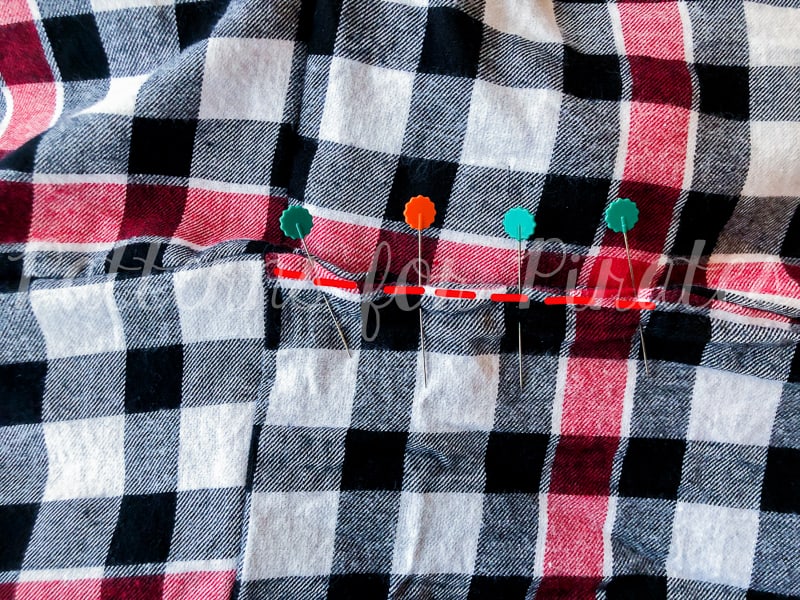
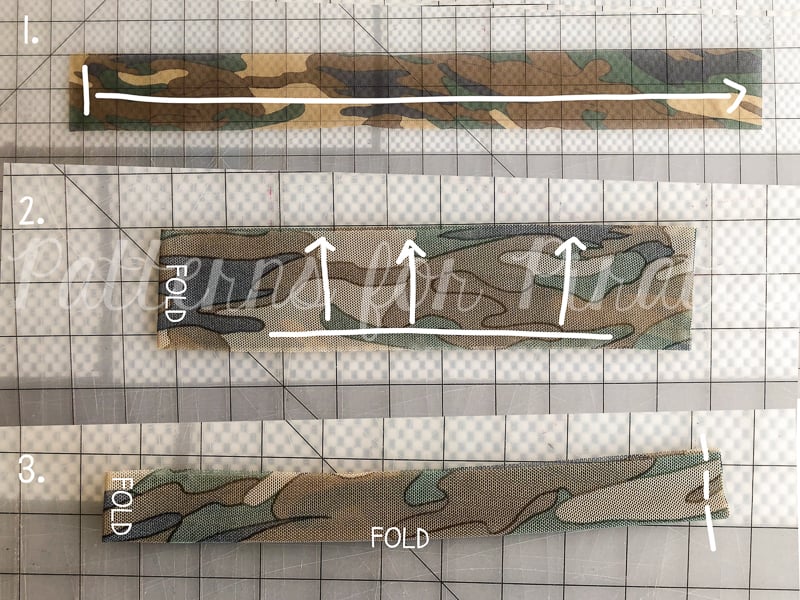
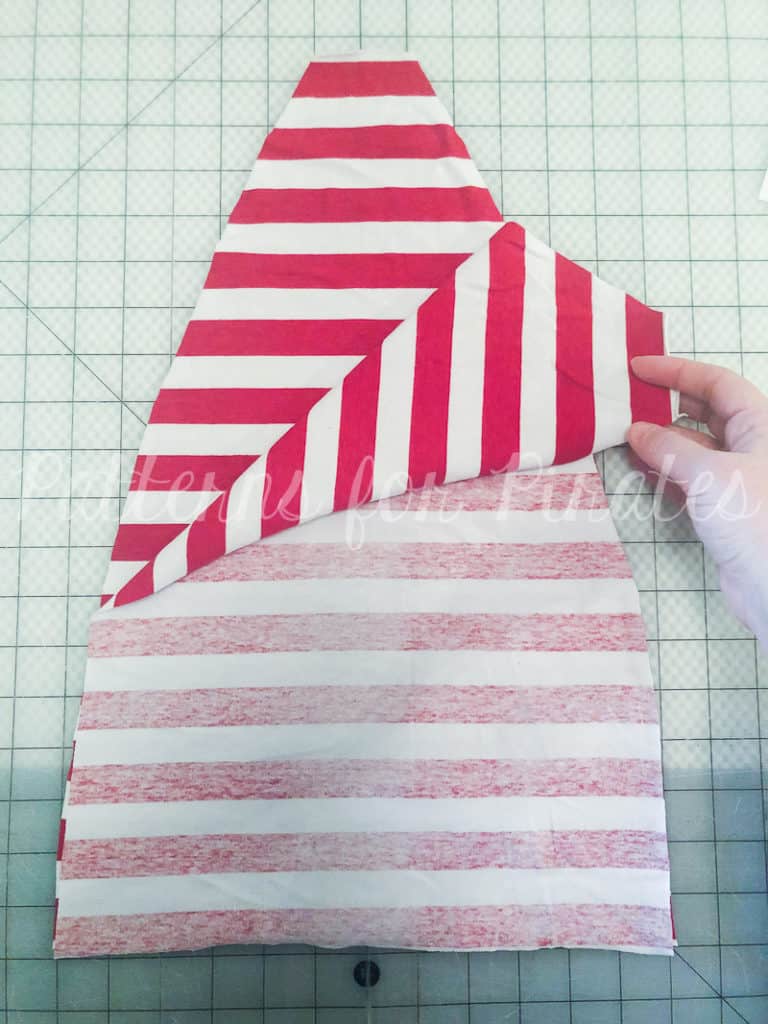
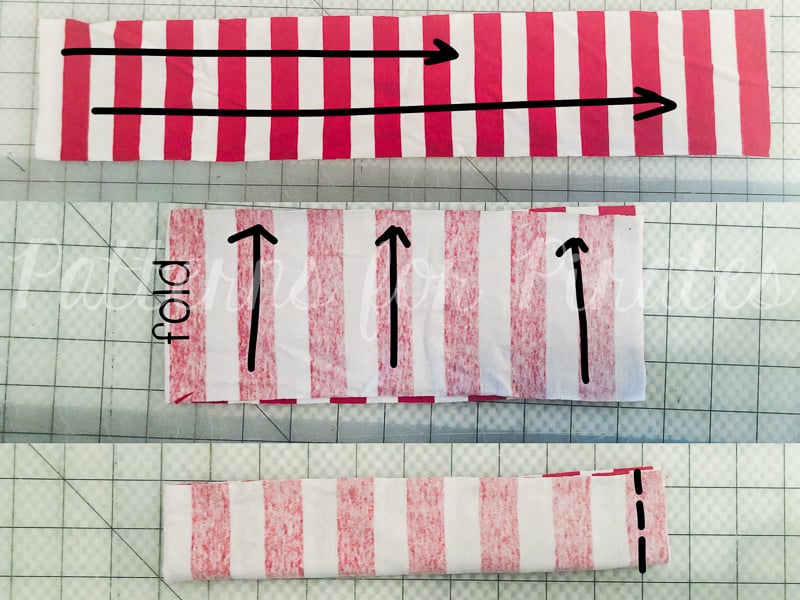
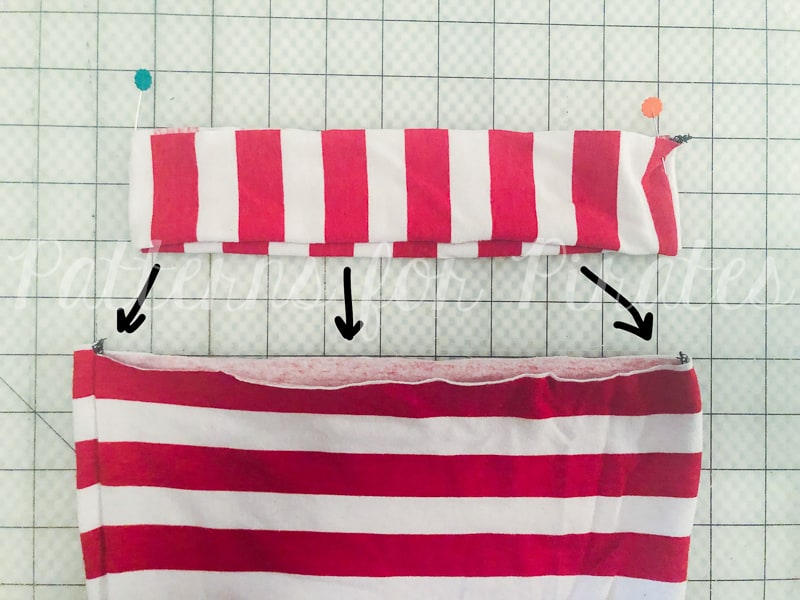
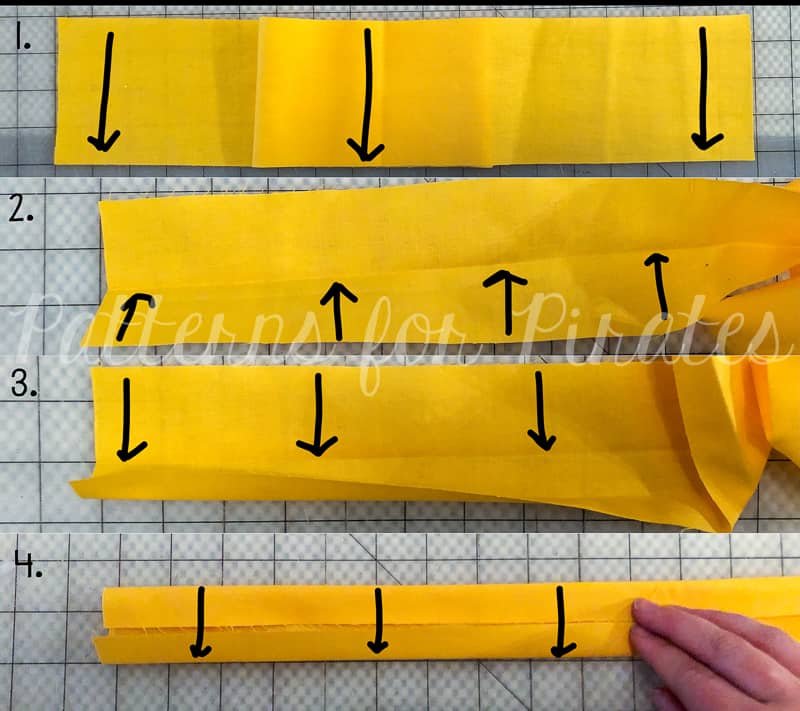 1. Fold in half, with long edges touching, wrong sides together. Press.