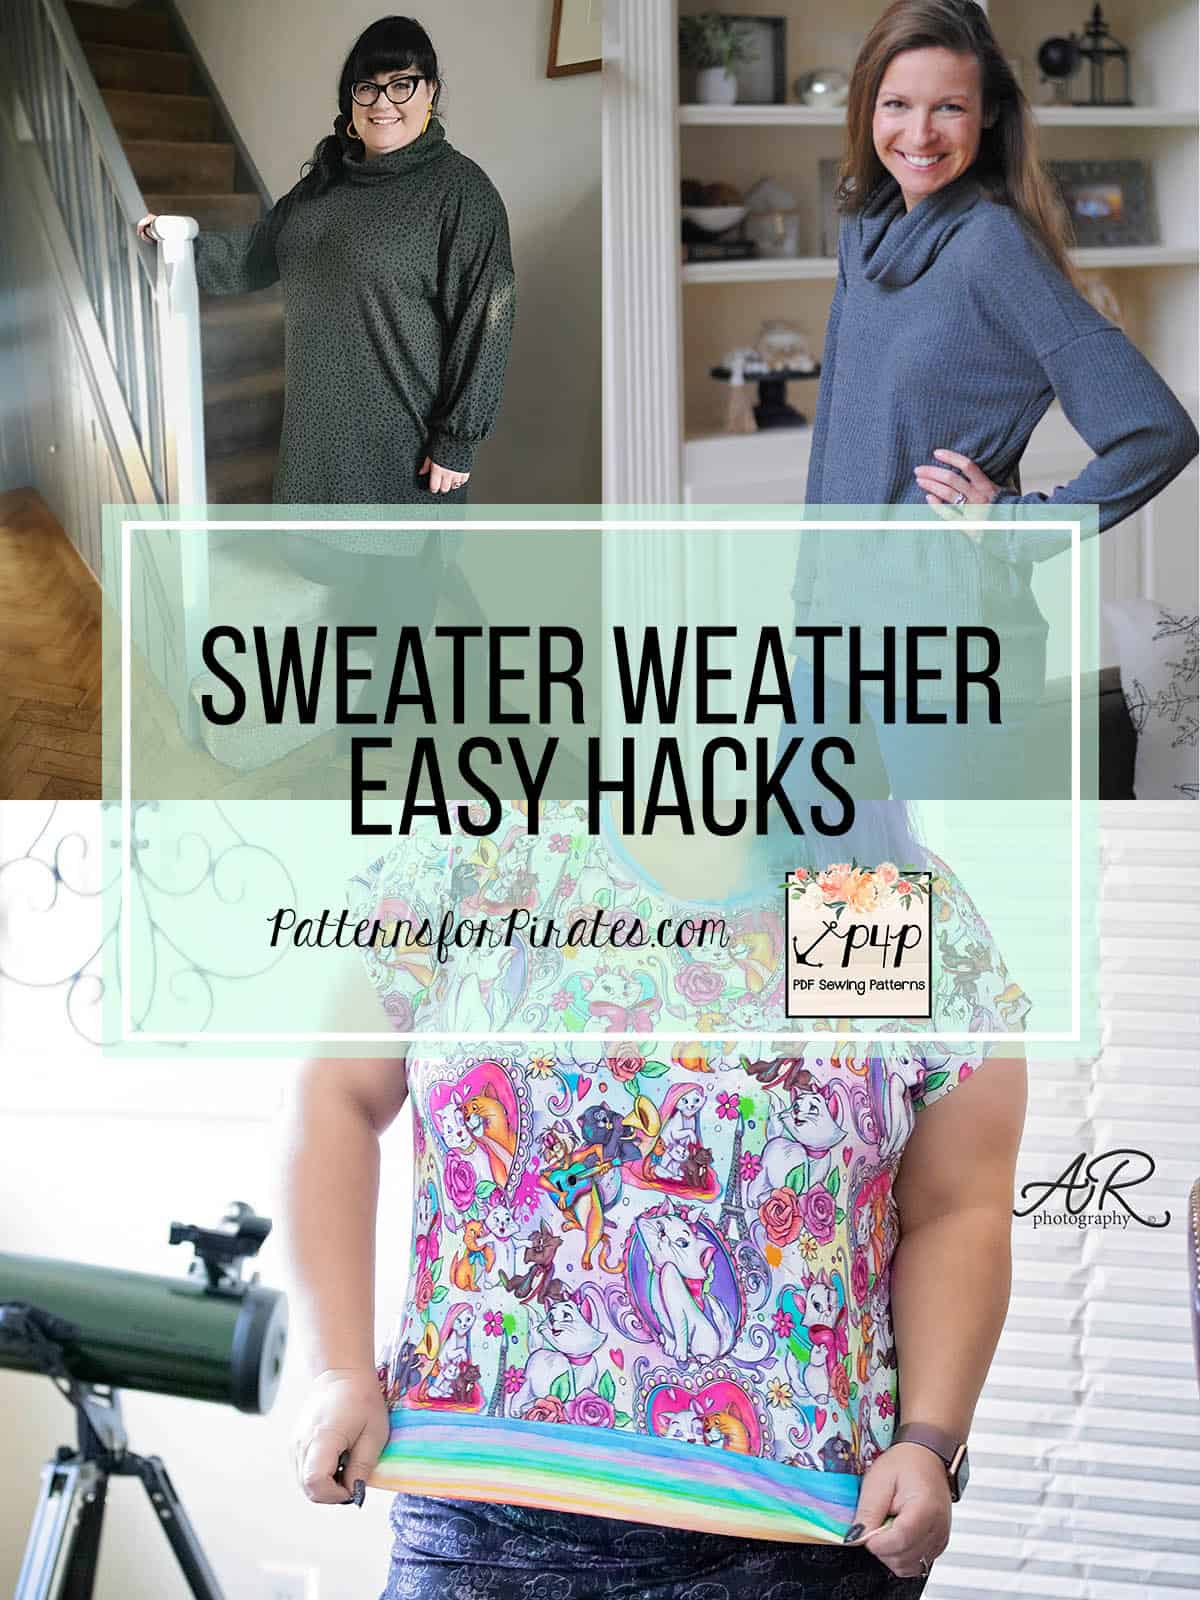
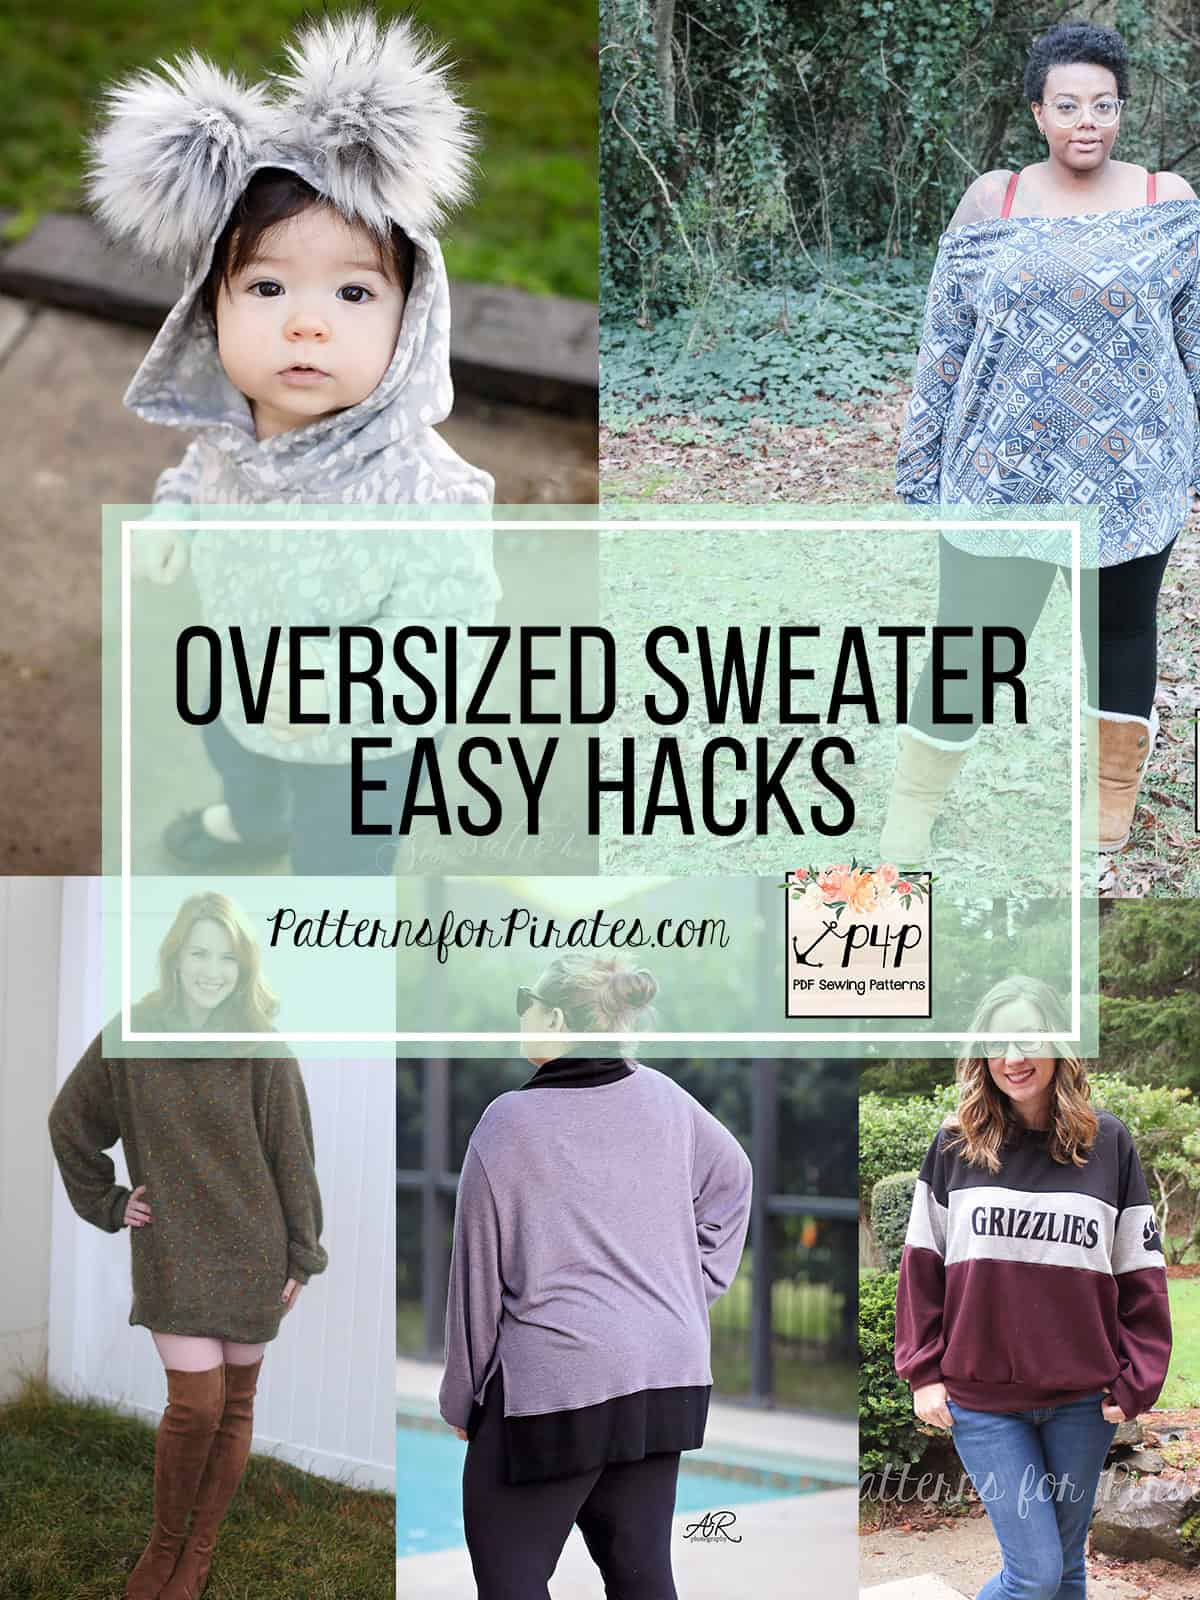
We are so excited to release our newest pattern by crew member Katy!

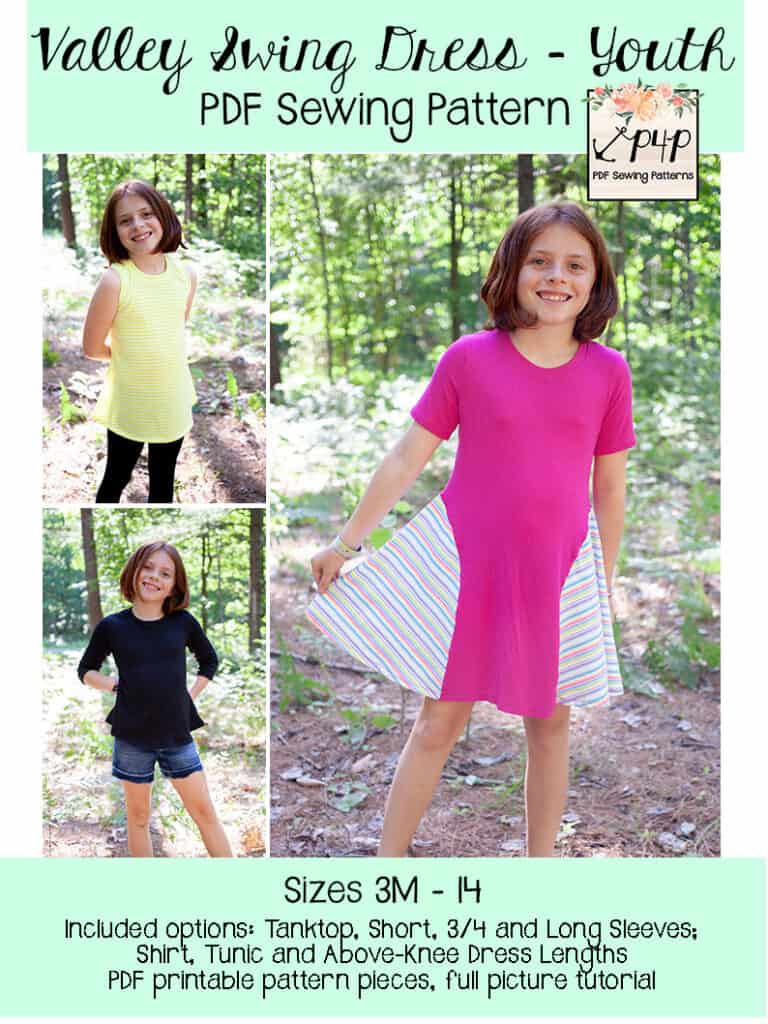
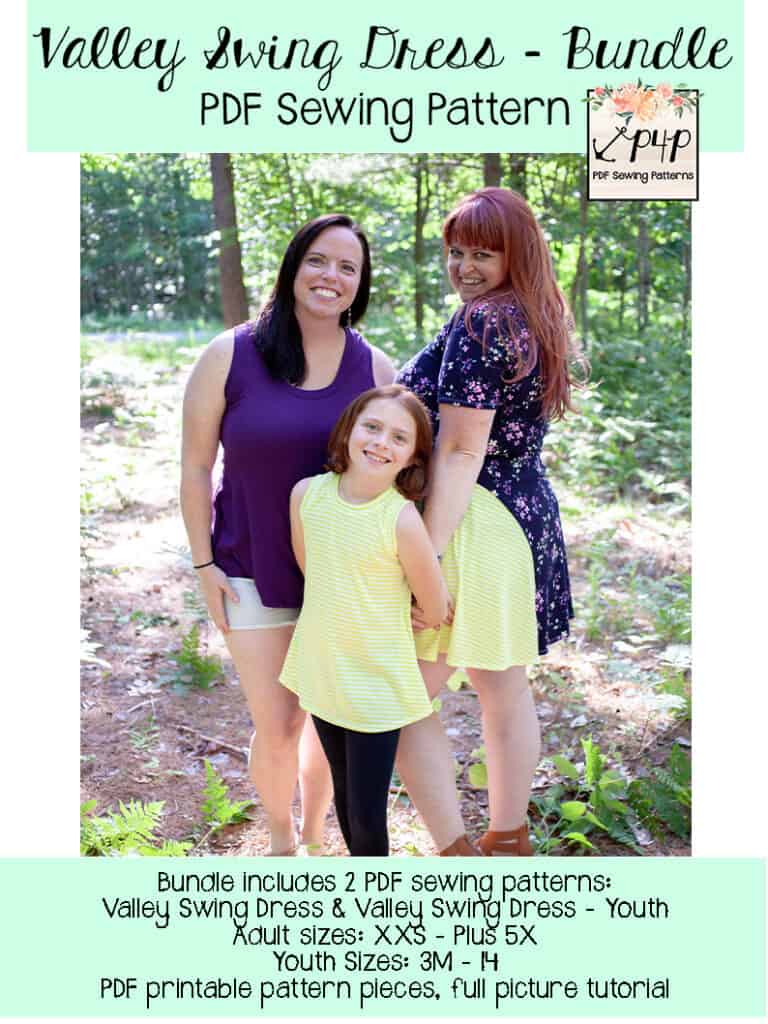
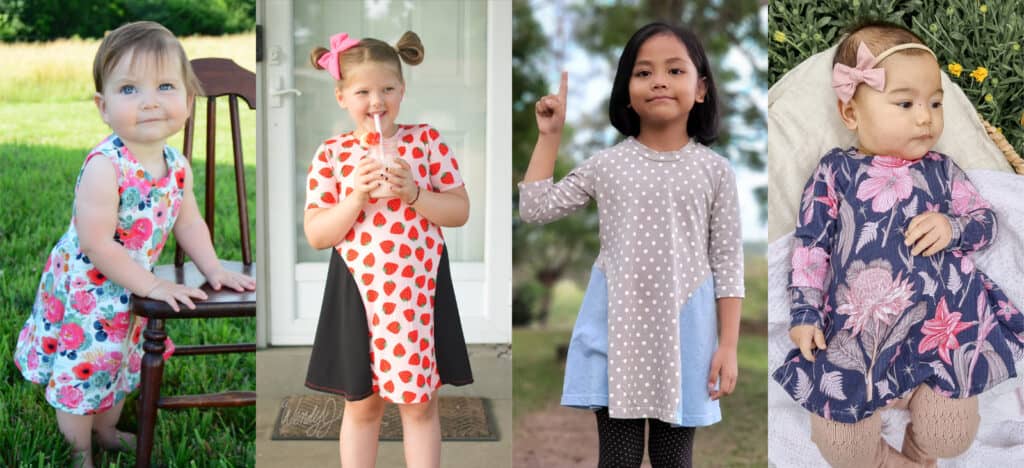
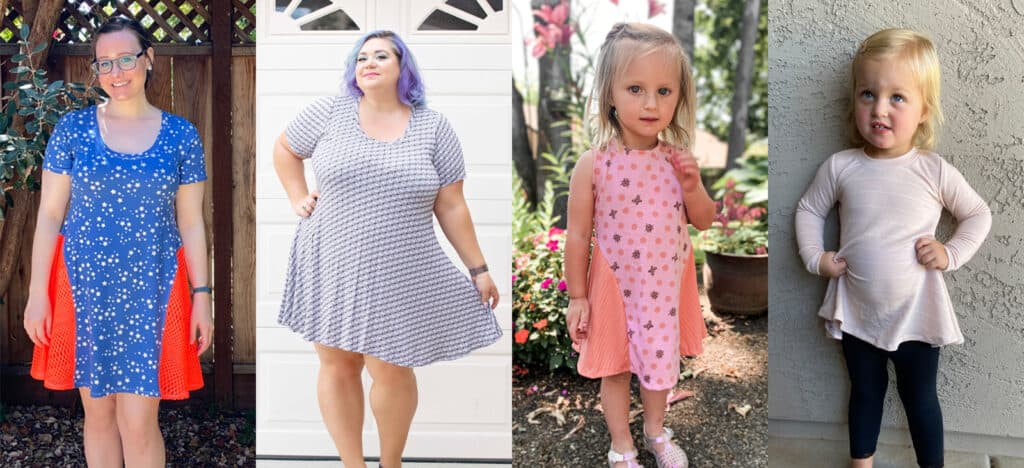
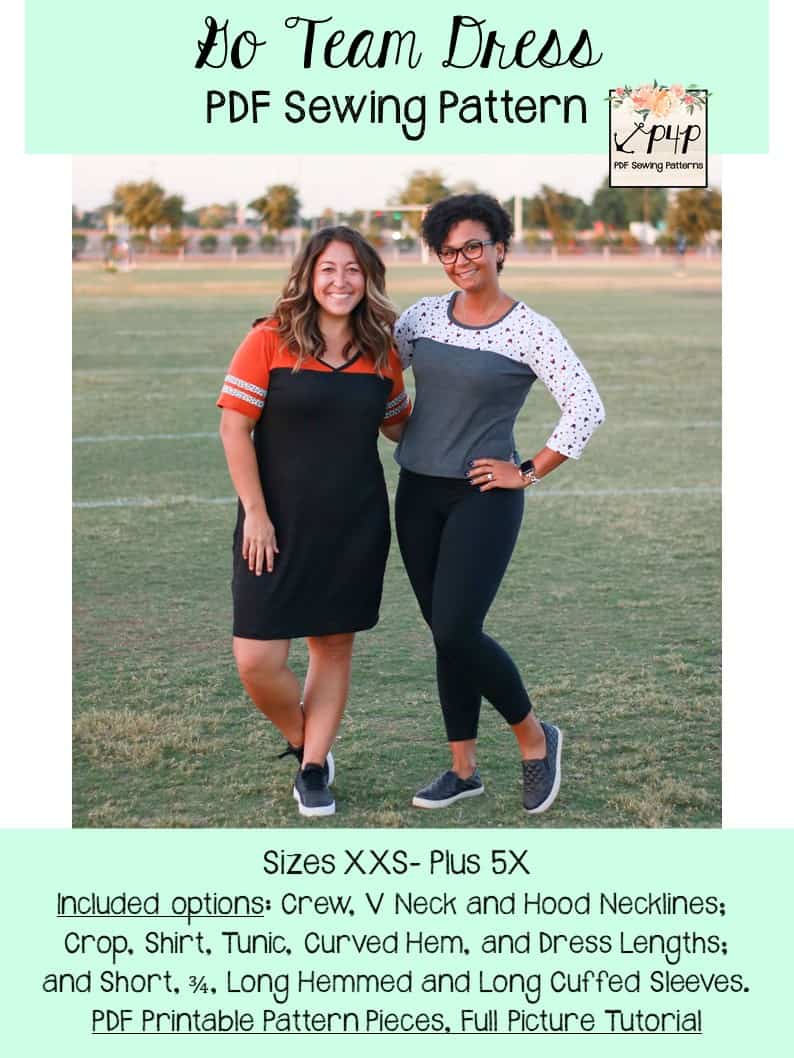
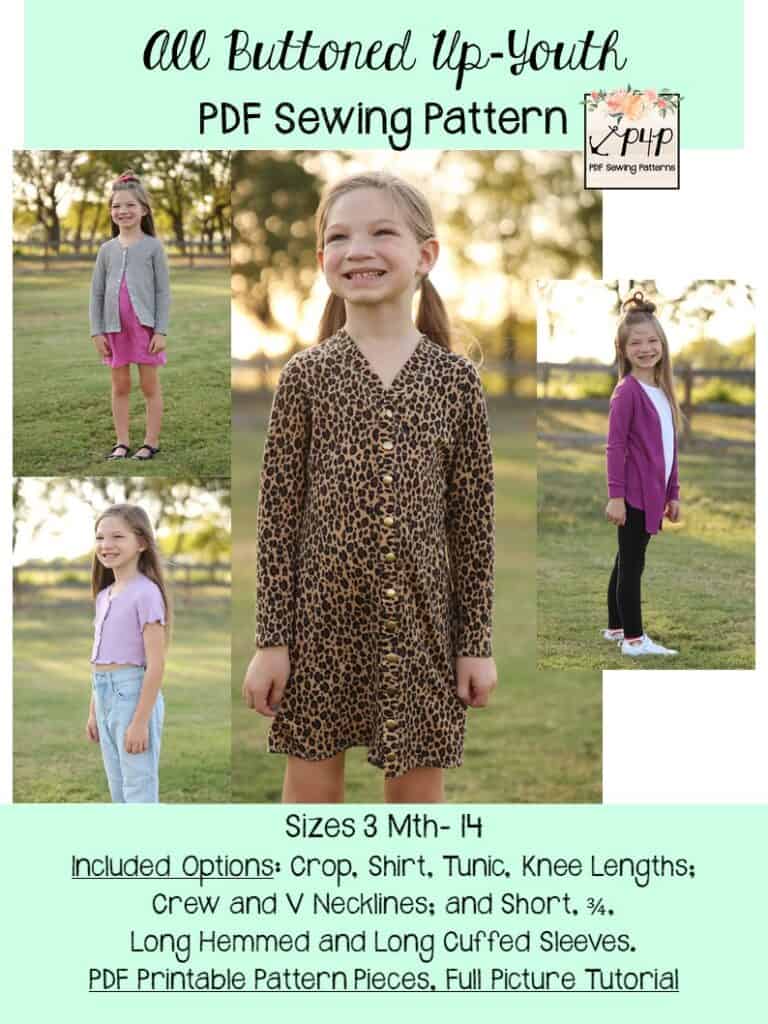
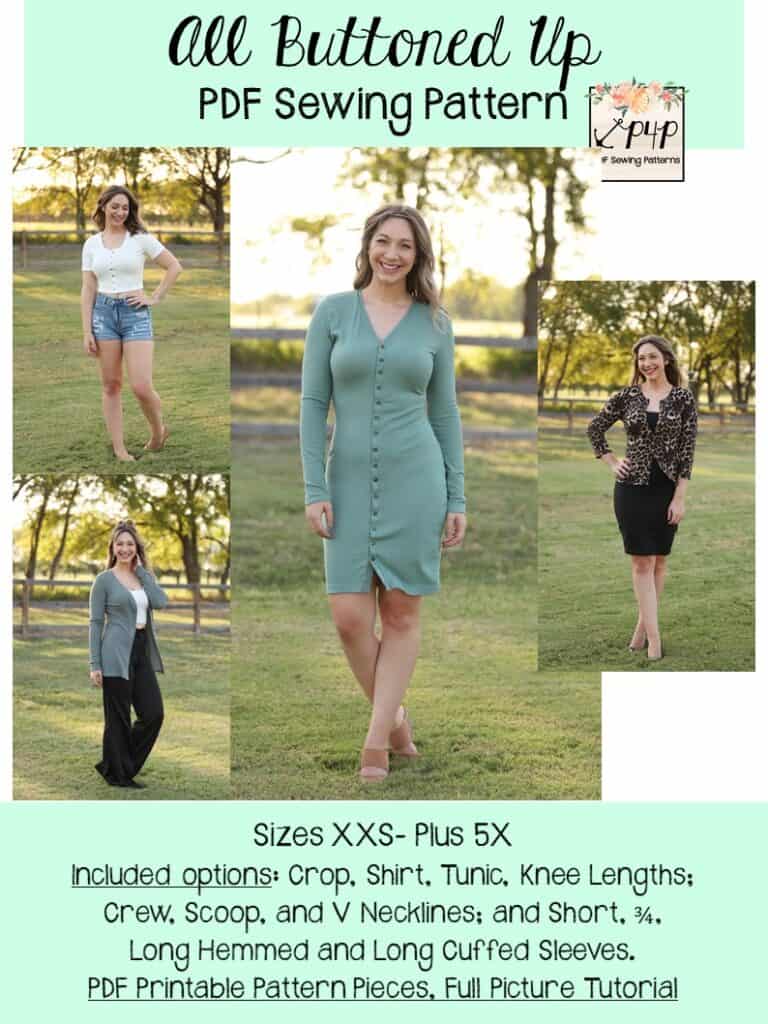
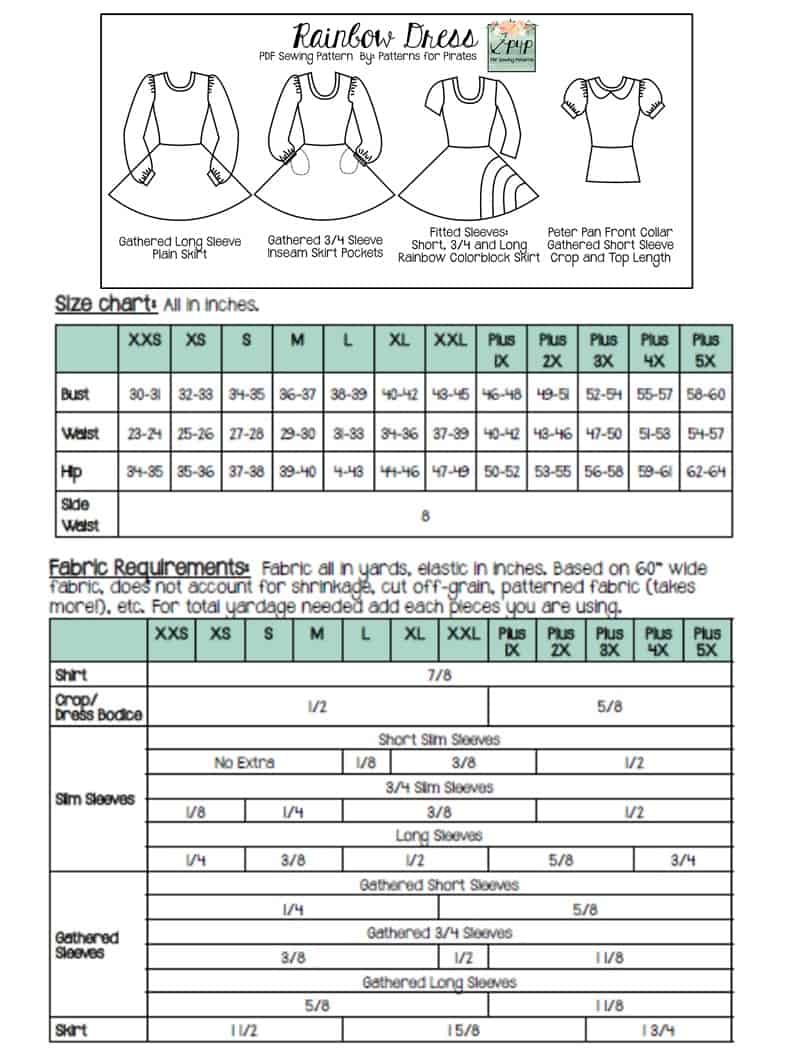
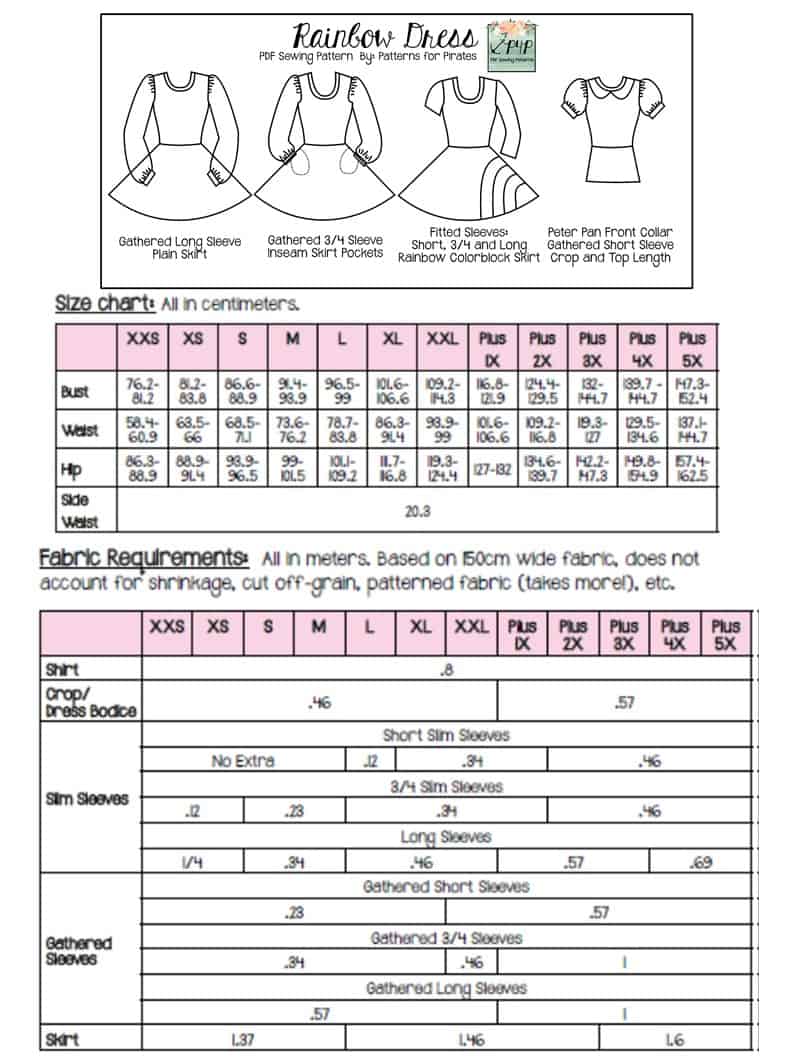
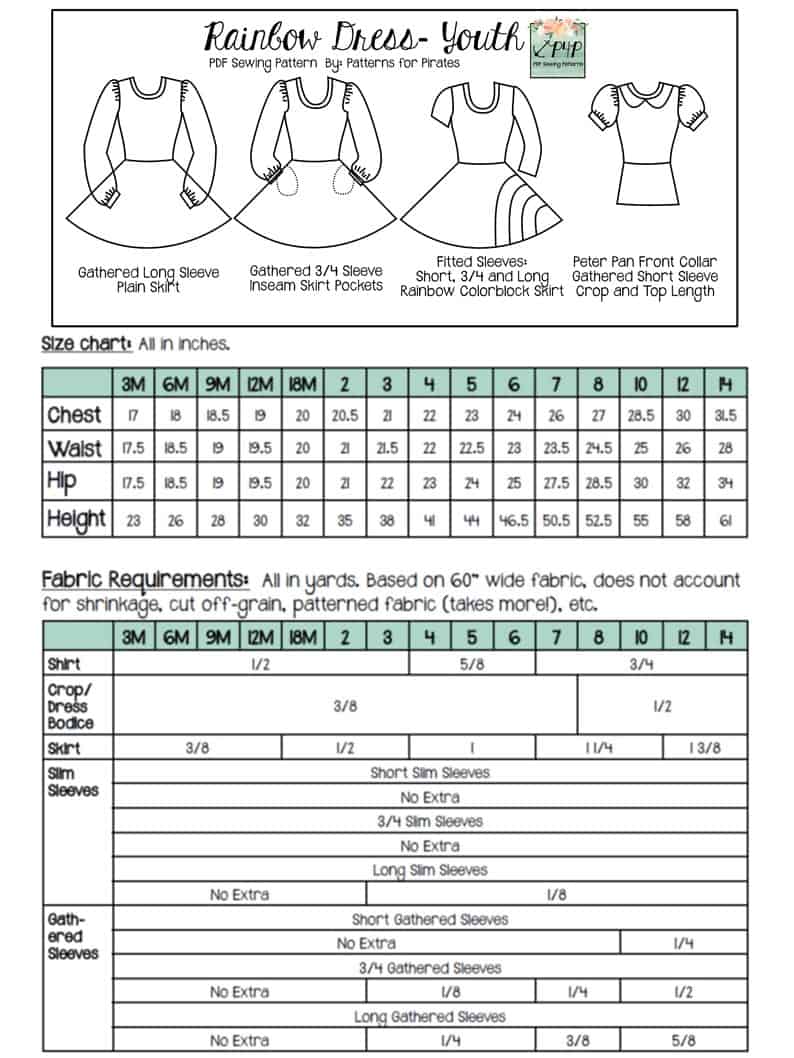
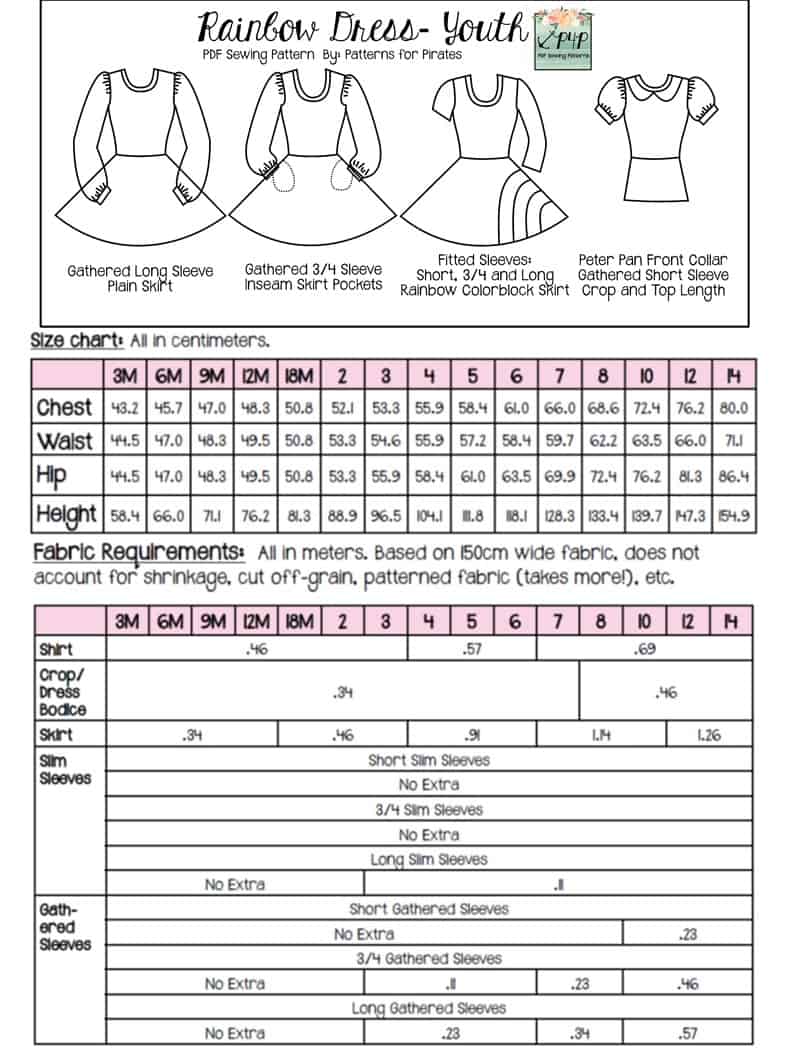
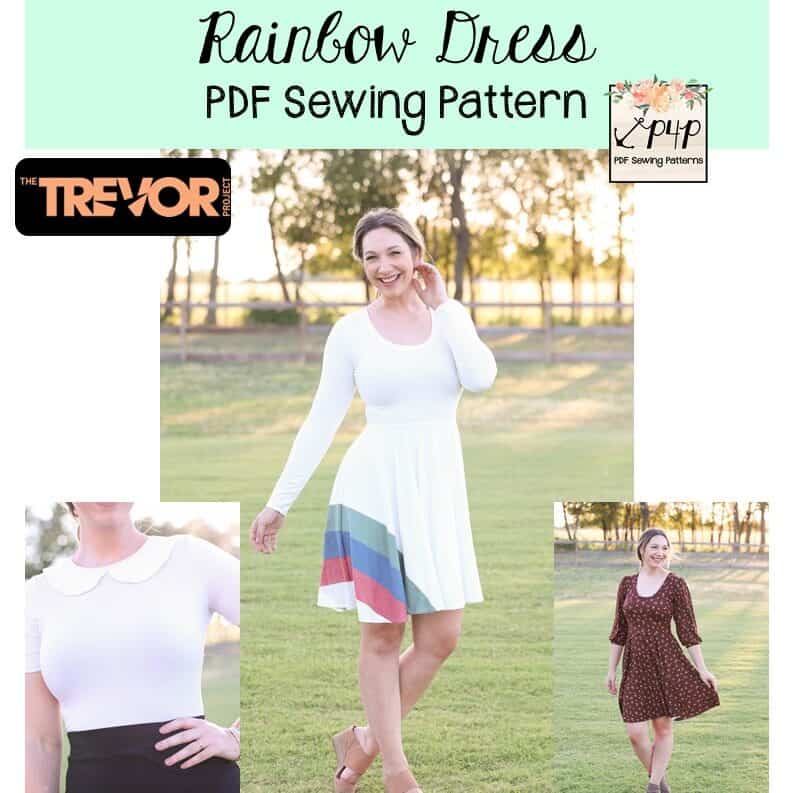
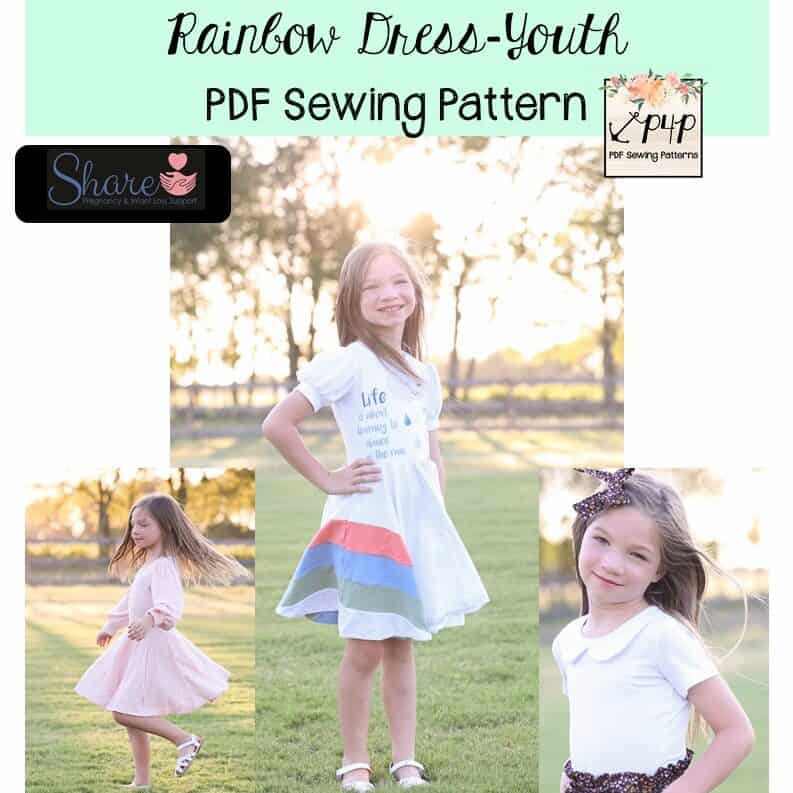
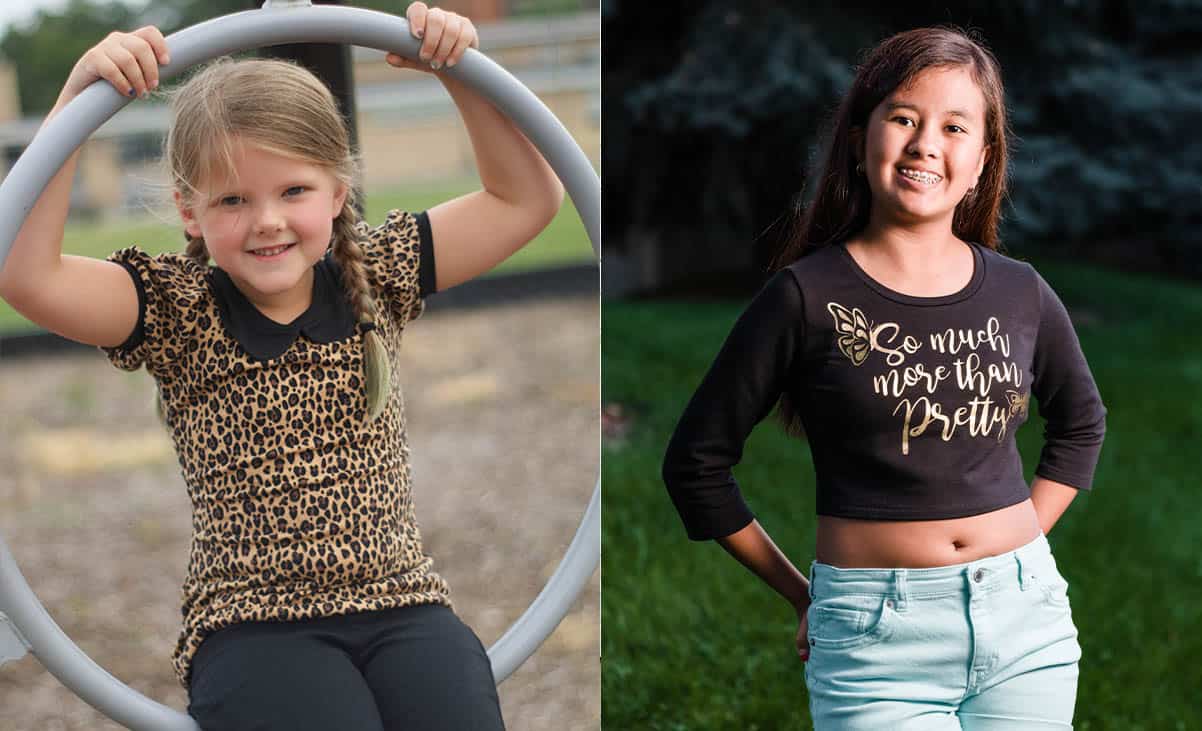
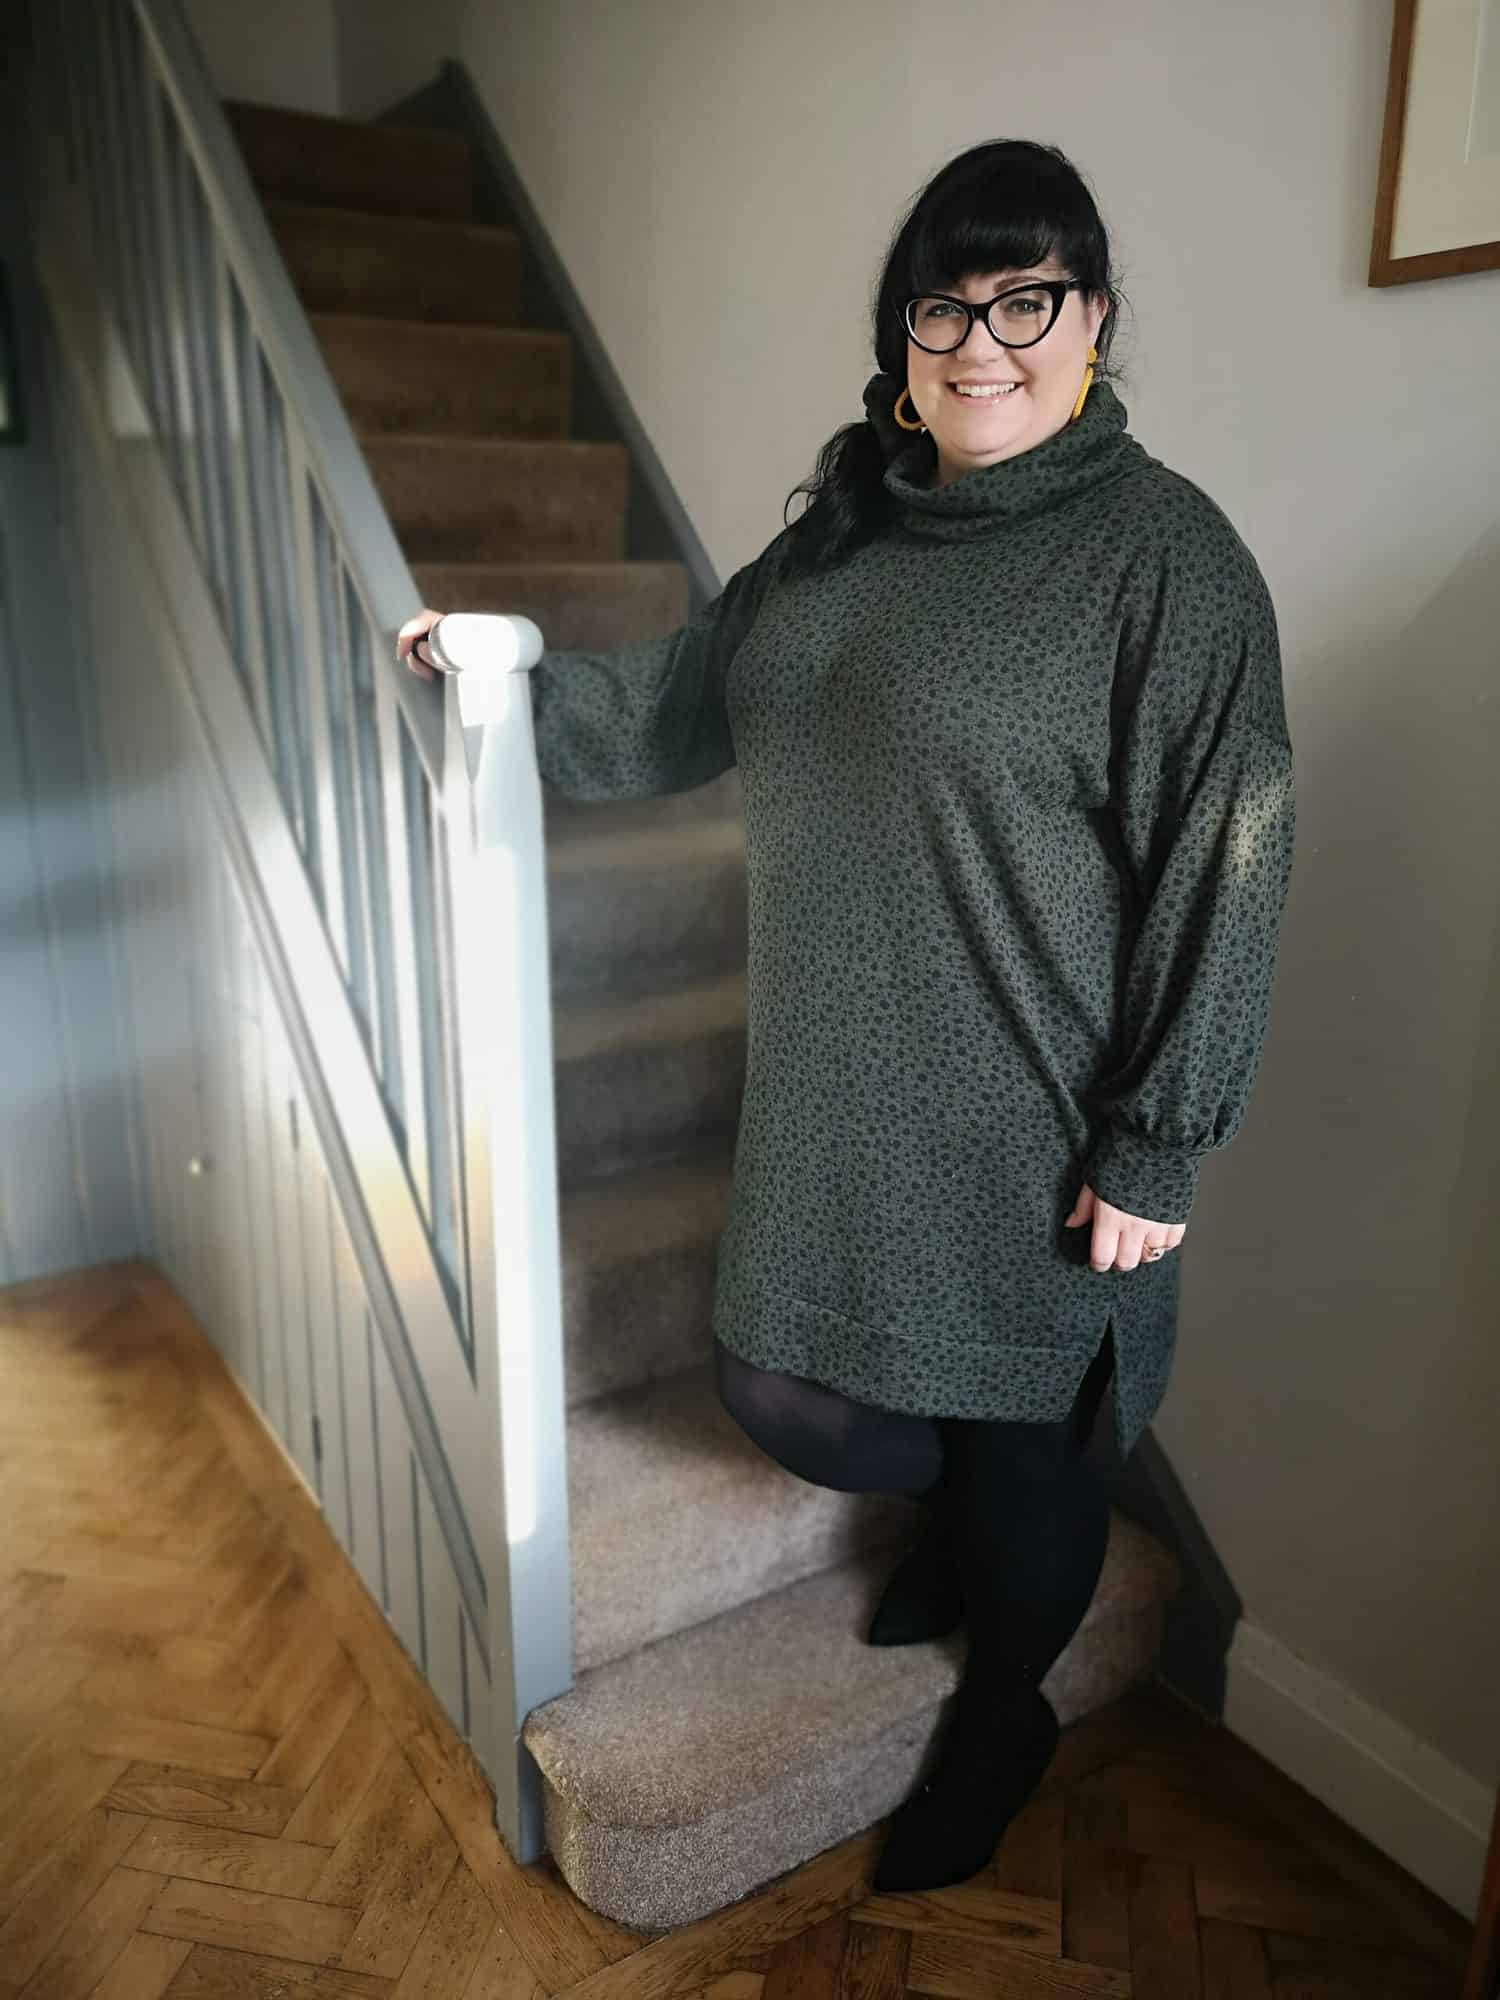
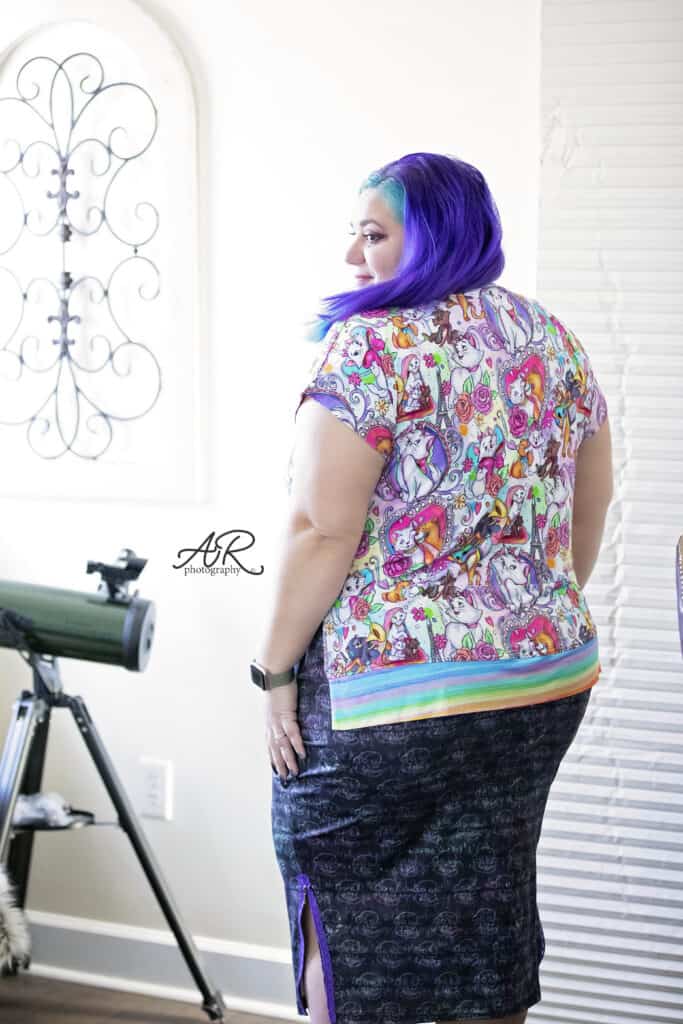
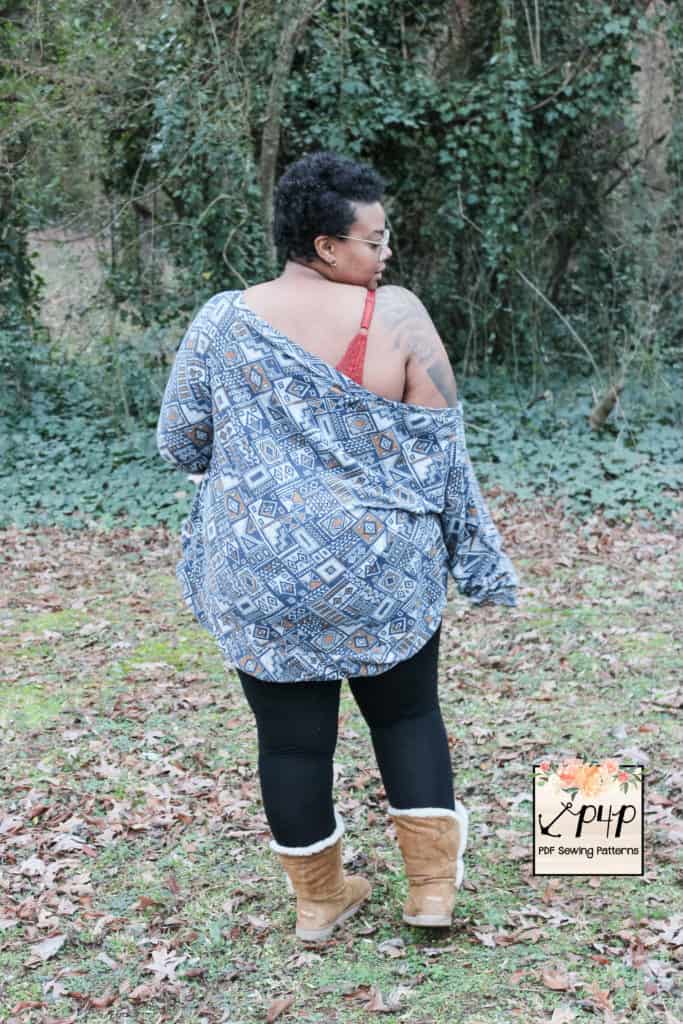
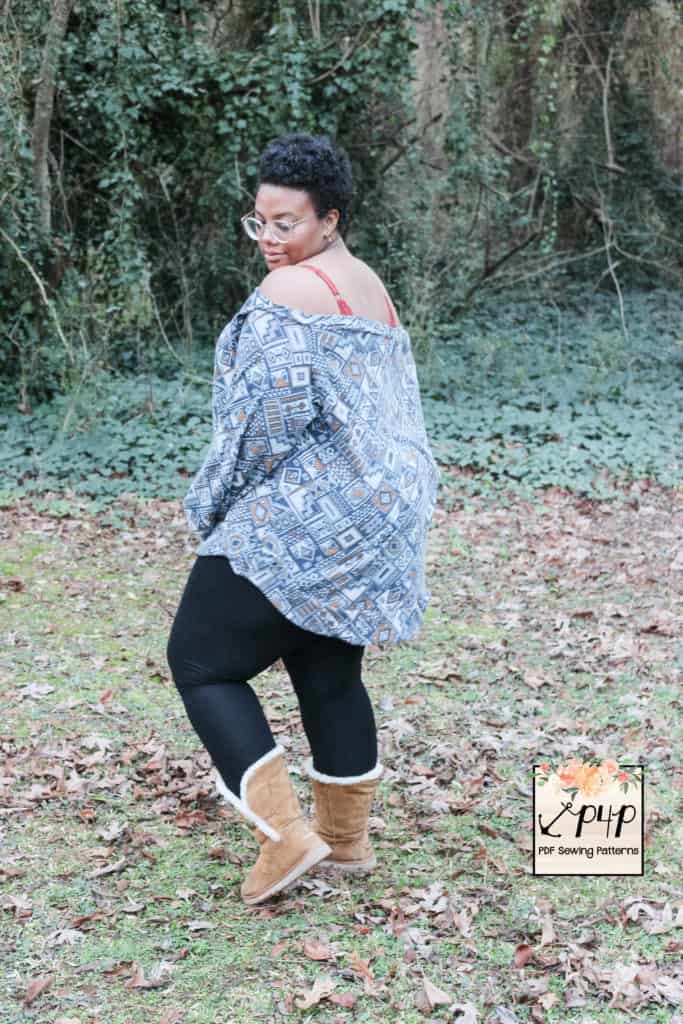
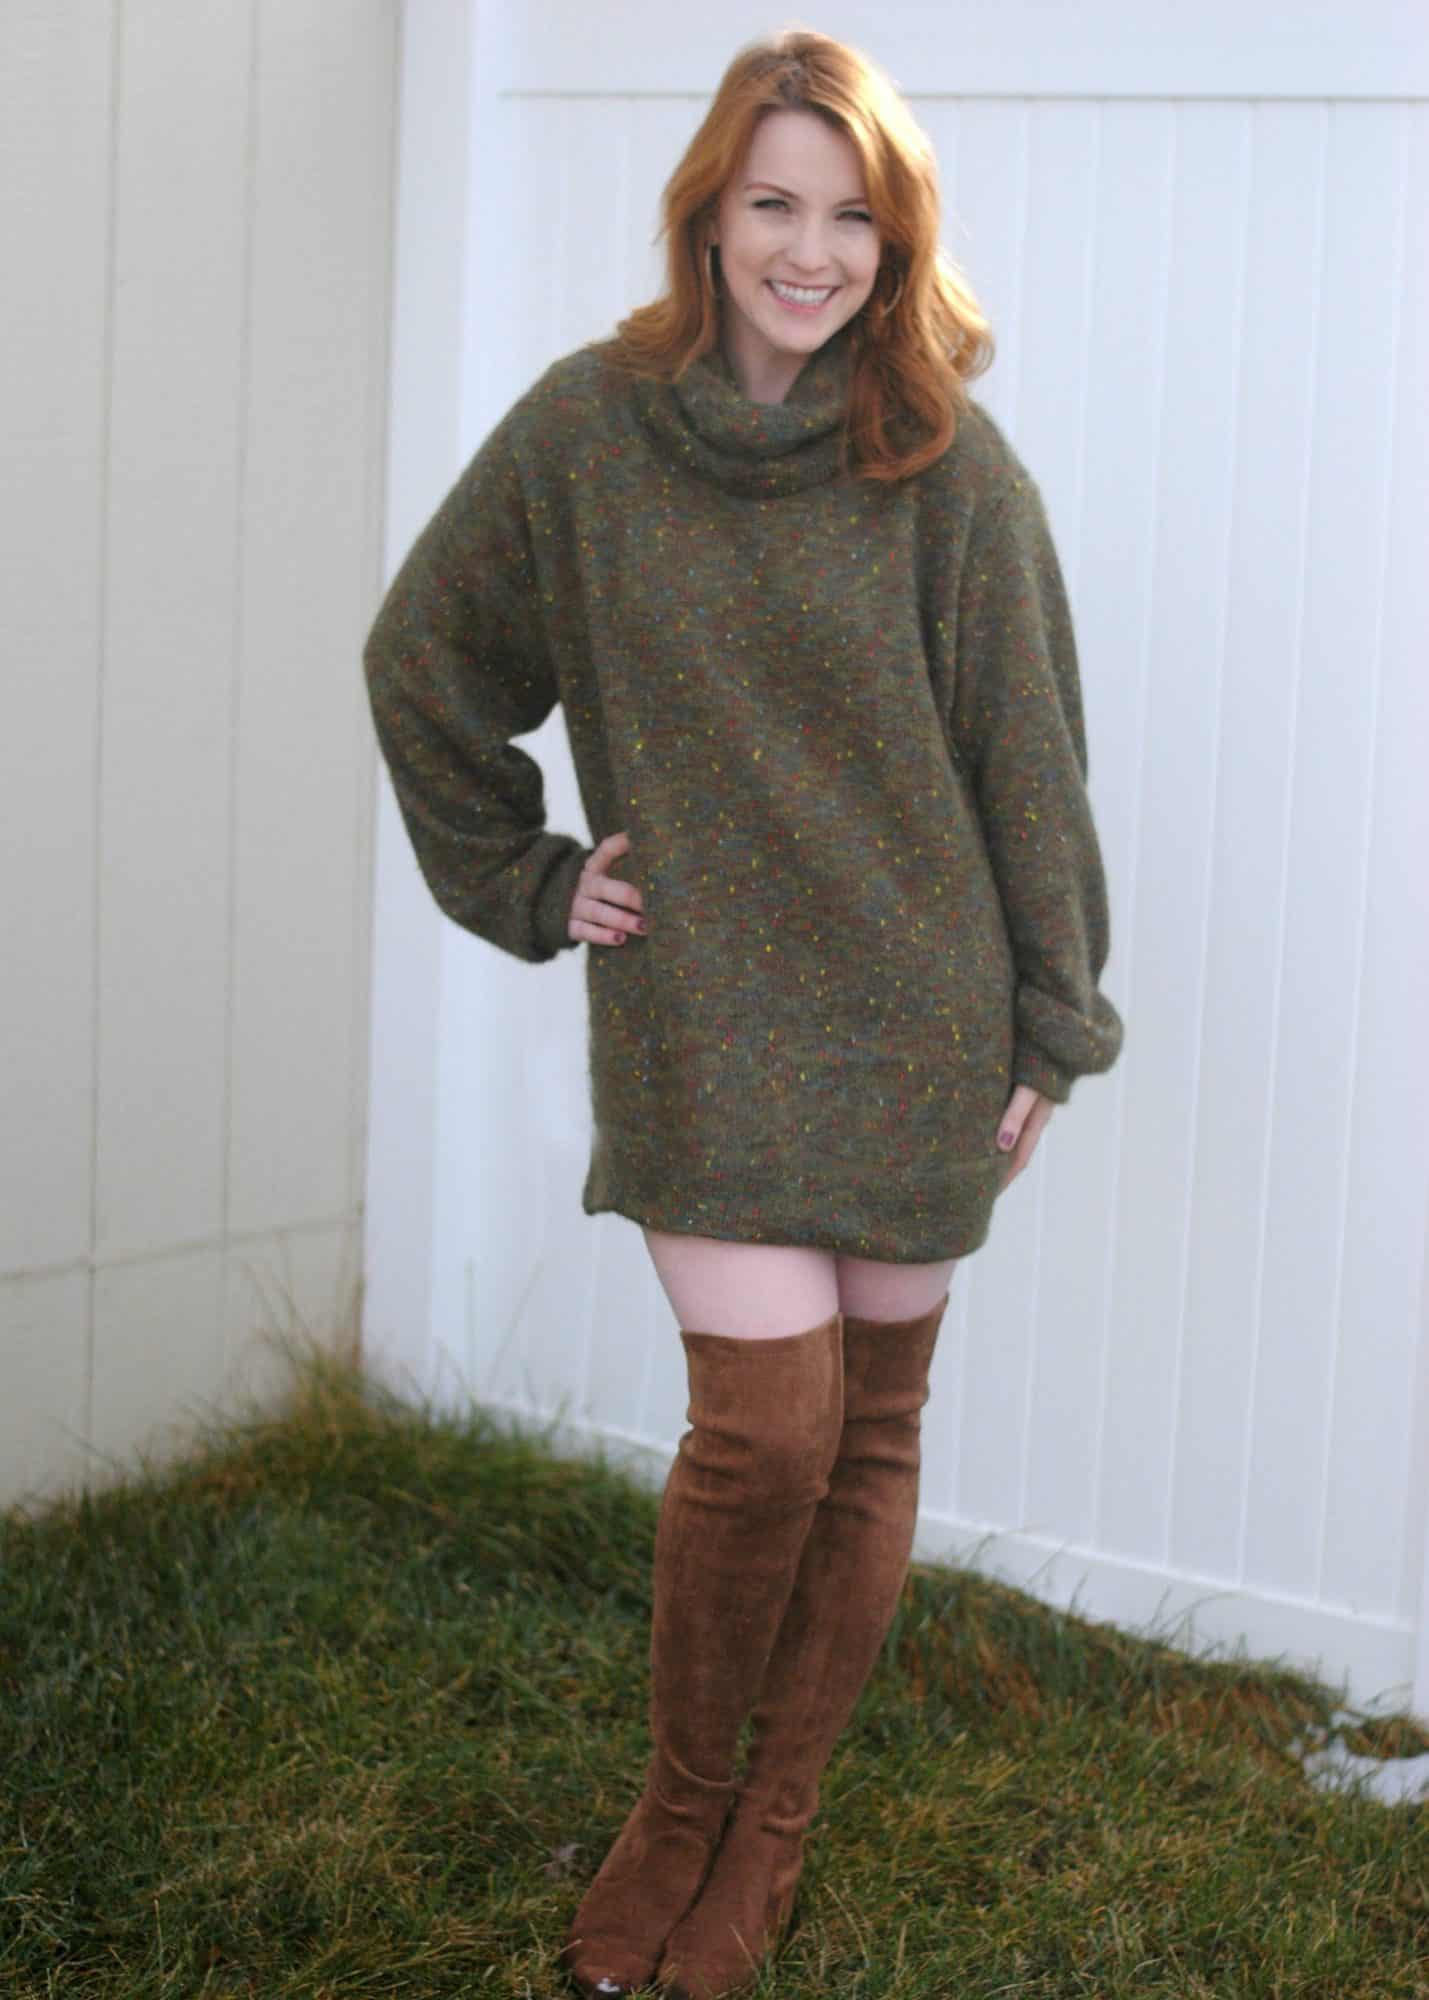
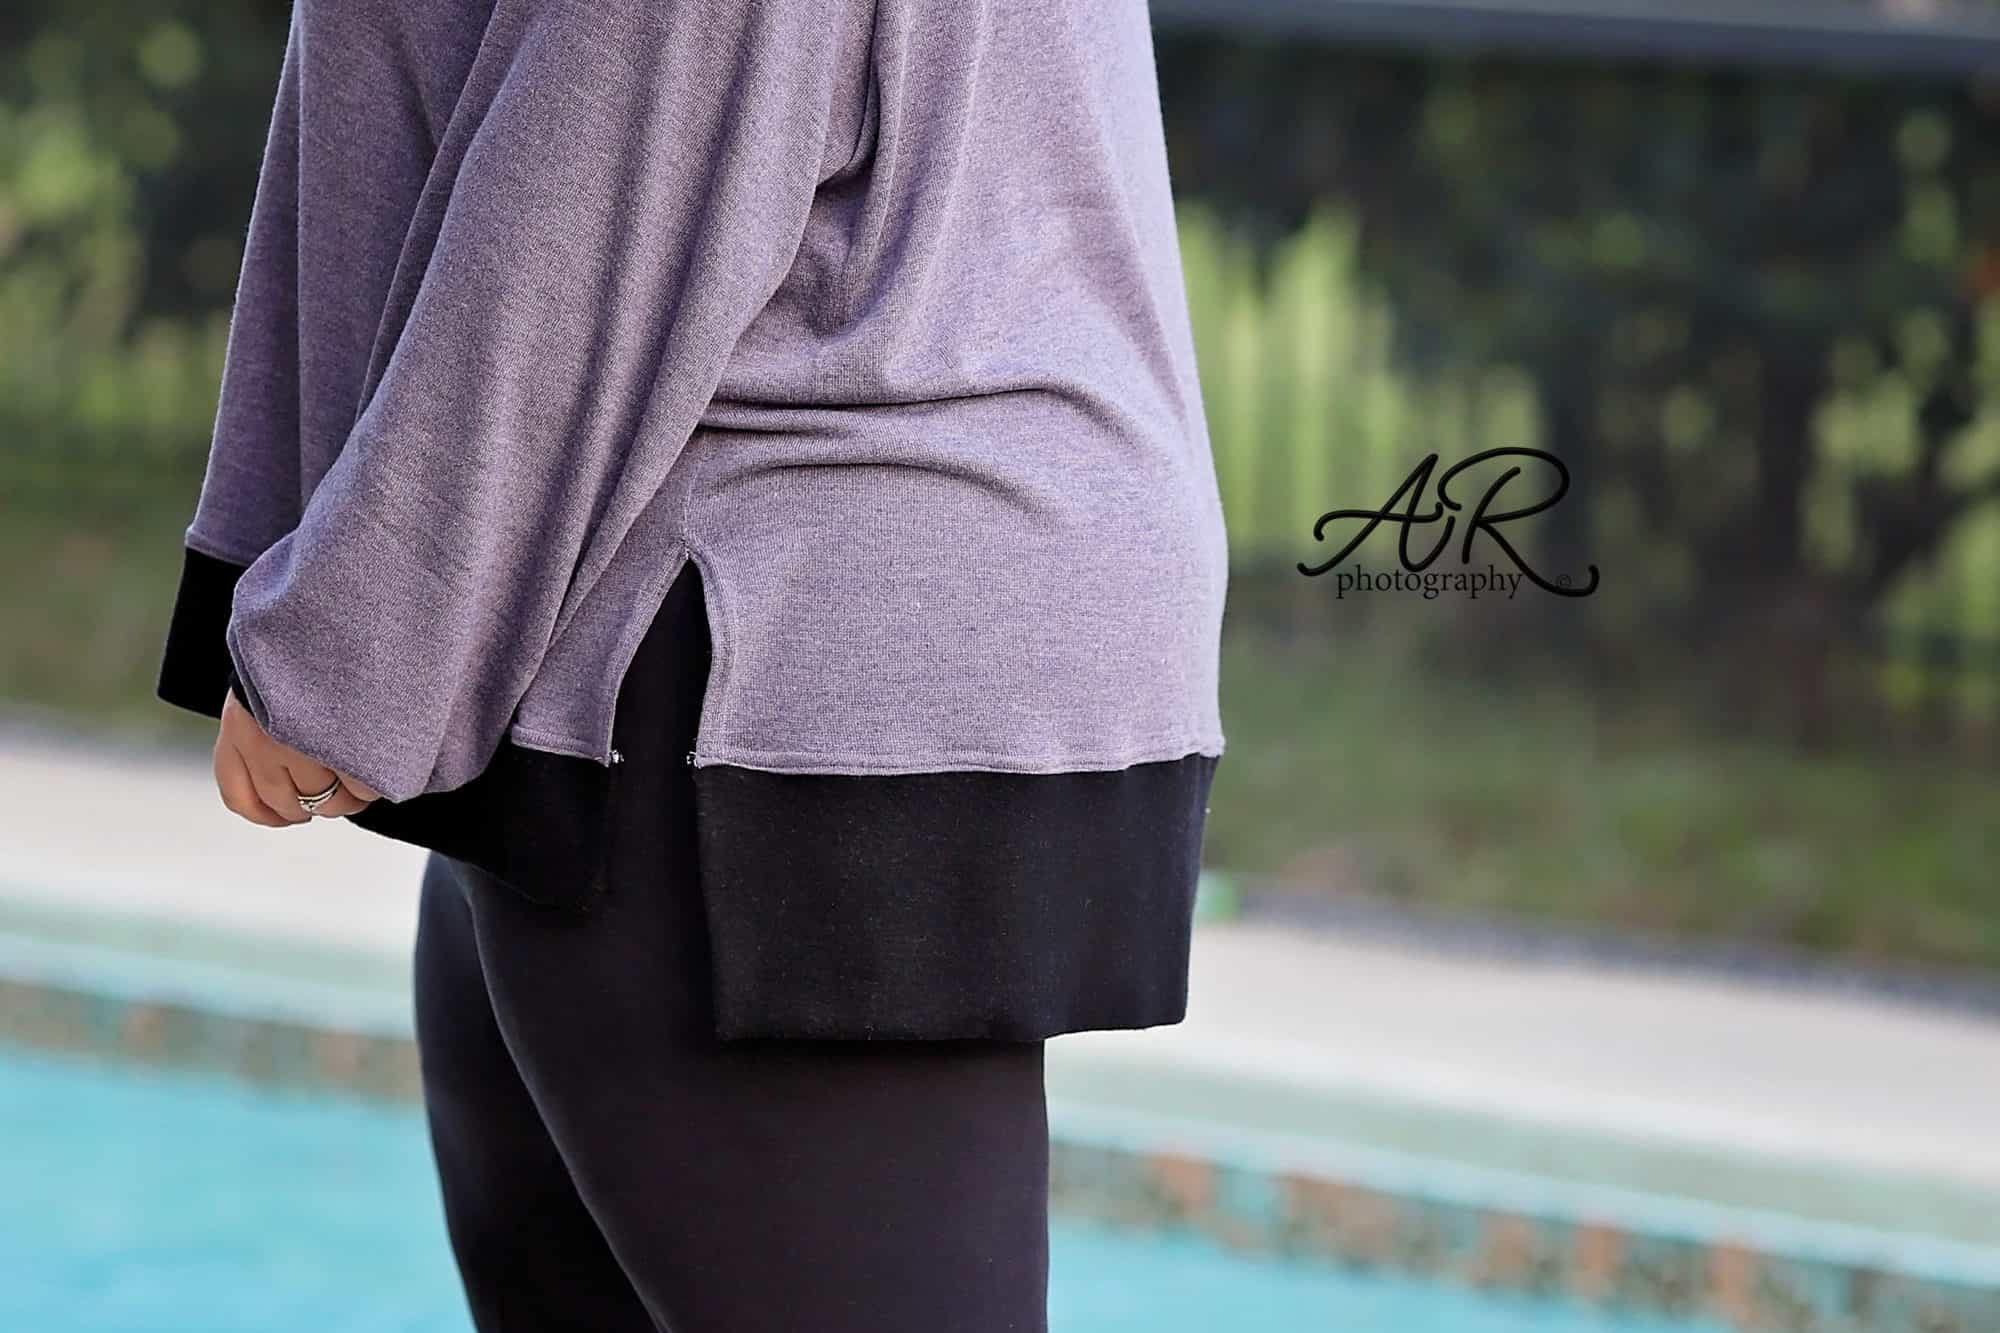
Say hello to your new favorite dress: The Valley Swing Dress, available for both our Adult Hourglass Figure (XXS – Plus 5X sizes) and Youth (3m – 14 sizes). Like all of her pattern releases so far, Katy’s giving a nod to her home state. The Valley Swing Dress is named after where she lives in West Virginia: the Ohio Valley.
Are you ready to swish, sway, and (of course!) swing yourself into a new pattern with us? Let’s tell you all about it!

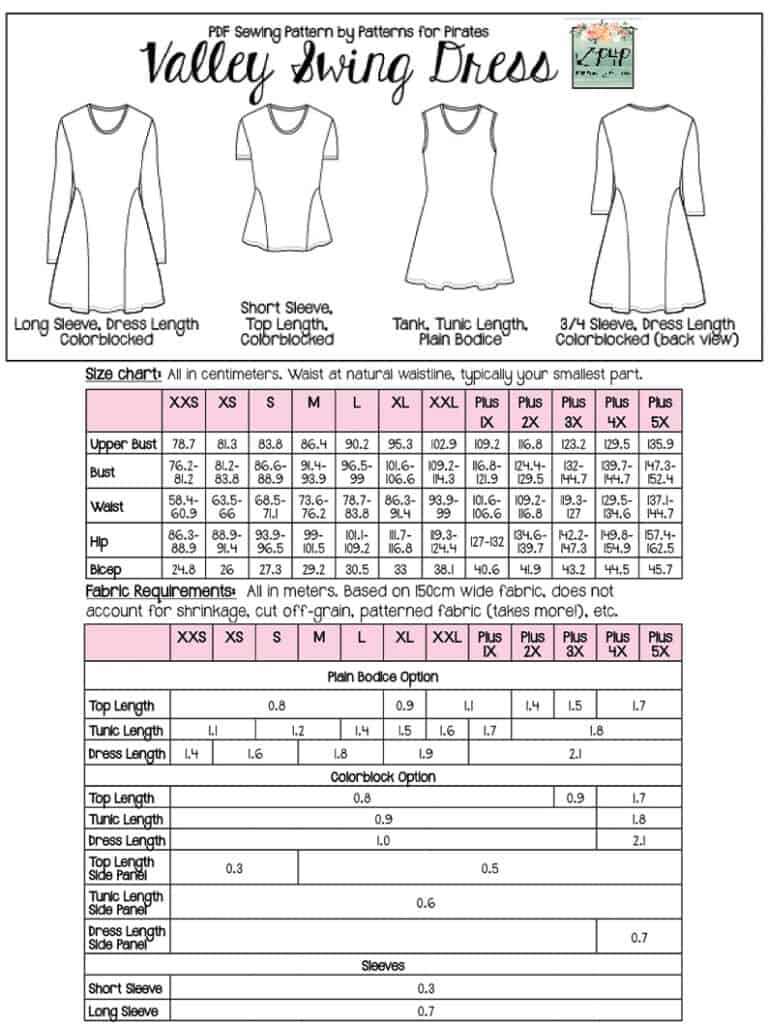
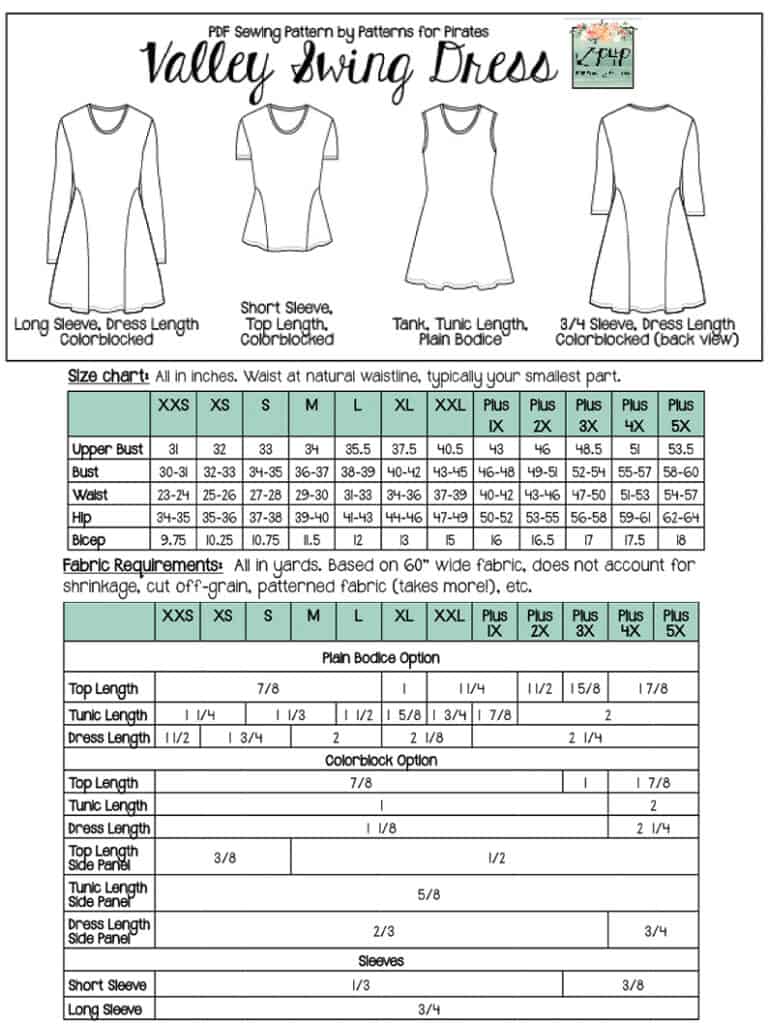
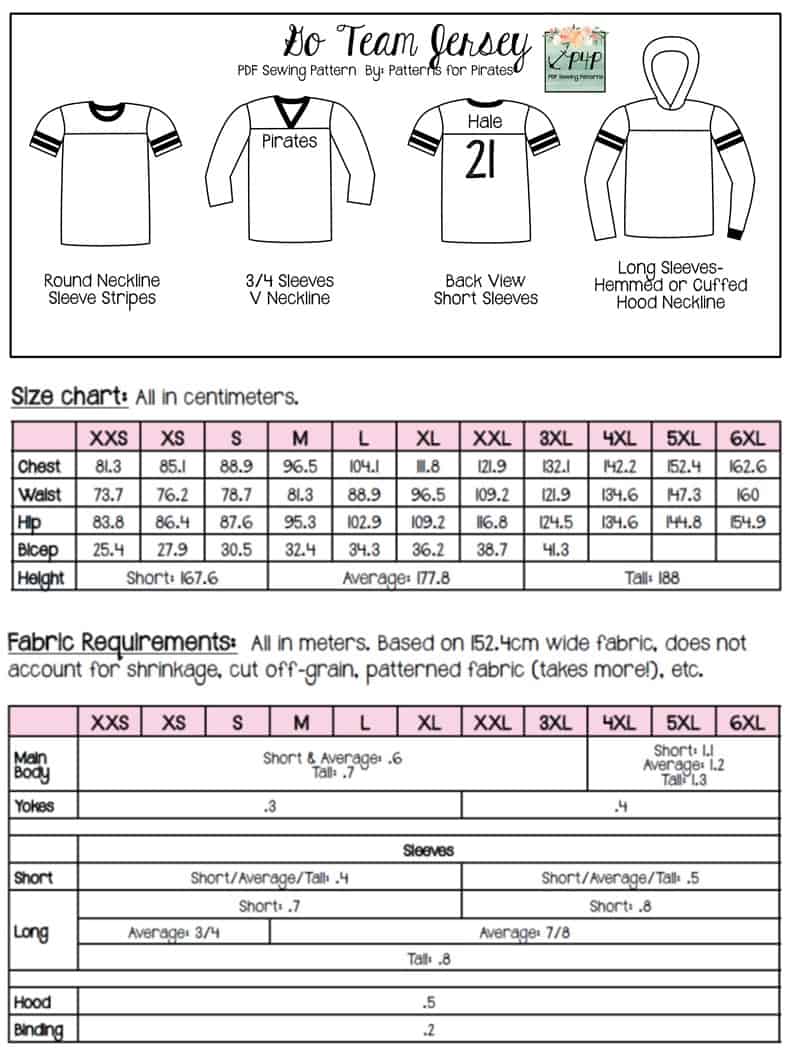
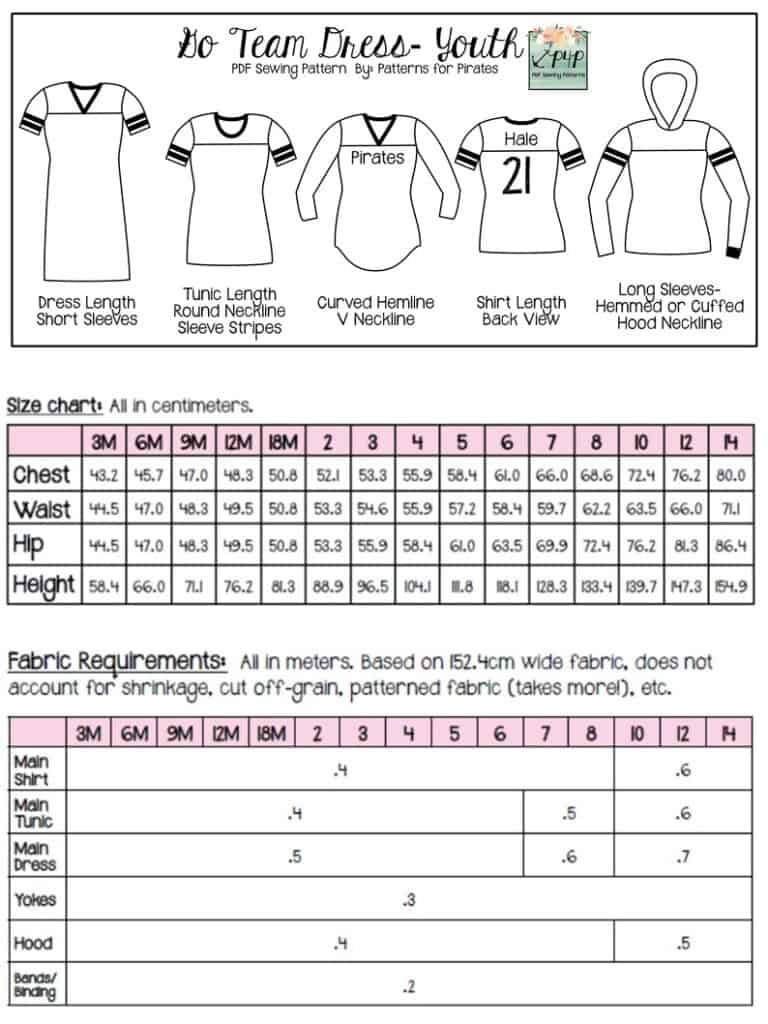
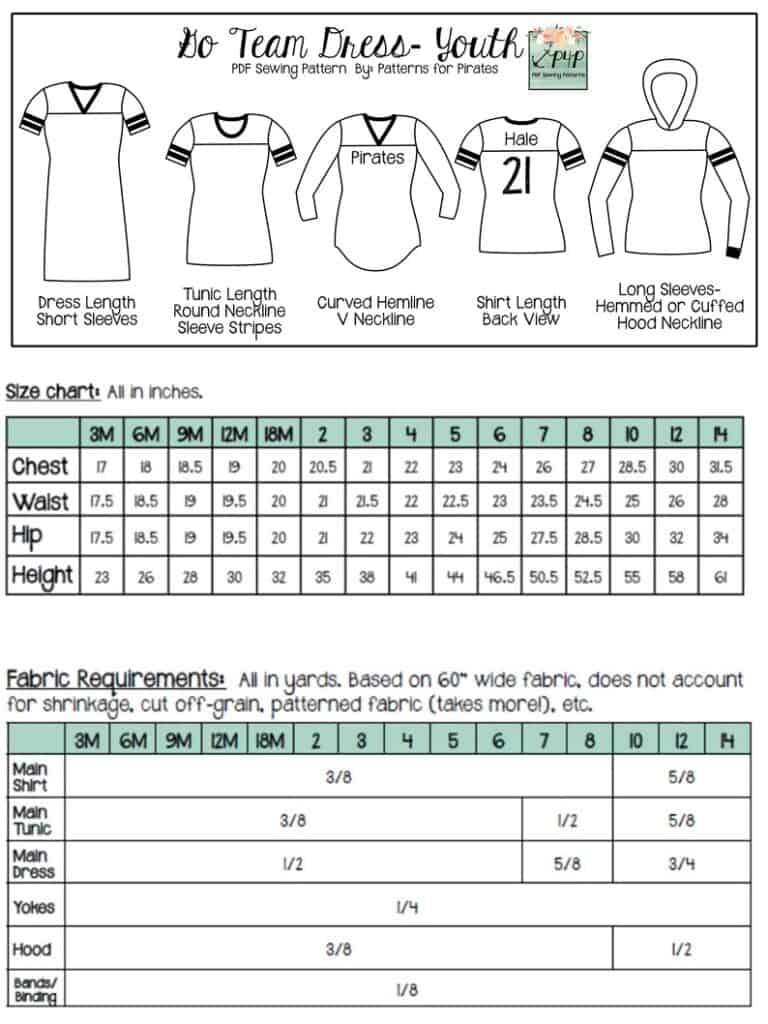
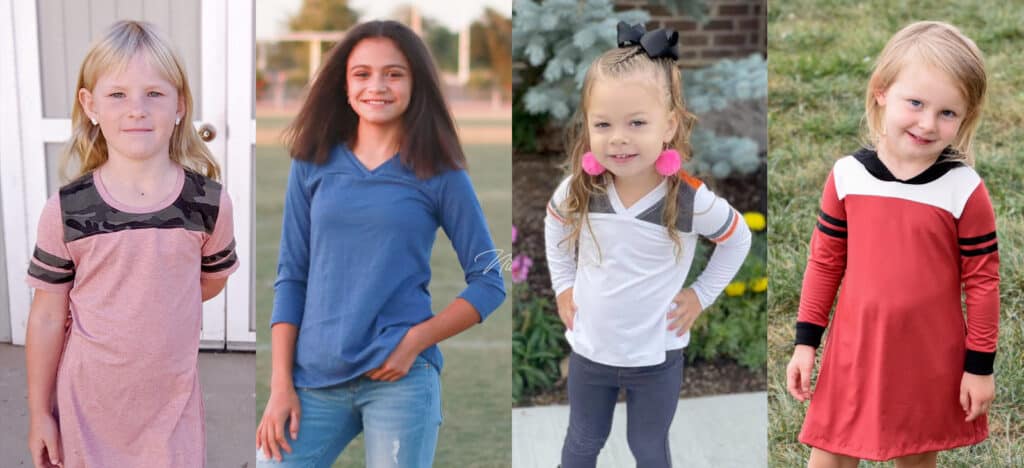
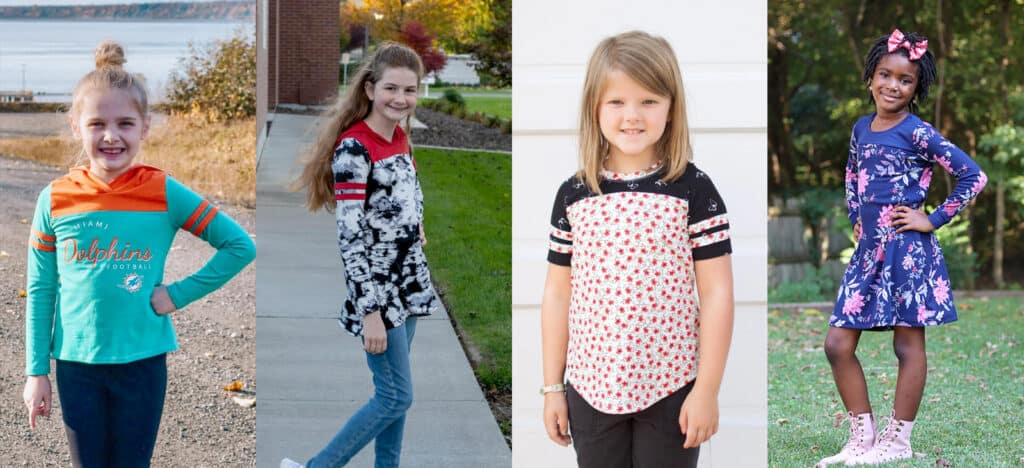
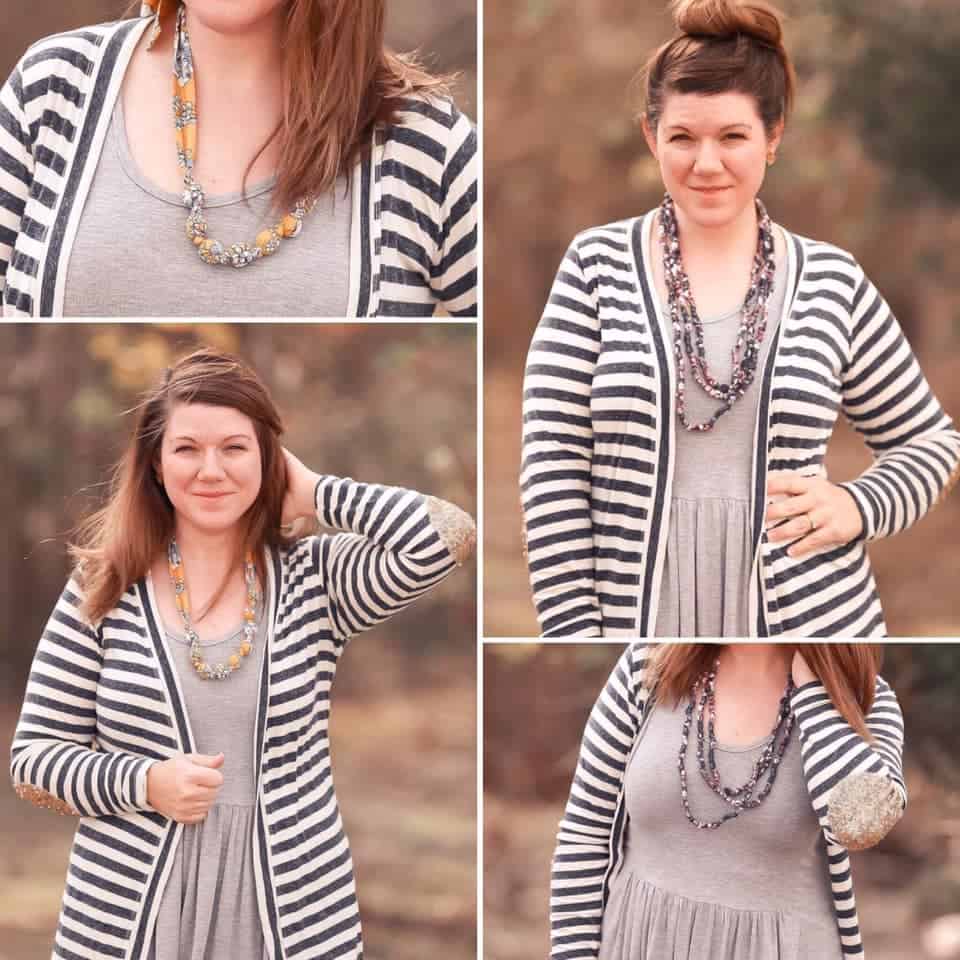
- tanktop, short, 3/4 and long sleeves
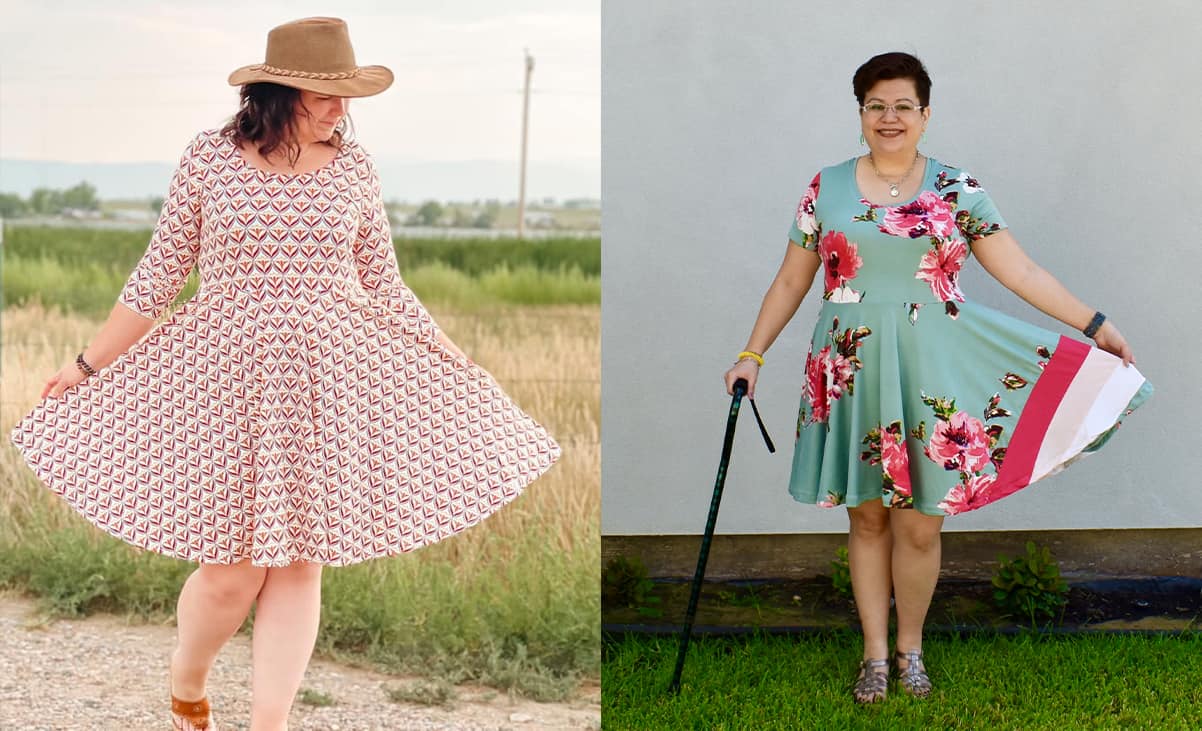
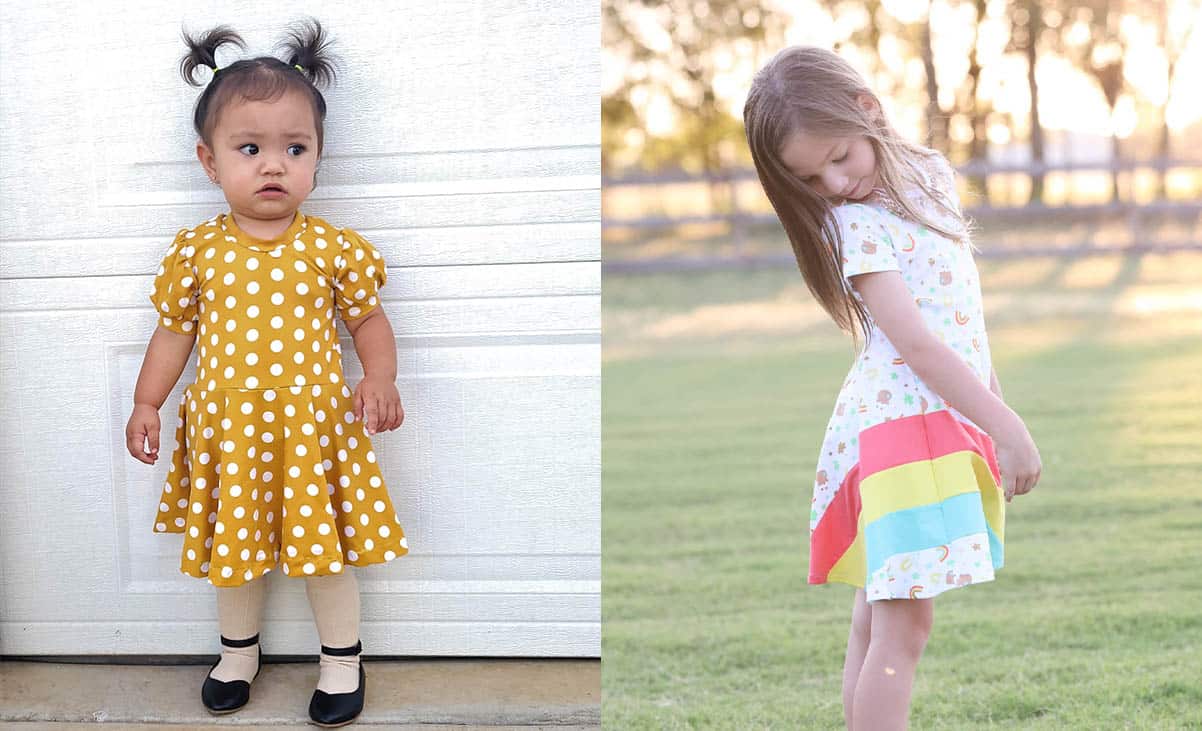
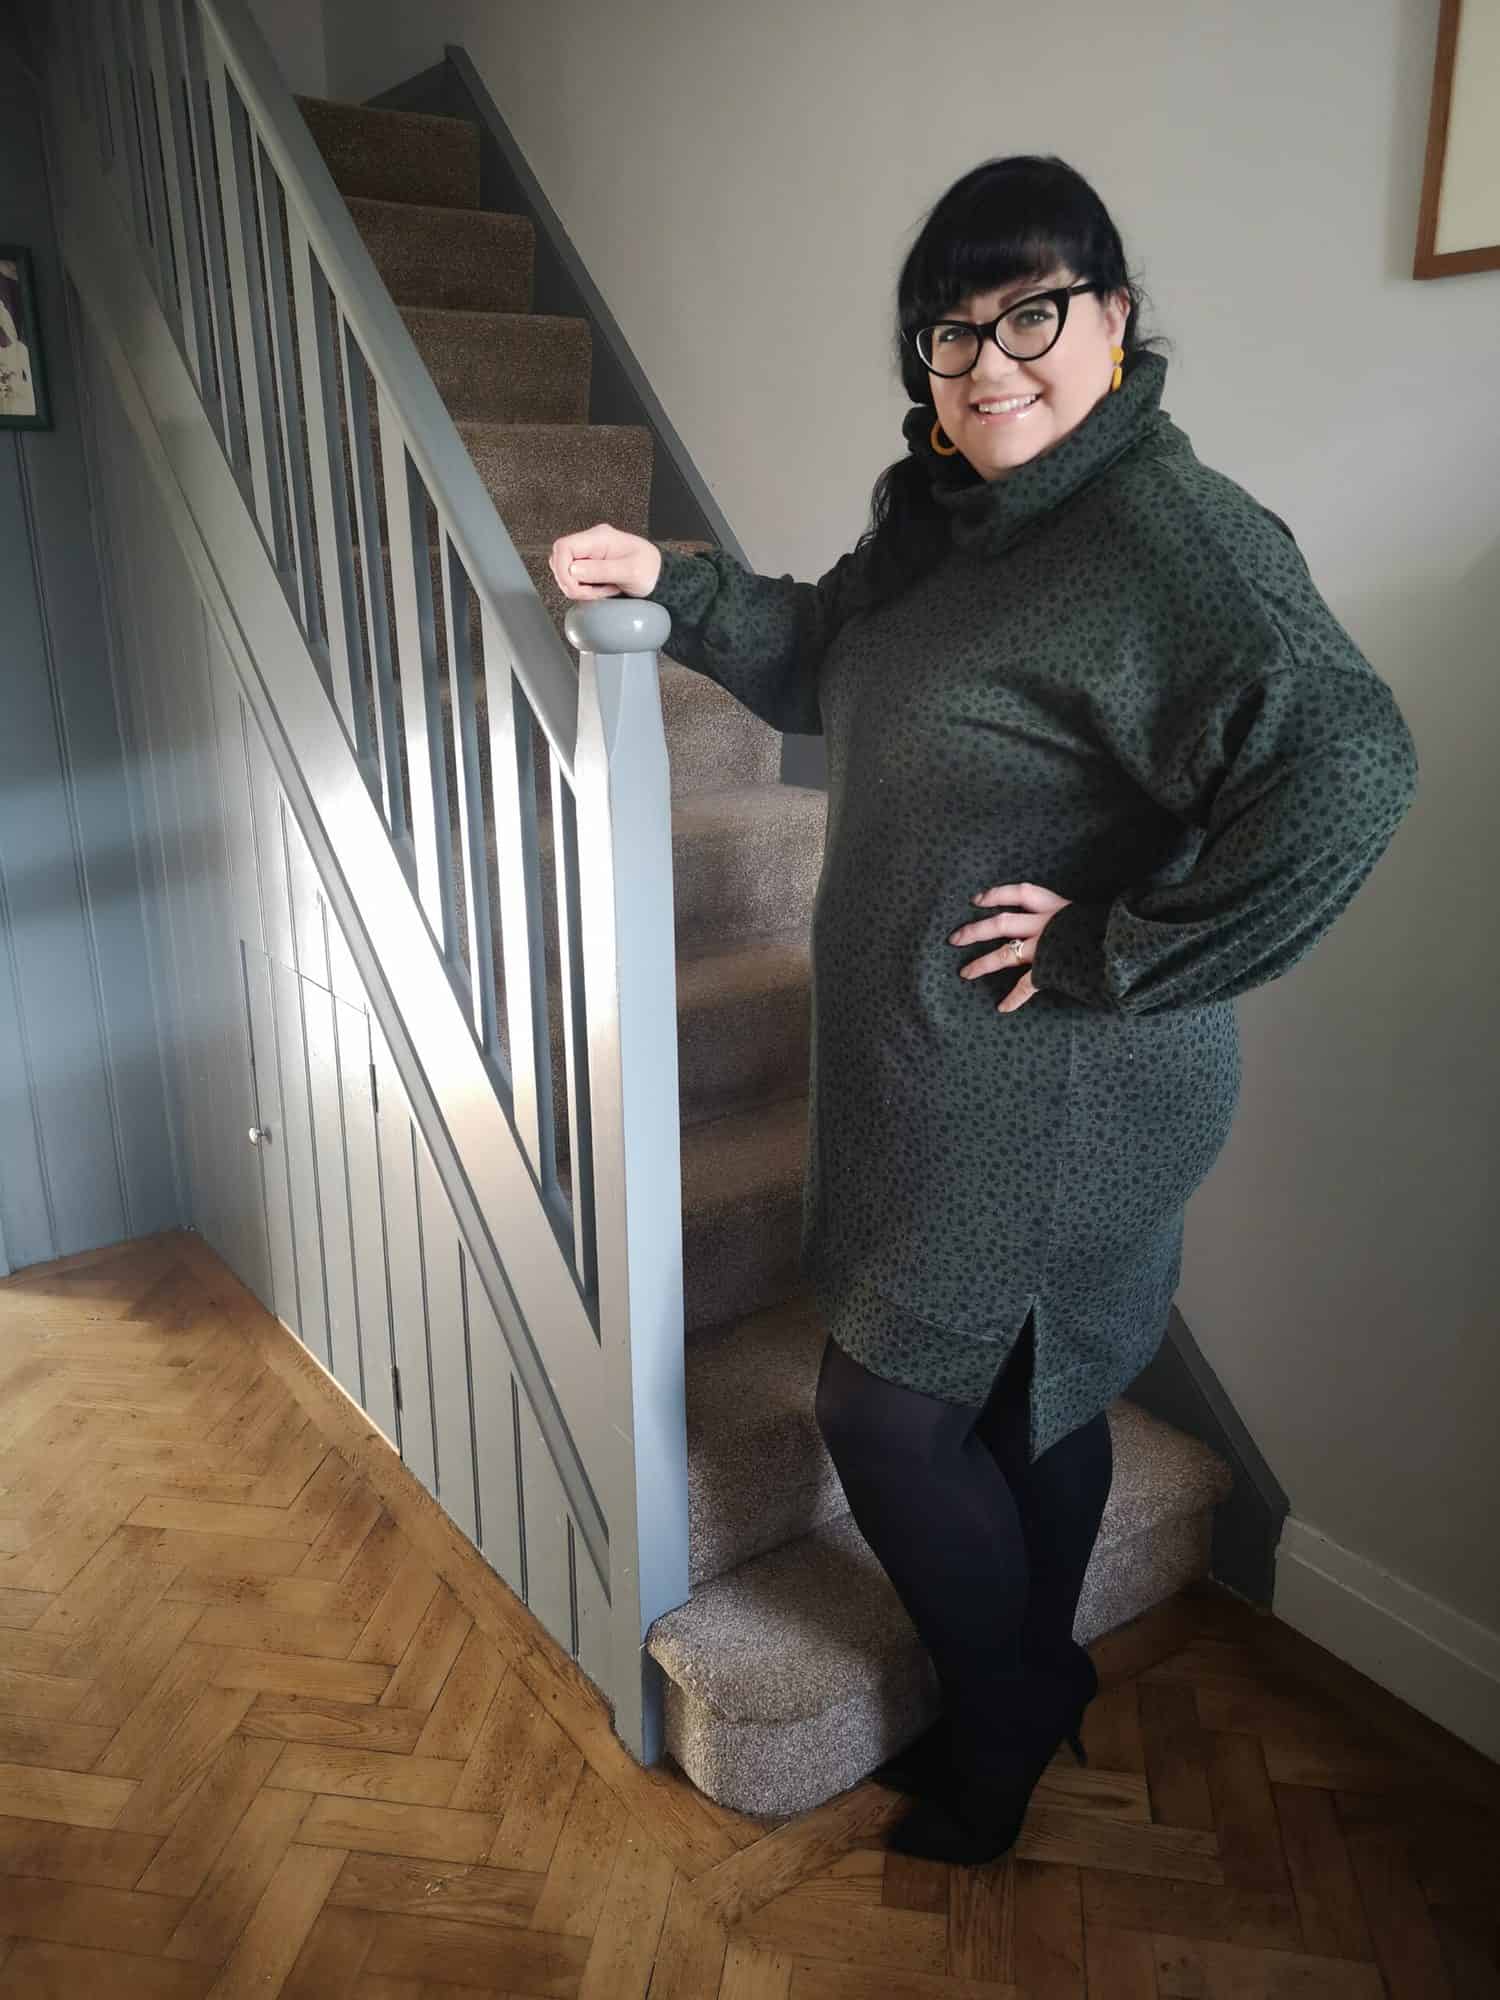
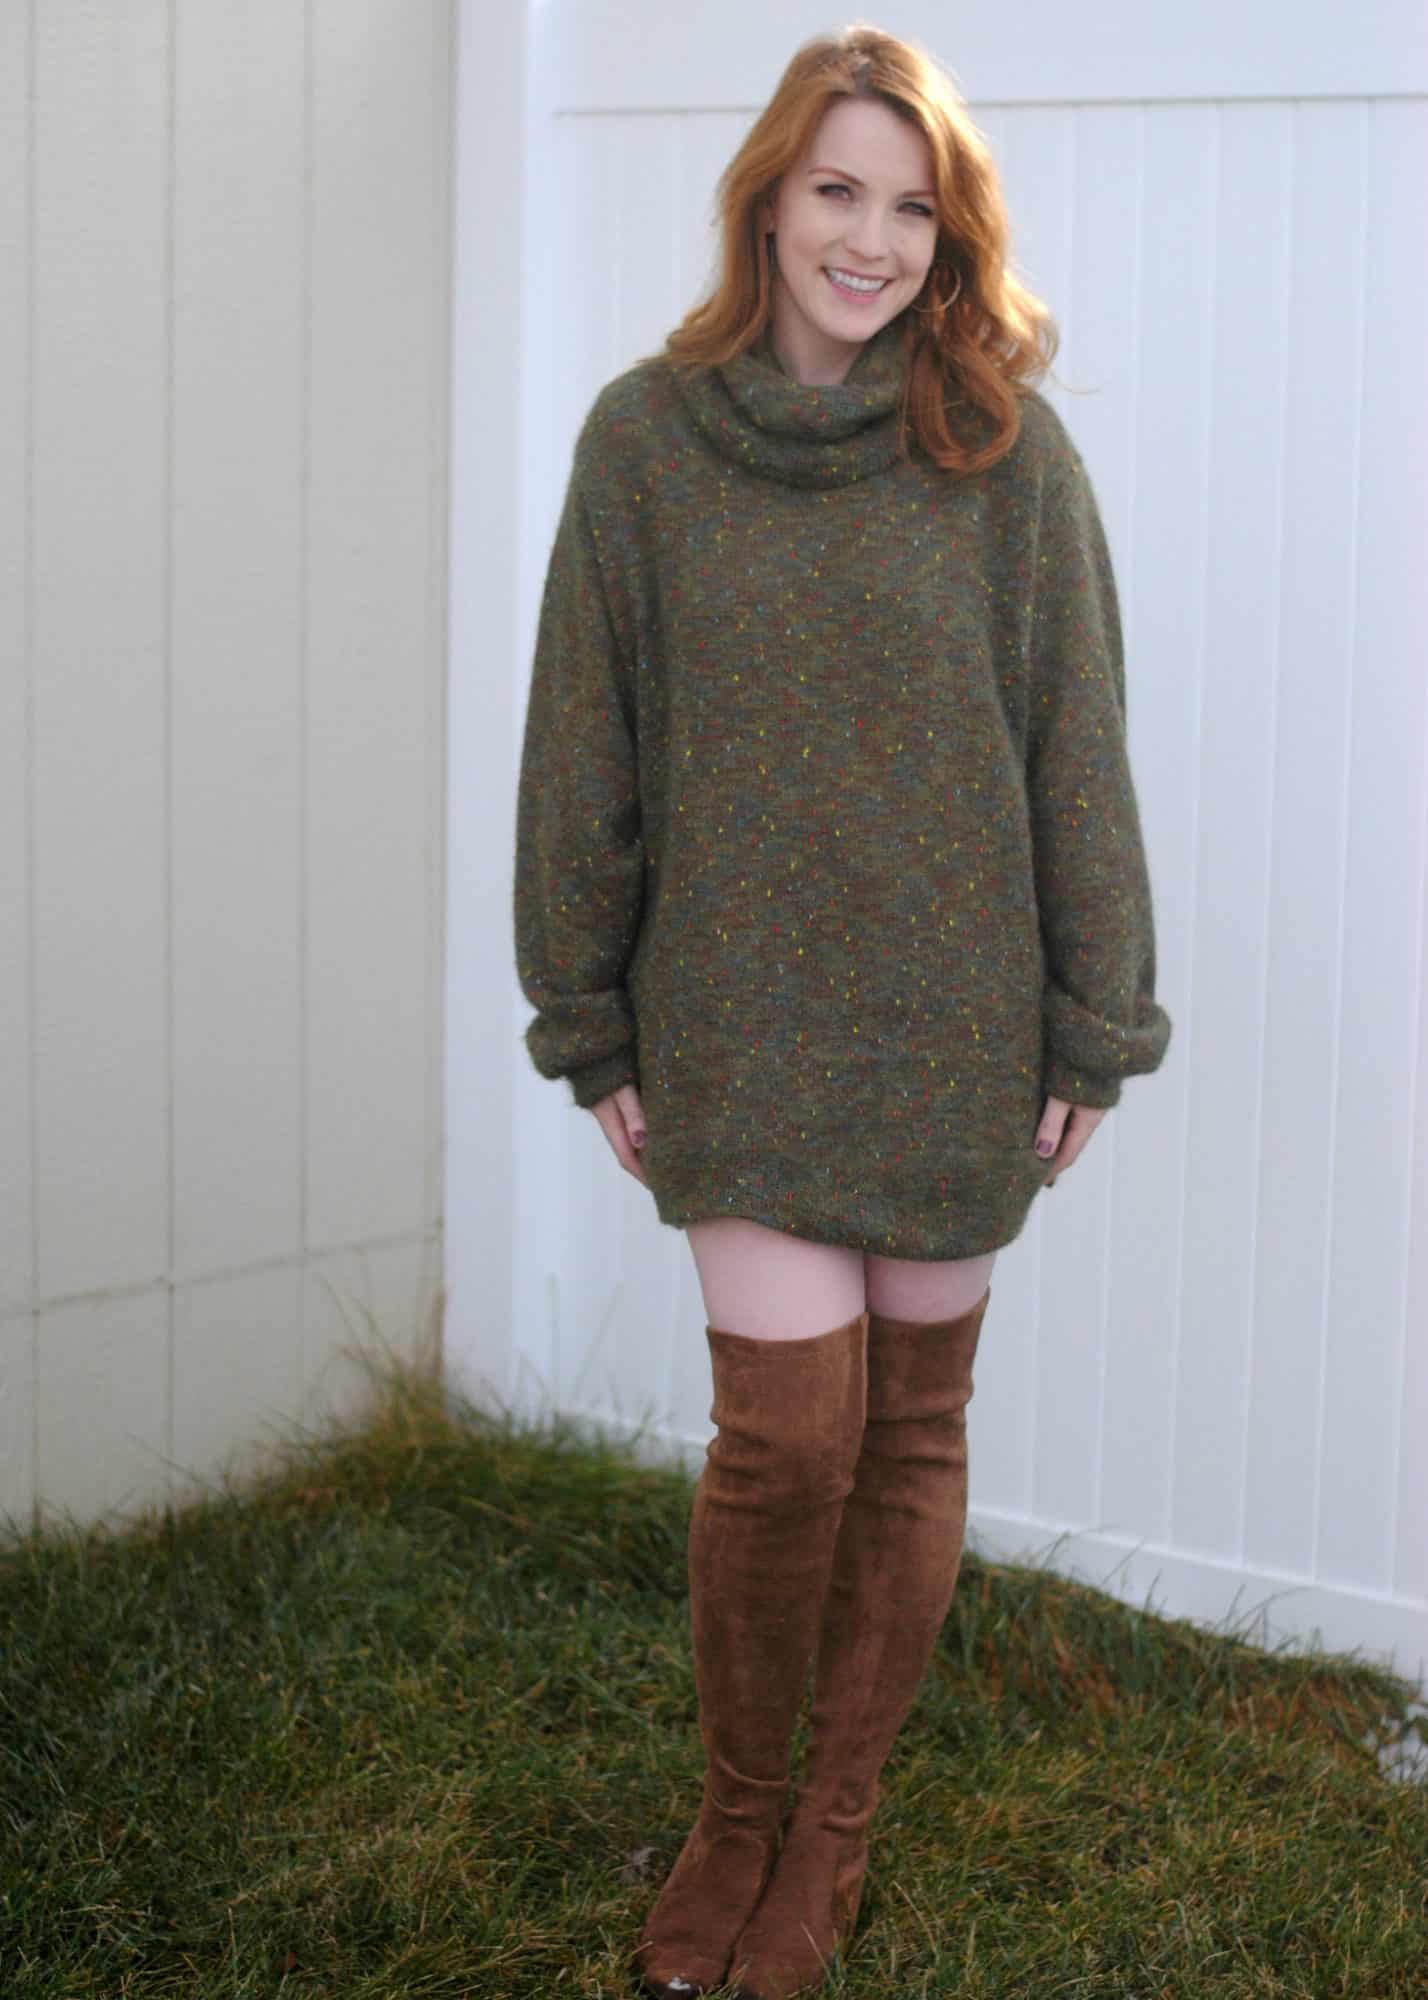
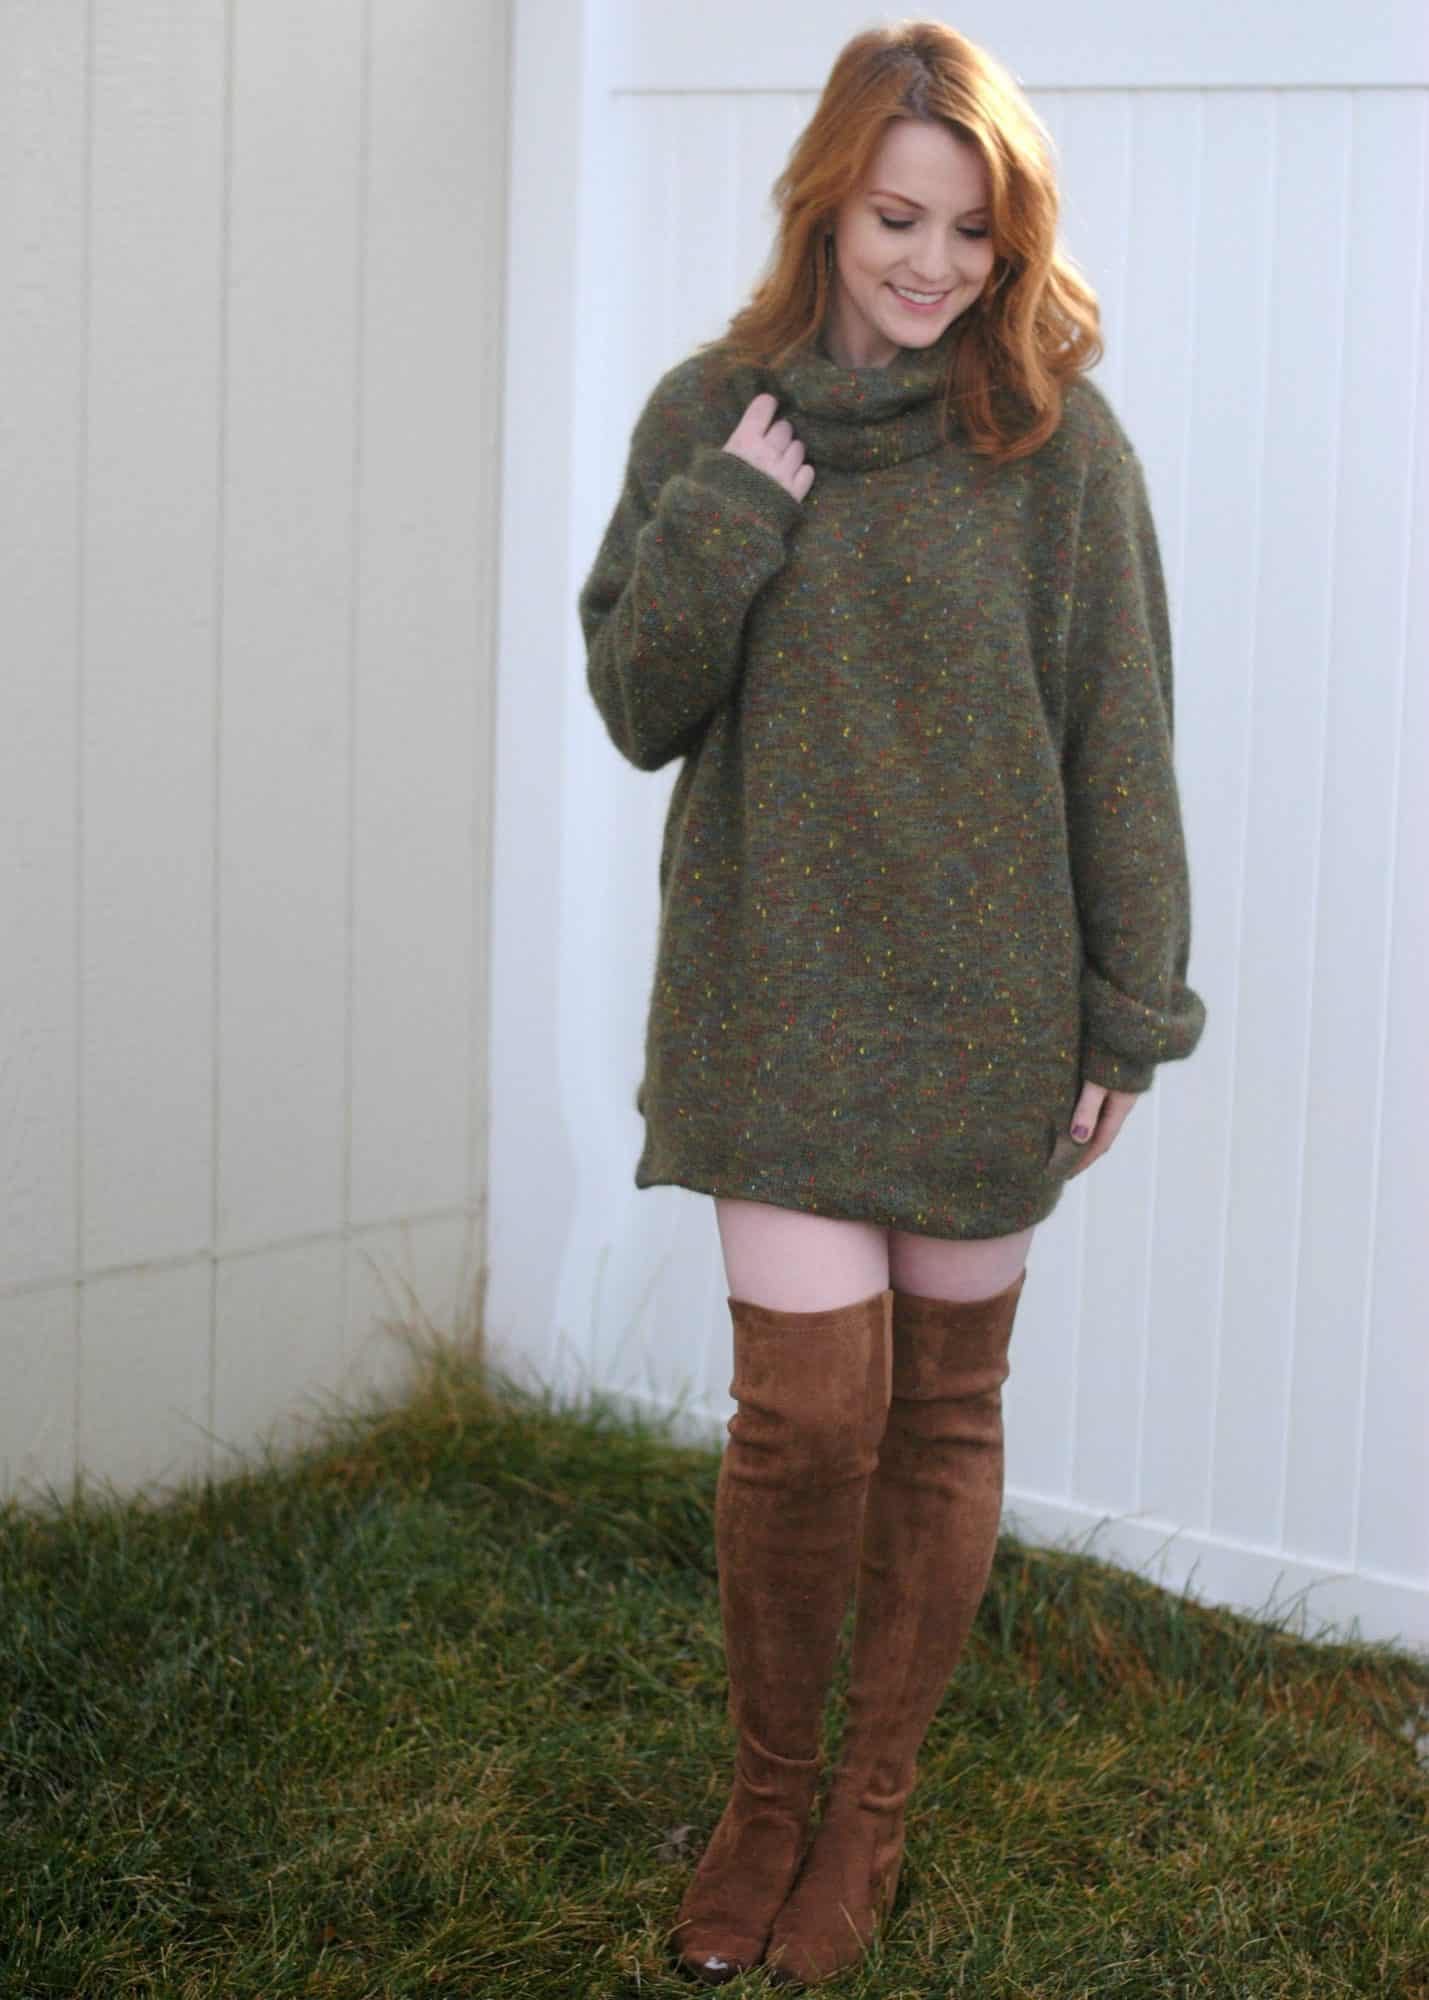
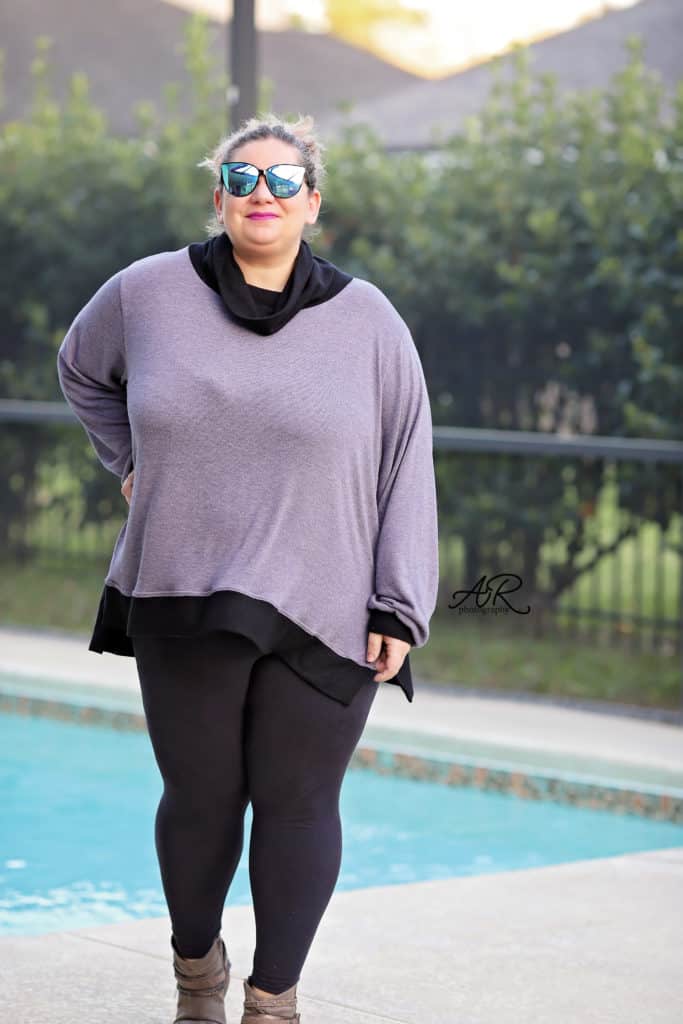
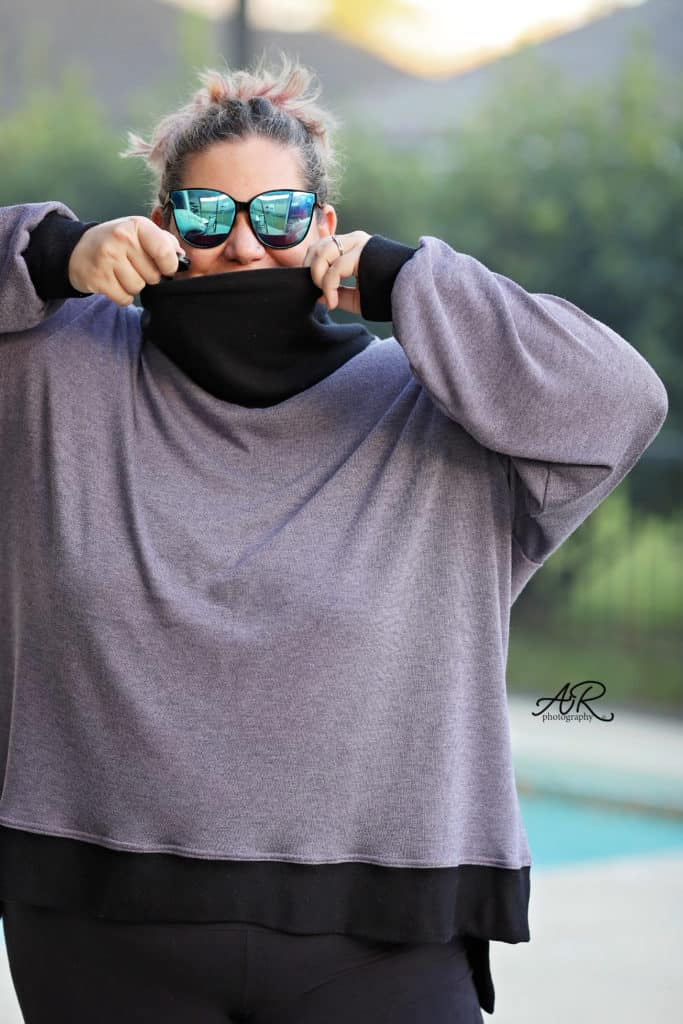
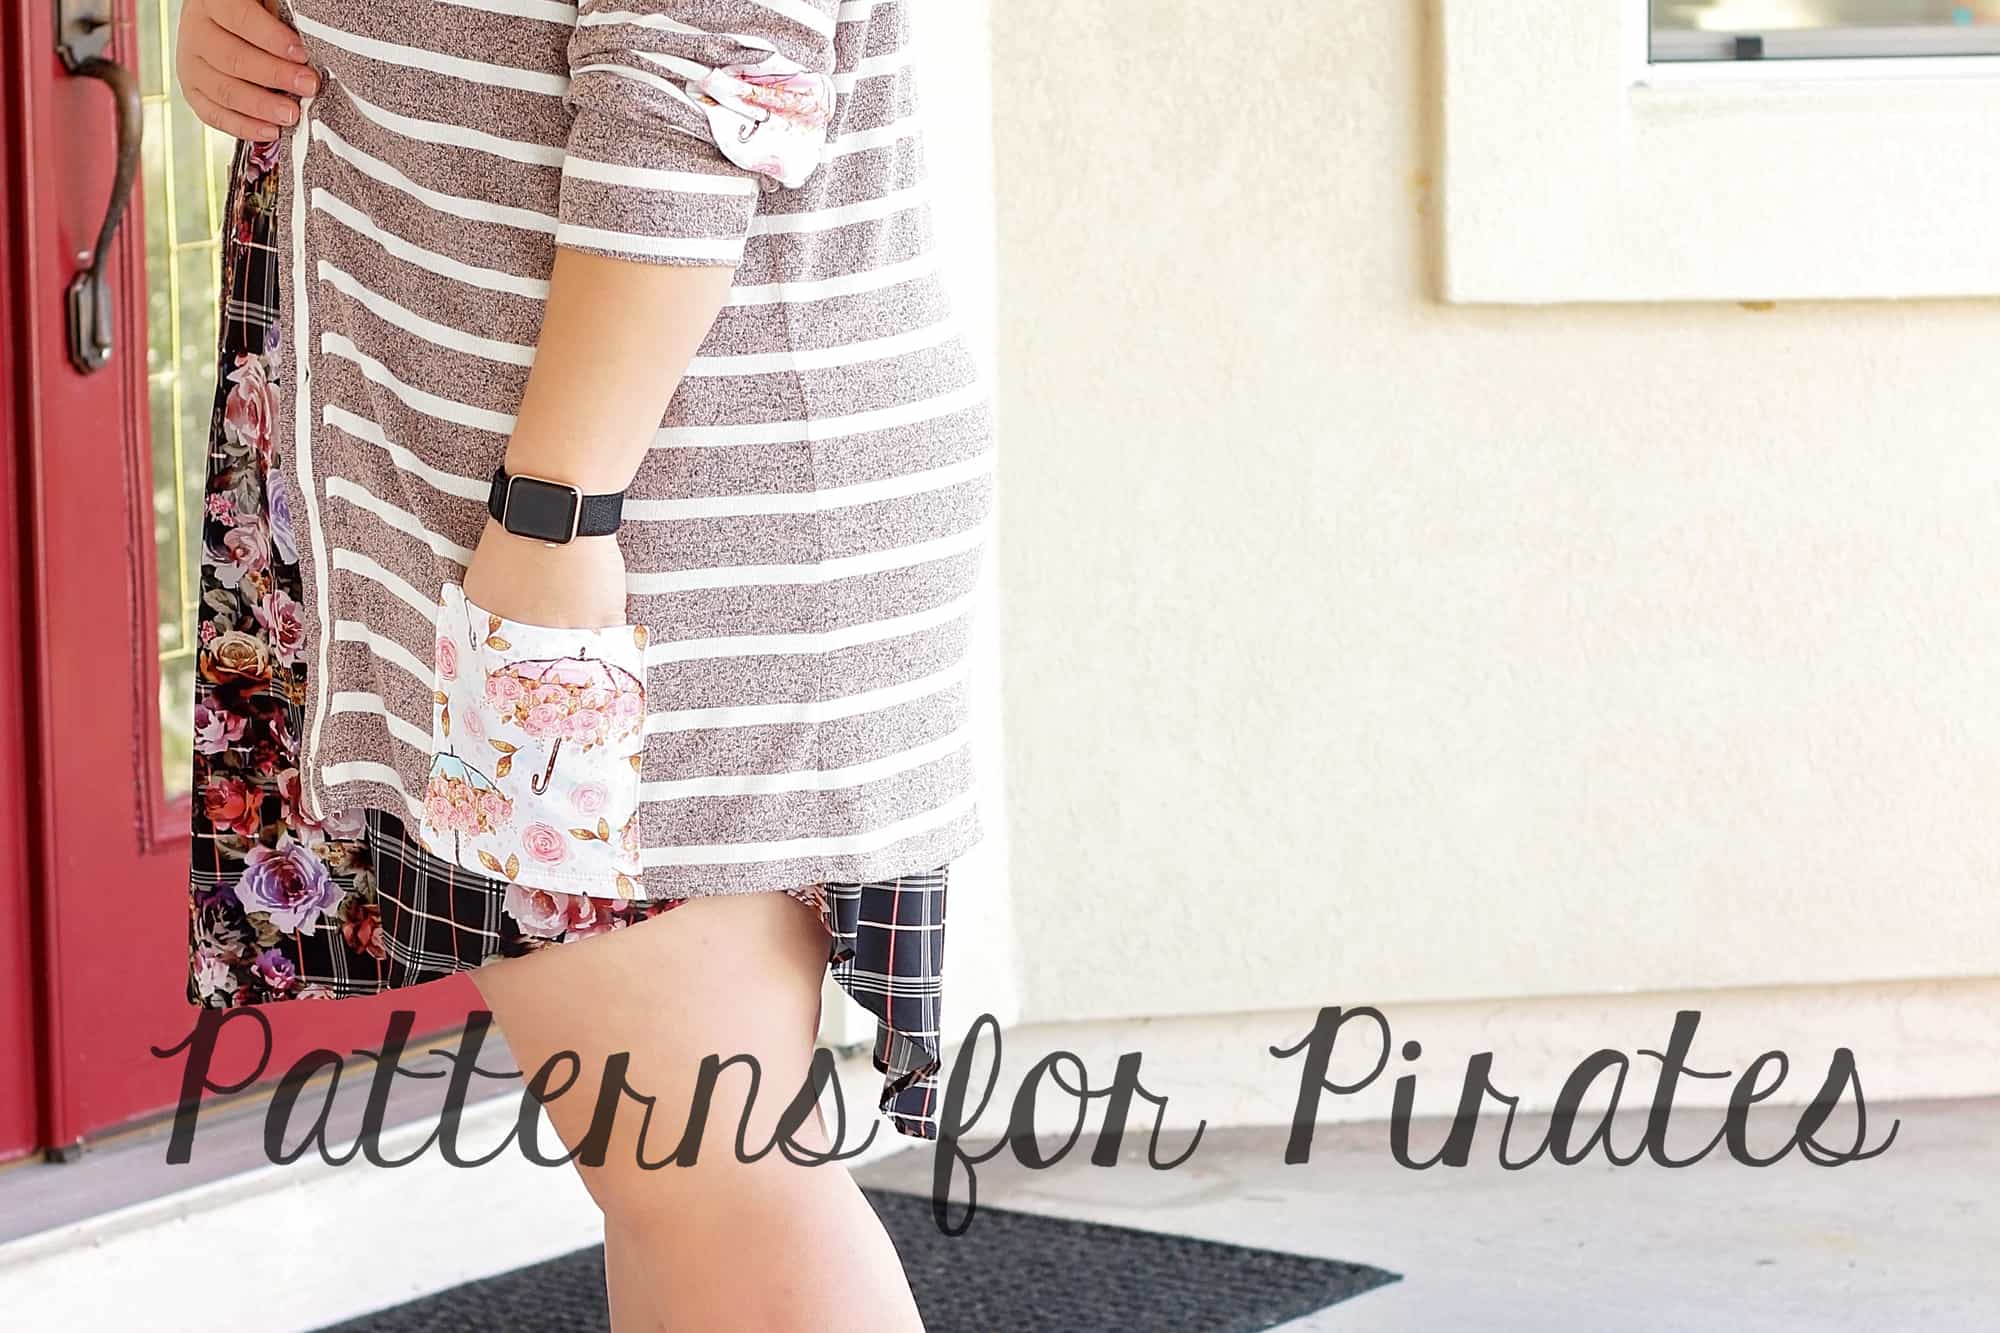
- top, tunic and above-knee hem lengths
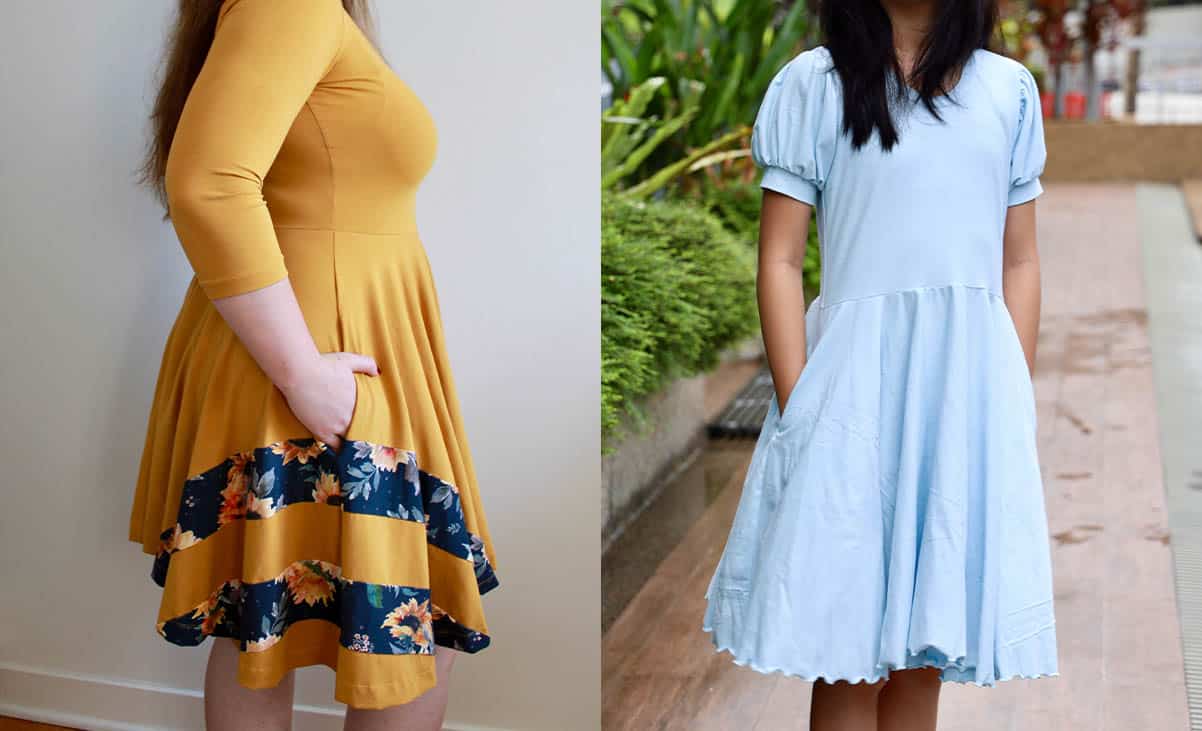
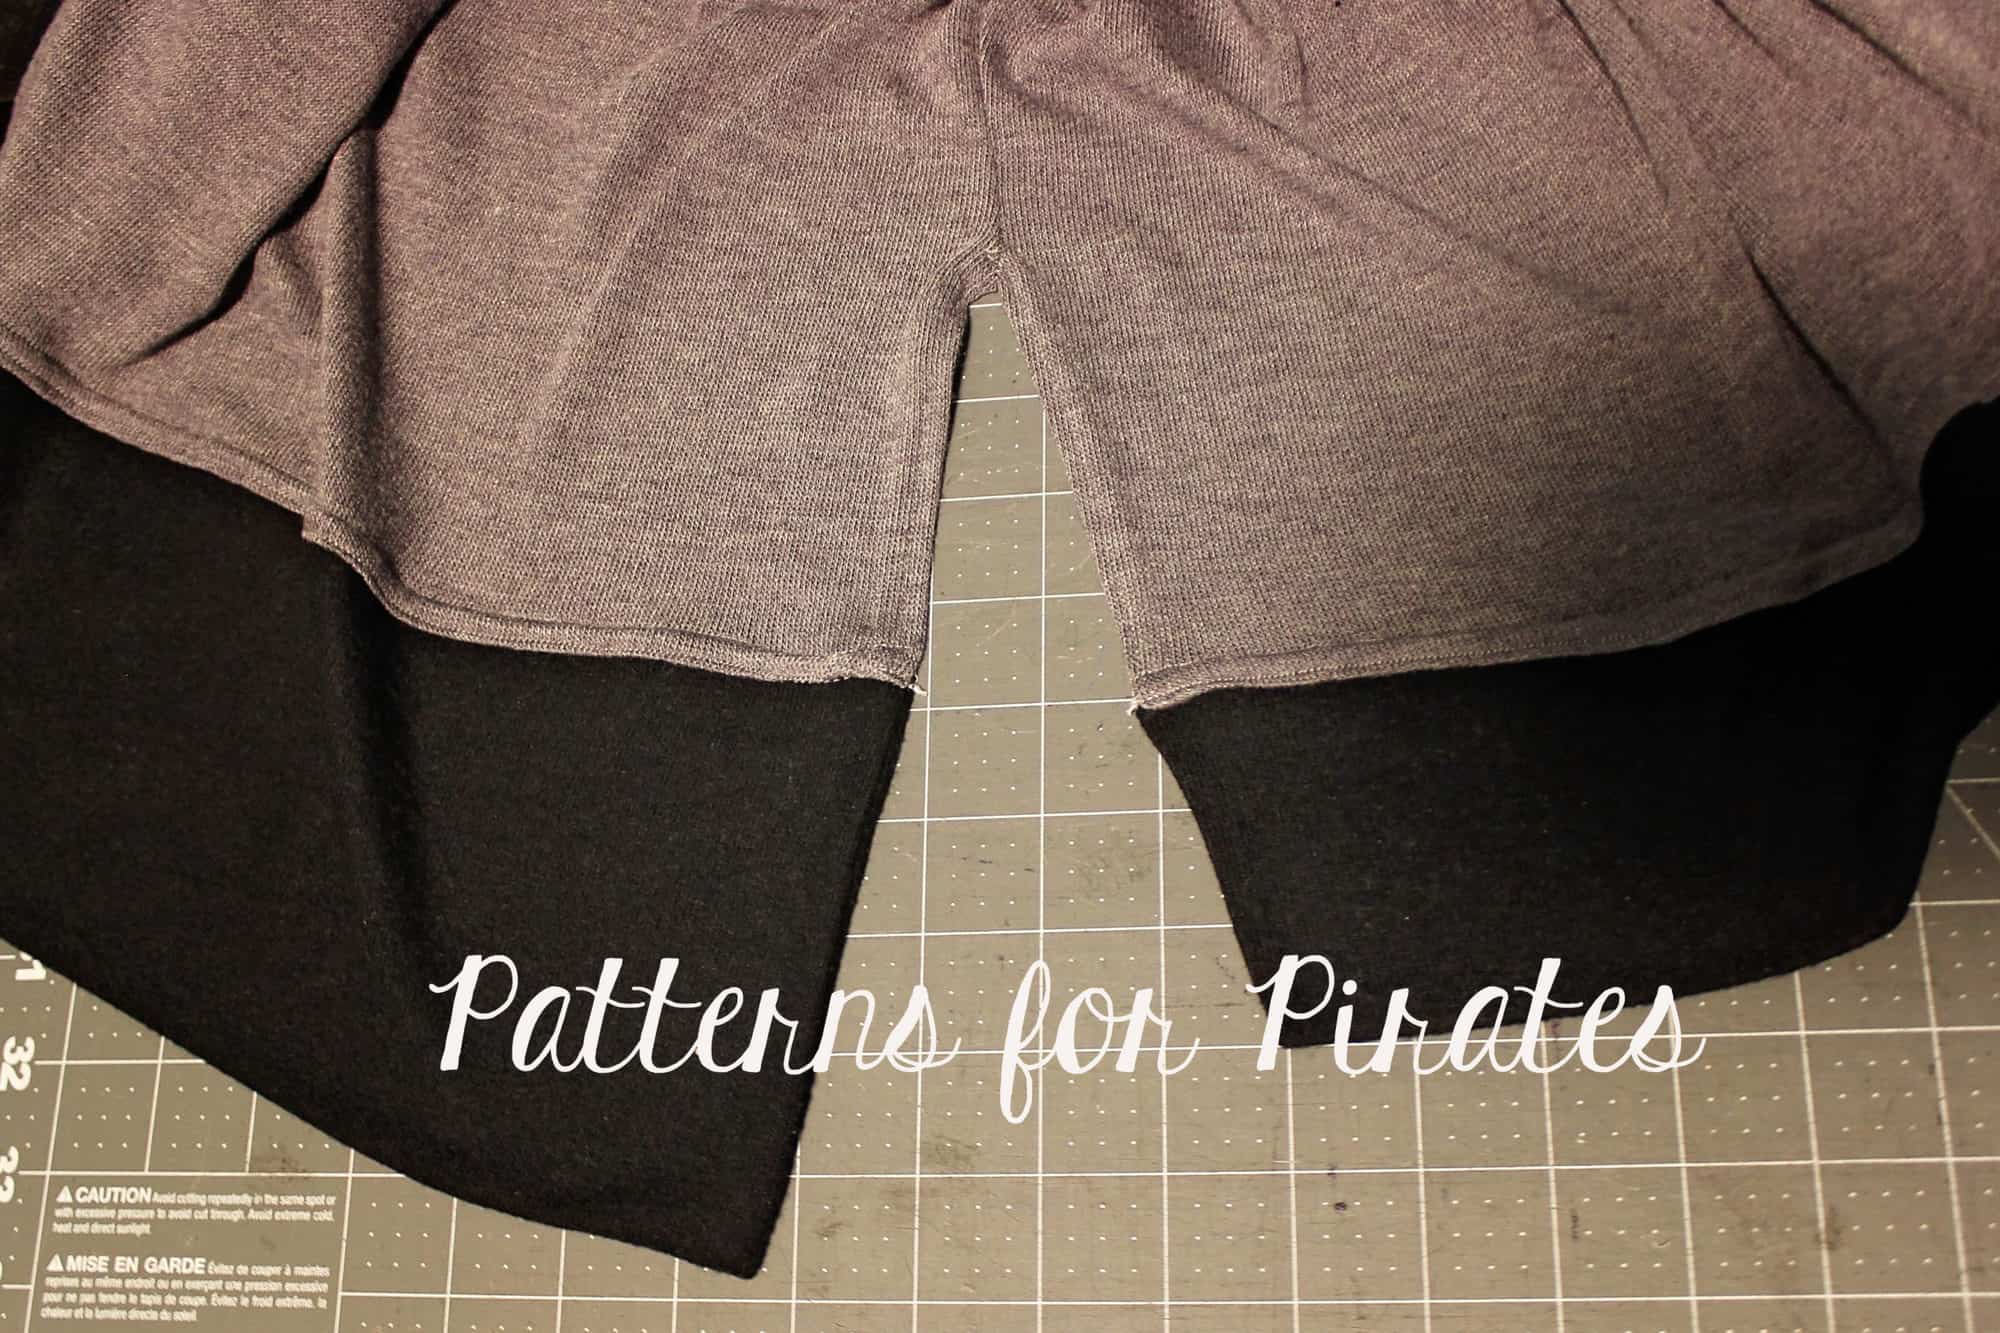
- colorblock or plain skirted options
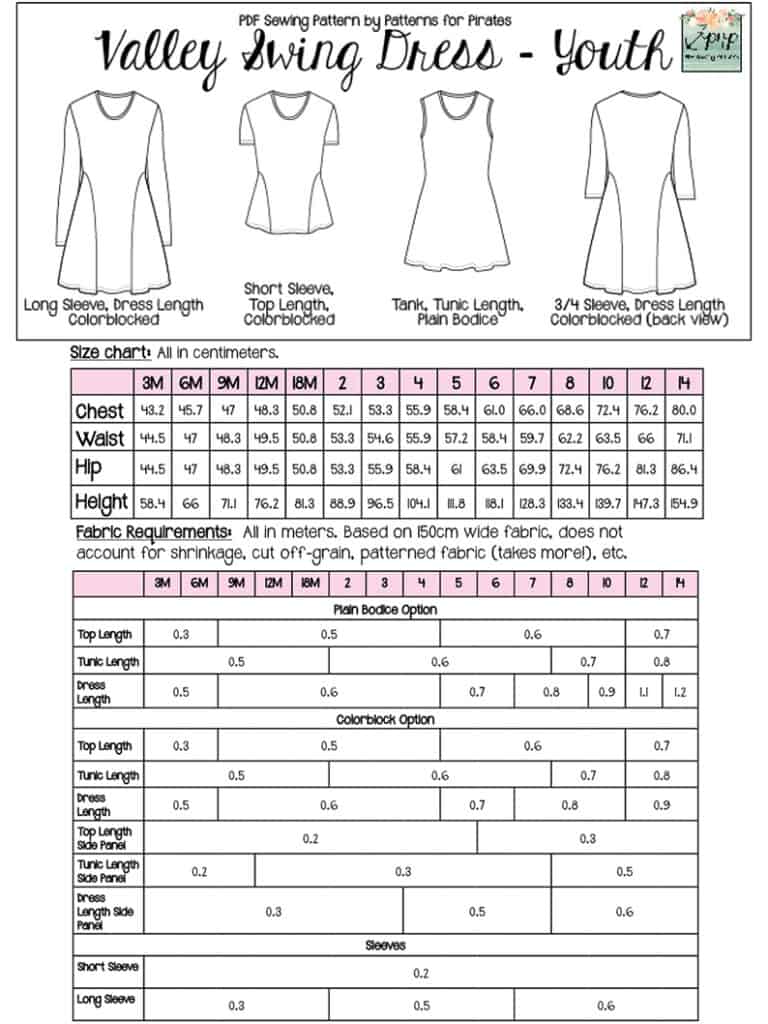
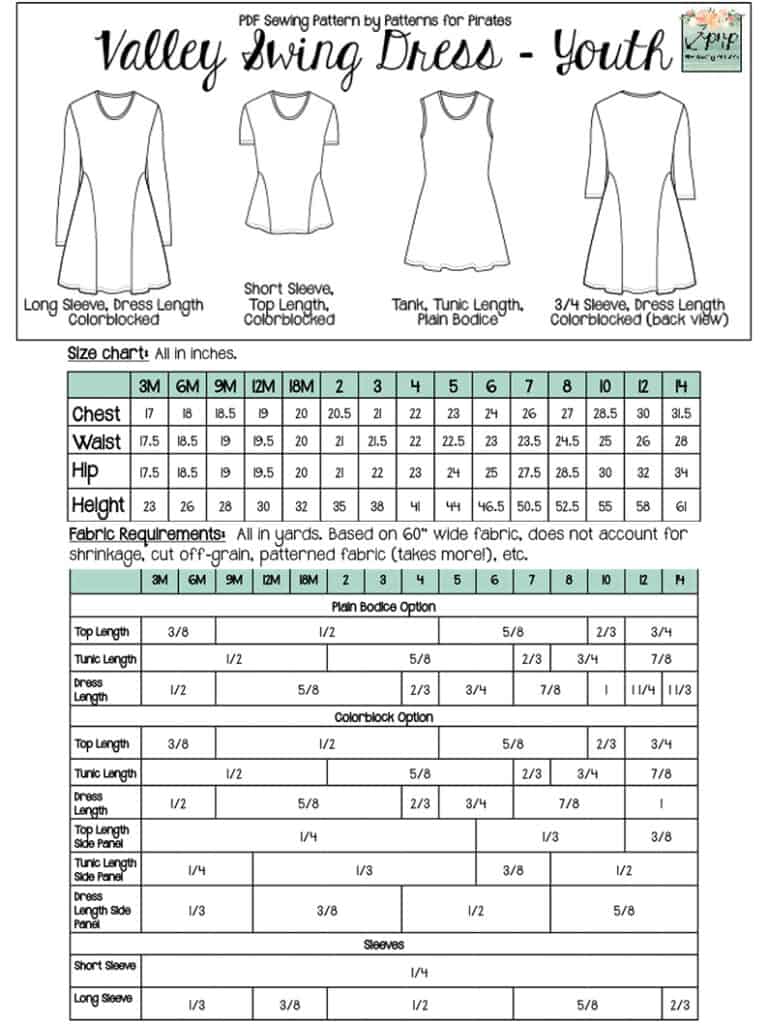
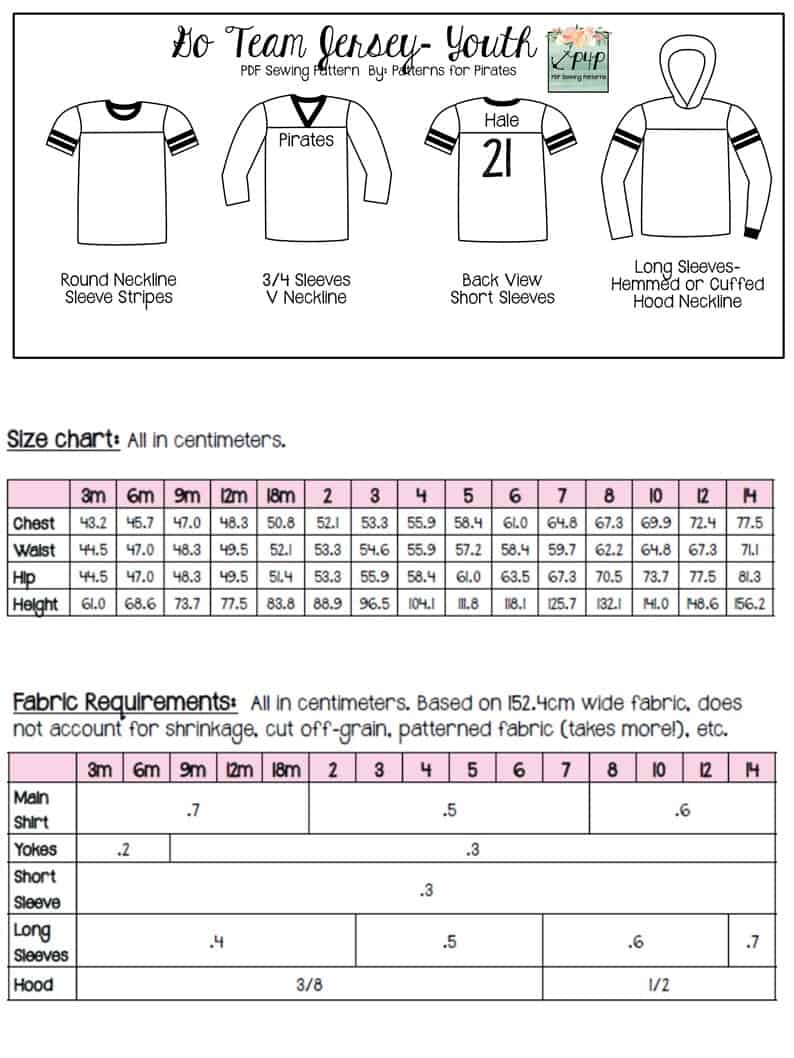
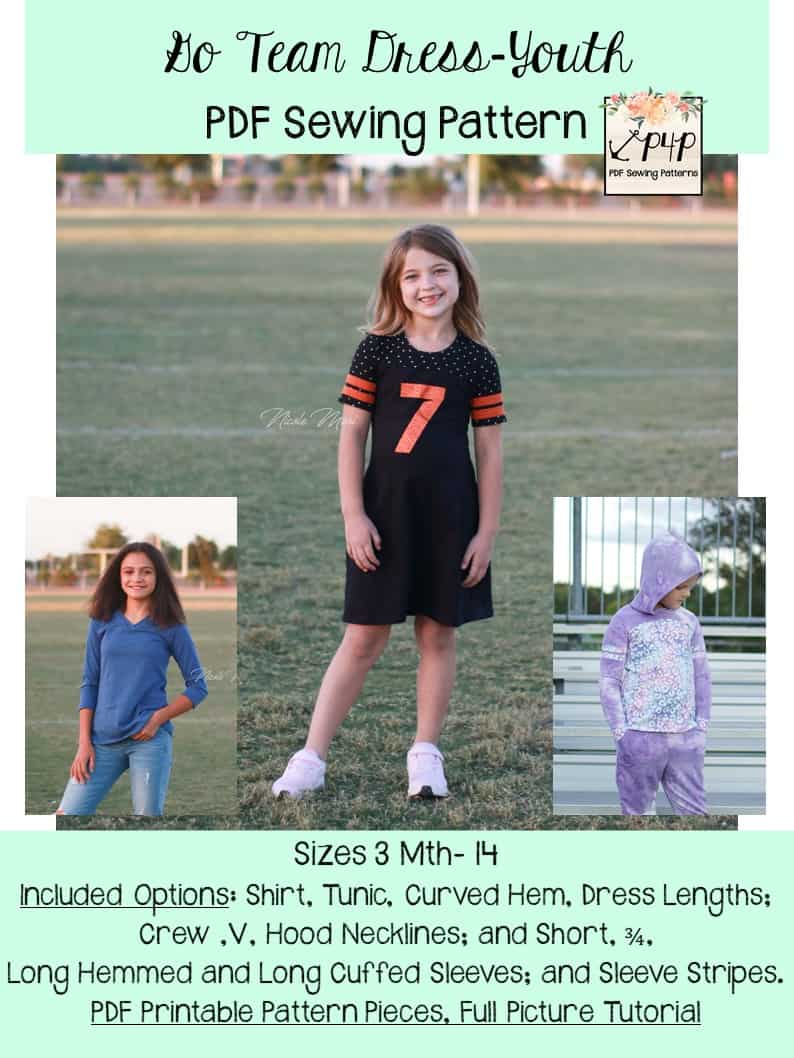
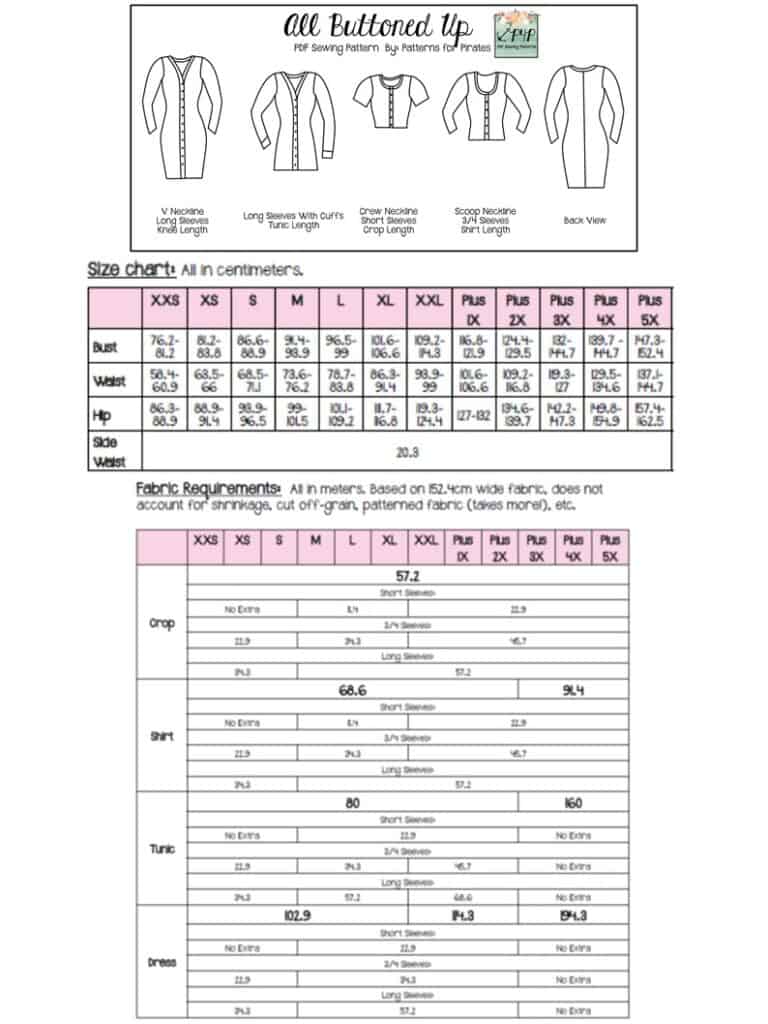
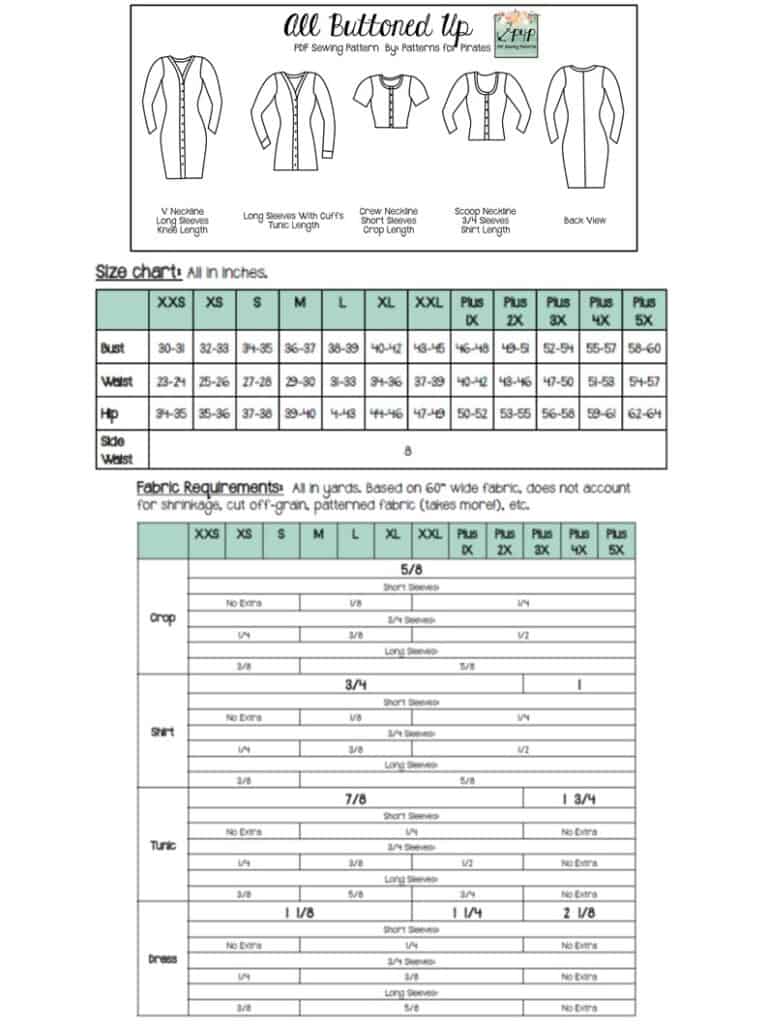
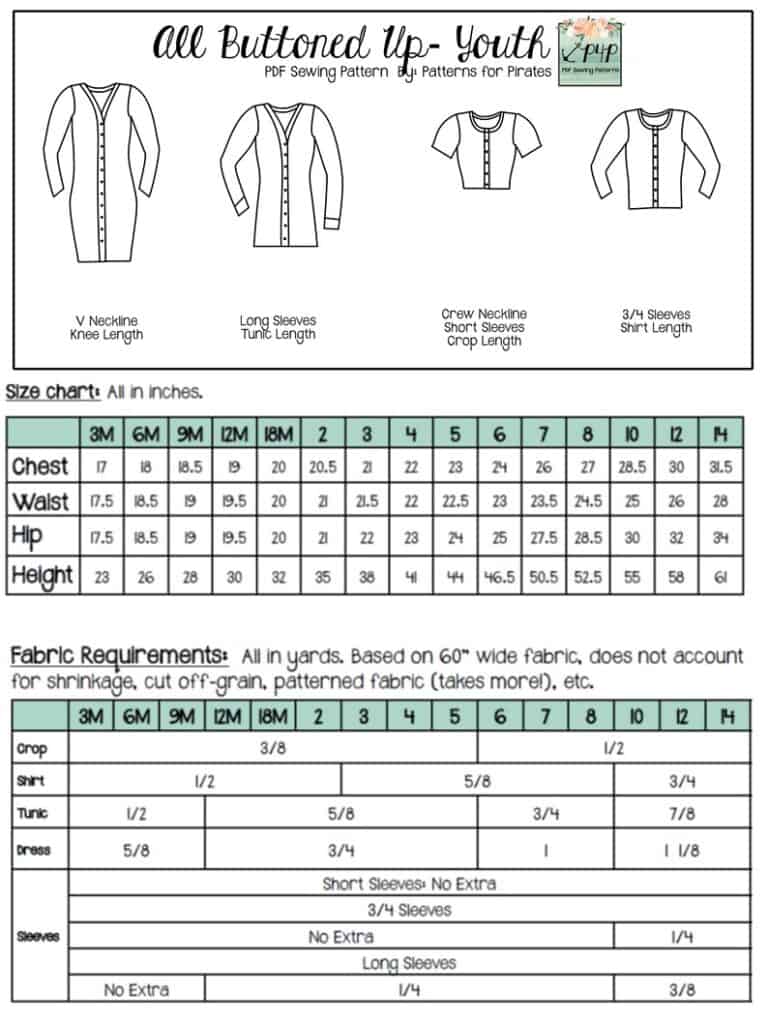
The youth sizes range from 3m – 14 and the adult sizes are for the full, newer size chart, extending from XXS – Plus 5X for the Adult Hourglass Figure.
- *Want to learn more about how to measure yourself for these pattern? We’ve got you covered with an in-depth blog HERE. And for even more helpful fun, we have a free* printable that you can use to help record your measurements as you take them.
- And in case you’re new to Patterns for Pirates and PDF patterns in general, we have a great blog full of new-user tips HERE to help you get started!
- As with all of our current releases and updates, the pdfs now include our layers feature and can be found in Letter, A4, A0 and projector sizes.
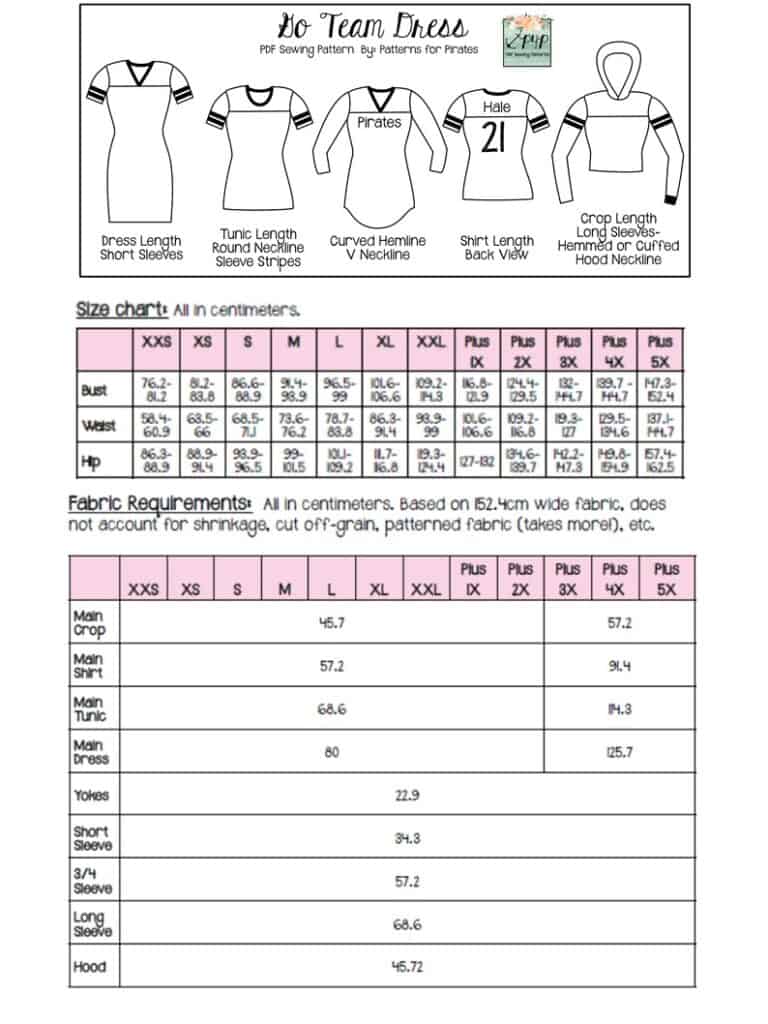
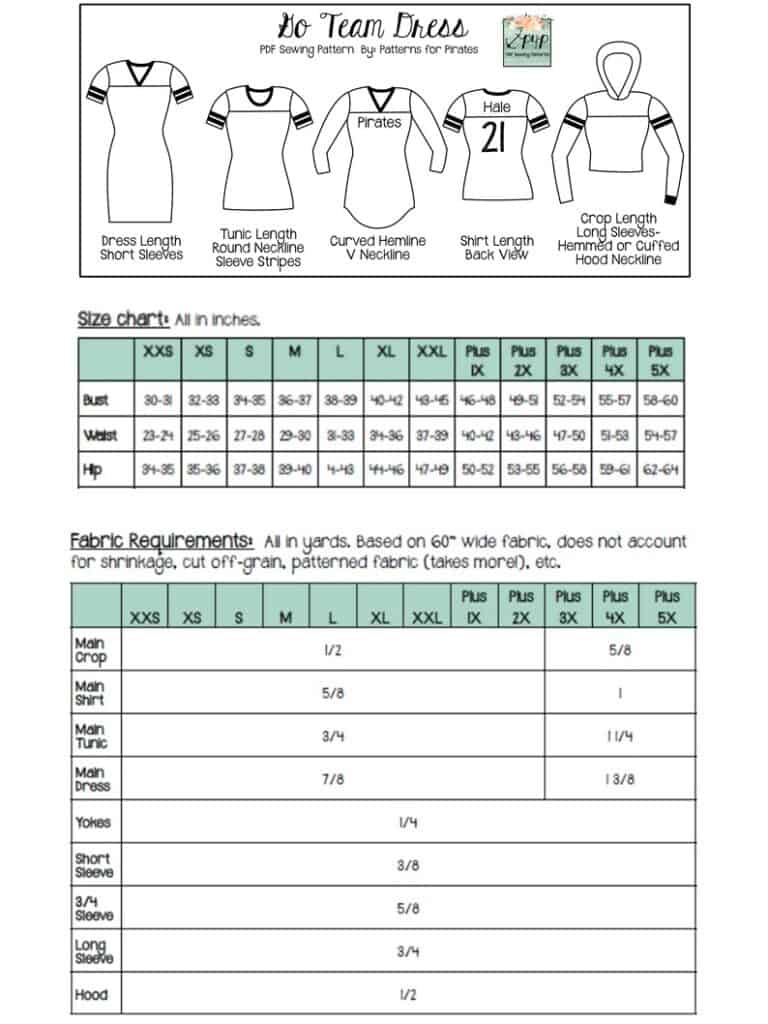
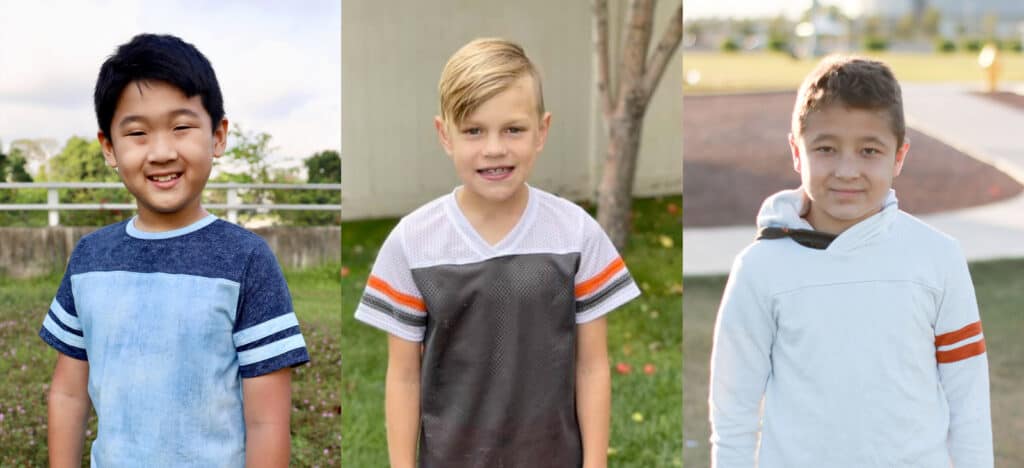
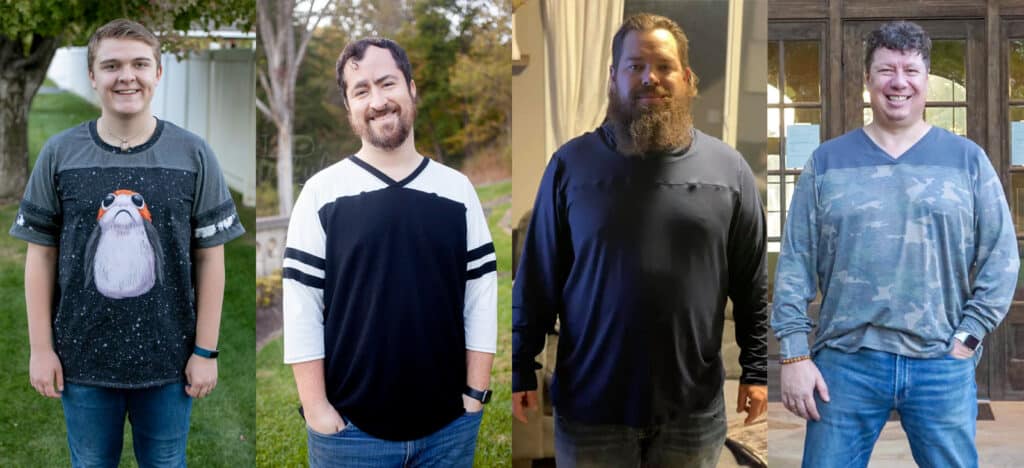
TOP + TUNIC + DRESS HEM LENGTHS

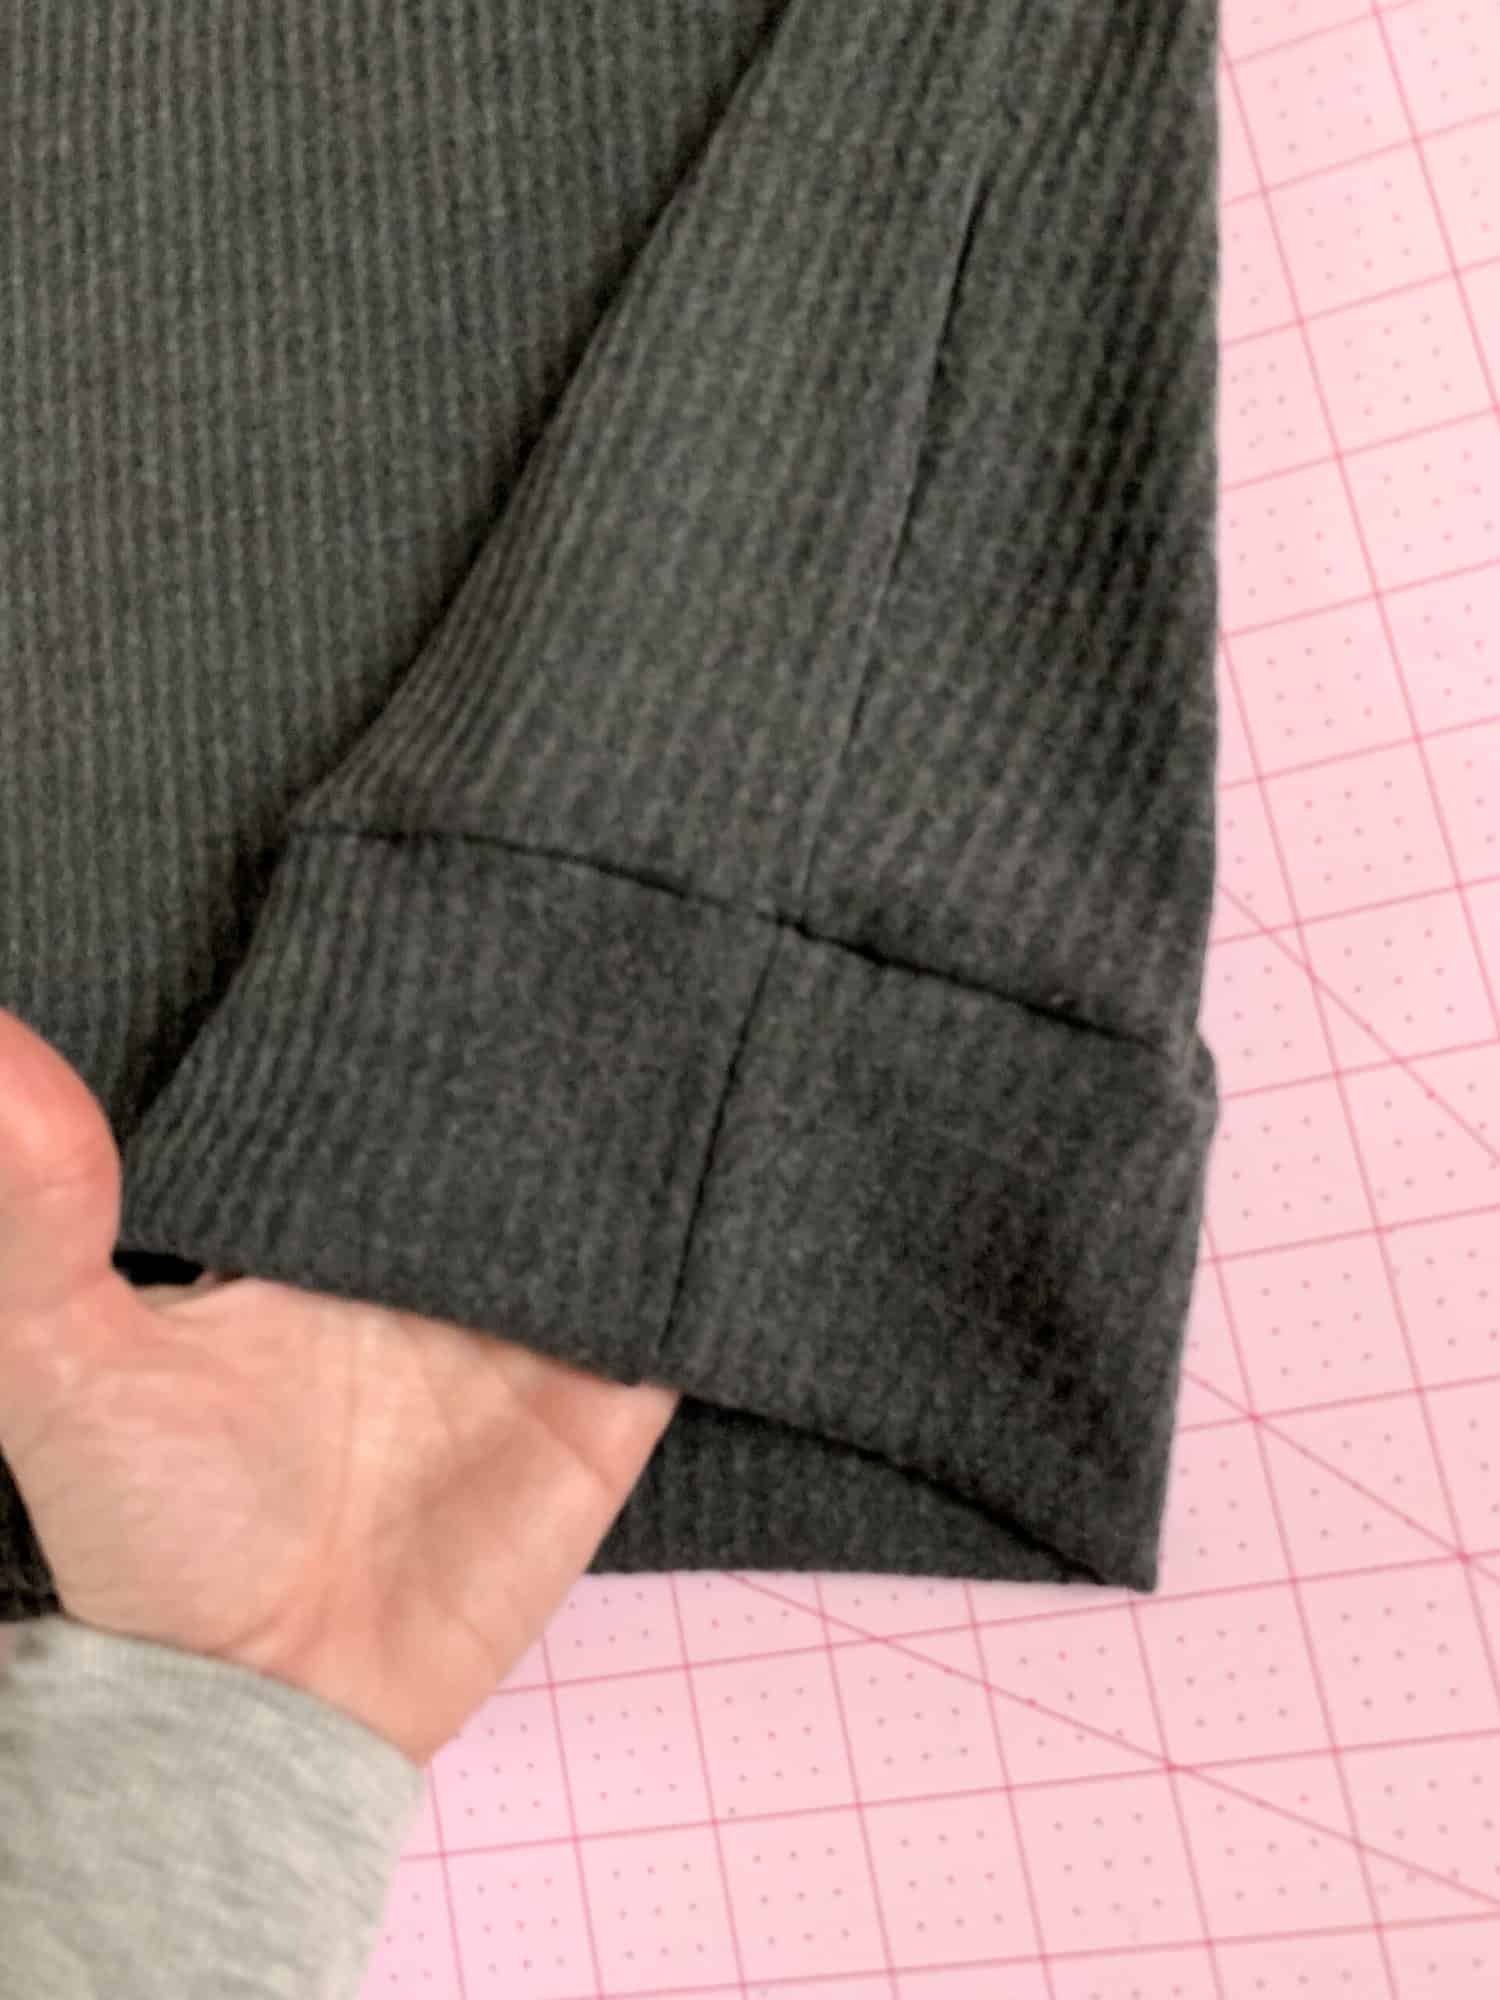
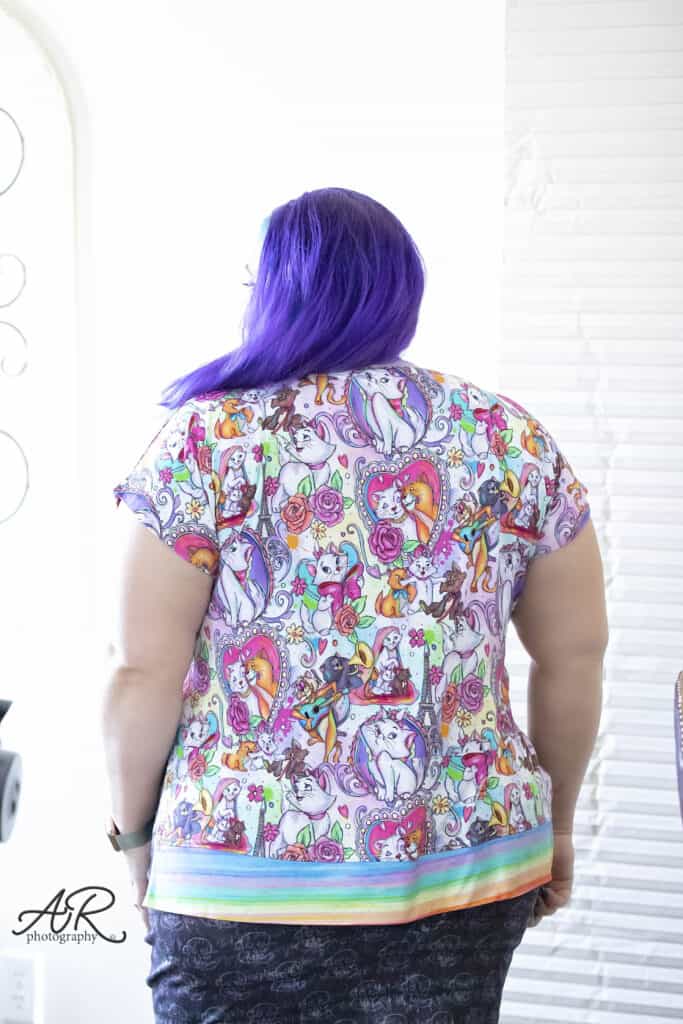
TANK + SHORT + 3/4 + LONG SLEEVE LENGTHS
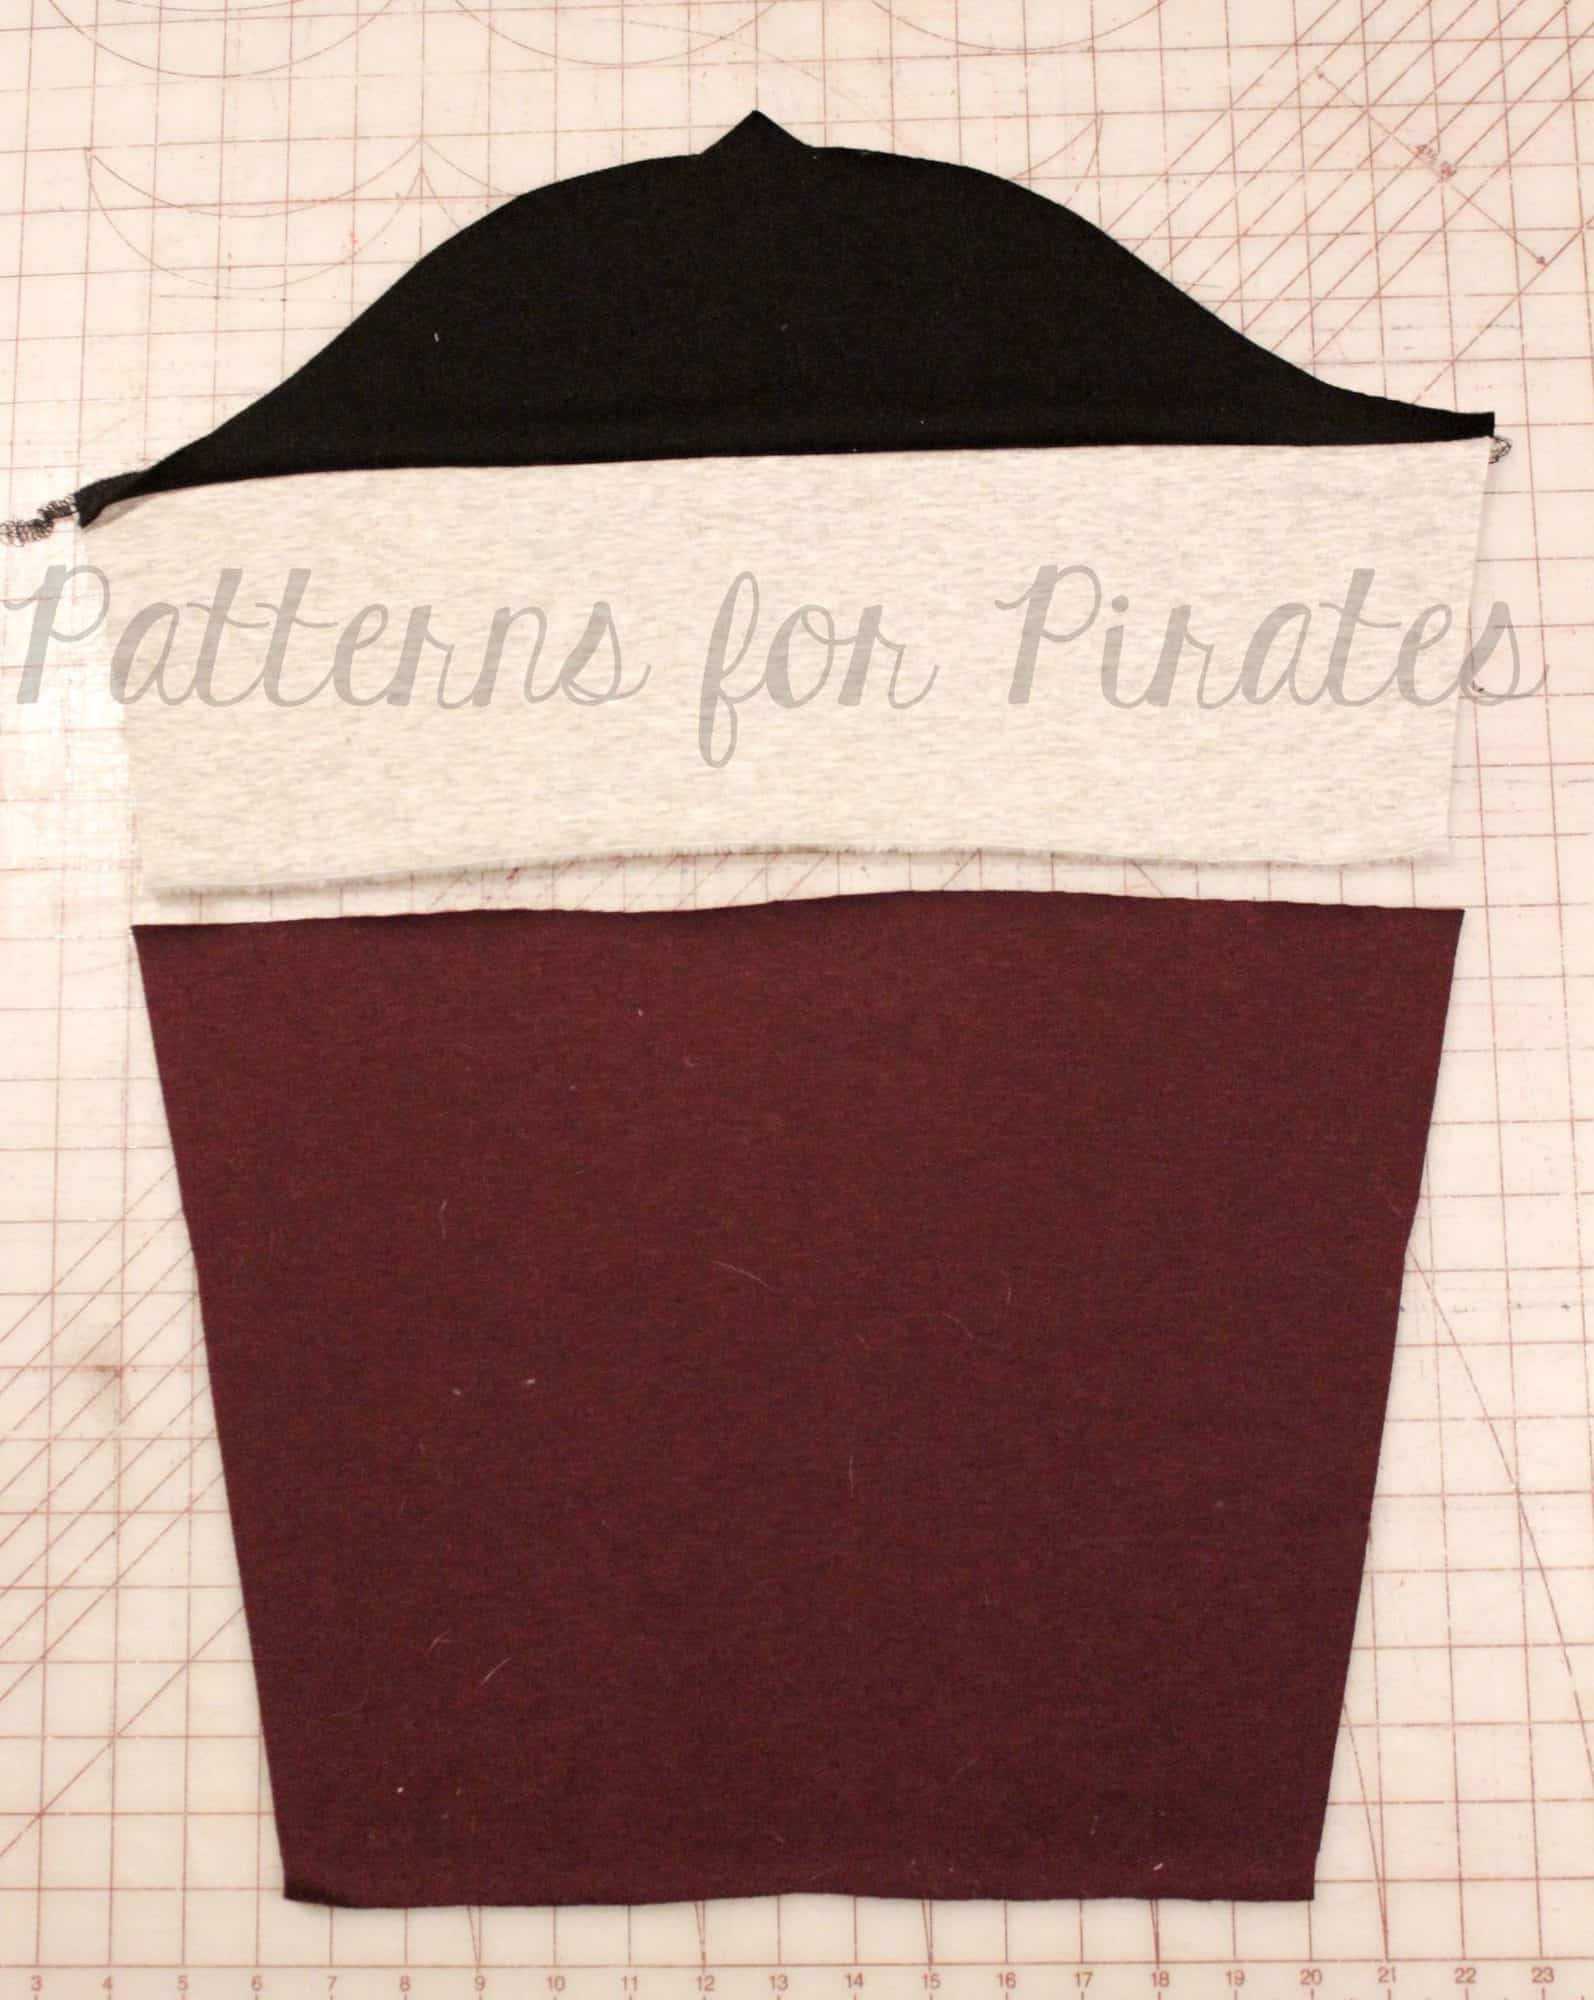
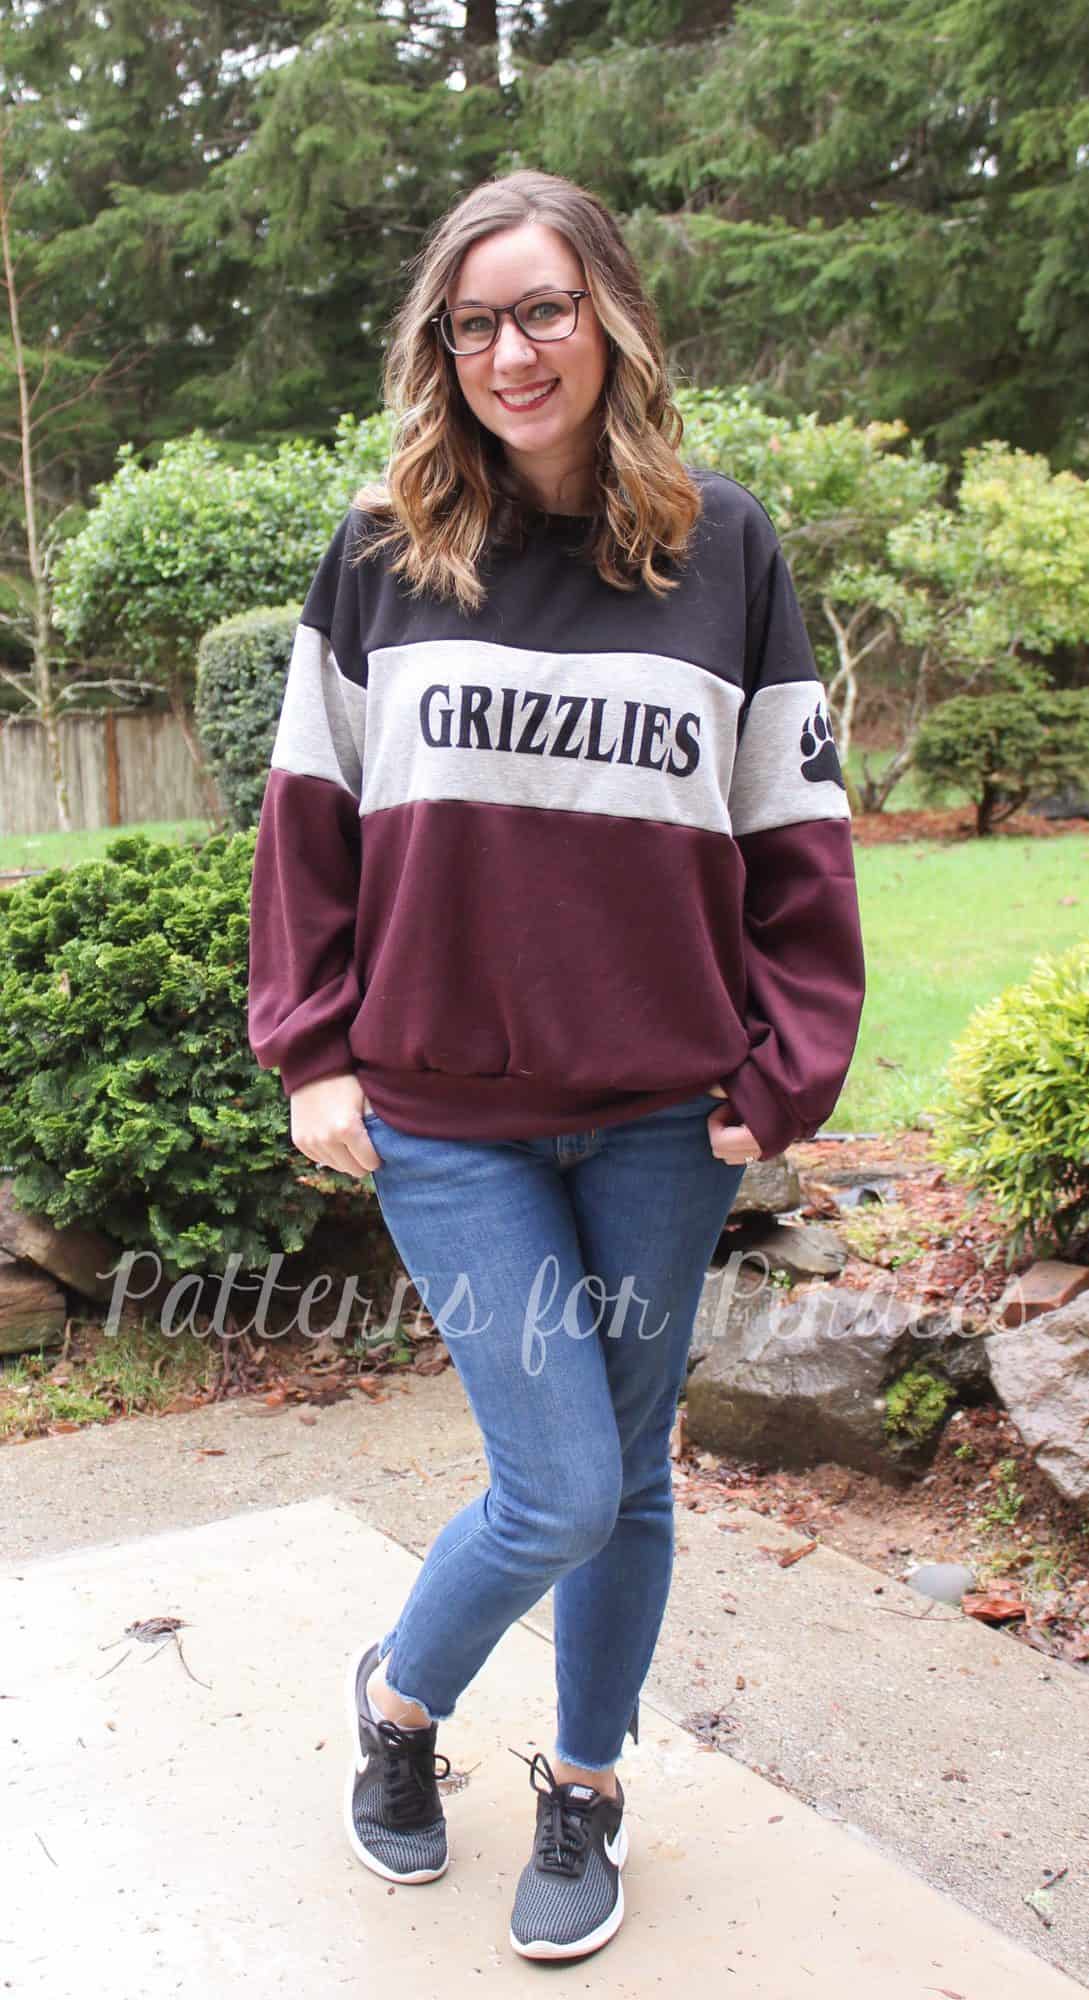
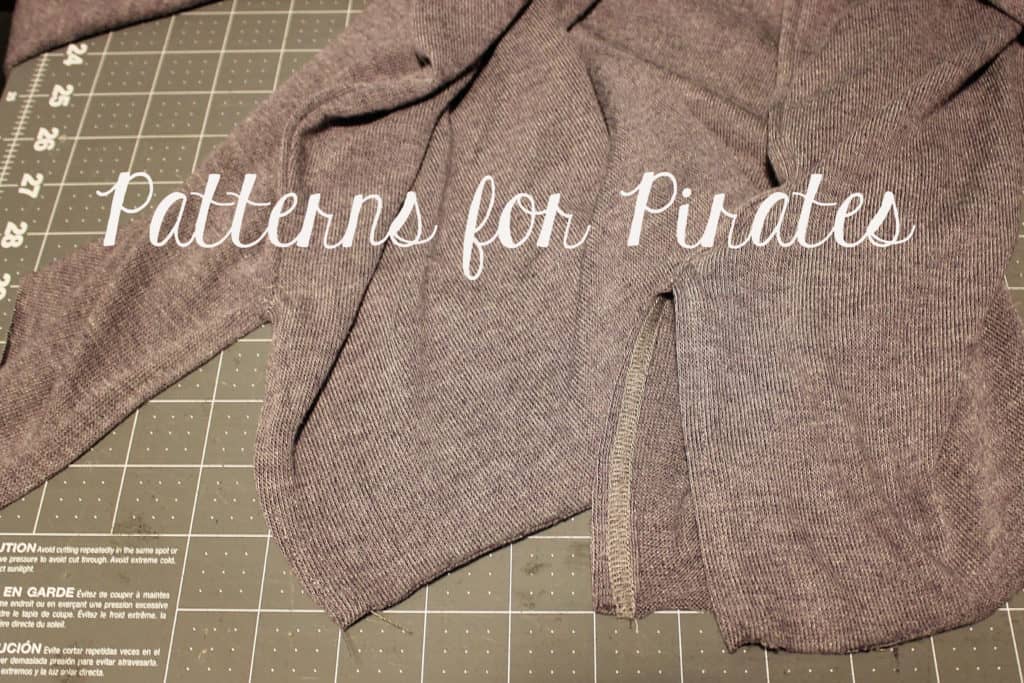
COLORBLOCK + PLAIN OPTIONS
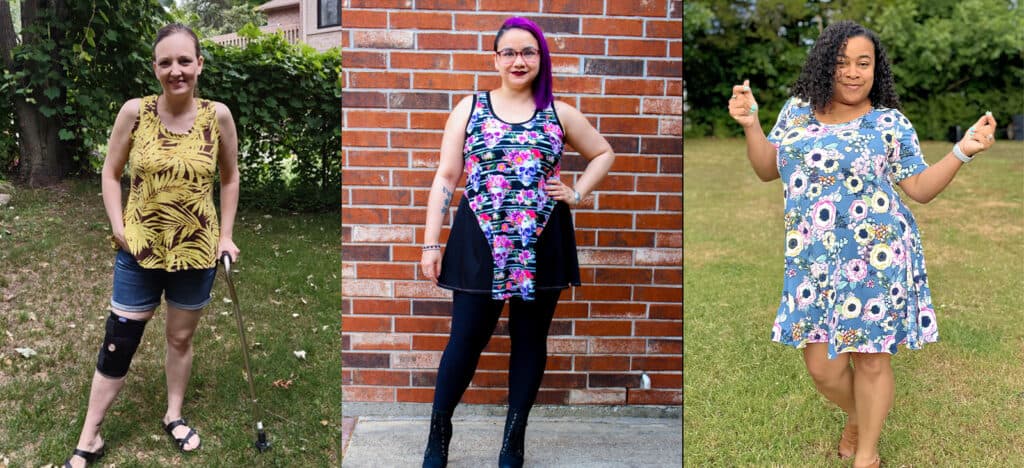
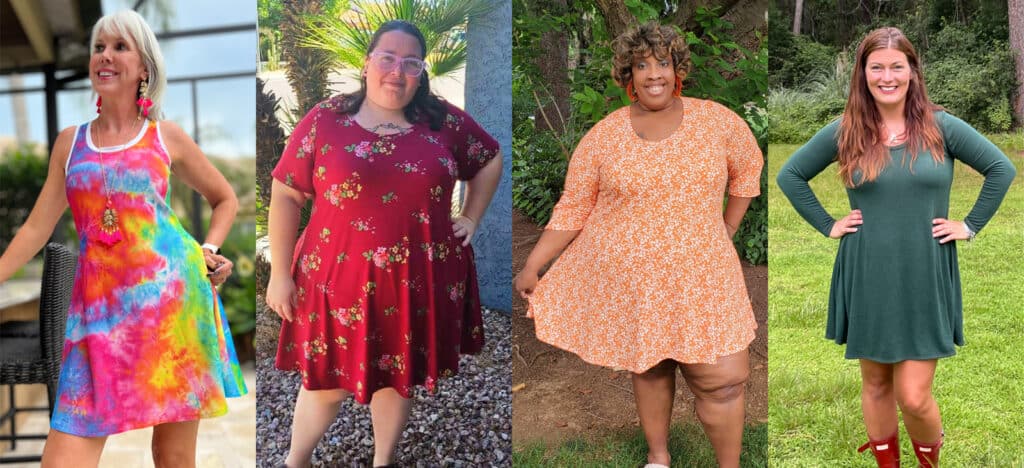
We are looking forward to see what you make with the new Valley Swing Dress patterns! Head on over to the shop and grab yourself a copy and get to sewing! They are available on sale (no code needed) through 11:59pm CST, July 17th, 2022.
Valley Swing Dress | Valley Swing Dress – Youth | Valley Swing Dress – Bundle
Hoping for a little inspiration before diving into some swing dress sewing? Journey over to our Facebook group where you can see tester albums full of amazing images!
Valley Swing Adult Album | Valley Swing Youth Album


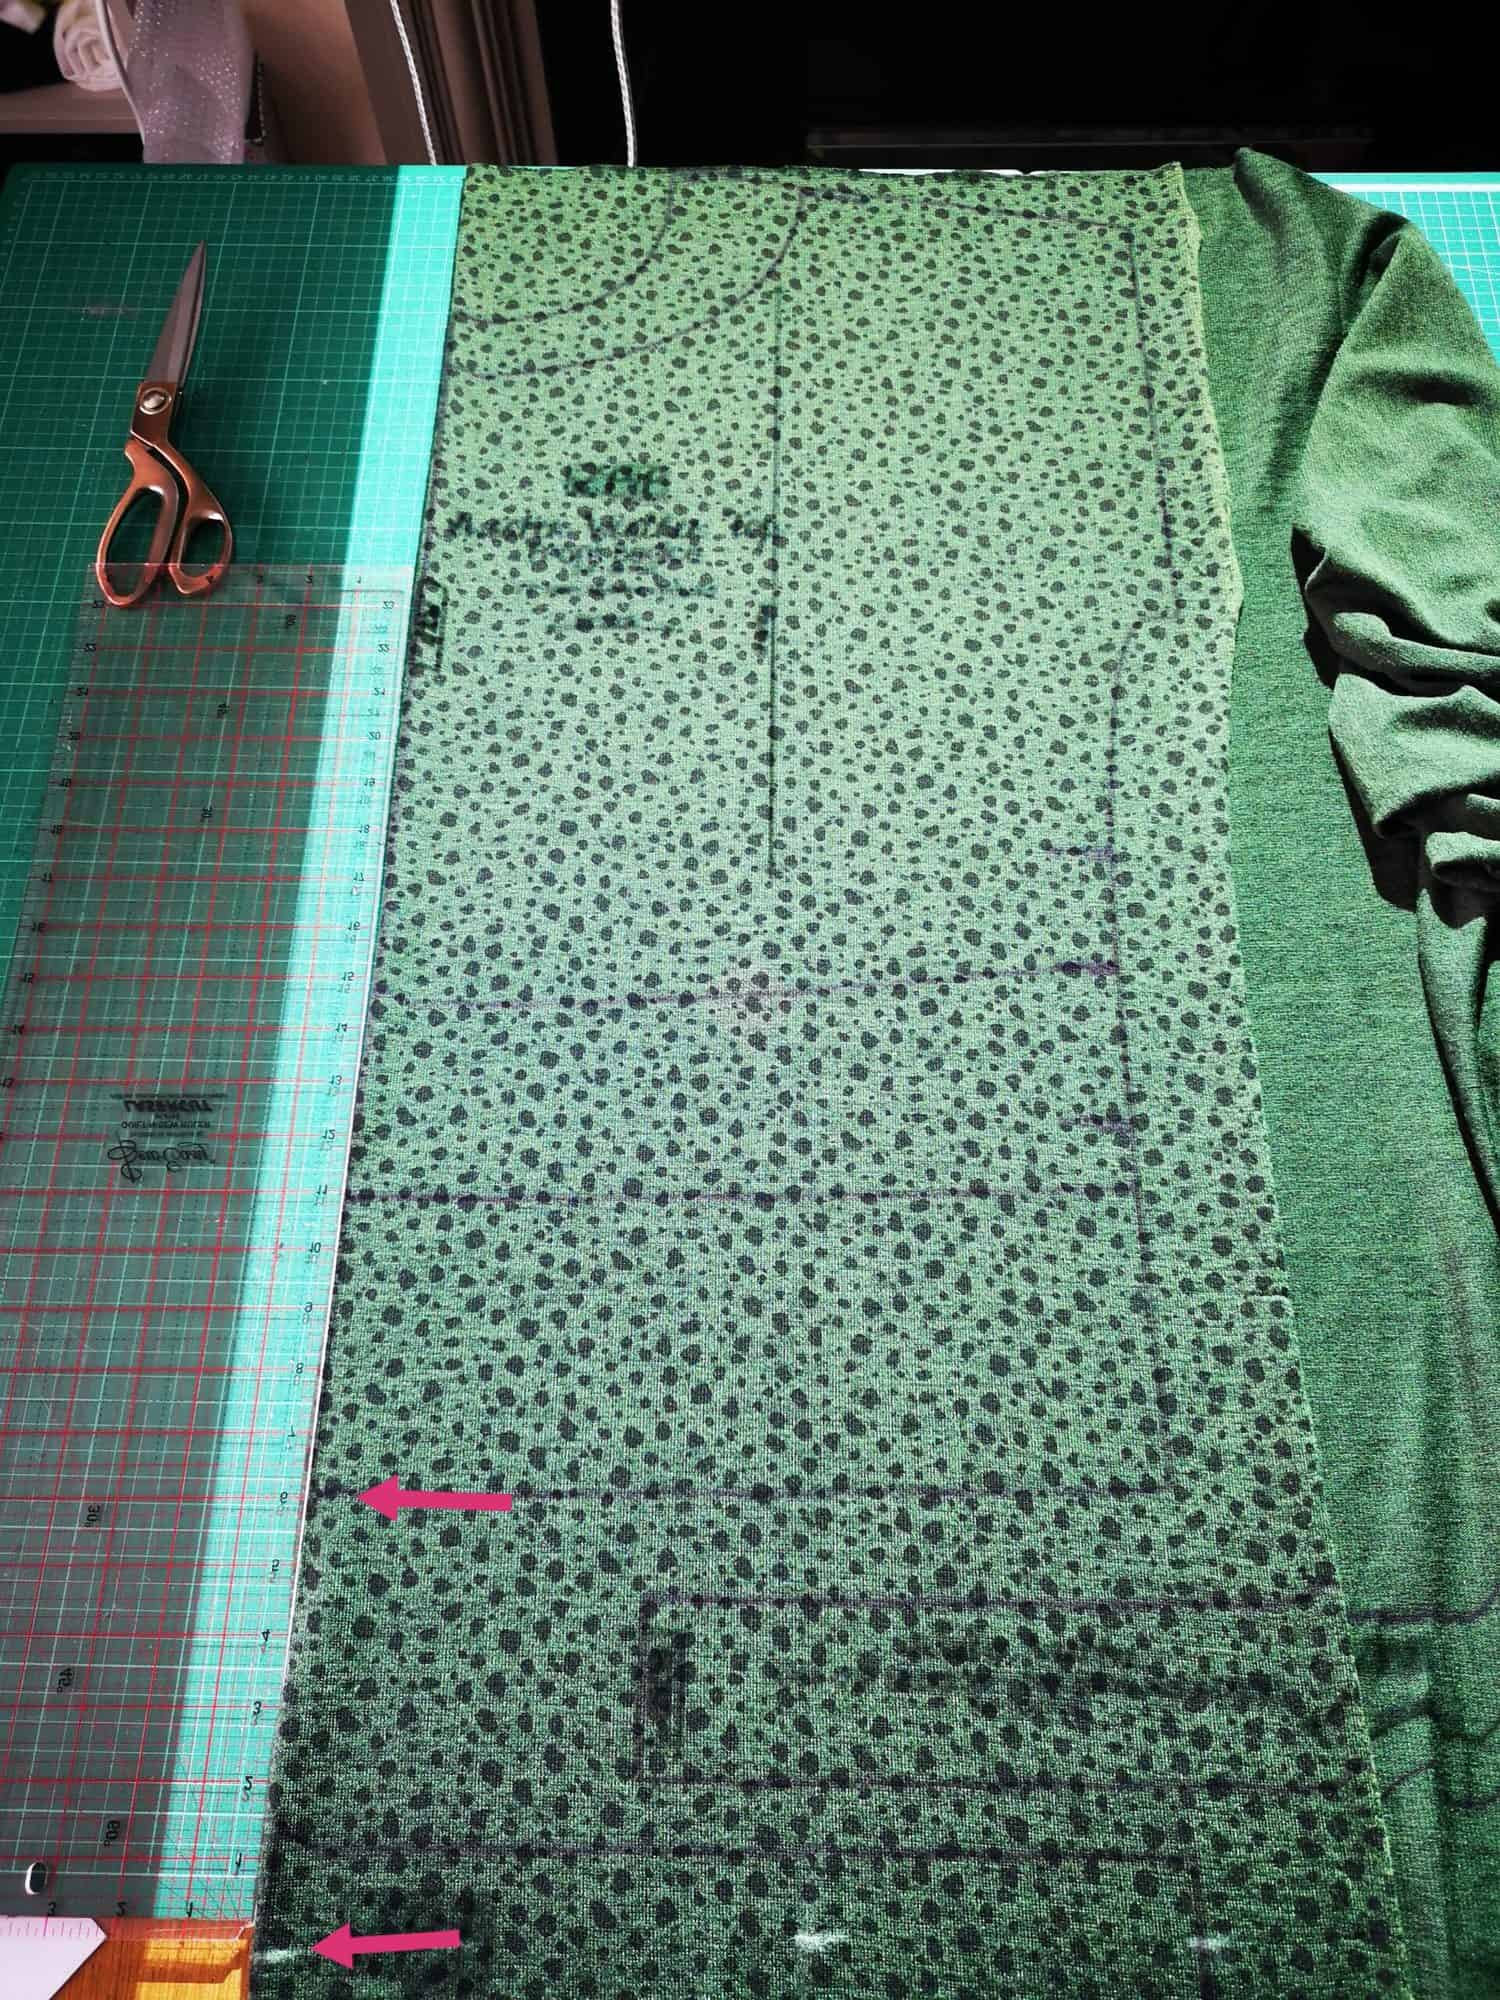

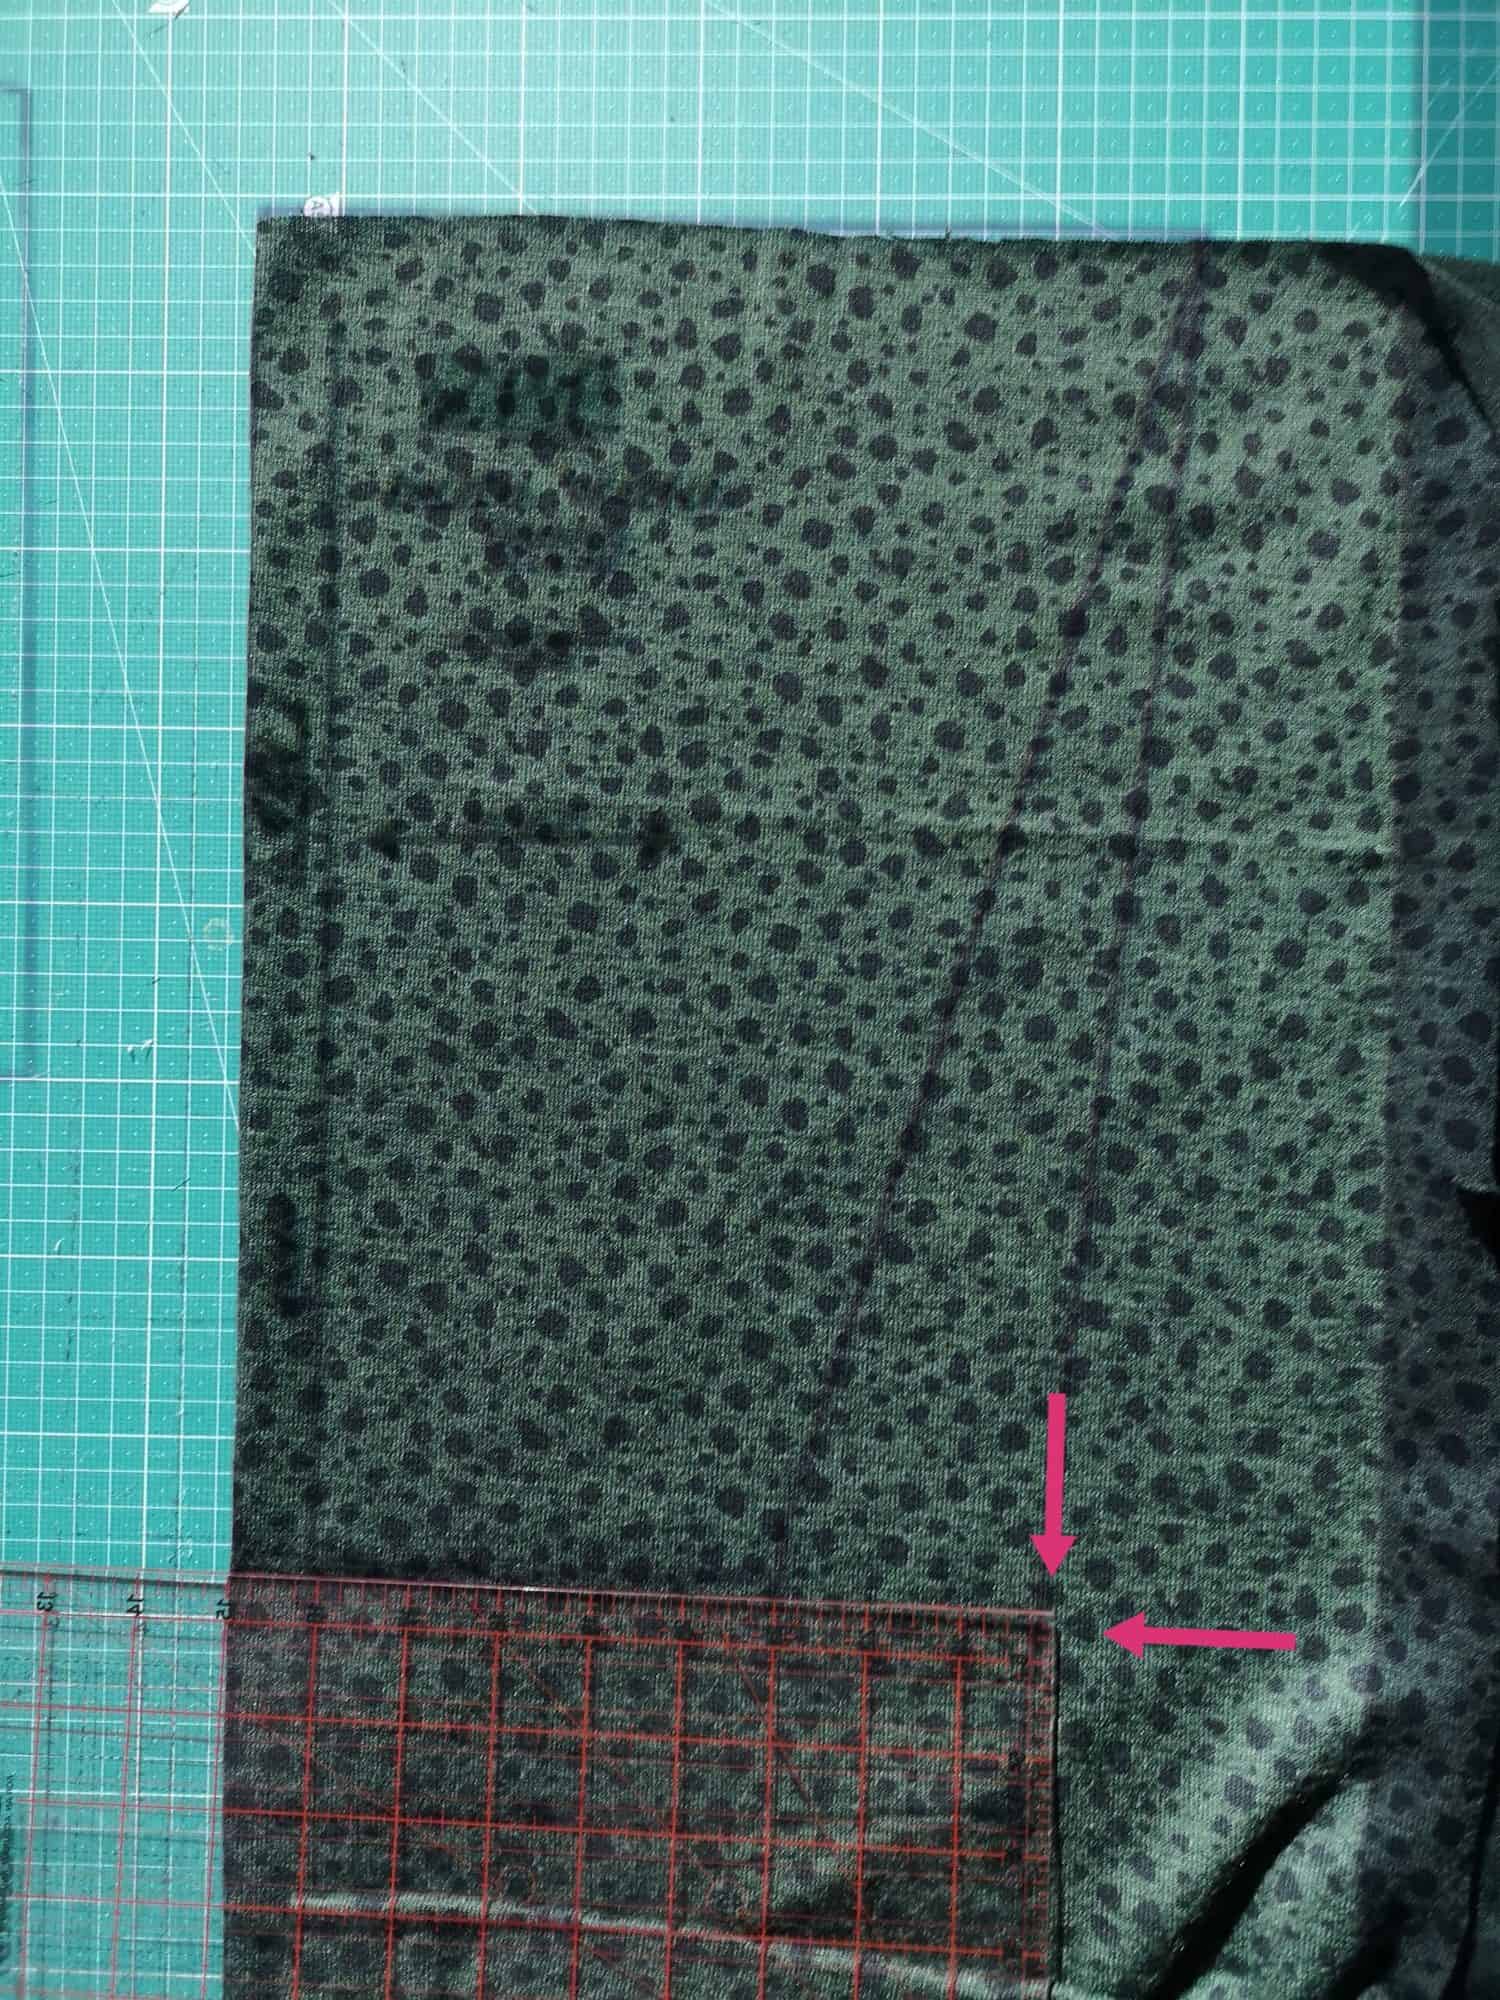
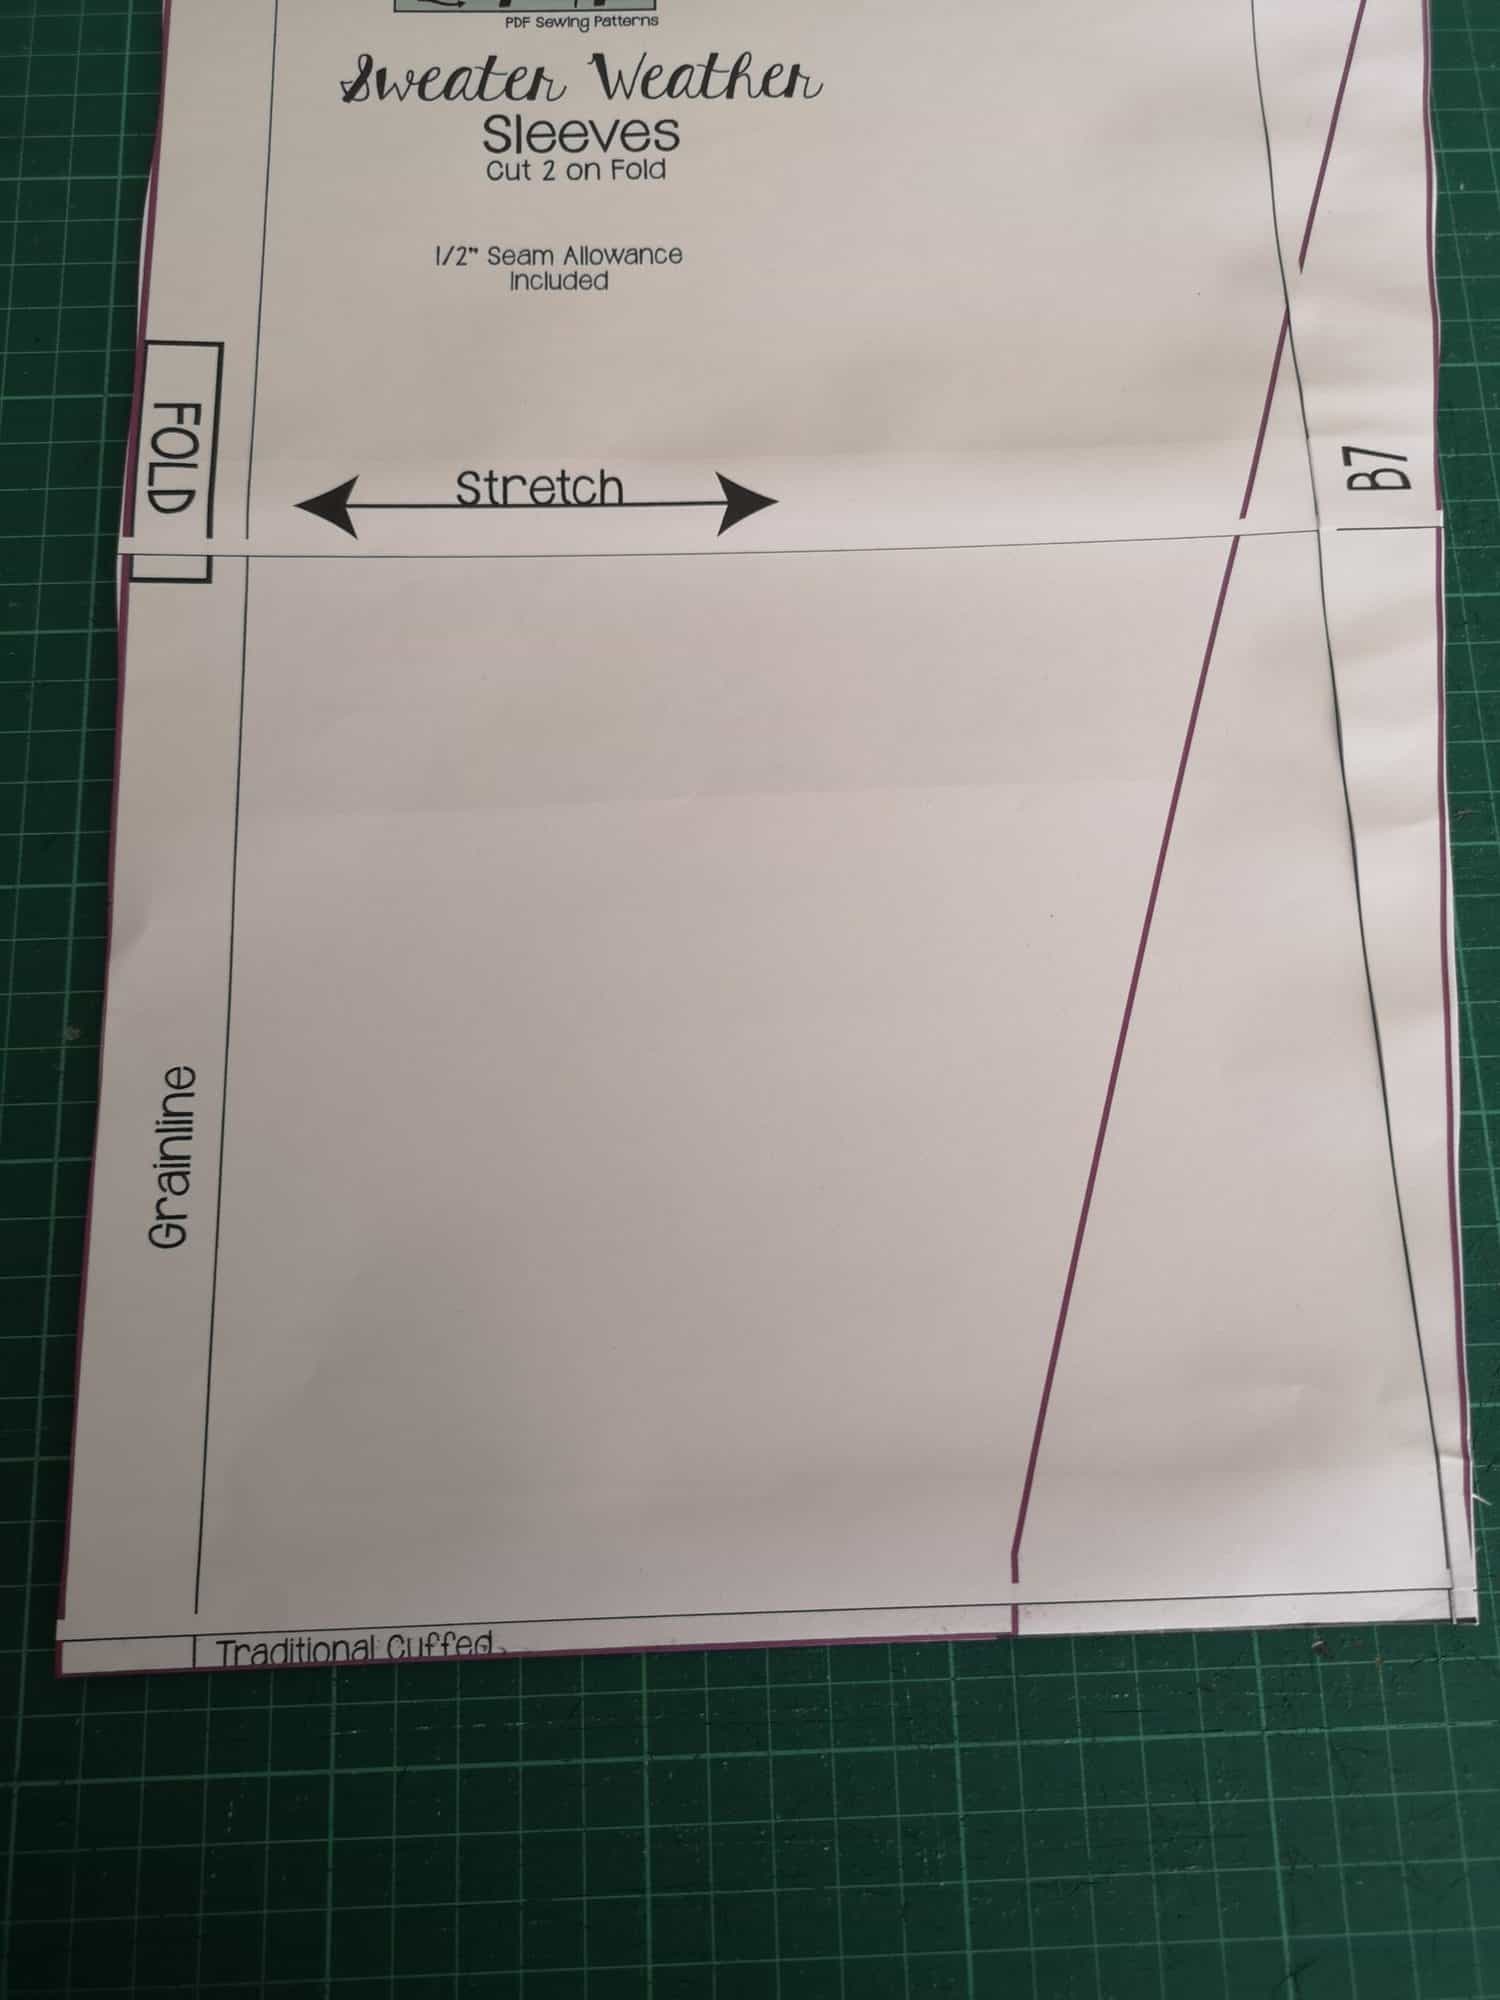


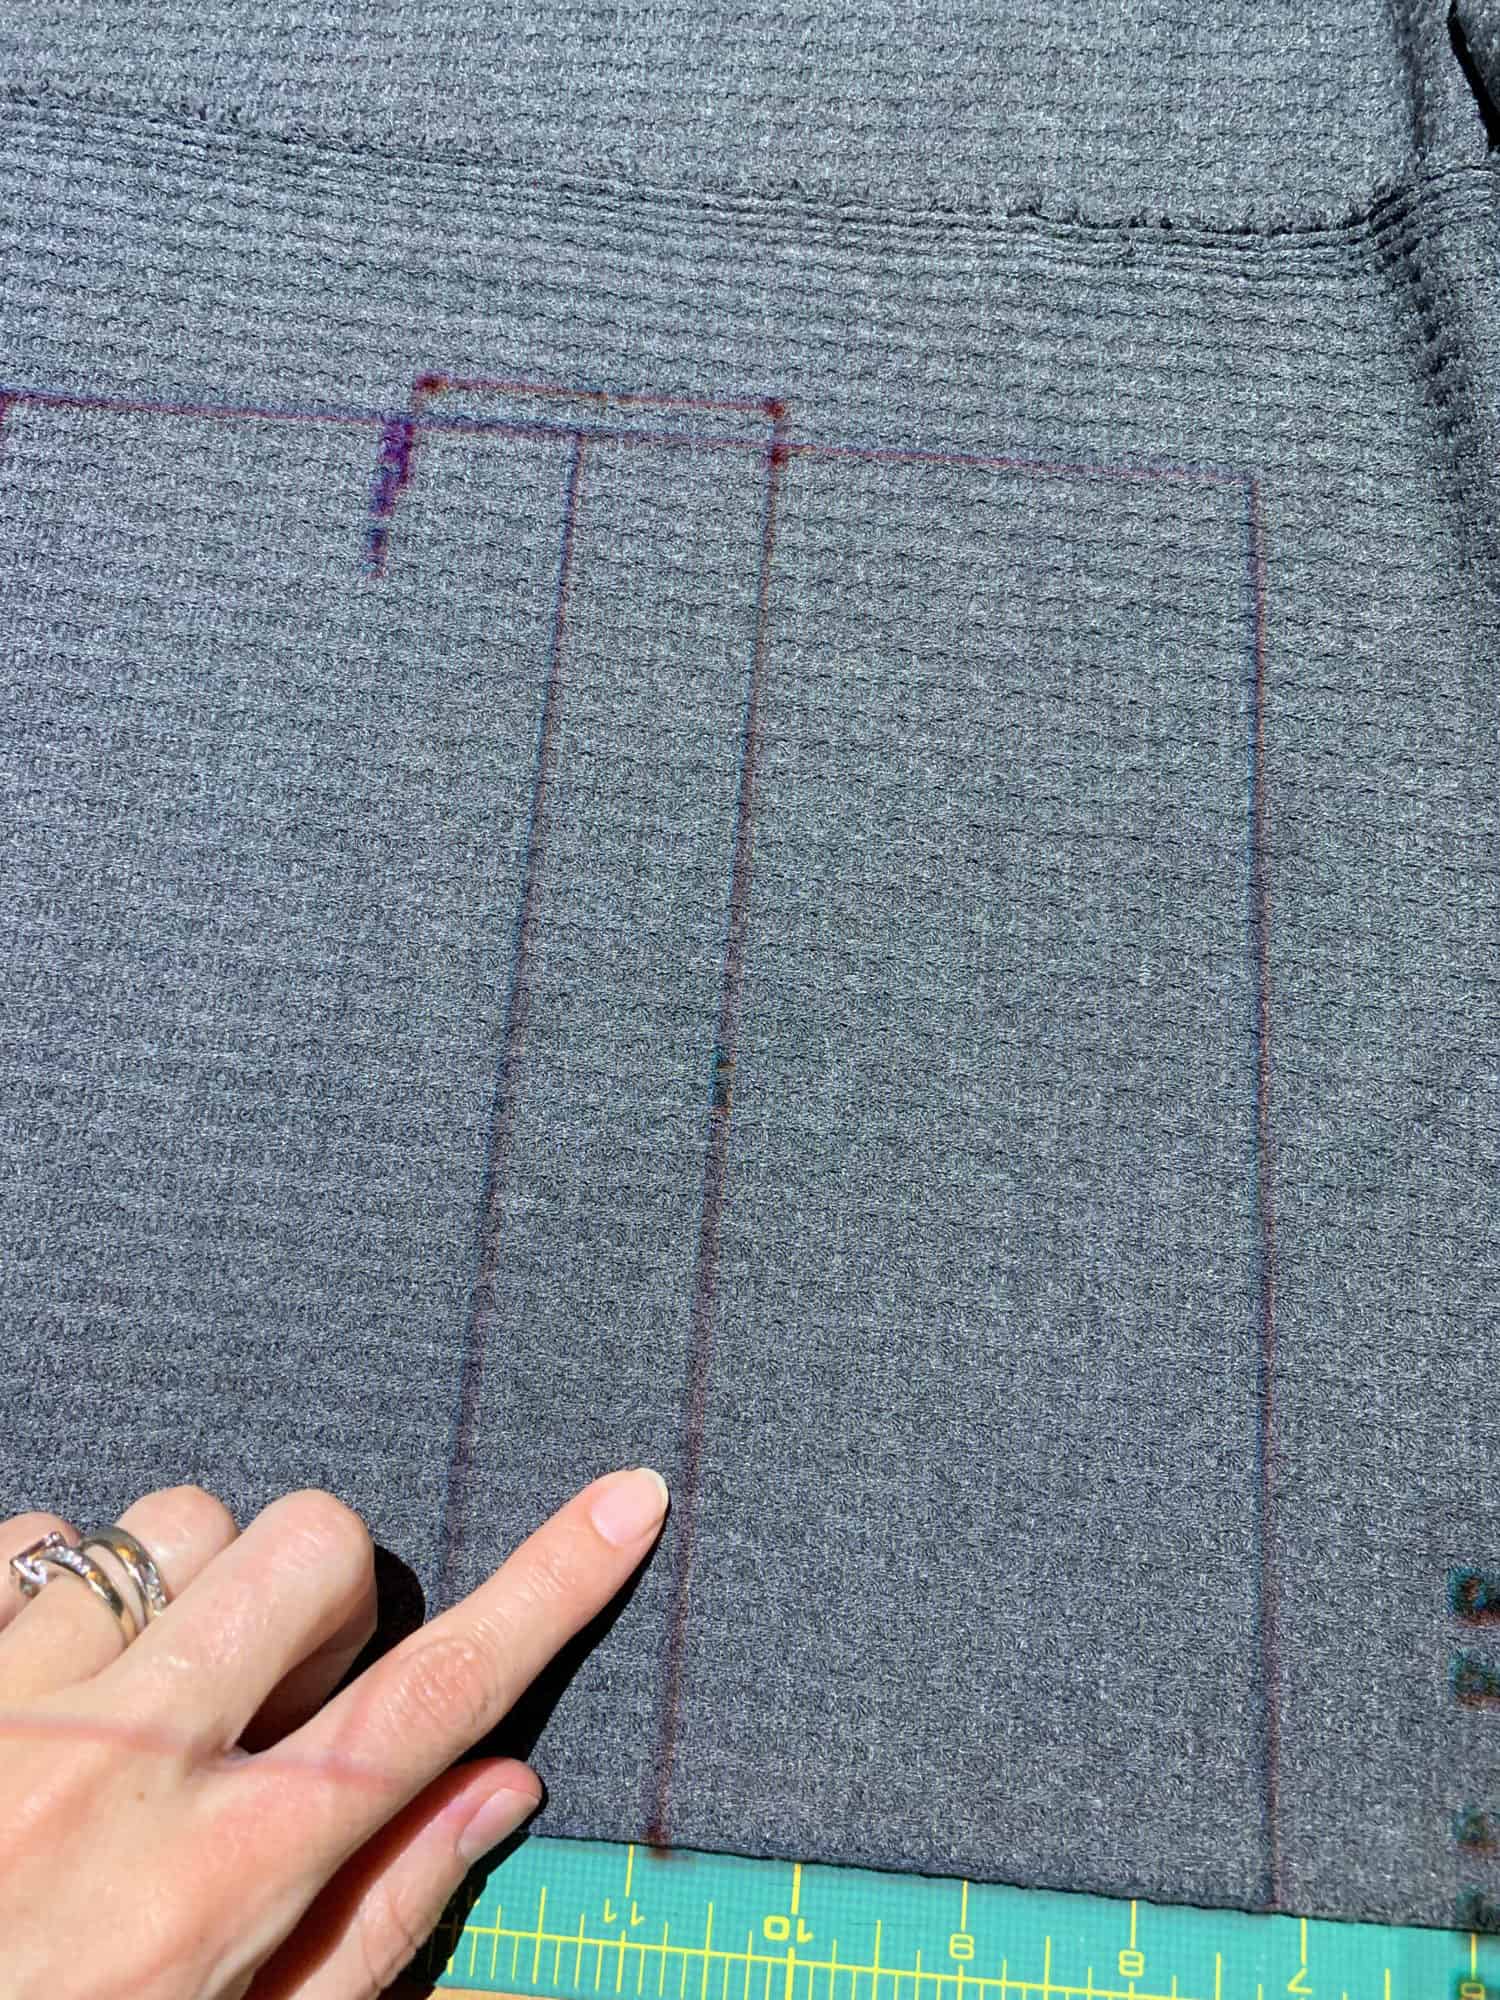
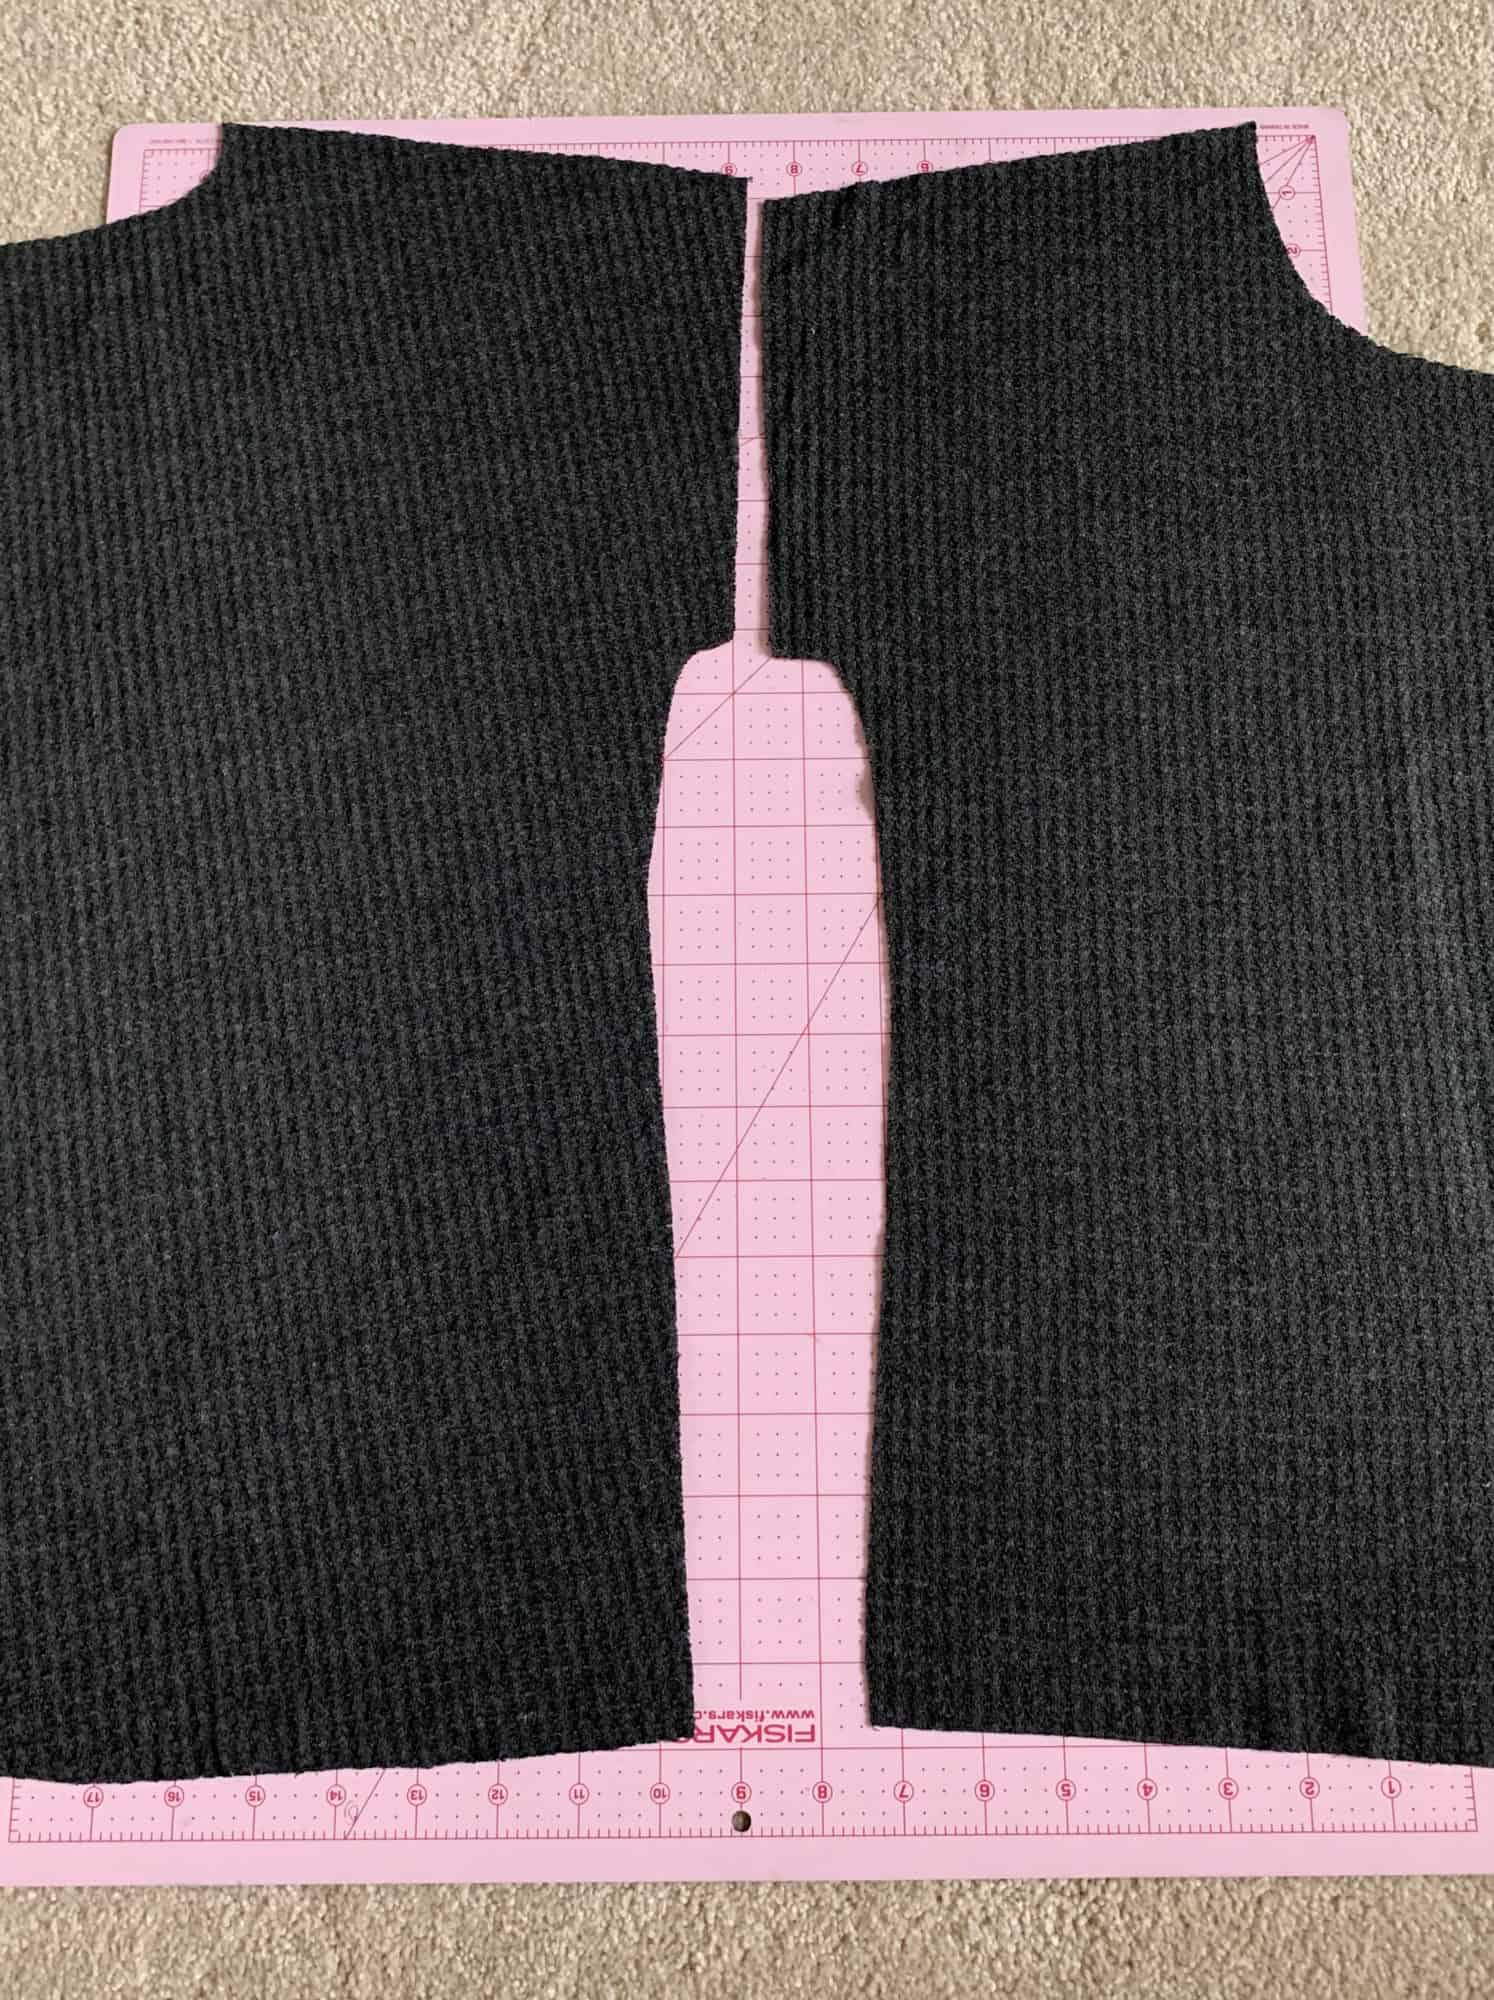
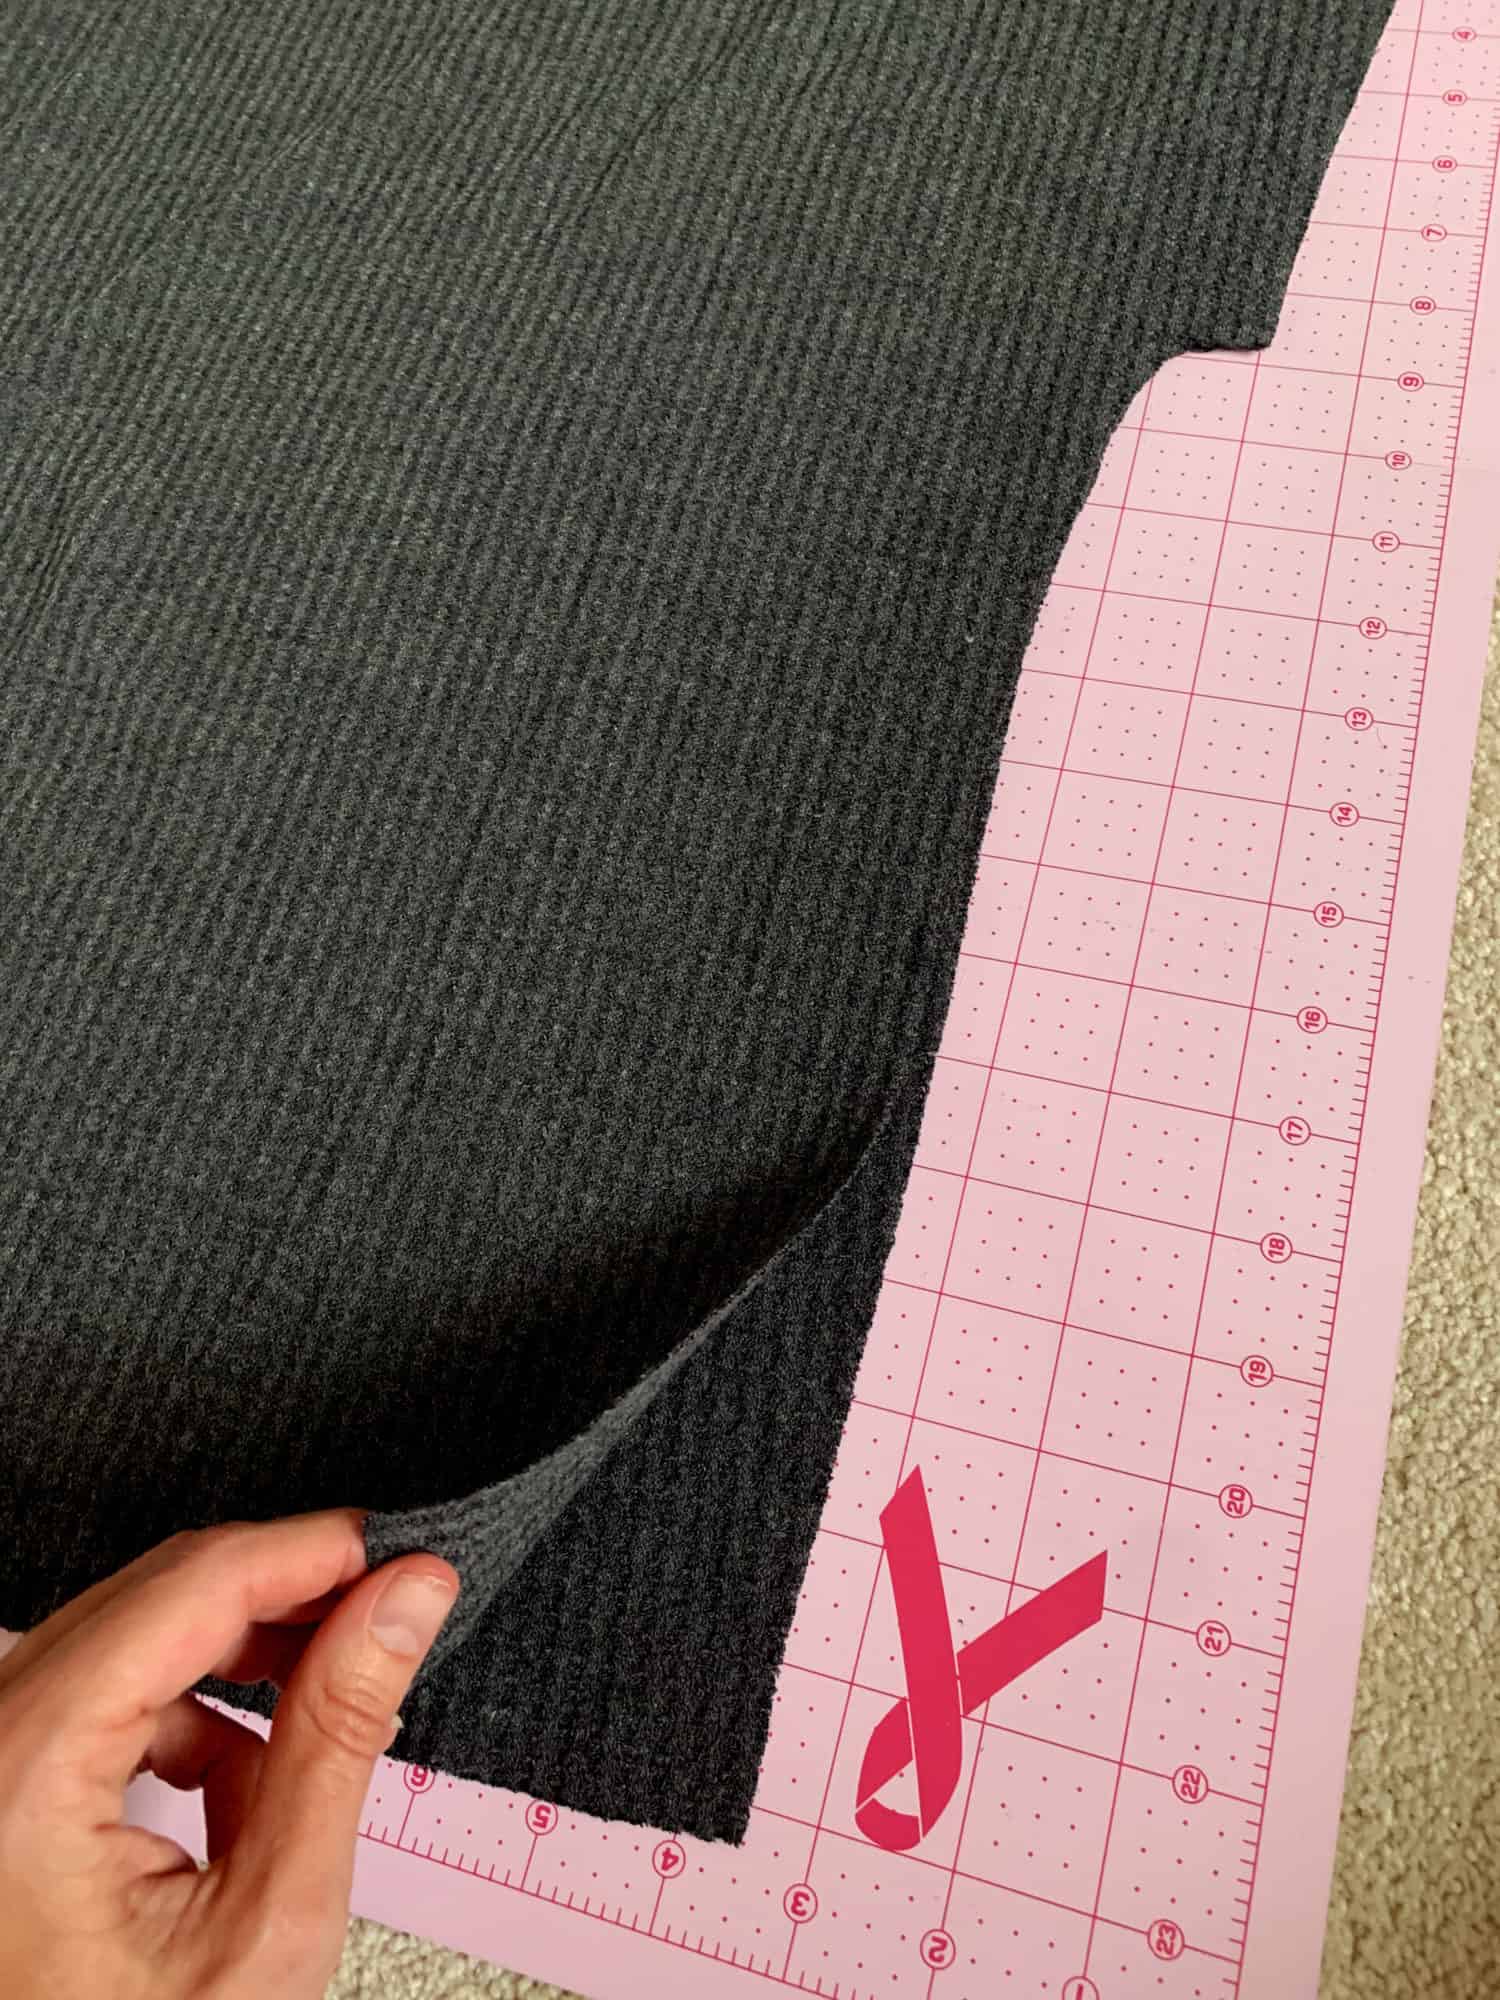
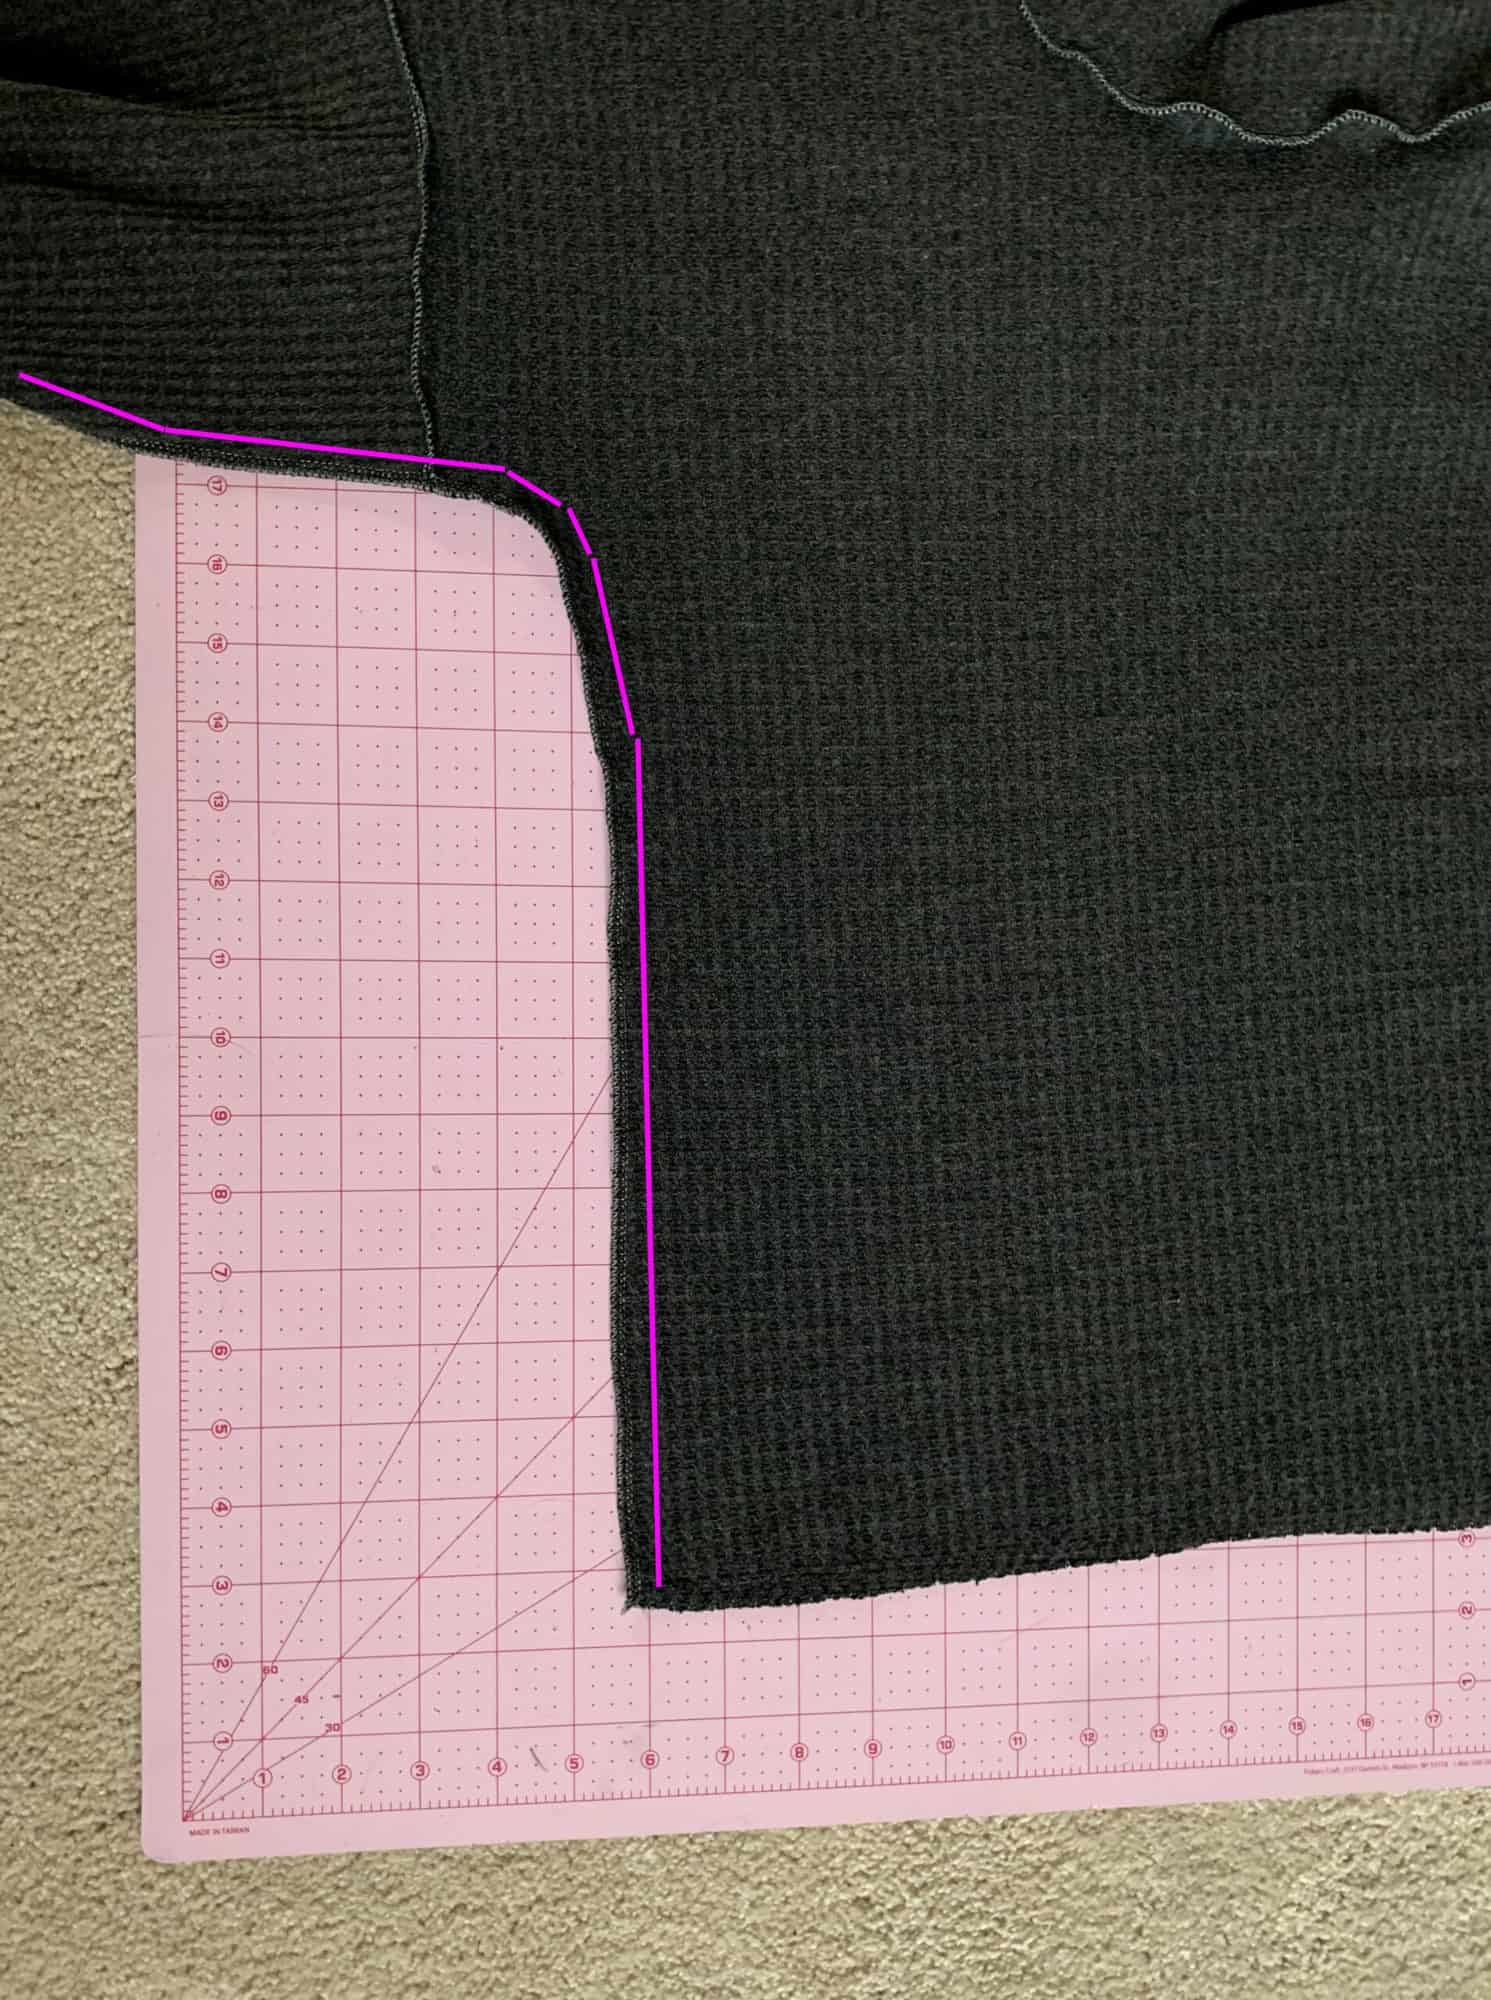


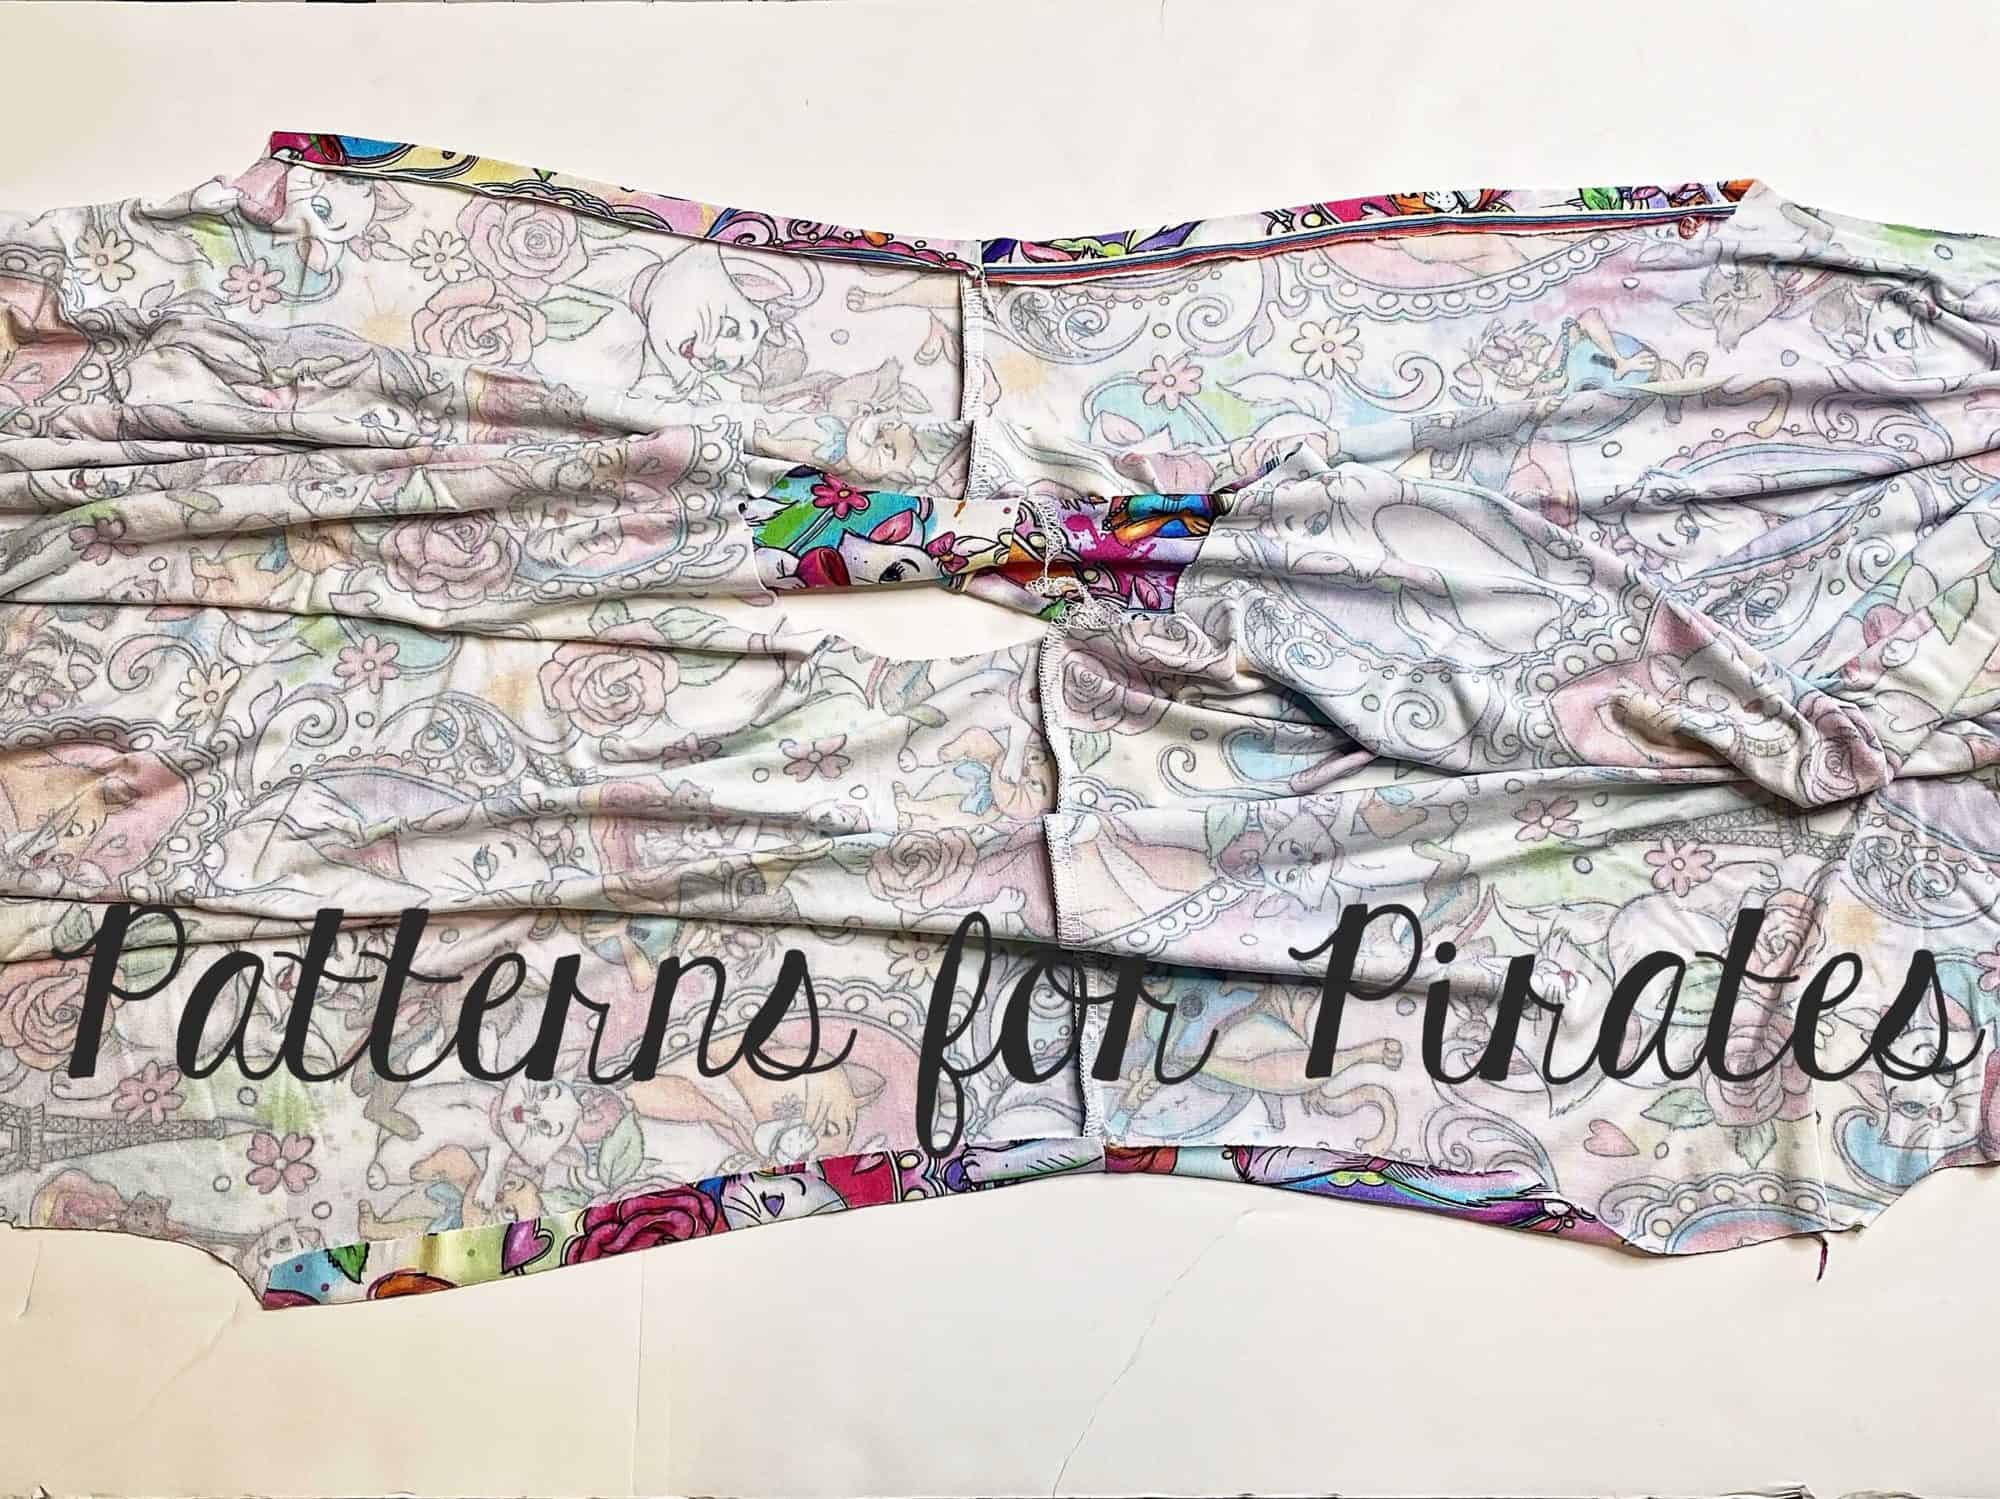
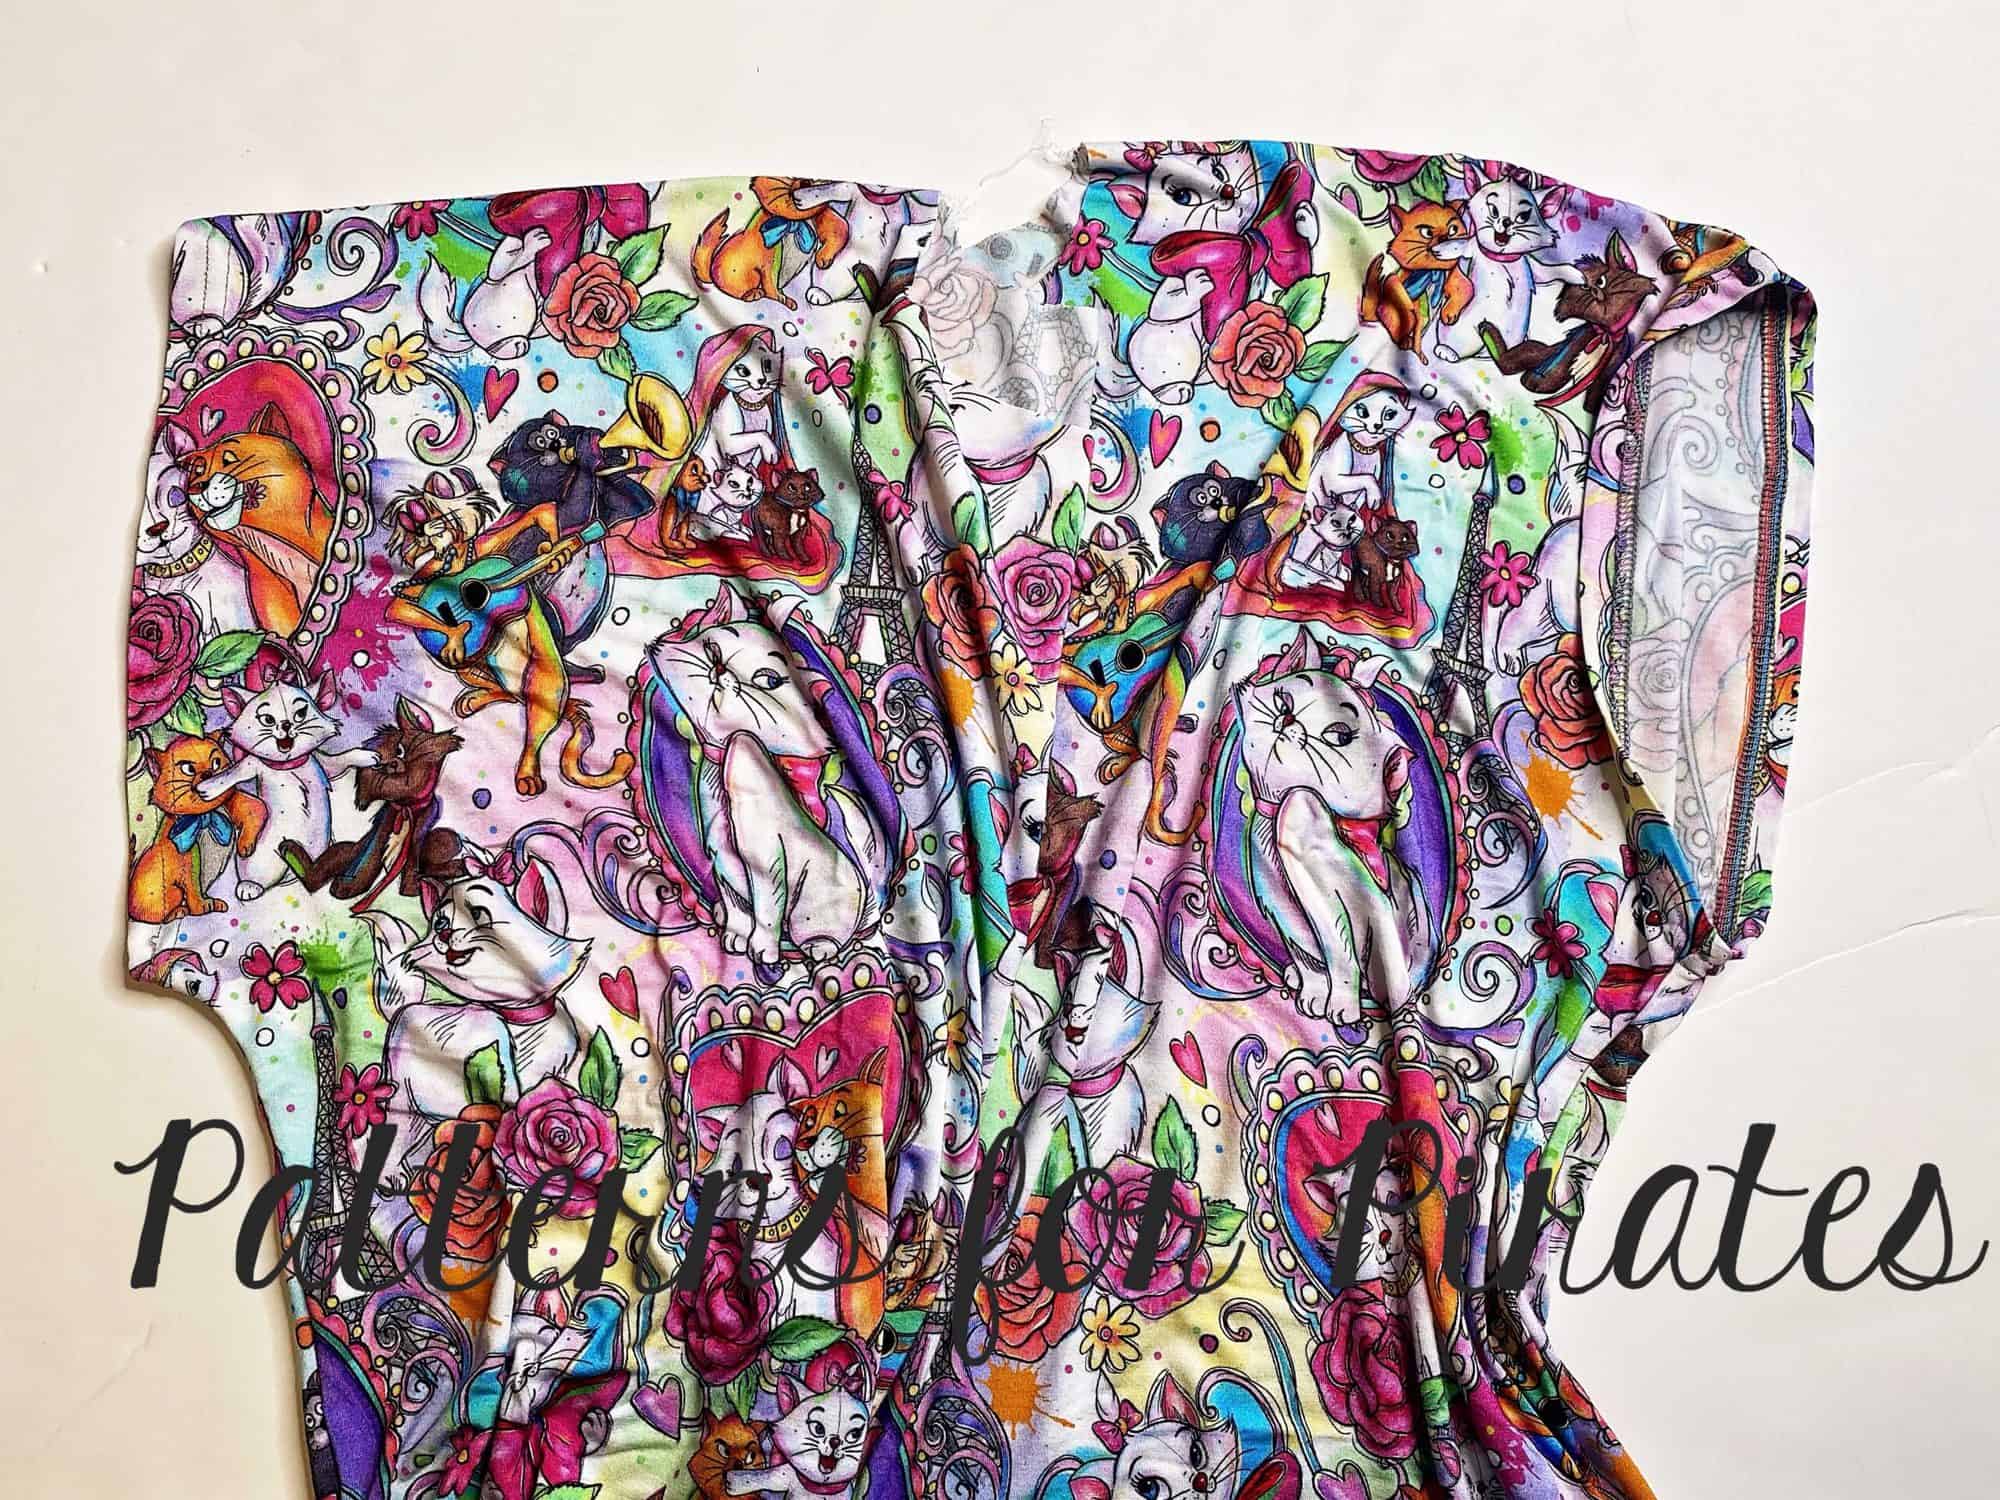


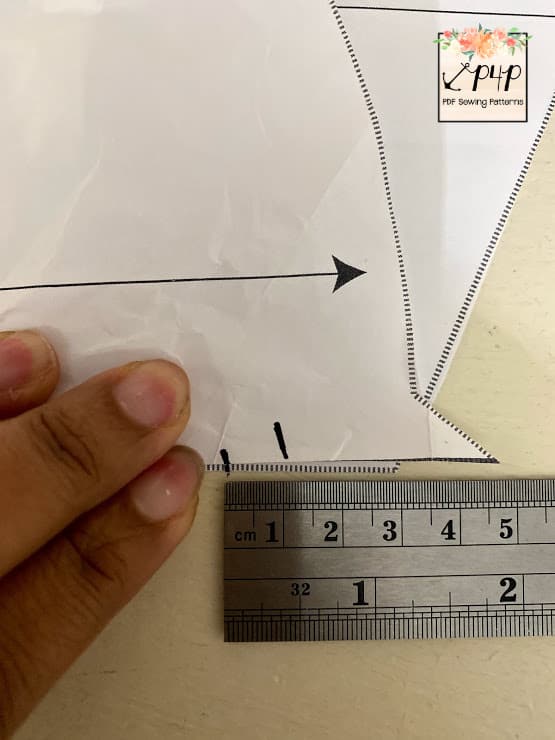
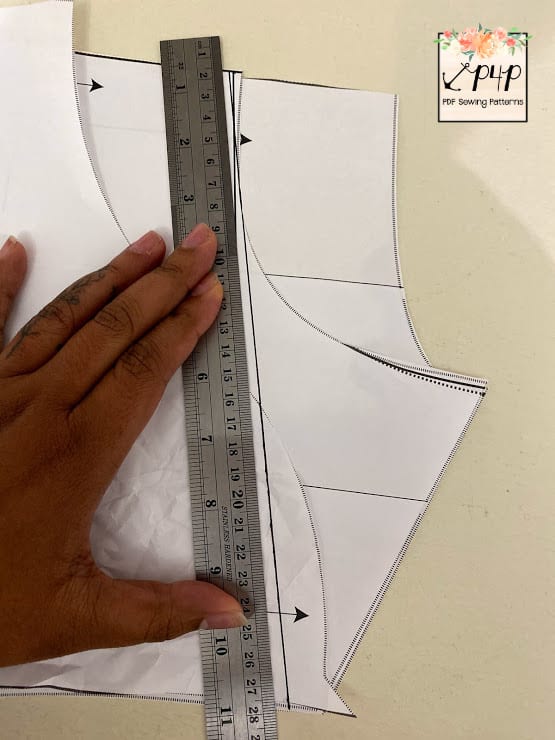
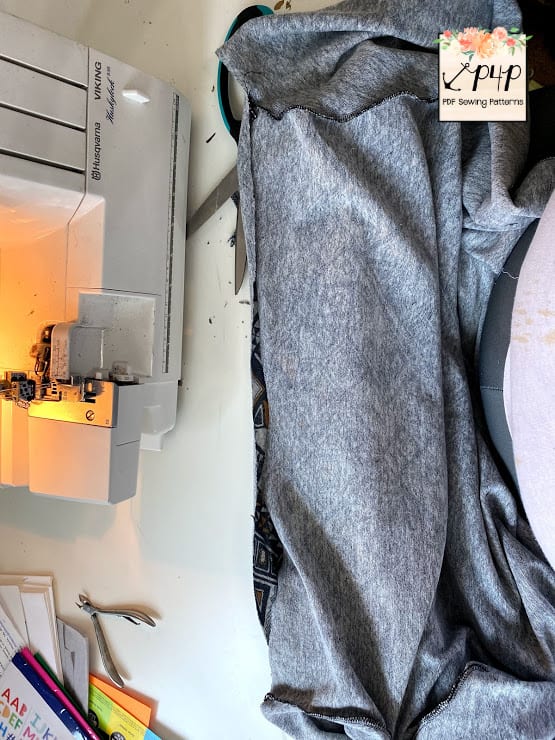


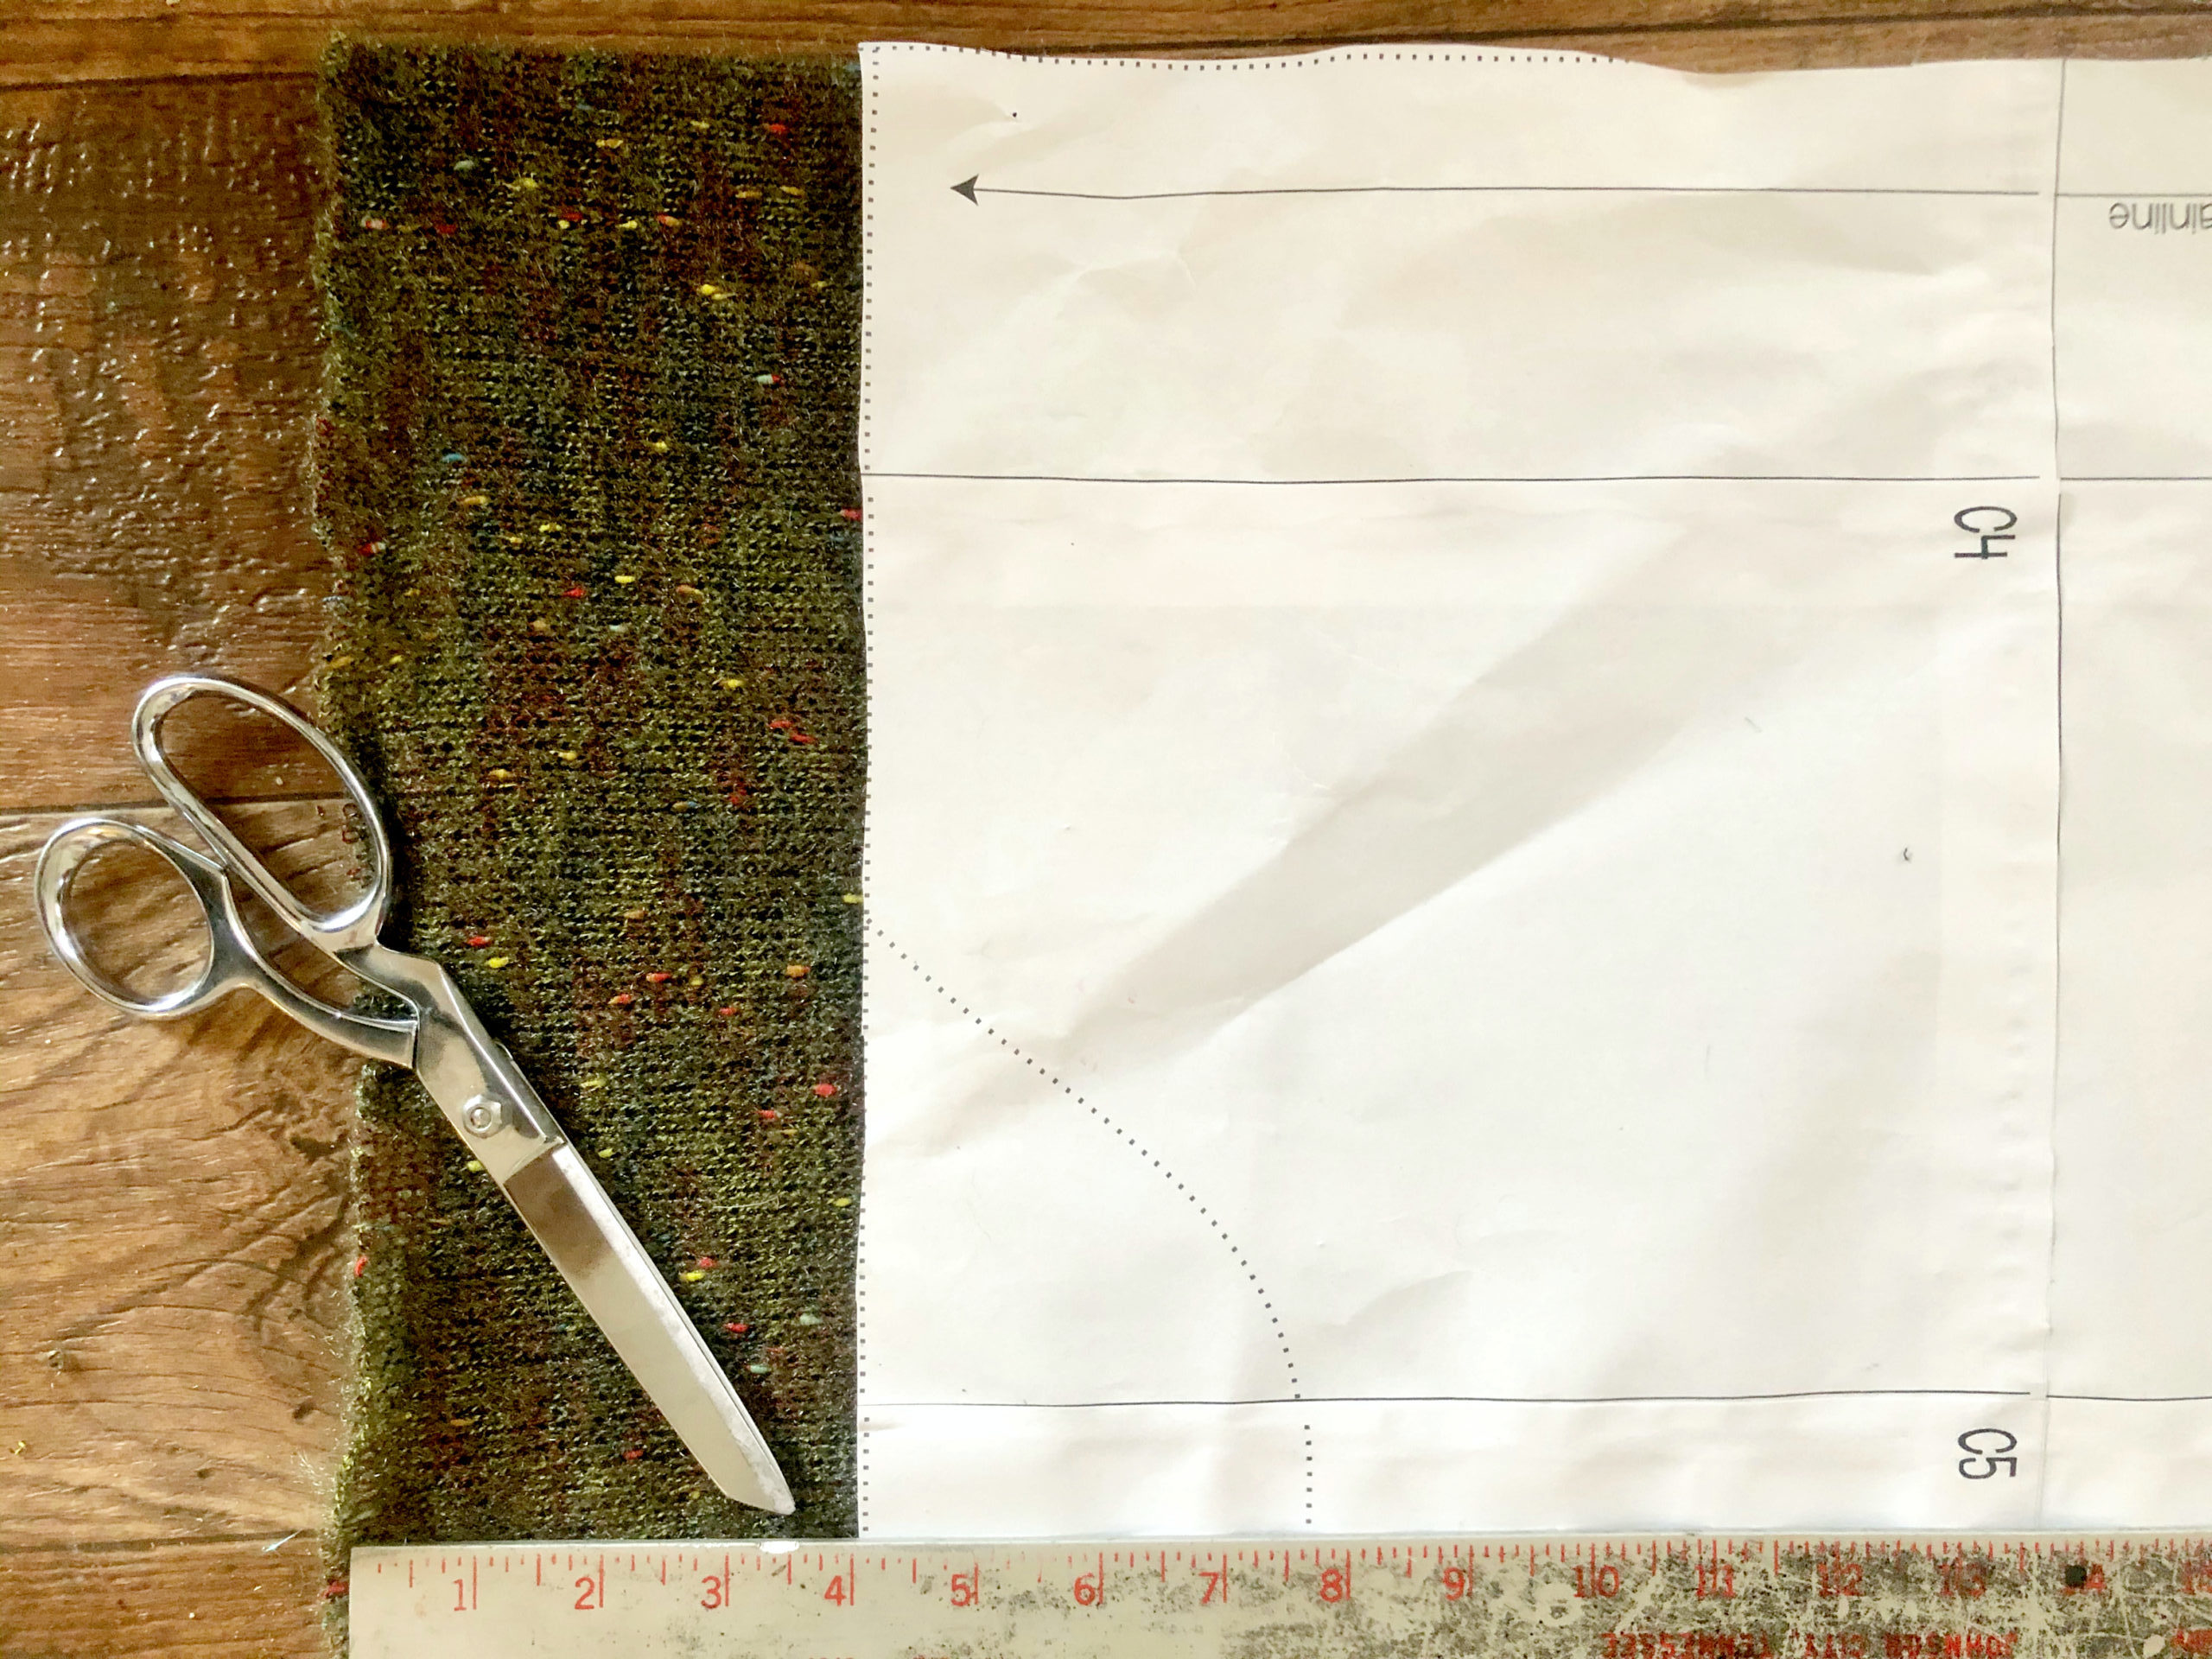


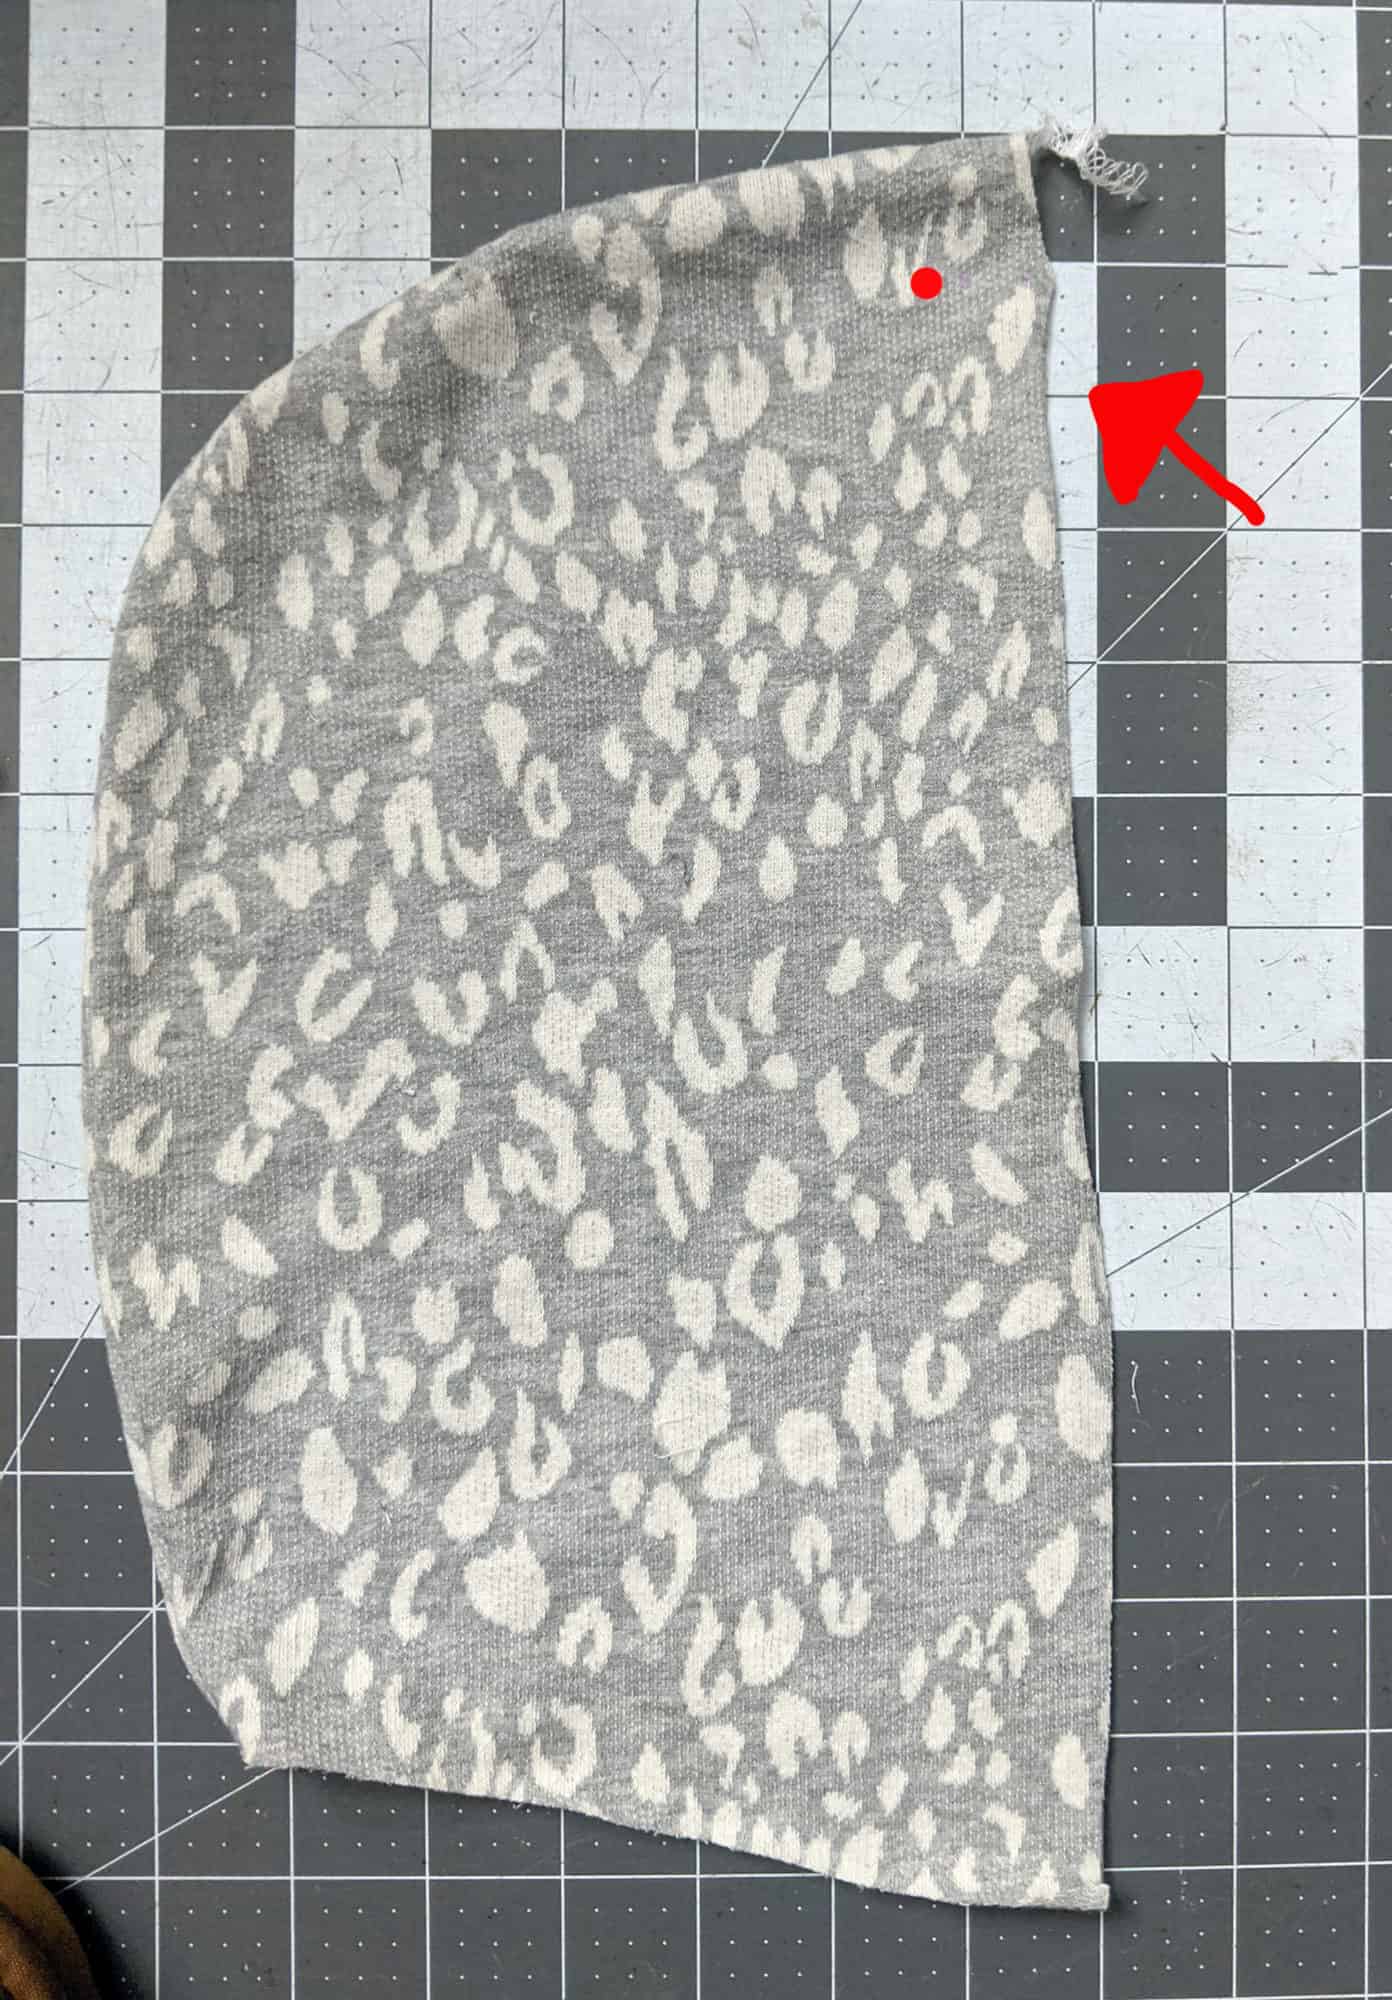
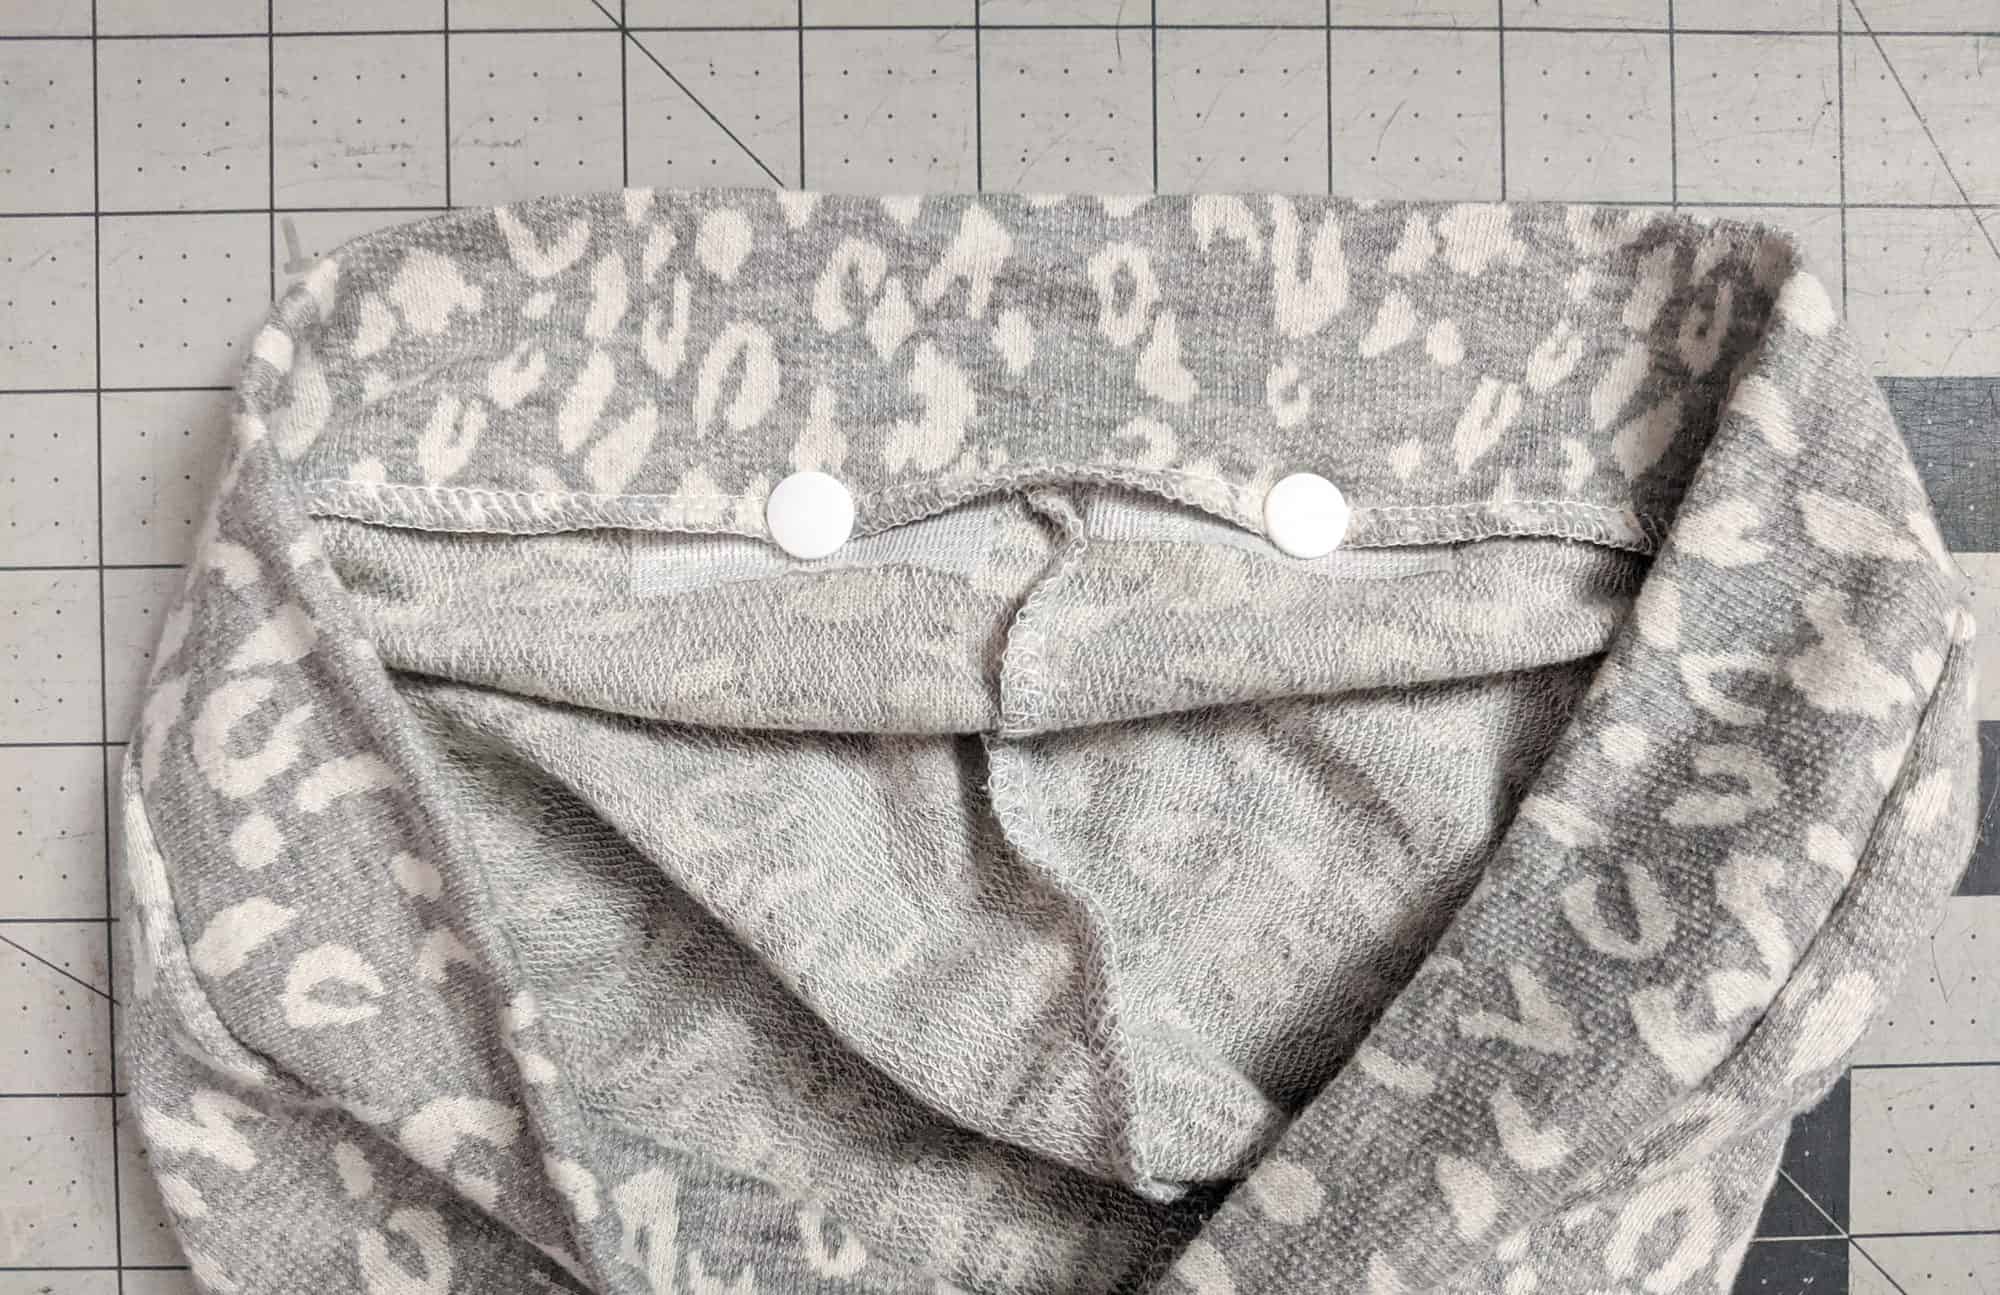


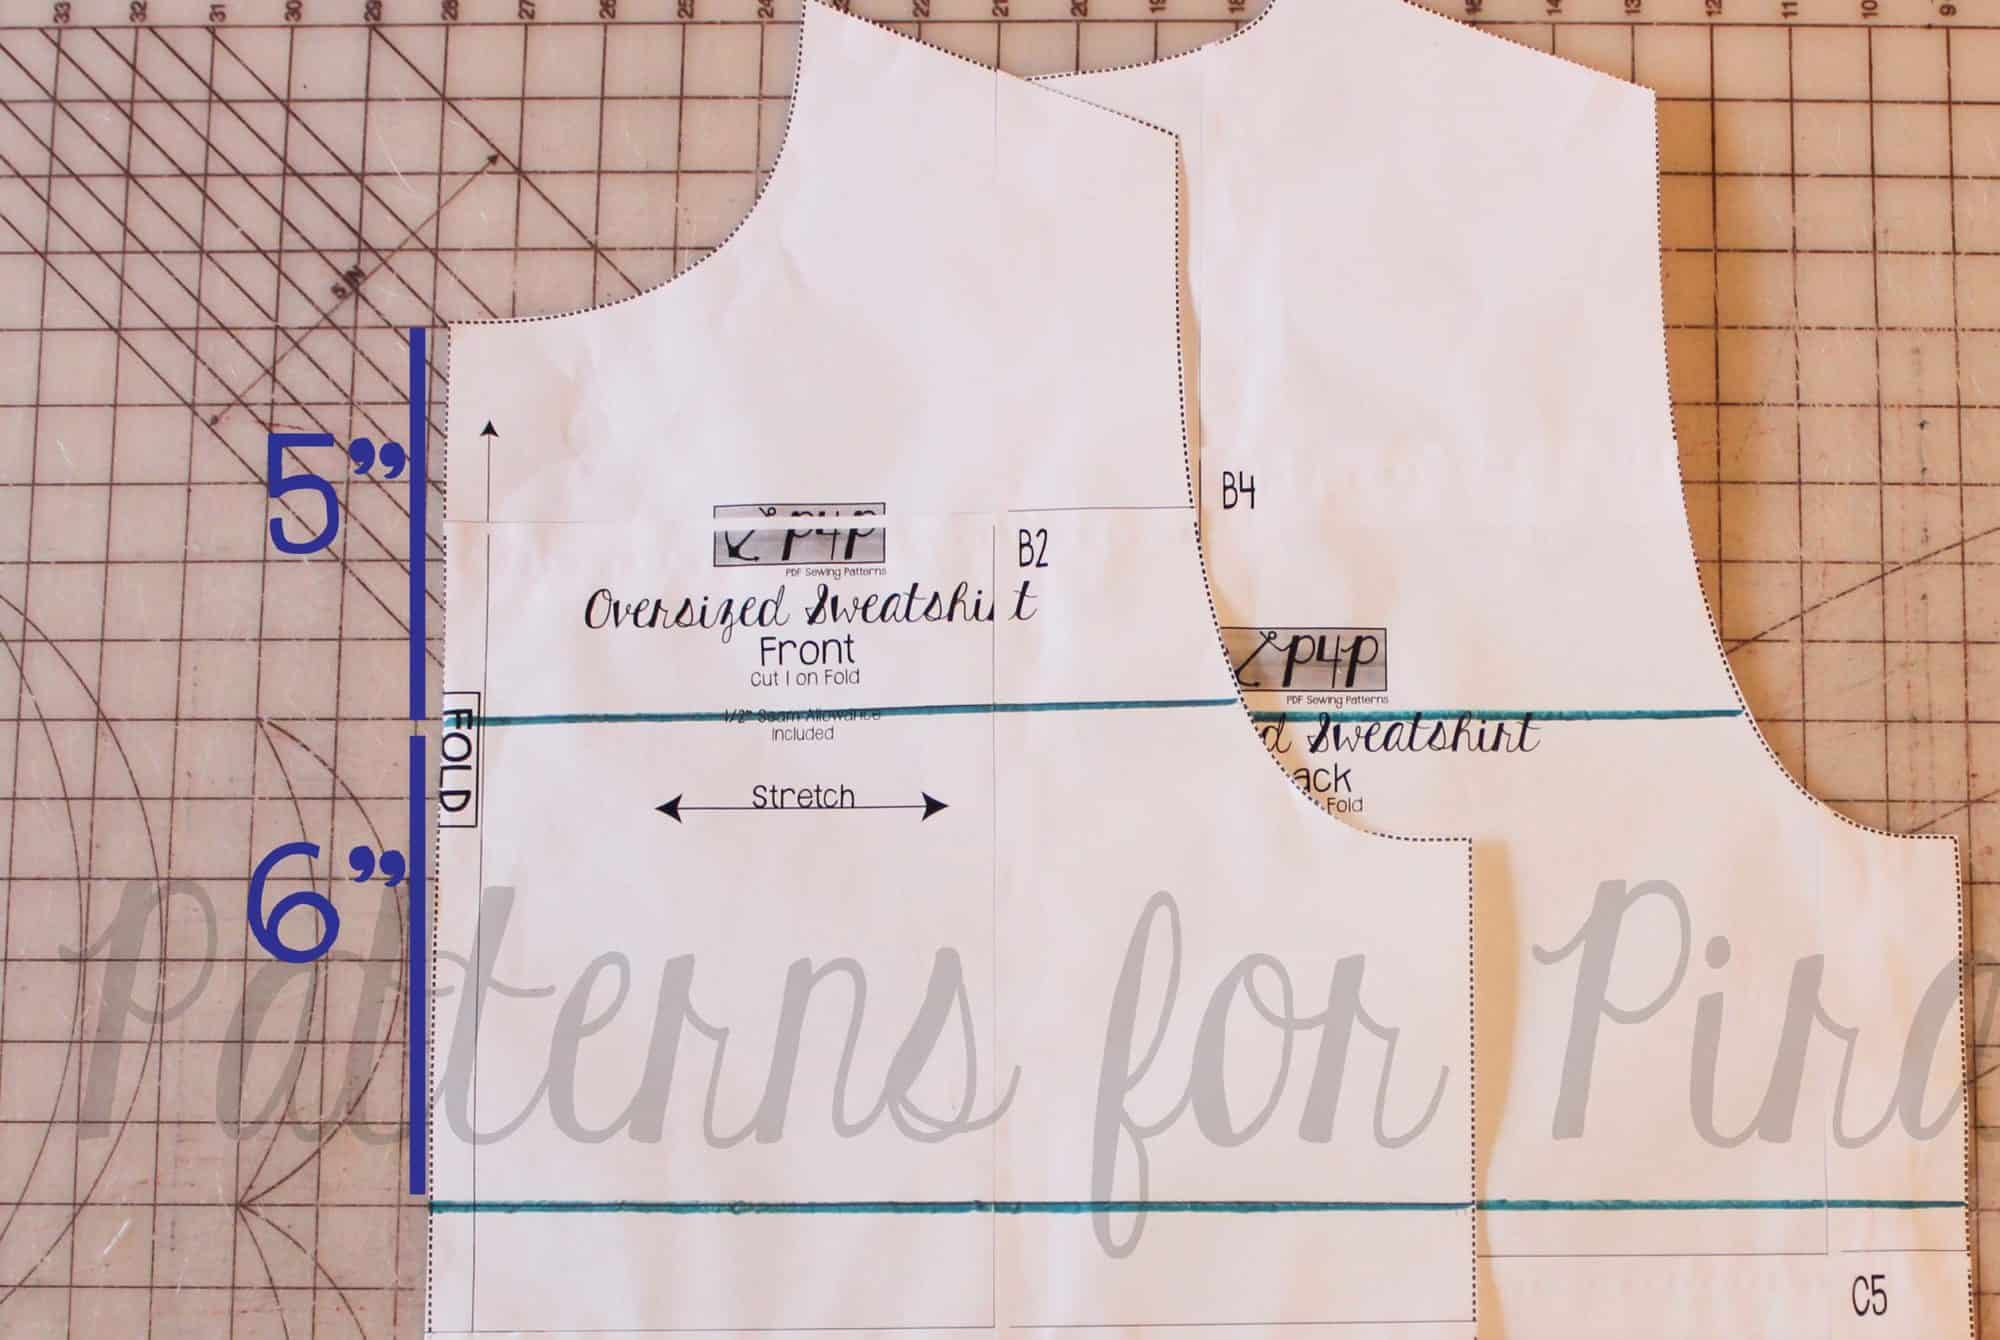
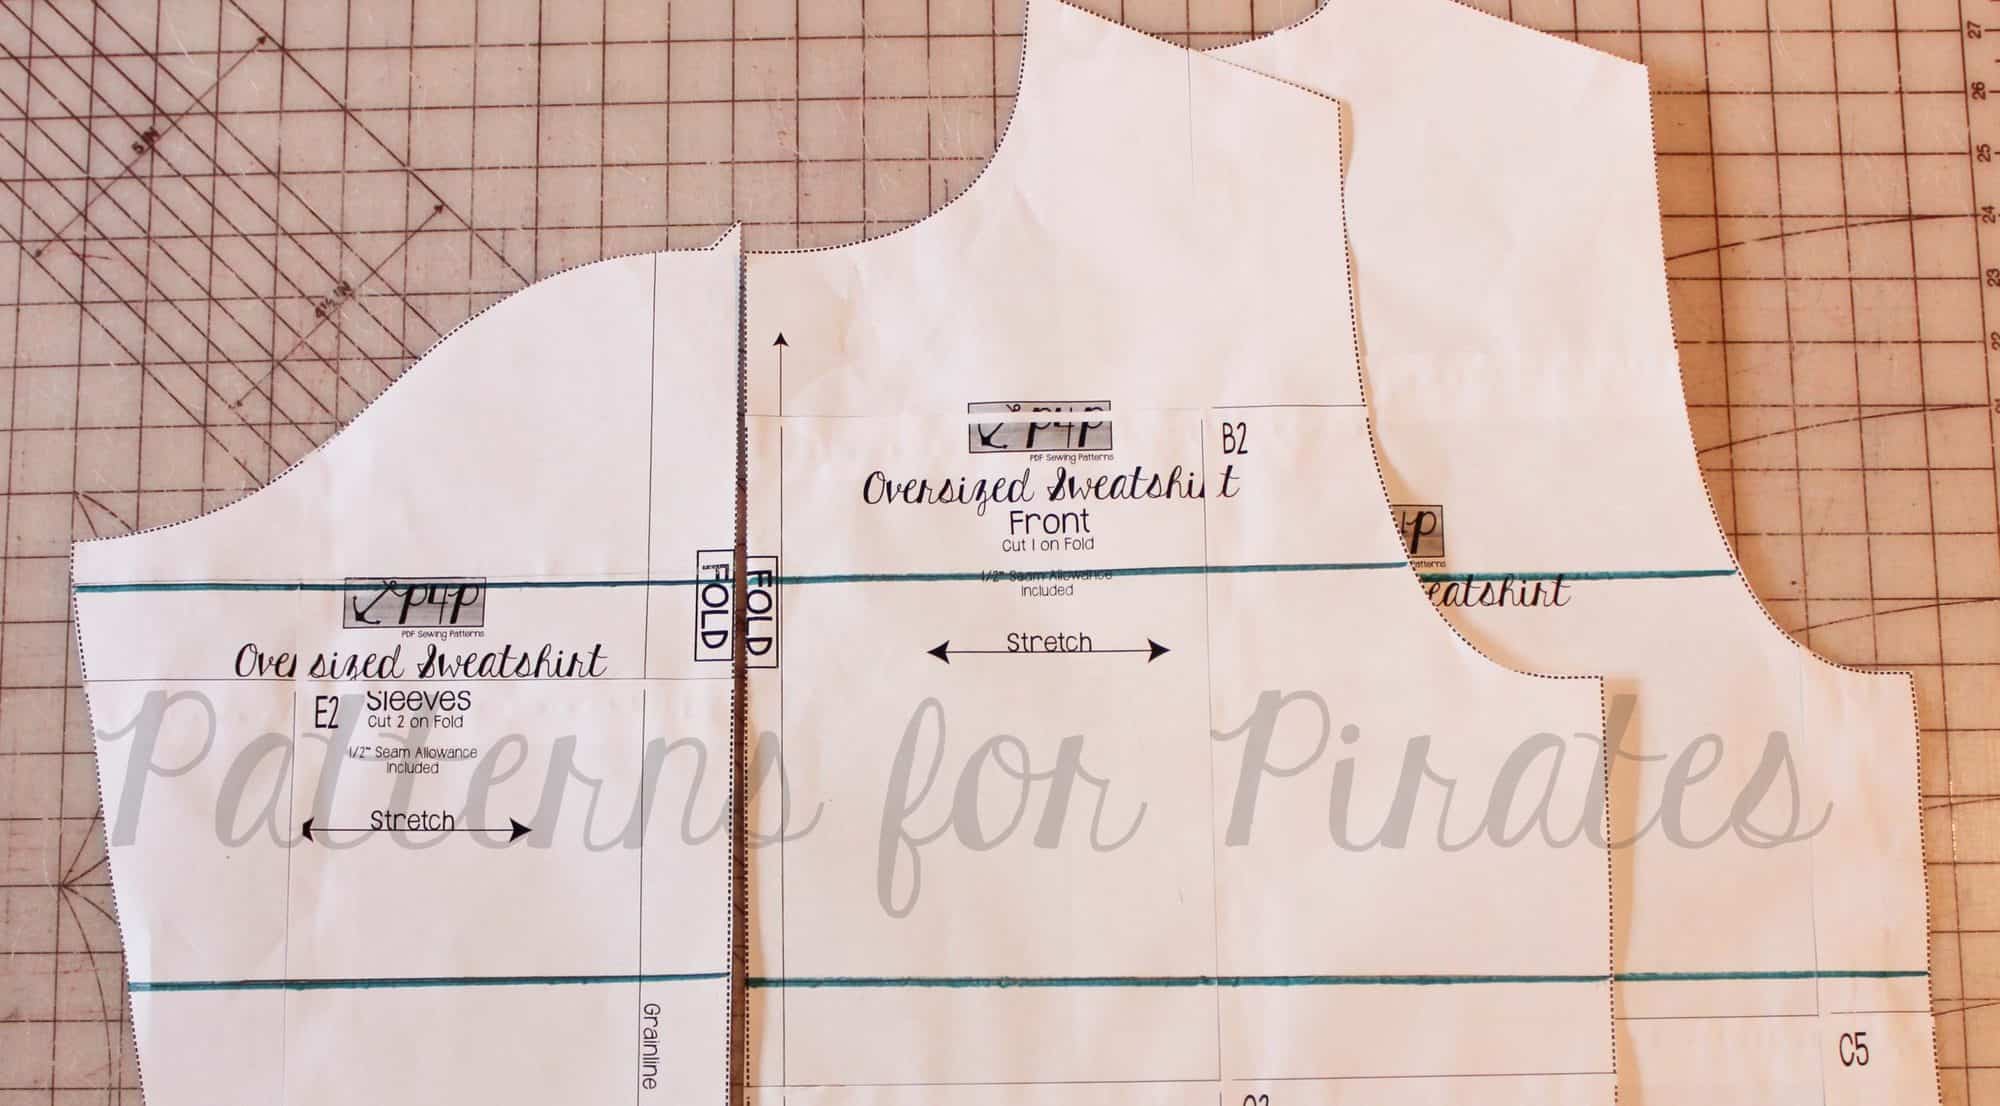
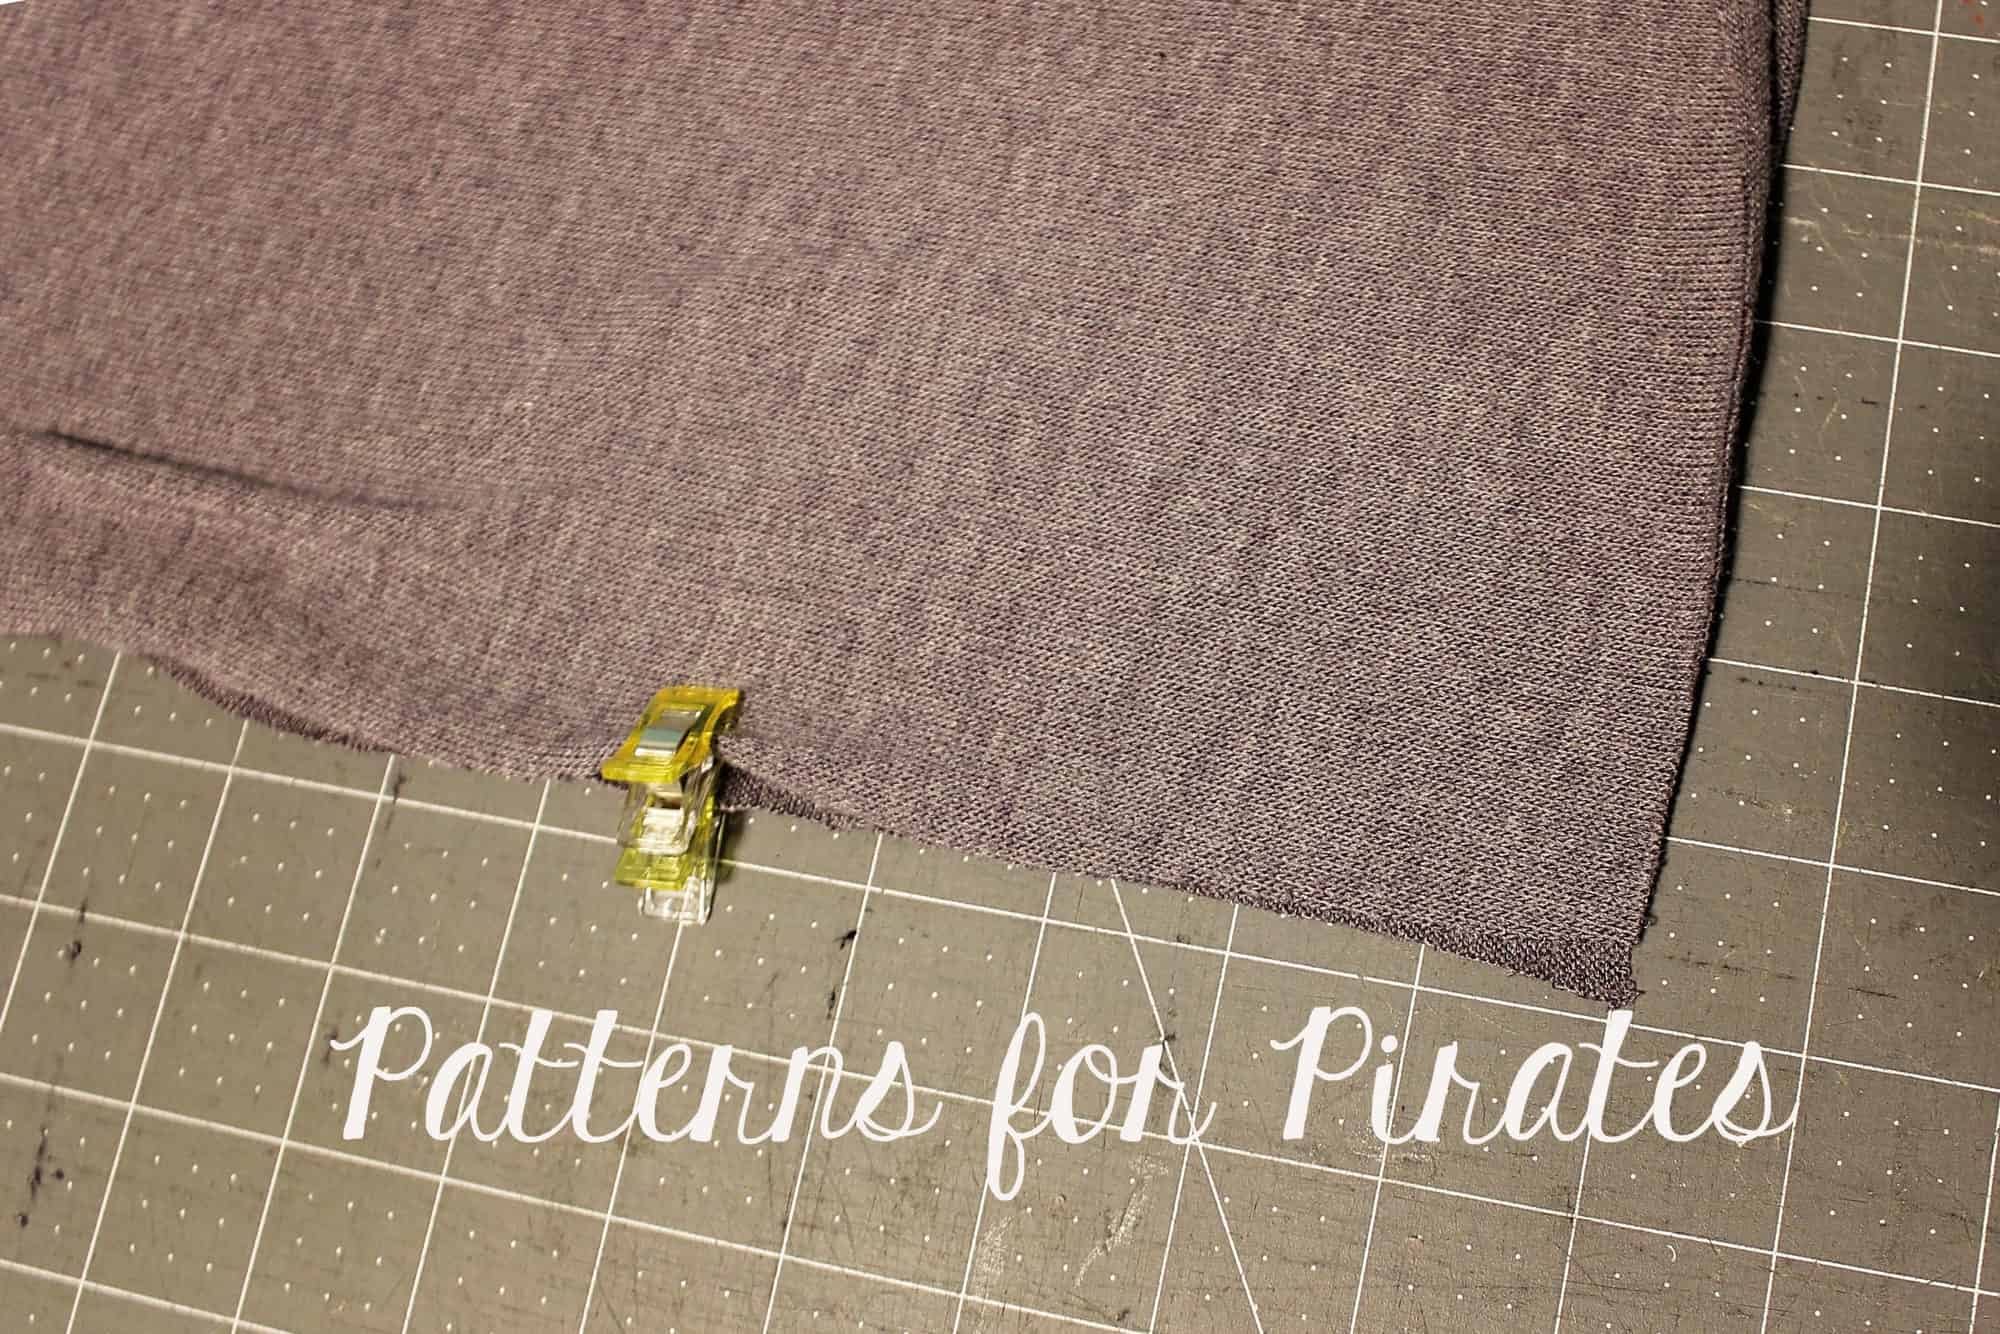
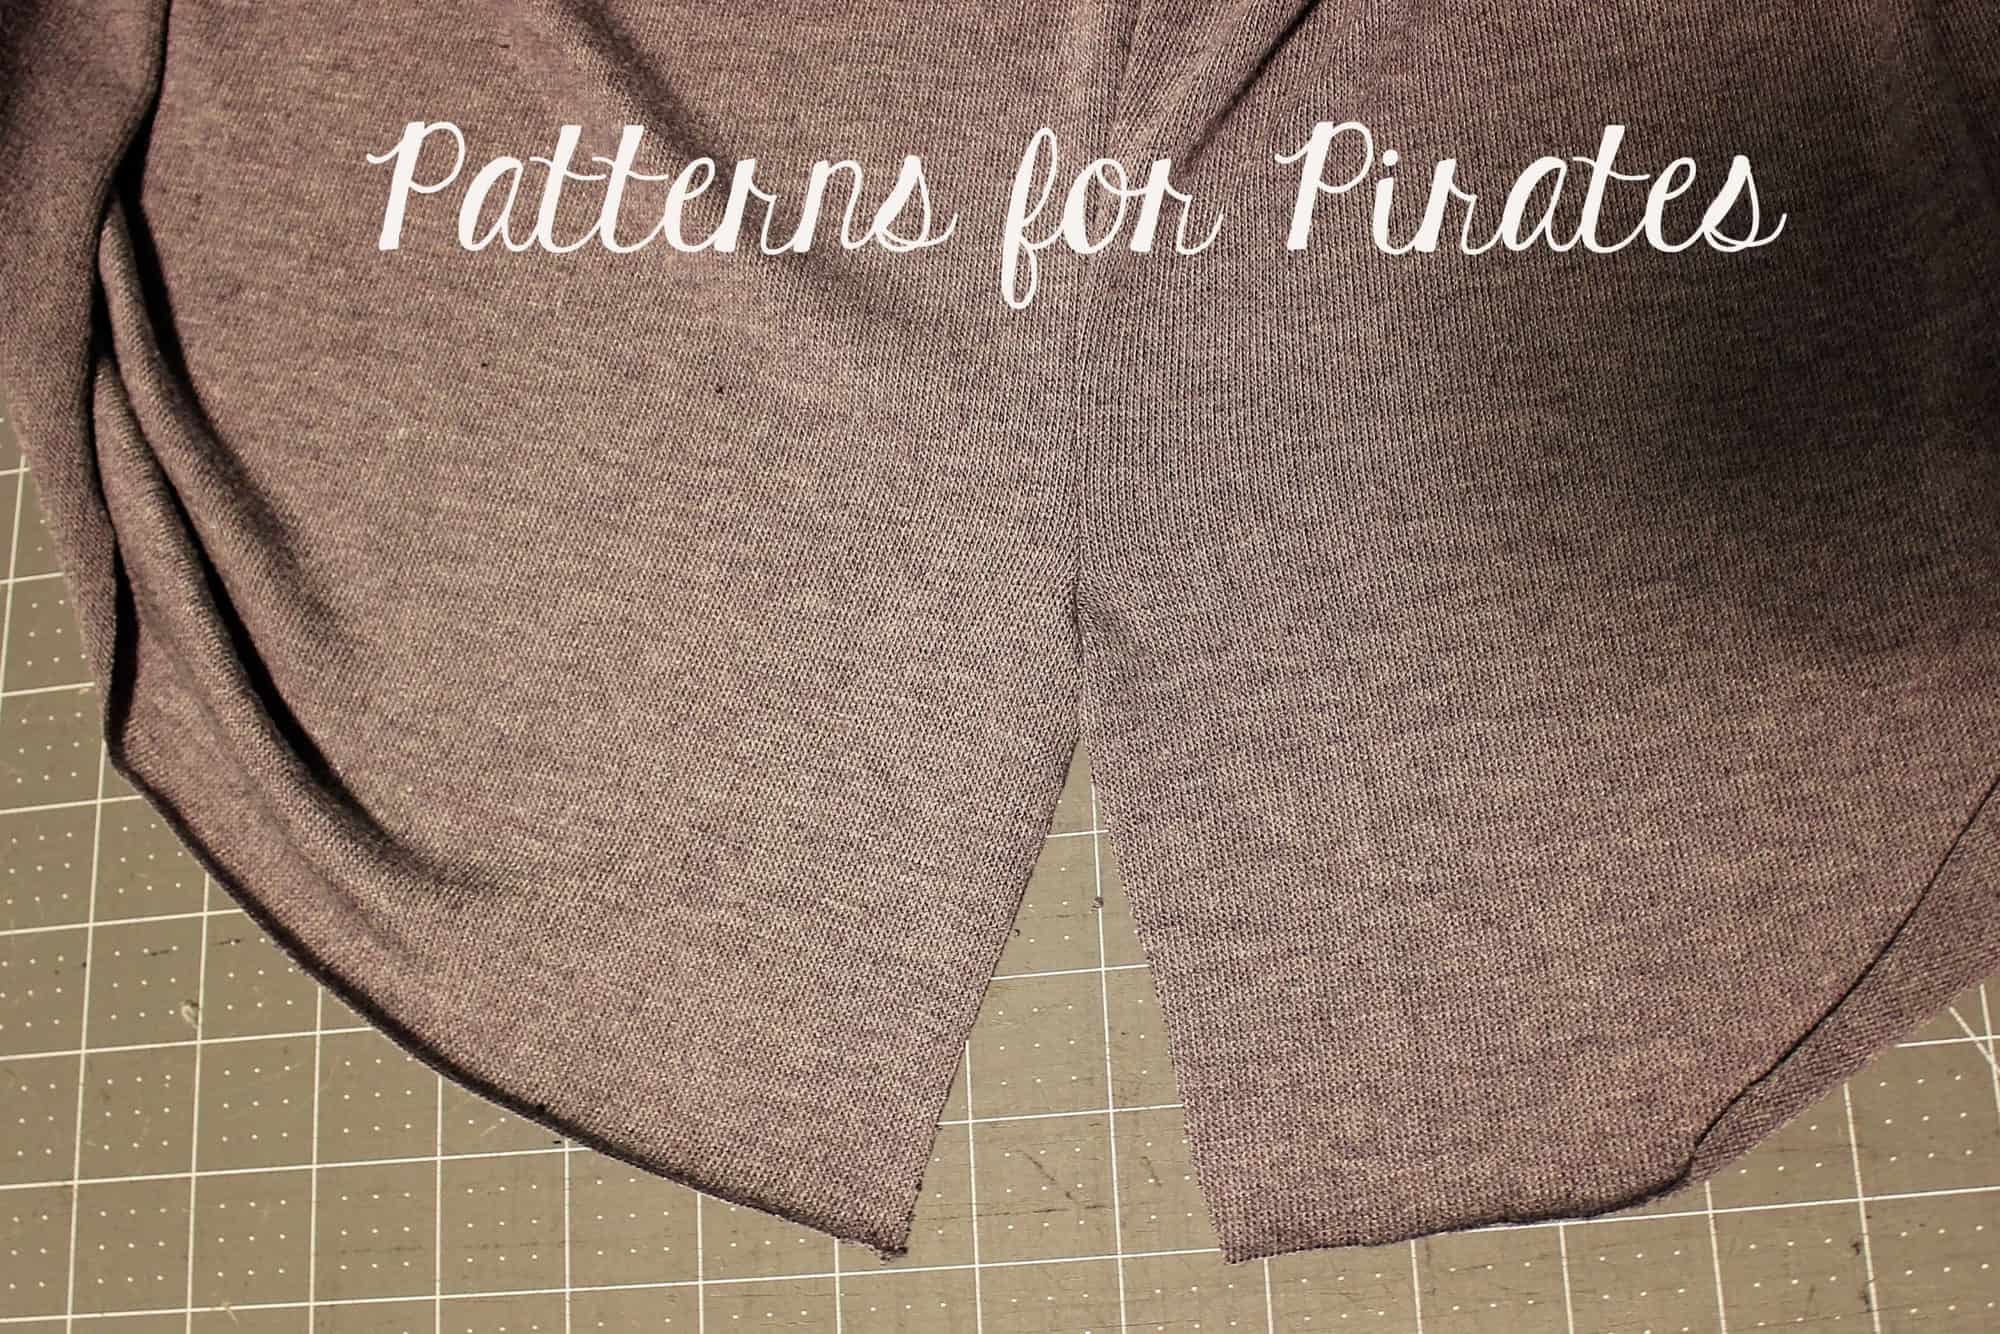
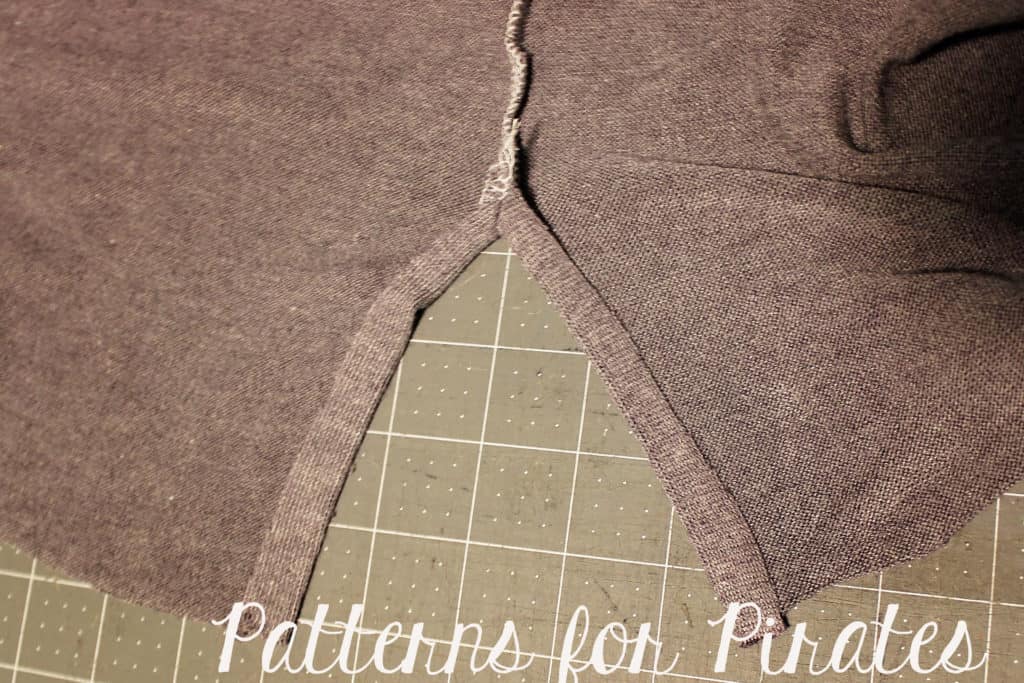
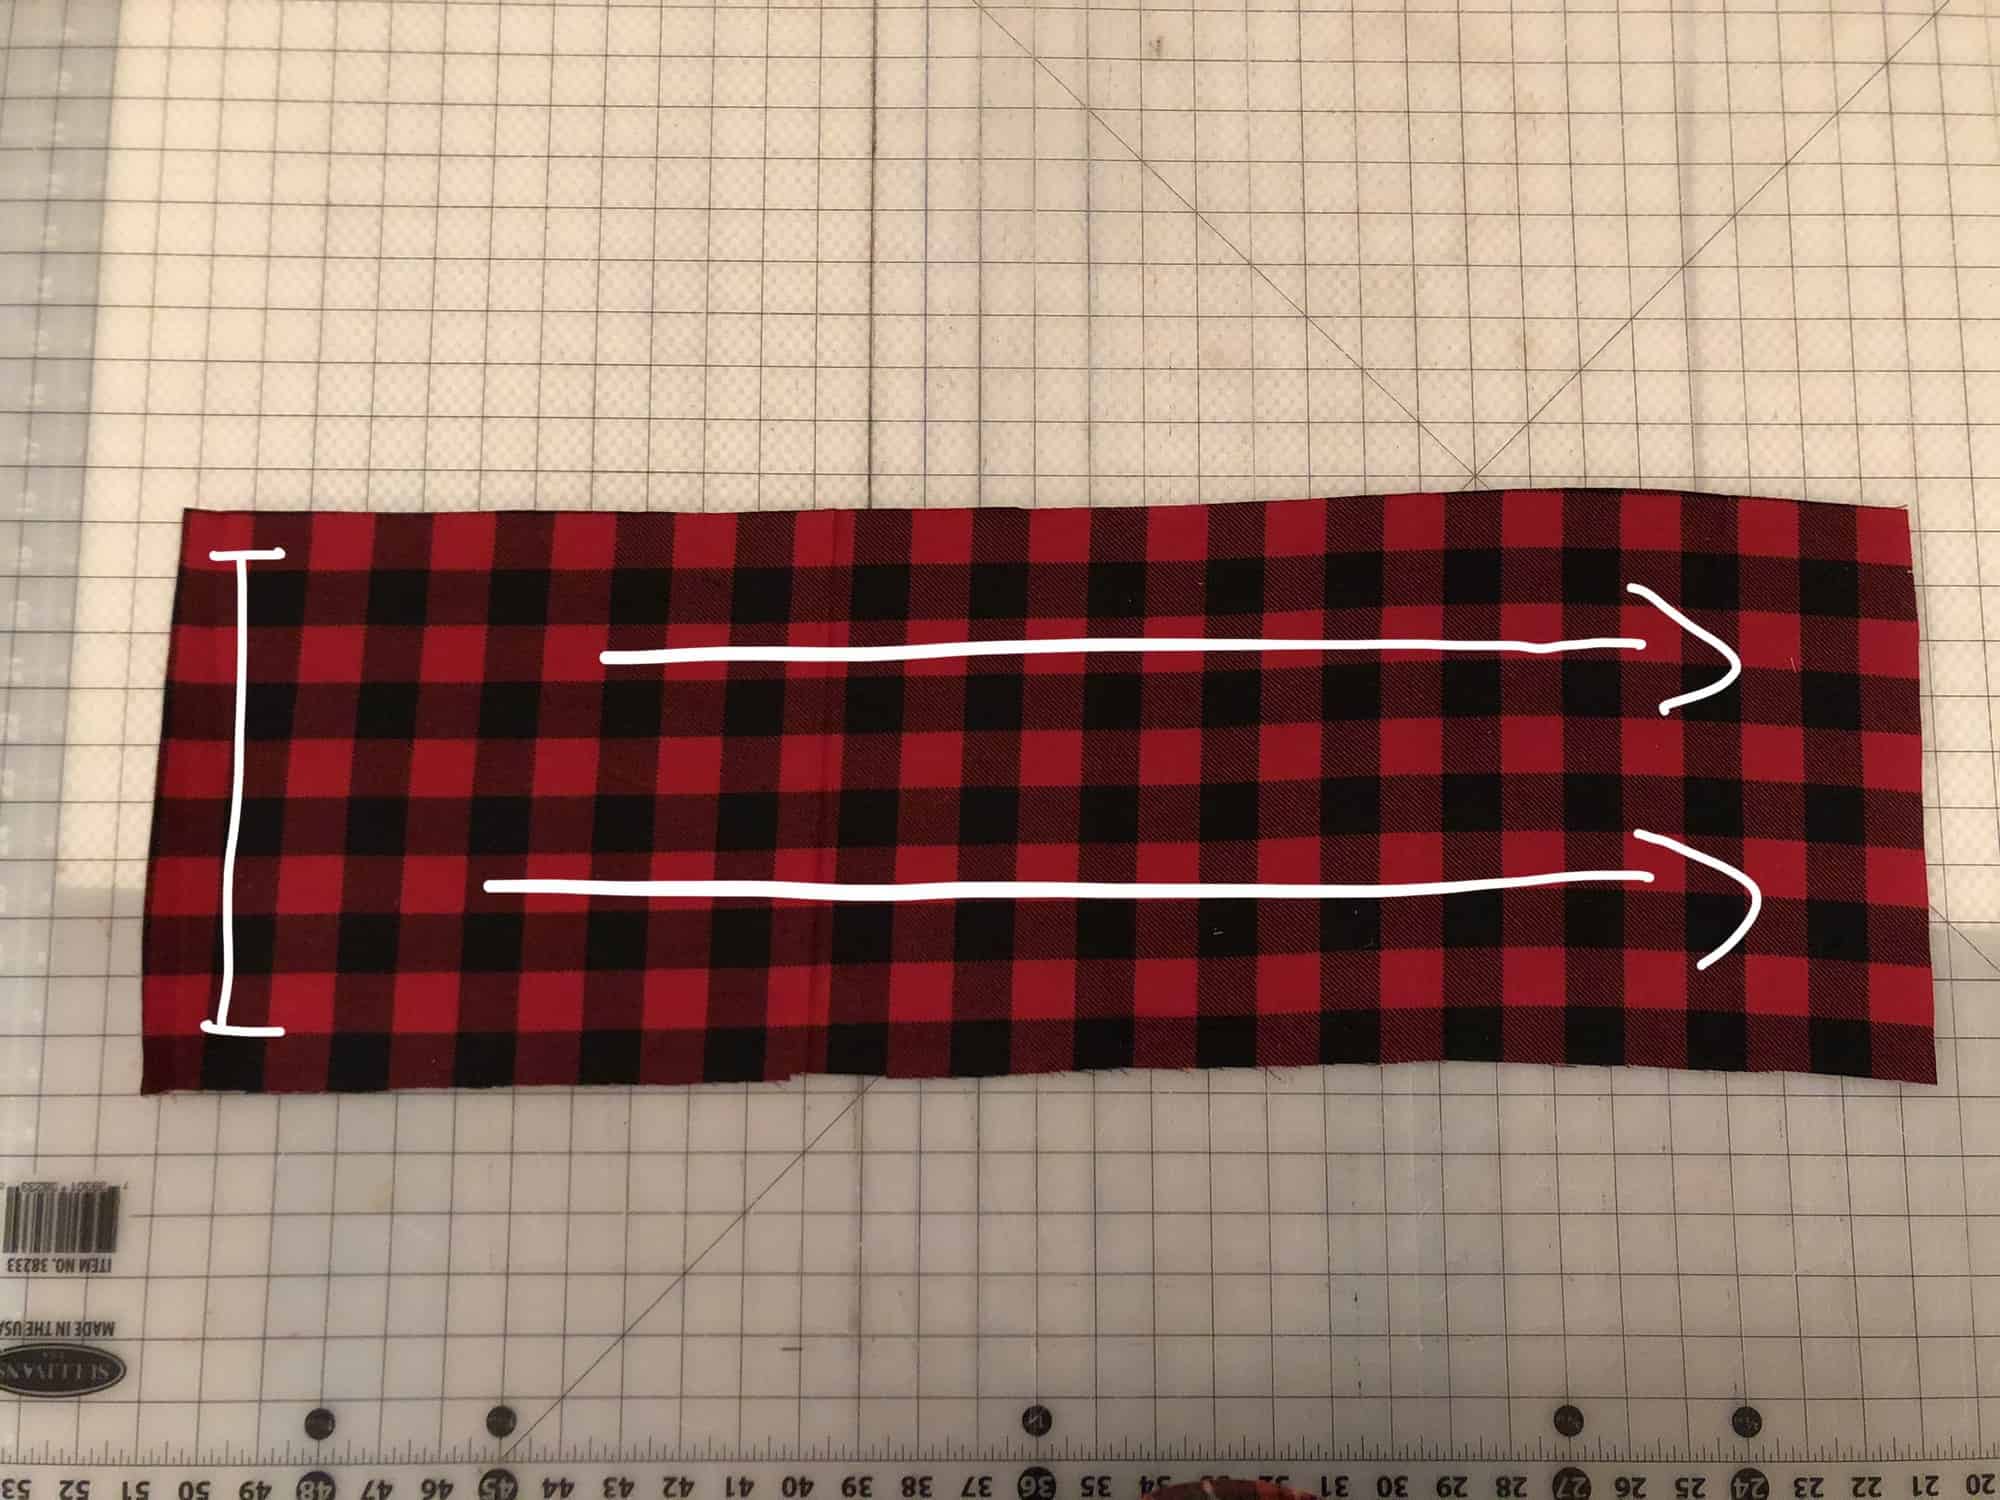
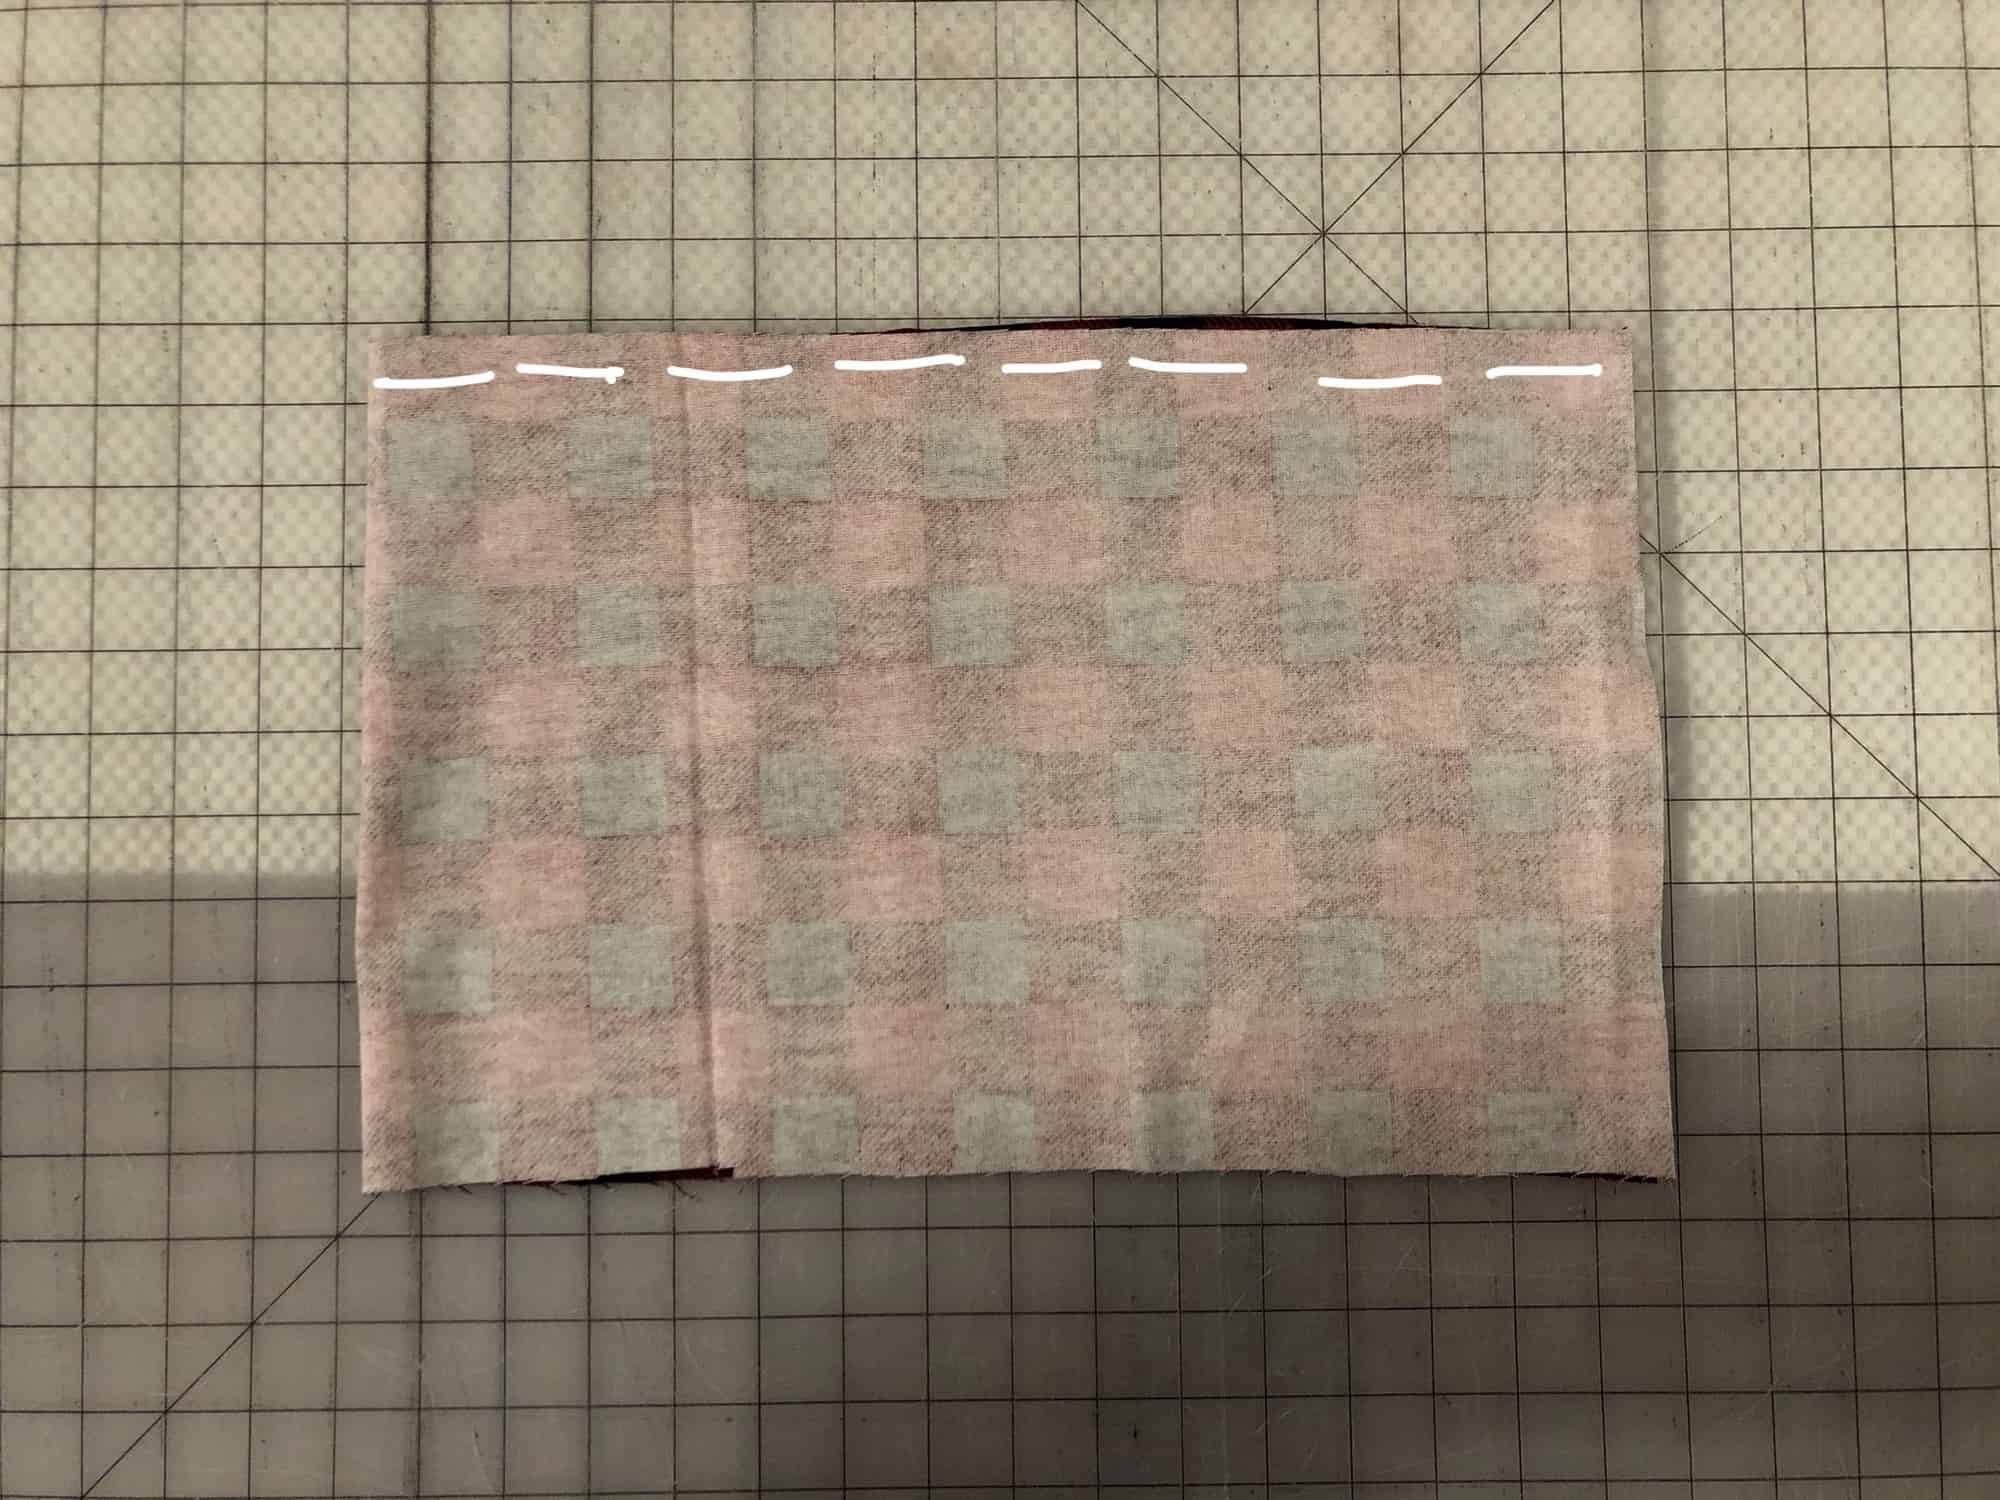


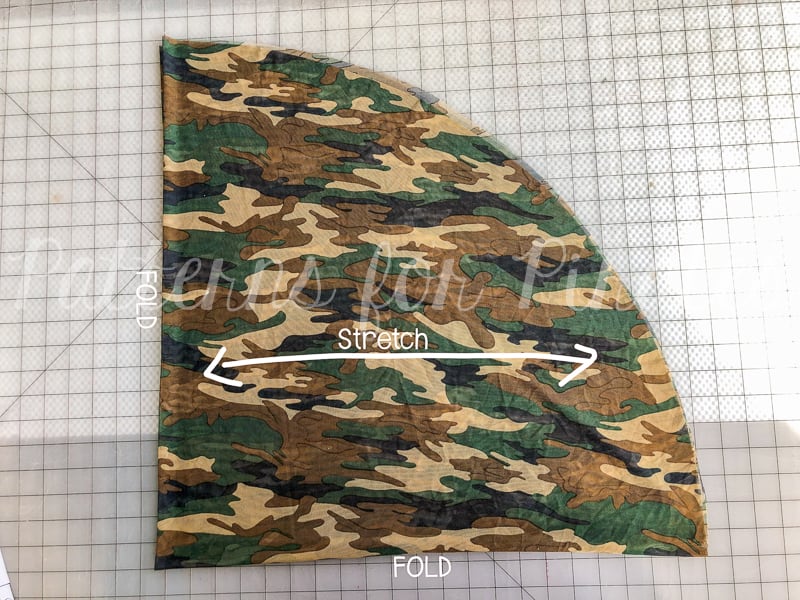
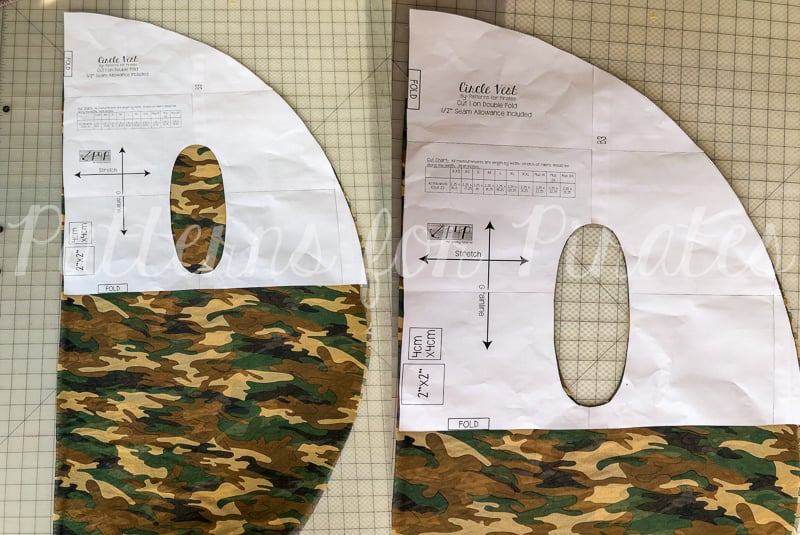
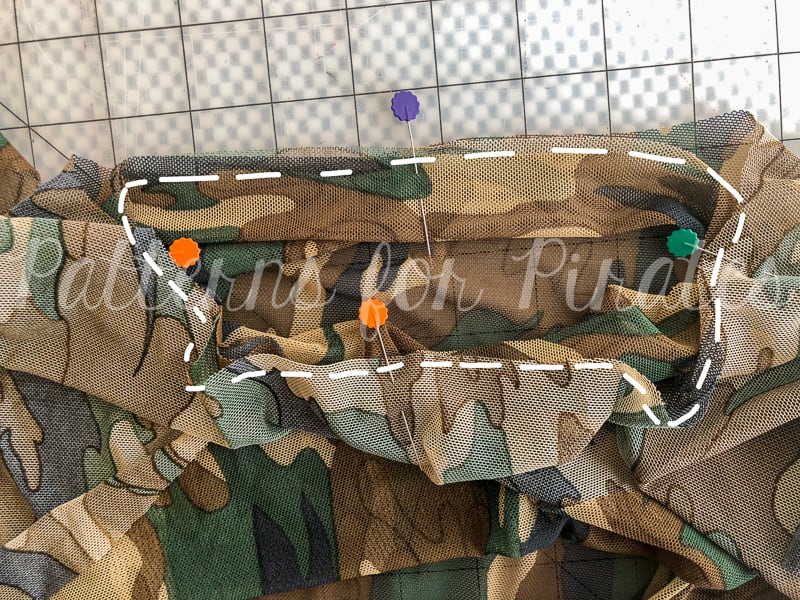
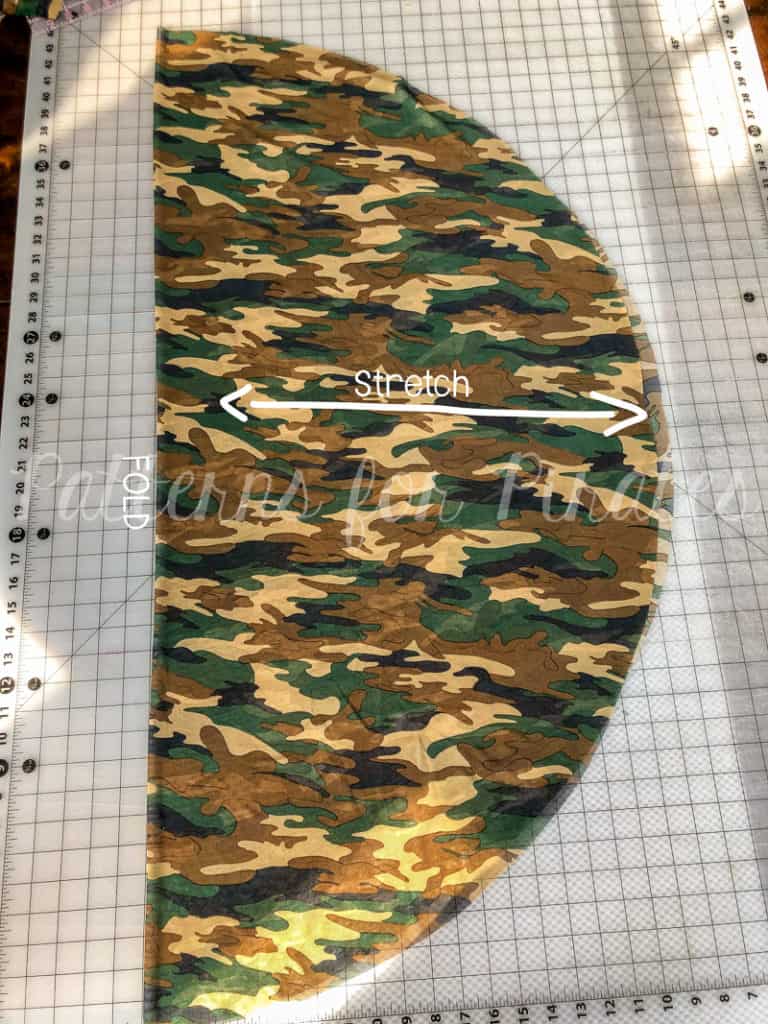 Grab your pattern piece, realign it along the top, and cut our your arm openings.