Welcome to day 3 of the Go To Jacket Sew along! Today is dedicated to adding pockets. The pattern features two styles, patch and inseam. I will be sewing the inseam one on my kids’ jacket and the kanga on my women one. The inseam pockets will have two openings, one at the side seam and a cool hidden one on the inside of the jacket. Today’s steps are pretty easy and as always, be sure to post in the SAL group if you have any questions.
Watch the videos below for and post a picture of your pockets in the day 3 photo comments of the Go To Jacket SAL album.
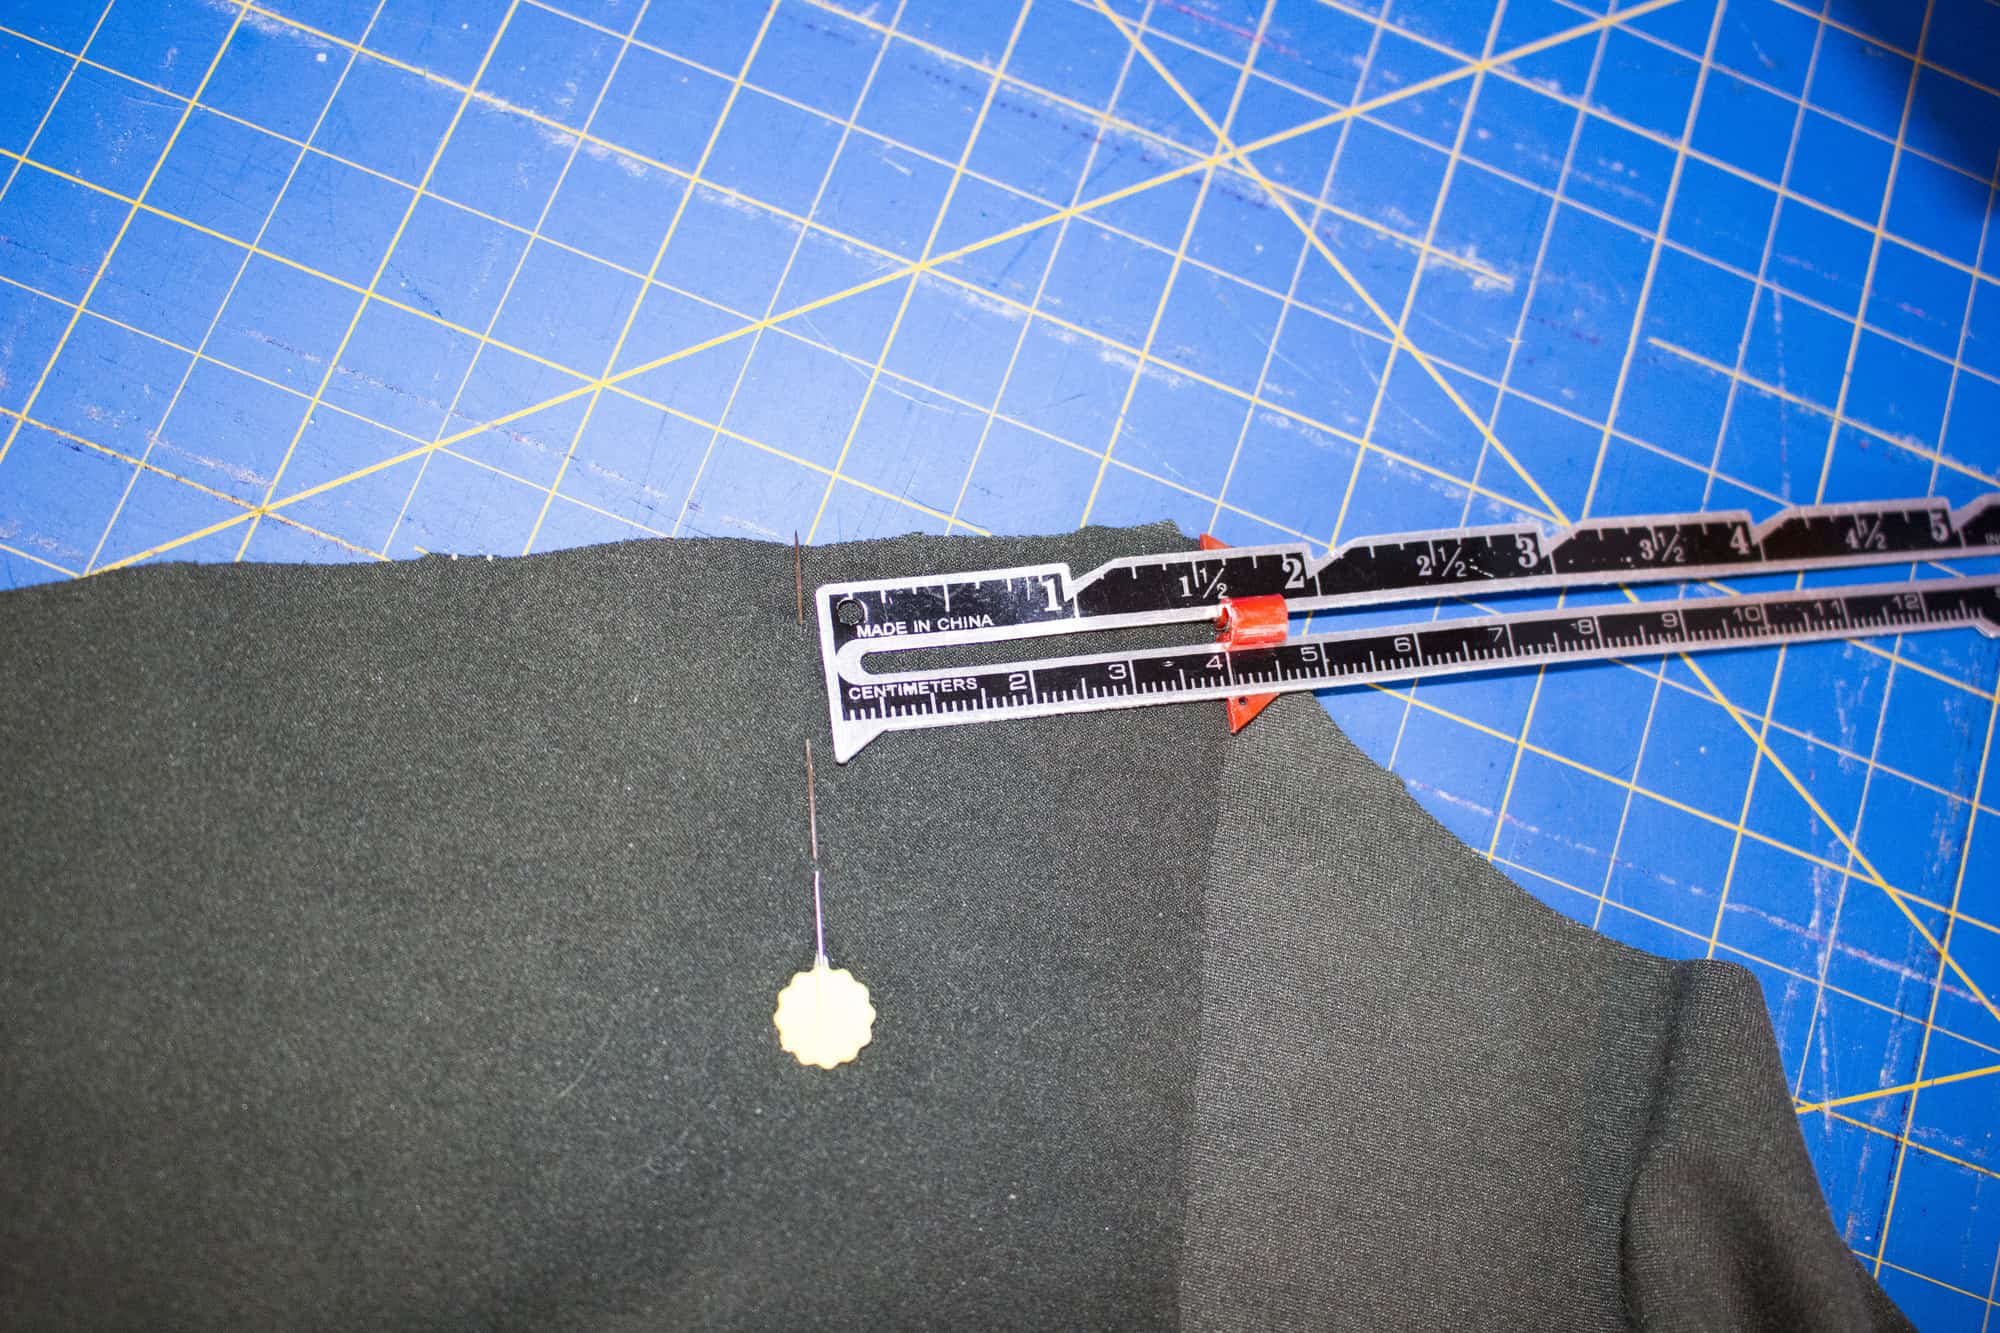
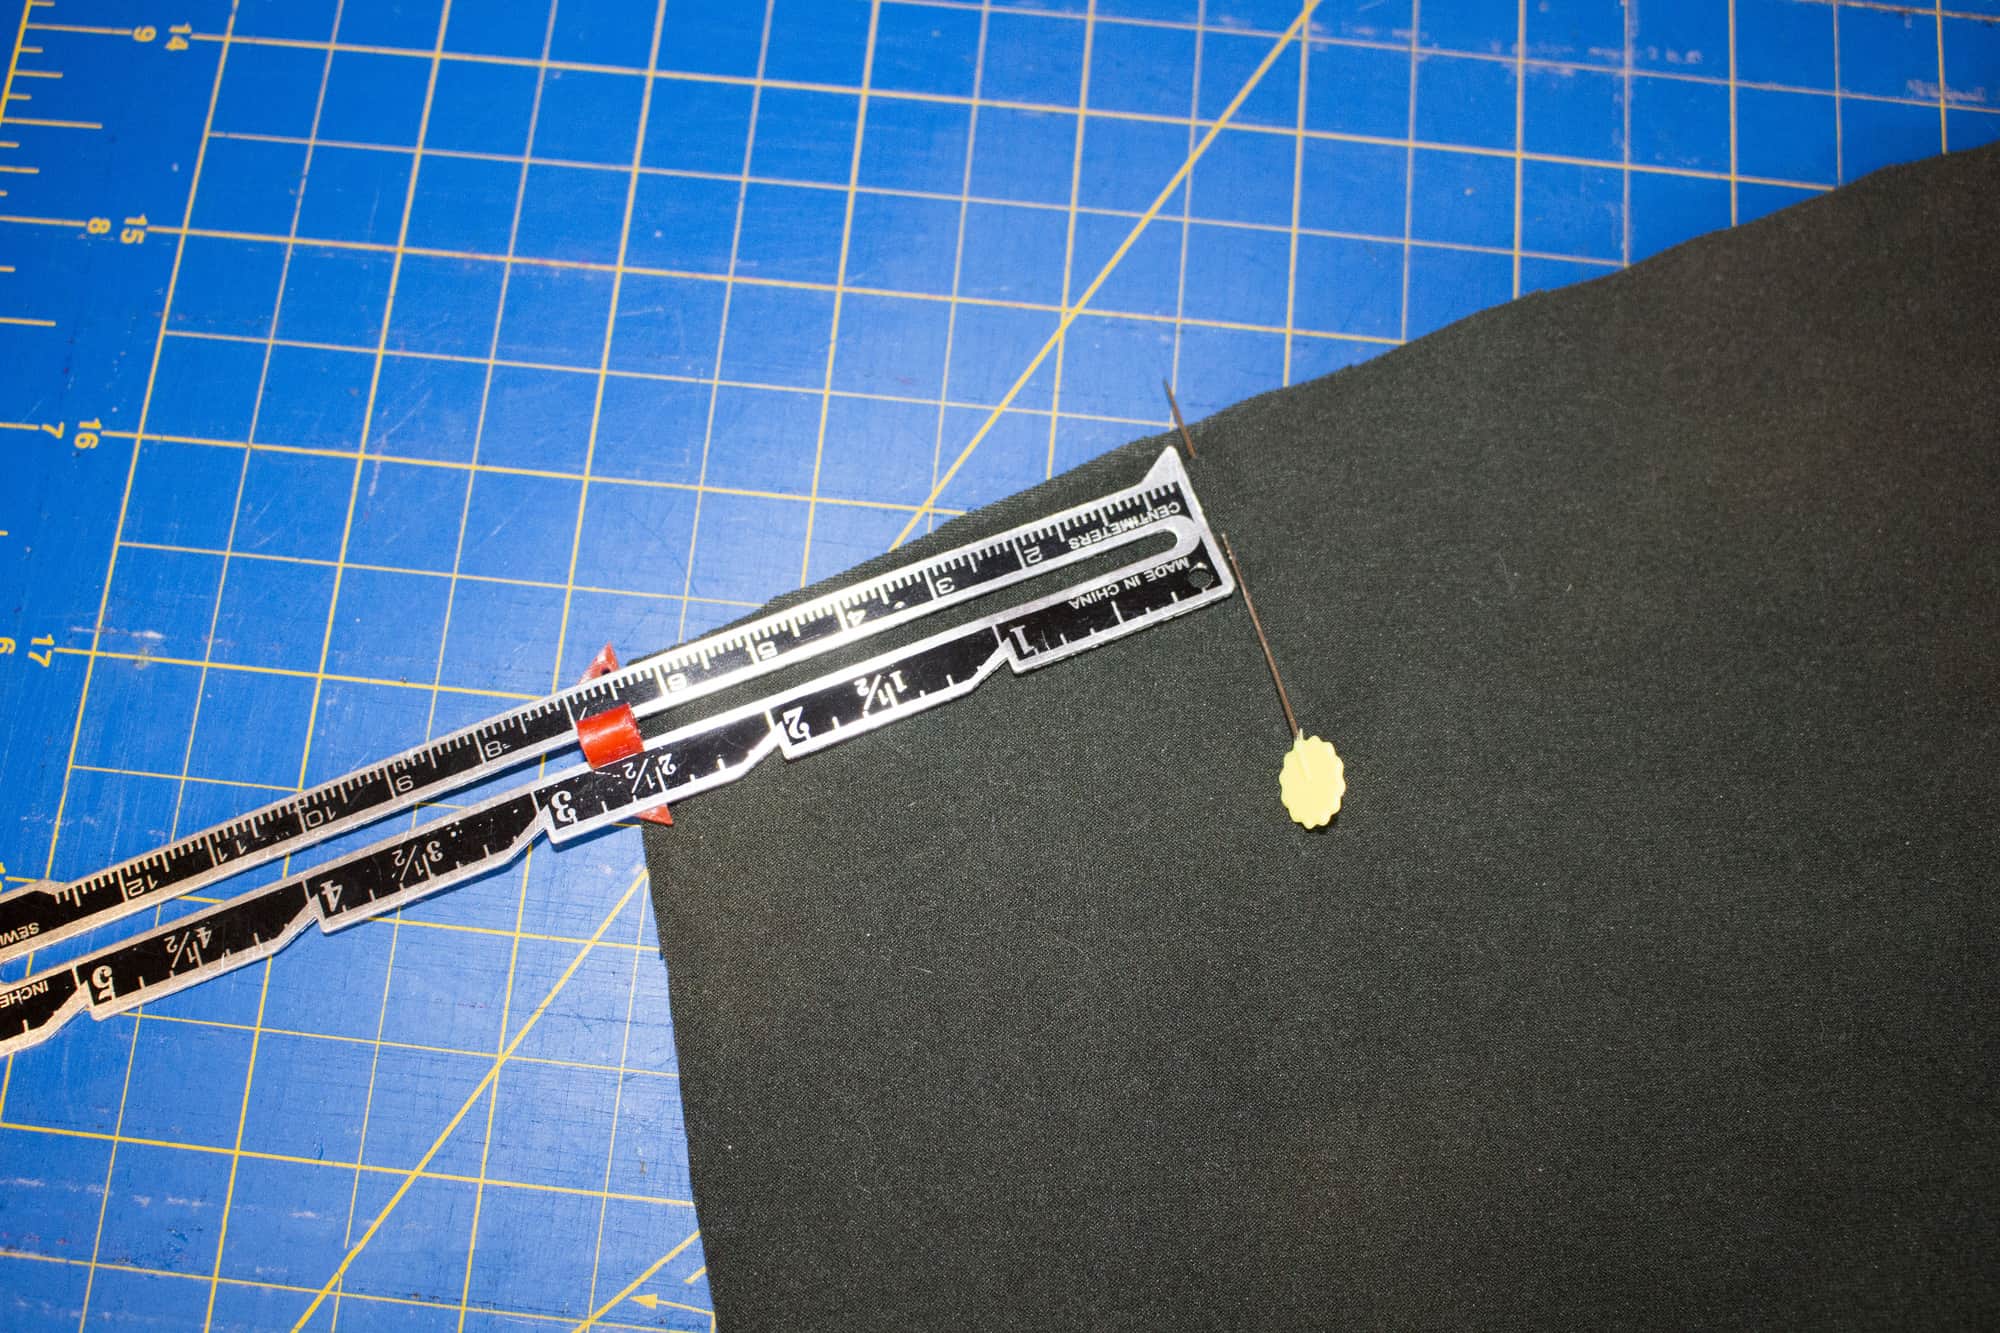
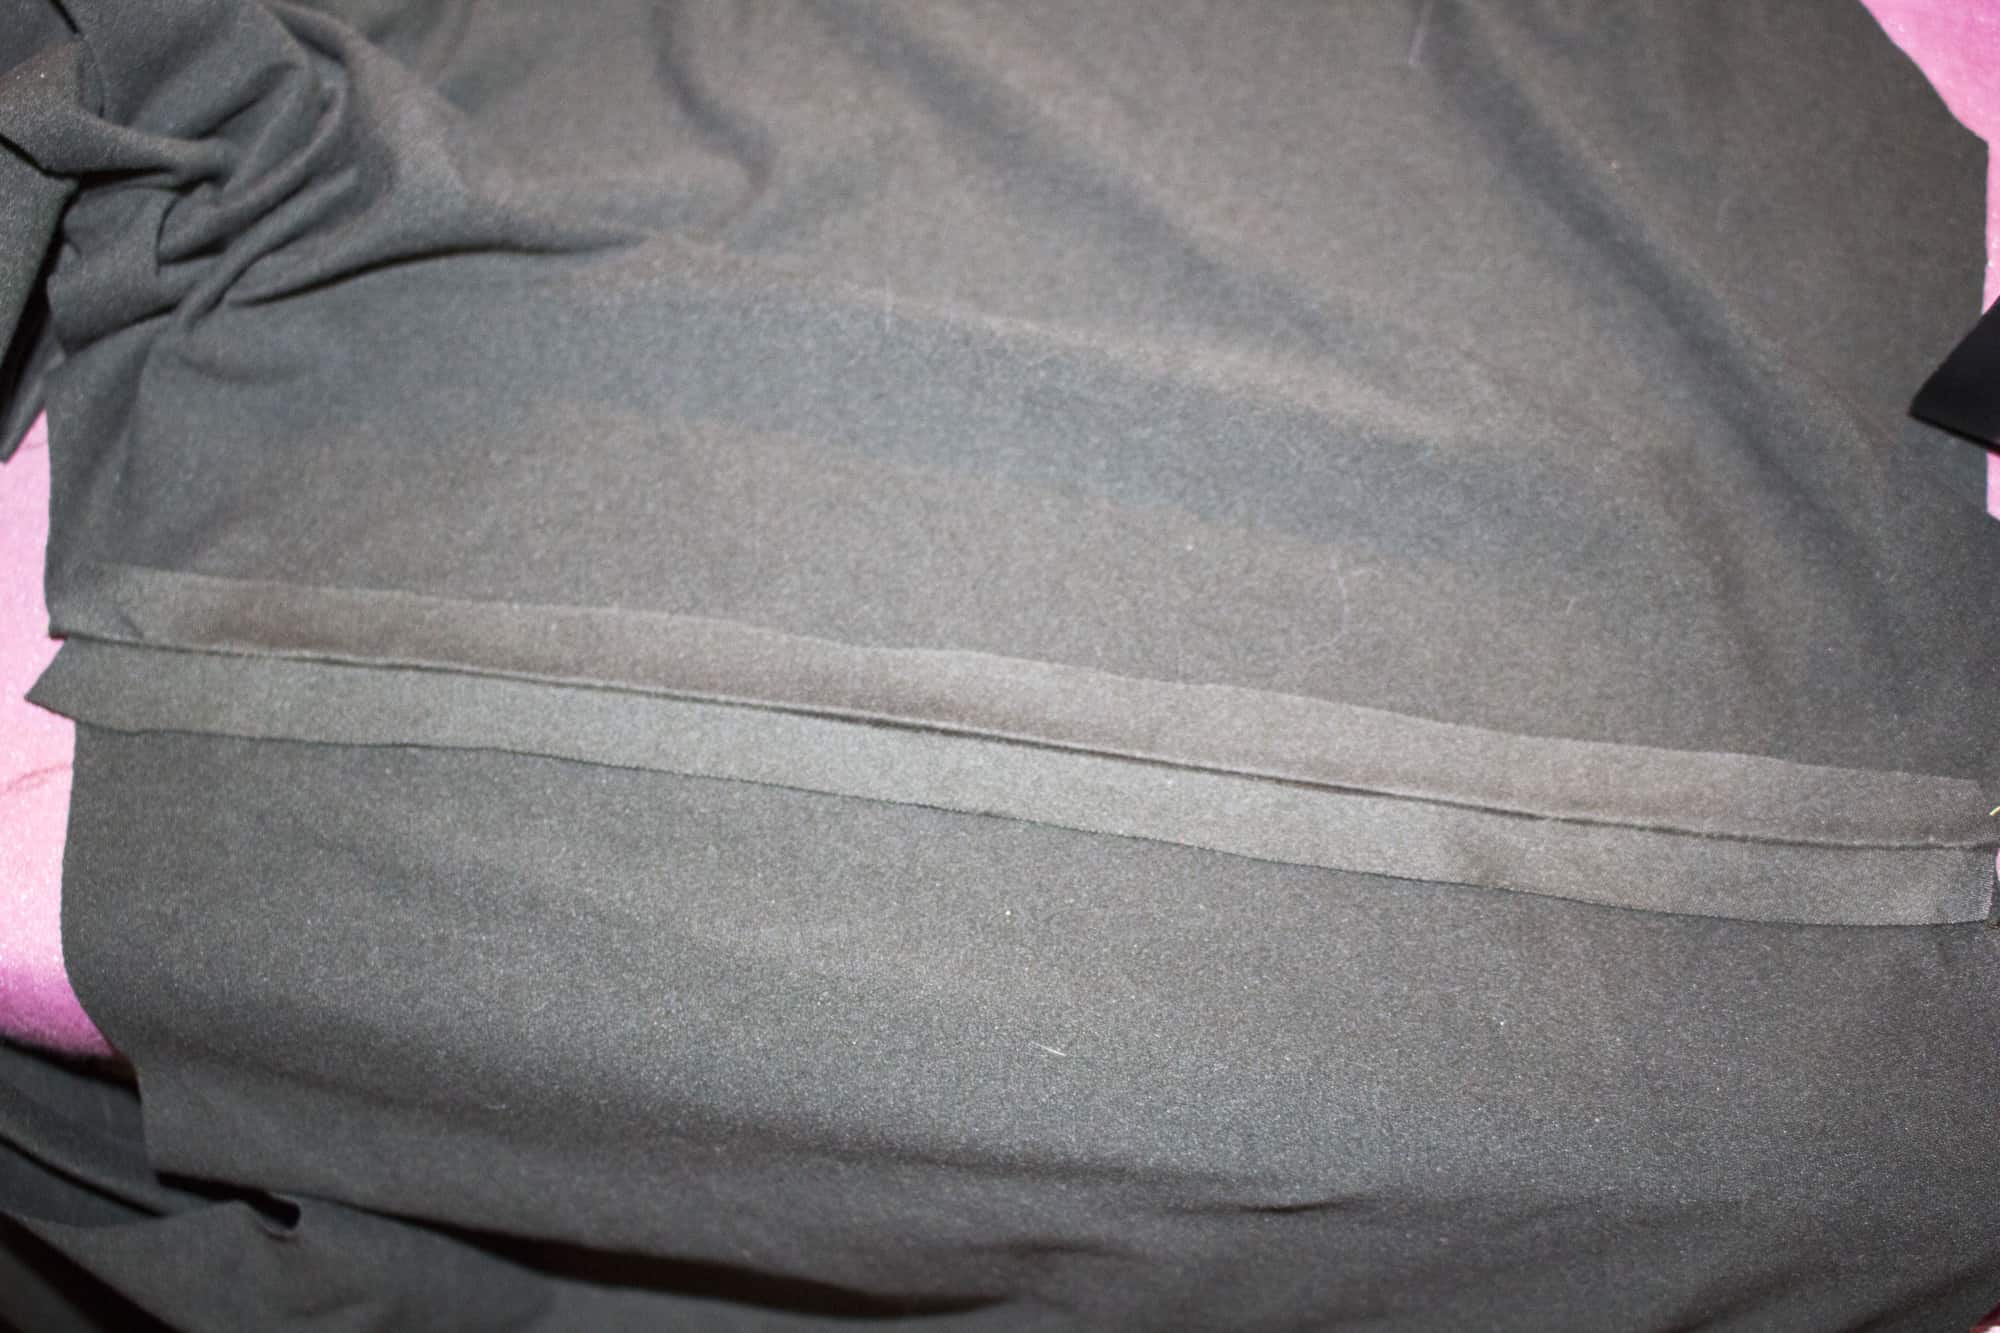
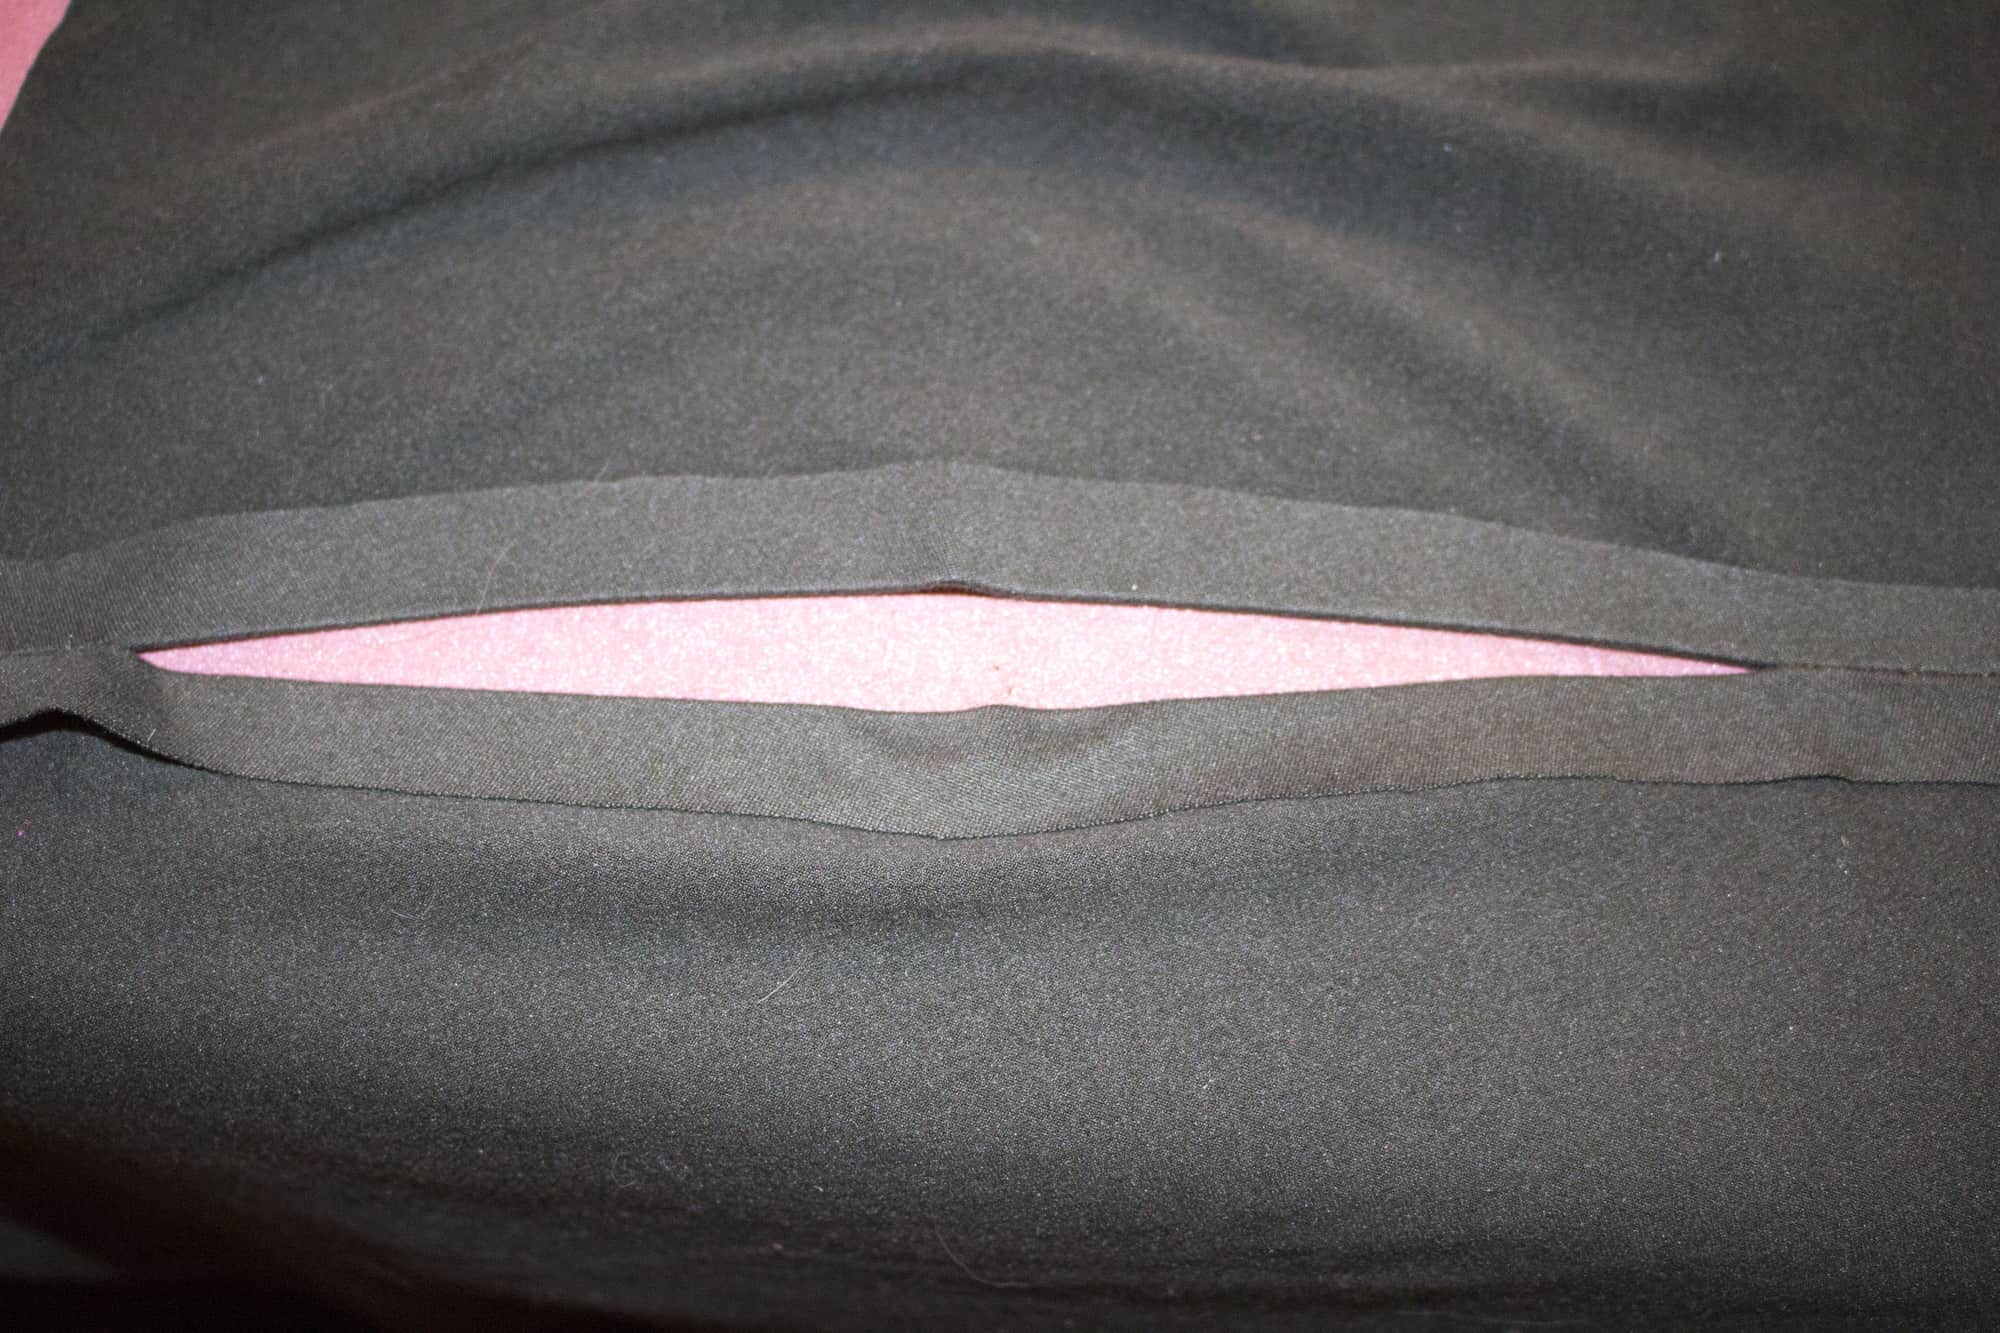
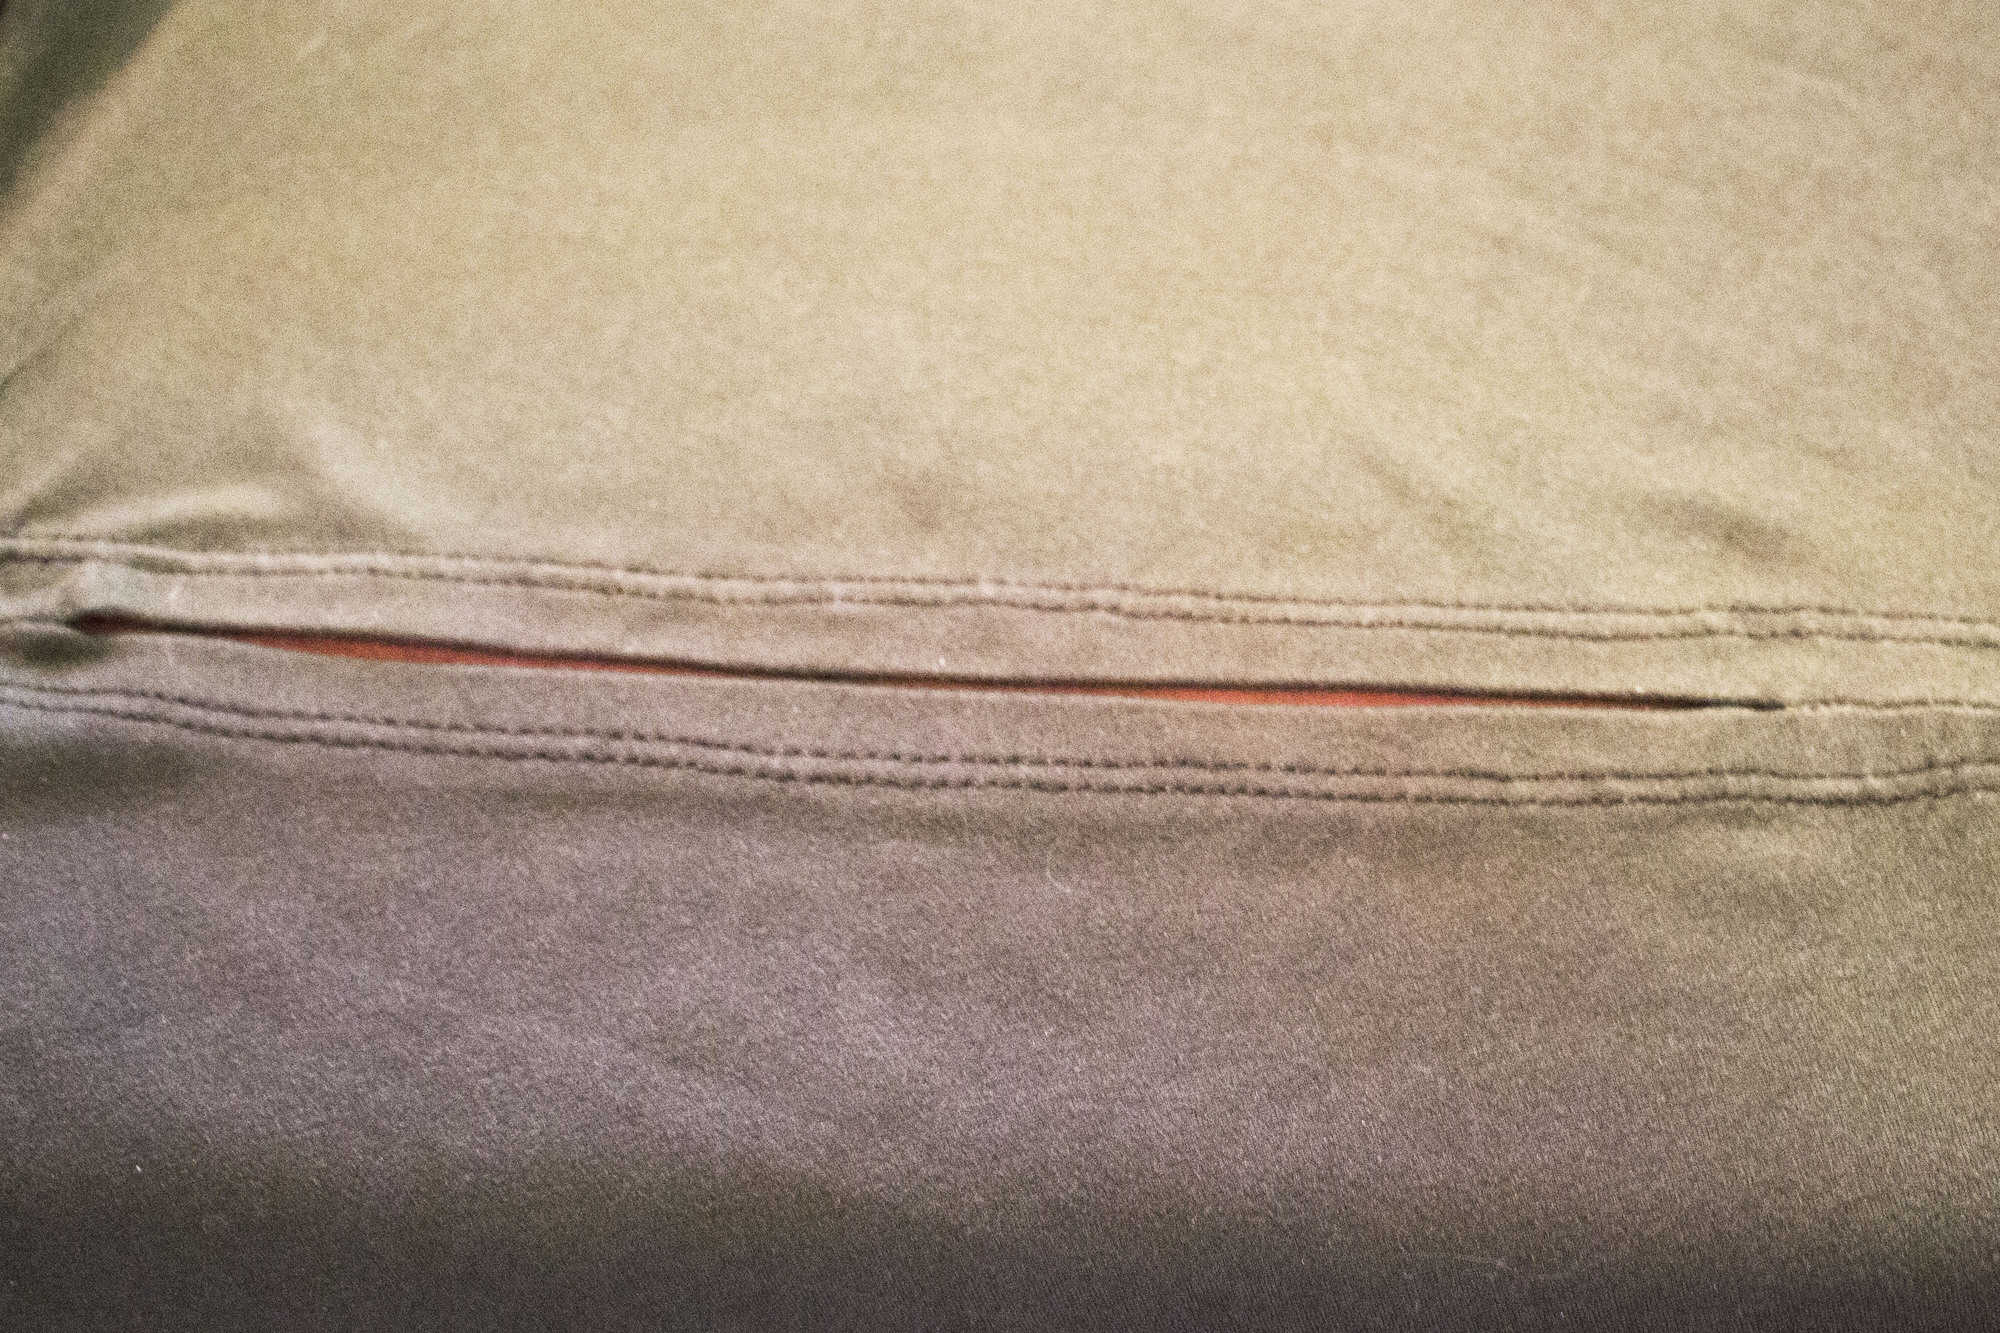
Inseam pockets:
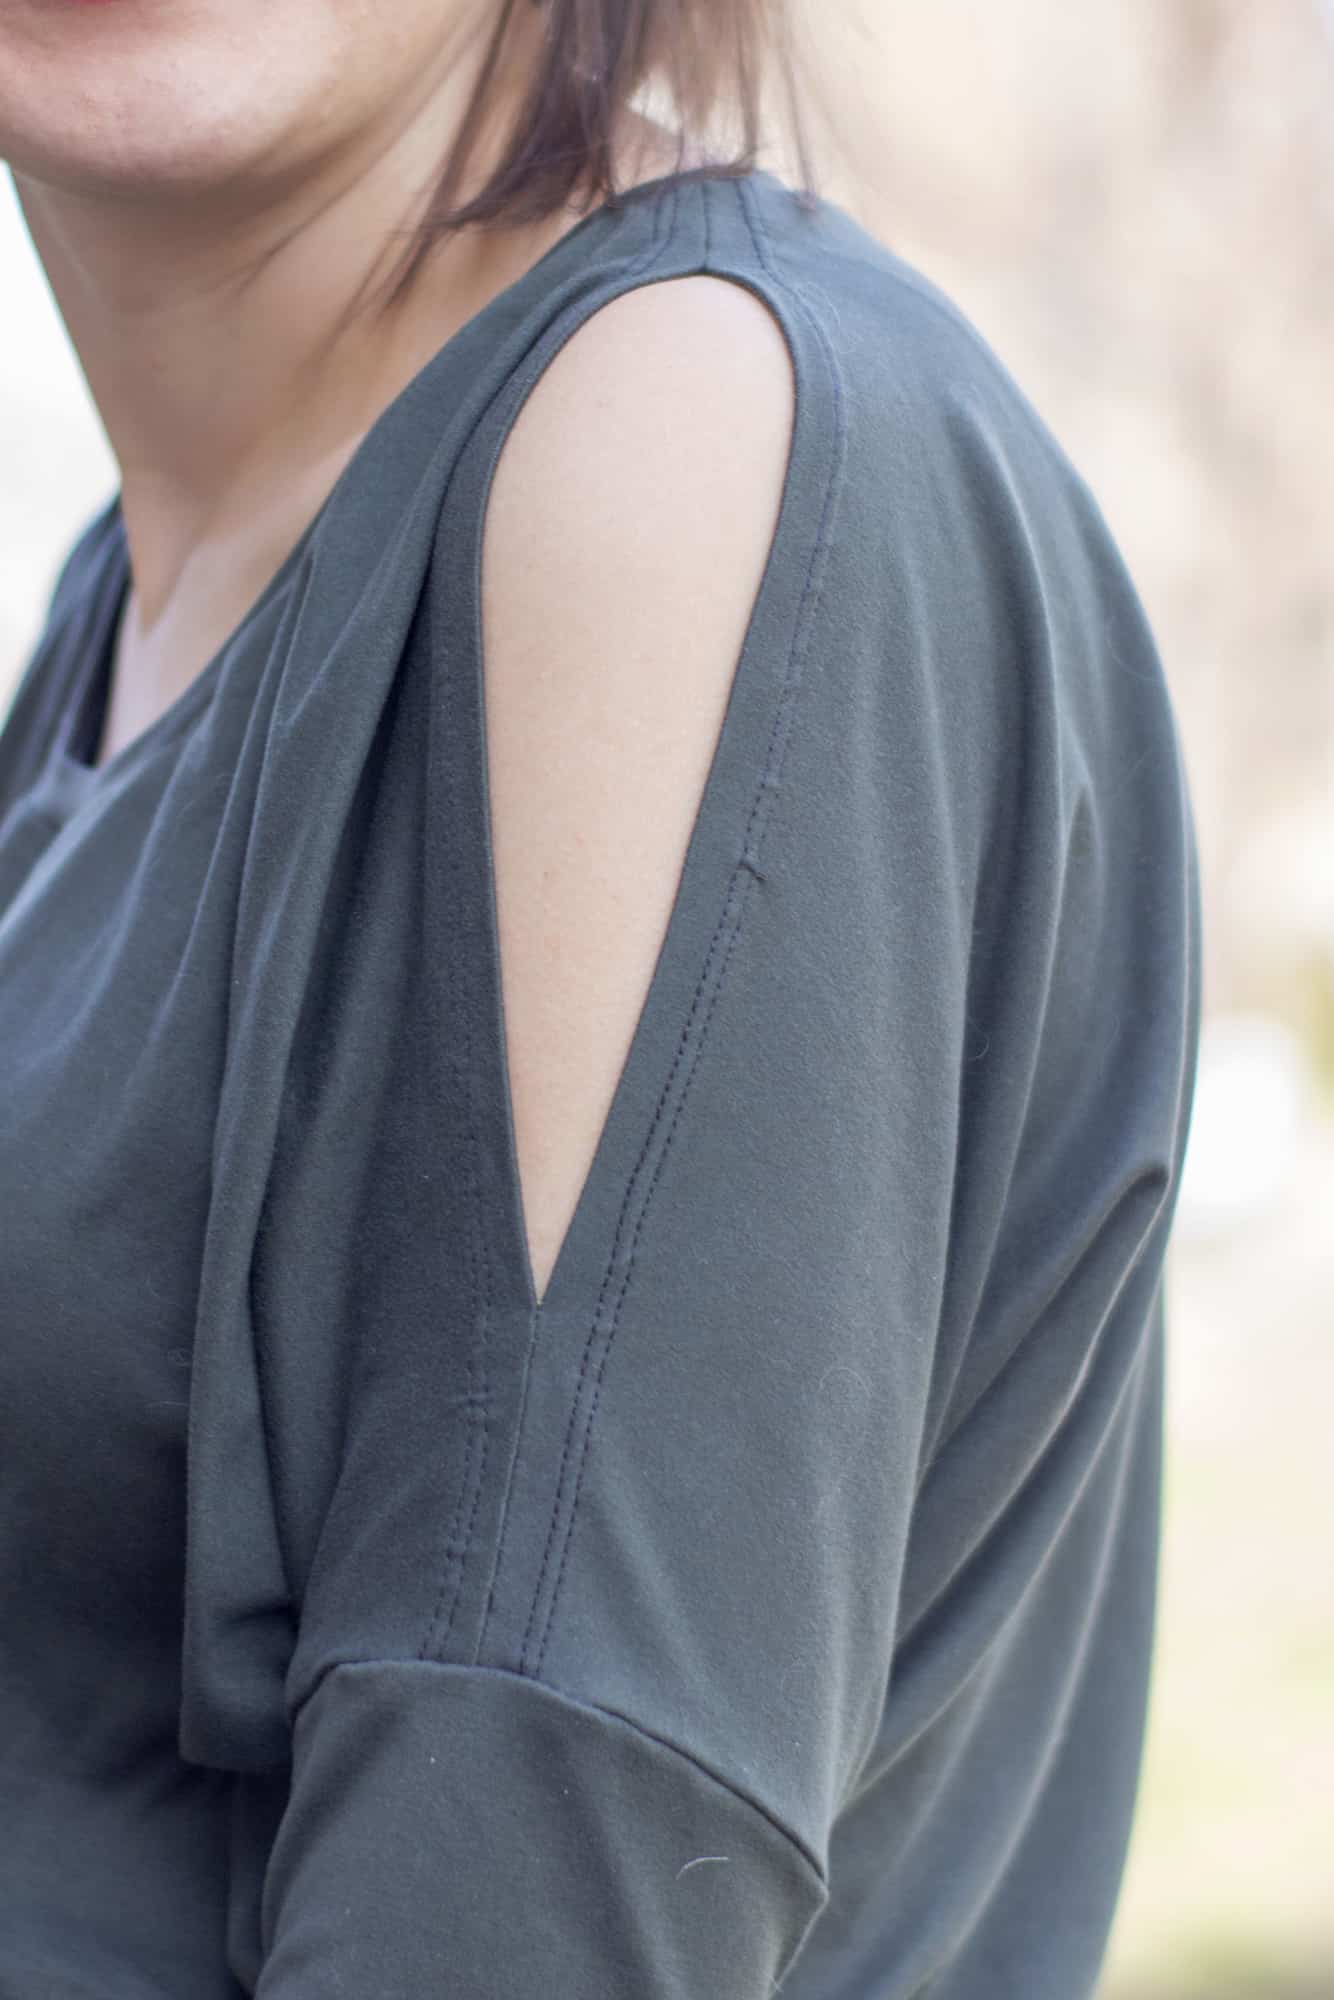
Kanga pockets:
Go To Jacket Sew Along
Day 1: Print + Cut Pattern
Day 2: Choose + Cut Fabric
Day 3: Sew Pockets
Day 4: Sew Shoulder Seams + Attach Sleeves
Day 5: Attach Neckband / Hood
Day 6: Add waistband + Finish Sleeves
Day 7: Add Zipper
Day 8: Recap + Catch Up
Day 9: Winners Announcement


