Patterns for Pirates

P4P stylish, modern, wearable patterns

  • Home
  • Blog
    • Frequently Asked Questions
    • Pattern Releases
      • Free Patterns
    • P4P University
      • Fitting
      • Sewing with Stretch, Knit Fabrics
      • Sewing with Woven Fabrics
      • Sewing Machines
    • Sew-A-Longs
    • Fabric for Pirates
    • Pattern Hacks
    • Announcement
      • Blog Tours
      • Contest/Giveaway
  • Shop
  • Bundle Discounts
  • Flash Friday
  • Gift Cards
  • My Account
  • Cart

Minute Maillot SAL – day 4 (sew shoulder seams)

July 11, 2019

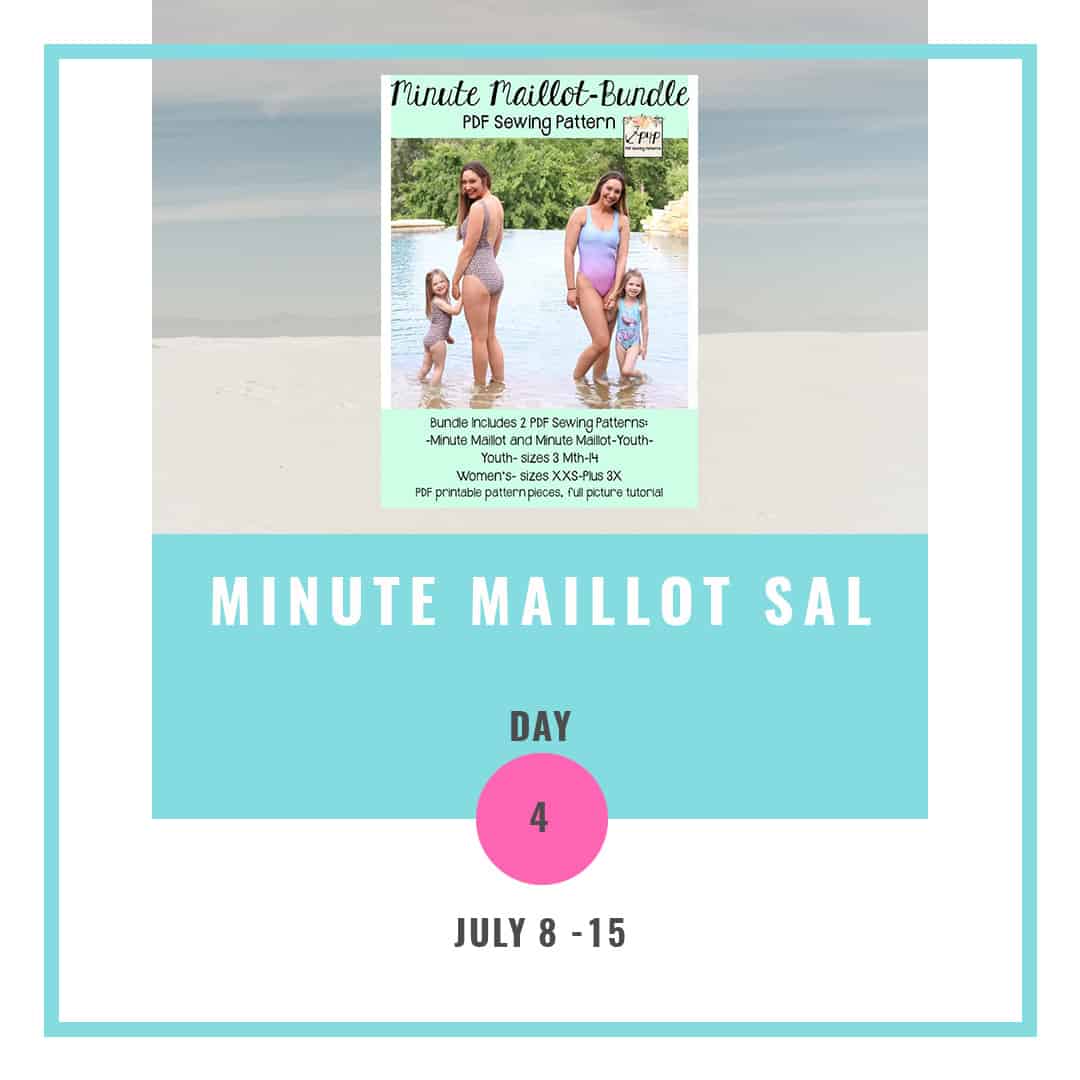
Good morning, friends! Today is a short, quick sewing day. We are only sewing the shoulder seams. You can do this step on your sewing machine using a triple stretch stitch or a lightning bolt stitch or you can use your serger.

The most important thing is to layer the pieces exactly as instructed in the tutorial. This is imperative to ensure that the seam allowance in enclosed and feels comfortable against your skin. If you are adding the bust lining AND full lining you will have 6 layers at the shoulder seam, instead of 4.

Below is today’s video. Once you finish your steps post a picture in the comments of day 4 photo of the Minute Maillot SAL album in the Sew Along group.

Minute Maillot SAL | Day 1

Minute Maillot SAL | Day 2

Minute Maillot SAL | Day 3

Minute Maillot SAL | Day 4

Minute Maillot SAL | Day 5

Minute Maillot SAL | Day 6

Minute Maillot SAL | Day 7

Filed Under: Sew-A-Long, Uncategorized Leave a Comment

Minute Maillot SAL – day 3 ( sew bust lining / prepare ruffles)

July 10, 2019

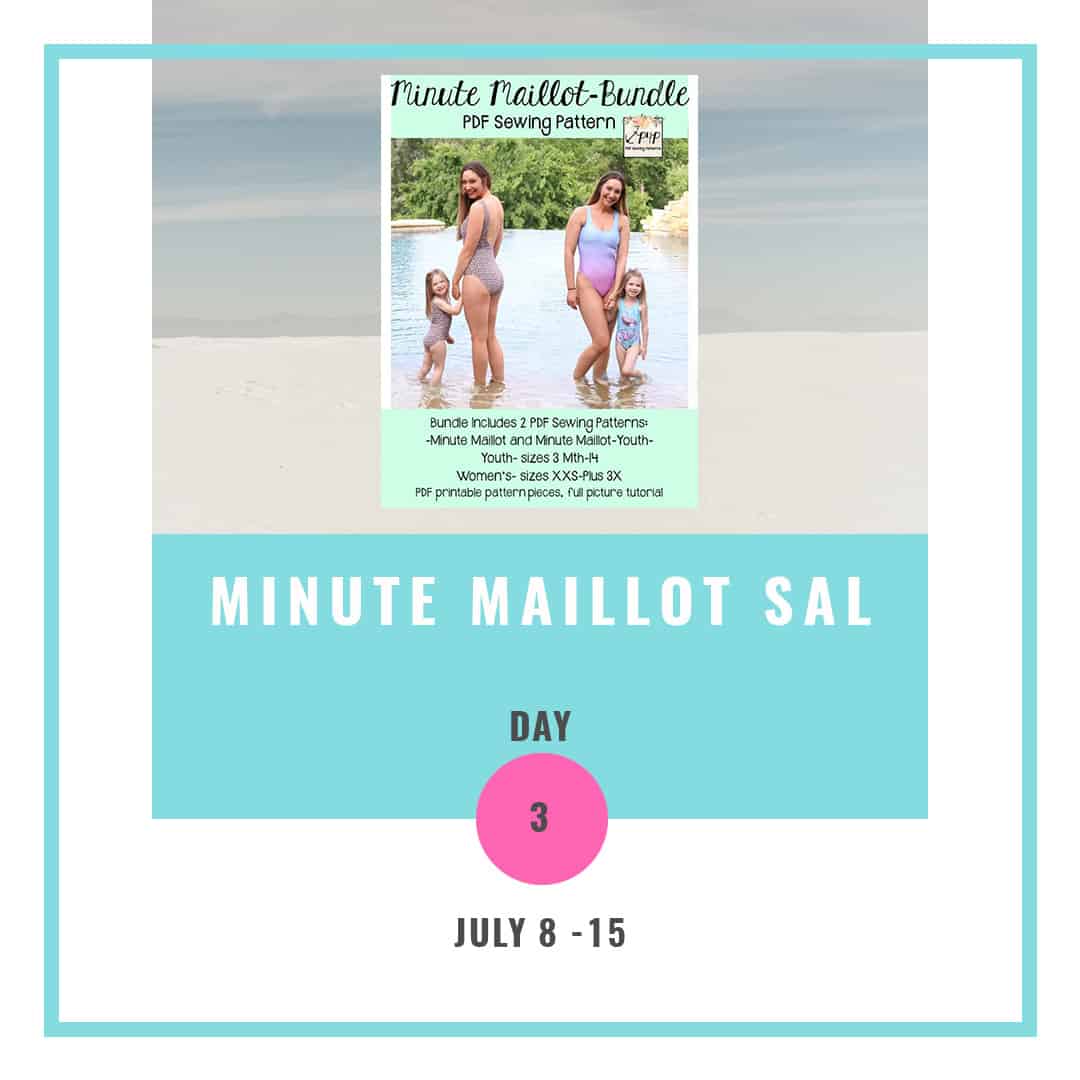
Ahoy, pirates! On day 3 of our sew along we sewing the bust lining if you are making the adult Minute Maillot and/or prepping the ruffles if you are doing the youth swim suit. You will need the bust lining if you do not want to fully line your MM or if you want to add cups to a fully lined one.

Bust lining

Note: If you are sewing the low back option you will have 3 pieces for the bust lining, one for the front and two mirrored ones for the back. For the mid and high back the bust lining is only two pieces, one front and one back.

For extra support, I have decided to add cups to my bust lining. The cups should be sewn to the wrong side of the bust lining, this way when worn, they will be sandwiched between the main print and the lining.

Ruffles

Tip: When gathering the ruffles use two rows of stitching 1/4″ away from each other. This will yield uniform gatherings and a “back up” should the one of the stitching break.

Take a look over the day three video below and post  picture of your progress in the comments of day 3  picture of the Minute Maillot SAL album.


Minute Maillot SAL | Day 1

Minute Maillot SAL | Day 2

Minute Maillot SAL | Day 3

Minute Maillot SAL | Day 4

Minute Maillot SAL | Day 5

Minute Maillot SAL | Day 6

Minute Maillot SAL | Day 7

Filed Under: Sew-A-Long, Uncategorized Leave a Comment

Minute Maillot SAL – day 2 (cut fabric and gather supplies)

July 9, 2019

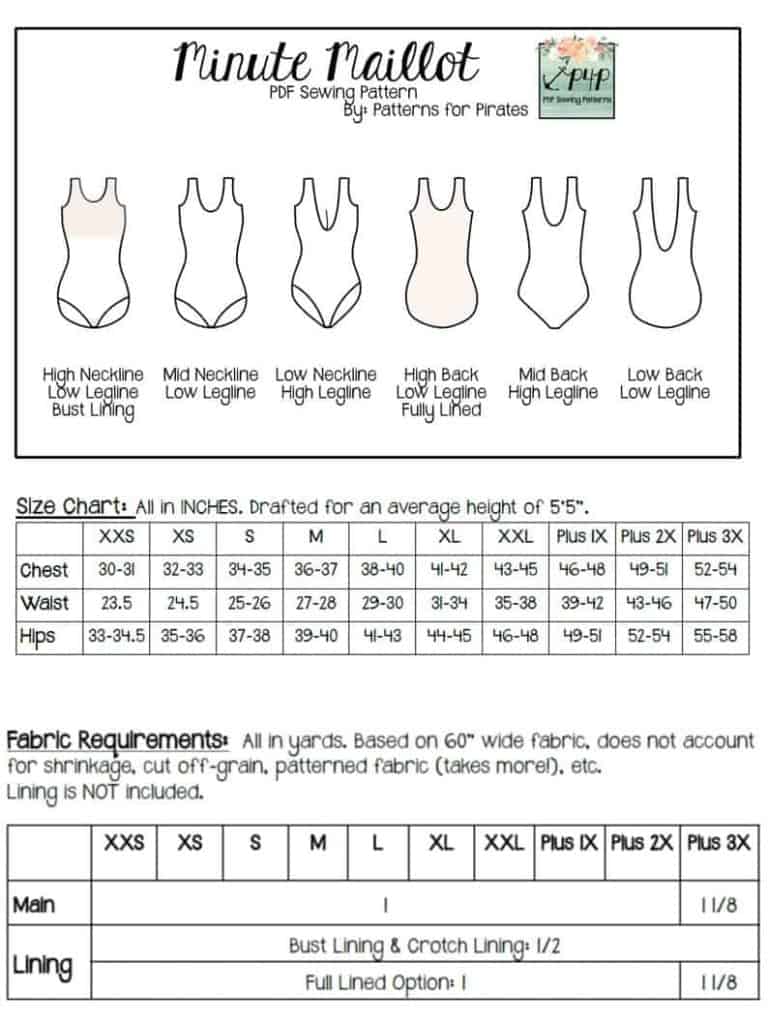
Welcome to day 2 of our Minute Maillot sew along. Today we will be choosing the fabric, cutting it and gathering all necessary notions. To make the MM you will need swim fabric, lining, swim elastic and optionally power mesh or swim cups.

Judy made this very in depth video about various swim fabric, notions and how to accurately take your measurements to create the perfect custom swim suit. I highly encourage you to watch it:

For my Minute Maillot I decided to go with a gorgeous nylon swim I got from Boho Fabrics. I will be making the low back, mid front, high leg option with a bust lining. I am using solid black swim, also from Boho, for lining and cotton swim elastic for the arms, legs and neckline.

The Day 2 video is posted below. Check it out and once you are done cutting your fabric post a picture of your prepped fabric in the comments of the Day 2 photo of the SOS SAL album in the M4M & P4P Sew Along group.
Minute Maillot SAL | Day 1

Minute Maillot SAL | Day 2

Minute Maillot SAL | Day 3

Minute Maillot SAL | Day 4

Minute Maillot SAL | Day 5

Minute Maillot SAL | Day 6

Minute Maillot SAL | Day 7

Filed Under: Sew-A-Long, Uncategorized Leave a Comment

Minute Maillot SAL – day 1 (print and cut pattern)

July 8, 2019

Welcome to the Minute Maillot

Sew Along!

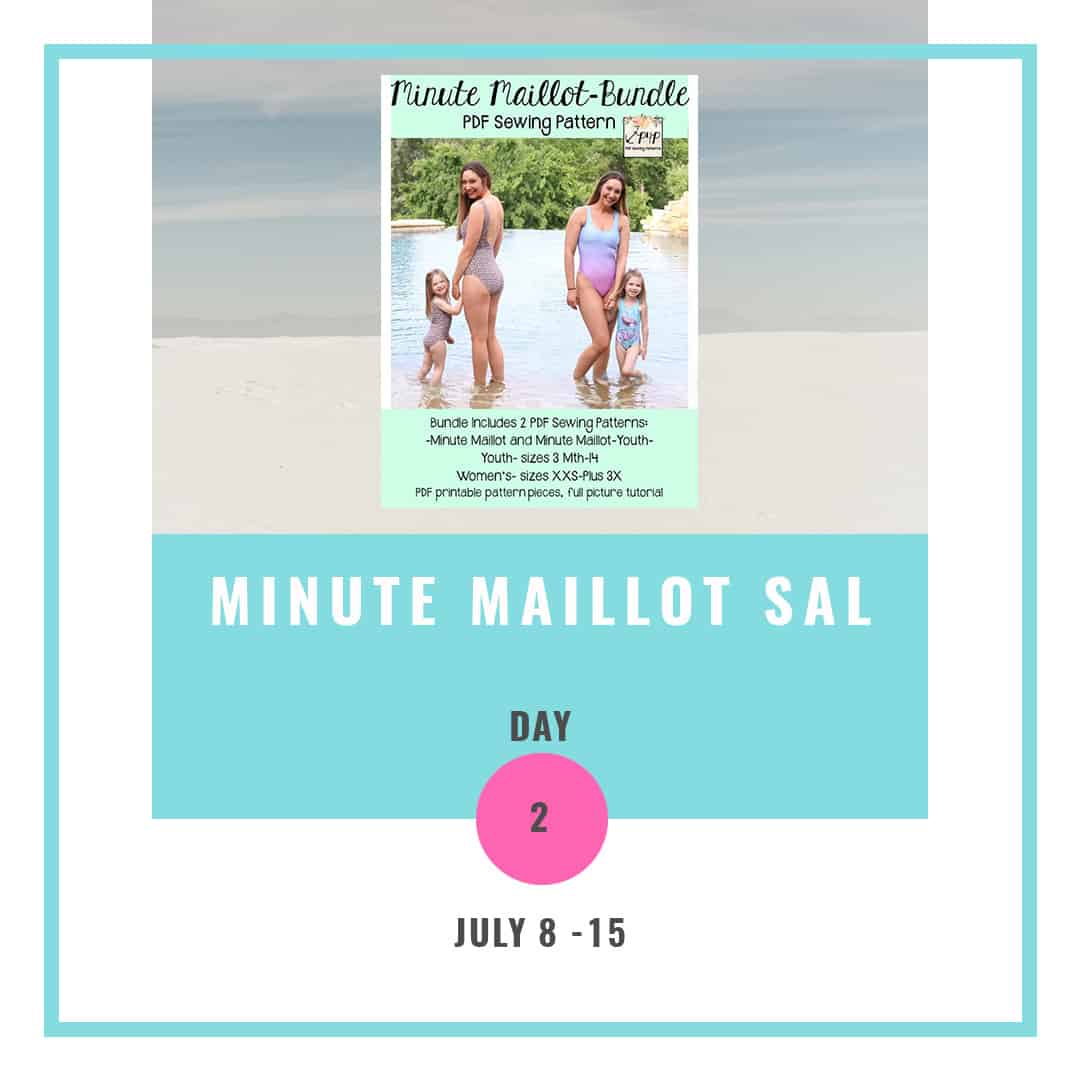
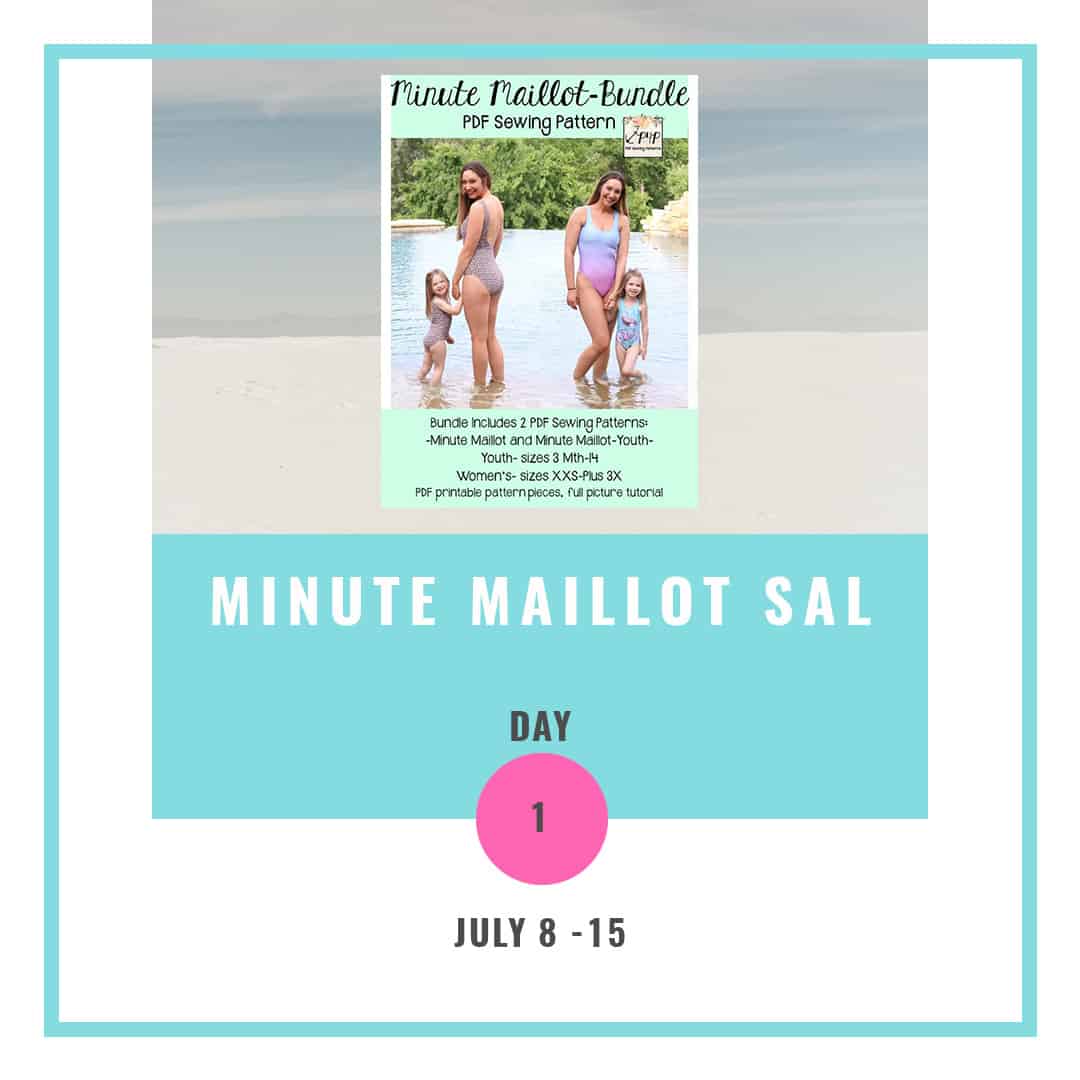
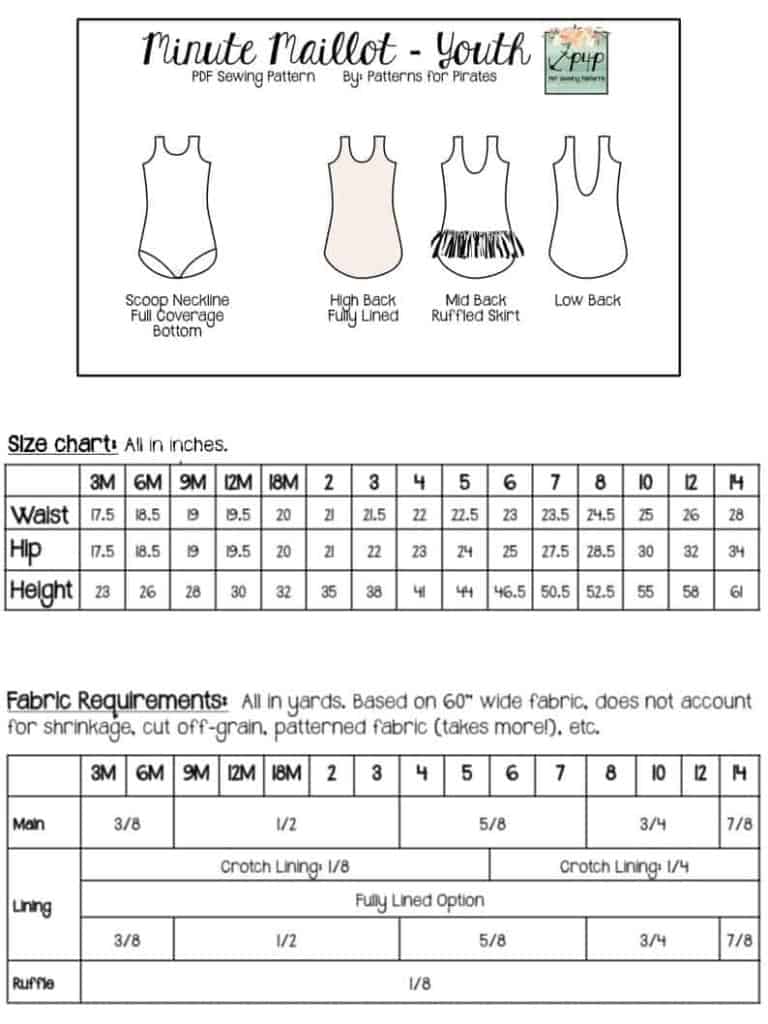
Day 1 is for purchasing the patterns, printing and cutting the size(s) you need. If you plan on sewing for yourself you can get the Minute Maillot here, if you’re sewing for your little one, the Youth MM can be purchased here and if you’re sewing for both of you (just think of the mommy and me matching outfits!) you can get the bundle.

This Sew Along will take place in our M4M & P4P Sew Along group so be sure to join the group not only for the exclusive discount code available for the patterns but also to post your progress this week. As always all daily posts will be here on the blog but you’ll be checking in with your completed steps in the group.

This sew along is sponsored by Boho Fabrics. Emily has graciously offered our pirates and mermaids a discount. Code MAILLOT20 (valid until July 14th) will save you 20% off swim fabrics, notions and mesh in case they needed other supplies for the perfect suit 😊 (Happy hour bundles are excluded from the sale code since they are already discounted )


Now that you have your pattern printed, time to cut the correct size(s). Patterns for Pirates drafts for 5’5″ height for the Women pattern so do not forget to adjust for height too. For swimwear, especially one piece swim suites like the Minute Maillot it’s important to measure your trunk as well. Measure inside shoulder, across your bust, down through your legs, over the booty and back up and over the shoulder.

P4P has an amazing blog that gives you tip for accurately taking your measurements. You can read all about it here. If your measurements put you in a different size for bust/waist/hips be sure to check out our P4P University blog and grade to achieve the perfect fit.

The Basics of Sewing Swim blog post has a lot of useful information, especially if you’re making swimwear for the first time.

Check out the day 1 video below and then comment “done” on the Day 1 picture of the SOS knit pants SAL album in the sew along group. We don’t allow pictures of the pattern pieces so this will count as your day 1 check in. Let’s get started!


Minute Maillot SAL | Day 1

Minute Maillot SAL | Day 2

Minute Maillot SAL | Day 3

Minute Maillot SAL | Day 4

Minute Maillot SAL | Day 5

Minute Maillot SAL | Day 6

Minute Maillot SAL | Day 7

Filed Under: Sew-A-Long, Uncategorized 6 Comments

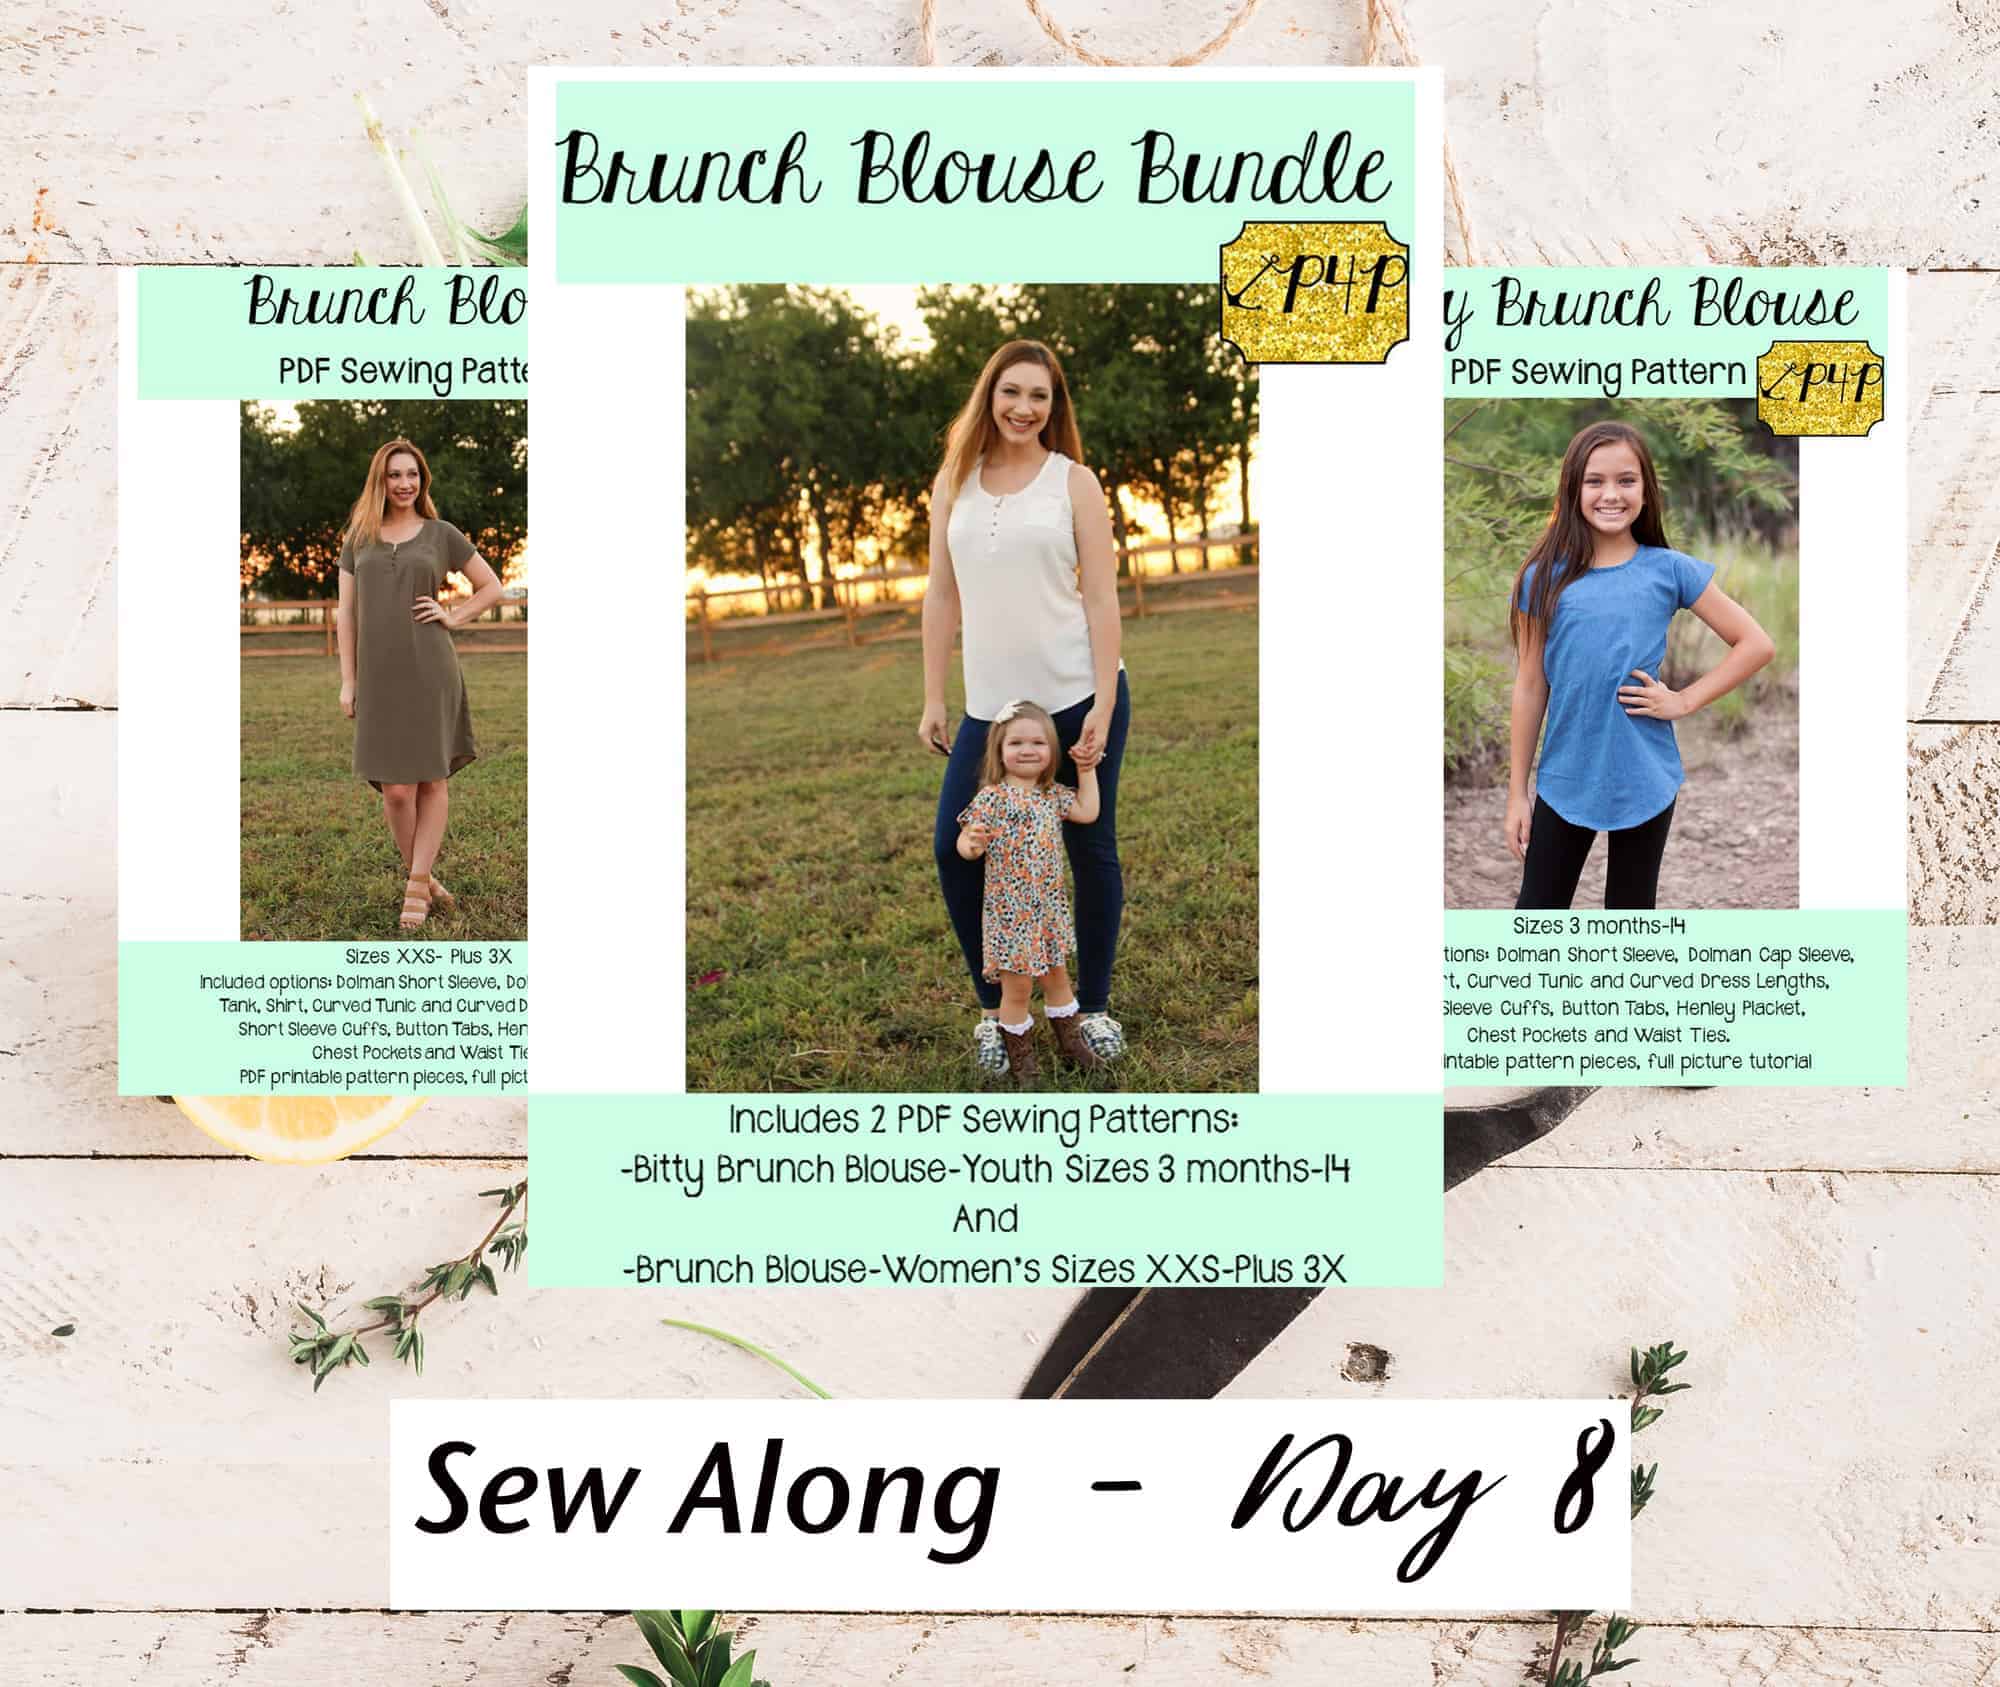
Brunch Blouse|Bitty Brunch Blouse SAL day 8 (winners announcement)

March 20, 2019

Let me start this much anticipated blog post with a “wow” ! You have outdone yourself this past week, braving technical difficulties and Facebook glitches. We have seen so many gorgeous Brunch Blouse and Bitty Brunch Blouses being sewn and as always we had a hard task at hand…so… Without further ado: our big sew along winner is

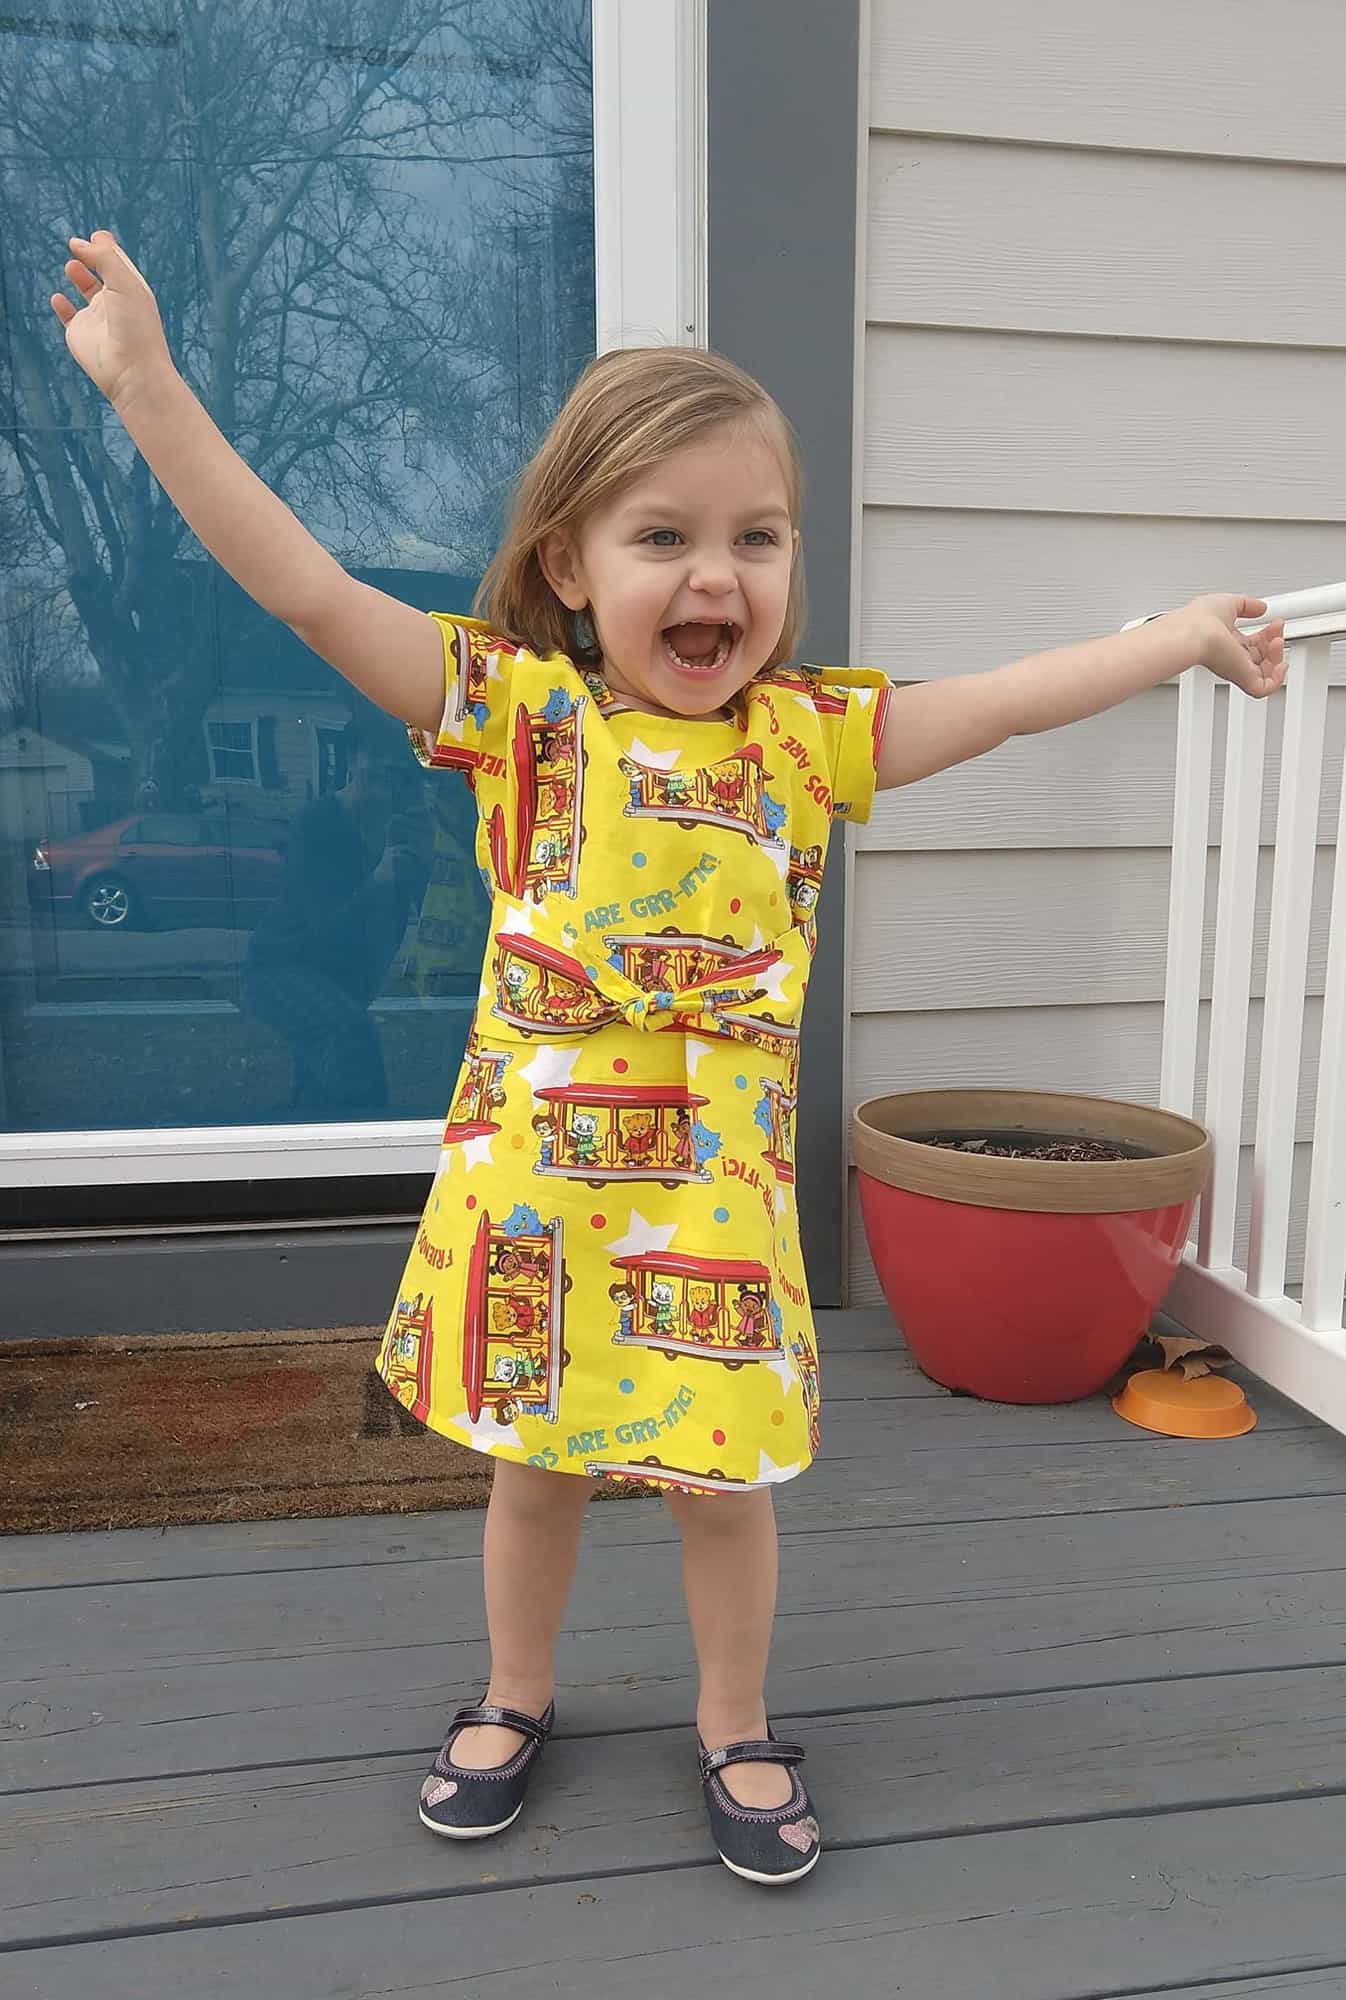
STACIA ZINK! Her bright yellow bitty blouse caught the team’s eye, so adorable!

We loved that Stacia treated herself to a Brunch Blouse too. Great job! You have won a $20 gift card to Patterns for Pirates and a $50 gift card to Backstitch SoFlo.

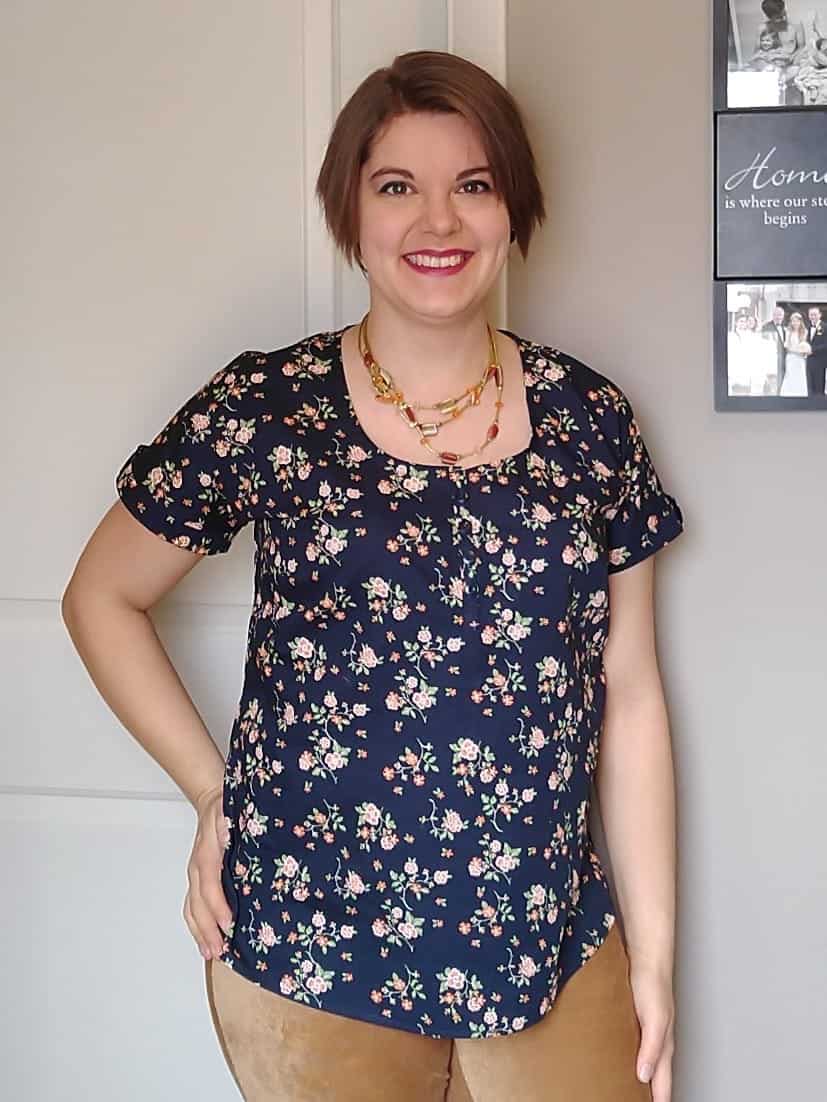
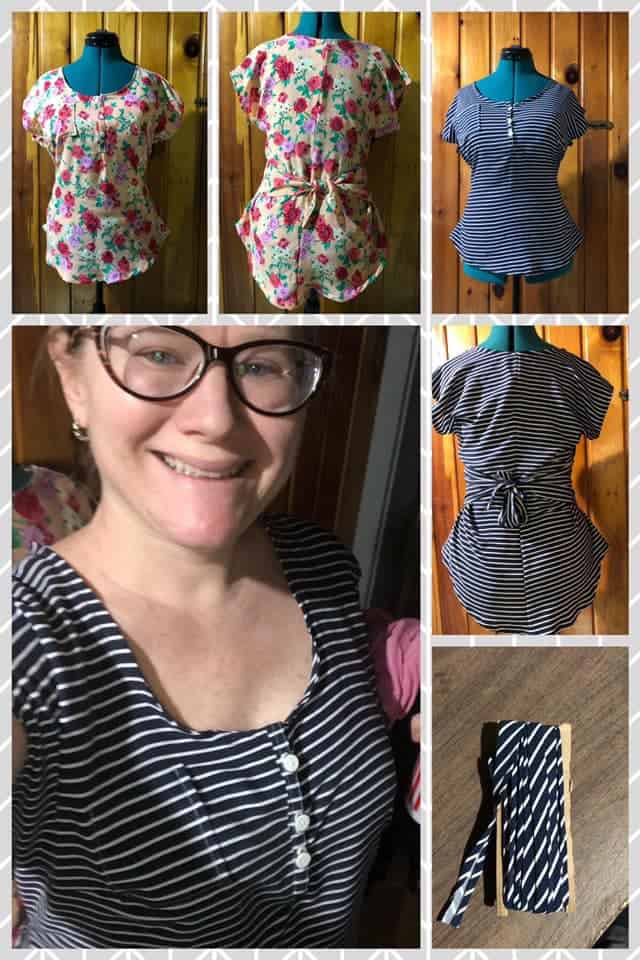
As always, we have a runner up prize too! Congratulations, Melanie Carr!

Melanie’s BB tops are so beautiful and I’m sure they will become a staple in her closet. Melanie won a $20 gift card to Made for Mermaids and a $25 gift card to Backstitch SoFlo. Happy stitching!

A huge THANK YOU to Backstitch SoFlo for sponsoring this sew along.


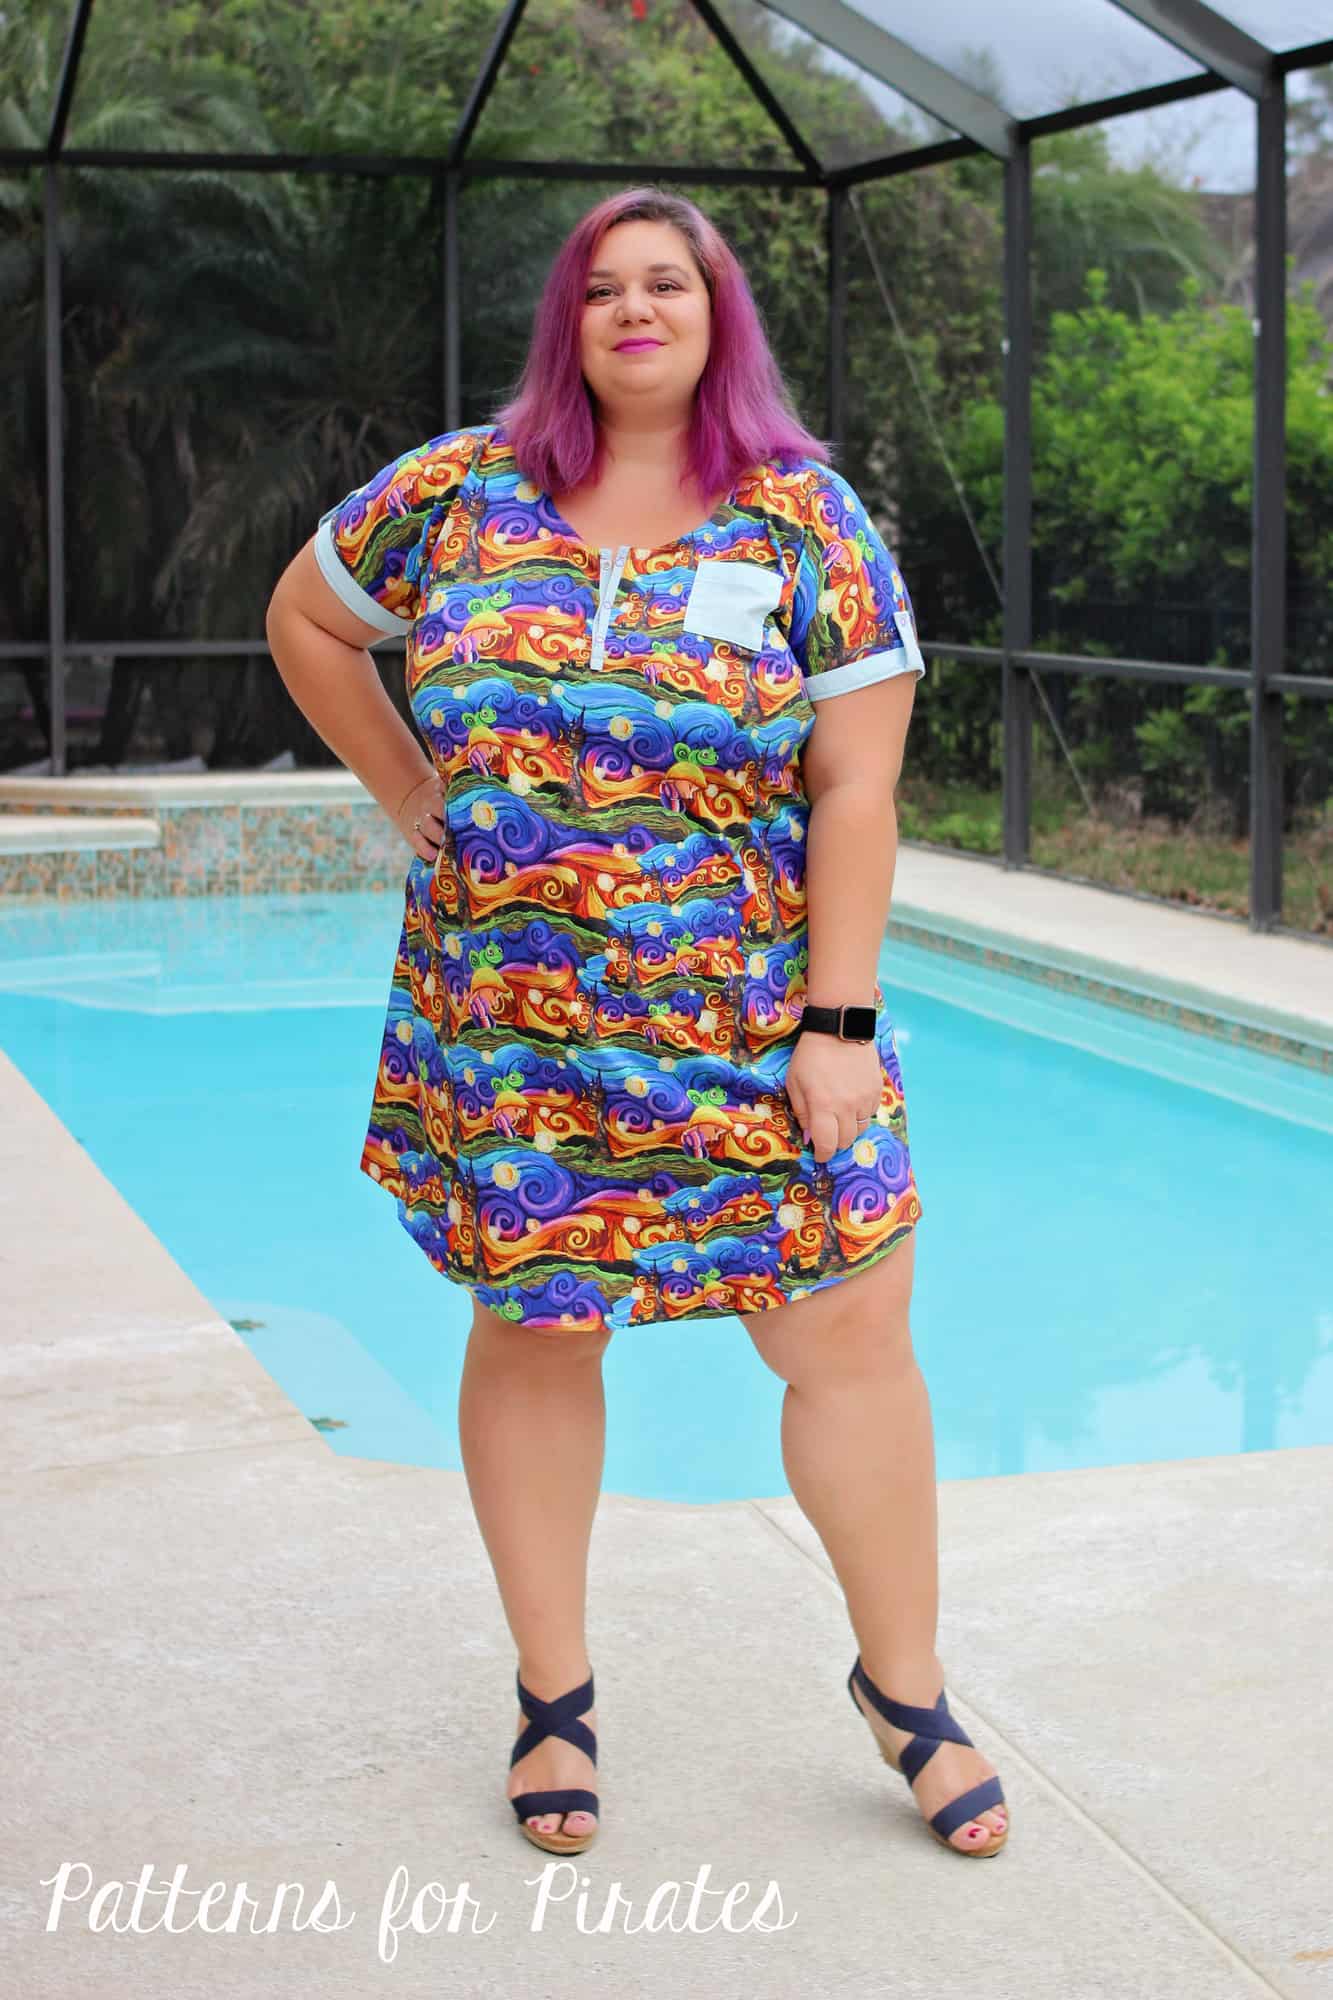
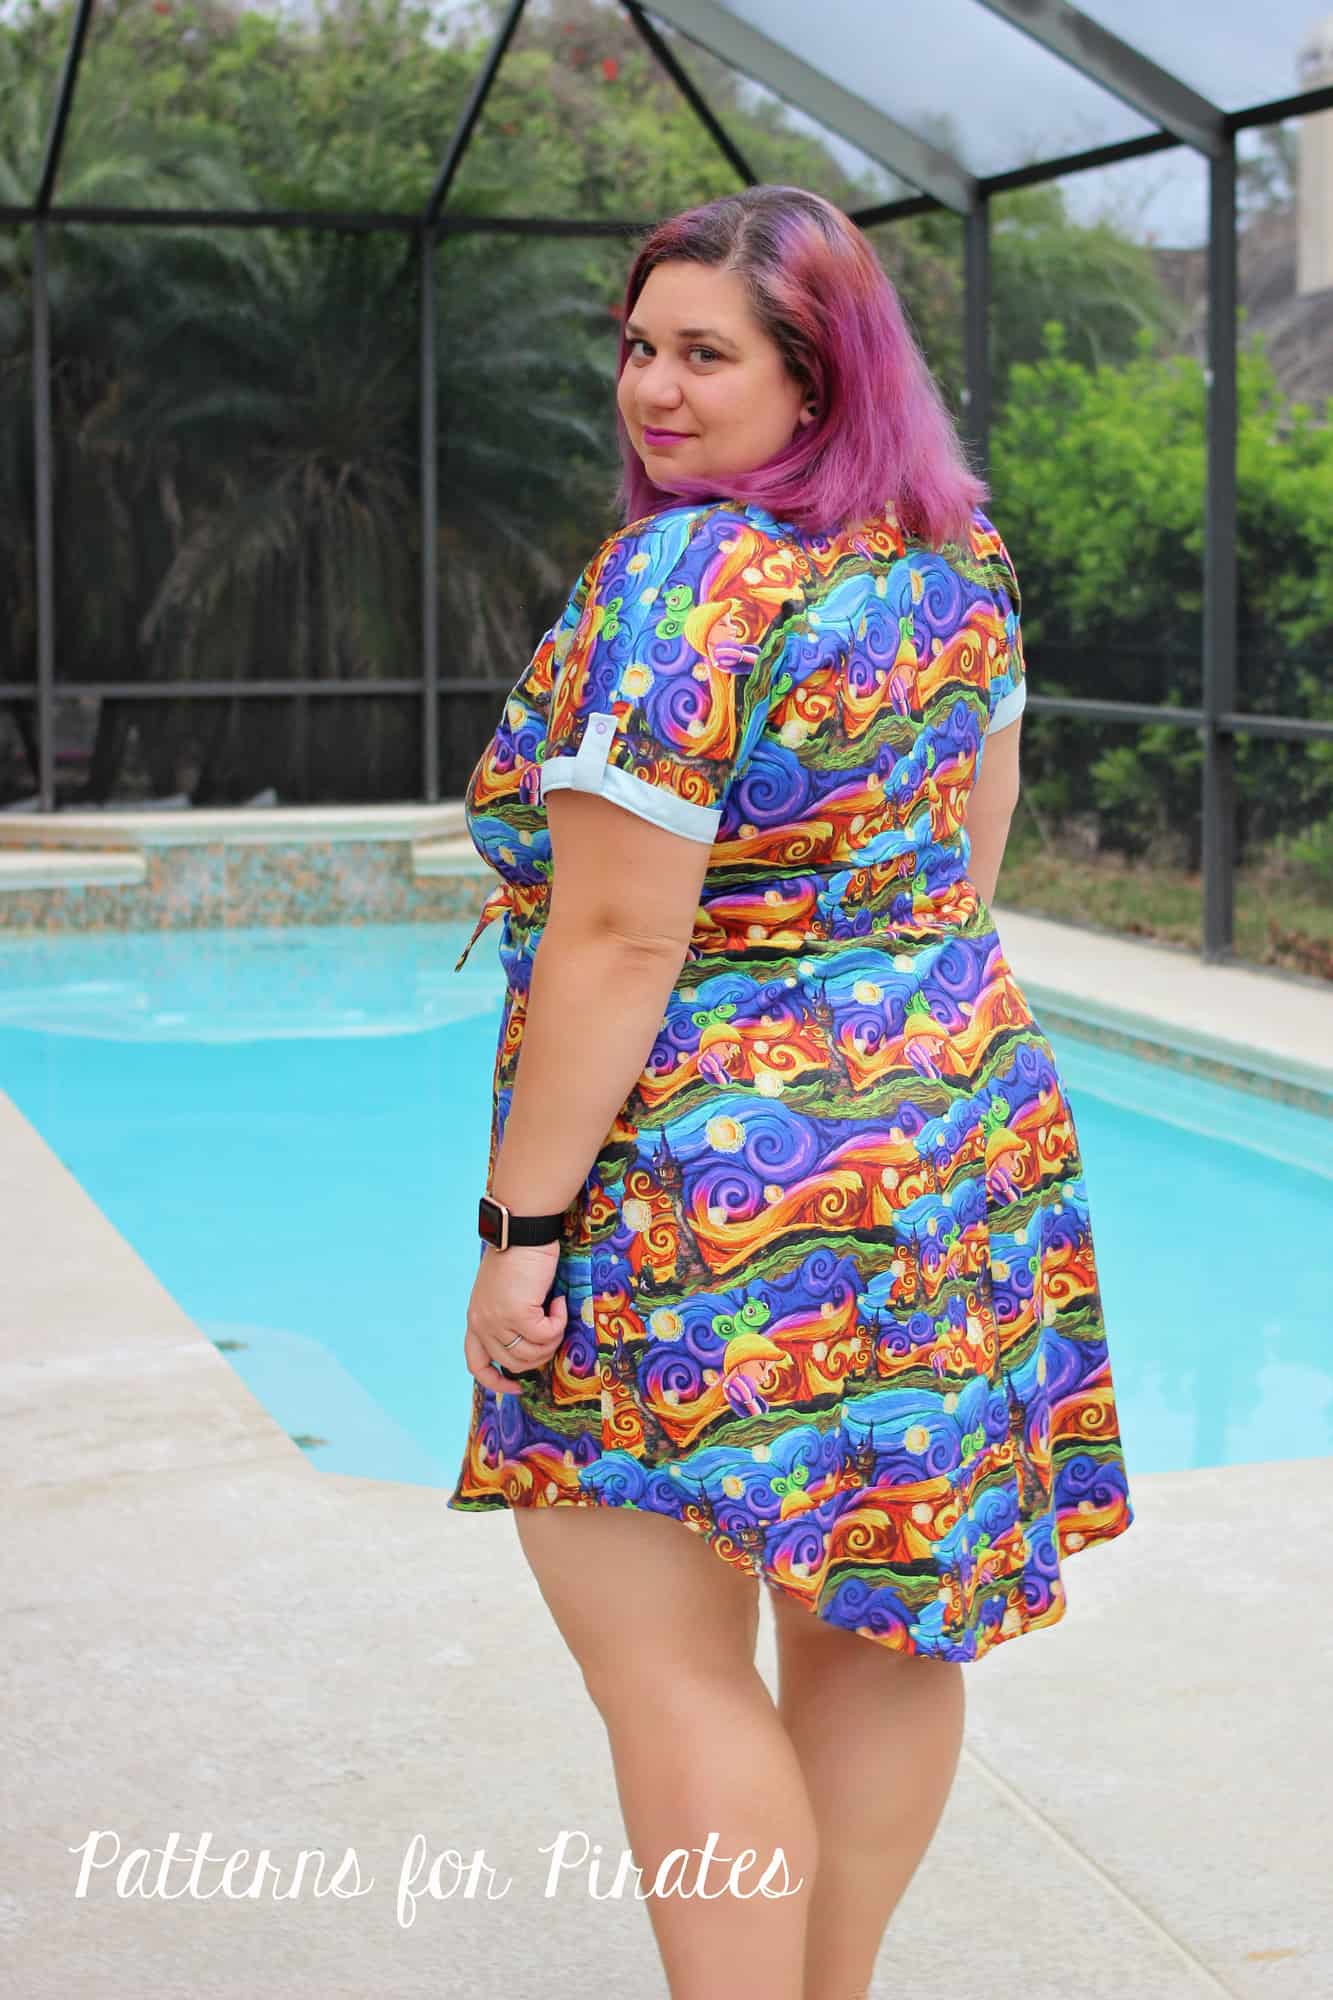
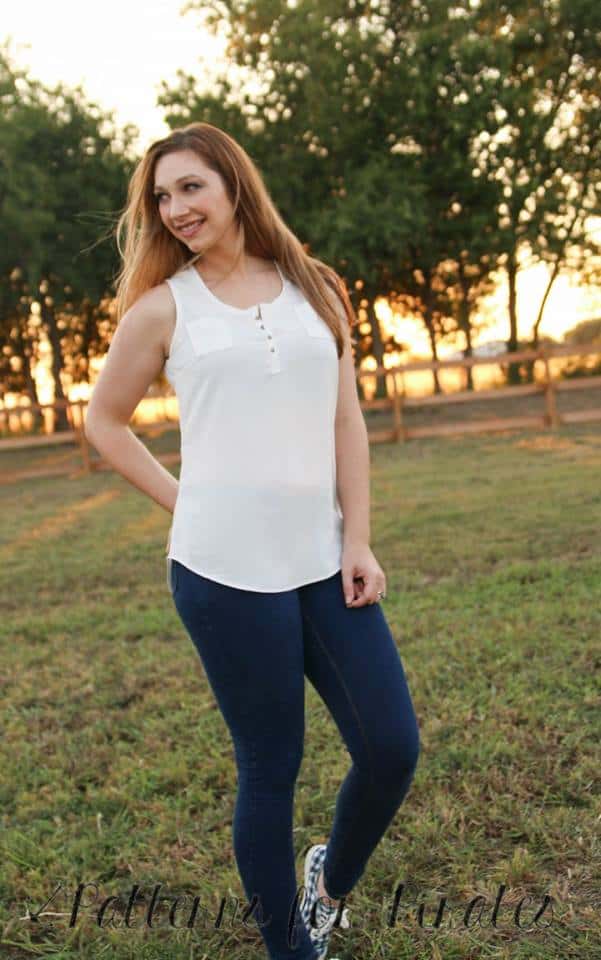
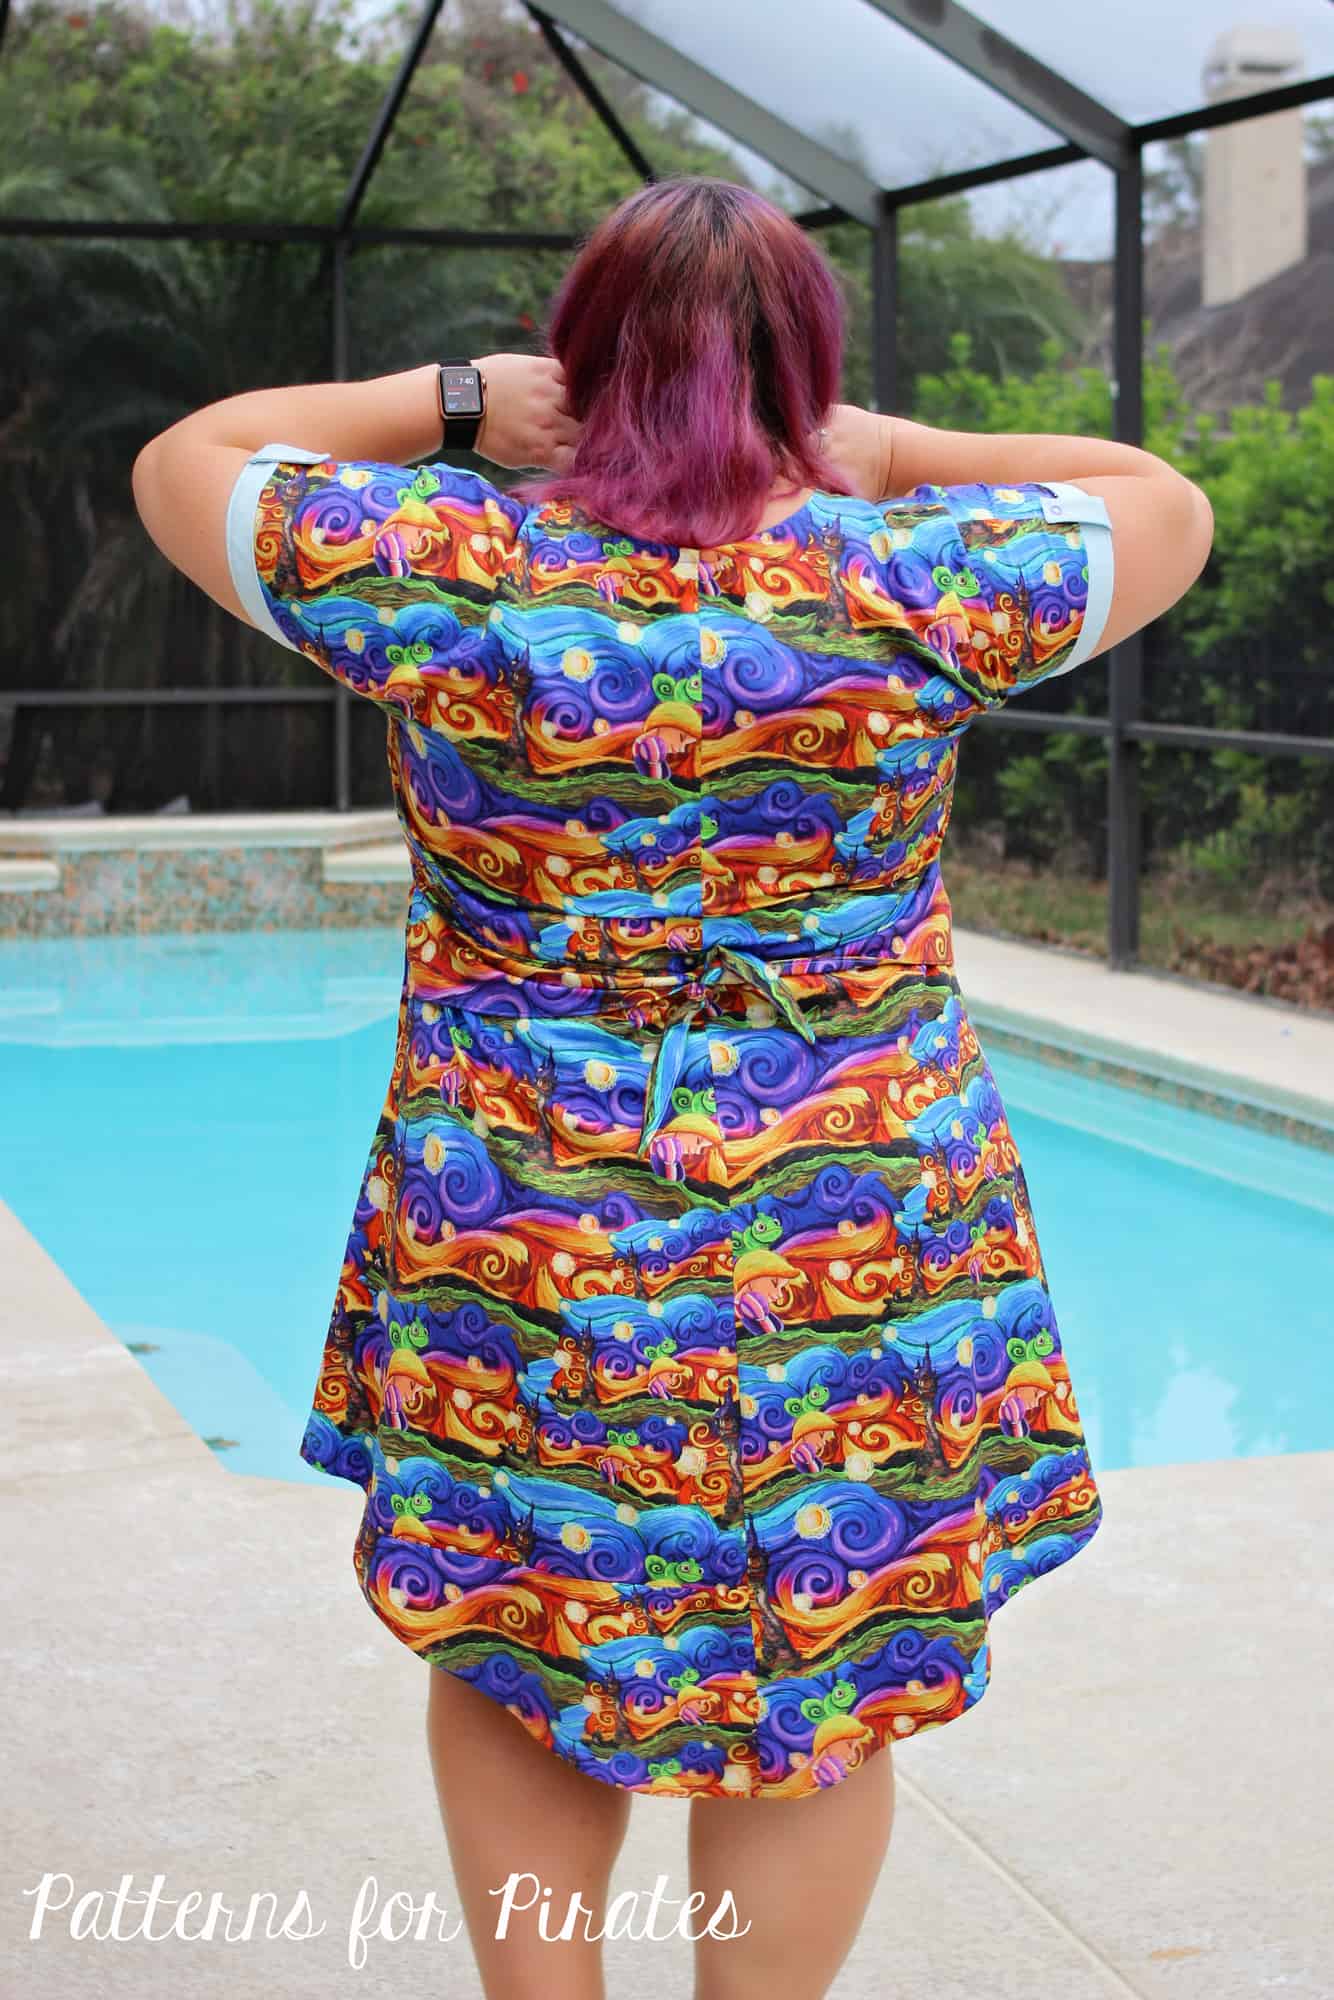
Before I let you go, I wanted to show off my Mane Attraction Brunch Blouse dress that I absolutely love.

Stay tuned for the mermaids’  sew along announcement. You do not want to miss it!

Brunch Blouse|Bitty Brunch Blouse SAL day 1 (print pattern)

Brunch Blouse|Bitty Brunch Blouse SAL day 2 (cut fabric)

Brunch Blouse|Bitty Brunch Blouse SAL day 3 (darts and placket)

Brunch Blouse|Bitty Brunch Blouse SAL day 4 (pocket/waist ties/back seam)

Brunch Blouse|Bitty Brunch Blouse SAL day 5 (shoulder/side seams)

Brunch Blouse|Bitty Brunch Blouse SAL day 6 (neckband)

Brunch Blouse|Bitty Brunch Blouse SAL day 7 (finish sleeves/hem)

Brunch Blouse|Bitty Brunch Blouse SAL day 8 (winners announcement)

Filed Under: Frequently Asked Questions, Sew-A-Long, Uncategorized 2 Comments

Brunch Blouse|Bitty Brunch Blouse SAL day 7 (finish sleeves/hem)

March 18, 2019

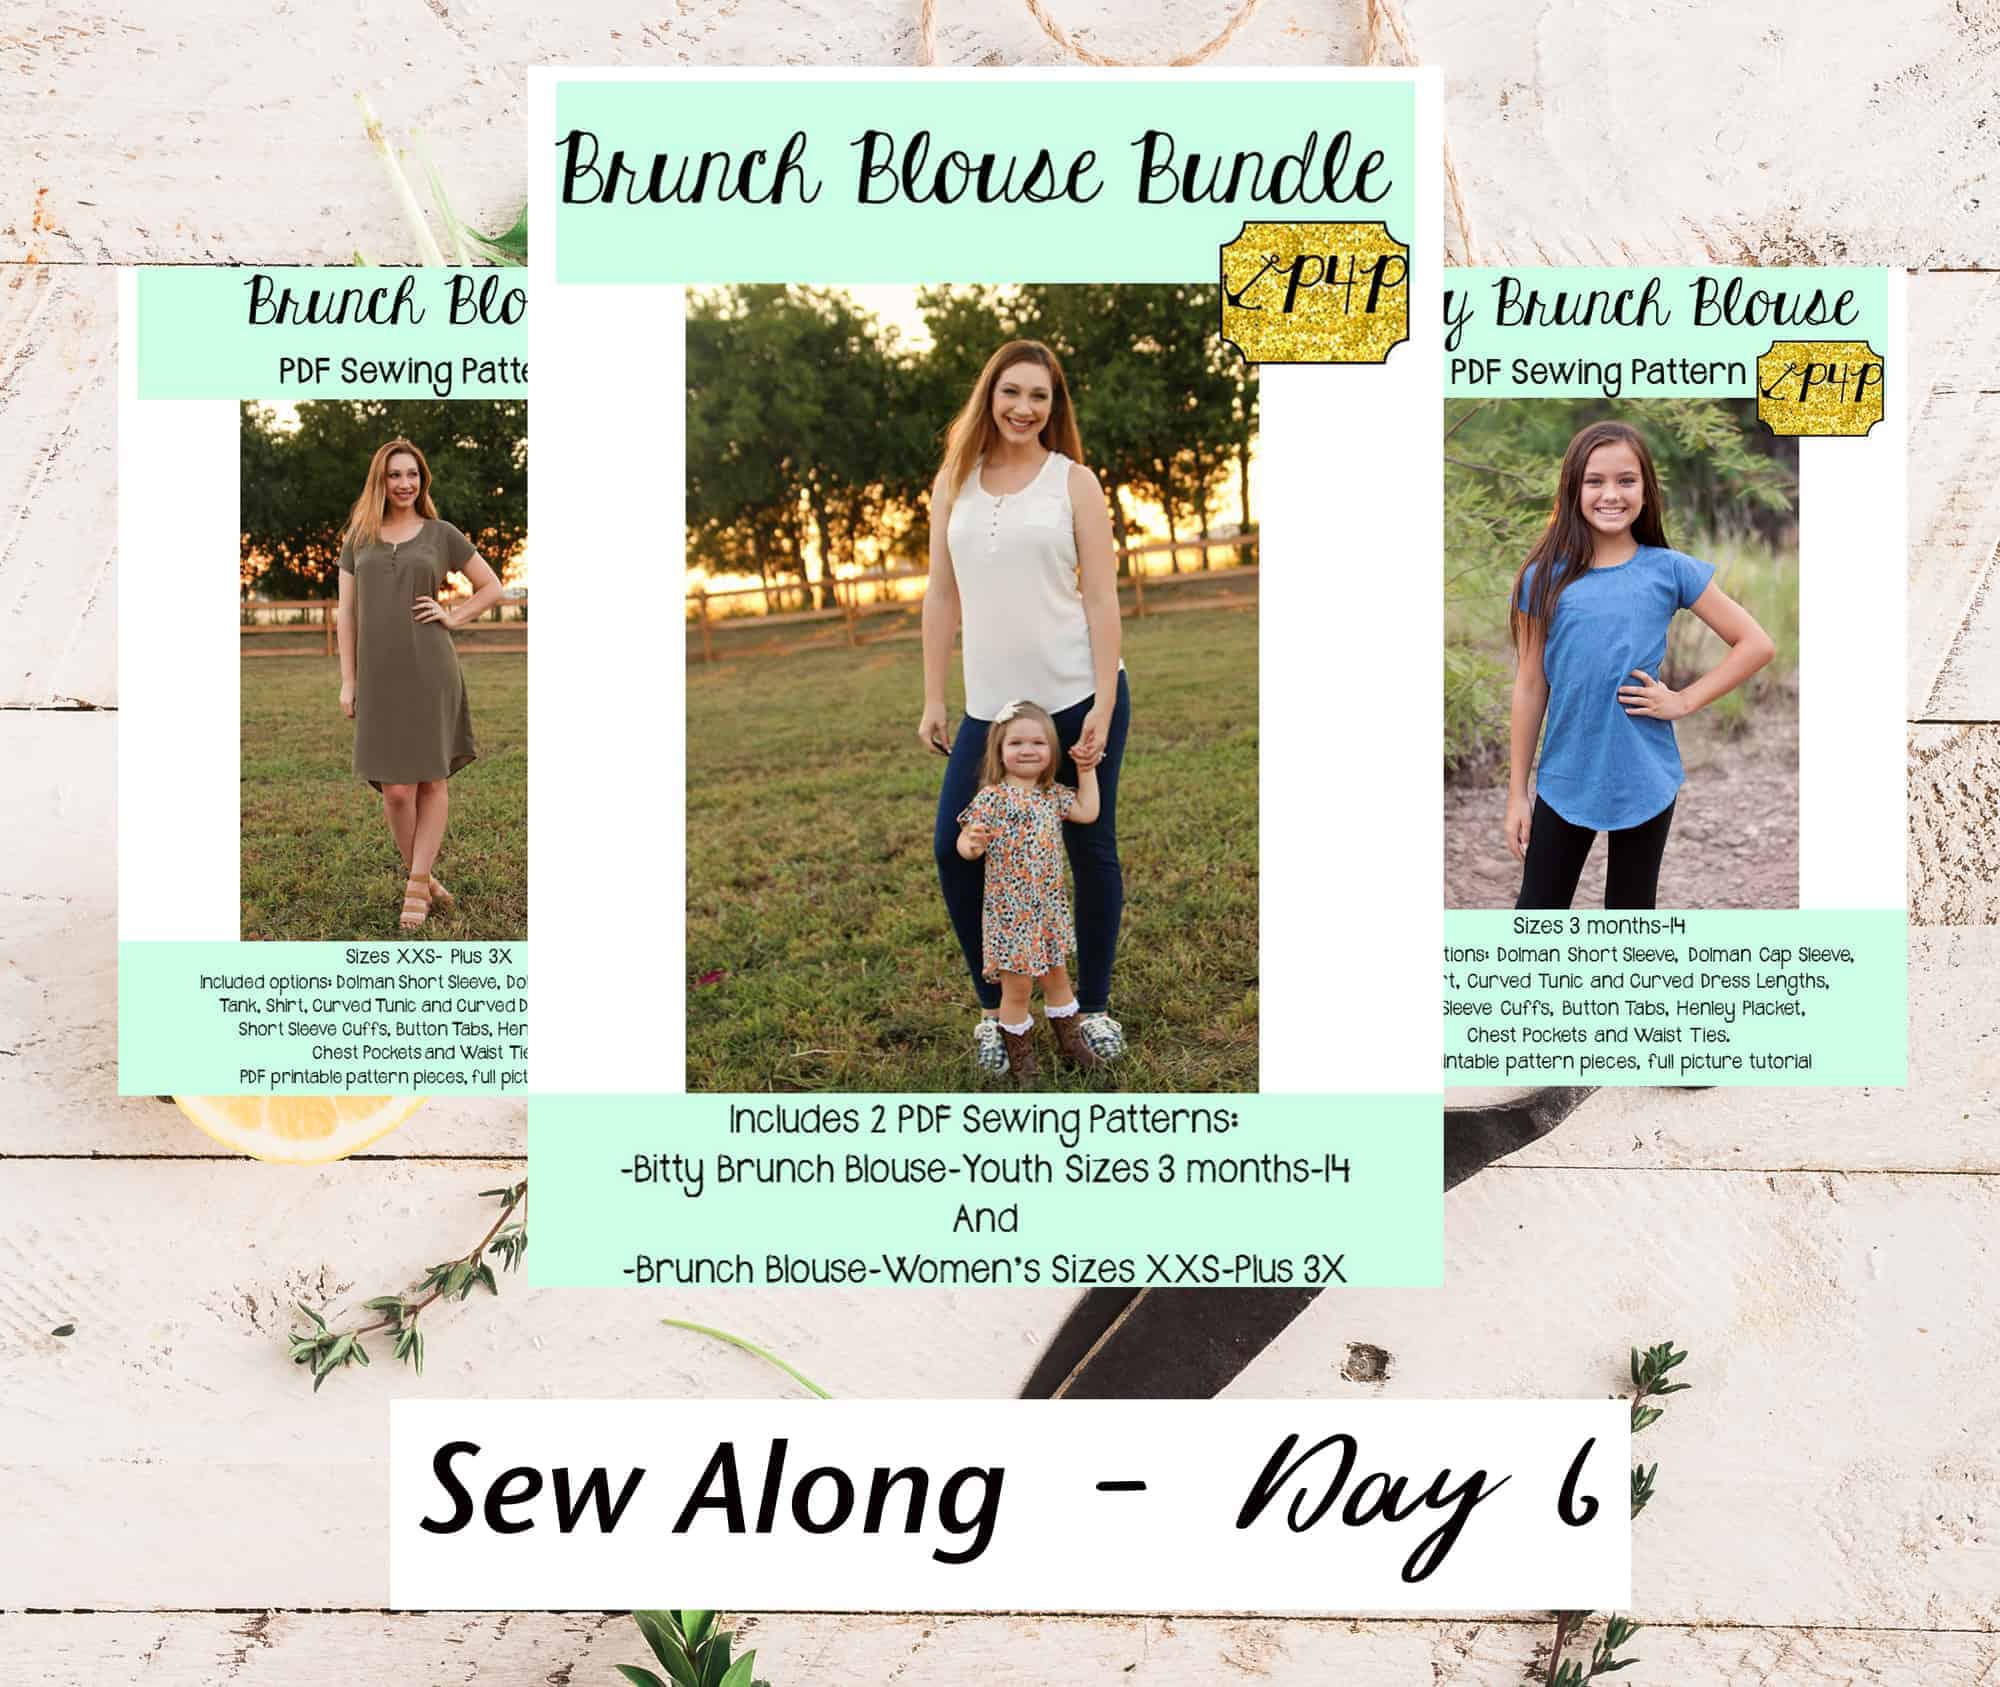
And just like that we made it to the last sewing day. Today we are putting the finishing touches on out Brunch Blouses.

  • If you have sewn the tank option, you will be finishing the arm opening with bias binding. Here is a refresher blog on woven bias binding if you didn’t get to check it out yesterday.
  • If you opted for the cap sleeve style, I highly encourage you to fold your sleeve hem 1/4″ press, fold again 1/4″ and press and only then stitch. This will yield a very polished sleeve look.
  • I have selected the short sleeve option with a cuff and a snap tab. This is a great way to add accent colors and even use some decorative buttons.

The last sew along video is posted below. Take a look and once you are done sewing post your final picture in the DAY 7 COMMENTS of the BB/BBB sal album in the group…you know the drill 🙂 The team will pick out two winners on Wednesday so you have an extra day to catch up on your project.

Brunch Blouse|Bitty Brunch Blouse SAL day 1 (print pattern)

Brunch Blouse|Bitty Brunch Blouse SAL day 2 (cut fabric)

Brunch Blouse|Bitty Brunch Blouse SAL day 3 (darts and placket)

Brunch Blouse|Bitty Brunch Blouse SAL day 4 (pocket/waist ties/back seam)

Brunch Blouse|Bitty Brunch Blouse SAL day 5 (shoulder/side seams)

Brunch Blouse|Bitty Brunch Blouse SAL day 6 (neckband)

Brunch Blouse|Bitty Brunch Blouse SAL day 7 (finish sleeves/hem)

Brunch Blouse|Bitty Brunch Blouse SAL day 8 (winners announcement)

Filed Under: Frequently Asked Questions, Sew-A-Long, Uncategorized Leave a Comment

Brunch Blouse|Bitty Brunch Blouse SAL day 6 (neckband)

March 17, 2019

Two more sewing days let in this SAL. Can you believe it? Today we will be focusing on the neckband. The Brunch Blouse and Bitty Brunch blouse neckline is finished with bias binding. The pattern calls for single fold bias tape.

I am a huge supporter of store bought bias tape because it gives me more time to focus on other projects, plus the finishing tape is not visible from the outside of the BB shirt/dress. If you have a local Joann or Walmart, look through their notions walls, you will see single and double fold bias tape in a variety of colors.

However, if you are keen on matching the bias binding with the fabric you can certainly create your own. In this P4P University blog, Nicole and Judy teach you how to diy bias tape. Take a look over it and get to cutting.

Tip: The neckline gives you plenty of opportunity to add a personal touch to your blouses. Think, double fold bias tape or placing the single fold on the outside for a pop of color…think, decorative stitches …ohh the possibilities!

Go ahead and read the tutorial and watch day 6 video below. Once you finish sewing the bias binding one, snap a picture and add it to the comments of Day 6 photo of the BB/BBB sew along album.

Brunch Blouse|Bitty Brunch Blouse SAL day 1 (print pattern)

Brunch Blouse|Bitty Brunch Blouse SAL day 2 (cut fabric)

Brunch Blouse|Bitty Brunch Blouse SAL day 3 (darts and placket)

Brunch Blouse|Bitty Brunch Blouse SAL day 4 (pocket/waist ties/back seam)

Brunch Blouse|Bitty Brunch Blouse SAL day 5 (shoulder/side seams)

Brunch Blouse|Bitty Brunch Blouse SAL day 6 (neckband)

Brunch Blouse|Bitty Brunch Blouse SAL day 7 (finish sleeves/hem)

Brunch Blouse|Bitty Brunch Blouse SAL day 8 (winners announcement)

Filed Under: Frequently Asked Questions, Sew-A-Long, Uncategorized Leave a Comment

Brunch Blouse|Bitty Brunch Blouse SAL day 5 (shoulder/side seams)

March 16, 2019

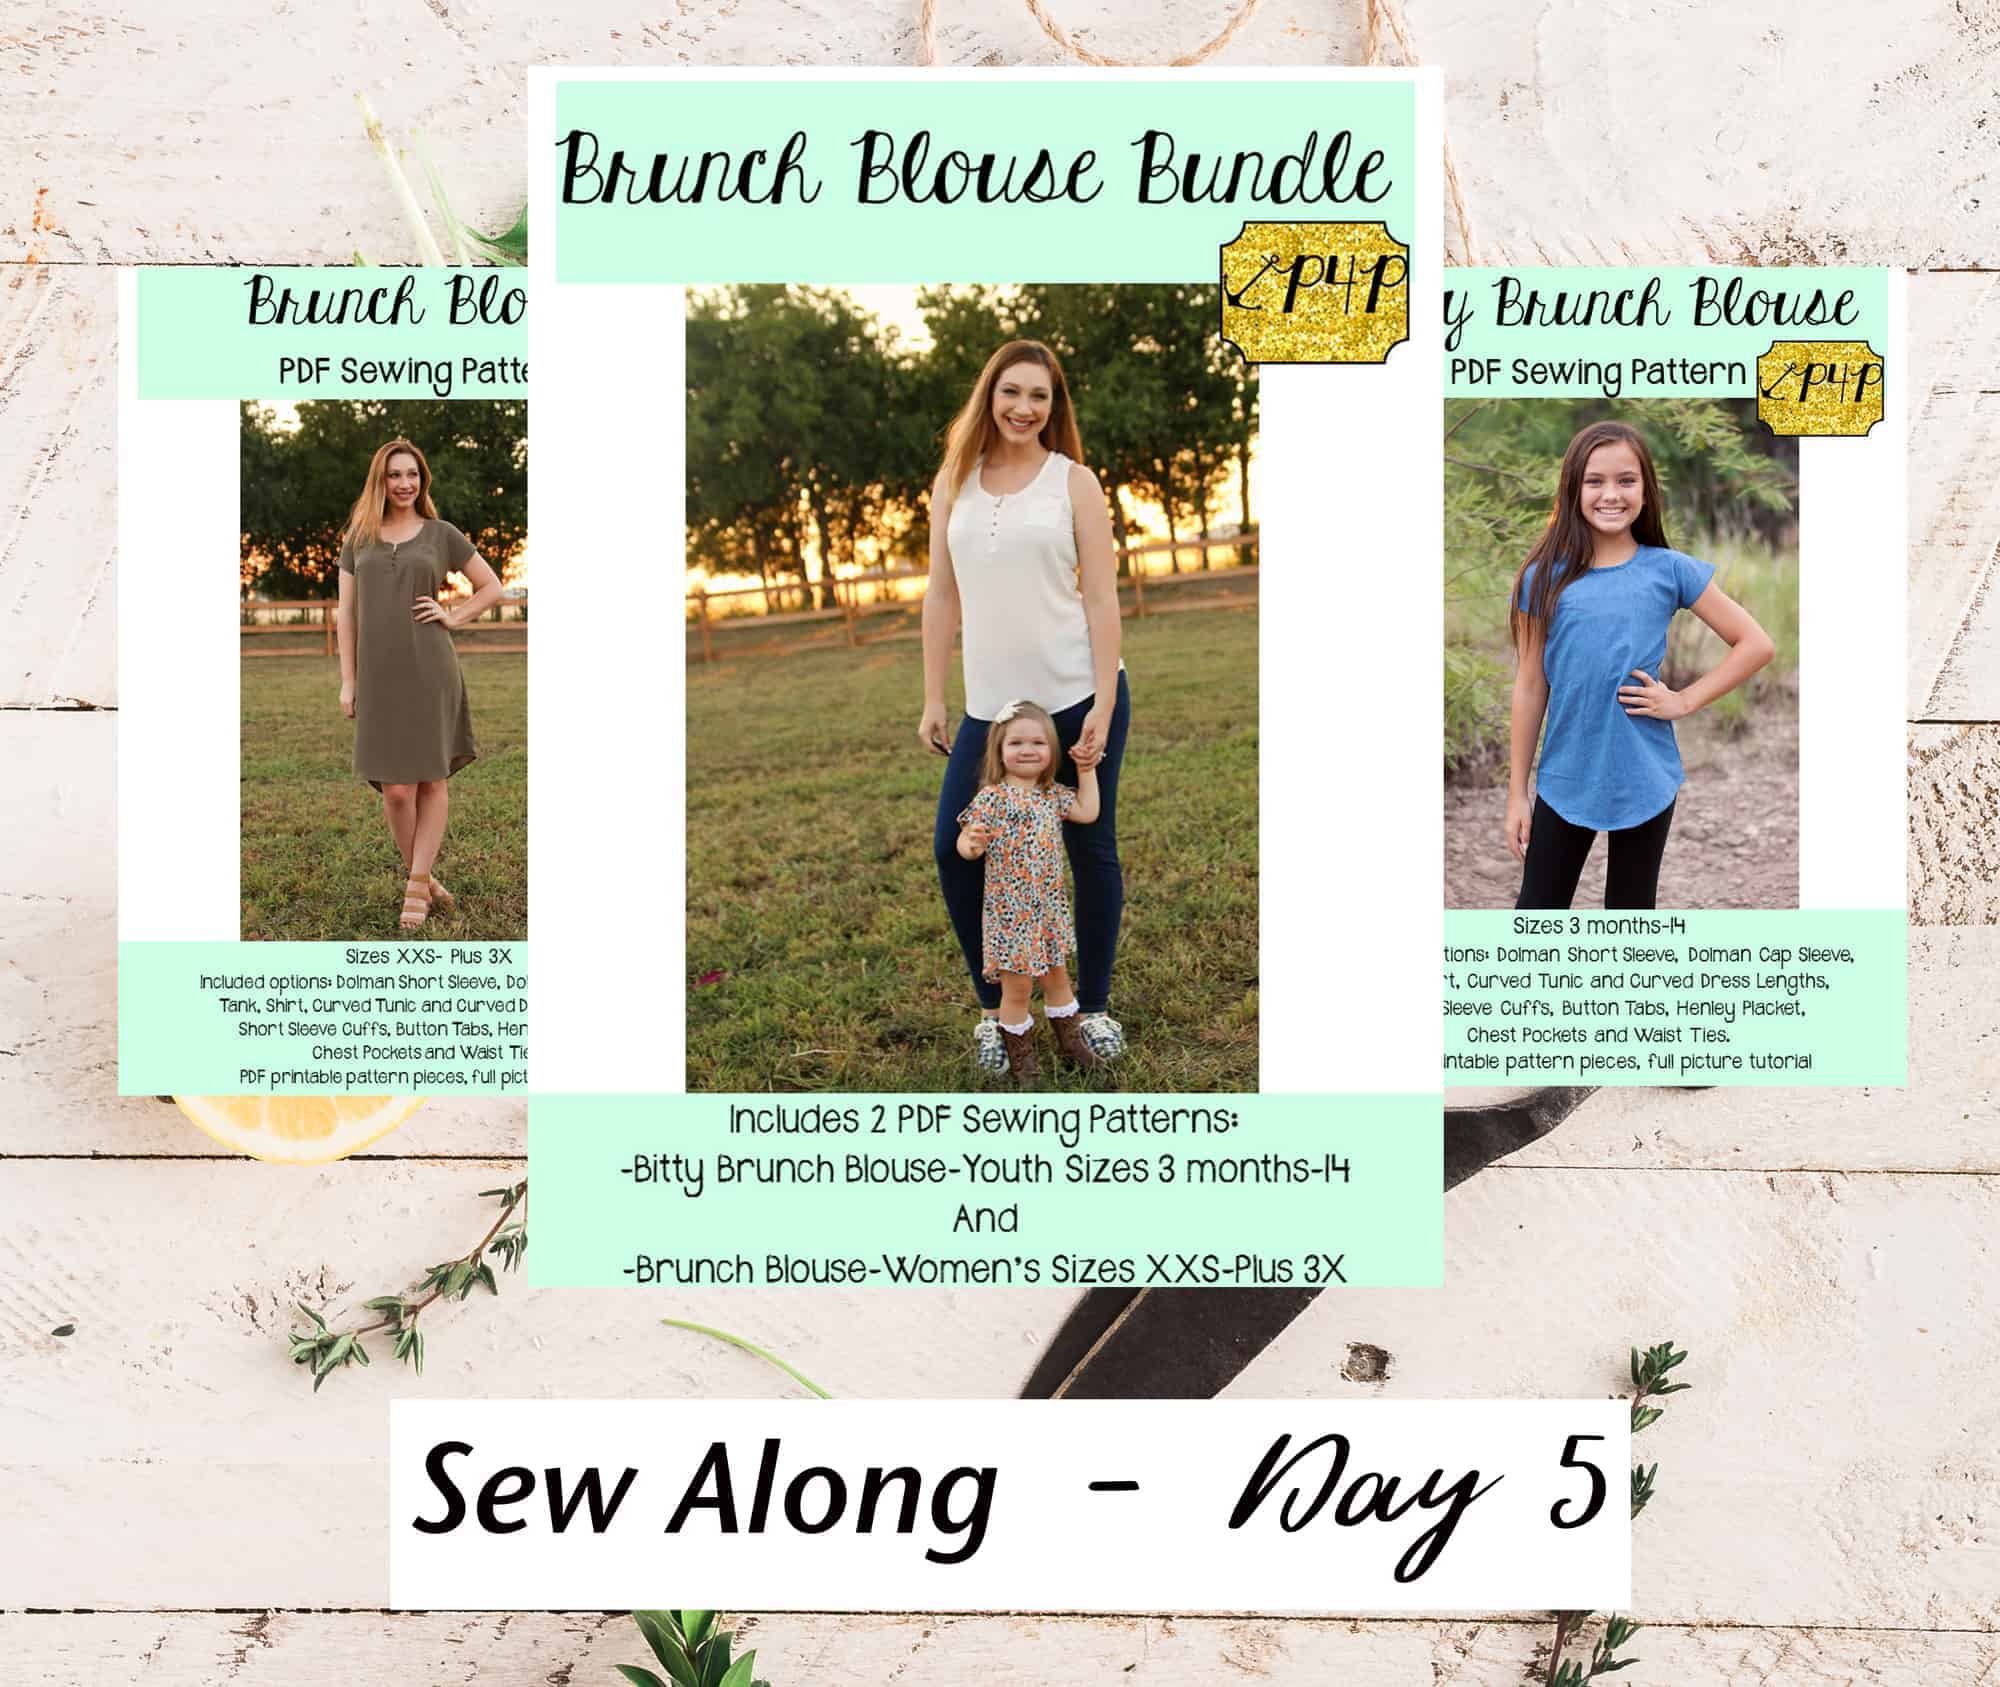
The 5th day of our sew along is here. Today we sew the shoulder and the side seam, probably the easiest day of the sew along 😉 Remember to use your sewing machine for this steps and just finish the raw edge with the serger or a zig zag stitch.

TIP: If you’re doing a hemmed sleeve now would be a good time to press your memory hem. This will make it so much easier to hem later on. 

The Brunch Blouse and Bitty Brunch Blouse patterns follow a 1/2″ seam allowance so be sure to not deviate from it when you sew the shoulder seams and side seams.

Watch the day 5 video below and be sure to post a picture of today’s progress in the day 5 photo comments of the BB / BBB sew along album in the M4M & P4P Sew Along Group.


Brunch Blouse|Bitty Brunch Blouse SAL day 1 (print pattern)

Brunch Blouse|Bitty Brunch Blouse SAL day 2 (cut fabric)

Brunch Blouse|Bitty Brunch Blouse SAL day 3 (darts and placket)

Brunch Blouse|Bitty Brunch Blouse SAL day 4 (pocket/waist ties/back seam)

Brunch Blouse|Bitty Brunch Blouse SAL day 5 (shoulder/side seams)

Brunch Blouse|Bitty Brunch Blouse SAL day 6 (neckband)

Brunch Blouse|Bitty Brunch Blouse SAL day 7 (finish sleeves/hem)

Brunch Blouse|Bitty Brunch Blouse SAL day 8 (winners announcement)

Filed Under: Frequently Asked Questions, Sew-A-Long, Uncategorized 1 Comment

Brunch Blouse|Bitty Brunch Blouse SAL day 4 (pocket/waist ties/back seam)

March 14, 2019

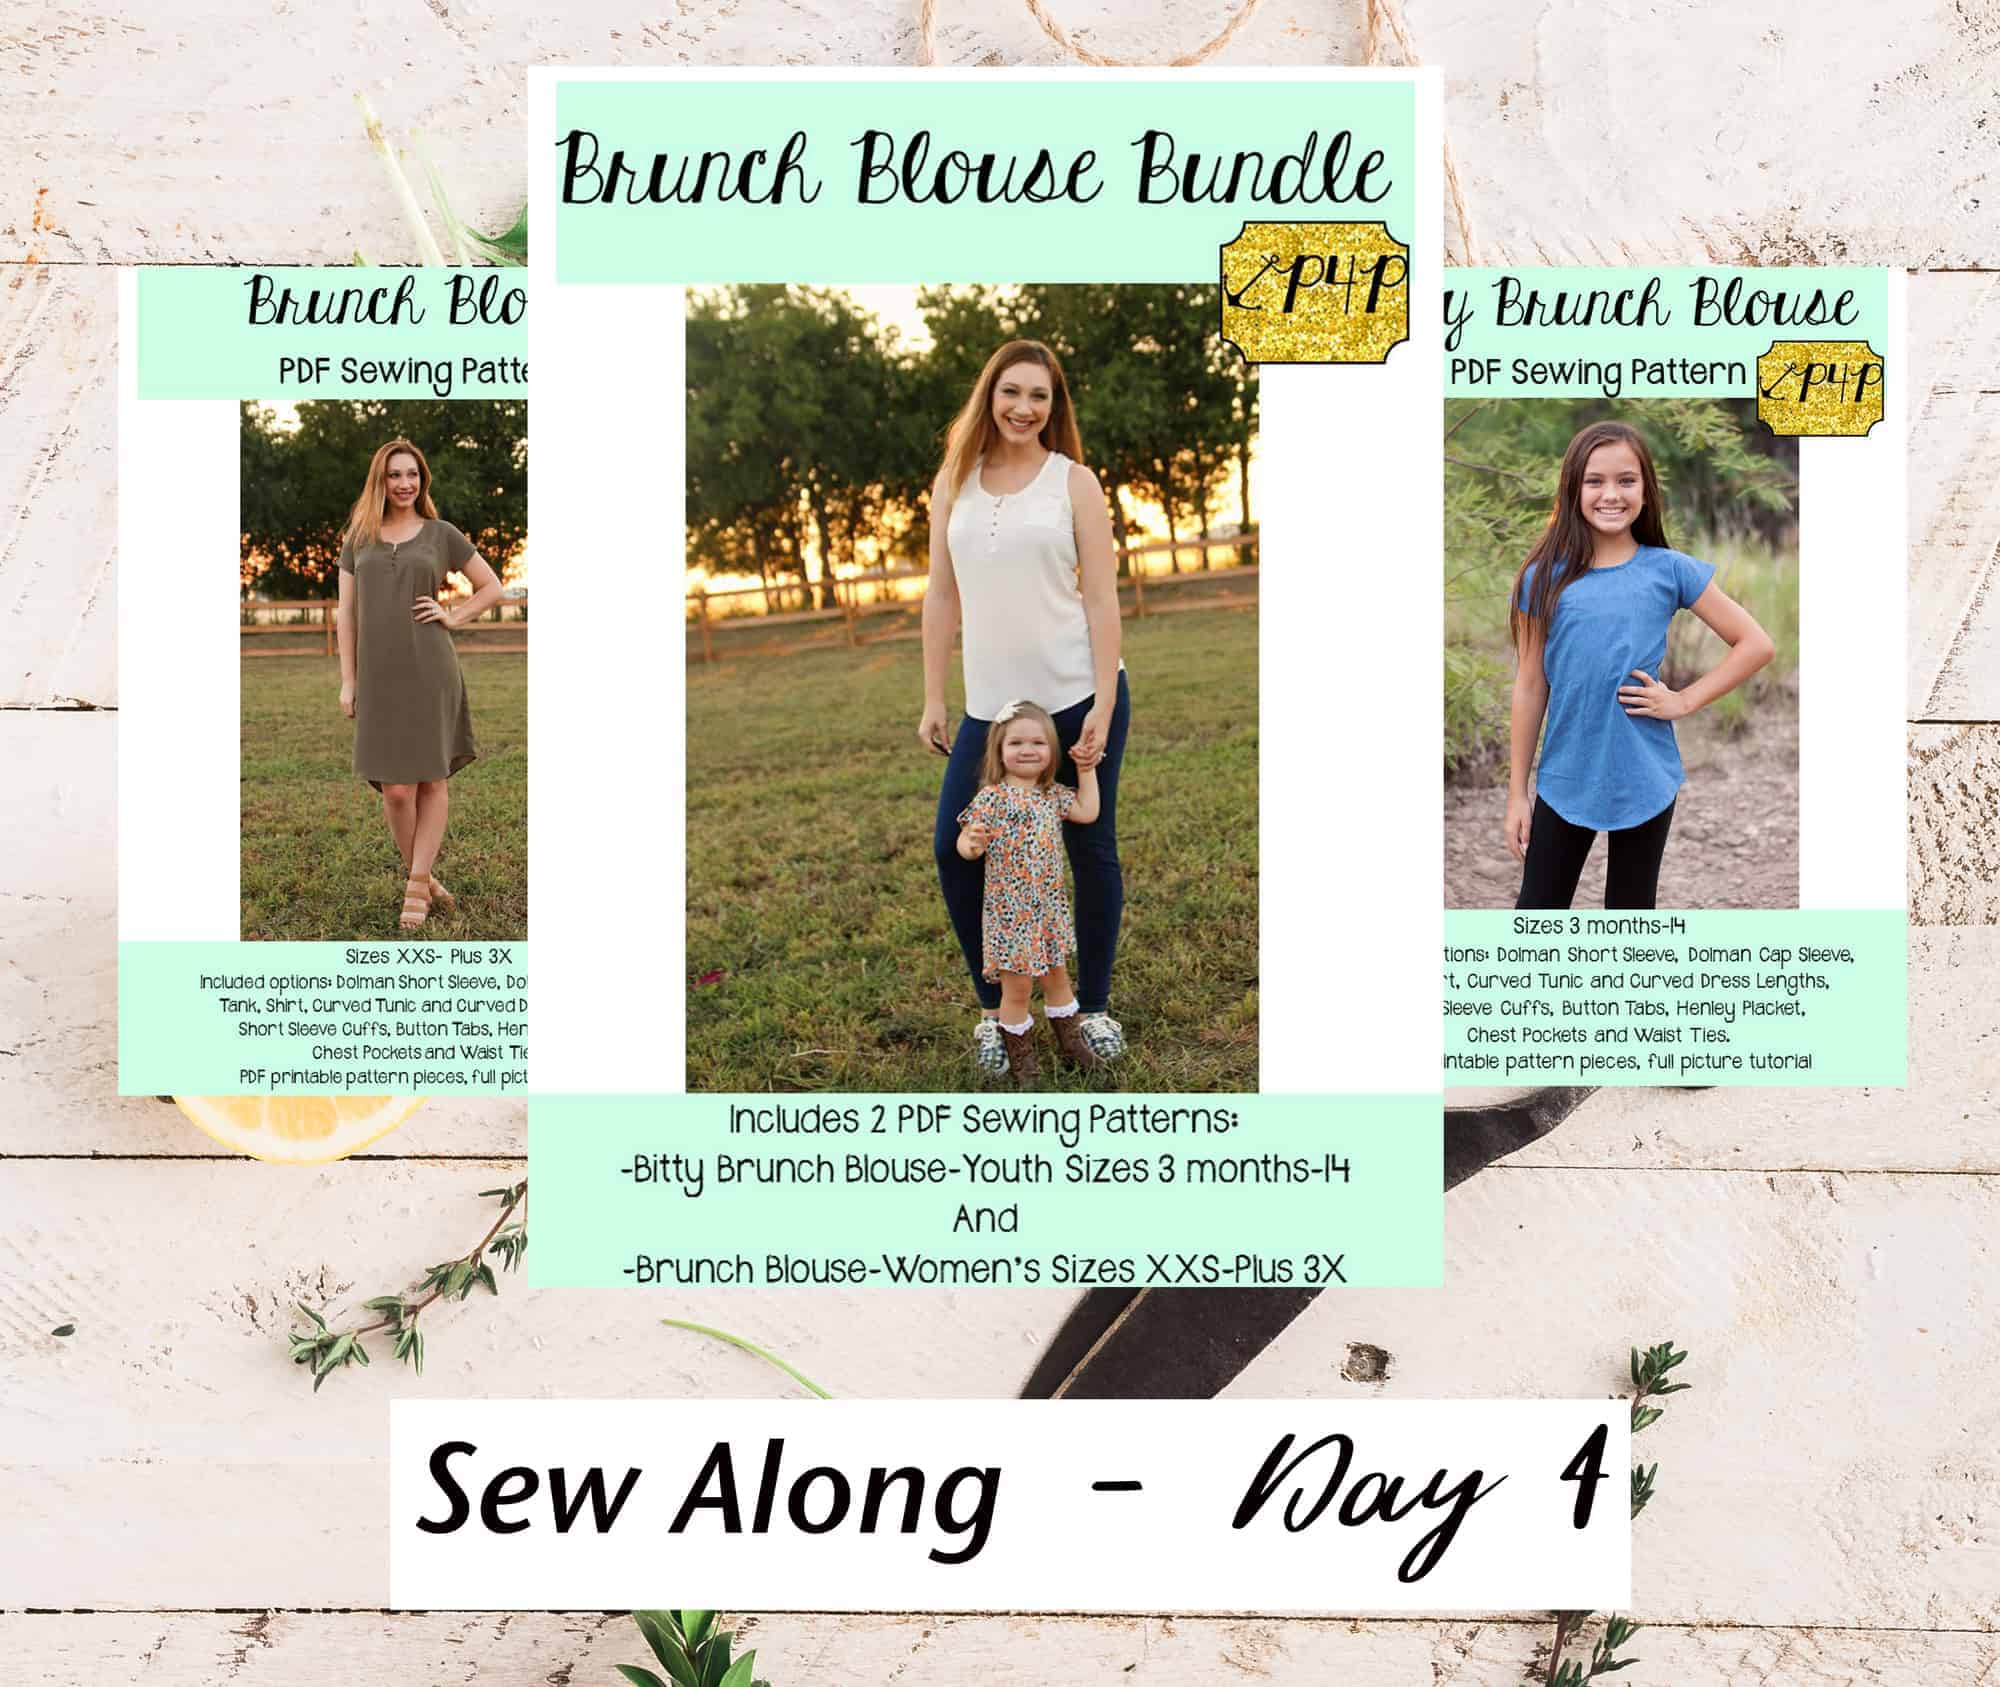
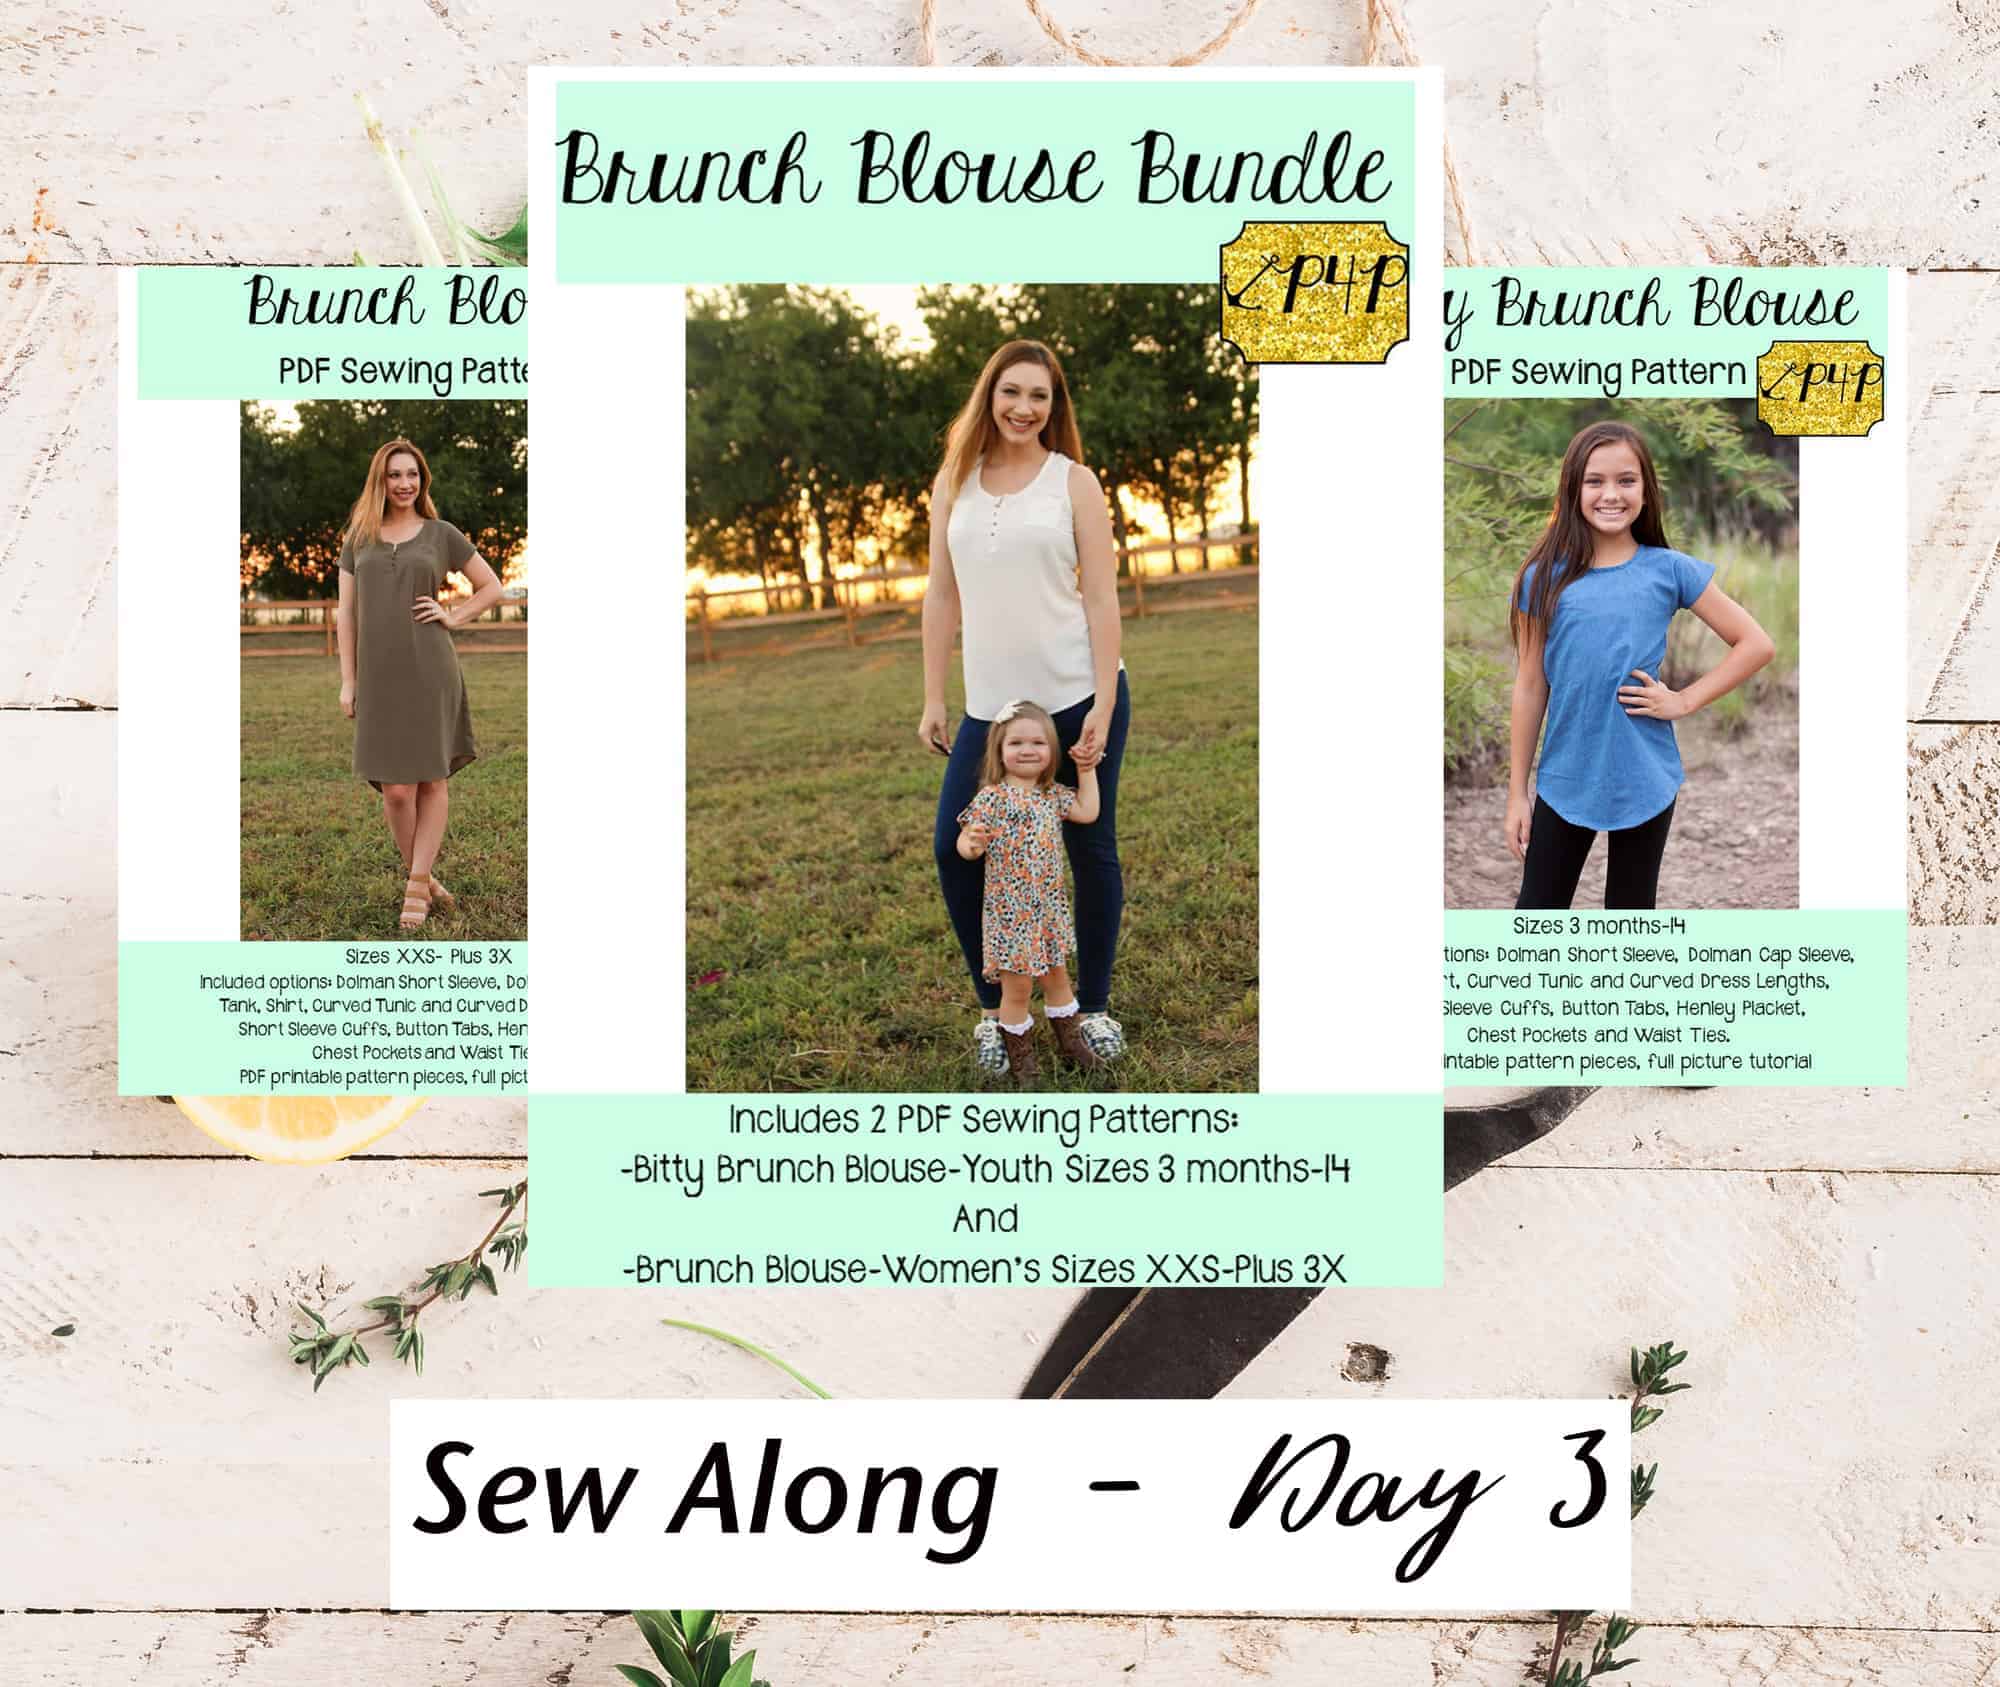
Good morning, pirates! Today we will be focusing on the pocket(s), waist ties and back seam. The pocket and waist ties and optional so if you are skipping them, you would only sew the back seam. Easy peasy!

You can add two pockets or just one, both would look just as cute. I personally like one contrasting pocket on the left side but I also like the look of two pockets from the same fabric.

The Brunch Blouse is a relaxed fit throughout the waist so the ties will help “cinch” you in, if you are going for an hour glass look. I absolutely love the shape of the ties and that you can tie them in the front or the back.

When you sew the back seam, remember to follow the 1/2 inch seam allowance and to stitch with your sewing machine. I know temptation to use just your serger is big but remember that a serger stitch is not as resilient to wear as a sewing machine straight stitch. Use your serger, but to finish the raw edges!

Take a look over today’s video and once you finish sewing post a picture of your progress in the comments of the Day 4 photo of the BB/BBB sew along album in the M4M & P4P Sew Along group.
Brunch Blouse|Bitty Brunch Blouse SAL day 1 (print pattern)

Brunch Blouse|Bitty Brunch Blouse SAL day 2 (cut fabric)

Brunch Blouse|Bitty Brunch Blouse SAL day 3 (darts and placket)

Brunch Blouse|Bitty Brunch Blouse SAL day 4 (pocket/waist ties/back seam)

Brunch Blouse|Bitty Brunch Blouse SAL day 5 (shoulder/side seams)

Brunch Blouse|Bitty Brunch Blouse SAL day 6 (neckband)

Brunch Blouse|Bitty Brunch Blouse SAL day 7 (finish sleeves/hem)

Brunch Blouse|Bitty Brunch Blouse SAL day 8 (winners announcement)

Filed Under: Frequently Asked Questions, Sew-A-Long, Uncategorized 2 Comments

Brunch Blouse|Bitty Brunch Blouse SAL day 3 (darts and placket)

March 13, 2019

Welcome to day 3 of our Brunch and Bitty Brunch sew along. Today we will be focusing on the darts (if you are sewing the women top or dress) and the placket.

Make sure that you transfer the dart marking from the pattern to the fabric’s wrong side. I love using water soluble marking pen because I know the lines with disappear once I stem it. Another tip I have for you when sewing darts is to press the dart before AND after you sew. Ironing it will help keep the fabric in place while stitching.

Second part of the day is dedicated to the henley style placket. This is a step that may scare first time henley makers but trust me when I say it, if you go slow and you press frequently, you will see that it is not as a daunting task as you thought. Before you get started, take a look over our Placket 101 blog. The videos I have in the P4P University blog are actually of the Brunch Blouse placket so you can certainly refer to it.

Below is a link to the Day 3 sew along video which includes both the dart and placket construction. Once you complete today’s steps, be sure to post a picture of your progress in the comments of day 4 photo of the Brunch/Bitty Brunch sew along album.


Brunch Blouse|Bitty Brunch Blouse SAL day 1 (print pattern)

Brunch Blouse|Bitty Brunch Blouse SAL day 2 (cut fabric)

Brunch Blouse|Bitty Brunch Blouse SAL day 3 (darts and placket)

Brunch Blouse|Bitty Brunch Blouse SAL day 4 (pocket/waist ties/back seam)

Brunch Blouse|Bitty Brunch Blouse SAL day 5 (shoulder/side seams)

Brunch Blouse|Bitty Brunch Blouse SAL day 6 (neckband)

Brunch Blouse|Bitty Brunch Blouse SAL day 7 (finish sleeves/hem)

Brunch Blouse|Bitty Brunch Blouse SAL day 8 (winners announcement)

Filed Under: Frequently Asked Questions, Sew-A-Long, Uncategorized Leave a Comment

  • « Previous Page
  • 1
  • …
  • 7
  • 8
  • 9
  • 10
  • 11
  • …
  • 13
  • Next Page »

connect with me

  • Email
  • Facebook
  • Instagram
  • Pinterest
  • YouTube
Privacy & Cookies: This site uses cookies. By continuing to use this website, you agree to their use.

To find out more, including how to control cookies, see here: Cookie Policy
  • Privacy Policy
  • Refund Policy
  • Contact Us
  • About

Copyright © 2026 Patterns for Pirates

Copyright © 2026 · Genesis Framework · WordPress · Log in