Patterns for Pirates

P4P stylish, modern, wearable patterns

  • Home
  • Blog
    • Frequently Asked Questions
    • Pattern Releases
      • Free Patterns
    • P4P University
      • Fitting
      • Sewing with Stretch, Knit Fabrics
      • Sewing with Woven Fabrics
      • Sewing Machines
    • Sew-A-Longs
    • Fabric for Pirates
    • Pattern Hacks
    • Announcement
      • Blog Tours
      • Contest/Giveaway
  • Shop
  • Bundle Discounts
  • Flash Friday
  • Gift Cards
  • My Account
  • Cart

Flutter Wrap SAL day 3

April 22, 2020

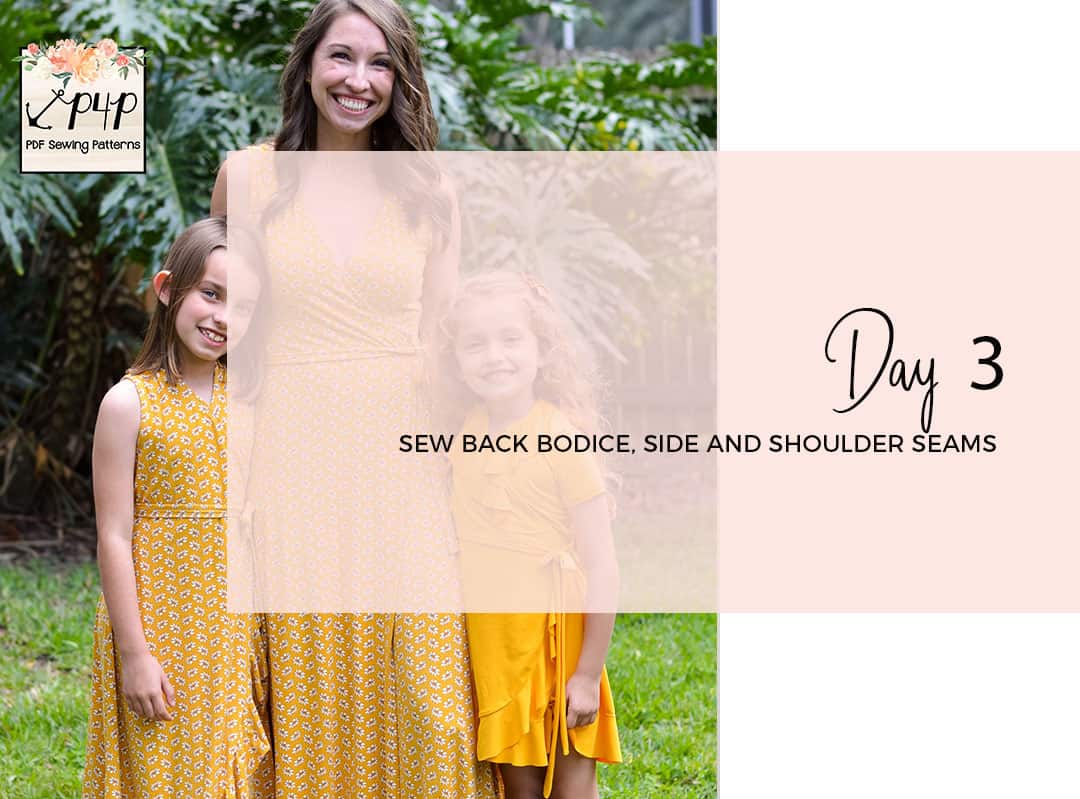
Day 3 is here! Today we start sewing. We are going to start by stitching the back pieces together at the center seam with a 1/2″ seam allowance. Once you have your back sewn, stitch the front pieces right sided together at the shoulder seam.

Tip: Add clear elastic to the shoulder seams to strengthen them and make sure the shoulders don’t stretch throughout the day. 

The Flutter Wrap pattern features set in sleeves but this time they are sewn in the round. That means that we will sew the side seams prior to adding the sleeves. Don’t forget to leave the opening for the wait tie. That will be on the wearer’s right.

You can see my progress below. Once you sew the back, shoulder and side seams post a picture of the shirt or dress in the comments of DAY 3 photo of the Flutter Wrap album in the SAL group.


Flutter Wrap SAL day 1 | Print and cut pattern

Flutter Wrap SAL day 2 | Cut fabric

Flutter Wrap SAL day 3 | Sew back, shoulder and side seams

Flutter Wrap SAL day 4 | Sew sleeves or tank binding

Flutter Wrap SAL day 5 | Add neckline binding and waist ties

Flutter Wrap SAL day 6 | Finish skirt

Flutter Wrap SAL day 7 | Winners announcement

Filed Under: Frequently Asked Questions, Sew-A-Long, Uncategorized Leave a Comment

Flutter Wrap SAL day 2

April 21, 2020

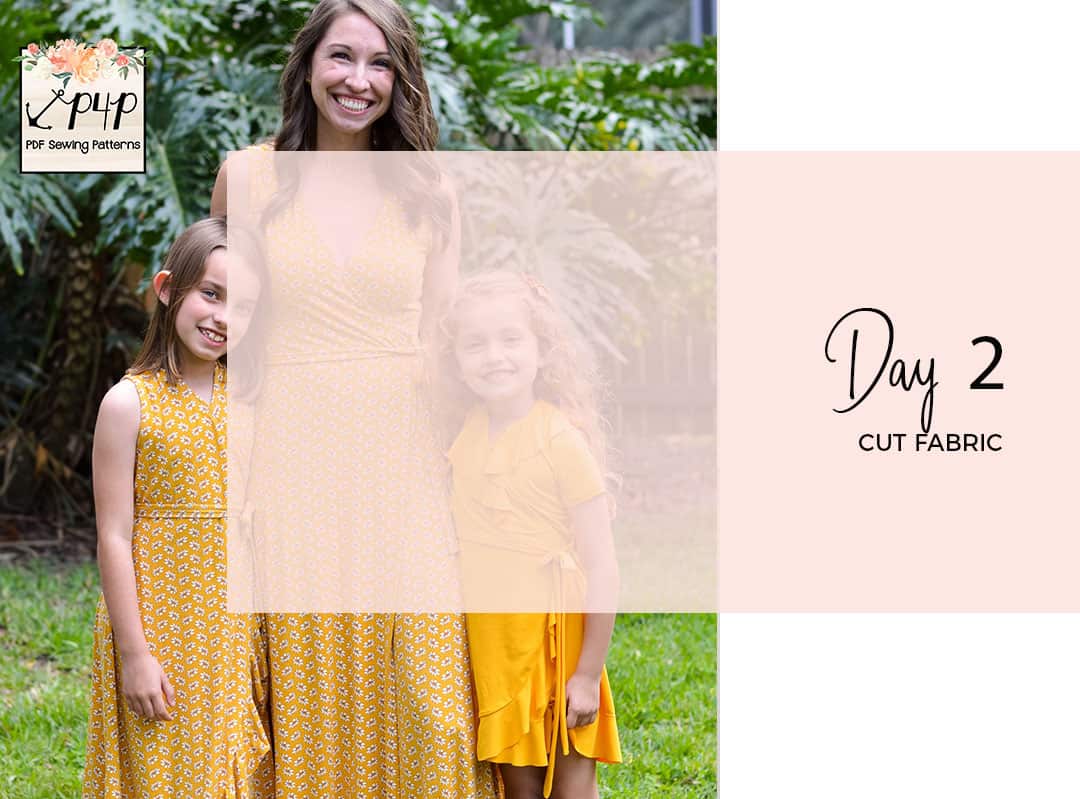
Welcome to the second day of the Flutter Wrap sew along. Today we choose and cut the fabric. This is probably the “longest” day, depending on the style you chose but it’s a pretty easy one. The pattern is drafted for knit fabric with at least 30% stretch. Fabrics with soft drape will make the best flounces. My personal recommendations are rayon spandex, bamboo lycra, ITY, Cupro and double brushed poly. If you are looking for various fabric looks, check out the Flutter Wrap Round Up Blog where Judy show cases various materials that can be used.

For my dress I am using a stunning  Oh So Pretty bamboo lycra which has beautiful drape and a soft feel. Bamboo is my favorite fabric base ever so it was only natural that I picked this base. Oh So Pretty Custom Fabric is this sew along’s sponsor as well so our two lucky winners will be receiving gift card to treat themself to their custom prints (must be a member in the OSP Facebook group to qualify)


If you are unsure about which knit type will work best for your desired look, take a look over our P4P University Knit Types blog. We also included a cheat sheet that you can print. If you are like me and sometime are just keen on using a specific print for a specific pattern, read our Different fabric, different fit blog post before you cut your fabric.

The Day 2 video is posted below. Check it out and once you are done cutting your fabric post a picture of your pretty pile in the comments of the Day 2 photo of the Flutter Wrap SAL album in the M4M & P4P Sew Along group.


Flutter Wrap SAL day 1 | Print and cut pattern

Flutter Wrap SAL day 2 | Cut fabric

Flutter Wrap SAL day 3 | Sew back, shoulder and side seams

Flutter Wrap SAL day 4 | Sew sleeves or tank binding

Flutter Wrap SAL day 5 | Add neckline binding and waist ties

Flutter Wrap SAL day 6 | Finish skirt

Flutter Wrap SAL day 7 | Winners announcement
Filed Under: Frequently Asked Questions, Sew-A-Long, Uncategorized Leave a Comment

Flutter Wrap SAL day 1

April 20, 2020

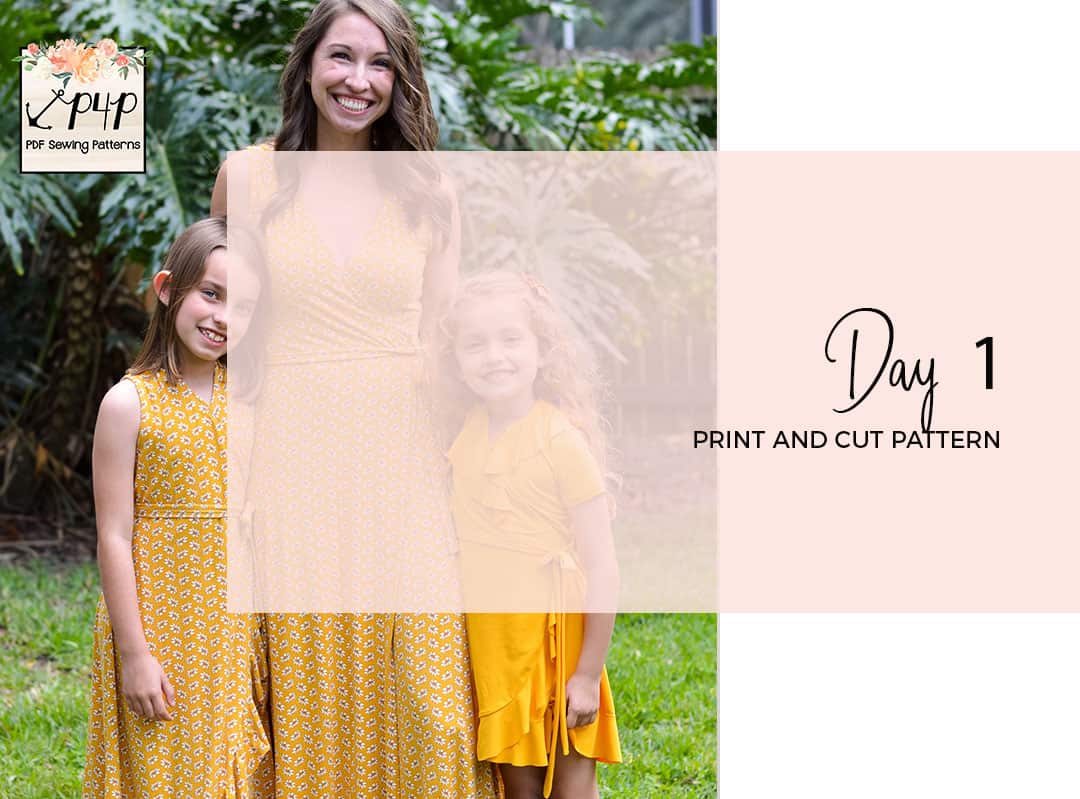
Welcome to our Flutter Wrap Sew Along!

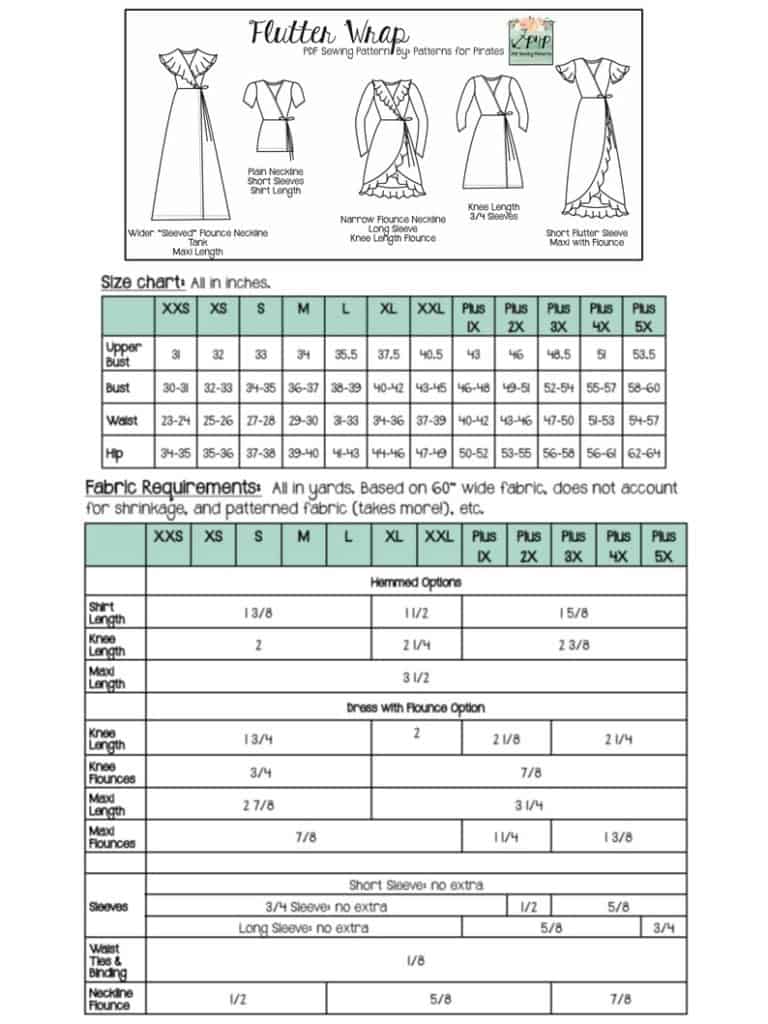
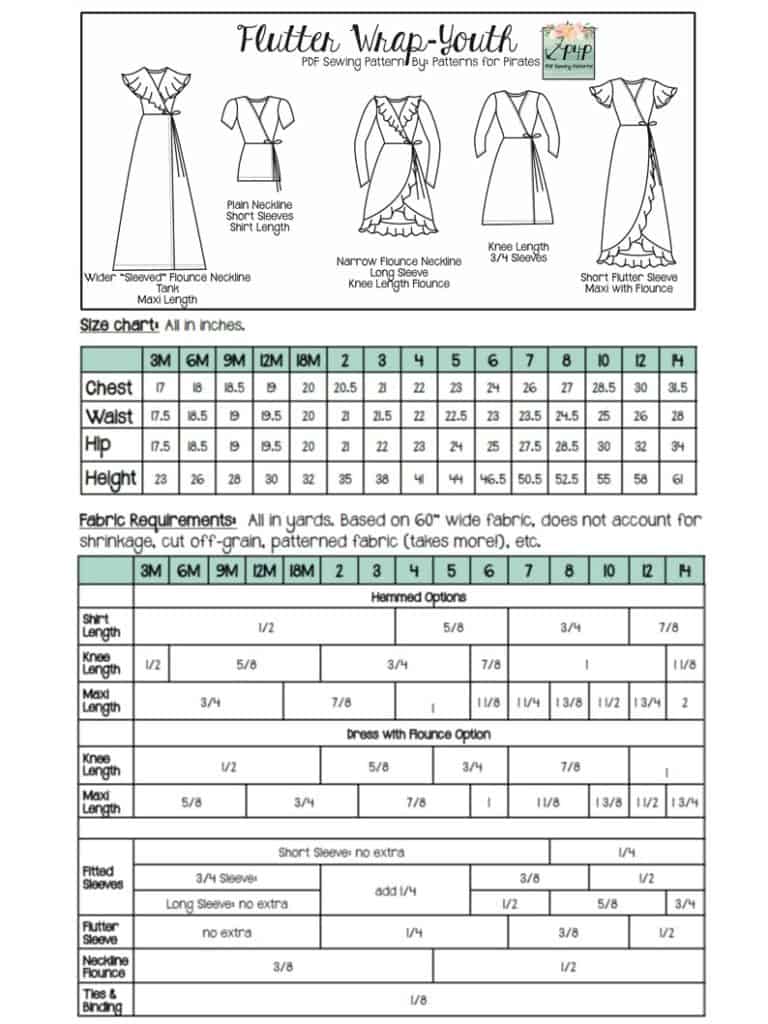
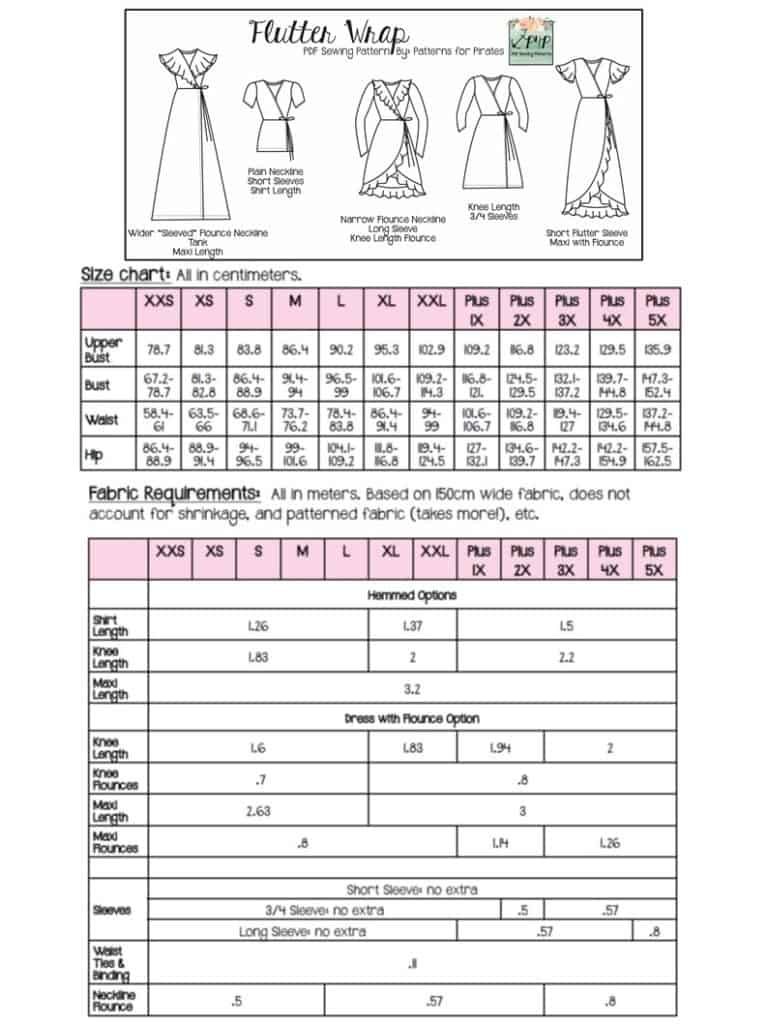
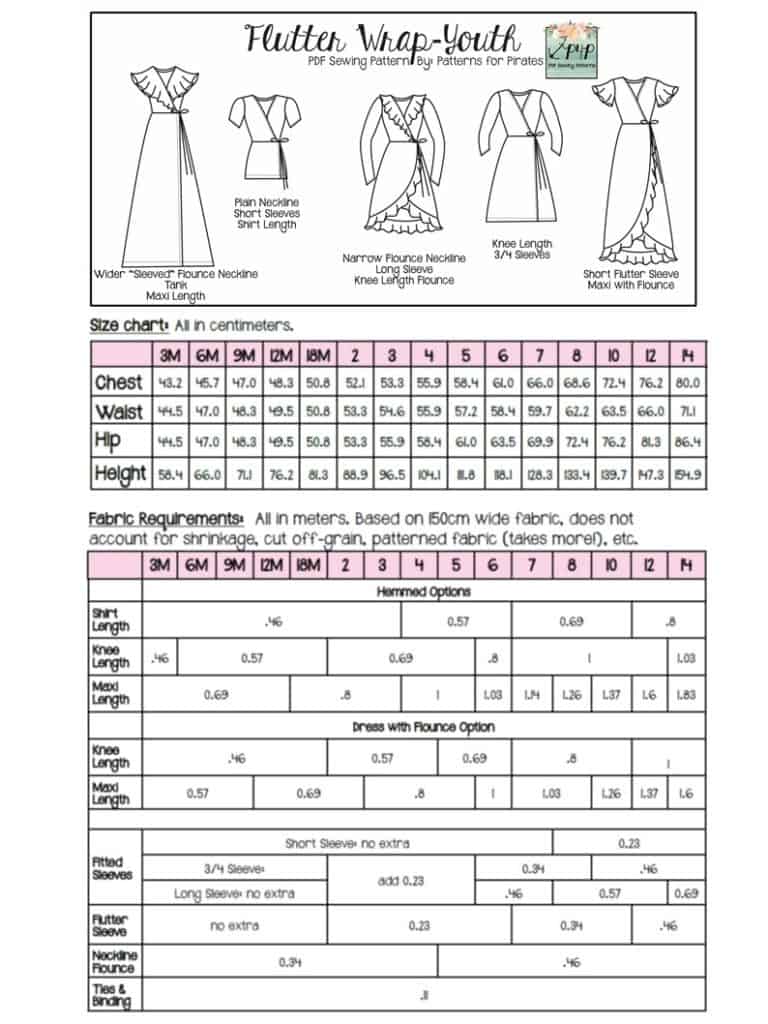
Day One is reserved to purchasing the pattern, printing and cutting the size(s) you need. If you plan on sewing for yourself you can get the Flutter Wrap here, if you’re sewing for your little one, the Flutter Wrap Youth can be purchased here and if you’re sewing for both of you (just think of the mommy and me matching outfits!) you can get the bundle. If you can’t decide which style to make, our Round Up blog will give you a glance at all options included with the pattern.

This sew along will be held in the the M4M & P4P Sew Along group so be sure to join the group not only for the exclusive discount code available for the Flutter Wrap patterns but also to post your progress this week. Don’t be shy about asking questions or suggestions, we are a helpful bunch. 🙂


Now that you purchased the pattern(s), print the size needed. In order to do that it is very important that you take your most accurate measurements. You will need your waist, hips and chest measurements in order to choose the correct Flutter Wrap size. P4P has an amazing blog that gives you tip for accurately taking your measurements. You can read all about it here. If your measurements put you in a different size for chest/waist/hips be sure to check out our P4P University blog and grade to achieve the perfect fit.

You can see in the video below how I blend two sizes to make my Flutter Wrap knee length with flounce a flutter sleeves. Once you cut your pattern pieces post “done” in the comments of day 1 photo of the Flutter Wrap Sew Along album in the SAL group. We don’t allow pictures of the pattern pieces so this comment will count as your daily check in.


Flutter Wrap SAL day 1 | Print and cut pattern

Flutter Wrap SAL day 2 | Cut fabric

Flutter Wrap SAL day 3 | Sew back, shoulder and side seams

Flutter Wrap SAL day 4 | Sew sleeves or tank binding

Flutter Wrap SAL day 5 | Add neckline binding and waist ties

Flutter Wrap SAL day 6 | Finish skirt

Flutter Wrap SAL day 7 | Winners announcement
 

Filed Under: Frequently Asked Questions, Pattern Hacks, Sew-A-Long, Uncategorized 1 Comment

Fierce Bra SAL day 7

December 4, 2019


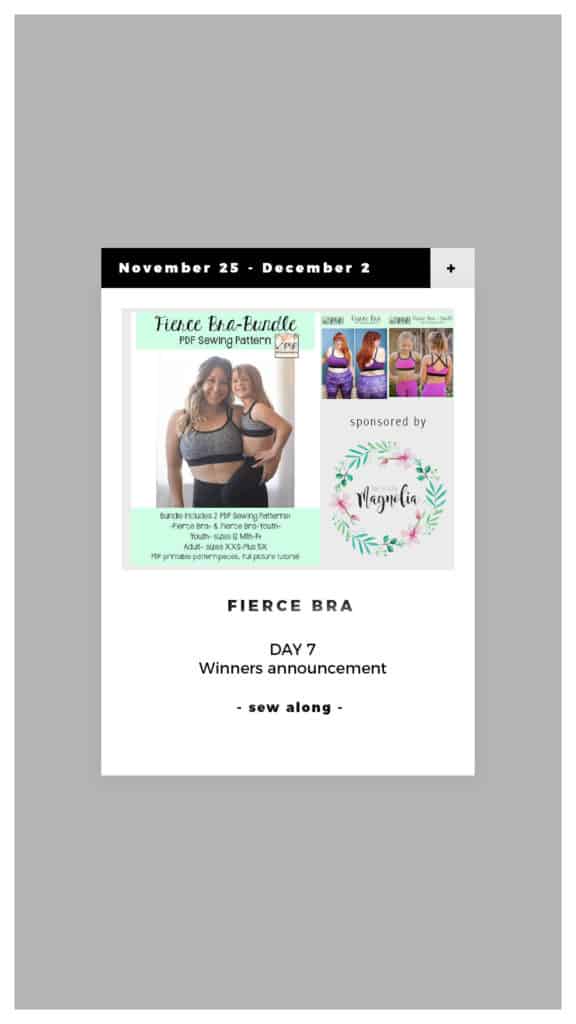
Thank you for joining us this past week! It is time to announce our Fierce Bra SAL winners so without further ado…

Congratulations Tiffany Nash! Tiffany won a $20 gift certificate to Patterns for Pirates and a $25 gift card to The Styled Magnolia Custom Fabrics.


Our second winner is Andrea Opalewski! Andrea will receive a $20 gift card from Made for Mermaids as well as a $25 card to The Styled Magnolia.


Huge THANK YOU to our Sew Along sponsor for not only providing the prizes but also the fabric I used for my own Fierce Bra and Peg Legs.


Fierce Bra SAL | Print and cut pattern [day 1]

Fierce Bra SAL | Choose and cut fabric [day 2]

Fierce Bra SAL | Prepare lining and sew side seams [day 3]

Fierce Bra SAL | Sew front neckline [day 4]

Fierce Bra SAL | Add shoulder FOE [day 5]

Fierce Bra SAL | Add under bust elastic [day 6]

Fierce Bra SAL | Winners announcement [day 7]
Filed Under: Frequently Asked Questions, Sew-A-Long Leave a Comment

Fierce Bra SAL day 6

November 30, 2019


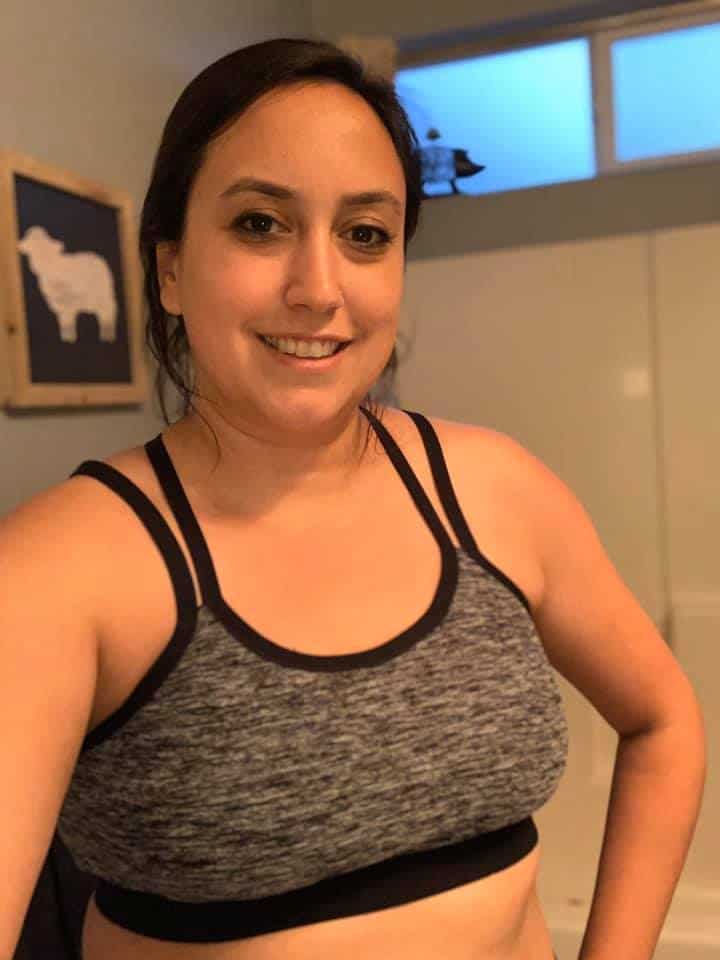
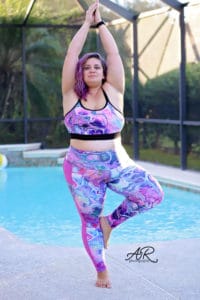
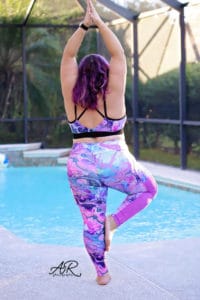
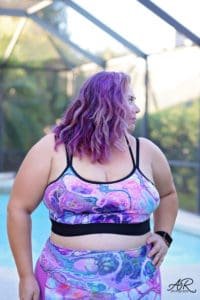
You did it! Last sewing day of the Fierce Bra SAL is here! Today we are attaching the under bust elastic and of course showing off our custom made bras. Whether you went for more of a loungewear bra and used cotton spandex or preferred an actual, medium impact sports bra and used athletic knit, your waistband will be plush (or underwear) elastic.

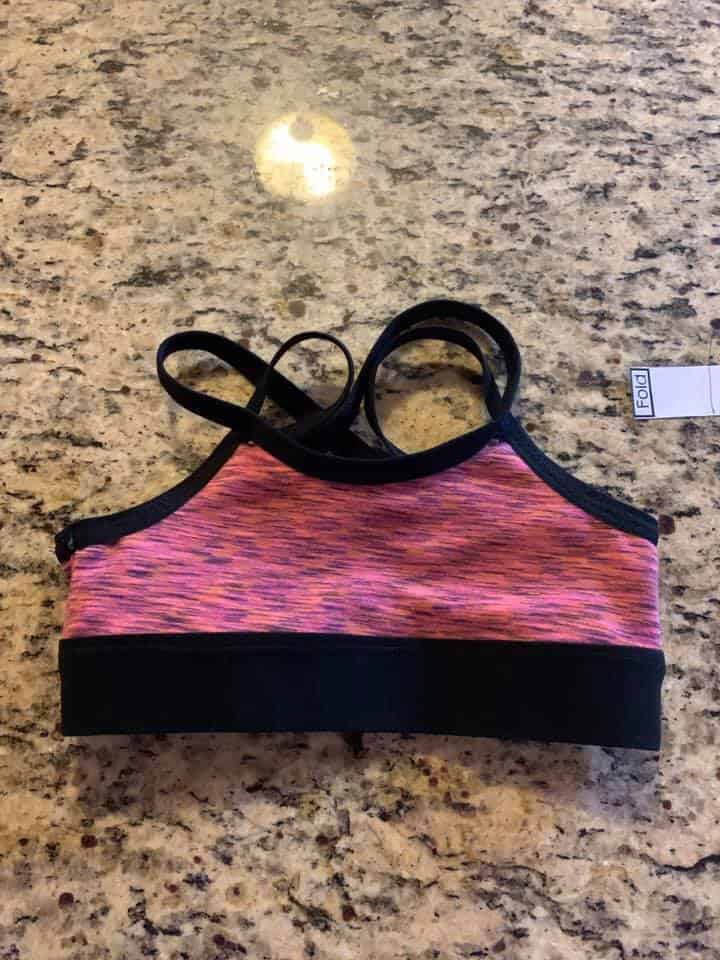
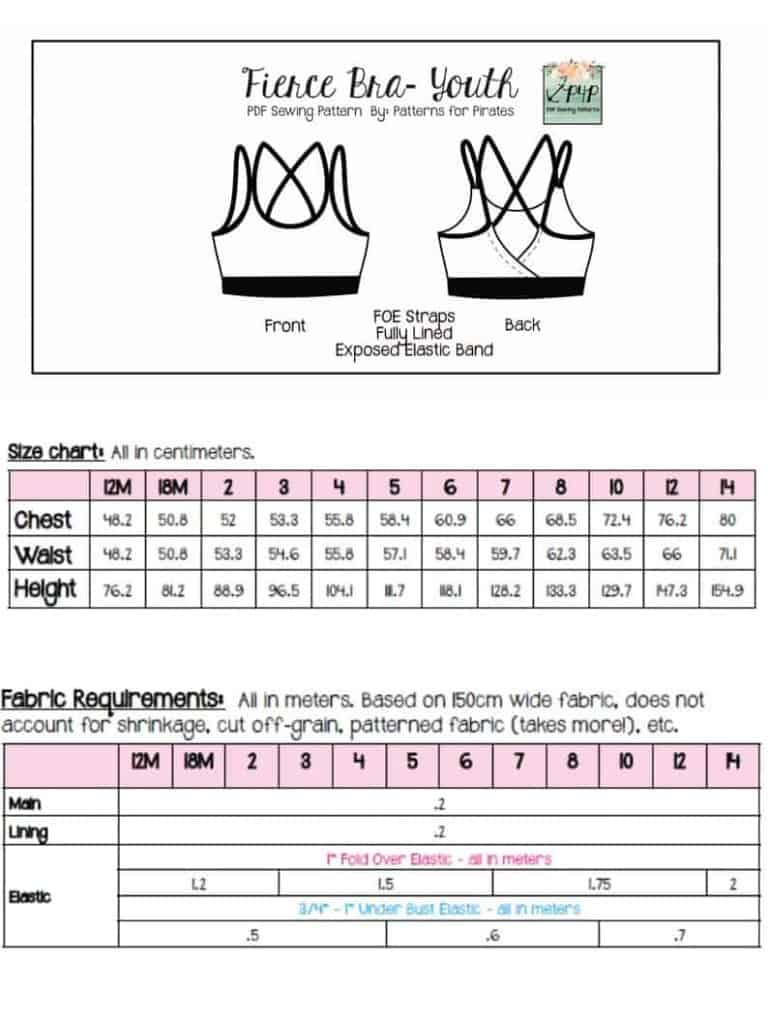
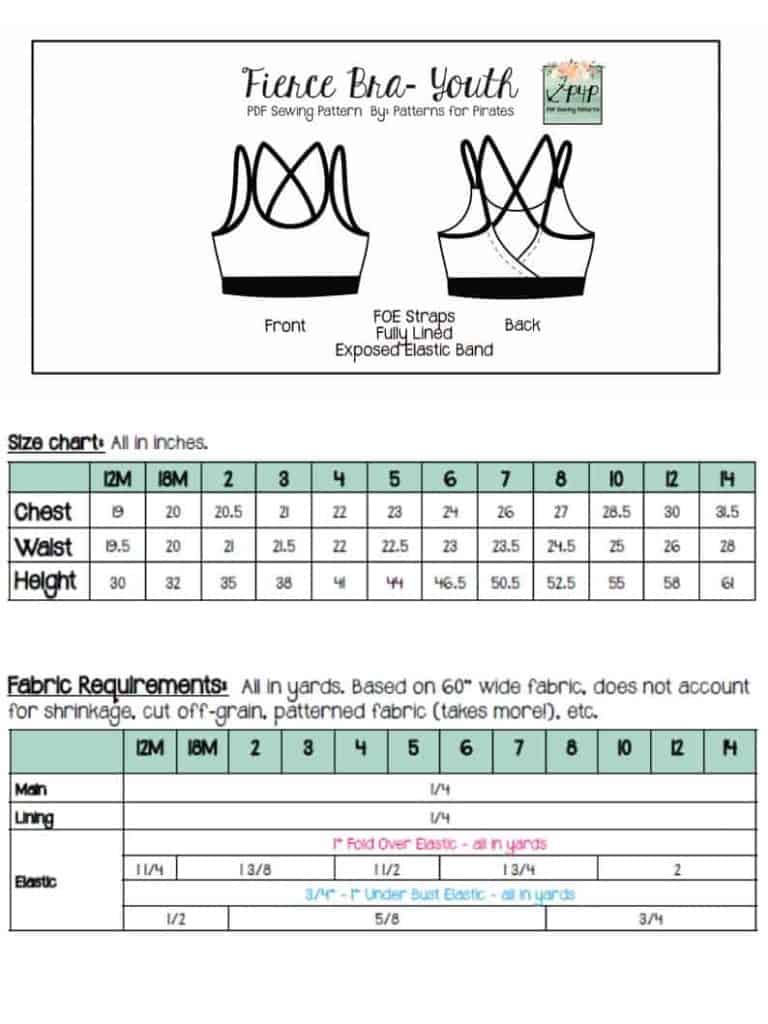
You can “get away” with 3/4-1″ elastic if you are using cotton lycra. However, if you would like a sports bra that will be good for workouts, use 1.5-2″ plus elastic. If you have sewn the Youth Fierce Bra you can use 3/4 or 1″ plush elastic.


Here is the last sew along video. Take a look over it and post your completed Fierce Bra in the comments of the day 6 photo of the sew along album. Of course you are welcome to brag in the main P4P group too 🙂 Great job, everyone!


Fierce Bra SAL | Print and cut pattern [day 1]

Fierce Bra SAL | Choose and cut fabric [day 2]

Fierce Bra SAL | Prepare lining and sew side seams [day 3]

Fierce Bra SAL | Sew front neckline [day 4]

Fierce Bra SAL | Add shoulder FOE [day 5]

Fierce Bra SAL | Add under bust elastic [day 6]

Fierce Bra SAL | Winners announcement [day 7]
Filed Under: Frequently Asked Questions, Sew-A-Long Leave a Comment

Fierce Bra SAL day 5

November 29, 2019


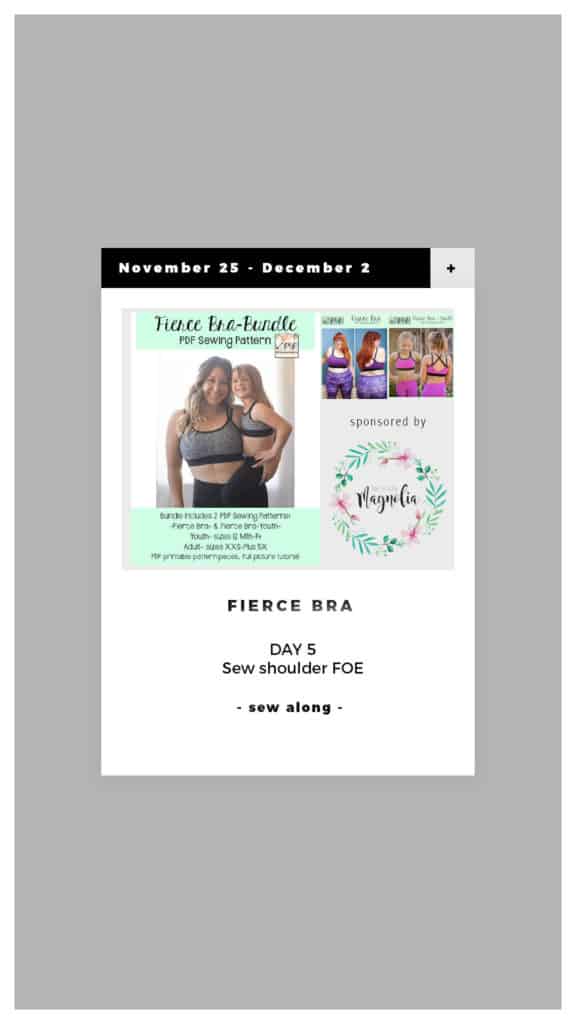
Good morning! Today we are adding the FOE shoulder straps. Start by marking your straps front and back notches. Do not skip this step! Sew one strap in a loop. Match the front notch to the front pick up and the back notch to the back pick up. Pin in place. You will stretch the FOE to match the armscye.

Day 5 video is posted below. Once you add both shoulder straps post a picture of the completed steps in the comments of “day 5” photo of the Fierce Bra sew along album.

Fierce Bra SAL | Print and cut pattern [day 1]

Fierce Bra SAL | Choose and cut fabric [day 2]

Fierce Bra SAL | Prepare lining and sew side seams [day 3]

Fierce Bra SAL | Sew front neckline [day 4]

Fierce Bra SAL | Add shoulder FOE [day 5]

Fierce Bra SAL | Add under bust elastic [day 6]

Fierce Bra SAL | Winners announcement [day 7]
Filed Under: Frequently Asked Questions, Sew-A-Long Leave a Comment

Fierce Bra SAL day 4

November 28, 2019


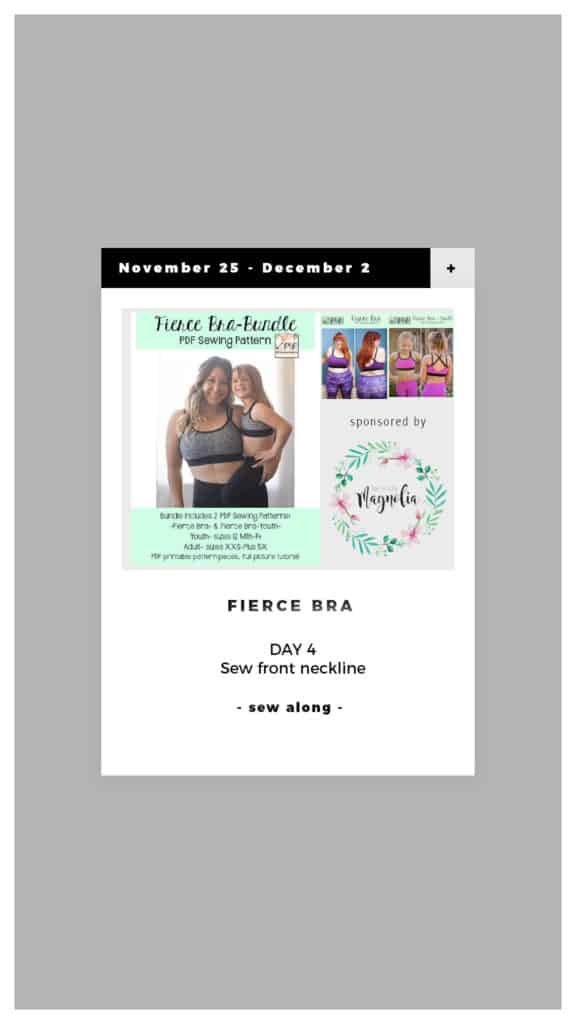
Good morning, pirates and mermaids! Today’s step is attaching the FOE to the front of the neckline and the overlapping back. It is highly important to triple check that the fold over elastic ends are not twisted when attach them to the back of the bra.

Make sure you mark your notches (center and pick ups) on the FOE as the center fold over elastic part is smaller than the front curve. You will be stretching the elastic to match the neckline.

Below is today’s video. Once you finish your steps post a picture in the comments of day 4 photo of the Fierce Bra SAL album in the Sew Along group.

Fierce Bra SAL | Print and cut pattern [day 1]

Fierce Bra SAL | Choose and cut fabric [day 2]

Fierce Bra SAL | Prepare lining and sew side seams [day 3]

Fierce Bra SAL | Sew front neckline [day 4]

Fierce Bra SAL | Add shoulder FOE [day 5]

Fierce Bra SAL | Add under bust elastic [day 6]

Fierce Bra SAL | Winners announcement [day 7]
Filed Under: Frequently Asked Questions, Sew-A-Long Leave a Comment

Fierce Bra SAL day 3

November 27, 2019


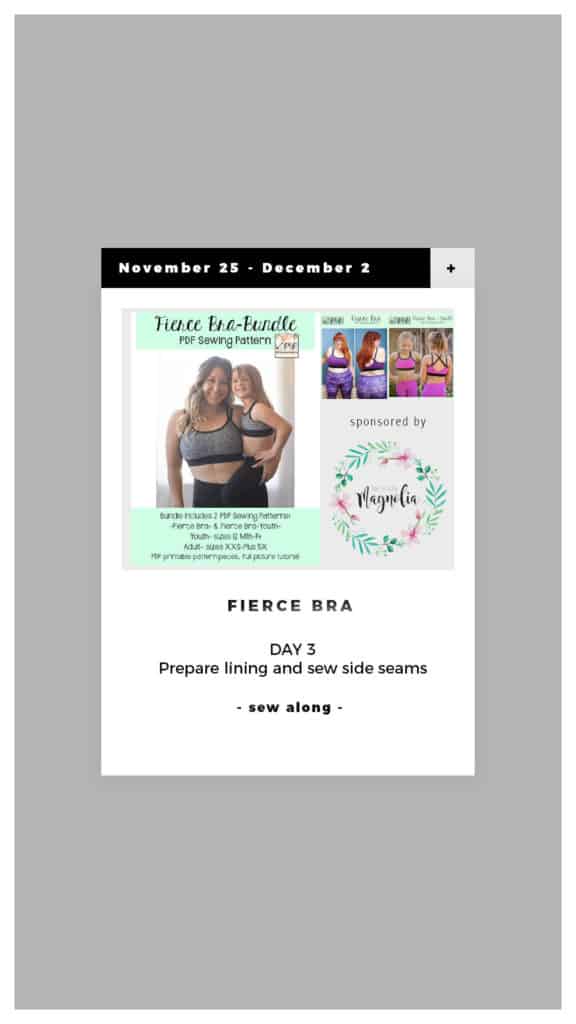
Let’s start sewing! On day 3 we sew the inner lining to the lining piece and sew the side seams on both the main and the lining. The youth Fierce Bra does not include a “cups” option however, Angela showed us in the release hacks blog how to add cups to the youth bra. You can check it out here. If you would like to sew one of the hacks during this sew along, your entry will still count for the prizes 🙂

If you opted out of the cups, you will only have lining and main and your steps today will be just sewing the side seams…super duper easy! 

Take a look over the day three video below and post  picture of your progress in the comments of day 3  picture of the Fierce Bra SAL album.

Fierce Bra SAL | Print and cut pattern [day 1]

Fierce Bra SAL | Choose and cut fabric [day 2]

Fierce Bra SAL | Prepare lining and sew side seams [day 3]

Fierce Bra SAL | Sew front neckline [day 4]

Fierce Bra SAL | Add shoulder FOE [day 5]

Fierce Bra SAL | Add under bust elastic [day 6]

Fierce Bra SAL | Winners announcement [day 7]
Filed Under: Frequently Asked Questions, Sew-A-Long Leave a Comment

Fierce Bra SAL day 2

November 26, 2019


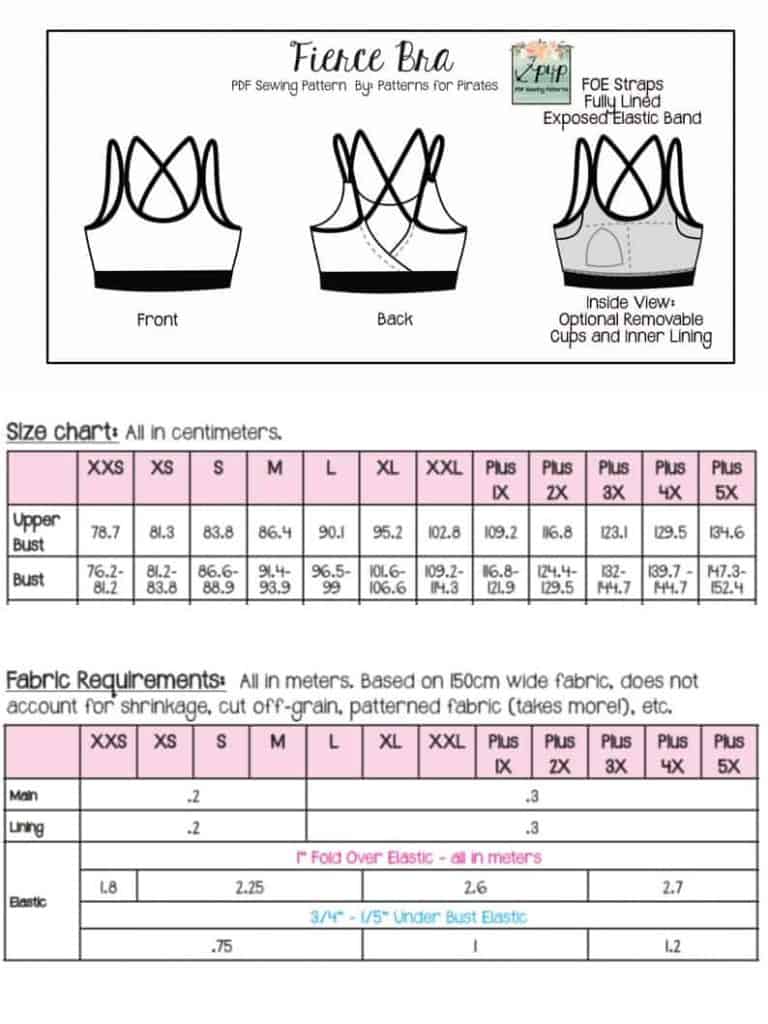
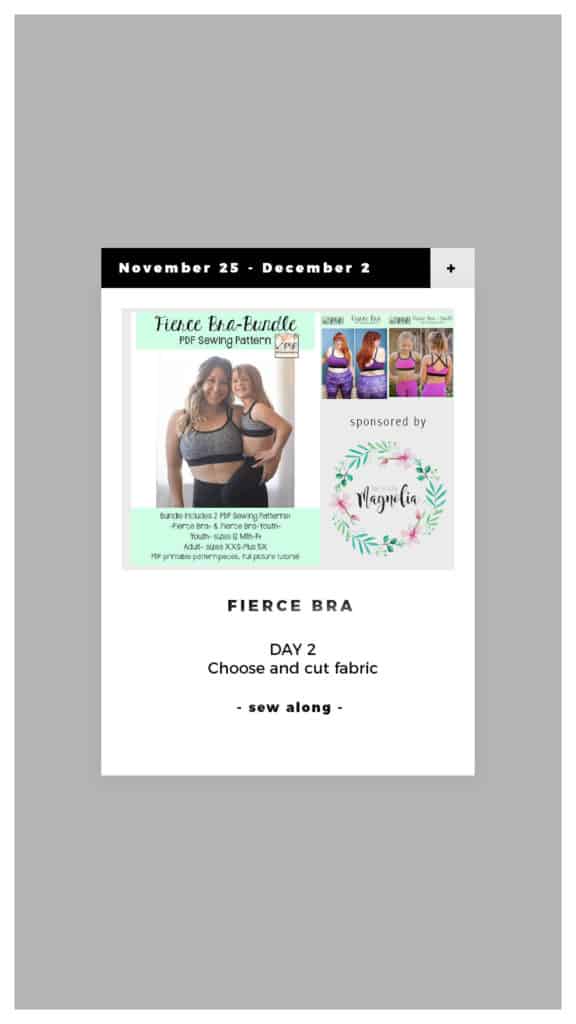
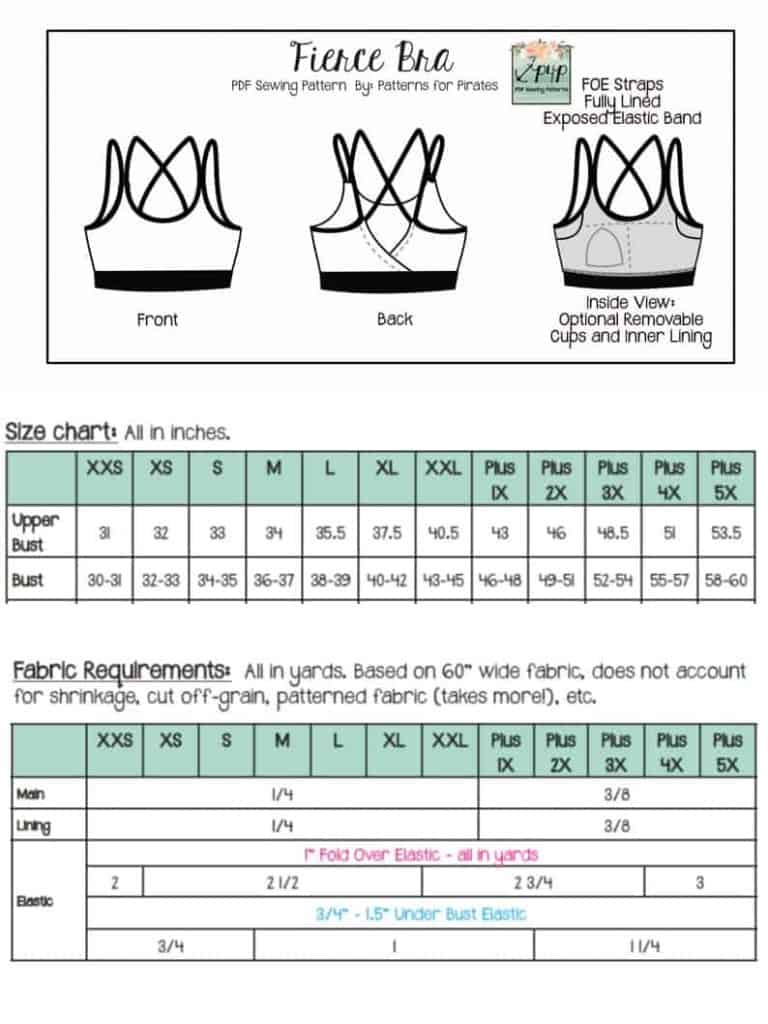
Welcome to day 2 of our Fierce Bra sew along. Today we will be choosing the fabric, cutting it and gathering all necessary notions. To make the Fierce Bra you will need athletic knit or cotton spandex fabric, 1″ Fold Over Elastic (FOE), 3/4″ – 2″ plush waistband elastic and optionally power mesh or cups.

For my Fierce Bra I decided to go with a gorgeous athletic knit I got from The Styled Magnolia. I am using solid purple supplex, also from TSM, for lining and a nude swim for the inner lining. I am using 1″ FOE and 1.5″ plus elastic, both from Amazon.

The Day 2 video is posted below. Check it out and once you are done cutting your fabric post a picture of your prepped fabric in the comments of the Day 2 photo of the Fierce Bra SAL album in the M4M & P4P Sew Along group.

Fierce Bra SAL | Print and cut pattern [day 1]

Fierce Bra SAL | Choose and cut fabric [day 2]

Fierce Bra SAL | Prepare lining and sew side seams [day 3]

Fierce Bra SAL | Sew front neckline [day 4]

Fierce Bra SAL | Add shoulder FOE [day 5]

Fierce Bra SAL | Add under bust elastic [day 6]

Fierce Bra SAL | Winners announcement [day 7]
Filed Under: Frequently Asked Questions, Sew-A-Long 1 Comment

Fierce Bra SAL day 1

November 25, 2019


Welcome to the Fierce Bra

Sew Along!

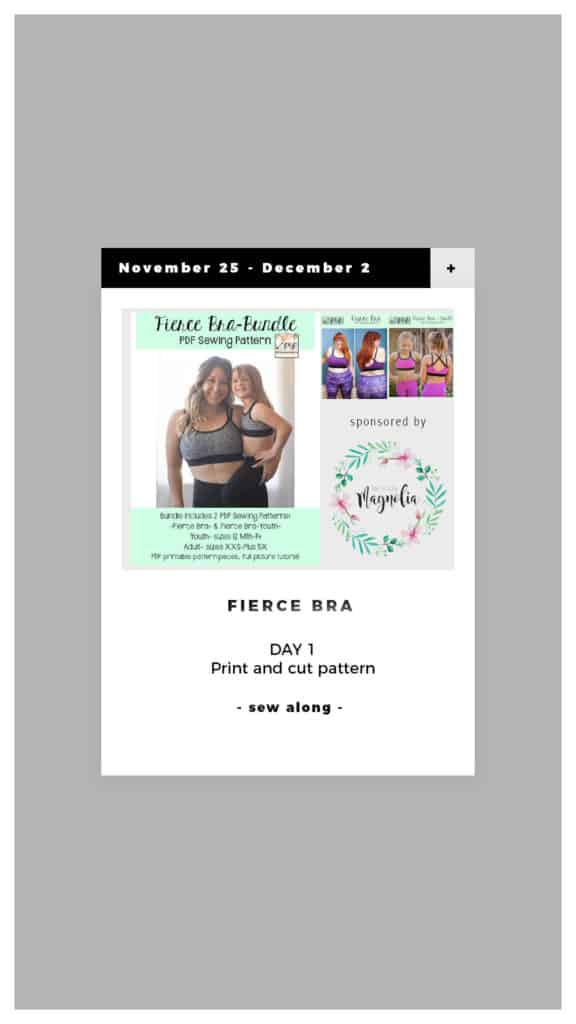
Day 1 is for purchasing the patterns, printing and cutting the size(s) you need. If you plan on sewing for yourself you can get the Fierce Bra here, if you’re sewing for your little one, the Youth Fierce Bra can be purchased here and if you’re sewing for both of you can get the bundle.

This Sew Along will take place in our M4M & P4P Sew Along group so be sure to join the group to be able to post your progress this week. As always all daily posts will be here on the blog but you’ll be checking in with your completed steps in the group, in the comments of each daily picture.


This sew along is sponsored by The Styled Magnolia who specializes in non inspired custom fabric. They offer a variety of athletic knits that make the most perfect Fierce Bras. Our two lucky winners will each get a gift card to shop TSM fabric.


Now that you have your pattern printed, time to cut the correct size(s). The Fierce Bra (adult) pattern includes pieces for Full Bust and Small but so if your full bust is 1 size bigger or smaller than the over bust and under bust measurement you can use the FBA or SBA pattern piece. You will still need to grade if your full bust varies by more than one size from the under/over bust size.

P4P has an amazing blog that gives you tip for accurately taking your measurements. You can read all about it here. If your measurements put you in a different size for bust/waist/hips be sure to check out our P4P University blog and grade to achieve the perfect fit.

Check out the day 1 video below and then comment “done” on the Day 1 picture of the Fierce Bra SAL album in the sew along group. We don’t allow pictures of the pattern pieces so this will count as your day 1 check in. Let’s get started!

Fierce Bra SAL | Print and cut pattern [day 1]

Fierce Bra SAL | Choose and cut fabric [day 2]

Fierce Bra SAL | Prepare lining and sew side seams [day 3]

Fierce Bra SAL | Sew front neckline [day 4]

Fierce Bra SAL | Add shoulder FOE [day 5]

Fierce Bra SAL | Add under bust elastic [day 6]

Fierce Bra SAL | Winners announcement [day 7]
Filed Under: Frequently Asked Questions, Sew-A-Long 5 Comments

  • « Previous Page
  • 1
  • …
  • 5
  • 6
  • 7
  • 8
  • 9
  • …
  • 13
  • Next Page »

connect with me

  • Email
  • Facebook
  • Instagram
  • Pinterest
  • YouTube
Privacy & Cookies: This site uses cookies. By continuing to use this website, you agree to their use.

To find out more, including how to control cookies, see here: Cookie Policy
  • Privacy Policy
  • Refund Policy
  • Contact Us
  • About

Copyright © 2026 Patterns for Pirates

Copyright © 2026 · Genesis Framework · WordPress · Log in