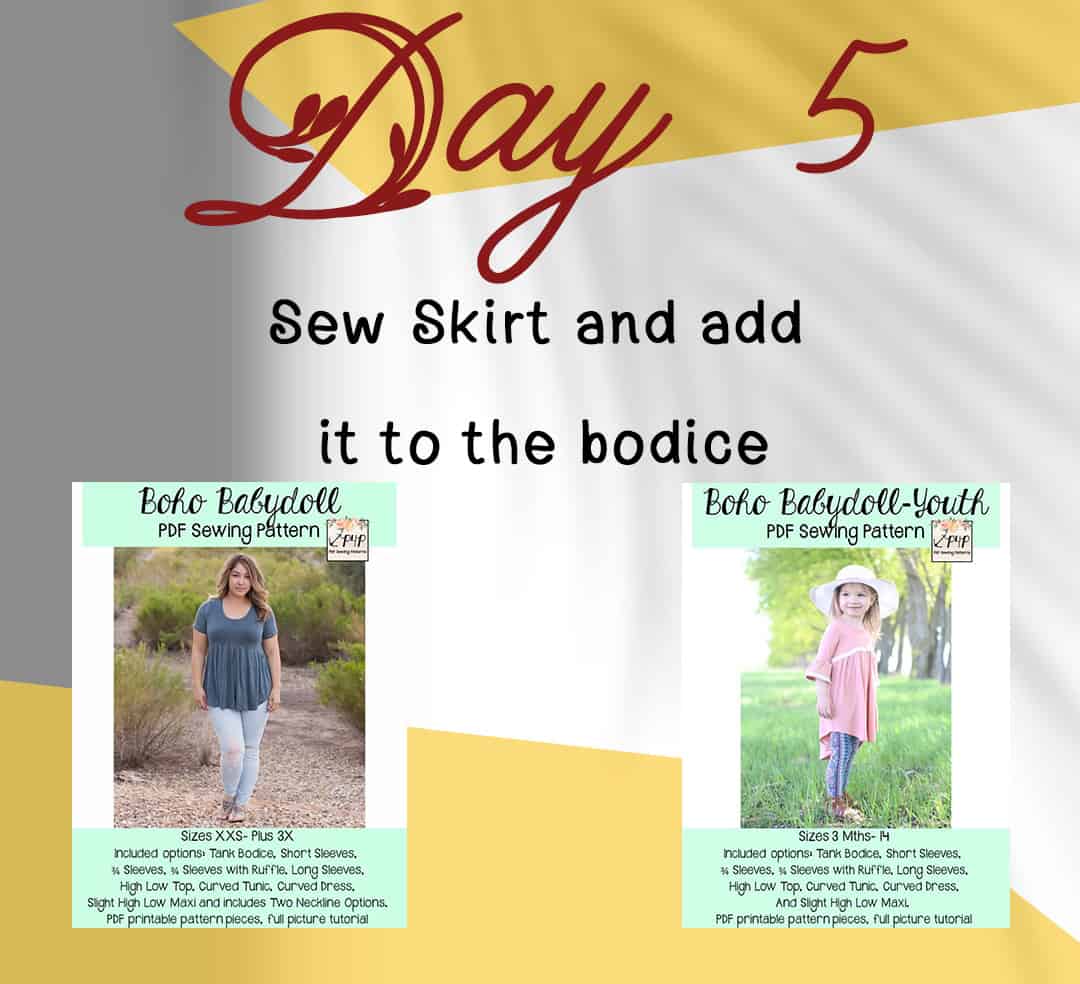
Ahoy, pirates! Today we will add the skirt to to bodice we finished yesterday. Start by sewing the side seams of the skirt pieces, right sides together. Mark the center front of the skirt front and back and well as the bodice.
You will next start gathering the skirt. My suggestion for this pattern is to gather with two rows of stitching. Your first gathering row should be 1/4″ away from the raw edge and the second row will be about 5/8″ away from the raw edge. In doing so, you ensure that one of the stitches will be in the seam allowance and the second one will just outside of it.
Match the center points and side seams of the bodice and gathered skirt right sides together. Attach them with your serger making sure you that you follow the 1/2″ seam allowance. Optionally you can top stitch the seam allowance up on the bodice. I like using my coverstitch for that step but you can certainly use a zig zig stitch or twin needles for this step.
Below is the day 5 video. Once you completed today’s steps post a picture of your progress in the comments of day 5 photo of the Boho SAL album.
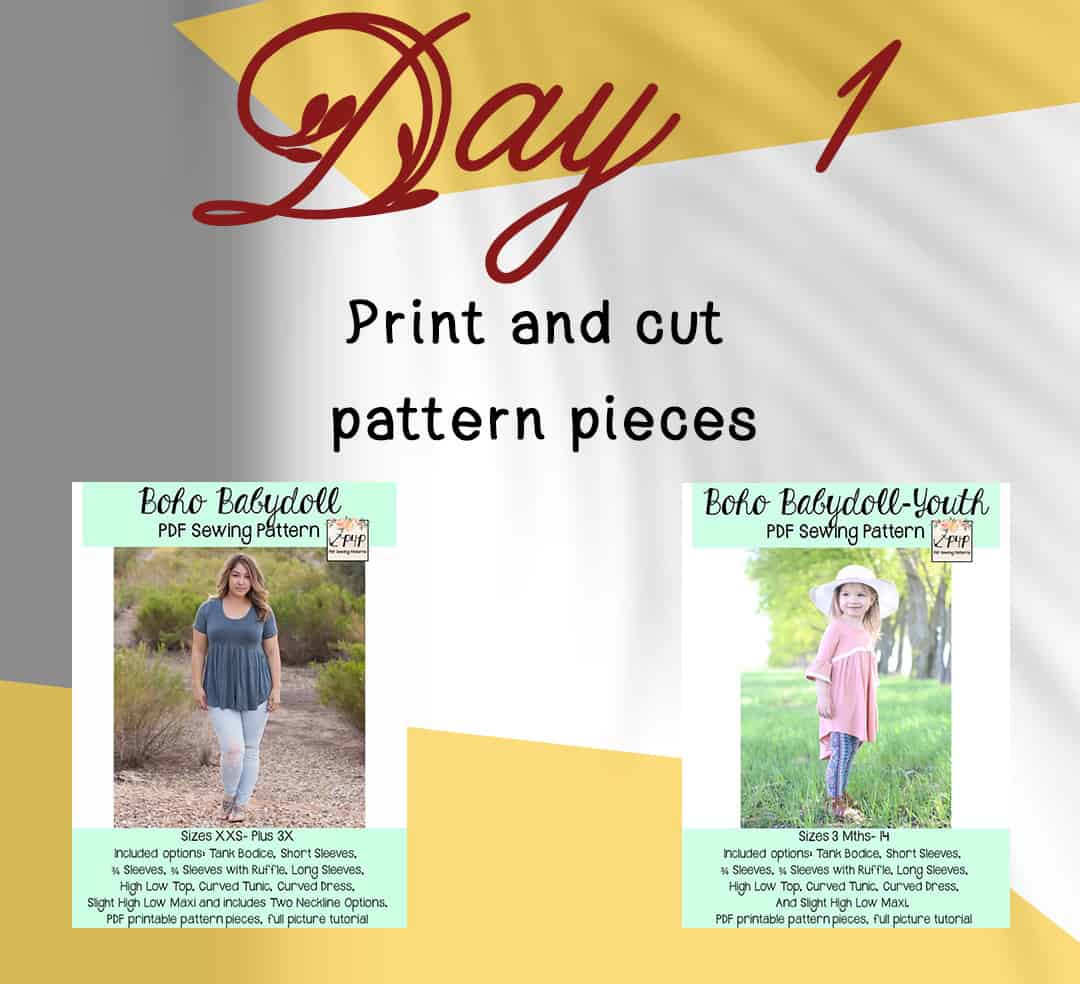
Boho Babydoll Sew Along | Day 1 (print and cut pattern)
Boho Babydoll Sew Along | Day 2 (choose and cut fabric)
Boho Babydoll Sew Along | Day 3 (sew shoulder seams and sleeves)
Boho Babydoll Sew Along | Day 4 (Sew side seams, add neckband and armbands)
Boho Babydoll Sew Along | Day 5 (prepare skirt and attach it)
Boho Babydoll Sew Along | Day 6 (hem skirt and sleeves)
Boho Babydoll Sew Along | Day 7 (winners announcement)