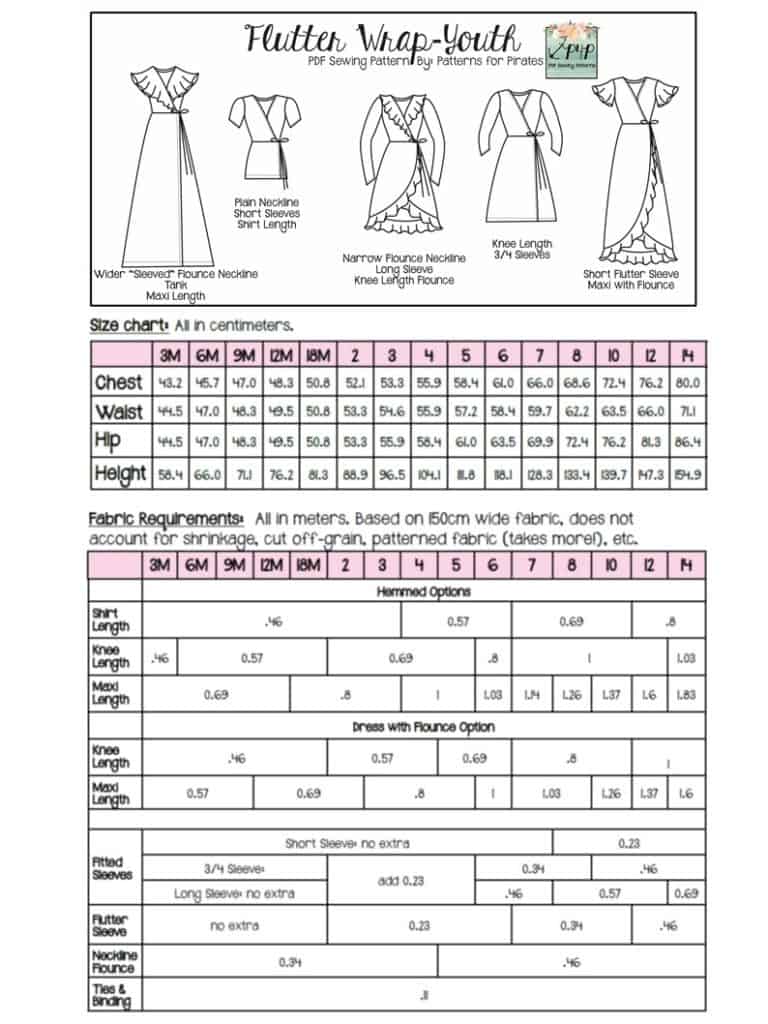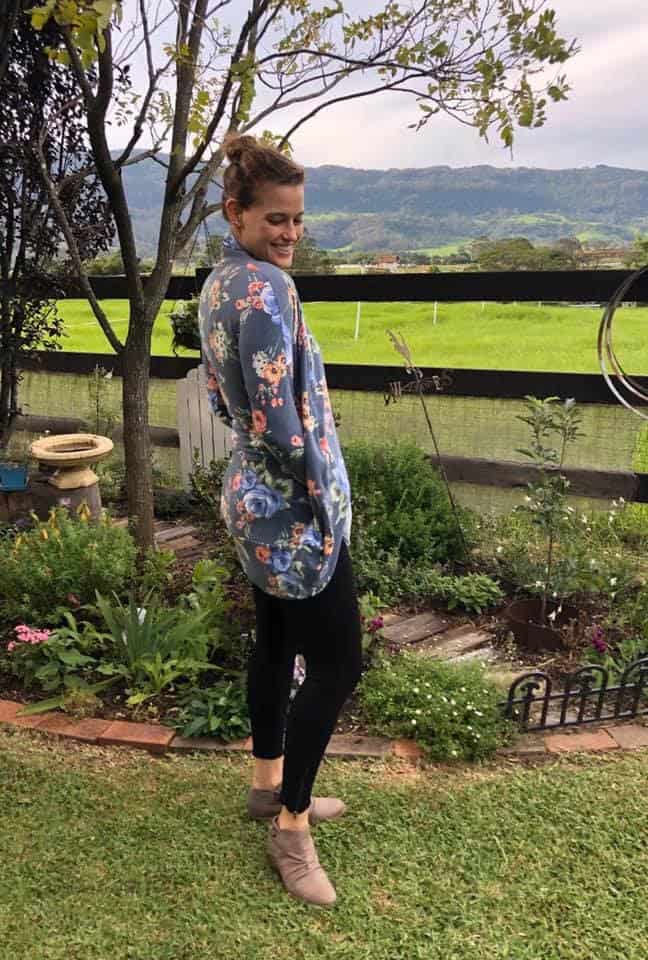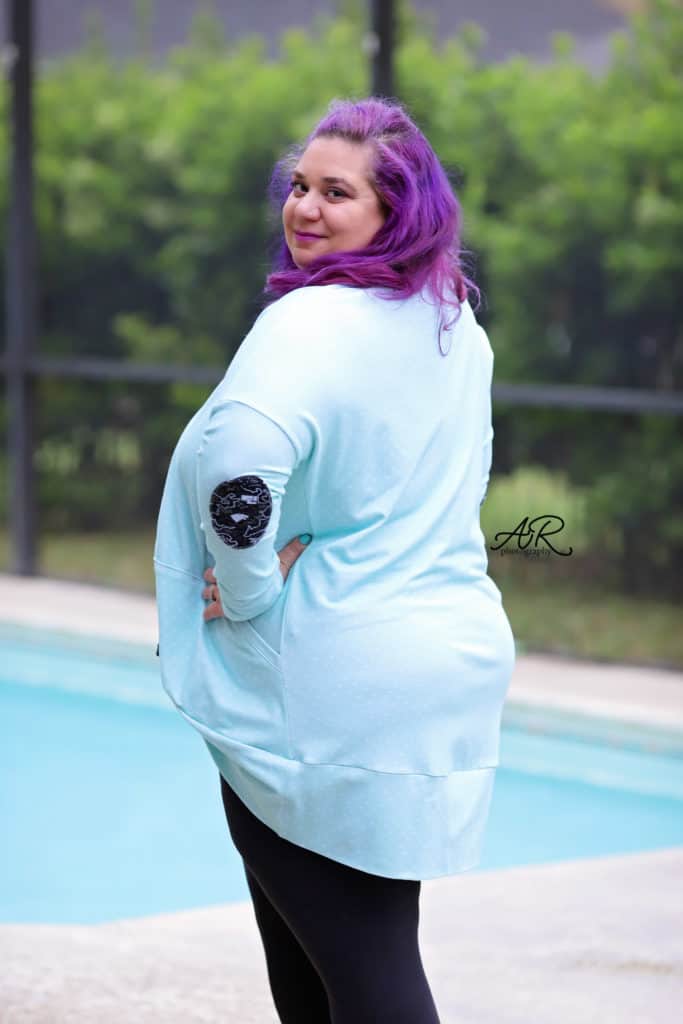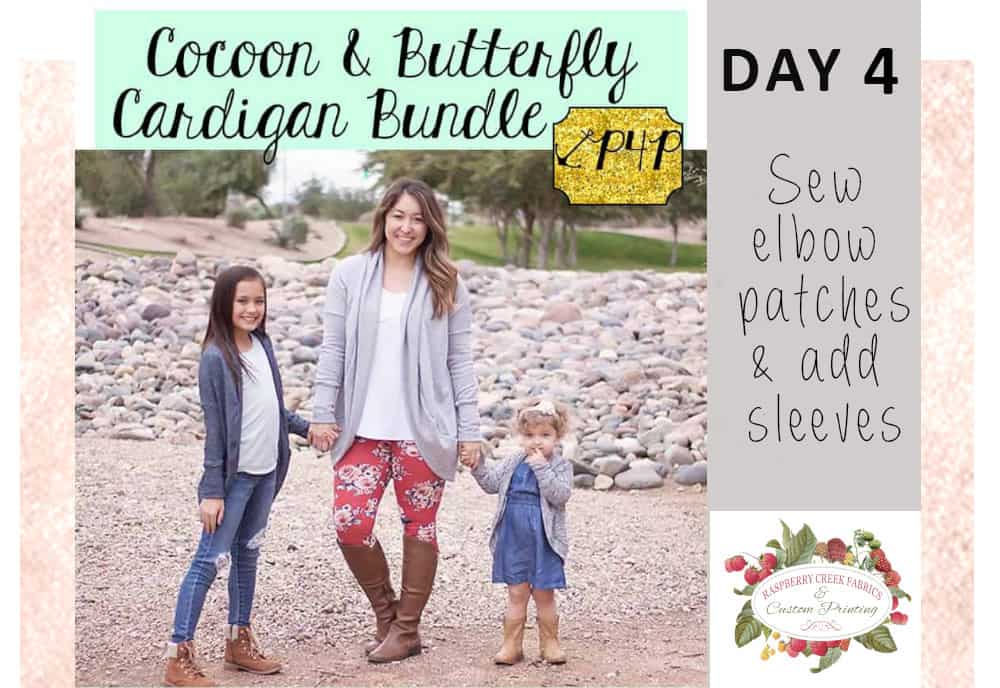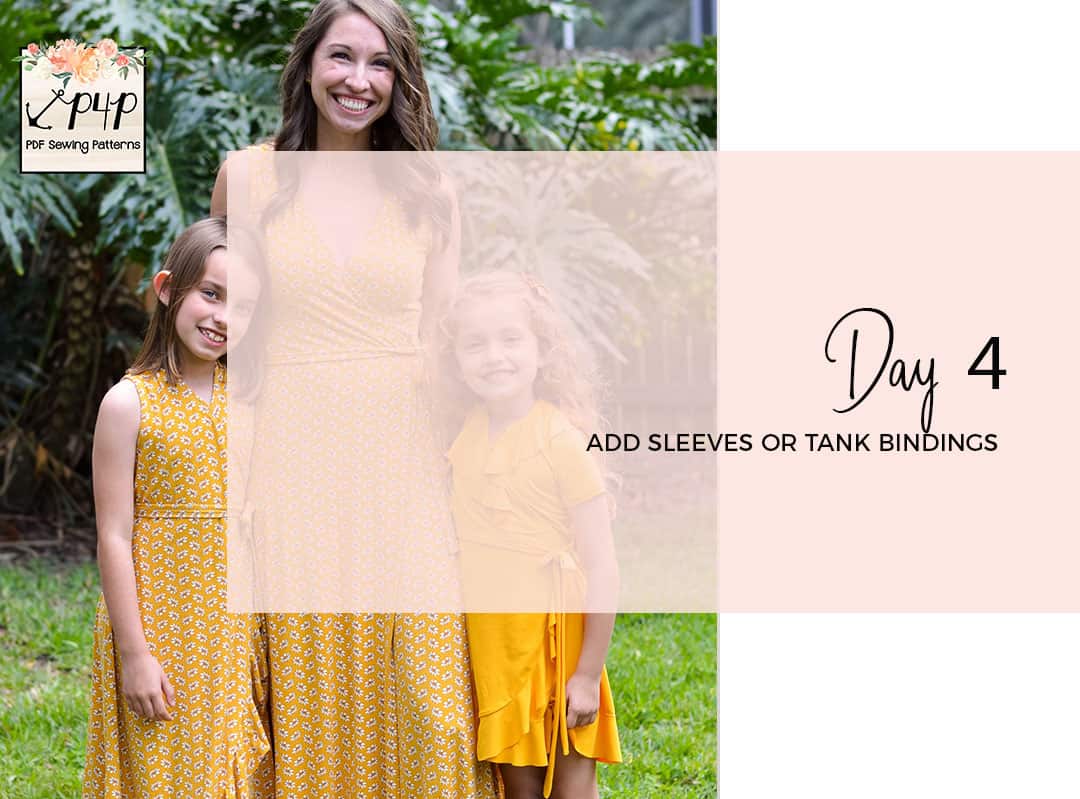
Welcome to day four of the Flutter Wrap sew along! Today we add the sleeves or, if you selected the tank option, add the arm bindings. For my dress I decided to go with the flutter style. All sleeves will be added in the round.
- For the short, 3/4 and long sleeves start by pressing a memory a 1/2 hem. Fold the sleeve right side together and sew the raw edges with a stretch stitch or you serger. Hem the sleeve…see how easy it is to stitch now that you have a memory hem done? 😉
- If you opted for the tank style, start by pressing the binding 1/4″ along one of the long ends. This step will make it so “hassle free” when you fold the binding inside the arm opening.
- The flutter style sleeve will not be hemmed. You will need to finish the serger thread tail. You can read about some of my favorite ways to finish the serger stitch here.
My flutter sleeves process in the video below. As always, once you complete today’s steps, post a picture of the shirt/dress in the comments of day 4 photo of the Flutter Wrap SAL album.
Flutter Wrap SAL day 1 | Print and cut pattern
Flutter Wrap SAL day 2 | Cut fabric
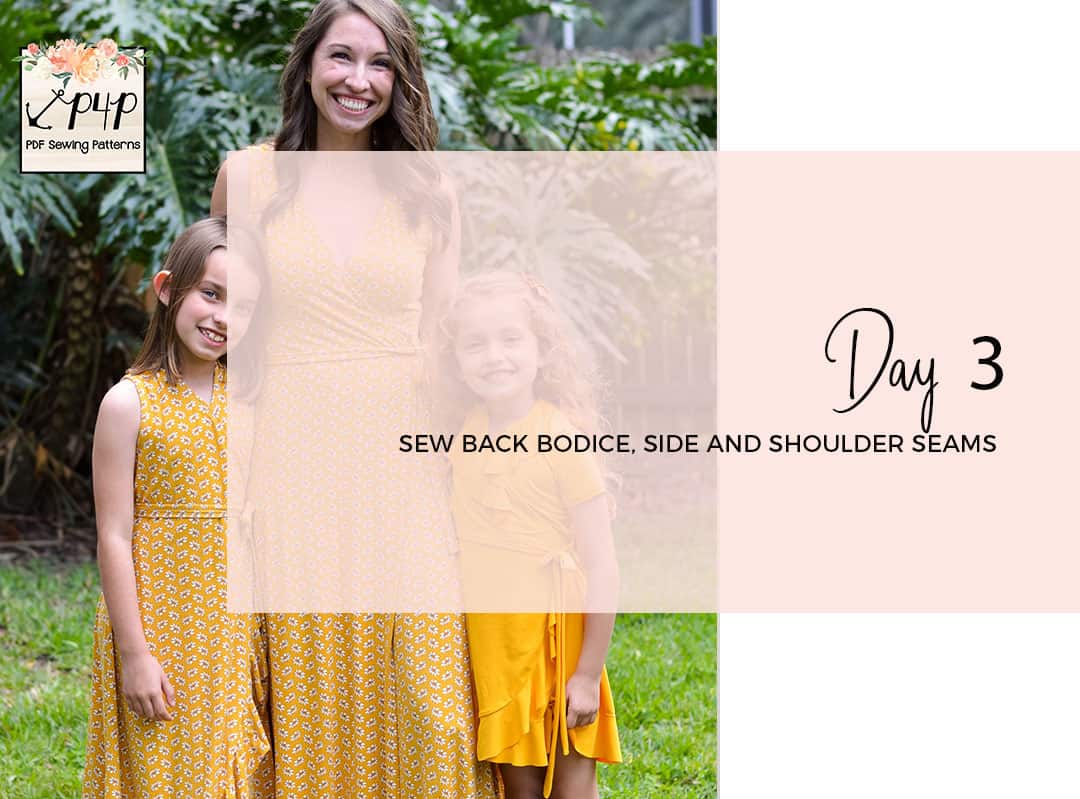
Flutter Wrap SAL day 3 | Sew back, shoulder and side seams
Flutter Wrap SAL day 4 | Sew sleeves or tank binding
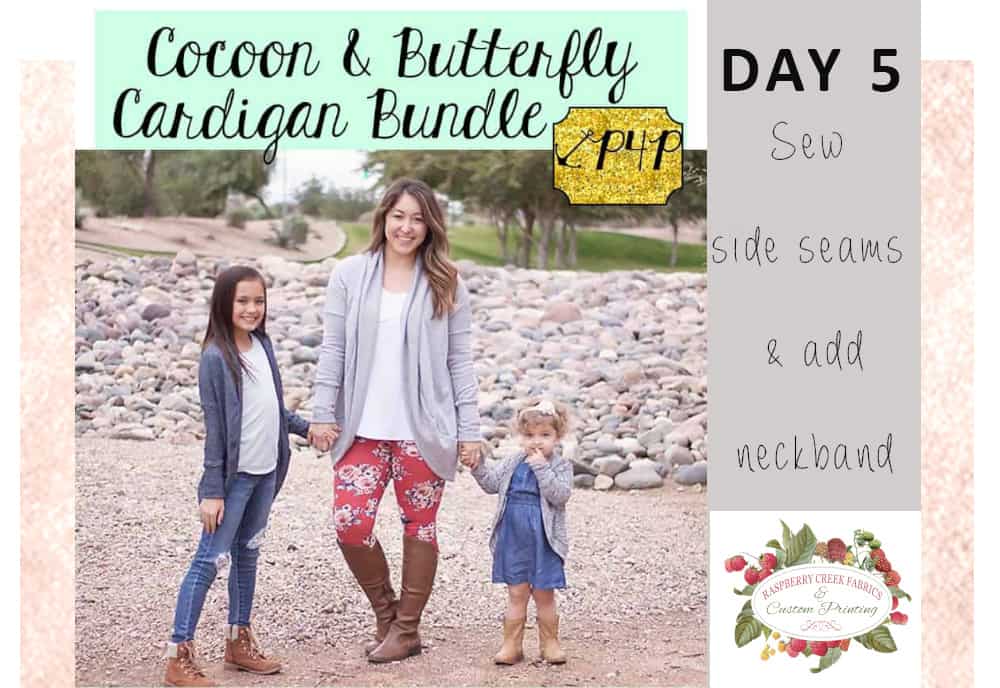
Flutter Wrap SAL day 5 | Add neckline binding and waist ties
Flutter Wrap SAL day 6 | Finish skirt
Flutter Wrap SAL day 7 | Winners announcement