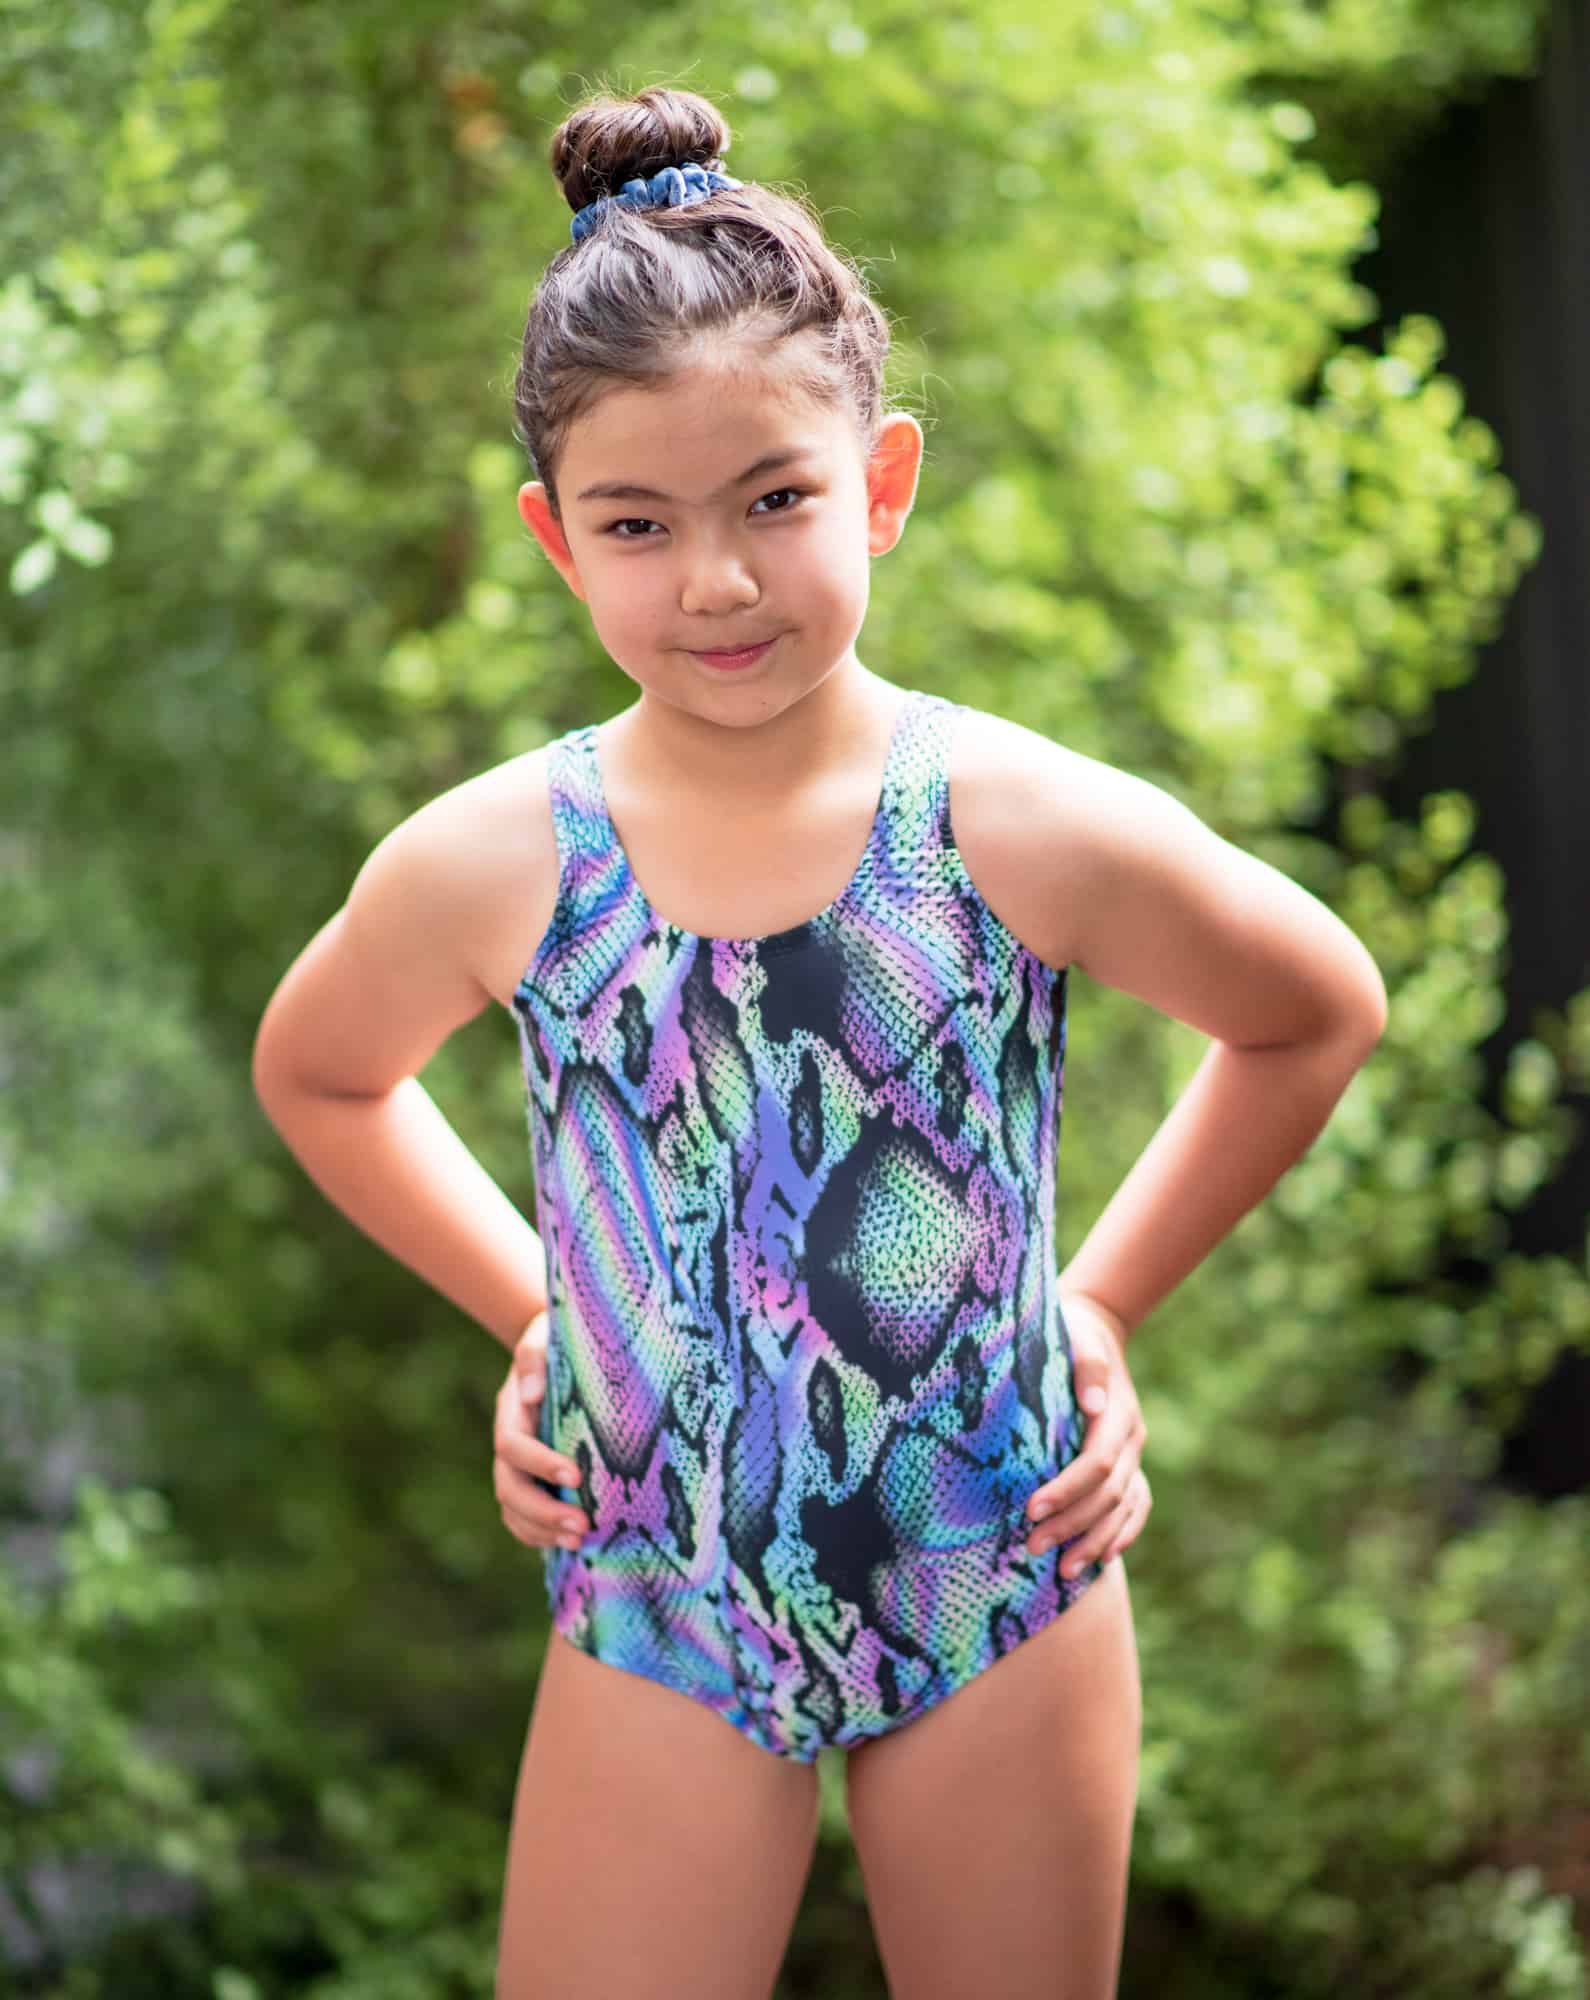
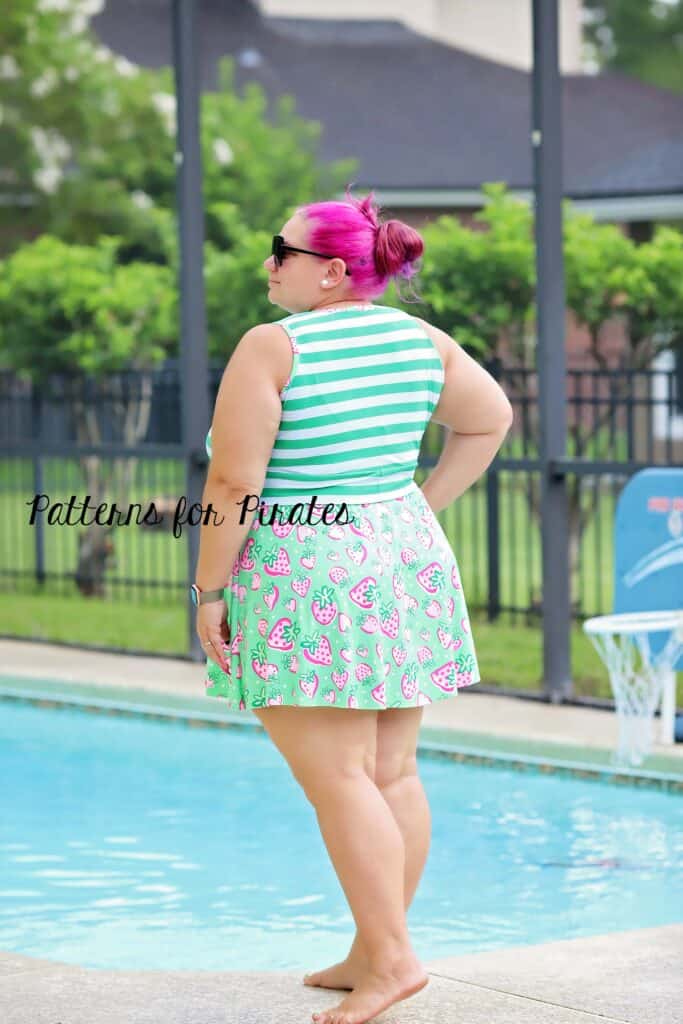
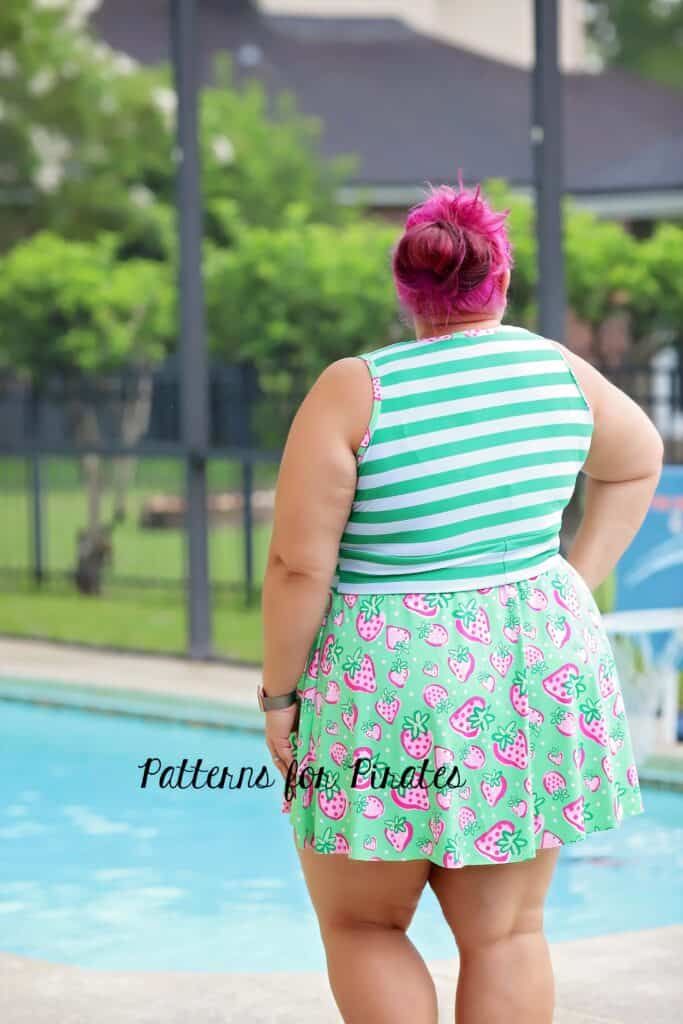
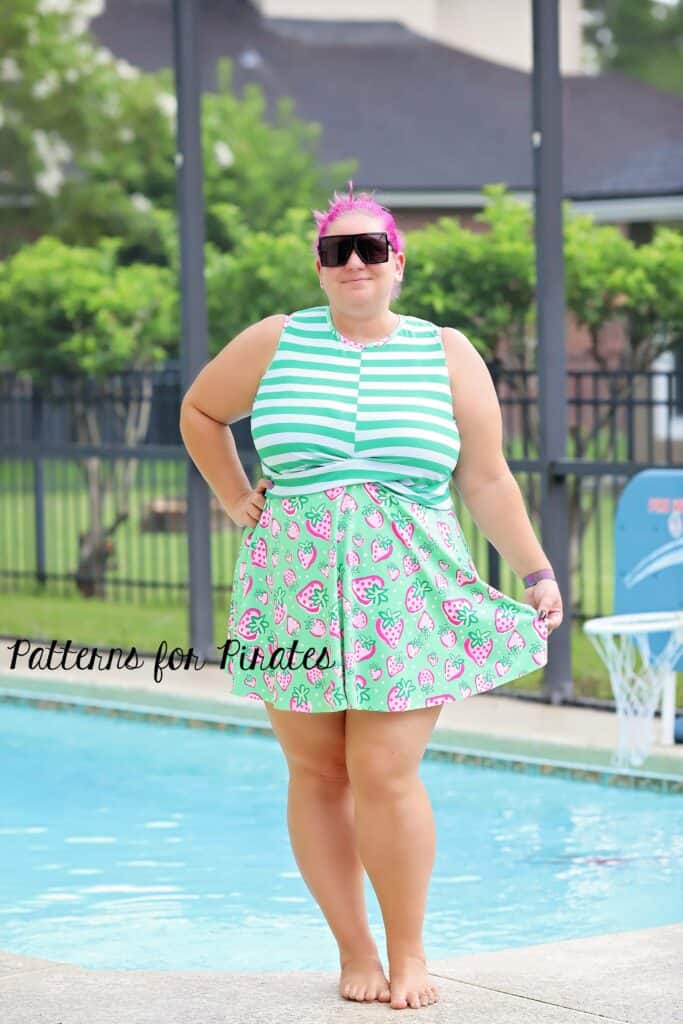
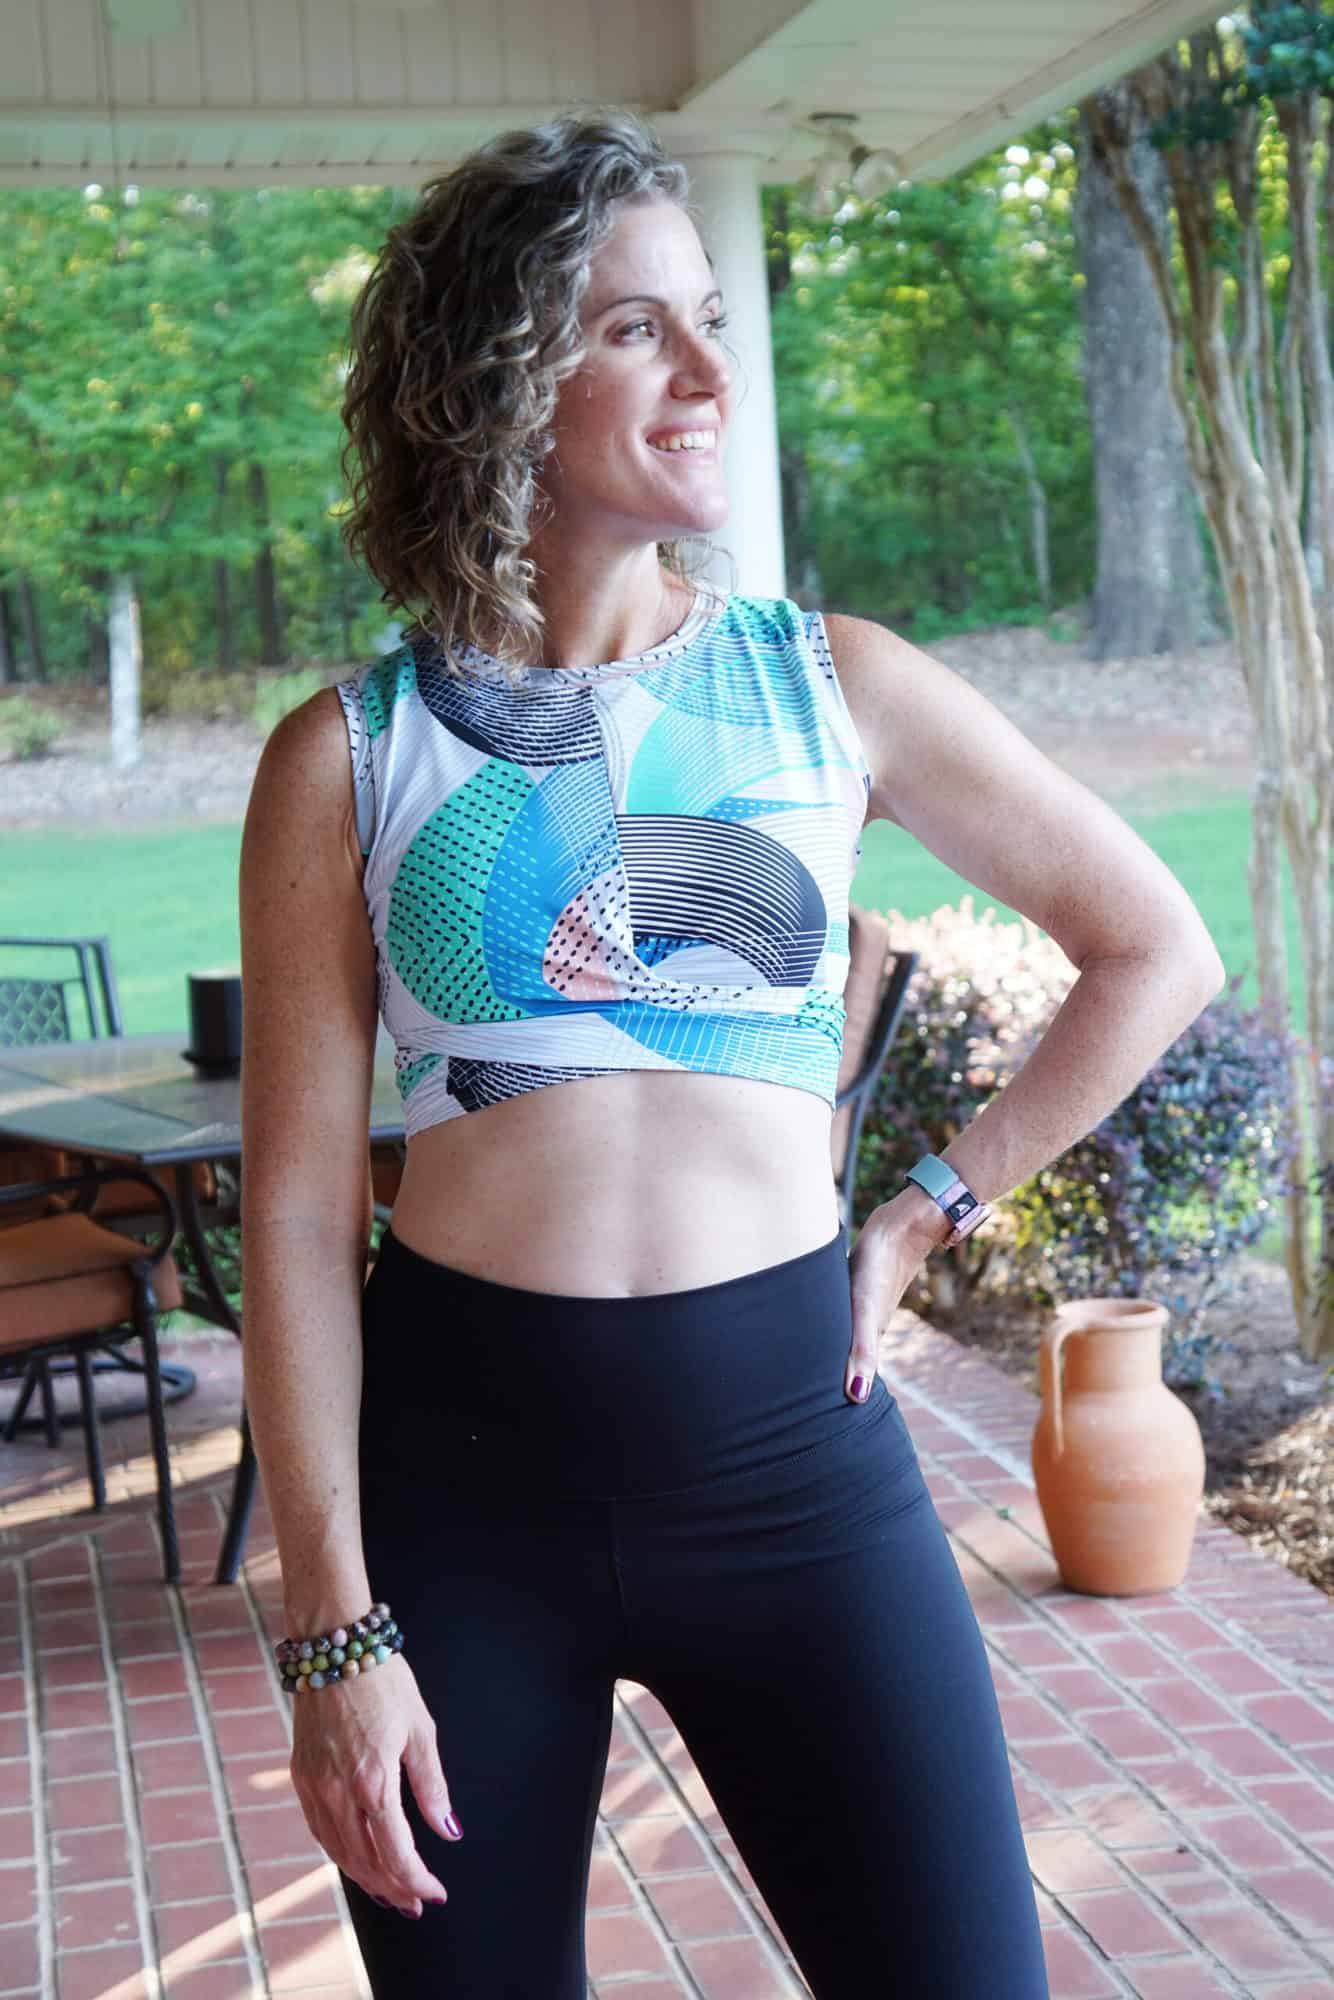
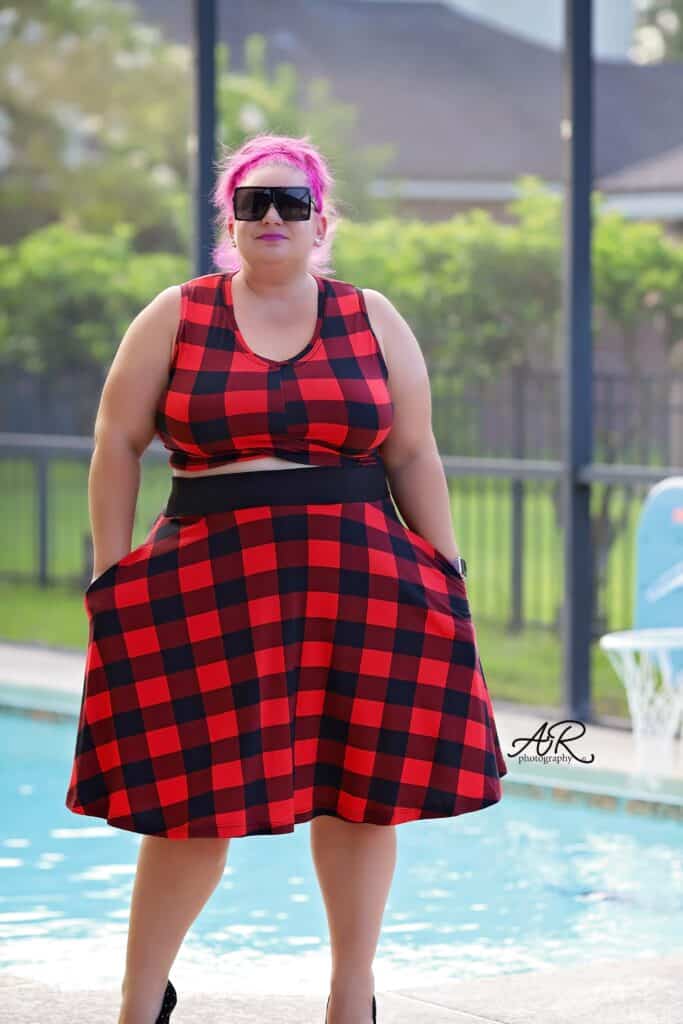
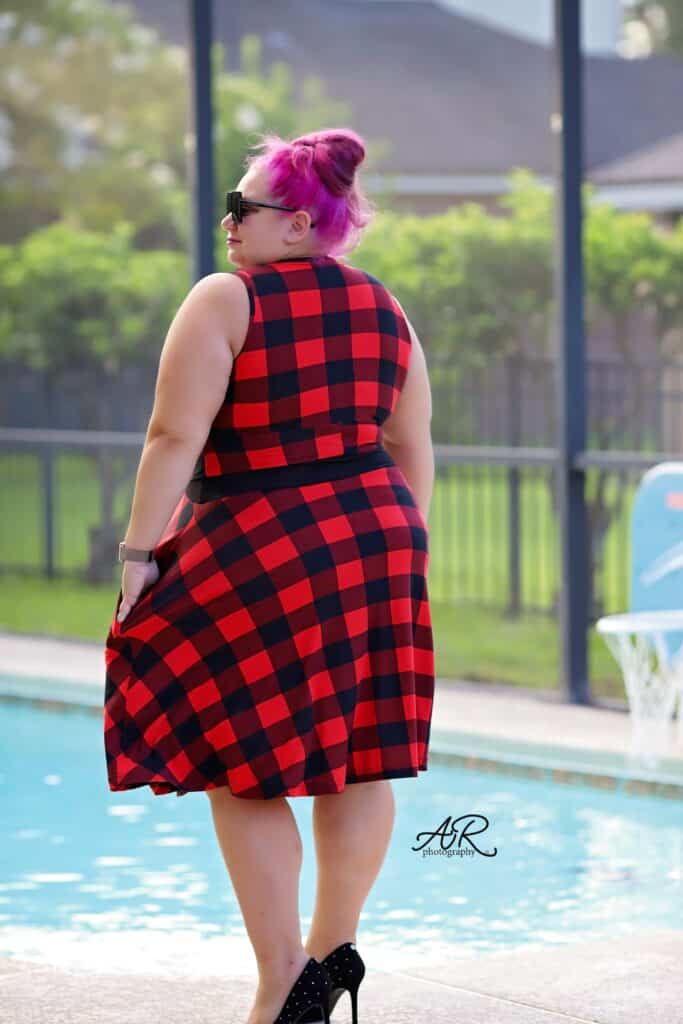
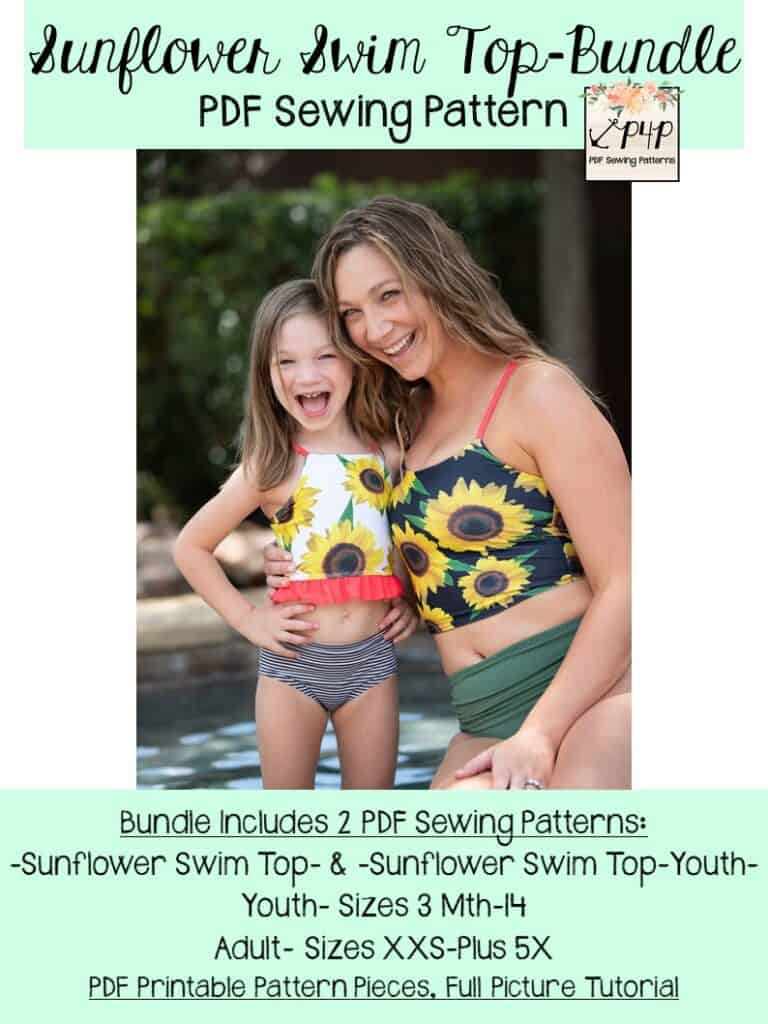
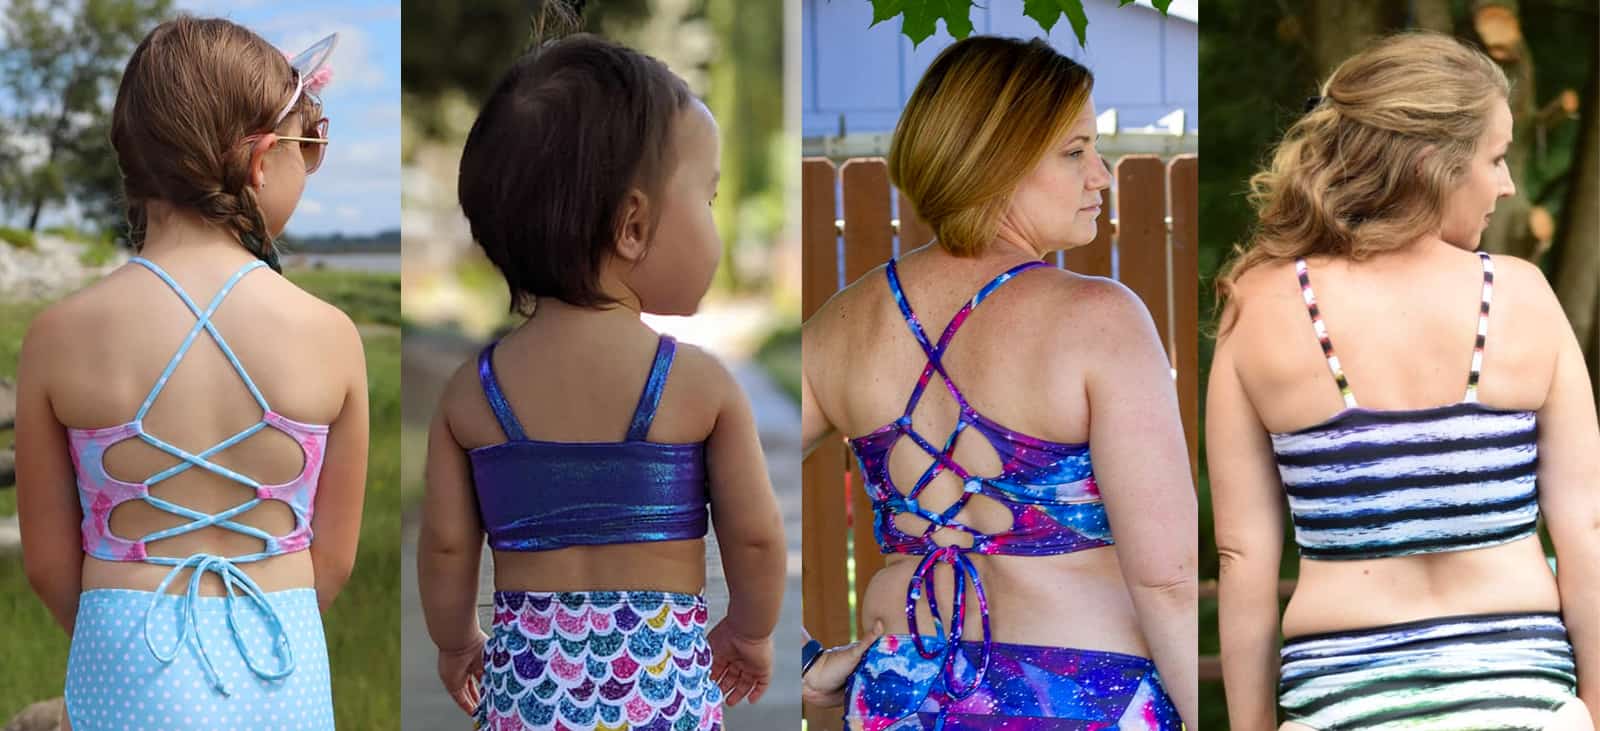
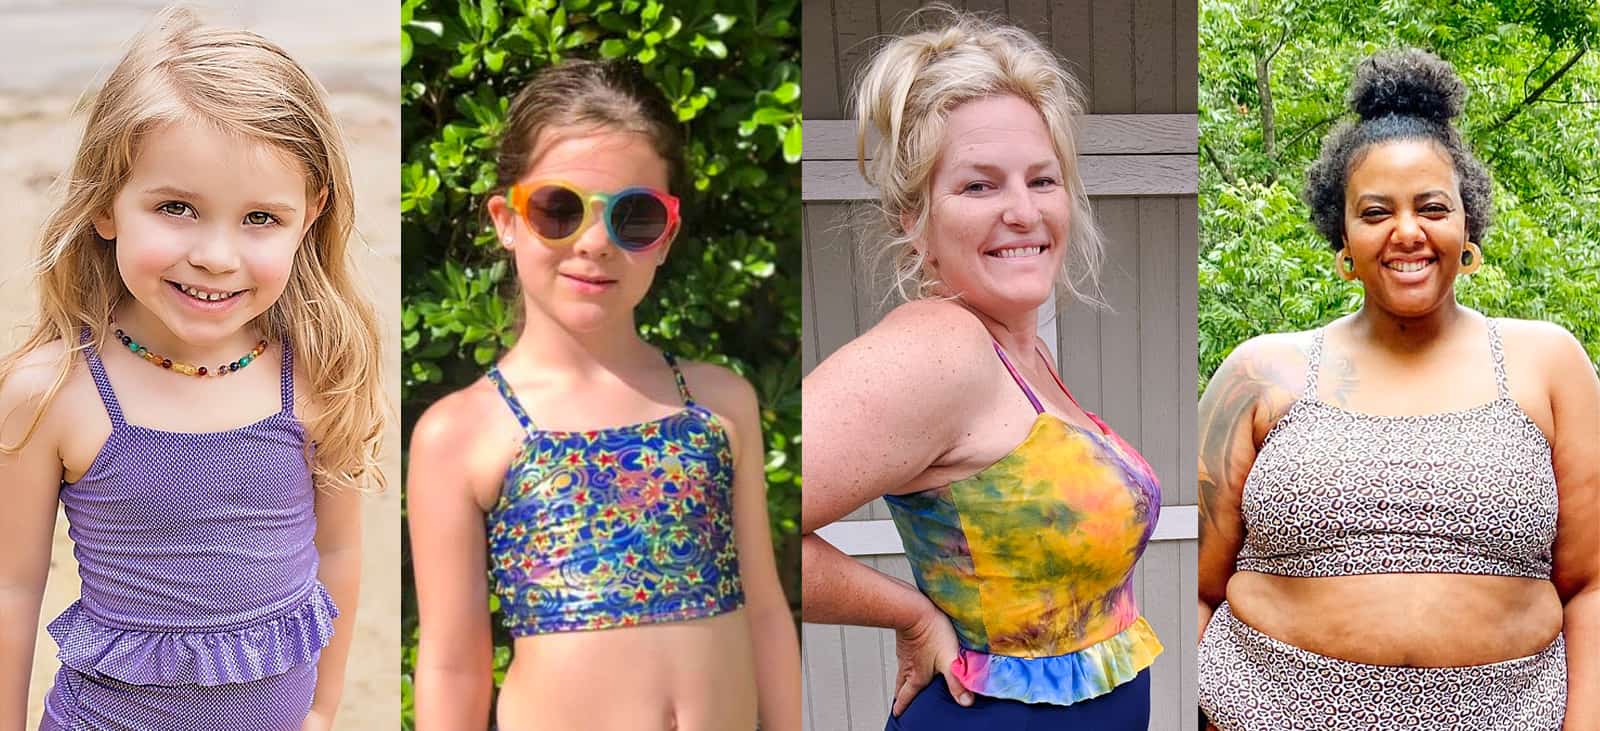
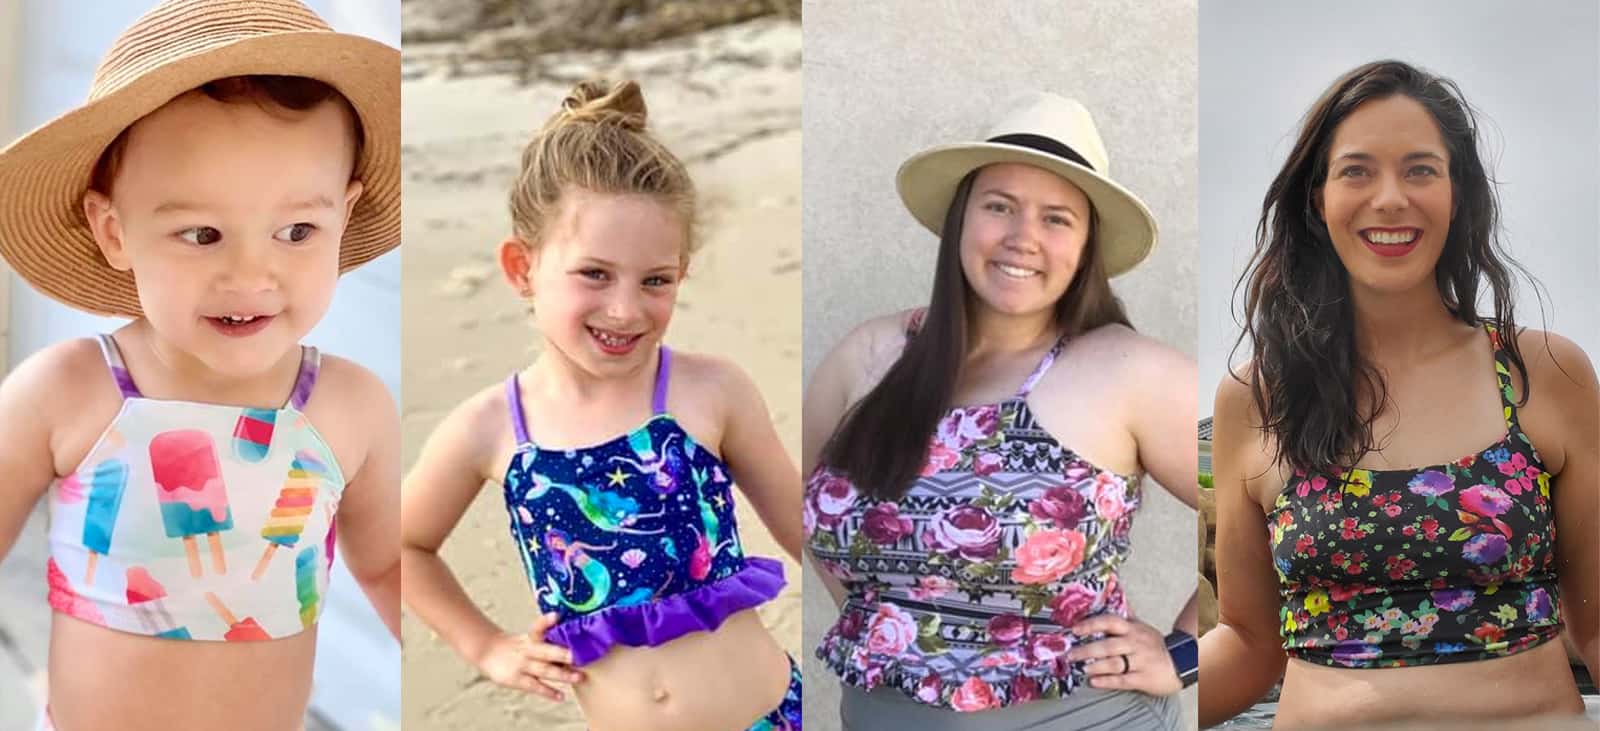
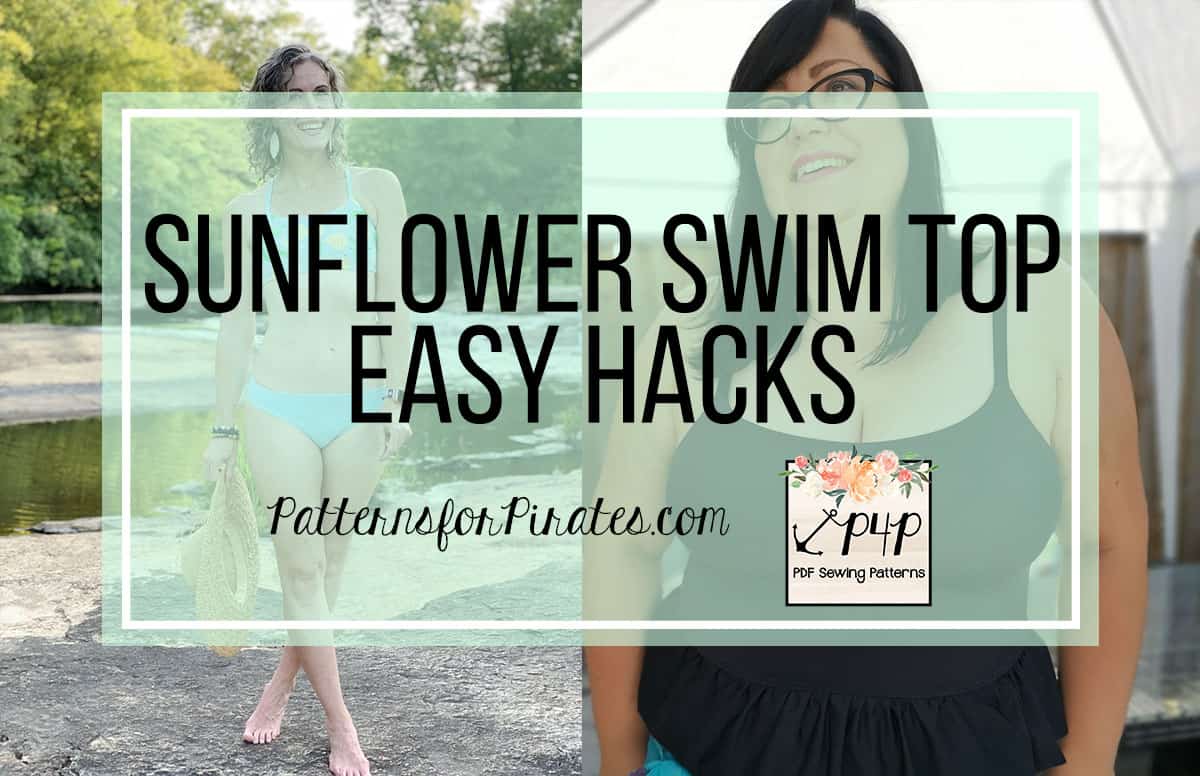
What a splashing fabulous week! Thank you so much for joining me in the Sunflower Swim Top sew along. We loved seeing you get ready for a P4P summer. It is time to announce the two winners, so without further ado….
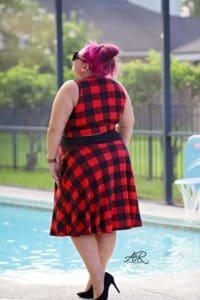
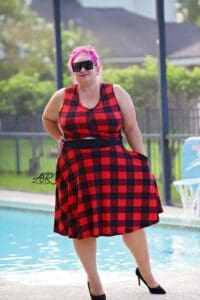
Congratulations Melissa Powell! As our first winner, Melissa will receive a $20 Patterns for Pirates gift card and a $50 Oh So Pretty Custom Fabrics one. I can’t wait to see those smiling faces sporting some OSP/P4P creations!


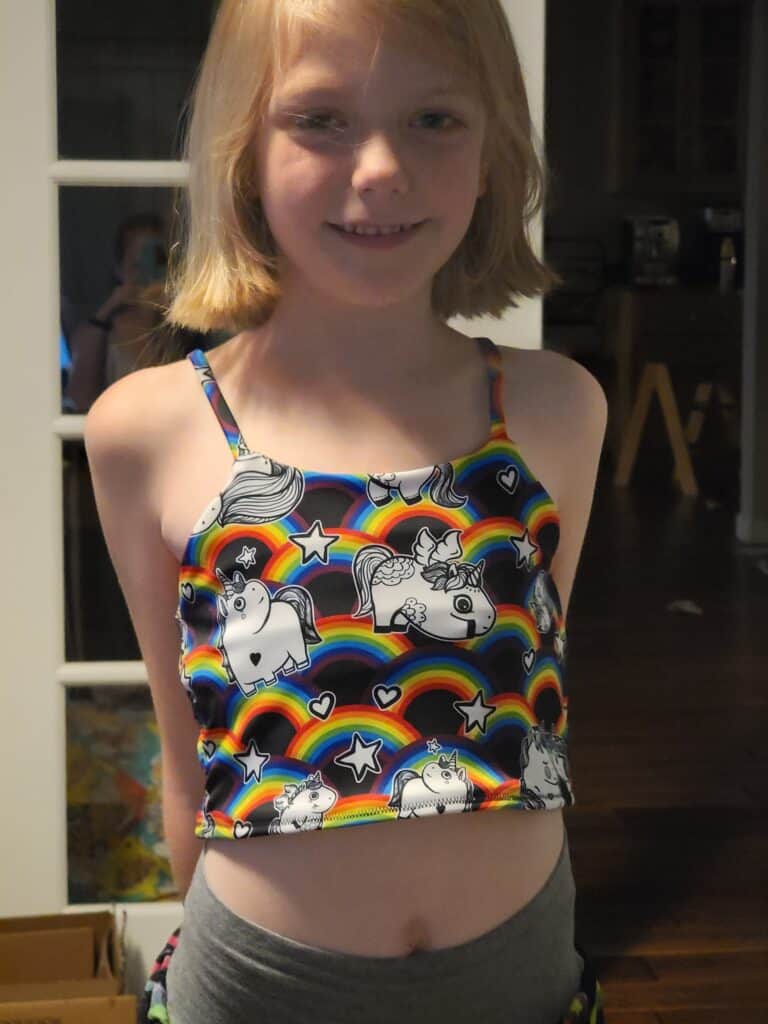
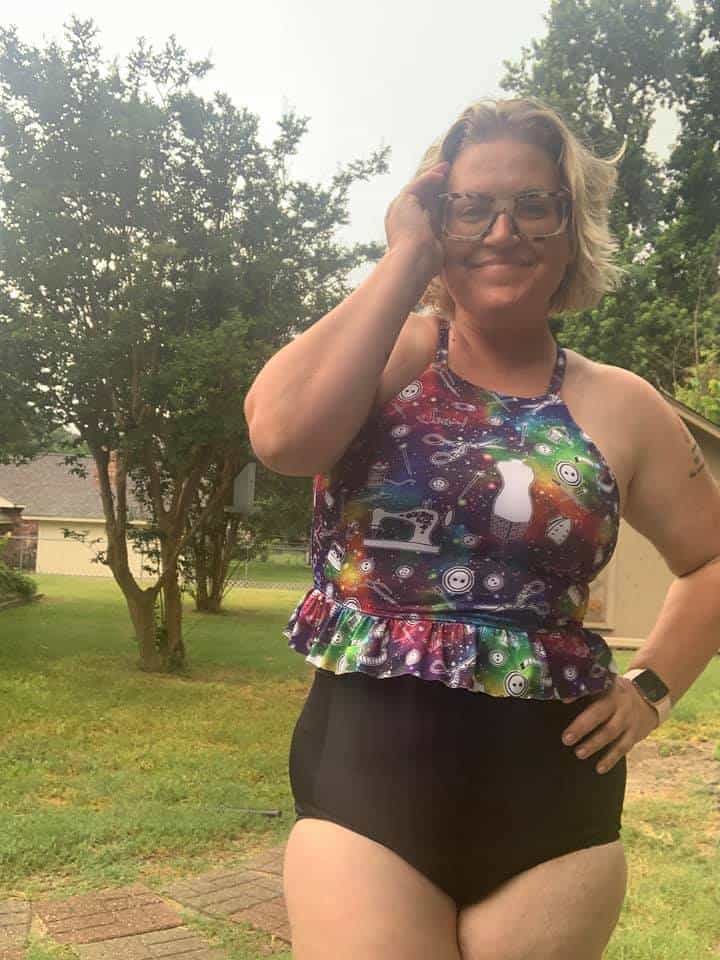
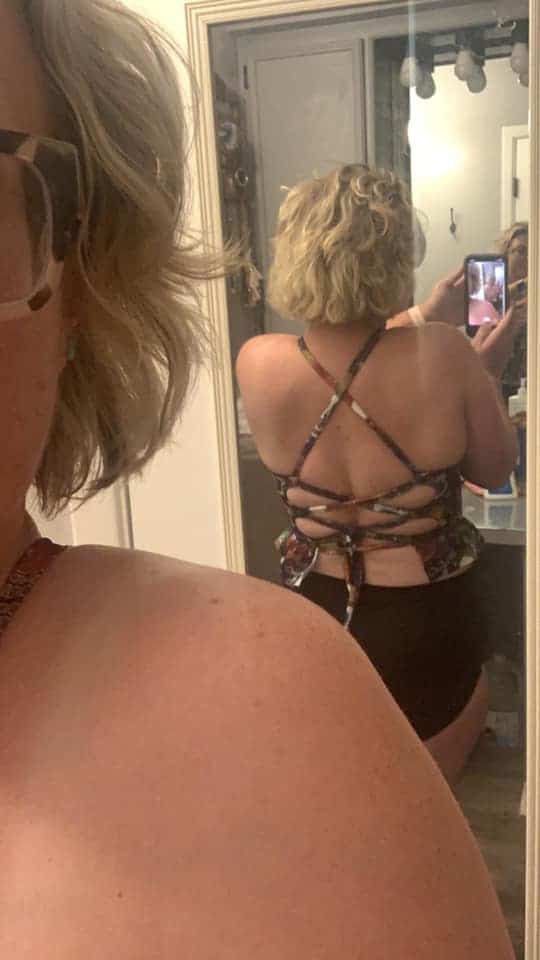
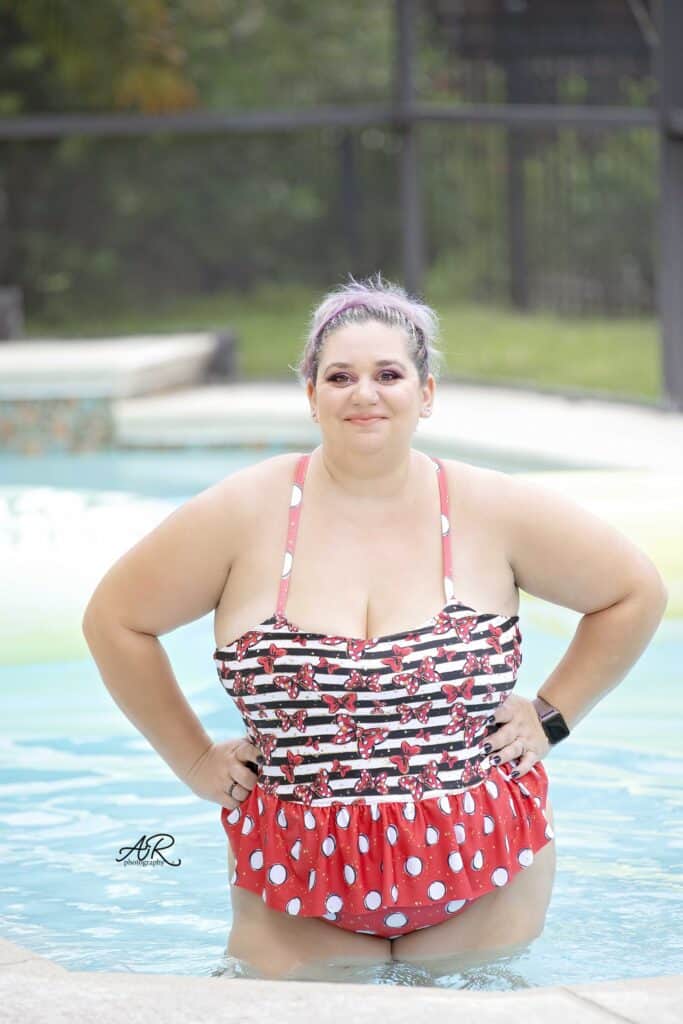
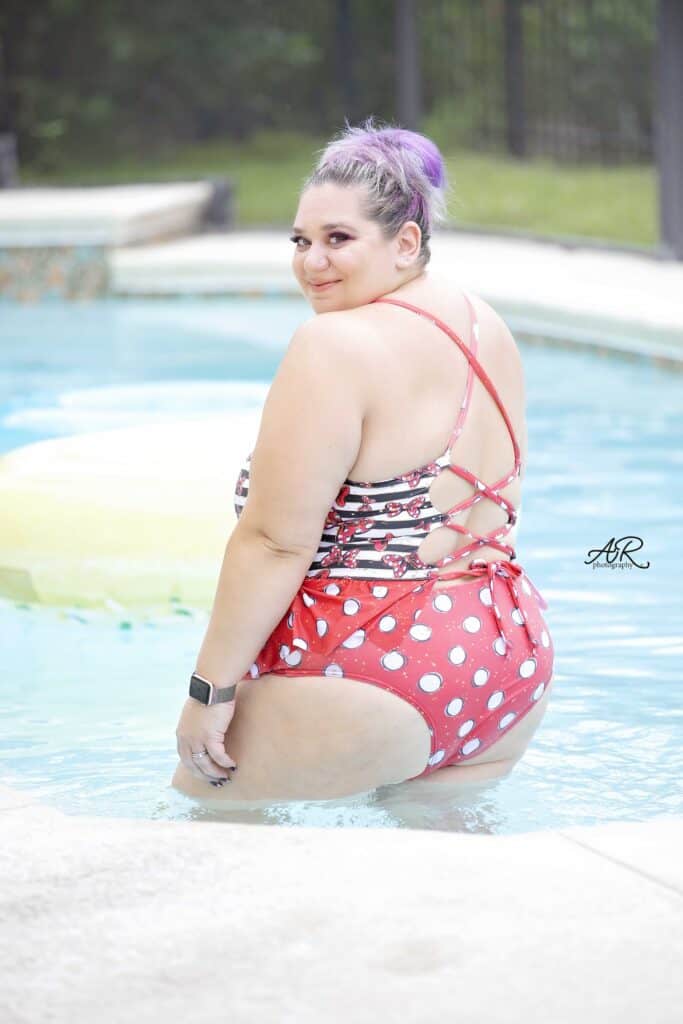
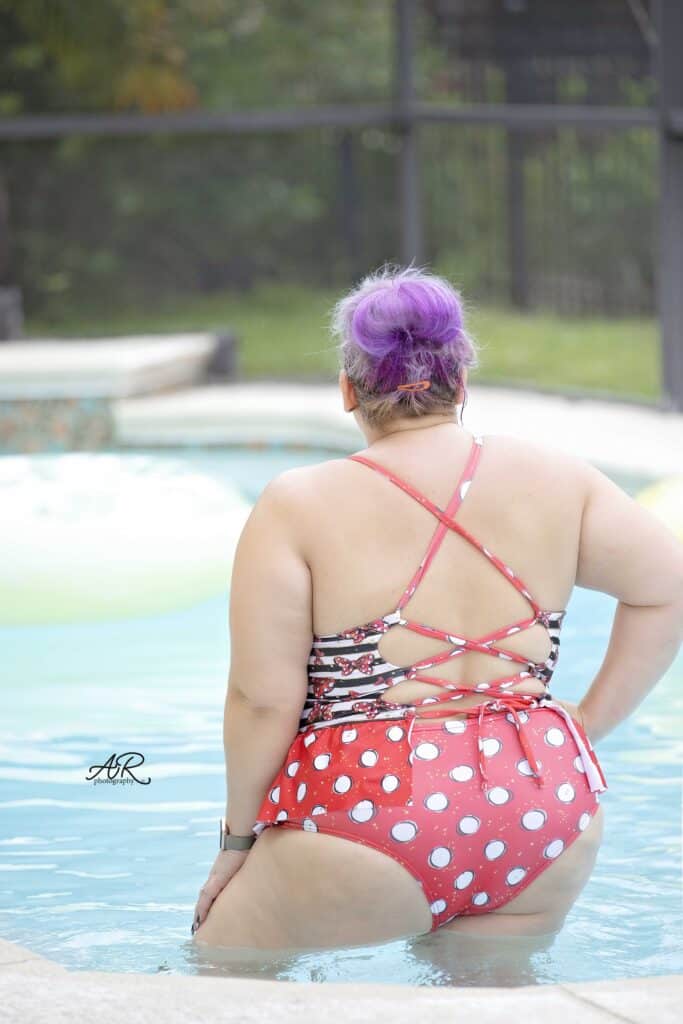
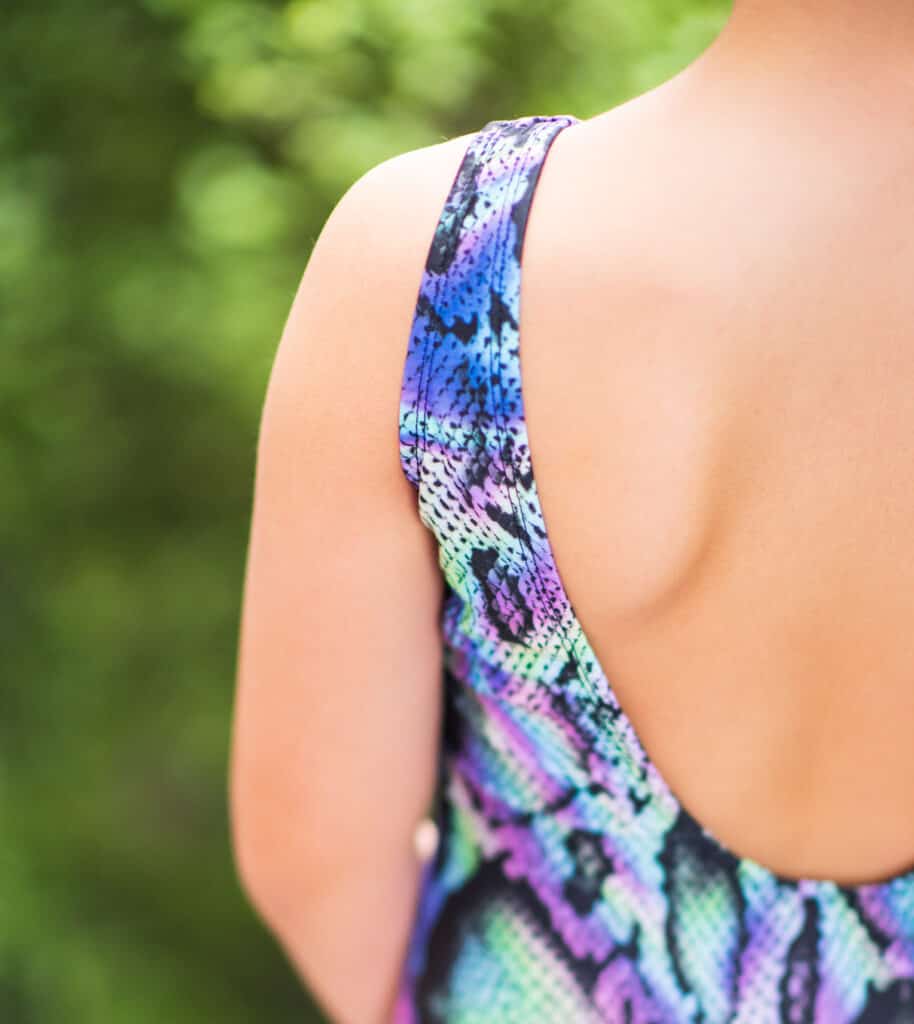
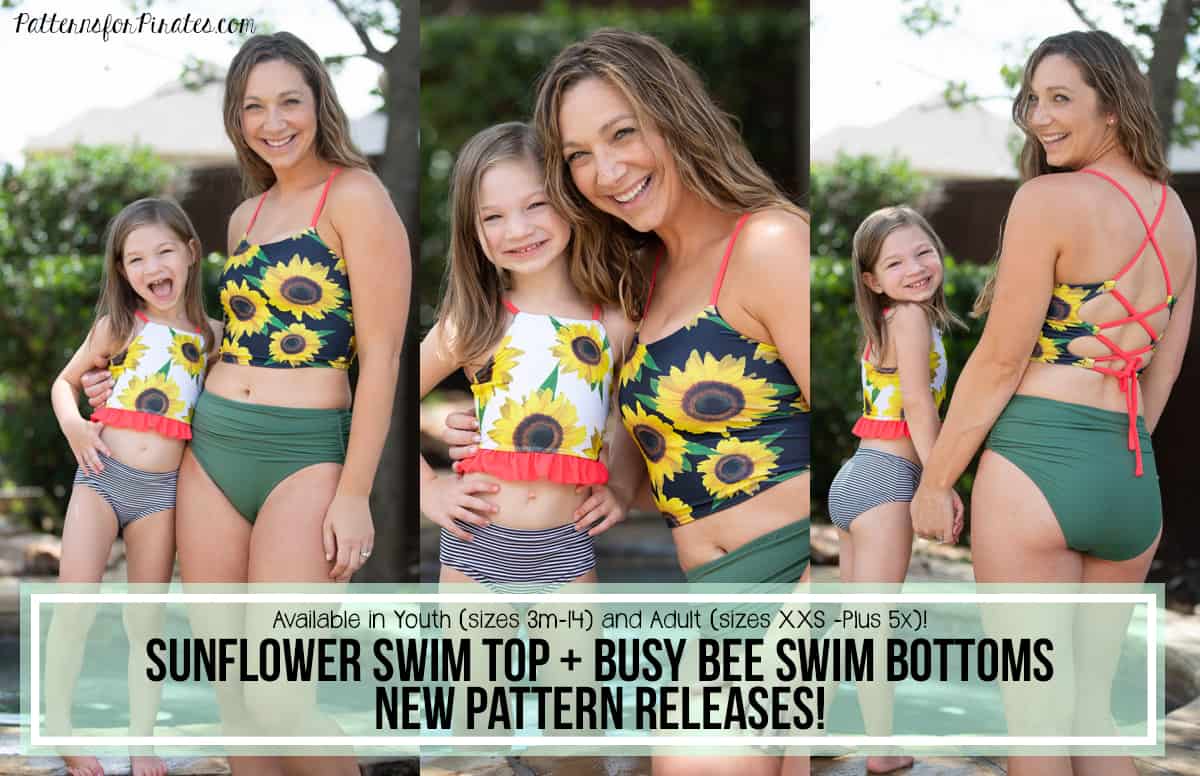
A big THANK YOU to Oh So Pretty Custom Fabrics, our Sew Along sponsor, who also provided the swim fabrics for the videos.

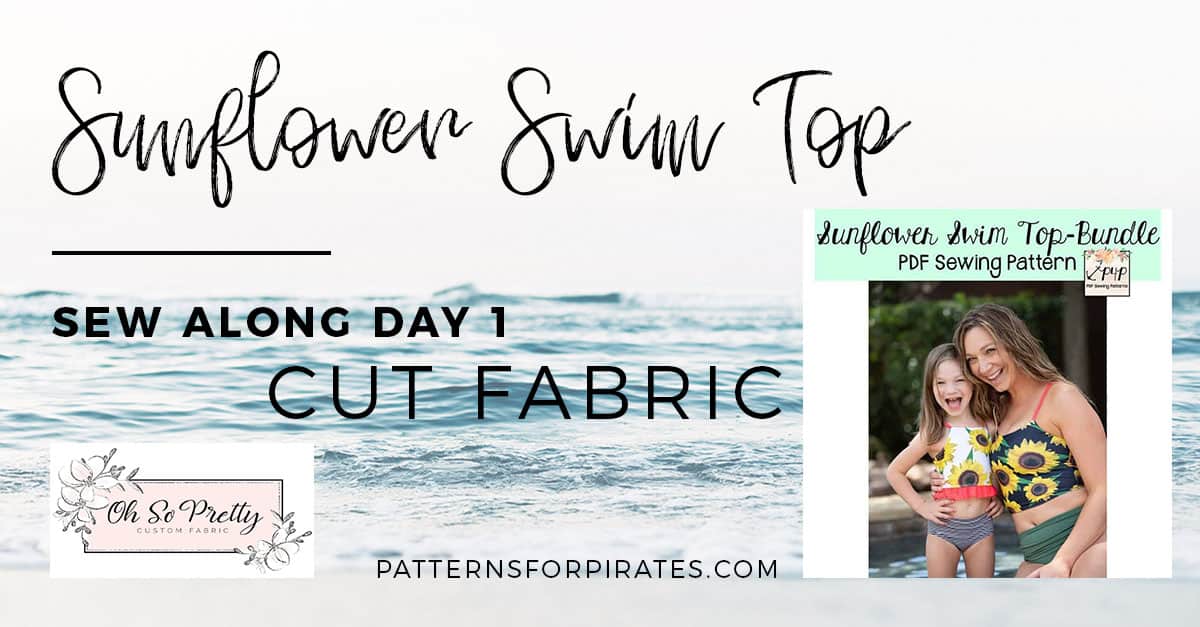
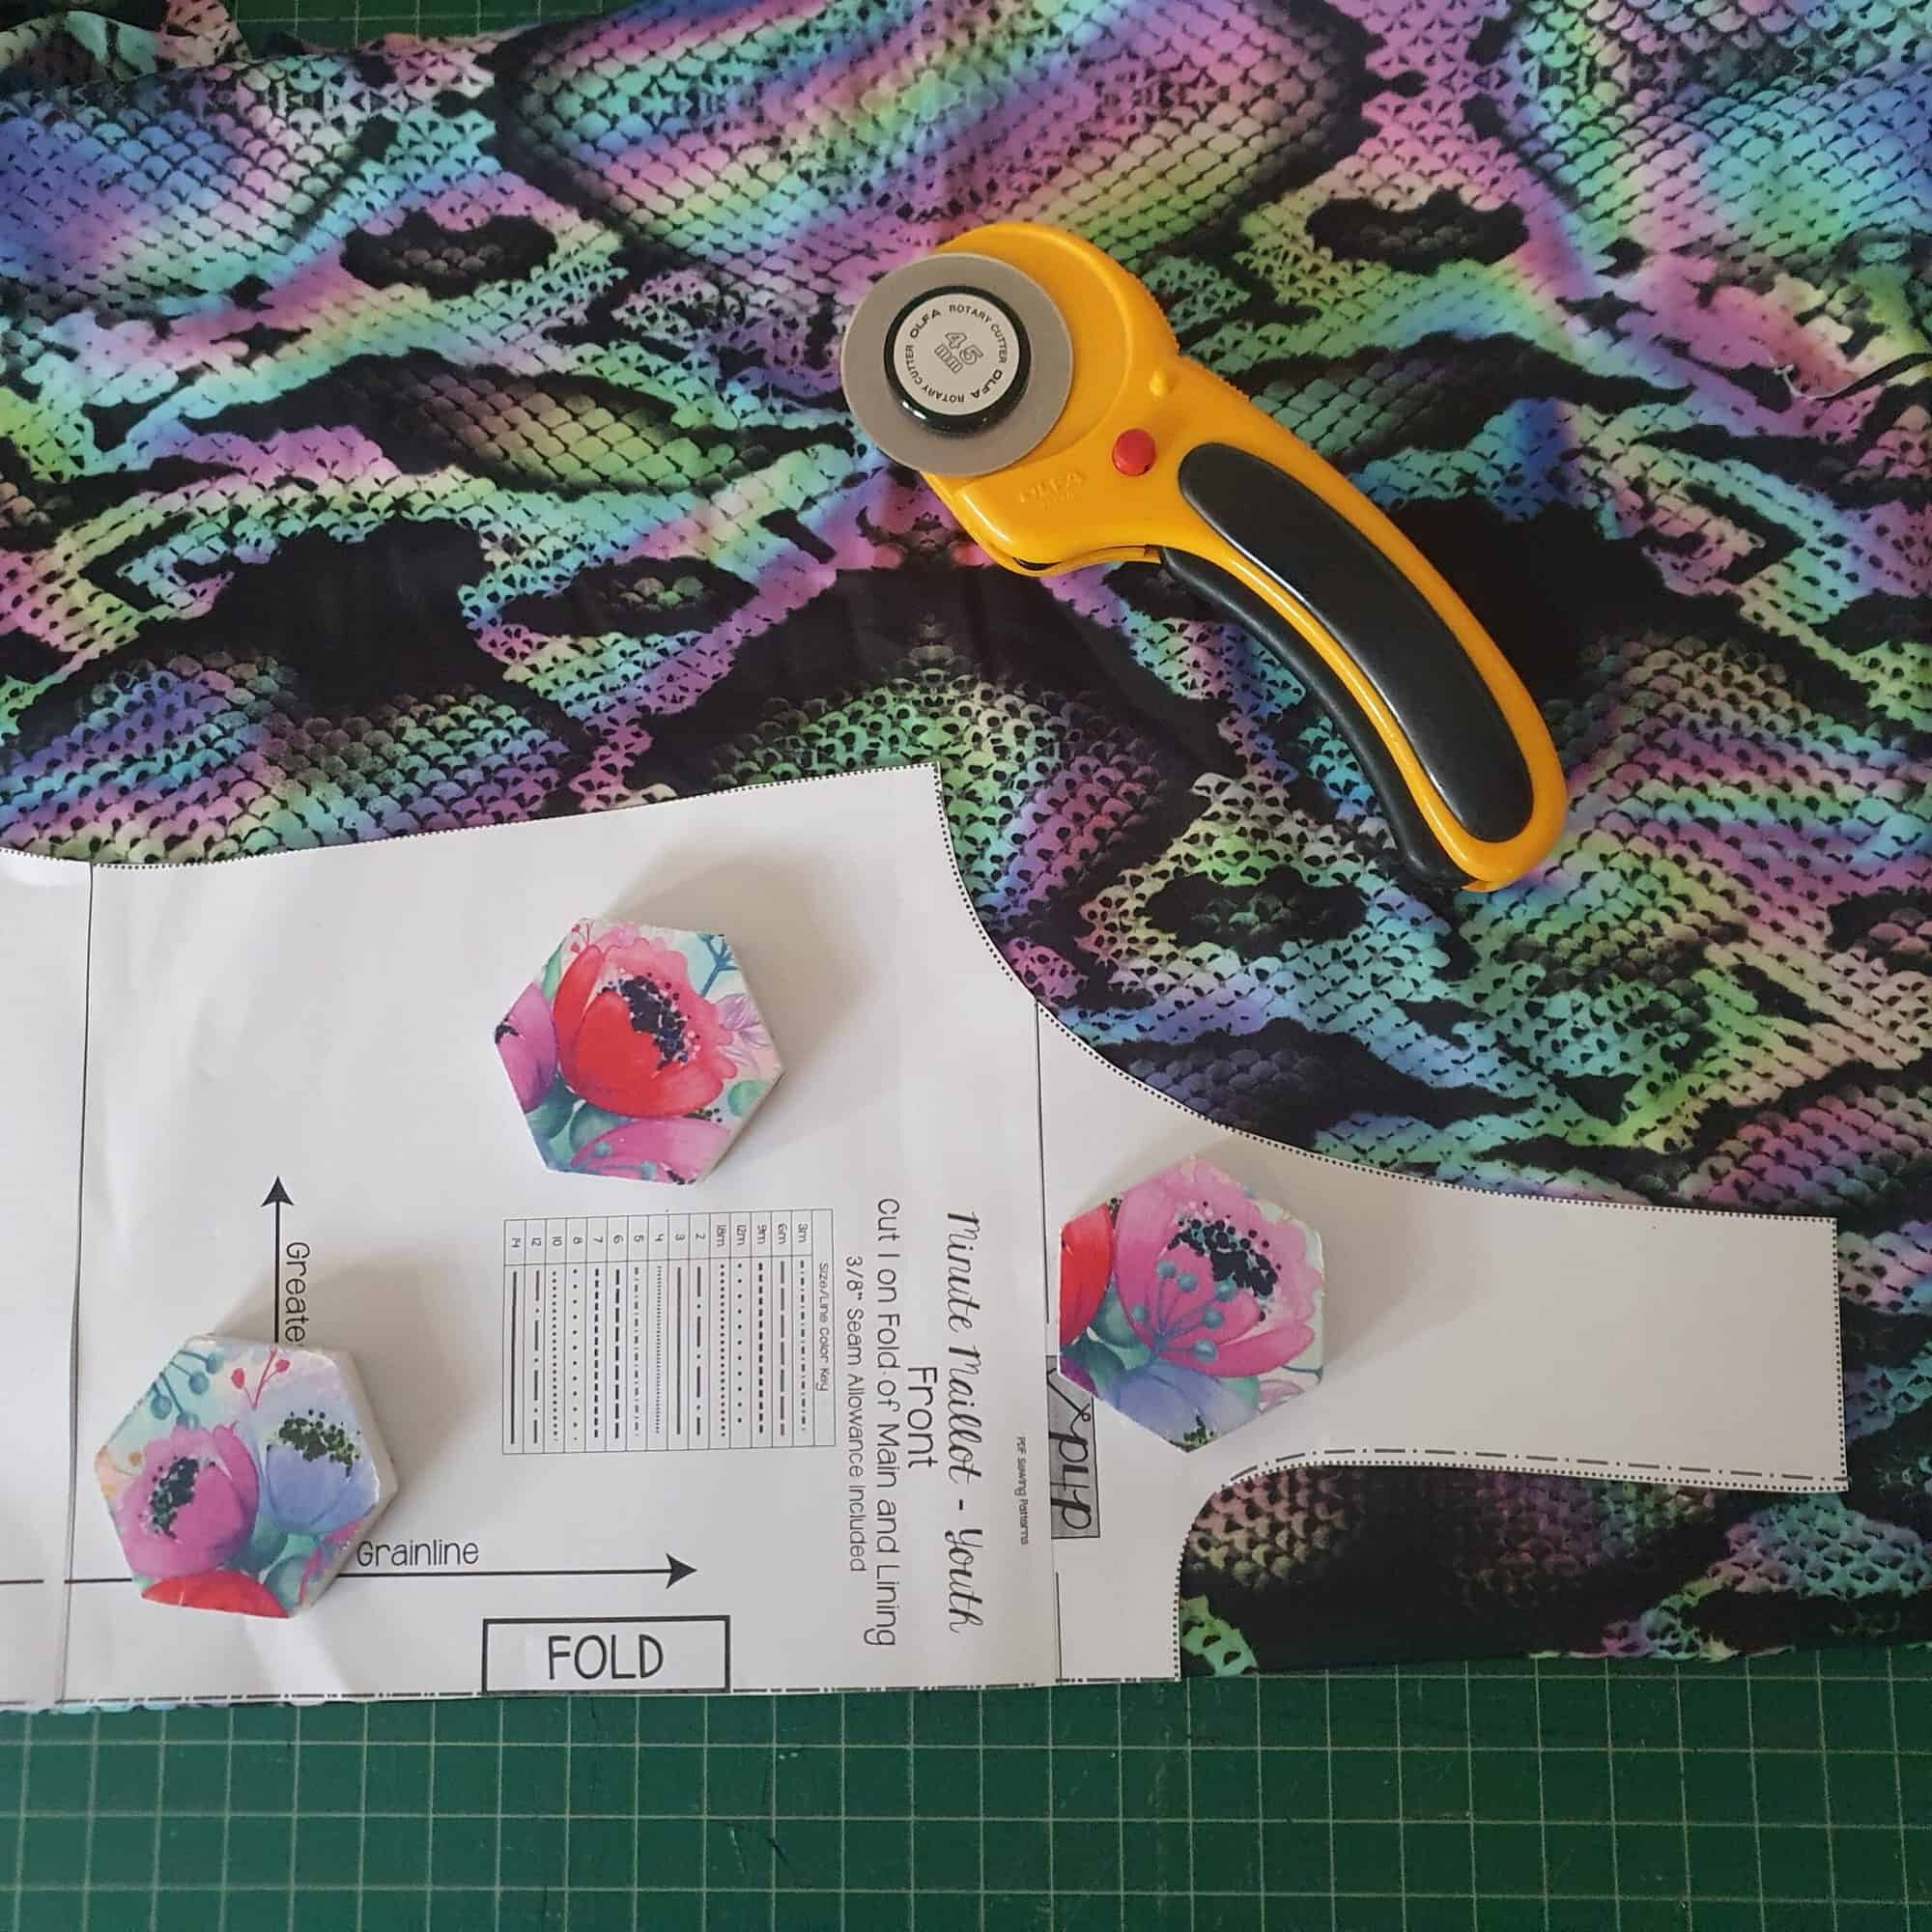
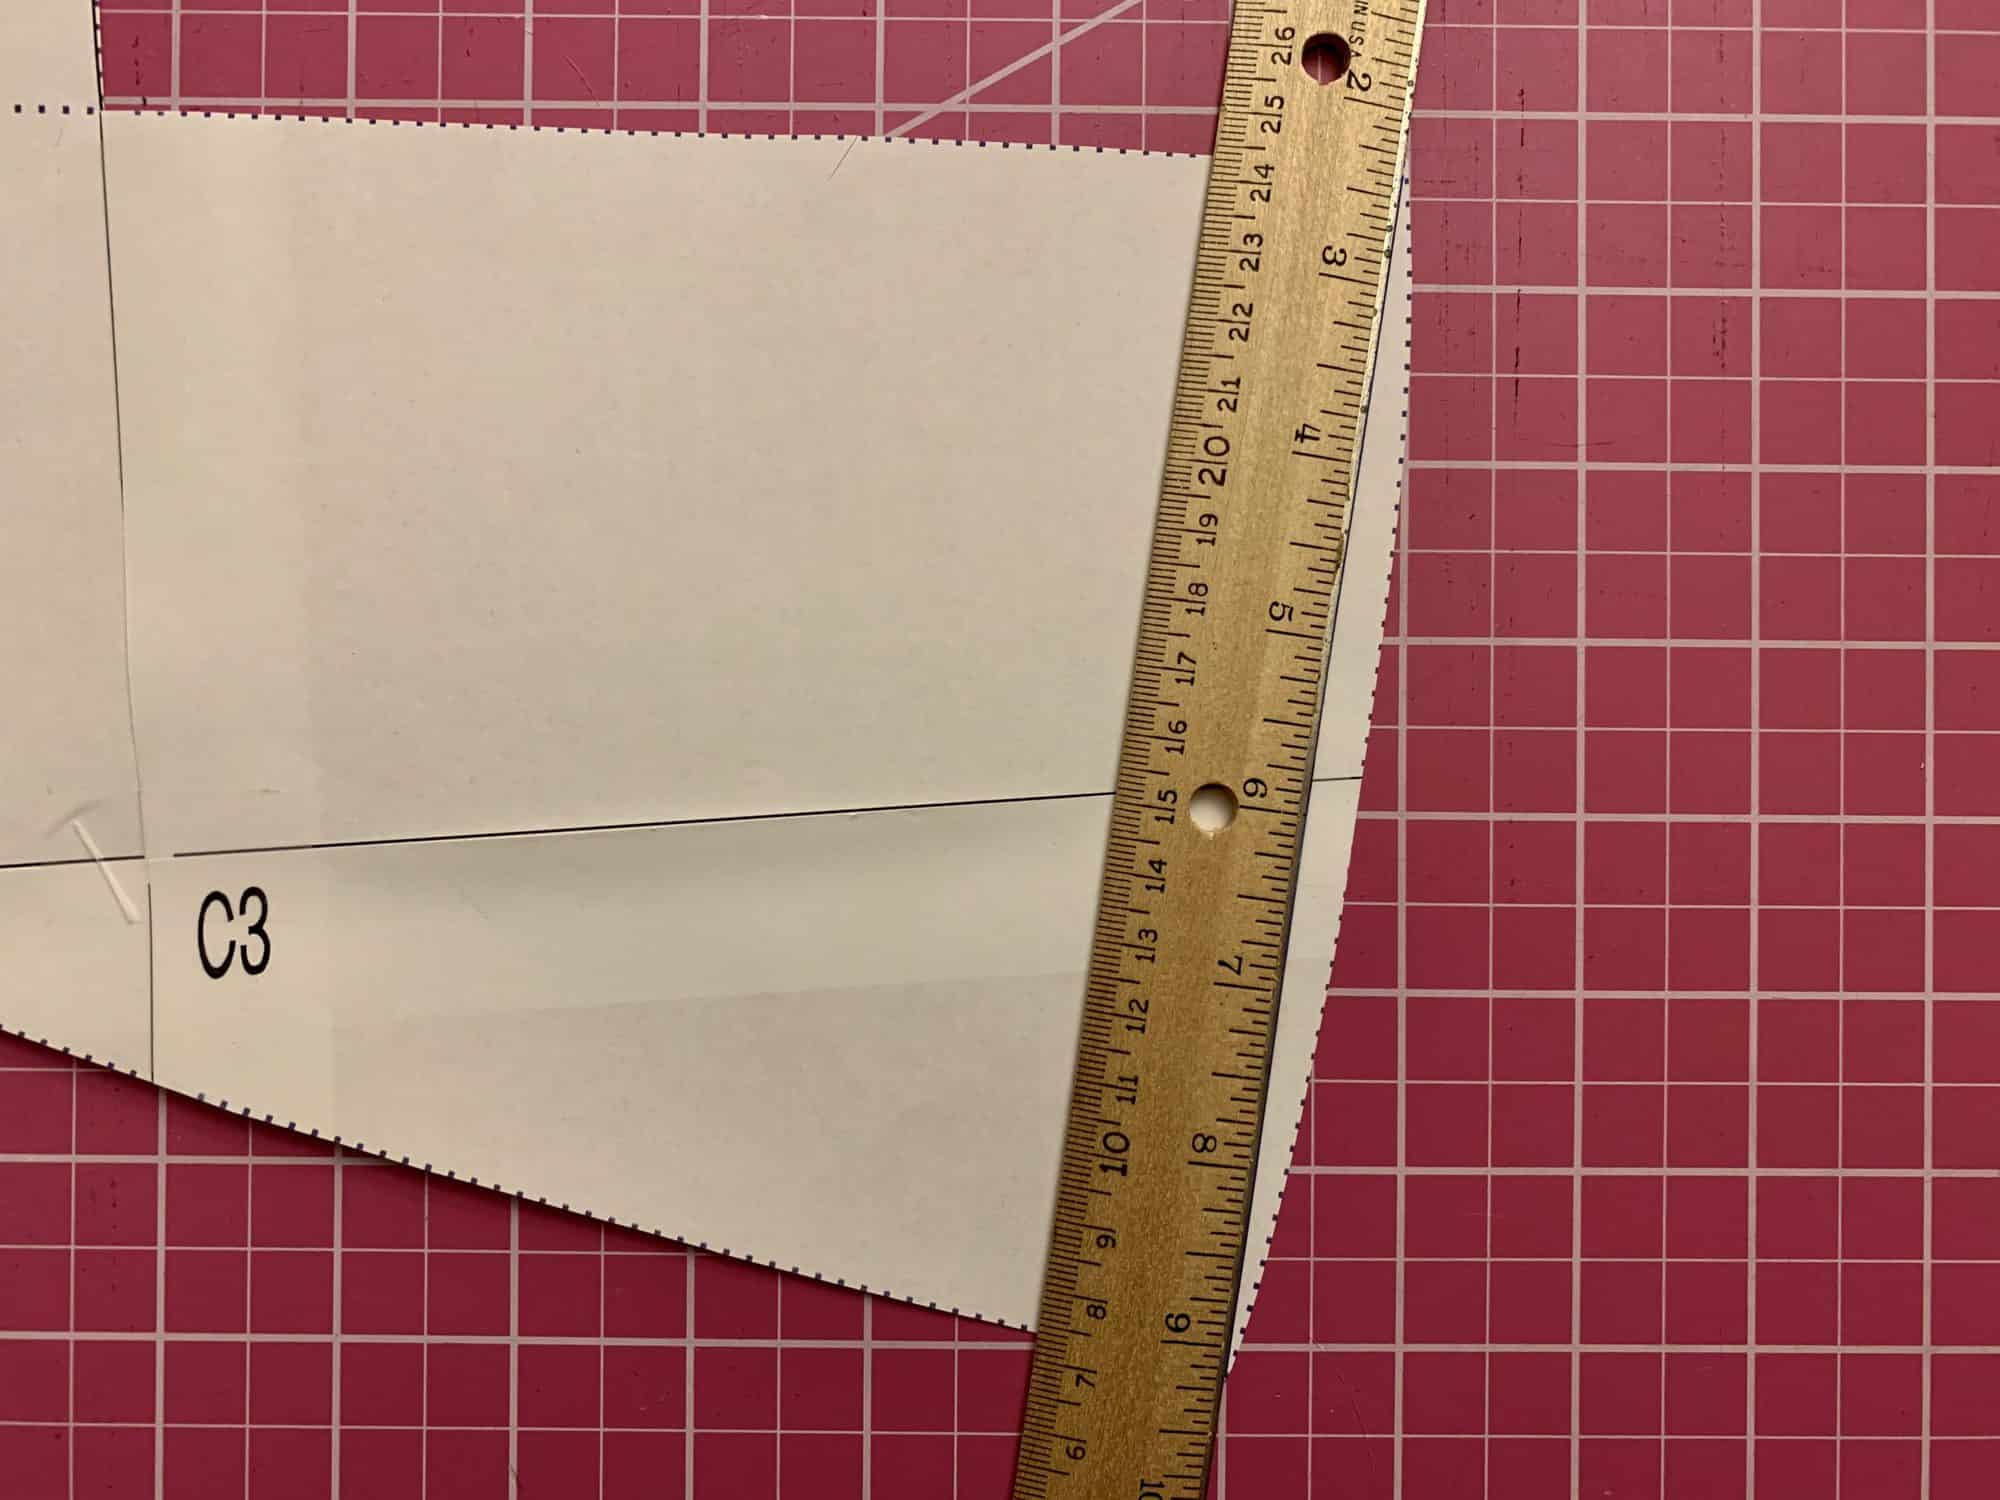
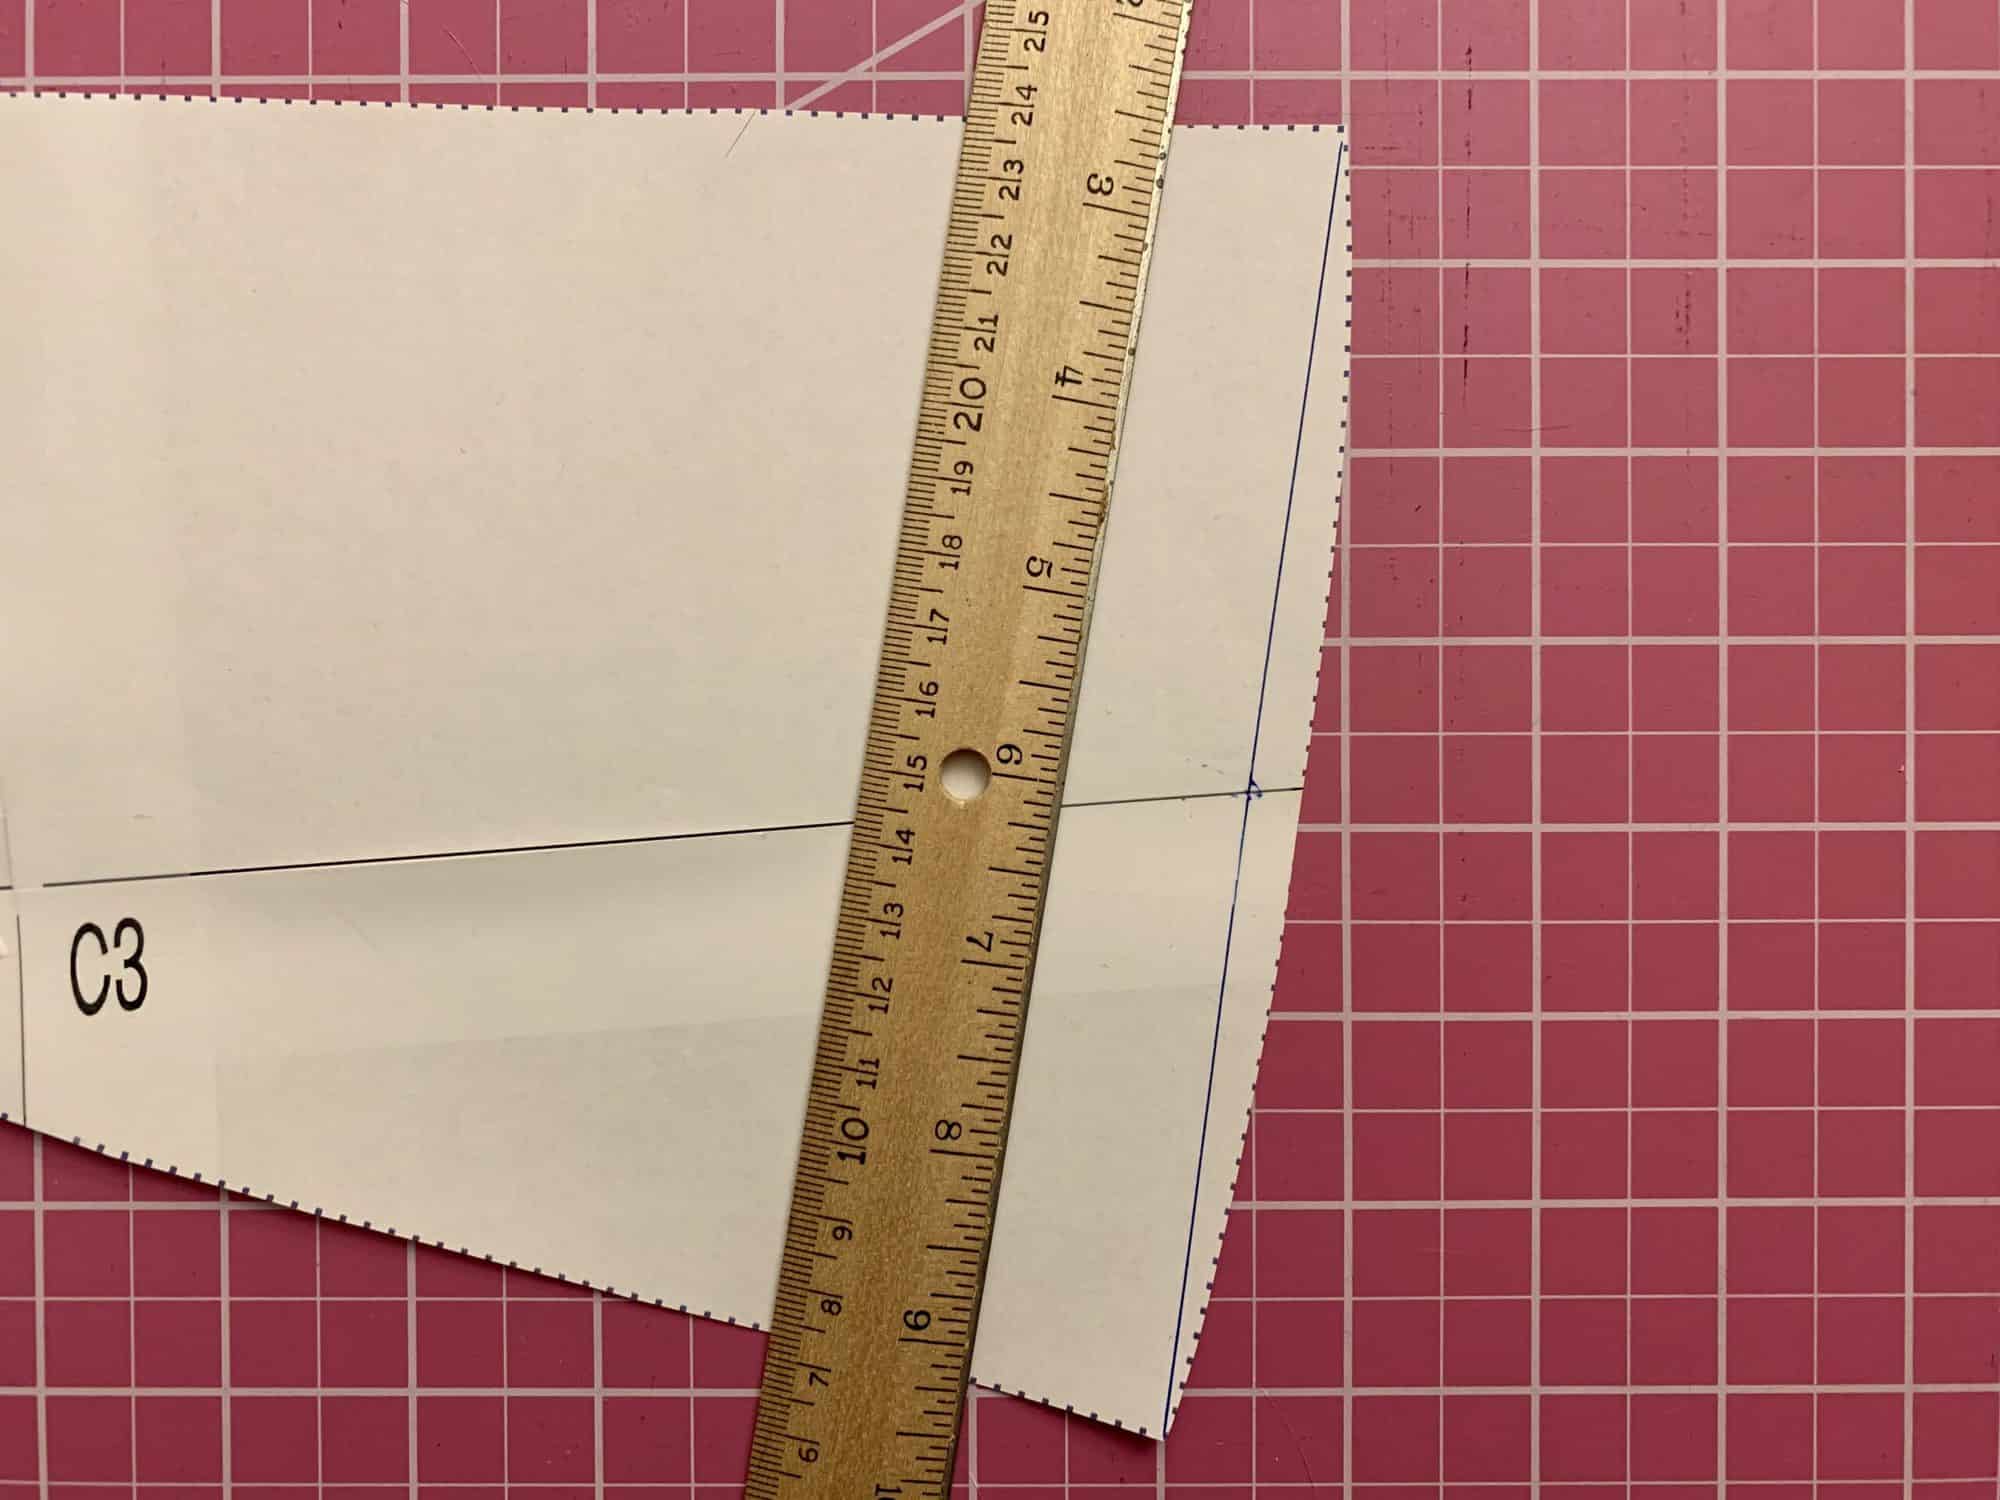
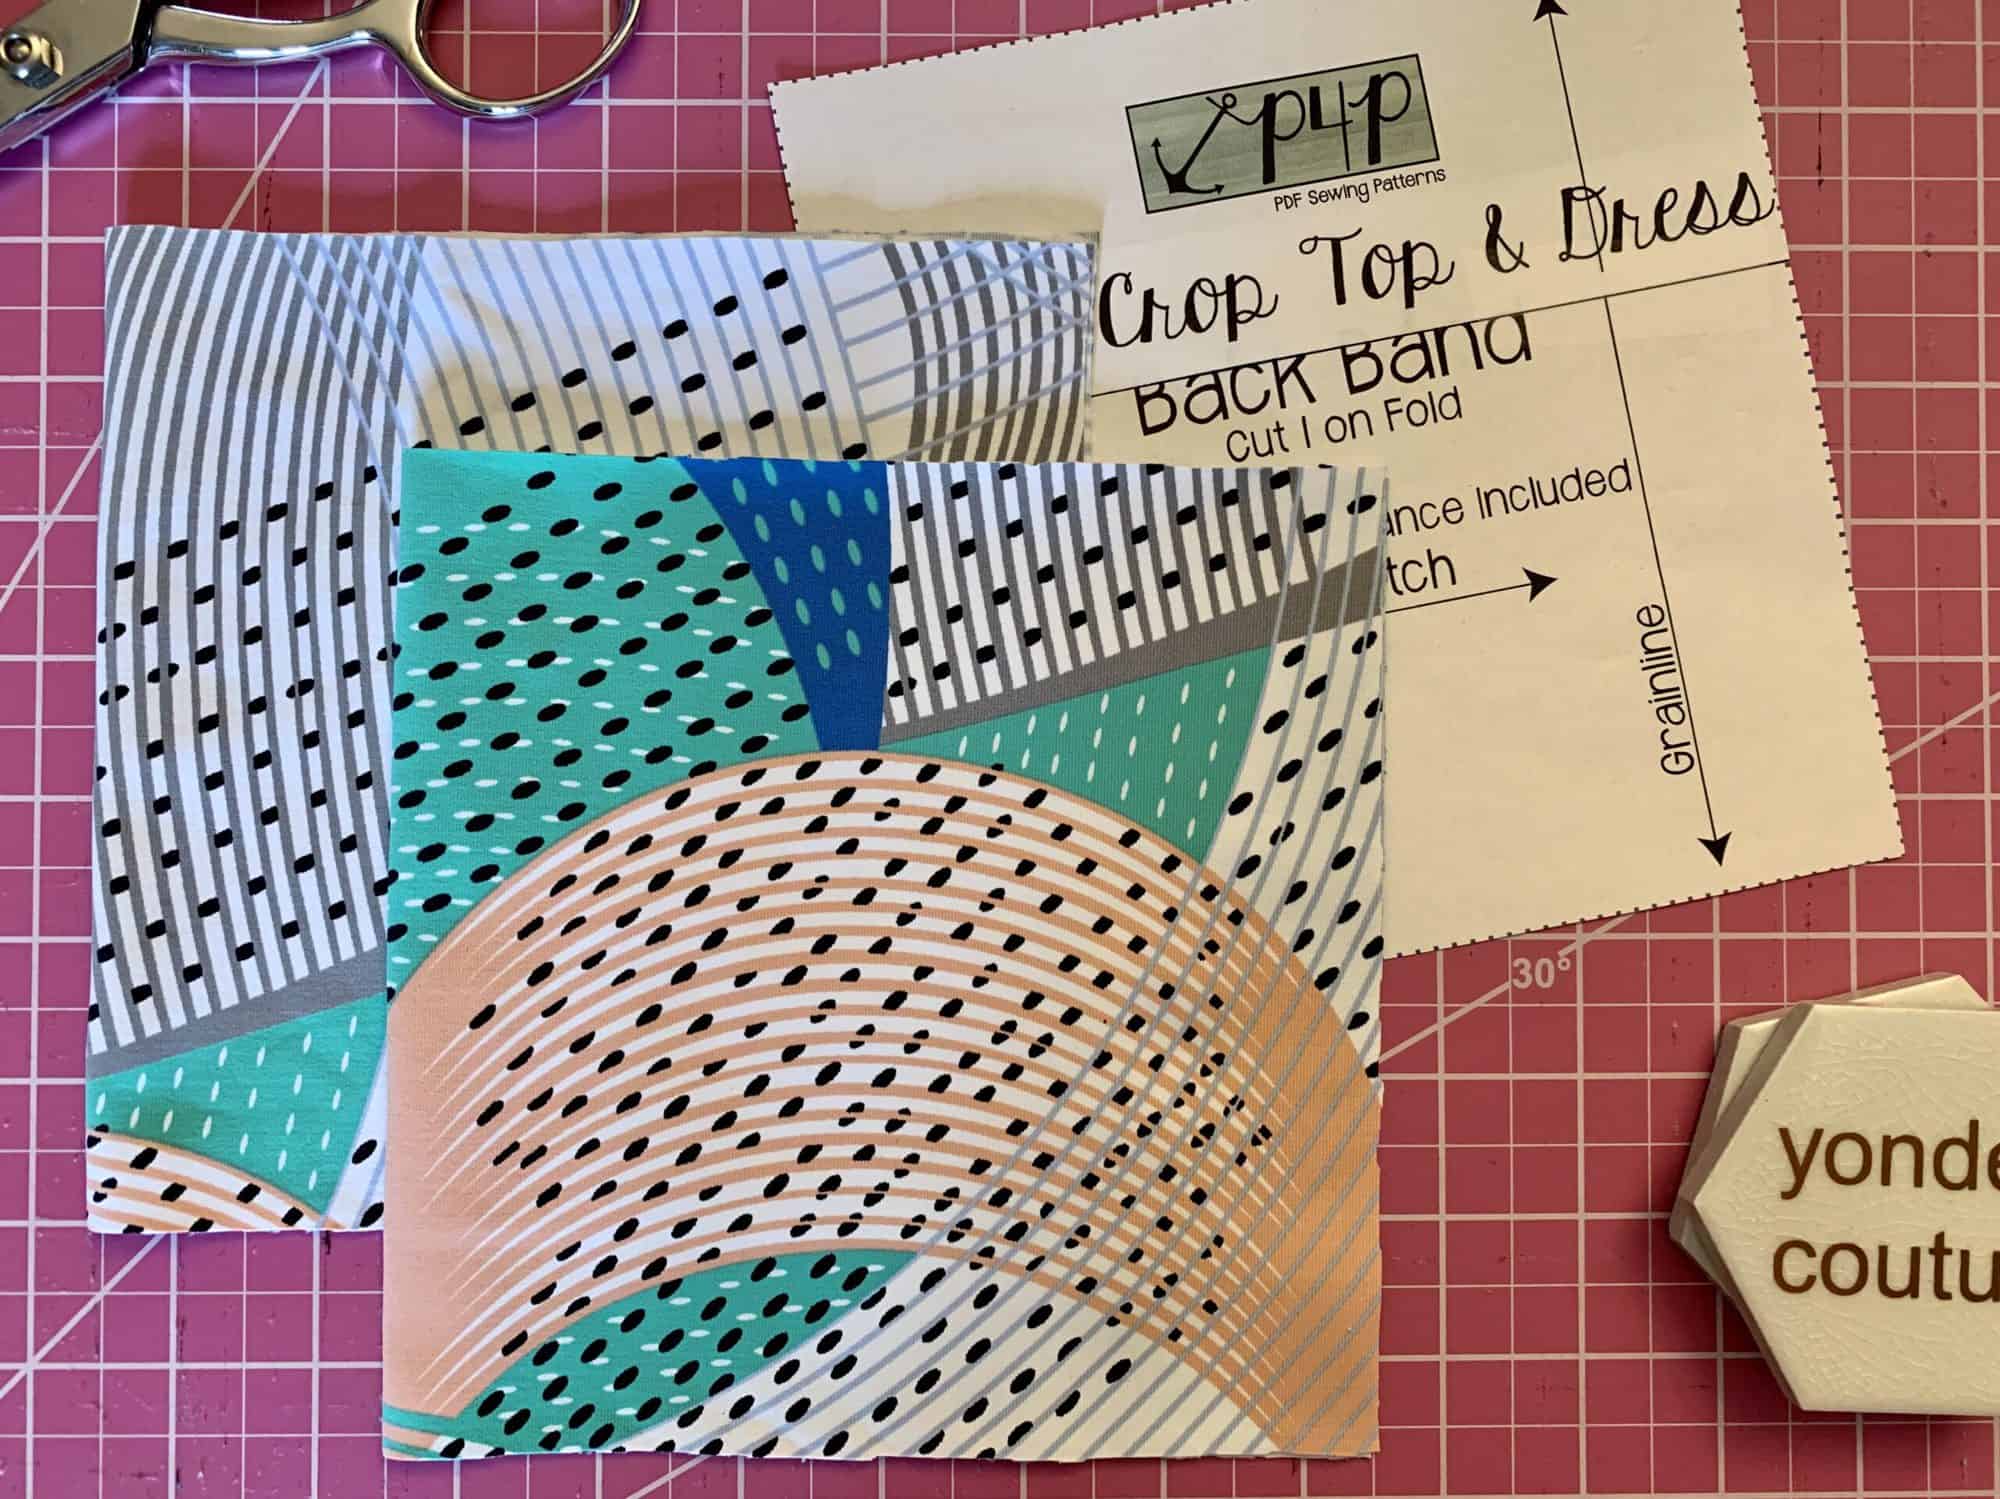
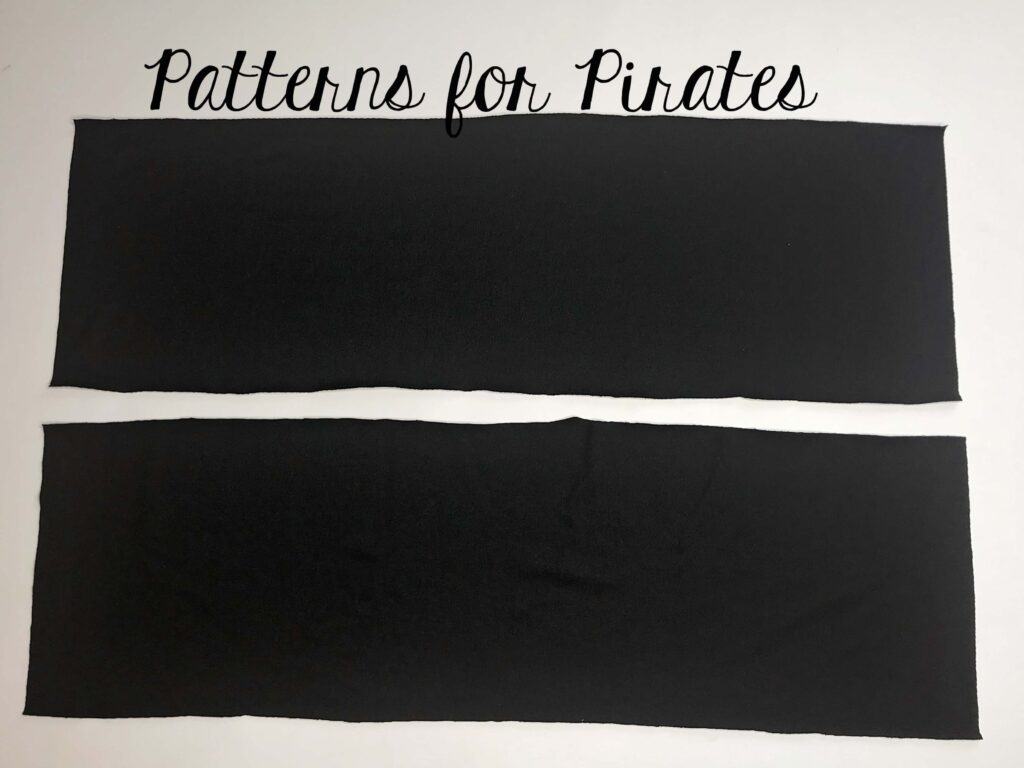
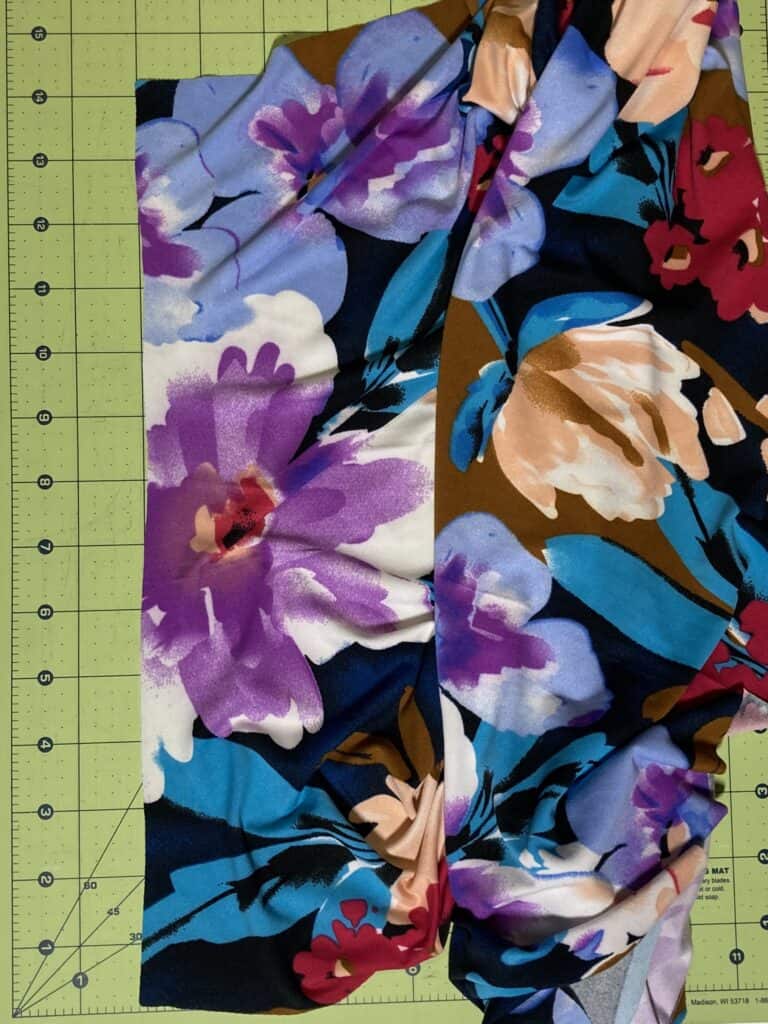
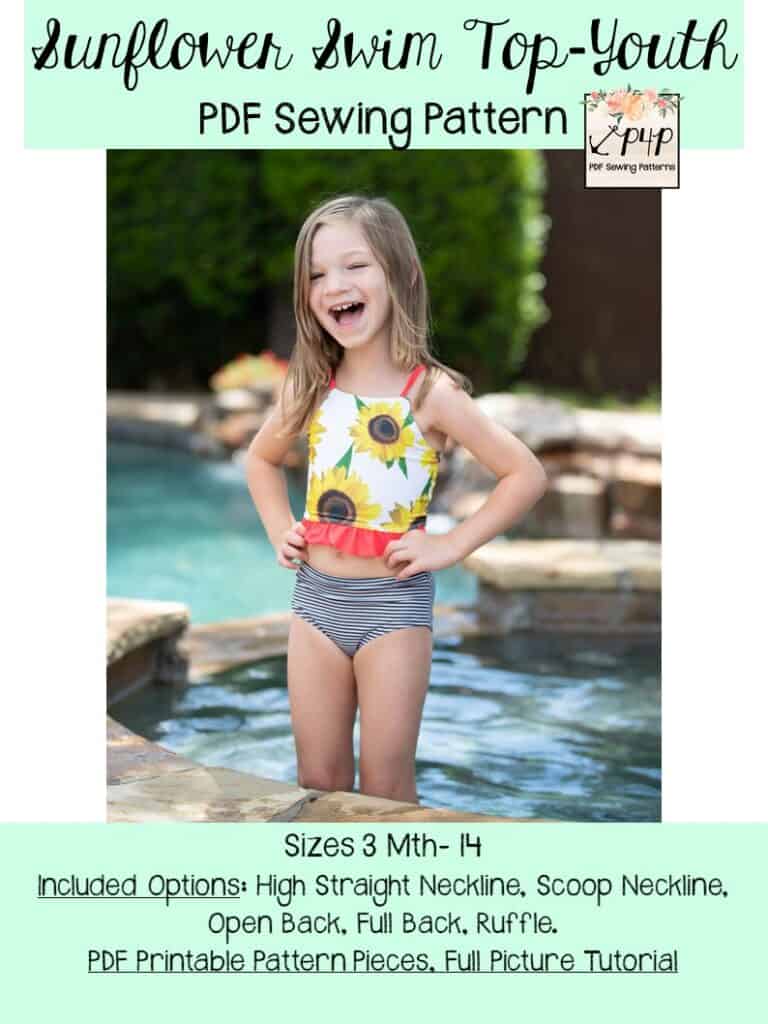
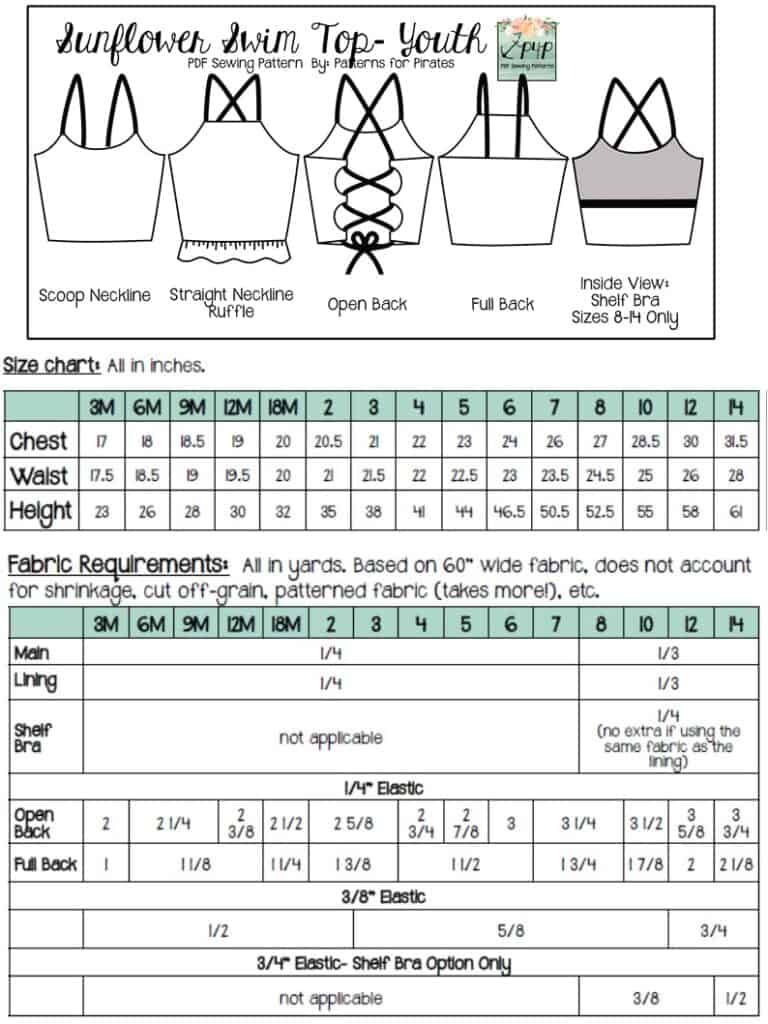
Sunflower Swim Top SAL day 1 | Cut fabric
Sunflower Swim Top SAL day 2 | Shelf bra
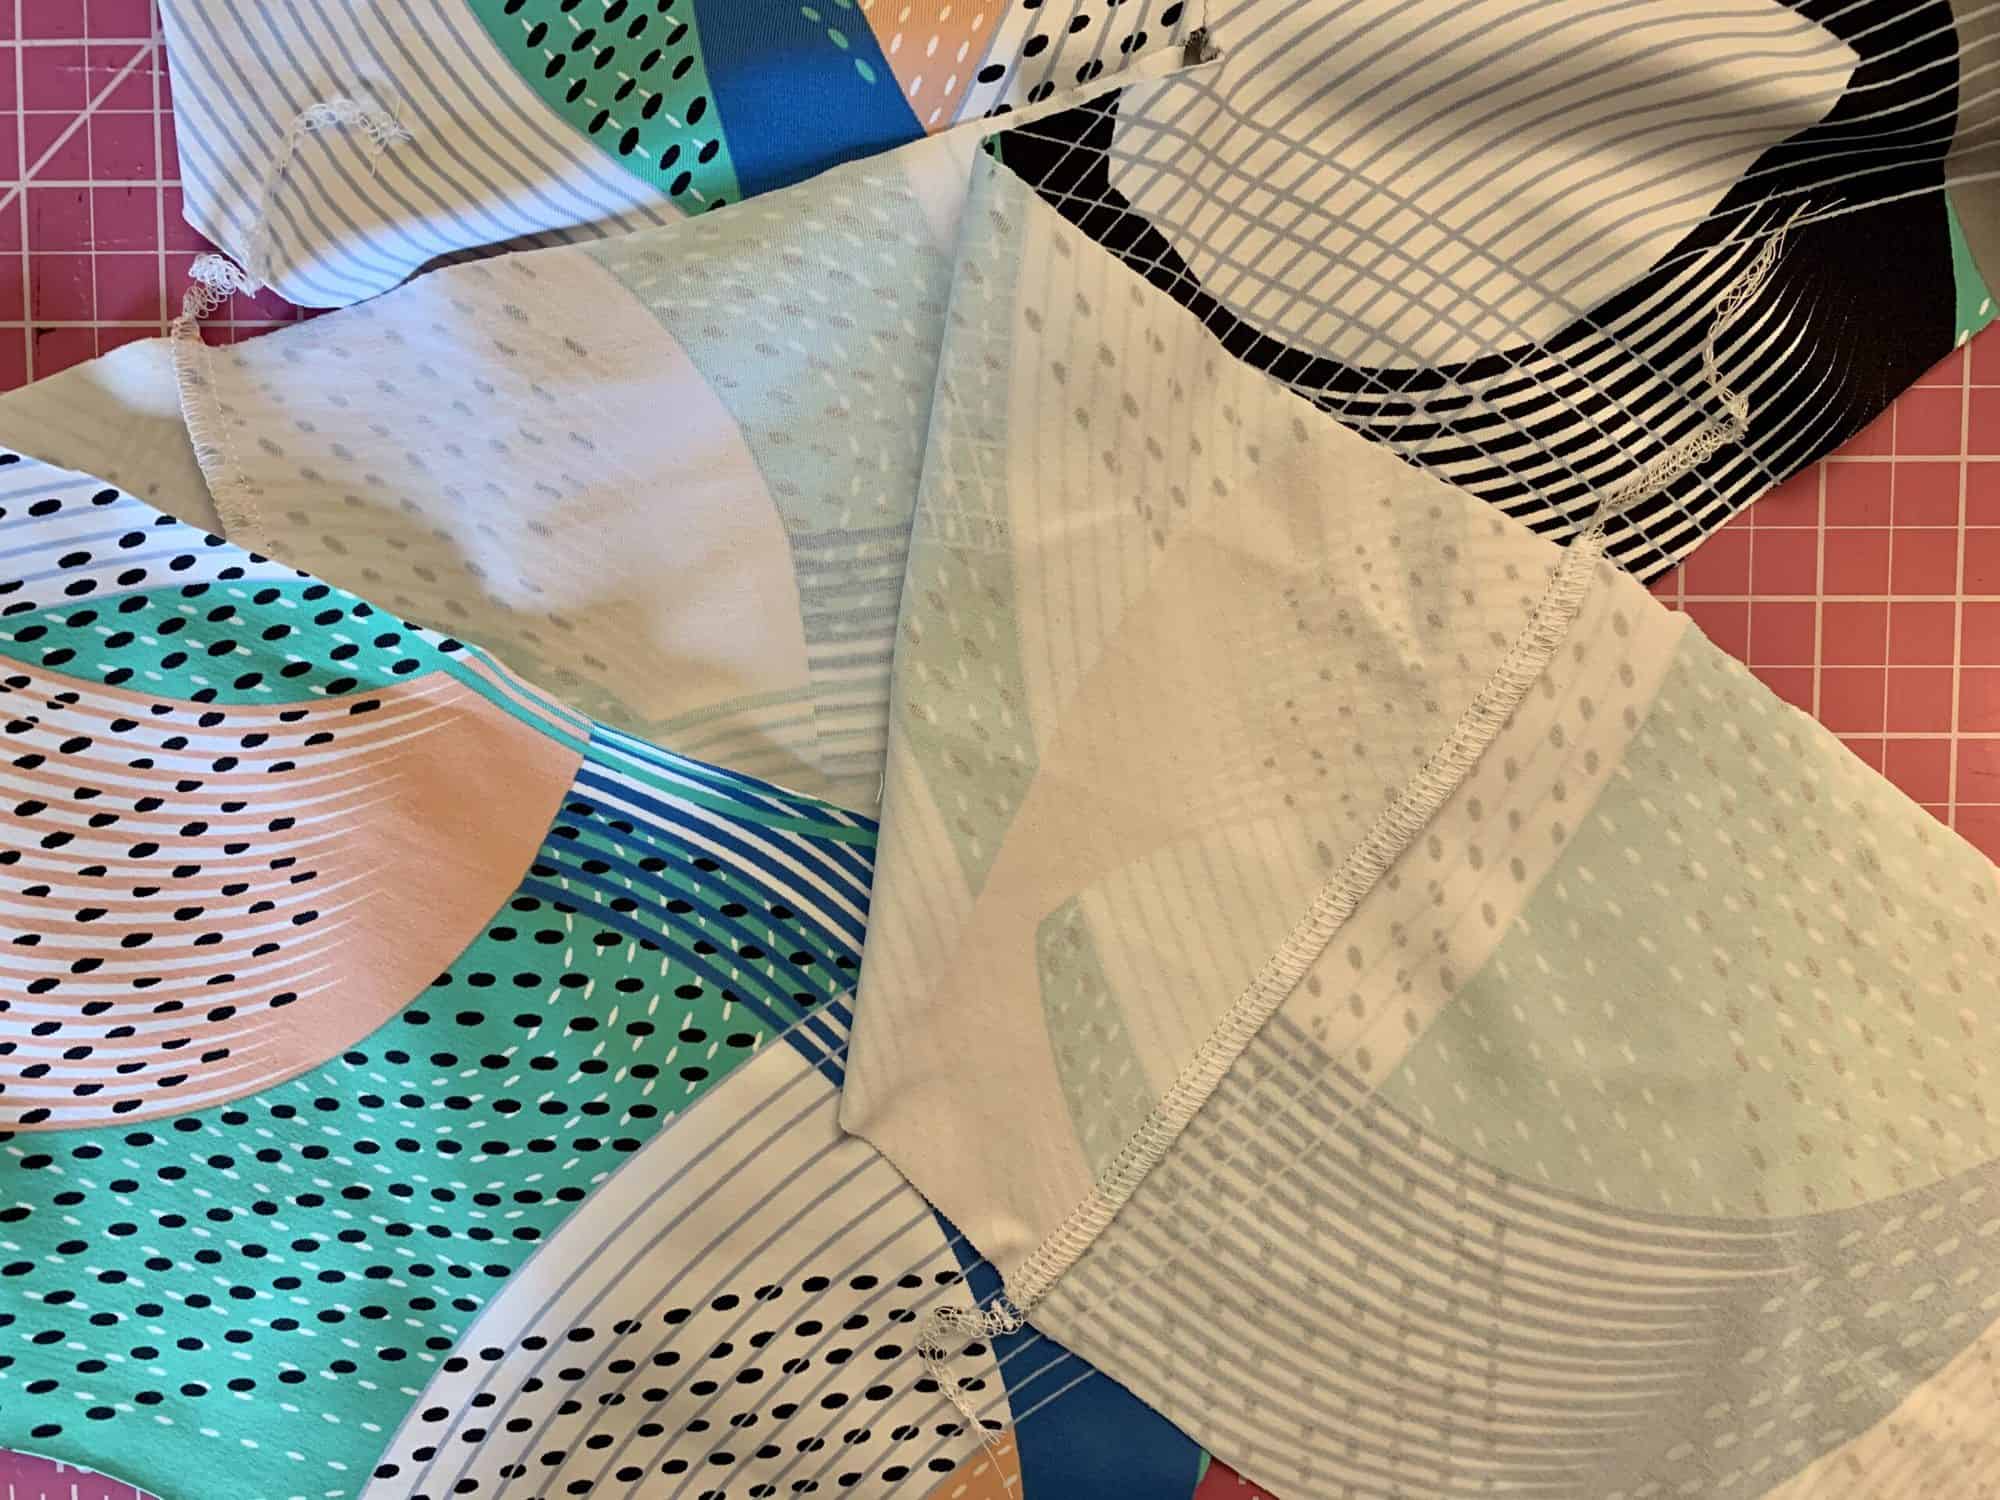
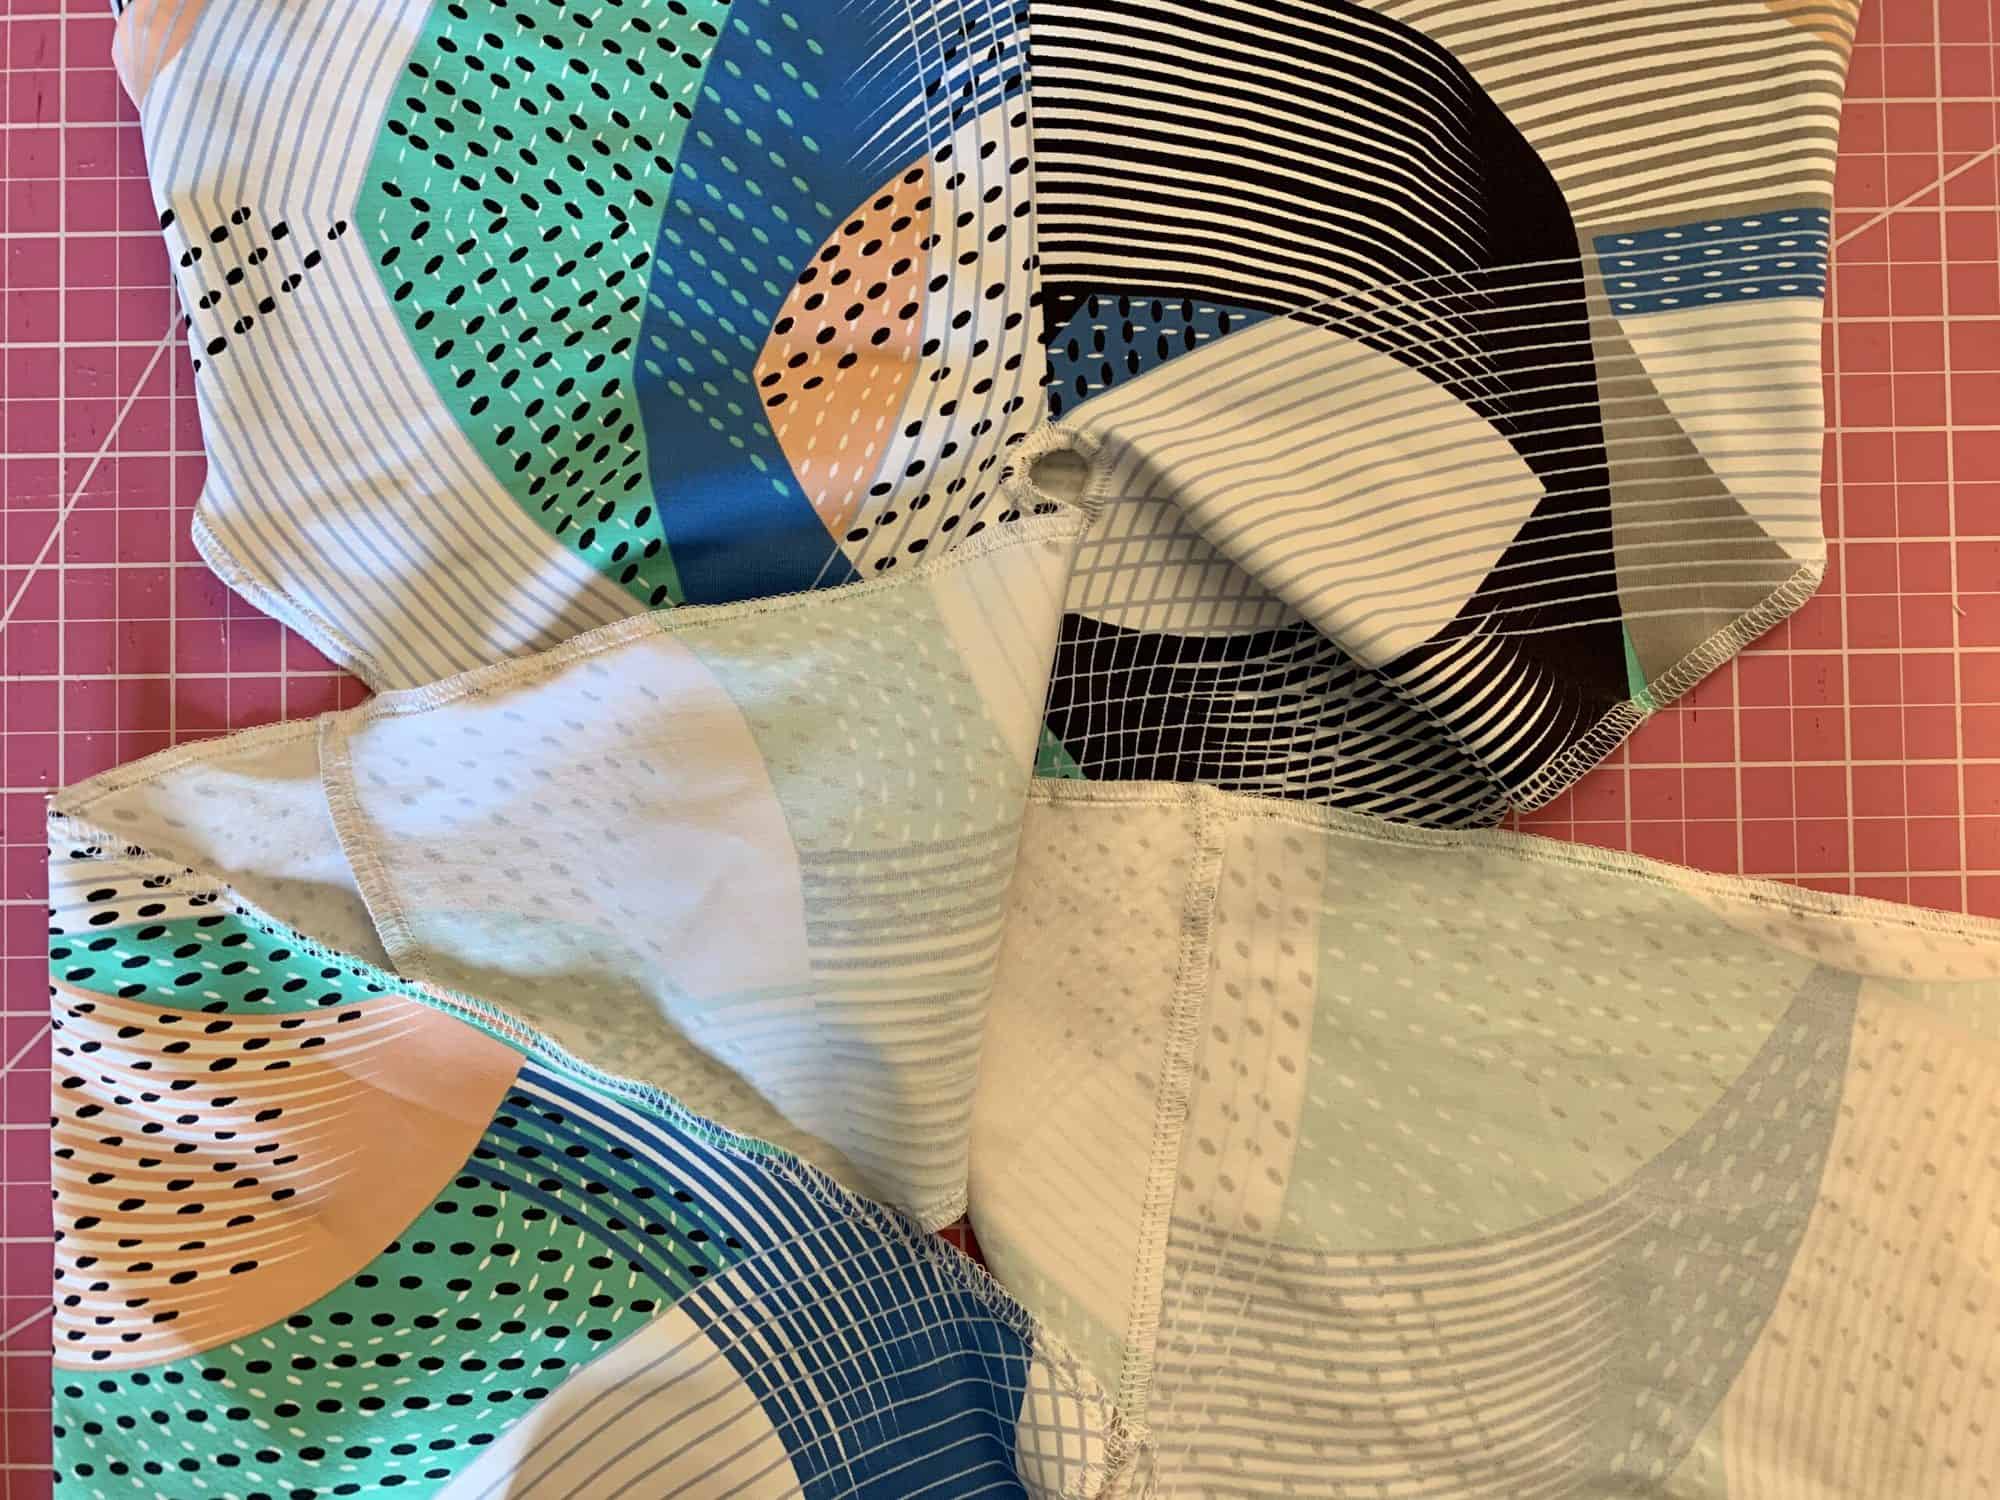
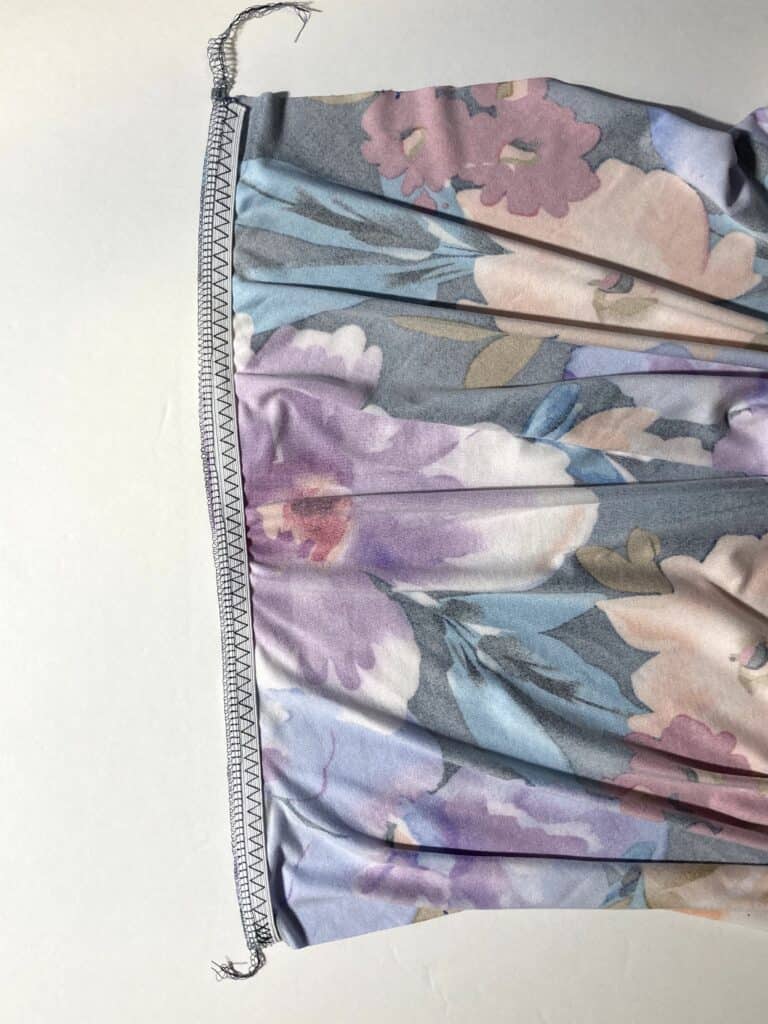
Sunflower Swim Top SAL day 3 | Straps and side seams
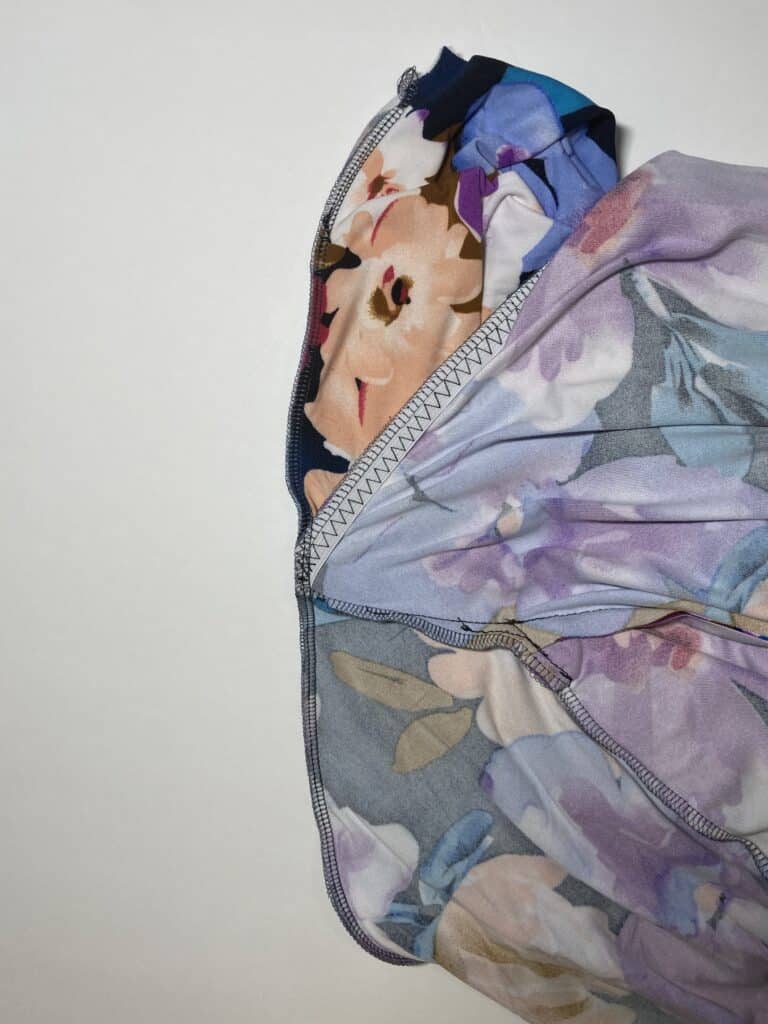
Sunflower Swim Top SAL day 4 | Attach lining
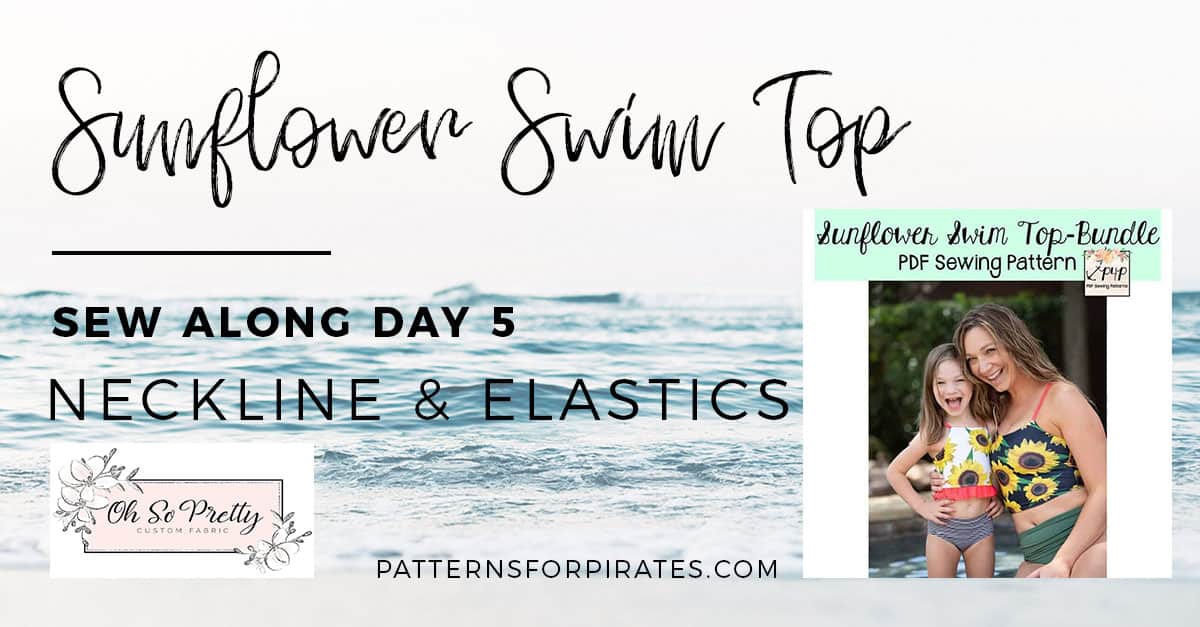
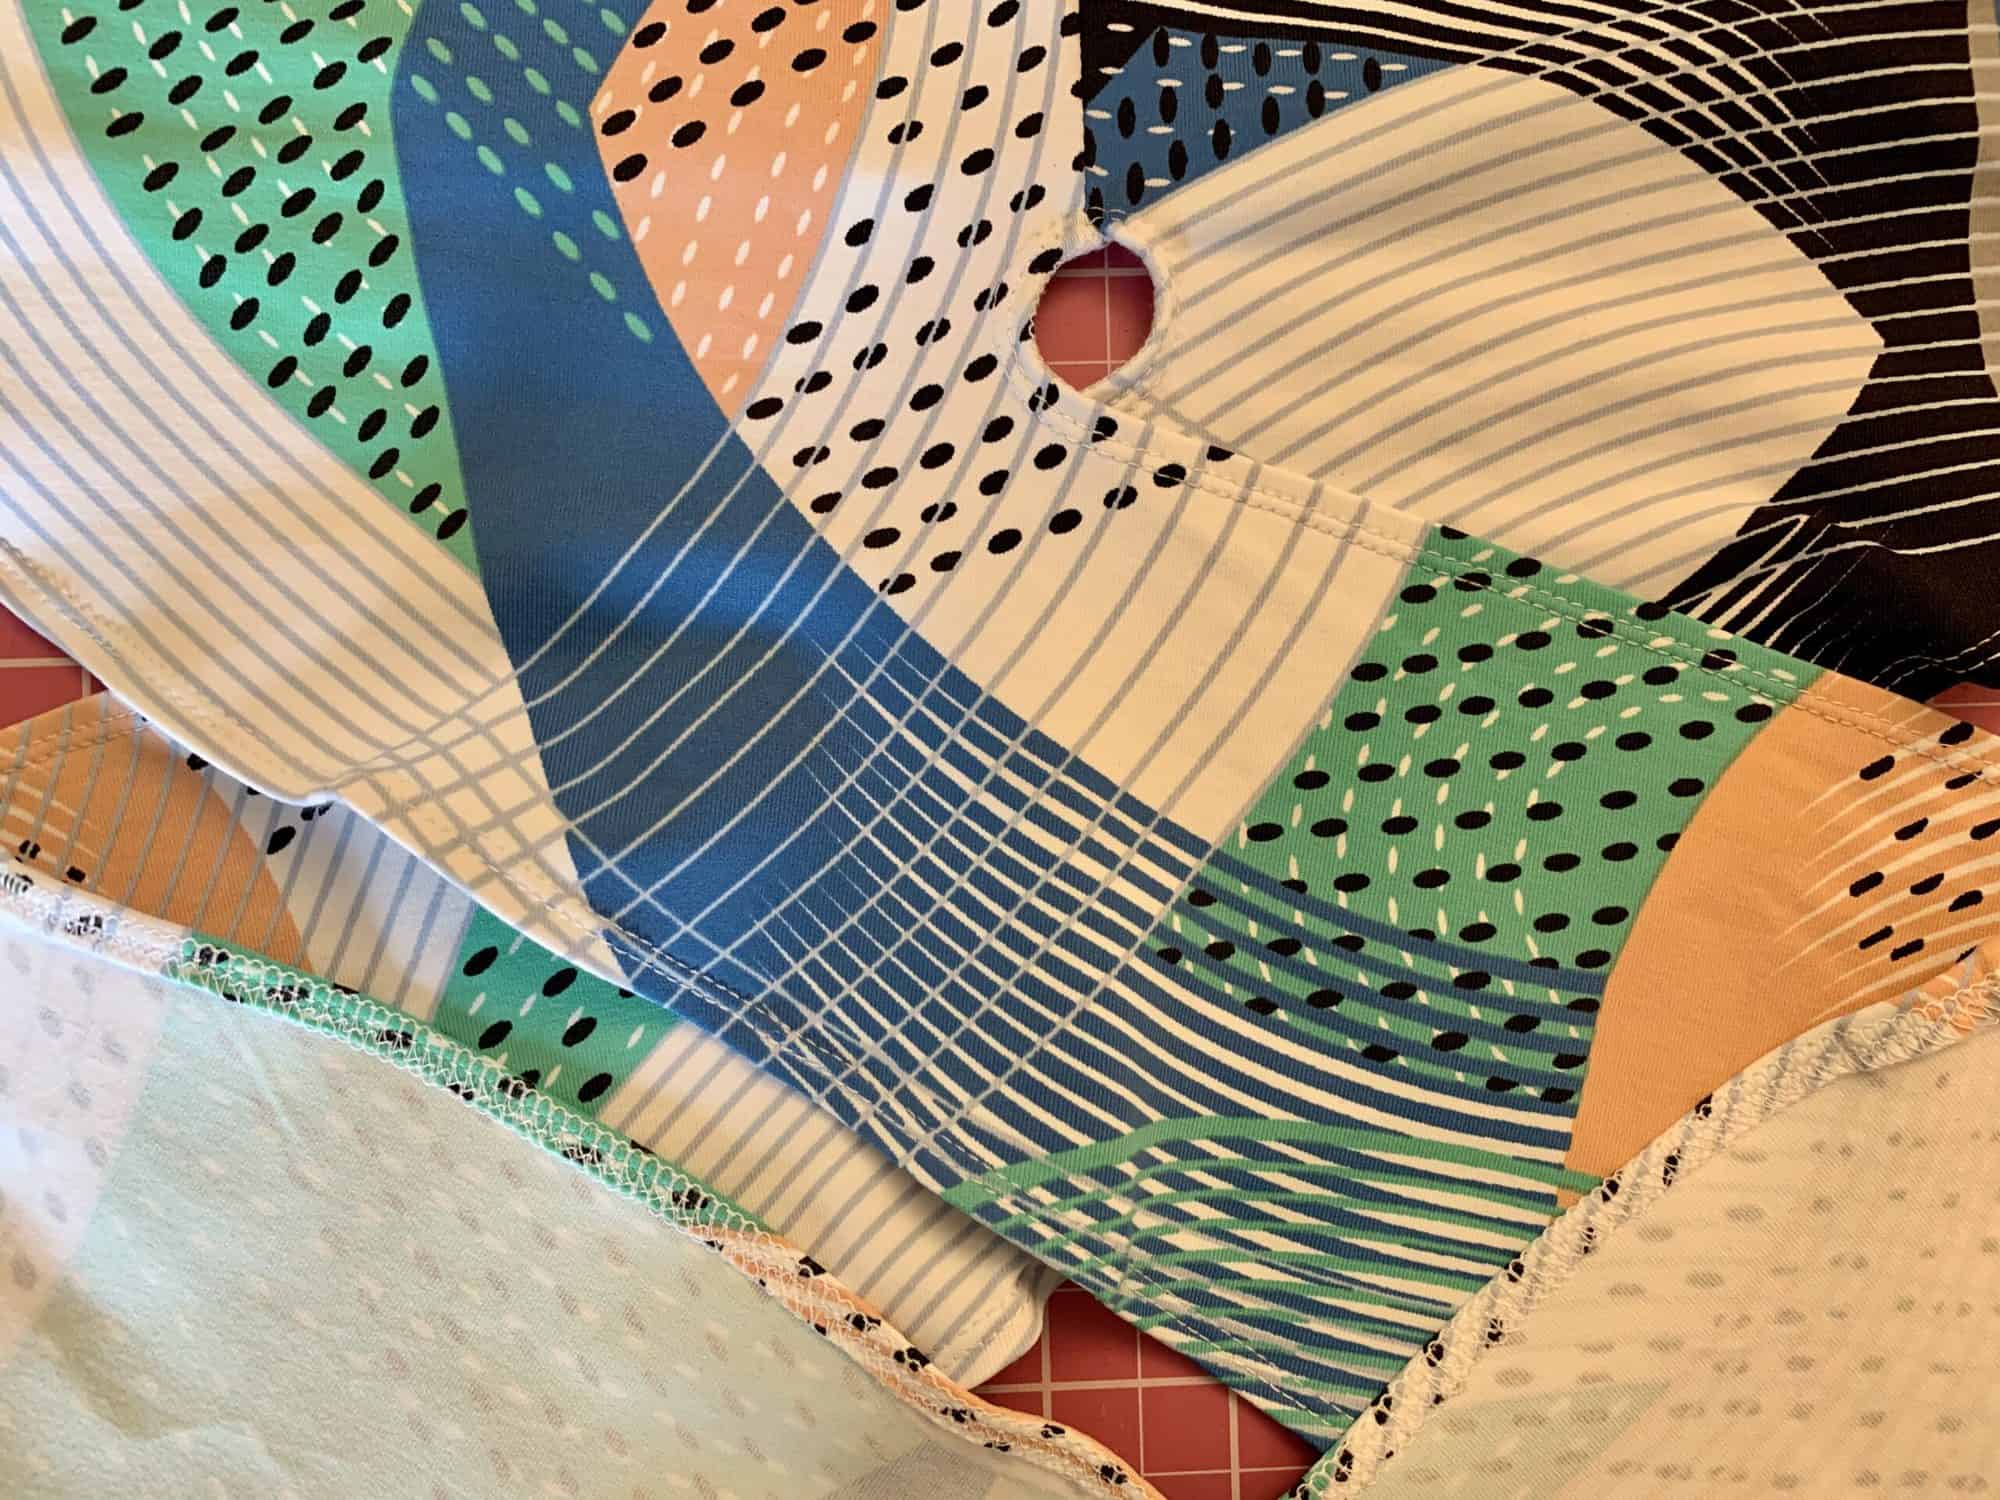
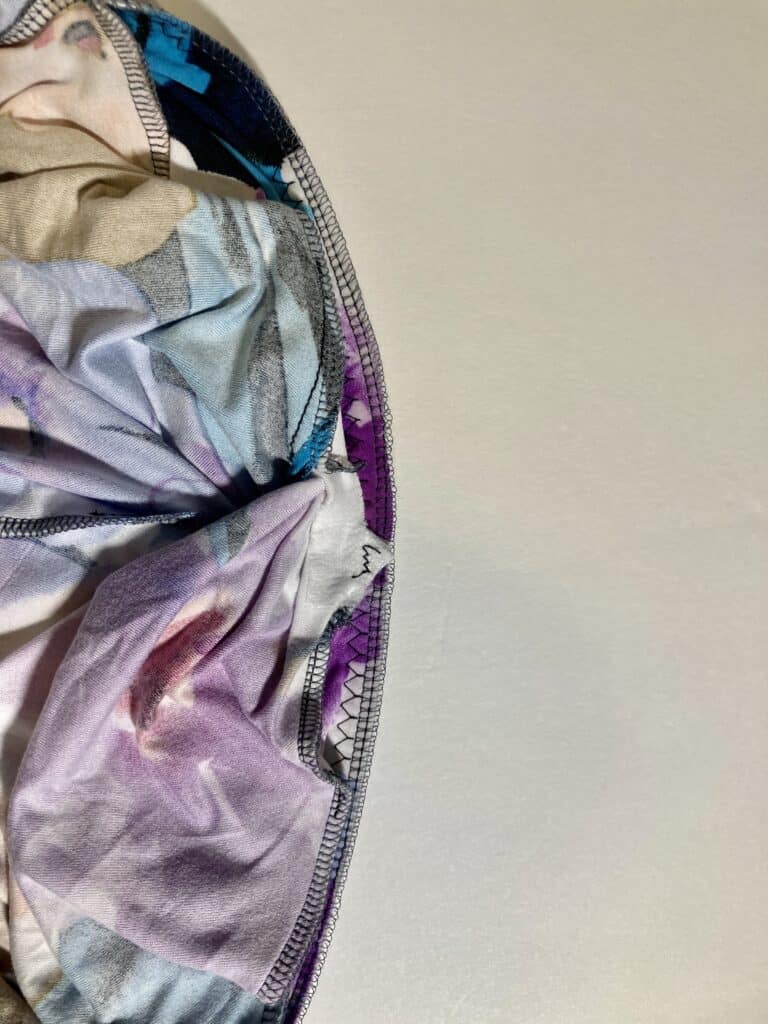
Sunflower Swim Top SAL day 5 | Neckline and elastics
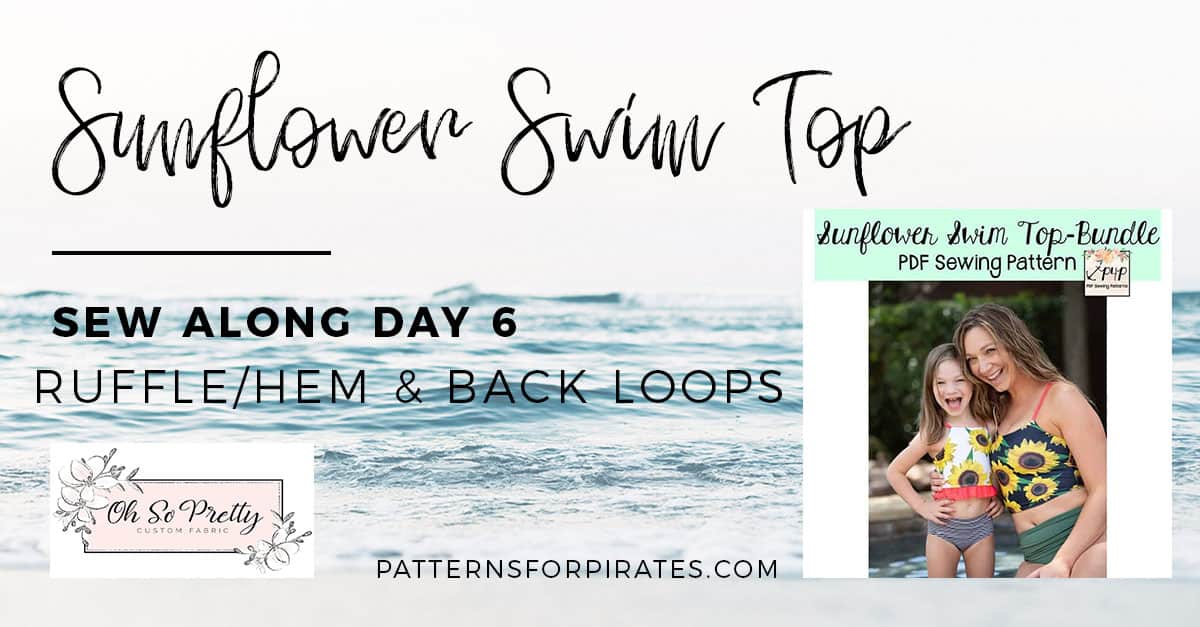
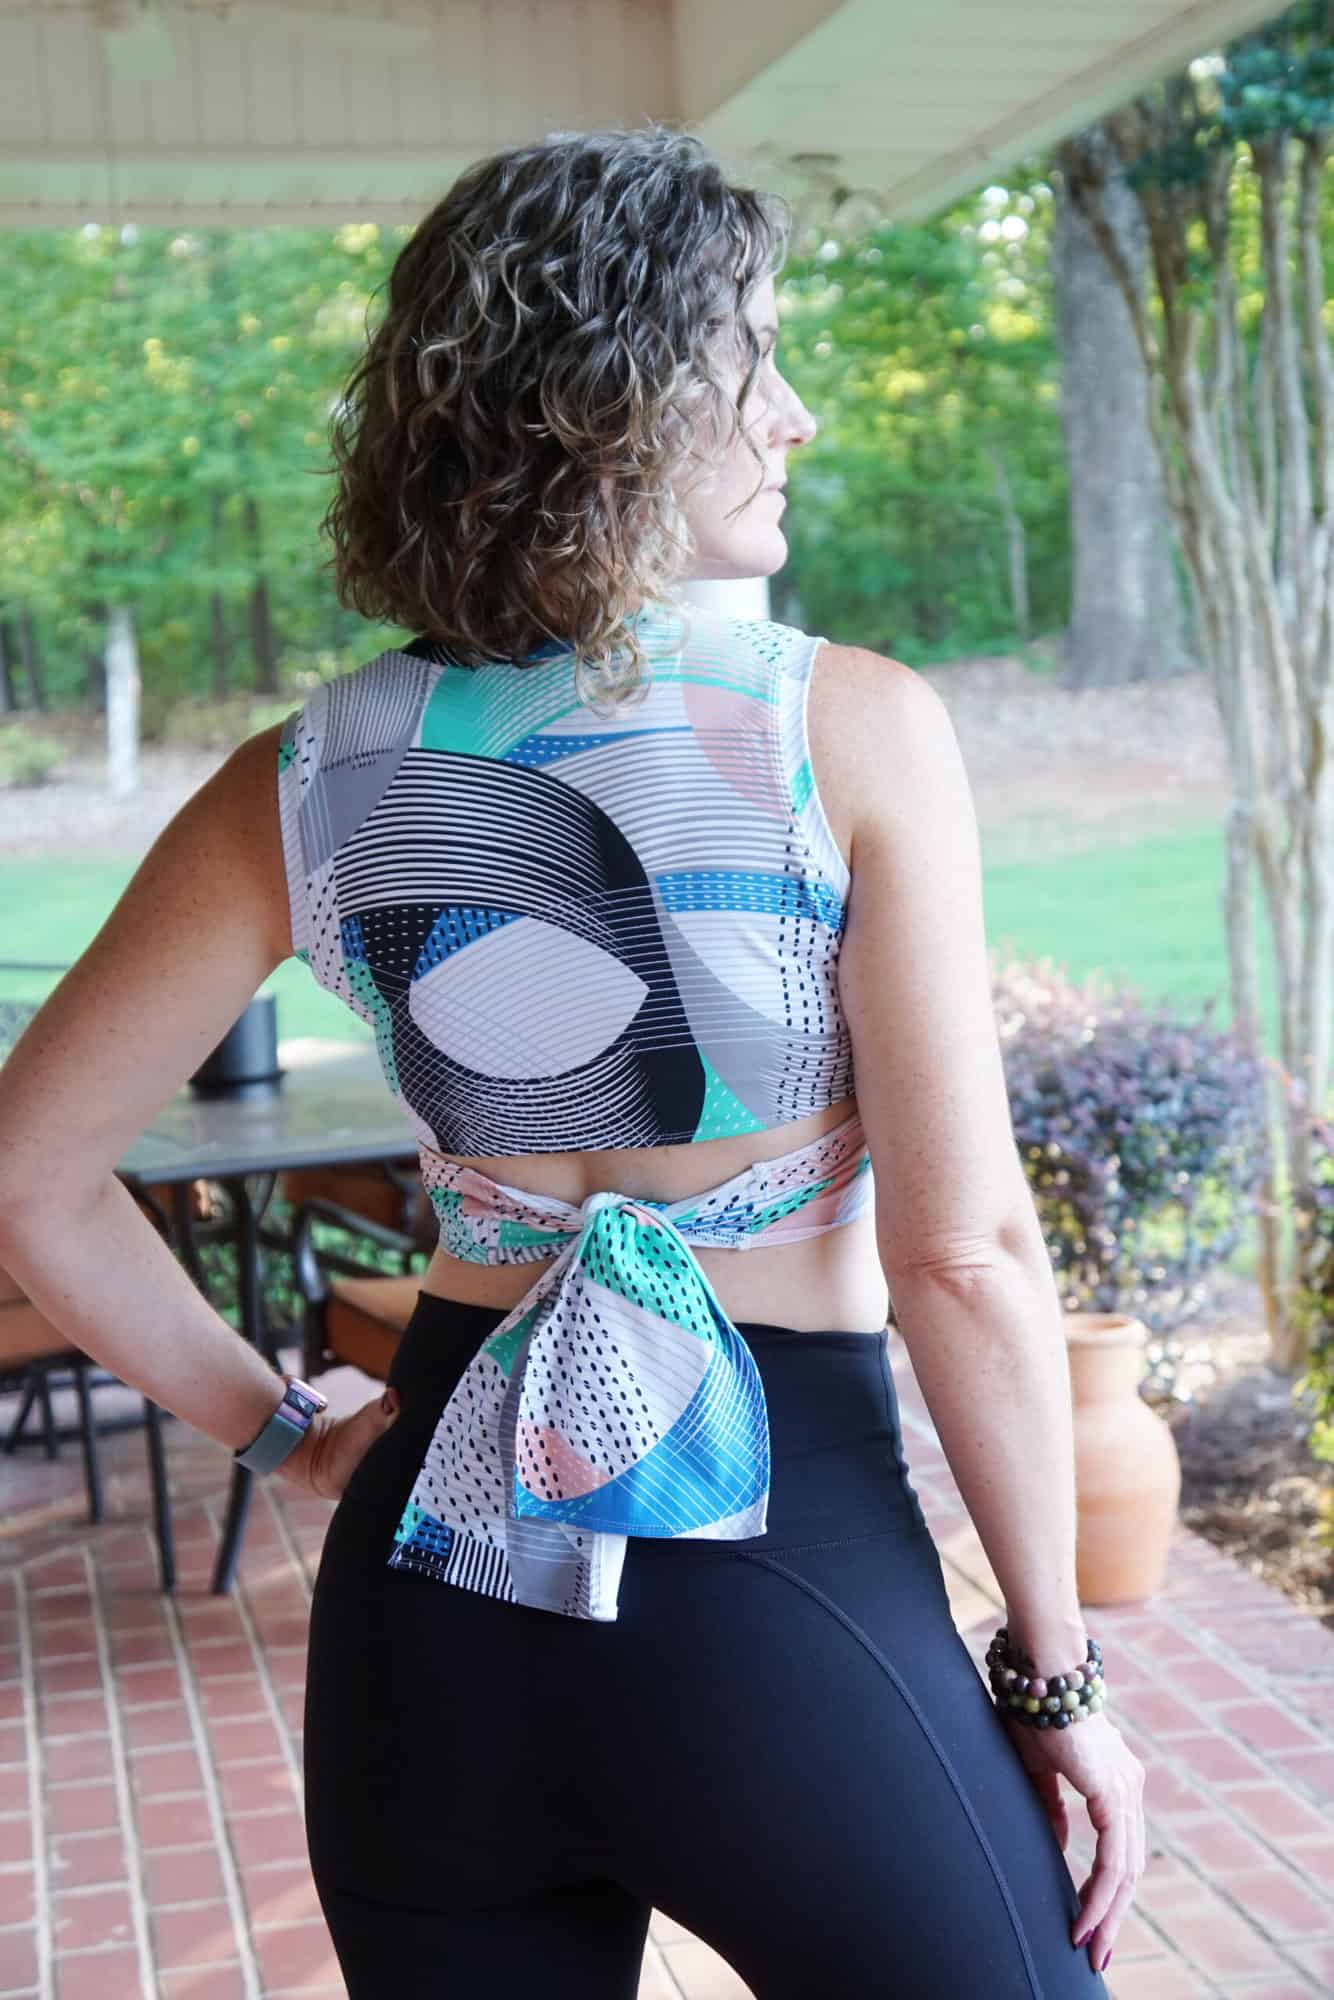
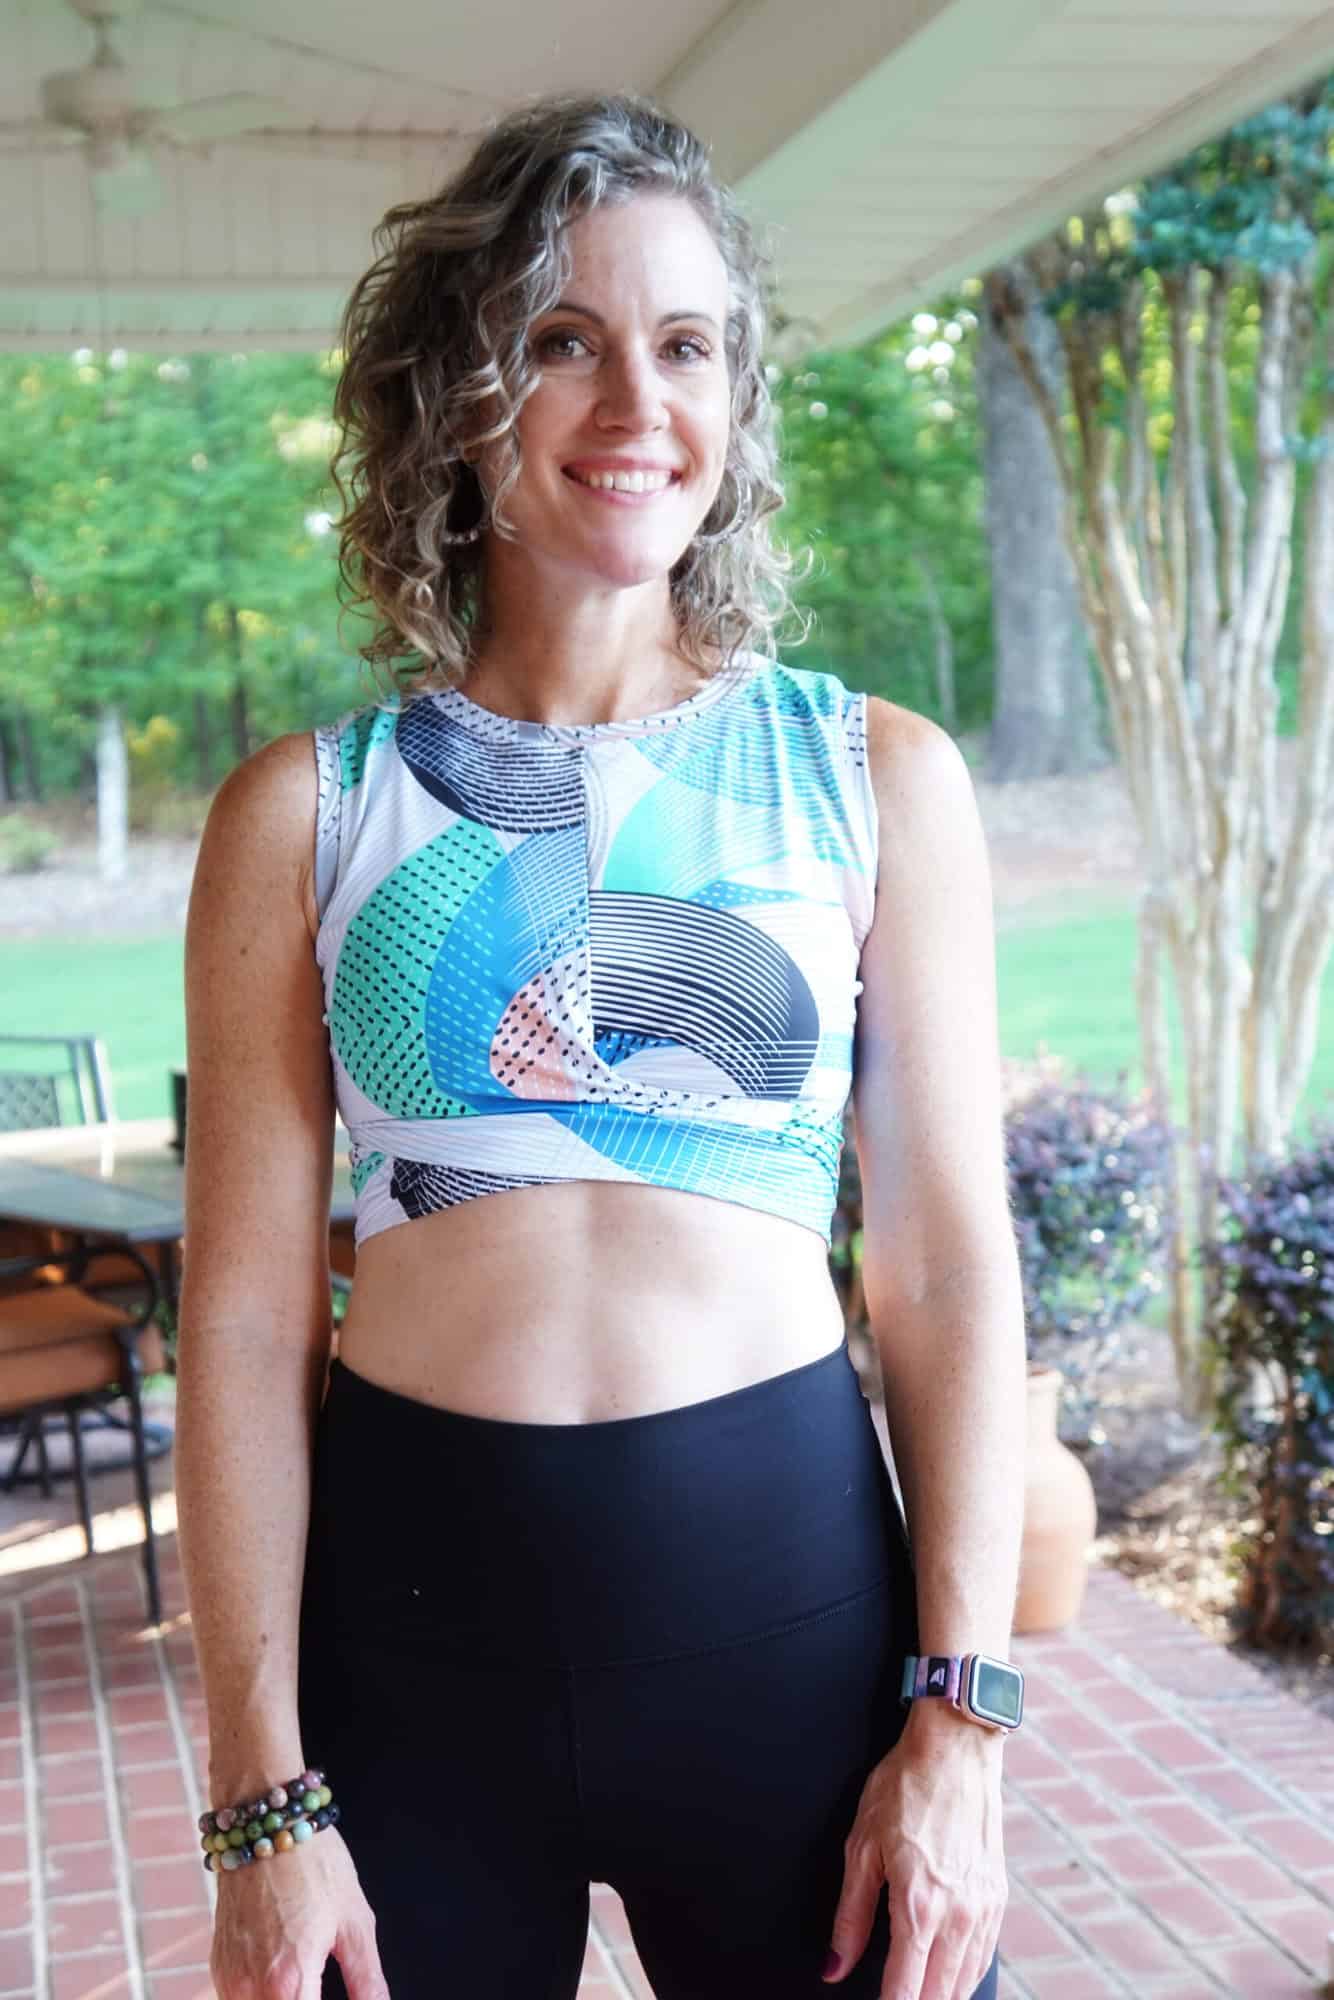
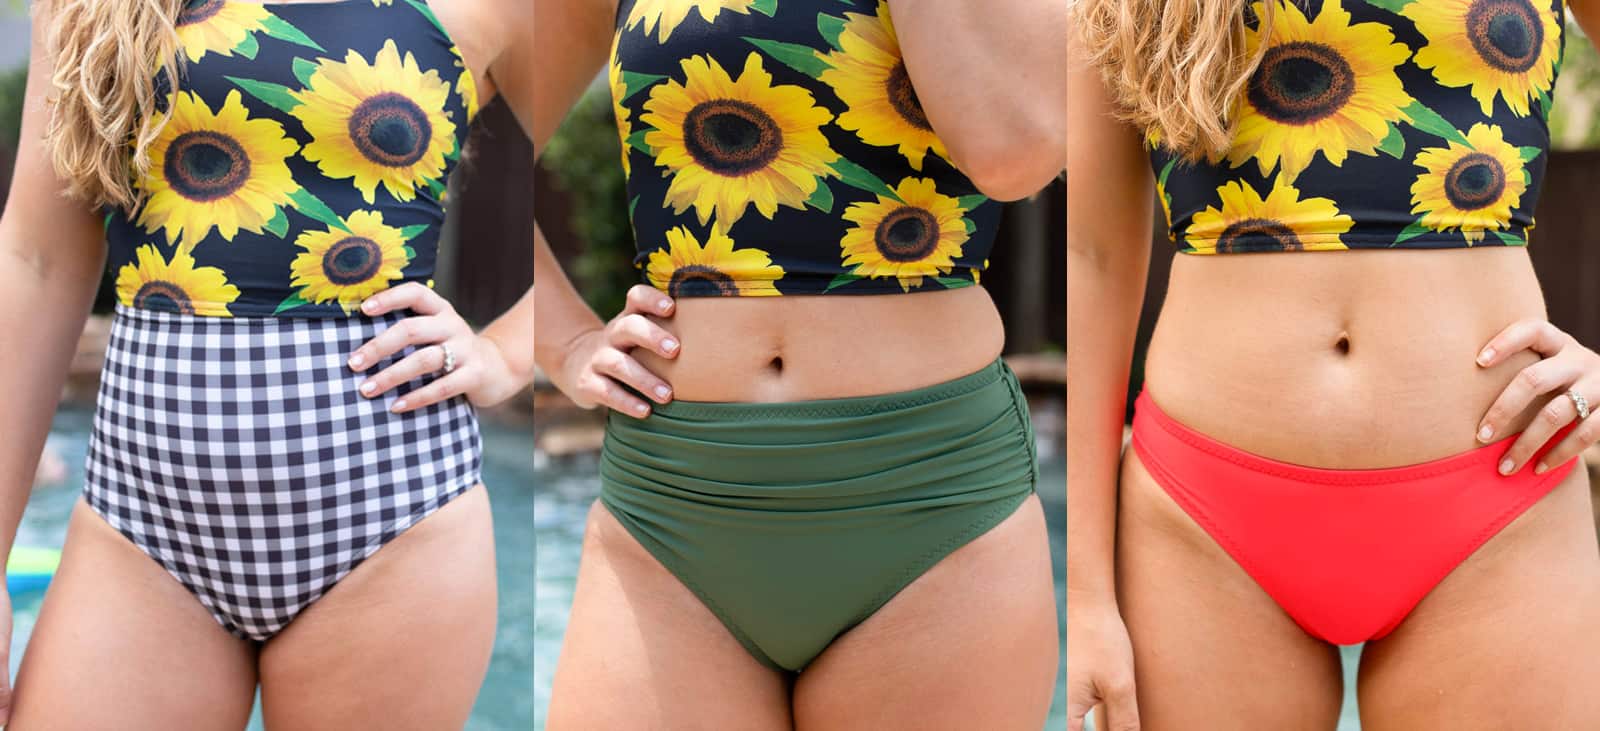
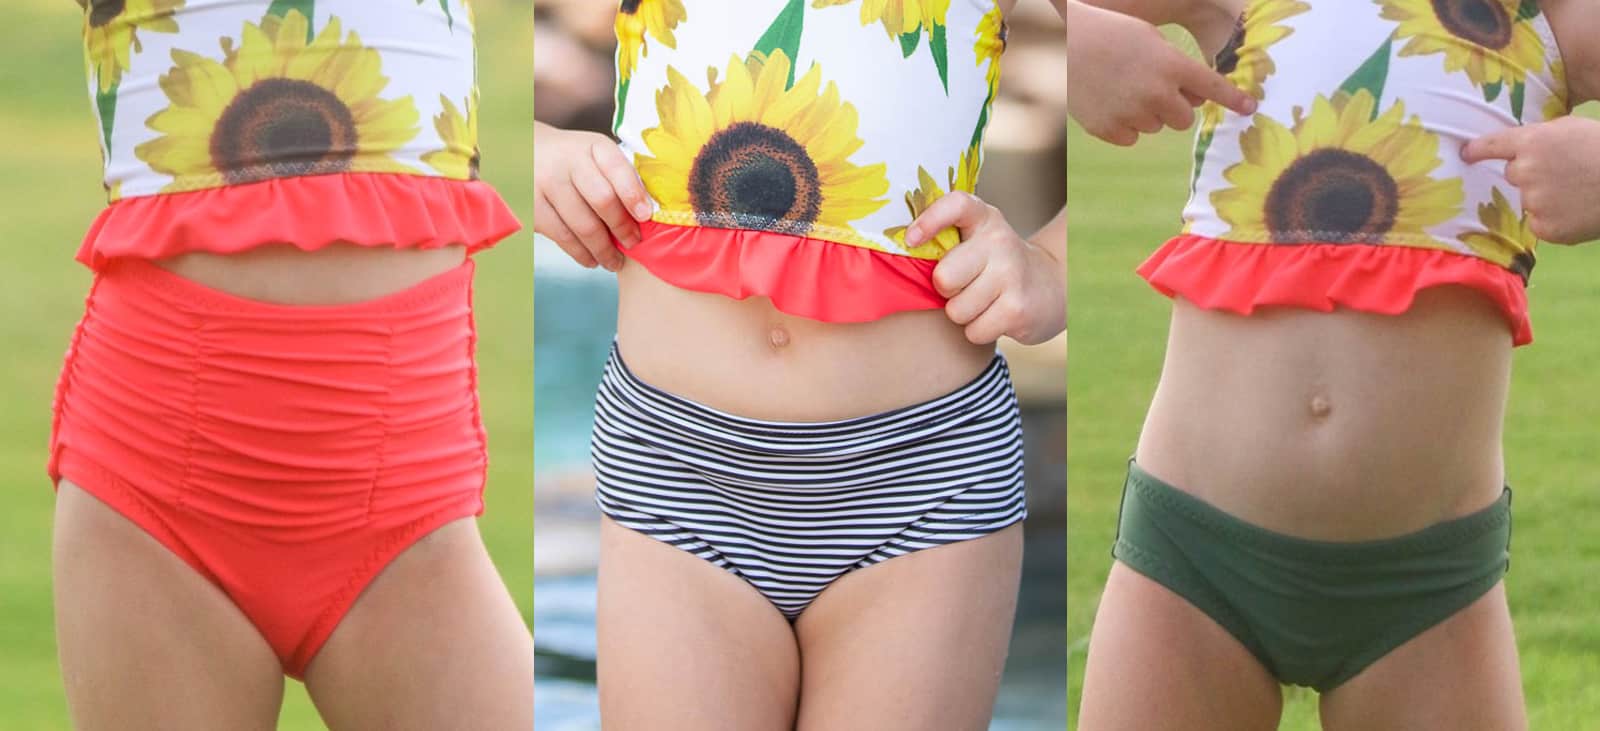
Sunflower Swim Top SAL day 6 | Add ruffle/hem and finish swim top
Sunflower Swim Top SAL day 7 | Winners announcement