Patterns for Pirates

P4P stylish, modern, wearable patterns

  • Home
  • Blog
    • Frequently Asked Questions
    • Pattern Releases
      • Free Patterns
    • P4P University
      • Fitting
      • Sewing with Stretch, Knit Fabrics
      • Sewing with Woven Fabrics
      • Sewing Machines
    • Sew-A-Longs
    • Fabric for Pirates
    • Pattern Hacks
    • Announcement
      • Blog Tours
      • Contest/Giveaway
  • Shop
  • Bundle Discounts
  • Flash Friday
  • Gift Cards
  • My Account
  • Cart

Loggers Ruched Side Hack

April 24, 2019

Hi Pirates!  With warmer weather approaching, pool days, lake trips and beach-bound vacations ahead,  we’re starting to pull swim knits from our stashes and make new suits for the summer.  We have Rachel from Yonder Couture on the blog today as a guest writer to share with you the latest hack to the Loggers. In case you missed any of the others (including a fully lined swim option), check it out HERE.

Now, here’s Rachel!

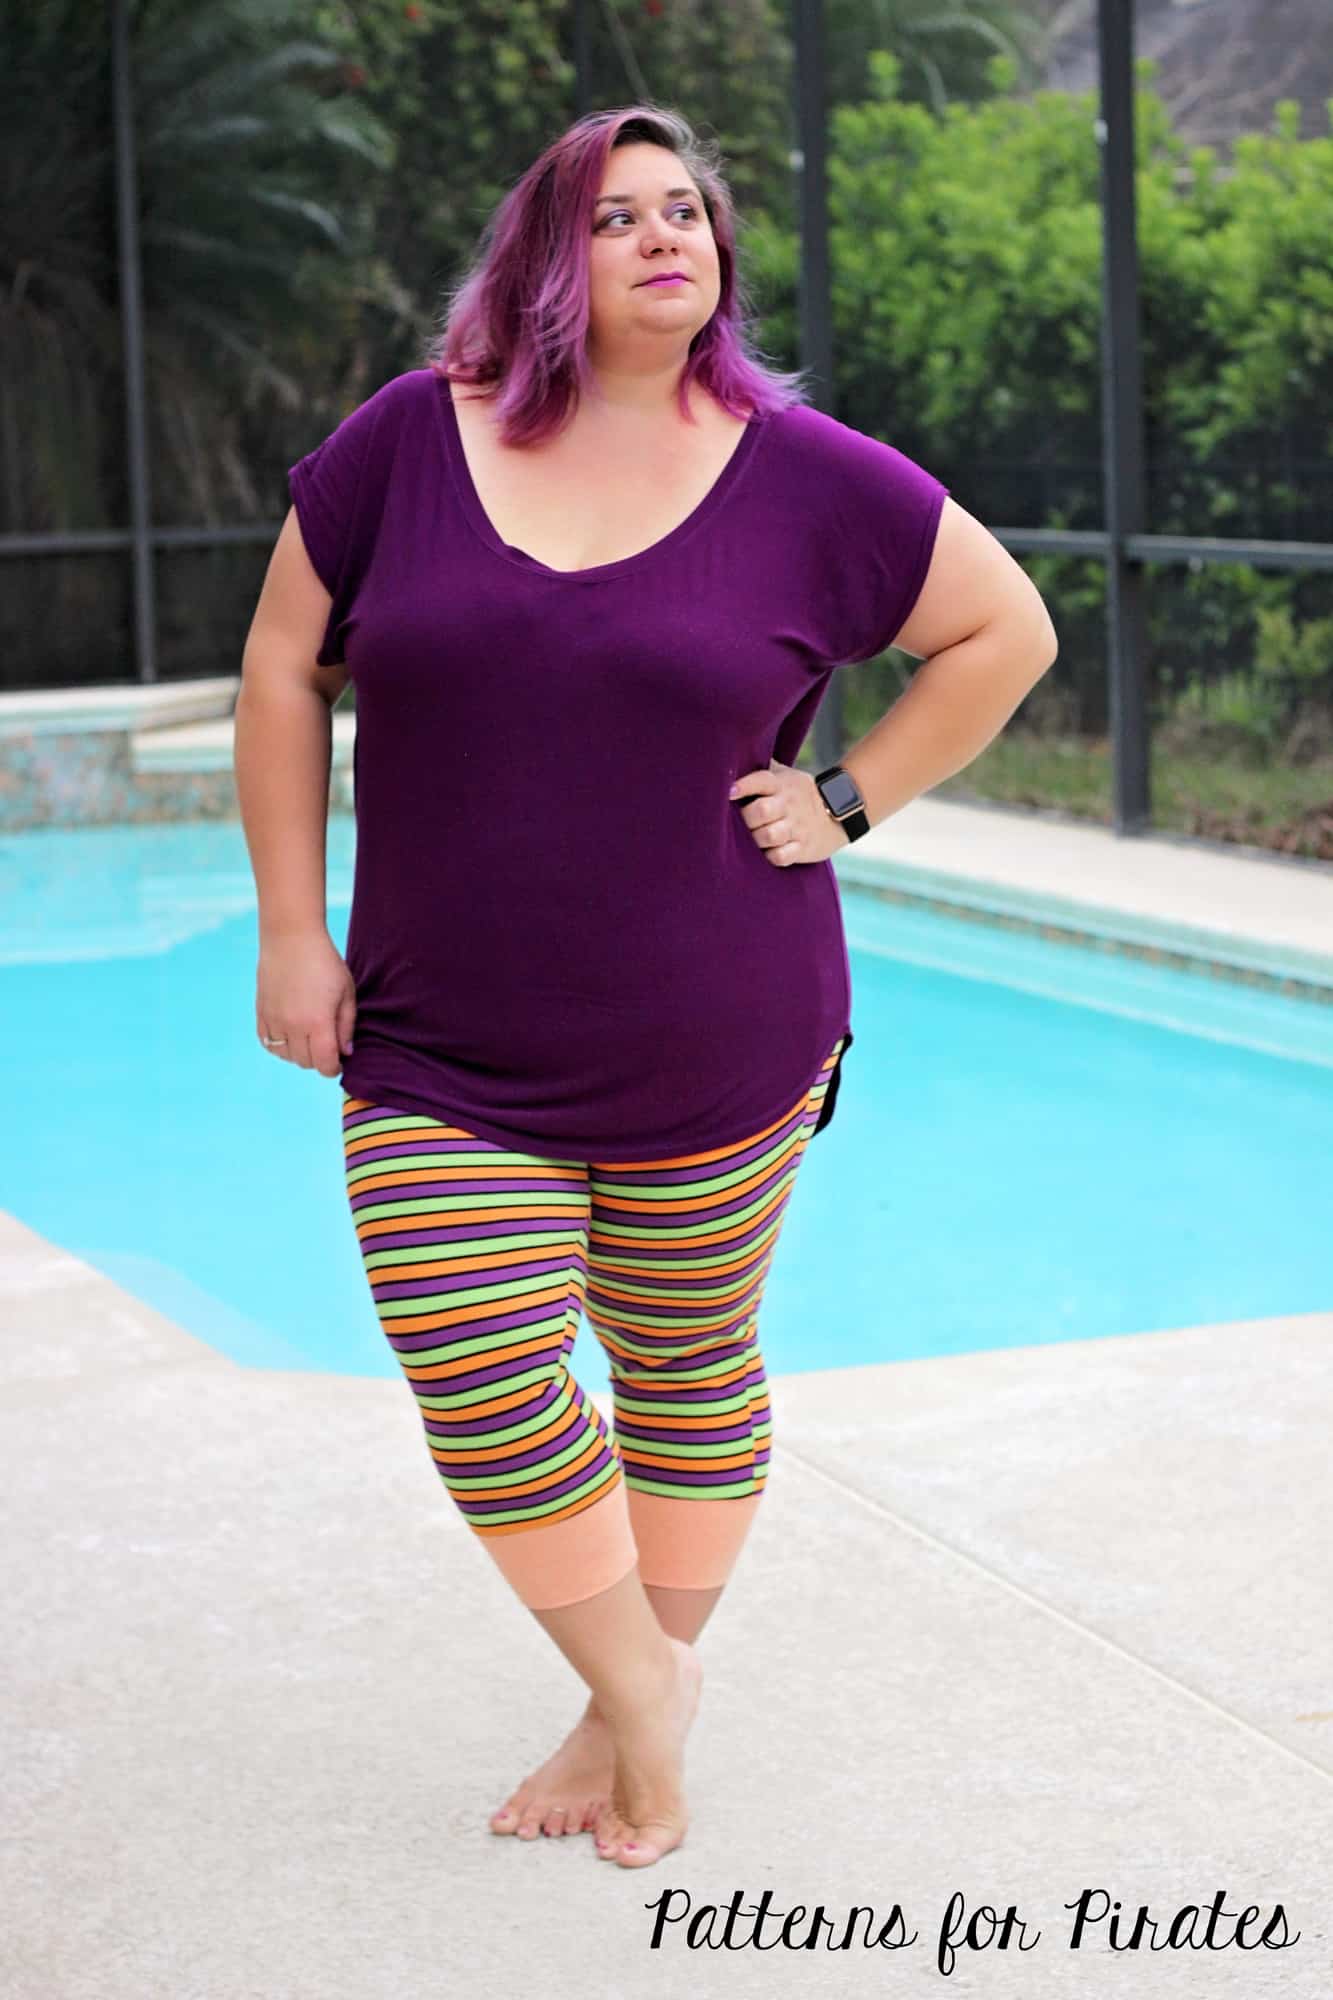
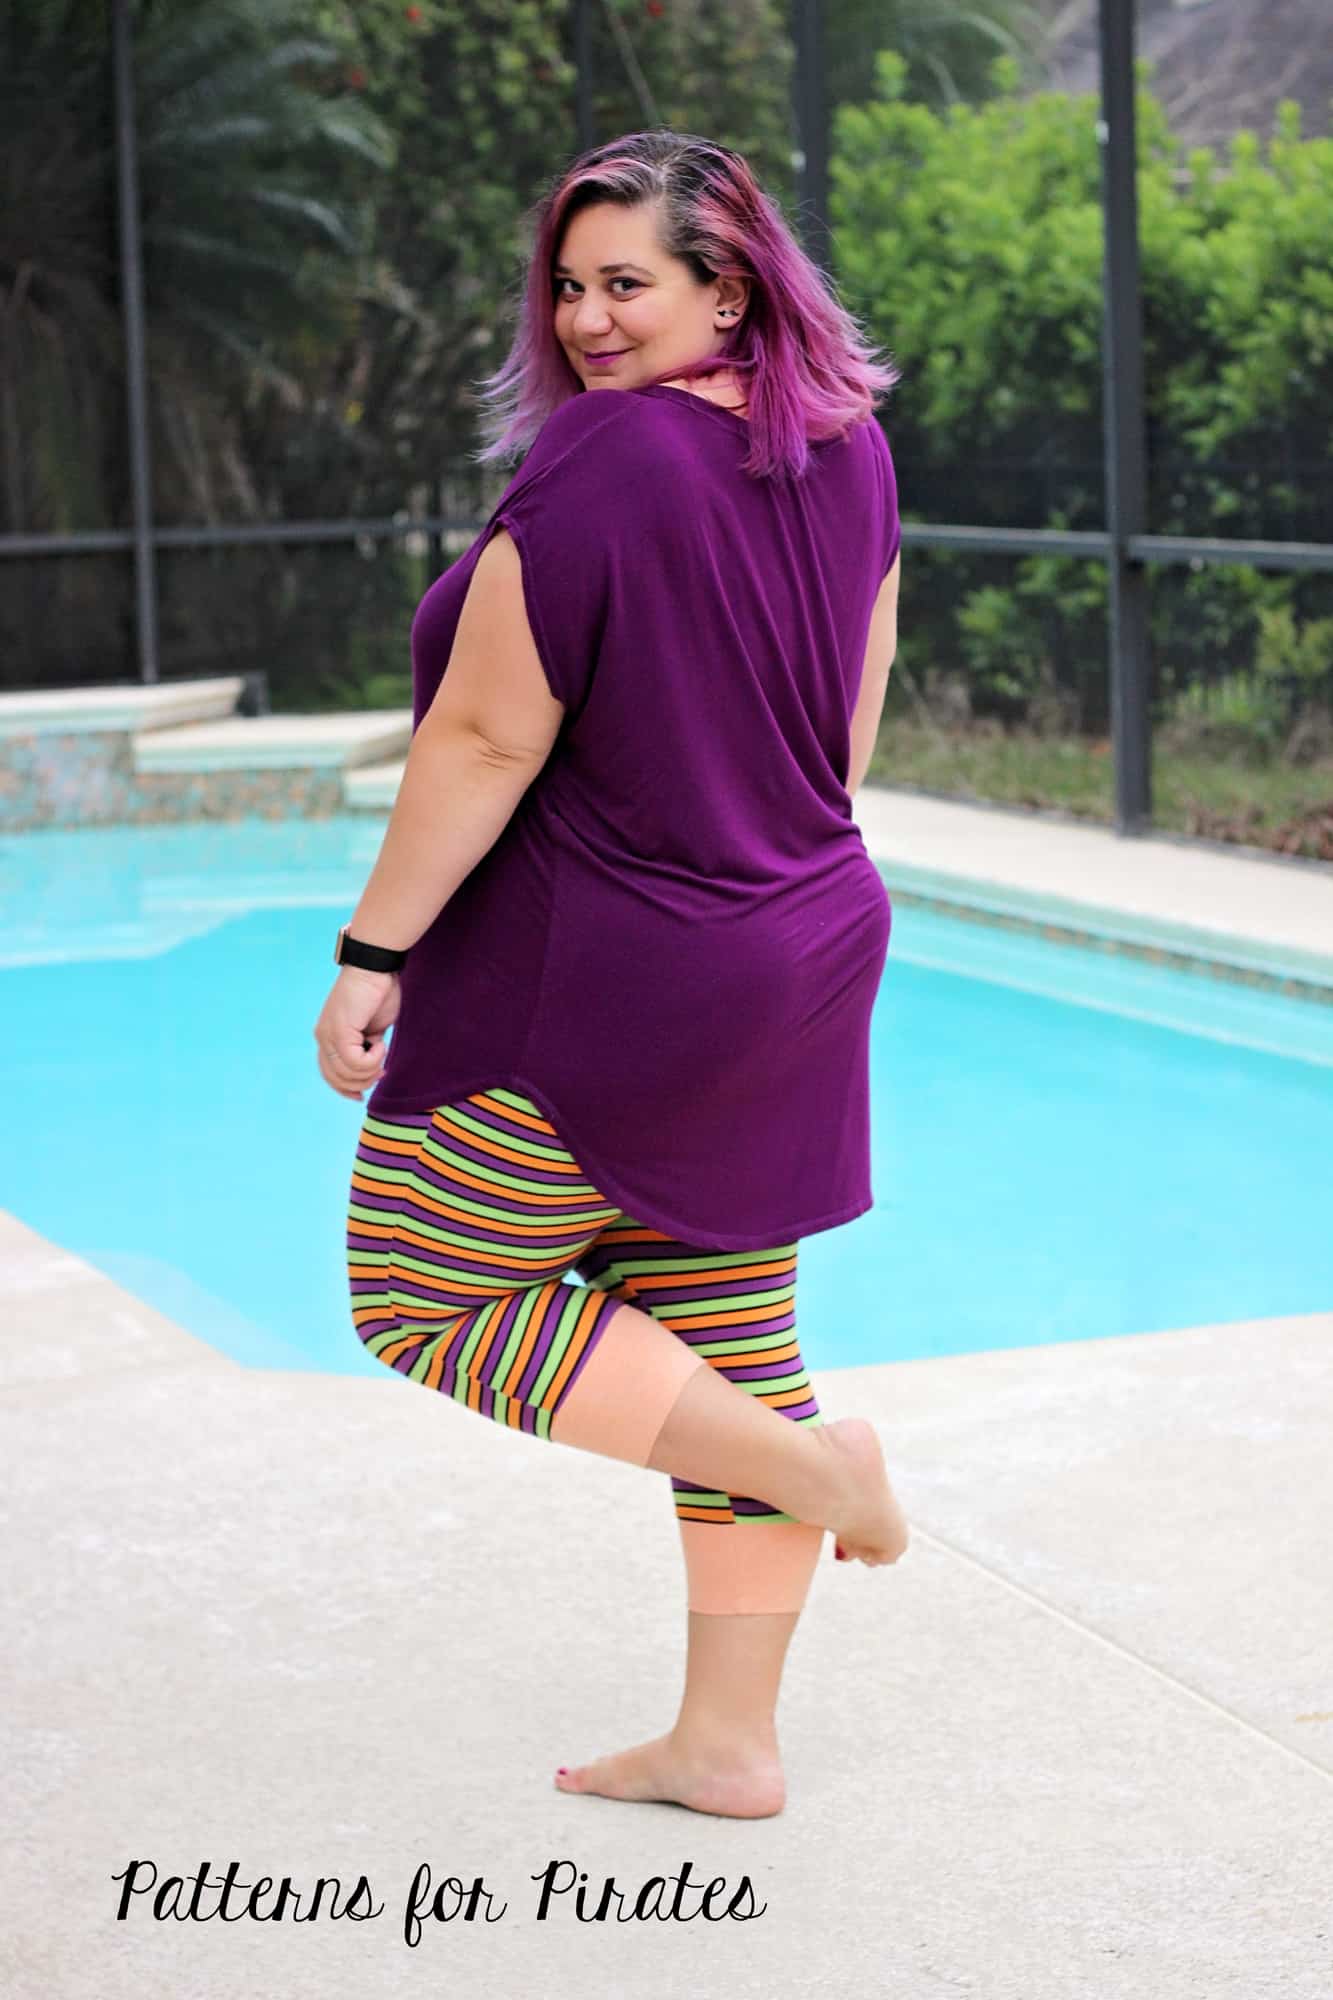
I didn’t expect to totally fall in love with Patterns for Pirates latest release, the Women’s Loggers, but P4P knocked it out of the park again with a design loaded with options.

{ICYMI, Loggers are the love child of leggings and joggers…}

After making a pair of loungewear shorties and a pair of full-length pants from the pattern, I couldn’t shake the vision of swim shorts for paddle-boarding.

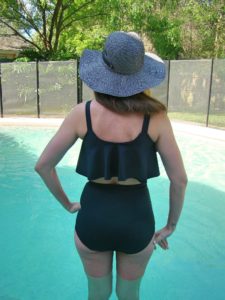
I had a load of swim fabric on hand already. My pattern was already assembled from my previous makes. An opportune hour of free time smiled my way. Before I knew it, I had these adorable new shorties in my life.

{No cats were harmed in the making of these Loggers.}

I wasn’t prepared for the overwhelming reception by the amazing P4P community of sewists. Many asked for the pattern hack.

So, here we go! Let’s make swim shorties!

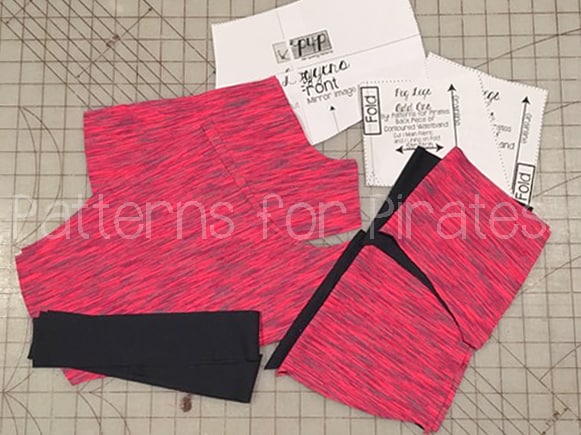
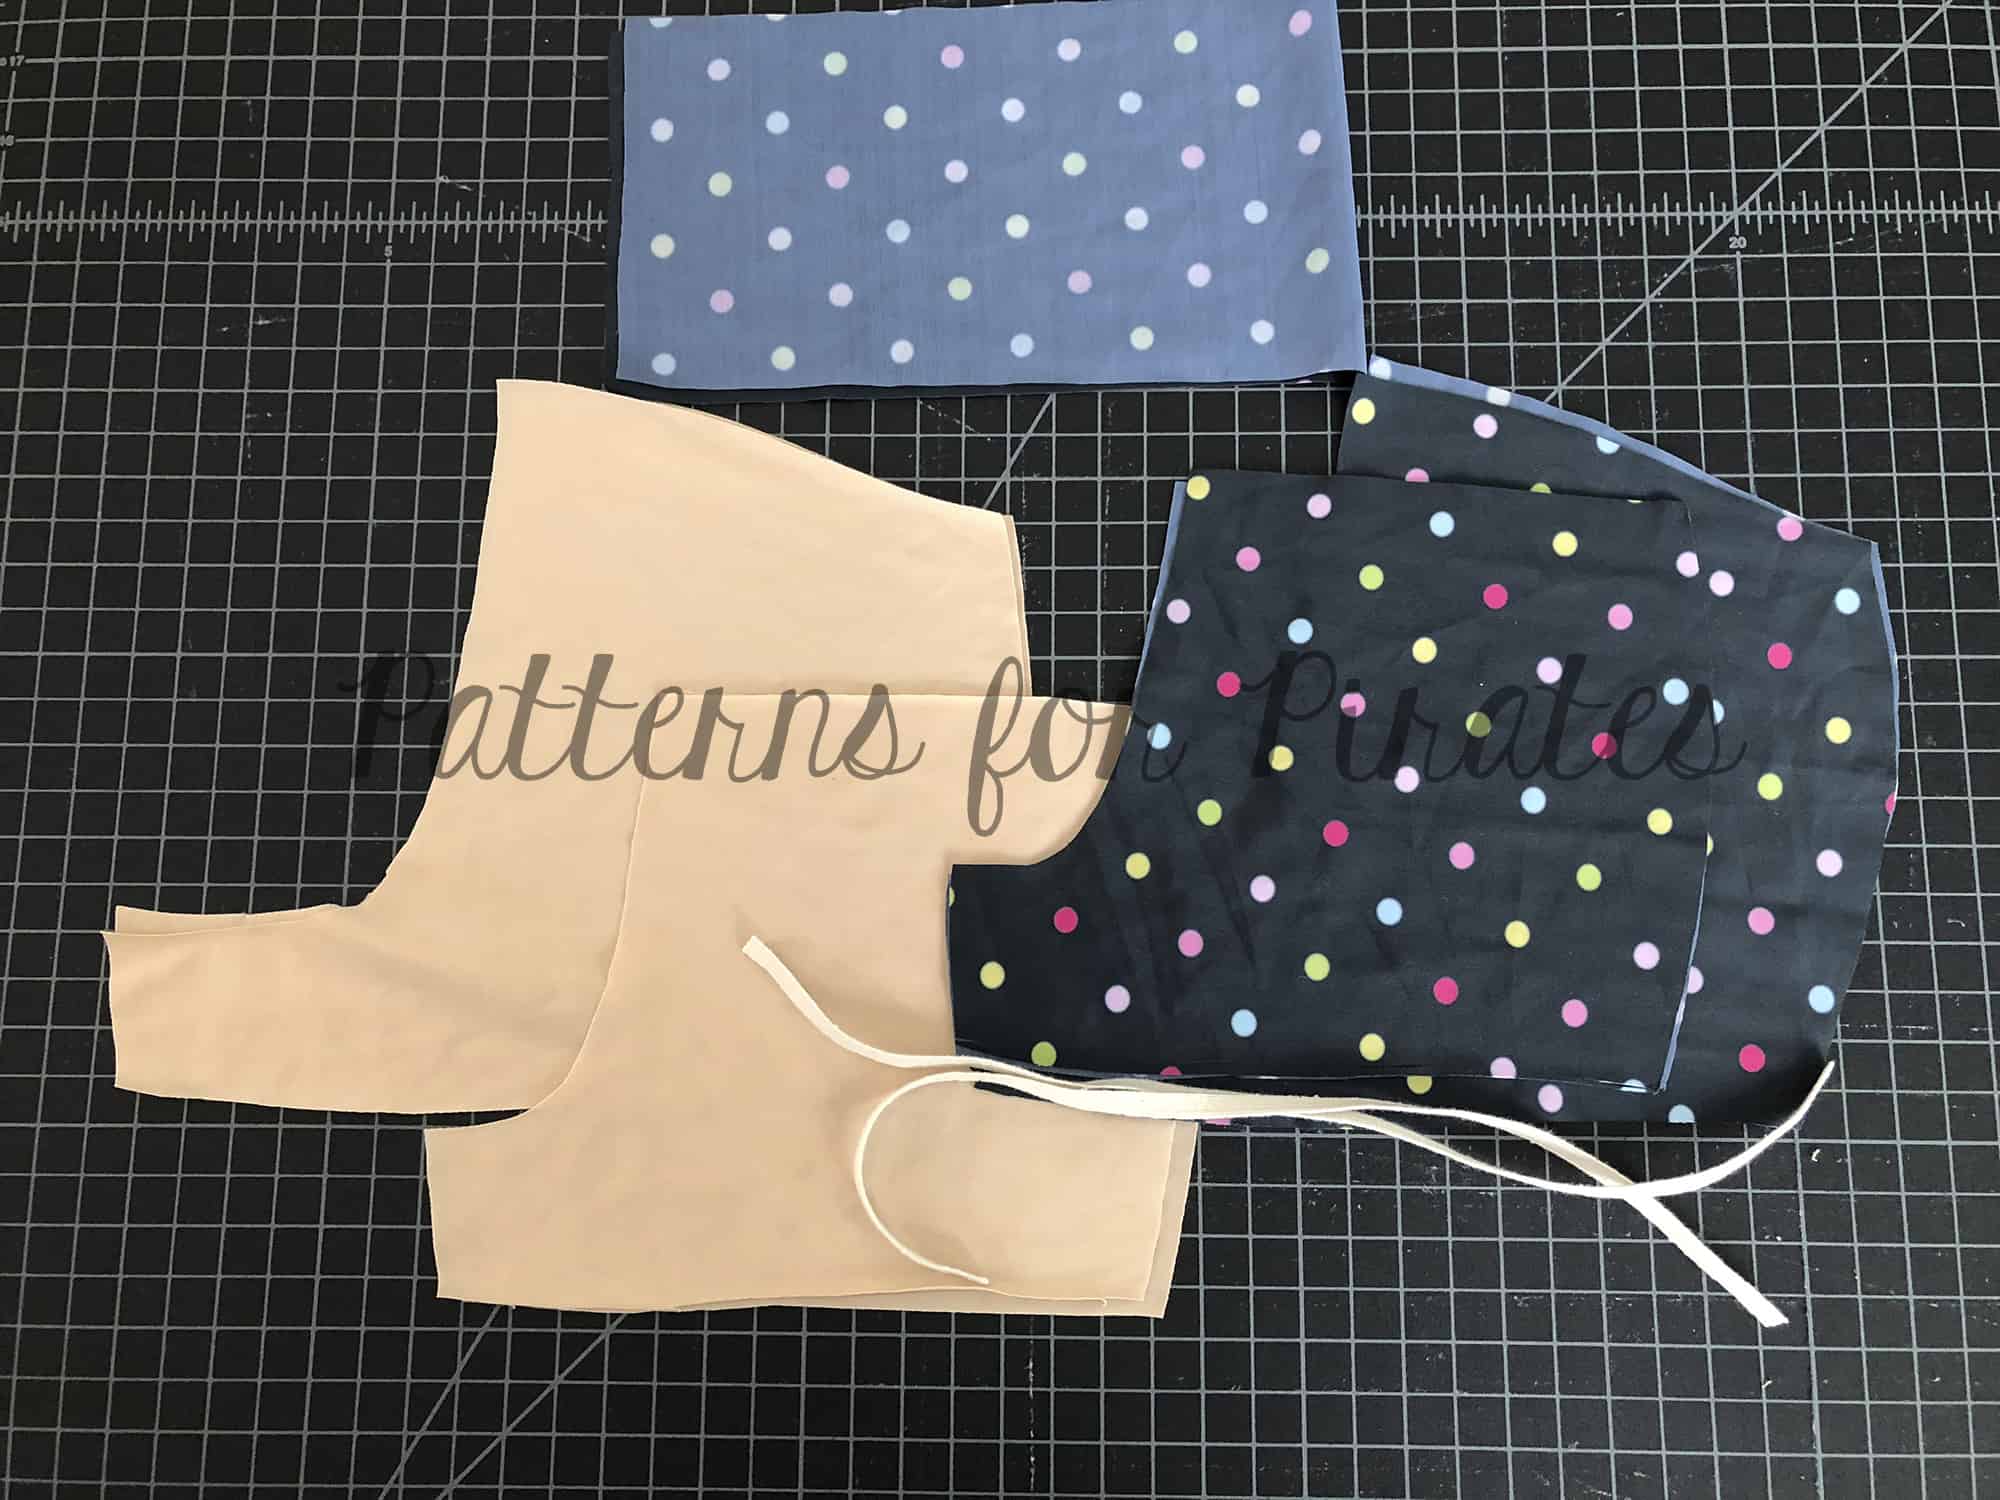
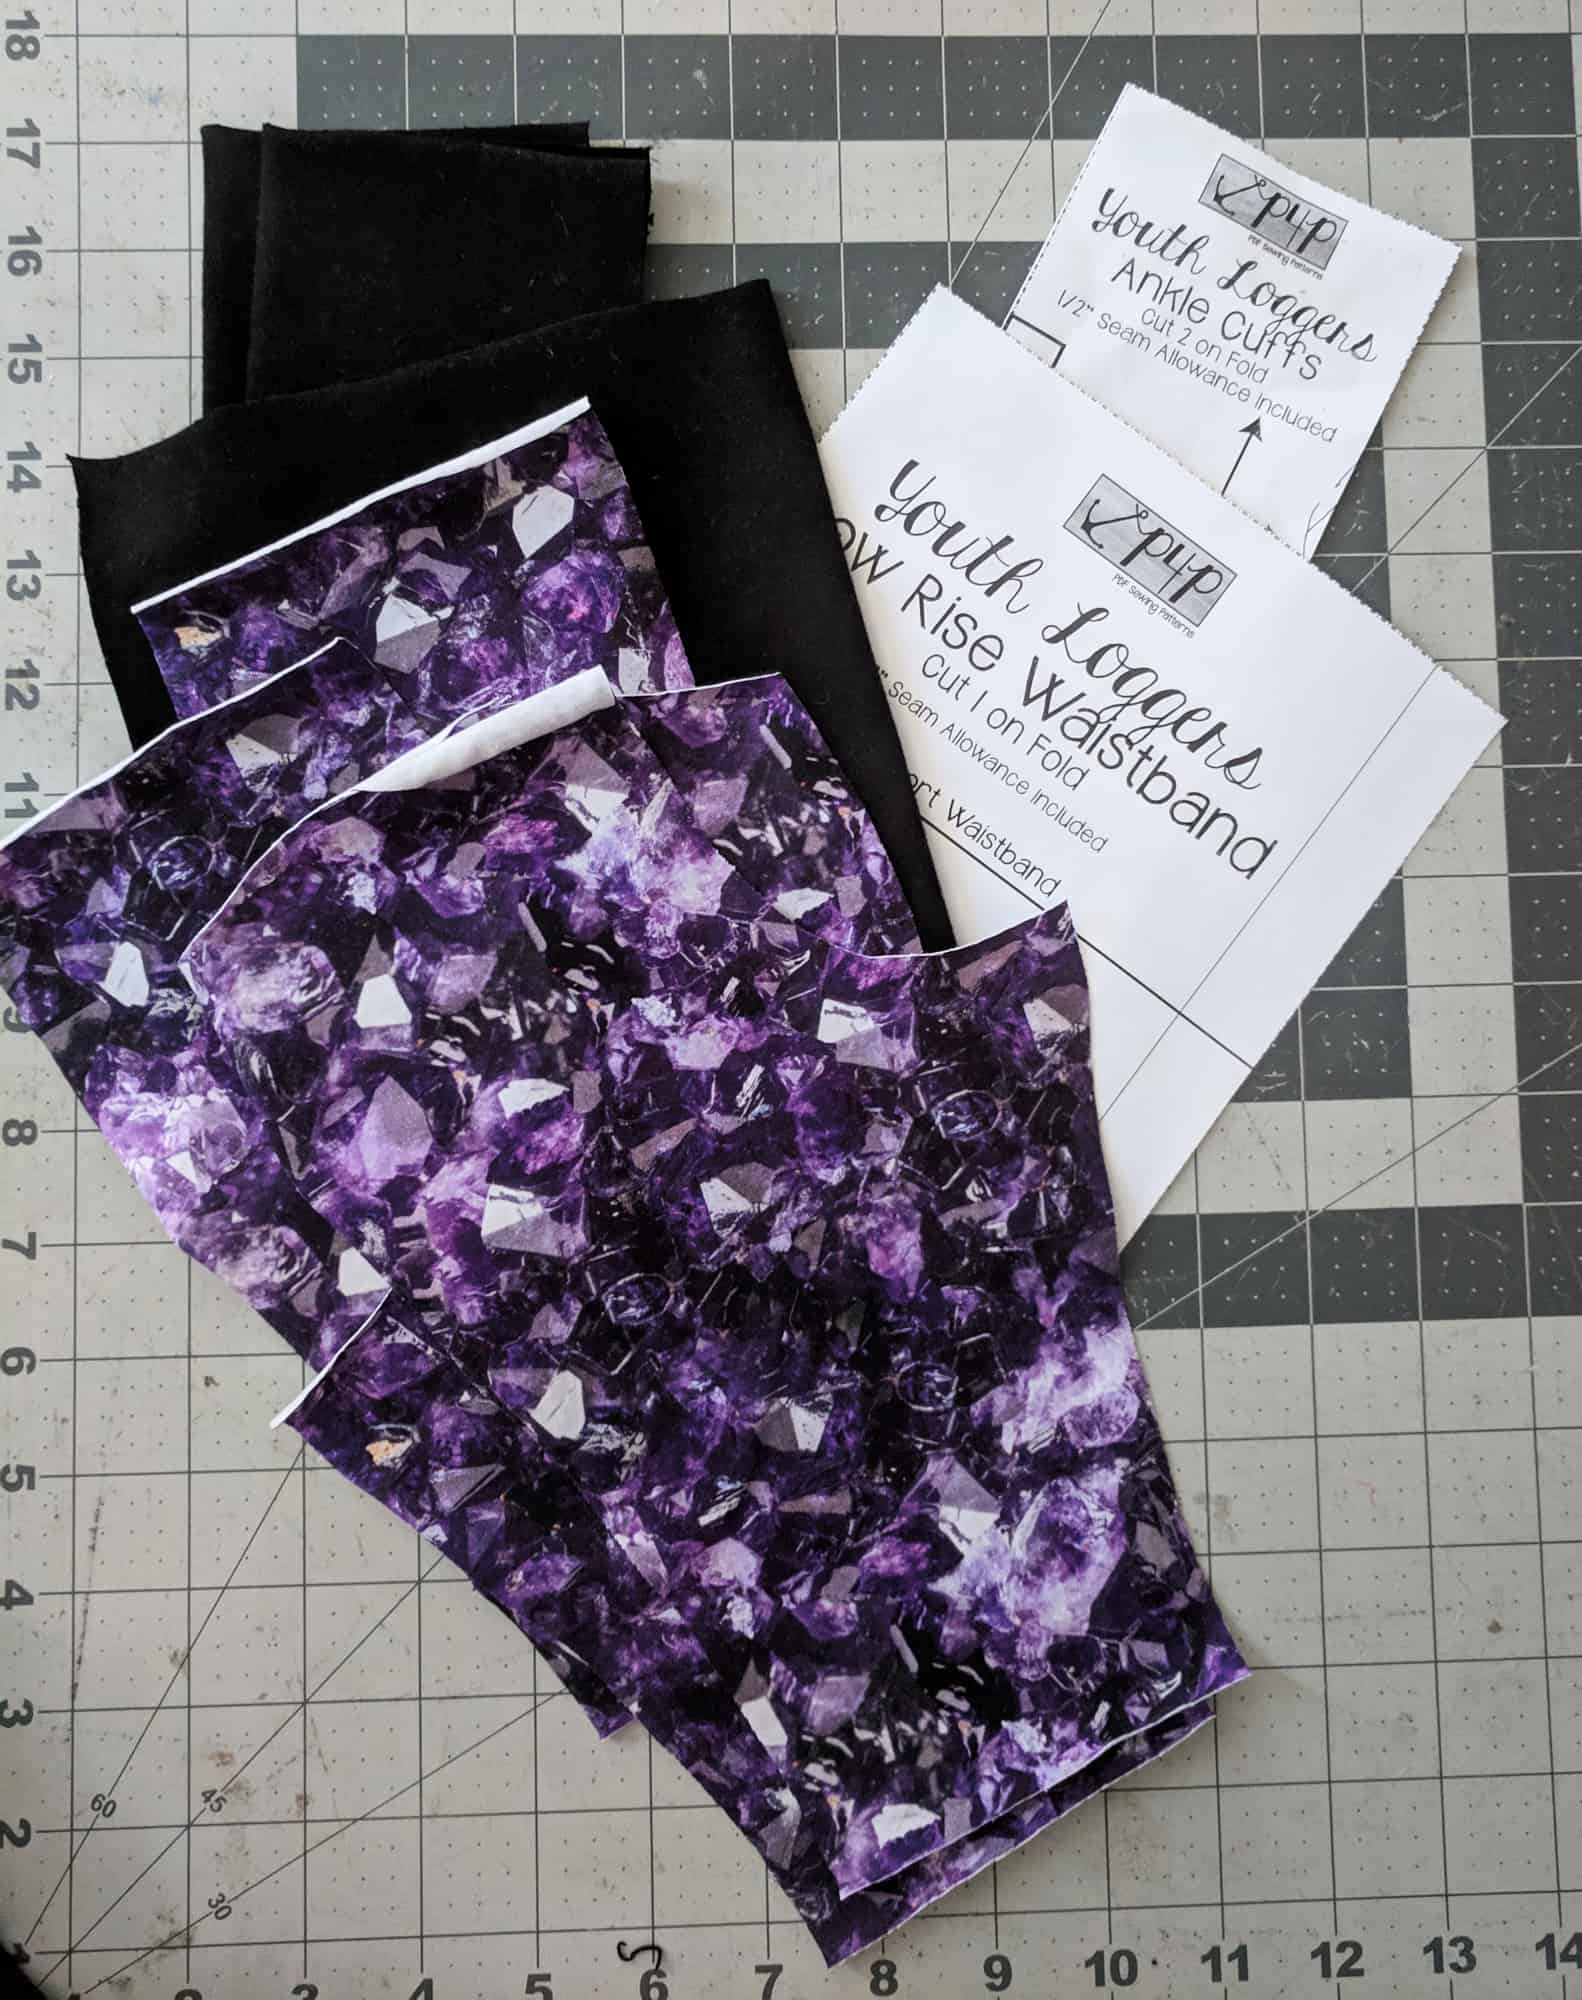
  1. Cut the pattern pieces per the pattern instructions.
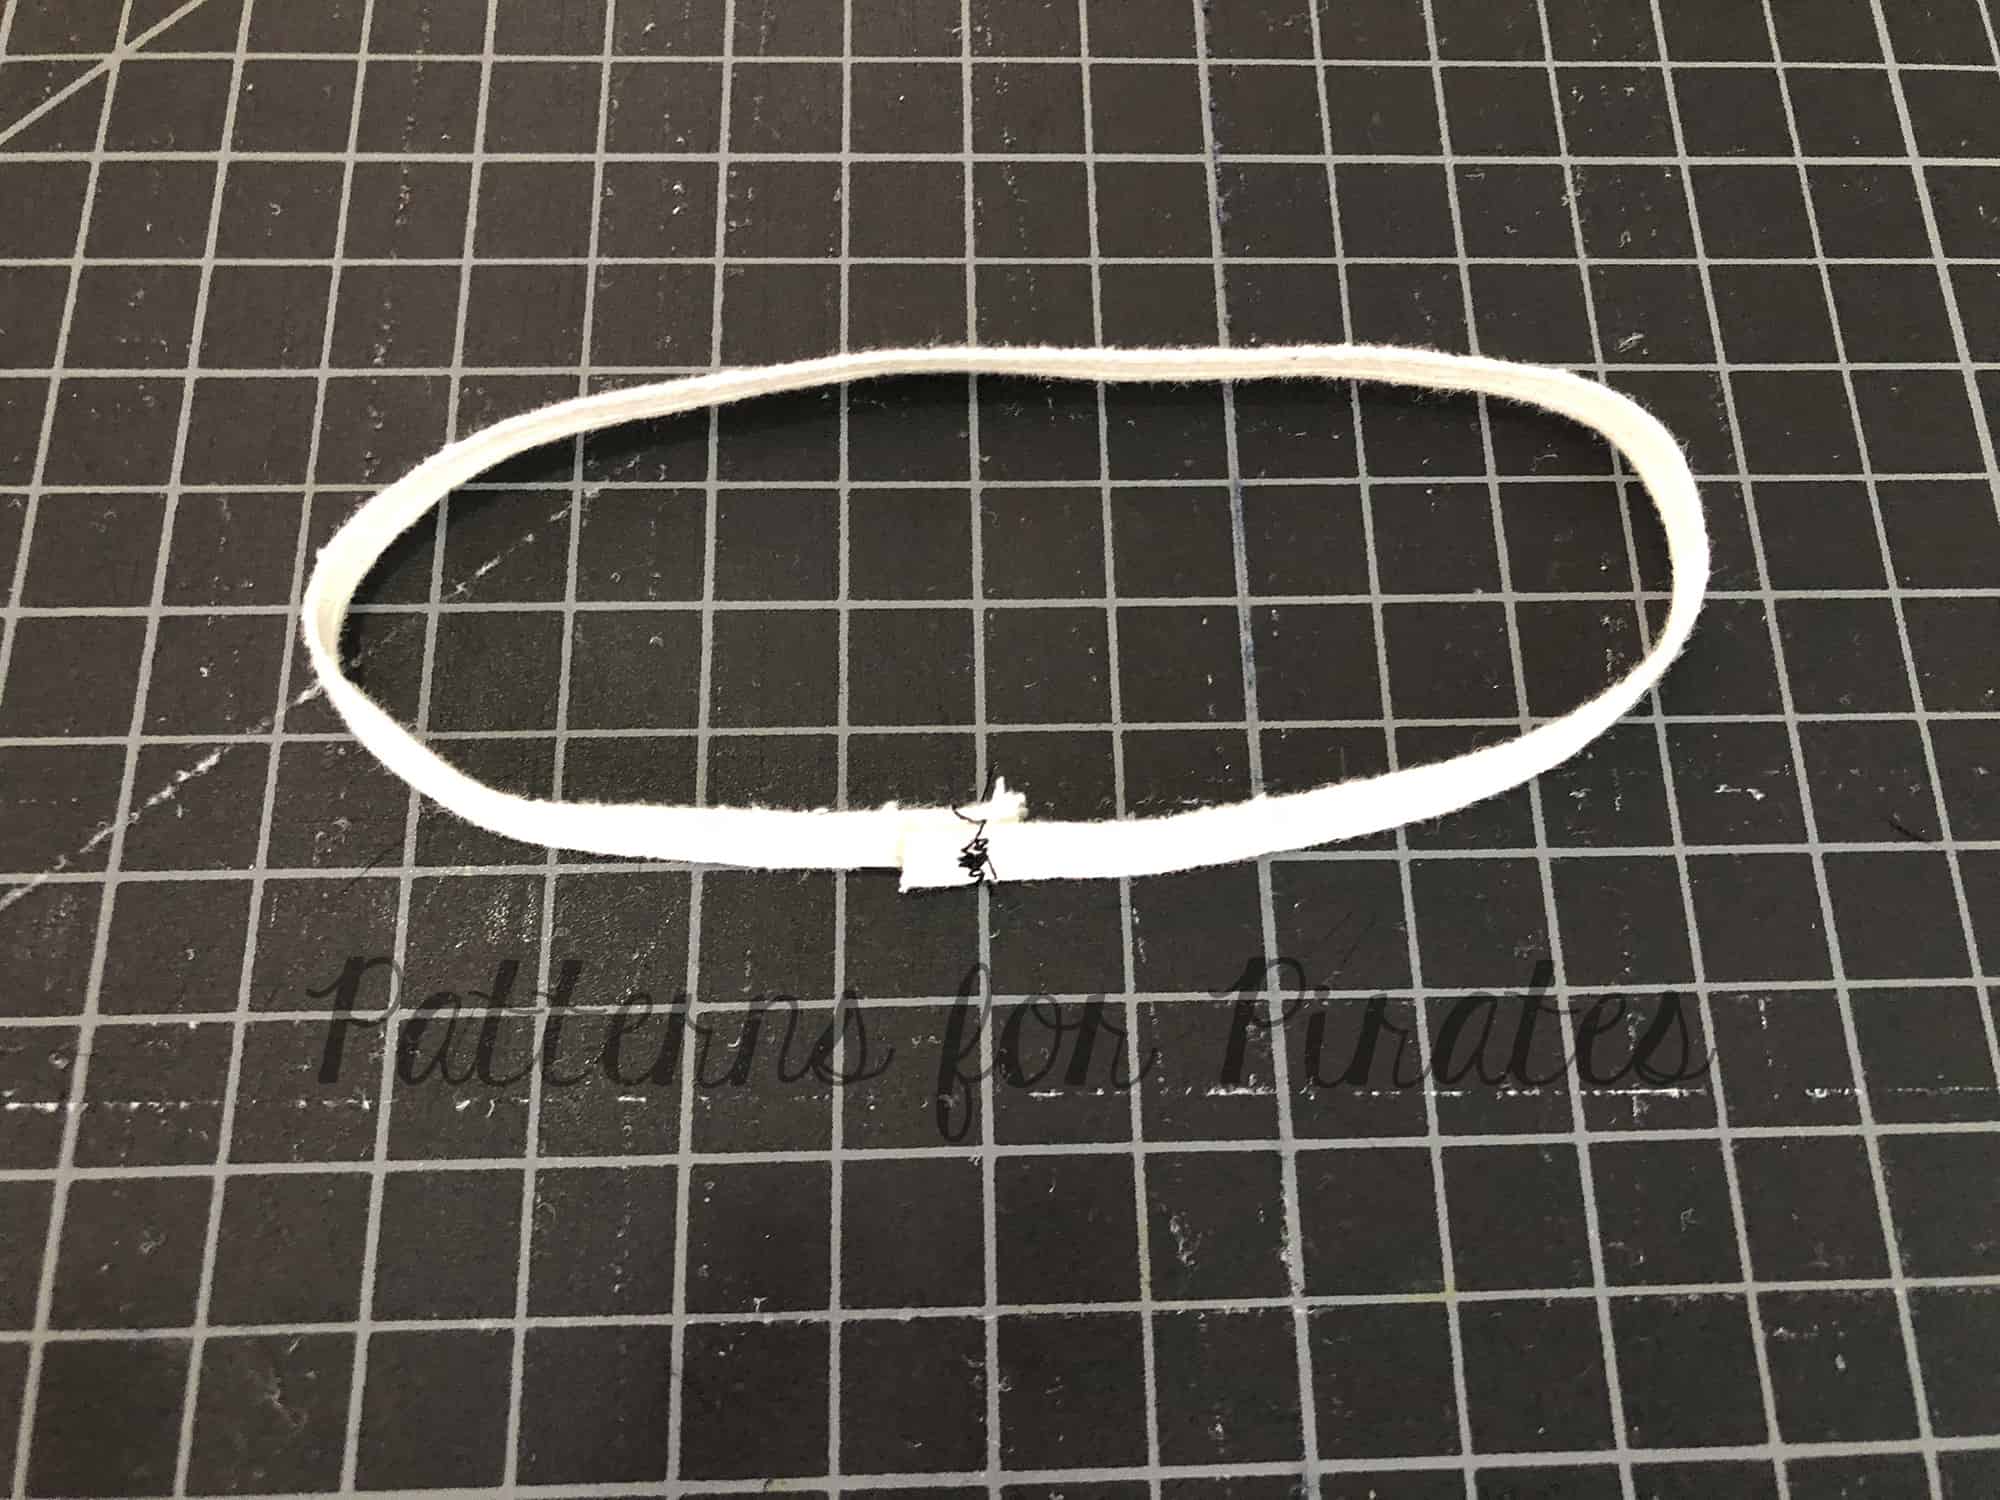
  1. Cut two additional strips of fabric, 1.5″ x 36″. These will be your side ties.
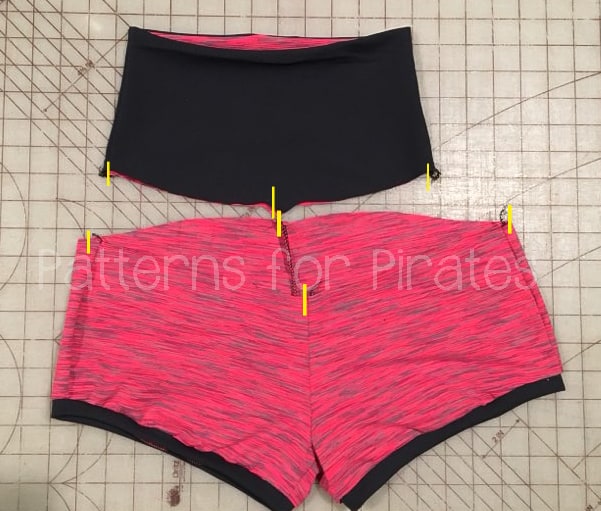
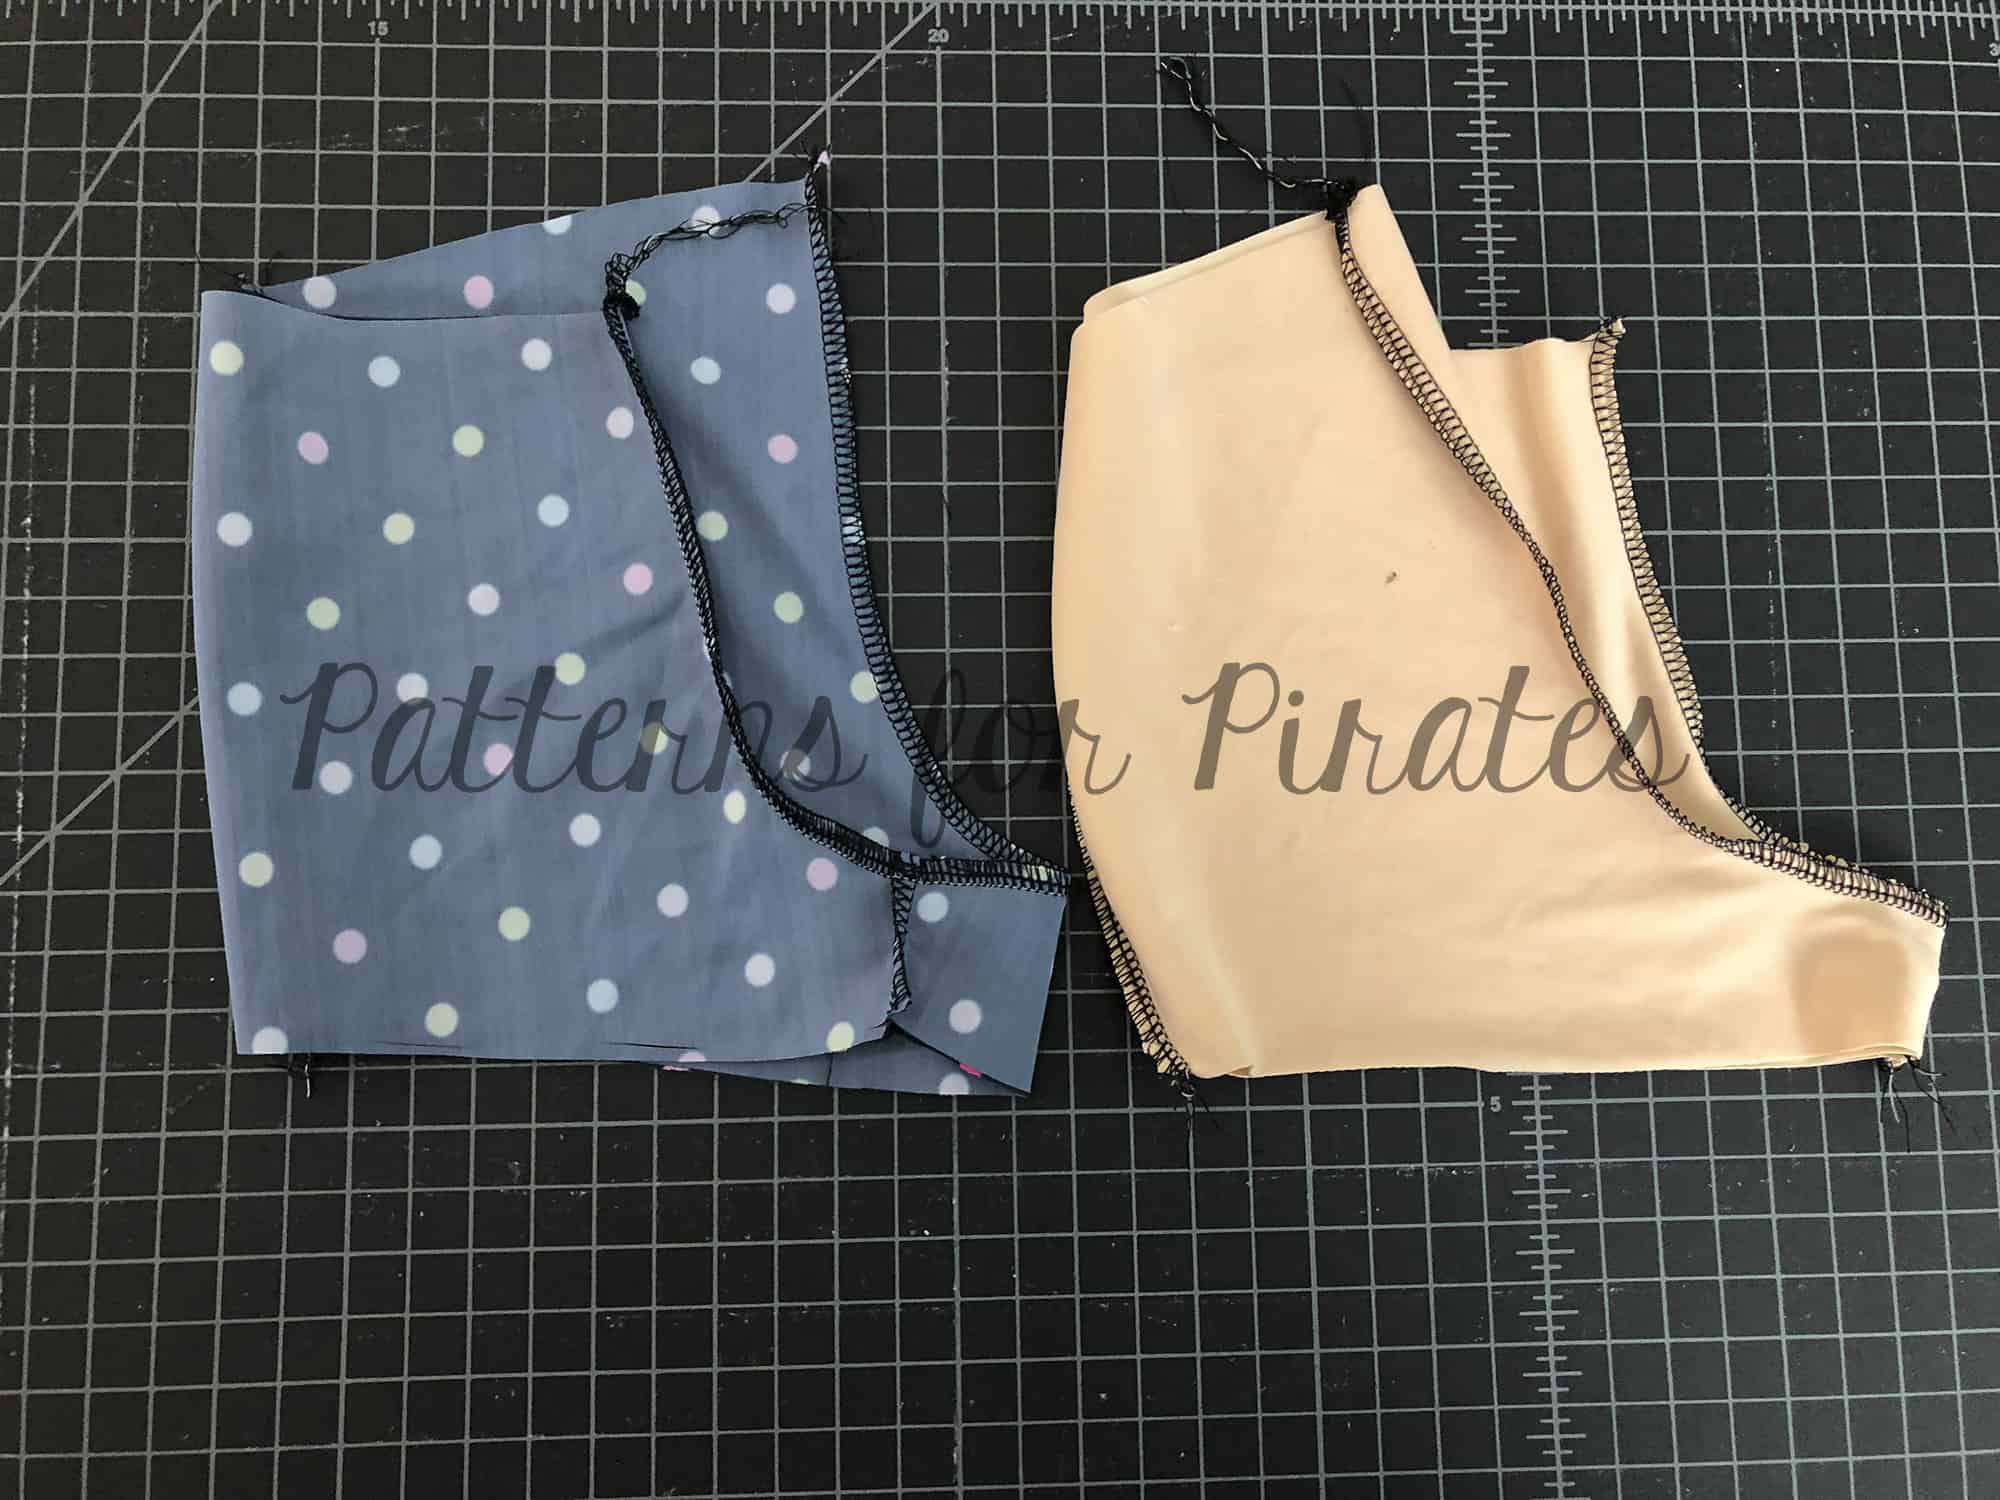
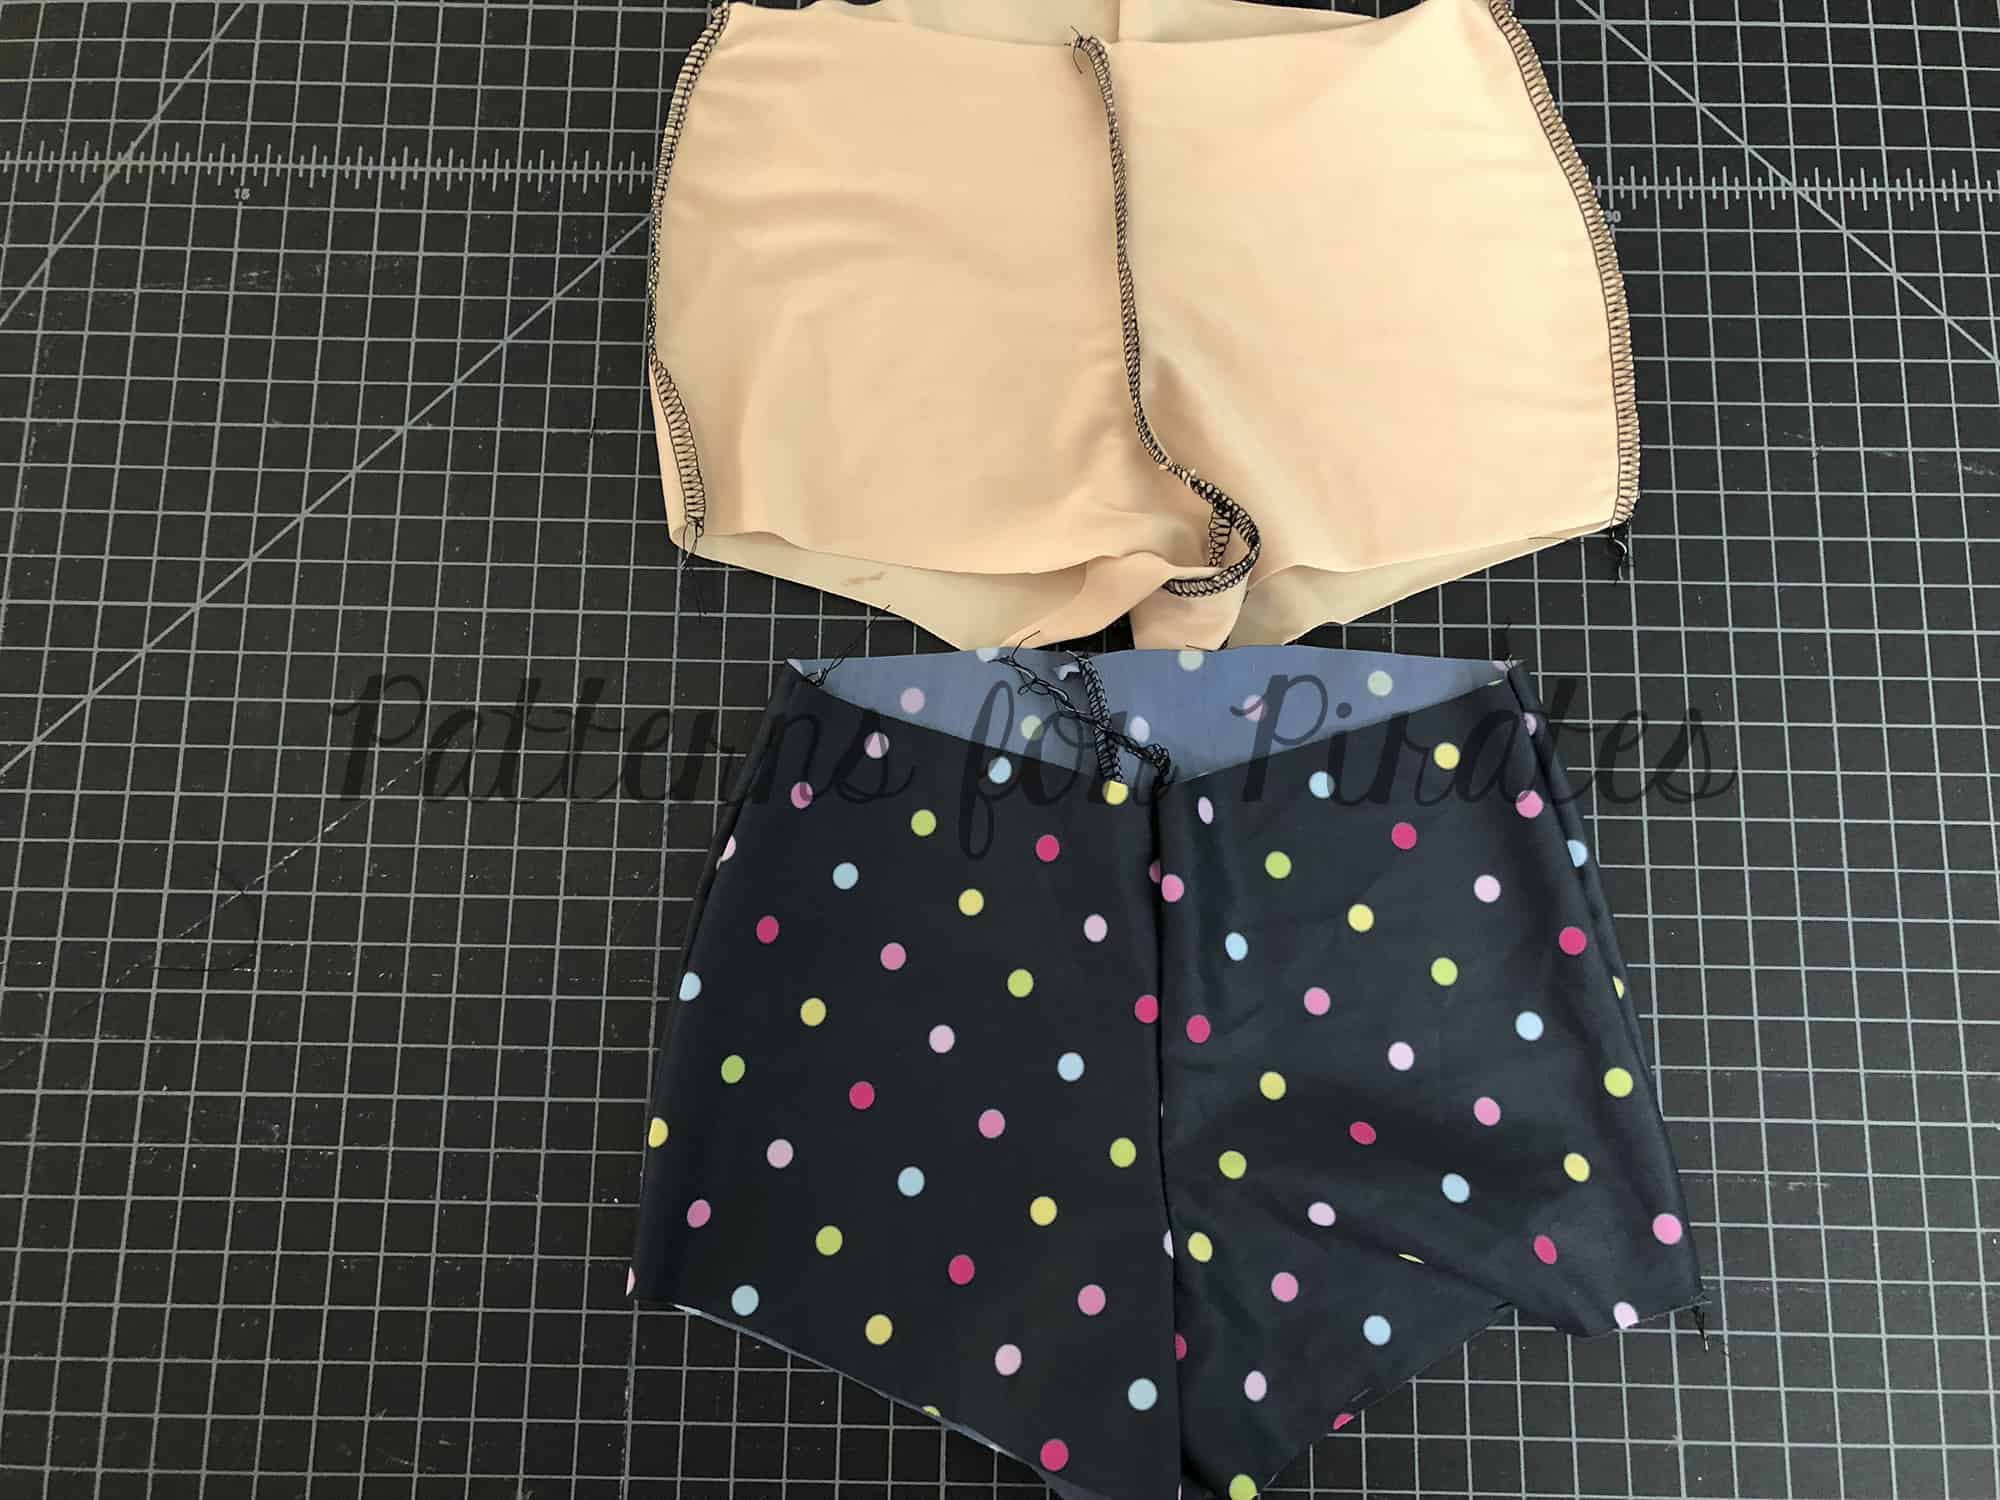
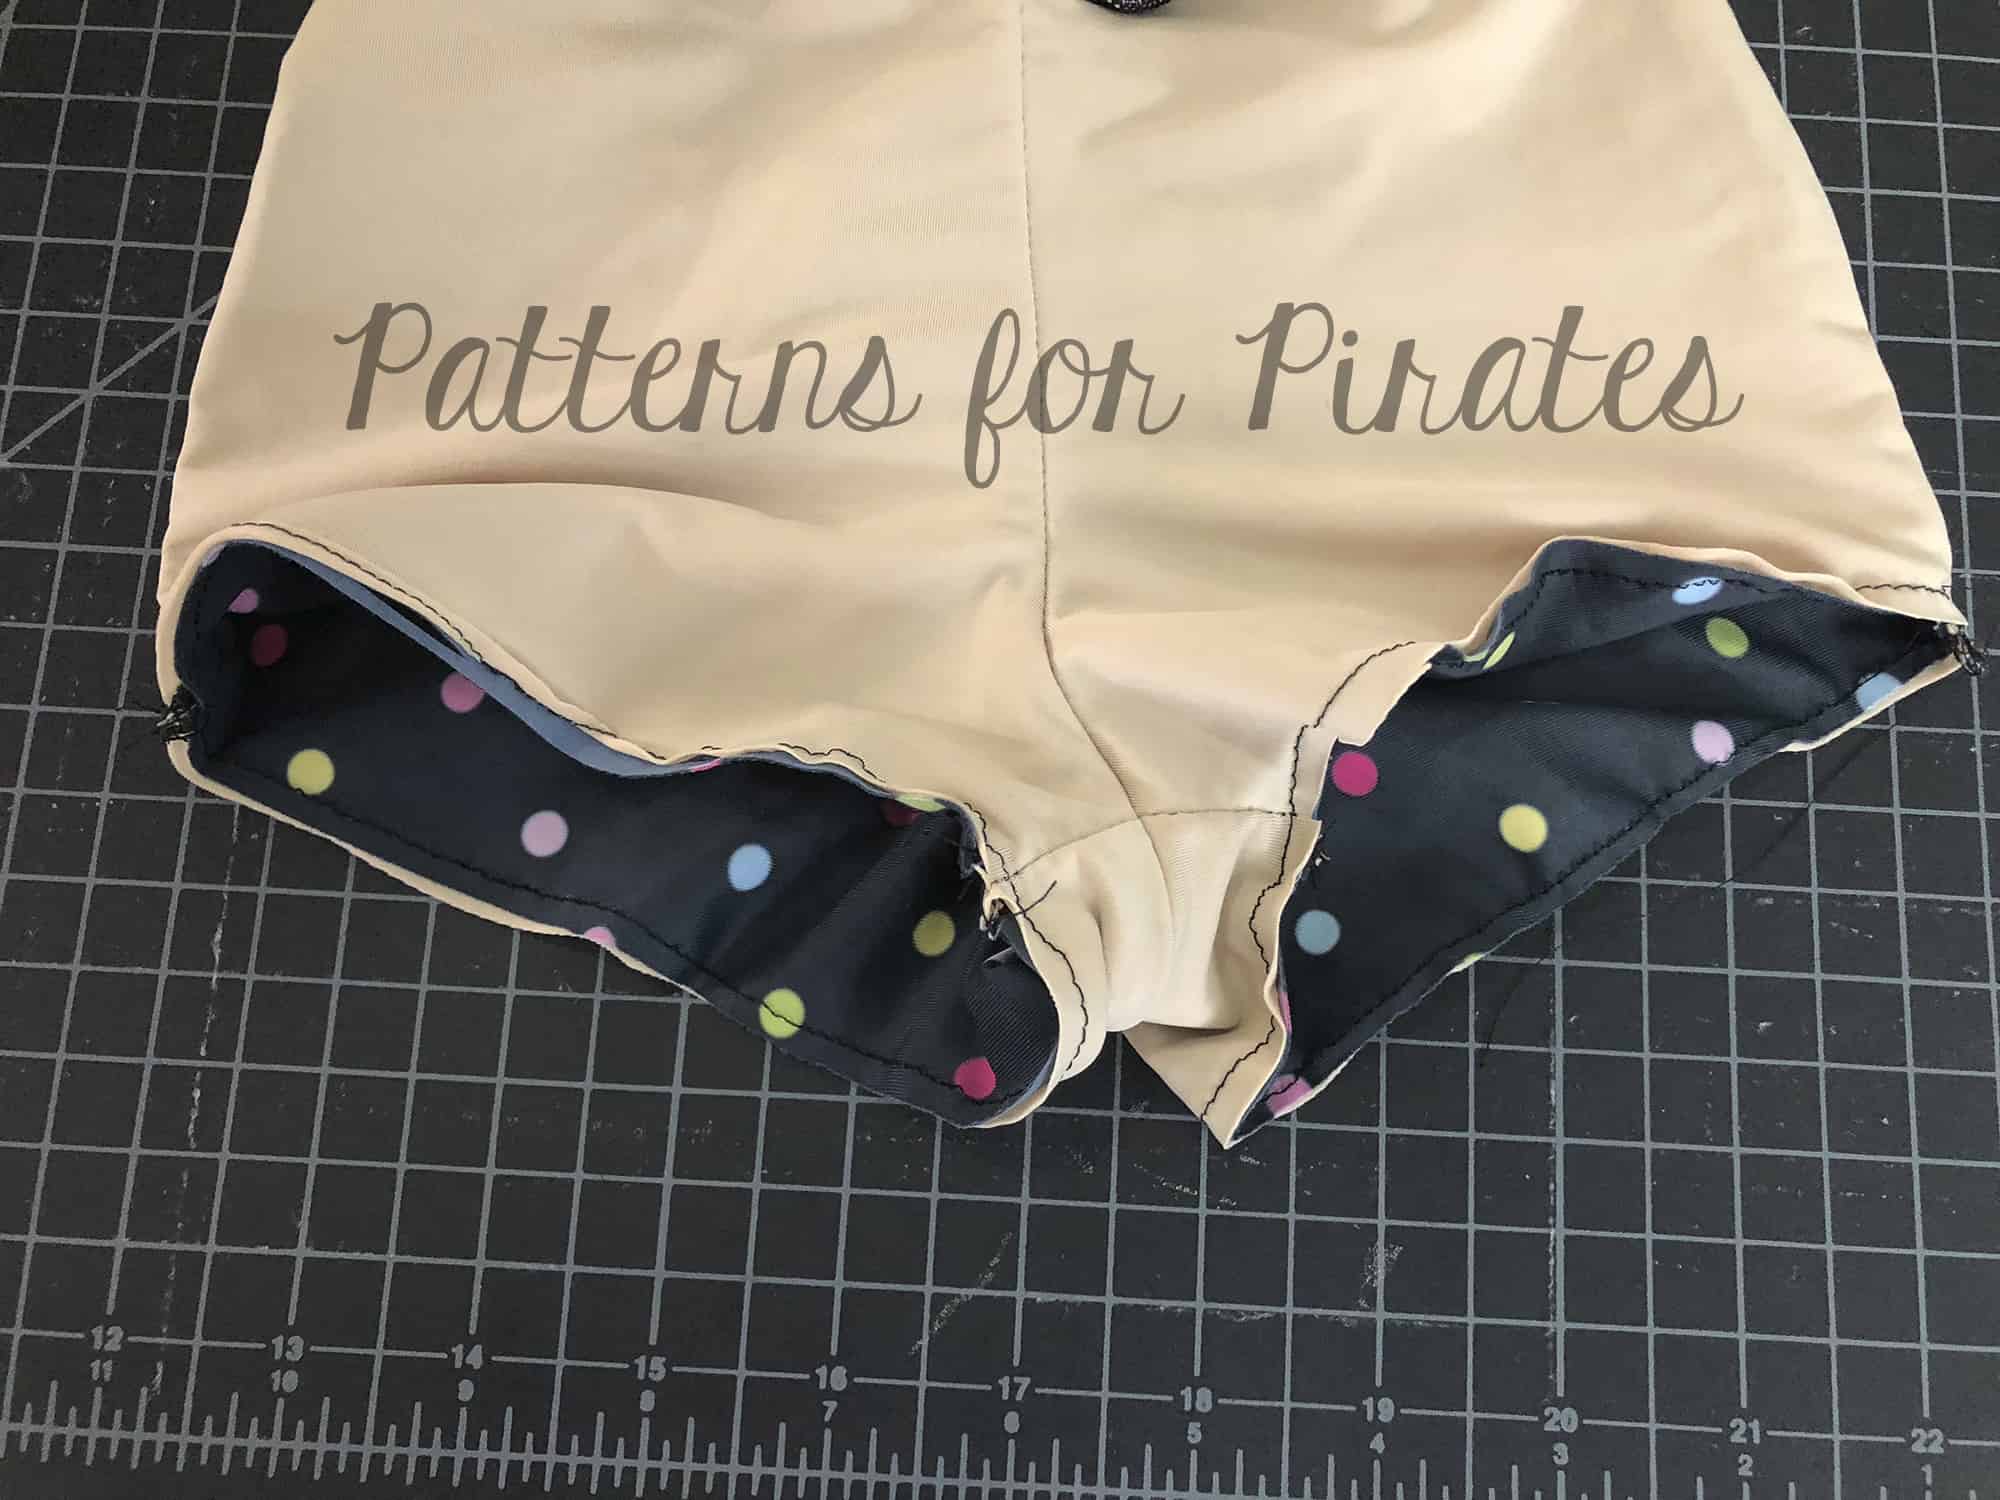
  2. Sew together each of your center seams, leaving the outside leg seams open.


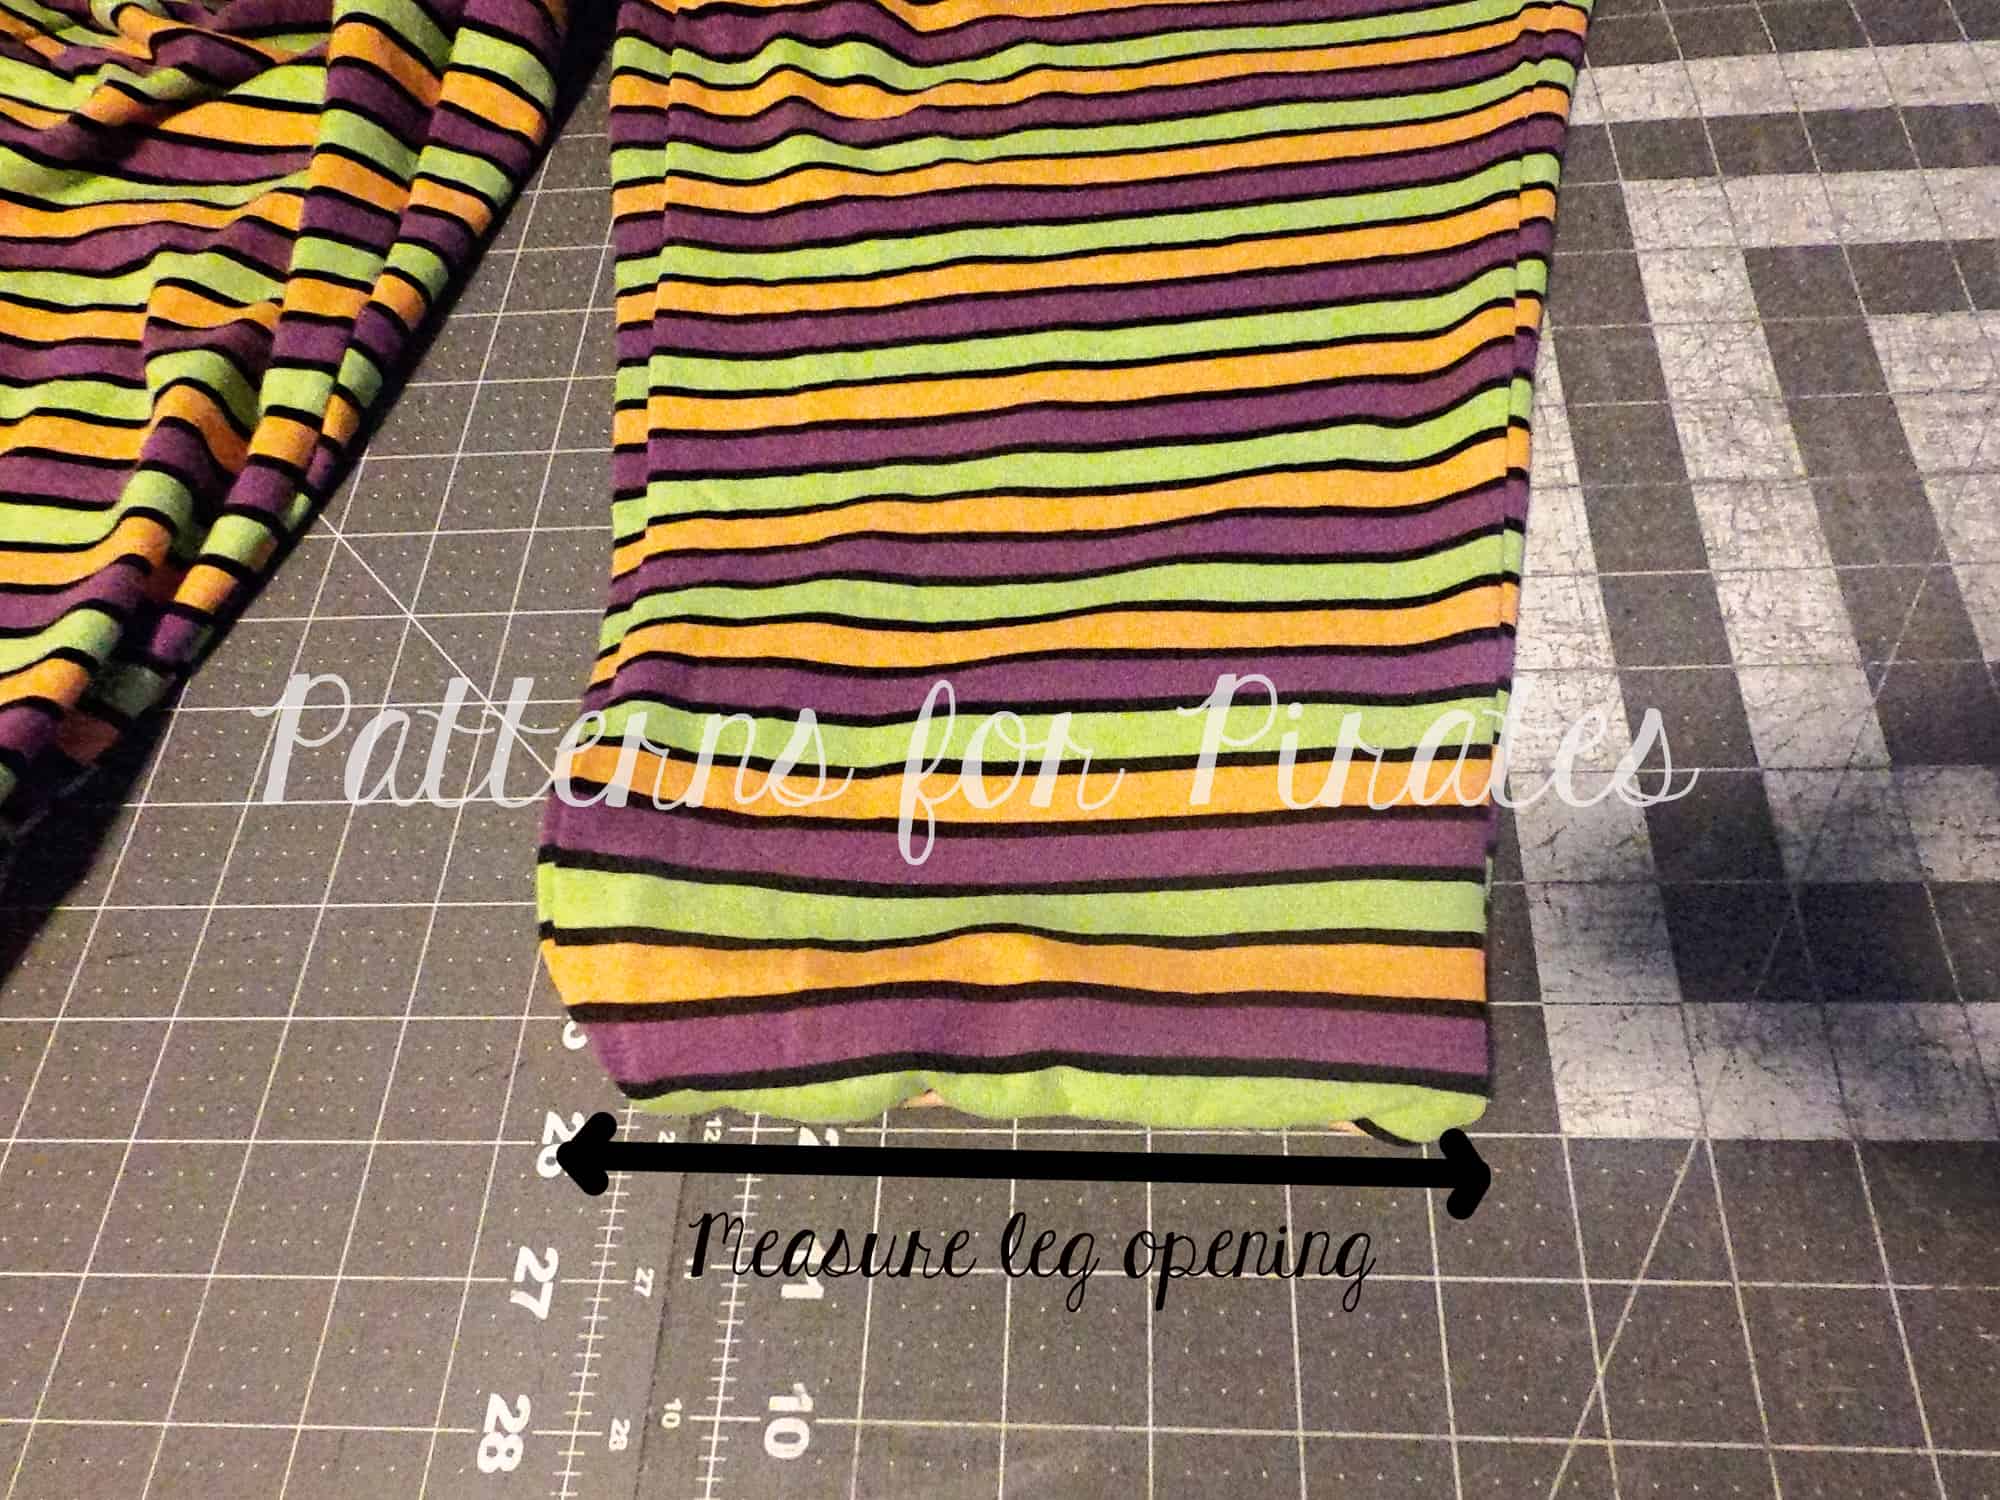
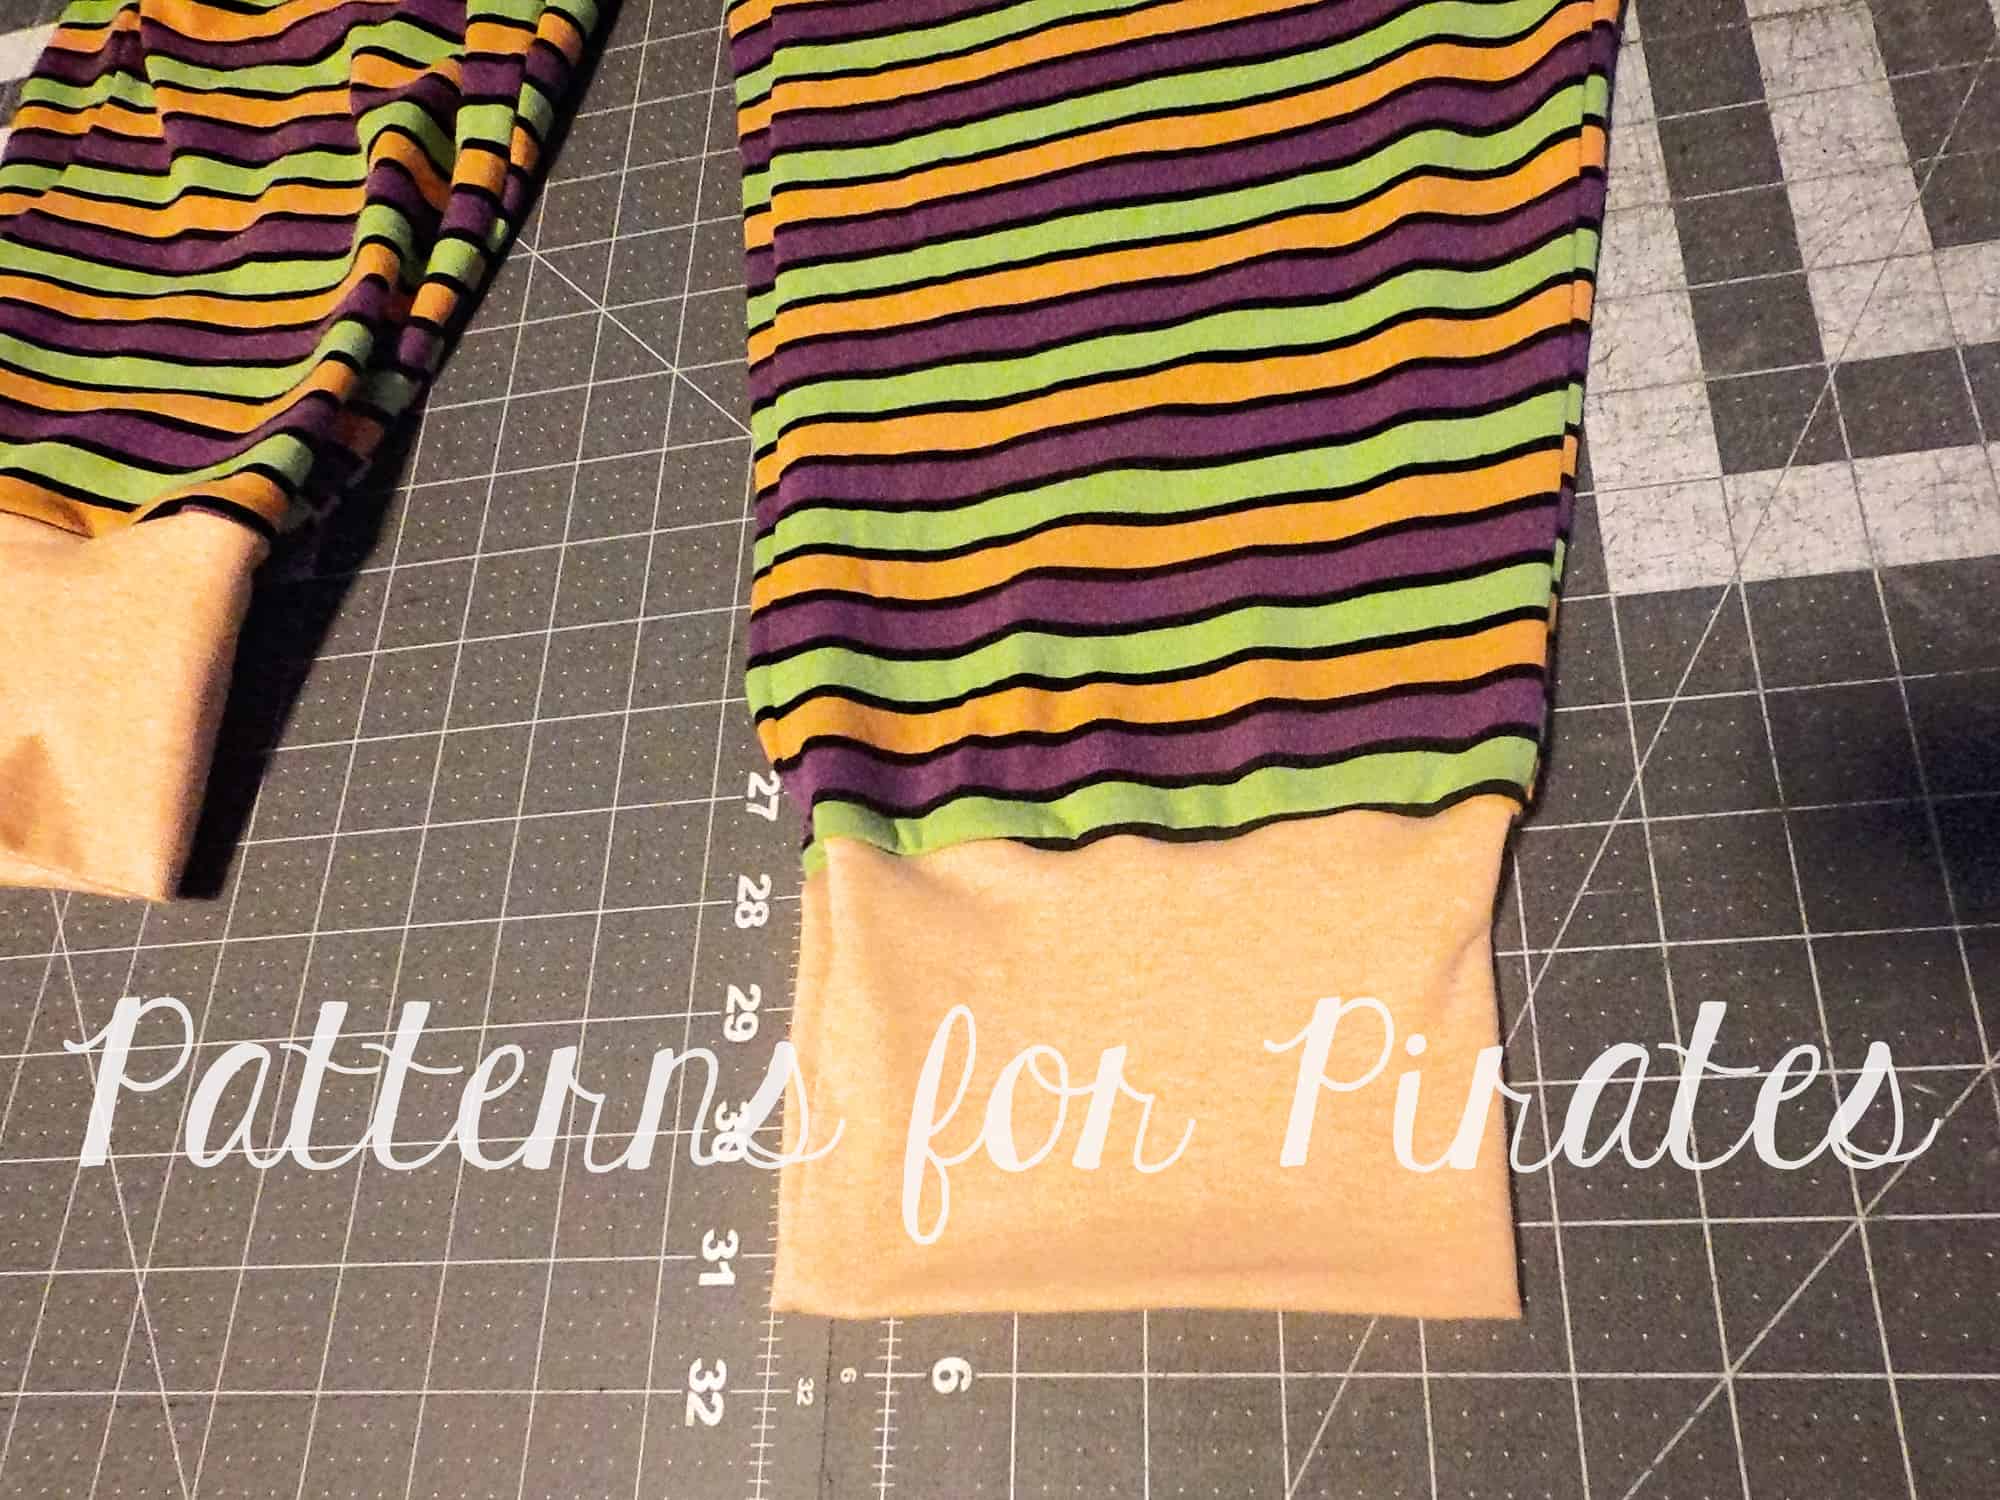
  1. Fold and press your leg bindings in half and attach to the bottom of leg openings. Be sure to match your center points on the binding and legs. The center point of each will not line up at the center seam.
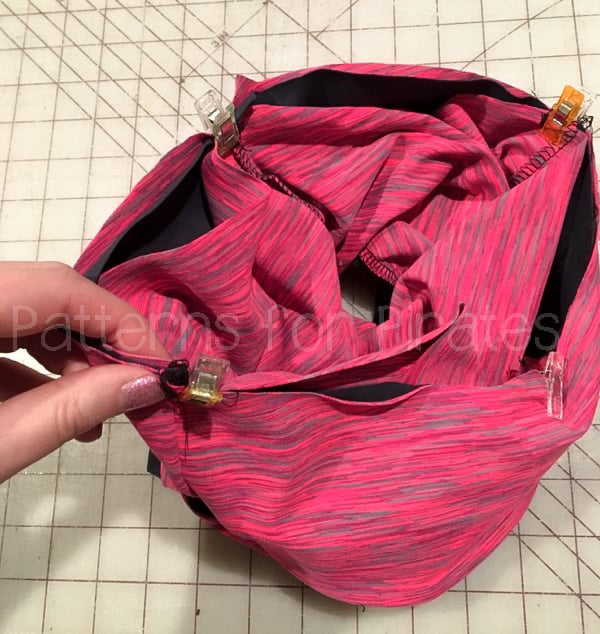
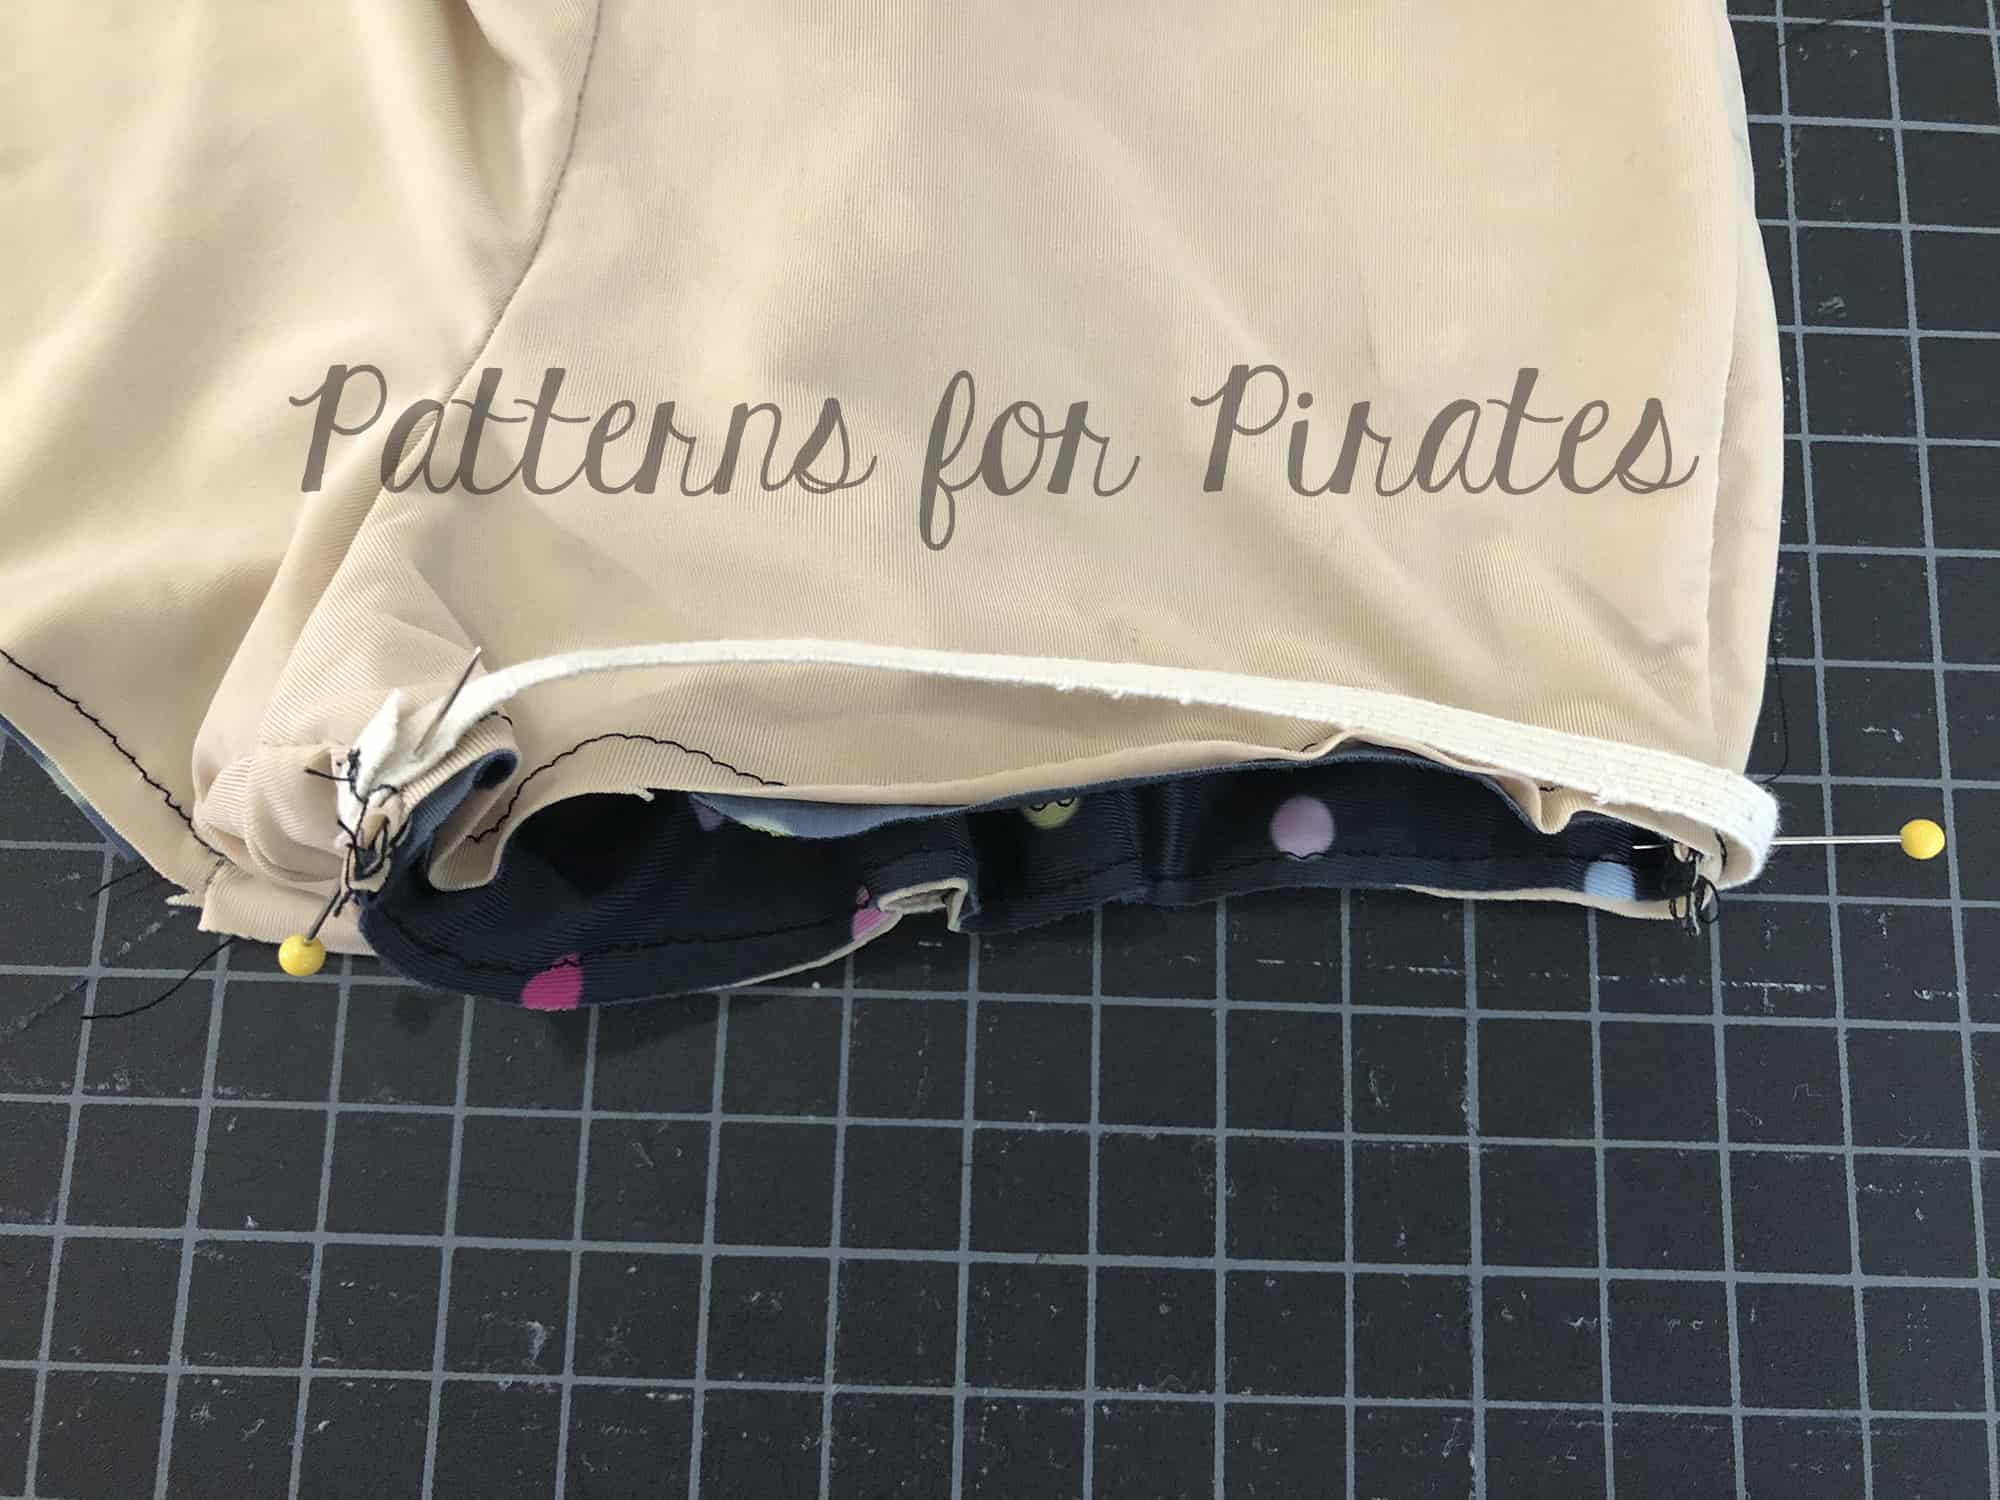
  1. With right sides together, sew a 5/8″ seam along the outside leg seams and press open. Do not use a serger for this step. You are creating casings for your side ties.

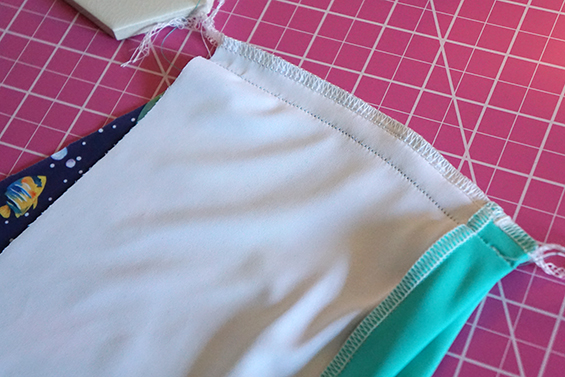
I chose to finish my raw edges with a serger, but this is not required.

  1. Create a casing on each side of each outside leg seam by sewing a 1/2″ seam. This will secure the edges and provide a new home for your side ties.


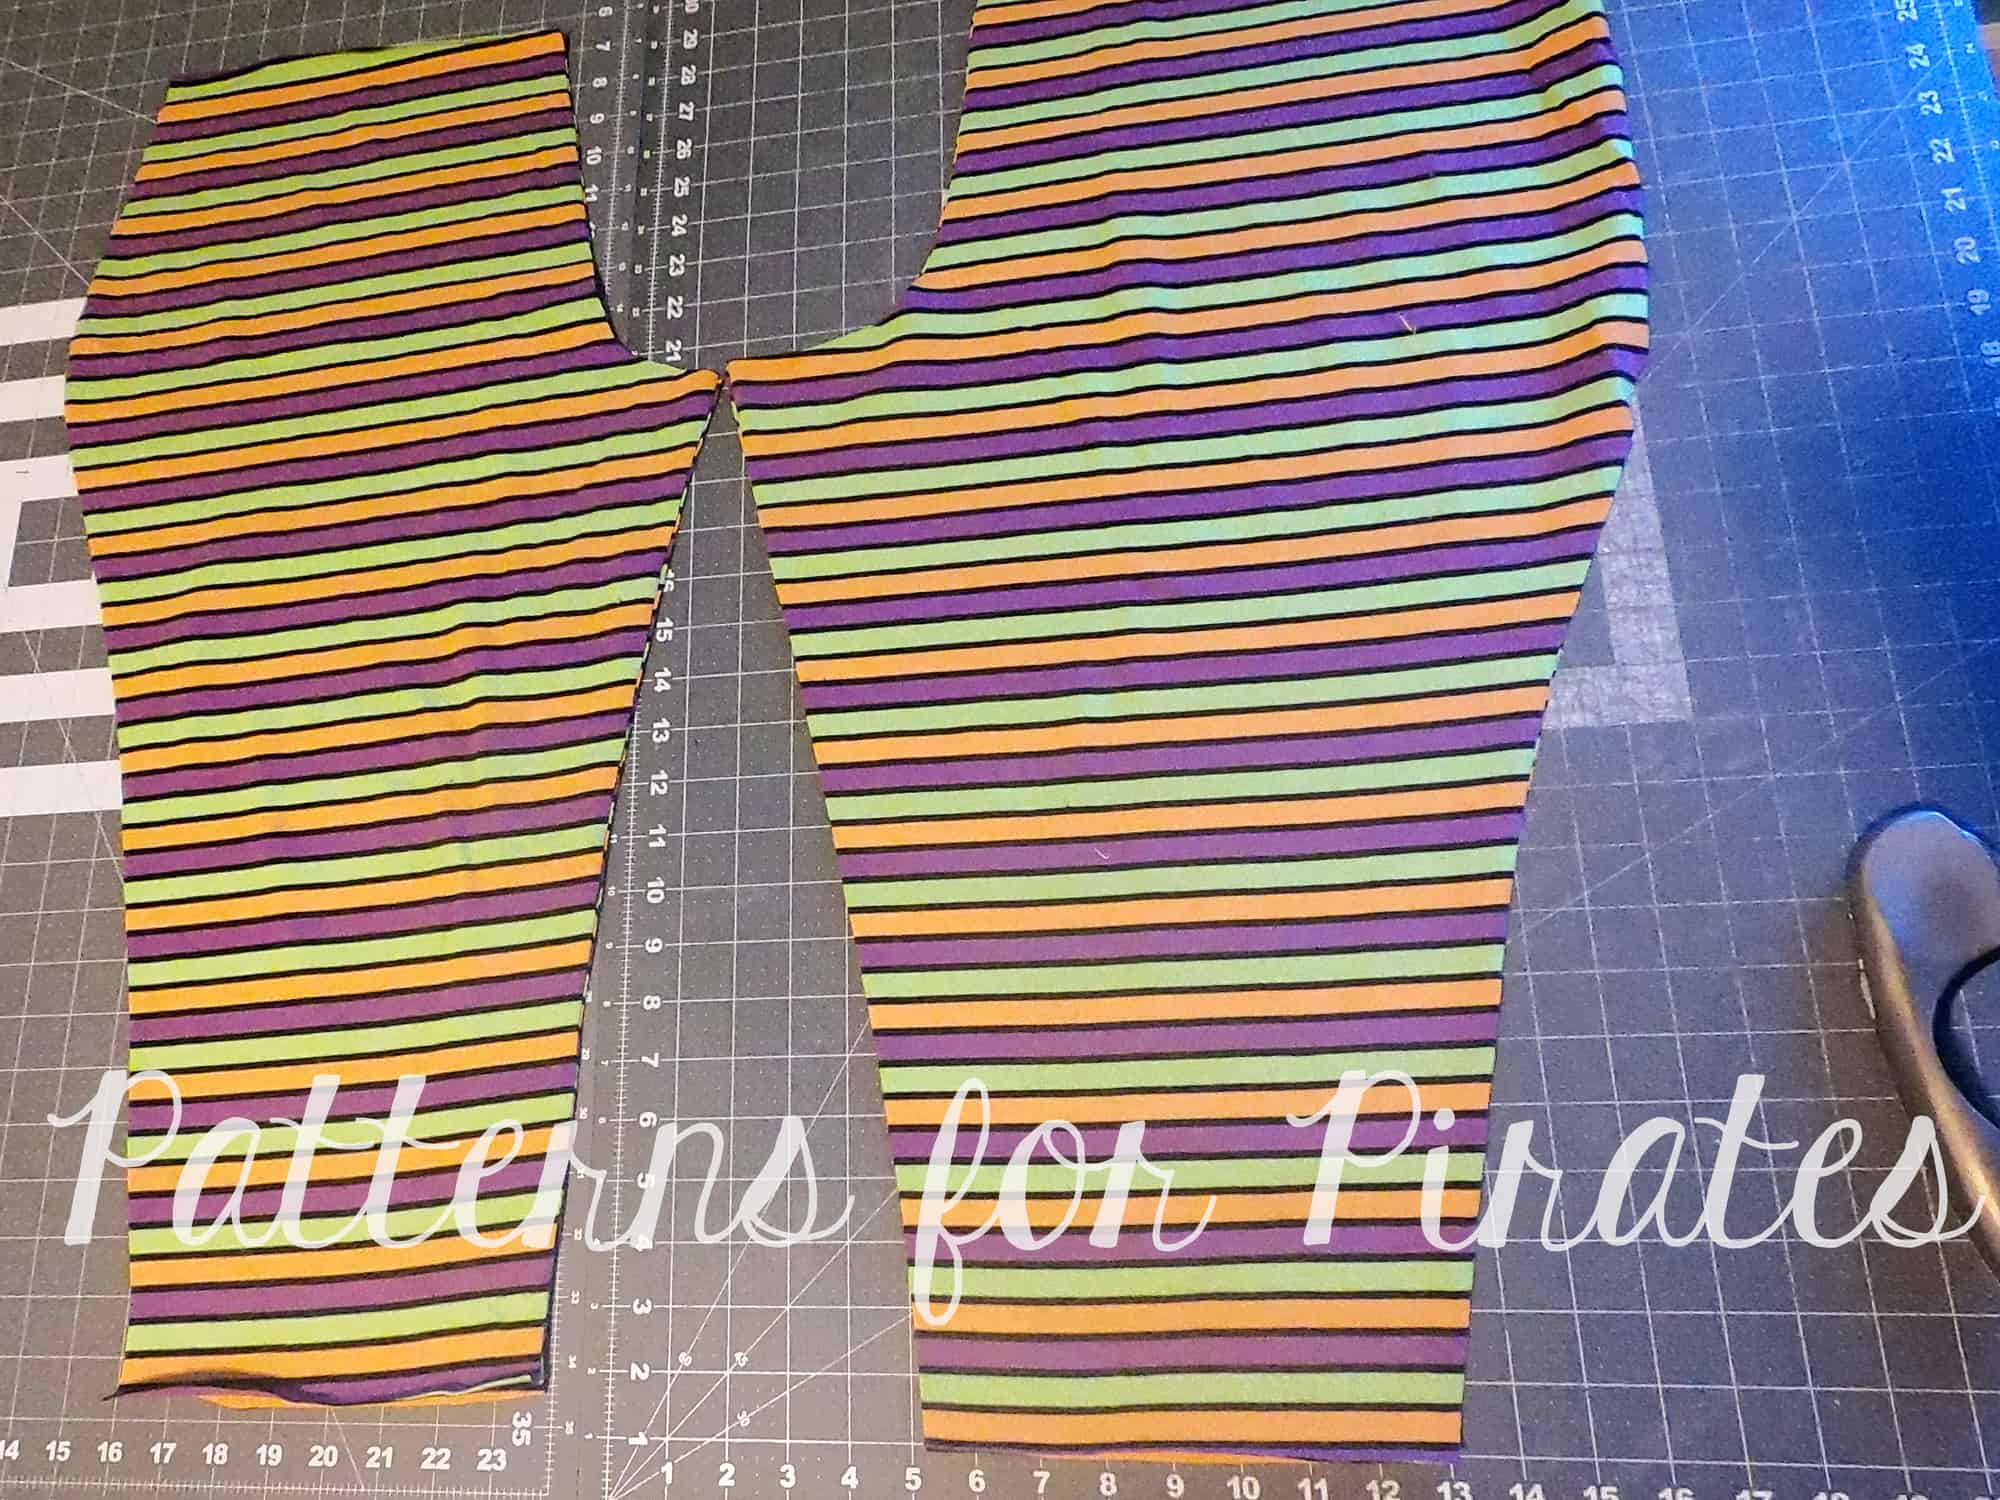
  1. Create your ties by sewing the right sides of your fabric strips together. Turn to the right side with your favorite turning tool. Cut each strip in half so that you have four ties.
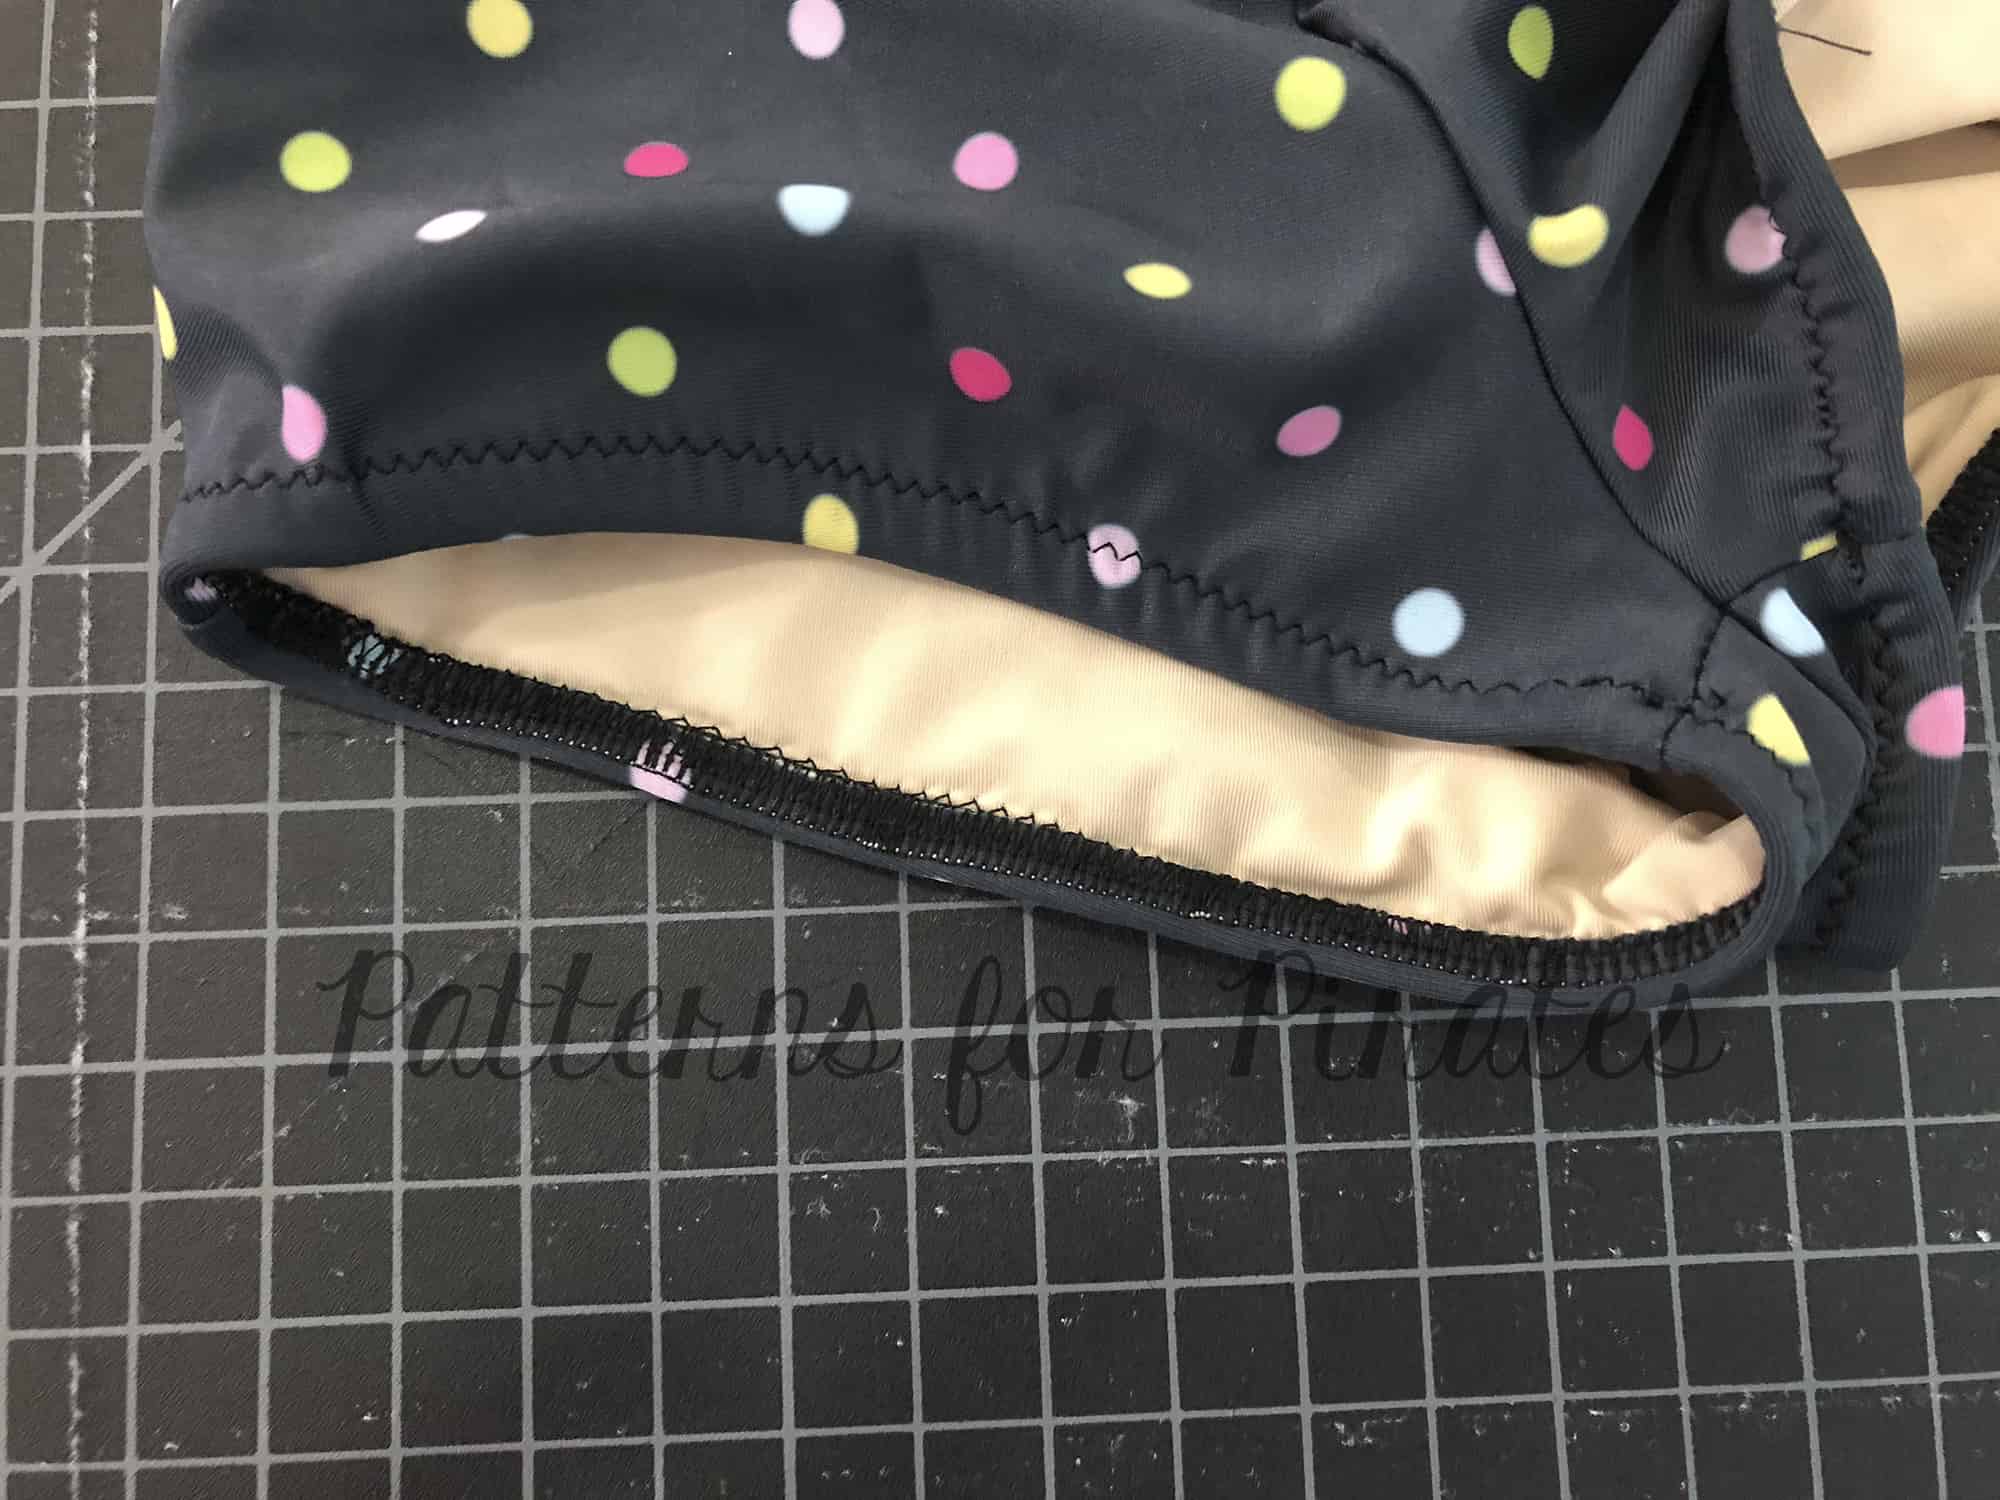
  1. Insert one tie into each casing and secure the top edges in place with a basting stitch.
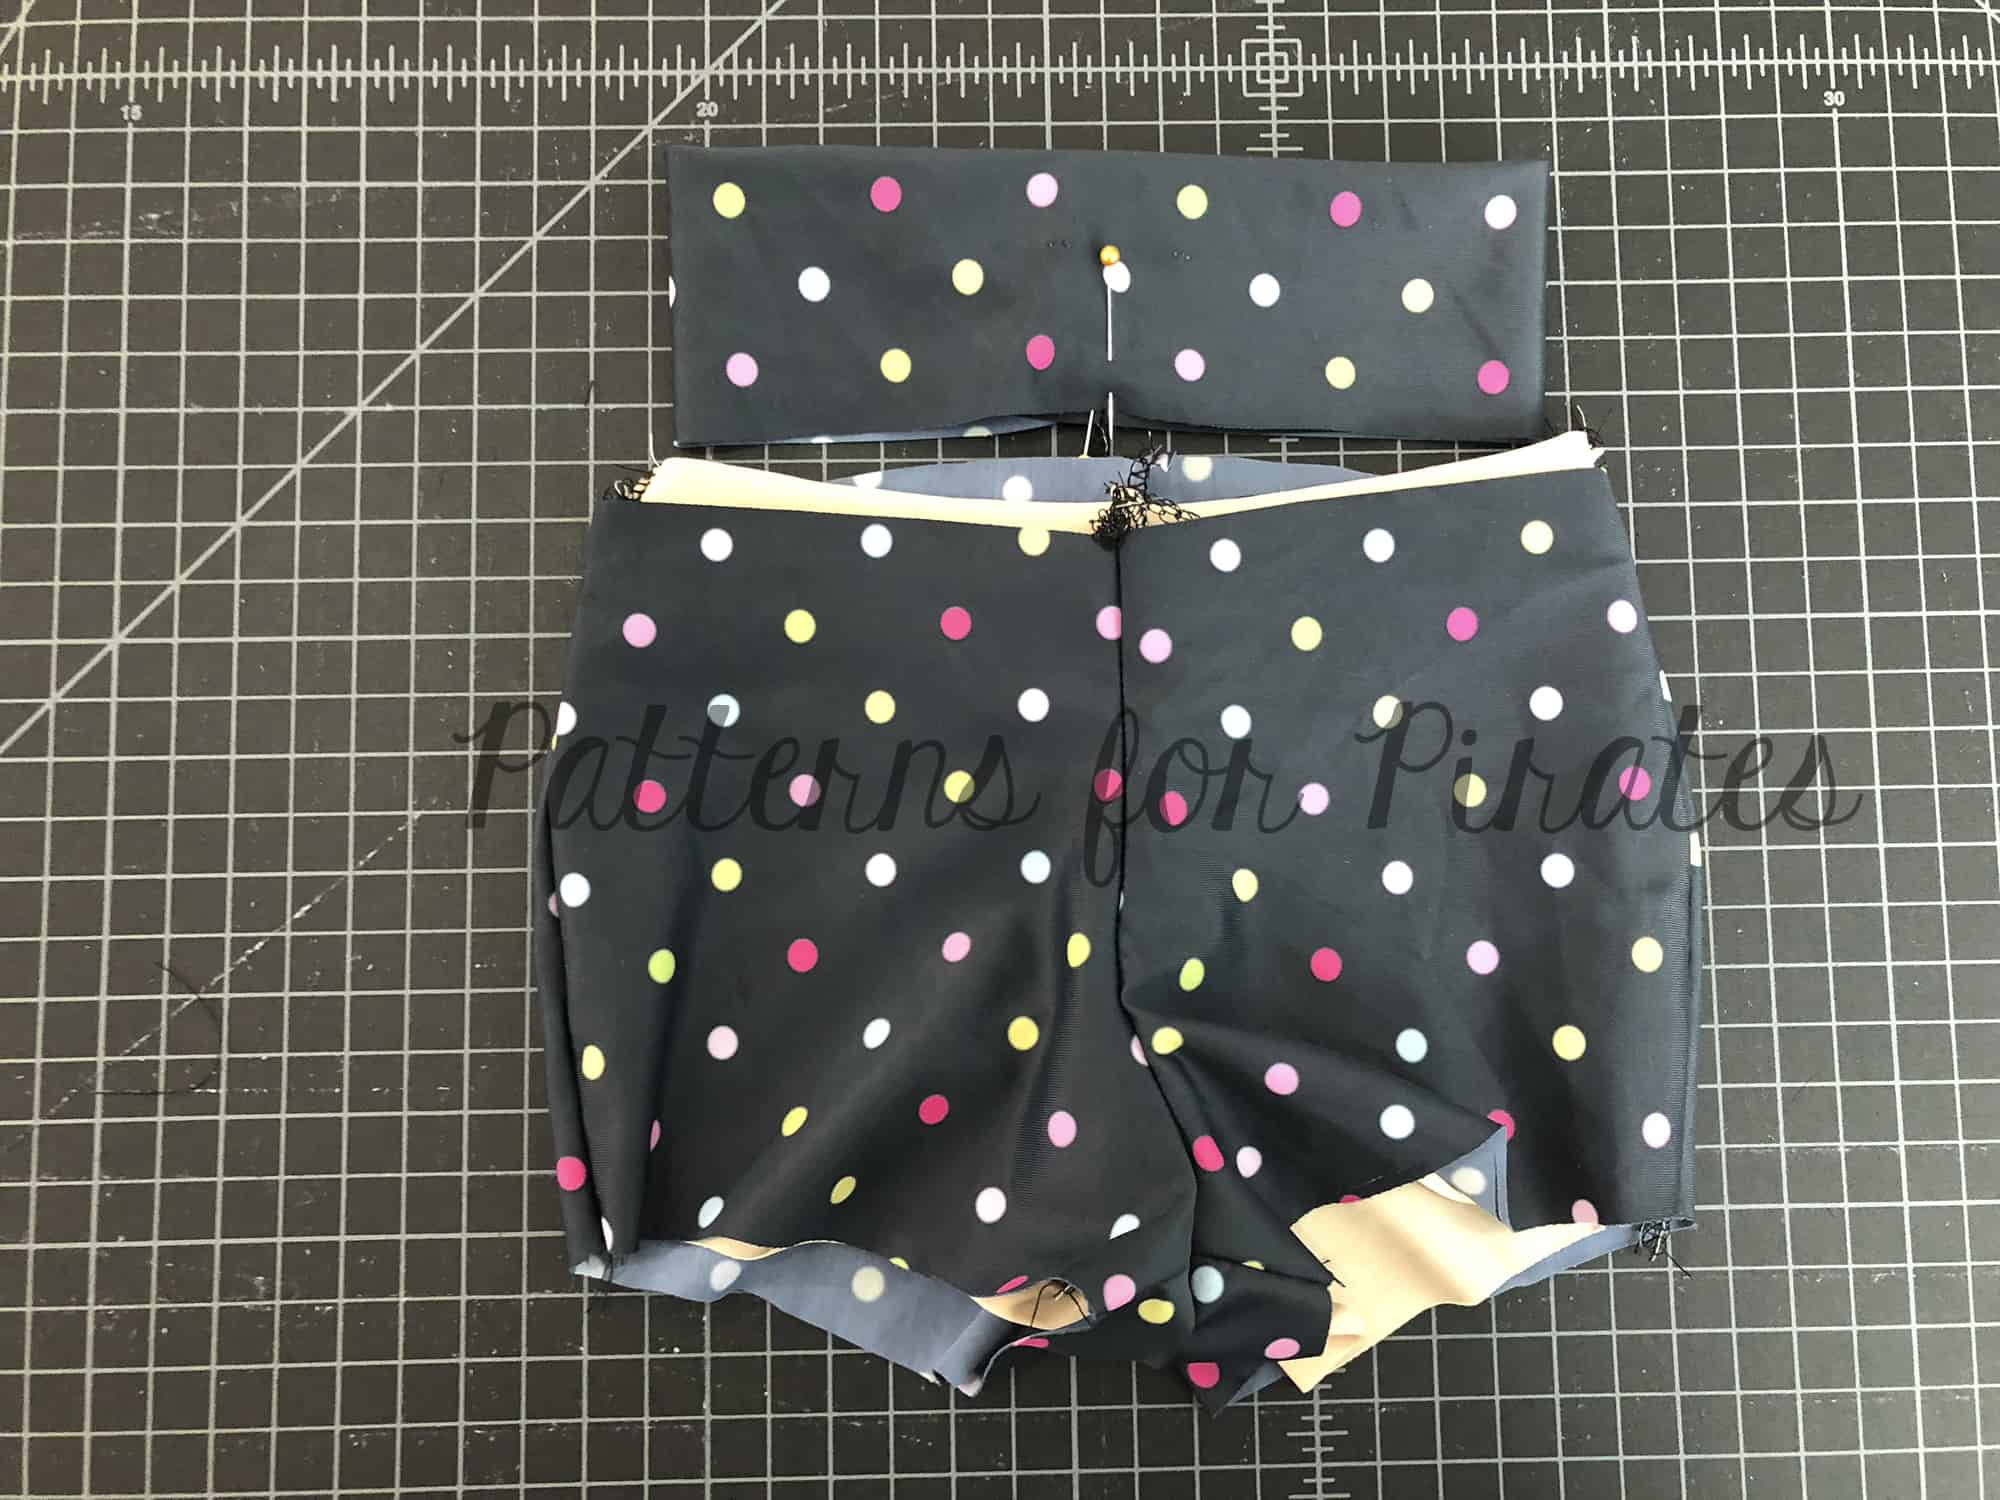
  1. Attach your choice of Logger’s waistband options per pattern instructions.
  2. Once you try on and ruche or gather the edges to your preferences, tie a pretty side bow and cut the tie length to your liking!


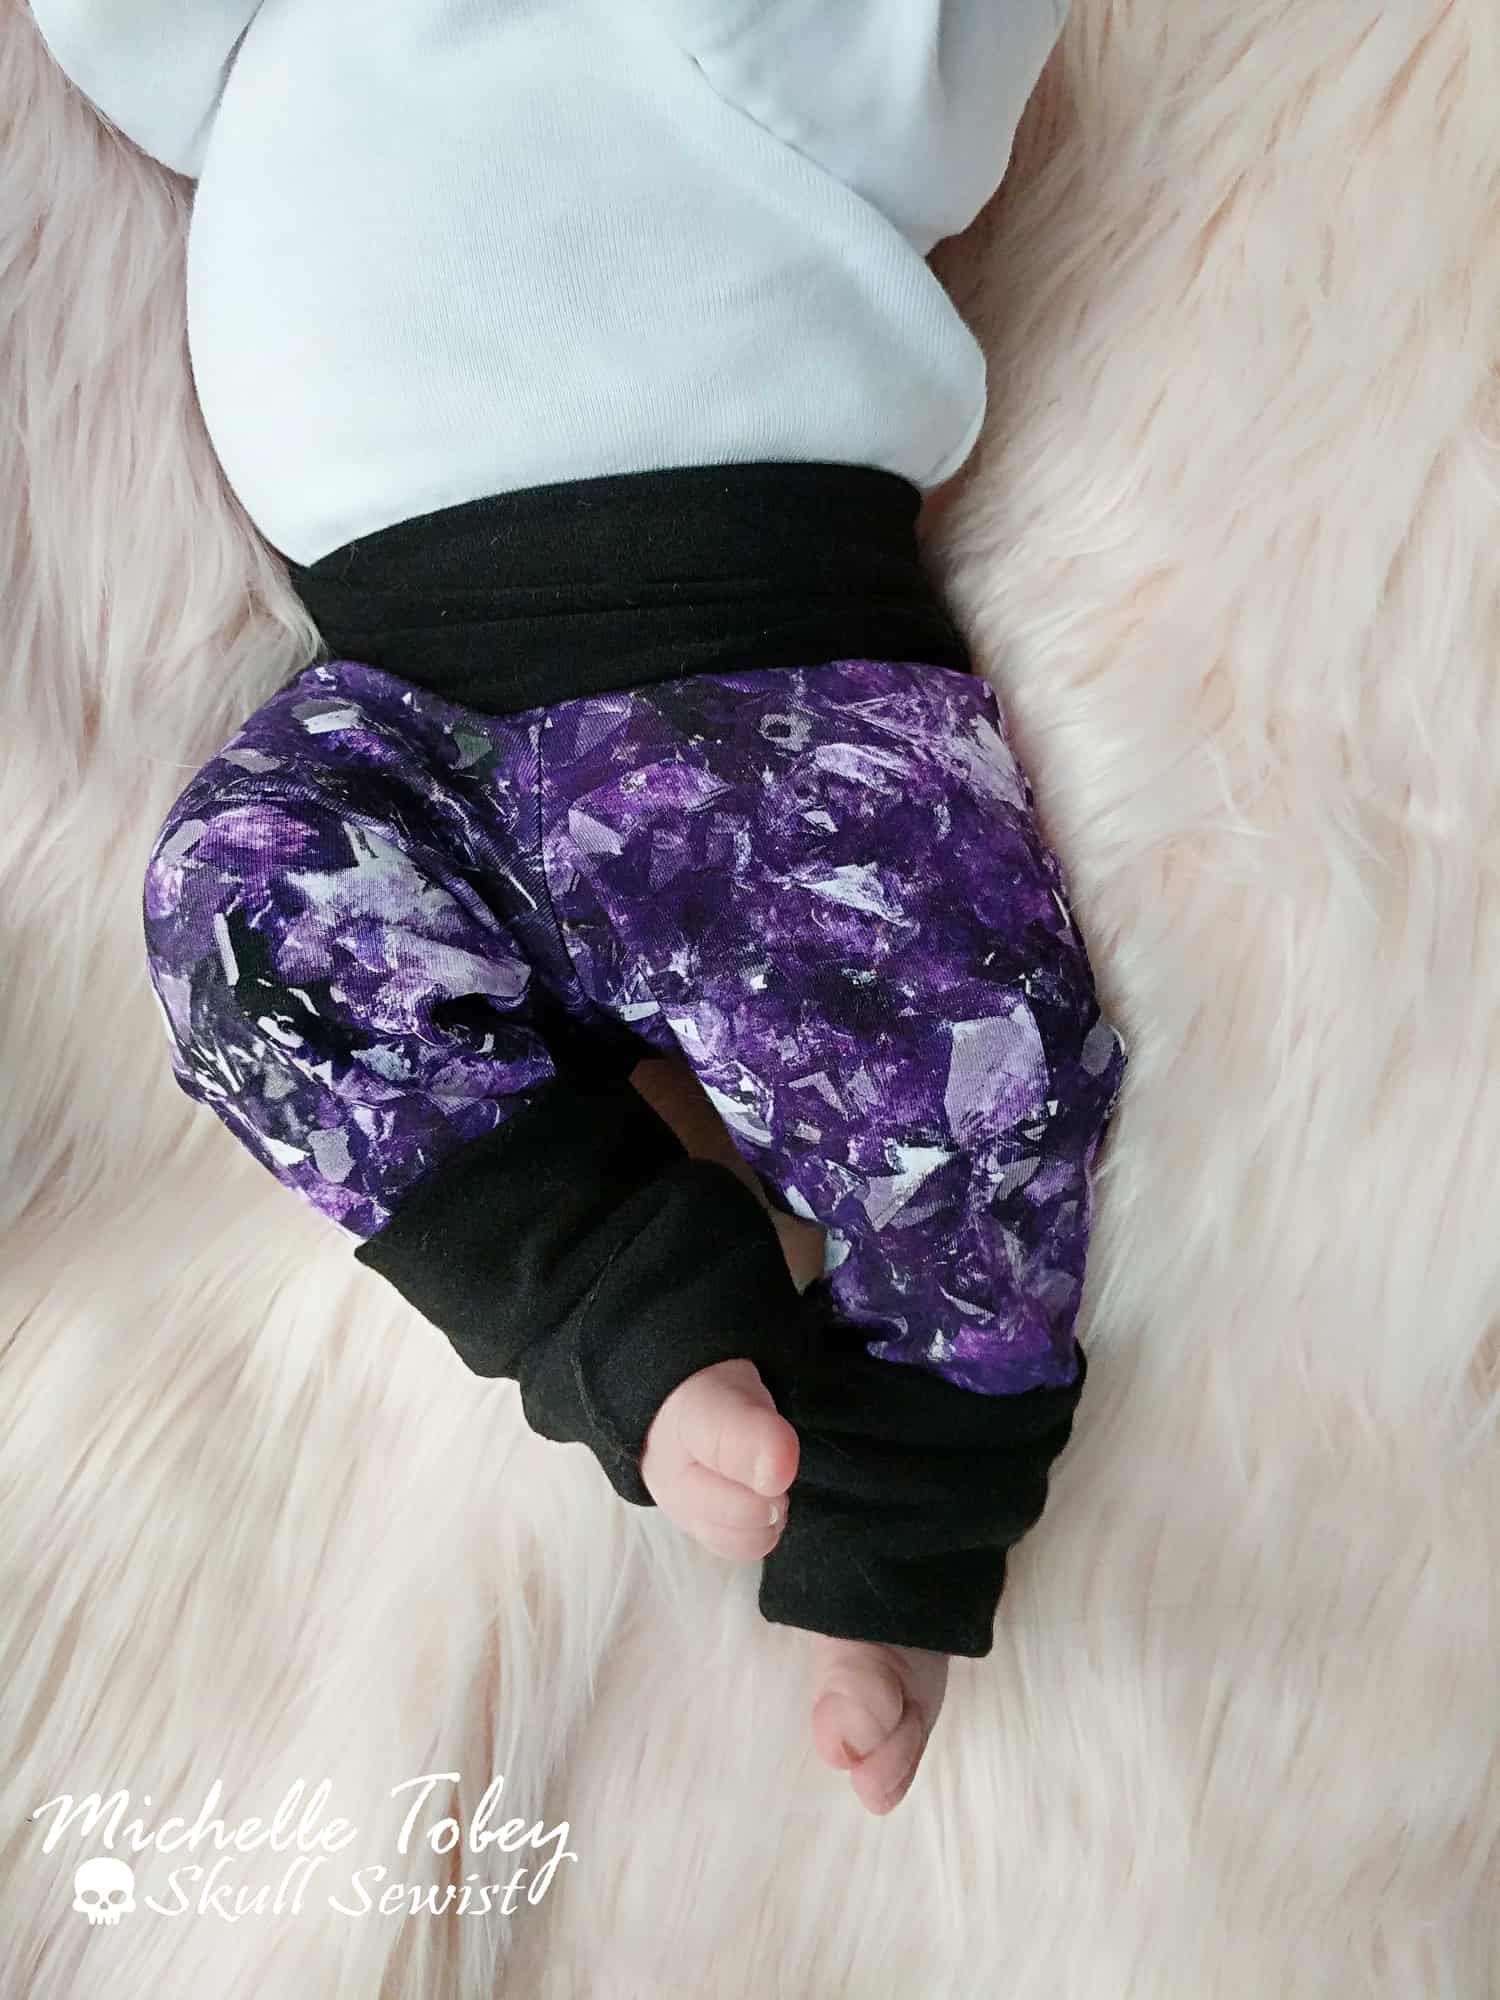
And you’re ready to have the cutest booty on the lake!

If you have any questions, please feel free to reach out to me. I’ll be happy to help.

One last note… if you post your makes to social media using the hashtag, #loggers, be prepared for a rash of unusual new followers who cut down trees for a living.

True story.


Shout out to Rachel for sharing her hack with us!  If you’ve used one of the hacks on the blog for the Loggers, be sure to tag us on Instagram or share your pair in the Facebook Group!

Filed Under: Pattern Hacks 2 Comments

Loggers – easy hacks

March 12, 2019

The new P4P Loggers (available in women and youth) are here! Needless to say the P4P team and blog contributors were very excited to show you these easy hacks that you can do to the Loggers in order to have even more options. Let’s get started!

…..

Peg Waistband

First comes the Pegs. Then comes the Logger… Up next, a Peg and Logger mash made in Heaven! Ever since the release of the Peg Leg add-on pack, I have been obsessed with the contoured waistband (What? You haven’t tried it yet? Grab a copy of it for FREE right here). Luckily, the Logger Pattern is another perfect way to show off and use the contoured waistband.

To create this look, you will need both the Logger and the contoured waistband pieces. One of the advantages to the Loggers is that you can use fabrics with just a small amount of vertical stretch. However, for the Pegs, 50% stretch is needed in both directions. So when choosing your fabric for the contoured waistband, it is KEY to make sure that it meets these requirements or else it won’t fit!

Begin by cutting out the necessary pieces. For the waist on your Logger, cut on the lower rise. As you can see in the picture below, I have have my Logger shorts with bands and then my pieces needed for the contoured waistband.

Next, assemble all pieces as written in the tutorials, including the waistband. Quarter both your Loggers and waistband. Slip your waistband over the Loggers, matching right sides together.

Attach your waistband, being sure to stretch the waistband only and NOT the Loggers. All finished! You have now created one of the most comfortable pair of pants with the most comfortable waistband that you will ever own! ~Erinn


…..

Capri Loggers

The Loggers patterns include 2 length, ankle and shorts. So let’s add a third. I personally love capri length leggings and joggers when biking so I knew I needed capri loggers too. Such an easy hack!

All you have to do is remove some length on both leg pieces. For the adult loggers I recommend removing about 7″ but you can go a little less or a little more. If you are not able to measure them you can use the Peg Legs capri length as a guide, just remember that the Pegs are hemmed while the Loggers have cuffs so make sure you accommodate for that.

Once you cut your fabric continue sewing them as per the tutorial. The only change left to do is in the cuffs width. Measure the leg opening and multiply that by 0.90 and add 1″ for the seam allowance. Keep the height of the cuffs pattern as is.

All you have left to do is add the cuffs to the legs following the same instructions in the tutorial. As always, press, press, press!

Shhh! Want to know a little secret? For my pair of capri loggers I actually used the exact cuffs from the pattern. Since my loggers are 100% cotton spandex with great stretch and recovery I could do that. Something to keep in mind, but do not do this if you are using French Terry or other knit with not so great recovery.

That’s it! Super easy, capri loggers to add to your lounging or workout gear.

…..

Swim Bottoms

The shorts version of the Loggers makes for the perfect swim short!  I used the youth version here for my girl but you can easily do the same for the women’s.  Construction is more or less the same, but I chose to line them with swim lining and did elastic vs the bands.  You can also adjust the inseam to your preference if you want them a little longer as they will finish a tiny bit shorter if adding swim elastic, or even keep the bands as shown in the original pattern.

Cut 1 Main, 1 Lining and 1 waistband. I used 1/4″ swim elastic cut 1/2″ shorter than the measurement in the pattern for the bands. (I would recommend, measuring the leg openings and cutting the elastic 80% as swim will expand in water)
Sew up each pair of shorts (1 main and 1 lining) separately as show in the tutorial.
Turn main right sides out and lining wrong sides out. With wrong sides together slip lining into main shorts.

With right side of waistband to right side of shorts, attach your waistband (as shown in the tutorial). You will sew through 4 layers (1 lining, 1 main and 2 for your waistband.) Tip: Baste around the waist opening of the shorts to keep the layers from slipping and treat as one fabric.
Overlap the ends of the elastic and stitch with a zigzag stitch, creating a circle.
Baste around the leg openings to keep the lining and main fabric from slipping.

Mark halfway points on elastic and shorts. Pin or clip elastic to the wrong side (lining side) of the shorts matching halfway points.
Aligning raw edges, stitch elastic to shorts. If using a serger, do not cut off any fabric.the elastic will butt up to the raw edge of the fabric.
Fold elastic to the lining side of the shorts and top-stitch using your favorite stretch stitch. Tip: I like to use a narrow zigzag for swimwear.


…..

Grow With Me Loggers

One of the hardest things about sewing for our kiddos is how fast they outgrow items we spend hours making.  Well, here is a quick and easy way to make your little one’s Loggers last a bit longer.

You’ll start off by choosing the next size up for your pants.  Now print and cut out your pattern pieces making sure to use the yoga style waistband. I went with a low rise for this set but you can choose high rise as well.

Now go ahead and grab your ankle cuff piece because we are going to be doubling the height of that.  I did this by first tracing it on to a blank piece of paper. Then you’ll place it alongside your line edge shown in red so it’s doubled in size but still has the same fold line.  Tape it down and then cut out the entire piece as one shown by the green line.

Now cut all your fabric pieces out just as directed!

From here you’ll sew up exactly how it’s said to in the tutorial.  When it comes to wearing you simply roll the bands to best fit your child. Here is an example of it fully rolled and extended. As you can see my little needs it fully rolled but now she’ll be able to wear them much longer!

Don’t forget to share your creations in our facebook group! We can’t wait to see all your makes!

Michelle

Now that you purchased your Loggers and reviewed all of our easy hacks, time to start sewing. Make yourself or a loved one a pair and don’t forget to show it off in the Patterns for Pirates Sewing Group on Facebook. 


The P4P blog team! 

Filed Under: Frequently Asked Questions, Pattern Hacks, Pattern Release, Uncategorized 3 Comments

Take the Plunge Swimsuit :: New Pattern Release!

June 15, 2017

Just about this time last year, we released our first ever swim patterns.  The Siren Swim Top and Hello Sailor Bottoms have received a lot of love, but we still had a lot of requests for a one-piece suit.  Your wishes are being fulfilled today, with the brand spankin’ new release of the Take the Plunge Swimsuit!

Take the Plunge will make you want to swim all summer long.  We’ve done all we can to pack it full of options and to make it flattering for ALL body types, sizes XXS – Plus 3X.

This is an intermediate knit pattern, and fits in a traditional, body hugging, one-piece swimwear style.  The suit is fully lined and includes directions to add bust support (swim cups / power mesh / under bust elastic).  All of your seams are enclosed for that professional finish, and the edges are all finished with elastic so you will be completely secure in your suit while taking a dip in the pool.

The pattern features a cross-over front bodice that plunges a little lower for a sexy look, while still keeping you contained, covered, and secure.  The waistband hits at and slightly above the natural waistline, to create an extra slimming silhouette, and is also great for color blocking.  And the leg openings come up a little higher in the front for a longer, leaner look.  There are three band-back options (high back with straight straps / low back with cross straps / halter back), two bottom types (plain / ruched) and an additional option for a skirted bottom in two lengths (peplum / full).

The retro vibe of the Take the Plunge Swimsuit will be a classic for years to come and can be paired with so many different fabric prints for unlimited looks!

**Want to learn more about how to measure yourself for this pattern?  We’ve got you covered with an in-depth blog HERE.

And now let’s see some suits!

FRONT CROSS-OVER BODICE

HIGH BACK, with straight straps

LOW BACK, with cross straps

HALTER BACK

PLAIN BOTTOMS

RUCHED BOTTOMS

OPTIONAL SKIRTED BOTTOMS

Feeling inspired to go buy all the swim knits now and sew a million suits for yourself?  Before you do, don’t forget to snag the Take the Plunge Swimsuit pattern HERE.

And don’t think we’d leave you with only the original pattern.  We’ve explored the extra potential of Take the Plunge and have an entire set of pattern SWIM HACKS and even a DRESS + PEPLUM HACK.

Needing more inspiration?  Head over to our Facebook Group Album, where are gorgeous testers of every shape and size have shared their versions!  Happy Sewing, friends!

Filed Under: Pattern Release Leave a Comment

Siren and Hello Sailor Hacks

April 25, 2016

swim hacks

We couldn’t help ourselves to a few hacks to the new Siren Swim Top and Hello Sailor Swim Bottoms during testing!  We loved them so much we decided to share a few of our favorite quick and easy mods.

The Double Strap Hack: (My favorite! I couldn’t stop using this one 😉    )

IMG_1473IMG_1412 P4P PDF Patterns Siren Swim Top double crossover strap

This one is super simple and quick! You have 4 straps per cutting instructions.  Instead of sewing them right sides together to create 2 straps, we sewed each strap folded in half width-wise down the long edge.

IMG_6678

Turn right sides out.

IMG_6680

And place both side by side on the top pick ups.

IMG_6683

IMG_6684

The Double, Straight and Cross Strap Hack:

IMG_1126

Then we had even more fun doing one set of straight straps and one set of criss-cross straps… cute right?!?!? Just baste and double check you have them all placed correctly before finalizing the stitching! I slipped swim elastic inside this navy/white top straps for more support.  It also keeps the straps in place and hold their shape (not get folded or wrinkled up).

IMG_1089


Fringe Hack:

The only change during construction is that I did not sew the flounce into the side seam.

IMG_6761

Once the top was compete I began in the center and used my rotary blade and clear quiting ruler to cut 1/4″ strips up to the seam line.  I continued all across the top, keeping my slits straight. I wont lie though, it was REALLY late and I was tired… I threw the ruler aside and went at it all crazy!

IMG_6762 IMG_6763

I went back with scissors and clipped all the way up through the pick ups (I couldn’t get my roatary up that far without cutting through the main top pieces. IMG_6764 IMG_6767

It was crazy windy on our picture day with my cousin (isn’t she the cutest?!?!) so we only caught a few where the fringe wasn’t wildly blowing around! You could do the slits as small as your patience allows for and you could also tug them a bit to let the knit curl to hide some imperfections too! It’s a fun, flirty mod! I hope you don’t mind the other watermark on her pictures, my amazing sister took these photos and edited for me :).

IMG_1249 IMG_1315


Double Flounce Hack:

Creating the double flounce is as simple as cutting 2 of the front and back flounce pieces.  I just kind of eyeballed  how much shorter I wanted the top layer flounce but ended up cutting about 1.5″ off the front and 1″ off the back. Depending on your size, you could also use a smaller size length as a guide.   Be sure to keep the side seams the same length on both the front and back flounce of the layer you cut.  For construction, I basted the two layers together to help keep them together as it is a little trickier to stitch 5 layers of fabric.

P4P Siren Swim Top Double Flounce Hack


HELLO SAILOR BOTTOMS

Piping Detail Hack:

This adds a bit of visual interest to those paneled options! Just cut strips at least as long as your seam where your front center and front side panels meet. The width is a personal preference, but you will need double what you’d like your finished width, plus double the seam allowance (3/4″).  I choose 1/4″ finished width for mine, so I cut a strip 1 1/4″ wide.

IMG_6724

Fold strip width-wise and place right sides together matching raw edges along seam where front center and side panel meet.

IMG_6727

Then place side panel on top and stitch with normal 3/8″ seam allowance. (You will be stitching through 4 layers of fabric)

IMG_6728

I choose to top-stitch mine down along the folded edge.

IMG_6731

I love the little, simple detail!

IMG_1032


Separate Skirt Cover Up Hack:

I created a separate skirt for my cousin to use as a cover up! I just cut 1 extra waistband than the pattern calls for and sewed it to the skirt just like the waistband (folded with right sides together along the top raw edge.)

Now she can slip on the skirt when she’s walking around and take it off when she’s ready to really go swimming 🙂

IMG_1241

IMG_1309


One-Piece Hack:

For some, a two piece suit is not their style, so we hacked the Siren Swim Top and Hello Sailor to create an on trend one piece. You will construct your top and bottom as in the tutorial but will not attach your bottom band of the top or the waistband of the bottoms.  I chose to keep the bottom band of the top for extra support, but you can omit if you choose.  We will be connecting the top and bottom with a connector piece so you do not need the waistband of the bottoms.  Try on your top and bottom.  p4p pdf patterns siren swim top hello sailor one piece hack

To determine the length of the connector piece, measure the distance between the raw edge of your top and the top edge of your bottoms at center front and center back.  You may need to find someone to help you with the back ;). Add double the seam allowance (0.75″)  My gap was about 3″ so the length of my connector piece was 3.75″.  I used the waistband measurement for the width of the band as I wanted it to be held tight there.   Note: if your hip is much wider than your under-bust and waist, it will be difficult to pull up over your hips so you may need to shimmy it on!


Connecting the top and bottom is the same construction as the bottom band and waistband but you will be using the connector piece instead.  Stitch short ends of the connector piece and bottom band.  On the bottom band only, fold with wrong sides together.

p4p pdf patterns siren swim top hello sailor one piece hack


Matching raw edges and wrong side facing up, slip bottom band over connector piece.  You should have 3 layers of fabric.  Mark in 1/4s and with right sides together, match raw edges of the connector piece to the Siren Top.  Stitch.  Flip open and press seam down.


p4p PDF patterns Siren Top and Hello Sailor One Piece Hack


Turn your Hello Sailor bottoms inside out. Matching raw edges of the connector piece, with right sides together, slip your Siren Top inside the bottom. Be sure to match the front of your top with the front of your bottoms. Stitch.


P4P PDF patterns Siren Swim Top Hello Sailor One Piece Hack P4P PDF patterns Siren Swim Top Hello Sailor One Piece Hack


Filed Under: Pattern Hacks 12 Comments

Hello Sailor Swim Bottoms | Pattern Release!

April 25, 2016

Happy pattern release day!

We are coming at you live with the Hello Sailor Swim Bottoms.  And you’re going to LOVE them as much as we do!

listing pictures1

There will be no disappointment in options with these swimwear bottoms!  They are a classic, high-waisted fit (think: full coverage with a slimming effect).  And you get to pick and choose how you want to put them together.  Solid, paneled, ruched side panels, multiple skirt options, and an easily-customizable fit are all features of the Hello Sailor Swim Bottoms.

listing pictures3

On top of that, we are providing you with some extras for this release!

Sewing your own swimwear can be intimidating.  We understand.  But it doesn’t have to be!  That’s why we created this post to help ease some of your worries: Basics of Sewing Swim.  On top of that, Judy and Nicole came up with some incredible hacks for the new release: Siren + Hello Sailor Hacks.

A huge kudos goes out to our gorgeous testers!  Not only did they all survive several revisions until we got the pattern *just right*, but they were also willing to deliver some fabulous photos.  It’s not easy putting yourself on the internet in a bathing suit, but these beauties made it look effortless.  Feel free to poke through the photos and get some inspiration from them.  And then hop on over to our Facebook group and look for more photos in our Hello Sailor Album.

And then get to sewing!  It’s swimsuit season and you’re about to have the first one to ever fit you perfectly!  Woot!


Filed Under: Pattern Release 2 Comments

Siren Swim Top | Pattern Release!

April 25, 2016

Today is such a treat.  And a total labor of love.  We’ve been working hard behind the scenes to bring you the perfect swimsuit top and today is release day!  Woohoo!

The Siren Swim Top is a winner.  Just trust us!  Have we steered you wrong yet?

listing pictures1

Swimsuit season doesn’t have to be dreaded this year.  The Siren Swim Top will get you the perfect fit, comfort, and lift all in one easy-to-sew top.  AND you also get to choose your best style and level of coverage.

Not only does the pattern accommodate you for the proper fit around, but it also includes cup sizes!  You can take your bathing suit this season one step further by sewing your A – G cup size.  Can’t get any better than that!

listing pictures3

Like all Patterns for Pirates patterns, this walks you through all of the steps in an easy to read manner.  While it could sound super intimidating to work with special swim fabrics, it’s broken down into simple steps that will turn you into a bathing beauty in no time.  On top of the step-by-step instructions in the pattern, we’ve also handed you some basic bullet points for sewing swimwear in a blogpost here: Basics of Sewing Swim.

The Siren Swim Top pattern comes packed full of options: cup size, pointed/straight/back flounce, criss-cross/regular straps, cups, power mesh, etc.  As a bonus, Judy and Nicole also took it one step further and gave you some really fun and easy hacks.  Check out their blog post here: Siren + Hello Sailor Hacks.

And don’t forget to gather all of the inspiration you can from our darling testers.  We are lucky to have such gorgeous women, willing to share these images with us!  If these pictures aren’t enough, be sure to head over to our album on Facebook: Siren Swim Top Album.   Now get to sewing!


Filed Under: Pattern Release 5 Comments

  • « Previous Page
  • 1
  • 2
  • 3

connect with me

  • Email
  • Facebook
  • Instagram
  • Pinterest
  • YouTube
Privacy & Cookies: This site uses cookies. By continuing to use this website, you agree to their use.
To find out more, including how to control cookies, see here: Cookie Policy
  • Privacy Policy
  • Refund Policy
  • Contact Us
  • About

Copyright © 2025 Patterns for Pirates

Copyright © 2025 · Genesis Framework · WordPress · Log in