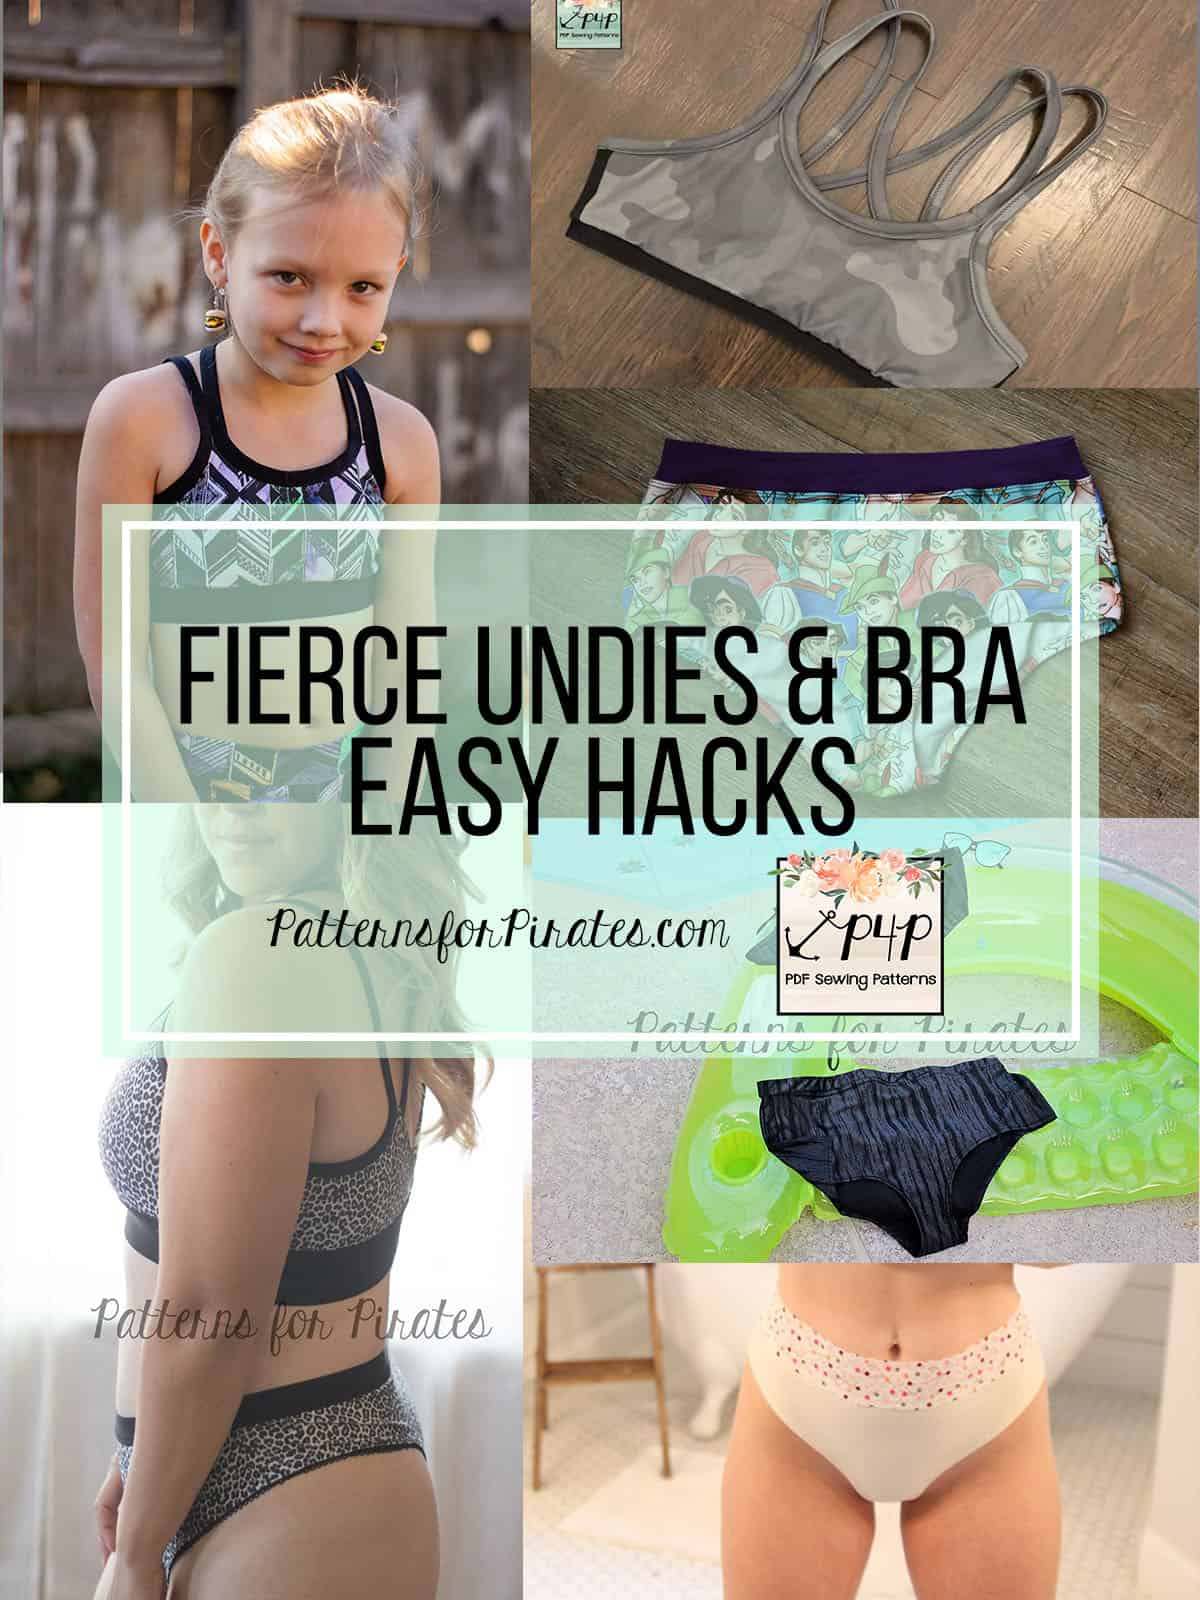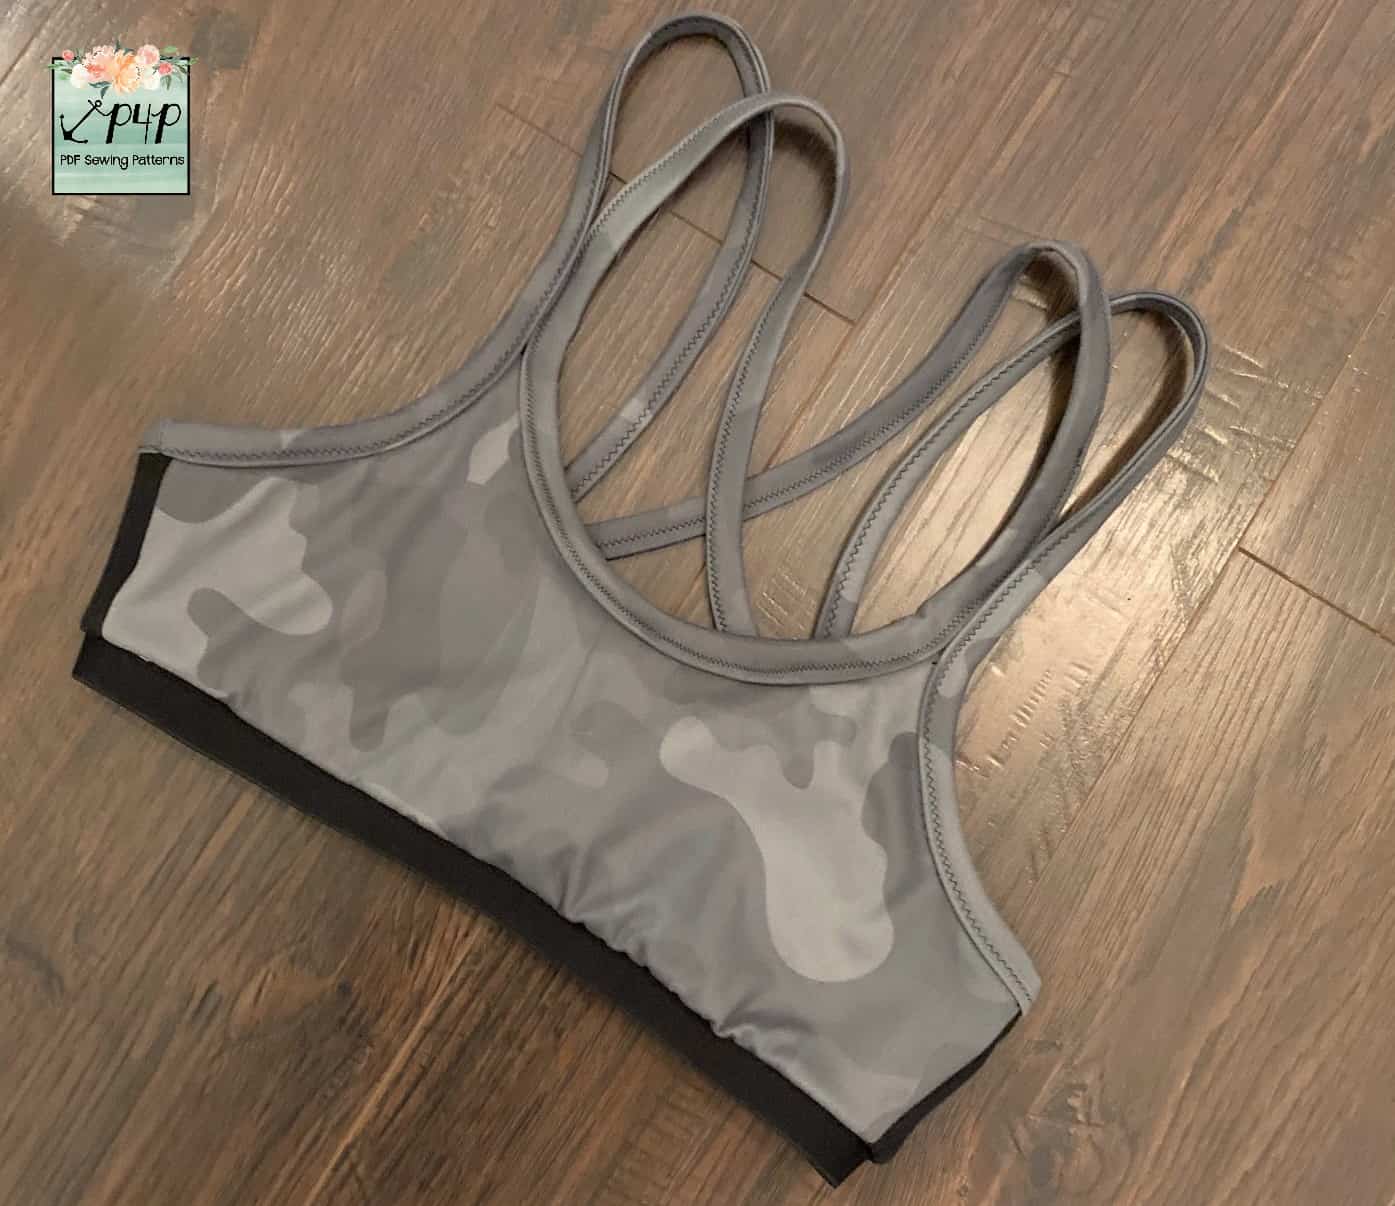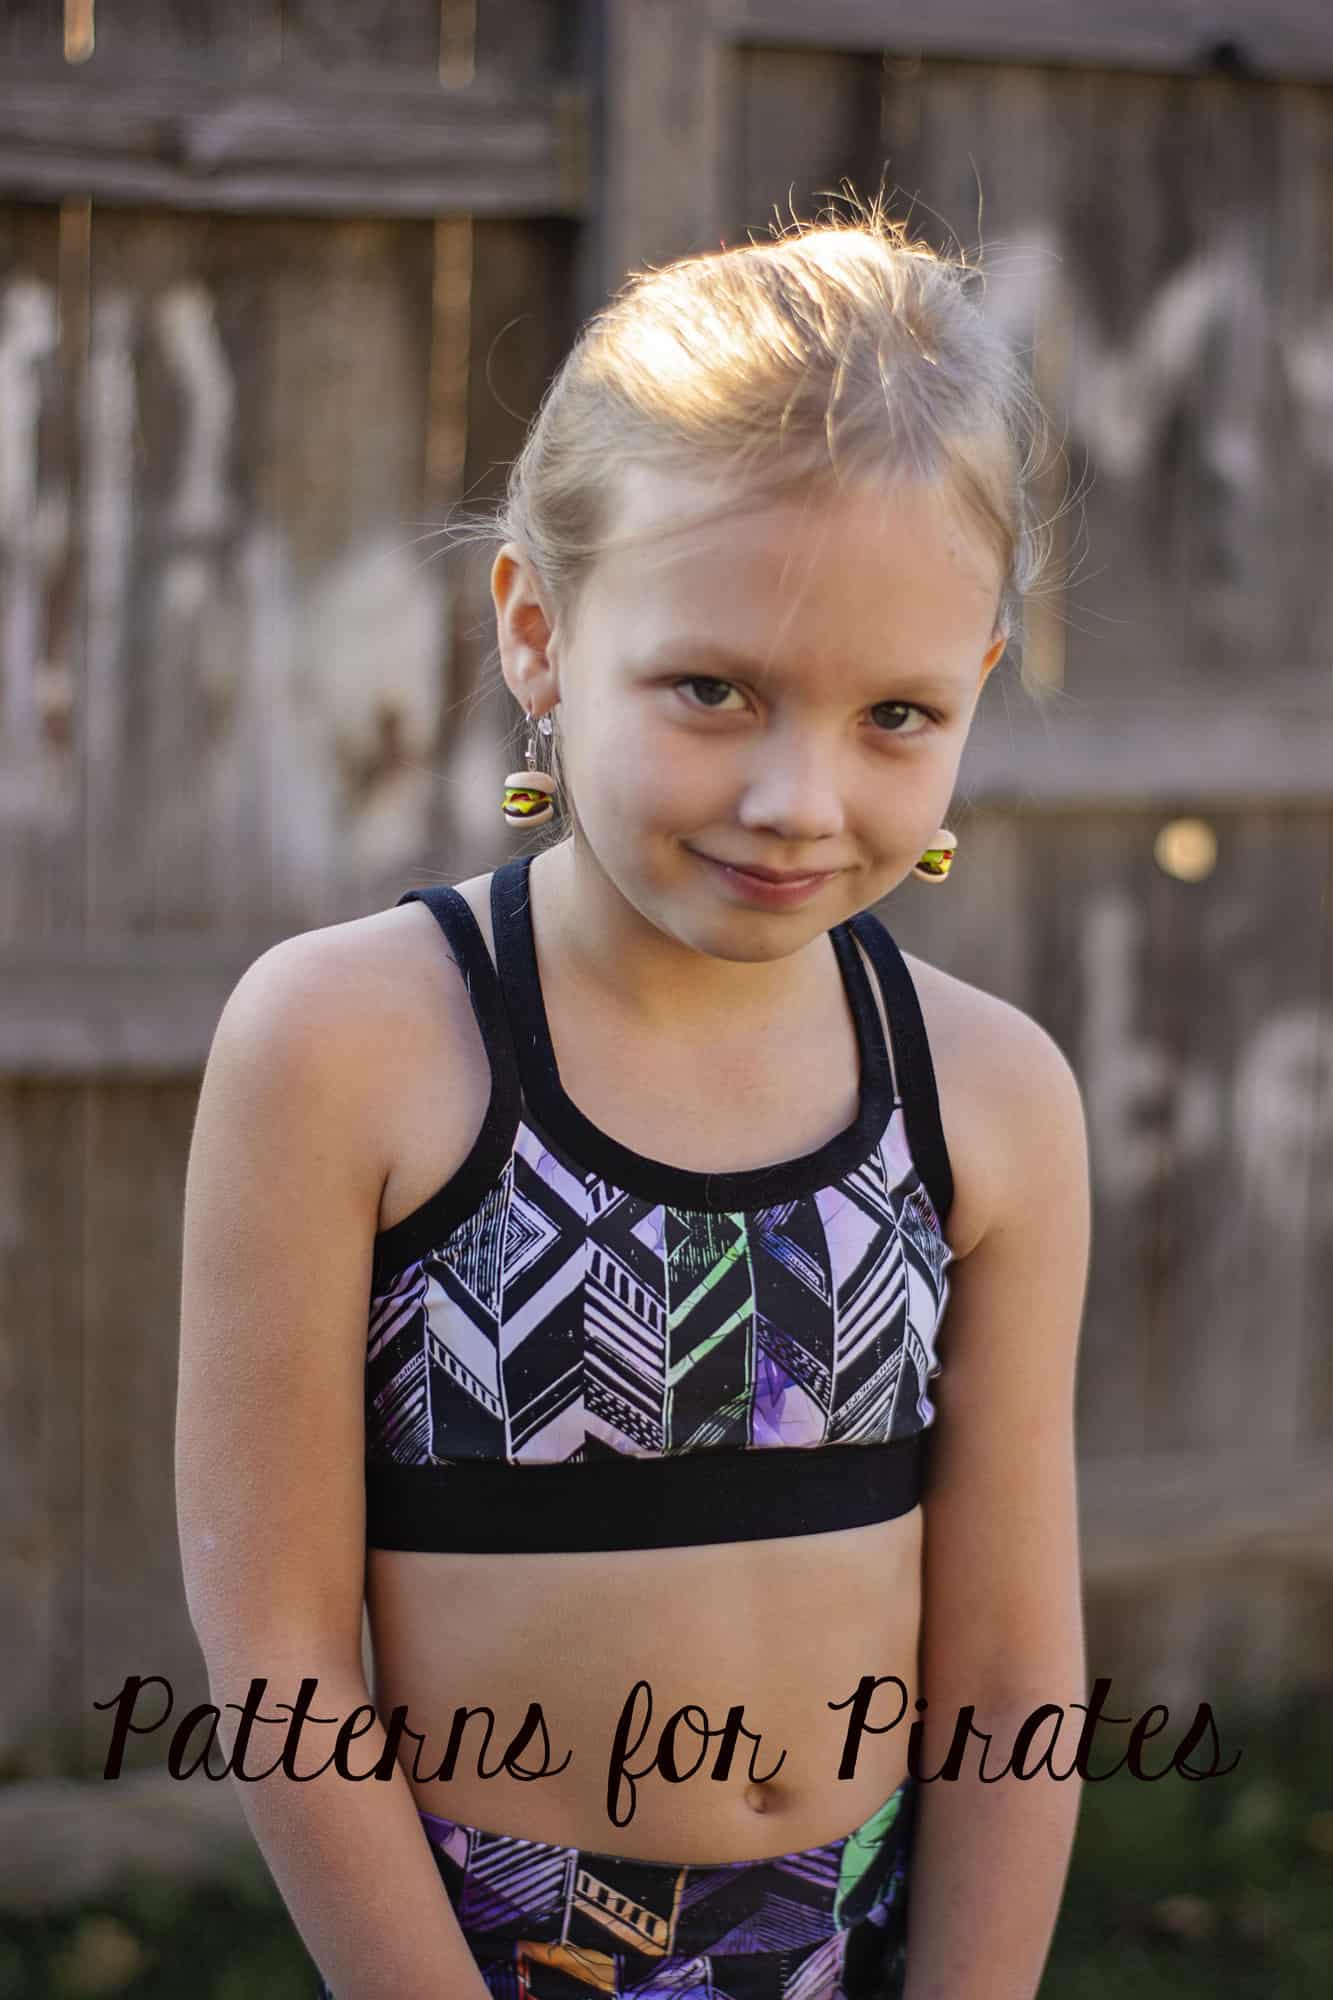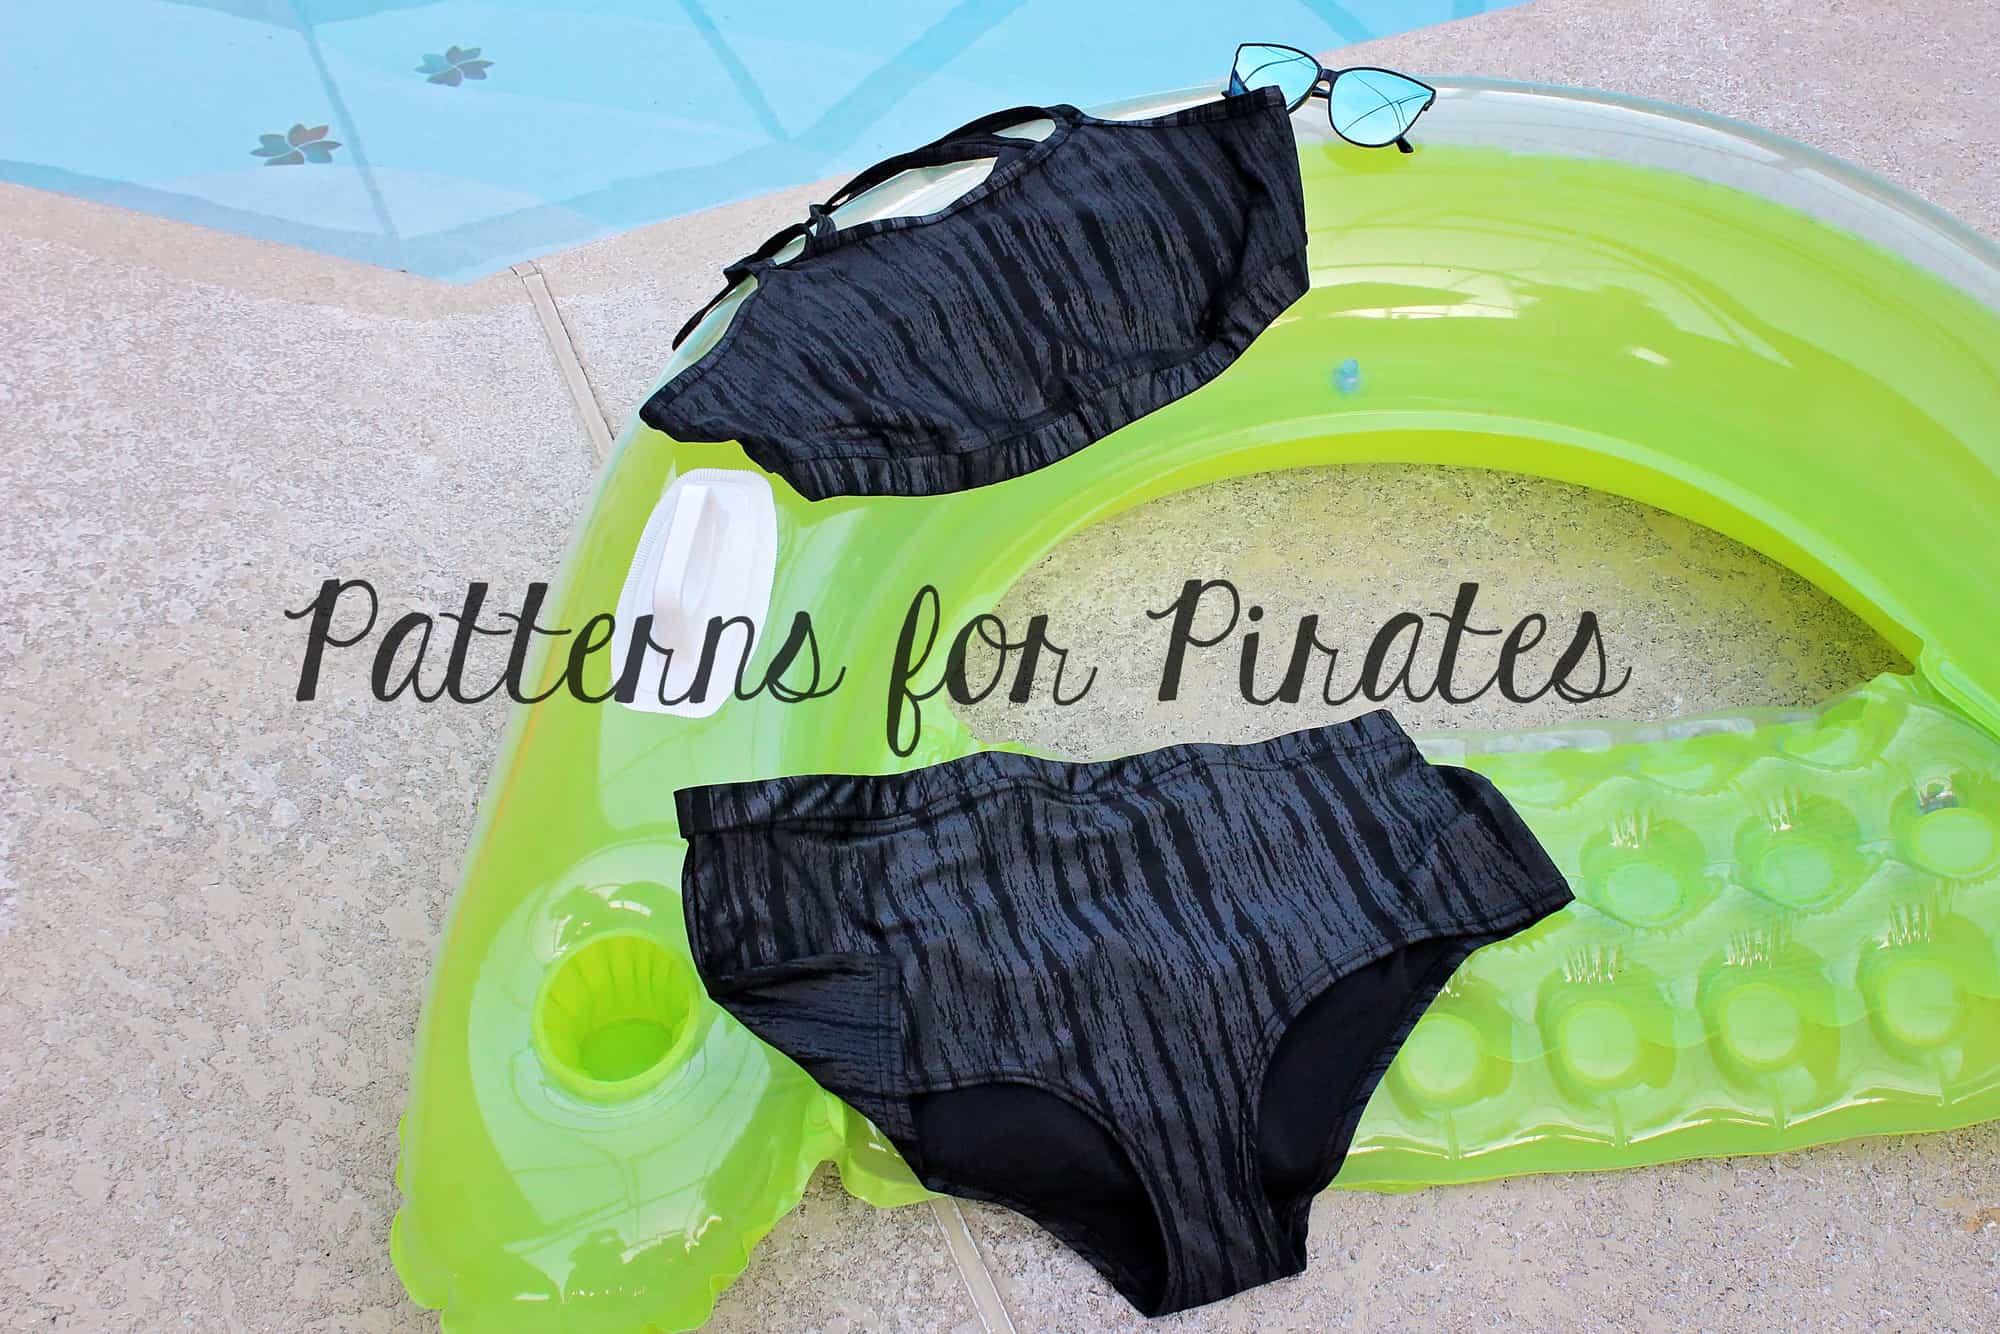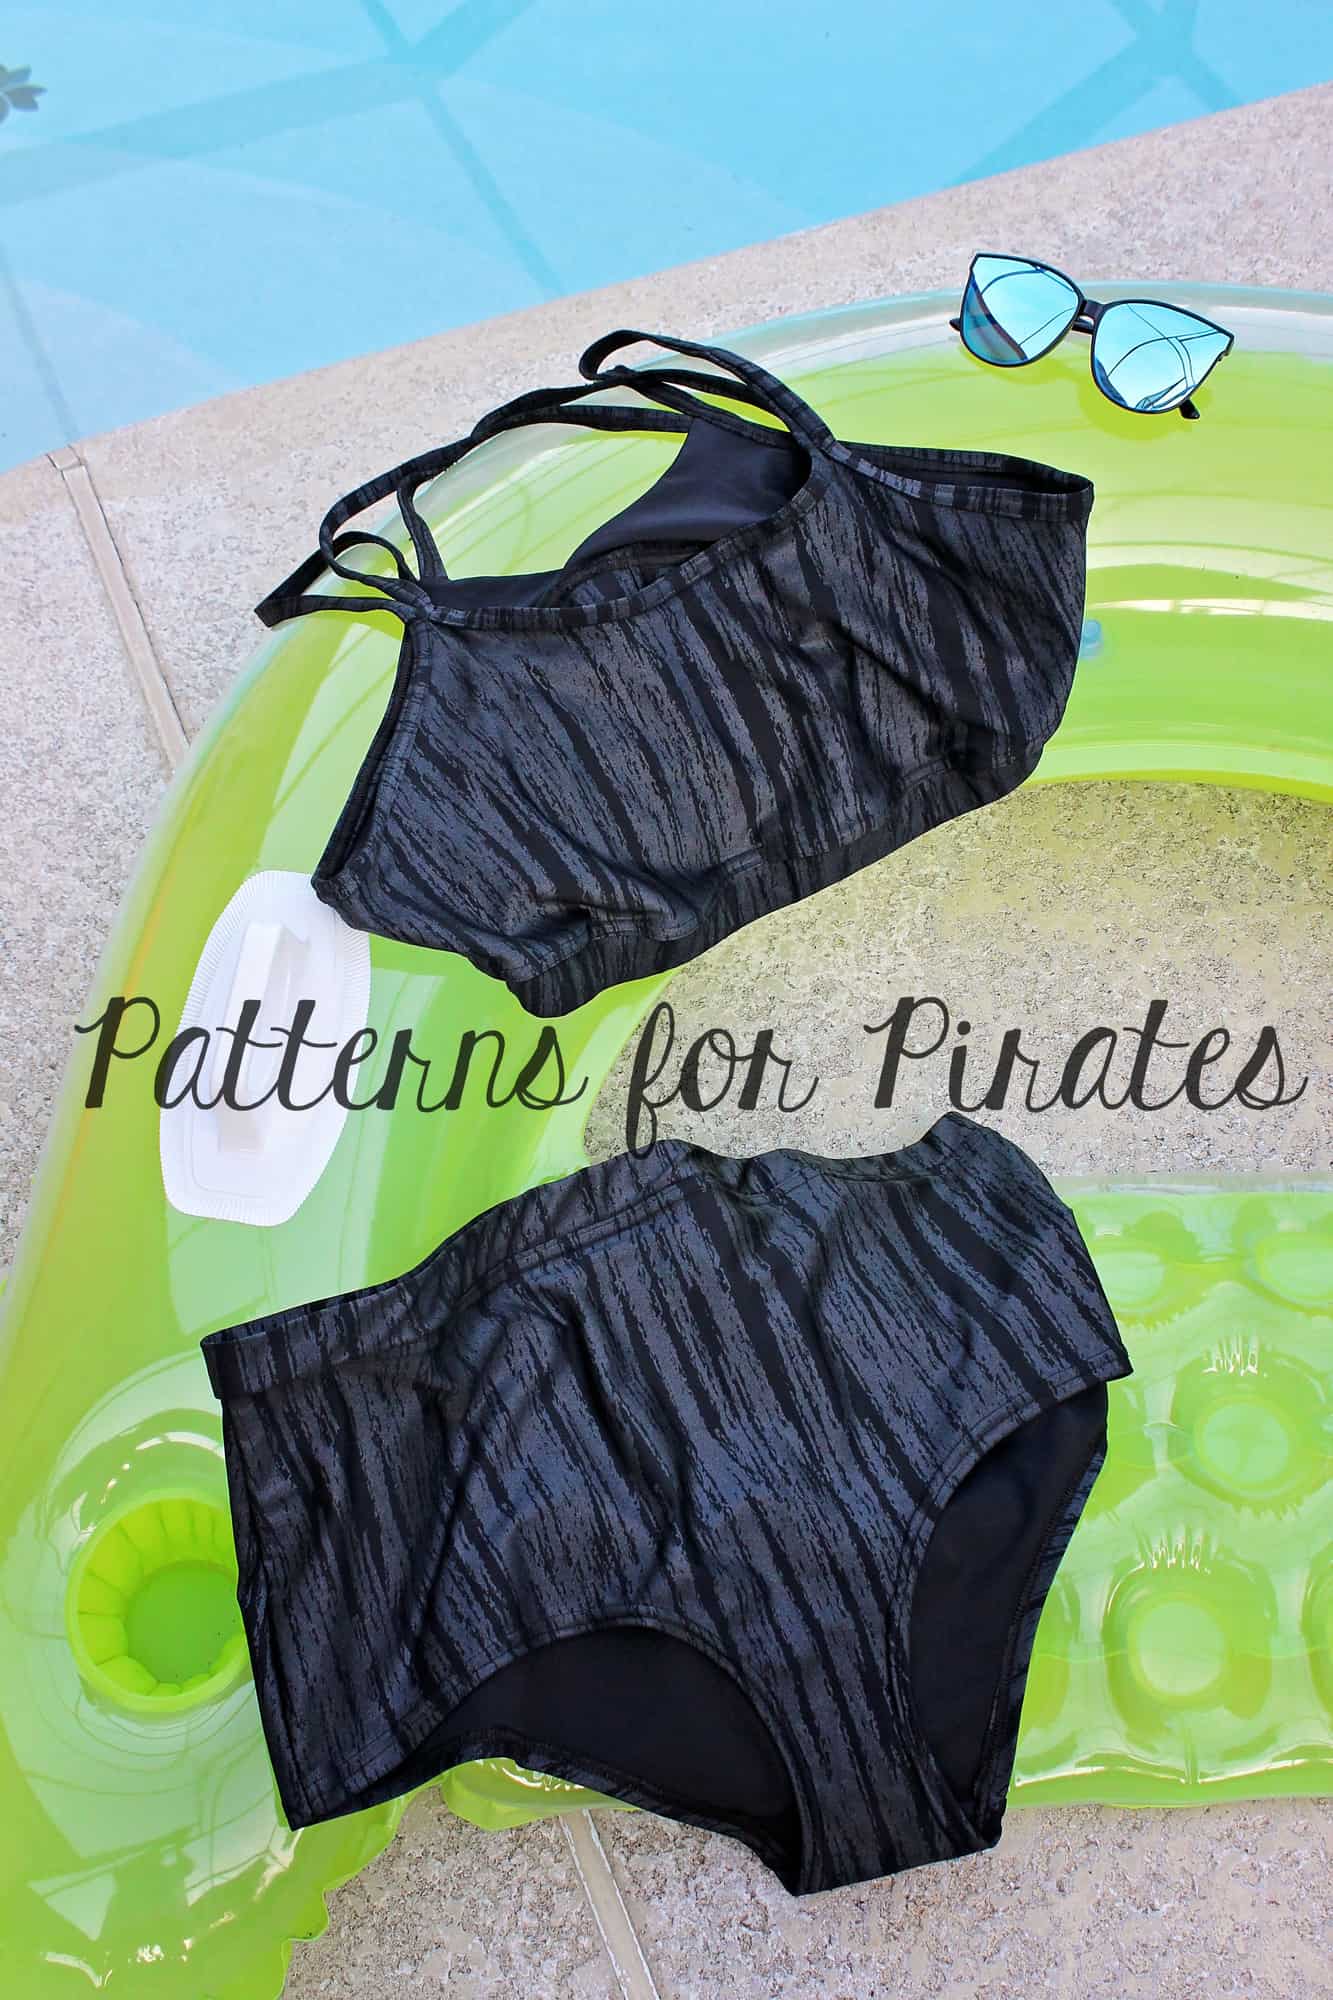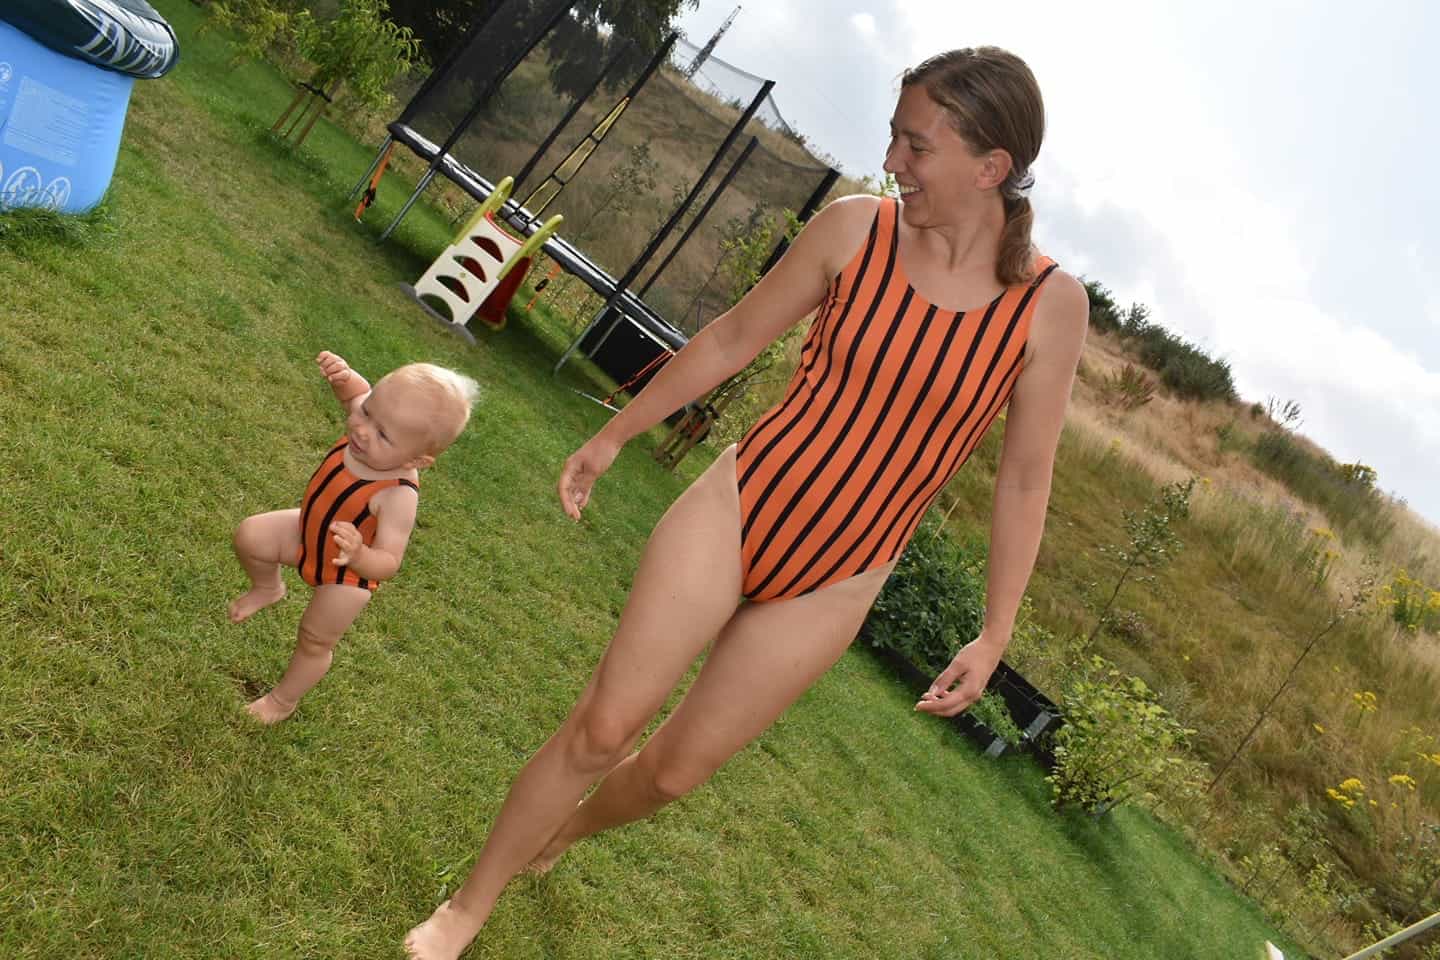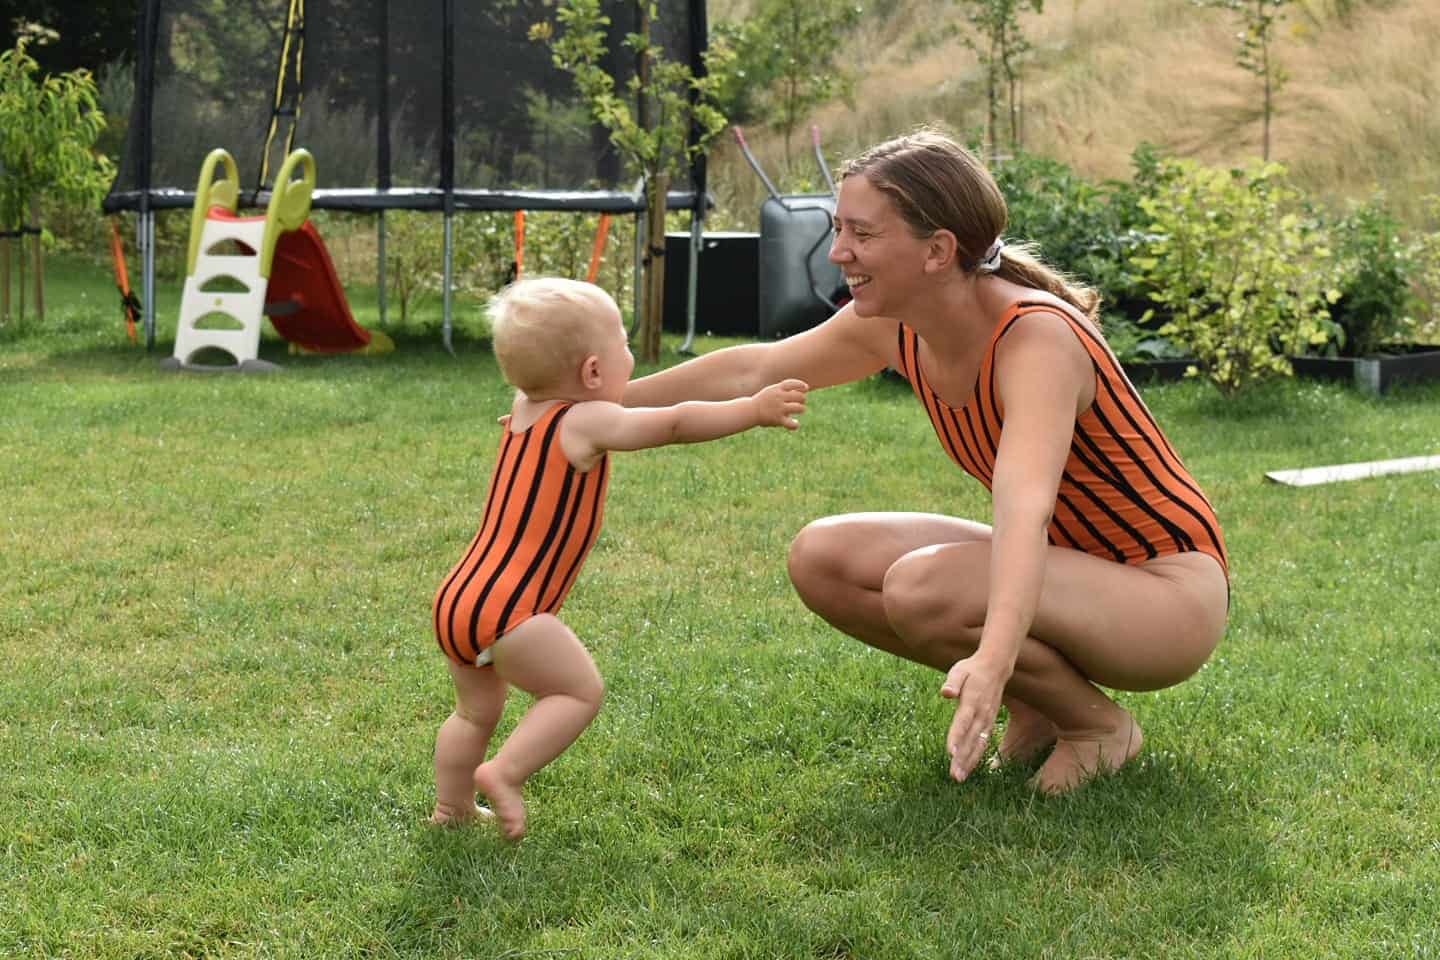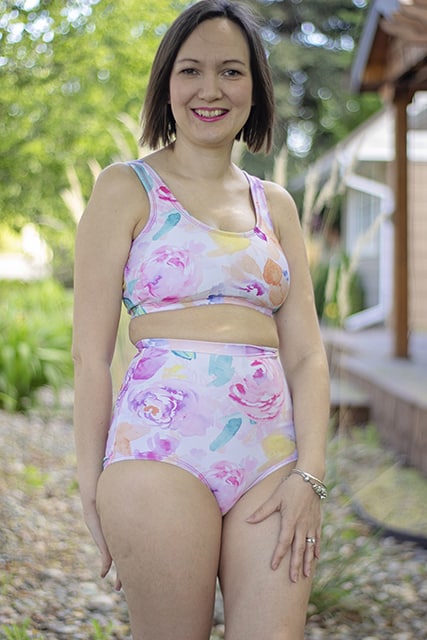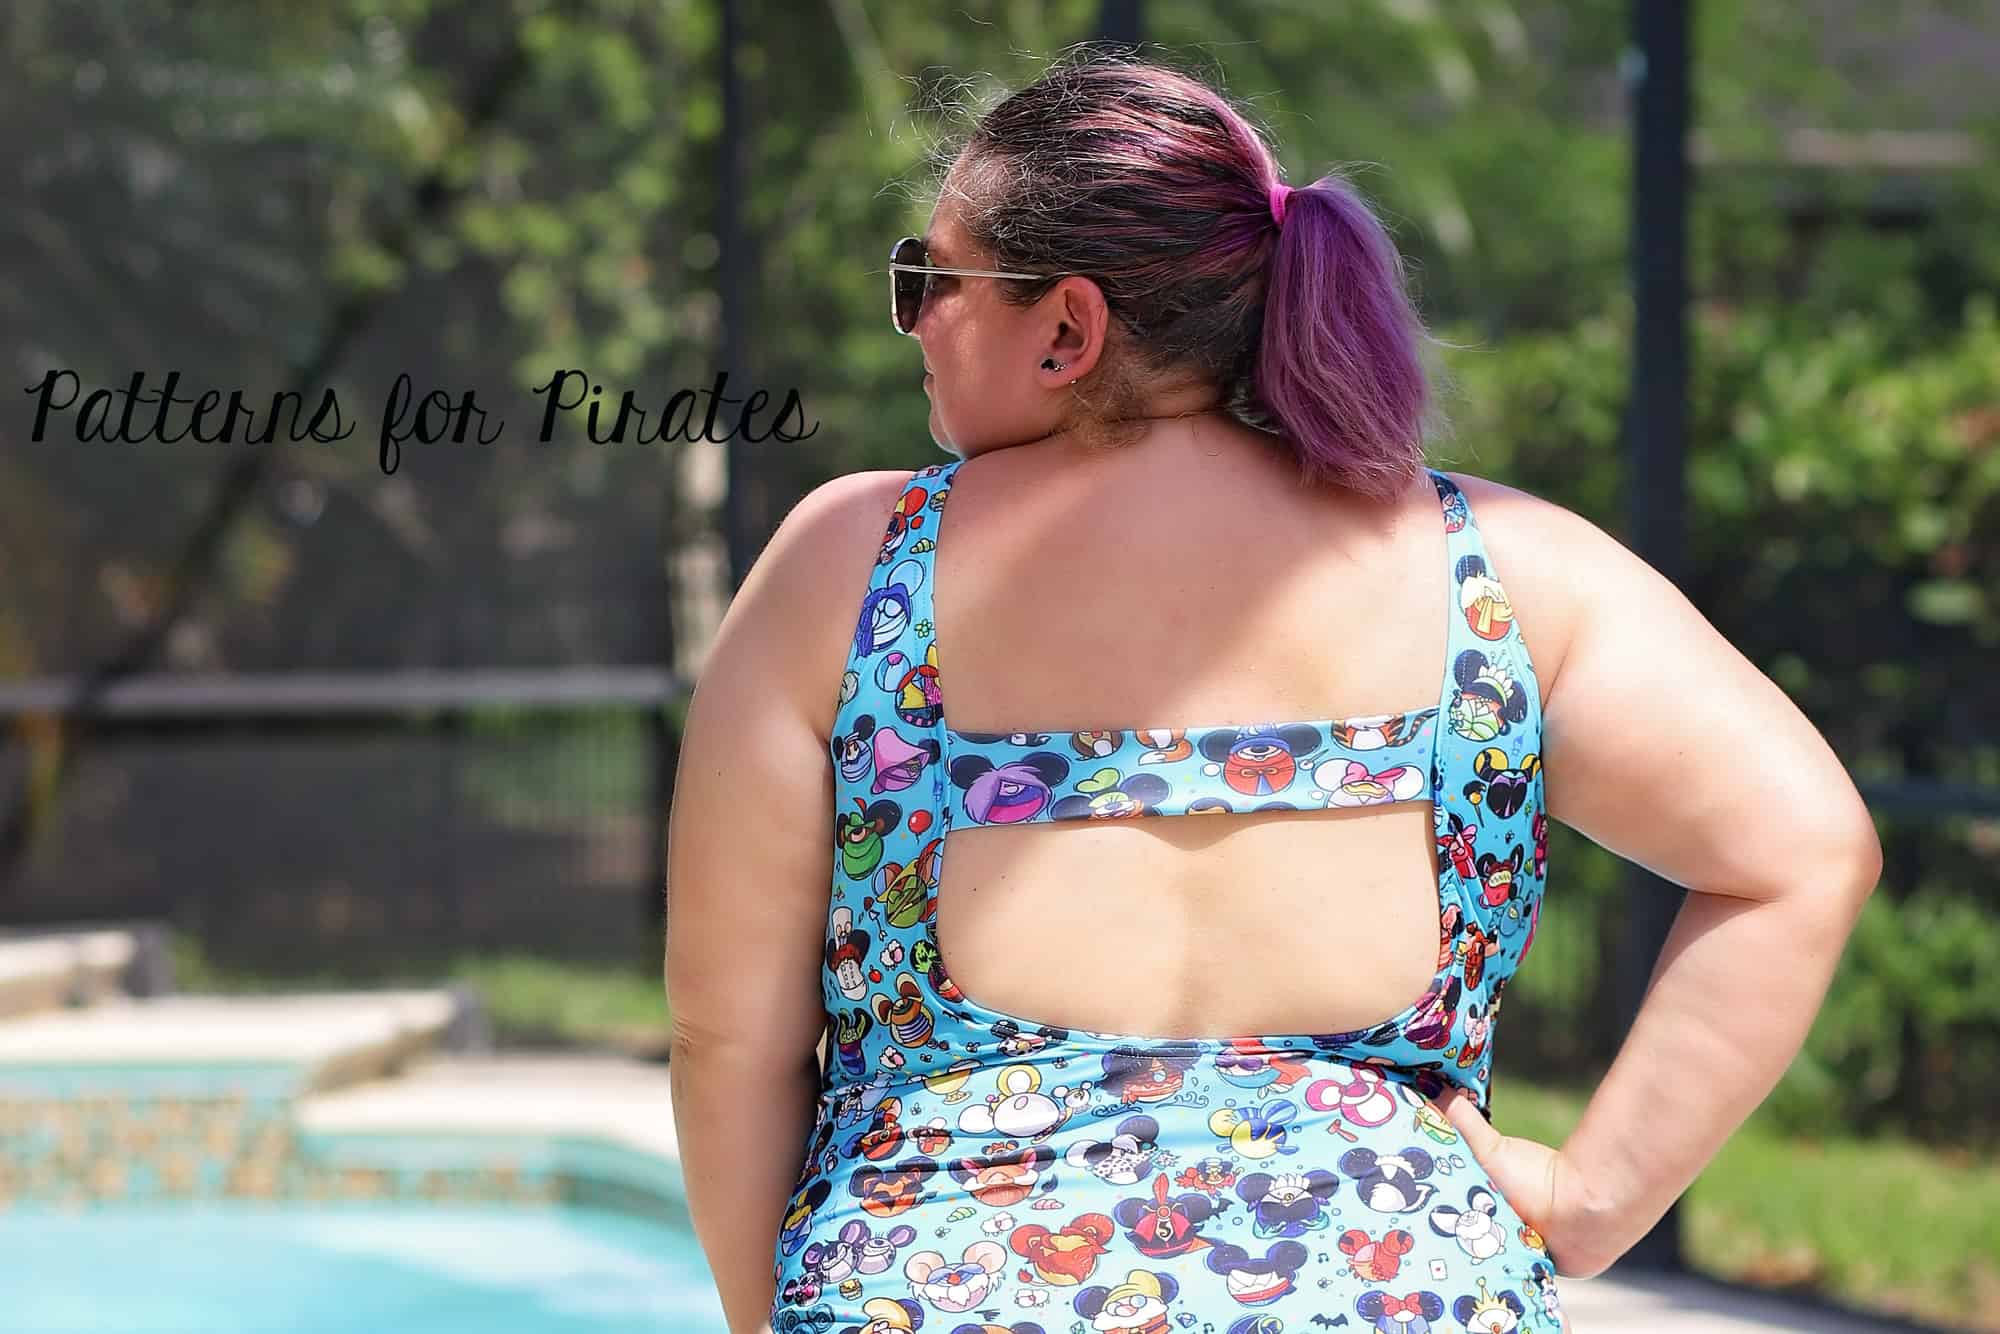
It’s swimsuit season! The new Sunflower Swim Top and Busy Bee Swim Bottoms are the perfect addition to your summer wardrobe. Dana is showing you below how to make a longer ruffle while Rachel is taking the Sunflower Top and making is shorter. Enjoy these cute easy hacks!
…..
Longer Ruffle
This is a really easy hack if you want a little extra tummy coverage or just want the look of a longer ruffle.
Cut out all your pattern pieces as usual but when you come to the ruffle you will cut it a little differently. First of all you will want to decide how wide you want your ruffle to be.
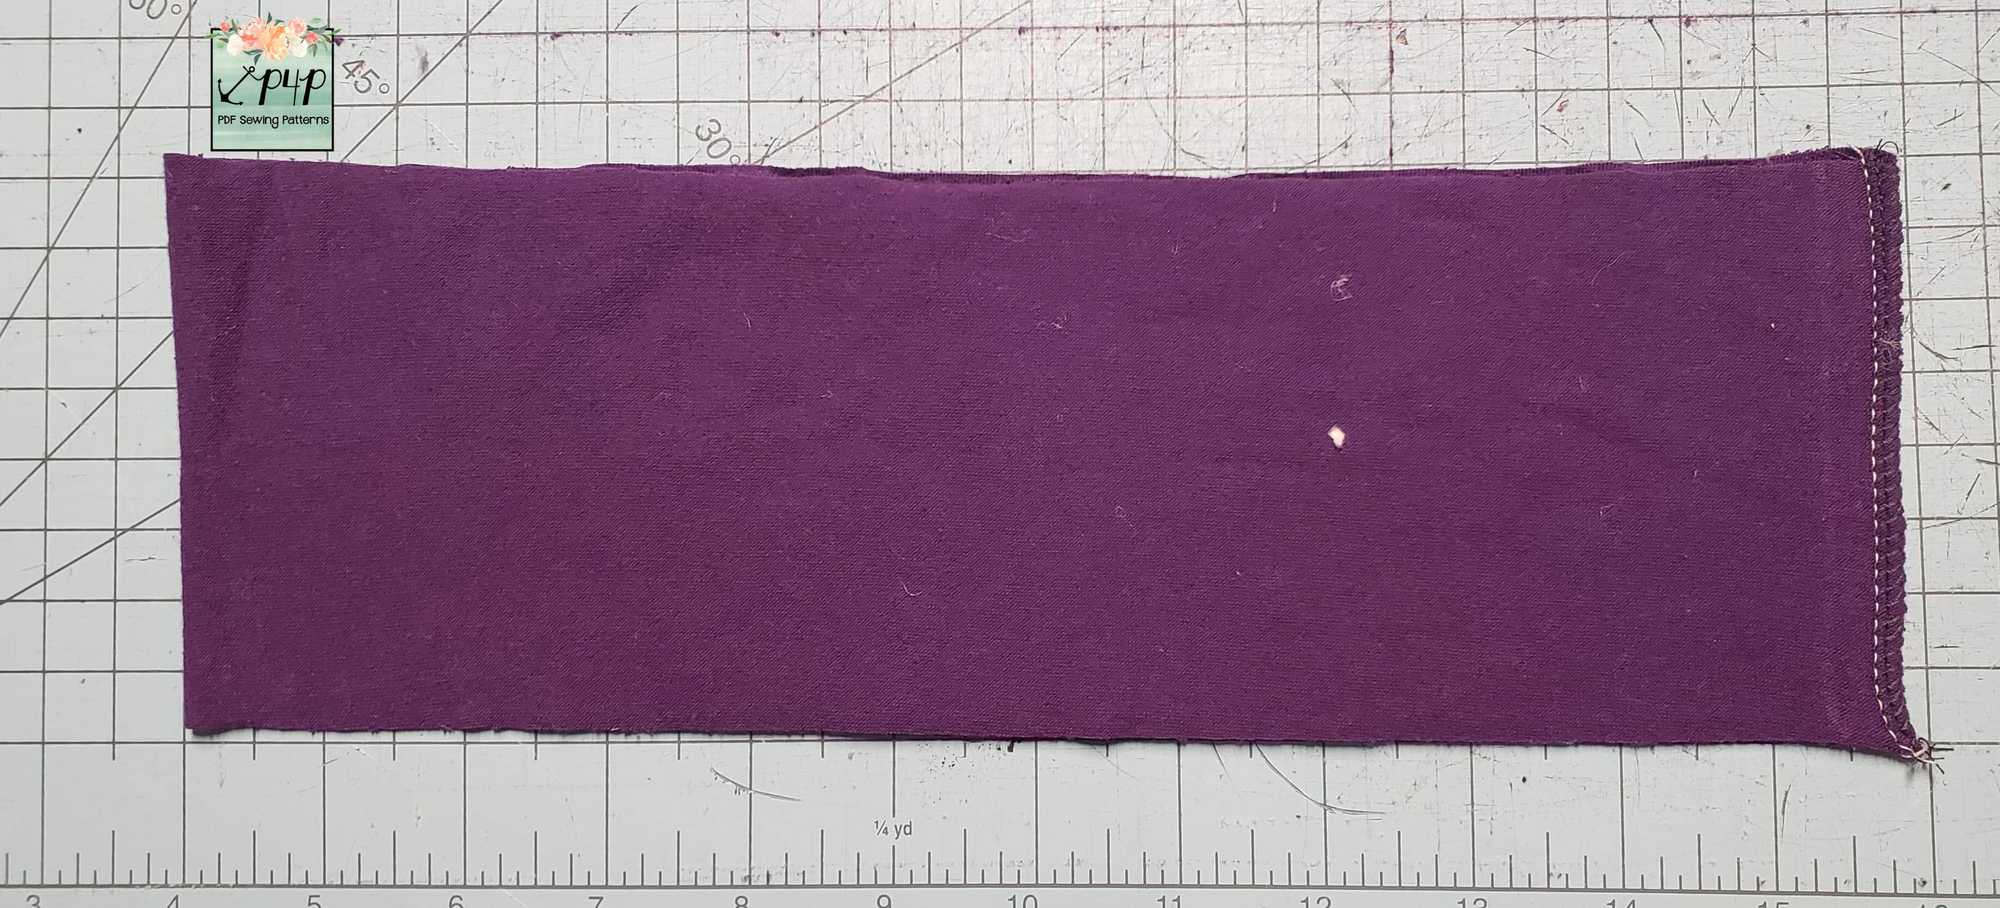
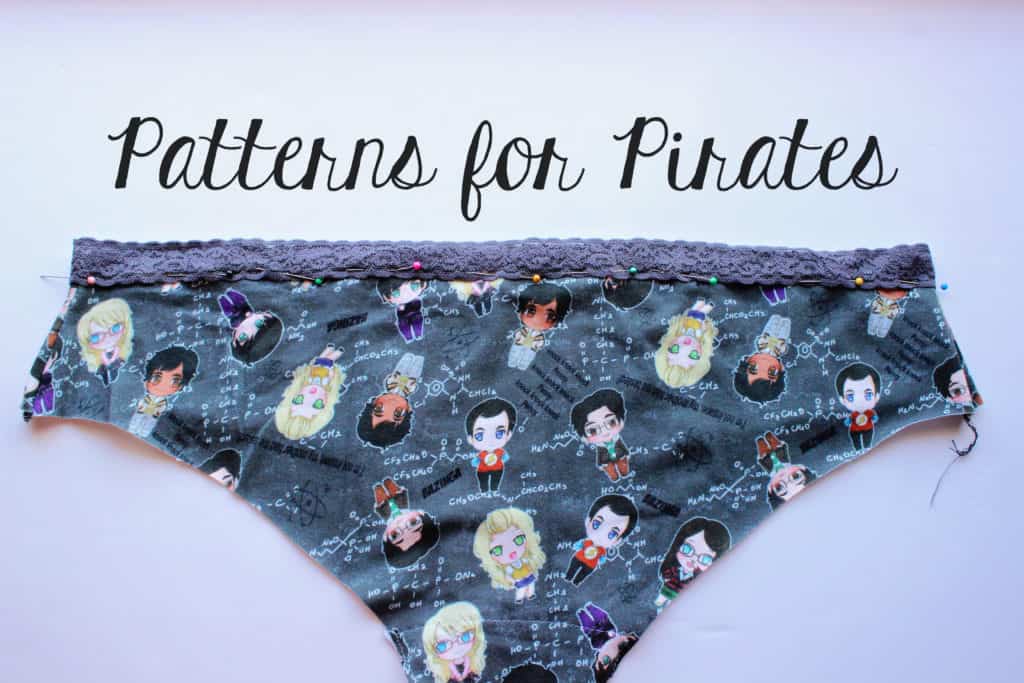
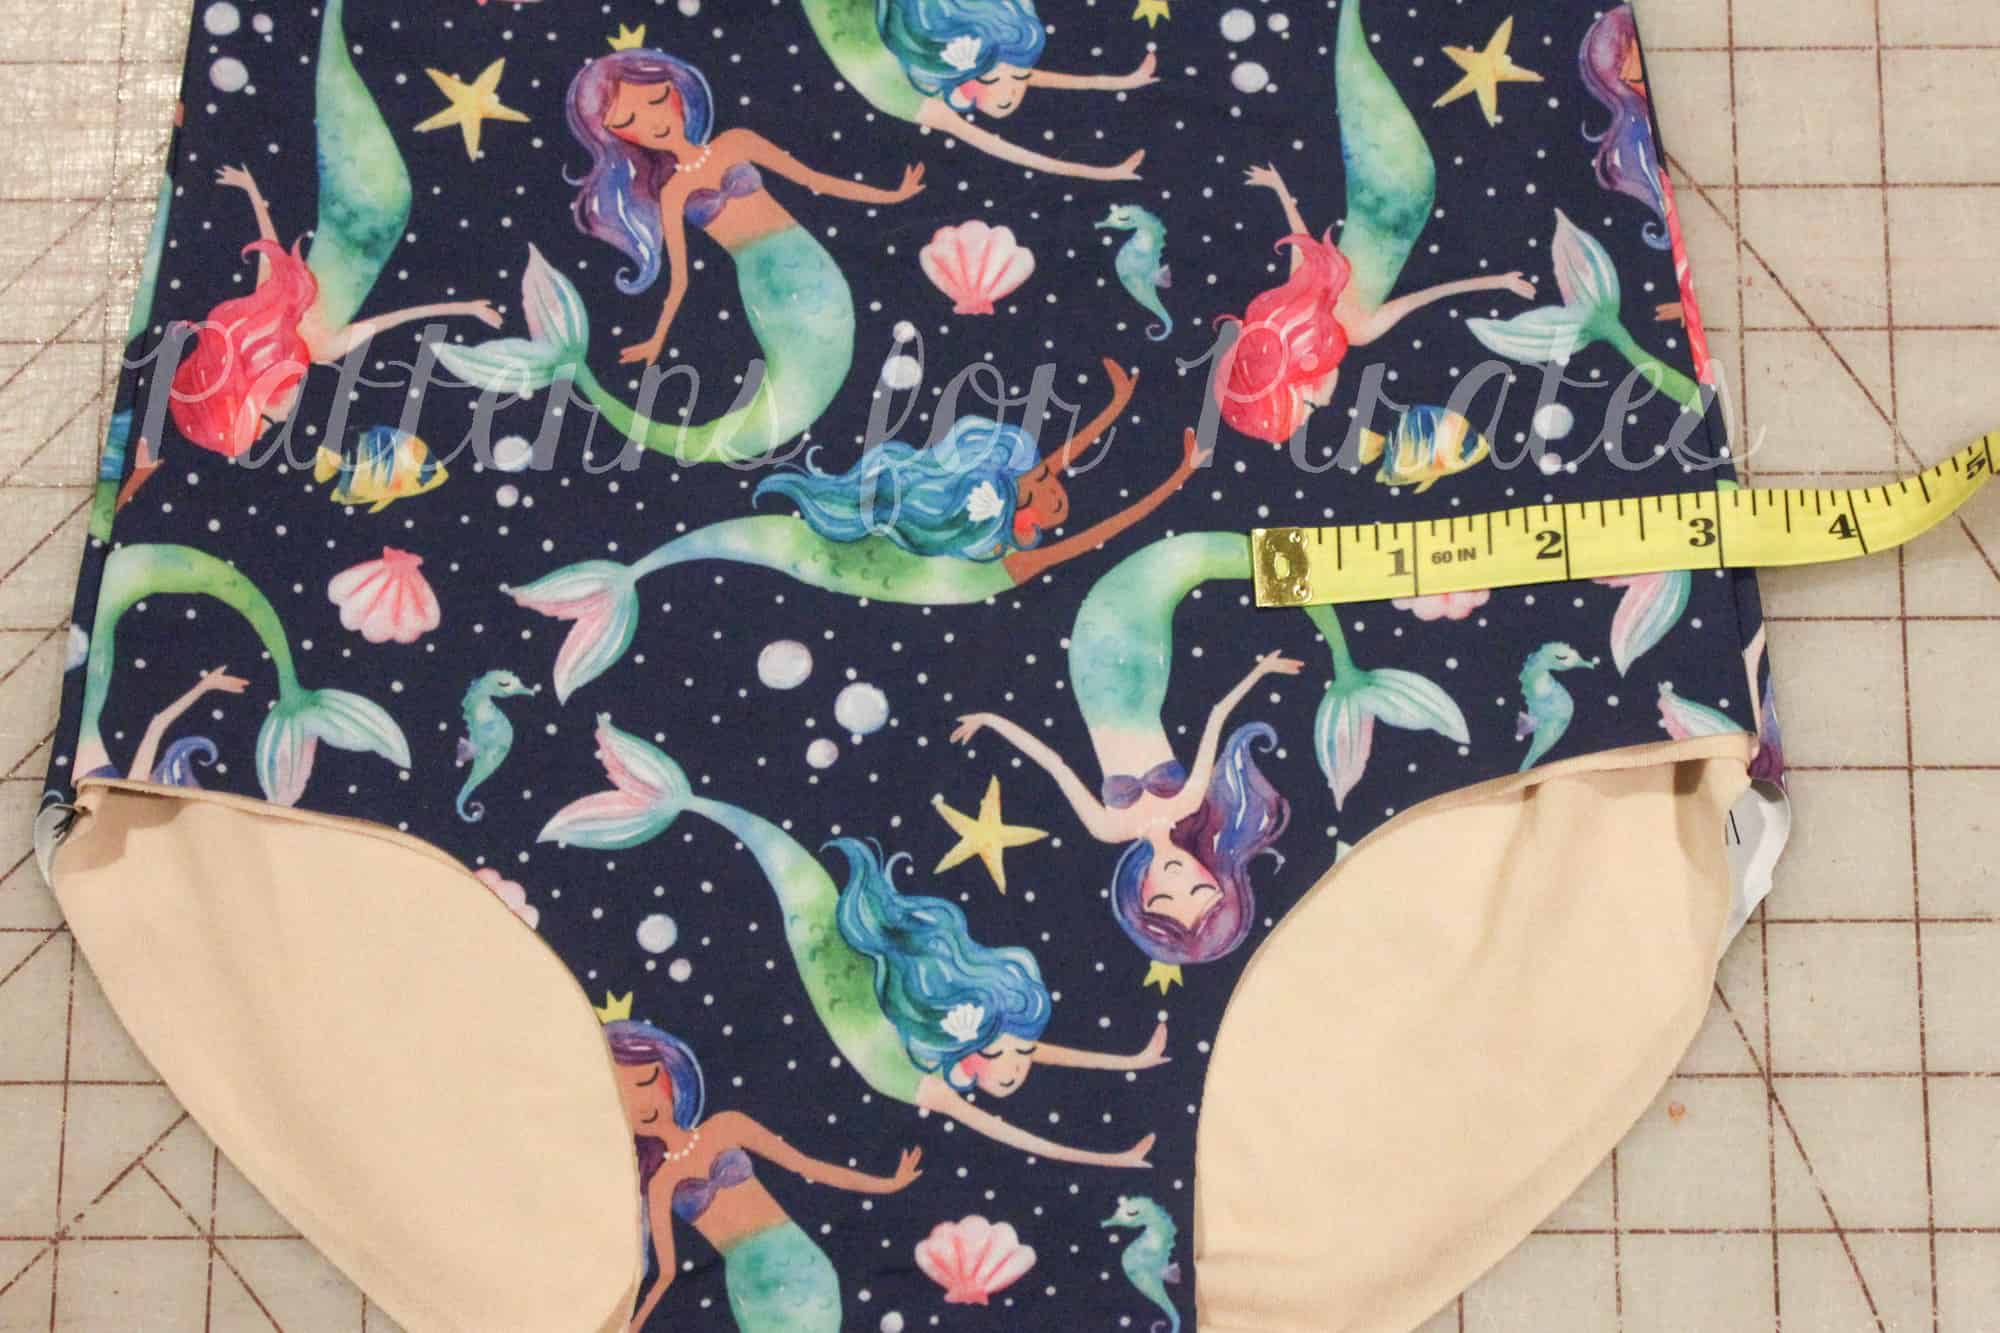
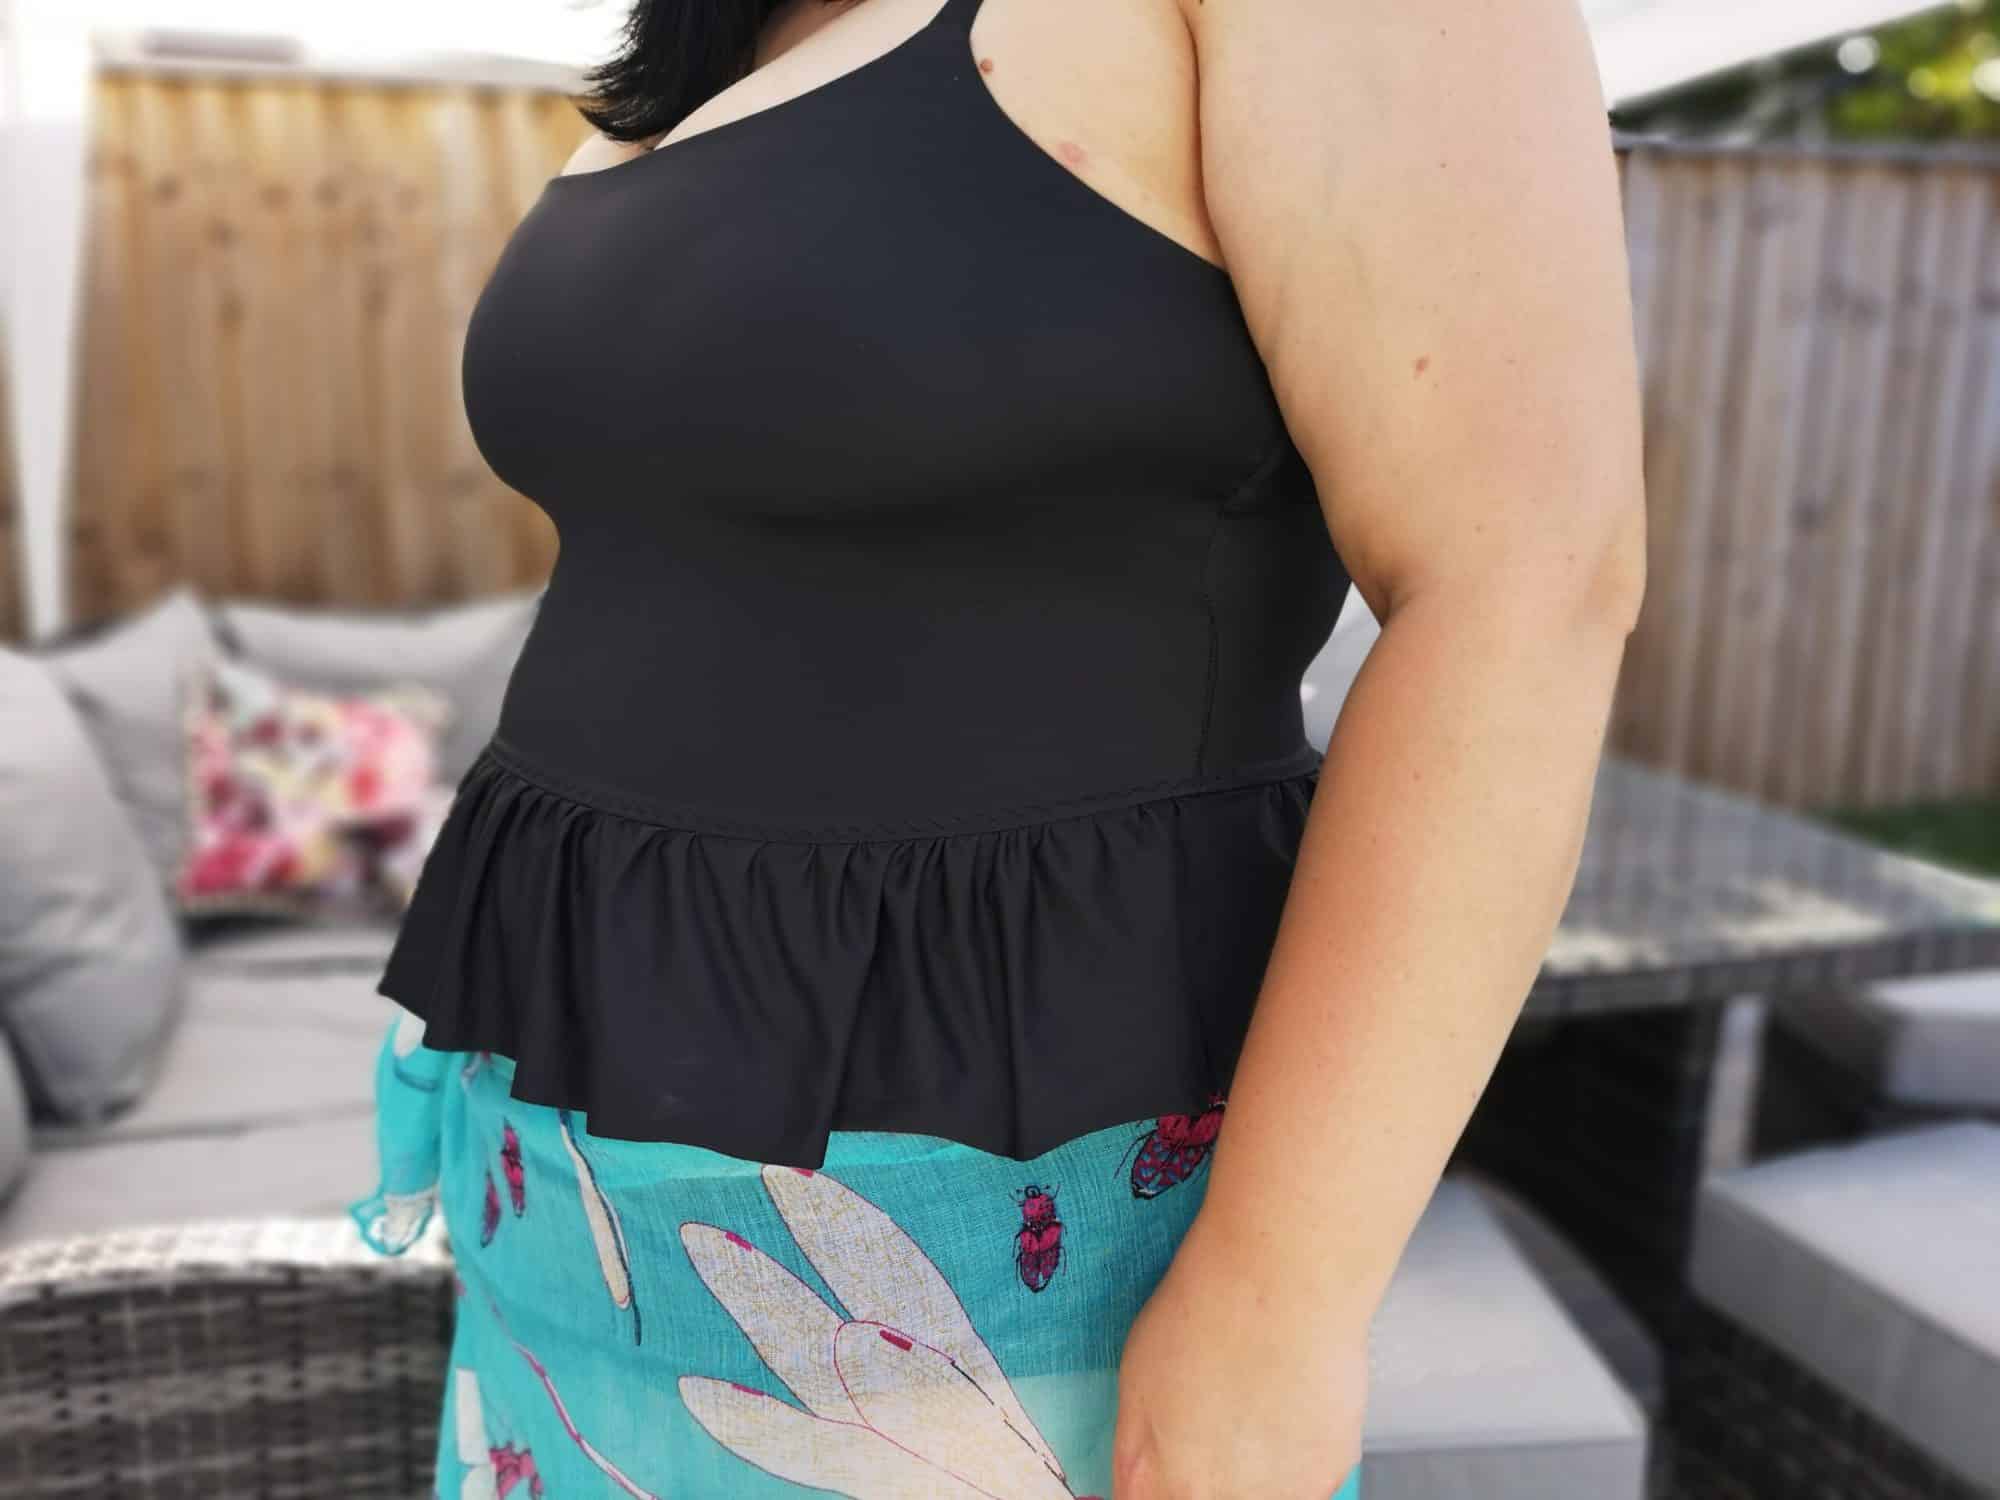
I measured the original piece which is 2 inches wide and I decided that I wanted to increase this to 5 inches wide.
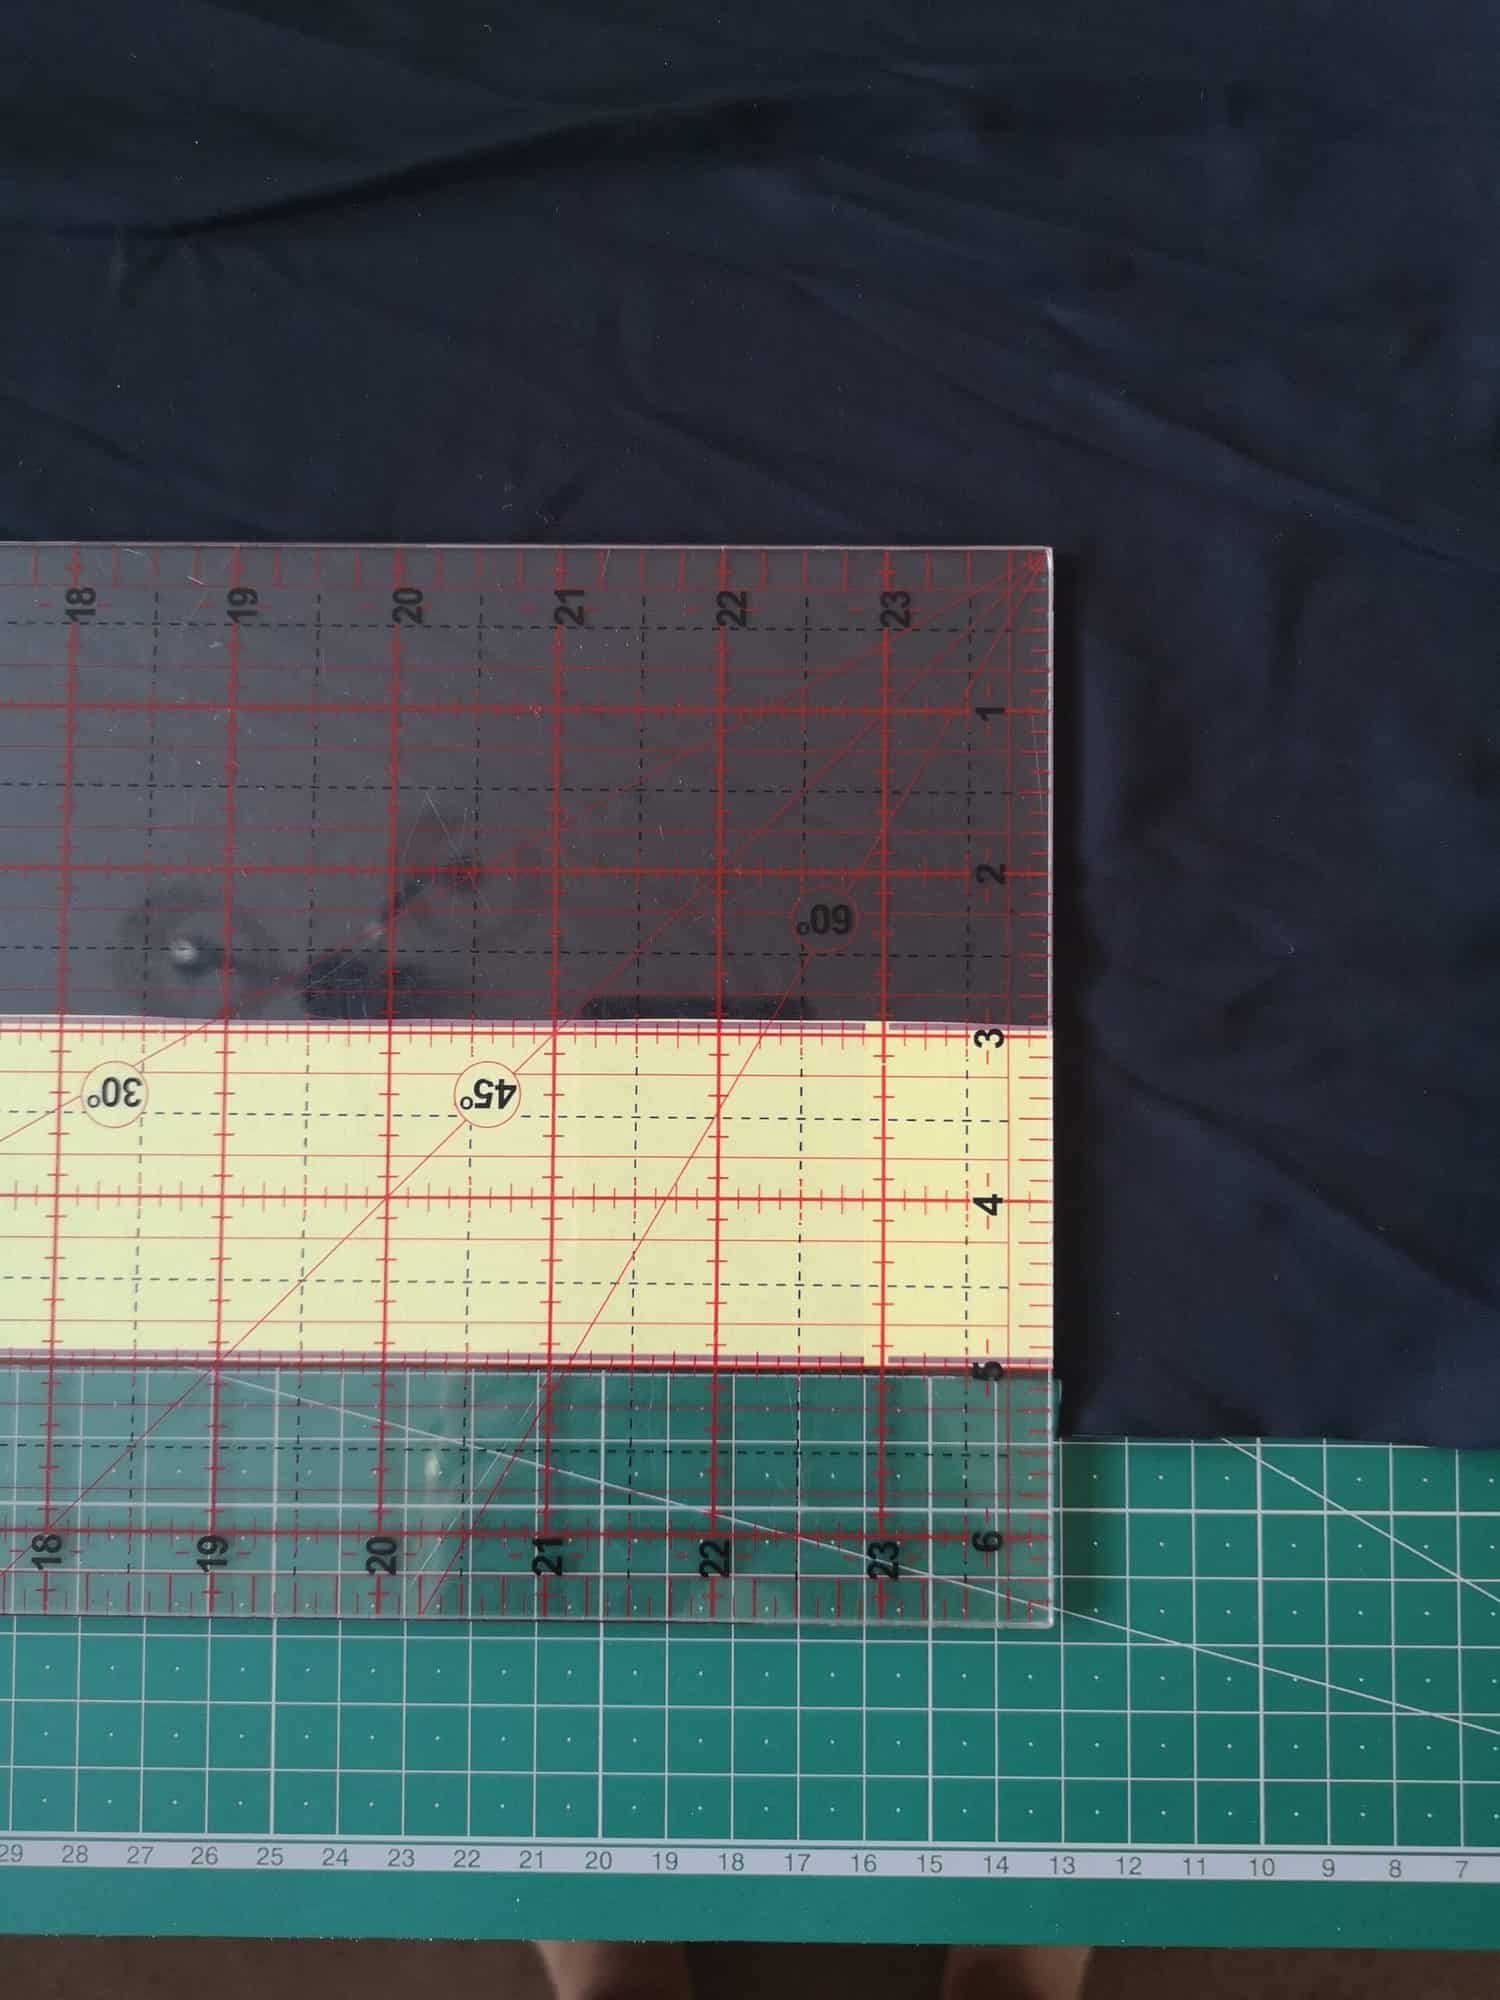
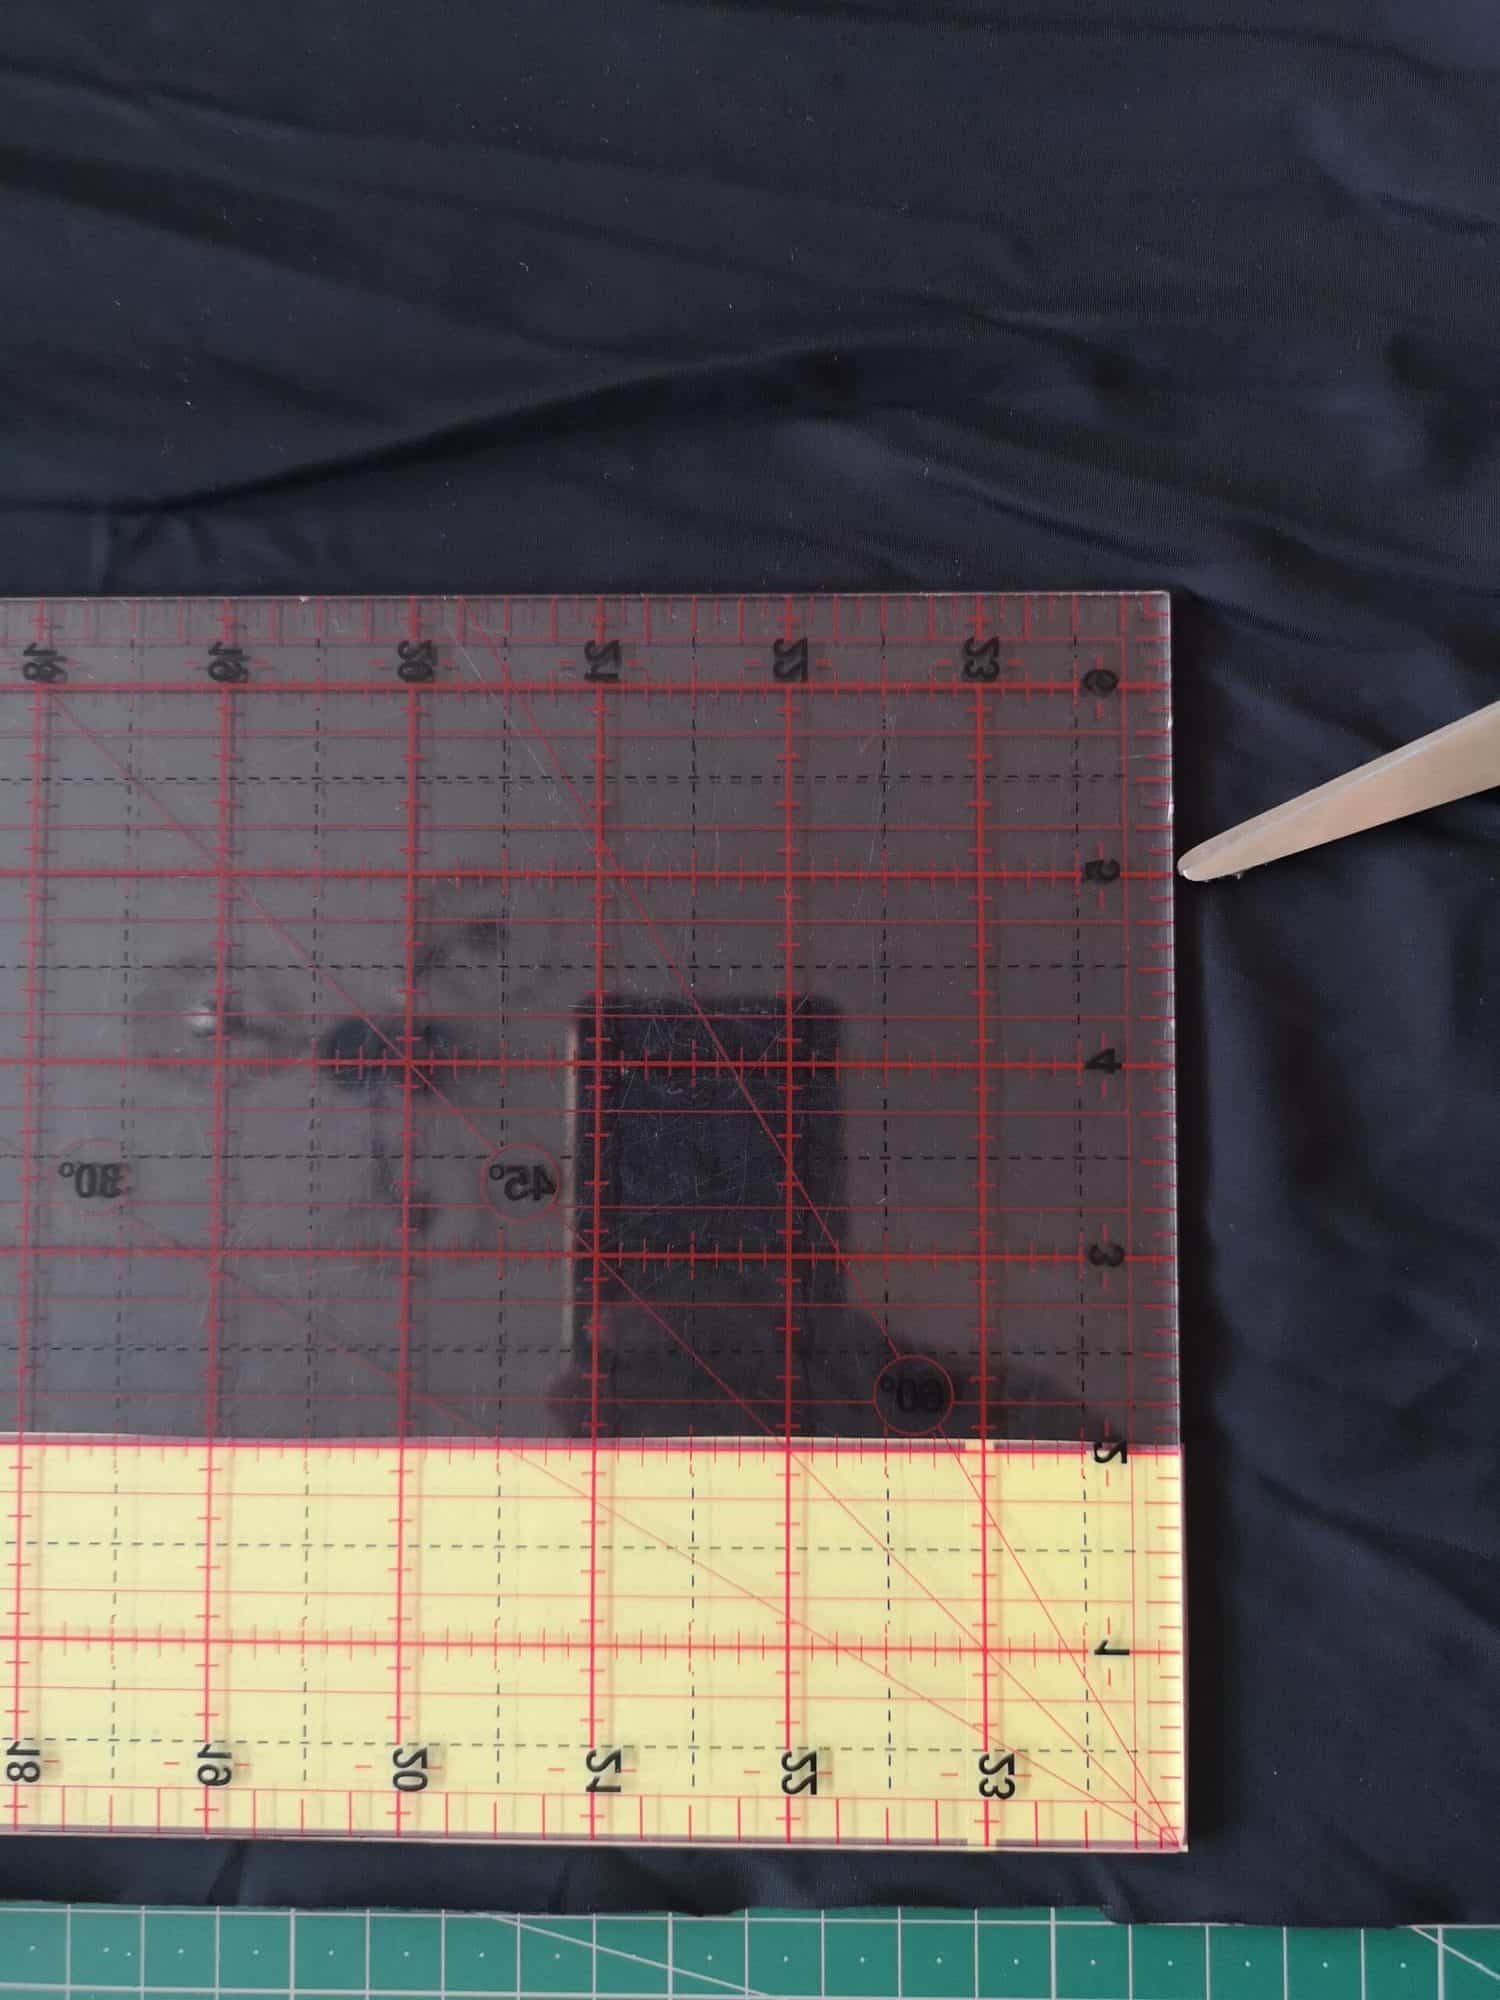
I simply laid my perspex quilting ruler out over the pattern piece and used it to help cut out the original length and the increased width.
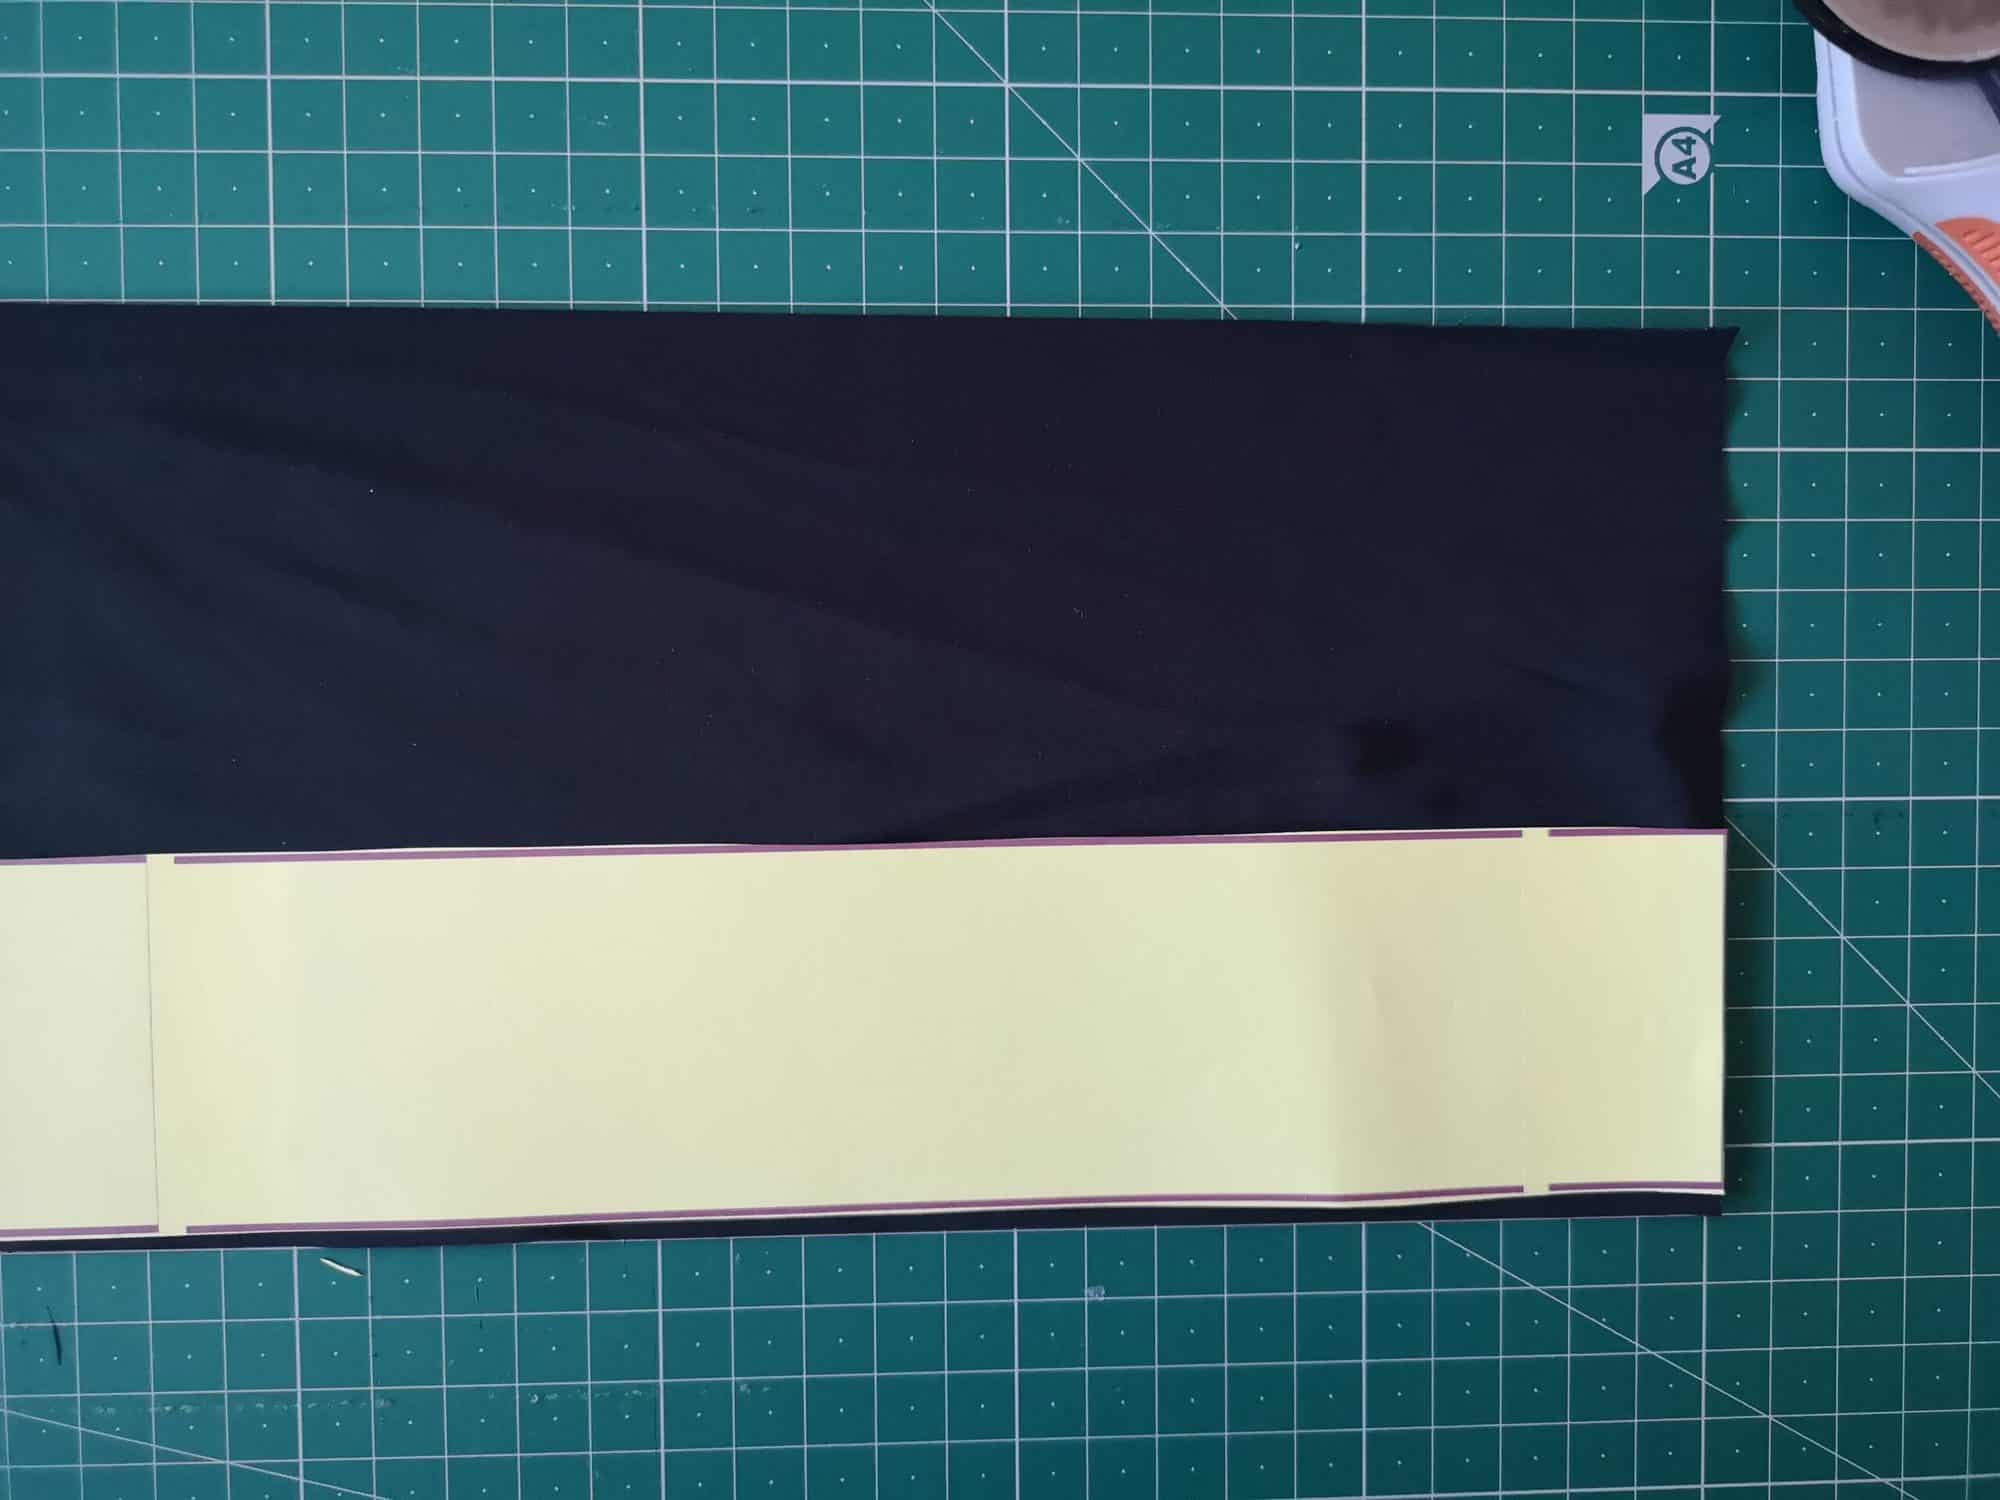
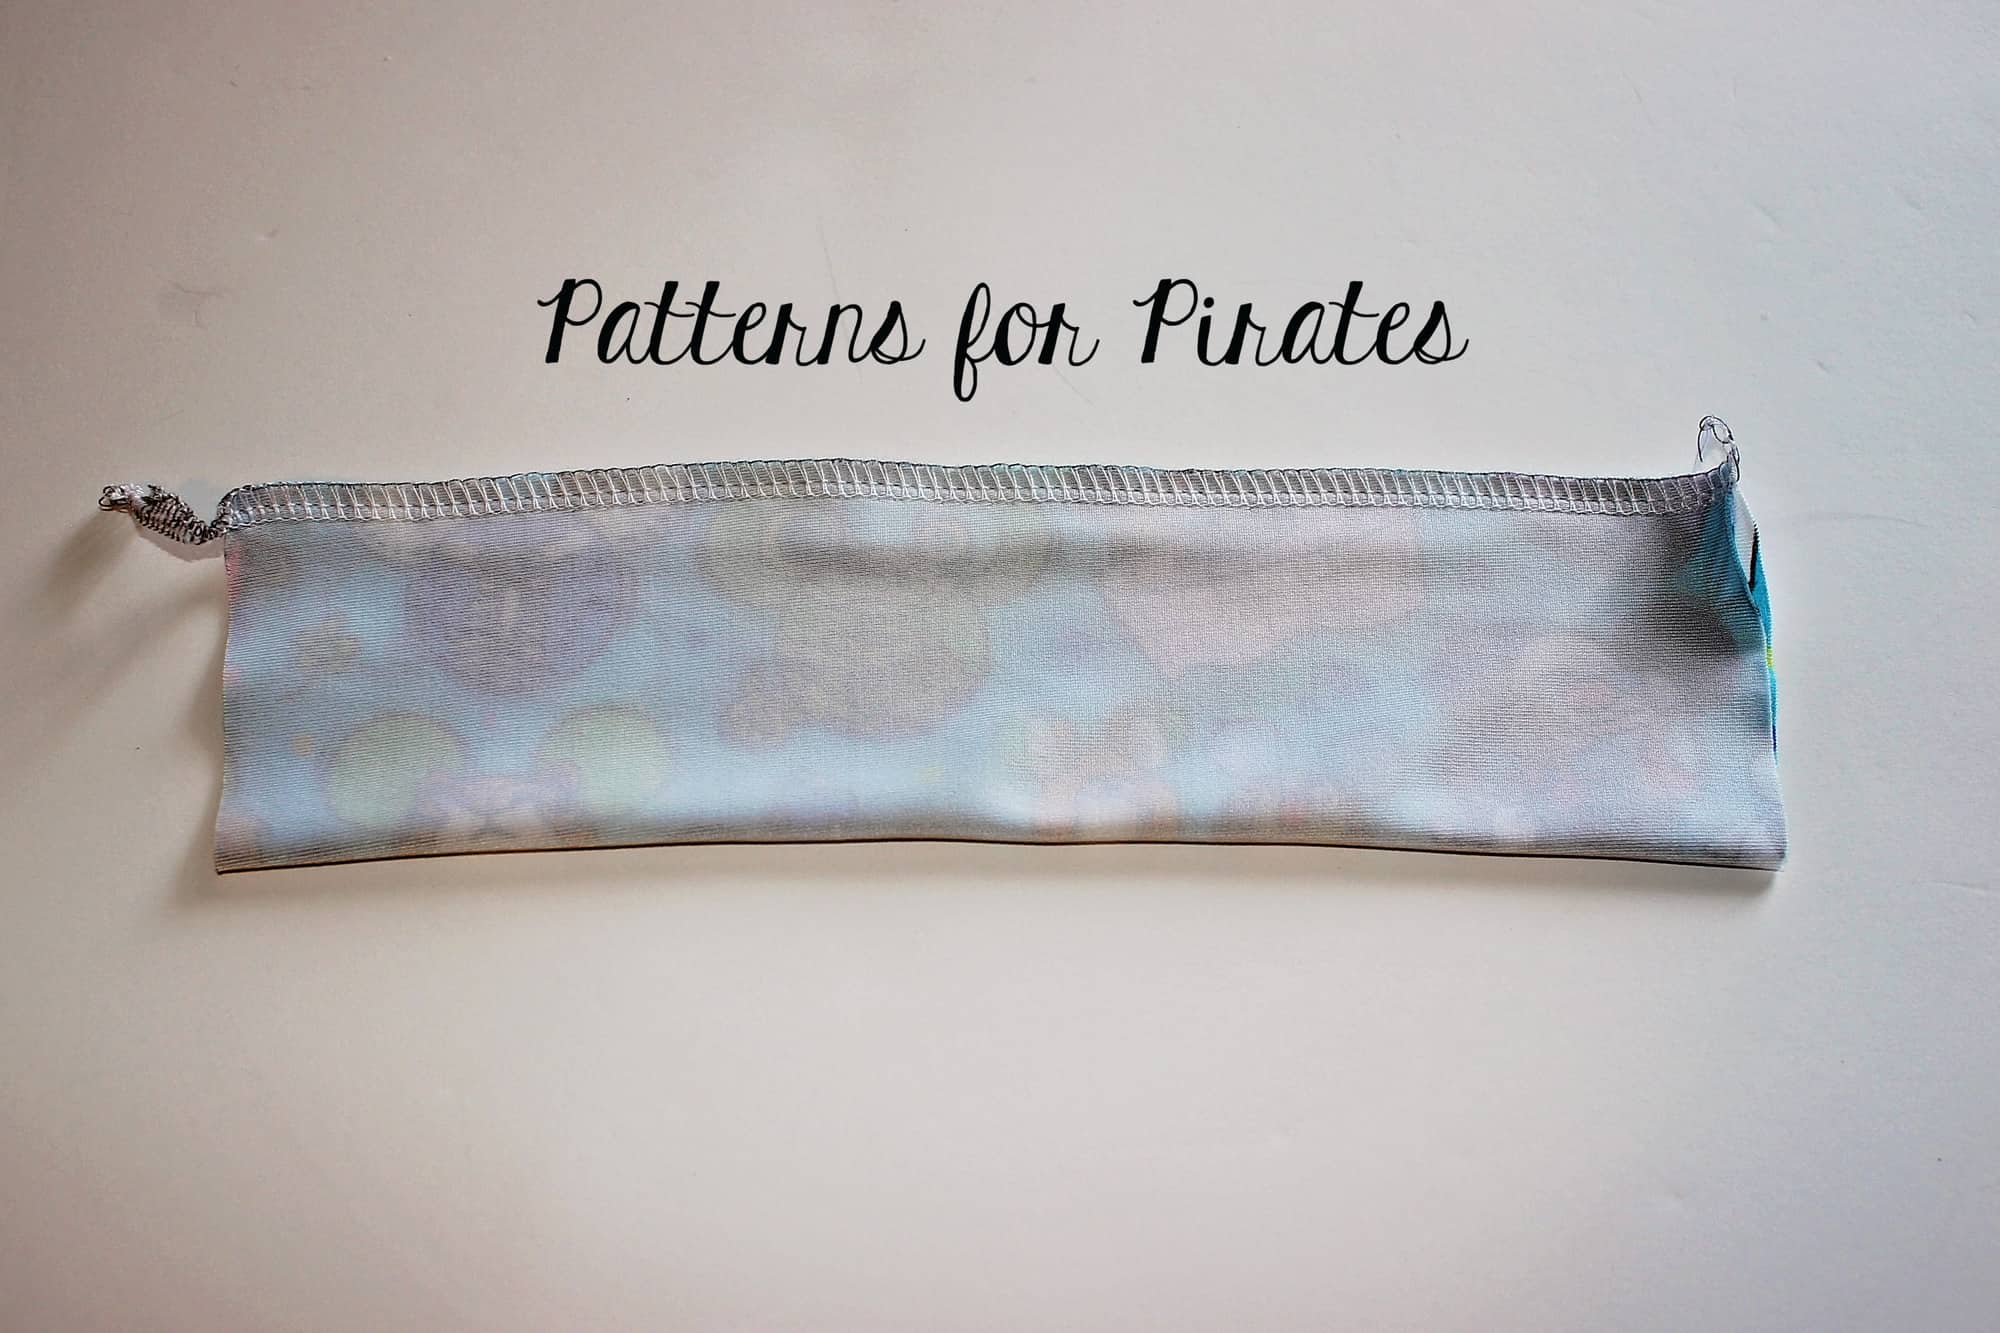
Here is my finished ruffle. Measuring 5 inches wide, in comparison to the original pattern piece.
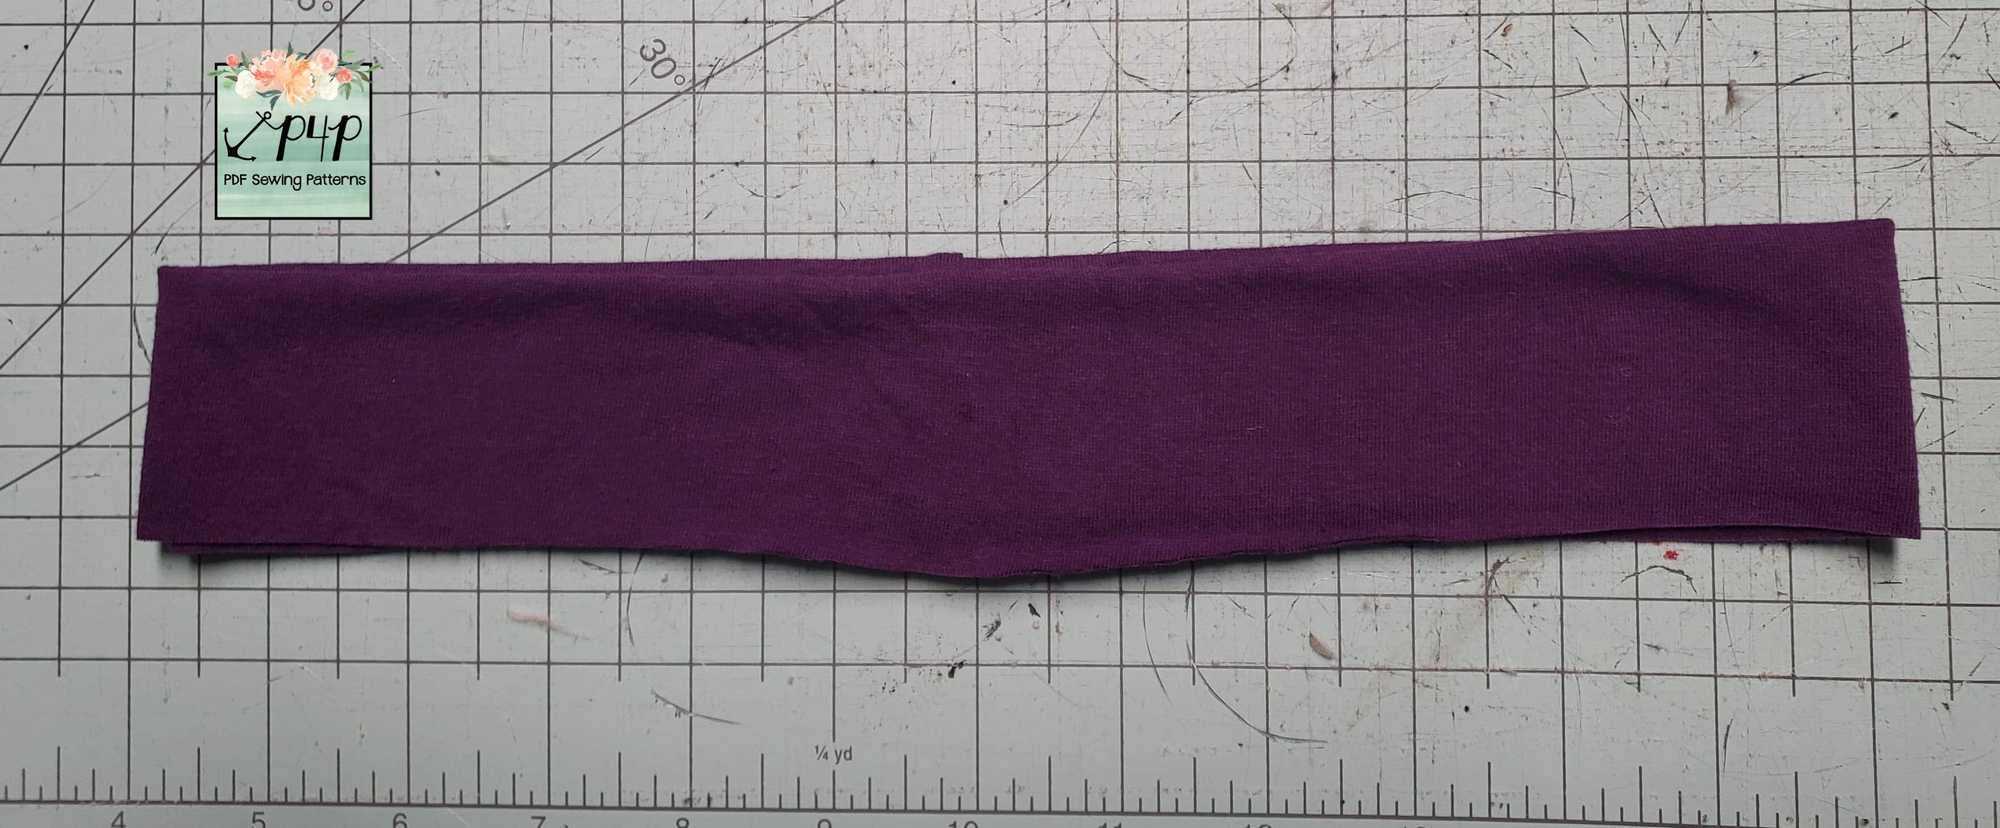
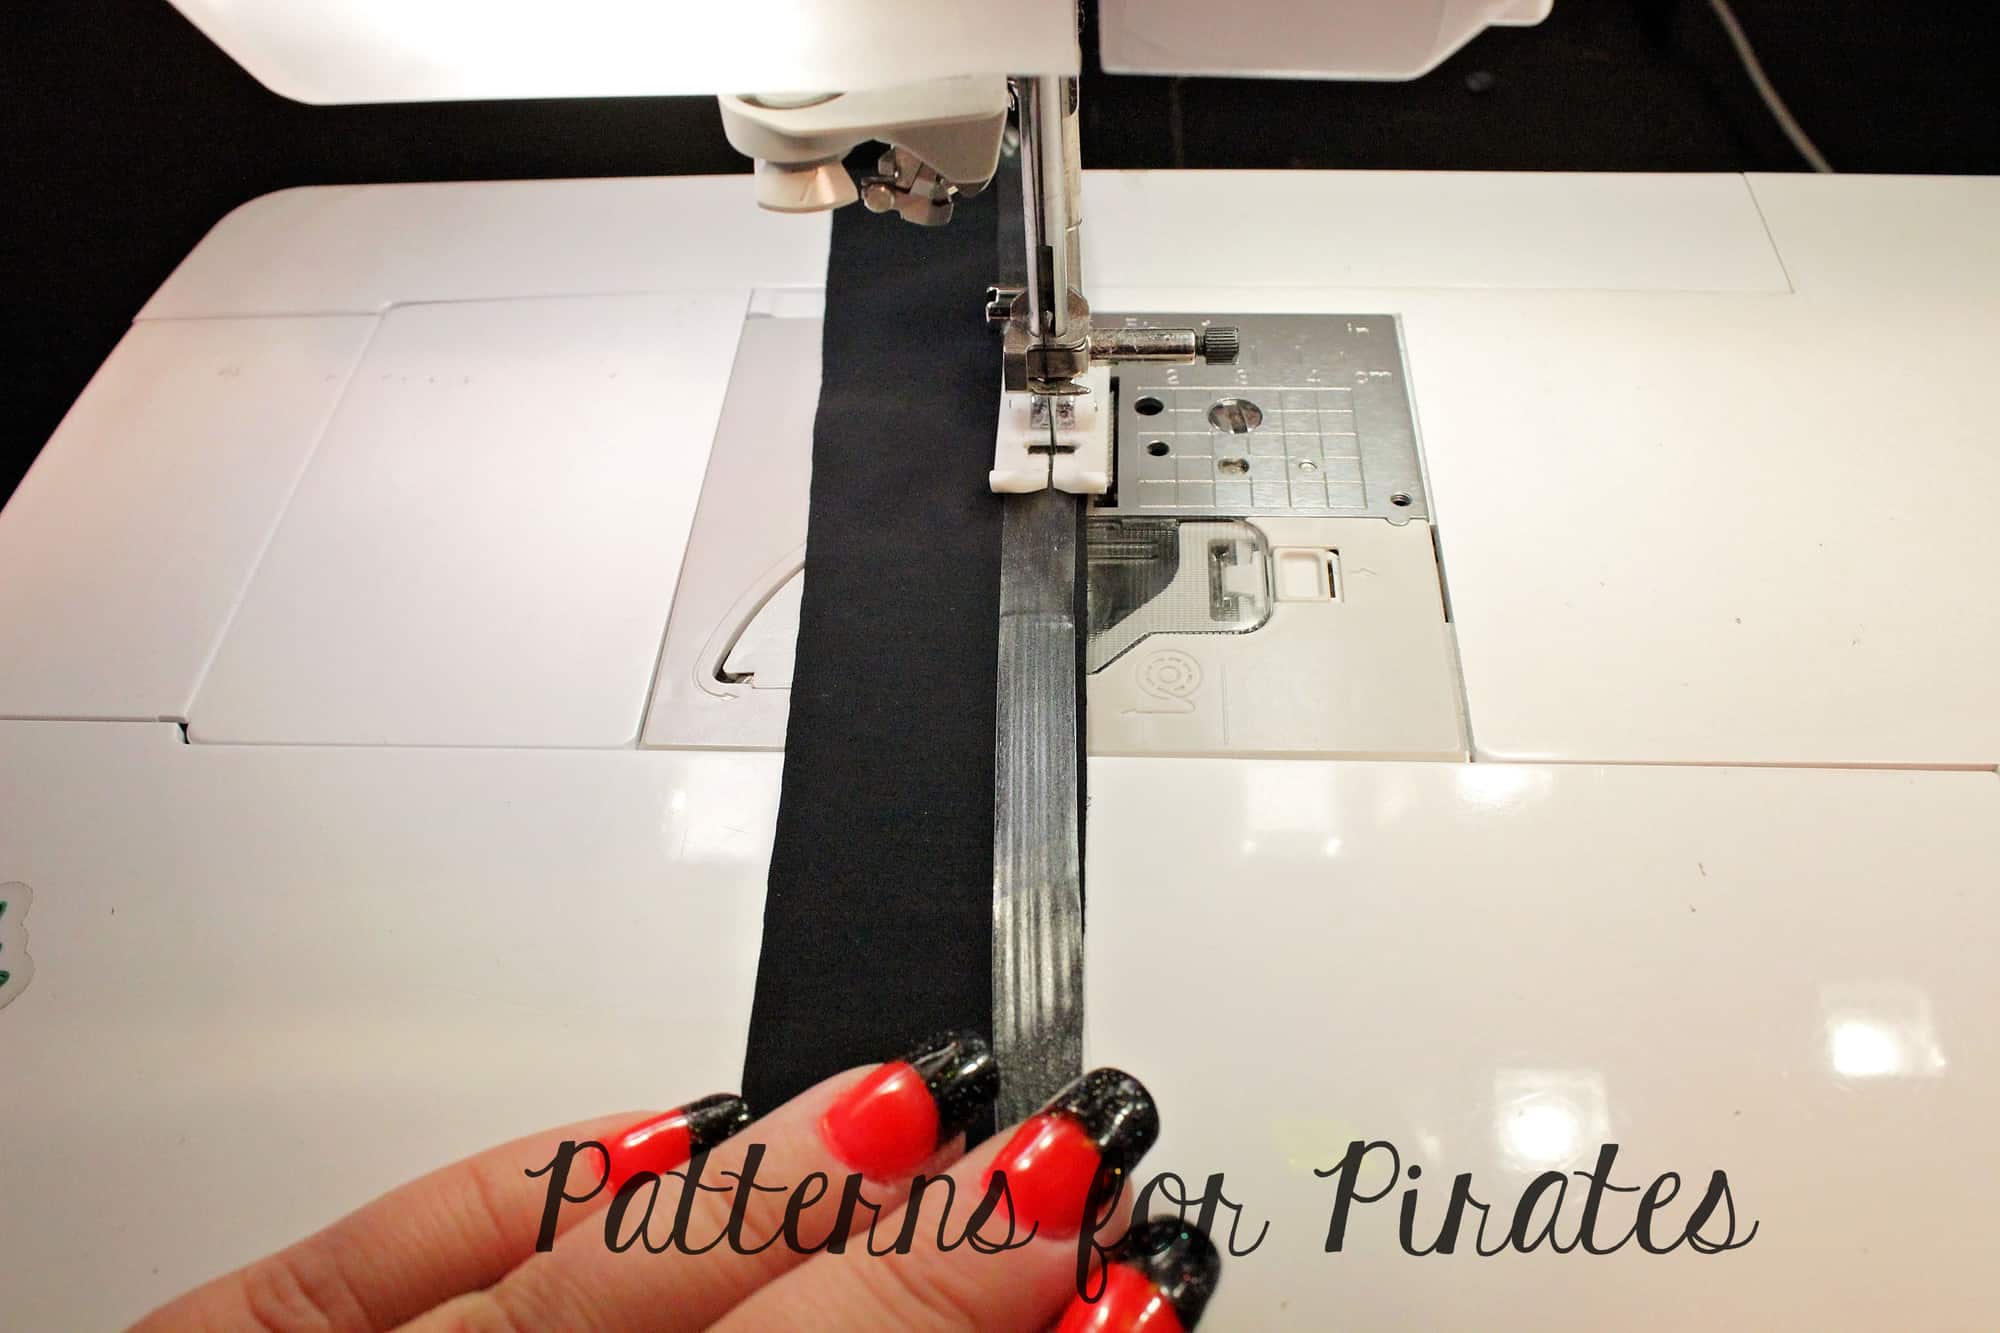
Then just sew it together as usual. Easy peasy!
Happy sewing! Love, Dana x
…..
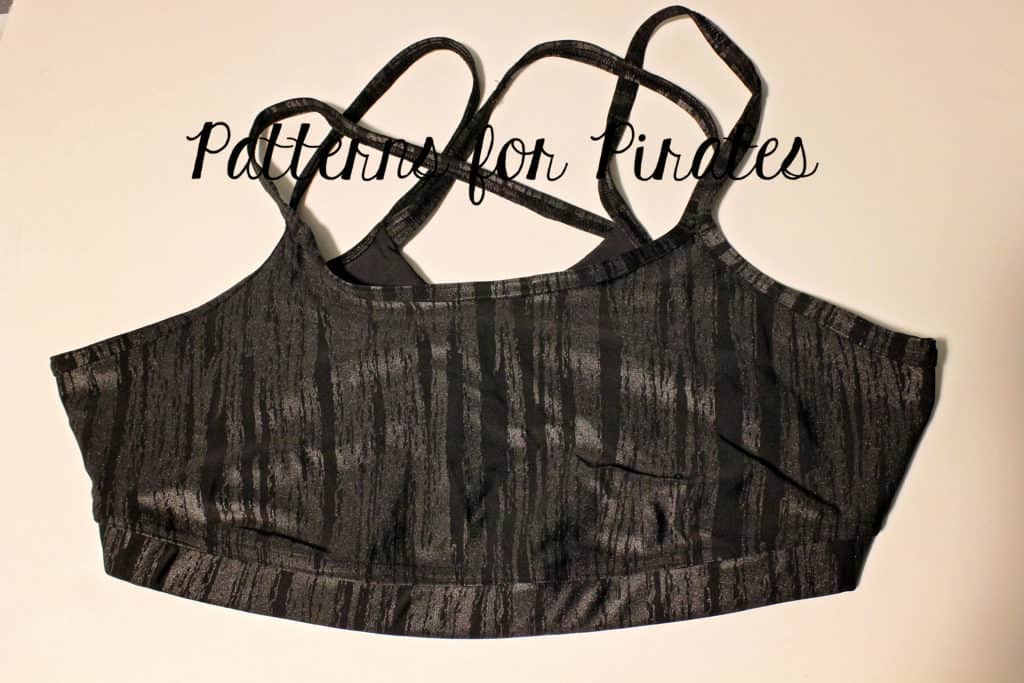
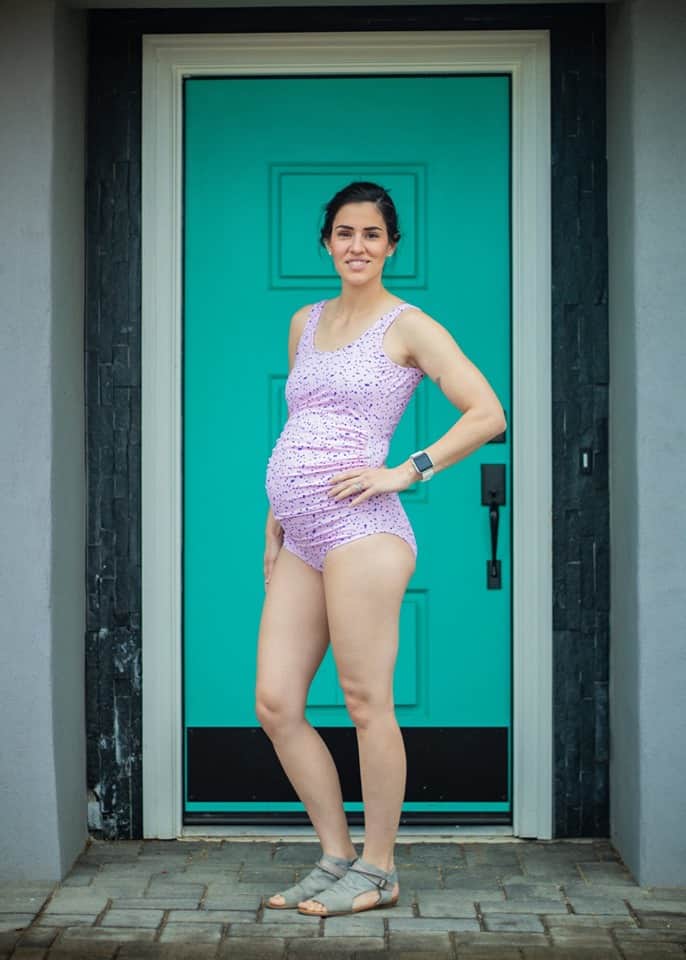
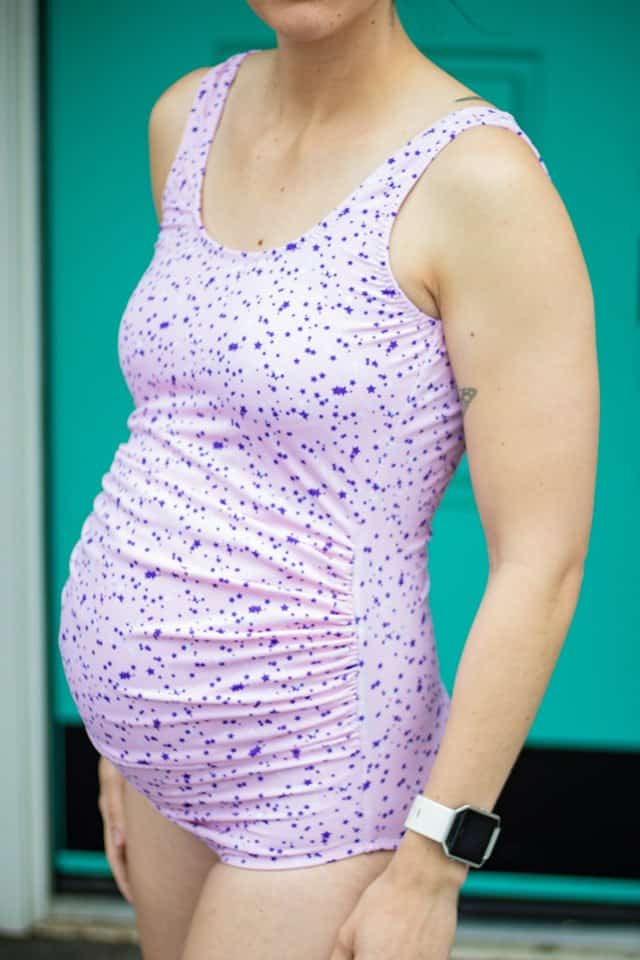
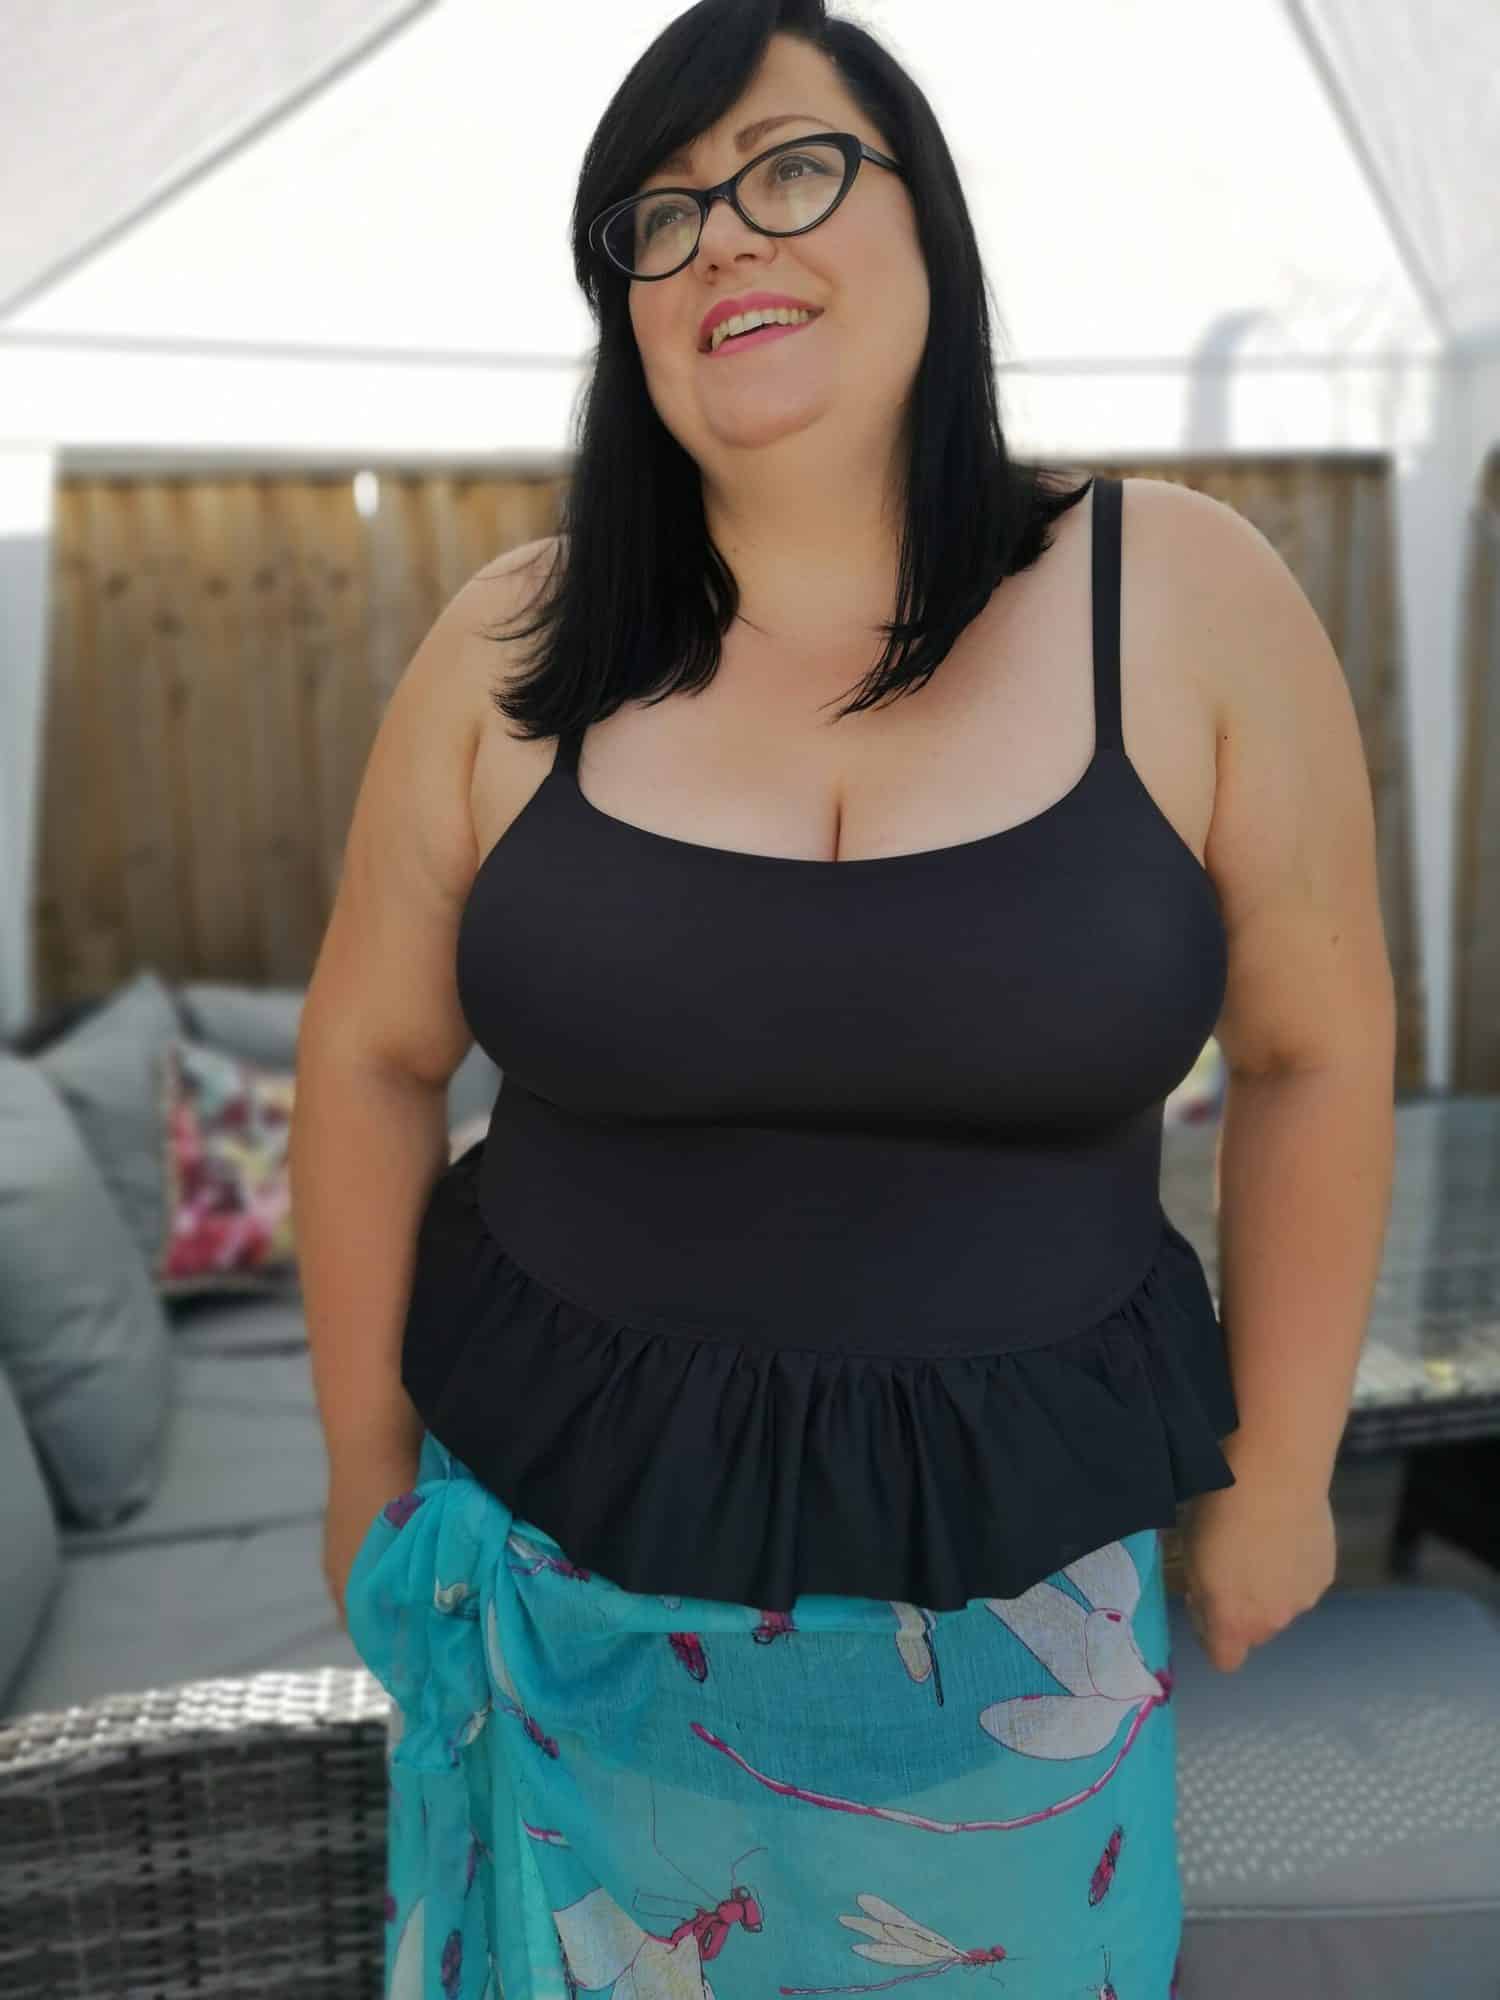
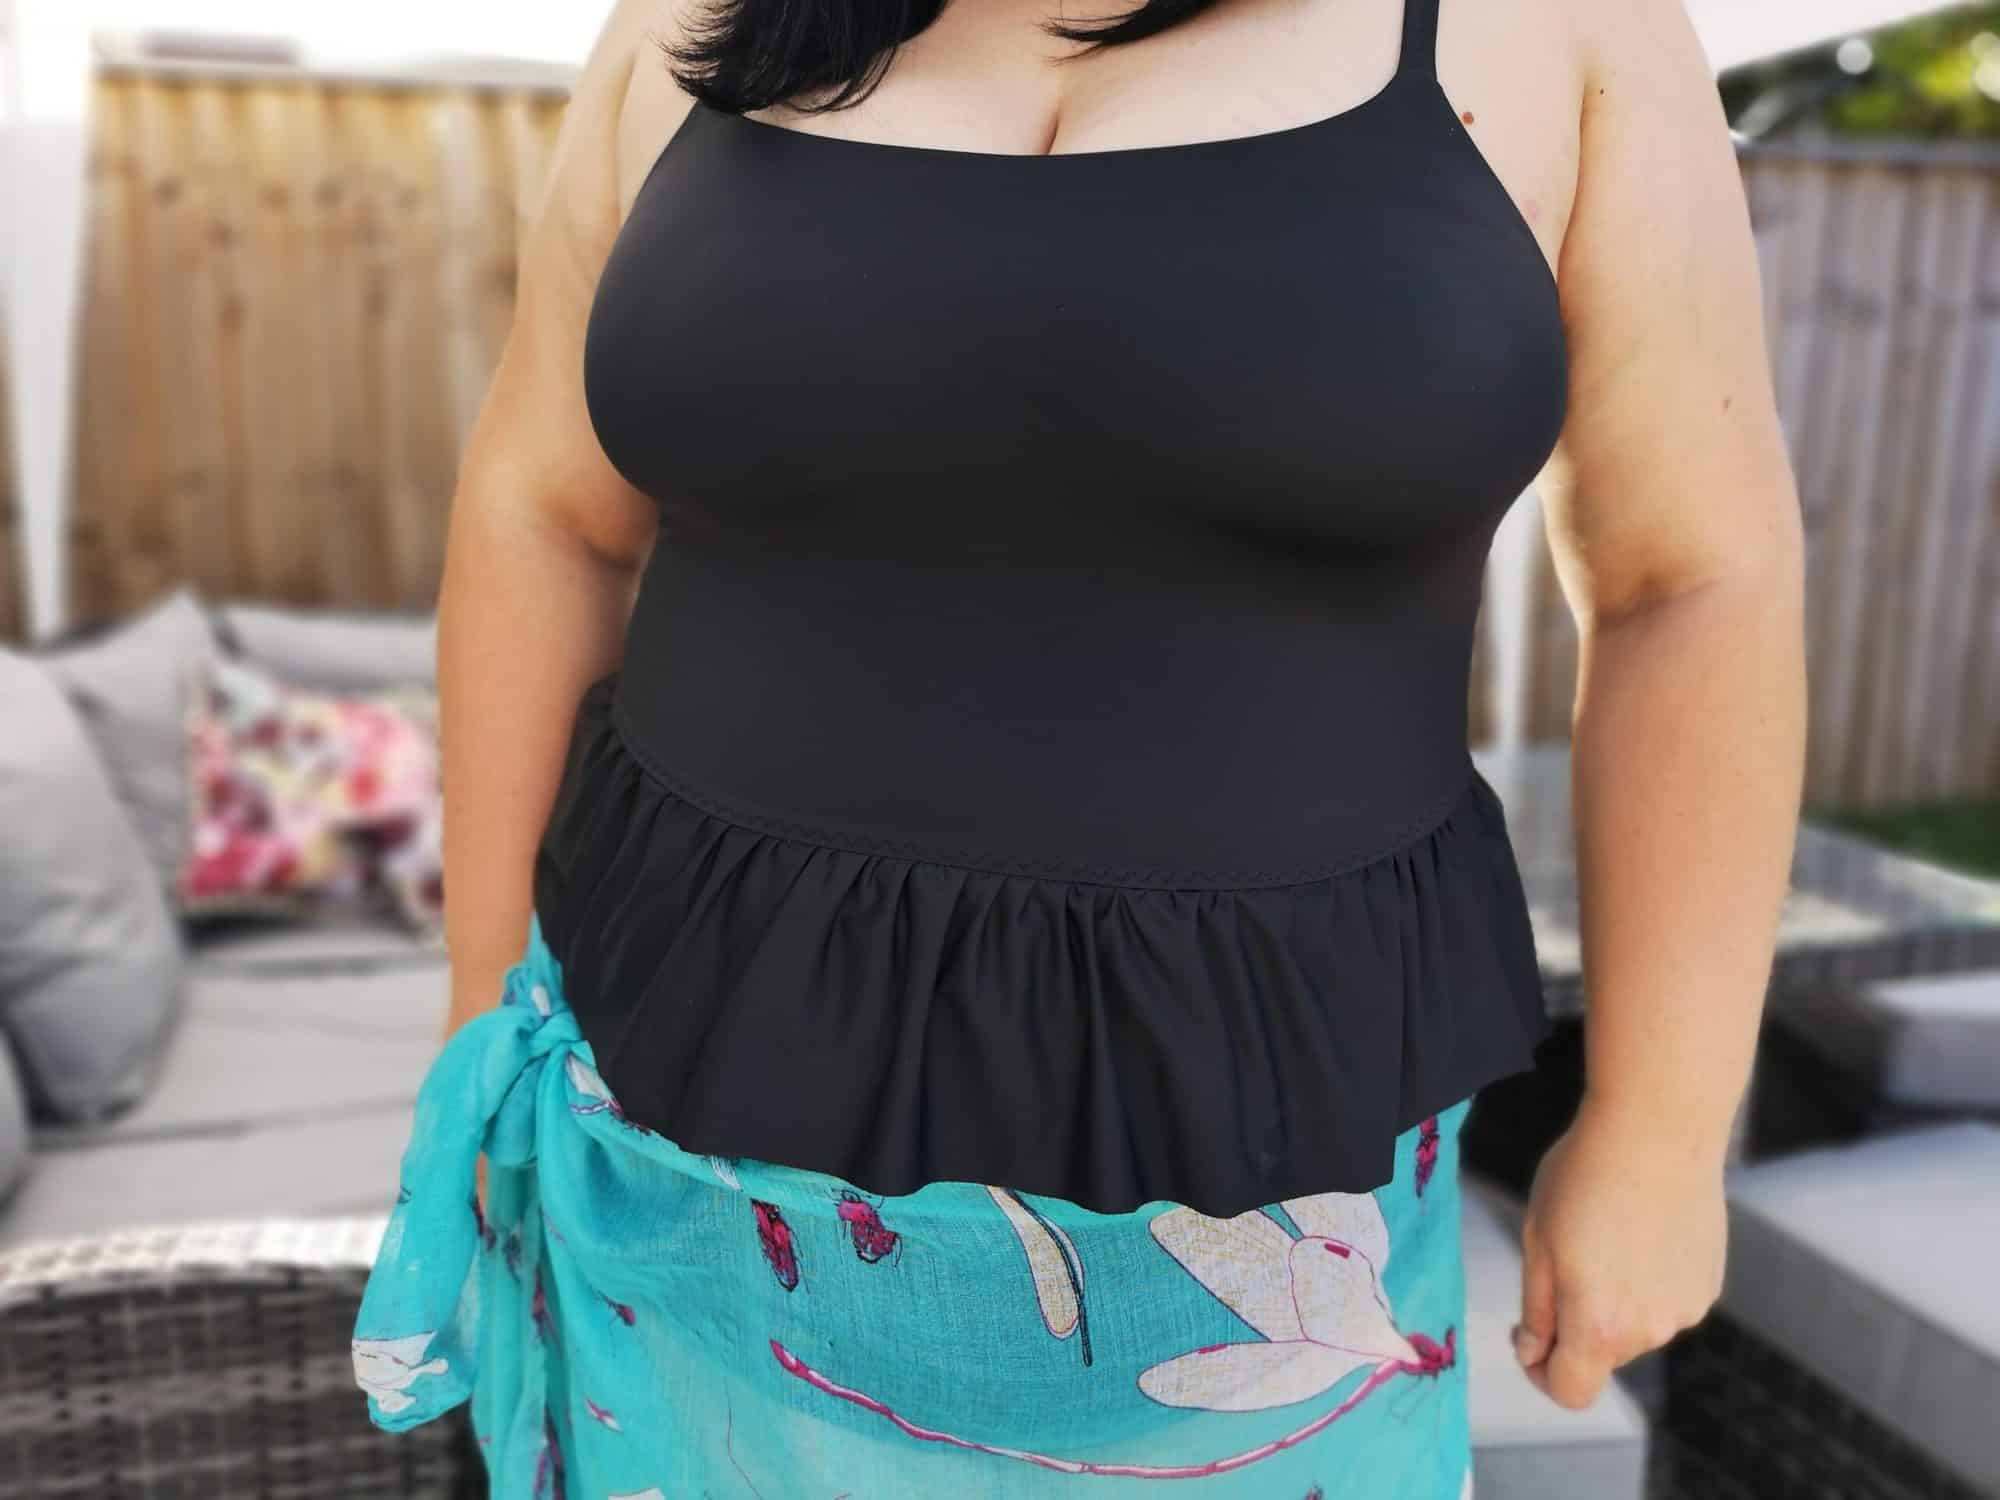
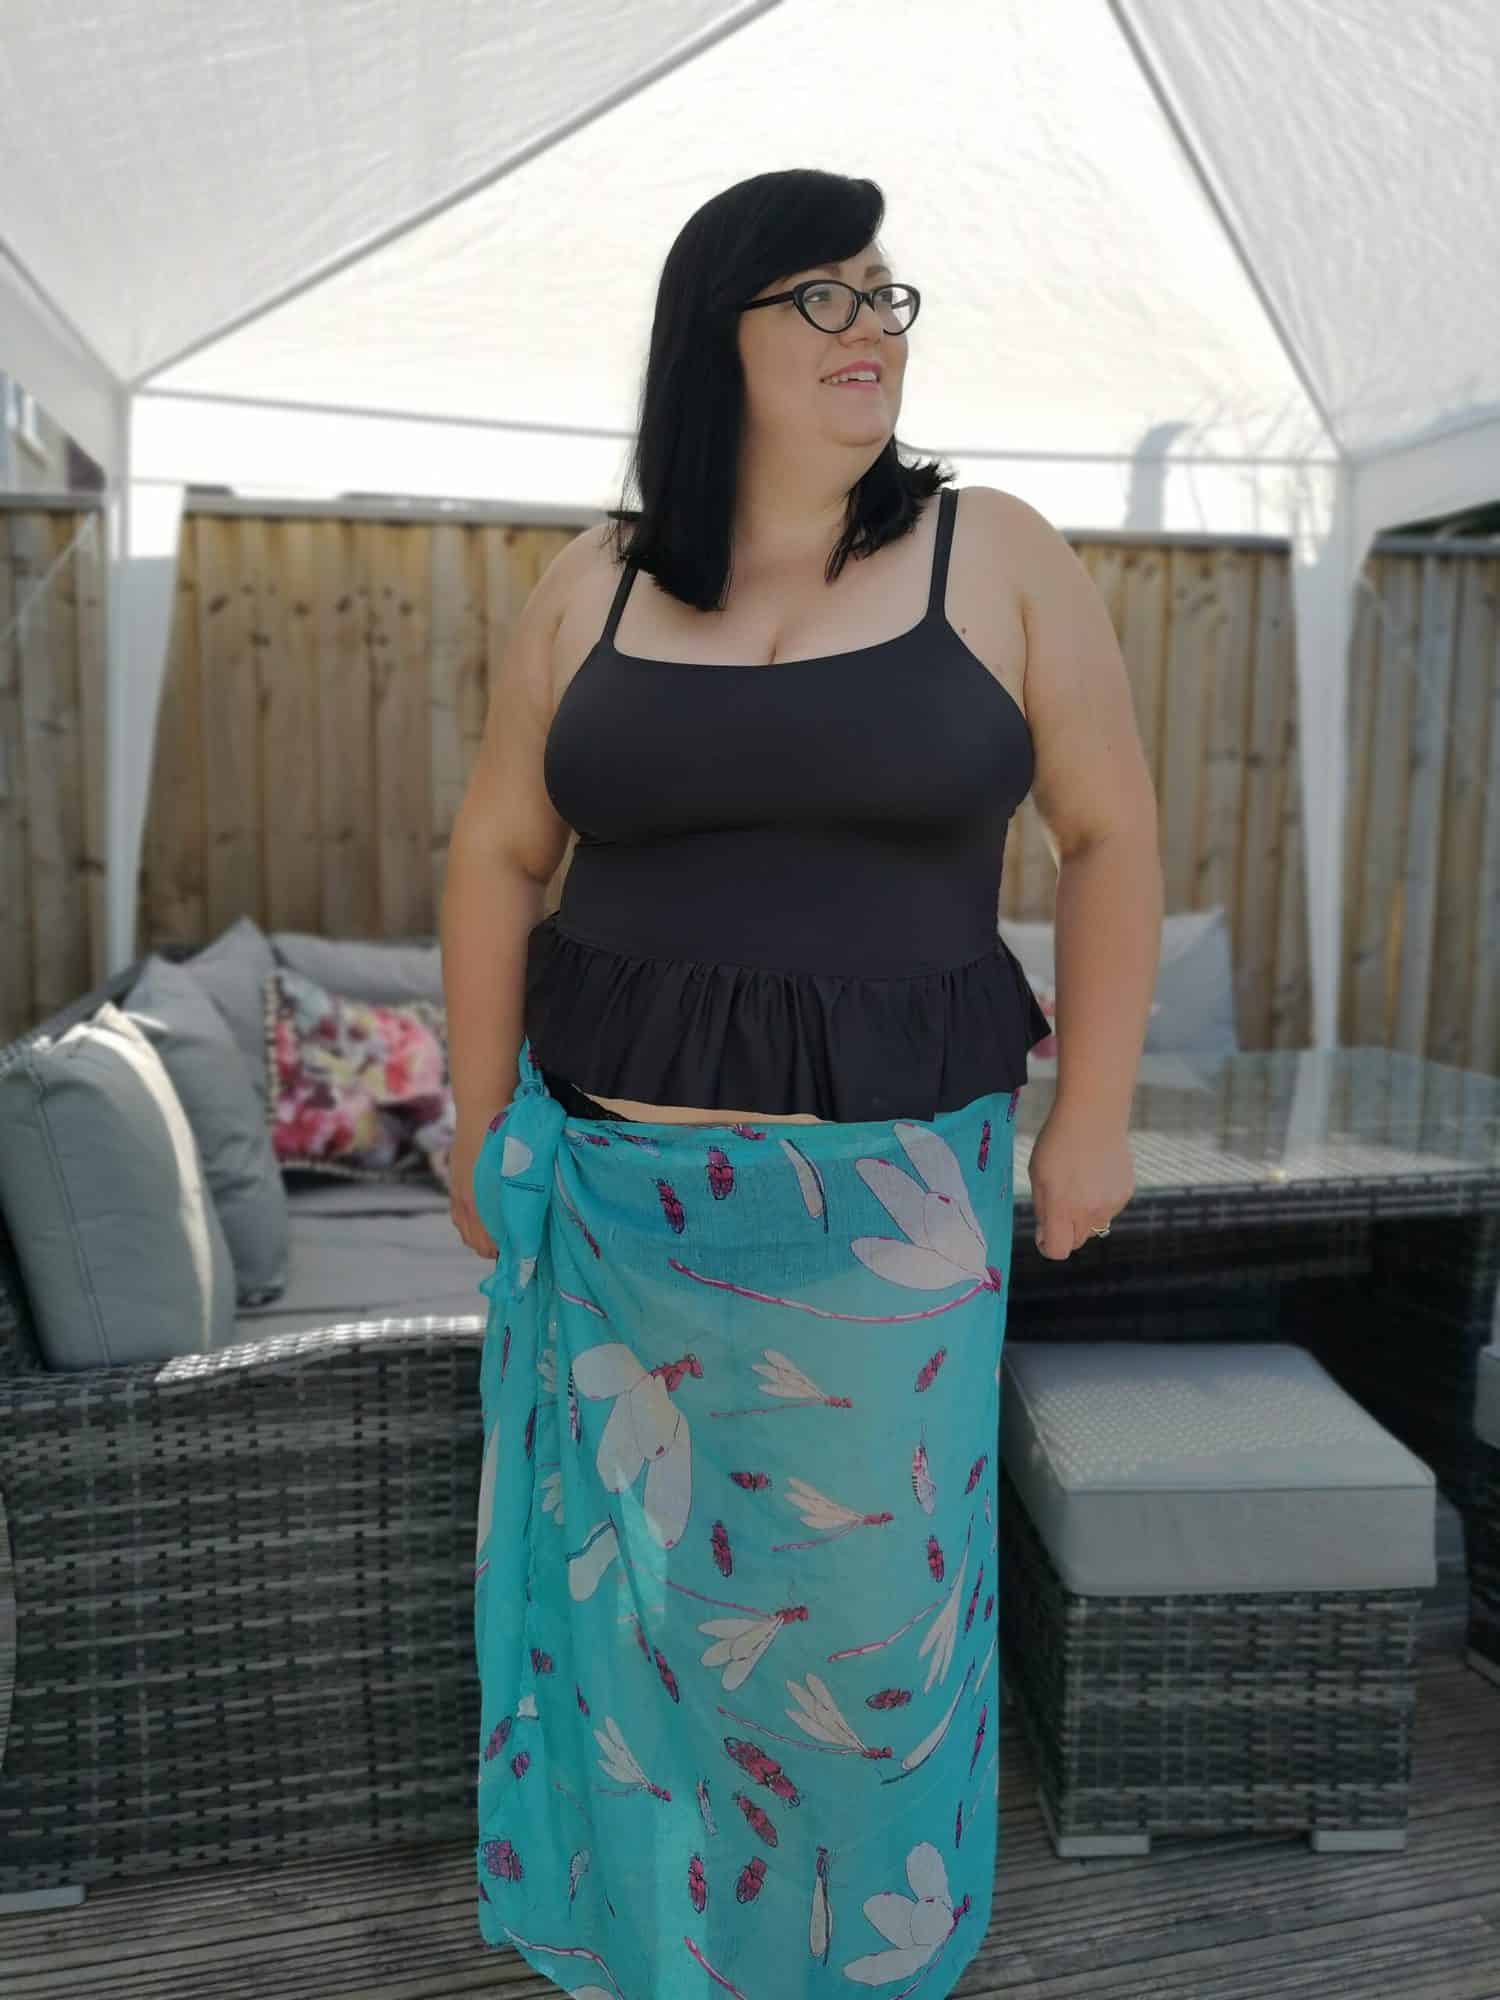
Shorter Top
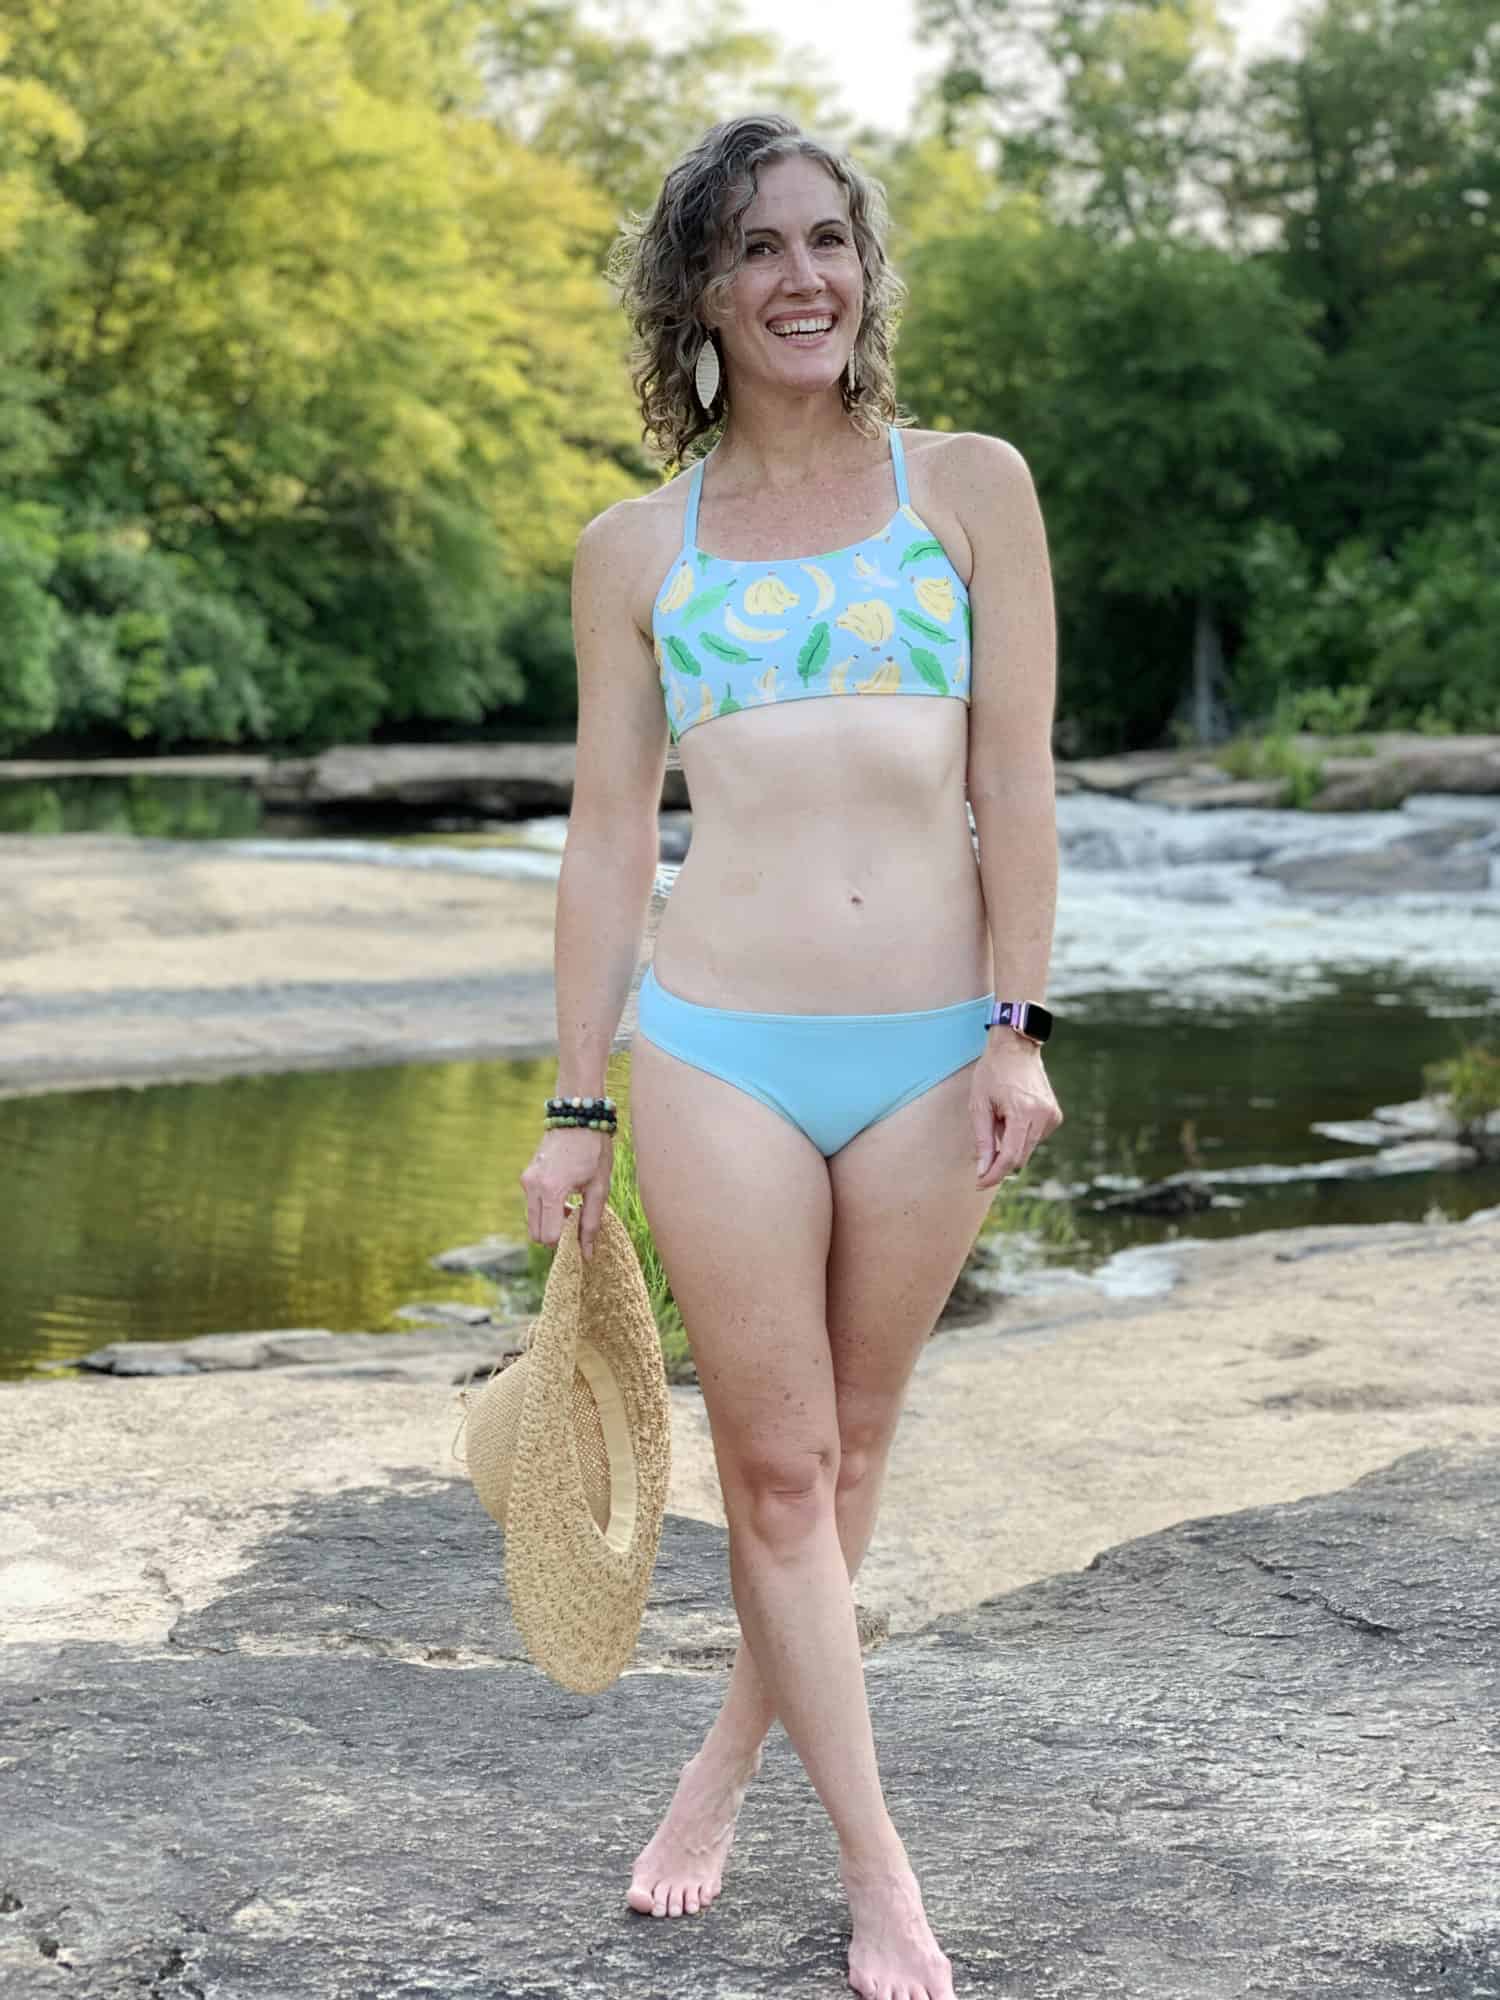
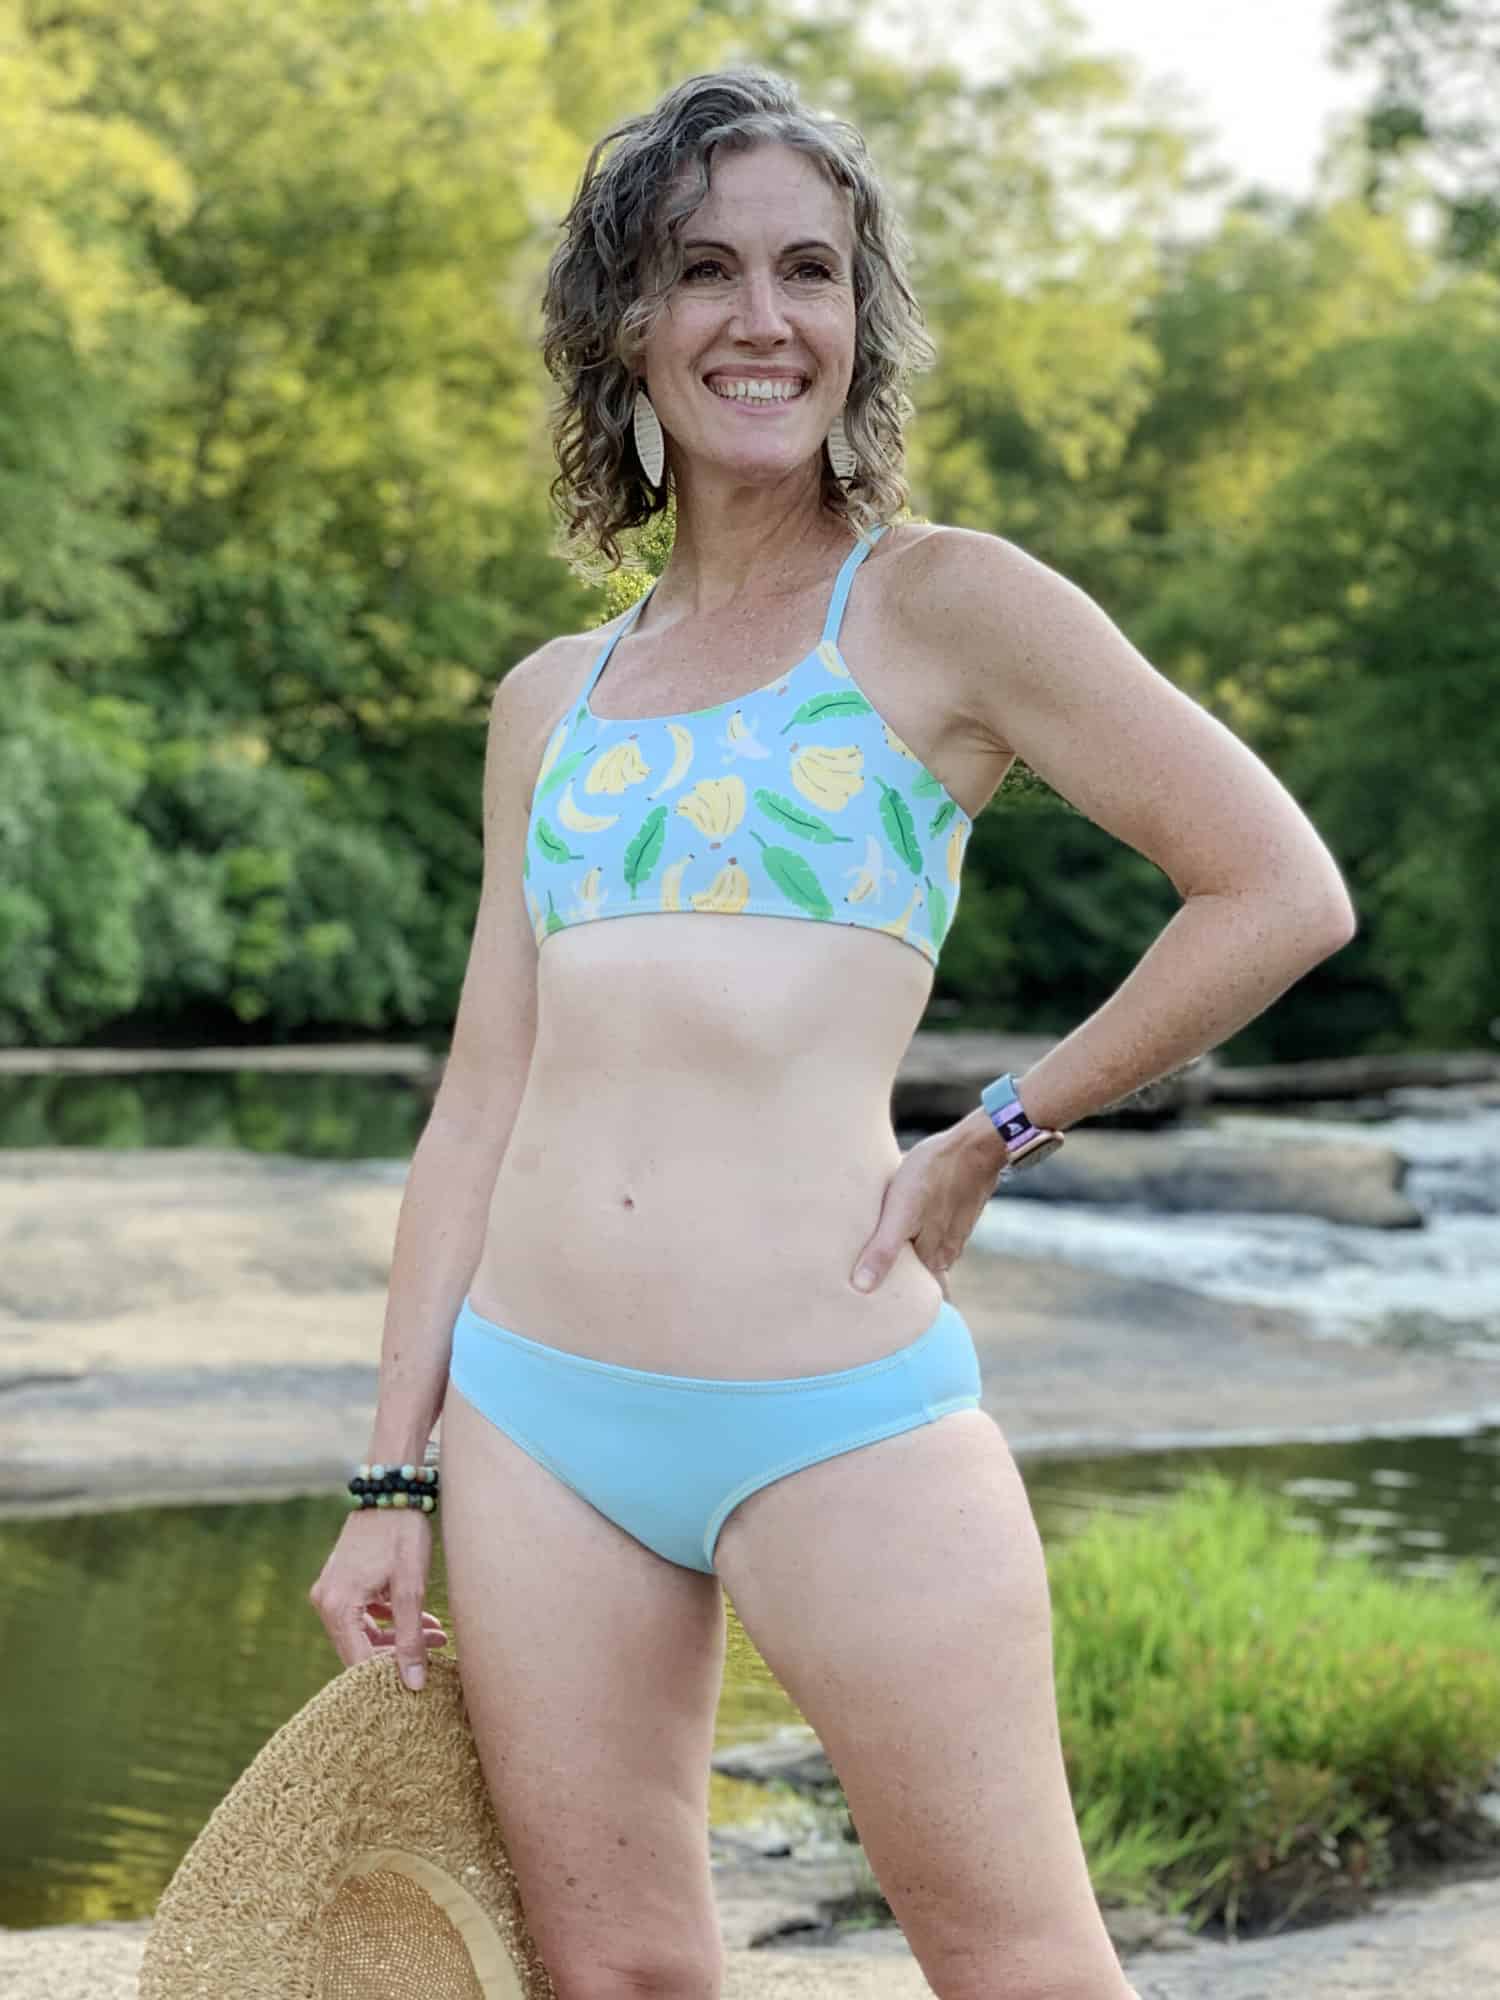
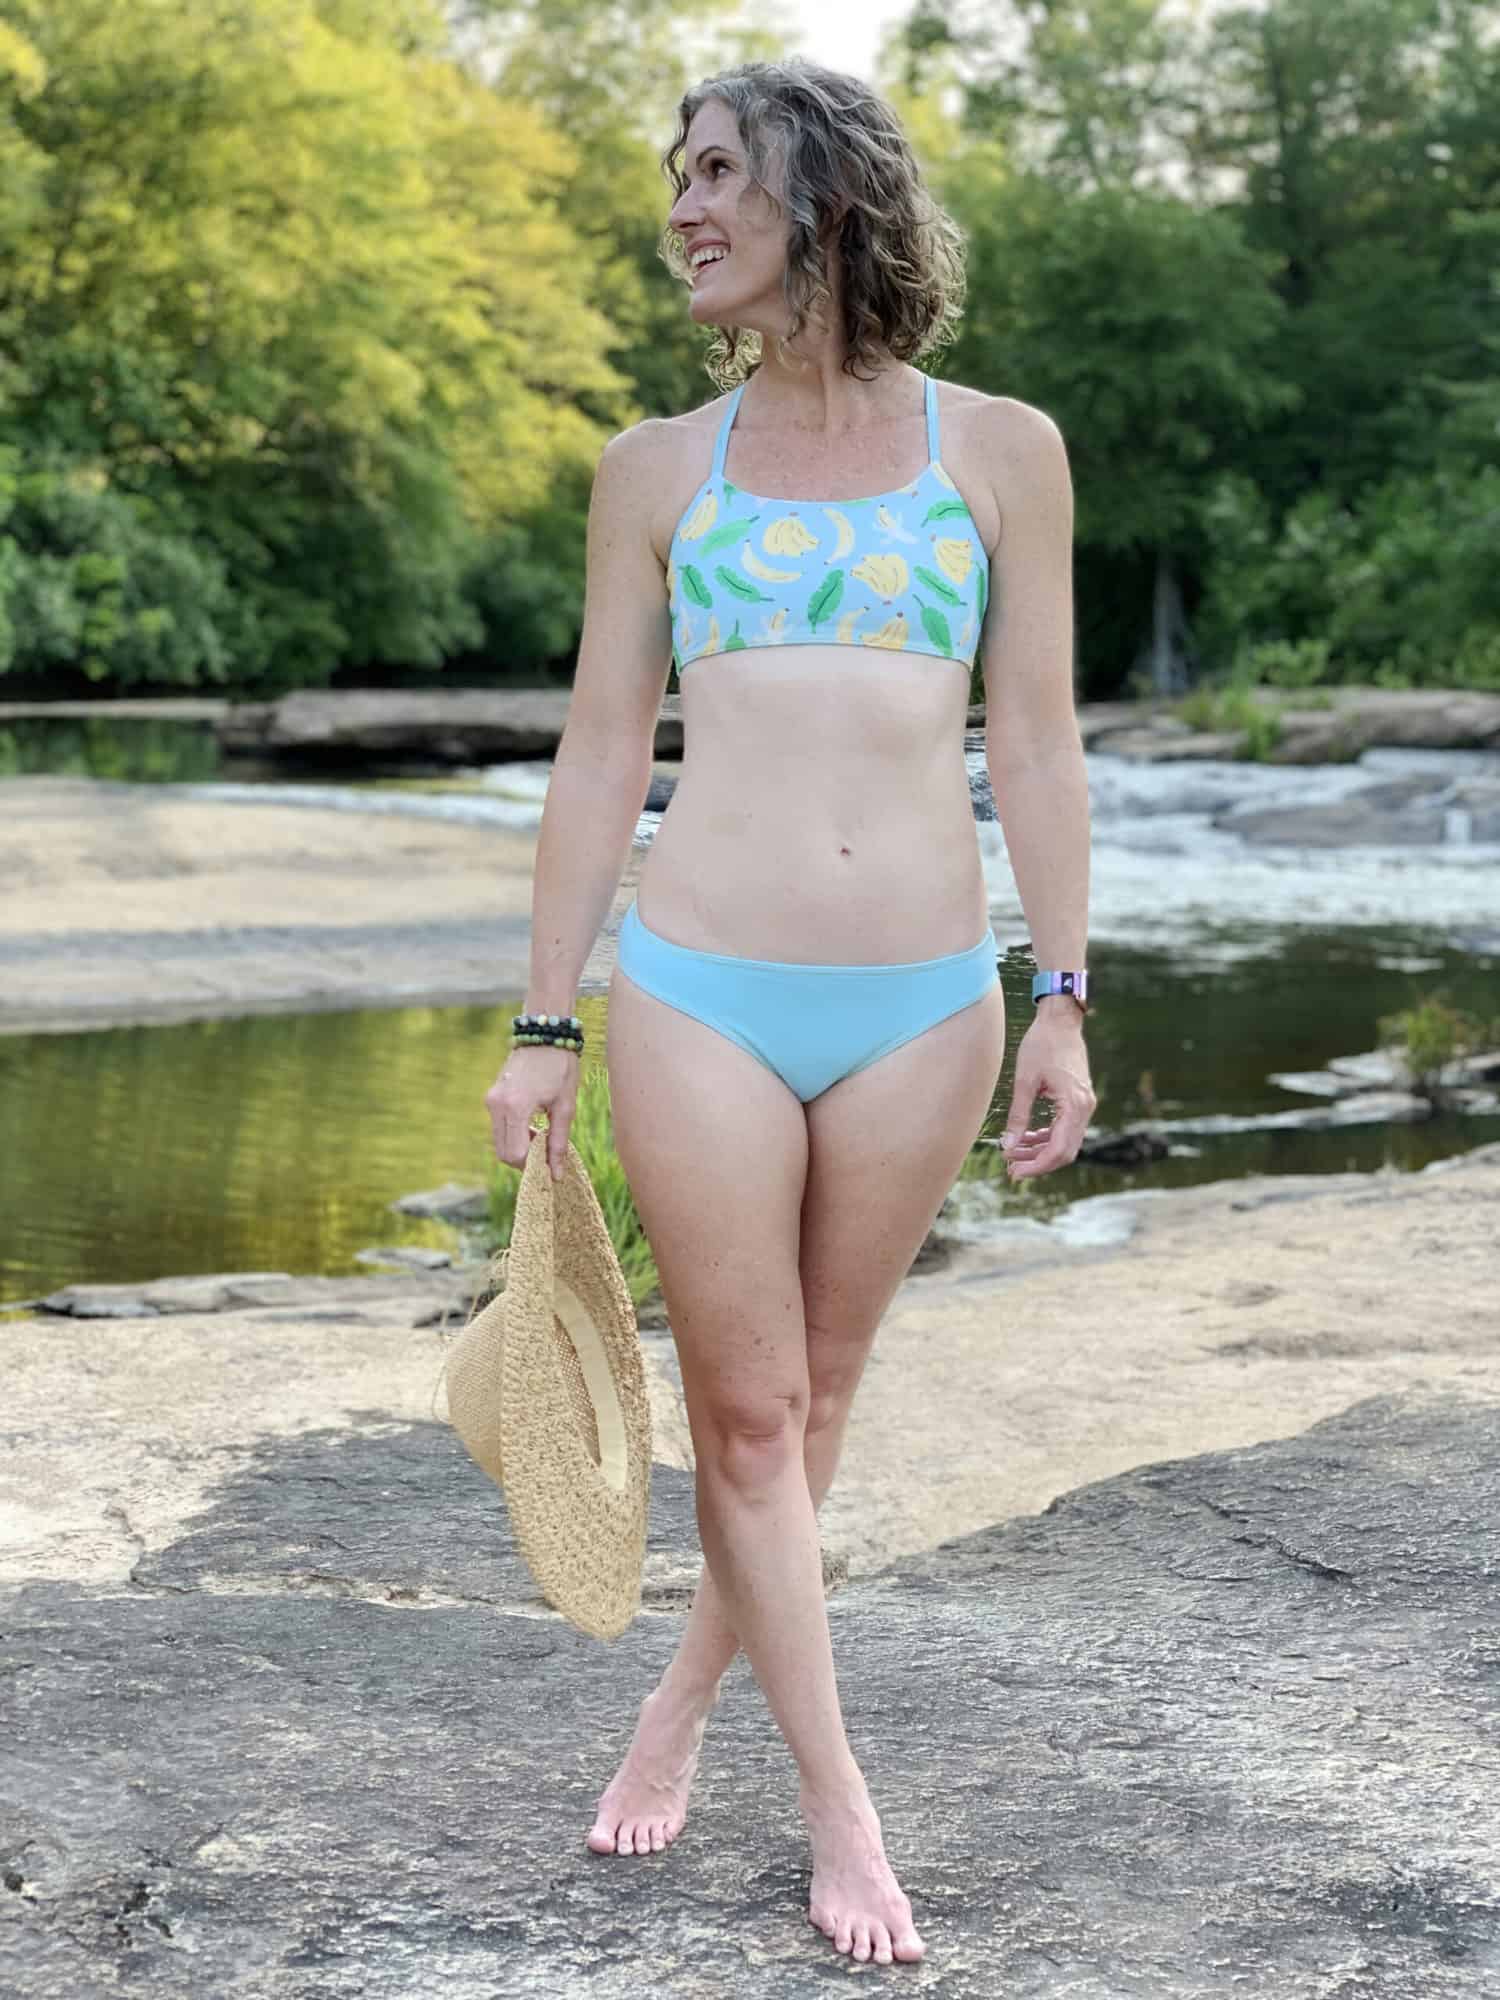
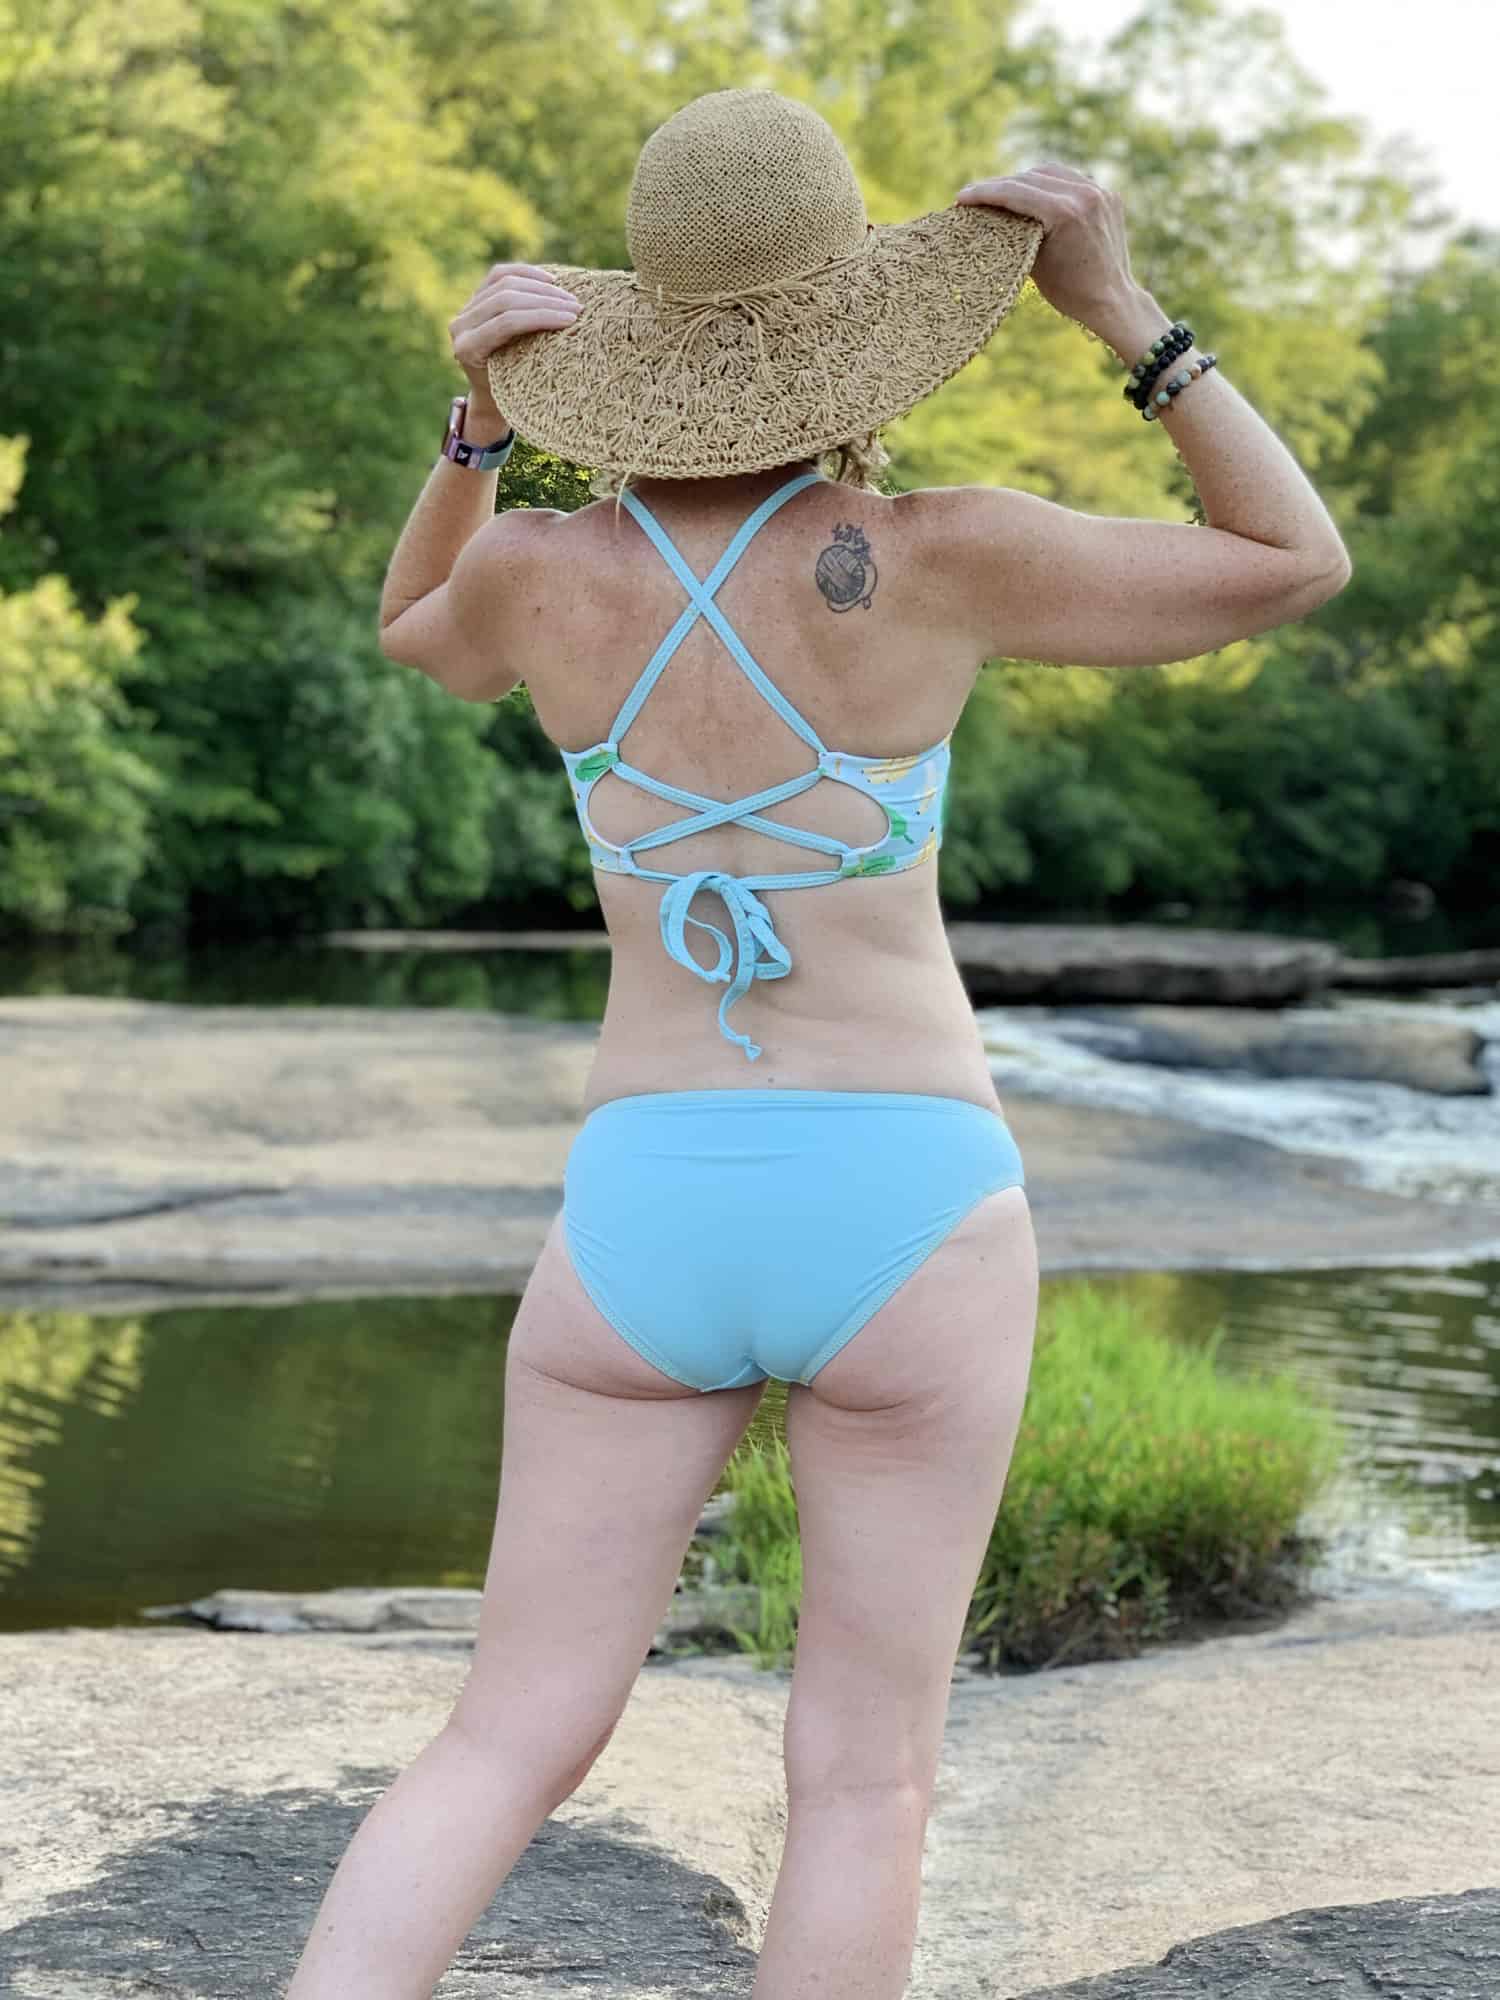
Forget the itsy-bitsy-teeny-weeny-yellow-polka-dot bikini… bananas are so much more fun!
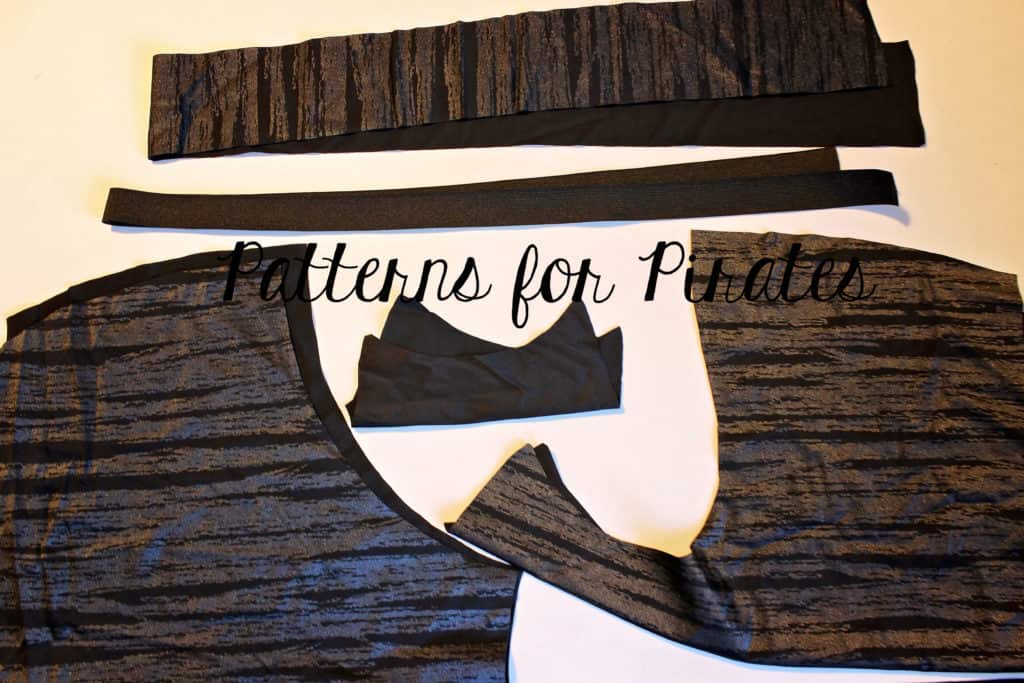
Here’s how you modify the pattern for Sunflower Swim Top if you’d like to sport a shorter length. You’ll be modifying the pattern pieces, but the actual construction of the top will follow the pattern instructions as written.
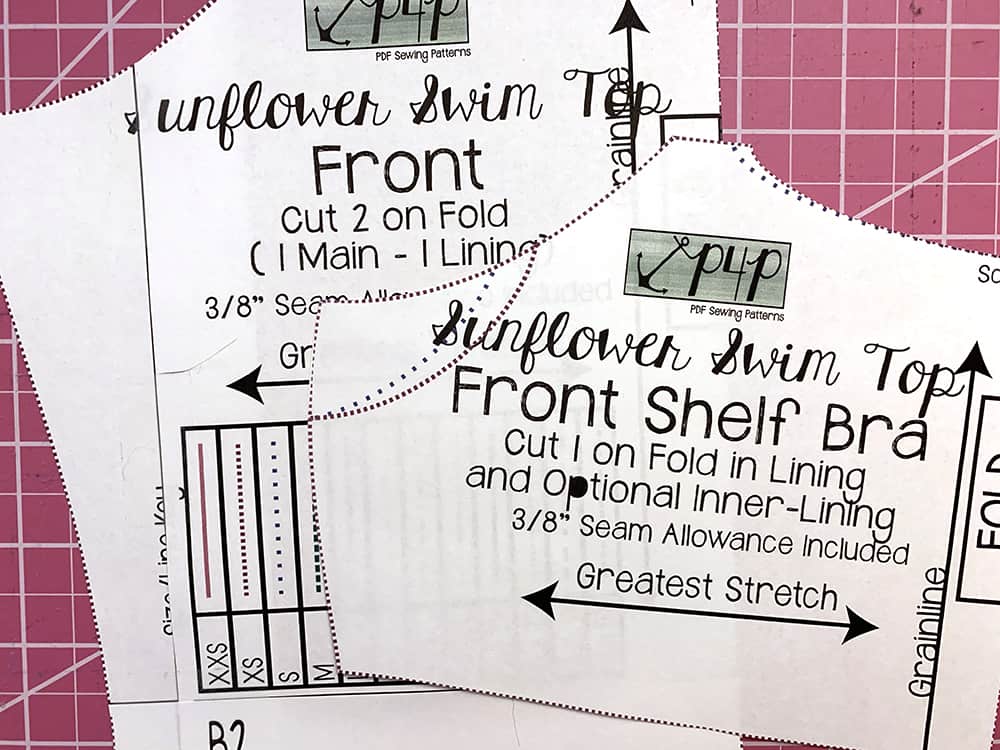
You’ll need the front and back pattern pieces and the shelf bra pattern piece.
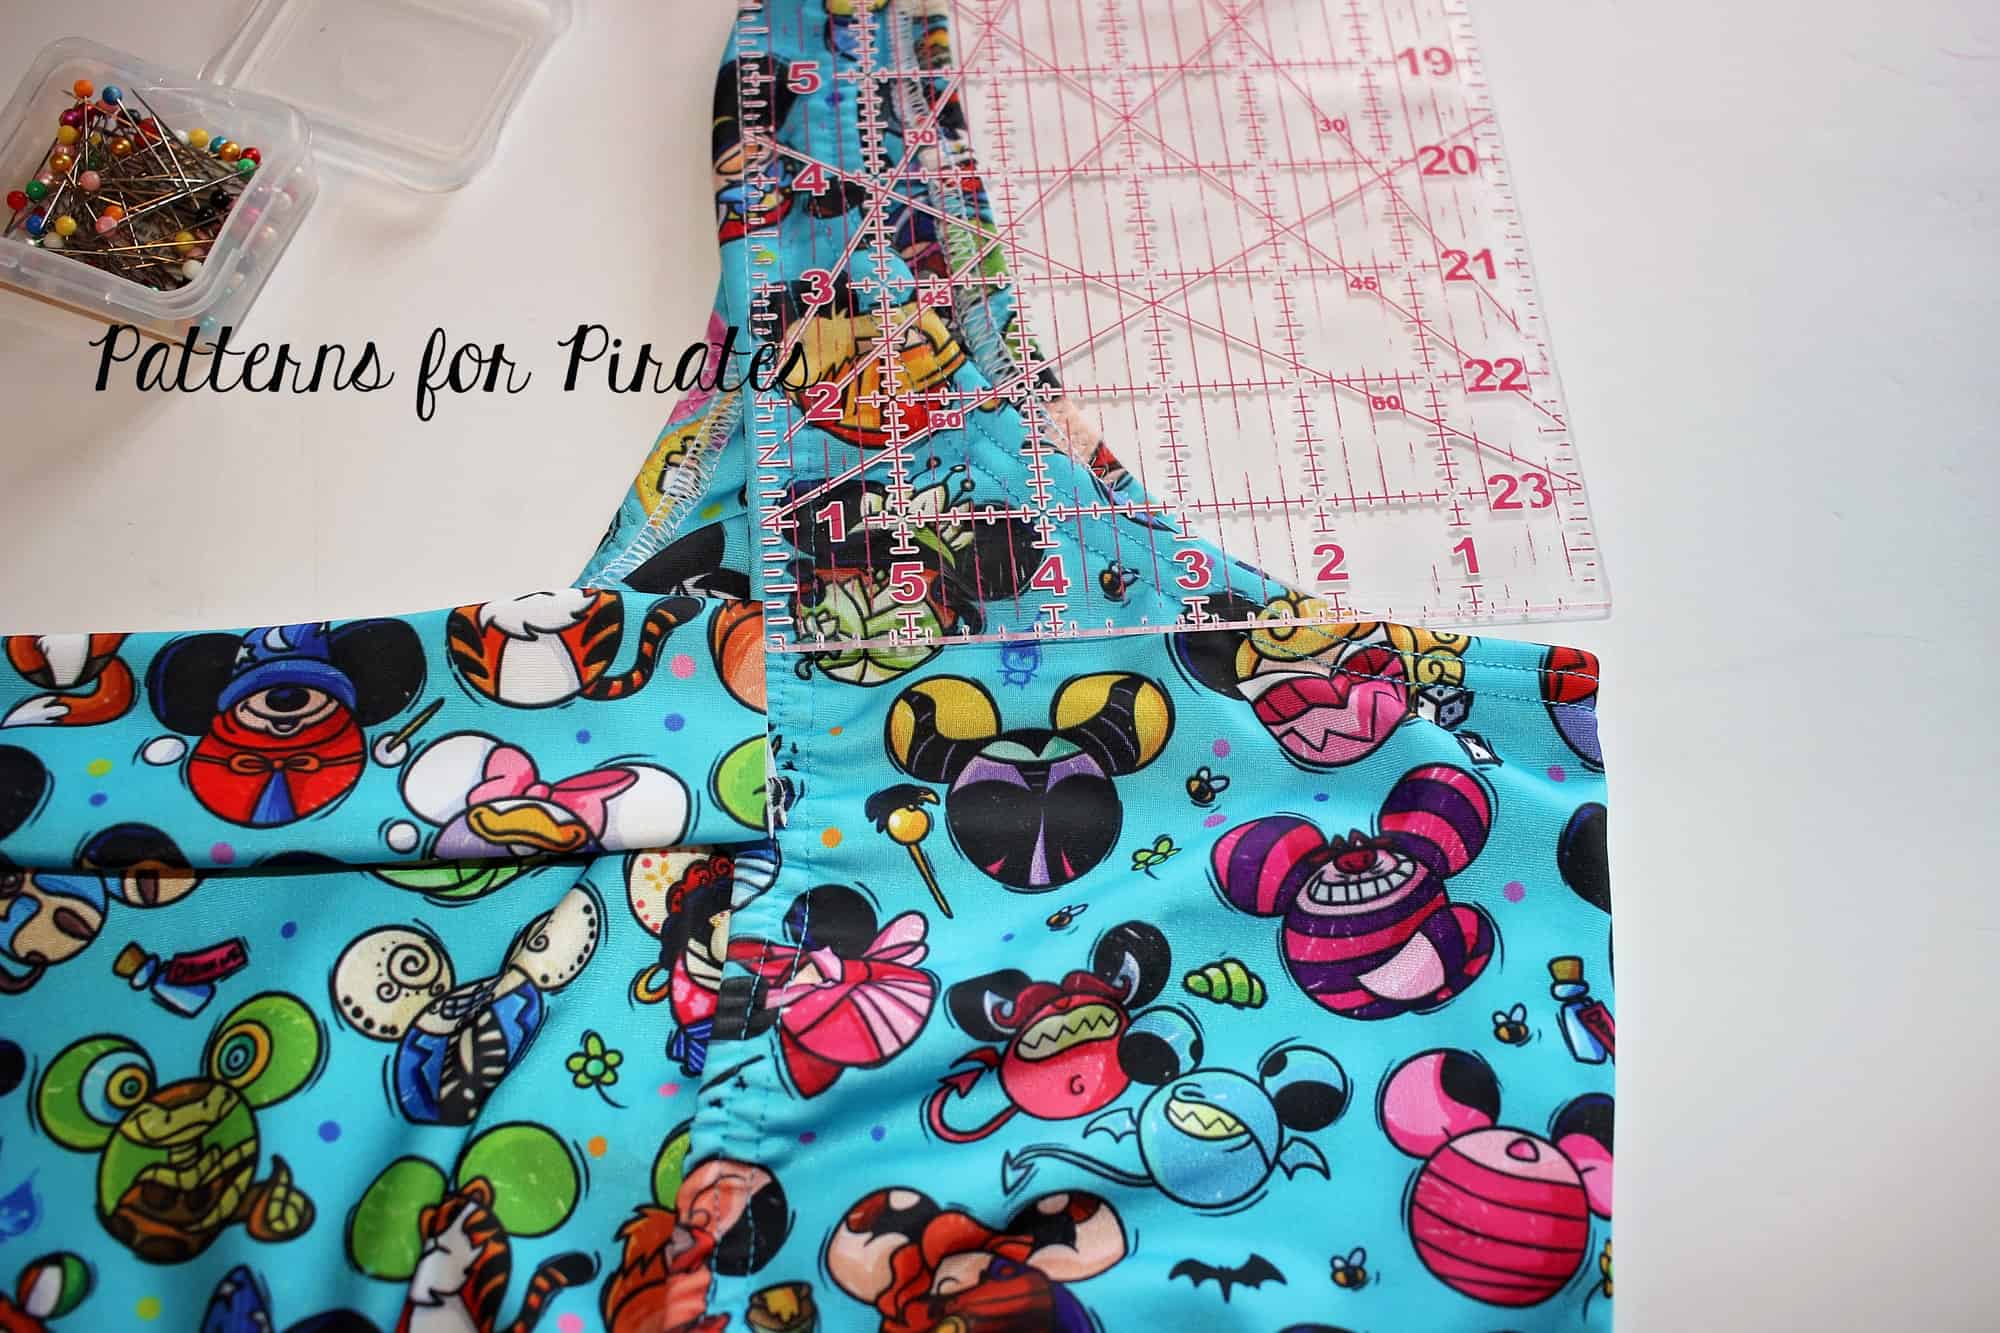
With both the front and the back pieces, it is most important to preserve the curves at the bottom of the pieces. You’ll see how I did that in the pictures provided.
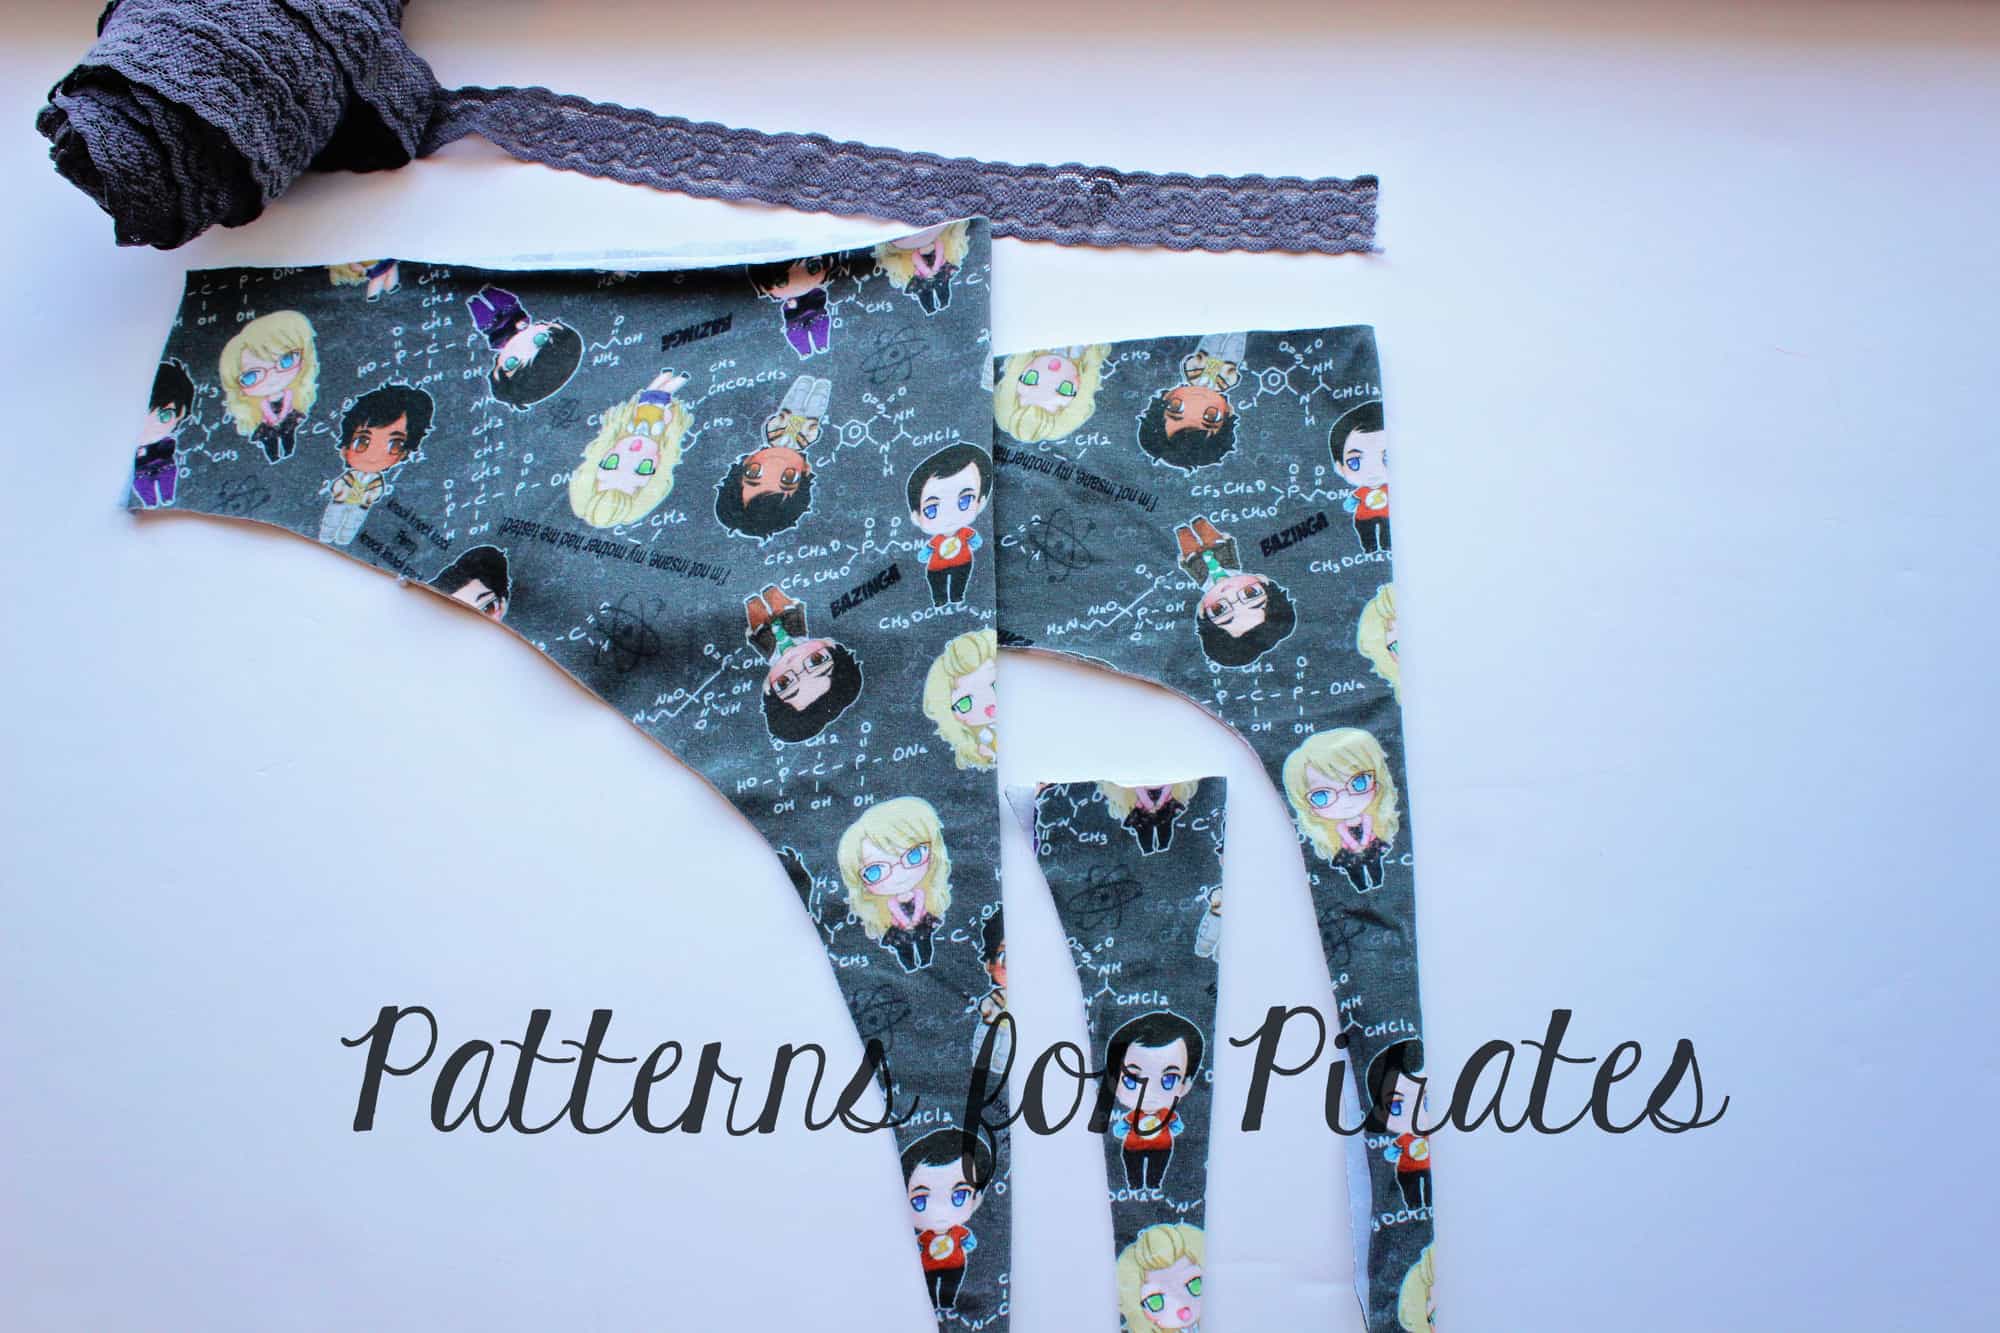
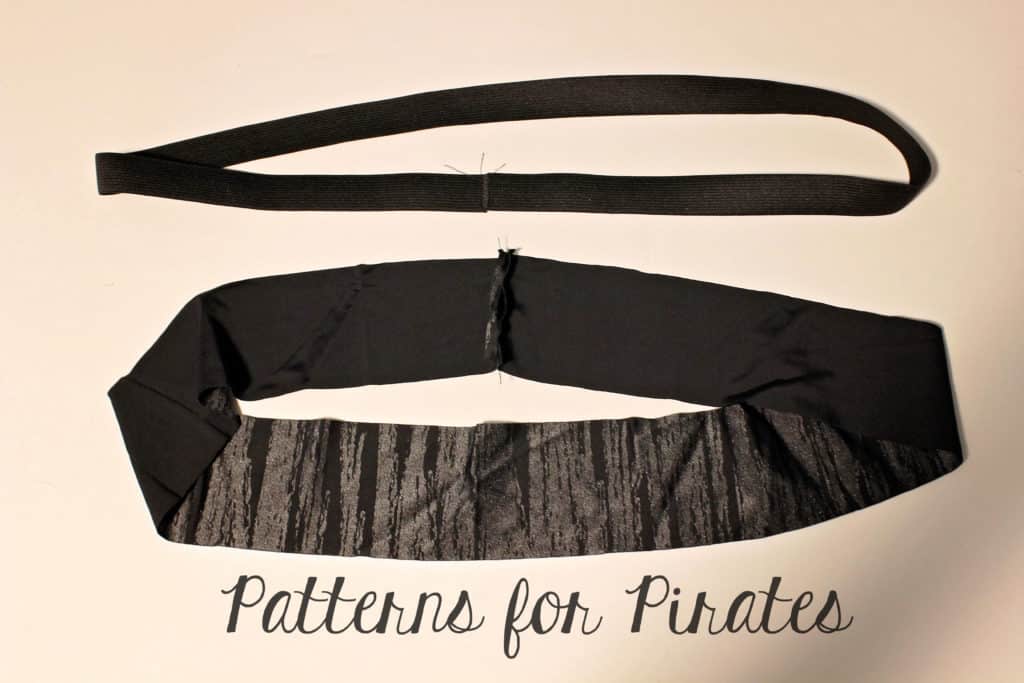
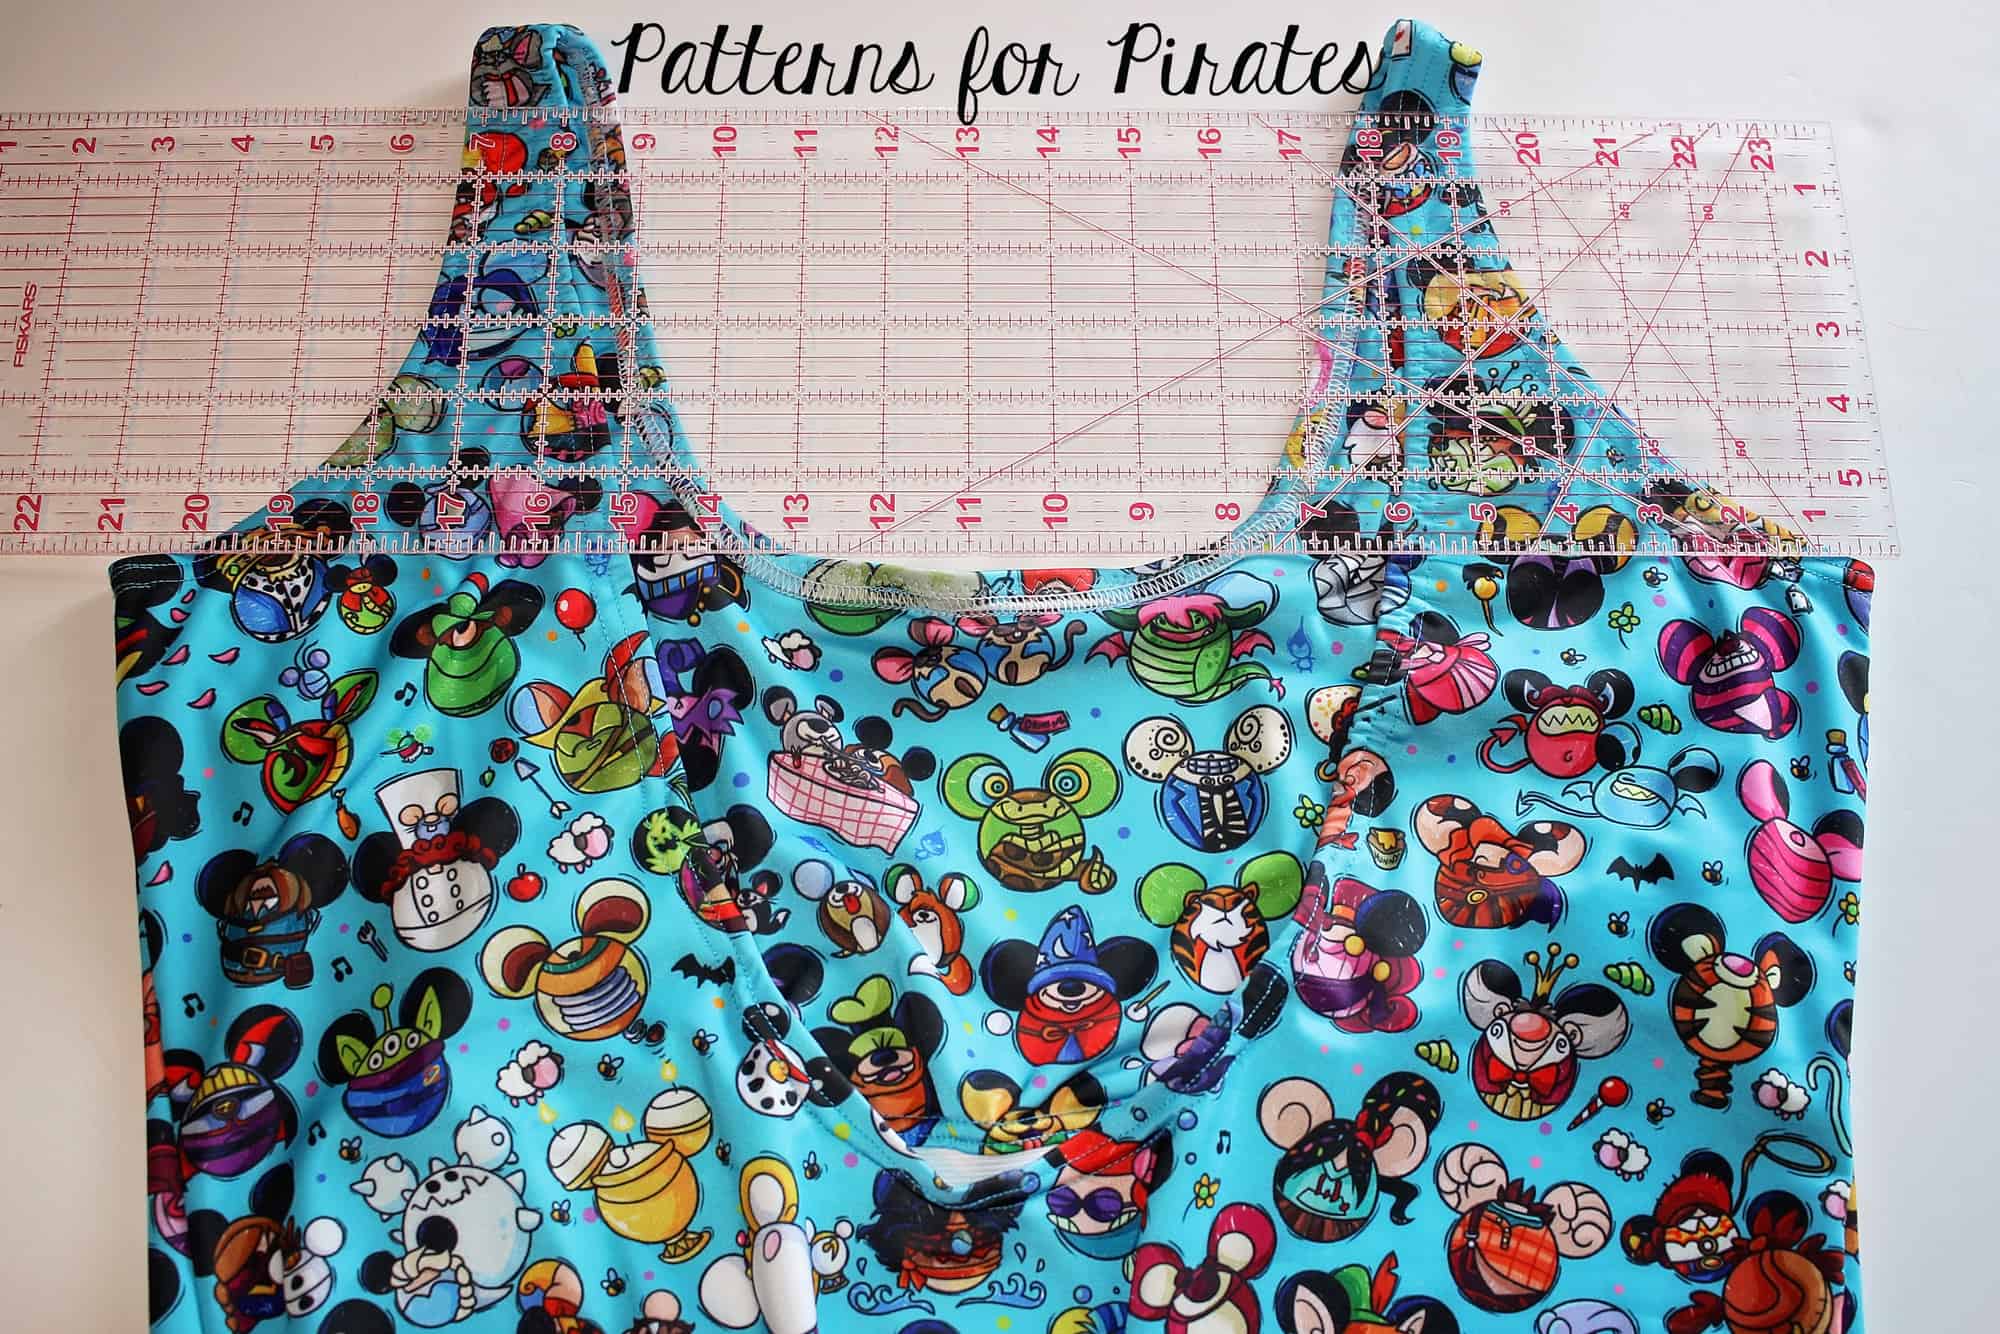
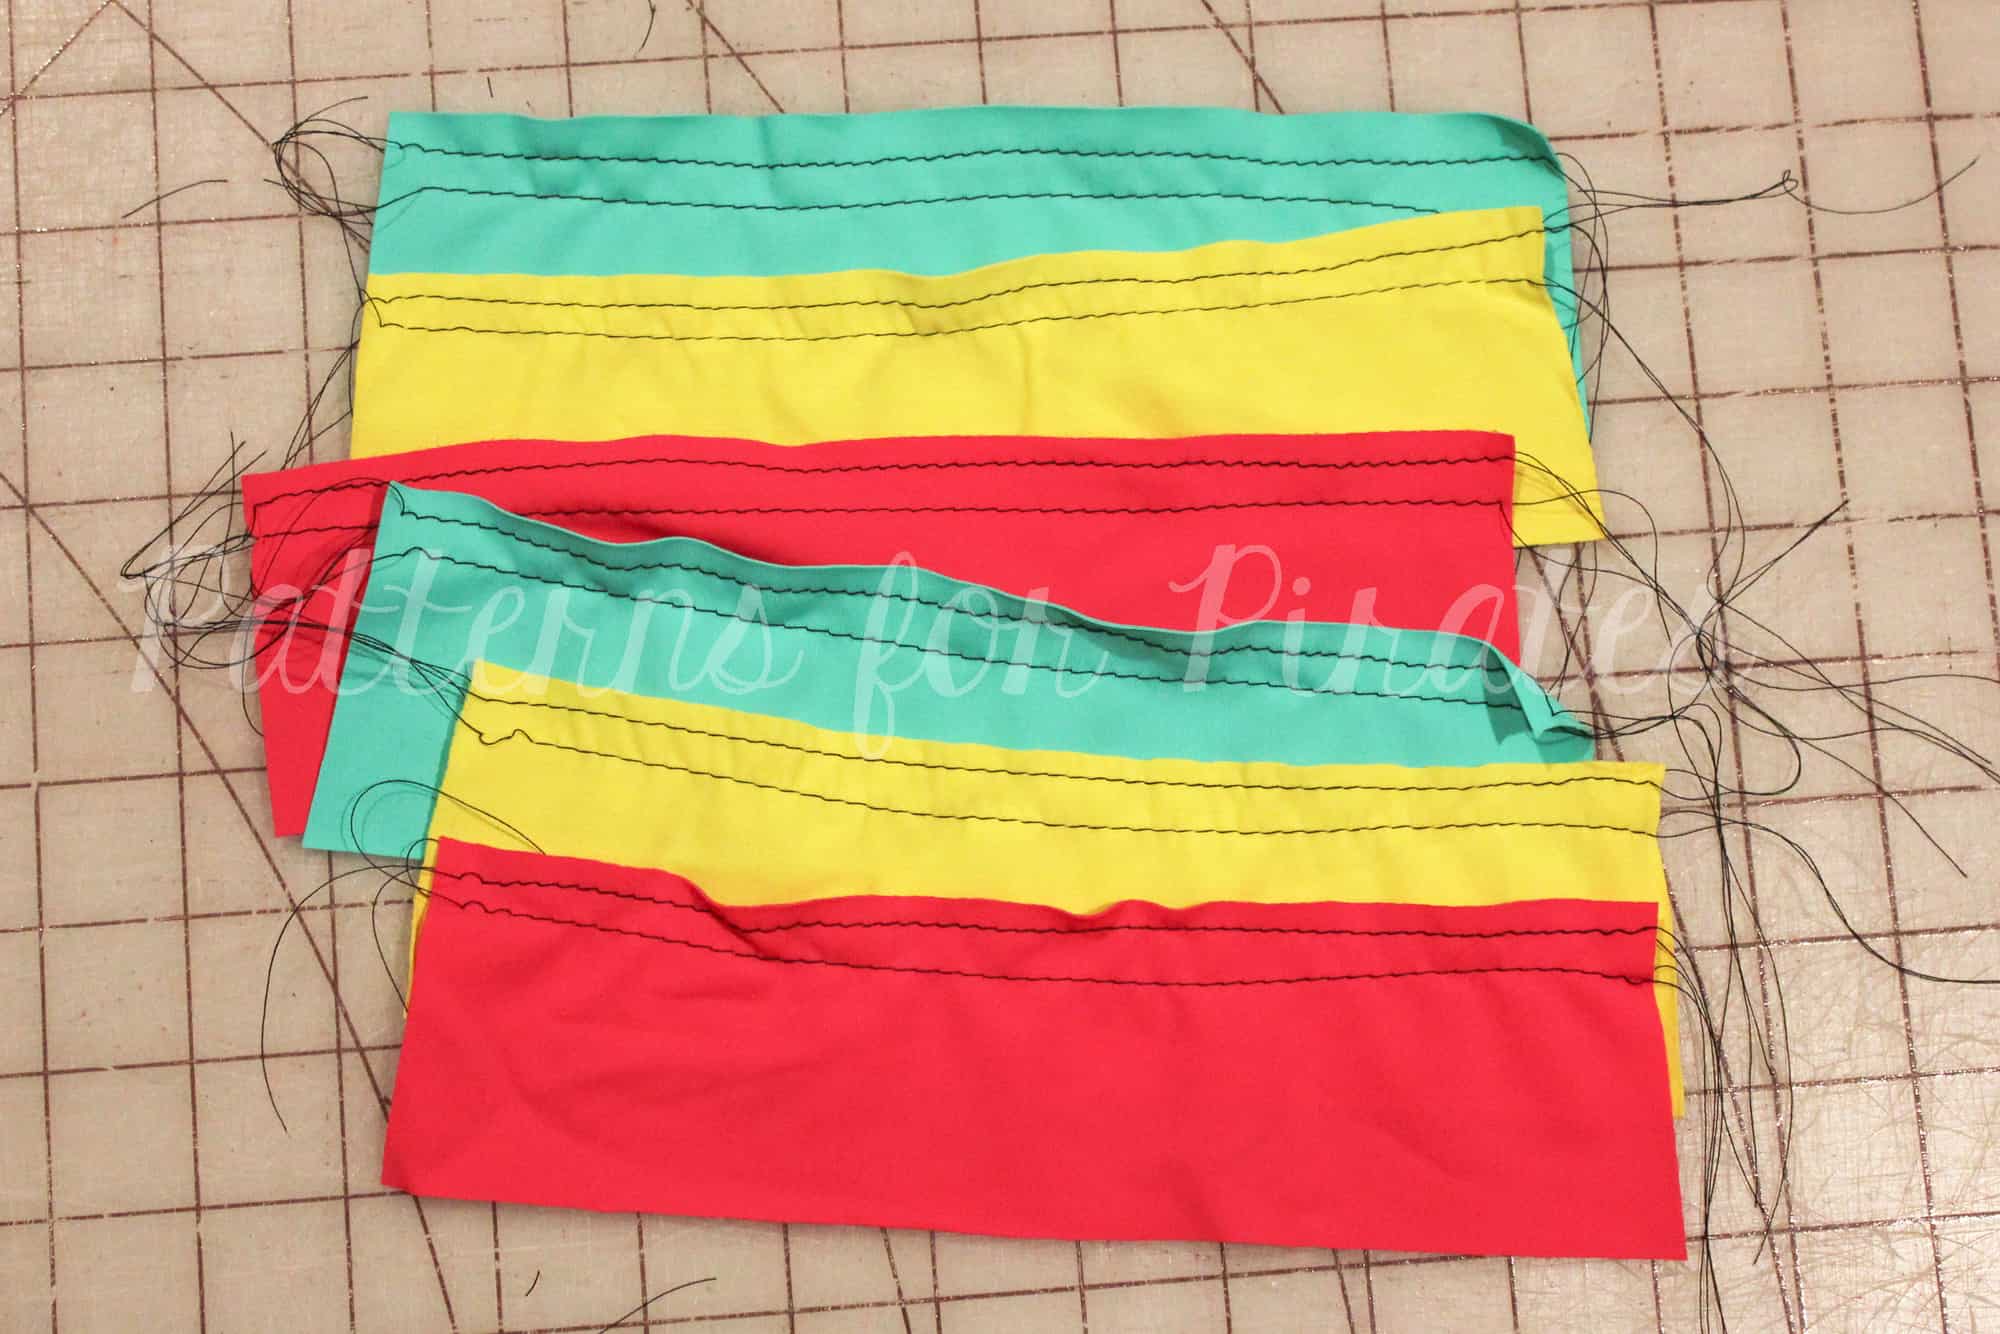
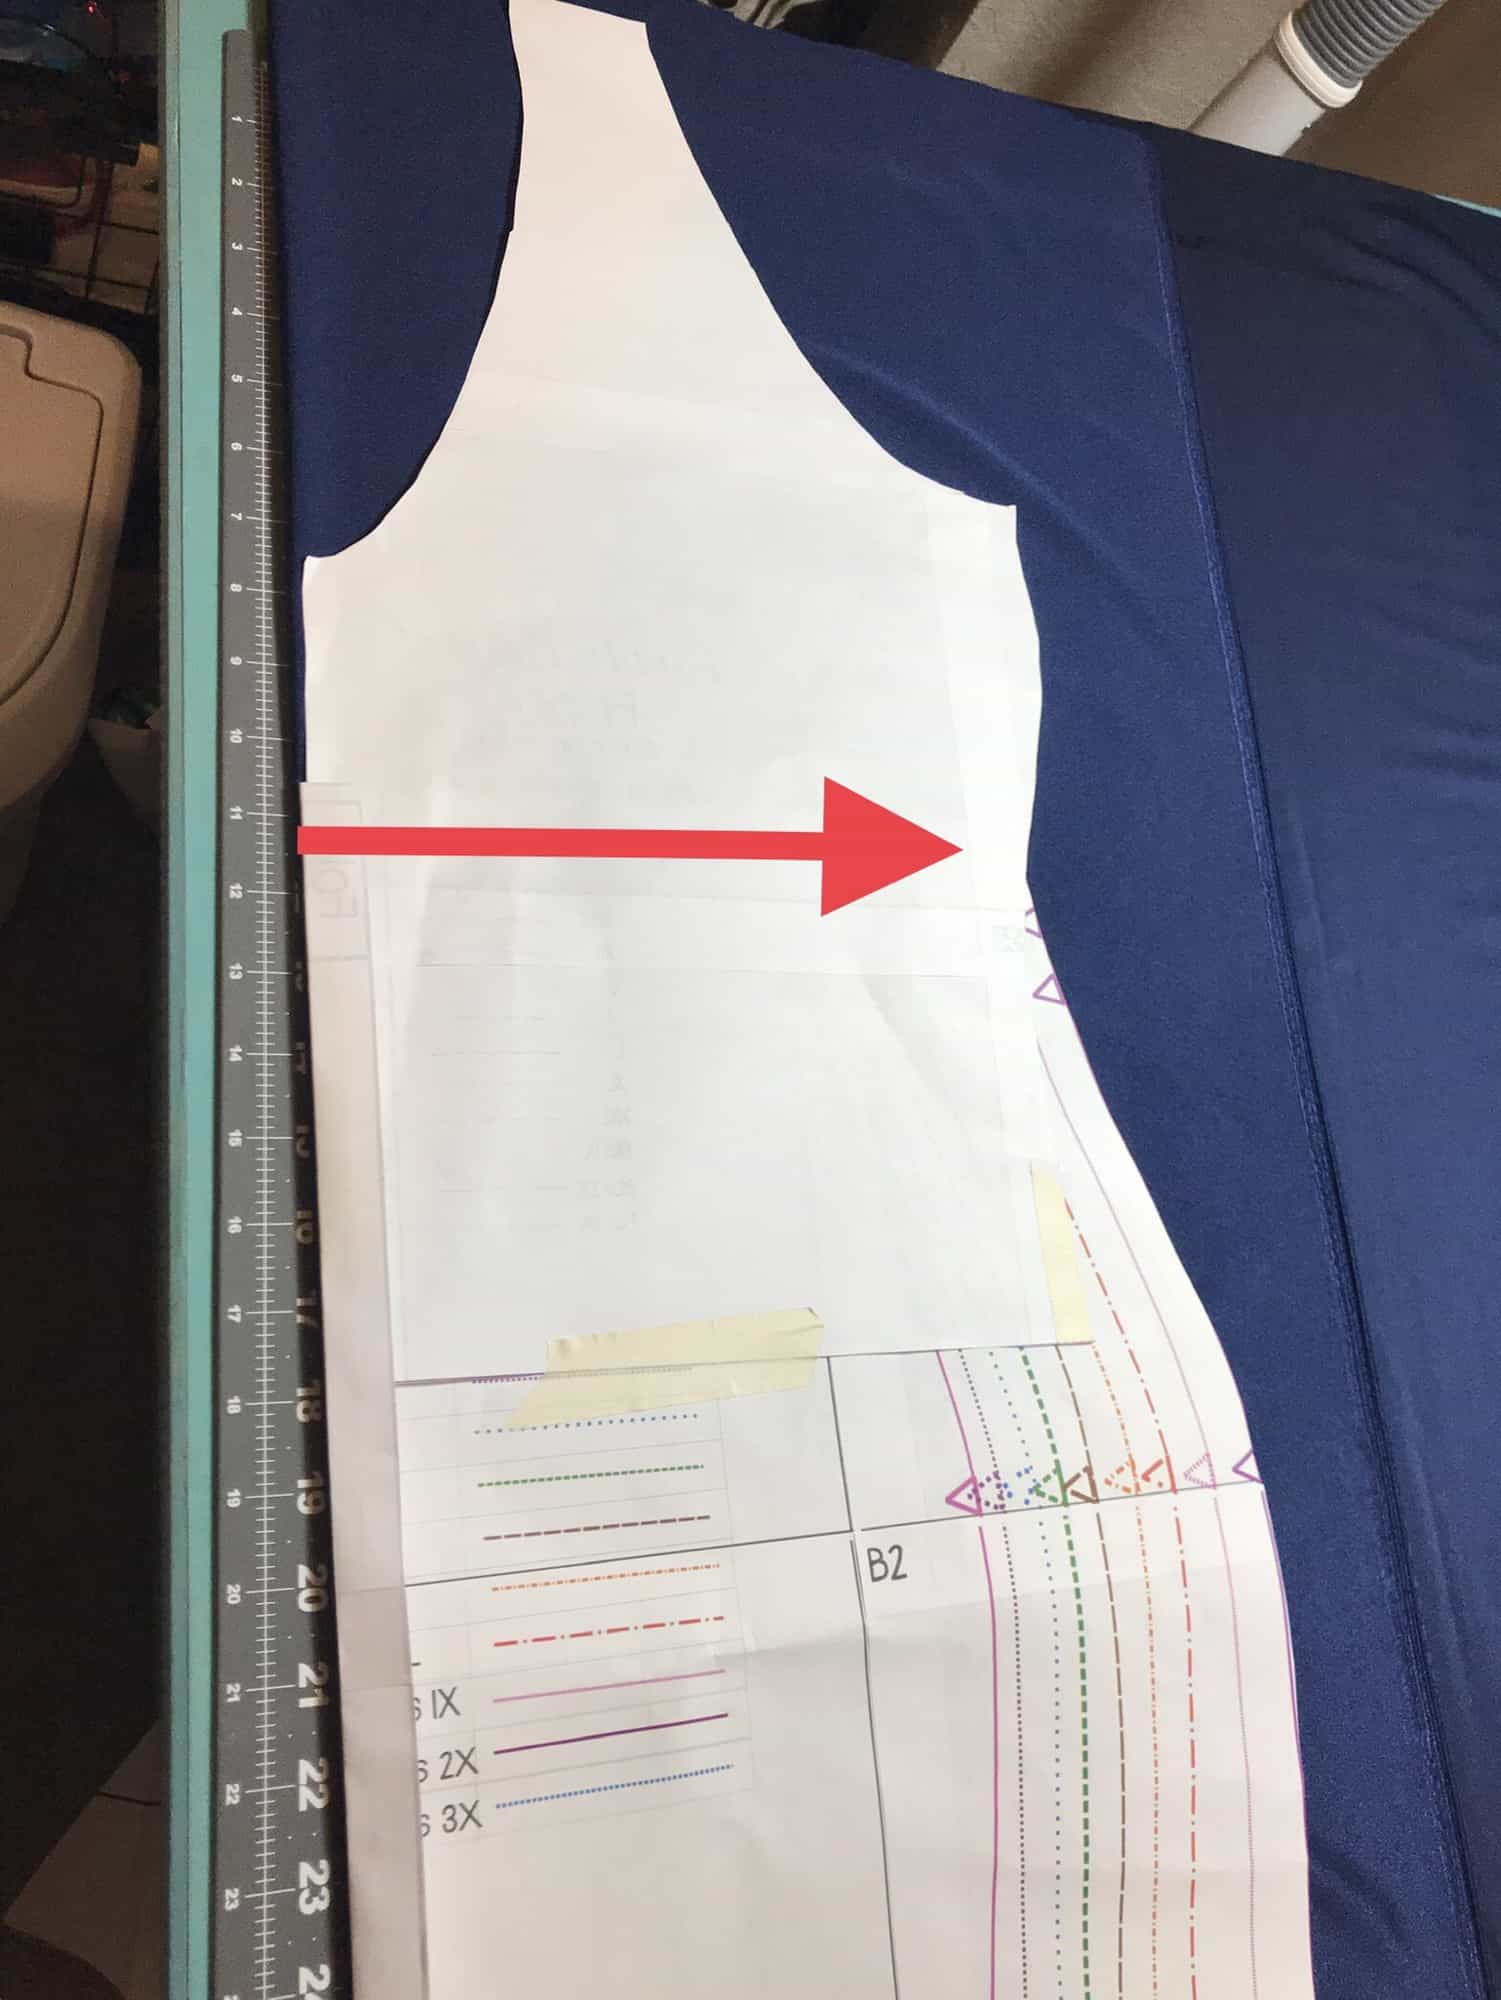
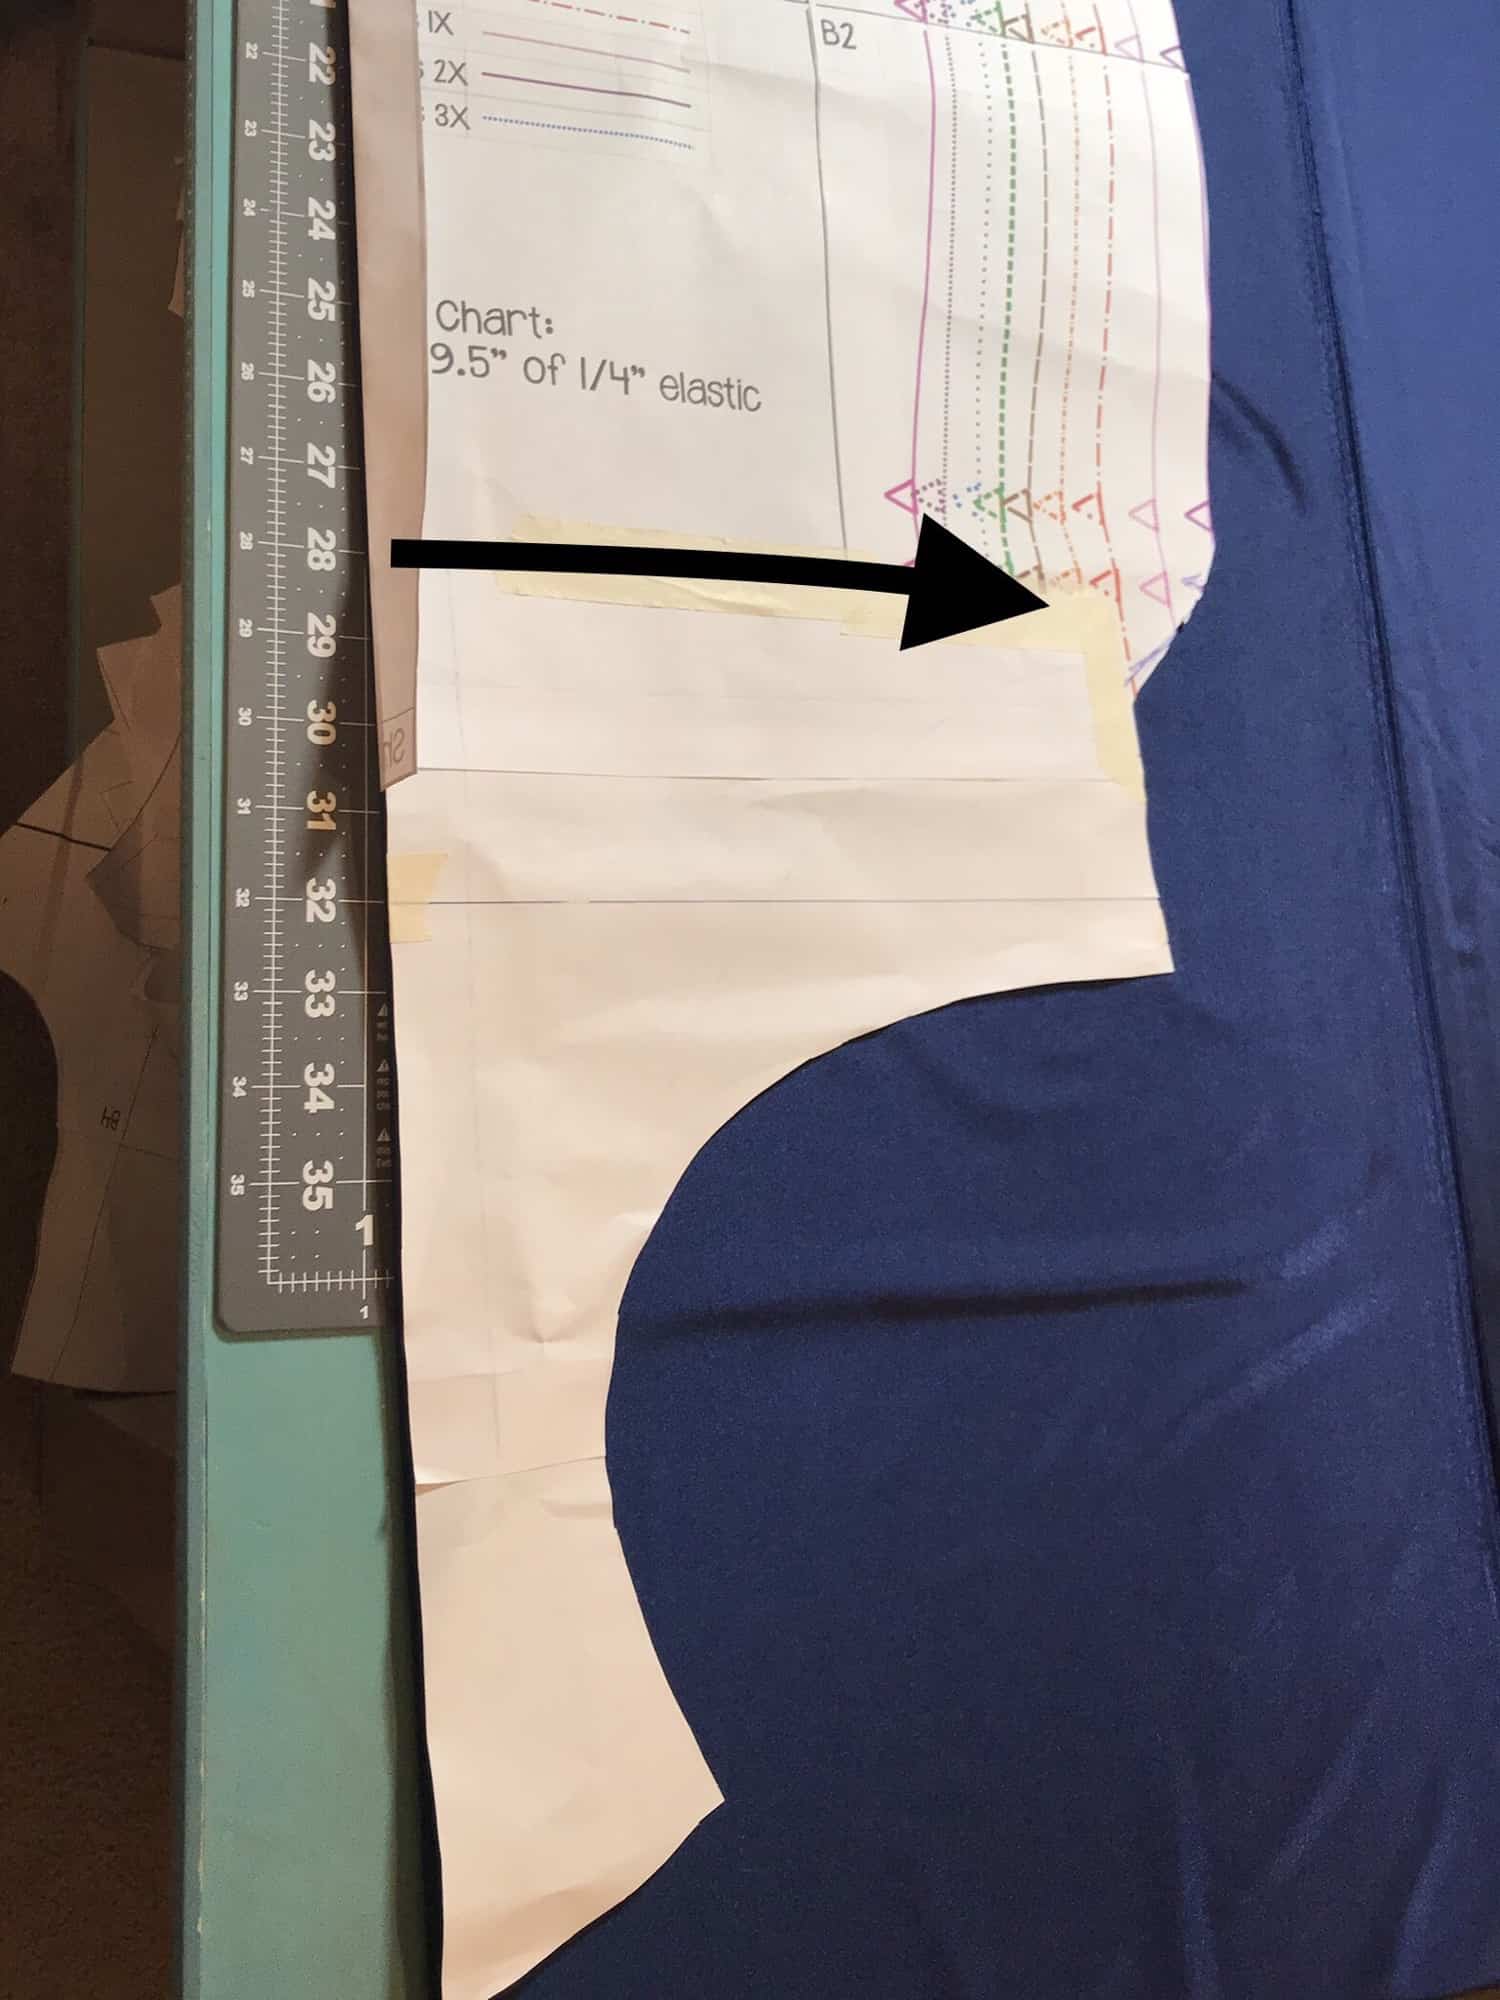
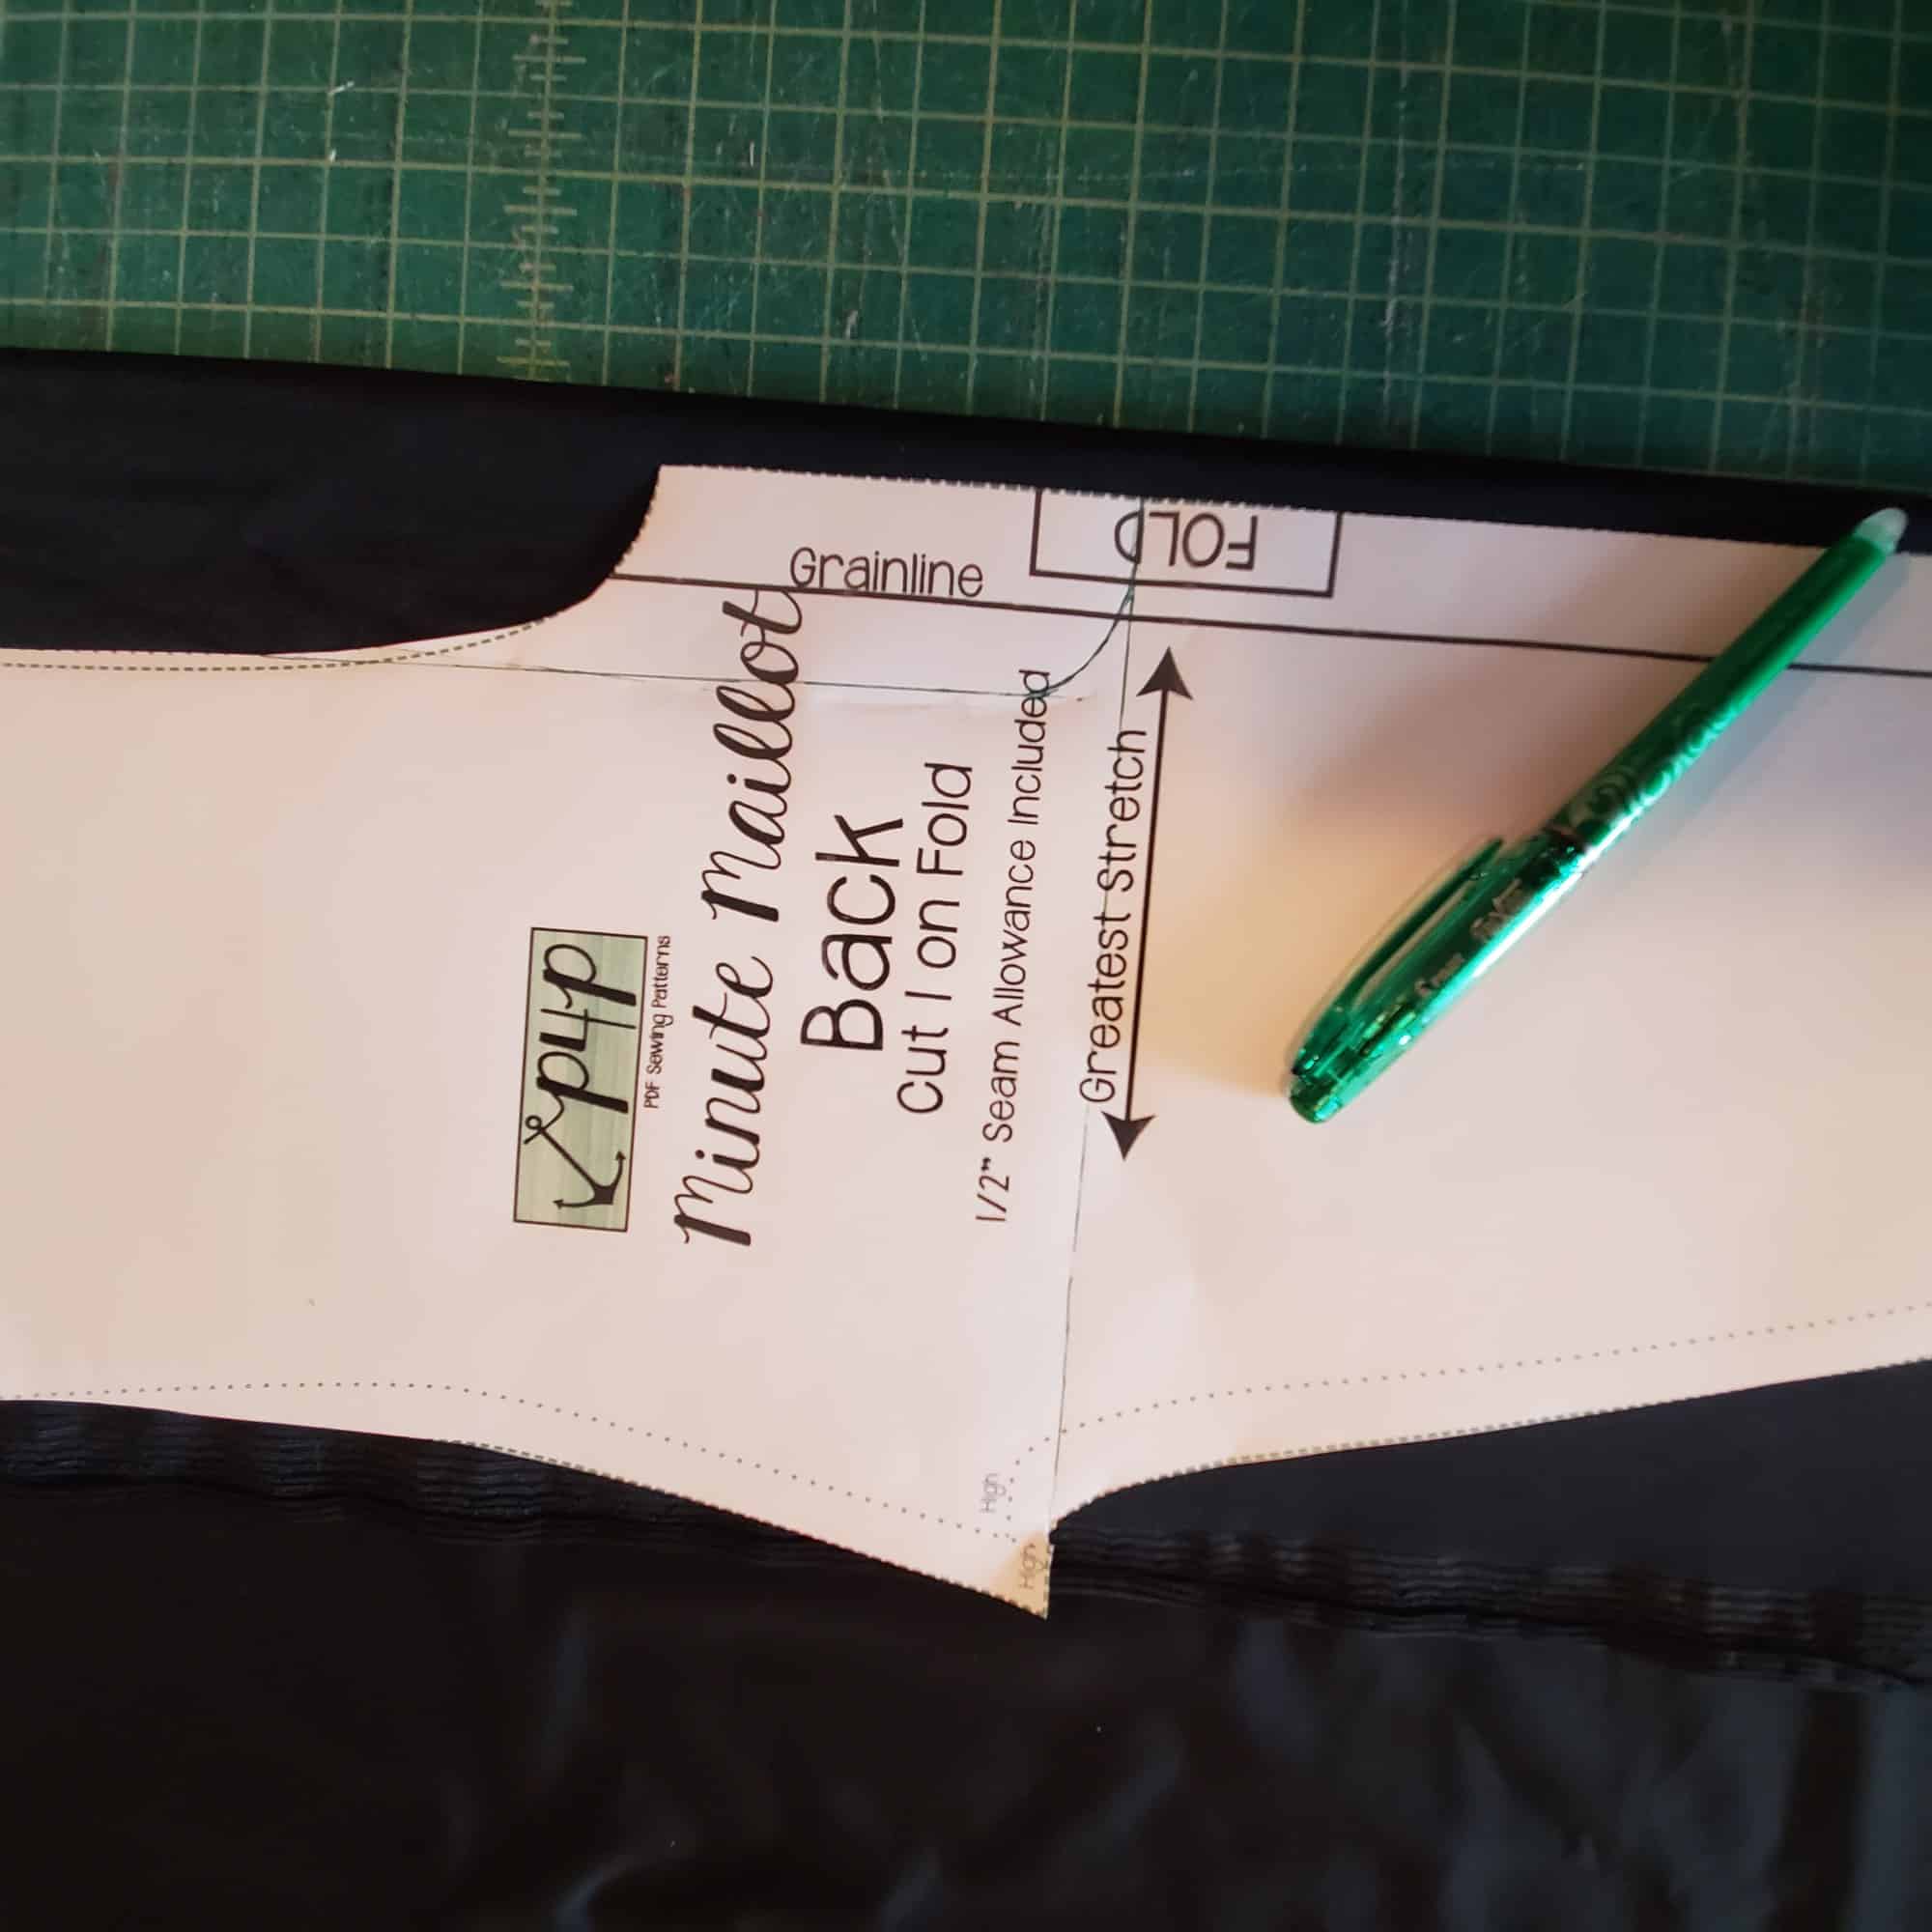
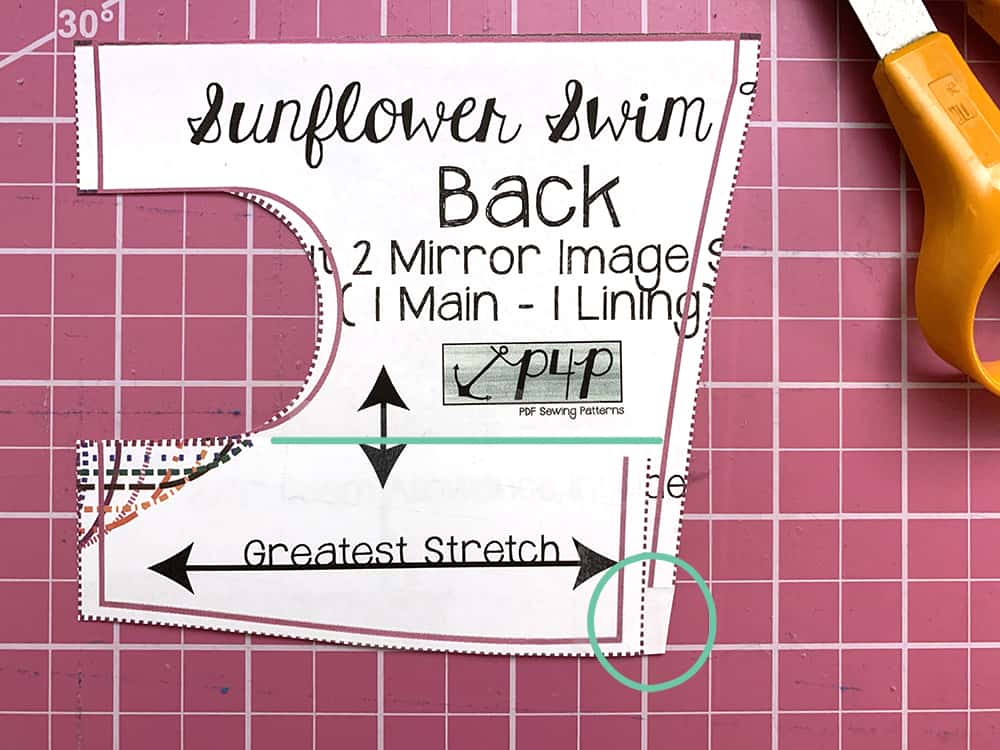
Cut the back piece into thirds as indicated in the photo below. You’ll be discarding the center piece.
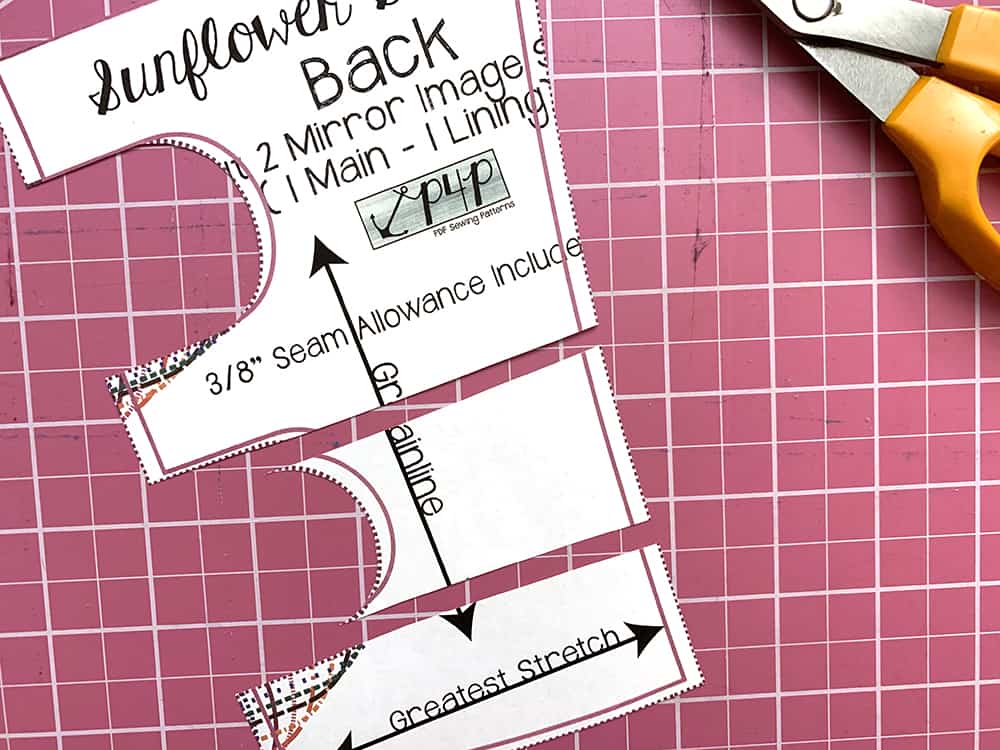
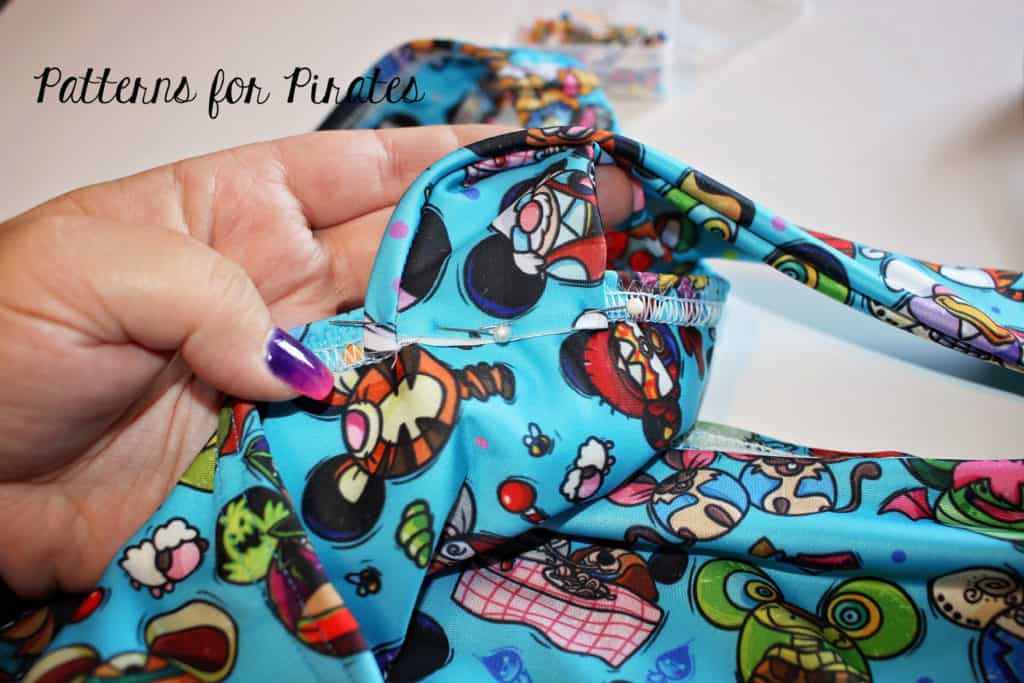
Take the top and bottom thirds and line up the bottoms of the cut-out curve, where you see the green line in the pic. Tape together. I added a little snipe of paper, where the green circle is, to help visually with cutting my fabric.
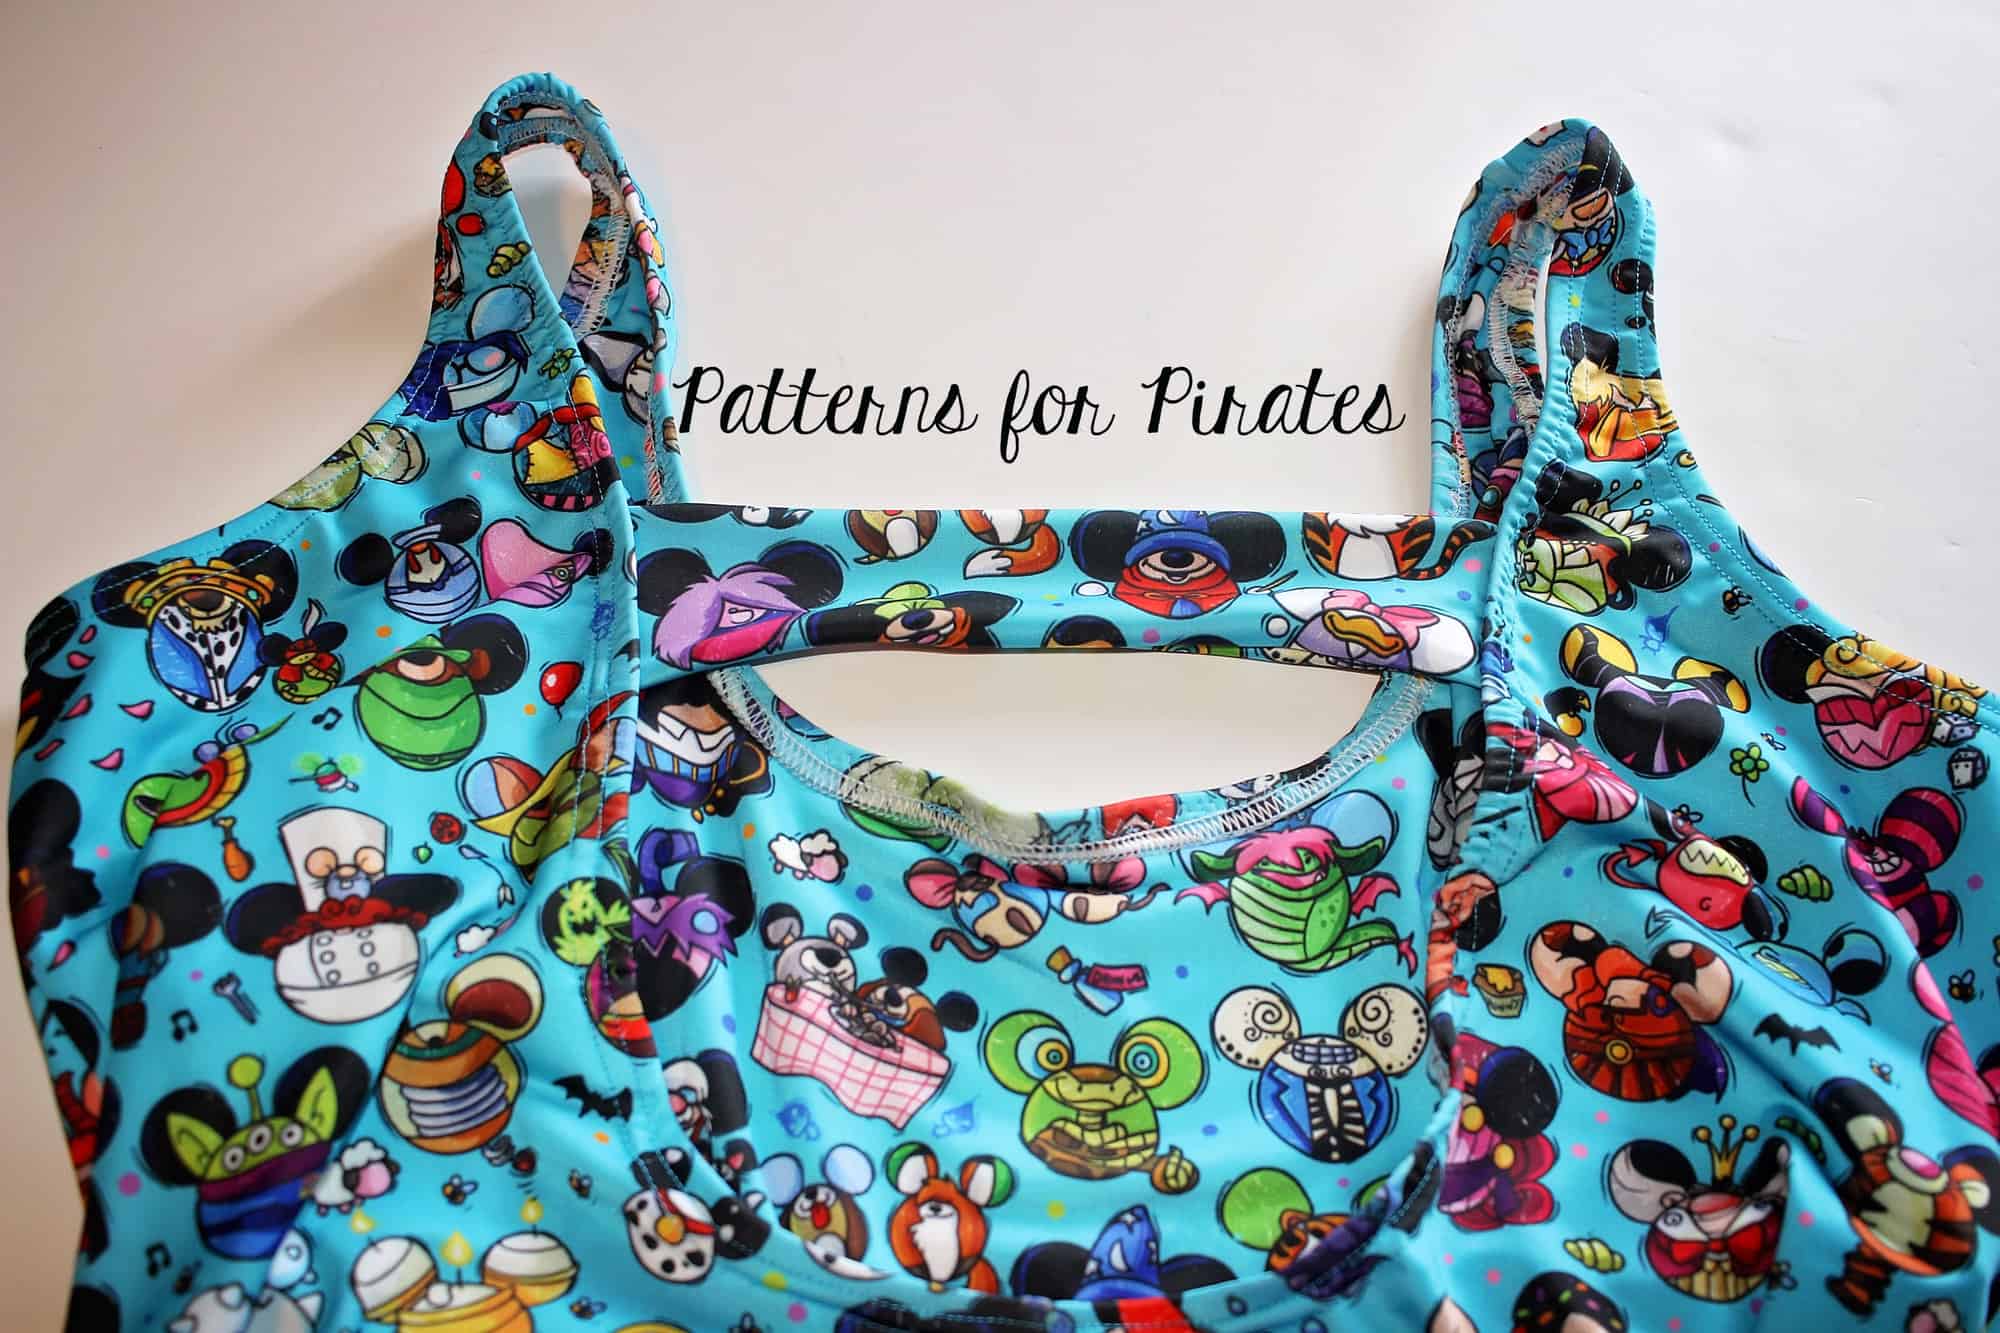
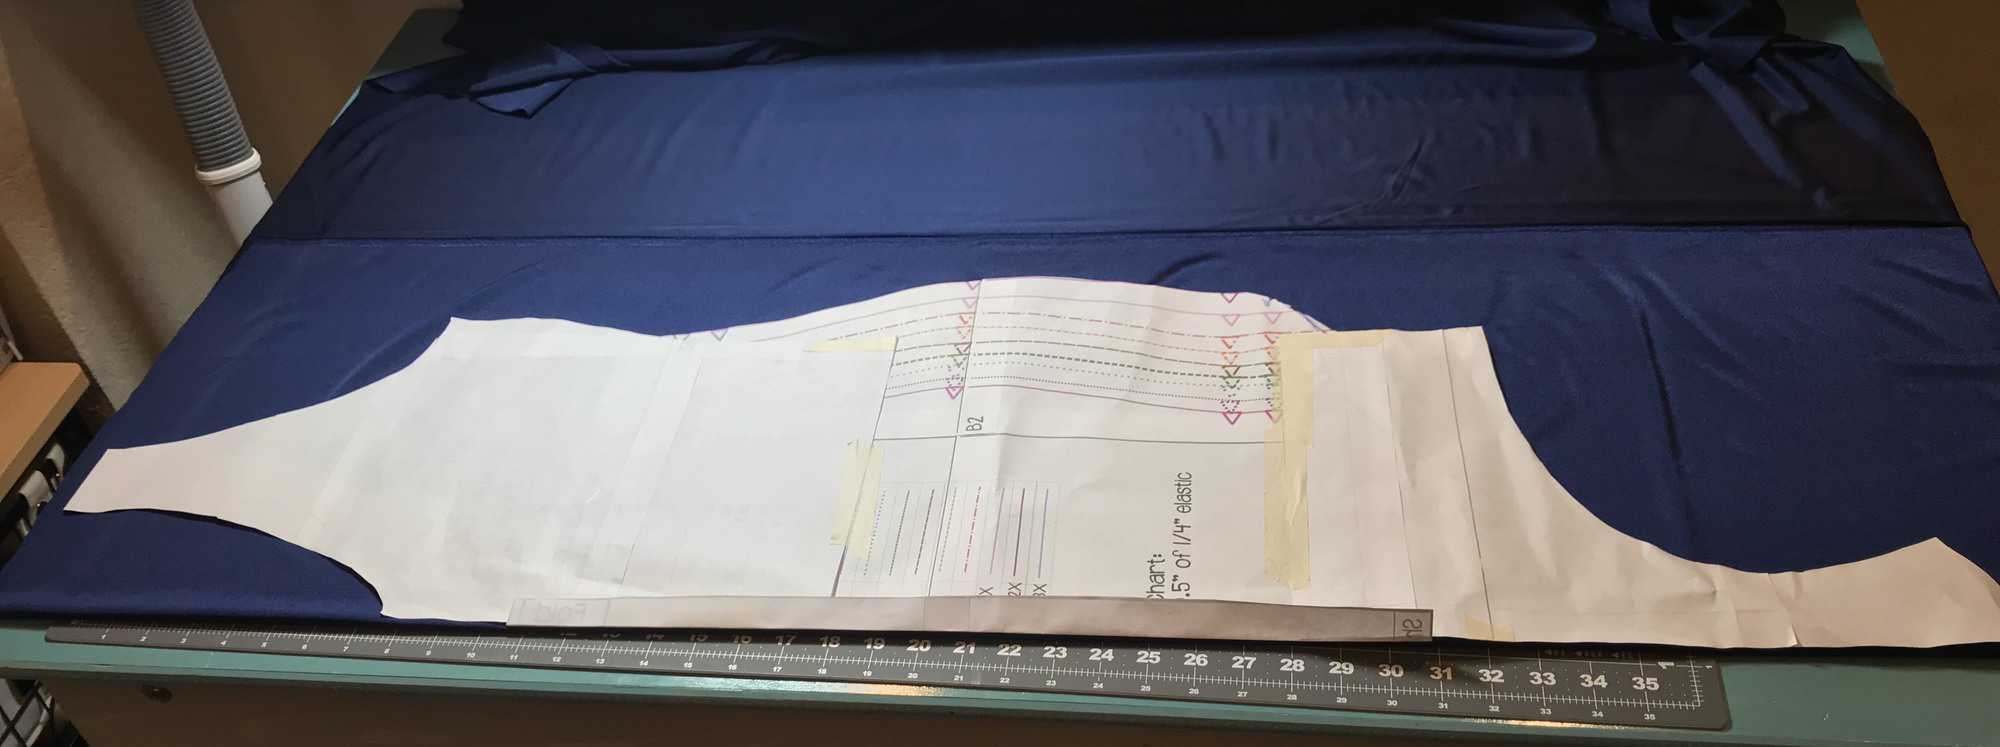
And that completes your new back pattern piece.
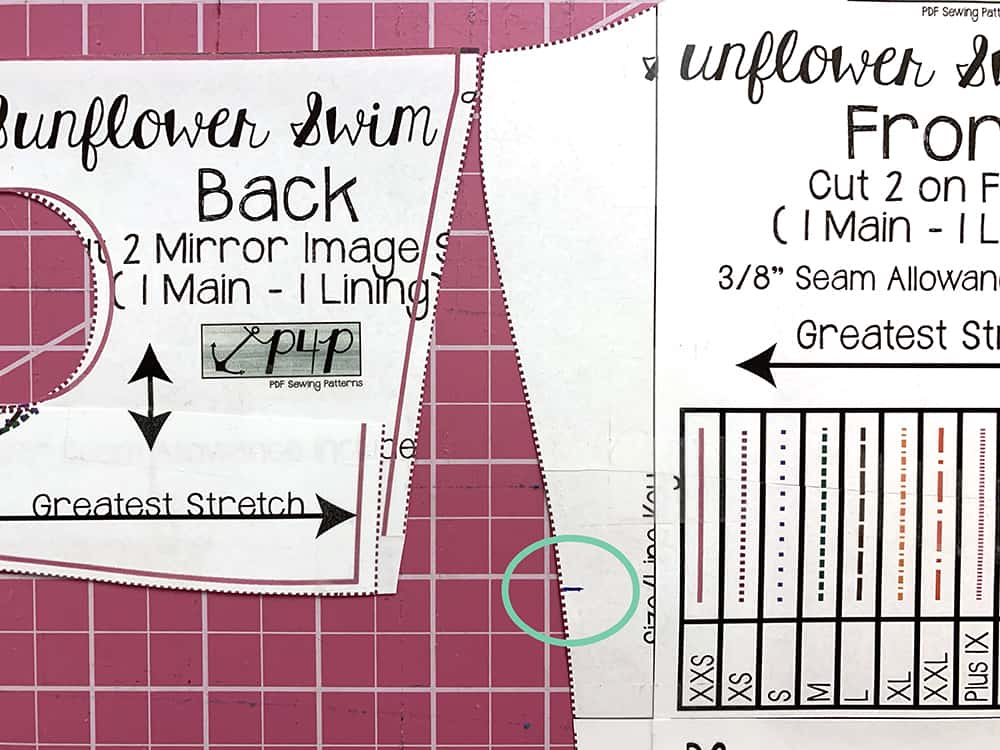
Line up your front and back pattern pieces and mark the bottom of the back piece on your front piece. This will ensure that your front and back pieces line up when you’re constructing the top.
Place your shelf bra pattern piece on top of your front pattern piece and line up the “fold” edges. The left edge of the shelf bra piece should intersect the mark you made on the previous step.
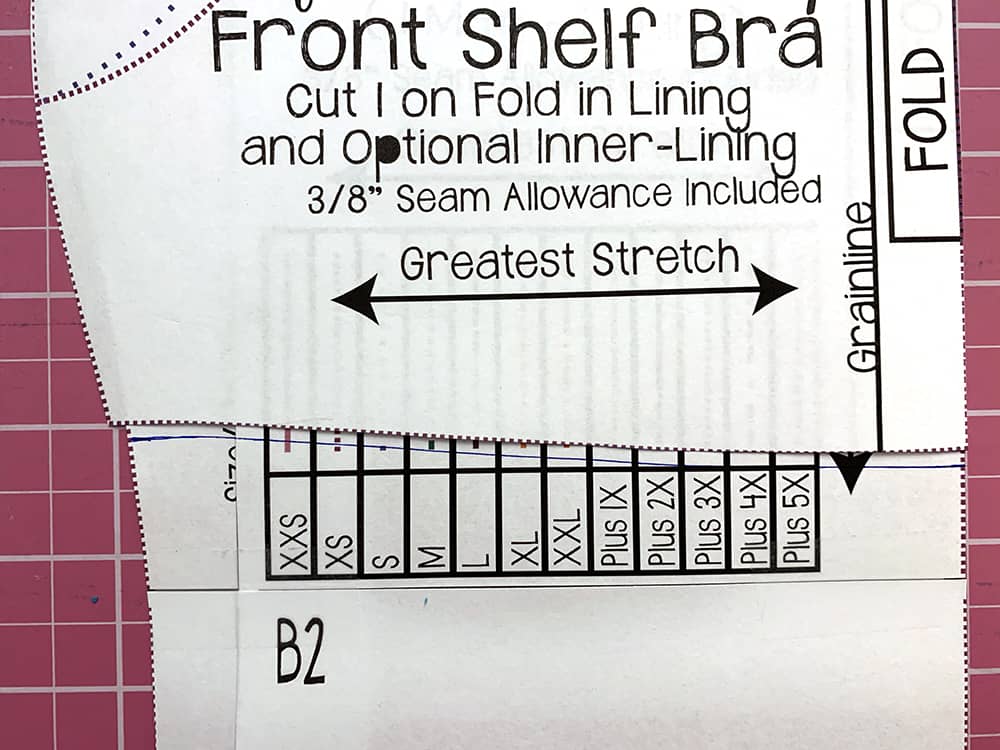
Trace the bottom edge of the shelf bra and cut along this line to create your new front piece.
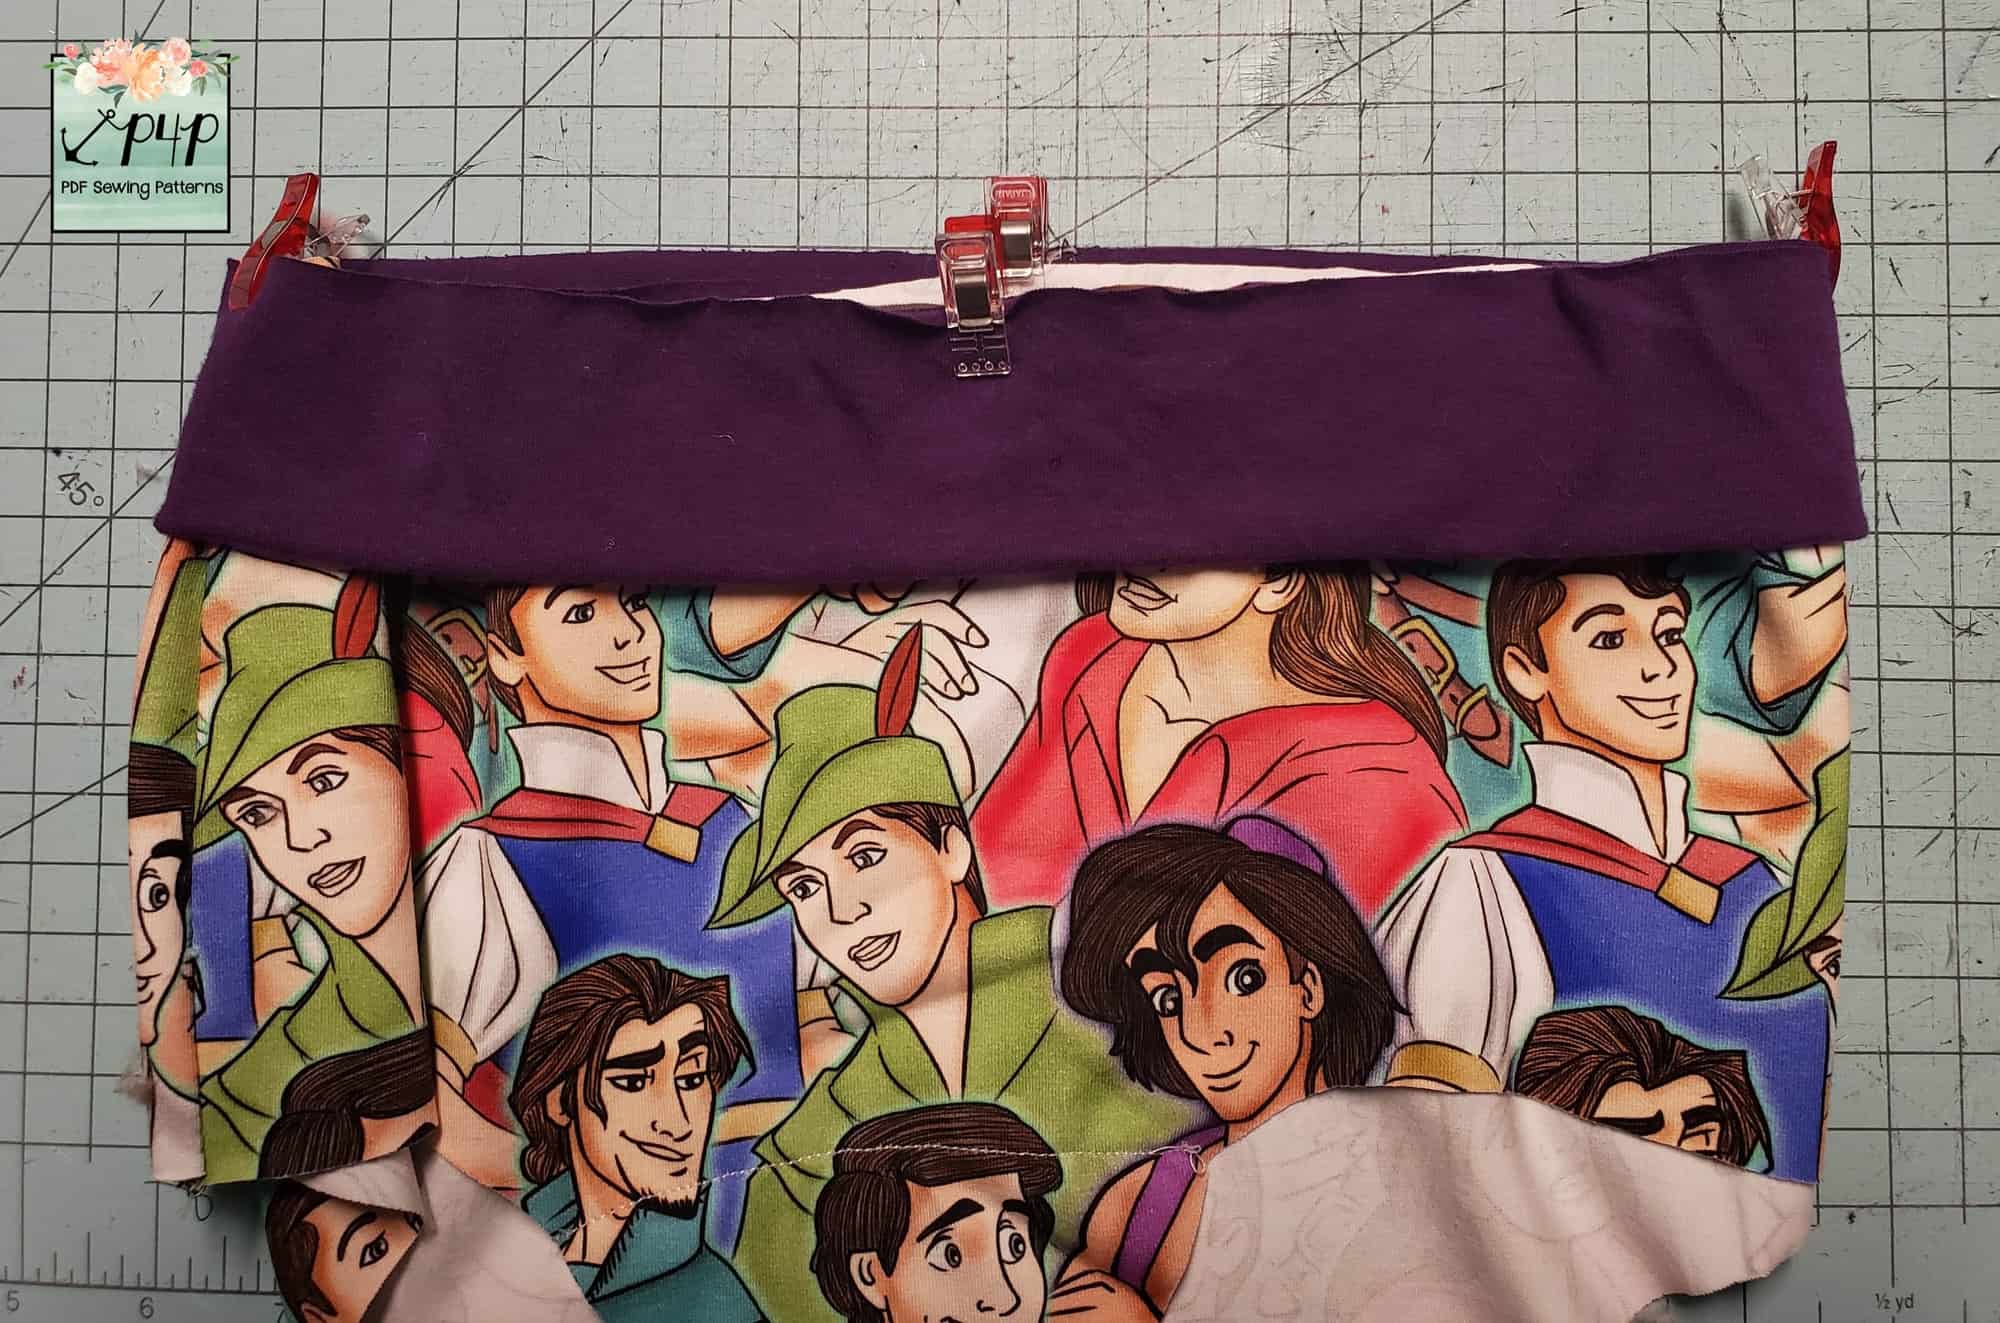
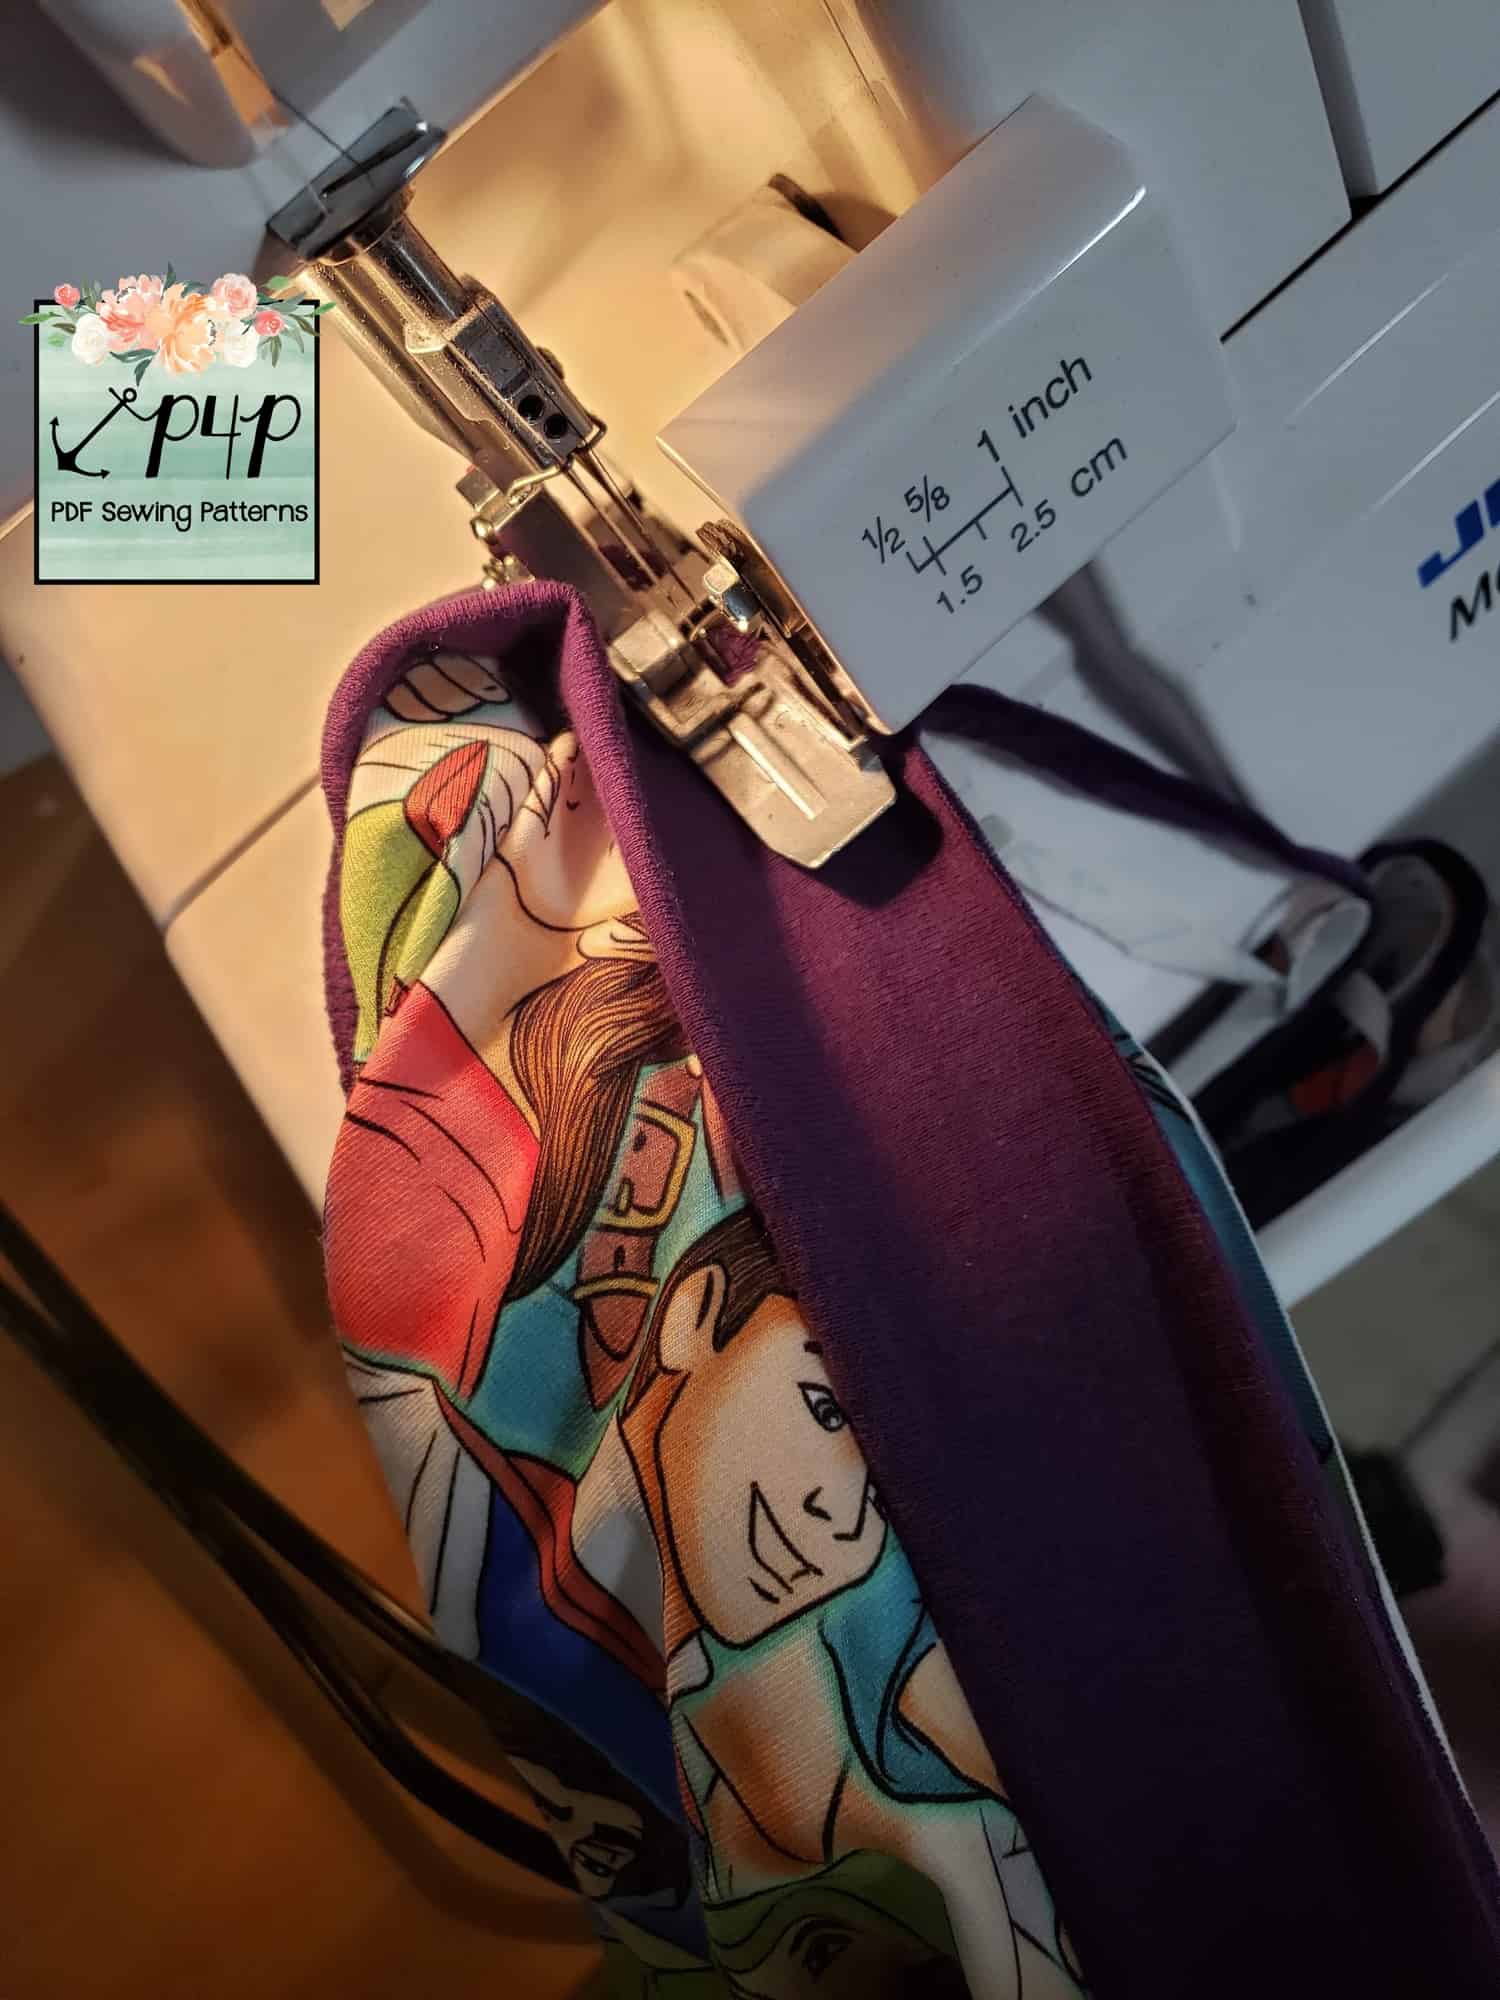
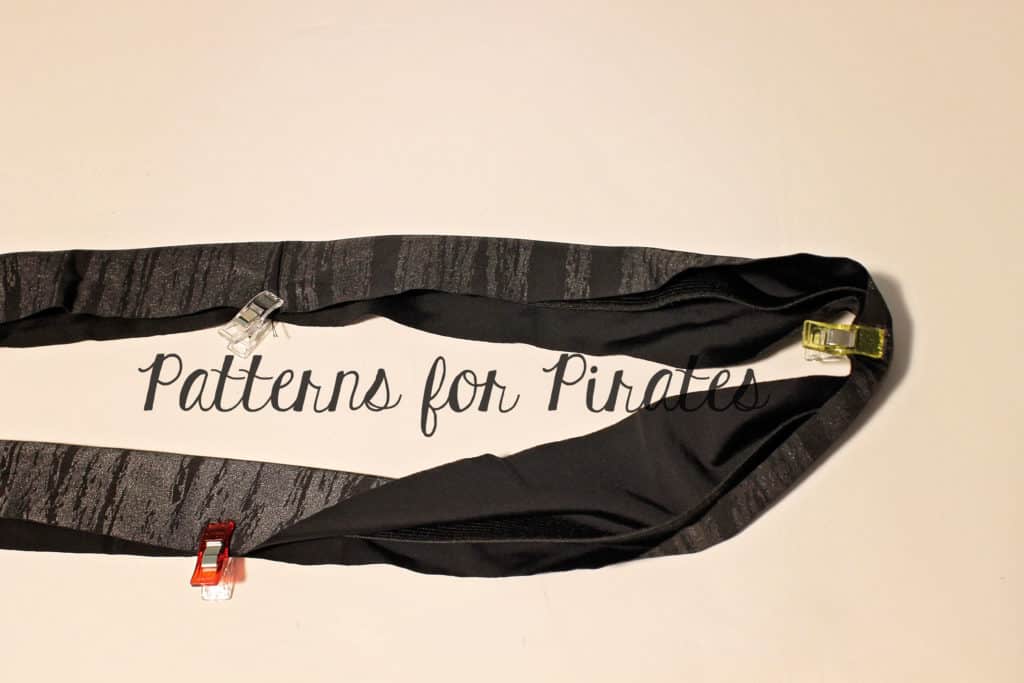
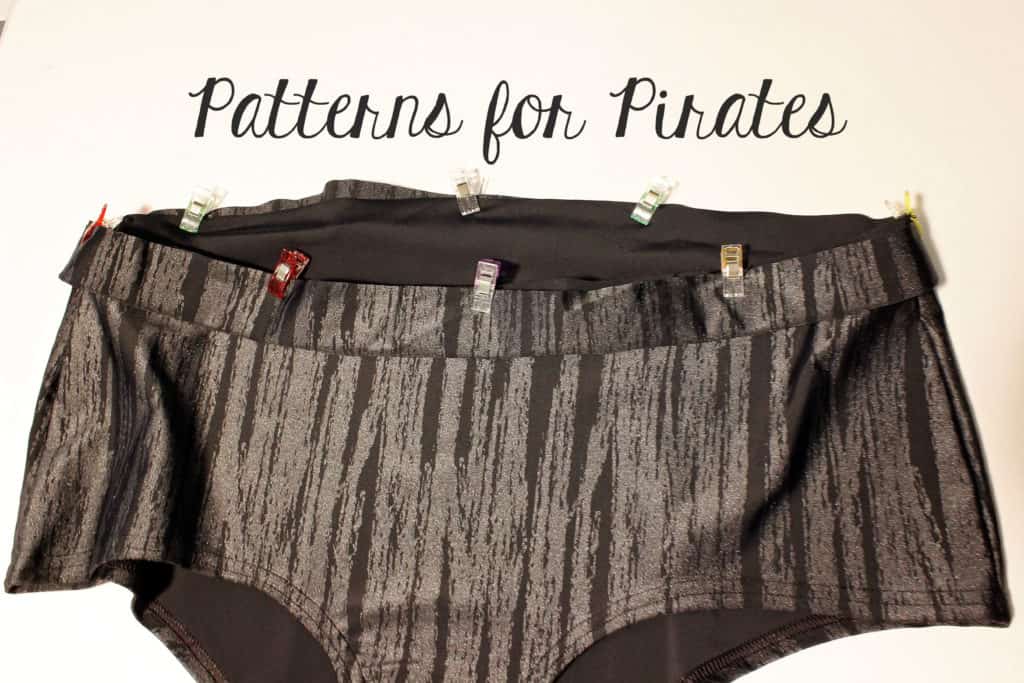
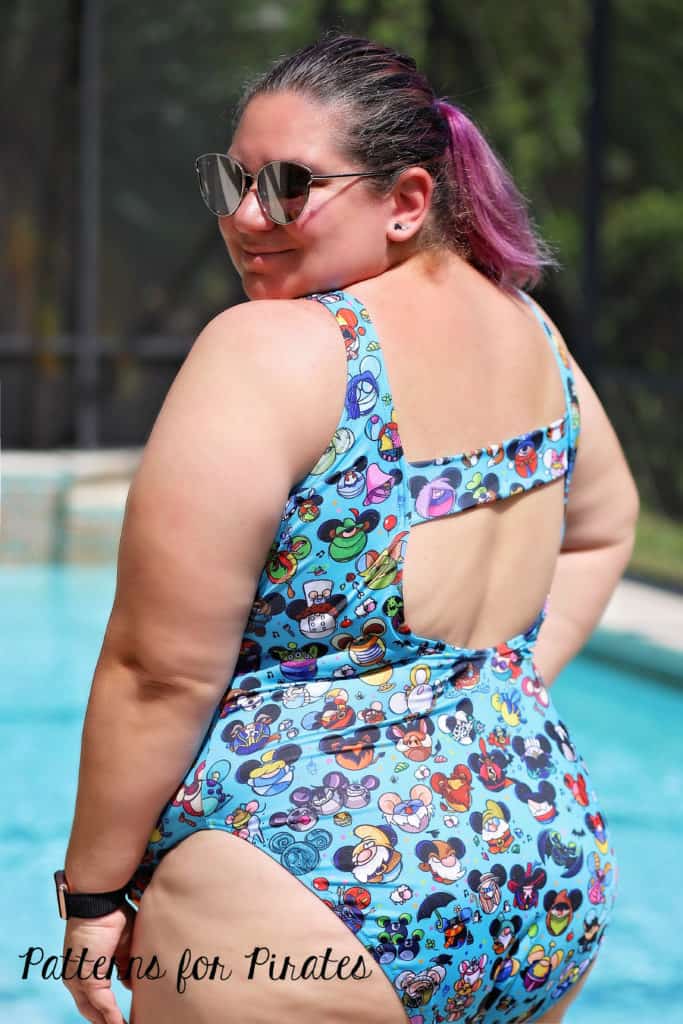
Once you have your pattern pieces ready, construct your top with the instructions provided. You can even work in a shelf bra at this length if you desire.
Isn’t sewing for yourself so much fun? I can’t wait to rock these bananas at the pool!
Rachel