Patterns for Pirates

P4P stylish, modern, wearable patterns

  • Home
  • Blog
    • Frequently Asked Questions
    • Pattern Releases
      • Free Patterns
    • P4P University
      • Fitting
      • Sewing with Stretch, Knit Fabrics
      • Sewing with Woven Fabrics
      • Sewing Machines
    • Sew-A-Longs
    • Fabric for Pirates
    • Pattern Hacks
    • Announcement
      • Blog Tours
      • Contest/Giveaway
  • Shop
  • Bundle Discounts
  • Flash Friday
  • Gift Cards
  • My Account
  • Cart

P4P University – Sewing with Swim

December 17, 2020

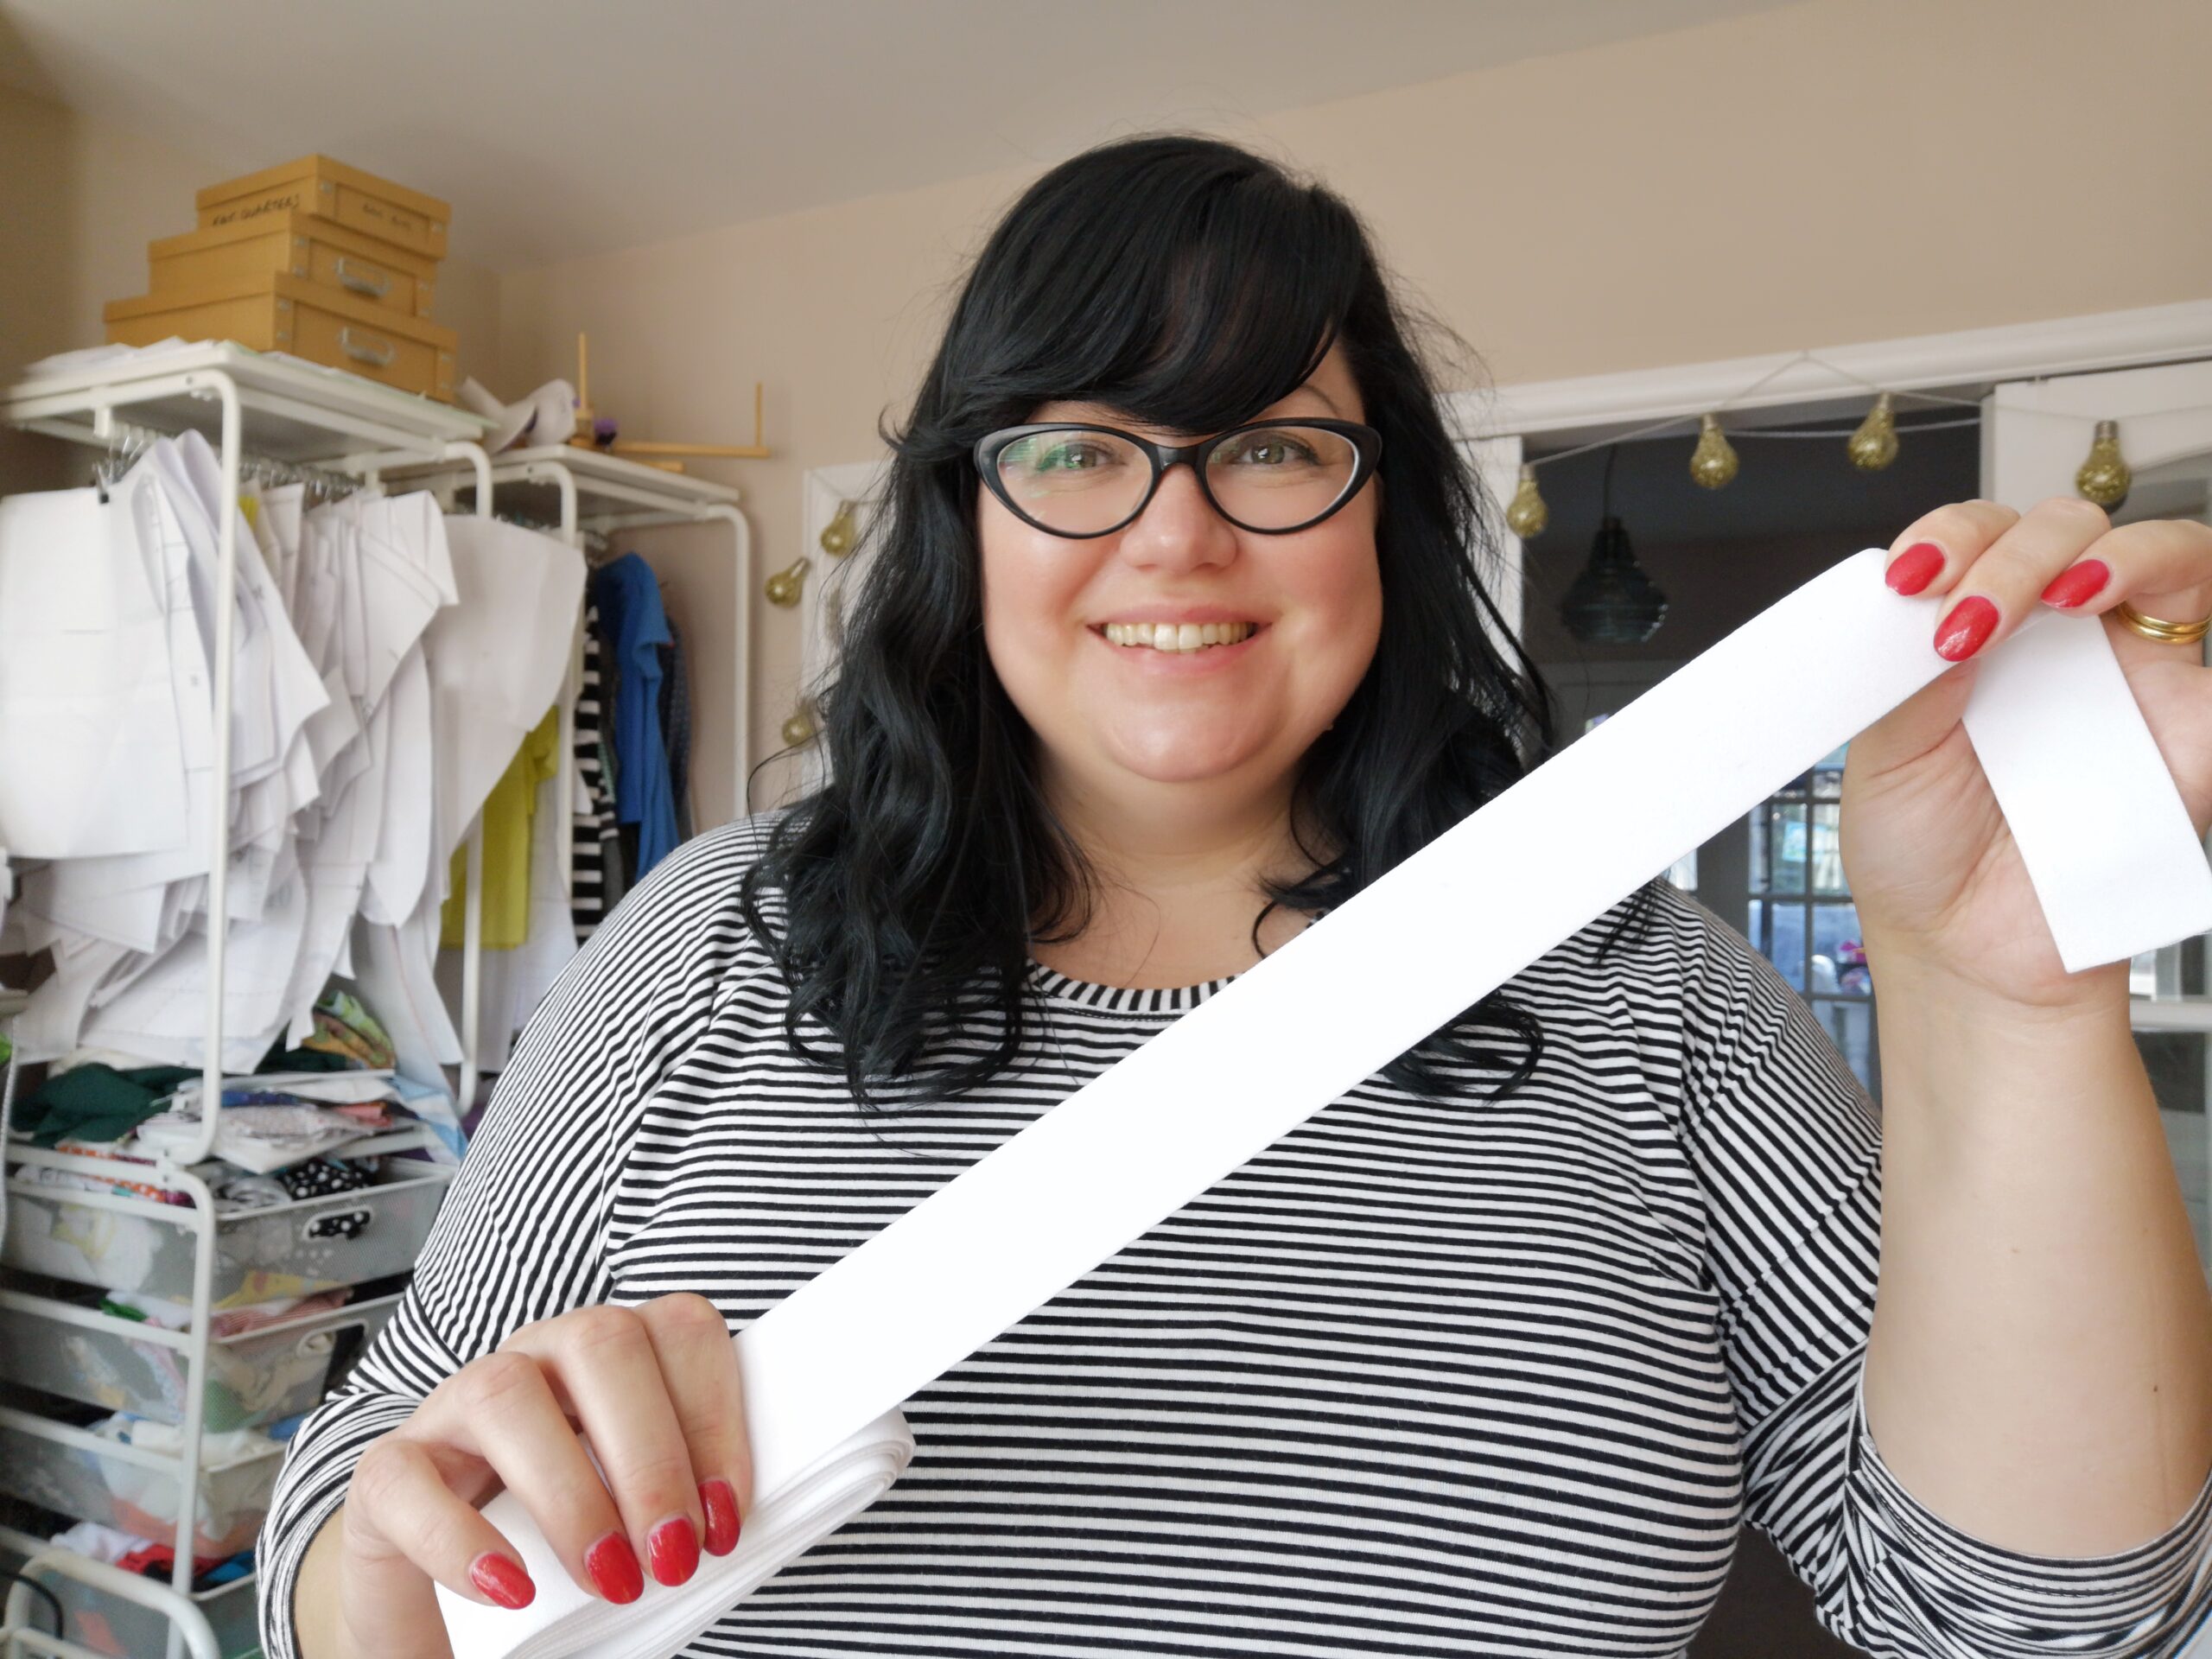
Hi, I’m Katy and I sew and blog for Patterns for Pirates. This post is all about sewing with swim fabrics. I first started sewing with swim fabric about five years ago, but I will admit that sewing swim spandex scared me and I did not think I would be able to do it! However, I am going to let you in on a secret, if you can sew with knit fabric you are going to be able sew with swim fabric! Swim spandex is now my favourite fabric to sew with. Making swimwear for both myself and my girls is such a satisfying experience.

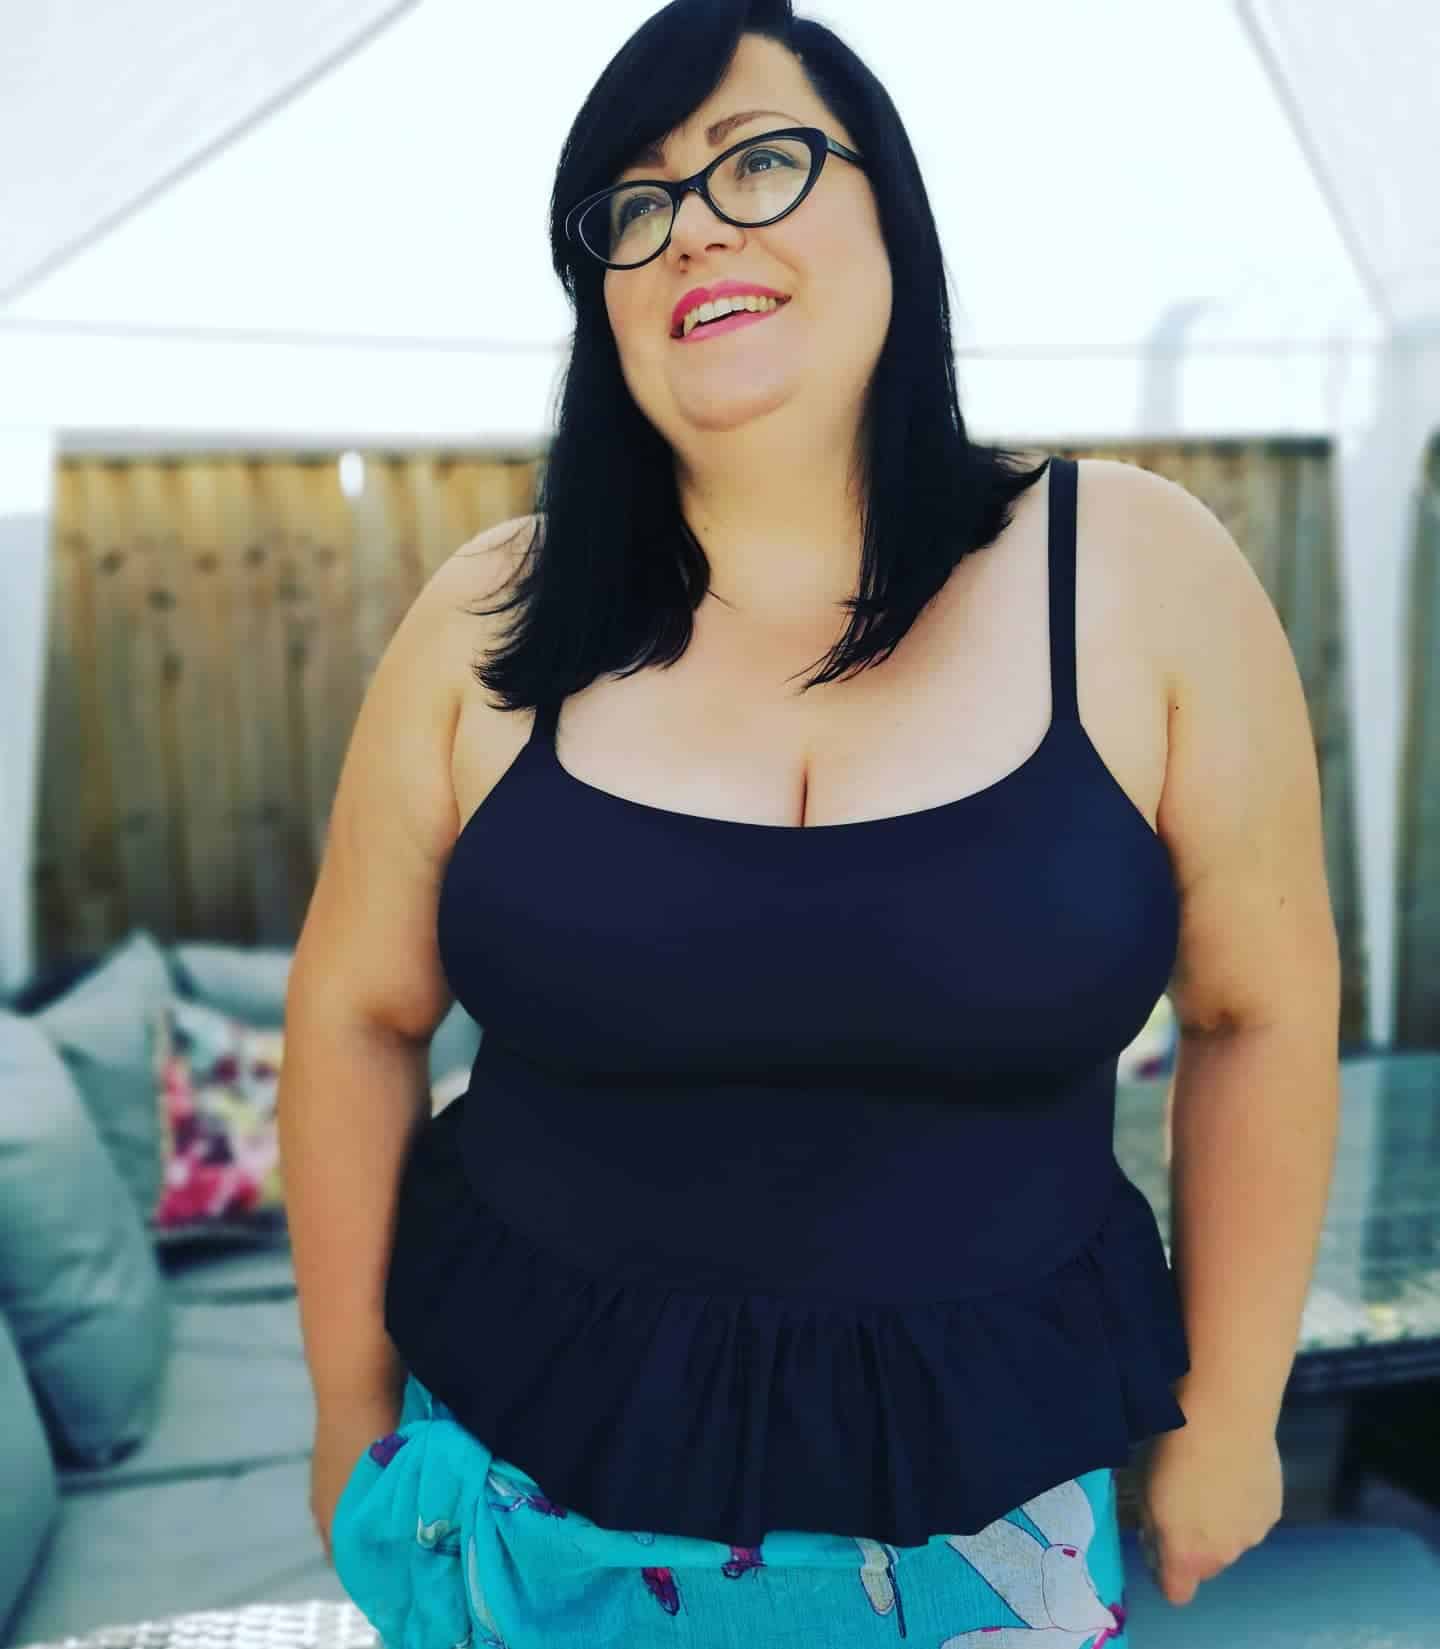
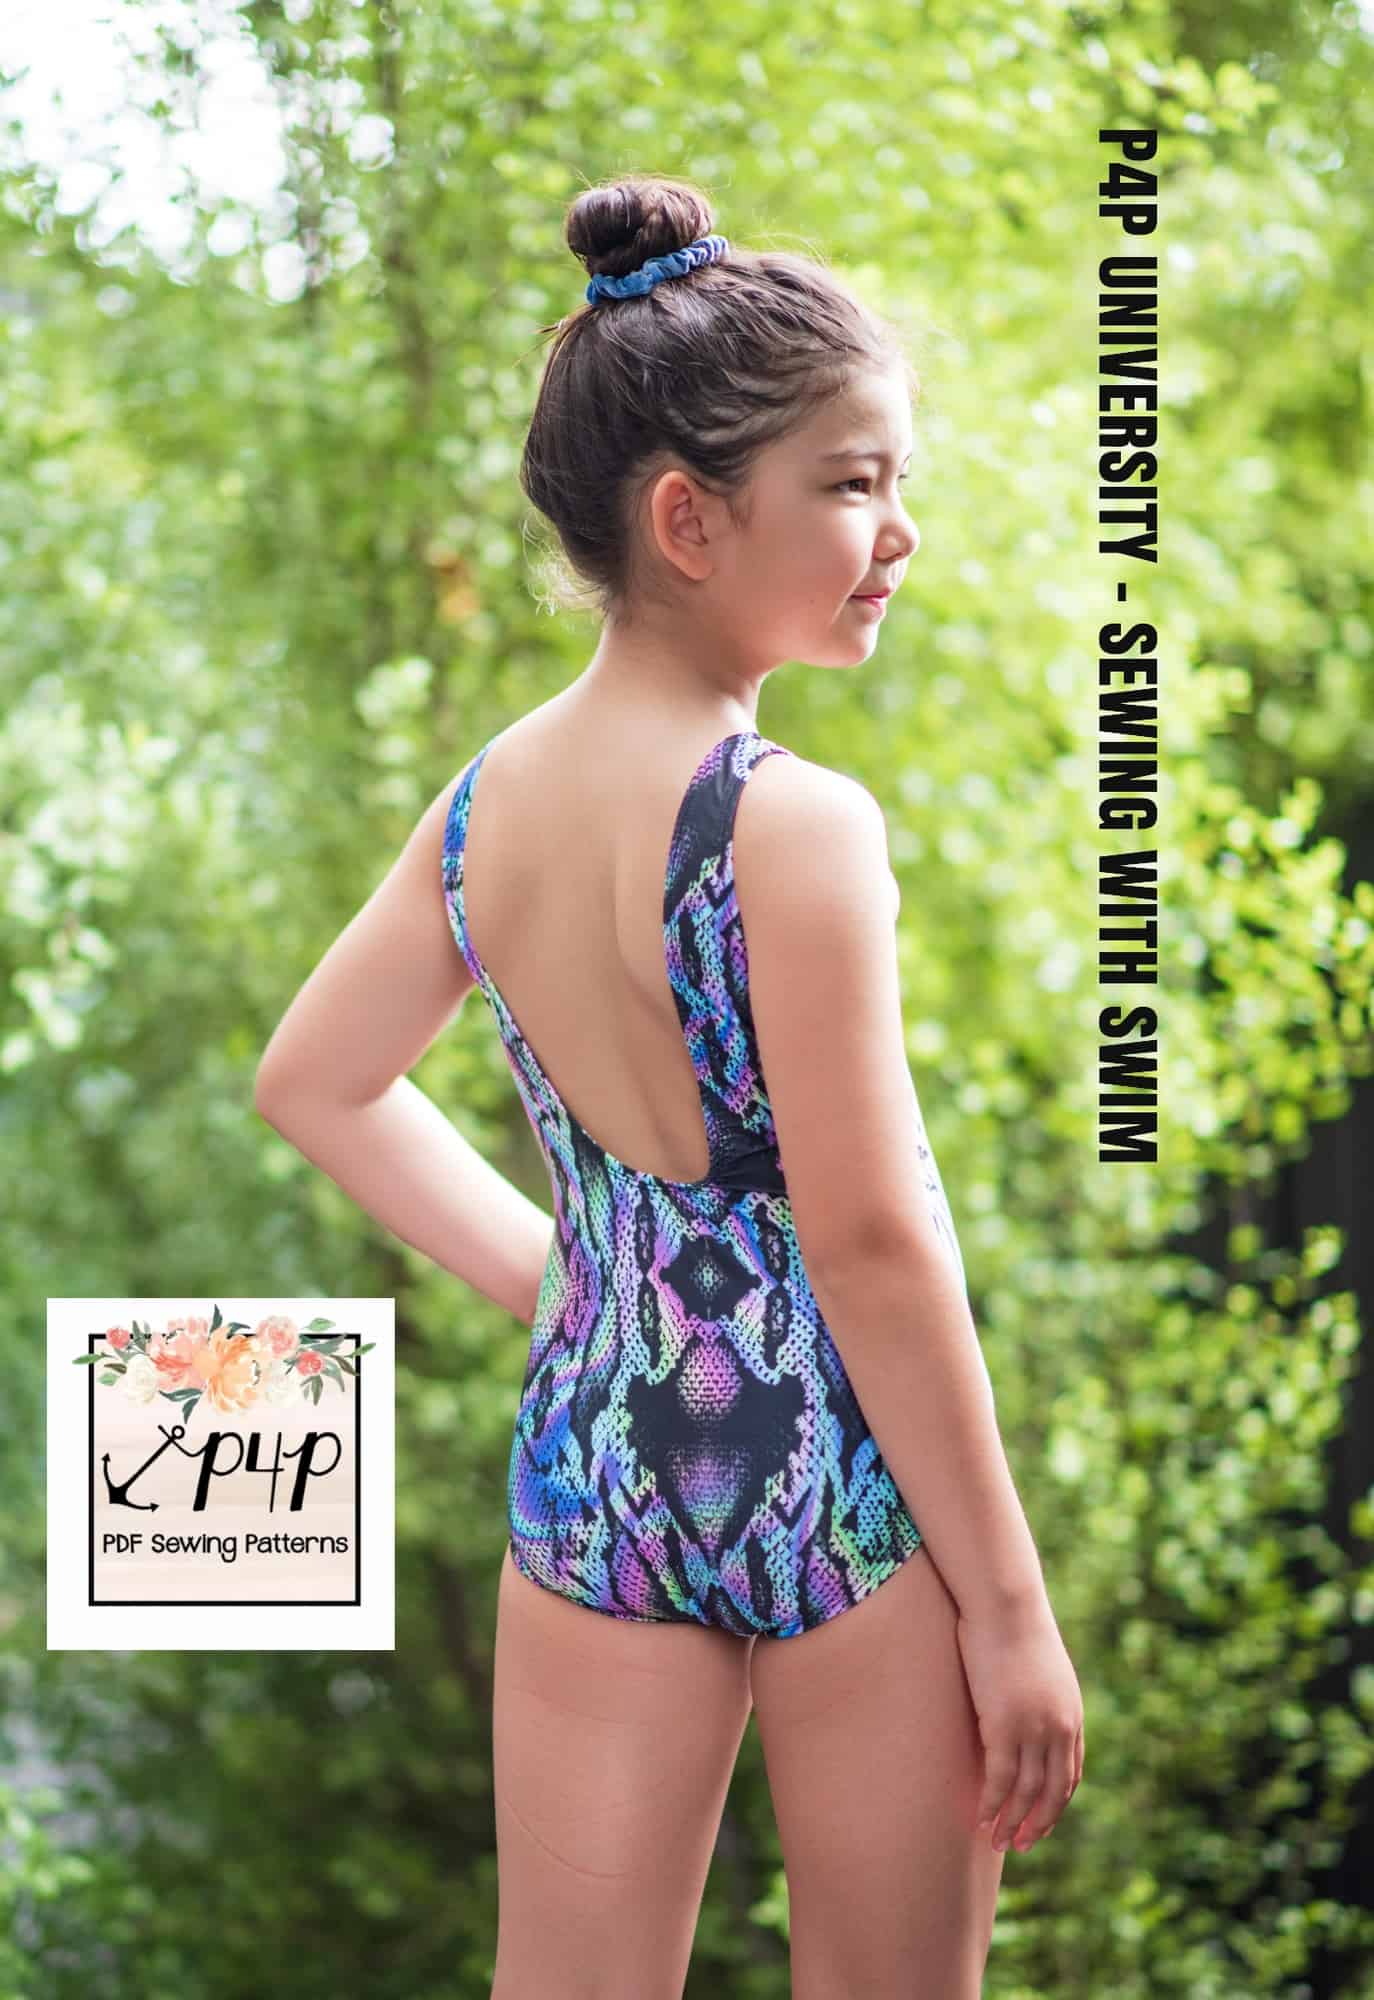
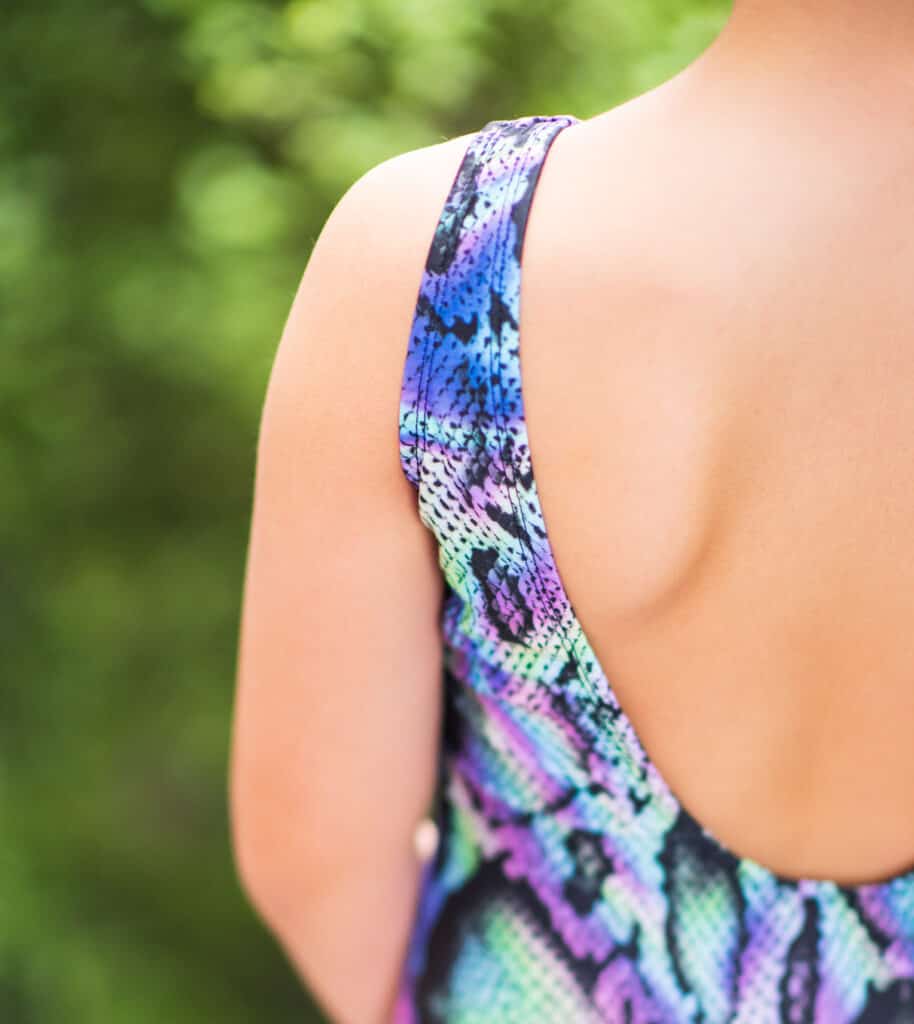
Patterns for Pirates has great swimsuits patterns available with my favourite being the minute maillot. The fit is lovely and that low back option is super cute! And it is a quick sew too! I think it is a great pattern for starting out sewing with swim fabrics.

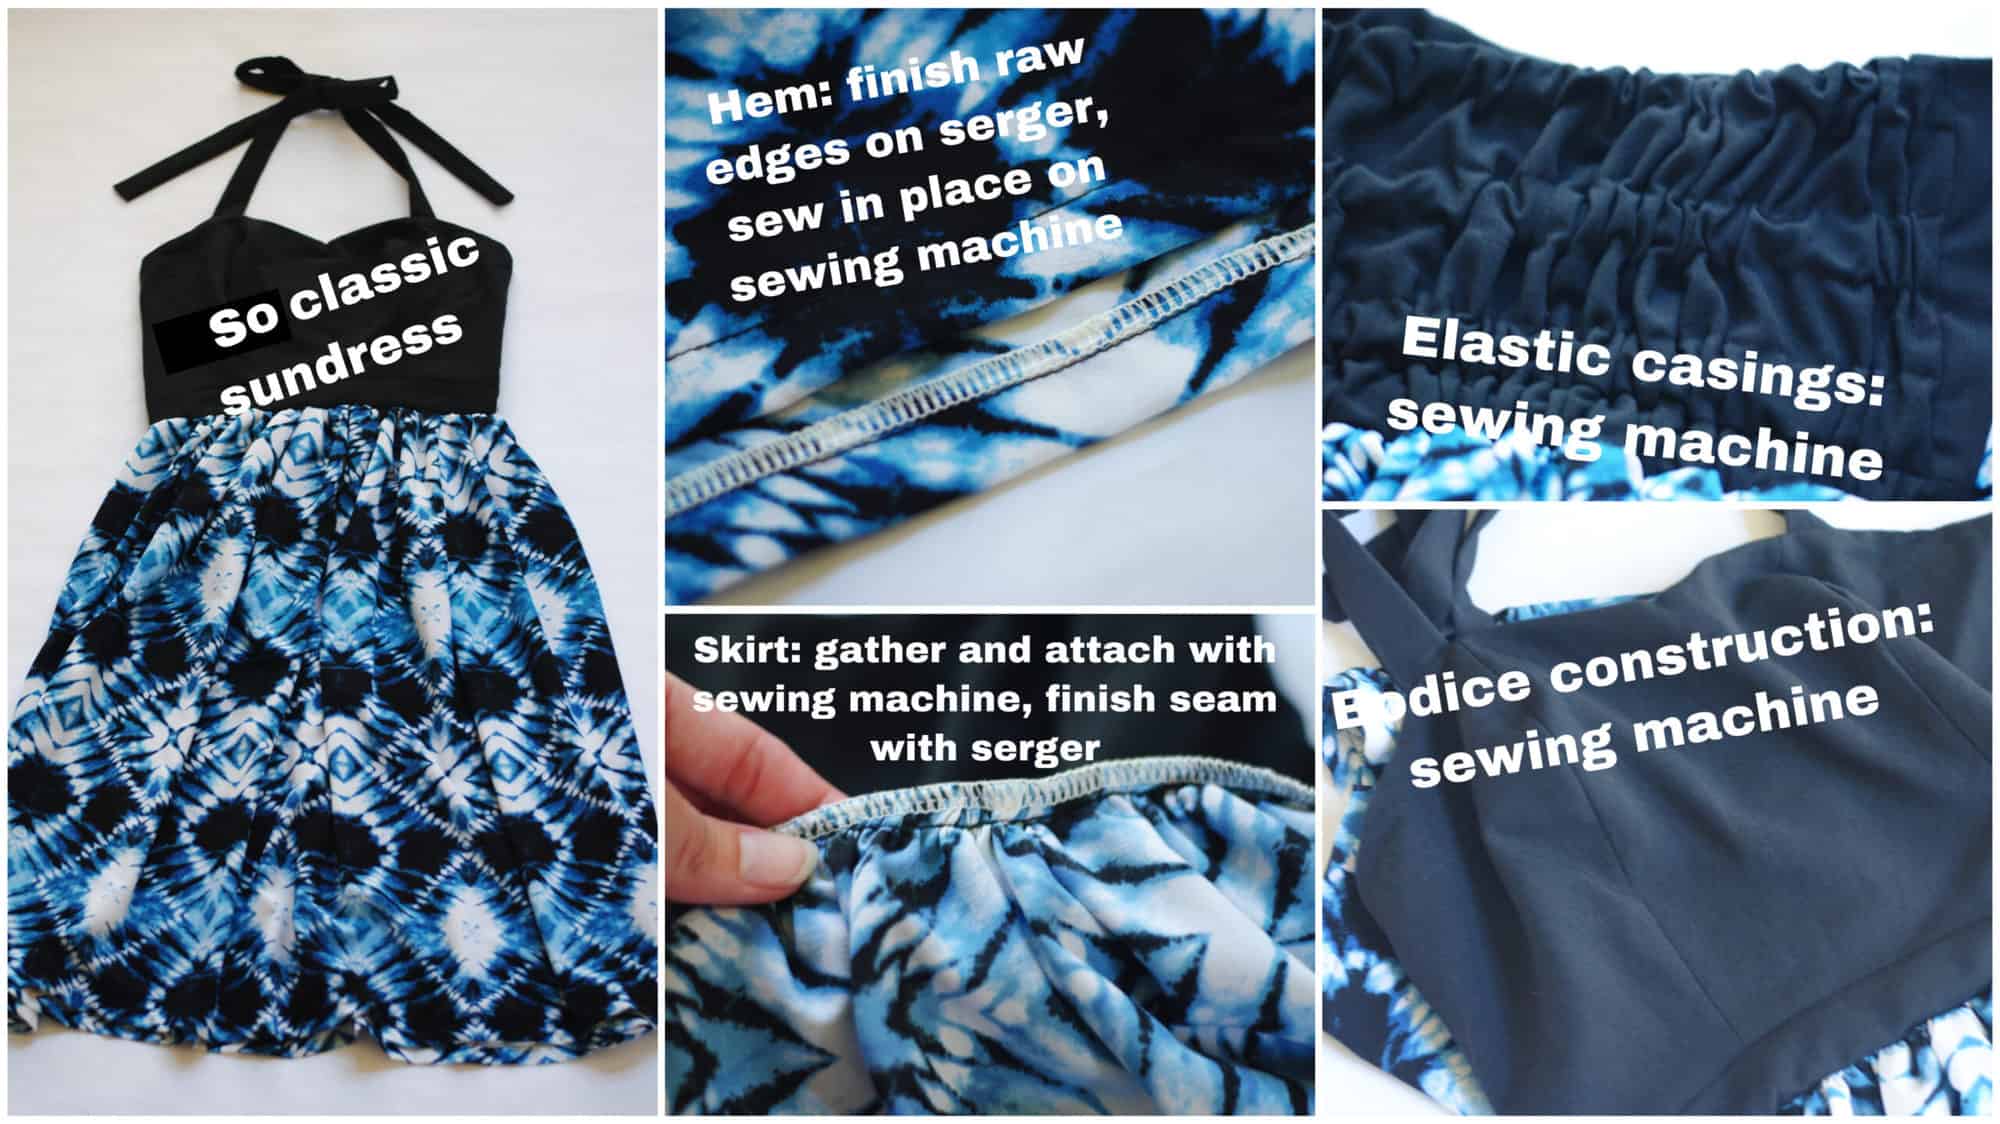
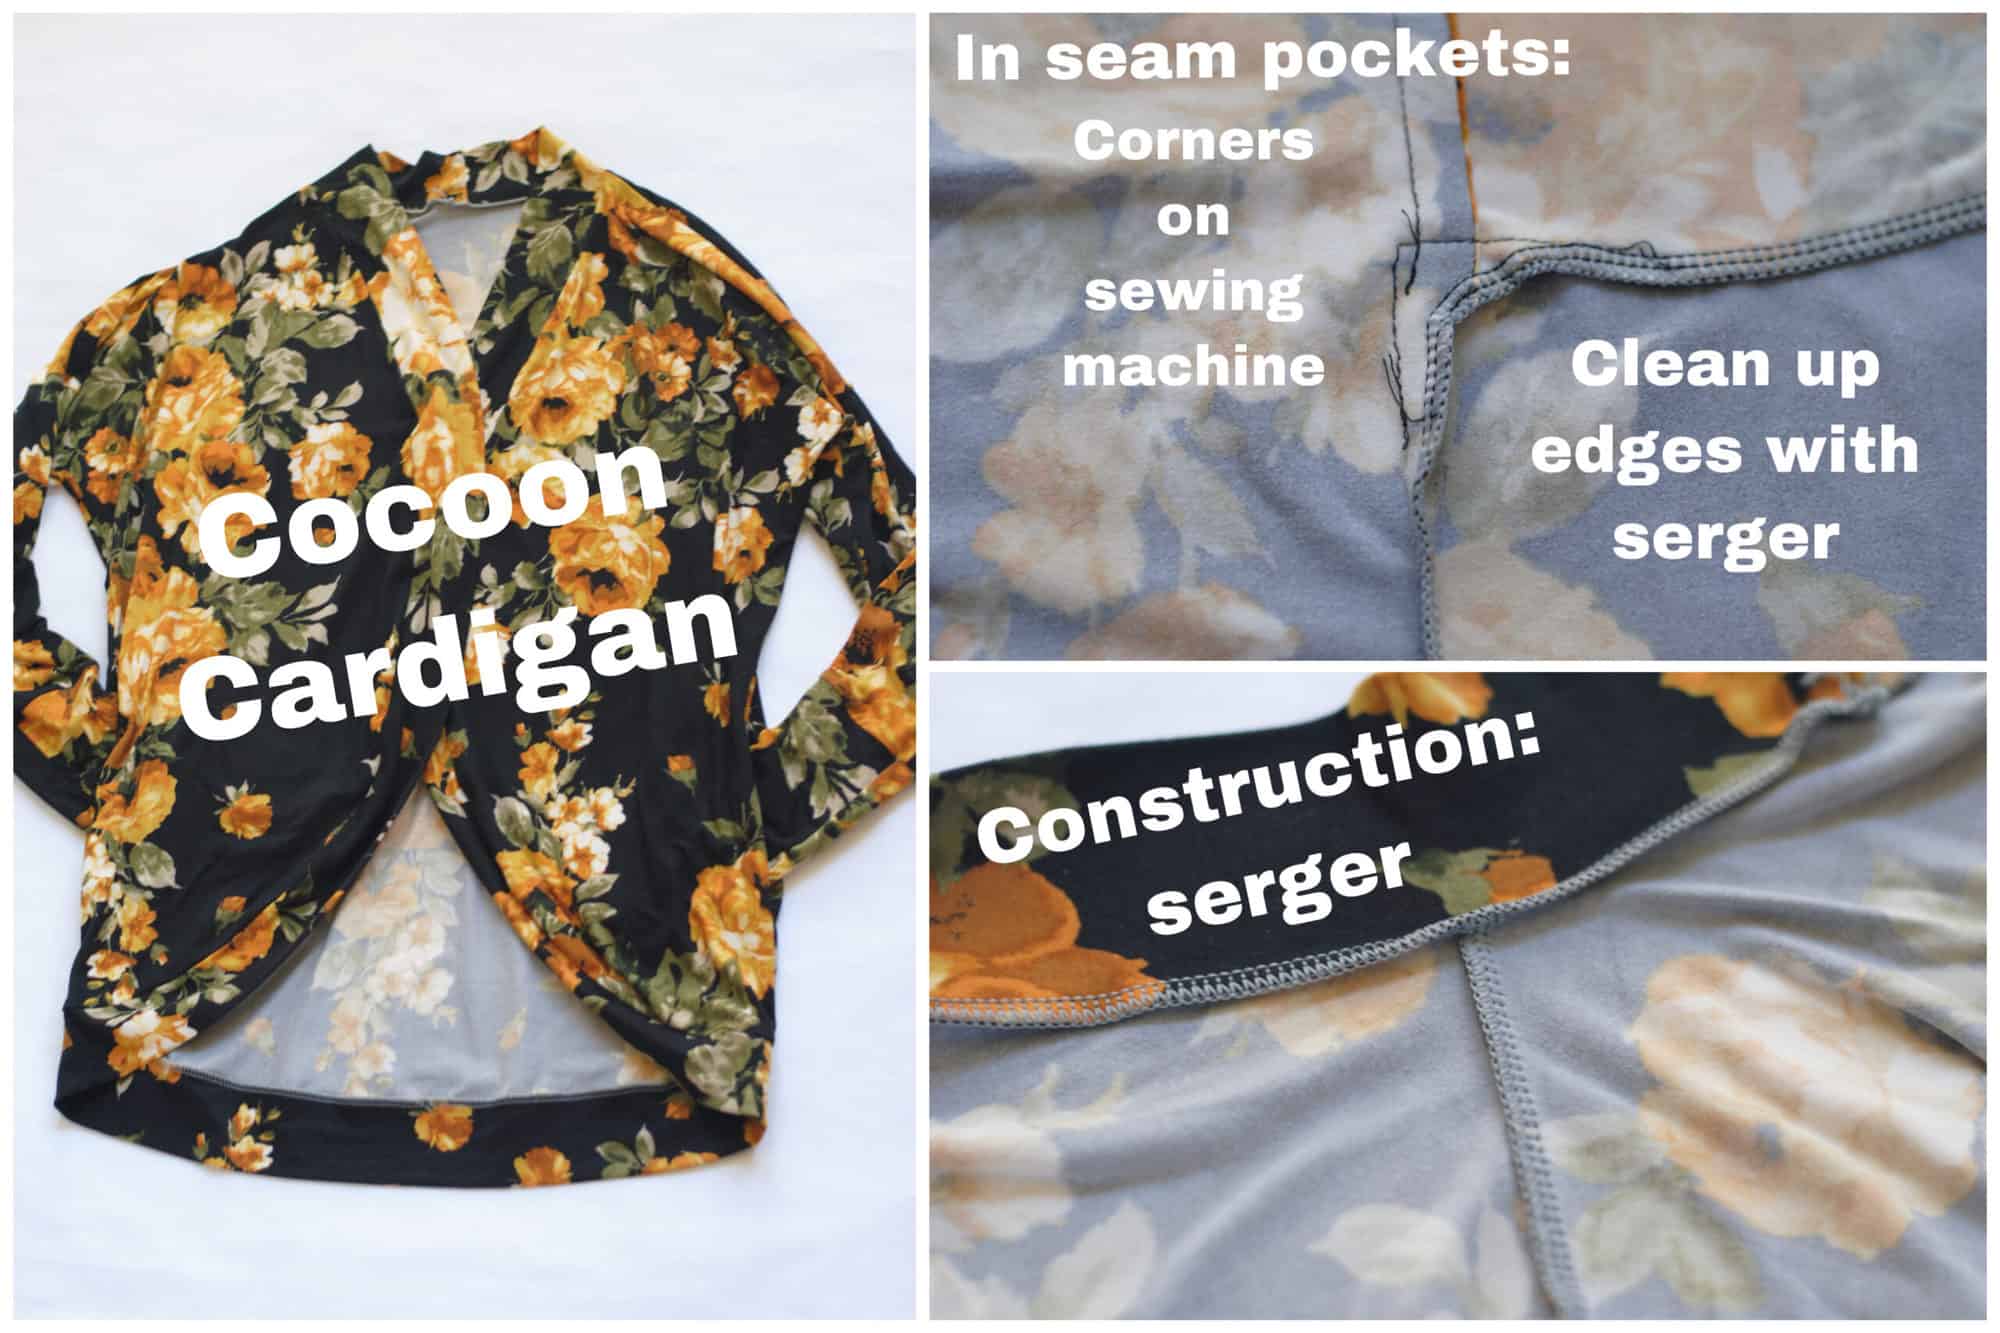
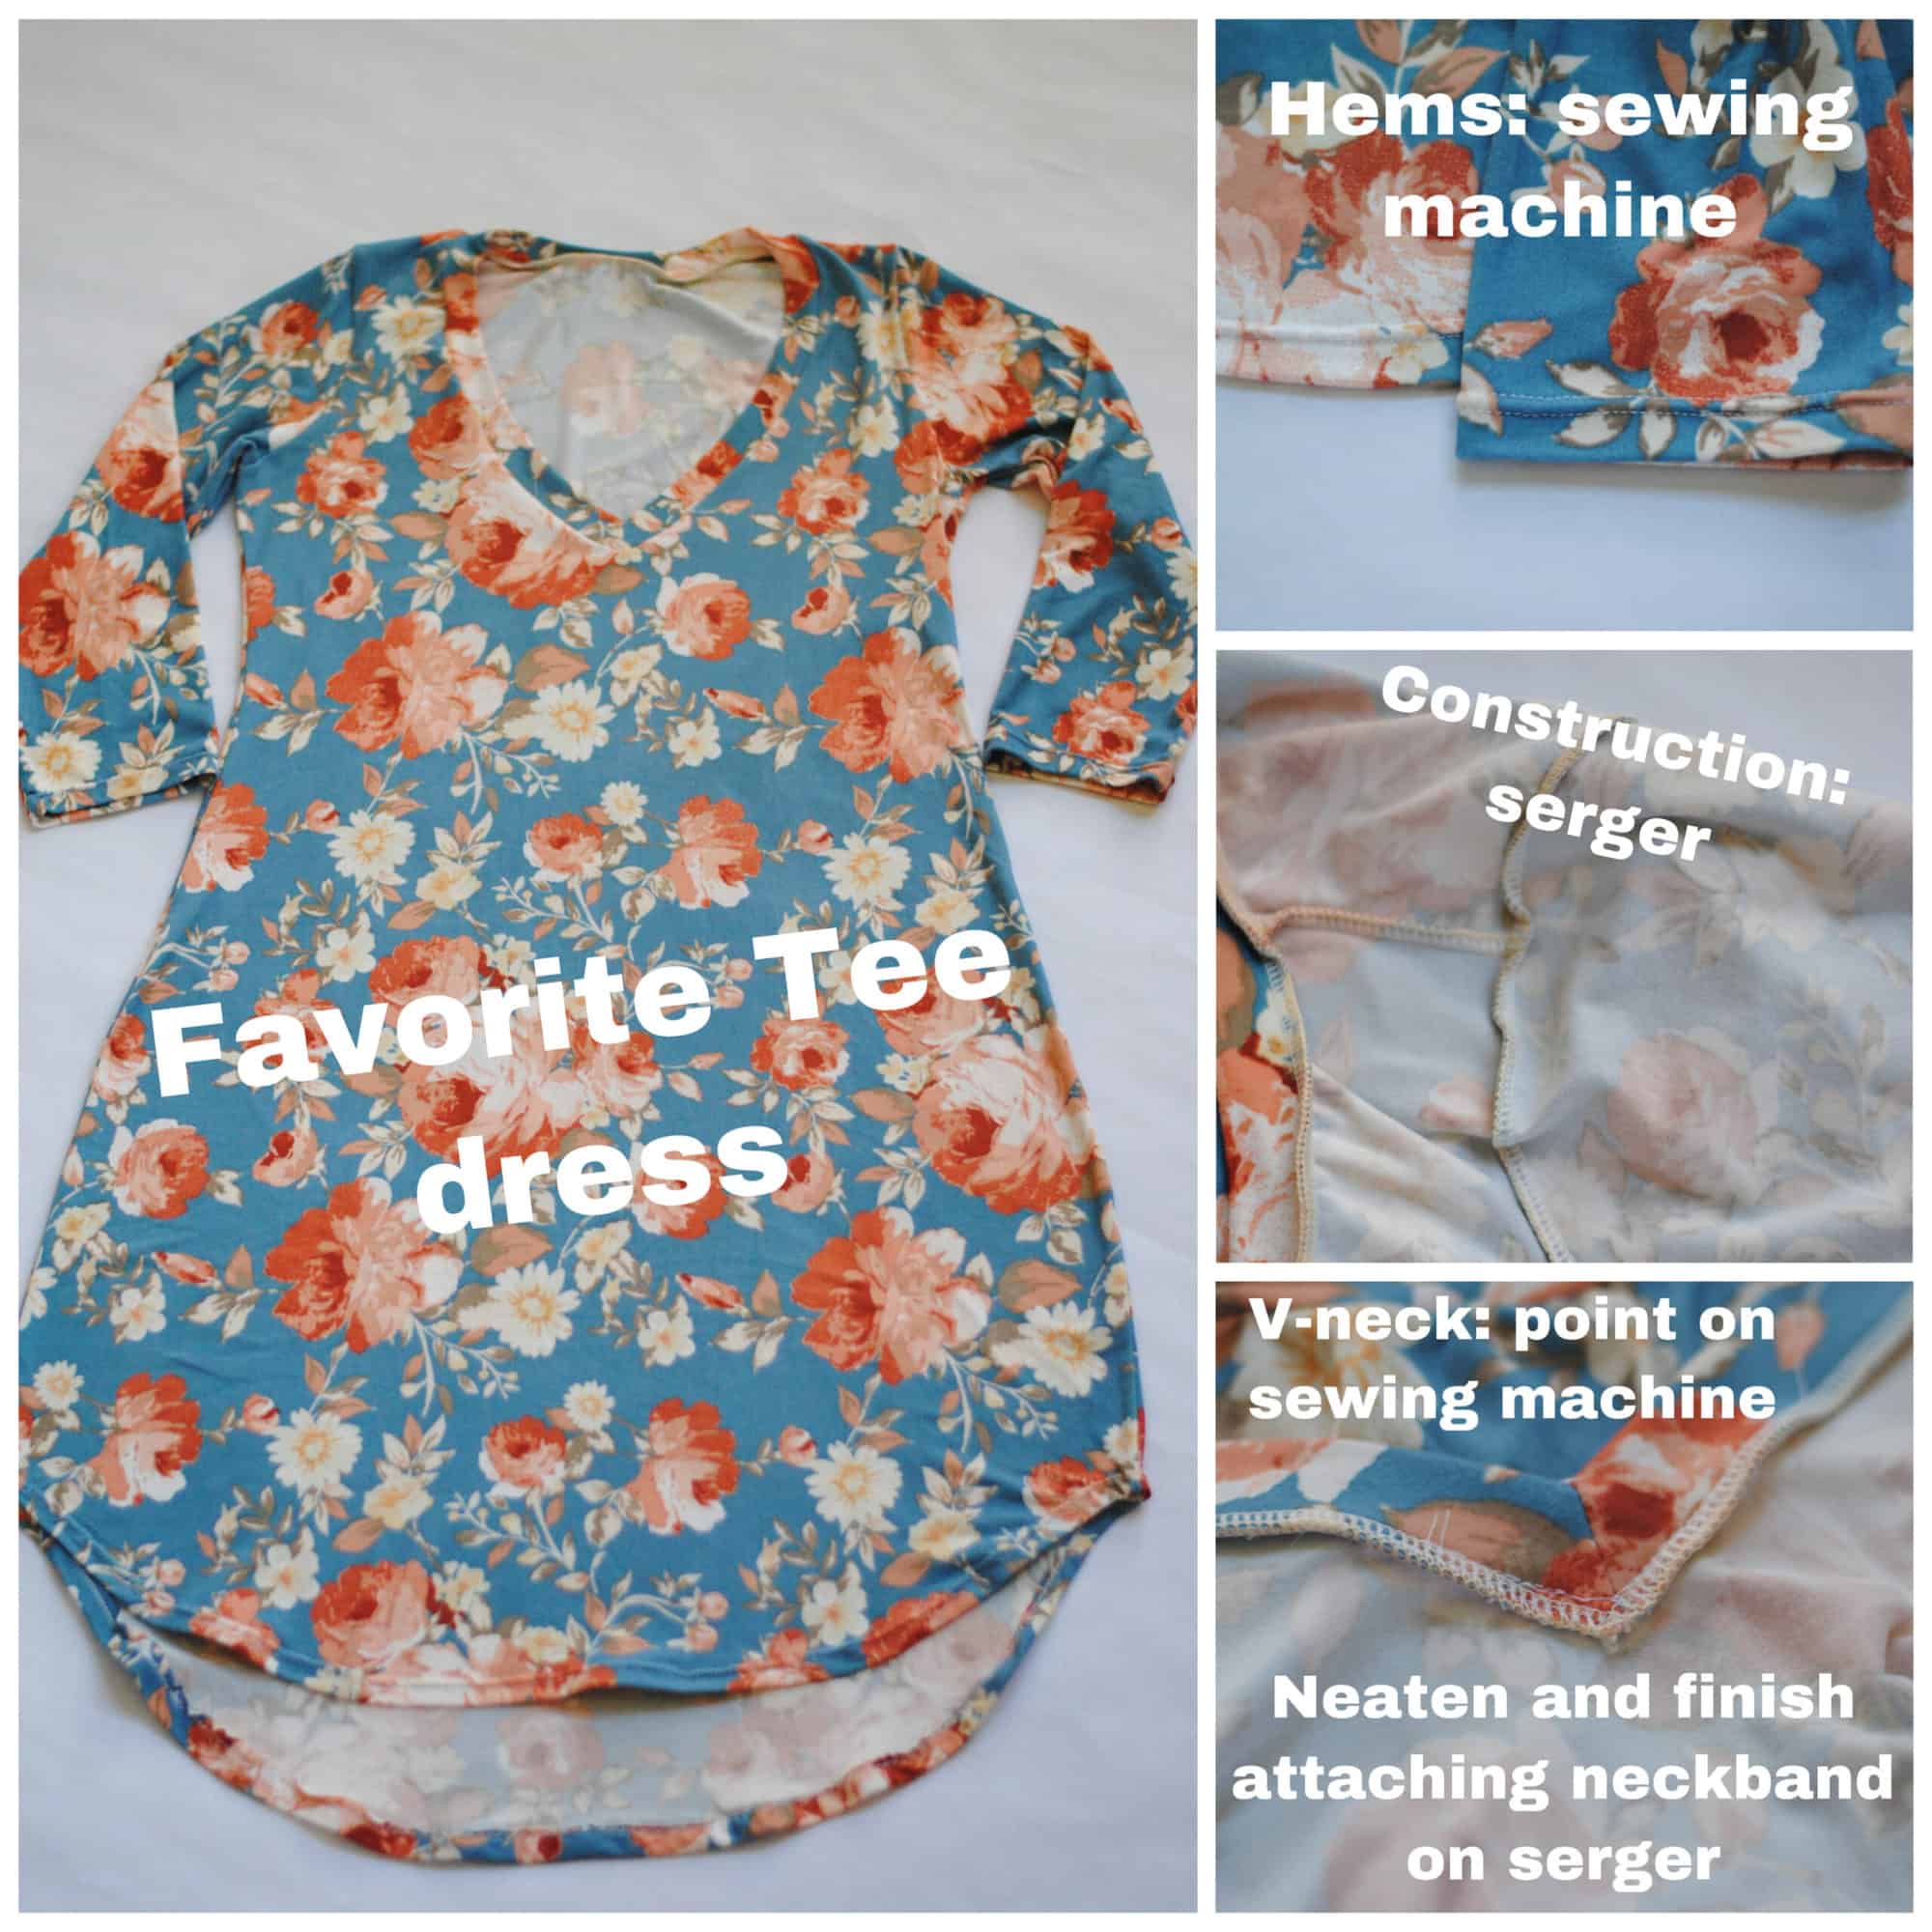
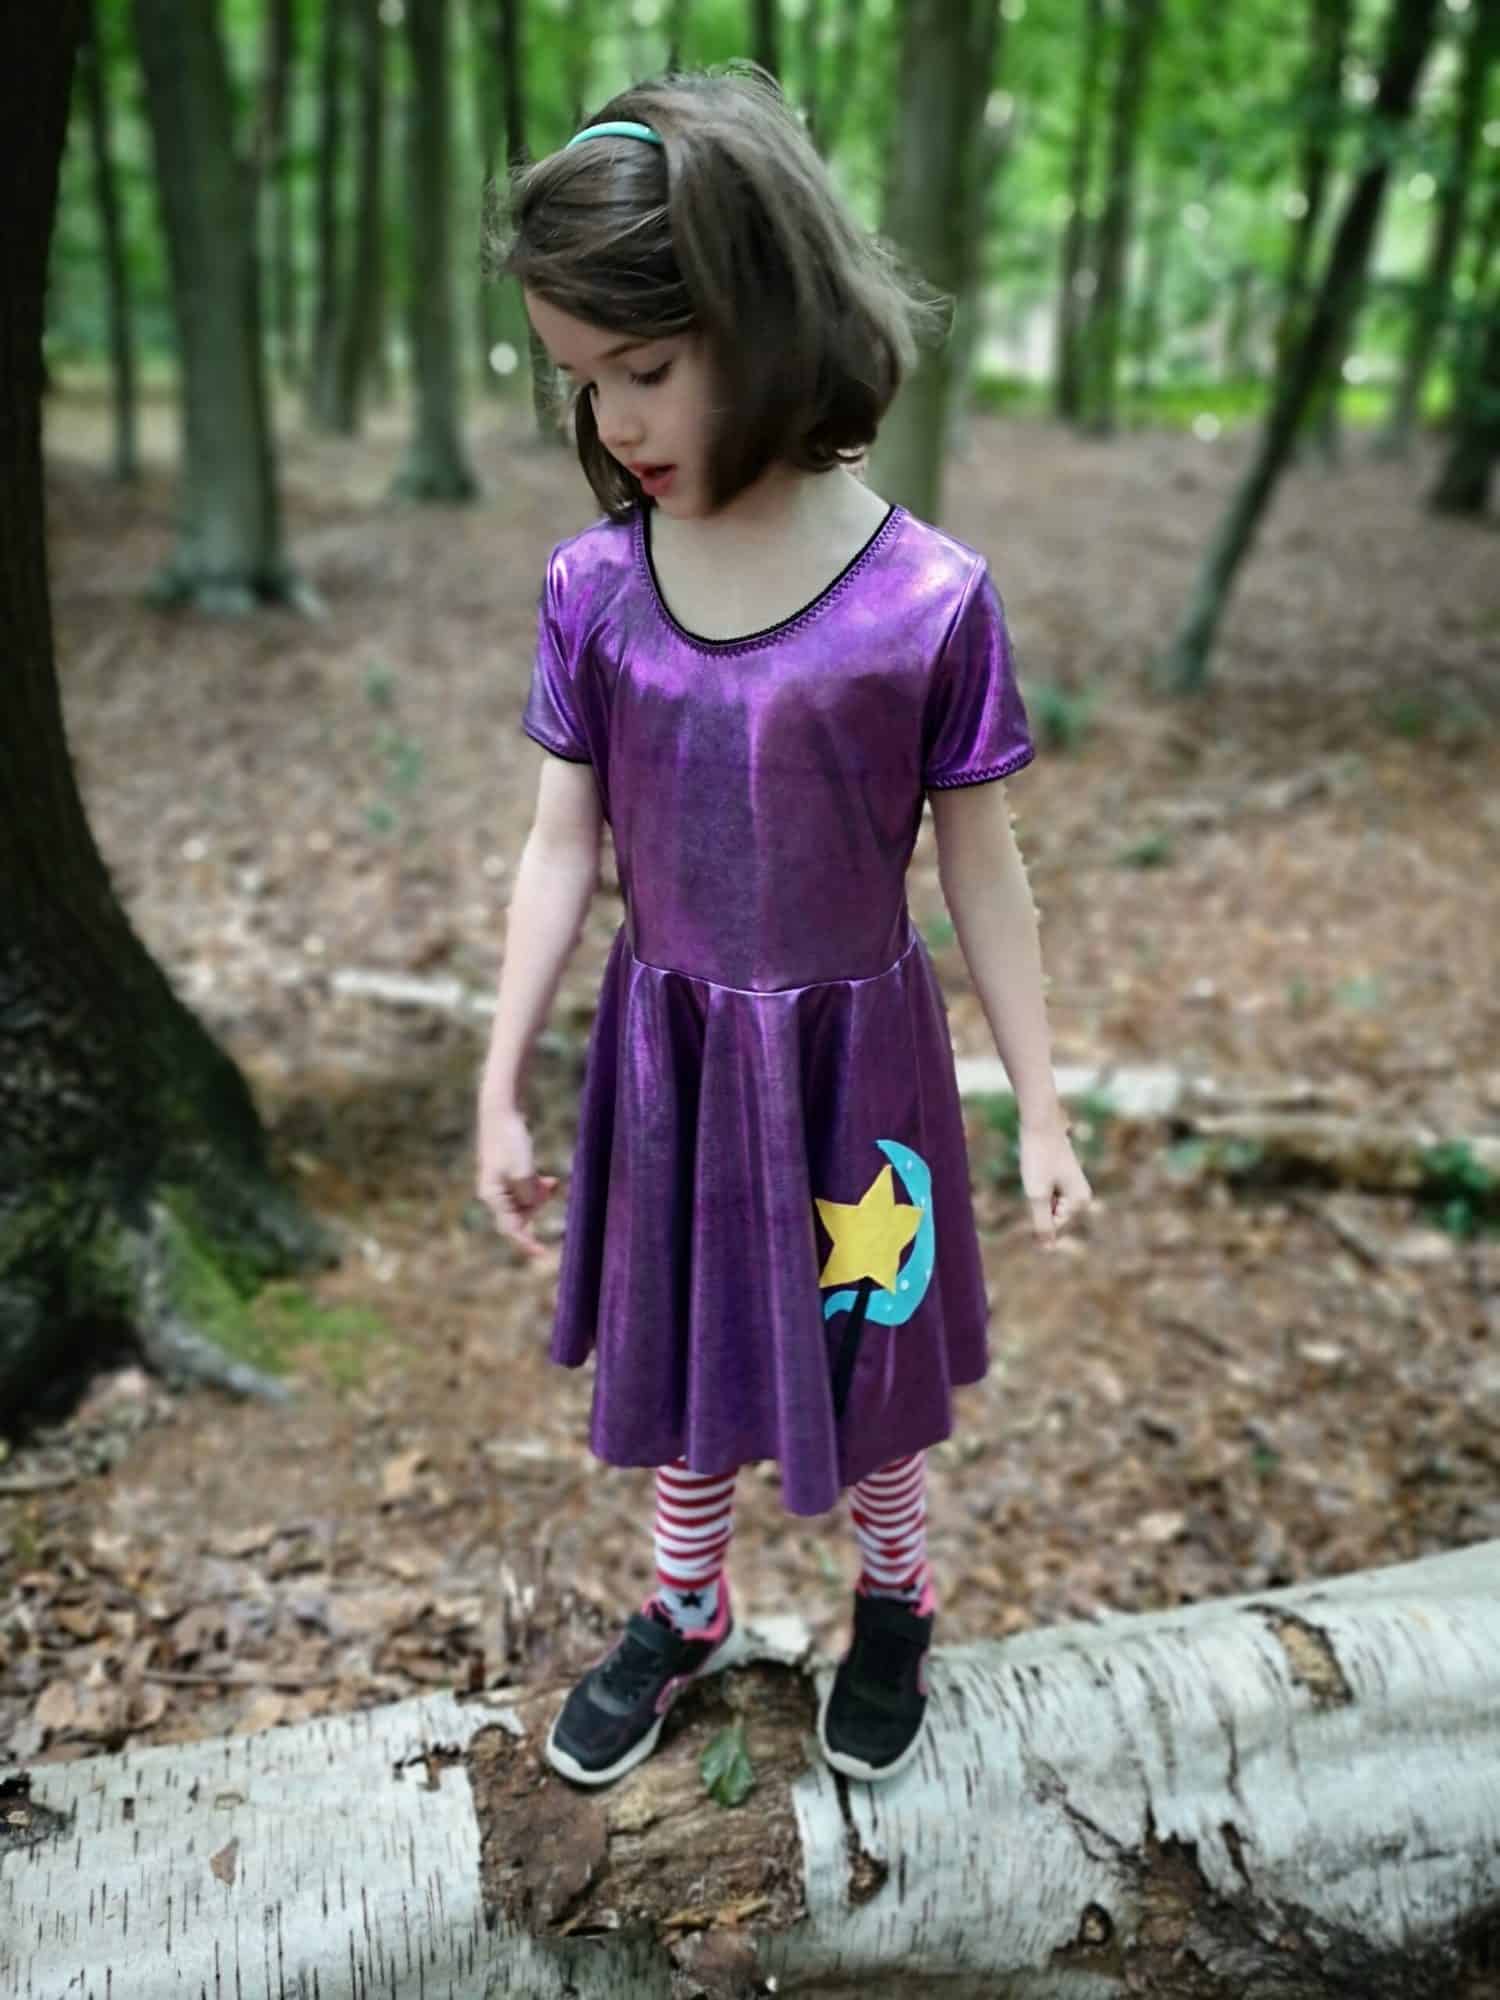
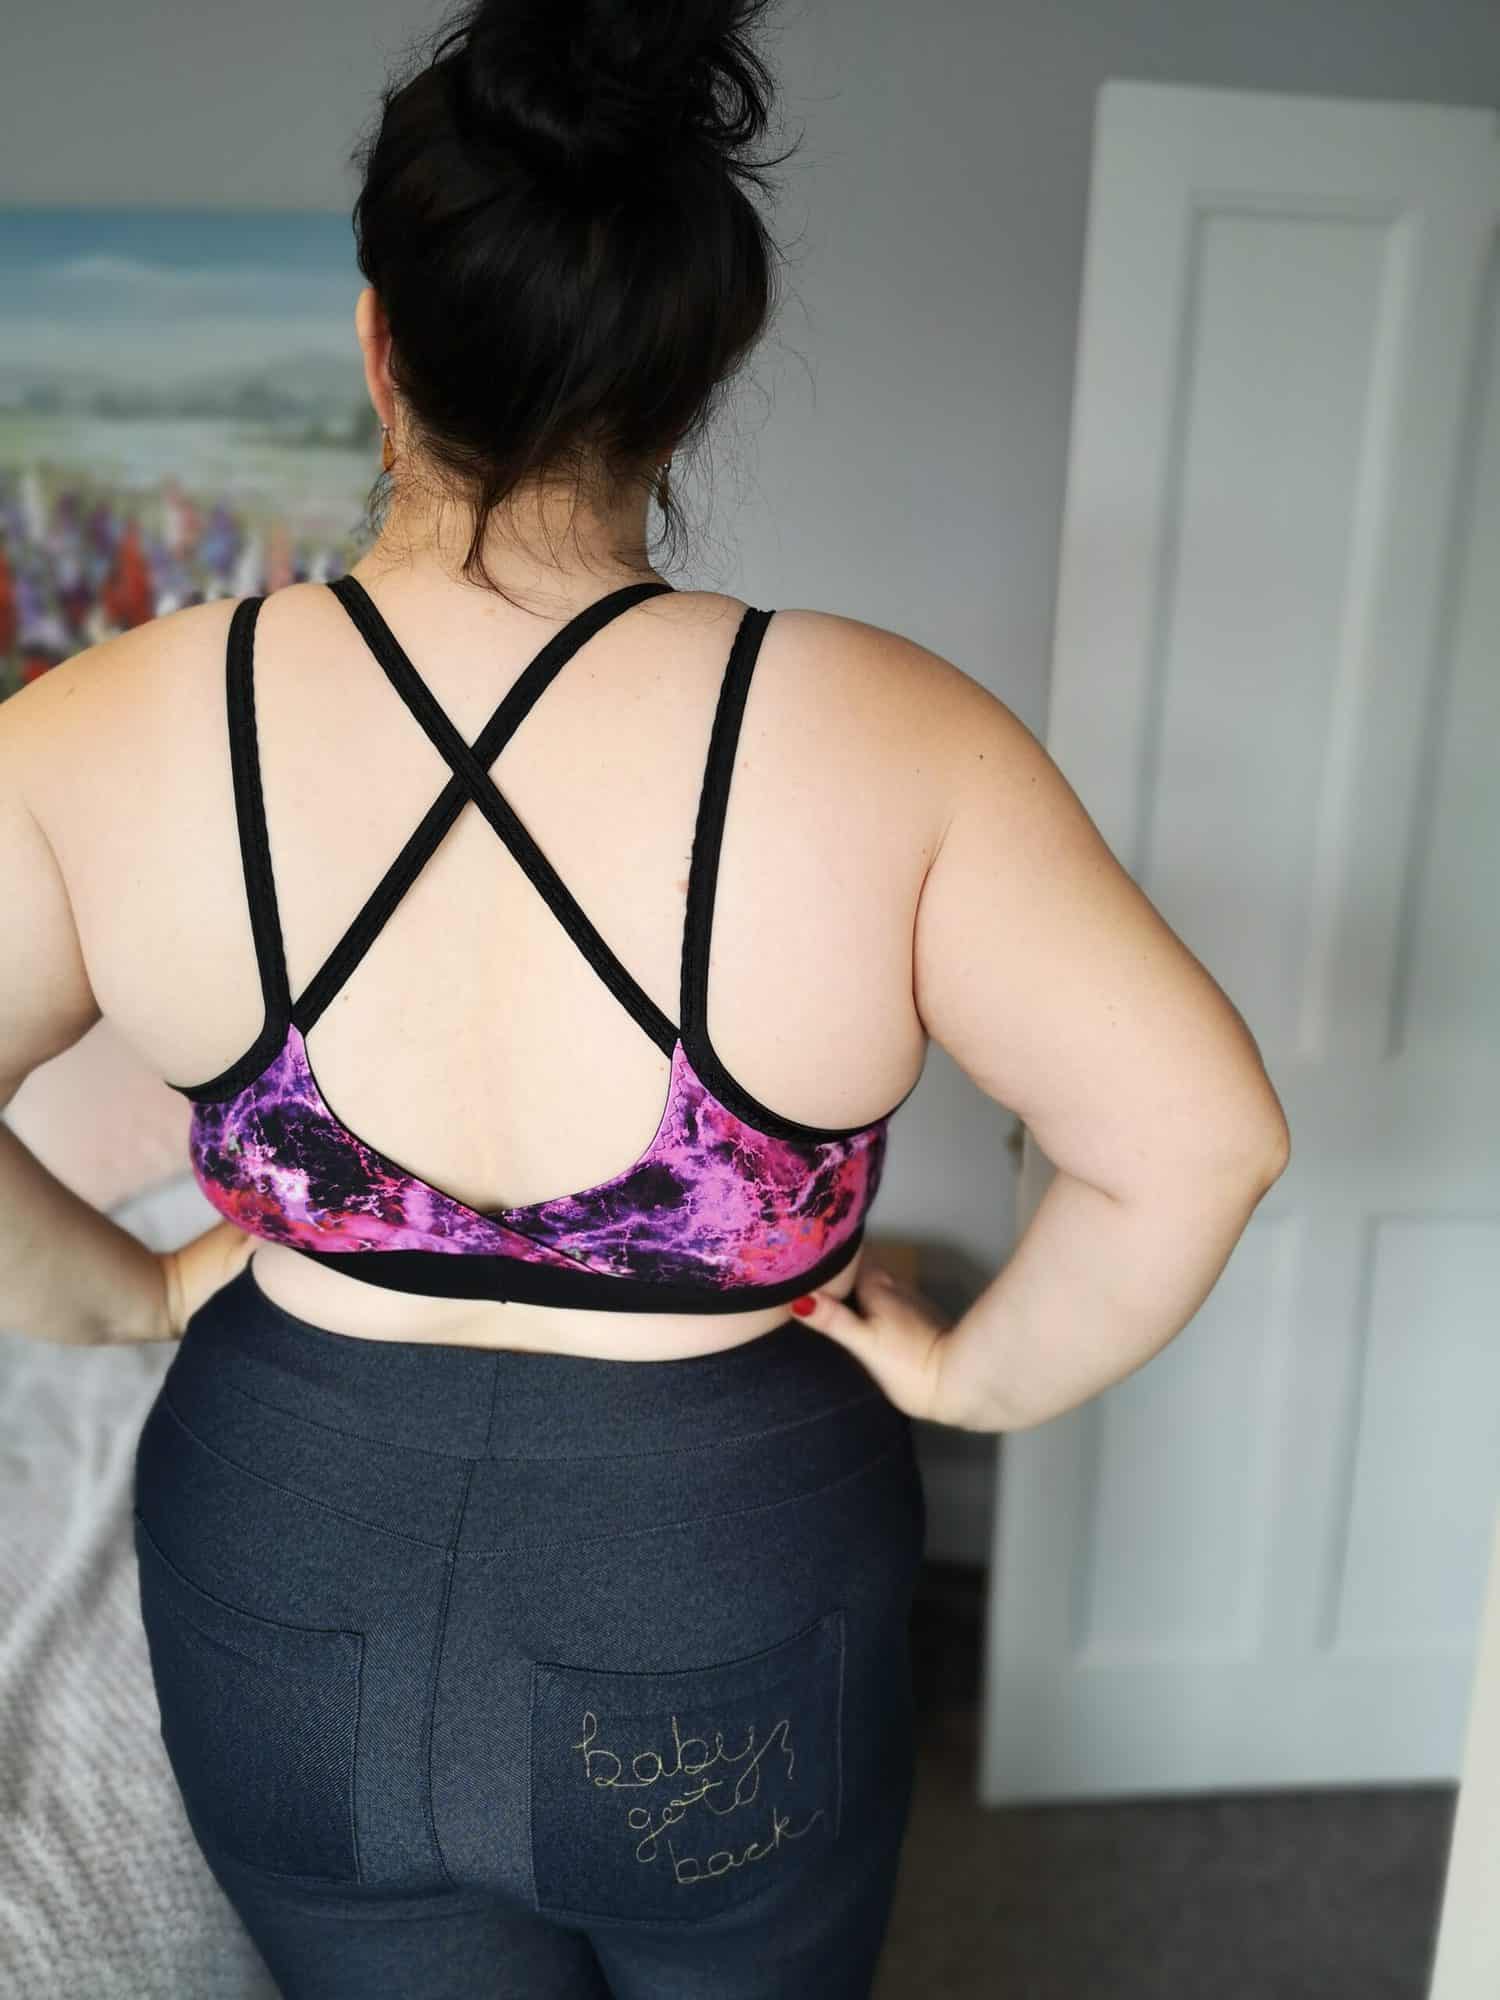
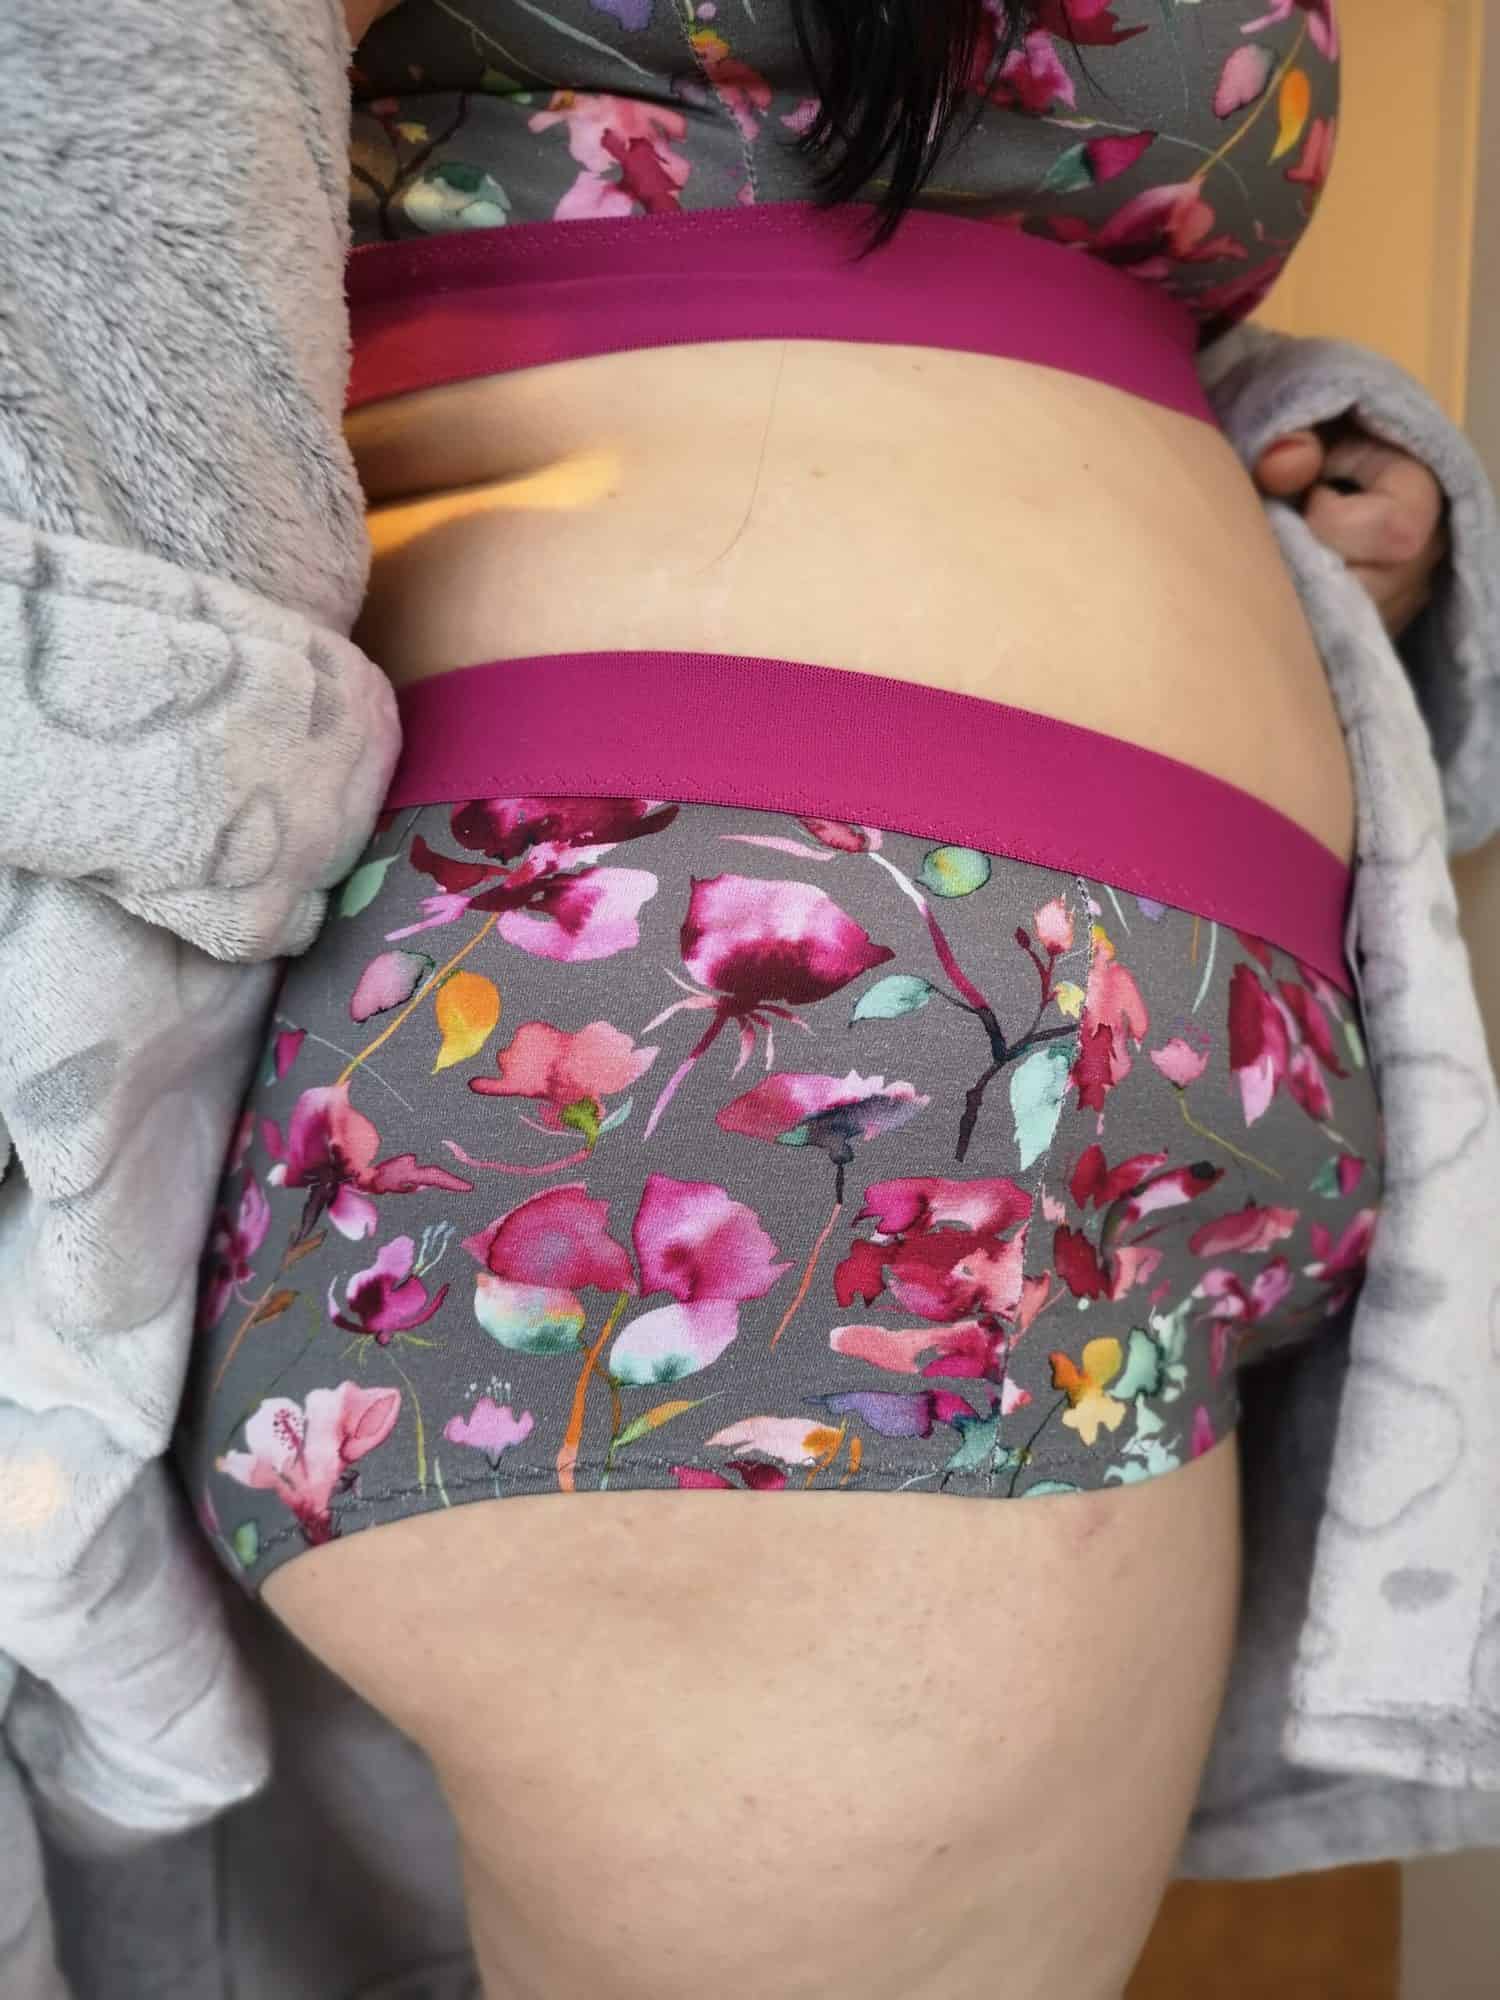
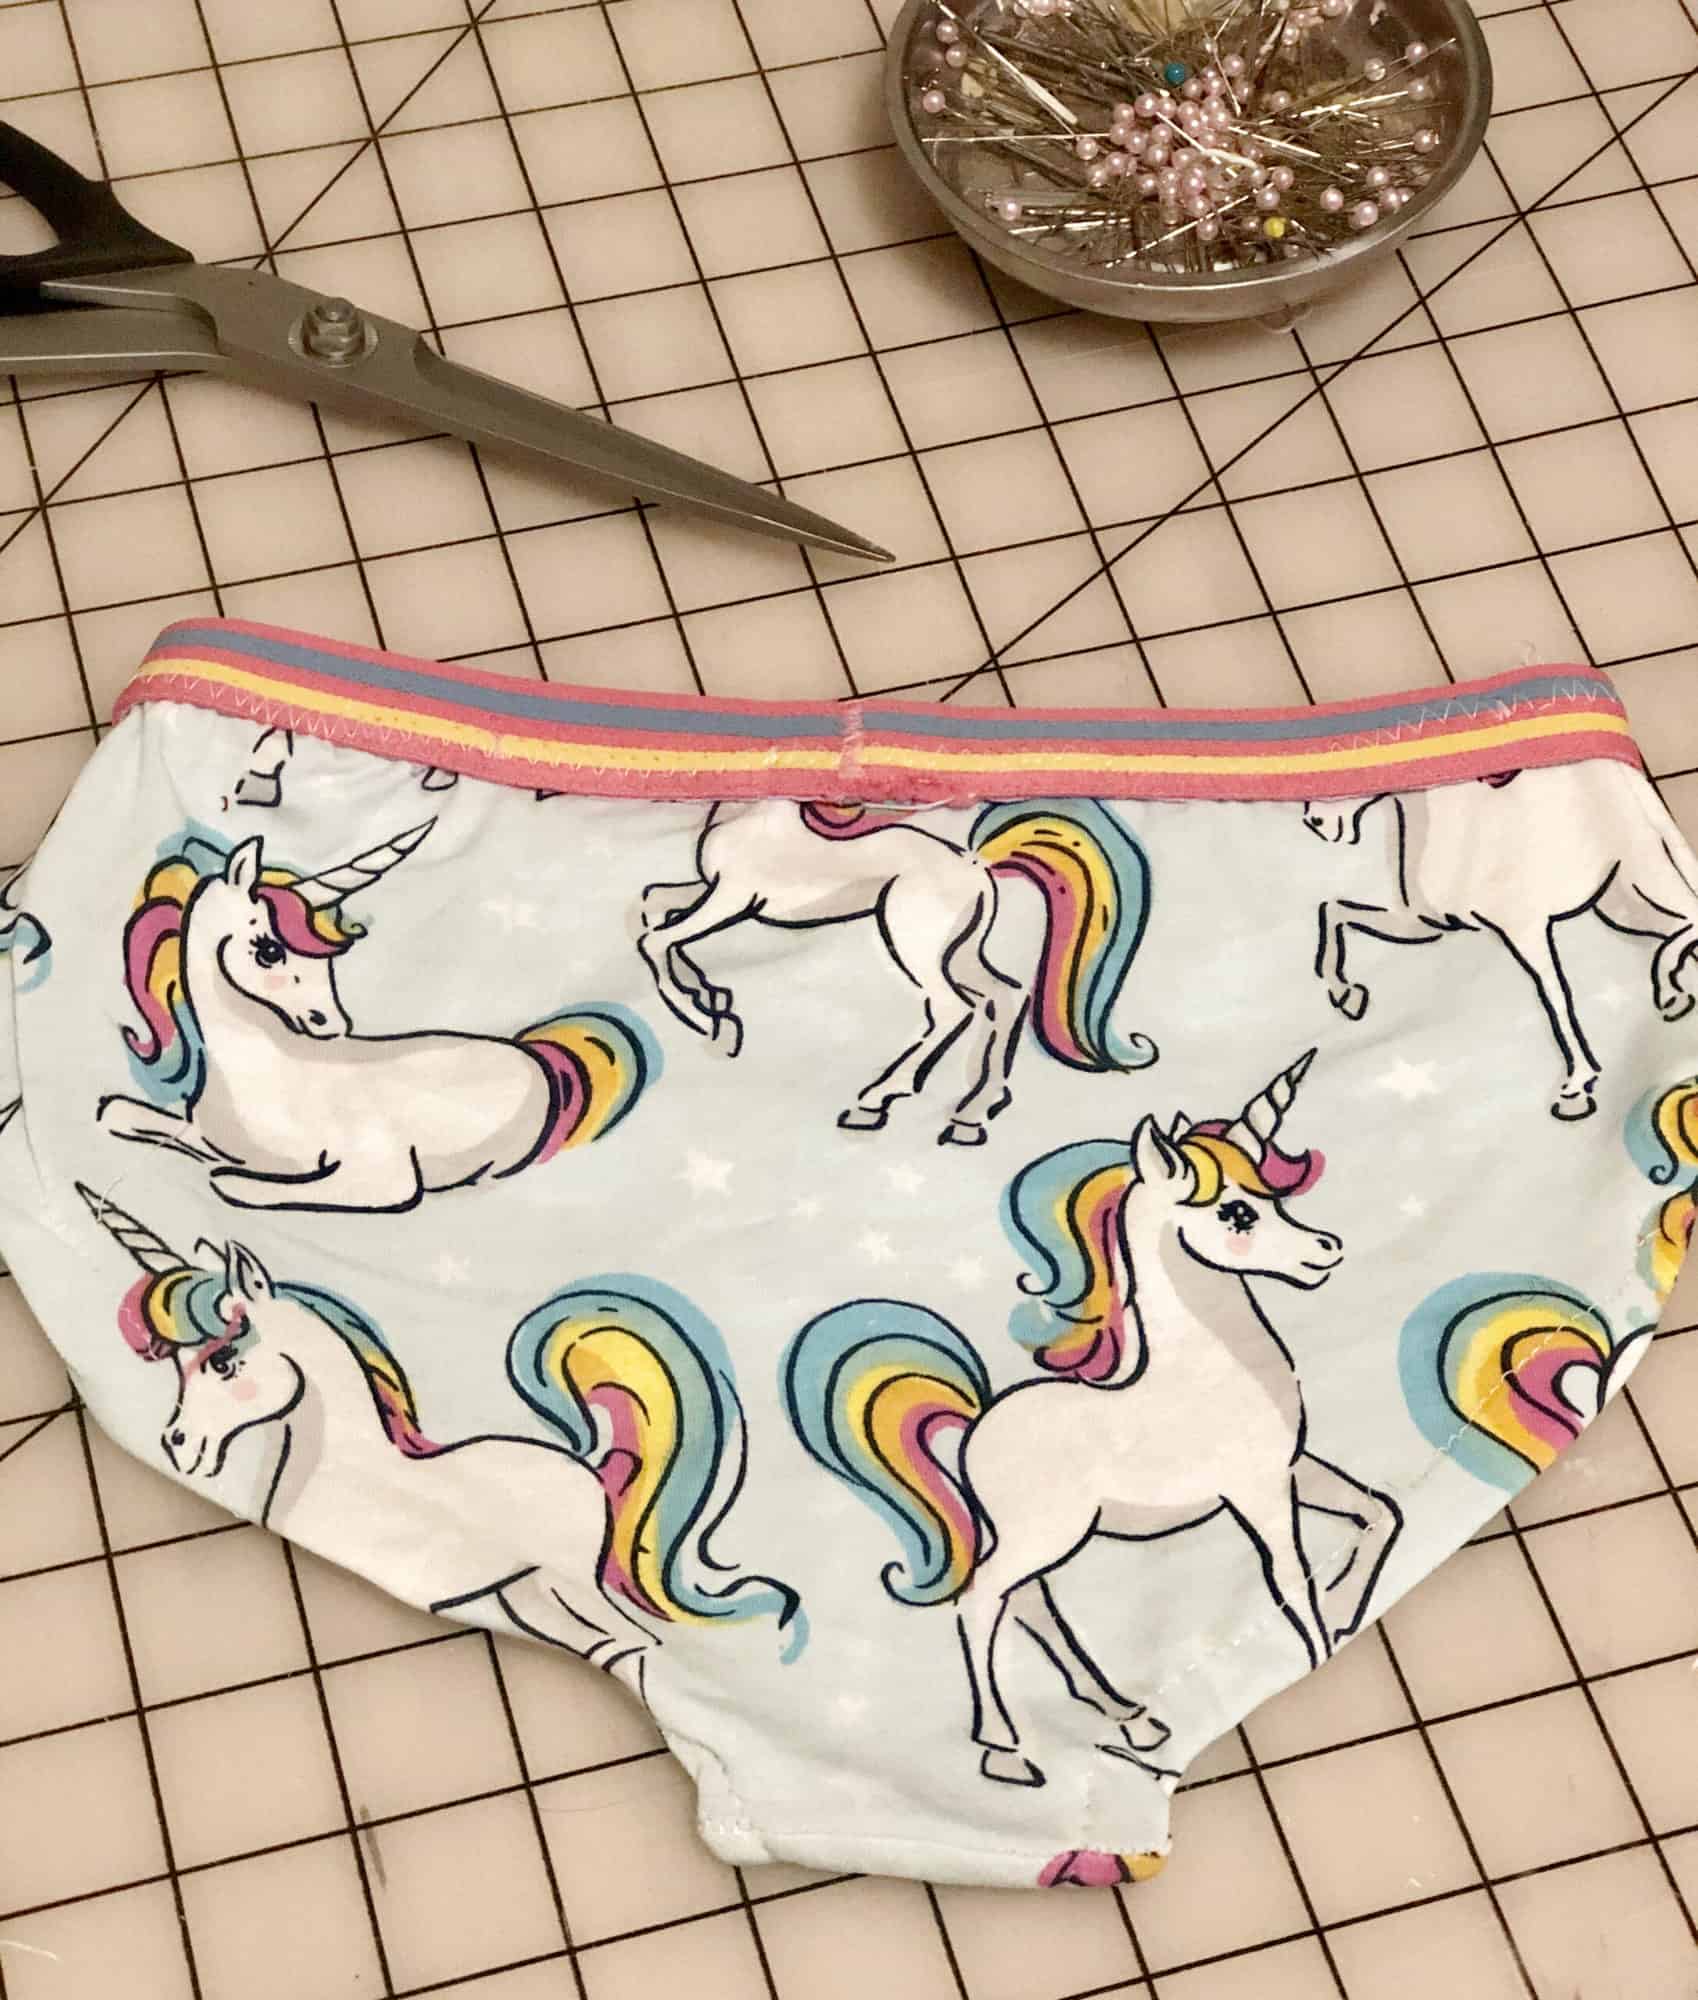
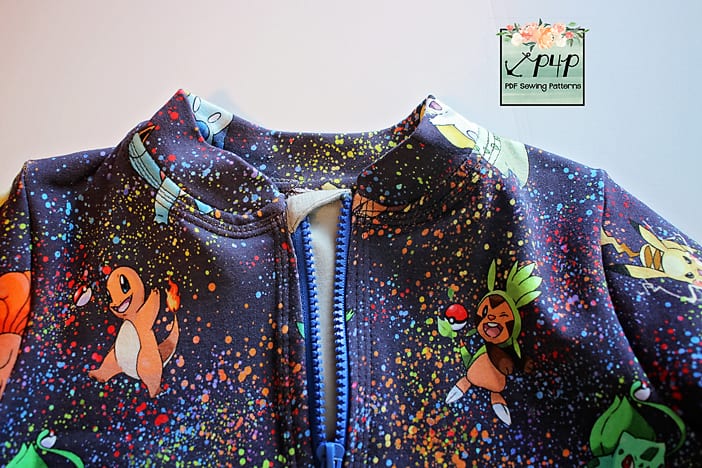
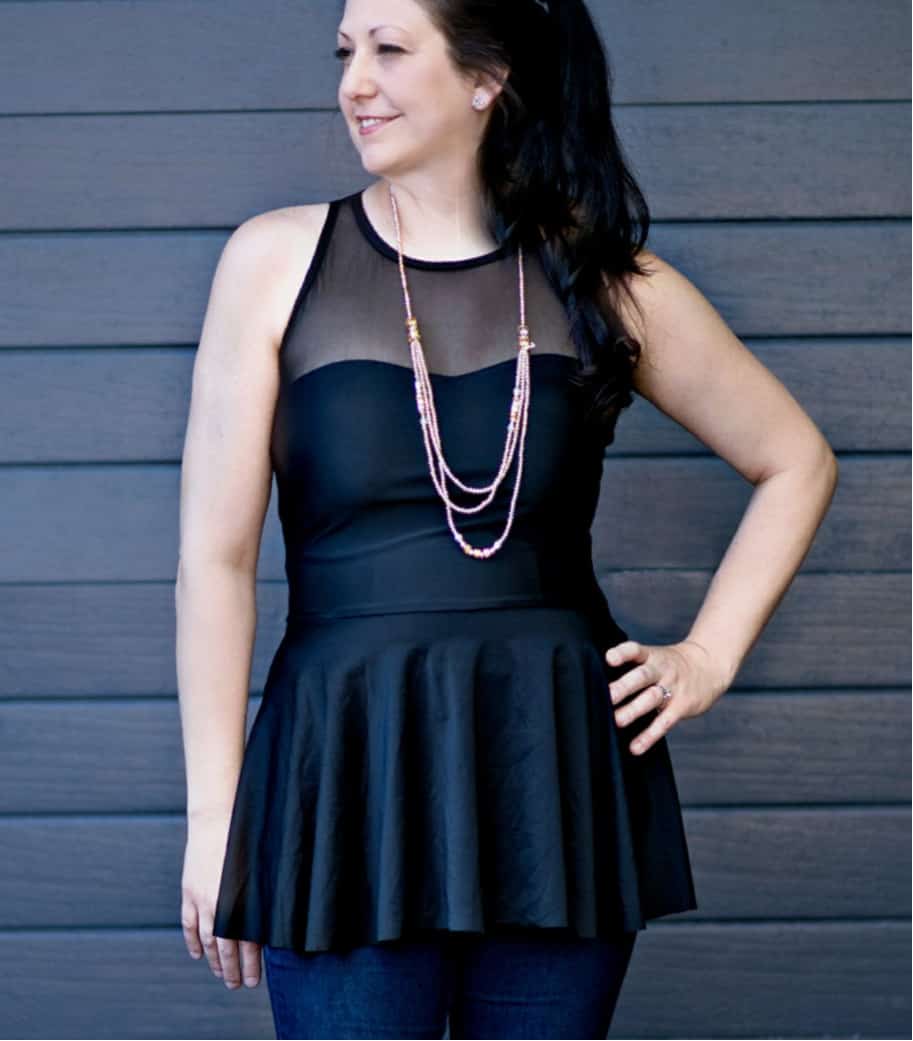
I actually use swim spandex for many other p4p sews, such as the sweetheart dress, gala gown, wiggle dress, hepburn top and dress, twist back top, pencil skirt, flutter wrap dress, fierce bra and peg legs to name a few.

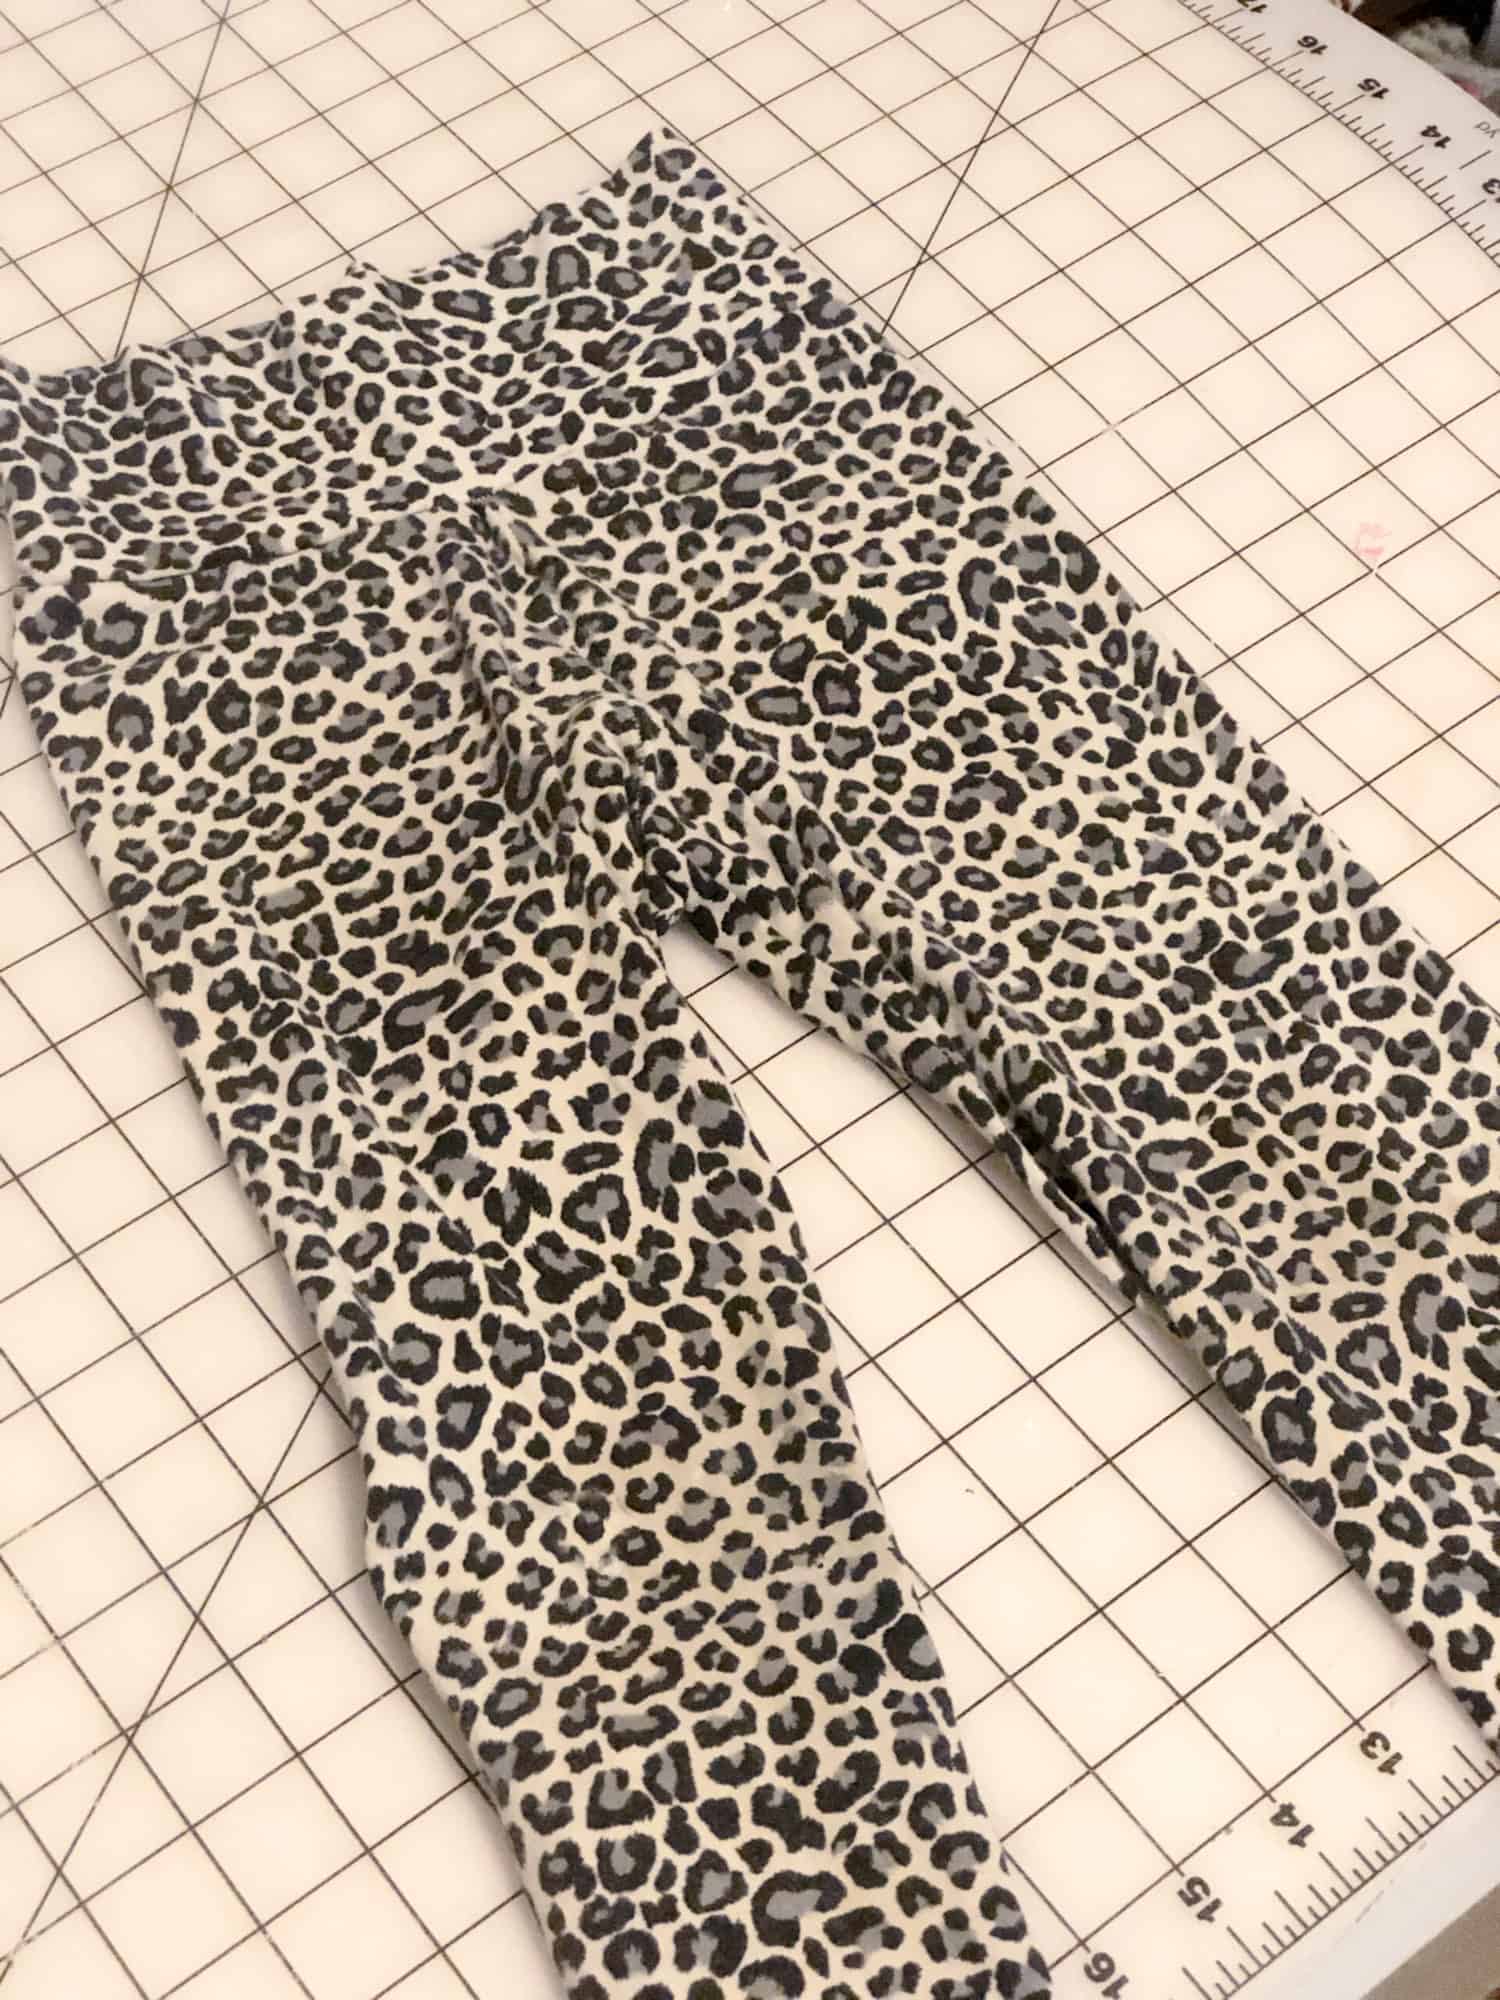
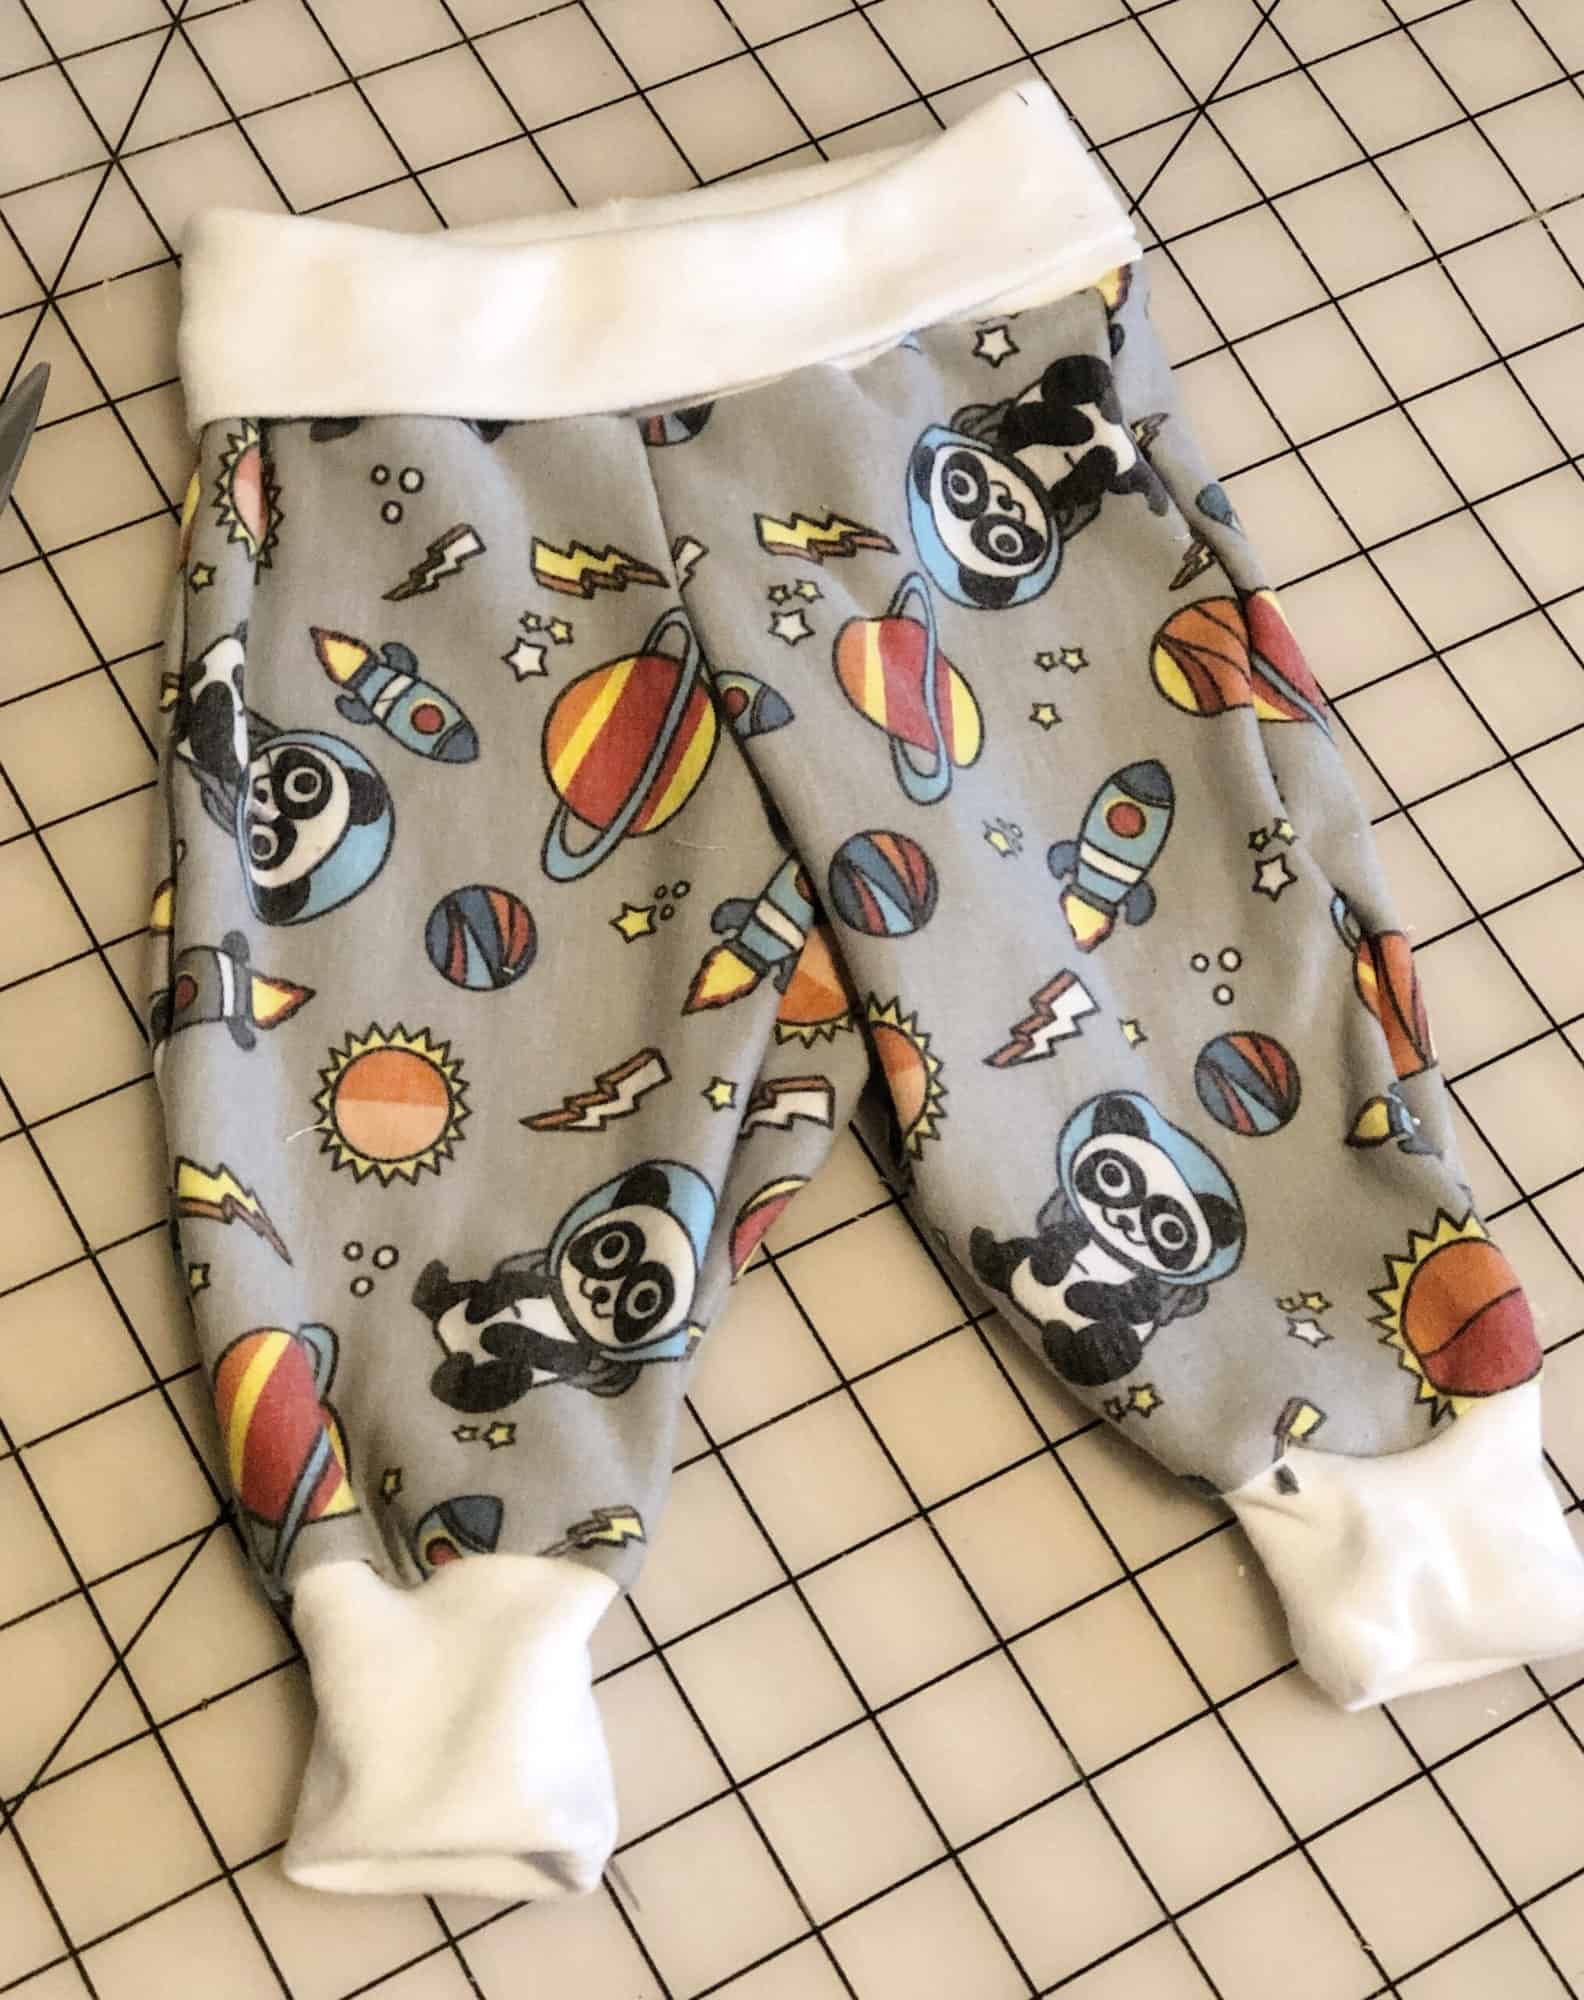
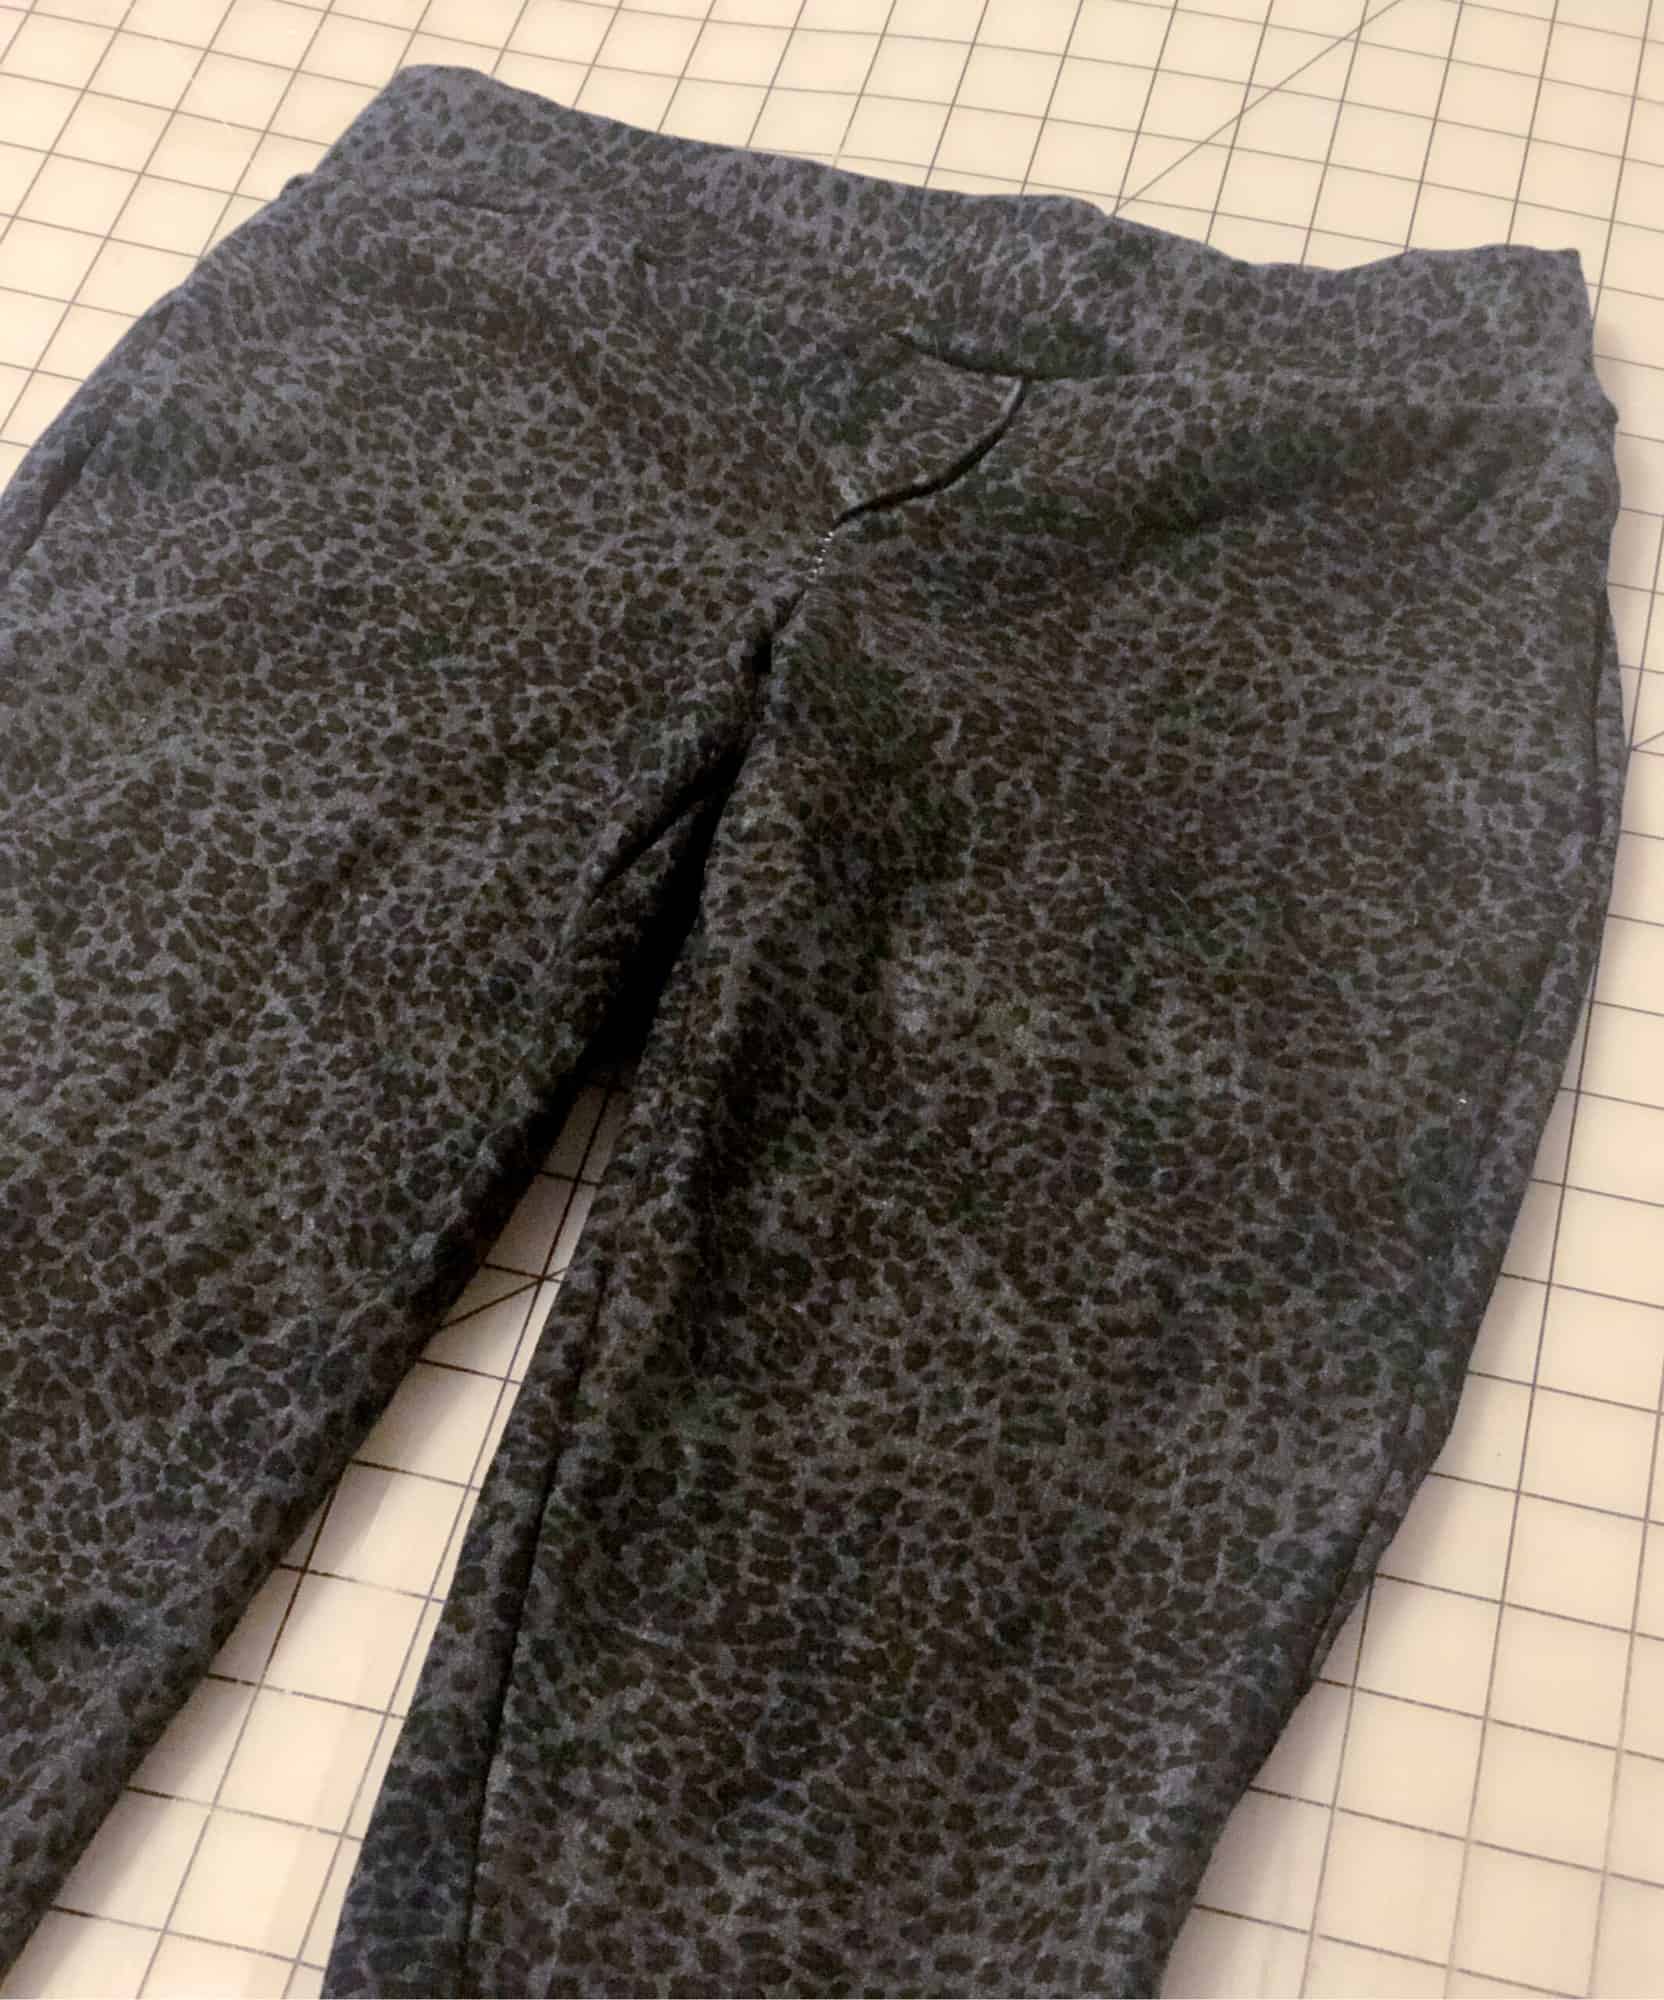
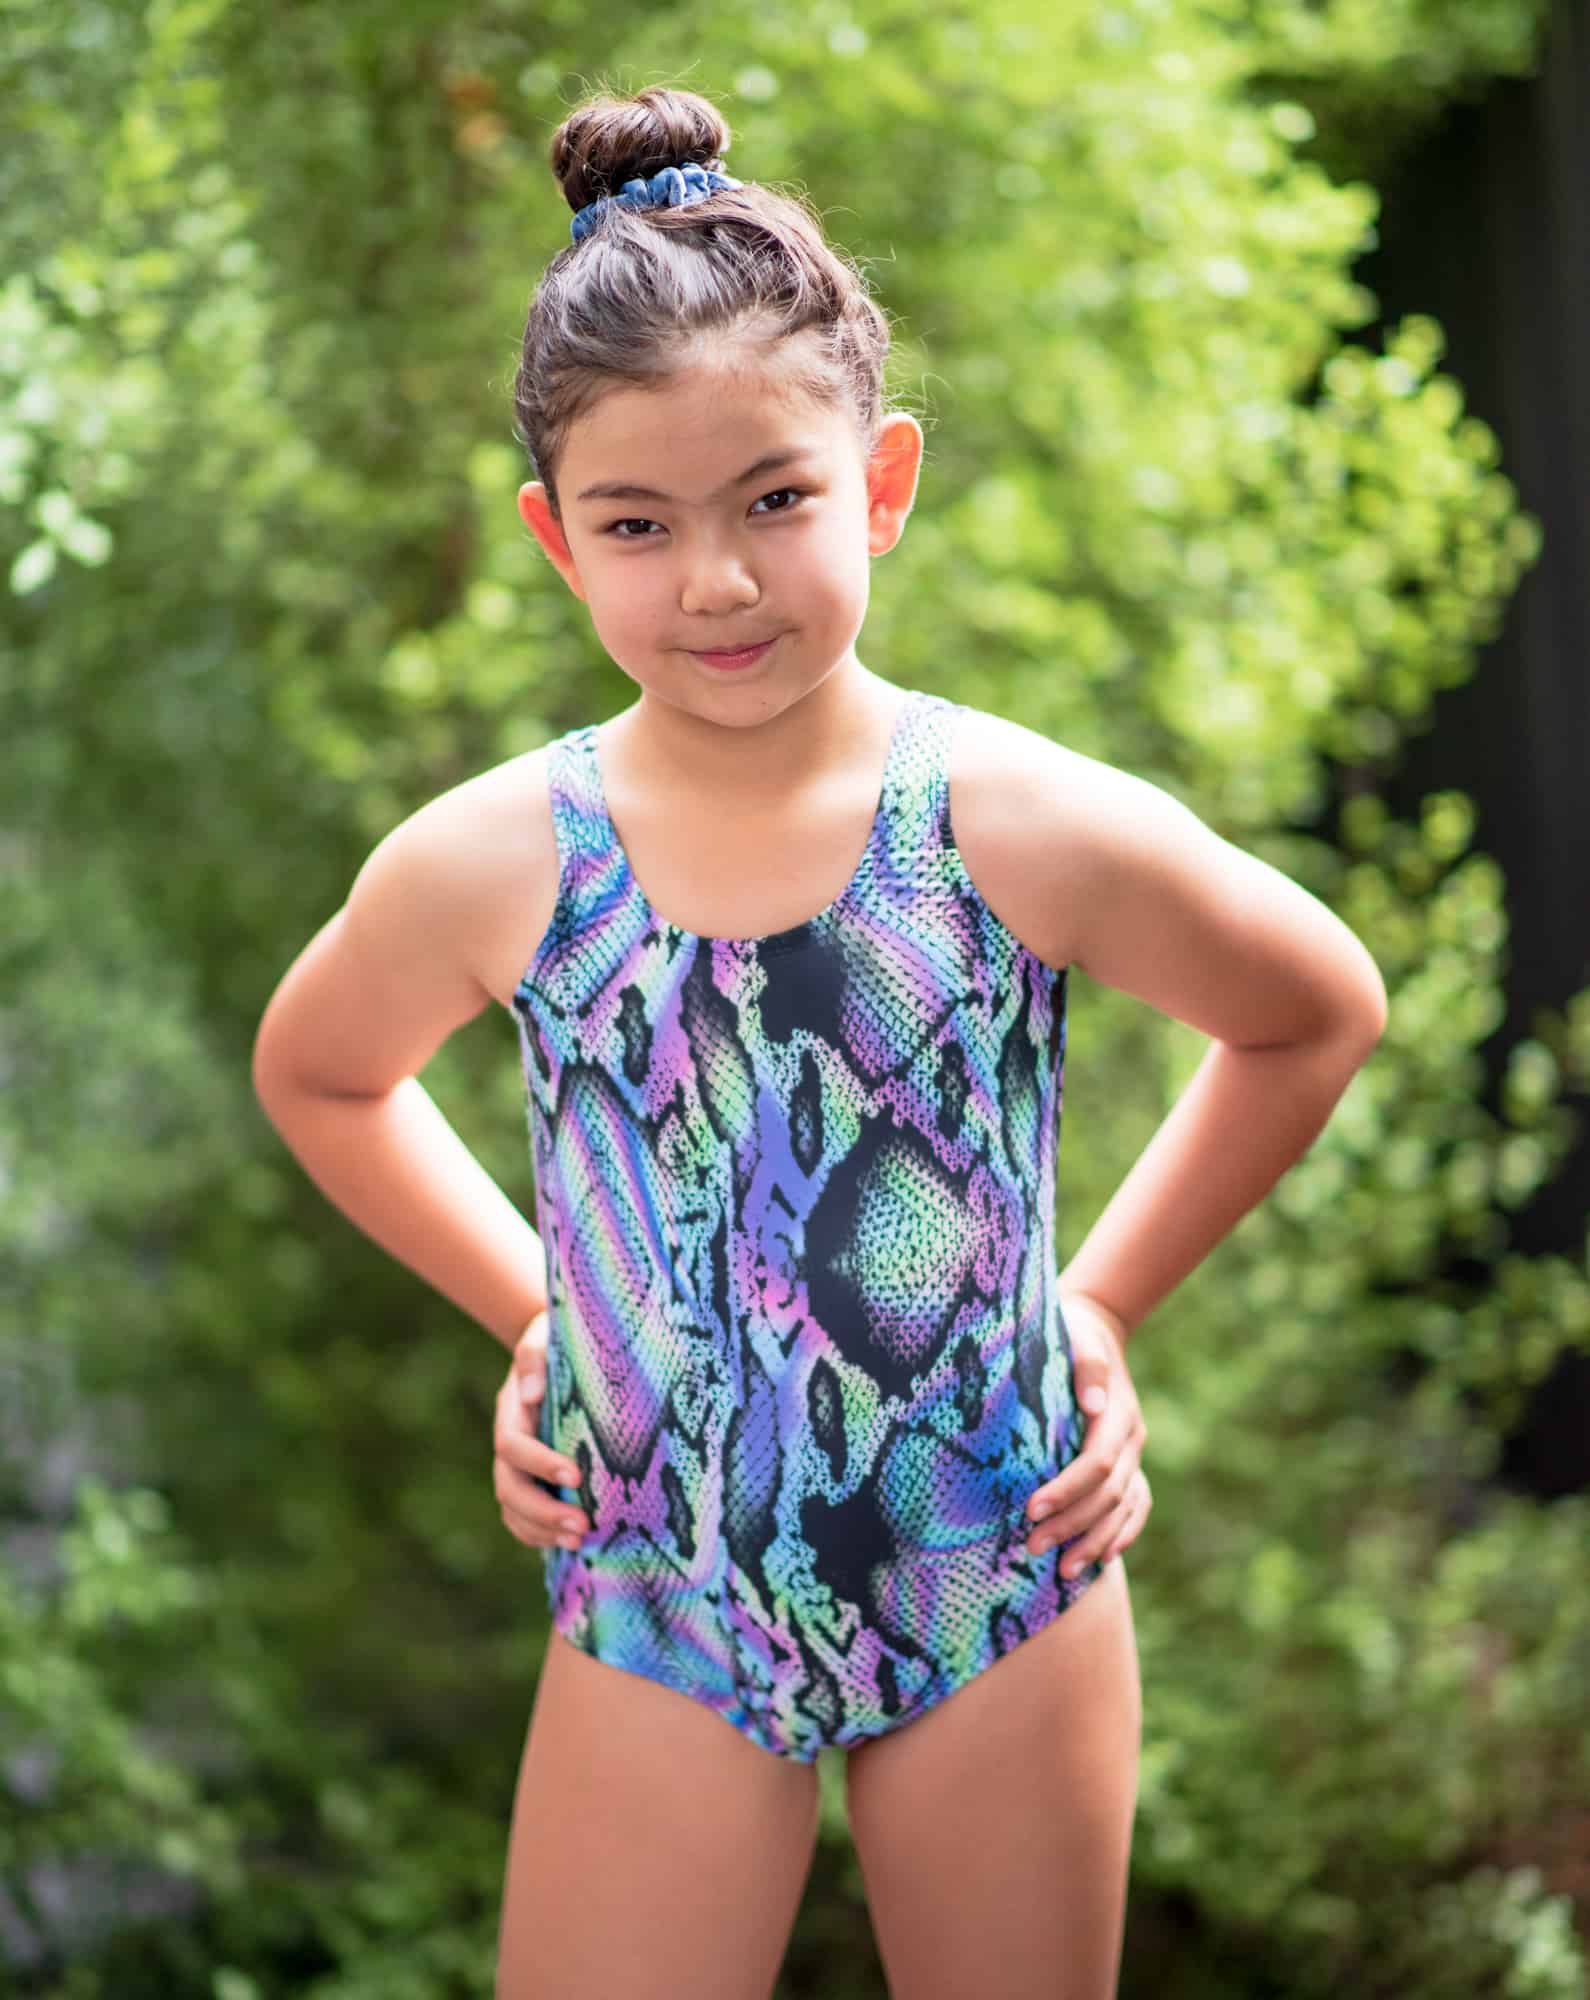
Hepburn top (cropped and band added) and peg legs in performance swim spandex

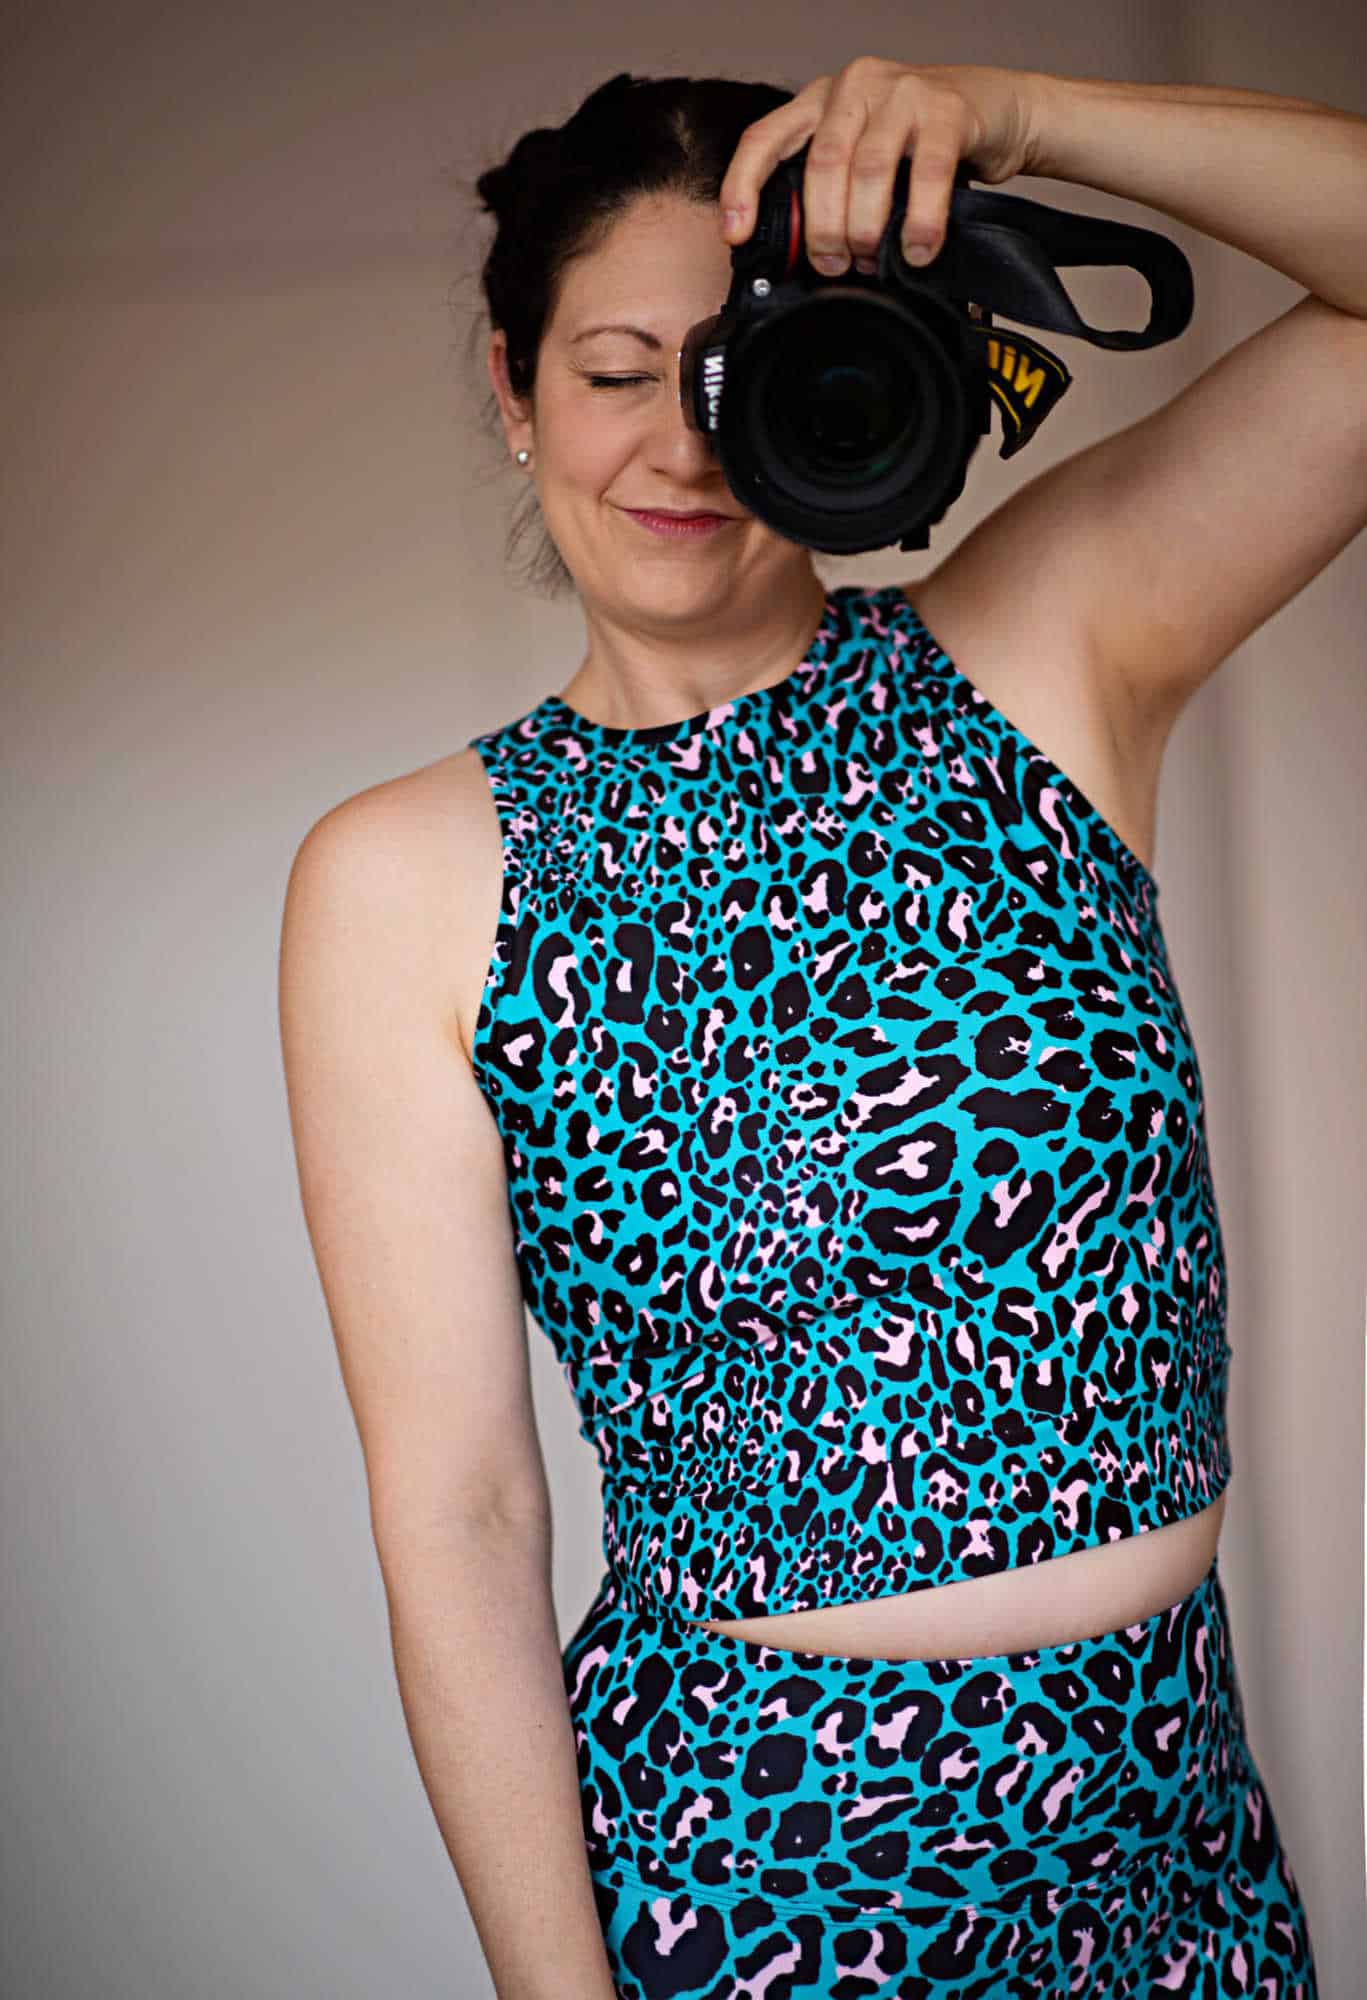
Sweetheart peplum top in swim spandex and mesh

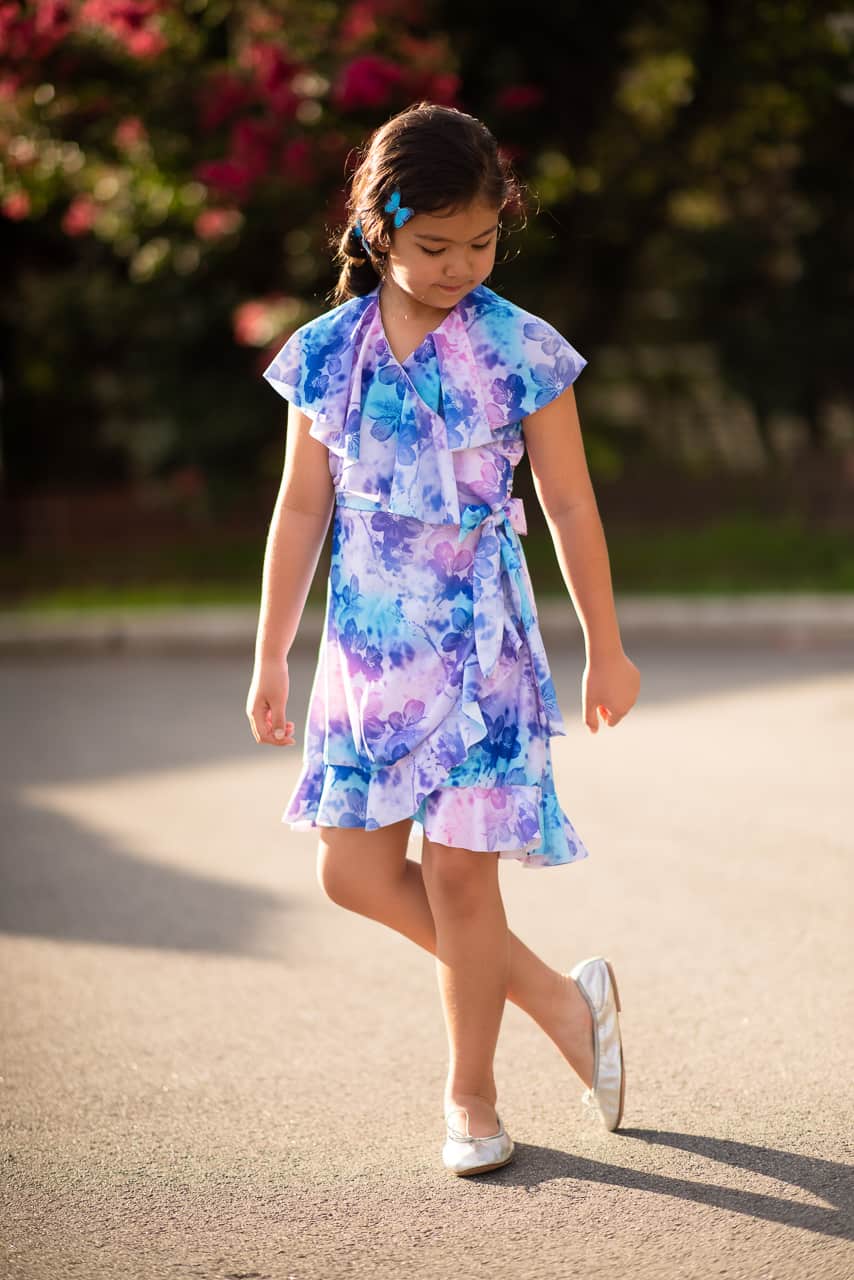
Flutter wrap dress in swim spandex

There are a lot of things to consider when choosing swim spandex:

  • The quality of the fabric makes a big difference to your project. The better the quality of the swim spandex, the easier it is to sew with; it will also mean your garment will wash and wear for longer too.
  • It is best for your swim fabric to have four-way stretch. This means the fabric is able to be stretched both horizontally and vertically which helps to make a comfortable and well fitted swimsuit.
  • Swim fabrics should be made of 100% man-made fibres such as polyester or nylon with a significant amount of spandex (10-20%). Polyester swim fabric will hold its shape better over time and I find it easier to sew with too.
  • Check if the print looks distorted when stretched on the body
  • Check how see through the fabric might become when stretched or wet.
  • I find it preferable to use a specific swim lining instead of the main swim fabric as the lining. I find it more comfortable to wear and easier to sew. Lining creates stability in the swimsuit and can smooth the body or allow better coverage on light coloured fabrics. Using lining can allow you to enclose seams too.
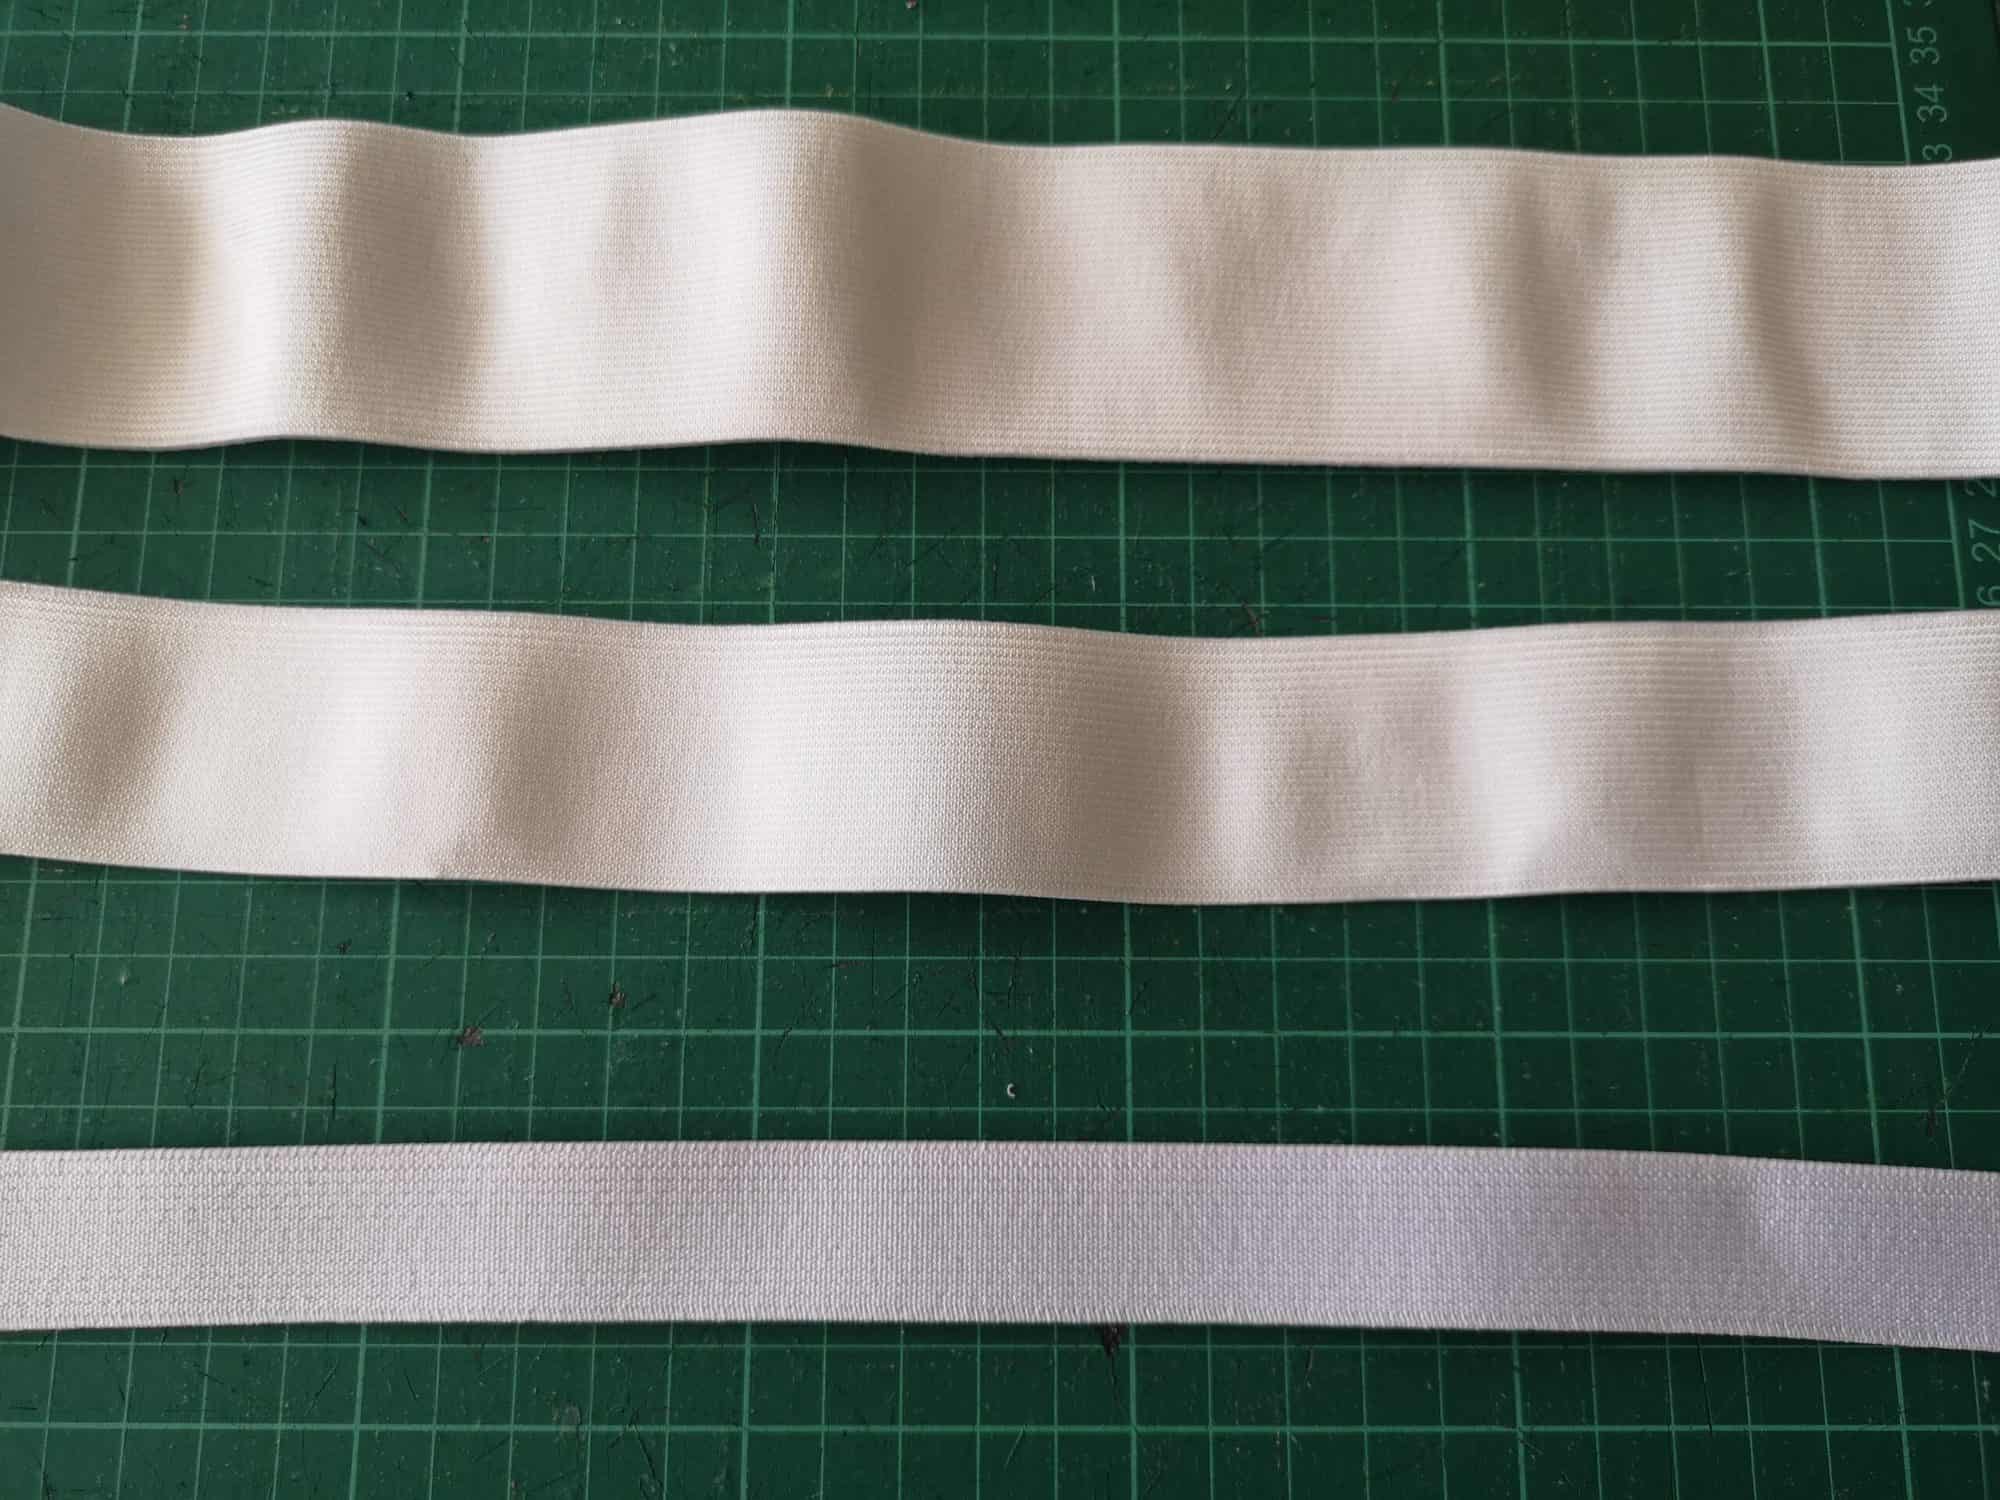
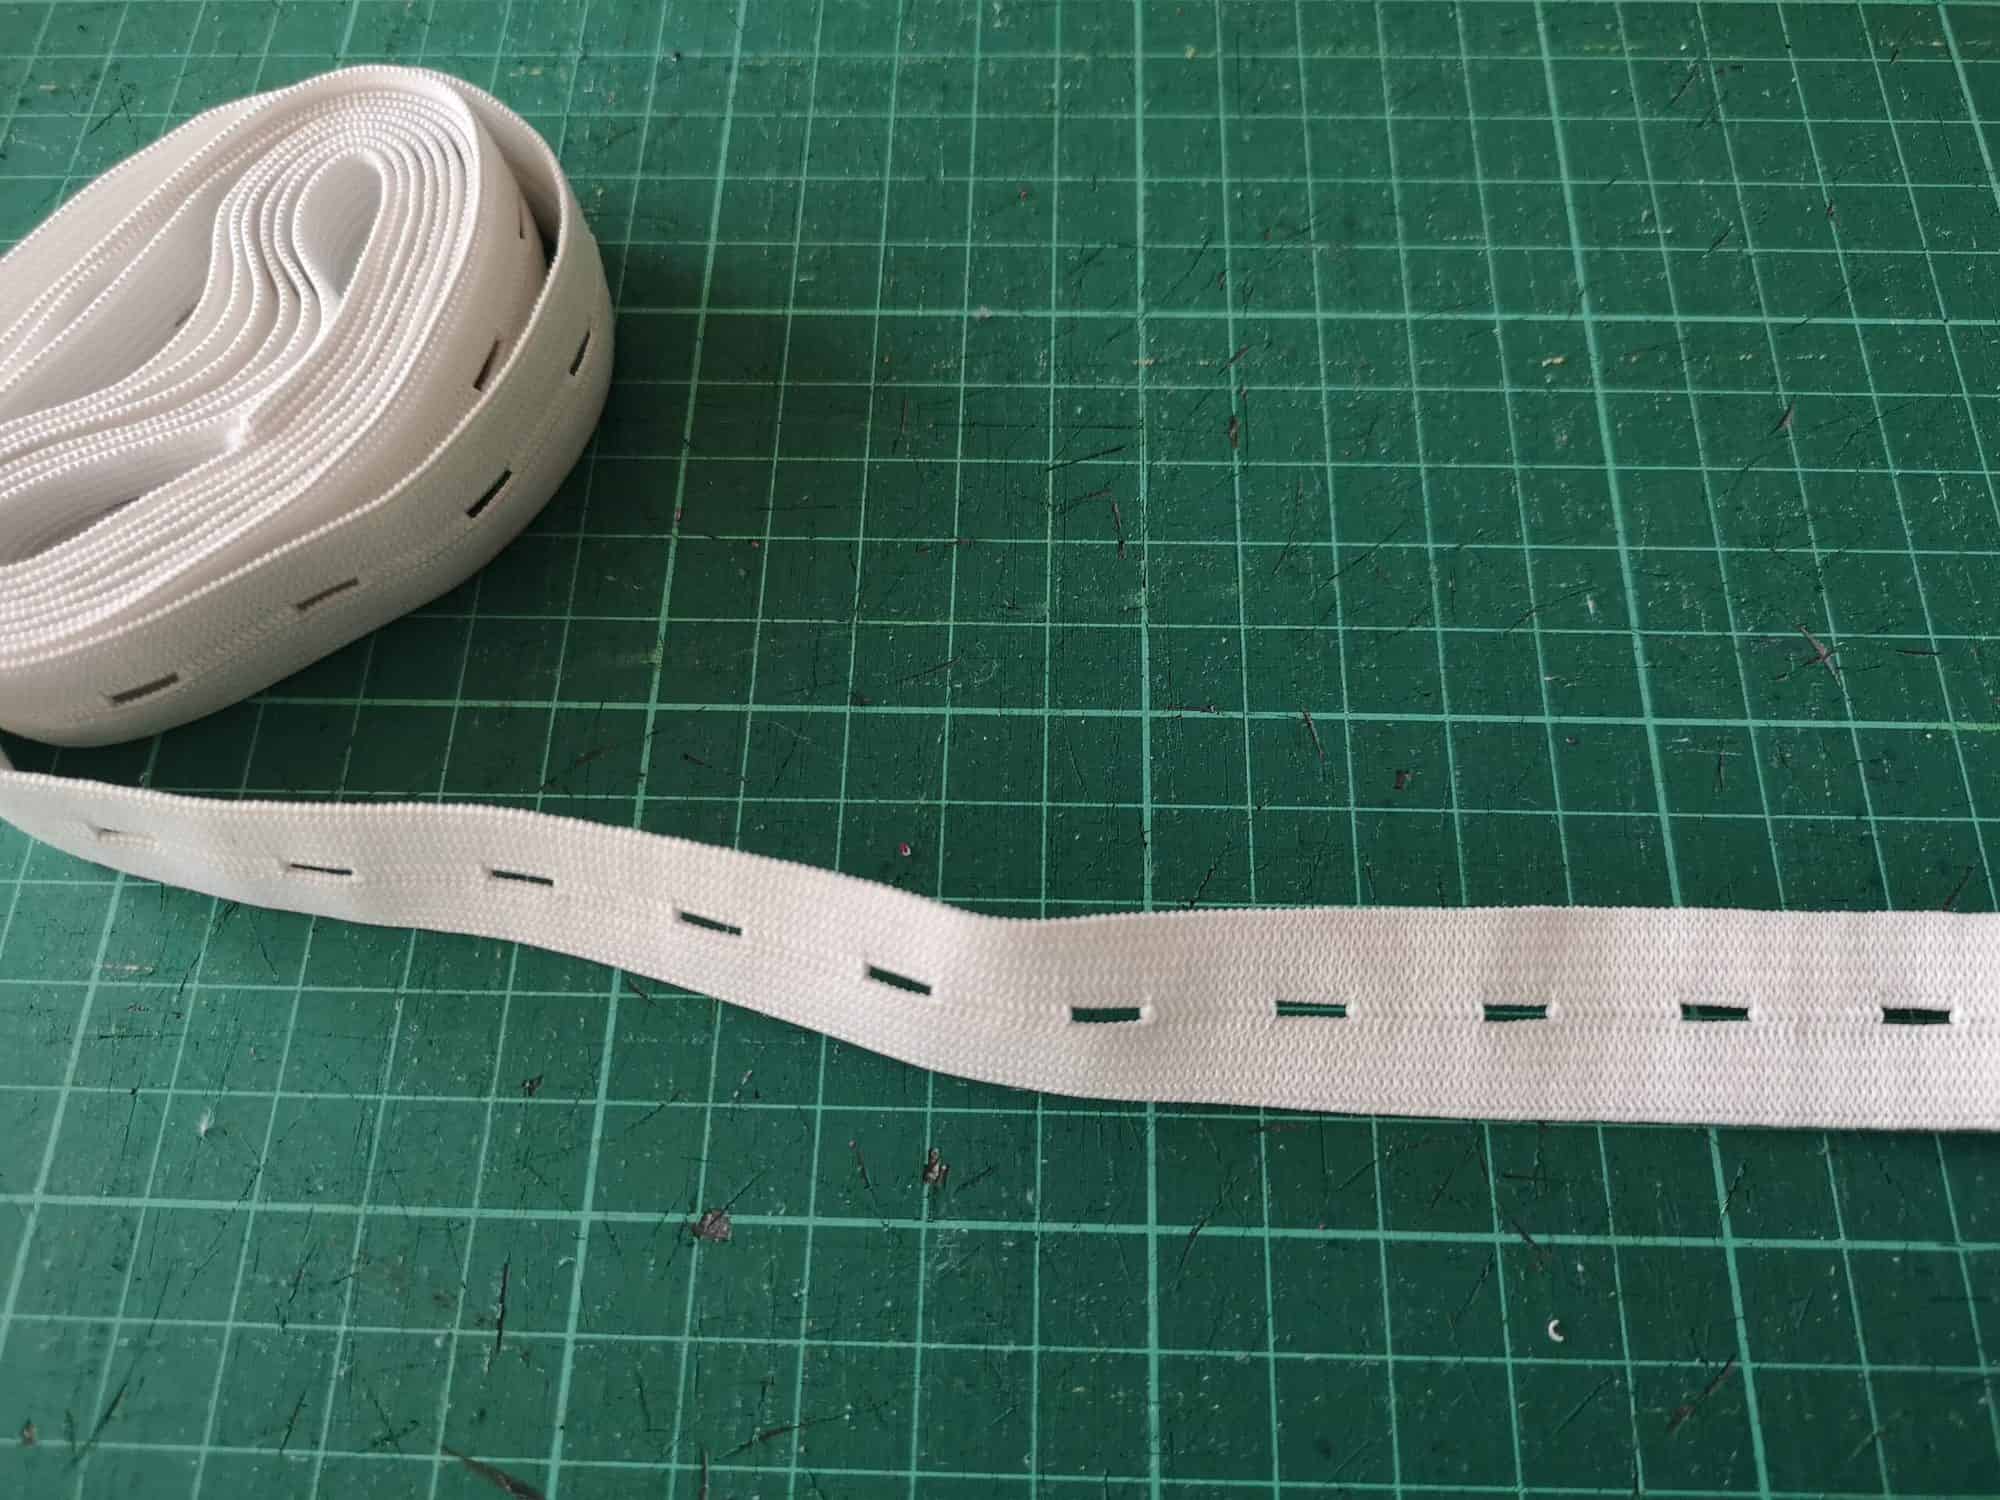
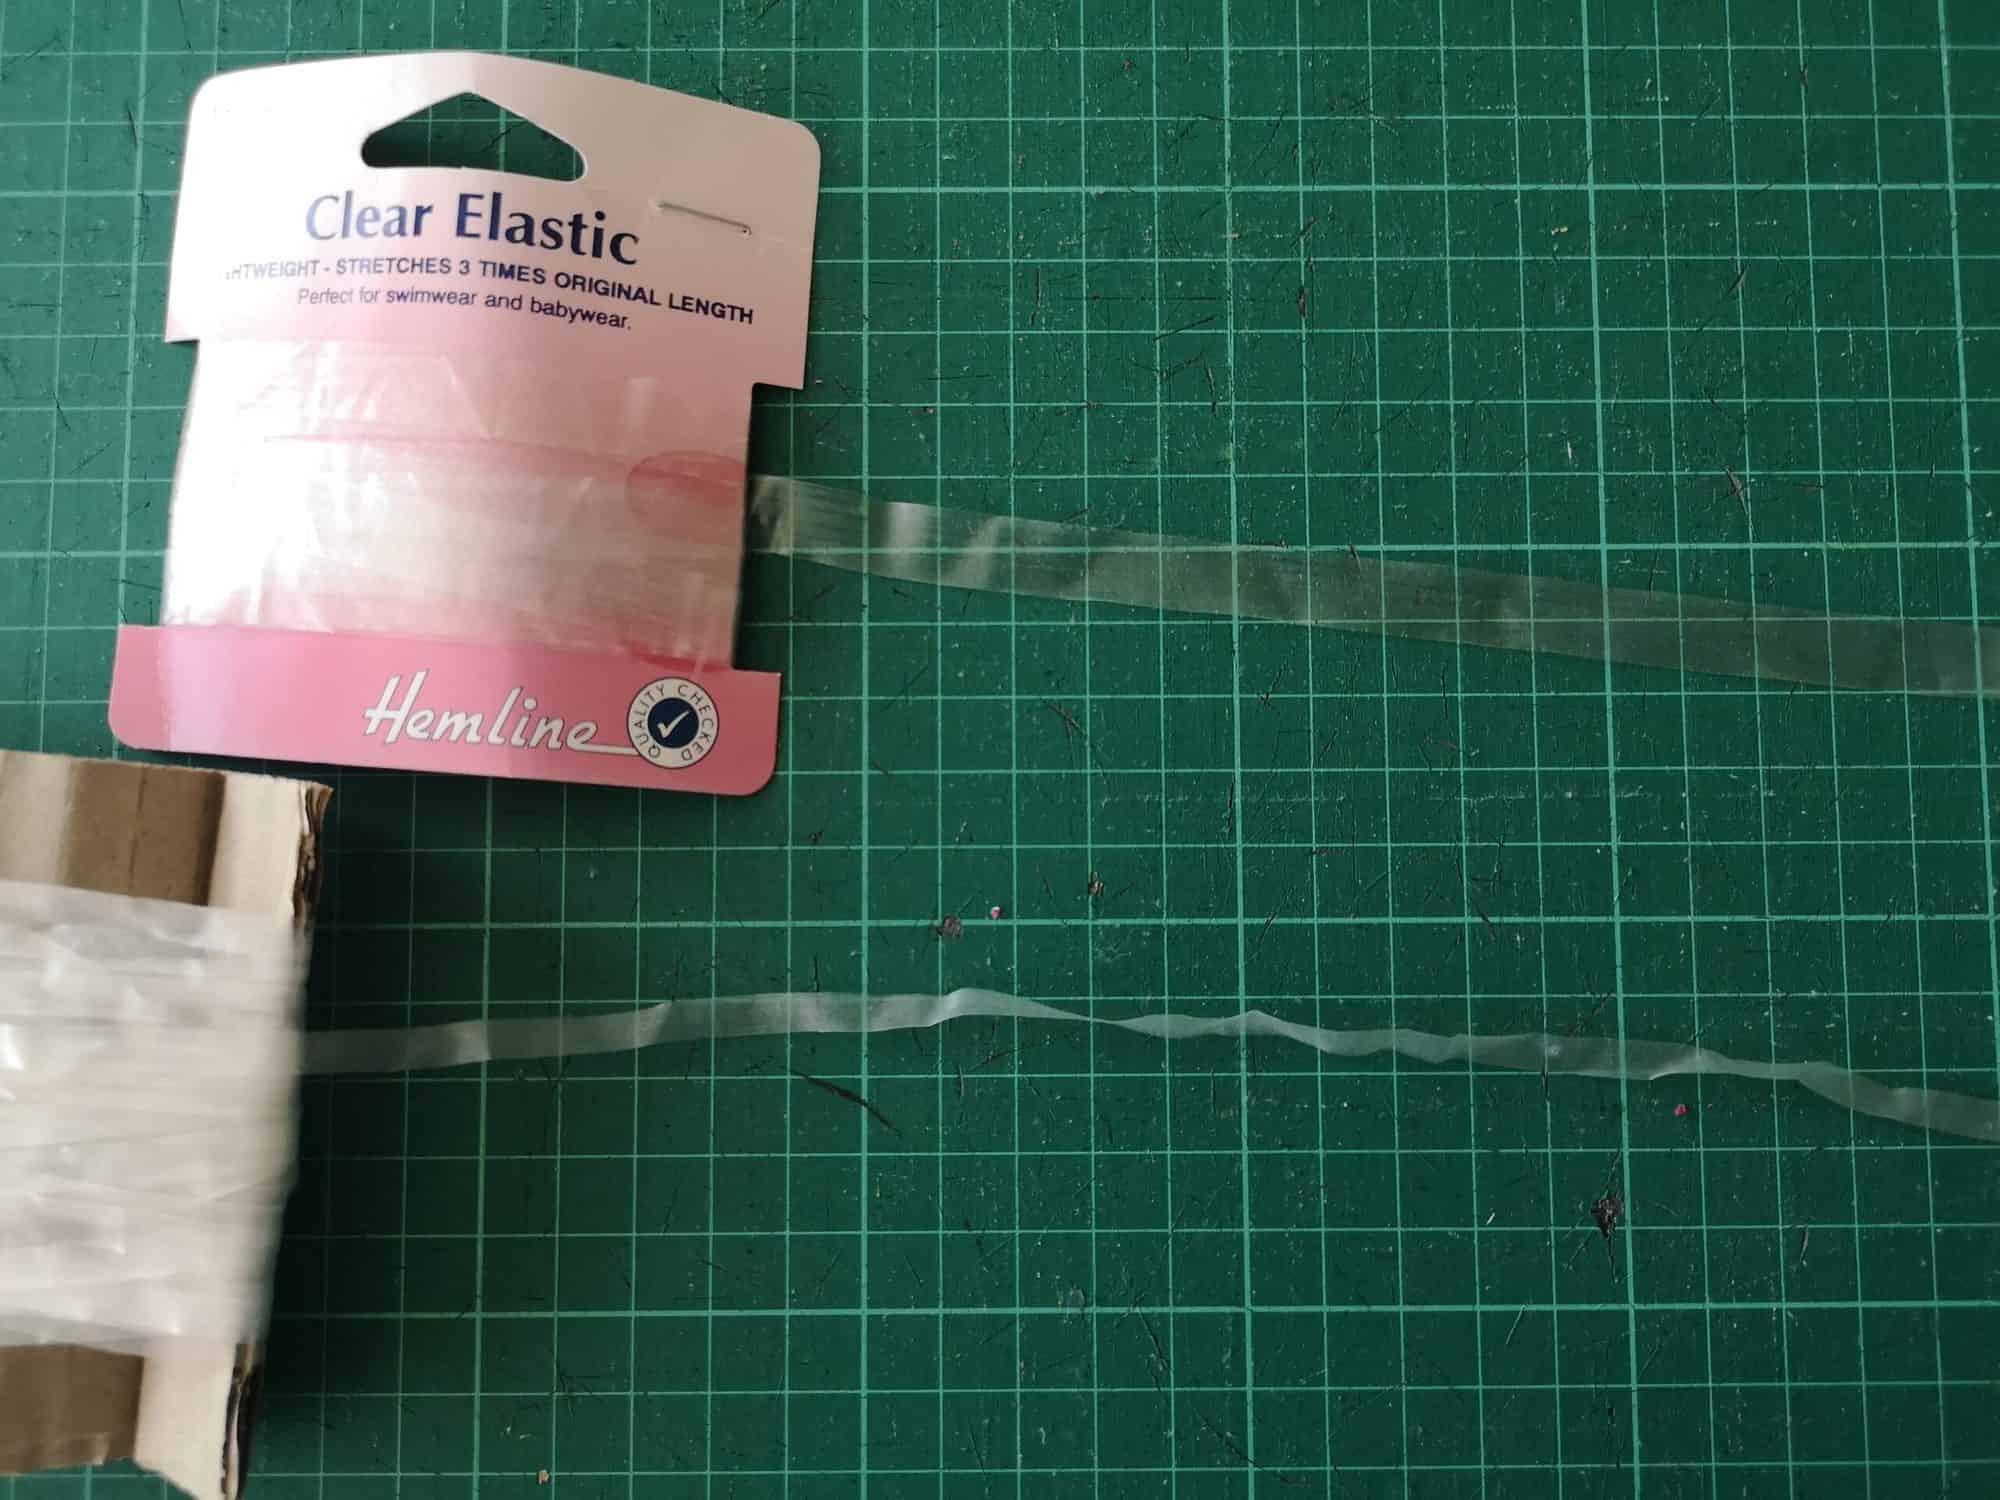
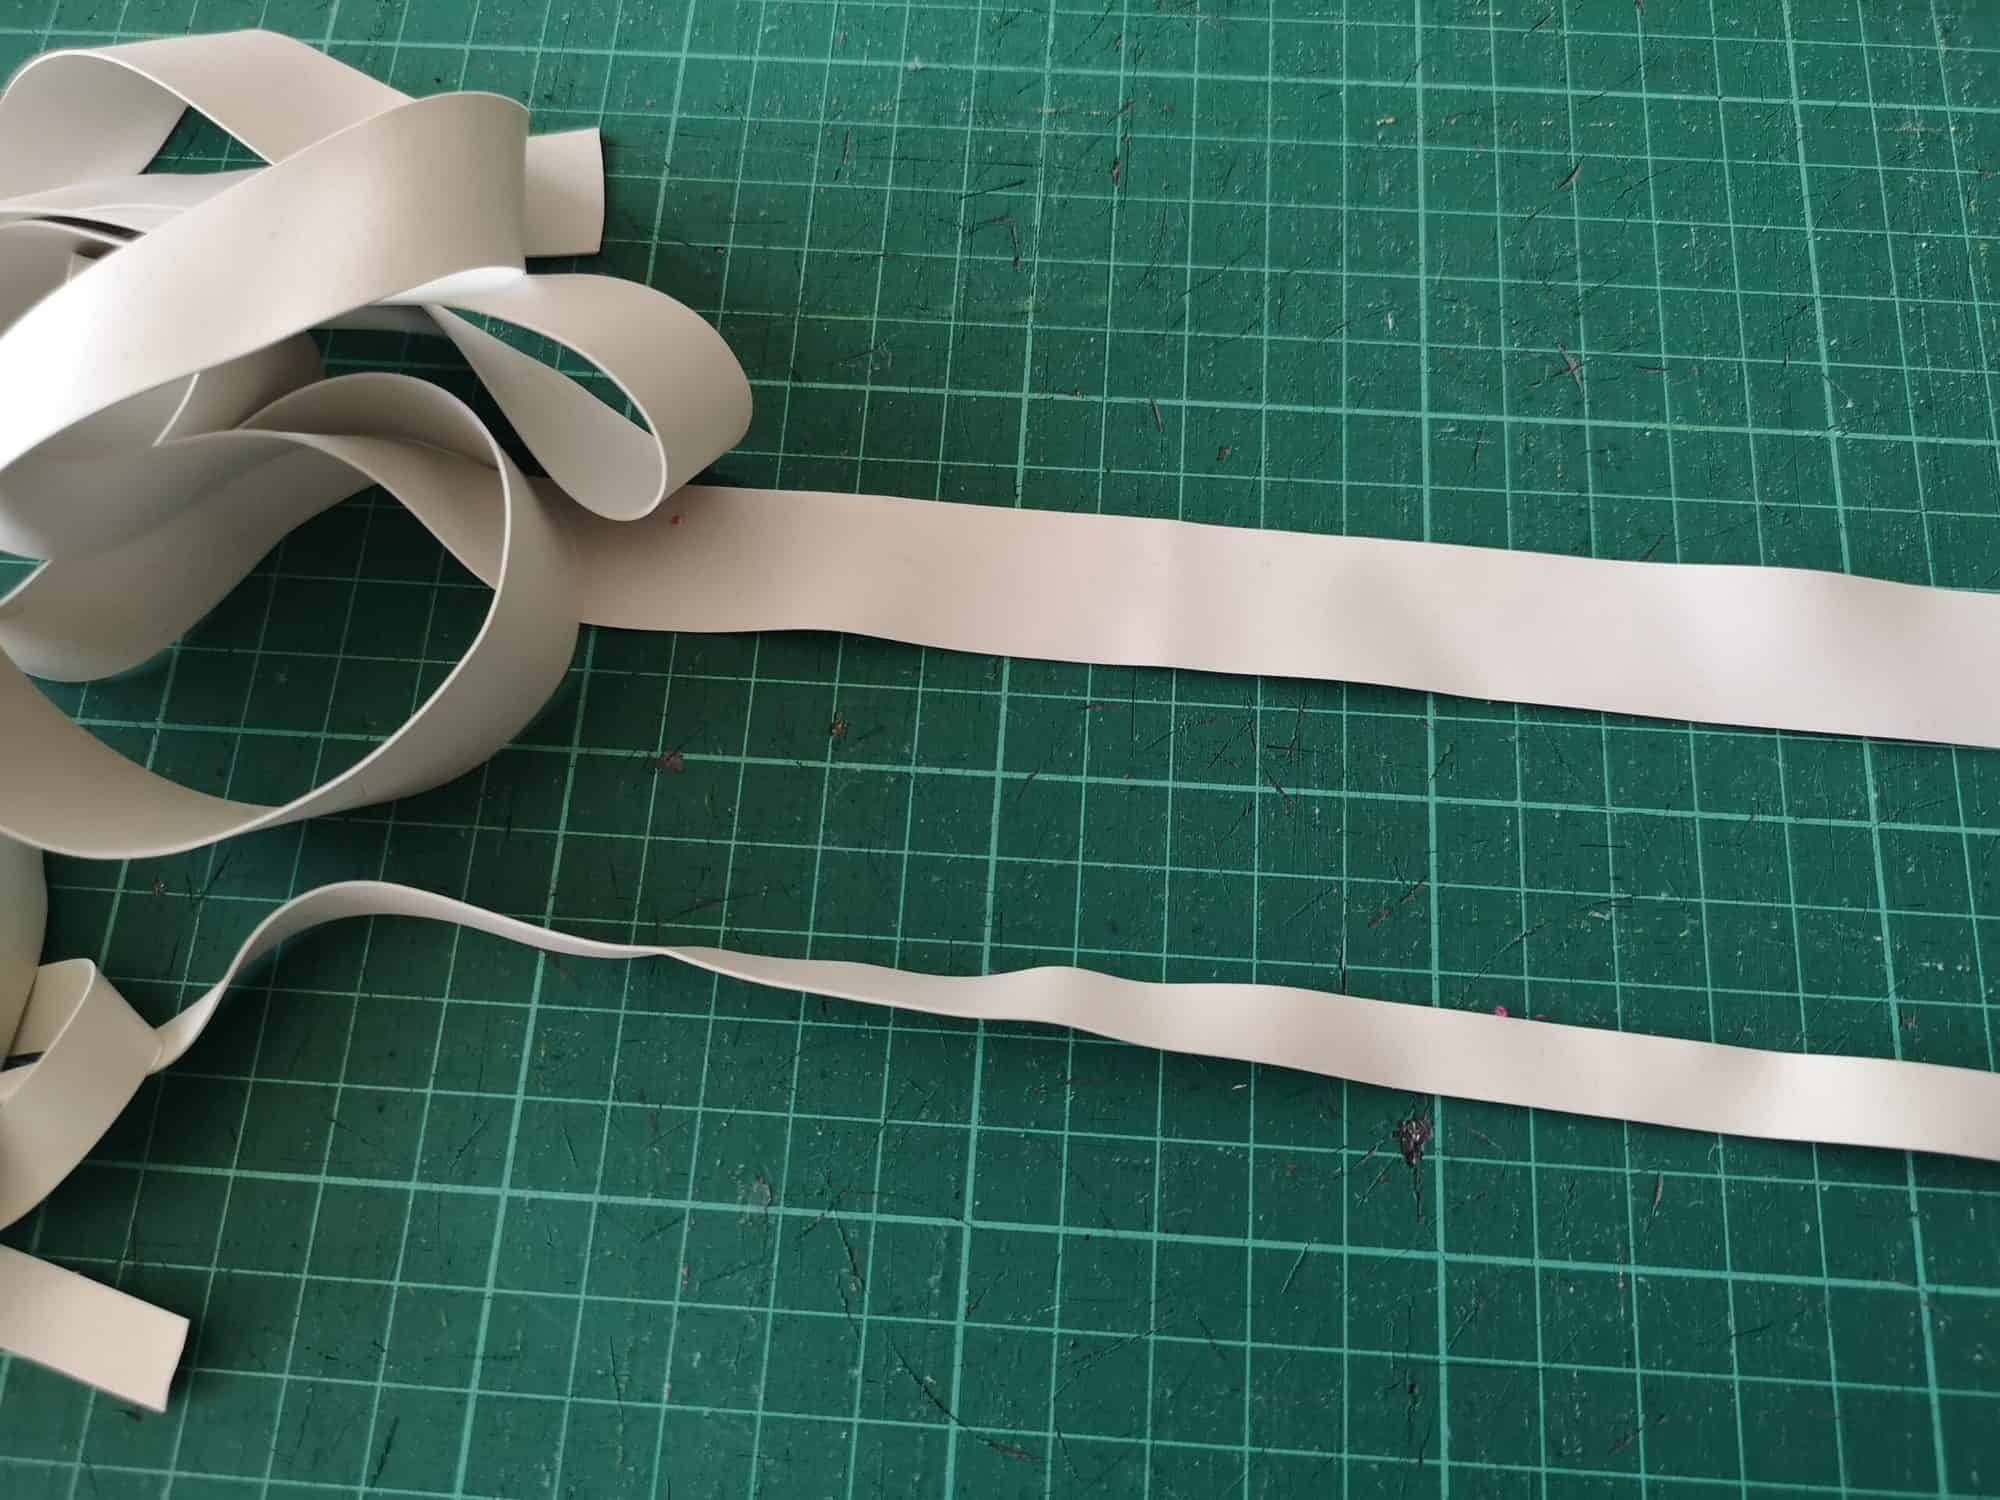
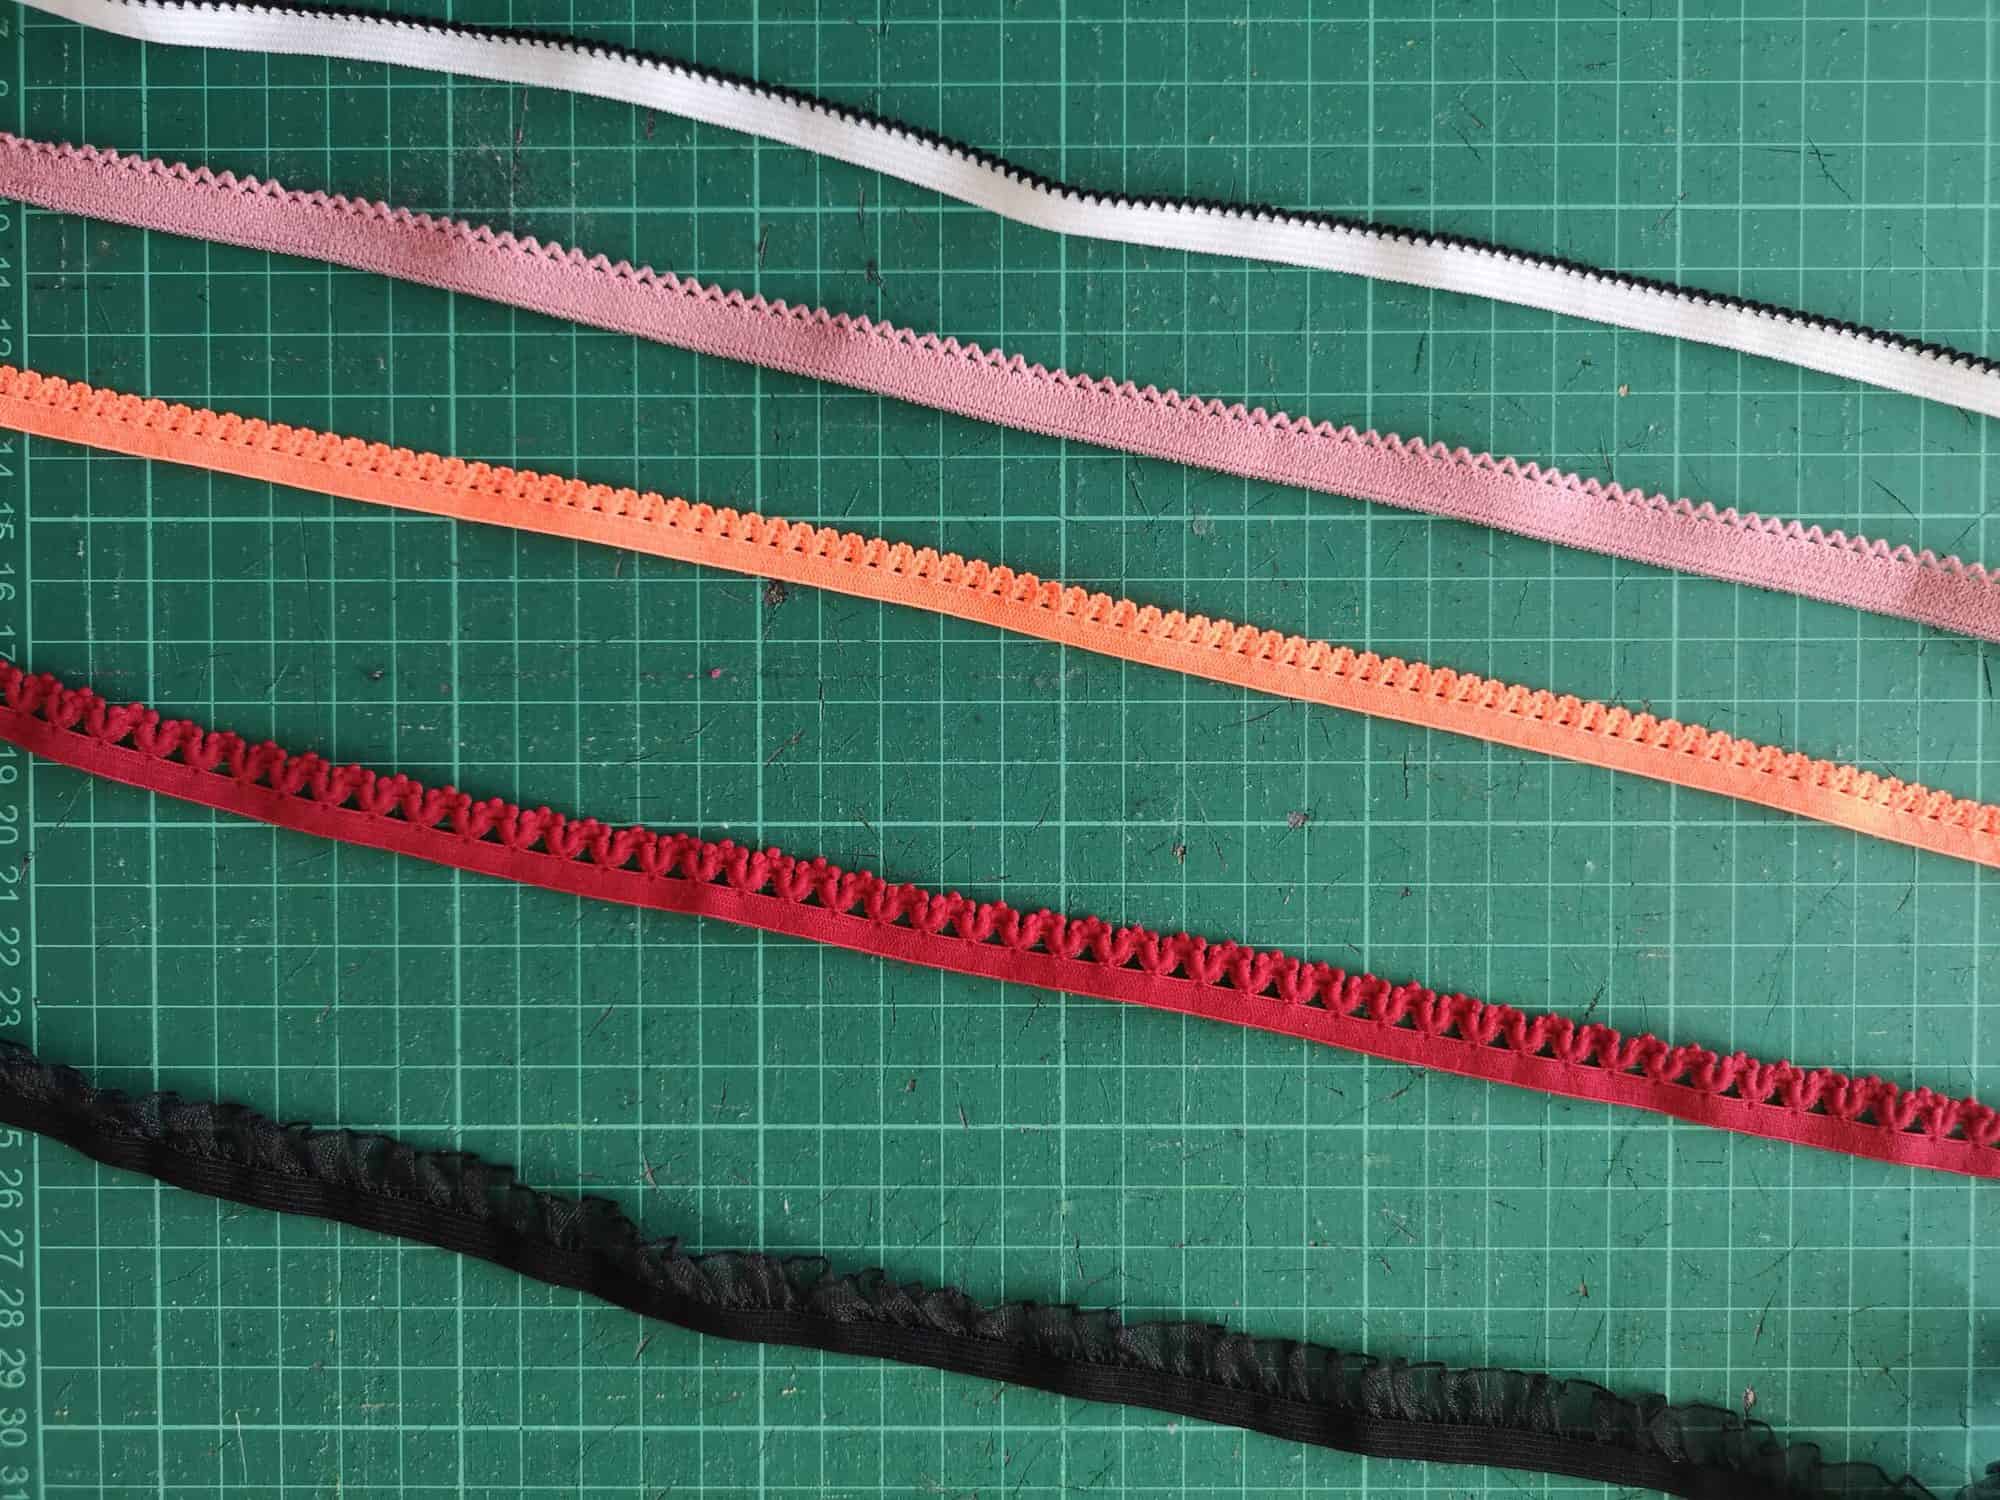
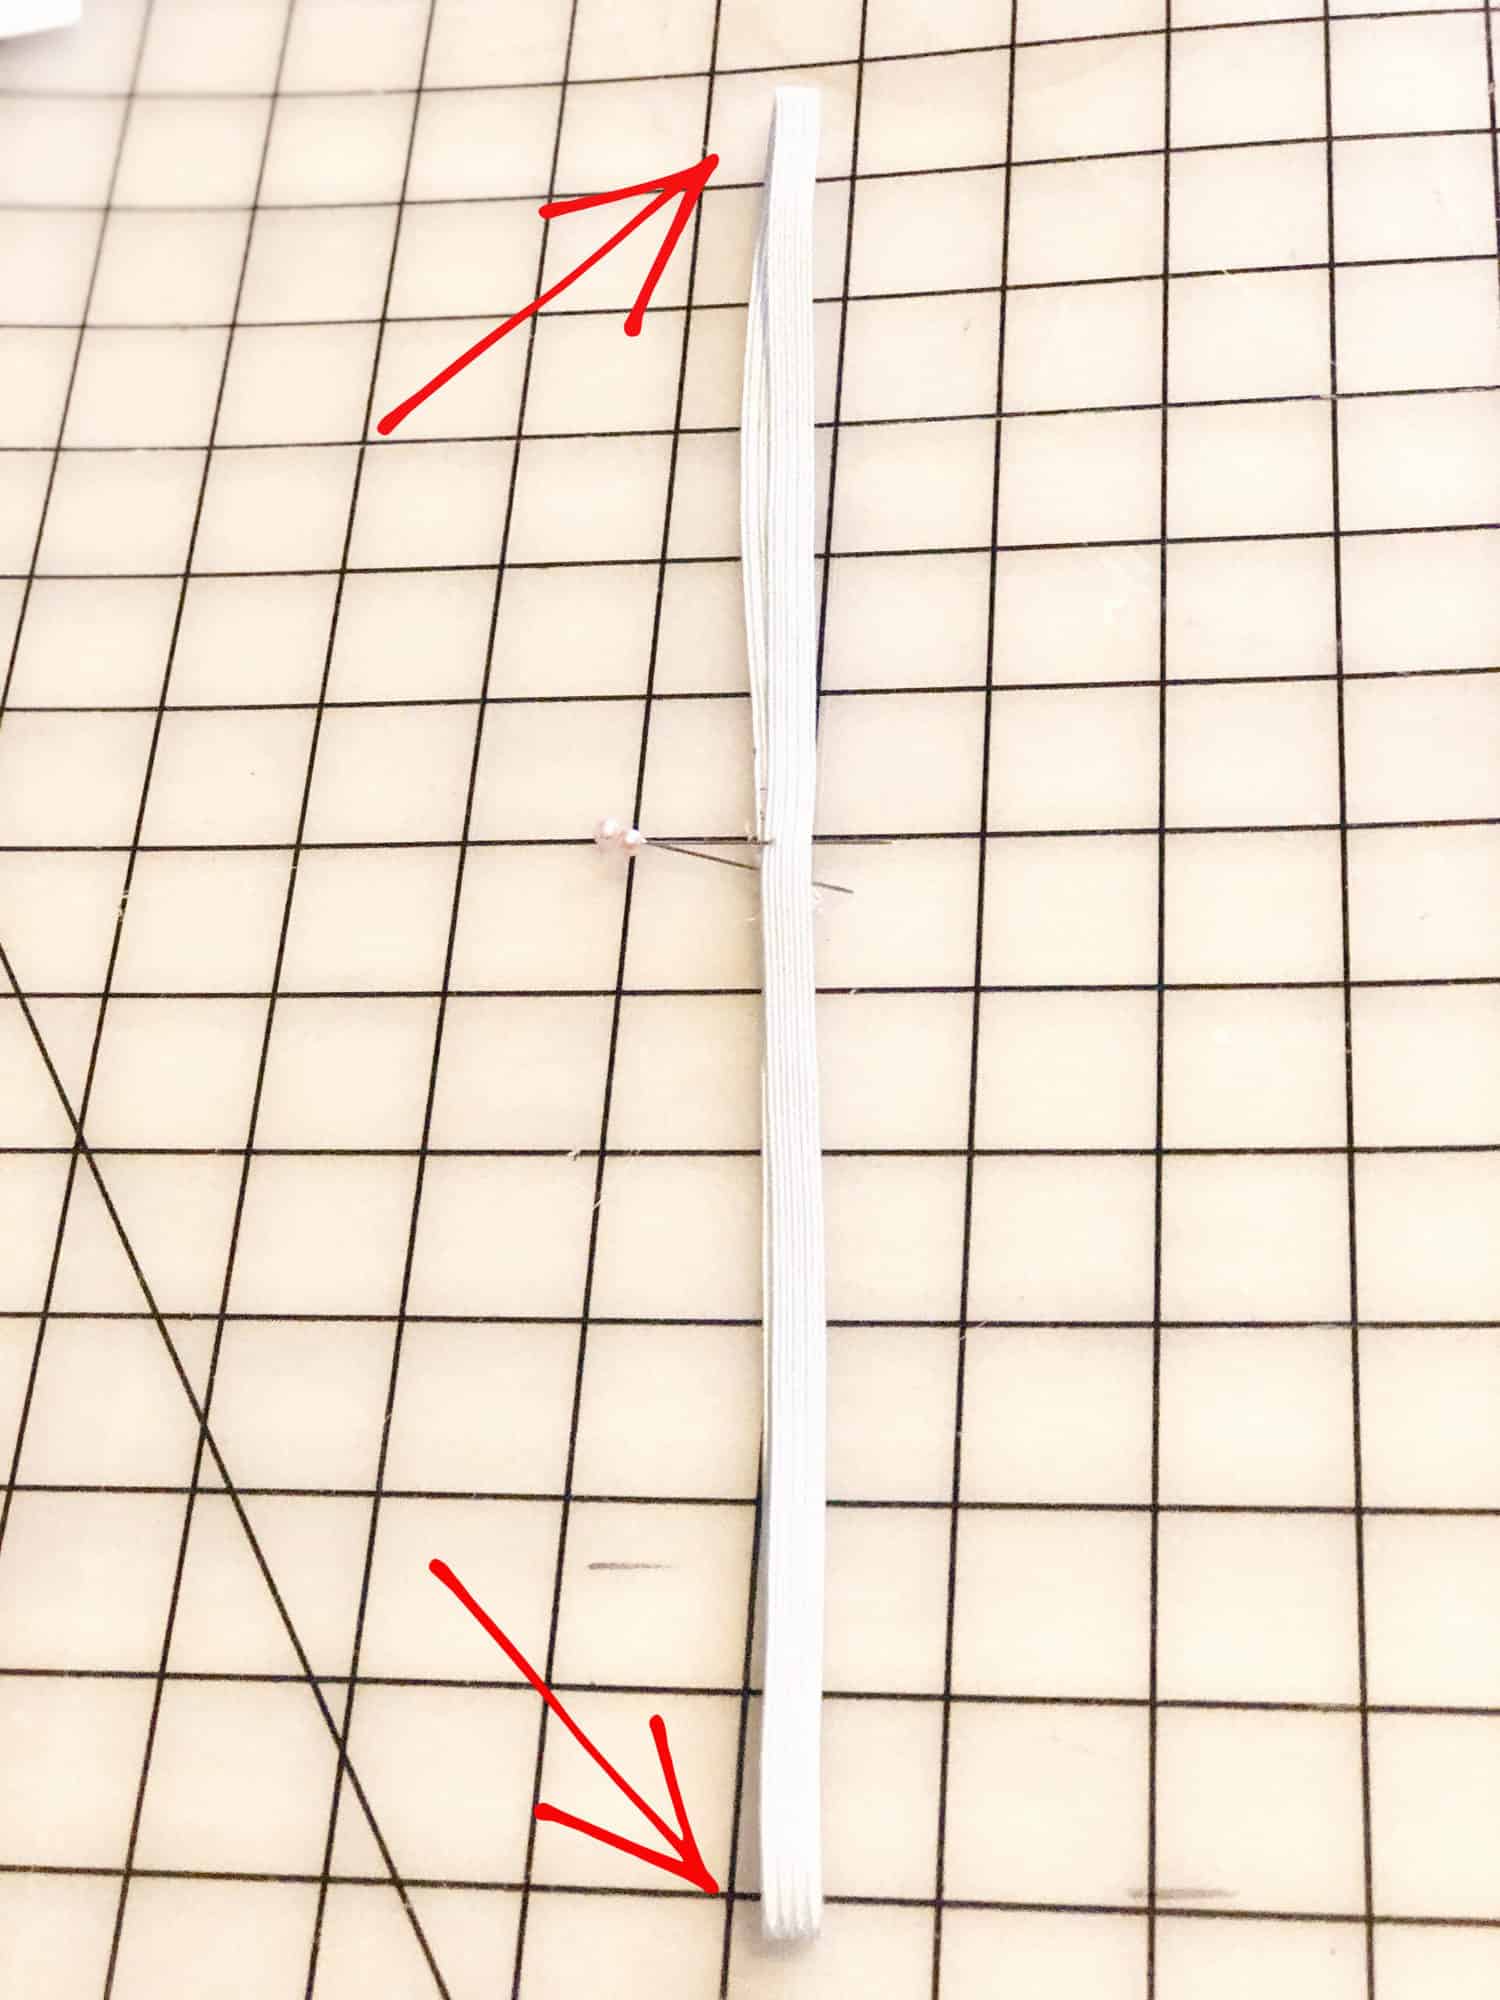
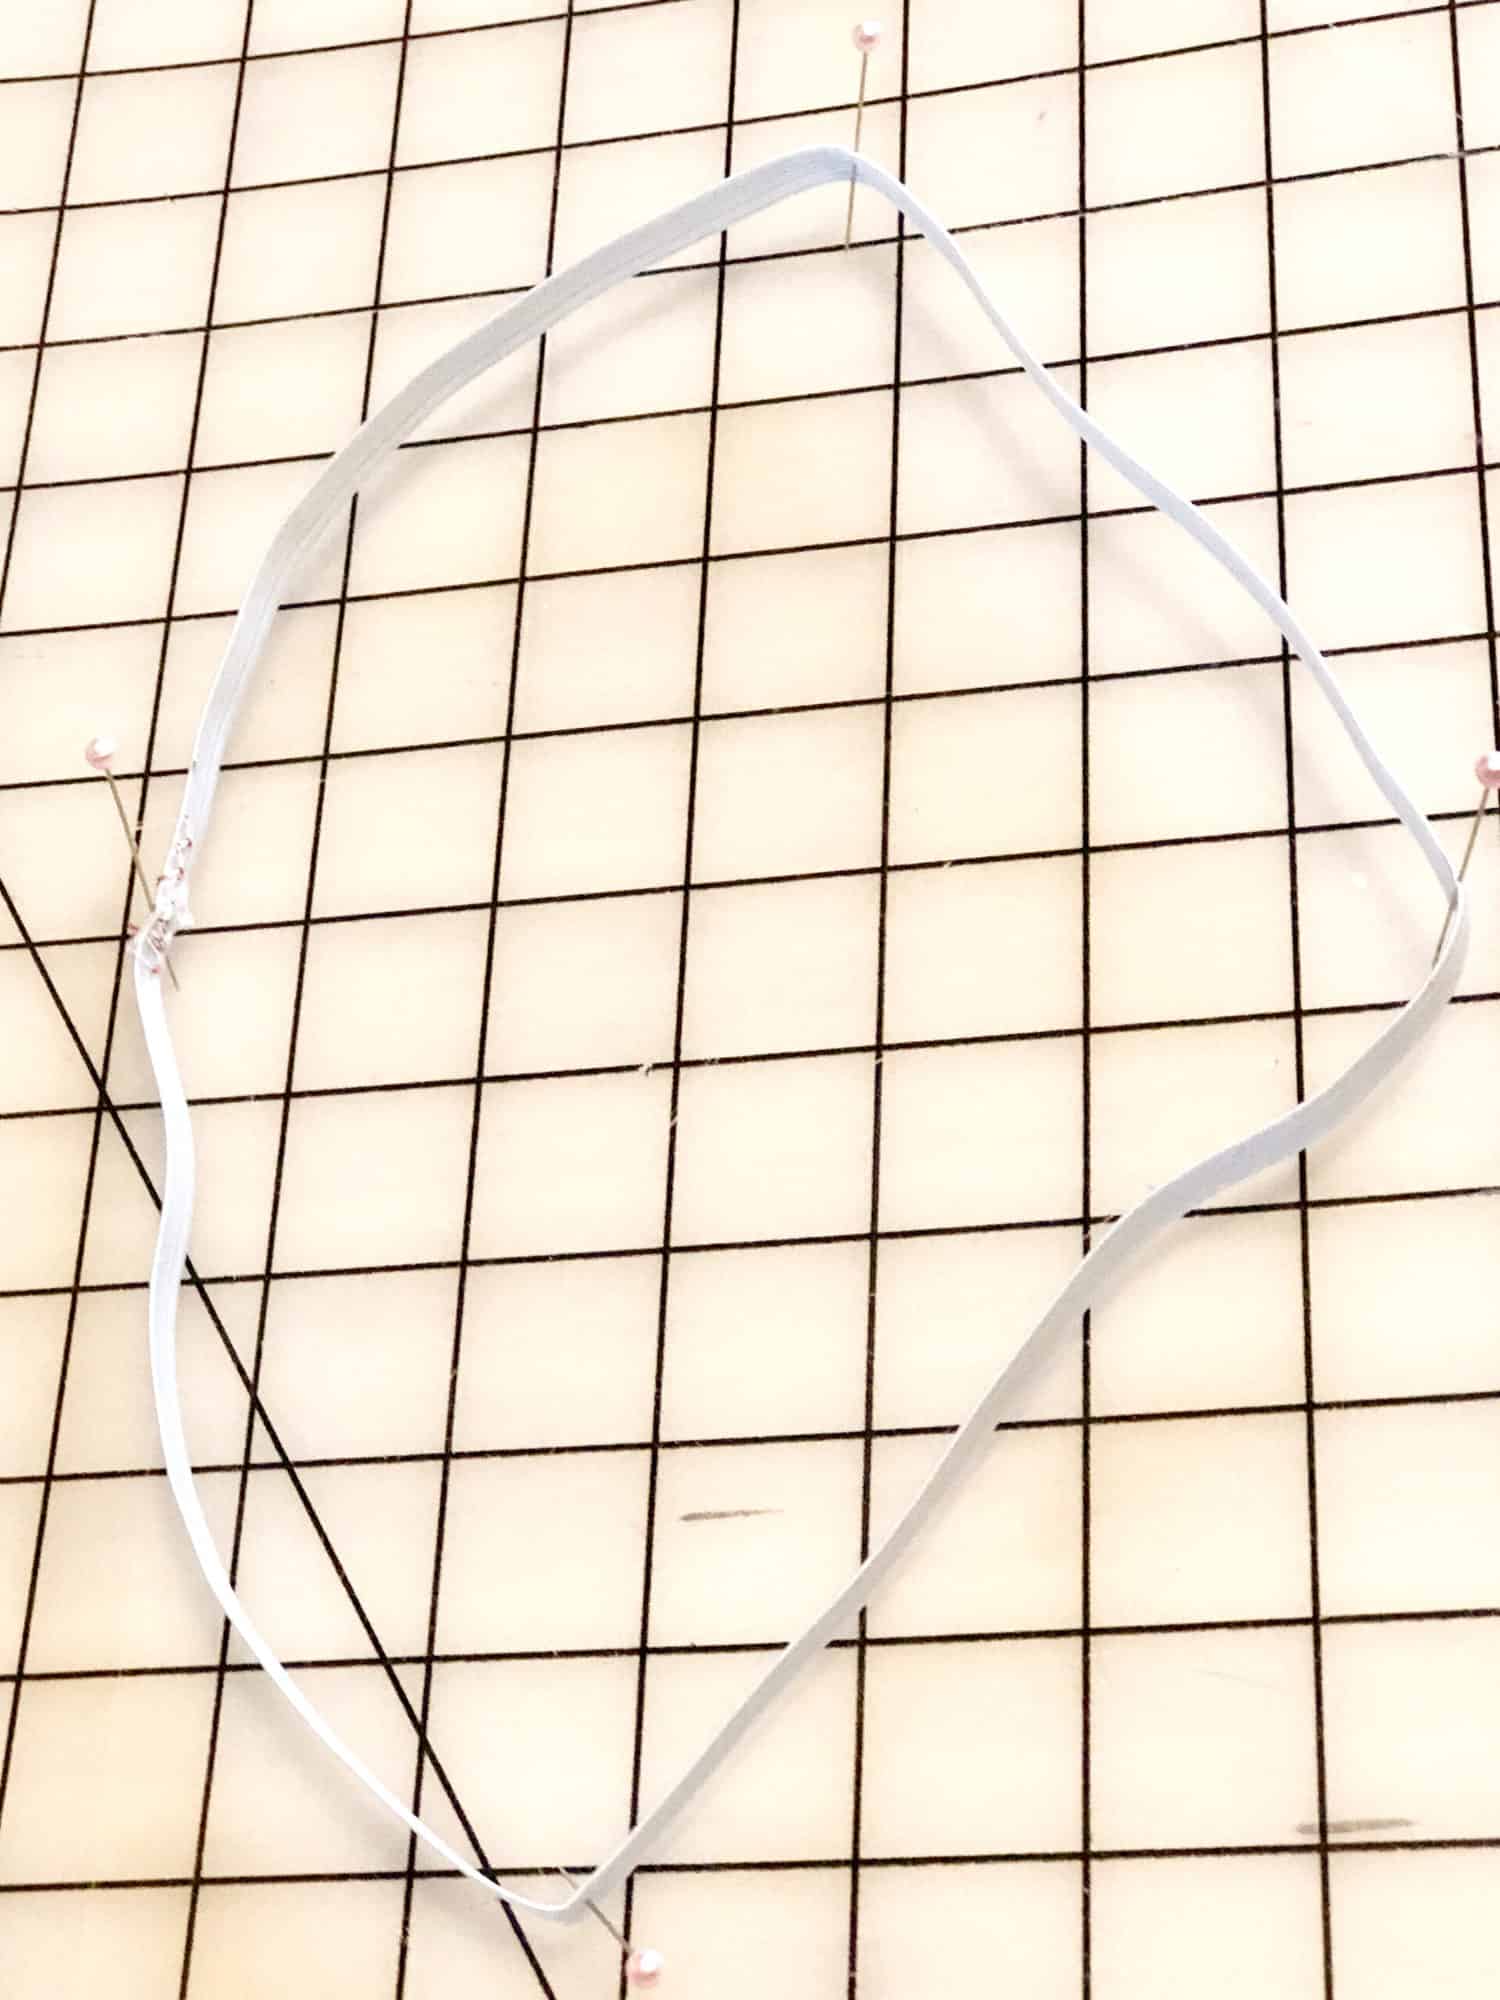
  • Choosing elastic for sewing swimsuits is also something to consider. Elastic needs to be able to withstand water, chlorine, salt and sun. Swim elastic is my preference because if I am going to the trouble of making a custom swimsuit I want the elastic to last. Rubber or clear elastic can also be used but I find it doesn’t last as well and can be trickier to sew with. But it does allow for less bulky seams. Pop over to a blog written by the lovely Dana to find out about elastics 101.

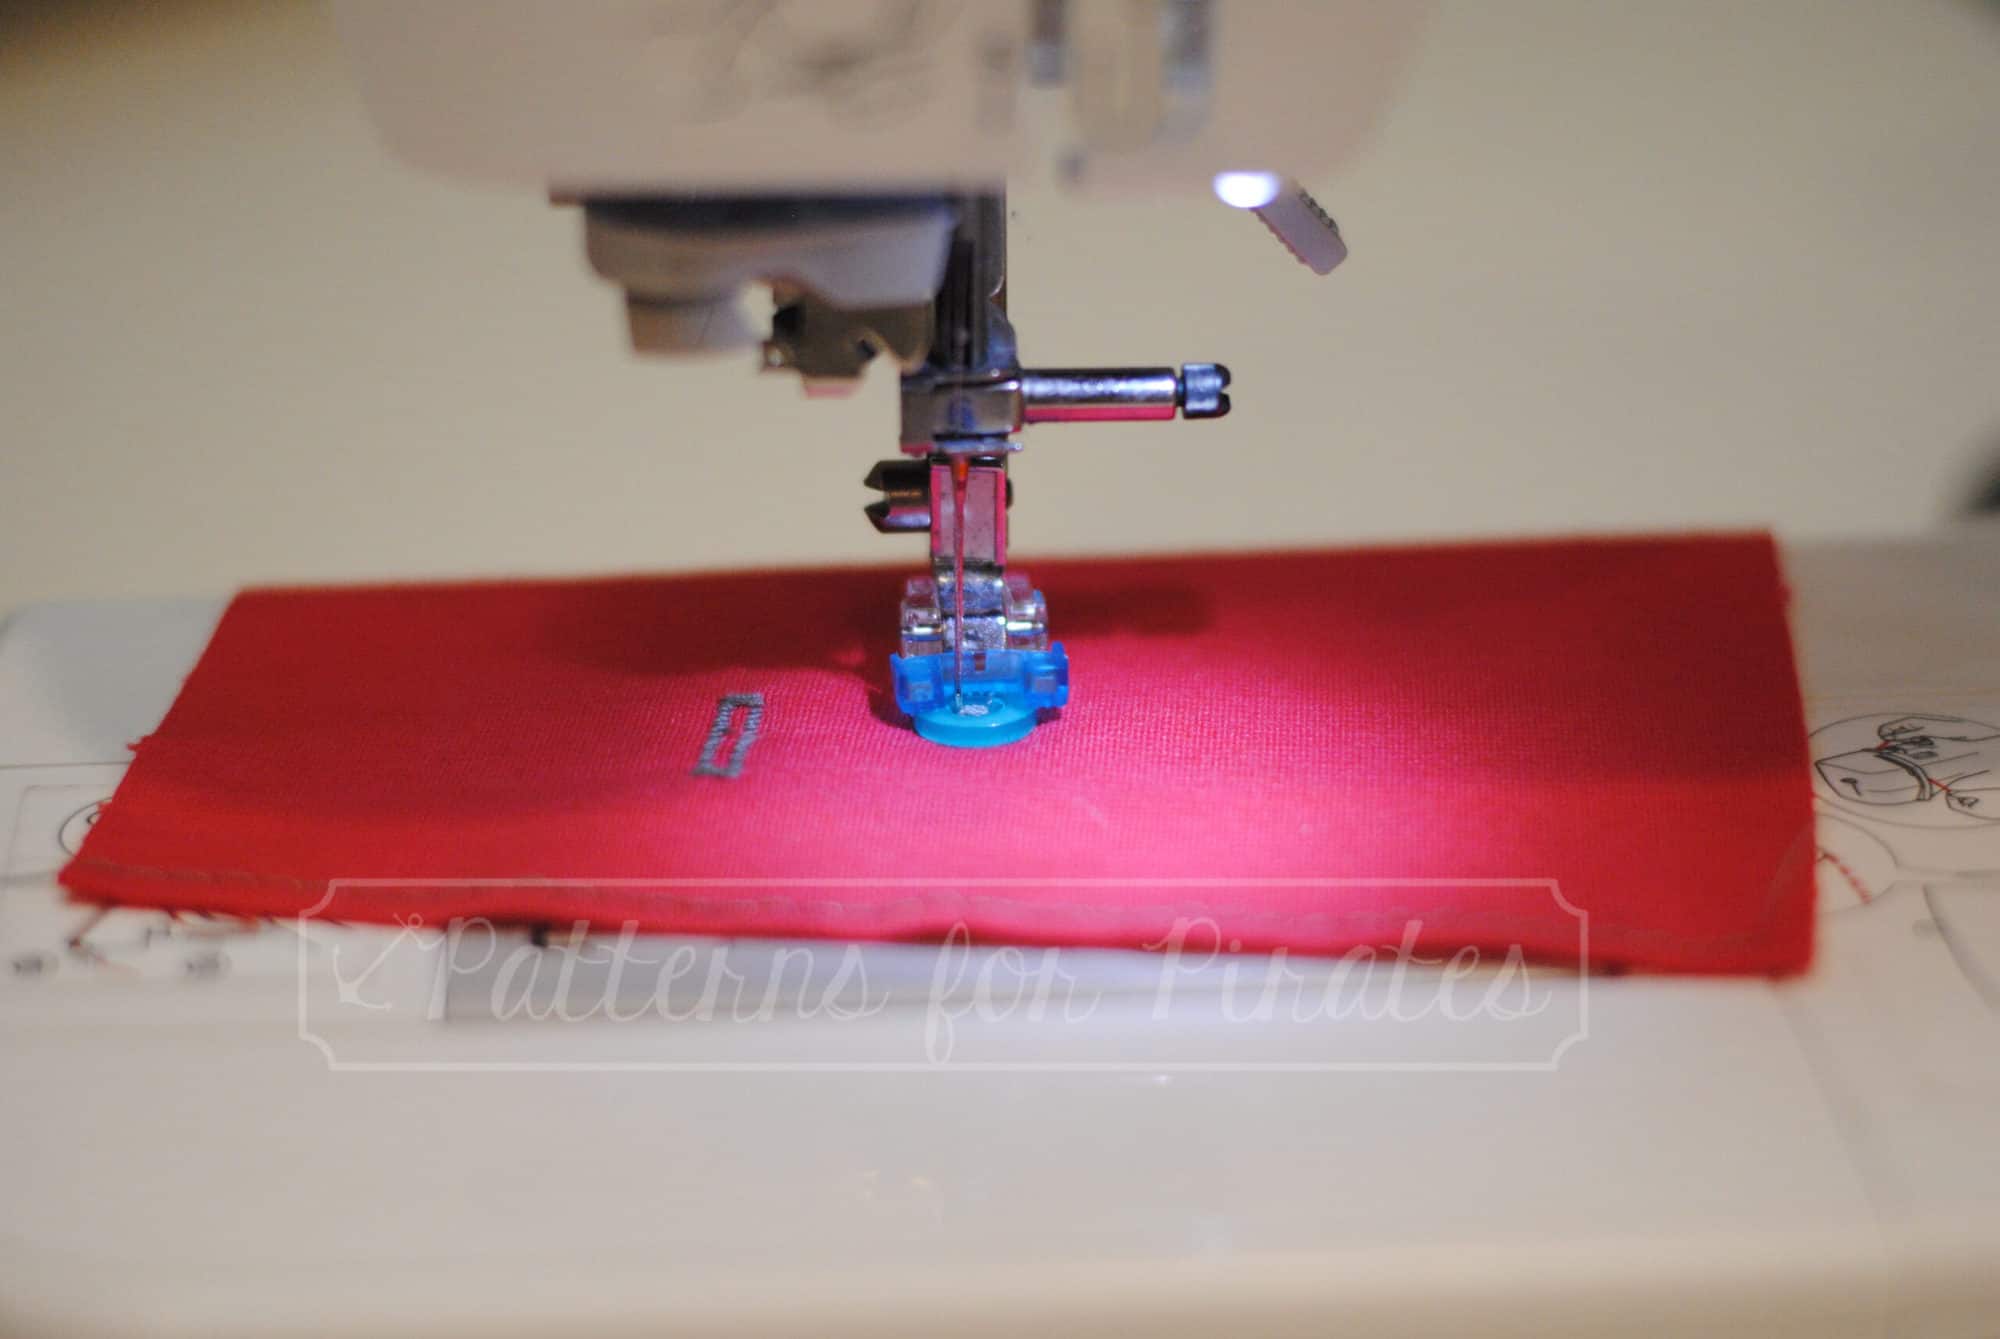
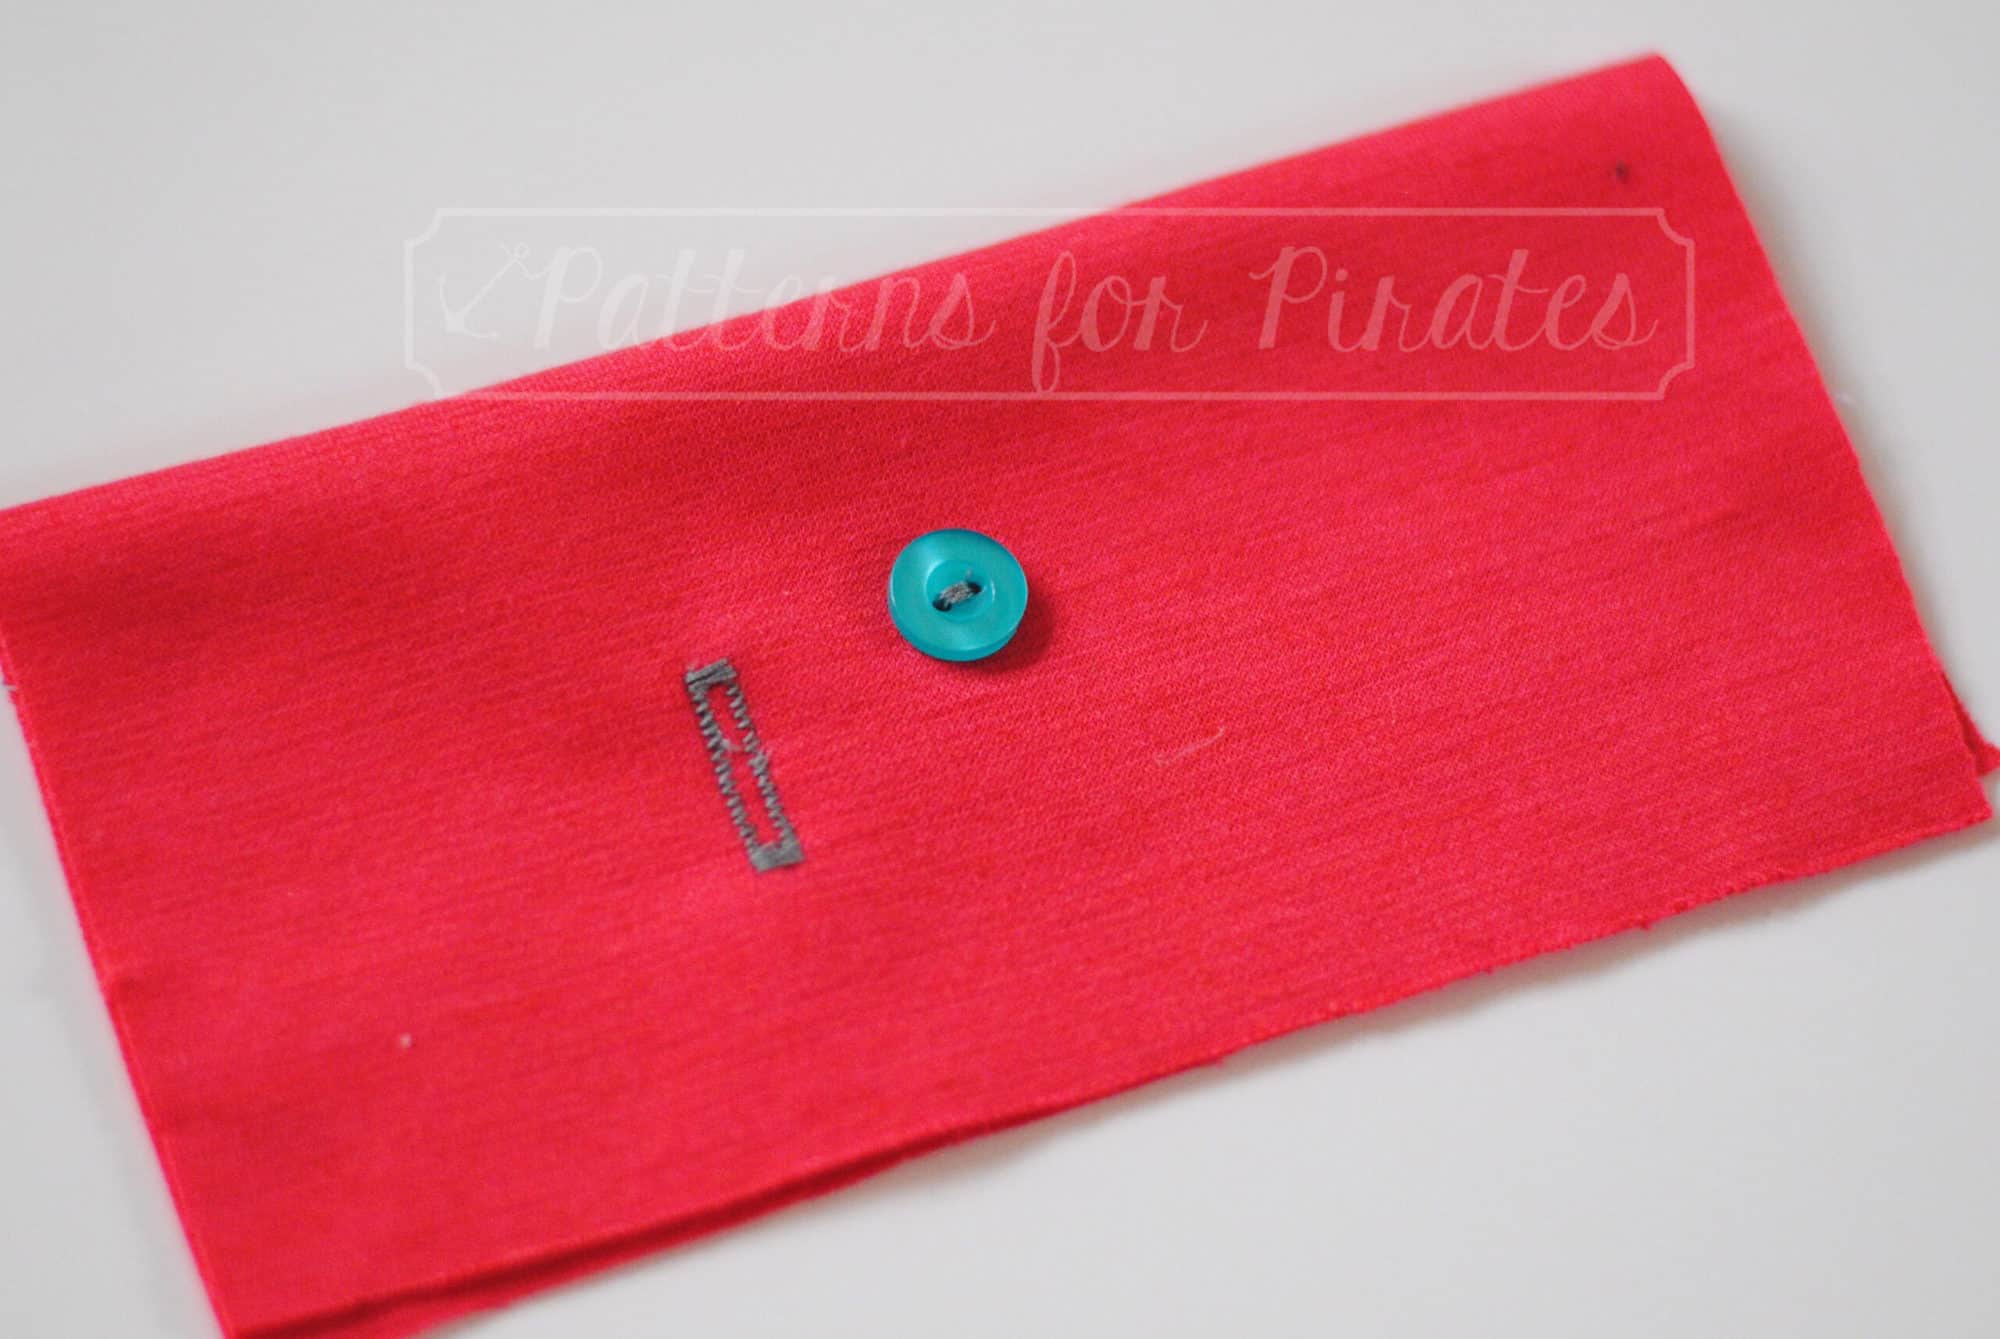
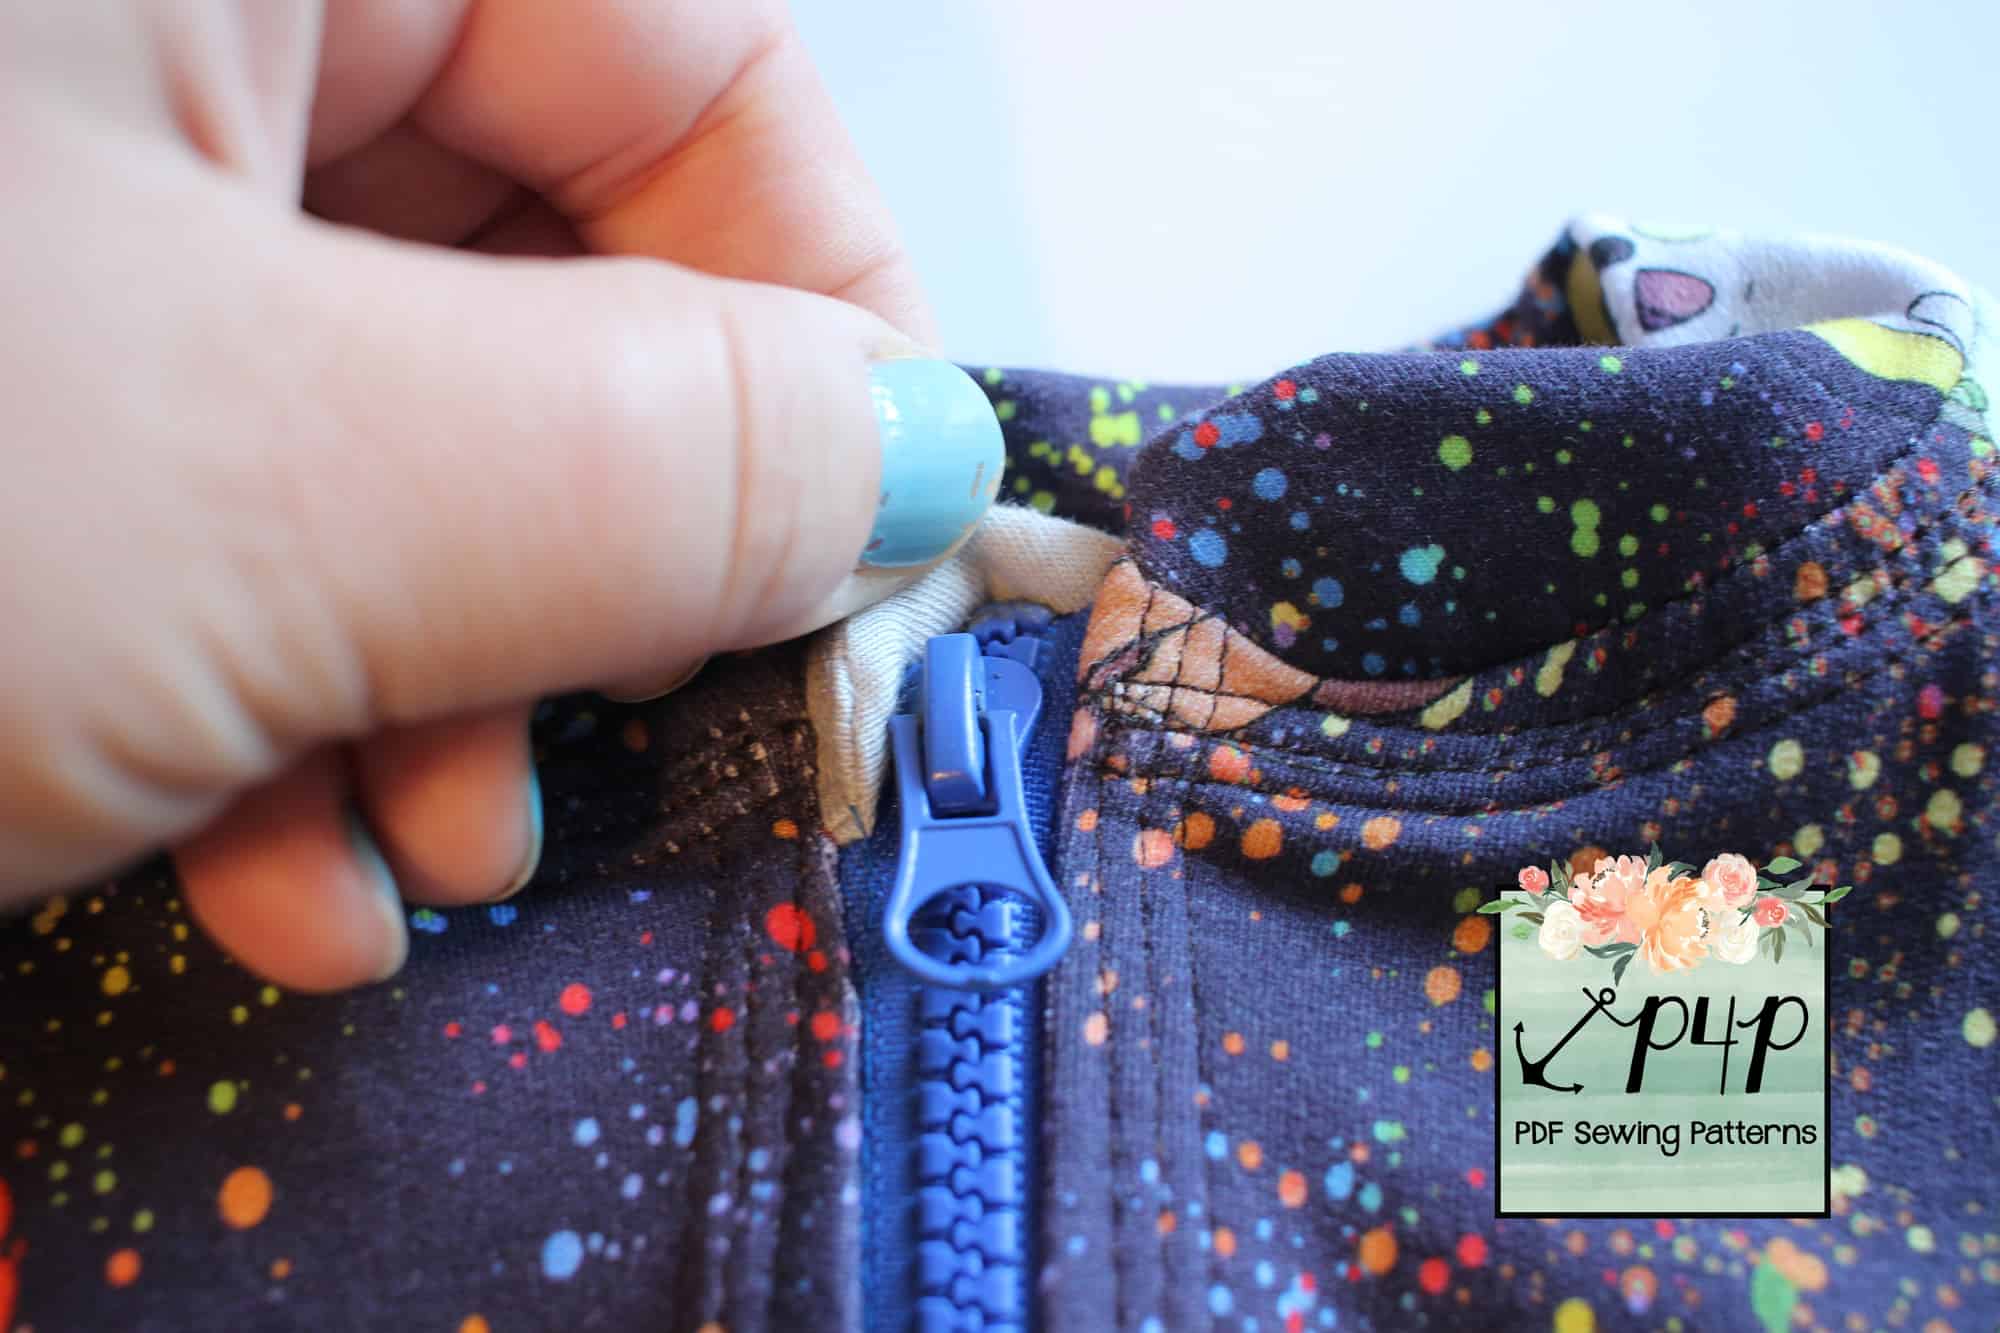
Swim fabrics require a special needle in your sewing machine. You can use a ballpoint needle, but I recommend a stretch needle for sewing seams and attaching elastic. Using one means less trouble with skipped stitches.

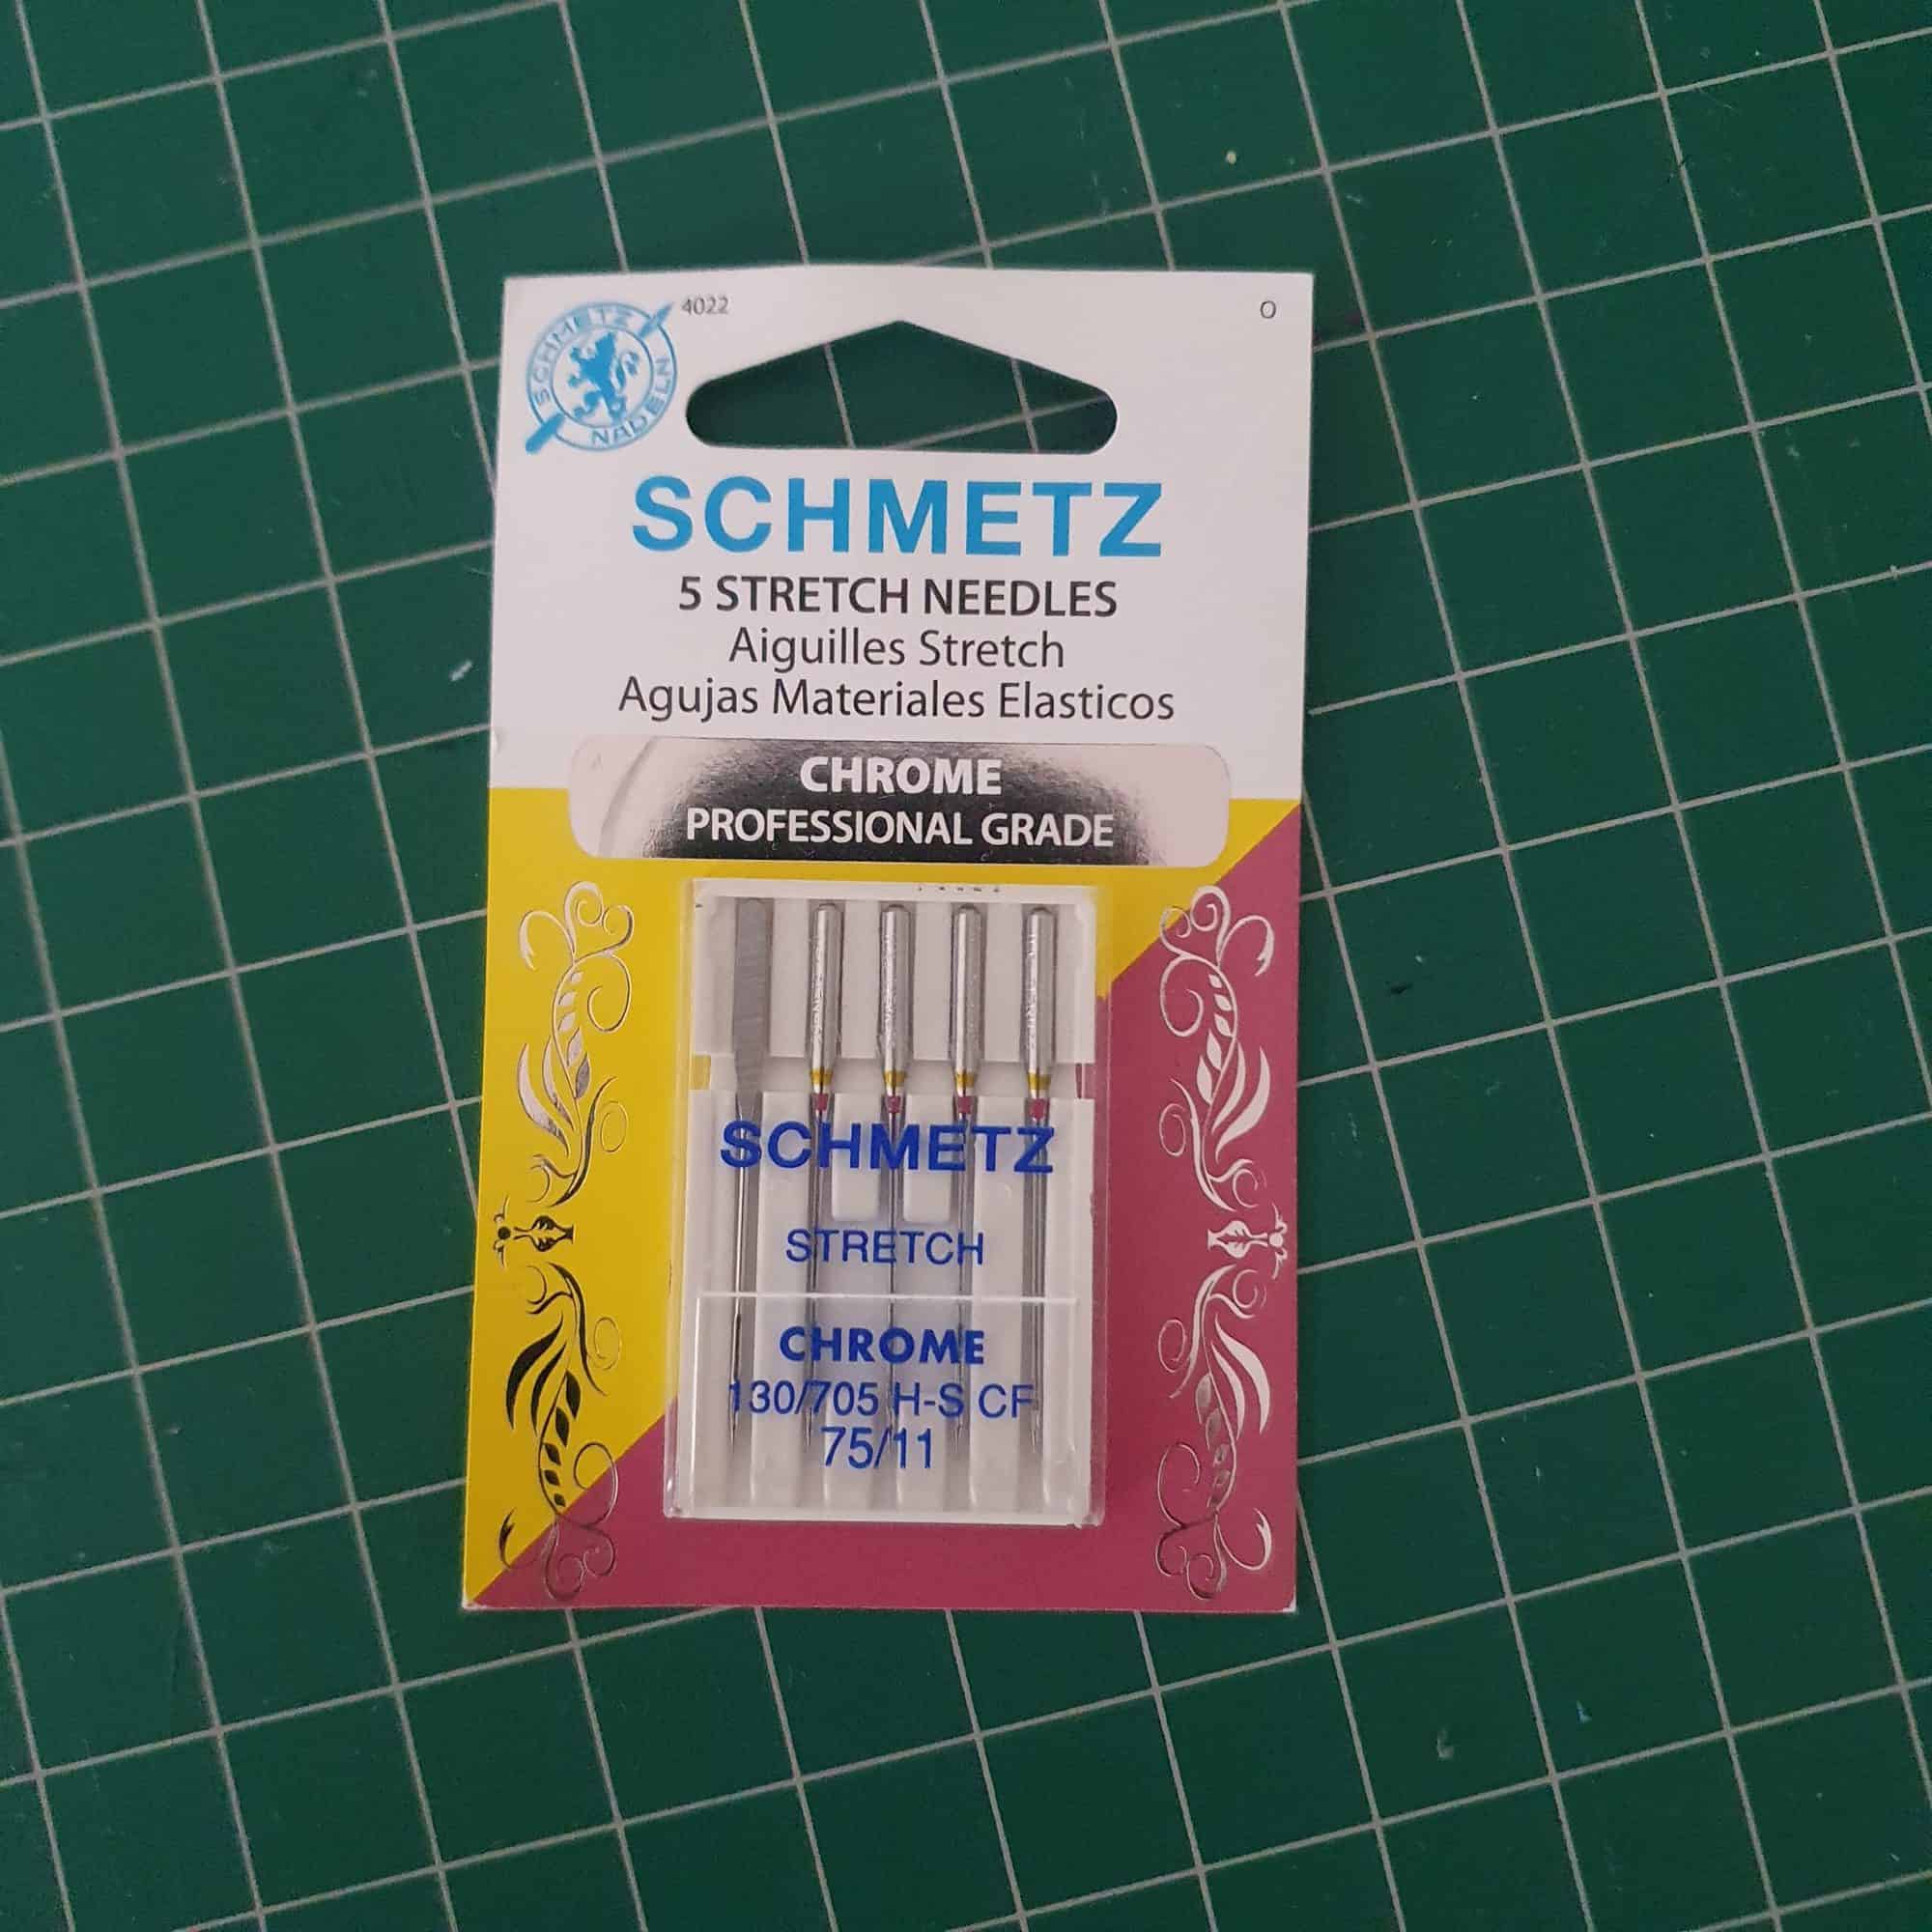
Example of the stretch sewing needles I use

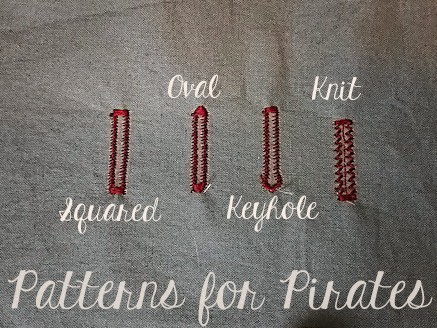
When deciding what finishing stitch to use to topstitch elastics down or hemming swim fabric it is personal choice.

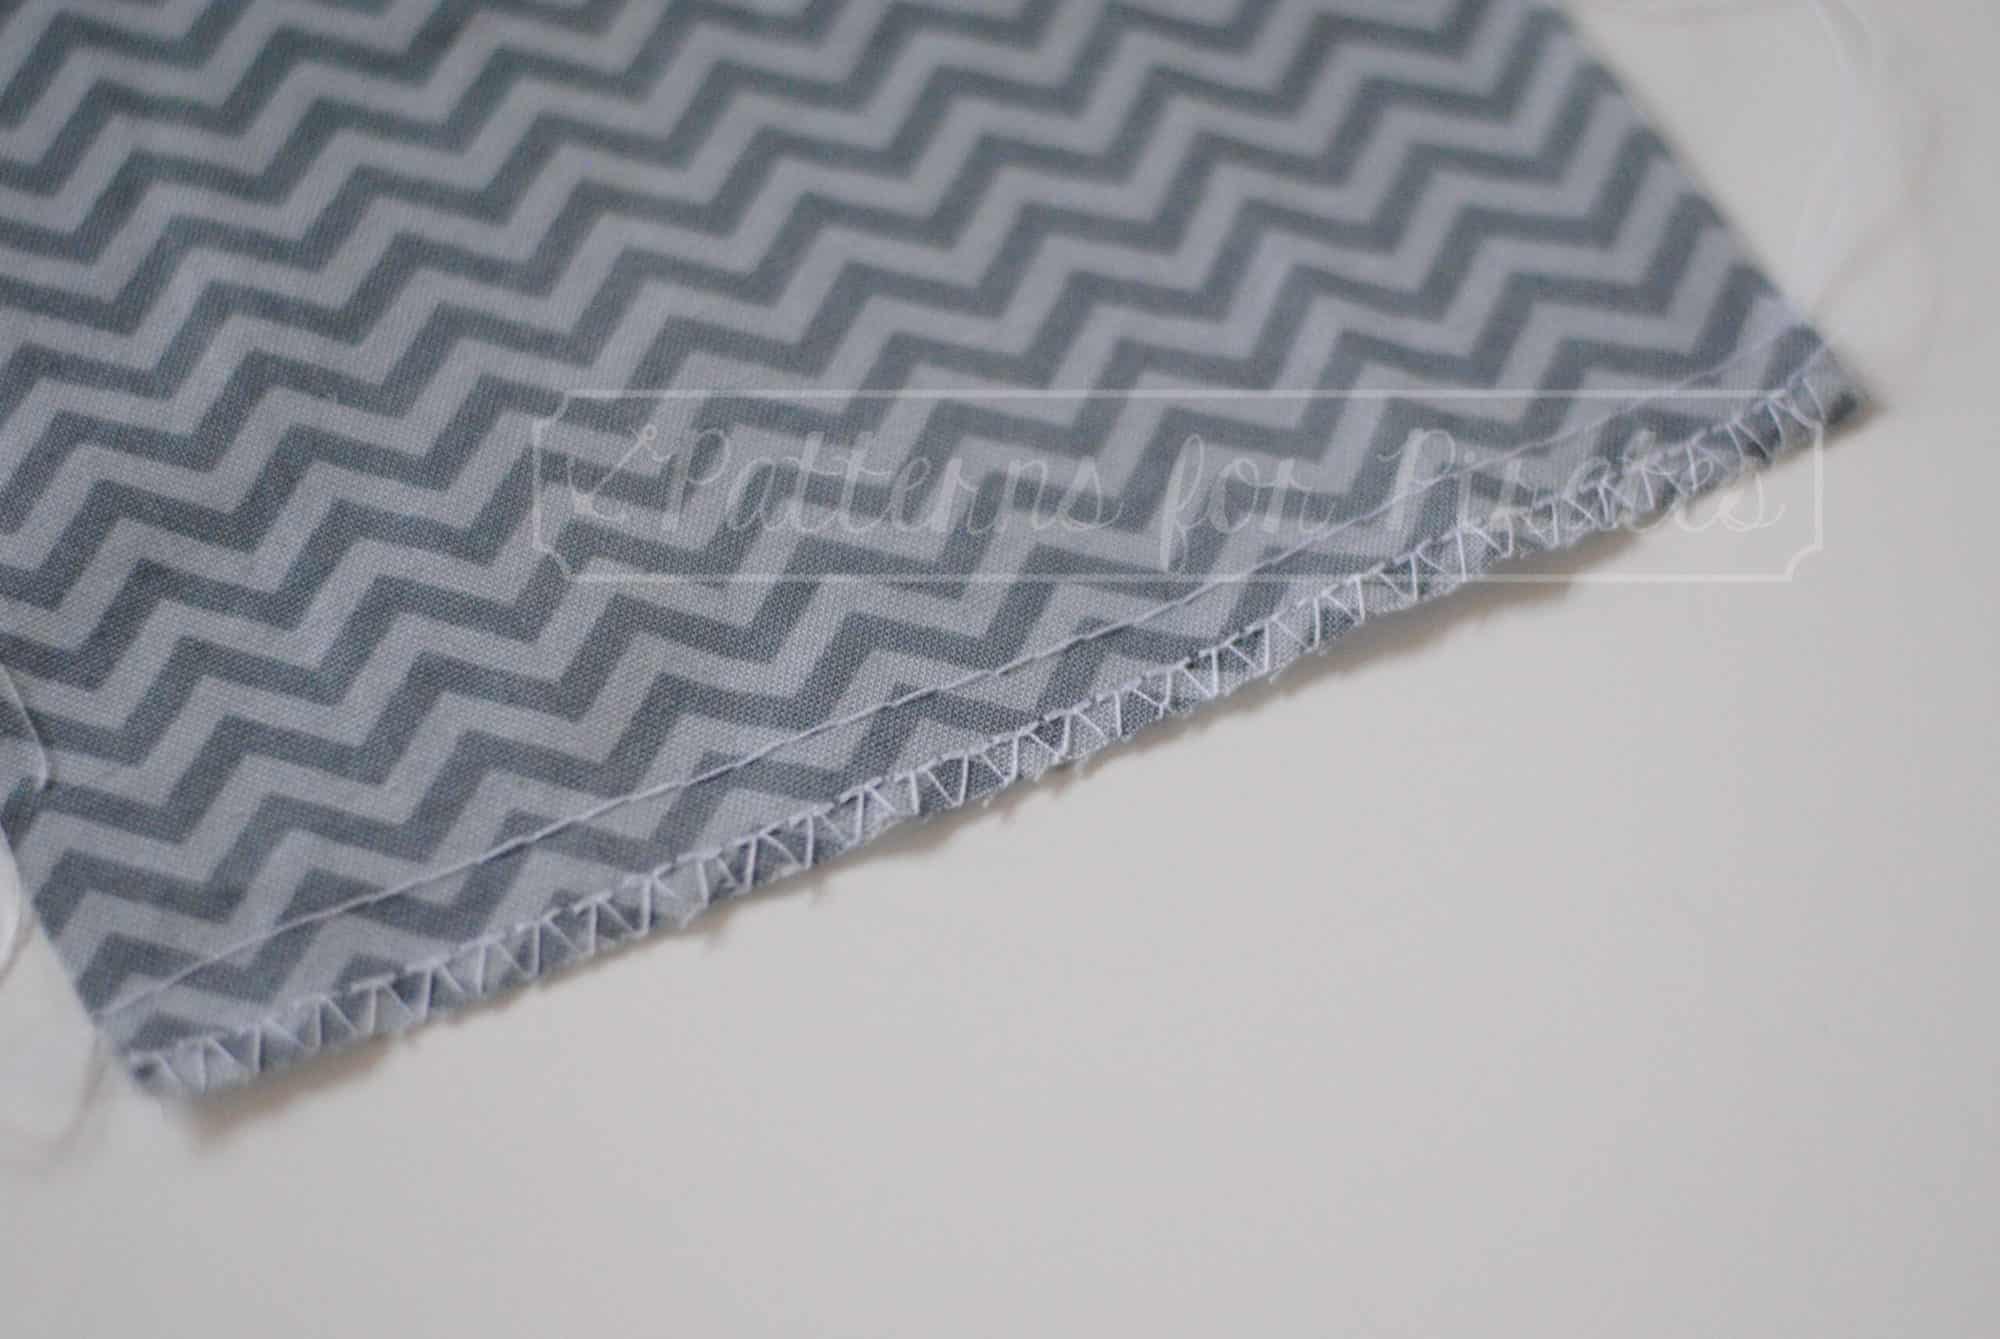
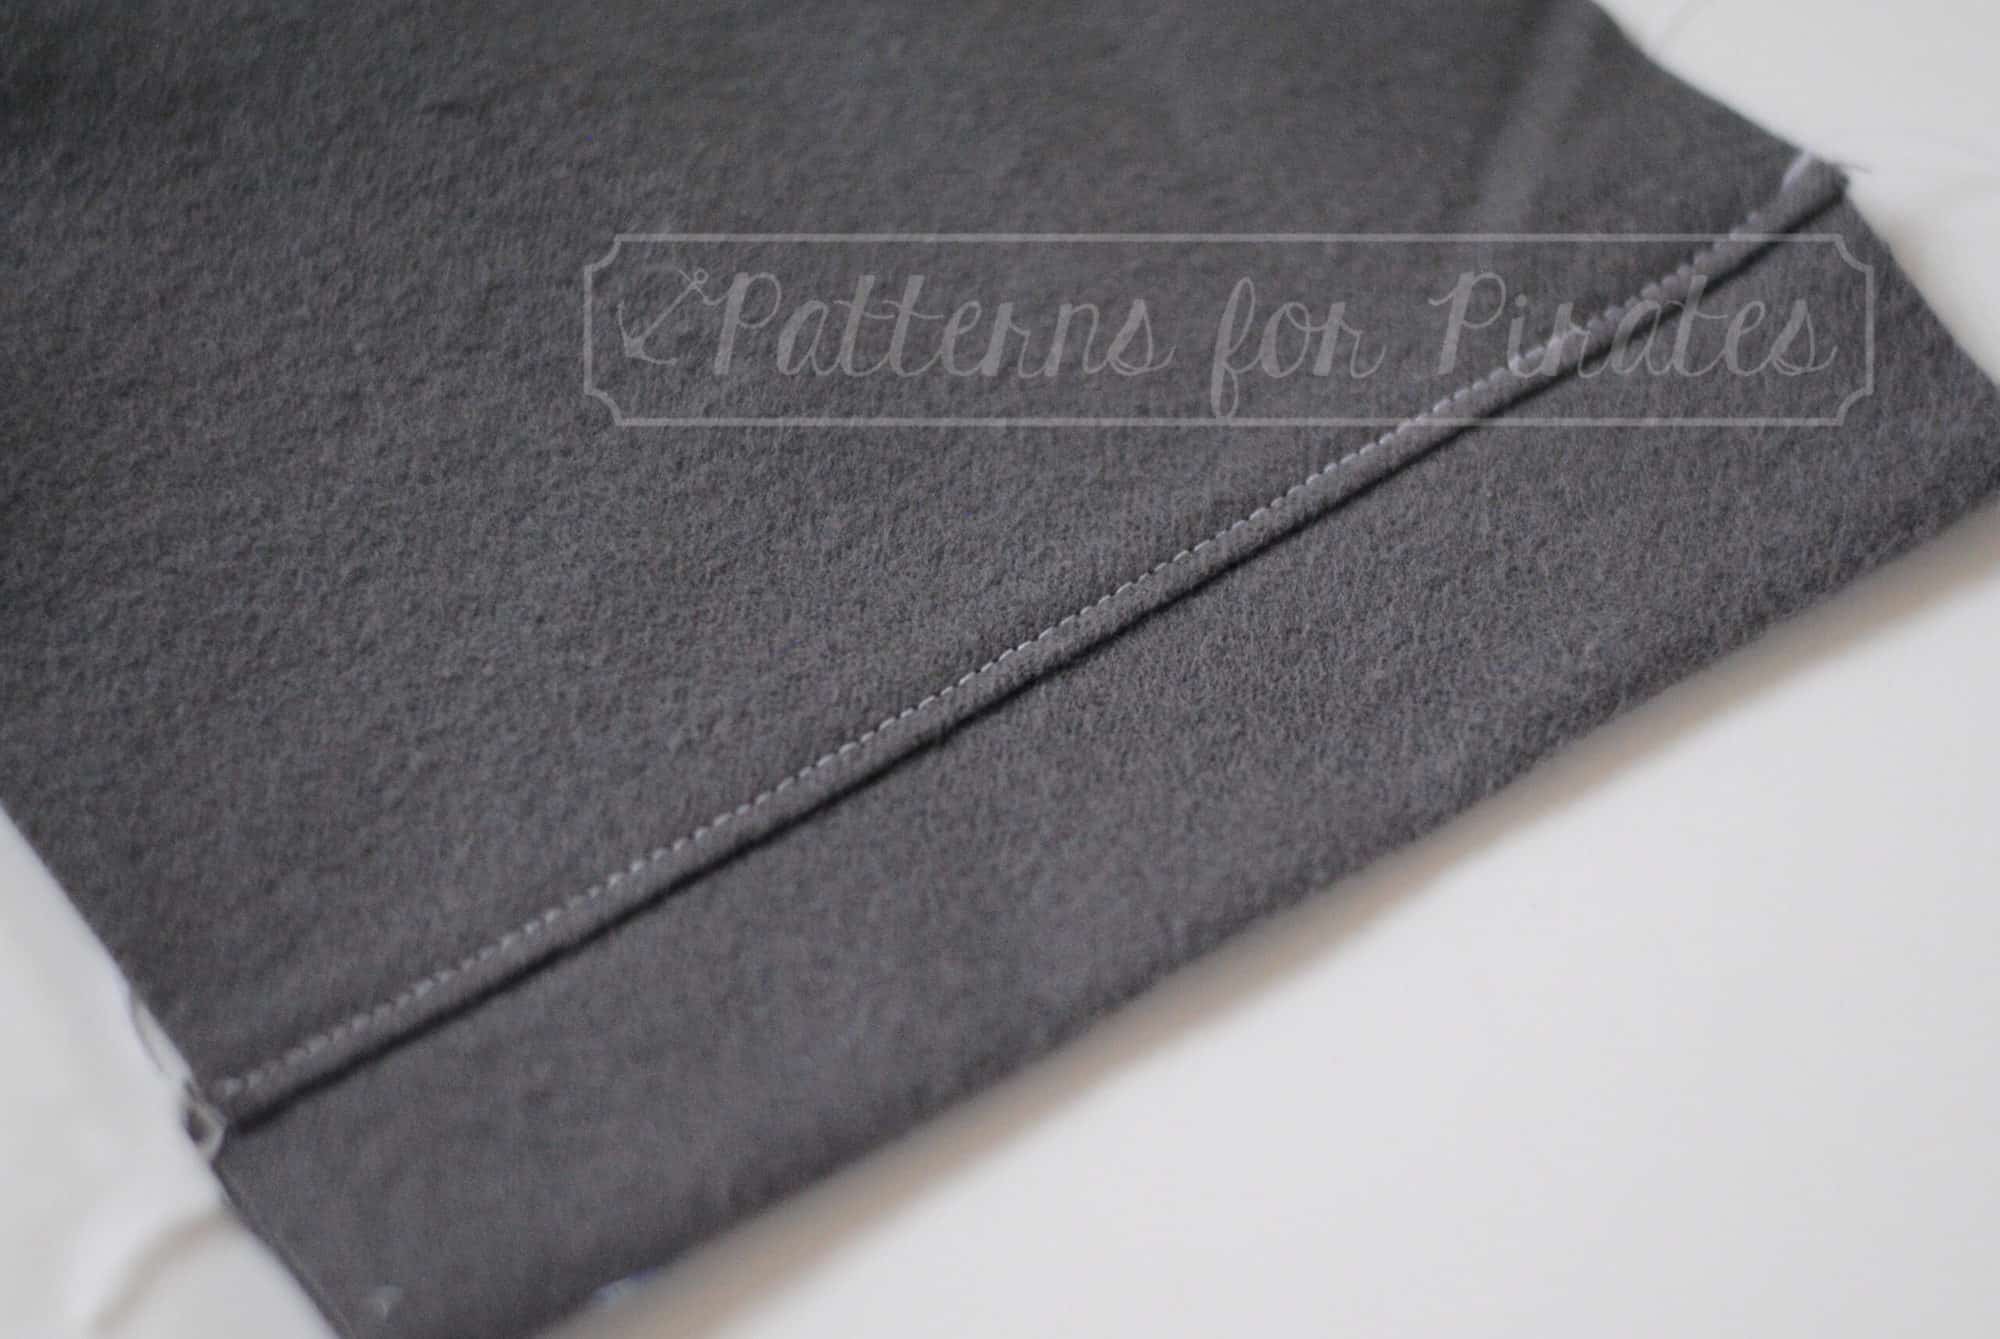
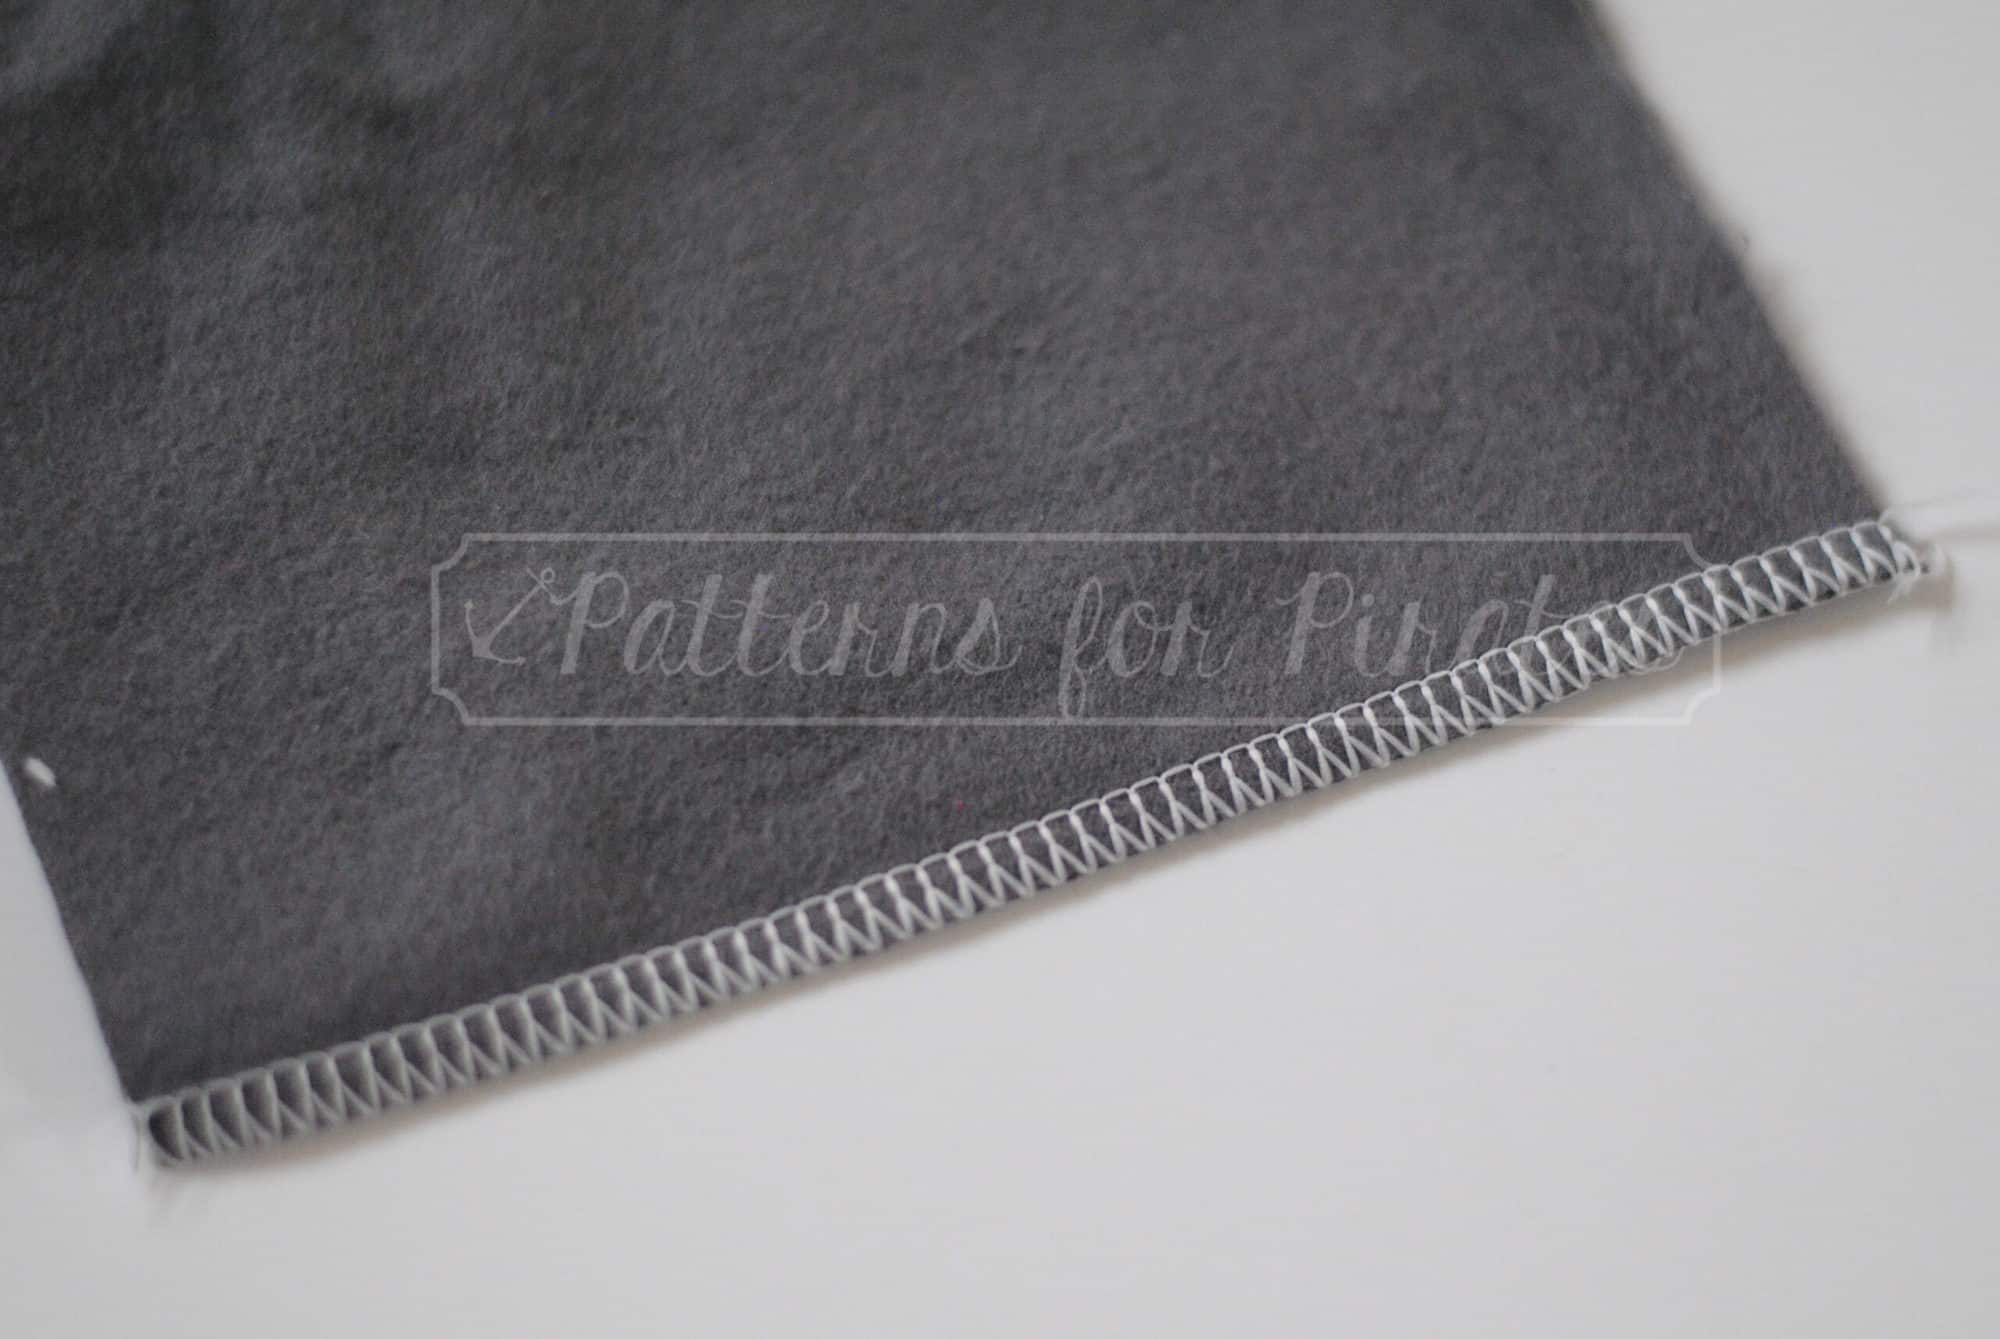
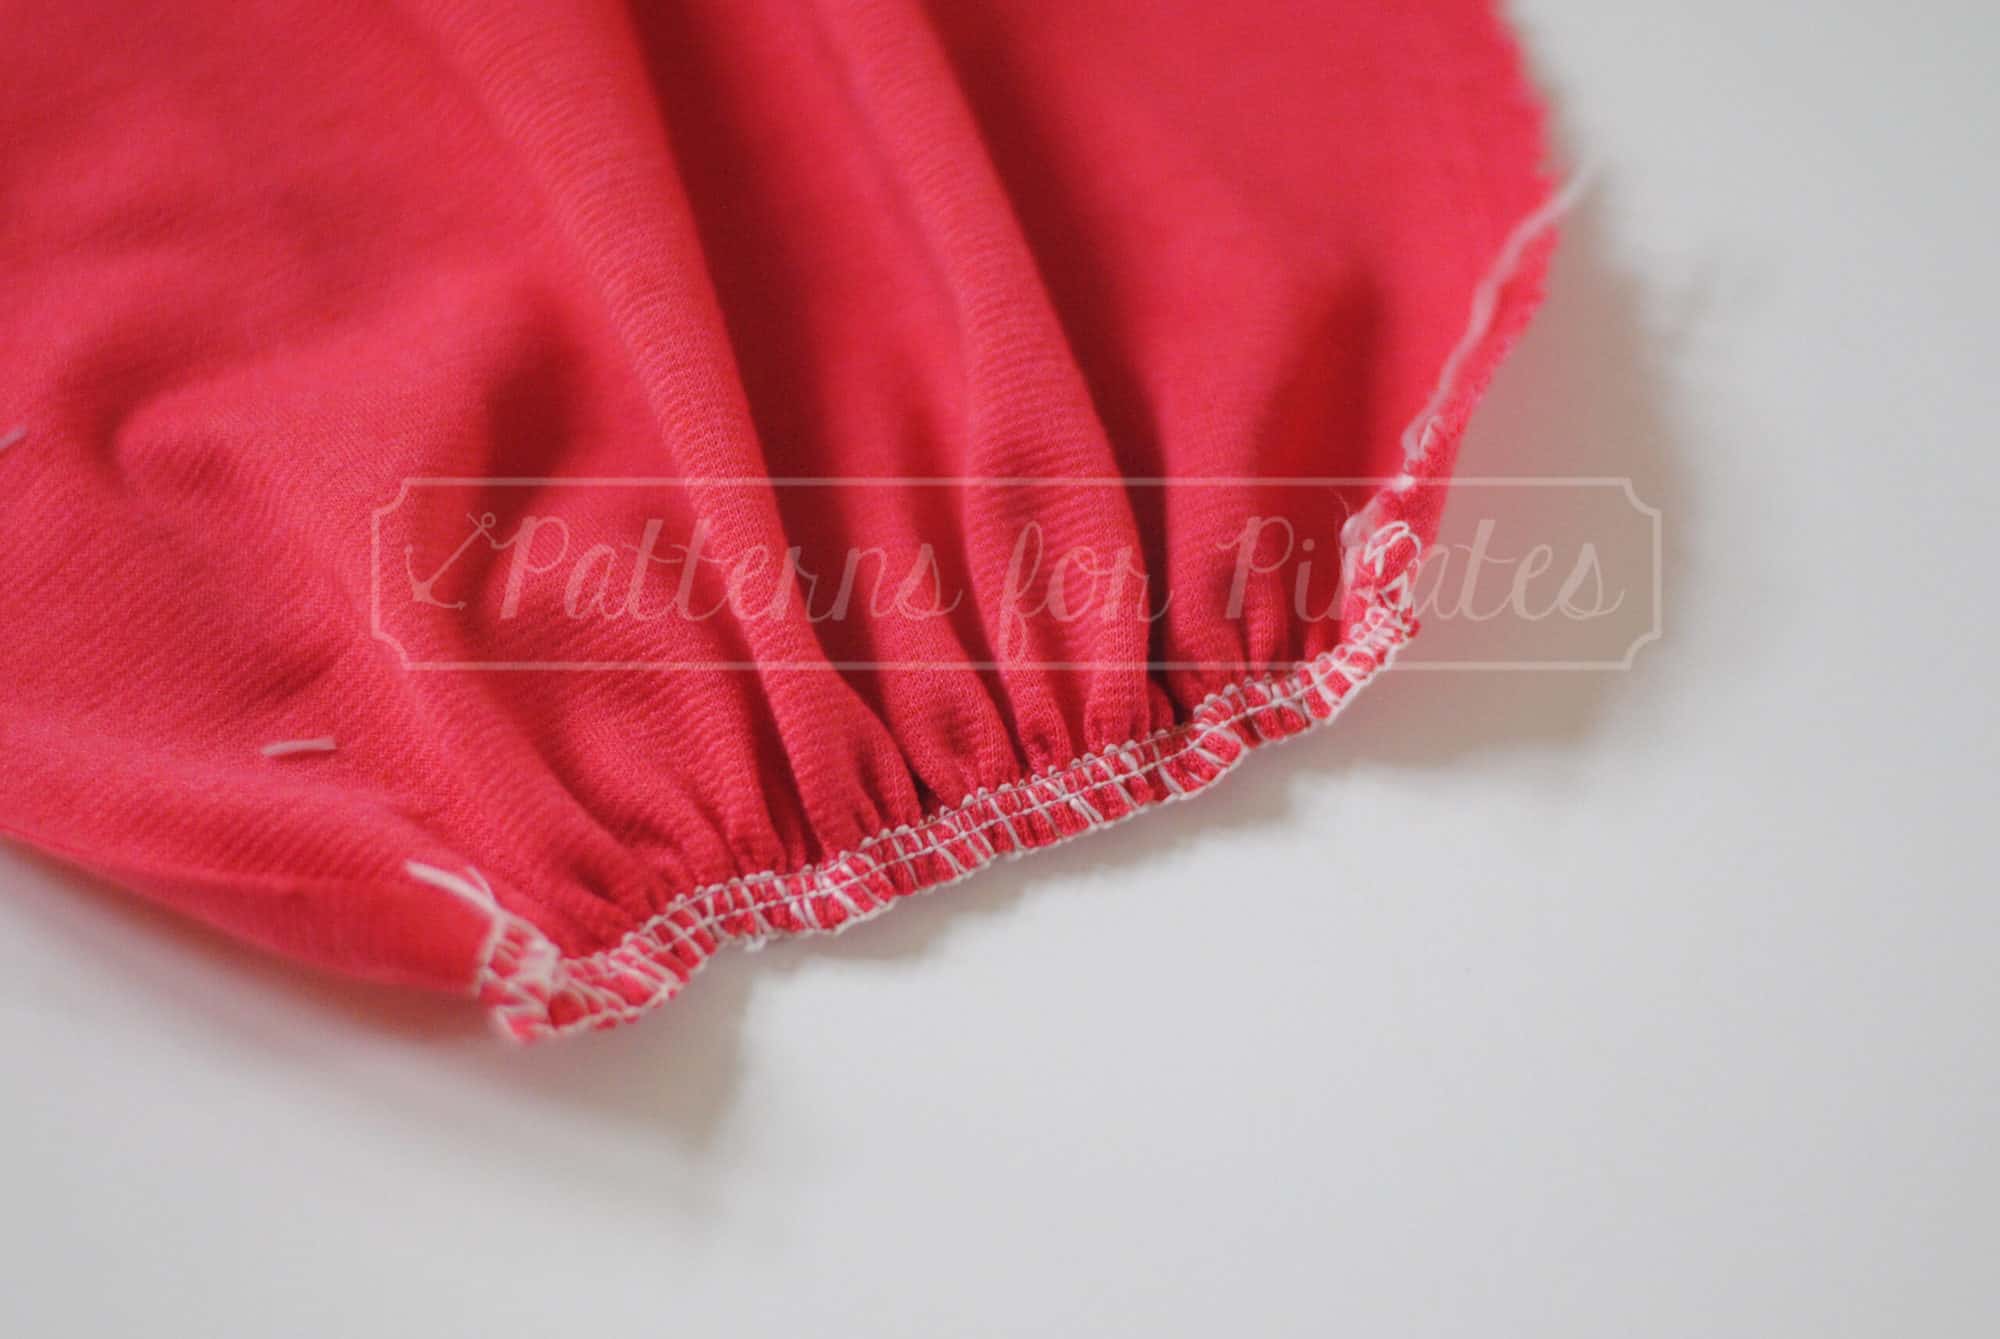
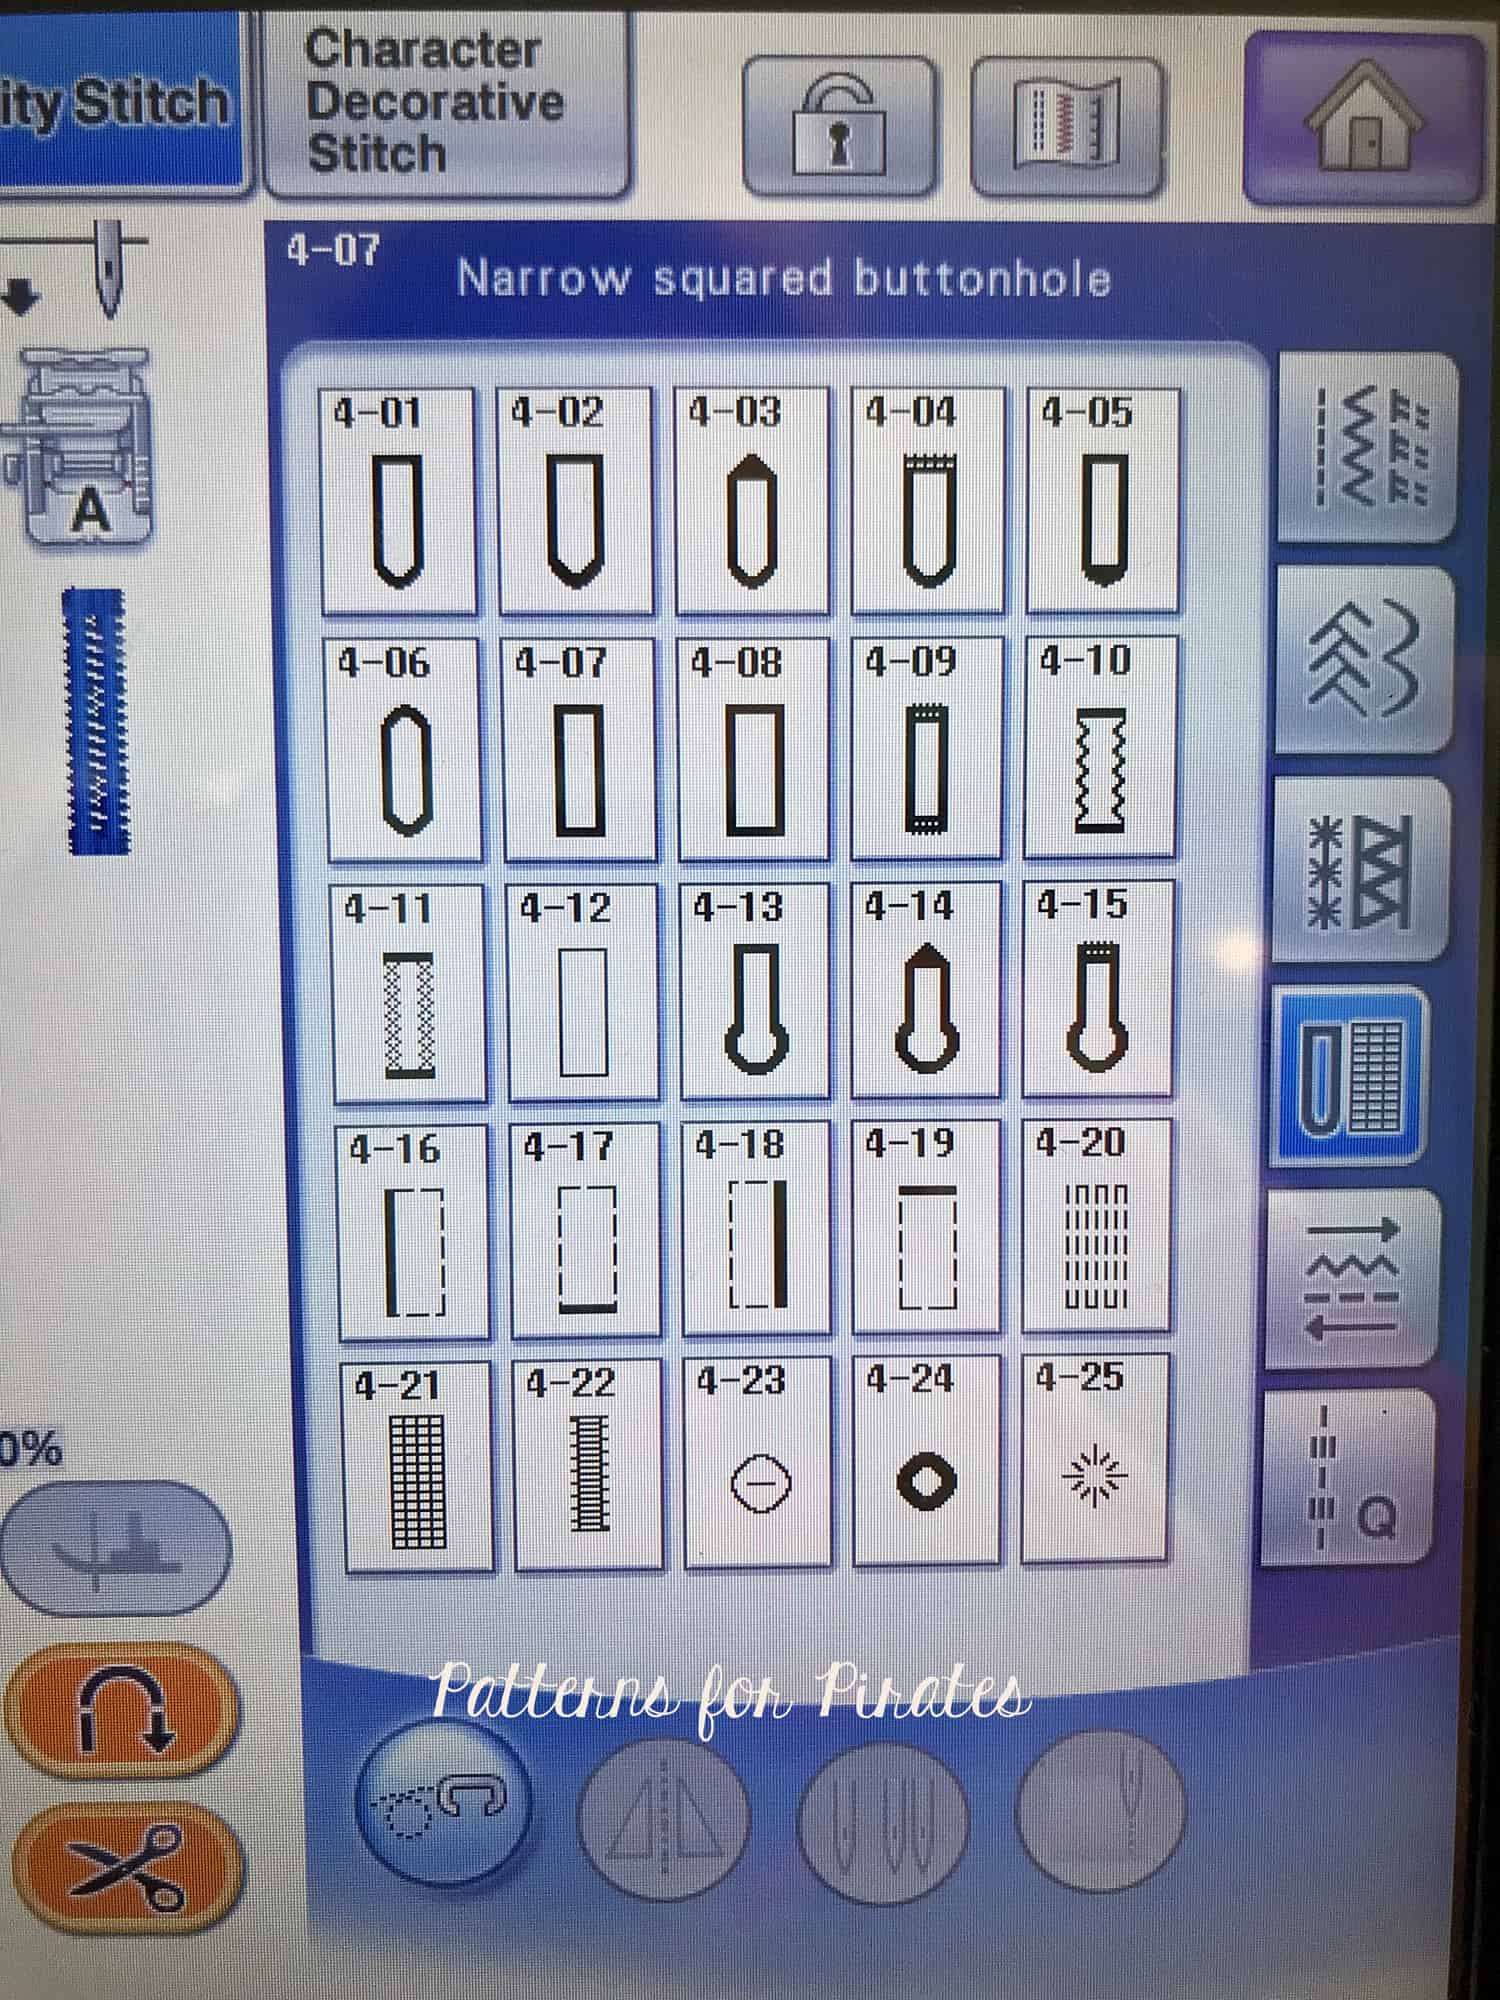
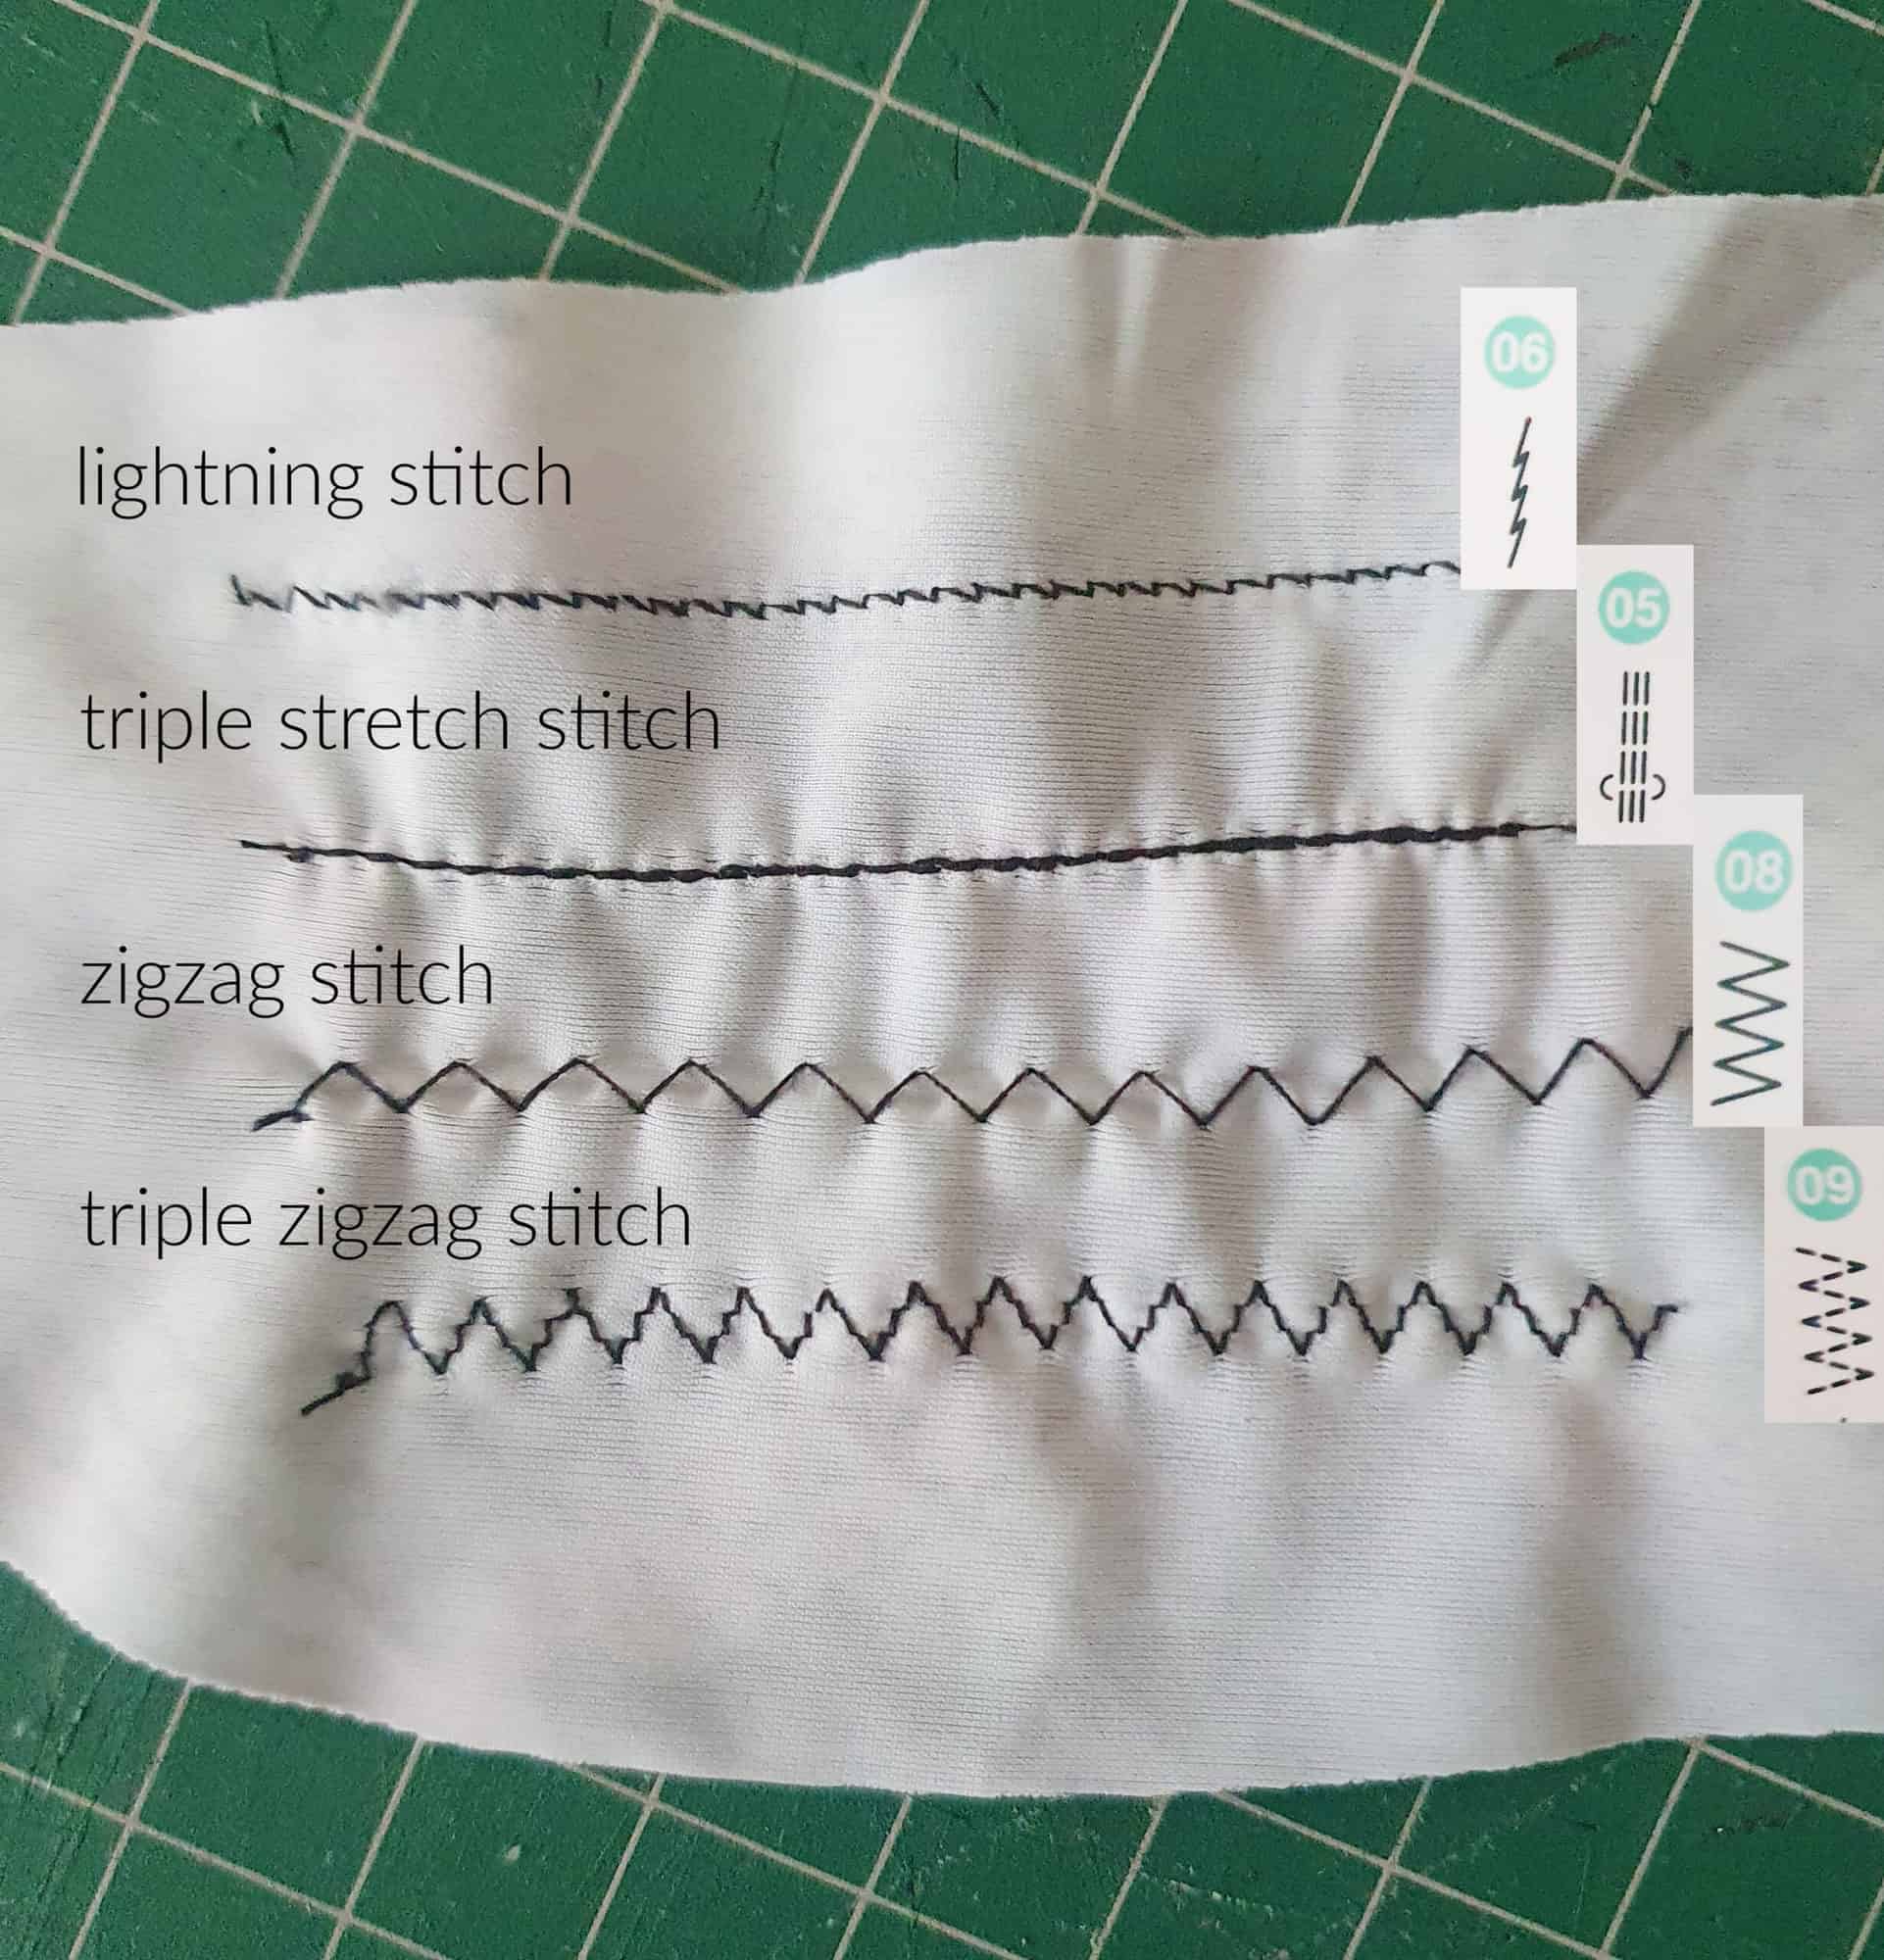
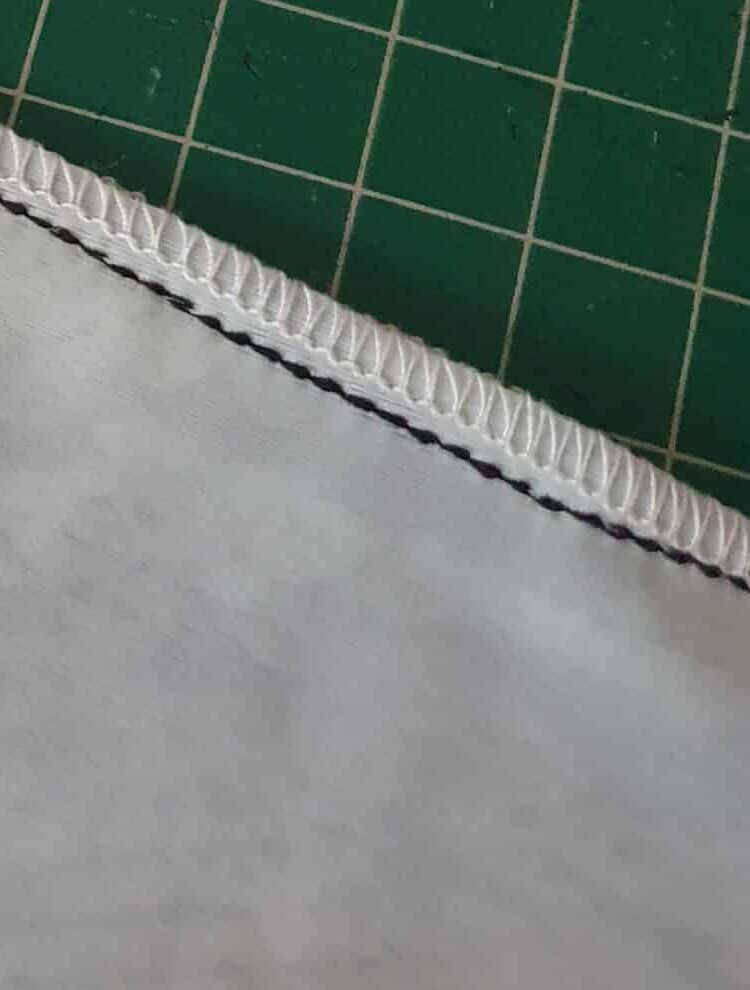
If you are lucky enough to have a cover-stitch machine for finishing your swimsuit that is ideal, but never fear because a stretch twin needle in your sewing machine will give similar professional finish too. It is  also quite common to use a zigzag stitch or triple zigzag stitch for topstitching on swim fabric (see photo below showing stitch examples).

The minute maillot swimsuit showing how top-stitching the elastic down on swimsuits looks using either a coverstitch machine or a stretch twin needle

Polyester thread is ideal for sewing with swim because it is not weakened by chlorine or salt water. Again quality of the thread does make a difference to the longevity of your swimsuit.

Cutting swim fabric can be tricky because it can be slippery. I like to use pattern weights because it helps to keep the fabric in place and a rotary cutter because it gives neat, crisp and accurate edges. Before cutting, I recommend that you place your fabric right side up. When doing this, take note of where the pattern will lie on the body and how it looks next to other prints. This will help to avoid an unfortunate print placement.

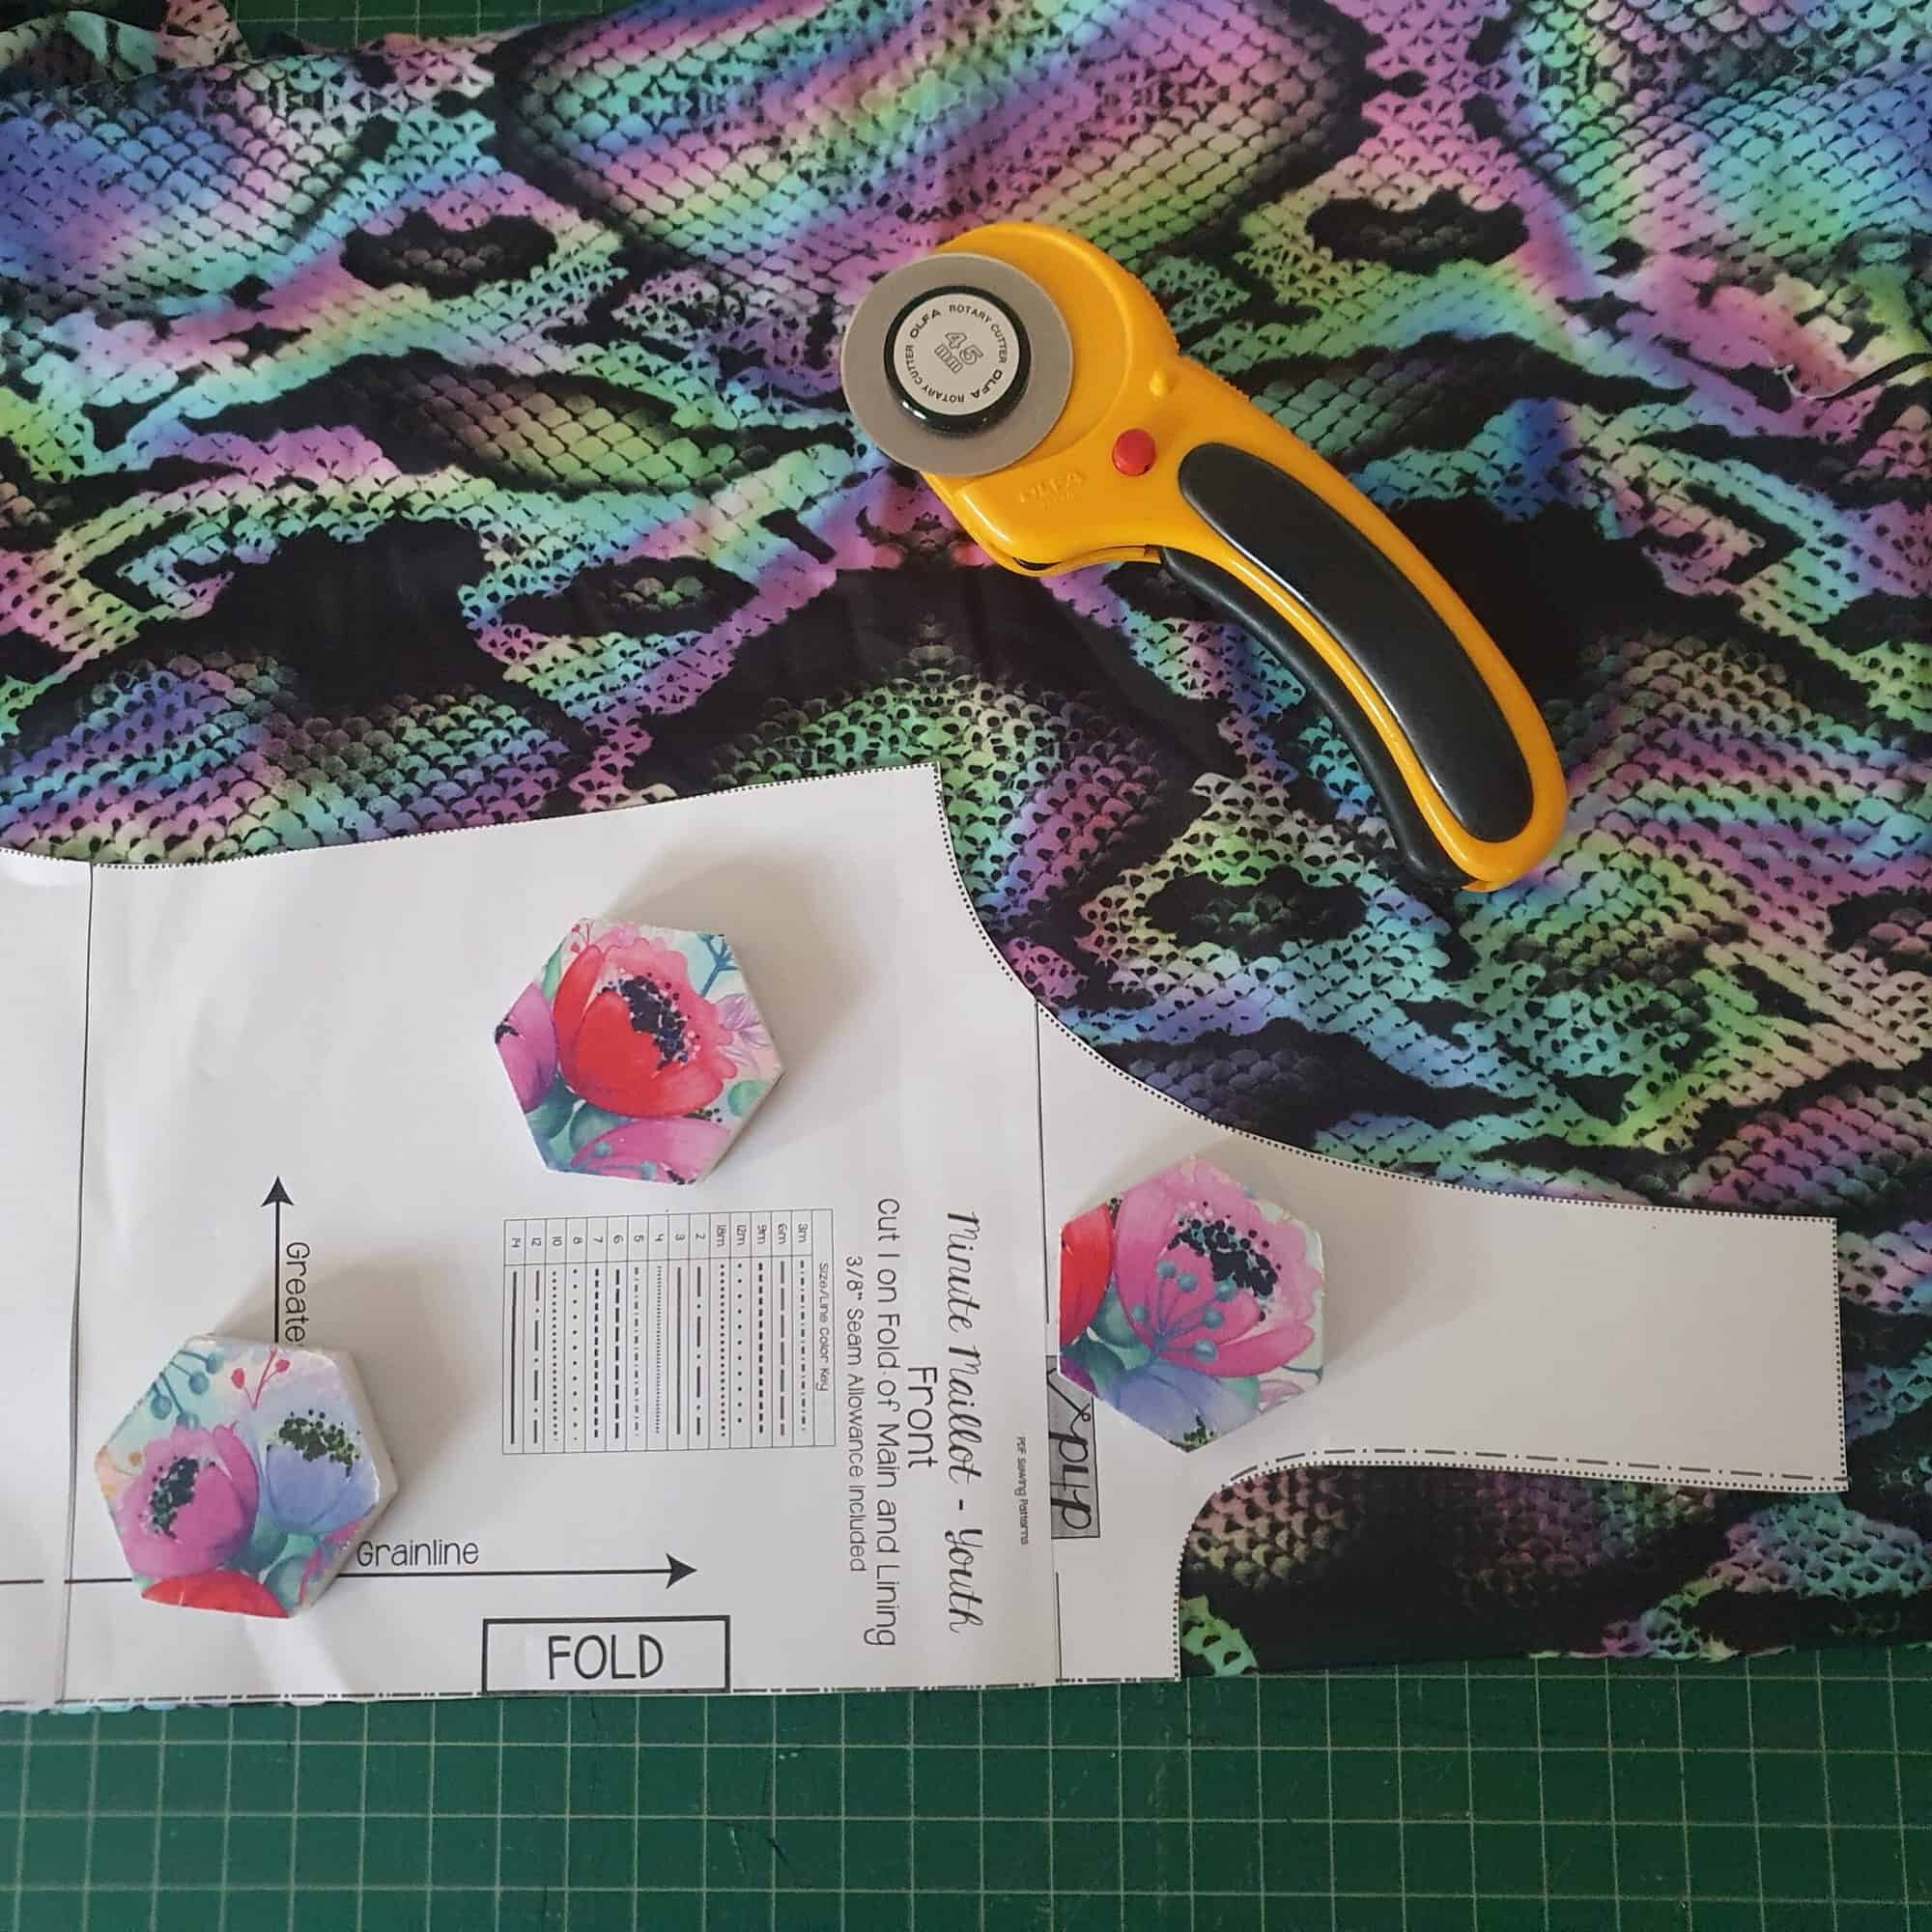
My cutting set up – fabric right side up, pattern weights and rotary cutter

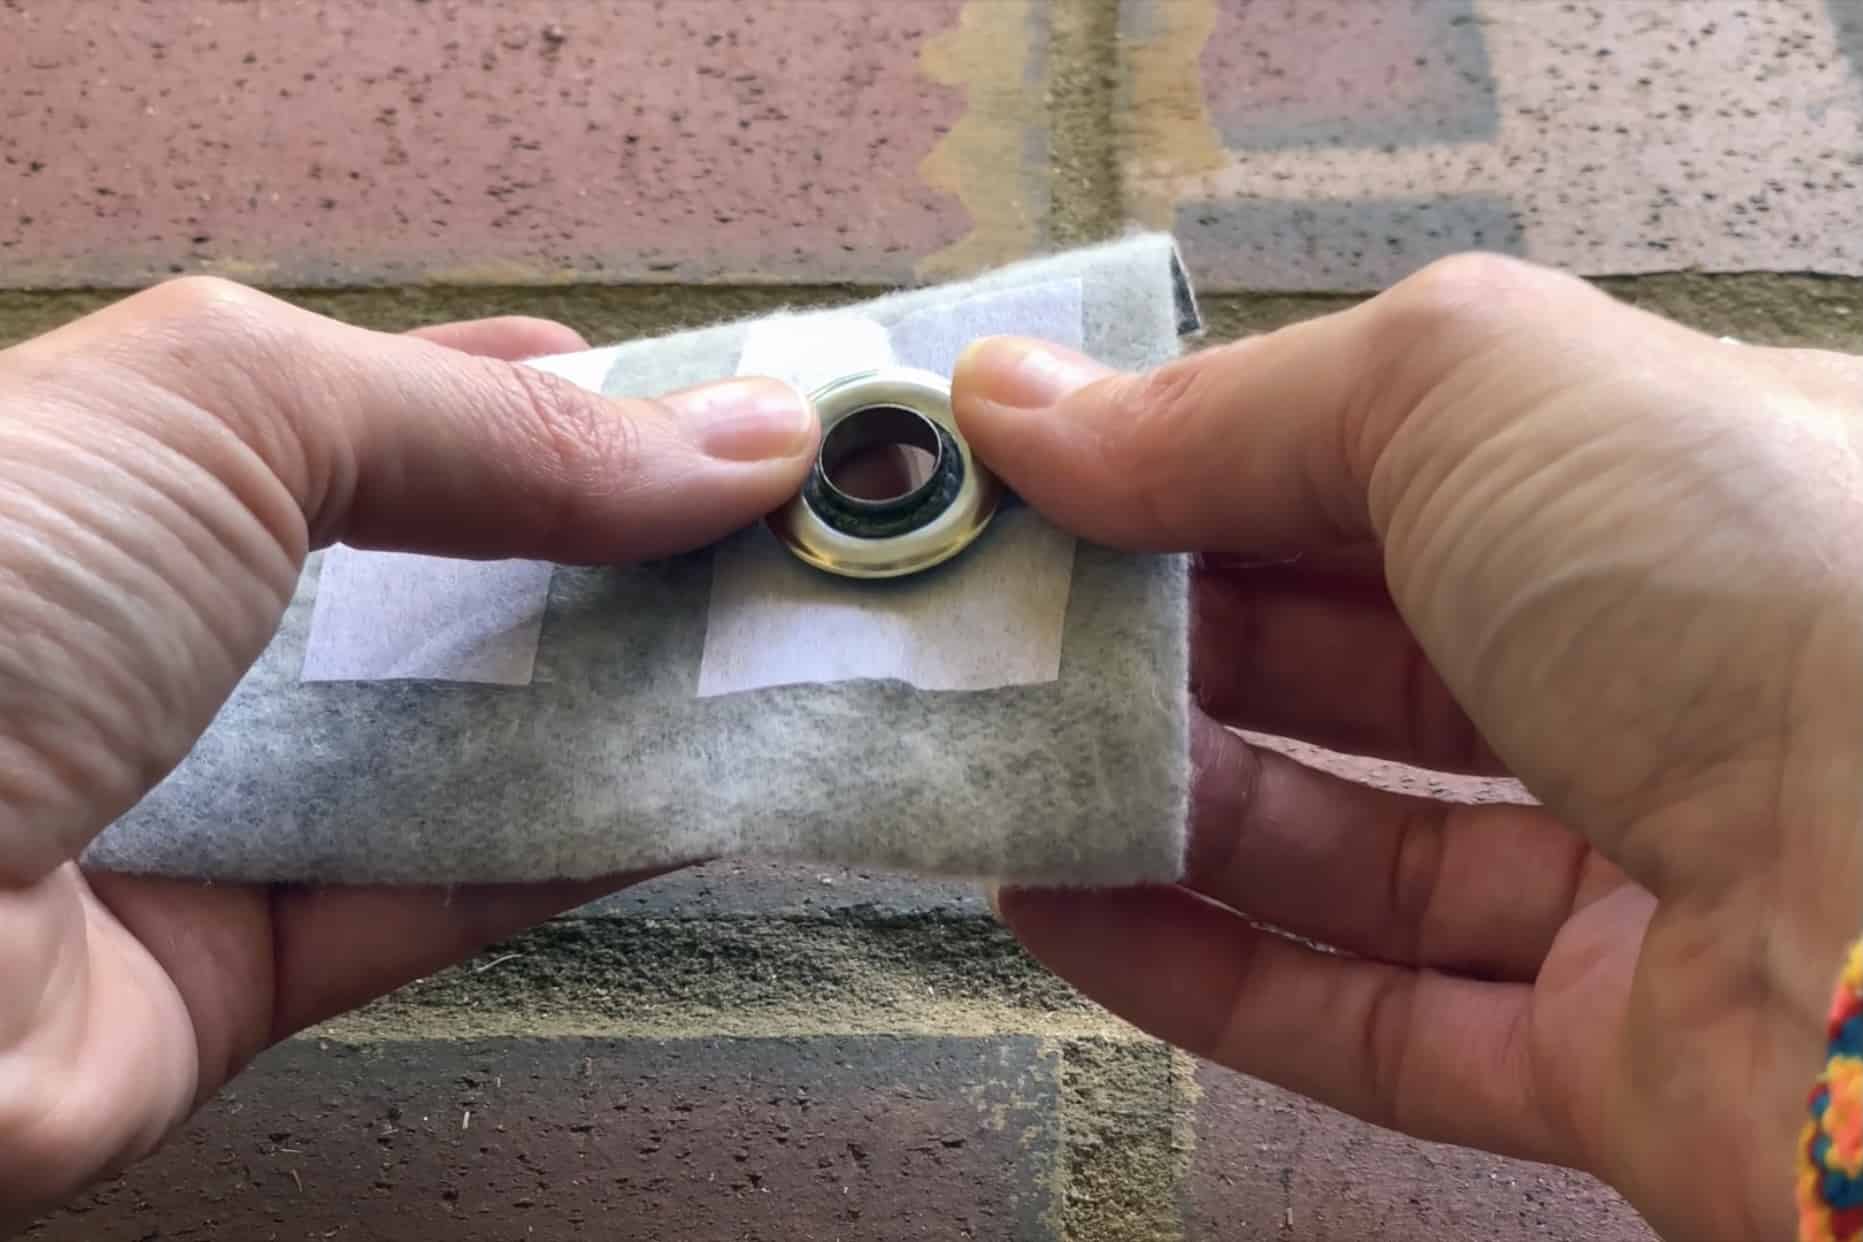
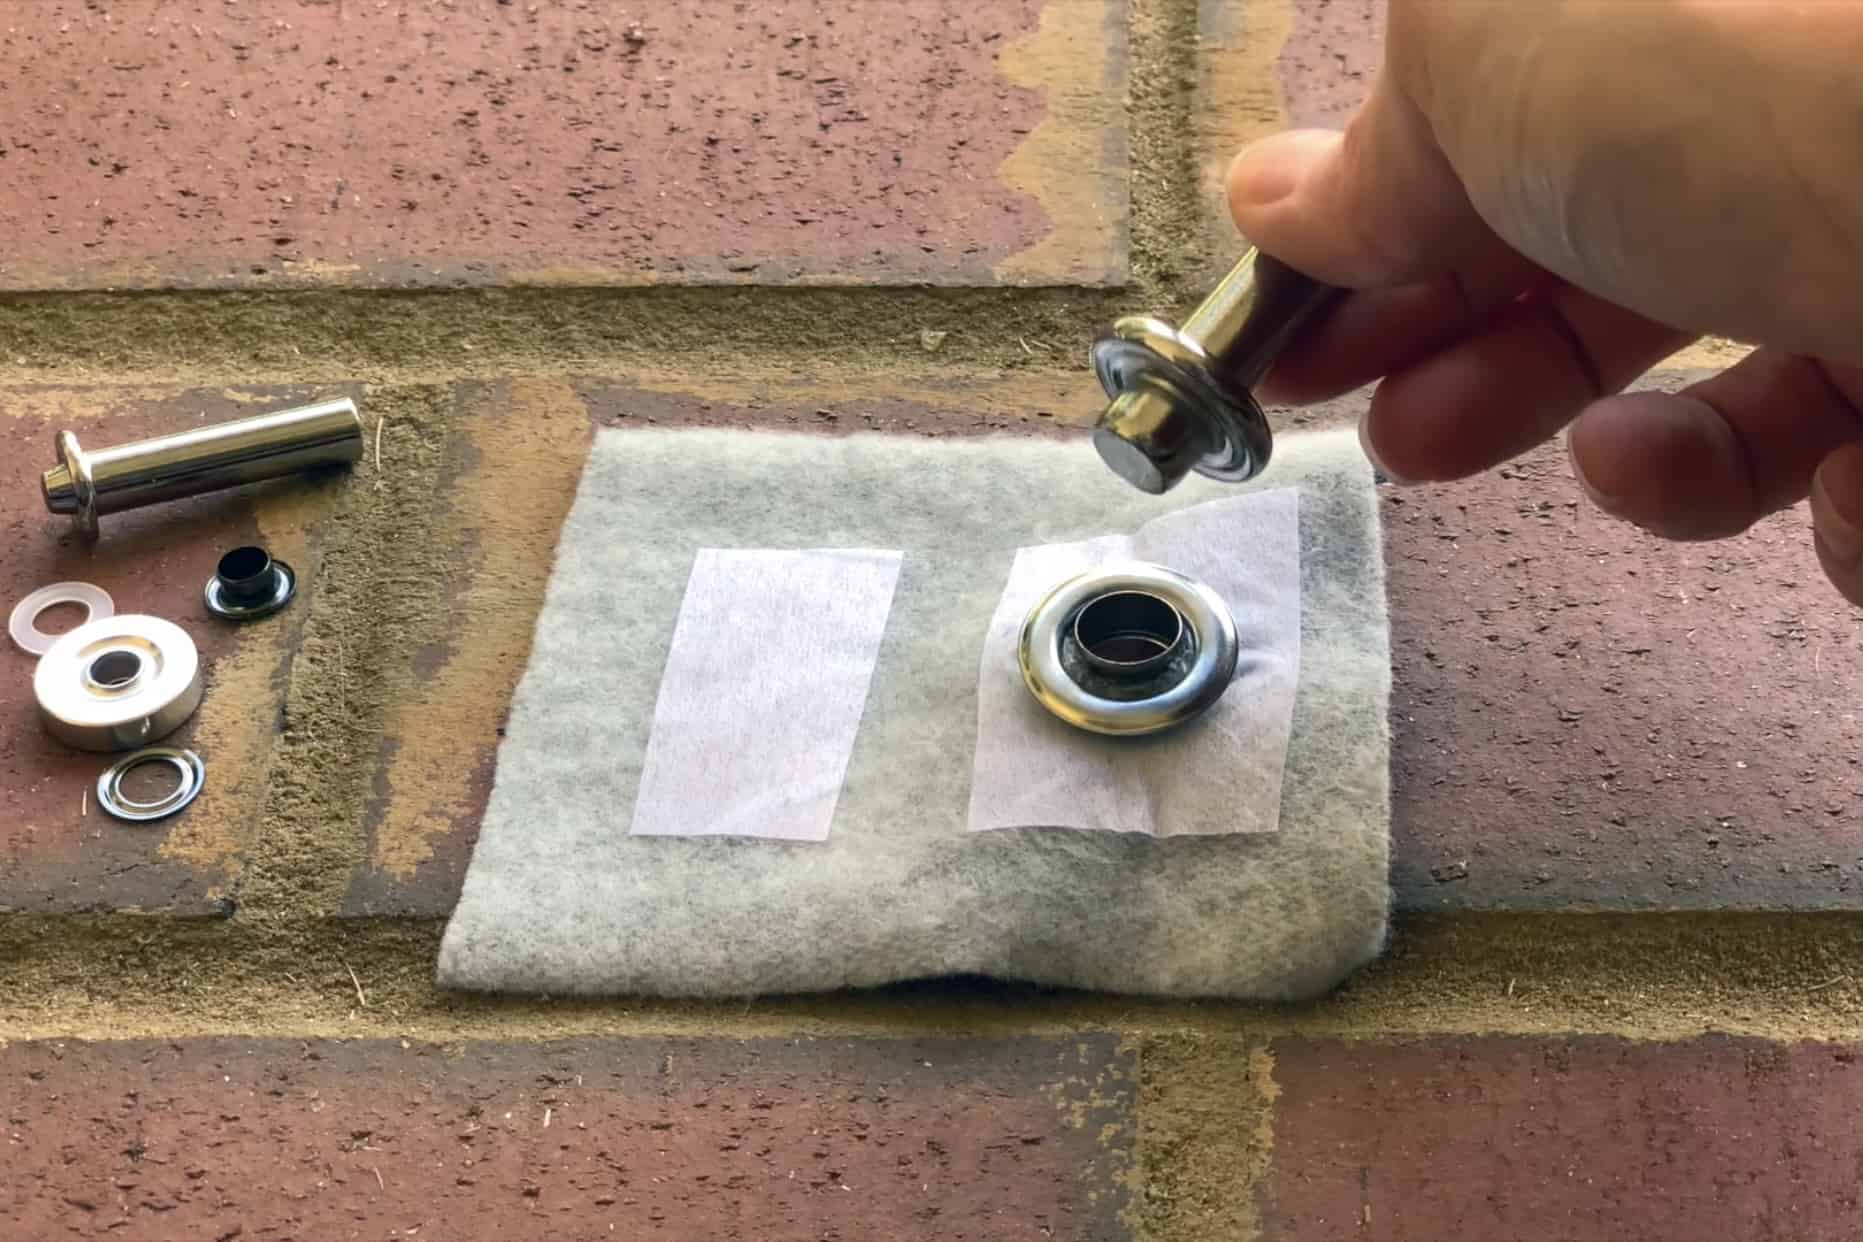
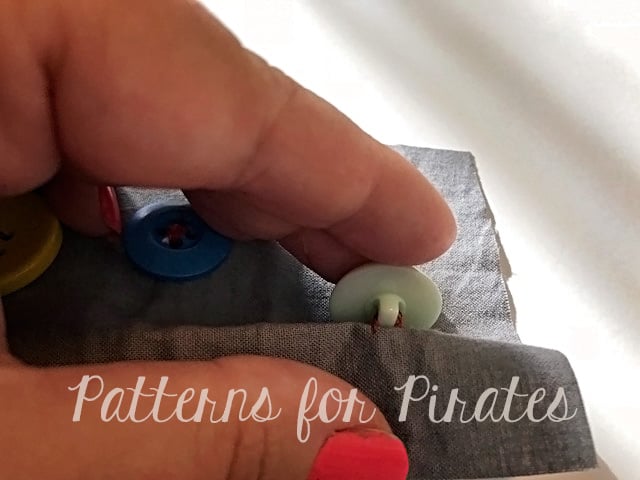
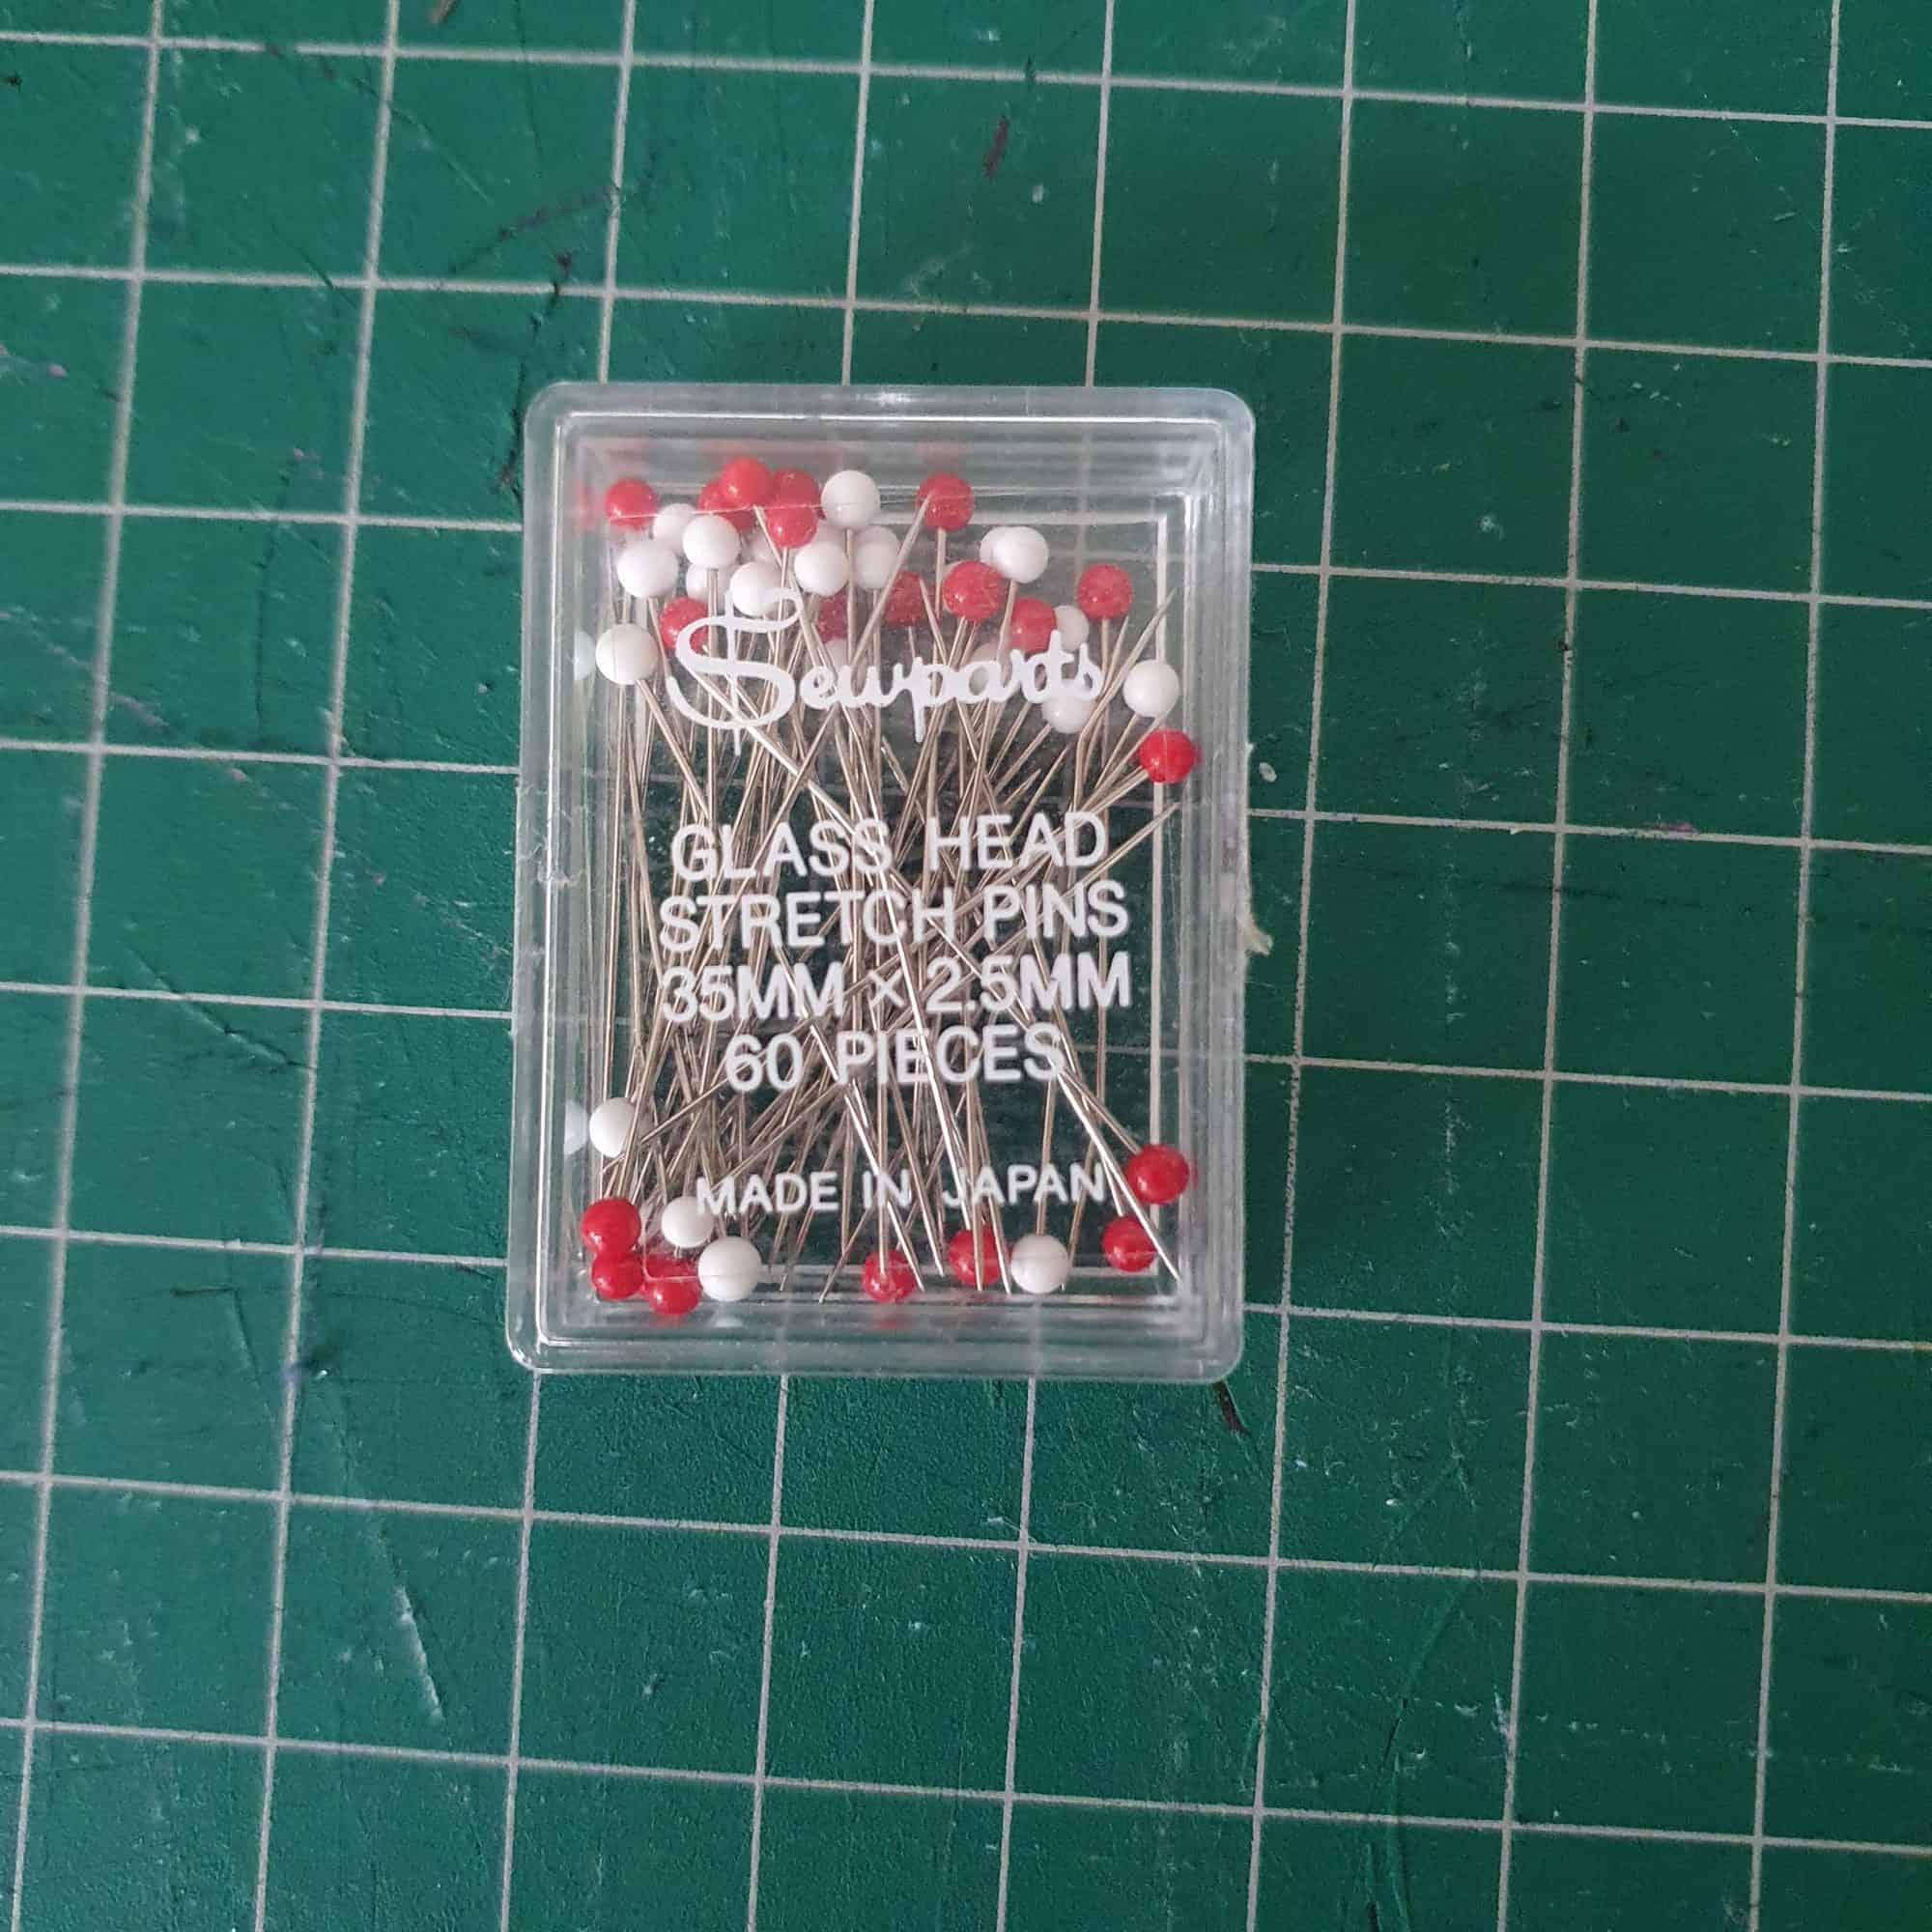
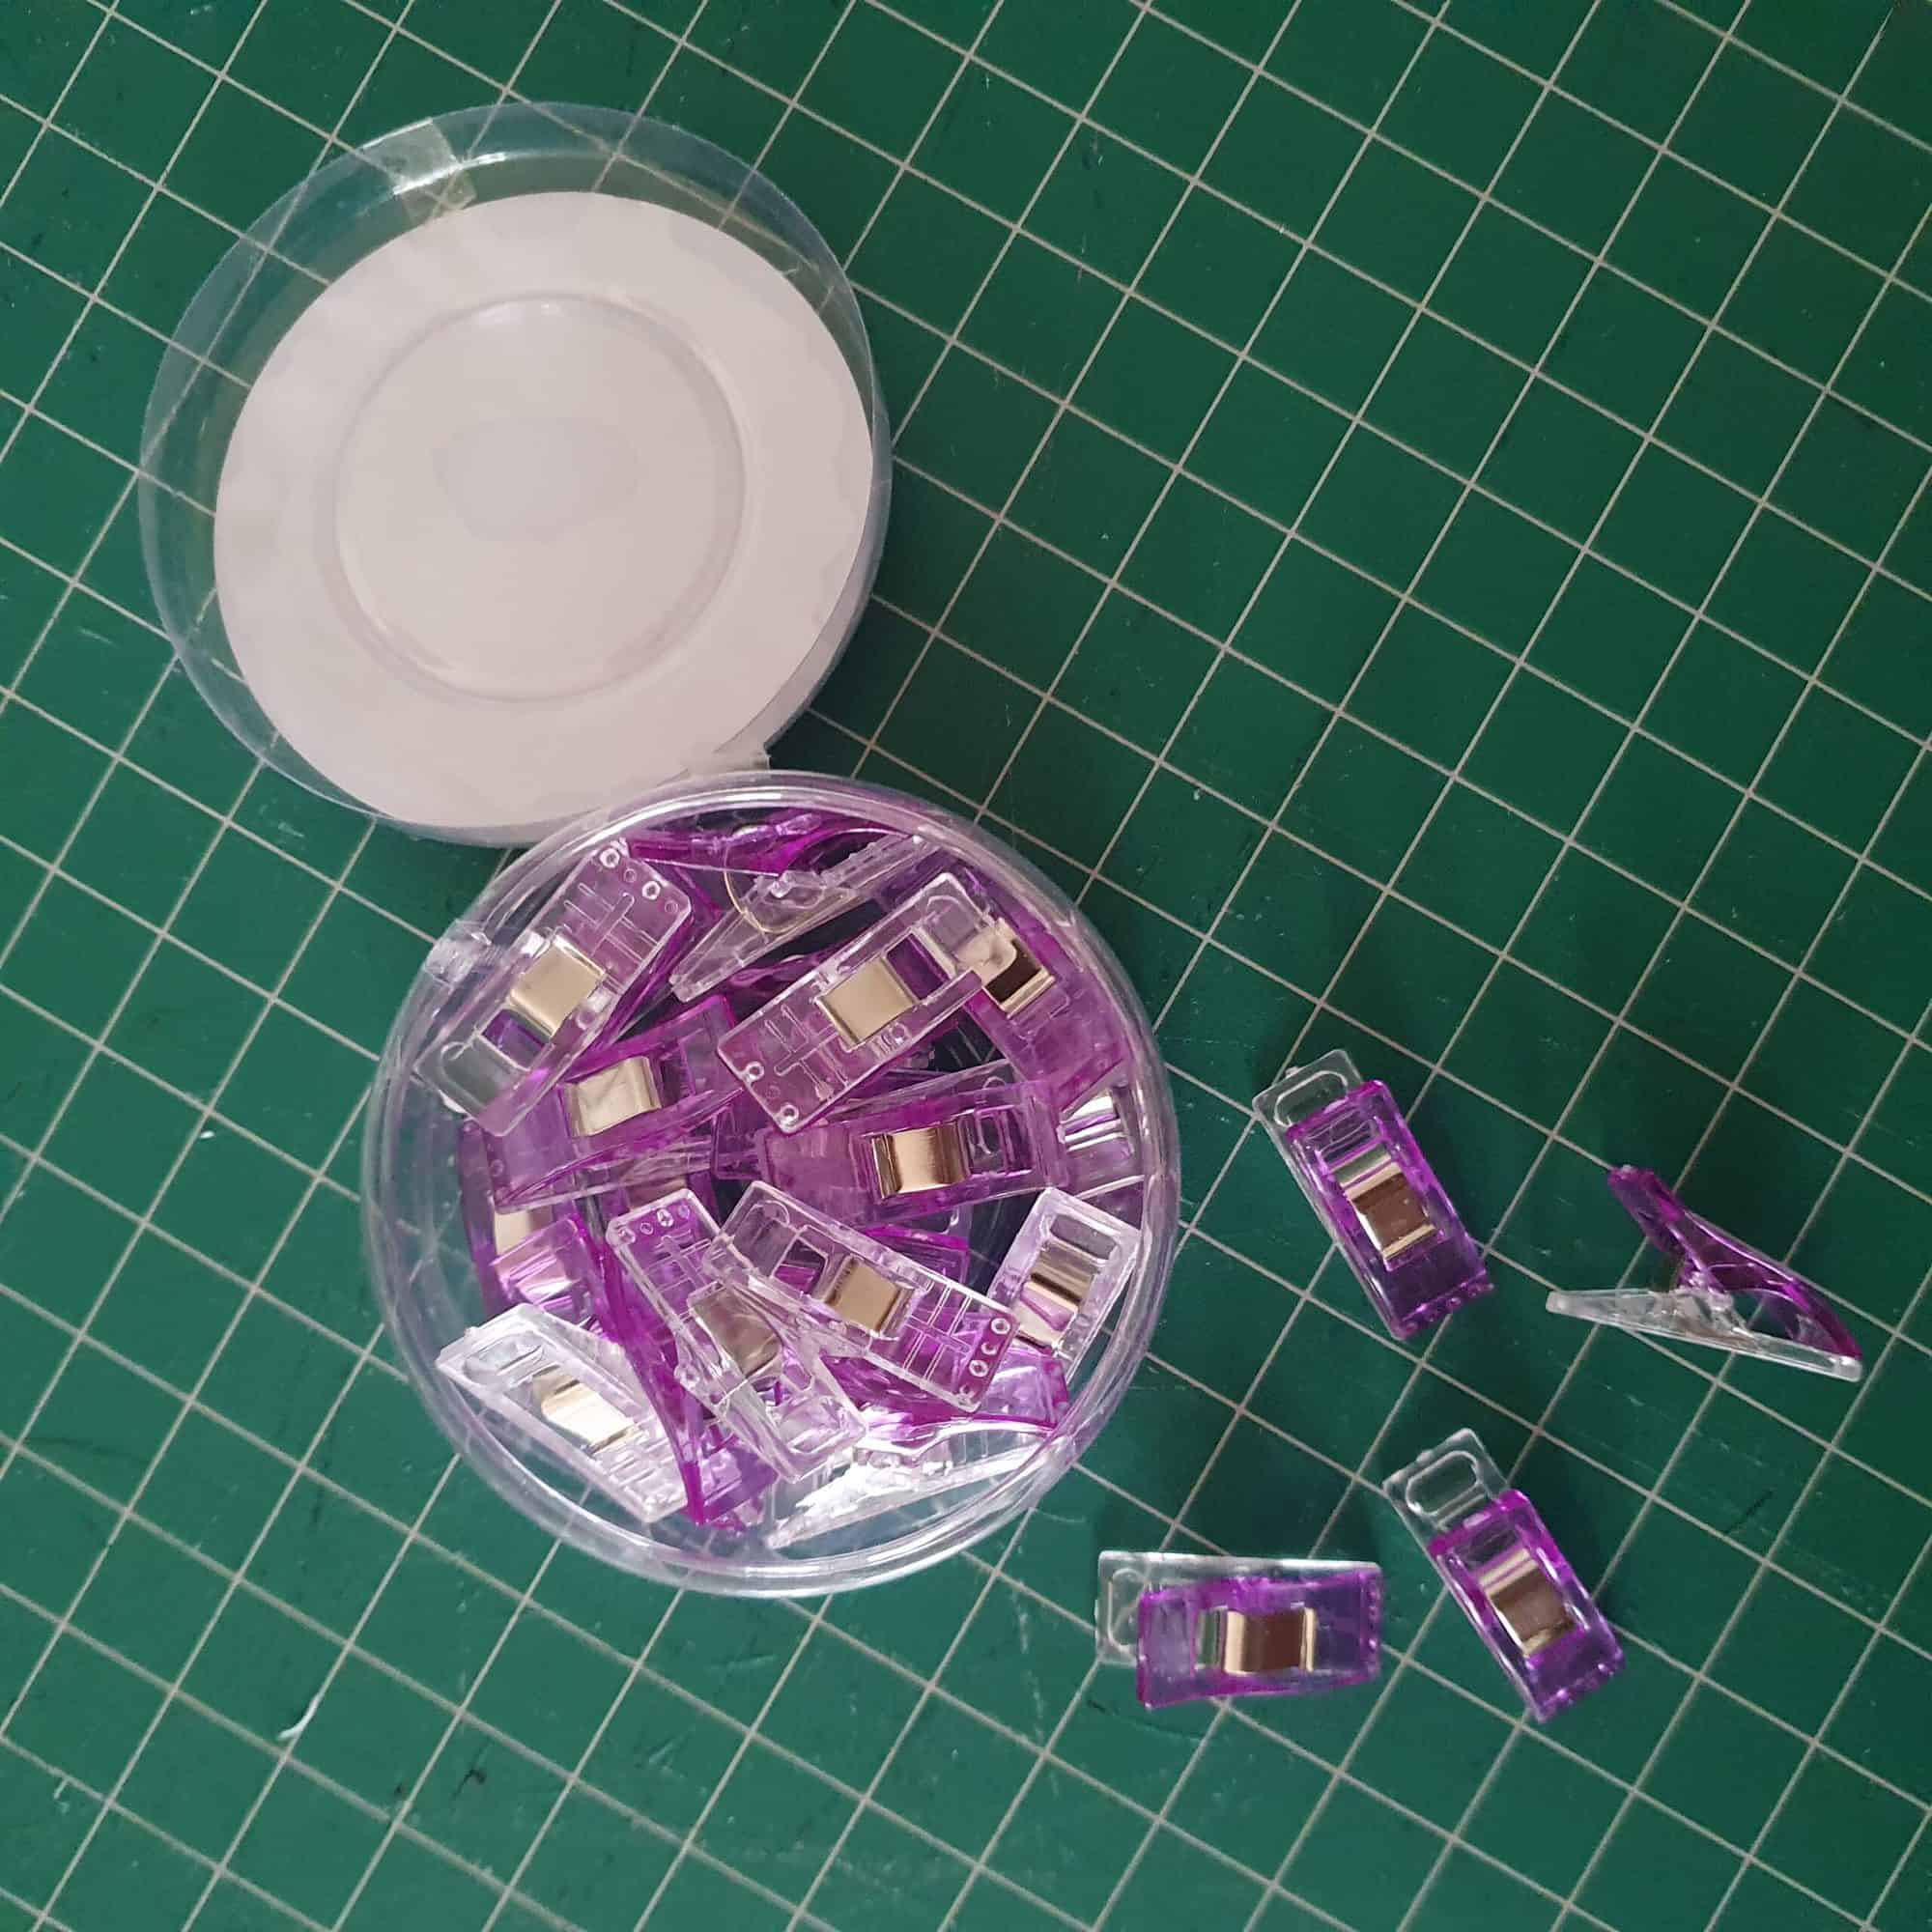
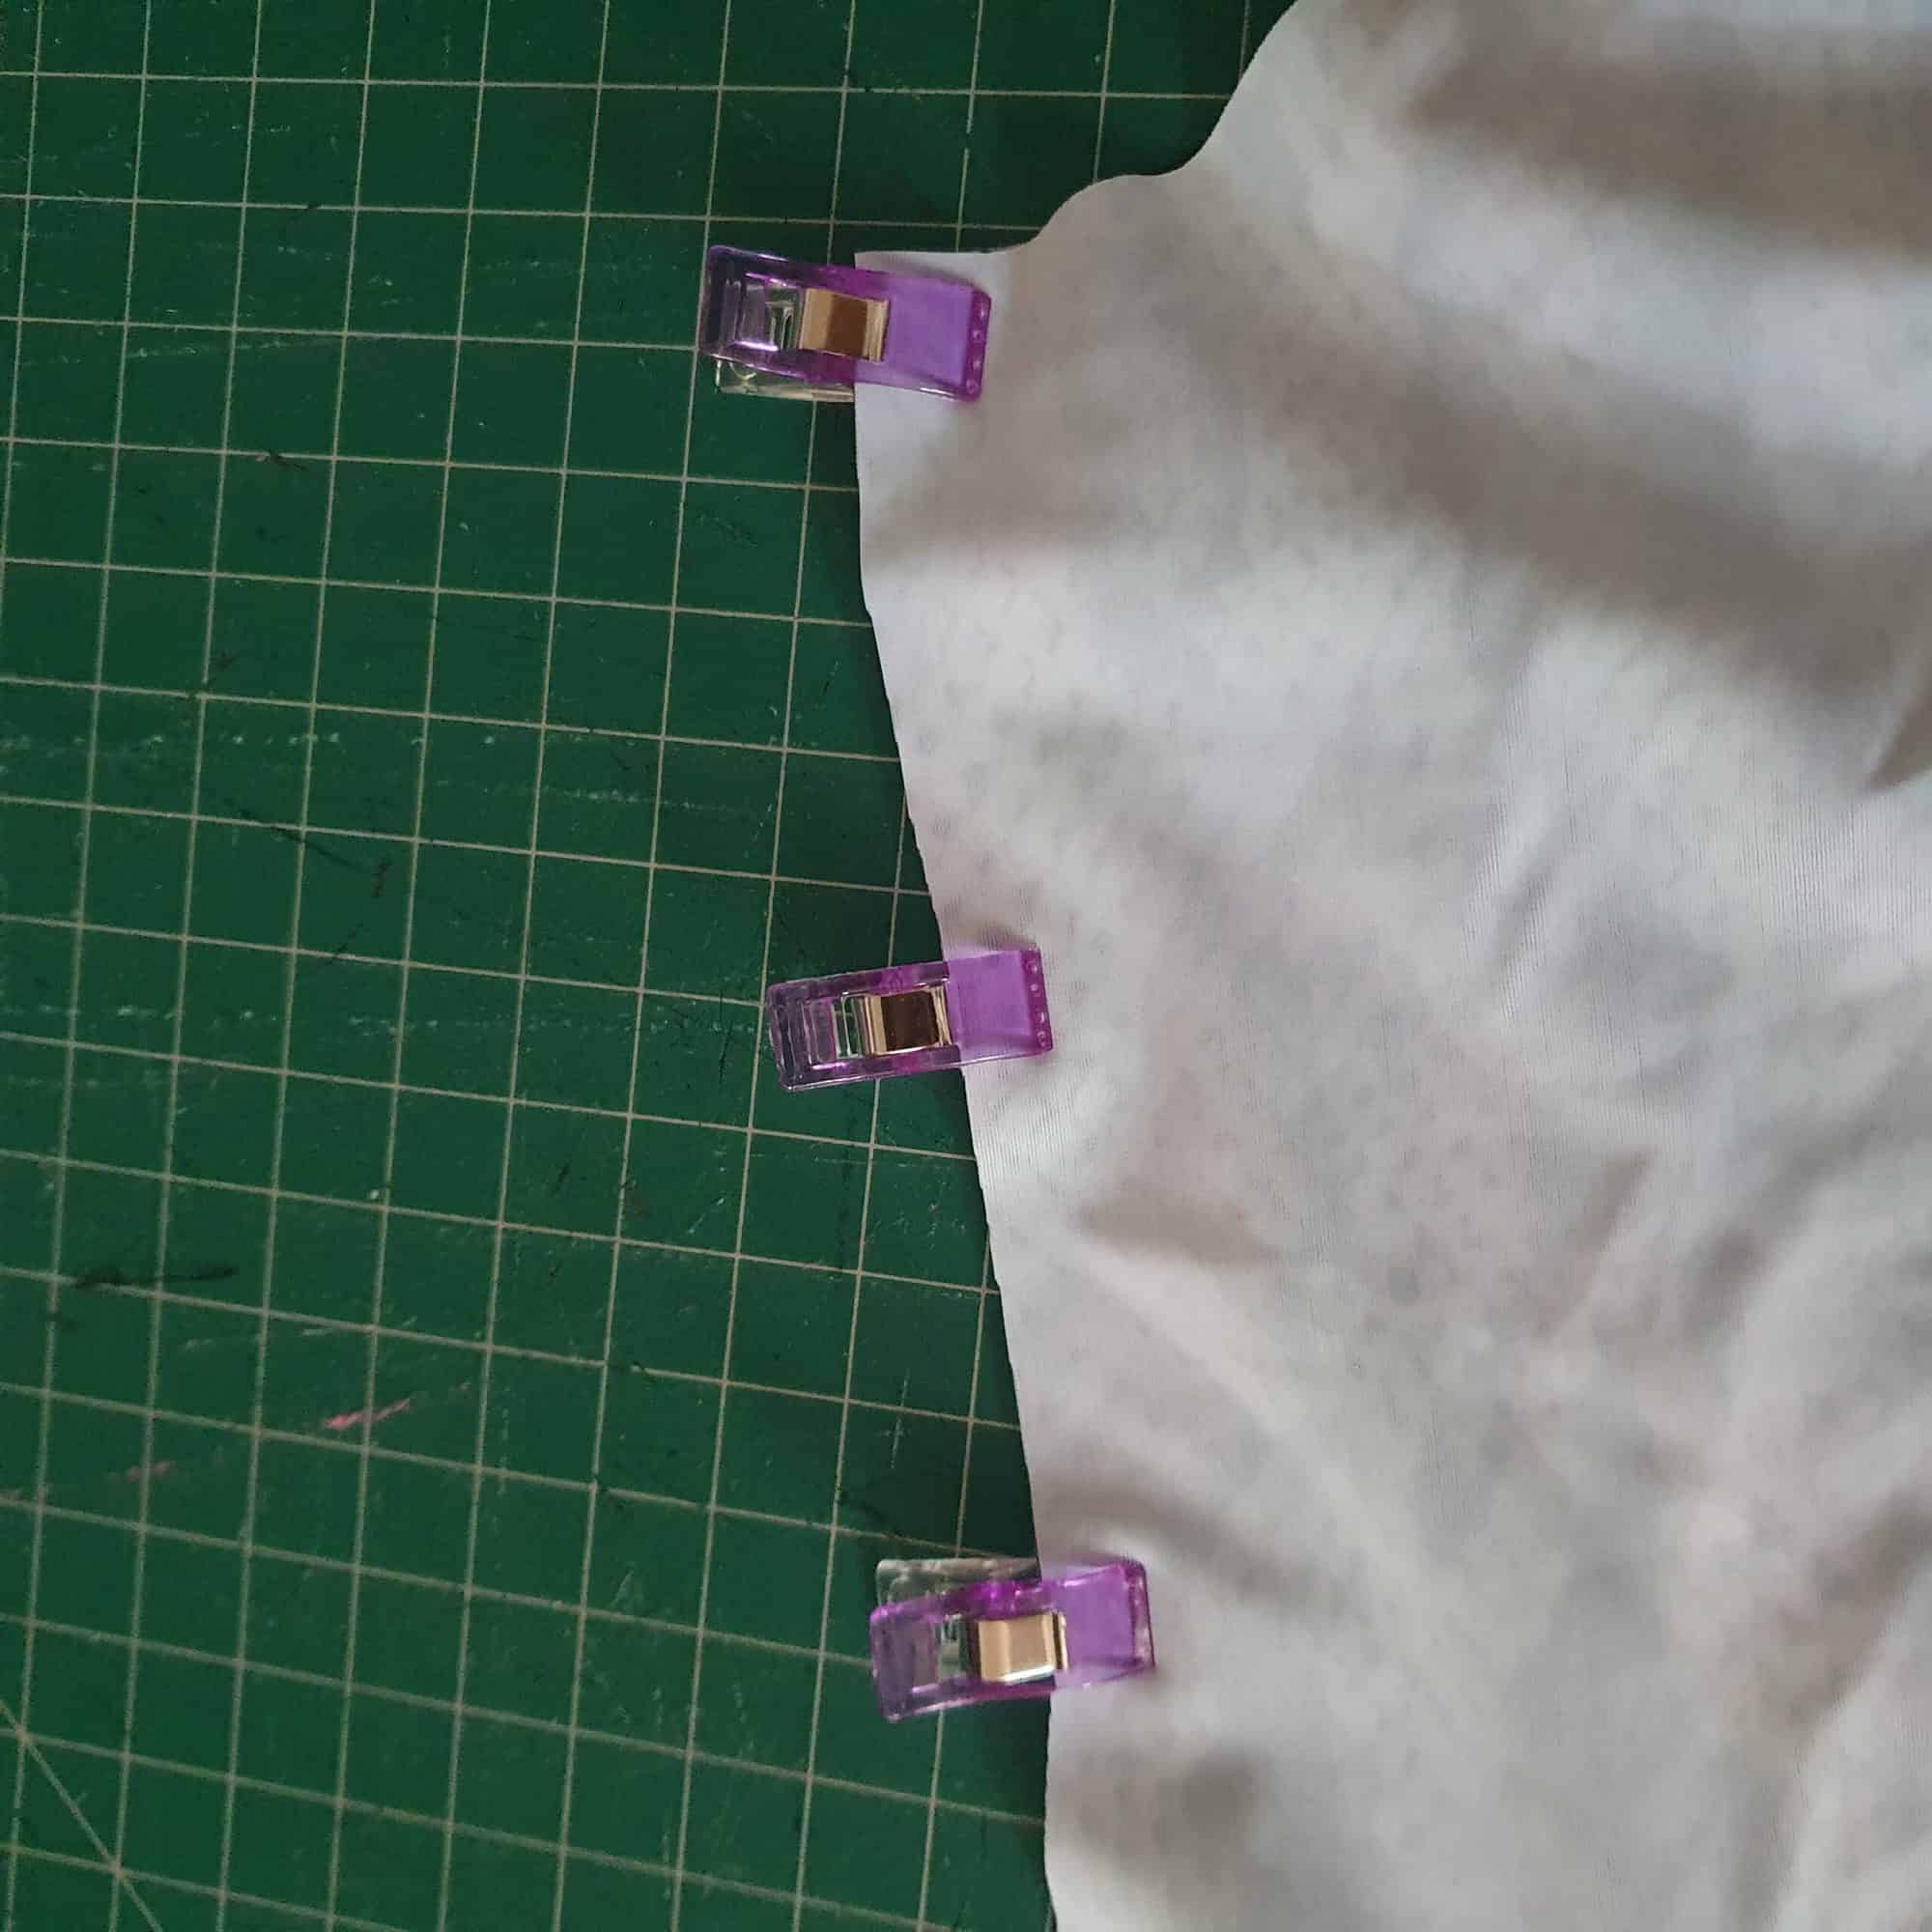
If you like to use pins, make sure to choose fine ballpoint pins to avoid damaging the elastic fibres in the fabric and leaving holes in it. Clips are also another good choice when sewing swim as they are more gentle on the fabric and hold the fabrics in place well too. Whether you choose to use pins or clips is up to you.


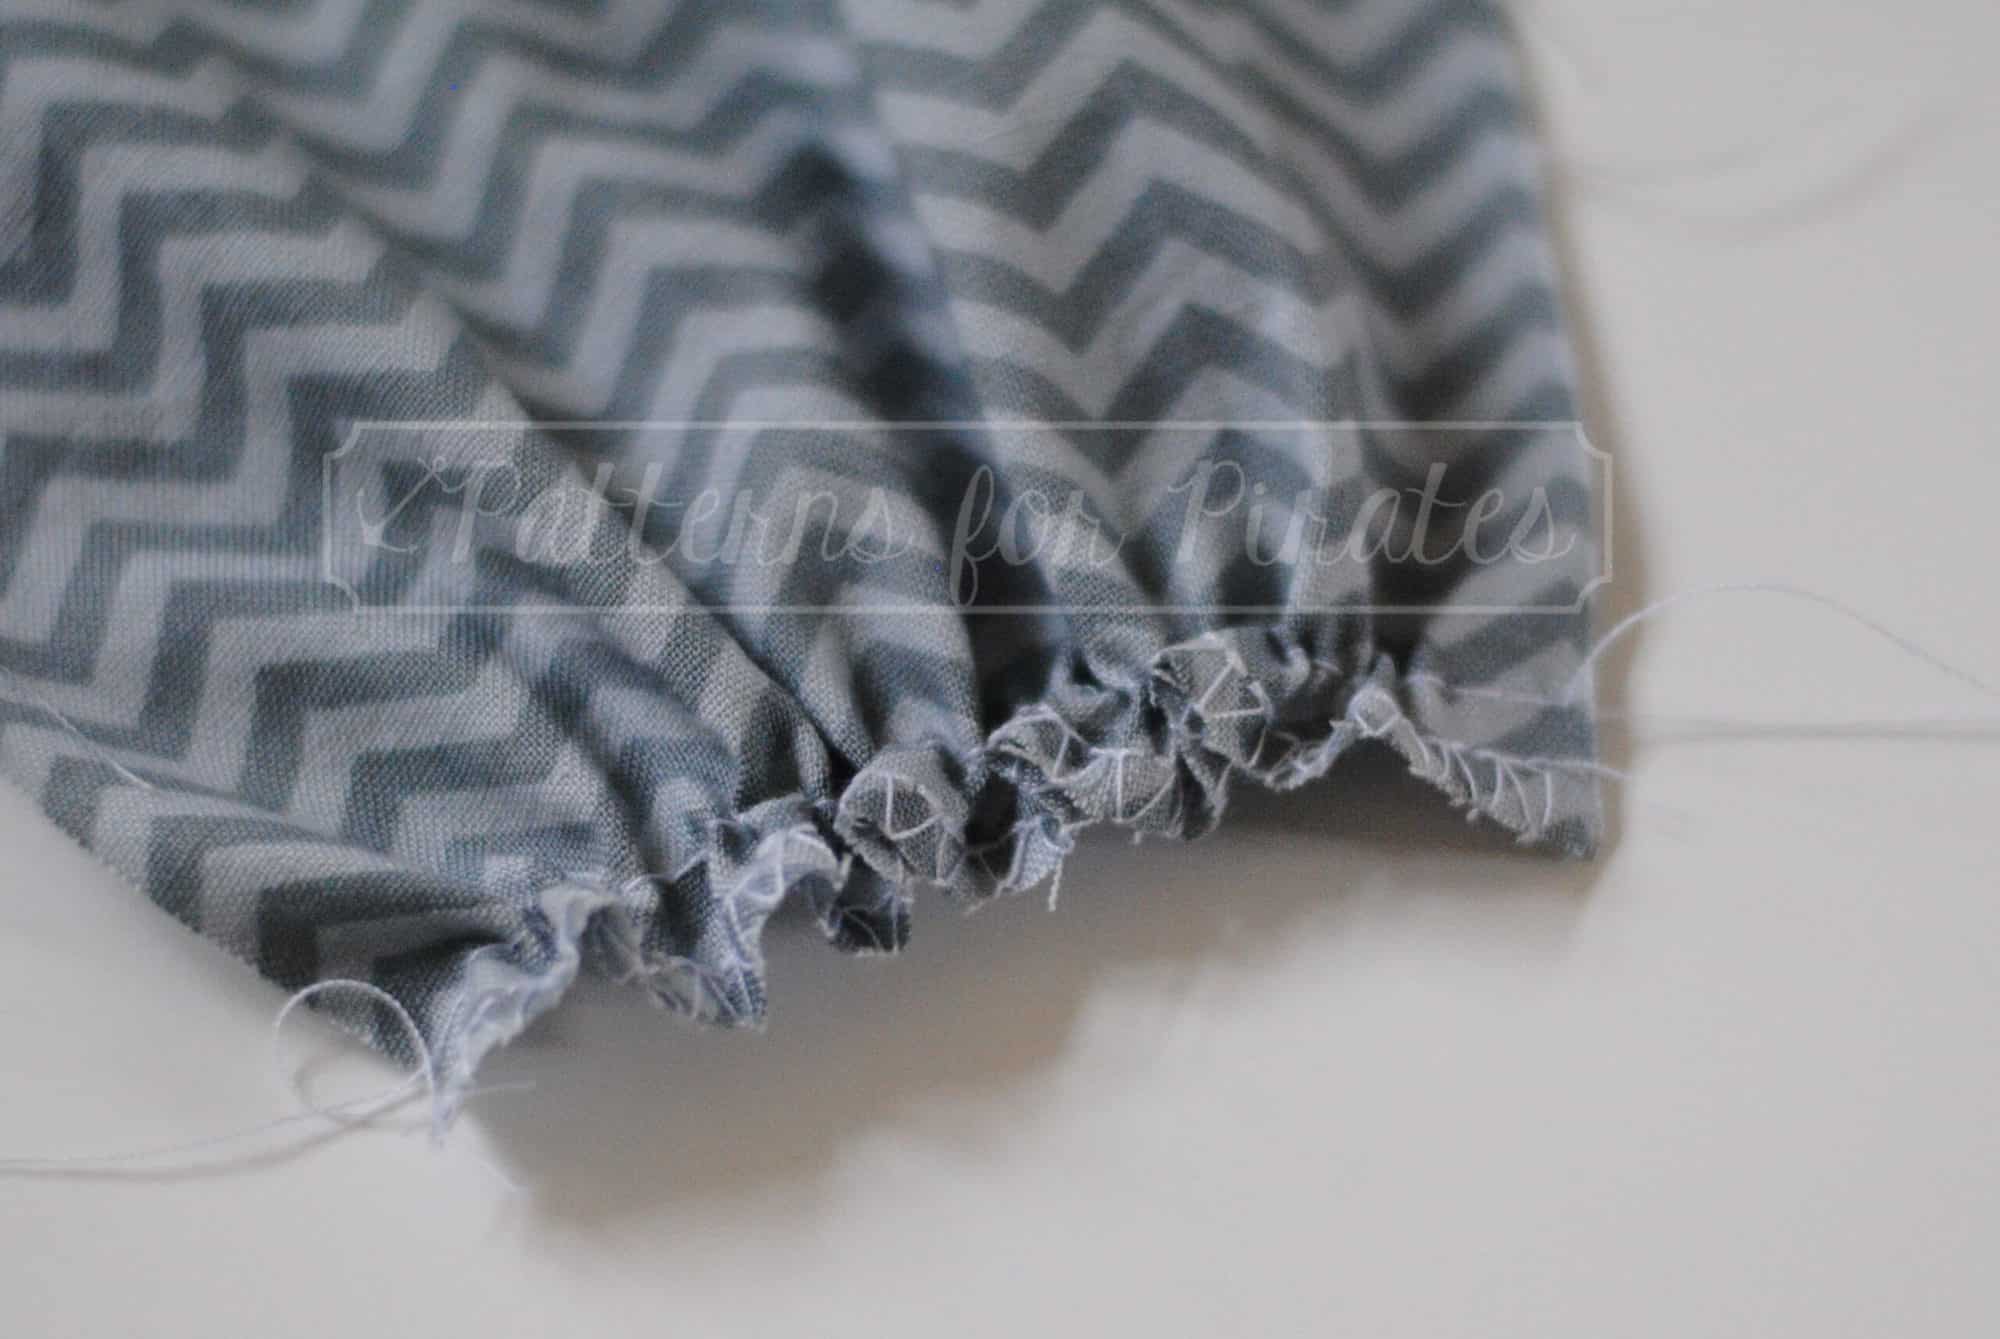
When you are sewing with swim for the first time, I recommend using lots of pins or clips. It helps keep the fabric in place and stops it slipping when sewing. If you are really having trouble getting the swim fabric to cooperate sometimes using a basting stitch can help hold things in place and it is easily removed should you make a mistake. Once basted, you can stitch the seam more easily and remove the basting stitch at the end.


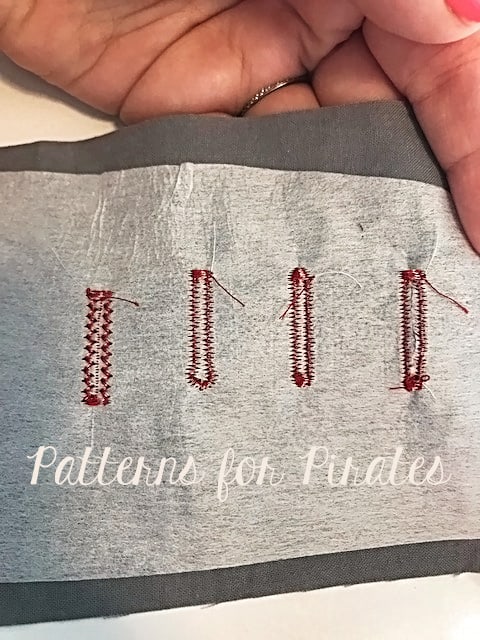
When sewing swim, I use a combination of my sewing machine, overlocker (serger) and cover-stitch machines. However, if you only have a sewing machine it is still totally achievable to make a handmade custom swimsuit. Swimsuits are designed with negative ease which means the pattern is slightly smaller than your measurements, so it fits firmly on the body and stretches to it. This means you need to use a stitch that has stretch to it, like a small zigzag, lightning stitch or triple stretch stitch.

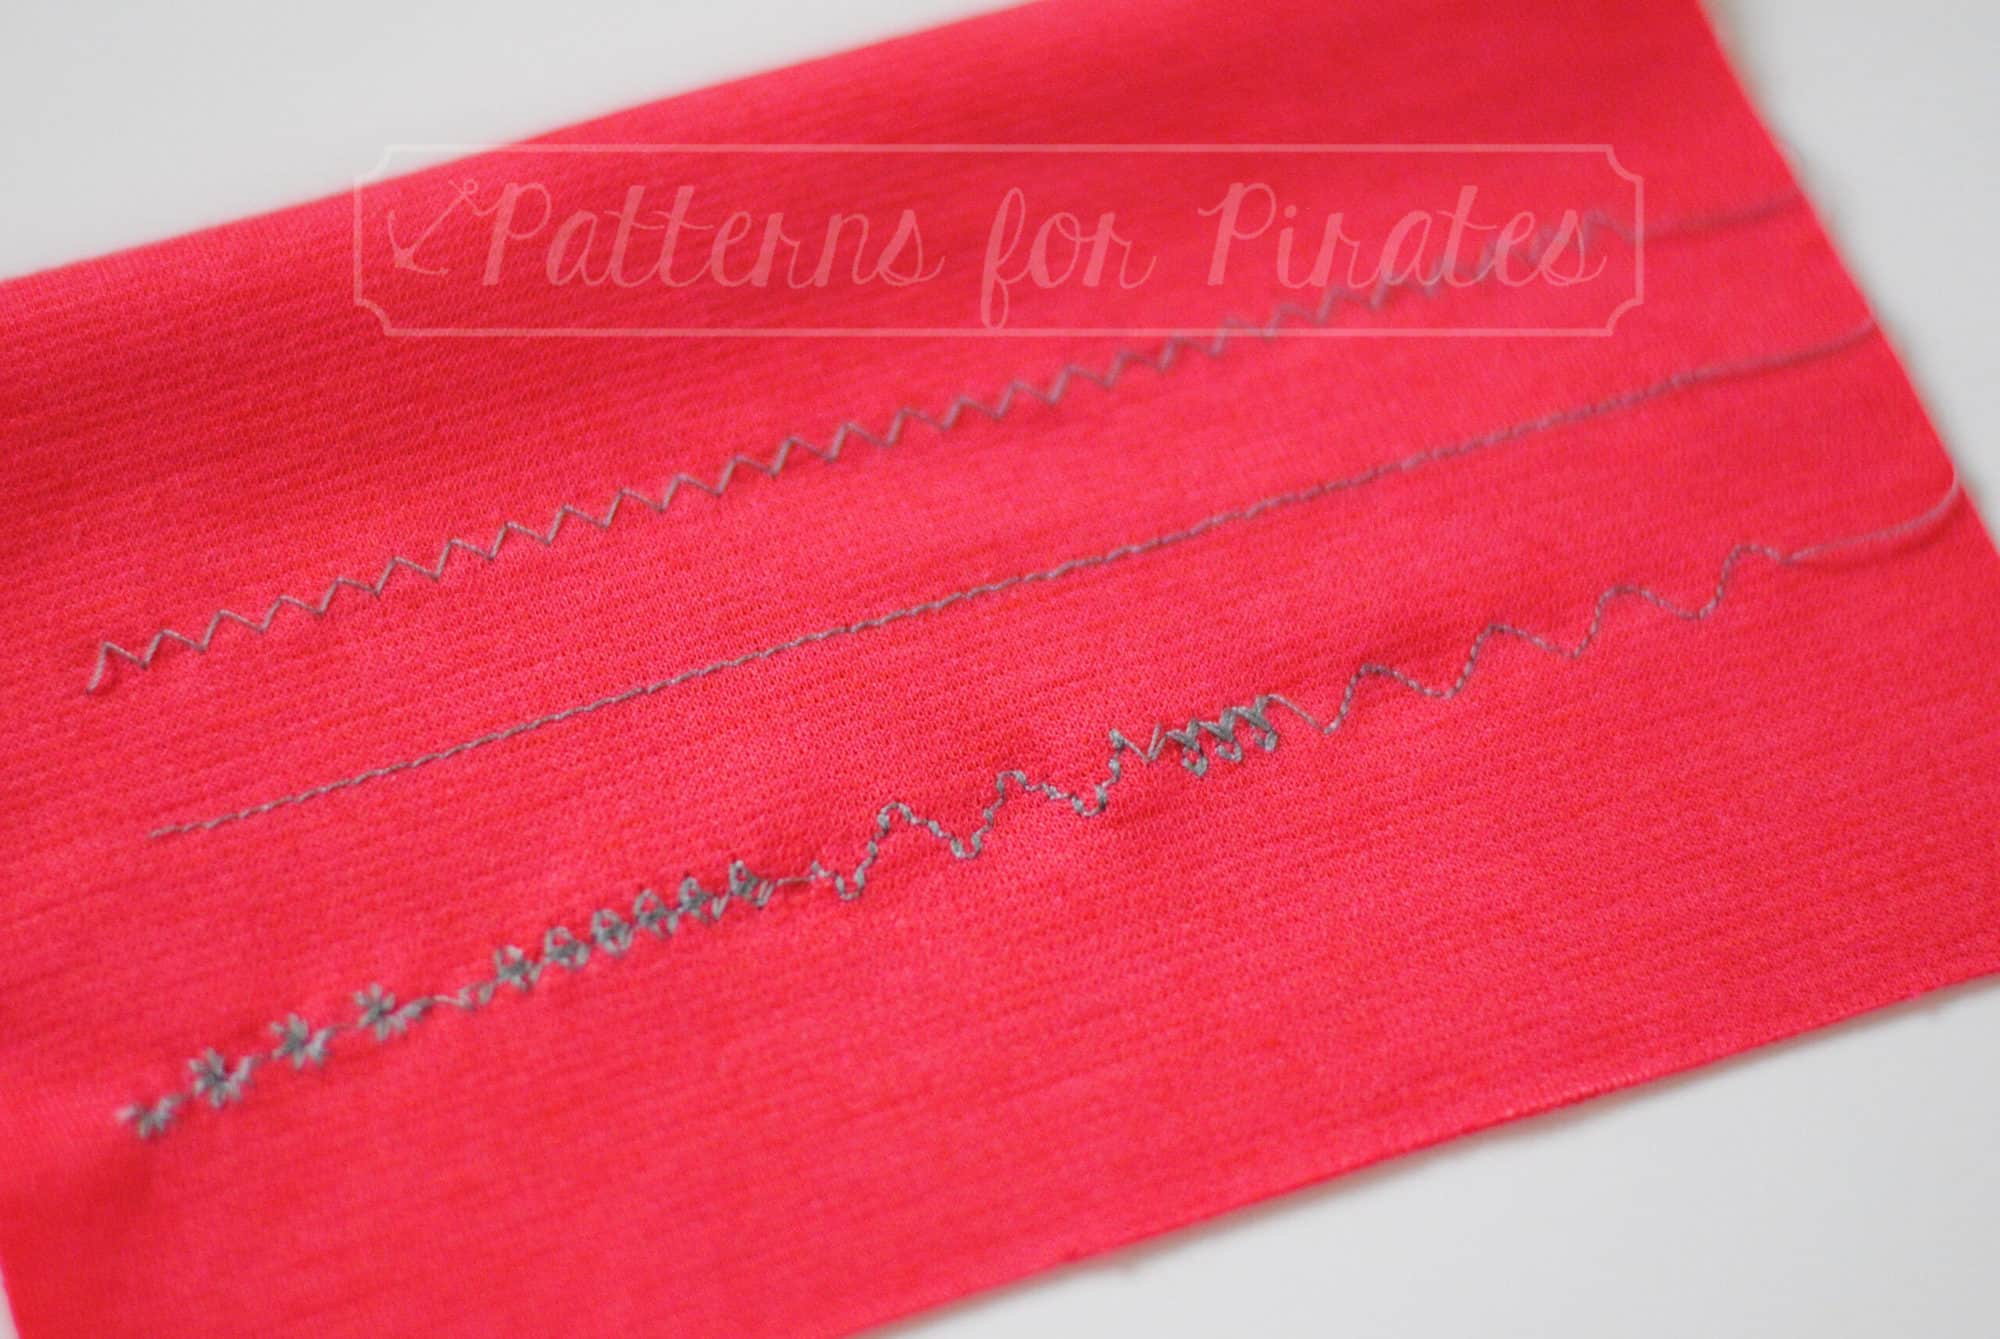
These are examples below of some common stretch stitches I use on my sewing machine when sewing with swim fabric. Always use a piece of swim fabric scrap to test your chosen stitch; then stretch the sample to make sure it will be durable.

The ideal machine choice to sew seams together for swim is an overlocker (serger), so if you have one, I recommend you sew with it. However, my preferred technique for sewing seams together with swim fabric is to start with a triple stretch stitch. I like this stitch because it is strong (my girls can be rough on their swimsuits), but it is slower to sew. I then trim the seam allowance to ¼” and finish the seam with a 3-thread overlocking stitch. You can also use a 4-thread overlocking stitch to finish your seams if you prefer. Just make sure to get the tension correct otherwise your seams make not hold together well.

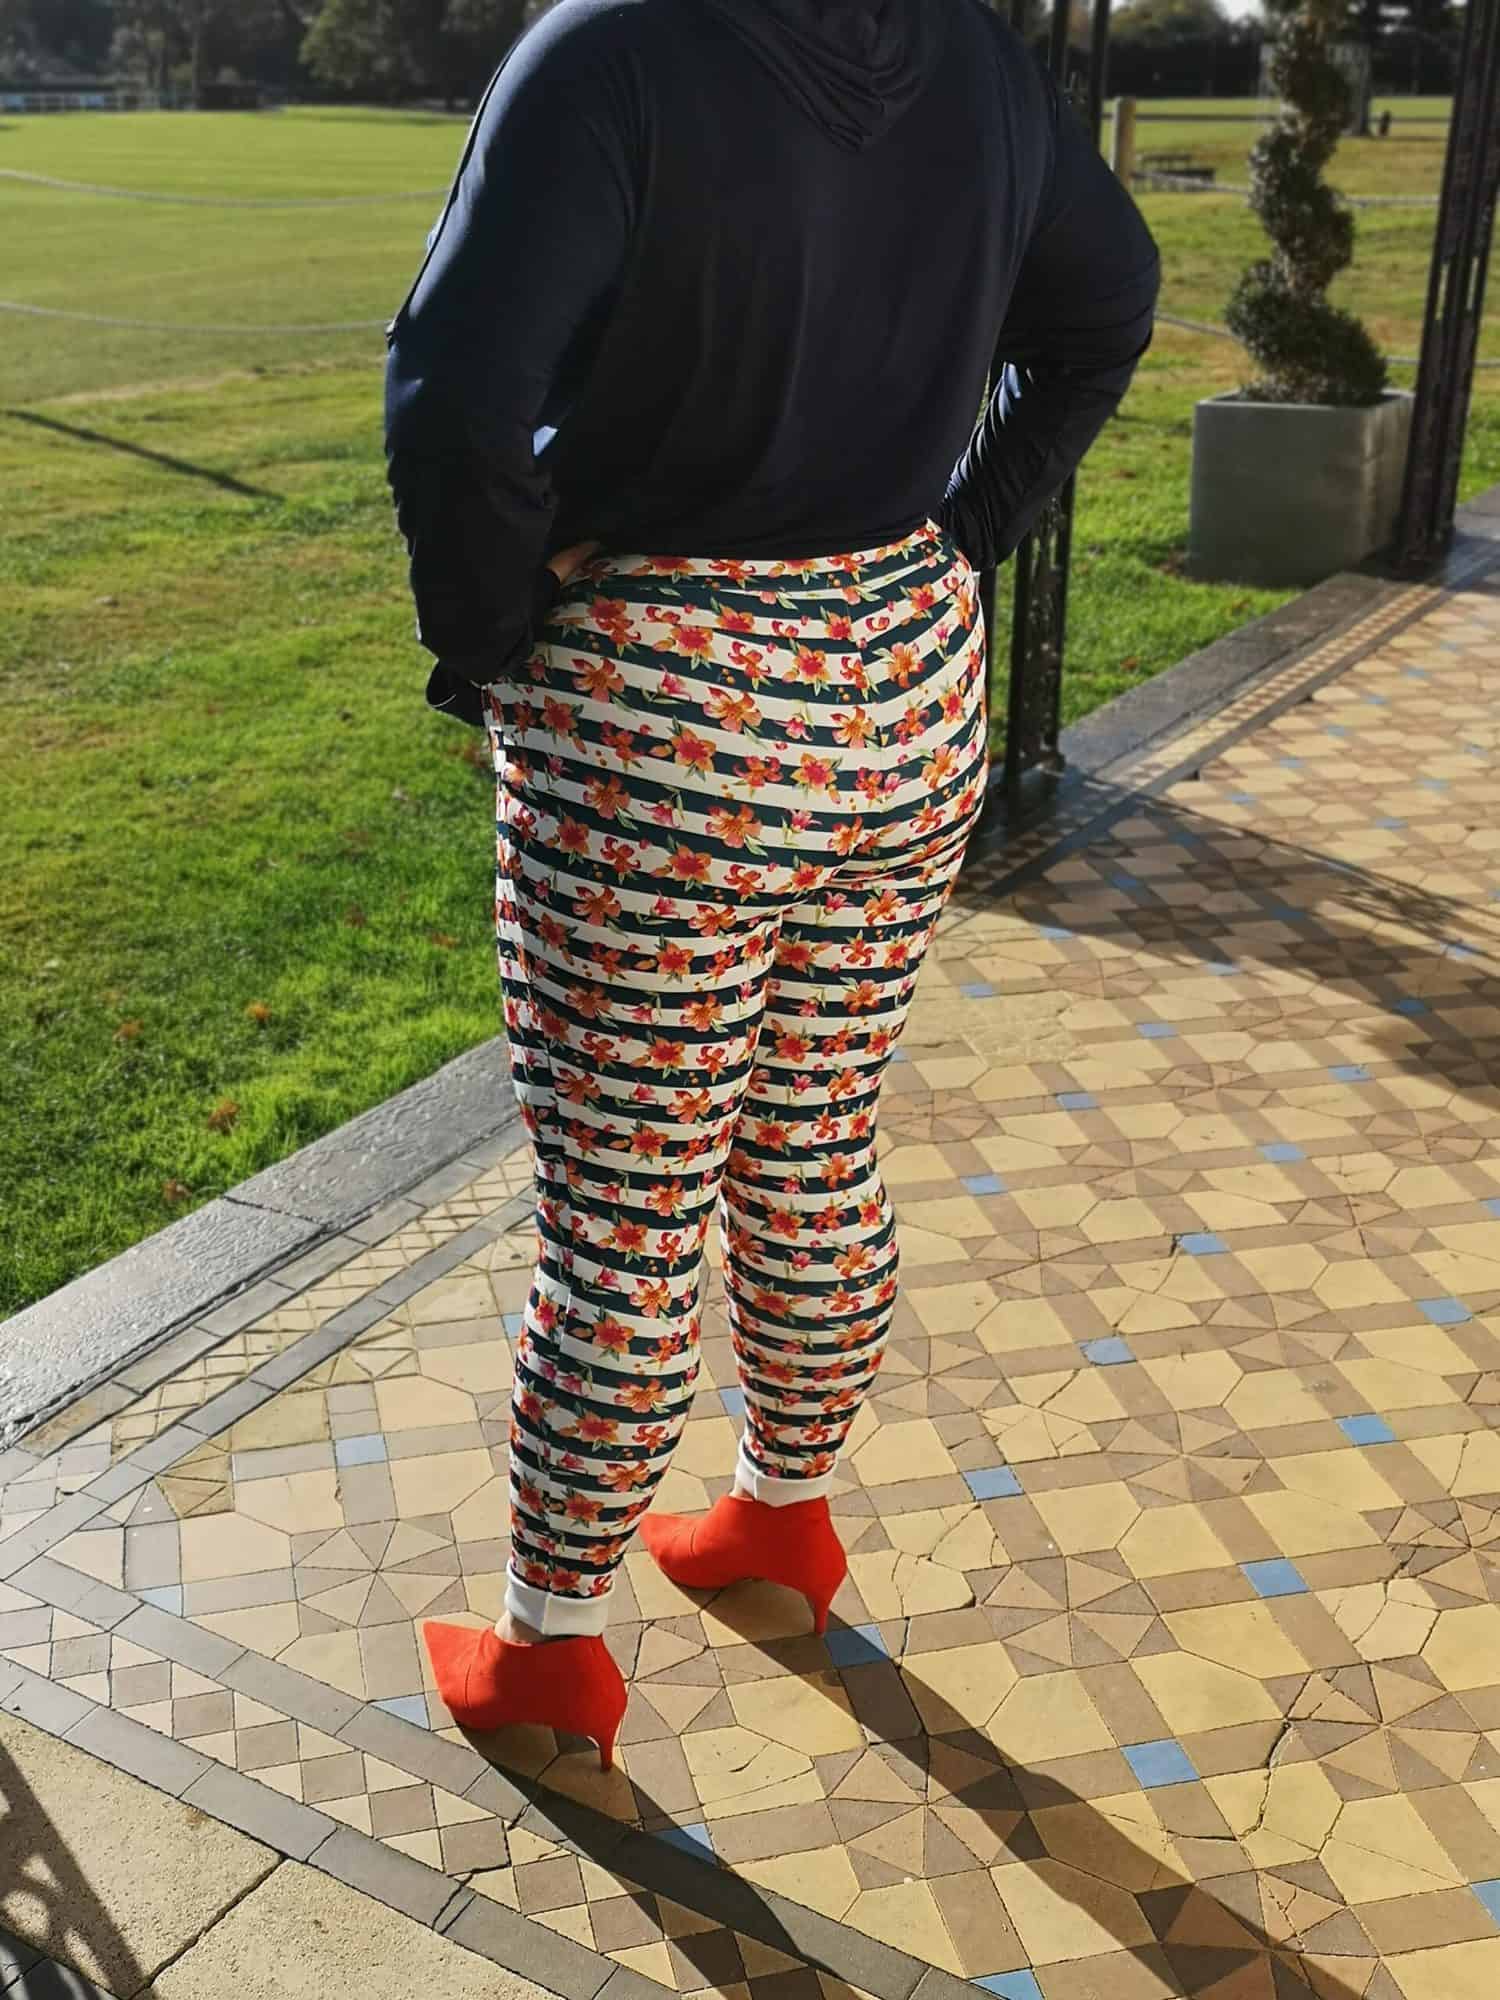
I love to use swim fabrics for making clothes, because it has a beautiful drape to it and it sits beautifully over the body too. Some people might find wearing clothes made from swim fabrics a little warmer in Summer, so I recommend making the pattern design feature to be sleeveless and with an unlined bodice if possible. Using swim spandex for peg legs is my absolute favourite thing to sew. It feels amazing to wear and smooths the body nicely too.

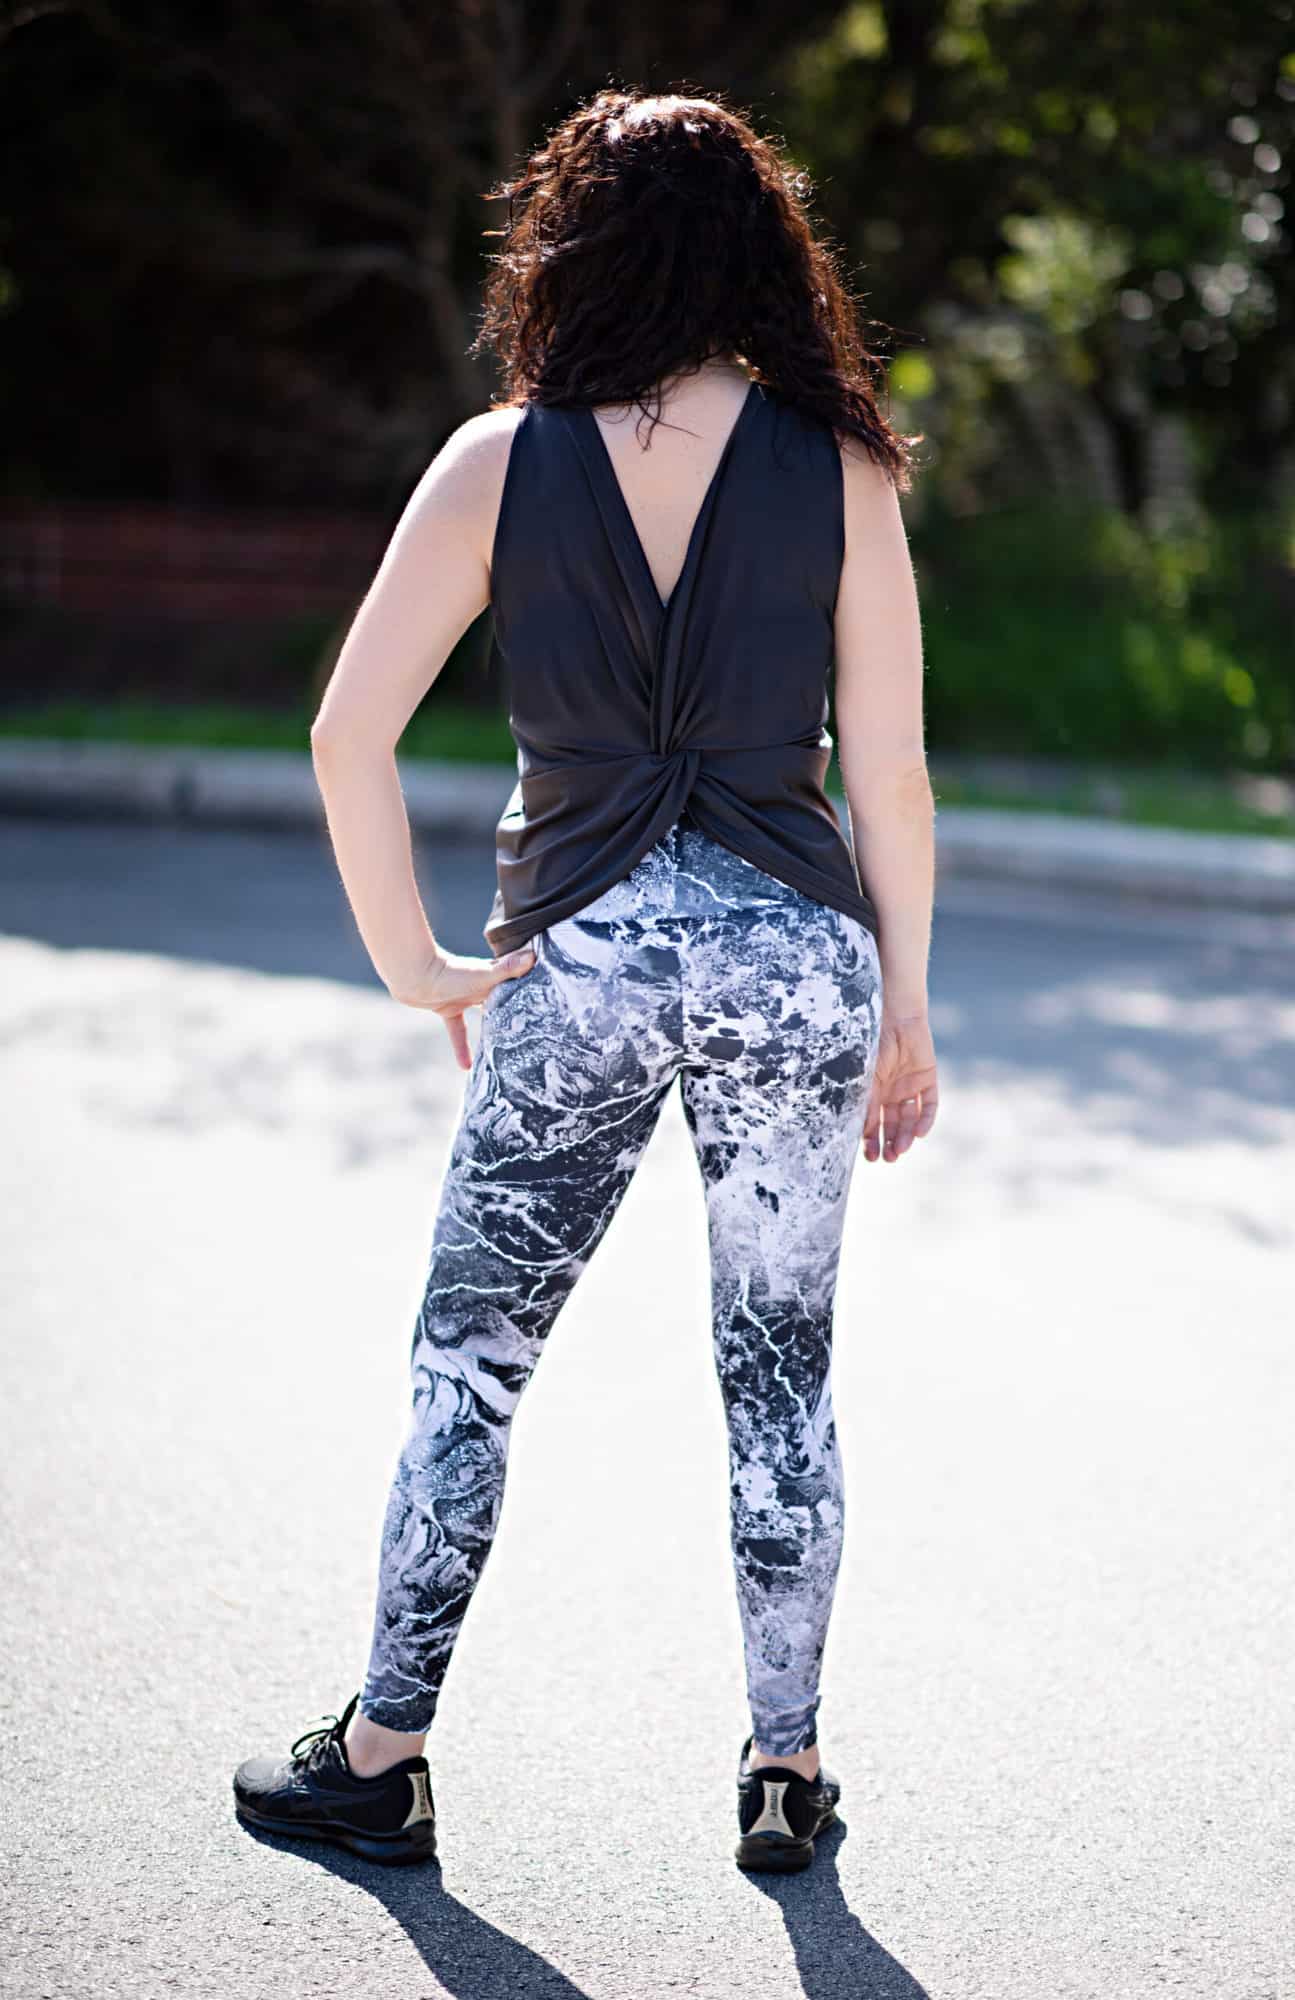
Peg Legs with Twist Back Top both in swim spandex

I hope you dive in and start sewing with swim. I know you are going to love it as much as I do. As with anything, all it takes is a little practice.

Happy Sewing

Katy x

Filed Under: P4P University, Sewing with Stretch, Knit Fabrics Leave a Comment

P4P University – Intended Fit vs. Preferred Fit

November 16, 2020


One of the huge benefits to making your own clothing is having finished garments that fit just the way you like! Sometimes it takes a little trial and error, adjustments, or blending of sizes to find the perfect fit for you, and other times the pattern is designed exactly the way you like it. Today we are going to dig into the intended fit of a pattern versus your fit preferences (which sometimes differ from the intended fit).

Intended Fit

First, let’s talk about what intended fit means. The intended fit is how the pattern is designed, by the pattern designer, to fit your body. It is based on sizing using your current measurements, the use of fabrics suggested in the pattern, and using the given seam allowances. These factors all play a role in obtaining the intended fit of a given pattern.

A great way to see the intended fit of a pattern across all sizes, would be to view the listing photos on the website as well as the album in the P4P Facebook Group. Both of these options show photos of the garments made by the pattern testers. All testers are required to make the patterns as designed, for their measurements, without any modifications.

Preferred Fit

When it comes to preferred fit, it is pretty much exactly how it sounds: how you like your clothes to fit. Maybe you like your sleeves extra long or for your shirts to always hit right at your hip bone. It could be that you don’t like high necklines or you would like the skirts of your dresses to be extra full. For me, I am more comfortable in clothing that fit a bit loose around my stomach.

The Slim Fit Raglan is the perfect example for my intended fit vs. preferred fit comparison. The SFR is one of my most made patterns because I just adore the shape and style. It is intended to be semi-fitted and allows a wide range of fabric choices. You can see how the pattern is intended to fit me in the photo on the left (purple sleeves). I made the pattern based on my measurements, in my correct size, and followed the pattern exactly. It’s a super cute and comfy but is a little more fitted around my waist than I prefer.

If you are making a pattern for the first time, I always recommend making a muslin (or a practice version) before cutting into your favorite fabrics. If you make the pattern as intended, you are then able to decide if you would like to make adjustments and where. For my SFR, I decided to grade to the next size up from the bust down. This allowed me to keep all of my favorite things about the pattern but also provide a fit that I really felt good in.

Some things to remember when striving for that perfect fit:

  • Am I measuring myself correctly? P4P University has a great post, if you need some help.
  • Is my pattern printed correctly? Always double check that 2″ square.
  • Am I using the right kind of fabric for this particular pattern? The patterns always list recommended fabrics and you can also check out the tester photos to see how those fabric types look with the pattern. If you are using fabrics types that are outside of the suggested ones, you may need to make other adjustments to get the intended fit.
  • Lastly, am I using the proper seam allowance? You won’t believe what a difference, 1/4″ all around makes if you miss this one.

I hope this helps you determine how a pattern is intended to fit and encourages you to make them your own and feel great in everything you make!


Filed Under: P4P University Leave a Comment

P4P University: Sewing Machine vs. Serger

November 5, 2020

Sewing Machine vs. Serger: The Who, What, When, Where and Why of each.

When it comes to sewing, there are obviously a lot of tools of the trade. The most commonly thought of item would probably be a sewing machine I would imagine. We are all familiar with sewing machines and their general functions. But have you really thought of ALL the ways you can use a sewing machine? And what about a serger? What is its function and how does its use differ from a regular sewing machine? I’ll go over the functions of each, and show you examples of when you would use these on a couple specific Patterns for Pirates sewing patterns!

First and foremost, it is important to note that most sewing machines can do all of the same functions of a serger, but maybe not as efficiently or quickly as a serger can do them. A sewing machine can sew in a wide variety of stitches and placements, finish raw edges, create buttonholes, topstitch, hem, sew on buttons, sew on a zipper, and baste. A serger on the other hand, can really only sew and finish raw edges (but do so all in one step no less!) A serger can also be used as an alternative way to gather, and can do a rolled hem, but these are much less common uses for a serger. So, lets look at each machine more in depth!

Sewing Machine:

A sewing machine can sew two (or more!) pieces of fabric together to construct clothing, quilts, bags, or other textile arts. They usually have at least a handful of different stitch types to do this. There are straight stitches, zig zag stitches and sometimes even some fancy decorative stitches. When sewing fabric together, a sewing machine can sew along the edge of the fabric following the seam allowance of the pattern, or it can sew across the middle of a piece of fabric, several inches in from the edge. It is only limited by the throat space, but it is a imporant distinction over a serger to note that there is a lot of flexibility of where a sewing machine can sew on a piece of fabric. A sewing machine can usually also be used to finish (also known as overlock) the raw edges of fabric, either using a simple zigzag stitch or even a specific overlocking stitch (which uses a different overlocking foot.)  This is necessary to keep woven fabrics from fraying, to neaten the raw edges of knit fabrics, and to just give a more professional look to a seam. Sewing machines are also used to baste while sewing. Basting is the process of using the longest stitch length available to temporarily hold pieces of fabric together, or to gather or ruffle a length of fabric. Another important use of a sewing machine is creating hems, either with a single needle or some machines can even accommodate a double needle for hemming.

Hemed edge with double needle

edges finished on sewing machine with an overlock stictch, and a basting stitch sewn above it

gathering done using basting stitch from sewing machine

straight, zig zag, and decorative stitches from a sewing machine

topstitching


Sewing machines are also necessary for sewing on zippers to garments and bags, and some sewing machines also have other useful functions like creating buttonholes and sewing on buttons!

Sewing machine sewing on a button

Button holes and button

Serger

Now lets look at what a serger does. A serger can also sew two or more pieces of fabric together, but it is limited to ONLY sewing along the edge of fabric. The reason for this is that it also finishes, or overlocks, the edges of the fabric as it is sewing, creating a nice clean looking edge. So while a serger may be limited in what it can “do” its usefulness comes in how quickly and efficiently it does those things. For knit garments, a serger can be used to quickly construct an article of clothing. Woven fabric on the other hand, needs to first be constructed on a sewing machine, then have the seams finished on an overlocker (that’s another name for a serger by the way!)  Some lesser known uses of sergers can be accomplished by changing some of the settings. You can use it to gather a length of fabric by adjusting tension and differential feed, or create a narrow rolled hem by removing one of the needles and essentially having the loopers tightly wrap the edge of the fabric to finish it neatly.

Neatly finished edges

Gathers created on a serger

Rolled Hem done on a serger

When to use one vs. the other:

While it may seem like there is often a lot of bouncing back and forth between a regular sewing machine and a serger during a sewing project, each machine has its benefits for creating great things! I want to mention a few specific steps you will come across during sewing, and which machine you should use for each. First up, lets say we are making a v-neck, knit shirt pattern like the Favorite tee. The main garment construction like the shoulder seams, side seams, sleeves, etc., would best be done on a serger. It would come together very quickly this way. This then leaves the steps of hemming the garment and attaching the neckband. Hemming of the sleeves and bottom is best done on a sewing machine since a standard serger does not have that functionality.  Next, while many neckbands can be attached using a serger only, a v-neck will look neater and cause you less frustration, if you use your sewing machine on the v-neck point. Basting and slowly working on the “V” on your sewing machine will get you that crisp point. After the point has been created on your sewing machine, you can bounce back over to your serger to neaten the edges and attach the remainder of the neckband. Another aspect of constructing knit garments that you should use the regular sewing machine for would be inseam pockets. Just like for a neckband, the best way to get sharp corners on inseam pockets is with a sewing machine. You can then go back and finish the edges with a serger.

While you may find yourself using your serger a lot when creating knit garments, there are lots of other special circumstances that you may come across that you will need to go back to your regular sewing machine for, such as sewing on patch pockets, any type of topstitching, making buttonholes for either buttons or drawstrings, and sewing zippers.

When it comes to sewing patterns that are designed for woven fabrics on the other hand, your sewing machine will be doing the bulk of the work here! The seams should all be sewn on your sewing machine, and then the seam can be finished (aka overlocked) on the serger. Sewing first on the sewing machine may seem like an extra step or feel excessive, but it will make your garment stronger, and minimize your risk of busting out a seam.

Below are some examples of some P4P makes with details on which machine was used to create them!


Happy Sewing!

-Jody

Filed Under: P4P University, Sewing Machines 2 Comments

P4P University – Grommets

October 16, 2020

Raise your hand if grommets scare you? Have you done everything possible, including skipping that cute drawstring, just to avoid installing eyelets?

I did for years! I even made buttonholes to avoid installing those little metal devils. Buttonholes!

But, I’m here now to show you how truly easy it is to install grommets in your makes. Within the next few minutes, you’ll wonder why you were ever intimidated.

For those who prefer a video tutorial, I’ve got you covered!

If you prefer a written tutorial, read on.

First, the anatomy of a grommet…

You will have your eyelet – that’s the piece that has a post. It will always be on the right side of your fabric. The backside is called the washer. The larger sizes typically have sharp teeth that help to better secure the grommet in place. The smaller sizes often have a plastic ring that sits between the back of your fabric and the metal washer.

Most grommet kits will also come with an anvil (remember the Coyote and Roadrunner from Looney Tunes?!) and a setting tool. It’s important to use the right anvil for the size of grommet that you are setting.

I always iron a bit of interfacing on the backside of where my grommets will be installed. That extra security means that you won’t be replacing a grommet due to your fabric stretching out.

Snip a small “X” where you want to place your grommet, taking care not to make the opening too large. You want it just big enough to push your eyelet post through.

Place your washer around the post of the eyelet. If you are using a smaller eyelet, place the plastic ring under the metal washer.

Set your grommet, face down, on top of the anvil and insert your setting tool in the post with the short end.

Give it a few good whacks with your hammer – four or five should do. As you are hammering, the post is actually folding down over the washer and securing it in place.

And that’s it! You’re ready to install your second grommet. You can feel how tight the fit is around your fabric. If it feels too loose, replace your setting tool and strike it with the hammer a couple more times.

Setting grommets is a wonderful garment-making skill to know and it will unleash even more creative possibilities in your future projects.

If there is any detail that I’ve left out of the written instructions, please do watch the video above. Feel free to reach out to me through the P4P Facebook Group, too. I’m happy to answer any questions you may have.

Until next time, happy sewing!

Rachel

Filed Under: Frequently Asked Questions, P4P University, Uncategorized 2 Comments

P4P University – Elastic

September 27, 2020

P4P University – Elastic 101


Hi,  I’m Dana one of the P4P team and I’m here today to talk all about elastic with you! We’ll be covering lots of different types of elastic that you may want to use in your sewing and showing your some examples of what they look like sewn up into finished garments, the times you may want to use them and the stitches I like to use to get the best finish.

To go alongside this blog post, I have filmed a video which you can find on the P4P You Tube channel here:

P4P University Elastics 101 Video

So, first things first, before you sew with any elastic there is one thing you will always want to do with it before you begin – exercise it!  Give it a good tug several times to make sure if it is going to stretch out it does it now and not after you have finished your garment.  There is nothing worse than something which fits great at first and then soon starts to get baggy.


Let’s introduce and cover off some types of elastic you are likely to encounter when home sewing:

Regular Knit Elastic

This comes in many different widths, depending on your need.  Pictured are 1″, 1.5″ and 2″ elastics.  Usually white or black in colour, I generally choose white because you can’t see it under lighter coloured fabrics.  This plain version is usually used for something like an enclosed elastic waistband, where the elastic is fed through a casing to form the waistband.  These SOS Pants have an enclosed elastic waistband.  It makes for a soft and comfortable to wear garment.

SOS Pants with enclosed elastic waistband

However, you can also find patterned elastics, like this:

Patterned Knit Elastic

and these can be used as a waistband in their own right, just by top stitching in place of a casing.  Super quick and easy way to finish a skirt or pair of shorts!  Just wrap around your waist and cut to size, then butt the short ends and zig zag stitch together to form a loop. Quarter the elastic, quarter the top of the garment and sew right on.

Buttonhole Elastic

This is great if you have small people that keep shooting up overnight, like me! You can use it in a waistband secured with a button, and then unbutton it as they grow.  Great for things with lots of ease drafted in, like the Walk The Planks.  Just remember to cut it a little longer than needed when you first sew it in so you have room to lengthen it.

Clear Elastic

Clear Elastic is one of the things I had never heard of before I started sewing and now it’s the thing I use the most.  I use it for gathering skirts to fit bodices, like the Sweetheart Dress; for stabilizing shoulder seams on lightweight stretchy fabrics like rayon spandex, that have a tendency to grow otherwise; for adding ruching; and for adding extra strength to the seams of stretch fabrics under pressure, like in a sports bra, where it just serge it right on when sewing the seam itself.  Again this comes in different widths, pictures is 3/8″ and 1/4″.

Swim Elastic

As it’s name suggests Swim Elastic is used in swimwear.  Regular elastic can perish under the combined attack of both strong sunlight and chlorine, so it is best to use this type of elastic in swimwear to ensure it stands up to the test of time.  I often use clear elastic in swimwear too, both work fine, you just don’t want to use a regular knit elastic because when your pull your swimsuit out after a winter in storage you will probably find that the elastic has perished and lost all it stretch. If you’re going to take all that time to make a custom swim suit, you may aswell try and make sure it lasts.

Sunflower Swim Top

I used several different widths of swim elastic in this Sunflower Swim Top to get the best fit for me, including 3/8″, 1/2″ and 1″.

Picot Elastic

Picot Elastic is often thought of as a lingerie elastic, and it’s great for that but I think it’s also really pretty when used to finish the neckline and sleeves of a dress, where you just see the little picots popping out from the inside.

Me Hearties Dress

I used picot to finish the neckline and sleeves of this Trixie Lulamoon dress I made for my daughter’s birthday using the Me Hearties Dress pattern.  I just serged it on right sides together, flipped it down to the inside and then top stitched it with a triple zig zag stitch.  This is my favourite stitch for top stitching elastic because it is a really great stretchy stitch but it is also quite a wide stitch and that helps stop the elastic from flipping up.

Fold Over Elastic

You will often see Fold Over Elastic being abbreviated to FOE in sewing groups, but as you would imagine from its name you fold it over the raw edge of the fabric and top stitch in place. You can either use your coverstitch if you have one, or just sew with a triple zig zag stitch.

Fierce Bra and SOS Pants

It is used in the Fierce Bra to finish the top raw edge of the bra and also form the straps.  It takes a bit of practise to get used to handling it at first but it a very useful tool to have in your arsenal!

Soft Waistband Elastic

Lastly we’re going to talk about Soft Waistband Elastic.  You will probably recognise this as the type of elastic used on men’s boxers.  It is thick, soft, super stretchy and has great recovery and we use it both as the underbust band on the Fierce Bra and the waistband on the Fierce Undies.

Fierce Bra and Undies

You can either serge or sew the band on like a regular knit band, flip up and top stitch the seam down or you can just sew the band into a loop by butting the short ends together and then topstitch it right onto the top raw edge of the fabric, like in the picture above.  It makes sure your undies don’t shift all day whilst still being super comfortable to wear.  It comes in lots of different colours and some fun printed designs too and is designed to stay visible and not be sewn inside a casing.

Hopefully that has helped give you an idea of the types of elastic you might encounter whilst sewing and what yu may need them for.  Don’t forget to watch the video that accompanies this post for more examples to guide you and…

Happy Sewing!

Dana x

Filed Under: P4P University, Uncategorized Leave a Comment

P4P University- Waistbands

September 21, 2020

Ahoy Pirates! Today, we’re talking waistbands. We’ll cover some of the different types of waistbands that you’ll generally see in P4P patterns, the best fabrics and materials for constructing them, and some helpful tricks and tips to getting the very best results.

Types of Waistbands

There are many different types of waistbands out there in the wide world, but today I’ll cover some of the most common ones you’ll see in apparel sewing and in many P4P patterns.

First off, let’s talk about knit waistbands. These waistbands can be normal or high-rise, and are stretched to fit a garment’s waist.  Knit waistbands will need to be made with knits with excellent stretch and good recovery. You’ll want to look for fabrics like brushed polyester, cotton lycra, or cotton ribbing to make these. This type of waistband is easy to sew, with no casings, elastic or fancy stitching required. Hurray!

Generally with this type of waistband, you’ll line up the short ends of the waistband piece, right sides together, and stitch. Next, flip the waistband so the right side is up, then fold in half lengthwise, wrong sides together, and press. From there, you will quarter the band with pins and attach (more on quartering waistbands and other tips later)!


Here, I’ve used double brushed poly to sew a knit waistband onto a pair of Peg Legs. I’ve simply attached it by stretching it evenly, and sewing it to the garment with my serger, although a sewing machine will work just as well. Make sure to use a stretch stitch, like the lightening bolt, at the longest length setting!


Next up, we have  tall/yoga waistbands. Yoga waistbands are made and constructed similarly to regular knit waistbands, but are simply “taller” and meant to be folded over for a even more comfortable fit. I especially like using yoga waistbands on clothing for children, as they are super comfy to wear! Brushed polyester and cotton lycra are excellent choices for these. I’ve used a yoga waistband here on a pair of Baby Bear Joggers, using brushed polyester.


Next,  we have enclosed elastic waistbands. Generally, this type of waistband is used for knit garments that have a little less vertical stretch or recovery and need a little “help” holding the garment up around the wearer’s waist.

To construct, you will sew together the short ends of the waistband casing, right sides together. Next fold lengthwise, wrong sides together, and press. Set aside. Take your elastic piece, and sew short ends together, using instructions for the specific pattern being used. Generally, you will be instructed to either overlap the two short ends and sew, or “butt up” the ends- pushing them together and sewing with a wide zig-zag stitch, but not overlapping. Next you will slip the elastic loop into your knit waistband casing, and sew together as one piece onto your garment. You may topstitch this seam afterwards, if desired.

Here, I’ve made a pair of SOS Knit Pants with an enclosed elastic waistband. Although the fabric I used was a jegging material with little vertical stretch, the added elastic I used helps give the little bit of extra “oomph” needed to keep the pants up around my waist and snug-fitting.


Another style of waistband you’ll see often in apparel sewing is exposed elastic waistbands. These are waistbands that you’ll see in many applications, such as athletic shorts or undergarments. These will be generally created using plush back, underwear, or soft waistband elastics. It’s important to use these types of elastic, especially for undergarments, as they are much more comfortable and soft, and elastic will be up directly against the wearer’s skin.

On patterns such as the Fierce Undies pictured here, the elastic used will be “butted” together before being sewn, not overlapped. This is because overlapping will make the exposed elastic waistband too bulky.


Tips and Tricks

Just as there are many different types of waistbands out there in the sewing world, there are just as many tips to make sewing them easier! Here are just a few to help you along the way:

1. With knit, yoga, and enclosed elastic waistbands, serge or baste the raw edges together once you’ve folded lengthwise, wrong sides together, and before attaching to the garment. This will essentially take those two layers of fabric of the folded waistband and turn them into one, making it easier to attach them to the garment in a clean and professional-looking way. Remember, if you serge the raw edges of your waistband before attaching it to your garment, DO NOT CUT ANY OFF!

2. ALWAYS quarter your waistbands before attaching them to a garment! What is quartering? It’s equally dividing the waistband into fourths, so you can better ensure that the waistband will be evenly stretched across the garment’s waist.  It’s easy to do:

 First, sew the waistband or elastic together at the short ends, as directed by the pattern. Pin or mark the point of the seam.

Next,  fold in half to find the half point. Pin or mark the half point.

Now, take the two marked points (the seam and half point) and fold the waistband or elastic so that they meet in the center. Pin or mark the folded edges on either side to find the quarter points.

And there you have an evenly quartered waistband! This might sound like an extra step, but trust me, it’s one that will save you time by                          ensuring that you don’t have an unevenly stretched waistband (hello, seam ripper!) and will give you the most professional- looking finish.


3. SAVE your scraps! Especially with youth apparel, waistbands usually take very little fabric, and can be excellent scrap-busters. So next time you make something with a stretchy fabric with great recovery, make sure to stash those extras away for a rainy day!


That’s it for now! Just a few examples of some of the waistbands you’ll encounter while sewing some gorgeous, handmade apparel. No matter which waistband is required for your pattern, always make sure to quarter those bands, have fun, and share your beautiful makes with us over at Patterns for Pirates’ Facebook page!

Caitlin

Filed Under: Frequently Asked Questions, P4P University, Uncategorized Leave a Comment

P4P University- Pants and Their Wrinkles

May 14, 2019

We get a lot of questions about fitting, wrinkles and pull lines and how to fix those when sewing for different body types.  Pants seem to cause a lot of anxiety for some sewists when it comes to the crotch area and the lines they can see there, but it isn’t too complicated as it seems.

First, lets talk about wrinkles and pull lines in general.  You will never have a garment that will never have any in any position.  Meaning a garment is drafted and fitted to look great in one main position (usually standing up straight with feet slightly apart for pants).  So, if you’re only getting wrinkles or pull lines when moving a certain way don’t worry! A garment can’t be perfectly drafted and fitted to every movement you’re going to be in.  I often see that sewists are worried about this though… “I have wrinkles when I sit” is a very common plea for help… but the truth is you should! You need that extra length when you’re standing and it will wrinkle or bunch when you’re not using that length when sitting.


But, if you’re fitting pants and you’re having wrinkles or pull lines when just standing straight then you’ll want to alter the pattern for a better fit.  Lets go over some wrinkles and pull lines and what you would need to do to fix them.  I have the issue on the left, followed by how you would alter the pattern in the middle, and to the right what your new pattern piece will look like against the old one (old pattern in pink and new altered in black).

When you have wrinkles this indicates that you have too much fabric somewhere and it is bunching up.  Pinching out the excess will show you exactly where the extra fabric is coming from usually and if it is horizontal, vertical, or both that needs to be taken out.


When you have pull lines this indicates that there is not enough fabric somewhere and it is straining.  If you’re unsure you can unpick to let the tension out and see if the lines go away.  The gap that your seam spreads would be the amount your pattern needs to not strain.  You can unpick along the side seam to check for horizontal pulling or along the top waistband for vertical.  You might need both as well if you’re getting bias pulling.


The same goes for booty with wrinkling vs pull lines and vertical vs horiztonal.   But, I wanted to touch on a common fit issue I see asked about, which is pulling under the bum.  This is generally when your booty is a bit lower then the pant is drafted for.  Lowering the booty curve will help elevate that straining and pull lines.


Pants aren’t all that scary 🙂 Once you learn the basics you can alter the pattern for your perfect fit easily!  Good luck!

Filed Under: Fitting, P4P University, Uncategorized Leave a Comment

Baby Set with Nancy’s Notions

October 30, 2018

This post was created in partnership with Nancy’s Notions.  All opinions are my own.

Today’s blog is a rare occasion here on the P4P site… Generally I don’t do a lot of sponsored posts, but when Nancy’s Notions contacted me to do a little show off for their 2018 holiday blogger gift program I just couldn’t resist. I grew up watching Nancy on PBS with my mom and was honored to hear from them <3

Nancy is absolutely a great sewing icon who taught so many so much! I still have her fitting book sitting right on my desk 🙂

They sent me some adorable kitty fabric, red interlock and red ribbing to match.

The kitty fabric is a cotton spandex – perfect for baby clothing since it’s natural fibers, soft and easy to get on and off with the high stretch.

I used it for the Petite Pegs and part of the Teeny Beanie.

The red interlock I used for the main body of the Wee Lap Tee and the matching driving worked perfectly for the neckband, wristbands, and the band for the hat as well.

Although Nancy’s Notions has been a go to shop for quilters  they’re starting to carry more and more apparel items as well! So, if you’ve never checked them out or haven’t looked in their shop for apparel sewing in some time I’d click on over and check it out.  You can use this code for free shipping on orders $49 or more as well: 189501-1121 🙂

All the patterns I used for this baby set you can find in our freebie section here on the site! A great little gift for a baby shower or an easy and quick basic set to fill up baby’s wardrobe!

It’s part of Nancy’s Notion’s Holiday Blogger Gift Program 2018!

Filed Under: Blog Tours, Sewing Techniques, Uncategorized 3 Comments

P4P University – Buttons and Buttonholes

June 26, 2018

Ohh the dreaded buttons and button holes!!! Well…fear them no more. Today on the blog I wanted to talk to you about buttons and how easy it can be to add buttonholes to your projects.


Buttons

I am sure you noticed a few styles of buttons while walking around the notions sections of you favorite fabric store. The most commonly used buttons are 2-hole ones, 4-hole buttons and shank buttons.

  • 2 hole buttons are usually used for decorative purposes or for items that will not require a heavy use of the buttons. That being said, I personally prefer the look of the 2 hole button for day to day wear so I just reinforce the stitching to make it more durable.
  • 4 hole buttons will yield a sturdier construction. You can sew them on using an ” X “ style stitch or a ” = ” style. Either one of the methods can be done using a sewing machine or hand sewing.
  • Shank buttons are buttons that once sewn will not lay flushed with the fabric. They have a shank that will allow for some space between the button and the garment. These style buttons can be used for decorative purposes but they are mainly used when adding buttons to coats or heavy jackets.

You can sew buttons by hand or using your sewing machine. All 3 types of buttons listed above can be sewn by hand while only the 2 hole and 4 hole buttons can be sewn with the machine.

Note: when using a 4 hole button it is generally preferred to add a thread shank so there is some space between the button and the fabric. That can only be achieved by hand sewing.

In the video below I am showing you how to attach two-hole buttons with your sewing machine and different button feet available.


Buttonholes

Now that we have added buttons, we need to add button holes. Here are some must-does when adding buttonholes.

Always interface!

The key to successful buttonholes is interfacing the fabric. Whether you are using knit, light weight of medium weight woven always interface the areas you plan on adding buttonholes. Light to medium weight interfacing would work best.

Chose the right buttonhole style for your fabric! 

You might have noticed that your machine has quite a few options for button holes.

The one I use most is the squared one (as you can see in the video below) because I sew mainly medium weight fabrics. This buttonhole is also used for home decor sewing. If you use light weight fabrics, silks or chiffons, use the “oval” buttonhole, the one that has a round top and bottom.

If you are sewing coats or heavy weight jackets you will want to use a keyhole buttonhole because it will make pulling a thicker button through it much easier. When sewing knit outfits, if you need to preserve the stretch of the fabric around the buttonhole then the “knit buttonhole” is the one to use. It features a wider zig zag or a criss-cross stitch.

All you have to do now is make a slit in the fabric to allow for the button to pull through the hole. I like to use my seam ripper for that (make sure it’s not dull!!) and mark the top and bottom ends of the hole with pins as shown below.

This will help prevent any unwanted snips of the thread.

In the next video you can see the buttonhole foot in action.

Now that we have all that covered and hopefully you feel more confident sewing buttons and buttonholes, go sew some Henley and Lumberjack shirts and Brunch Blouses and be sure to show them off in the P4P group.

Filed Under: P4P University, Sewing Machines, Sewing Techniques, Uncategorized 3 Comments

How to shorten zippers

February 23, 2018


Ahoy pirates! Today on the blog I wanted to show you how to shorten different style zippers. With the new Go-To Jacket patterns releasing, you will be playing around with various size zippers so I find that it’s easier to just stock up on longer zippers (30-36″) and then shorten them based on your needs.

*Plastic separating zippers

Let’s talk about plastic separating zippers first. They are my favorite zipper style for kids and women casual wear. And shortening them is a peace of cake. There’s no need for any fancy tool or muscles 😉

Simply grab a pair of scissors that you do NOT use to cut fabric, a measuring tape and a lighter. Measure the length of the zipper you need for your jacket, mark it on both sides of the separating zipper. Move the zipper pull down and cut the desired length. Follow the instructions I give you in the video below to create a “zipper stop”.

Note: since you’re working with an open flame (if you don’t have a hot knife) please be extra cautious and avoid having your little ones “help out” 🙂

TIP: Always measure 3 times before cutting the zipper, just to be sure. 

*Metal Separating Zippers

The other separating zipper you may use for hoodies or jackets is a metal zipper. Walmart always carries them so, on a pinch, it’s a good alternative for plastic zippers.

Shortening a metal zipper is more time consuming and it requires a little bit of elbow grease and more tools but it’s totally doable. Just grab those non fabric scissors, a measuring tape and some long nose pliers and watch the video below.

TIP: Mark on both sides of the zipper where the waistband meets the bodice, the pockets and the hood. This will make it a lot easier to make sure that everything matches when you zip up the jacket.

*All purpose zippers

If you are making a Wiggle dress  and you need to shorten the all purpose zipper you are using you will only need your scissors, a measuring tape and some thread. Simply mark on the BOTTOM of the zipper (not the top as you did for separating zippers) where you would like for the zipper pull to stop.

Sew by hand a zipper stop at the mark you just made. Simply sew back on forth over the zipper teeth a few times. You can certainly use your sewing machine for this step but I find it easier to just hand sew the thread zipper stop. Cut the zipper 1″ below  the thread zipper stop you just created and seal your zipper ribbon with a lighter. Optionally, remove the plastic teeth below the thread zipper stop. Tadah! You have shortened your AP zipper in minutes.


Now that you have shortening zippers all figured out, go and sew all the Go To Jackets and make sure to post them in the Patterns for Pirates group!

Filed Under: P4P University, Sewing Techniques 6 Comments

  • « Previous Page
  • 1
  • 2
  • 3
  • 4
  • 5
  • Next Page »

Featured Patterns

  • Loosey Goosey Loosey Goosey $12.00 Original price was: $12.00.$10.50Current price is: $10.50.
  • Loosey Goosey- Youth Loosey Goosey- Youth $10.00 Original price was: $10.00.$8.50Current price is: $8.50.
  • Loosey Goosey - Bundle Loosey Goosey - Bundle $20.00 Original price was: $20.00.$18.00Current price is: $18.00.
  • Everyday Shirt Everyday Shirt $12.00
  • Everyday Shirt- Youth Everyday Shirt- Youth $10.00
  • Privacy Policy
  • Refund Policy
  • Affliliate Program
  • Contact Us
  • About

Copyright © 2025 Patterns for Pirates

Copyright © 2025 · Genesis Framework · WordPress · Log in